The Quest for Perfect 3D Prints: Are those even possible?

I have a bunch of 3D printing calibration articles where I try to help people raise their print quality as high as possible. But I want to cover the print quality topic a bit, to set expectations at a reasonable level for everybody. We don’t want to lose ourselves in the calibration tasks without having a finish point. You can only get so much from 3D printing, albeit FDM or Resin.
What is a perfect 3D print?
This is a question everyone should ask themselves before spending a lot of time with calibrations and tuning. For me, a perfect print is one that doesn’t require any post-processing after completion. I always try to carefully tune the slicer settings and the printer parameters to be able to start a print and get a good-looking print. But even though most of my models look great, they still have minor inconsistencies which can’t really be eliminated when using 3D printers.
For example, I had a chat with one of the readers who was looking to improve their print quality. He printed multiple calibration cubes and did various test prints in his quest for a perfect print, only to discover after some time that the main reason for bad looking prints was the lighting over his printer.
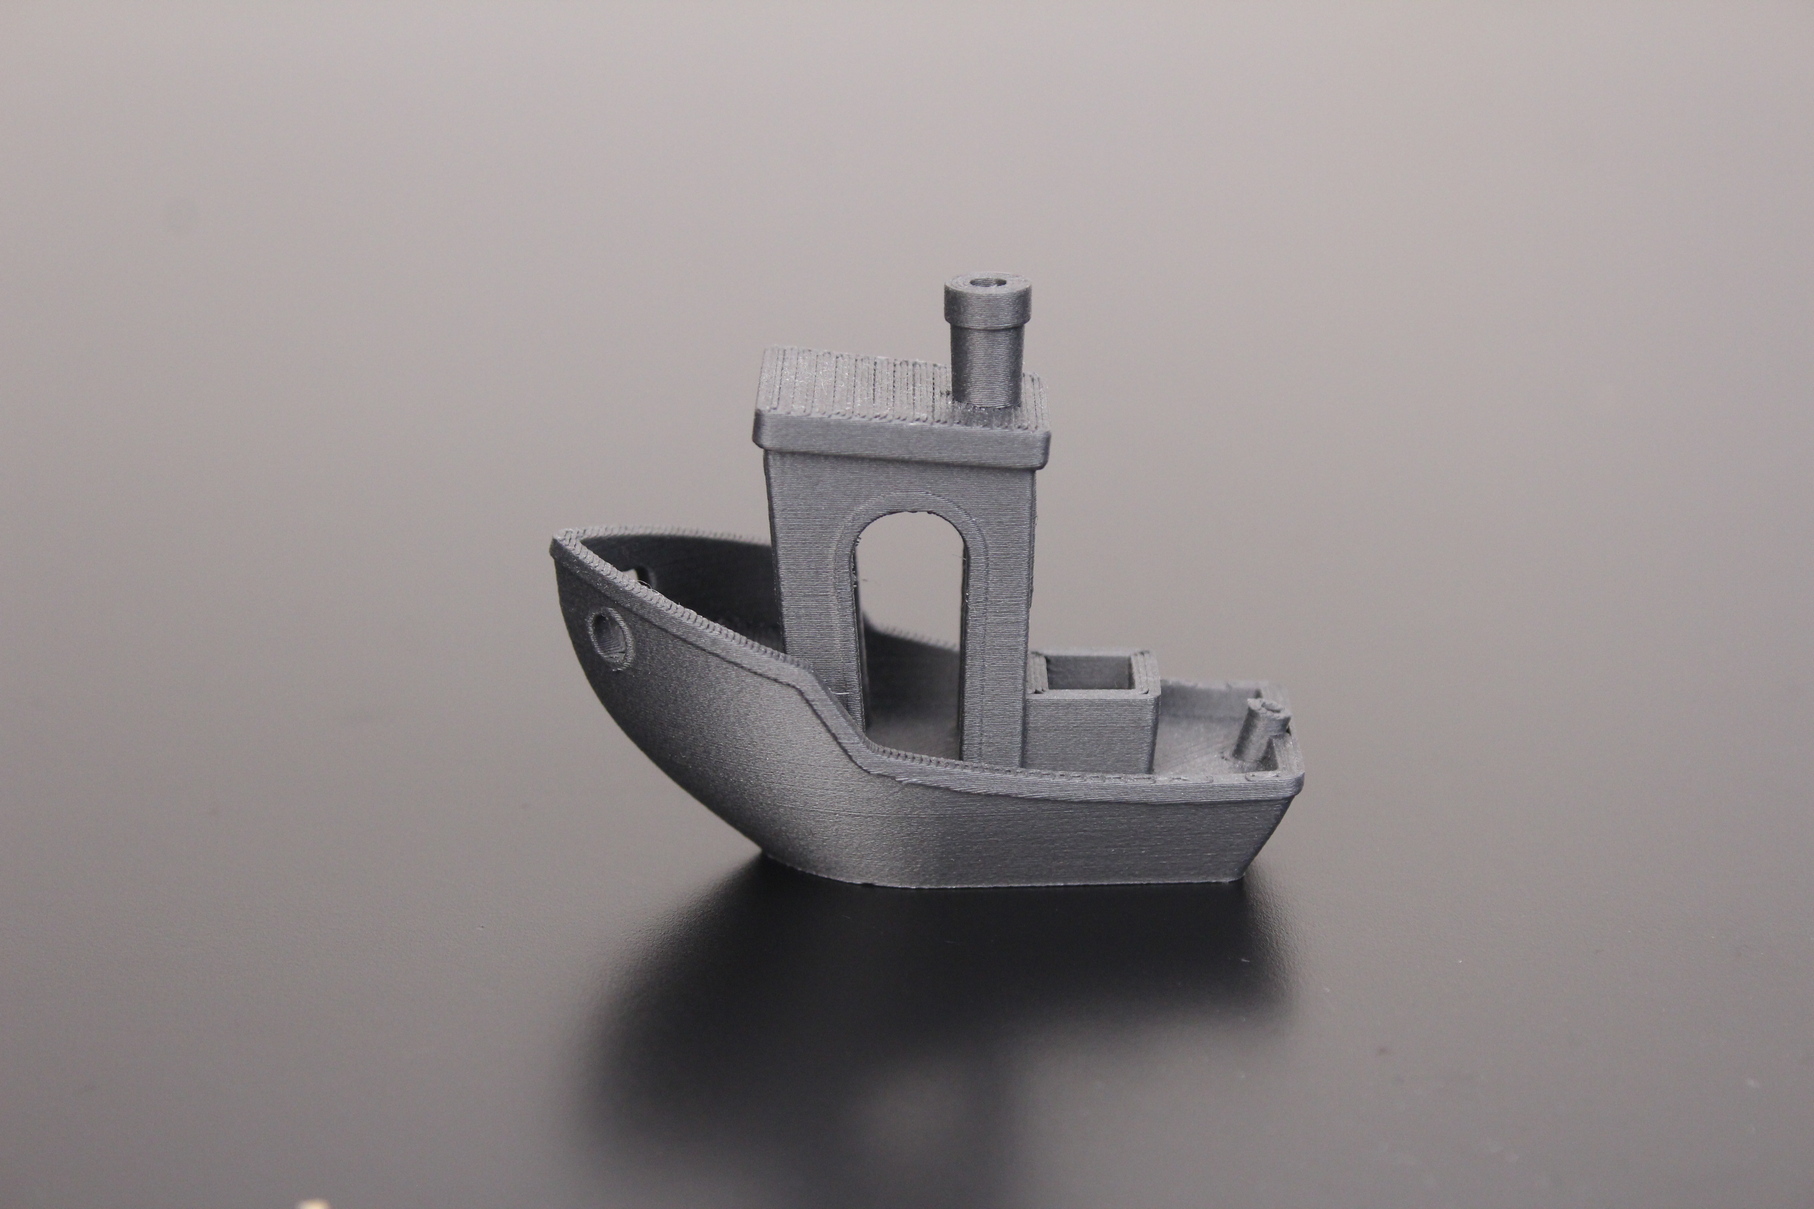
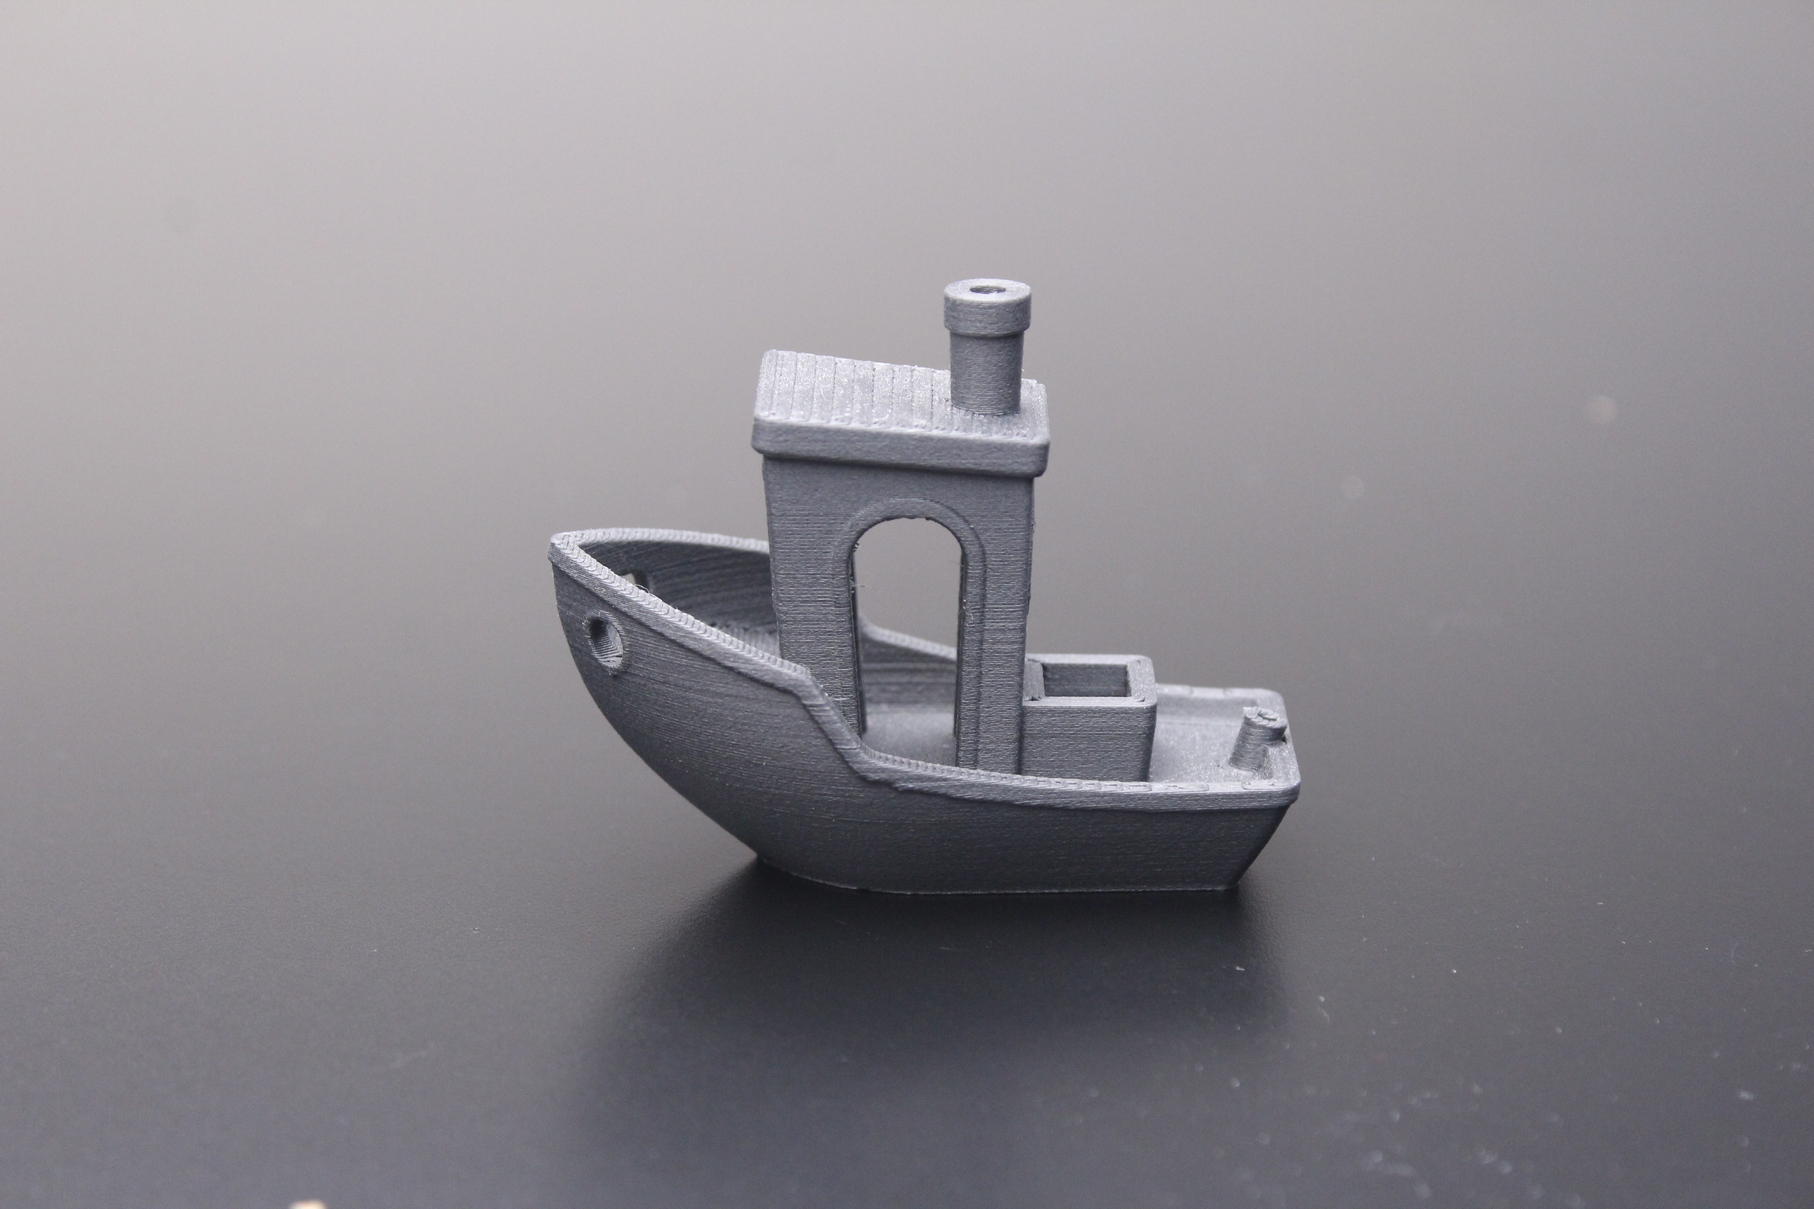
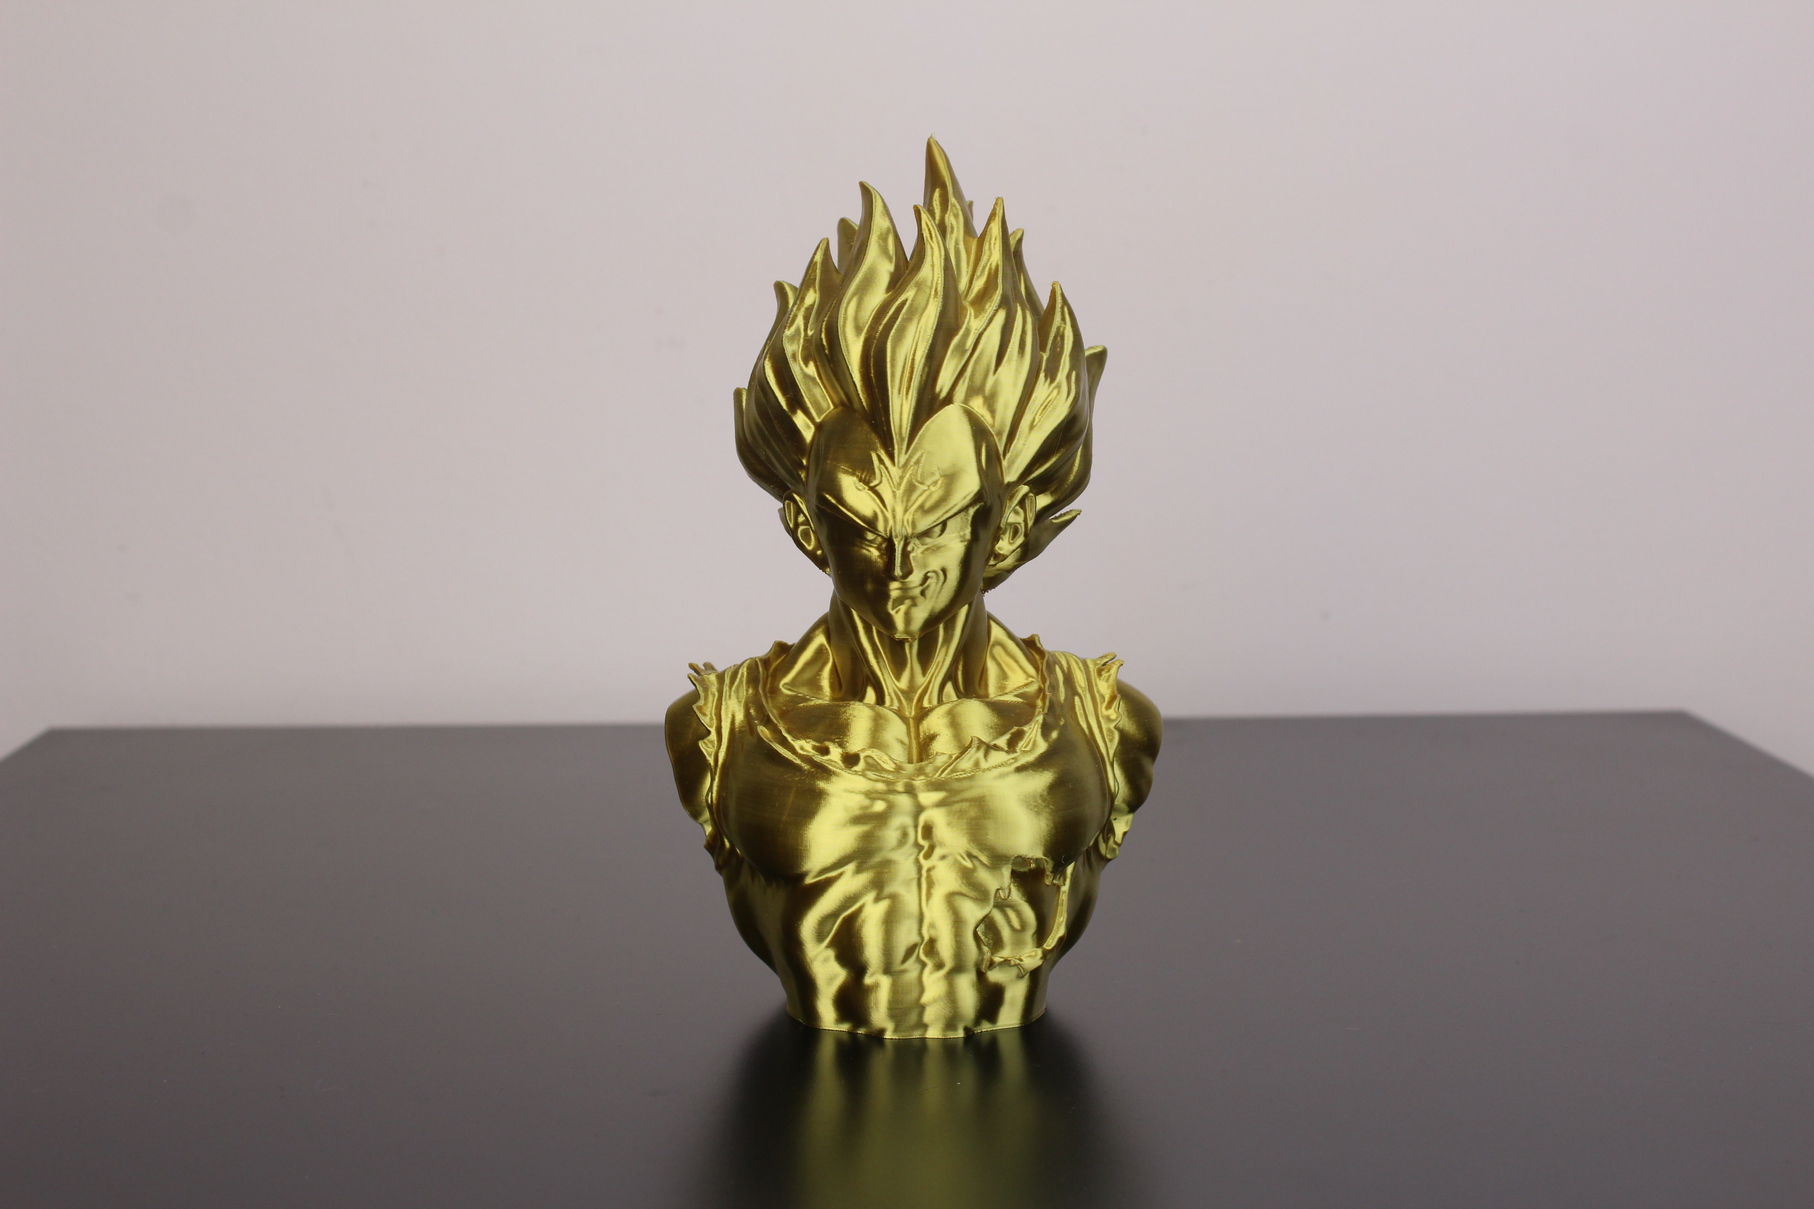
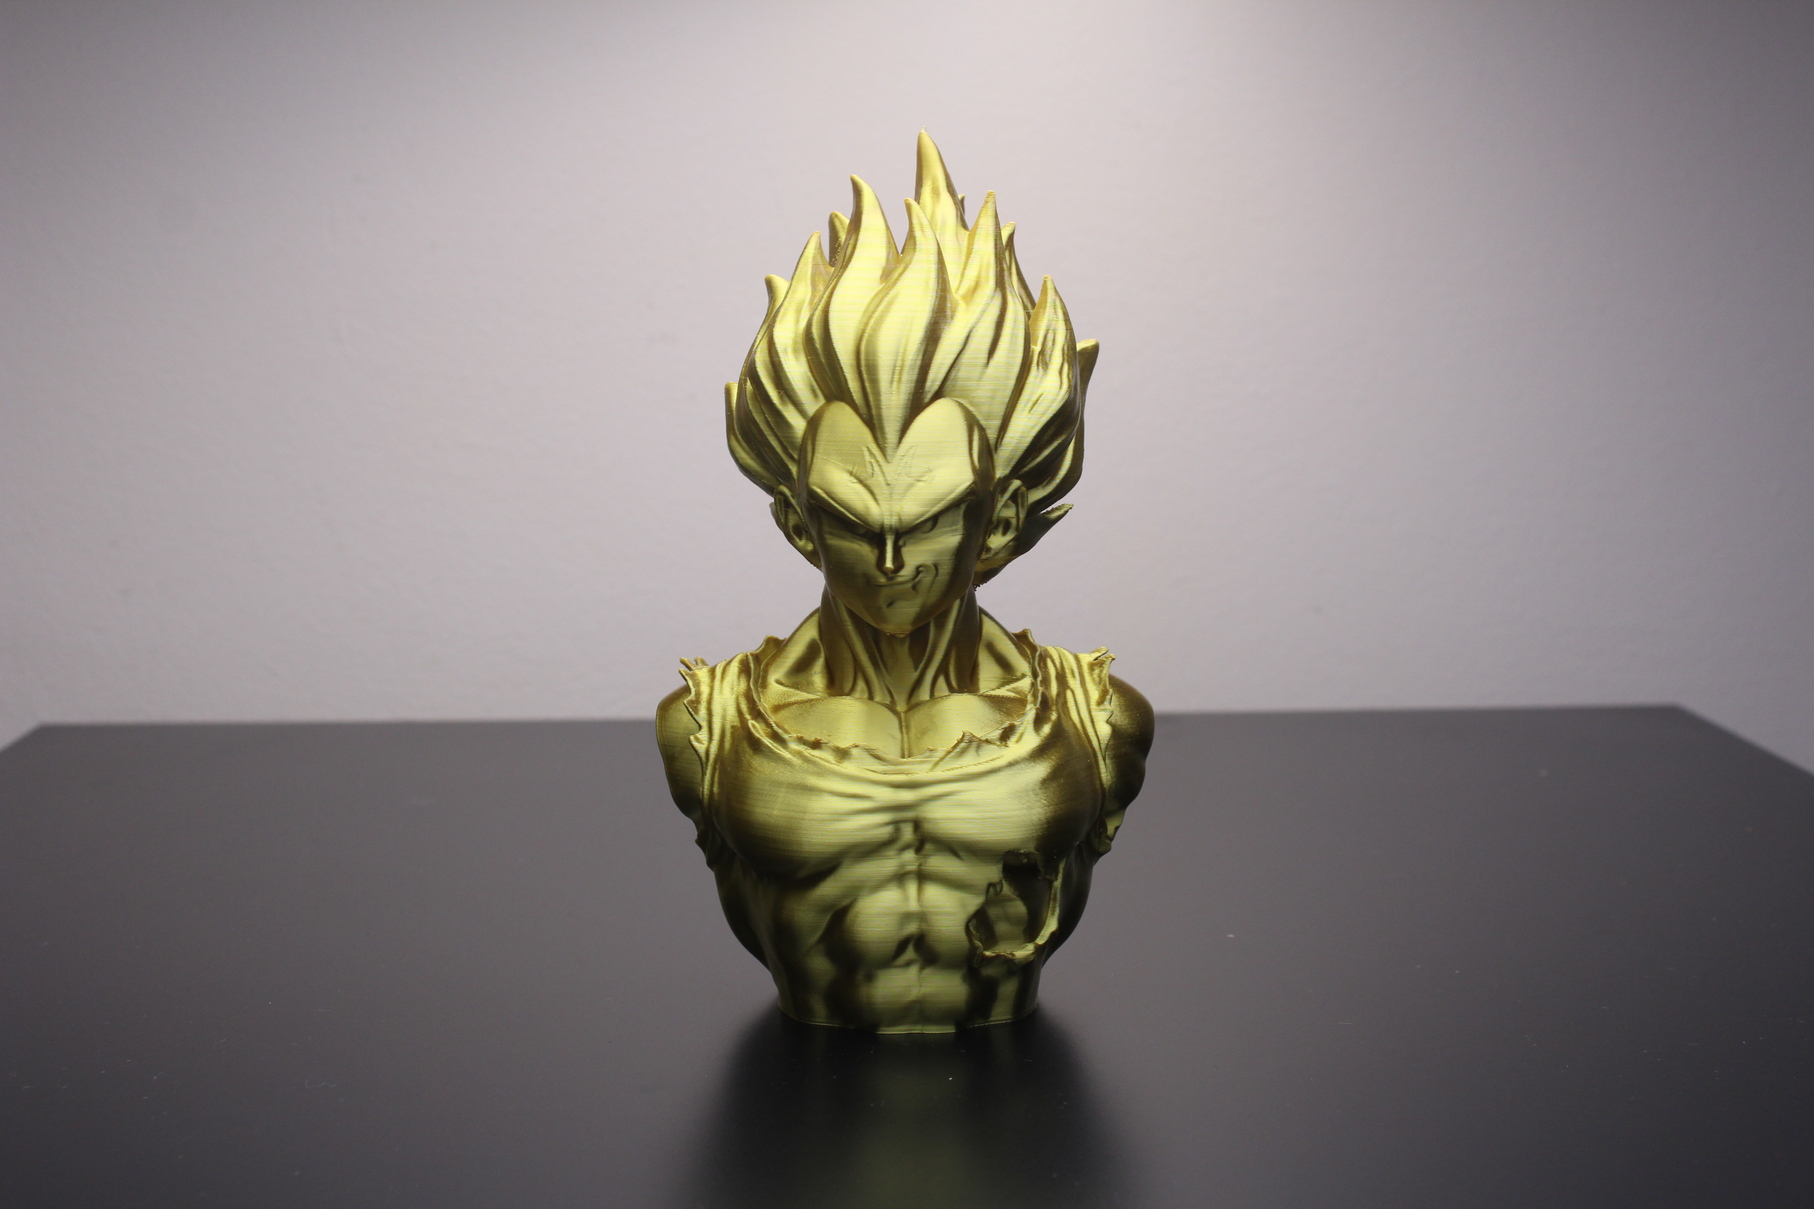
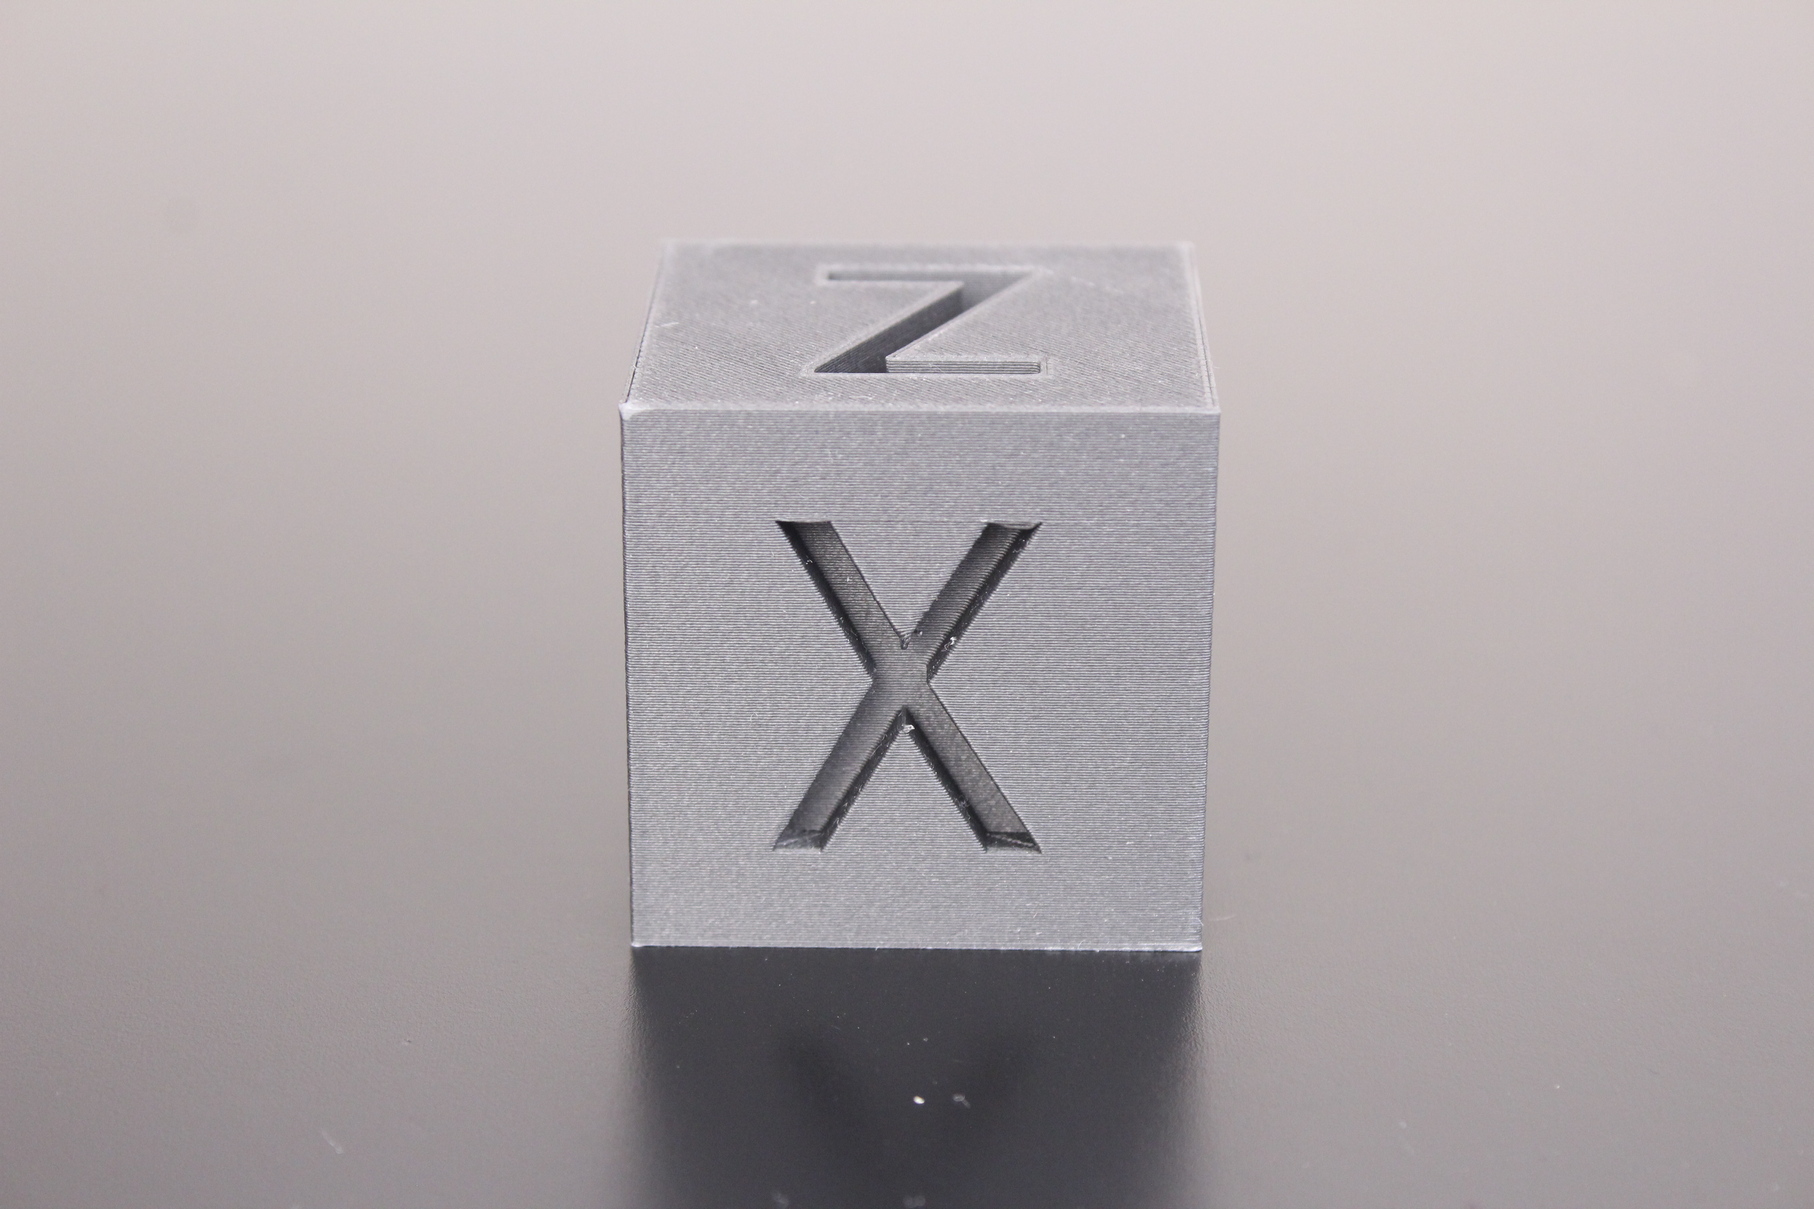
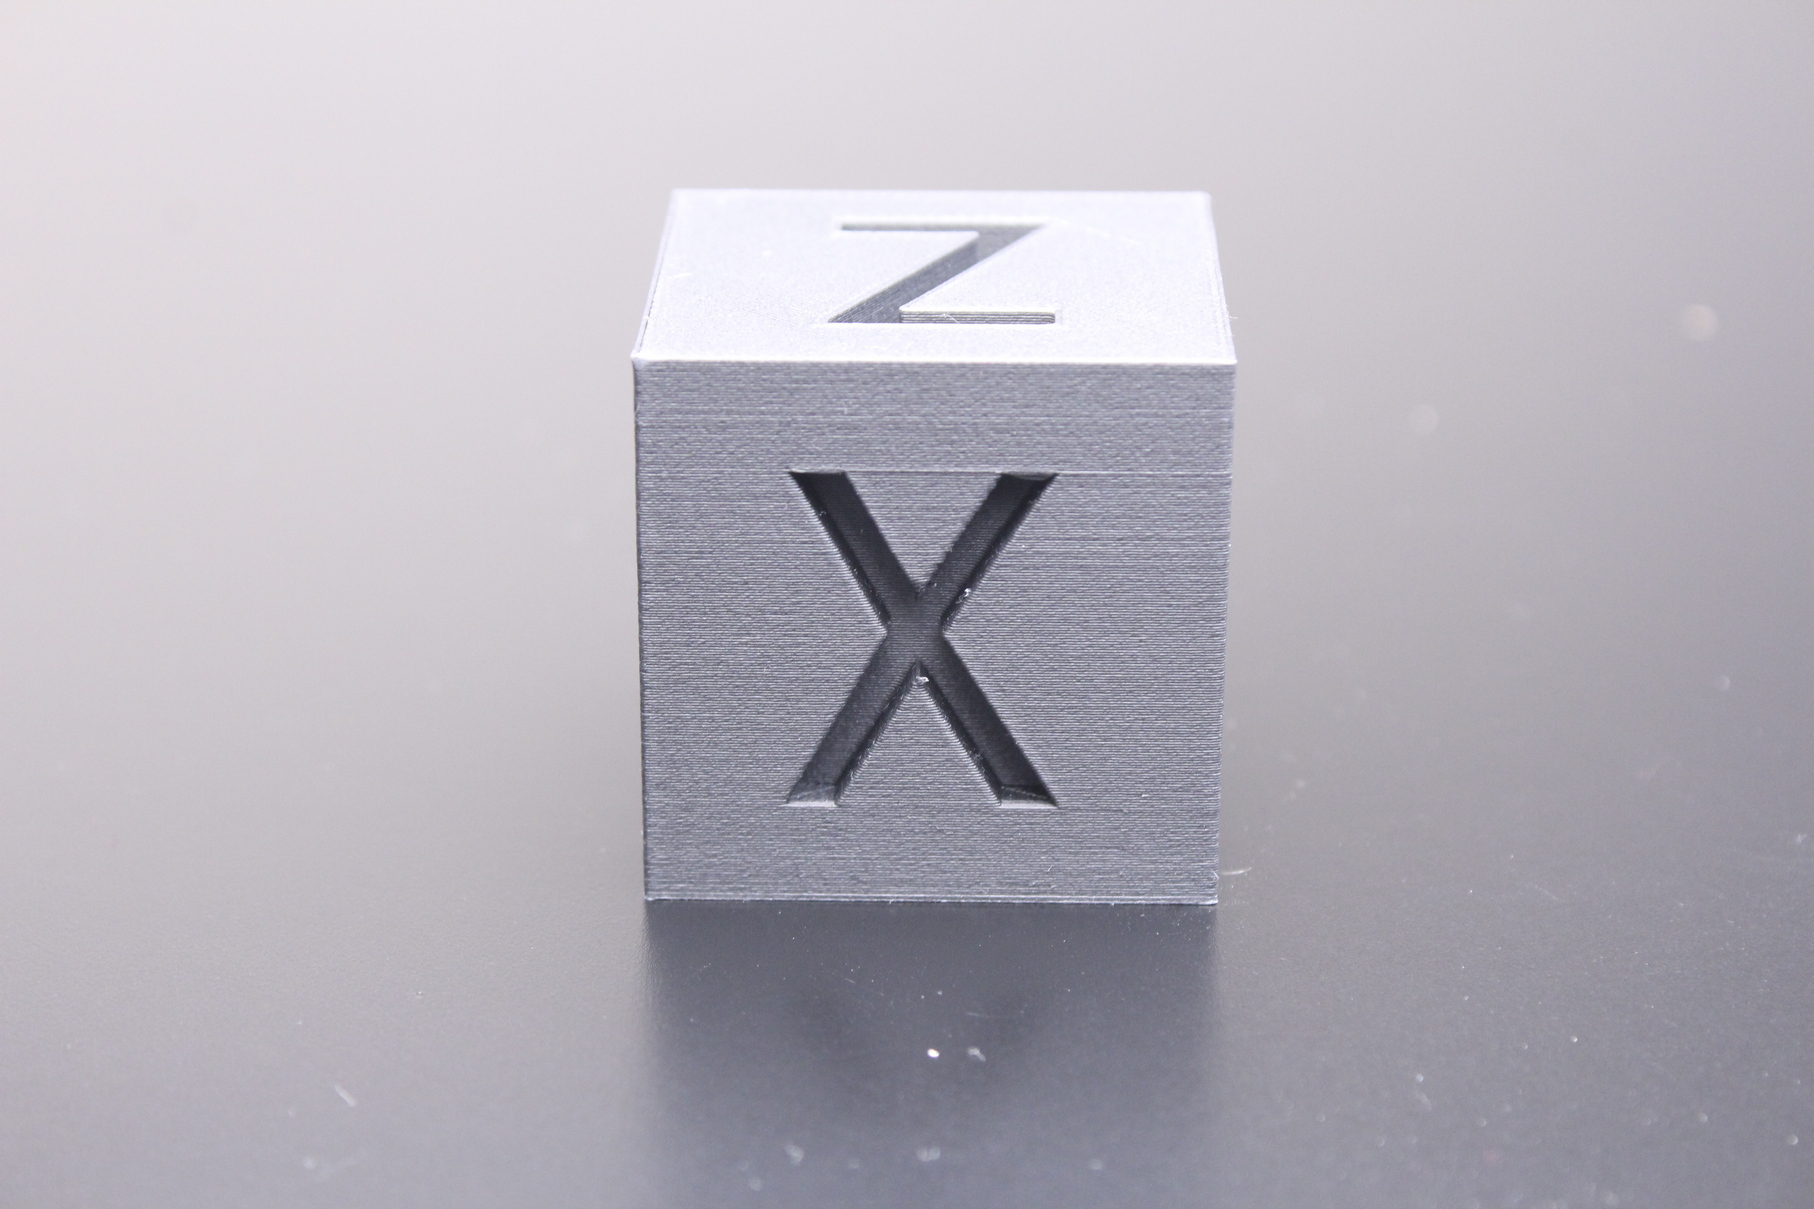
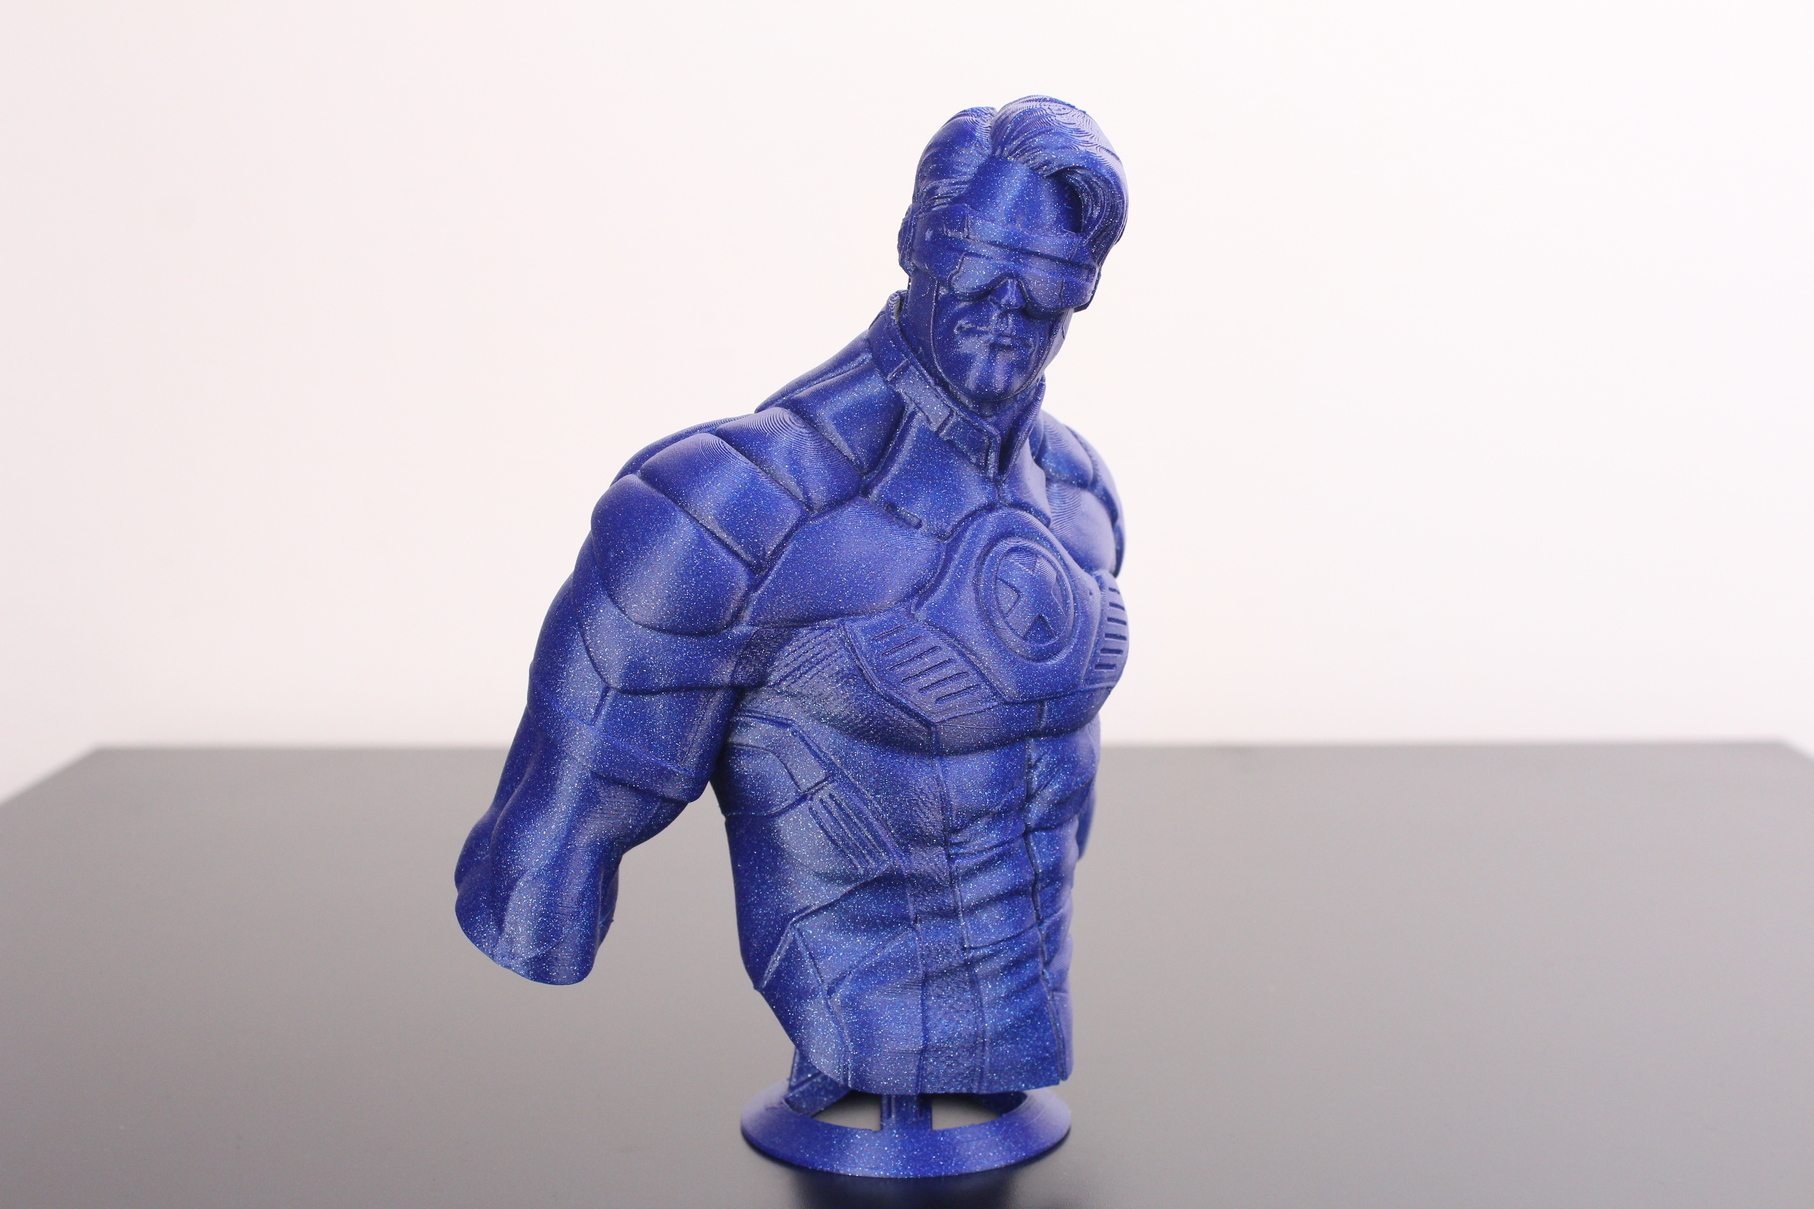
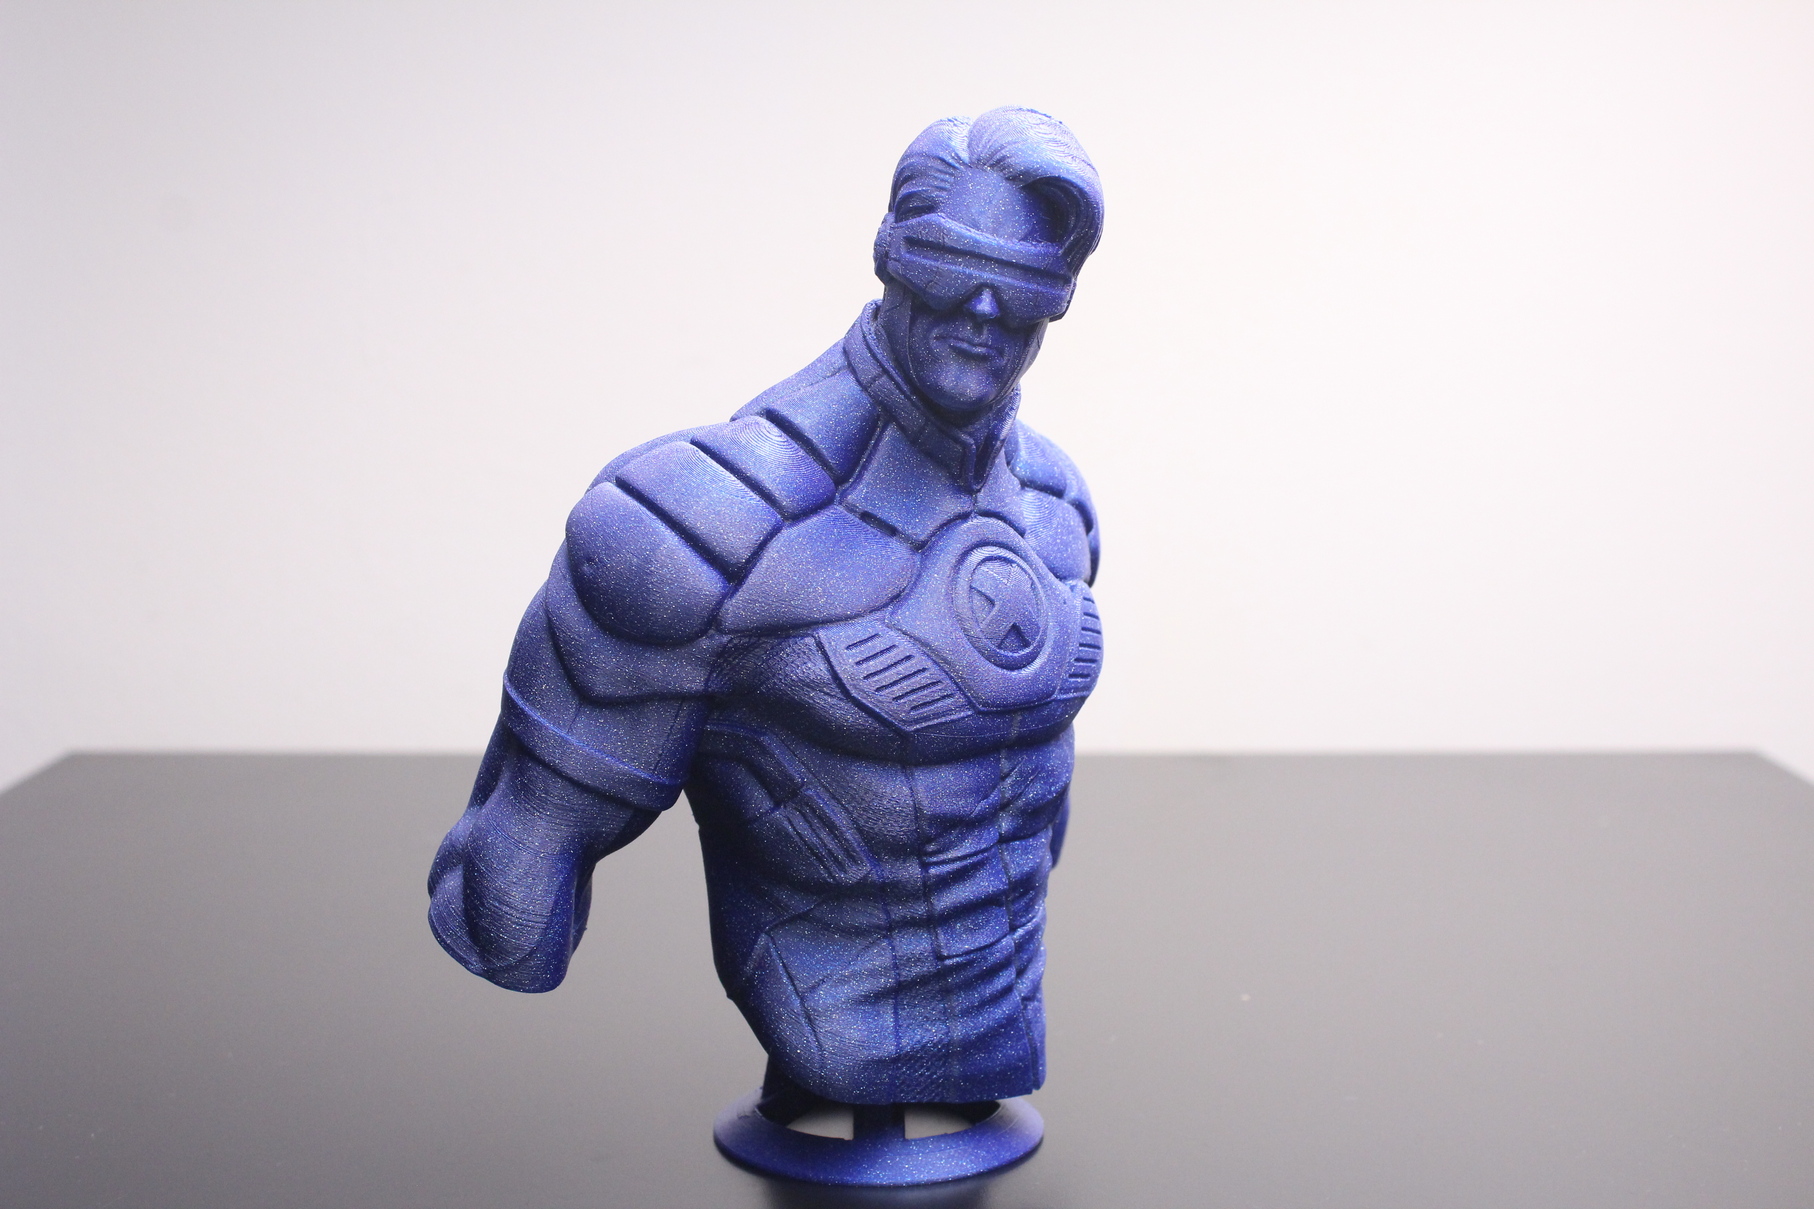
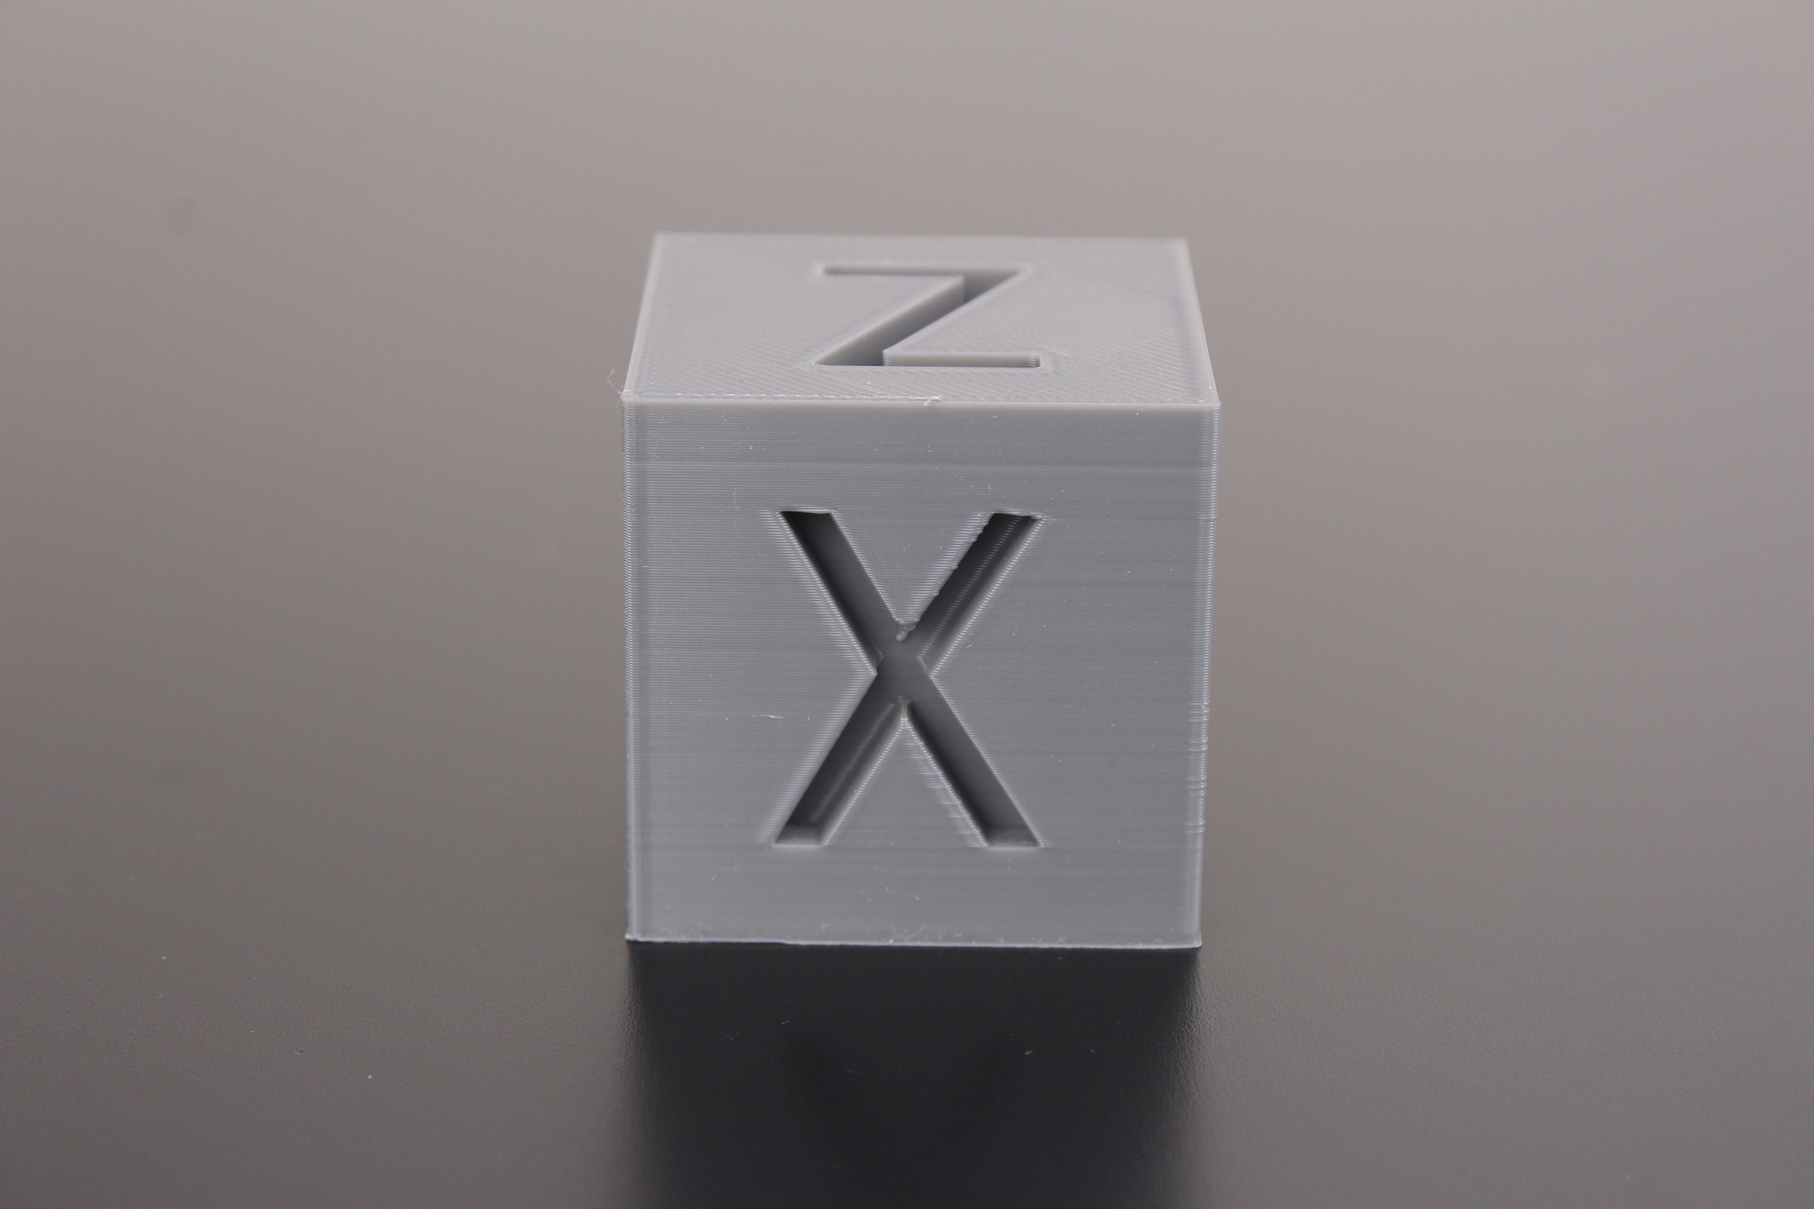
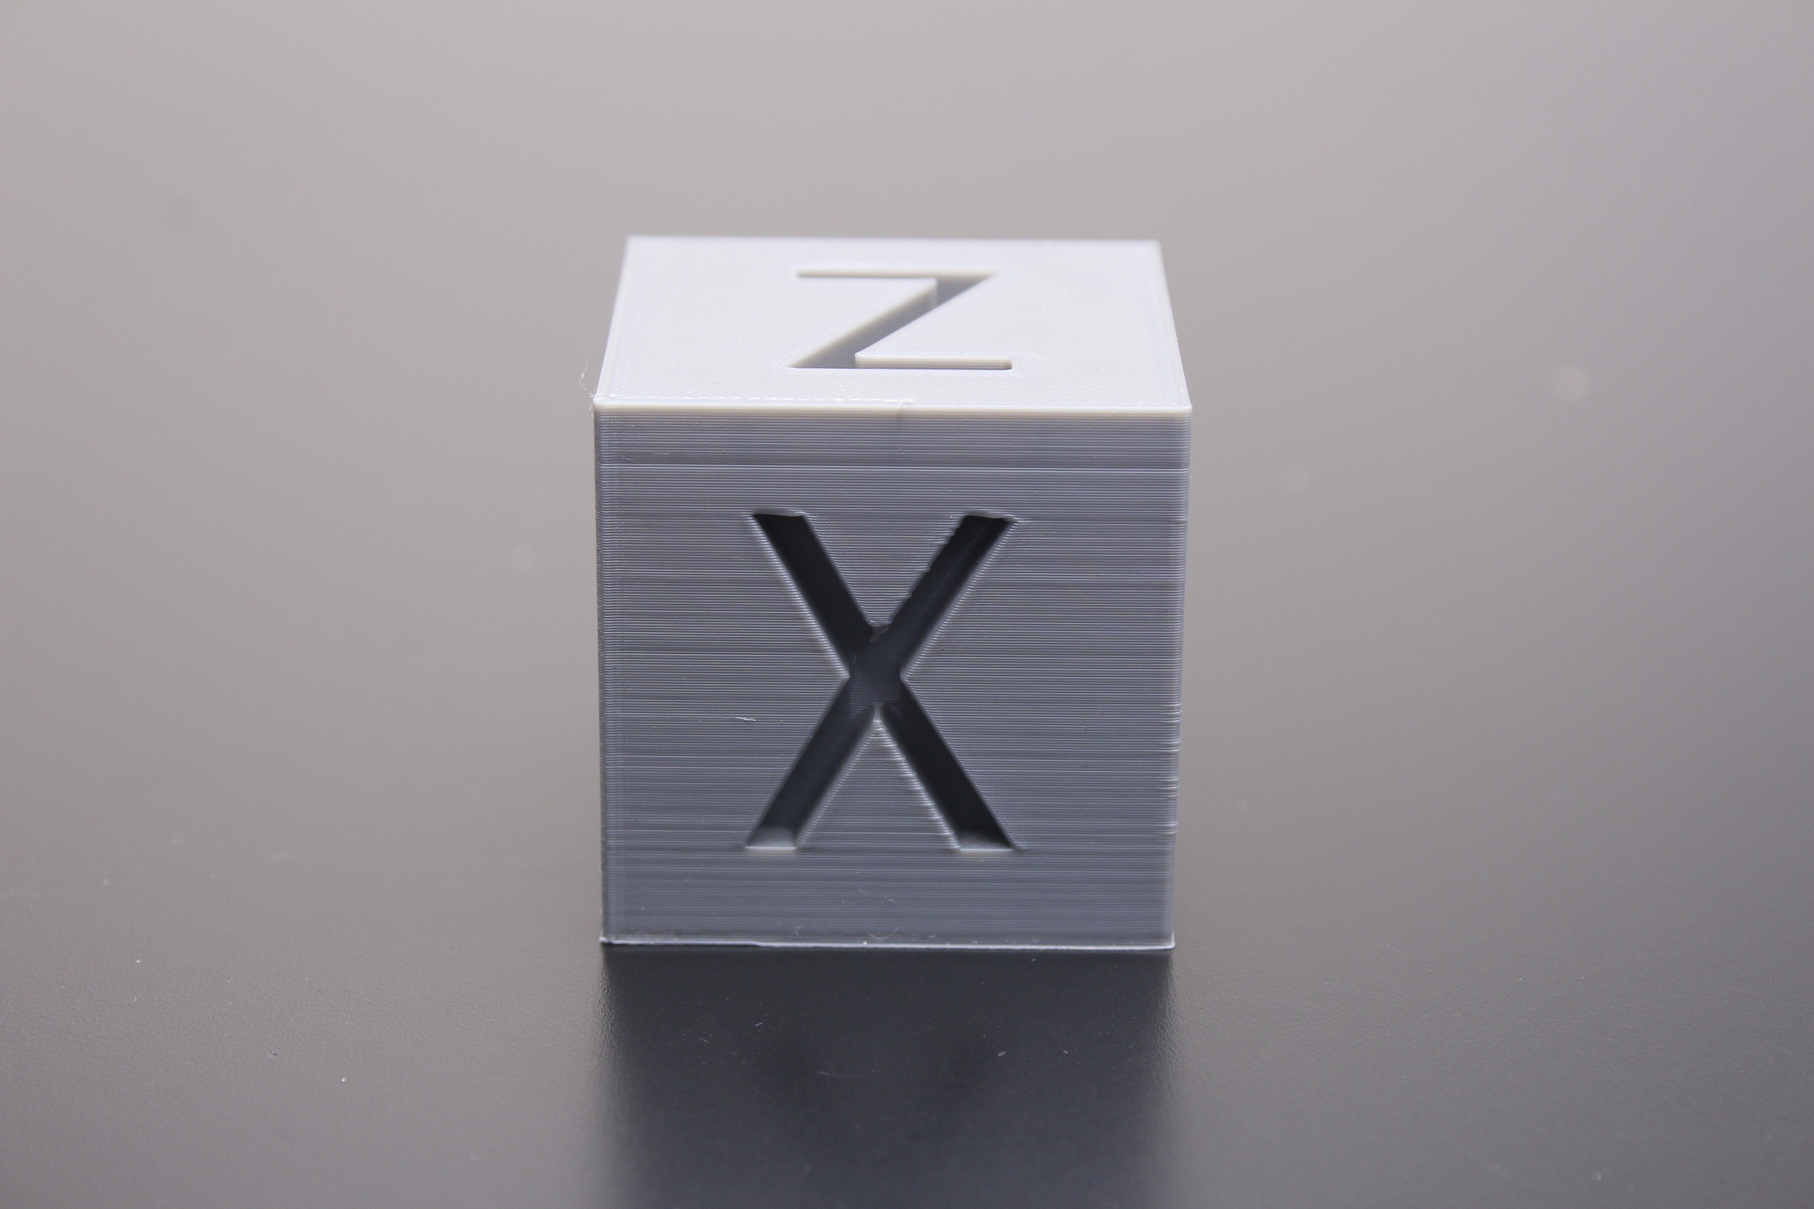
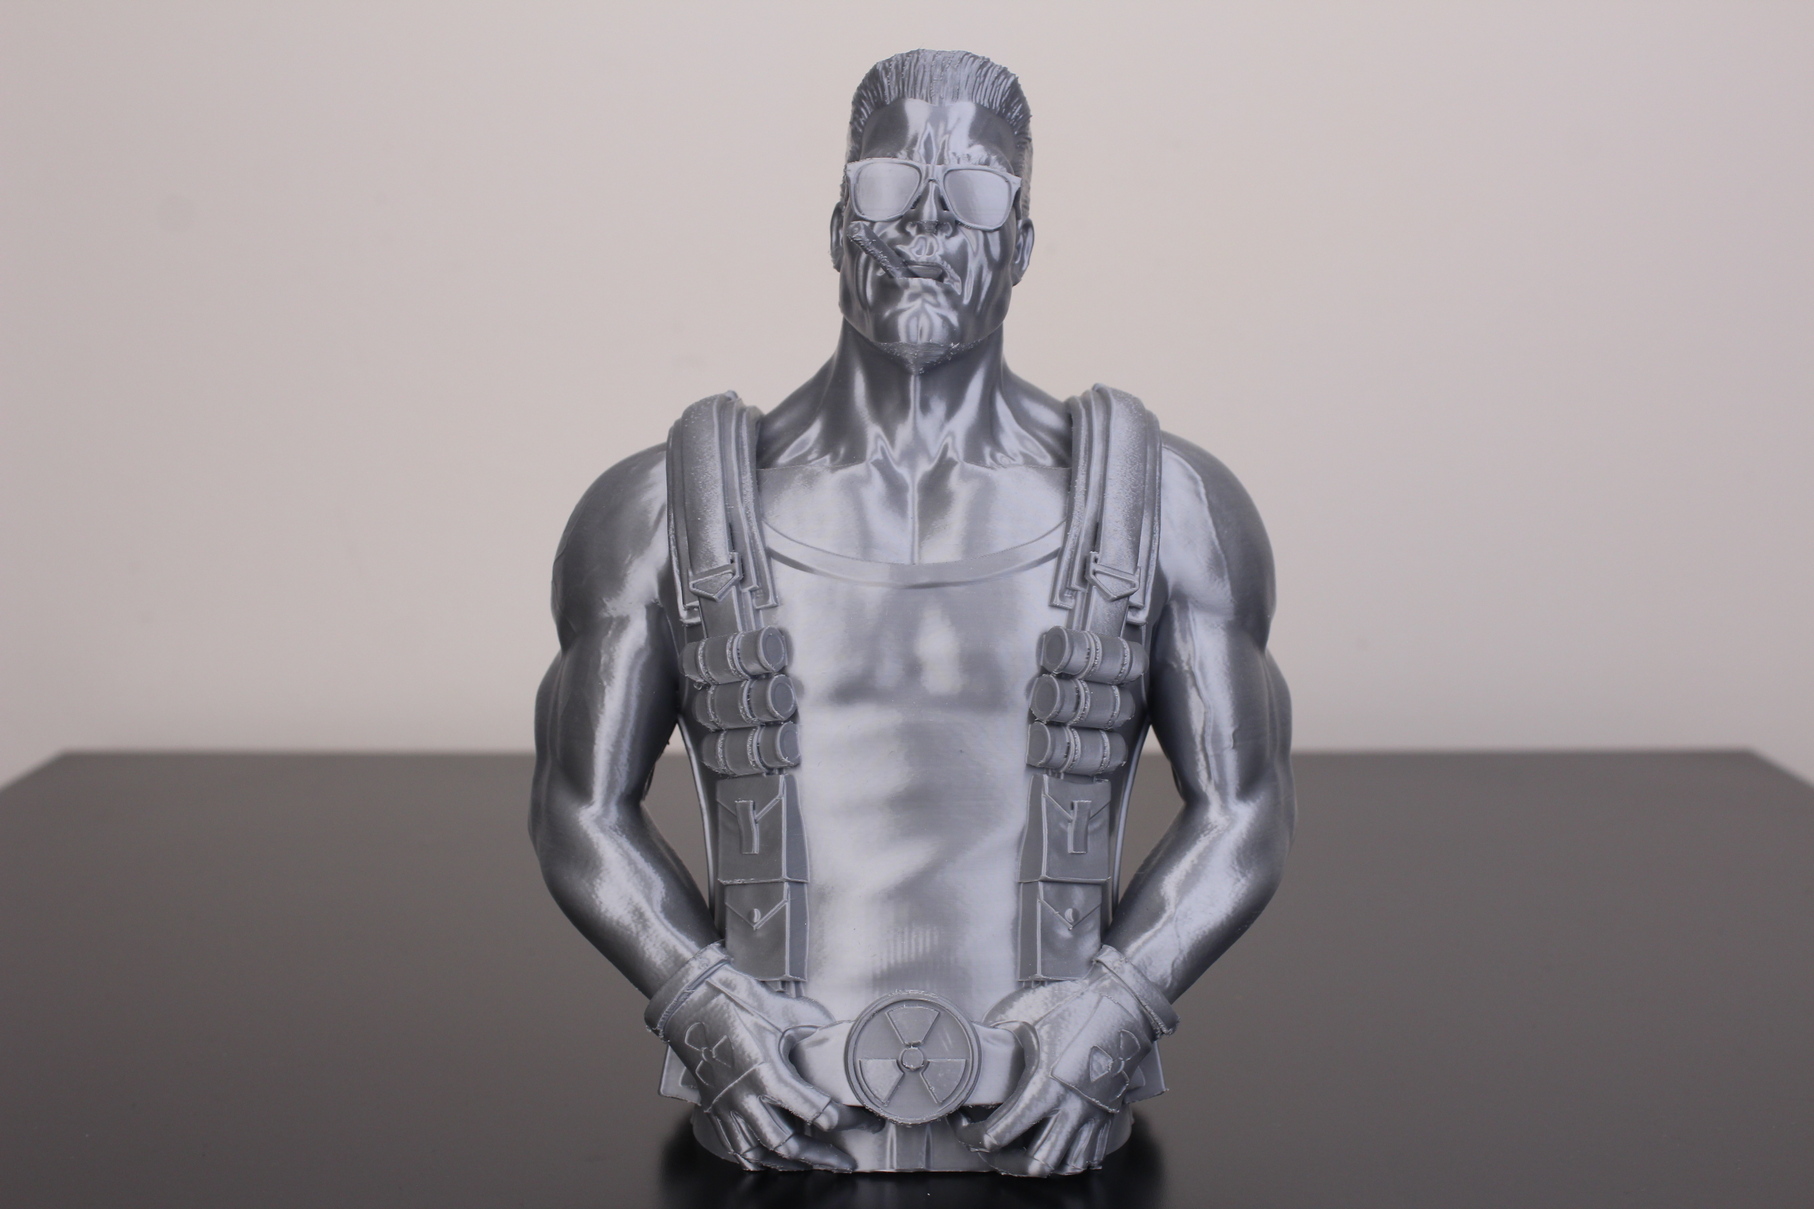
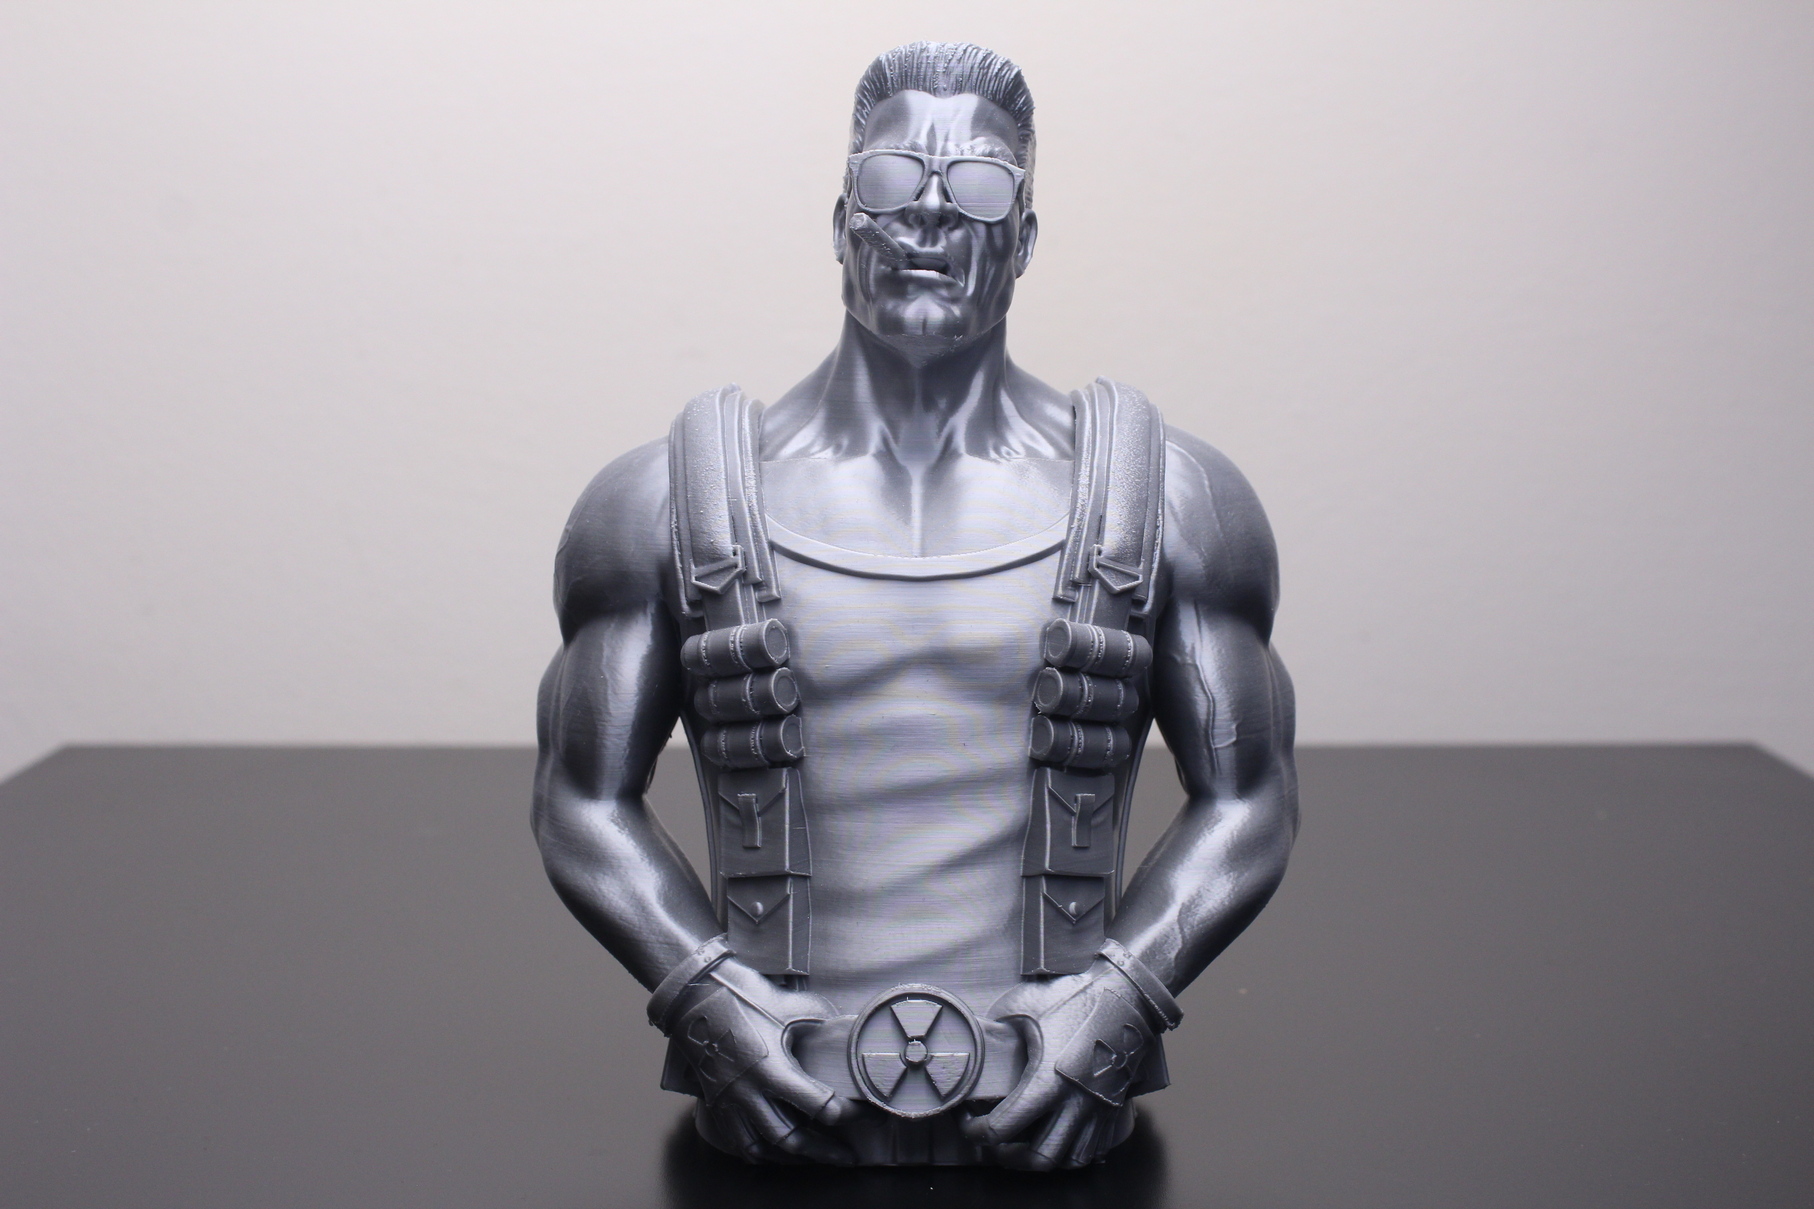
When you shine light right over the top of a print, the small layer inconsistencies are more pronounced. With some filaments, this is more apparent than others. Here’s some examples of prints I did that look great with regular light but show inconsistencies with light shining right from the top.
I also contacted some of the people I follow on Twitter and asked them to share a similar sample.
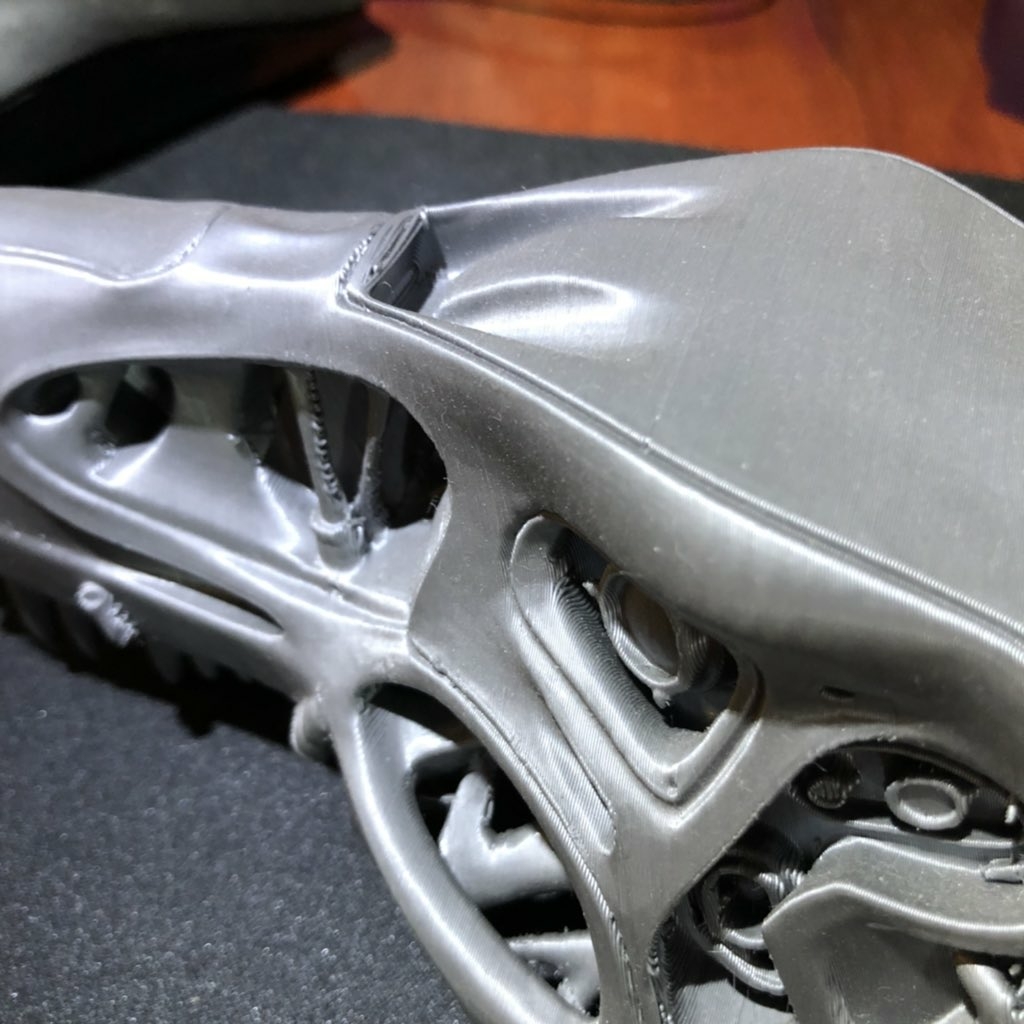
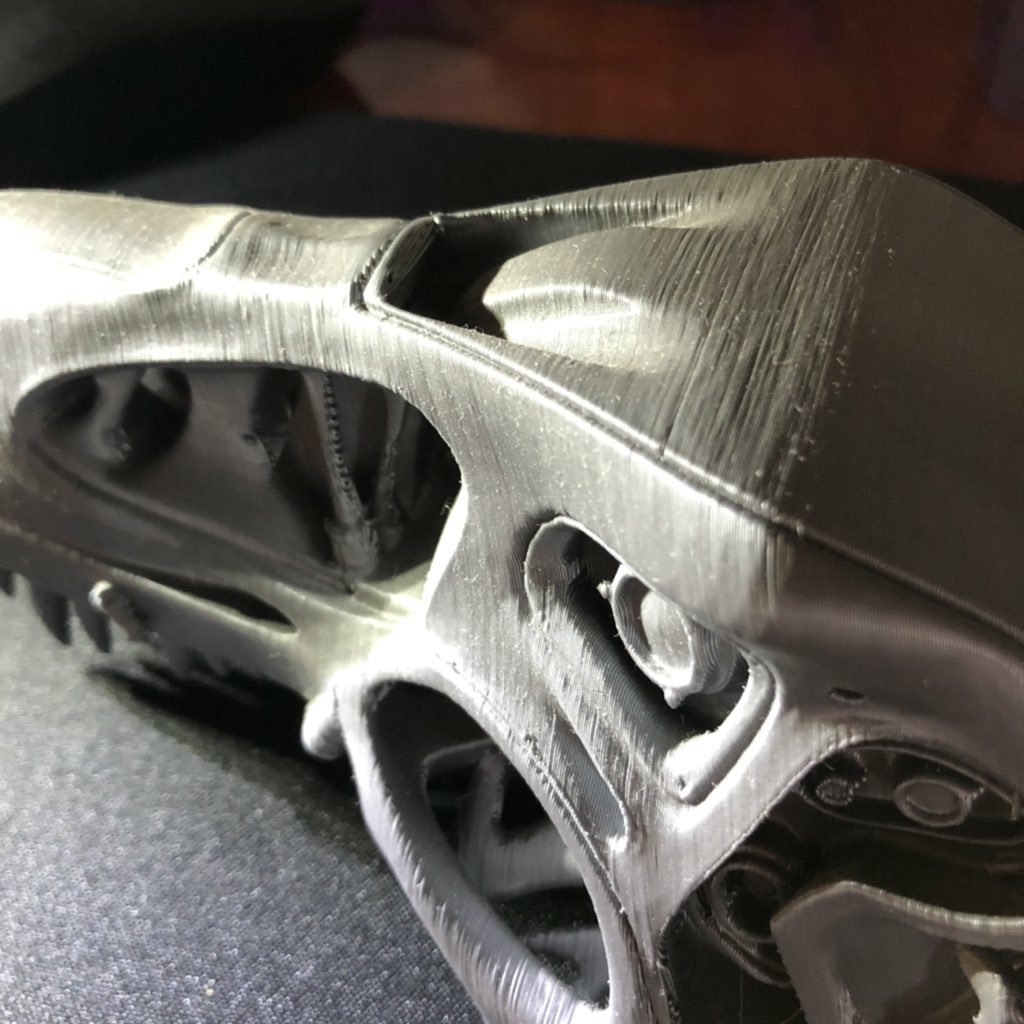
First, a print from GRΛFIT. He’s an experienced 3D printing enthusiast who shares some amazing prints. In the example below, you can see how the print quality seems reduced when adding a light source from a ~90degree angle. Does this mean it’s a bad print? Not at all!
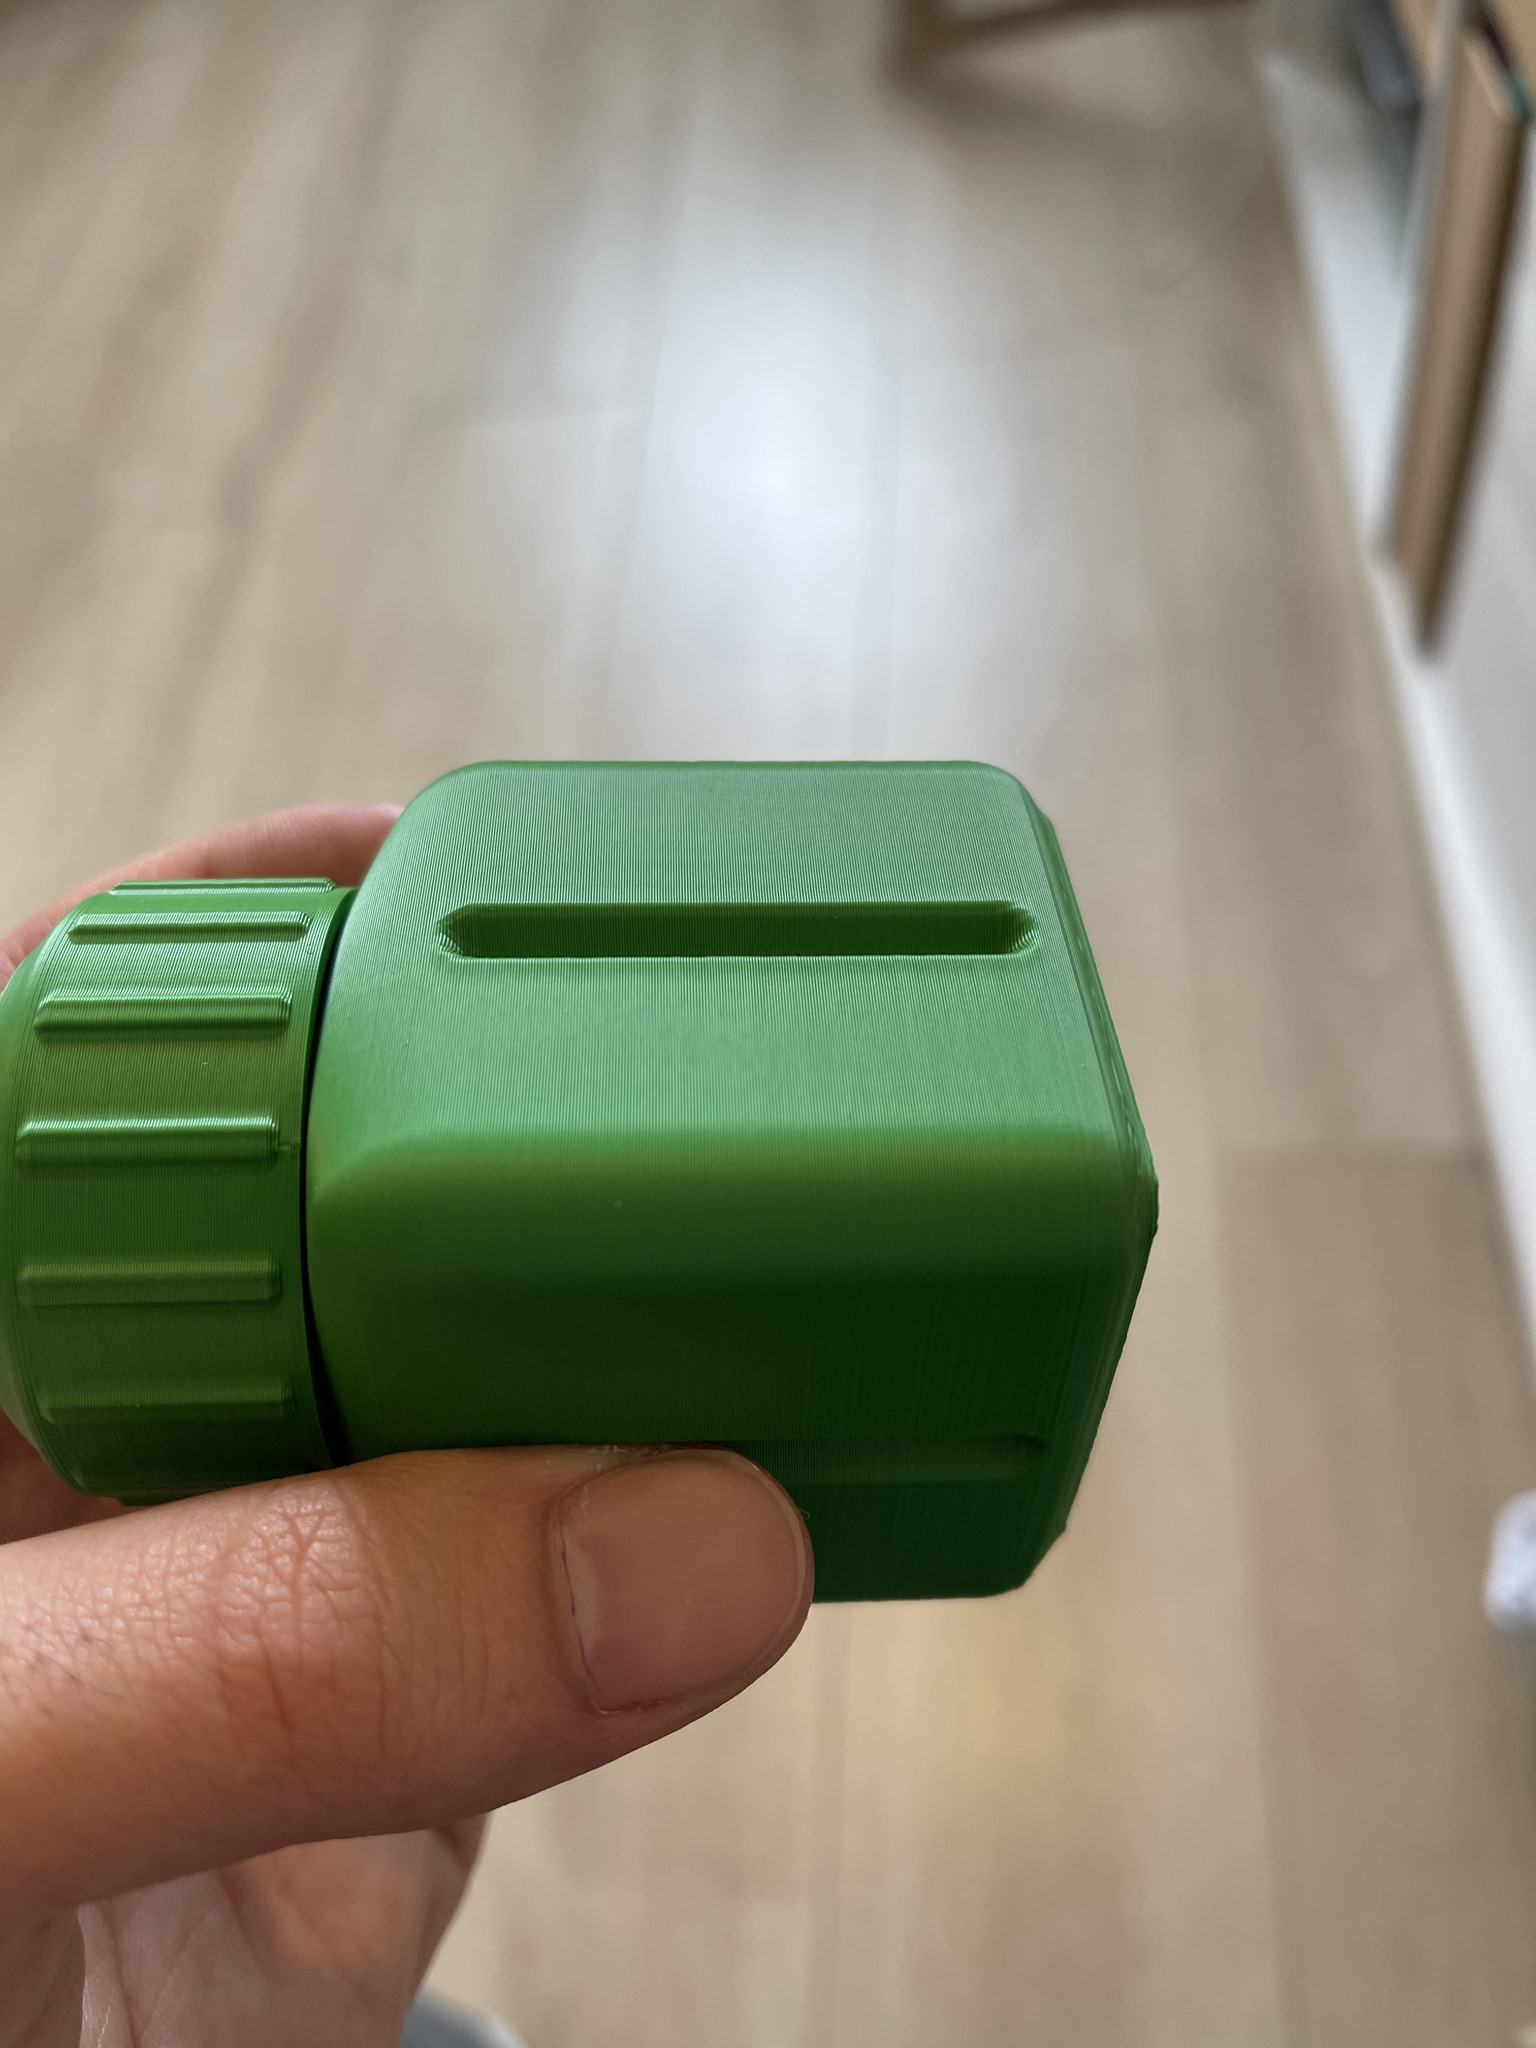
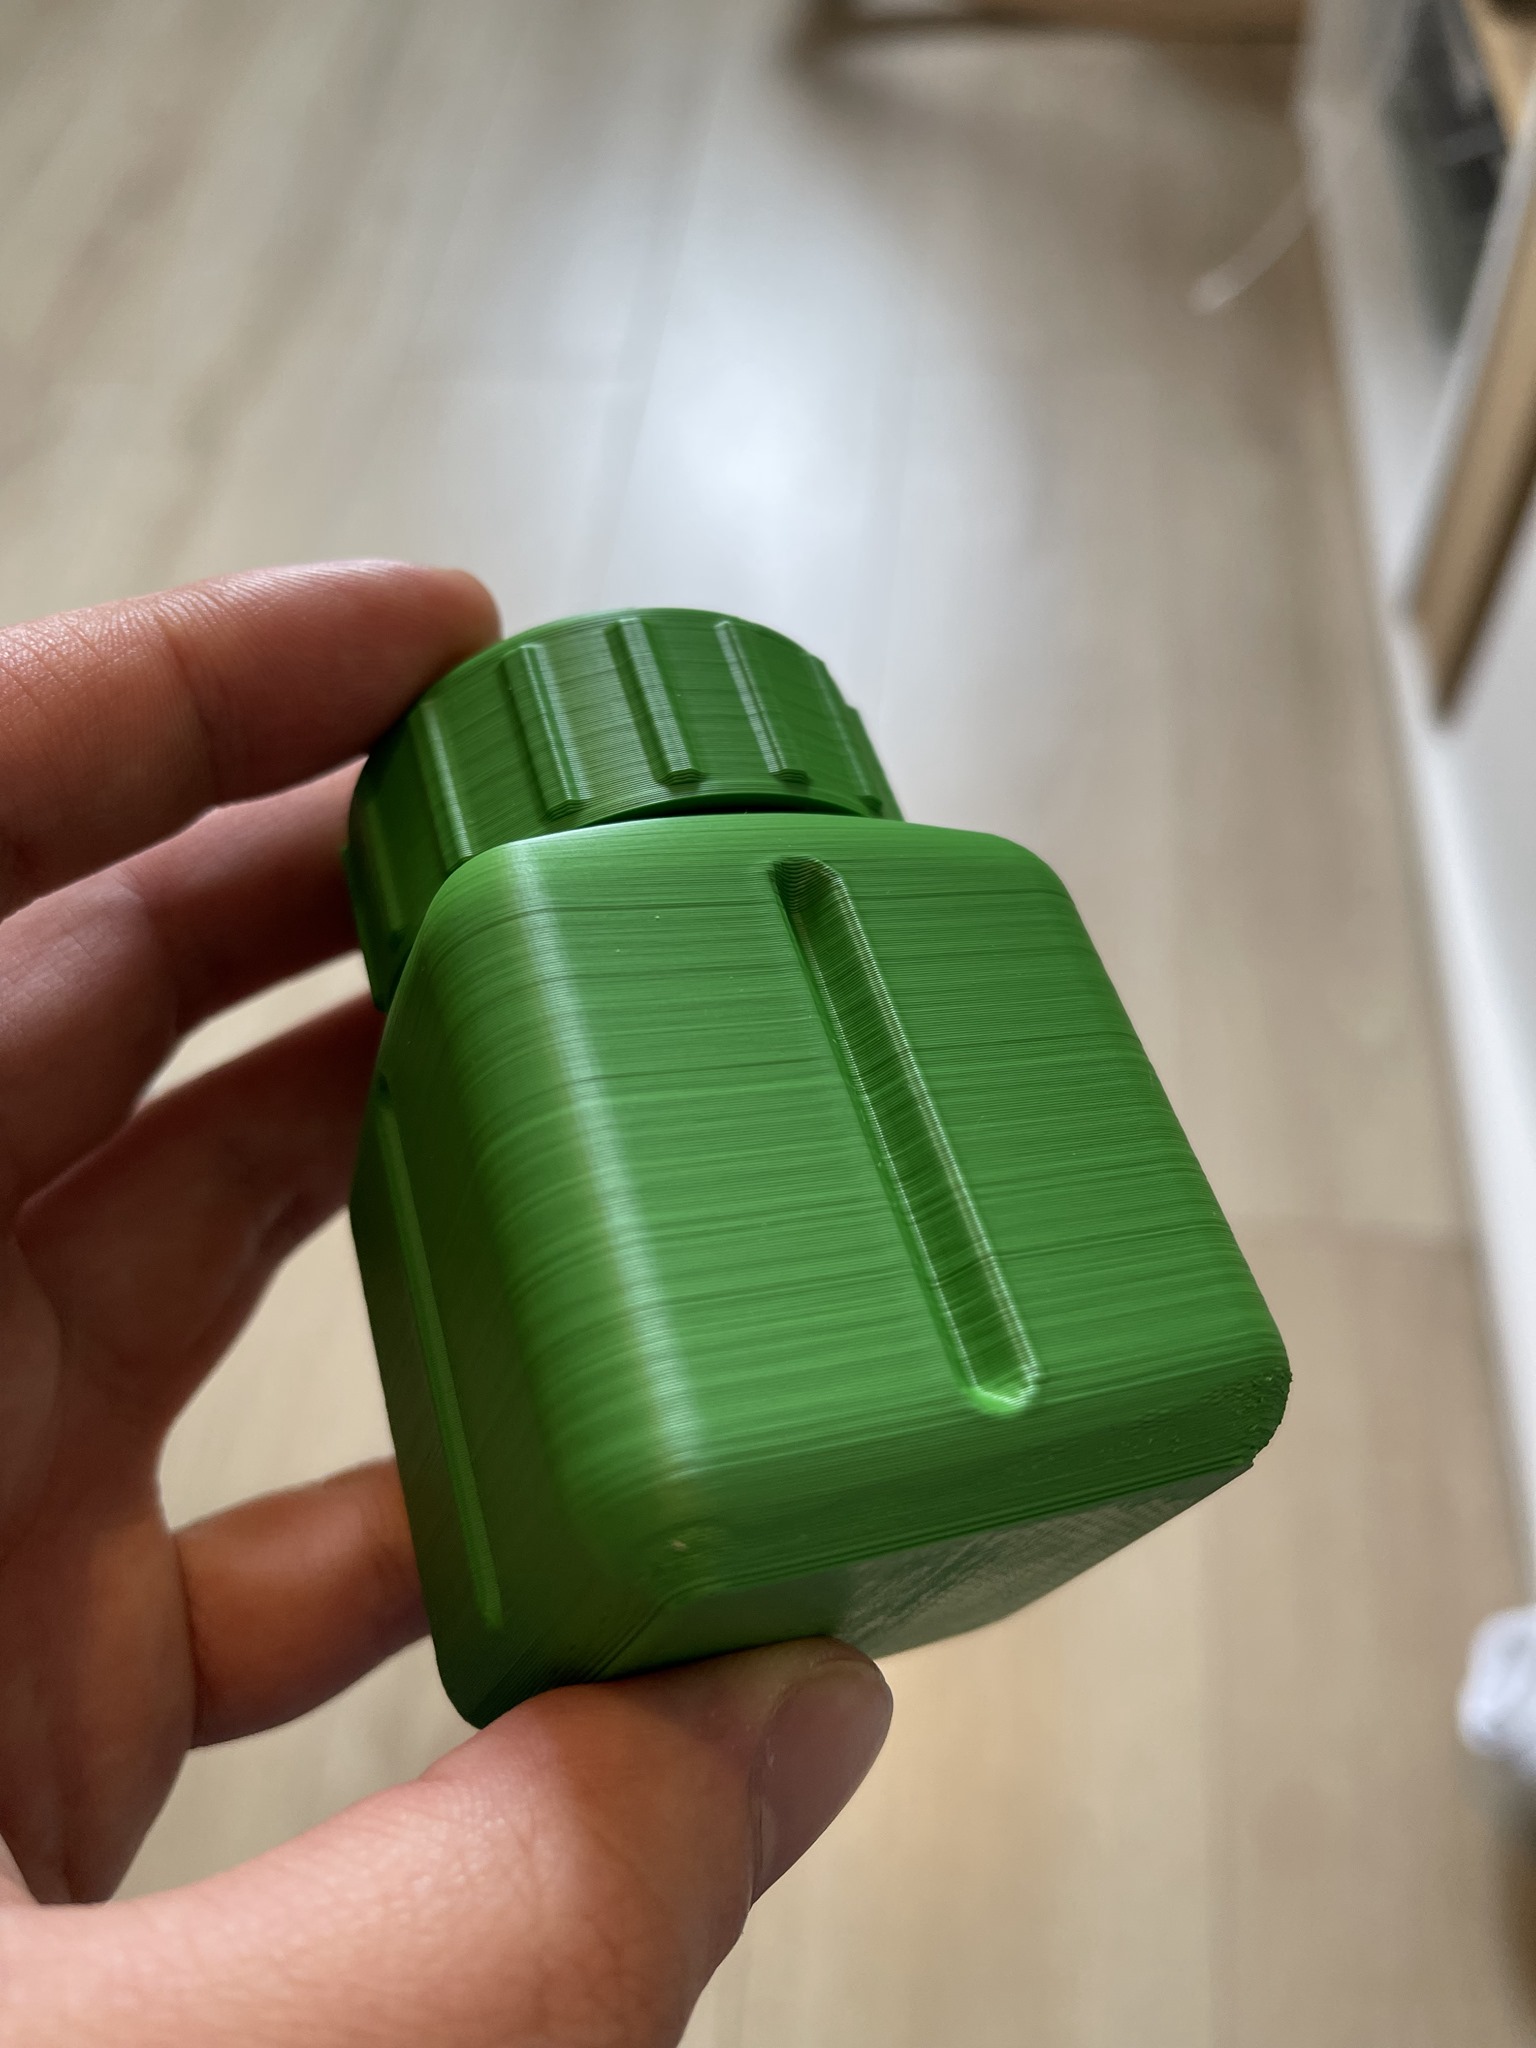
Here’s another example from Theodoros over the Artillery Sidewinder X1 Facebook Group. His container model looks great in the first picture, but on the second one you can clearly see some inconsistent extrusion due to the way the light hits the model. Maybe the Z banding can be mitigated a bit with some further work, but that’s not a bad print. I would focus more on having better finish on the lower layers where better colling could help.
How far can you push your print quality?
This is another question where each individual should answer for themself. Some people are happy to just get a print done and enjoy the finished result. They don’t care about some layer lines that might show up, or the dimensional accuracy. And that’s fine.
Others will try to push the print quality as high as possible while spending quite a bit of time to tune their printers. Everybody is different. the only important thing is to be happy with your results. Constantly comparing print quality with others might lead to wasting a lot of time for something impossible to achieve.
I recommend you find a balance between the print quality and the time you spent for this. Think about what you’re trying to get from the printed part and adjust your expectations for it. For example, a functional print doesn’t always need to look perfect if it gets the job done.
Consider this to be just like when taking a picture of yourself. When you take a picture from a less desirable angle, you will look worse compared to a picture with good lighting and from a good angle. This doesn’t mean that you’re ugly (maybe that’s true for me :D) and most of the time, people won’t look at you from the bad angle mentioned.
When I share pictures with my prints, I always try to take multiple pictures from different angles just to cover as much as possible and share the potential printing defects that came up. In my reviews, I also started sharing videos of the models I printed on a rotating turntable because that way you can view the model on all sides with various lighting angles.
Materials for different print quality effects
You might have noticed that on models printed with filaments that have tiny particles inside them, the layers don’t show as much as with plain colored filaments. Carbon fiber infused filaments also hide layer lines and make a print look prettier. If you are trying to get the best possible looking print, I recommend checking out these types of filaments.
Matte filaments help hide small print defects like ringing, but they are more prone to looking worse when a light is shined from the top, compared to regular filaments.
Different colors can also have an impact on the perceived print quality. In my reviews, I share a lot of prints done with regular grey filament because it shows the most amount of print quality issues. This can be helpful during the calibration phase to help identify the areas where you can improve upon. But if you want your model to look best, a different color should give you better visual results.
Silk filaments are also great for getting excellent looking prints. But most of the time, if you don’t print them according to the requirements (low speed, higher temperature) you will get inconsistencies in their shine.
Embrace the layer lines
If you want to speed up your prints and also get a good-looking finish, then just embrace the layer lines. Printing with a larger layer height will make the layering effect or small inconsistencies to show up less on your printed part. And if you are not printing an organic model, it might even look cooler.
For example, if you print a simple box in a low layer height, it might look worse when you shine light over it due to the inconsistent layers we’re talking about. But if it’s printed with thicker layers, the layer lines will hide that a bit, and the model will have better overall looks.
Conclusions
The point of this article is to help people understand the capabilities of 3D printing and the print quality which is possible to get from it. In the end, the most important thing is to have fun 3D printing and print objects that make you happy.
Liked it?
|
|




Alberto show us how to do it!
There are so many things that it would be difficult for me to explain it but, if there is something that I can say, it is that everything counts. I mean that you would need a properly assembled printer in the first place. Not just assembled but properly assembled. Get rid of vibrations, get to know the filament of your choice, set slicer settings correctly, temperature, retraction… and related to the mechanical upgrades, there are some you could carry on with but it would be expensive and would require you to have some experience. Bed, for example. Chinese printers work, but you can not trust them, most of them are cheap machines and not realiable.
Getting an alluminum bed with much better heat transfer across the surface than the stock beds would help you to prevent print jobs getting detached while printing, for example.
A good extruder like Bondtech BMG would guarantee that the filament is not grinded along with a constant flow extrusion.
Good and powerfull fans. Forget about “silent” fans that would probably get you in troubles.
Dry your filament.
As I said, it is diffciult to explain as there is not a single thing that you can do to get the perfect print. No “magic” formula here. Just keep on printing, keep on learning, that is all.
From my point of view, light does not make any difference…
“When you shine light right over the top of a print, the small layer inconsistencies are more pronounced.”
Well, yes, more pronounced or visible but we are trying to get the “perfect” print which means, getting rid of all inconsistencies whereas possible, no matter the light.
I am experienced related to this topic and have managed to get very good prints if not perfect, but it involves mechanical upgrades as well as software and a deep knowledge of the 3D printing process. There are so many variables to be taken into account and it is difficult to achieve although not impossible, as far as FDM printing technology concerns.
I’d like to know what specific updates are effective.