Creality CR-10 Smart Review: How smart it really is?
Creality launched a new 3D printer in the CR-10 line. This time, it’s called Creality CR-10 Smart, and in this review, we will learn what makes it smart and if it’s worth it. We got a lot to talk about, so let’s get right to it.
Creality CR-10 Smart Shipping and Packaging
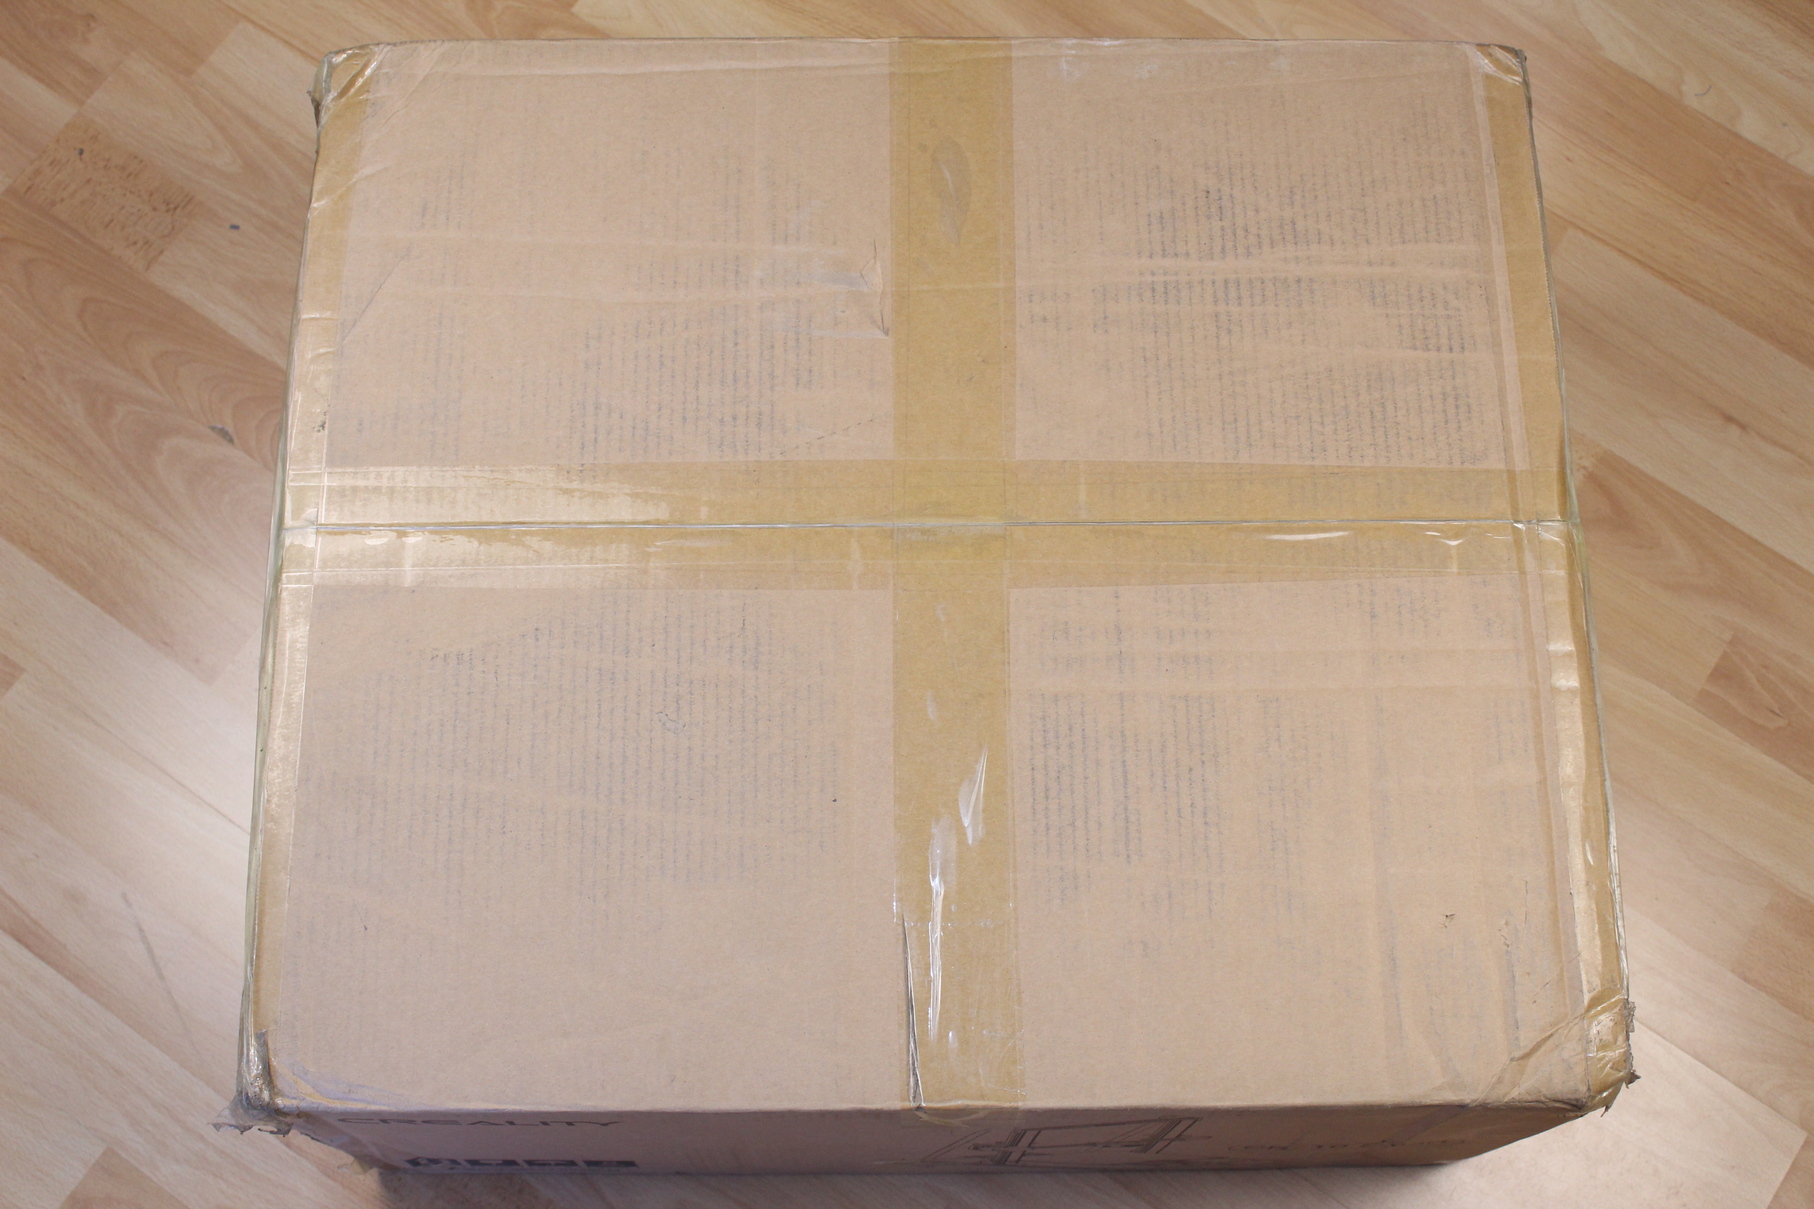
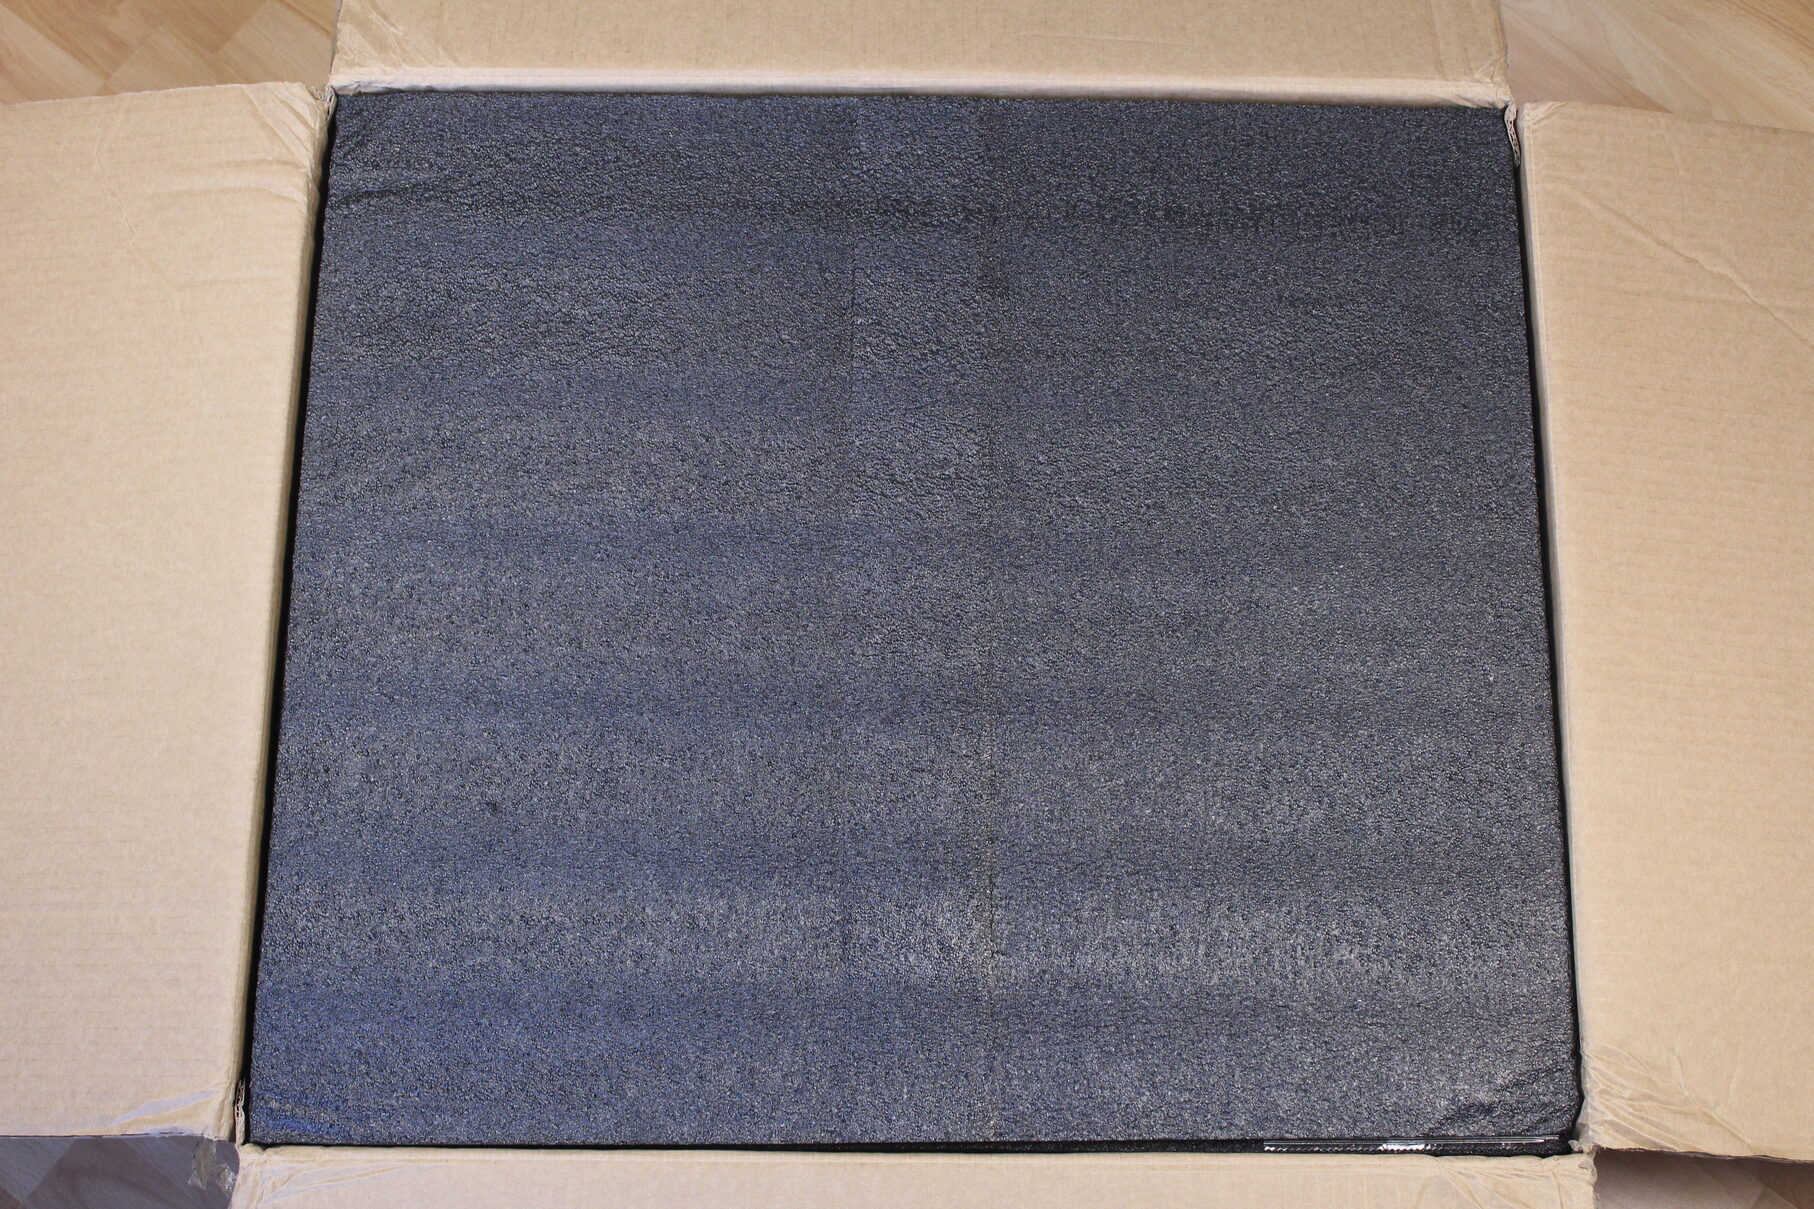
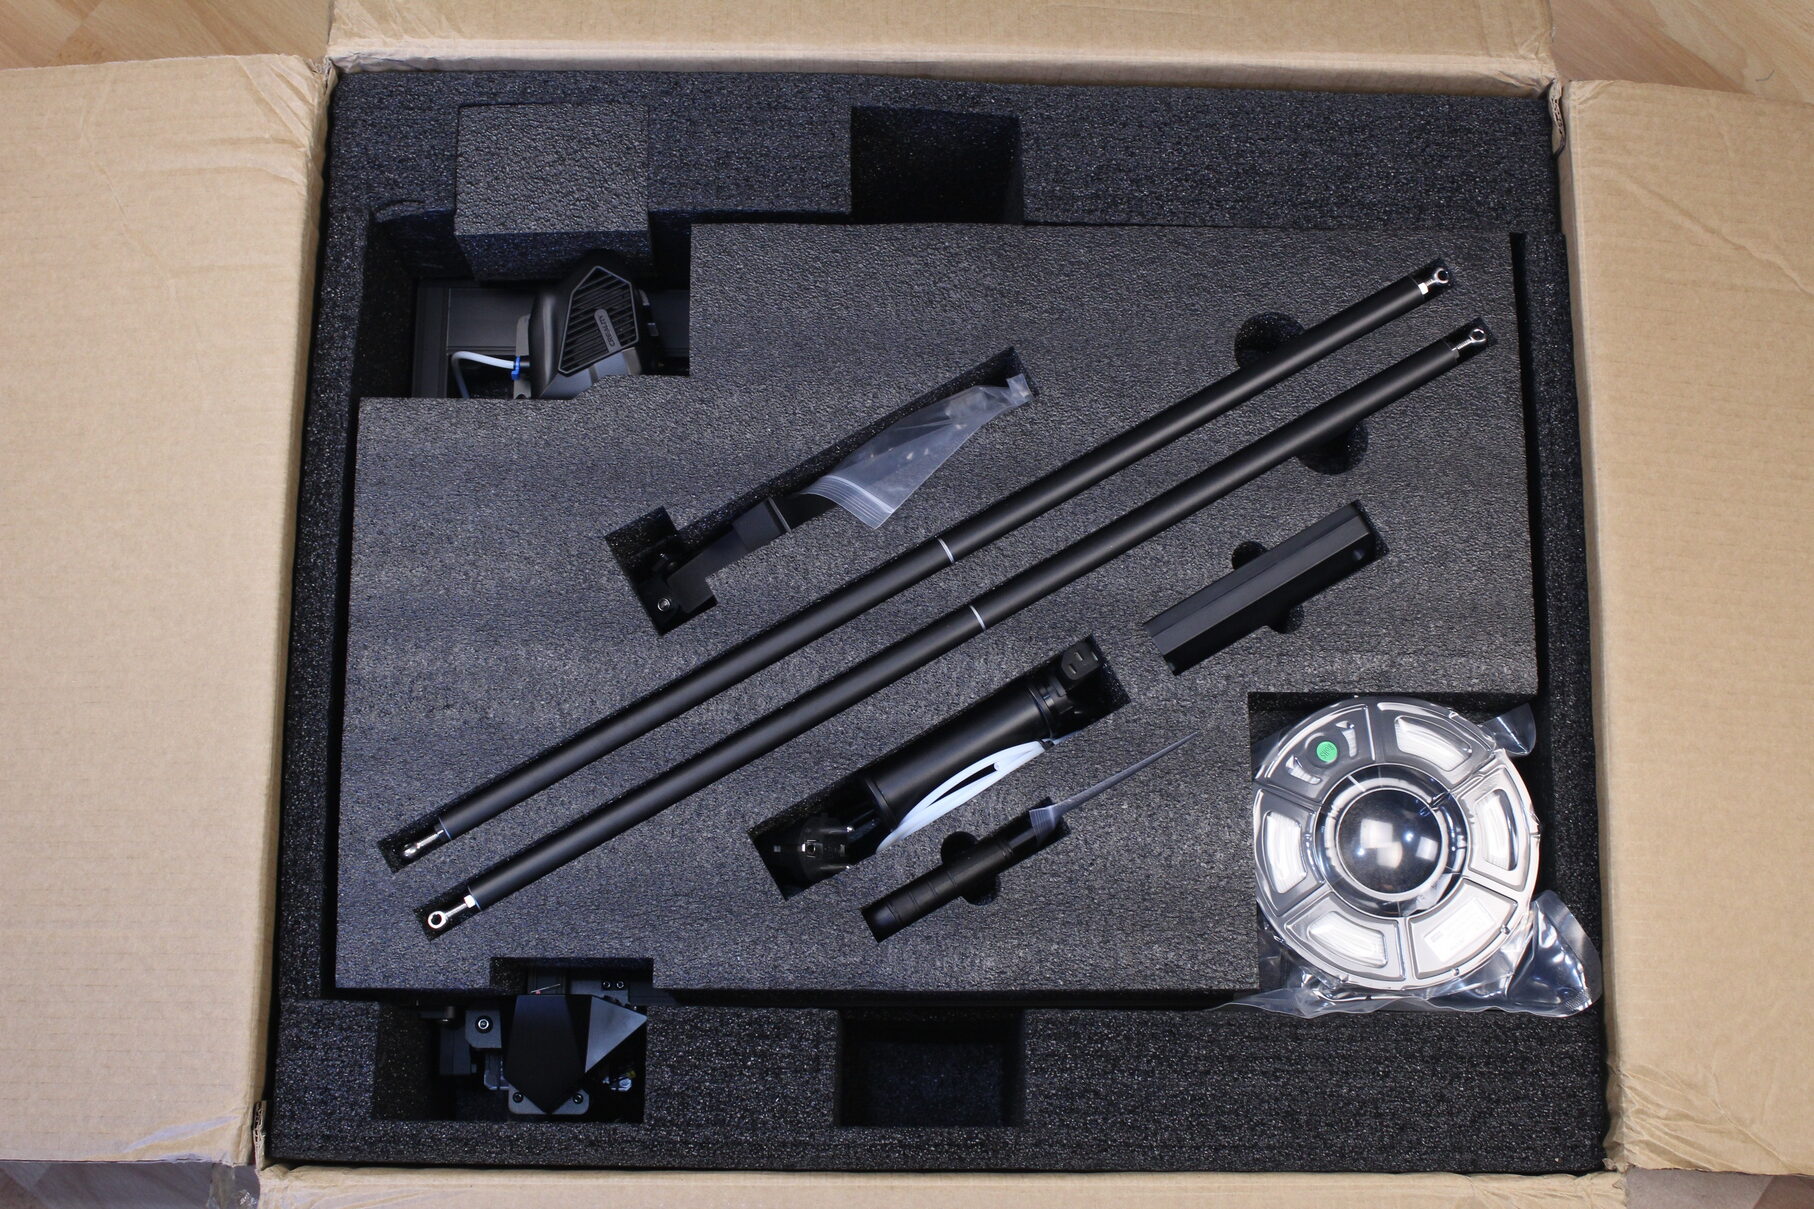
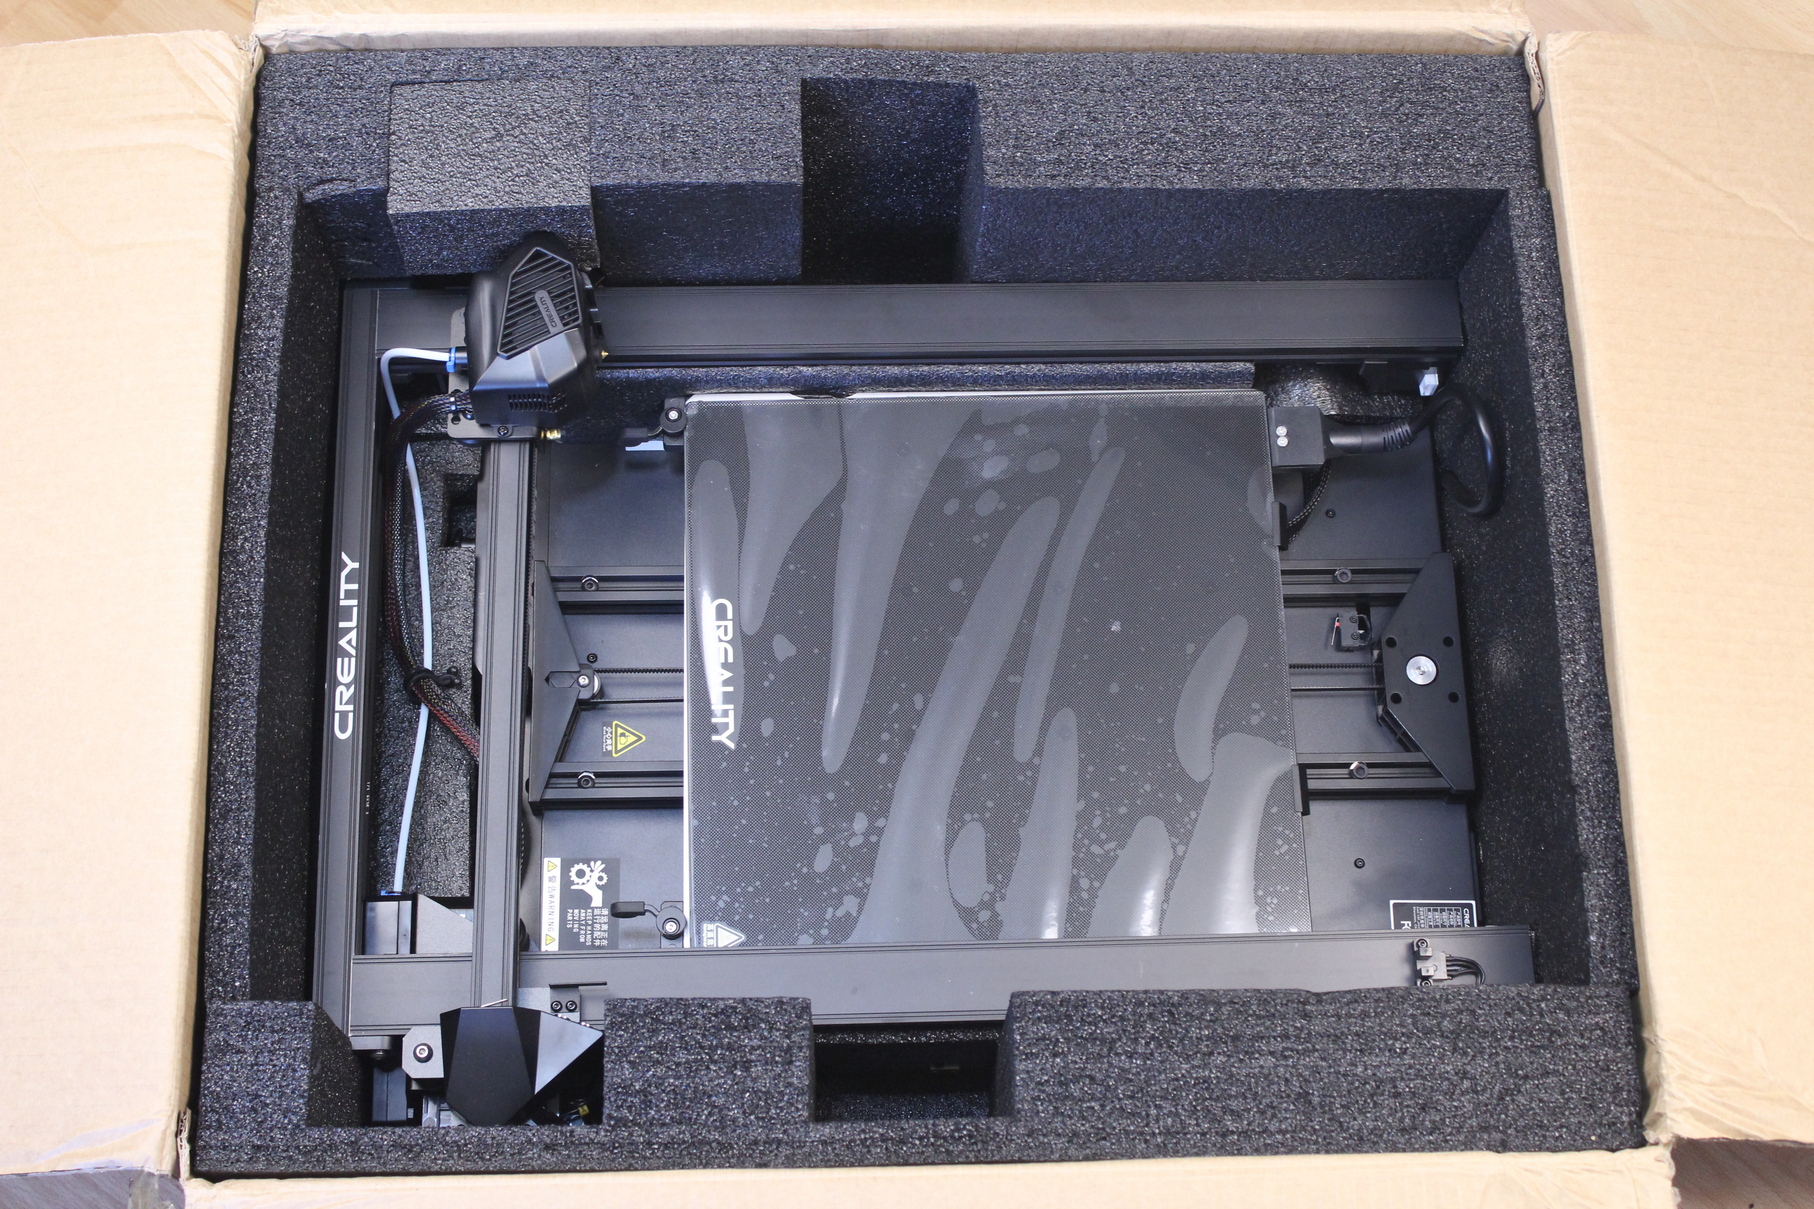
The Creality CR-10 Smart is delivered in a cardboard box with foam padding on all sides to protect the components during shipping. All contents of the box are well protected, and there was no damage.

Creality CR-10 Smart Design
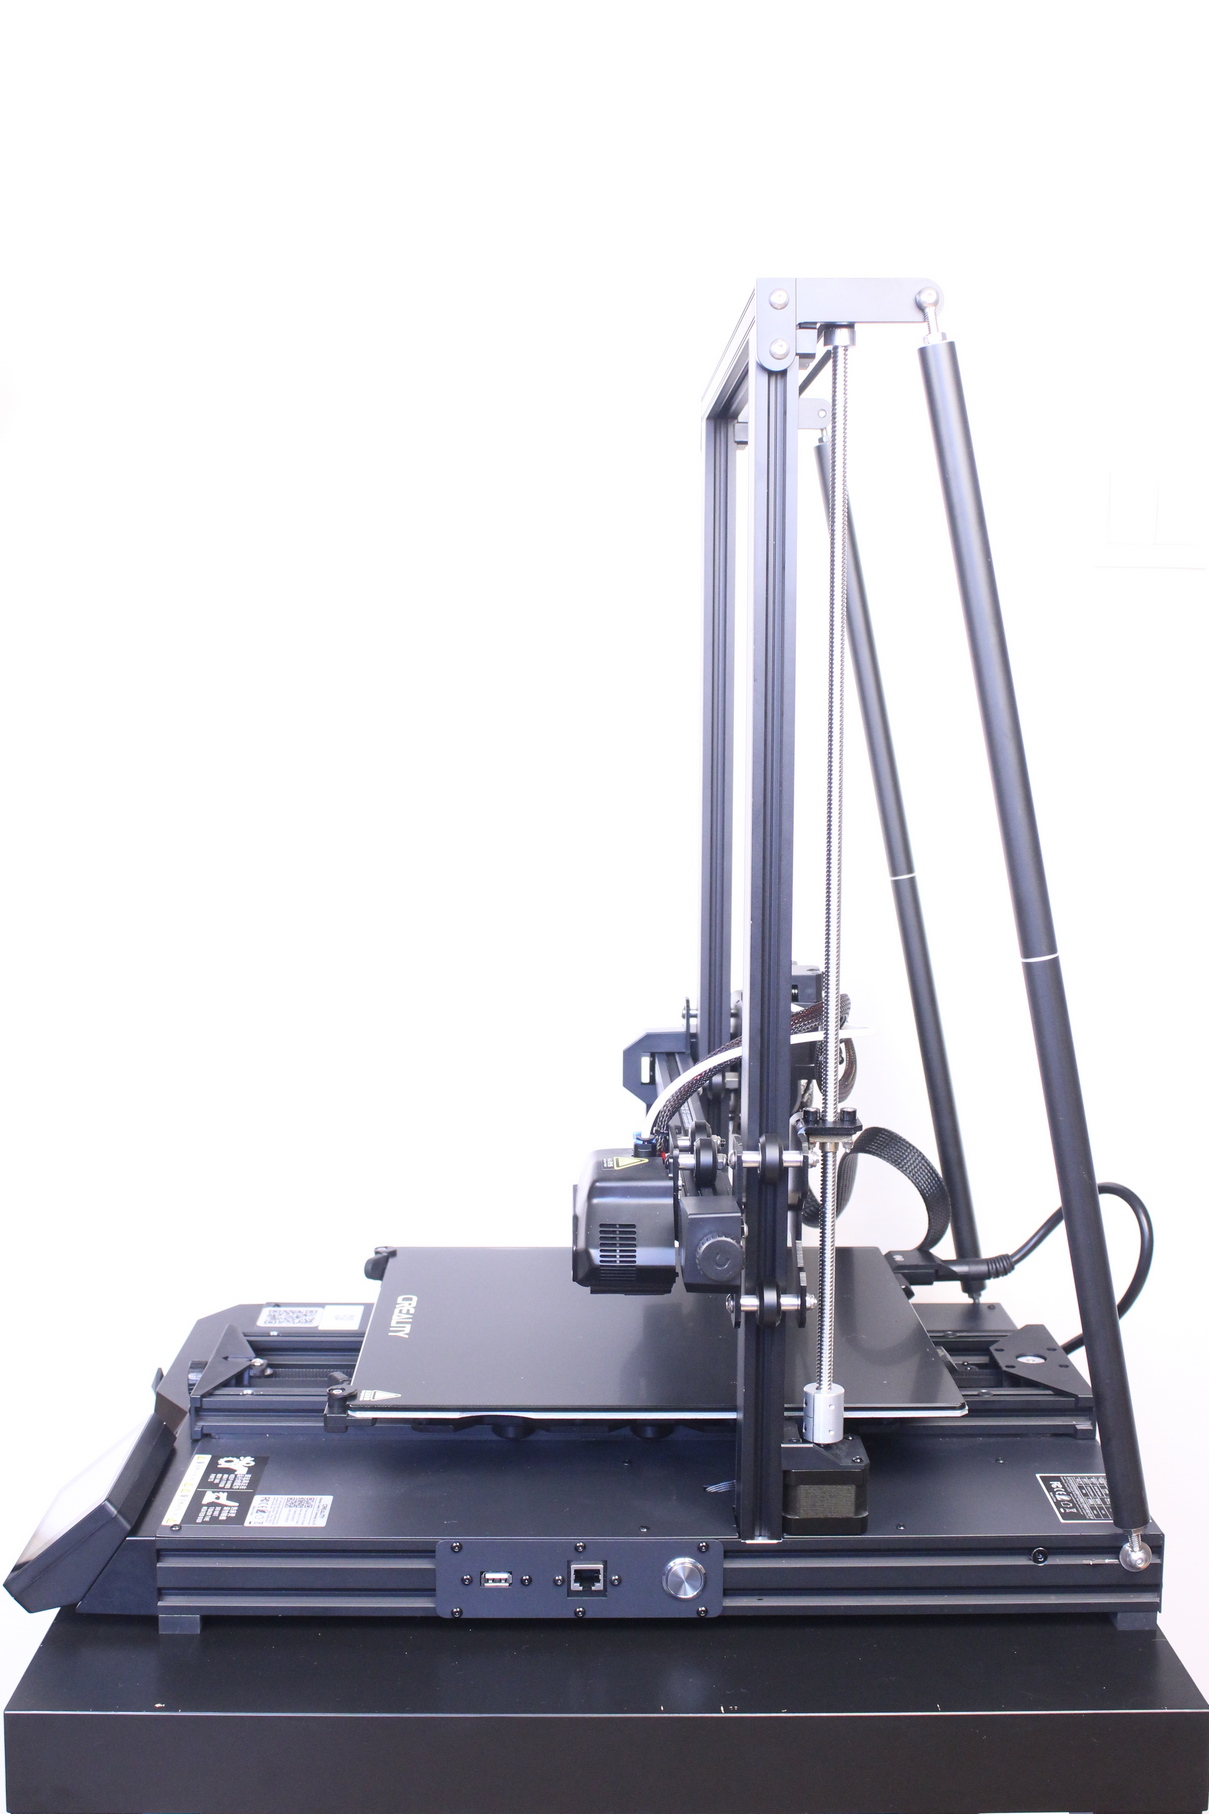
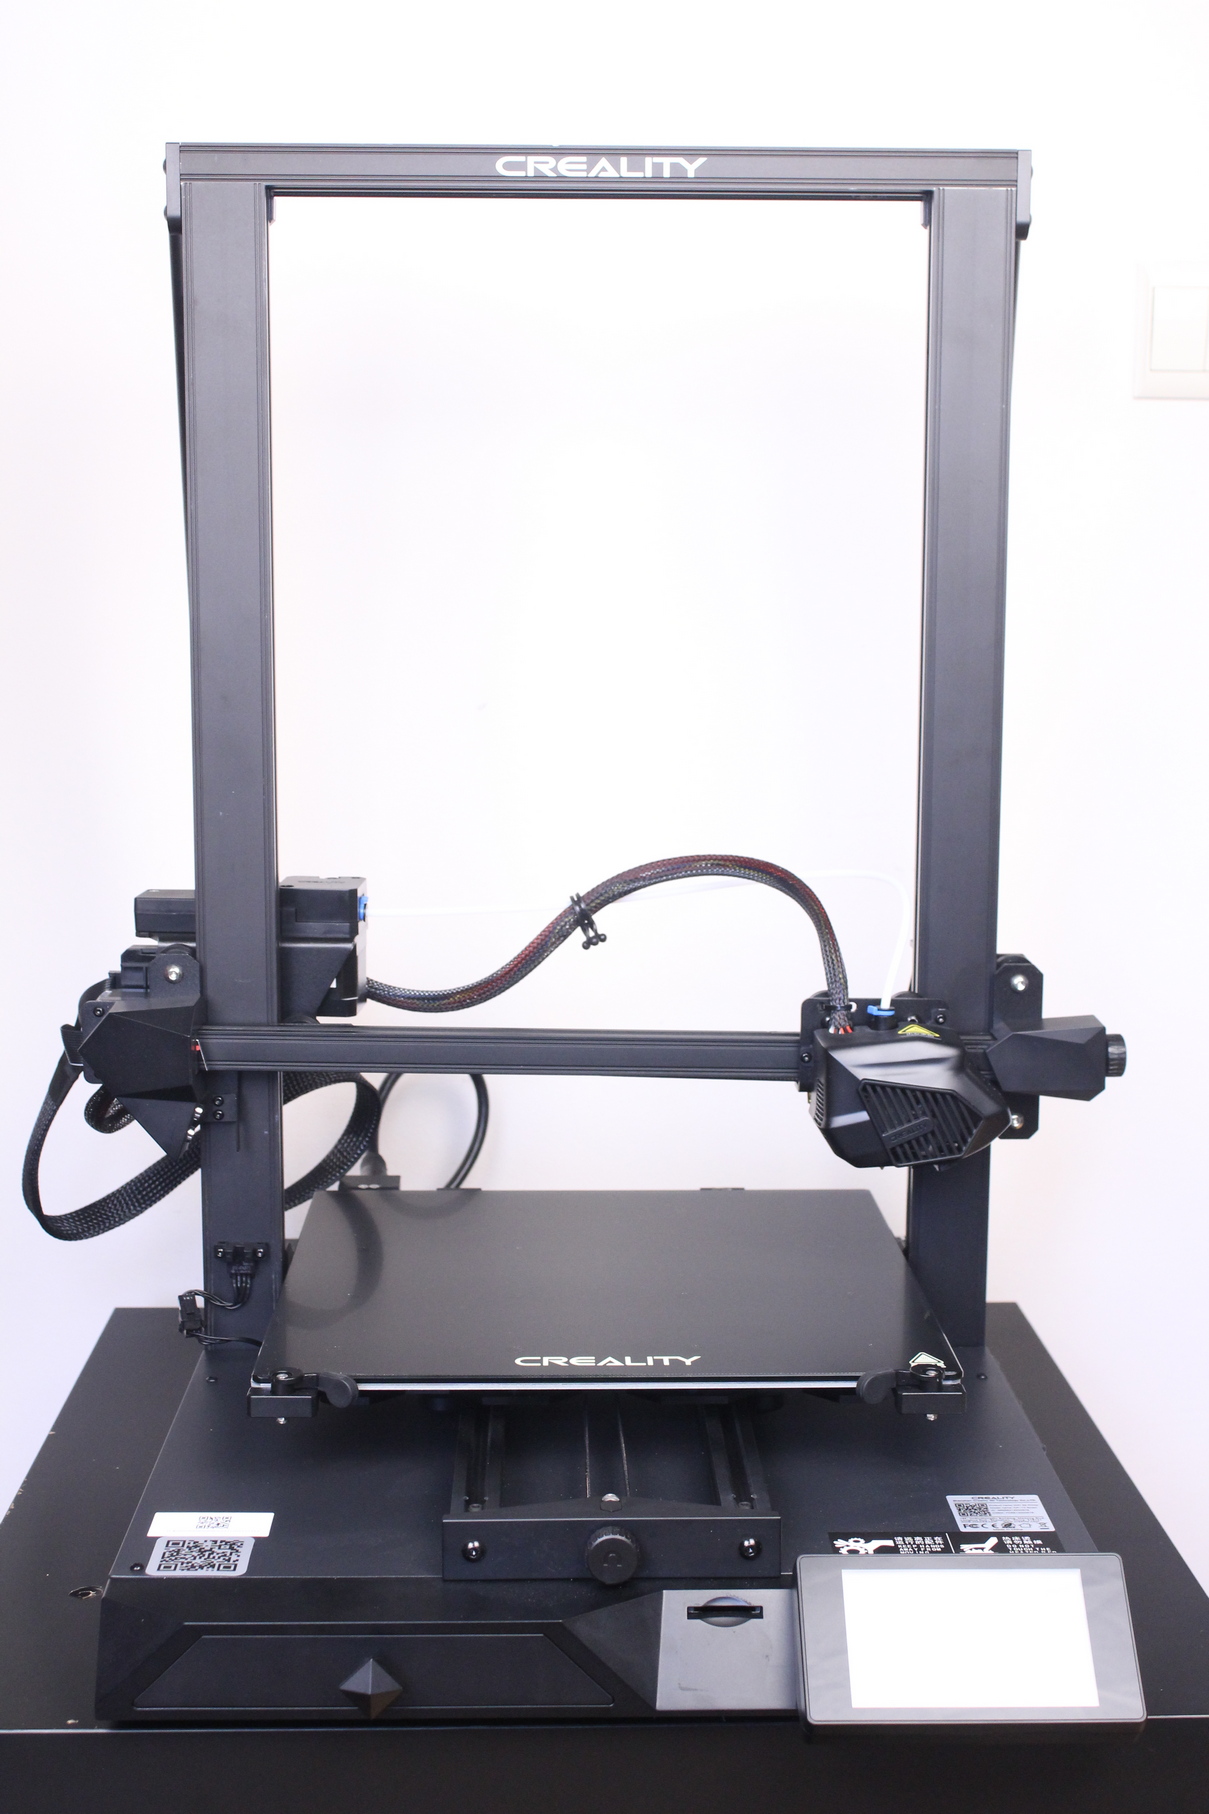
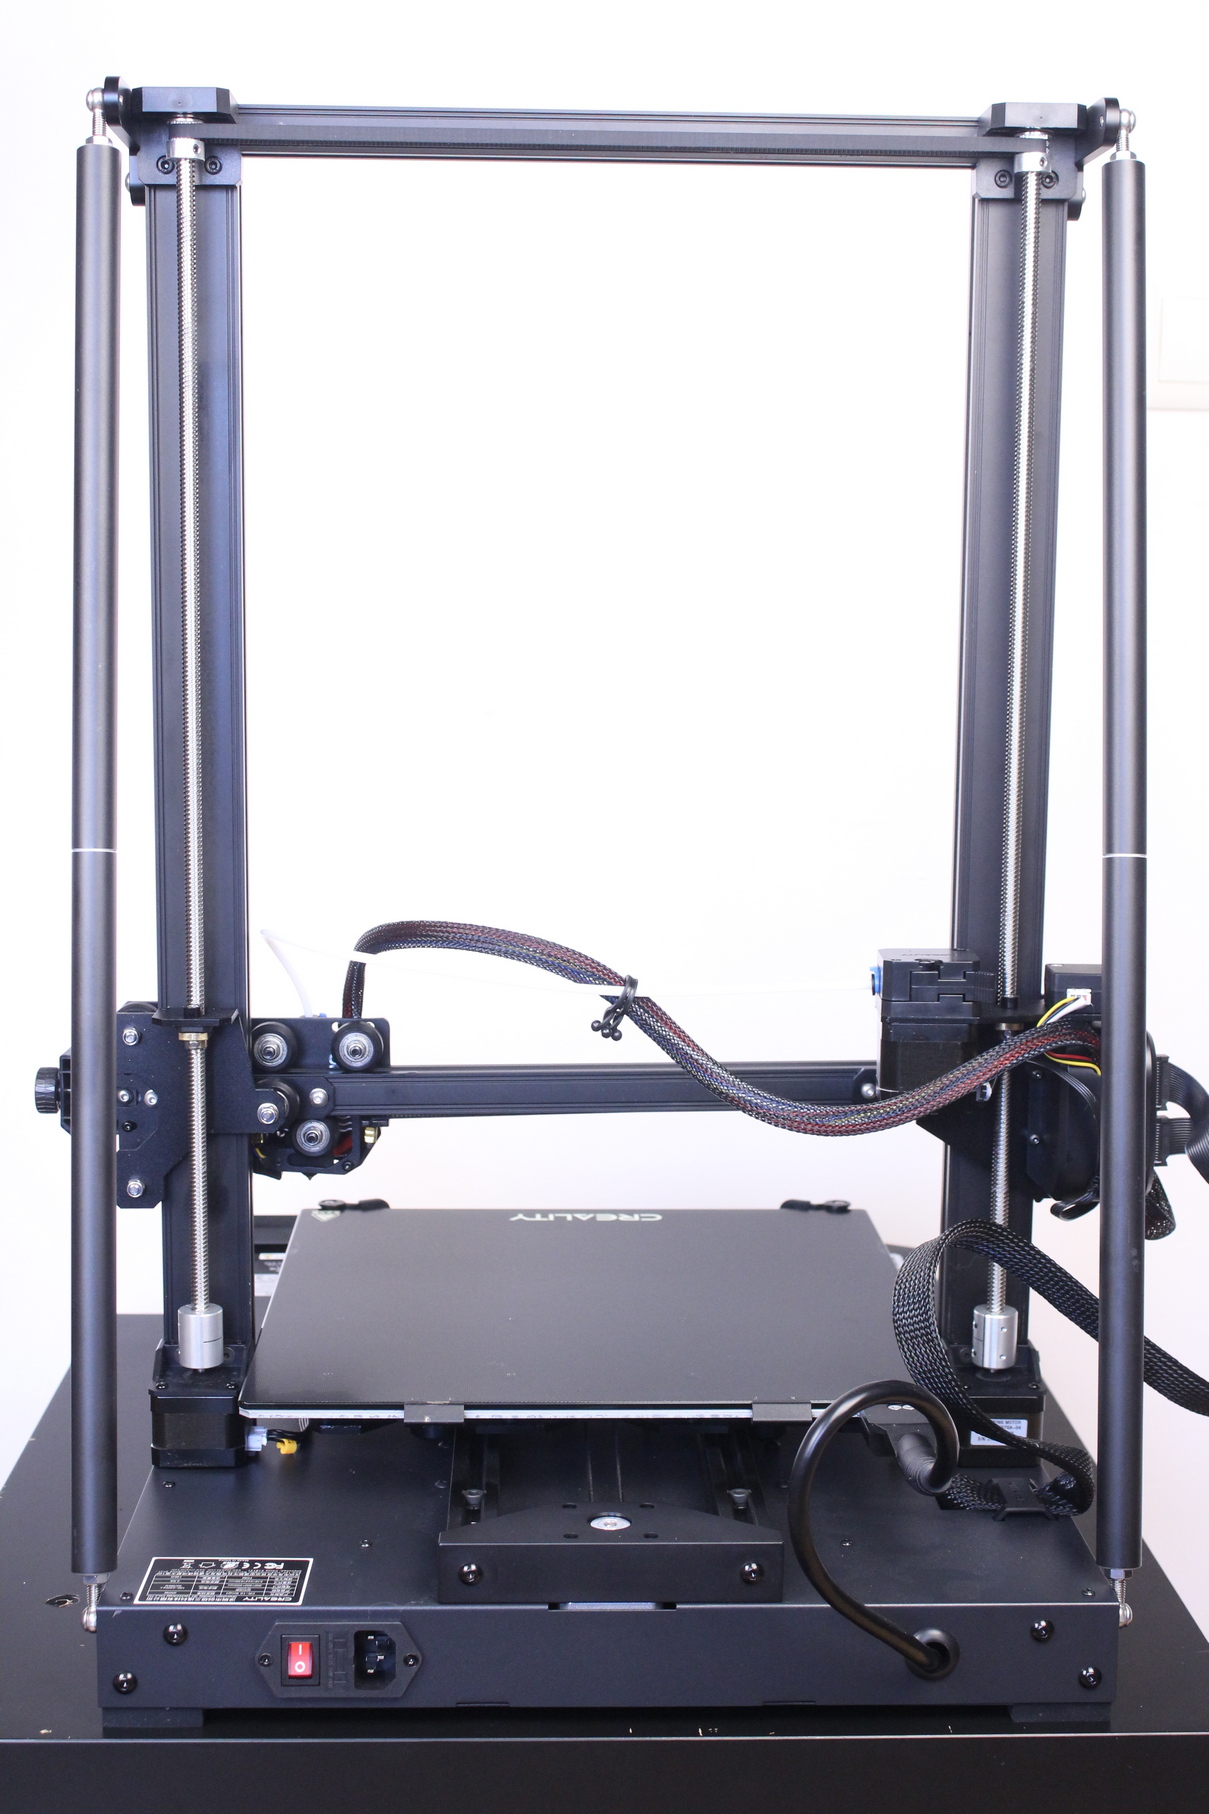
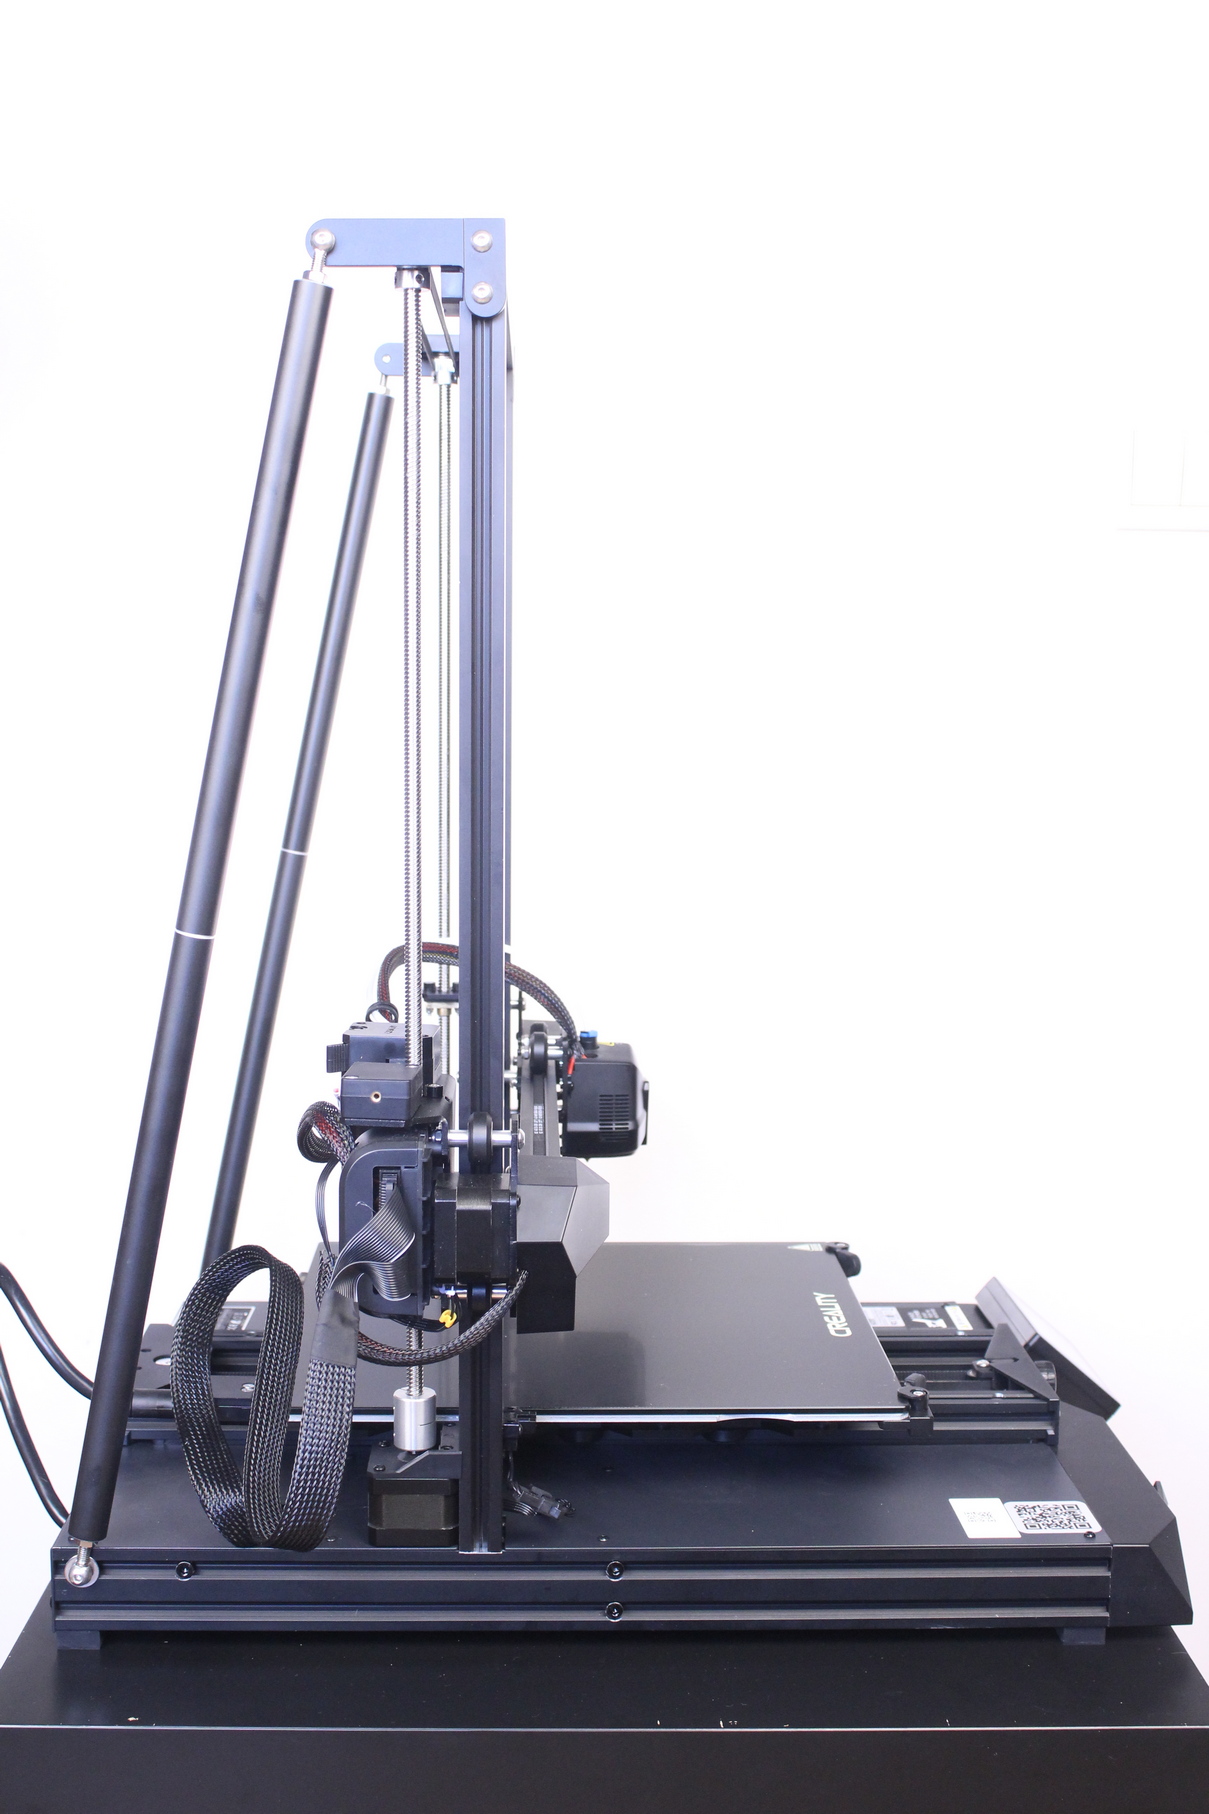
The Creality CR-10 Smart looks quite good in matte black. It also takes a lot of room, so ensure you have sufficient space for it. As you can see, I could barely take some pictures of it in its full glory.
Creality CR-10 Smart Specs
| Print Tech. | FDM |
| Print Size | 300*300*400mm |
| Product Size | 578*522*648mm |
| Package Size | 660*575*290mm |
| Product Net Weight | 14KG |
| Package Gross Weight | 17.3KG |
| Slicing Software | Creality/Cura |
| Printing Precision | ±0.1mm |
| Nozzle Diameter | 0.4mm |
| Nozzle Qty | 1 |
| Hot Bed Temp | ≤100℃ |
| Nozzle Temp | ≤260℃ |
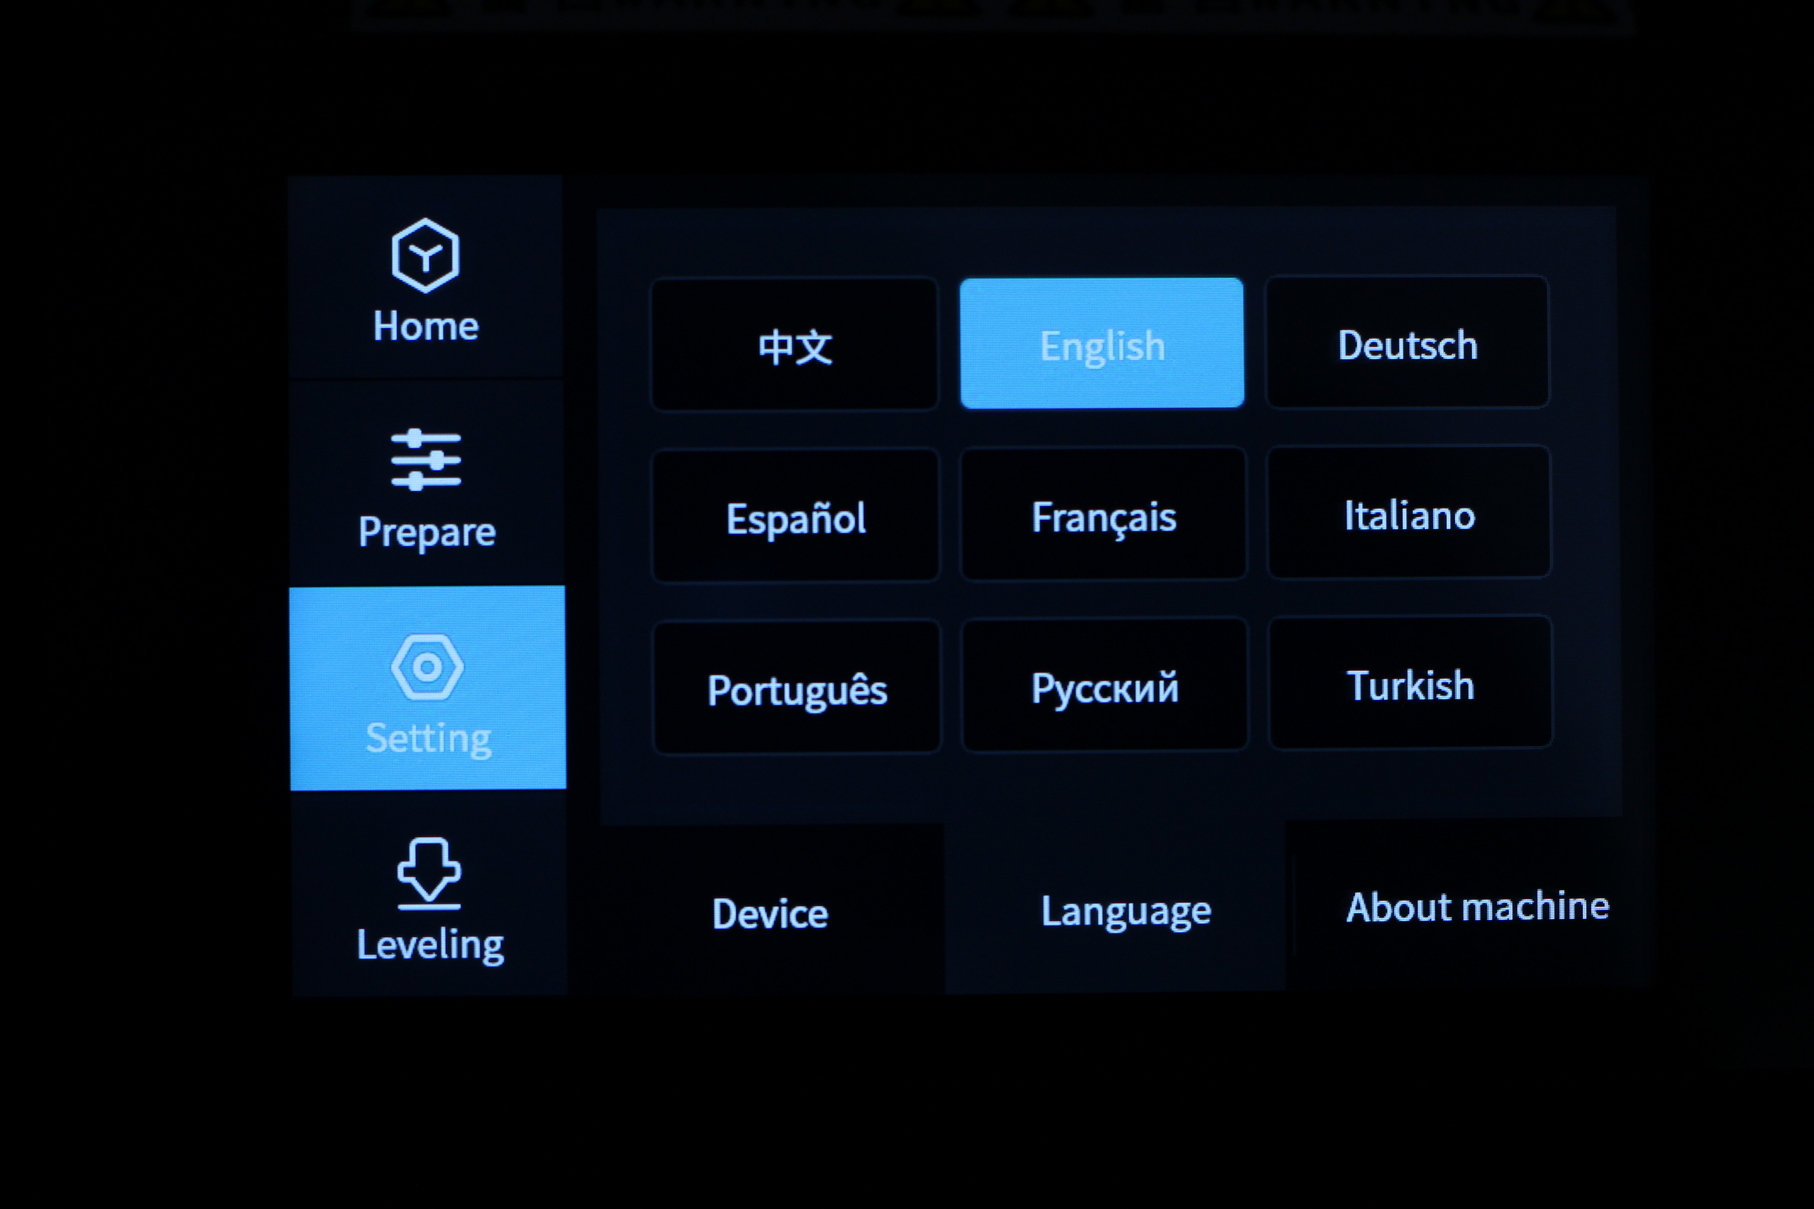
| Support Languages | 9 Languages |
Dual Z axis
The Creality CR-10 Smart comes with dual Z lead screws linked with a Z sync belt which is used for keeping the lead screws coordinated. Unfortunately, my unit was not properly assembled, and it was delivered with a skewed X gantry. To be more precise, the right side of the X gantry was sitting higher compared to the left side and because of this, there was a ~1 cm difference between them.
Of course, I was able to level the gantry after loosening up one of the couplers, then turning the lead screw until everything was correct. But if a beginner would have received the printer in this condition, a print would not have been possible.
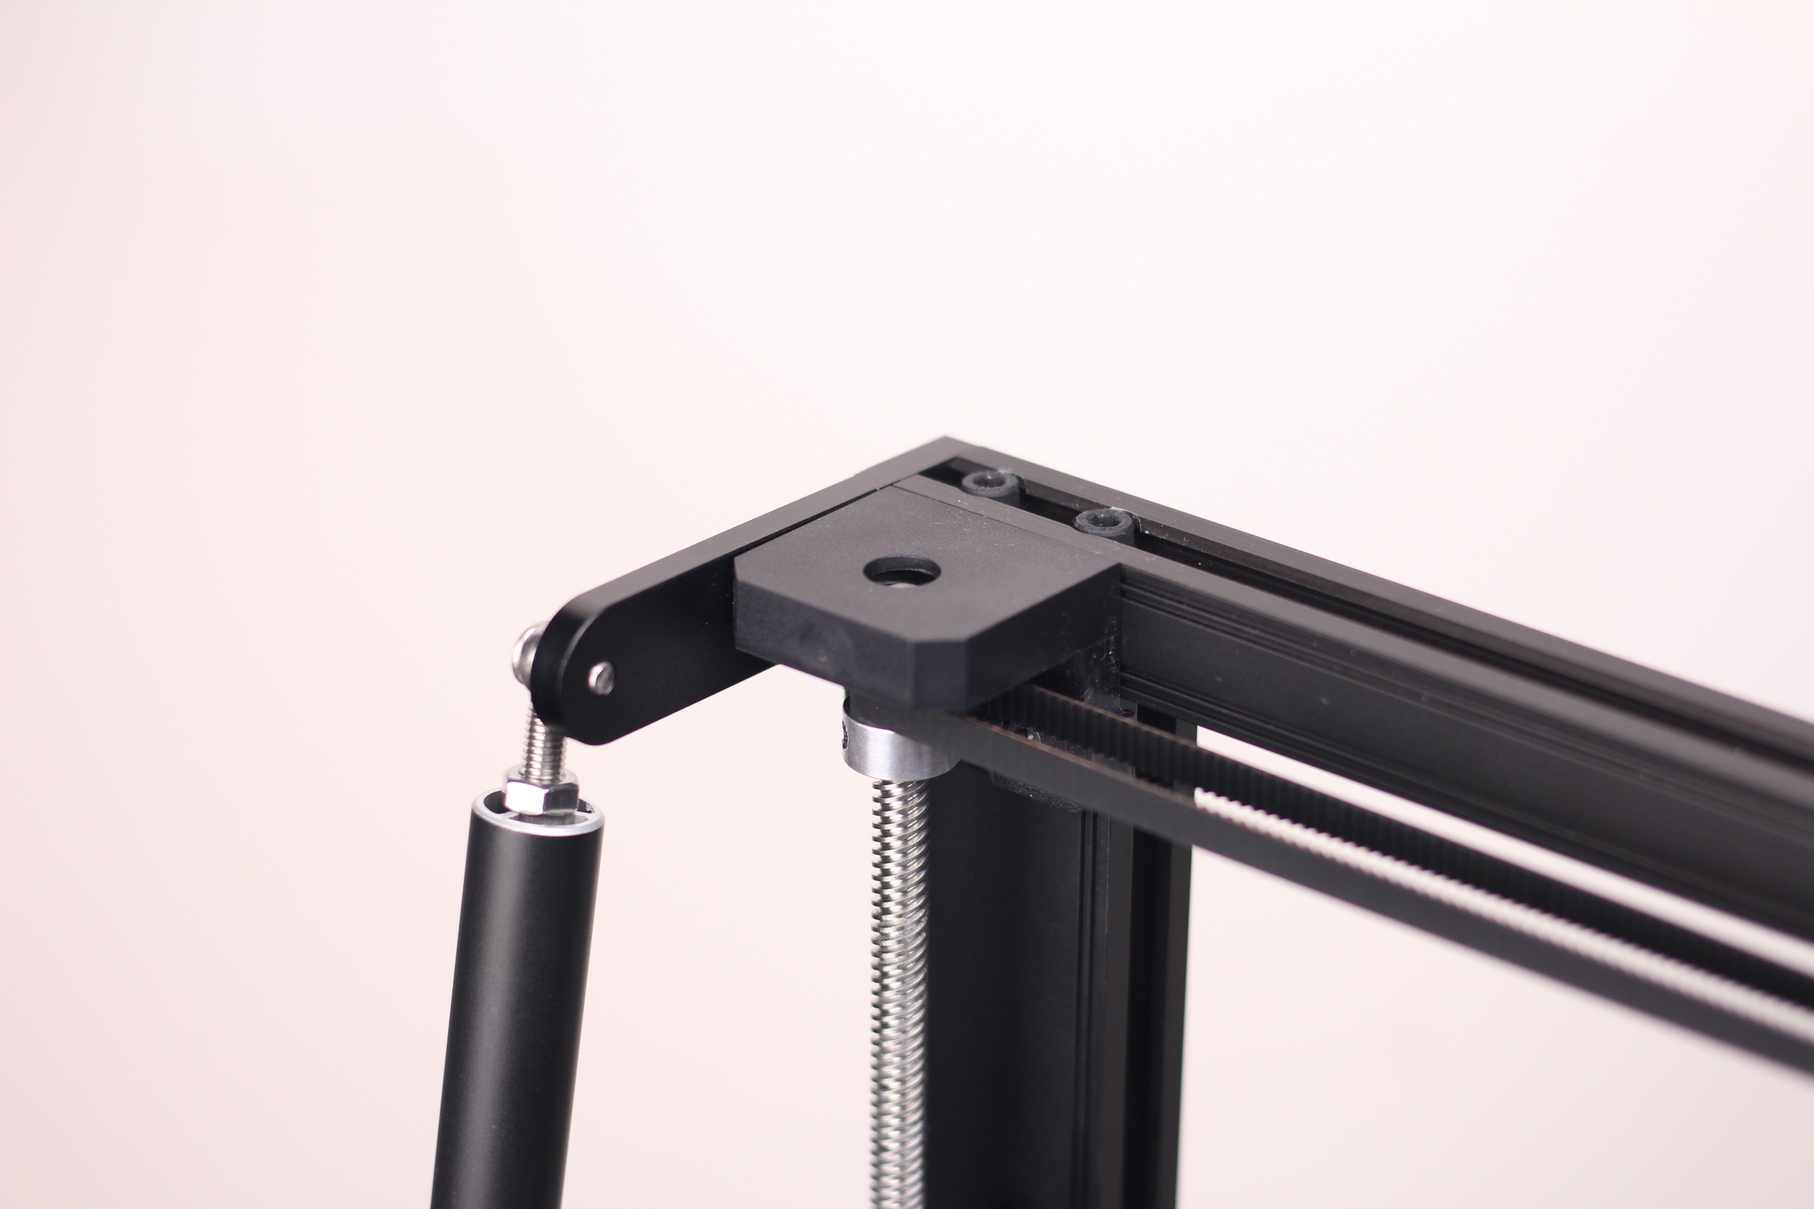
Z braces for more stability
A nice addition to the Creality CR-10 Smart is the dual Z braces installed in the back of the printer. These braces help with the stiffness of the printer, ensuring that there’s no Z wobble during printing. Most of the larger format cartesian printers suffer from Z wobble, especially when printing taller models but having the Z axis braced eliminates this issue on the CR-10 Smart.
PTFE lined hotend with Auto Bed Leveling
In regular Creality fashion, the CR-10 Smart hotend is still PTFE lined, meaning that you will be able to print up to ~240C, but if you go past that, the PTFE tube will start to degrade and release harmful fumes. This is still good enough for PLA, PETG and even ABS, but I would have loved to see an all-metal heat break. This would eliminate the need of occasionally replacing the PTFE tube, and would also allow higher temperatures to be reached safely.
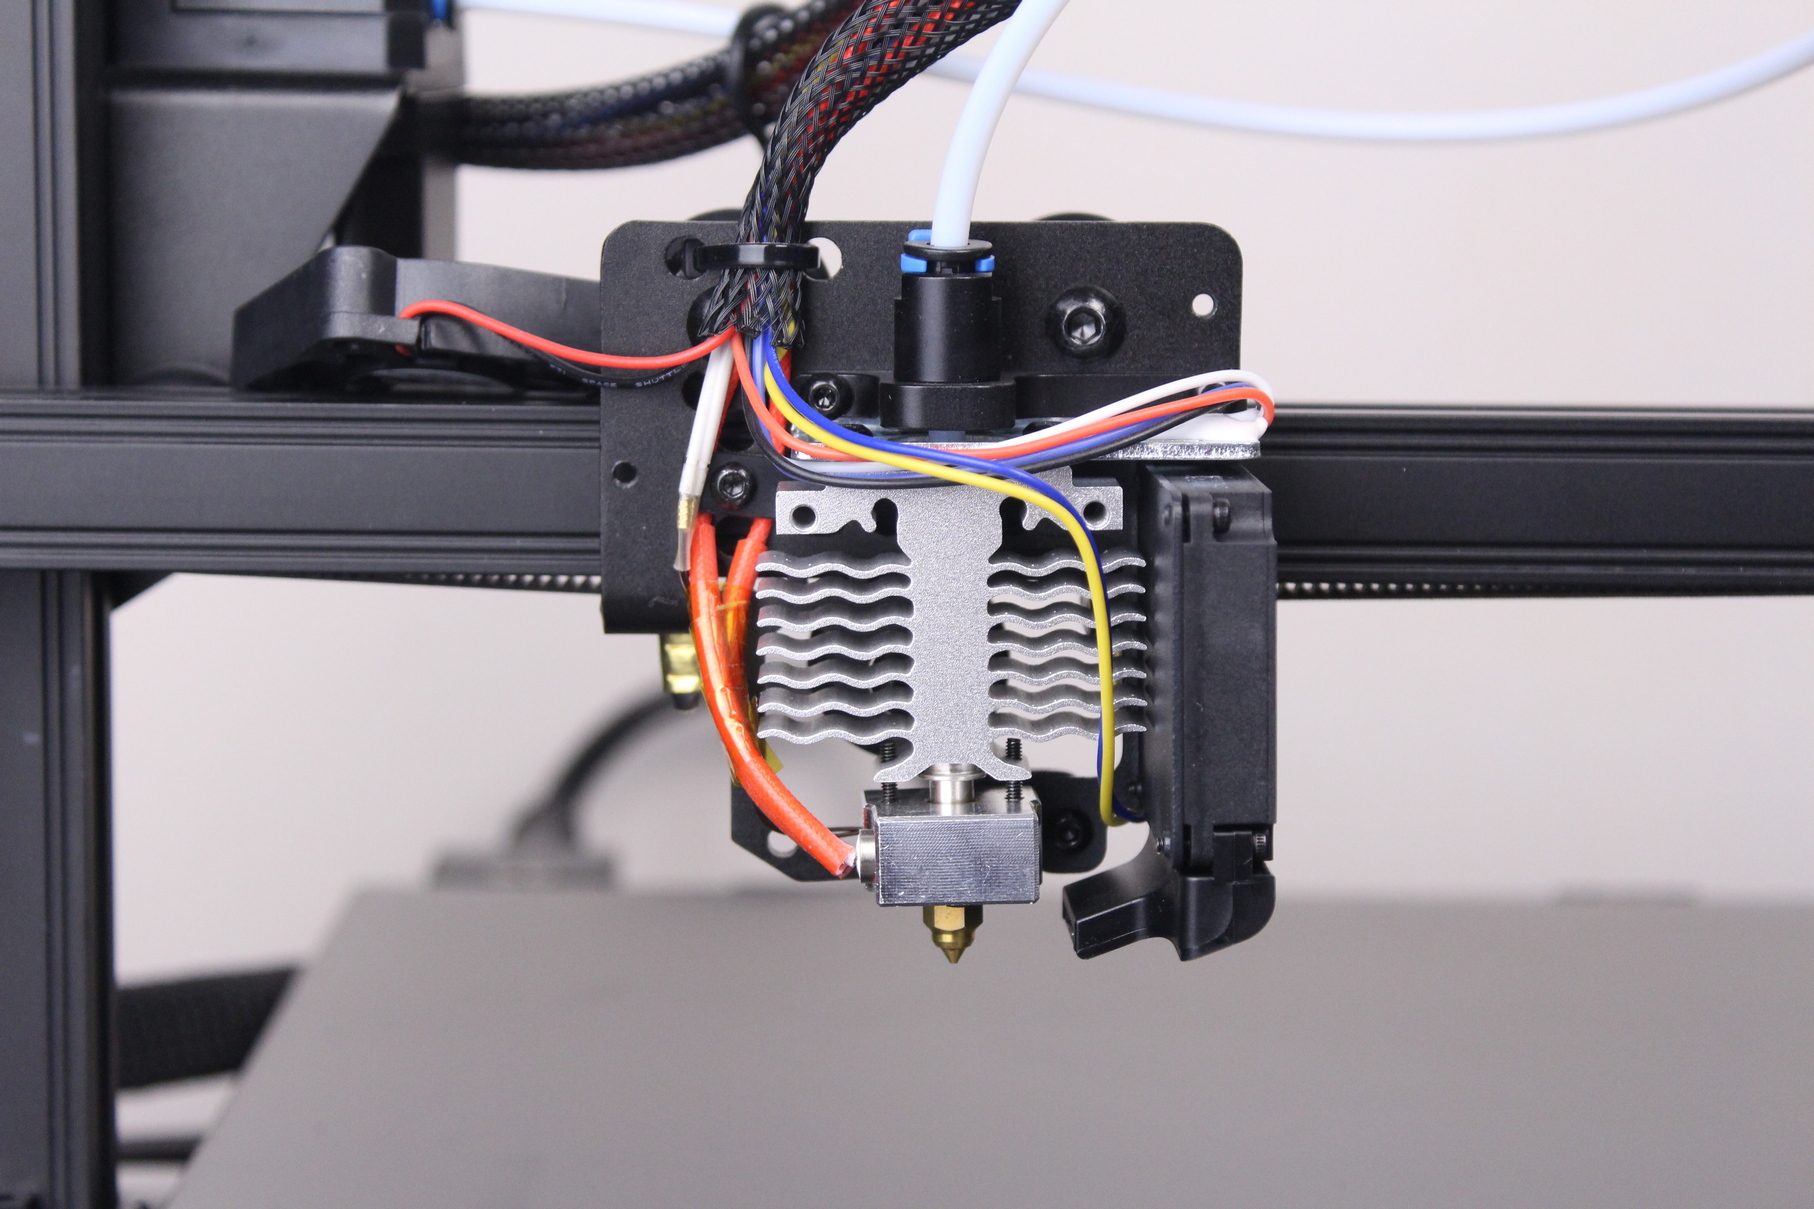
An interesting change brought by the Creality CR-10 Smart is the hotend. It’s not the generic Creality hotend we got on other machines. Instead, we get a redesigned heatsink which should work much better in cooling the heat break mostly because of the better thermal transfer between the heat break and the heatsink. Besides that, the larger fins will help with dissipating that heat.
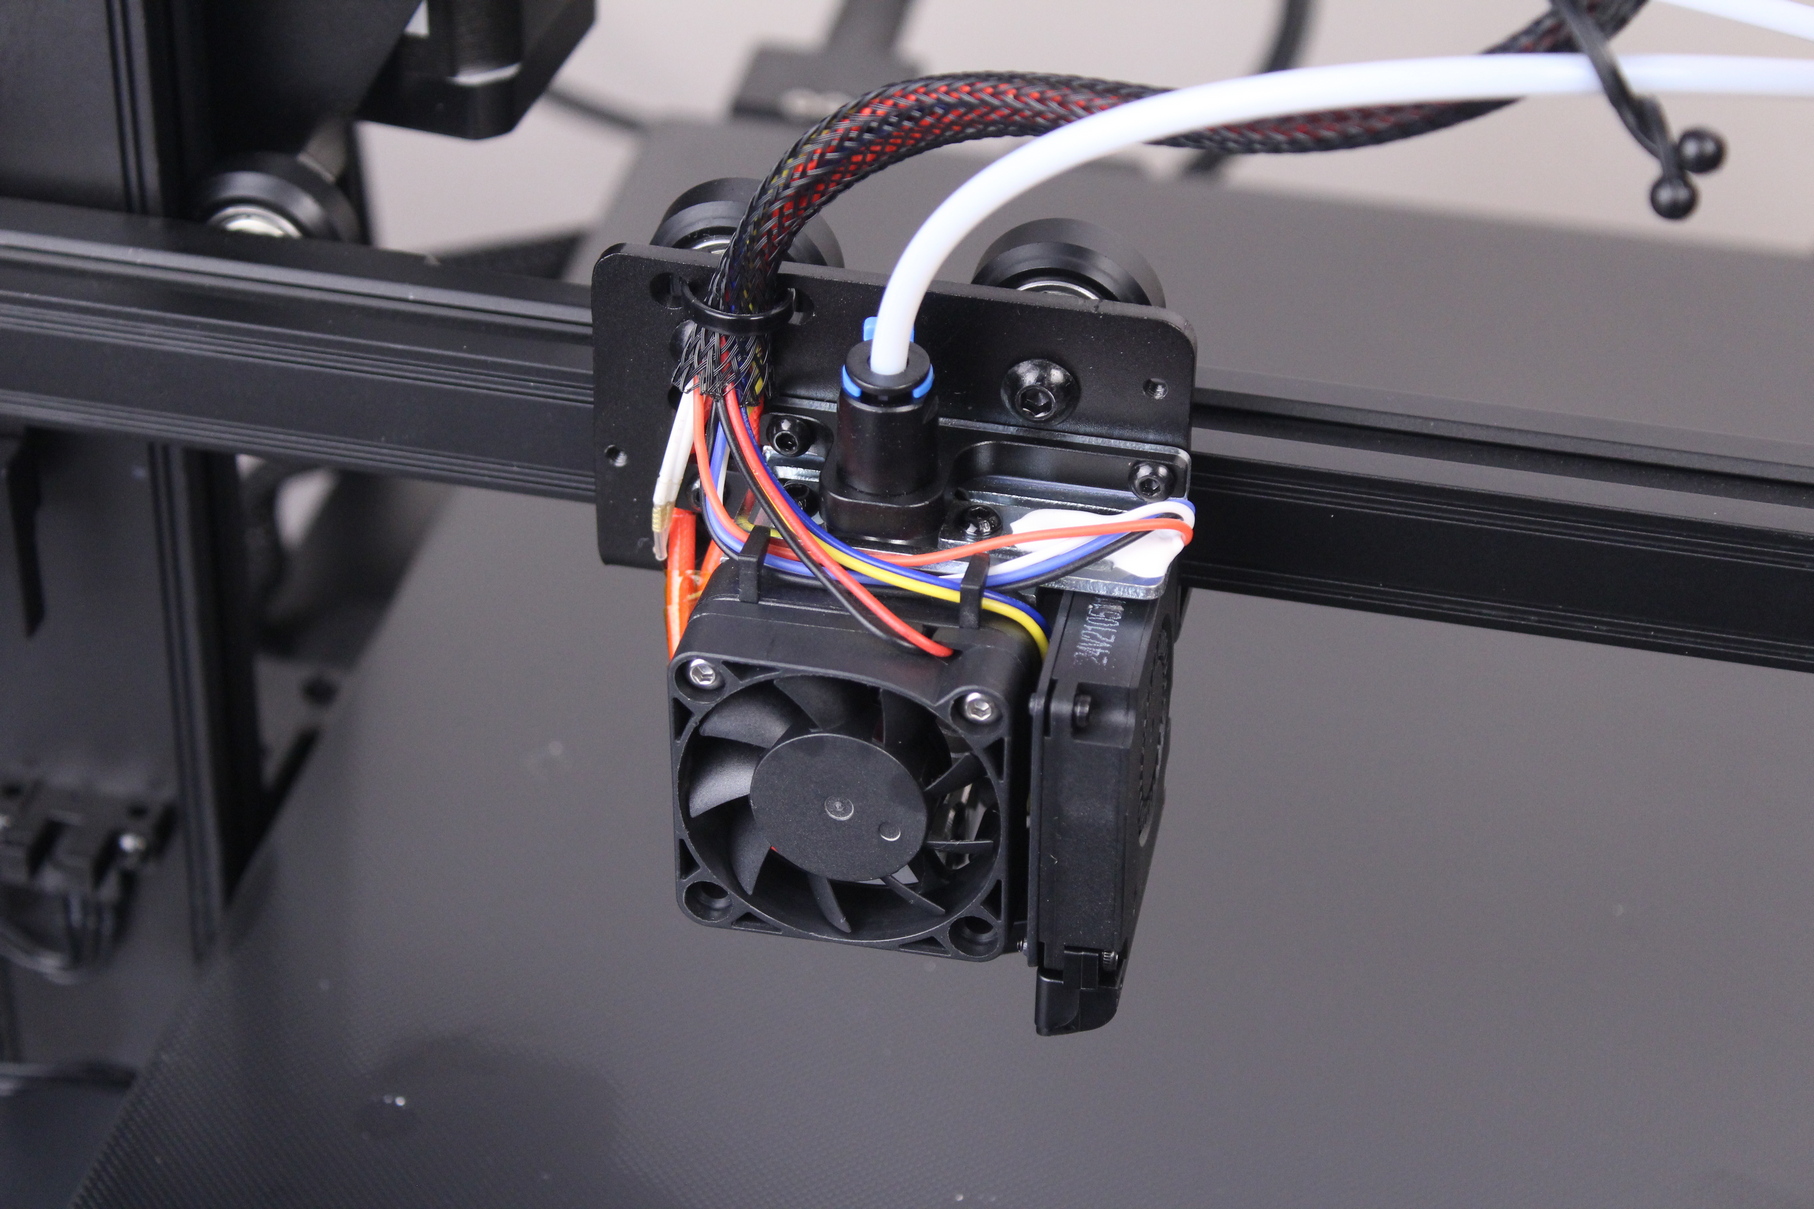
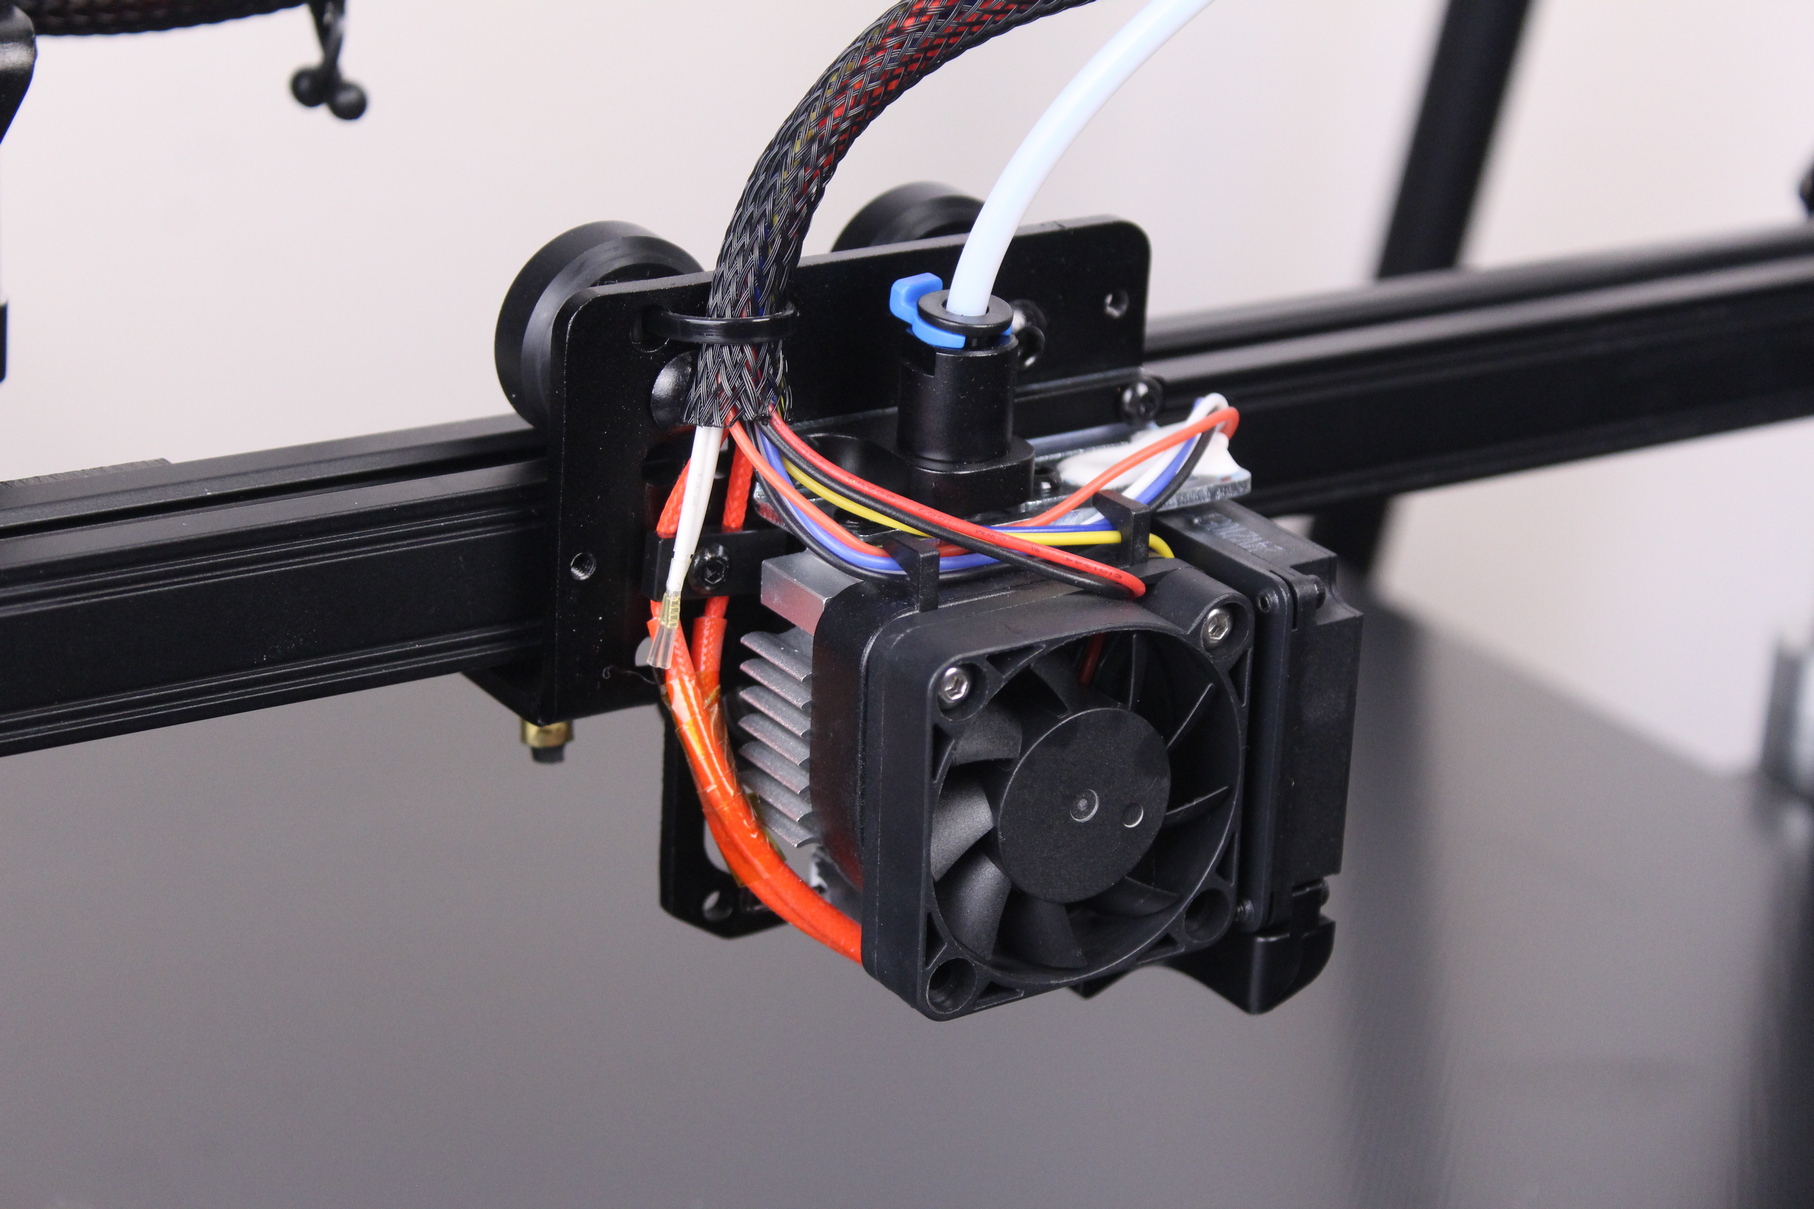
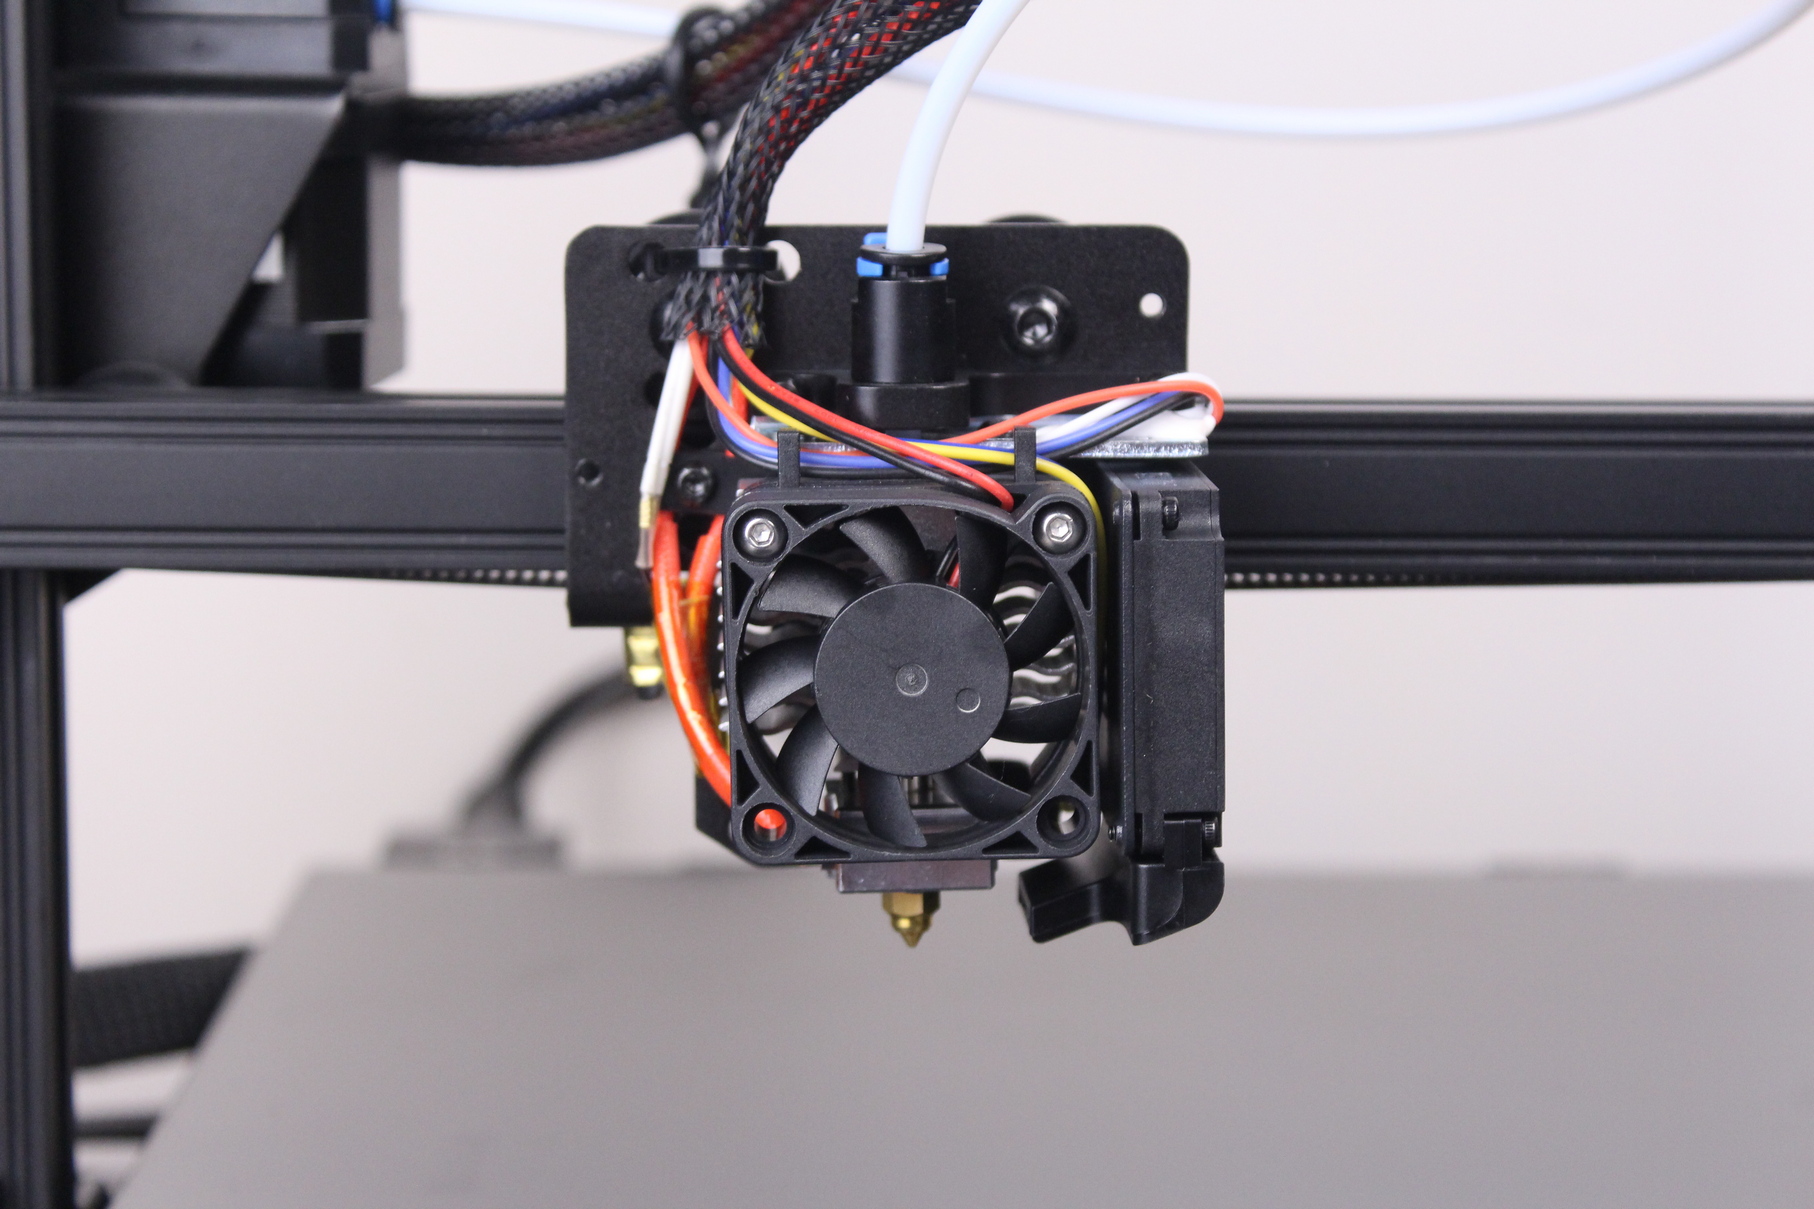
This hotend performs better than any Creality hotend I used in the past and it’s probably the best they made until now. It’s especially noticeable when feeding filament manually, and also when changing the filament. The heatblock and nozzle are similar to the one present on the CR-6 SE or CR-5 Pro, but another nice change is the use of a different thermistor.
For part cooling, we get a 4010-radial fan with a duct that restricts the airflow quite a bit. Because of this, print speeds will be limited on small models due to the bad cooling capacity of this fan. But larger models will work fine. As always, I would have liked to see a pair of 4010 fans to cool the printed parts better, or even 5015 fans which are capable of pushing more air over the models.
Just like the Creality CR-6 SE, the CR-10 Smart relies on a strain sensor to detect the small movements when the nozzle touches the bed. With this sensor, the nozzle acts like a probe and allows the printer to be leveled automatically.
When you start the leveling process, the nozzle heats up to 120C and starts probing the bed in 16 points. Every point is probed three times for consistent results, but the probing speed is probably the slowest I’ve seen on any 3D printer. The probing process takes about 3 minutes.
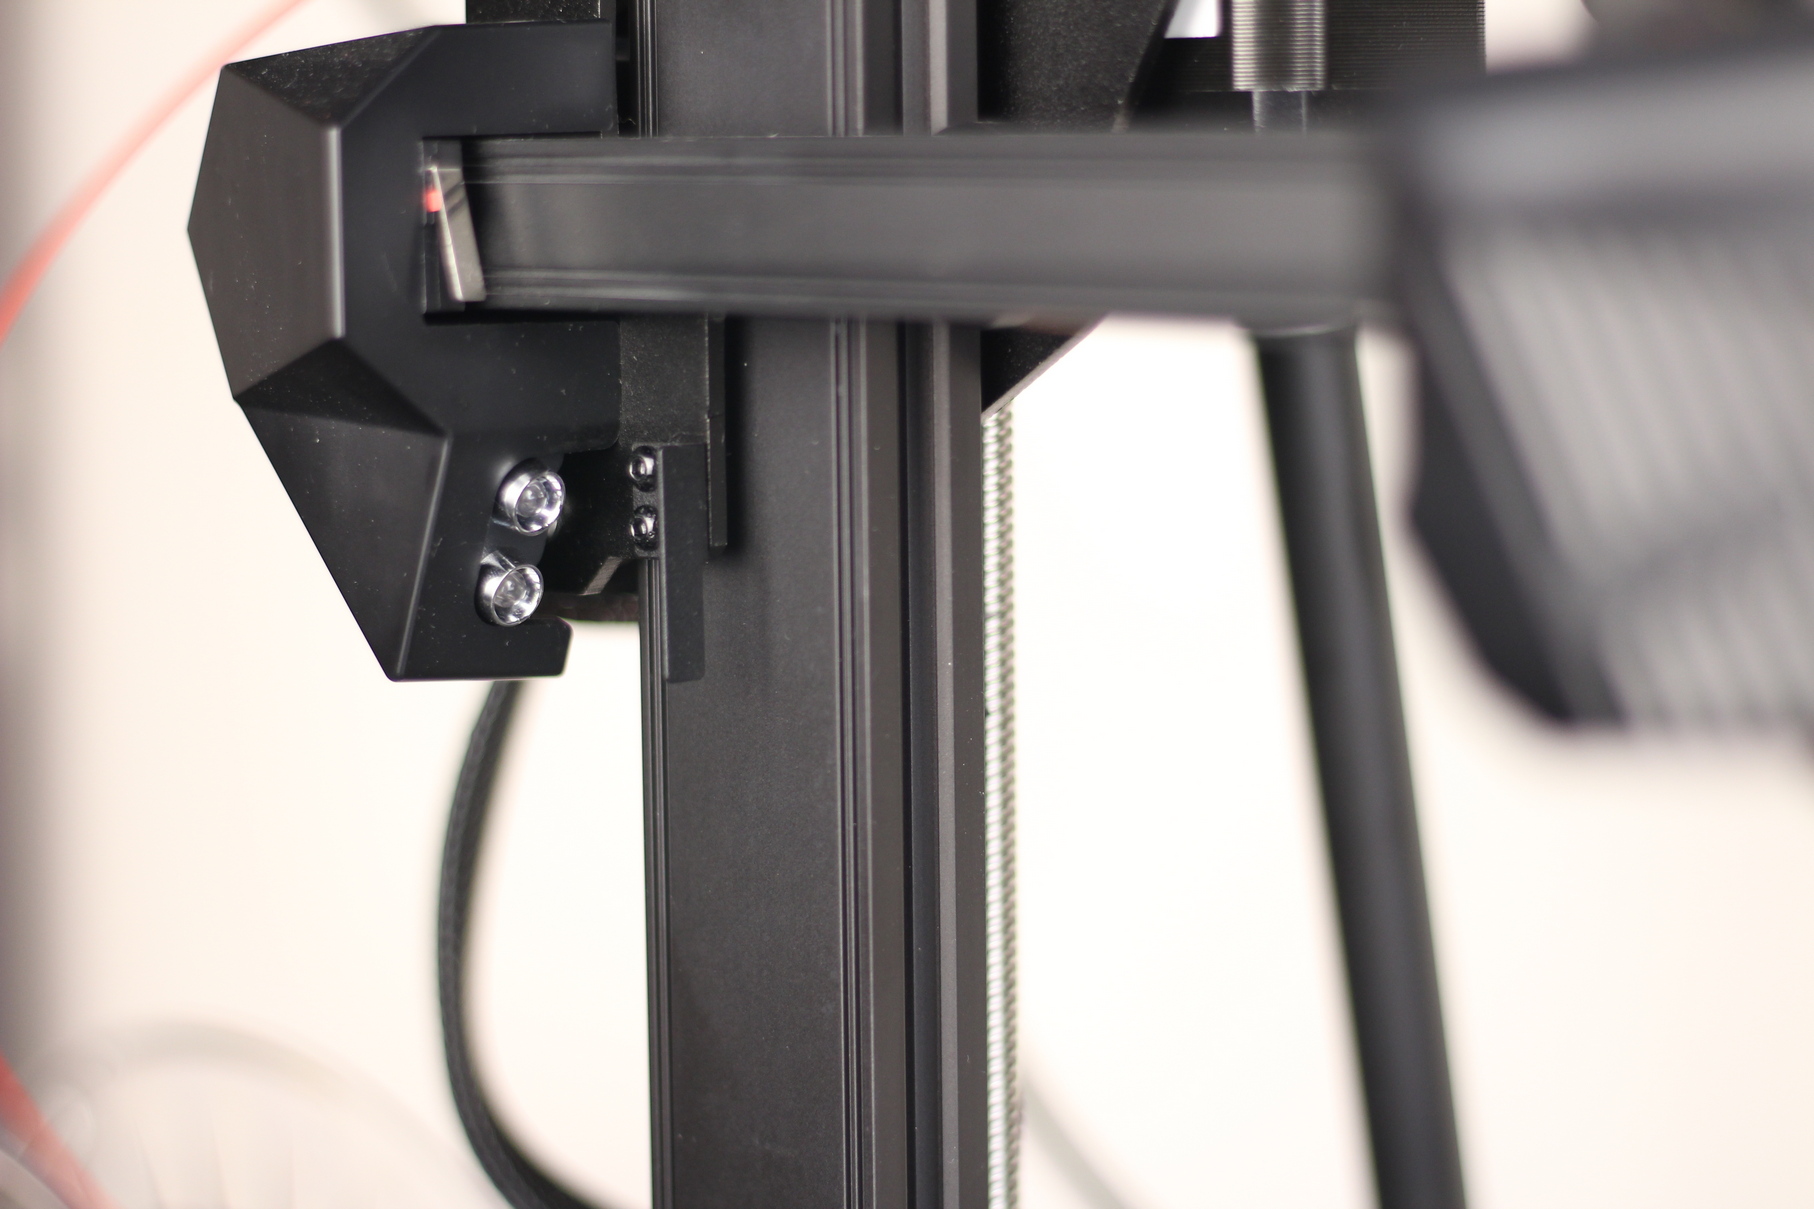
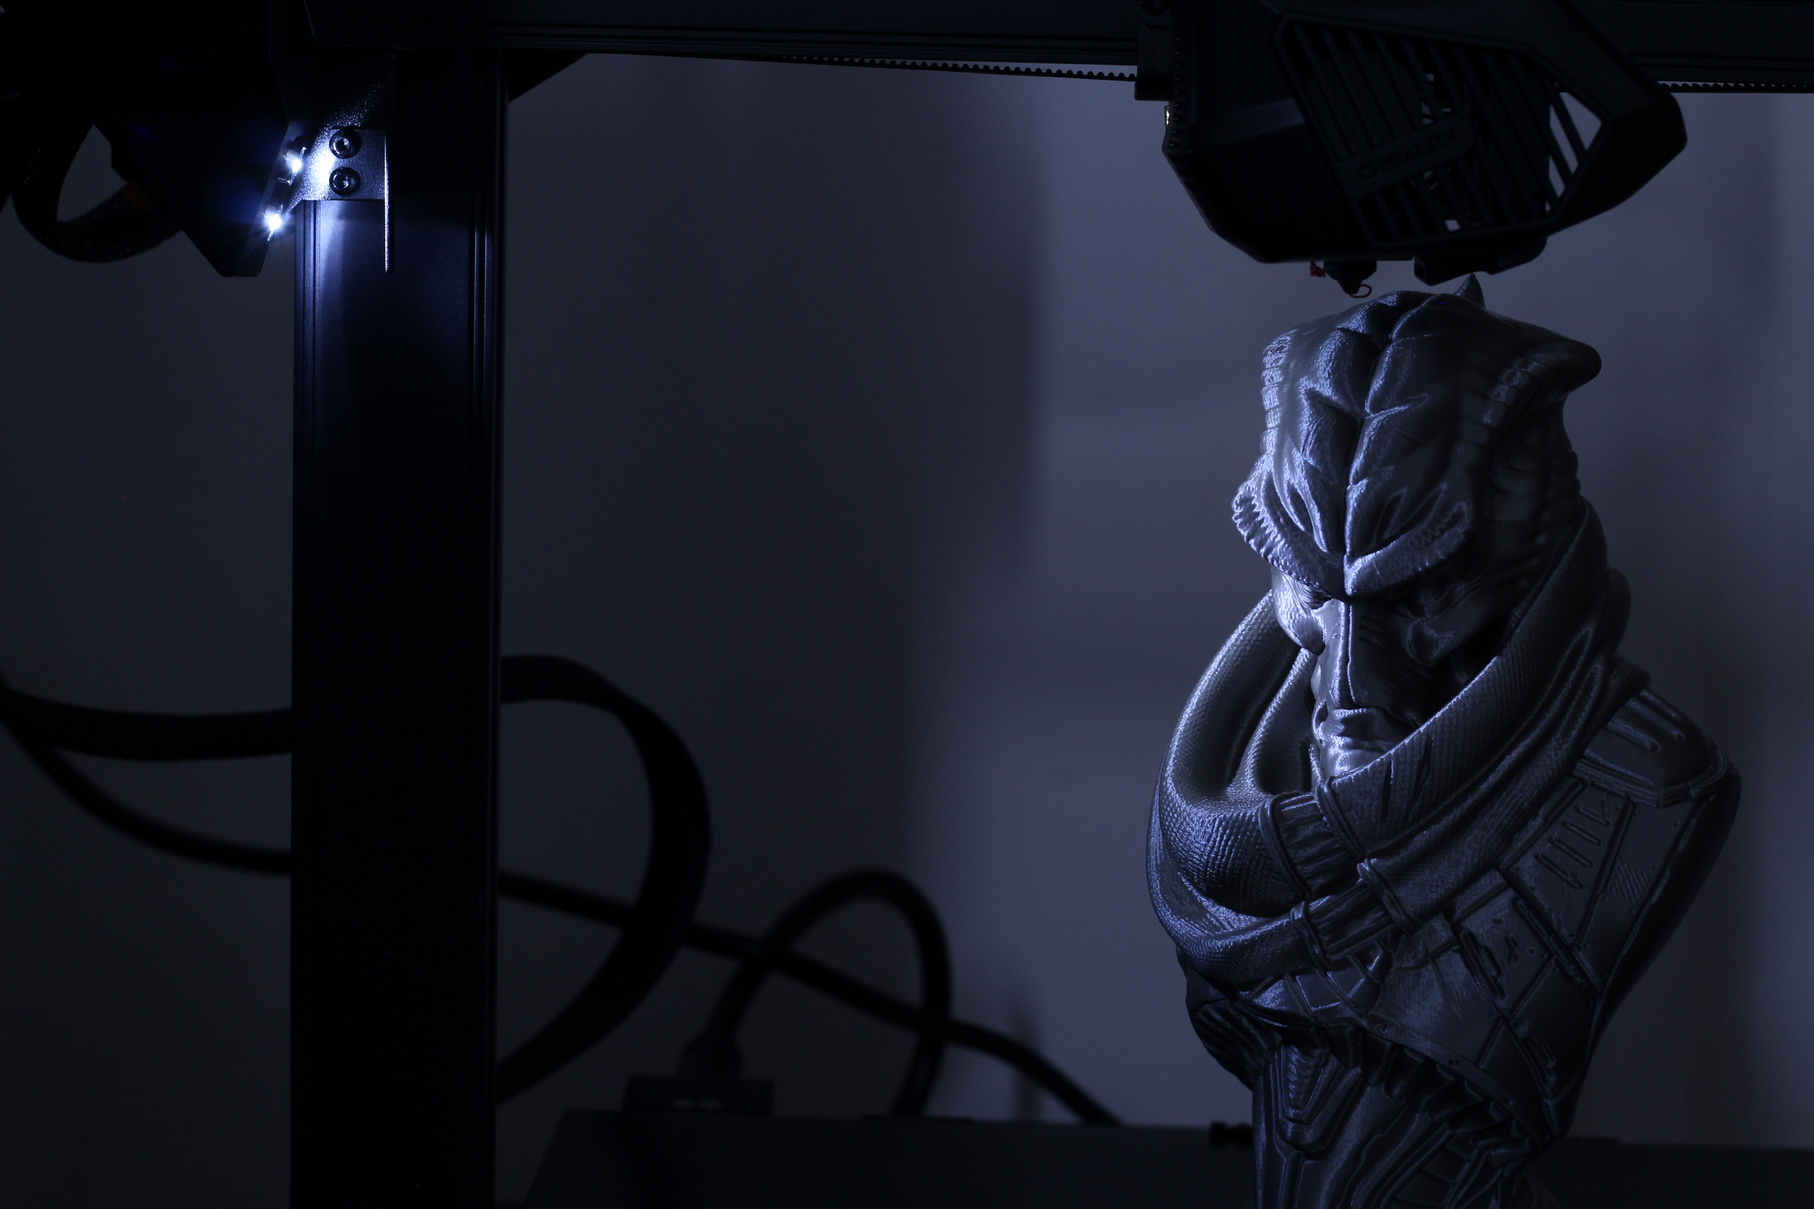
On the home position for X, there’s a pair of LED lights to light up the model, but they are not bright enough to actually be helpful.
Single-gear extruder
On the extruder side, we get the same type of extruder like we do on the CR-6 SE. It’s single gear but it performs well. Sure, a dual-gear extruder would probably be better, and more accurate, but I can’t really complain about this one because it’s much better than the old plastic one used with cheaper machines.
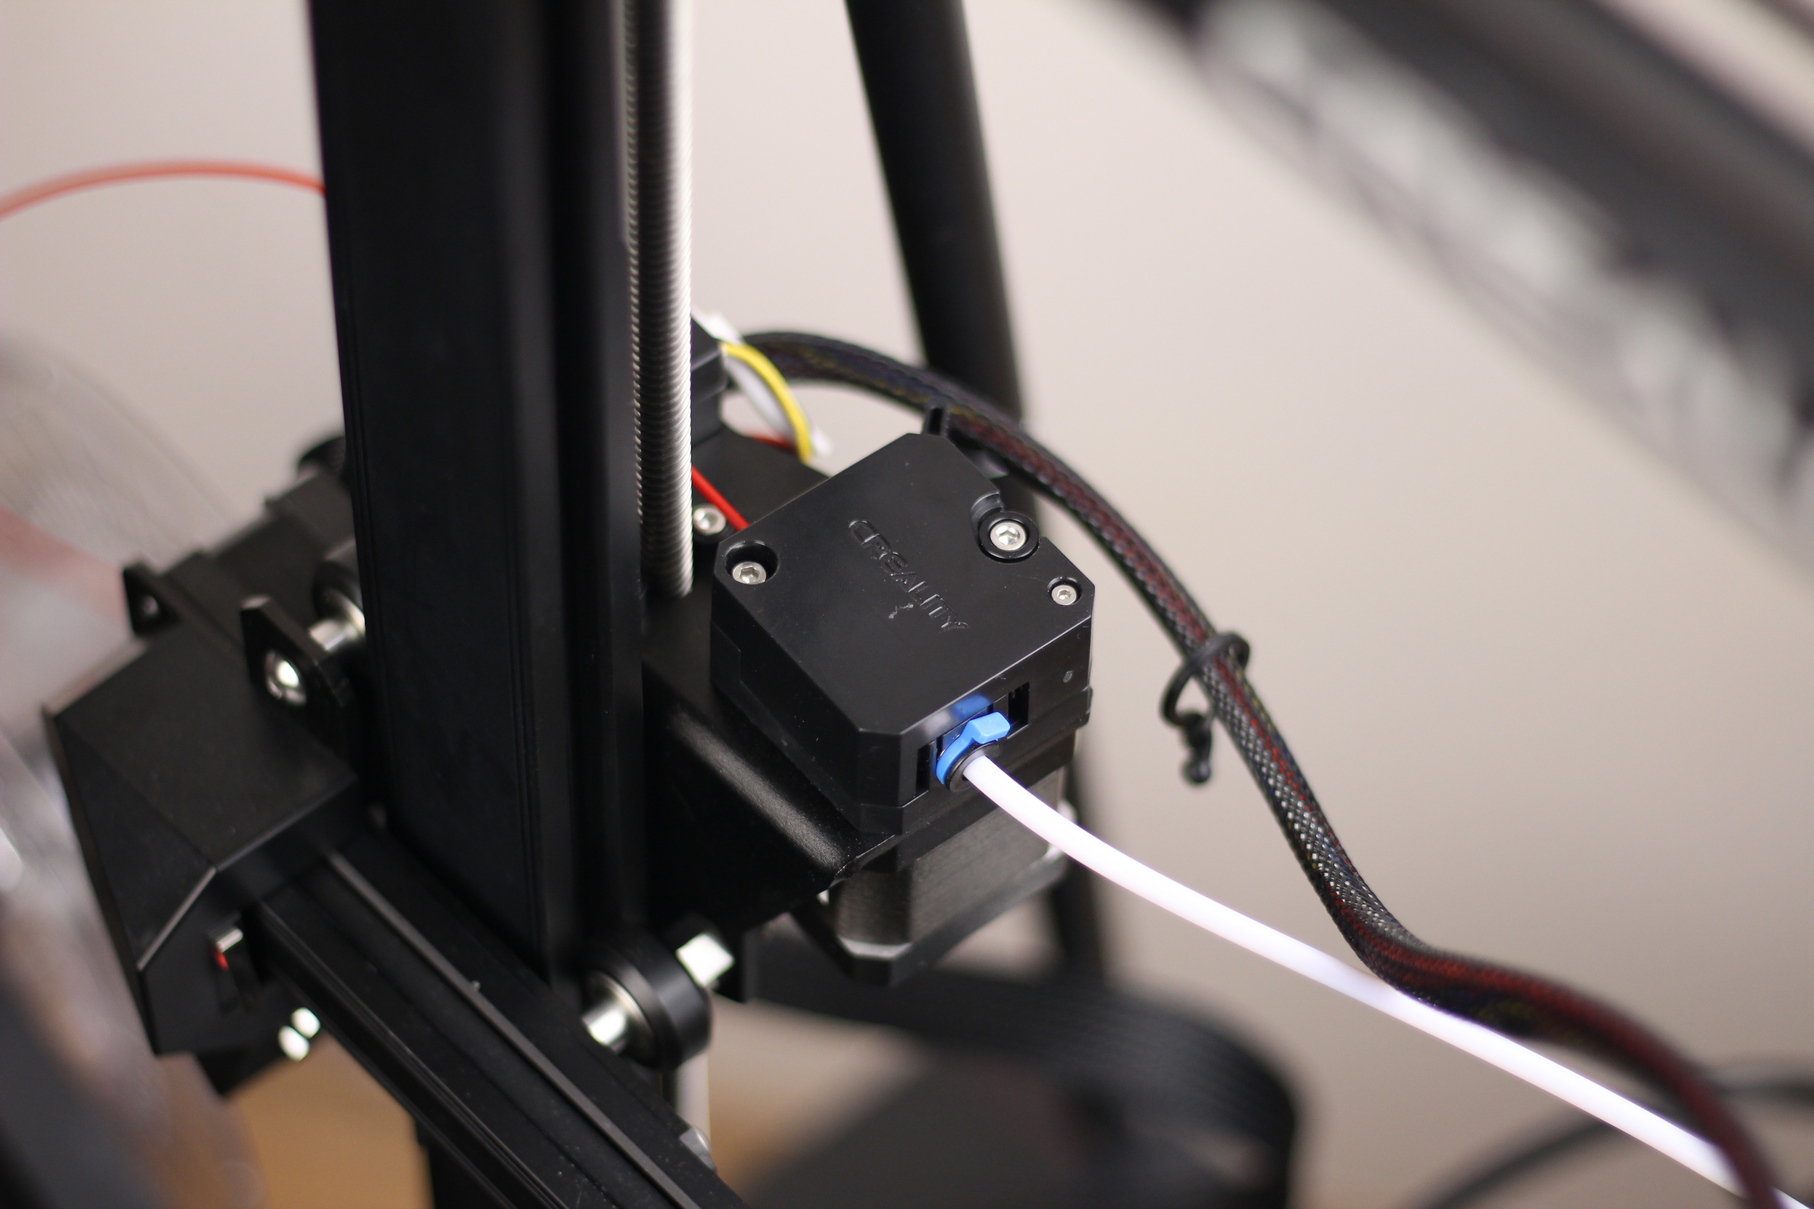
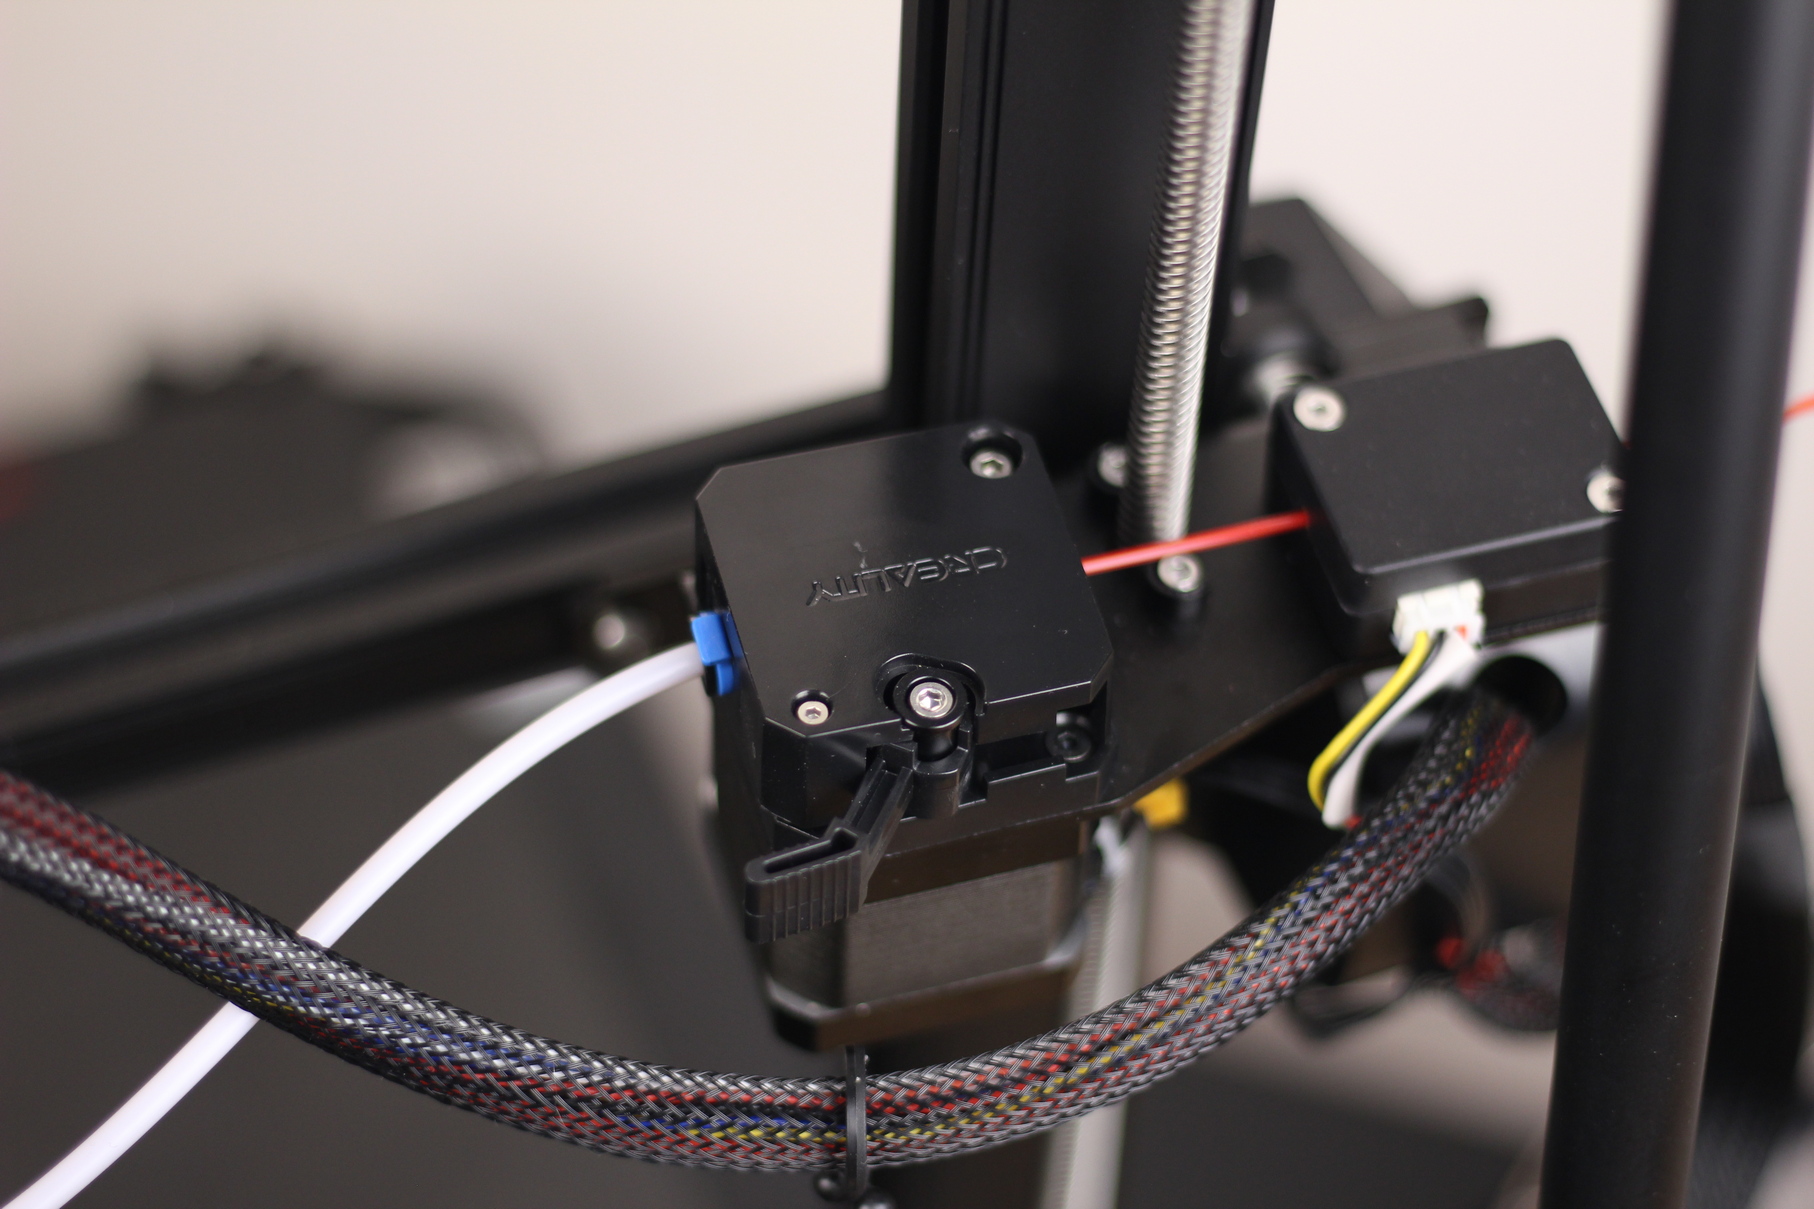
I also like how easy it is to load filament. Just use the small lever to “open” the extruder, insert the filament, then close the lever and start printing.
Fixed 300×300 heatbed with removable glass print surface
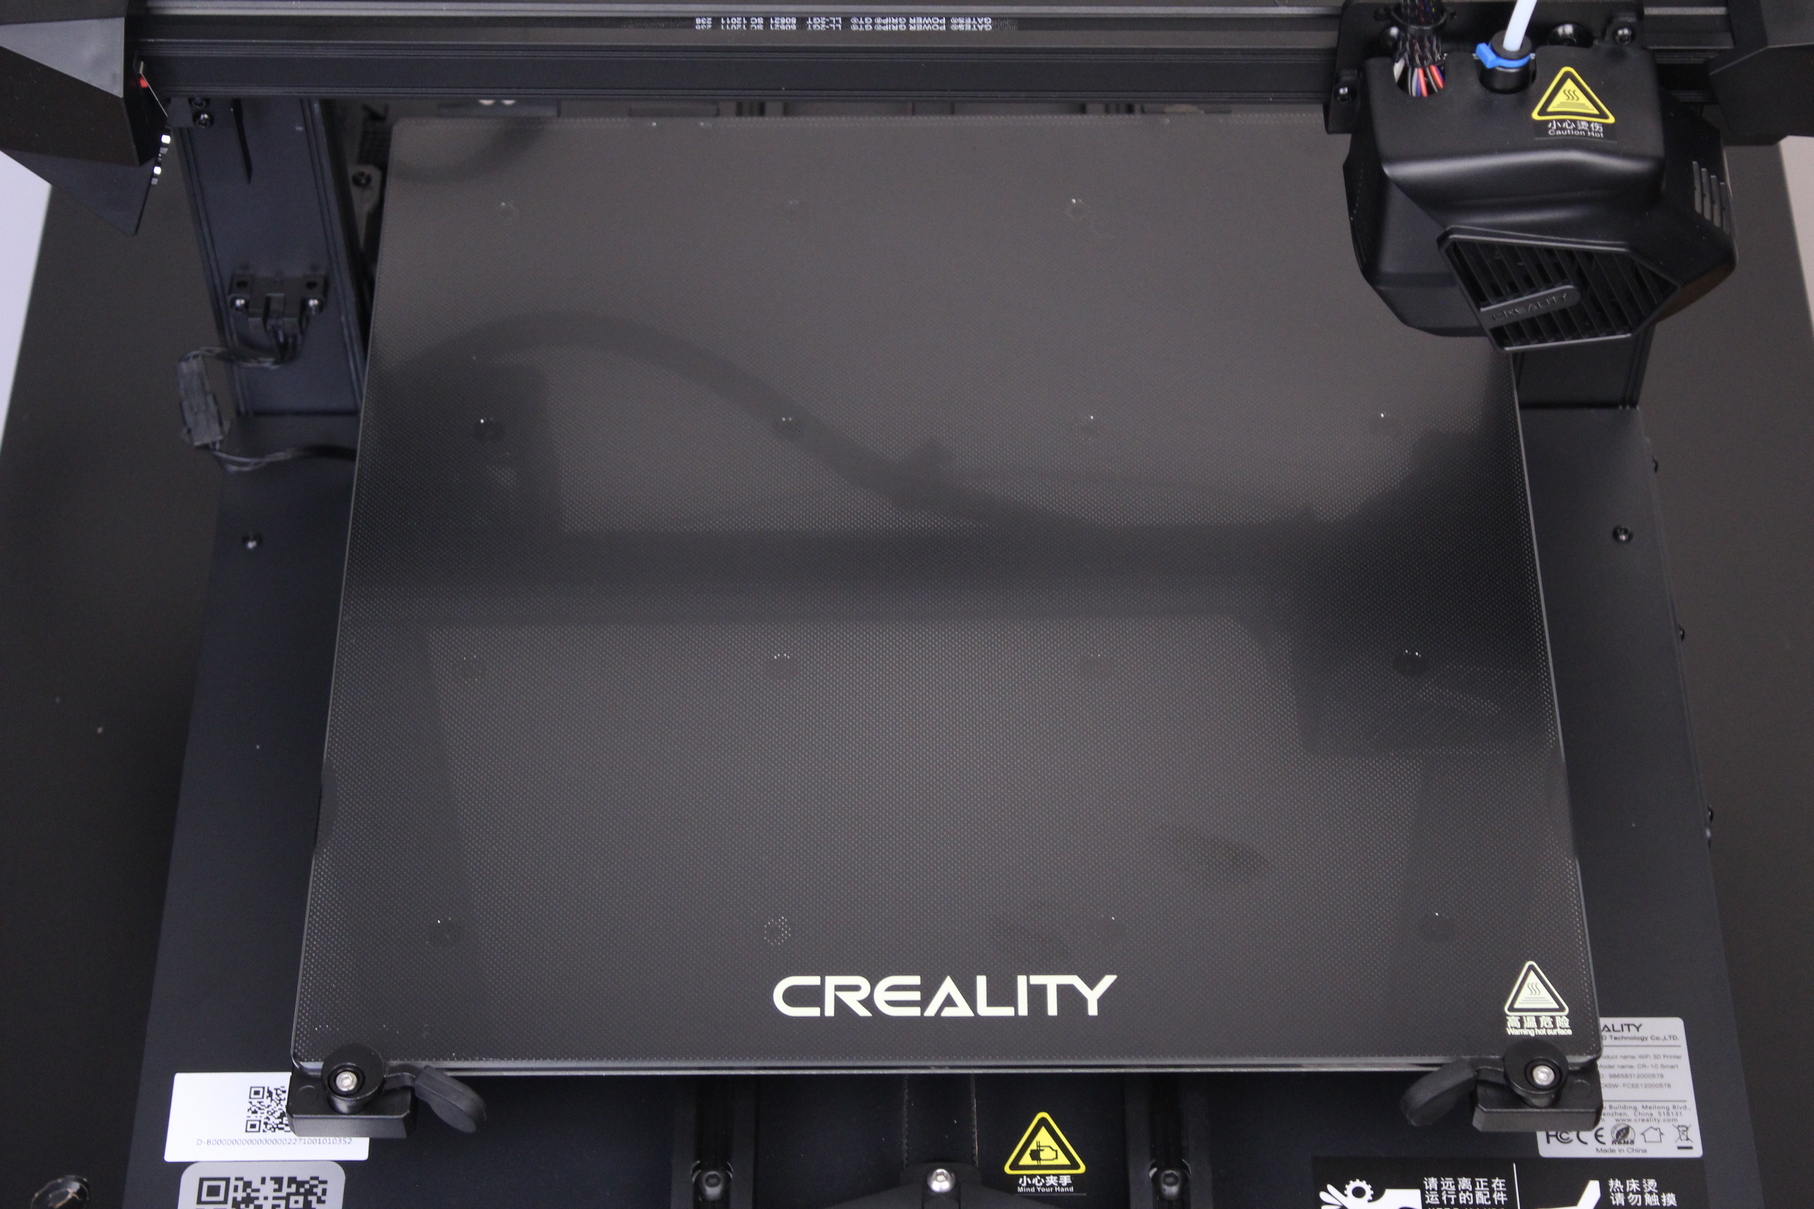
Because the CR-10 Smart has auto bed leveling, the bed is now fixed with no leveling knobs underneath (just like the CR-6 SE). The aluminium heated bed is covered with a glass print surface which has a textured side to help with adhesion. Unfortunately, I was not able to make anything stick to the print surface without applying some print adhesive.
The glass print surface is removable, using the two front levers.
In the back, the glass print surface should slide underneath these two metal brackets to hold it in place. As you can see, my brackets came bent from the factory, and I was not able to straighten them back to their initial form. Fortunately, the bed is held tightly in place, but this is another annoying QC issue which wasn’t fixed in the factory.
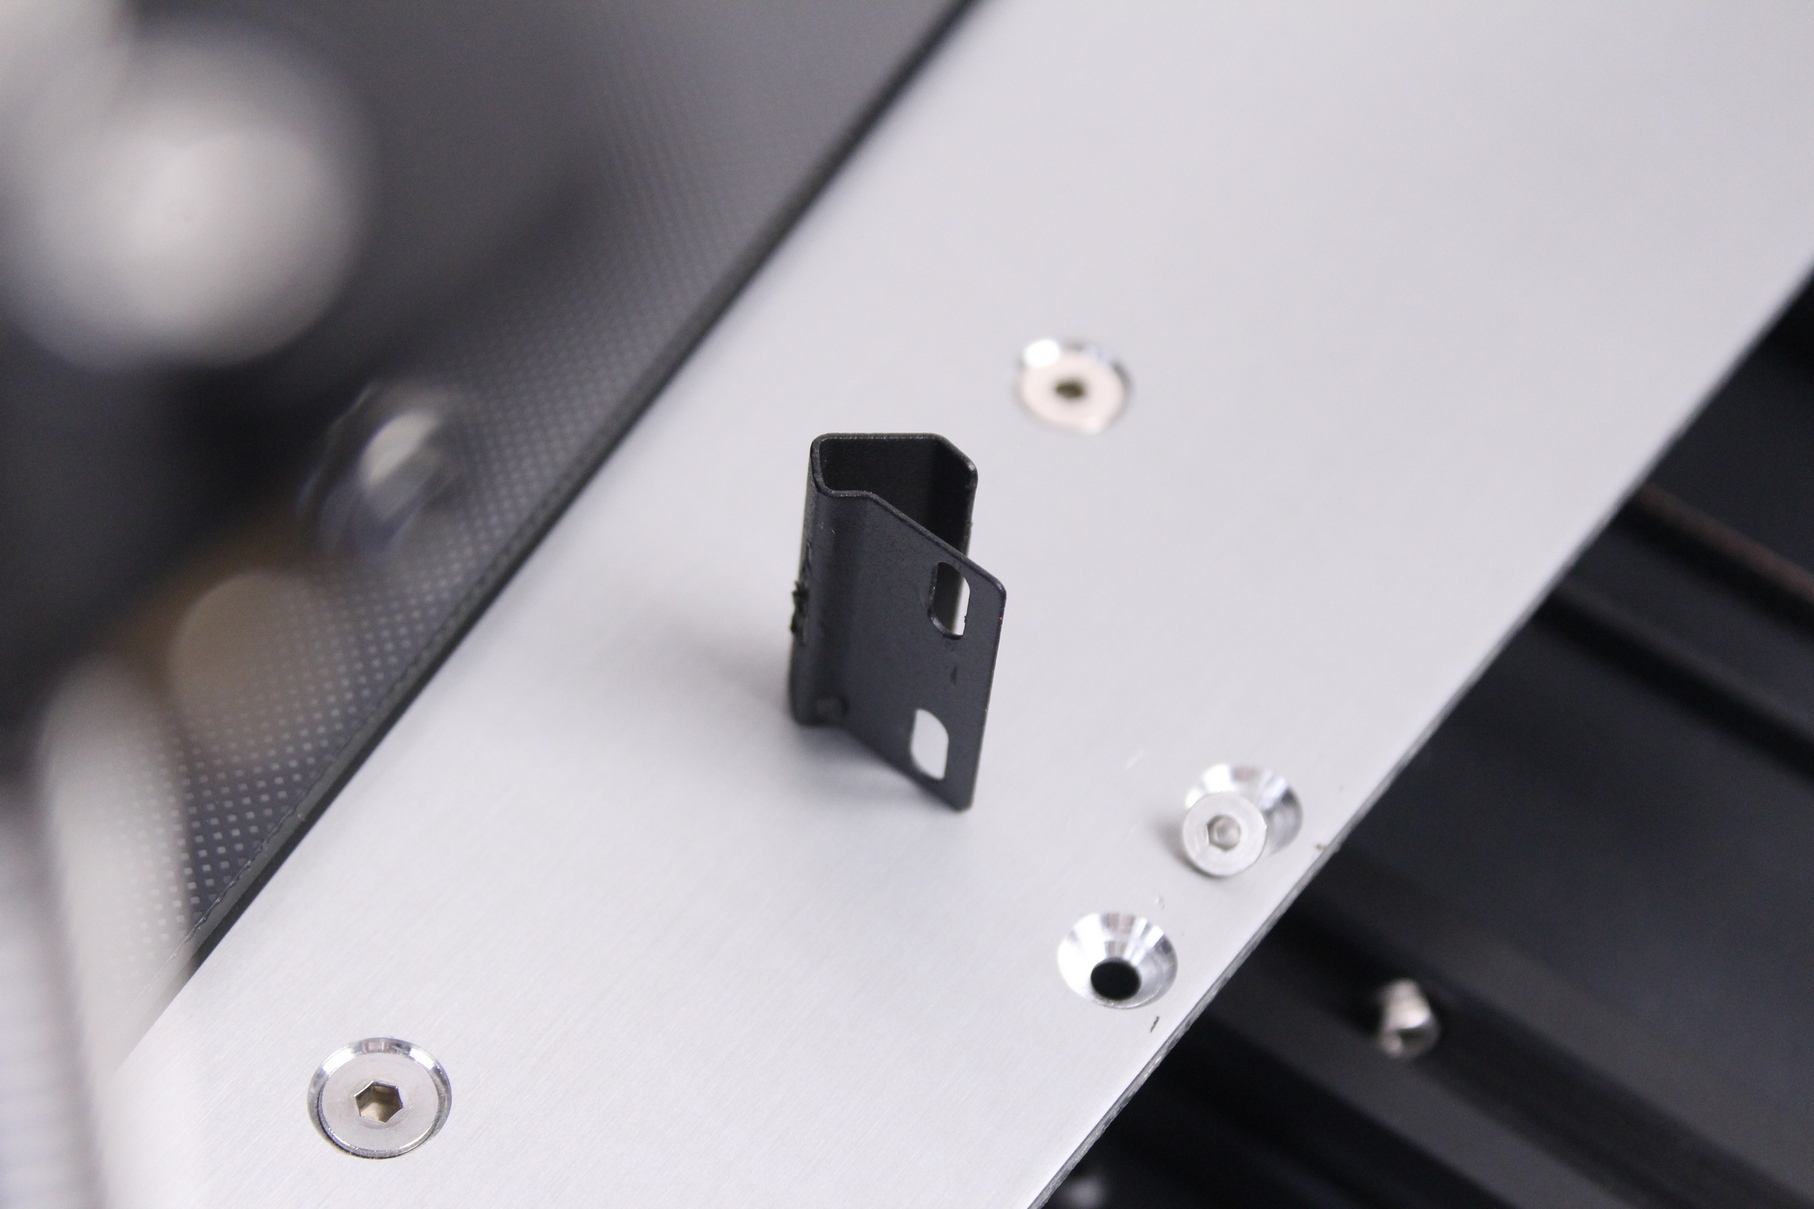
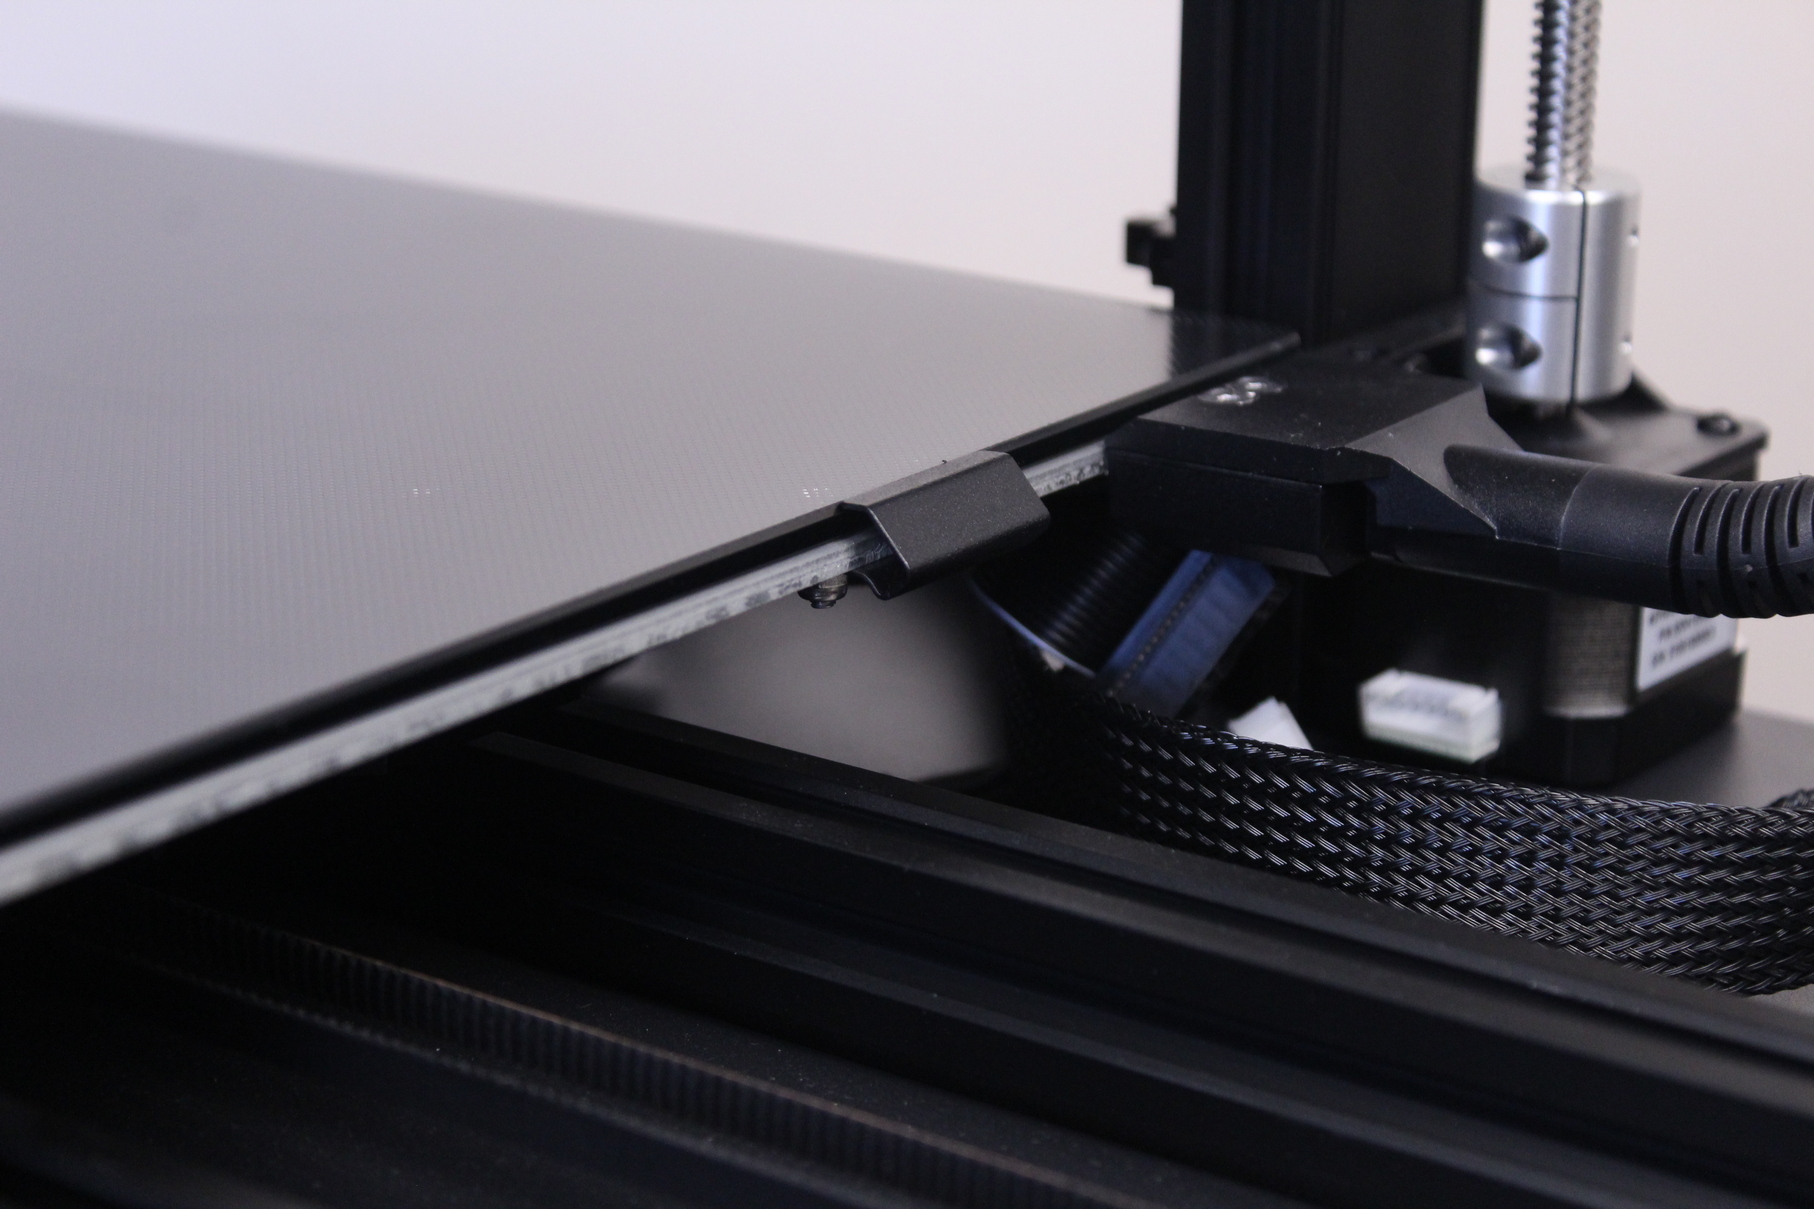
I’ve check other reviews online, and I noticed the brackets were bent too, but the issue was not reported. My guess is the printer was built with the bed on a table and the weight bent them out of shape.
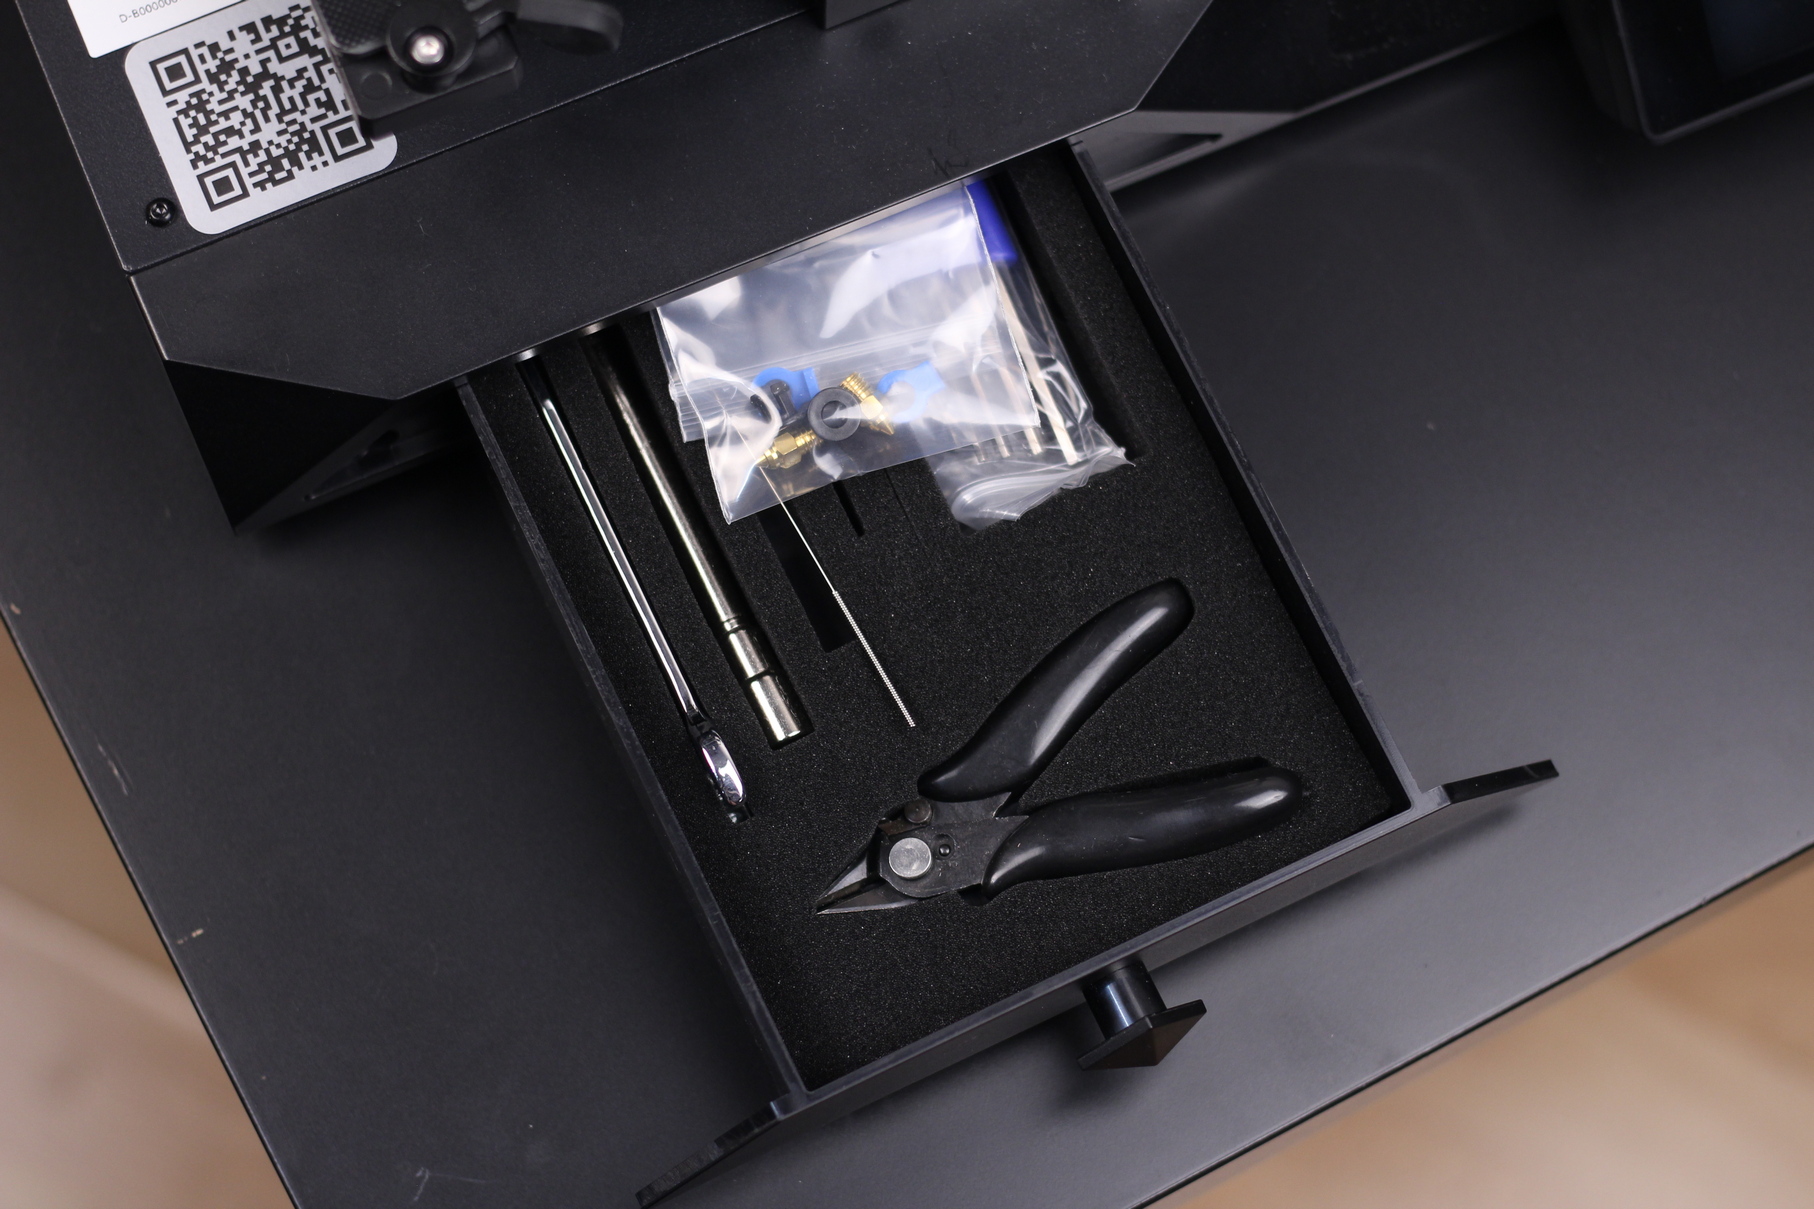
In the front of the printer, we get a handy drawer to store the accessories.
32-bit board with silent stepper drivers
On the electronics side, we got the Creality 2405 V1.2 board running TMC2209 silent stepper drivers. It’s also worth mentioning that the board is equipped with an ARM STM32F103 RET6 CPU.
All the stepper drivers are soldered to the board, so in case one of them dies, you will need to replace the board entirely.
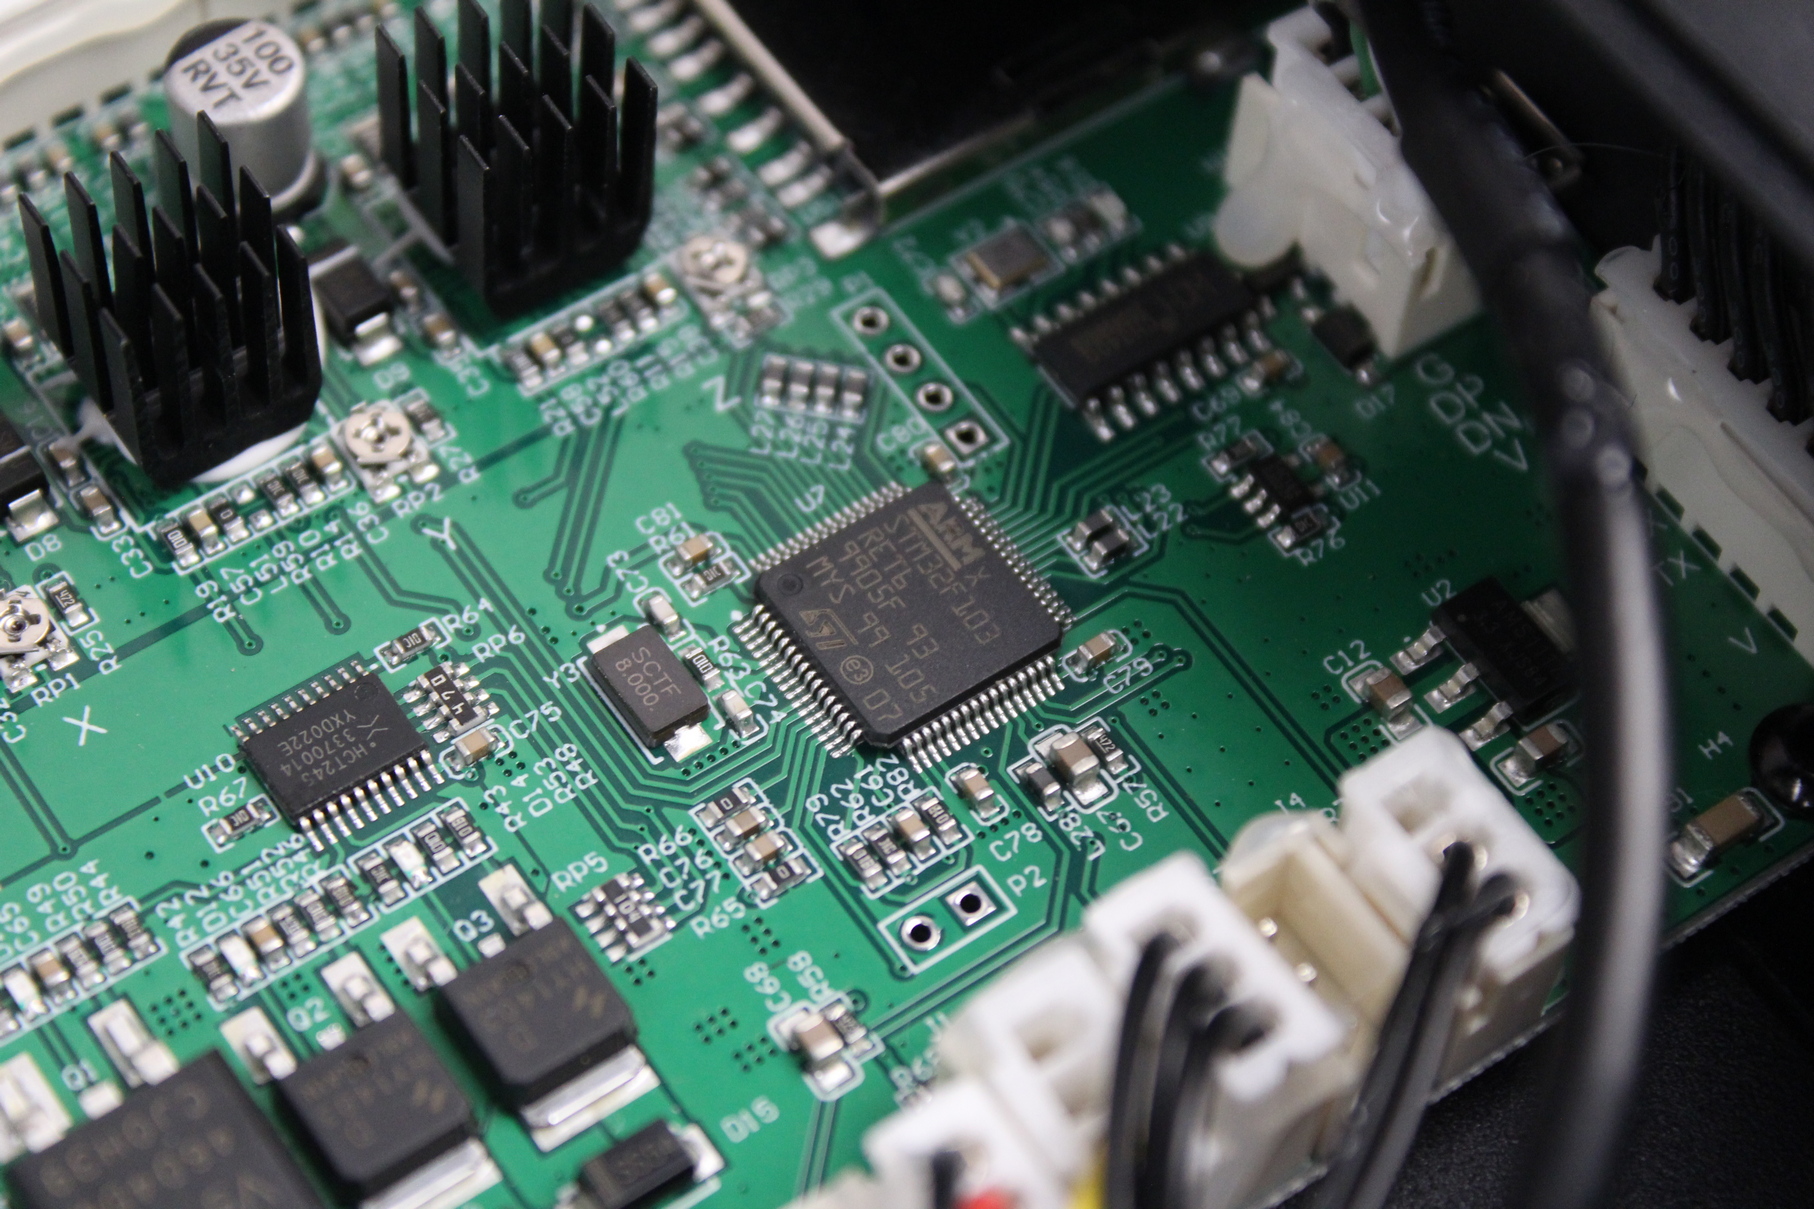
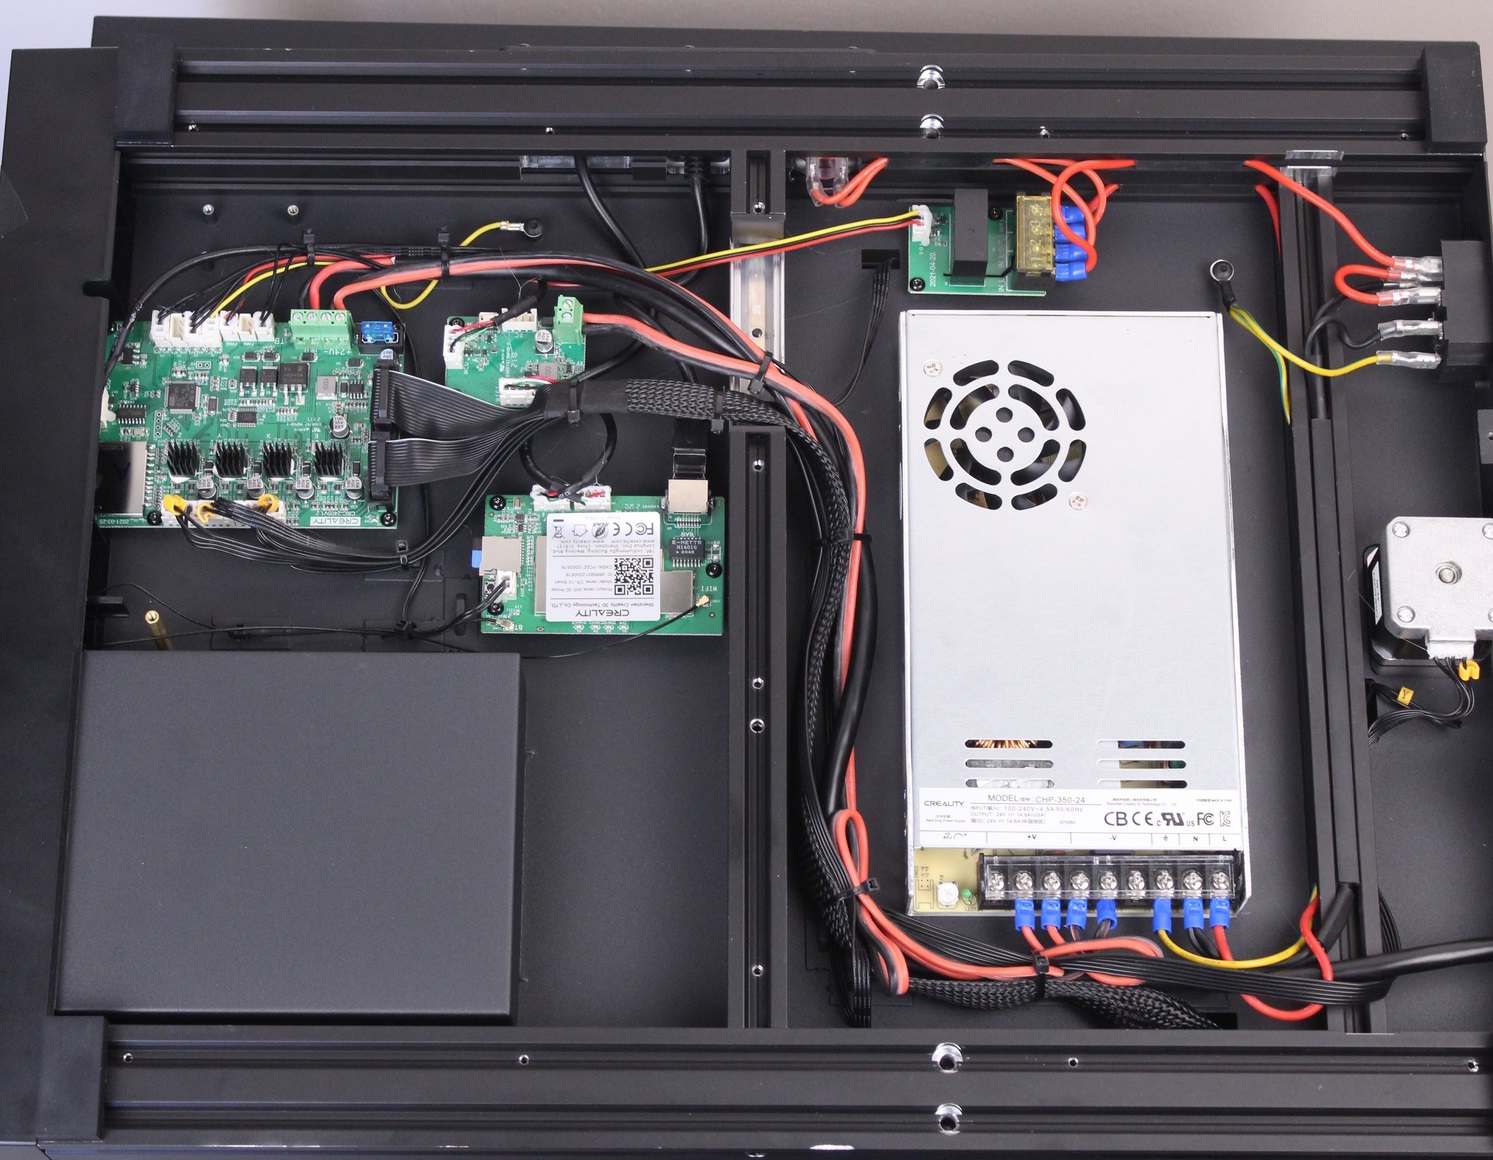
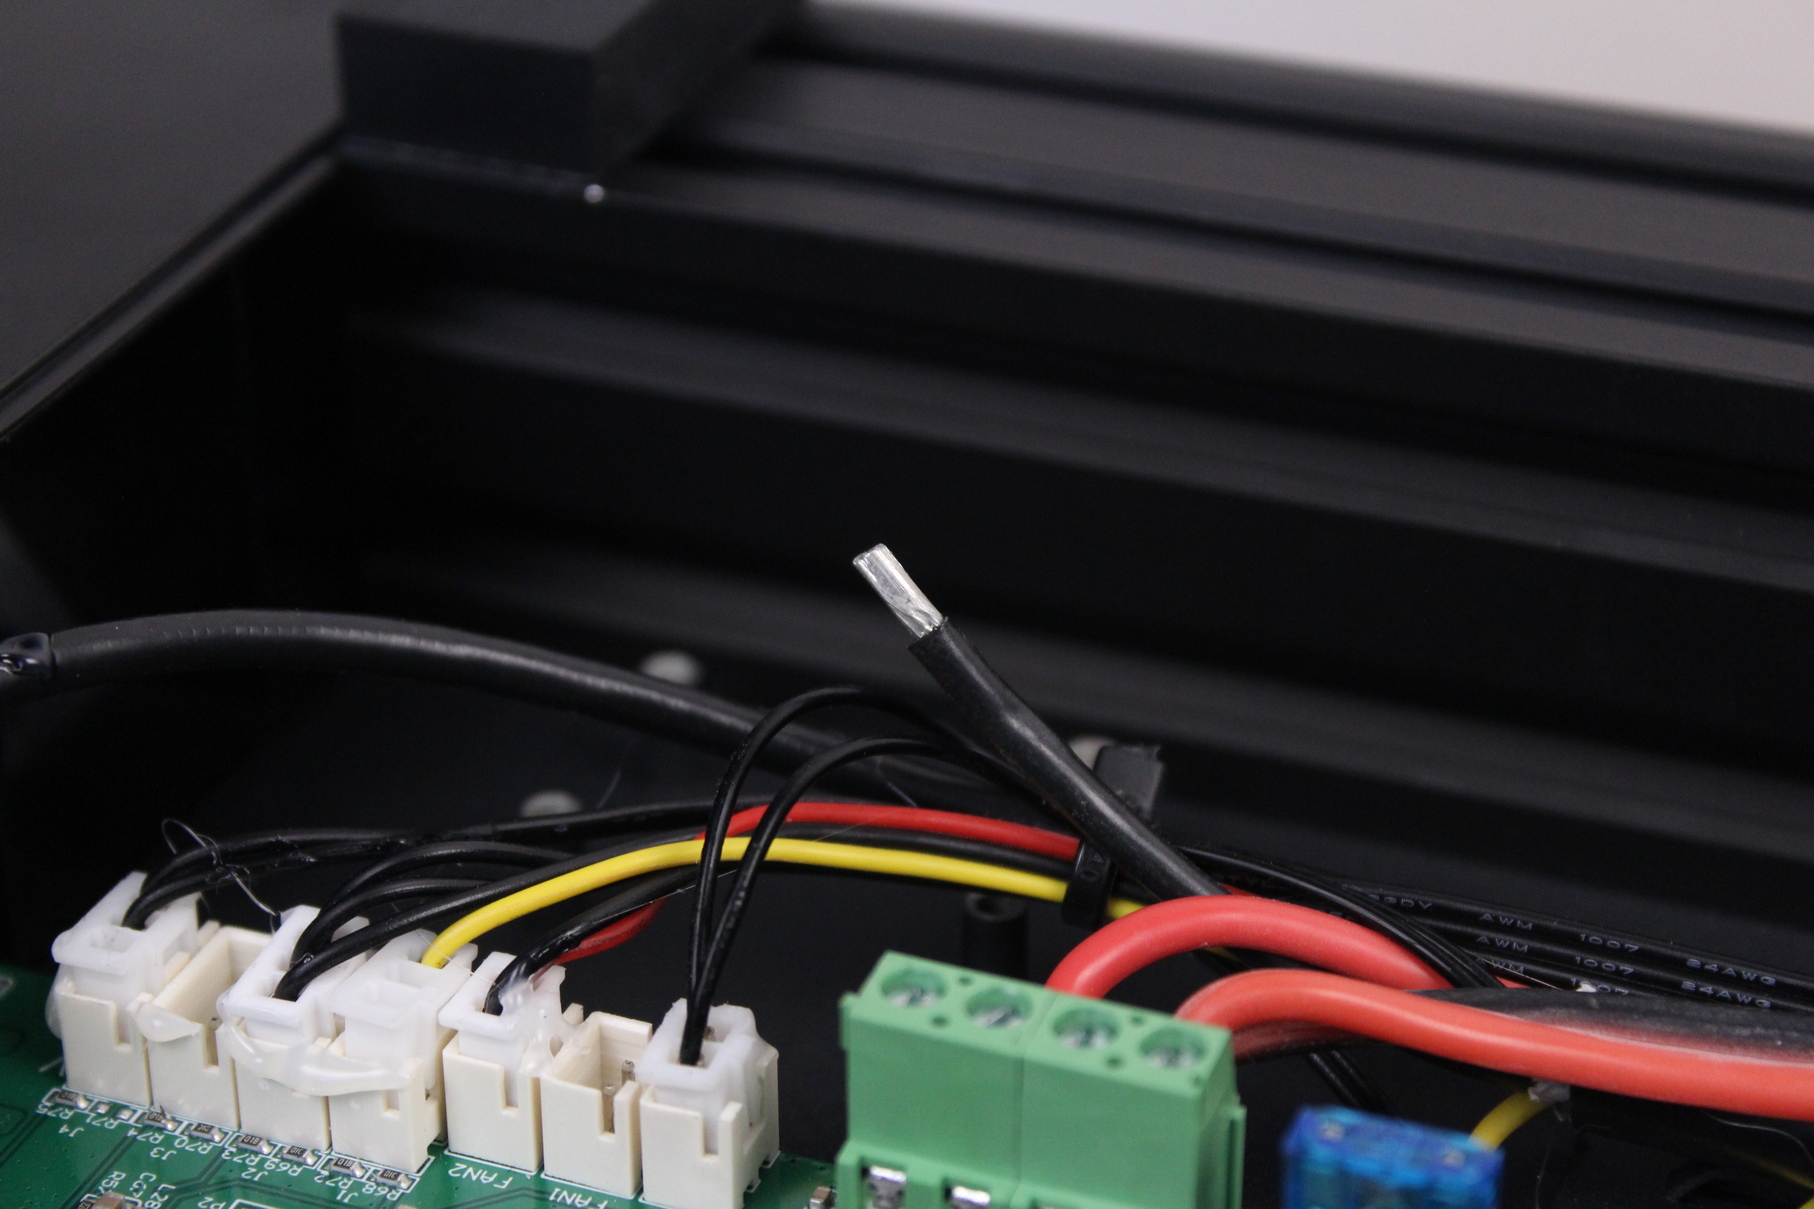
In typical Creality fashion, the power wires are tinned, and this might cause safety issues in the future. It’s recommended to cut the tinned ends and have the bare wires securely installed in the terminal (if you can’t crimp them with wire terminals).
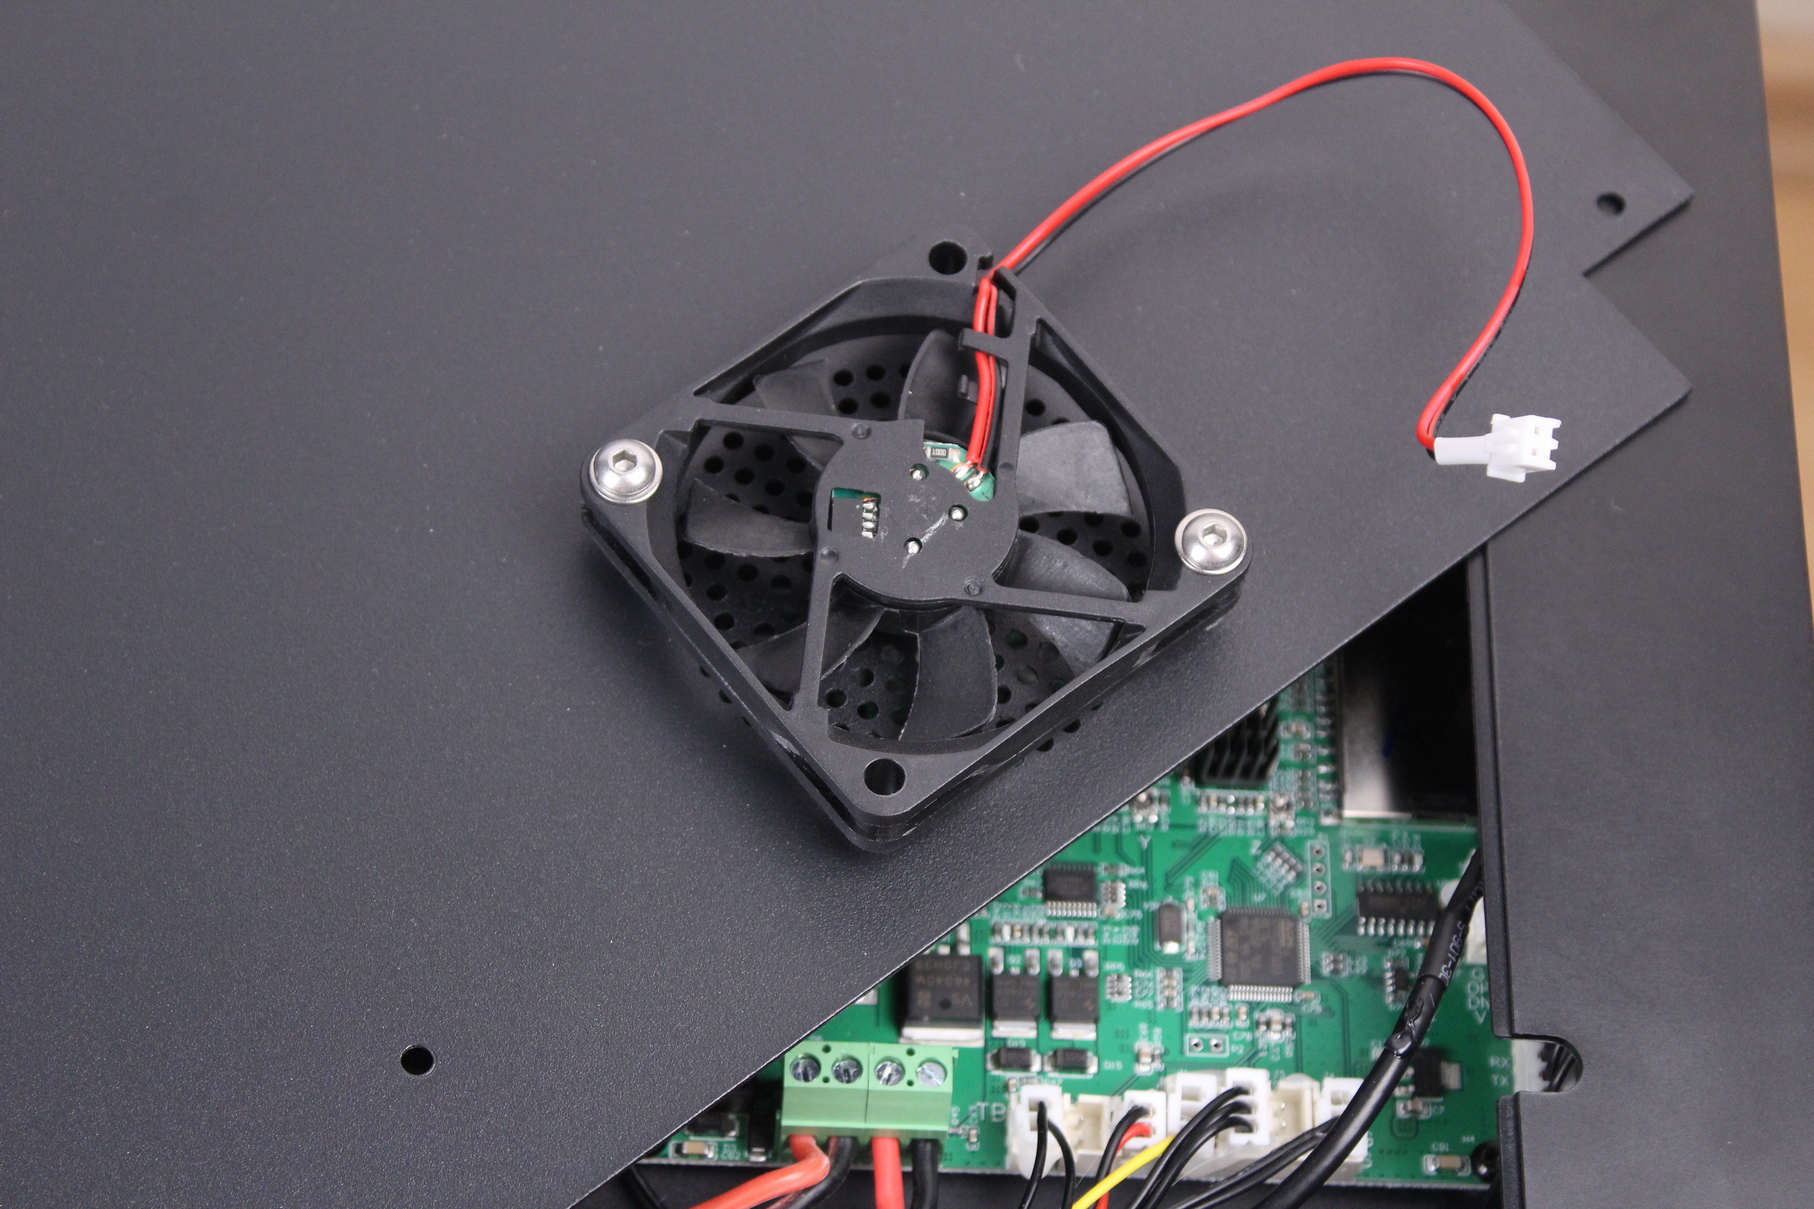
The task of keeping te board cool is handled by a 6010 24V fan which is a bit noisier than I would like. But it gets the job done.
Network connection via Wi-Fi or LAN cable
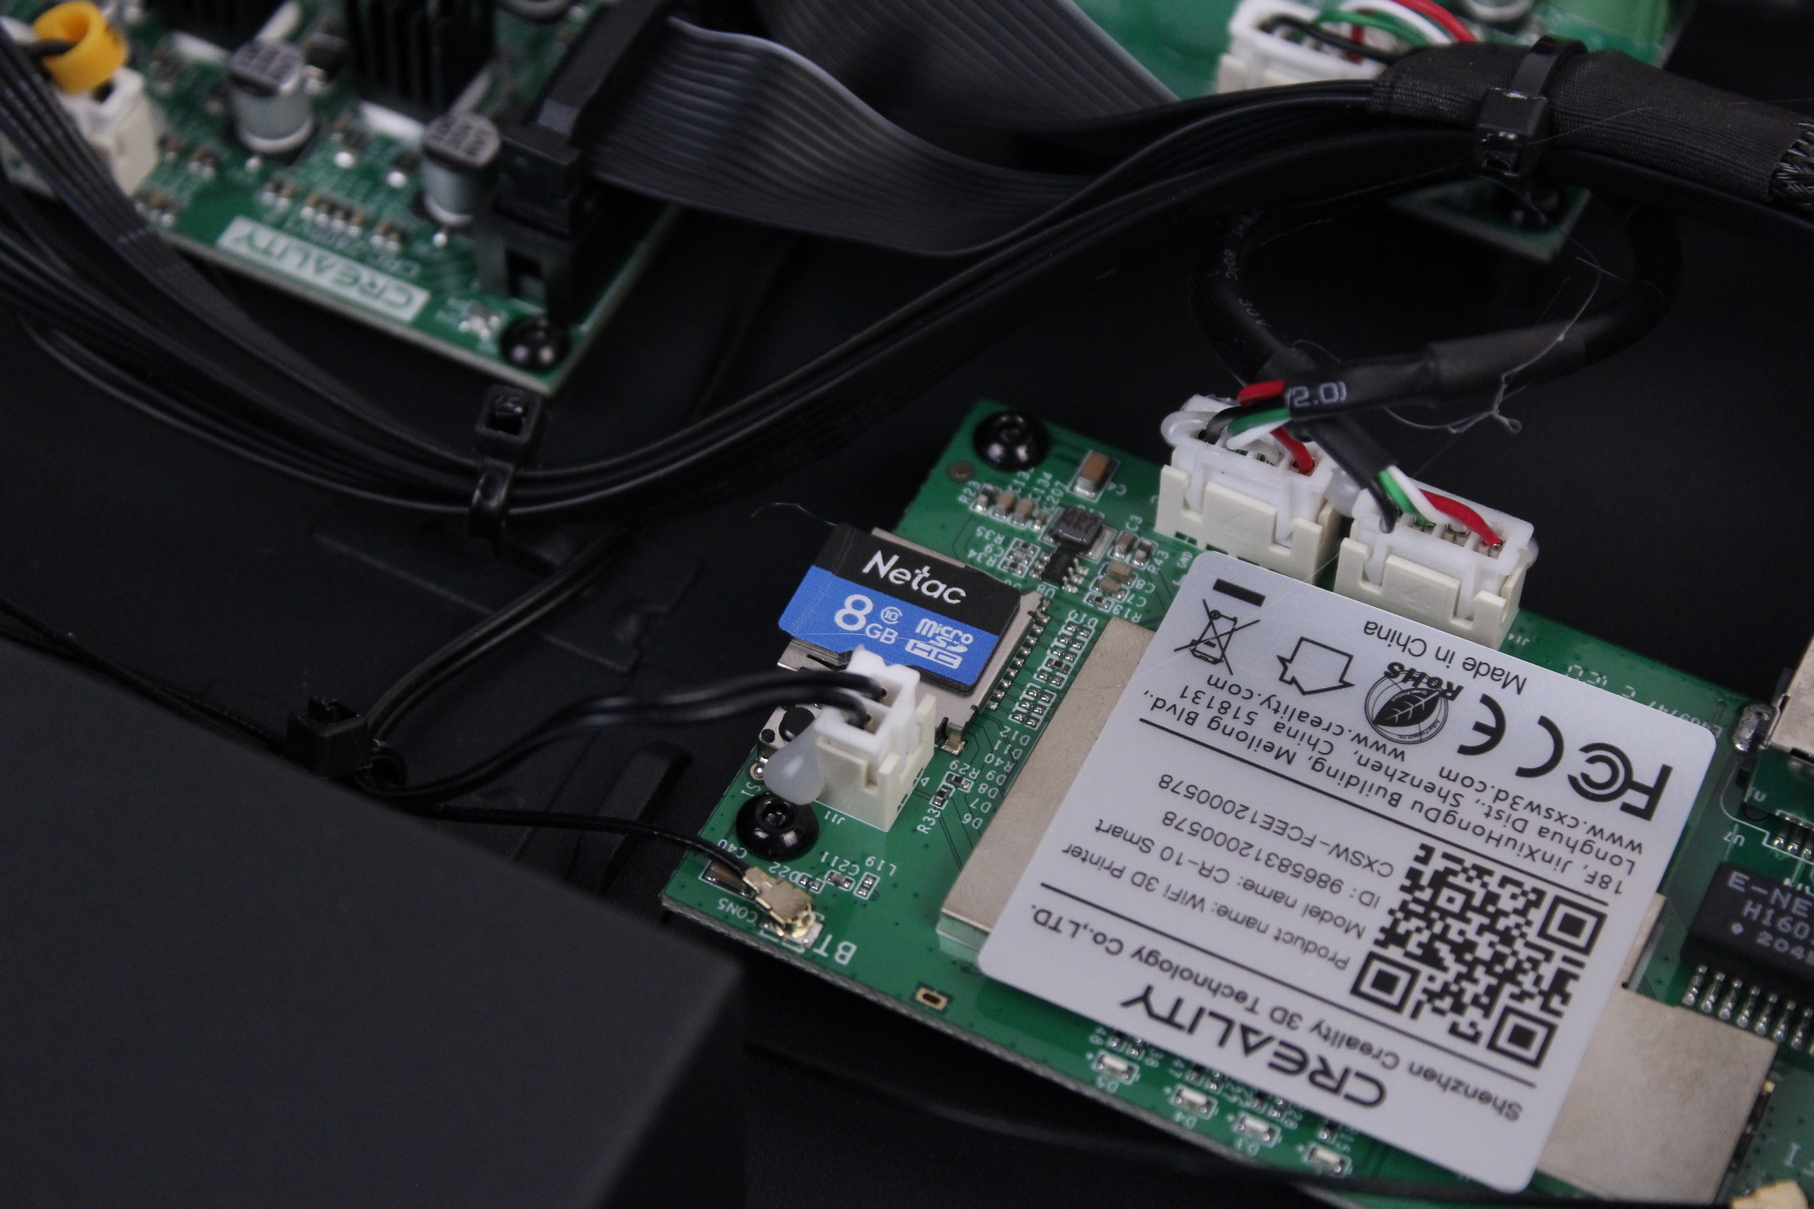
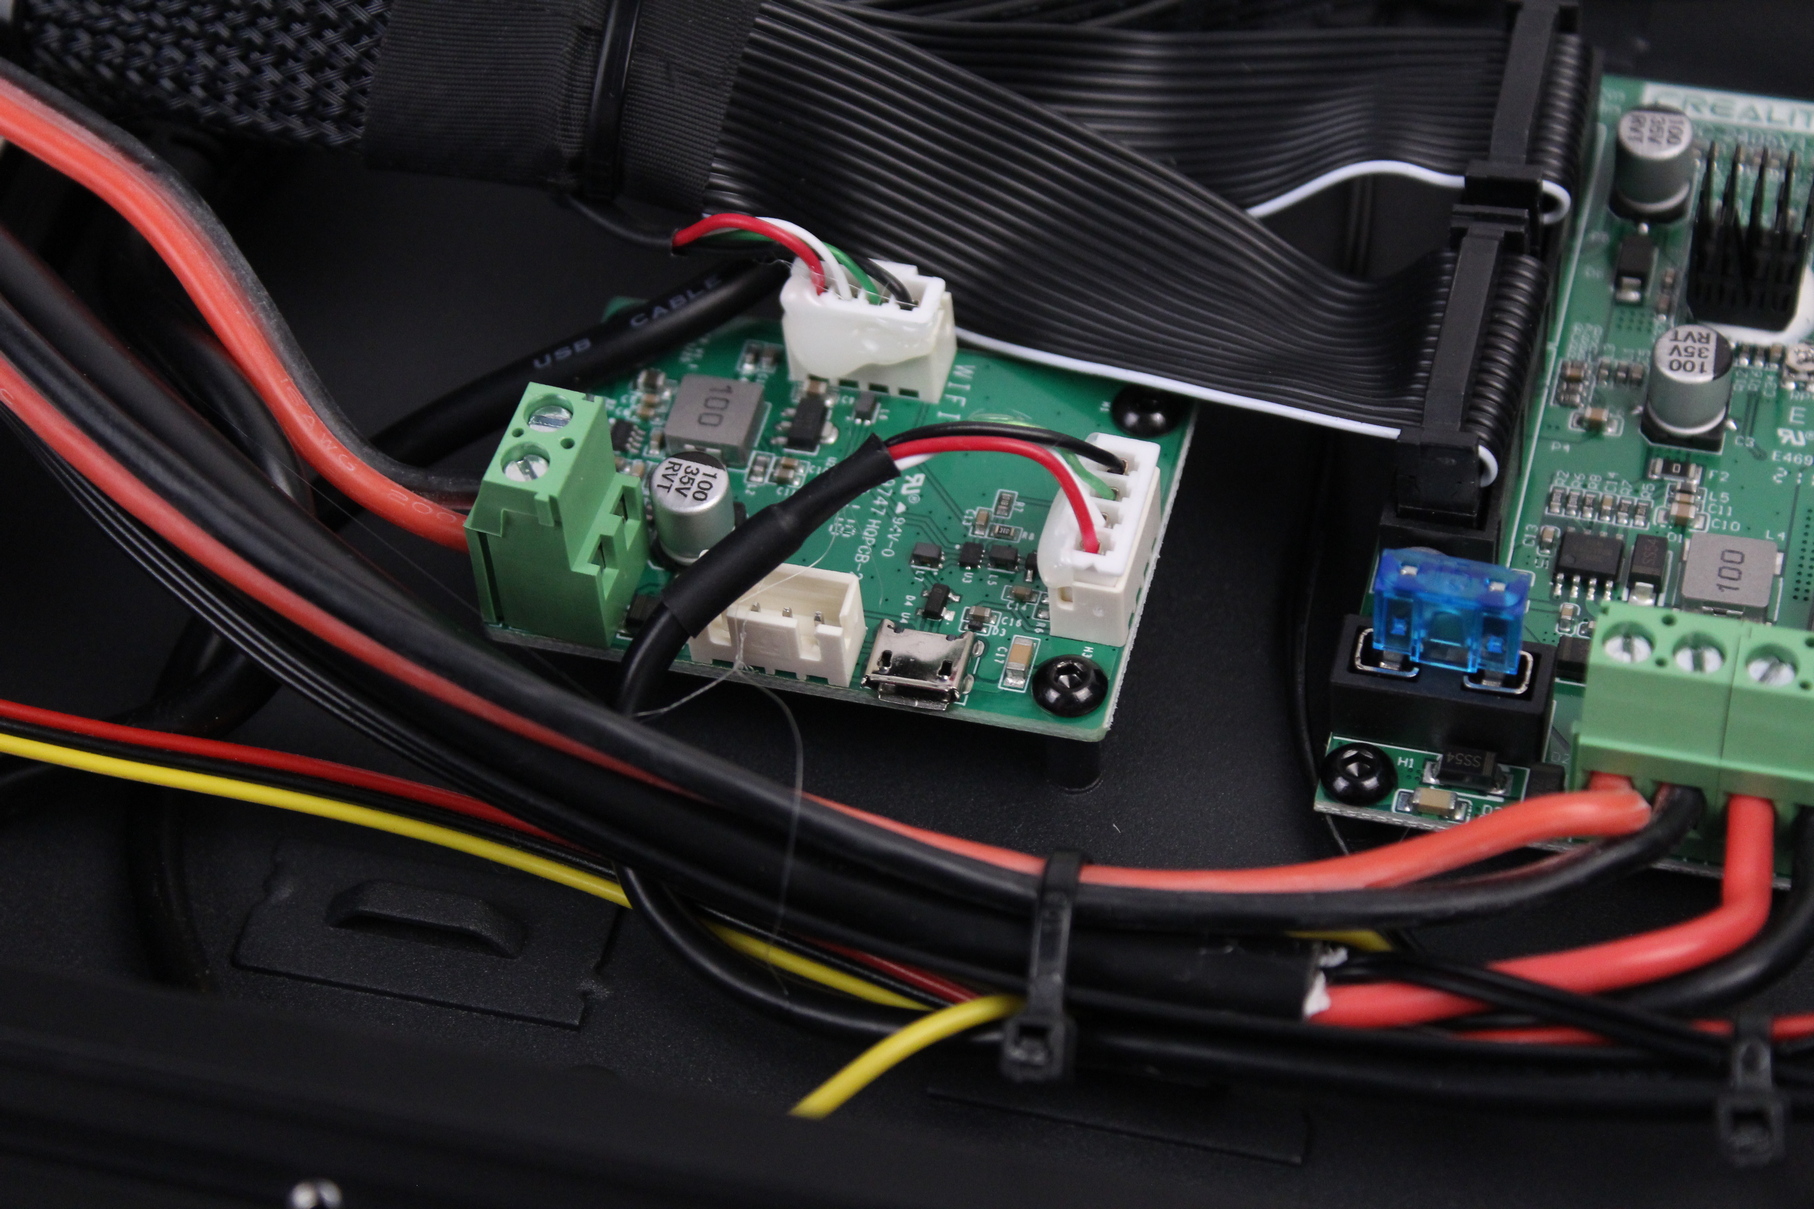
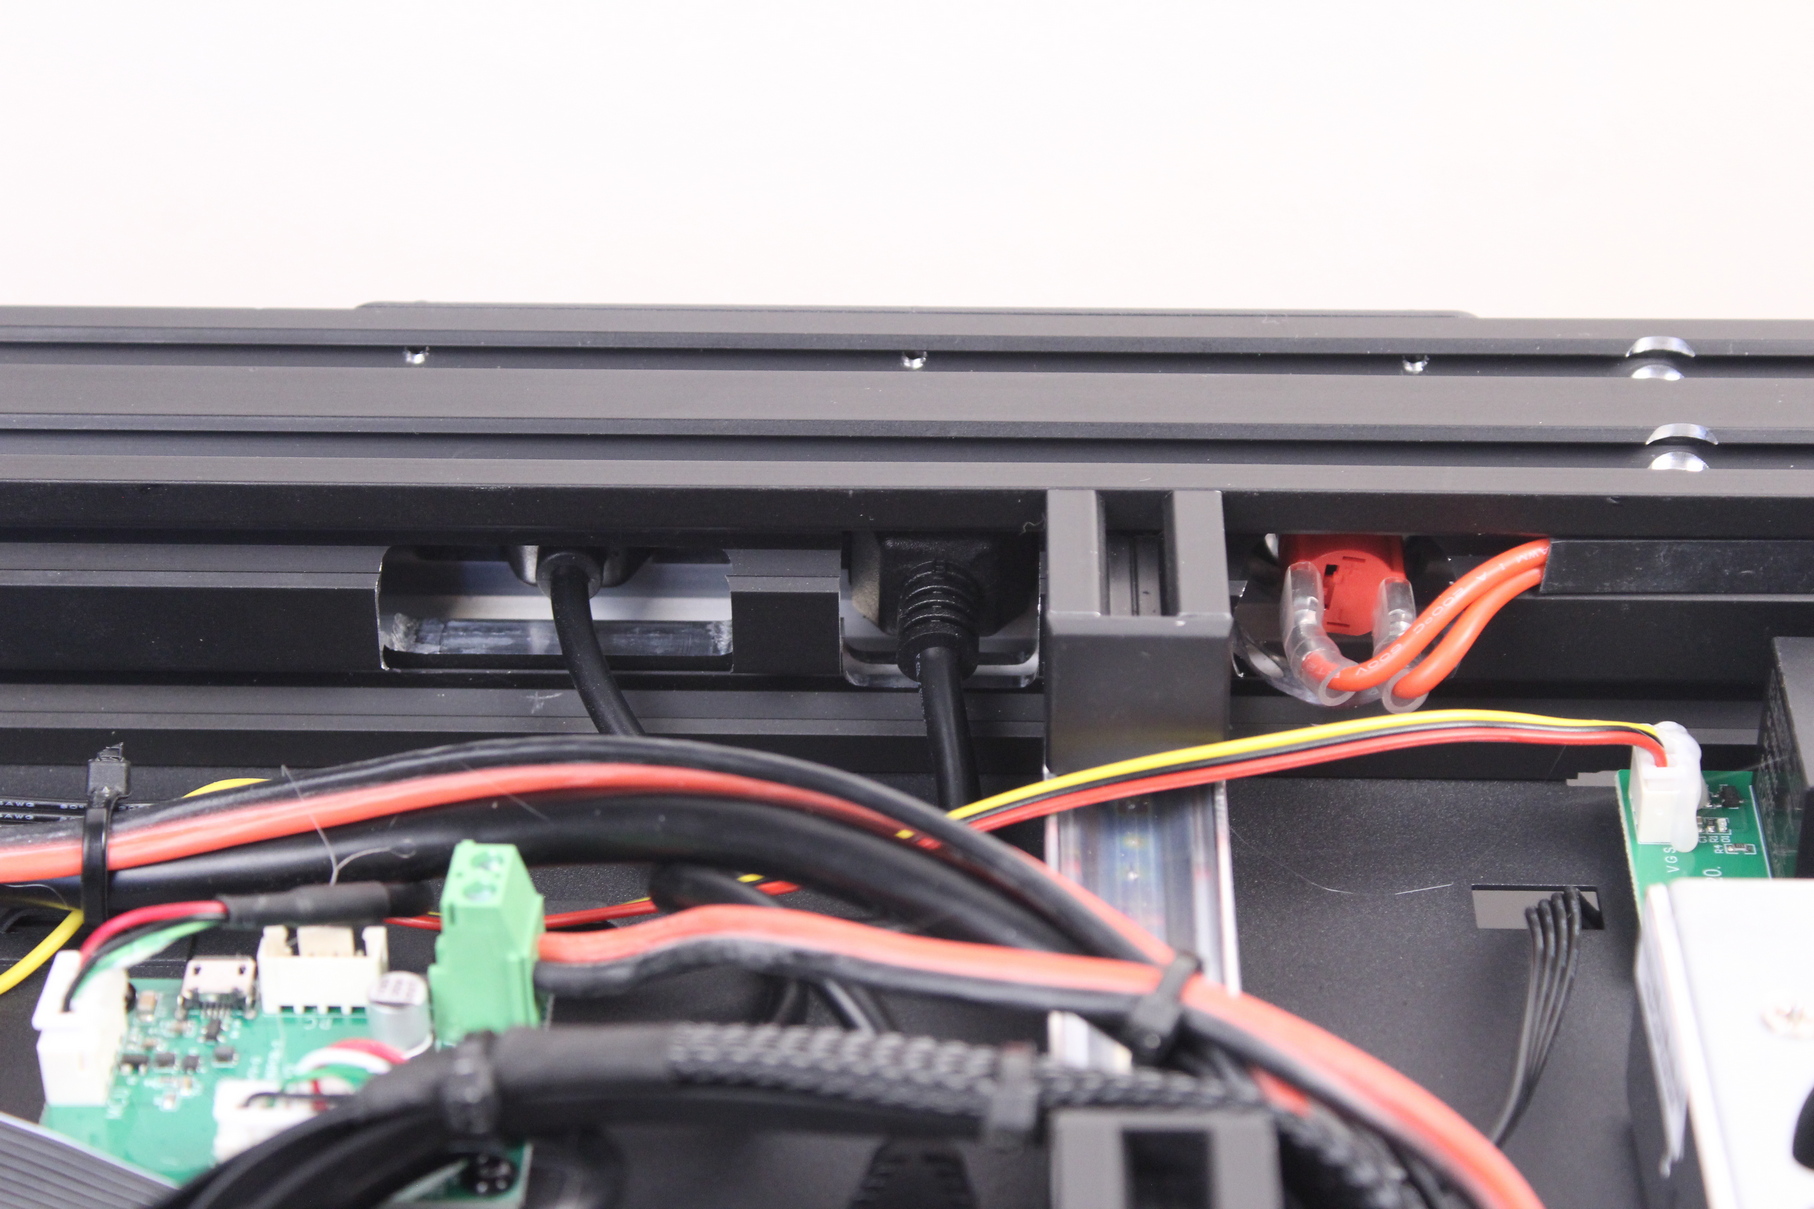
The Creality CR-10 Smart gets hist “smart” name because of the inclusion of a Creality Box inside the machine. This is connected to the printer board in order to be used with Creality Cloud via Wi-Fi or through the LAN port.
Auto power off
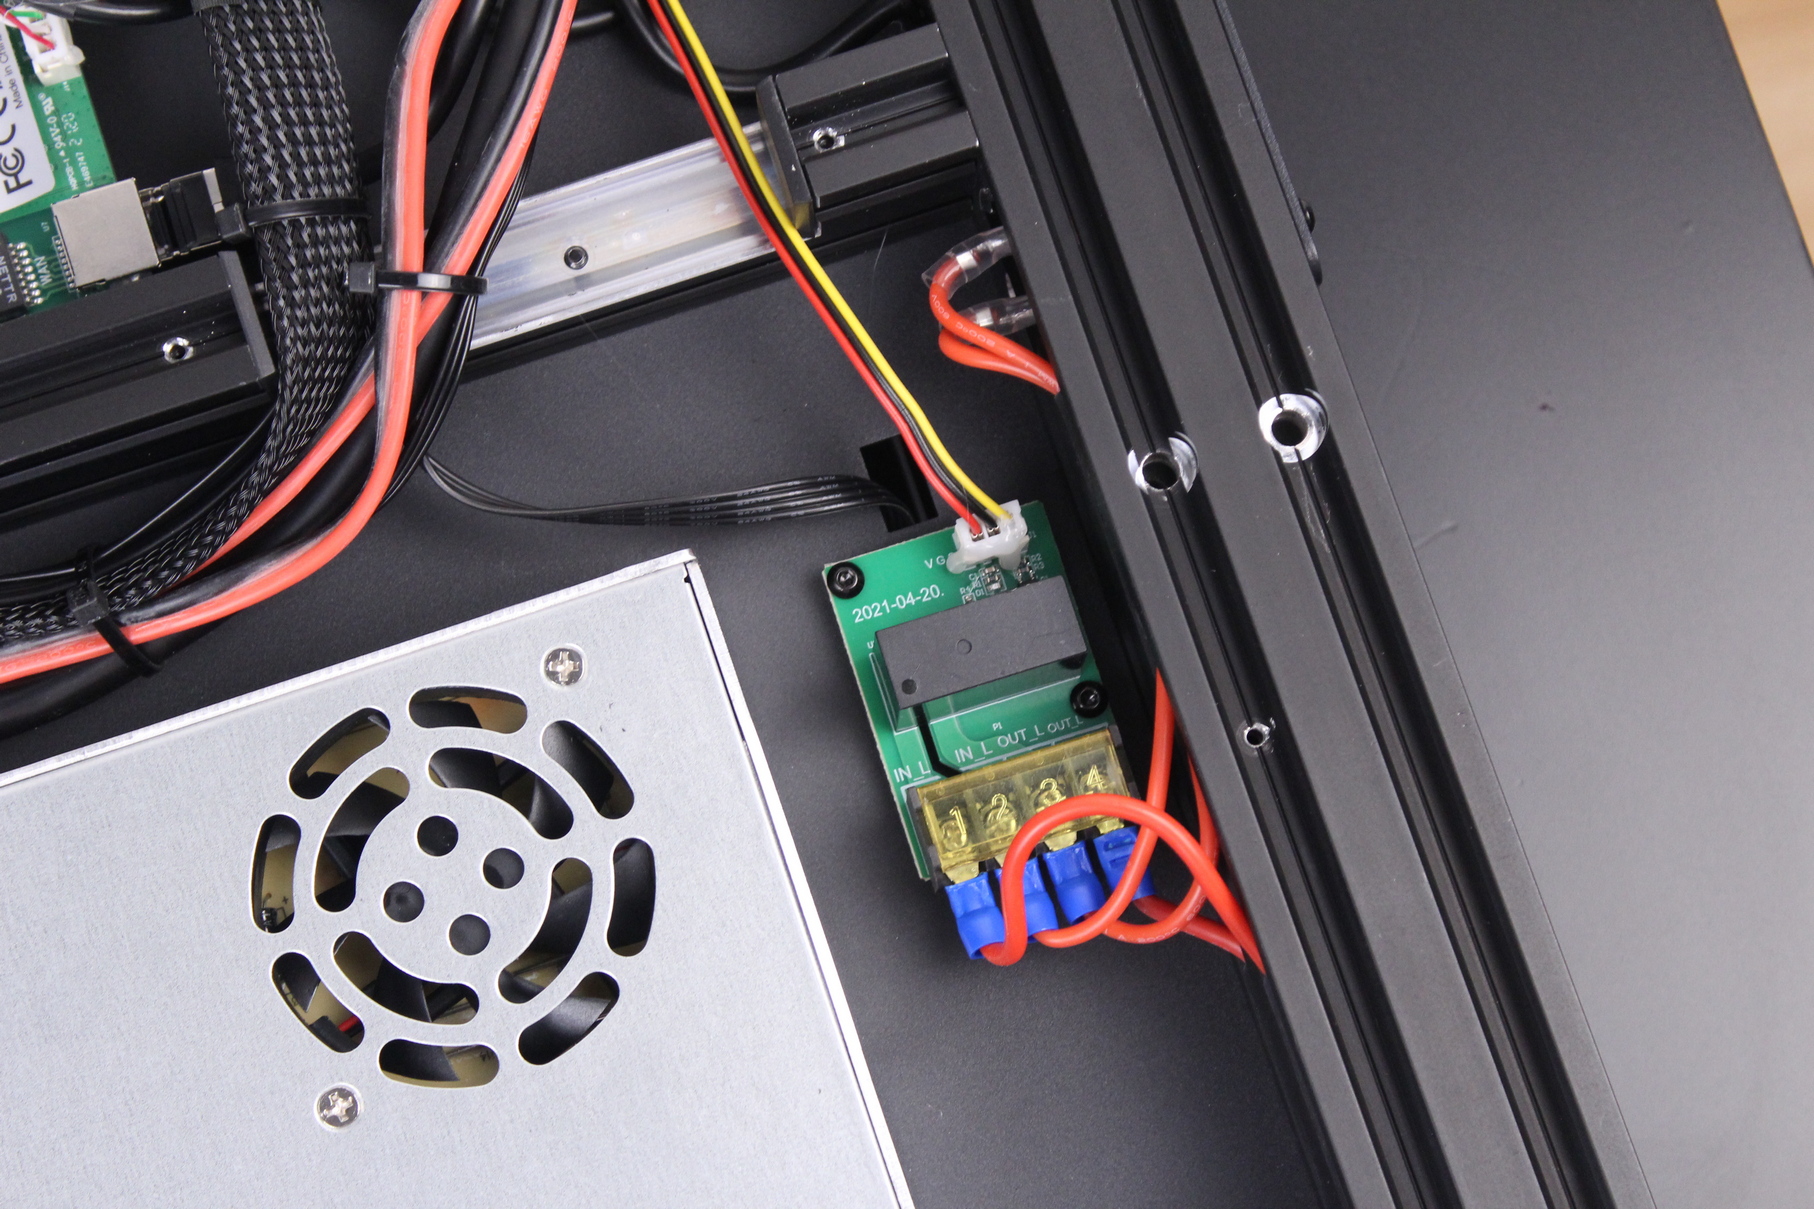
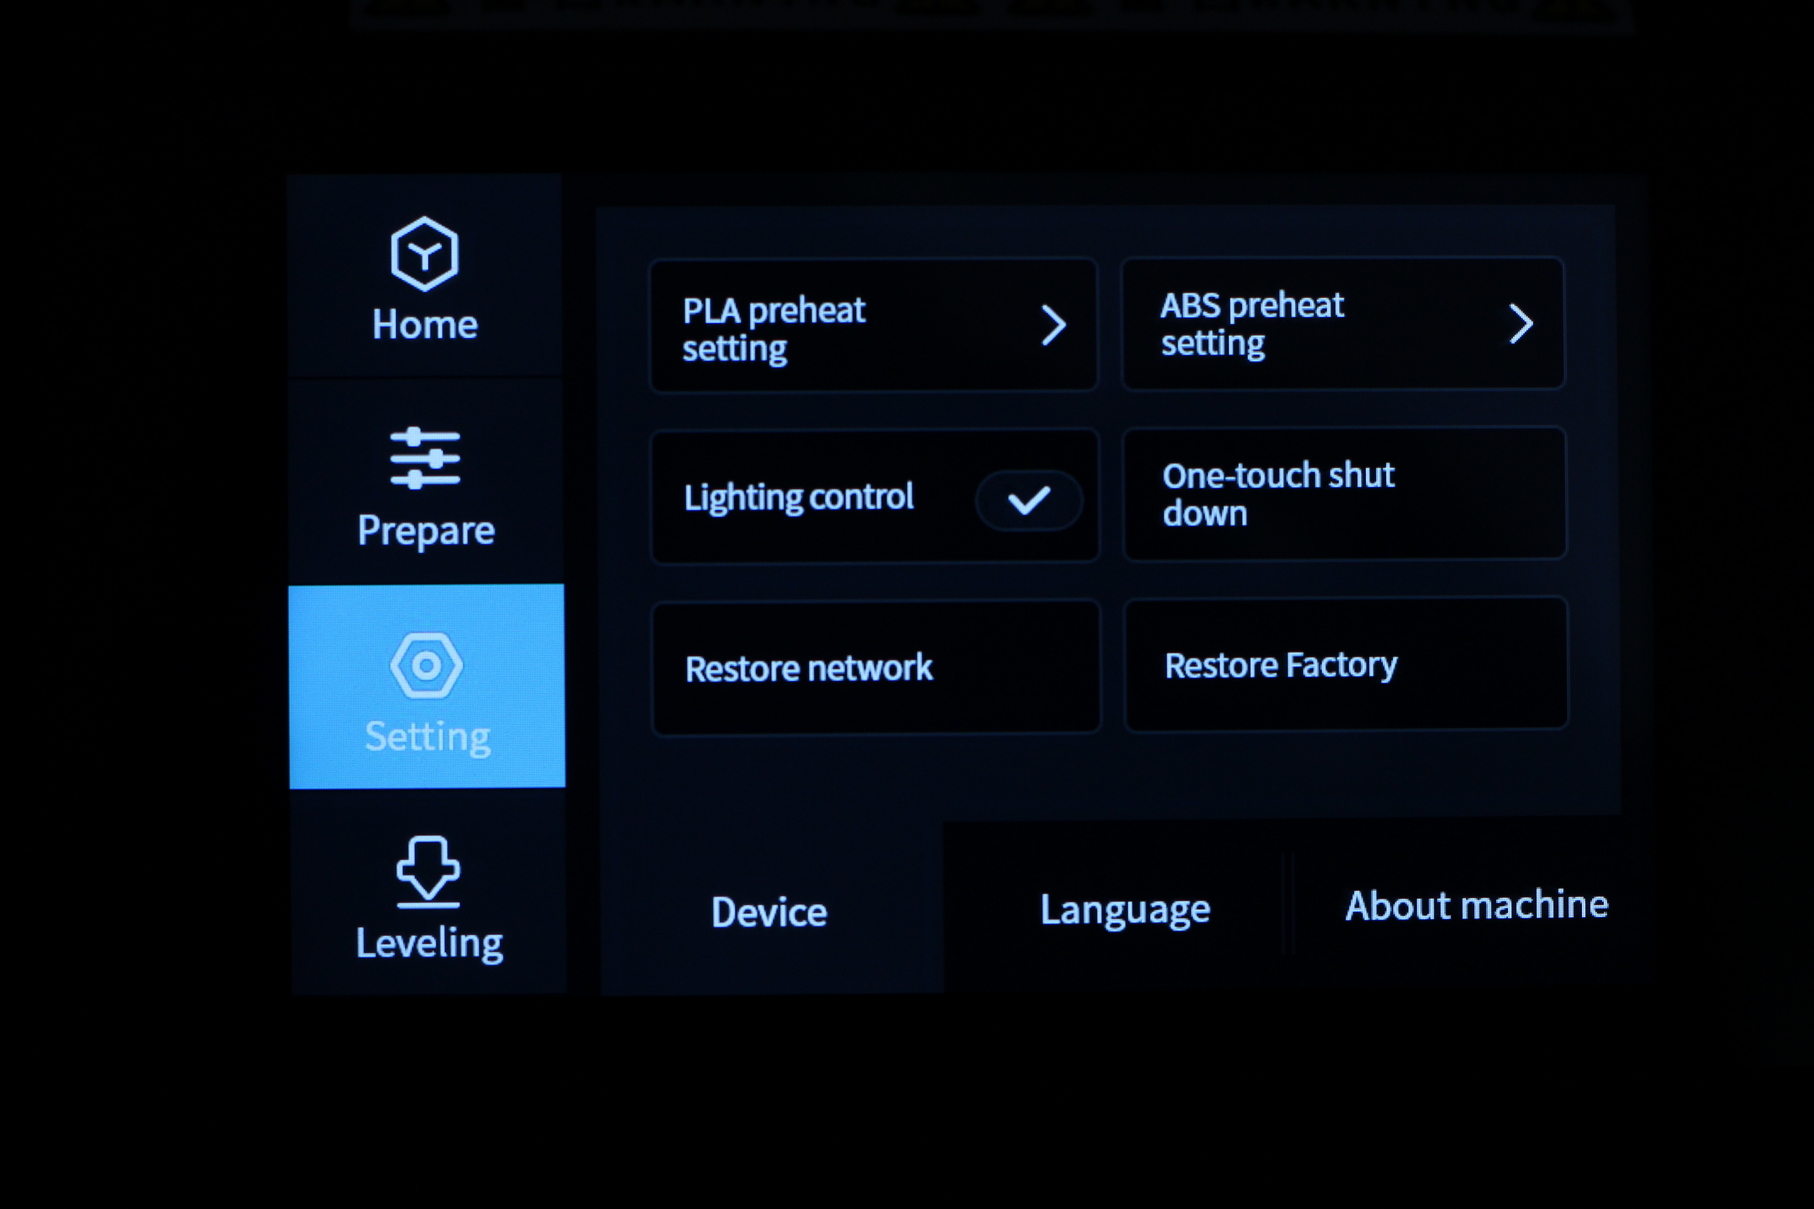
The Creality CR-10 Smart also comes with a power relay installed, which allows the printer to be shut down automatically when a print is completed. The function is present on the touchscreen menu. When it’s enabled, the printer waits for a few minutes for the hotend to cool down, then it cuts the power.
4.3-inch touchscreen
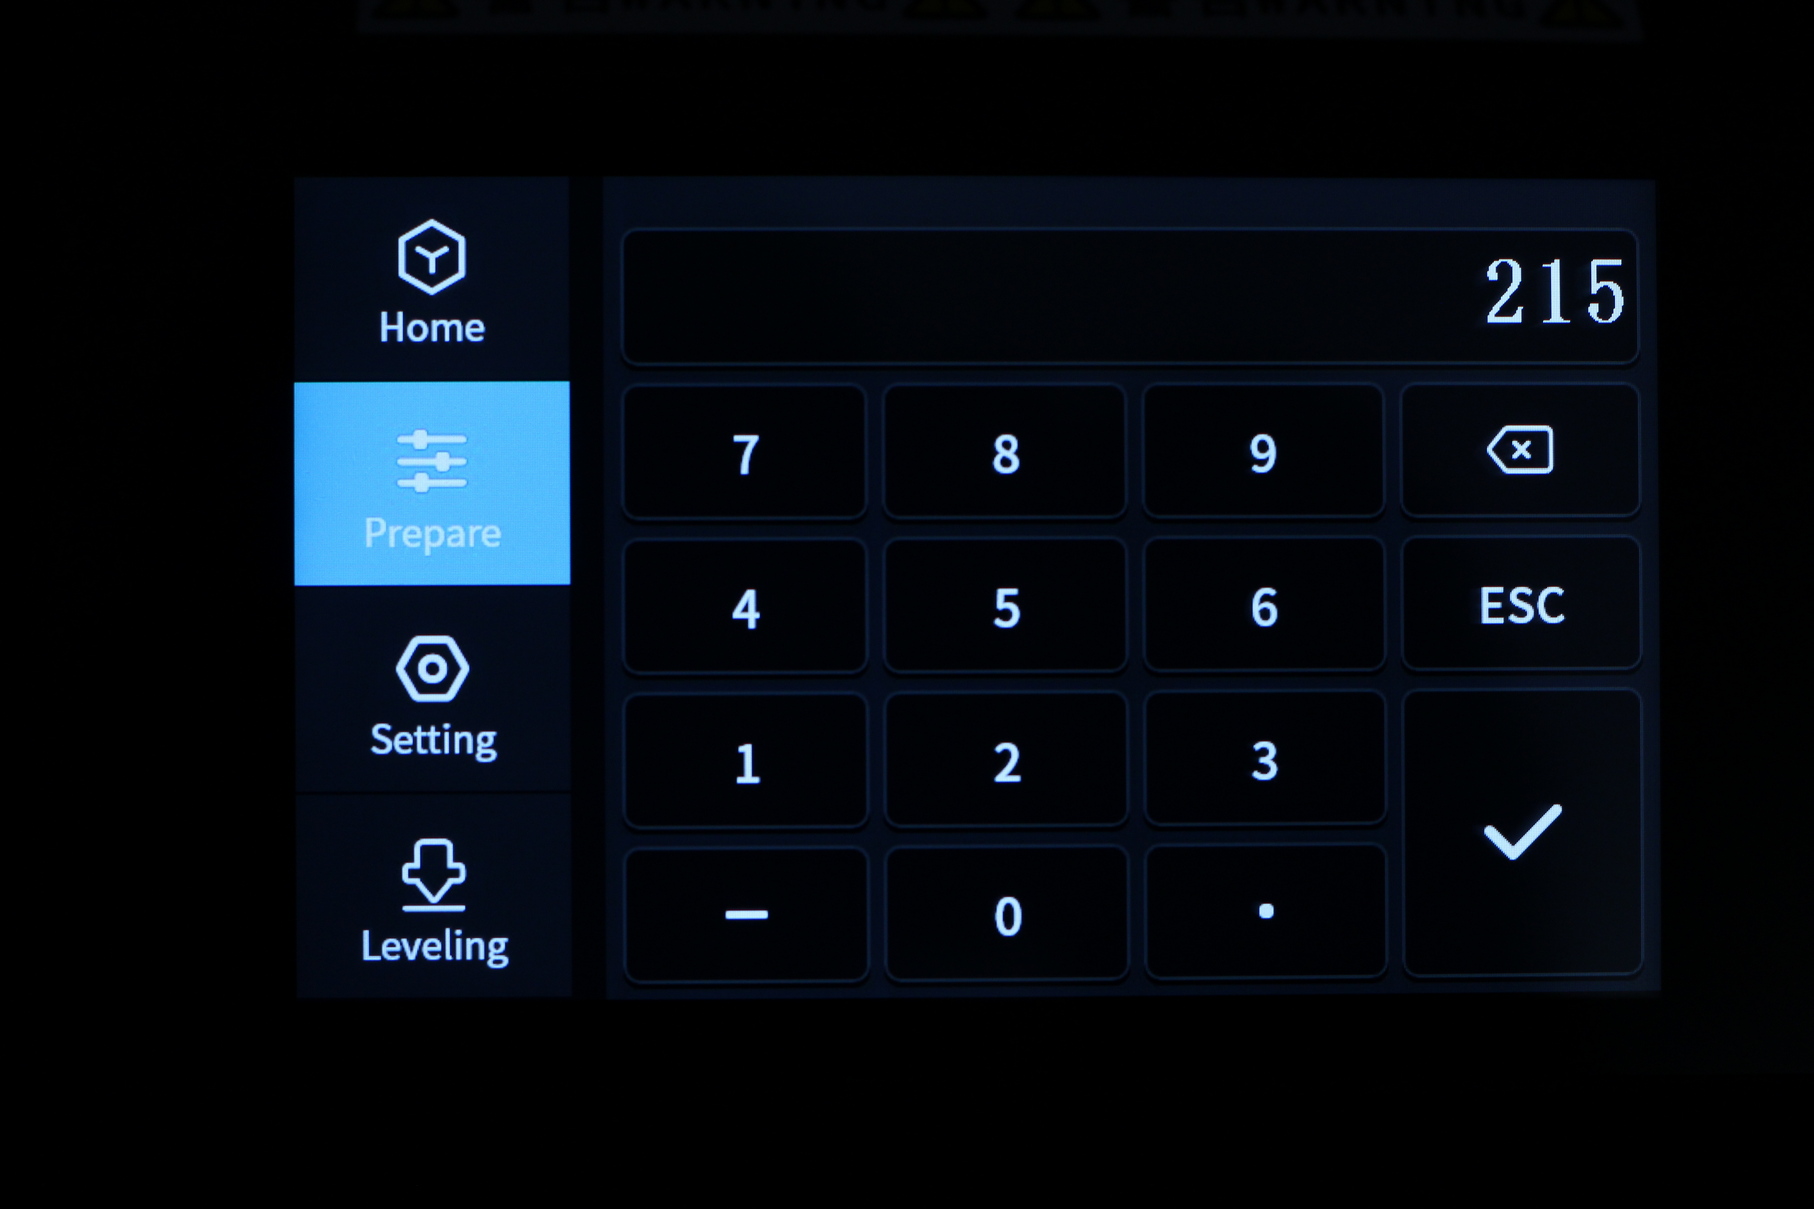
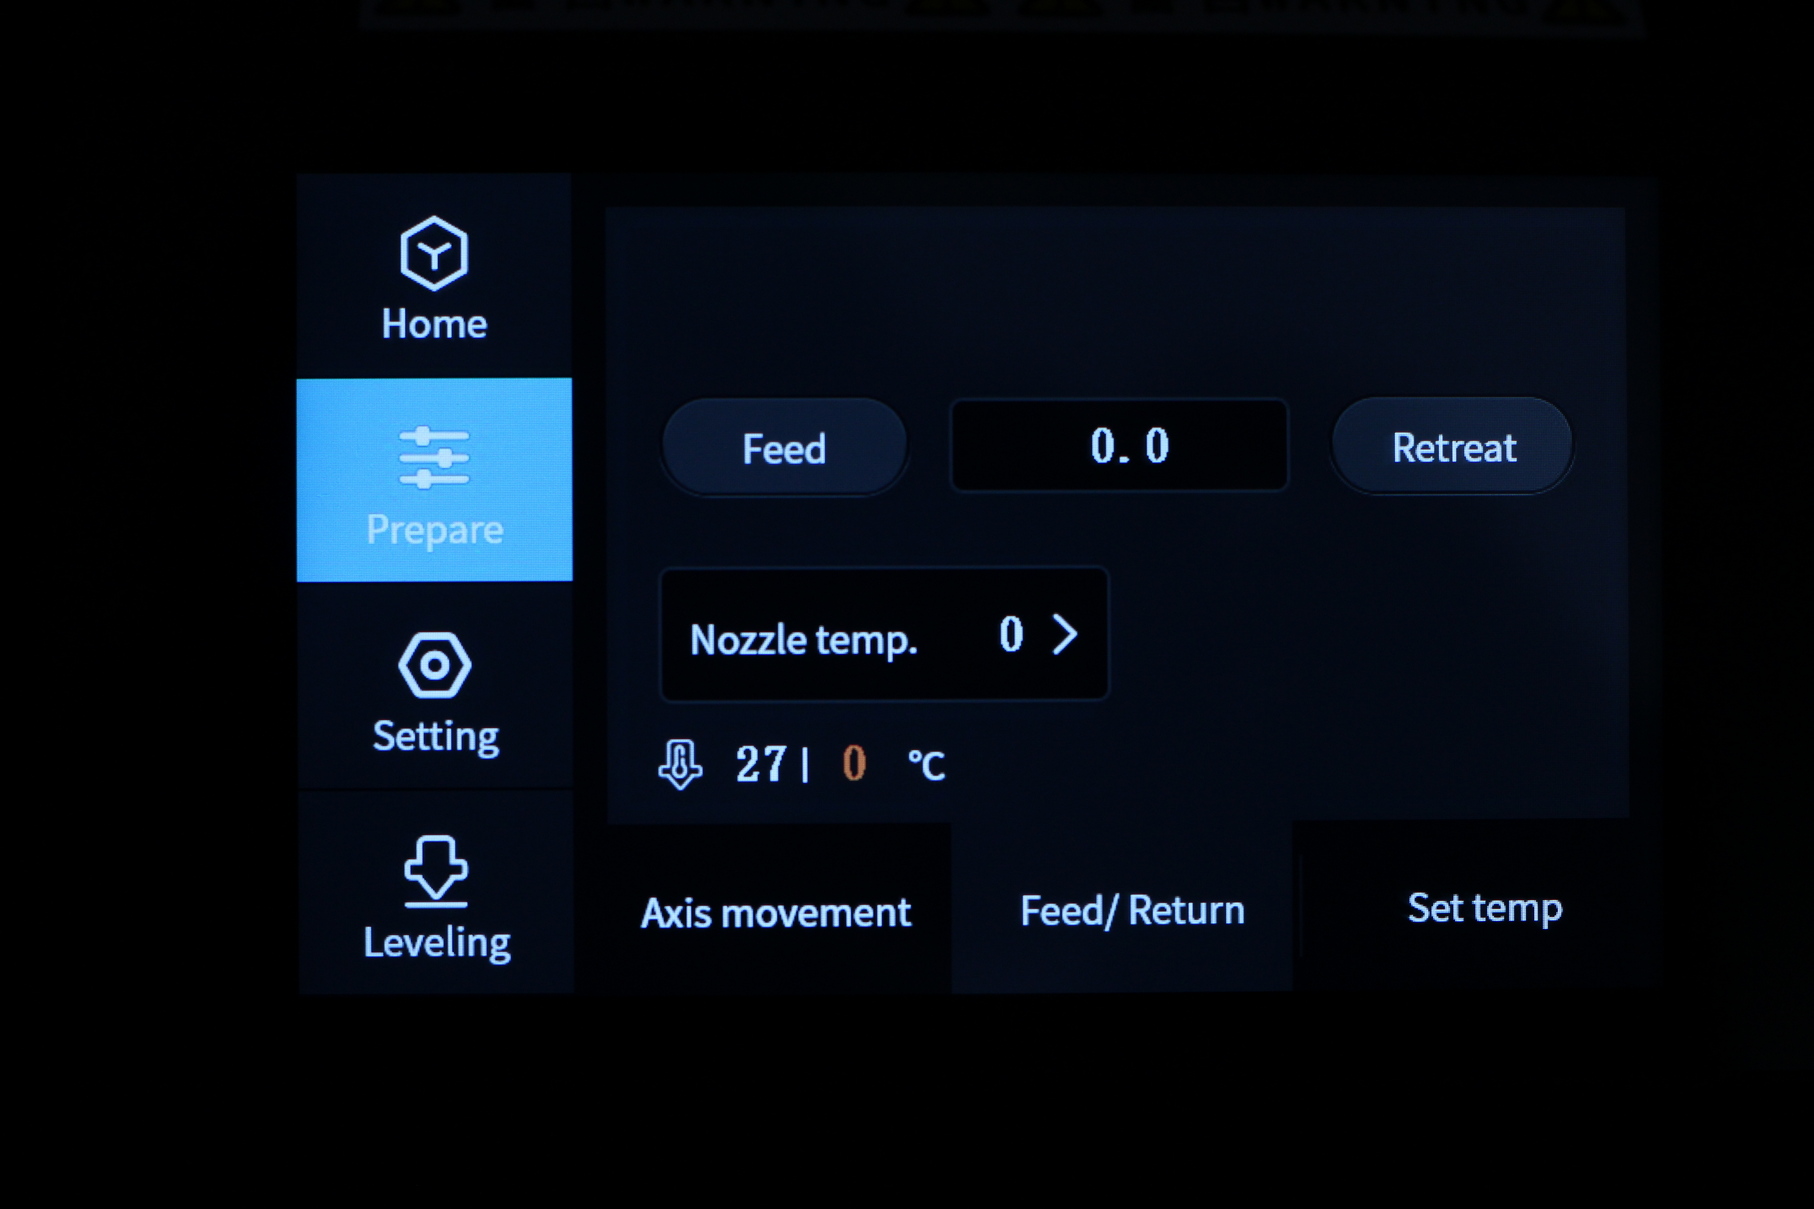
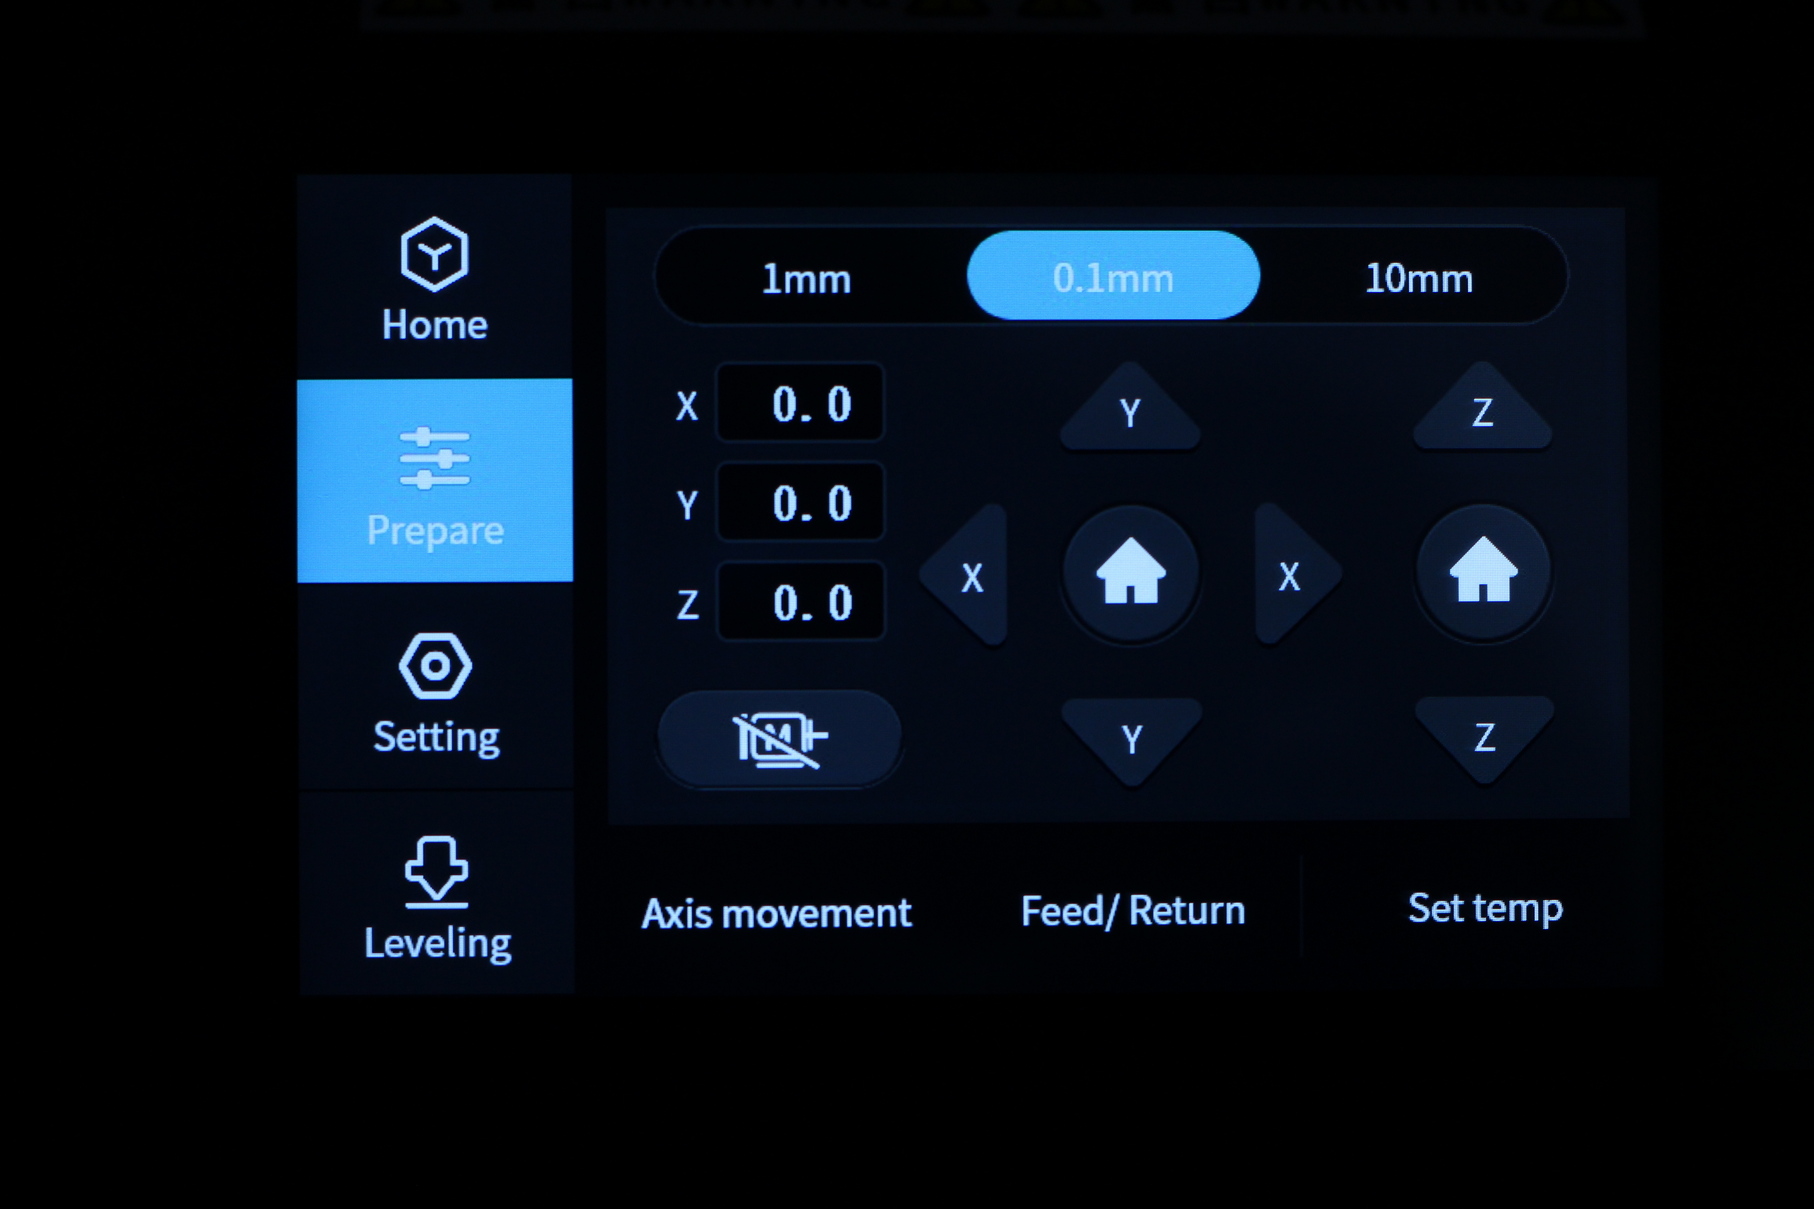
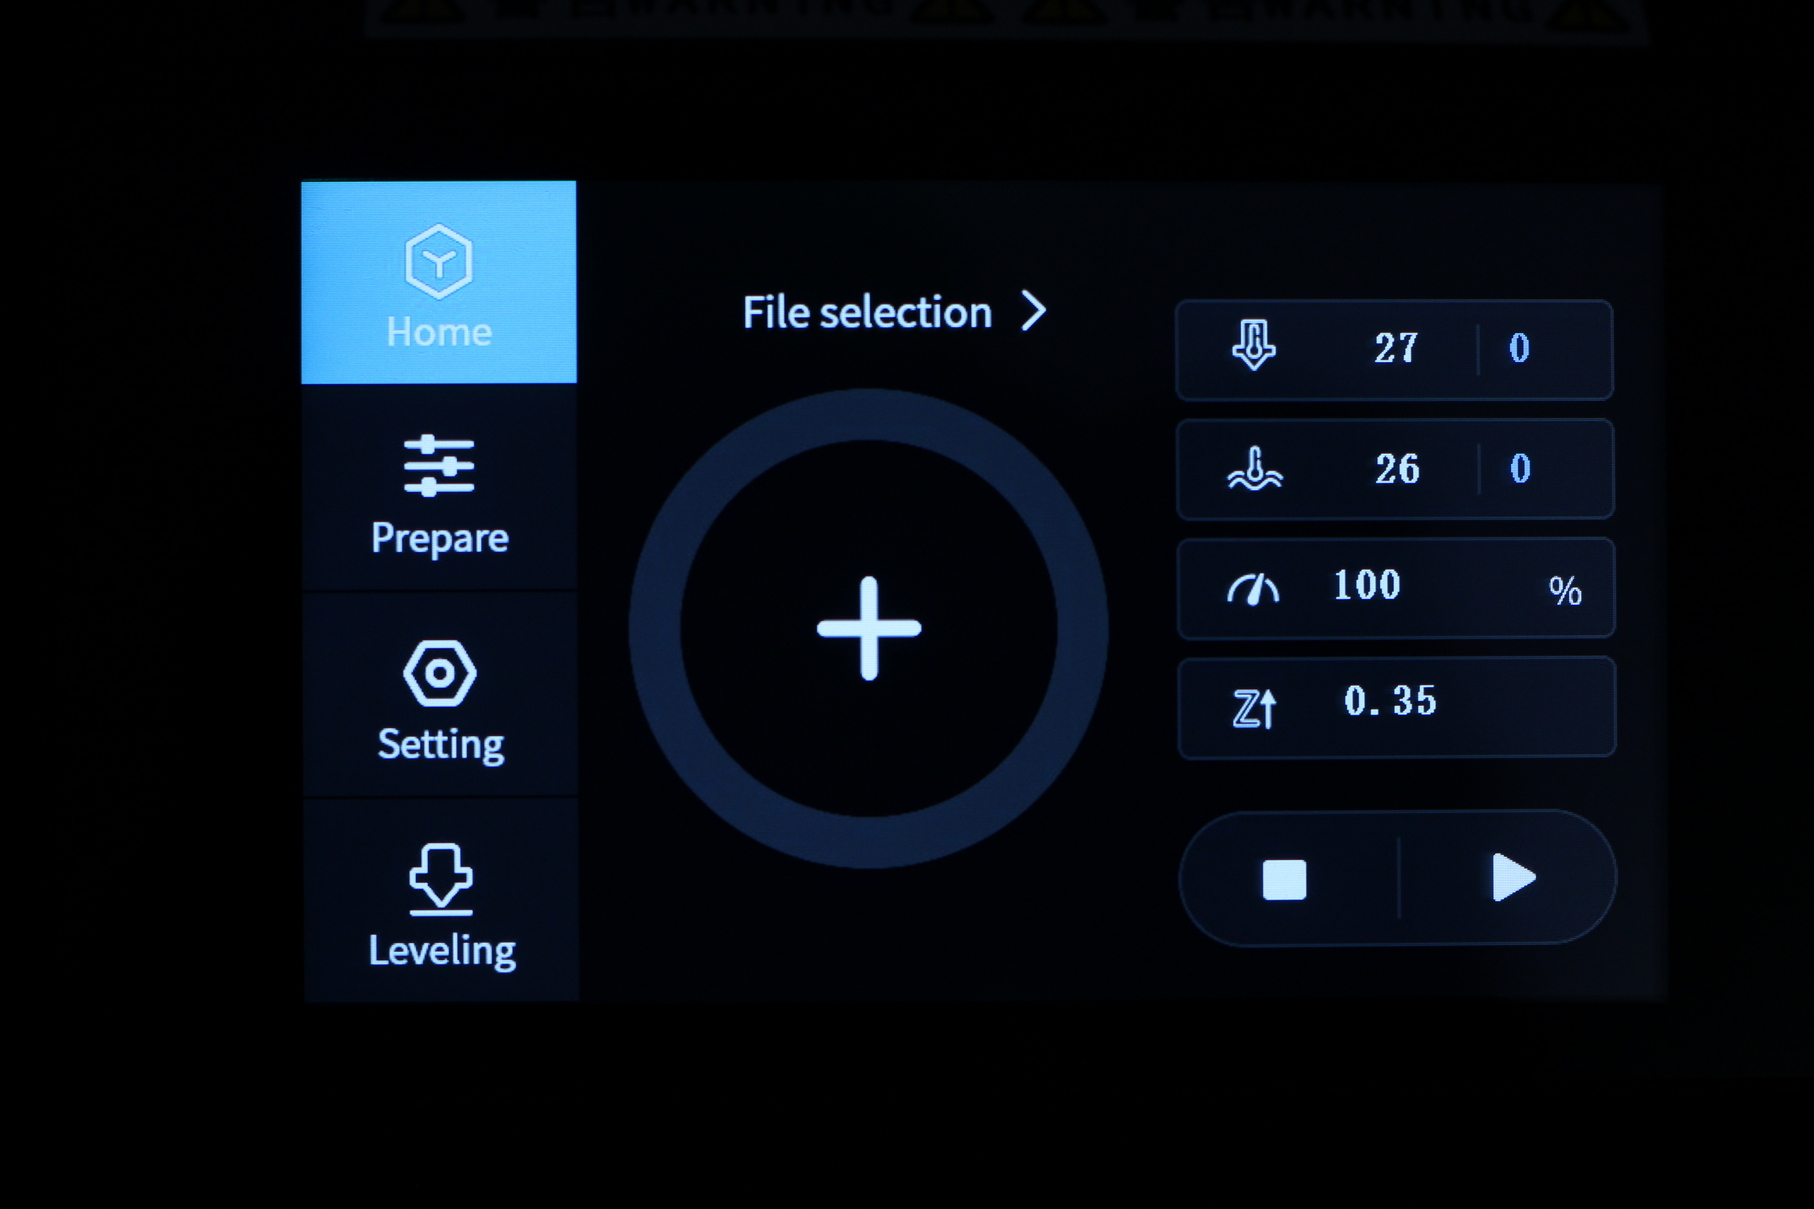
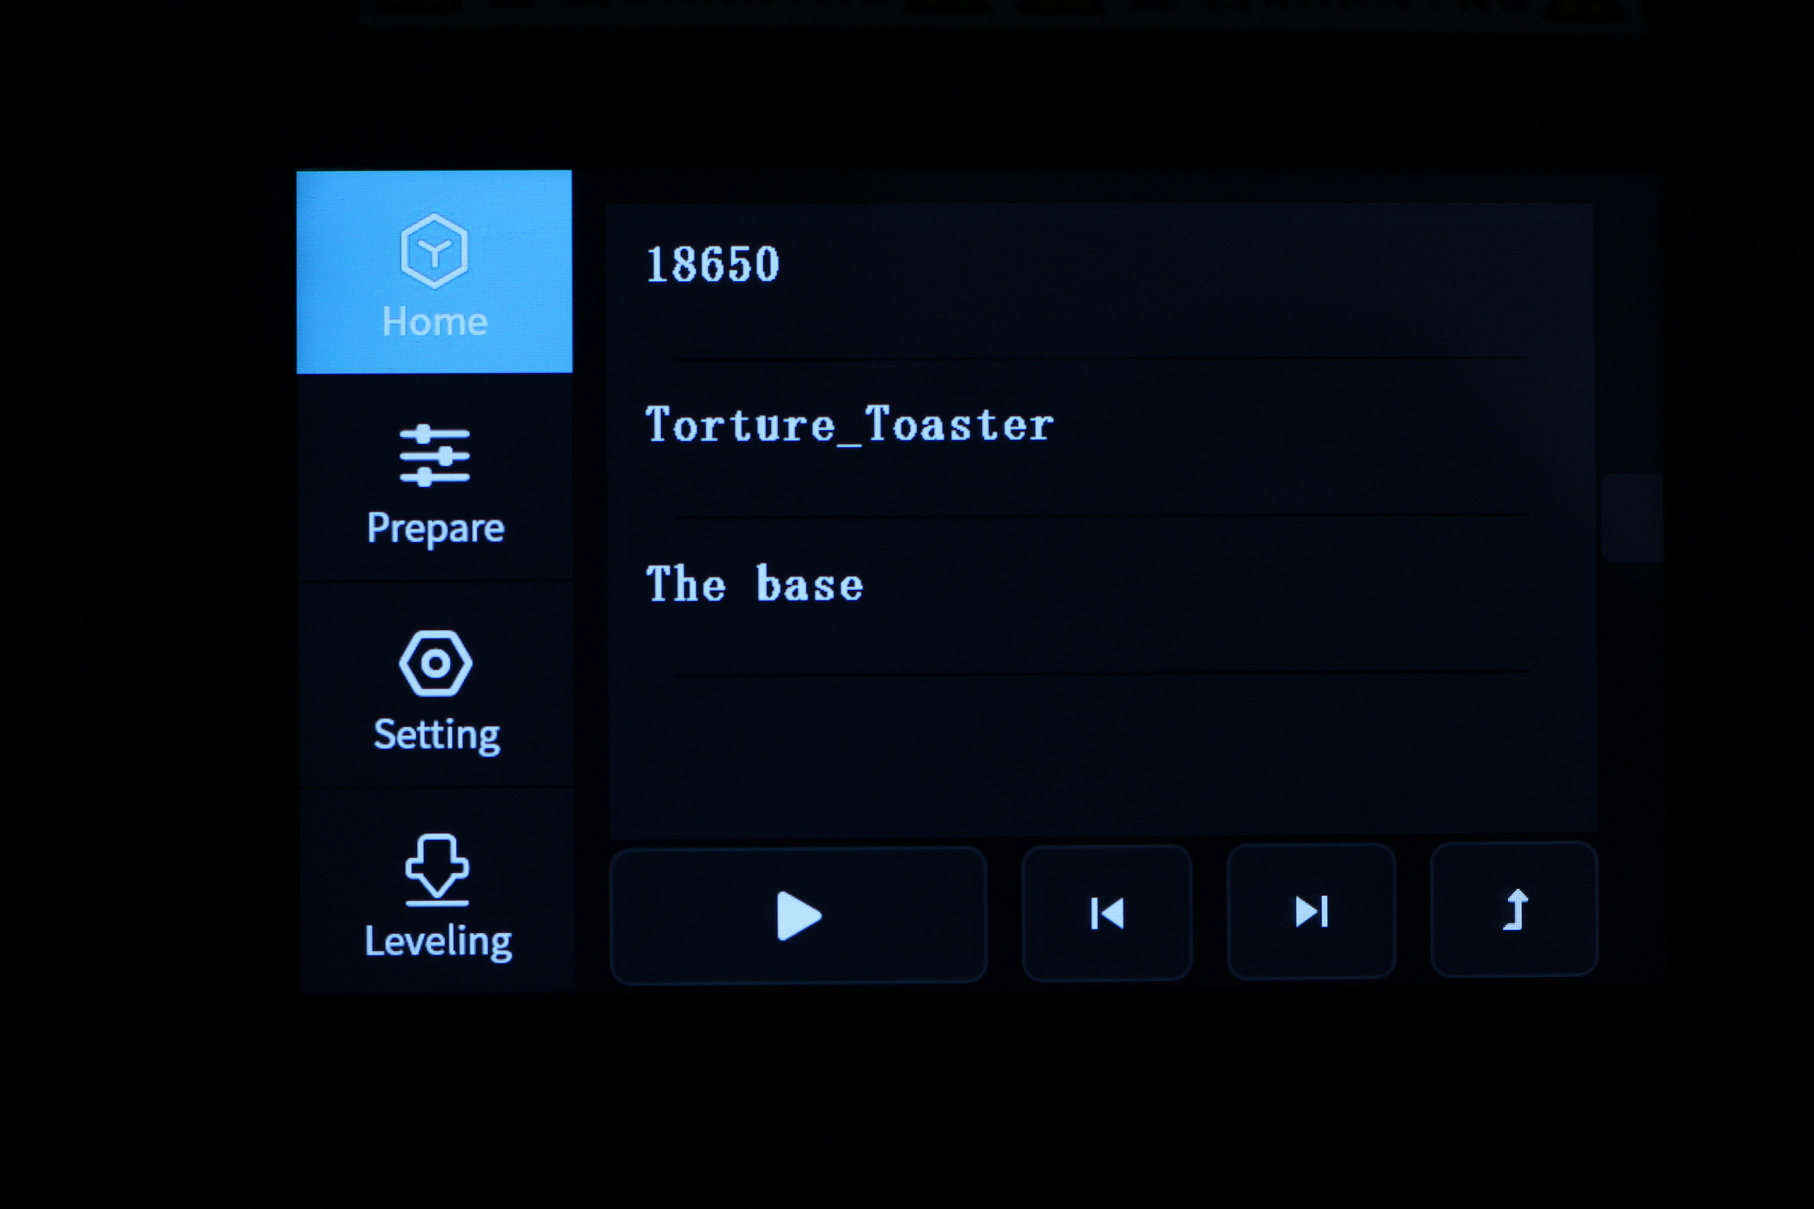
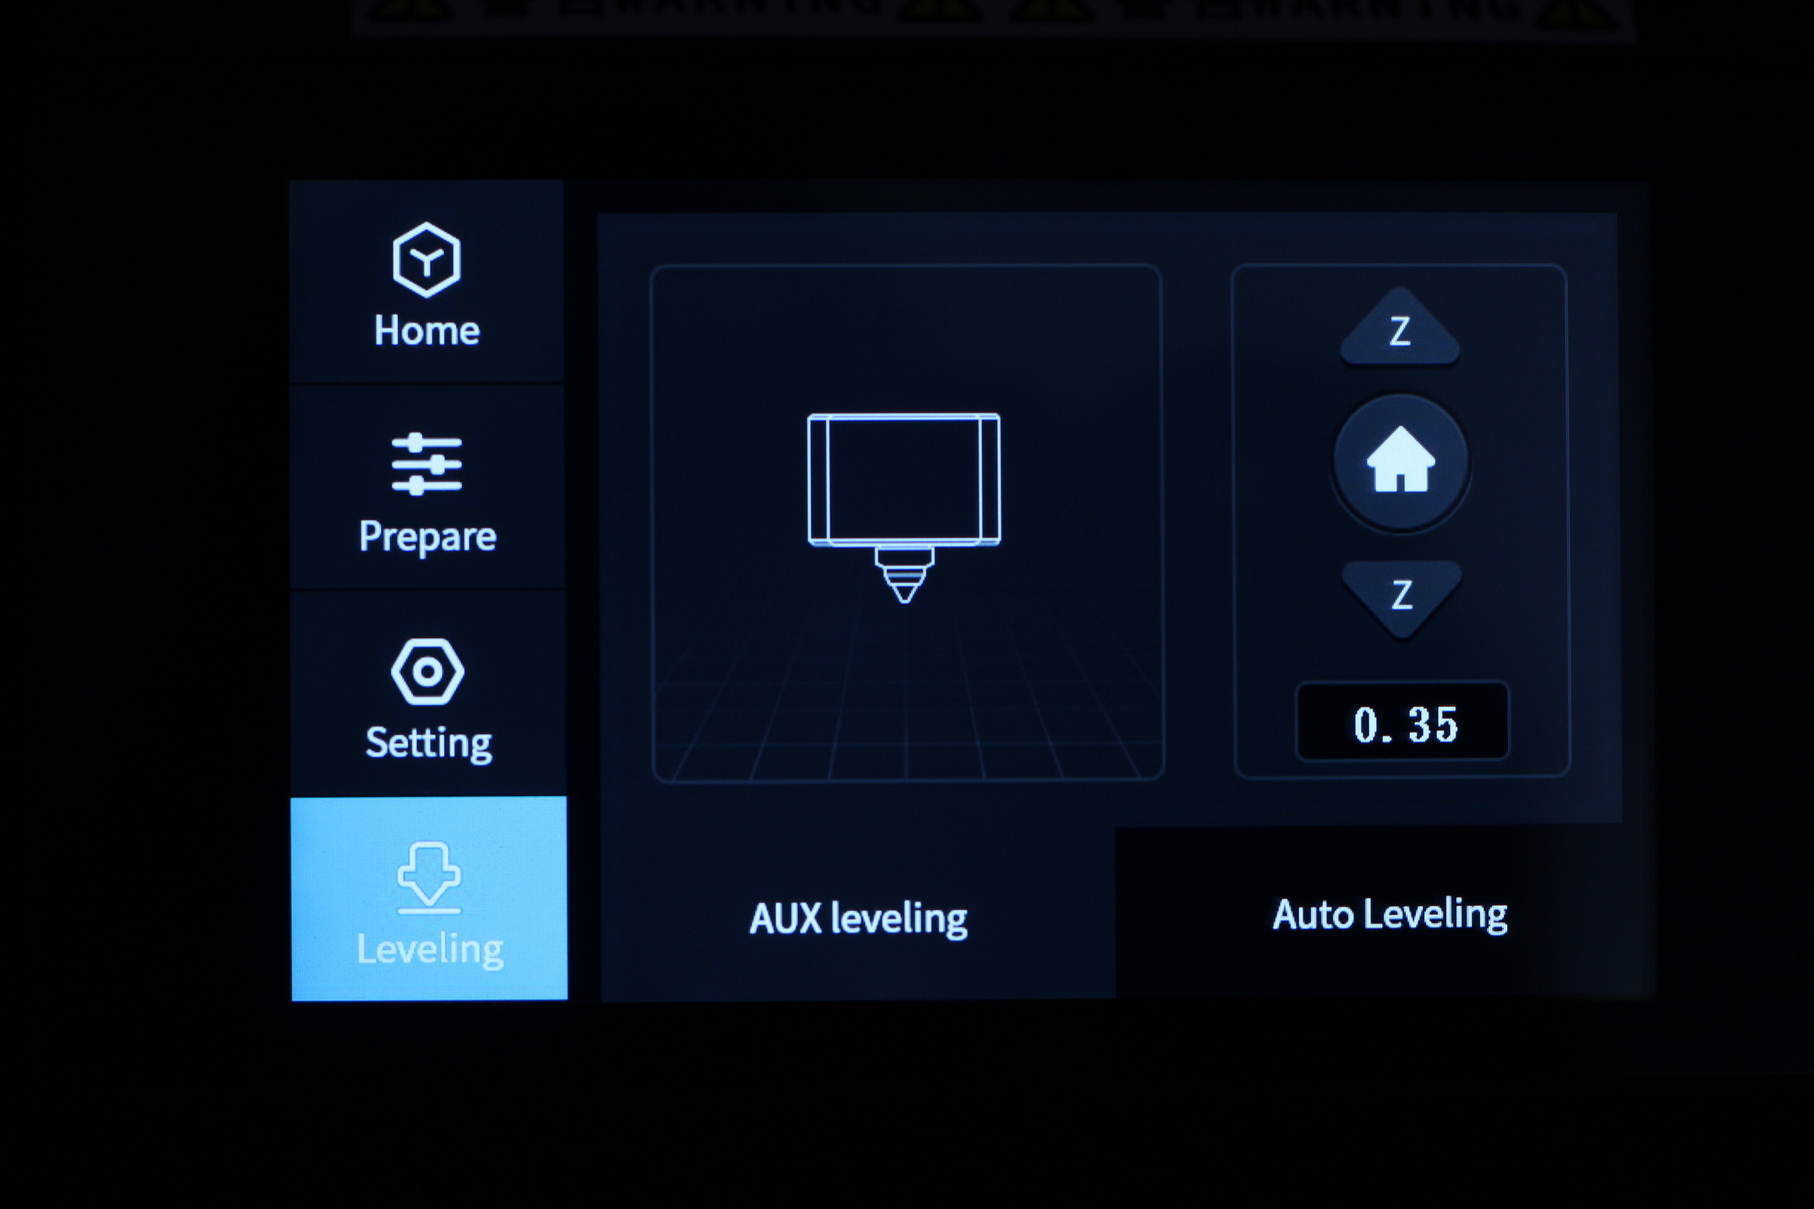
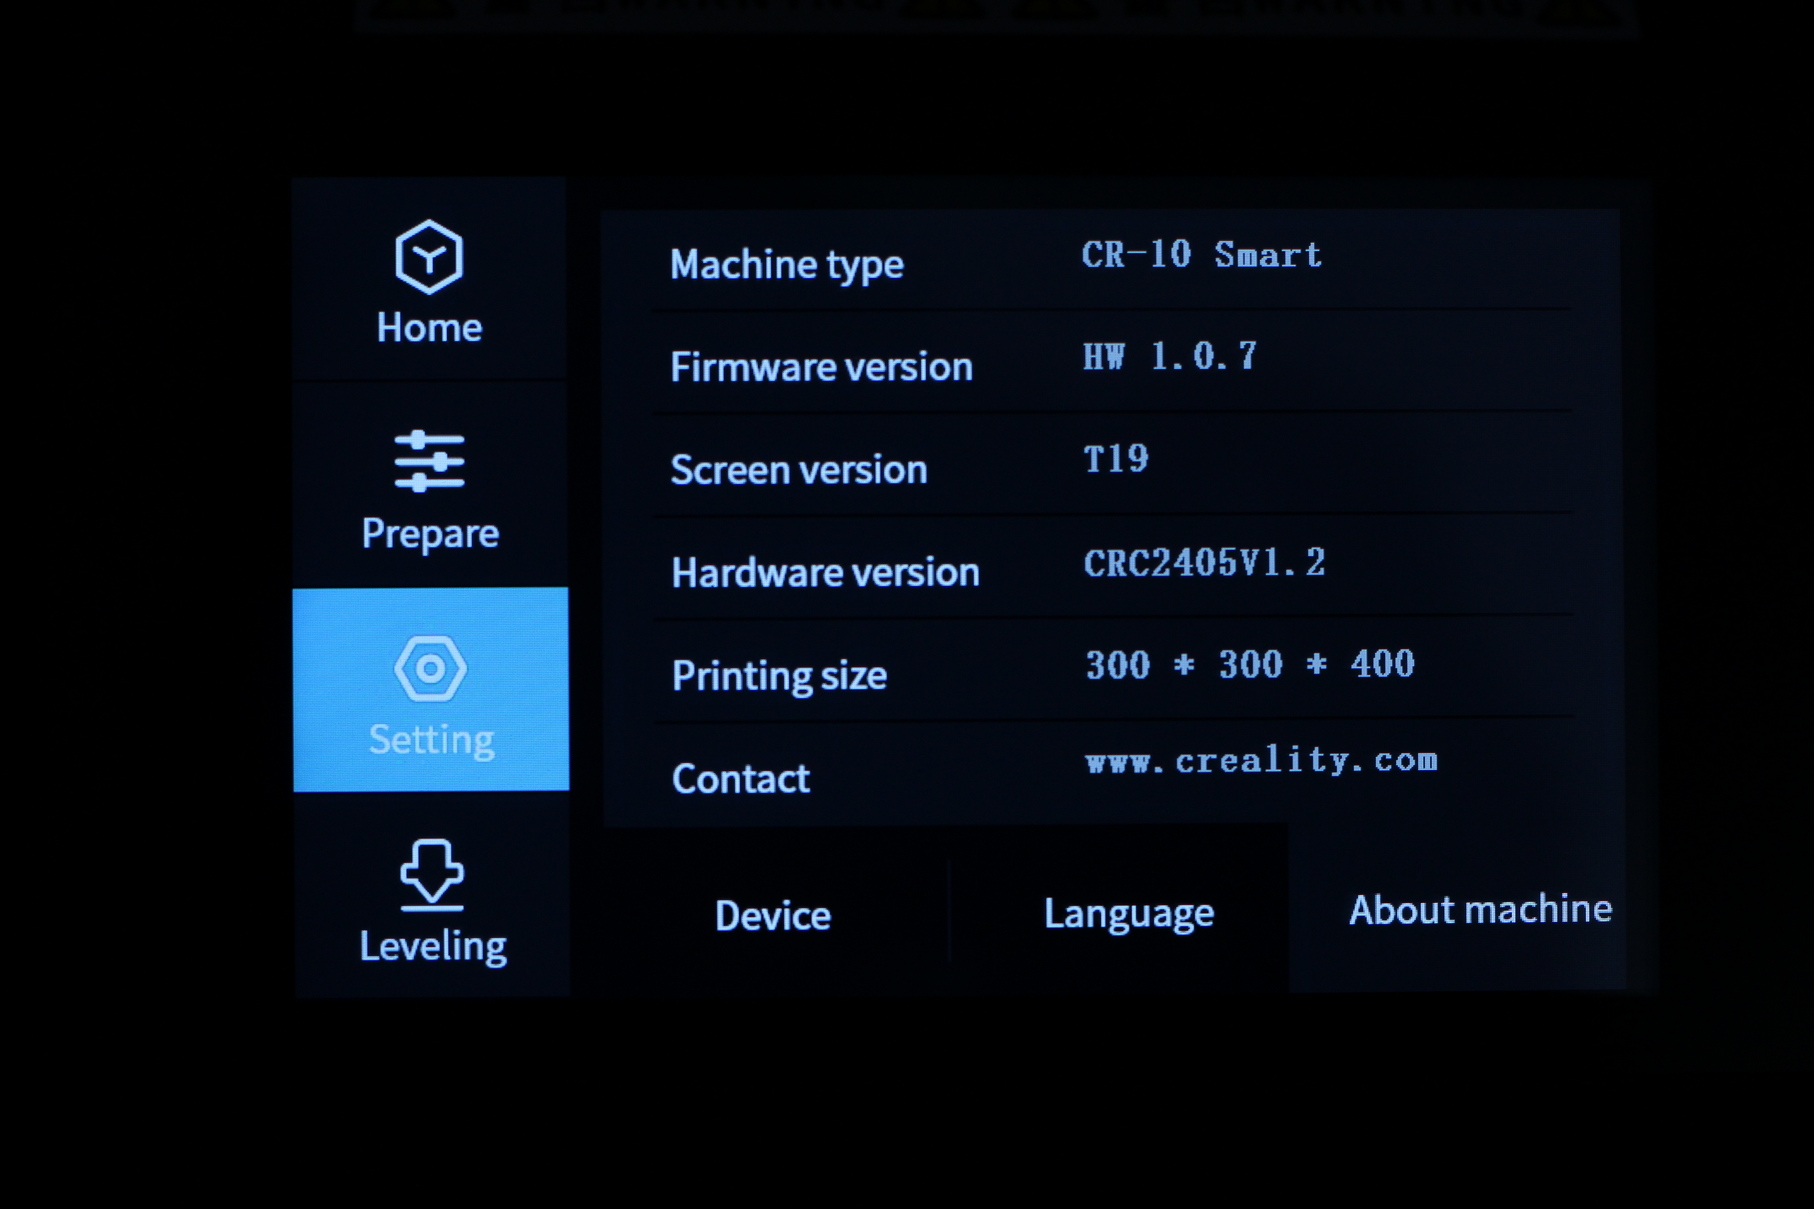
A new type of touchscreen is installed on the Creality CR-10 Smart. This time, we get a capacitive touchscreen which is an improvement over the old resistive touchscreens we got in the past. Besides that, the resolution and contrast are also improved thanks to the 800×480 resolution and the IPS panel used.
The interface is also completely revamped compared to the older screens, and while it looks great, I think it’s not perfectly laid out and a bit unintuitive (or maybe I’m not used to it yet).


Buggy firmware
I rarely use Creality printers without noticing some kind of firmware issues. And I think that the CR-10 Smart takes the trophy this time, for the most firmware issues encountered on a Creality machine.
First issue I found is when I wanted to start printing a model. As usual, I sliced the model and copied it on the SD card, but the printer was not detecting it. After some trial and error, I noticed that the only way of making the screen refresh the file contents is by rebooting the printer with the SD card plugged in. If I removed the SD card, and plugged it back, no files were displayed on the screen.
The next issue is during printing. On all of my prints, I noticed random movements where the nozzle was quickly moved on the side of the print, then moved back in place to continue printing. This caused some weird strings which can be found on the external walls of the model.
I decided to re-flash the latest available firmware, which fixed the second issue, but the files still don’t load without rebooting the printer.
Creality 24V 350W power supply
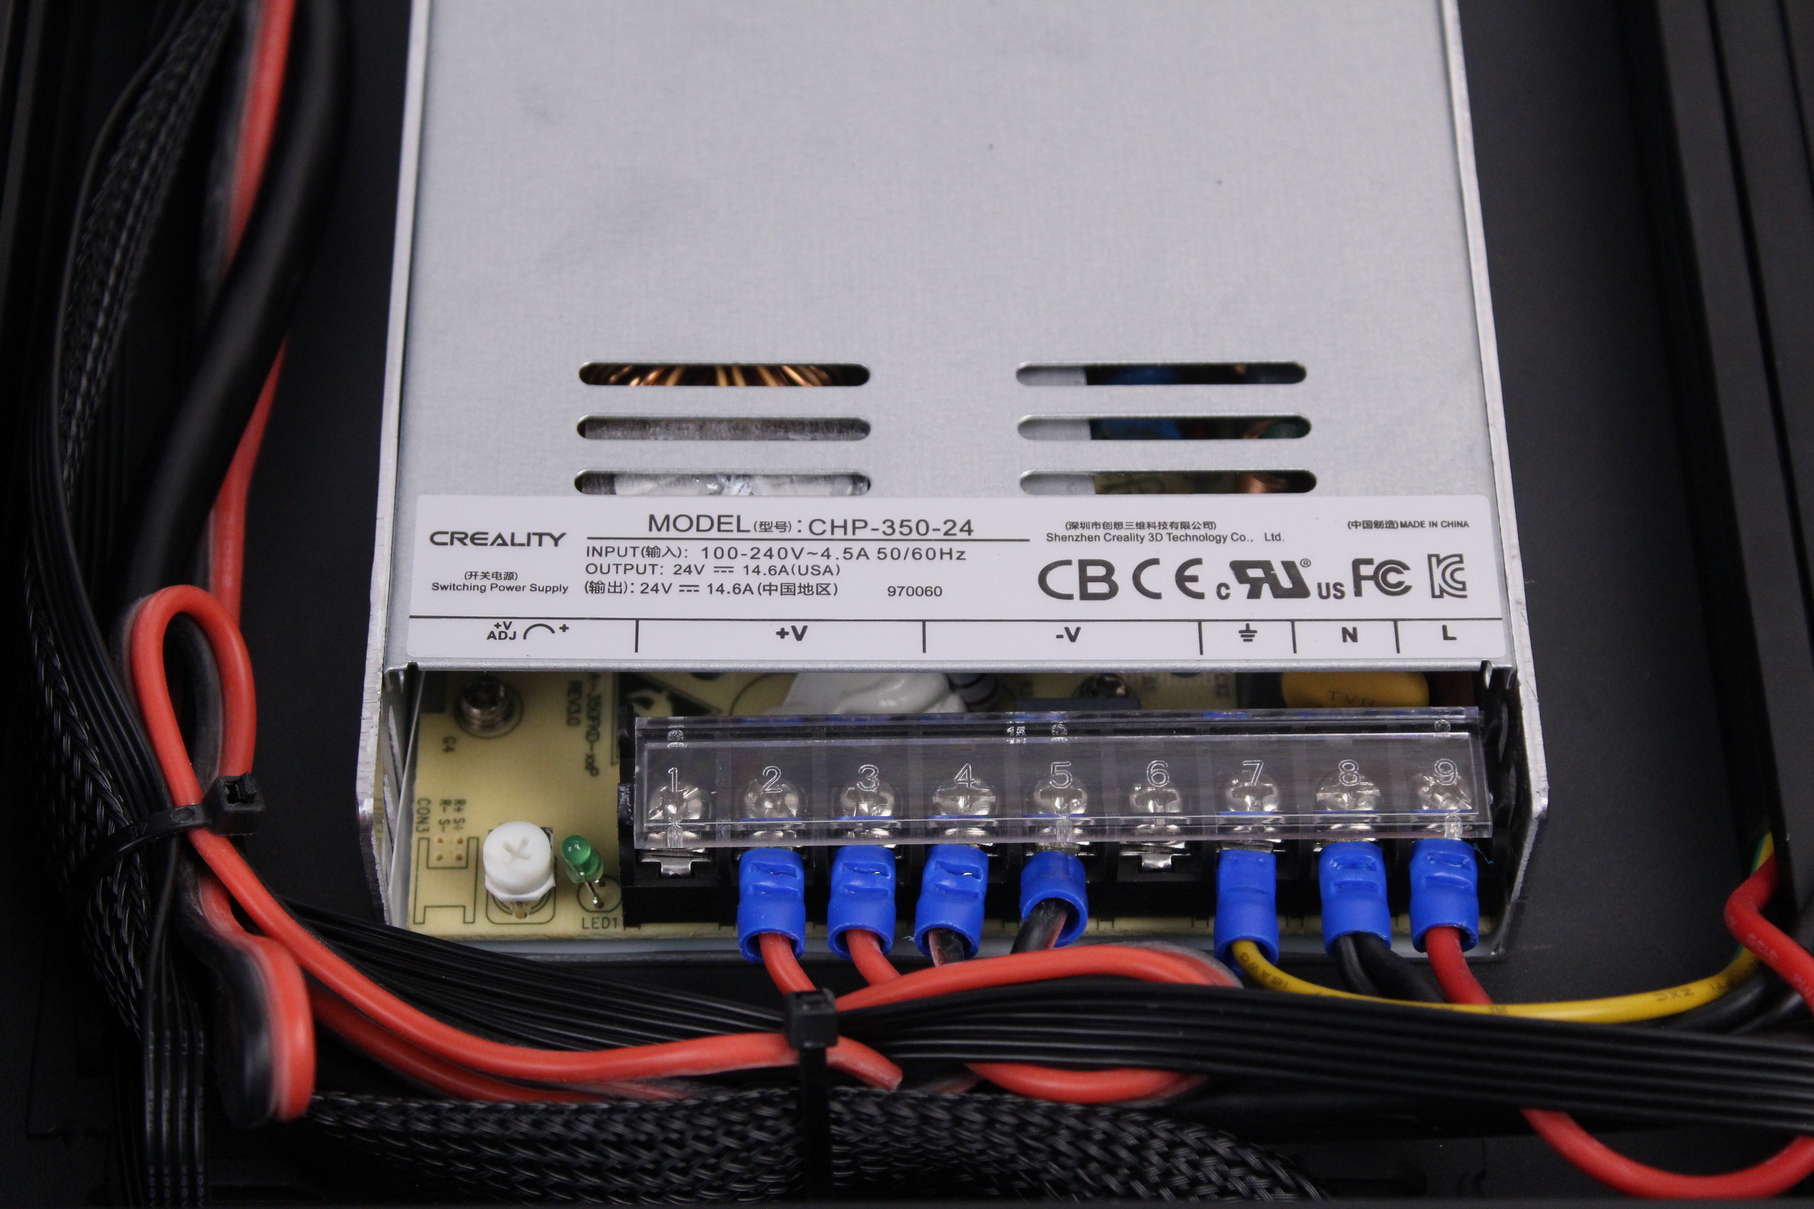
The power supply used in the CR-10 Smart is a Creality CHP-350-24 unit which looks quite similar to the popular Mean Well units used in other machines. This could be a rebranded power supply, but I can’t confirm this. All I can say is that it works well and the fan is not very loud.
Creality Cloud App Connectivity
What makes the Creality CR-10 Smart is the possibility of connecting the printer to the internet via Wi-Fi or the LAN cable. to do this, you need to download the Creality Cloud app and pair the printer using the QR code available on the right side.
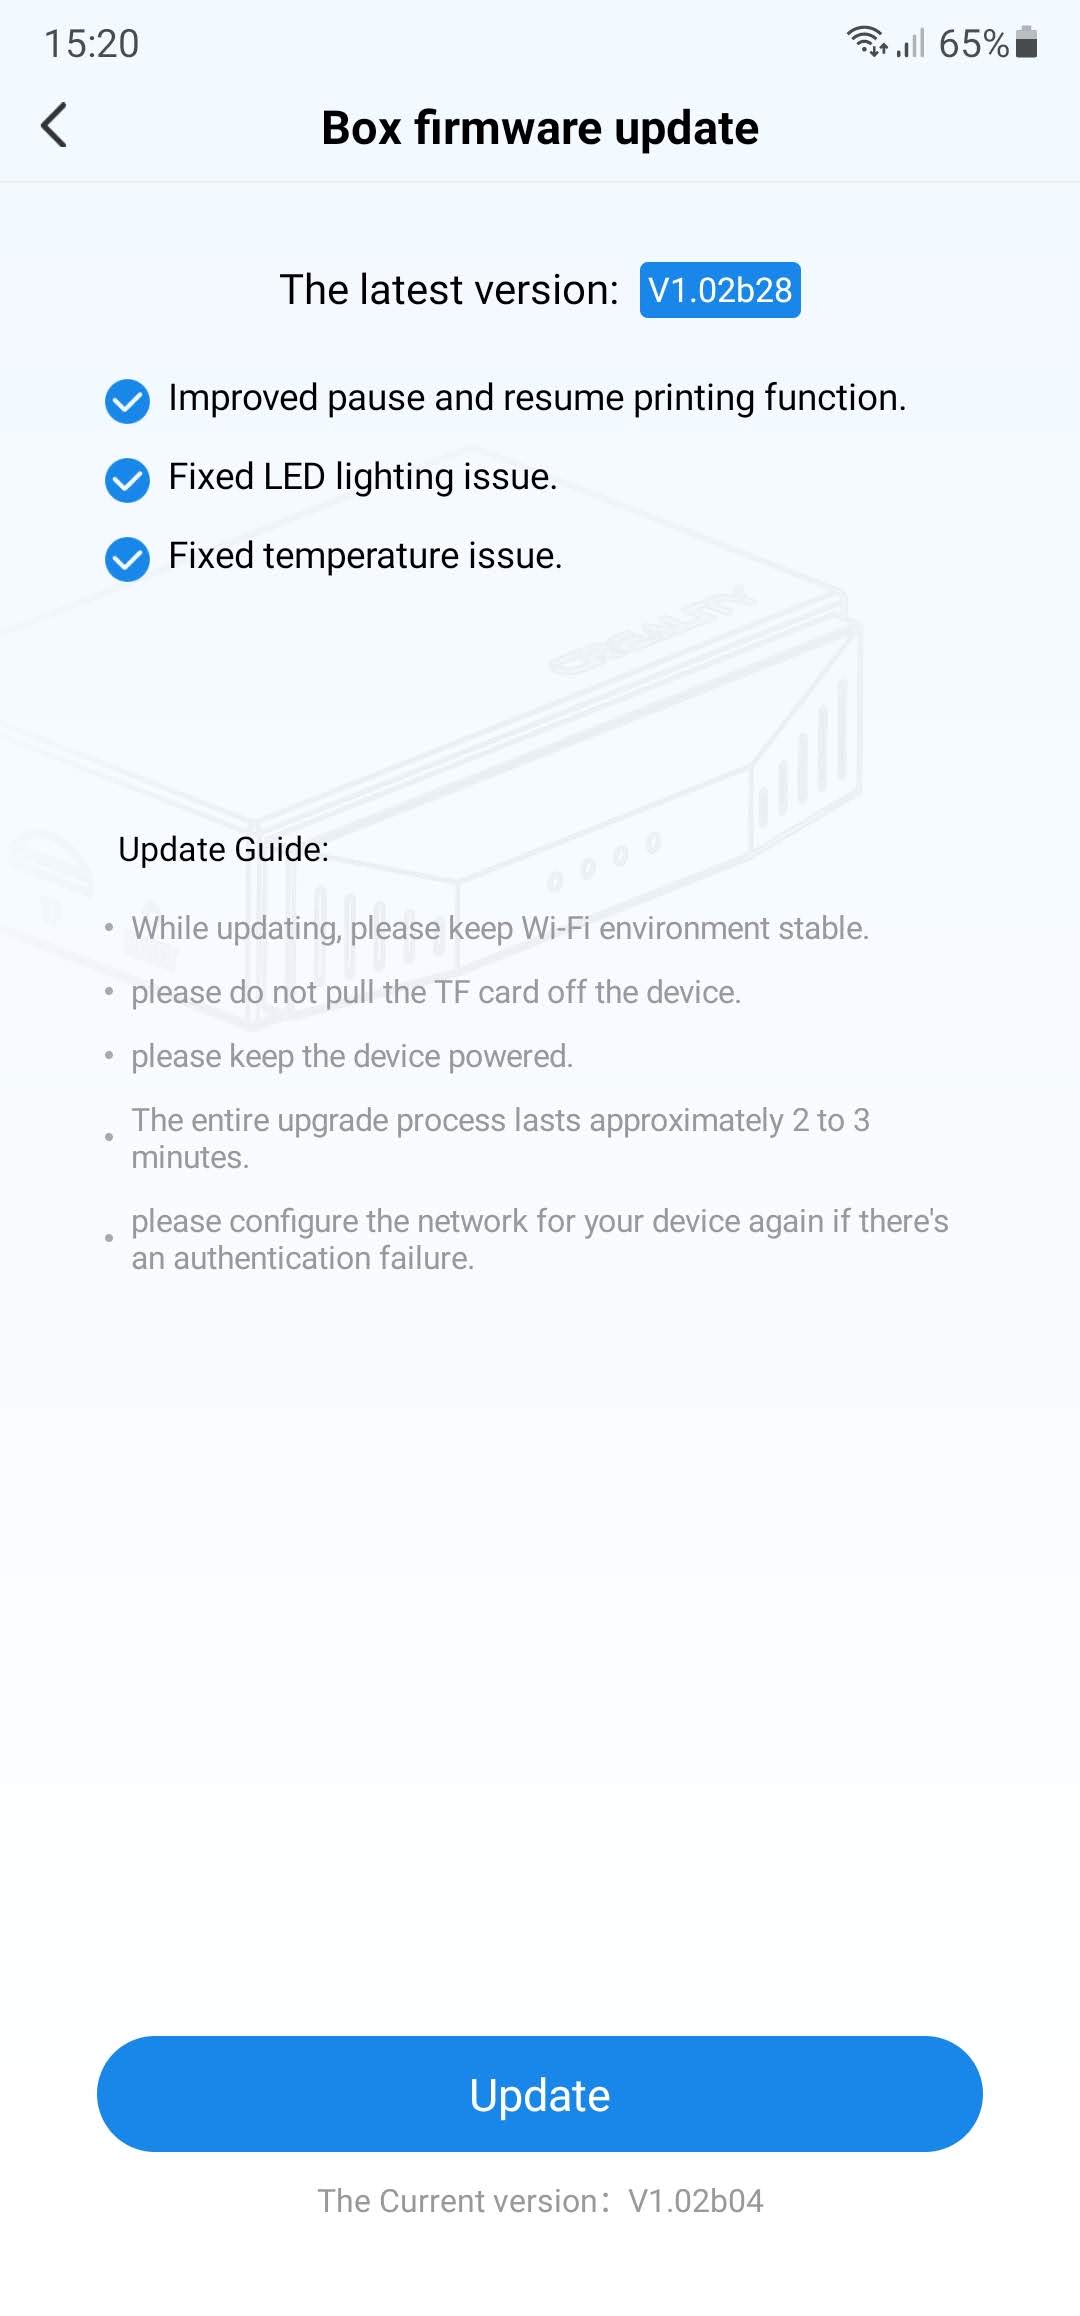
The pairing process is simple and worked on the first try. I was also prompted to update the Creality Box firmware which I did.
After connecting the printer to Creality Cloud, you will be able to control the printer’s heaters and part cooling fan. There’s no movement controls present.
Besides that, you can browse online for pre-sliced models and send them to the printer and start the printing process.
Overall, it’s a nice experience, but the g-code files uploaded on the Creality Cloud are probably not curated by anyone and it can be risky to download and print an unverified g-code file remotely.
Besides the g-code risk, the CR-10 Smart hasn’t earned my complete trust, for me to start prints remotely without checking the first layer.

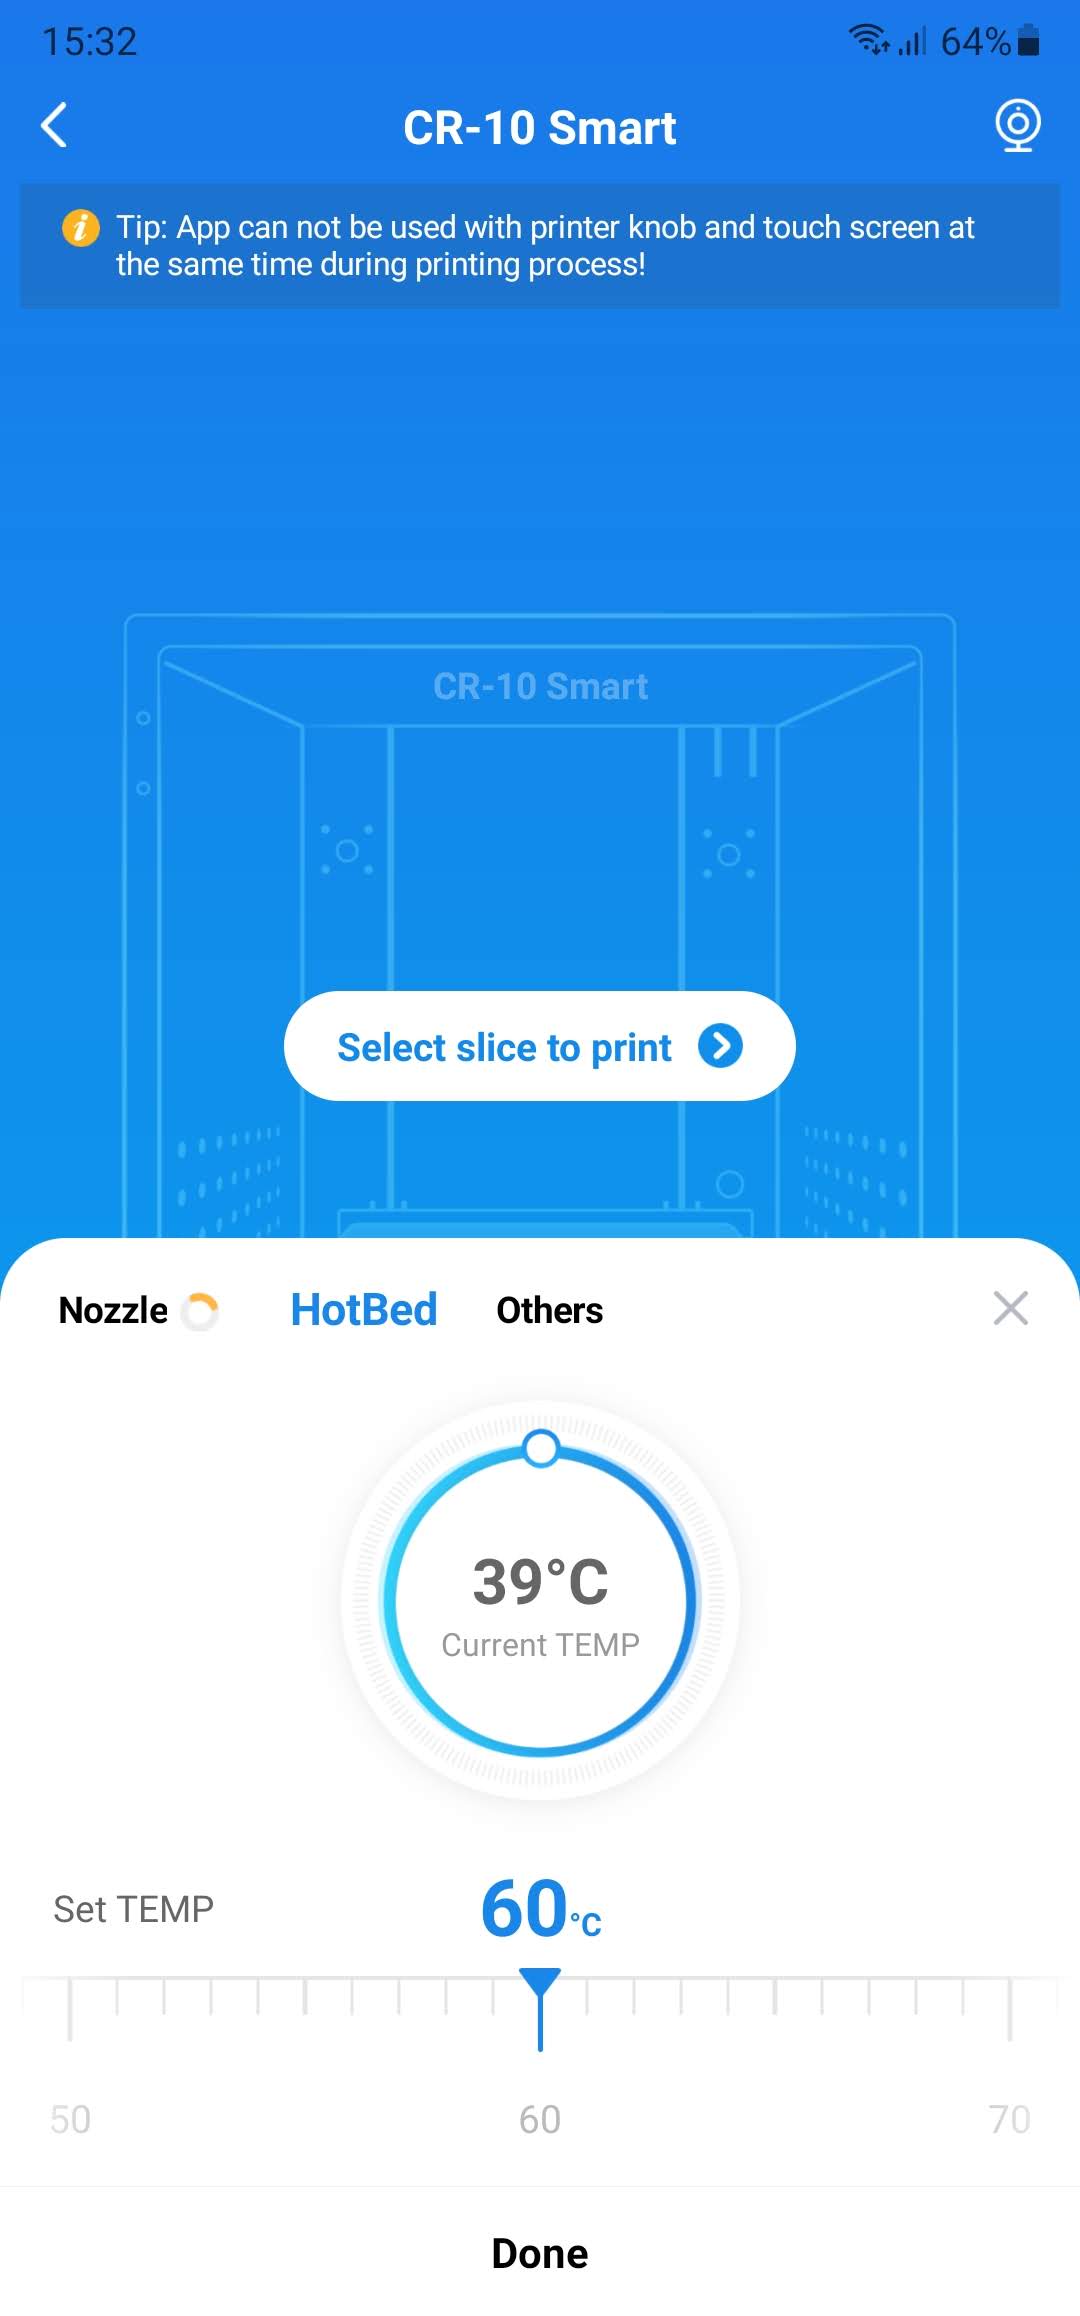
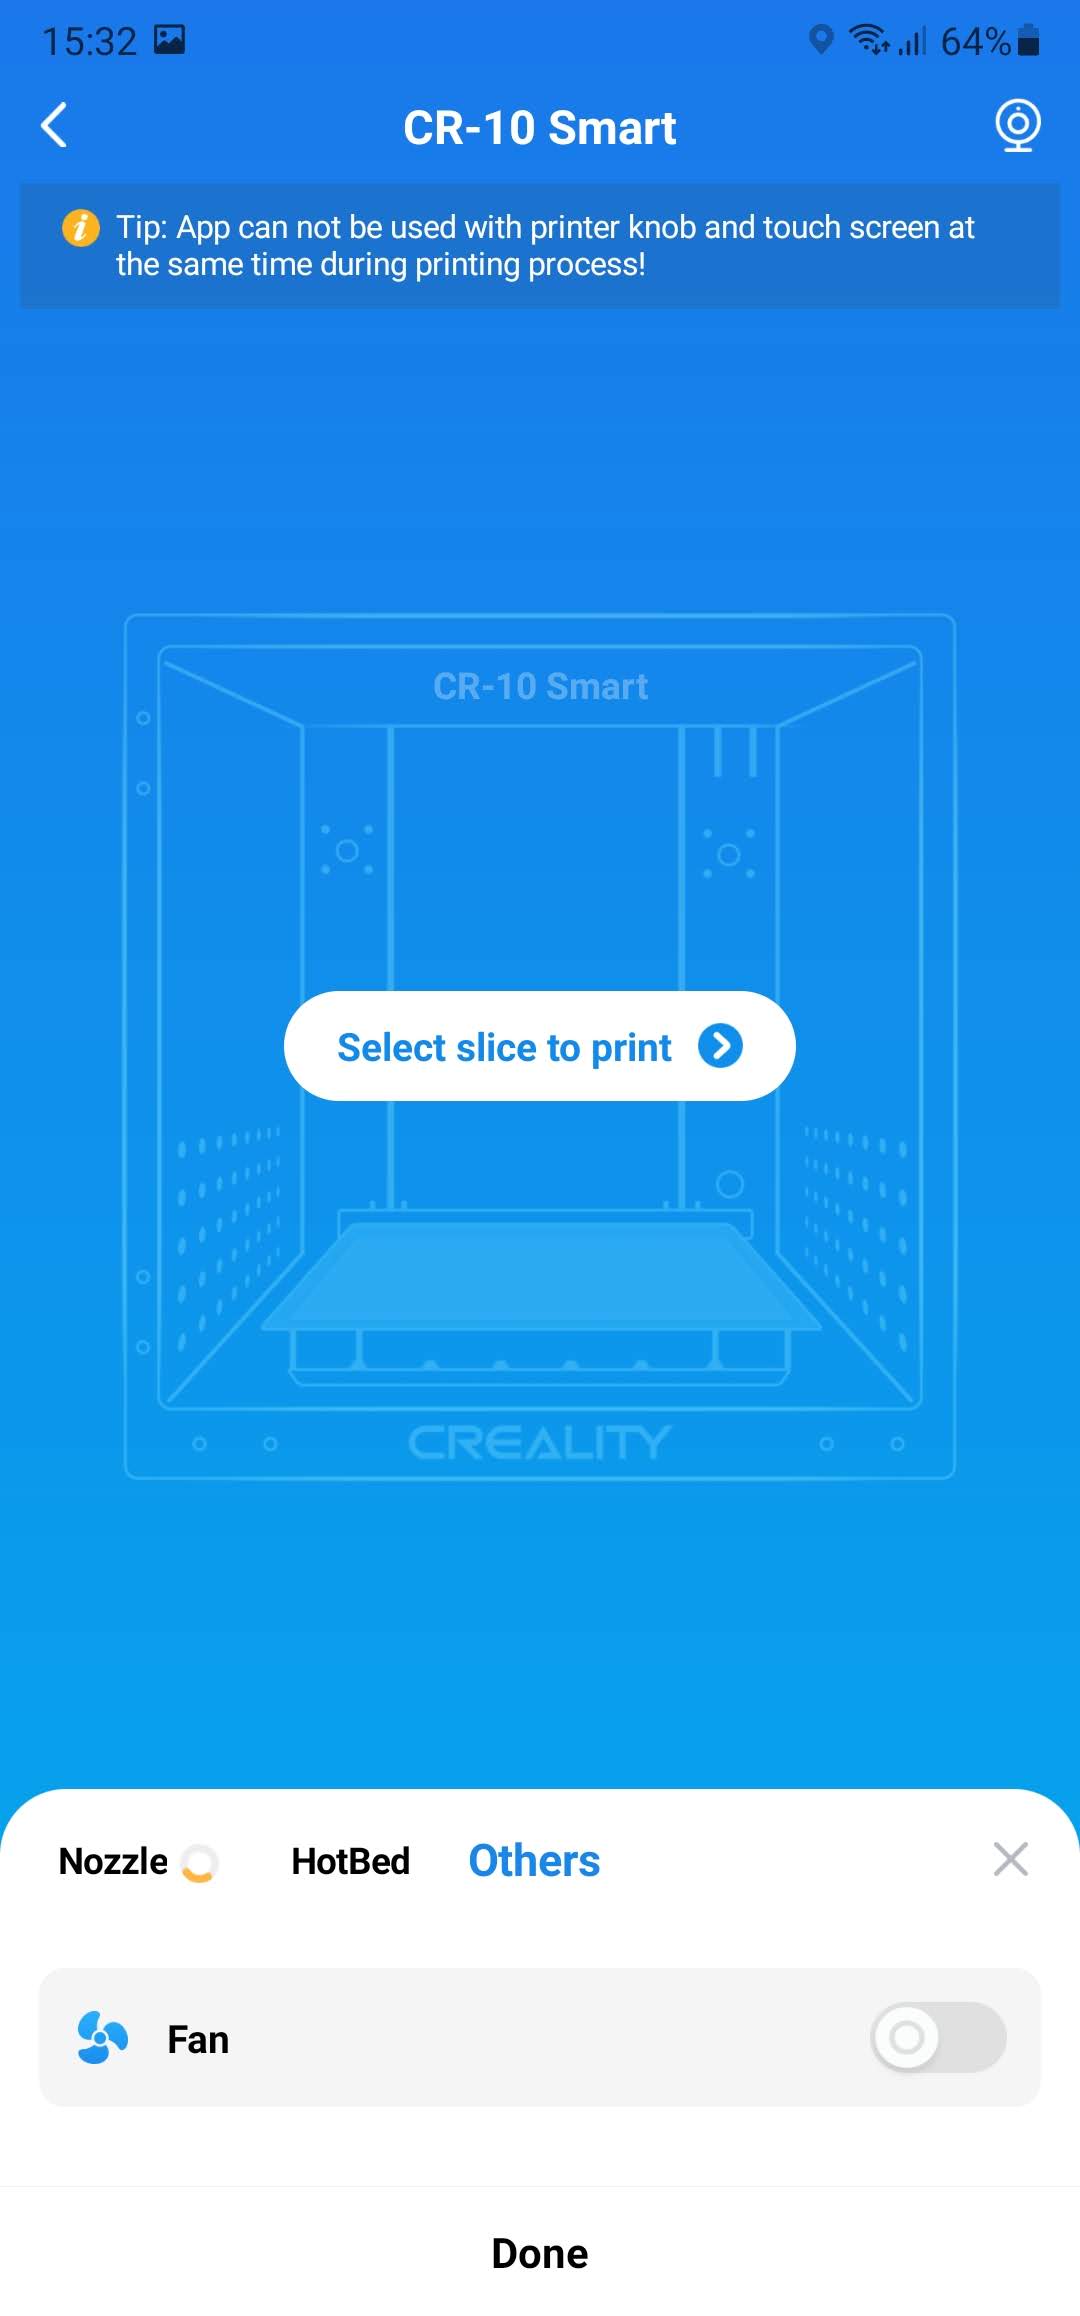
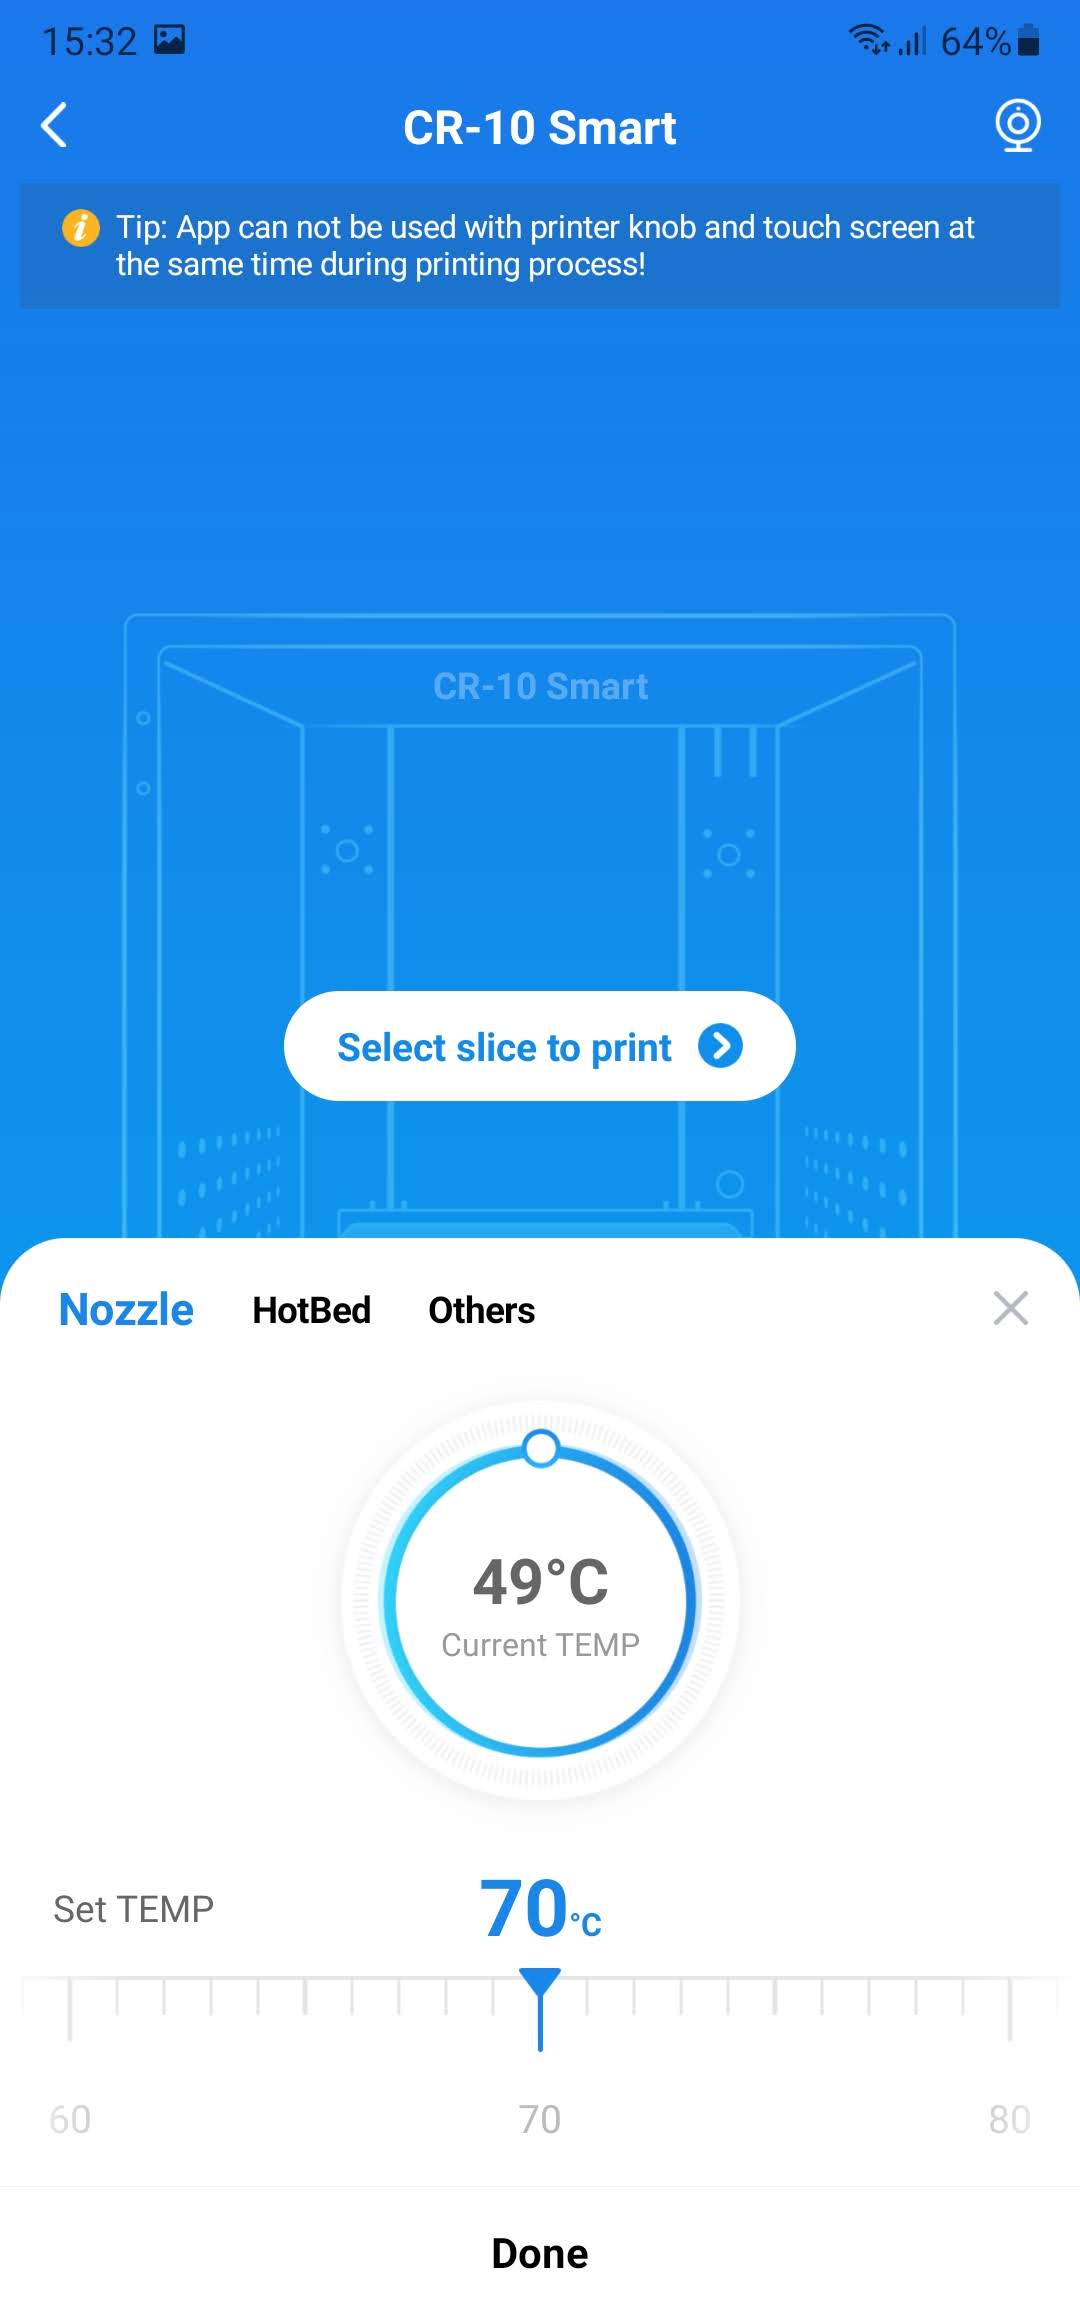


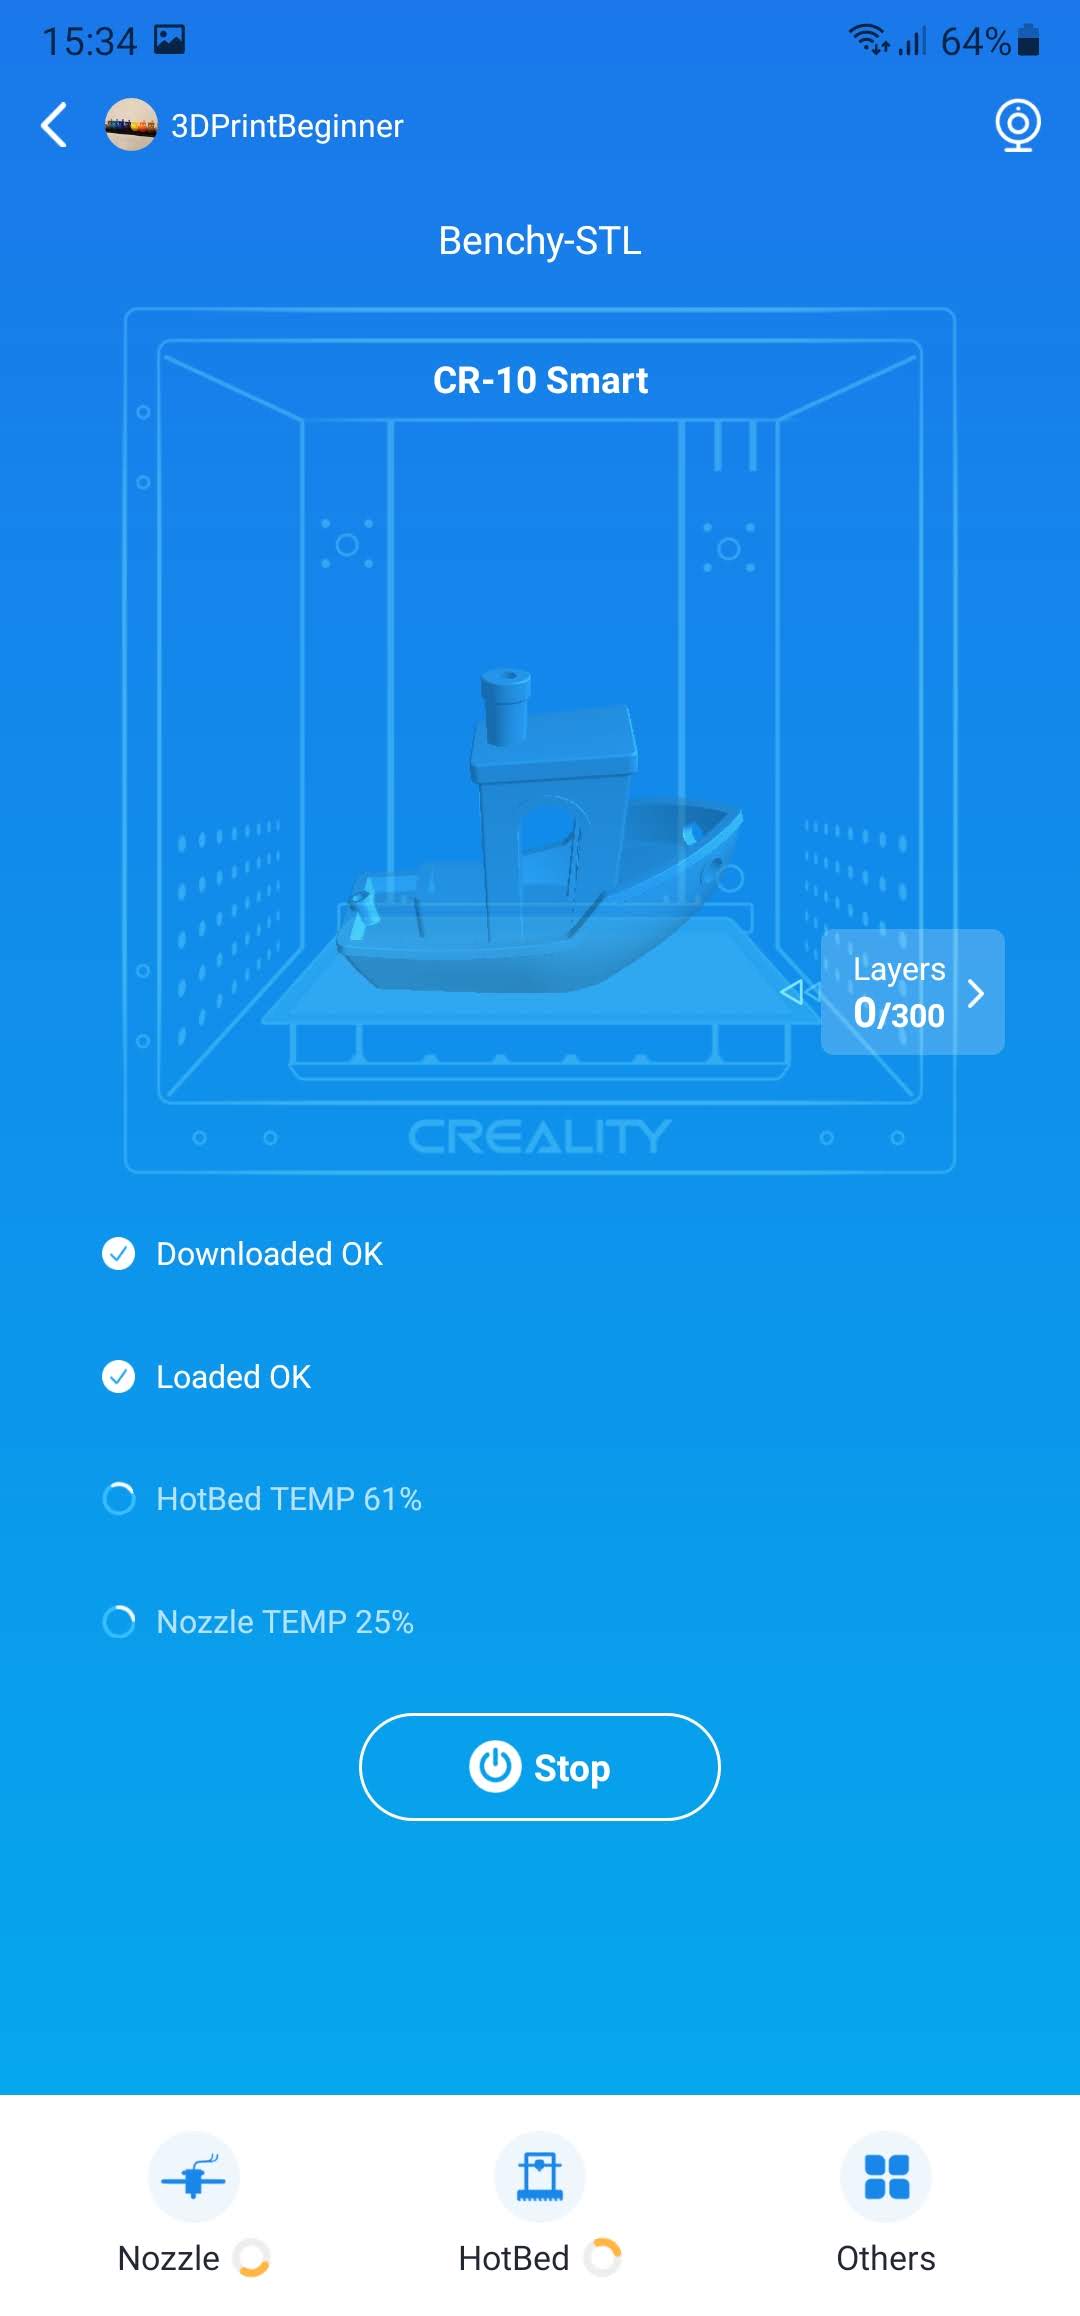
The Creality CR-10 Smart also has a USB port which where you could connect a webcam to remotely watch the printer. But that USB port only works with proprietary Creality webcams which is stupid. Because of this, installing Klipper on the CR-10 Smart would actually “jailbreak” the machine. How crazy is that?
I can’t say the Creality Cloud functionality is not interesting, but it still needs a bit of work until I would recommend using it. And having the lock on what webcam can be used is not that helpful.
Heating time and power consumption
I tested the heating time for both hotend and heat bed and here are the results:
Hotend
- 200C in 1 minute and 50 seconds
- 250C in 2 minutes and 55 seconds
Heatbed
- 60C in 3 minutes and 45 seconds
- 100C in 16 minutes and 15 seconds
Power Draw
Idle power draw is around 15W. When the hotend and heatbed are heating up, the Creality CR-10 Smart draws around 300W. After it starts printing, the power draw stabilizes to around 170W.
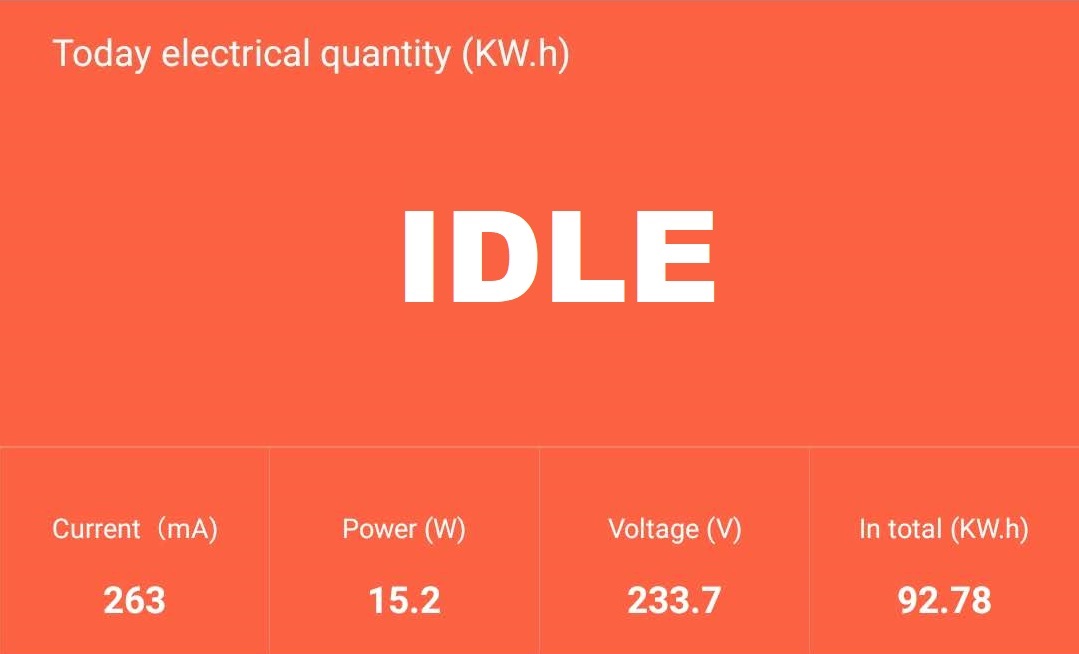
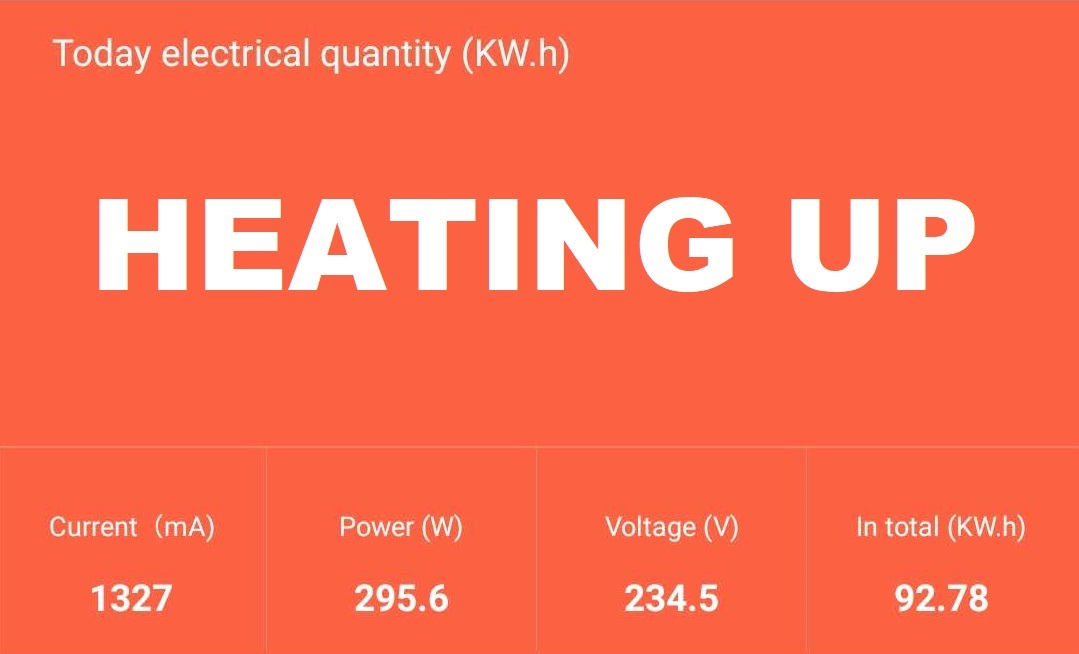
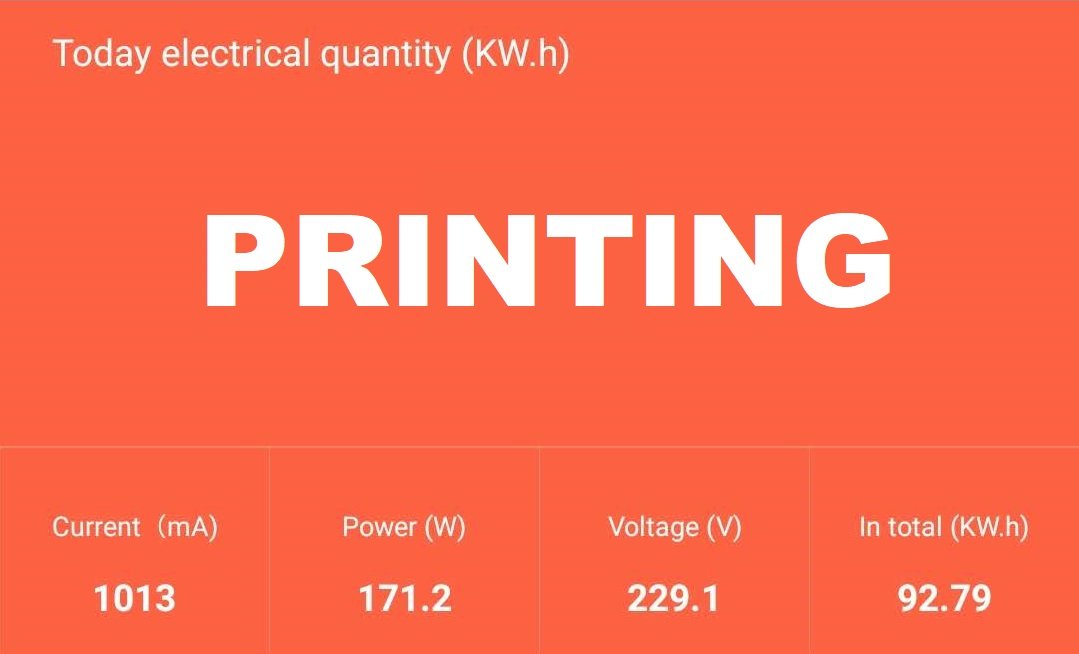
All these measurements were taken with a Blitzwolf smart power socket which indicates the power draw, and it can also be used for remotely powering on and off the printer.
Bed Temperature Uniformity
I tested the temperature uniformity for the Creality CR-10 Smart bed with the Flir Camera installed on the CAT S62 Pro. The bed has been set to 60C and I waited 2 minutes after reaching that temperature for the temperature to stabilize.
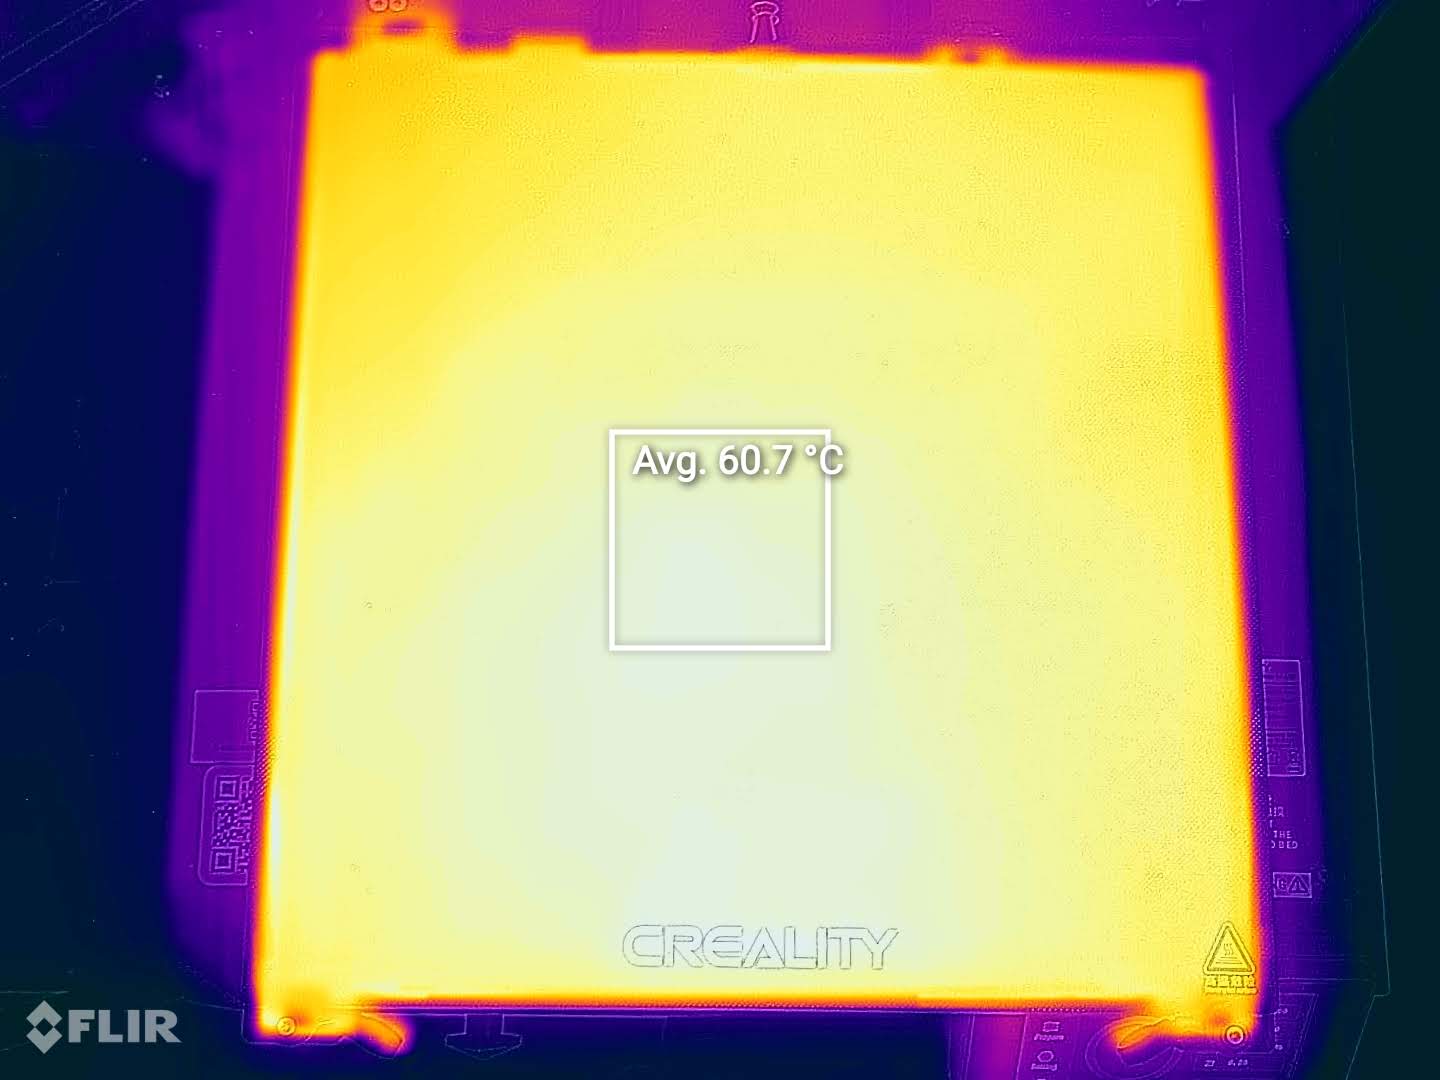
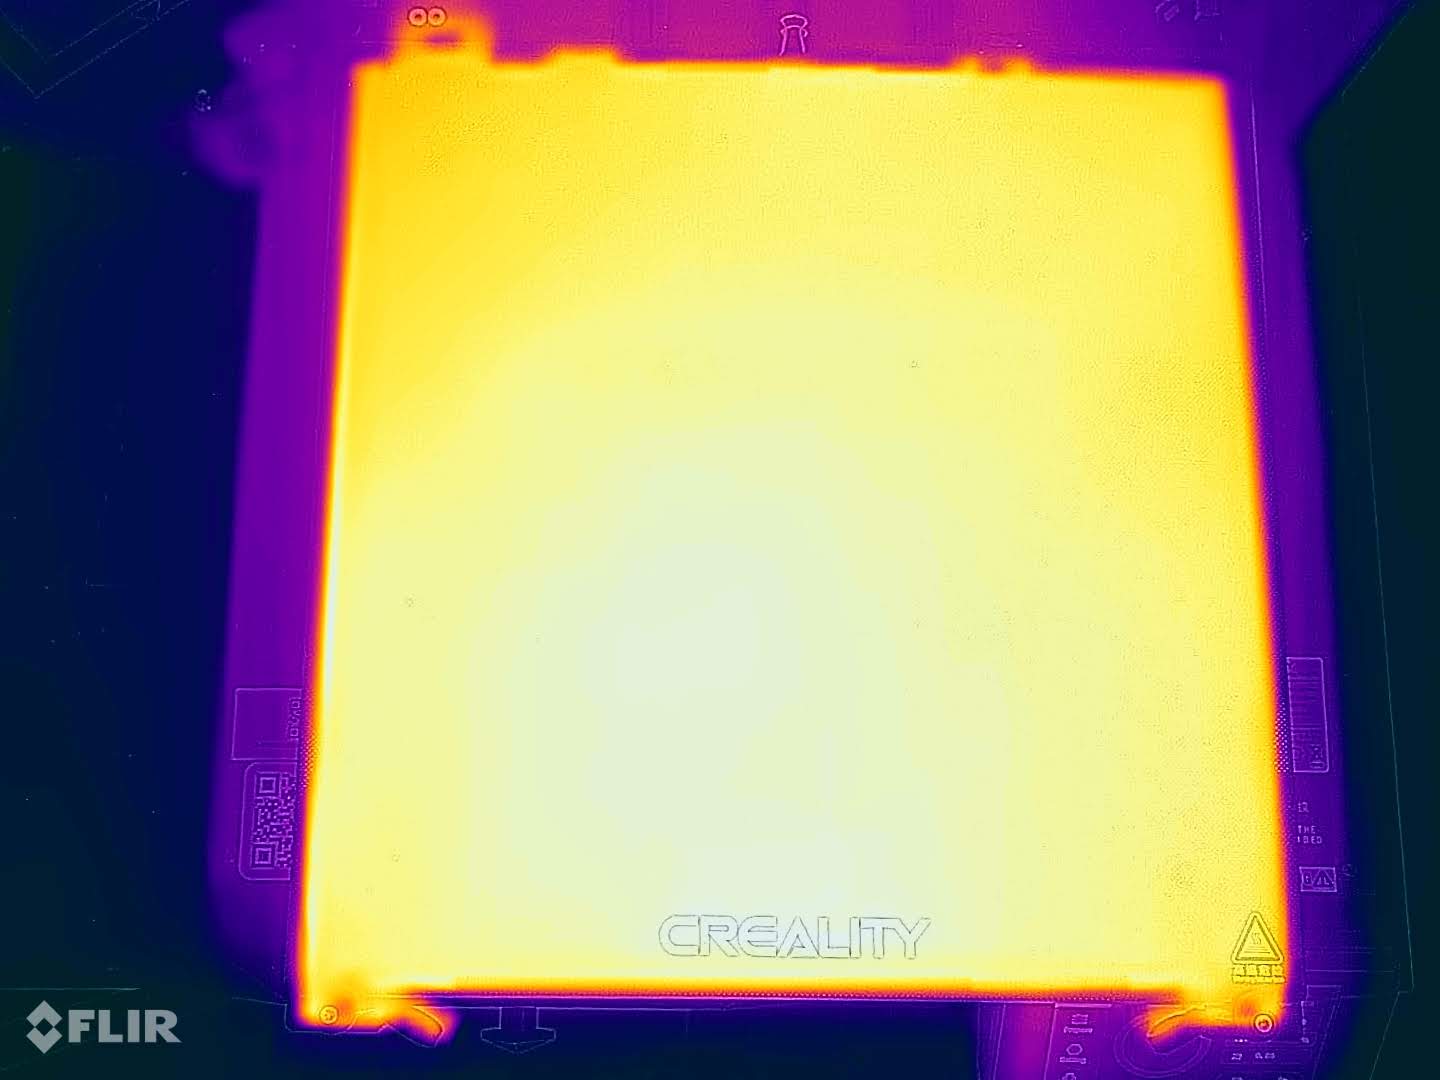
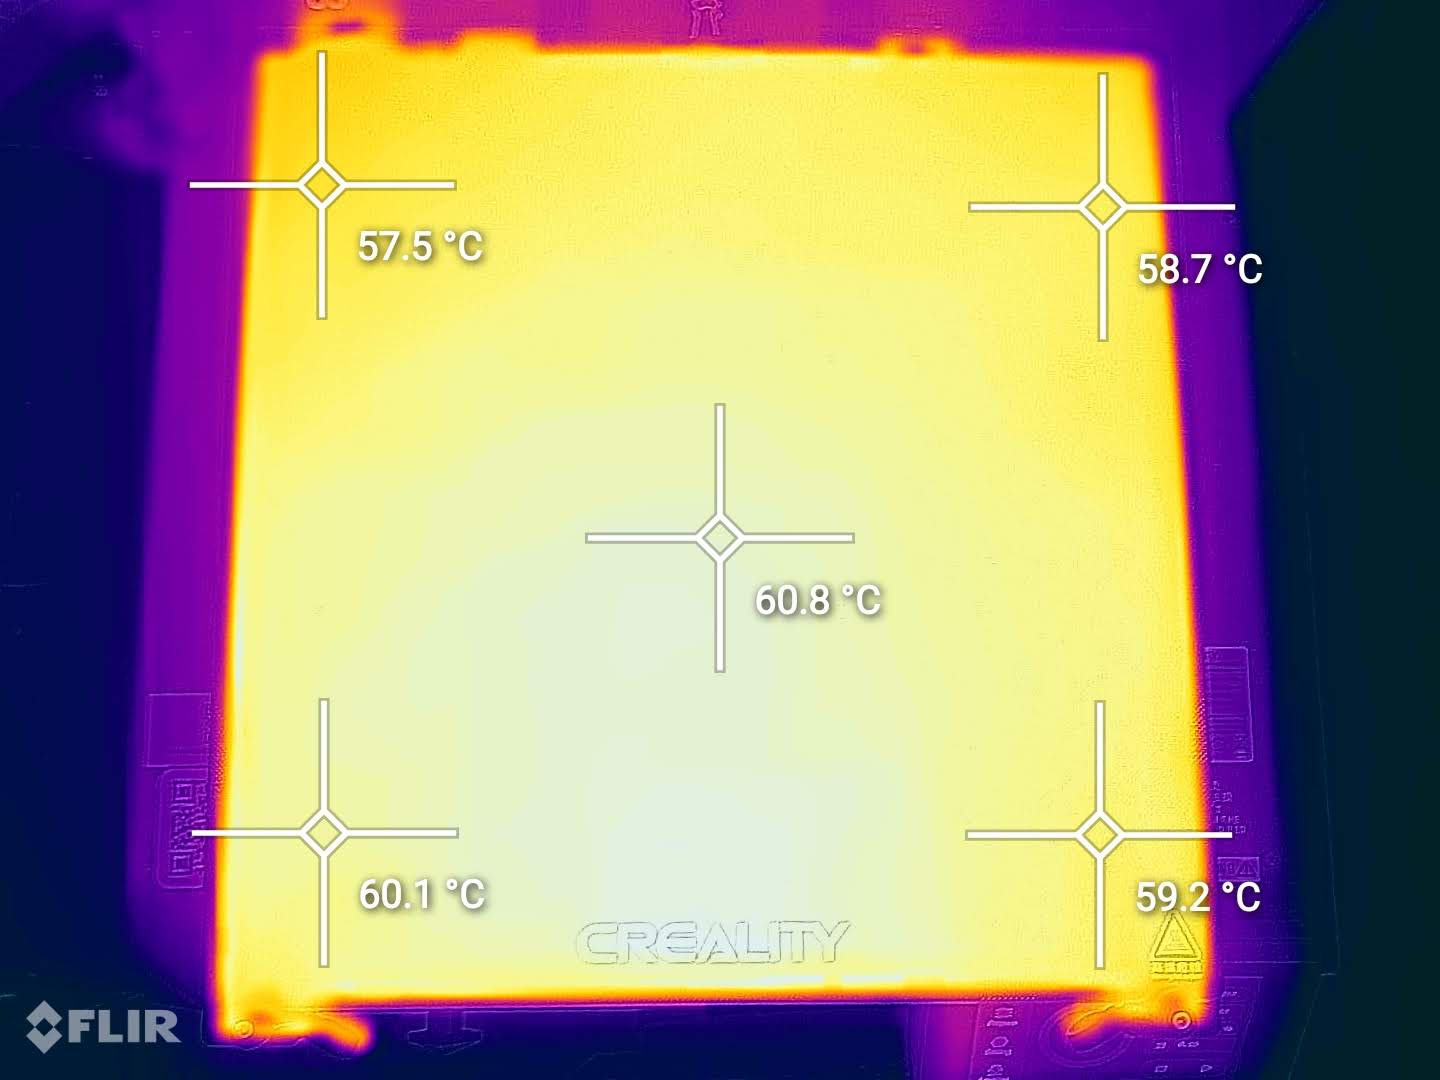
The temperature uniformity is good with a difference of a few degrees on the corners.
Creality CR-10 Smart Noise Levels
The Creality CR-10 Smart could have been a quiet machine, but Creality decided to pair this printer with noisy fans. The PSU and hotend fans are the noisiest.
I also need to mention that the hotend fan is on its last legs, even though it was used less than 100 hours. When the printer is powered up, it produces some loud vibrations and noise until it starts running smoothly (after a few minutes). This is probably because of the low-quality sleeve bearings used in the cheap fans.
If somebody decides to upgrade the fans, the Creality CR-10 Smart can be one of the quietest machines out there.
IdeaMaker Profiles for Creality CR-10 Smart
During my time with the printer, I also tuned two IdeaMaker profiles for the Creality CR-10 Smart using the tools available in the 3D Printer Calibration Guide using IdeaMaker article. These profiles are tuned for the stock printer and worked well for me. Feel free to give them a go.
Creality CR-10 Smart – PLA – 3DPrintBeginner
Creality CR-10 Smart – PETG – 3DPrintBeginner
Test prints on Creality CR-10 Smart
3D Benchy
The first print isn’t perfect, because retractions and flow rate were a bit too high. There’s a bit of stringing present, but all the features were printed well with no major printing artifacts.
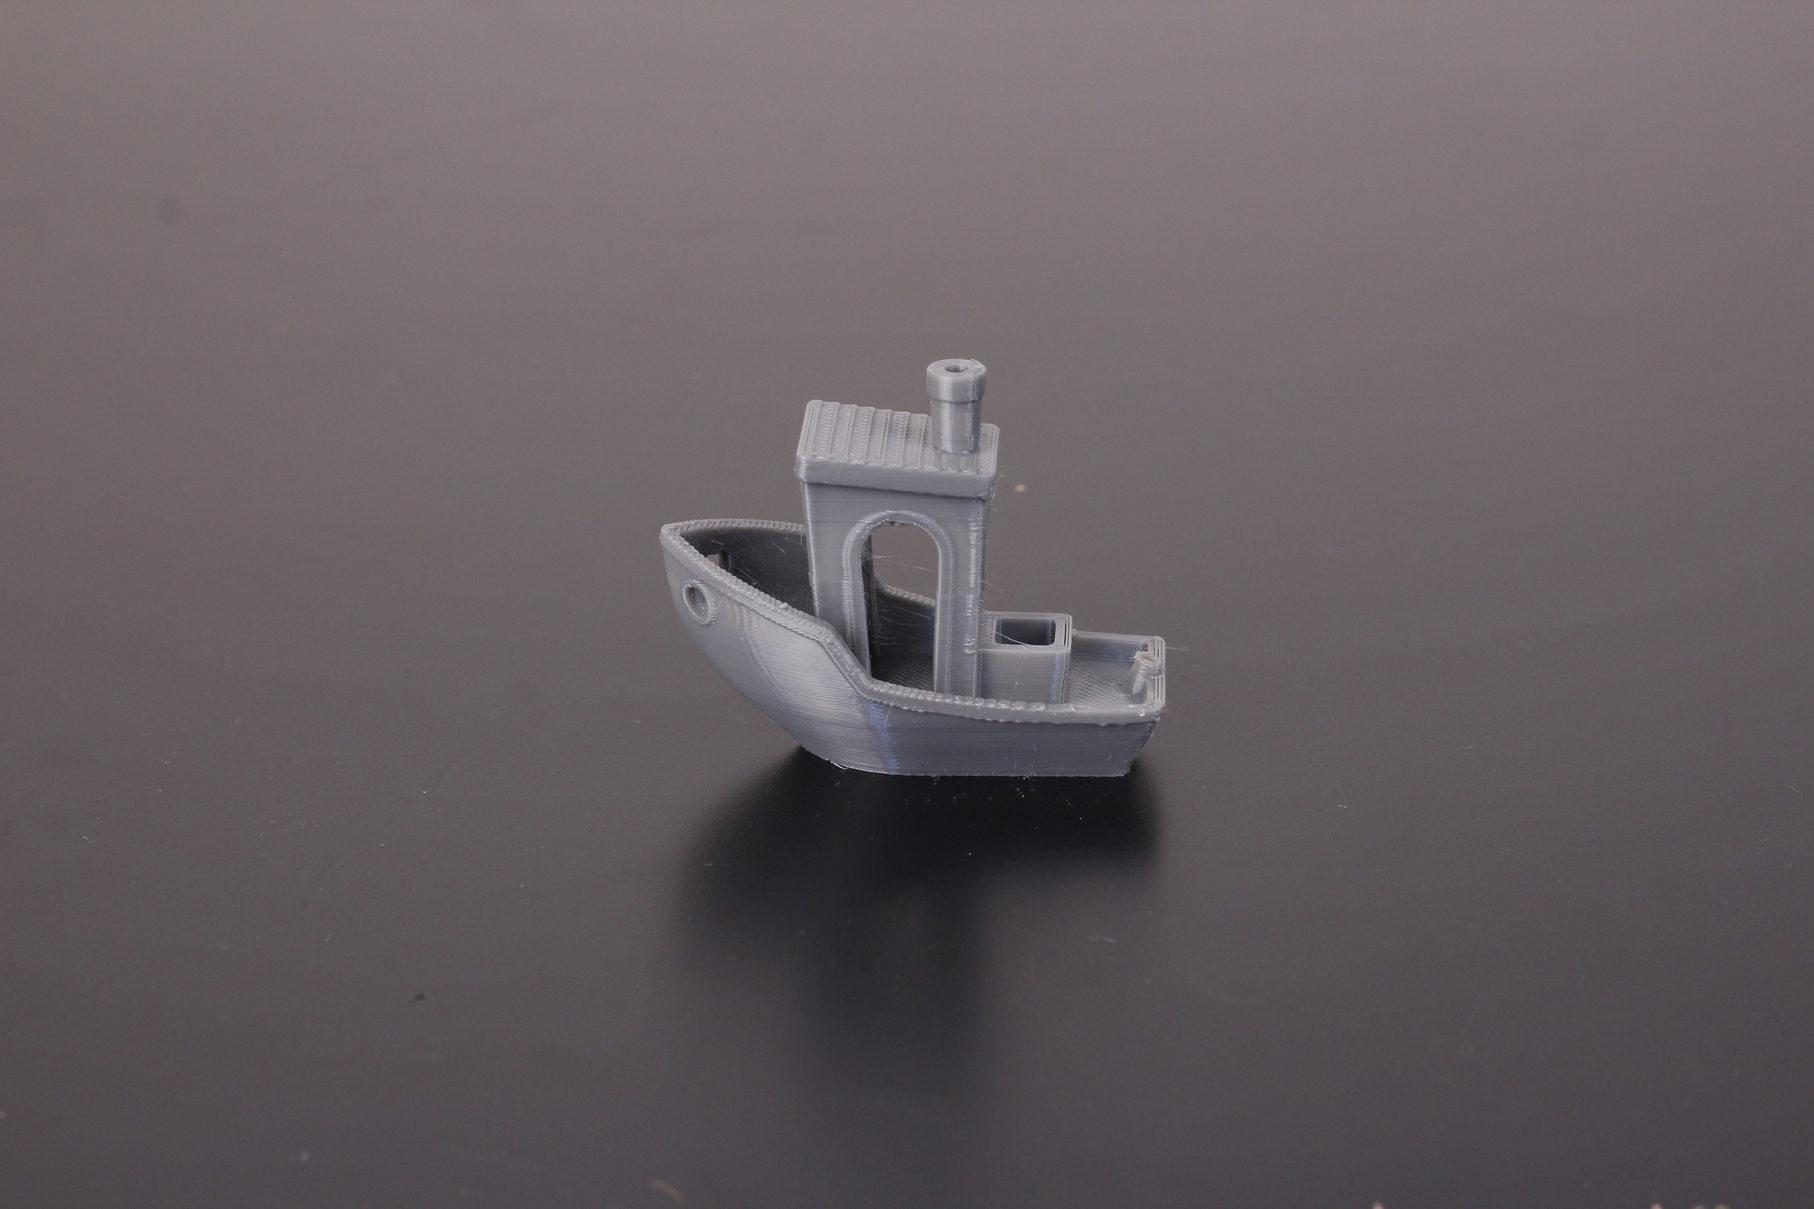
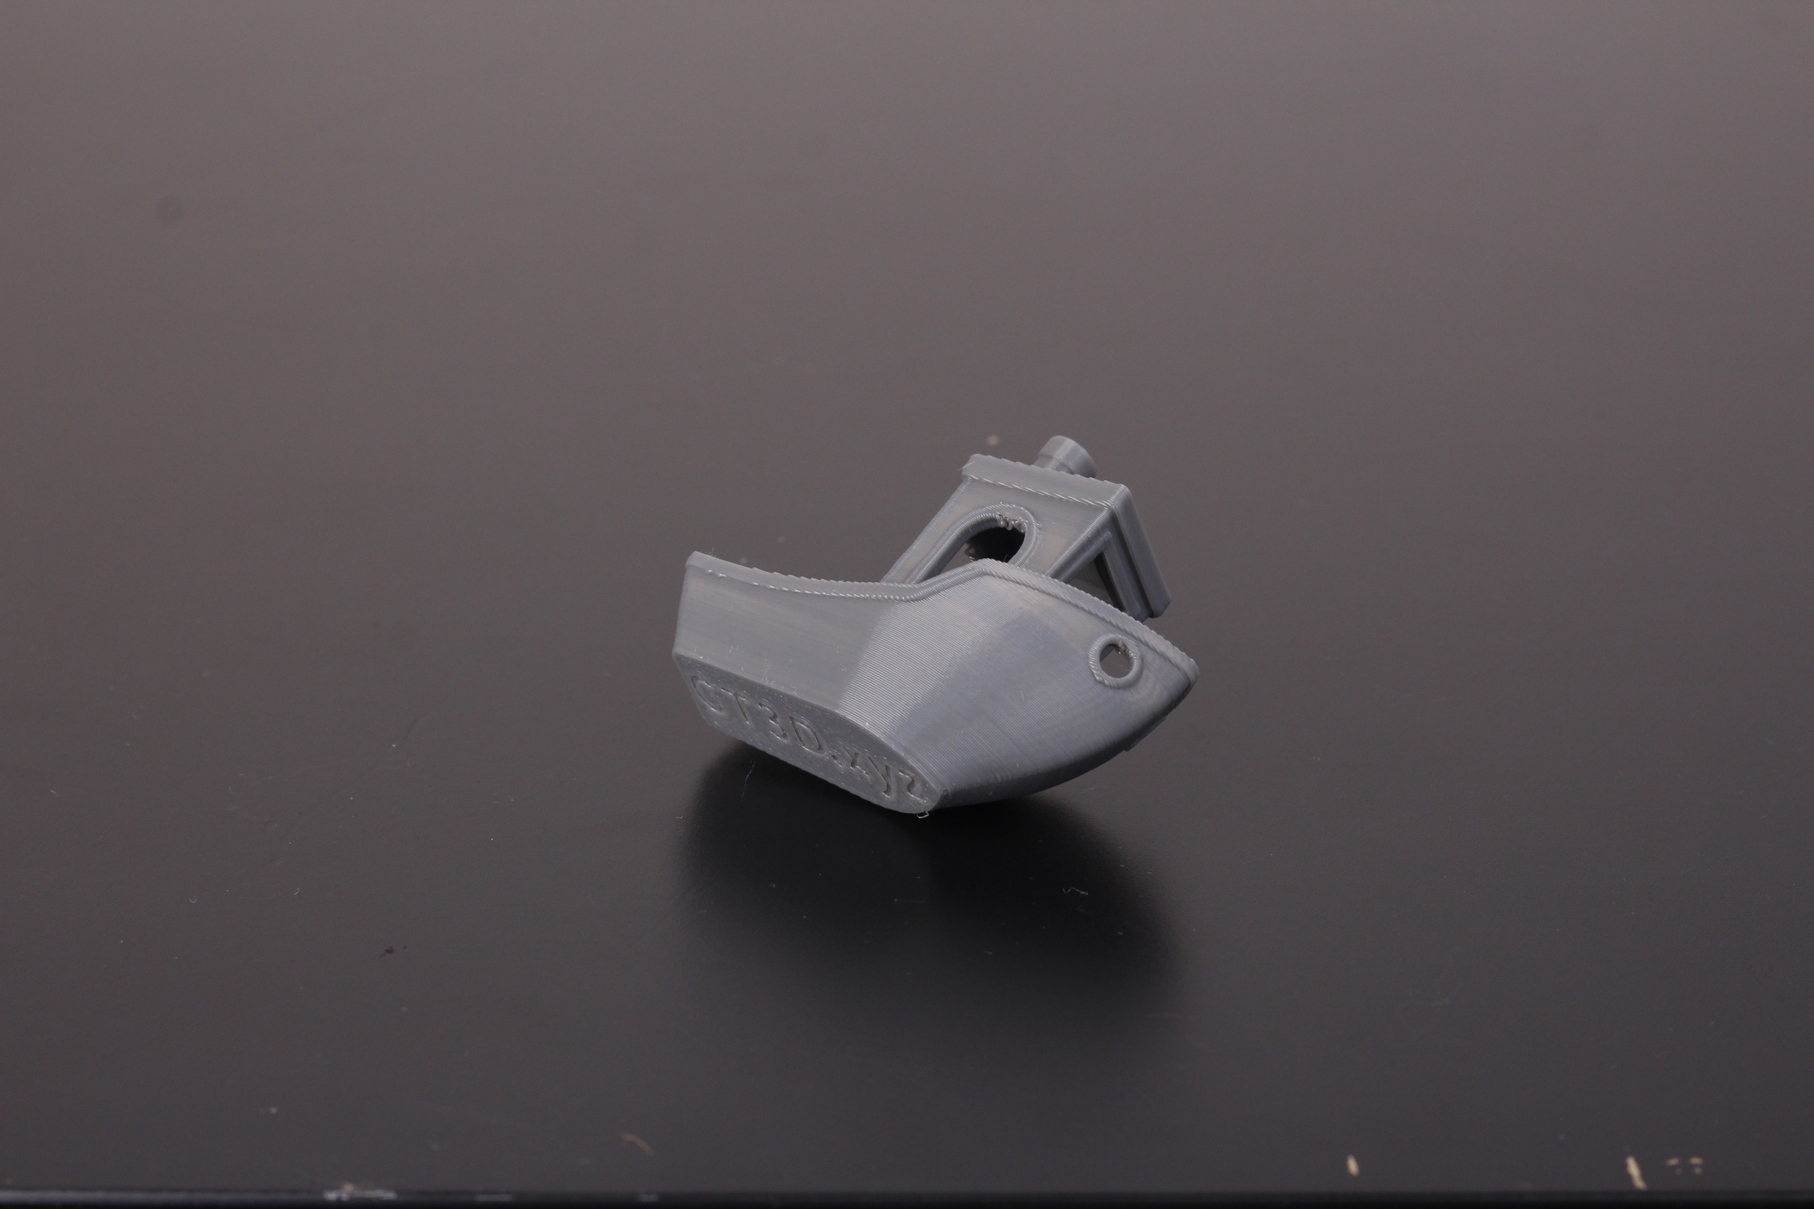
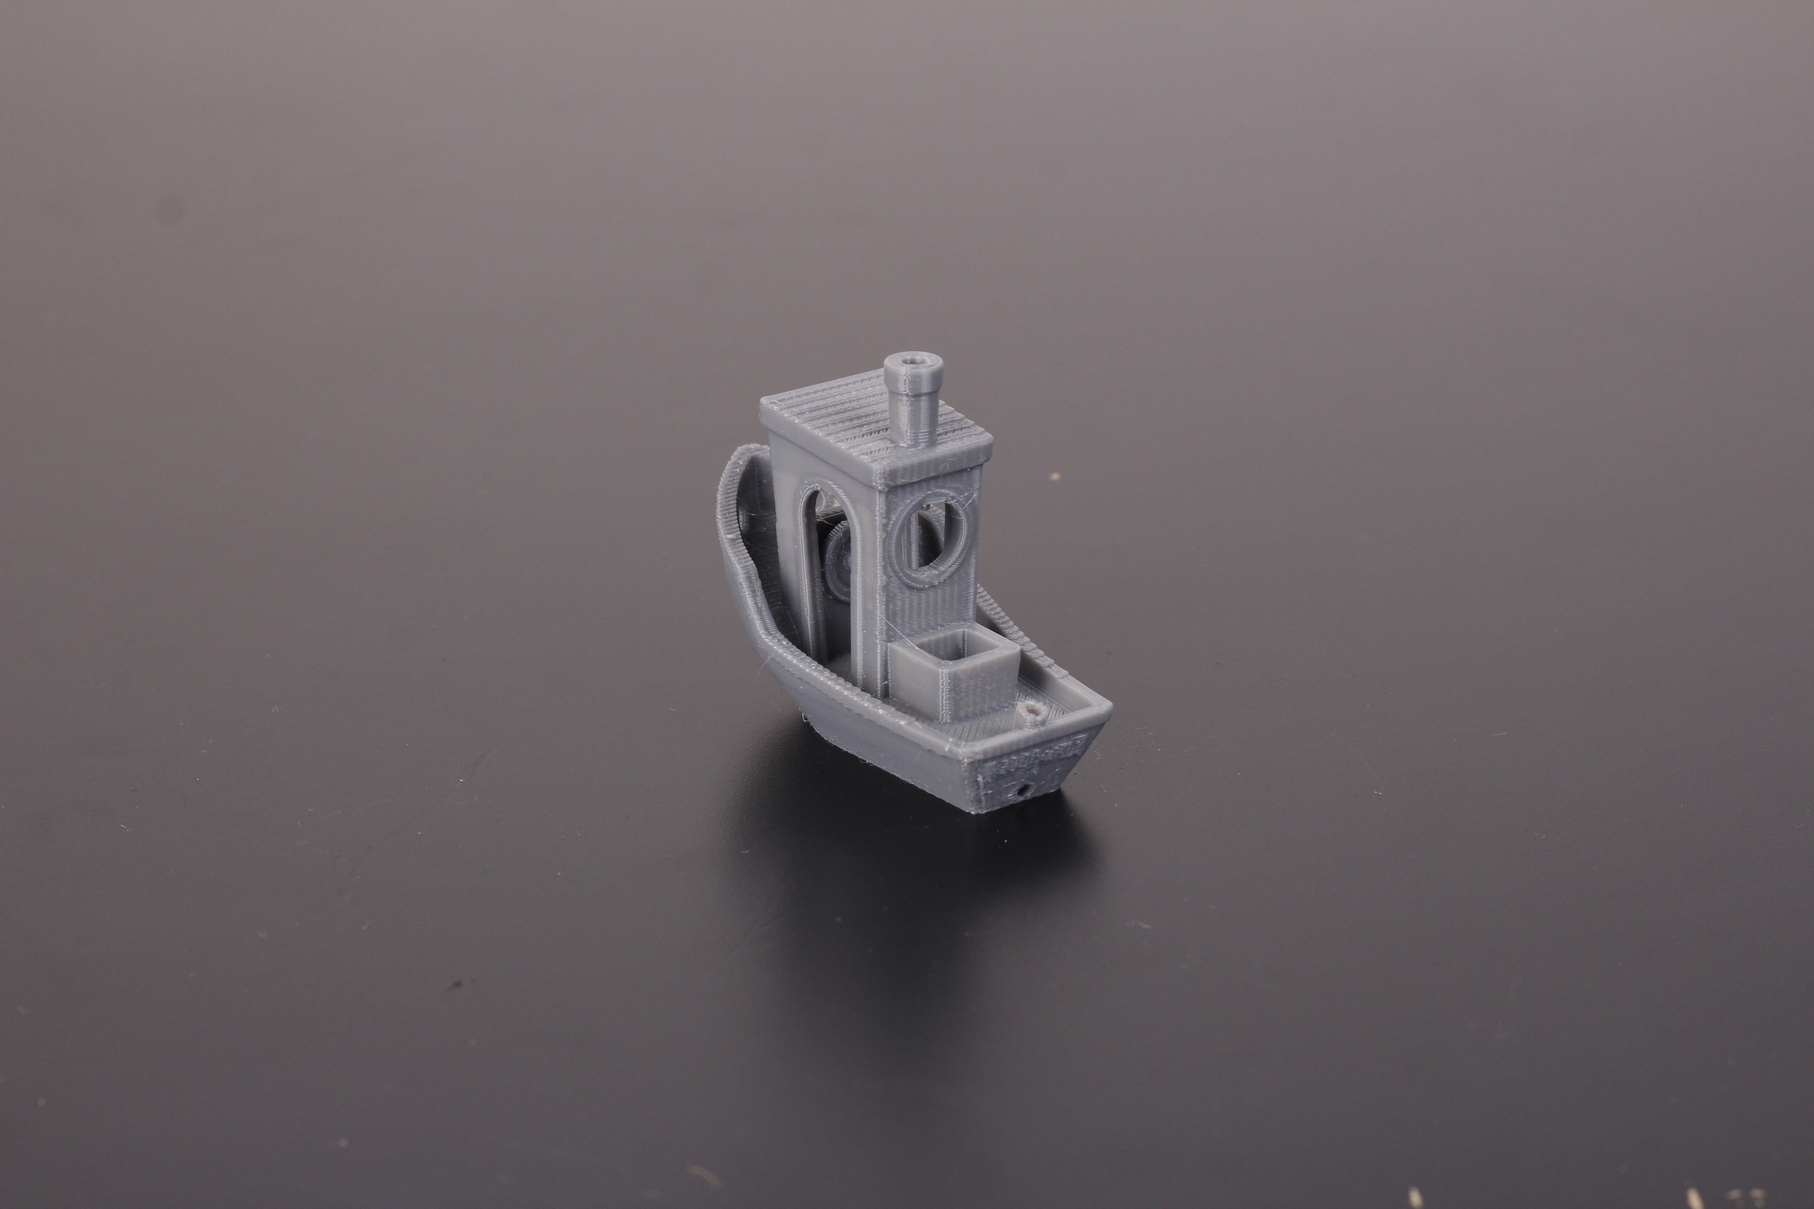
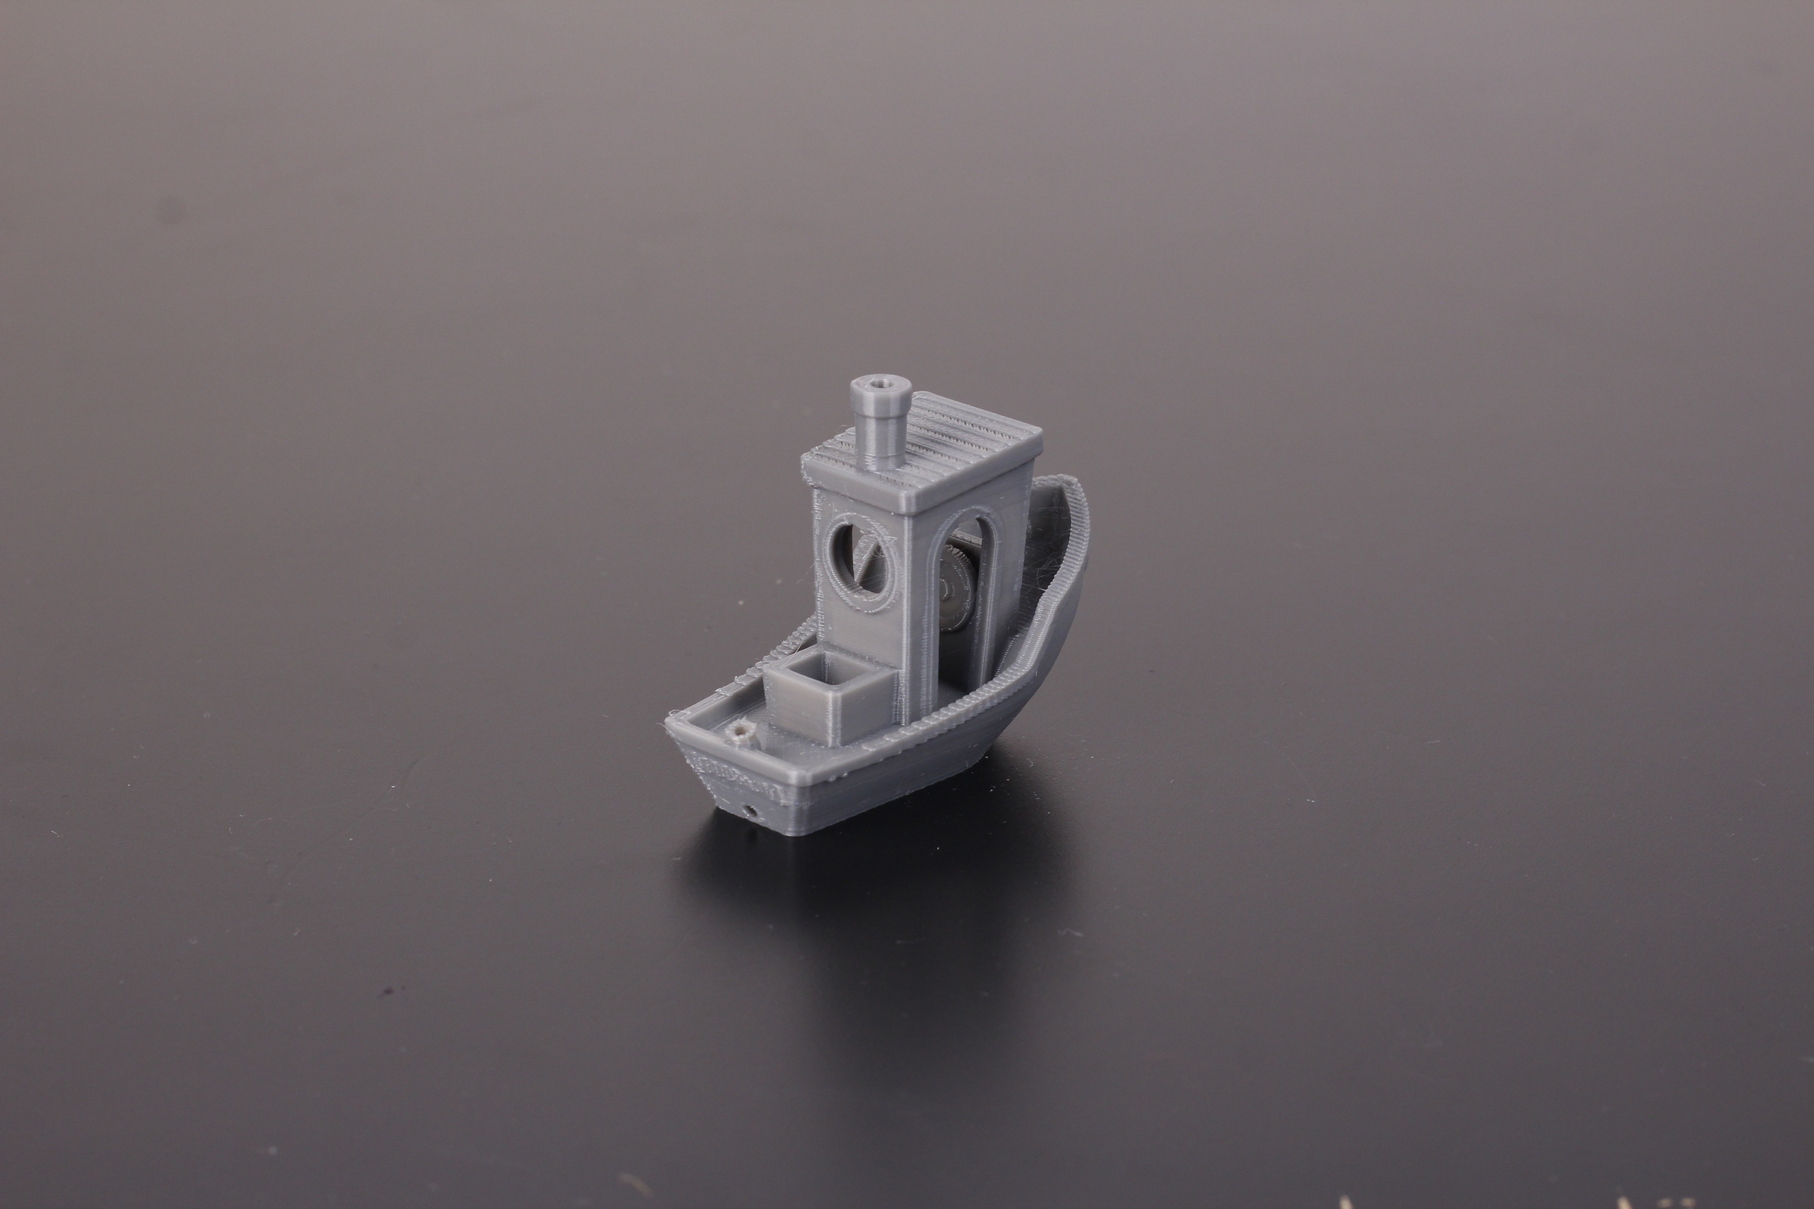
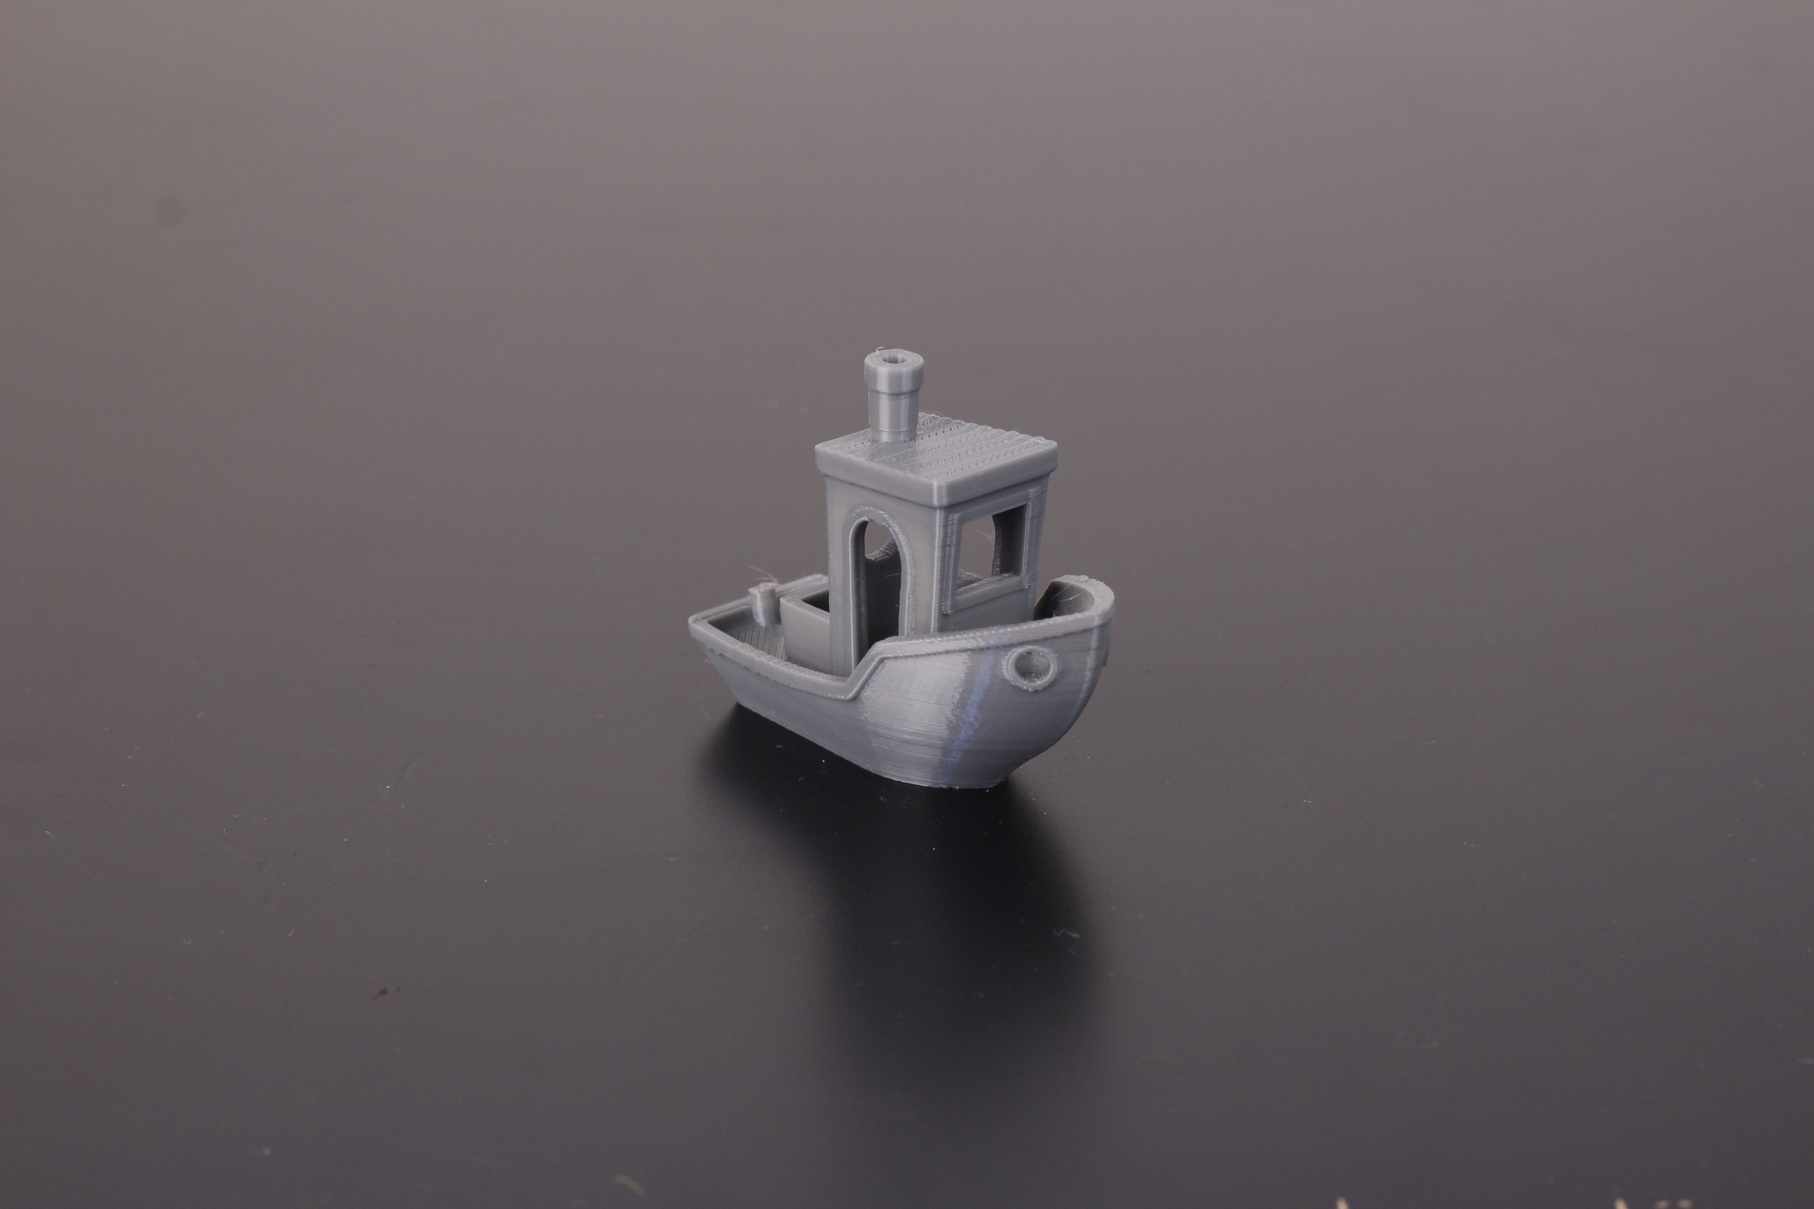
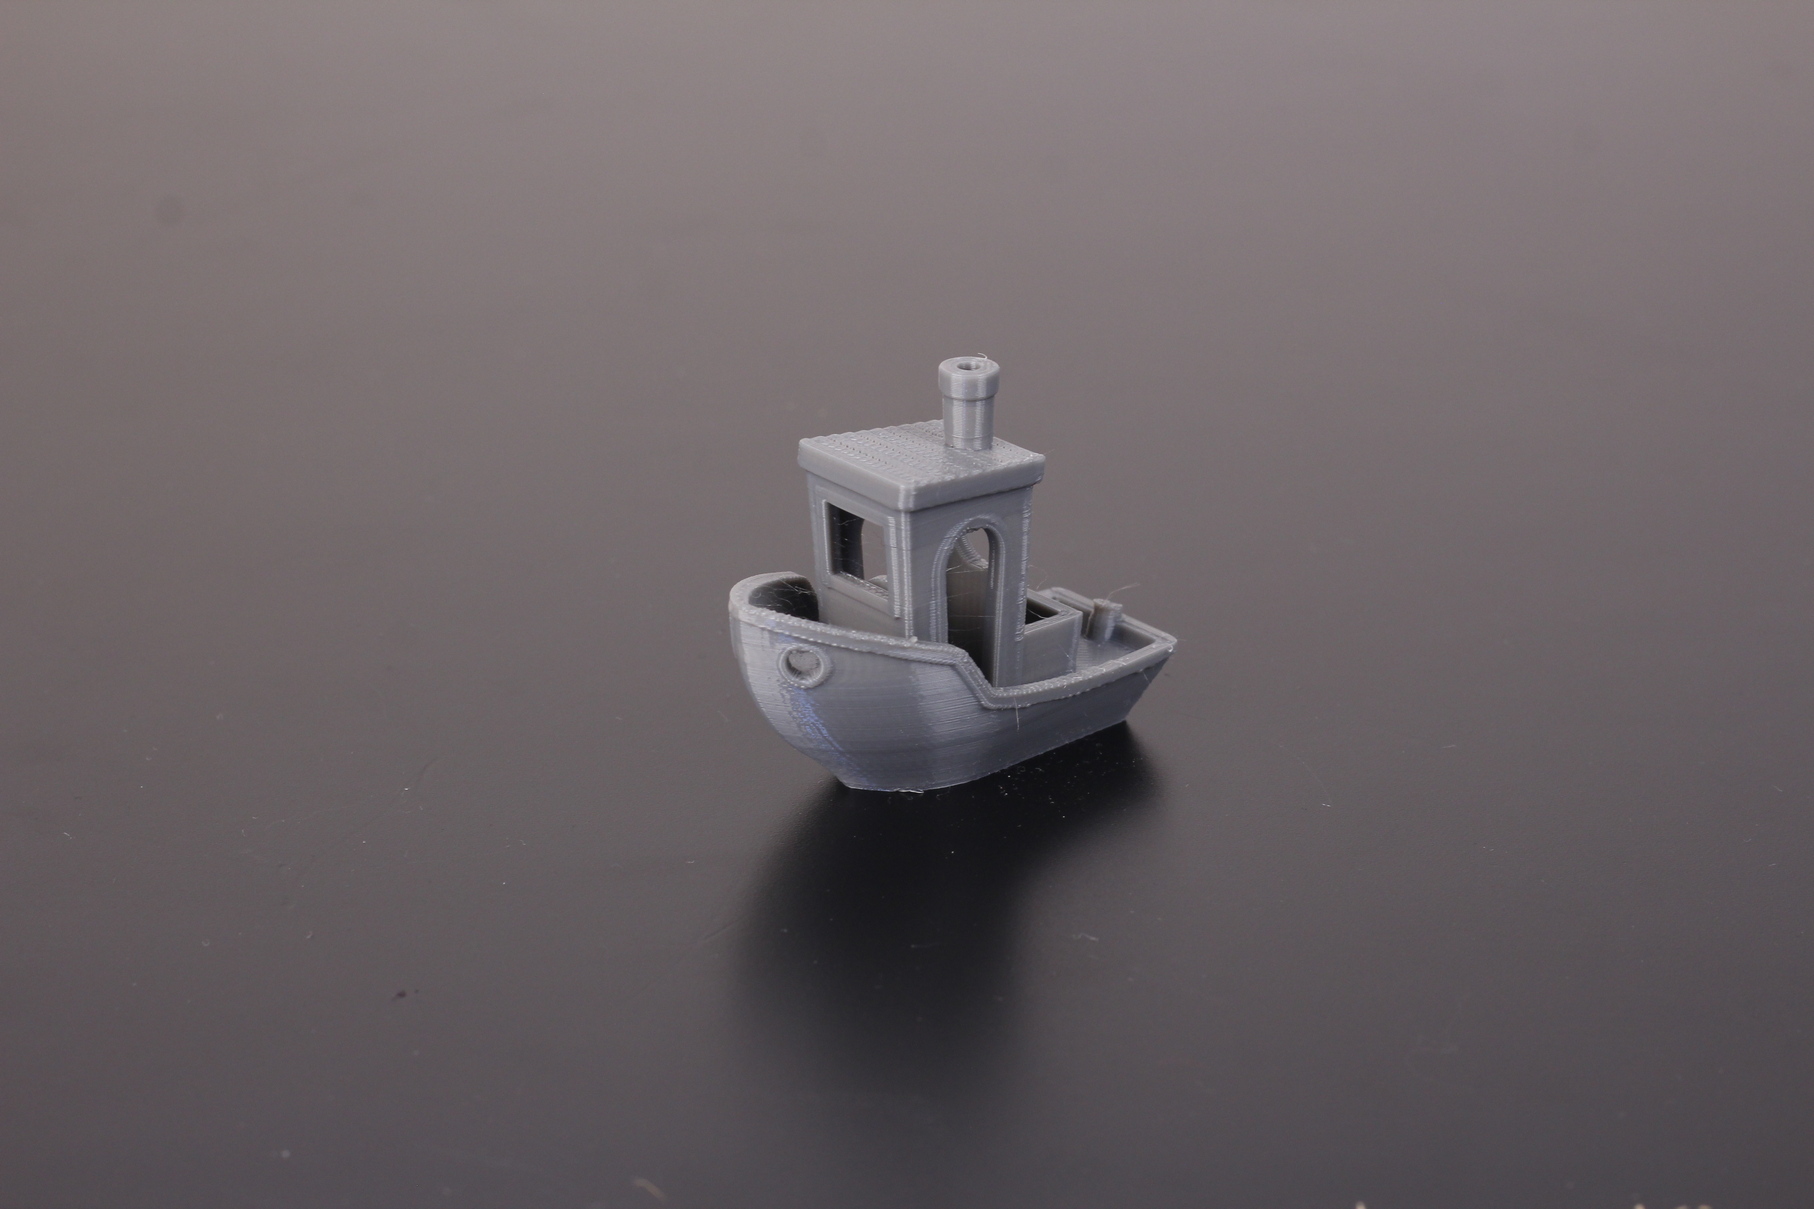
- Material: Sunlu Grey PLA
- Layer Height: 0.2mm
- Nozzle Temperature: 210C
- Bed Temperature: 60C
- Print Speed: 60 mm/s
Phil-A-Ment
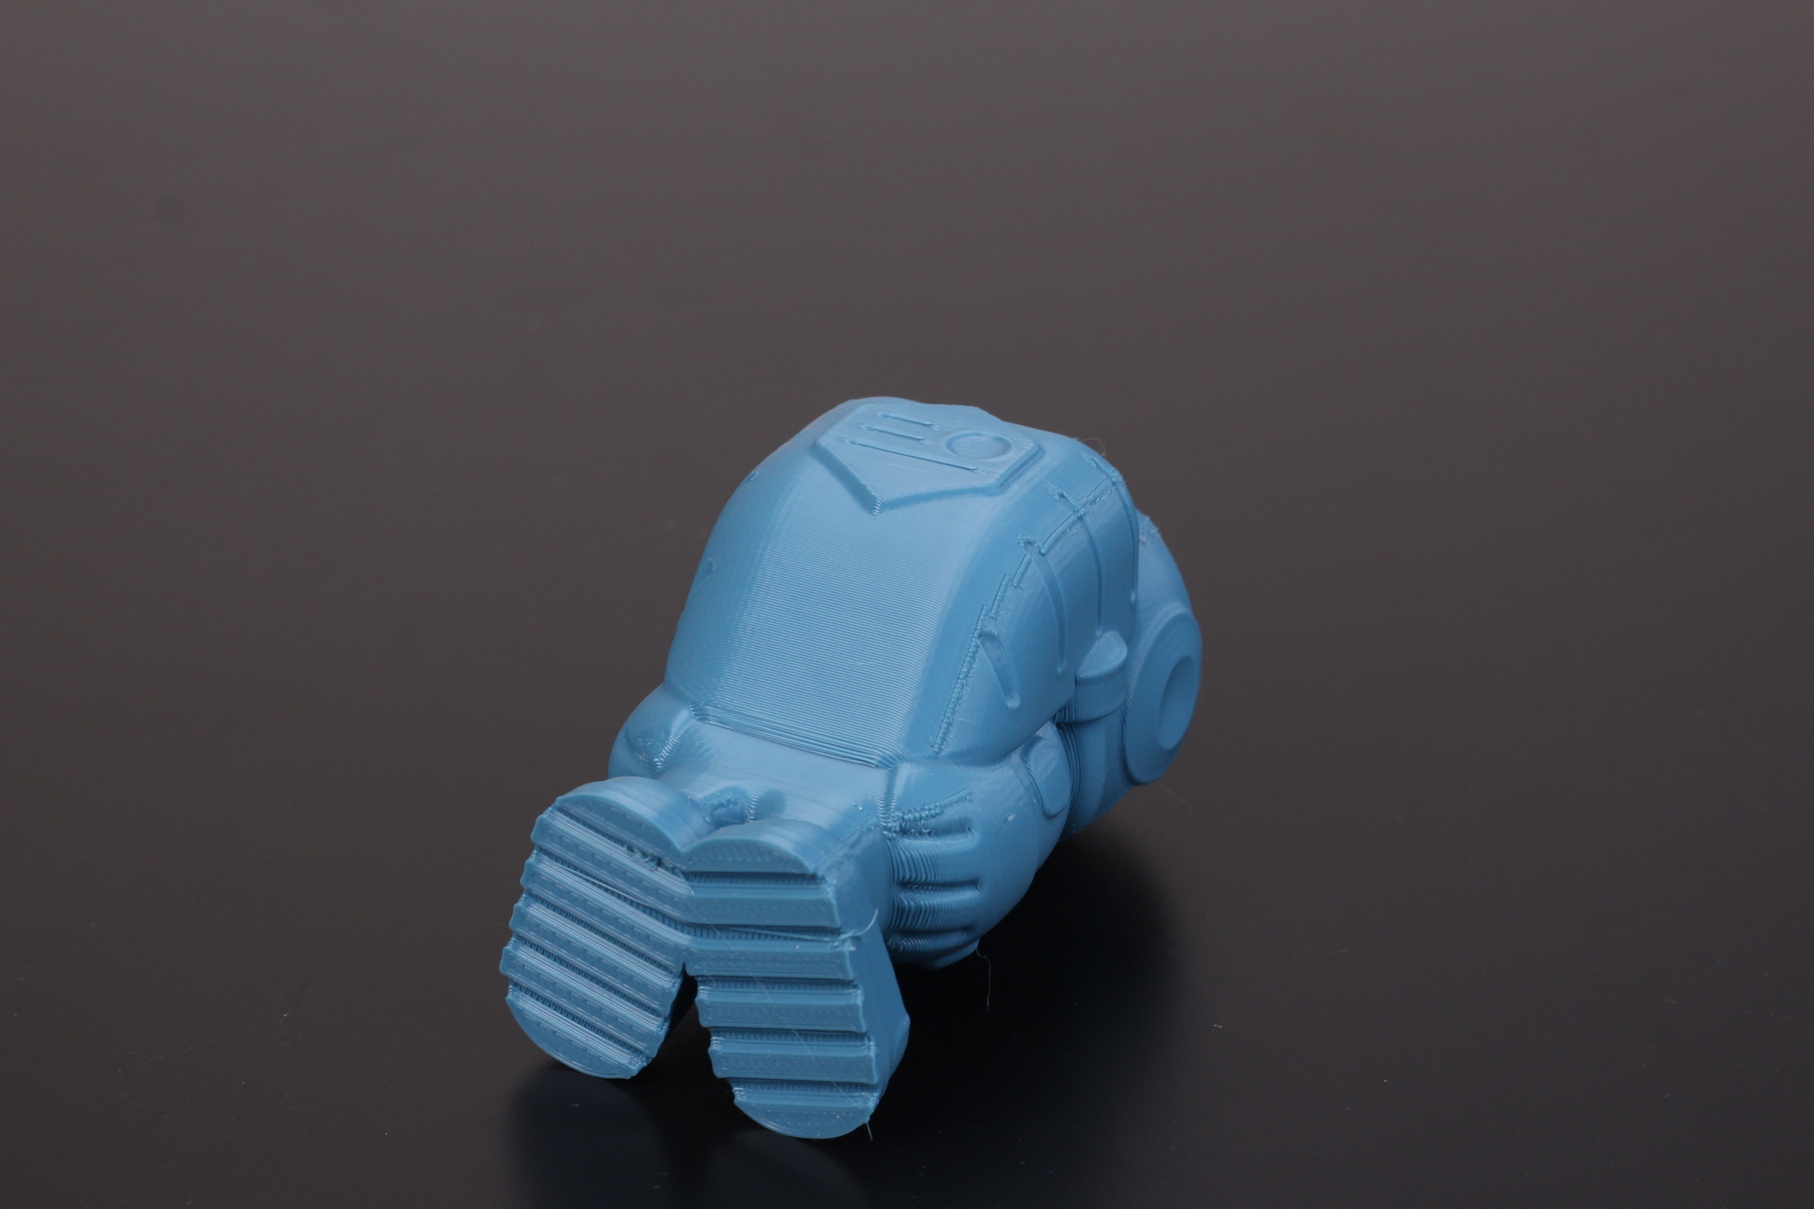
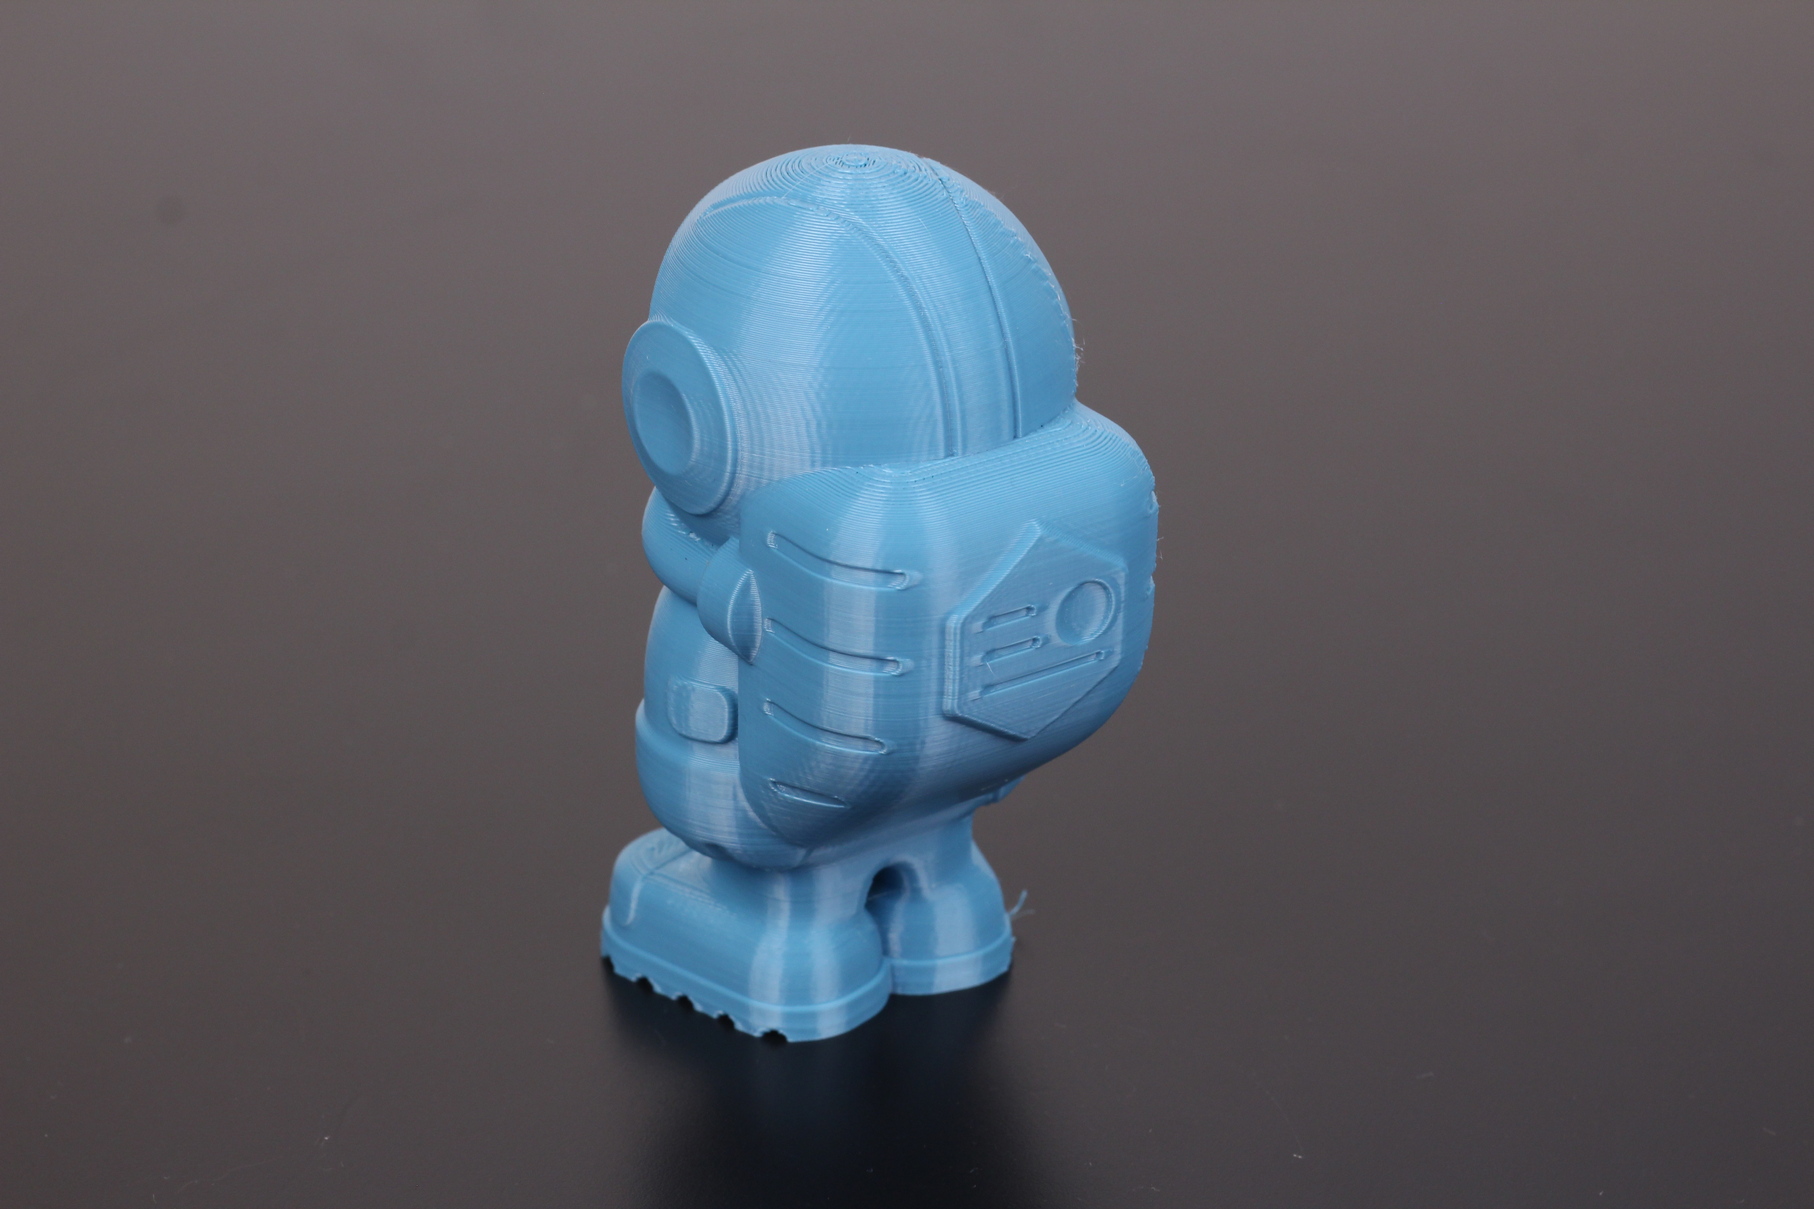
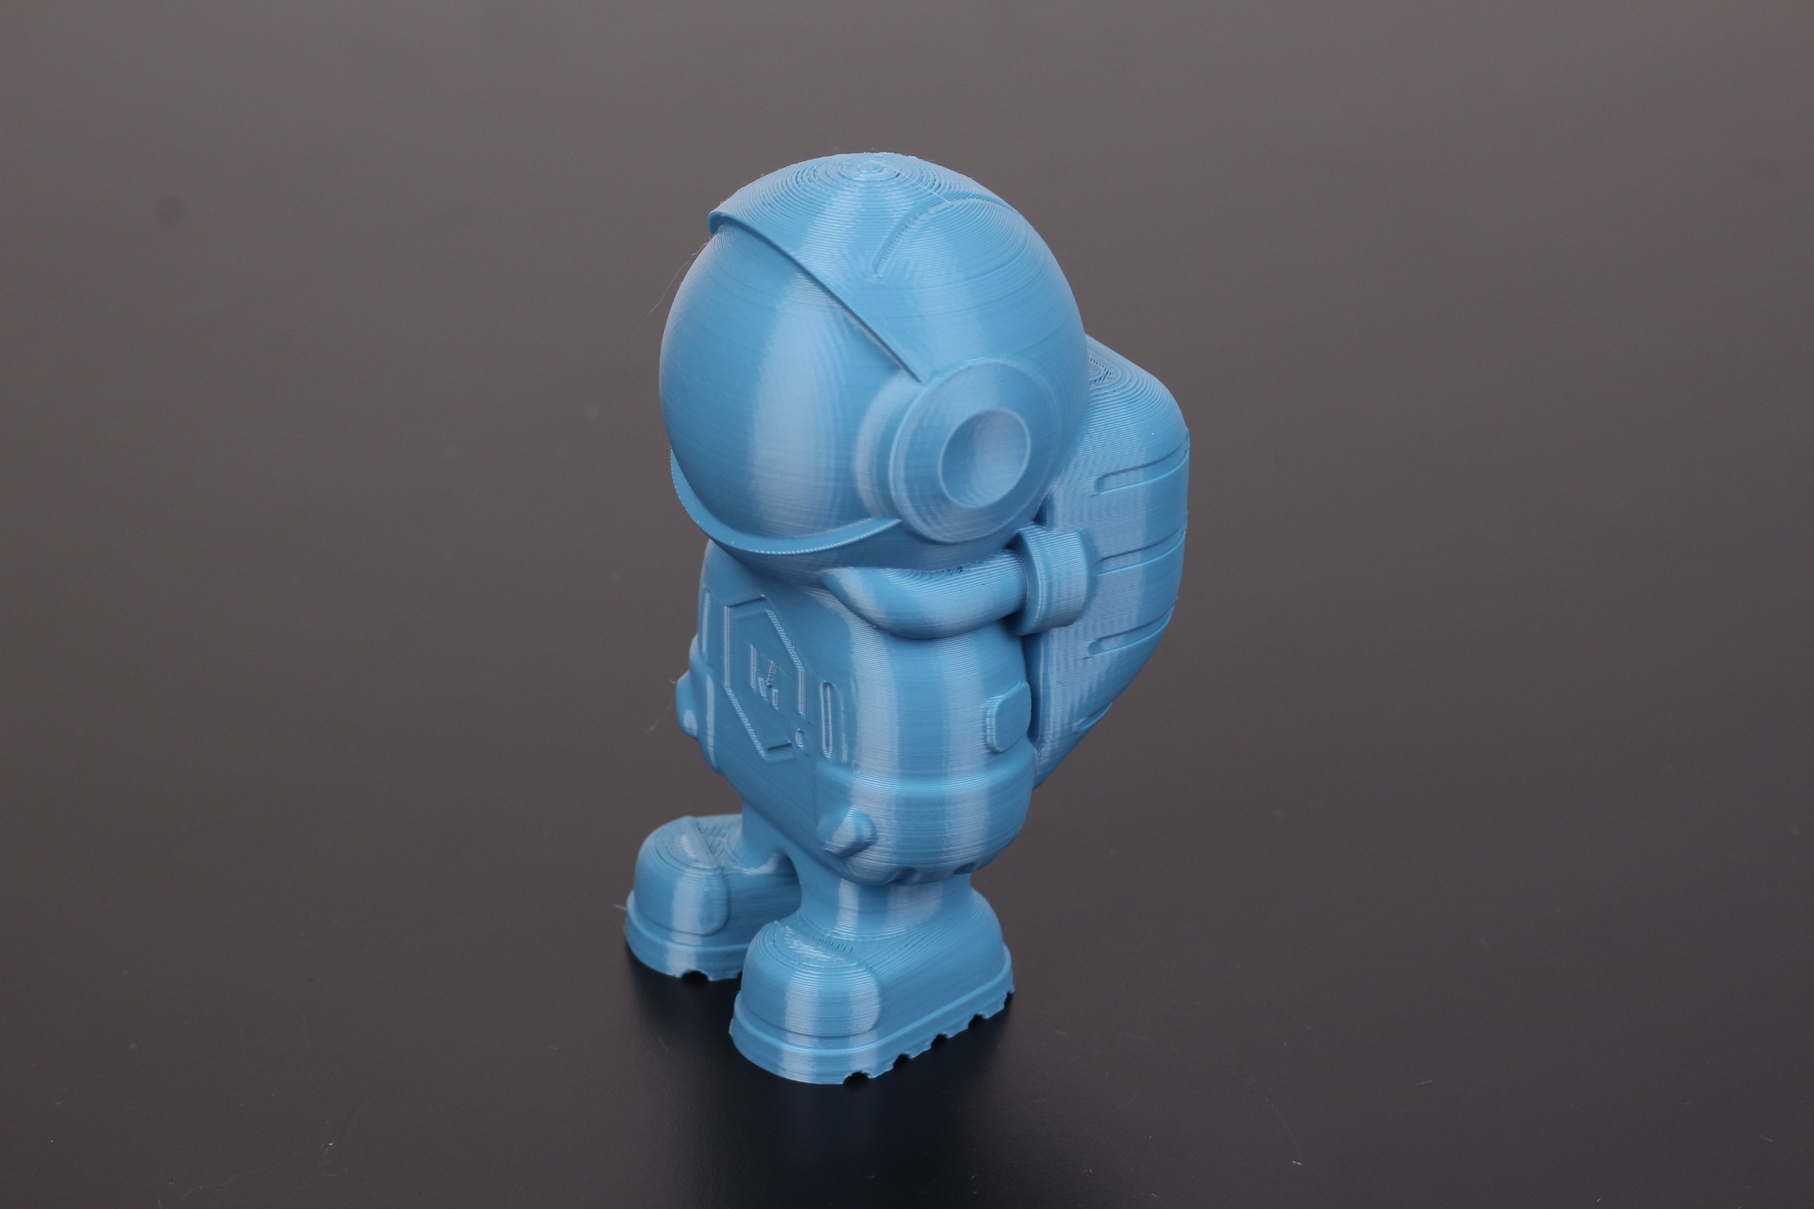
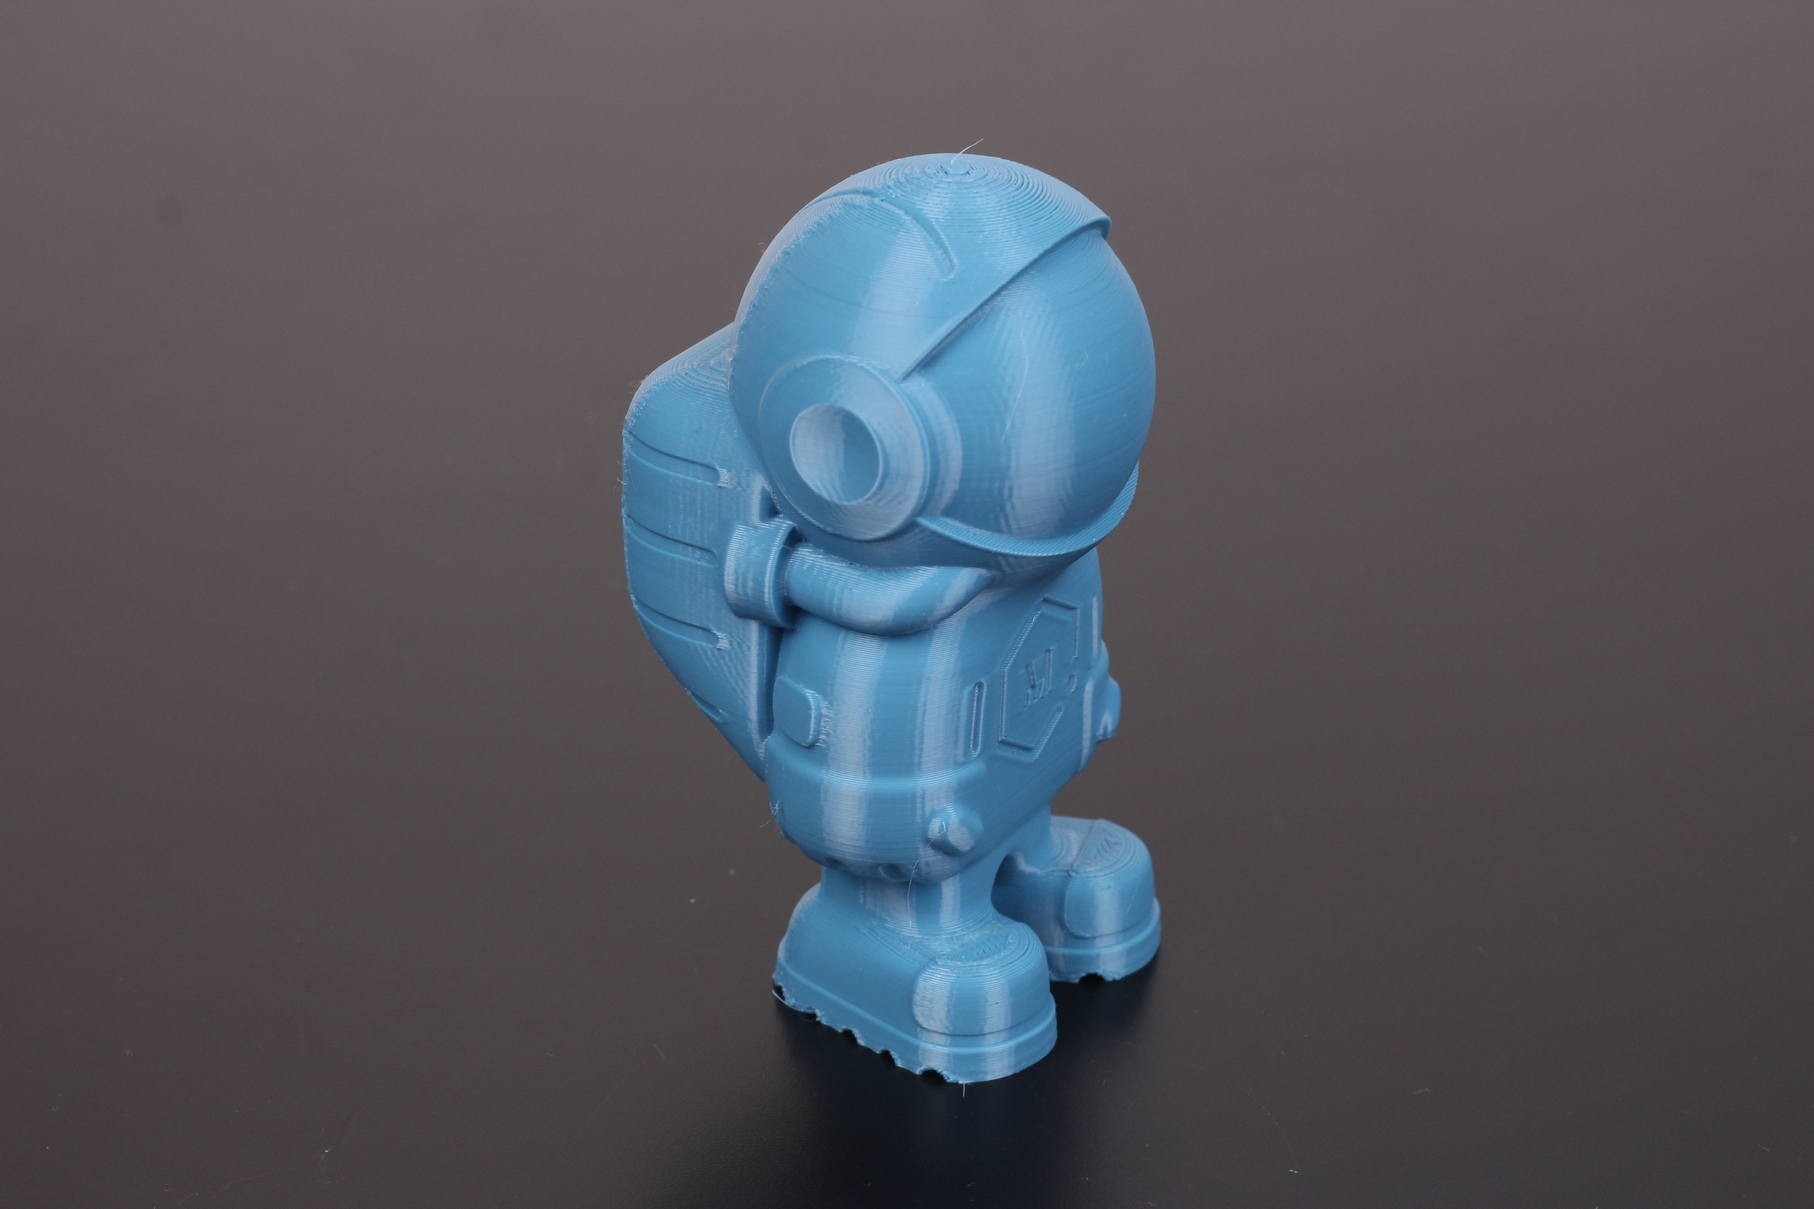
The second print was Phil-A-Ment from MatterHackers. This was the model that showed me there’s something wrong with the printer. the strings are caused by the random printhead movements during printing. But if we ignore that, the print quality is quite decent, with some Z banding caused by the flow rate.
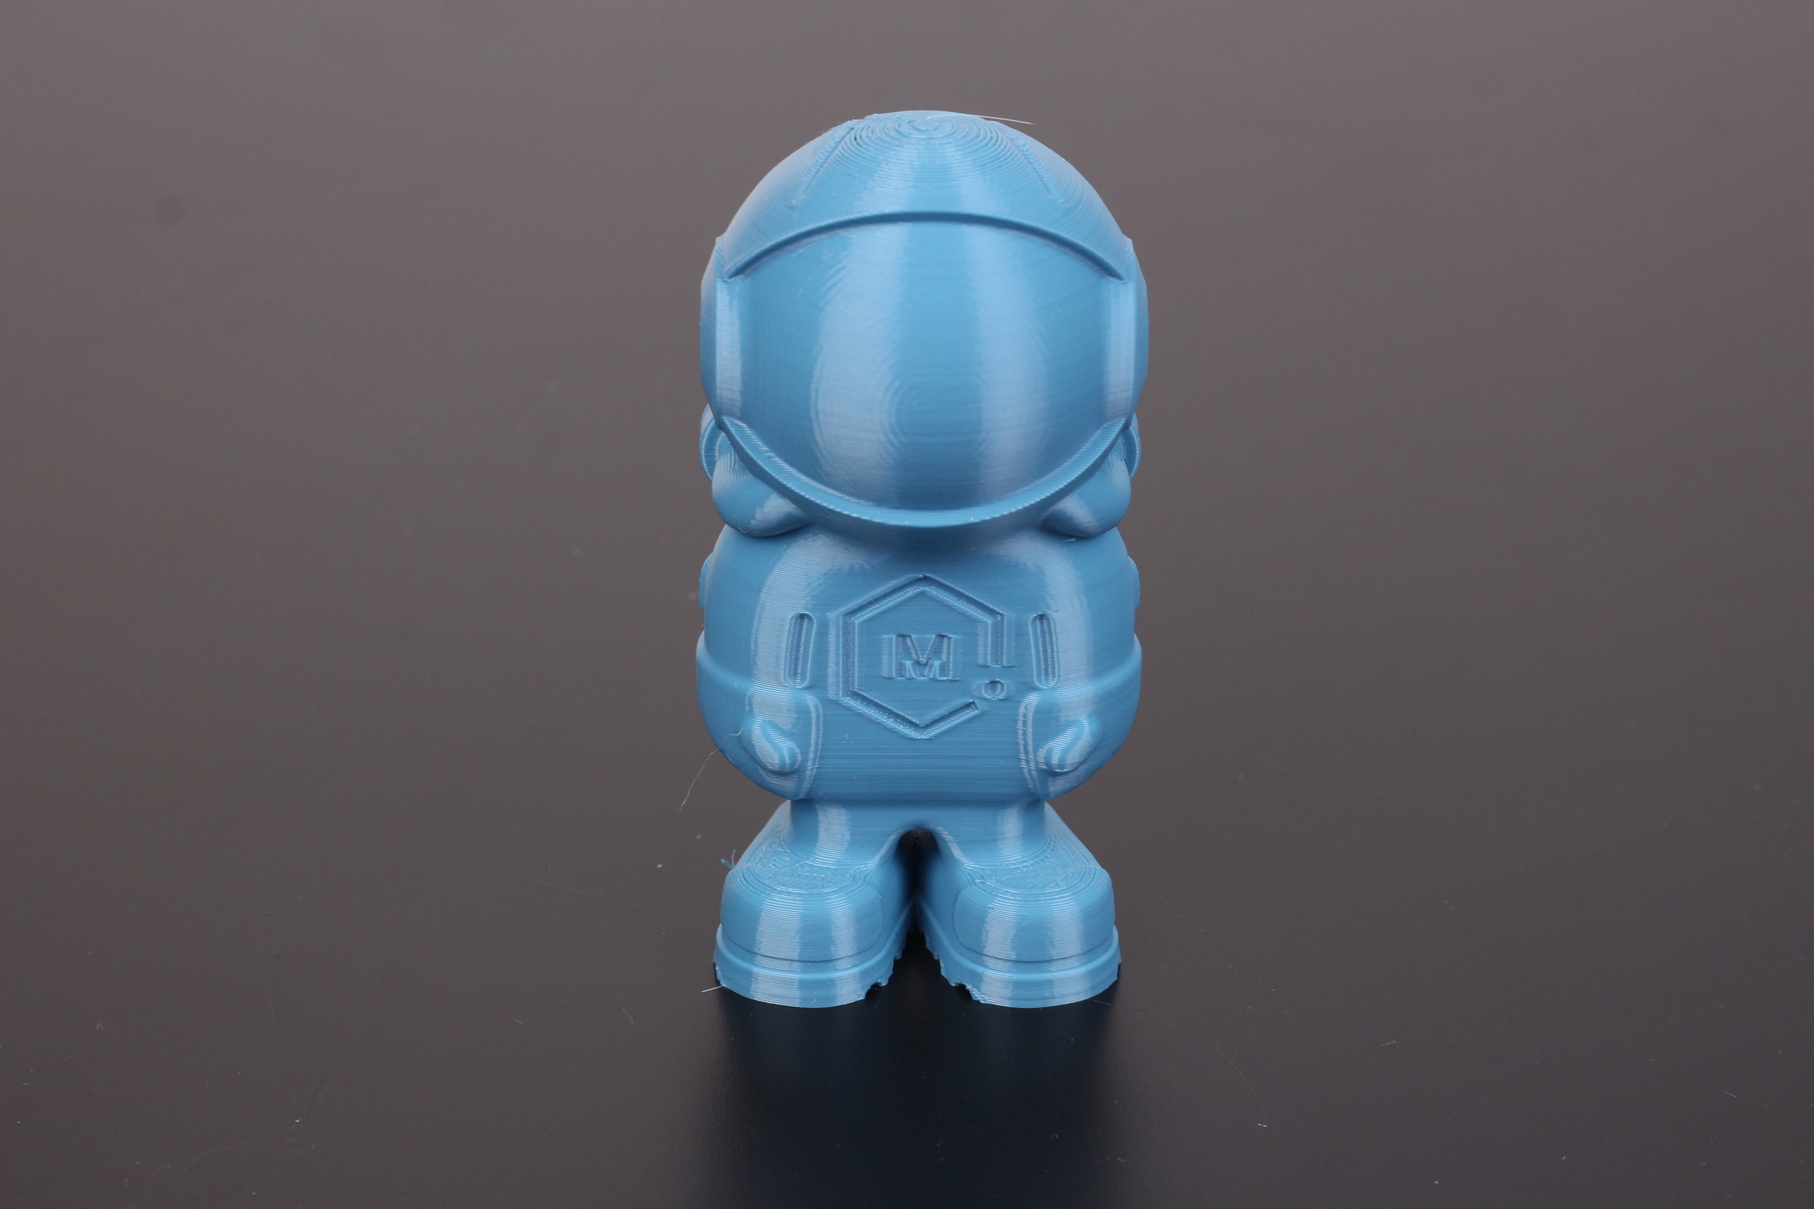
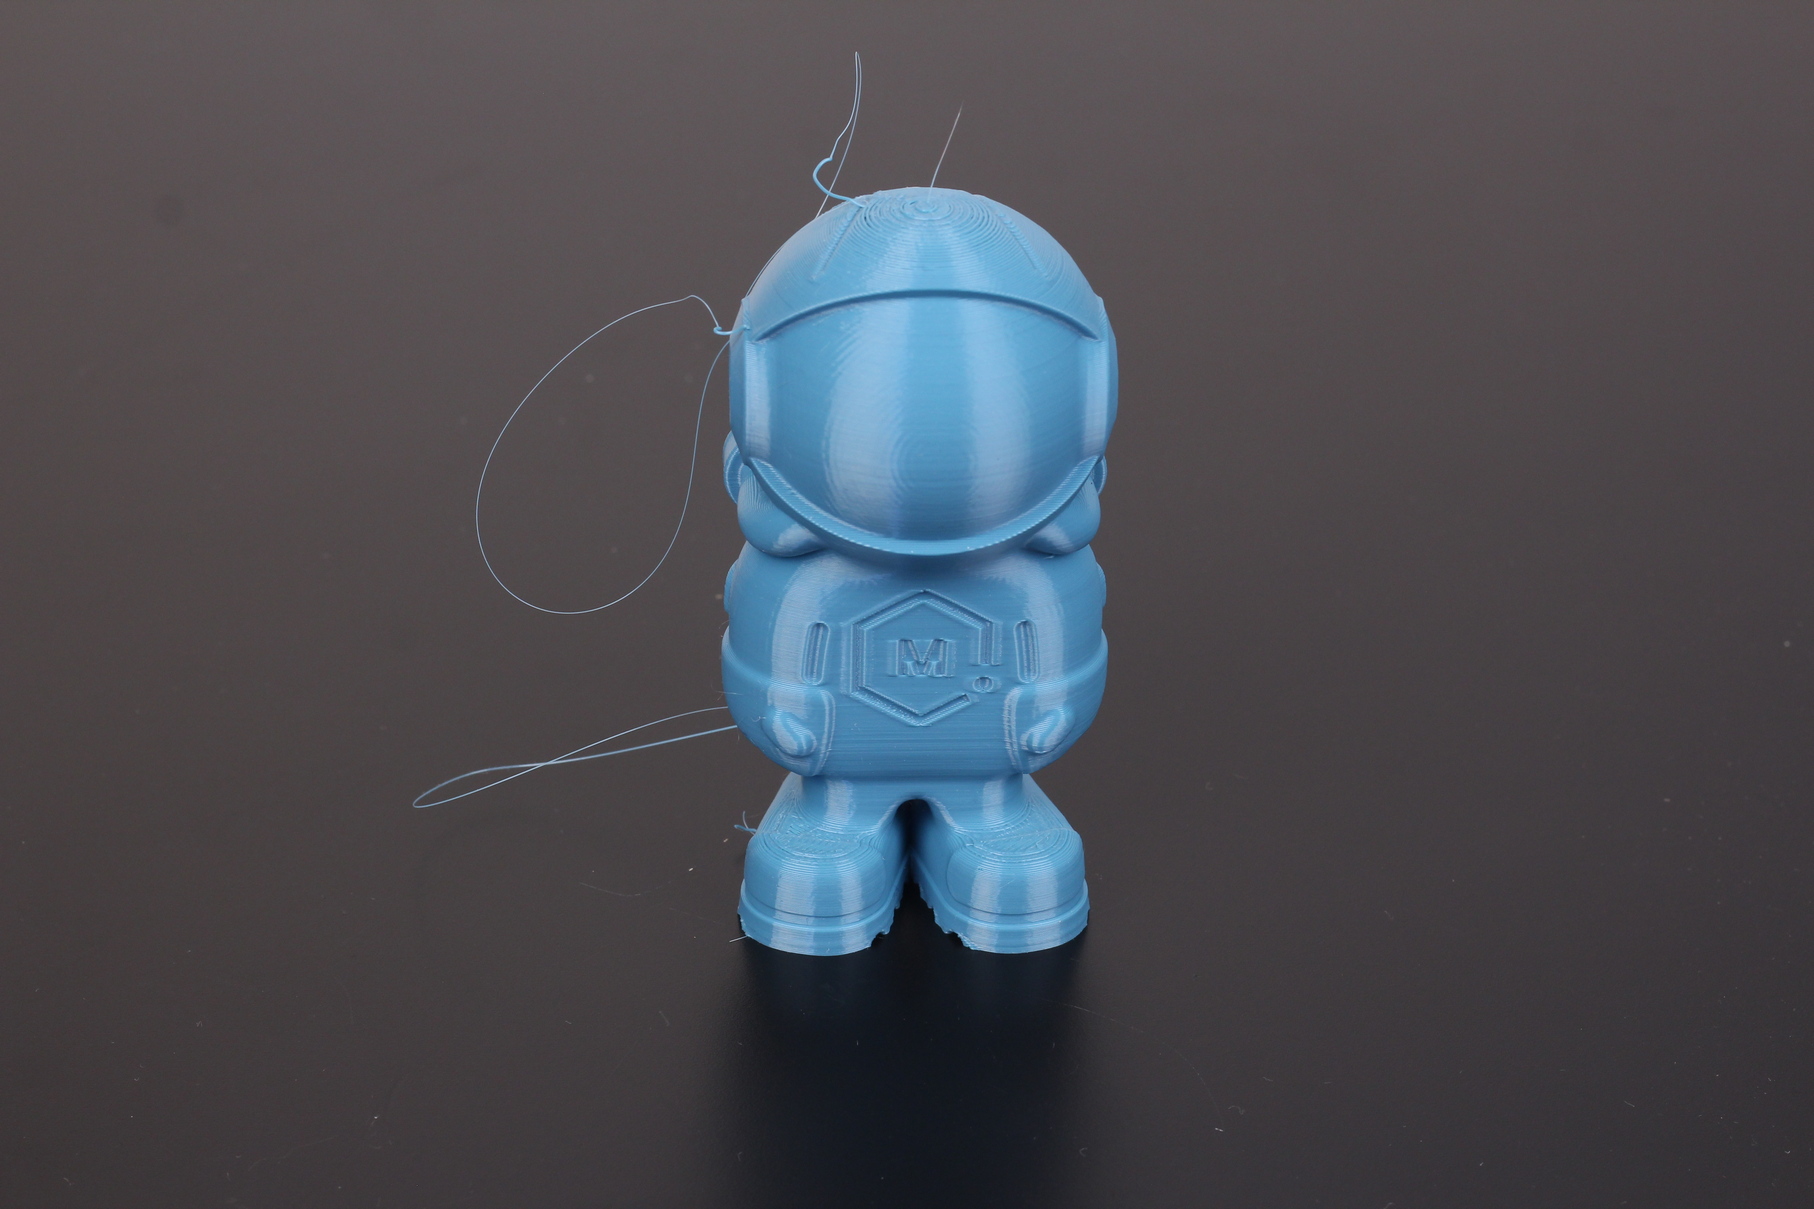
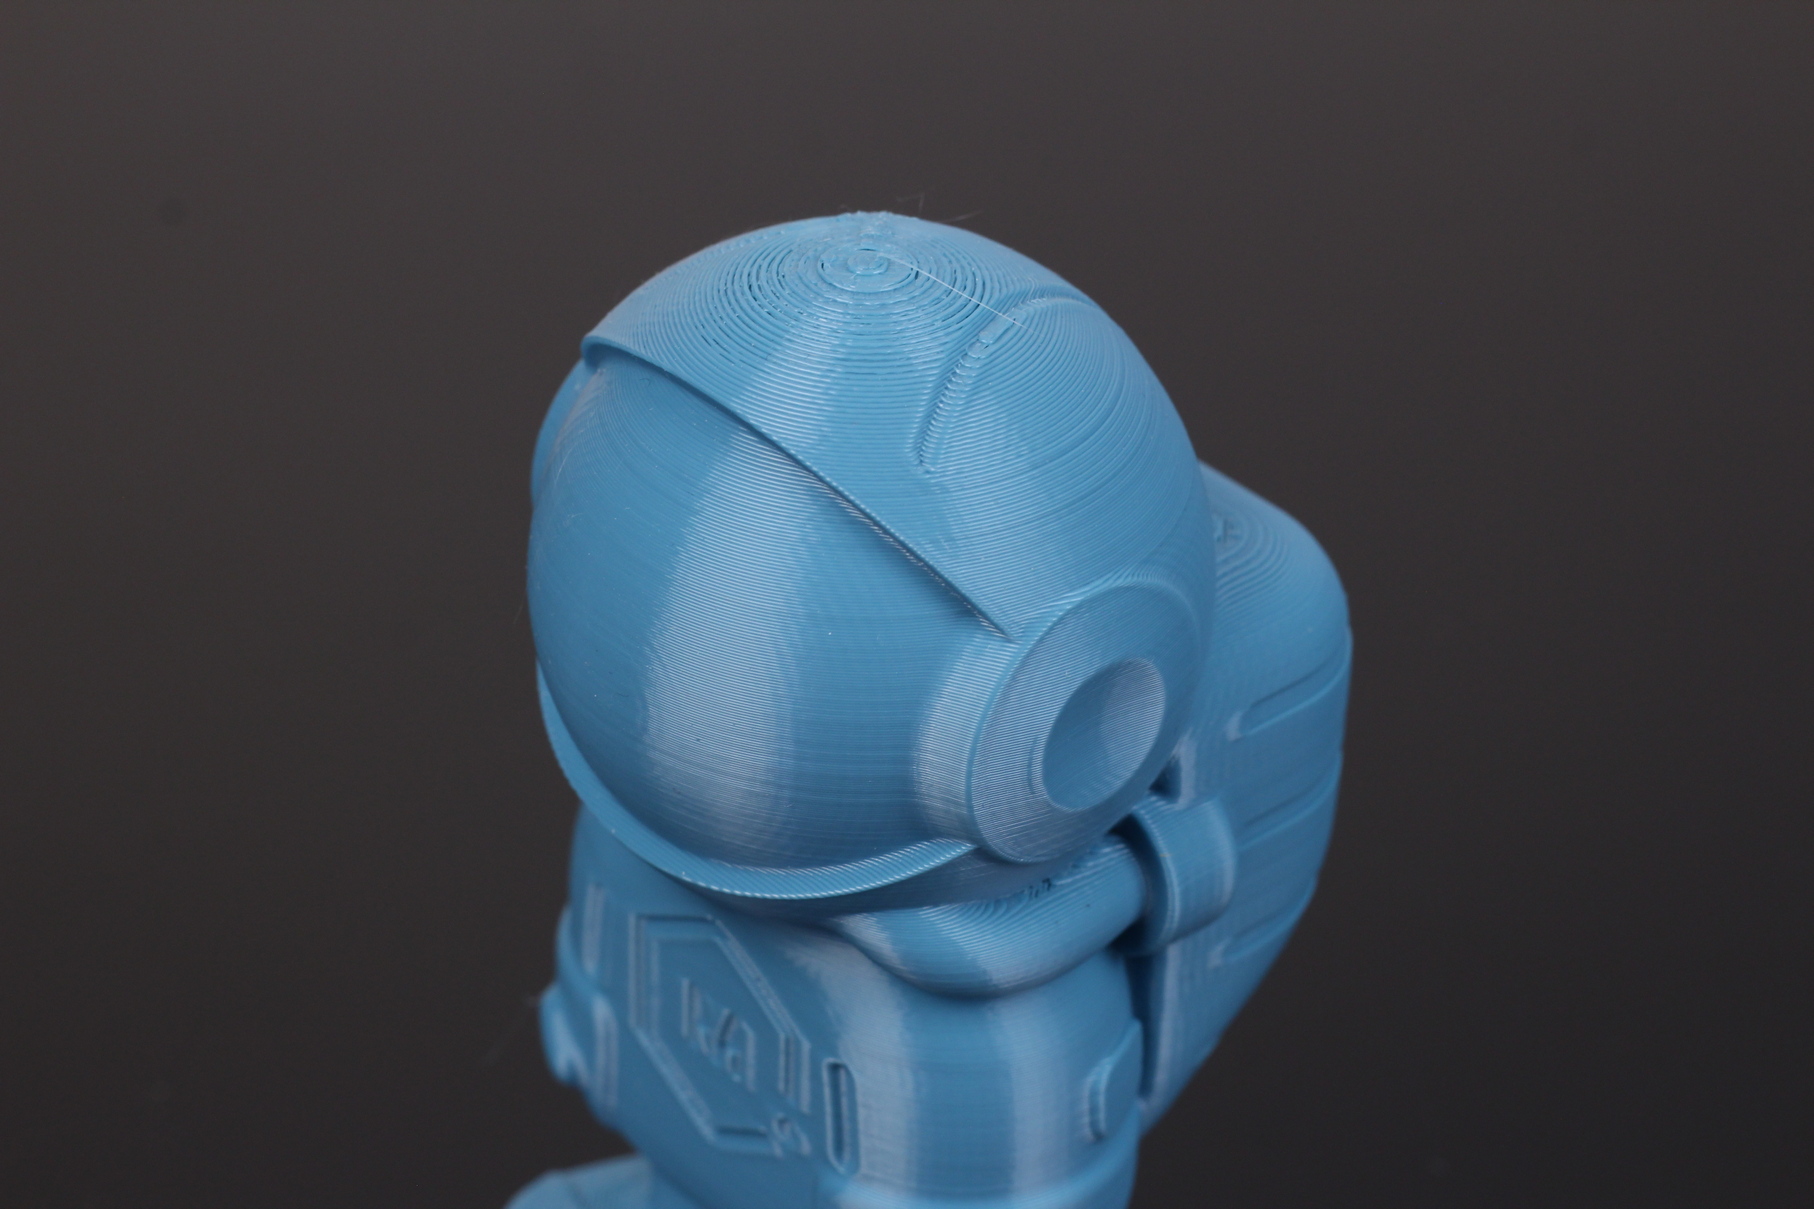
- Material: Devil Design Azure Blue PLA
- Layer Height: 0.2mm
- Nozzle Temperature: 210C
- Bed Temperature: 60C
- Print Speed: 60 mm/s
Flexi beetle
I adjusted the flow rate a bit and printed the flexi beetle. It completed successfully, but now without random movements, like for the previous print. This time, there are sections where the extruded line gets interrupted leaving small holes in the print.
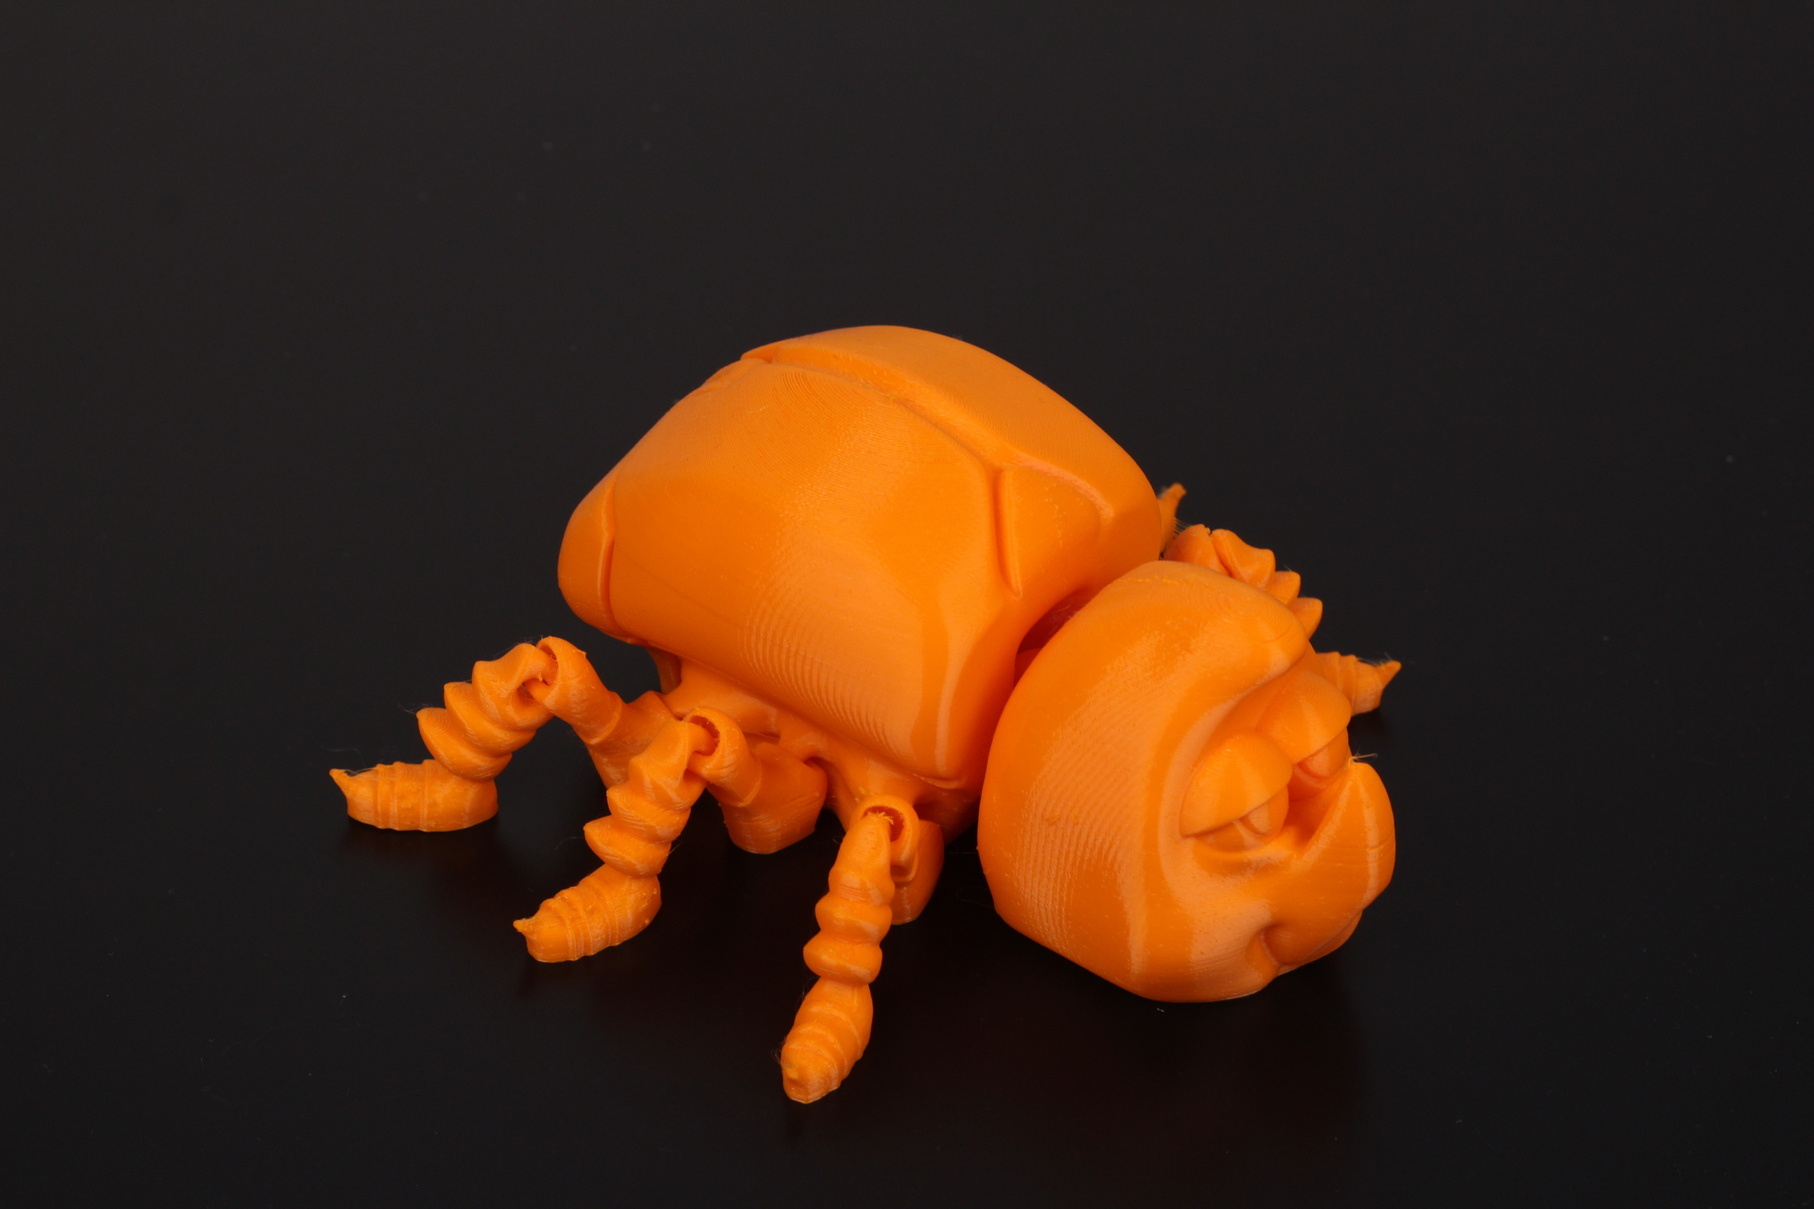
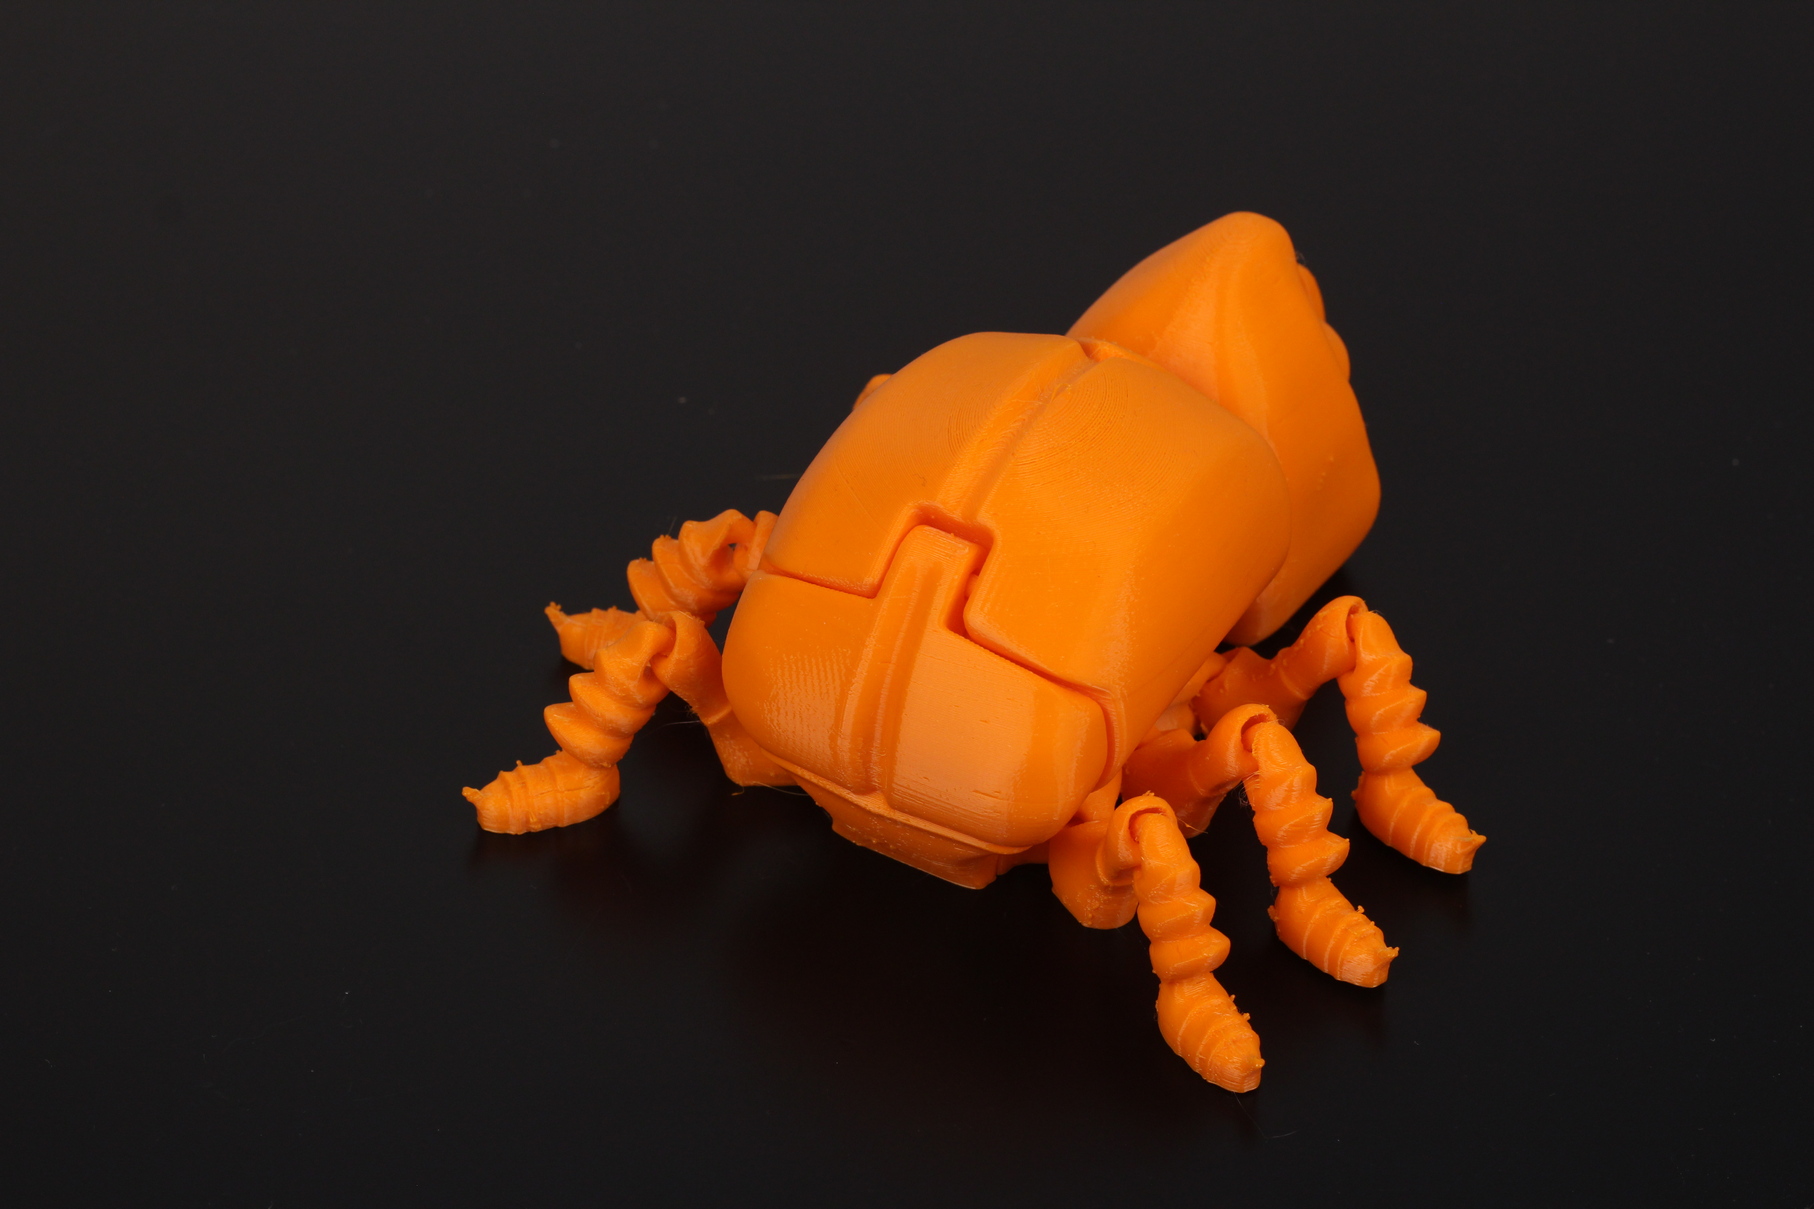
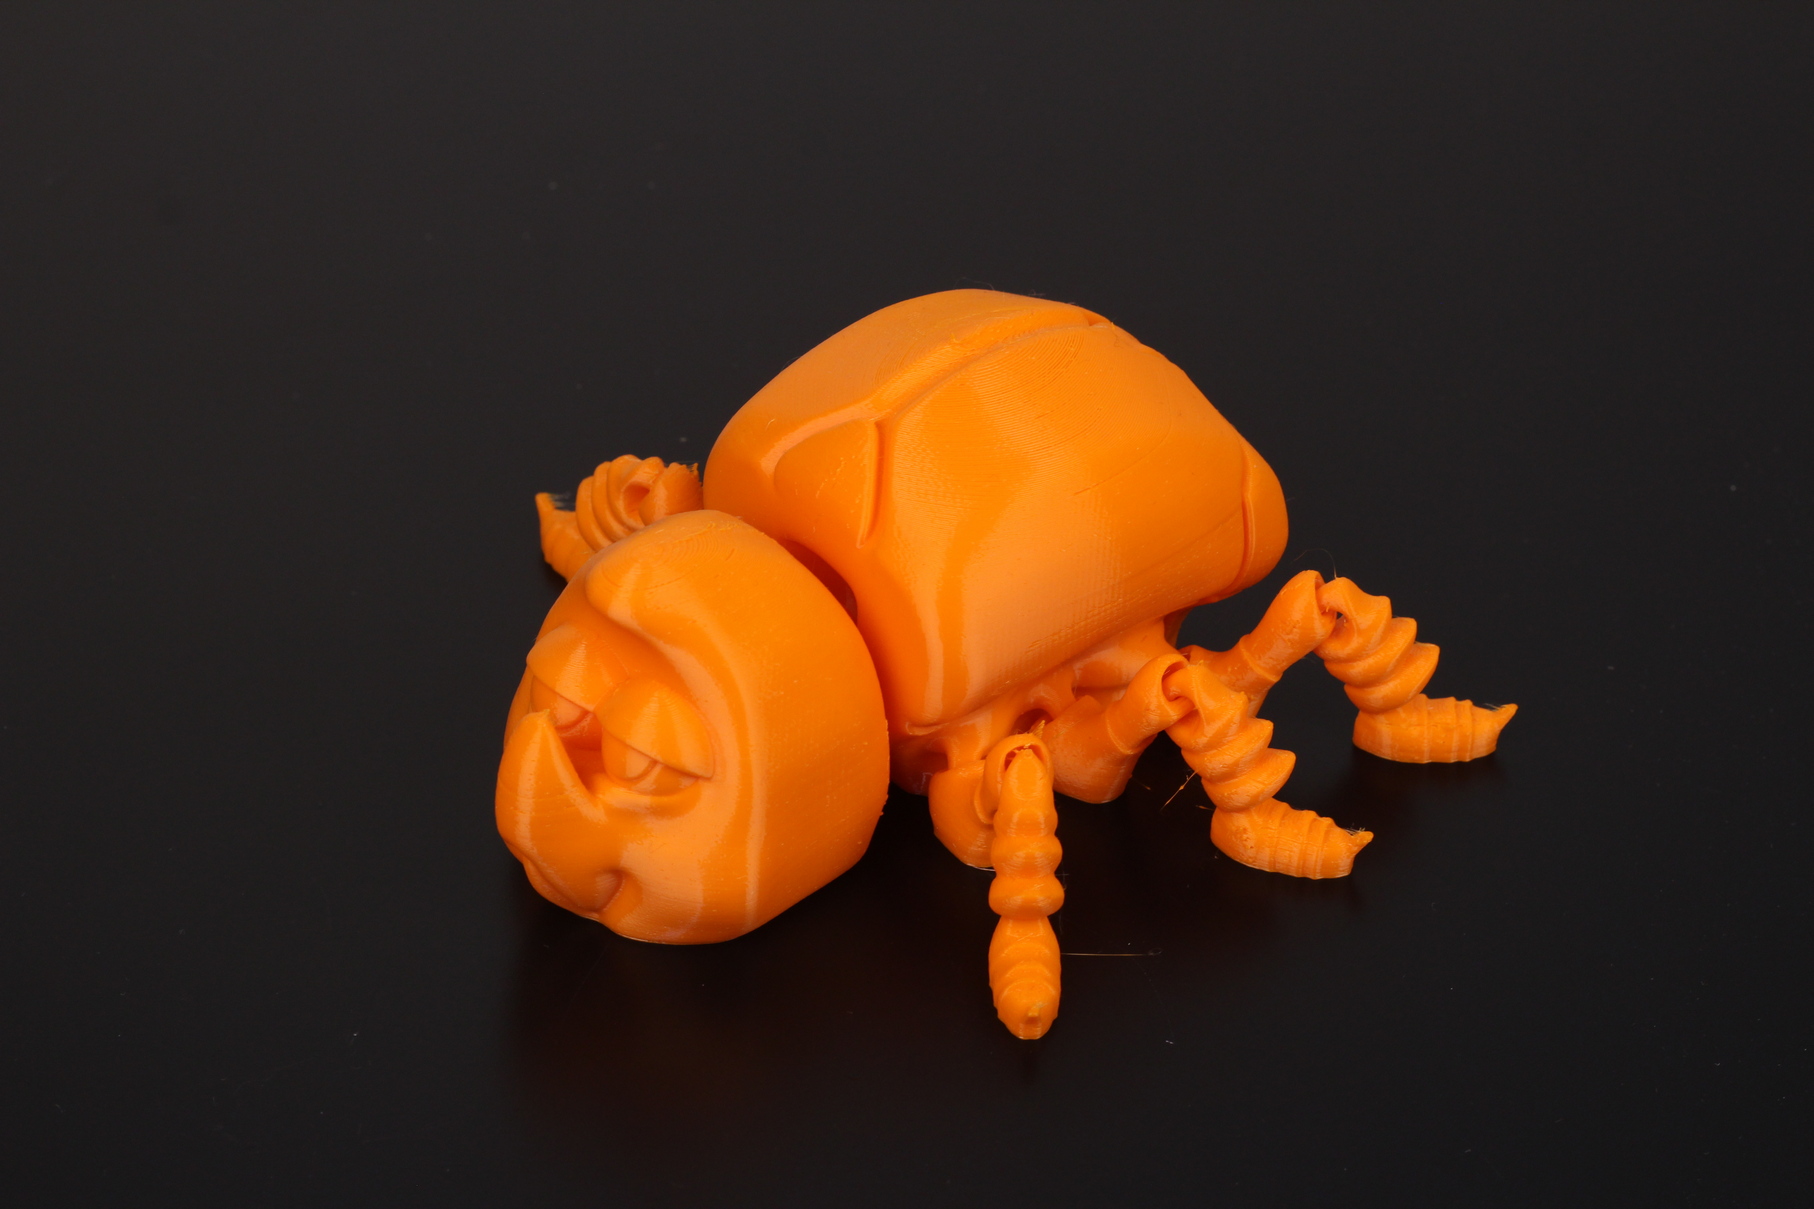
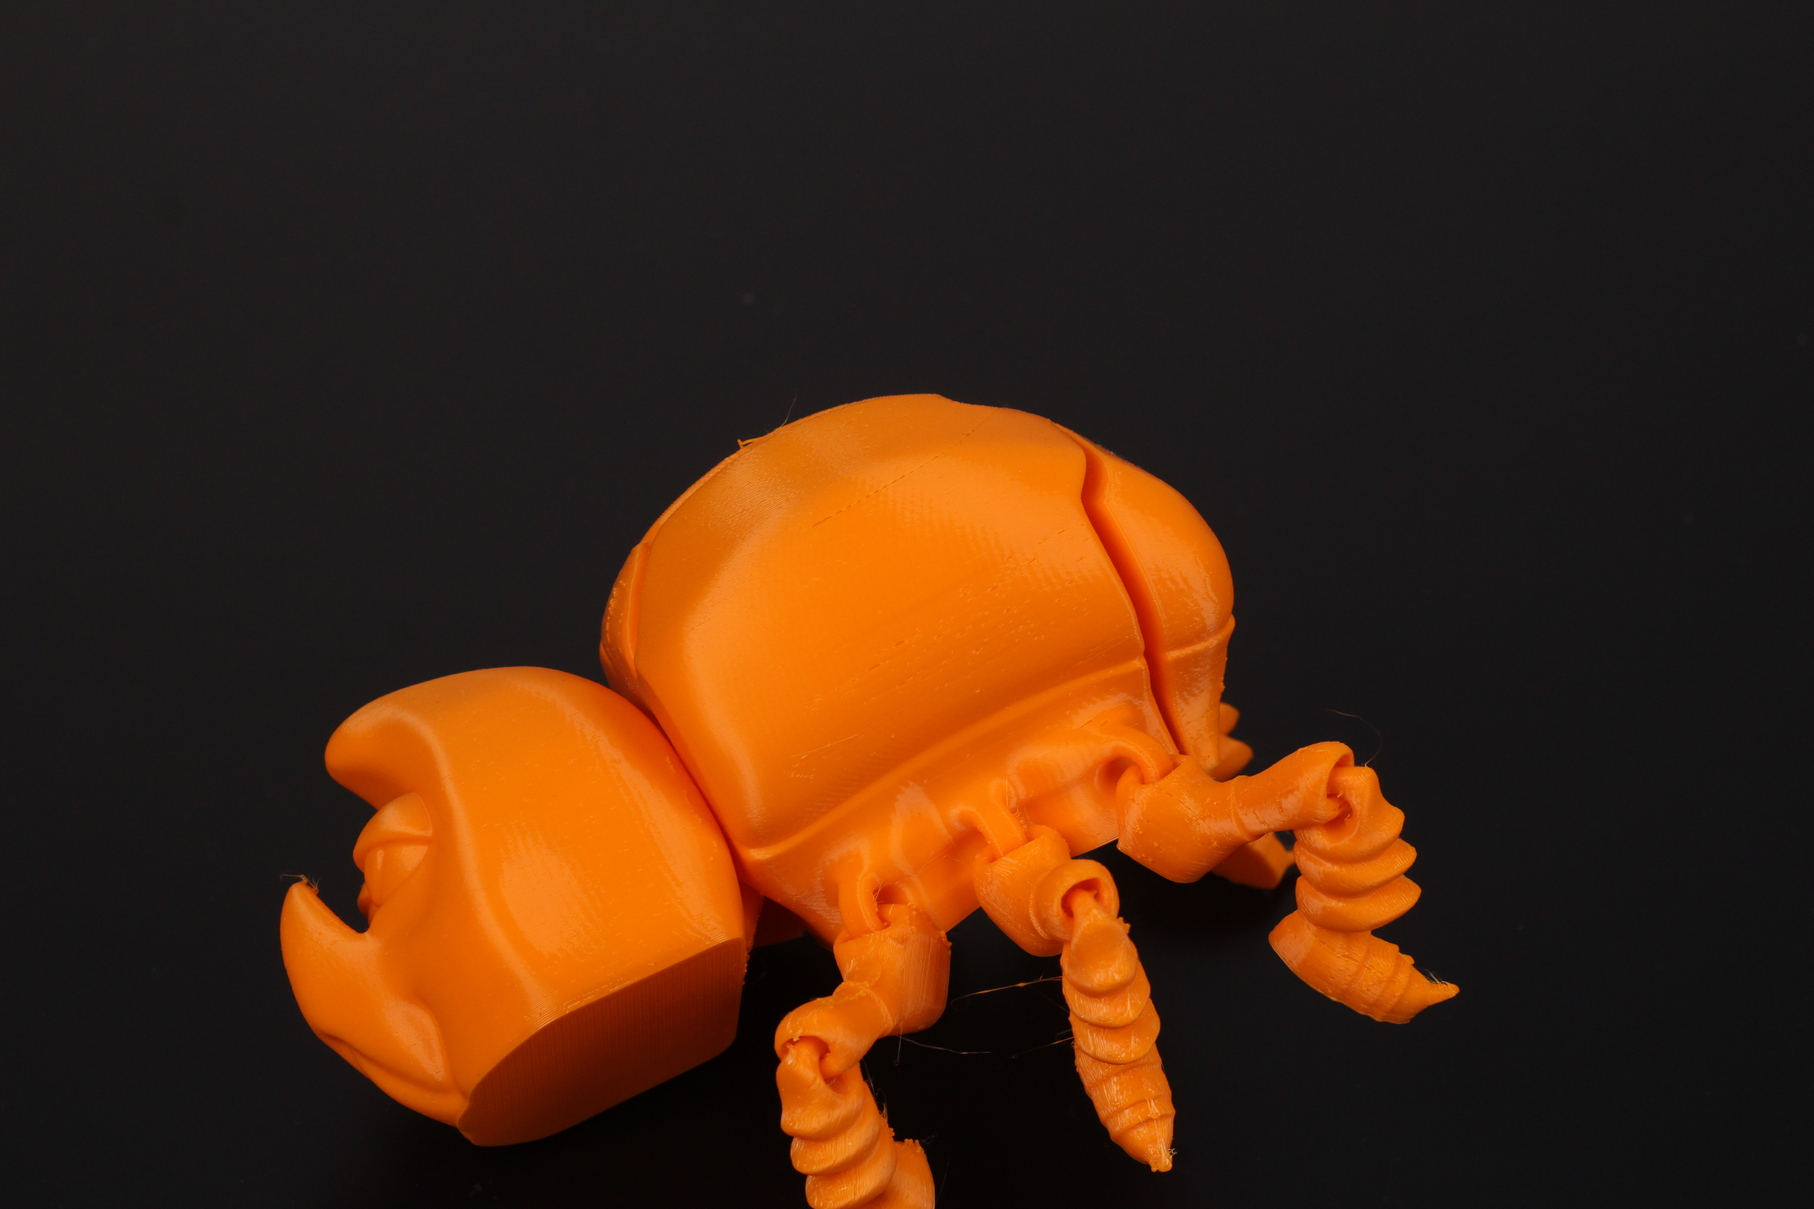
- Material: No Name Orange PLA
- Layer Height: 0.2mm
- Nozzle Temperature: 210C
- Bed Temperature: 60C
- Print Speed: 60 mm/s
Batman Head
When I was printing this Batman Had, I had a strange issue which caused the printer to stop and freeze completely with both heaters on. The error message was shown on the screen, but it was unresponsive, and I needed to reboot the machine multiple times. You can see where the printer stopped and how well the print resume function works
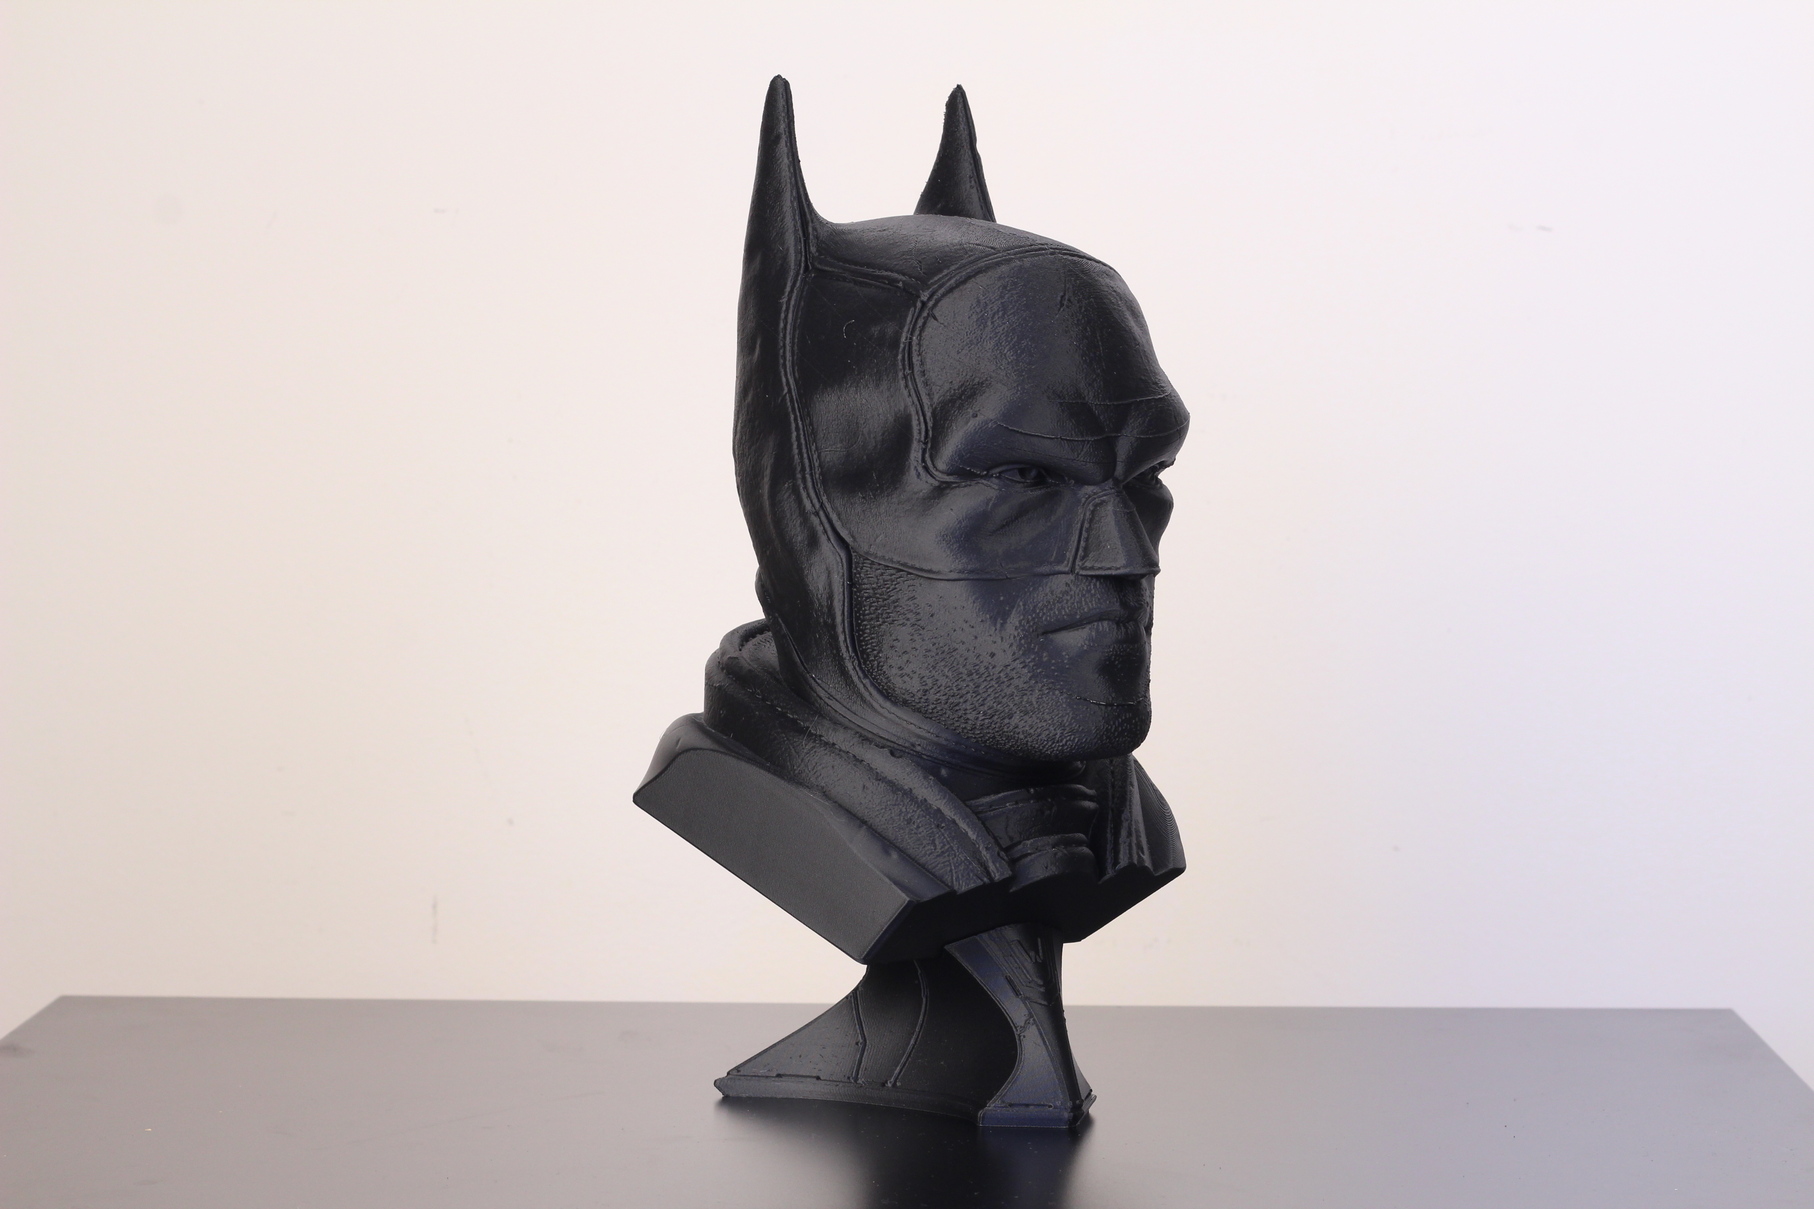
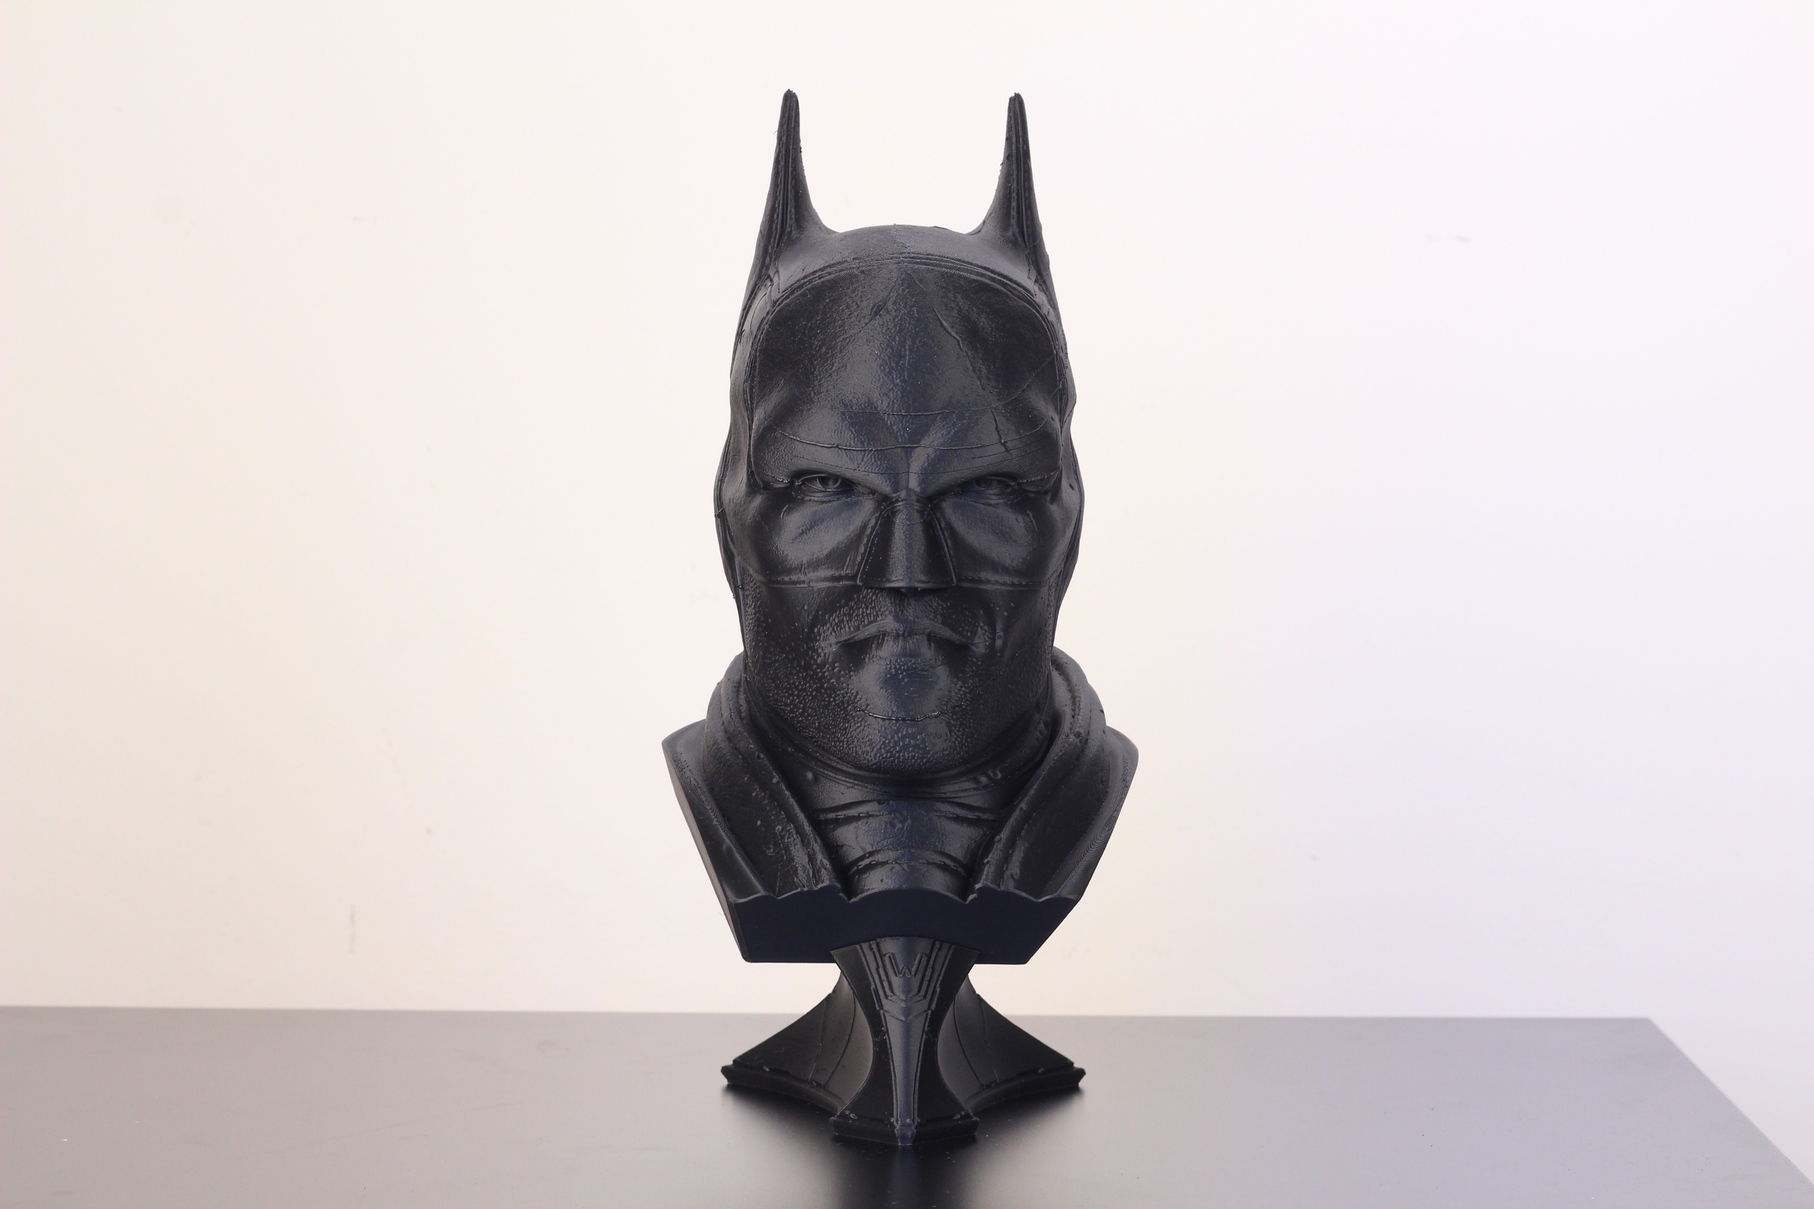
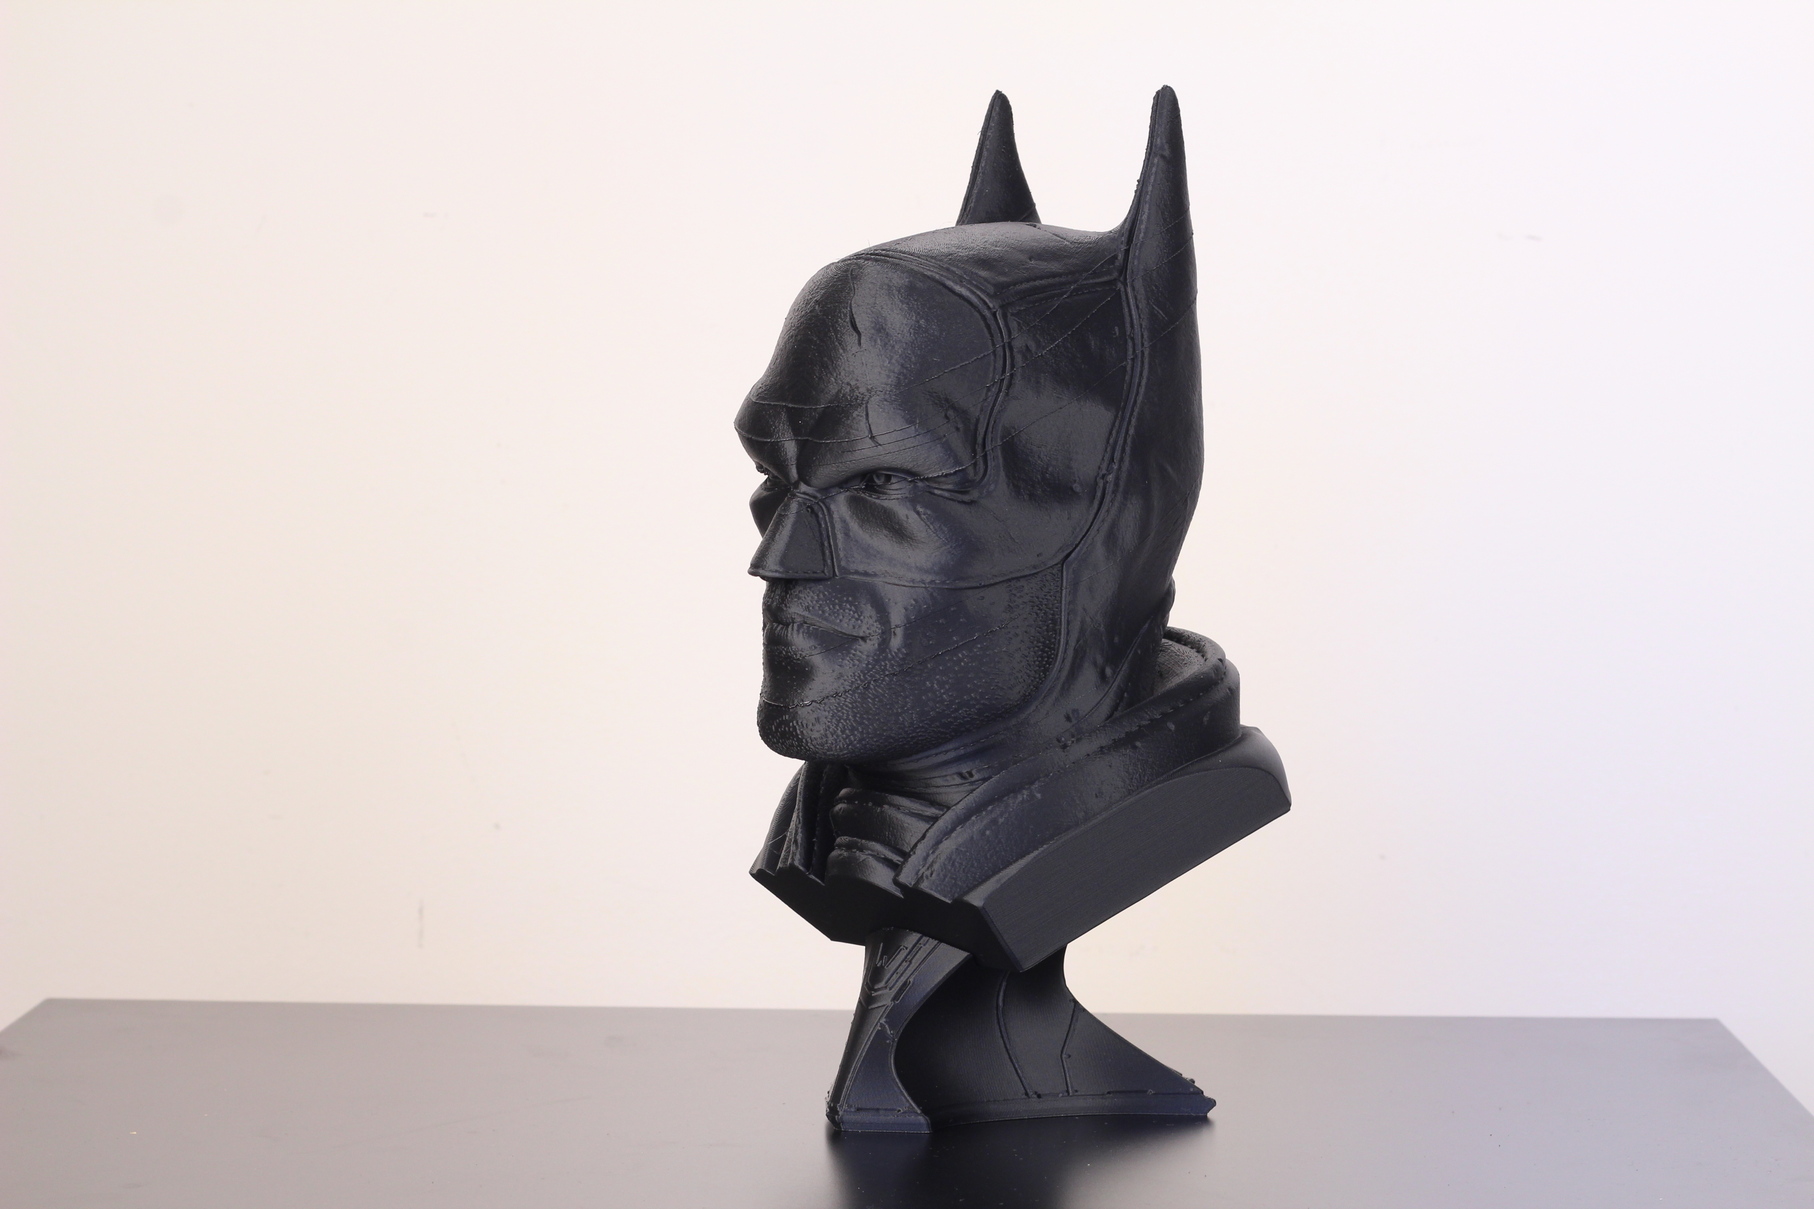
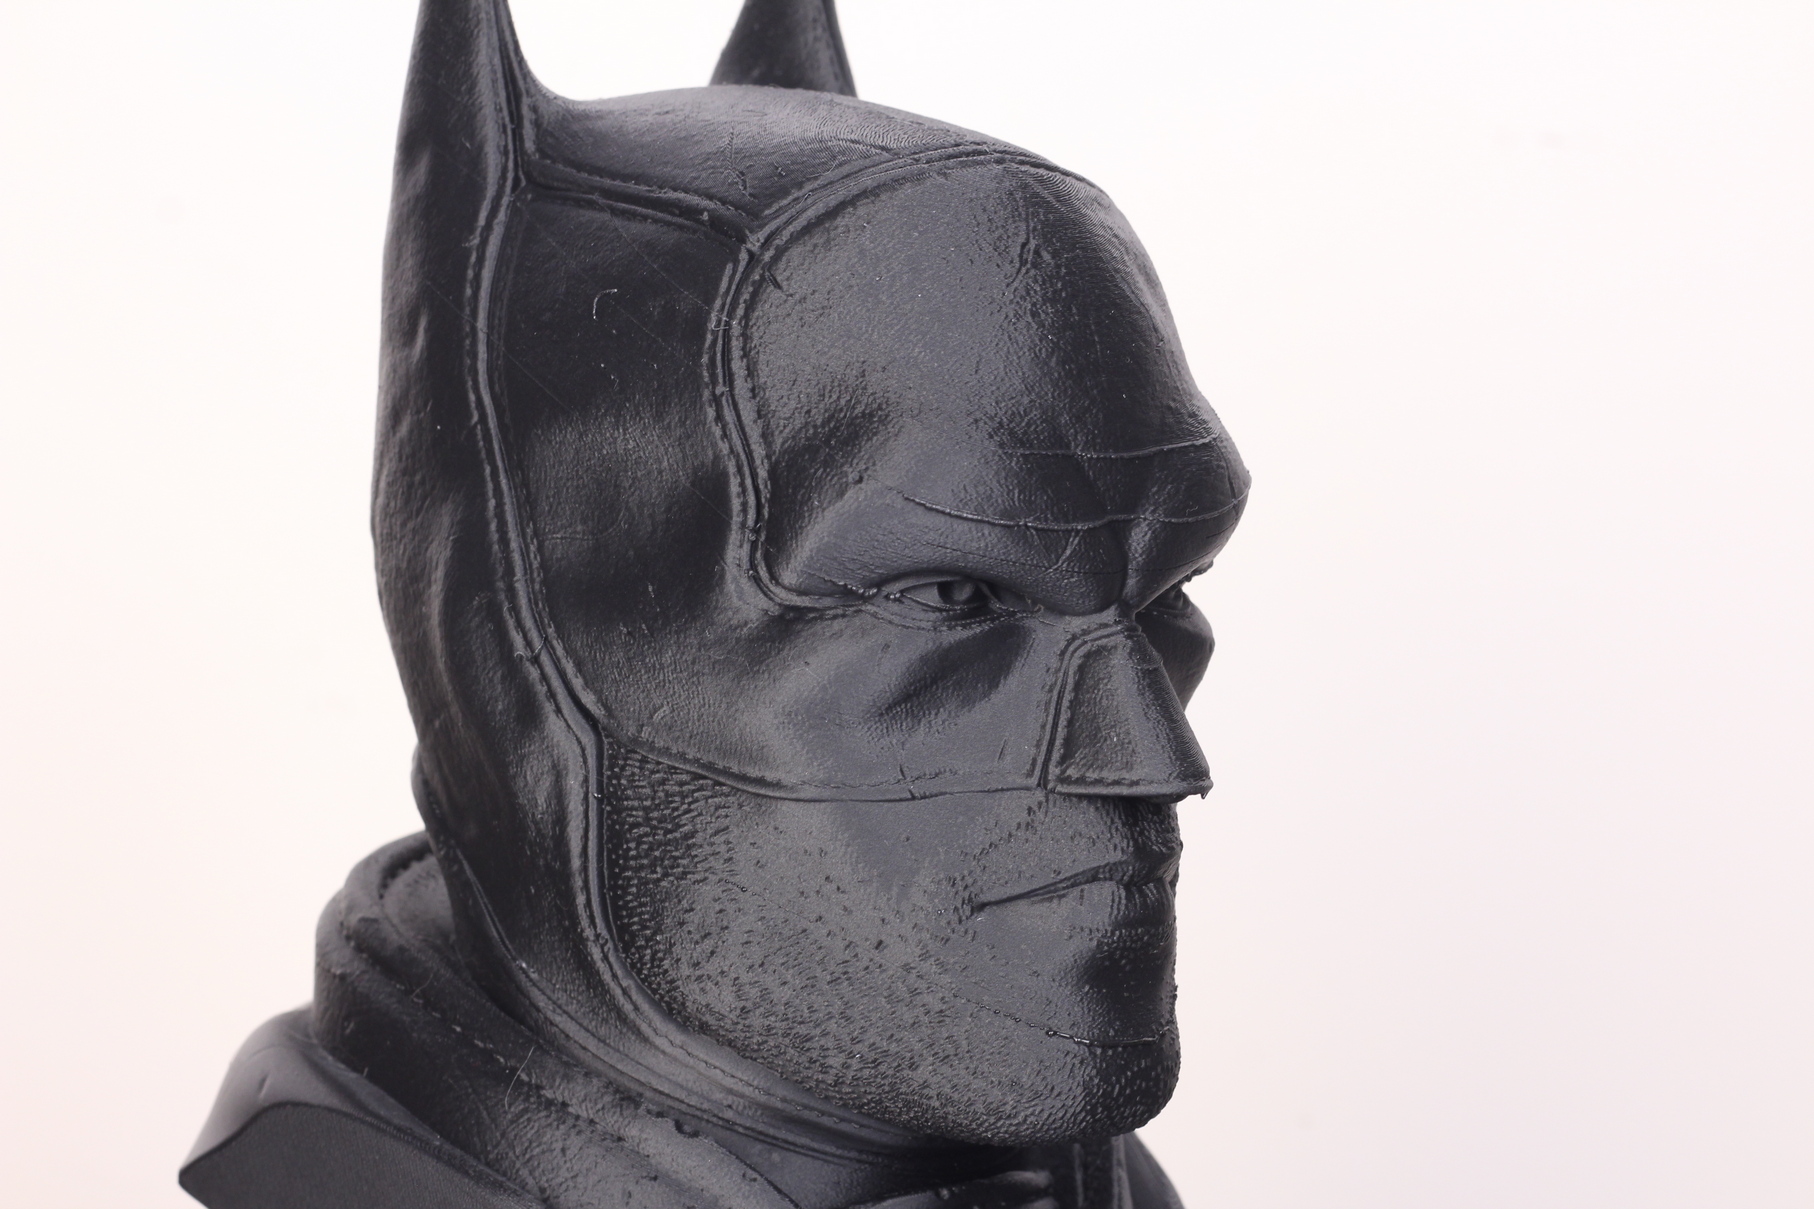
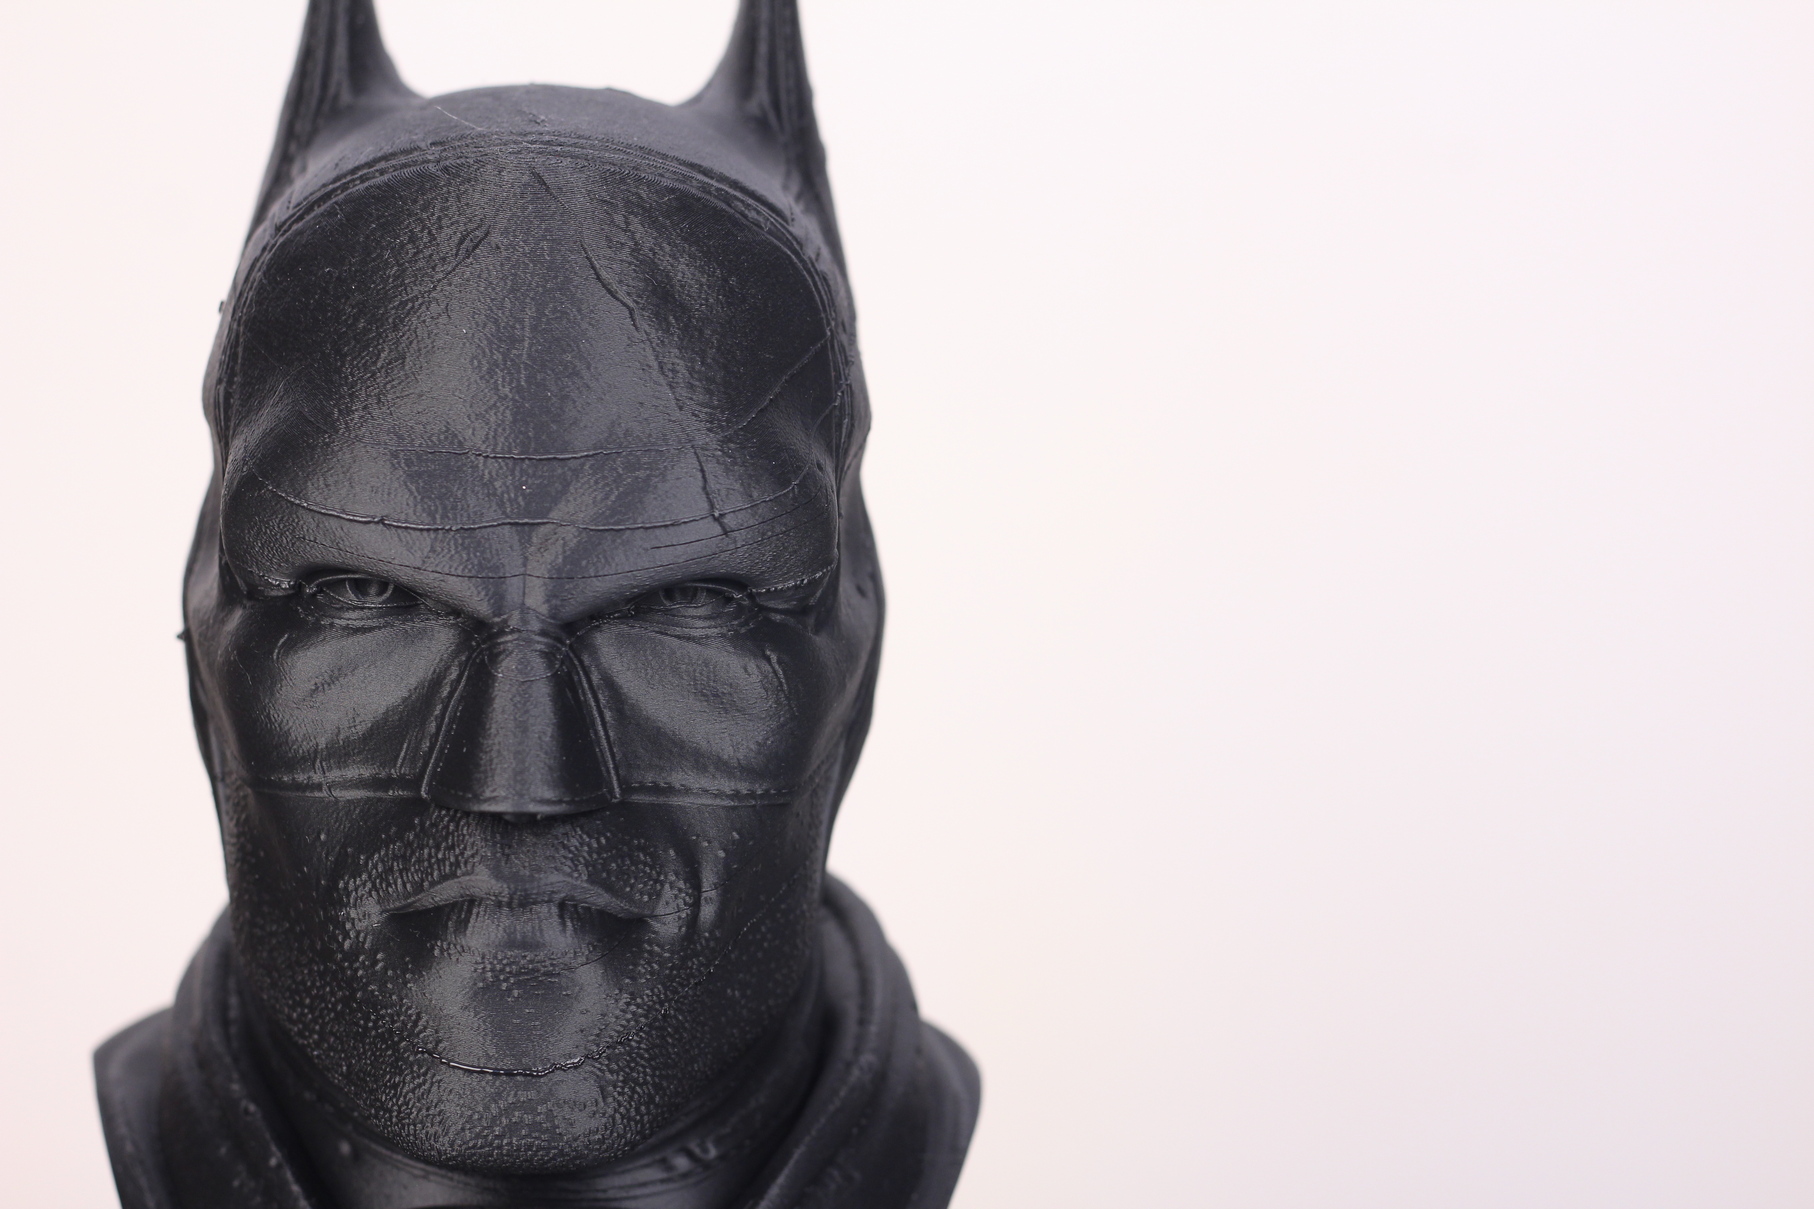
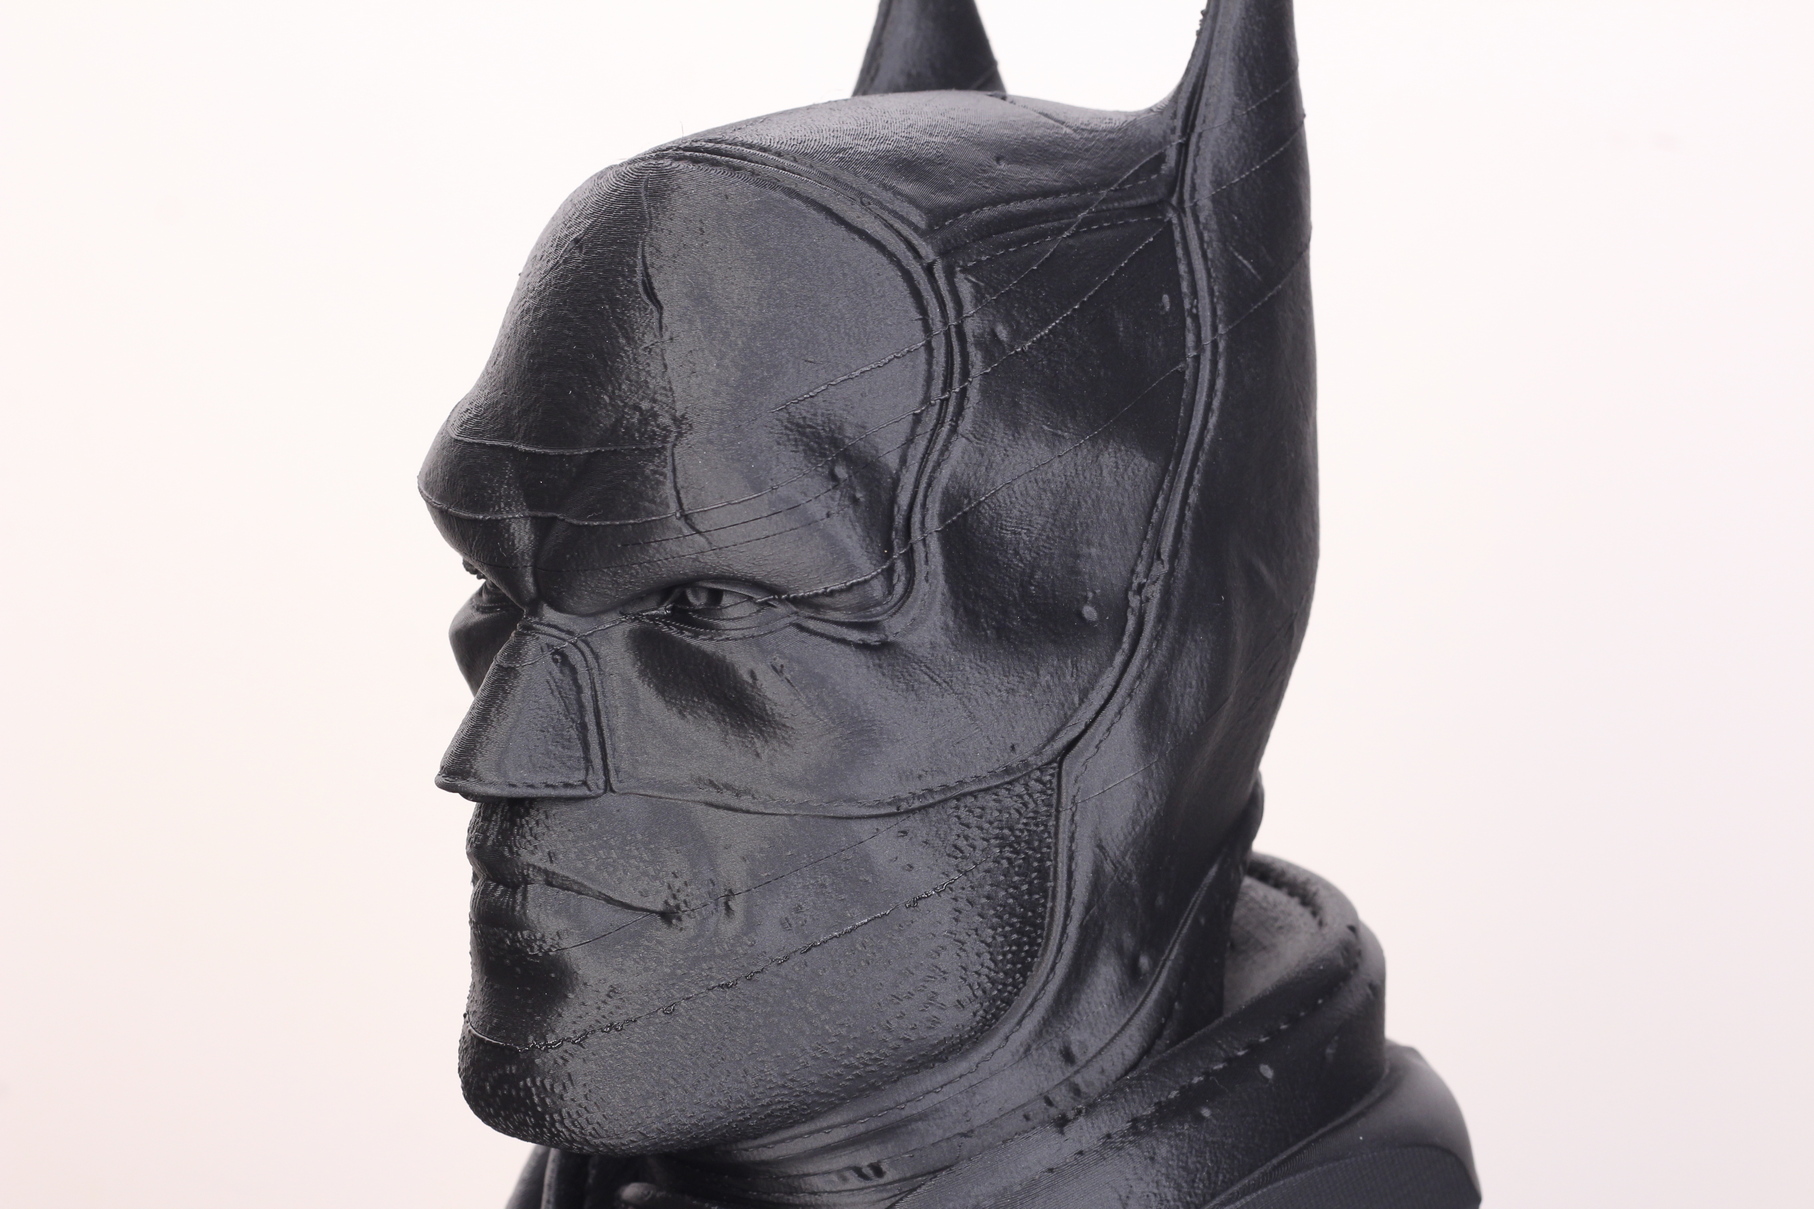
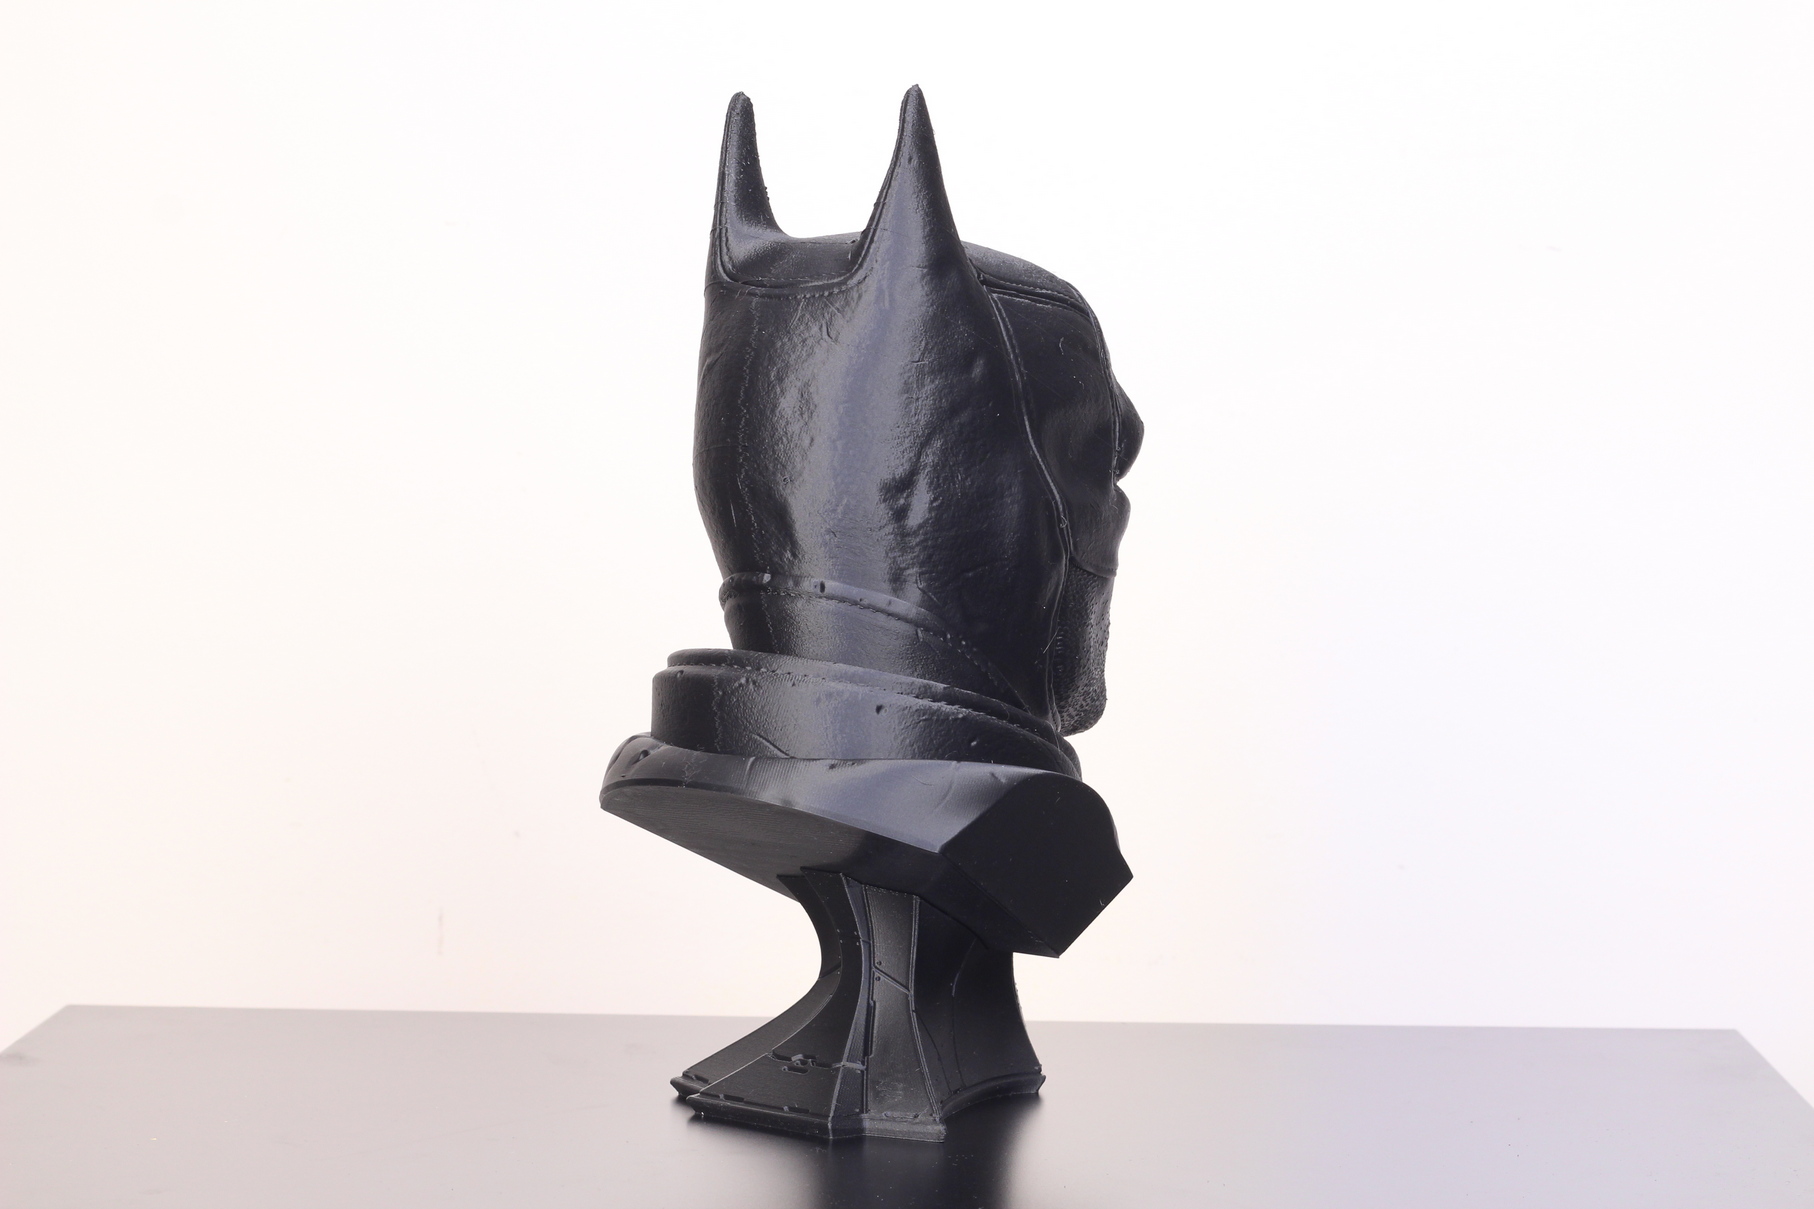
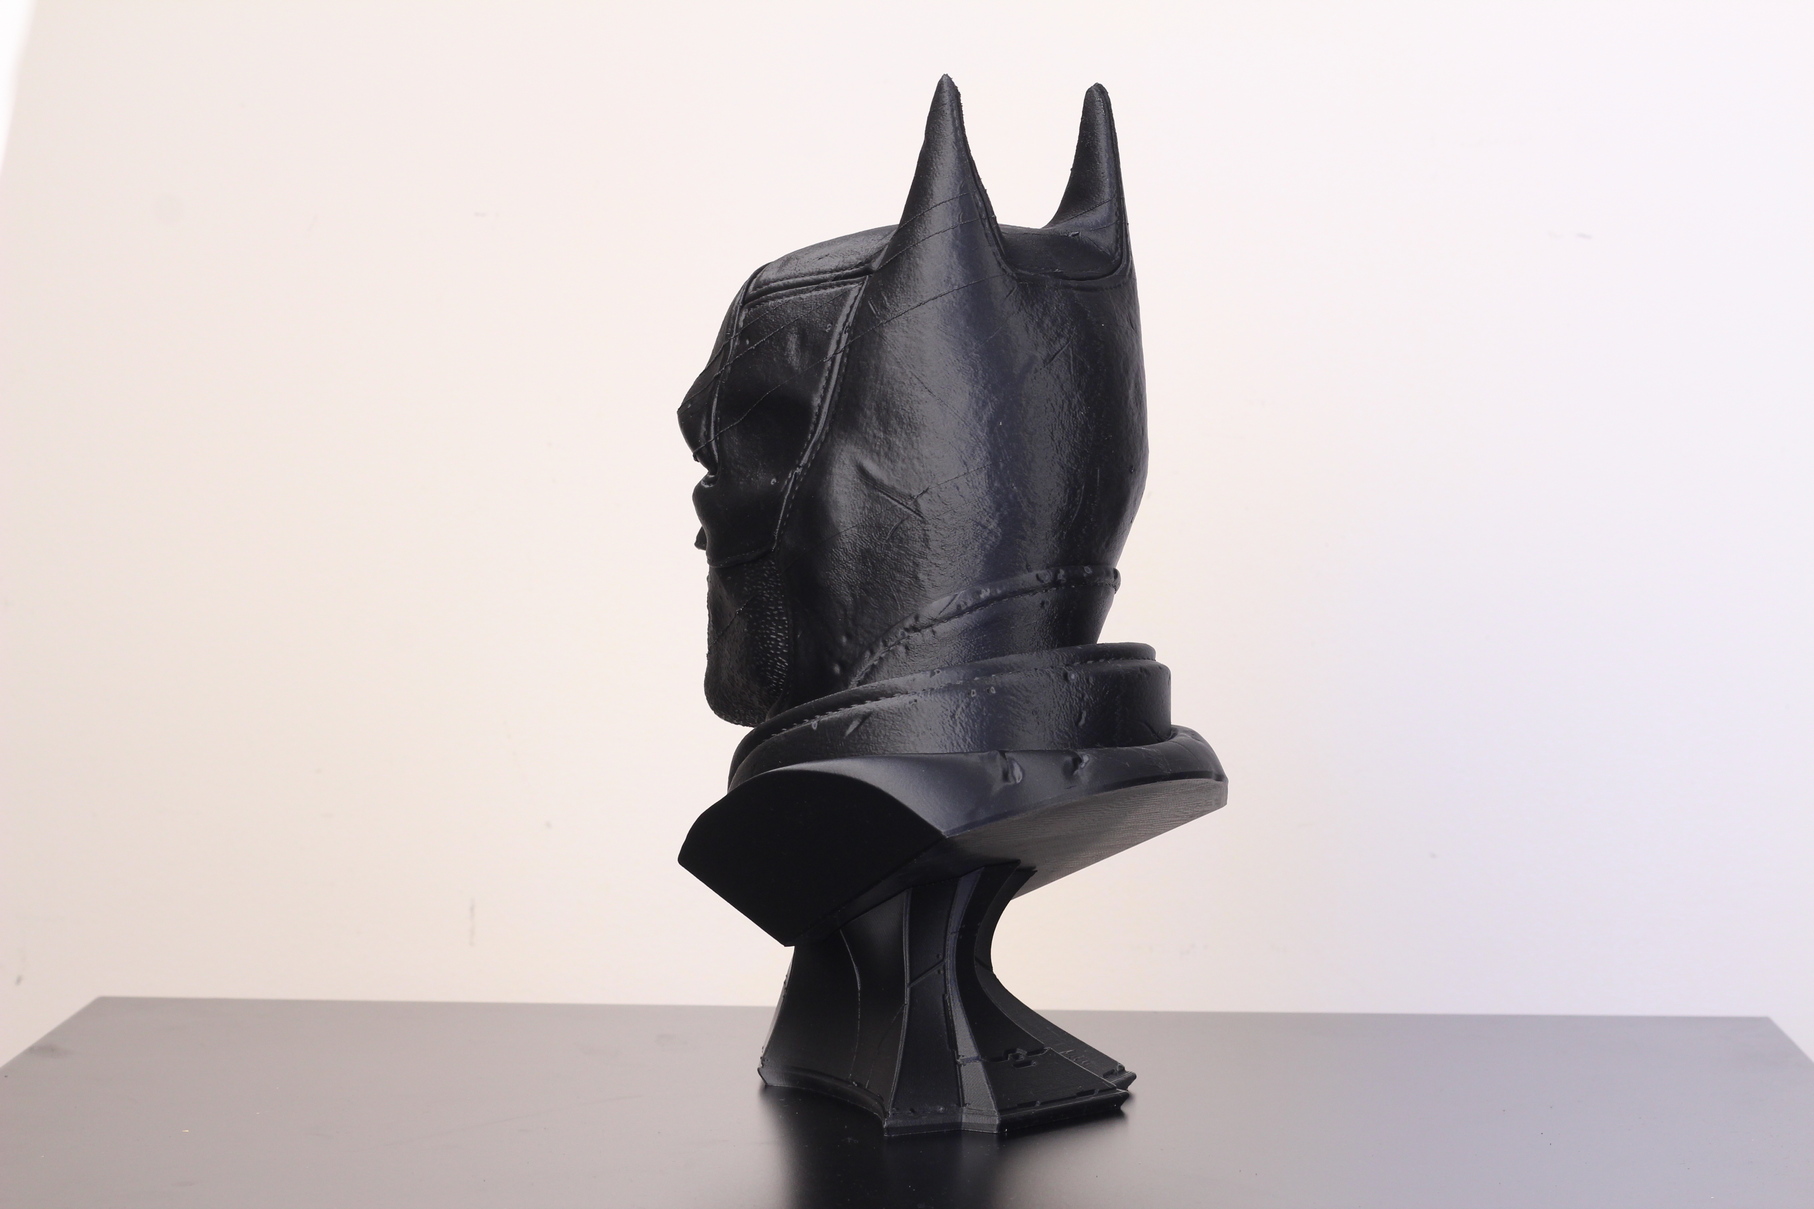
I thought this was a failed print, but fortunately the print resume function kicked in and I was able to continue the print from where it got stuck. Either way, having the printer locked with the heaters on is more than troubling and can be a safety risk. Fortunately, after I re-flashed the latest firmware, the issue was fixed.
- Material: Sunlu Carbon Fiber PLA
- Layer Height: 0.15mm
- Nozzle Temperature: 215C
- Bed Temperature: 60C
- Print Speed: 50 mm/s
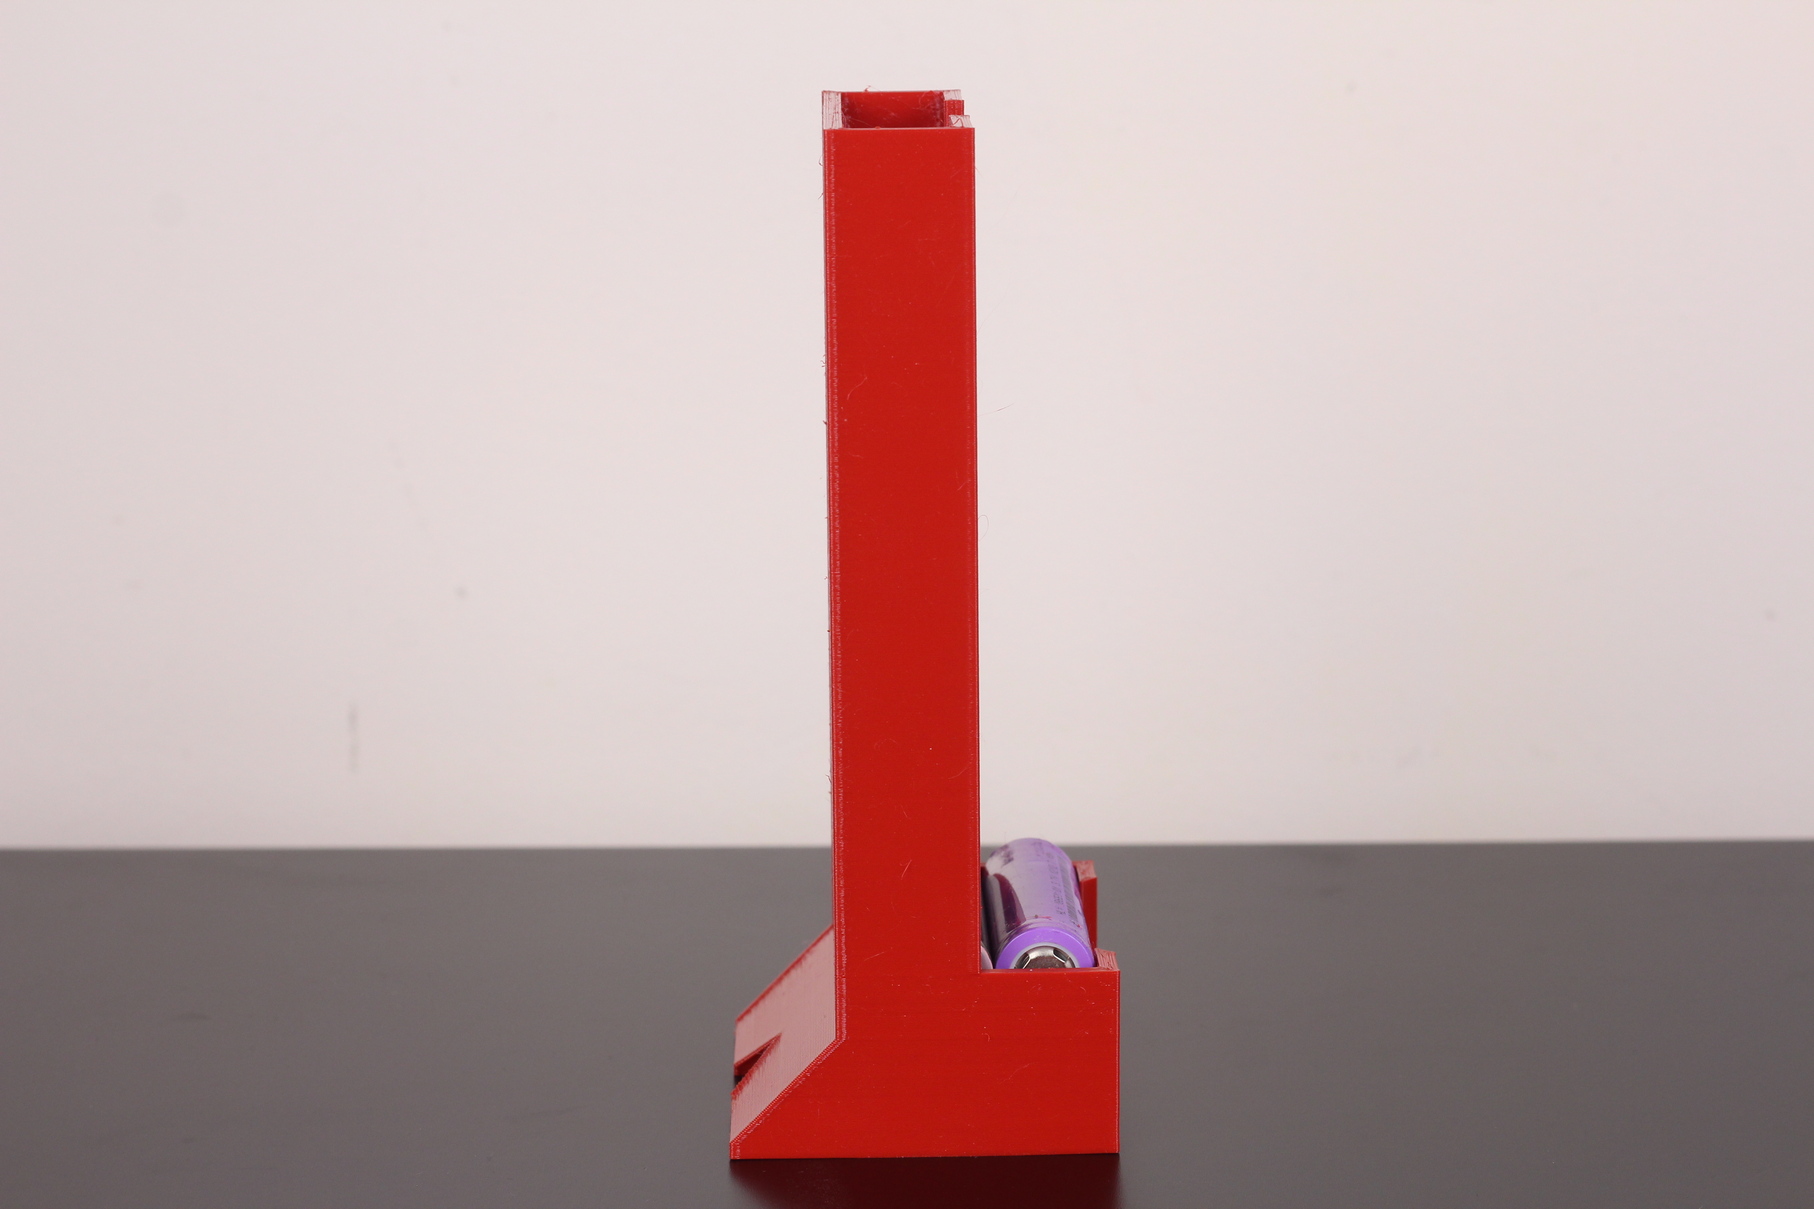
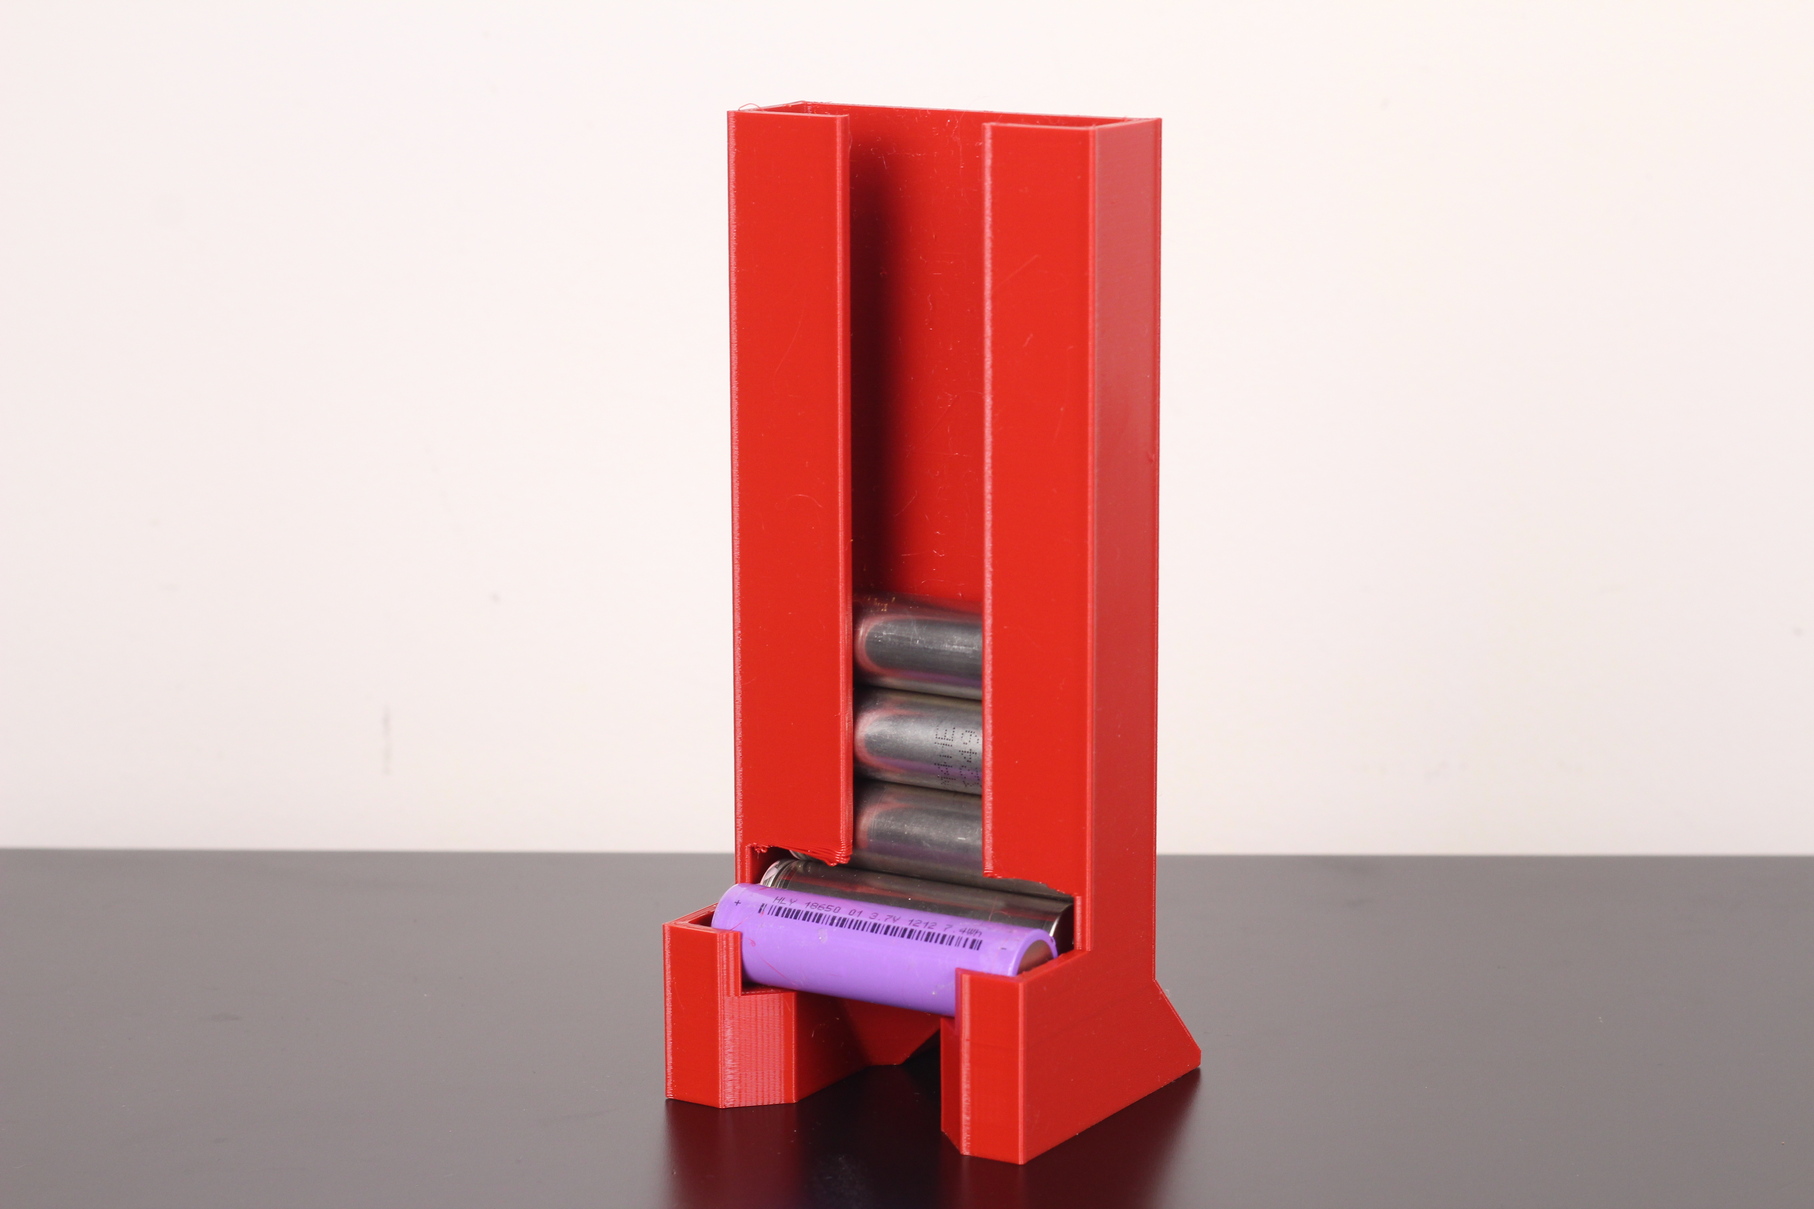
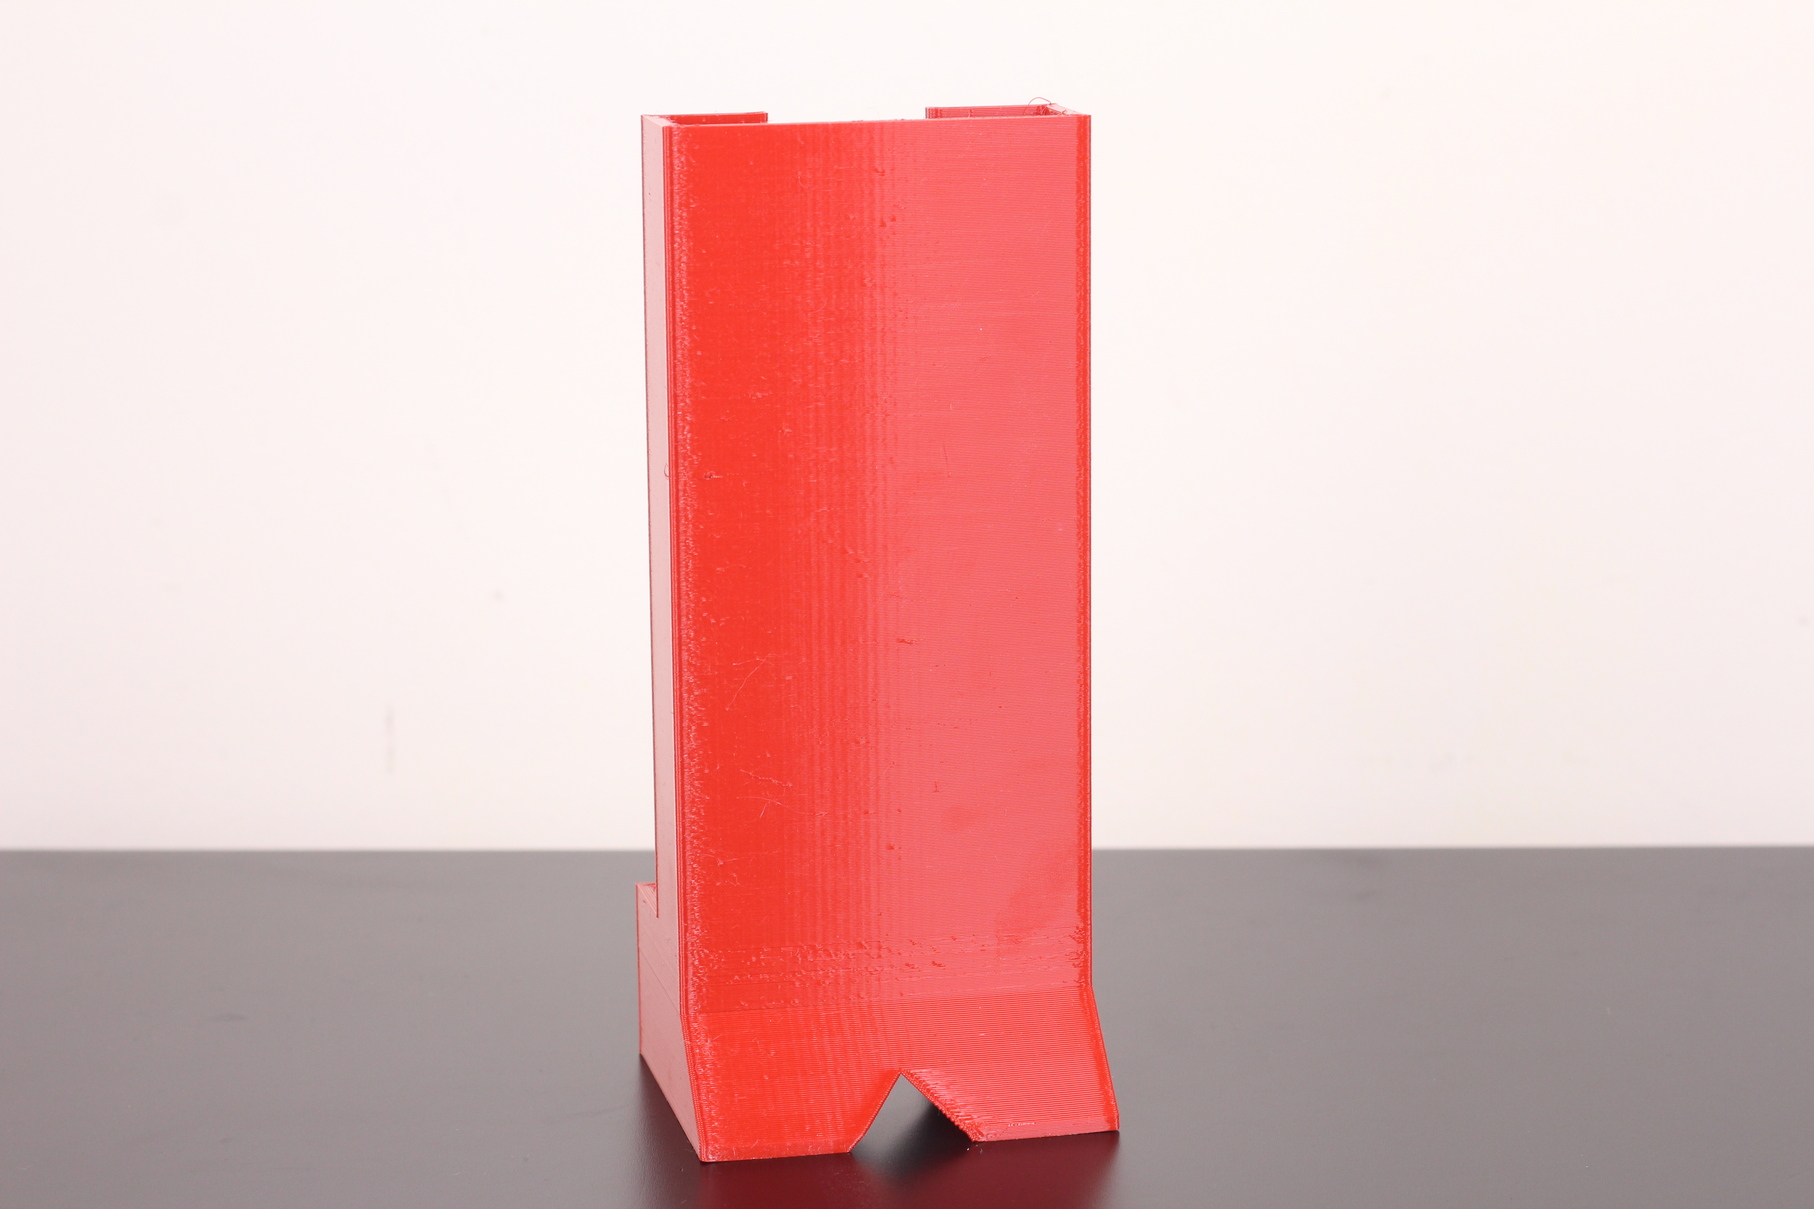
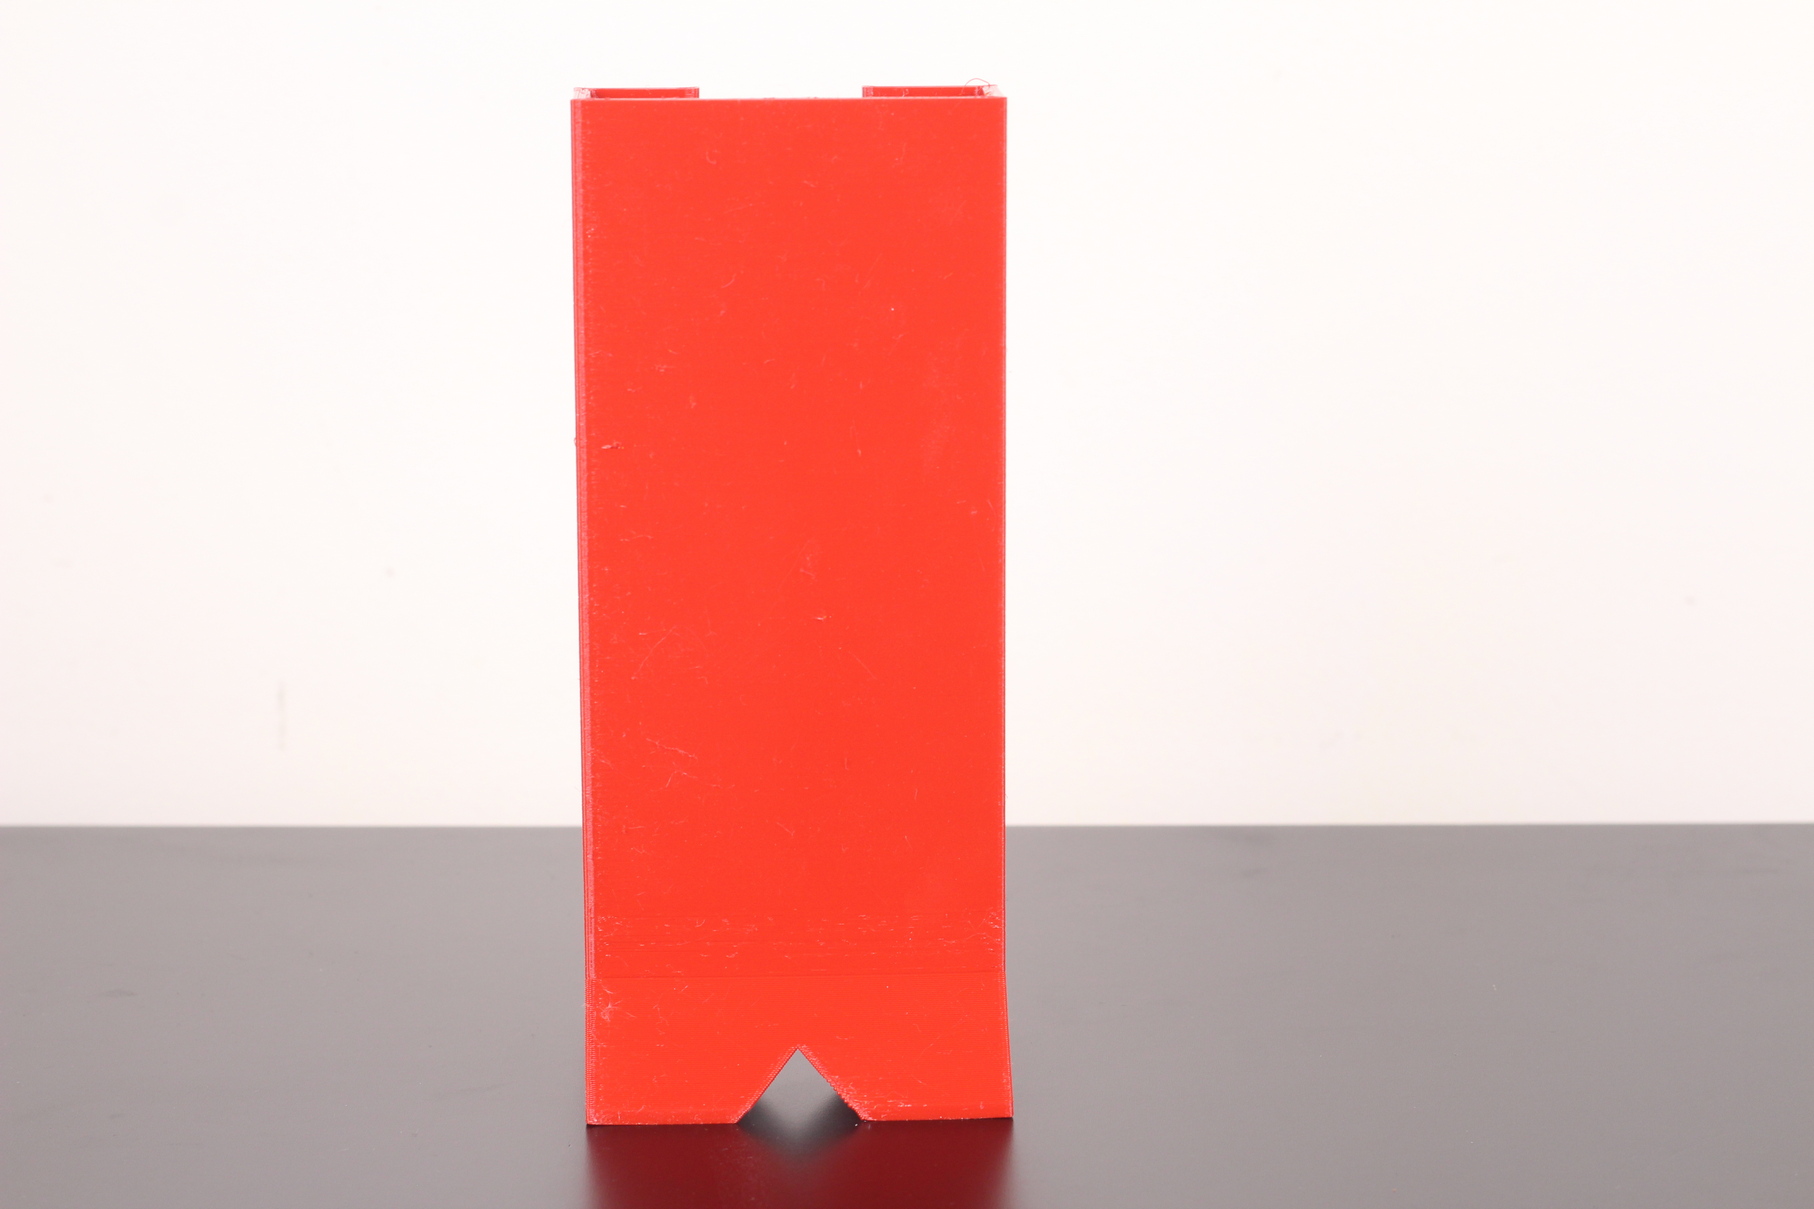
18650 Battery Holder
I also wanted to give PETG a shot, and I’m quite happy with the results. I forgot to add some supports on the underside of the model, but overall, the print quality is good considering that I used a year old PETG.
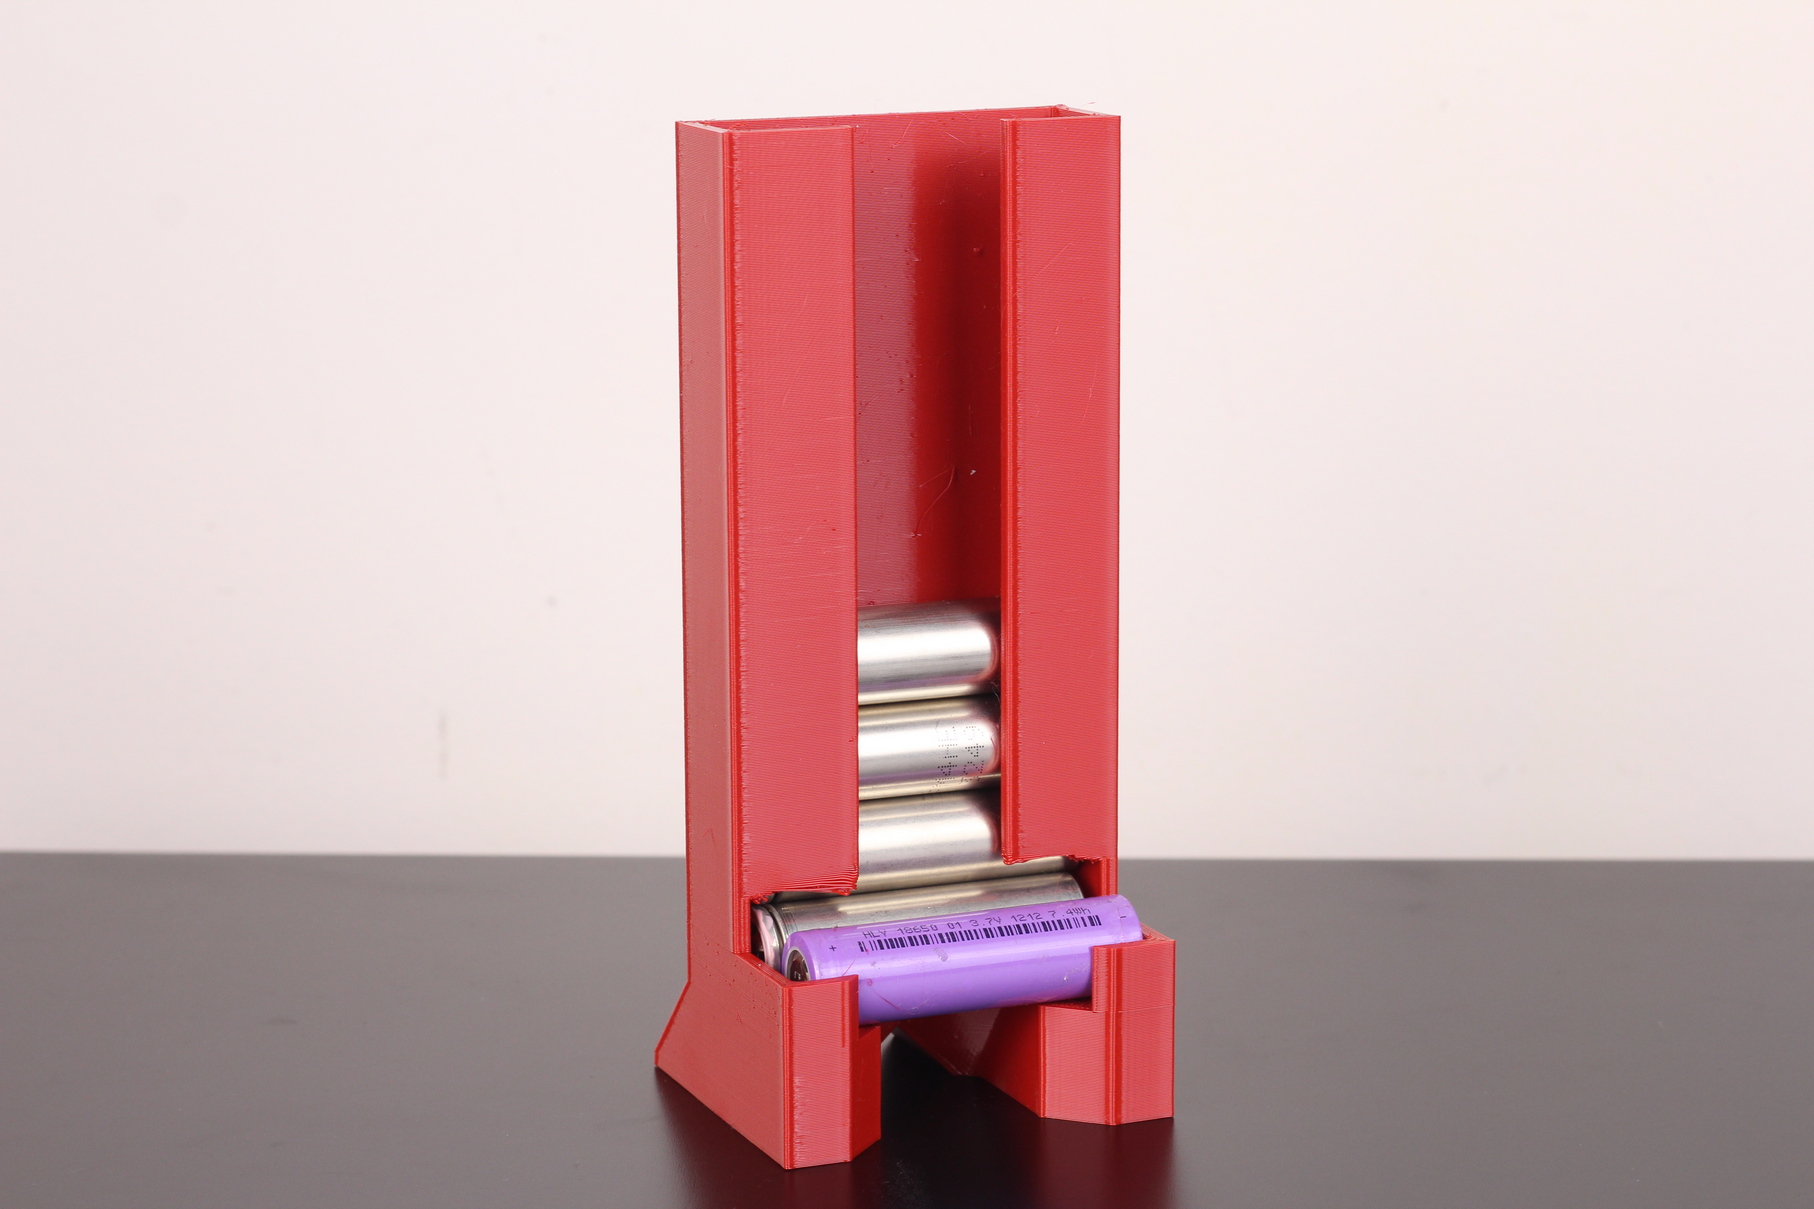
- Material: Devil Design Red PETG
- Layer Height: 0.3mm
- Nozzle Temperature: 240C
- Bed Temperature: 75C
- Print Speed: 60 mm/s
Rattan Plant Pot
I got some Polymaker PolyWood and Breaks’n’Makes posted this awesome Rattan Plant Pot, so I had to print it. As you can see, the Creality CR-10 Smart did a great job with this type of filament.
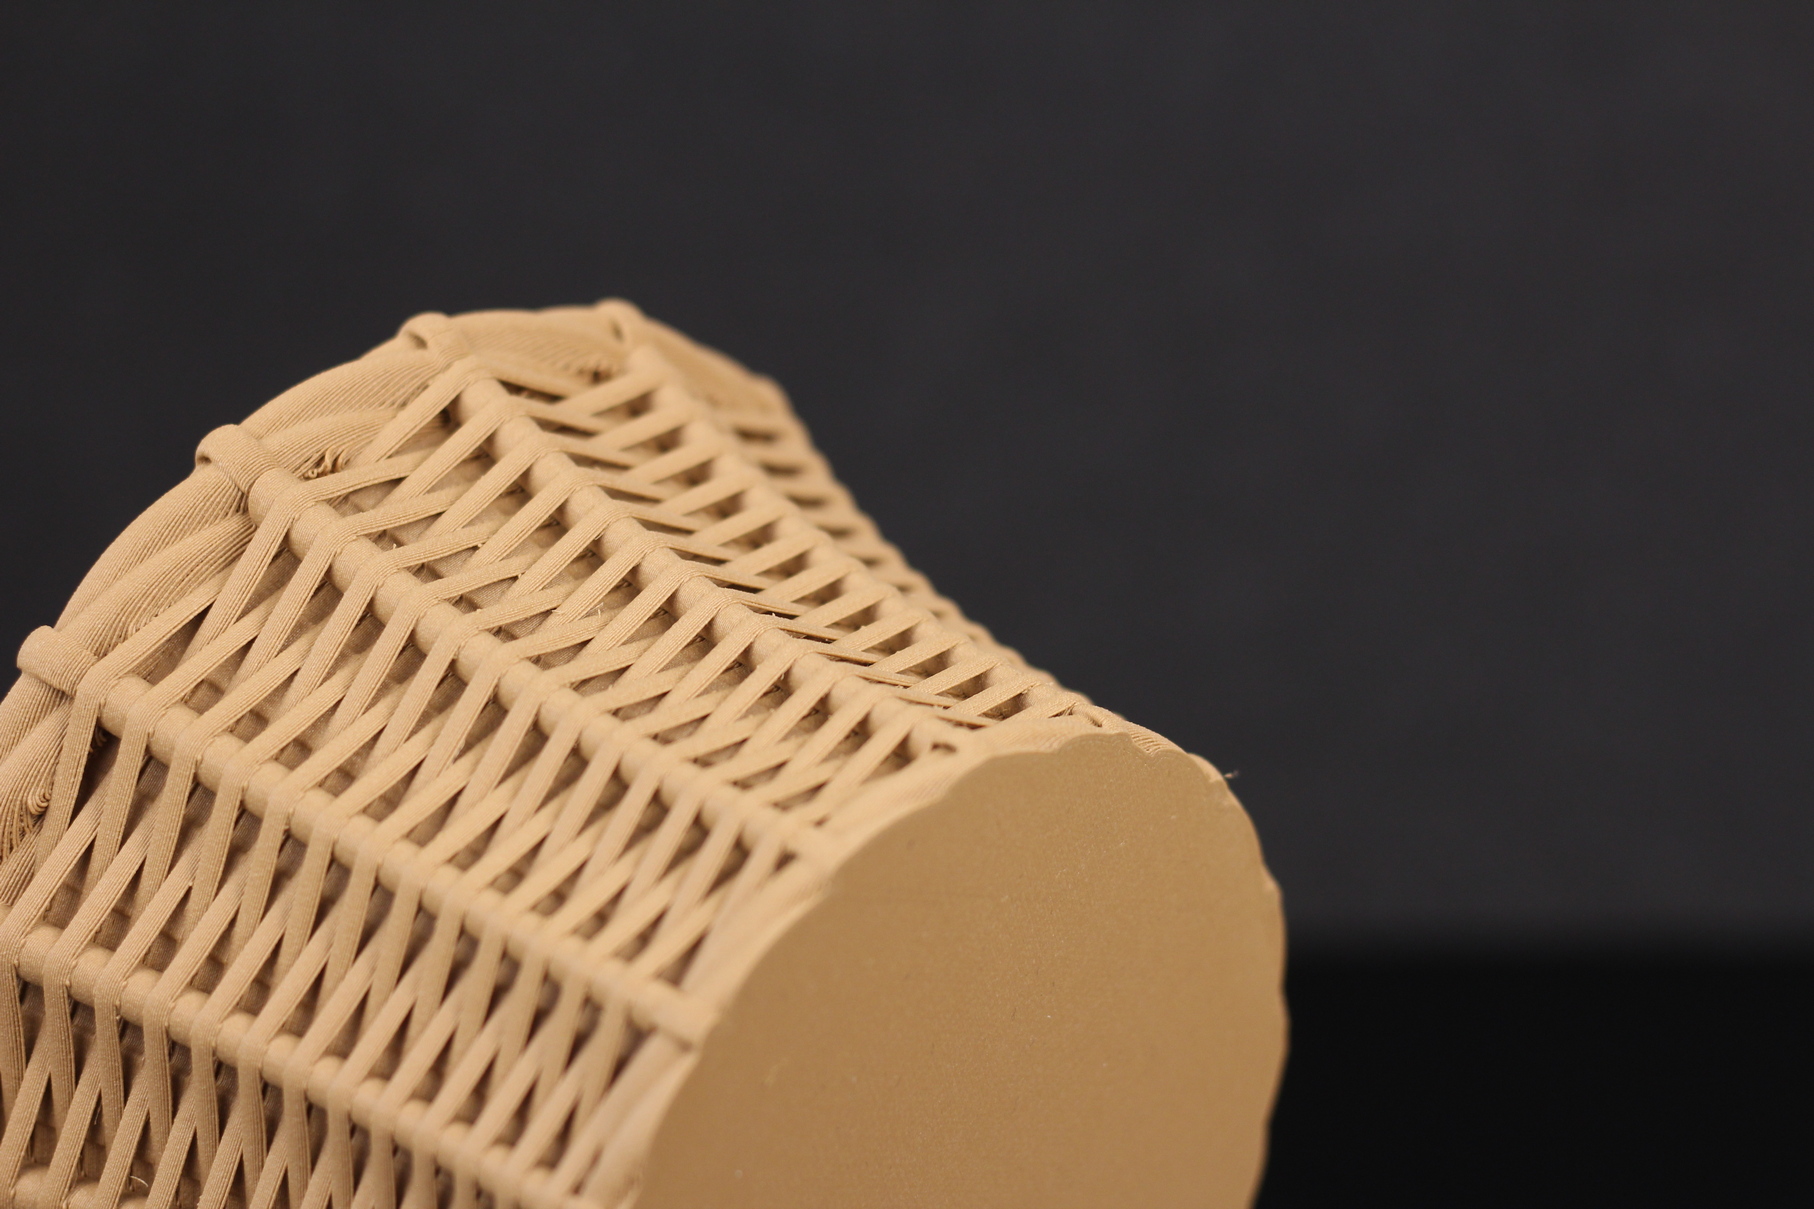
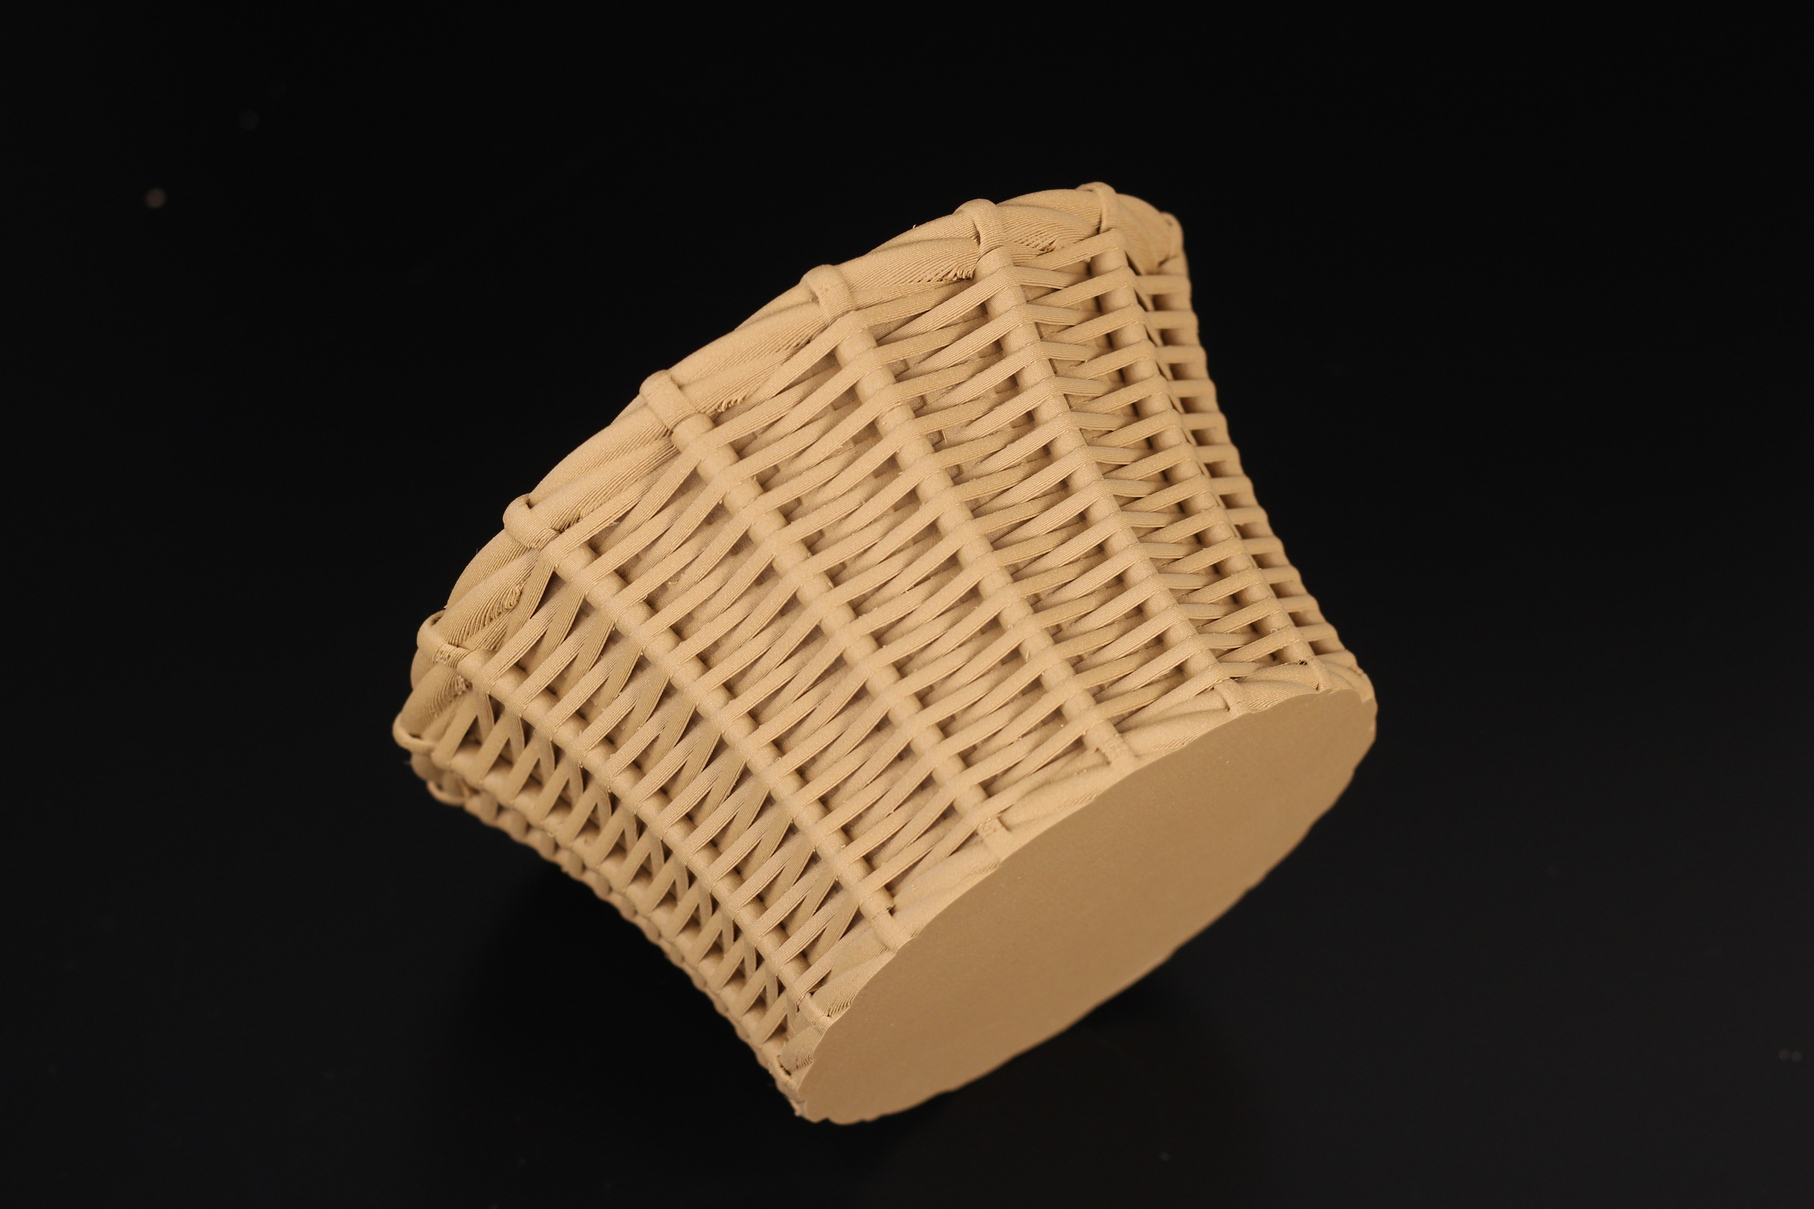
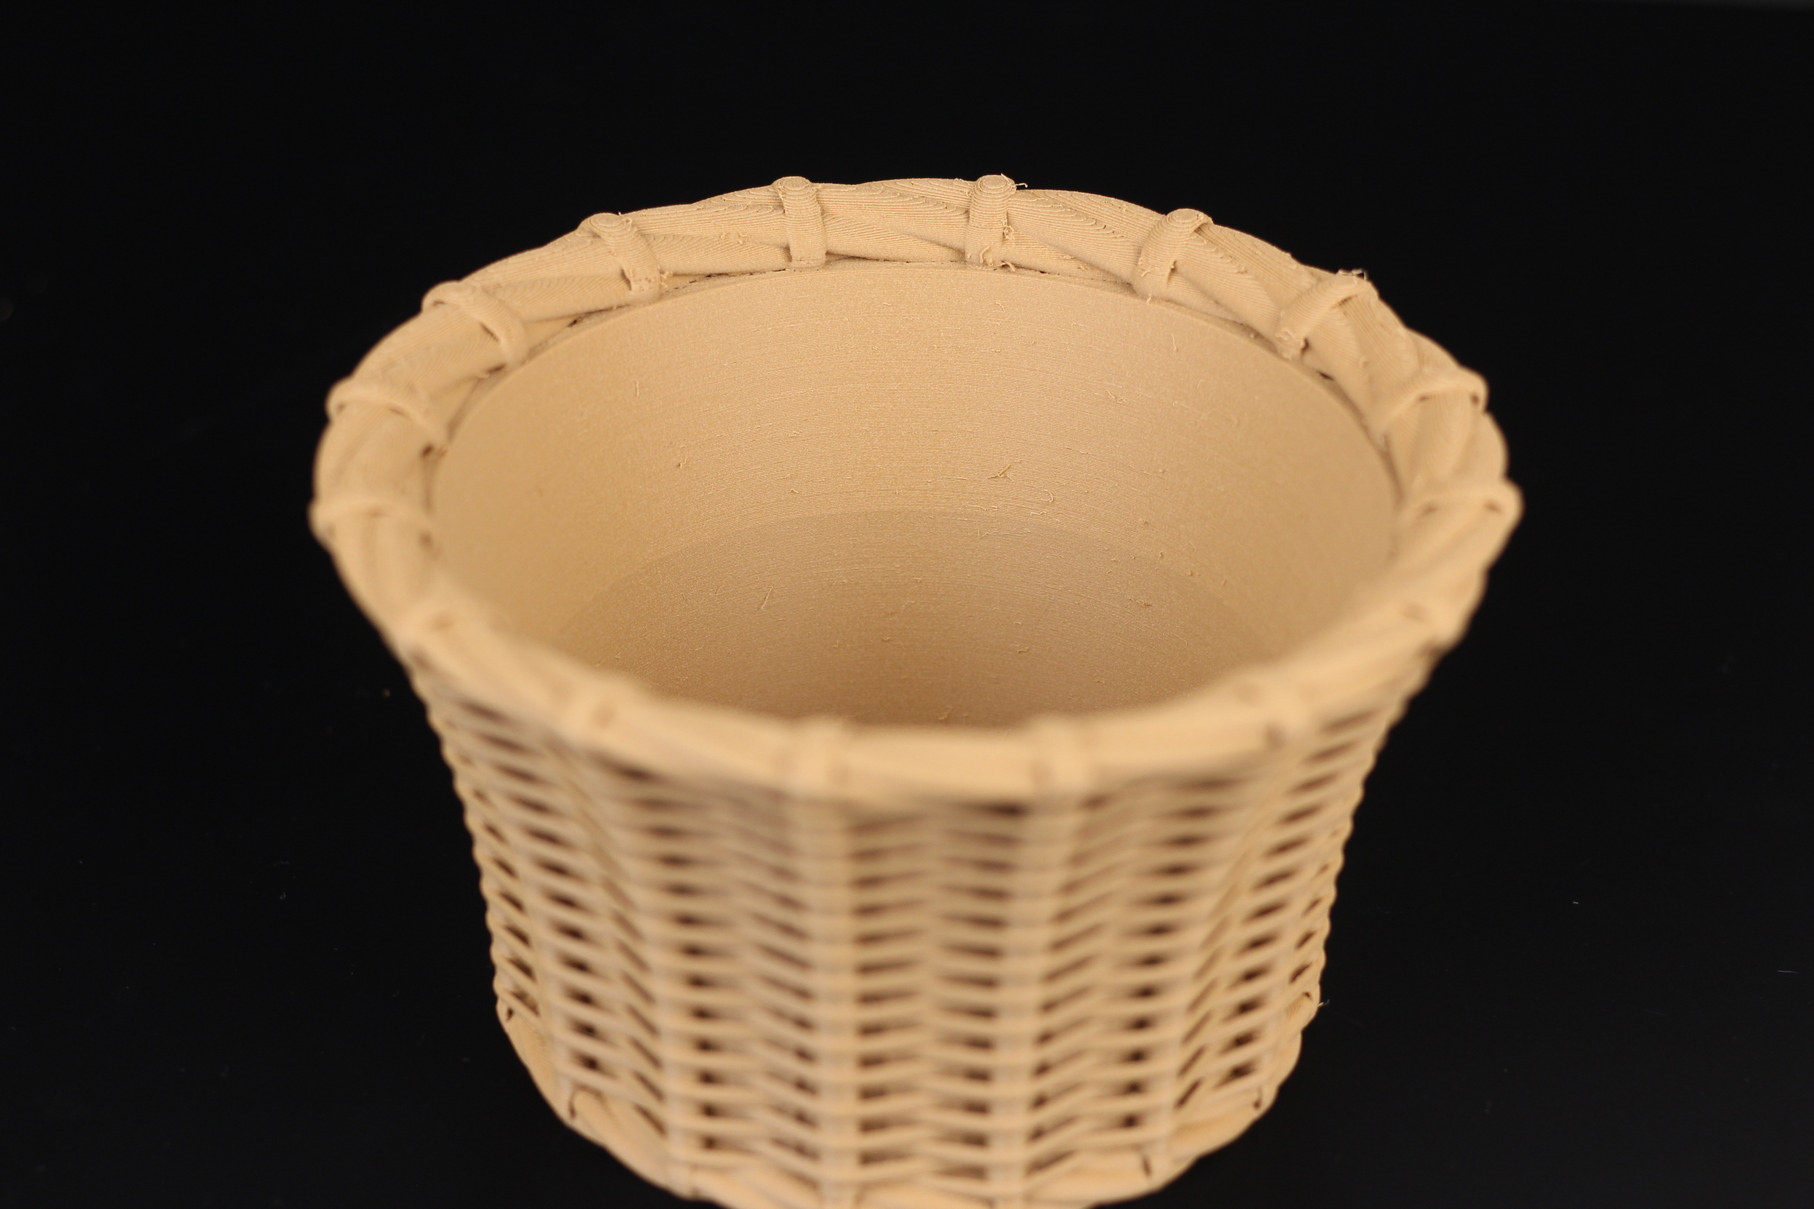
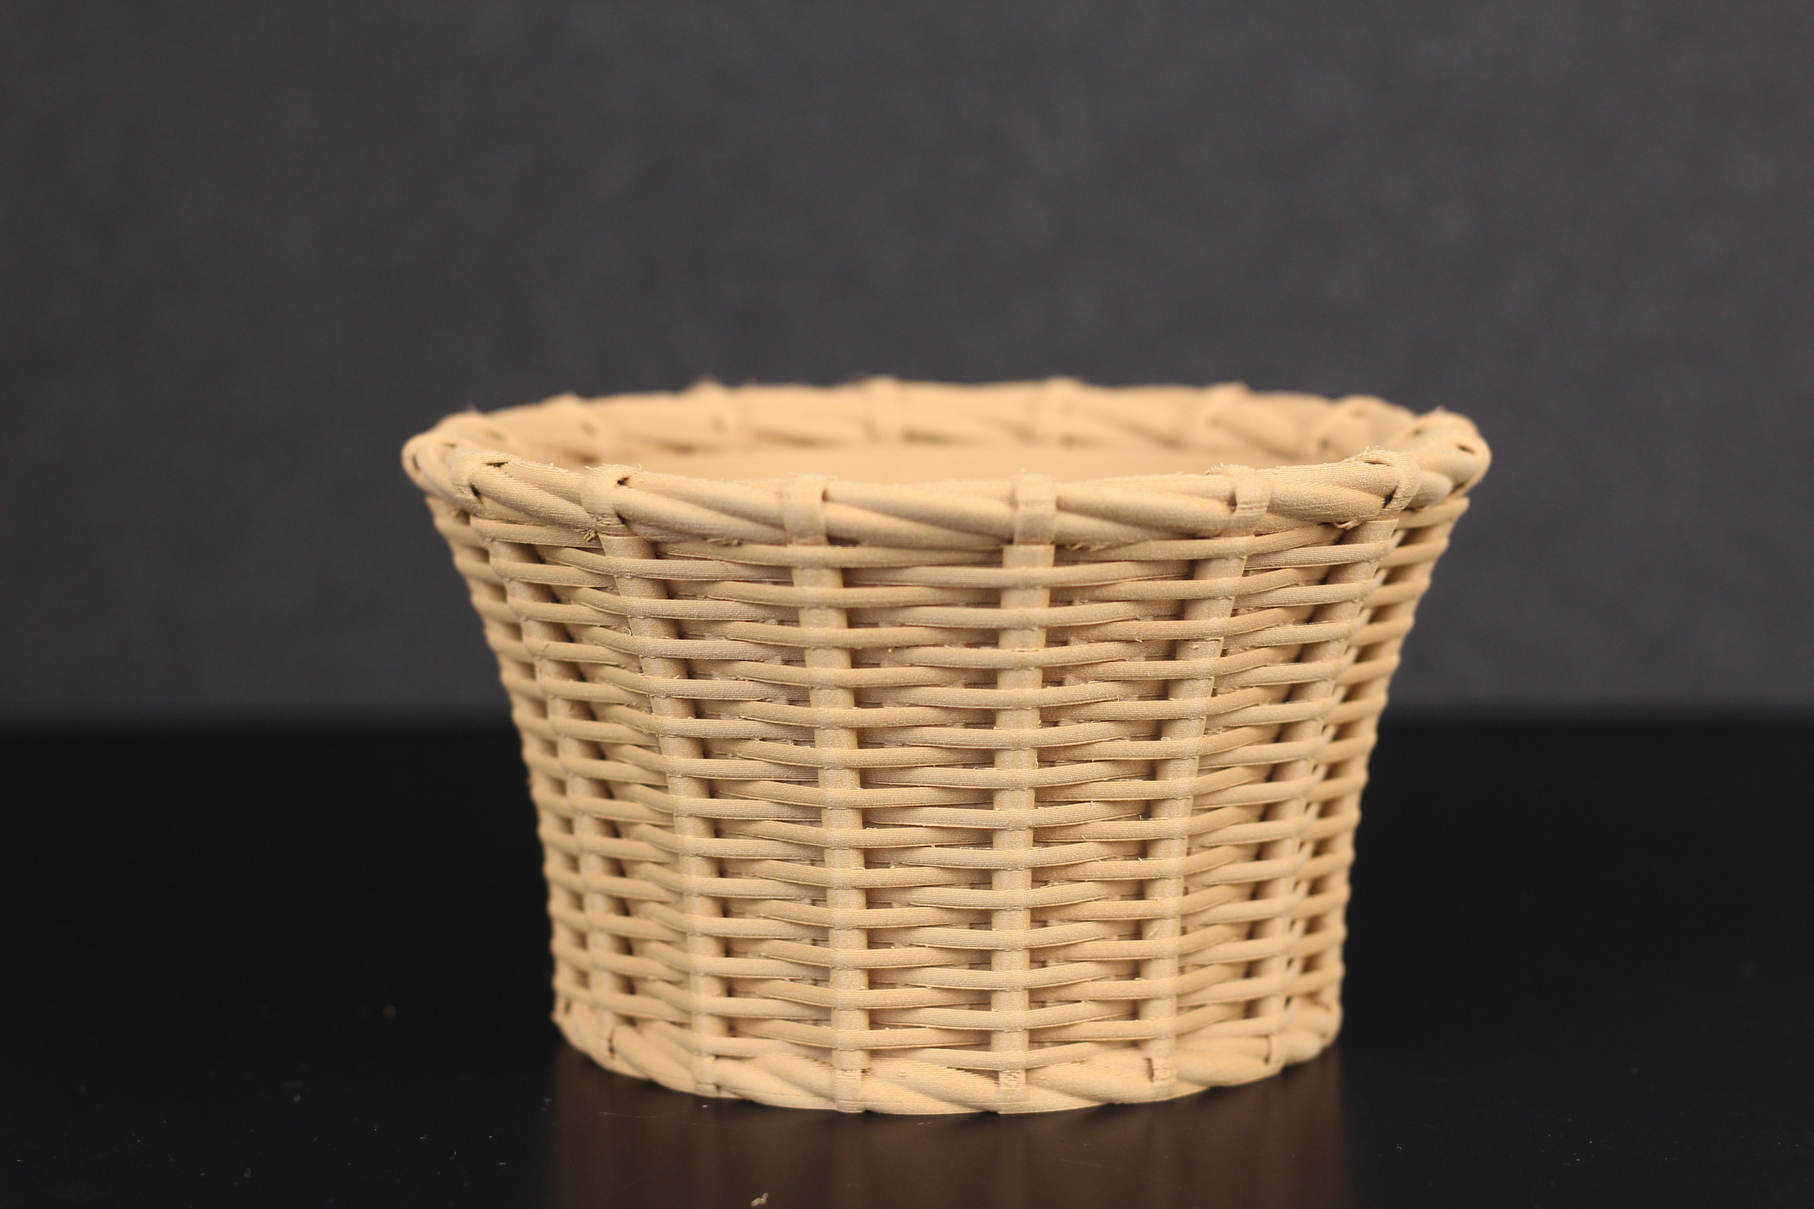
- Material: Polymaker PolyWood
- Layer Height: 0.2mm
- Nozzle Temperature: 210C
- Bed Temperature: 60C
- Print Speed: 50 mm/s
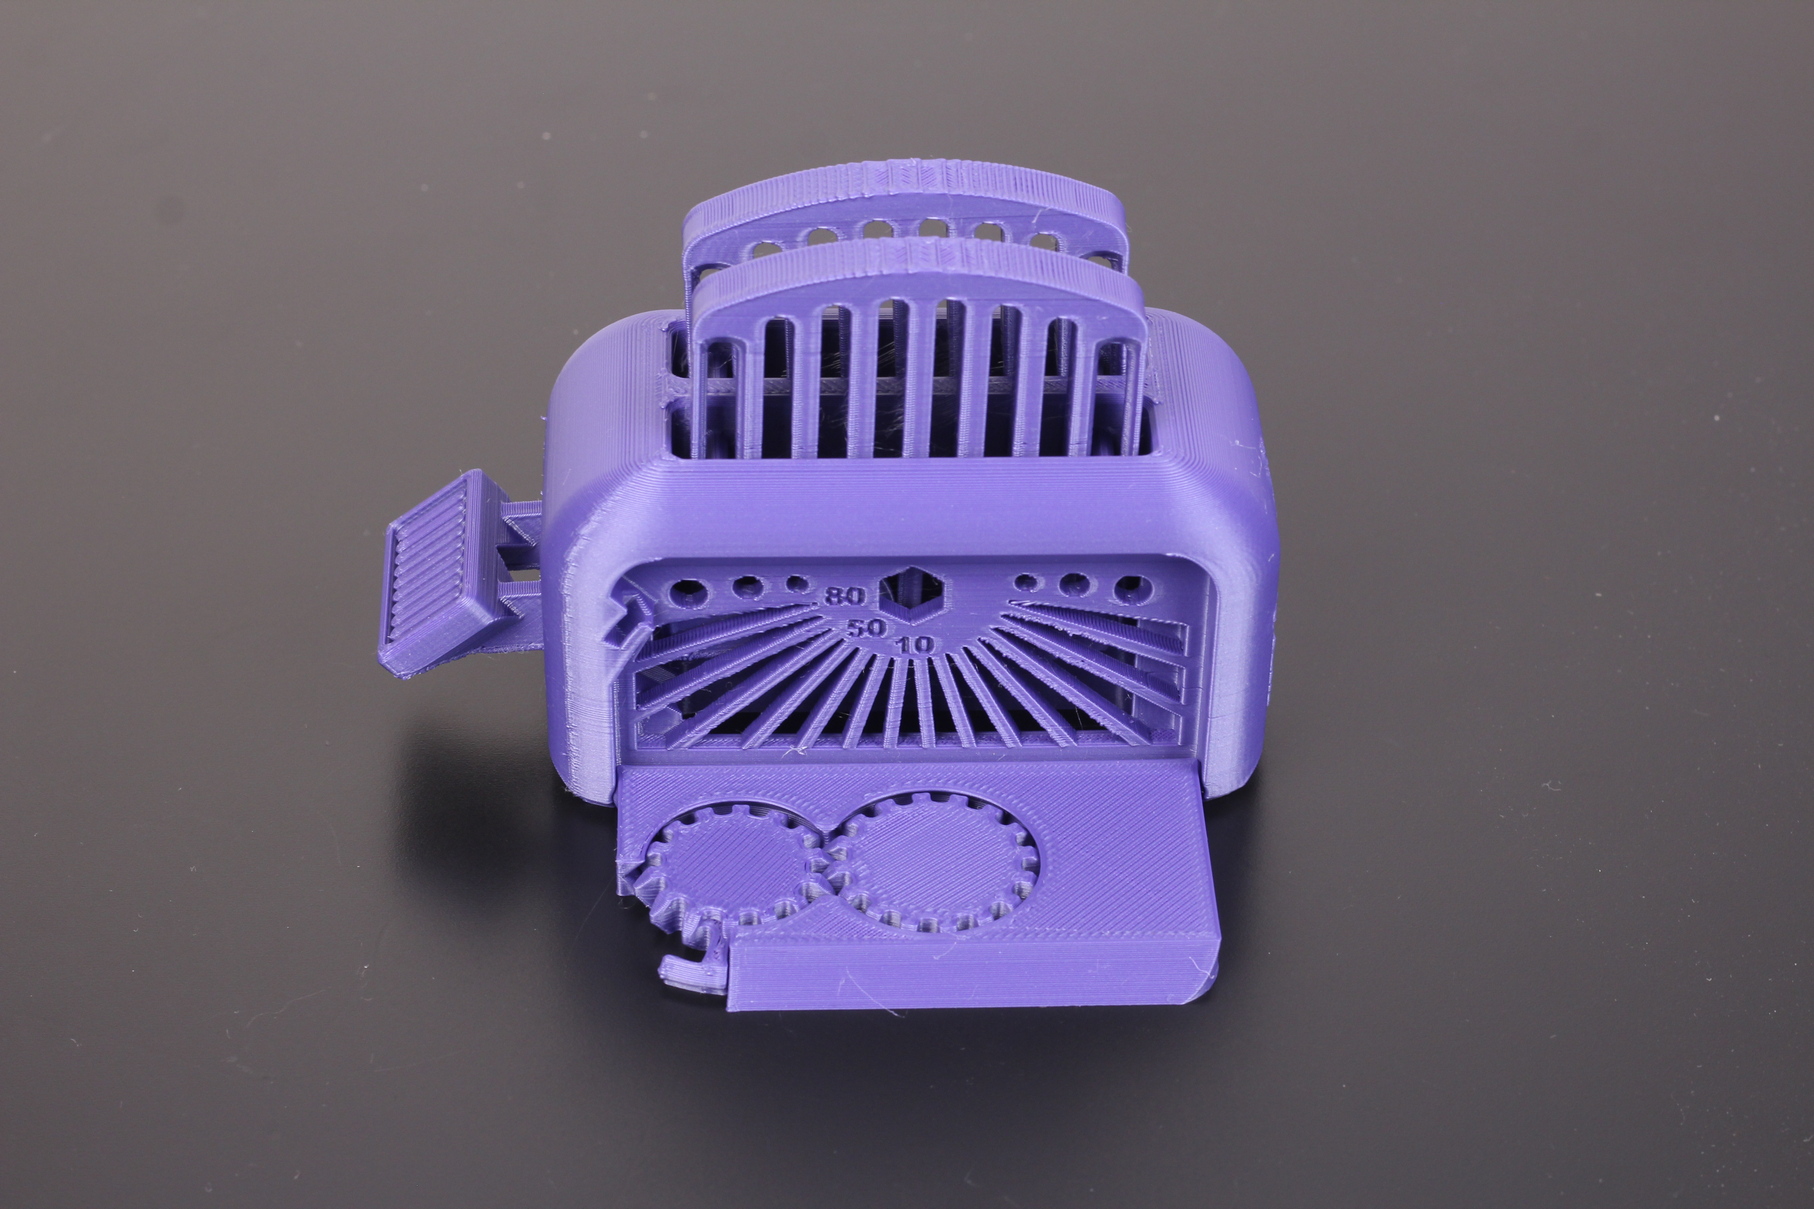
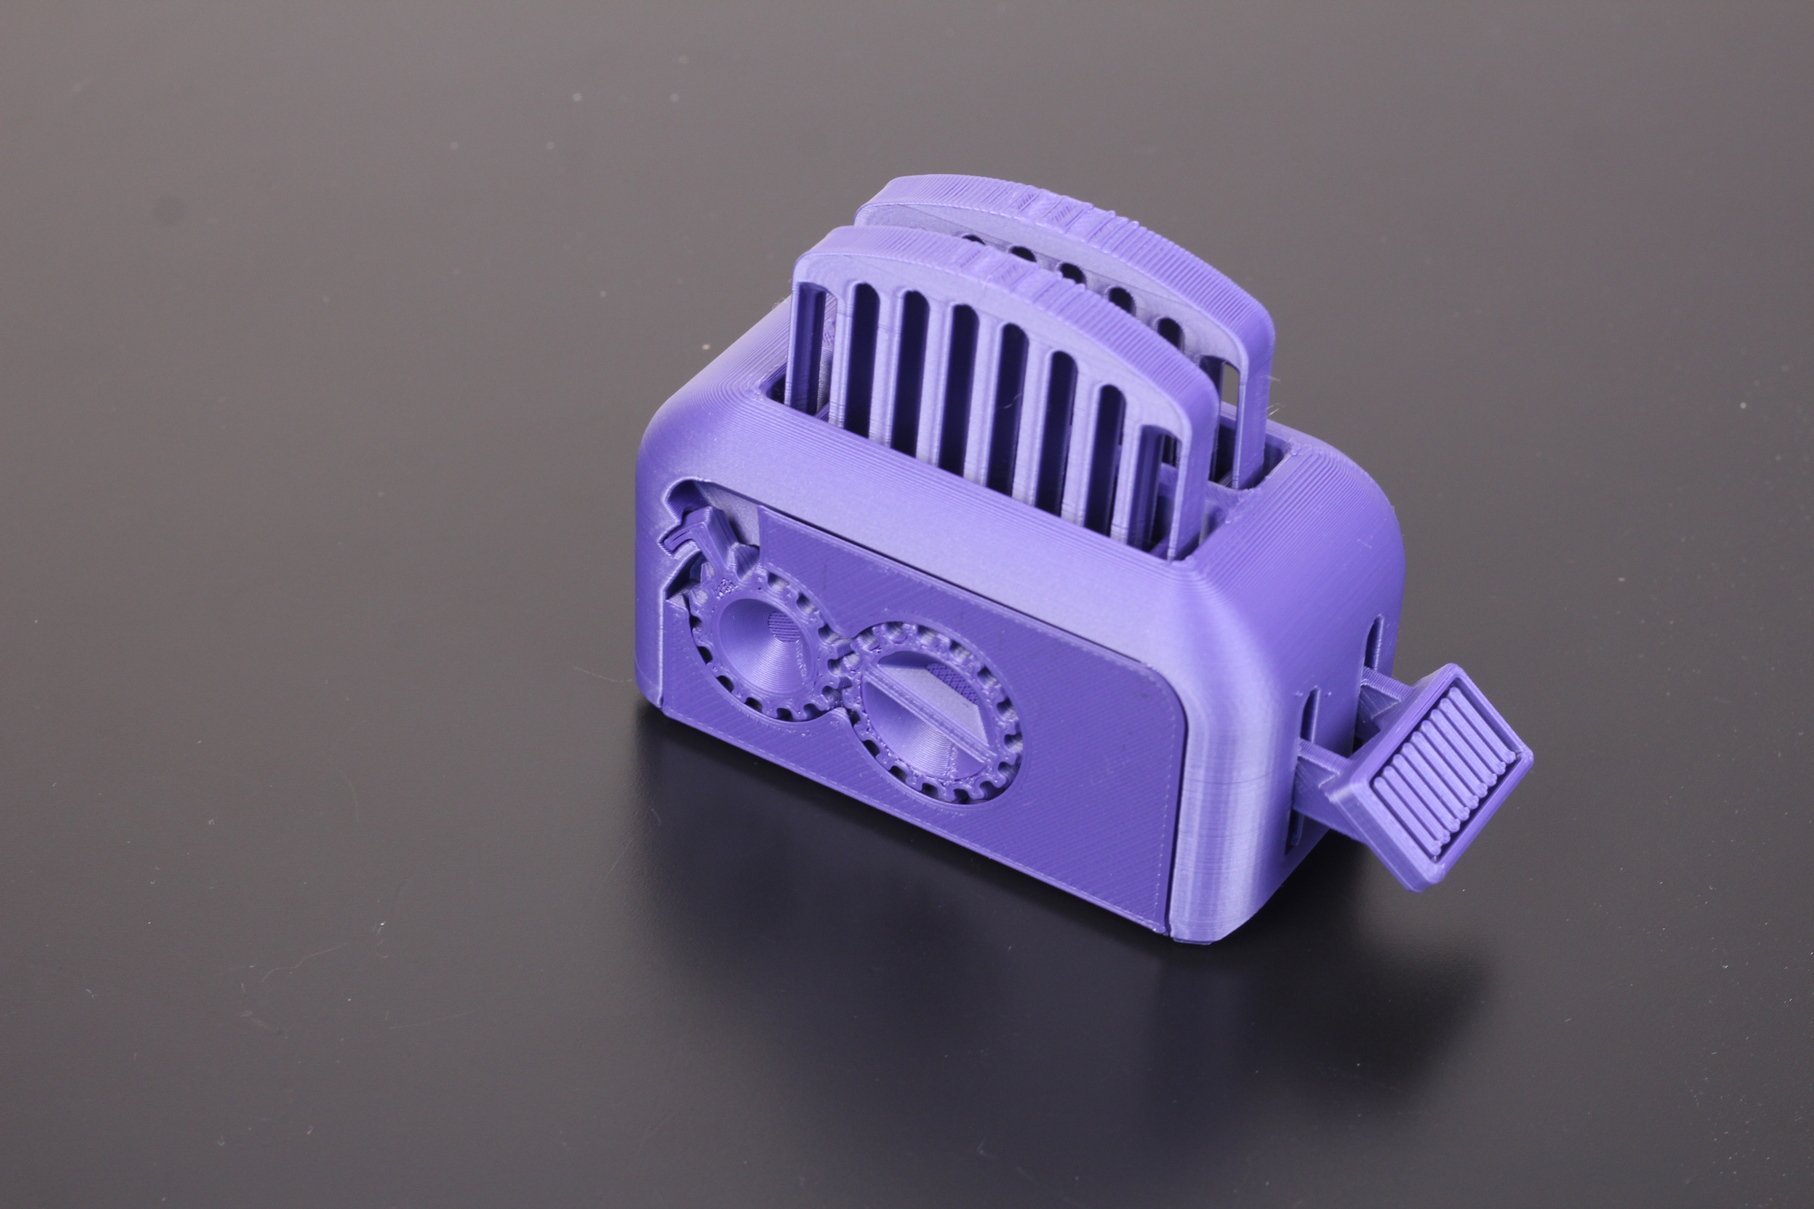
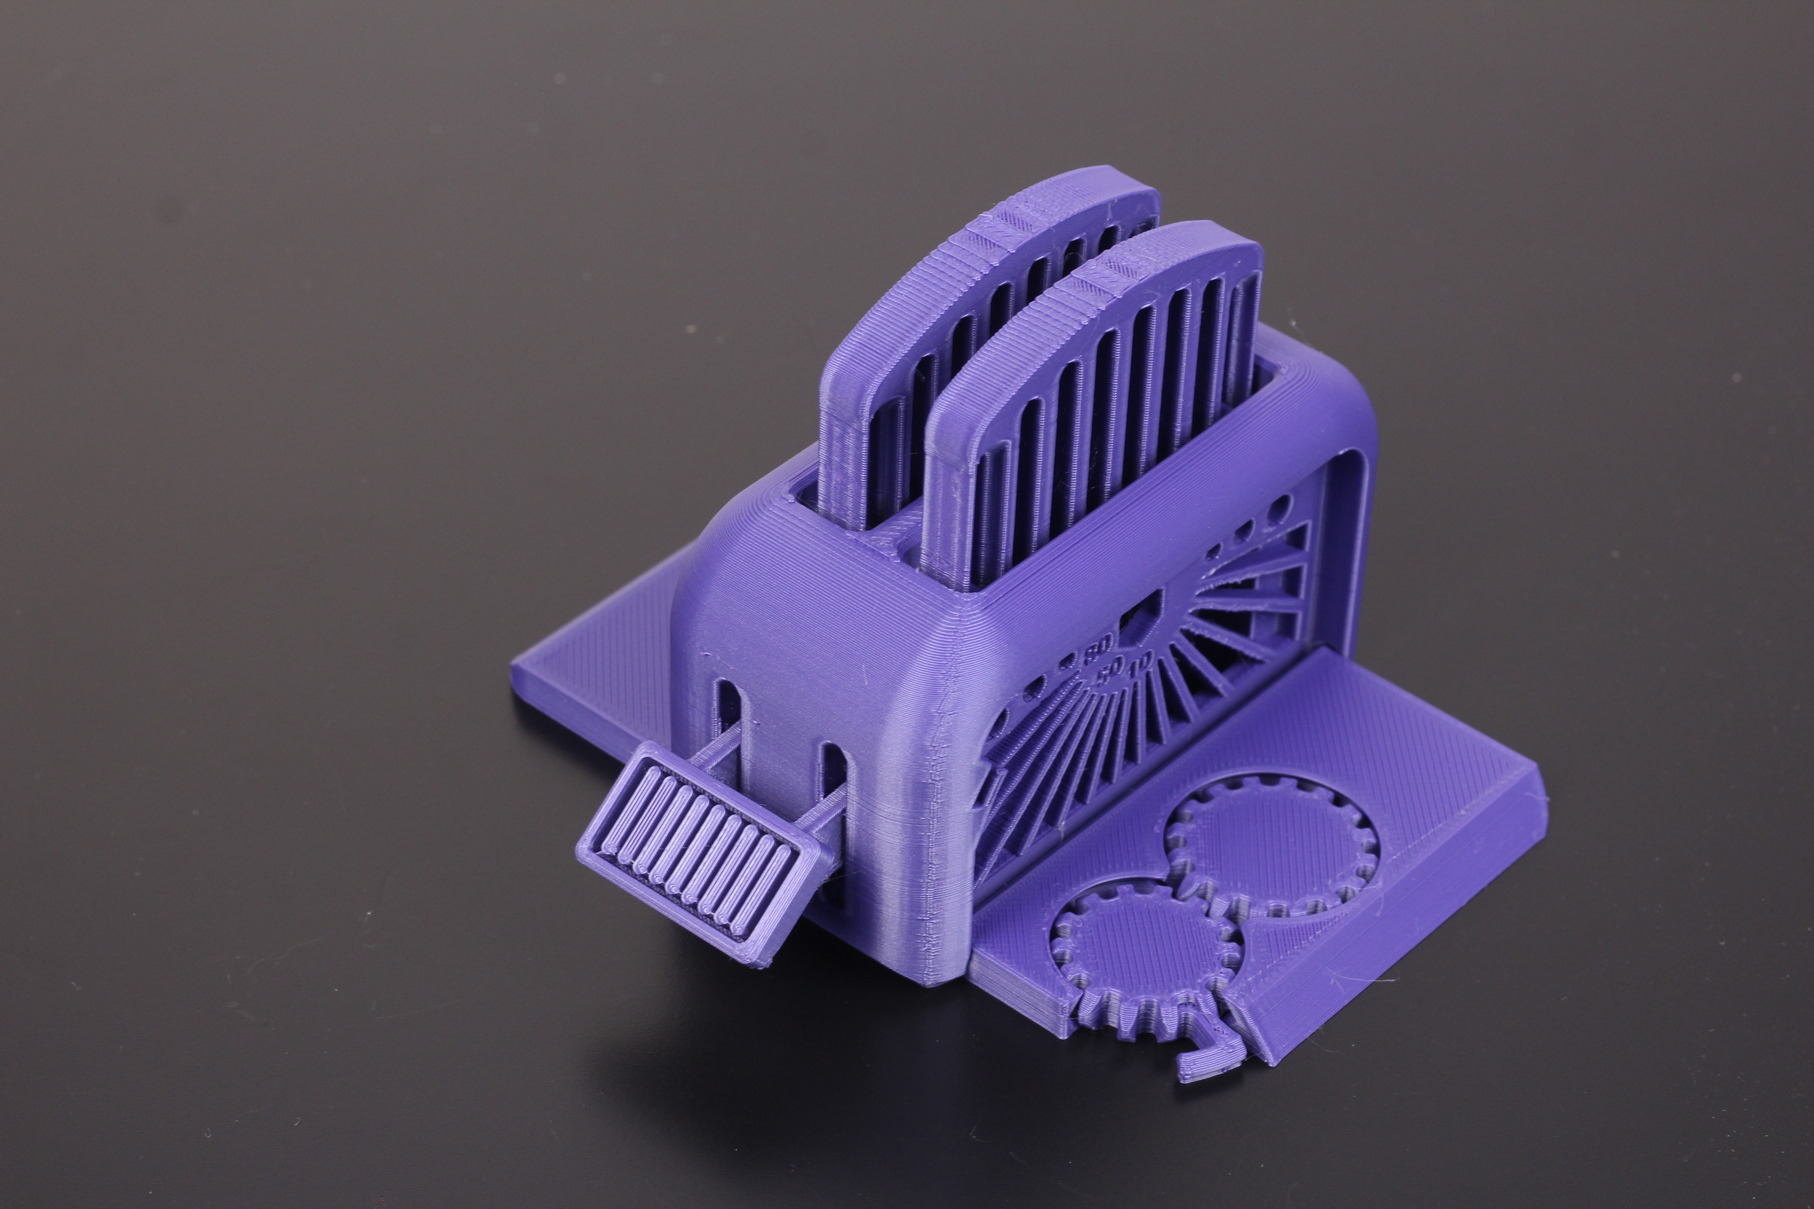
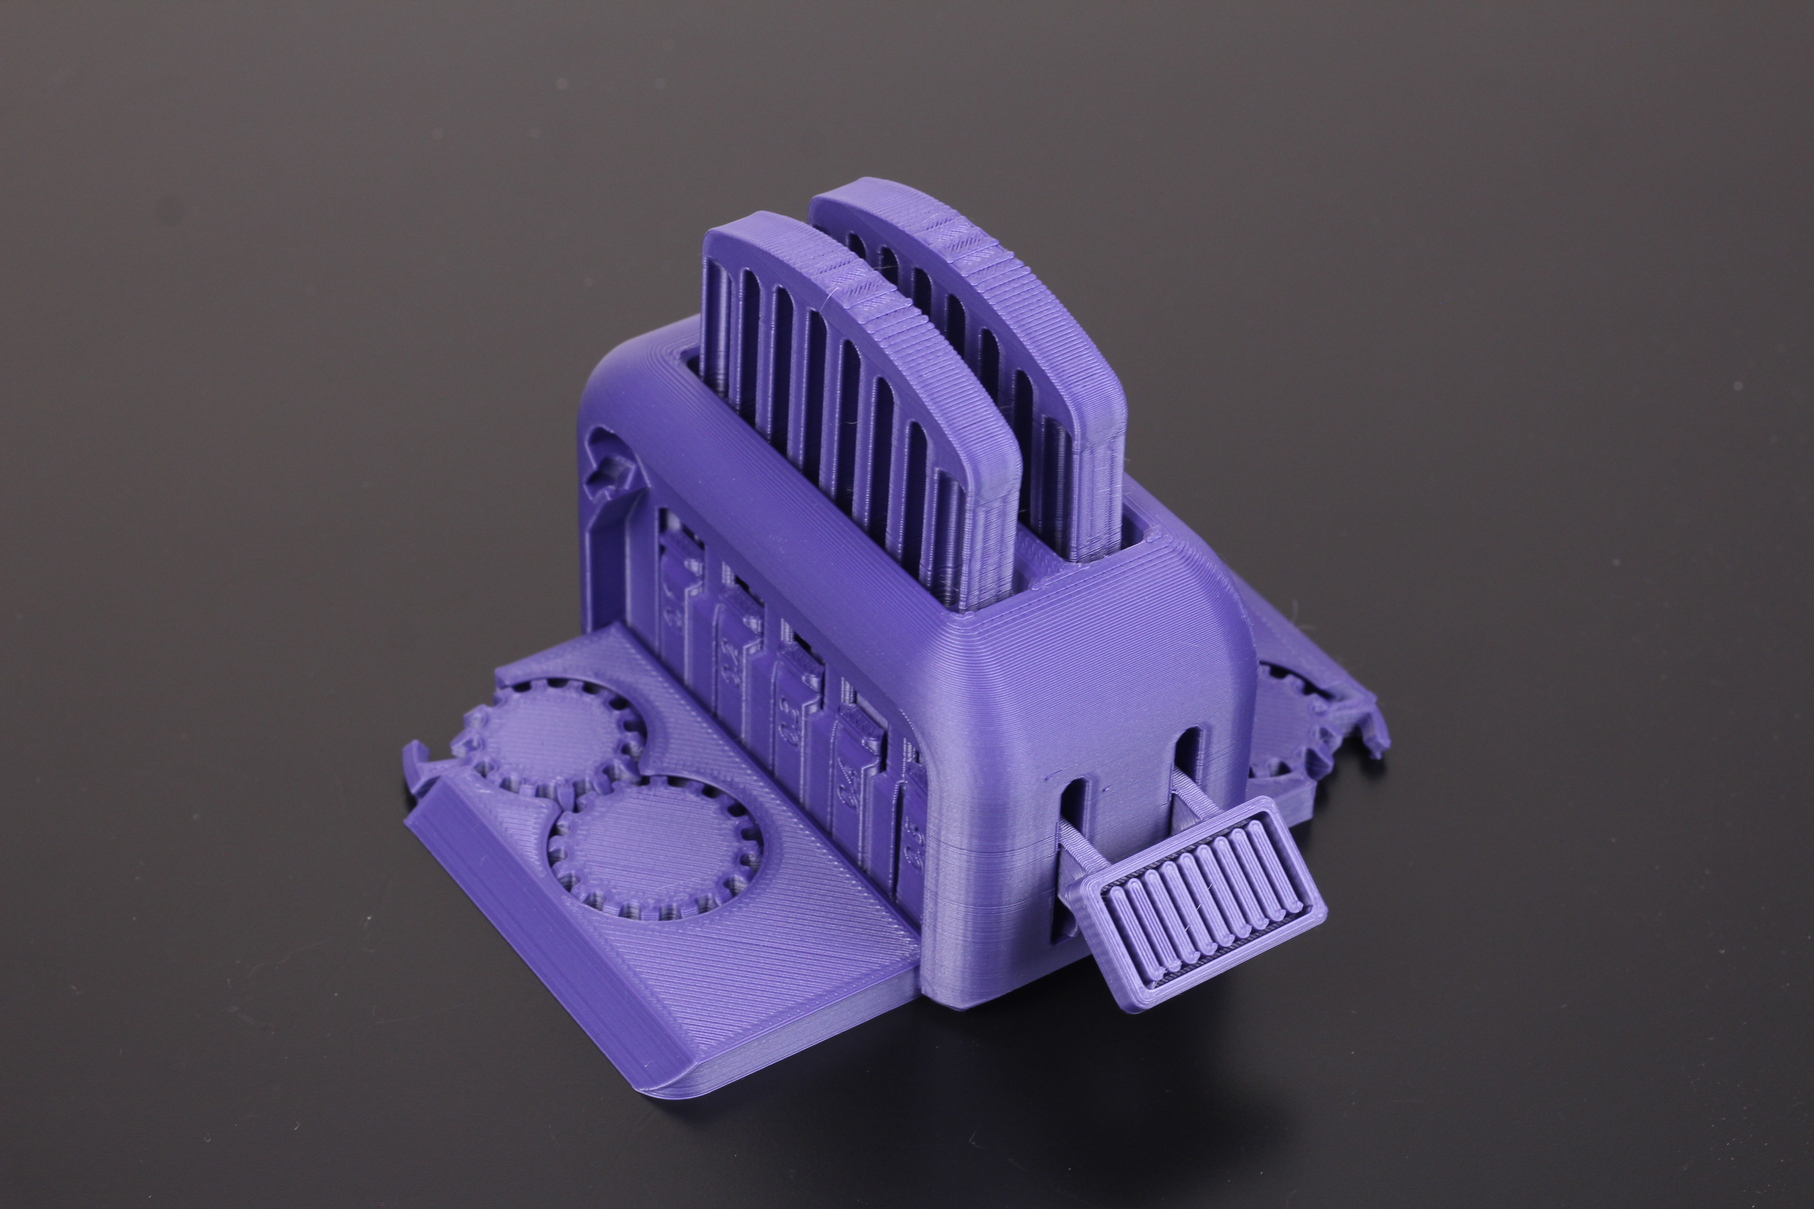
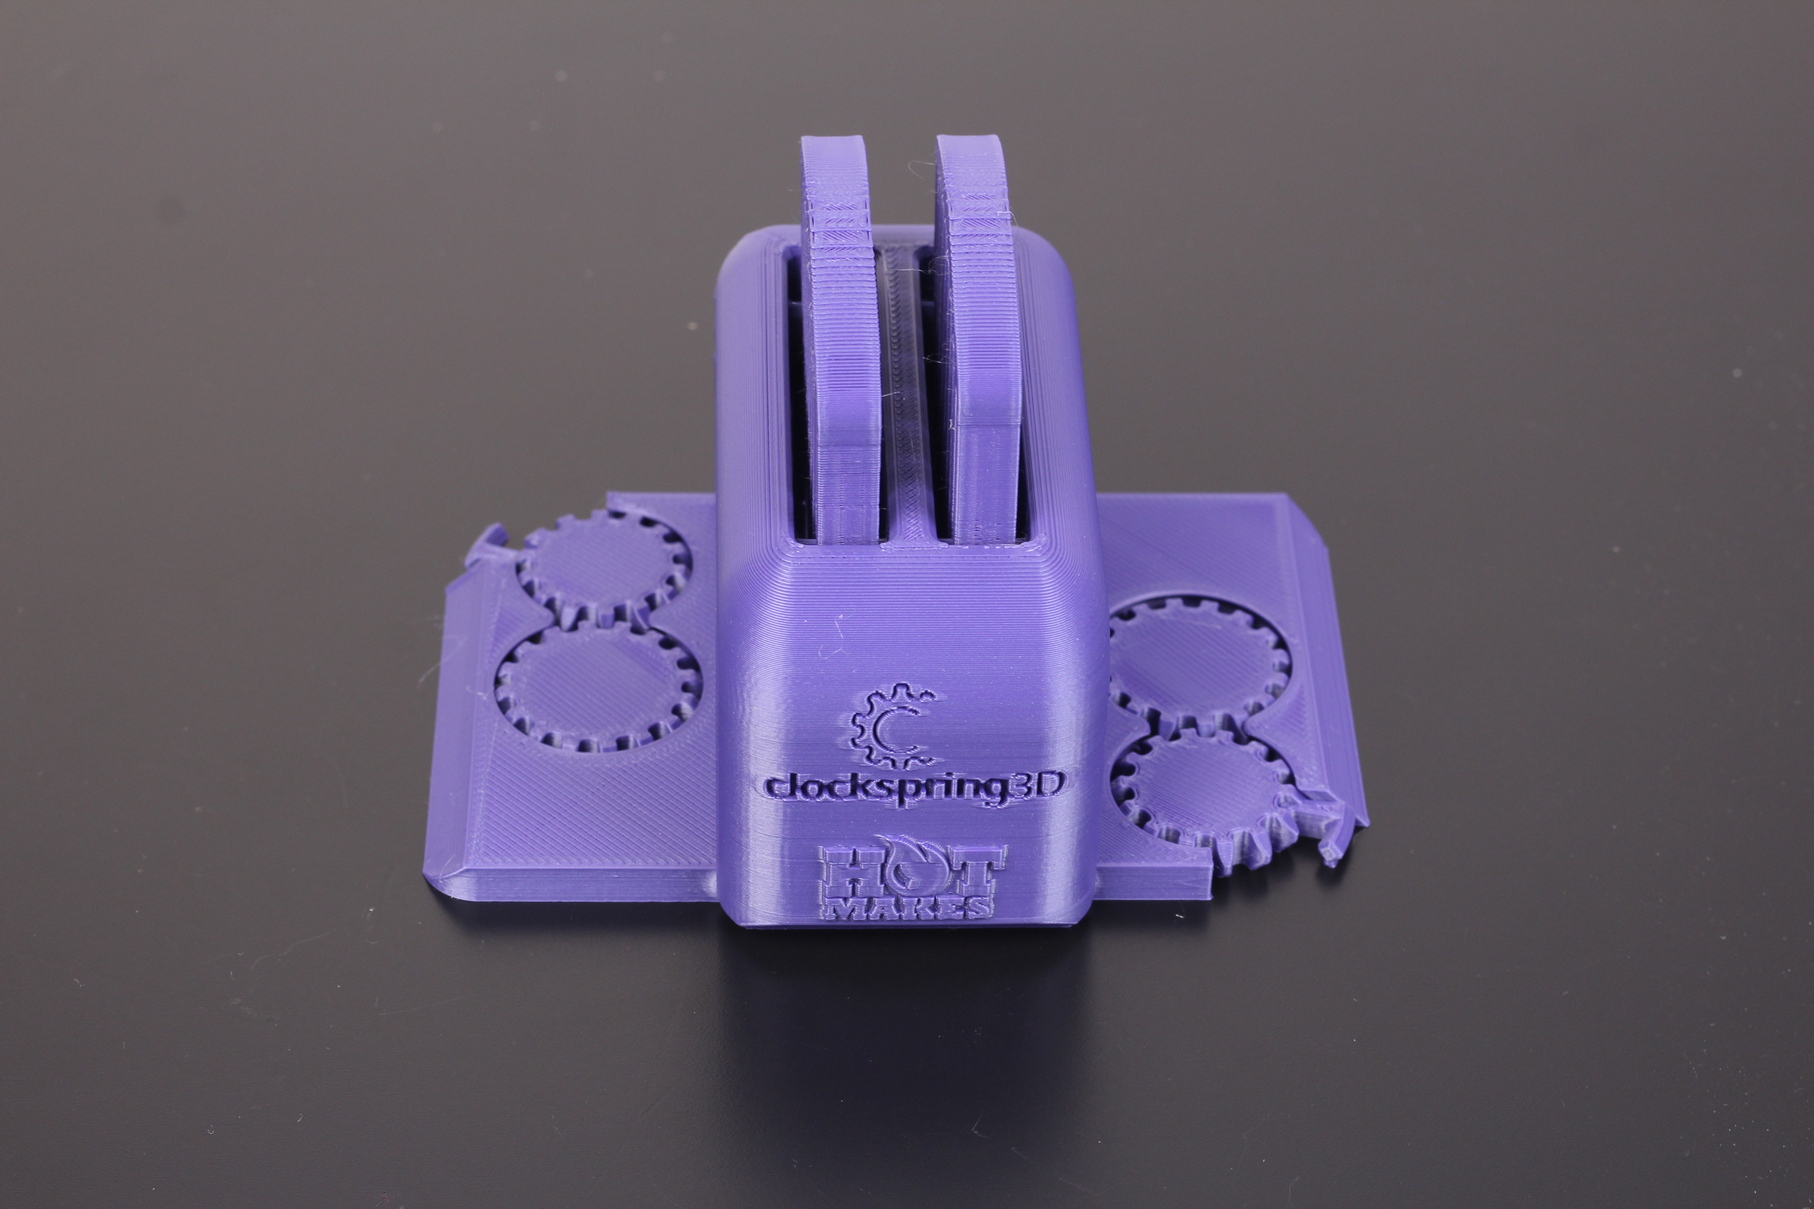
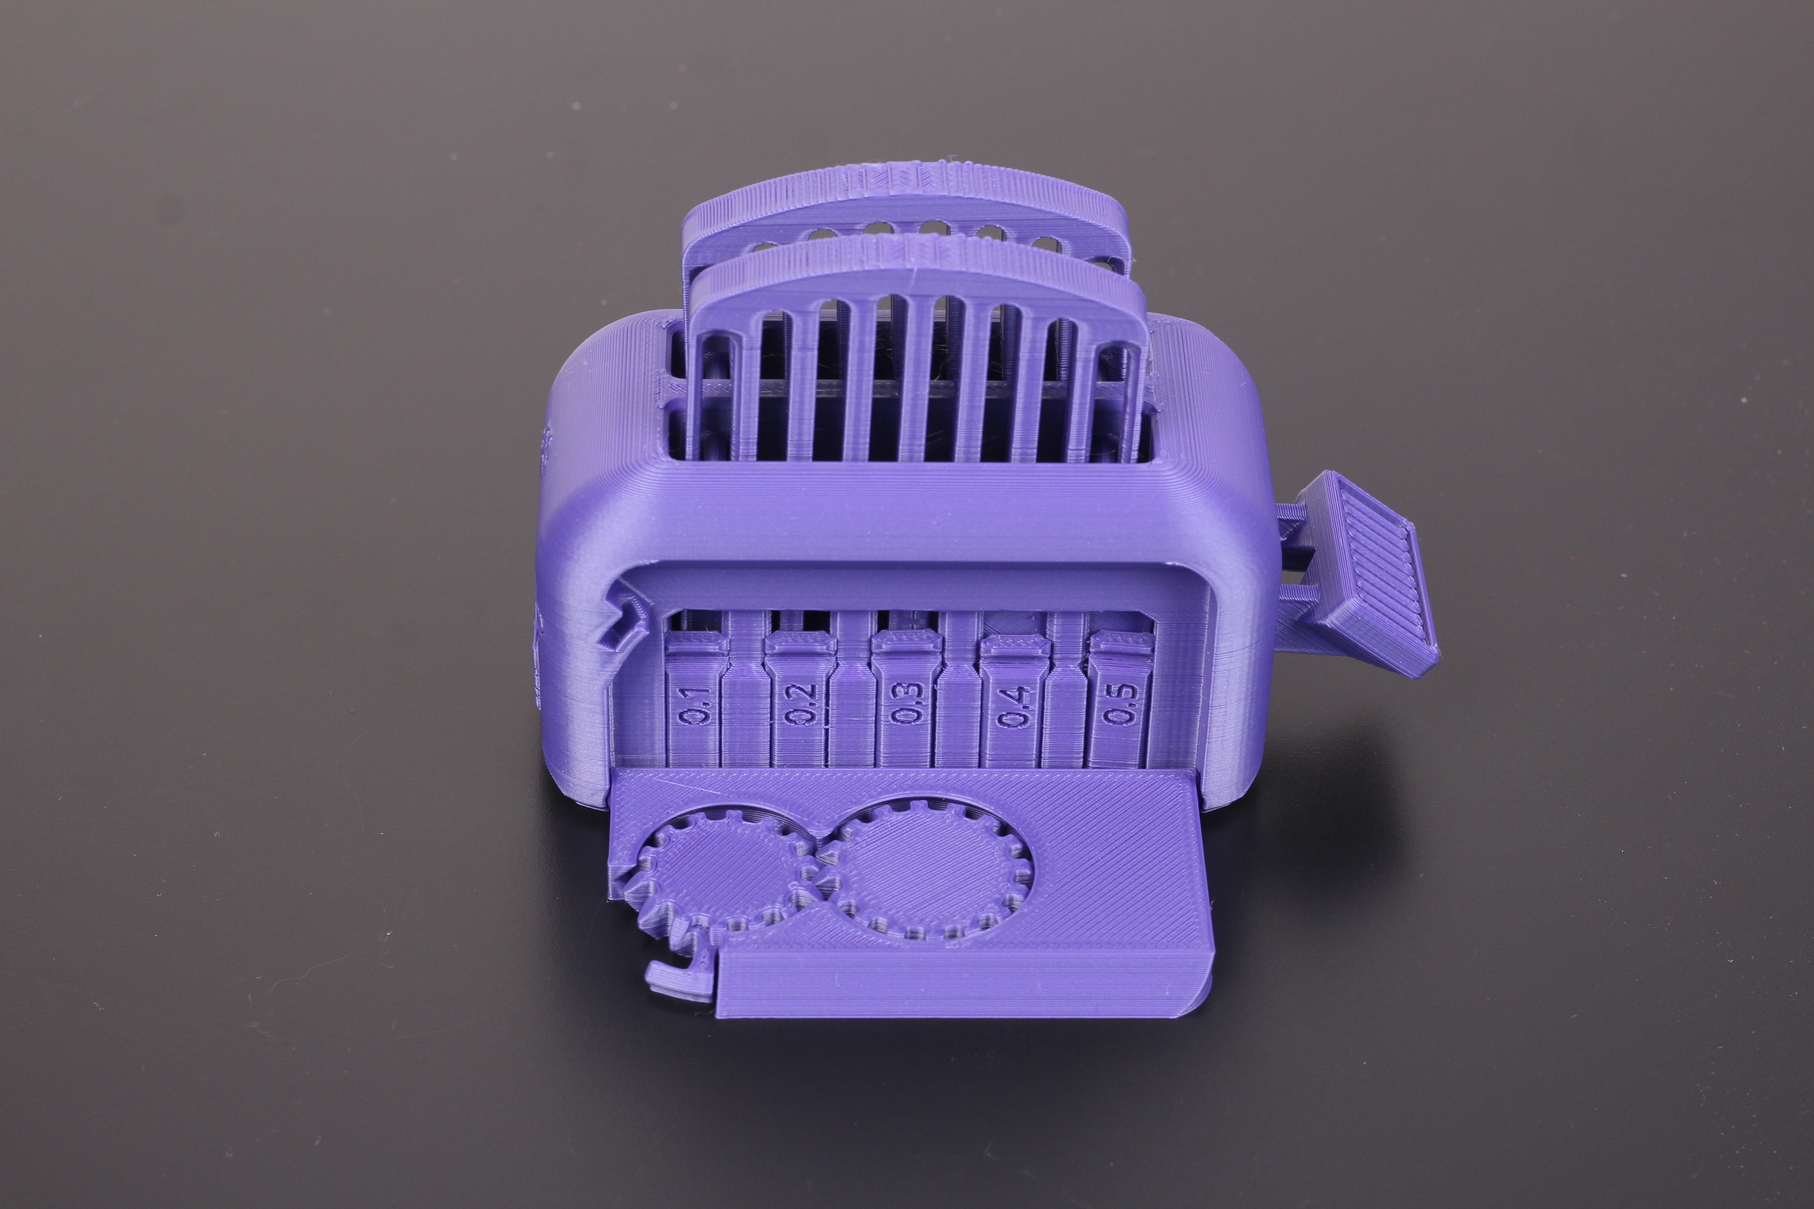
Torture Toaster
The printer was also able to produce a quality torture toaster, with all the features working well. I was able to move the 0.3 mm tolerance test with ease, but the 0.2mm was stuck. Overhangs also look good for a 4010 part cooling fan.
- Material: Gembird Purple PLA
- Layer Height: 0.2mm
- Nozzle Temperature: 210C
- Bed Temperature: 60C
- Print Speed: 50 mm/s
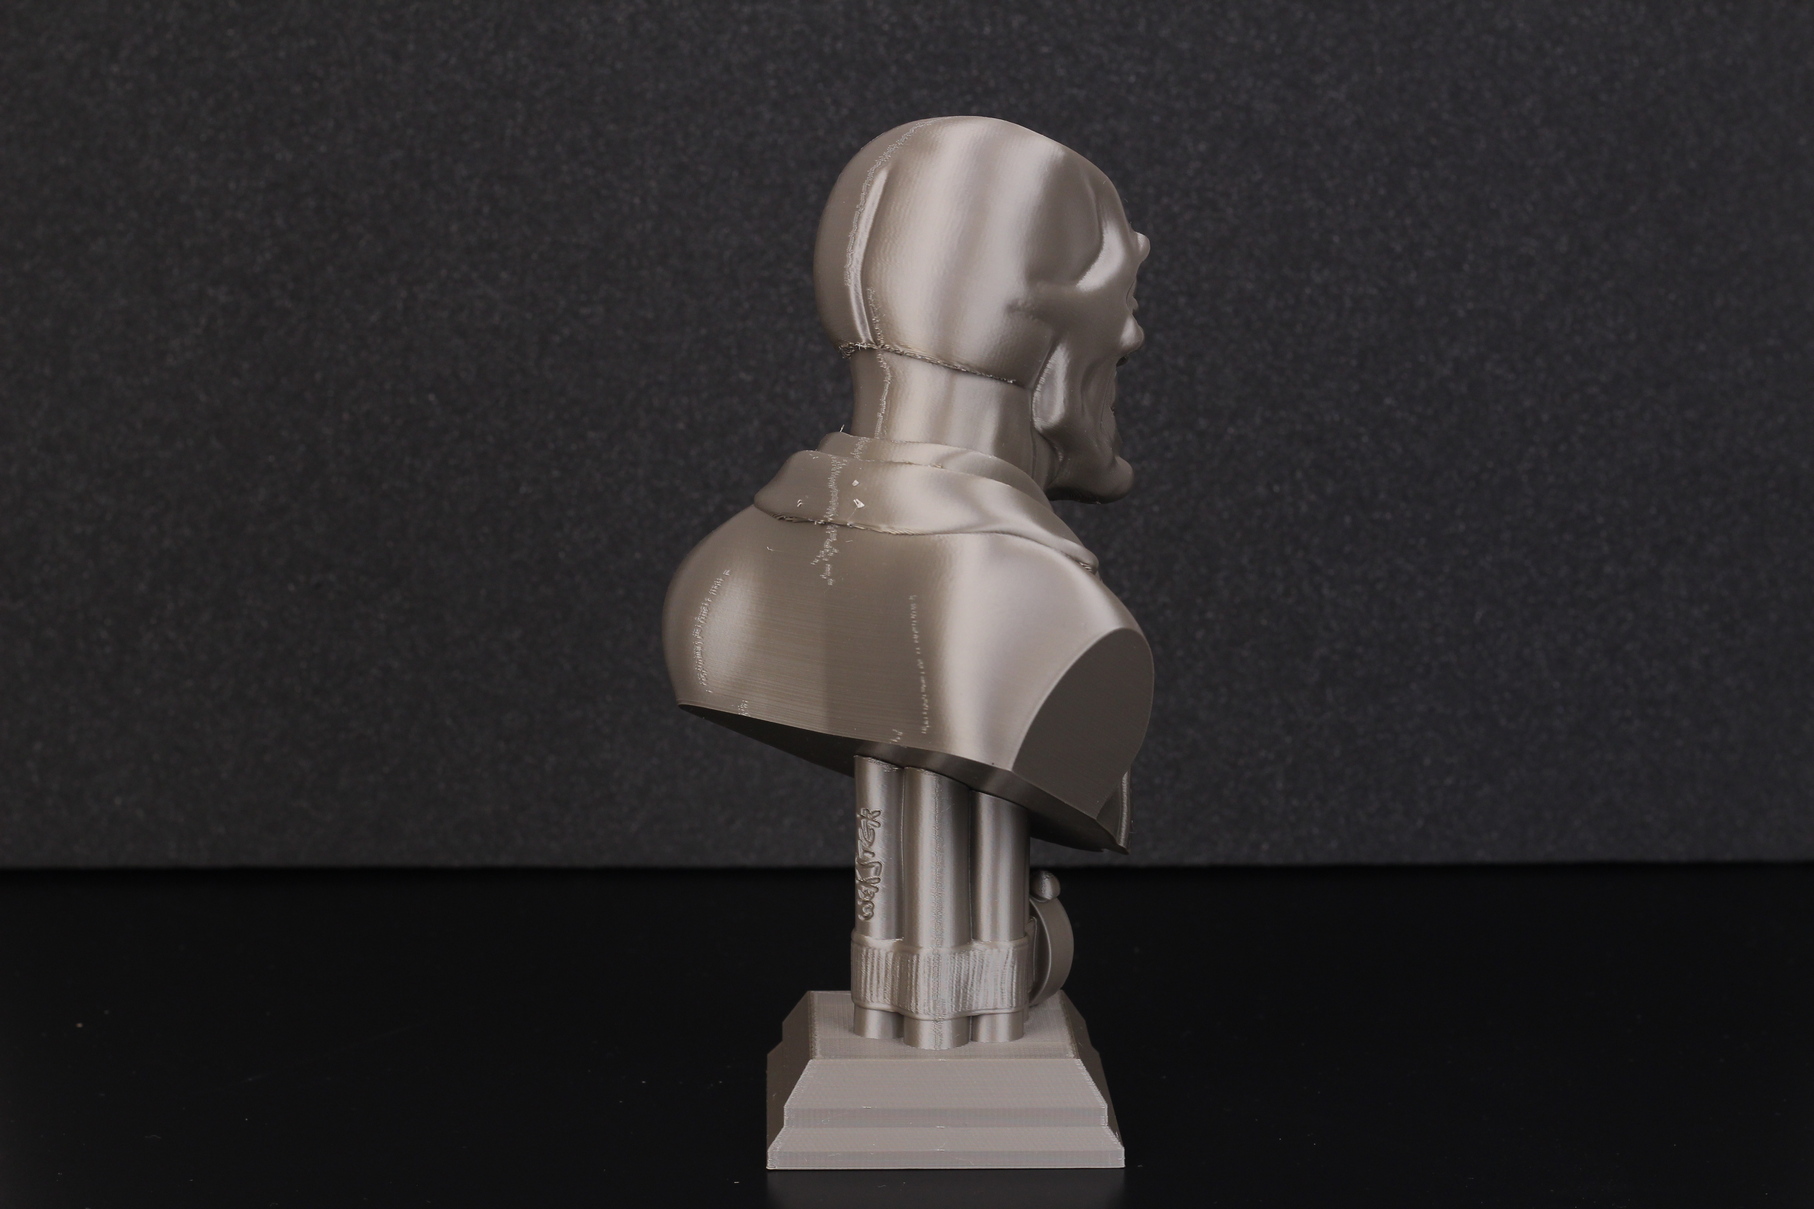
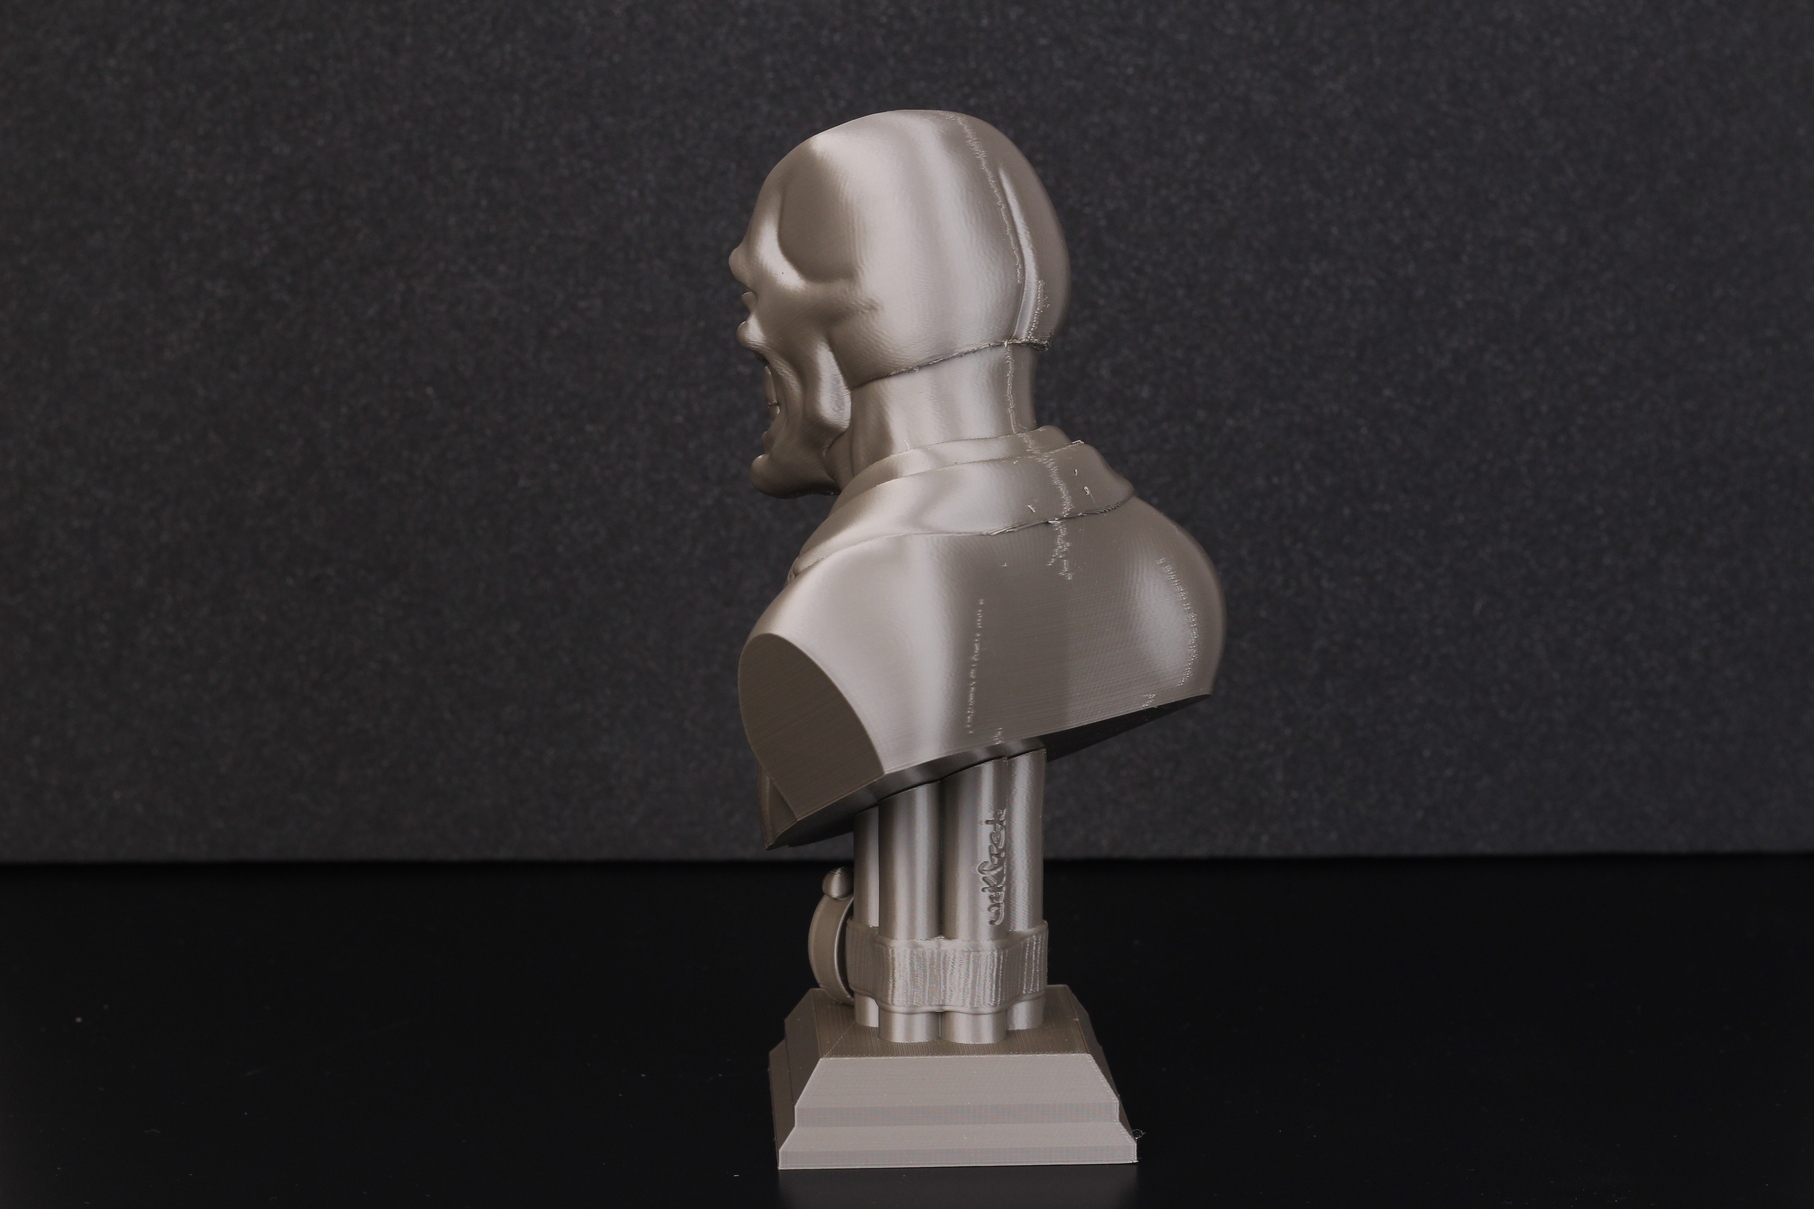
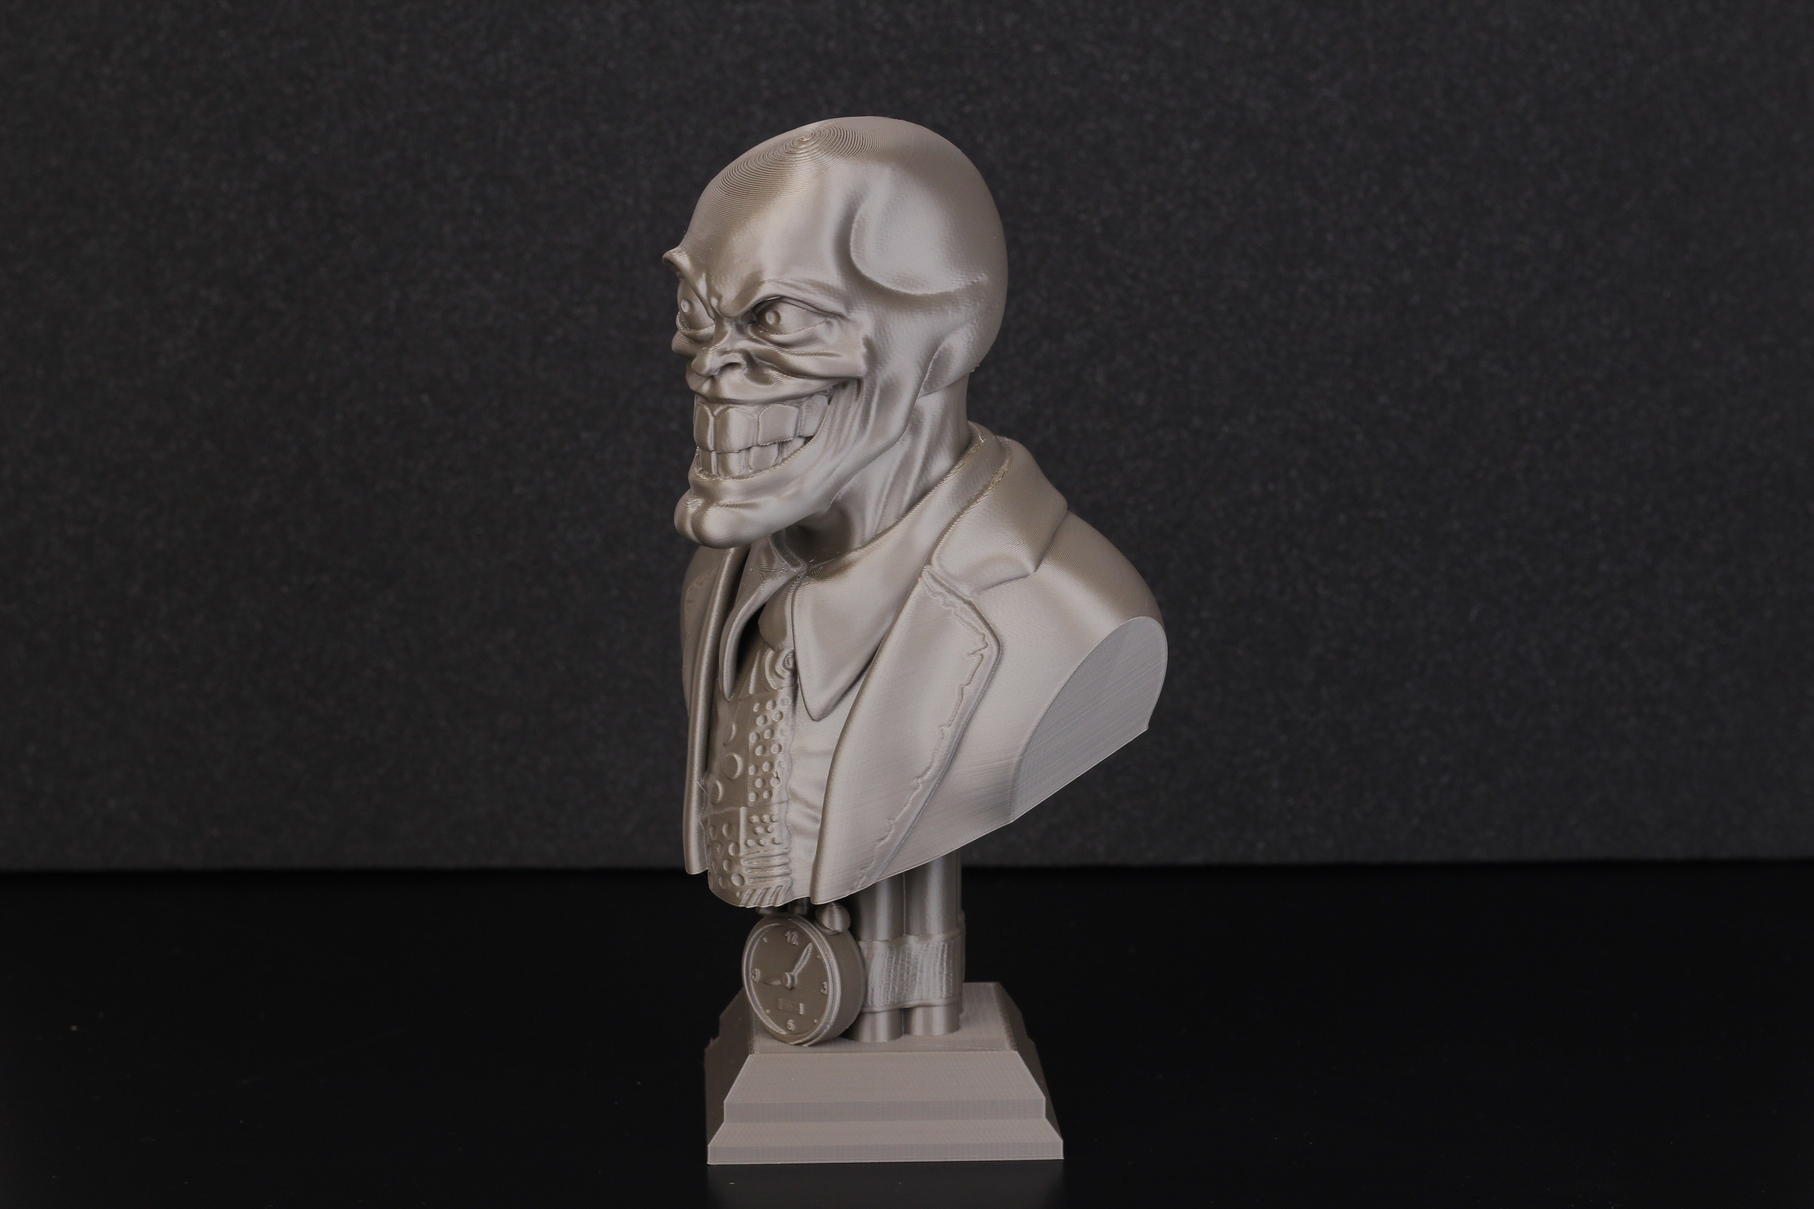
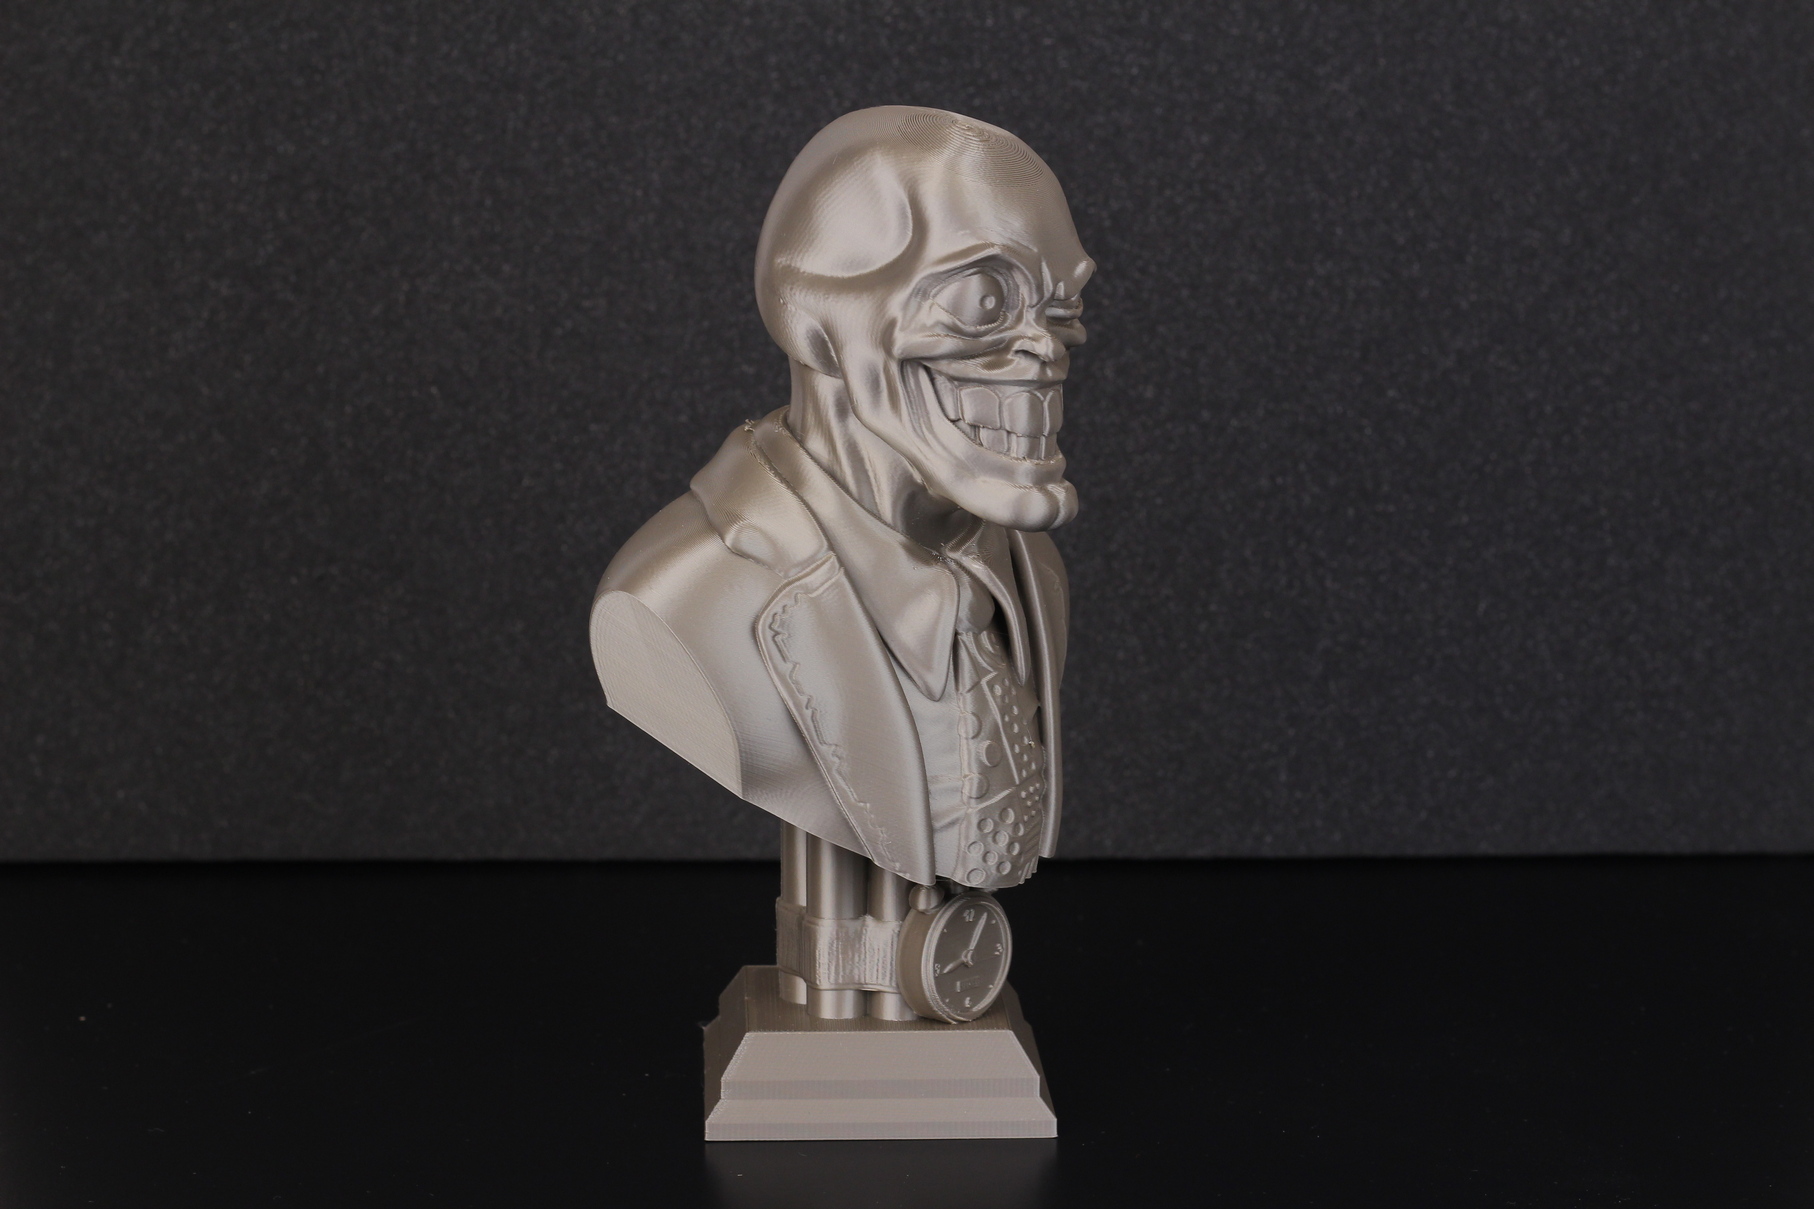
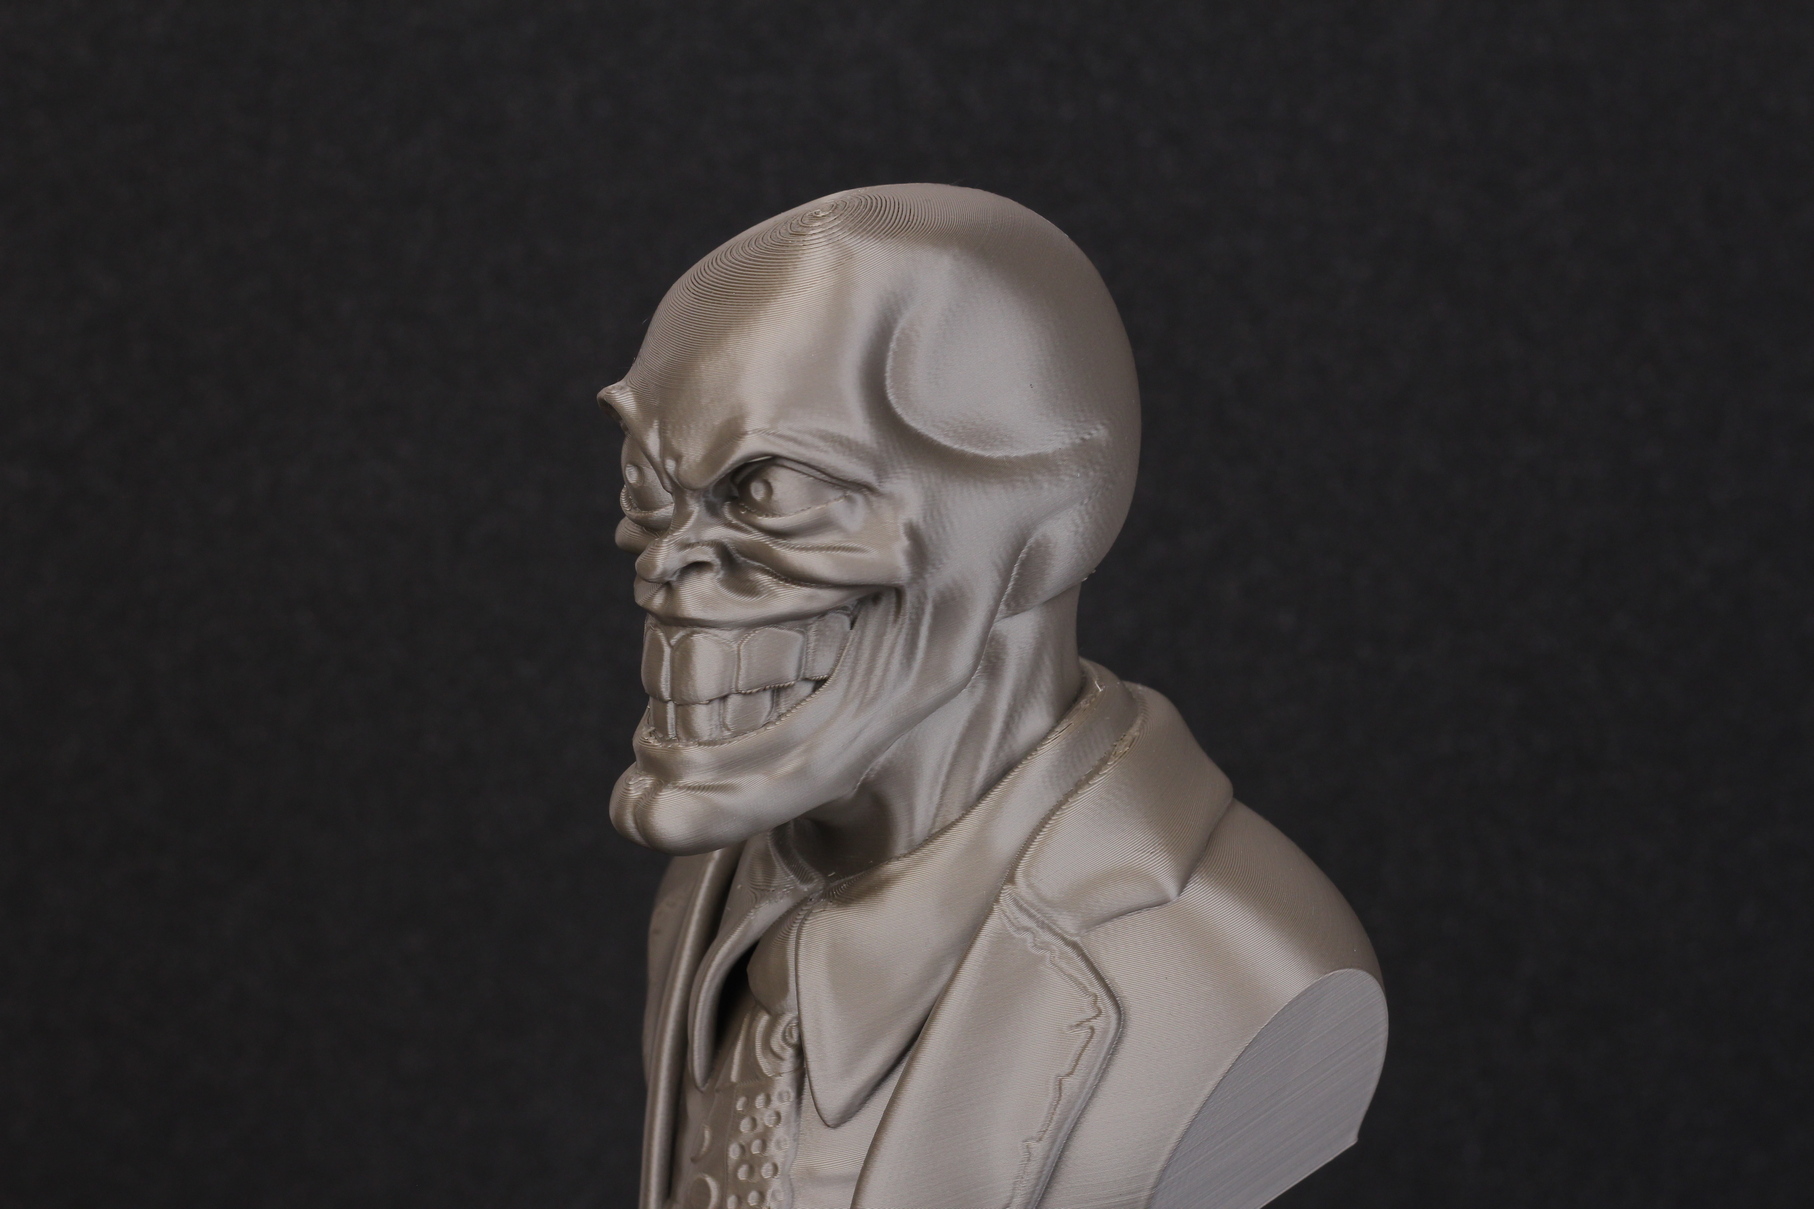
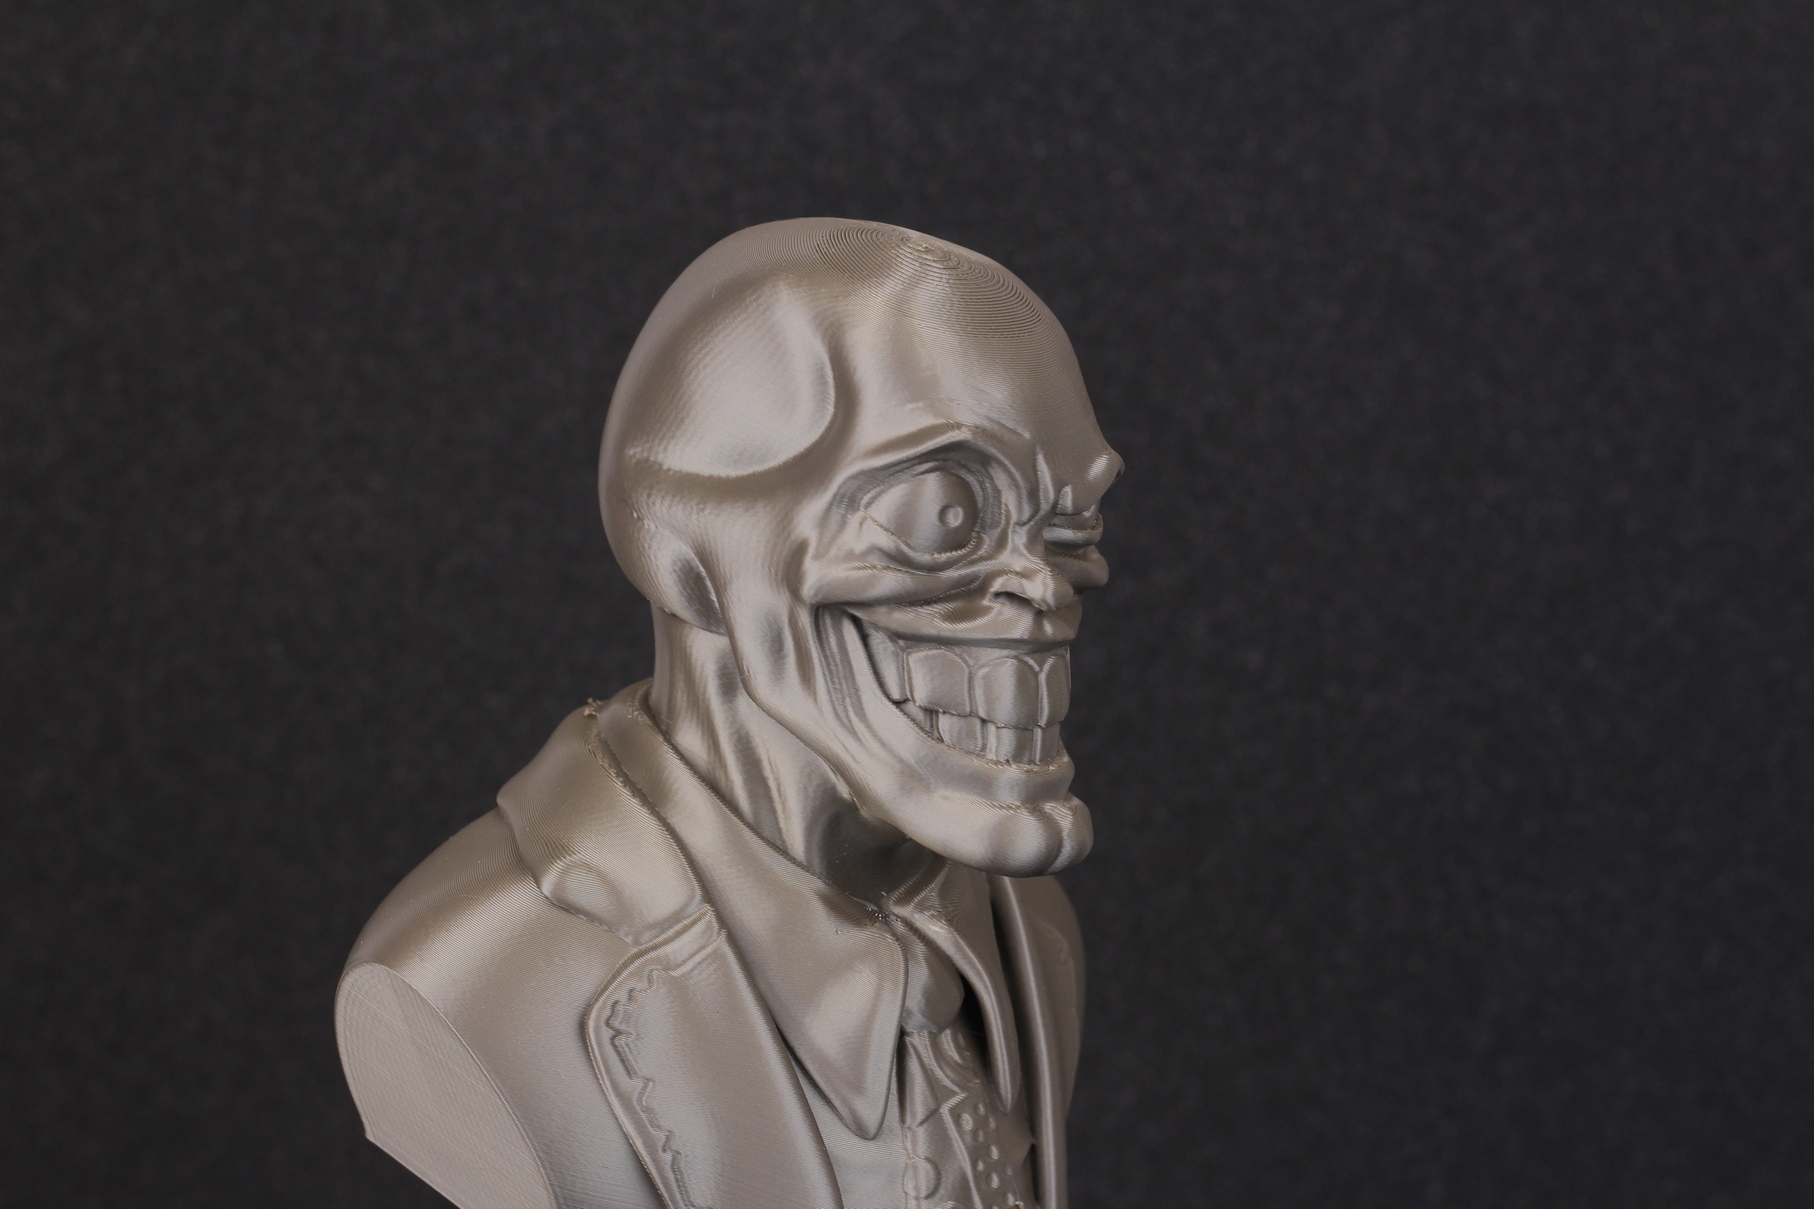
The Mask Bust
Finally, I printed The Mask bust from Wekster. I had this on the queue for a while, so I gave it a go. It came out nice, with just a few small scars where the support interfaced with the model and the usual Z seam. Other than that, the CR-10 Smart did a good job once again.

- Material: Gembird “Gold” PLA
- Layer Height: 0.2mm
- Nozzle Temperature: 210C
- Bed Temperature: 60C
- Print Speed: 50 mm/s
Conclusions: Is the Creality CR-10 Smart worth it?
If you look at the print quality delivered by the Creality CR-10 Smart you would think that Creality knocked this out of the park and made a great machine. But not everything lies in the print quality.
Mechanically, the CR-10 Smart is a decent printer with ABL and dual Z axis, but these features started to become the norm on more expensive printers. Besides that, the Creality Cloud functionality works even better than I expected but all that is clouded by the bad firmware experience.
I needed to re-flash the latest firmware update to be able to use the printer and complete this review. While it’s not perfectly usable, you could get the printer and use it like this until an update shows up (from Creality or the Community).
But I think this needs to stop and we should vote with our wallets. If a printer is not complete and doesn’t offer the full marketed functionality, then simply purchase a different printer that does. I don’t know about you, but I got tired of having to fix expensive printers. We got to a point where the hardware is there, but the QC and firmware development is still in its early stages.
In the near future, I will publish a guide on how to install Klipper on the CR-10 Smart which will actually make the printer smarter. The integrated hardware should allow this upgrade to be run without having to purchase anything else. I will also follow up on this article when new official firmware is available, to report if the file refresh issue has been fixed.
The Creality CR-10 Smart is a good 3D printer, held back by the unfortunate firmware implementation that still needs some work.Creality CR-10 Smart Rating
Design
Specs
Noise Levels
Ease of use
Print Quality
Price
Where to buy the Creality CR-10 Smart?
The Creality SR-10 Smart can be purchased from the following websites:
AliExpress
Amazon
Banggood
Creality
I recommend checking out the Discount Codes page before purchasing. I regularly update the article with discount codes for various online shops, and you might find one for this particular model.
The Creality CR-10 Smart was provided free of charge by Banggood for the purpose of this review. While the article includes affiliate links, all opinions are my own. Nobody reviewed the article before it was posted, following the Review Guidelines.
Liked it?
|
|



Excellent, detailed review, thank you so much!
It is really difficult to find reliable information about this printer.
Especially when I just ran into a great big flooding and I have to now replace my hotend. Which now has been discontinued by creality.
I found one on amazon that looks exactly like the one I had on, but it is being advertised as for an upgrade for other models like Ender 3 NEO etc.
it is an MK8 24v hotend which as i said looks exactly like the one on my CR-10 smart.
Can anyone tell me if this is the right hotend?
Also what thermistor and heater cartridge does the original hotend use? Is the heater cartridge a 24V 40W one?
Thank you in advance. – desperate beginner.
Perfect guide!
I’m installing klipper into CR-10 Smart , but how i can do it? Where i find the correct printer.cfg?
Please, doesn’t exist the guide.. can you help me?
Excellent review my friend the best I ever read.. The profiles are perfect and quick.. Can you please post abs profile so I have the three of them thanks again for the nice review.
Are you for real, the printer has been tanked over two years on social media, an obliteration of bugs and neglect.
yes i am real i have this machine over 8 months with this profiiles with some modes and new firmware and i dont have any big issues the printer works 24h for 8 months non stop printing believe me is the longest review you can see and test for me and for all i believe..
Hi, could you please explain the power consumption numbers? Using your stated current and voltage figures I get different numbers:
Idle: 233.7V x 263mA = 61.5W
Heat-up: 234.5V x 1327mA = 311.2W
Print: 229.1V x 1013mA = 232.1W.
The only way I can get your numbers to work is allowing for power factors of 0.25, 0.95, 0.74 for idle, heat-up and print respectively. Surely the machine doesn’t have awful power factor when doing bugger all?
Thanks
You can check the screenshots. That’s the data reported by the smart socket.
Thank you for this review and the ideamaker’s profiles! I’m new to all this and you gave me the bump I needed!
I remarked that I can’t print 2 consecutive prints with the profiles. It could be related to the start g-code that does not force “absolute positionning” but I don’t know enough yet to fix it.
The problem is that the second print seems to start from where the print ended and just goes bumping into absolute +X and +Y with the extrusion flowing endlessly. I have to reboot the printer between each print so it resets itself.
Thanks again!
I will check that out. Thanks for the heads up
I just get this printer as a second printer for high volume builds. since i have prusa mk3s, cr10smart’s prints absolutely much more problematic. if you consider its price which is almost 1/4 of prusa XL and 1/2 of my mk3s looks very good. so i think that may be some upgrades will make it much more better in the future. i am looking bondtech ddx or something like that for 150-200 bucks which may step up printers level to champions league.
They might sell their new direct drive extruder as an upgrade for the Smart.
If you were to upgrade anything (dual extruder?), what parts would you change out?
The most comprehensive review that I’ve read until now .. thanks for the time and effort spent .. very detailed .. covers almost every possible issue and really belps in making up your mind about getting this printer or not..
I will follow you for other reviews..
Nice layout impression this side / review, i am a creality user, Ender 3 Pro, Ender 3 and now the CR10 Smart. My problem is de language. i’m dutch and translate some parts for me to understand beter. But keep going, Thanks and Regards Jos
How would you compare the Ender 3 V2 with the CR-10 Smart apart from volume? ( New to 3D)