Voxelab Aquila Review: Ender 3 V2 Alternative
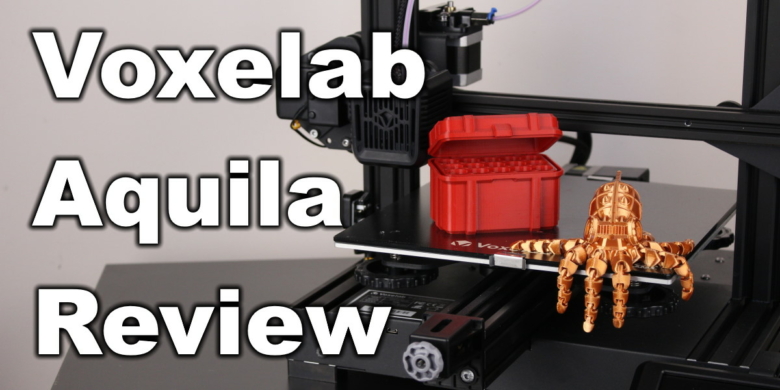
I recently found out about the Voxelab Aquila while browsing Amazon, and what grabbed my attention was the low prince it is sold at. At the time of writing this article, the Voxelab Aquila is sold for ~179$ which seems like a good price for an Ender 3 V2 alternative.
I got a review unit to check it out, so let’s see if the Voxelab Aquila is a better purchase compared to the popular Ender 3. It’s also interesting to compare it with the new budget printer, the Elegoo Mercury which is similar to this one when it comes to price and features.
Voxelab Aquila Shipping and Packaging
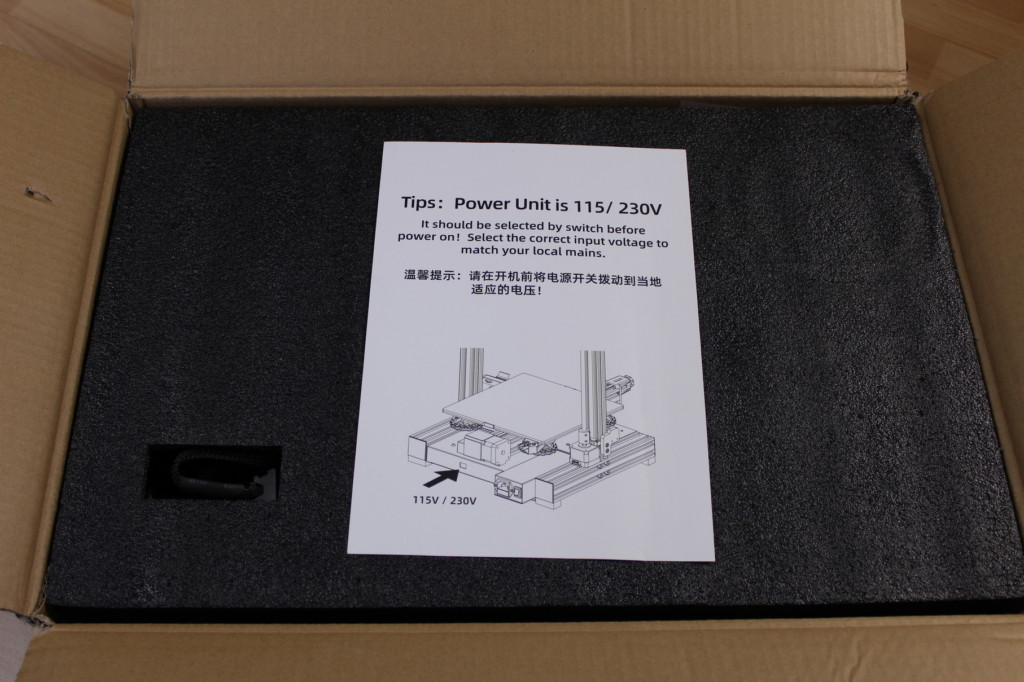
The printer comes in a compact cardboard box, with foam protection on all sides and it should be well protected against damage during shipping.
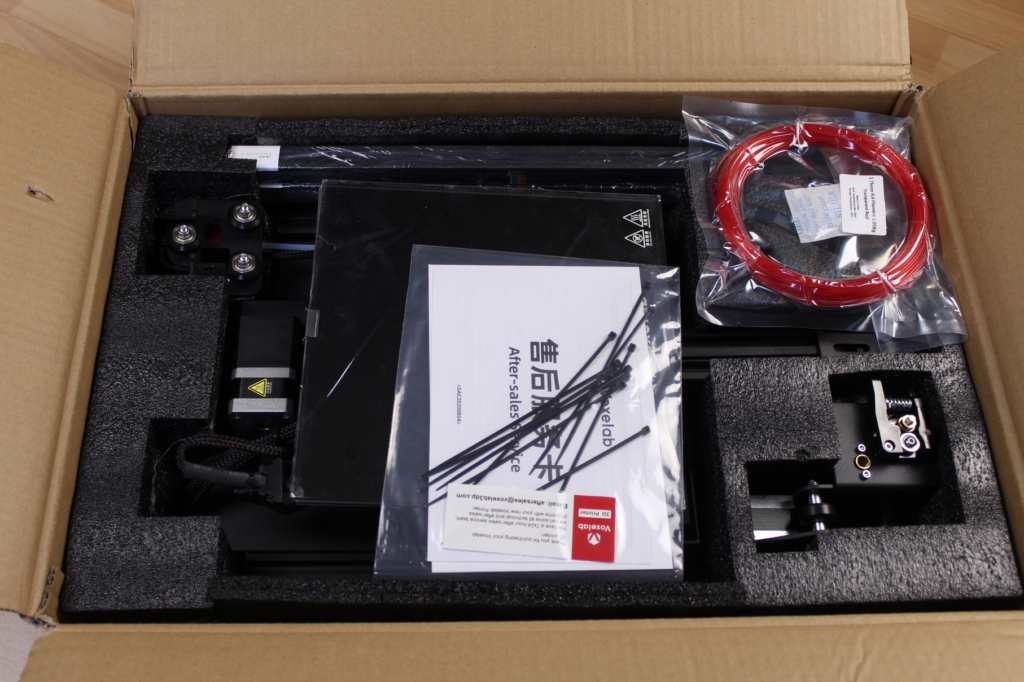
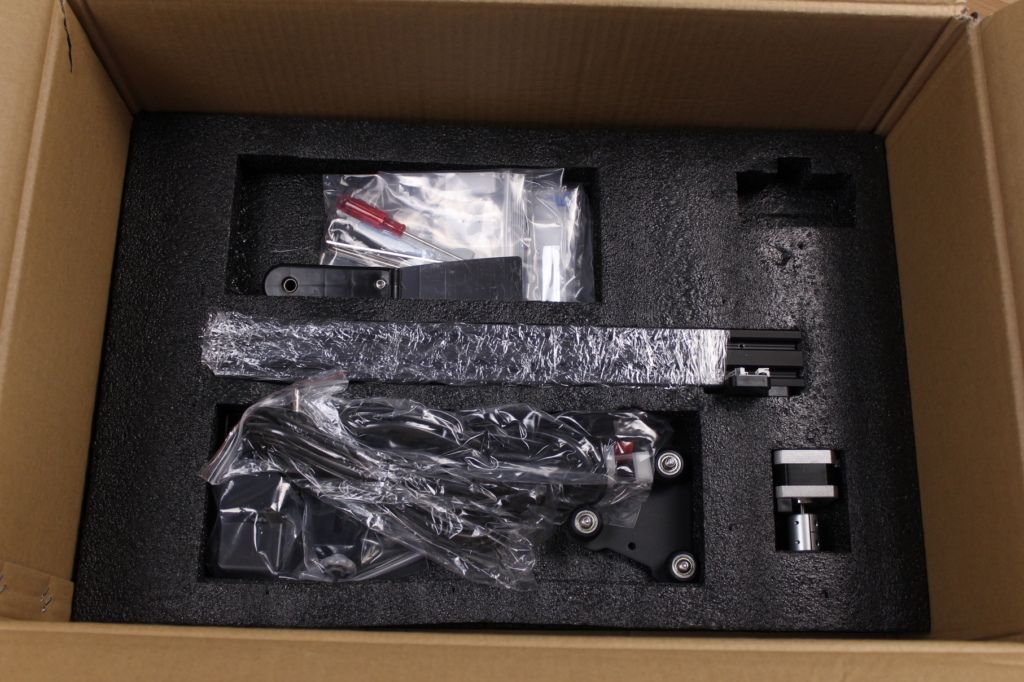
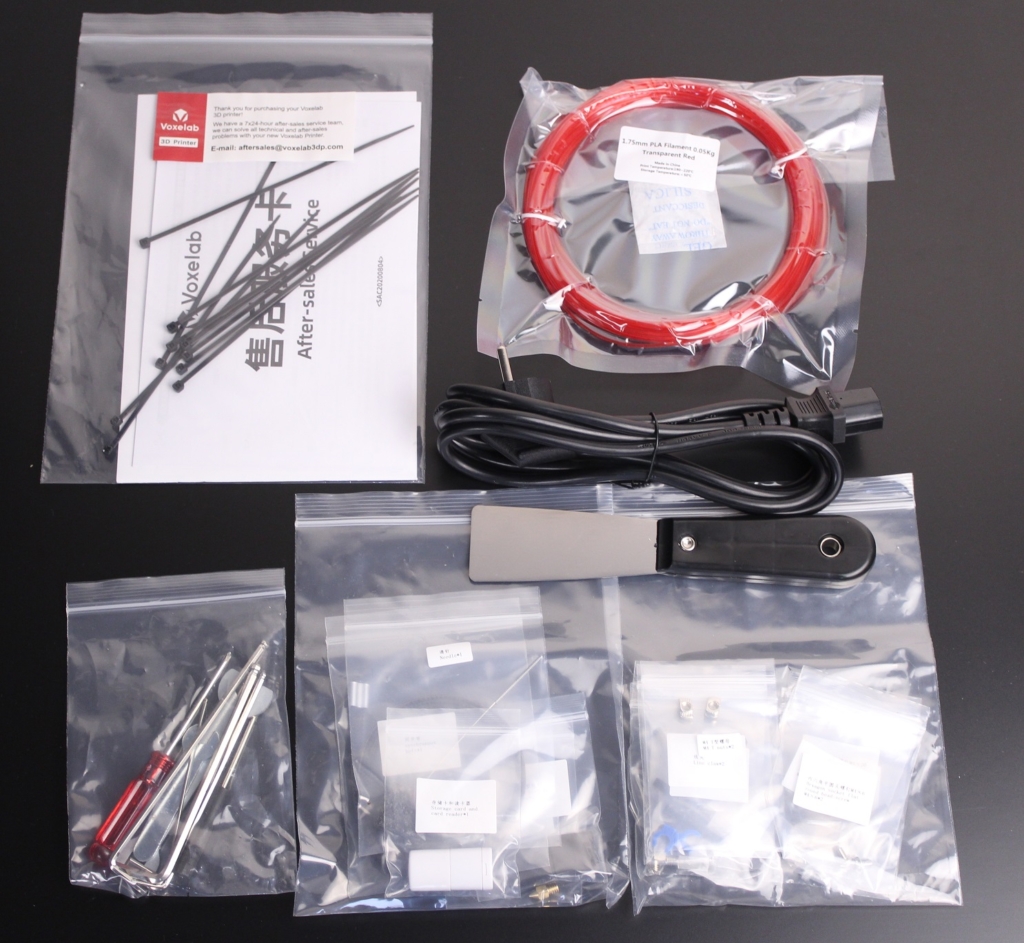
With the Voxelab Aquila, you get the following accessories:
- Power cable
- Cable ties
- Needle (for nozzle cleaning)
- Spare PTFE coupler
- Spare nozzle
- Spatula
- Card reader with 8GB Micro SD Card
- Hex wrenches and screwdrivers
- 50 grams of filament
- Screws
- User Manual
Voxelab Aquila hardware issues
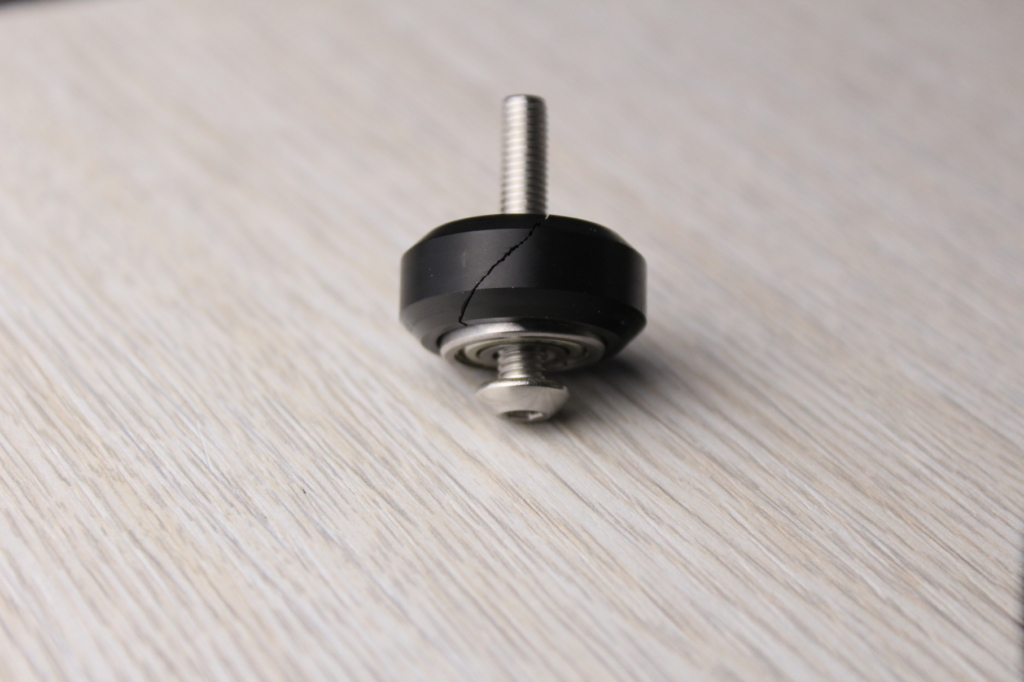
Unfortunately, my unit had some issues. The first issue I discovered is with one of the V-slot wheels for the heated bed. It was cracked and it needed to be replaced. There is no spare wheel inside the box, but I had some spare wheels around and I was able to replace it in about 10 minutes.
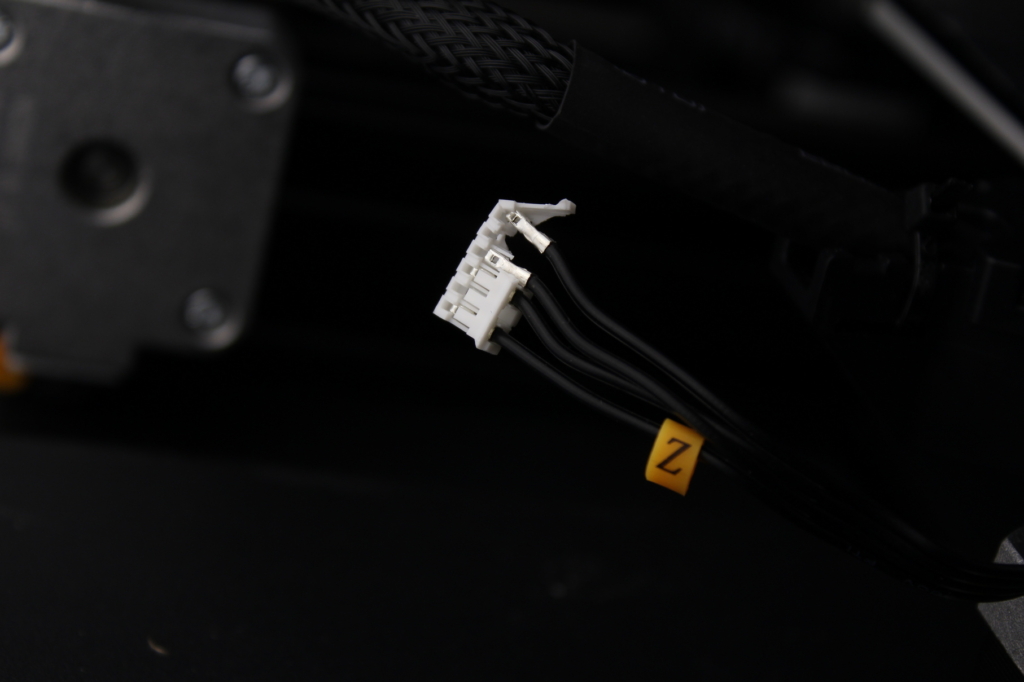
Continuing the assembly, I also noticed that the Z motor connector was also damaged. I was able to connect the wires directly to the motor and get it working, but more unexperienced users might not be able to do this.
I contacted Voxelab support and they replied in less than 24 hours, asking me for pictures with the damaged parts in order to send me replacements. While I was able to fix this myself with spare parts at hand, it’s nice to see that support is responsive and willing to help with the issues you might encounter.
It’s unfortunate that these components were damaged, and I really hope this is just an isolated incident but it’s worth noting all the issues I had with the printer so you know what to expect.
Another notable issue is the lack of grease on the leadscrew for the Z axis which is not acceptable. I needed to grease it before installation, to ensure smooth movement during printing, so I hope Voxelab won’t skip this step in the future.
Assembly of the Voxelab Aquila
The Voxelab Aquila comes as a kit. This means that you will need about 1 hour to carefully assemble it. The assembly guide helps, and if you previously assembled a 3D printer, you will be able to put it together quicker.
Voxelab Aquila Design
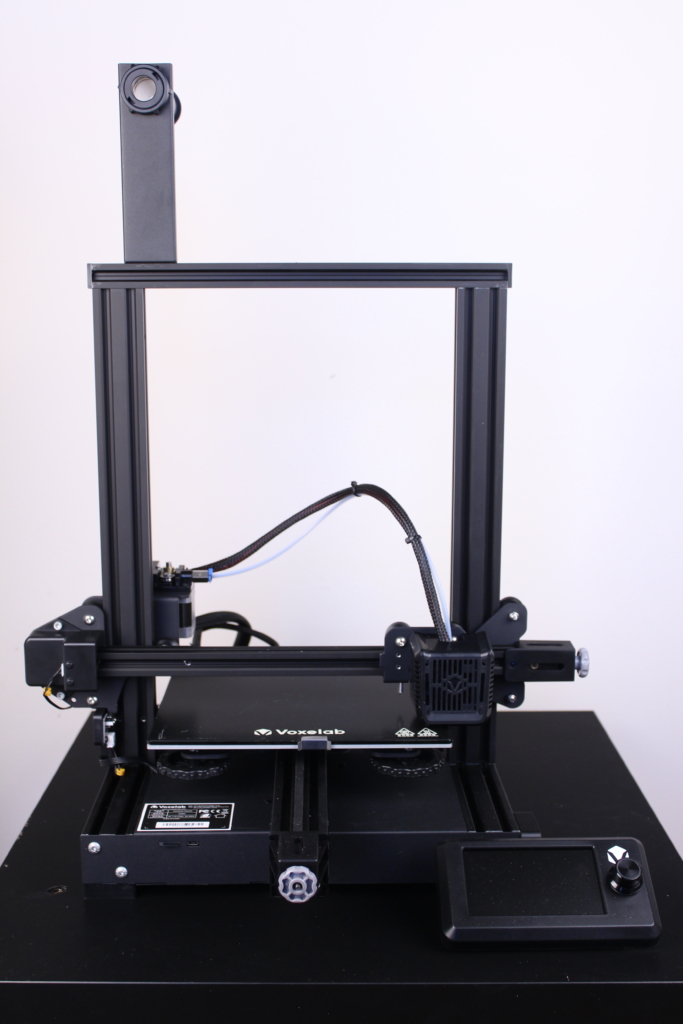
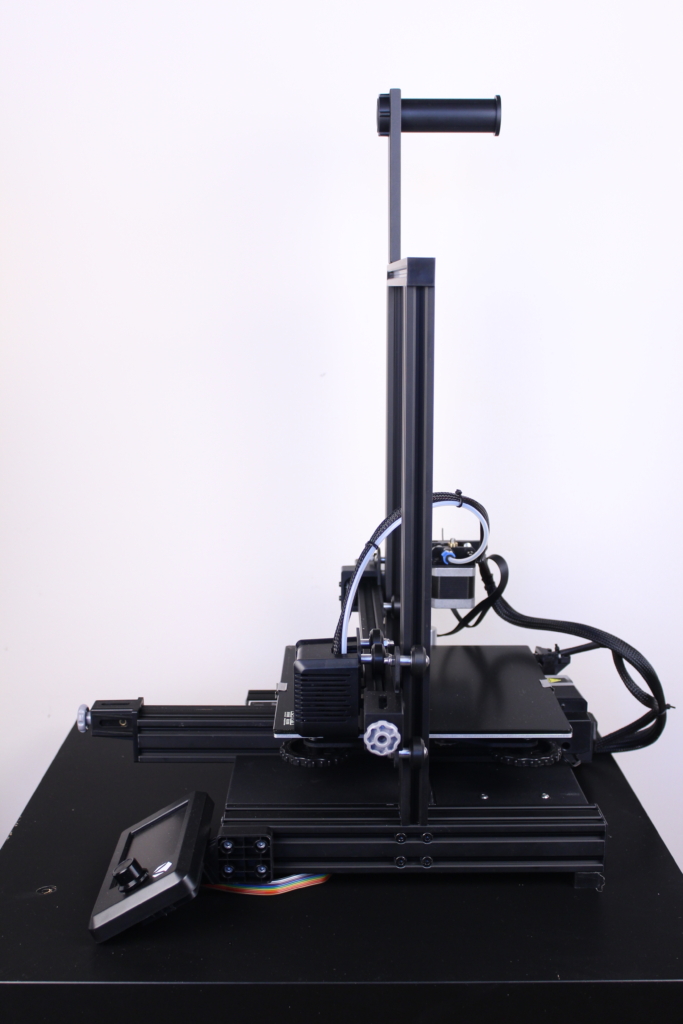
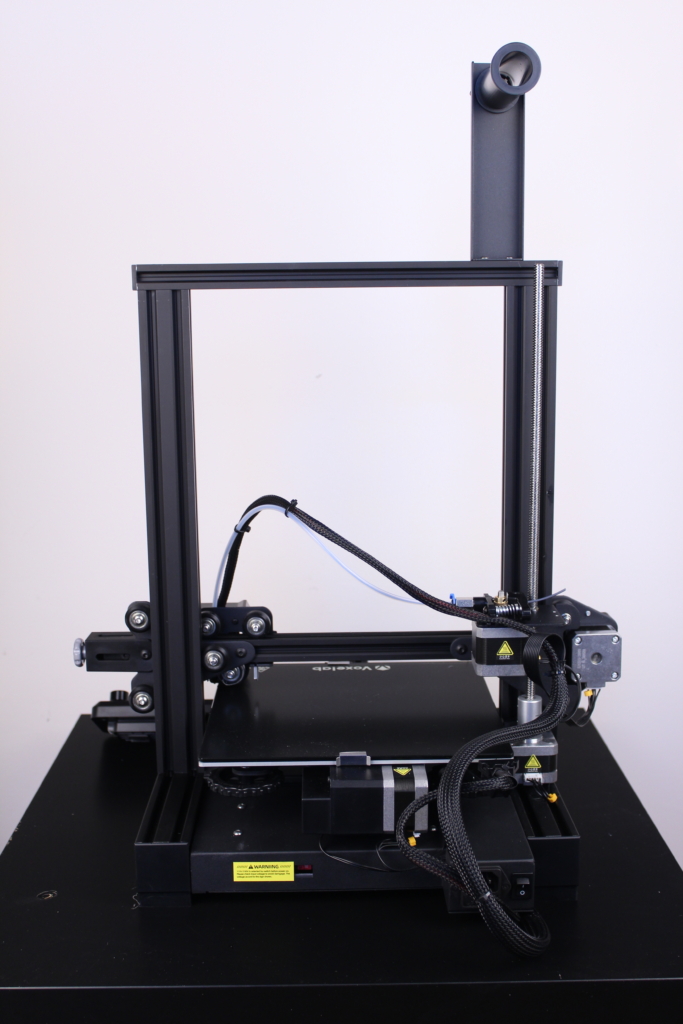
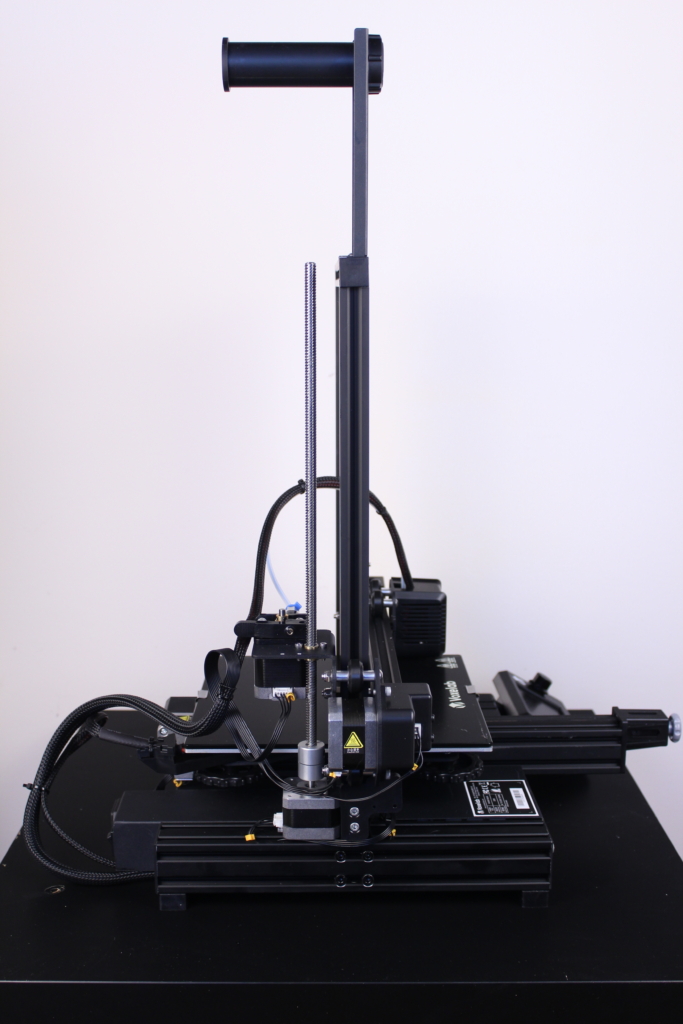
As you might expect, the Voxelab Aquila looks just like any budget 3D printer build on the Ender 3 design. Compared to the Ender 3 V2, you don’t have a front drawer and the screen is set in a landscape orientation.
Voxelab Aquila Specs
| Extruder Number | 1 |
| Extruder Diameter | 0.4 mm |
| Maximum Set Temp. of Extruder | 250 ℃ |
| Maximum Set Temp. of Platform | 100 ℃ |
| Print Speed | ≤180mm/s,30-60mm/s normally |
| Support Filament | PLA , ABS, PETG |
| Print Volume | 220*220*250mm |
| Layer Resolution | 0.1-0.4 mm |
| Print Resolution | ±0.2 mm |
| Device Size | 475*480*473(620)mm |
| Package Size | 565*375*215mm |
| Screen | 3.5-inch Touch Screen |
| Net Weight | 8.2 kg |
| Gross Weight | 10 kg |
| Input | AC 115/230V 50/60Hz |
| Output | DC 24V |
| Power | 350 W |
| Working mode | Memory card offline printing or online printing |
| Software | Cura / Simplify 3D / VoxelMaker |
| Output | gcode |
| Input | 3mf / stl / obj / fpp / bmp / png / jpg / jpeg files |
| Running Noise | 50dB |
| Working Environment | 18-30 ℃ |
| Resume printing fuction | yes |
| Filament sensor | no |
| Language switch | English / Chinese |
220x220x250 printing volume
As expected, the Voxelab Aquila has a 220x220x250 printing volume, just like an Ender 3. It’s big enough for most prints so no problem there.
The bed is running on four V-slot wheels which are attached to a 4040 aluminum extrusion, making the bed a bit more stable when printing.
Glass printing surface
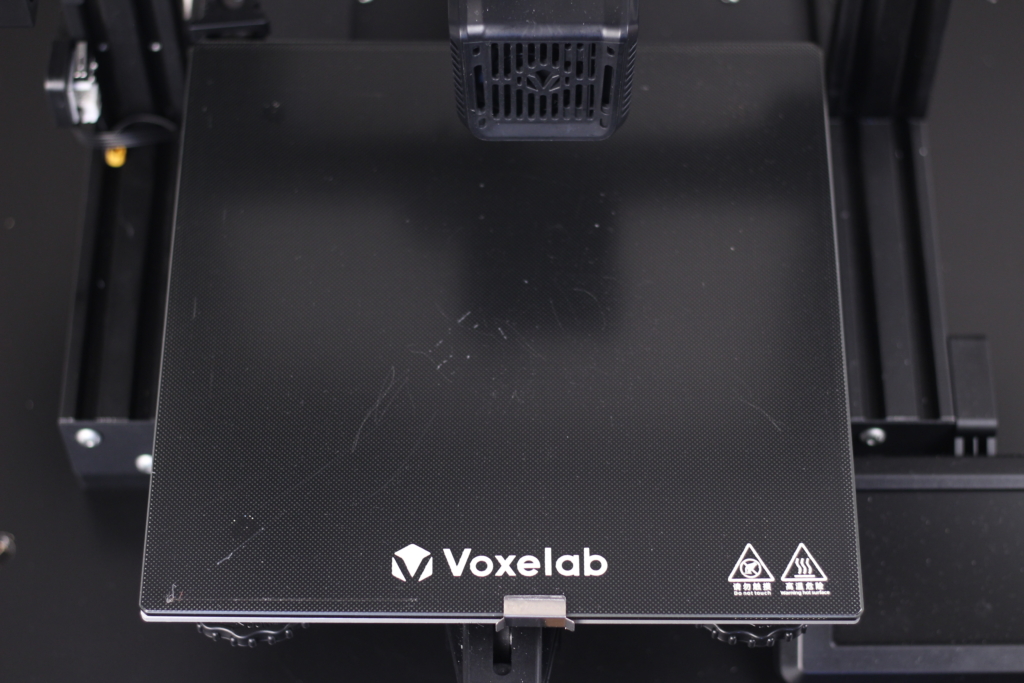
Over the aluminum heated bed, there’s a textured glass printing surface which has good adhesion while hot and when the print is finished, the models can be easily removed after it’s cooled.
The glass print surface is also held in place by two metallic clips. This allows you to remove the glass plate if needed (for cleanup or for model removal).
I noticed that the aluminum bed is a bit bowed compared to the glass printing surface, but this was not an issue during printing. I was able to easily level the bed and start printing with close to no effort.
It’s also worth noting that there is no bed insulation material underneath the bed.
PTFE lined hotend
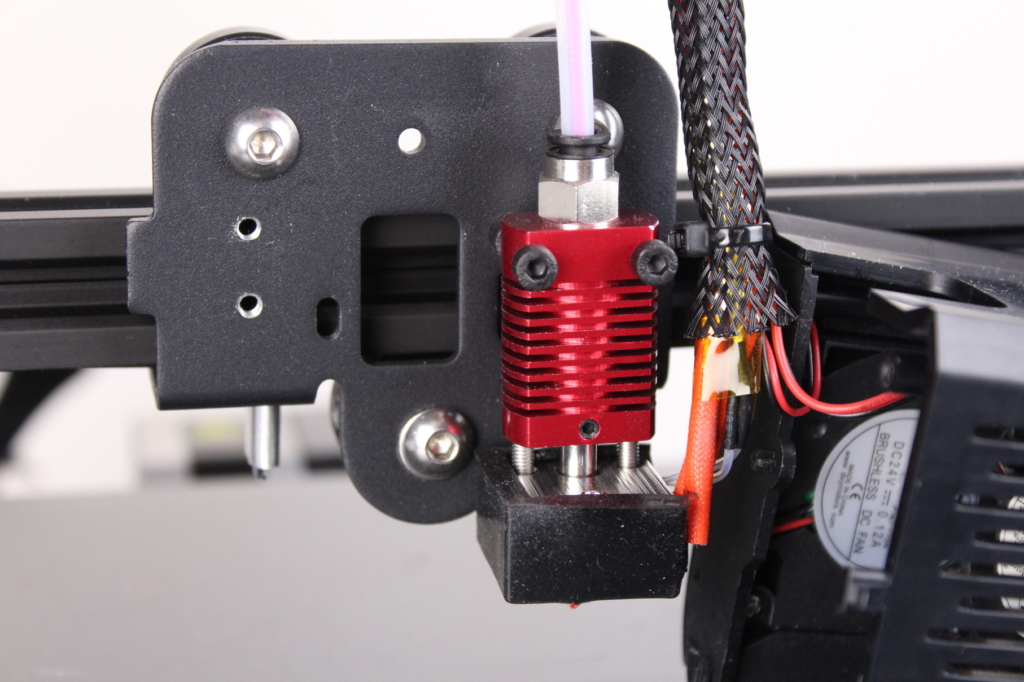
With the Voxelab Aquila you get a Creality style hotend where the PTFE tube goes right to the nozzle. It’s one of the cheapest hotends available, and that’s expected with a printer sold at this price point. It works well for PLA but if you print over ~240C for extended periods of time, the PTFE tube will start to degrade and release harmful fumes in the air.
The good news is you can easily upgrade it in the future if you plan to print higher temperature materials, and you don’t want to troubleshoot issues with the hotend too often.
In the left side of the hotend, there’s a space where you can attach an auto bed leveling sensor like the BLTouch to add auto bed leveling capabilities to the Voxelab Aquila. I’m not sure if this is needed for a bed size of 250×250 but it’s nice to have this option without needing to do a lot of customizations to the stock machine.
There’s a firmware upgrade available on Voxelab’s website which after flashing it to the printer will allow you to use the BLTouch without needing to compile it for yourself. Besides that, I can see on their website constant firmware upgrades available which shows some commitment from Voxelab to keep the printer up to date. Neat! it’s not something you see on budget 3D printers.
32-bit Aquila Silent Board
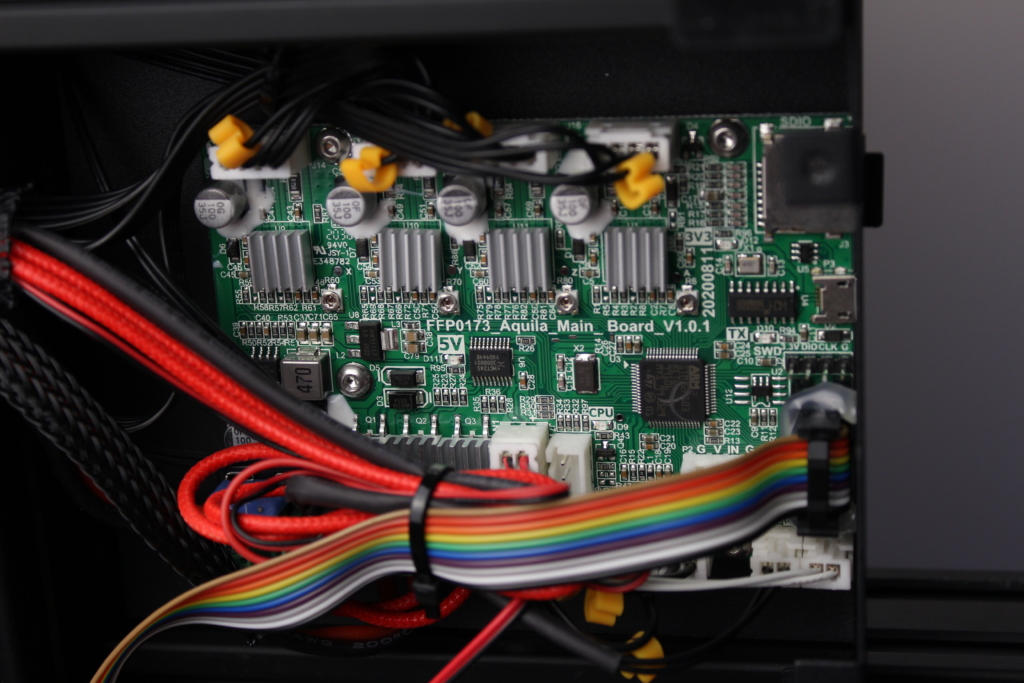
The Voxelab Aquila uses a proprietary 32-bit board with silent stepper drivers. Speciffically, the FFP0173_Aquila_Main-Board_V1.0.1. It looks similar to a Creality board and if you ever want to upgrade it in the future, you should be able to do it without too much trouble. A 4010 fan is blowing cold air over the stepper drivers keeping them cool.
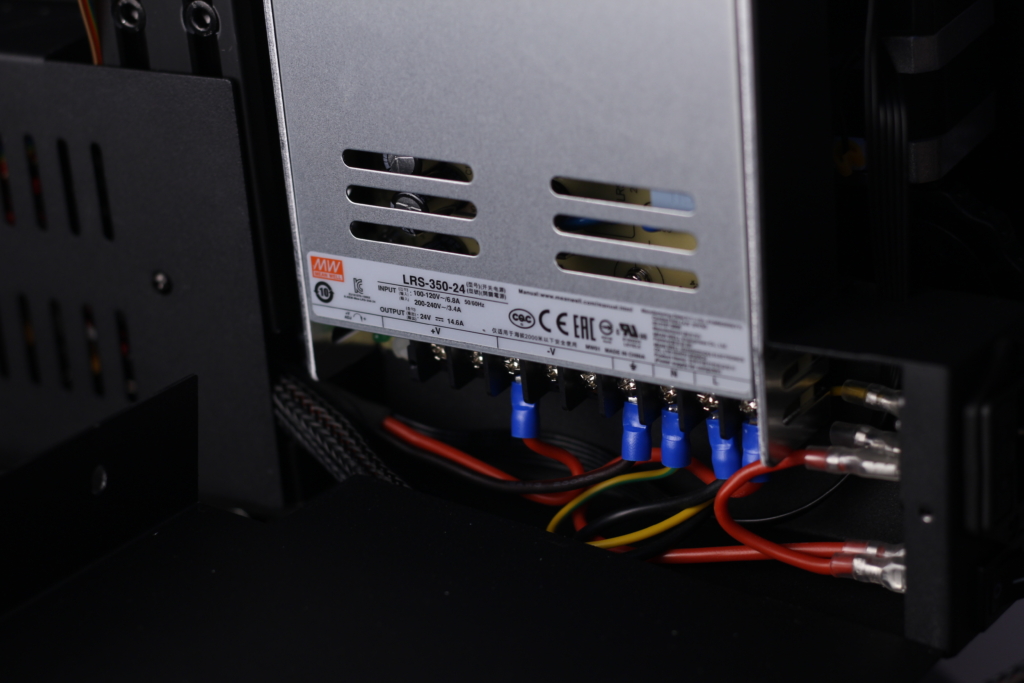
Mean Well 350W power supply
In terms of power, we have a Mean Well LRD-350-24 power supply unit which is one of the best 3D printer power supplies available. It’s nice to see a good power supply included with a budget 3D printer.
What I don’t like is the noise produced by the power supply. Even tough the fan is off when idle, the fan noise is noticeable when the printer is heating up, and during printing. Because the power supply is installed in a metal enclosure, the temperature inside it will rise quite fast, and this makes the fan run almost continuously.
X and Y belt tensioners
As you might expect, the Voxelab Aquila also comes with belt tensioners for the X and Y axis. This is a common feature on newer machines and it’s no surprise that the Aquila includes them.
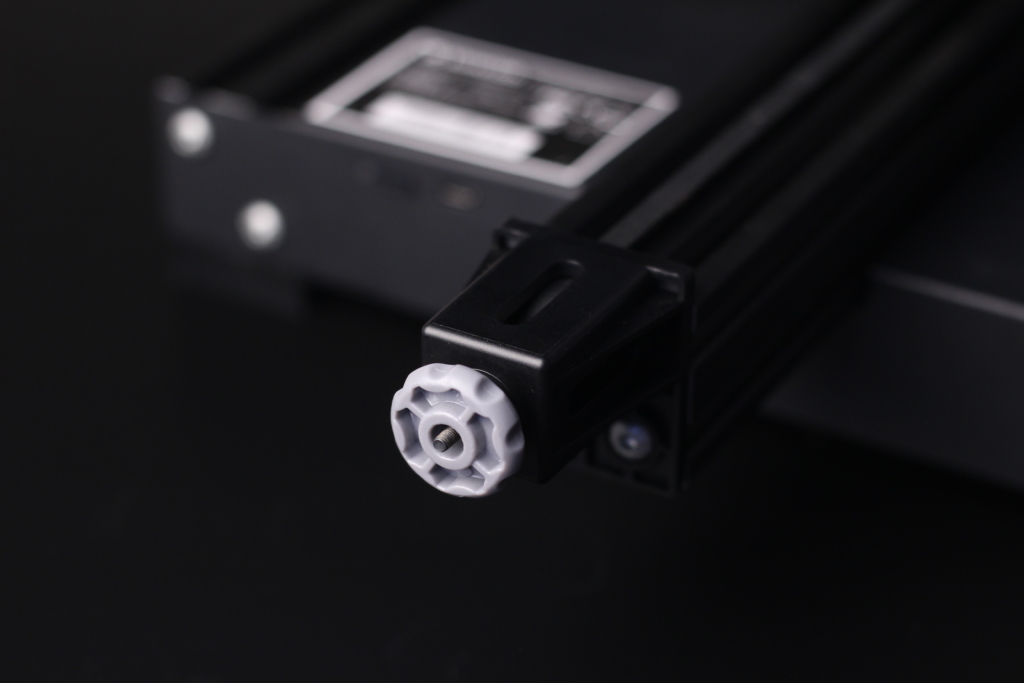
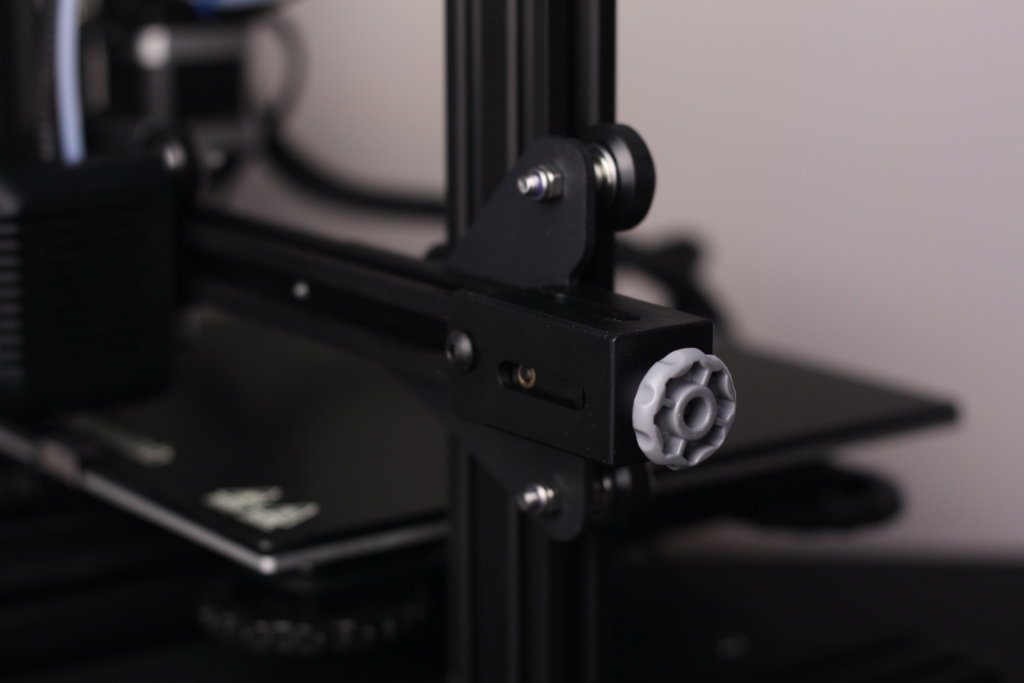
As usual, don’t overtighten the belts because you might notice a degradation in the print quality. If you are looking for more information regarding this, check out my 3D Printing Tips to Improve Print Quality article where I explain this in more detail.
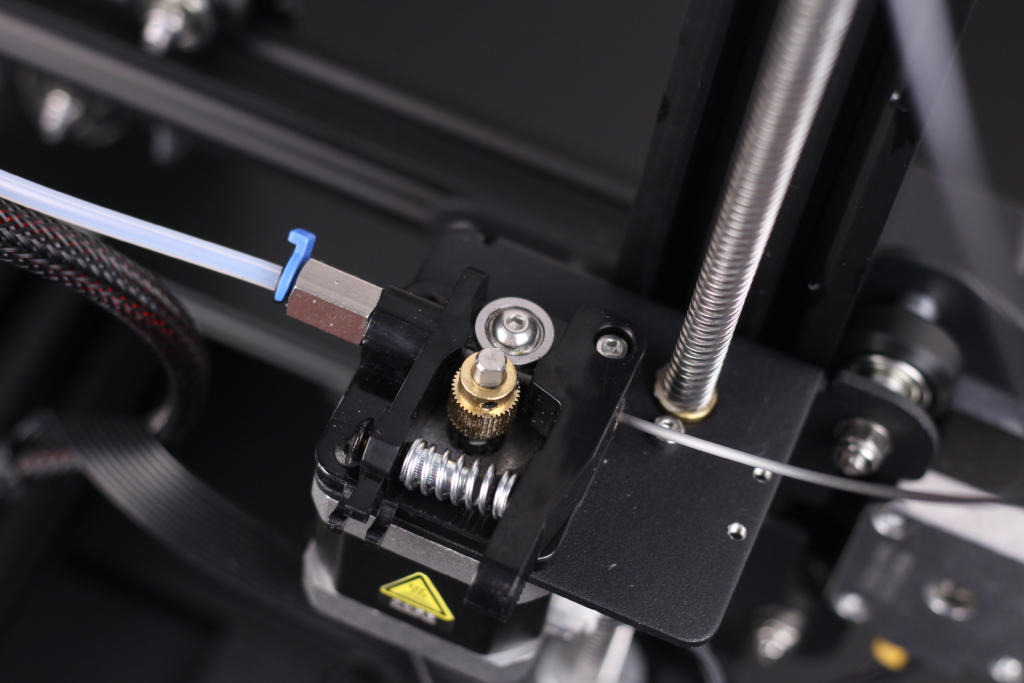
Plastic single-gear extruder
As expected for this price point, you get a single-gear extruder just like the Ender 3, but unfortunately it’s made from plastic. I would have liked to see at least a metallic extruder but that’s what you get with the Voxelab Aquila.
Because the spool holder is located at the top of the printer, the filament path is not the best, but the plastic extruder has a small metallic insert to protect it from filament grinding and cut into the plastic body of the extruder. Older Ender 3s did not have this and this was a common issue with those.
I need to mention that the included PTFE coupler is not that great. While it manages to keep the PTFE tube in place, it was hard to change the filament. The small section of filament which sits in the heat break expands a bit because of heat and when you try to remove it, it gets stuck inside the coupler. Most of the time I needed to disconnect the PTFE tube from the extruder coupler, cut a small portion of the filament then remove it.
Color TFT Screen
The main thing that was attractive for me on the Voxelab Aquila is the color TFT screen which has a customized white interface with red accents. While it’s not a touchscreen, the Voxelab Aquila compensates with well organized menu options.
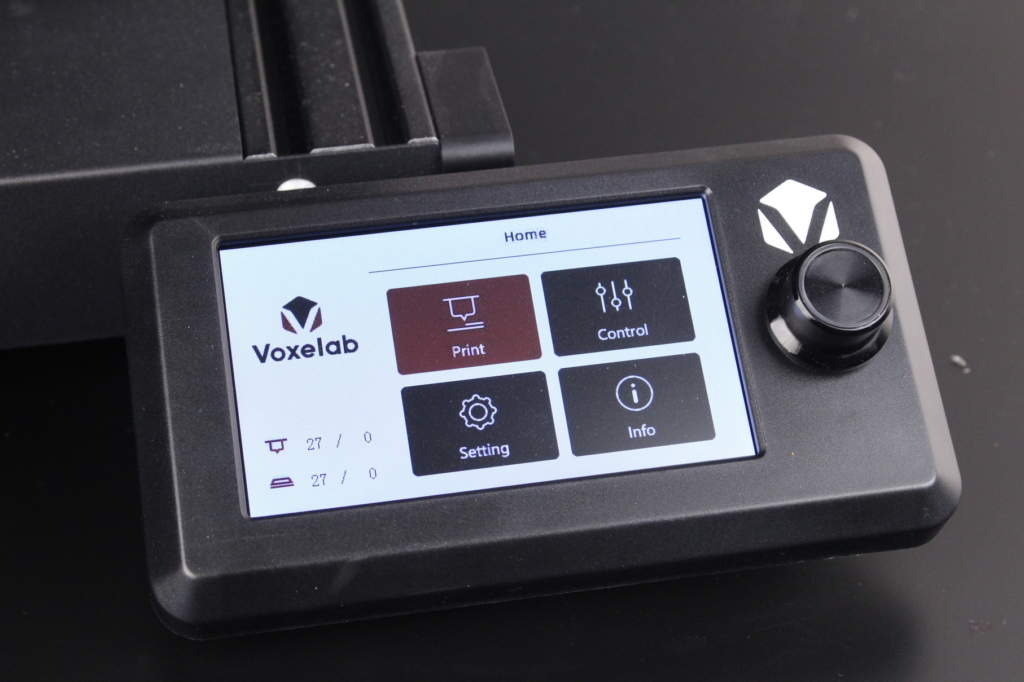
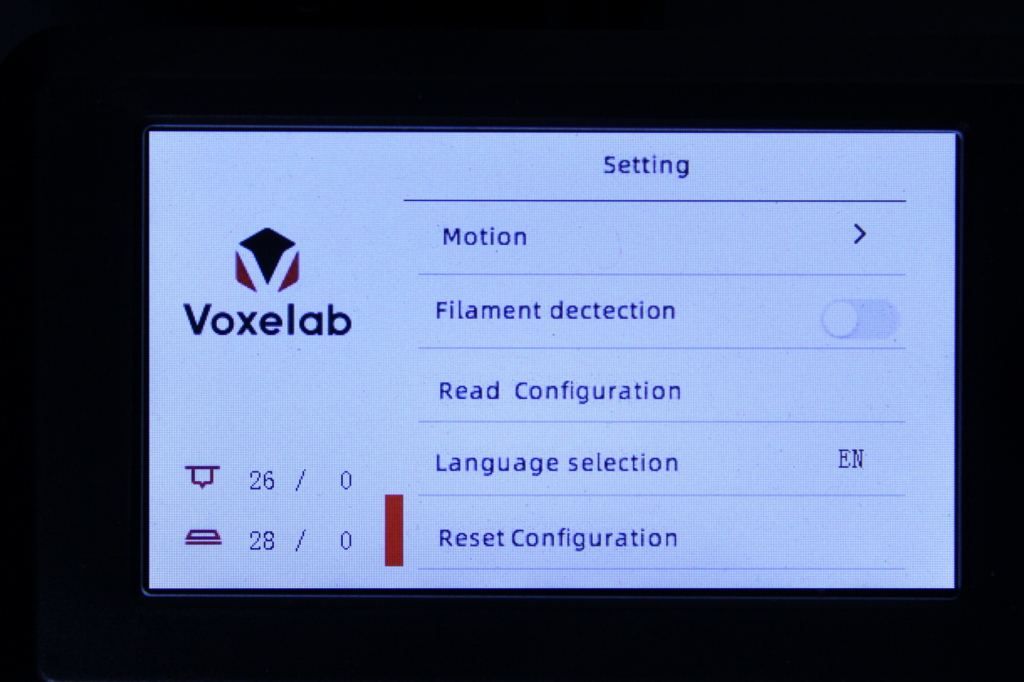
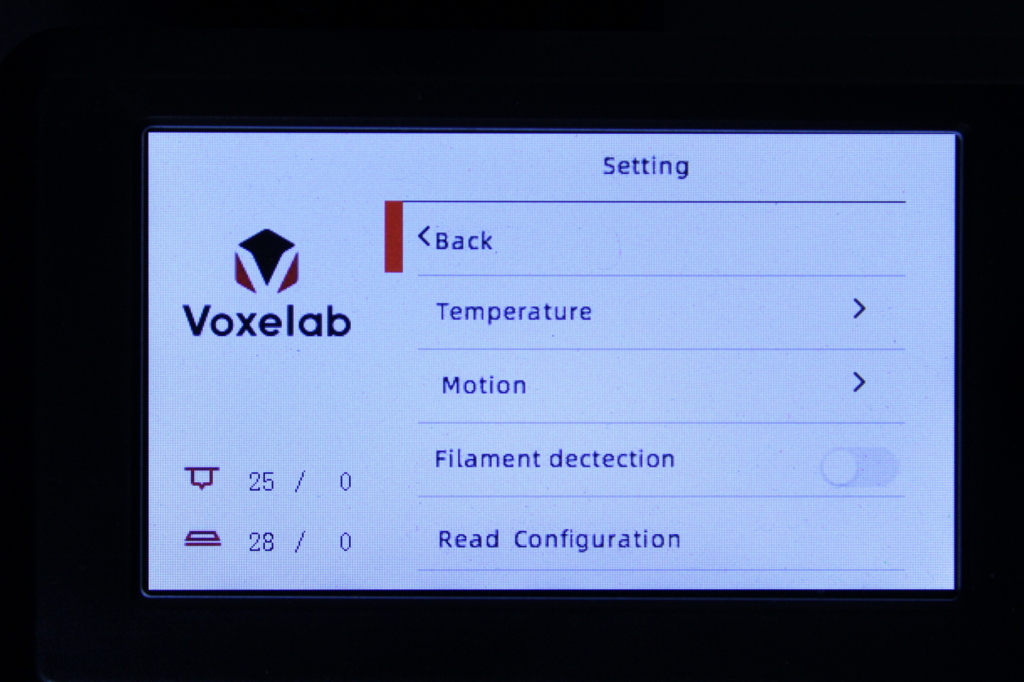
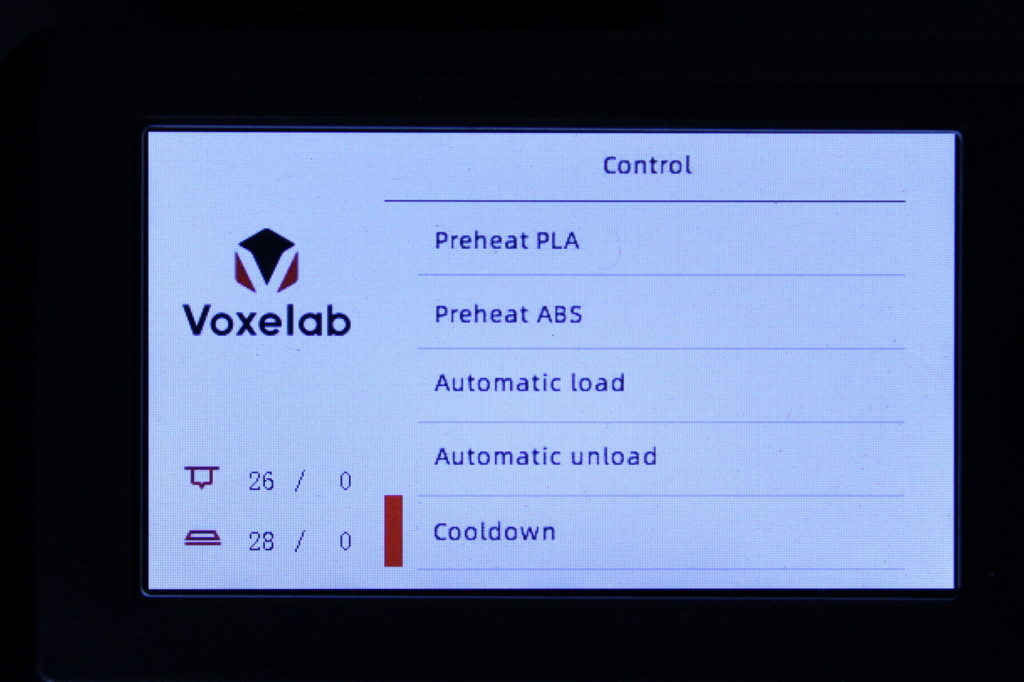
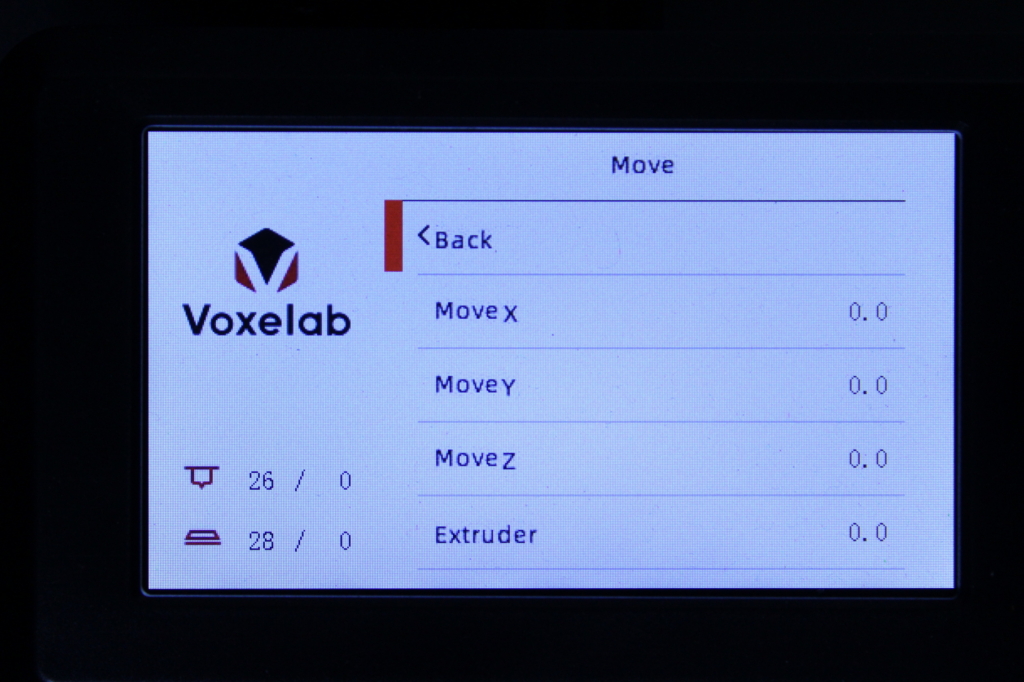
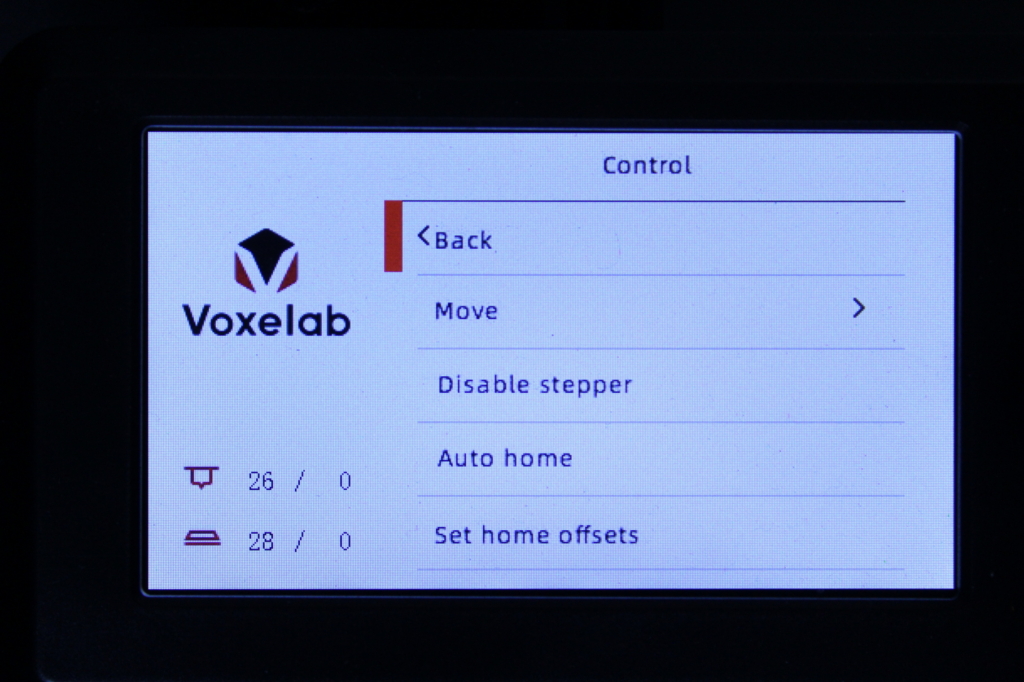
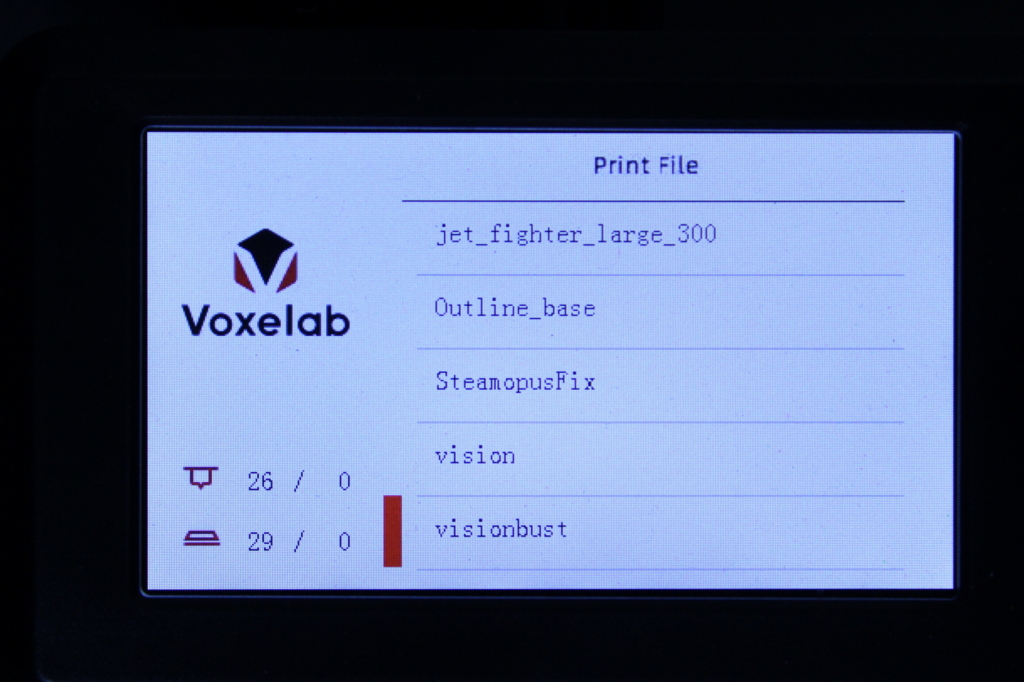
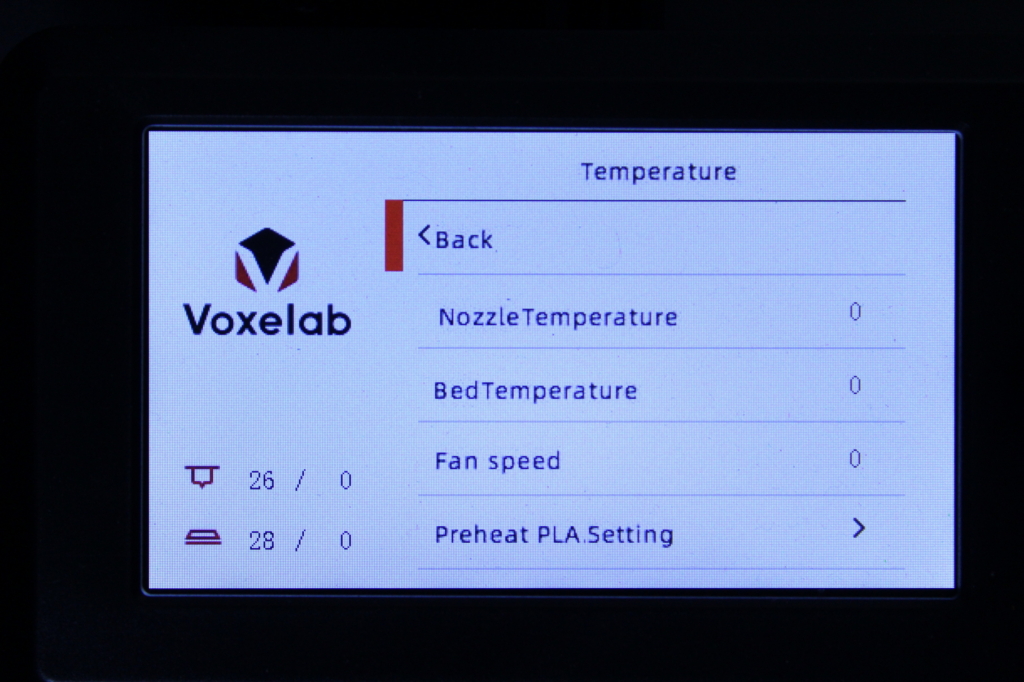
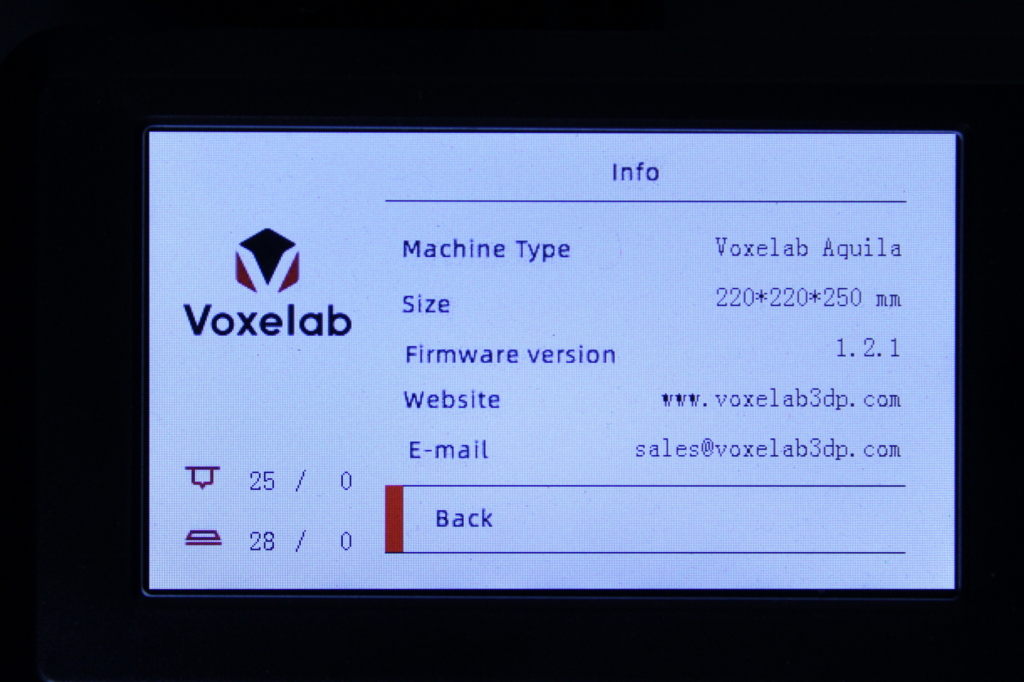
It’s worth noting that the screen is fast and responsive but it doesn’t have a lot of special features we might get on more advanced screens.
Firmware upgrade support
Most of the budget 3D printers out there come come with a default firmware installed, and most of the time that firmware is incomplete. Getting firmware upgrades is not something most 3D printer manufacturers do but in the case of the Voxelab Aquila, you can get regular upgrades.
Currently, the Voxelab Aquila can be easily updated to a more recent firmware version by using the pre-compiled packages available on their website. There’s even a pre-compiled firmware for people who are looking to install a BLTouch, making the whole process easier. If you want to build your own firmware, you can grab the sources from here.
You can follow this video from 3DPrintSOS where the upgrade process is described in detail.
Heating time and power consumption
I tested the heating time for both hotend and heat bed and here are the results:
Hotend
- 200C in 1 minutes and 40 seconds
- 250C in 2 minutes and 30 seconds
Heatbed
- 60C in 2 minutes and 50 seconds
- 100C in 9 minutes and 20 seconds
Power Draw
Idle power draw is around 9W. When the hotend and heatbed are heating up, the Voxelab Aquila draws around 240W. After it starts printing, the power draw stabilizes to around 90W (it moves between 40W and 140W every few seconds).
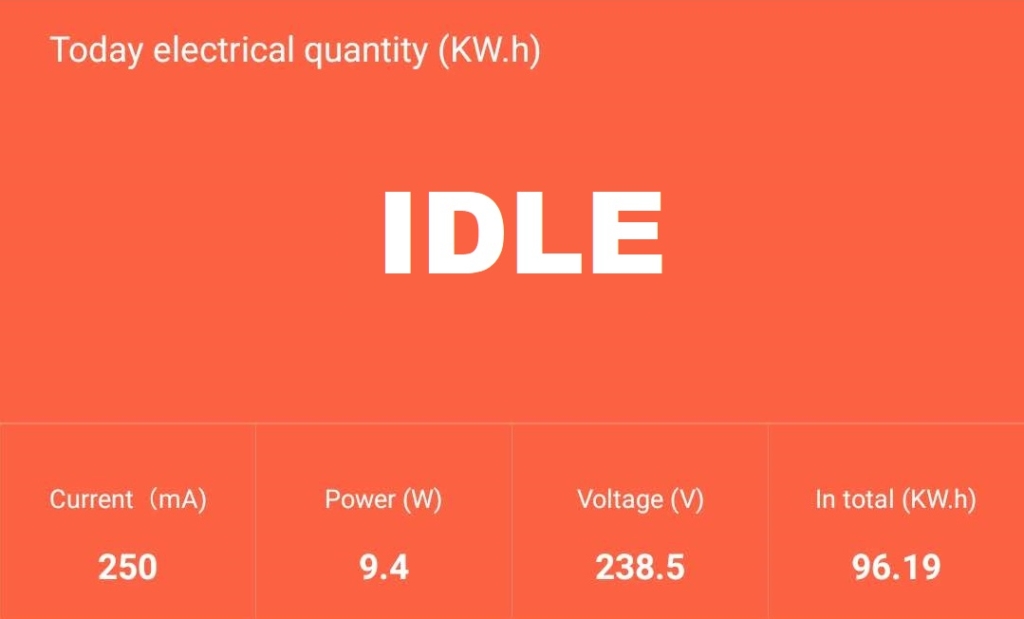
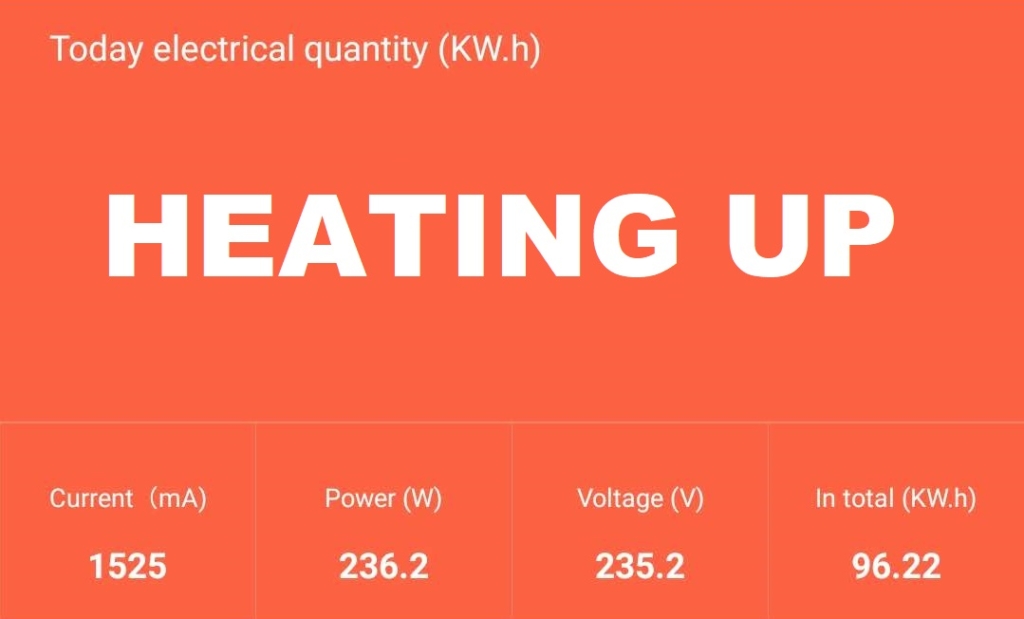
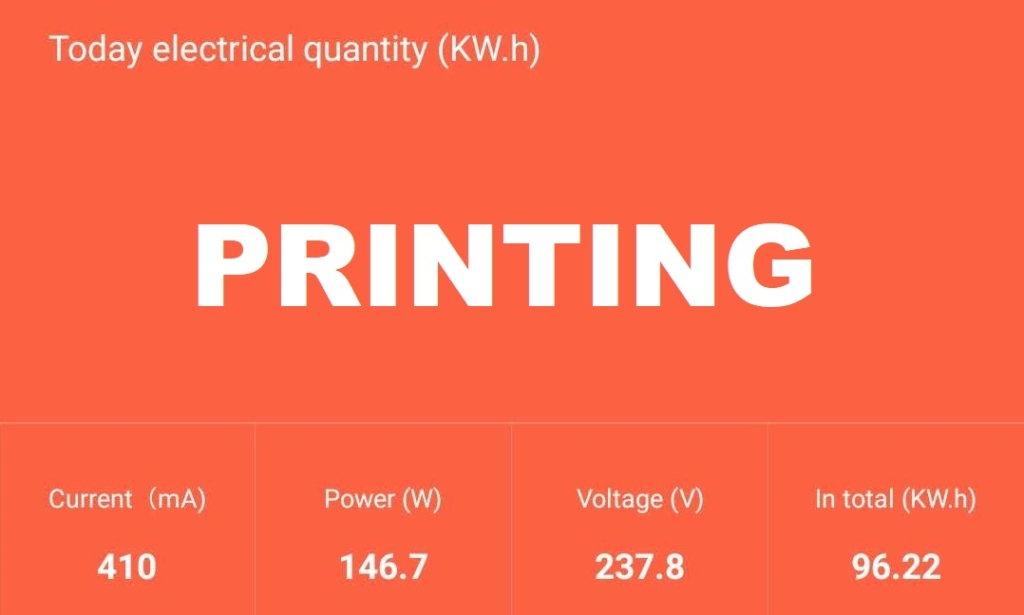
All these measurements were taken with a Blitzwolf smart power socket which indicates the power draw, and it can also be used for remotely powering on and off the printer.
Bed Temperature Uniformity
I tested the temperature uniformity for the Voxelab Aquila bed with the Flir Camera installed on the CAT S62 Pro. The bed has been set to 60C and I waited 2 minutes after reaching that temperature for the temperature to stabilize.
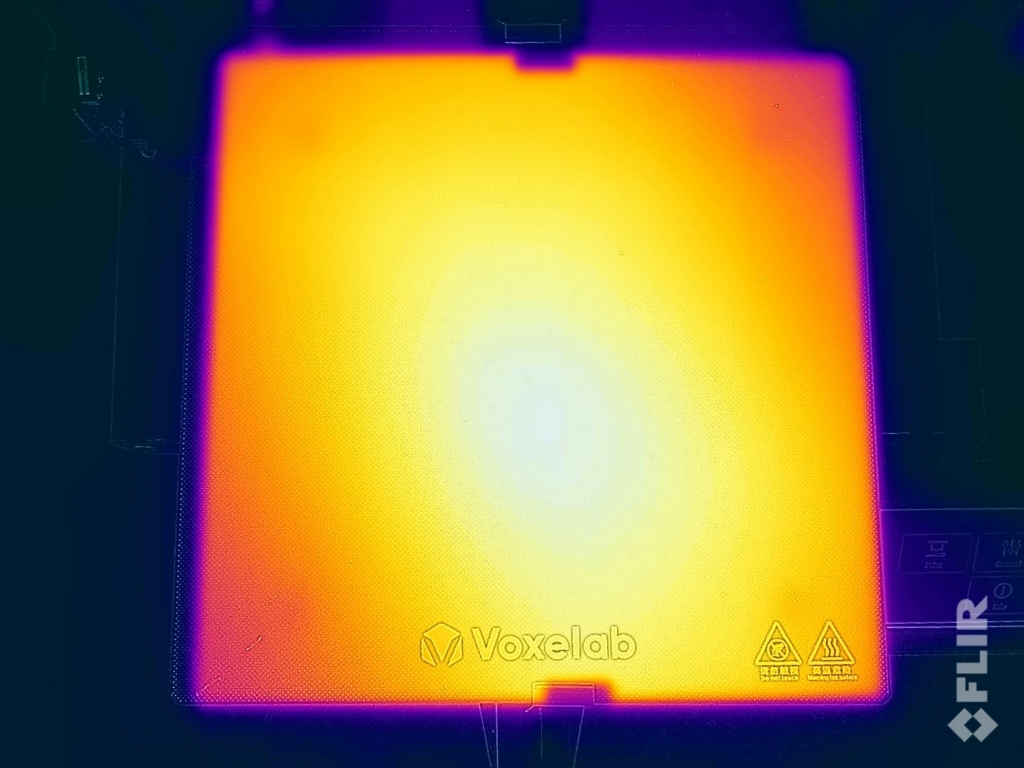
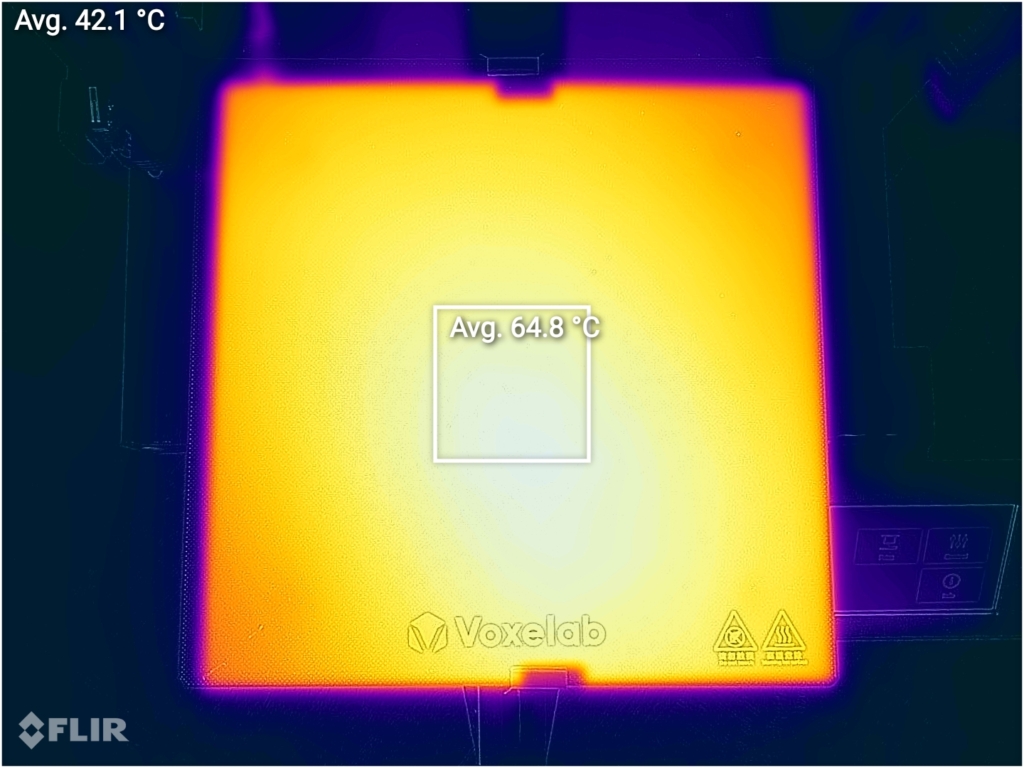
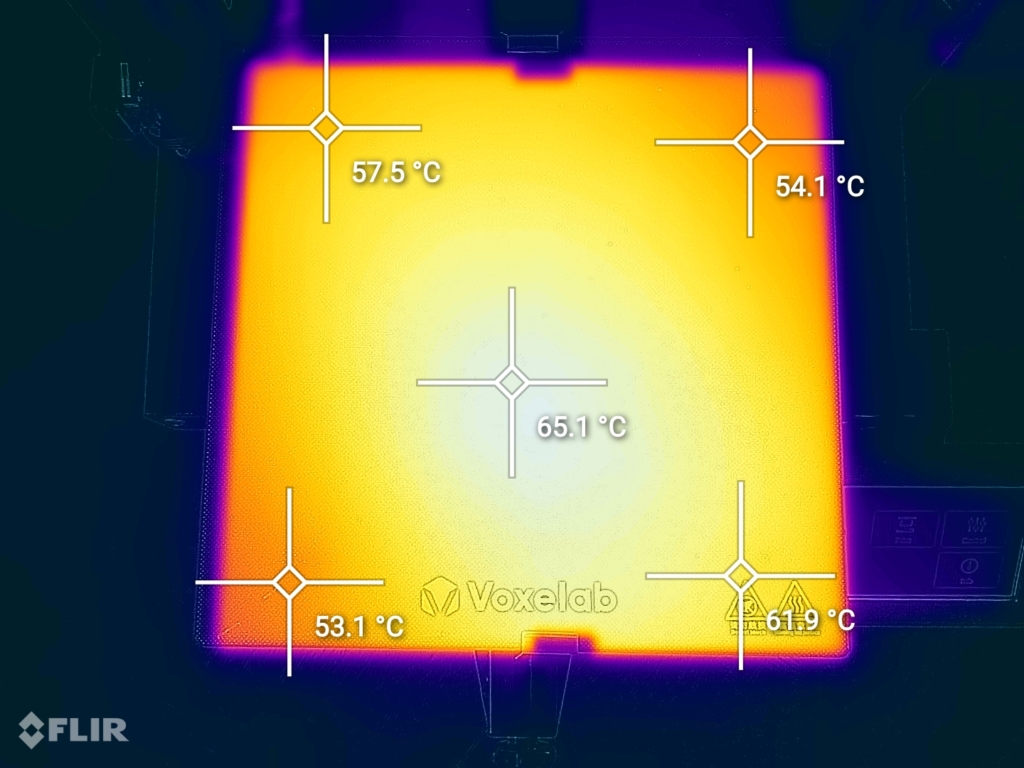
The bed temperature doesn’t have the best uniformity, with colder spots on the corners and this is because of the aluminum heated bed which is not perfectly flat. The glass print surface is held in place with only two metallic clips and while this can work well in keeping the glass surface unconstrained, it’s not the best for larger prints which take more space on the printer bed.
You might be able to fix this by adding an extra pair of bed clips, but this could add a small flex to the glass print plate and cause issues with leveling. Please keep in mind that your mileage might vary, and the bed temperature might be better if the aluminum heated bed is flat.
Voxelab Aquila Noise Levels
The Voxelab Aquila is really quiet in terms of movement, but that benefit is mostly gone because of the loud fans installed on the printer. The hotend fan produces quite a bit of noise, and when the power supply fan starts ramping up, it makes it even worse so I can’t confirm the “ultra-silent” printing Voxelab mentions in their marketing material.
It’s not as loud as the Kingroon KP3S 3D printer I reviewed a while ago, but it’s also not that far away from it. It’s a bit of a shame because if Voxelab would have used fans a bit more silent, the printer would be ok to use in a room where you work. But in its current state, the printer is quite annoying in terms of noise.
IdeaMaker profiles for Voxelab Aquila
During my time with the printer, I also tuned two IdeaMaker profiles for the Voxelab Aquila using the tools available in the 3D Printer Calibration Guide using IdeaMaker article. These profiles are tuned for the stock printer and worked well for me. Feel free to give them a go.
Voxelab Aquila Profile – PLA – 3DPrintBeginner
Voxelab Aquila Profile – PETG – 3DPrintBeginner
Test prints on Voxelab Aquila
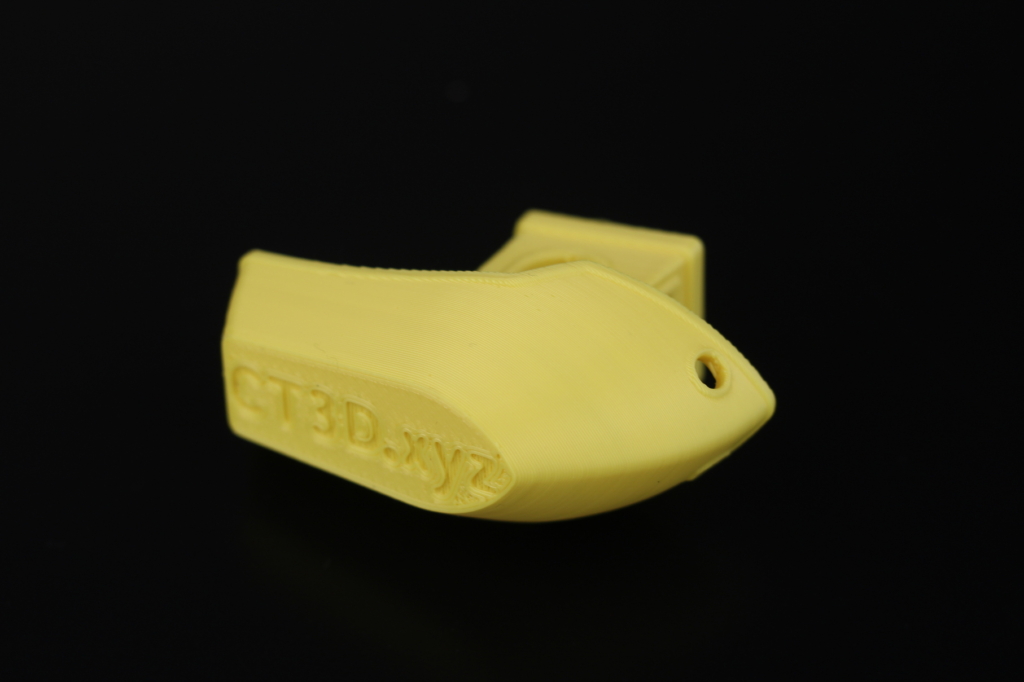
Voxelab test model
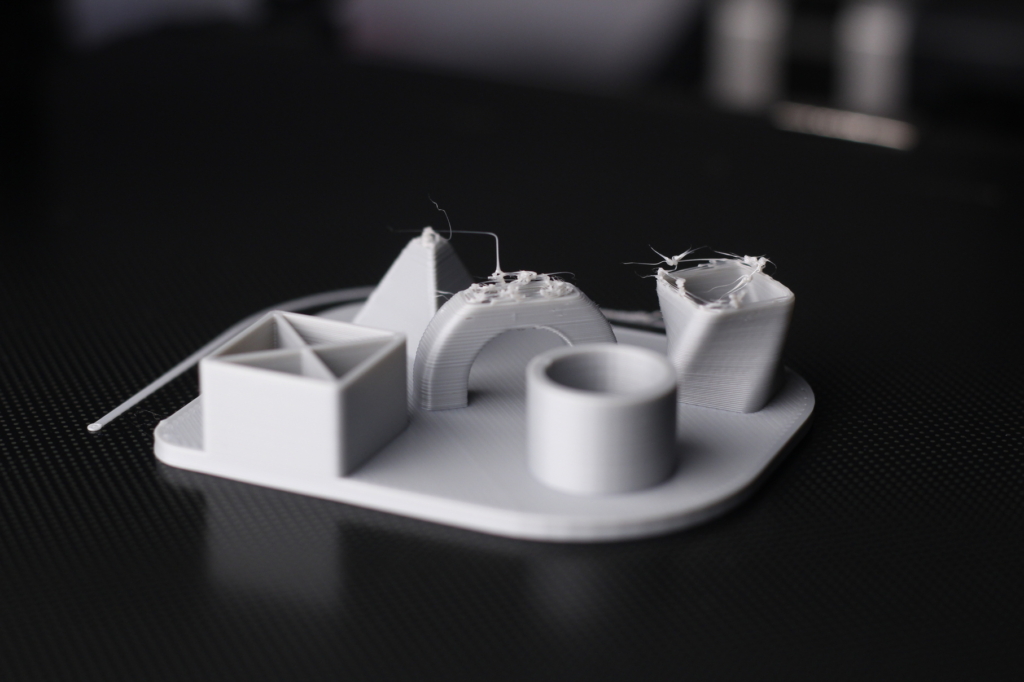
Because the Voxelab Aquila came with some pre-sliced gcode I thought I give the test model a go. The print quality looked great, but this was mostly because of the really slow print speed they used (~20mm/s). This slow print speed and the PLA quality probably caused the hotend to get clogged and stop printing. After I removed the filament and cleaned the hotend, I never encountered any clogs.
- Material: Generic filament sample
3D Benchy
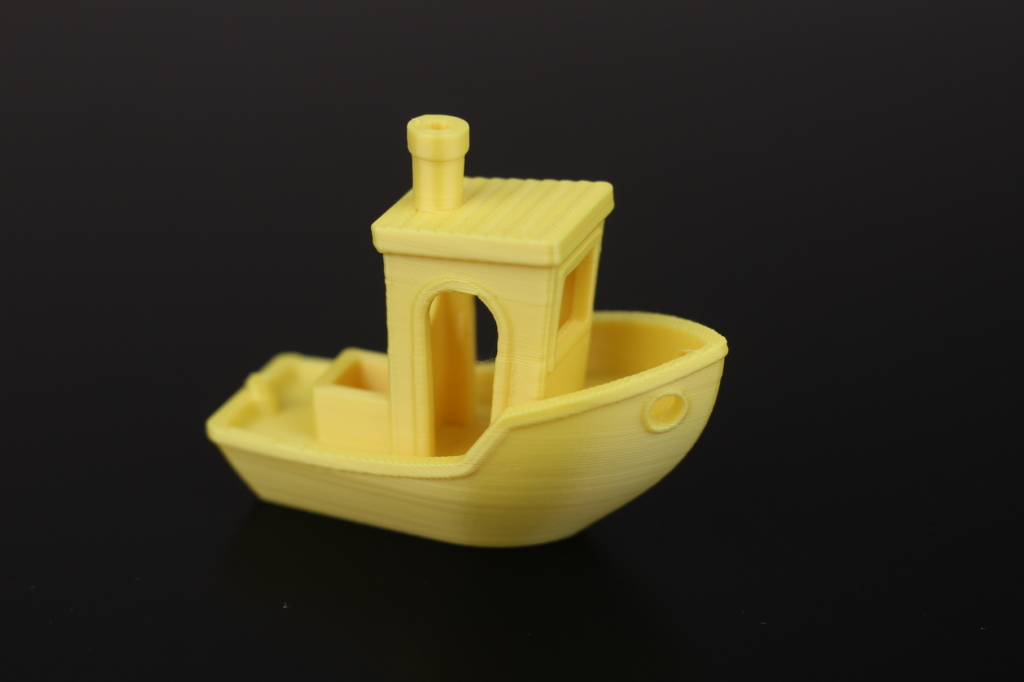
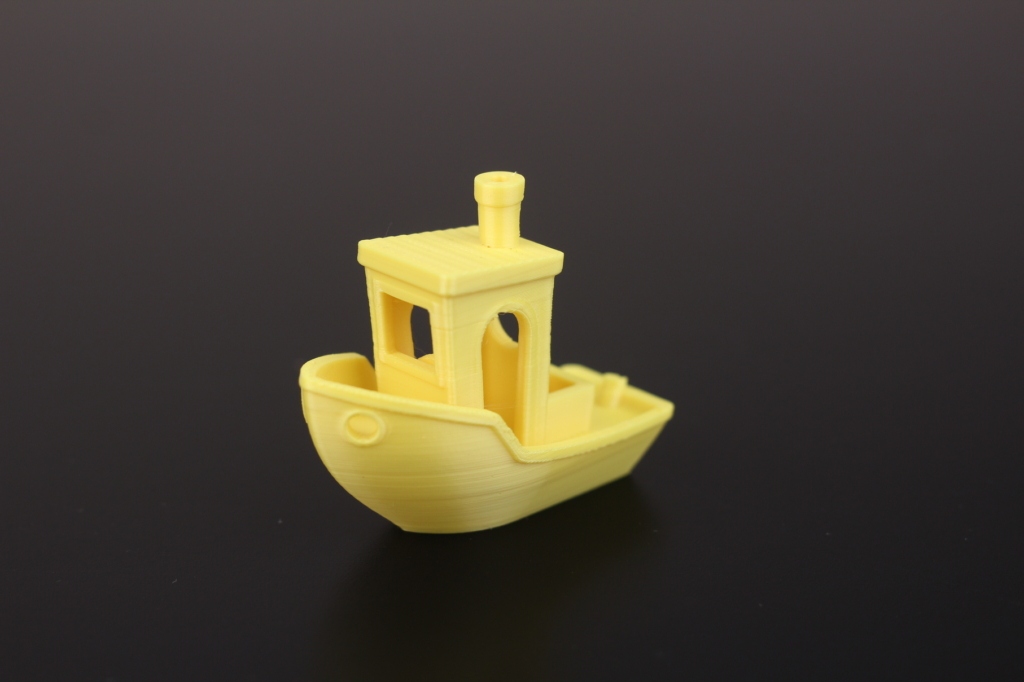
After the test print failure, I configured my own IdeaMaker profile for PLA and printed the regular 3D Benchy I print on every review. The print quality is good out of the box, and it gets better with a well-tuned printer profile.
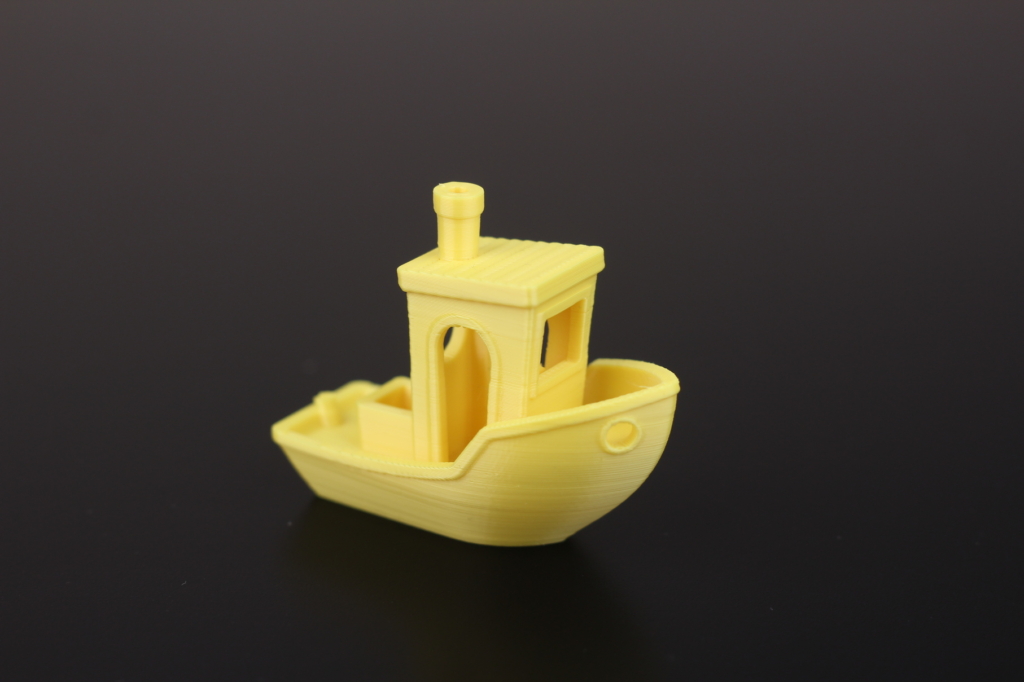
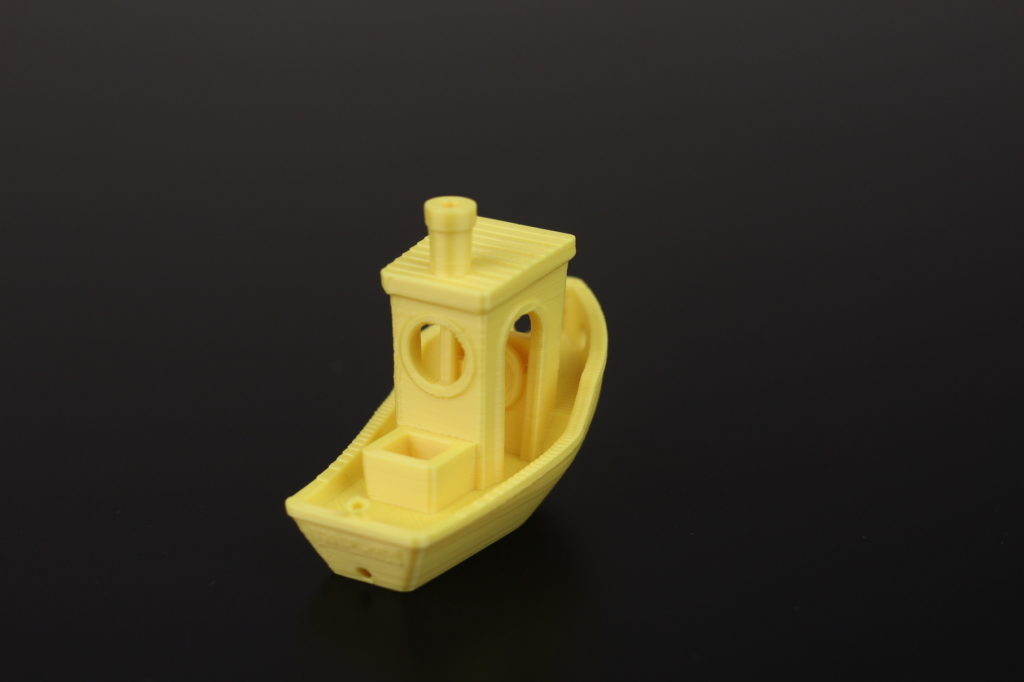
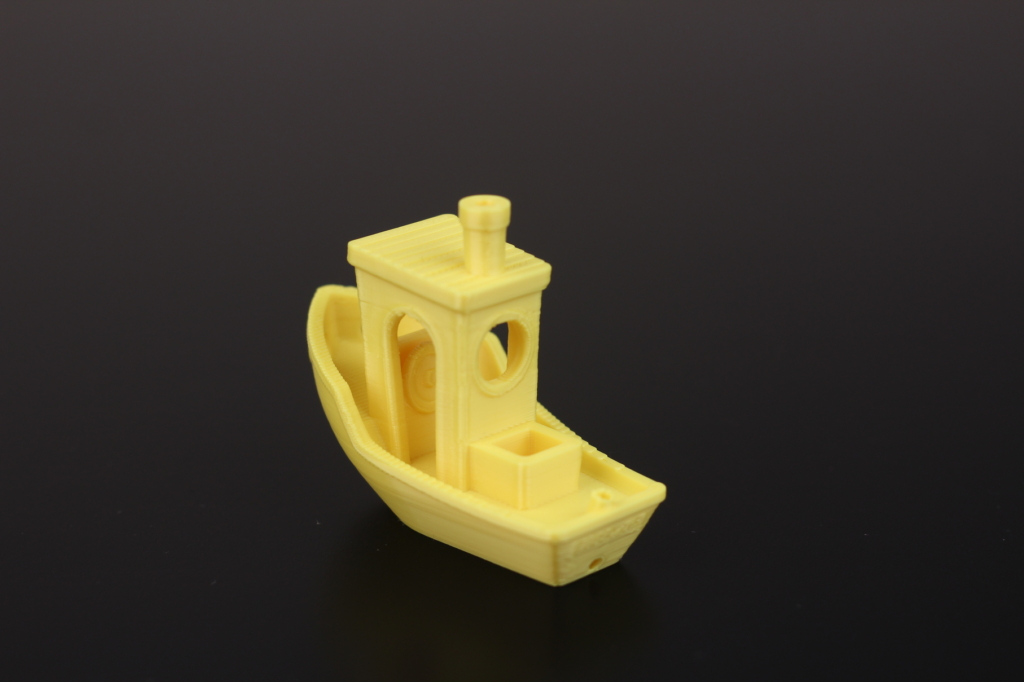
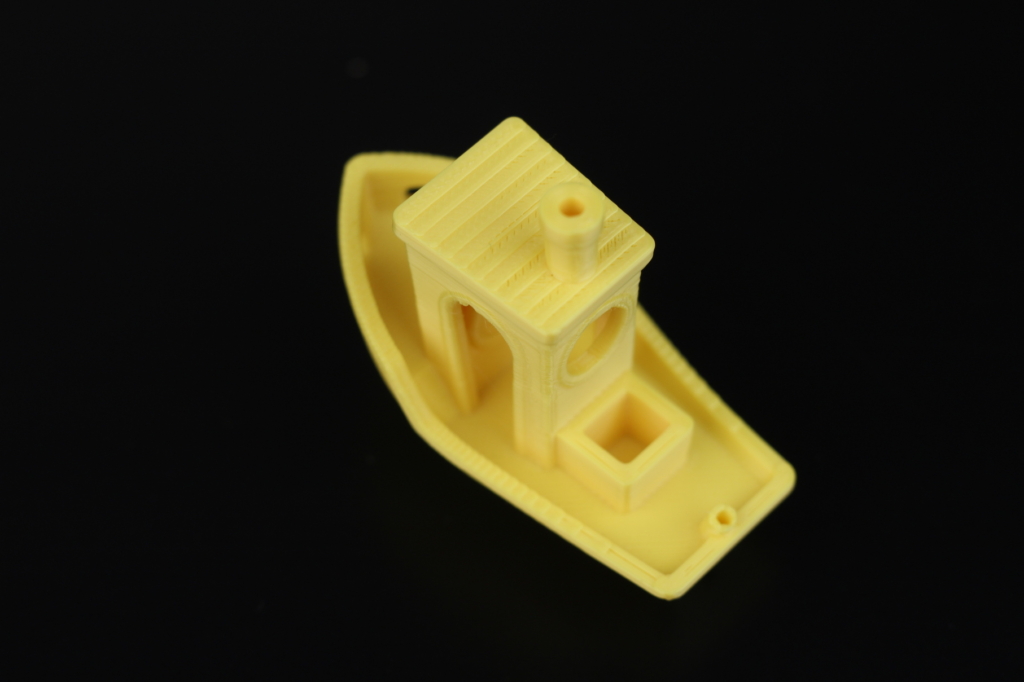
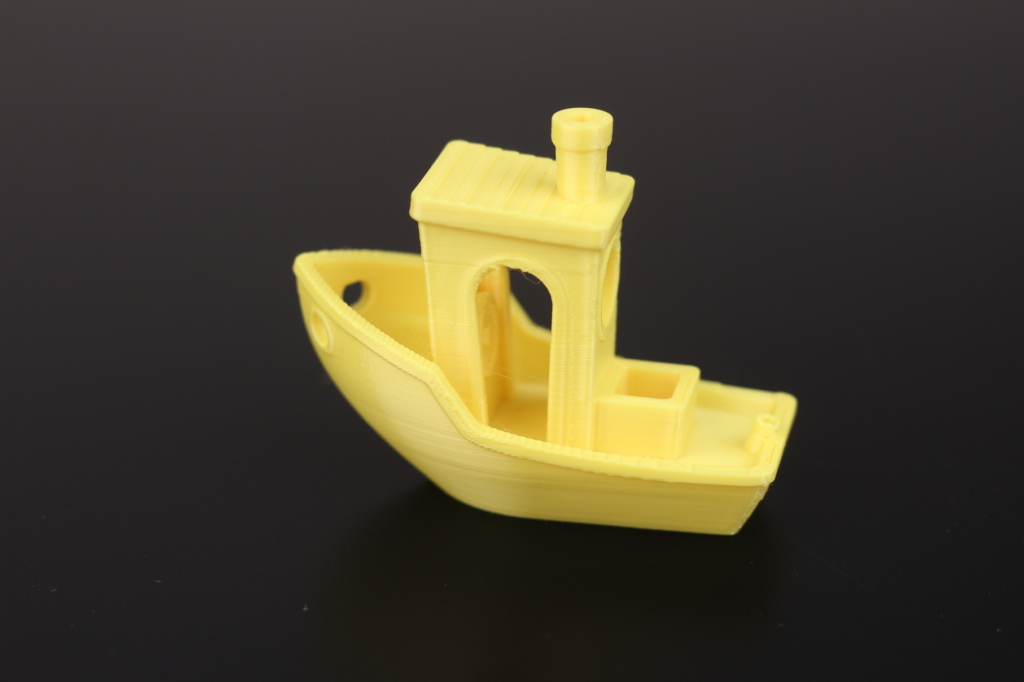
- Material: Gembird Yellow PLA
- Layer Height: 0.2mm
- Nozzle Temperature: 215C
- Bed Temperature: 60C
- Print Speed: 50 mm/s
Cyberpunk sign
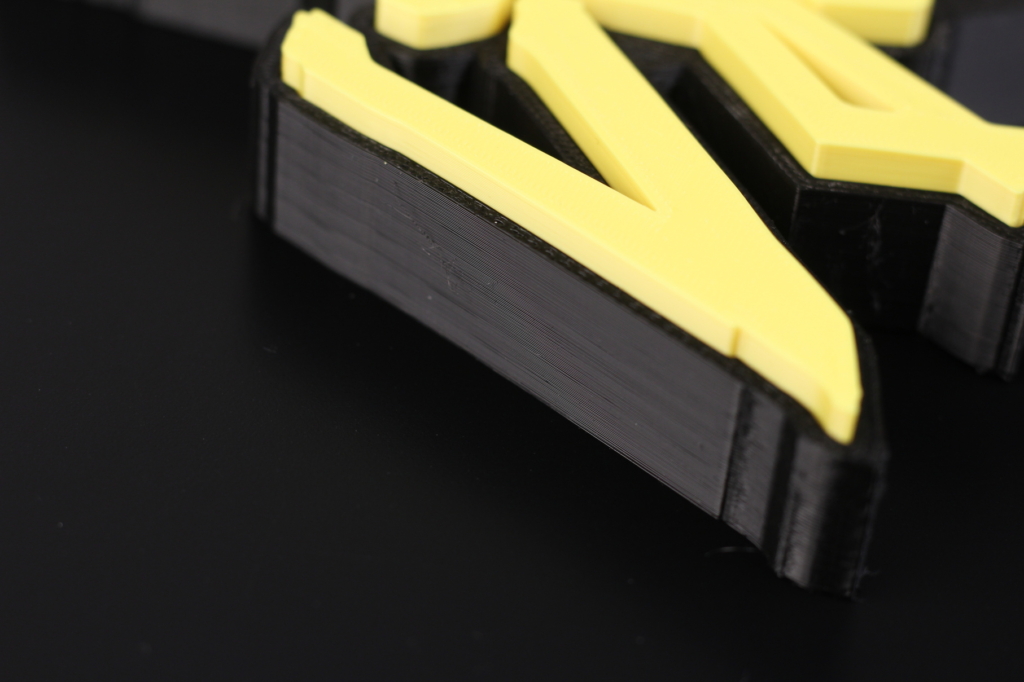
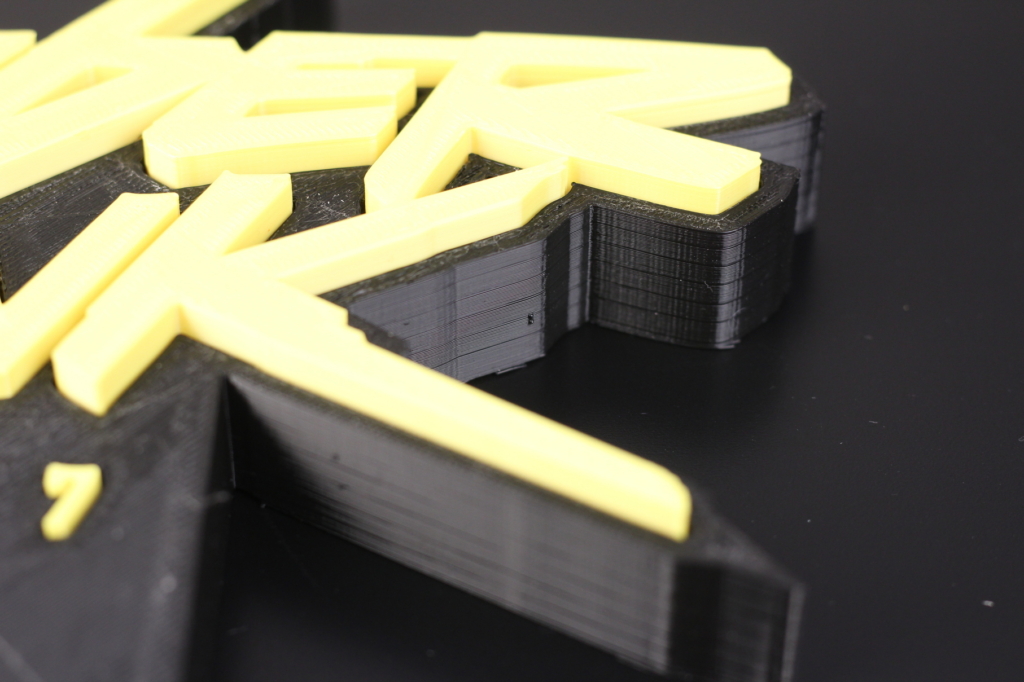
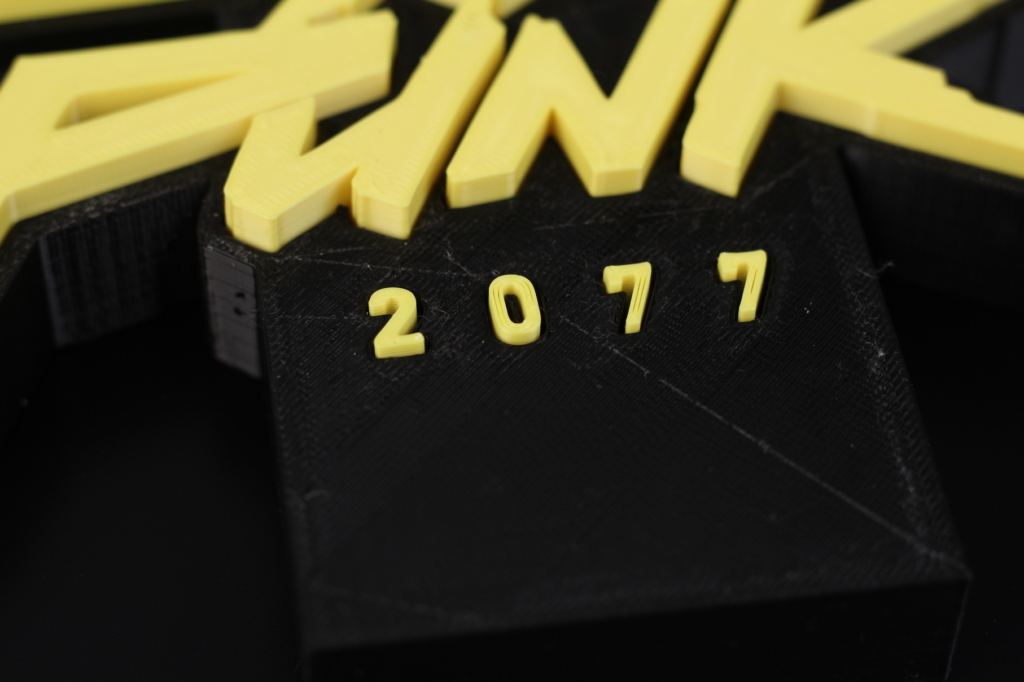
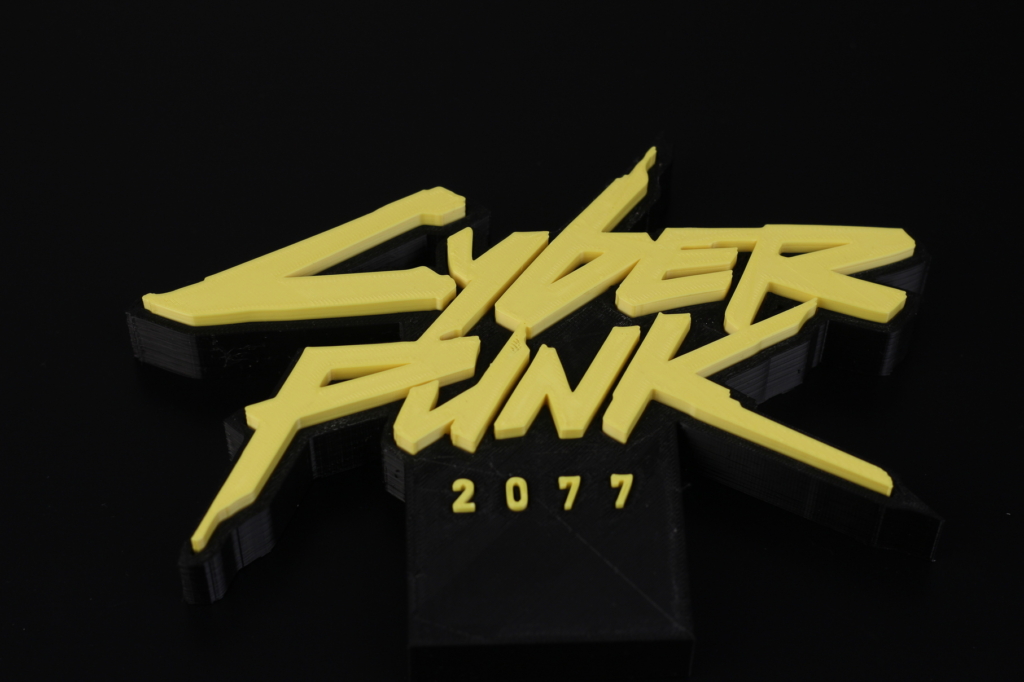
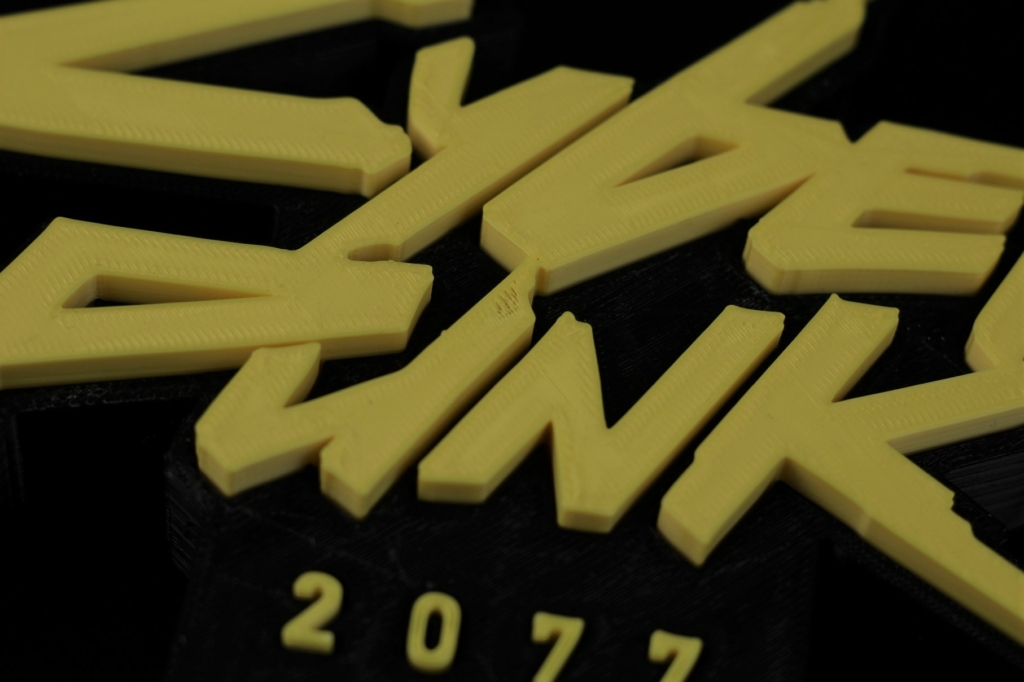
I tweaked the PLA profile further and started this awesome Cyberpunk model from Thingiverse. While the model looks fine from a distance, if we look closely, we can see some inconsistent layers and Z banding on the external walls even though I greased the lead screw.
On the top layers, there’s a bit of under extrusion in some regions. The good news is that all the parts fit well so the accuracy of the printer seems decent.
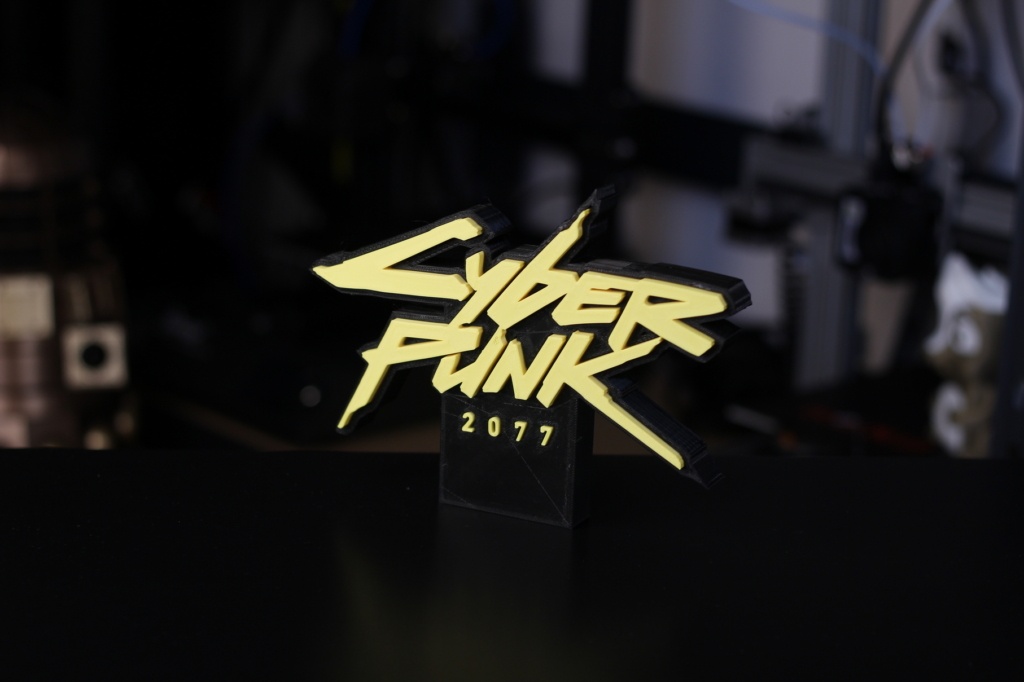

- Material: Gembird Black and Yellow PLA
- Layer Height: 0.2mm
- Nozzle Temperature: 215C
- Bed Temperature: 60C
- Print Speed: 50 mm/s
Tiny Jet Fighter
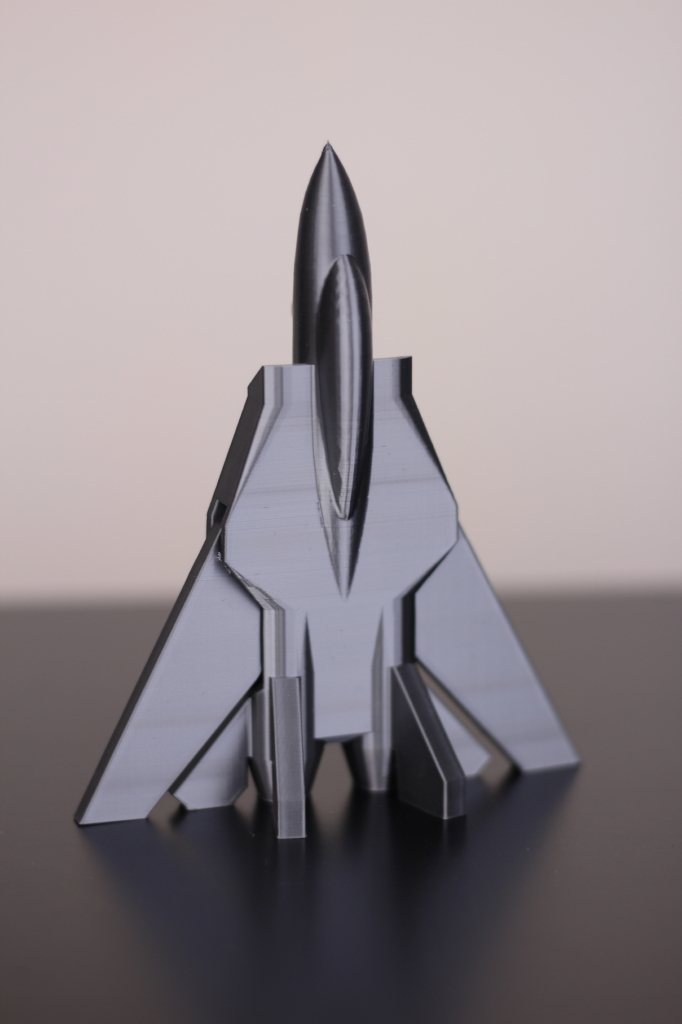
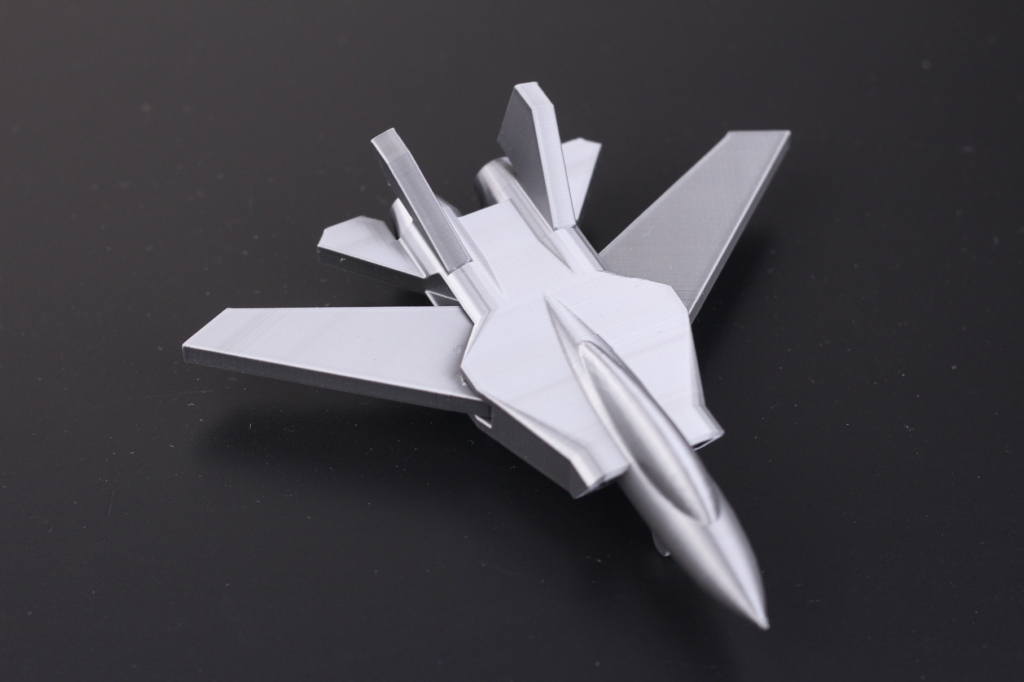
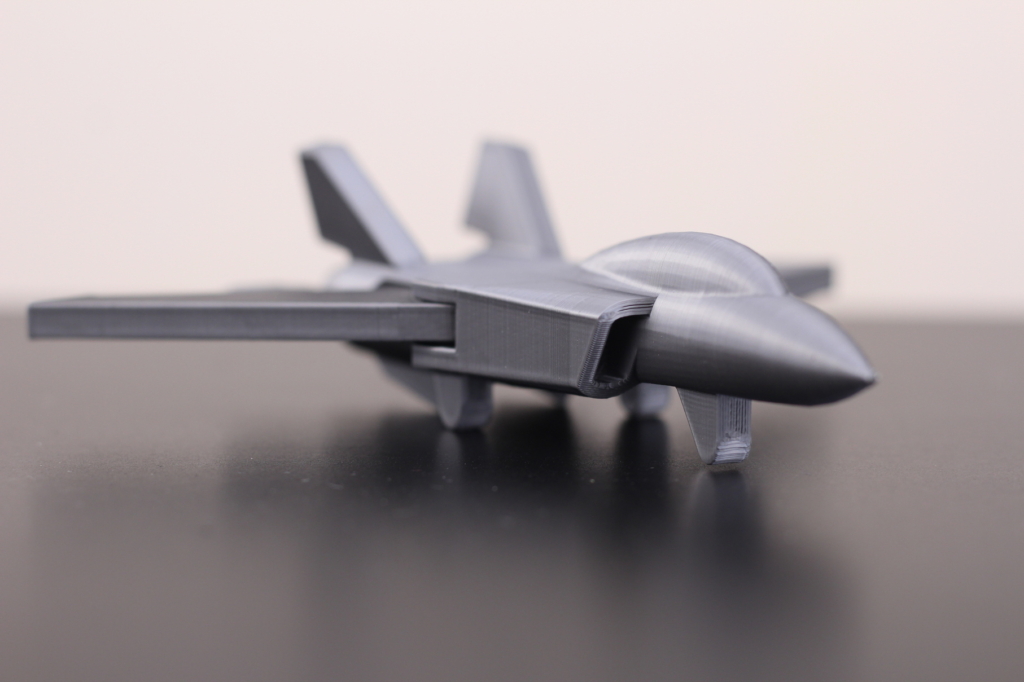
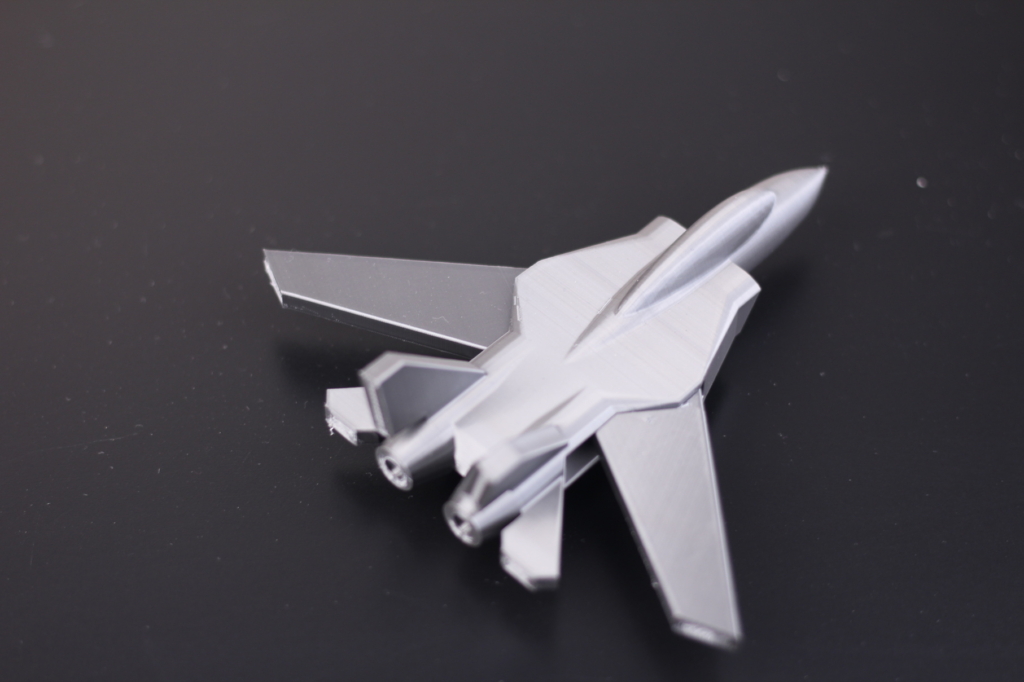
I also printed a “Tiny Jet Fighter” but at 300% size to see how well the Voxelab Aquila can print using silk filament. As you can see in the images below it managed to print it really well, without any notable print issues. It’s somewhat interesting because on this model you can’t see the repeating Z banding pattern as with the previous print.
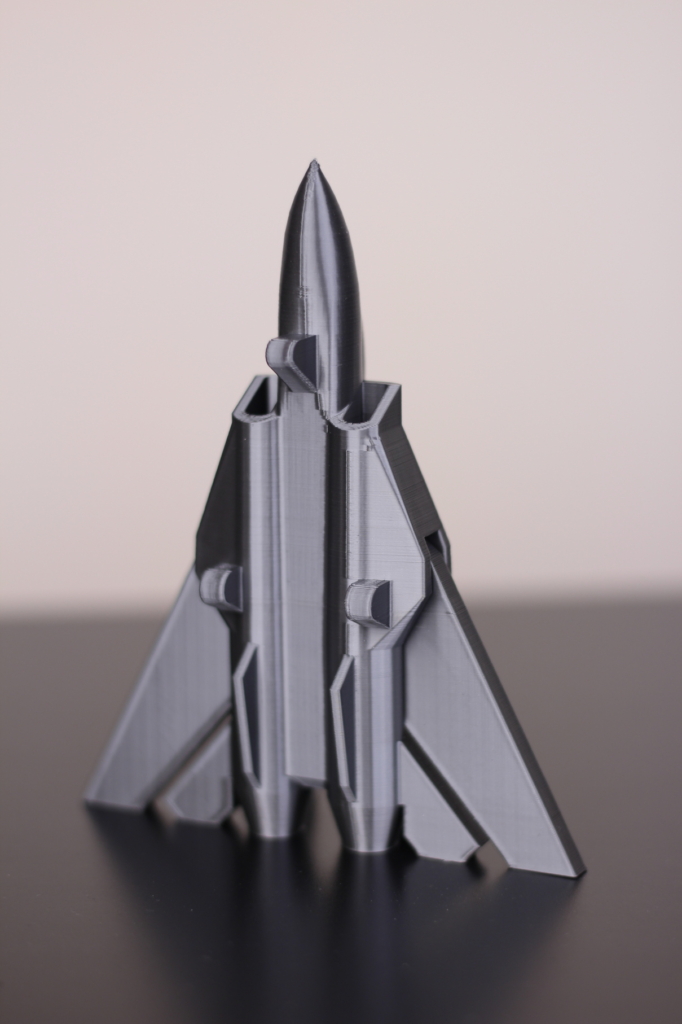
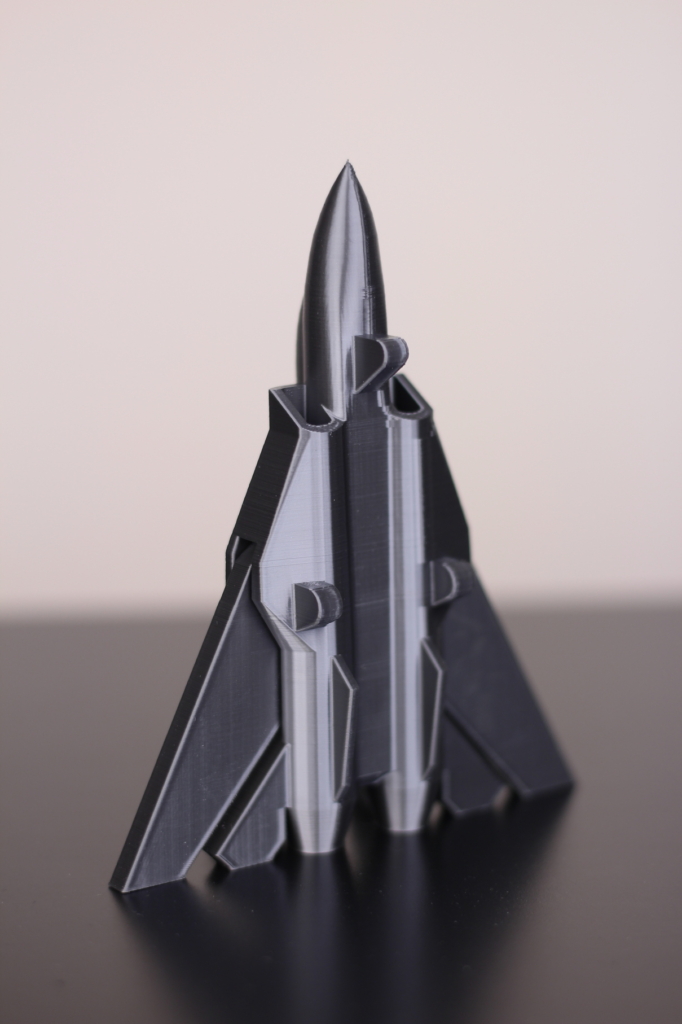
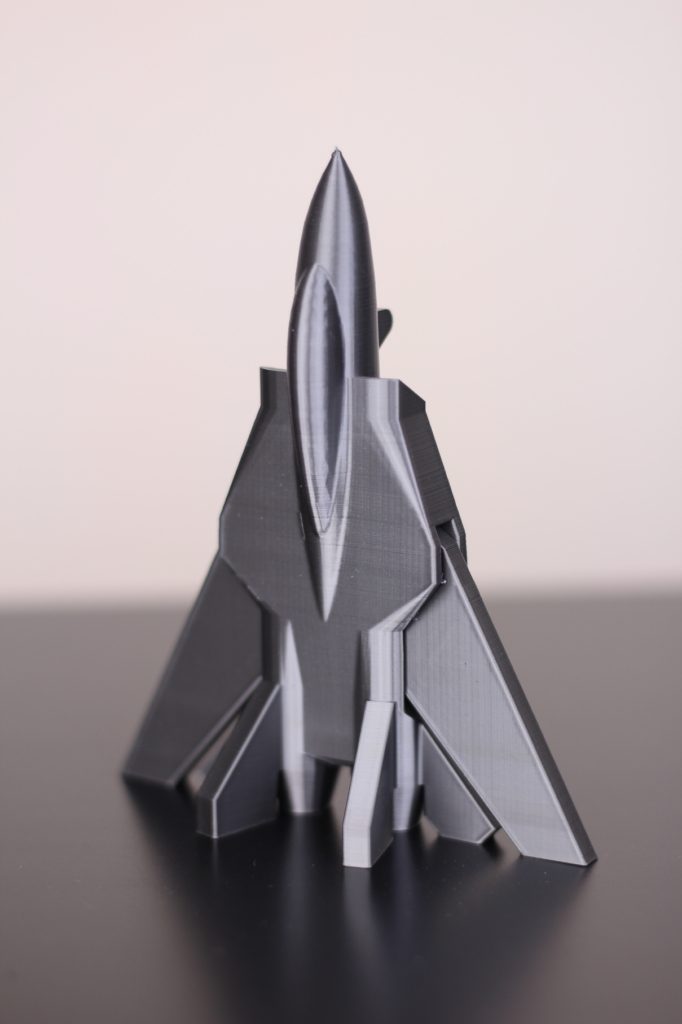
- Material: Extrudr BioFusion Metallic Grey
- Layer Height: 0.15mm
- Nozzle Temperature: 215C
- Bed Temperature: 50C
- Print Speed: 40 mm/s
Vision Bust
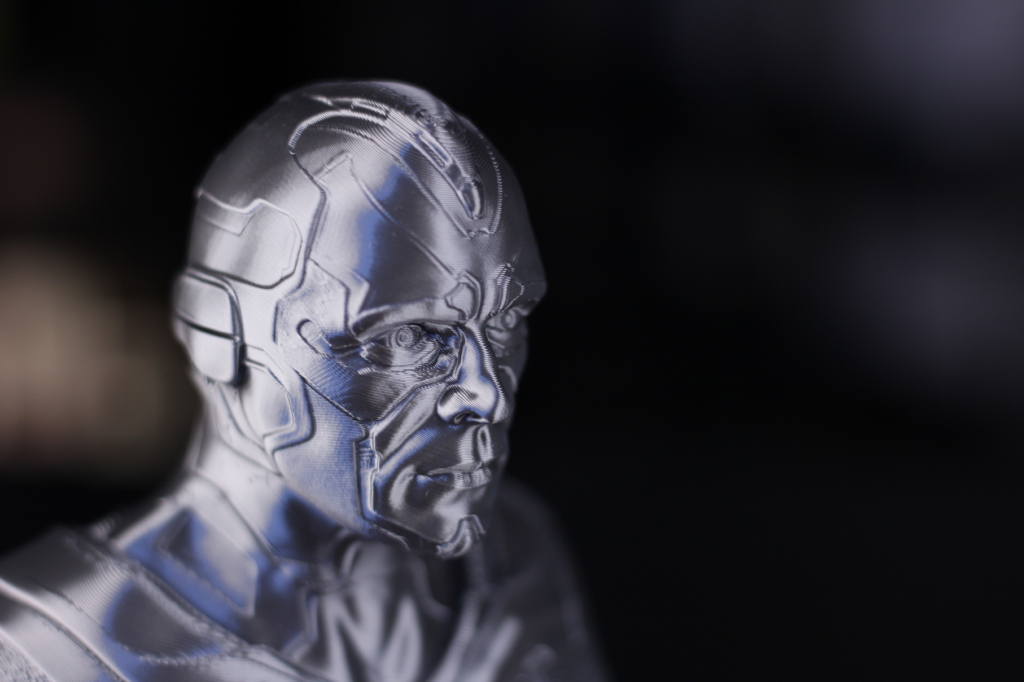
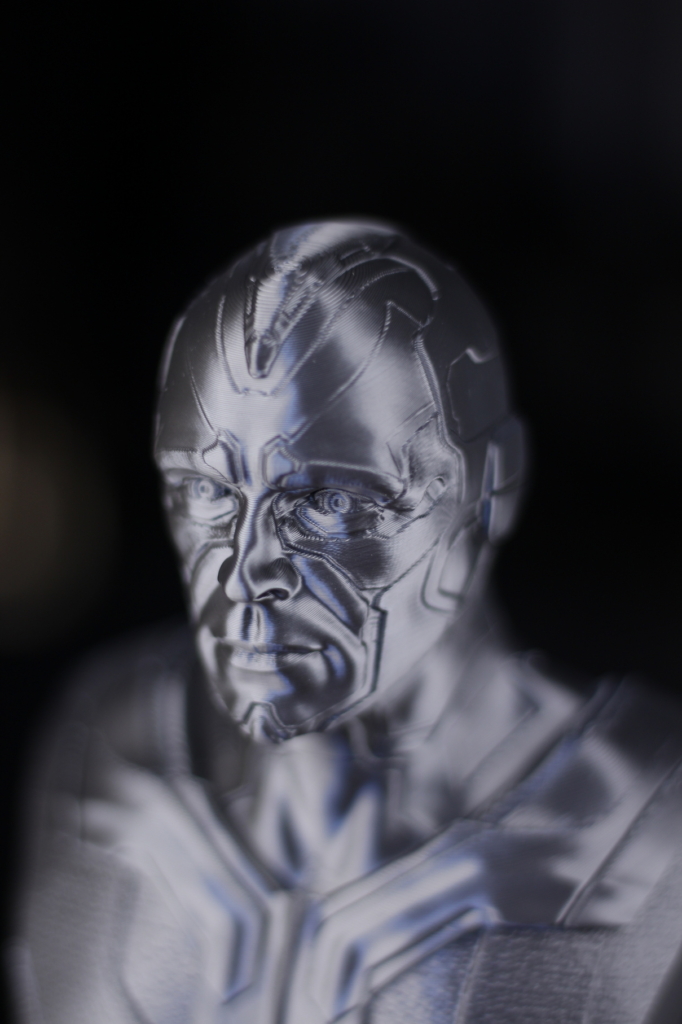
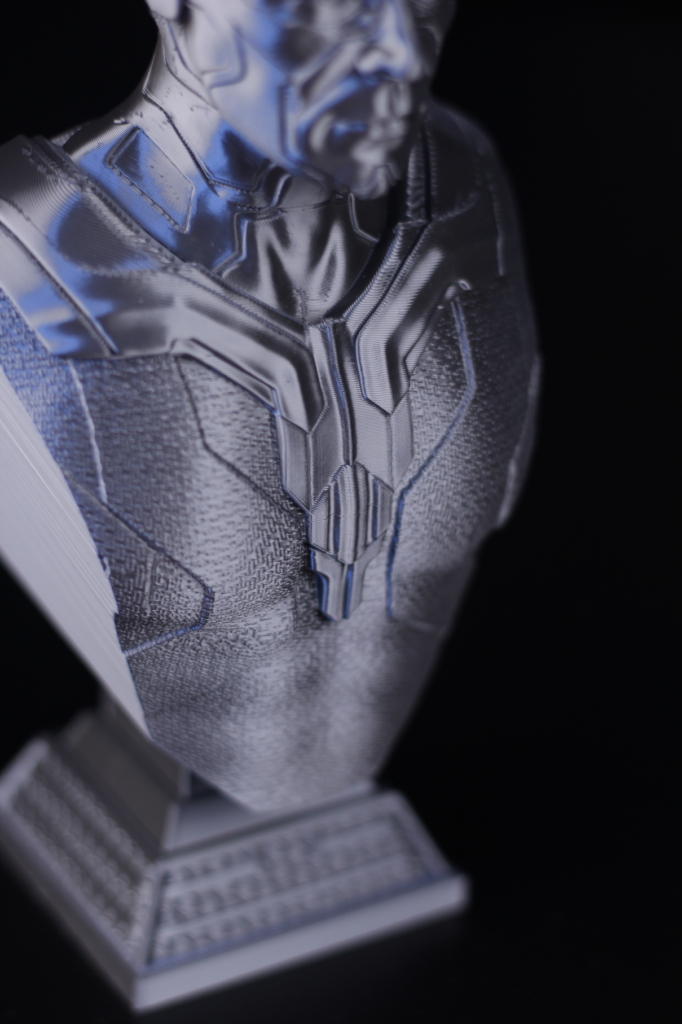
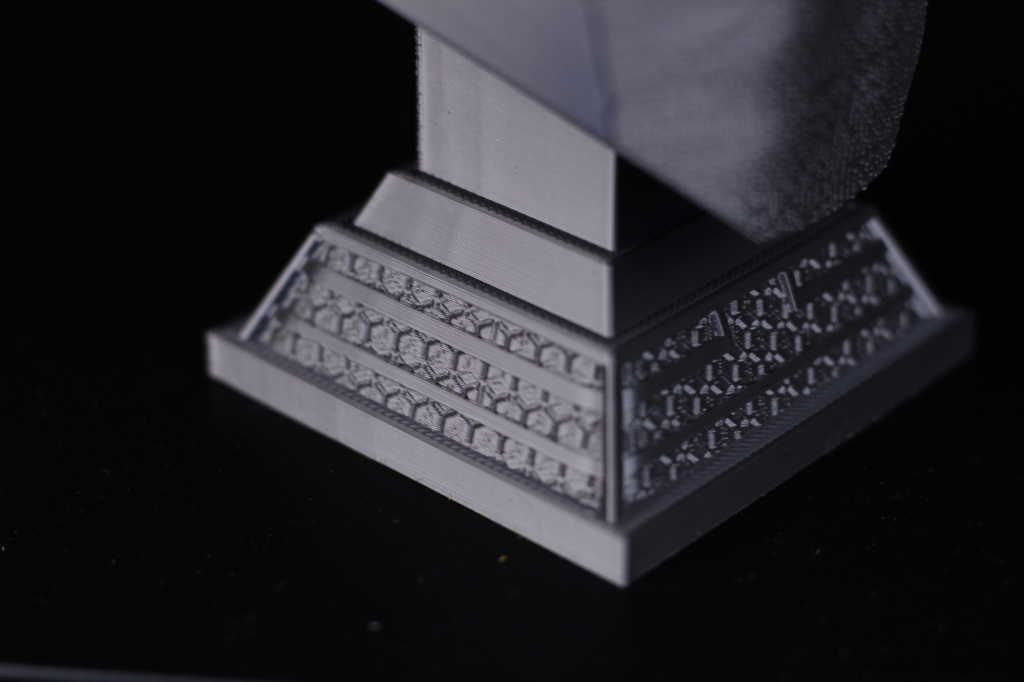
Because I already had the Biofusion filament inserted in the printer, I gave the Vision Bust from Fotis Mint’s patreon a go and the results are great. Consistent layers with no print defects, and the small supports under the chin were removed without any issue.
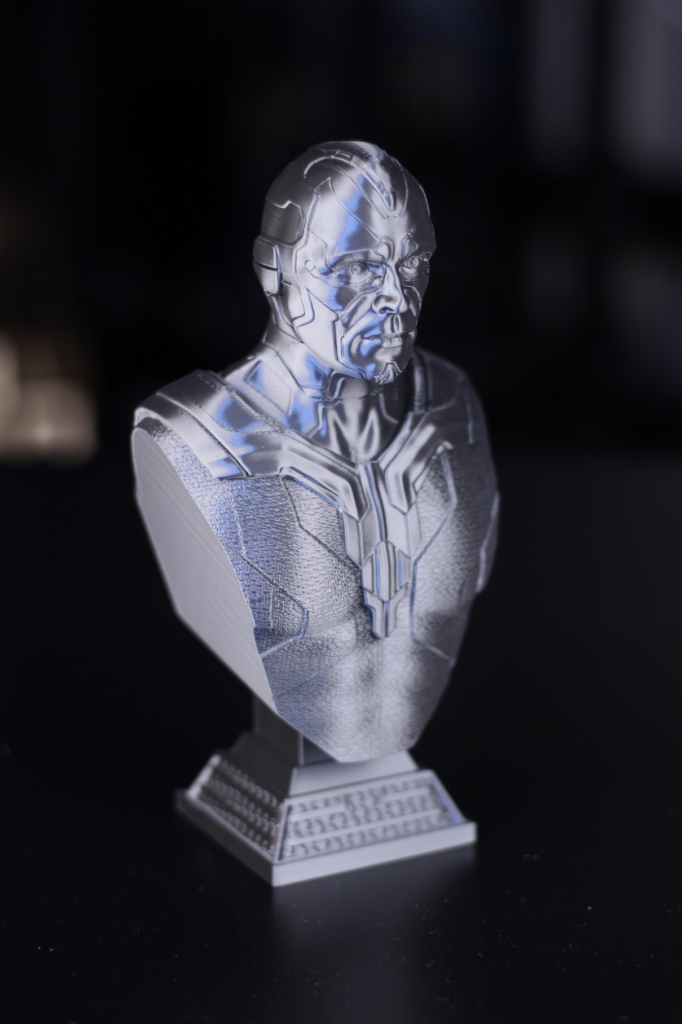

- Material: Extrudr BioFusion Metallic Grey
- Layer Height: 0.15mm
- Nozzle Temperature: 215C
- Bed Temperature: 50C
- Print Speed: 40 mm/s
AA Battery Storage Box
To test the PETG performance of the Voxelab Aquila, I printed the AA Battery Storage Box. The results are not that great because after a few hours the printer started to under-extrude. While the print finished successfully, you can easily see some inconsistent layers and also under-extrusion on the top layers.
I also had issues with the top cover of the model “clicking” in place, which leads me to think that the PETG accuracy is not that great.
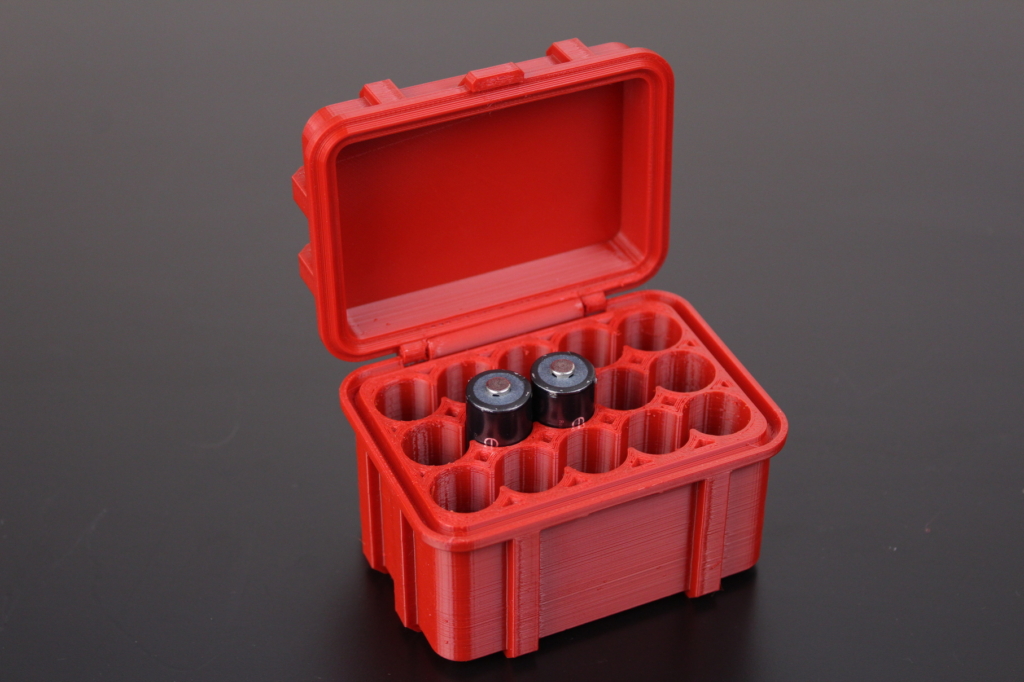
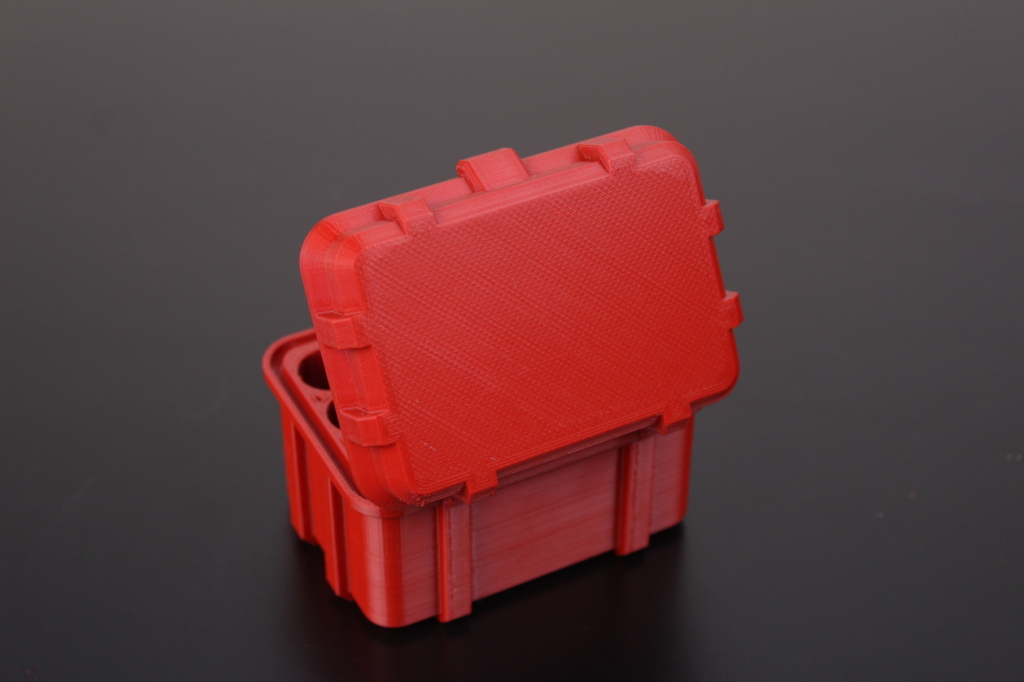
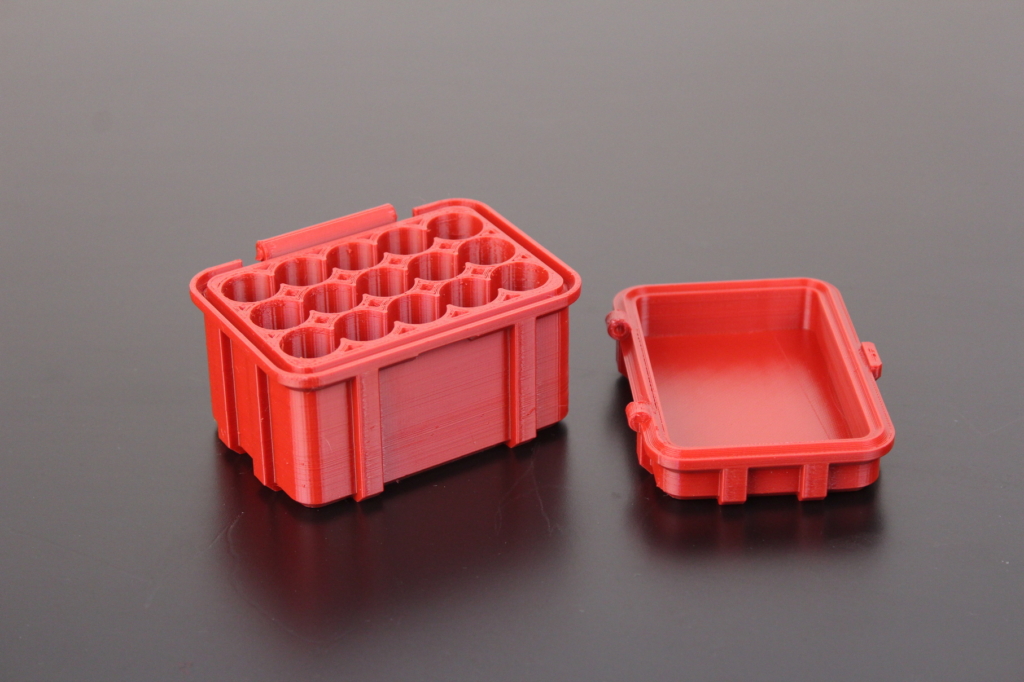
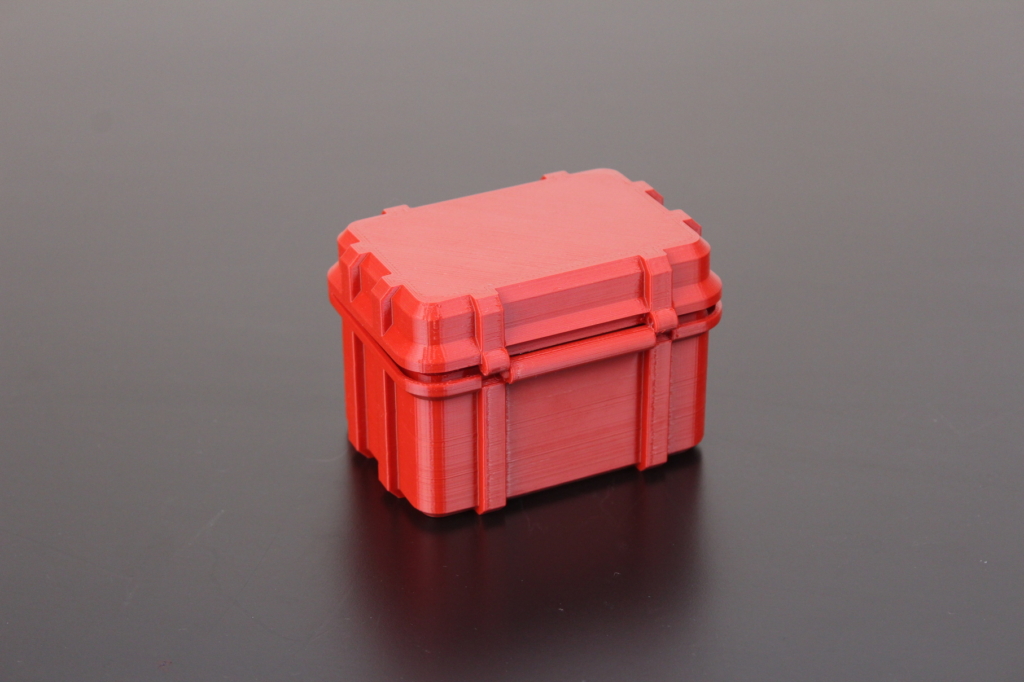
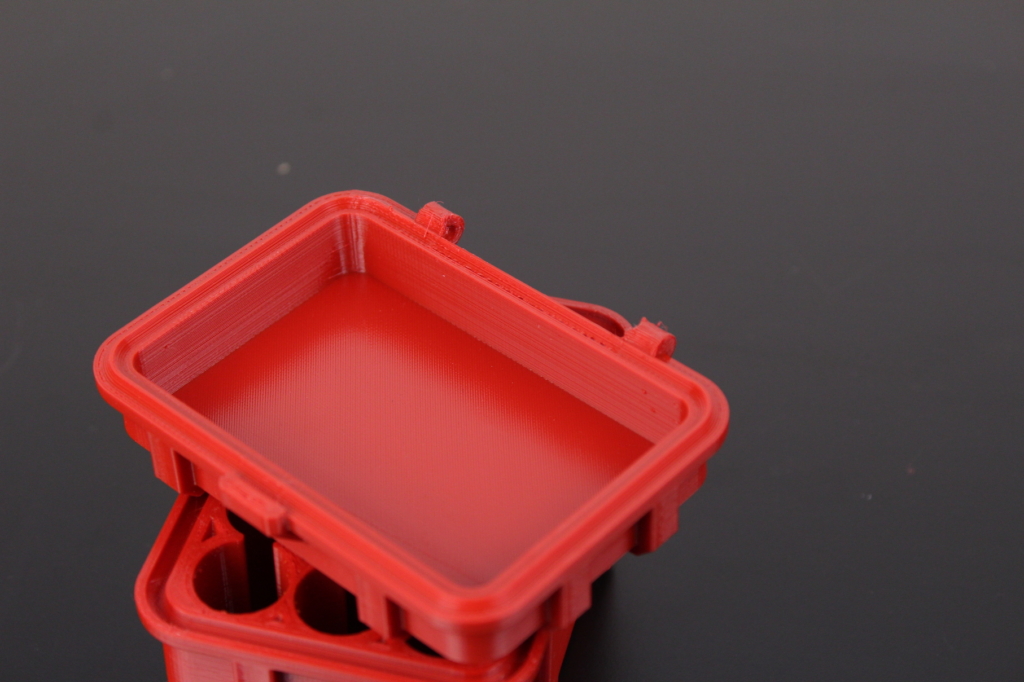
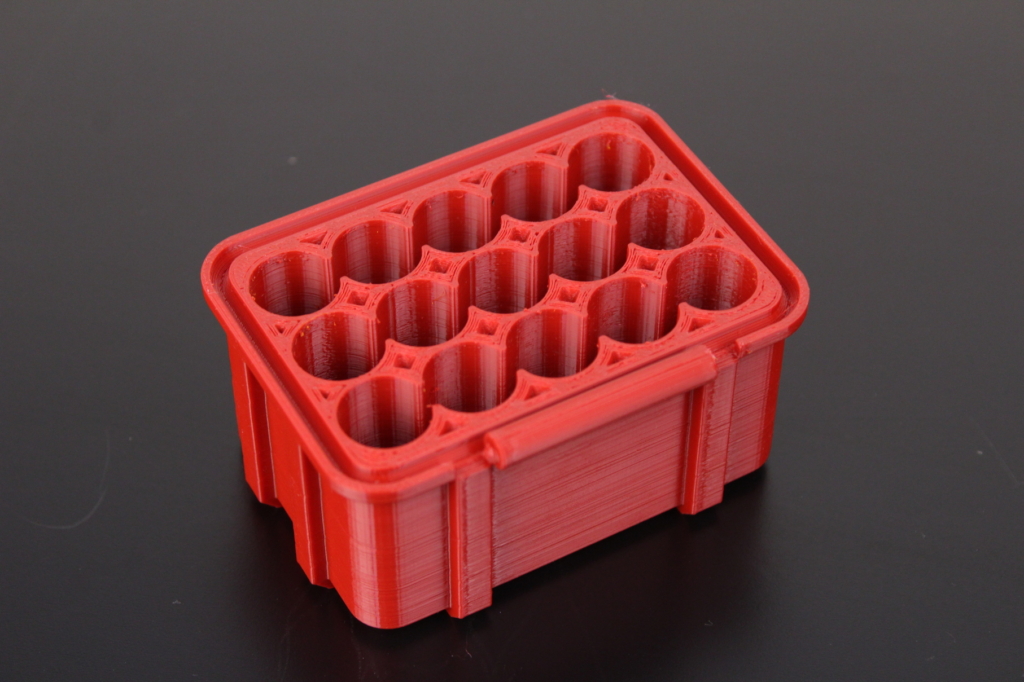
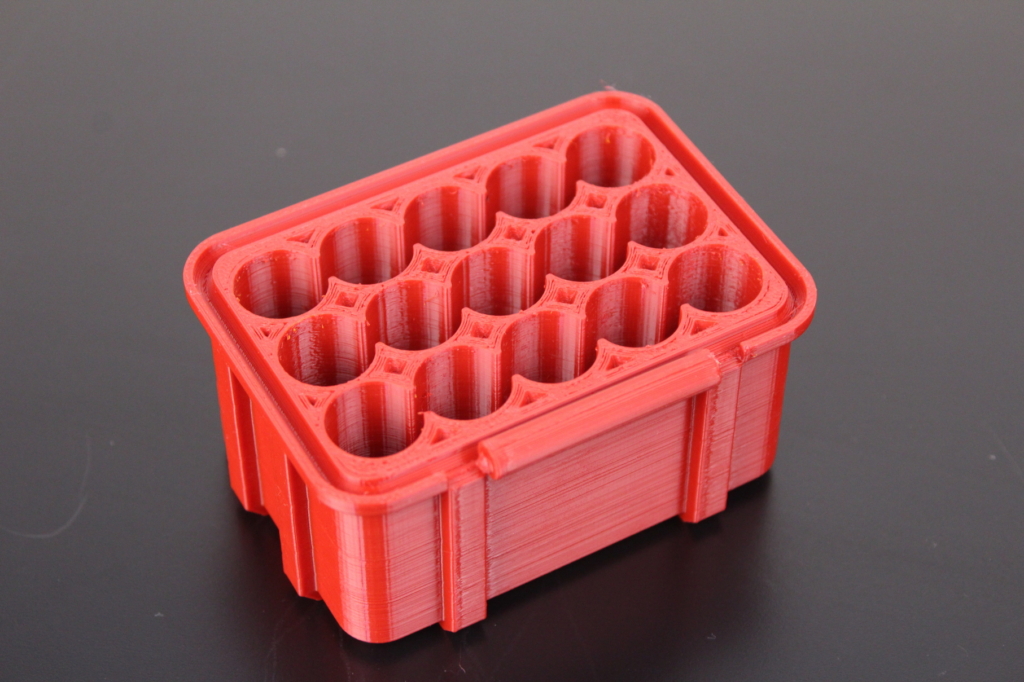
- Material: Devil Design Red PETG
- Layer Height: 0.15mm
- Nozzle Temperature: 235C
- Bed Temperature: 70C
- Print Speed: 50 mm/s
Steampunk Octopus
Finally, I printed the Steampunk Octopus to test the bed adhesion and retractions. The model completed successfully and the print quality is good. All the links were printed with no issues and retraction worked well.
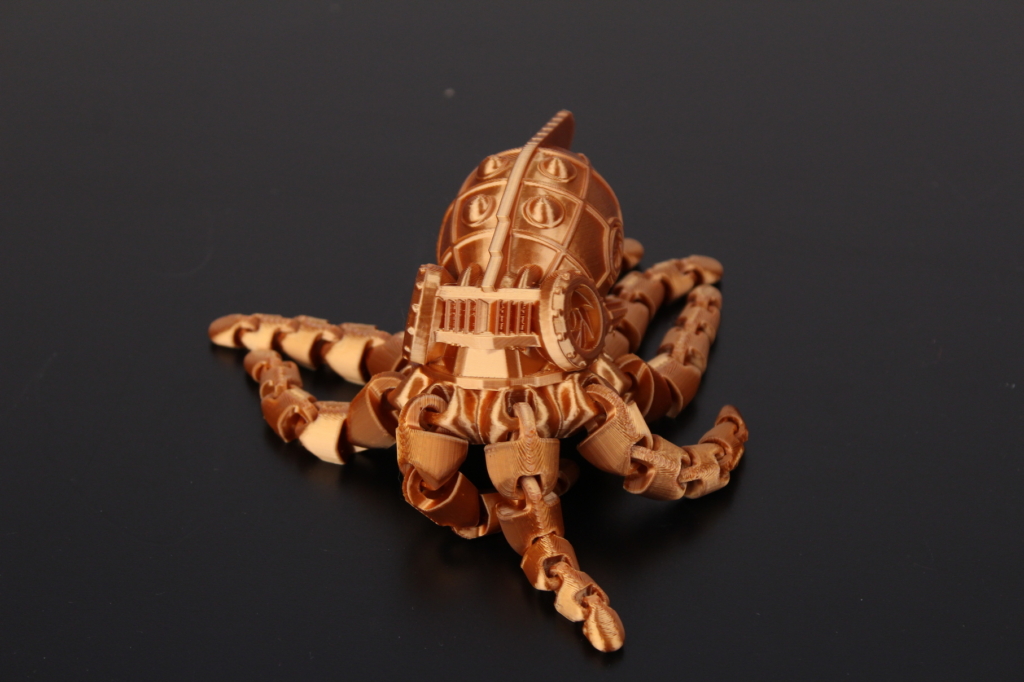
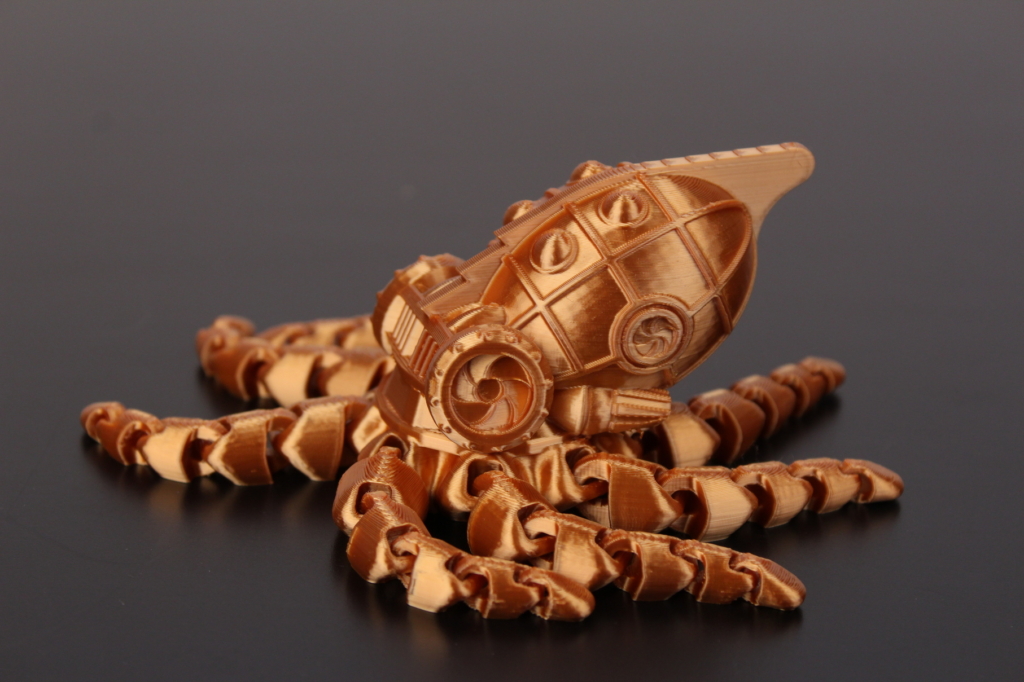
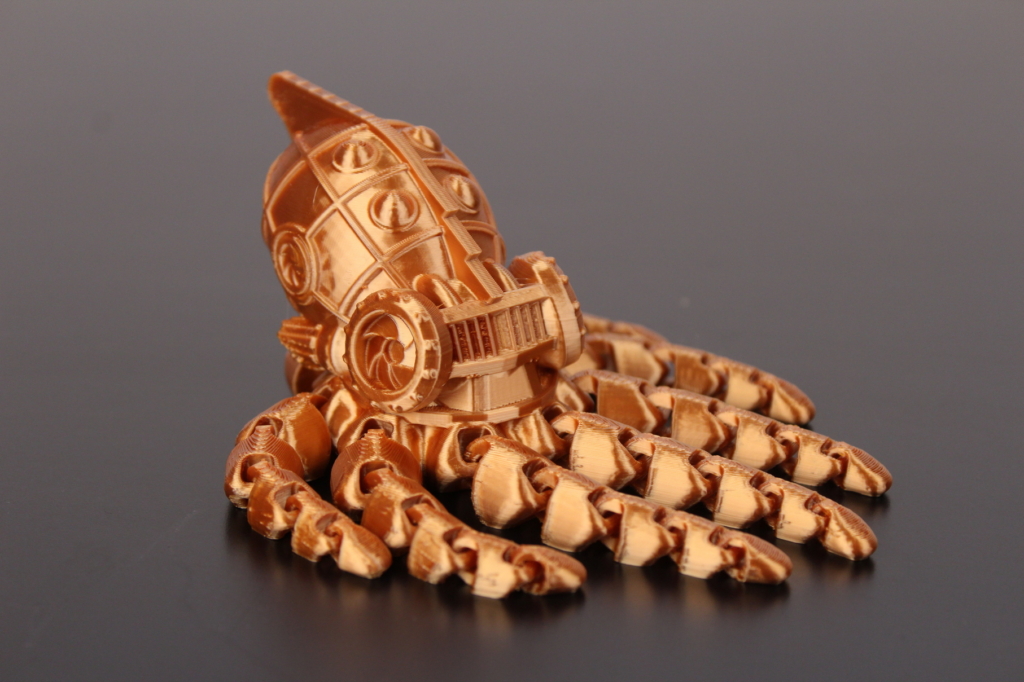
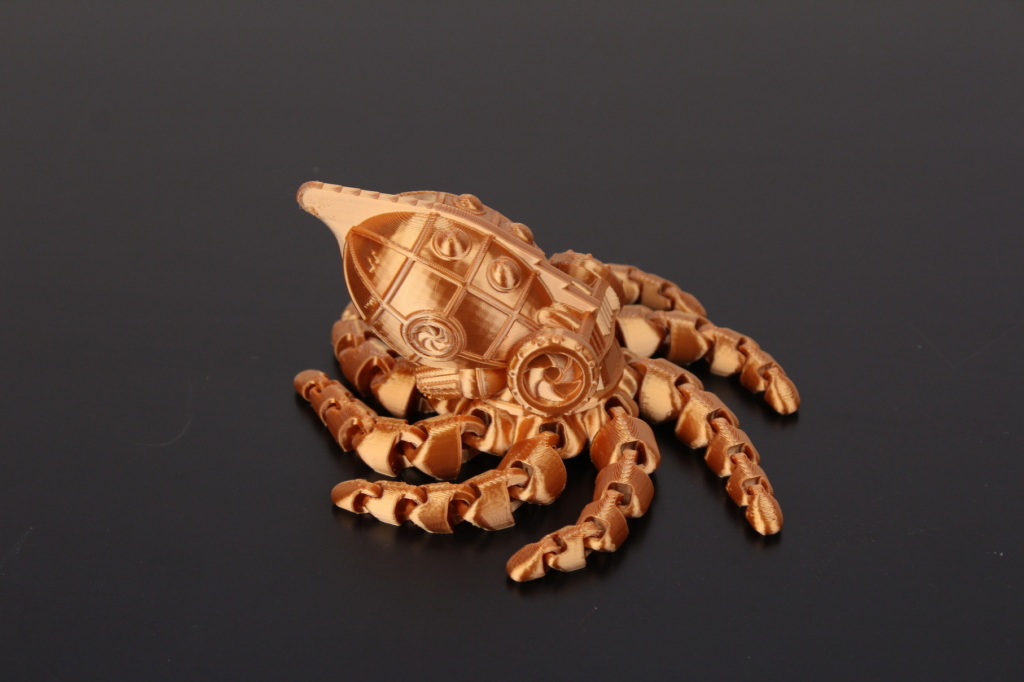
- Material: SUNLU Silk Copper PLA
- Layer Height: 0.15mm
- Nozzle Temperature: 215C
- Bed Temperature: 50C
- Print Speed: 50 mm/s
Conclusions: Is the Voxelab Aquila worth it?
The Voxelab Aquila is a decent Ender 3 V2 alternative. It’s cheaper and it offers decent print quality without breaking the bank. There isn’t a notable difference between the Aquila and the Ender 3 V2 other than price when it comes to specs.
I cannot compare the Voxelab Aquila directly with the Ender 3 V2 because I haven’t had the chance to test that, but I think it’s worth getting the Aquila instead of the Ender considering the savings you get. You will be able to use some of the Ender 3 upgrades currently available, and you can even upgrade the Aquila with the money saved during purchase. A better bi-metallic hotend like the NF-Smart or the Spiral Tower will probably improve the print quality while keeping costs low.
Competition is starting to get more intense in the “under 200$” category, and the Voxelab Aquila fits that price bracket quite well. I especially like the screen interface and how silent this printer is, and I also like how well this printer is calibrated out of the box. Sure, there were some issues with the unit I got, but hopefully these issues are an isolated incident and this will not happen in the future. But make your purchase decision while keeping this in mind.
I would recommend getting a Voxelab Aquila if you can get it around the ~170$ price tag for which it’s sold most of the time. At this price point, the Aquila is a good purchase for anyone looking to get into 3D printing and don’t mind a bit of tinkering with the printer to fix the small issues that might show up. If the price is higher, it a bit harder to recommend the Aquila considering the new Elegoo Neptune 2 is usually ~160$ (if you are lucky enough to get it at this price point).
I also compared the Voxelab Aquila with the popular Ender 3 V2 and the Artillery Hornet. I recommend also checking that article before you decide what printer to purchase.
Voxelab Aquila Rating
Design
Specs
Noise Levels
Ease of use
Print Quality
Price
Where to buy the Voxelab Aquila?
The Voxelab Aquila can be purchased from the following websites:
AliExpress
Amazon
Voxelab
3D Jake
I recommend checking out the Discount Codes page before purchasing. I regularly update the article with discount codes for various online shops, and you might find one for this particular model.
The Voxelab Aquila was provided free of charge by Voxelab for the purpose of this review. While the article includes affiliate links, all opinions are my own. Nobody reviewed the article before it was posted, following the Review Guidelines.
Liked it?
|
|




Is this printer better than the ender 3 v2?
It’s about the same, but cheaper
I have had zero problems with the Aquila. Your filament issue in unloading is non-existent, I’m not even sure hoe it could happen. Despite weakish springs, I’ve been getting about a dozen prints between leveling. Even then it’s more like I think I should rather than I have any issue. I have not had any problems with printing PLA or PLA+. I did tighten a the vwheel under the build plate. I highly recommend this printer for beginners or print farms. I do not mind the slower default print speed with the quality it brings. My old Wanhao is so frenetic you clearly see the sacrifice in quality in your prints and number of failed prints. At $168 it is a steal — I caught the Mother’s day price in the $150s. Also I am ordering another — they are worth it.
Thanks for the internal shots. Just wanted to say that my Voxelab Aquila has a 256K CPU that’s a STM32 KNOCKOFF. But they are still using the SAME firmware on it. Meaning that they could have an issue where the CPU could lock up in an unsafe state… Not saying it is an intentional bait and switch but it sure looks like that is the case.
Nice Review. Thank you. Do you mind sharing your finally tweaked ideamaker Profile?
They are already shared in the article
Great review…as usual !! What extruder would you suggest to buy?
Before upgrading the extruder, I would first upgrade the hotend. Then, a BMG Clone should be great and an easy upgrade.
Did upgrade to the BMG clone …best 10bucks lately spent 😉 I also put insolation on the bed, new springs and a better bowden tube on it.
This machine is foolproof..everything comes out great right from the start.