I am not someone who used 3D scanners too much, because I always found it a bit hard to always connecting them to the computer and keeping the software and scan in sync while performing the operation.
But once I saw the Revopoint MIRACO, which is an all-in-one solution, I thought it would be a much better experience. So in this article, we’ll take a closer look to the Revopoint MIRACO, and find out if it works as expected.
Revopoint MIRACO Shipping and Packaging
I received the Revopoint MIRACO in a simple cardboard box, with all the items nicely packaged in cell-foam protection. While there’s not a lot of padding outside the box, you get good protection in the main box so no need to worry about shipping damage.
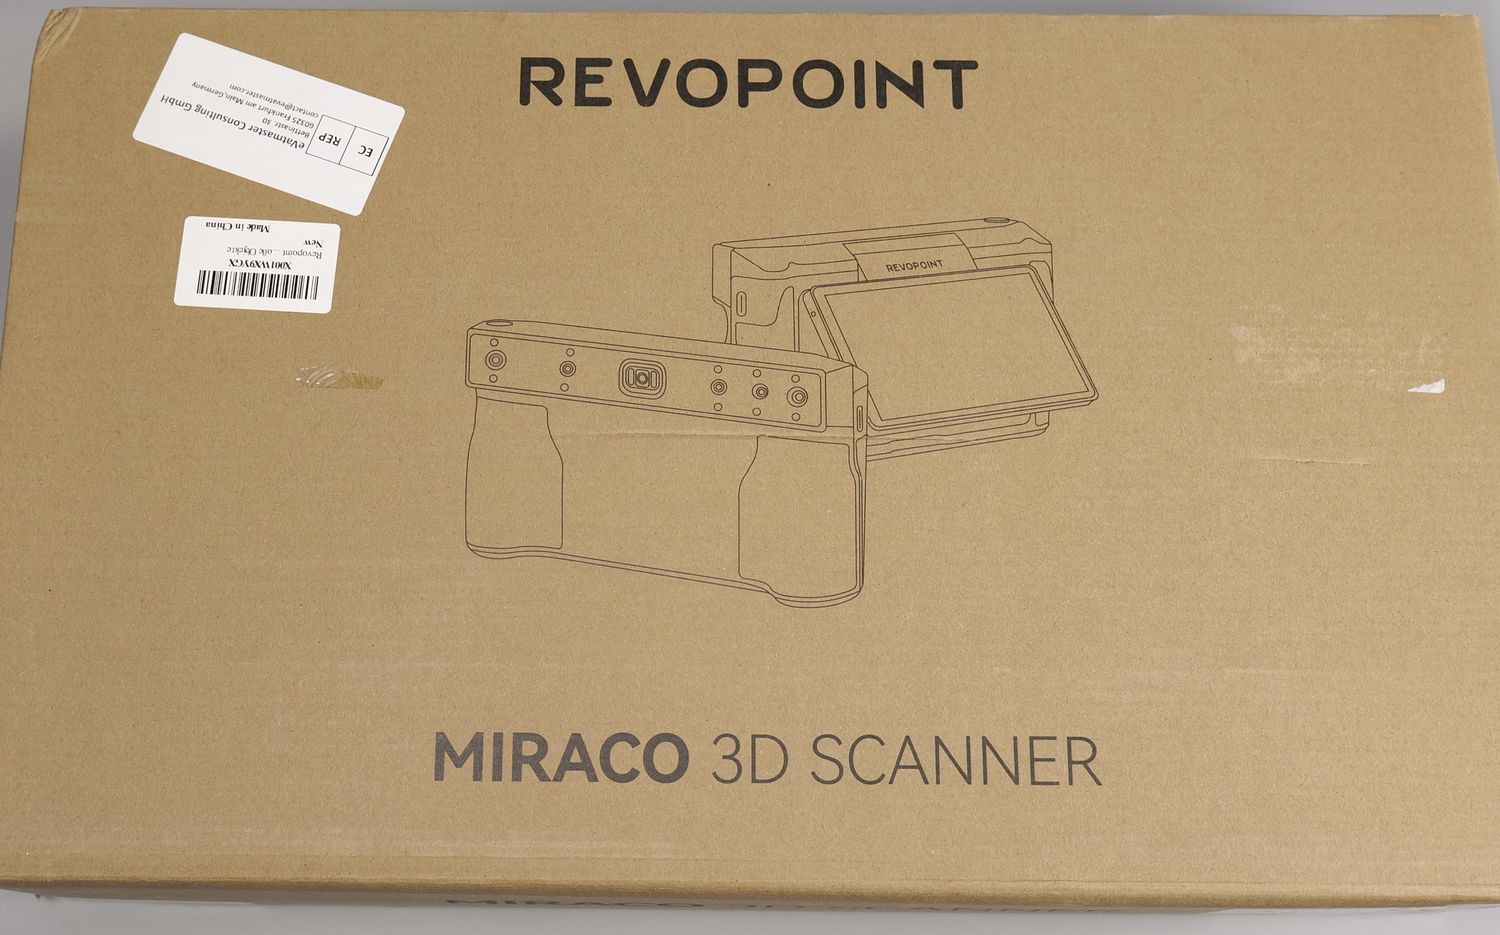
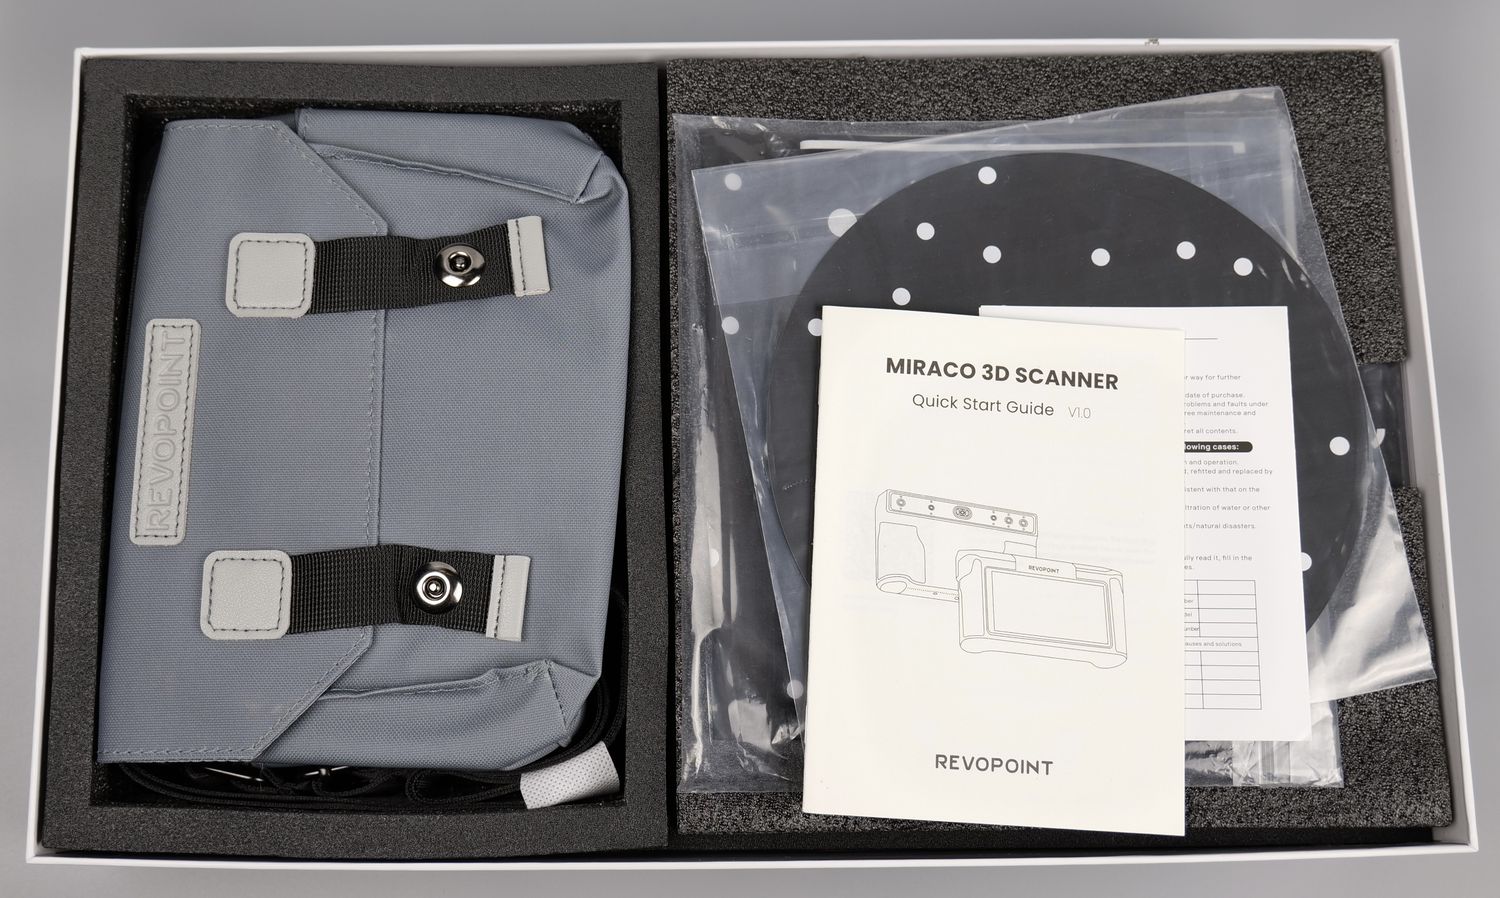
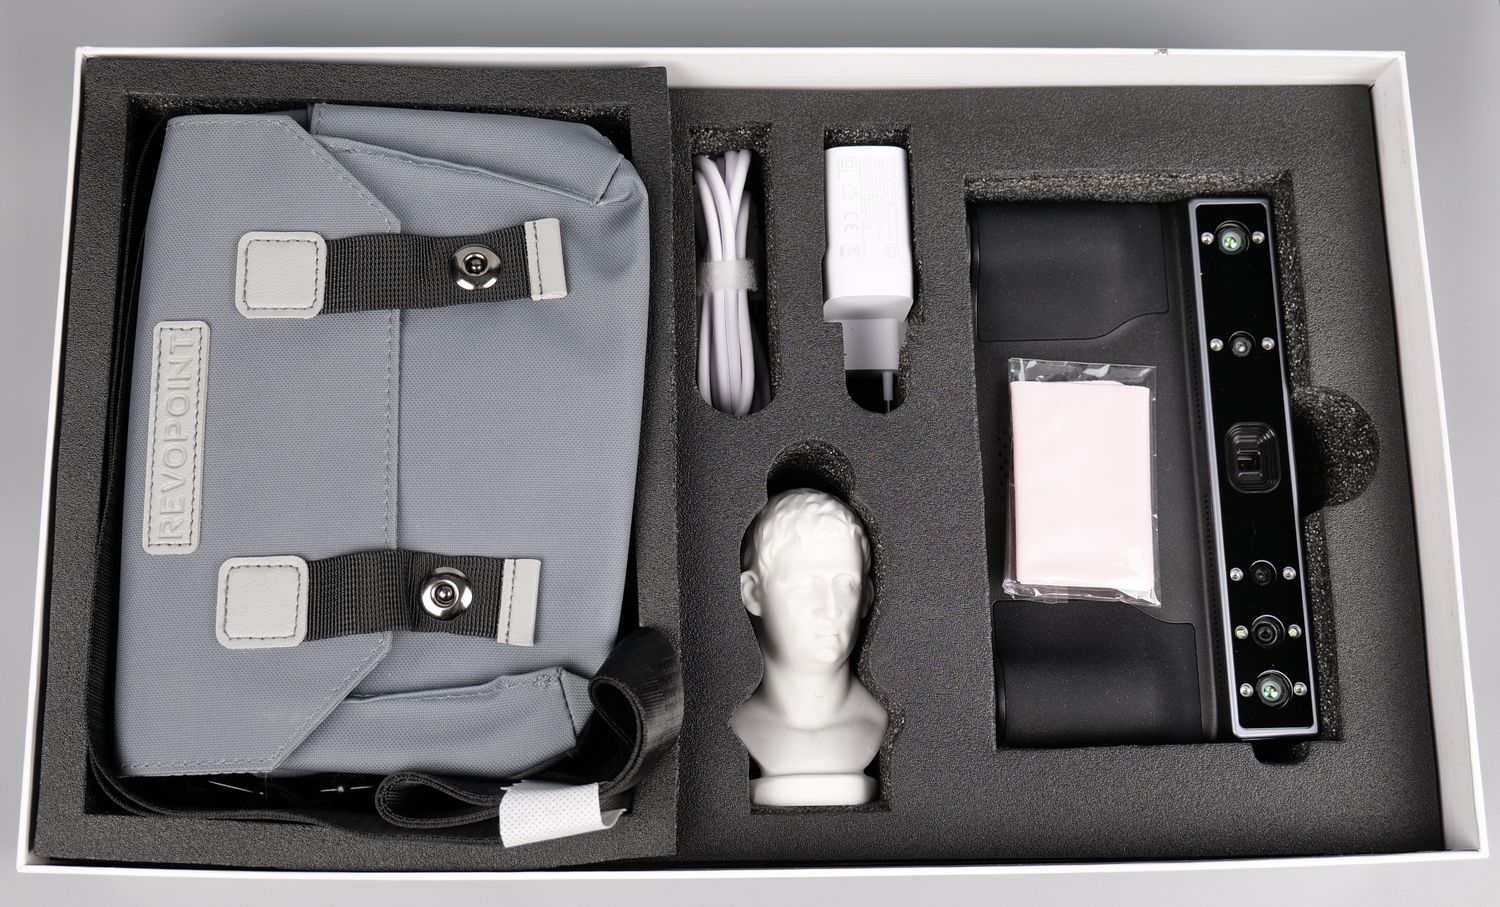
I expected for the device to be already in the carrying case to maybe protect it even better during shipping, but this accessory was packaged next to it.
Accessories
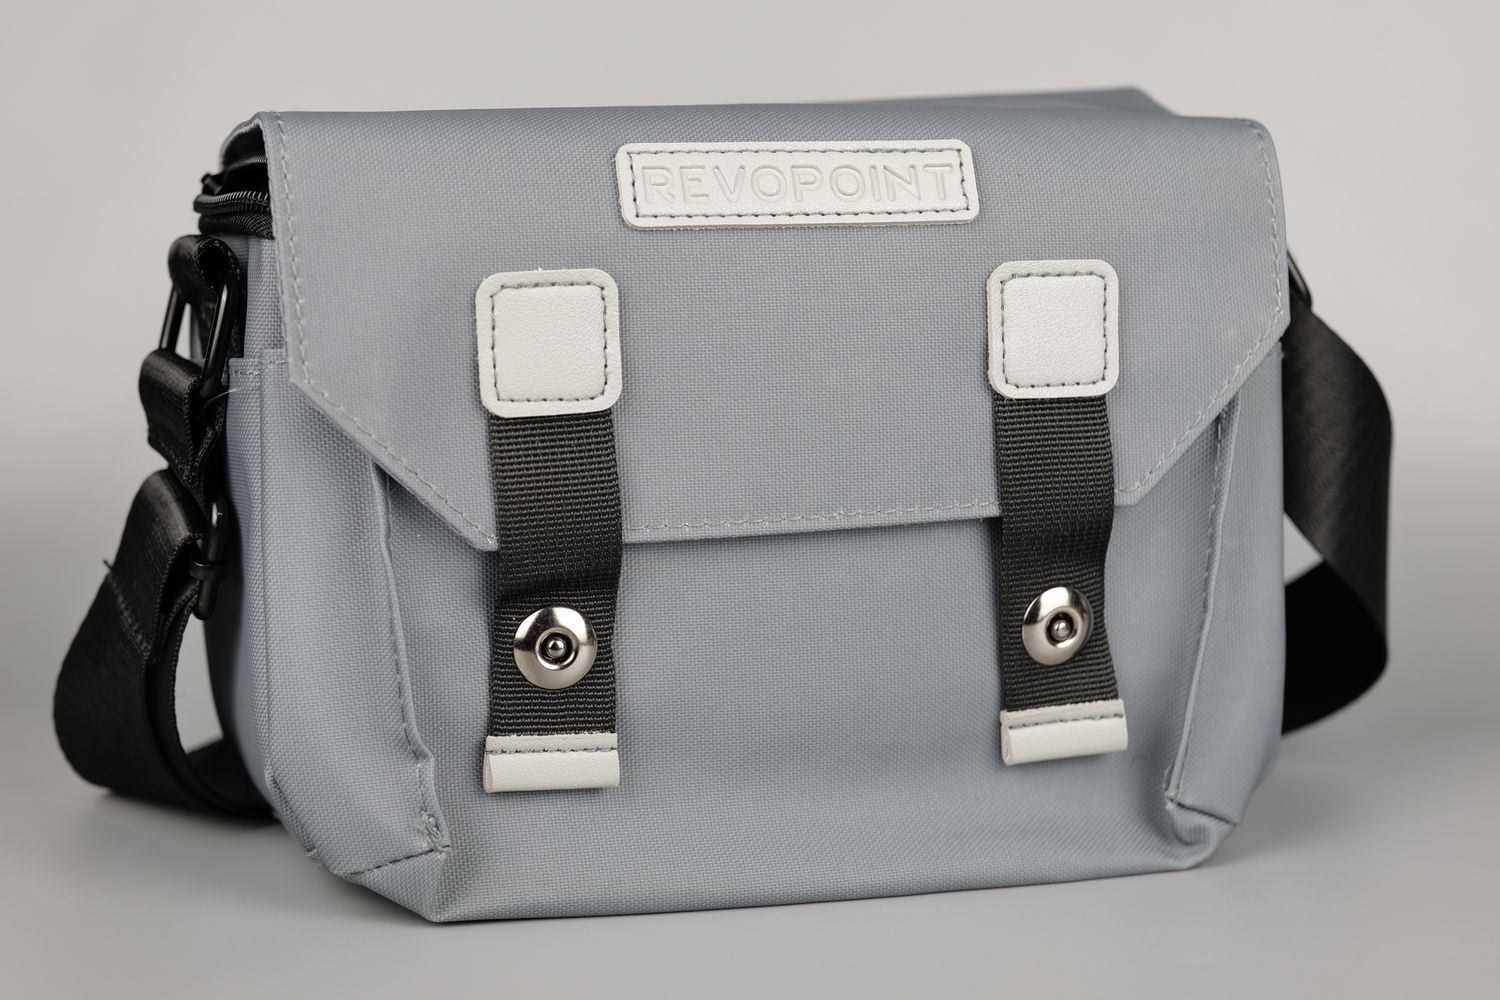
When you get the MIRACO 3D scanner, you also get a plethora of accessories to help you in your 3D scanning journey. First, you get a very nice carrying case which allows you to safely carry and store the 3D scanner and some scanning accessories if you need to take it on the field
Besides the carrying case, you get a small adjustable tripod to place the 3D scanner in a fixed position, which works relatively fine, but I strongly recommend being careful with it, as it’s not as stable as a larger camera tripod, and the scanner can fall on a side due to the weight, especially if the screen is open.
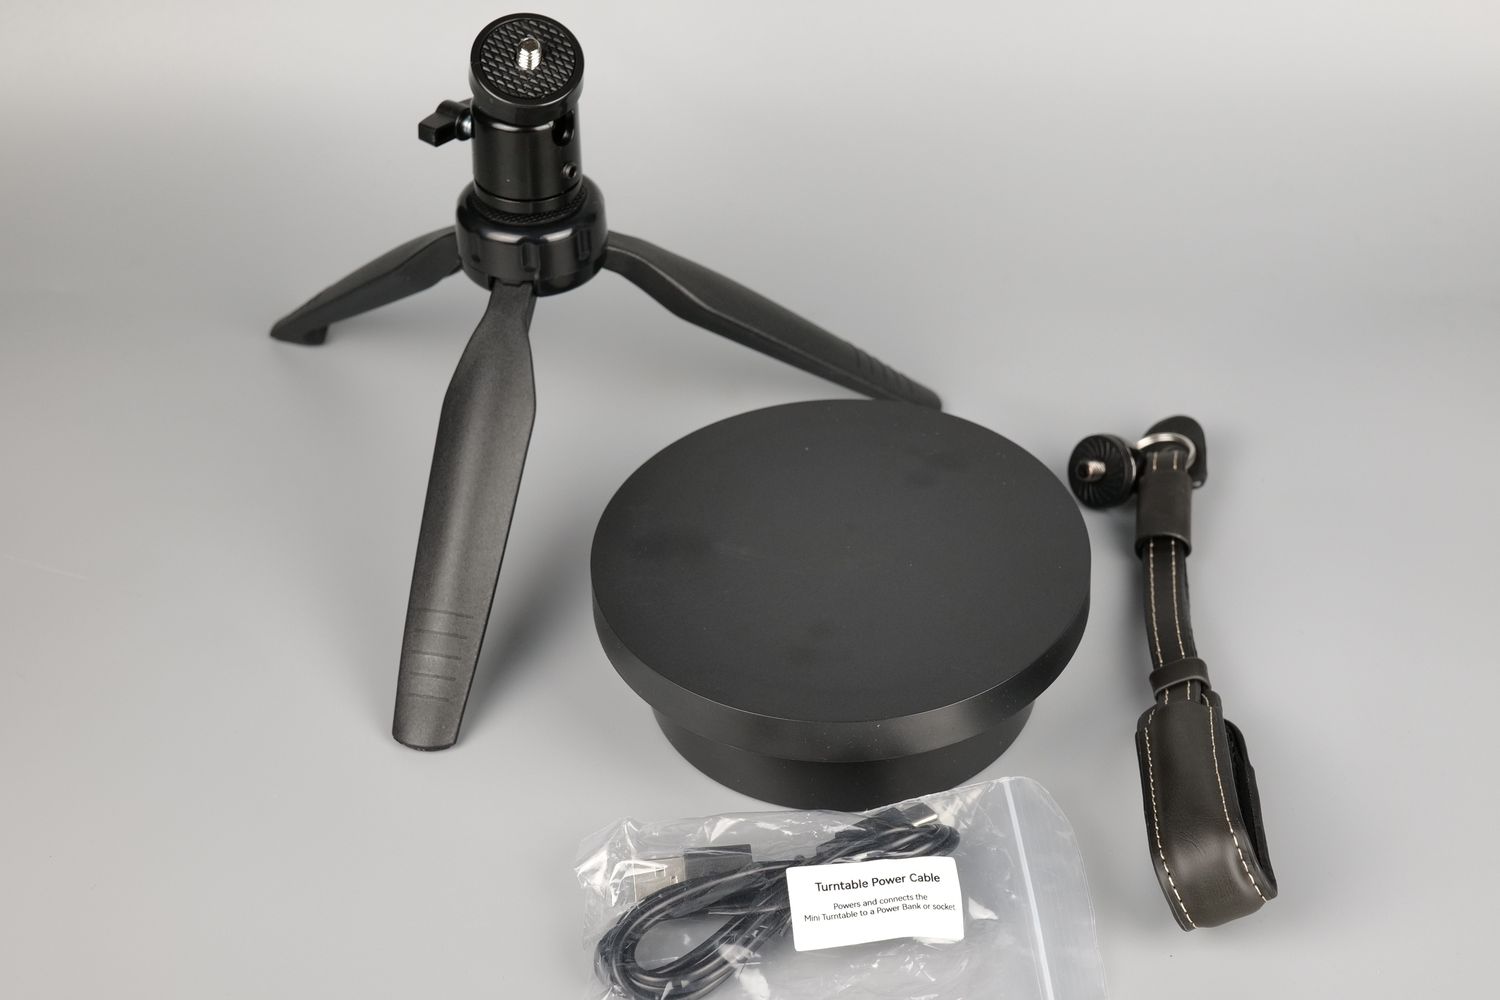
Another useful addition is the rotating turntable, which can be combined with the tripod to make scanning smaller objects easier. You just need to place the object on the turntable, turn it on, then start the scan process.
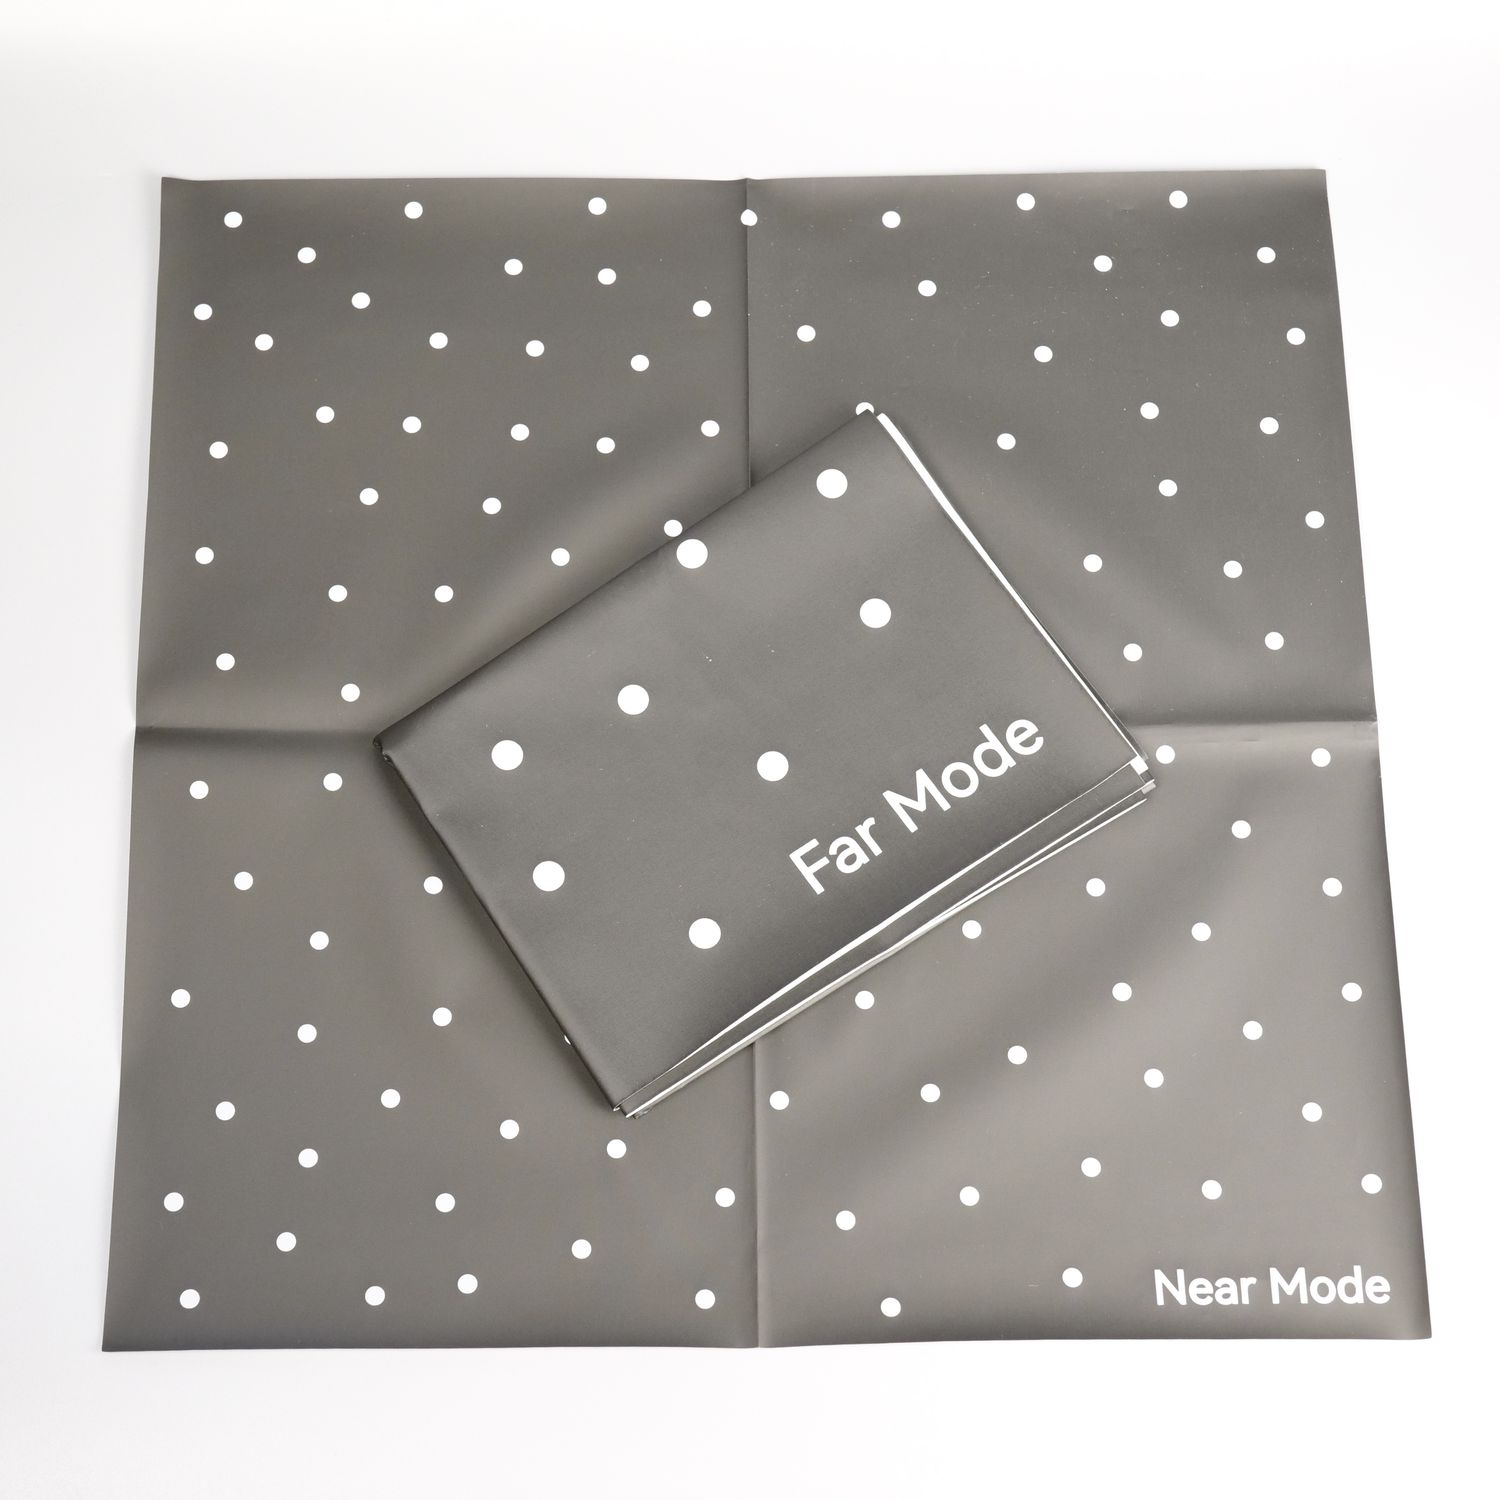
Of course, you also get other important accessories like the two scanning mats with tracking points for the Near Mode and Far Mode which help you scan objects easier in the marker tracking mode.
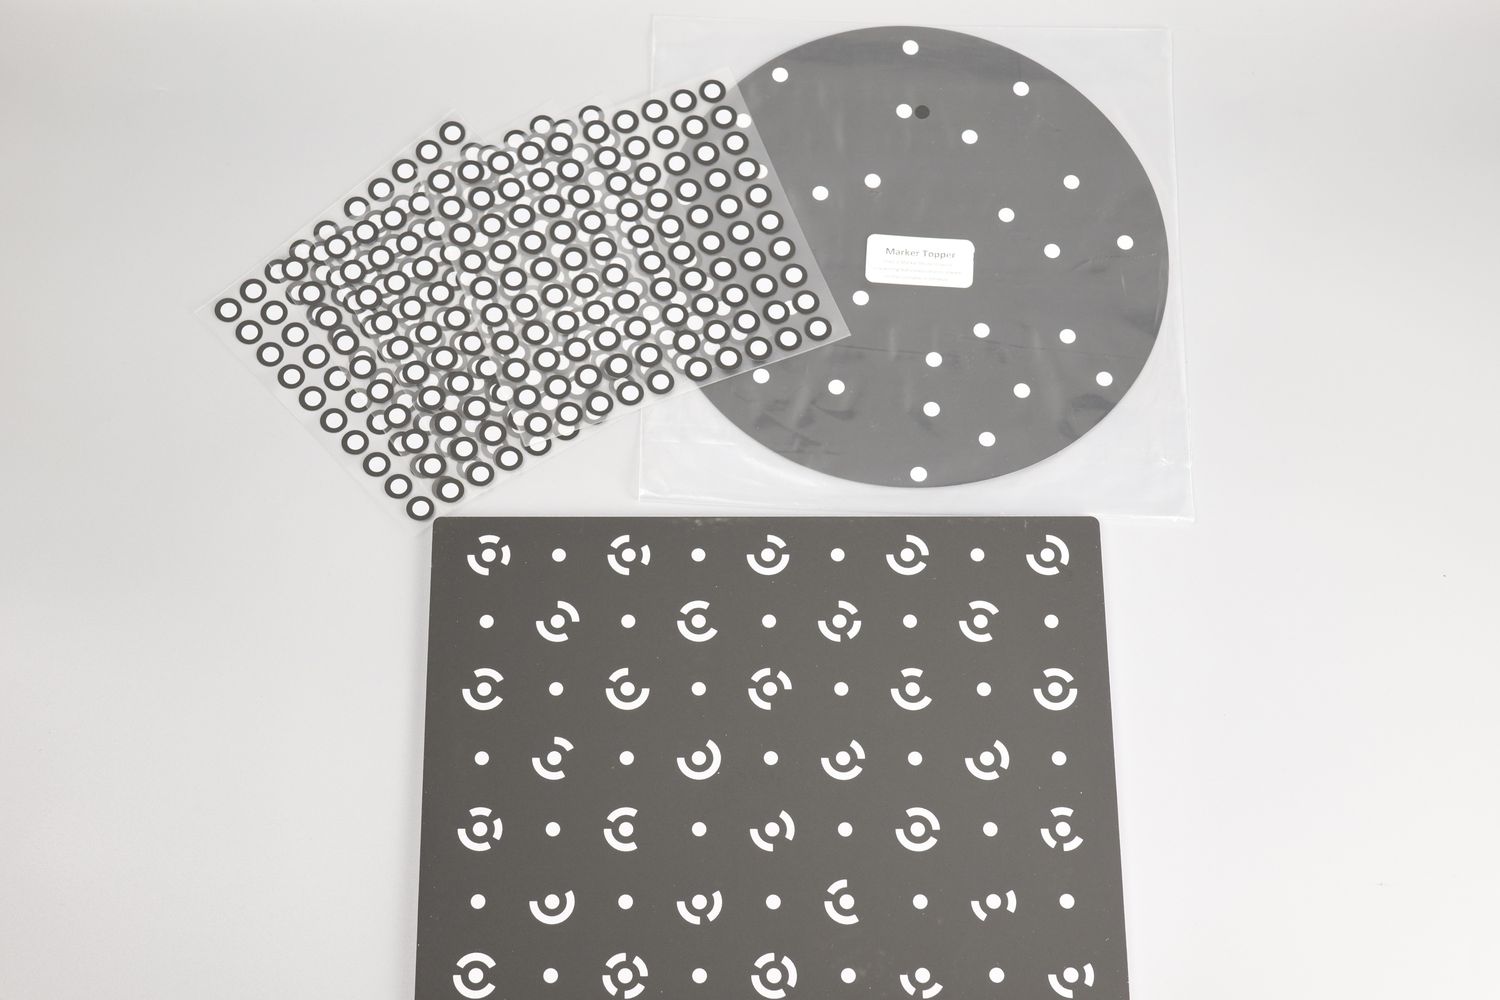
Then, you also get a few sheets of scanning point stickers that can be applied on different objects, a scanning surface for the turntable and a calibration board.
Revopoint MIRACO Design
I was nicely surprised by the build quality and feel of the MIRACO 3D scanner. It feels very well made and has a bit of heft to it which gives you a good impression of quality. Even if it’s made mostly from plastic, it has a textured feeling similar to what you get on a higher end DSLR camera, with rubberized grips on the side that make it easy to grip during scanning.
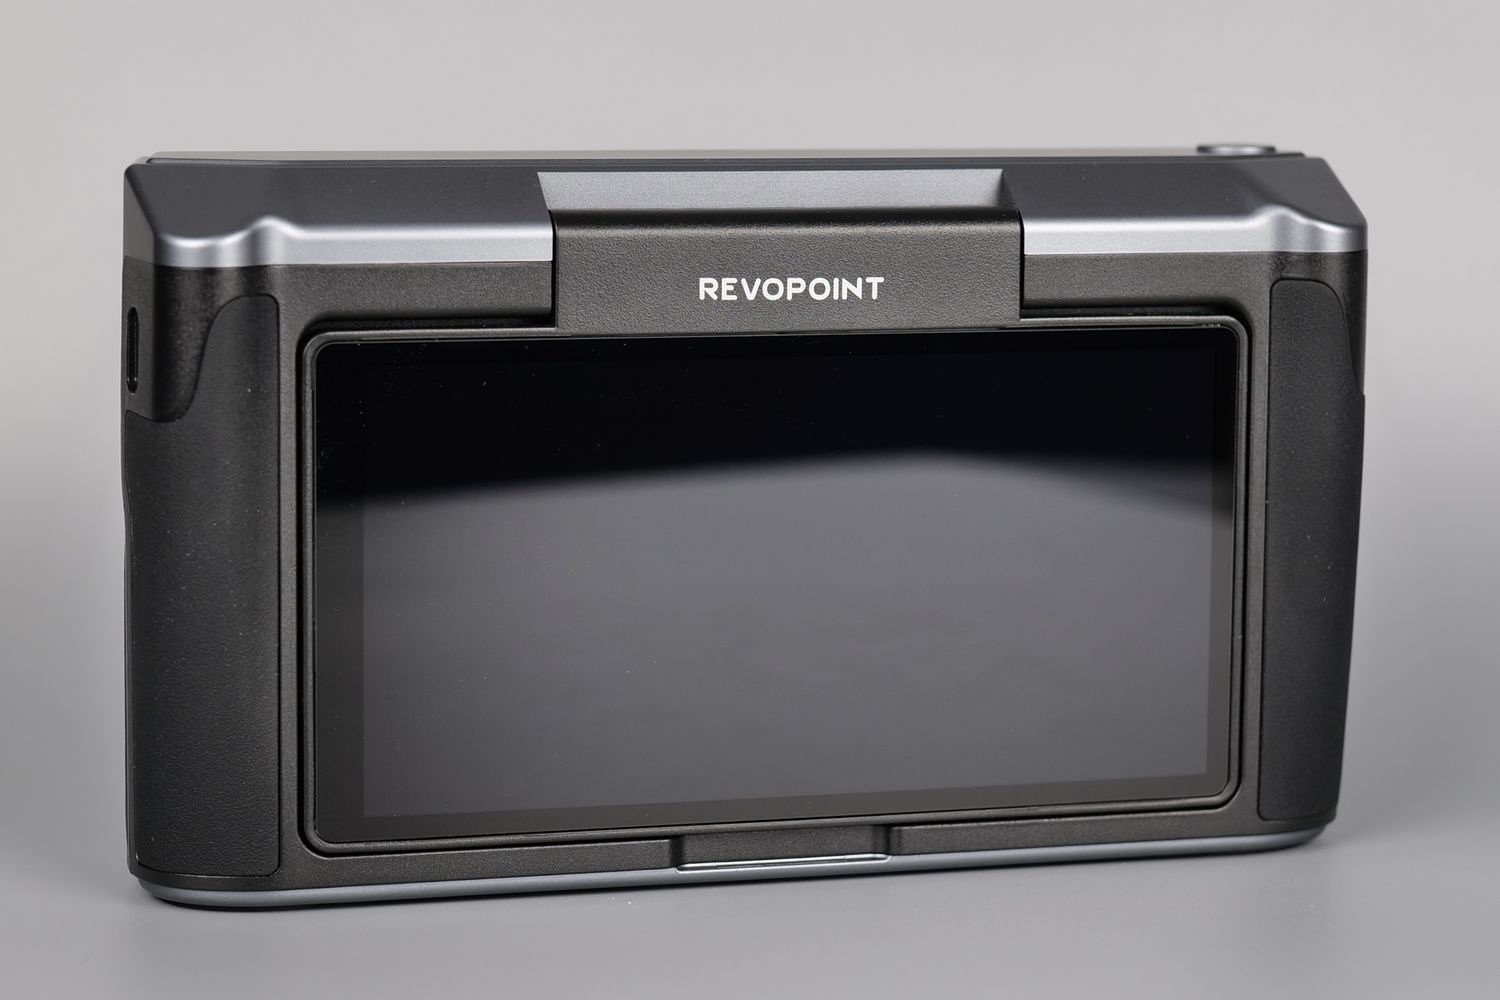
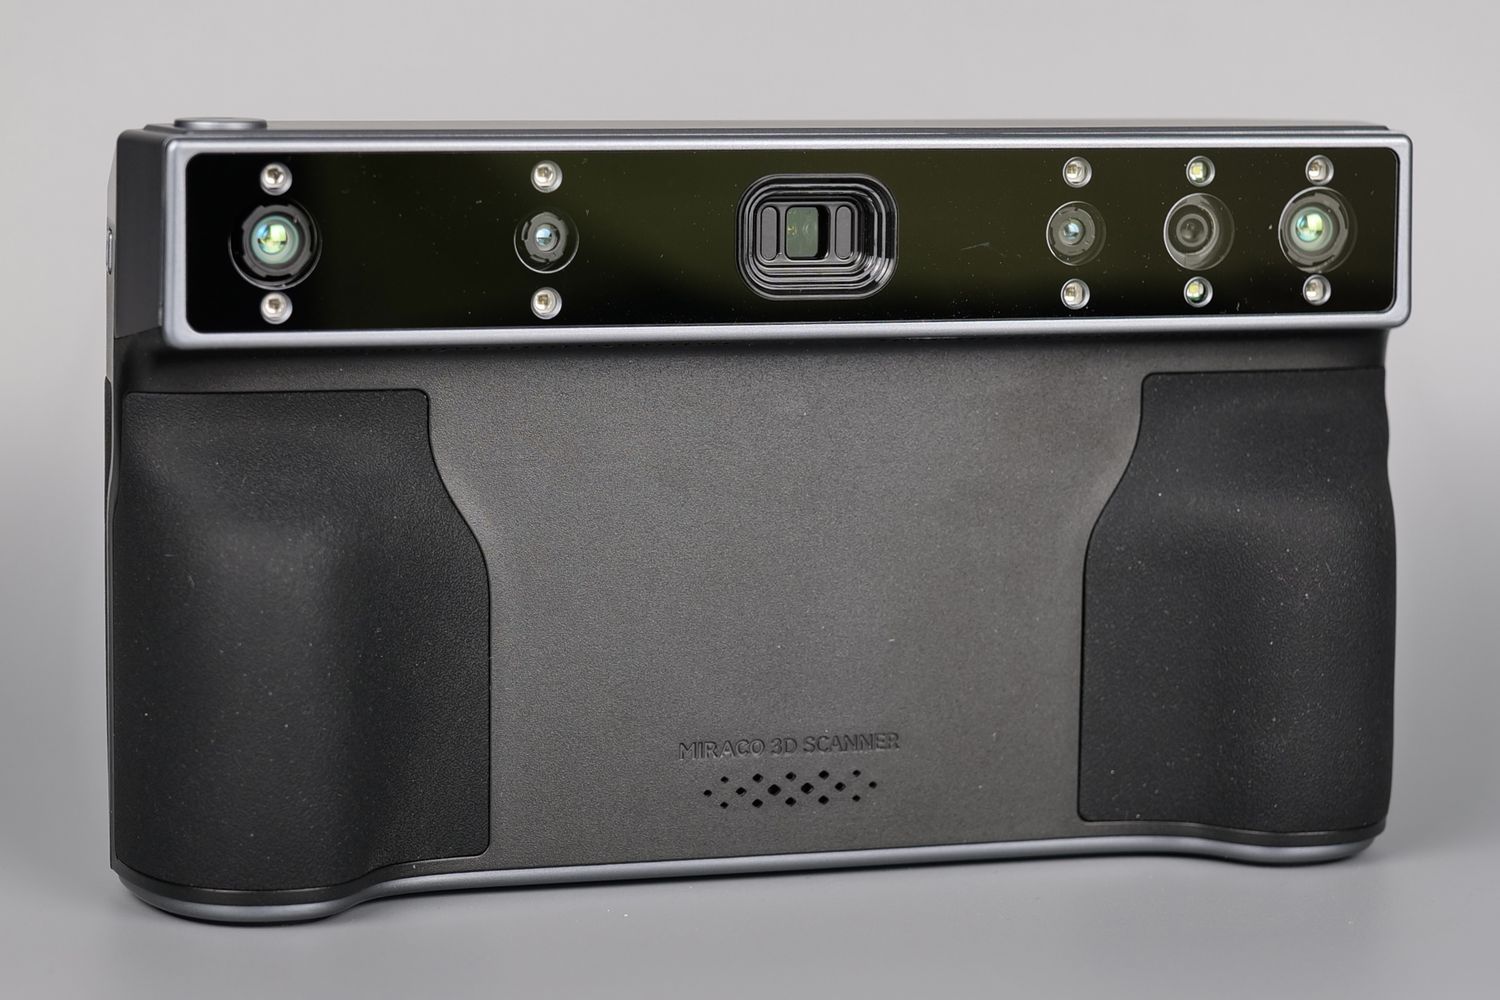
The bottom section of the scanner also has a set of rubber feet to keep it stable on a table, but due to the overall size of the scanner, I found that it’s a bit easier than expected to touch it by mistake, and for it to fall on its screen due. Of course, not a big issue, but something to consider when you place it aside, to avoid damaging the screen.
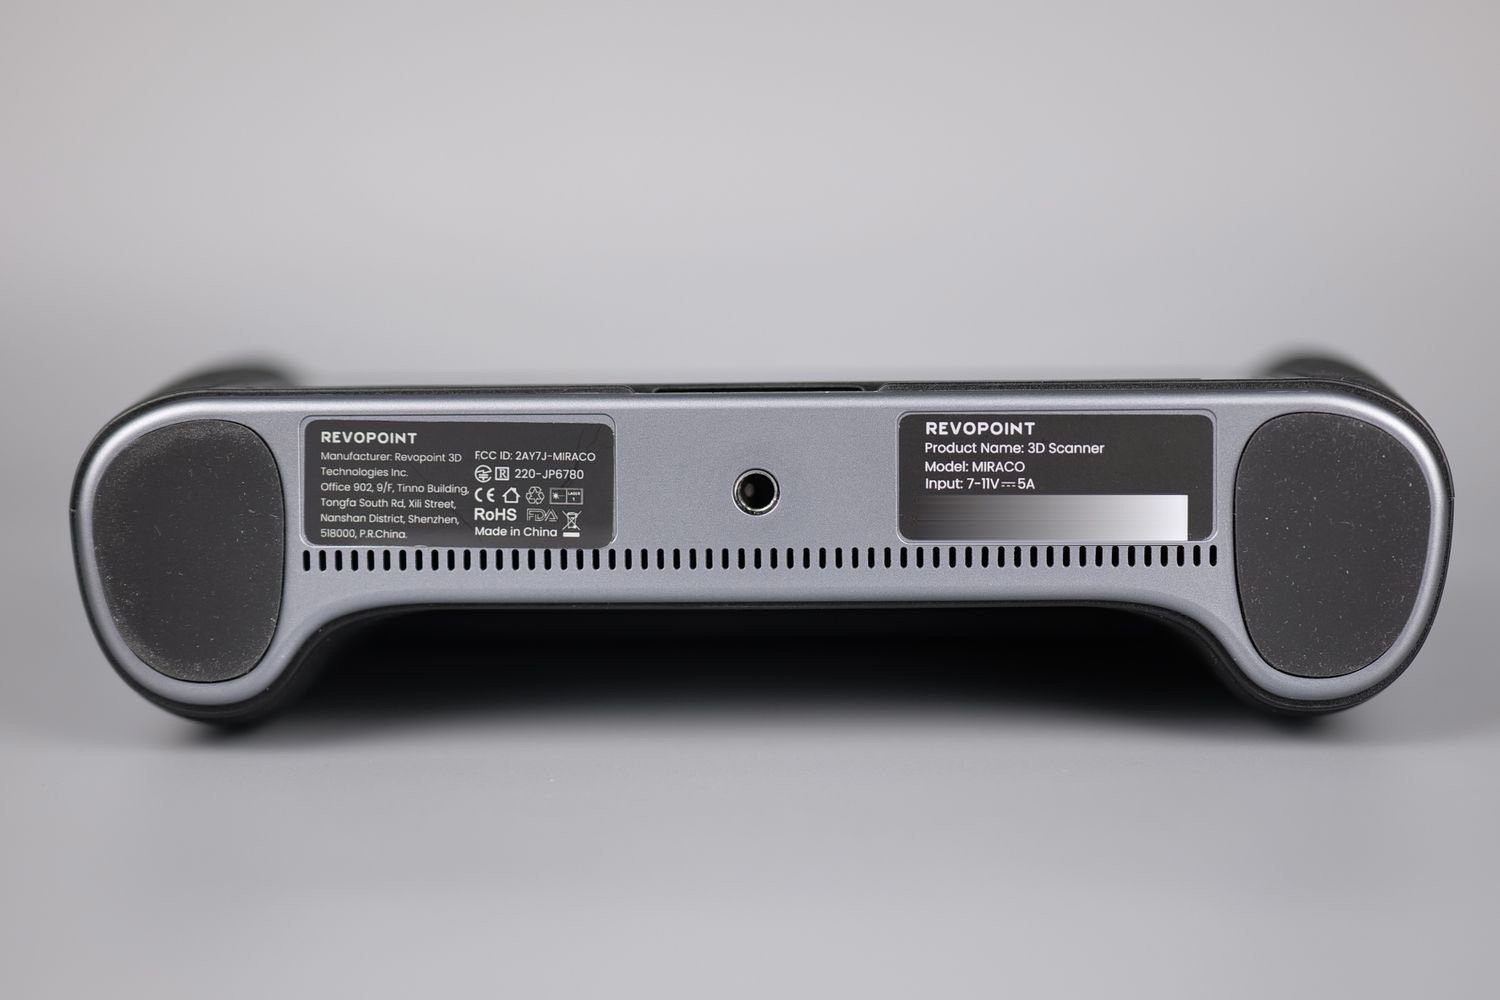
The bottom side also has the mount to attach it on a tripod, and the small grills which allow some airflow inside the unit to avoid overheating.
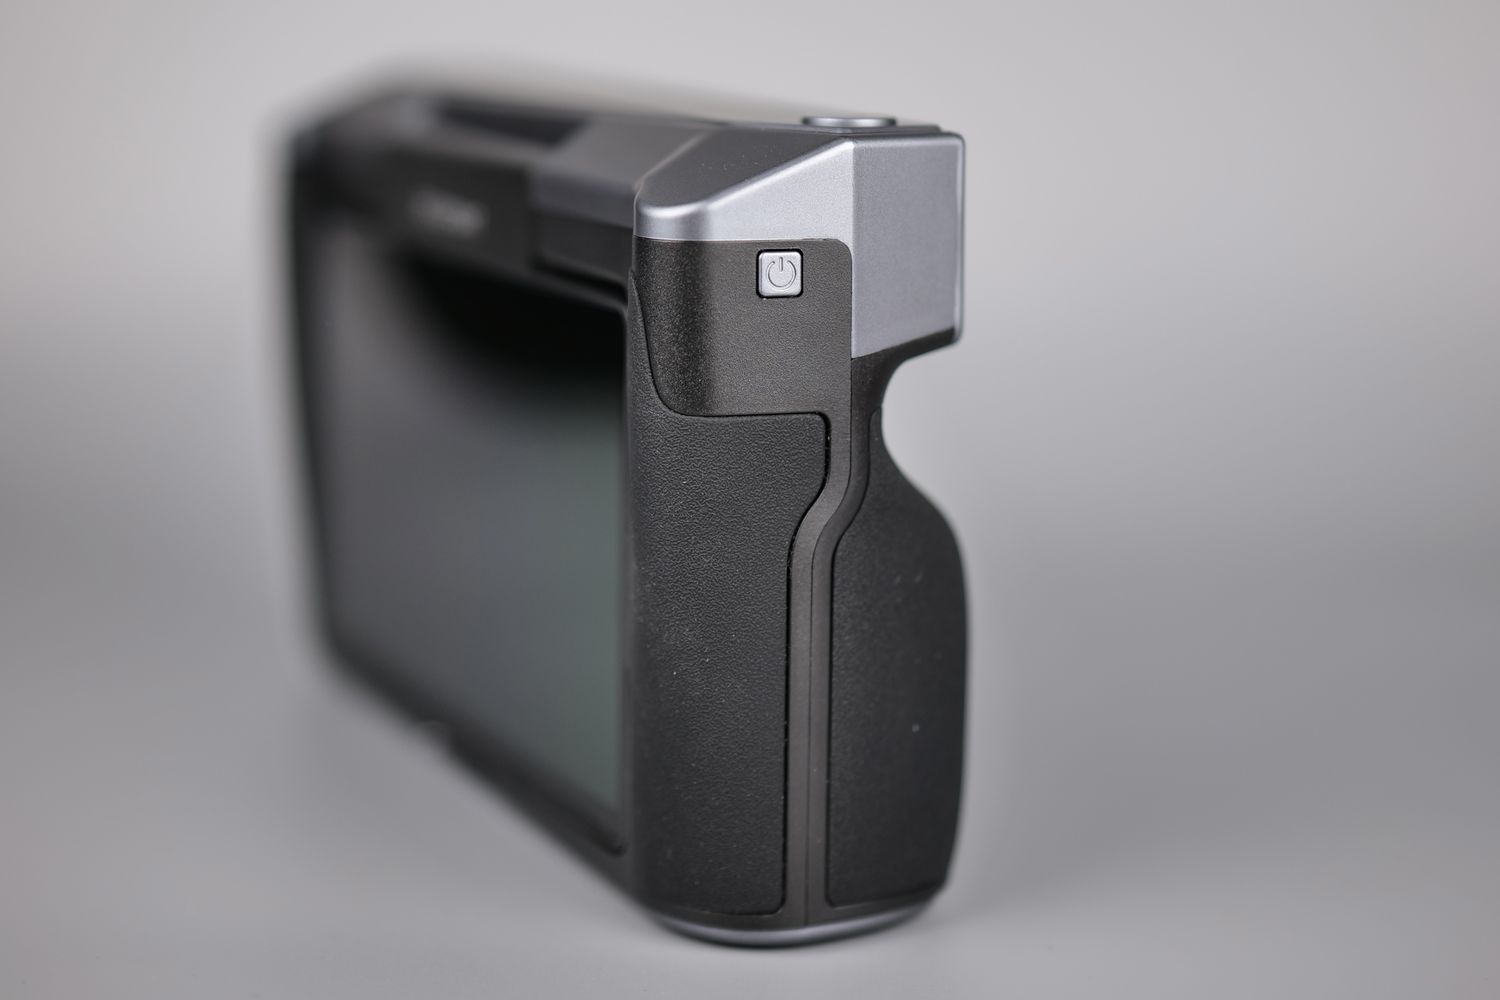
On the right side of the scanner, there’s the ON/OFF button, and on the top you have the very useful button which allows you to start a new scan or to pause it while you adjust the position of the 3D scanned model.
Revopoint MIRACO Specs
| Device size | 200x50x110mm |
| Weight | 750g |
| Technology | Structured infrared light system with quadruple depth camera |
| Frame-by-frame accuracy | up to 0.05mm |
| Single detection range at close range | 28×53 at 100mm |
| Single detection range from the furthest distance | 975 x 775 at 1000mm |
| Min. scan volume | 10x10x10mm |
| Max. scan volume | 4000x4000x4000mm |
| Scan modes | Single shot mode Continuous capture mode |
| Scan speed | 15 fps |
| Scan area | 100-1000mm |
| Display | 6-inch 2K AMOLED touchscreen |
| Additional light | Infrared fill lights, flash light LEDs |
| 3D light source | Infrared light, class 1 |
| Storage | 256 GB eMMC |
| RAM | 16 GB |
| RGB camera resolution | 48 megapixels |
| CPU | 8-core CPU, 2.4 GHz |
| Battery | Internal lithium battery, 5000 mAh |
| Protection class | IP45 |
| Connectivity | USB Type-C, Wi-Fi-6 |
| Operating system | Windows 10/11, macOS |
| Slicer formats | PLY, OBJ, STL |
| Tracking methods | Feature, marker |
8Core CPU / 16GB Ram / 256GB Storage
When you purchase the MIRACO, you can choose between the regular version (which I am testing) and the MIRACO PRO.
The main difference between them is that on the PRO version, you get double the RAM (32GB) allowing for double the amount of captured images in color and non-color scans. The regular version can capture up to 5000 images for non-color scans and up to 4000 images with color scans, while the PRO version captures up to 10000 images for non-color scans and up to 8000 images for color scans.
Personally, I don’t think the PRO version is a big step-up over the regular version, and I would only recommend considering it if you do really large scans that require the extra capabilities.
0.05mm accuracy and up to 0.02mm precision
With the scanning sensors present in the front of the device, the MIRACO boasts a 0.05 mm accuracy and 0.02mm precision. Unfortunately, I do not have the means of accurately measuring these values, but based on the results I got, they seem correct.
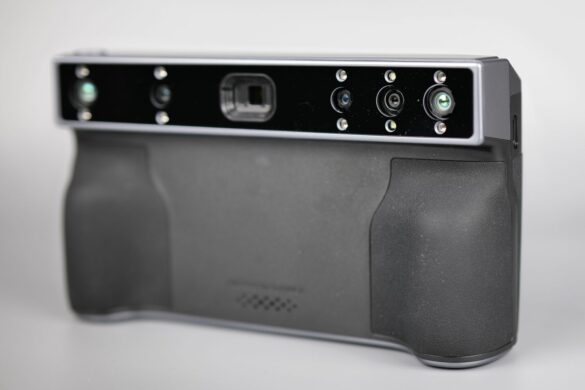
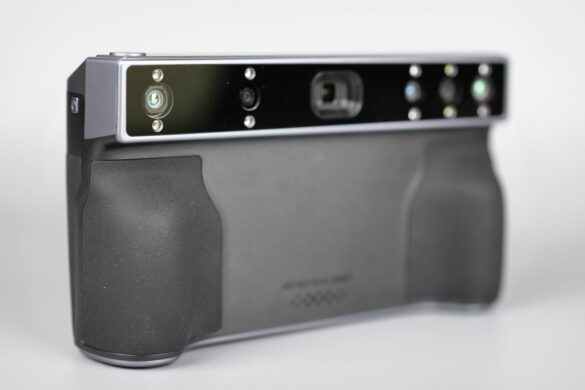
Up to 15 FPS scanning speed
While the unit has an up to 15 FPS scanning speed feature, the other scanning options are not falling too much behind. I was able to consistently get over 10 FPS when scanning in the different modes of the MIRACO.
Considering that the 15FPS scanning option can help you complete the job faster, I also believe that the slight bump in scanning speed is not worth the higher chance of encountering a problem during the scan, so for me this option is not very useful.
8K color capture, single and continuous shot
When it comes to the color capture capabilities of the MIRACO, the marketing material boasts an 8K color capture capability, which is probably related to the 48 Megapixel RGB camera hardware equipped on the scanner.
While the resolution of the color capture might be 8K (unfortunately, there’s no good way to test this) don’t expect the captured scan result to be as pixel-perfect as an 8K image. The scanner can capture detailed shots, but the end result will always look a bit inaccurate or faded due to how the meshing technology works.
6-inch 2K AMOLED touchscreen with 180 degree adjustability
The AMOLED touchscreen from the MIRACO is excellent. It has great view angles, great colors and better than good brightness. It could be slightly harder to see the contents of the screen when there’s powerful light outside, but it’s also not recommended to scan during that period, so I don’t think there’s a problem here.
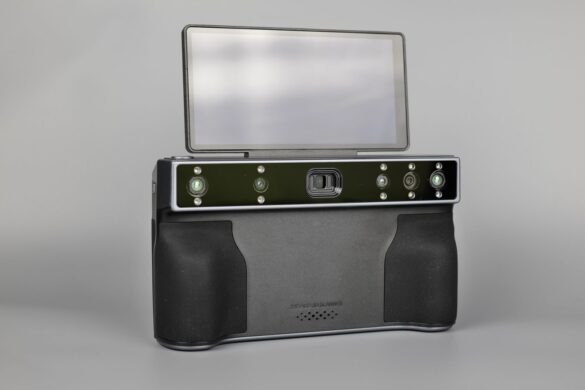
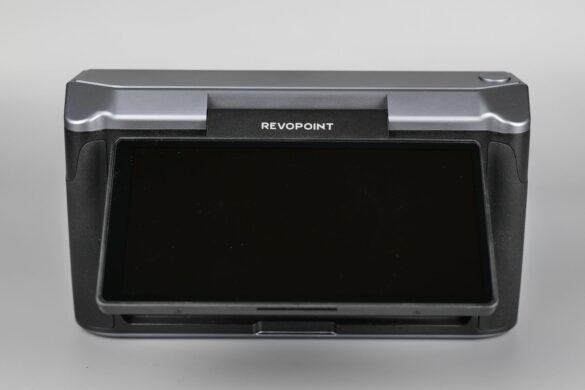
You have the possibility to adjust the angle of the screen up to 180 degrees which is a very welcome addition that makes the scanning procedure easier. Revopoint also mentions that you could use it to scan yourself, but I don’t feel like this is a great use case for the angled screen. Still, it’s possible if you need it.
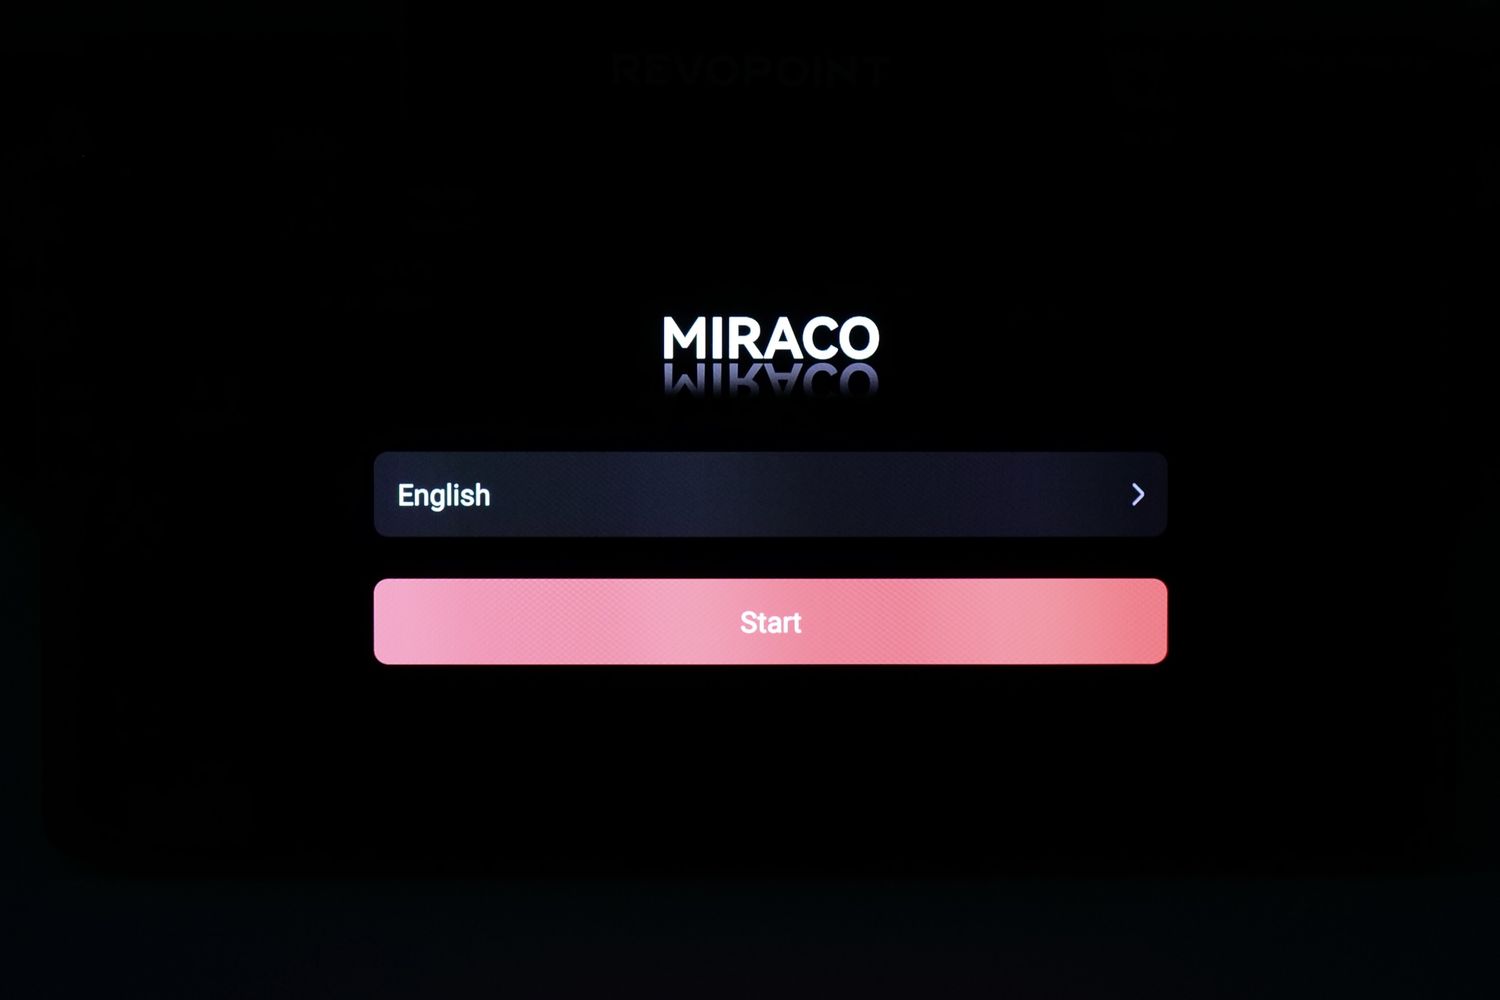
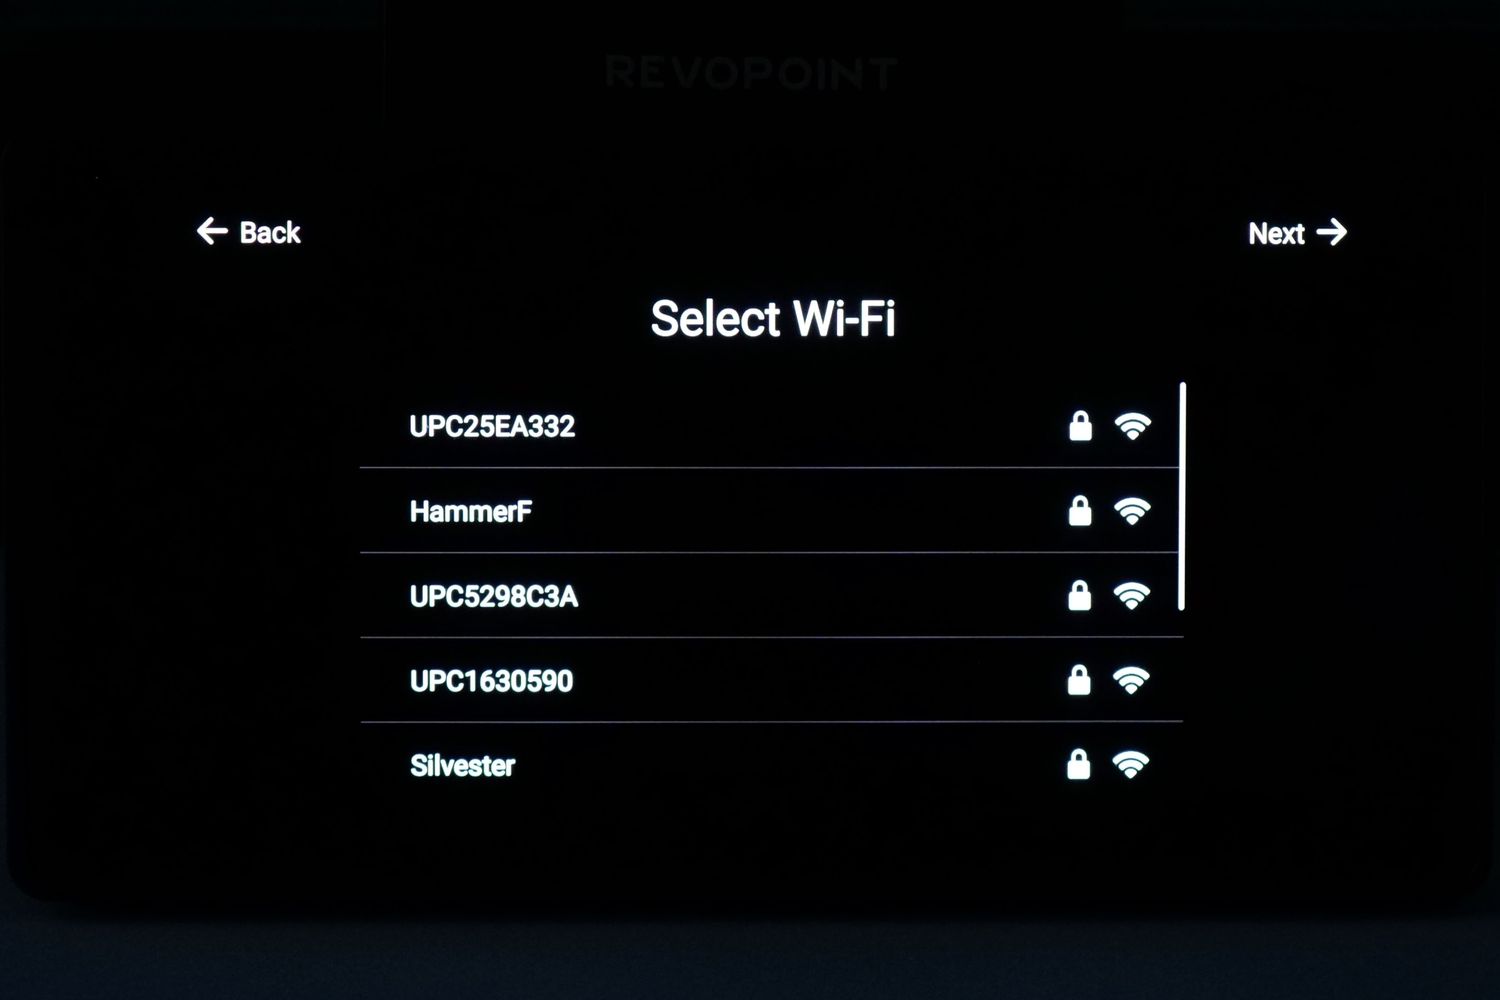
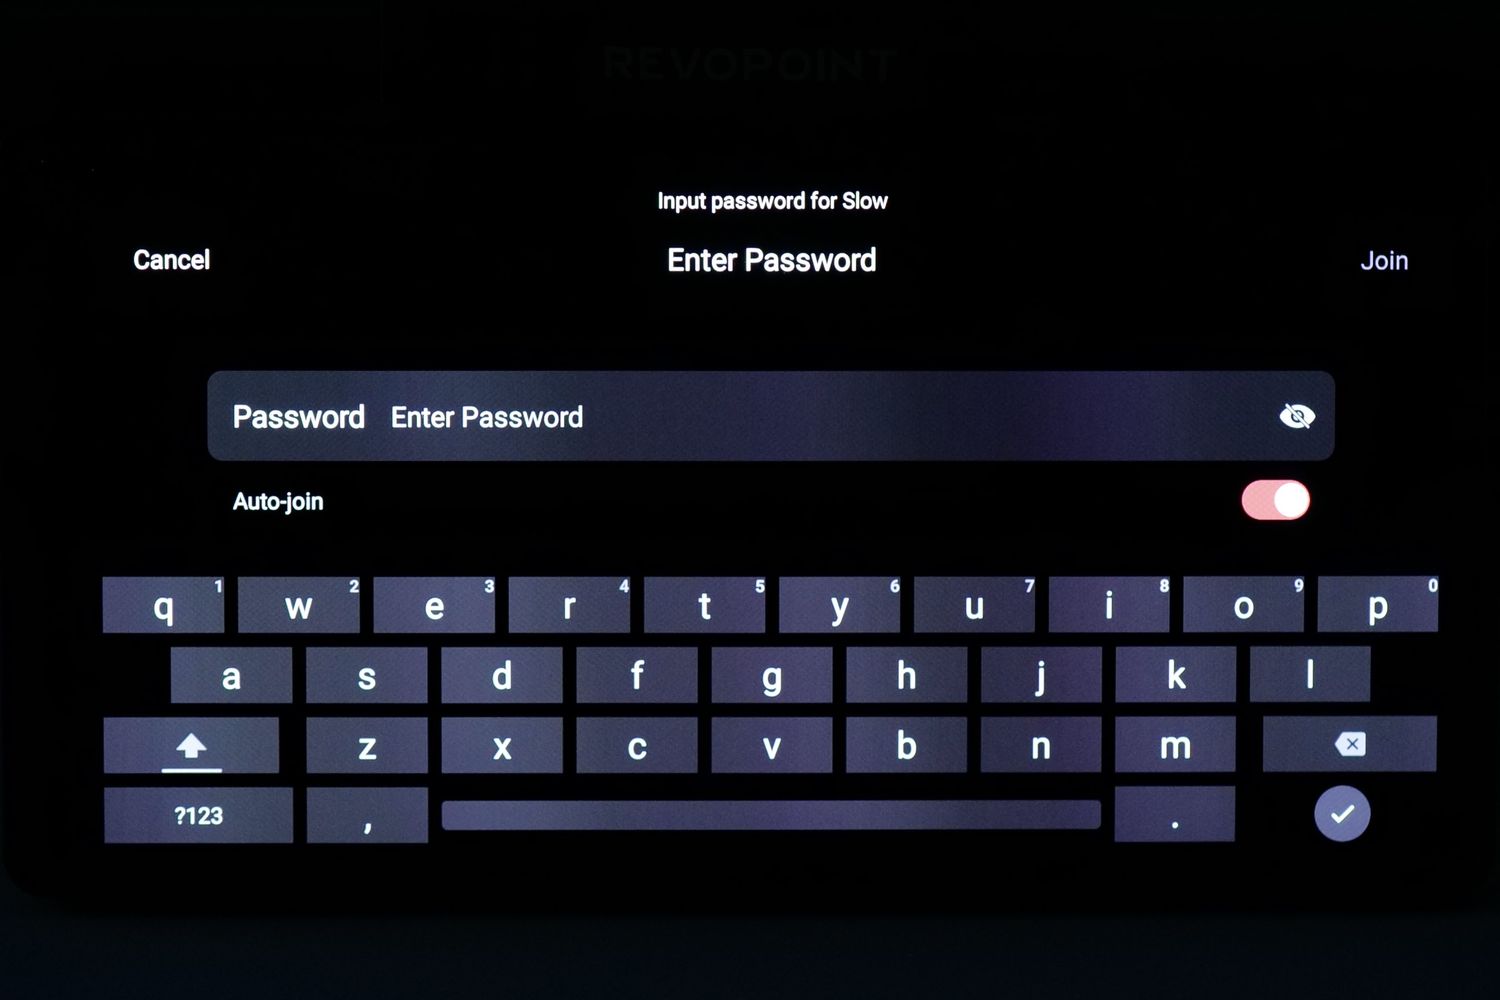
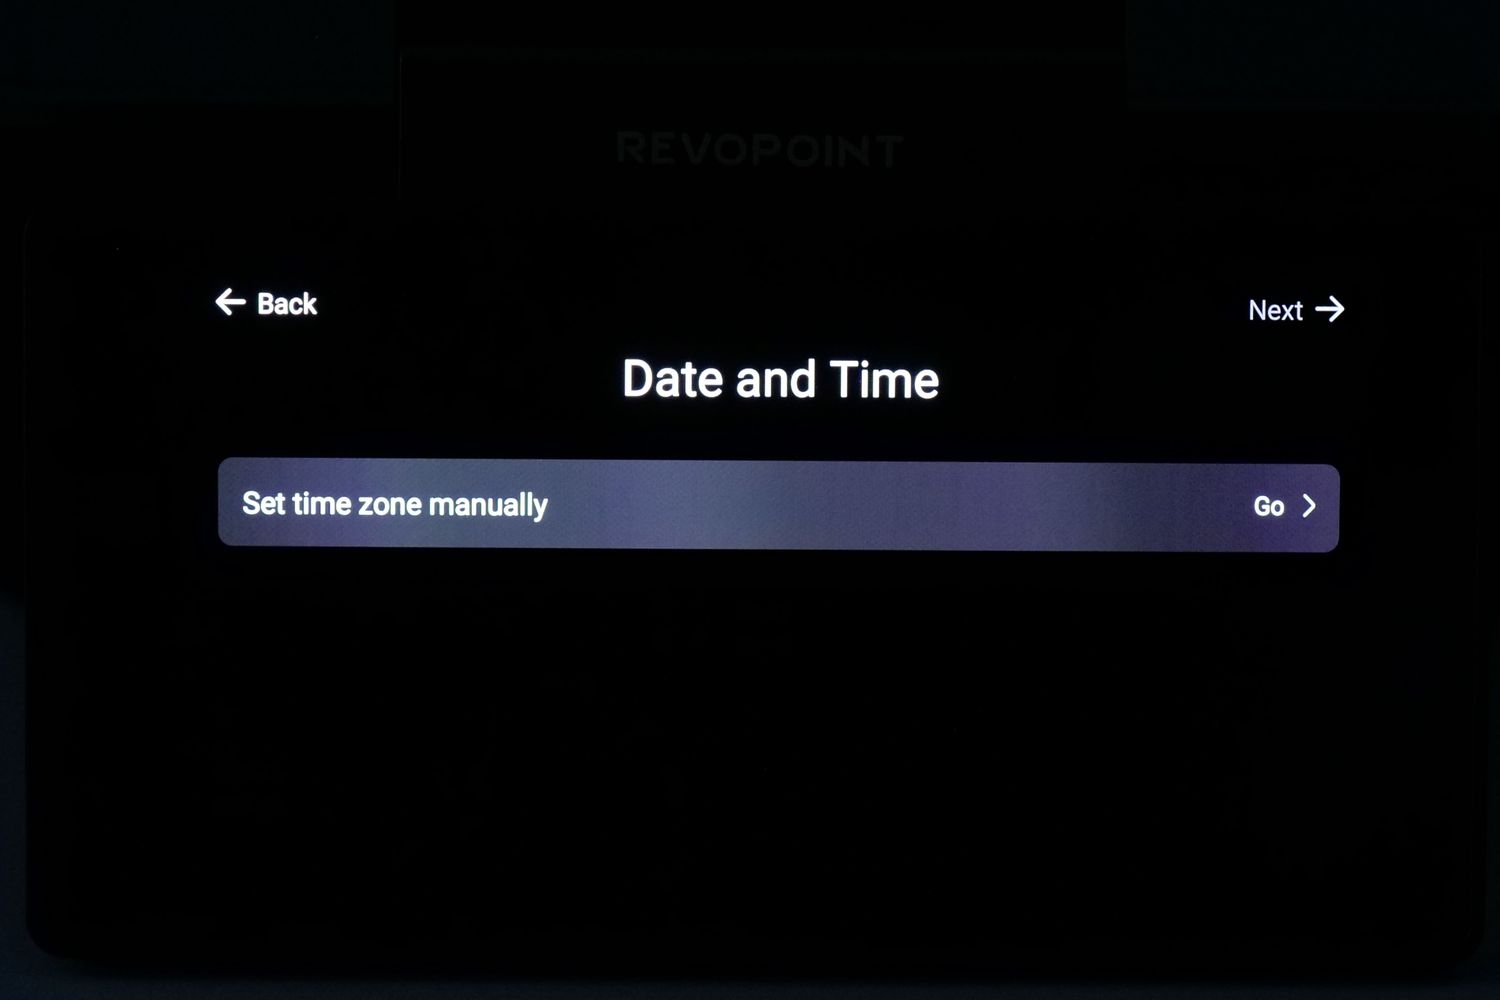
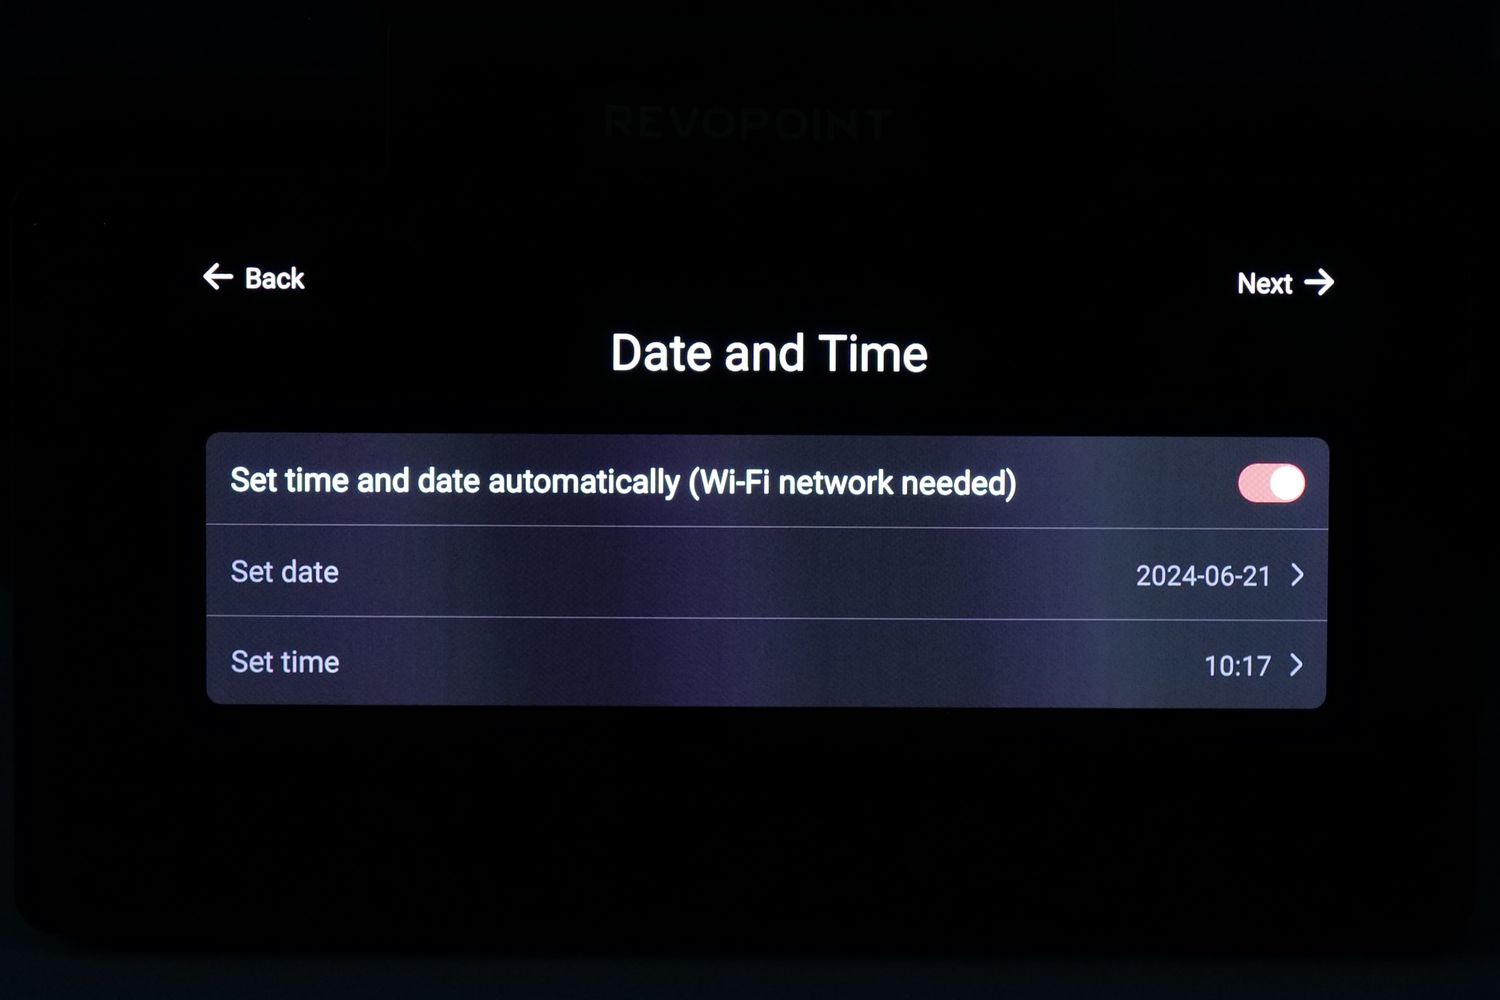
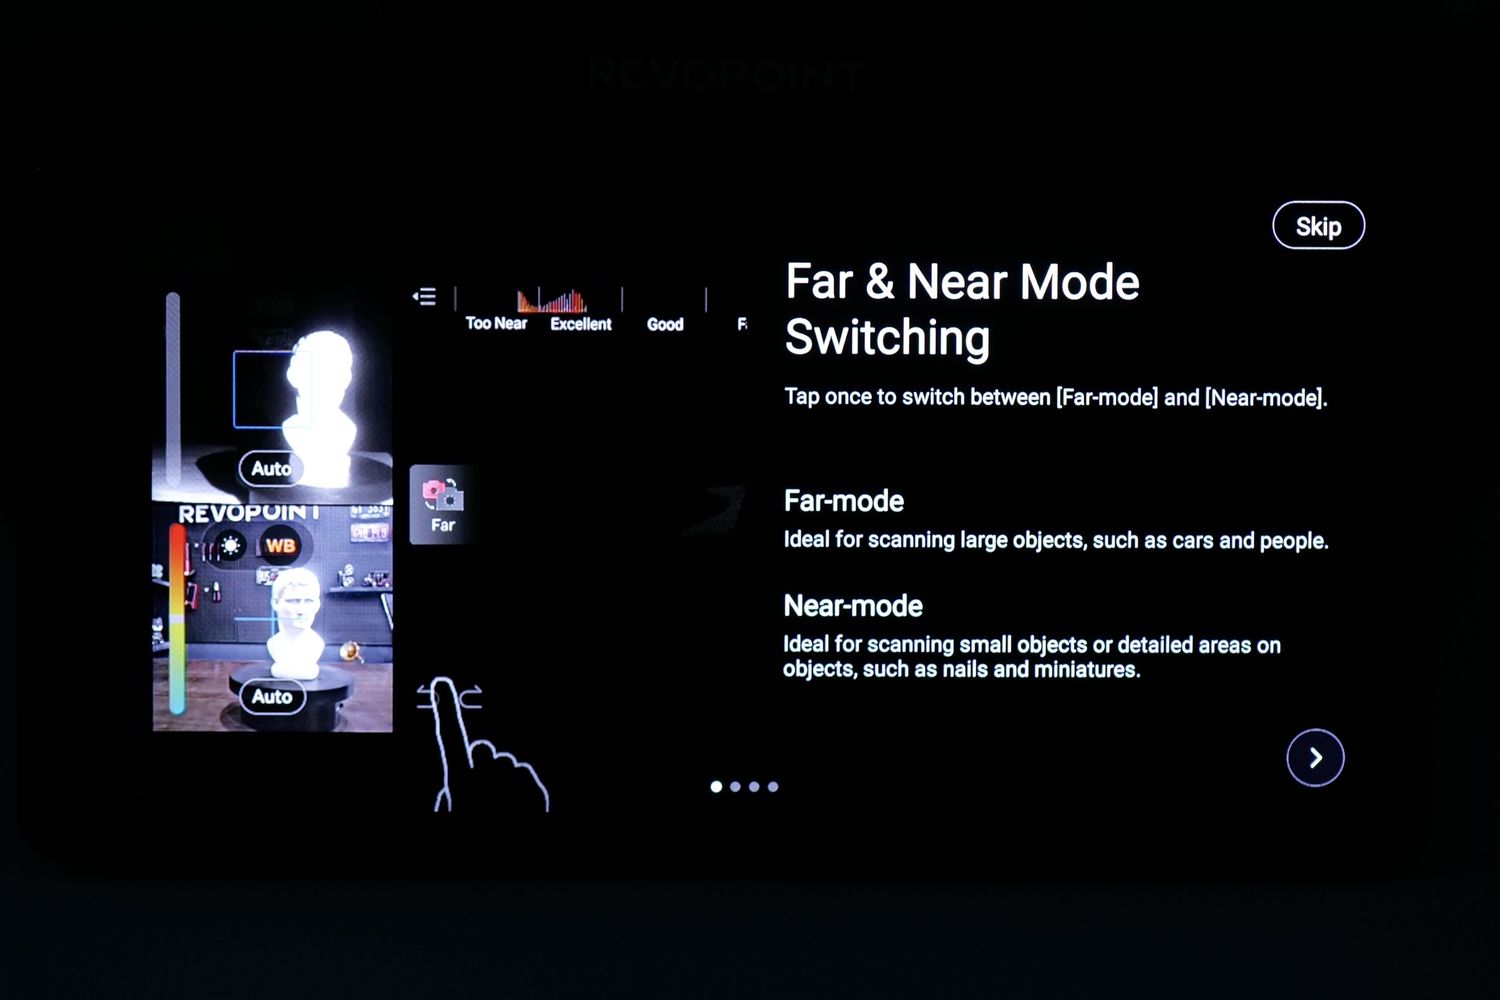
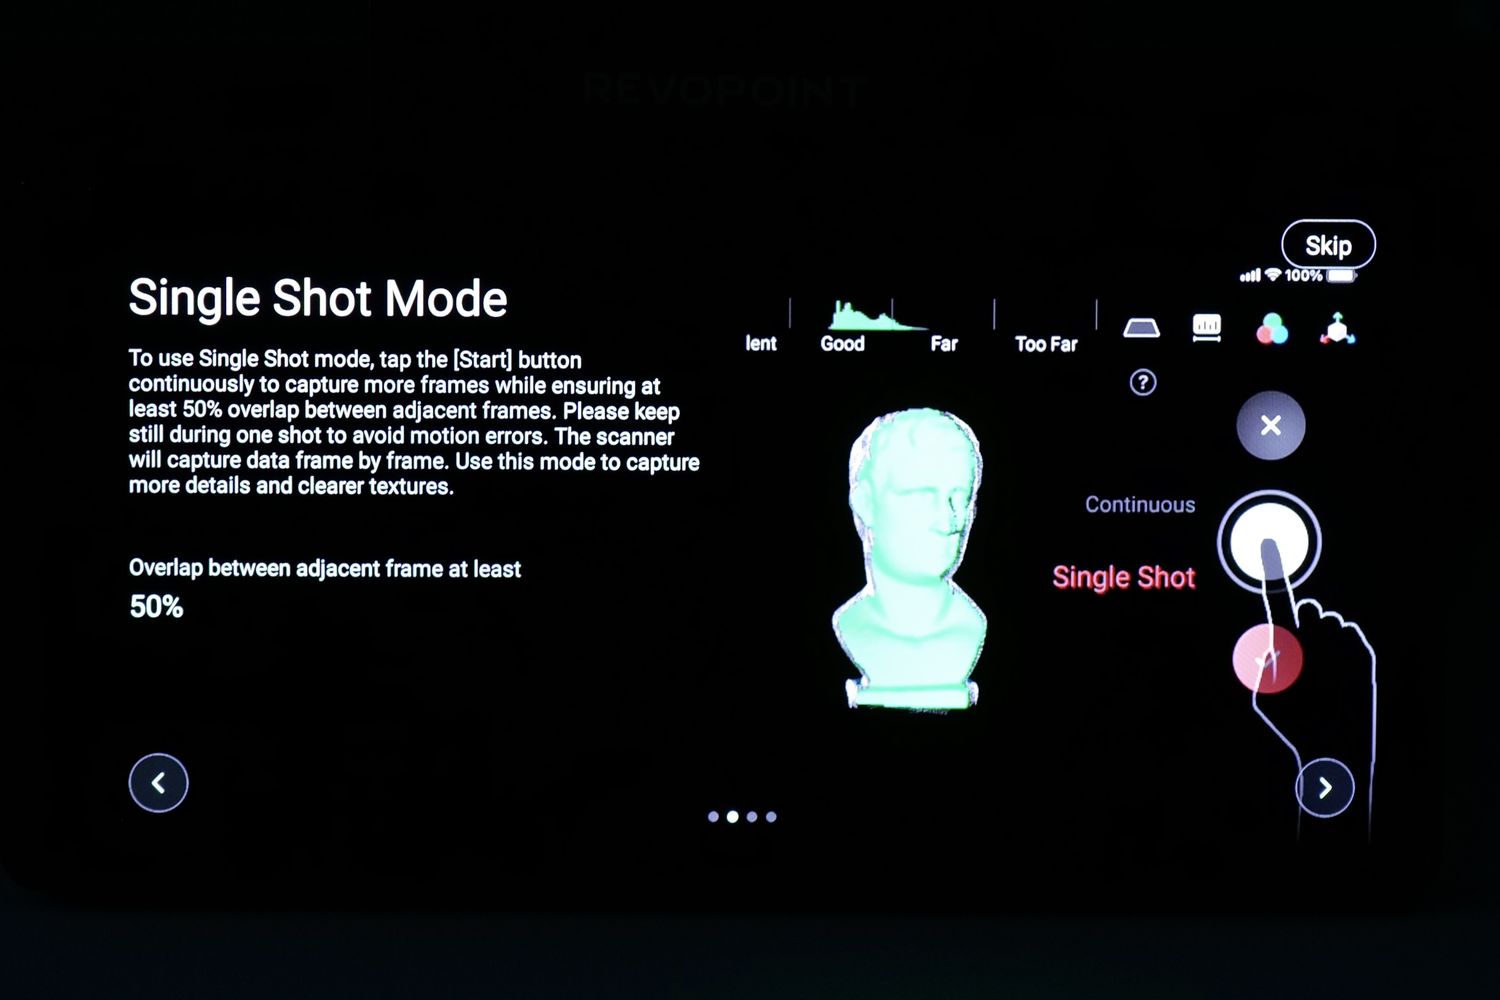
The screen interface and menu is fast and responsive, with nicely laid out menus and setup guidance. Setting up the scanner is similar to setting up a mobile phone for the first time, and in just a few minutes, you are ready to use the device.
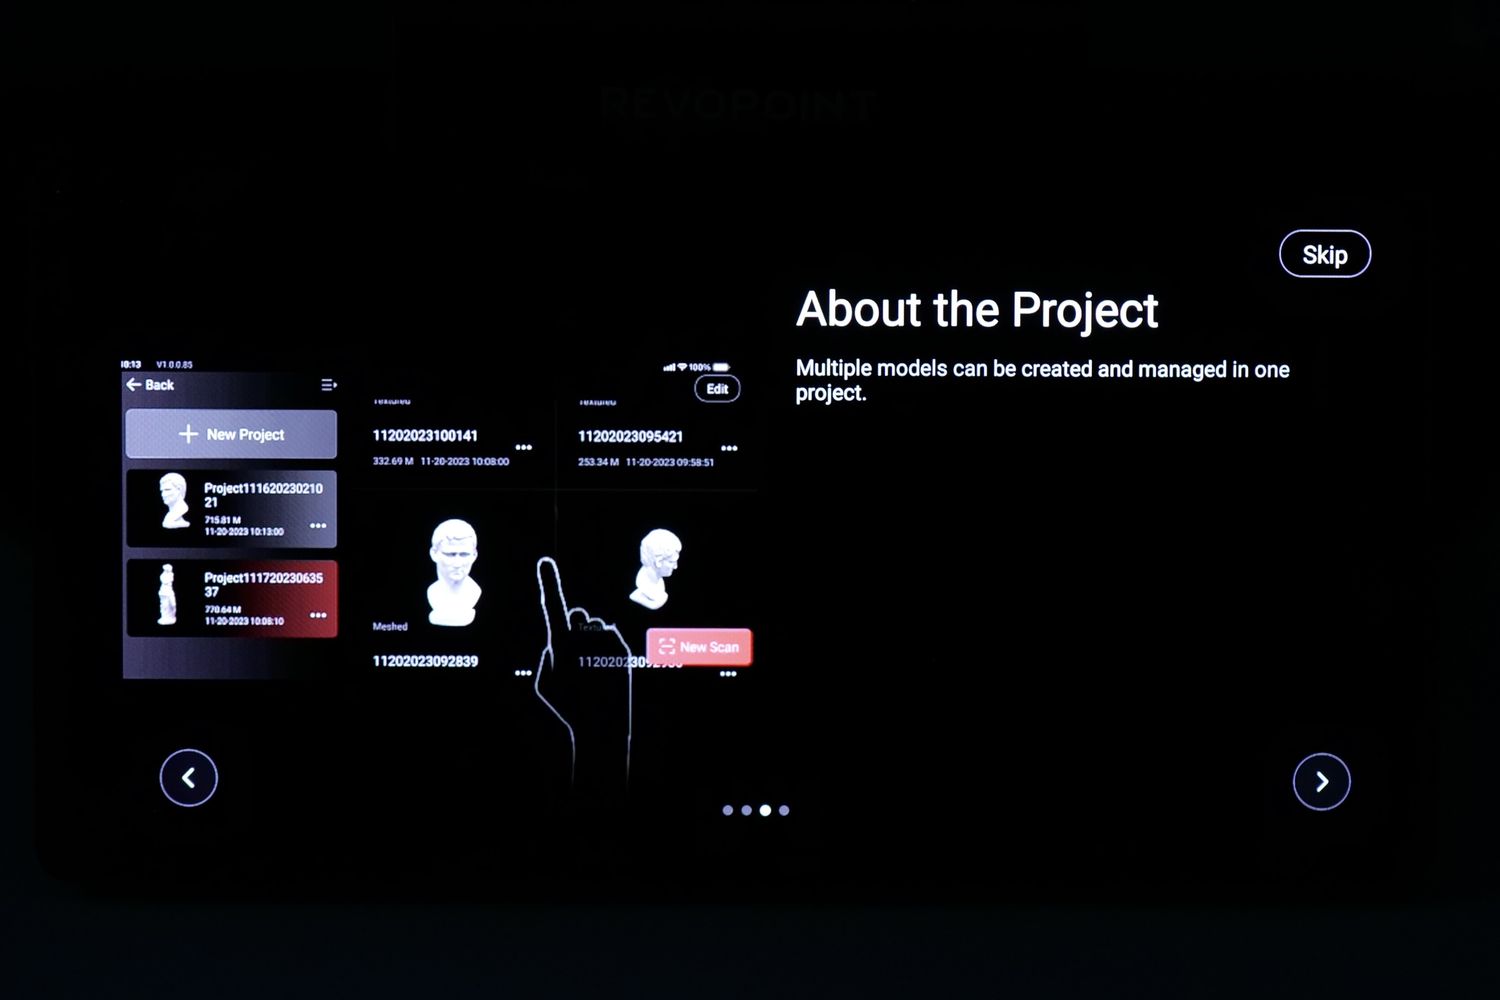
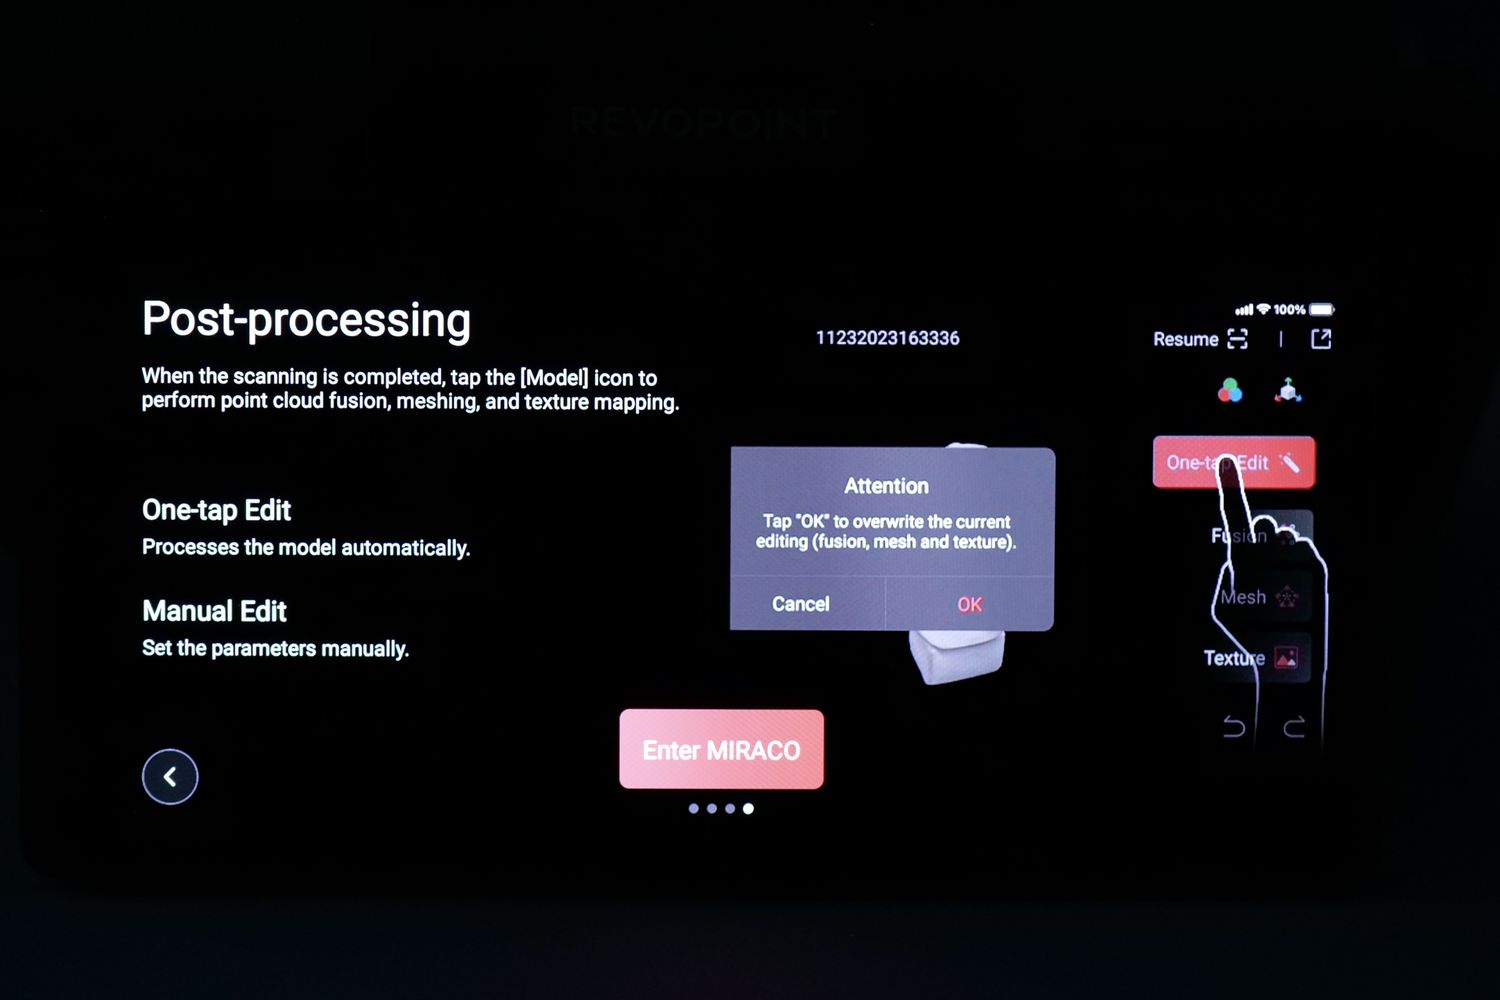
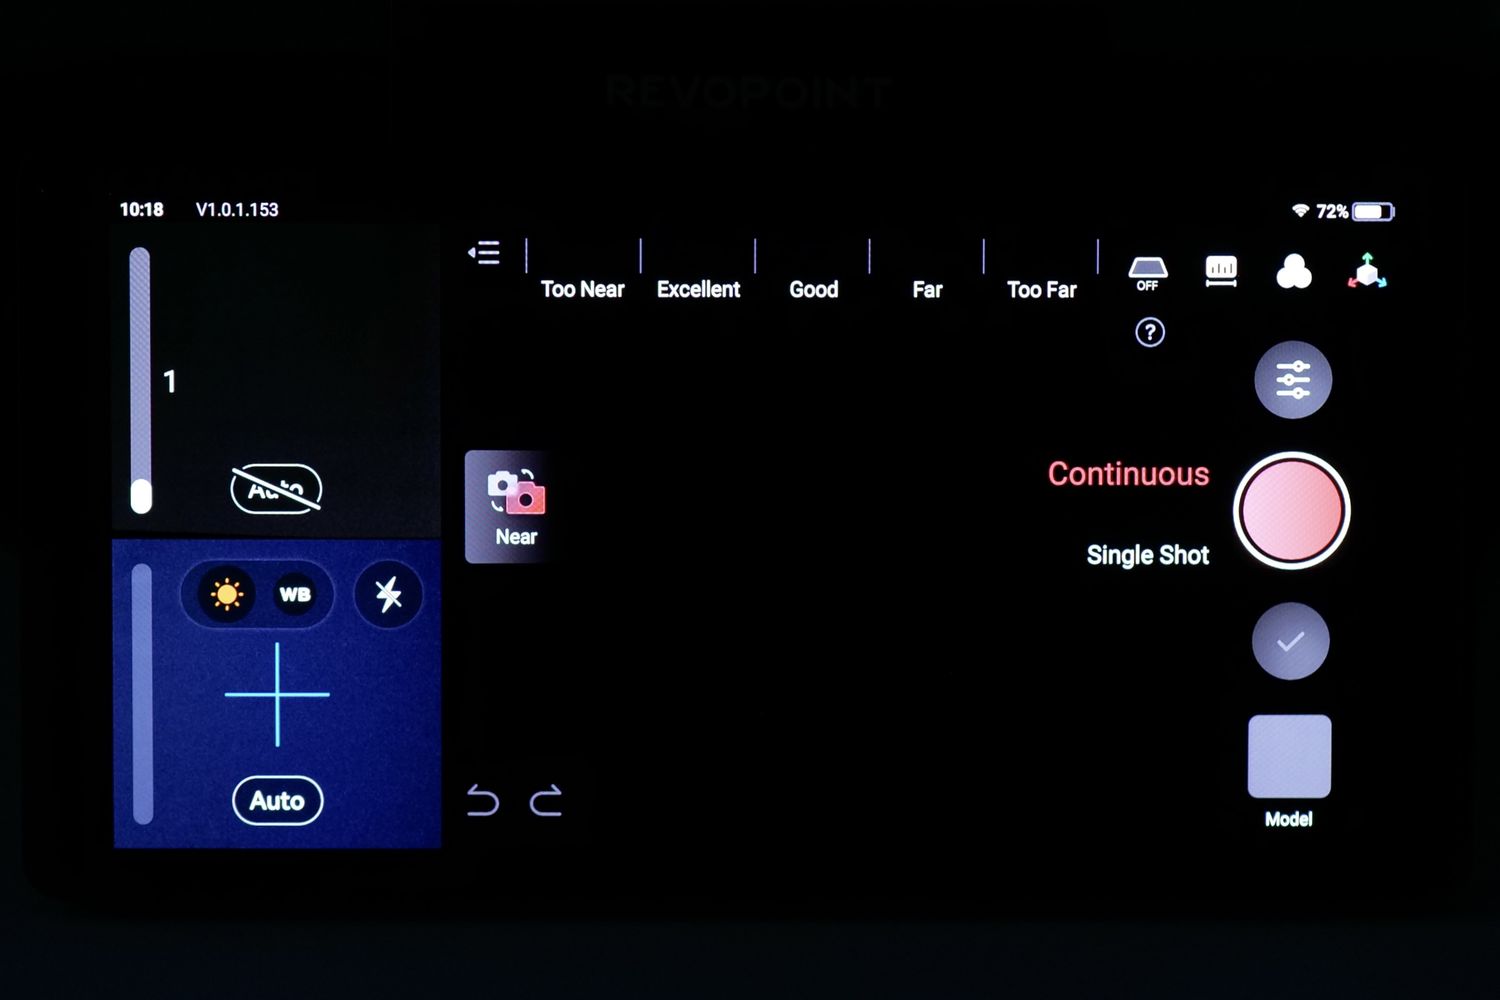
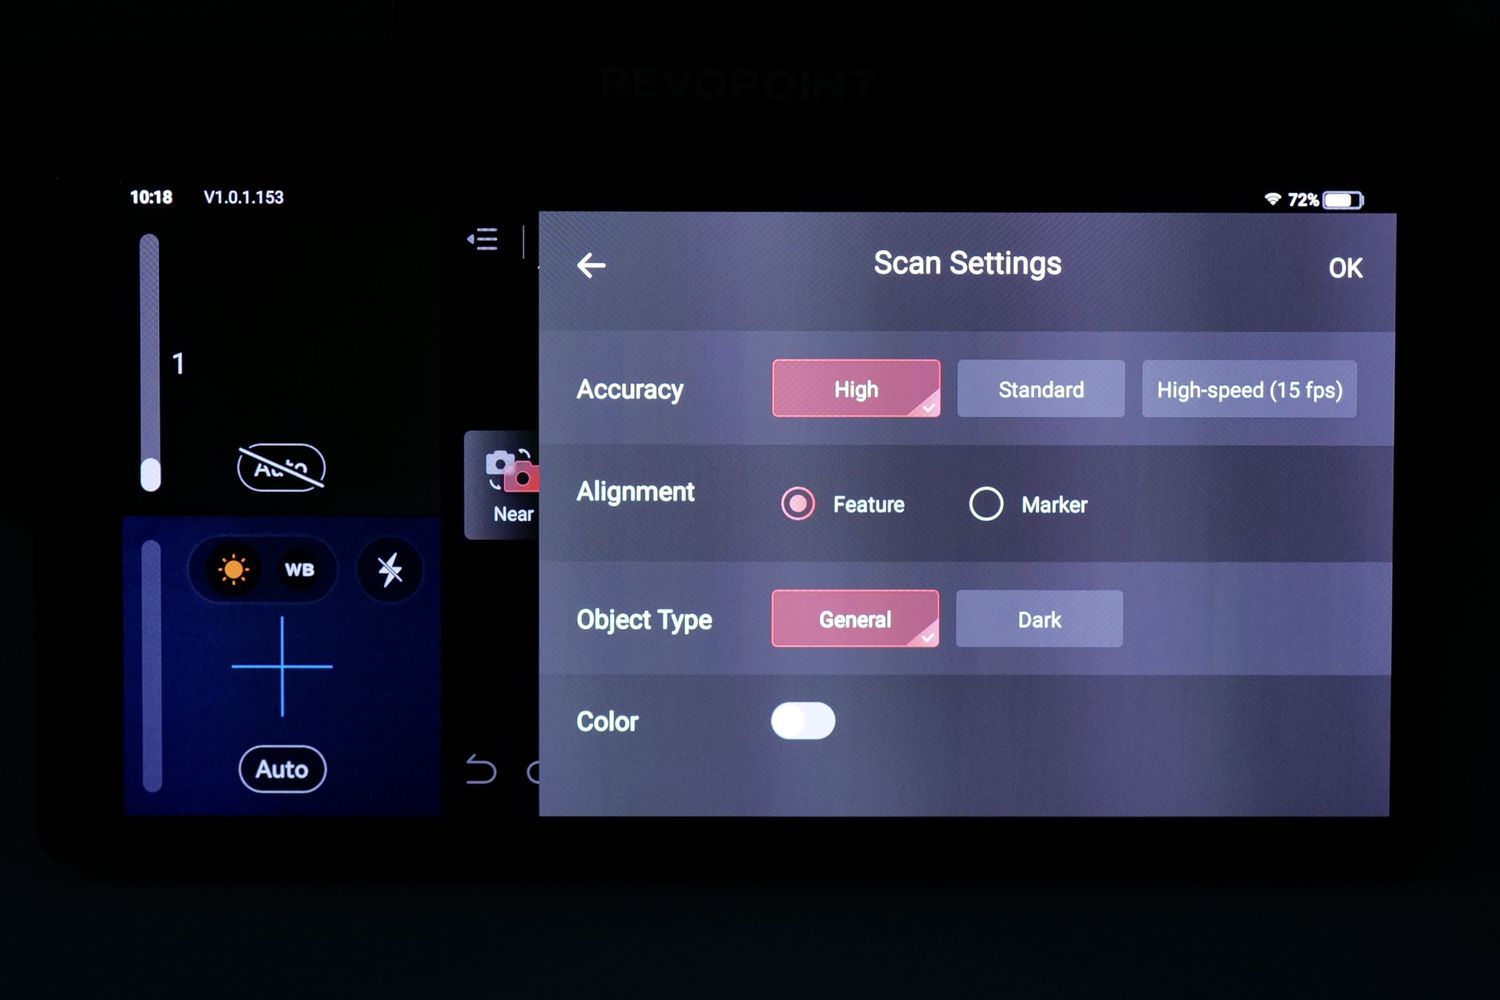
Revopoint MIRACO temperature
Considering that the MIRACO is actually a computer and 3D scanner combo, I was expecting for the device to get hotter, especially when processing the scans. But as you can see in the thermal scans below, the device reaches up to 44C after doing a scan and starting the auto-processing task.
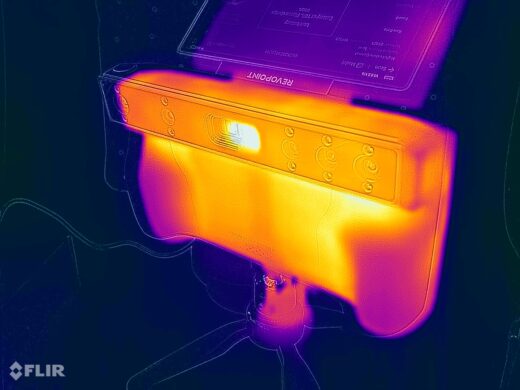
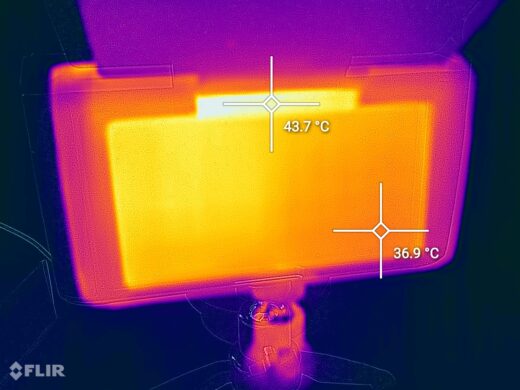
The device feels warm to the touch, but I can’t say this is not something expected.
Scanning procedure for Revopoint MIRACO
To scan objects using the Revopoint MIRACO, you just need to start the scanner then select the type of scan. The other default settings work well most of the time. I strongly recommend watching the Tutorial playlist from YouTube, to get a better understanding of how to get the best scan results.
Scanning Results of the Revopoint MIRACO
I have tested the scanning results of the Revopoint MIRACO by trying to capture a few models I had around the house. I’m a game figure collector, so I scanned a few of the statues I got in collector’s editions of games.
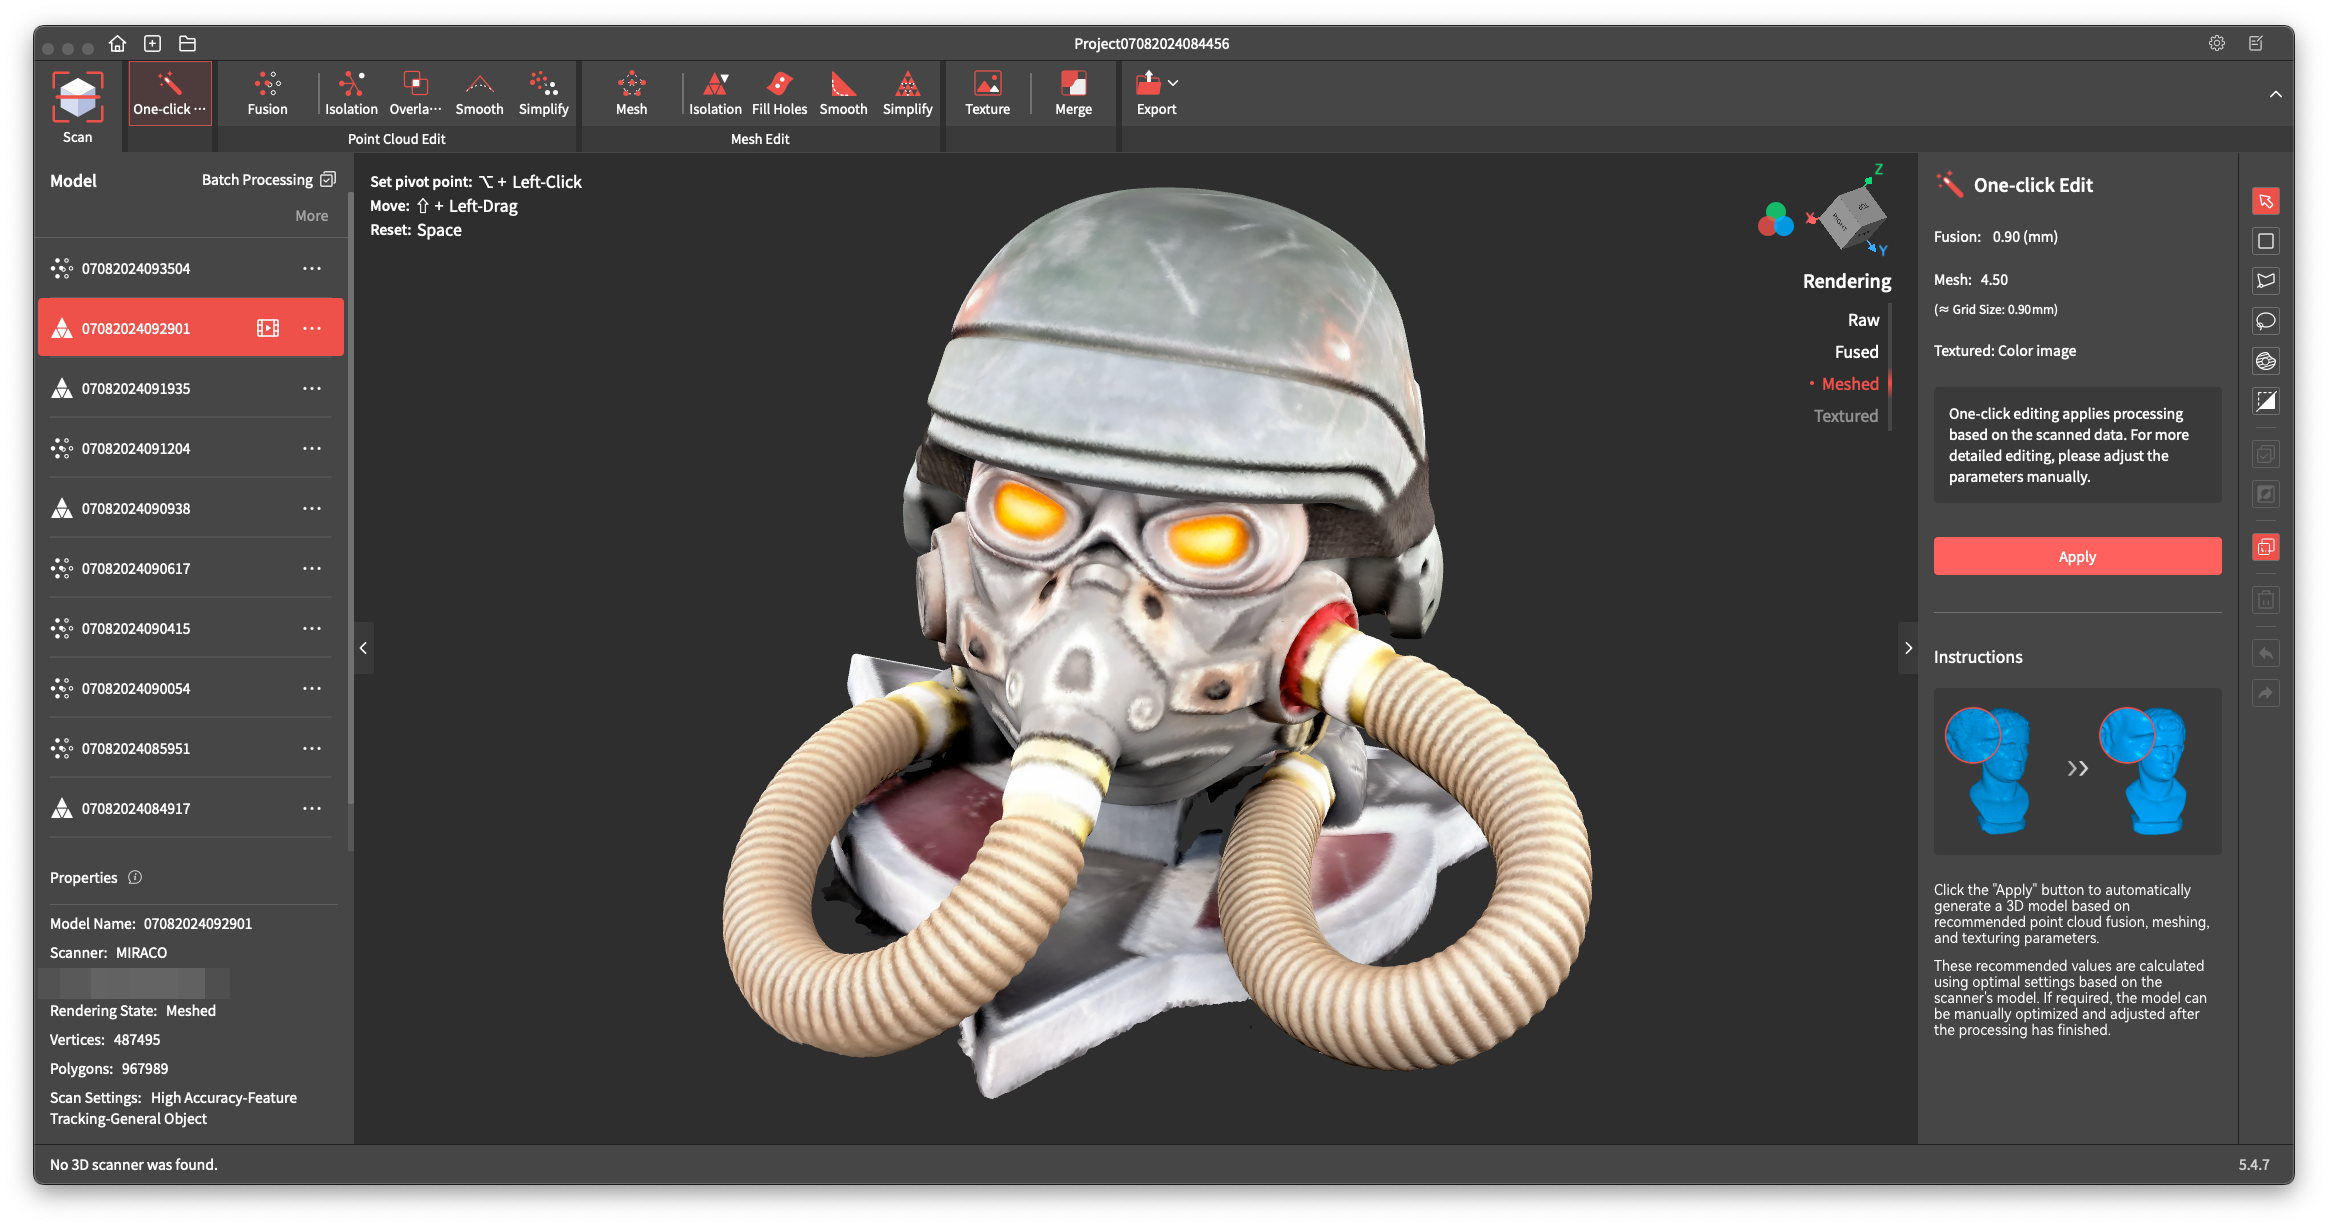
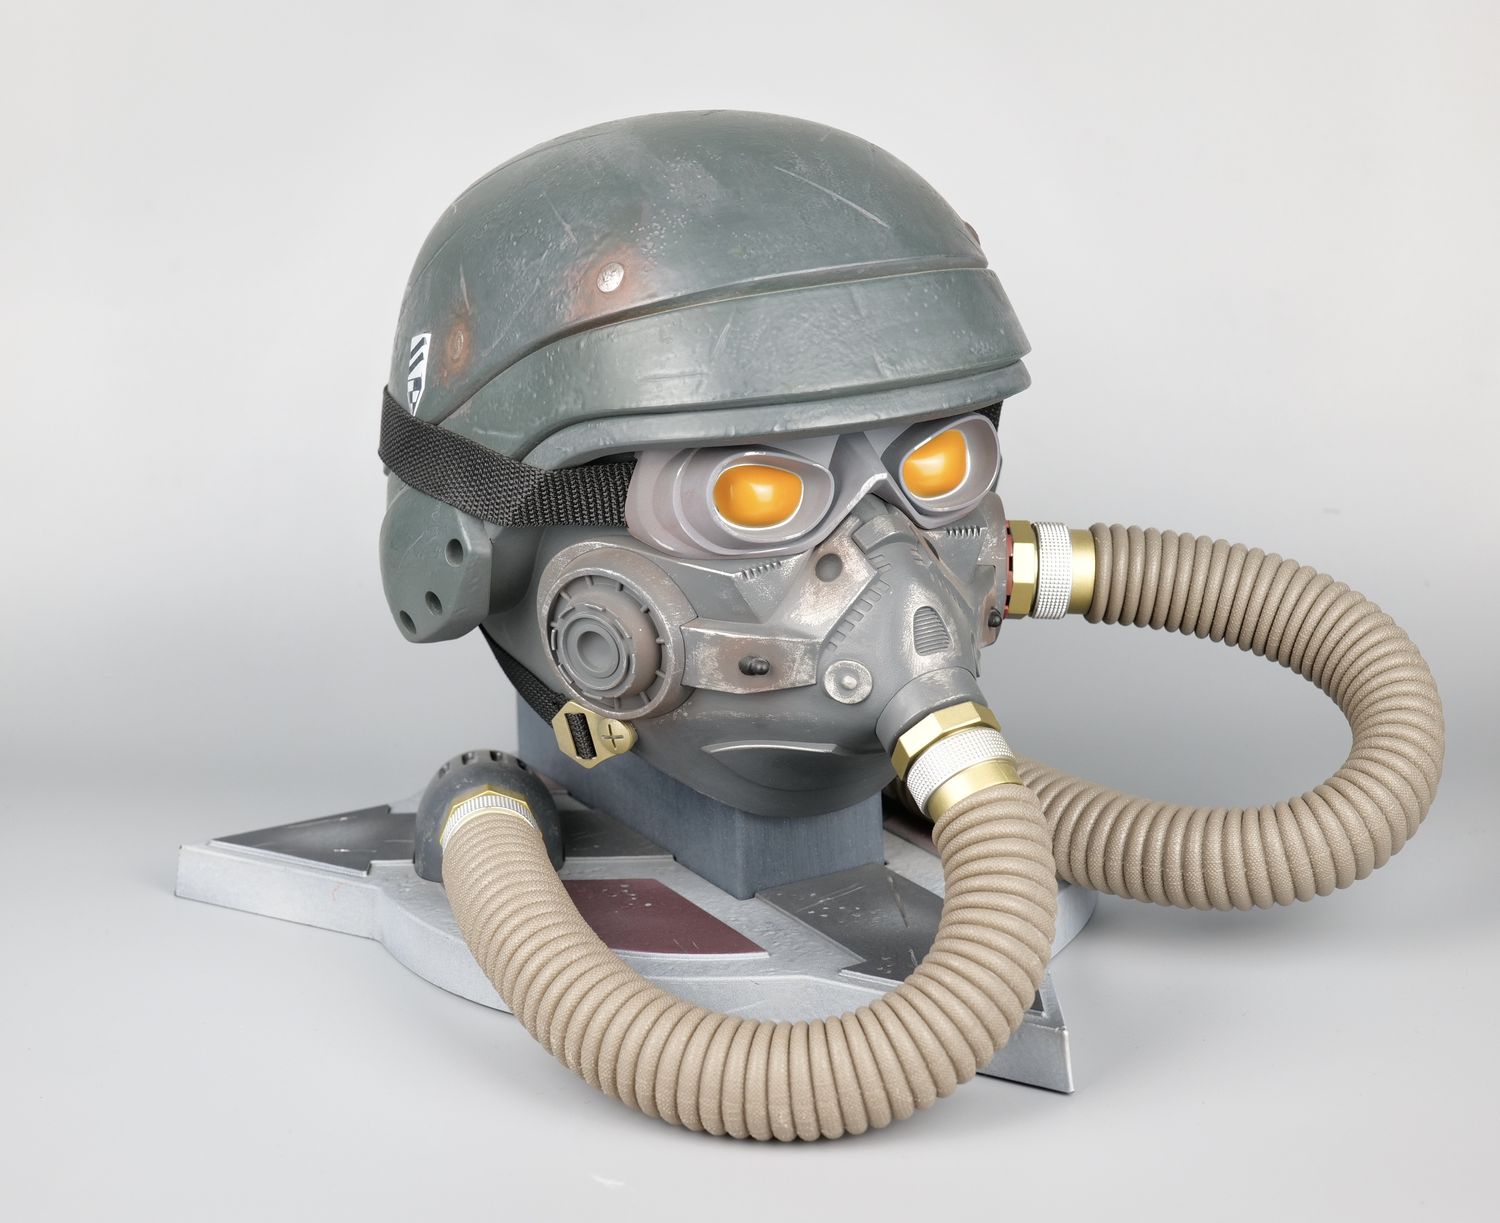
Killzone 3: Helghast Edition Helmet
The first test was with the Helghast Edition helmet included with the Killzone 3 game. I scanned this object because it didn’t have a lot of dark/black spots, which could be troublesome to scan, and it was also large enough to use the Far mode of the scanner.
The results were better than I was expecting, even though I had a bit of trouble to scan underneath the helmet in some sections.
The model scanned is shown in the image below:
Stone Elephant Statue
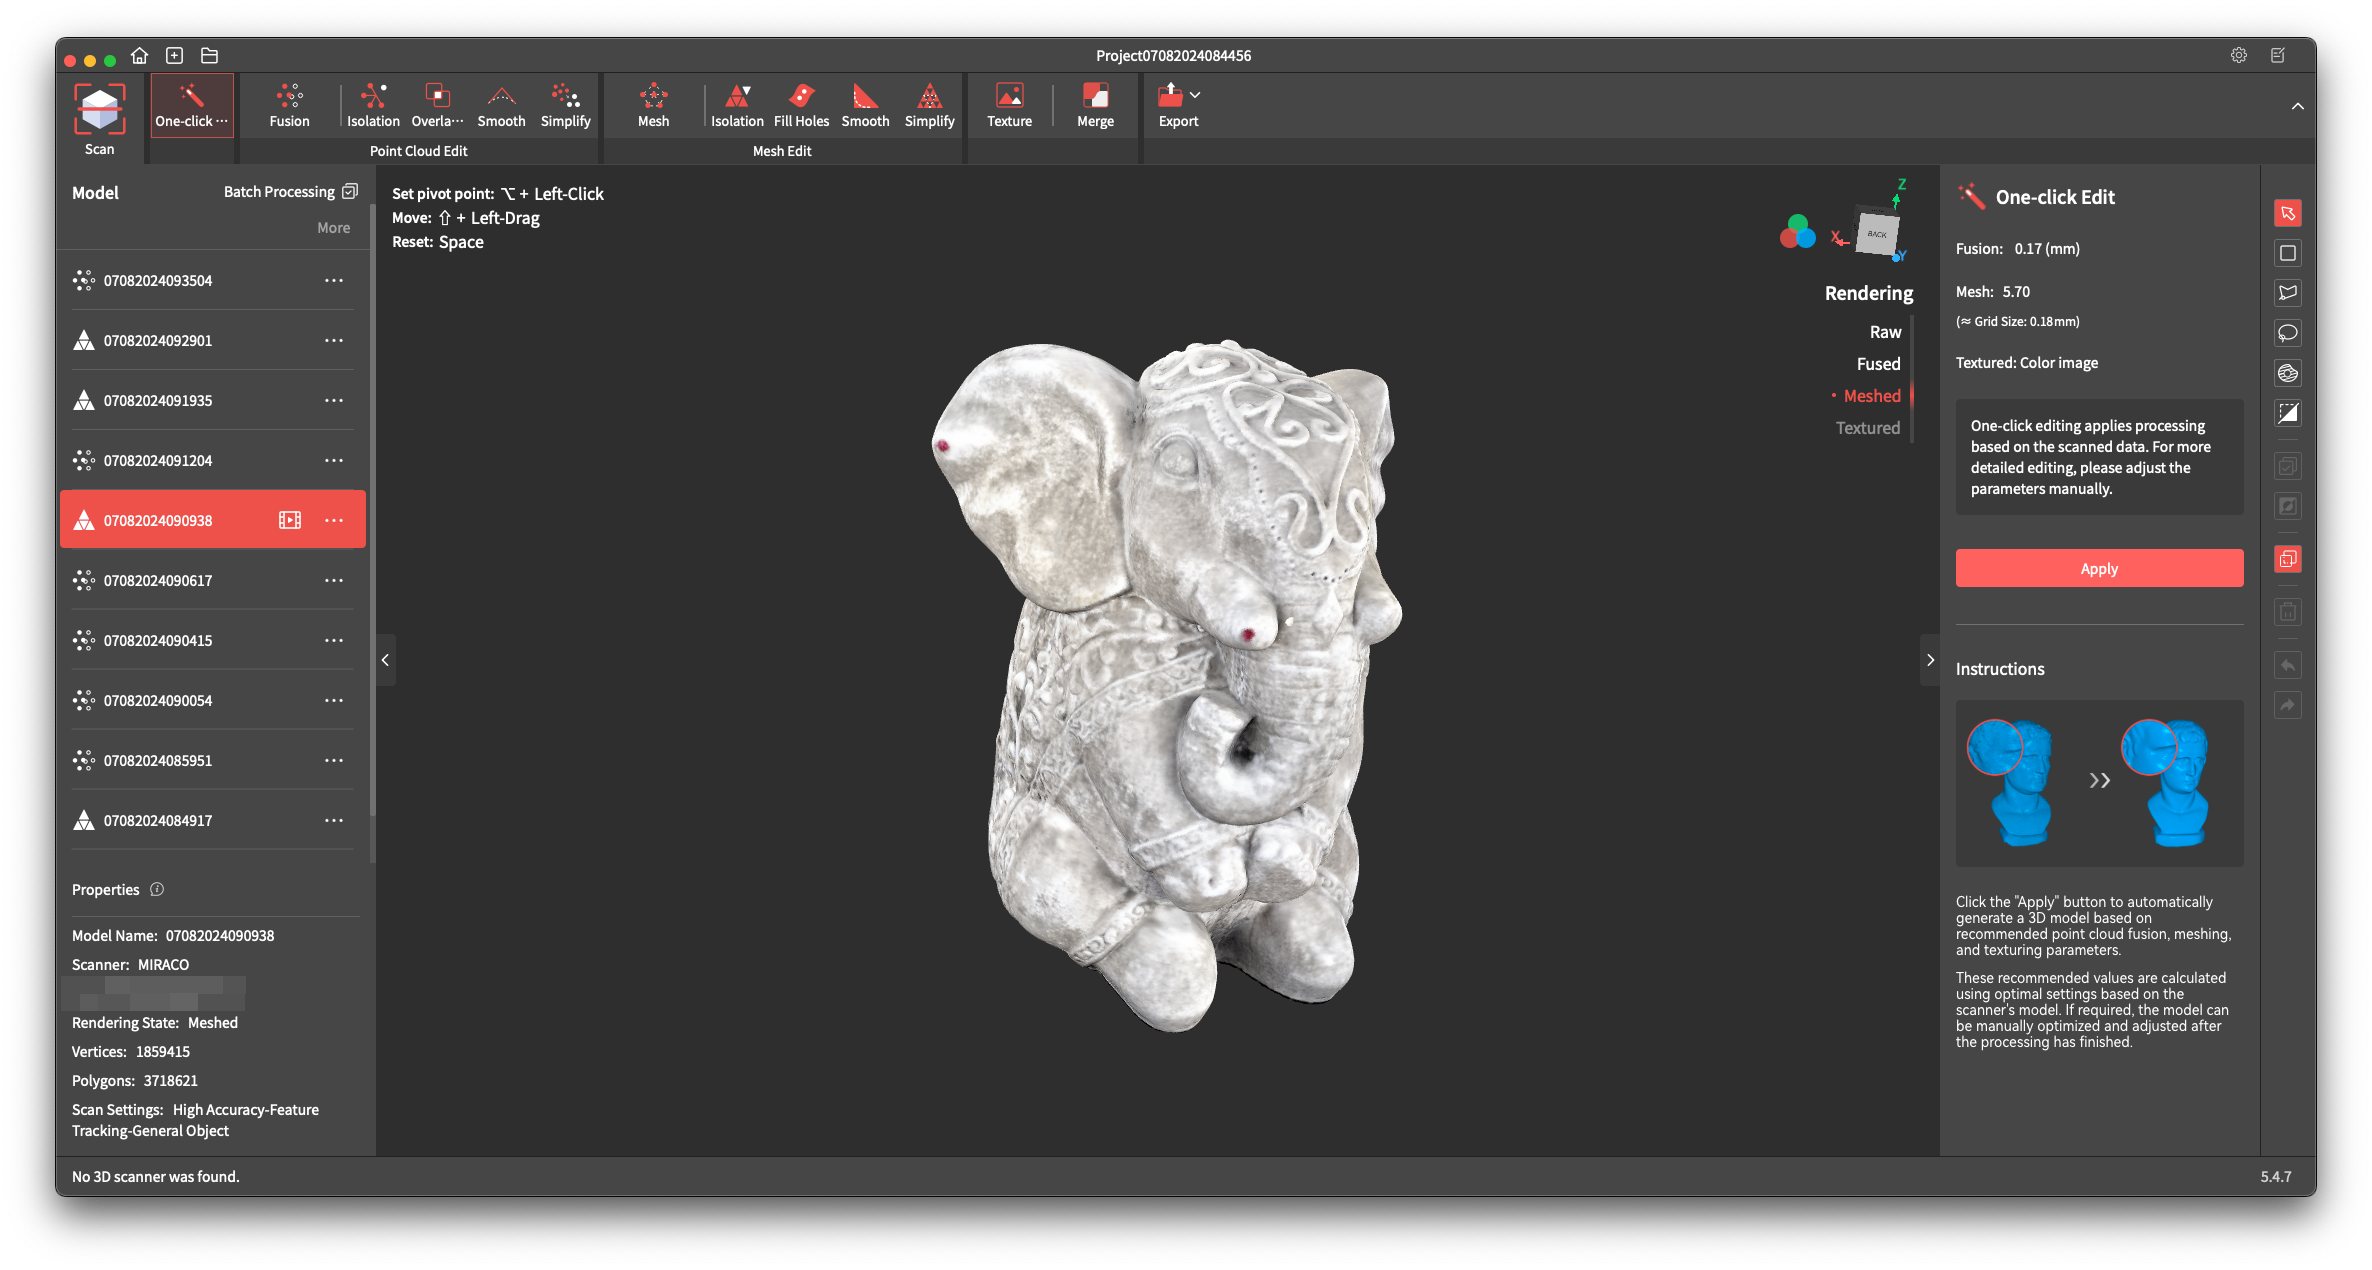
This scan is of a Stone Elephant which was extremely easy to scan and process. Due to the matte and light texture of the model, tracking worked very well, and it was quite easy to complete. The MIRACO works great when it comes to scanning models like this one, and I believe that scanning larger statues outdoors can be a breeze.
The model scanned is shown in the image below:
DBZ: Vegeta
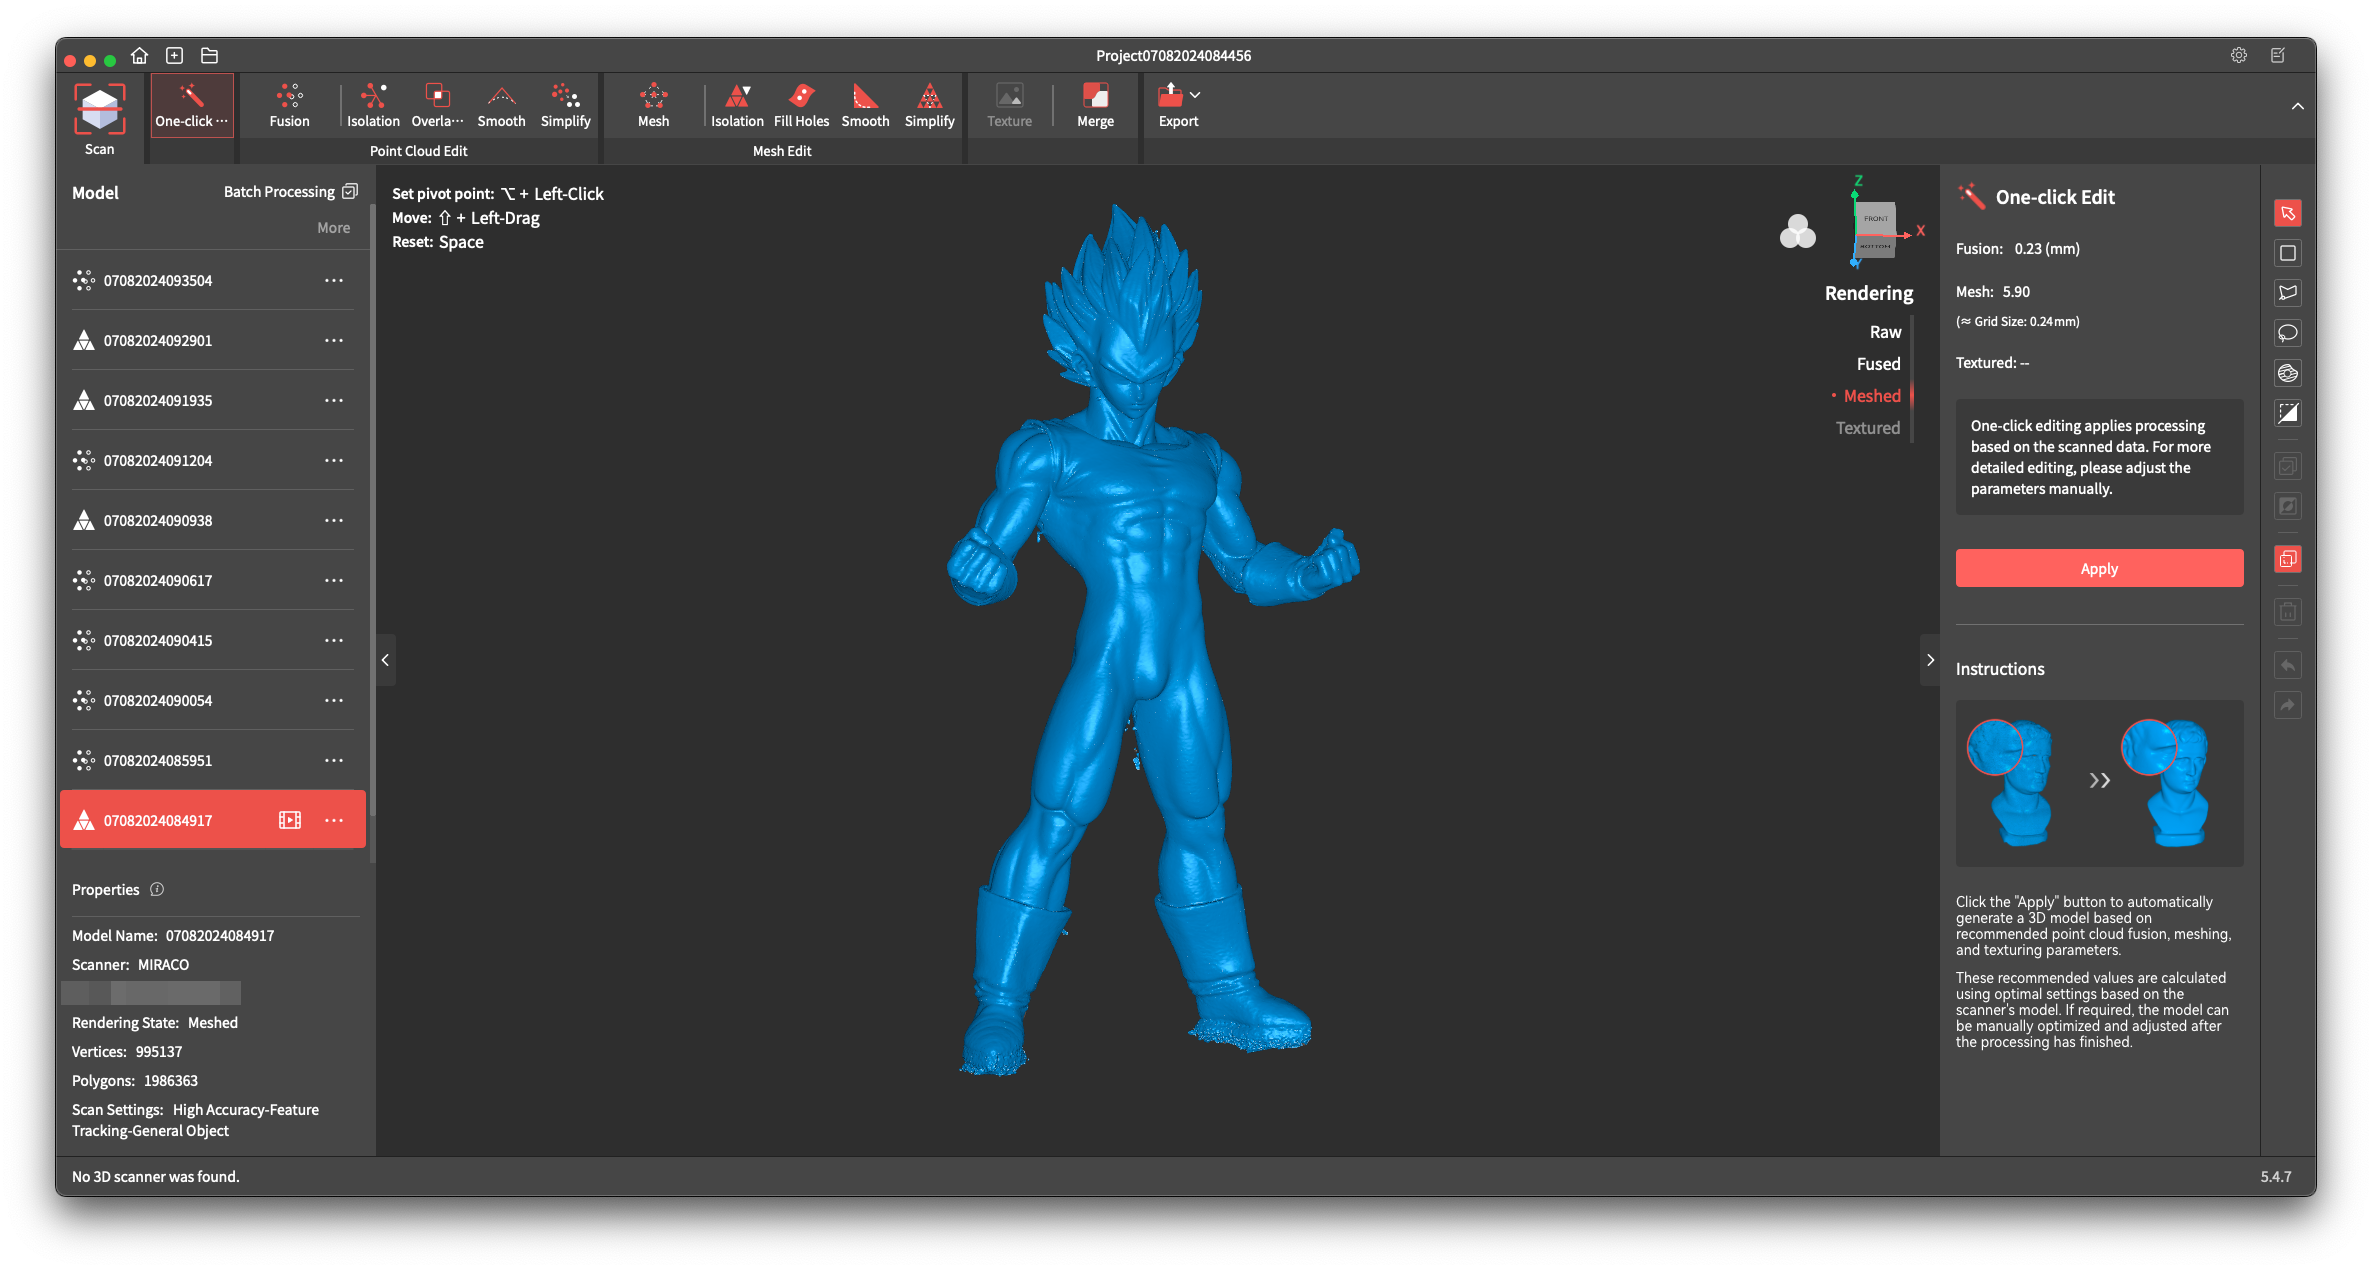
Another scanned model is this Vegeta action figure from Dragon Ball Z. It has a relatively matte surface and it was quite easy to scan with a lot of detail captured. With a bit more work in post-processing, this model could be easily 3D printed and the results wouldn’t be far from the original.
The model scanned is shown in the image below:
Far Cry 4 Kyrat Collectors Edition Statue
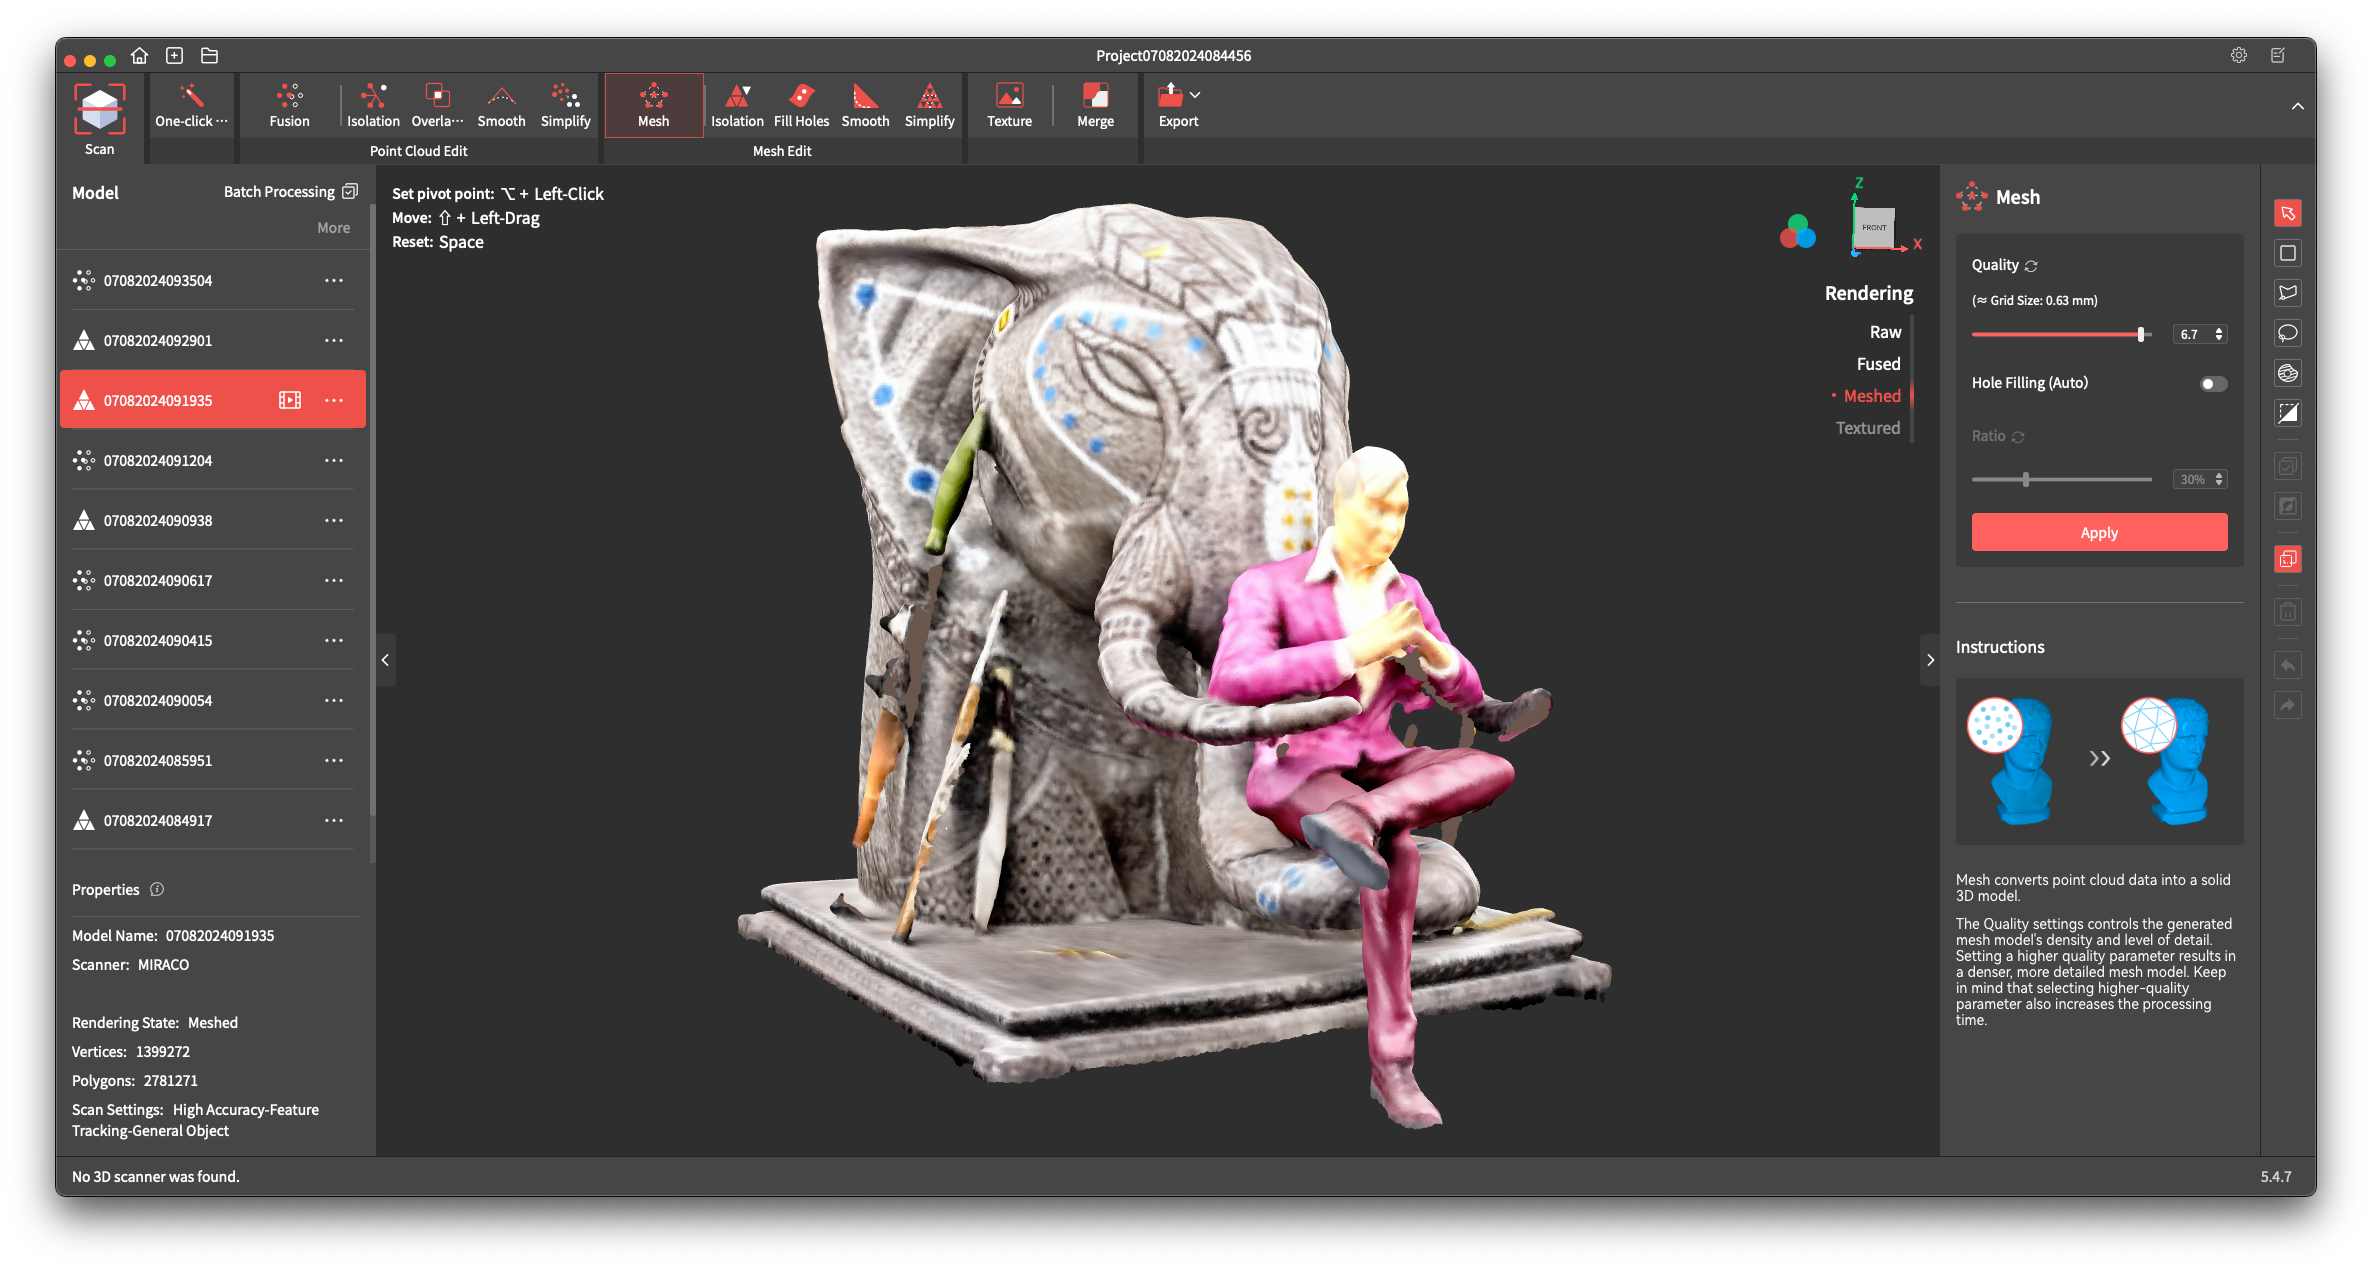
Unfortunately, this scan is not really usable due to the lack of detail, as in some cases, the scanner lost tracking of the model, leading to misalignment and signifficant holes in the 3D scan.
The model scanned is shown in the image below:
Bender
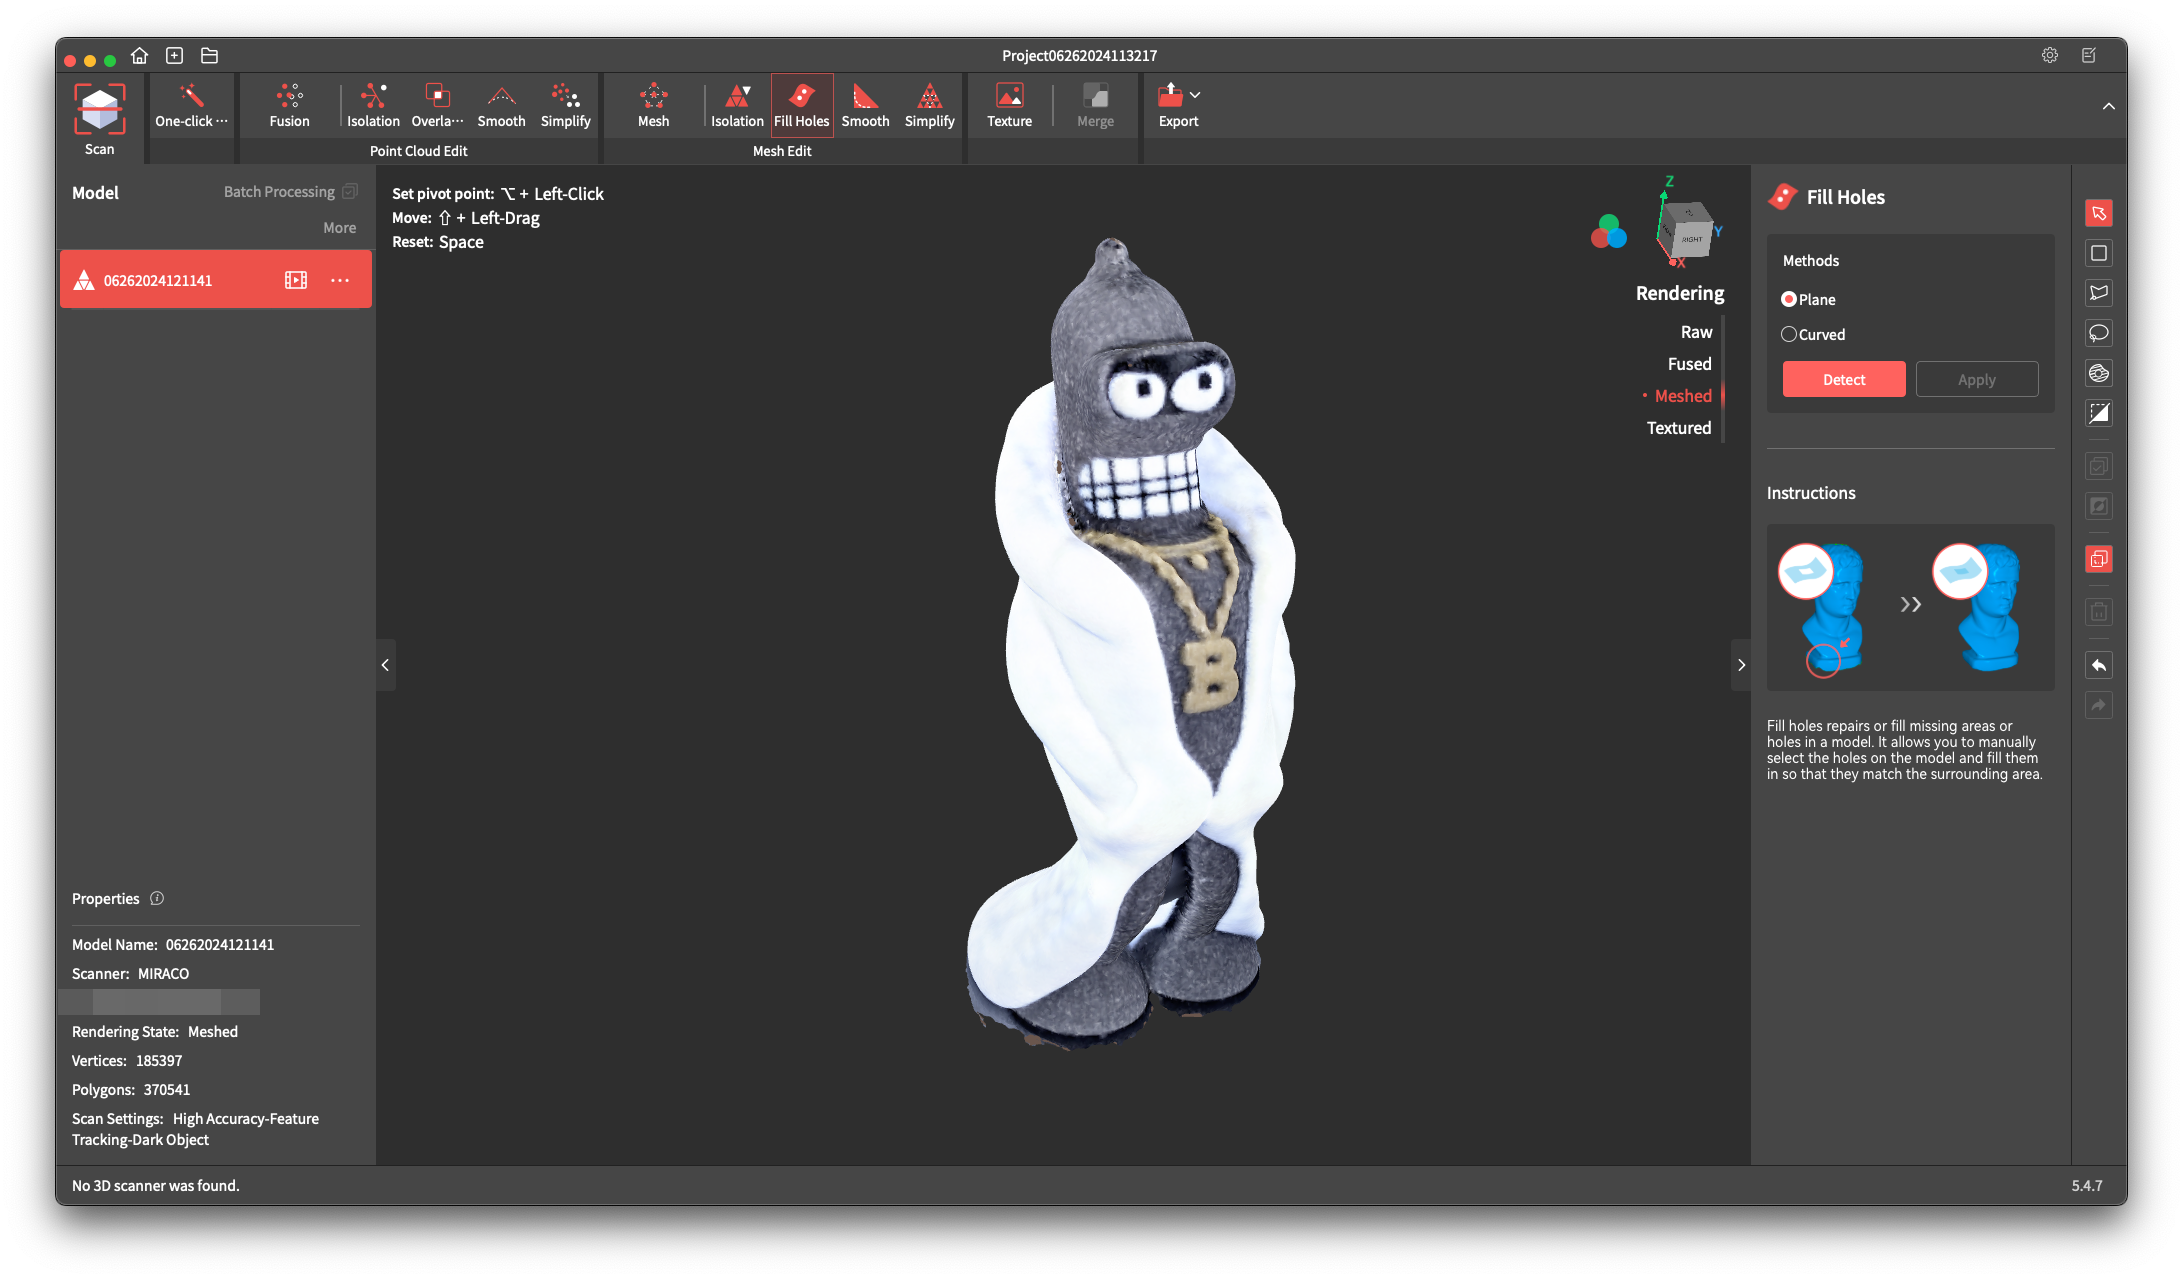
I also scanned a 3D print made on the Bambu Lab A1 mini in multi-color. Due to the matte finish of the print, I was able to scan it much better than expected, including the black sections of the model which I was not expecting to be scanned that well.
The model scanned is shown in the image below:
AOOSTAR R7 Body
After reviewing the AOOSTAR R7 Mini PC, I am considering 3D printing a different case for it, to allow for a larger fan for improved cooling and less noise. So I scanned the case of the unit and the results can be seen in the images below.
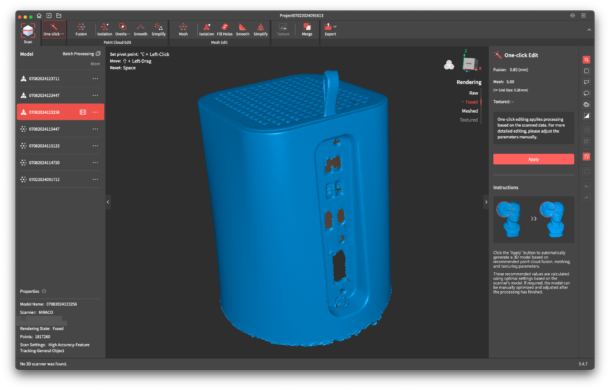
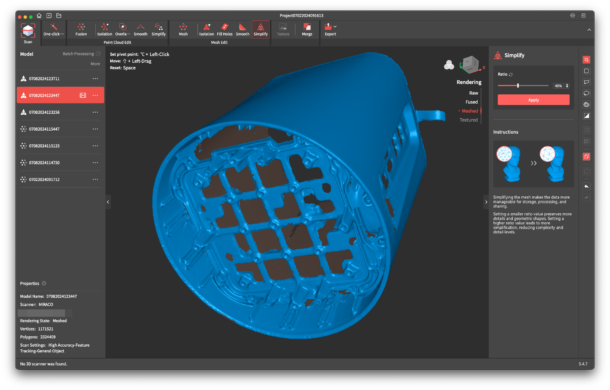
While the quality is not perfect, I am relatively happy with what I got. With these models, it will be much easier to design something that fits as expected.
The model scanned is shown in the images below:
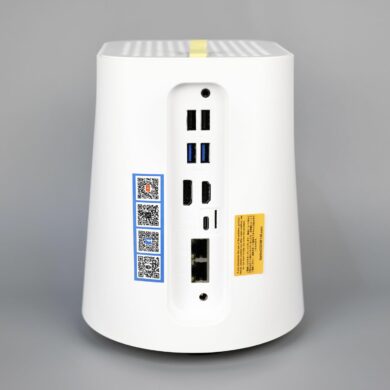
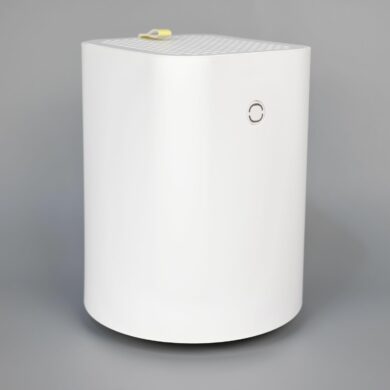
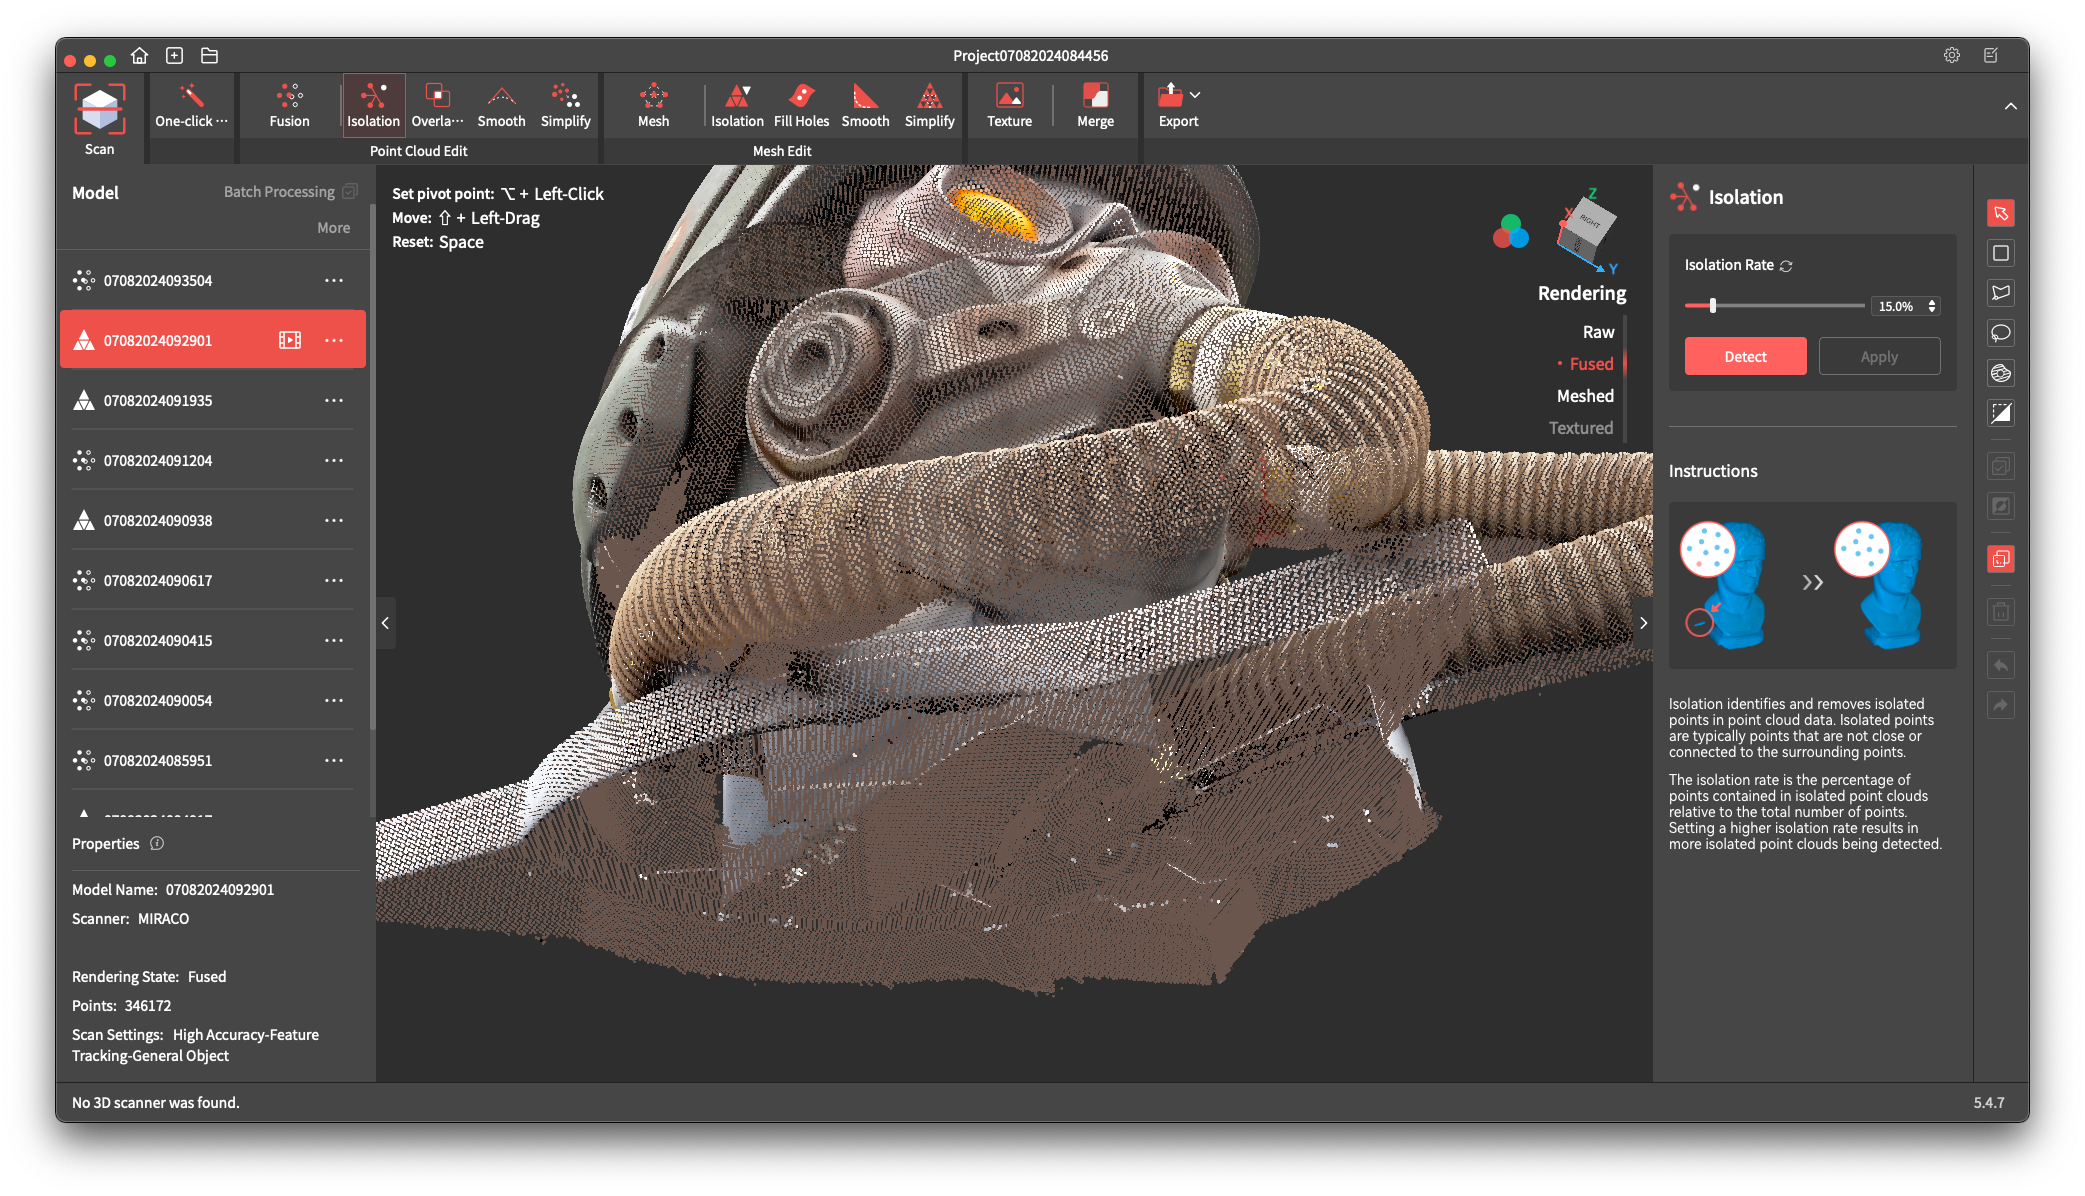
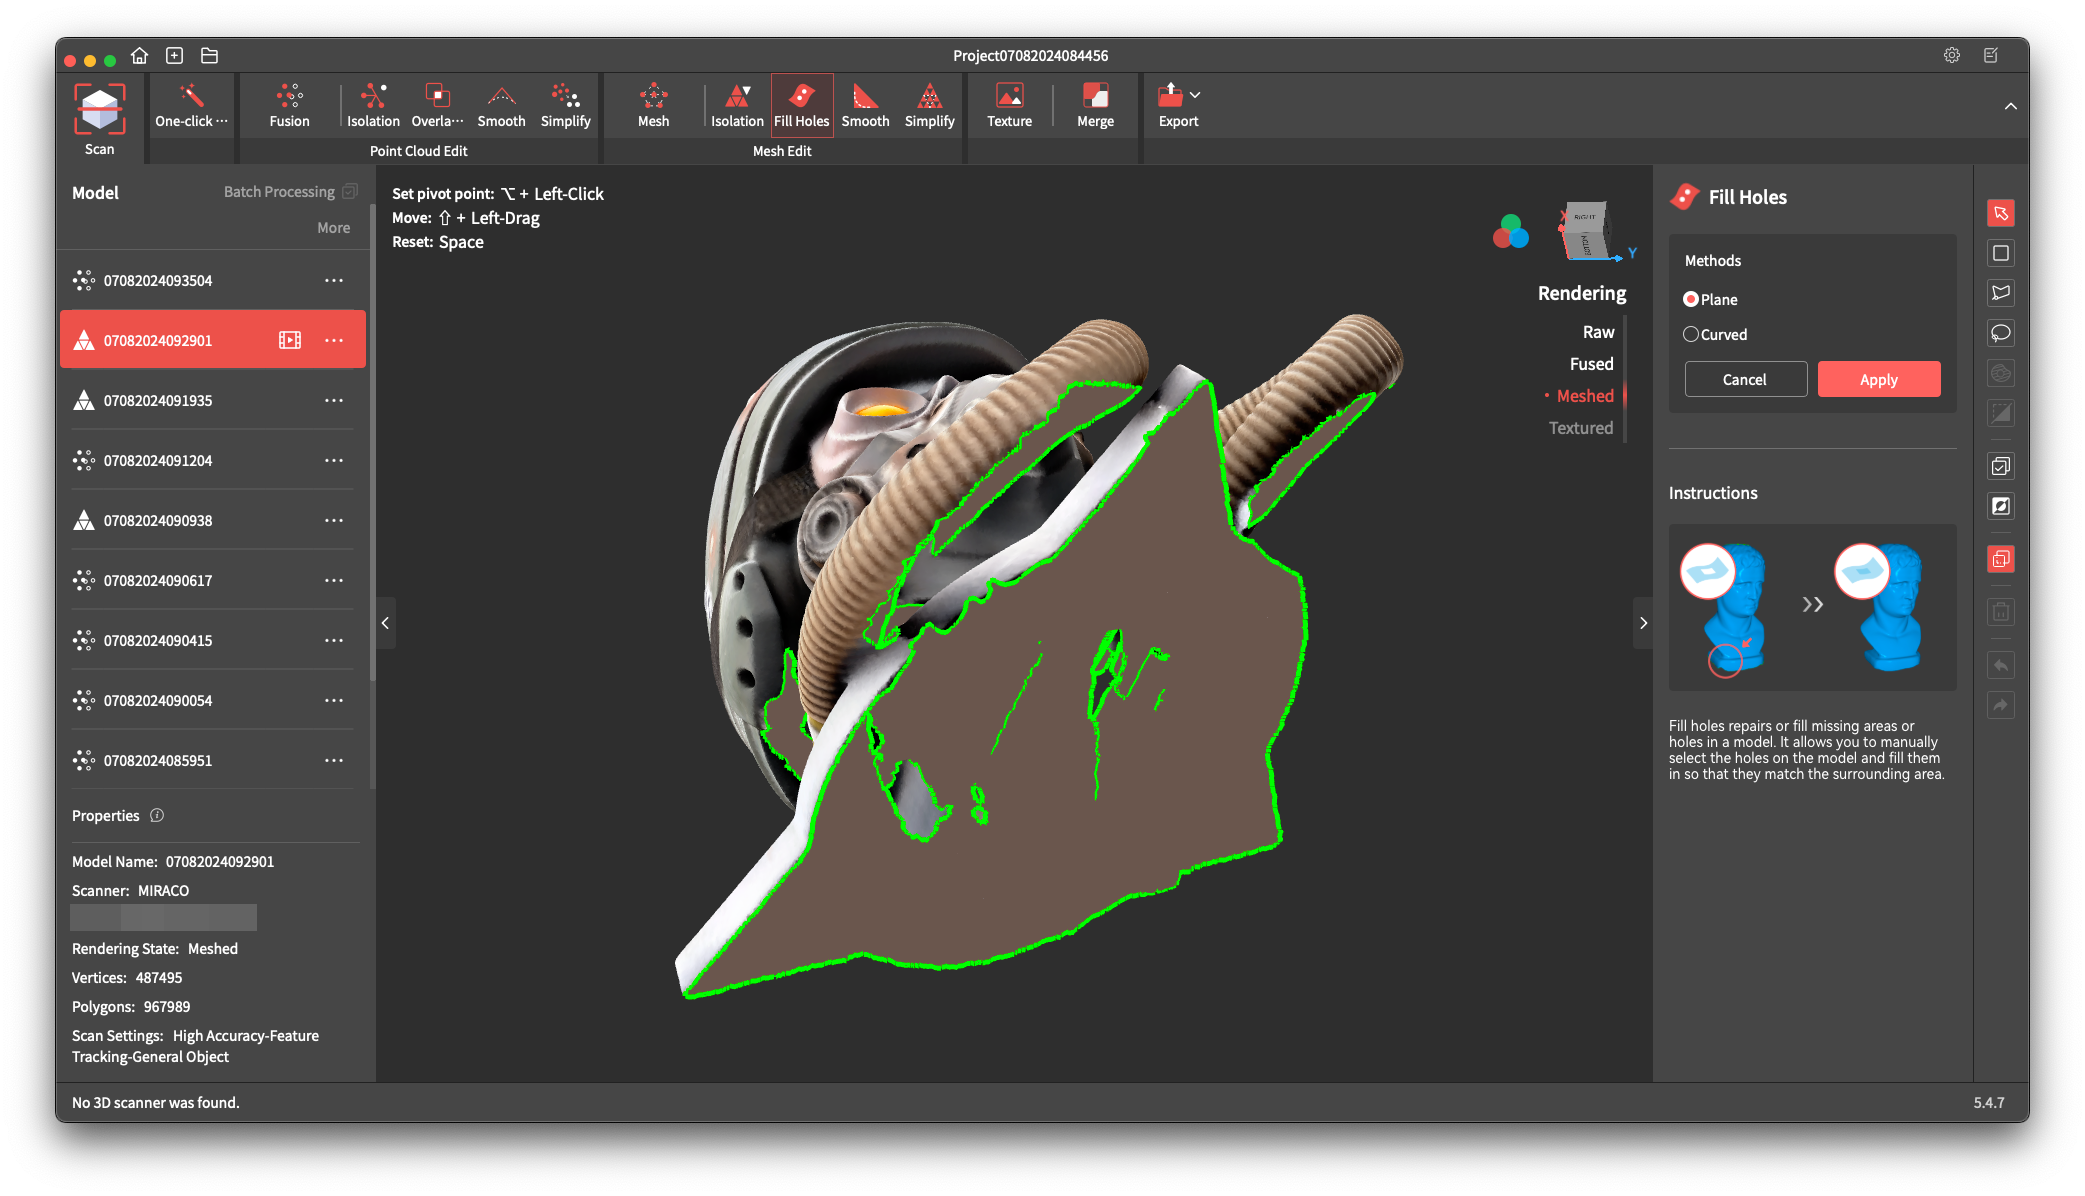
RevoScan 5
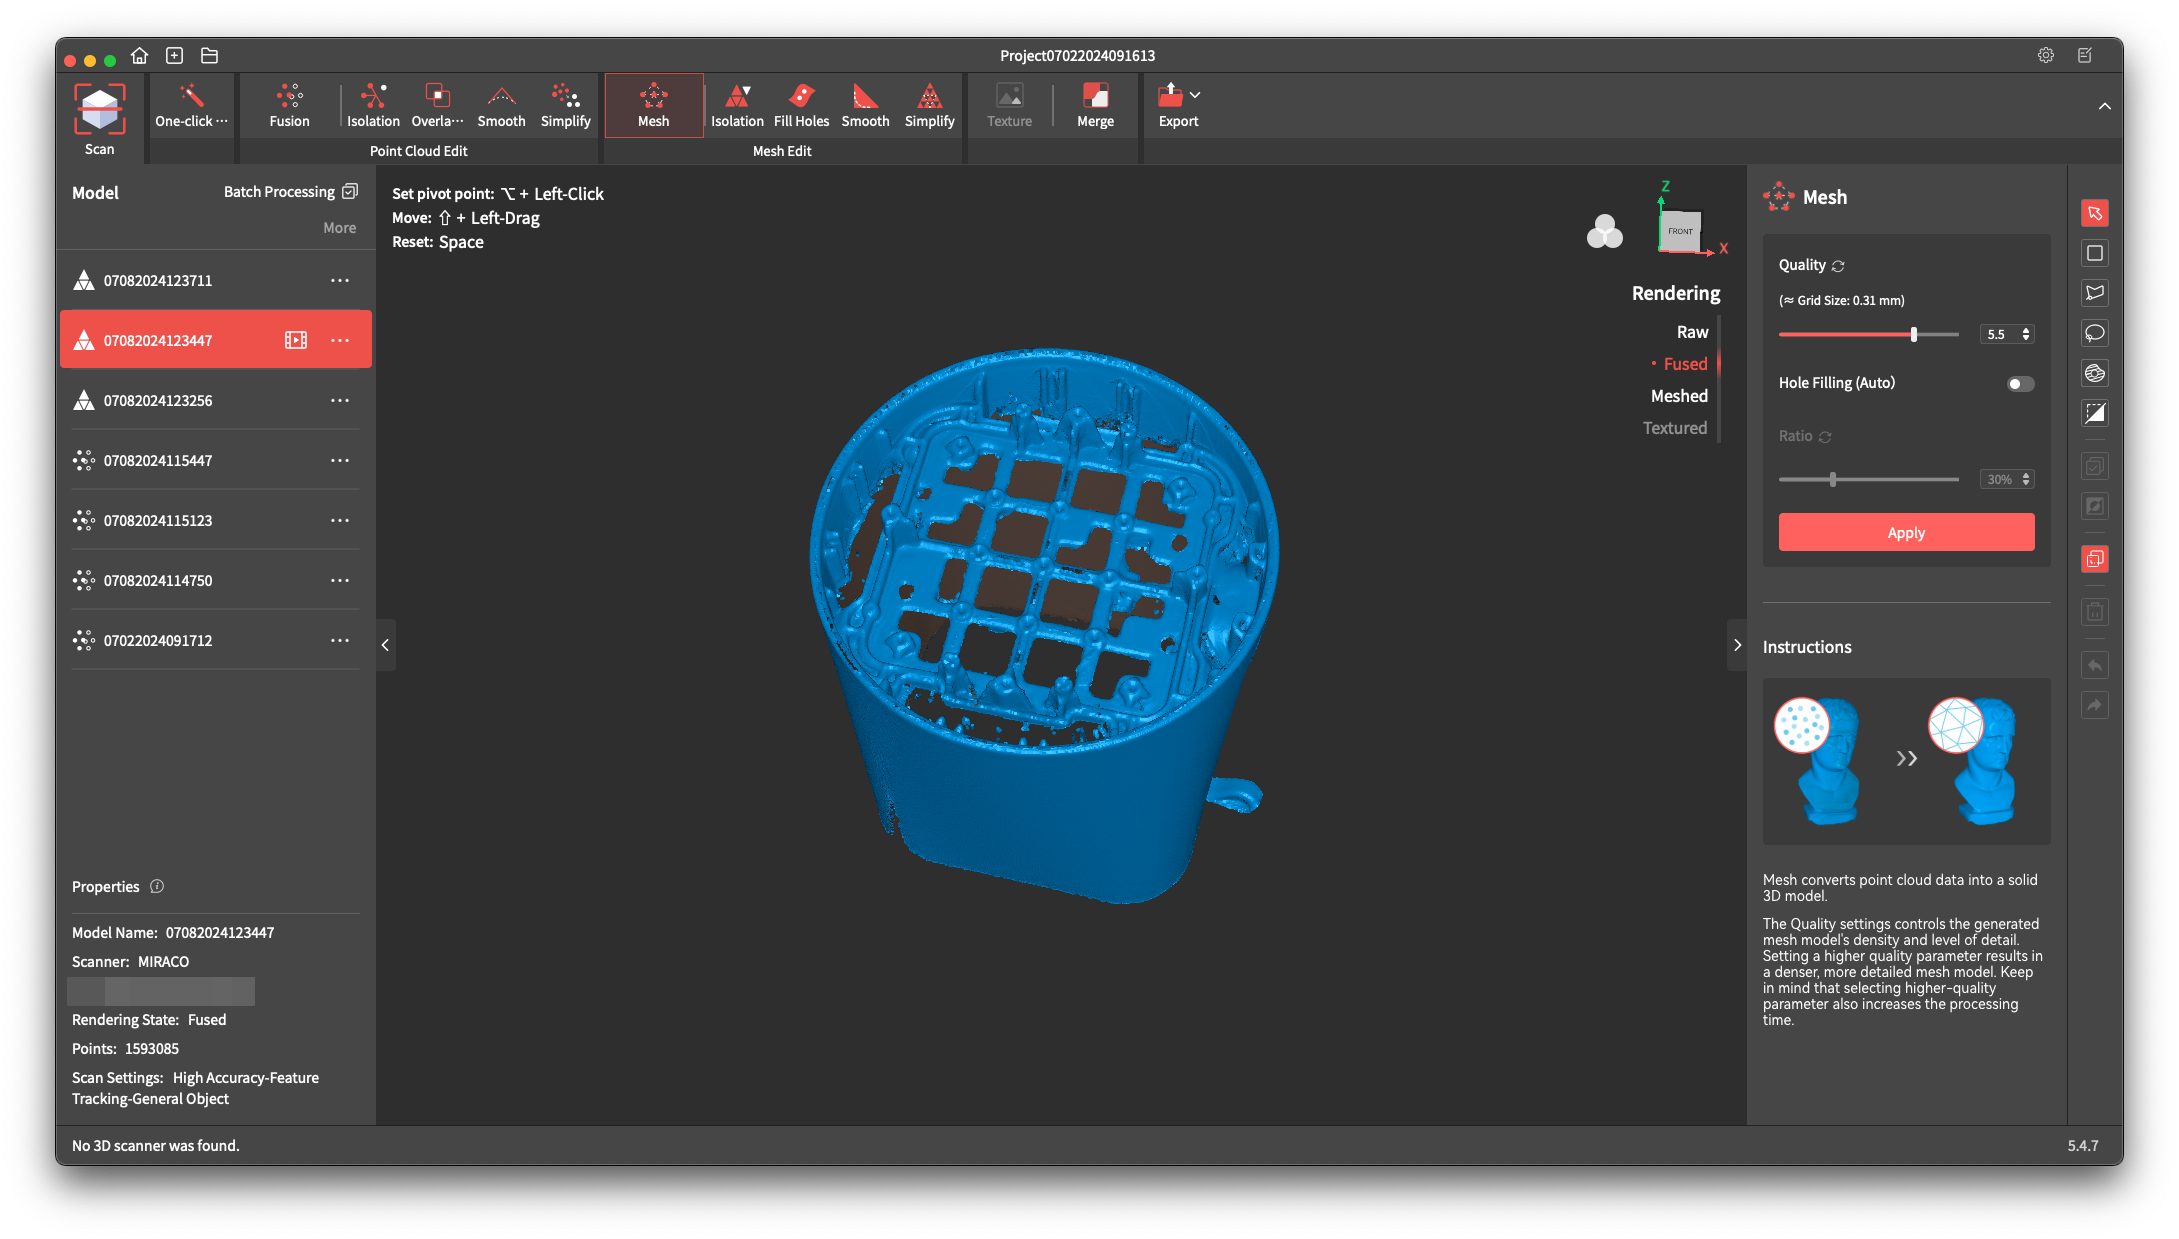
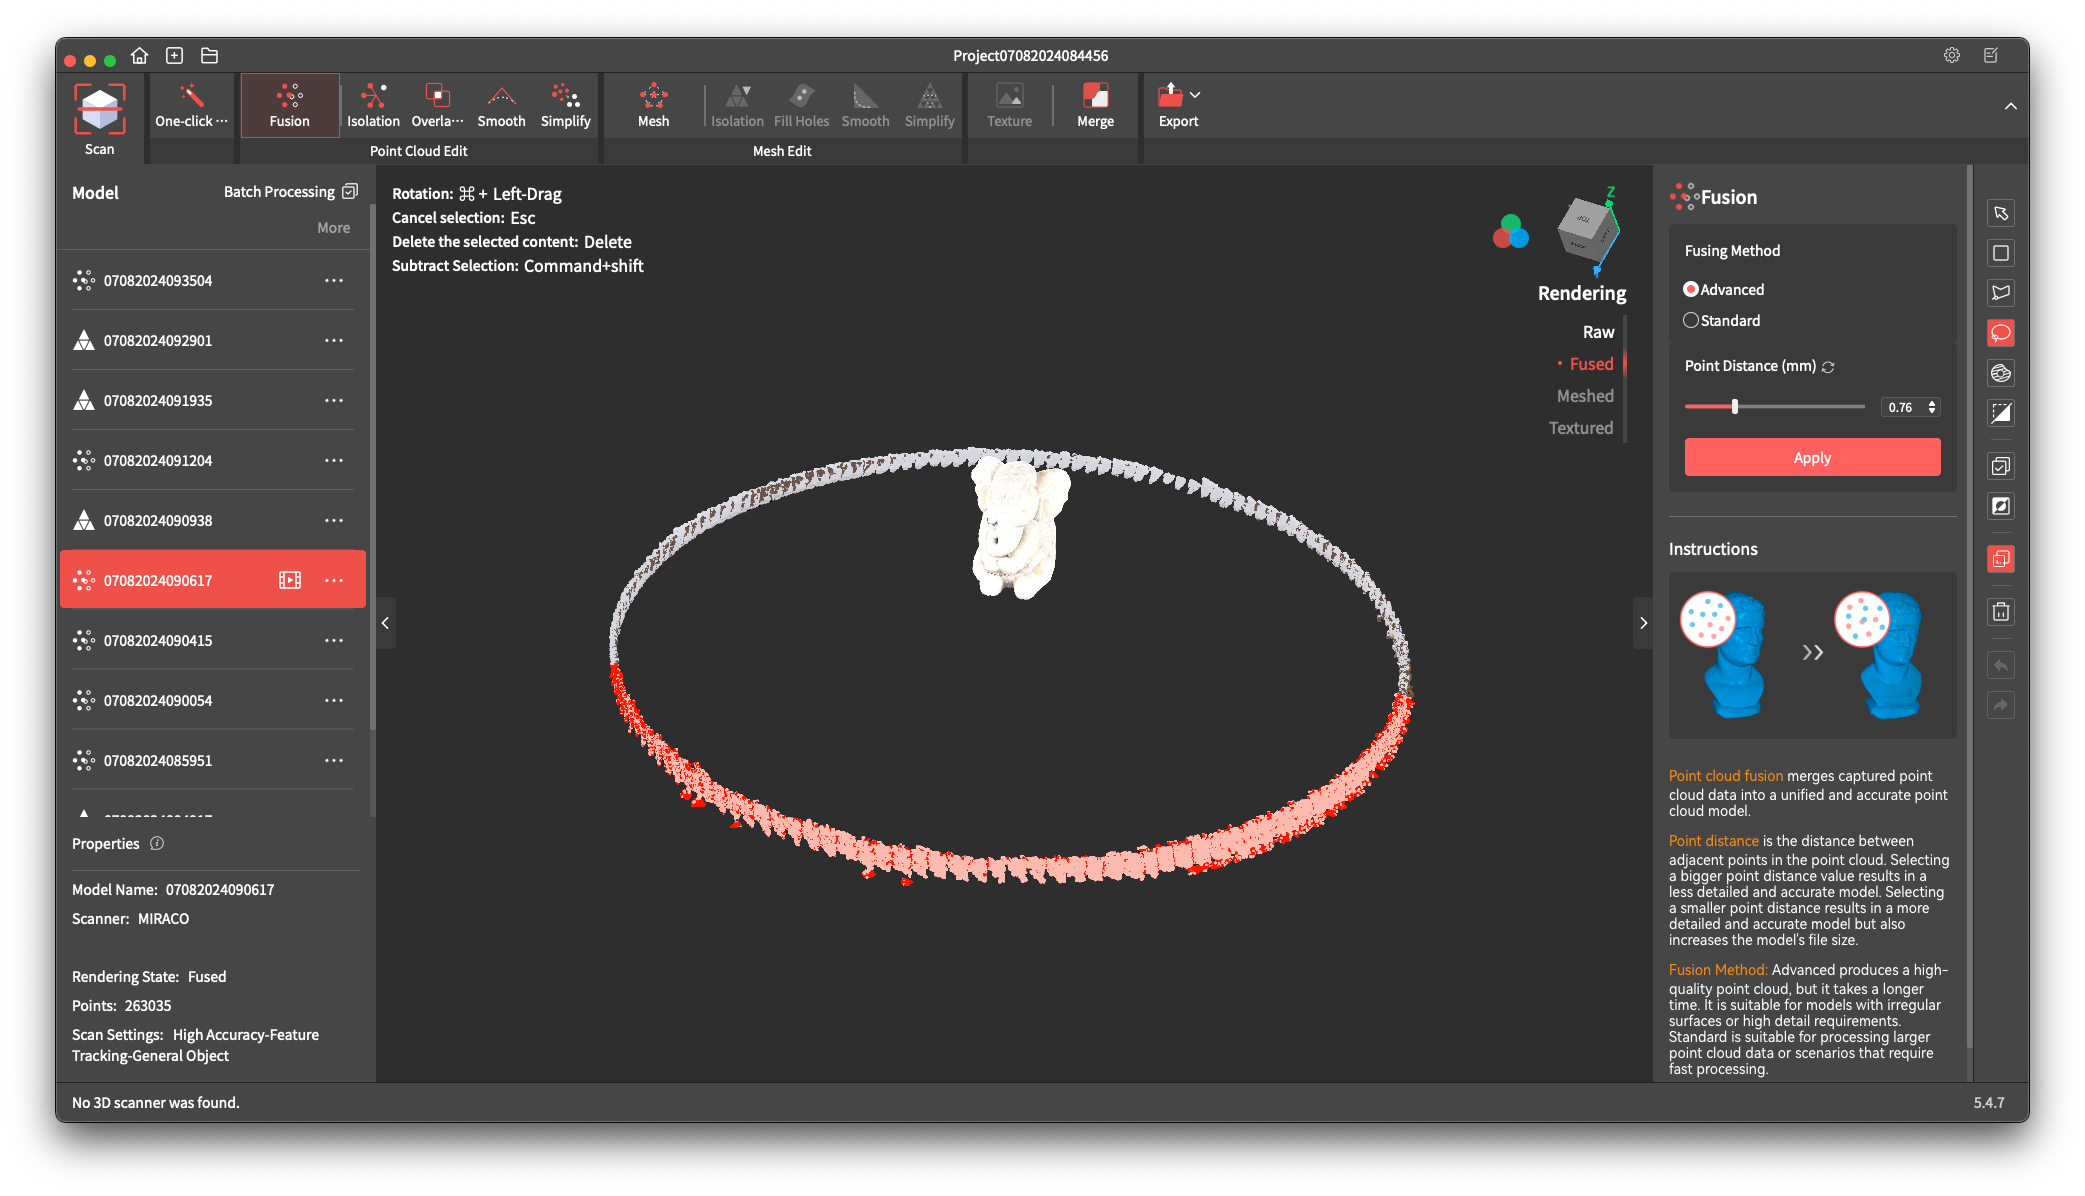
While at first I thought RevoScan 5 is a bit unintuitive, once you figure out where all the options are, and how the entire process works, I can say that it’s quite easy to use. The main drawback I found was the lack of clear instructions on how to connect to the scanner via USB/WiFi, as the MIRACO was not part of the RevoScan 5 instructions available in the connection guide. This information was shared with manufacturer and they confirmed it will be fixed soon.
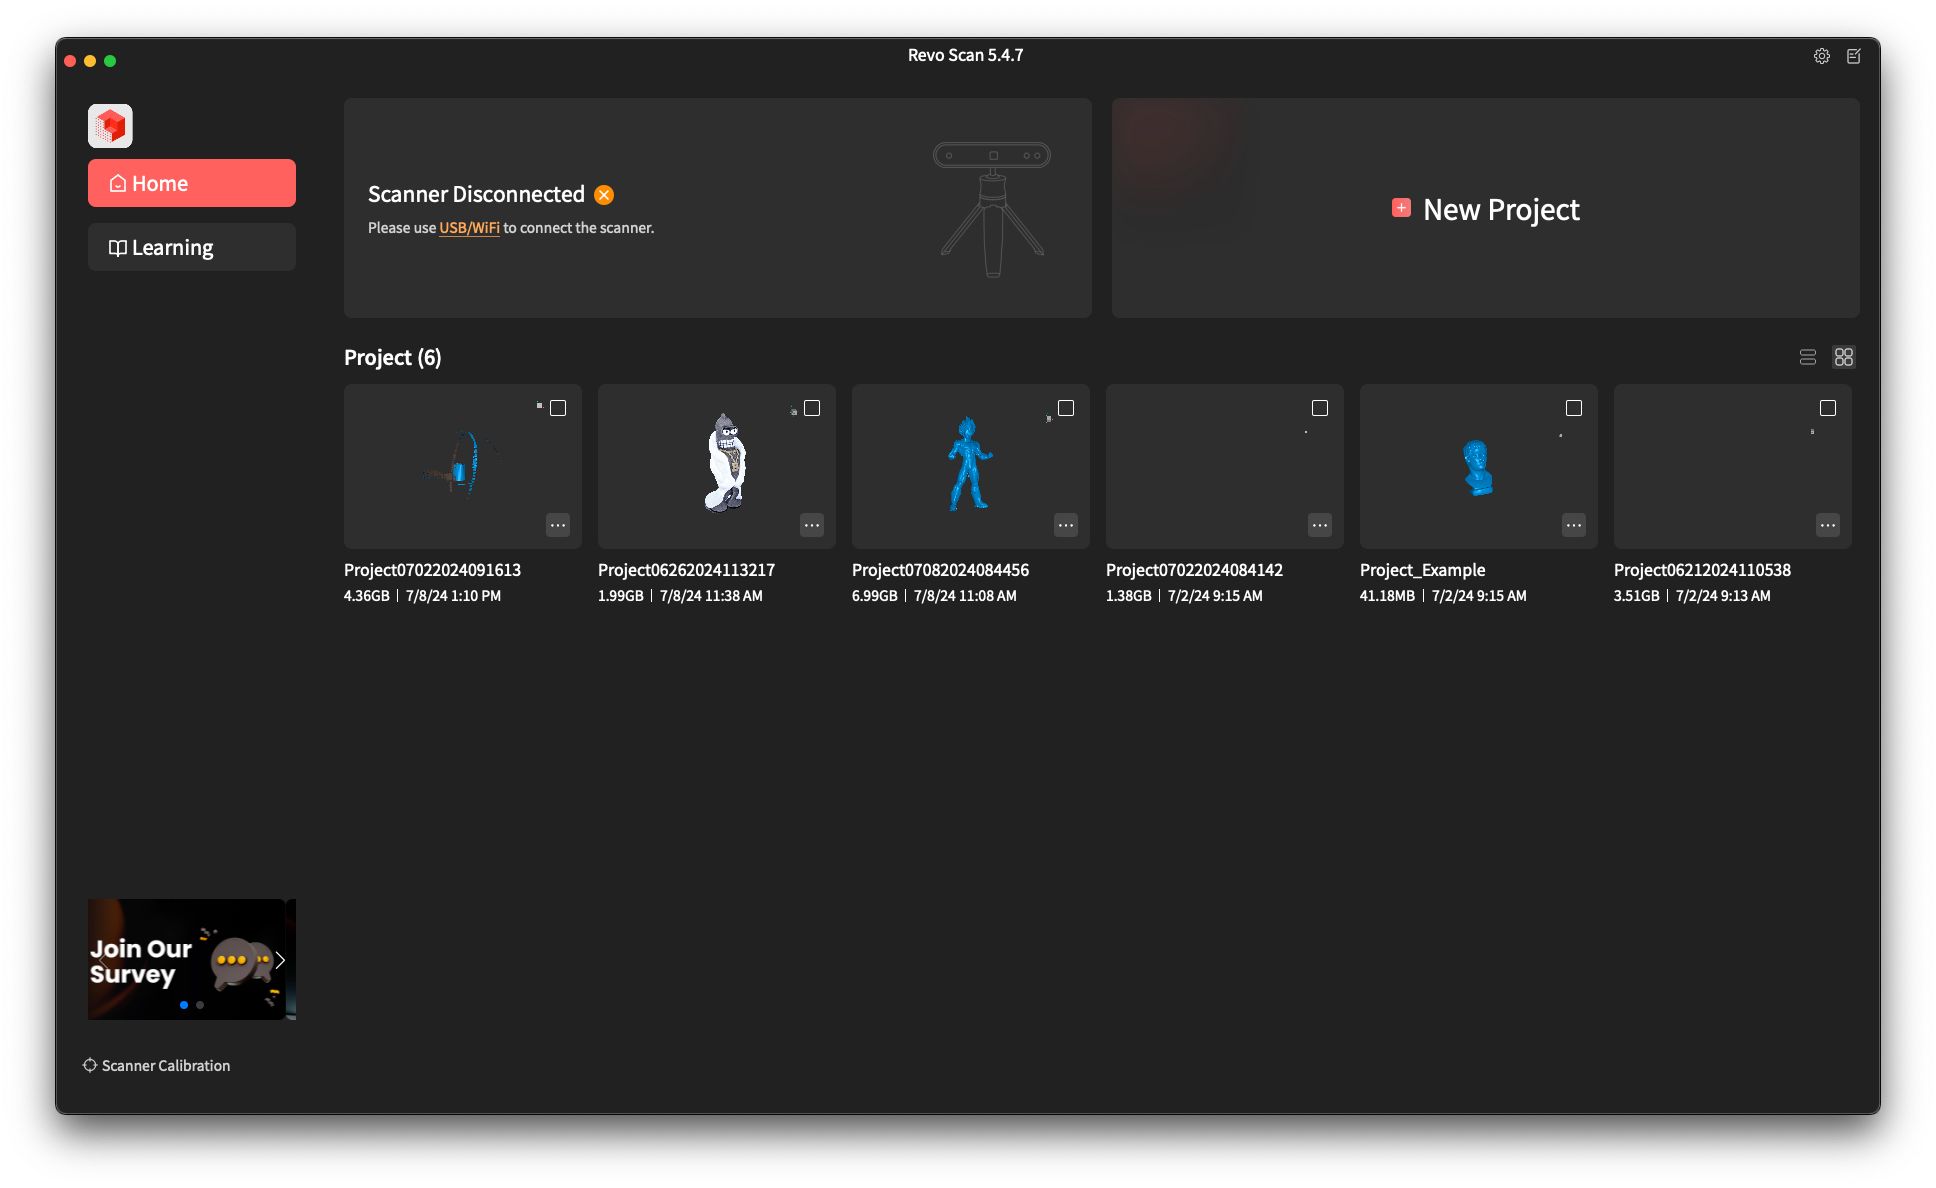
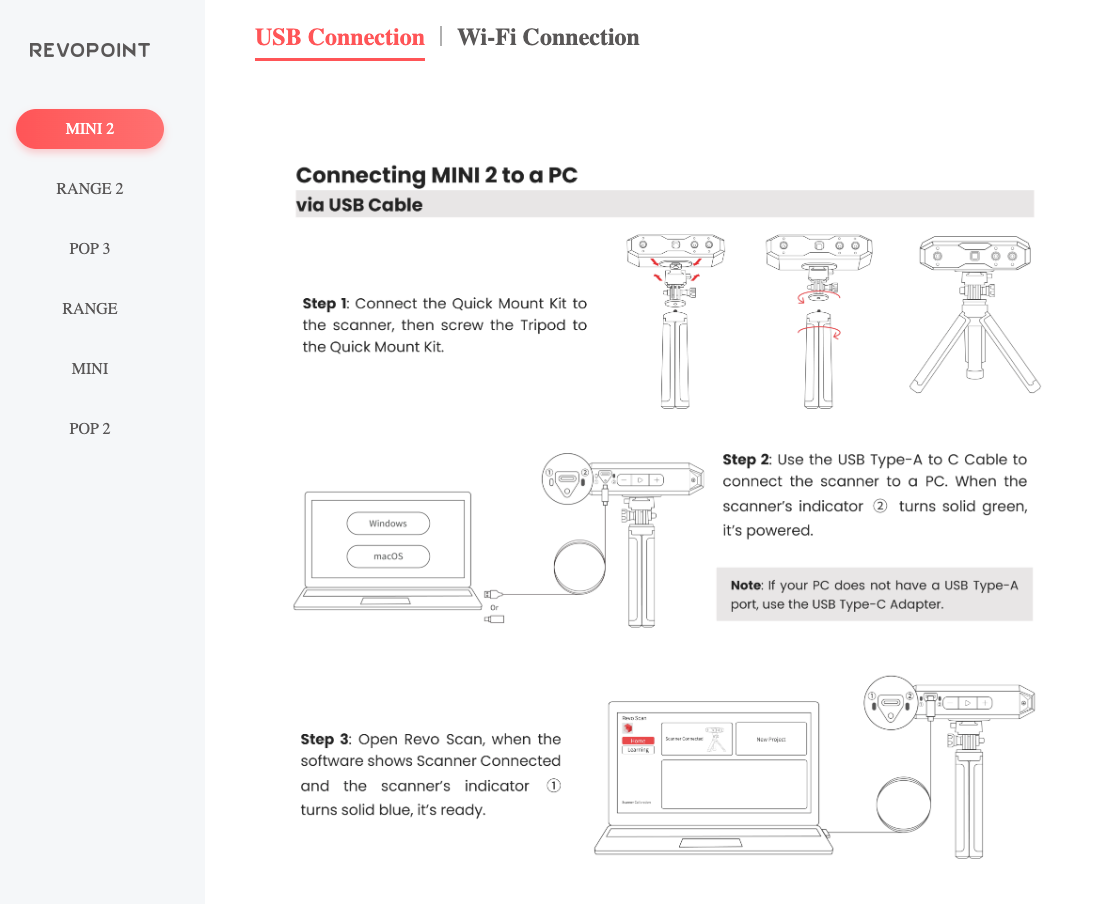
The post-processing steps are easy to follow and pretty nicely laid out, but I would have liked to have a numbered step-by-step wizard that takes me through all the options I need to follow for a complete post-processing task
I also like that the interface is quite similar to the touchscreen interface you control on the MIRACO screen. This means that you have mostly the same options on-device, when it comes to post-processing. Most important processes can be done right on the scanner without even needing to import the files to the computer.
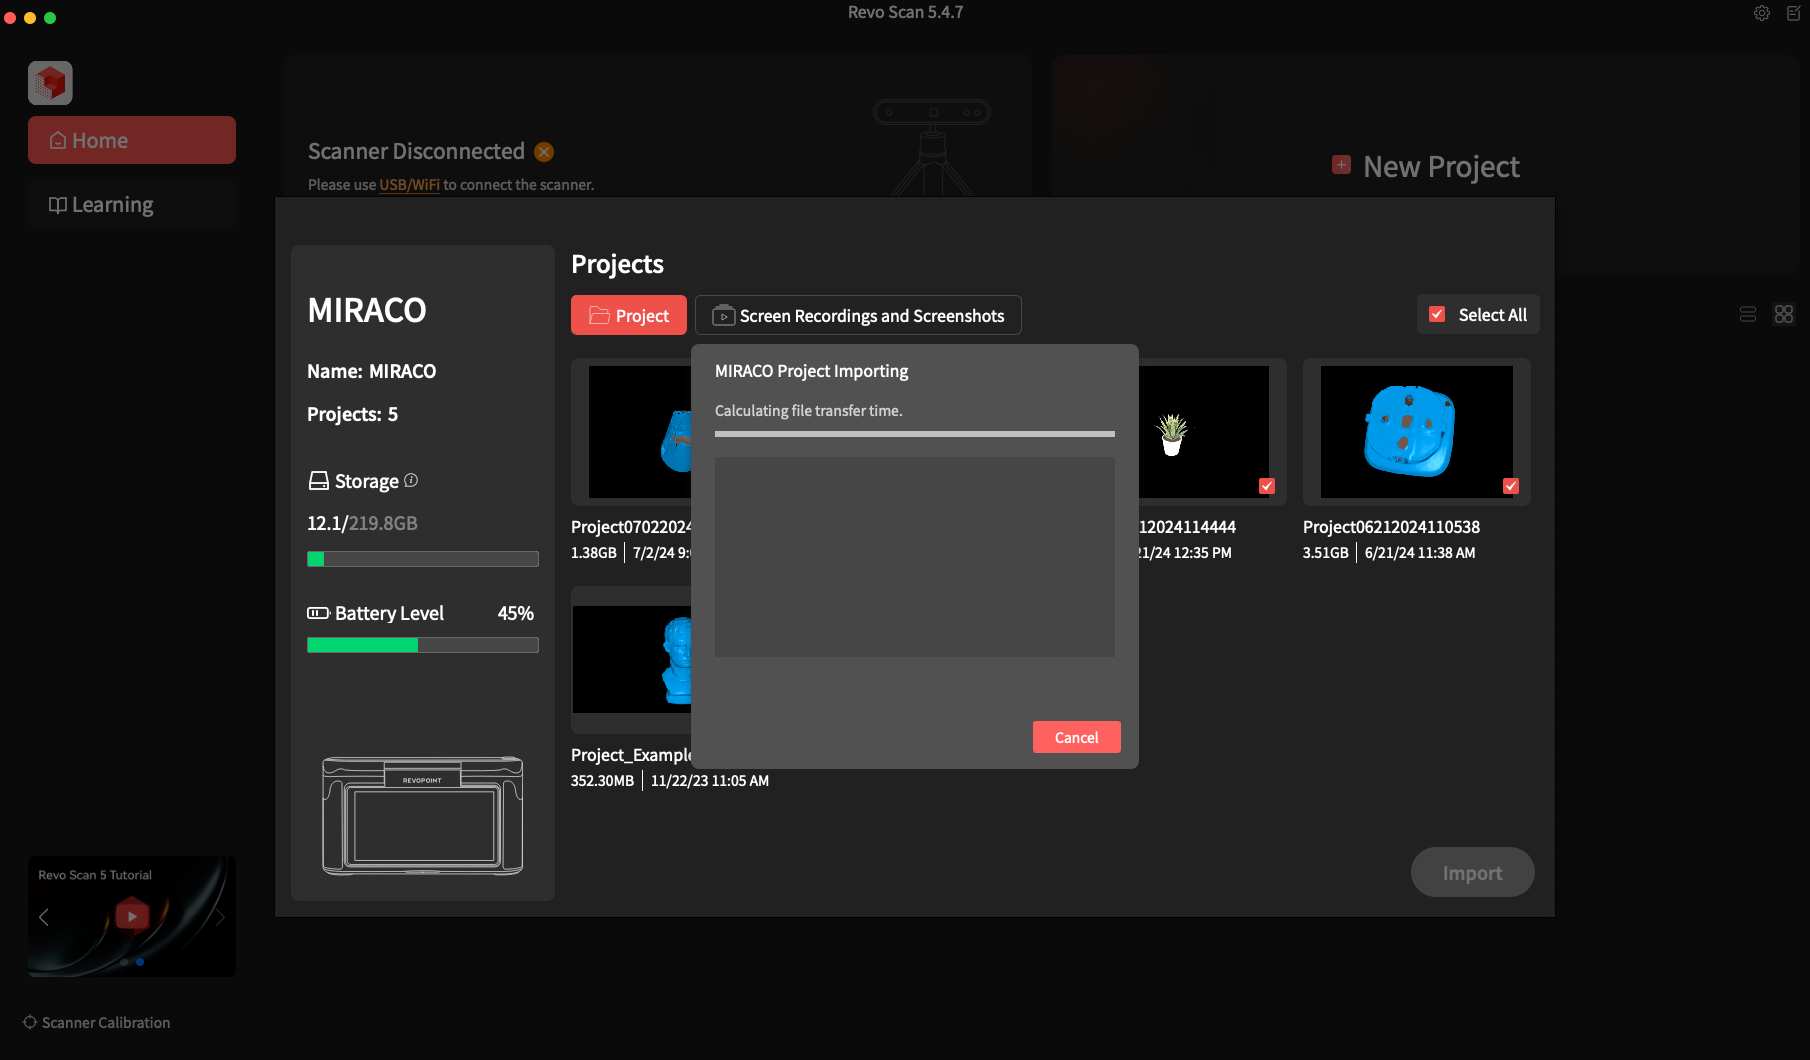
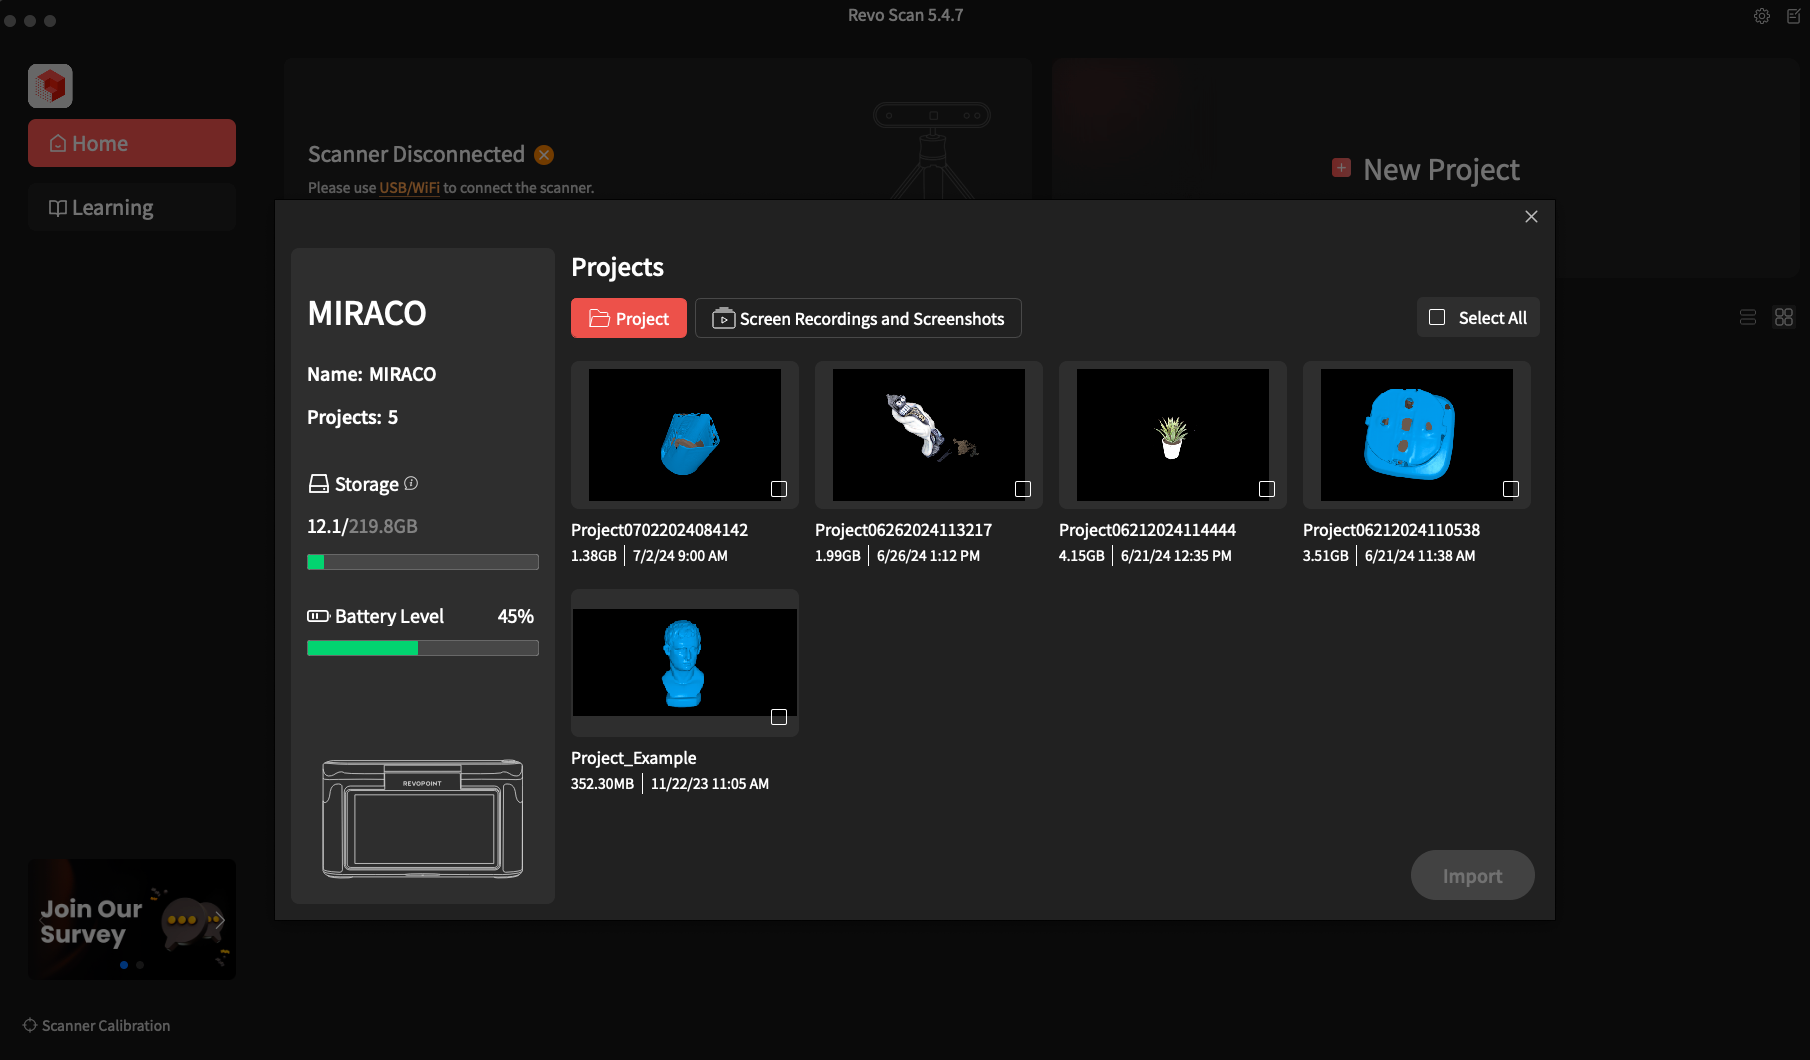
I still decided it was a bit easier for me to post-process on my laptop, as having a larger screen helps make the entire procedure easier, and you also have access to some of the options which are not as simple on the scanner. Besides that, it feels like some processing tasks are a bit faster, but I guess this depends on the specs of your computer.
Transfer Speeds
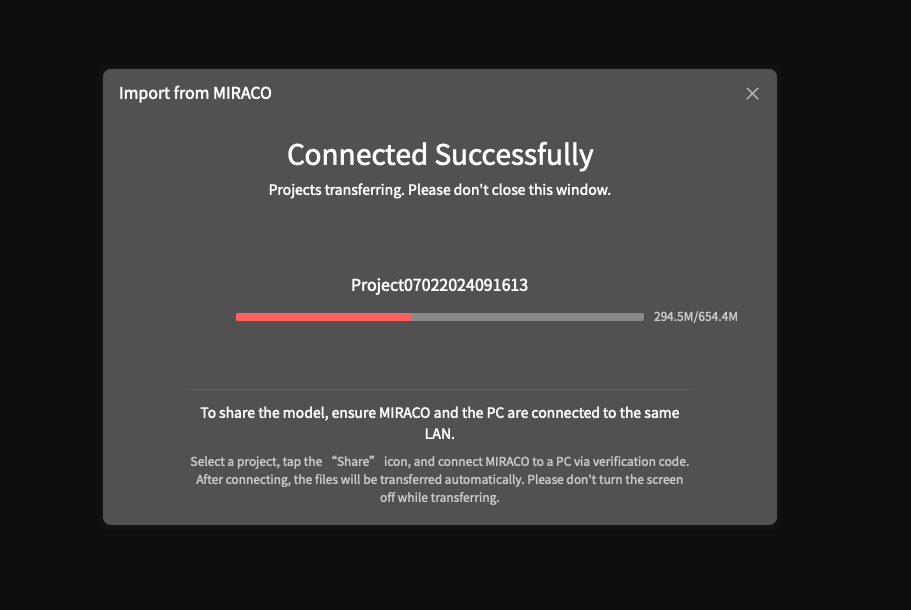
When using the Wi-Fi transfer to send files from the scanner to the computer. I have measured speeds up to 12MB/s with a medium transfer speed of about 8MB/s. It takes about 10 minutes to transfer a 6.5GB file.
I also found it interesting that if the Wi-Fi transfer happens close to my laptop, the wireless keyboard and mouse might have some interference due to this transfer. This is to be expected with increased network congestion, but I thought it is worth mentioning.
Conclusions: Is the Revopoint MIRACO worth it?
Considering the experience I had with other 3D scanners in the past that required me to always be connected to the computer, I had a great time with the Revopoint MIRACO. It’s a very nice feeling to be able to grab the scanner and start scanning in less than a minute, without worrying about complicated setups.
The results of the scanner are good, but while using it, I still got reminded that 3D scanning still needs some time to develop further and provide more detailed results for small objects, or for items that have black sections. Of course, this can be mitigated with using 3D scanning sprays to help the scanner perform better but I would still like to have the posibility of scanning objects without this in the future.
Overall, my experience was good and I think the Revopoint MIRACO is worth the price. Comparing the cost of the unit with other 3D scanners on the market, the premium you pay is well worth it considering you get an all-in-one portable device which doesn’t need a computer attached to it for scanning and post processing.
If you are considering to purchase this 3D scanner, I strongly recommend checking the use cases you need it for to ensure it works well. If the scanner is used as a tool to assist you in CAD work, I believe that it will signifficantly shorten the time you need to complete a project. But if you plan to scan small objects then 3D print them, expect to spend a bit more time to get an accurate scan and post-process the resulted models.
Revopoint MIRACO 3D Scanner Rating
Design and Build Quality
Specs and Features
Scanning Performance
Ease of use
Price
The Revopoint MIRACO is a good all-in-one 3D scanner which is capable of delivering good results, while also having a relatively accessible price point, which should make it on the shortlist if you are looking for a crossover between enthusiast home scanning and entry-level professional 3D scanners.
Where to buy the Revopoint MIRACO 3D Scanner?
The Revopoint MIRACO can be purchased from the following sites:
Revopoint – code 3DPbeginner for 20% off within July 15th-16th / 15% off during July 16th-August 15th
Amazon
AliExpress
Geekbuying
I recommend checking out the Discount Codes page before purchasing. I regularly update the article with discount codes for various online shops, and you might find one for this particular model.
The Revopoint MIRACO was provided free of charge by Revopoint for the purpose of this review. While the article includes affiliate links, all opinions are my own. Nobody reviewed the article before it was posted, following the Review Guidelines.
Liked it?
|
|

