RatRig V-Core 3 Review: Premium CoreXY 3D Printer Kit
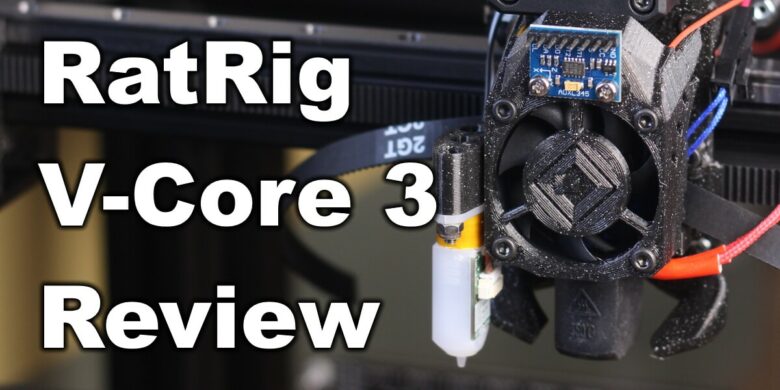
While I’m not a huge fan of building kit printers, I was waiting for the RatRig V-Core 3 to be launched because it looked like a beast of a printer. I previously built a BLV MGN Cube and a Hypercube Evolution, but the experience was far from great because I needed to source all the components by myself and that’s really annoying. The RatRig V-Core 3 promised to deliver all the components needed in a nice kit, which should make the whole experience more enjoyable.
Everyone is building Vorons, but I didn’t want to do that. Instead, I chose to contact RatRig and ask if they would be interested in providing me with a kit to build, test and review on the website. They agreed, so they sent me the full V-Core 3 Mechanical kit to review (300x300x300 variant). I purchased the rest of the electronics and started building.
The build process was much smoother compared to my previous builds, but I was again reminded why I am not a huge fan of kit printers, even though they usually are better when it comes to build quality.
RatRig V-Core 3 Shipping and Packaging
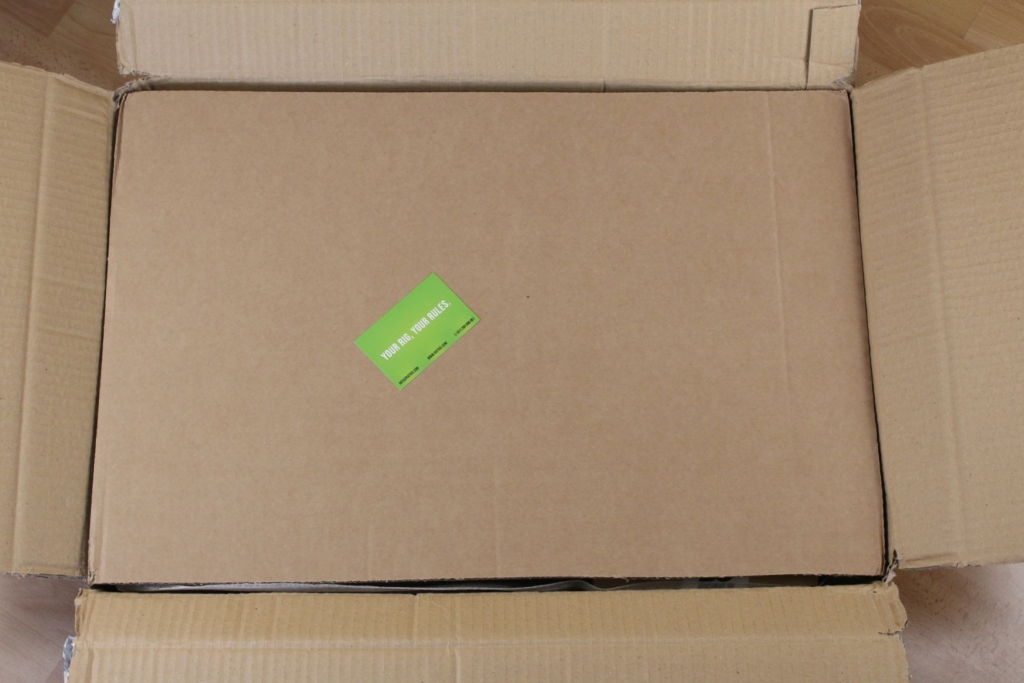
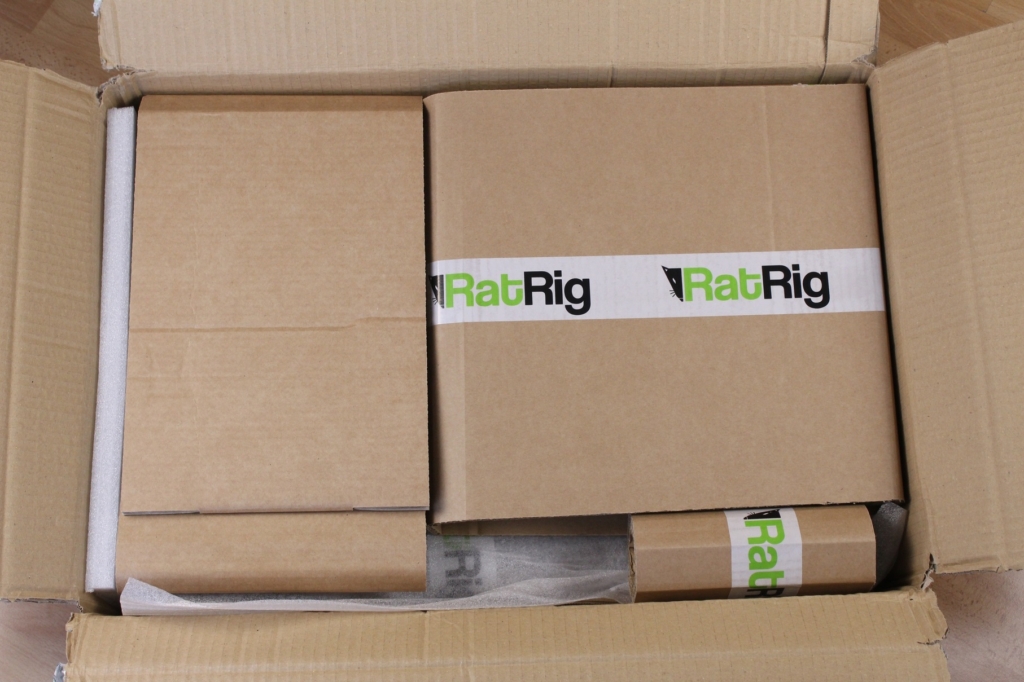
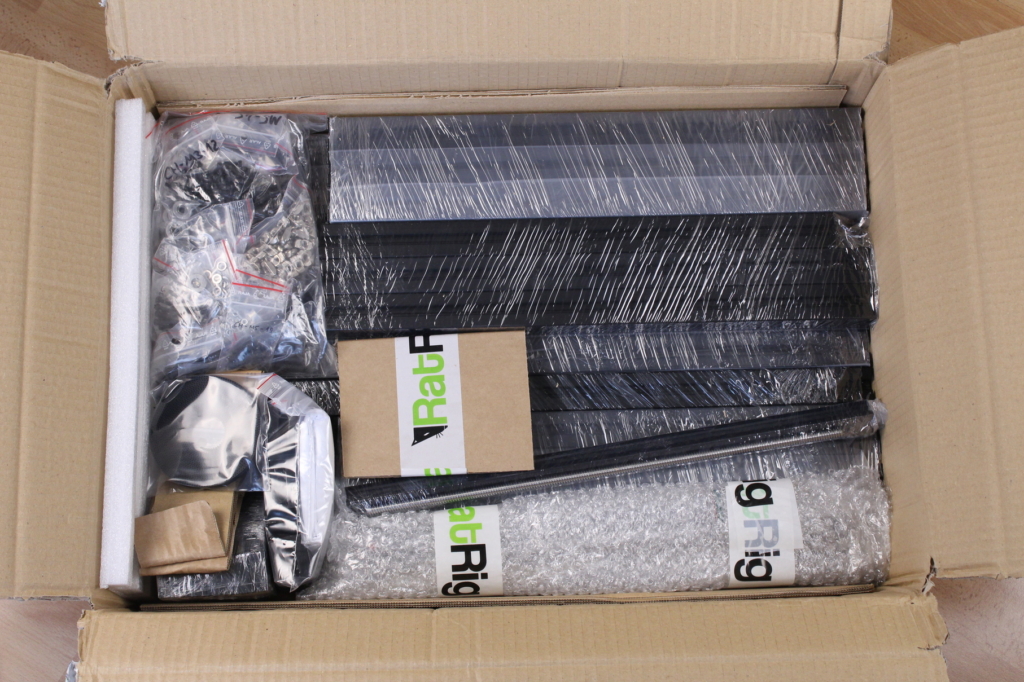
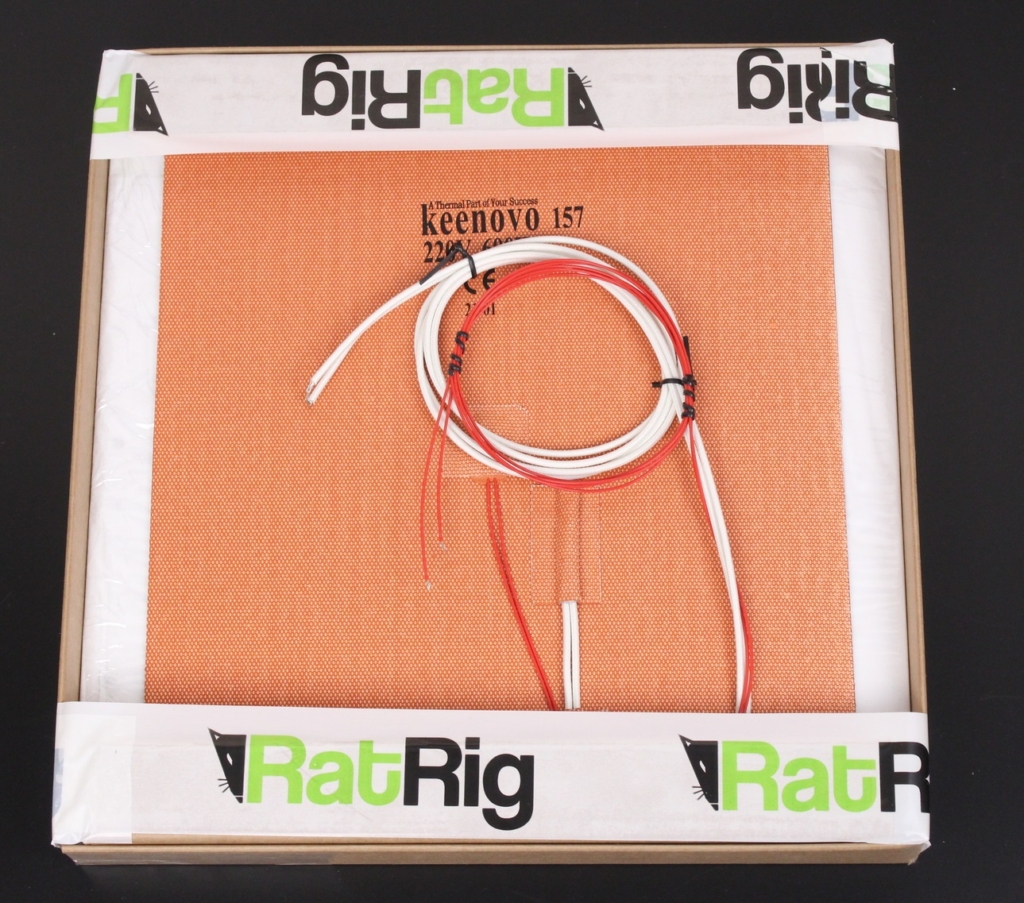
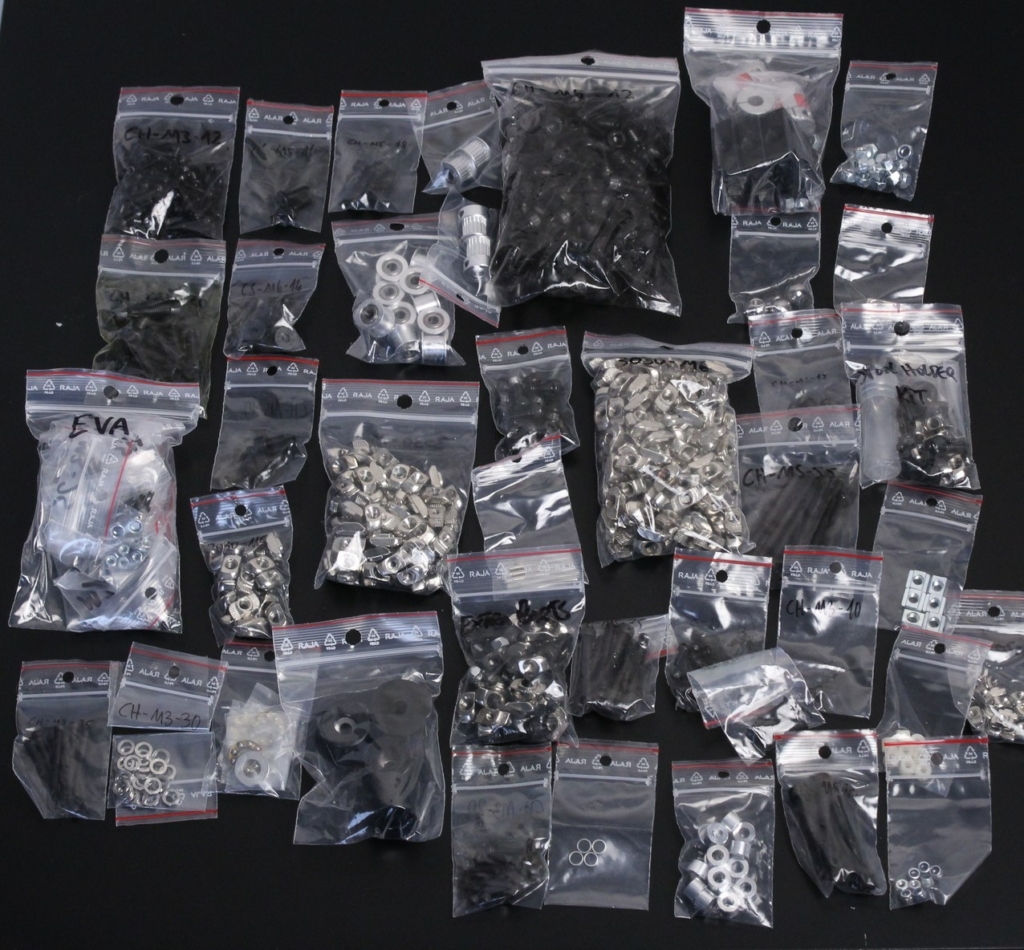
The RatRig V-Core 3 kit comes nicely packaged and it’s well protected during shipping. Ever bag of screws is individually marked to make it easier when building. My kit had the bags labled with a marker, but future kits have stickers applied to each bag to avoid smearing.
RatRig V-Core 3 Design
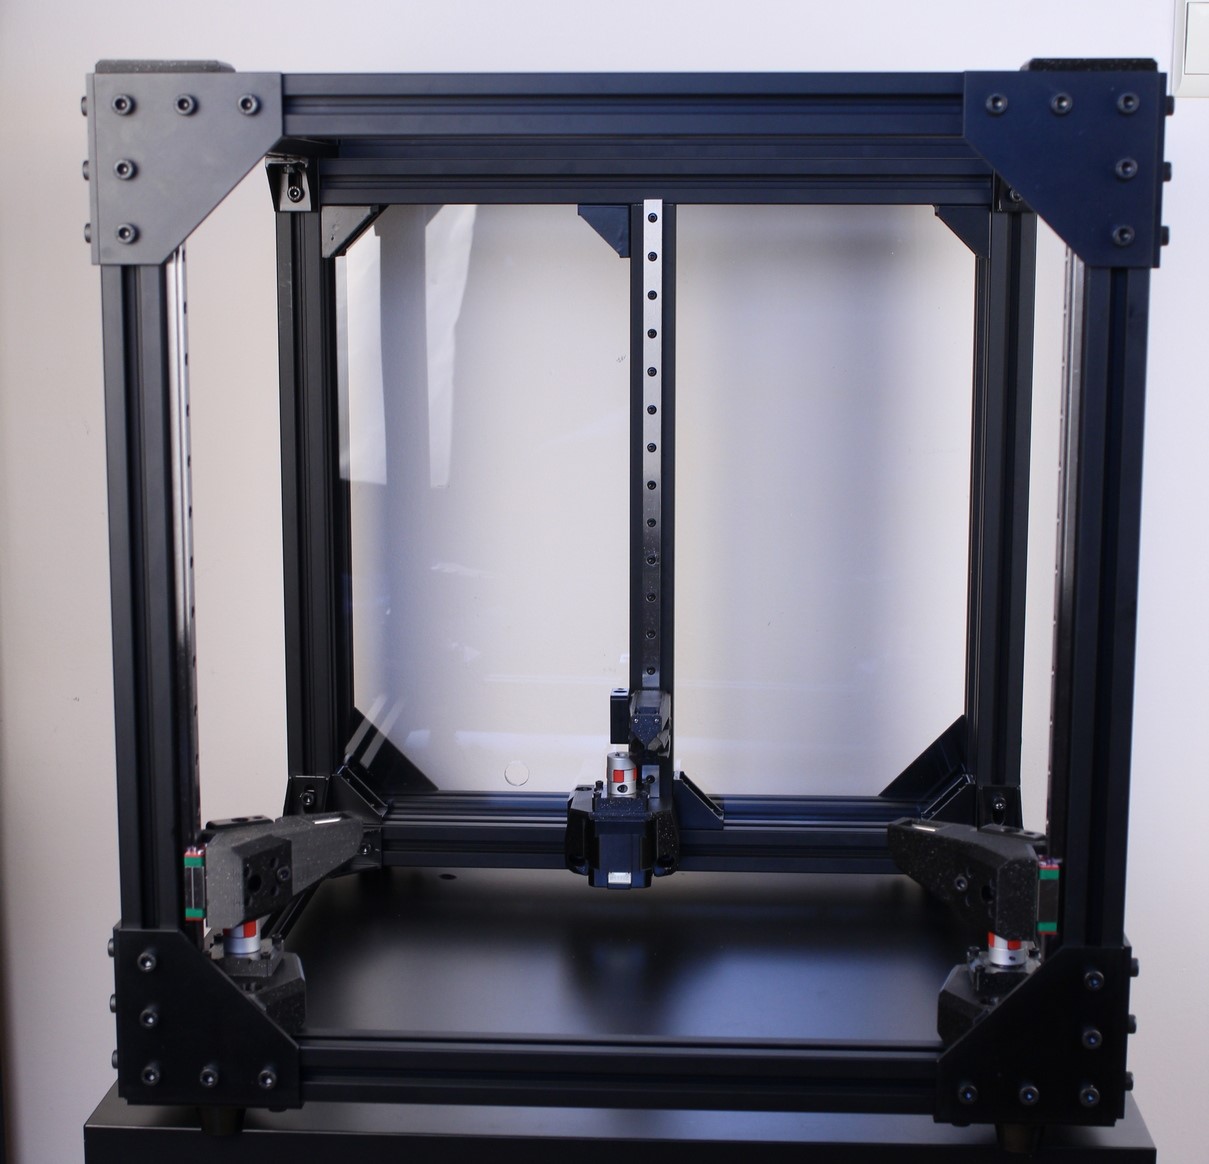
The RatRig V-Core 3 is designed to be stiff. After assembling the frame, you start to understand that the whole printer is built like a tank, and there won’t be any kind of stiffness issues. The 3030 aluminum frames provide all the stiffness required to be able to push the speeds as high as possible.
RatRig V-Core 3 “3DPrintBeginner Edition” Specs
With the RatRig V-Core 3, there’s no “right” configuration, which is also one of the attractive things about it. Everyone can configure the V-Core 3 according to their needs and budget. If you want the “default configuration“, you can order it from RatRig but it’s much more interesting to configure it as you want.
This is how I configured mine.
| Print volume: | 300x300x300 mm |
| Extruder: | BMG Clone with pancake 1.8 motor |
| Hotend: | Dragonfly HIC with 40W heater and 280C thermistor |
| Stepper motors: | E3D 0.9 High Torque Motors |
| Board: | BTT Octopus V1.0 with TMC2226 |
| PSU: | Mean Well 24V 350W |
| Print Surface: | Energetic Magnetic PEI Spring Steel Sheet |
| Heatbed: | 6mm Cast Tooling Plate with Keenovo 600W AC heater |
| Leveling sensor: | Antclabs BLTouch |
| Printed parts: | Devil Design Galaxy PETG |
| Other features: | 9mm belts, EVA compatibility, 3-point kinematic bed |
| Firmware: | Klipper |
V-Core 3 Kit from RatRig
The V-Core 3 kit had all the parts required to put the printer together and most of the parts are good enough. But I have a few recommendations for it.
I think having the electronics panel included with the kit would be great. I understand that because of the size, the kit can be harder to ship but the panel could be split into two pieces without causing any trouble or issues to the printer. For me, it was quite an adventure to find a good source for the acrylic panel I used and there are probably other people in the same situation. And there’s no way of installing the electronics without it.
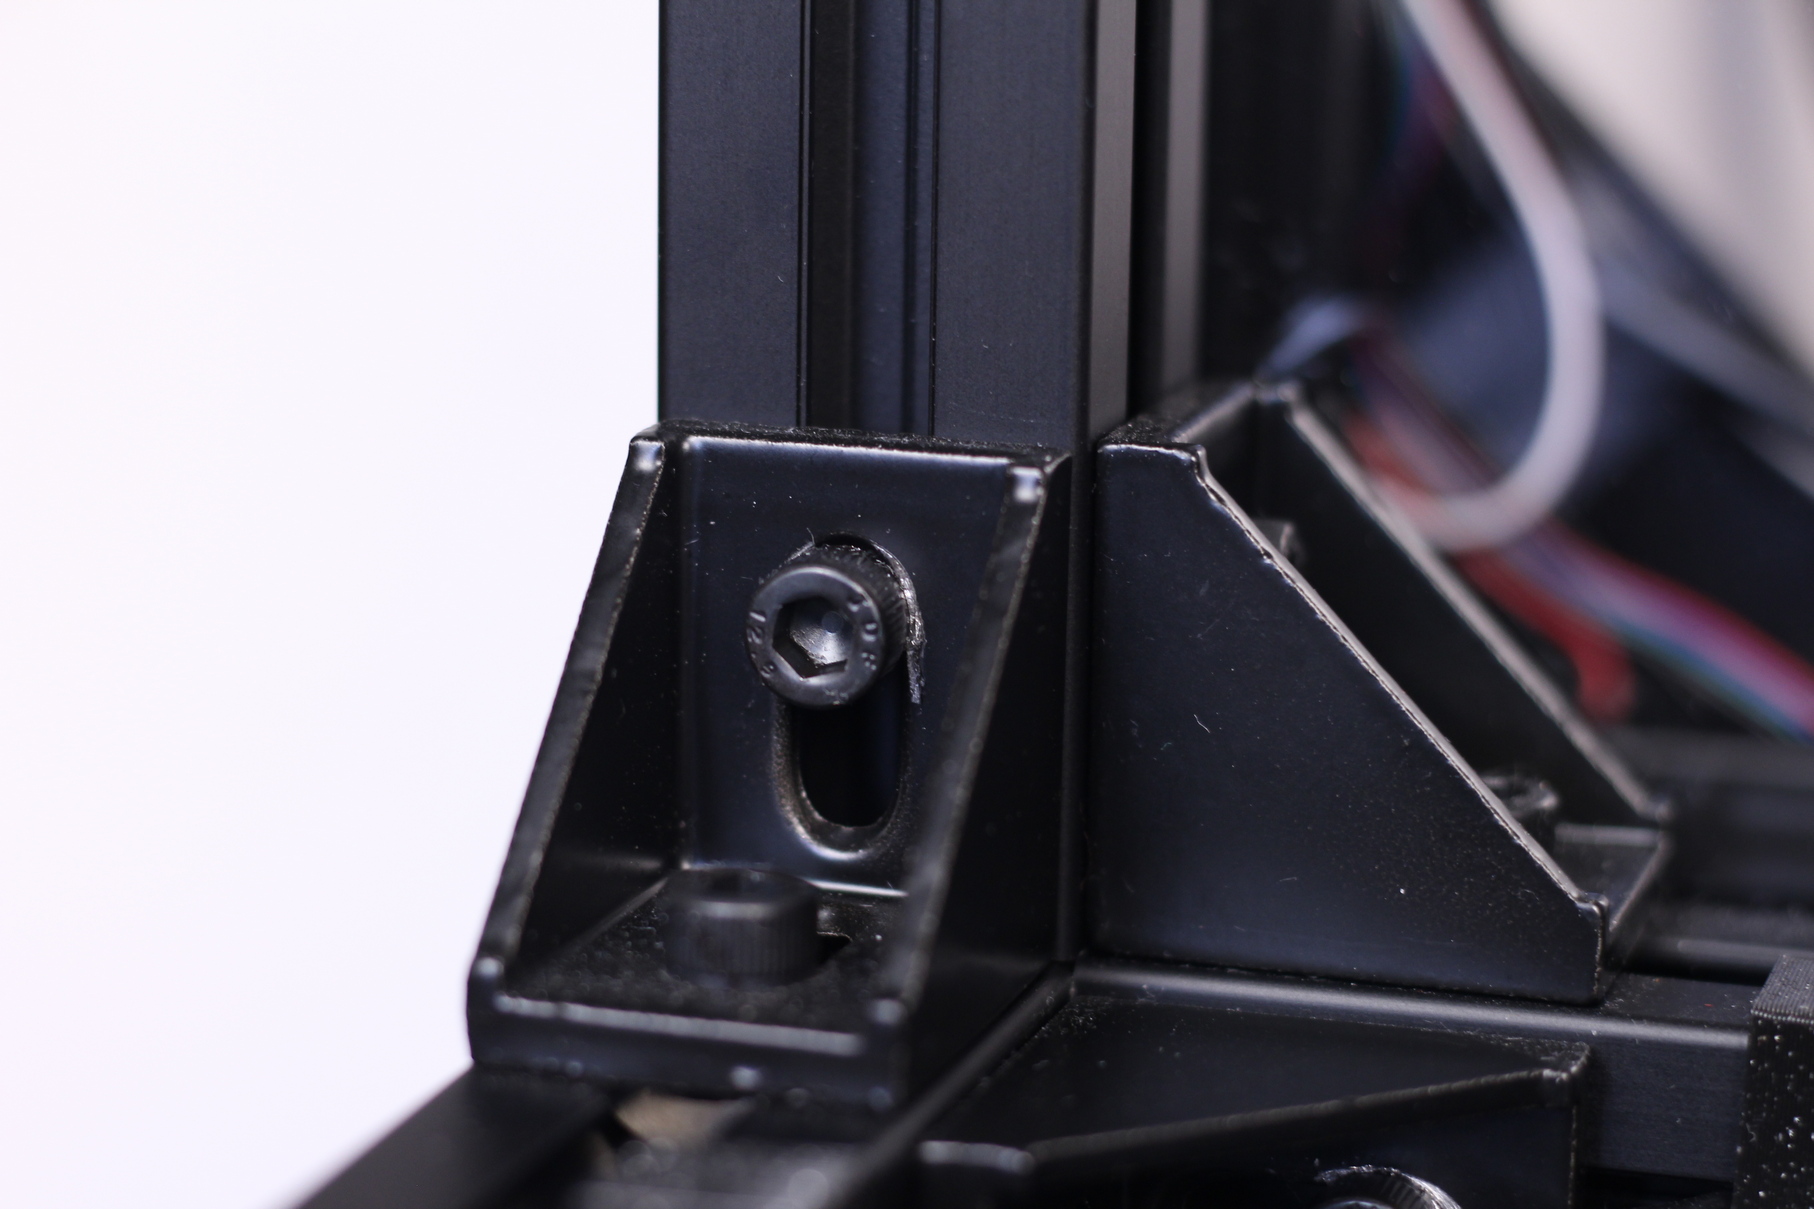
Next, I would also like to see some washers included, to be used on all the corner brackets. They are made from aluminum and it’s hard to make sure every screw is centered correctly when tightening them. Besides that, if you need to assemble the printer multiple times (like I did) you quickly start to notice that the aluminum around the screw starts to get damaged. Washers would totally fix that.
When assembling the printer and trying to ensure everything is square, I always thought that it would be a much better experience if all the extrusions would be assembled using blind joints. The number of corner brackets needed would be significantly lower and the build time would also be sliced in half. I also missed having some kind of jigs to help with the alignment process, because it takes longer to continuously measure everything.
I also think that having all-metal components for the XY joiners would help with aligning everything and also ensure the X gantry stiffness. Before you leave a comment telling me that I’m wrong, please note that this was successfully done before with the BLV Metal Kit without adding too much weight and I hope we’ll have a similar all-metal kit for the V-Core 3 in the future.
RatRig V-Core 3 Build Process
Frame assembly
For me, the first step in the build was also the most frustrating. I completely assembled the frame, and worked my way through the build process, but when I attached the linear rails for the XY movement, I noticed that I couldn’t align everything properly.
I spent a lot of time on this, trying to find out what could cause this. Probably more than 6 hours trying to align all the rails only to find out that the issue is not caused by them. Instead, the issue was caused by a twisted aluminum profile. I disassembled everything and started building again. I carefully attached the twisted extrusion to the frame, and that fixed the problem.
I contacted RatRig during this time, and they offered to send me replacements for the twisted extrusion and linear rails, to fix the issue. But I was able to detect the problem and fix it by myself without needing replacements.
Linear Rails
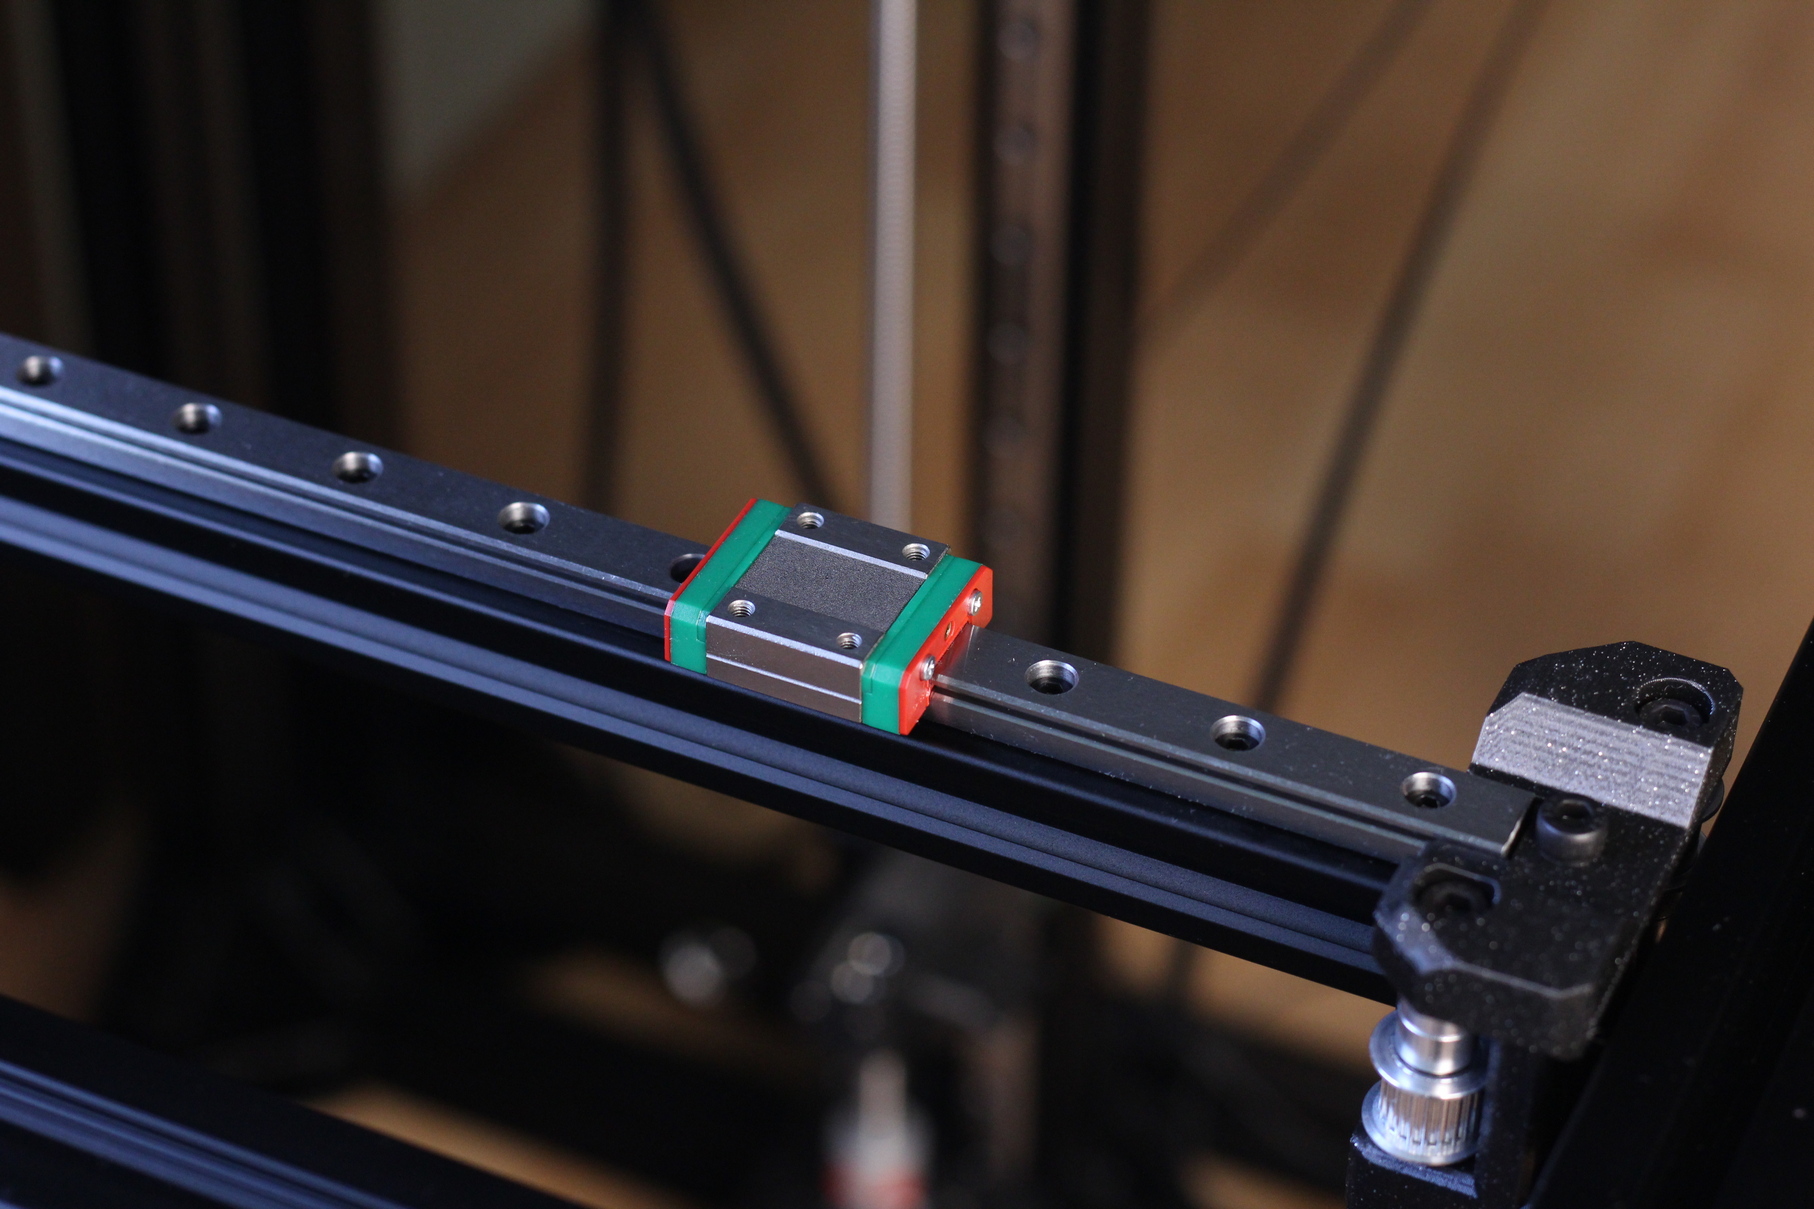
Attaching the linear rails was straight forward. I was thinking about taking the linear rails apart and re-greasing them. But the movement was smooth enough, so I decided to just clean the rails well with paper towels and some IPA. Then I applied a light coat of sewing machine oil and attached them to the printer. No big issues here.
Installing the stepper motors
I decided to go with the E3D 0.9-degree High Torque Motors because they are supposed to be more accurate (in theory) and I also had an unused discount code on the E3D store. In hindsight, getting LDO motors could have been a better idea because they provide more torque. With the current E3D motors, I am not able to go past 10.000 acceleration without losing steps.
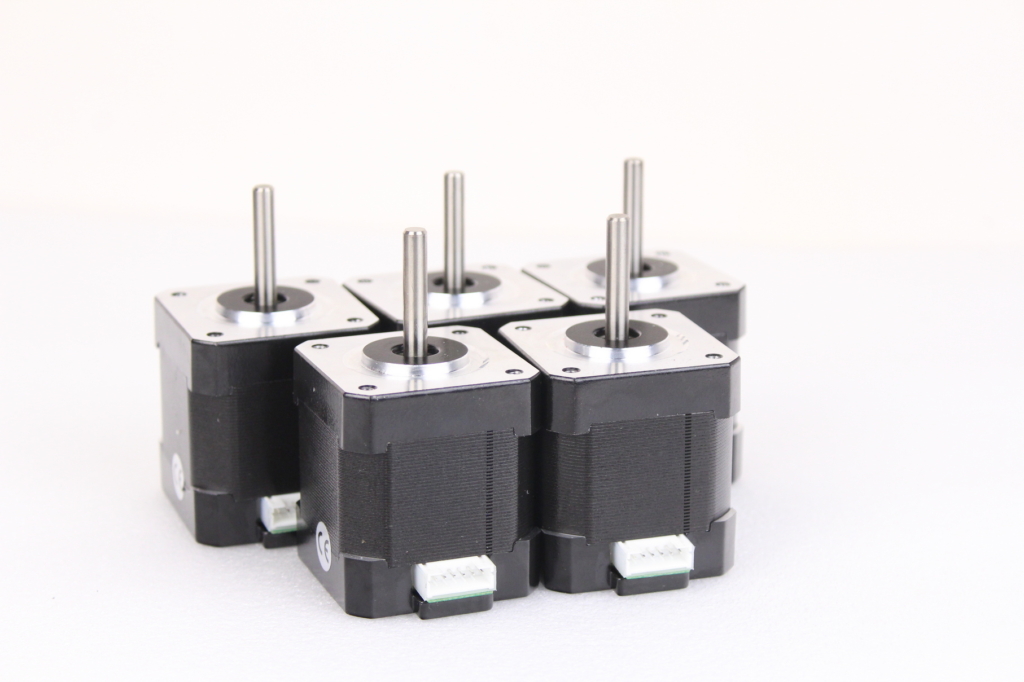
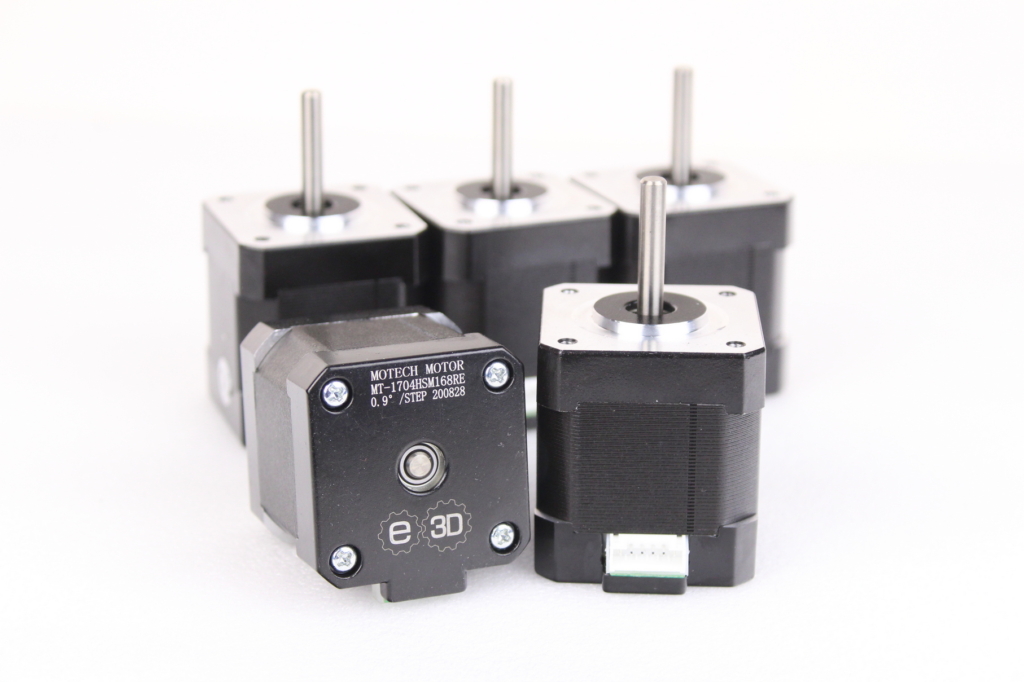
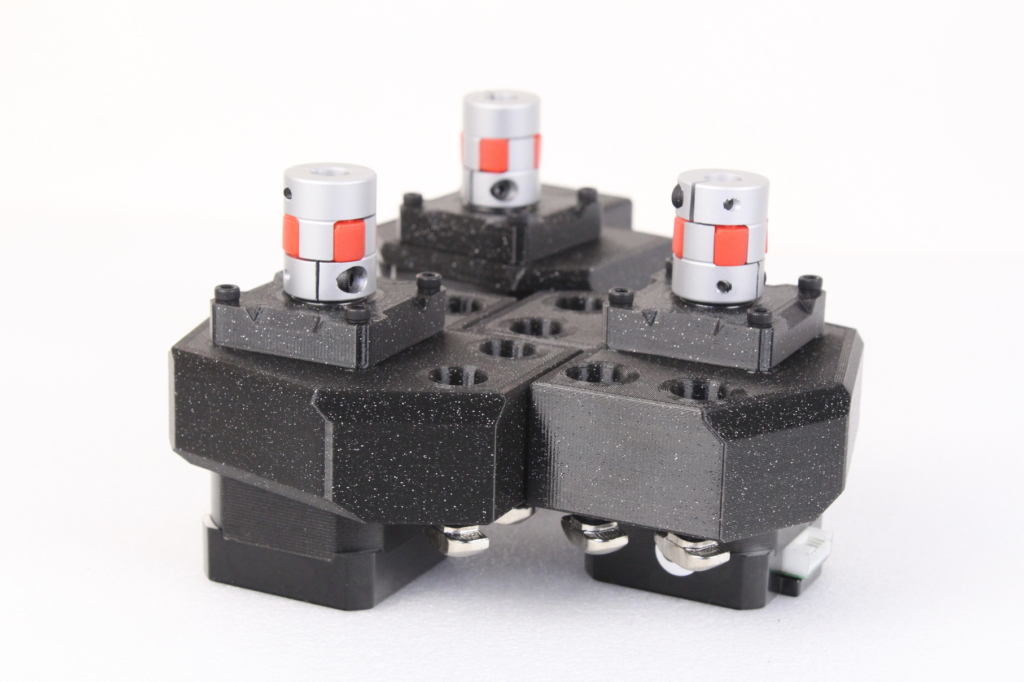
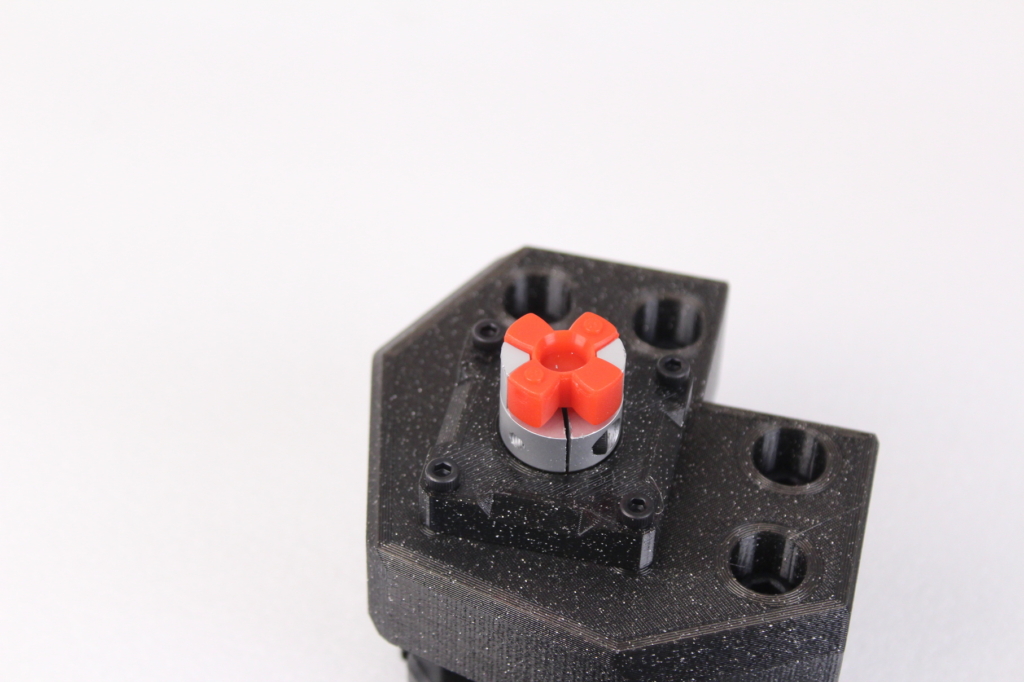
The stepper motor couplers needed a bit of adjustment. Specifically, the red plastic part between the jaw couplers needs to be drilled trough, to accommodate the E3D motor shafts. Not a huge issue but something to consider.
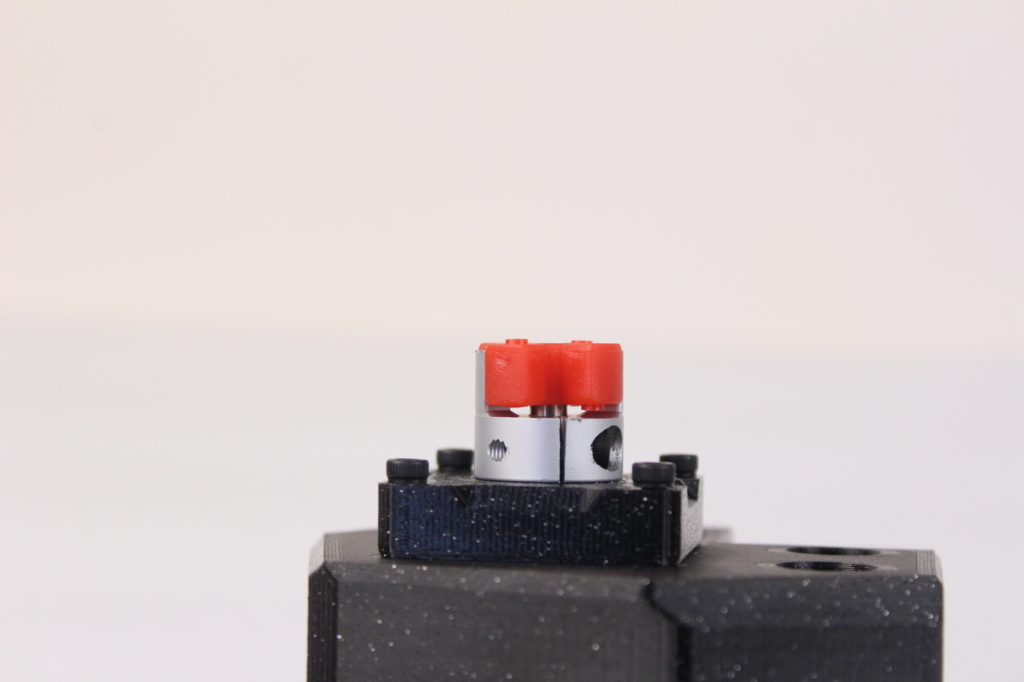
Besides that, you will need to change the stepper motor wiring according to the schematic available in the build guide. The E3D motors use a different wiring compared to others.
Installing the belts and XY movement system
Another section of the build that took a bit of time is the installation of the whole XY movement system (gantry, linear rails, pulleys, idlers, and belts). The linear rails and X gantry was easy to install, but I had some issues installing the belts. Mostly because I haven’t carefully followed the installation guide, but also because some parts of the belt are hard to install.
A trick I used to line all the belts through all the idlers is by using a feeler gauge. It’s thin and flexible enough to run it through the idlers and create a smooth path for the belt to go through.
Talking about idlers, I also had two bad ones. One of the idlers was not spinning correctly and the second was missing a bearing. After contacting RatRig, they quickly sent me the replacement and I was able to continue the build after 2 days but I can’t say that the idler quality is great. I’ve seen better idlers available from Mellow Store on AliExpress.
EVA Installation
The whole EVA setup is really nice, considering it’s made to be compatible with a wide range of extruder and hotends combo. The installation process was quite easy after I figured out how everything needs to be put together.
I decided to use a spare BMG clone I had laying around, and the Phaetus Dragonfly HIC I won in a giveaway. Because my CAD skills are as good as a hot beer in the summer, I was lucky enough to contact @themacboy on RatRig Discord who provided me with a “beta” design to hold the HIC in place. I installed it and everything worked out great in the end.
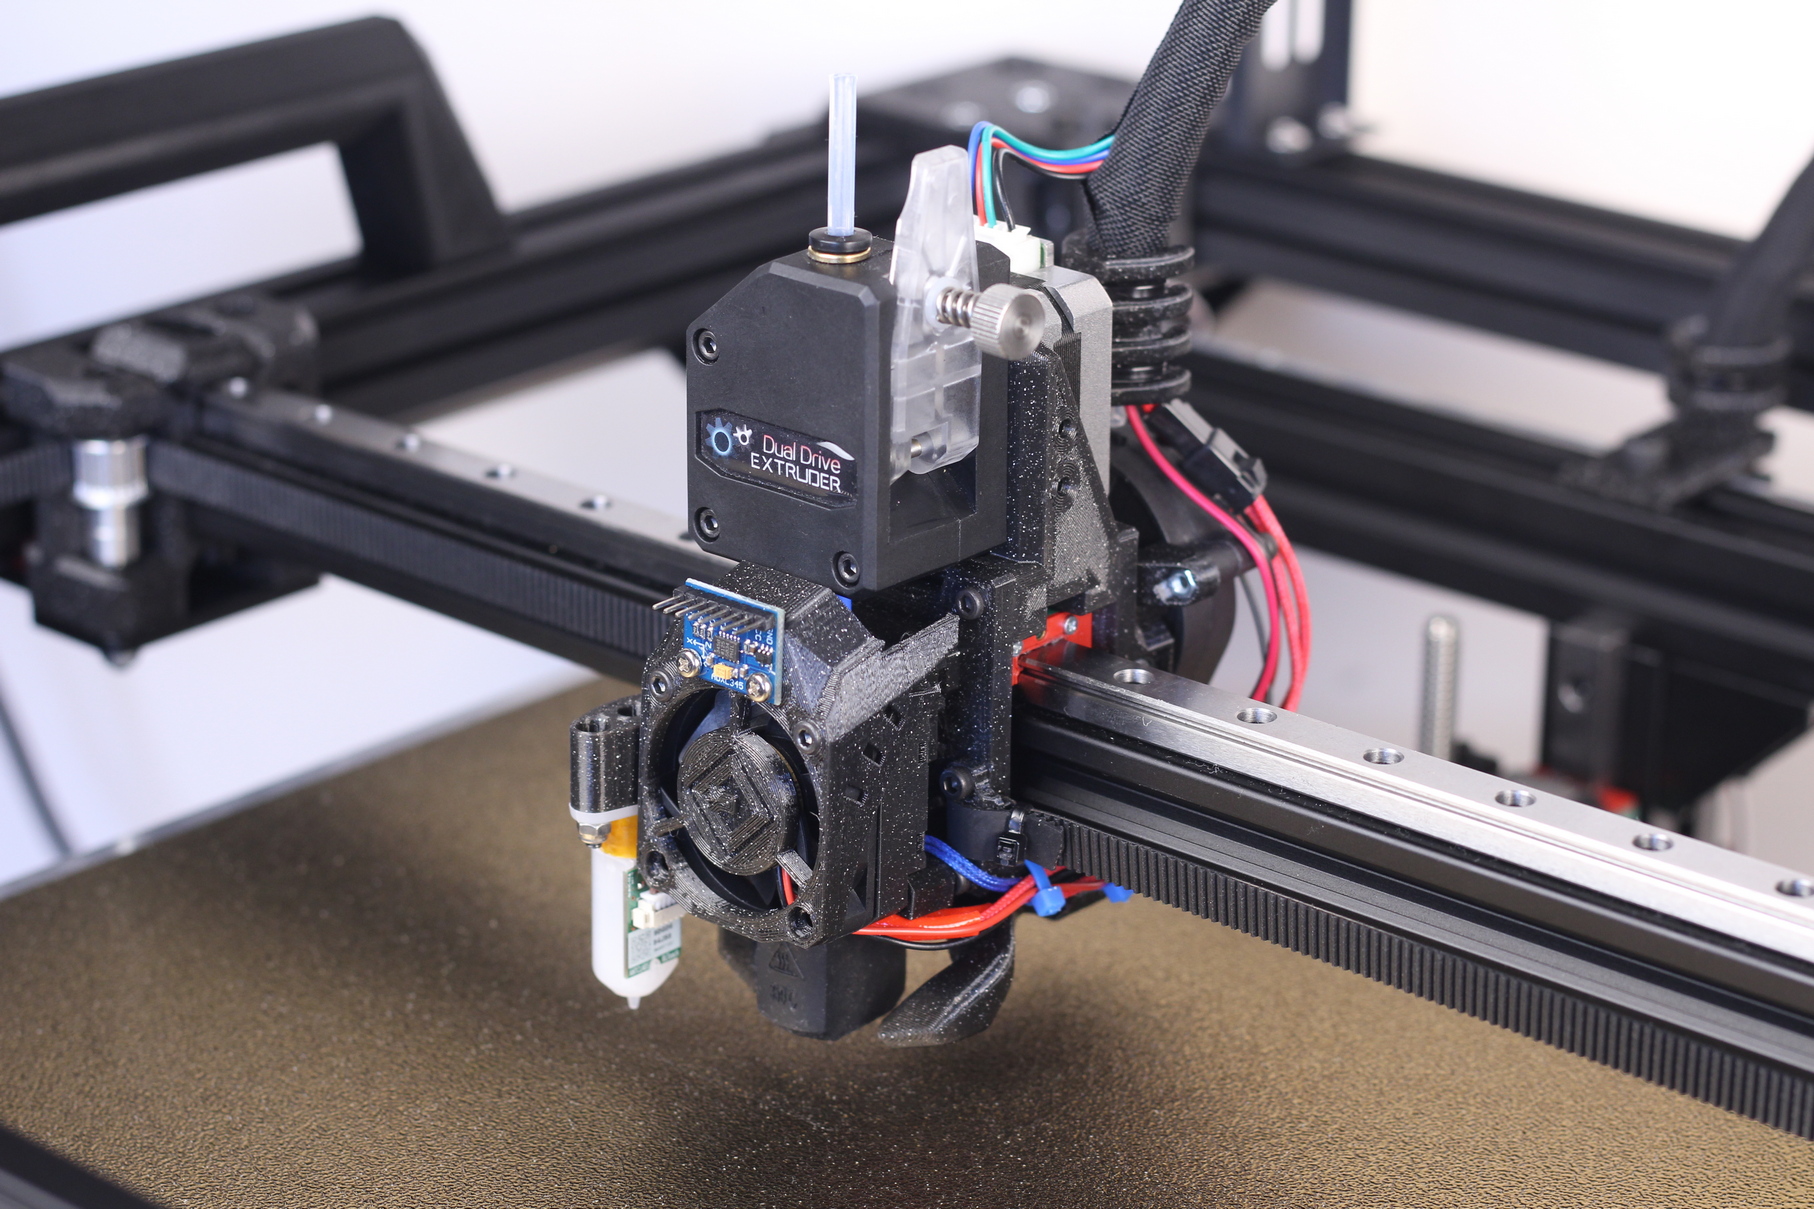
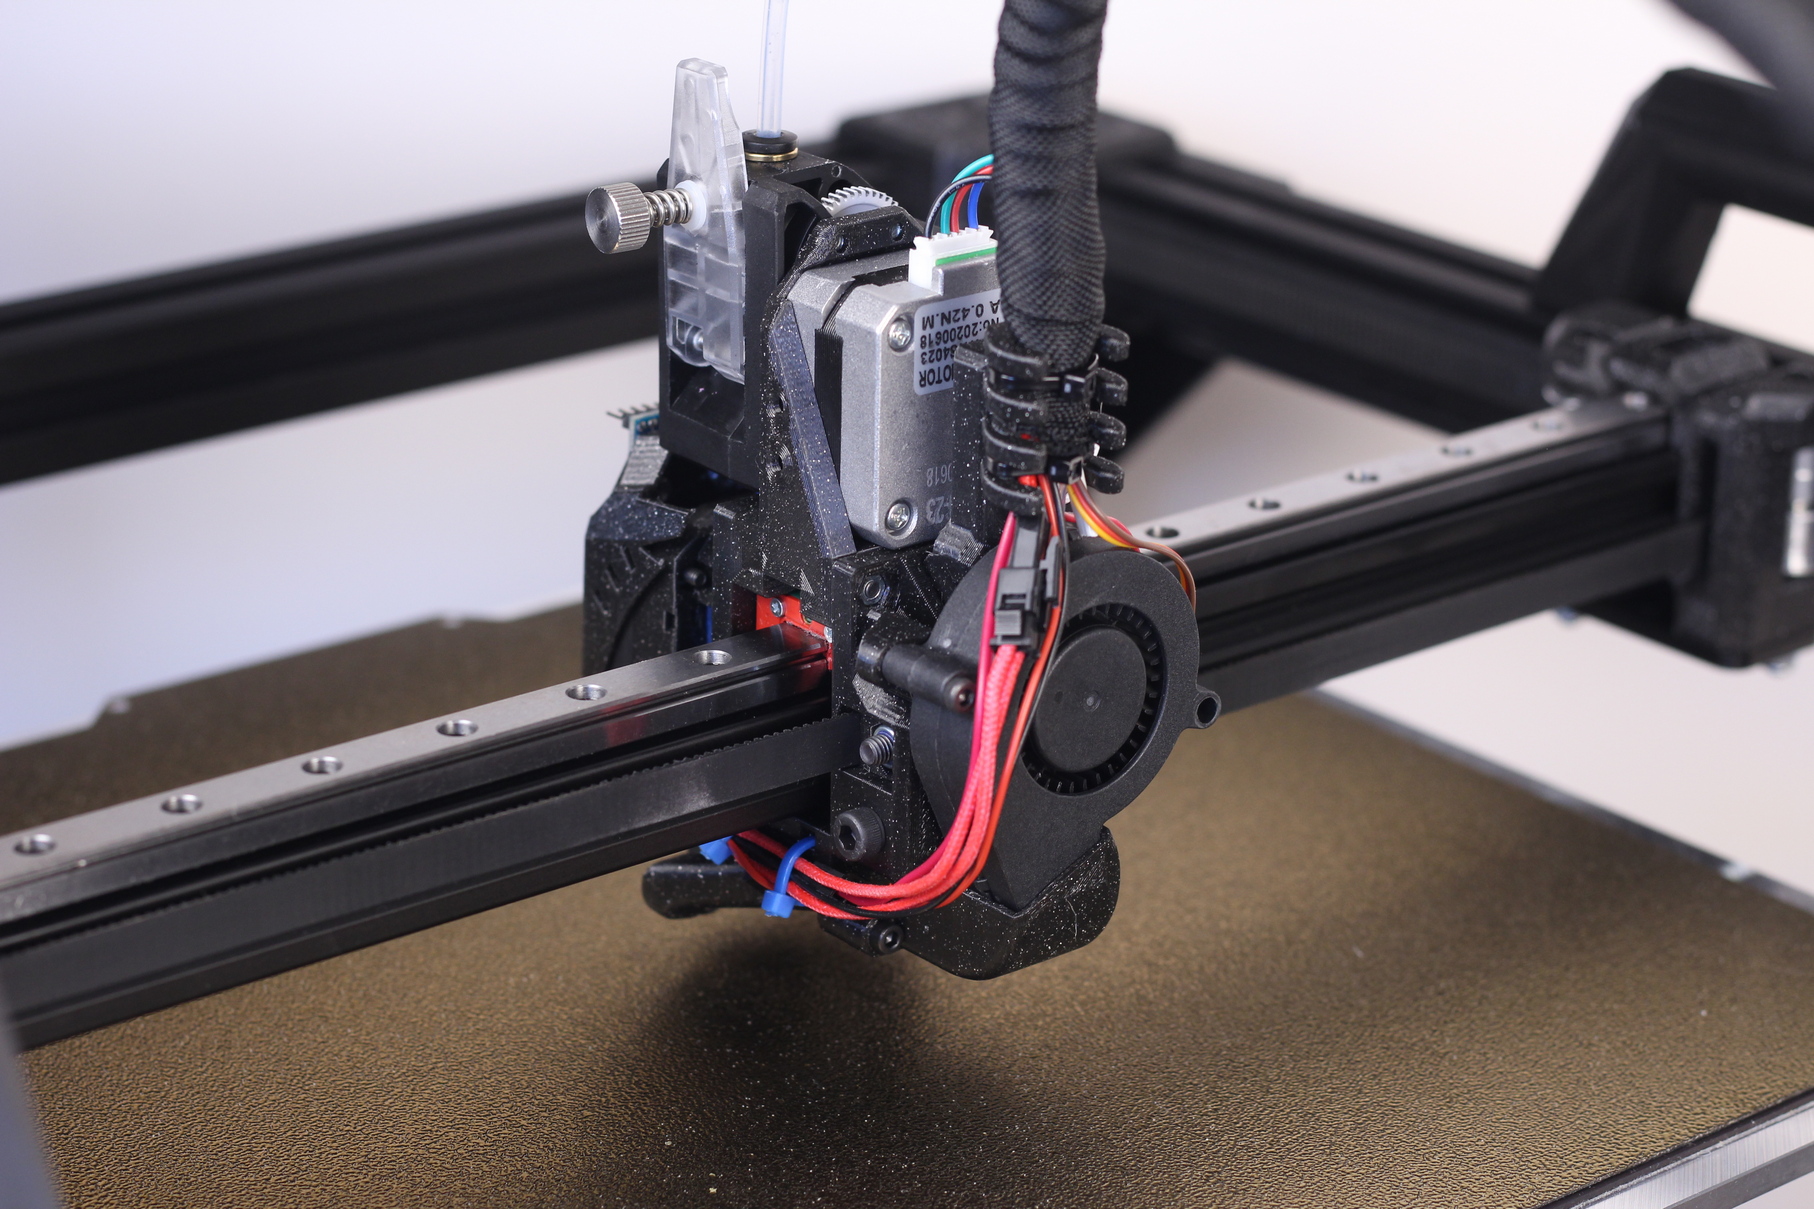
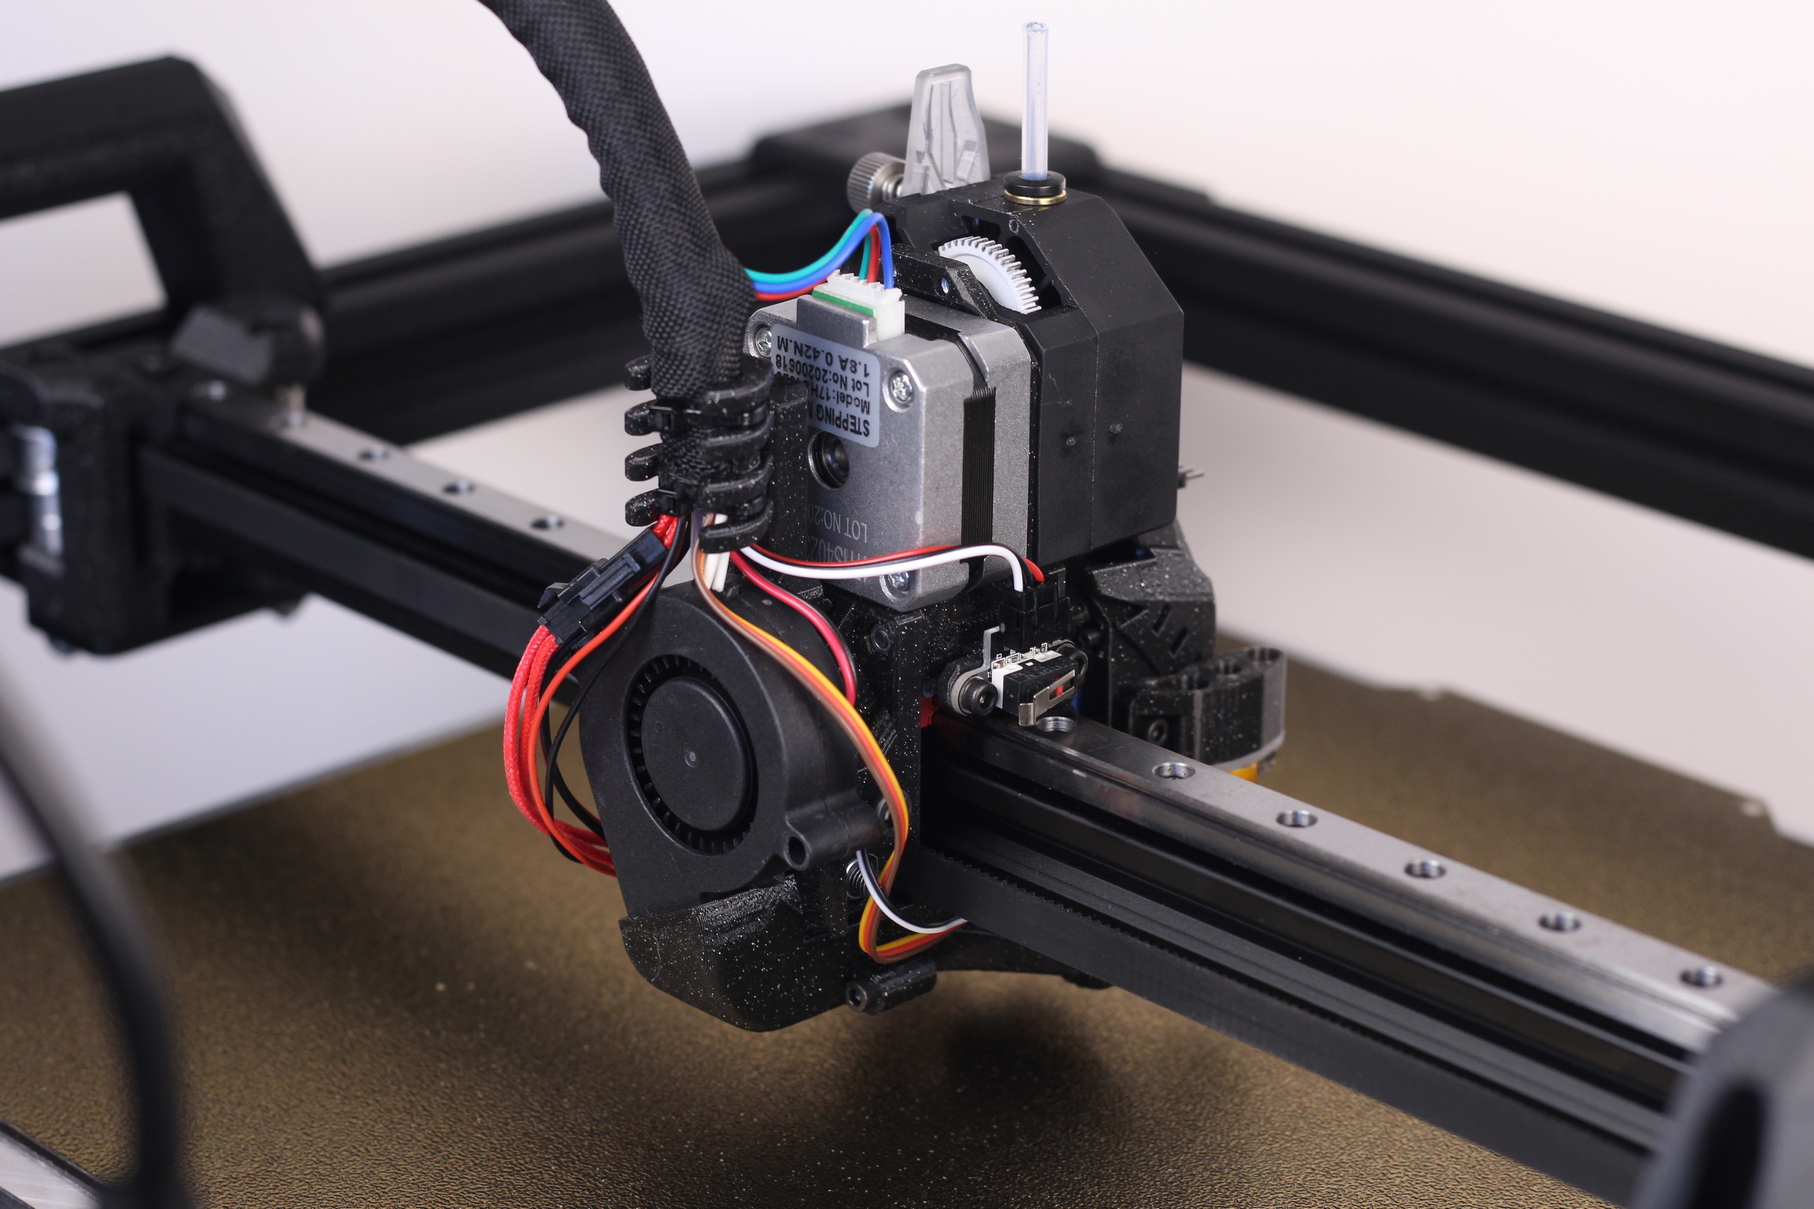
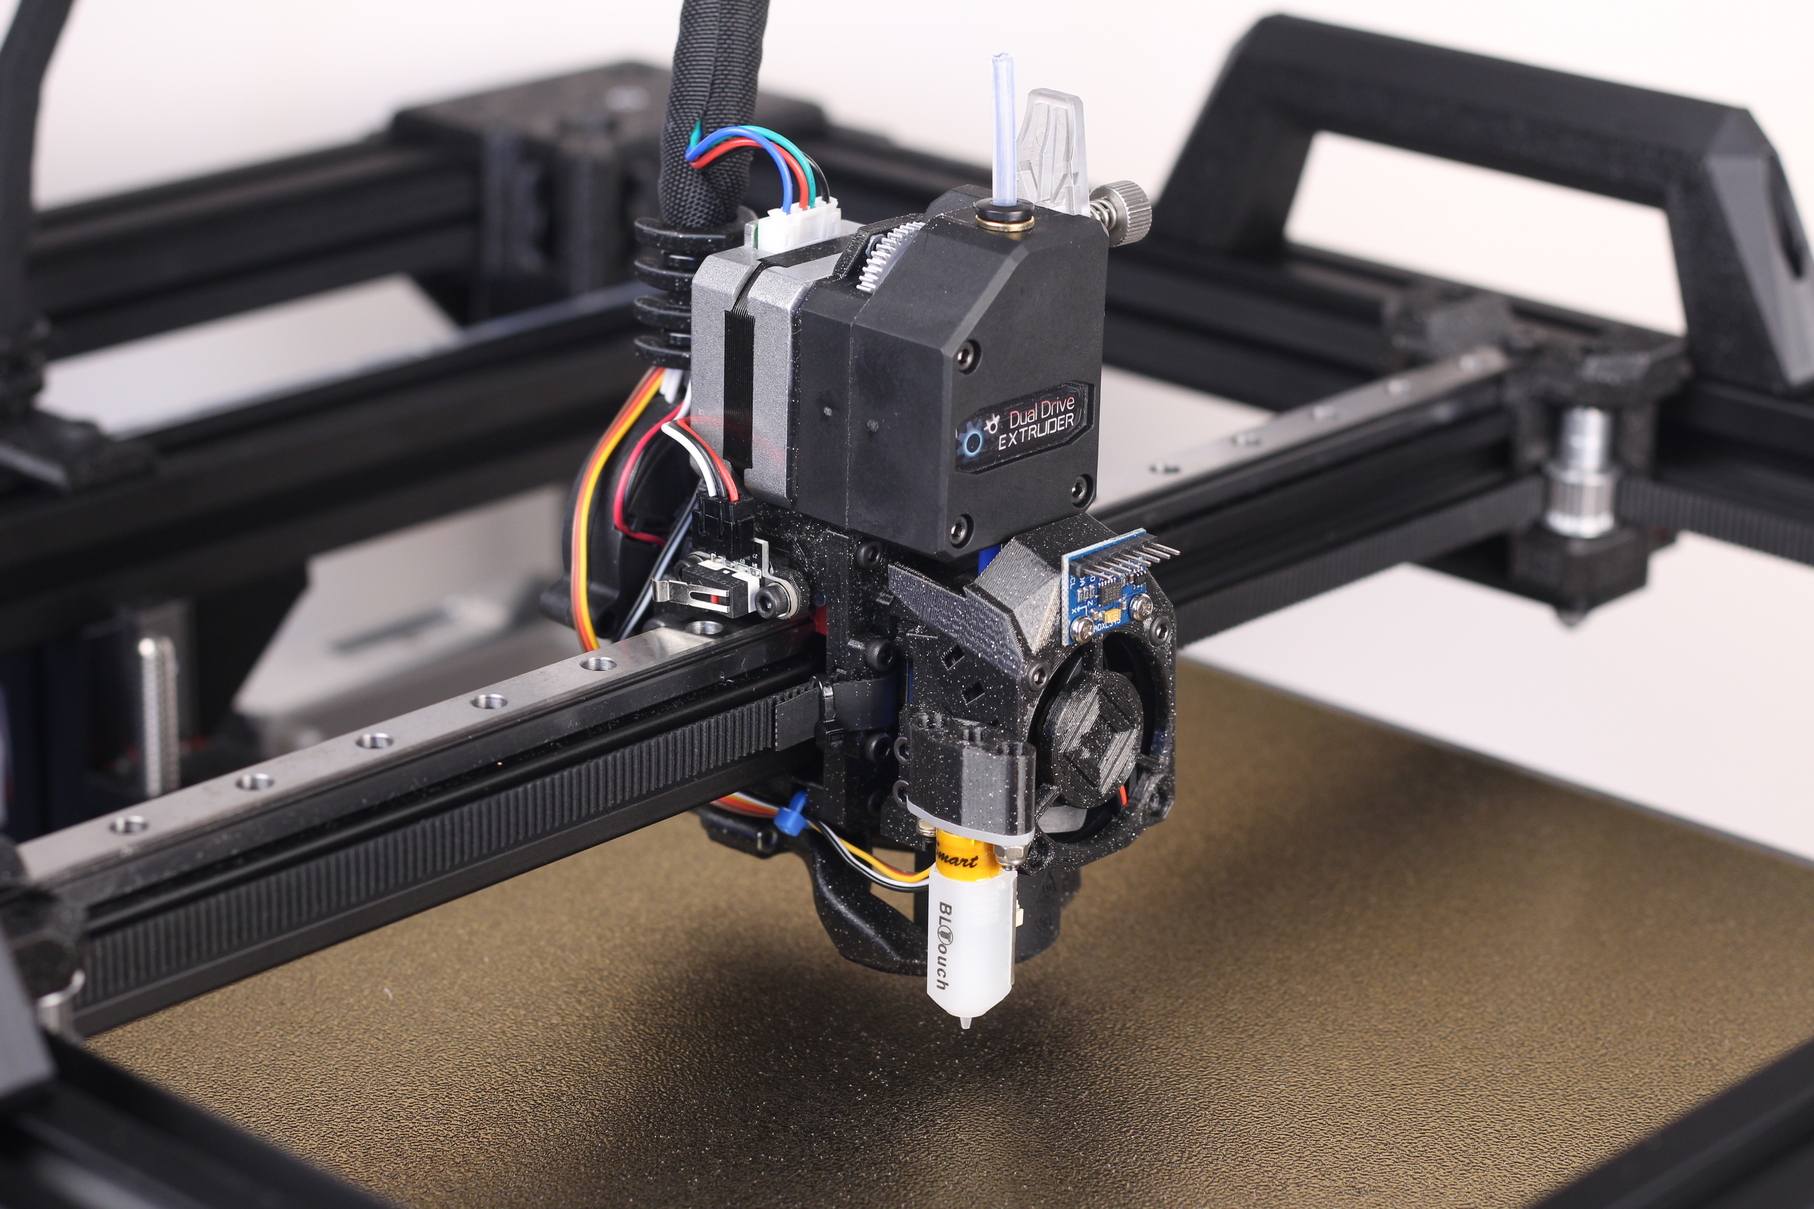
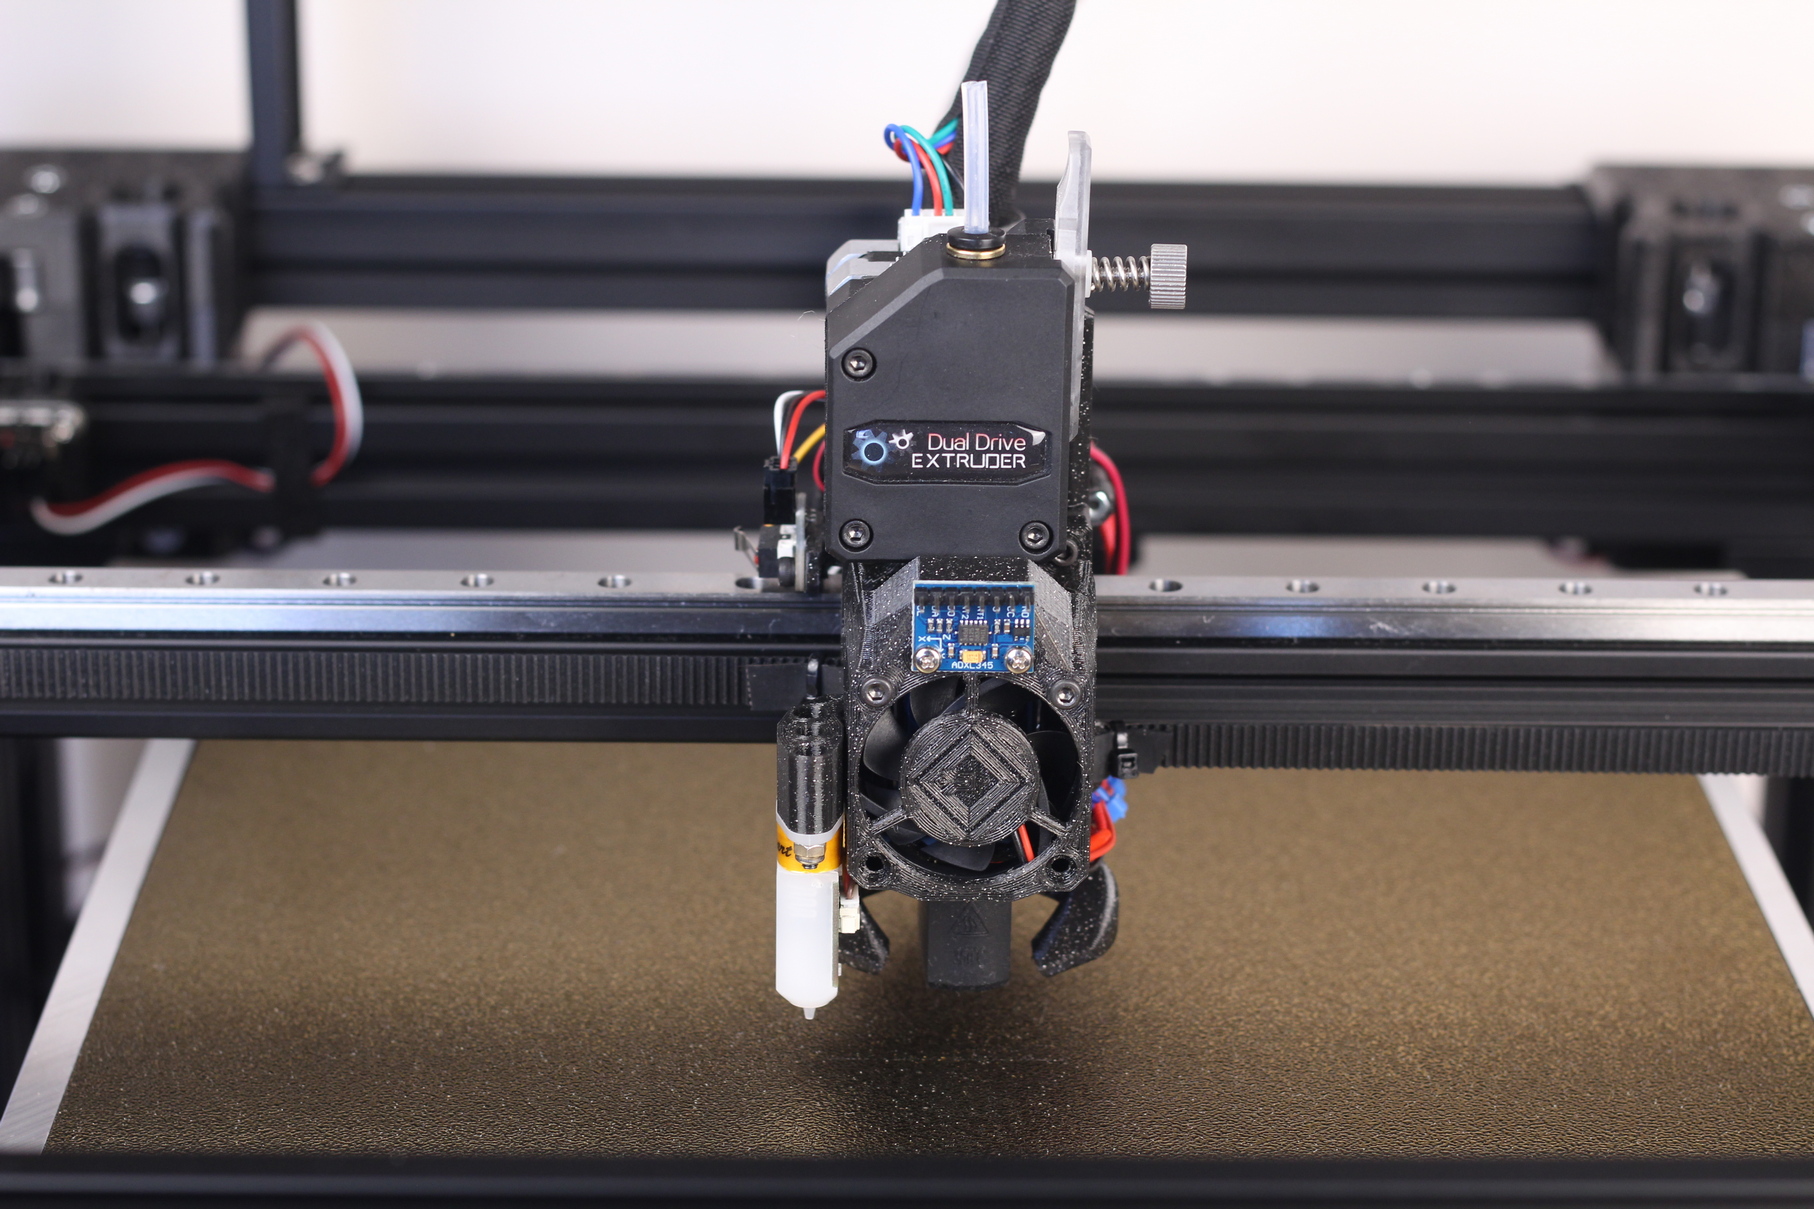
While this setup works fine, I am looking to test the BIQU H2 and Mellow Sunrise extruders on the RatRig V-Core 3. I know that most people don’t like having “front heavy extruders” on the V-Core 3, but I don’t really agree with their arguments, so I will do some testing and report back.
Bed heater installation
The bed heater installation went well. To ensure good adhesion, I first heated up my Ender 5 bed to 80C and placed the RatRig aluminum bed on it for ~15 minutes to soak in some heat. Then, I carefully applied the KENOVO bed heater making sure not to catch any air bubbles underneath. After applying it, I placed a few spools of filament over the heater to apply pressure and ensure a good bond.
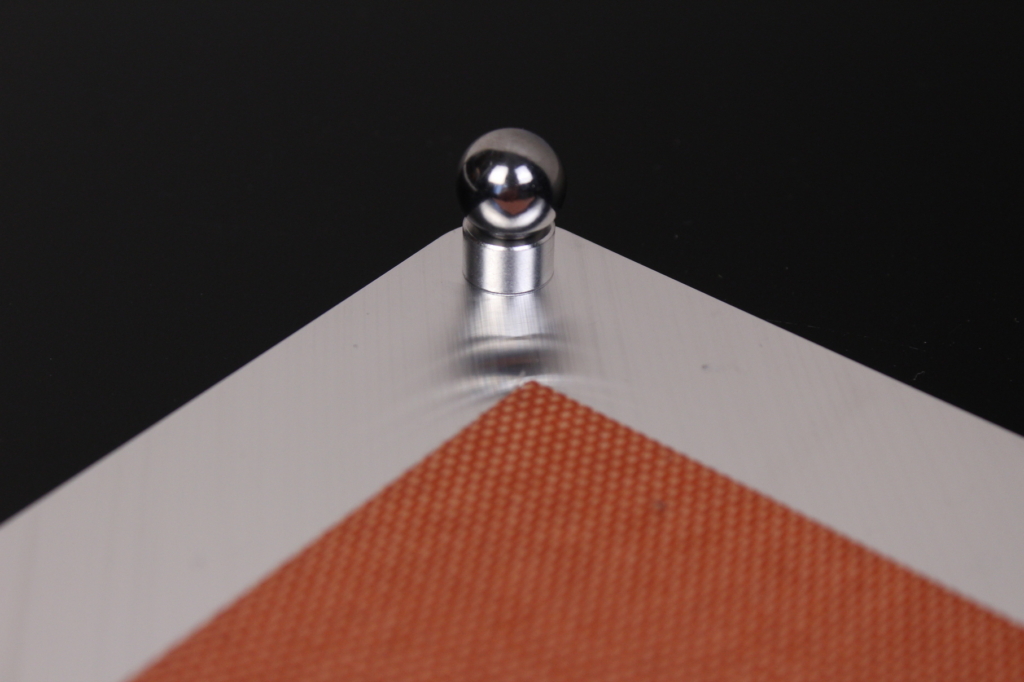
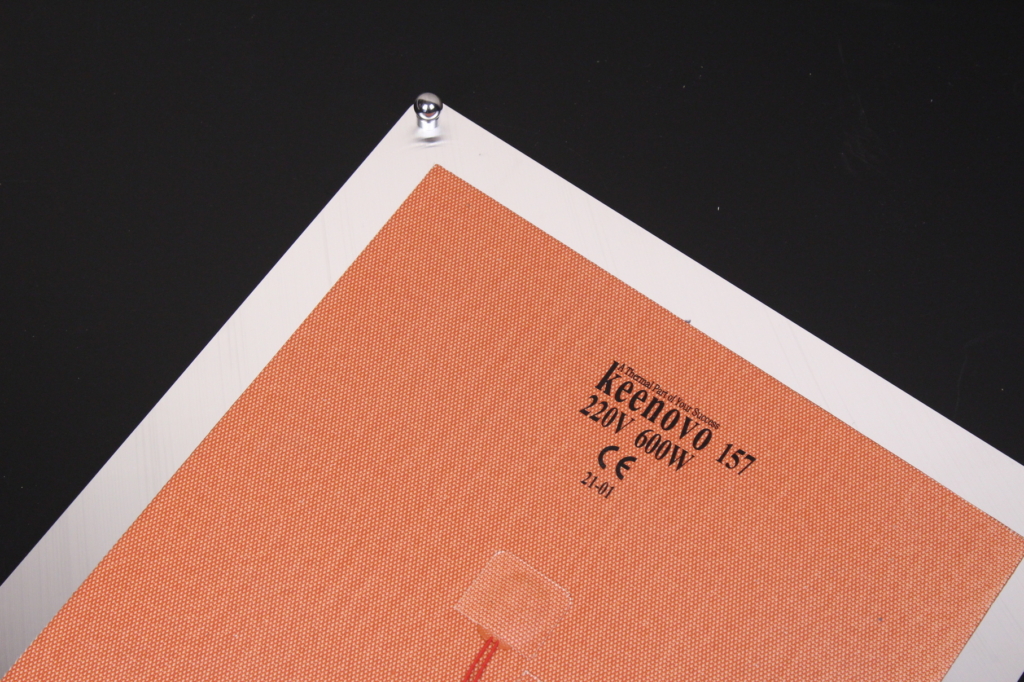
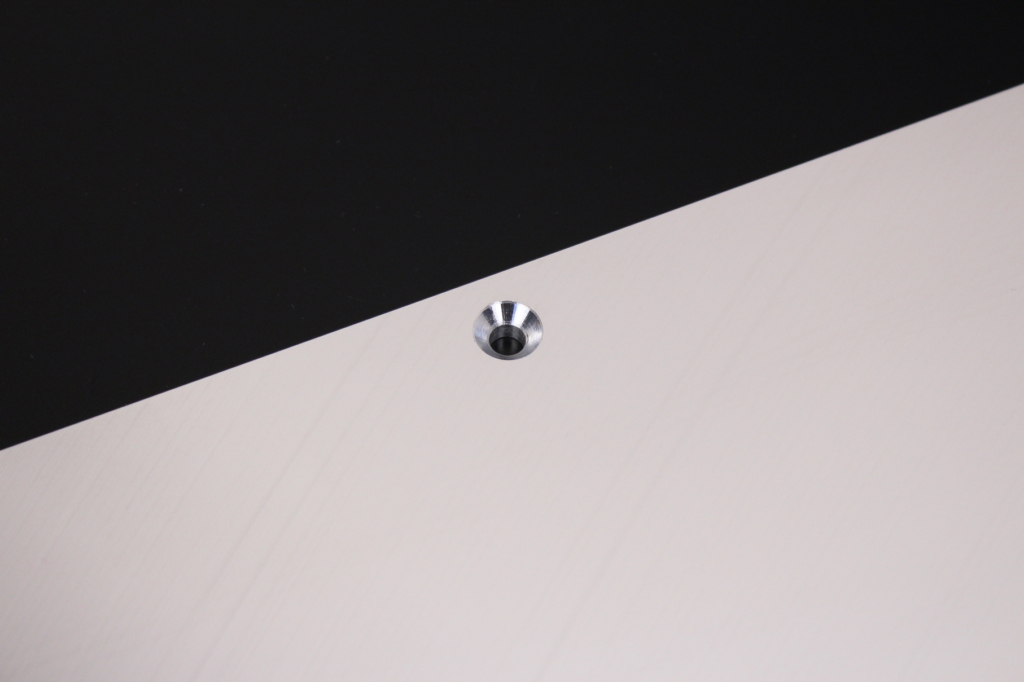
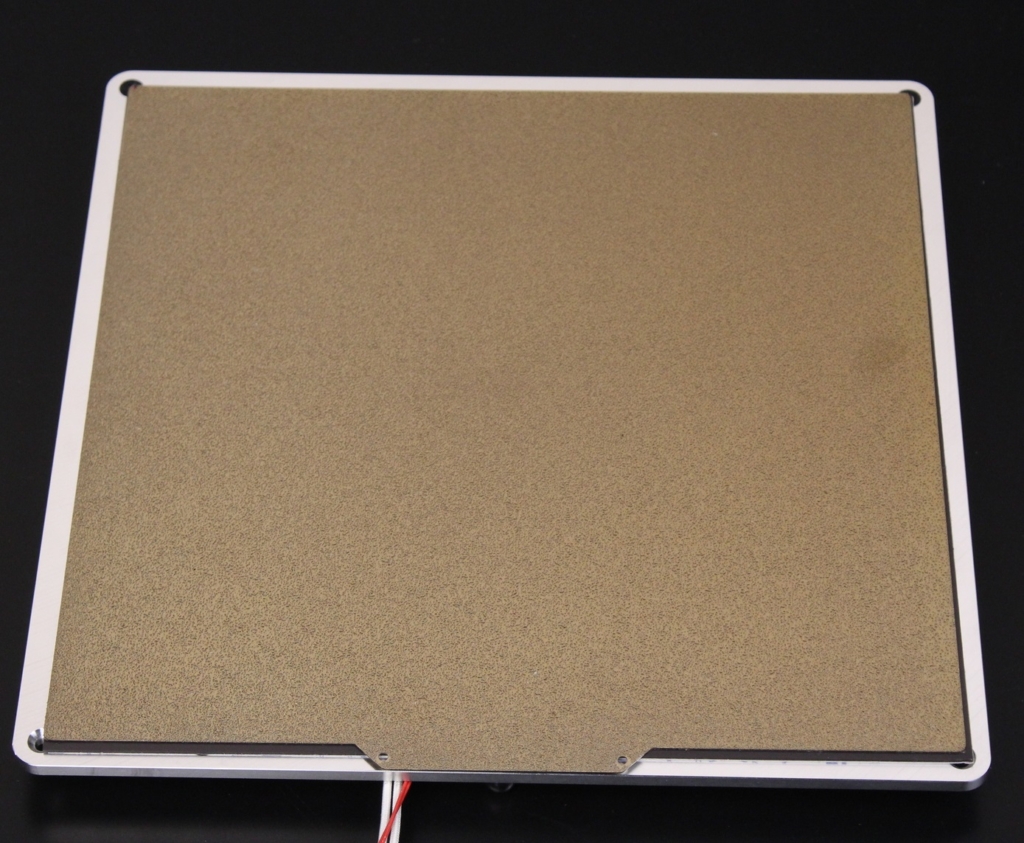
After testing the heater functionality, I also applied bed insulation material to make it more efficient when heating up and to keep the temperature contained. Finally, the magnetic sticker was applied for the PEI sheet. Just make sure to cut the sticker around the screws for perfect flatness.
Installing the electronics
I decided to install the electronics right on the back of the acrylic electronics panel, so I needed to drill through it. As you might notice, the drill holes were not perfect, and the electronics are not perfectly aligned. But nothing in life is perfect, so we’ll ignore that :D.
The BTT Octopus board was installed using some spacers I found in the kit, while the power supply was installed directly on the acrylic panel. I also decided to include a Raspberry Pi 3A because it’s cheap and the performance is more than enough for what I need.
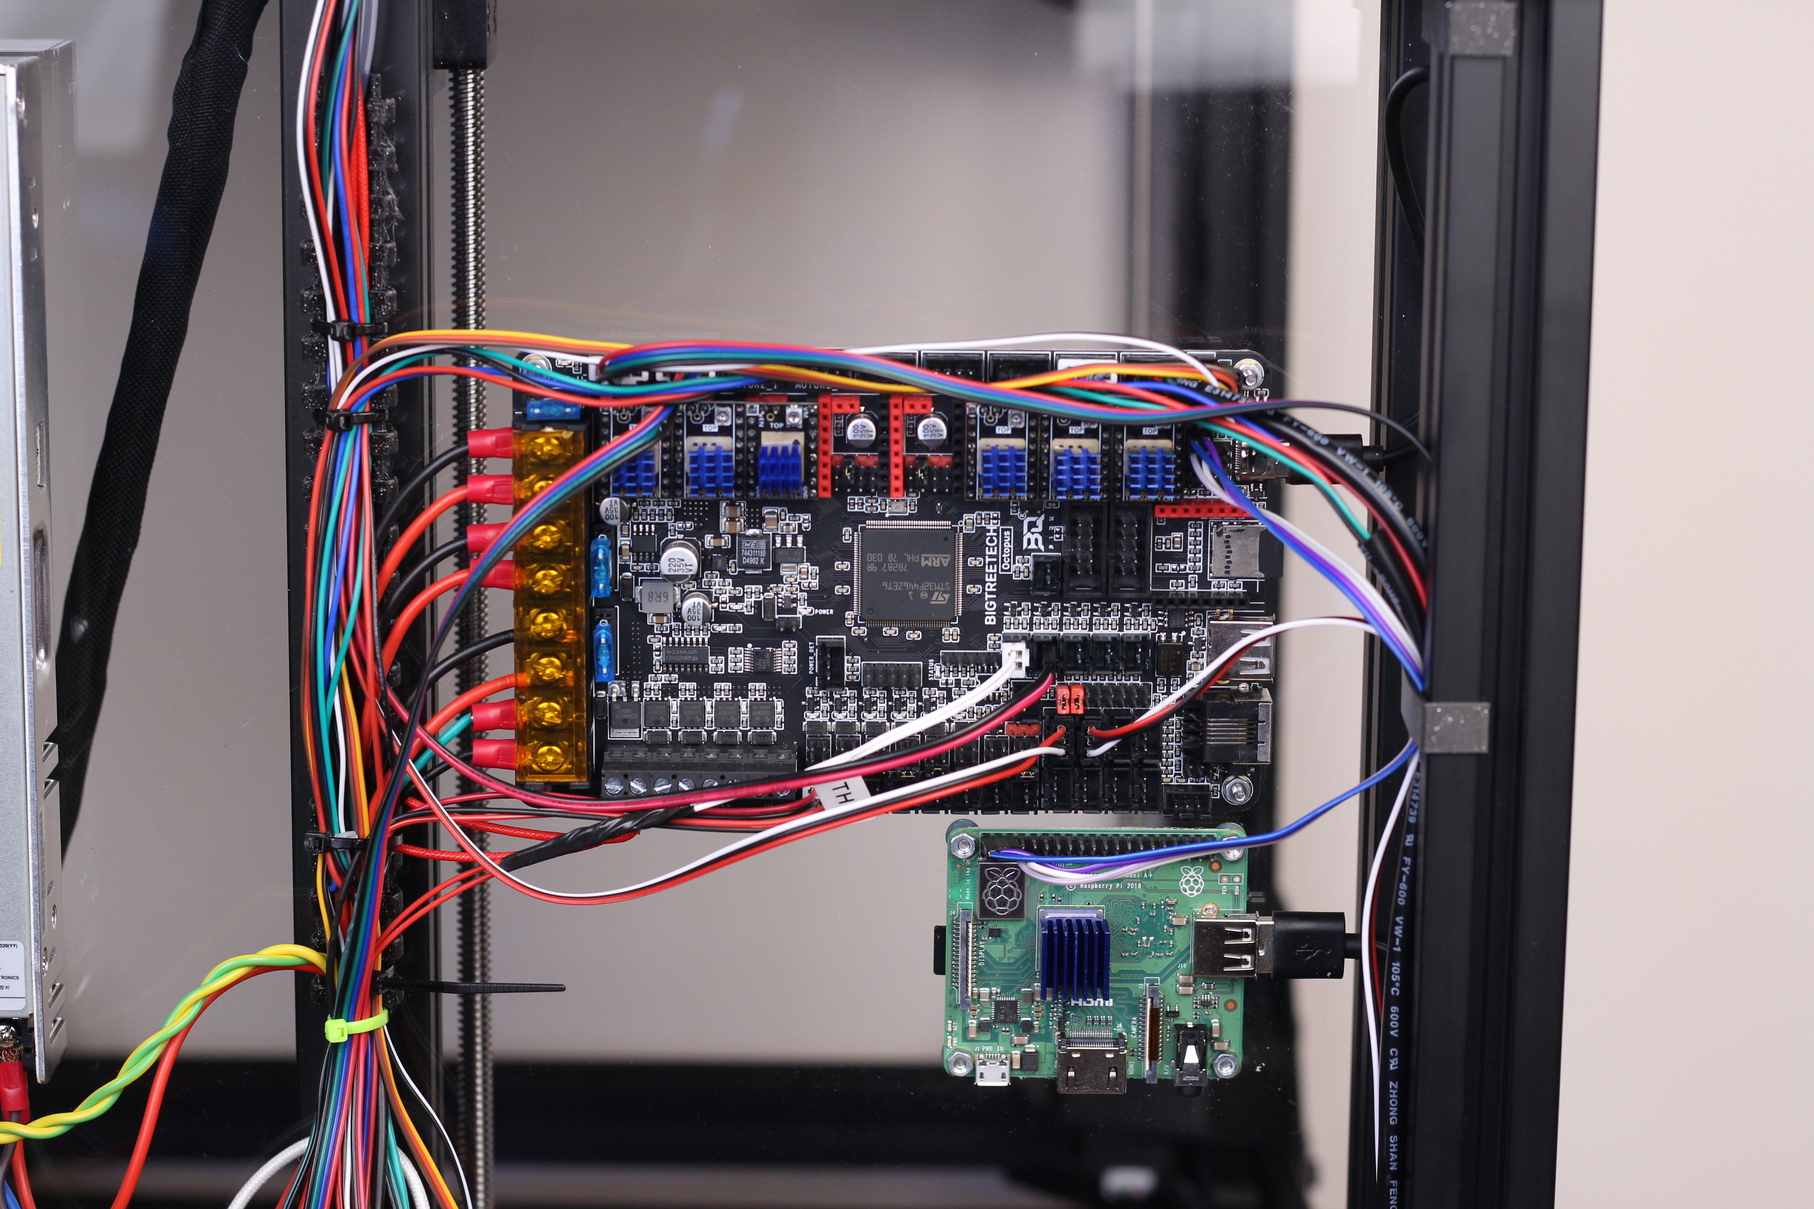
I’m really happy with the performance and features of the Octopus. My favorite features are the selectable voltage for the fans (24V/12V/5V) and the possibility of powering the Raspberry Pi directly from the board.
Wiring everything
Oh, the horror. Not sure about you, but I hate wiring stuff. Fortunately, I didn’t have to do it too much. Most of the stepper motor cables were long enough, the hotend were pre-made so I only needed to crimp some power wires and swaps some pins in the connectors.
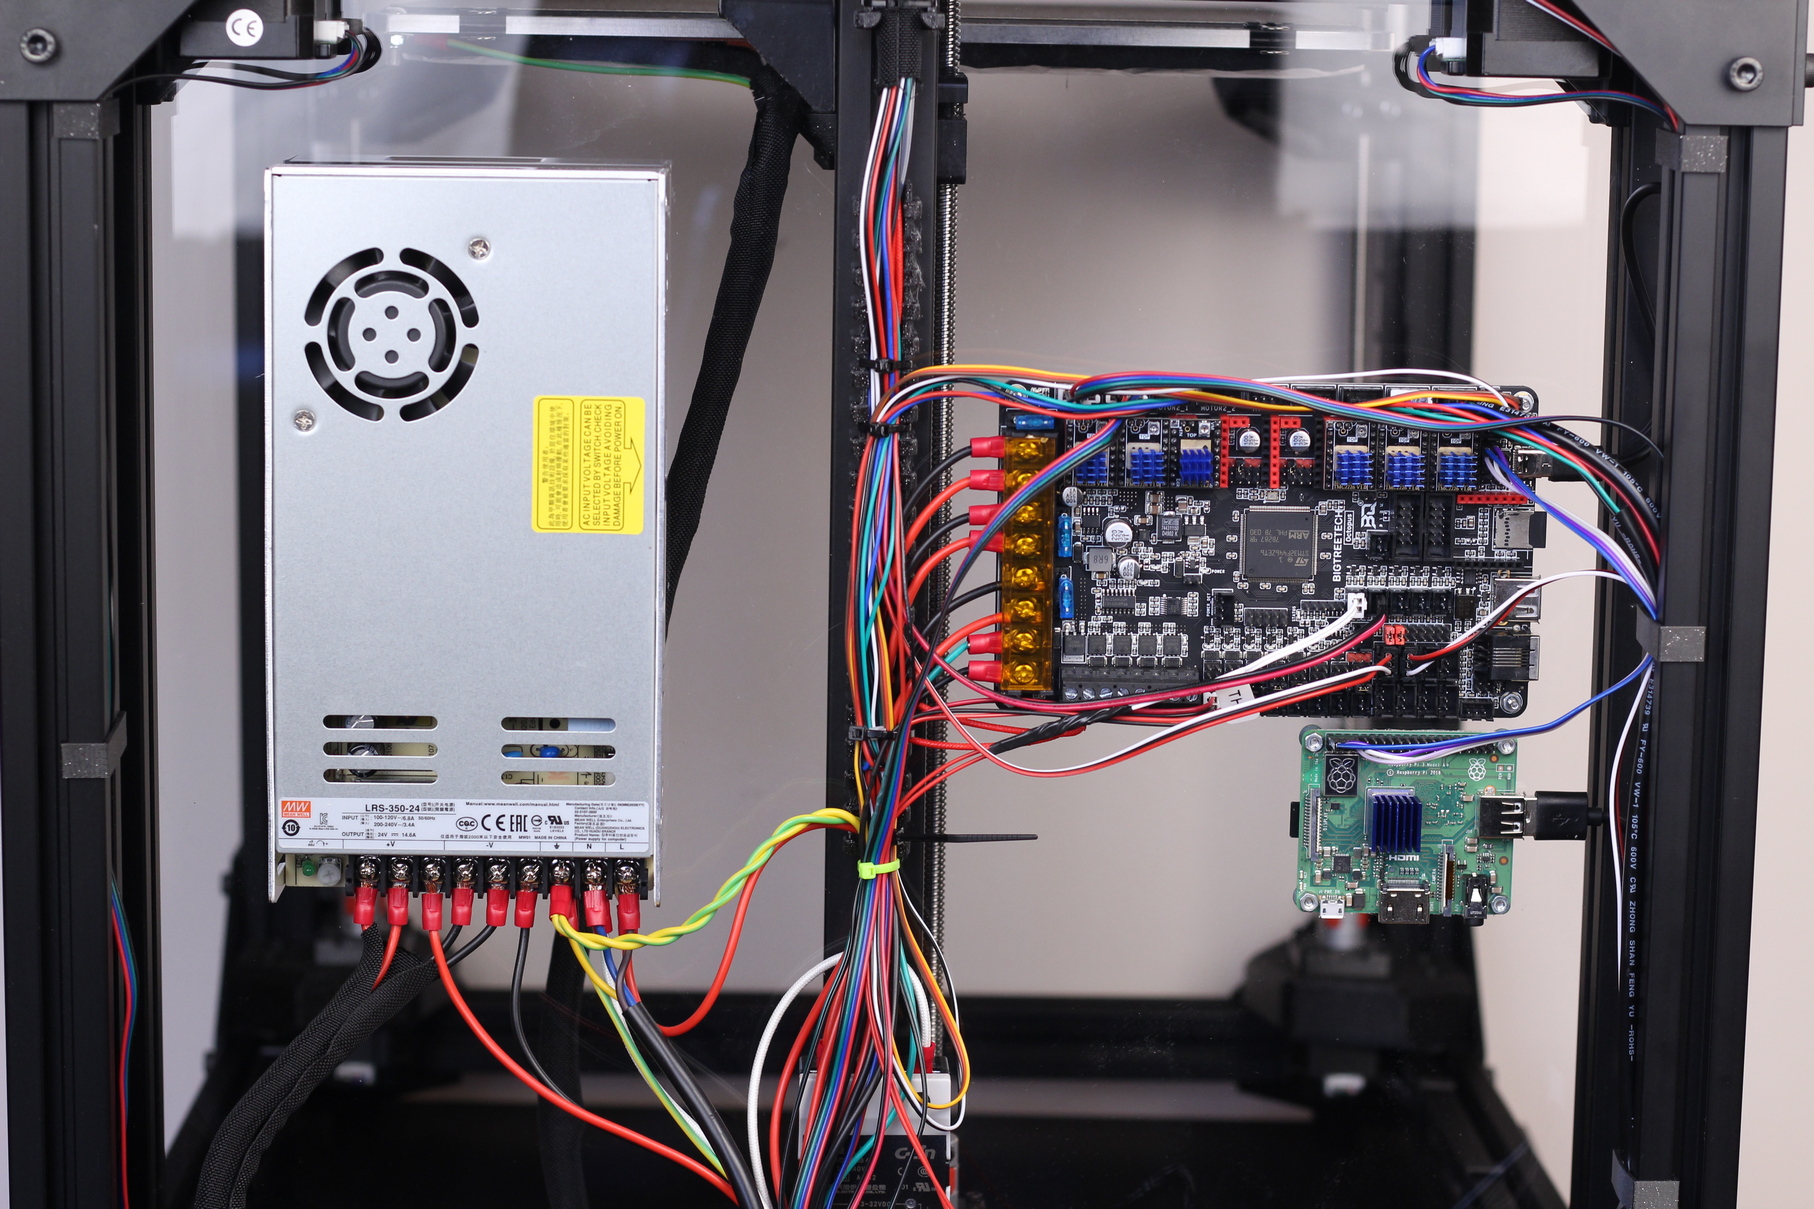
I also tried to do some wire management, which turned out ok, but nothing to write home about. It just works and doesn’t look terrible.
RatRig OS and Klipper
Finally, the firmware side of this build. When I finished my build, the Octopus board was not officially supported by V-Core OS so I ended up using my own Klipper config and setup. But life took over, and I was busy for a few weeks and I didn’t have the chance to print too much. During that time, a newer version of V-Core OS was launched which offered support for the Octopus board.
I switched to that, but my luck ran out and after some troubleshooting, I found out that my Pi Wi-Fi was not compatible with my new access point. So, I changed some security settings (Used WPA2 instead of WPA3) and that made it work again. After a few changes in the config, I was ready to go and start calibrating.
How hard is it to build?
While the V-Core 3 build guide is mostly ok, I wouldn’t recommend this printer to a beginner. The guide is not detailed enough to breeze through the assembly process, and you need to have some understanding about how everything works to be able to put it together correctly.
If you’ve used a 3D printer before, and don’t mind doing some research and spending time in the RatRig discord to get help, then feel free to jump in. The build process takes about 48 hours if you take your time to carefully assemble it and not rush thing.
For me, the build took about 2 weeks working on the printer from time to time. In some cases, I spent a full day just troubleshooting build issues, and a few more days working on the firmware setup to adjust it according to my hardware setup. Over time, the assembly process will get documented better, and more configurations will be supported out of the box, so your time might vary.
If I were to build a new V-Core 3 now, I would probably be able to do it in a weekend.
What’s my recommended hardware setup?
If I were to build the RatRig V-Core 3 from scratch, I would make different choices.
First, I would choose the 400×400 build volume for the machine. The 500×500 is a bit too much in terms of size and I don’t really see it printing as fast as the smaller machines. The 400×400 seems to be the best combo between size and printing speed capabilities.
On the stepper motor side, I would choose the popular LDO stepper motors which are sold as a default option from RatRig. They are probably the best stepper drivers you can get for the V-Core right now, and the price seems fair.
For the electronics side, I’m really happy with the Octopus from BTT and I think it’s the best option. You could also choose the DUET if you like RRF, but I’m happier with Klipper.
The Dragonfly HIC HF hotend I used is excelent because of it has high-flowrate capabilities that can keep up with the machine, so I think it’s a good option. Try to avoid the regular V6 hotend because it’s flowrate will be the main limiting factor for the V-Core 3. The least you should get is a V6 with a Volcano heatblock or, even better, a High Flow Dragon Hotend or the High Flow Mosquito Hotend.
On the extruder side, I would choose the Orbiter extruder instead of the BMG, because it’s lighter and the whole print head setup is more compact. The weight savings from the BMG extruder could be compensated by installing a bigger part cooling fan. The 5015 radial fan is just not enough if you want to do fast PLA prints.
RatRig V-Core 3 Printing Performance
There’s no denying that the V-Core 3 is in the top-performing Core-XY FDM 3D printers you can purchase right now. If built well, the main limiting factor when printing is the stepper motor performance, hotend flow capabilities, and cooling.
For now, my daily printing speed with the V-Core 3 is 200mm/s for all printed features and 6000 acceleration. With these settings, I can get good print quality without sacrificing model strength. With a bit more tweaking and a lighter extruder, going up to 300mm/s for daily use shouldn’t be a problem.
I also love the 3-point kinematic leveling which is fast and works well. The fast-heating bed is also a really nice feature to have, and I can only think about how long would take for a bed this size to get to the right temperature when used with a conventional 24V heater.
Heating time and power consumption
I tested the heating time for both hotend and heat bed and here are the results:
Hotend
- 200C in 2 minutes
- 250C in 2 minutes and 50 seconds
Heatbed
- 60C in 45 seconds
- 100C in 2 minutes and 10 seconds
Power Draw
Idle power draw is around 10W. When the hotend and heatbed are heating up, the RatRig V-Core 3 draws around 665W. After it starts printing, the power draw stabilizes to around 125W.
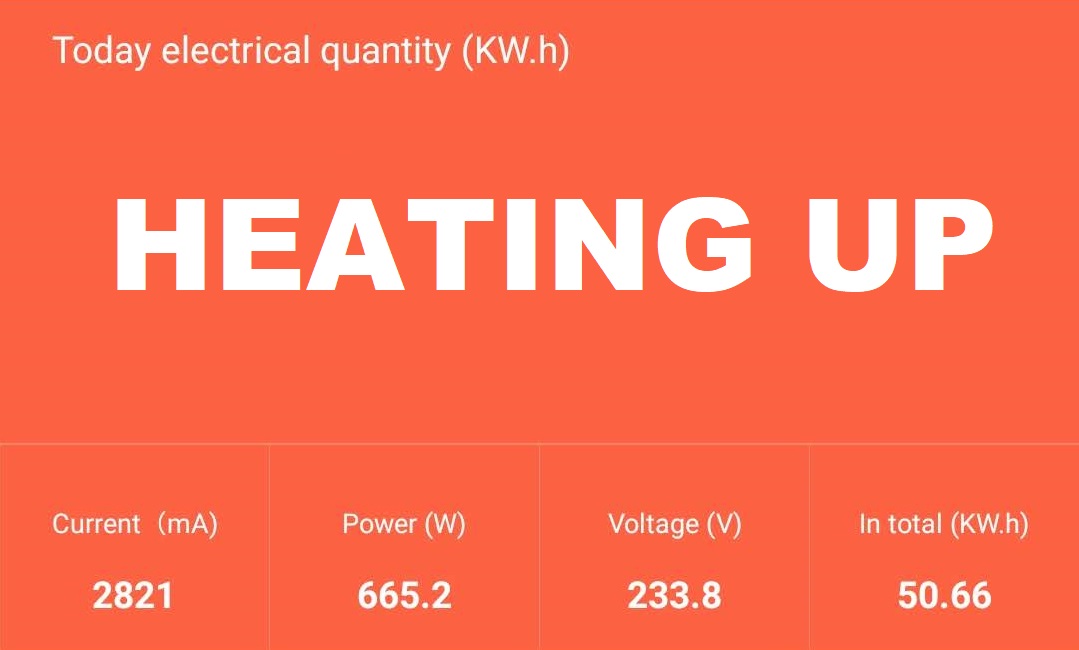
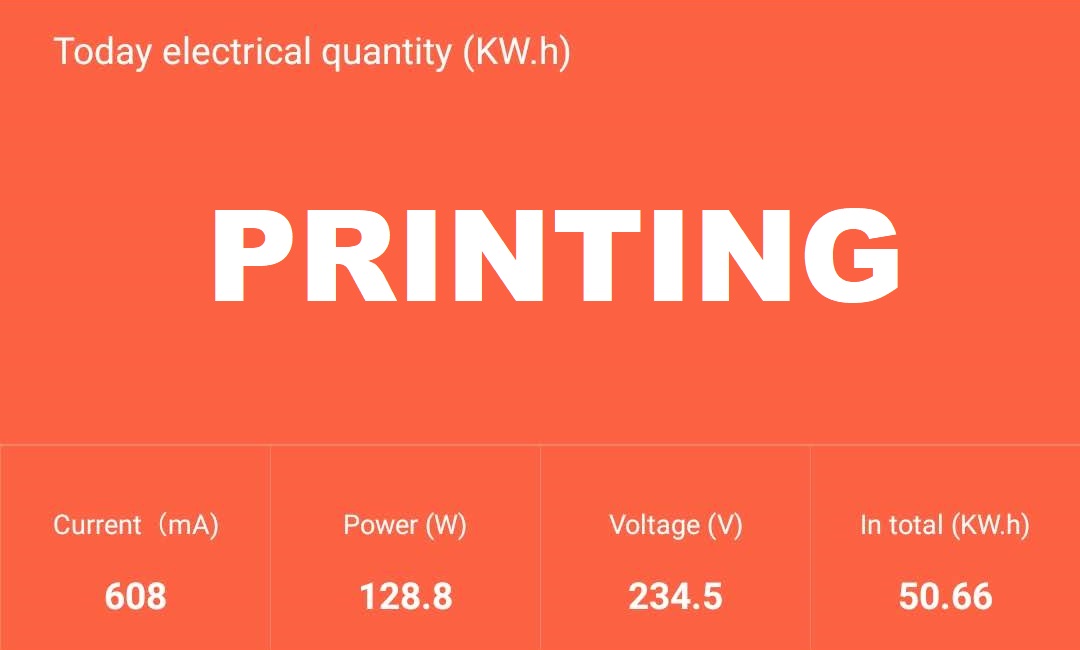
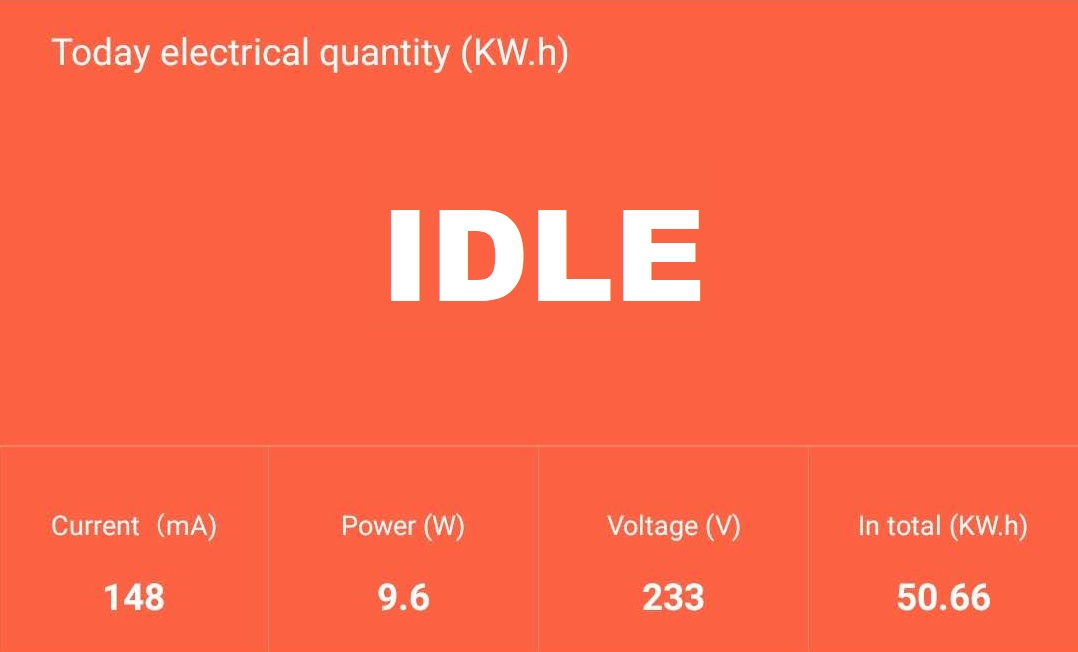
All these measurements were taken with a Blitzwolf smart power socket which indicates the power draw, and it can also be used for remotely powering on and off the printer.
Bed Temperature Uniformity
I tested the temperature uniformity for the RatRig V-Core 3 bed with the Flir Camera installed on the CAT S62 Pro. The bed has been set to 60C and I waited 2 minutes after reaching that temperature for the temperature to stabilize.
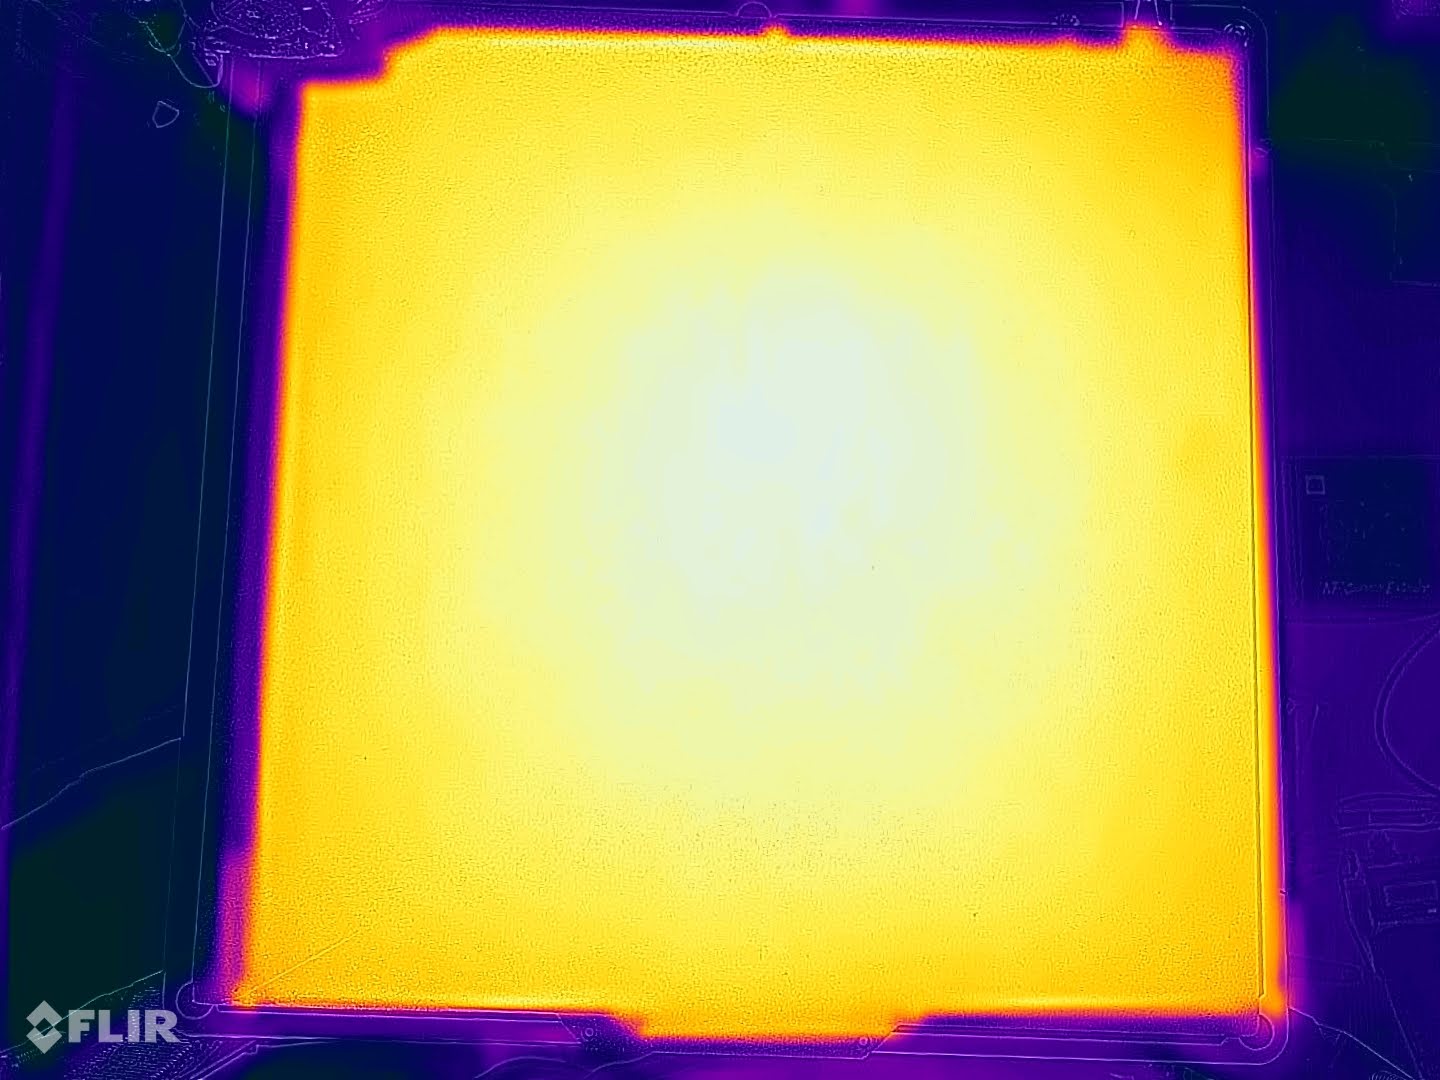
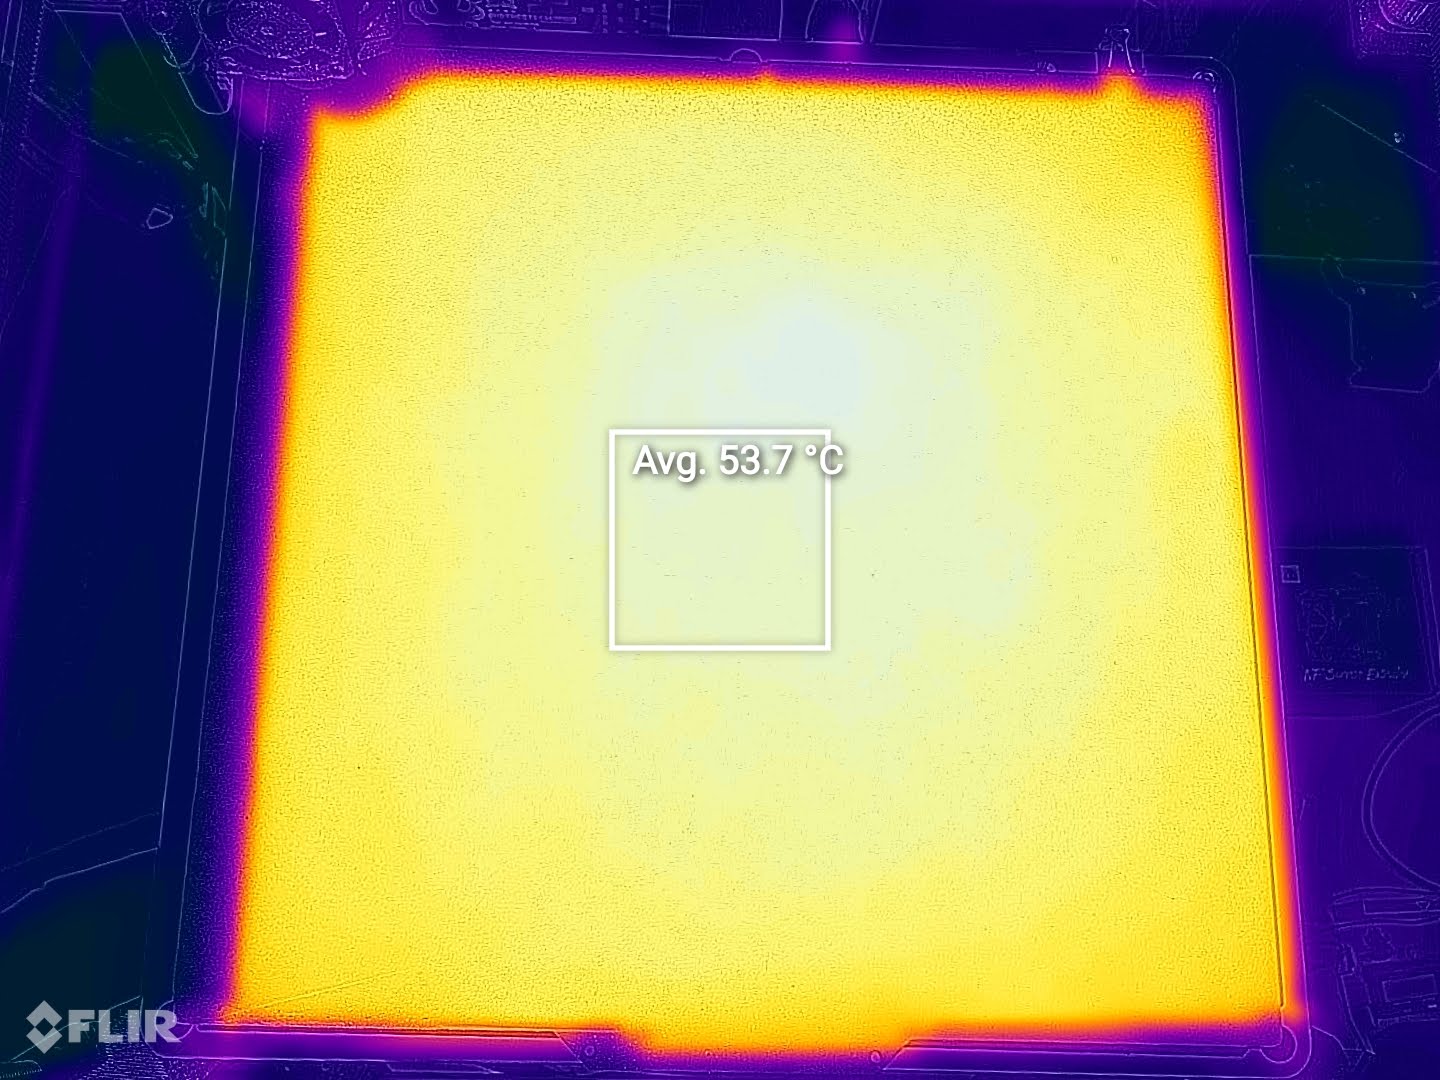
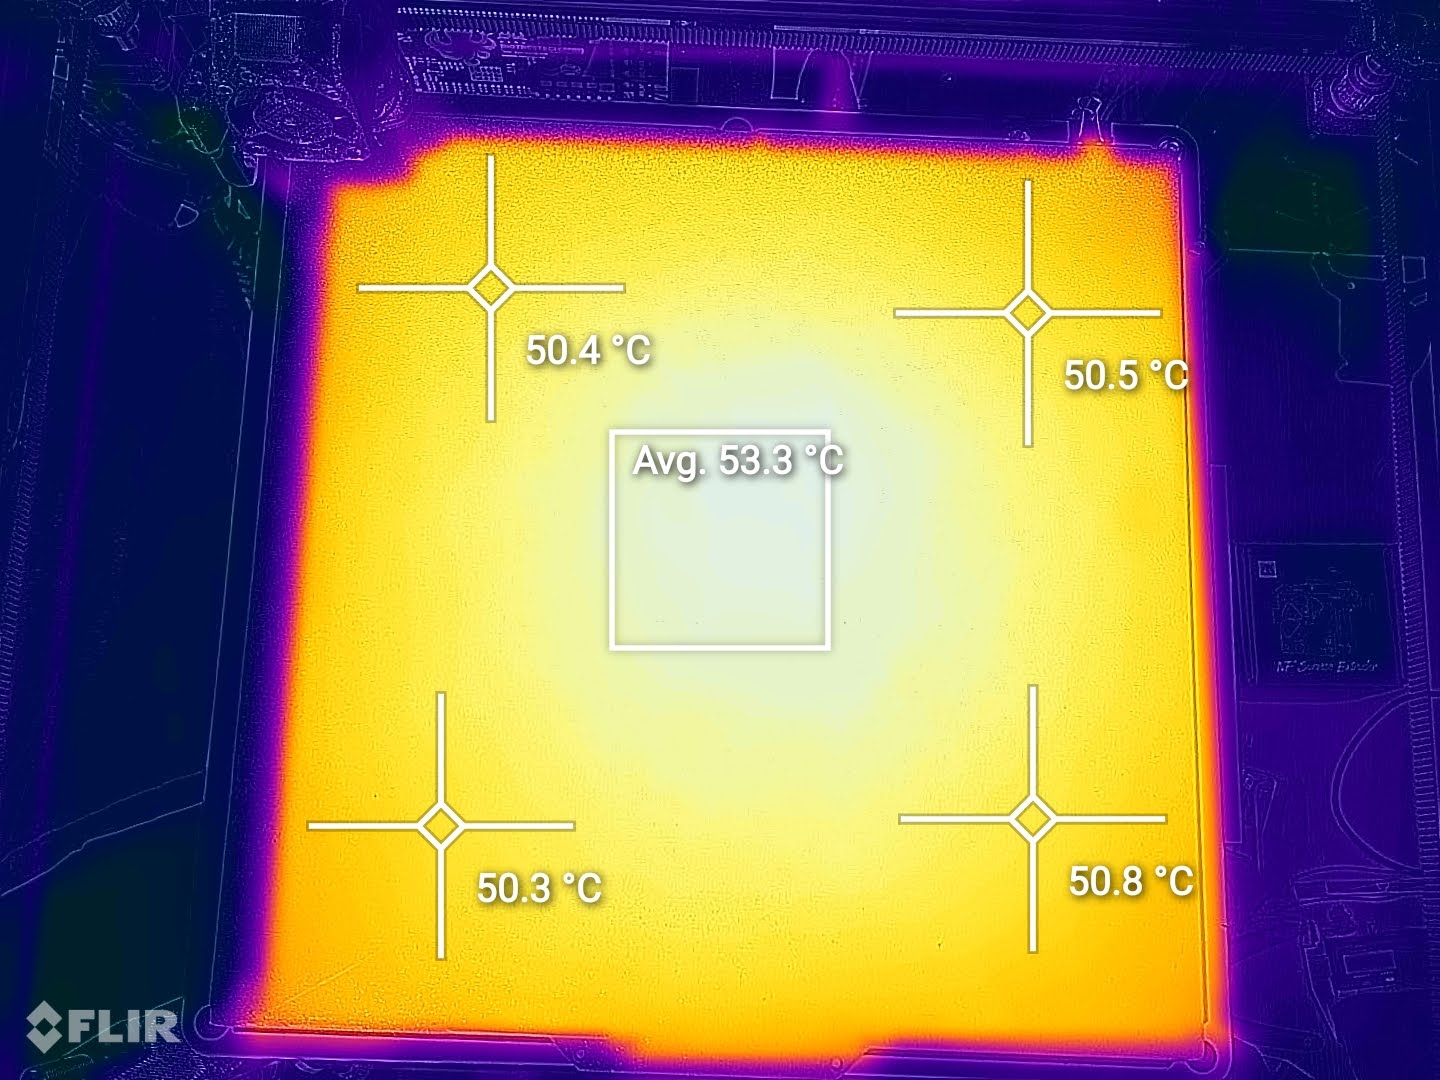
You can see that the thicker magnetic sheet acts like a thermal barrier between the aluminum bed and the PEI flex plate, but the temperature difference is only around 5 degrees for which you can compensate if needed. The temperature uniformity is otherwise great.
RatRig V-Core 3 Noise Levels
Every printer will have a different noise profile but be prepared for a bit more noise compared to a V-slot wheel 3D printer. In my video, you can hear a small rattling noise which is caused by the idler spacers, but that was fixed by tightening the screw a bit more.
If silent fans are used, then the only noise you will hear is the movement of the linear rails.
Test prints on RatRig V-core 3
These are just a few prints done when testing the current RatRig V-Core 3 setup. I will add more print results after I complete all the calibrations with the new hardware.
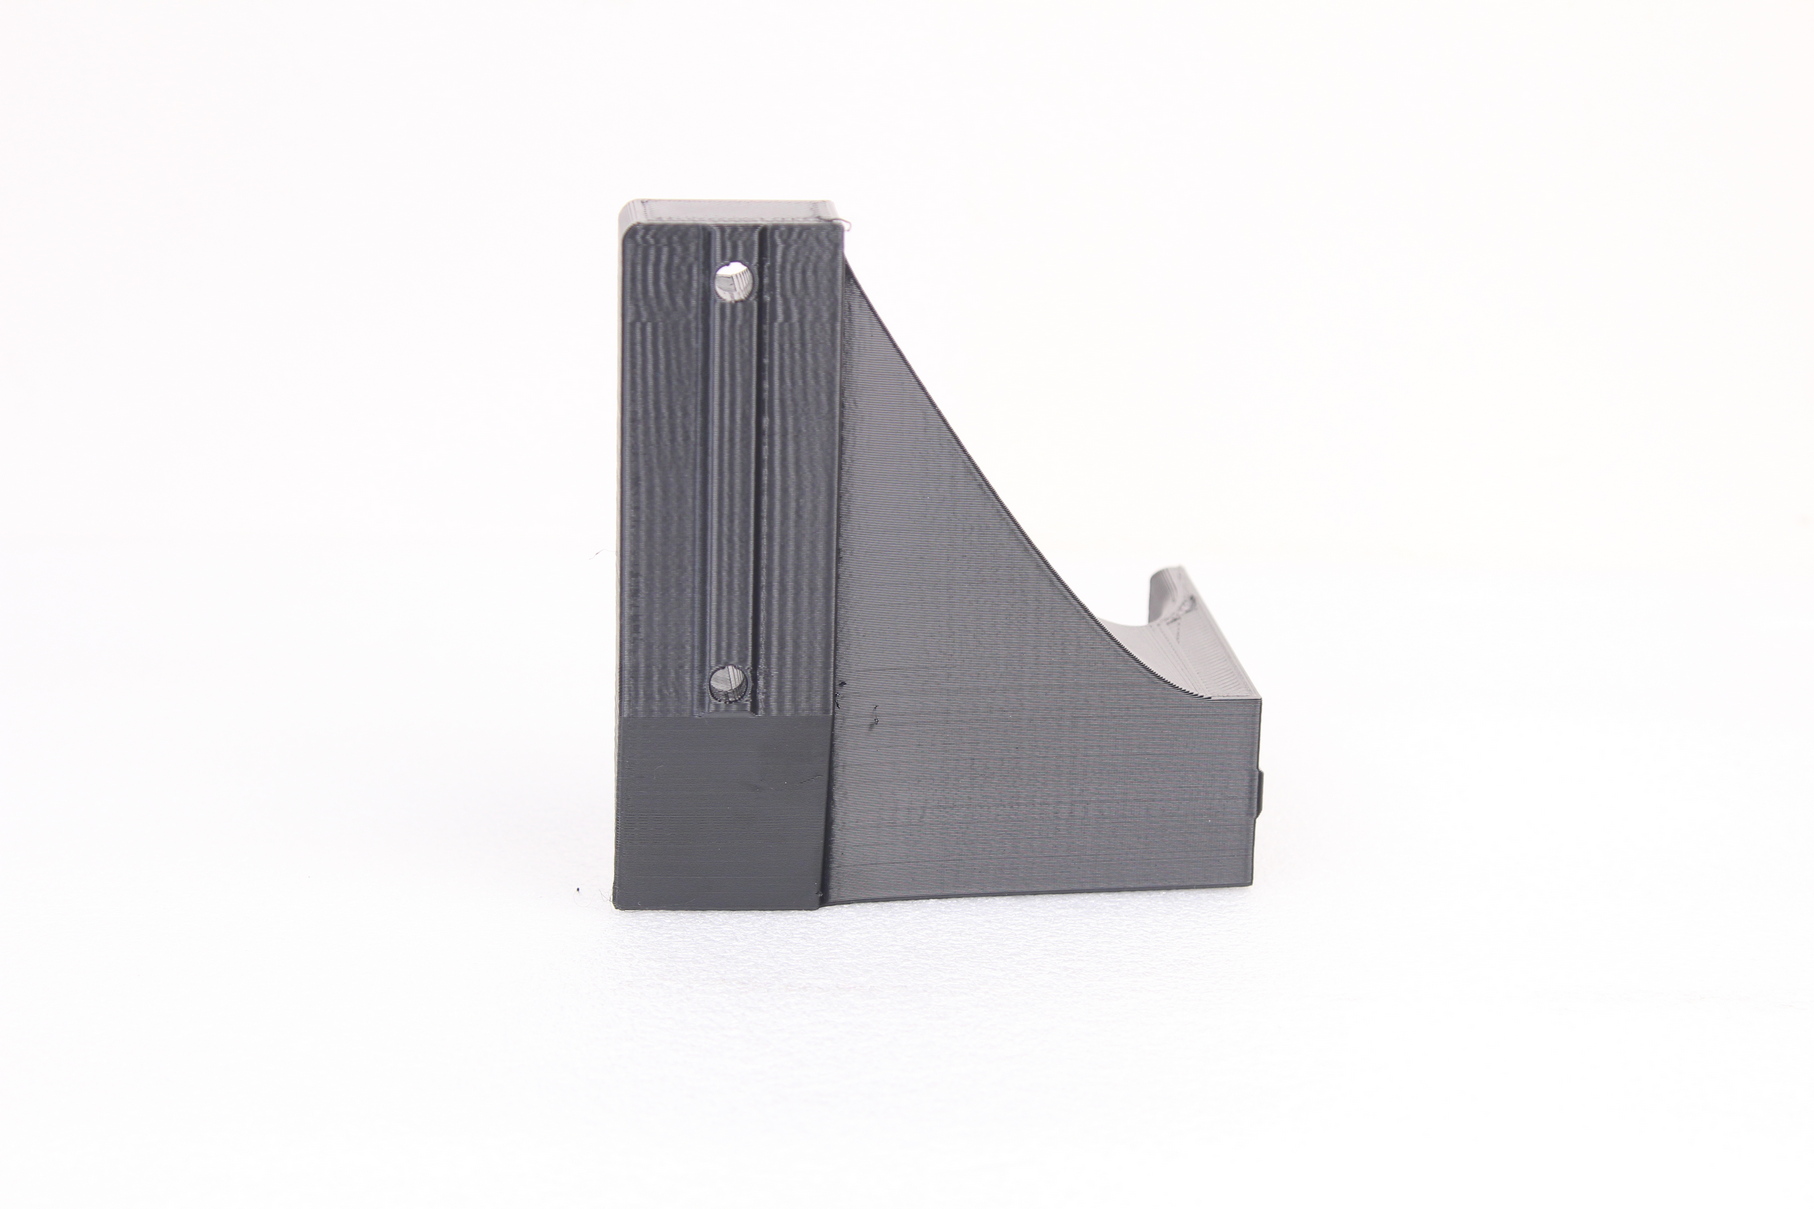
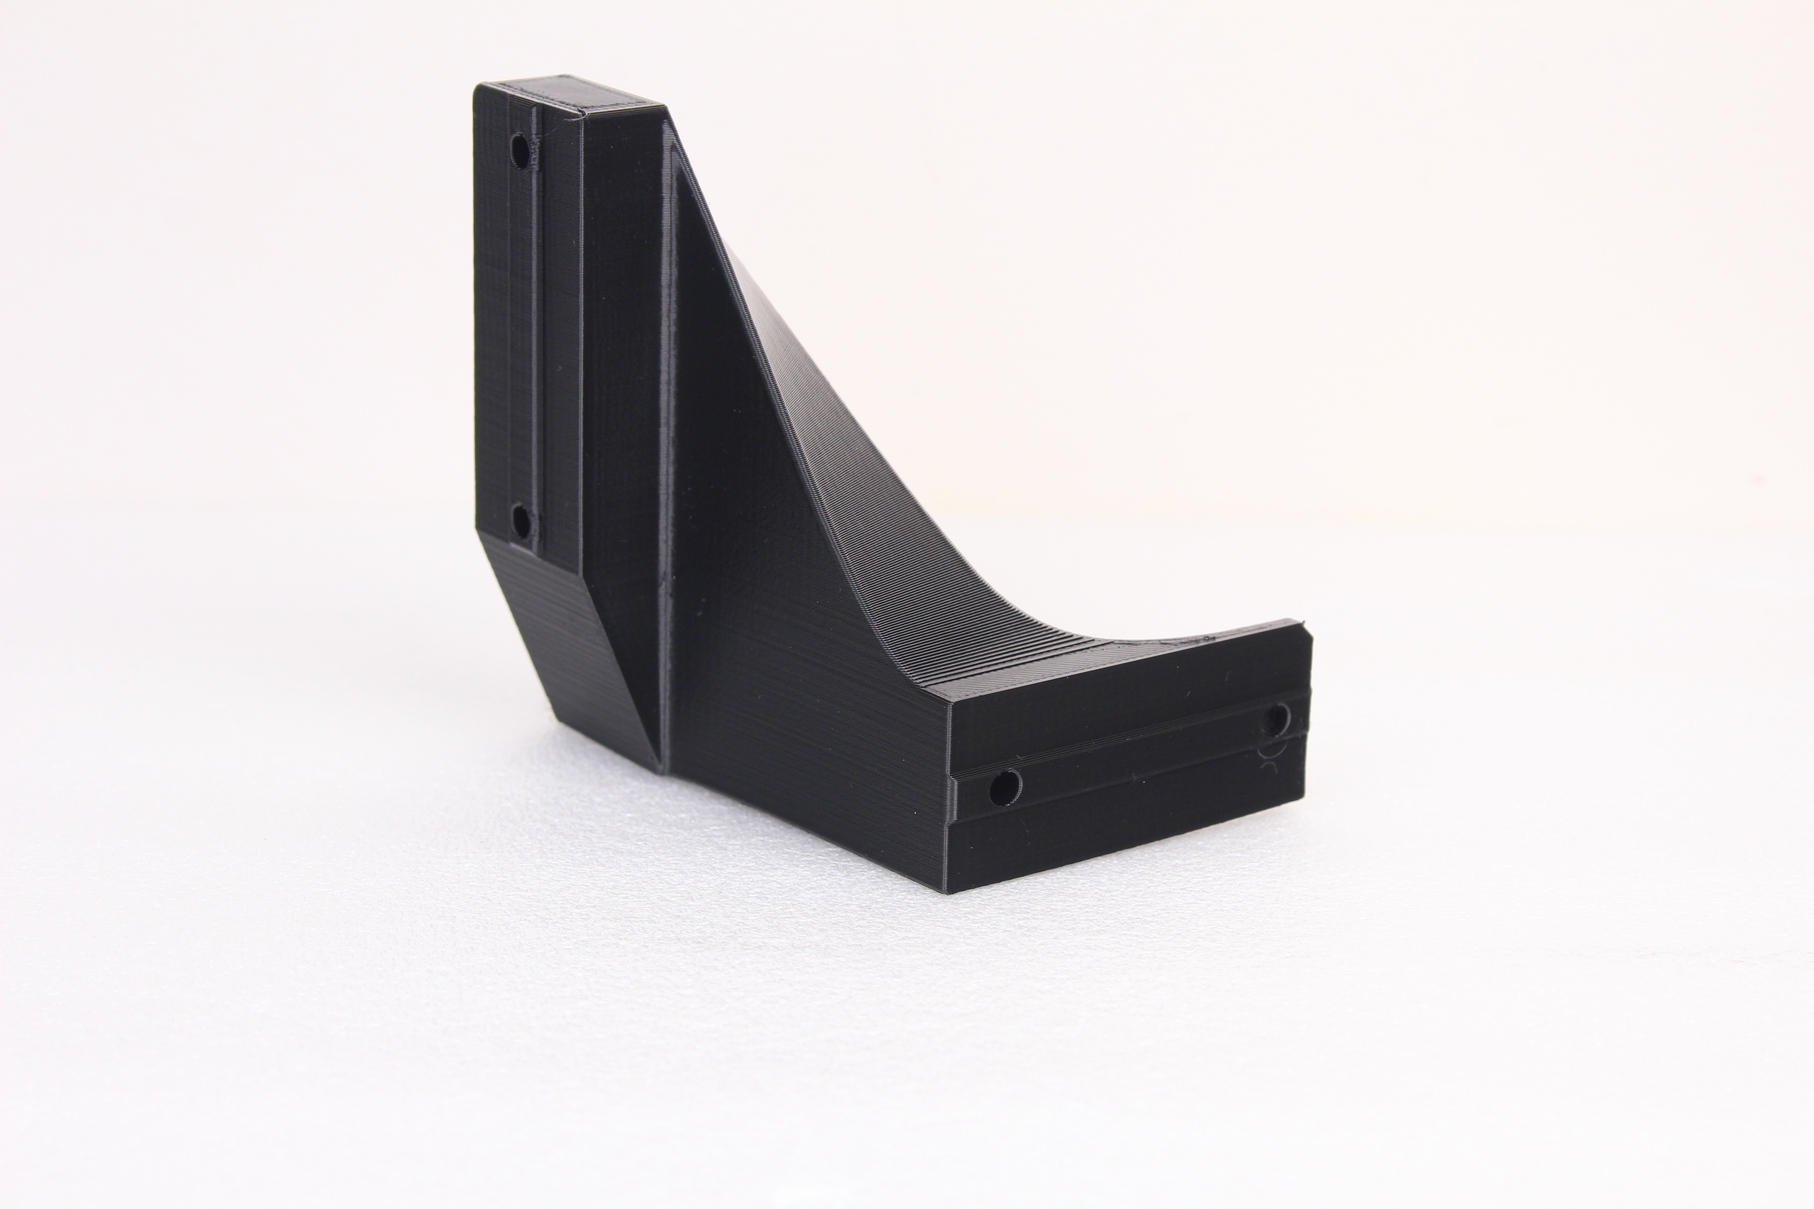
Prusa Mini brace
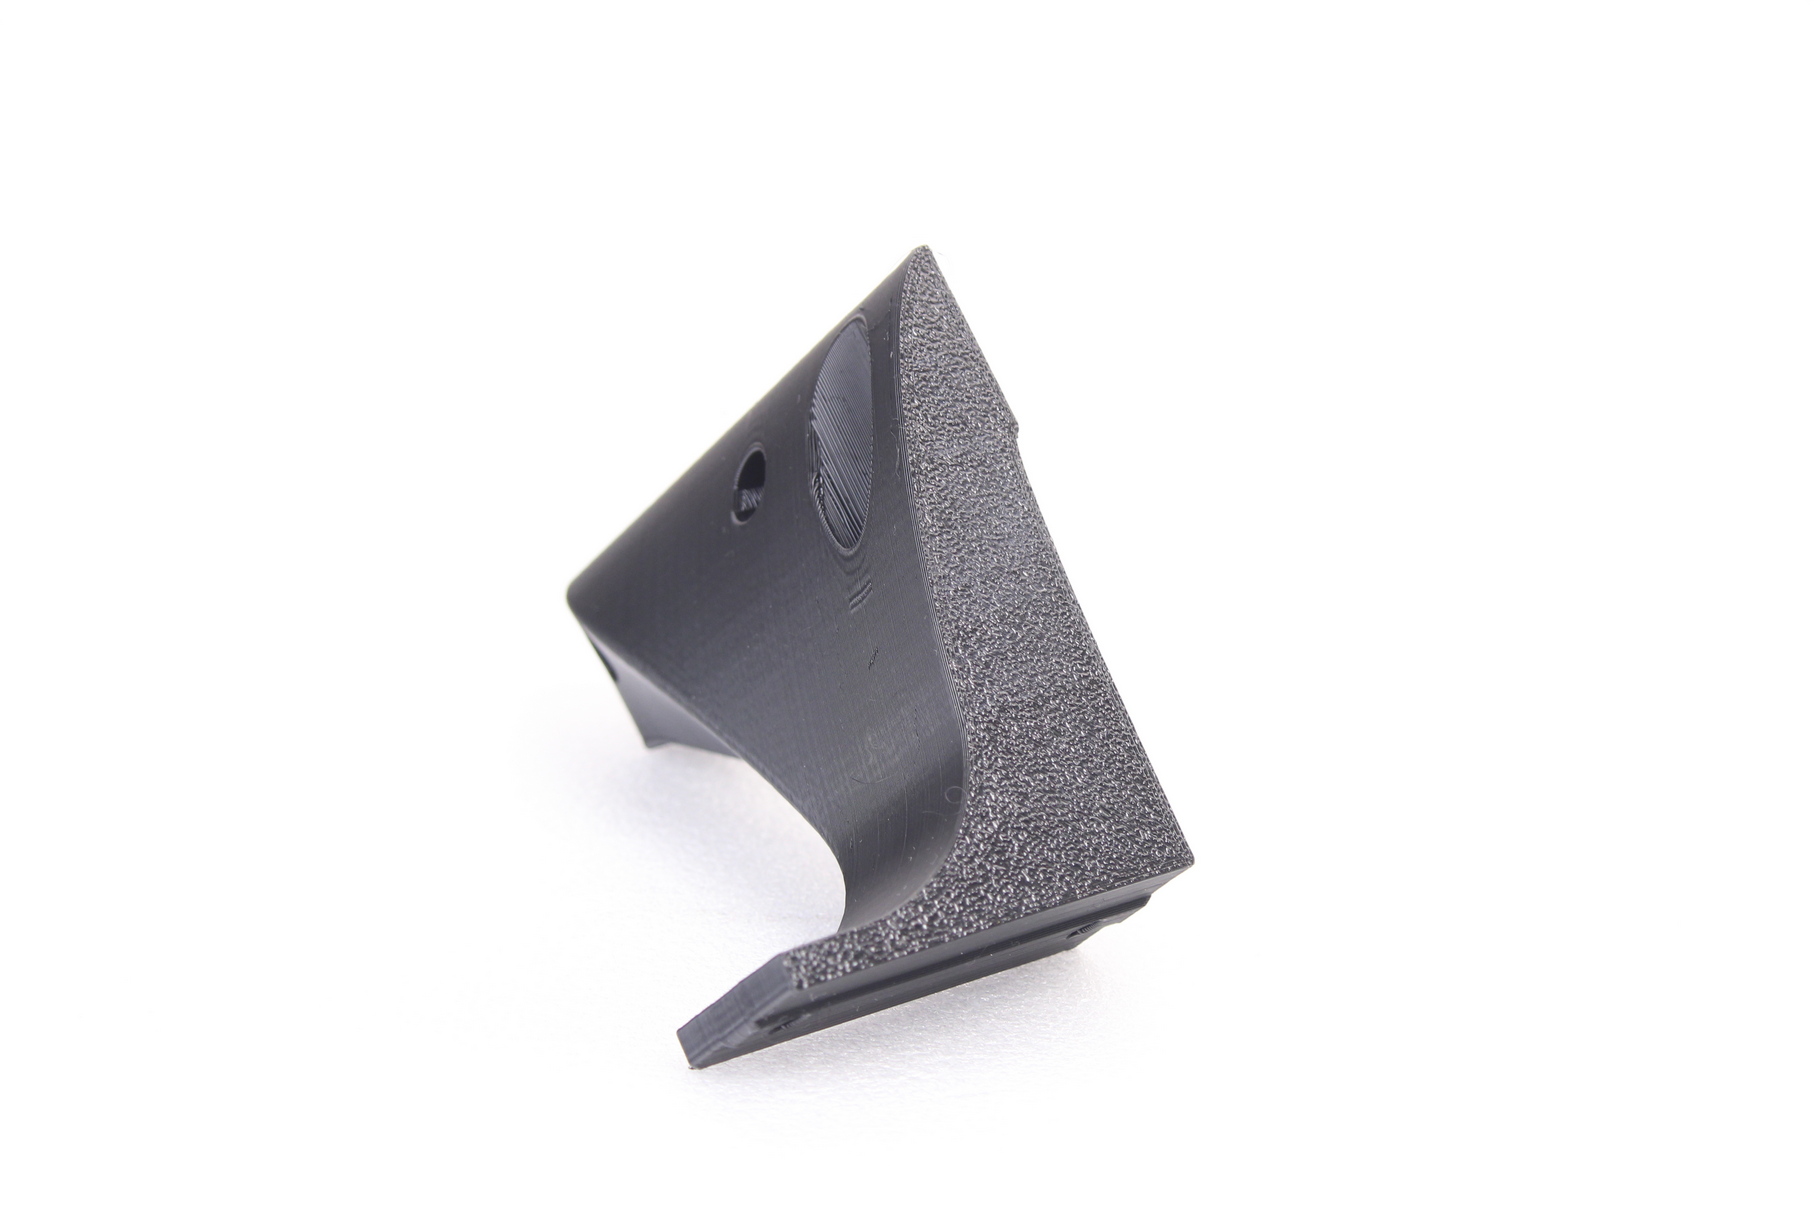
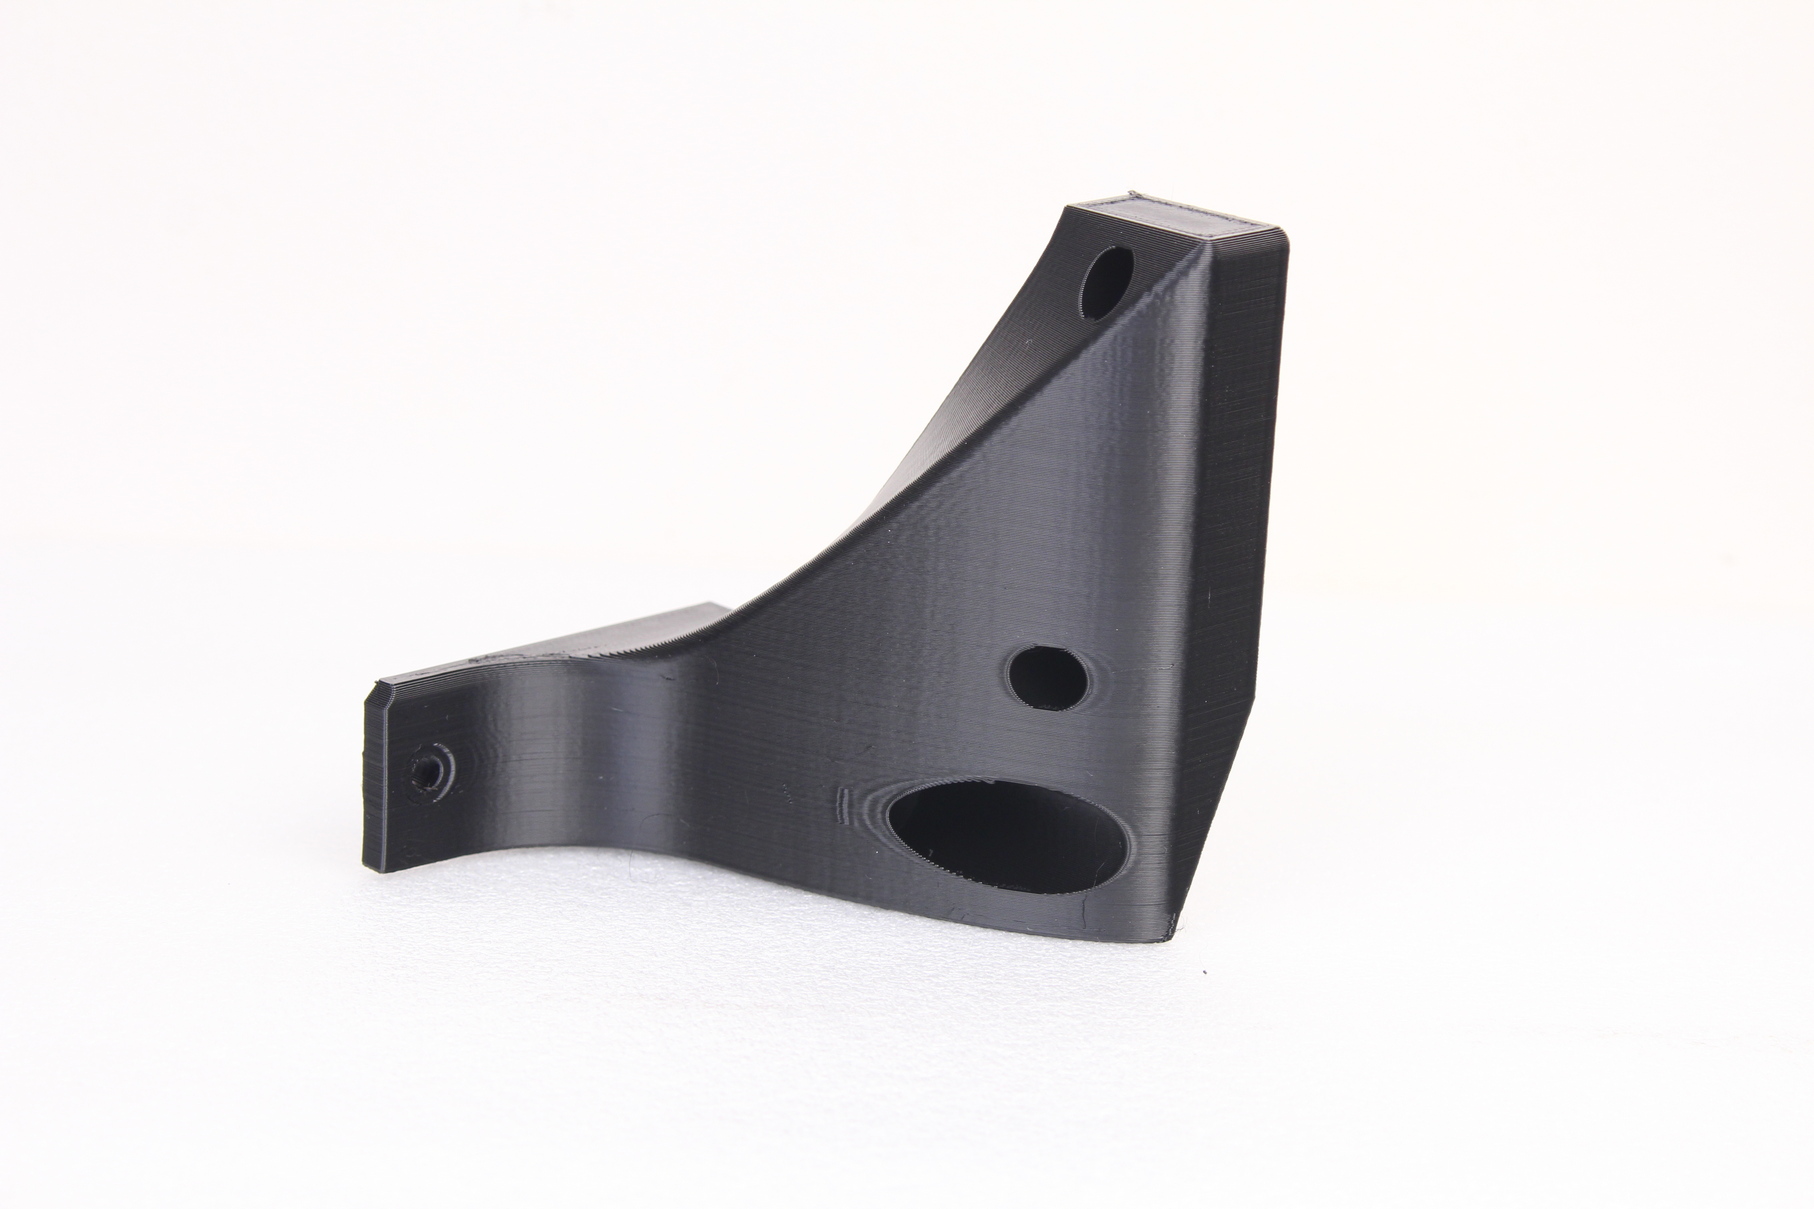
This Prusa Mini brace was printed in PETG at 200mm/s with a 0.3mm layer height. The whole print took around 1h and 30 minutes which is awesome. There’s quite a bit of ringing, and some external wall artifacts, but those are now fixed.
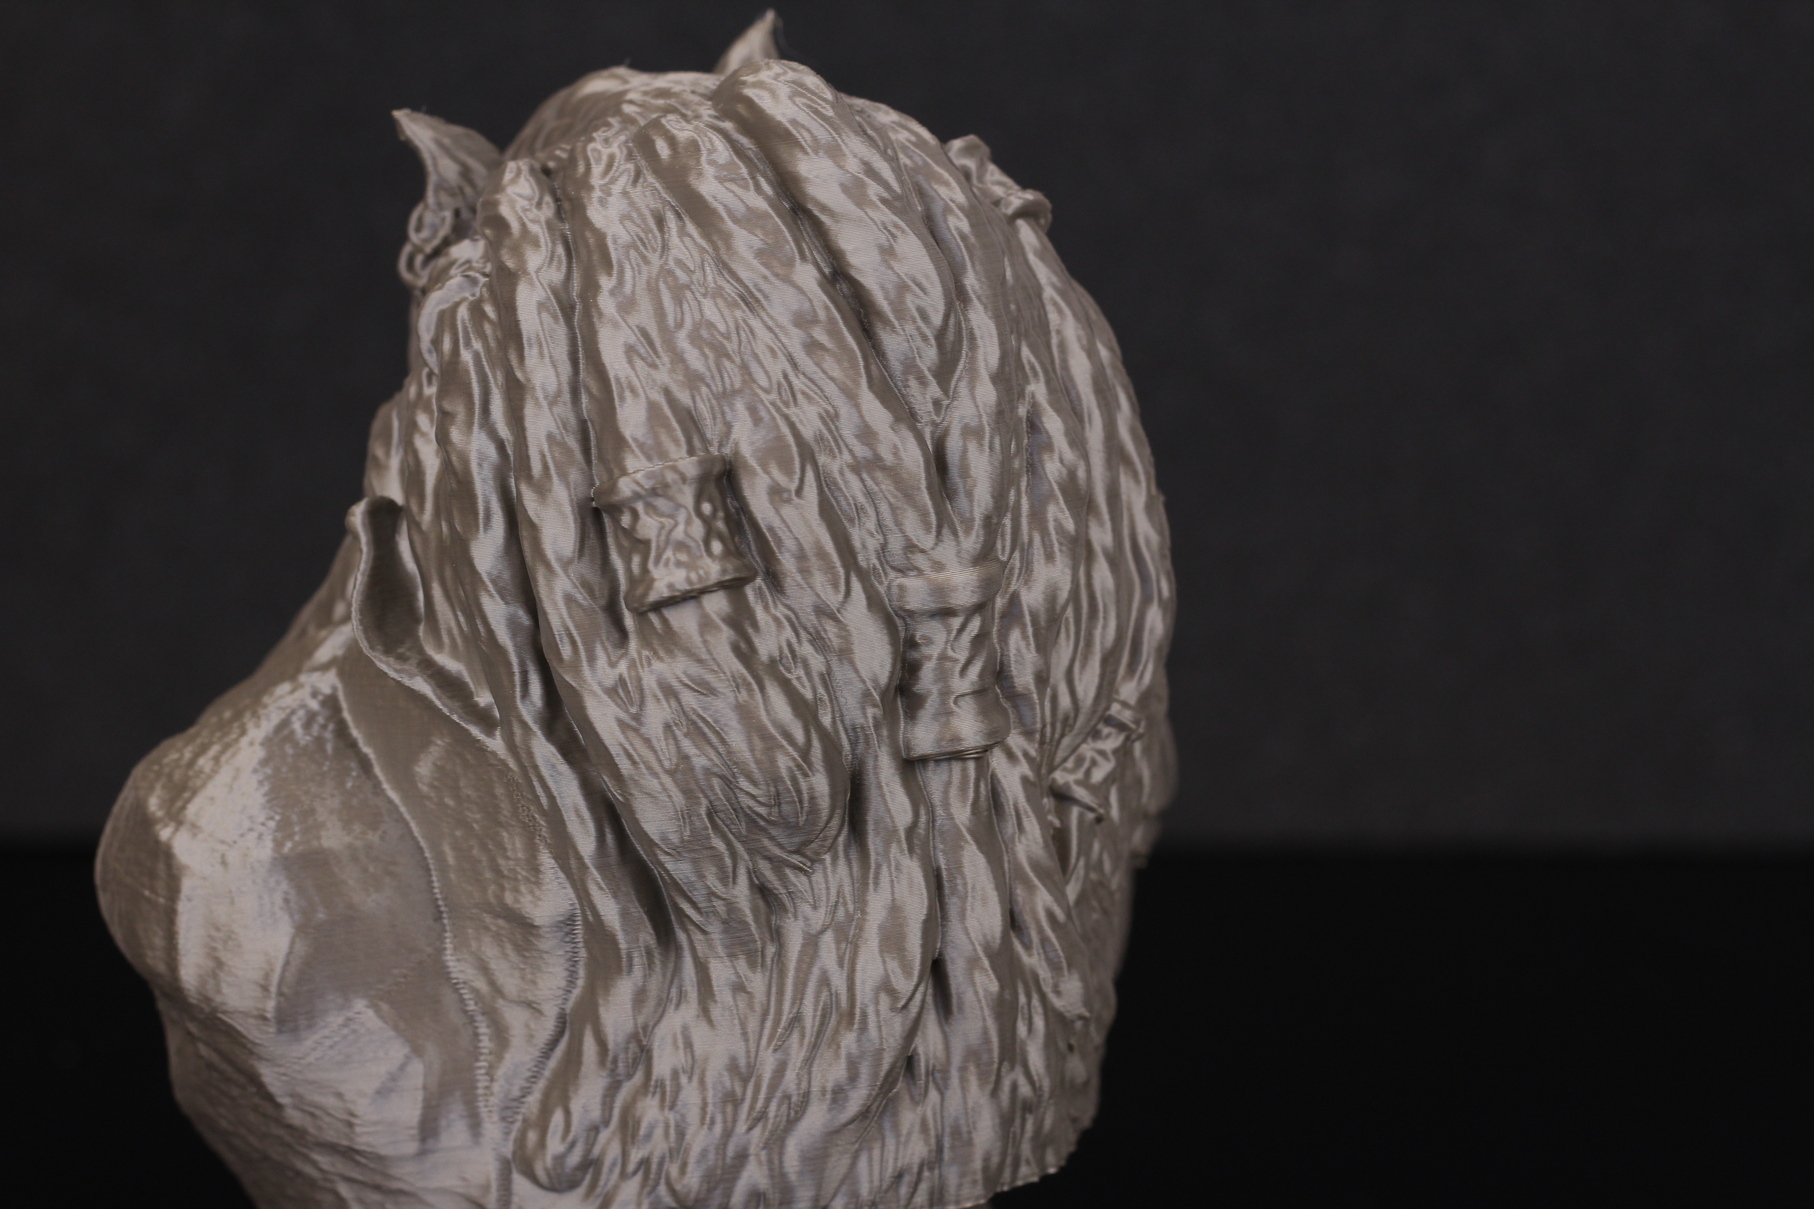
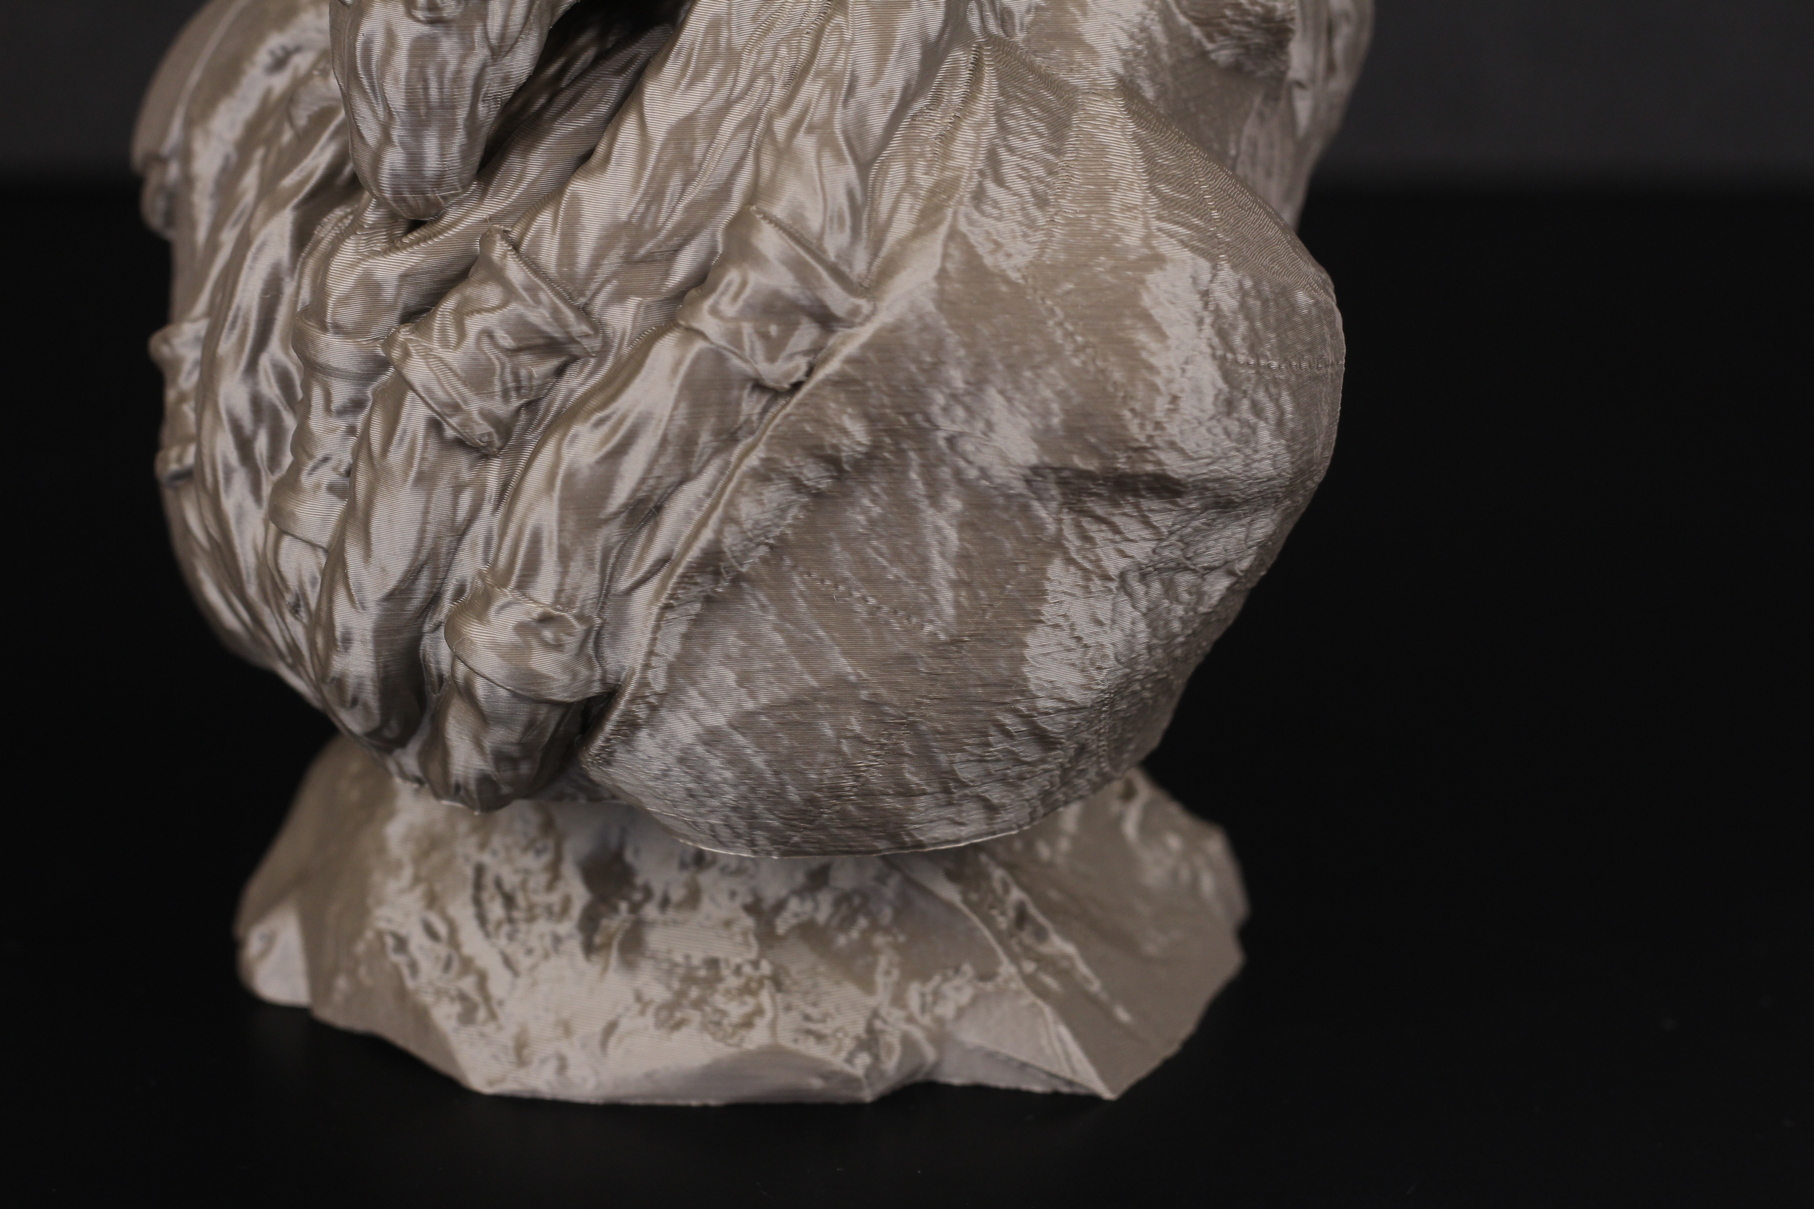
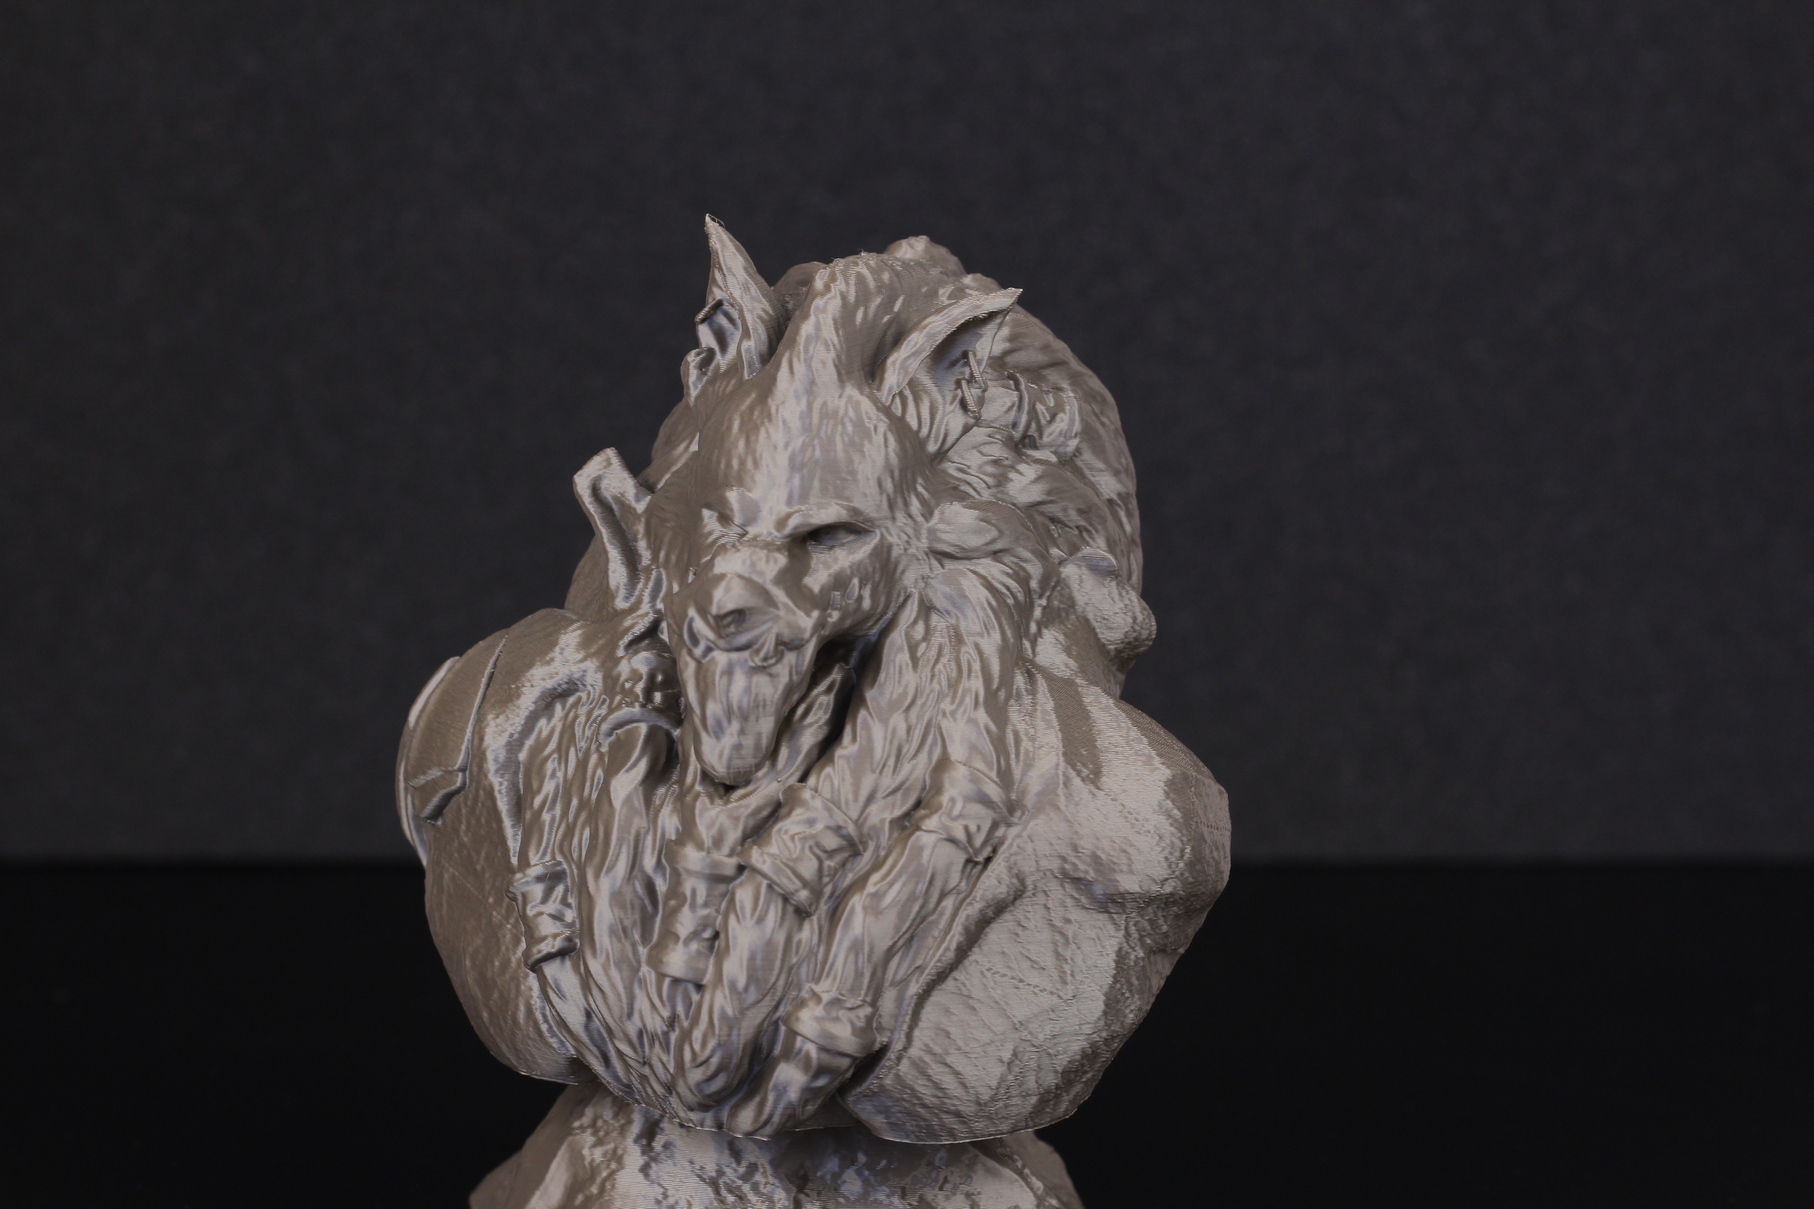
Worgen Bust
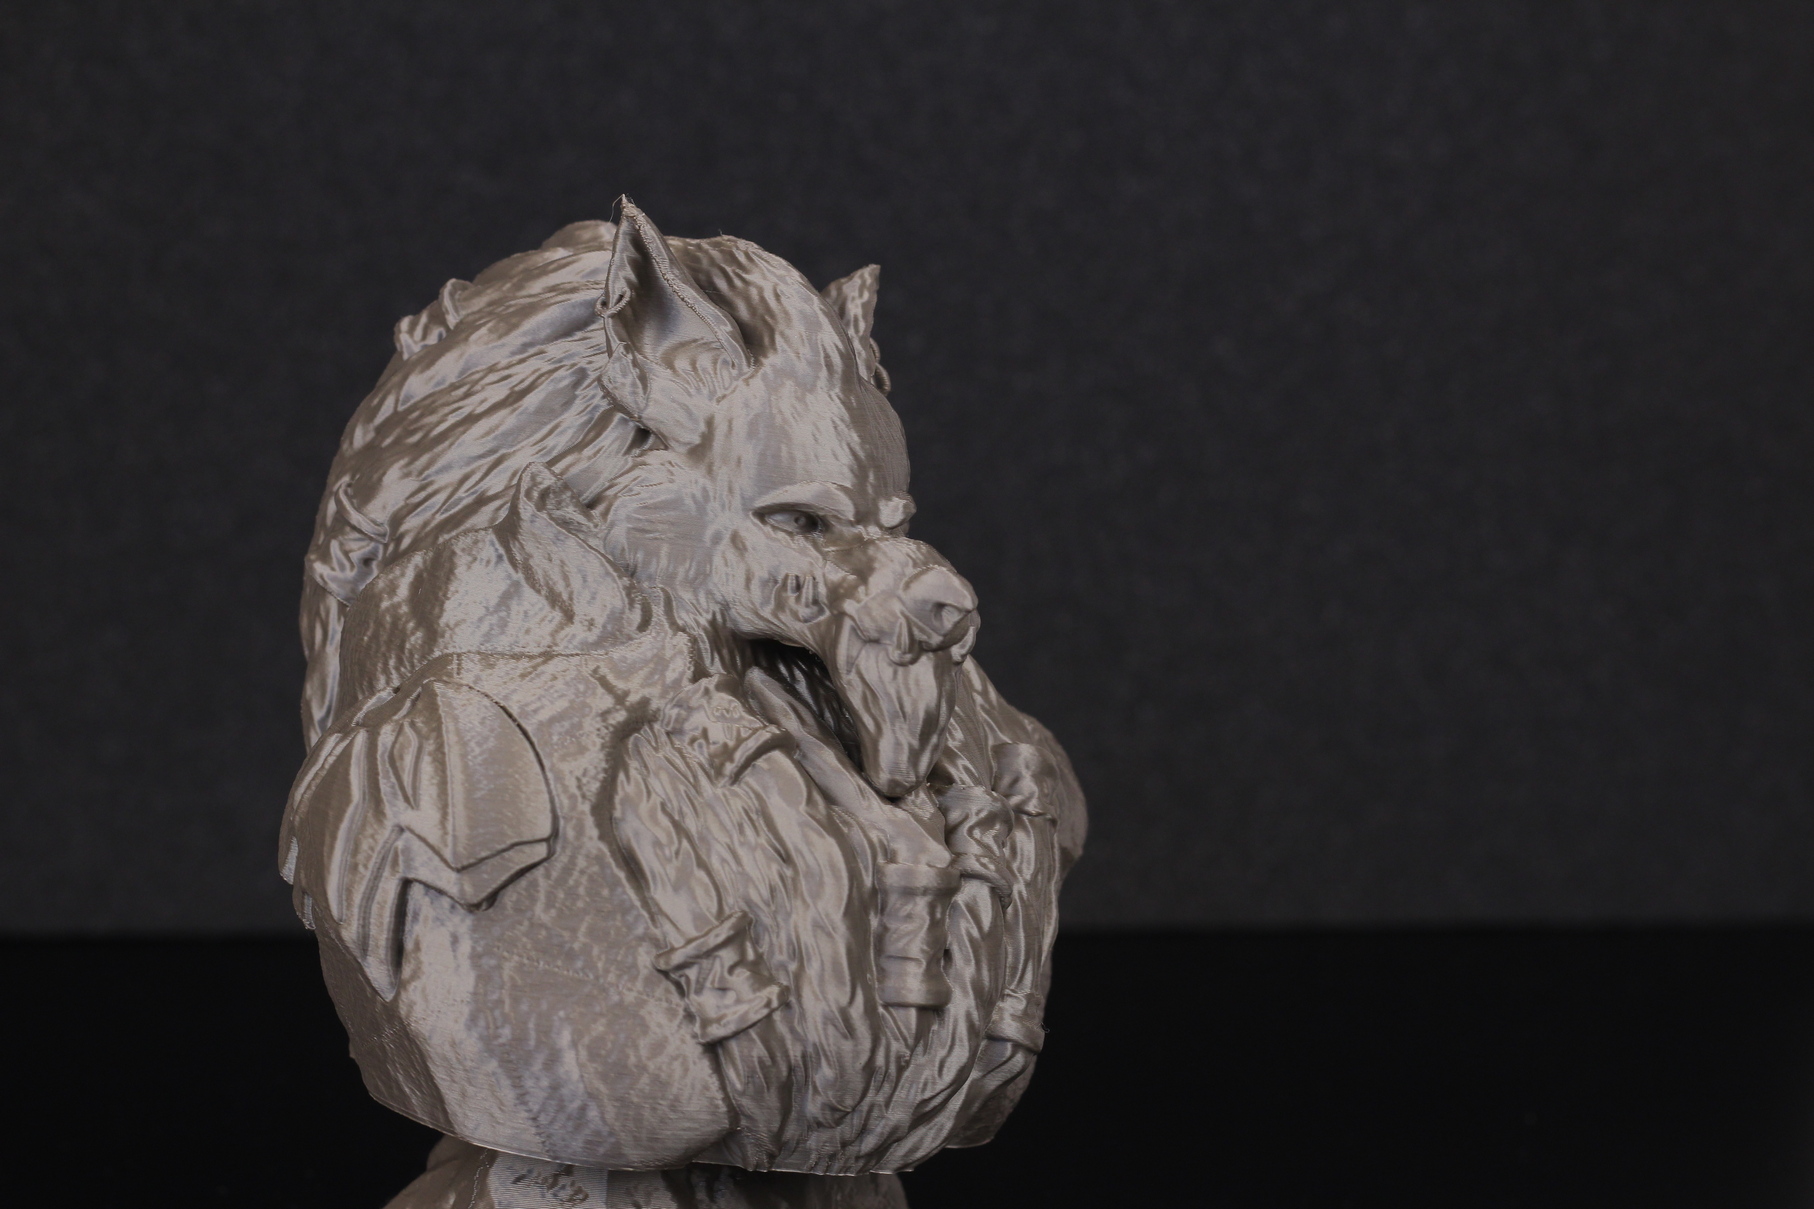
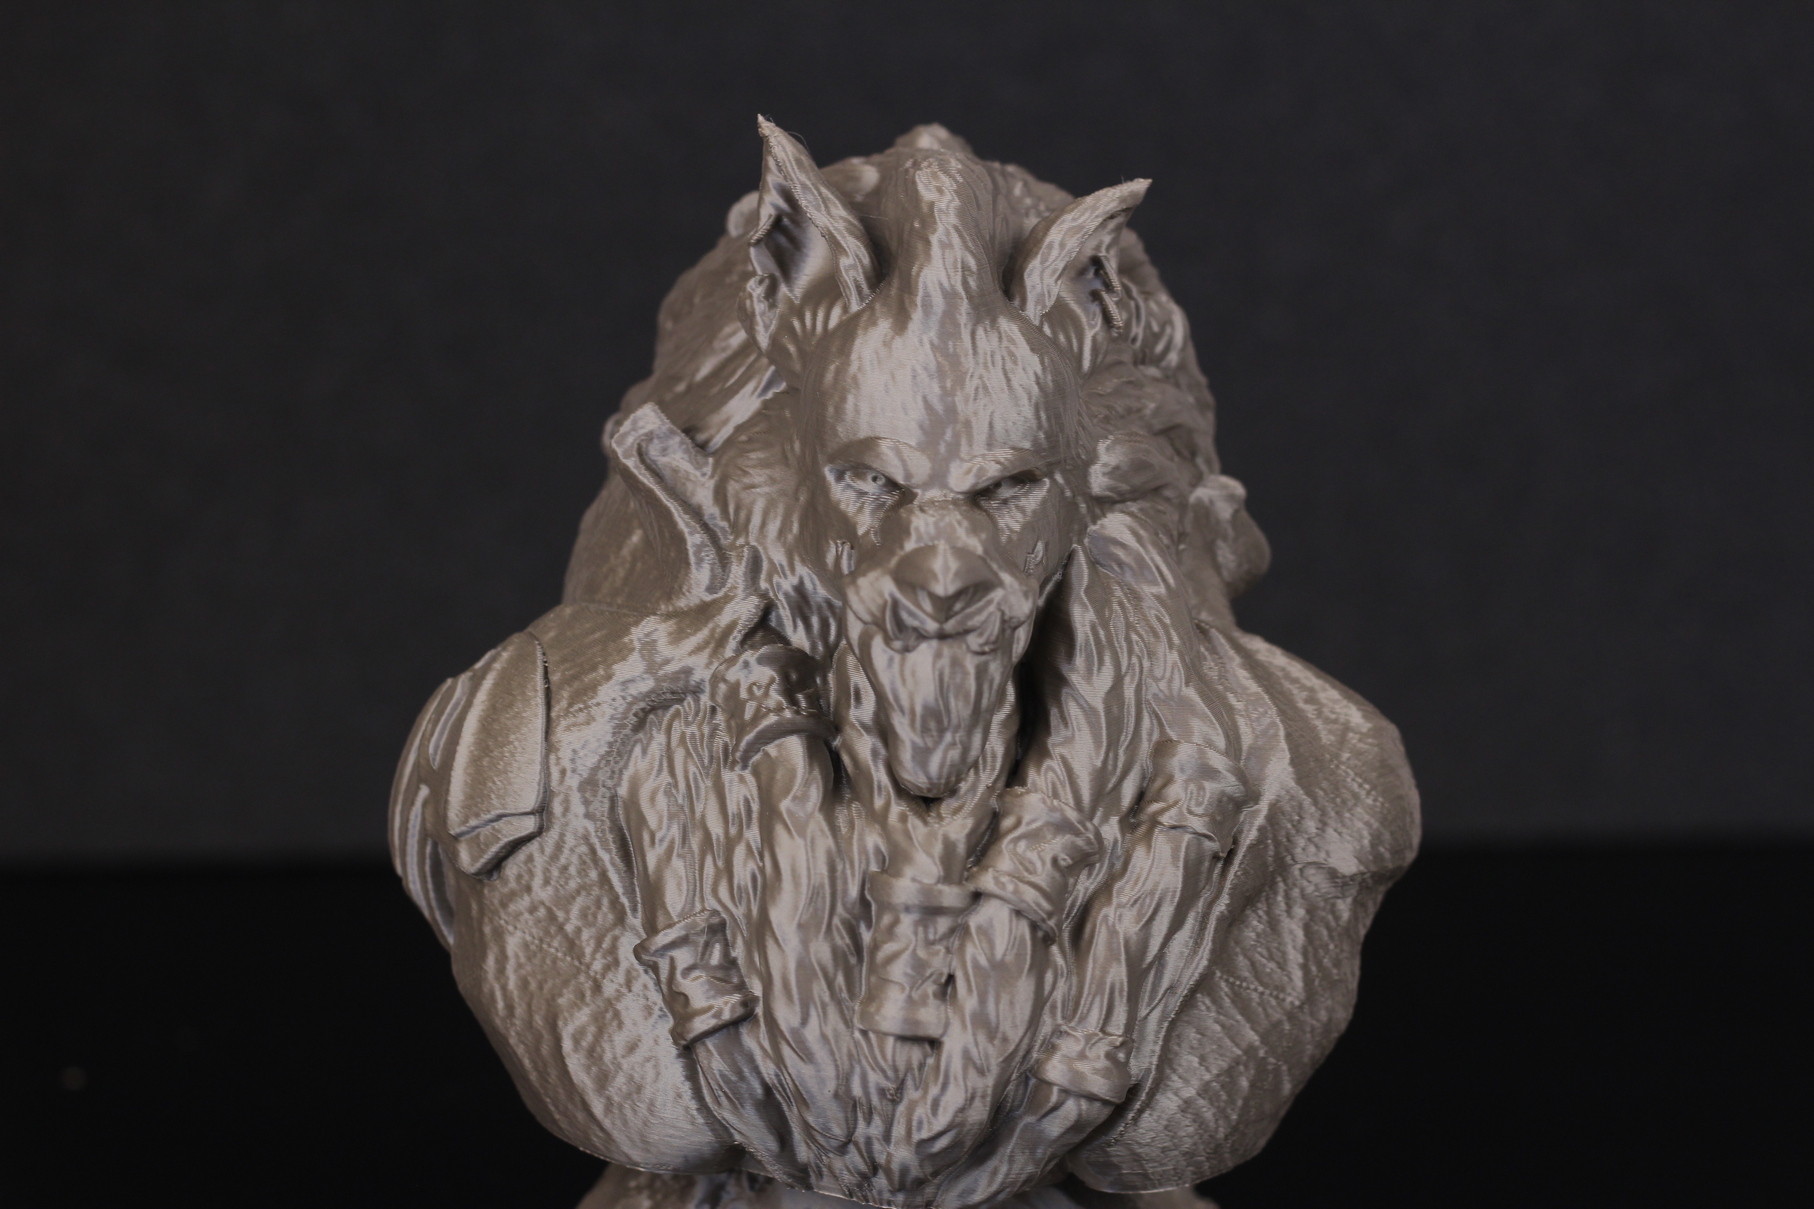
This bust from HeinoK1 was printed at 200mm/s with 150mm/s external layers, while keeping the acceleration at 6000.
I’m happy with the results, considering the speed it was printed at.
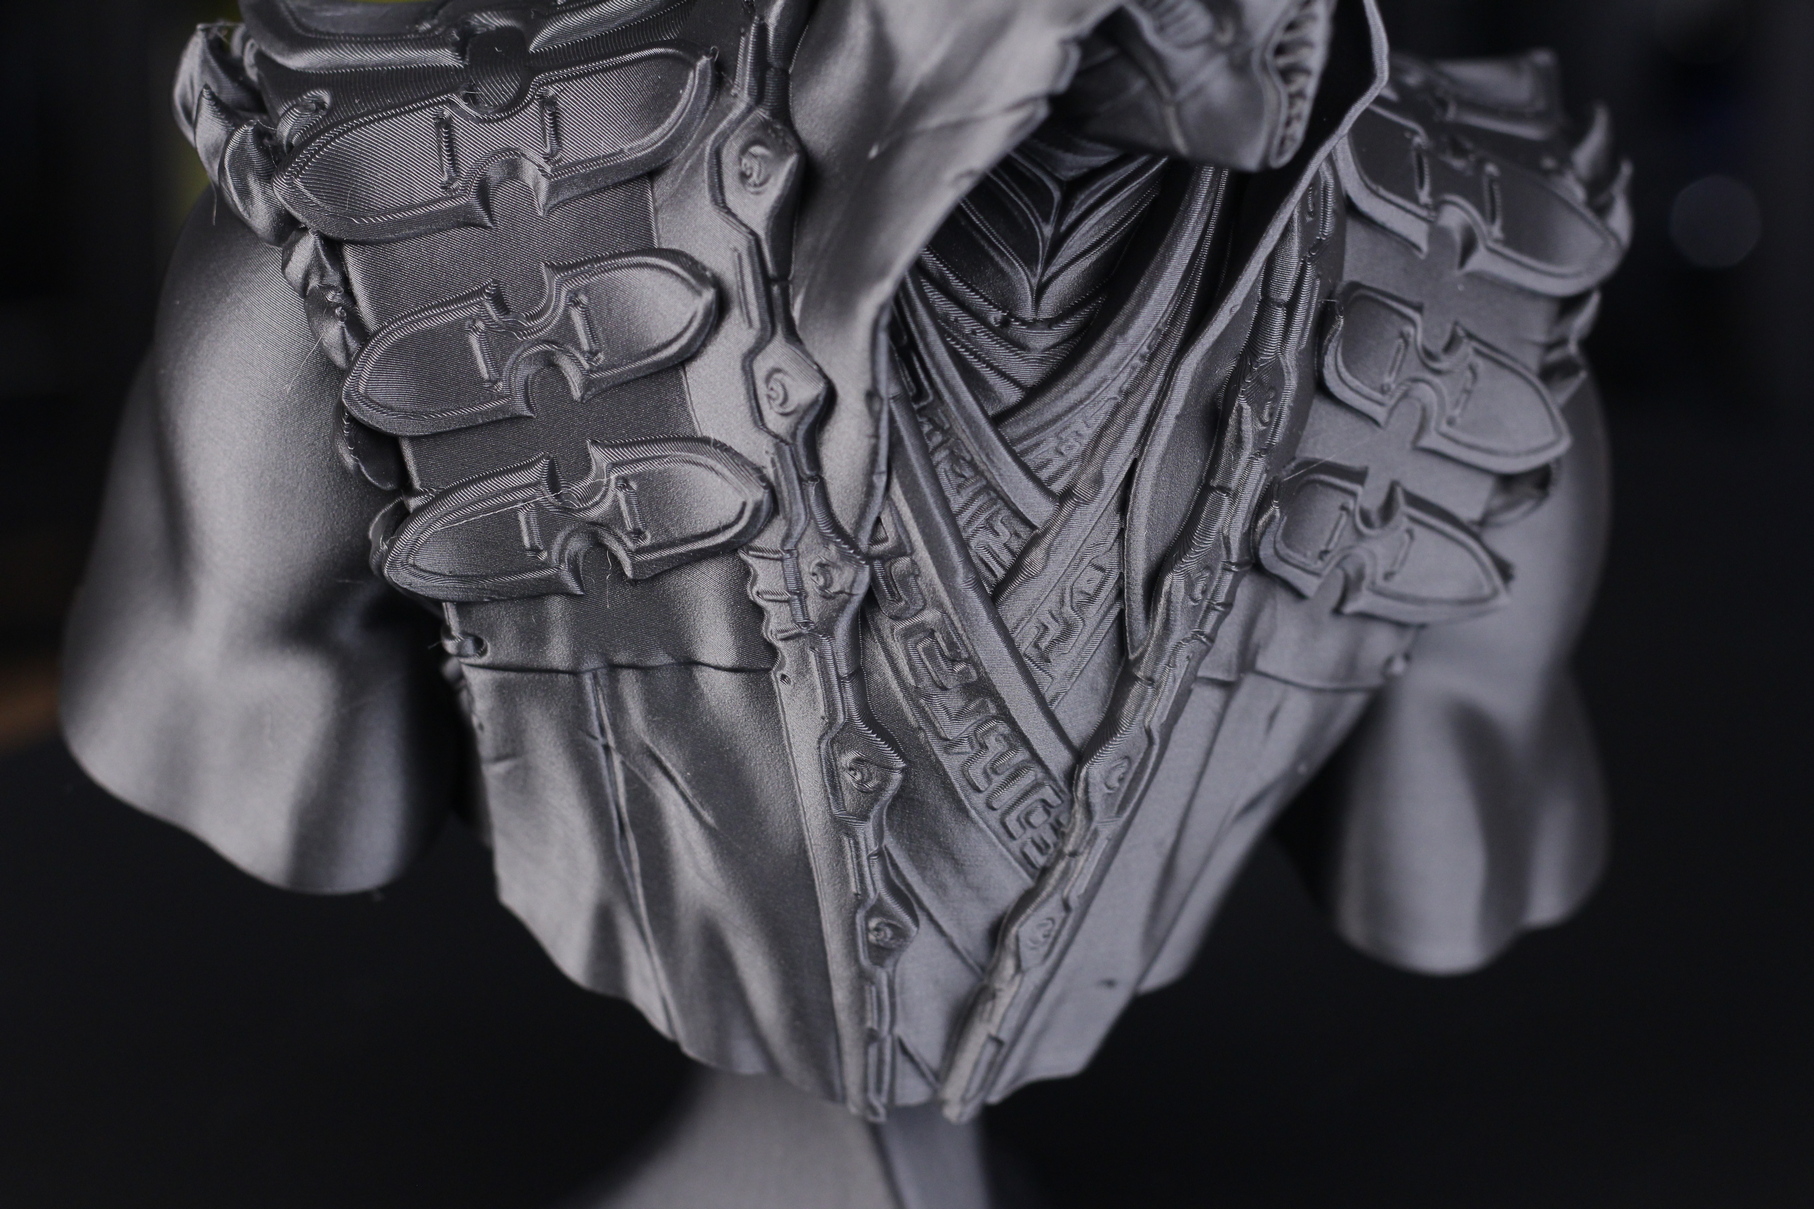
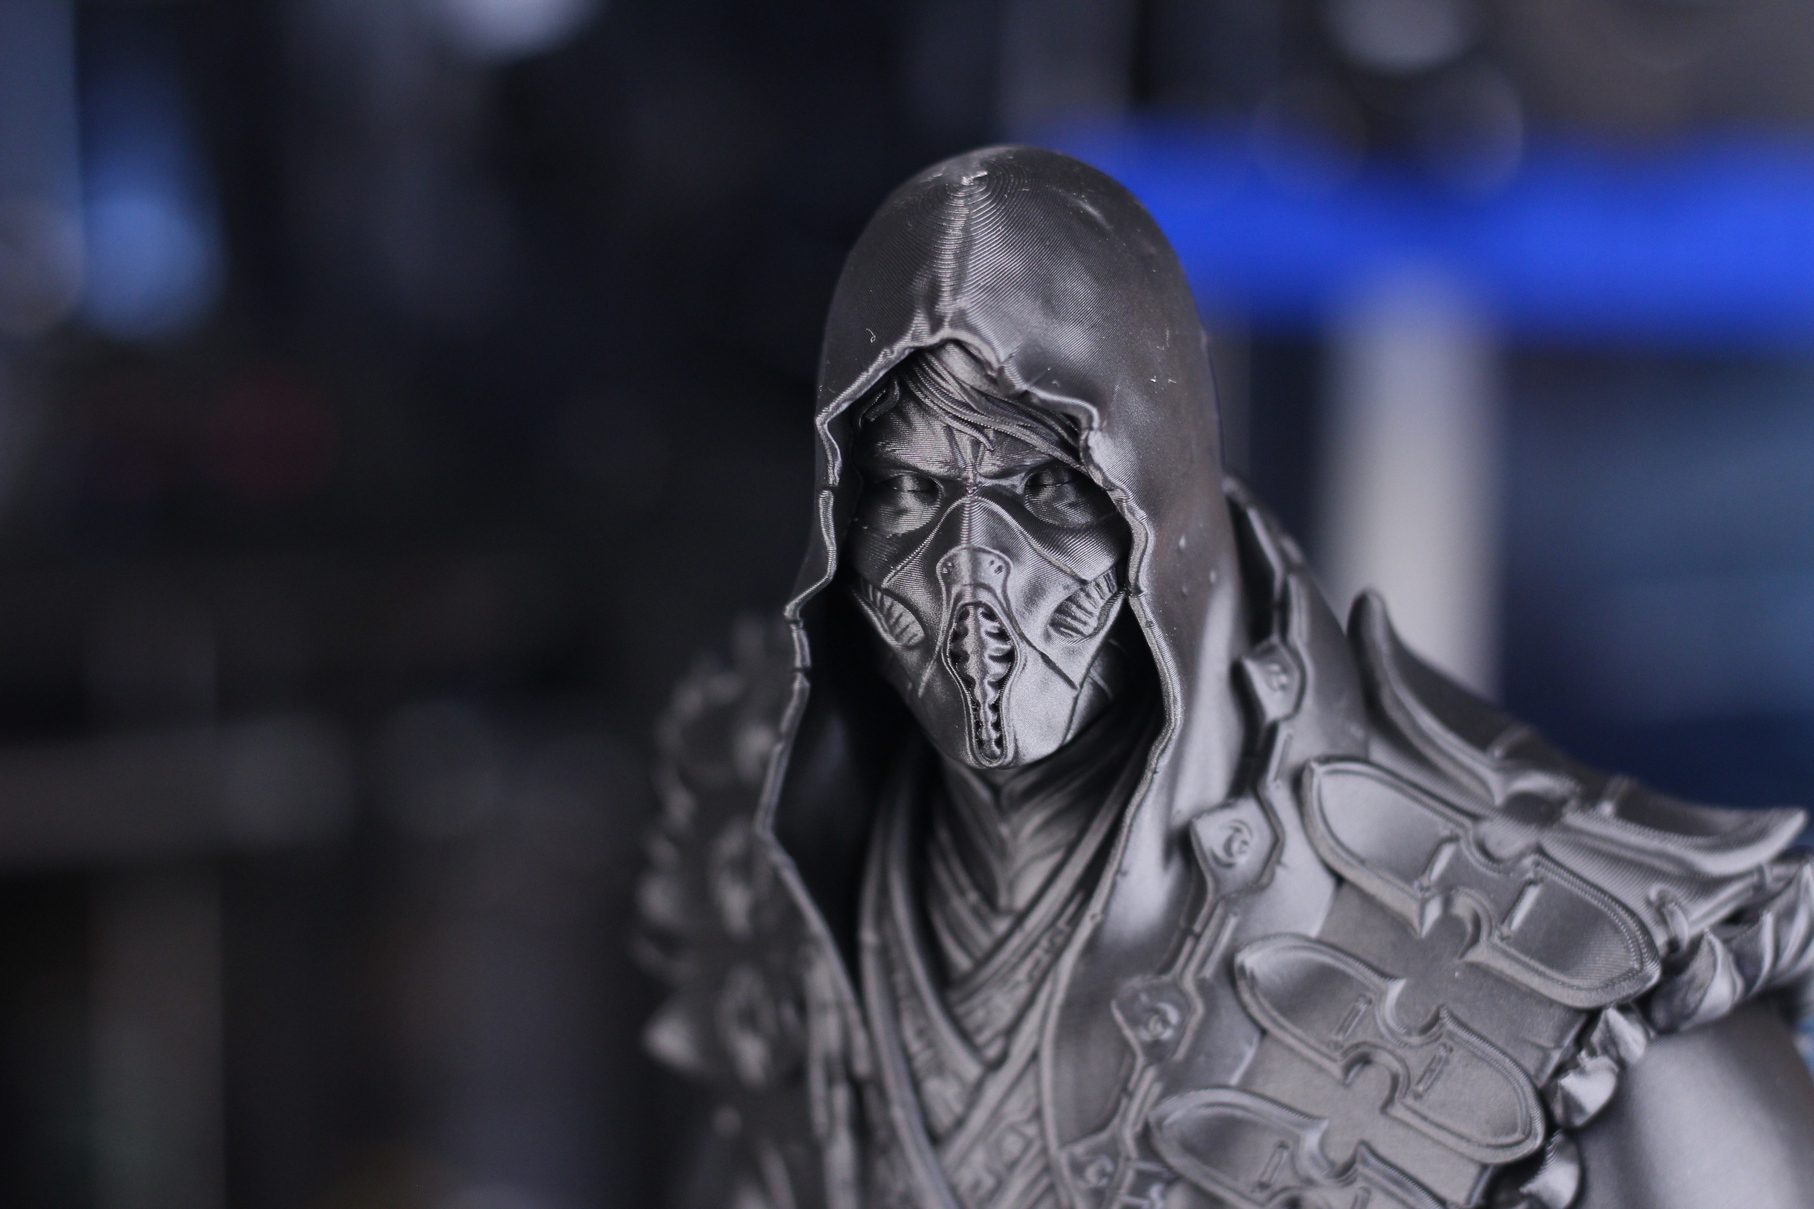
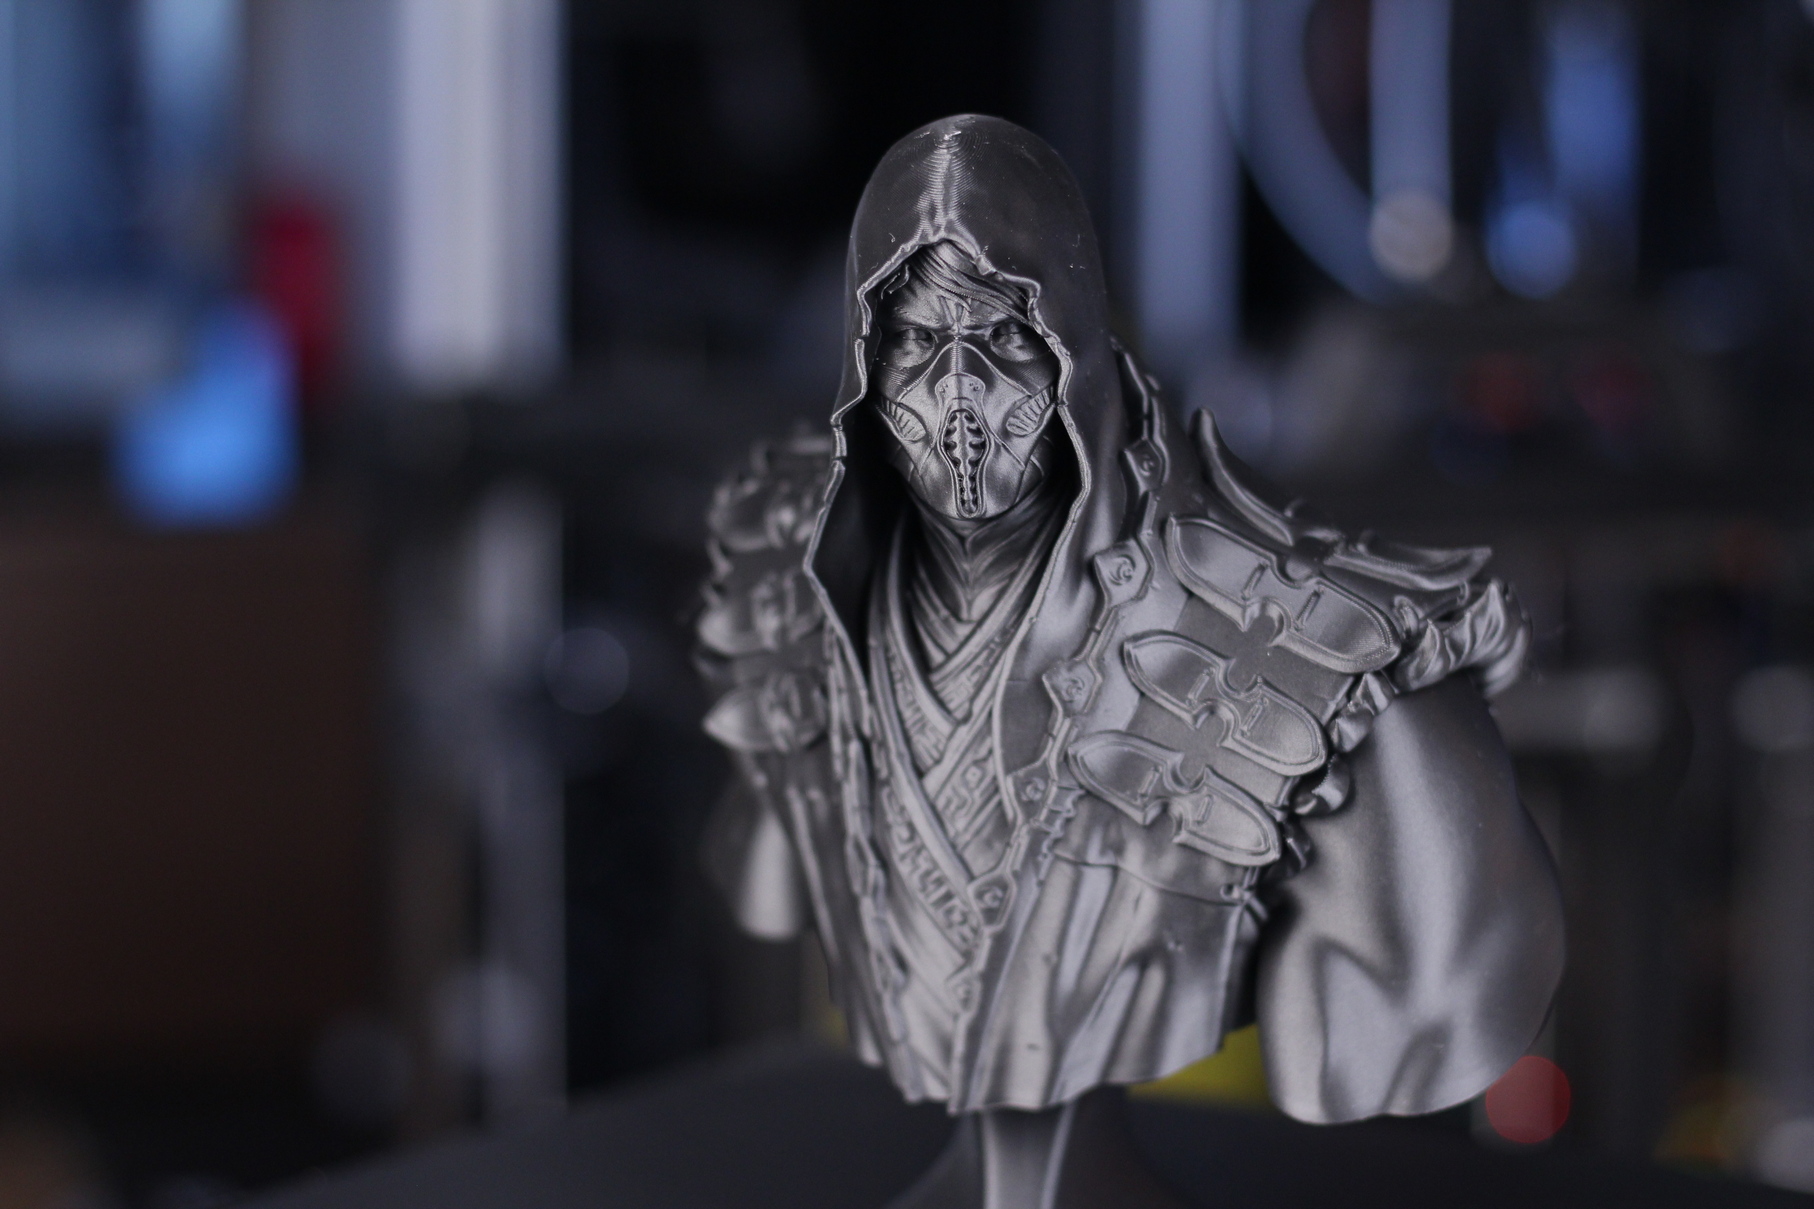
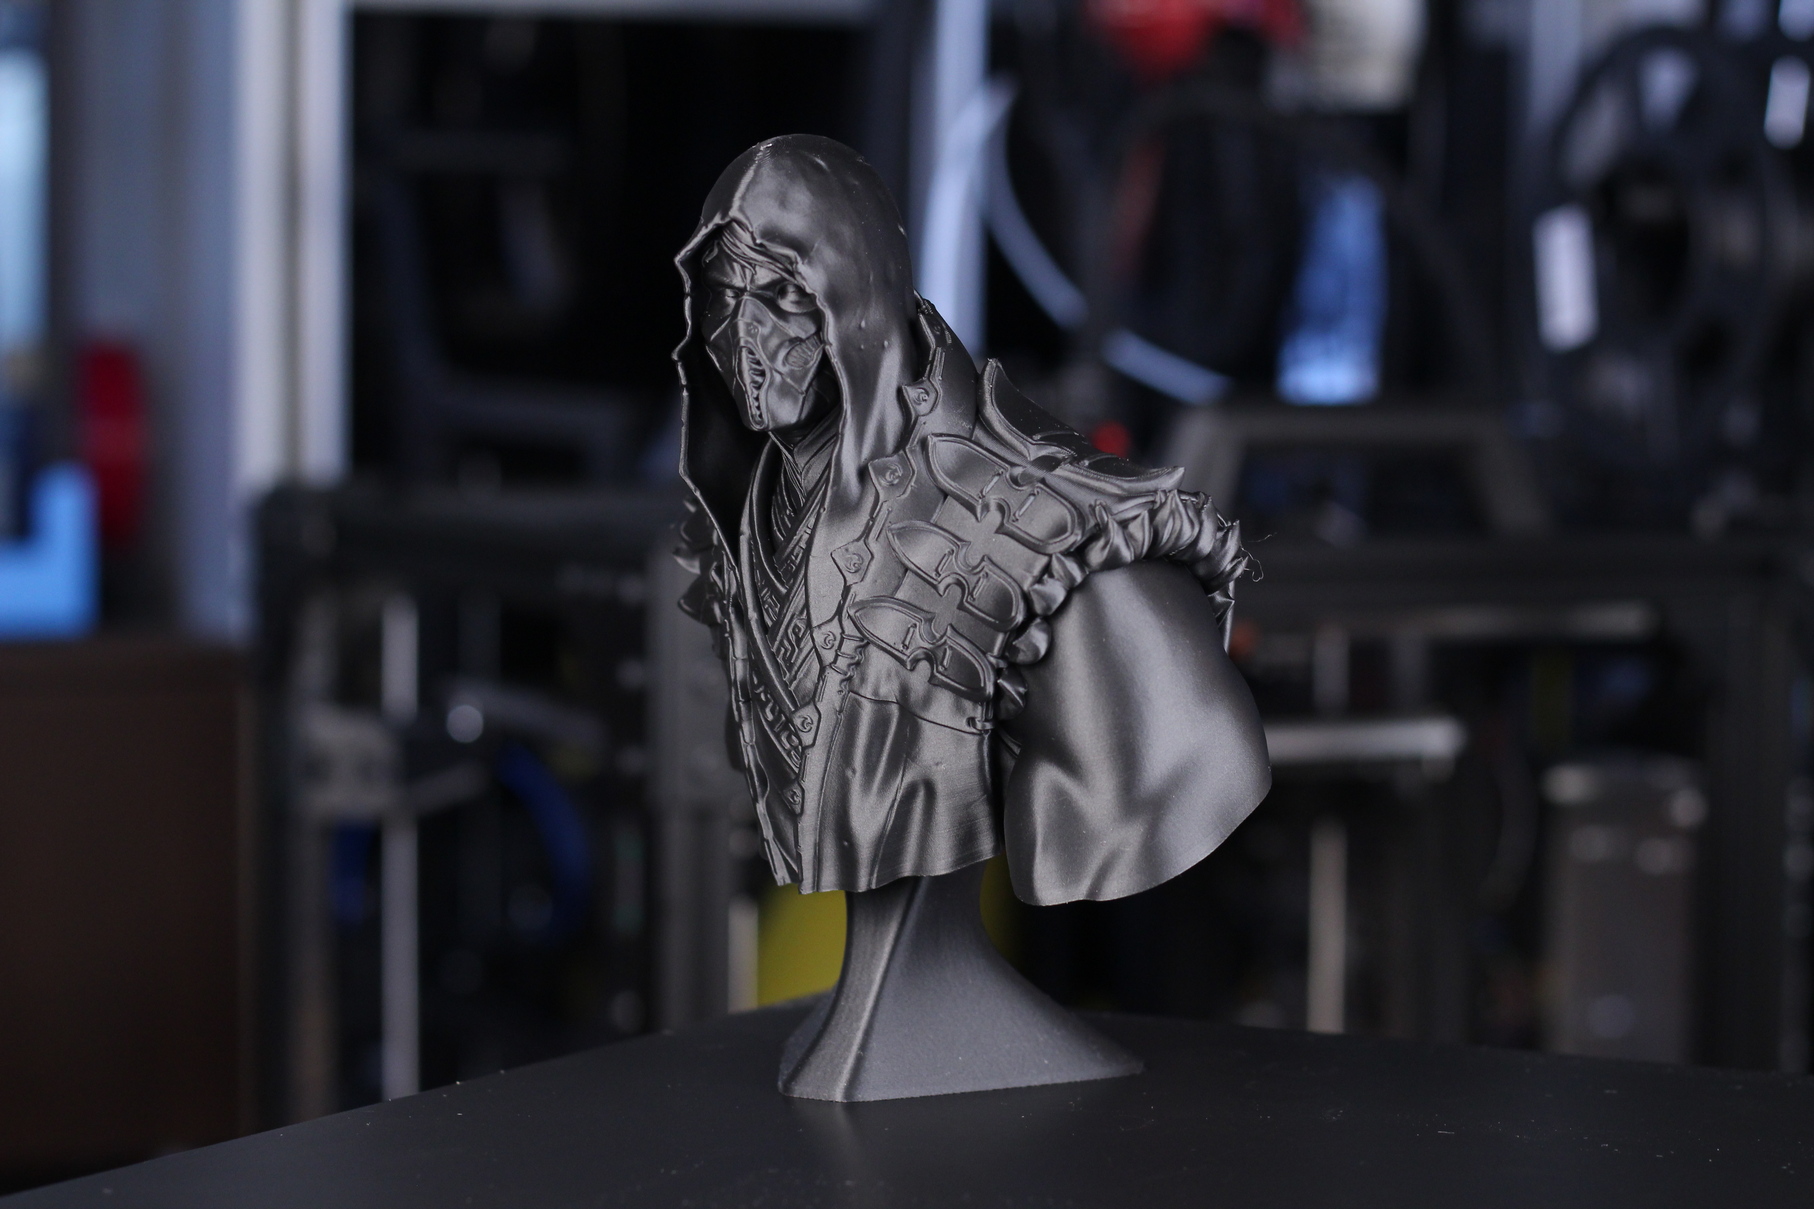
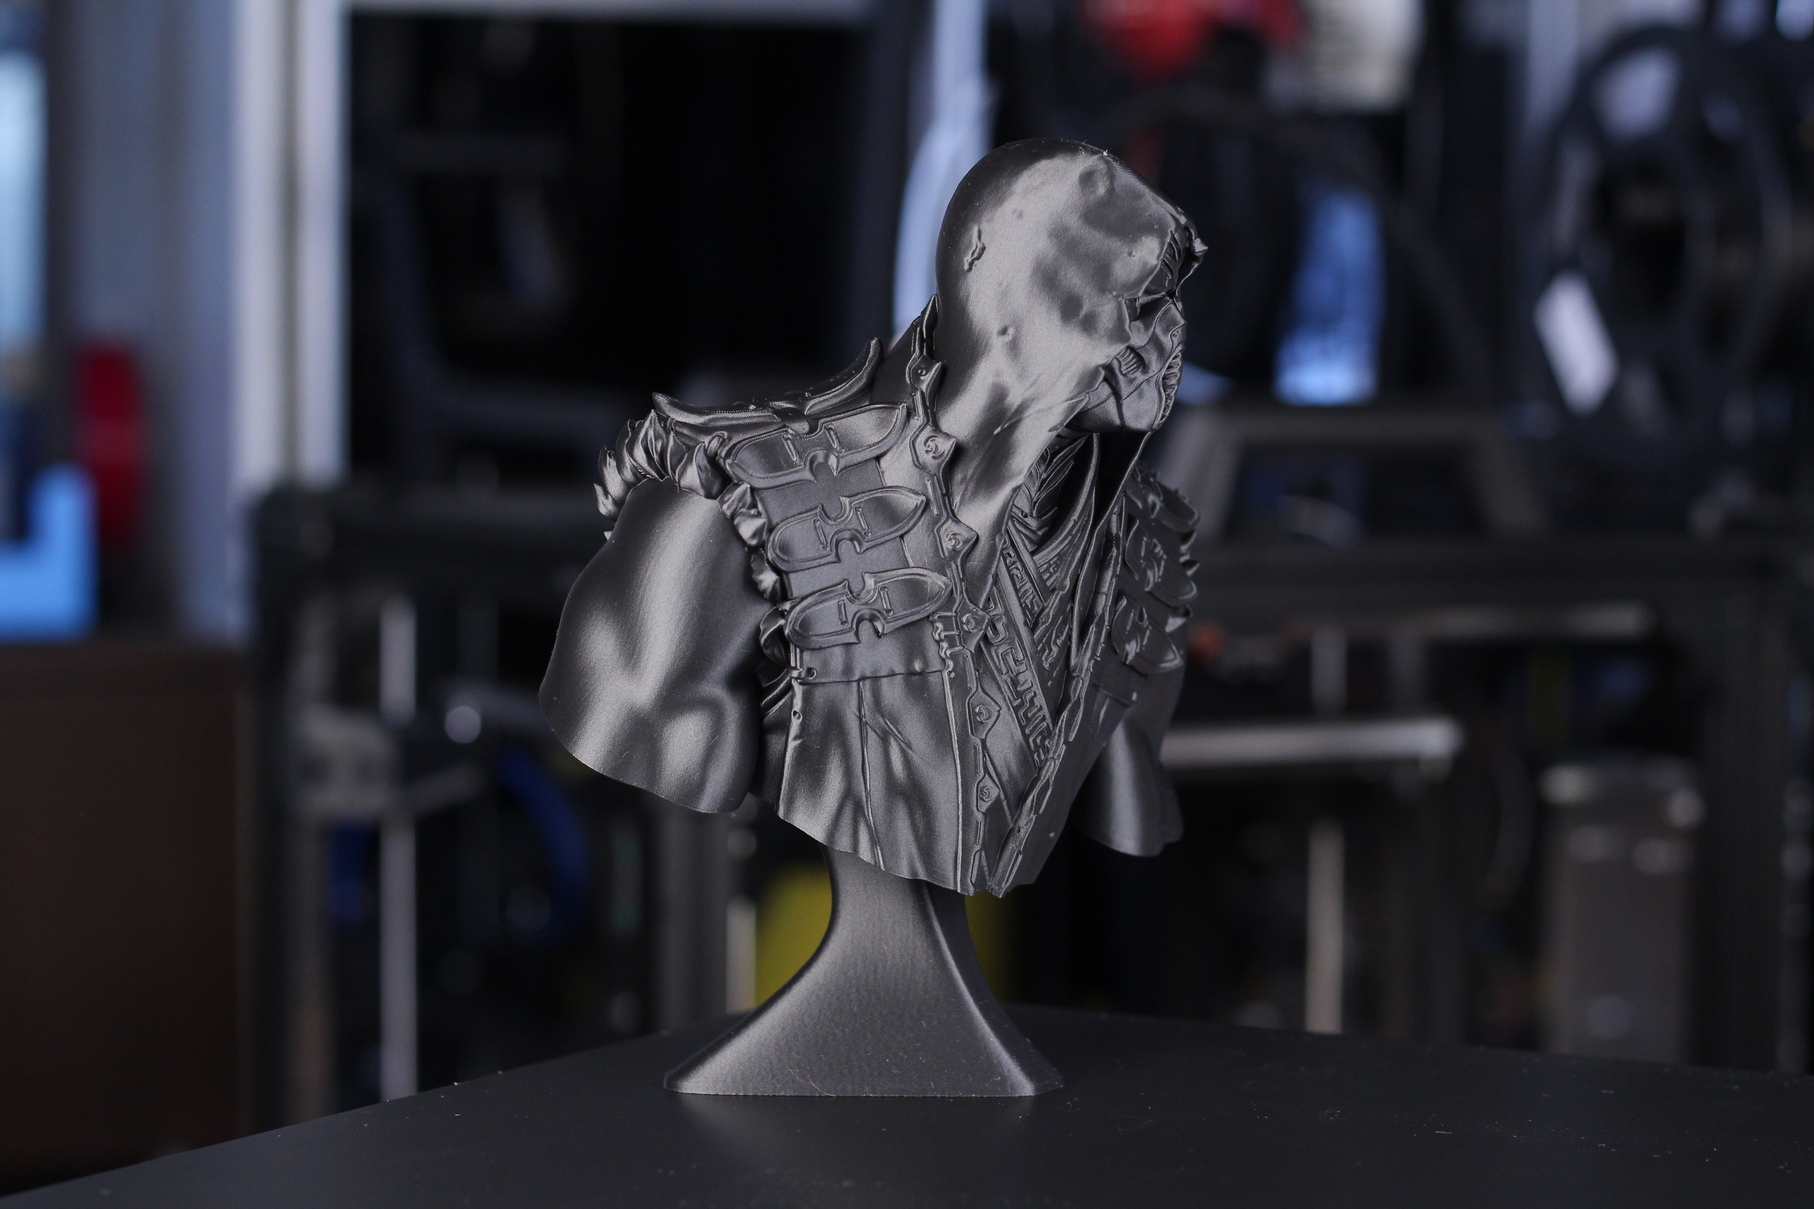
Scorpion Bust
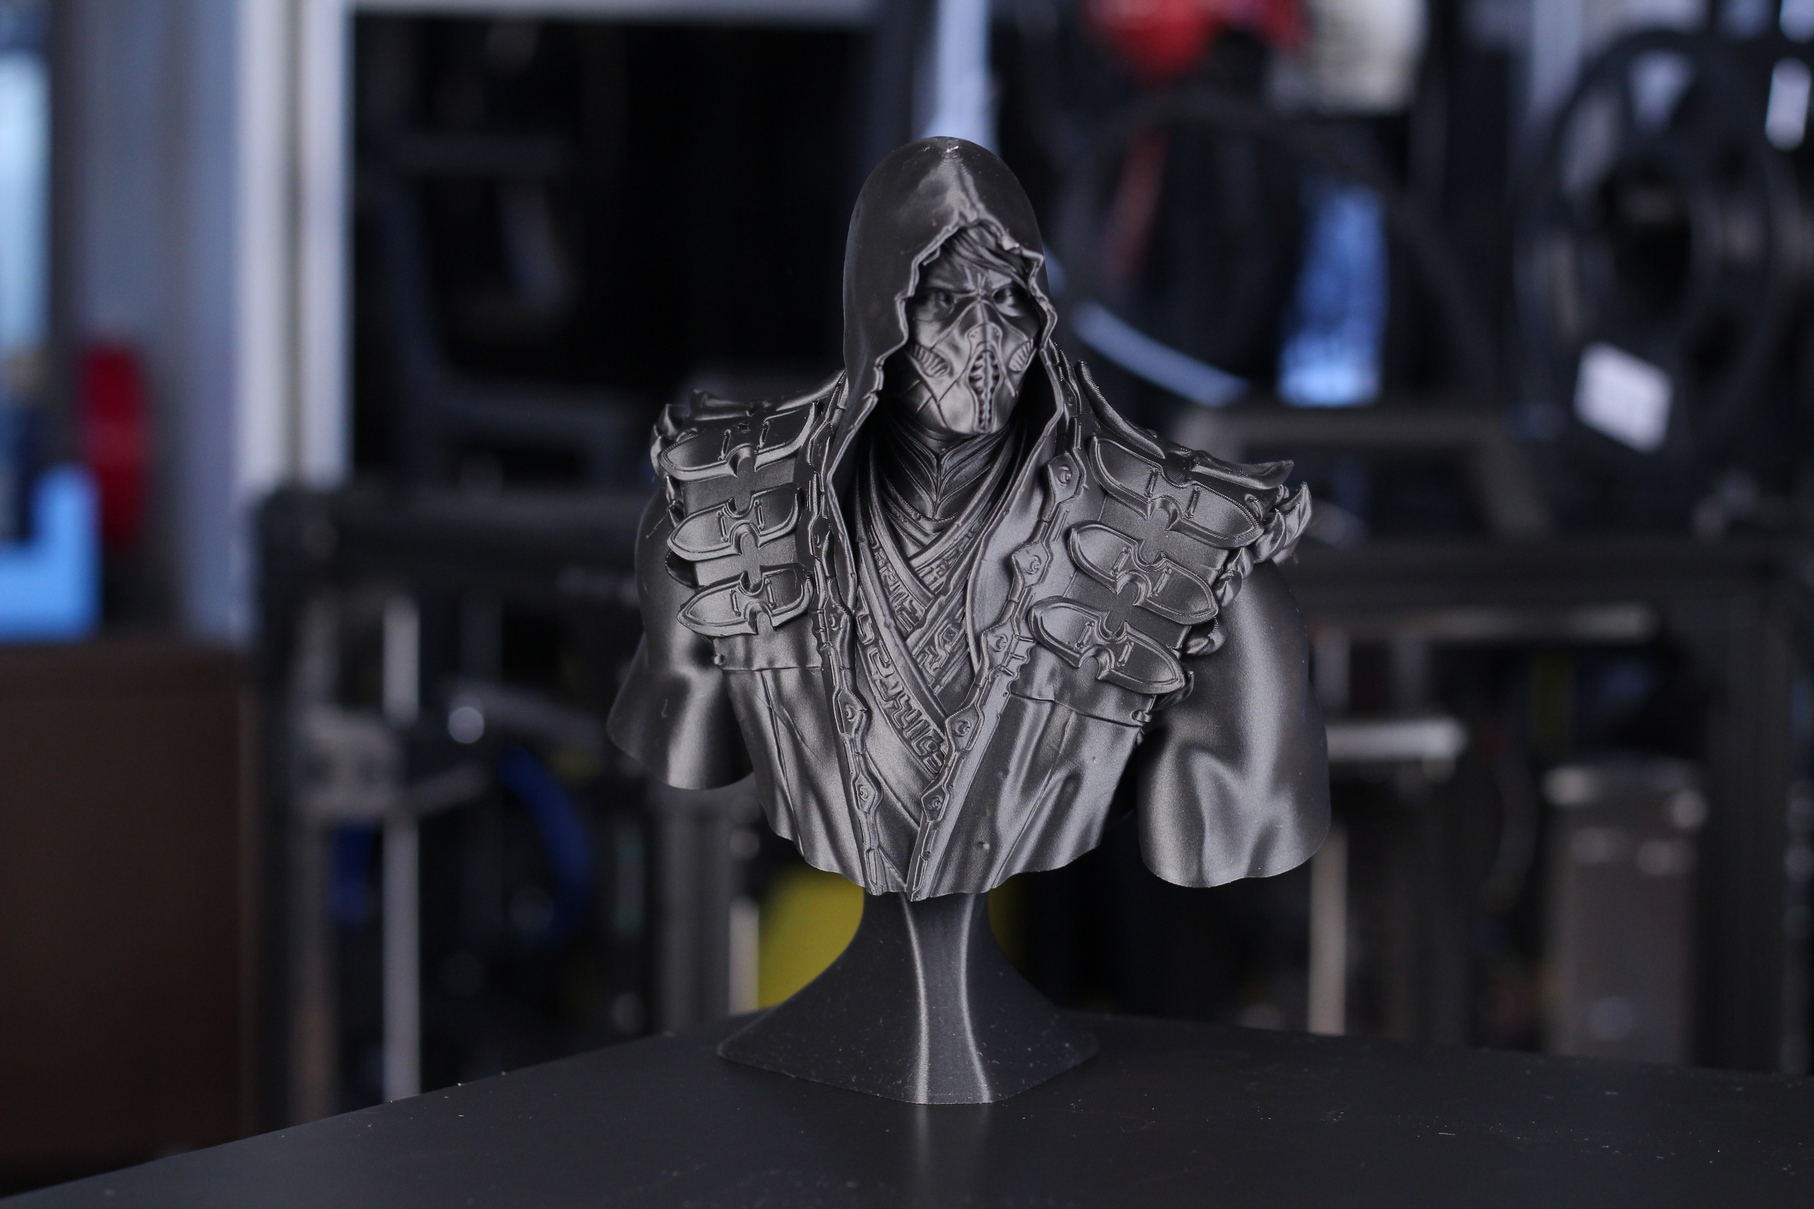
Another excellent print, after replacing my faulty stock linear rails. The Scorpion bust from Eastman was printed at ~100 mm/s with 70mm/s for the external walls in carbon fiber PLA.
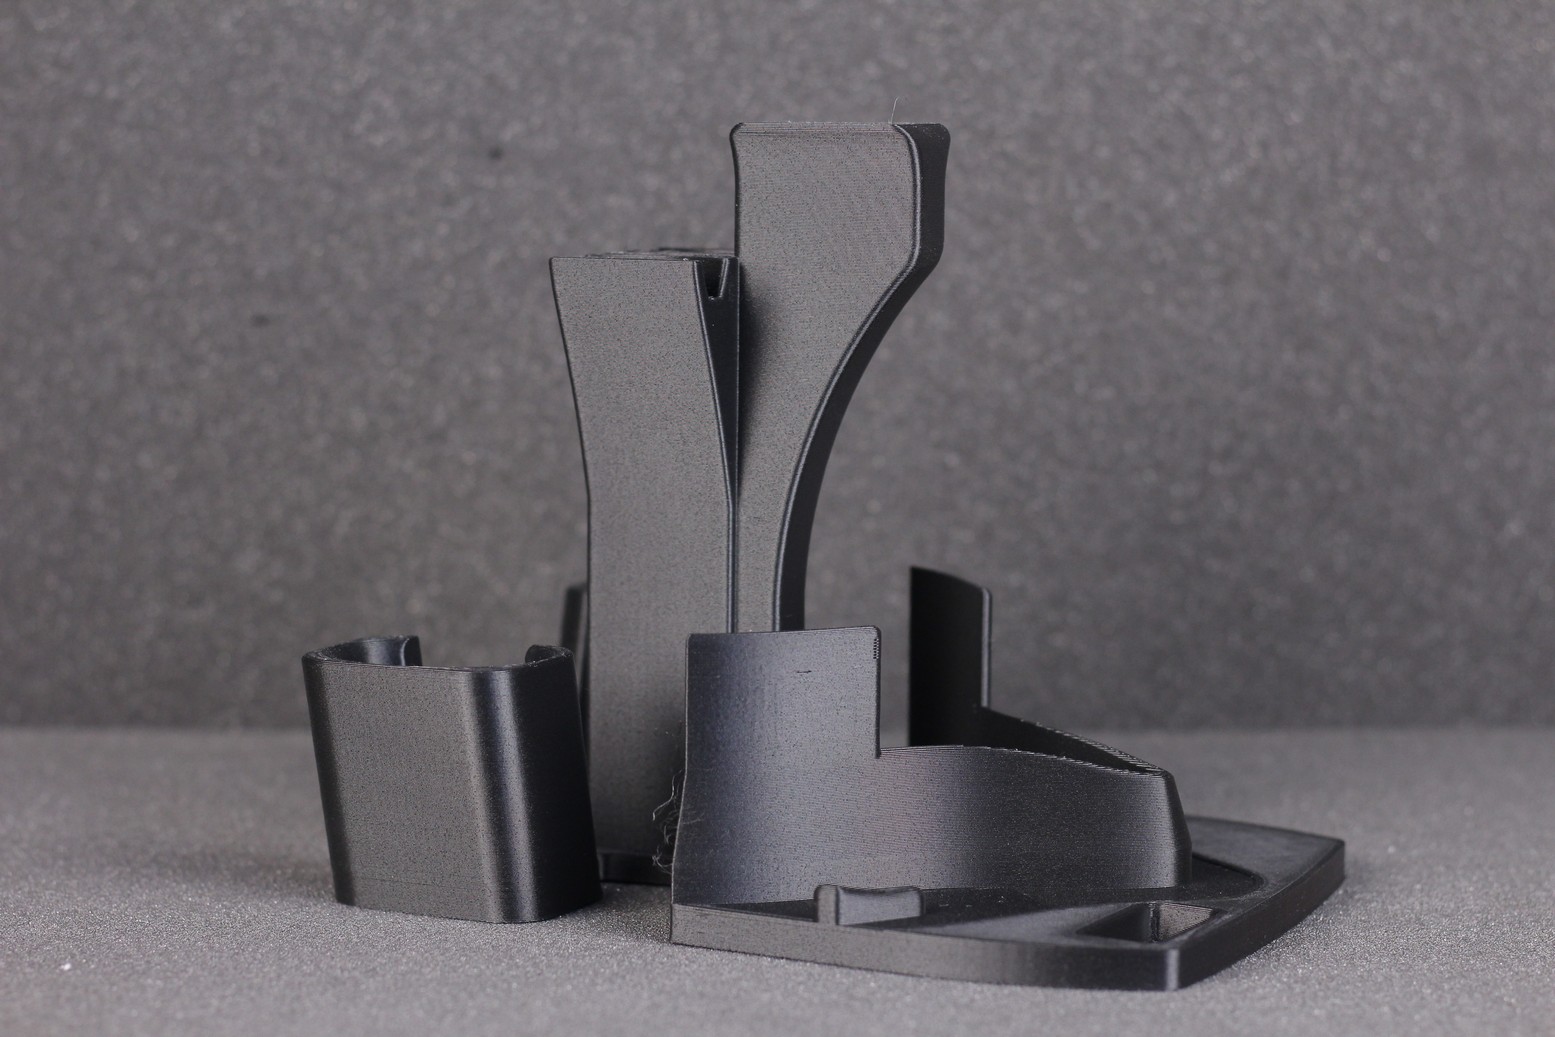
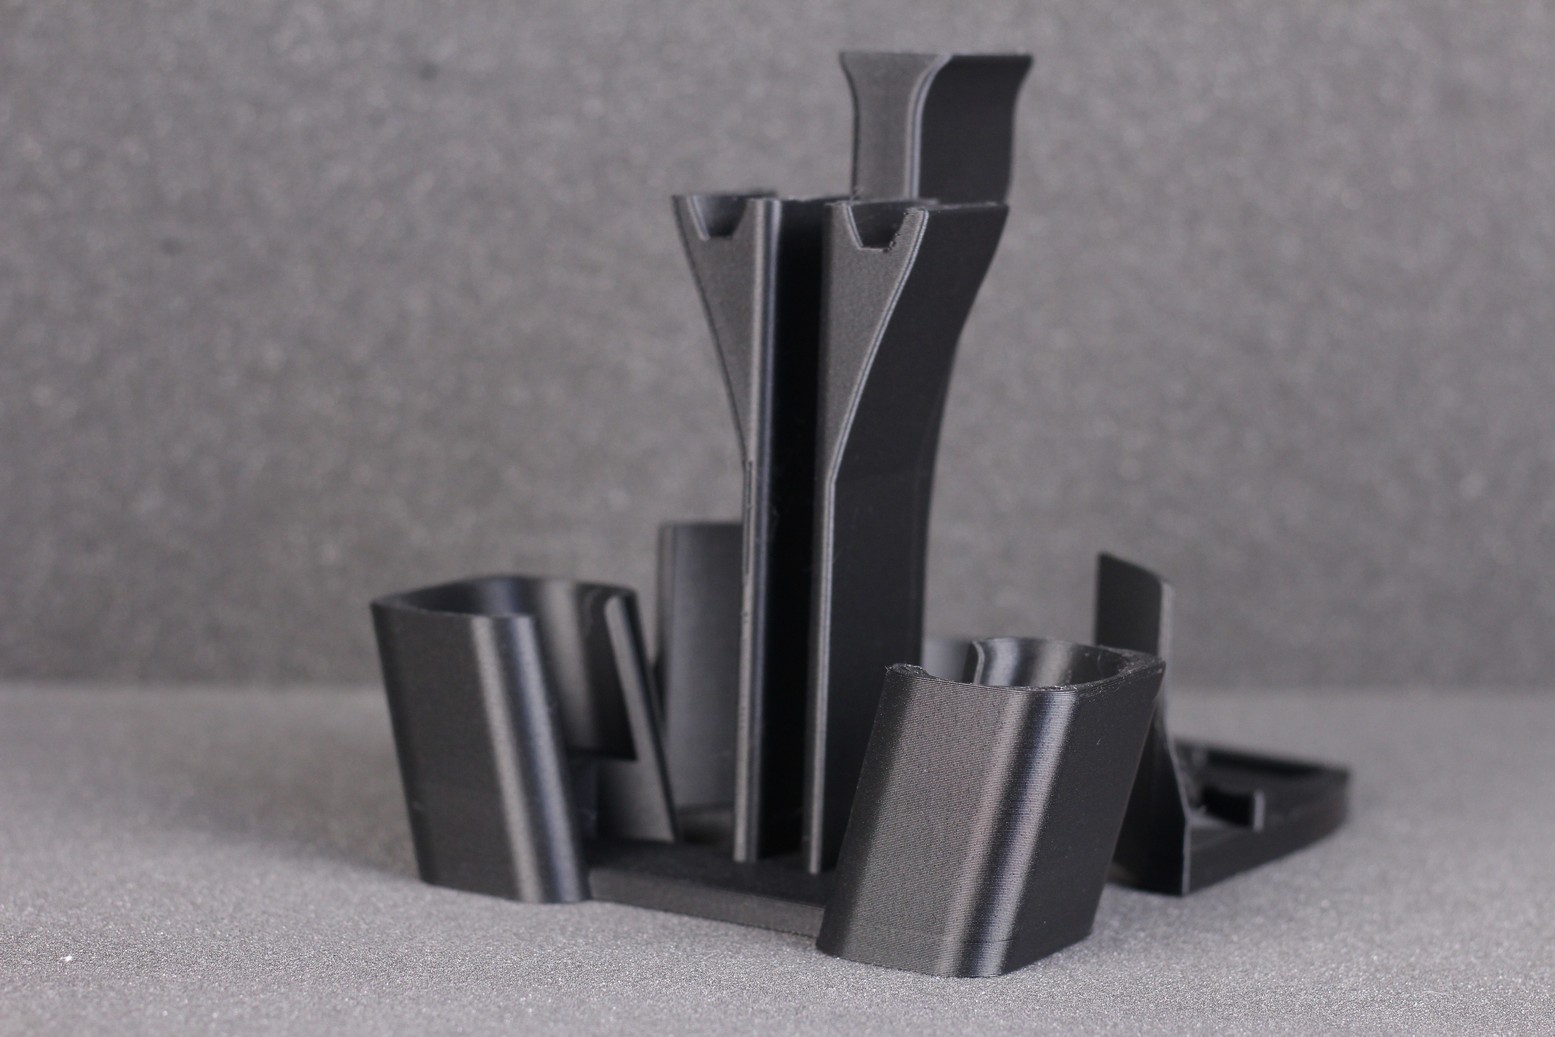
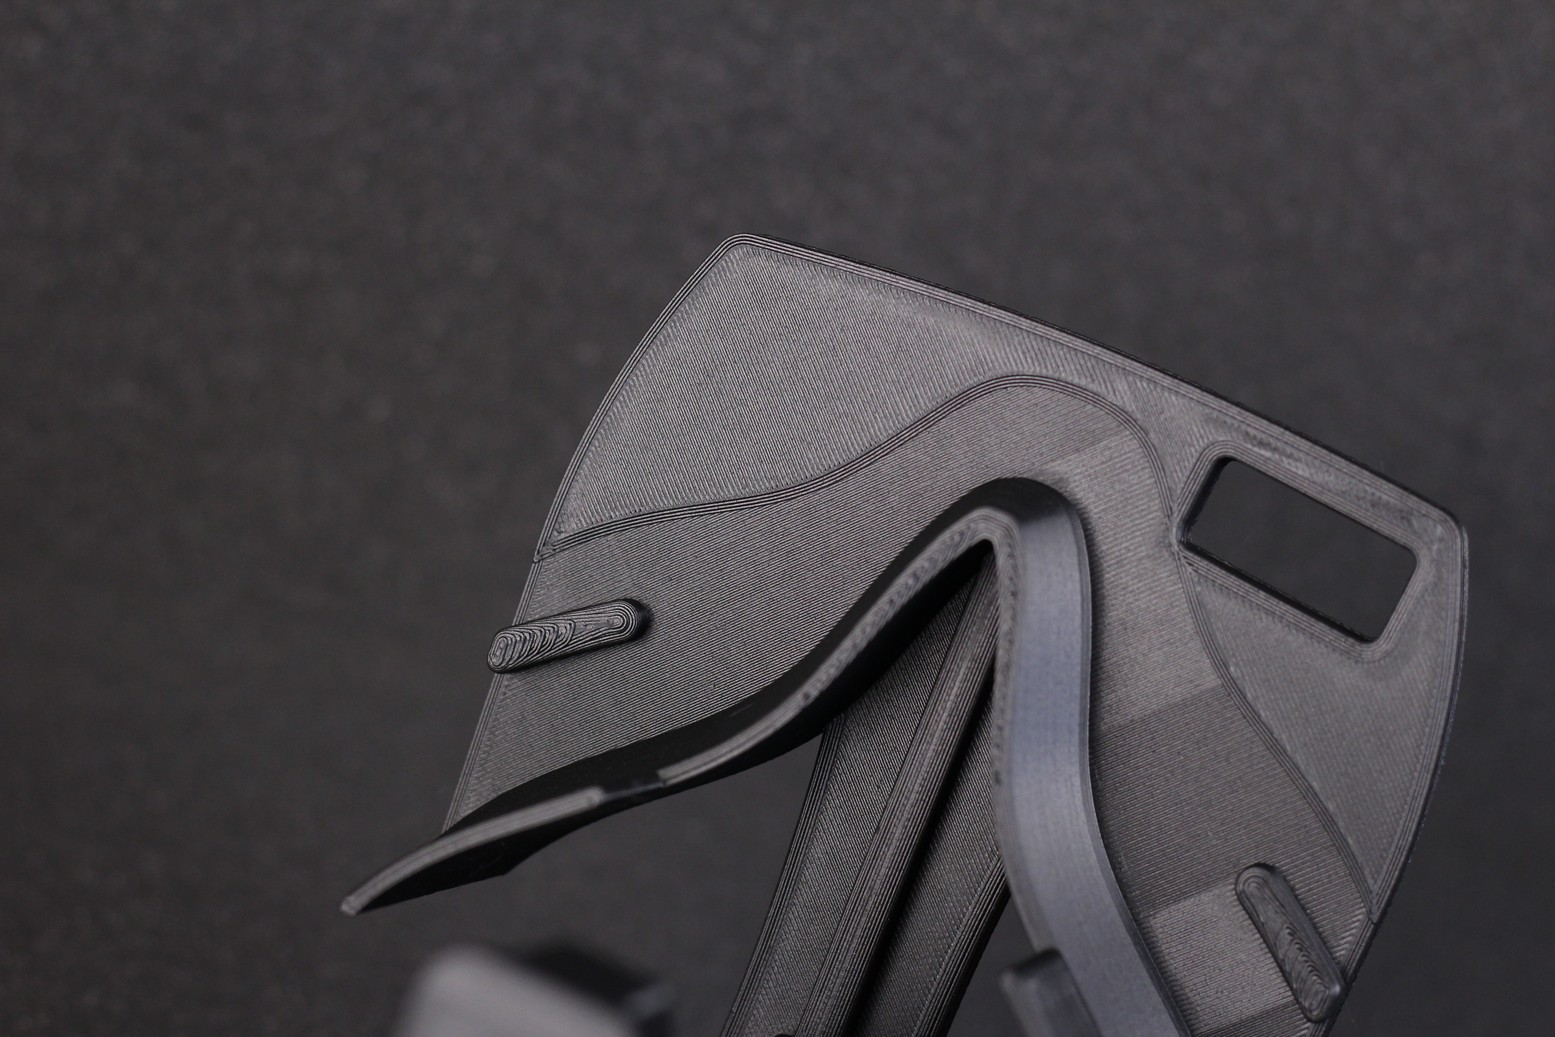
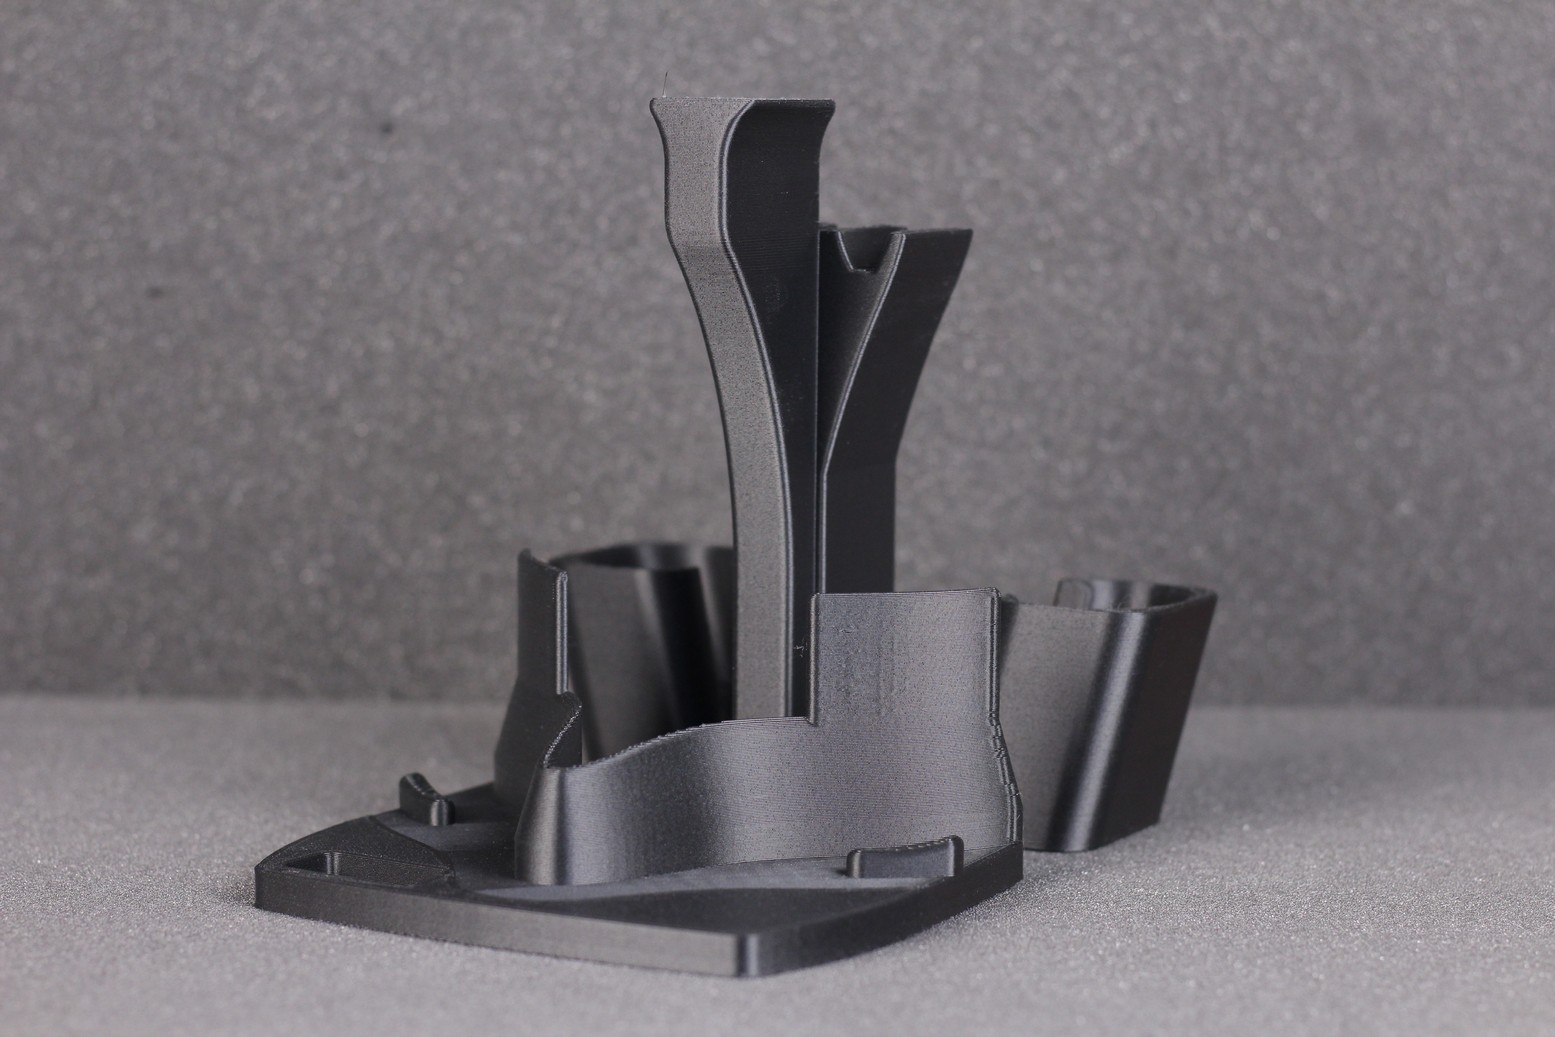
Oculus QUEST 2 Stand
A friend needed an Oculus Quest 2 stand and I printed this one from Cults at ~100mm/s in Polymaker Carbon Fiber PLA.
Conclusions: Is the RatRig V-Core 3 worth it?
If you’re in the market for a premium Core XY 3D printer kit, then I’d say the RatRig V-Core 3 is worth it. The default mechanical kit for the 300×300 V-Core 3 is ~499 Euro at the time of writing this article, which is quite a decent price, especially if you’re in Europe. The part quality is good enough for the price and I’d say it’s not worth the trouble of purchasing all the parts by yourself.
I can’t really judge the price of the final printer, because that’s different according to your selections. My printer ended up costing around 1000 Euro with all the hardware mentioned in my configuration. While it’s not a cheap printer, it’s worth the price considering the speed and quality you can get from it. Being able to print at 200mm/s as a “daily use” speed is awesome.
What you need to consider is the high lead-time. The website states 6-weeks lead time but there’s some reports online from people who waited for 8 to 10 weeks. RatRig is a smaller company, and it seems that the popularity of the V-Core 3 has them flooded with orders right now. But over time, this should get better.
Update: 2022
After I completed my build and review, I was pretty happy with how the machine performed. But the experience stopped being great when the first set of replaced idler bearings failed. Considering that I did a lot of various tests, I thought it was fine. Maybe there’s something wrong on my side.
But guess what? I changed the idlers again, and they failed for the second time after less than 200 hours of use. That’s not something that should be looked over especially when these idlers are hard to find and pretty expensive.
Besides that, I also replaced the XY rails due to one of them binding even though they were properly greased. This was another side of the printer that shouldn’t have failed so easily.
Because of these issues, I haven’t used the V-Core 3 too much. I also got a Voron Trident 350 kit to review, and that was a whole different experience. The documentation was miles better than the one provided with the V-Core 3 and part quality was also better.
So in the end, even though my previous conclusions were positive, I can’t really say I would recommend the V-Core 3 compared to the Voron Trident 350 due to the issues I encountered.
It’s not a bad printer. But the build experience is worse compared to the Voron and the part quality for the motion system is not that great.
You can make it work, and the printer is quite capable. But at the expense of your time invested in fixing these issues, and the money invested in replacing some of the parts that might fail. Newer machines might be better, or might come with better motion system parts but I can’t confirm that because I haven’t tried them.
The RatRig V-Core 3 is a premium Core XY 3D printer kit, which will put all your 3D printing knowledge to the test. But when finished, it's one of the best 3D printers out there.RatRig V-Core 3 Rating
Design
Parts Quality
Printing Performance
Assembly Difficulty
Price
Where to buy the RatRig V-Core 3?
The RatRig V-Core 3 Kit can be purchased from the following websites:
Because this is an open-source project, you could also grab the BOM and start sourcing your own parts.
The RatRig V-Core 3 Mechanical Kit was provided free of charge by RatRig for the purpose of this review. The Octopus 1.0 board was provided free of charge by BIQU. All other electronics and needed parts were purchased from my own funds. While the article includes affiliate links, all opinions are my own. Nobody reviewed the article before it was posted, following the Review Guidelines.
Liked it?
|
|




Thanks for the detailed review.
I placed an order for the 400×400 with SKR PRO 1.2 however, the only option they provided is the 250W PSU. Do you think it’s enough for a similar setup as your or should i order another 350w PSU?
250W is more than enough. The bed is powered separately.
Thank you
have you created an ideamaker profile yet you can share?
i have your IdeaMaker Profiles for Sidewinder X1 from day one and love them.
Yes. I will add it to the article.
Unfortunately, I just short-circuited my Octopus board and it’s going to be a while until I get another one.
Hopefully I’ll get it next month
Ordered mine a week ago, guess i have to wait a couple of months or less. Choose for the 400 kit, using my Octopus 1.1
I’ll report back in our discord group during the buildup.
Awesome. Hope you will get it soon!