How to Improve Print Times for Functional Prints
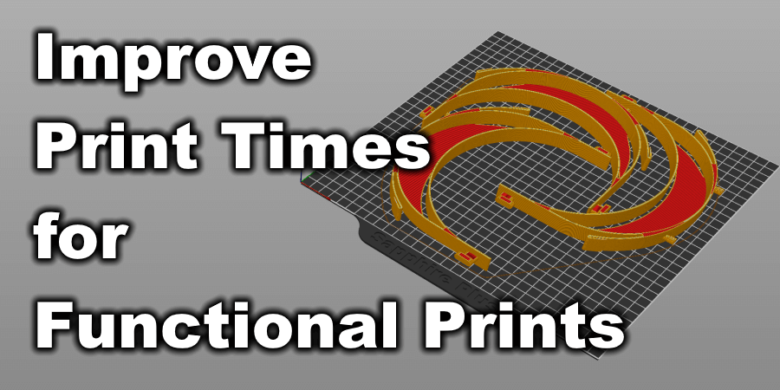
Since the new Covid-19 pandemic started, the 3D printing community started to print masks and visors for medical professionals to help fight the virus. Here are a few tips on how to improve print times in order to finish those prints faster.
Nozzle Size and Layer Height
The best way to improve print times is to use a bigger nozzle size. By doing that, you can use a bigger layer height and a lower number of perimeters.
For example, a 0.4 mm nozzle can print a maximum layer height of 0.32 layer height. A 0.6 mm nozzle can print with a maximum layer height of 0.48 layer height that will improve print times.
Please note that when going with a bigger nozzle you will need to also increase the temperature used for printing. More plastic is being fed trough the nozzle and it needs to be melted efficiently. So if you don’t want to lower your speed, set your printing temperature with about 10 C higher. Volcano users will have less issues with the this, but your mileage may vary.
If you notice your layers are not bonding properly the temperature used might be the issue.
Layer width
Another important setting to check when trying to improve print times is layer width. With a 0.4 mm nozzle, the usual layer width used is 0.48 mm but you can go up to 0.6 mm without issues.
When using a 0.6 mm nozzle the usual layer width is 0.72. But a layer width of 0.8 mm is possible and will improve print times significantly.
When choosing your layer width, try to have a value which when multiplied, gives a result close to the wall width set in the slicer. For example, if the wall thickness is set to 2 mm, a 0.5 layer width works great because the printer will do 4 walls without the need of small fill moves.
The layer width should be set according to the dimensions of your printed part.
You can set your slicer to print thinner lines to fill the gaps between the walls if the wall does not match perfectly, but this adds more time to your prints.
Printing wider lines bonds the layers better making the final printed part much stronger with the benefit of better smaller print times.
Print Speed
Functional prints don’t really need to have an excellent finish, so you can use the same speed for the internal and external perimeters. I usually print with a 50% reduction in speed on the external layer to improve the look of the print but in order to improve print times i use the same speed for functional prints.
For example, if printing with 60 mm/s, the external layer will usually be printed at 30 mm/s. For functional prints, the same 60 mm/s can be used.
The speed is only limited by the capabilities of your printer and hotend. You can start with 50 mm/s and slowly increase it until you can see a degradation in print quality. My Sapphire Plus and BLV Cube can print with 80 mm/s without any issues.
Seam position and Travel Moves
In order to improve print times, the seam position set in the slicer needs to be set to “closest”. By doing this, travel moves are minimized and the printer will spend more time actually printing, instead of traveling to the layer start position.
This can introduce a few spots on the print where the layer starts, but for functional prints this is not really an issue when print times are important.
If using Cura, checking the Optimize Wall Printing Order can lower the print time a bit by minimizing travel moves. You can also disable Avoid Crossing Perimeters, but please note that on bowden setups this setting can cause blobs on your prints. Enable only if you have the retraction properly tuned.
To lower the travel moves further, try to place the parts as close as possible to each-other.
Print with no infill
You can further improve print times and print finish by printing with no infill. In the case of 3D printed visors, using a low infill value does not really help and you can have bad top layers with the added speed. It’s easier to print with 95% infill without any significant hit in print times. (100% infill can add more time)
Wrapping Up
With all the settings mentioned in this article i managed to improve print times with about 40%. When i started, a visor was printed in around 2h 30m. With the new settings, i can print a visor in 1h and 35 minutes with improved strength. This is printed with the following settings:
- 0.4 mm nozzle
- 60 mm / s
- 0.3 layer height
- 0.6 mm layer width for the perimeters
- 0.5 mm layer width for external perimeters
- 0.6 layer for top and solid infill
Play around with the settings until you get the desired results.
Join the cause and help by printing the Prusa Protective Face Shield and donating the prints to the people in need.
If you have other tips for improving print times, leave a comment and i will update the article.
Be safe!
Liked it?
|
|

