How to Turn a Photo into a 3D Printable Model with Tripo
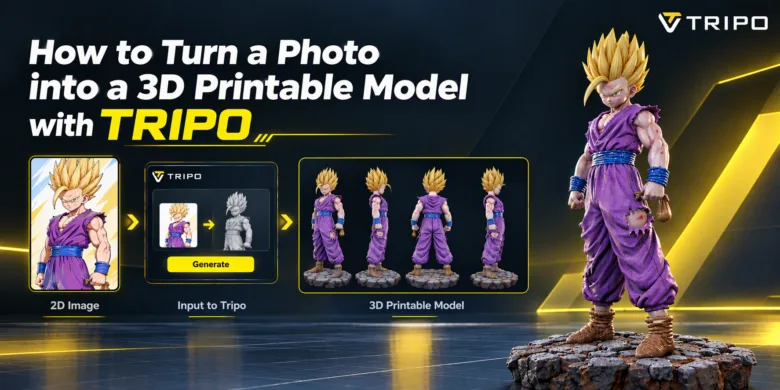
Turning a photo into a physical object may sound like a workflow reserved for experienced 3D artists. Traditionally, recreating an object from a flat image involved manual modeling, sculpting, retopology, and repeated technical checks. For beginners, those steps could make 3D printing feel difficult before the printer was even switched on.
Tripo’s AI 3D Model Generator can create a 3D model from a single image or sketch. For a print-oriented workflow, the result can be inspected, optionally retopologized or repaired, exported in a suitable format, and prepared in slicing software. These steps are conditional, so not every model will require all of them.
This guide focuses on a practical photo-to-print workflow using Tripo, with optional preparation in Blender and a slicer such as Bambu Studio. The exact settings depend on the model, printer, material, orientation, supports, and intended print size, so every asset should be checked before printing.
Step 1: Choose a Clear Photo
The workflow begins with the source image. Choose a picture in which the main subject is easy to identify and not heavily blocked by other objects. A clear silhouette makes it easier to evaluate whether the generated model captures the intended form.
You can use a photograph, sketch, or concept image as the input. When possible, select a view that communicates the subject’s overall structure. For a character, avoid images in which important parts of the body are hidden. For an object, make sure its defining shape is visible.
Before continuing, also consider whether the subject is practical for FDM printing. Very thin fabric, long slender weapons, fine hair, small pillars, and complicated overhangs can create difficult supports or fragile areas. Compact forms with thicker elements are generally easier to prepare for this workflow.
Step 2: Generate the Model from the Photo
Open Tripo and select the Image to 3D Model workflow. Upload the selected image and generate the model. Tripo’s Image to 3D workflow accepts a single image or sketch; separate workflows also support text prompts and 2–4 views of the same object.
Once generation is complete, inspect the result in the workspace. Generation results can vary depending on the input, model, and settings. If the first result does not match the reference closely enough, retrying may produce a different result.
Step 3: Select a Suitable Model Type and Inspect the Result
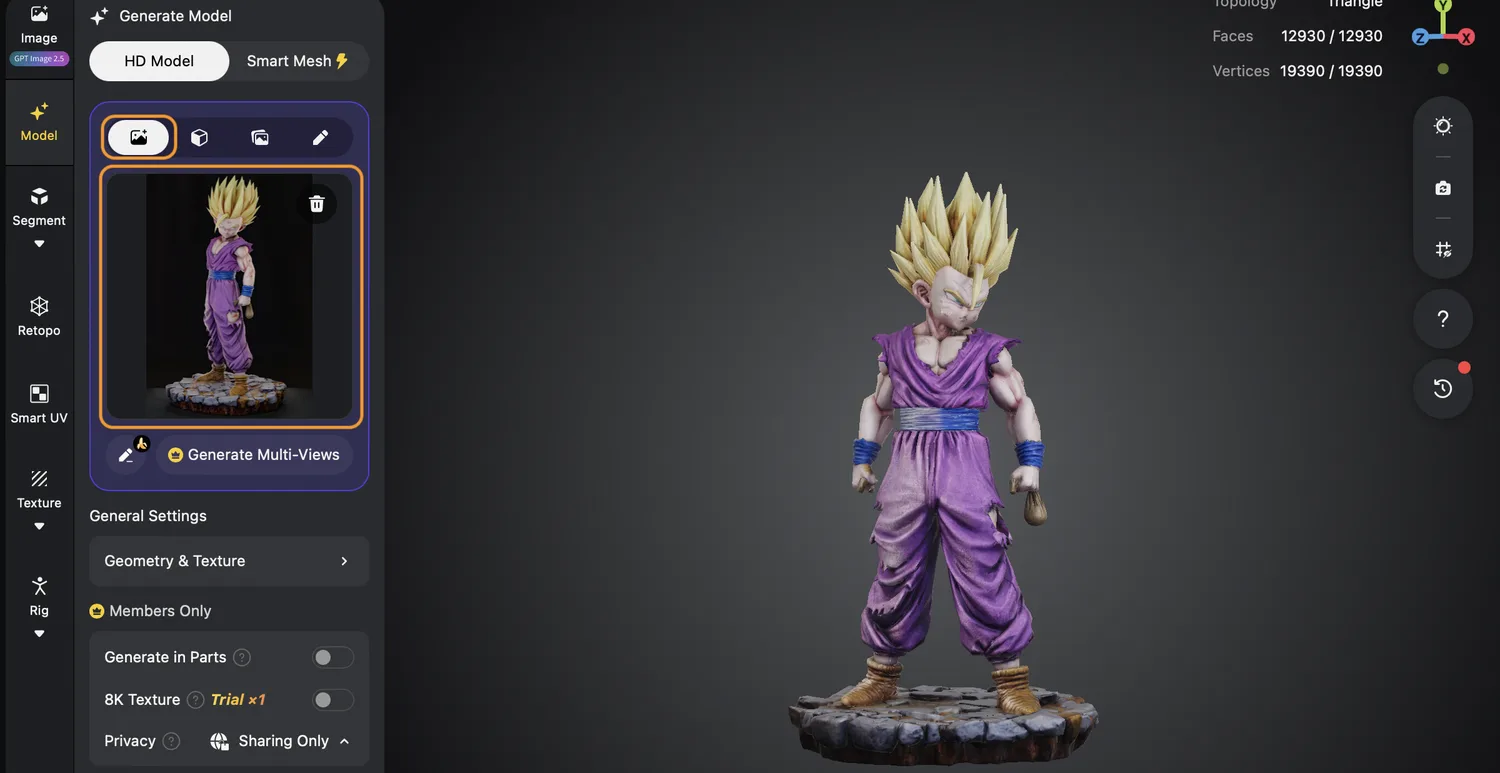
Tripo offers HD Model and Smart Mesh for different production needs. HD Model can generate meshes with up to 2 million polygons and is intended for high-detail workflows such as 3D printing, sculptures, and visual art. Smart Mesh generates lower-polygon topology for real-time workflows such as games, animation, and Web3D. For a print-focused project, HD Model is the more relevant starting point, but the final choice should still reflect the needs of the individual asset.
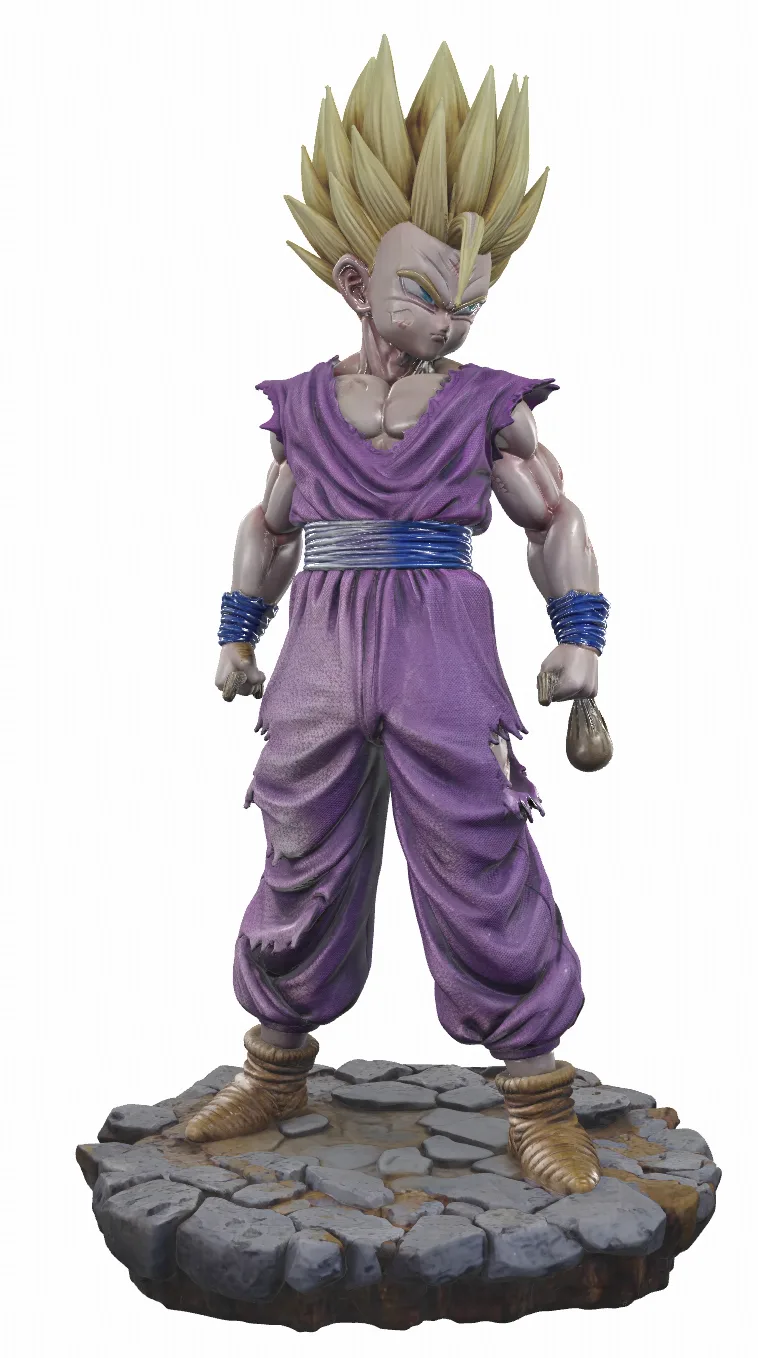
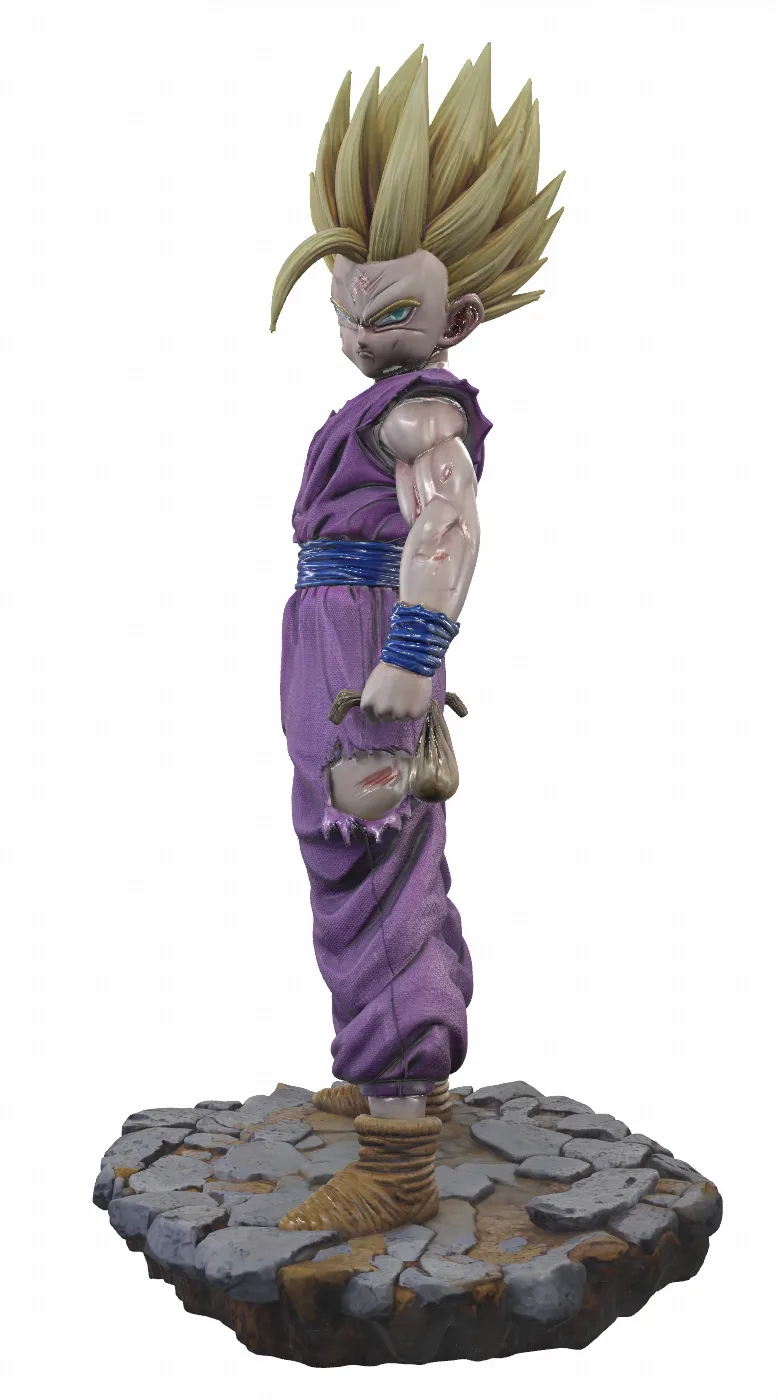
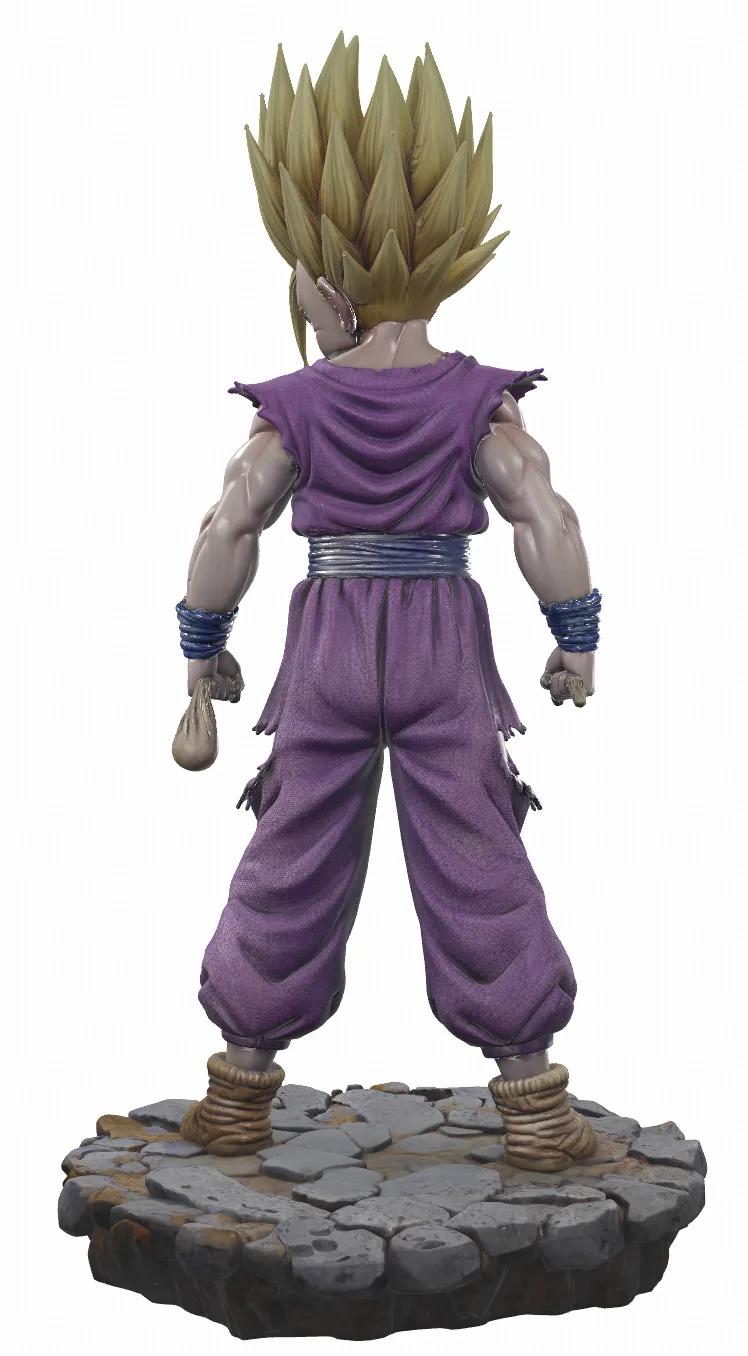
After generation, rotate the model in the preview window and inspect it from multiple angles. Look at the overall silhouette and check whether important parts shown in the reference are represented clearly. Pay particular attention to narrow areas, separated pieces, deep gaps, and overhanging elements, since these can affect later preparation.
This visual review is not the same as confirming that the mesh is printable. It is an early check to decide whether the result is worth taking into the optimization and repair stages.
Step 4: Optimize the Geometry with Retopology
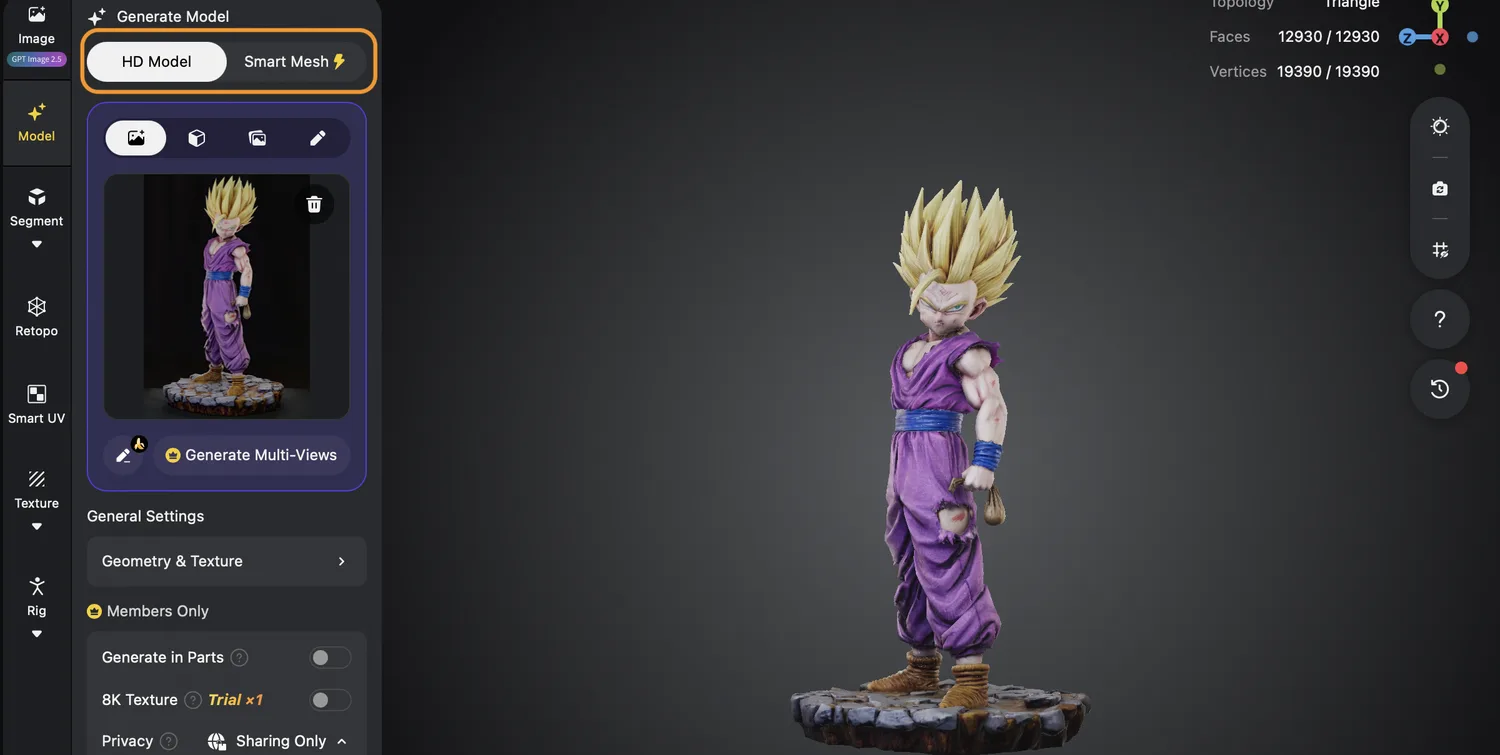
Use Tripo’s Retopology module when the mesh needs a different polygon count or topology. The module can set a target polygon count, decimate the mesh, or convert the mesh to quads for downstream workflows. Retopology does not replace a separate mesh-repair step when the model contains disconnected faces or non-manifold edges.
In Tripo’s official FDM printing tutorial, Triangle mode with roughly 100,000–150,000 faces is recommended as a starting point for this workflow. This is not a universal requirement. The appropriate face count still depends on the model and the next operation.
After retopology, inspect the updated model again. Confirm that the important shape and recognizable details remain present before proceeding.
Step 5: Check and Repair the Mesh When Necessary
Some models may require additional repair before slicing. Blender can be used to check problems such as disconnected faces and non-manifold edges. Its 3D Print Toolbox can run model checks, while tools such as Merge by Distance and Make Manifold can help repair the geometry.
After merging or repairing the geometry, run the check again and confirm that the Shells count is one. If the model is top-heavy, check its stability and consider adding a base or adjusting its center of mass.
Not every generated asset will require the same repair steps. The purpose of this stage is to identify problems before they appear as missing layers or slicing errors.
Step 6: Export the Model for Printing
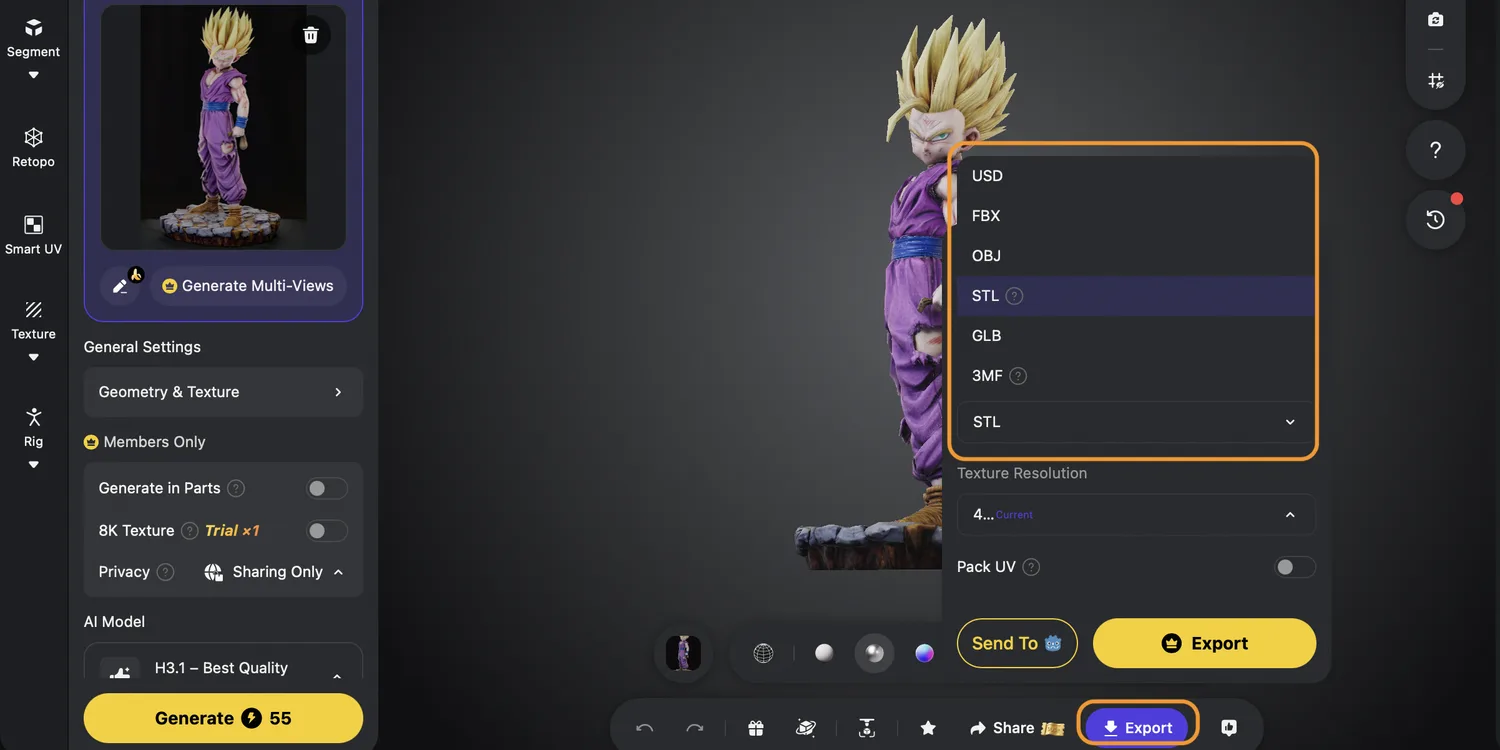
When the geometry is ready, export the model from Tripo Studio. Choose an export format that preserves the data needed by your printing workflow:
- STL: A standard 3D printing format that contains geometry only.
- 3MF: A modern 3D printing format that can include printing data such as color and texture information.
- OBJ: A widely compatible format that supports geometry and material references and can also be used for basic 3D printing.
- GLB: Supports embedded textures and is more suitable for web, AR/VR, and game-engine workflows.
- FBX: Supports geometry, rigs, and animations and is commonly used in game and animation workflows.
- USD: Supports scene data for VFX, animation, and collaborative workflows.
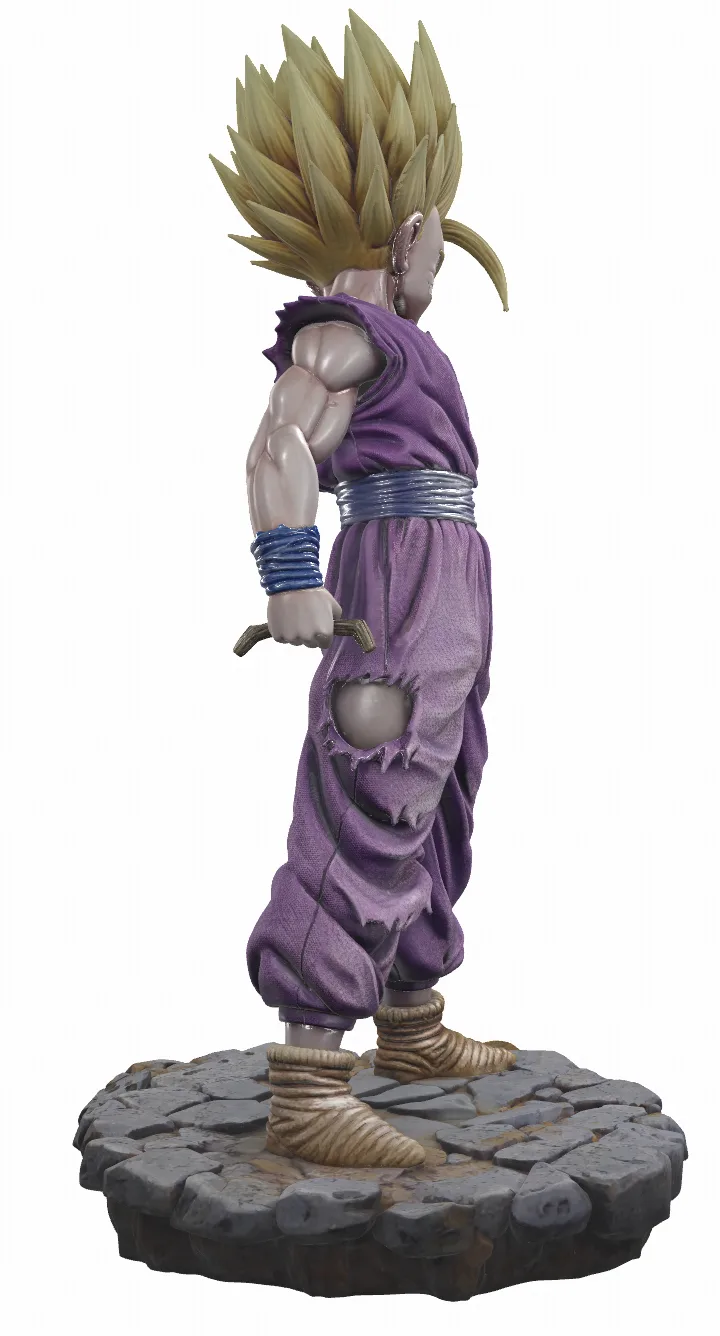
After Export: Continue in 3D Printing Software
The exported file can then be imported into slicing software that supports the selected format and is compatible with the intended 3D printer. This software converts the model into the instructions required by the printer and provides the controls needed for the final print setup.
Review the model’s scale, orientation, position on the build plate, required supports, layer height, and sparse infill. Preview the sliced result and look for missing sections, unsupported details, non-manifold warnings, or unexpected gaps. The available controls and recommended settings vary by printer and slicer, so follow the documentation for the selected hardware and software.
If a problem appears, return to the exported model or repair stage before sending the job to the printer. This final stage takes place outside Tripo and depends on the user’s chosen printing setup.
Conclusion
AI-assisted generation makes the first stage of 3D creation more approachable, but it does not remove the need for print preparation. A careful workflow still involves choosing a suitable image, inspecting the generated form, optimizing the mesh, repairing errors when necessary, selecting the right export format, and checking the sliced result. By moving through these stages carefully, beginners can use Tripo to turn a photo-based idea into a model ready for test printing. Final printability still depends on the model, material, printer, orientation, supports, and slicer settings.
Liked it?
|
|