Creality Ender-5 S1 Review: Is it a worthy upgrade?
Creality started upgrading most of the printers in their line with the Sprite extruder, and now it’s time to introduce the Ender-5 S1. In case you don’t know about it, the Ender 5 is a popular cube-style 3D printer from Creality that was first released with a bowden-style setup.
Adding the Sprite extruder to the Ender-5 should make this printer quite good so in this article, I will review the Ender-5 S1 to see if it lives up to the expectations and if it’s worth buying.
Creality Ender-5 S1 Shipping and Packaging
The Creality Ender-5 S1 comes in a regular cardboard box with foam protection on the sides. It also comes partially assembled so it doesn’t take more than 30 minutes to assemble which is nice.
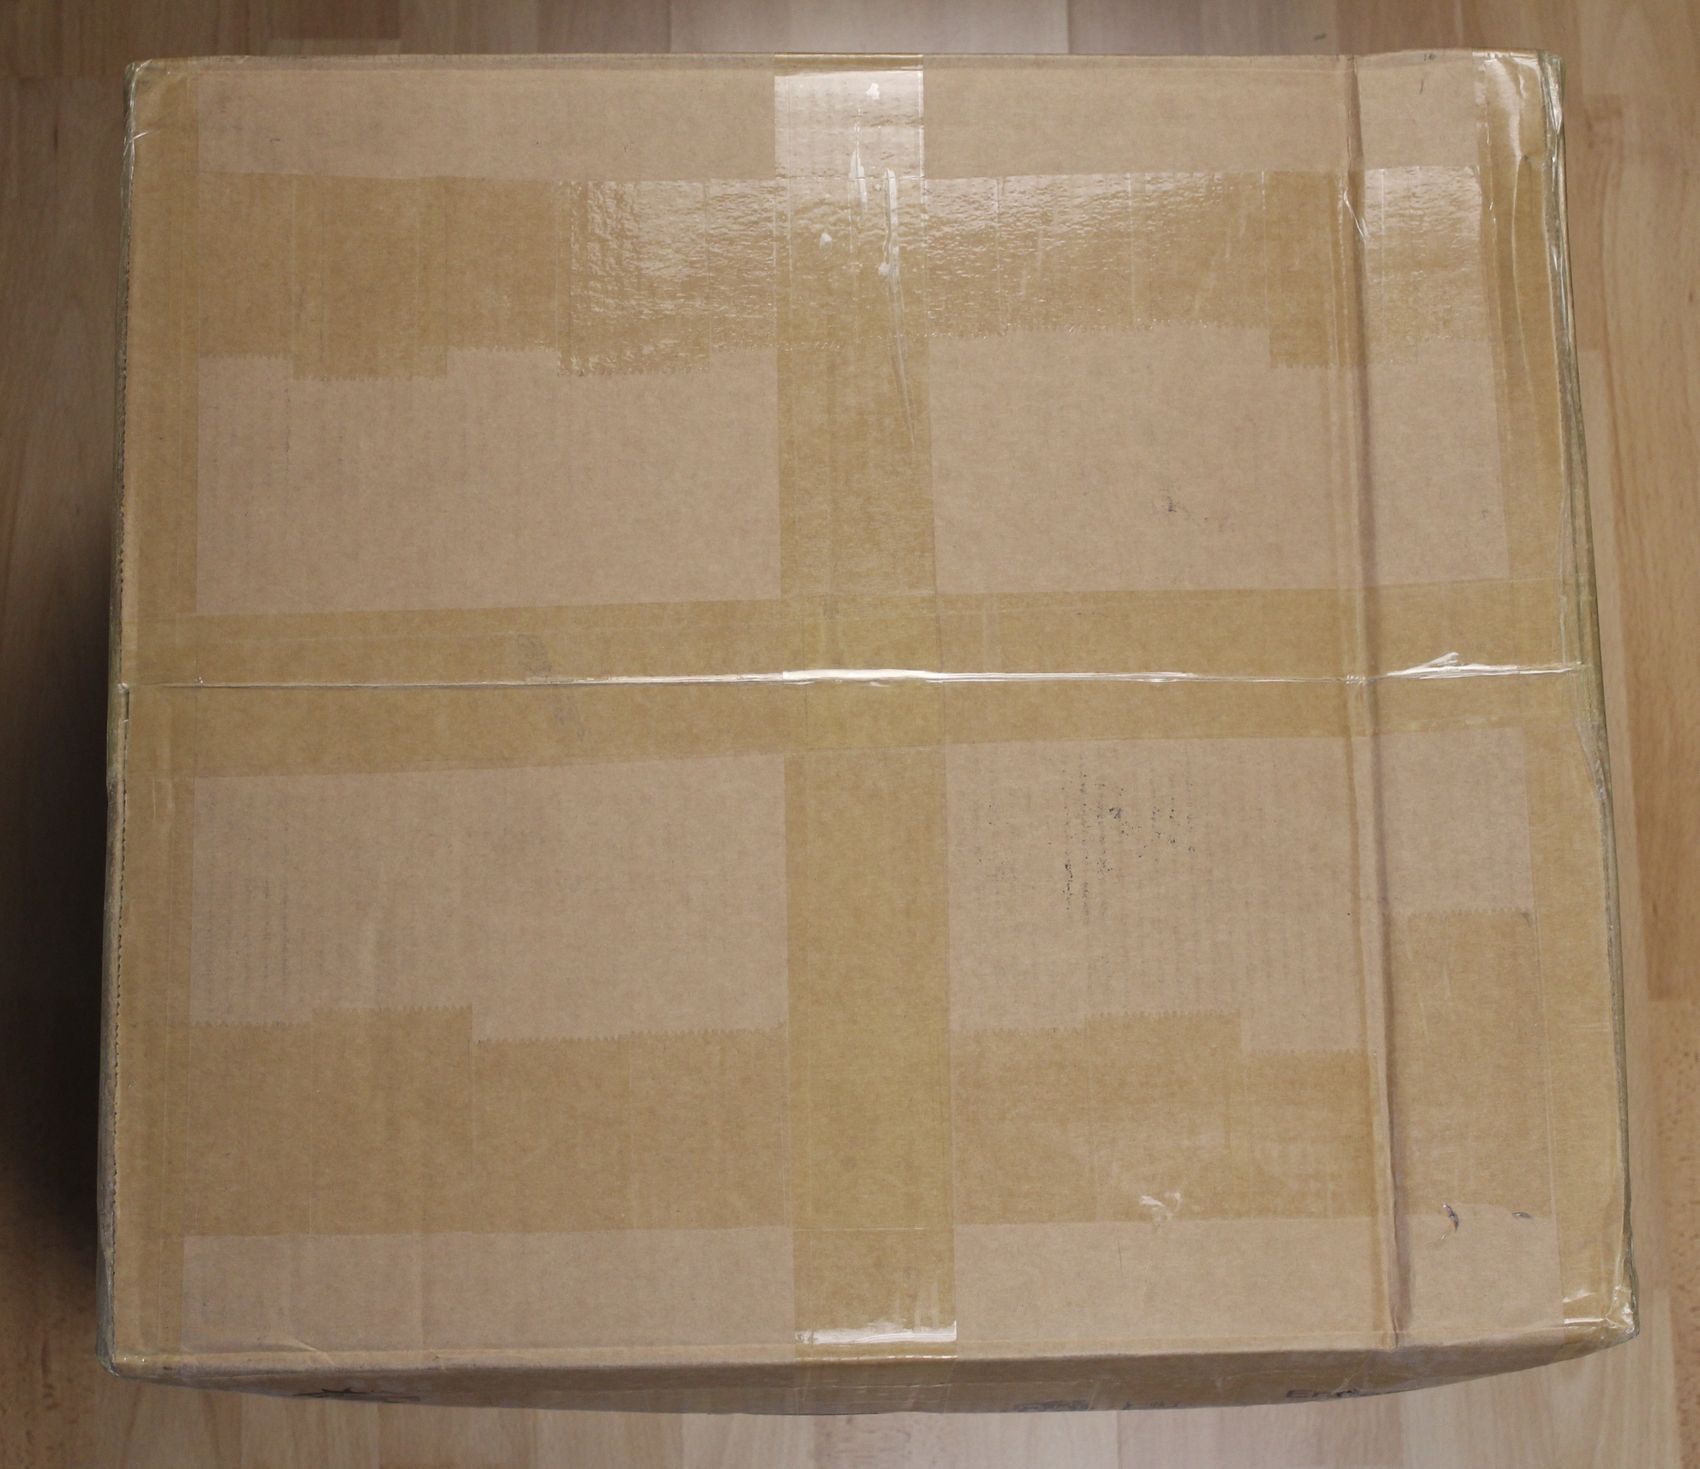
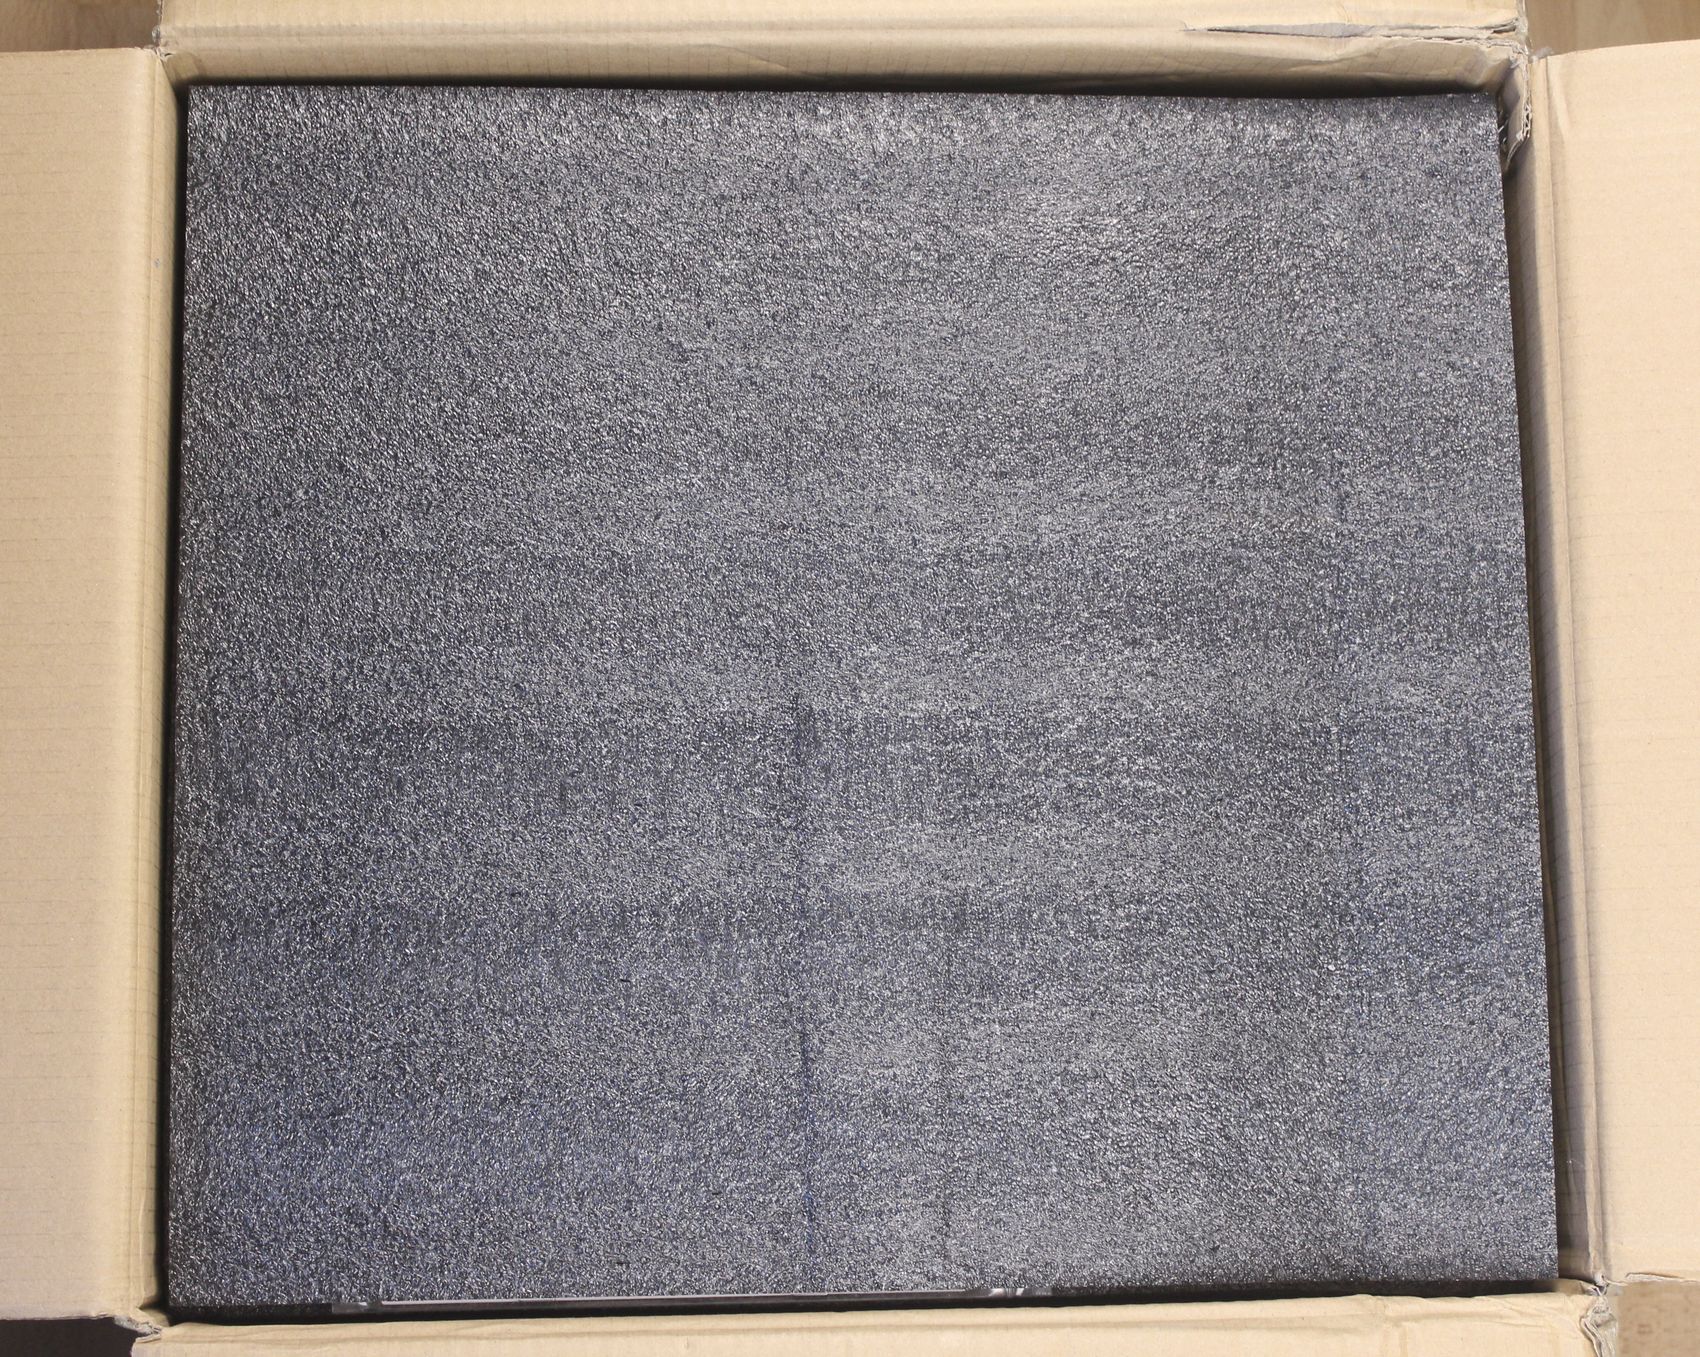
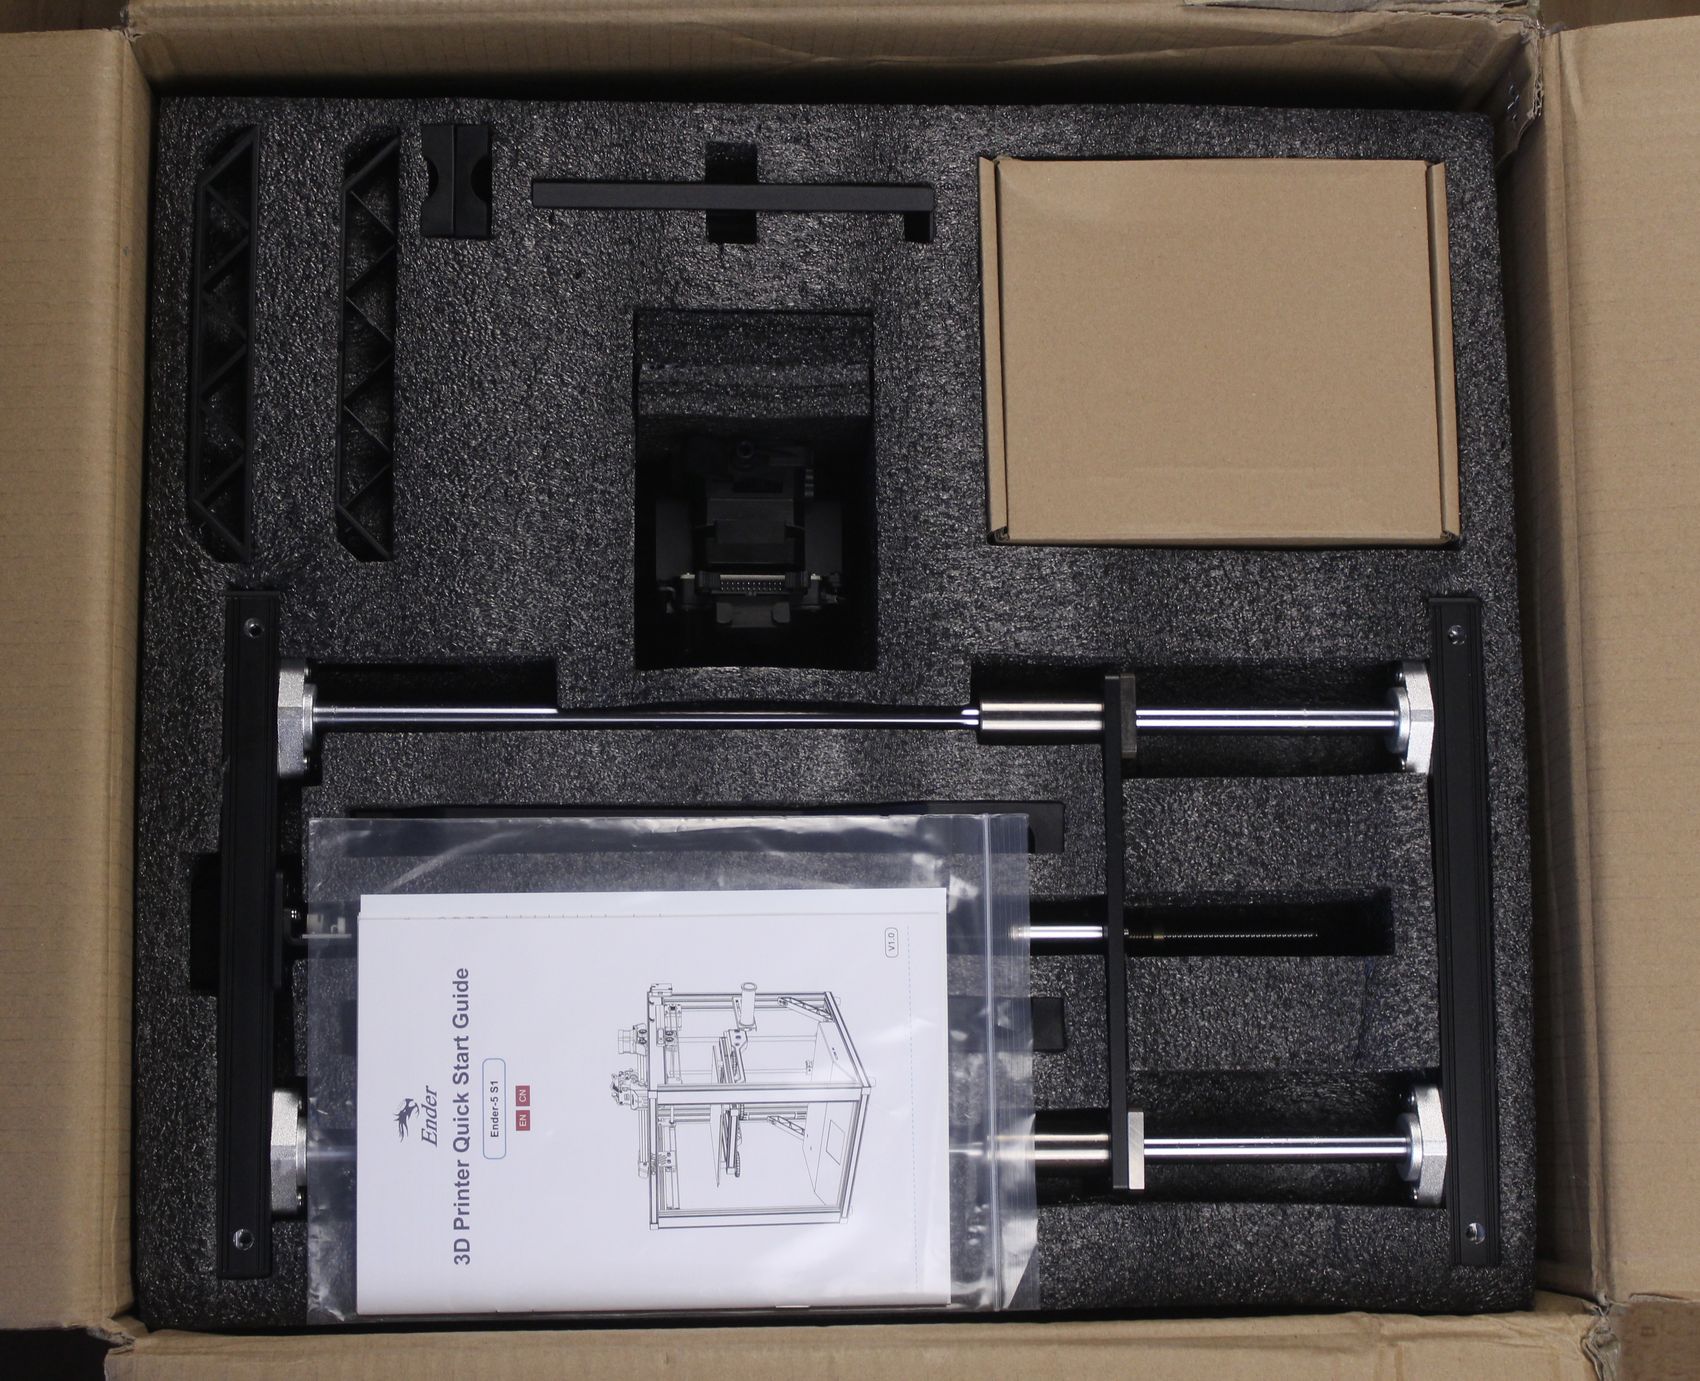
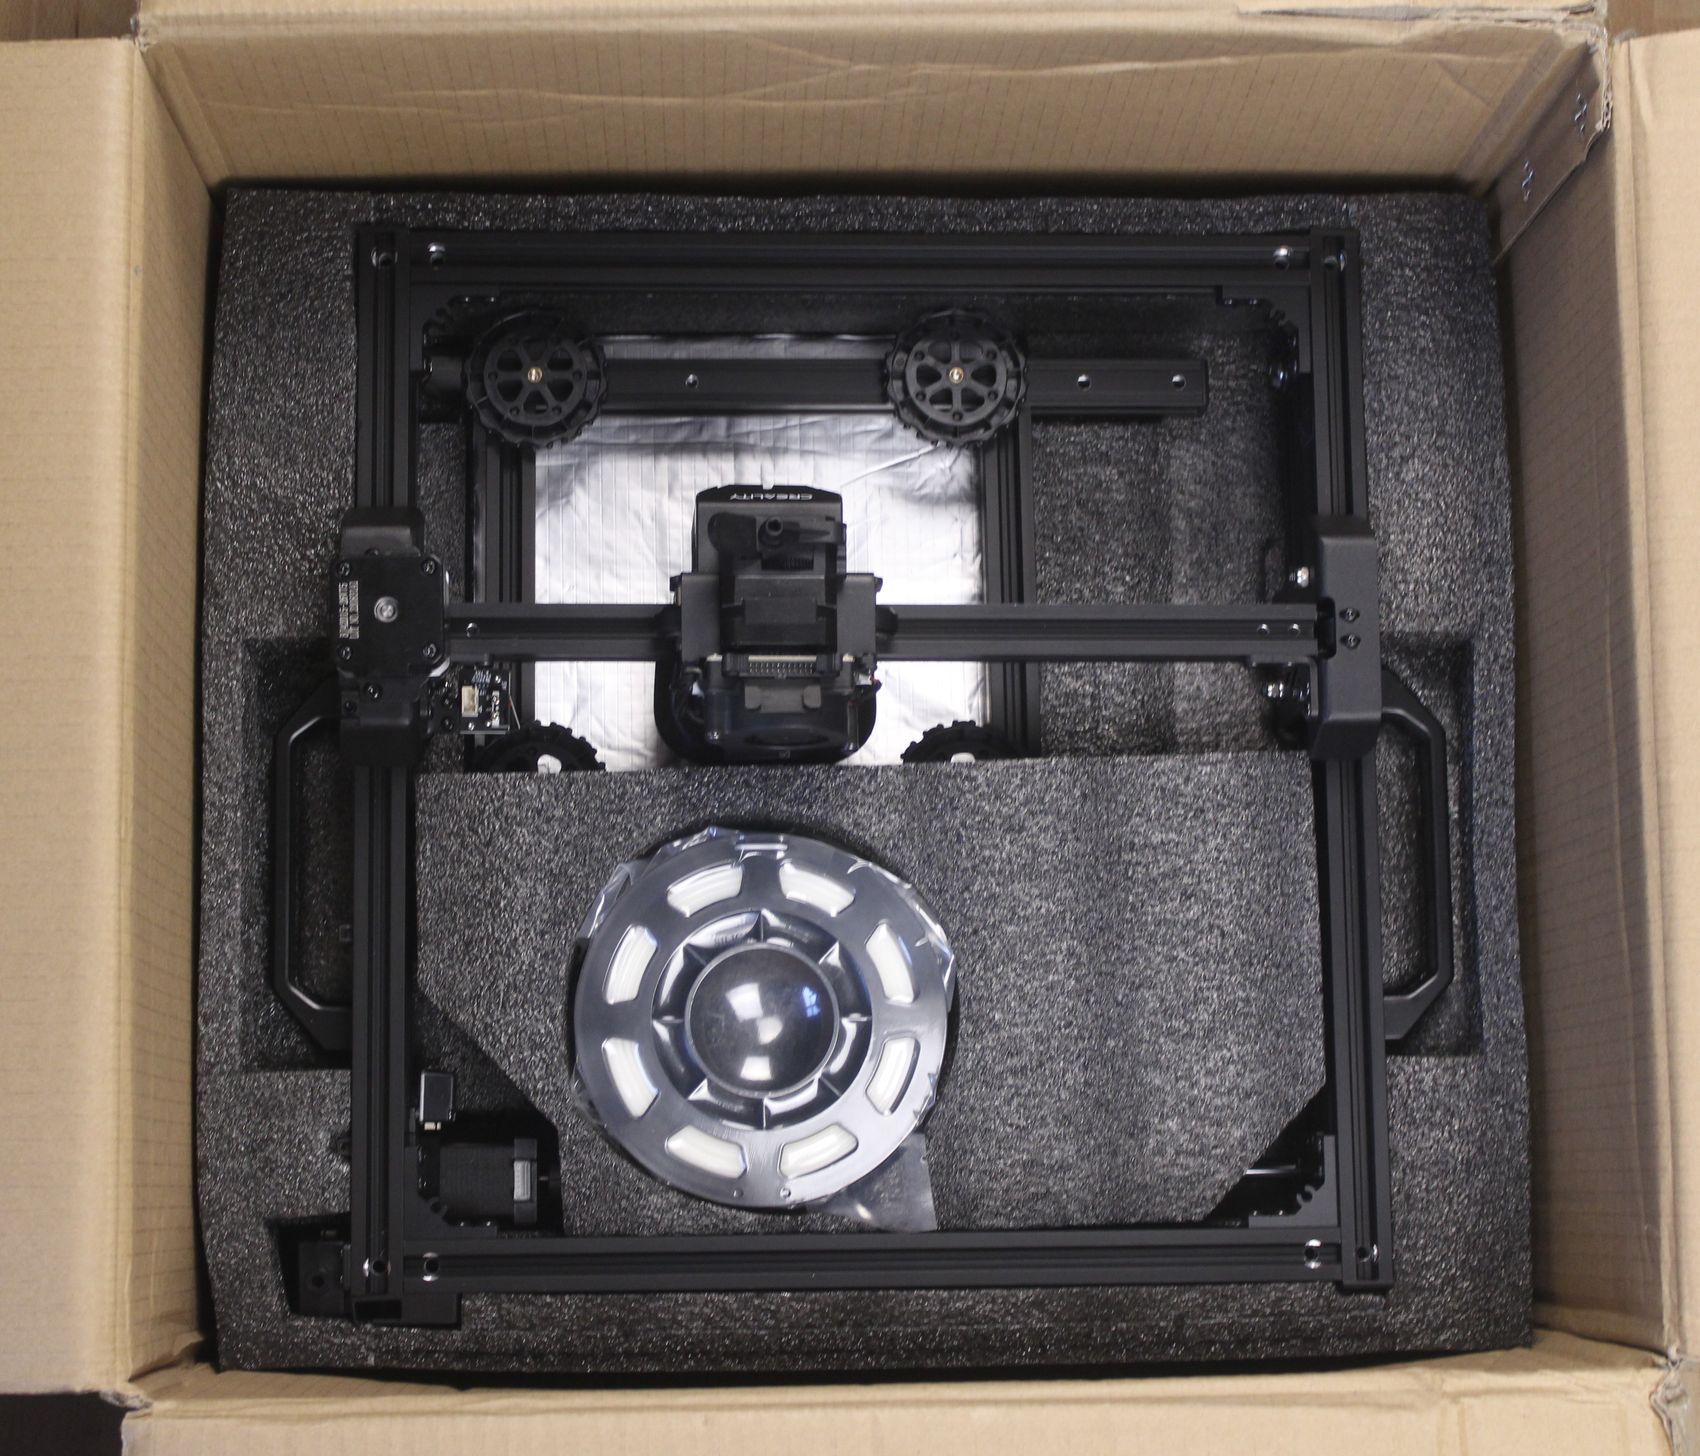
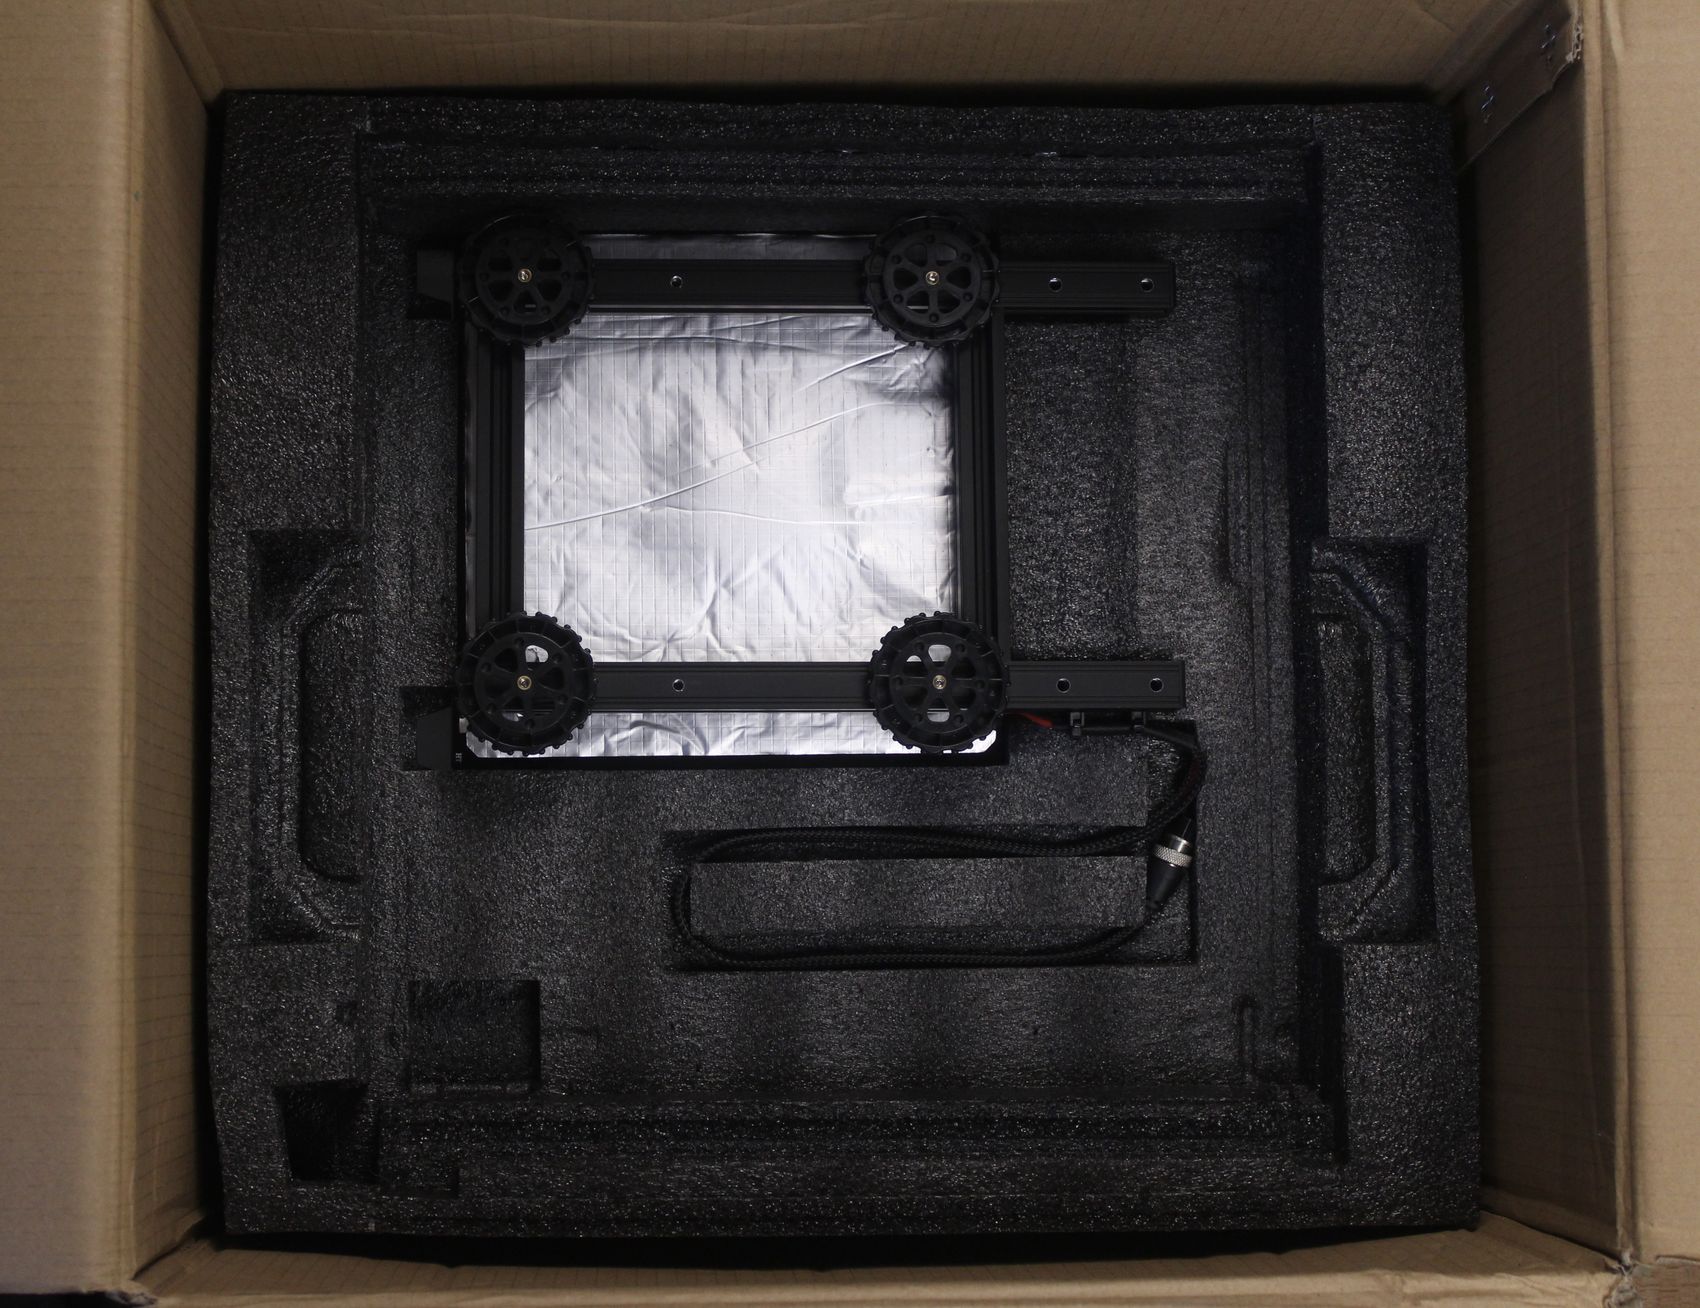
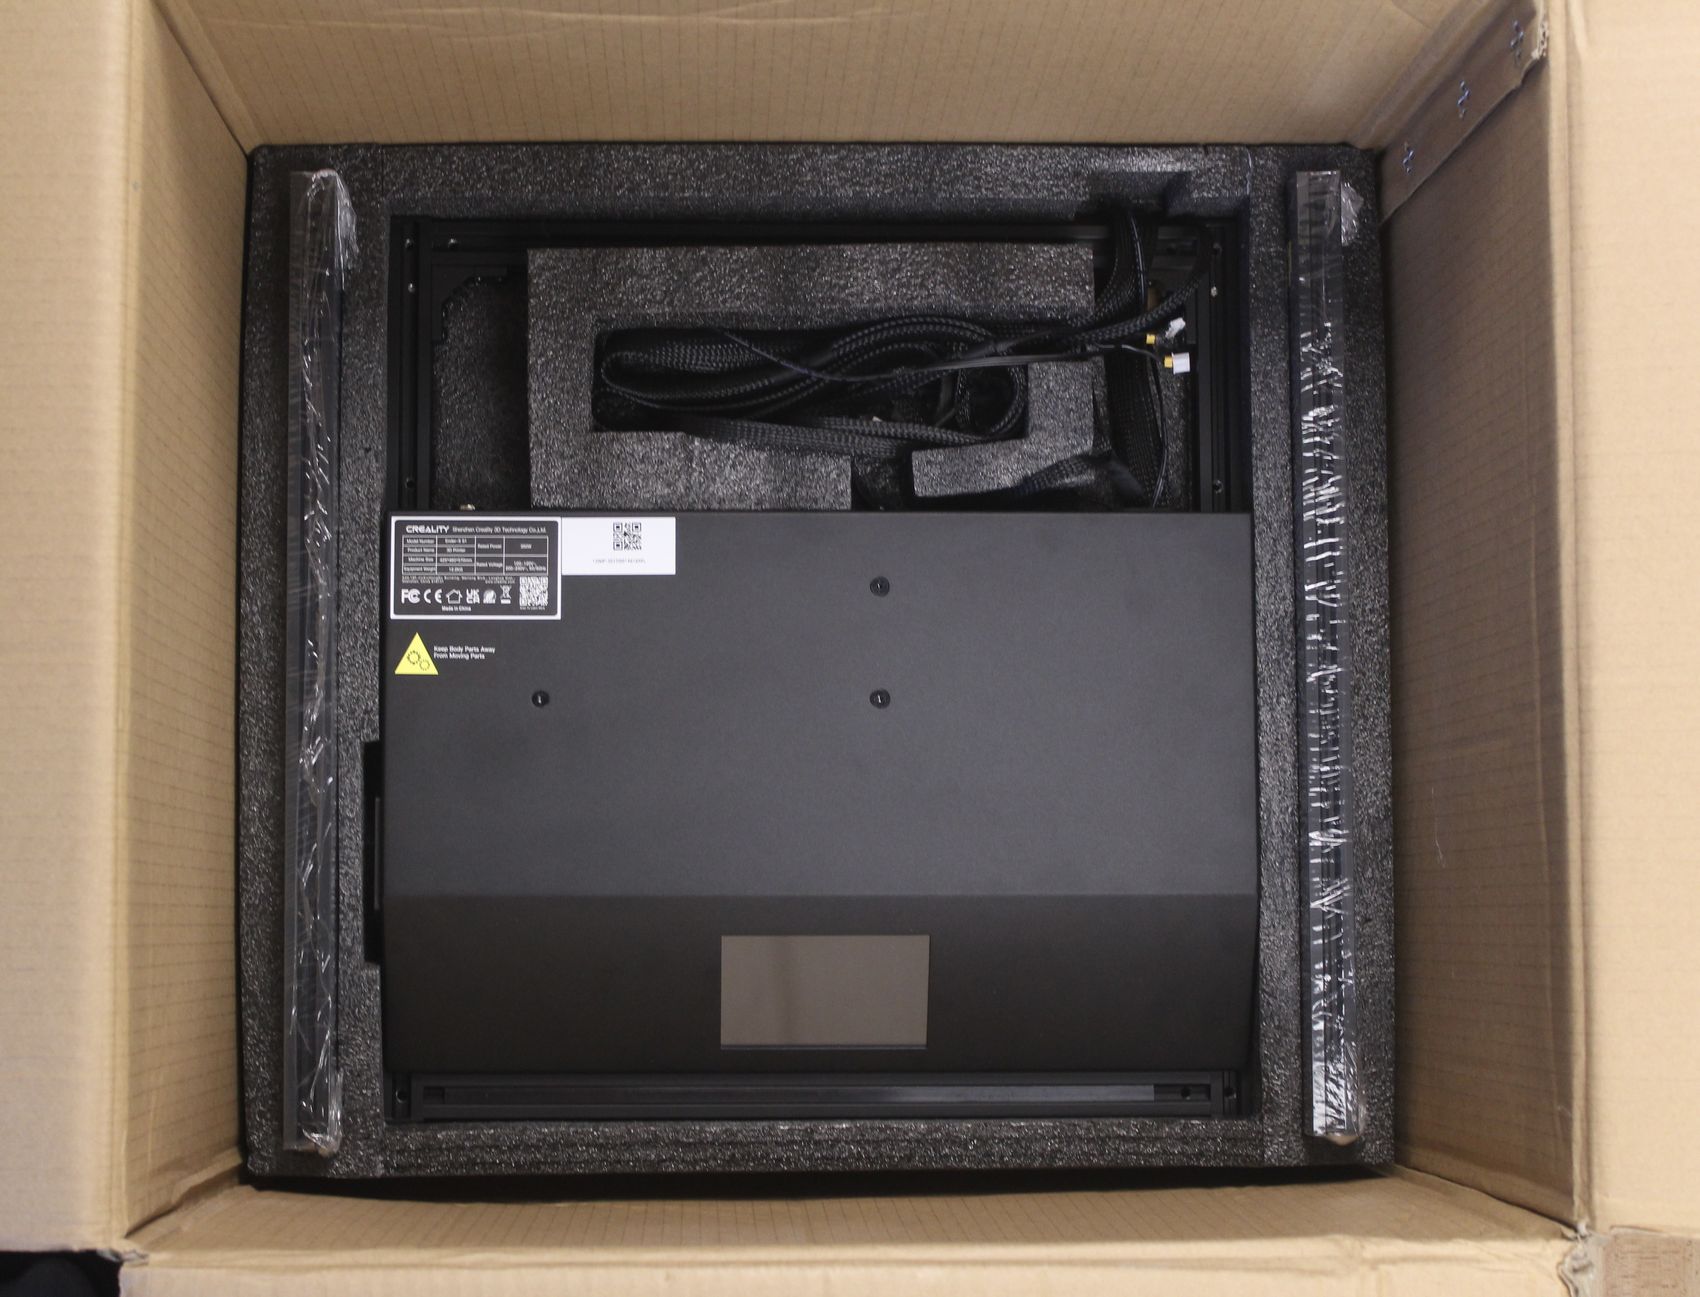
The assembly steps are well laid out in the manual, and the Z-axis aluminum extrusions are color-coded and numbered to make the process even easier.
Creality Ender-5 S1 Smart Pro Design
When the Creality Ender-5 S1 is assembled, it looks quite similar to the old Ender-5, but there are some major changes with this new version. First, the aluminum extrusions are flat in the front making the printer look a bit neater. 12mm steel rods are now used for the Z axis to mount the bed and there’s also a stronger-looking bed mount installed.
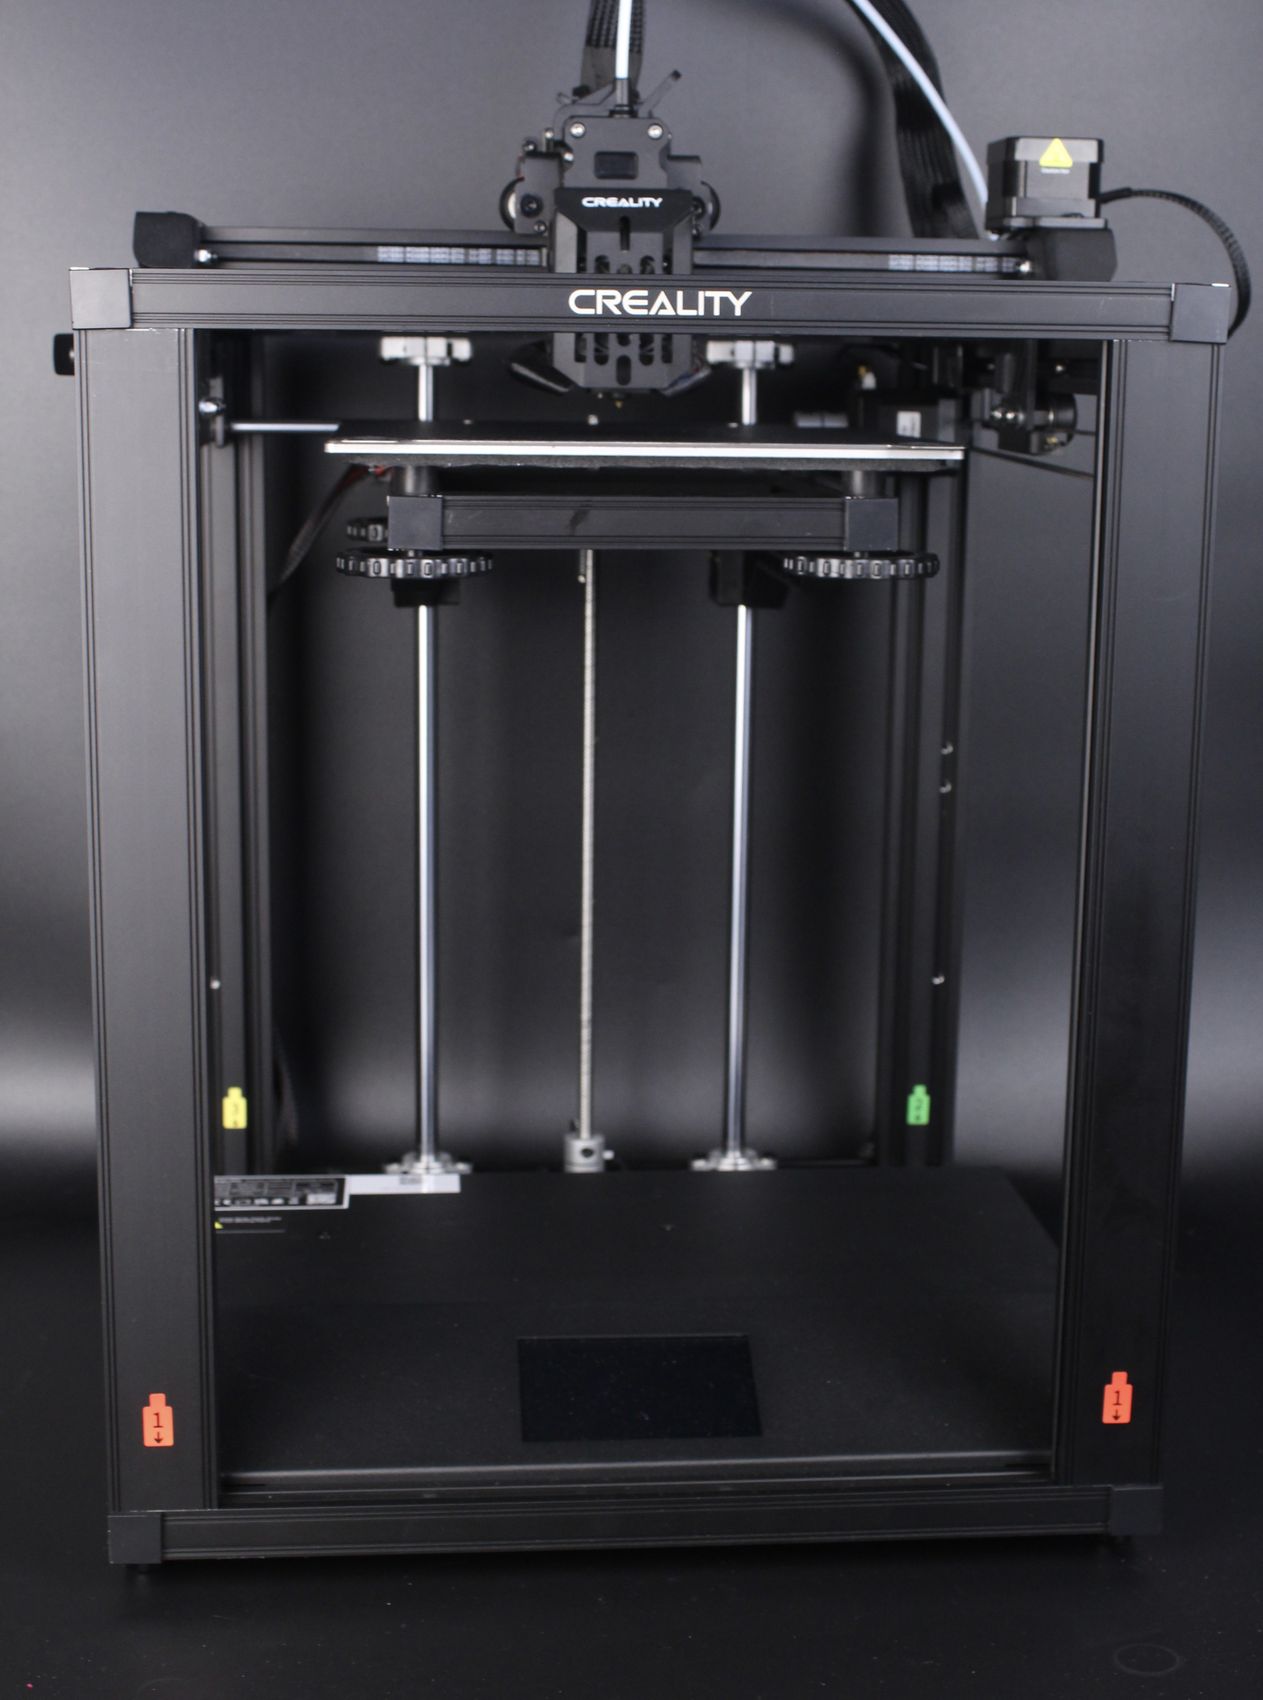
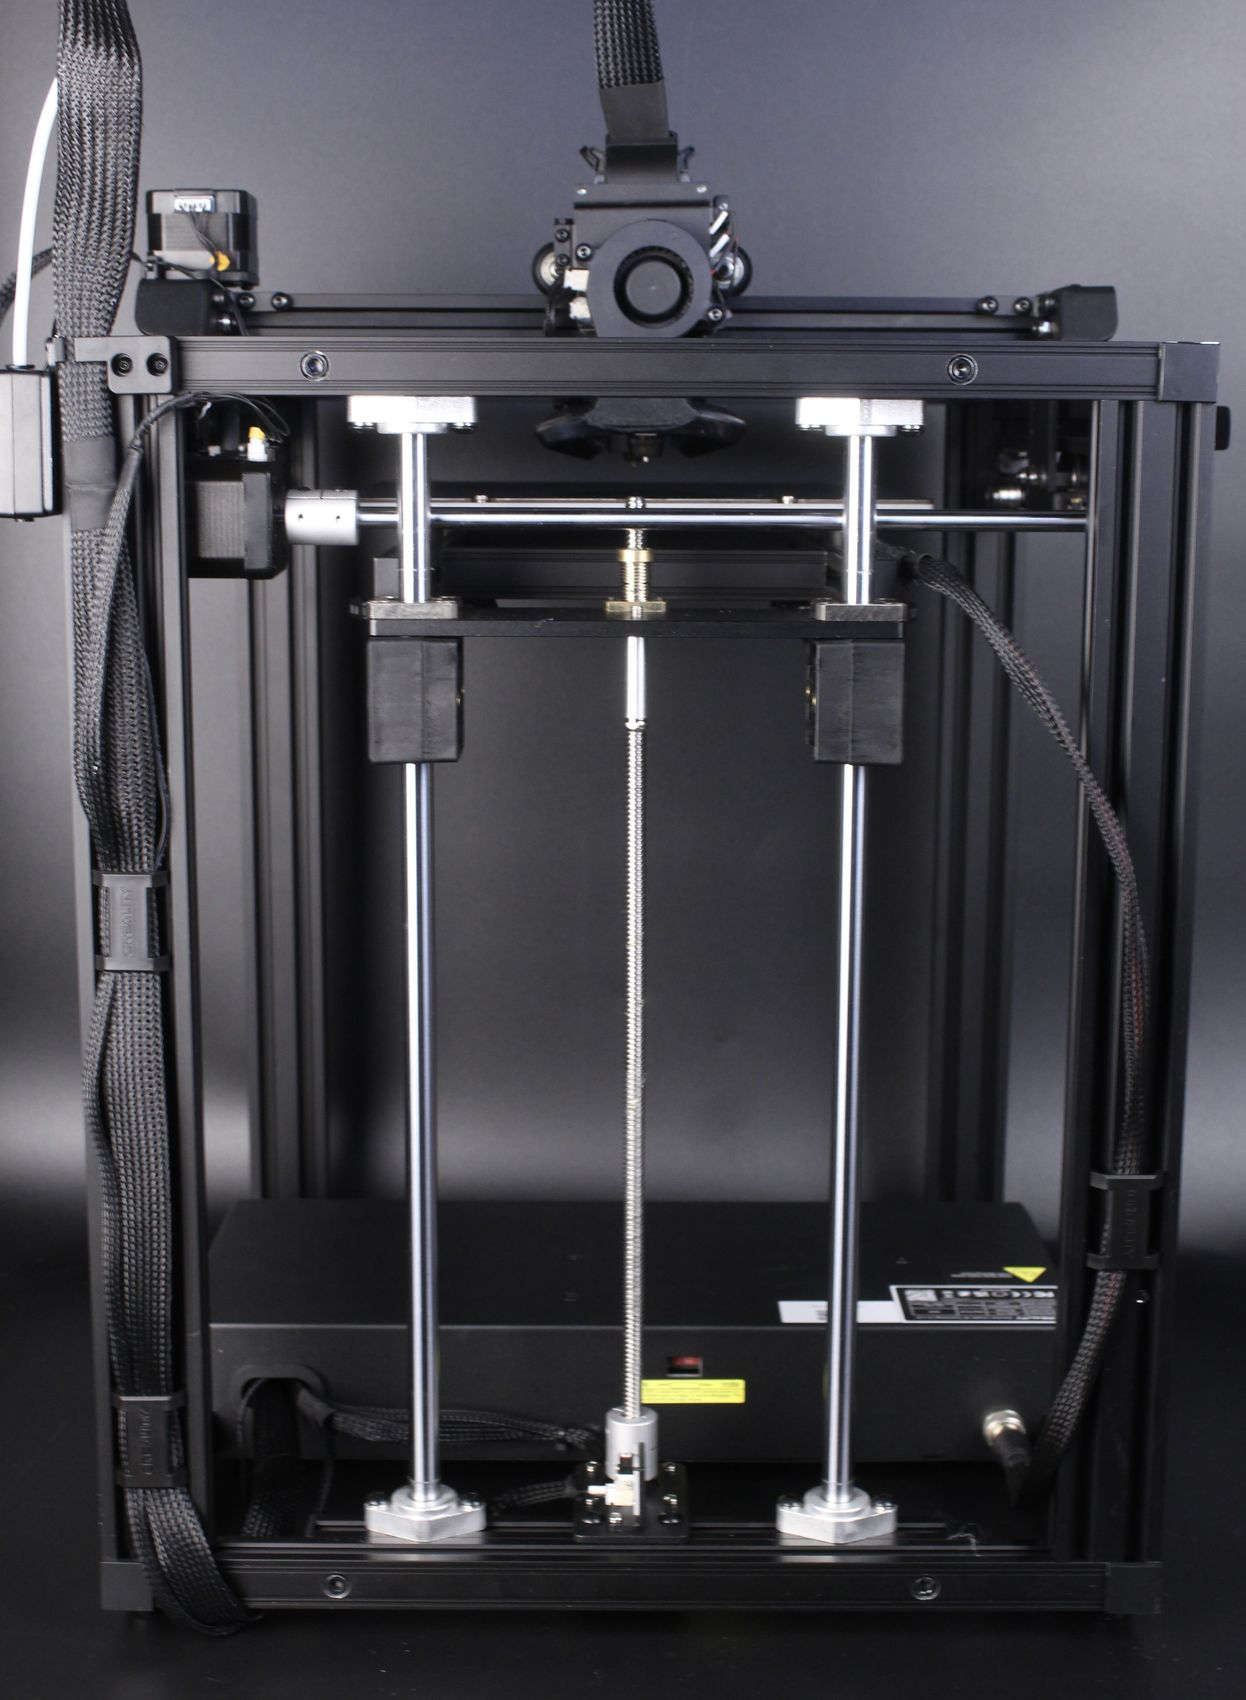
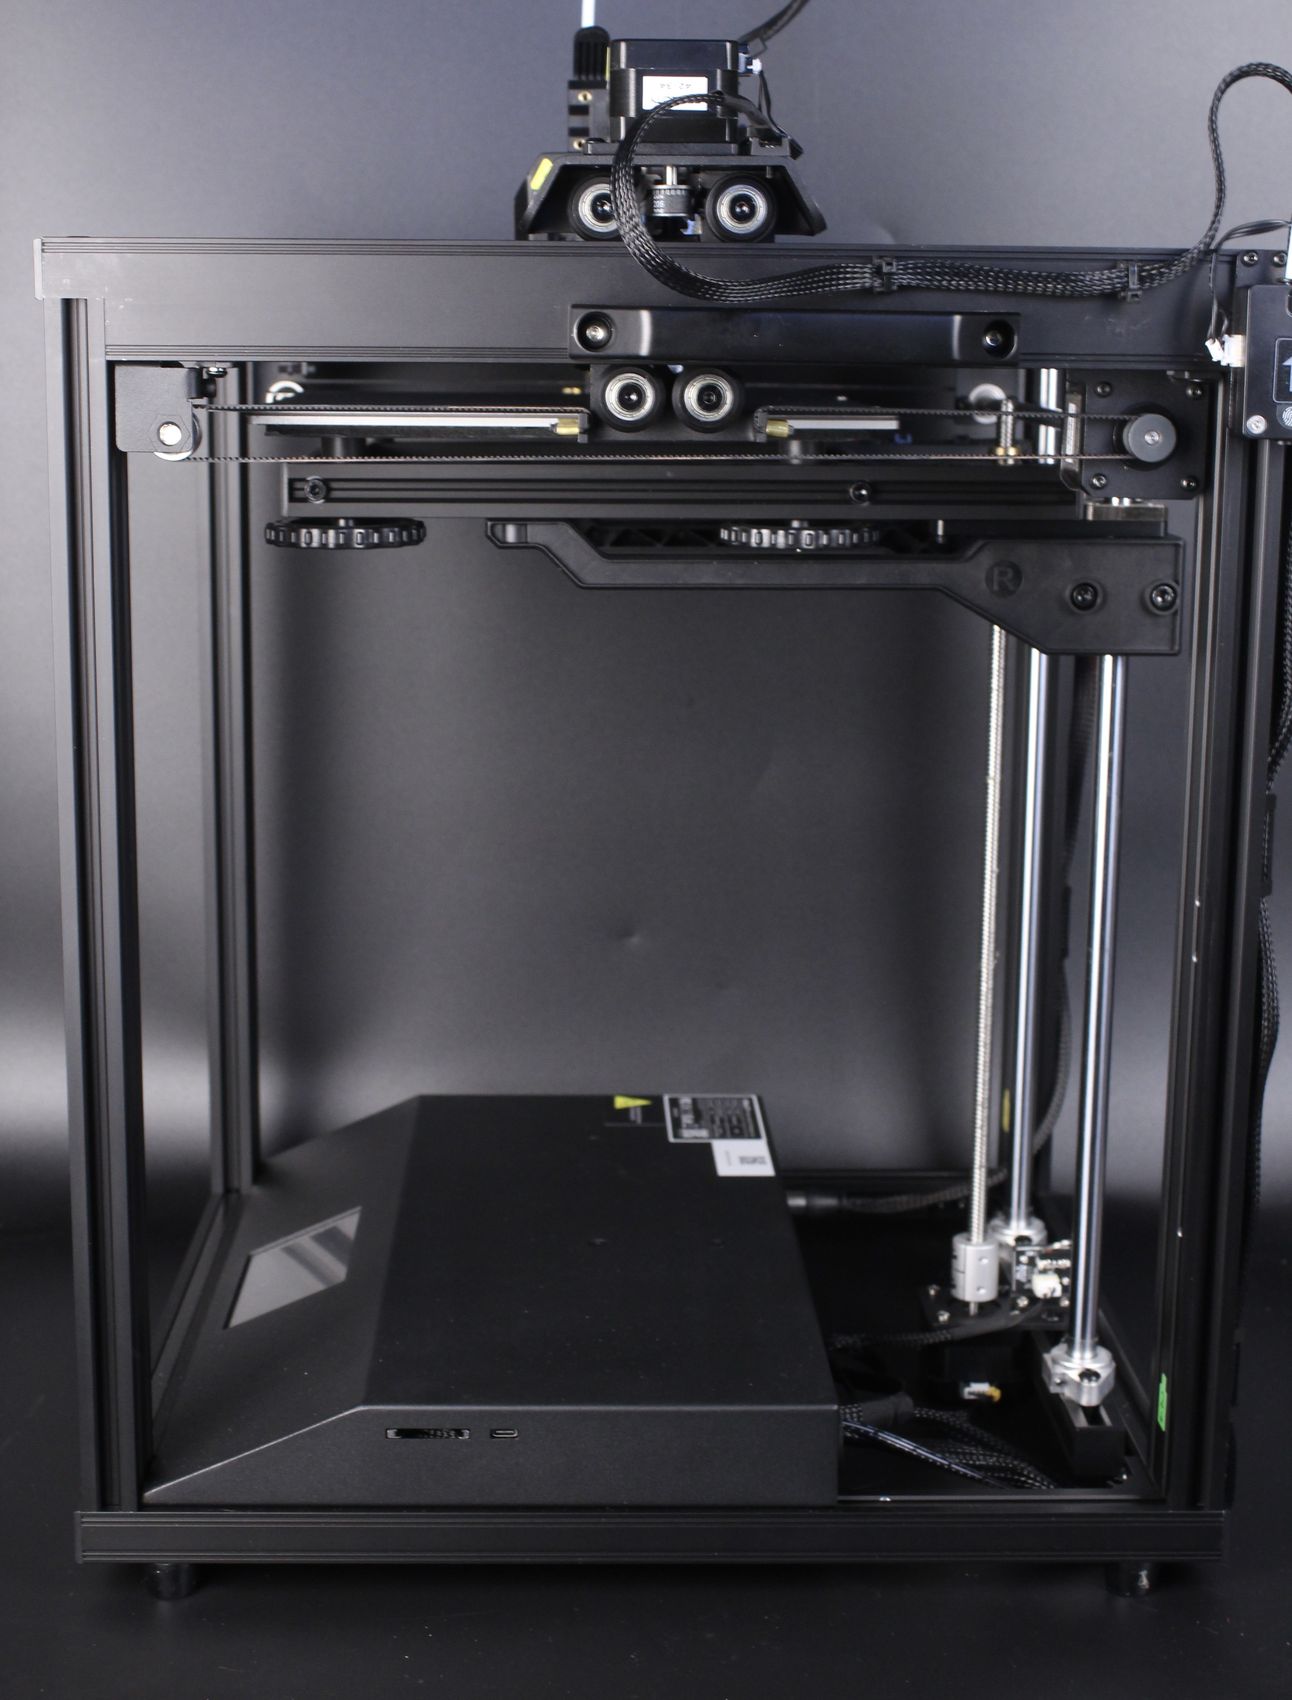
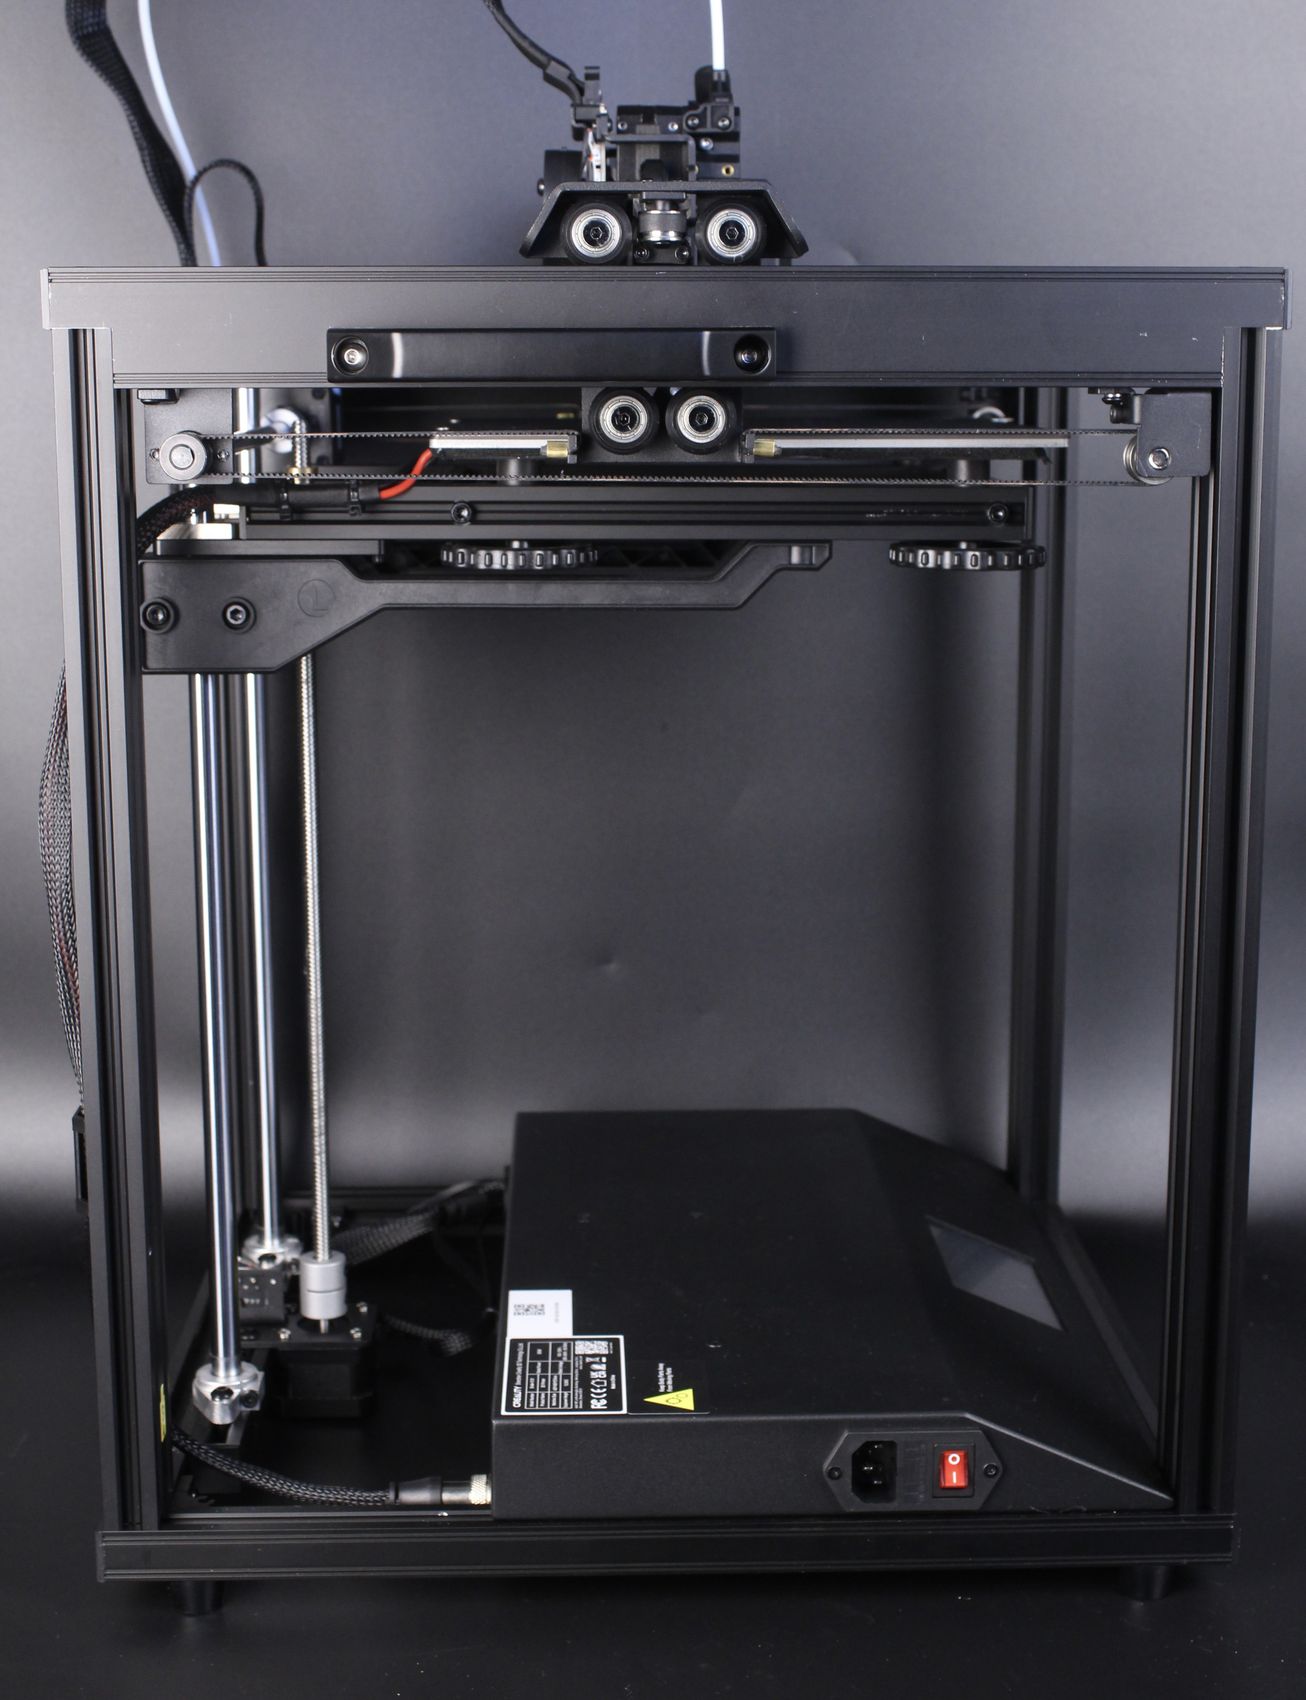
All the electronics are now installed in a metal box with the front touchscreen being available in the front of the machine. A pair of metallic handles are attached to the printer sides, but for some reason, they are not aligned in the center.
Creality Ender-5 S1 Specs
| Printing Technology | FDM |
| Build Volume | 220*220*280mm |
| Product Dimensions | 425*460*570mm |
| Package Dimensions | 578*474*340mm |
| Net Weight | 12.2kg |
| Gross Weight | 14.7kg |
| Extruder Type | “Sprite” dual-gear |
| Extruder Material | Direct Drive Extruder |
| Leveling Mode | CR Touch |
| Mainboard | 32-bit silent board |
| Max. Printing Speed | ≤250mm/s |
| Typical Printing Speed | <120mm/s |
| Acceleration | 2000mm/s2 |
| Nozzle Type | Brass nozzle XL |
| Nozzle Diameter | Standard 0.4mm |
| Printing Accuracy | ±01mm |
| Layer Height | 0.05-0.35mm |
| Filament Diameter | 1.75mm |
| Nozzle Temperature | <300°C |
| Heated Temperature | <110°C |
| Build Surface | PC spring steel sheet |
| Power Loss Recovery | Filament Runout Sensor |
| Rated Voltage | 100-120V~.200-240V~50/60Hz |
| Rated Power | 350W |
| File Transfer | SD card. USB Type-C cable |
| File Formats | STL, OBJ |
| Supported Filaments | PLA. PETG. ABS. TPU, PC. ASA. HIPS |
| Slicing Software | Creality Slicer. Creality Print, Cura. Repetier-Host. Simplifv3D |
| Ul Languages | English, Spanish, German, French, Russian. Portuguese, Italian. Turkish Chinese |
Cube Frame with Cantilever bed and 220x220x280 build volume
While the Ender-5 S1 looks similar to a Core-XY 3D printer, the motion system is still cartesian but in a cube form factor, where the bed moves on the Z-axis. It’s not a bad design but this makes the entire motion system quite heavy meaning that you won’t be getting the same print speeds from the Ender-5 S1 compared to other Core-XY machines like the Ender 6.
The old Ender 5 had some issues with the bed which was sagging and needed supports underneath to keep the bed parallel to the print head. While the Ender 5 S1 comes with 12 mm steel rods to ensure the stiffness of the bed, the main issue is with the overall weight of the bed and the metallic support which is used not being very stiff.
Even though plastic bed supports are used to increase the stiffness of the bed, there’s still a small issue with the bed sagging in the front.
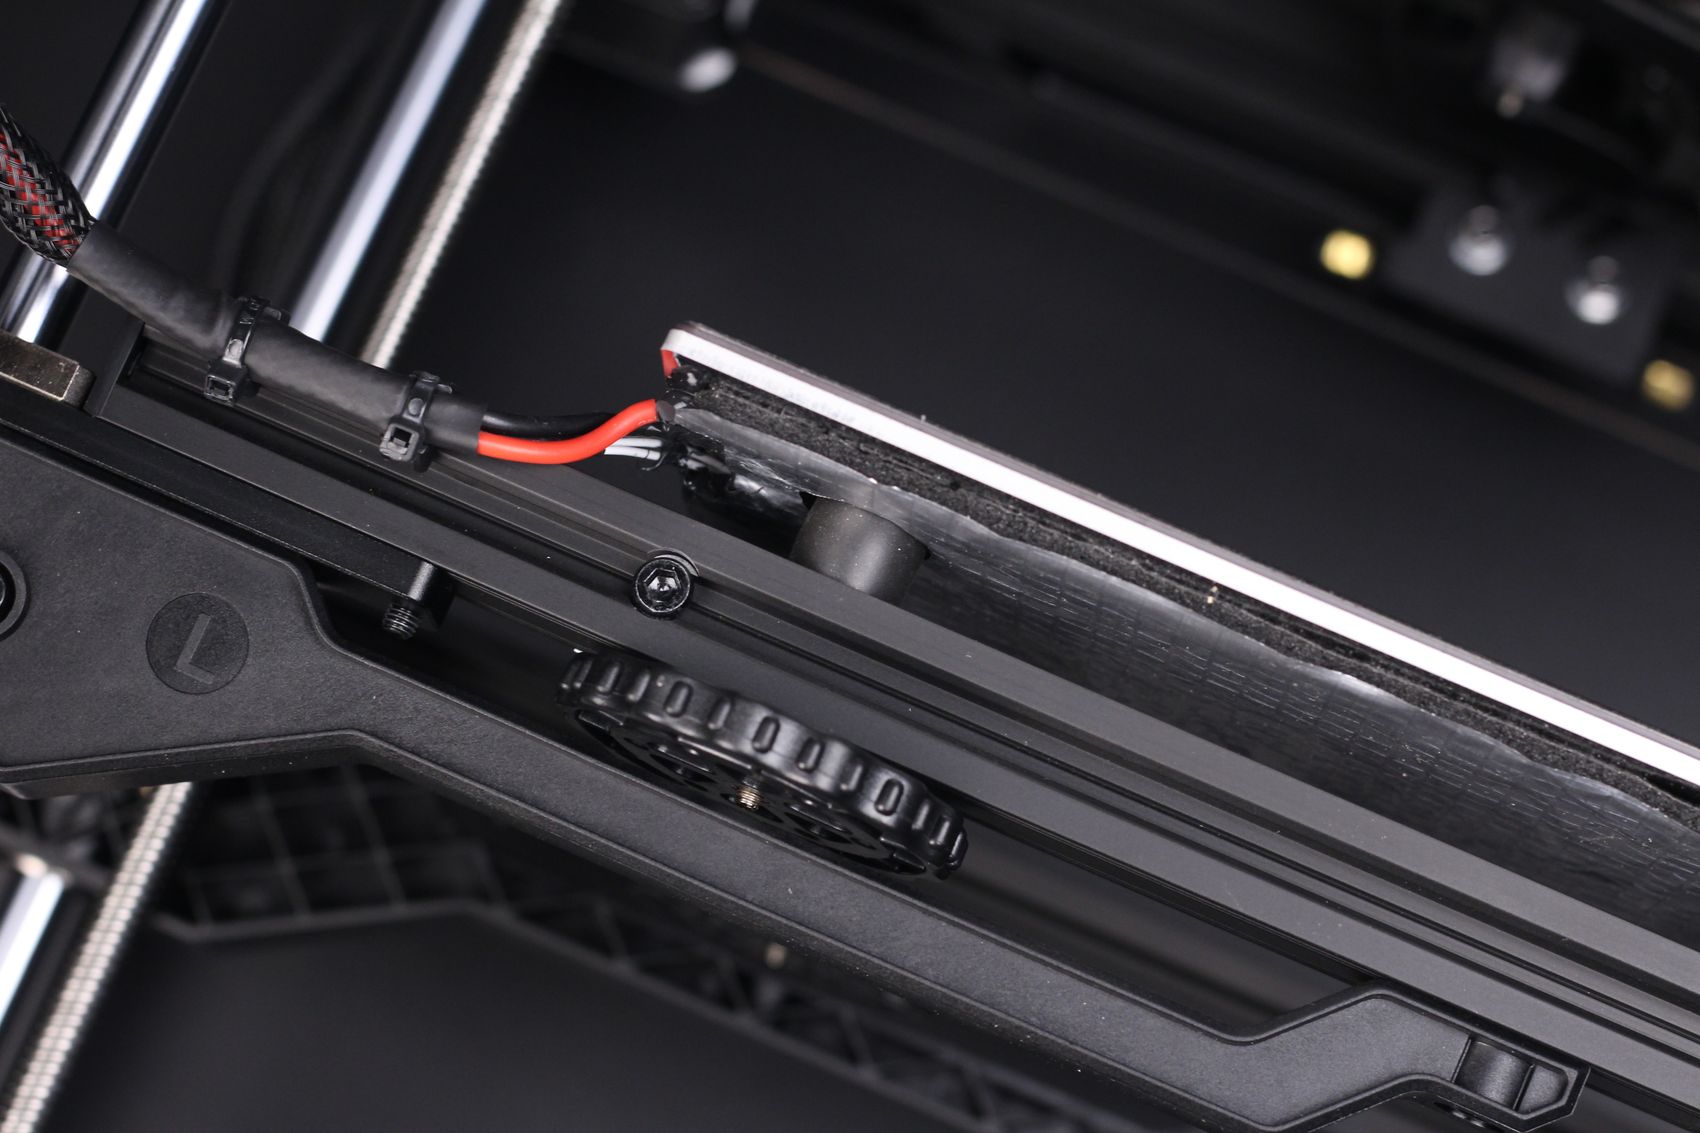
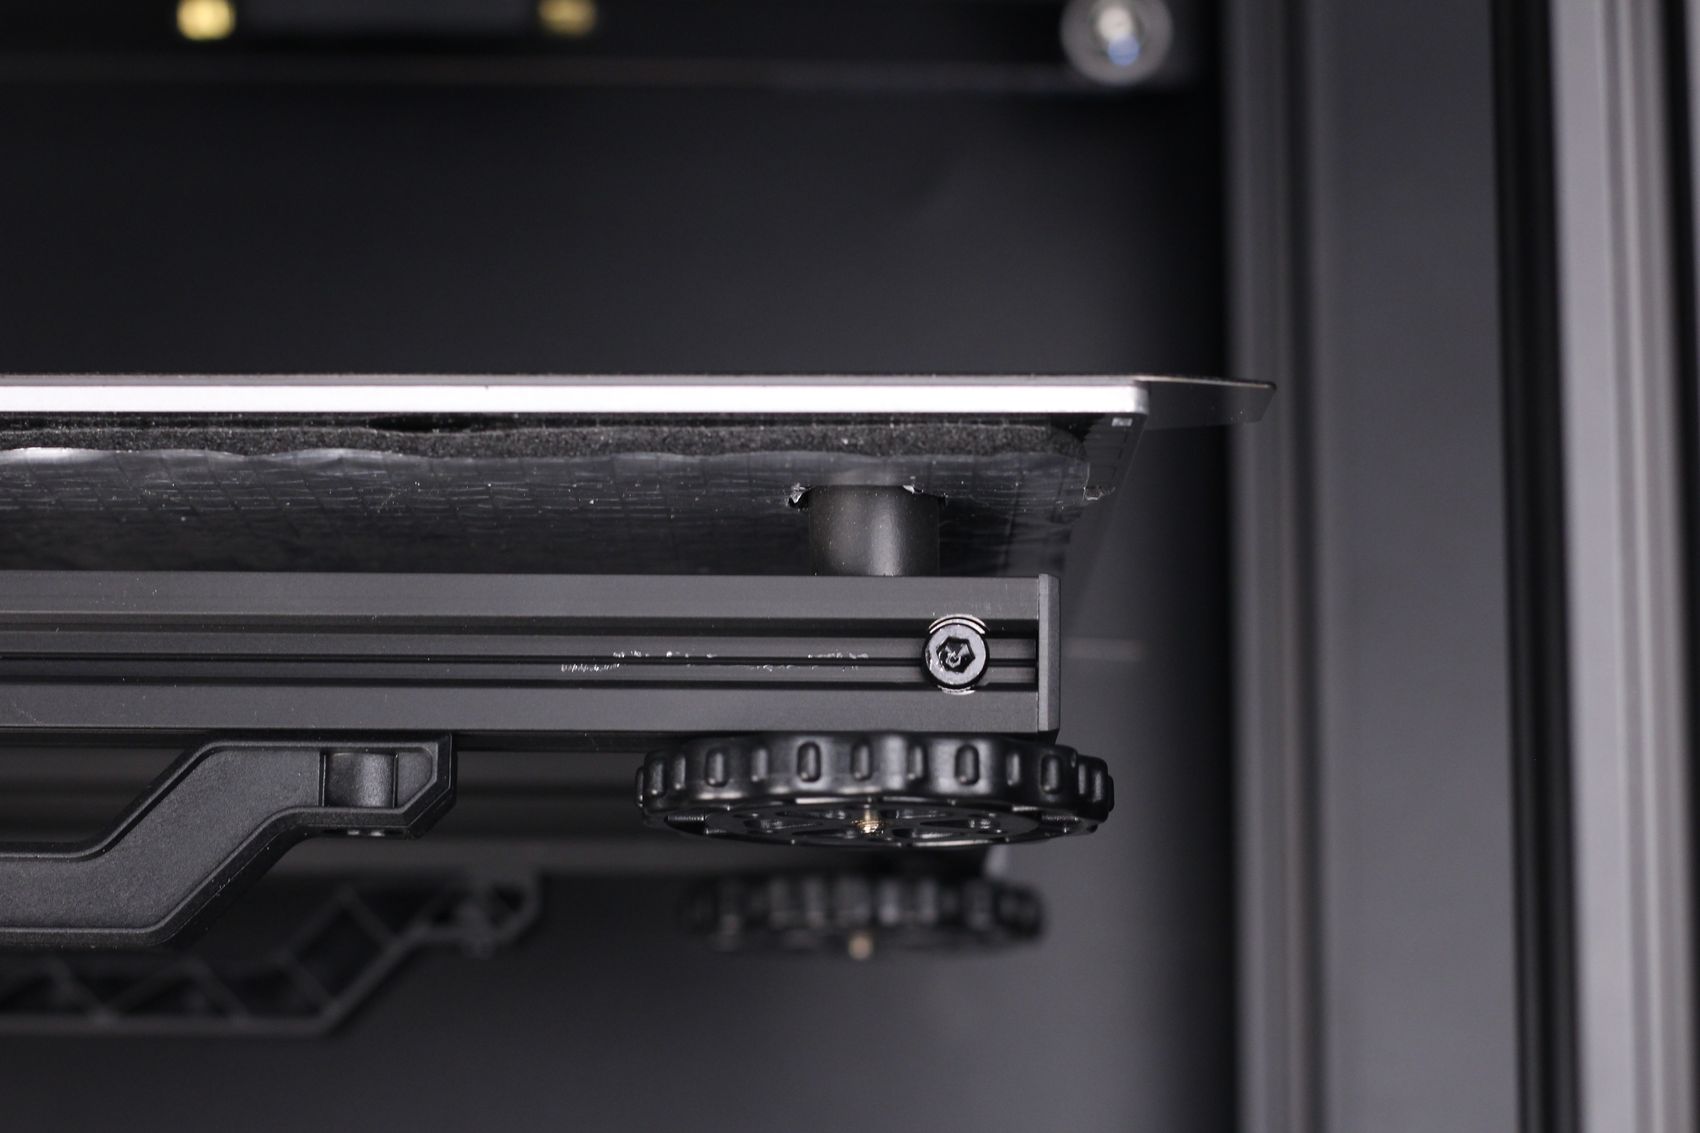
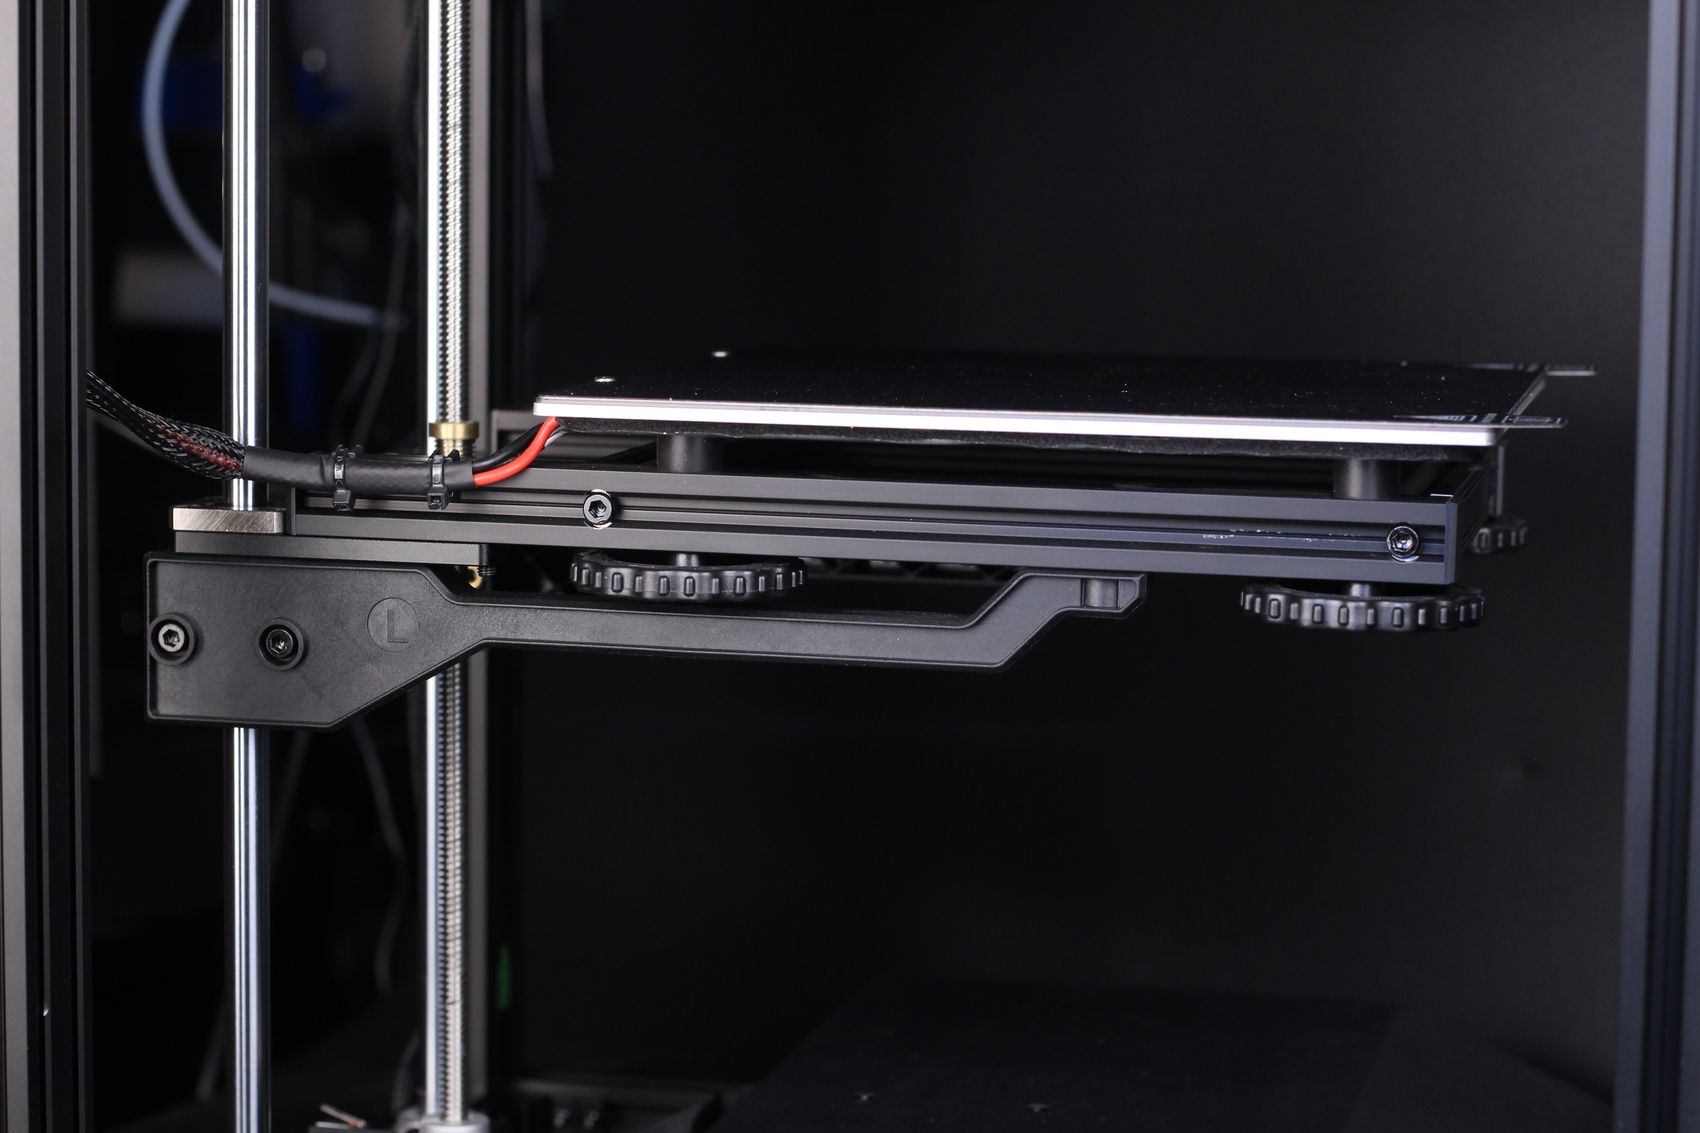
This seems like a big problem, and I had concerns about it but I was able to correctly tram the bed with the included bed knobs, and in the end it worked out. If you look closer, you can also notice four silicone supports for the bed which also have yellow springs inside, to ensure the bed stays level even after printing for longer periods of time.
When printing, the bed can develop a small wobble on the Z axis which might generate Z axis inconsistencies so you won’t be able to push the speeds too much without encountering small printing defects specially if the printer is not placed on a sturdy surface.
Talking about speed, Creality marketing tells us that you can get up to ~250mm/s with a 2000mm/s acceleration. My slicer profile used was set to this acceleration setting but with about half the speed mostly because if I tried to print faster, the ringing on the prints is significant and the bed starts wobbling a bit too much for my liking.
If you decide to install Klipper Firmware at some point and use Input Shaper for compensating for the vibrations, you may be able to print a bit faster, but don’t expect to reach the advertised print speed in the stock configuration as the entire XY axis is quite heavy.
An Ender 5 S1 Klipper config firmware was shared with me, and Creality will probably add a configuration to their Creality Sonic Pad in the future, to make the entire process of converting the Ender-5 S1 to Klipper much easier. The E5S1 can print quite a bit faster with Klipper, and it also solves some firmware issues present in the current stock firmware
Sprite Extruder with bi-metal heat break capable of up to 300C
My greatest surprise when it comes to the Ender-5 S1 is the direct-drive extruder with a hotend capable of printing up to 300C. To achieve this, Creality used their best direct drive extruder which is the Sprite Extruder which we can find on other printers in the S1 line.
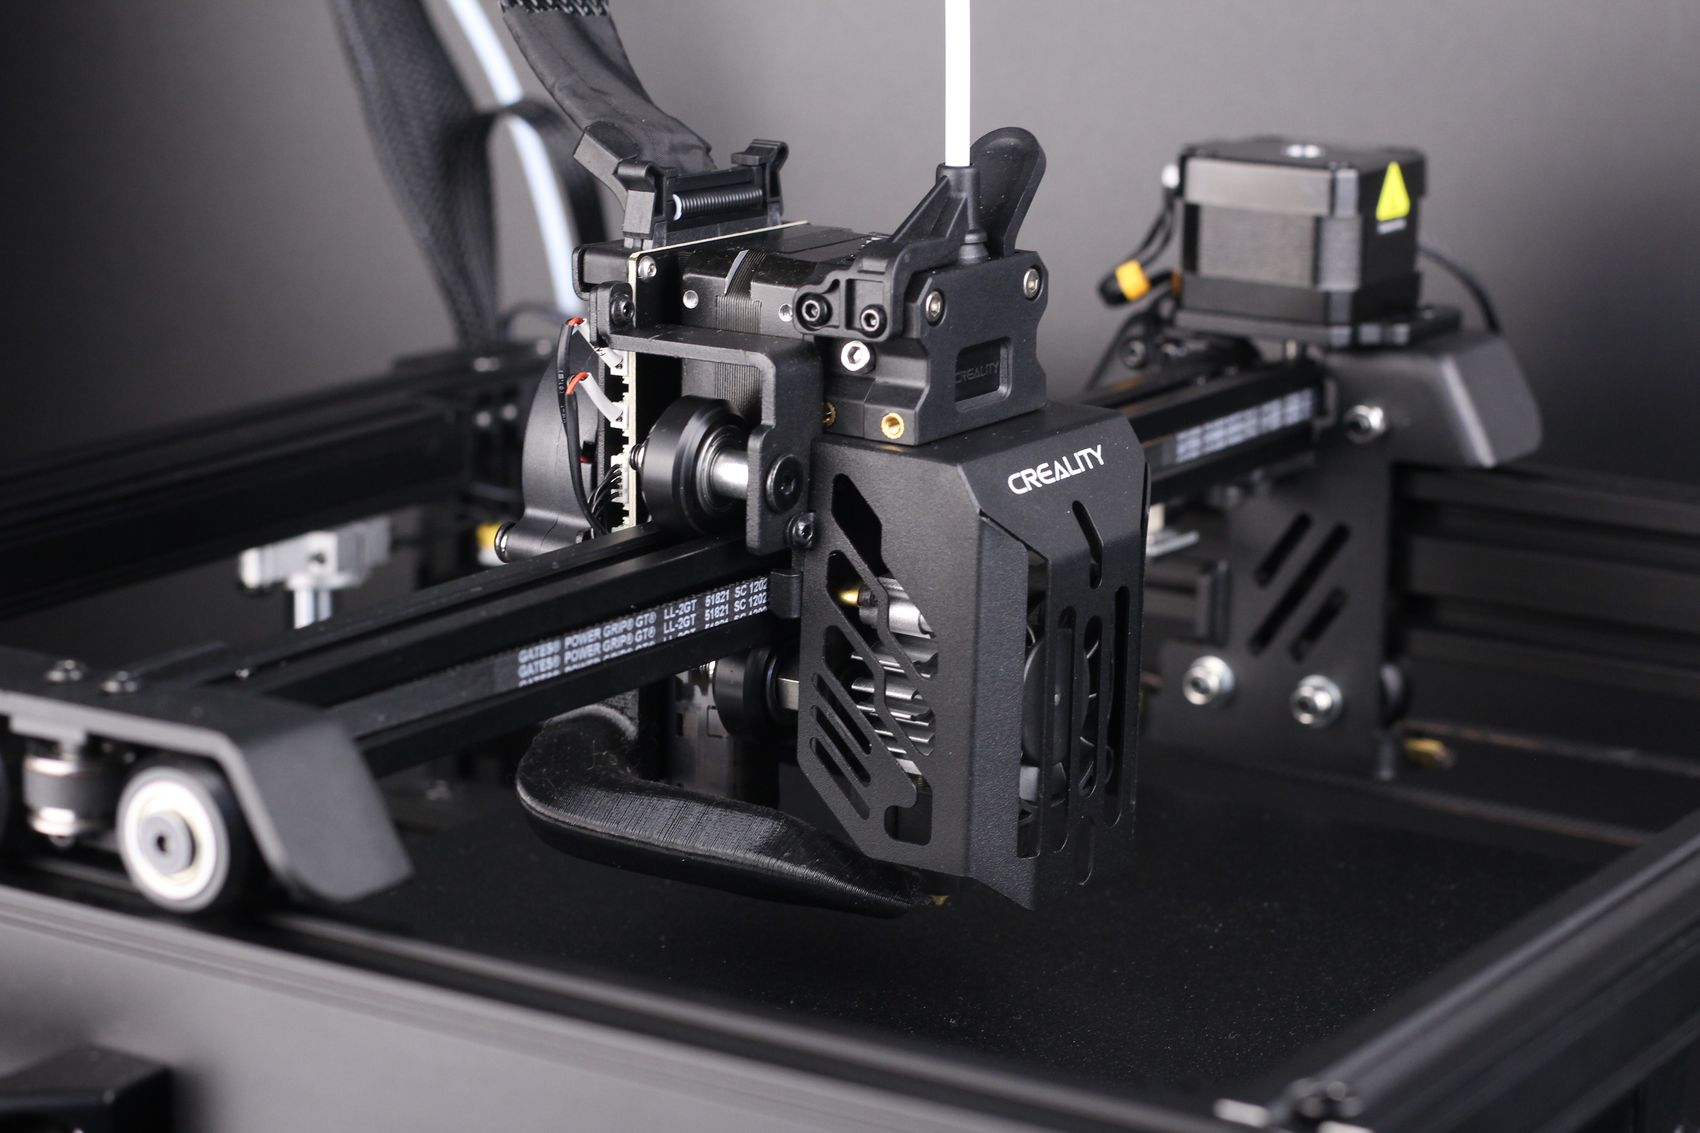
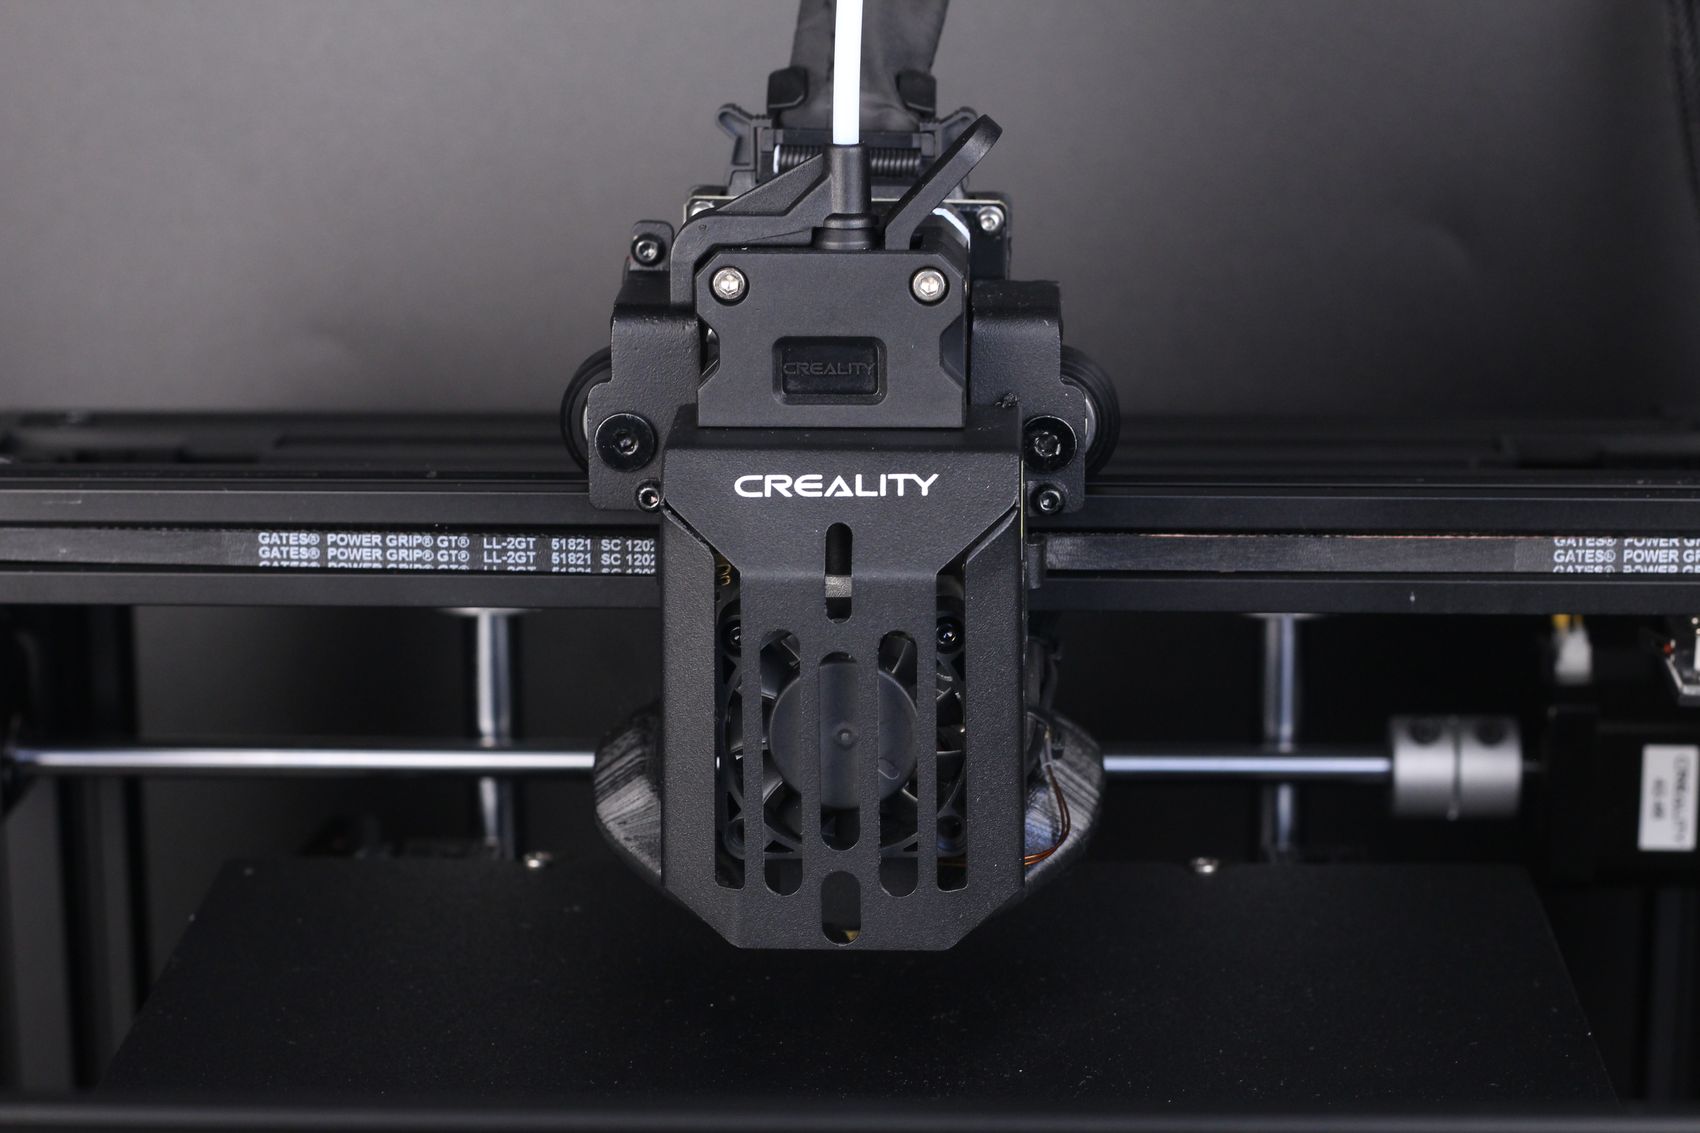
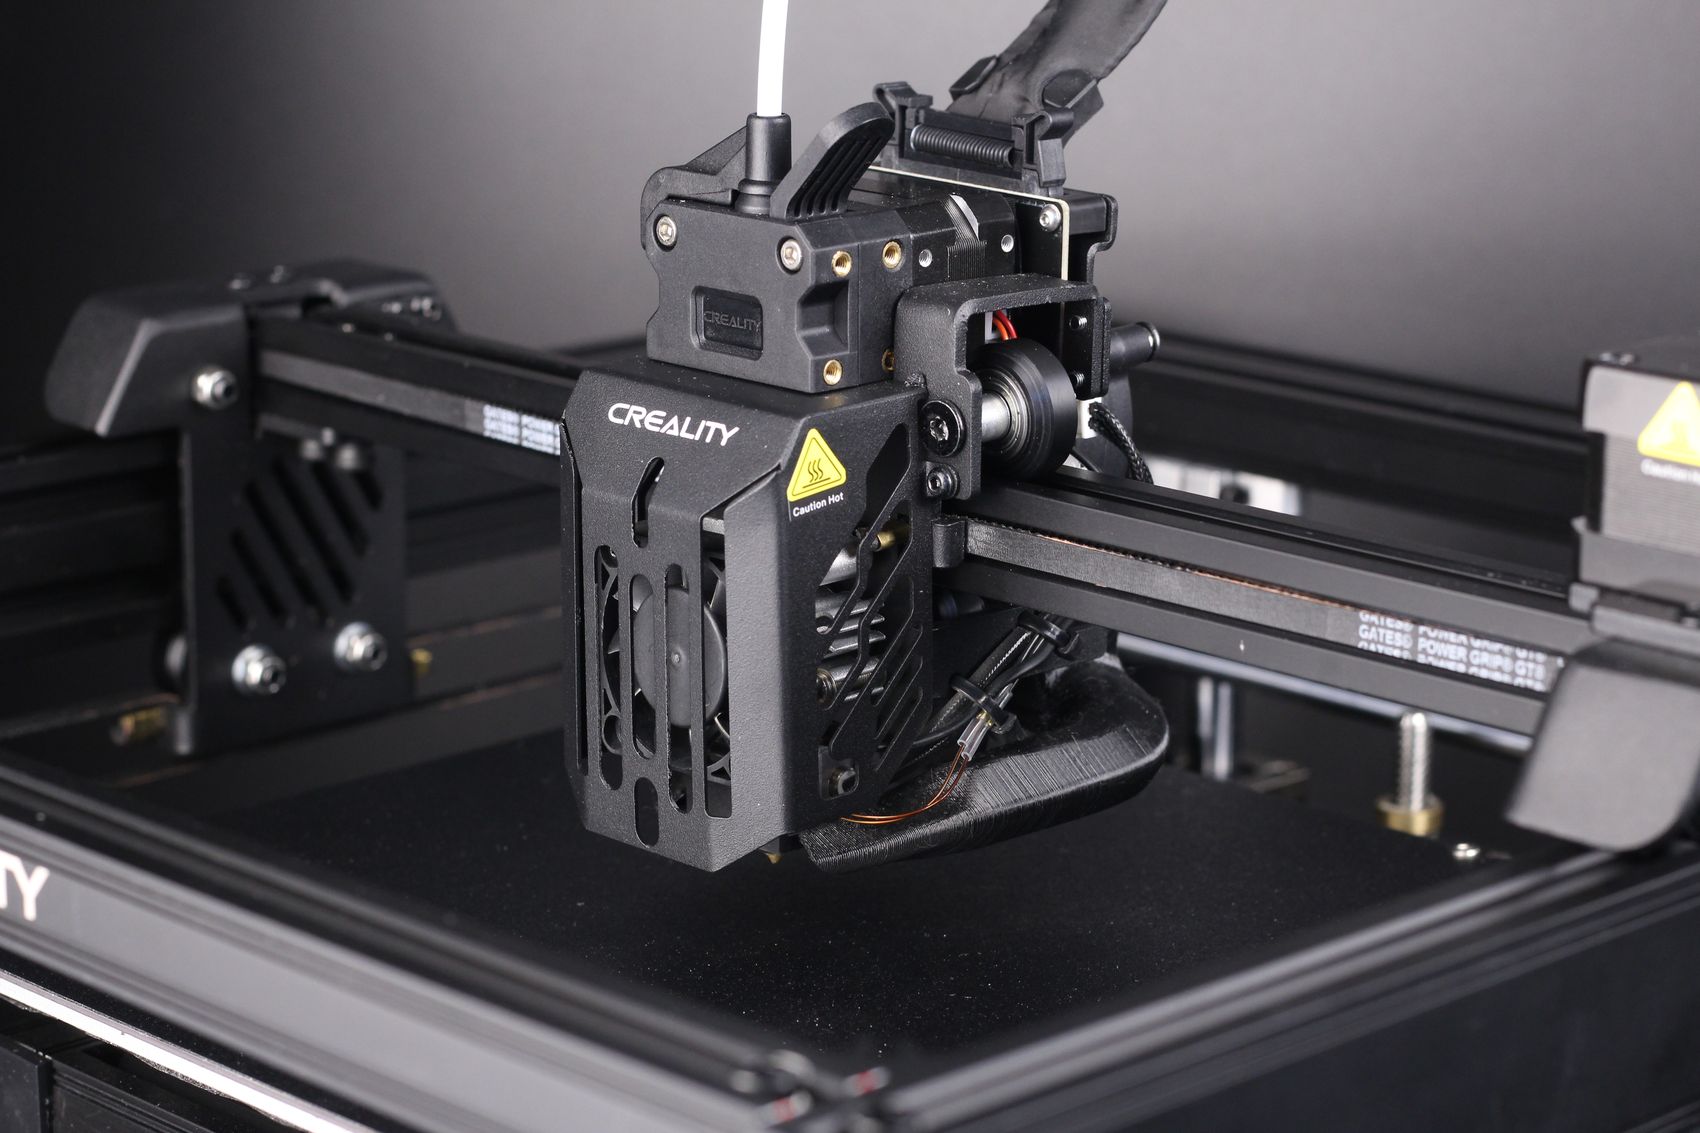
But the extruder is not the same, as the hotend part looks quite similar to the Creality Ender 7 hotend, this time with a bi-metal heat break and a slightly longer nozzle to allow a better flow rate during printing. When used with a PTFE-lined heat break, this hotend is quite bad, but with a bi-metal heat break, you are able to print up to 300C as the PTFE tube doesn’t reach the hotend.
It’s also worth mentioning that the idler on the extruder was over-tightened on my unit, and this caused some issues during printing, which were solved by lowering the pressure. I covered this topic in the Extruder Tension Calibration Guide, so make sure you check that out.
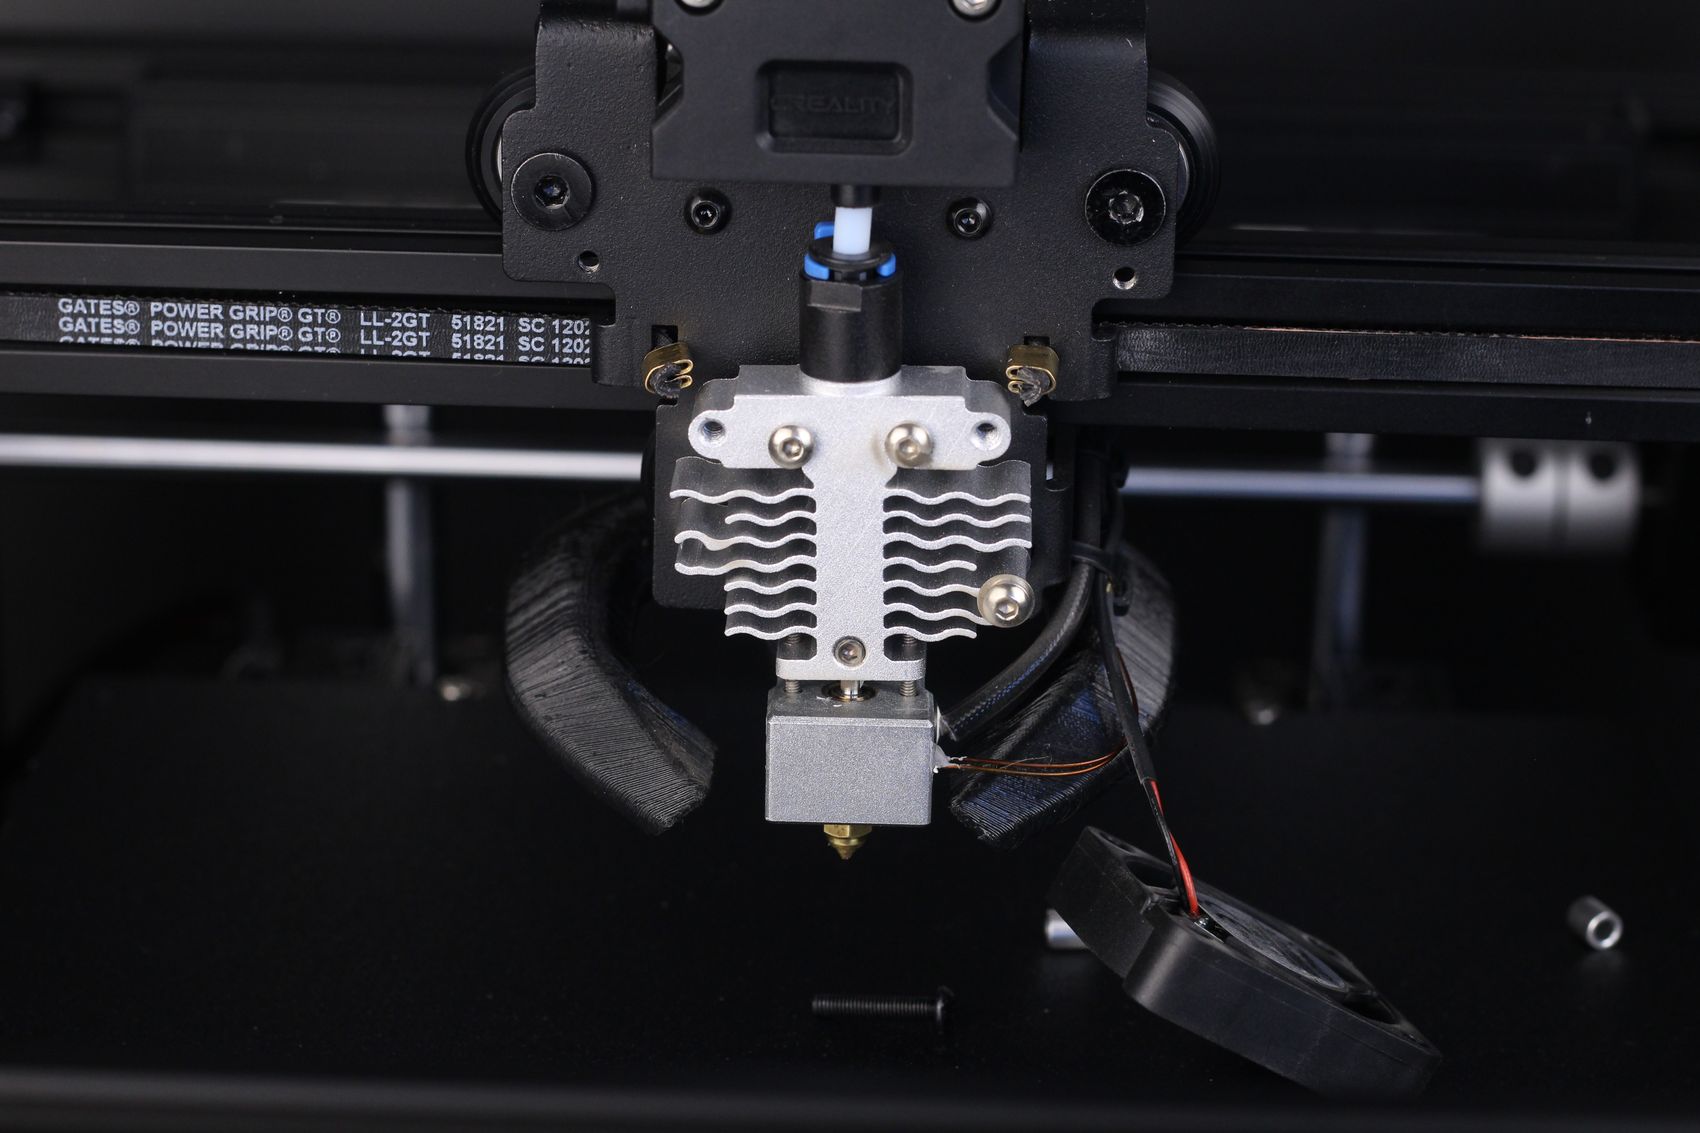
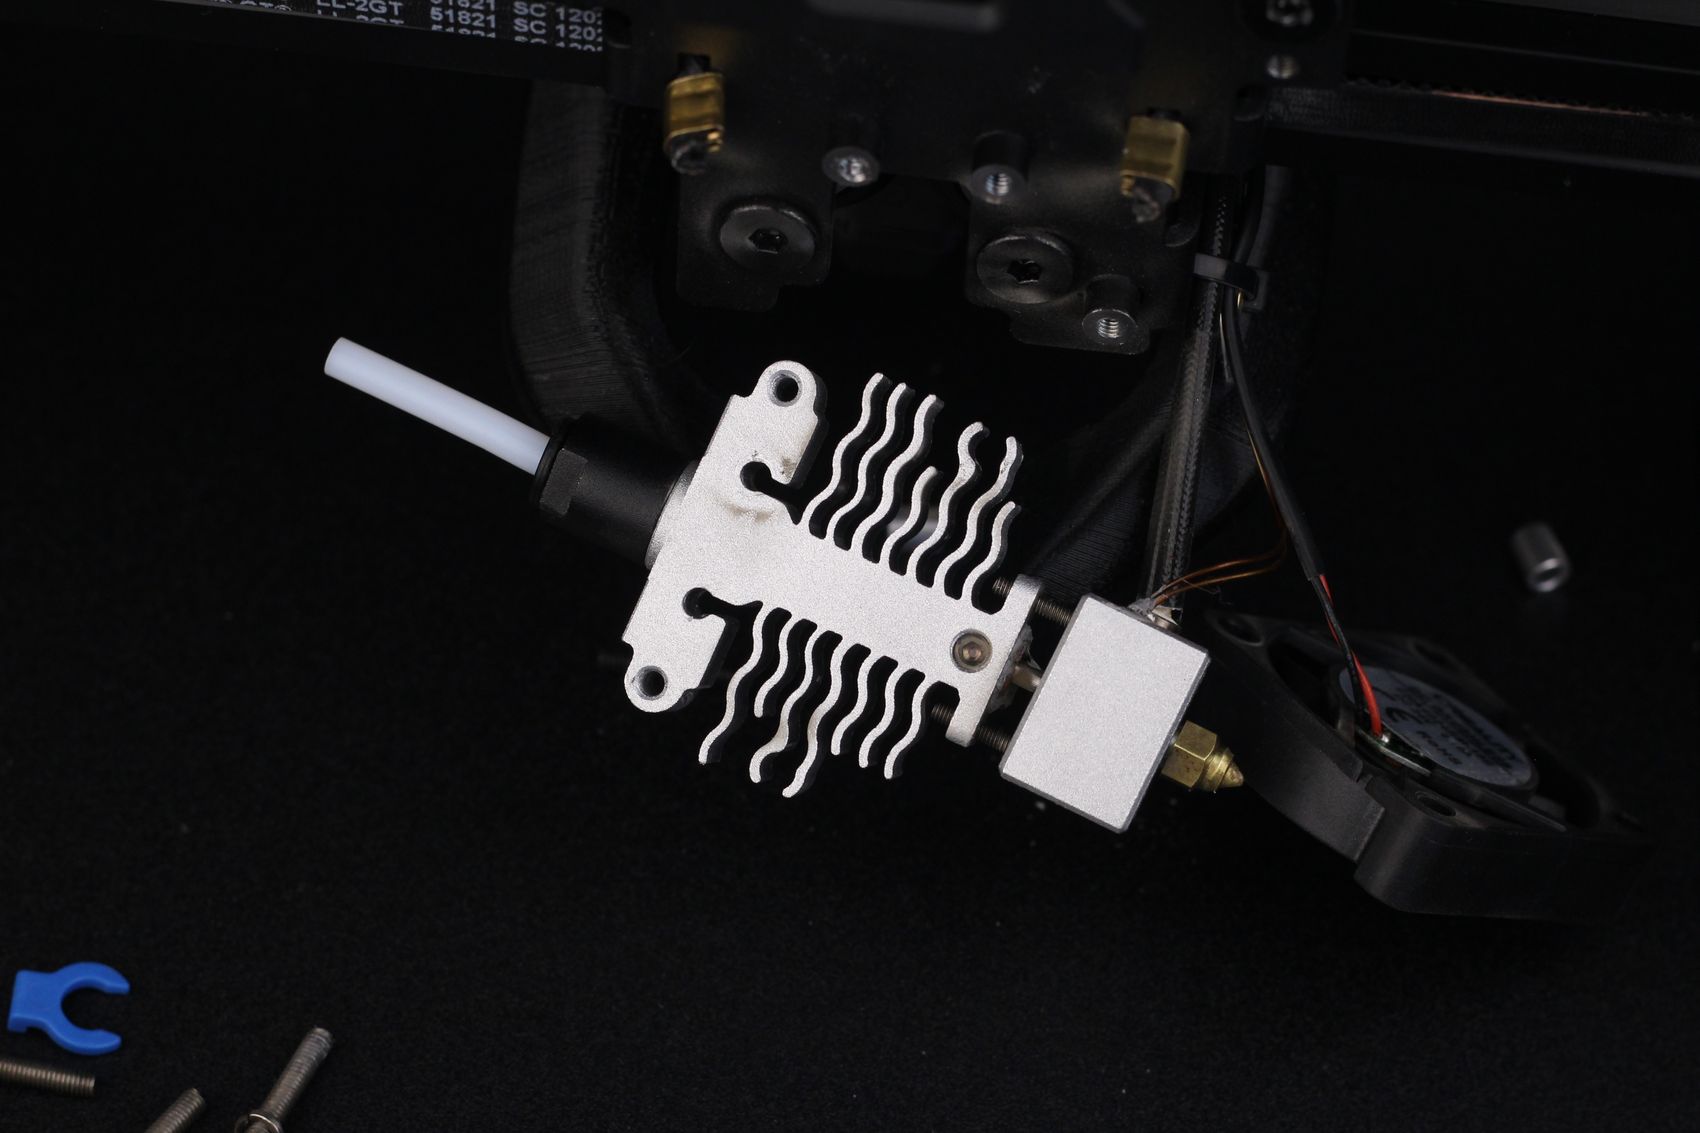
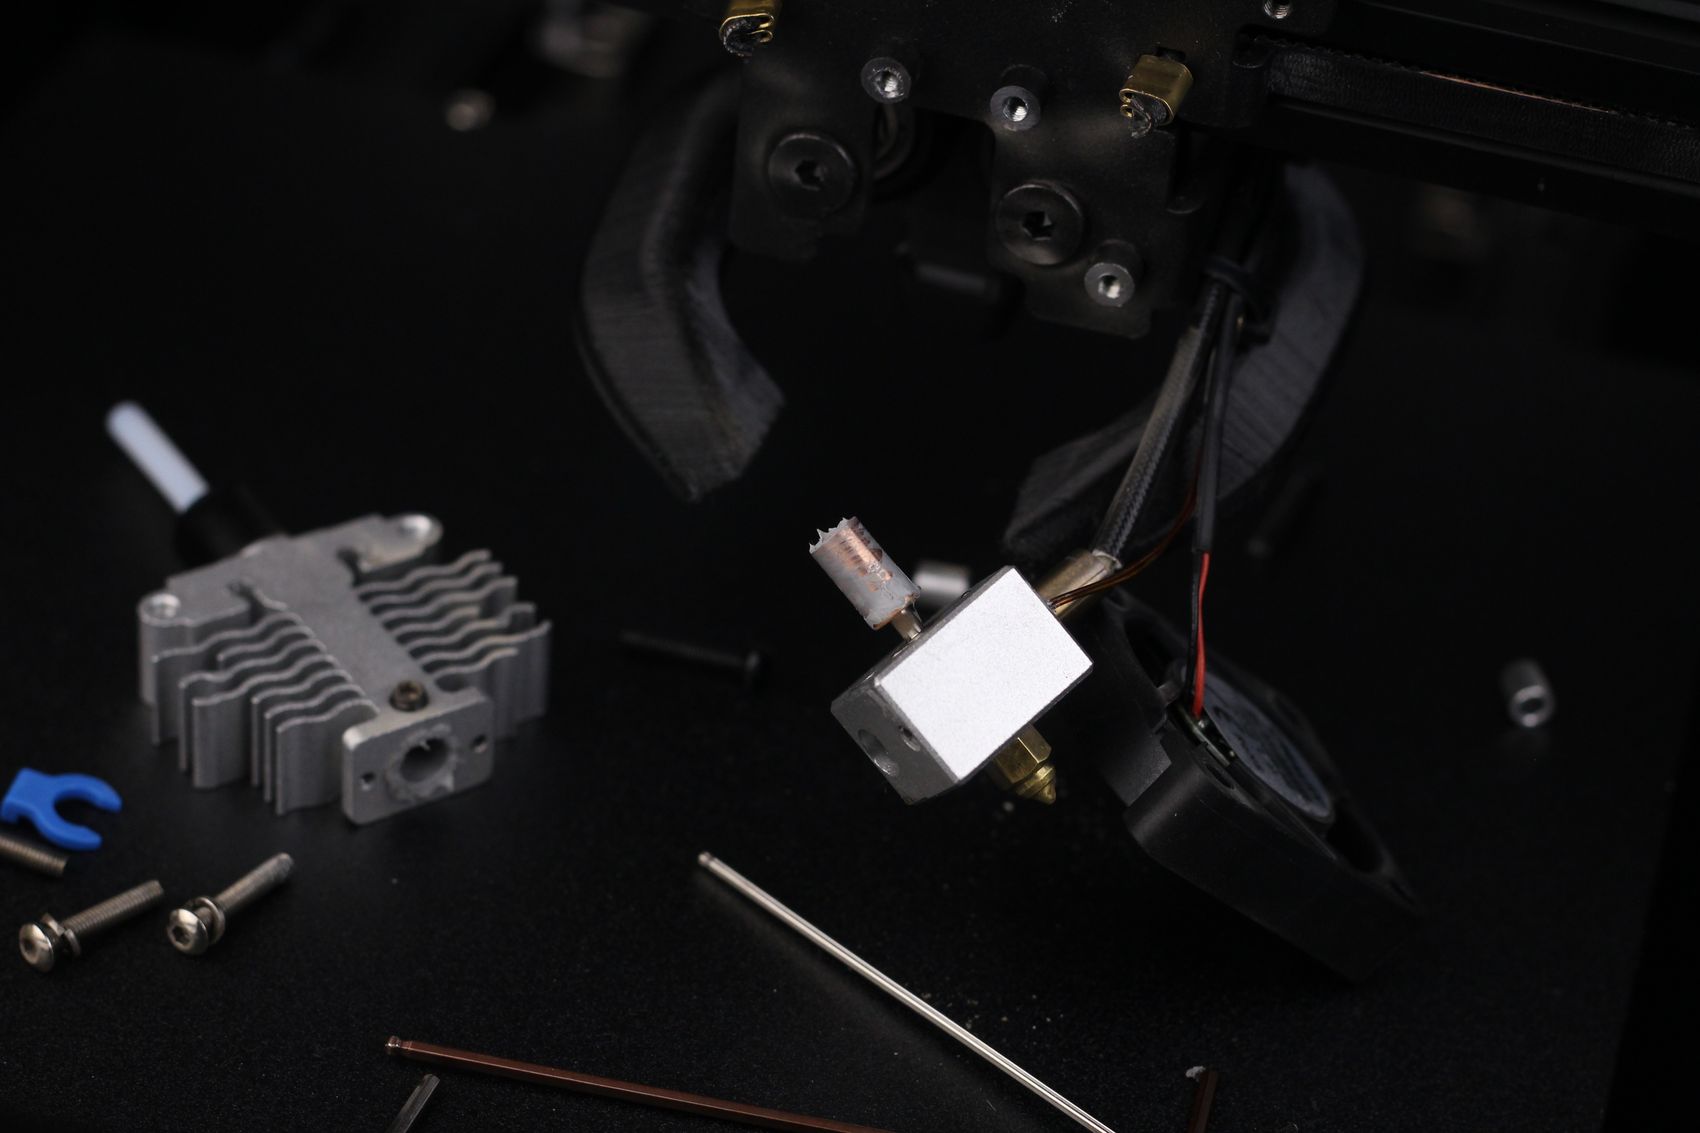
I was also surprised to see that Creality used thermal paste between the heatsink and the heat break to improve thermal transfer, which is excellent.
5015 Radial Fan and a CR-Touch Bed Leveling Probe
Behind the extruder, we get a 5015 radial fan which is also super nice to see as Creality usually includes lower-power fans that can’t cool the layers fast enough to support faster printing speeds. But a beefy fan is not enough if the fan ducts are not good, so the Ender-5 S1 comes with a 3D-printed air duct that directs the airflow of the fan right to the nozzle.
This is probably the first Creality printer that actually takes into consideration part cooling efficiency, to ensure the printed model is cooled correctly and this is very important, especially when printing a bit faster than normal.
During my testing, the air-duct performed very well, managing to provide adequate cooling in most situations, so I’m happy with the change made by Creality in this regard.
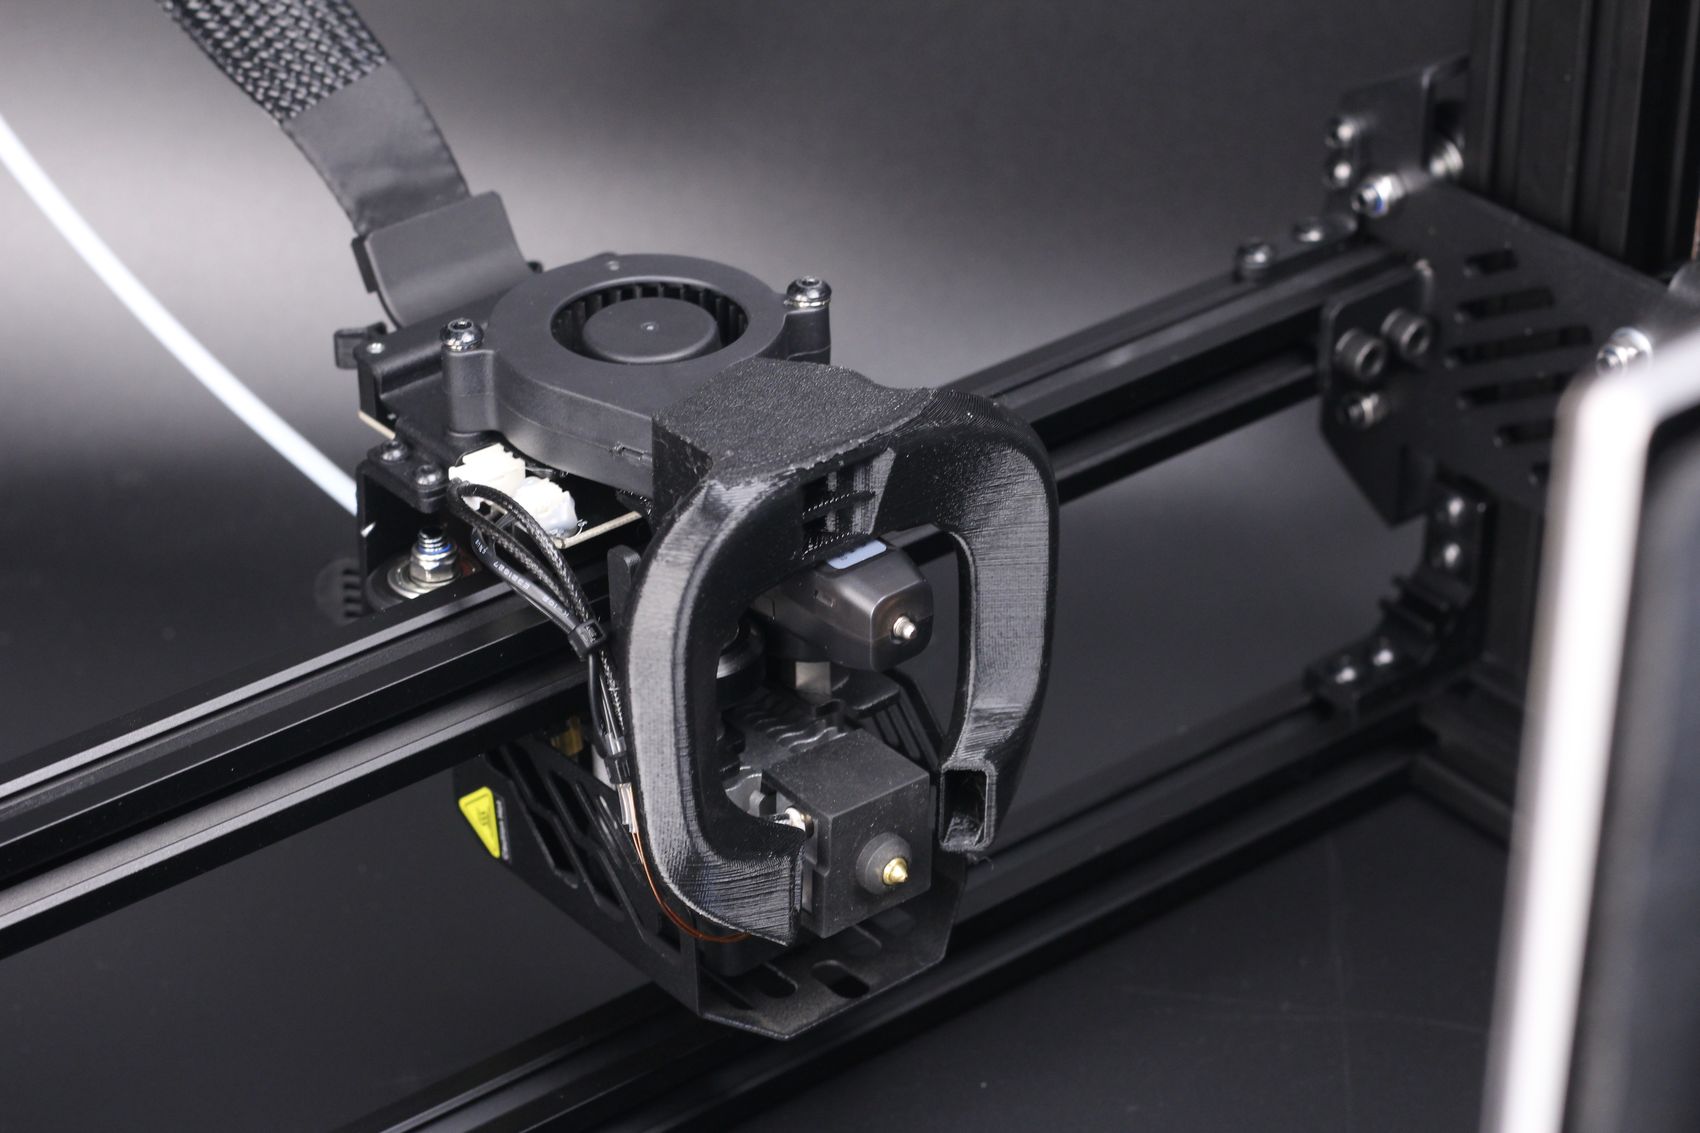
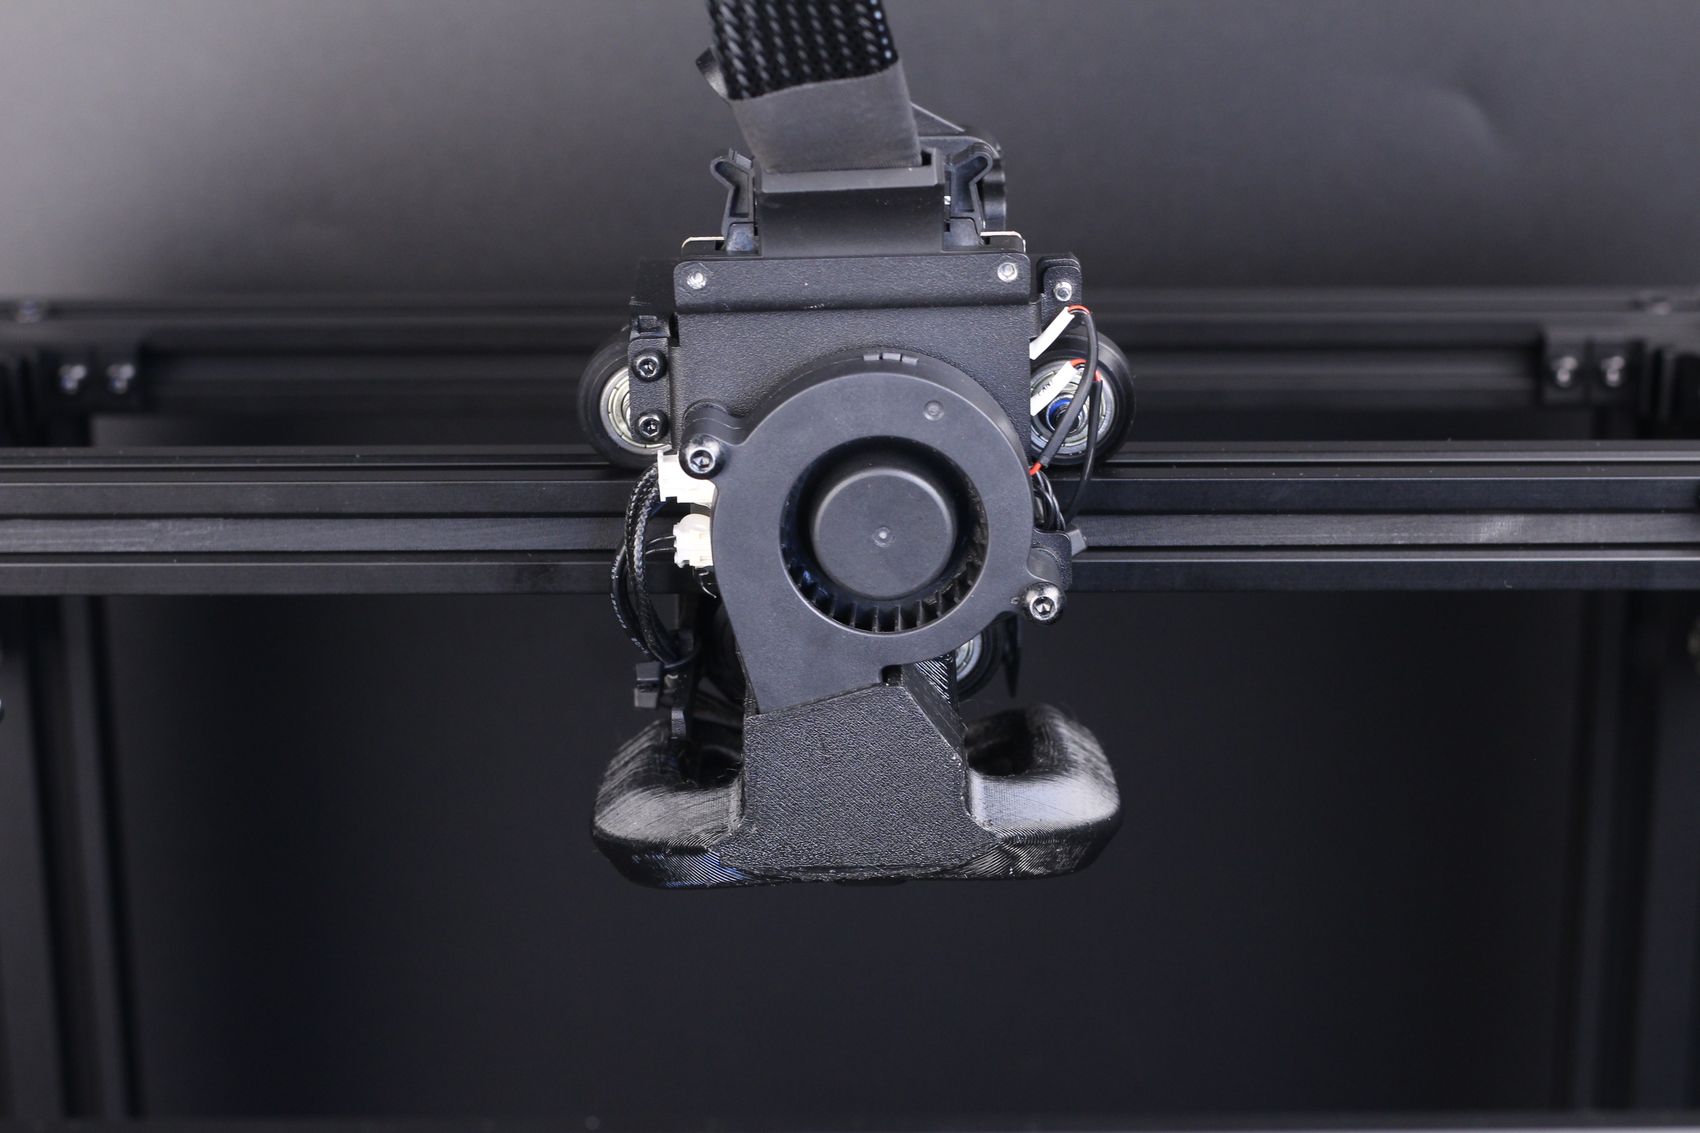
Between the air duct and the hotend, the CR-Touch leveling sensor is attached to the print head to help with auto bed leveling. While this is nice, the leveling sensor is attached to a metal bracket that also holds the air duct and it’s not very stiff making the bed leveling unreliable in some situations.
A brace for the metallic bracket would have improved the stiffness of the mount, but that’s missing this time and might be a problem in the future.
Talking about bed leveling, the firmware has an issue where the bed leveling mesh is inconsistent, so the first layer won’t be as expected when Auto Bed Leveling is used. To workaround this issue, I needed to reset the firmware and avoid calibrating the bed automatically, and I relied only on the manual bed leveling I did.
In short, the ABL system did not work for me, and I really hope Creality fixes this issue in a firmware update. Otherwise, having the CR-Touch installed doesn’t provide any value to the Ender 5 S1.
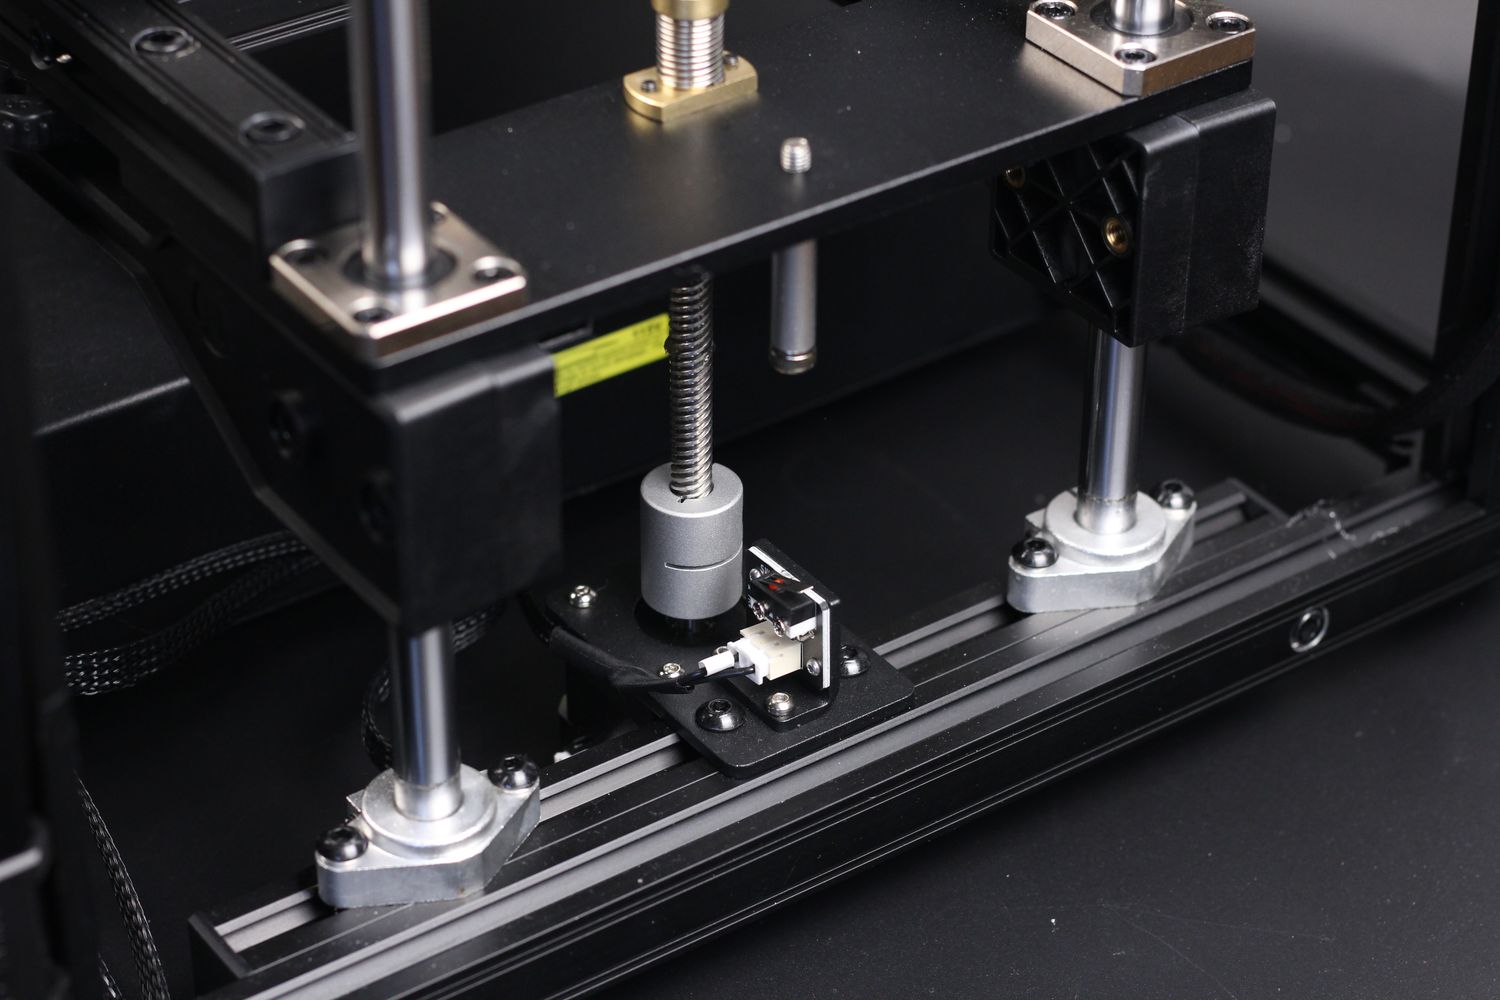
Another confusing decision from Creality is the use of a physical end stop on the bottom of the printer instead of actually homing with the CR-Touch probe. Because of the current homing procedure, the bed always travels to the bottom of the printer for homing, then returns to the top increasing the time required for a print to be started.
PC Magnetic Flex Plate printing surface
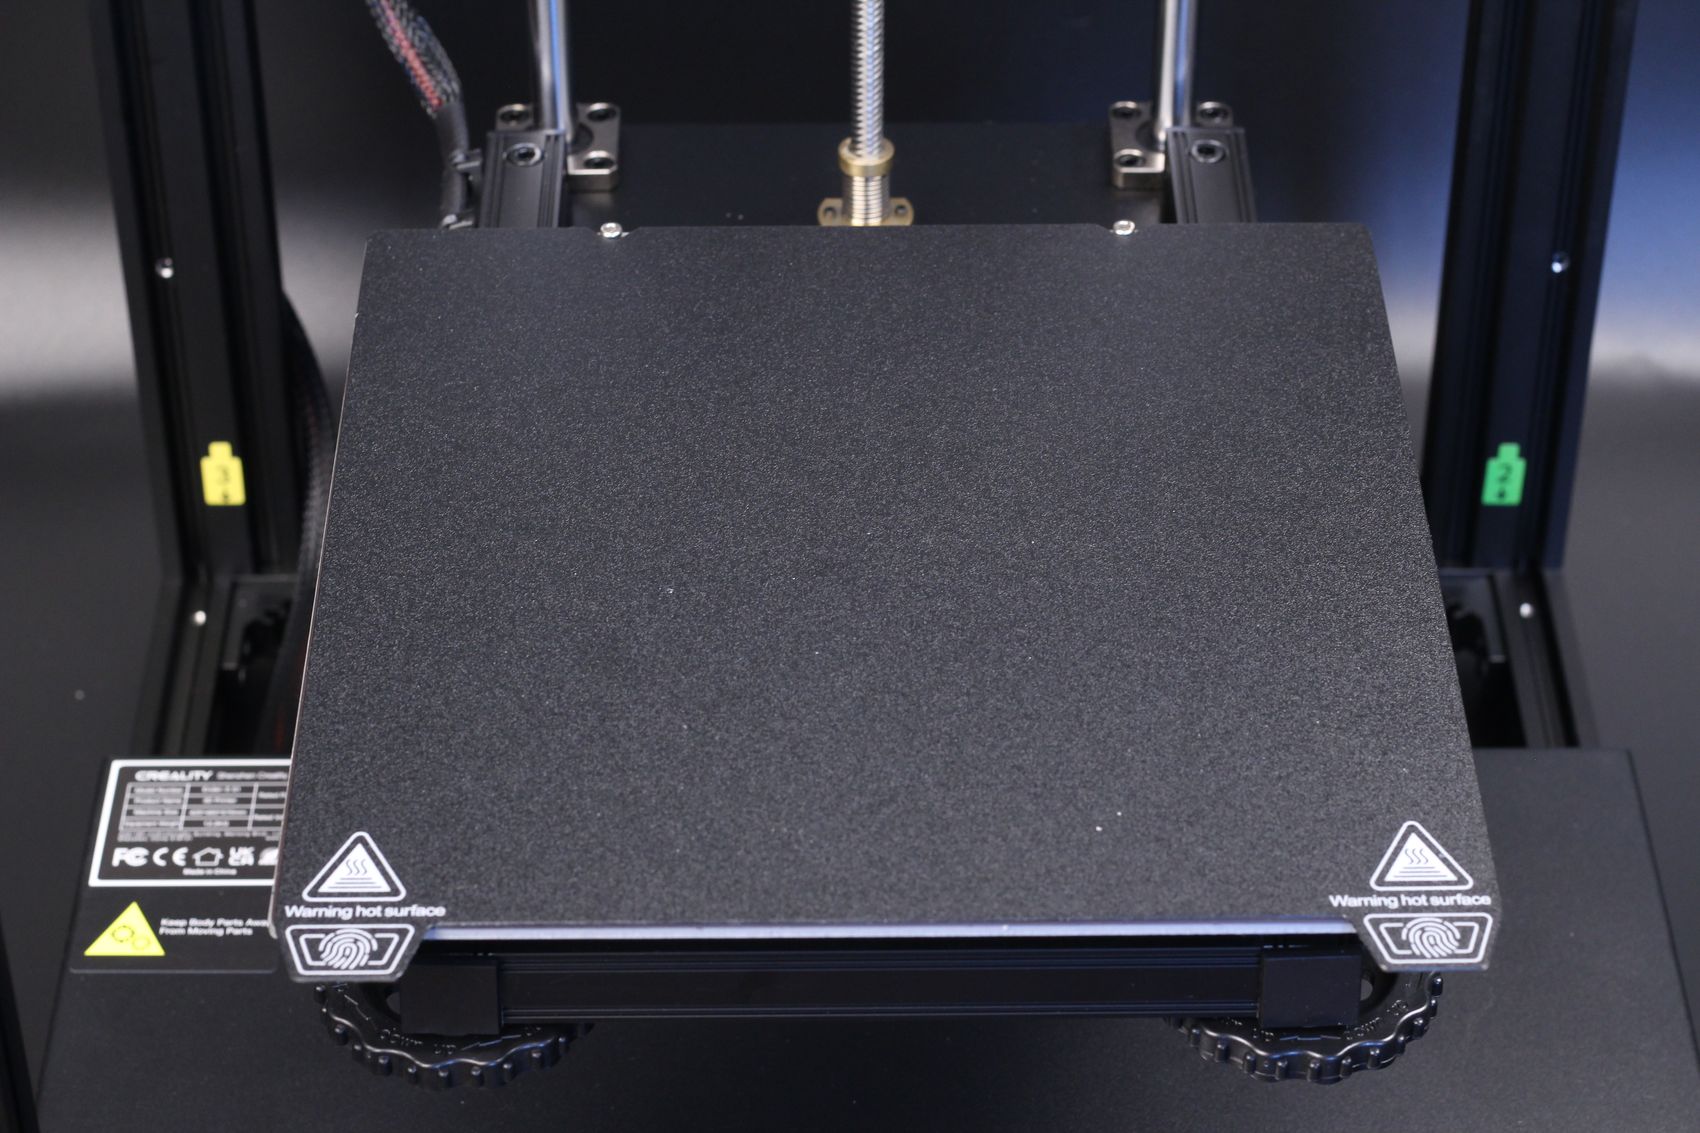
The print surface included with the Ender-5 S1 is a magnetic PC flex plate that offers excellent adhesion, but in some situations, this adhesion is too much, and some filaments can leave marks on it. I would have liked to get a PEI flex plate instead, as it has a longer lifetime.
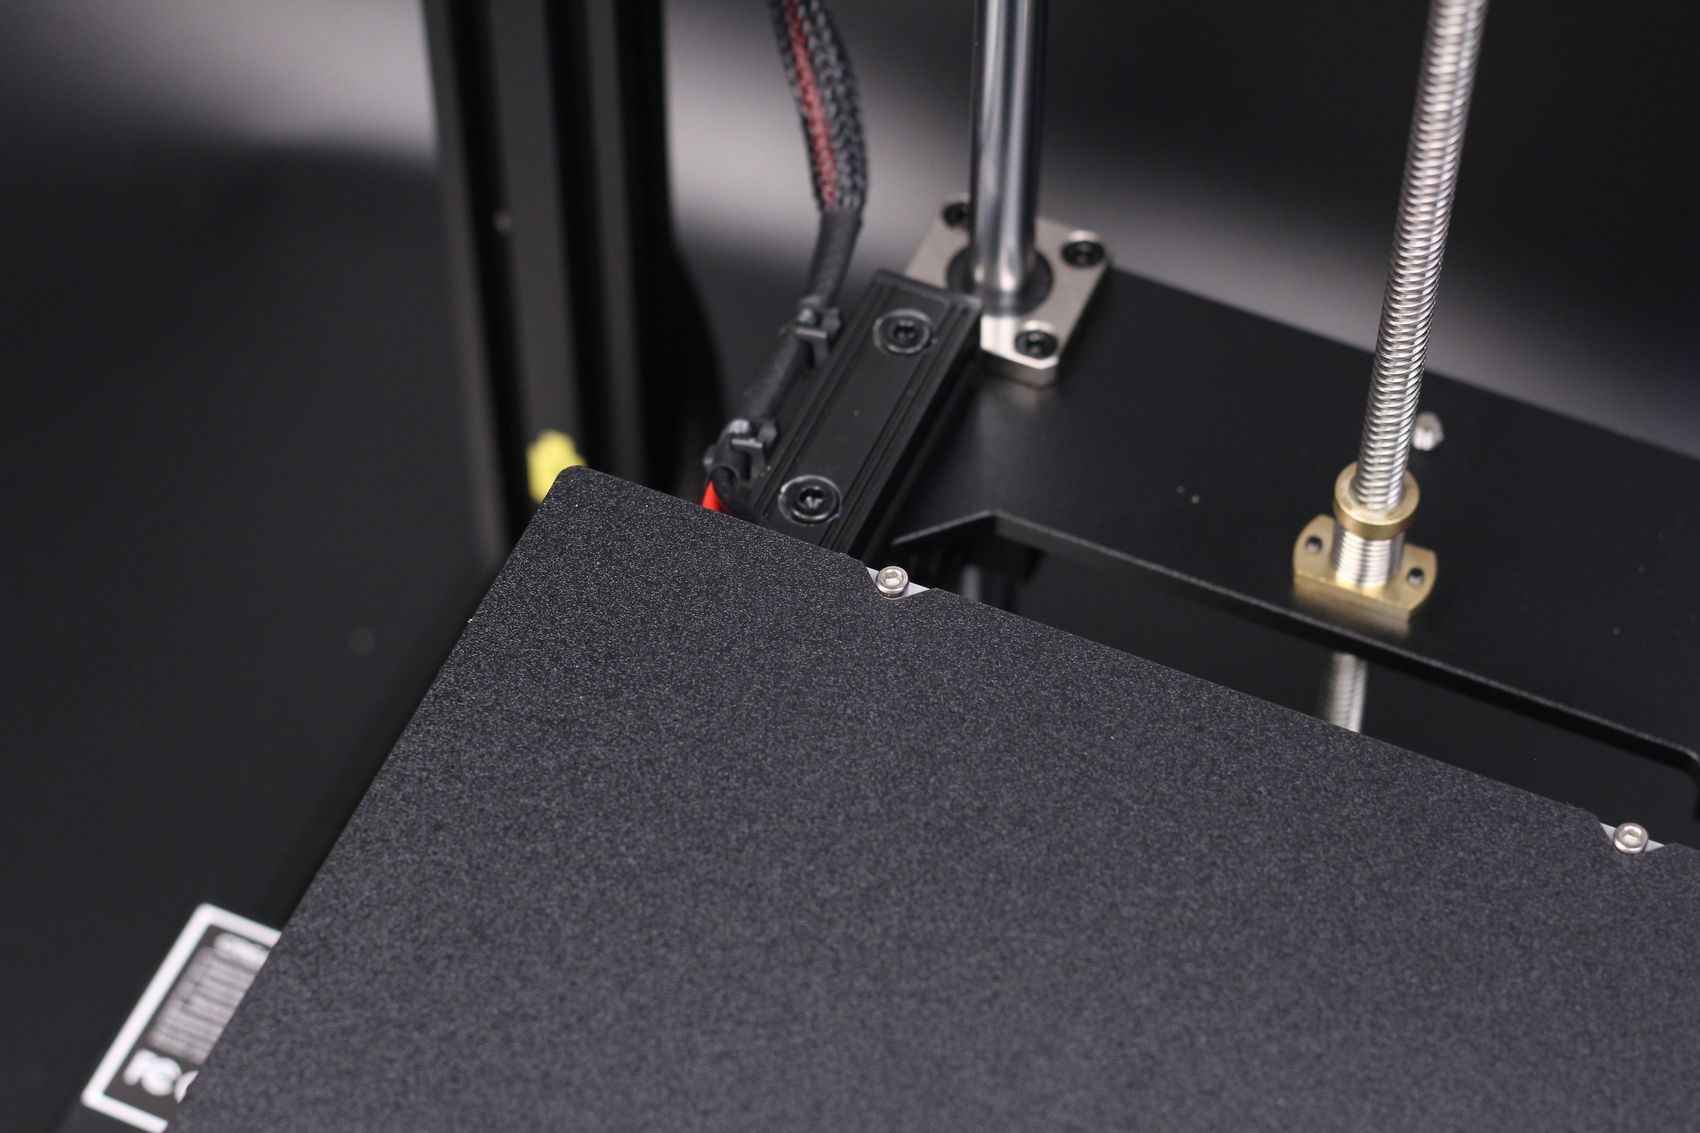
Overall, the PC printing surface is great for printing PLA without requiring heat to the print surface, and I also like the alignment screws in the back which help position the bed easily before printing.
The only issue I had is with bed leveling which was not consistent and because of that, I managed to scratch the bed right from the start which didn’t allow me to print on the stock plate during the review process.
32-bit board with silent stepper drivers
The board used on the Creality Ender-5 S1 is quite similar to other boards used in the S1 line. It has an ARM STM32F401 CPU and silent stepper drivers. It’s also worth noting that the cables have ferrules pre-installed which are nice to see.
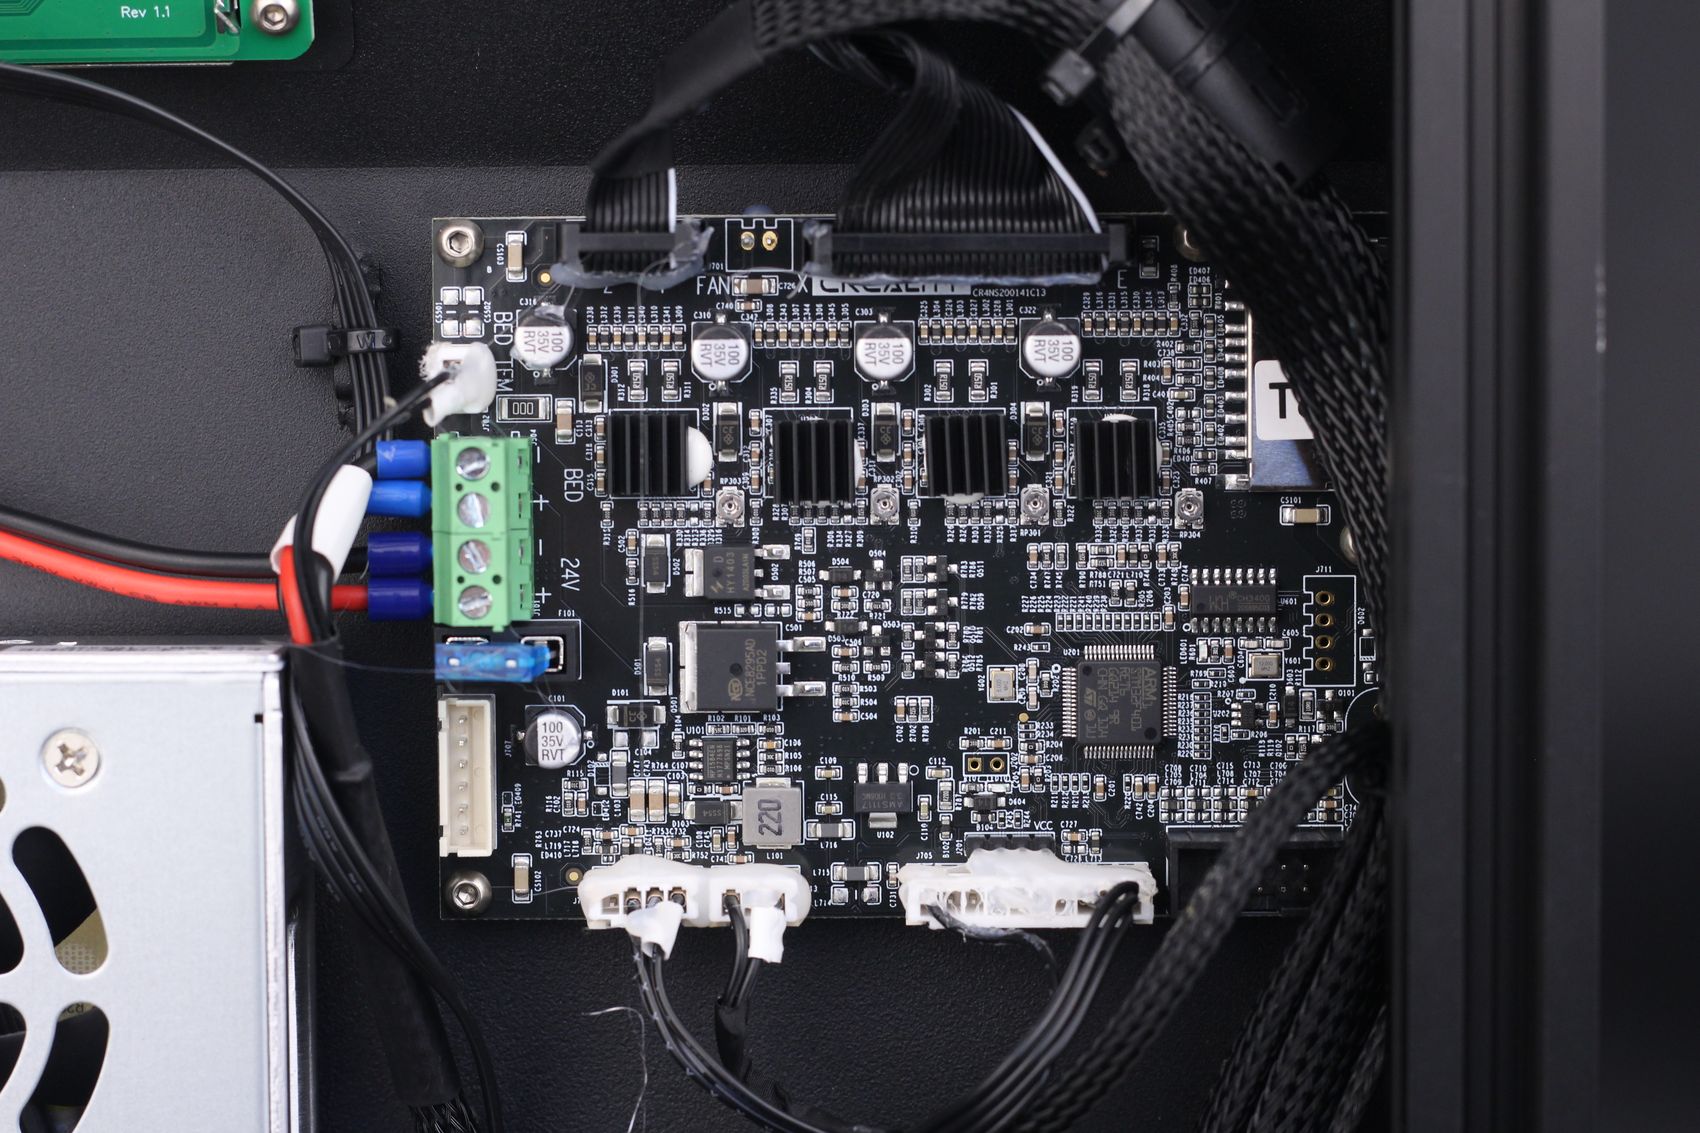
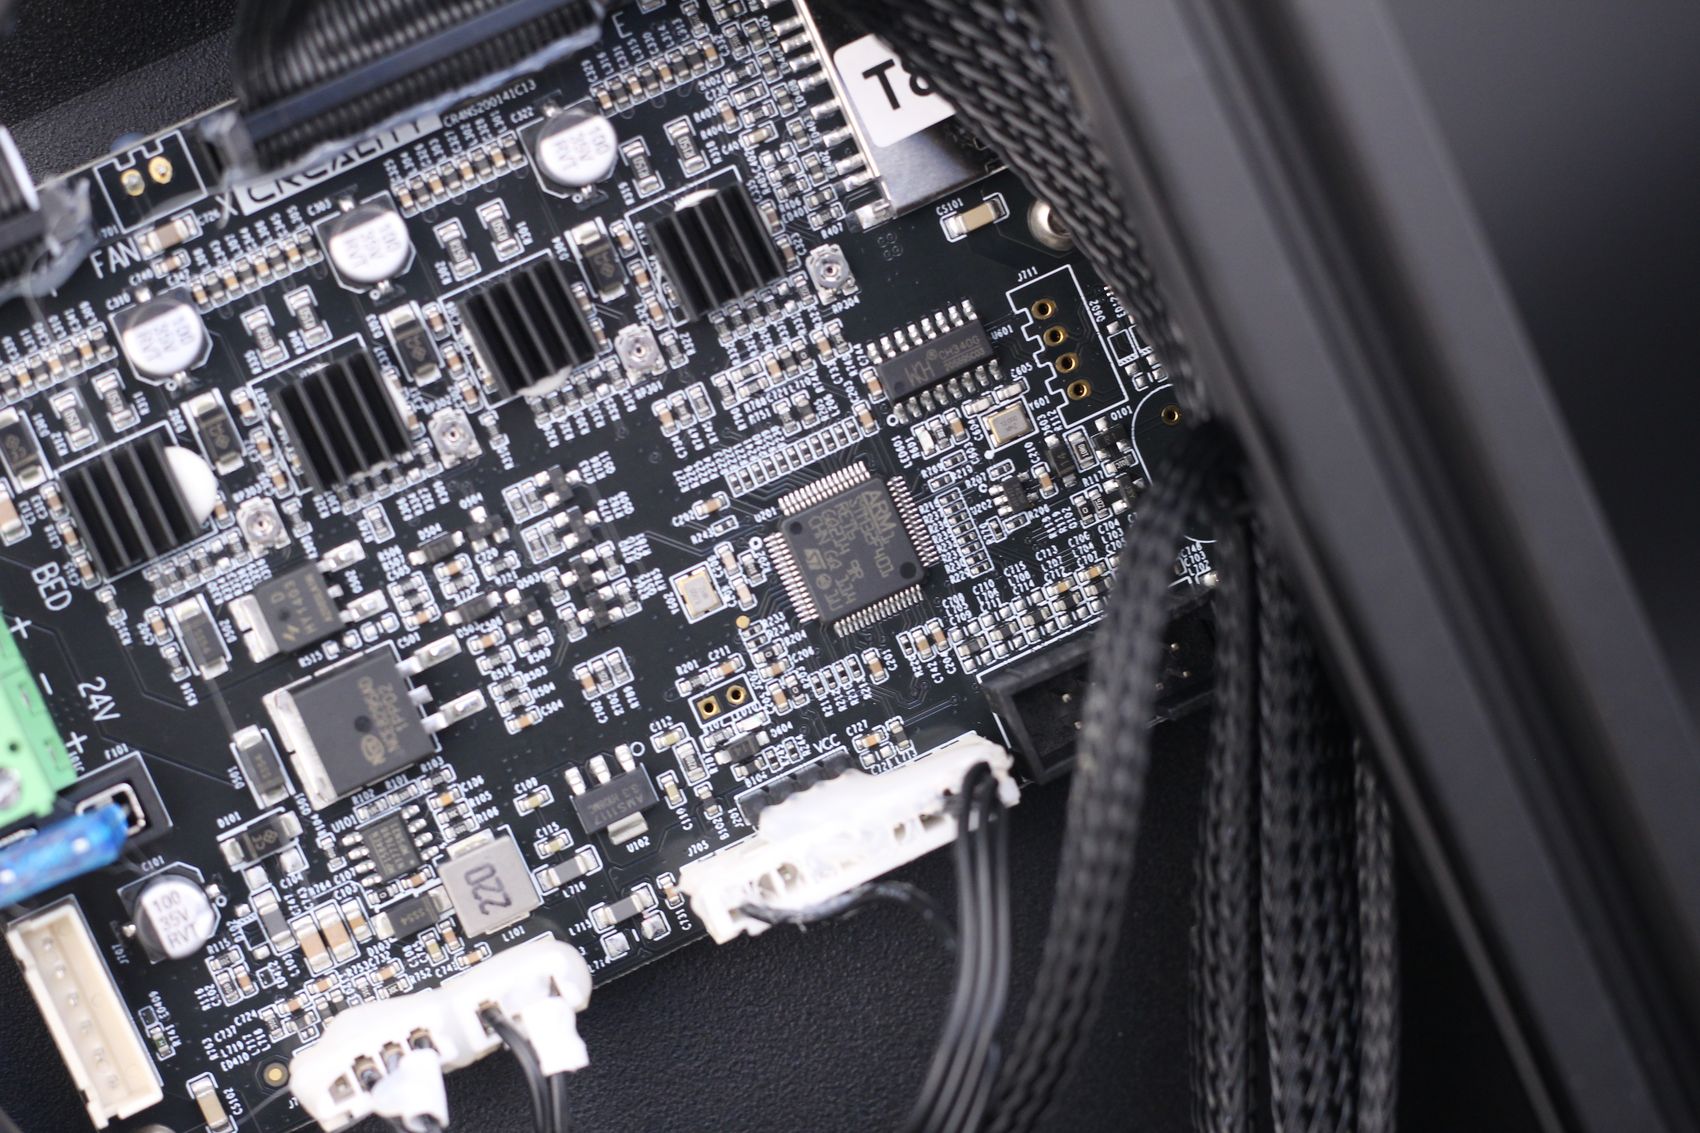
There’s not much to talk about in this case, as the board is pretty generic, but I like that it uses a Type-C connector and a regular-size SD card to make it easier to handle.
4.3-inch Touchscreen
The 4.3-inch Touchscreen has a pretty nice interface that is responsive, and it has enough menu options to control most of the settings you would want for the printer. Unfortunately, the screen options are not laid out as well as I expect and there are inconsistencies in the available touch buttons.
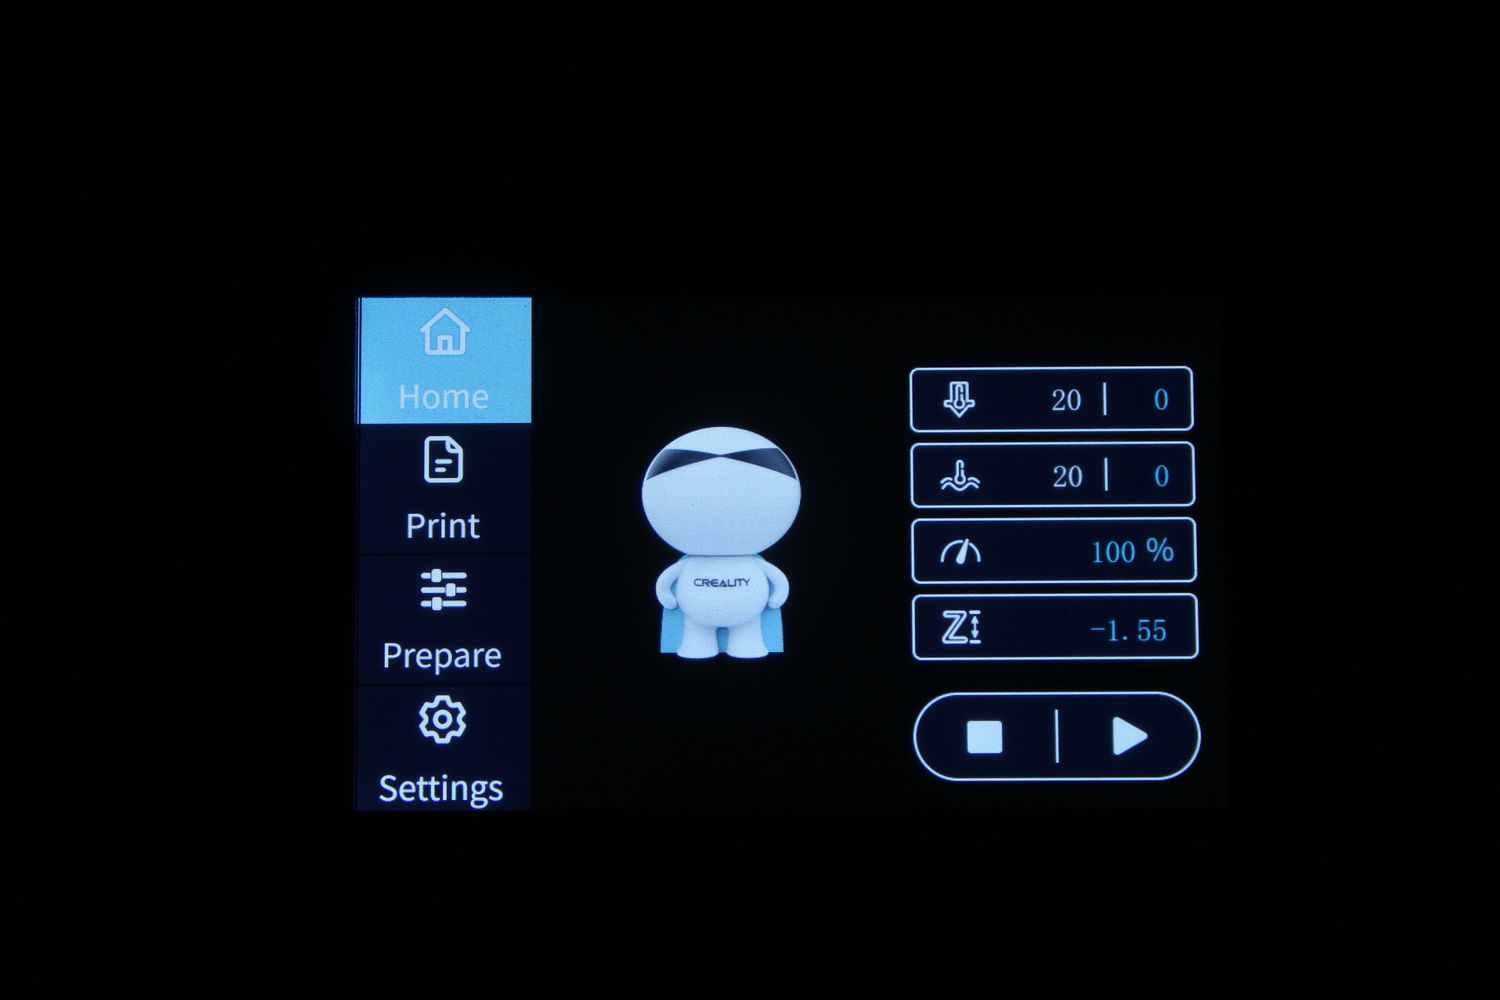
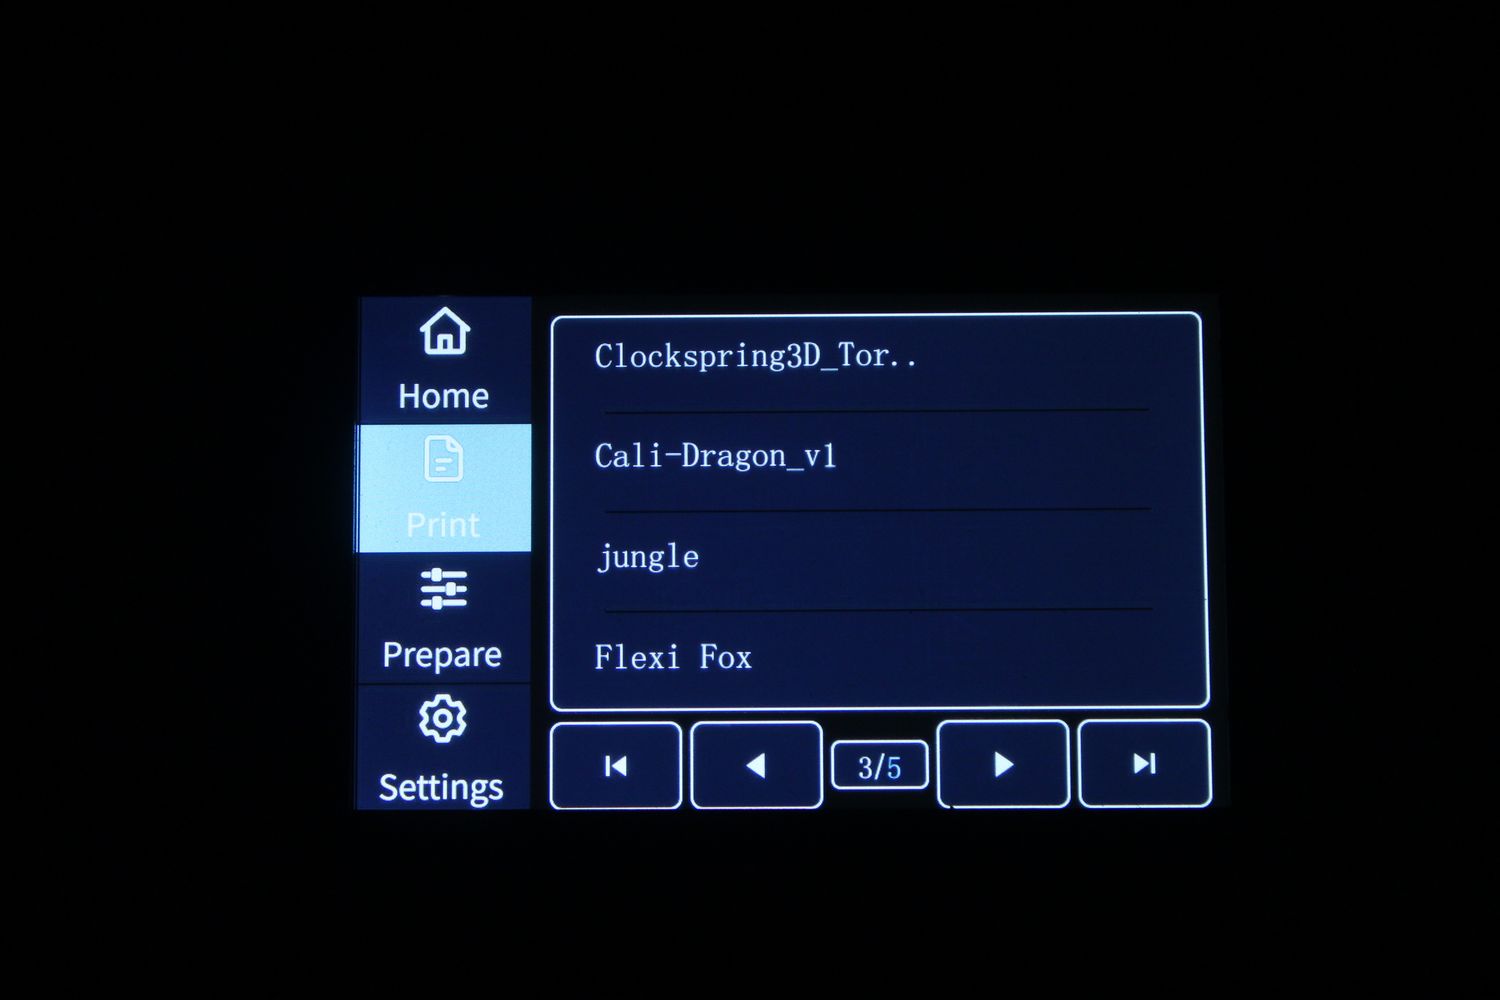
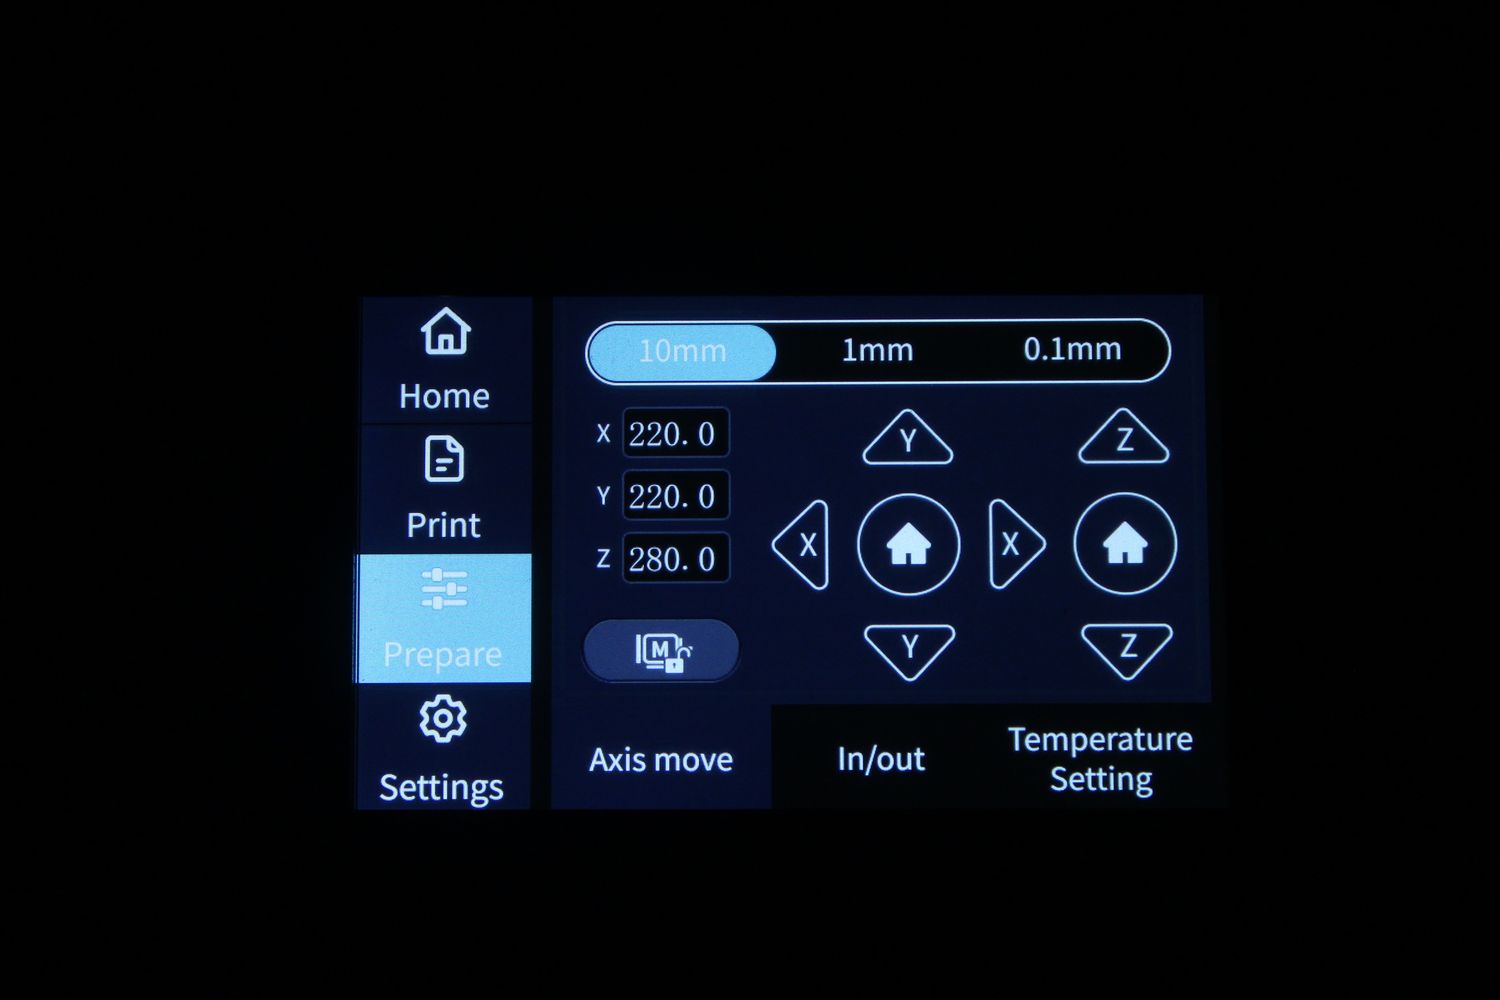
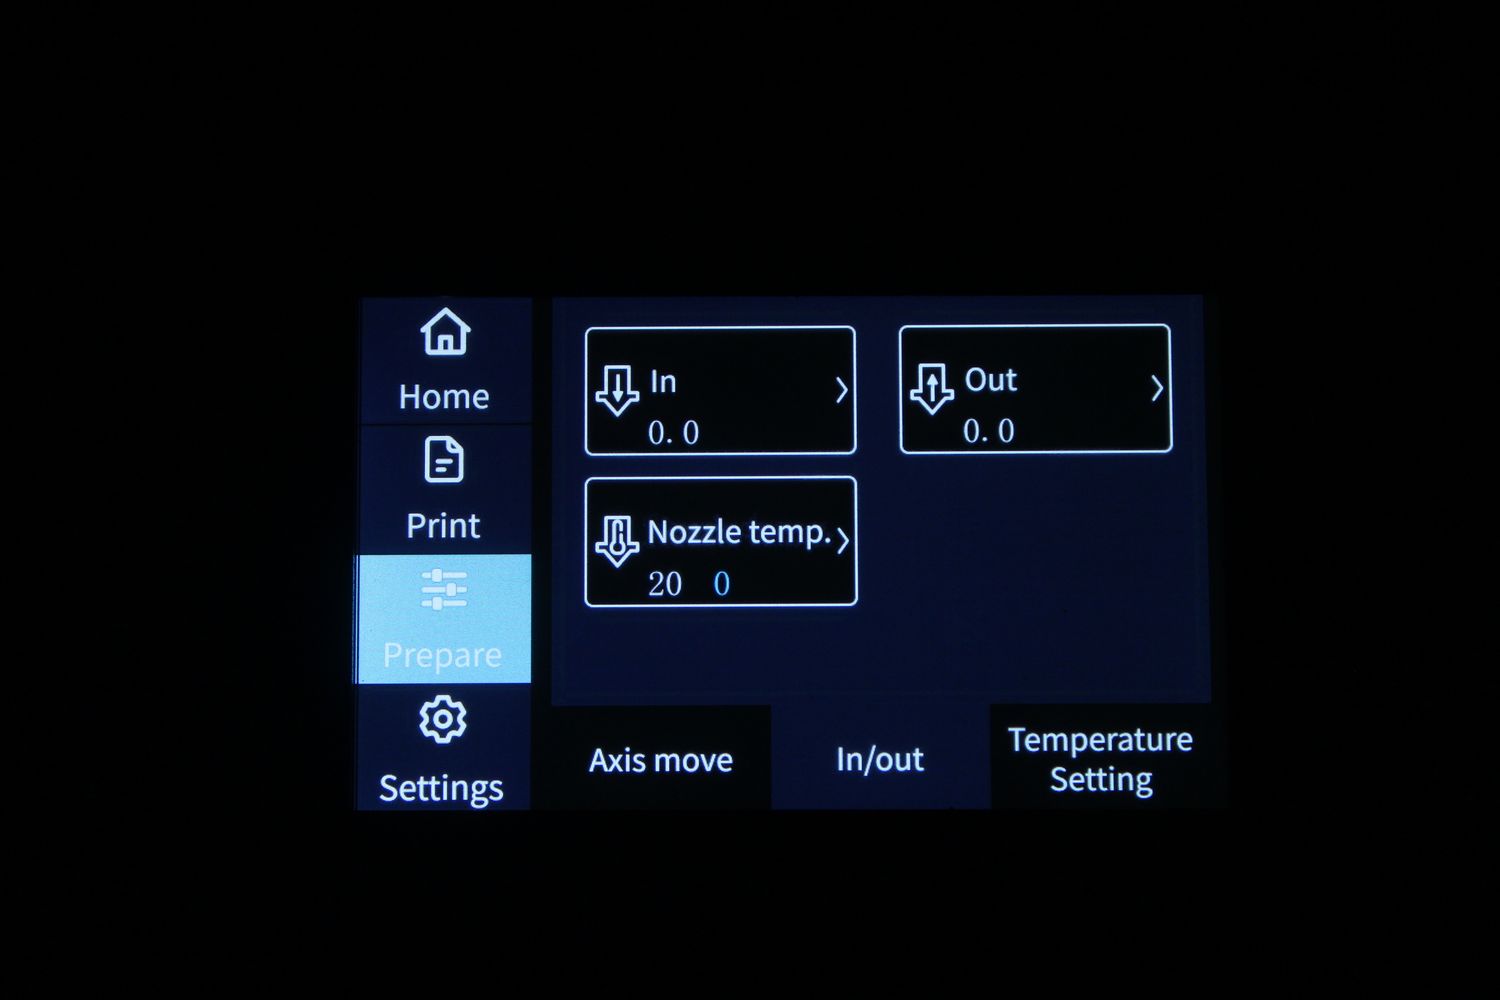
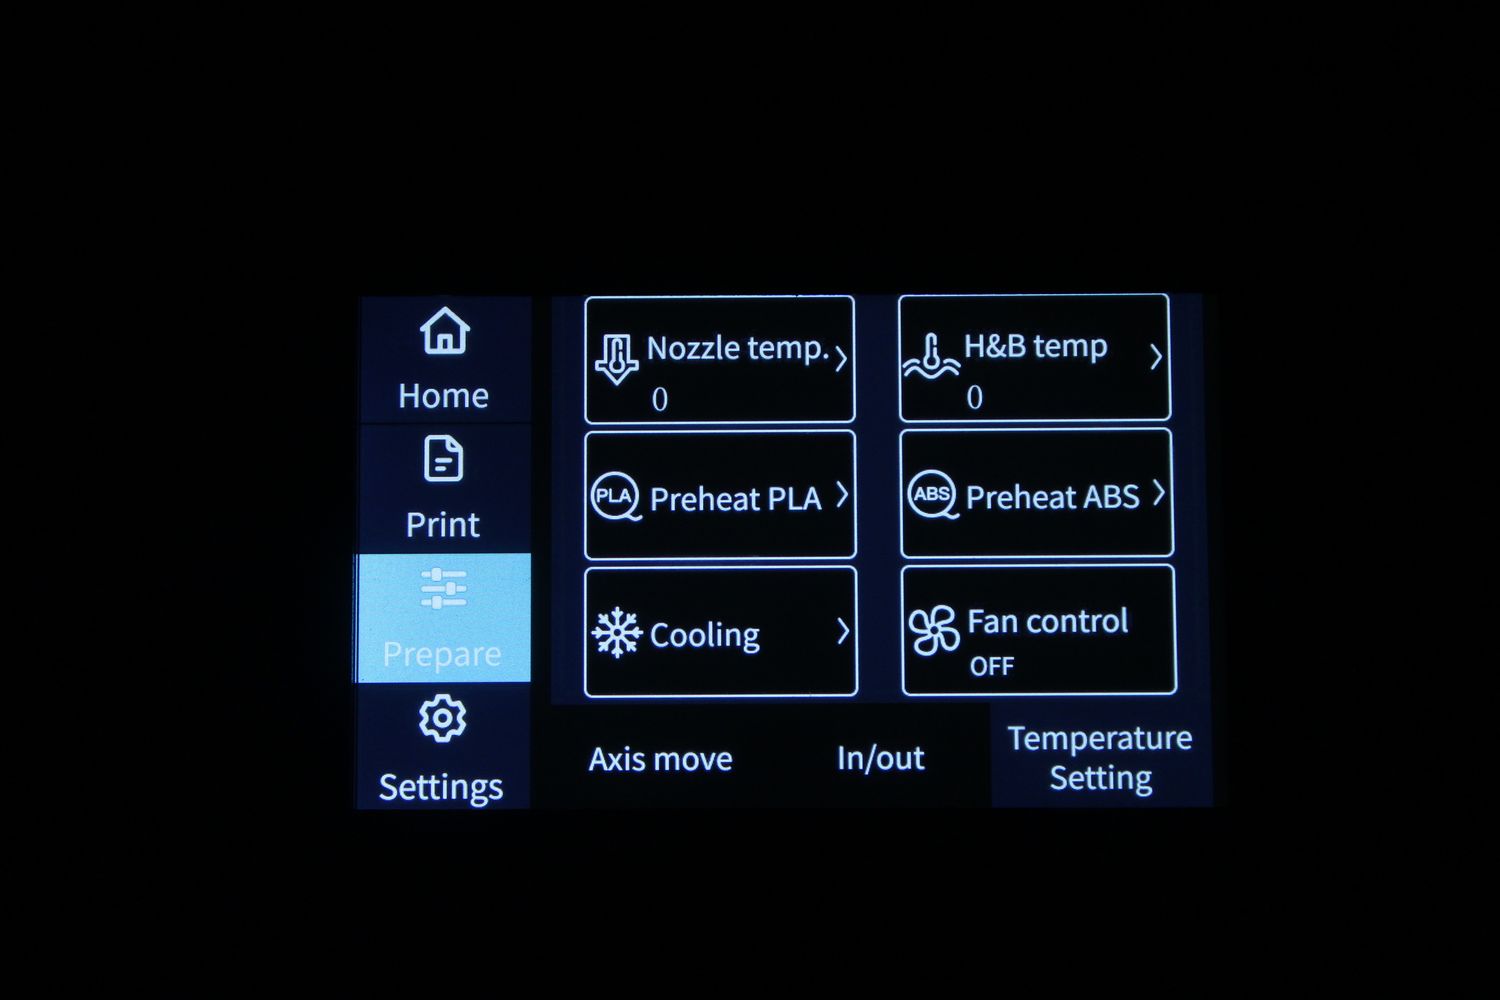
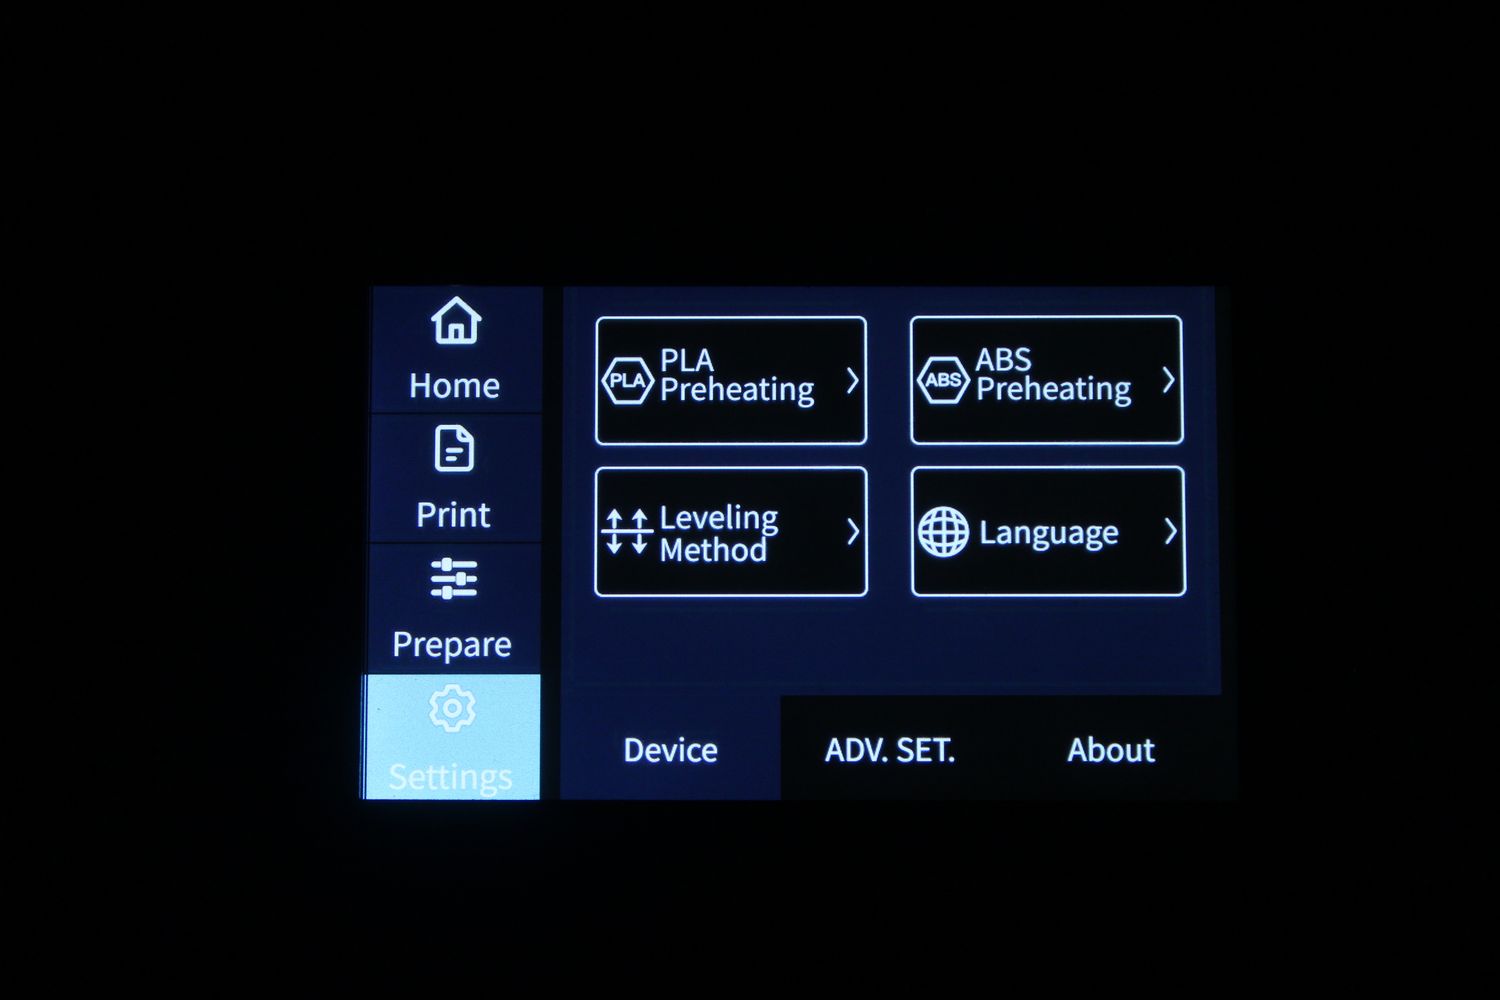
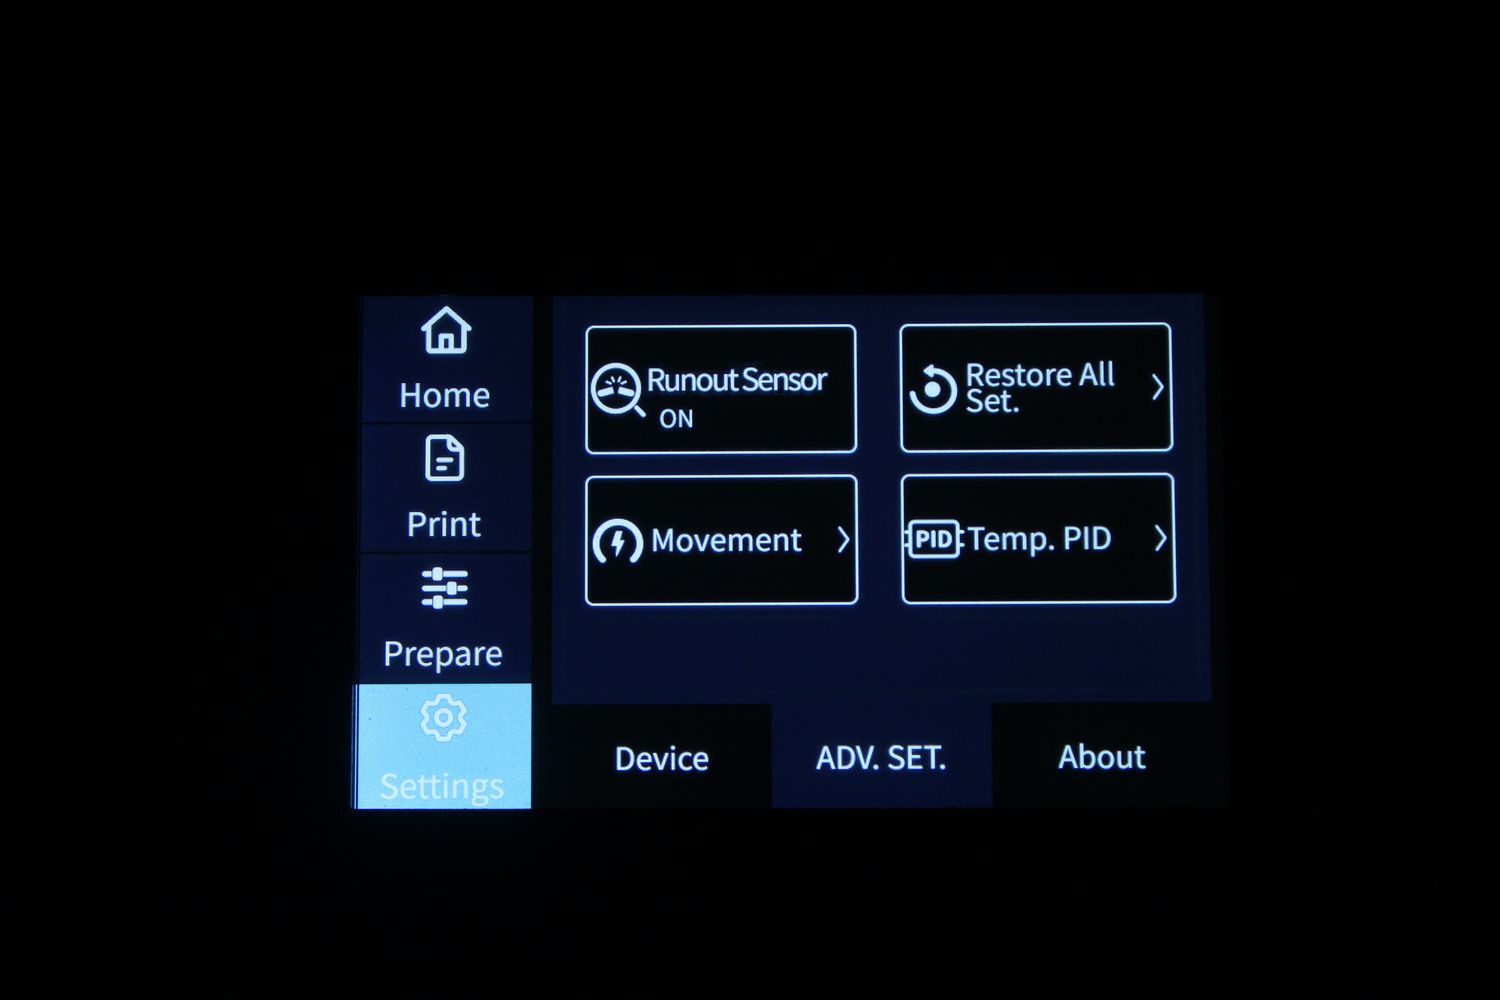
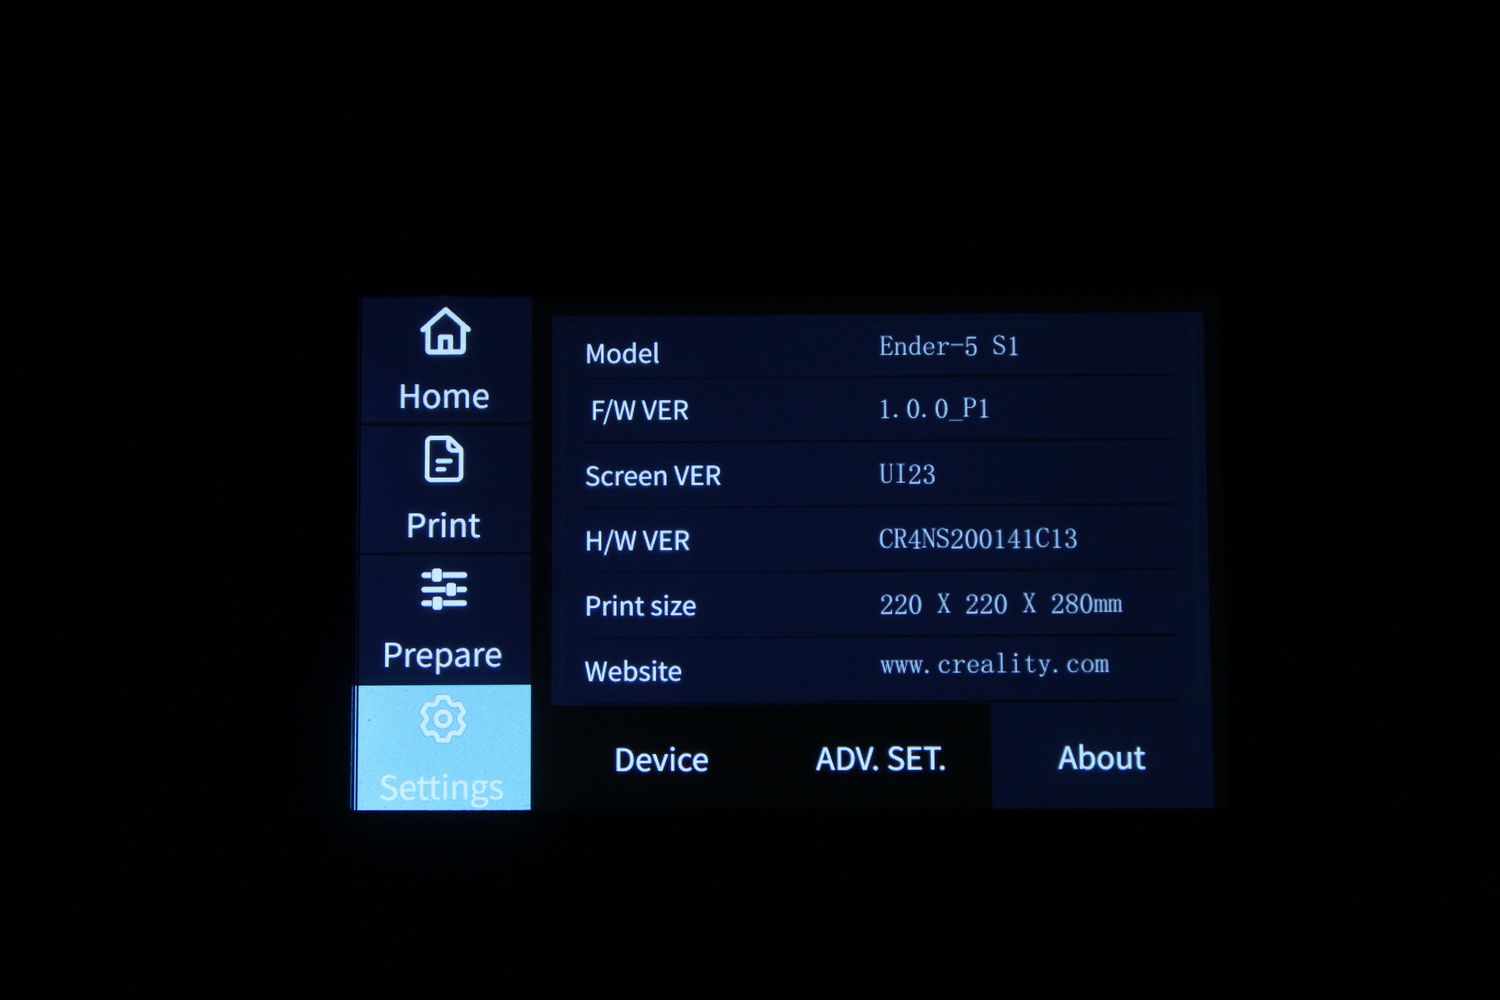
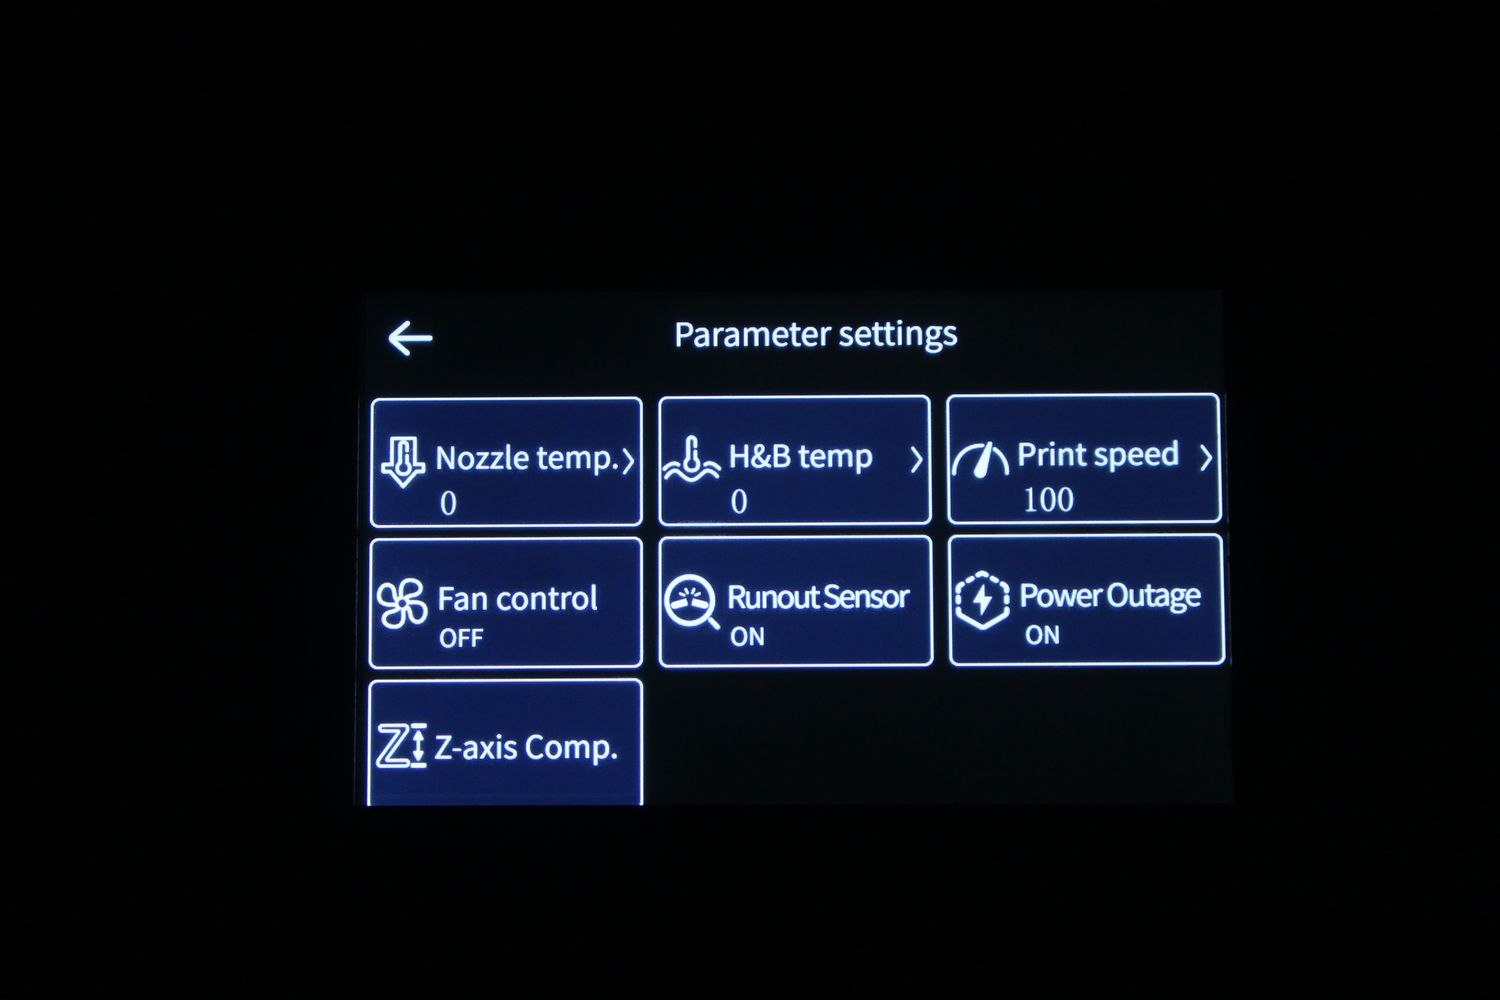
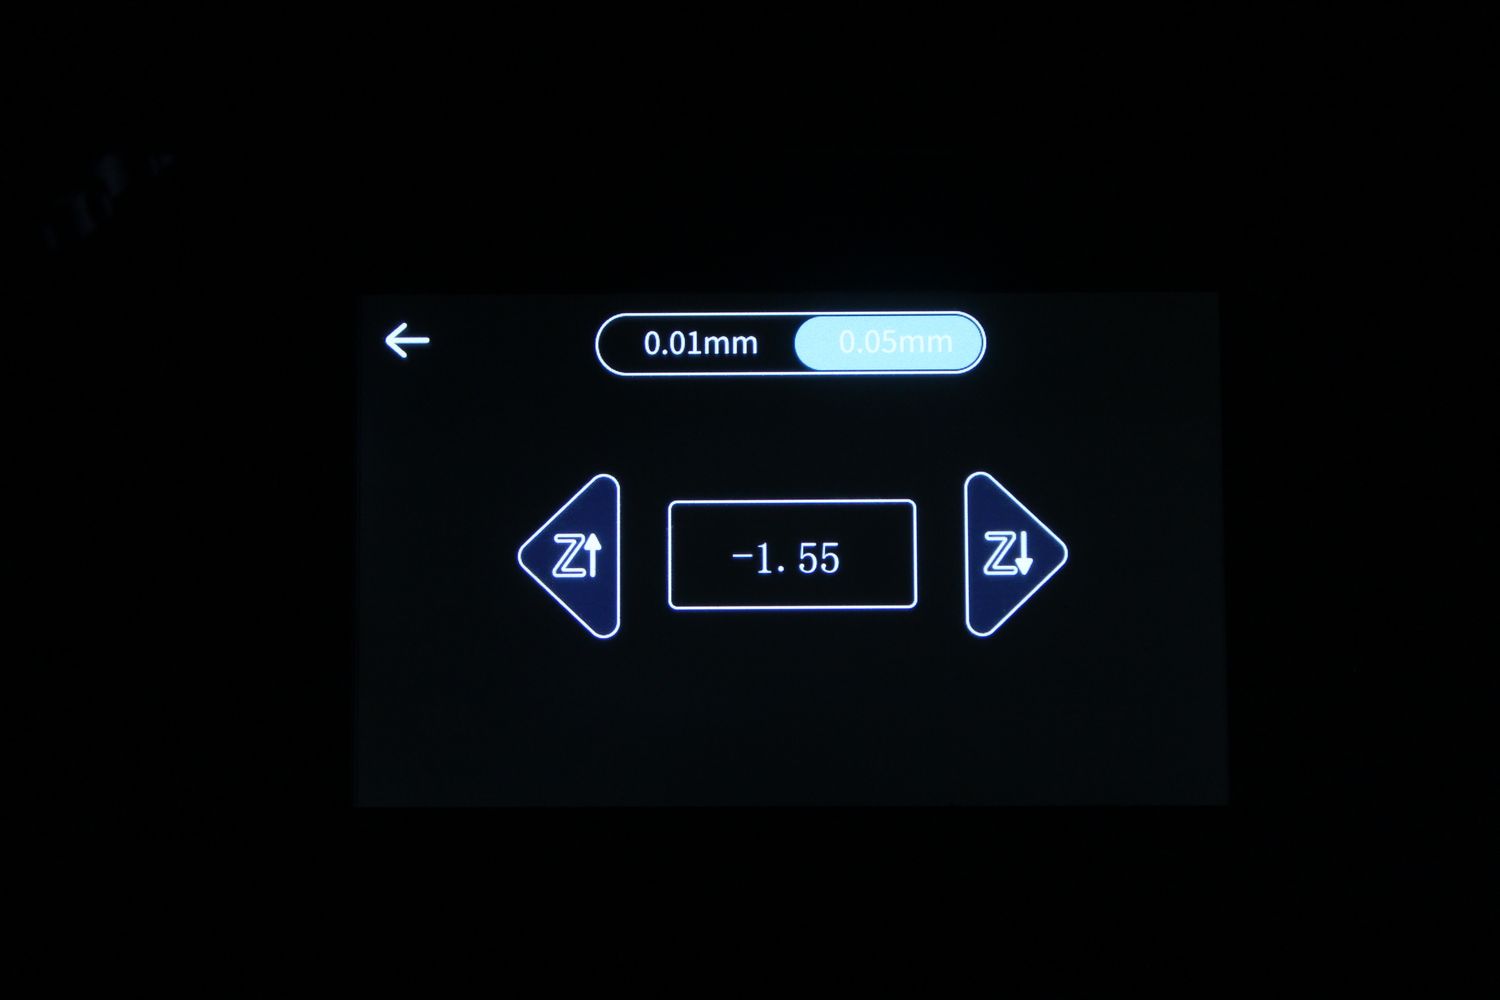
For example, the home screen shows buttons for the hotend and heatbed temperature options but they are not available when the printer is idle. When a printer is started, you can touch those buttons to reach a secondary menu that allows control of the hotend and heatbed temperatures, along with other settings like speed and Z offset.
This inconsistency makes the experience a bit confusing, but I guess you would get used to it after a while.
350W 24V Power Supply
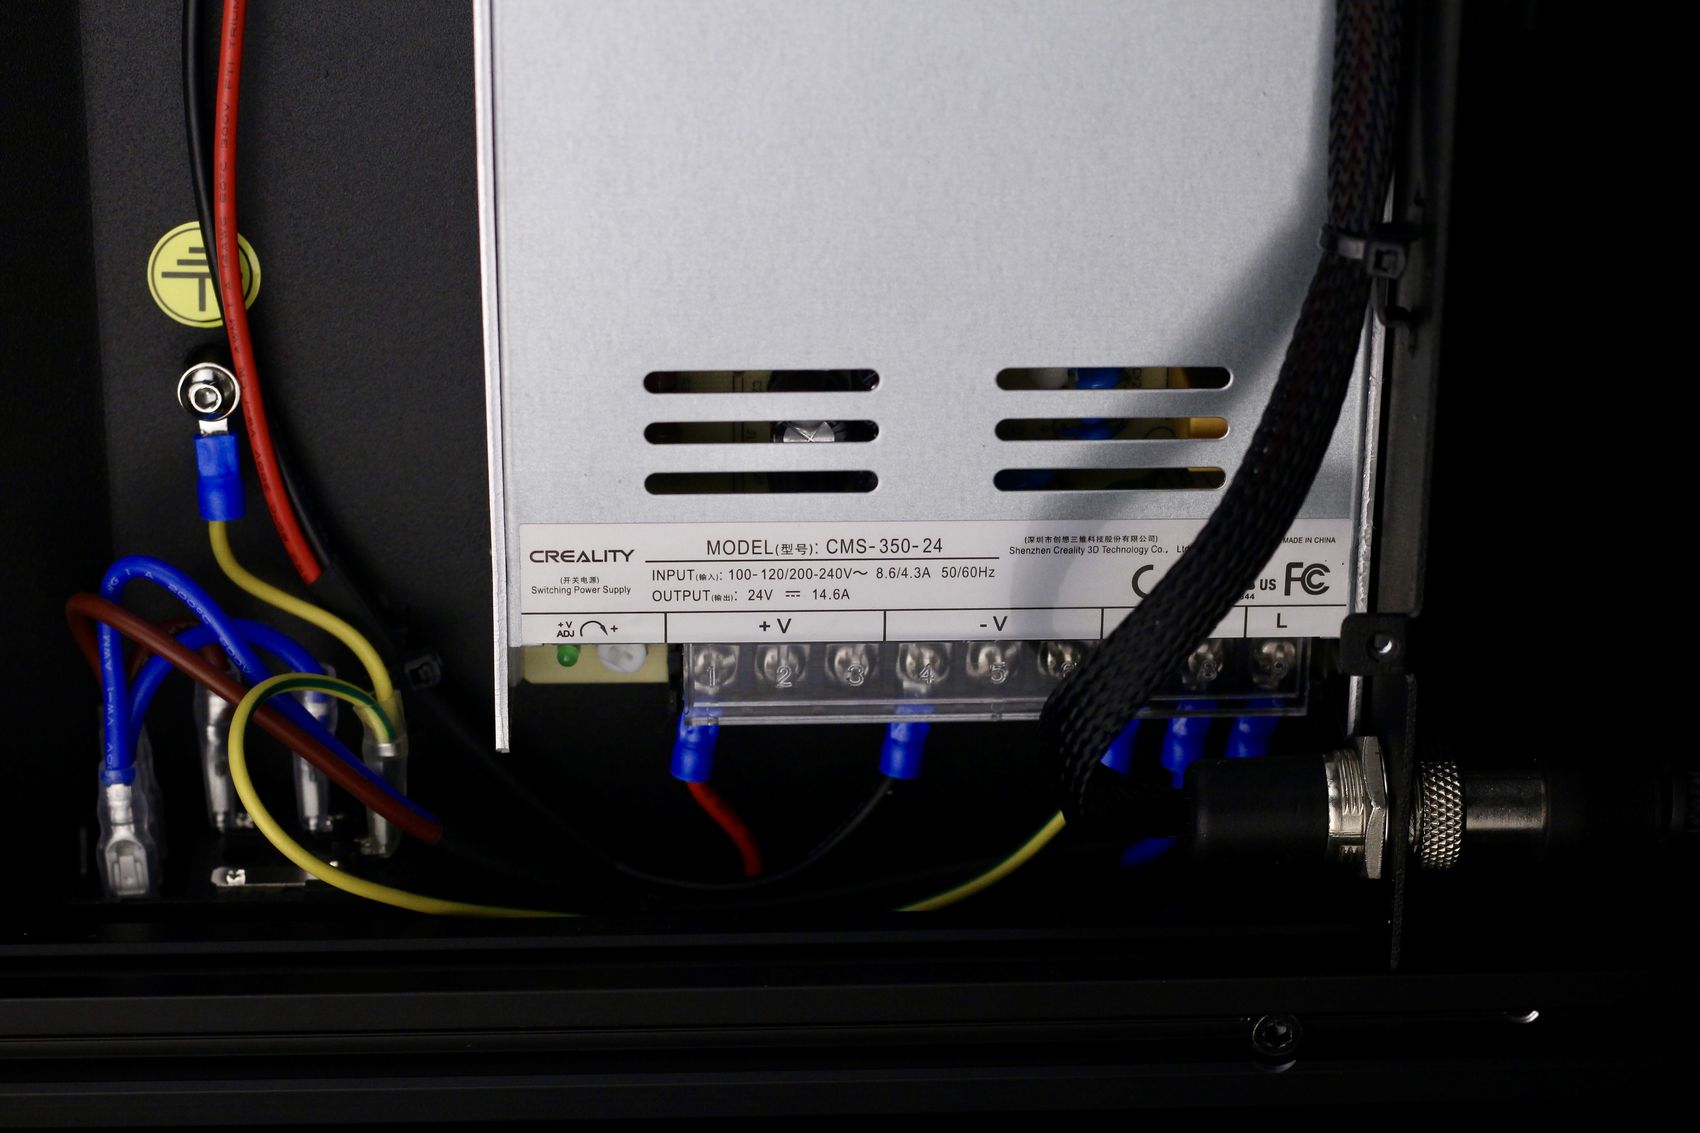
When it comes to power, the Creality Ender-5 S1 comes with a Creality-branded 350W 24V power supply. I used the same power supply on other machines so I don’t expect any kind of issues with it in the future. What I would like to see is a temperature-controlled fan to avoid having it on when the printer is idle. While the fan is not very loud, it’s noticeable.
Heating time and power consumption
Hotend
- 200C in 1 minute and 12 seconds
- 250C in 1 minute and 36 seconds
Heatbed
- 60C in 3 minutes and 8 seconds
- 100C in 9 minutes and 15 seconds
Power Draw.
Idle power draw is around 8W. When the hotend and heatbed are heating up, the Creality Ender-5 S1 draws around 265W. After it starts printing, the power draw stabilizes to around 115W.
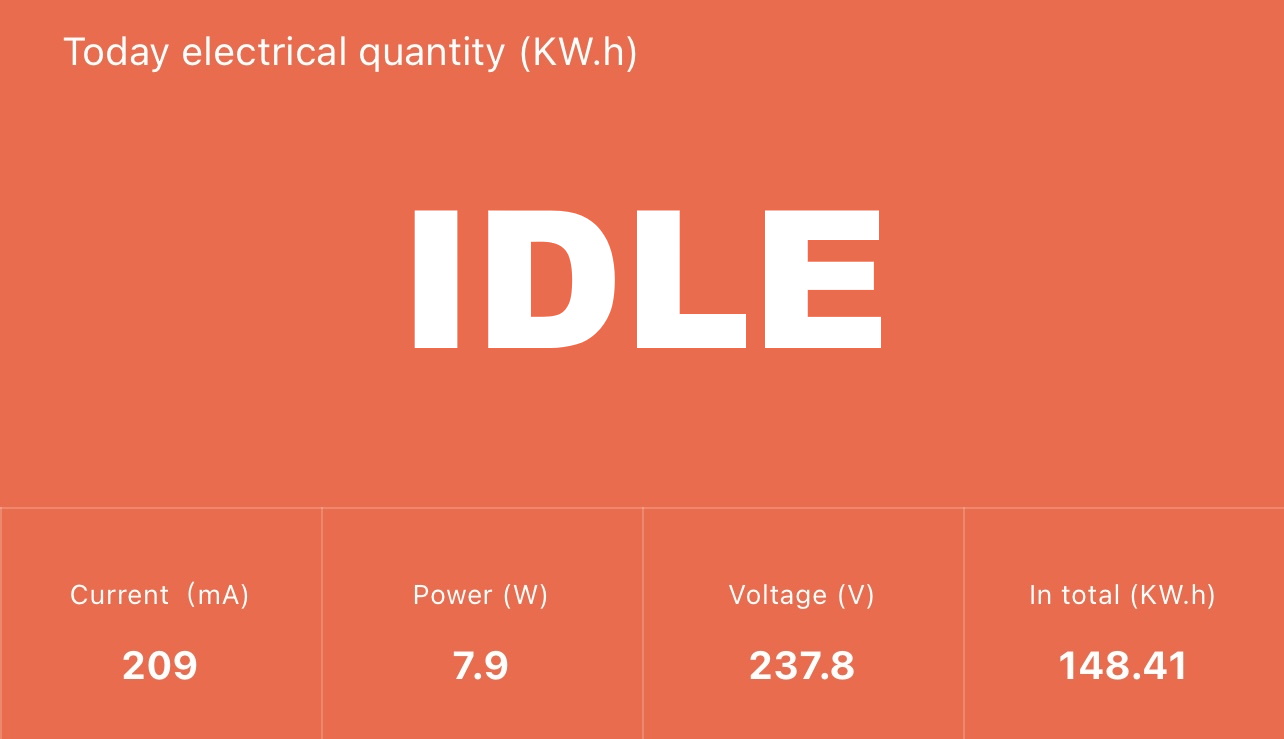
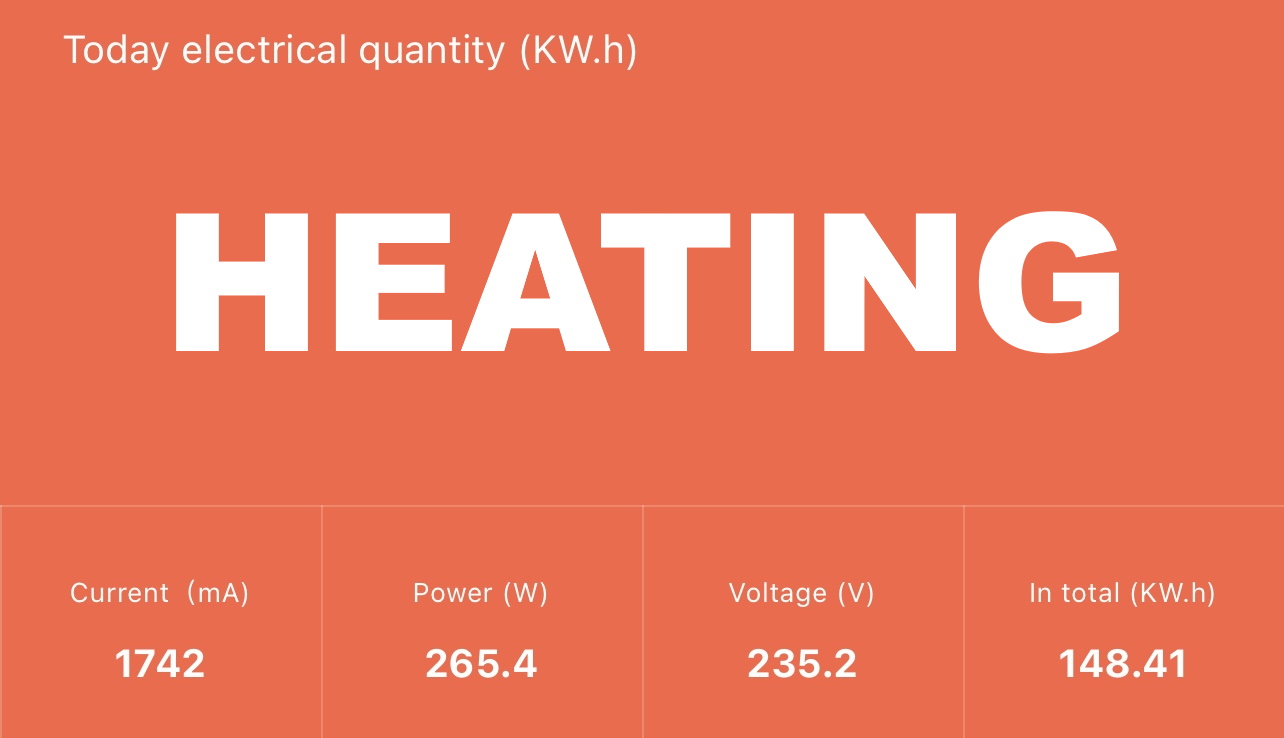
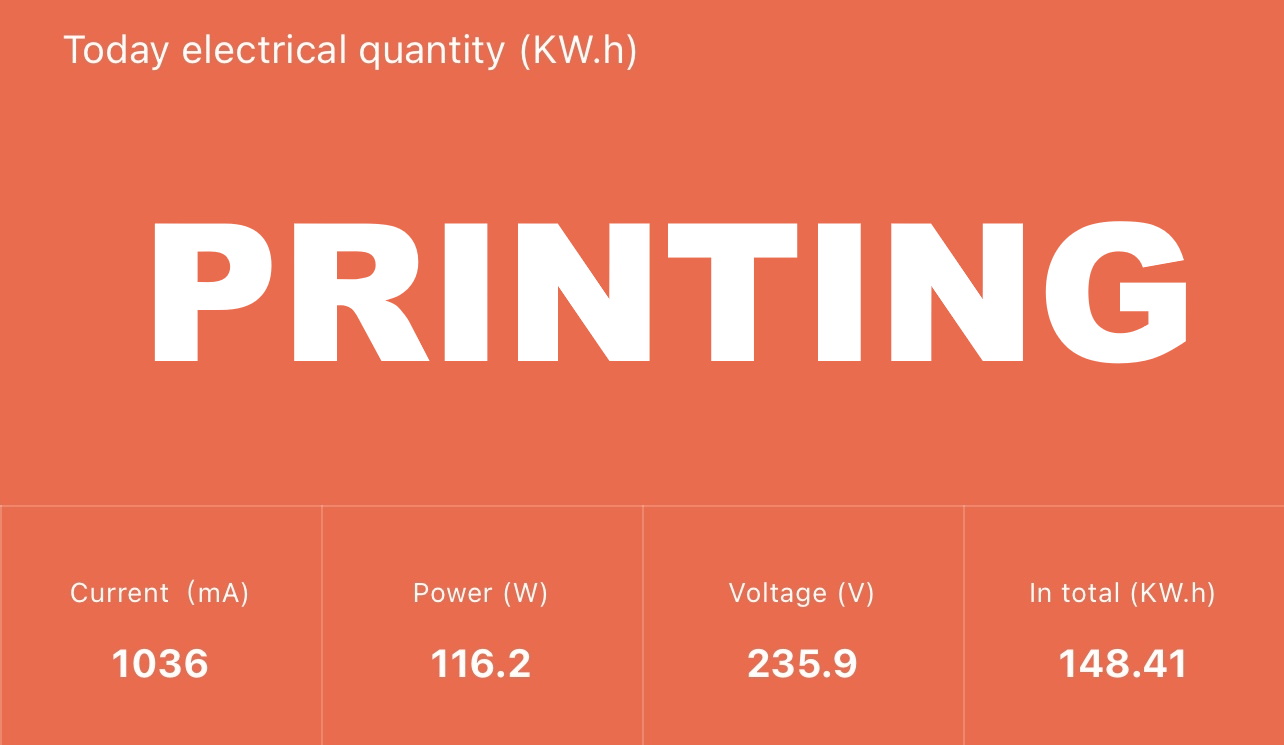
All these measurements were taken with a Blitzwolf smart power socket which indicates the power draw, and it can also be used for remotely powering on and off the printer.
Bed Temperature Uniformity
I tested the temperature uniformity for the Creality Ender 5 S1 bed with the FLIR Camera installed on the CAT S62 Pro. The bed has been set to 60C and I waited 2 minutes for the temperature to stabilize.
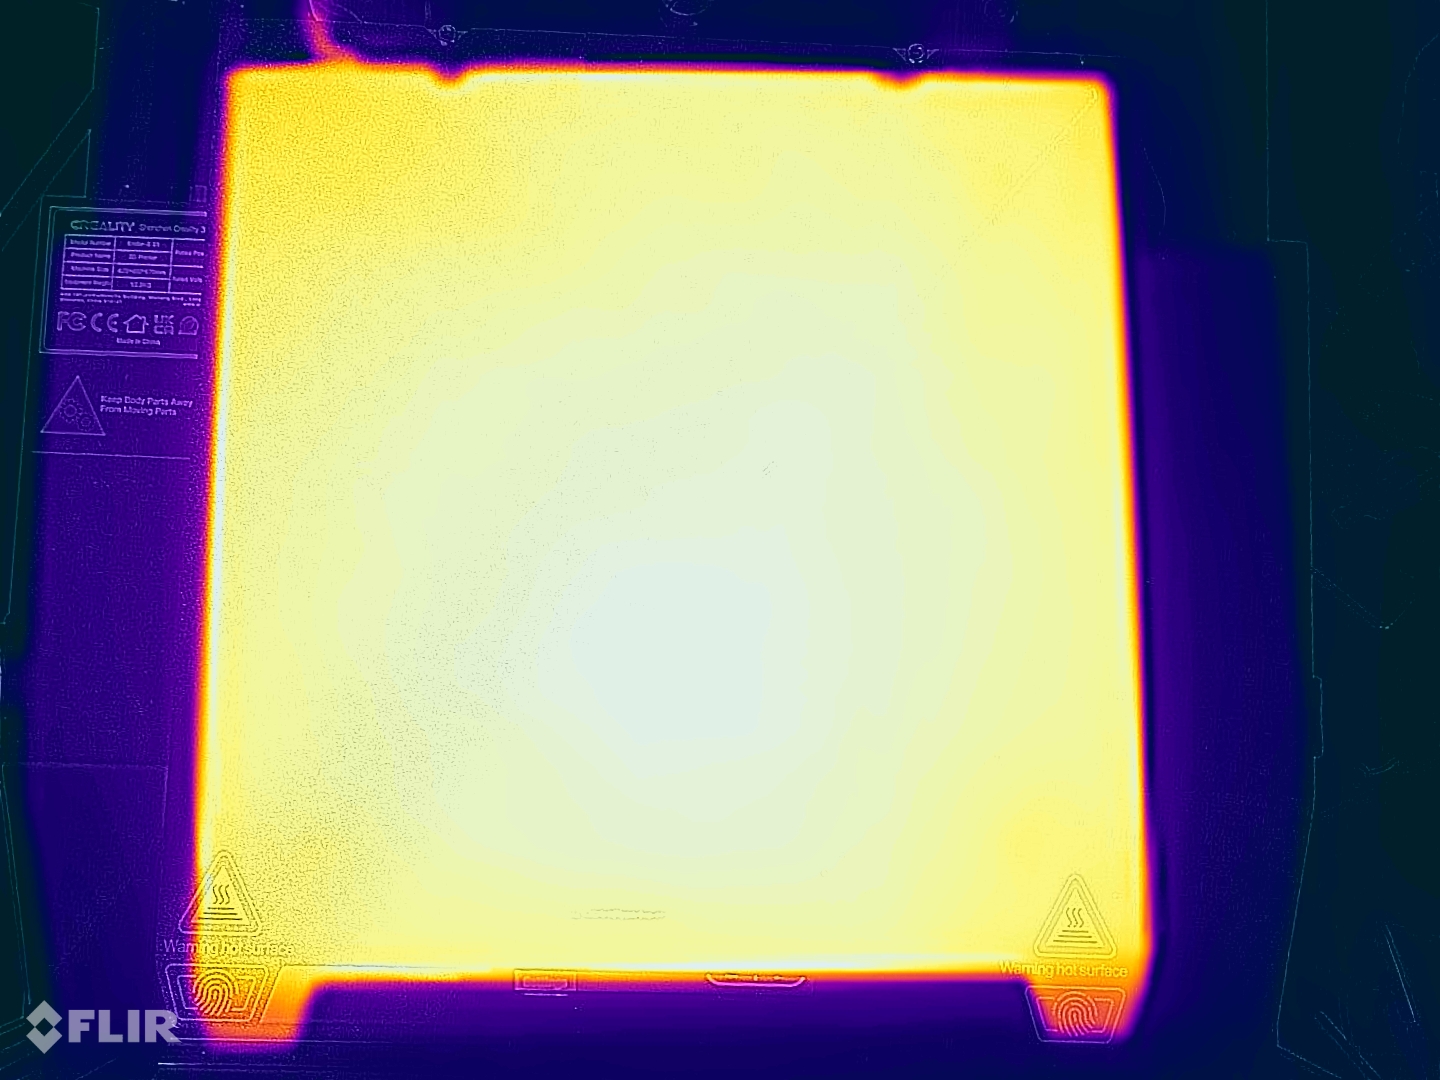
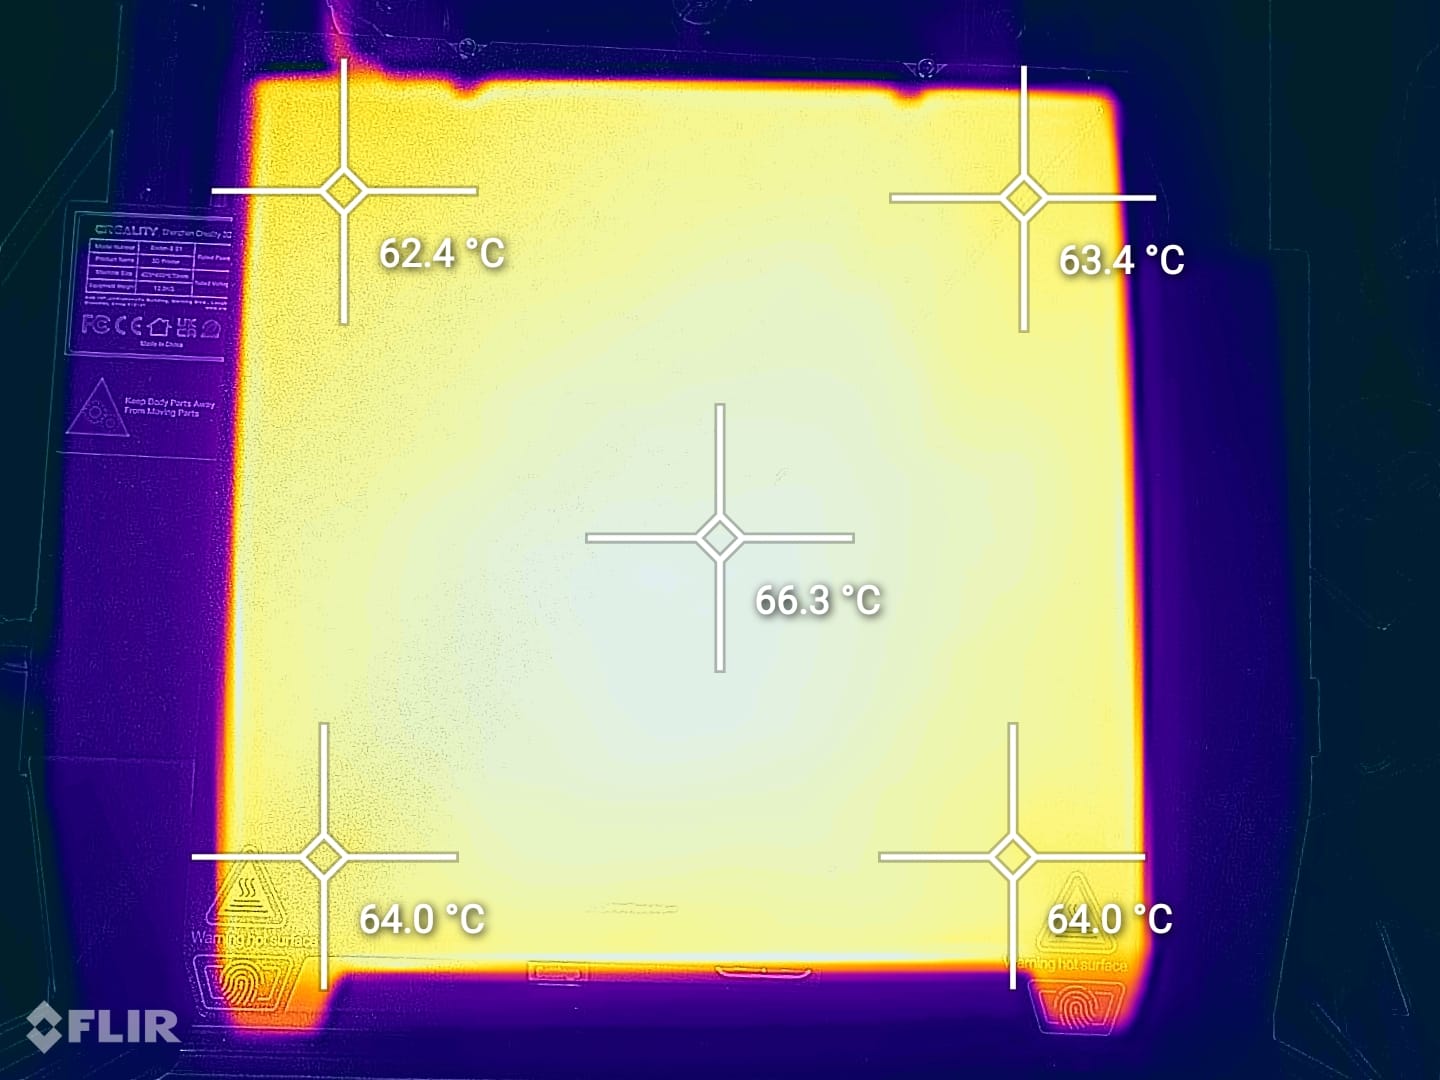
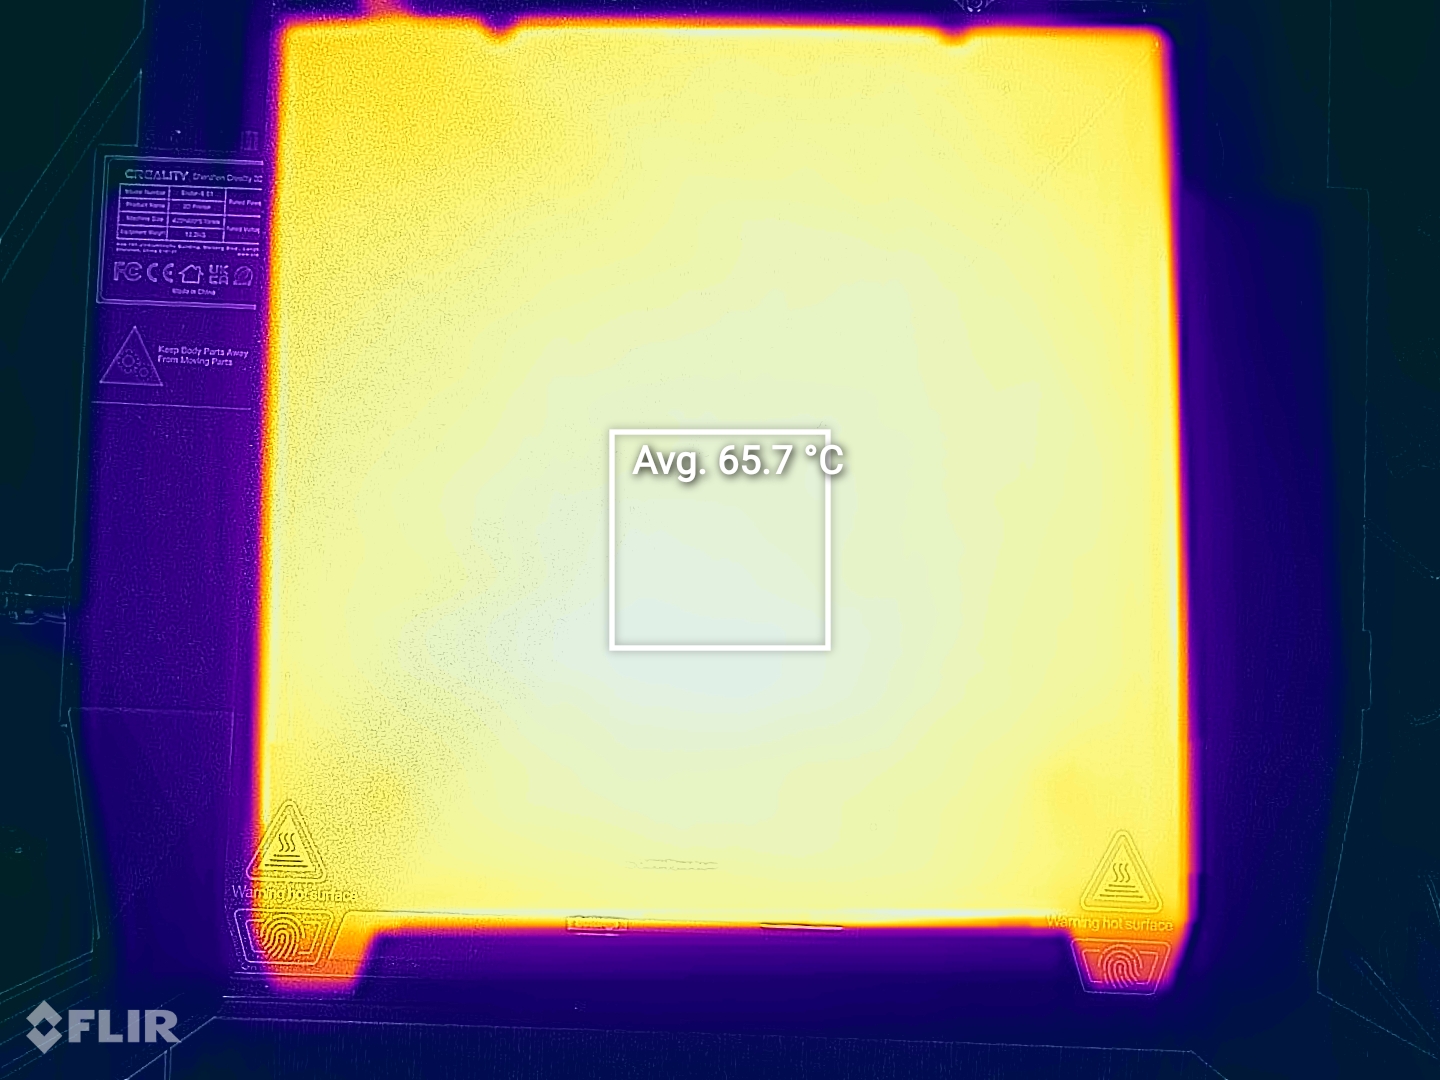
The Ender 5 S1 bed temperature has a decent uniformity, but for some reason, there is about a 5C temperature difference from the measured temperature on the surface of the bed, compared to the temperature displayed on the screen.
Creality Ender-5 S1 Noise Levels
The Creality Ender 5 S1 is a relatively quiet machine thanks to the 5015 radial fan and the lower RPM fan used for the hotend. It’s not the quietest printer out there, but it’s still relatively silent so I can’t really complain about it.
Prusa Slicer profiles for Creality Ender-5 S1
During my time with the printer, I tuned a few Prusa Slicer profiles for the Creality Ender 5 S1. These profiles are tuned for the stock printer and are available to my Patreon supporters.
As usual, the flow rate will still need to be calibrated, according to your filament.
Test prints on Creality Ender-5 S1
3D Benchy
As I do in every review, I started with a partially calibrated slicer profile and printed the 3D Benchy in PLA, with a speed of 80mm/s which is higher than what I would use on other 3D printers, to test the cooling capabilities of the machine. And the results are better than I expected, as the bow is still quite clean, a sign that the part cooling used in the Ender 5 S1 works as expected.
Not the cleanest benchy out there, but decent results, even though the ringing effect can be seen on the bow.
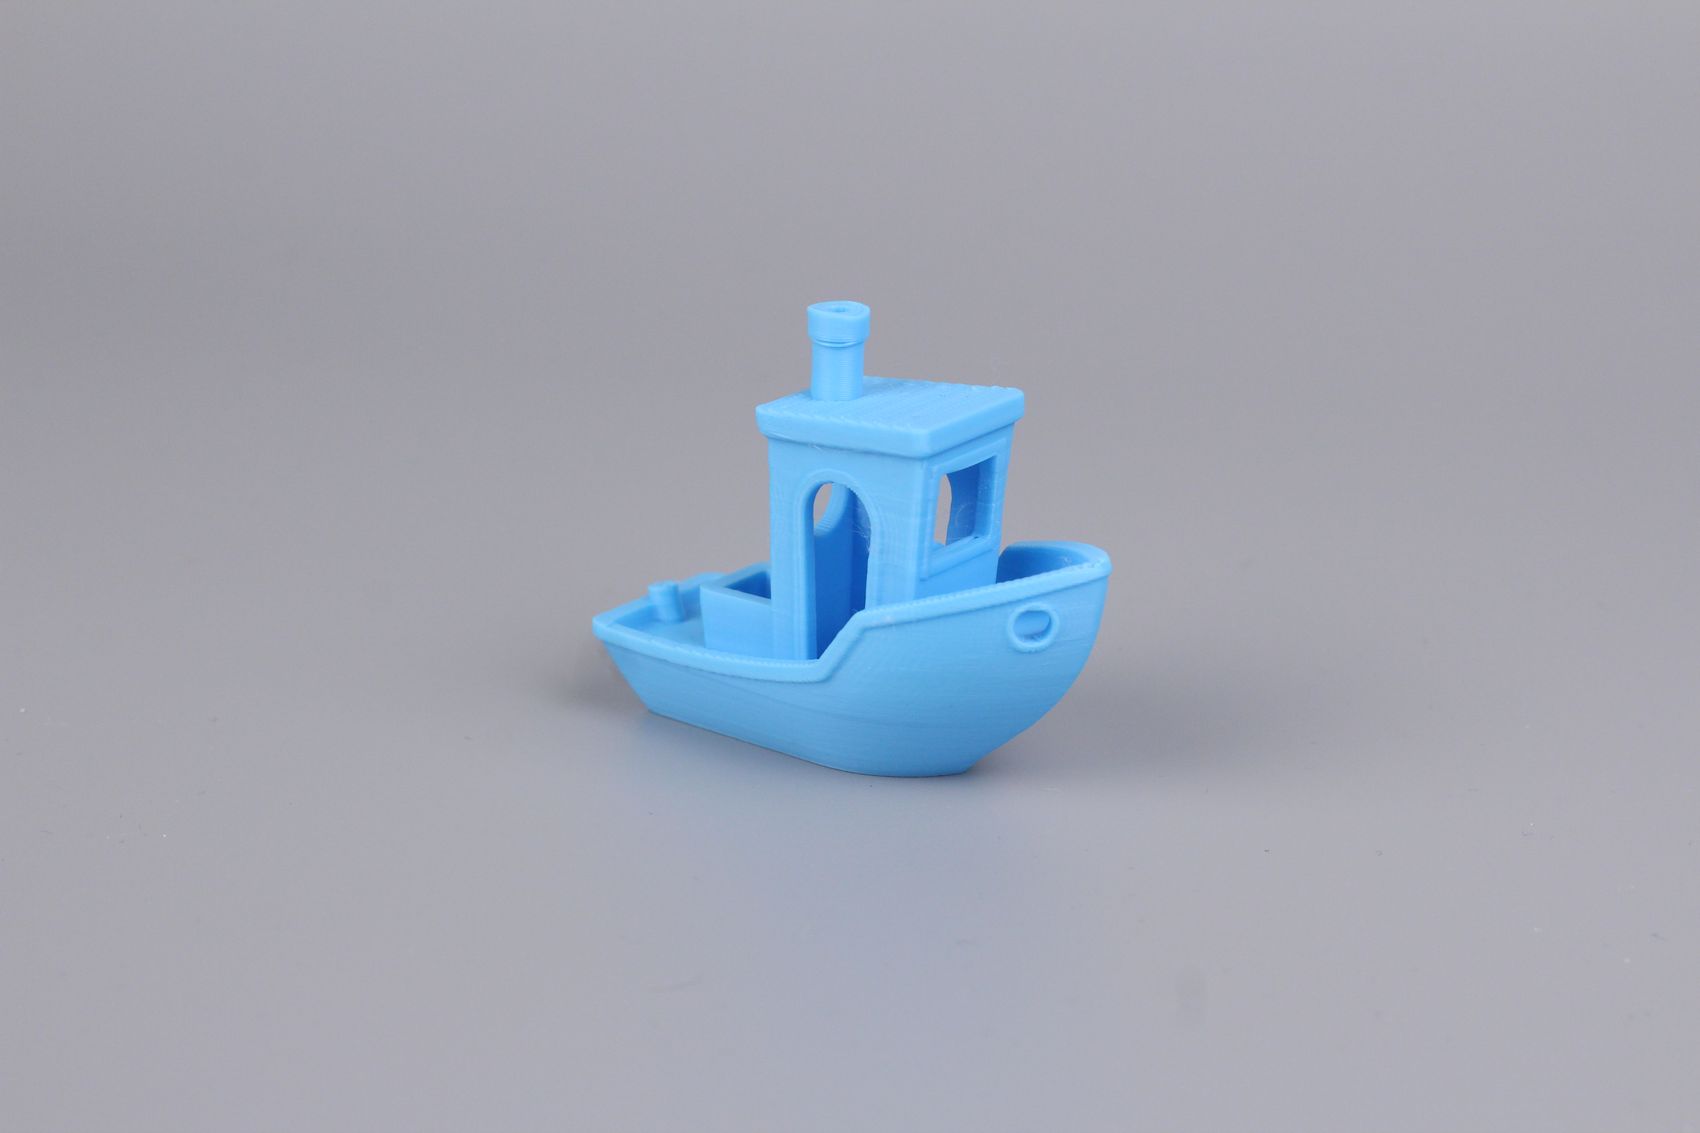
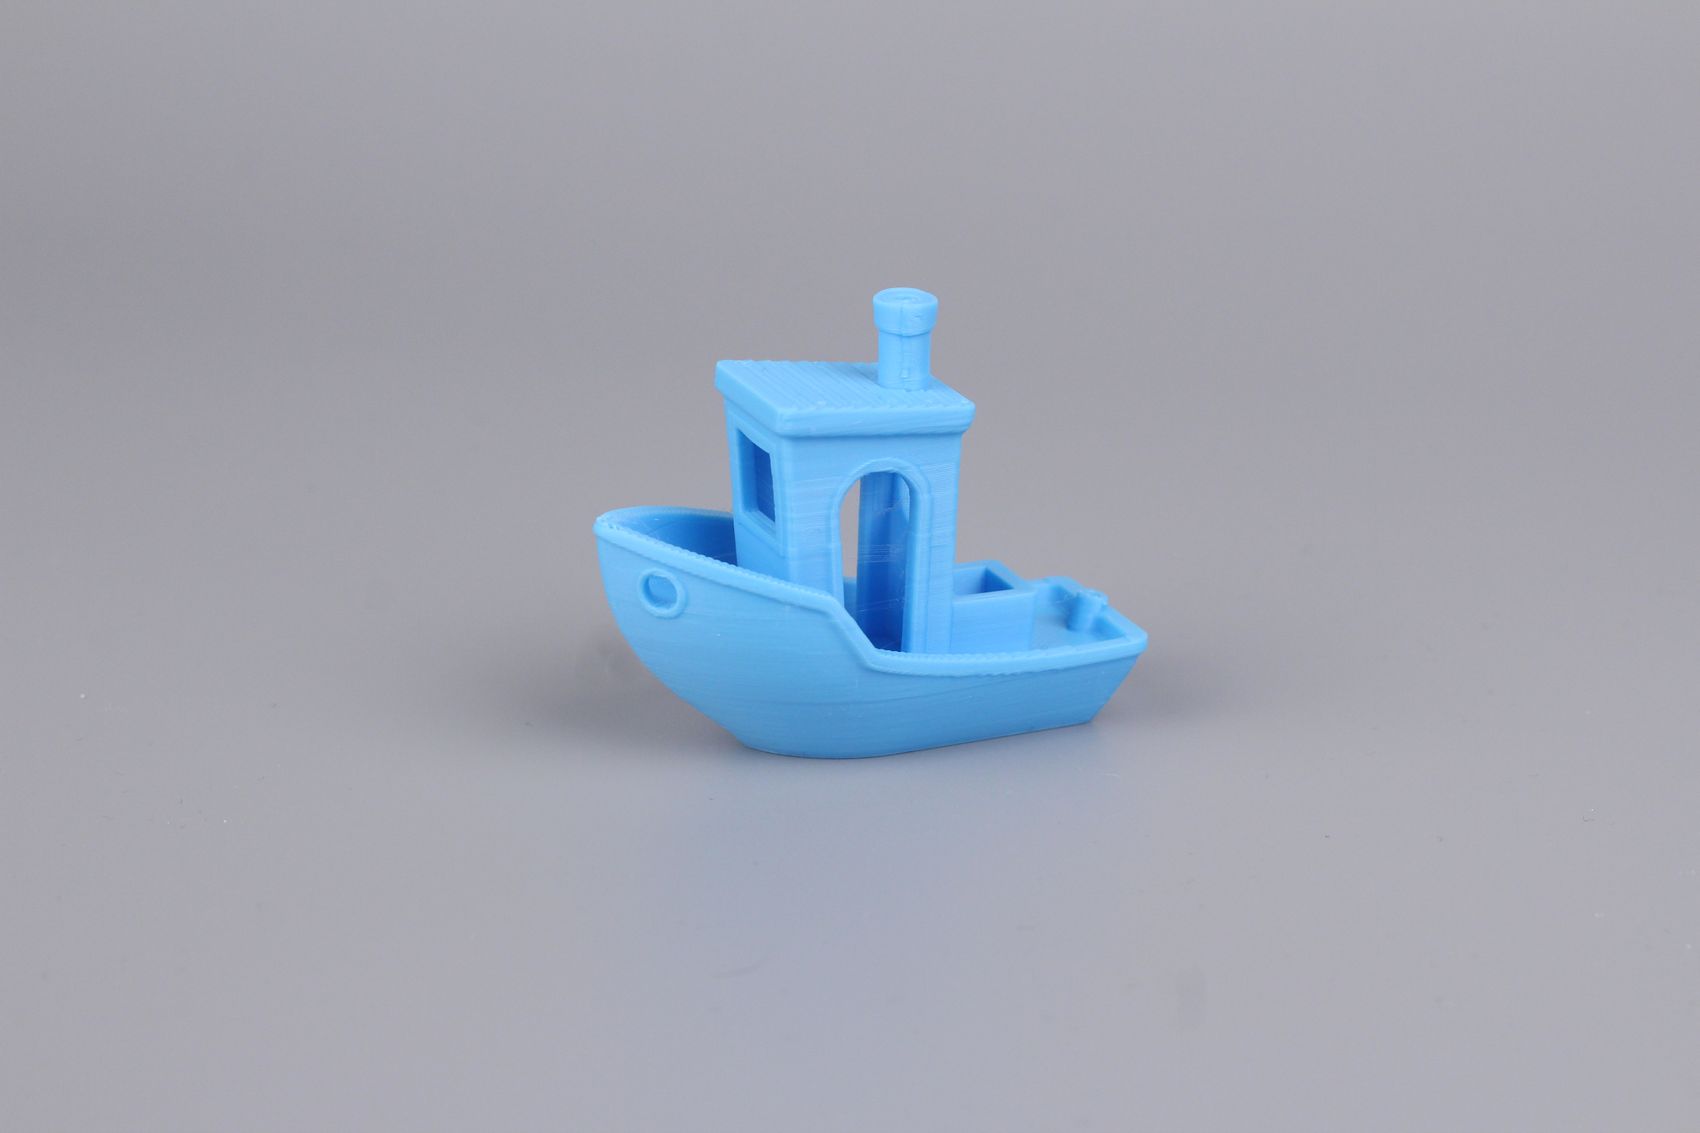
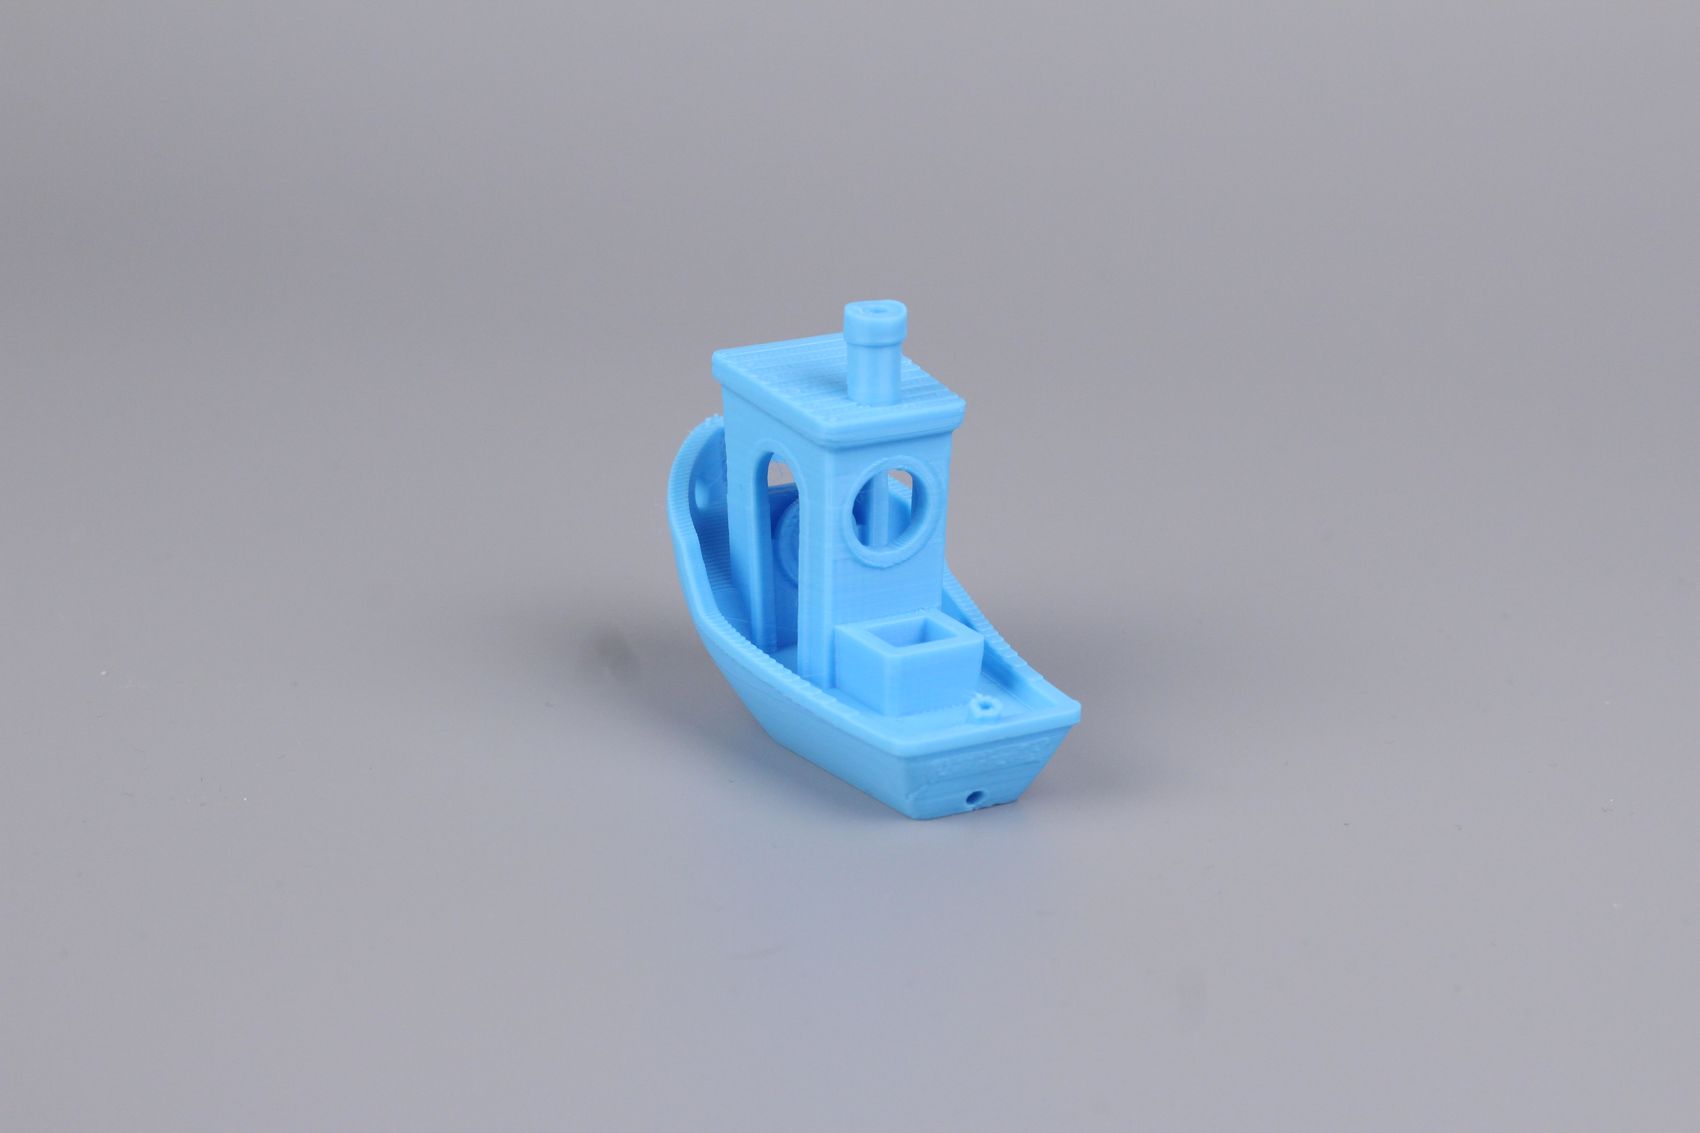
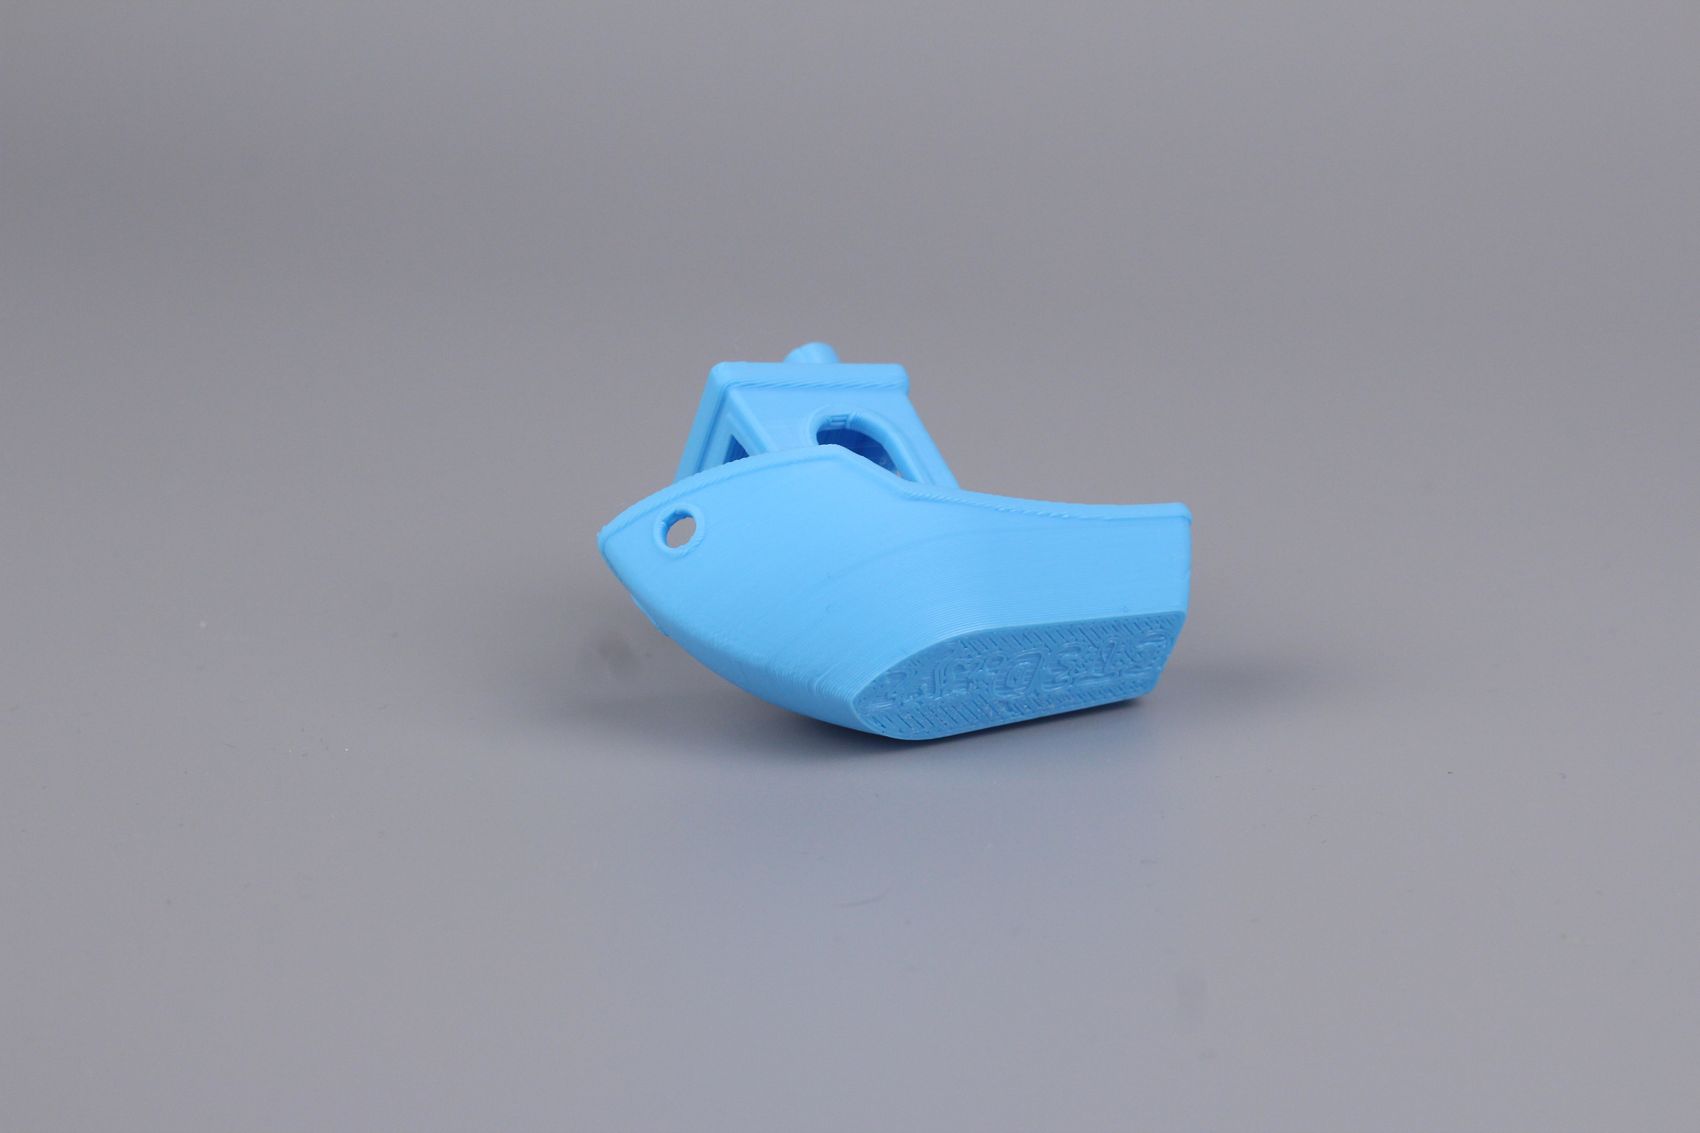
- Material: Gembird Blue PLA
- Layer Height: 0.2mm
- Nozzle Temperature: 210C
- Bed Temperature: 50C
- Print Speed: ~80 mm/s
Zaribo Calibration Cube
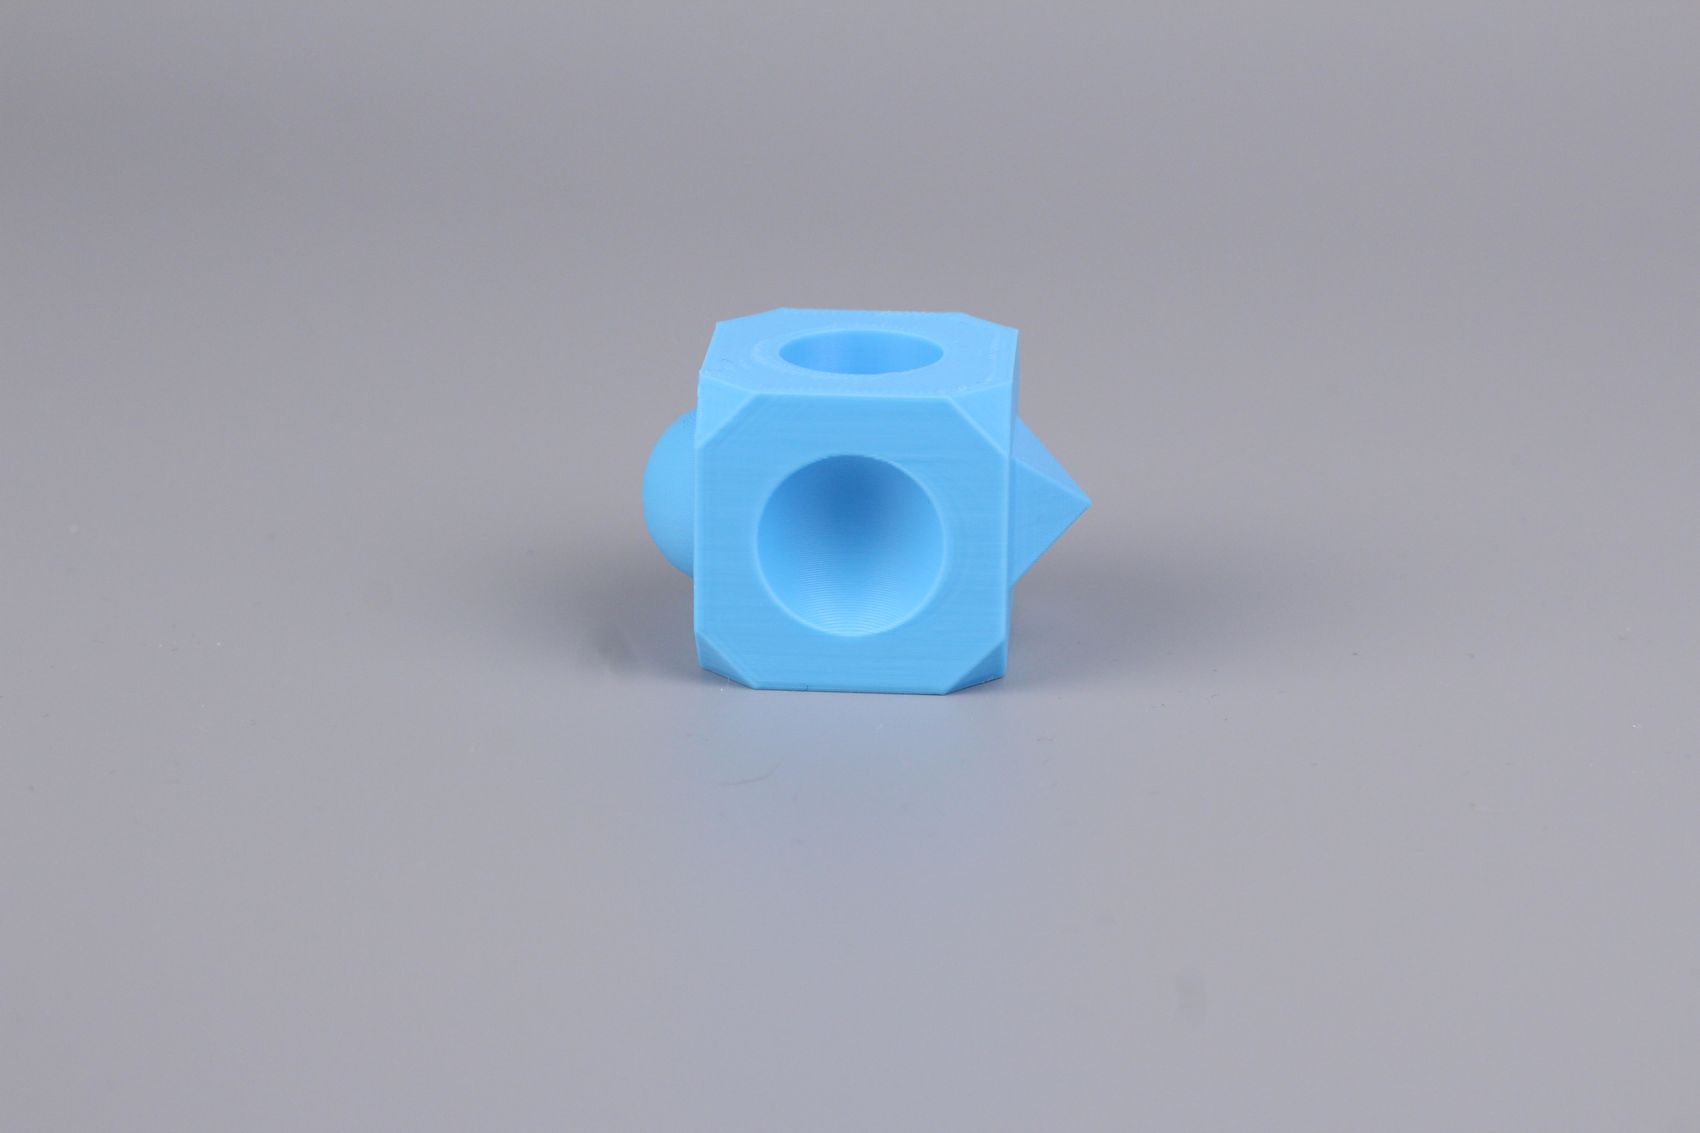
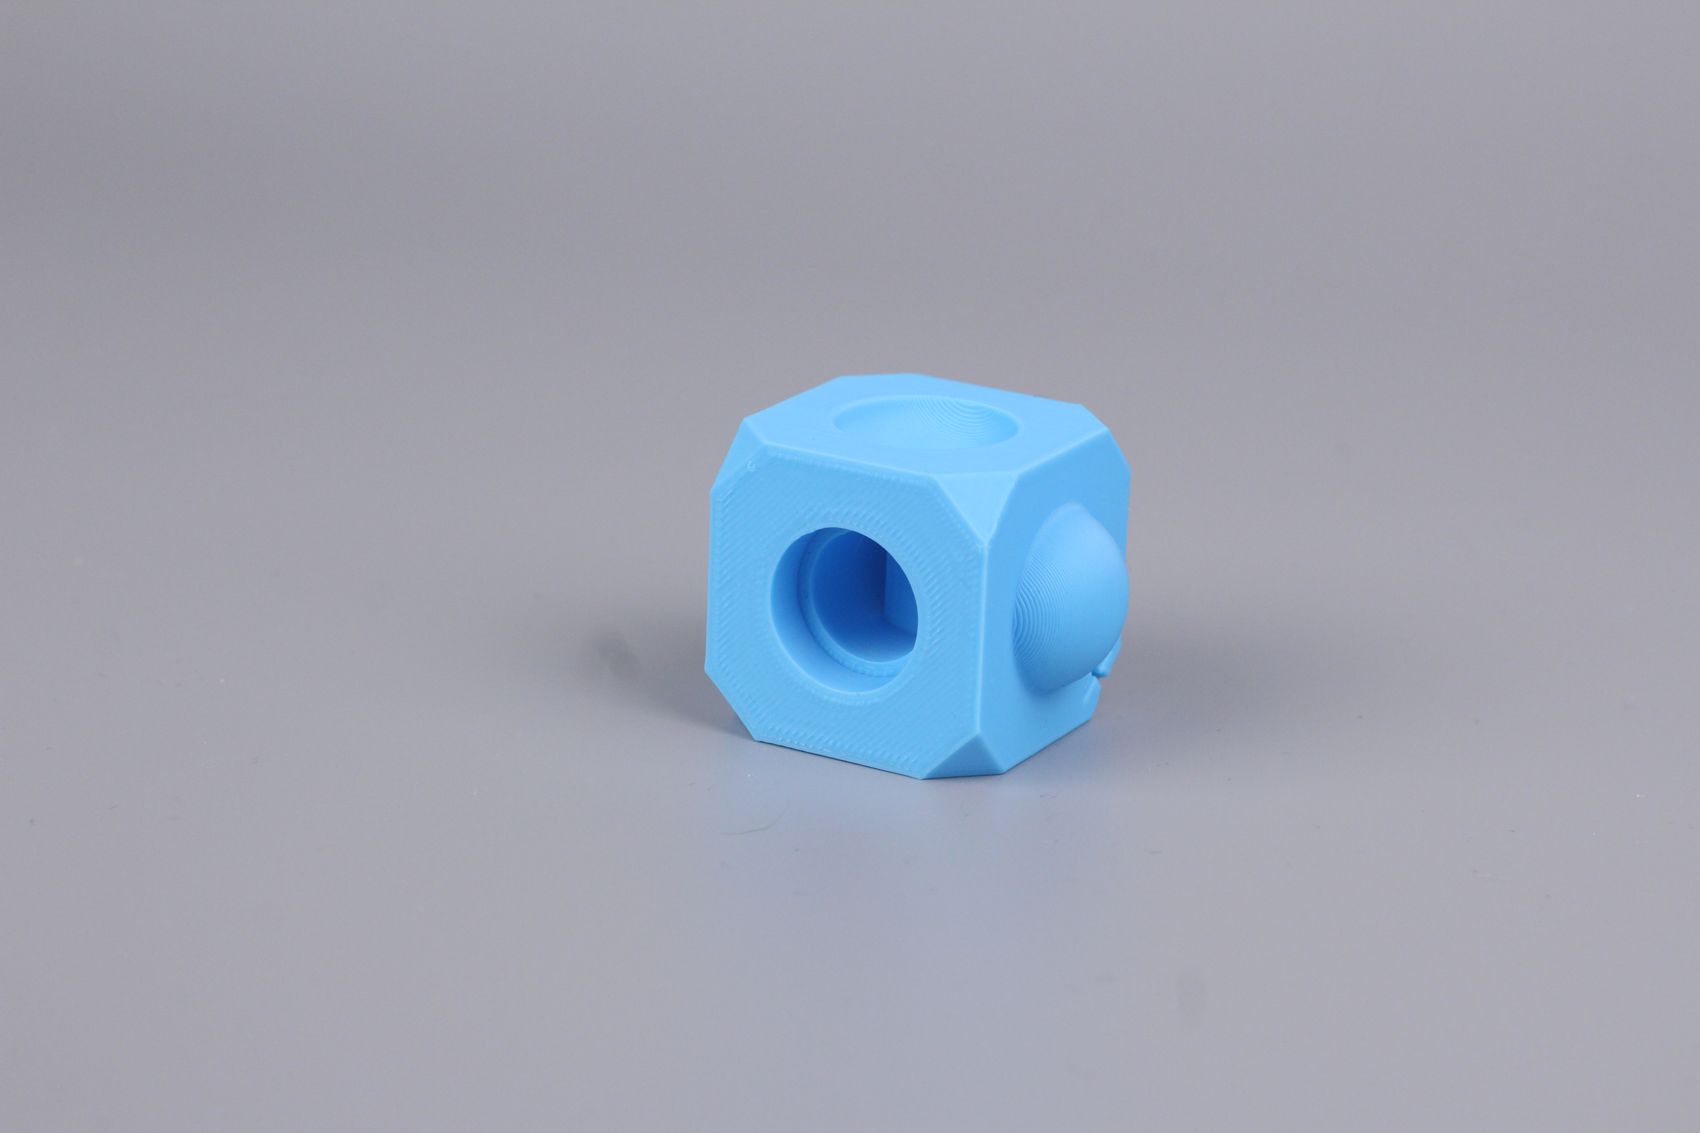
I printed a regular-size Zaribo Calibration Cube to see if the printer can keep up with the cooling needs of such a small model and again, it performed quite well. Unfortunately, this print shows the ringing effect much clearer, a sign that the weight of the print head is a bit too much for the 2k acceleration values I used.
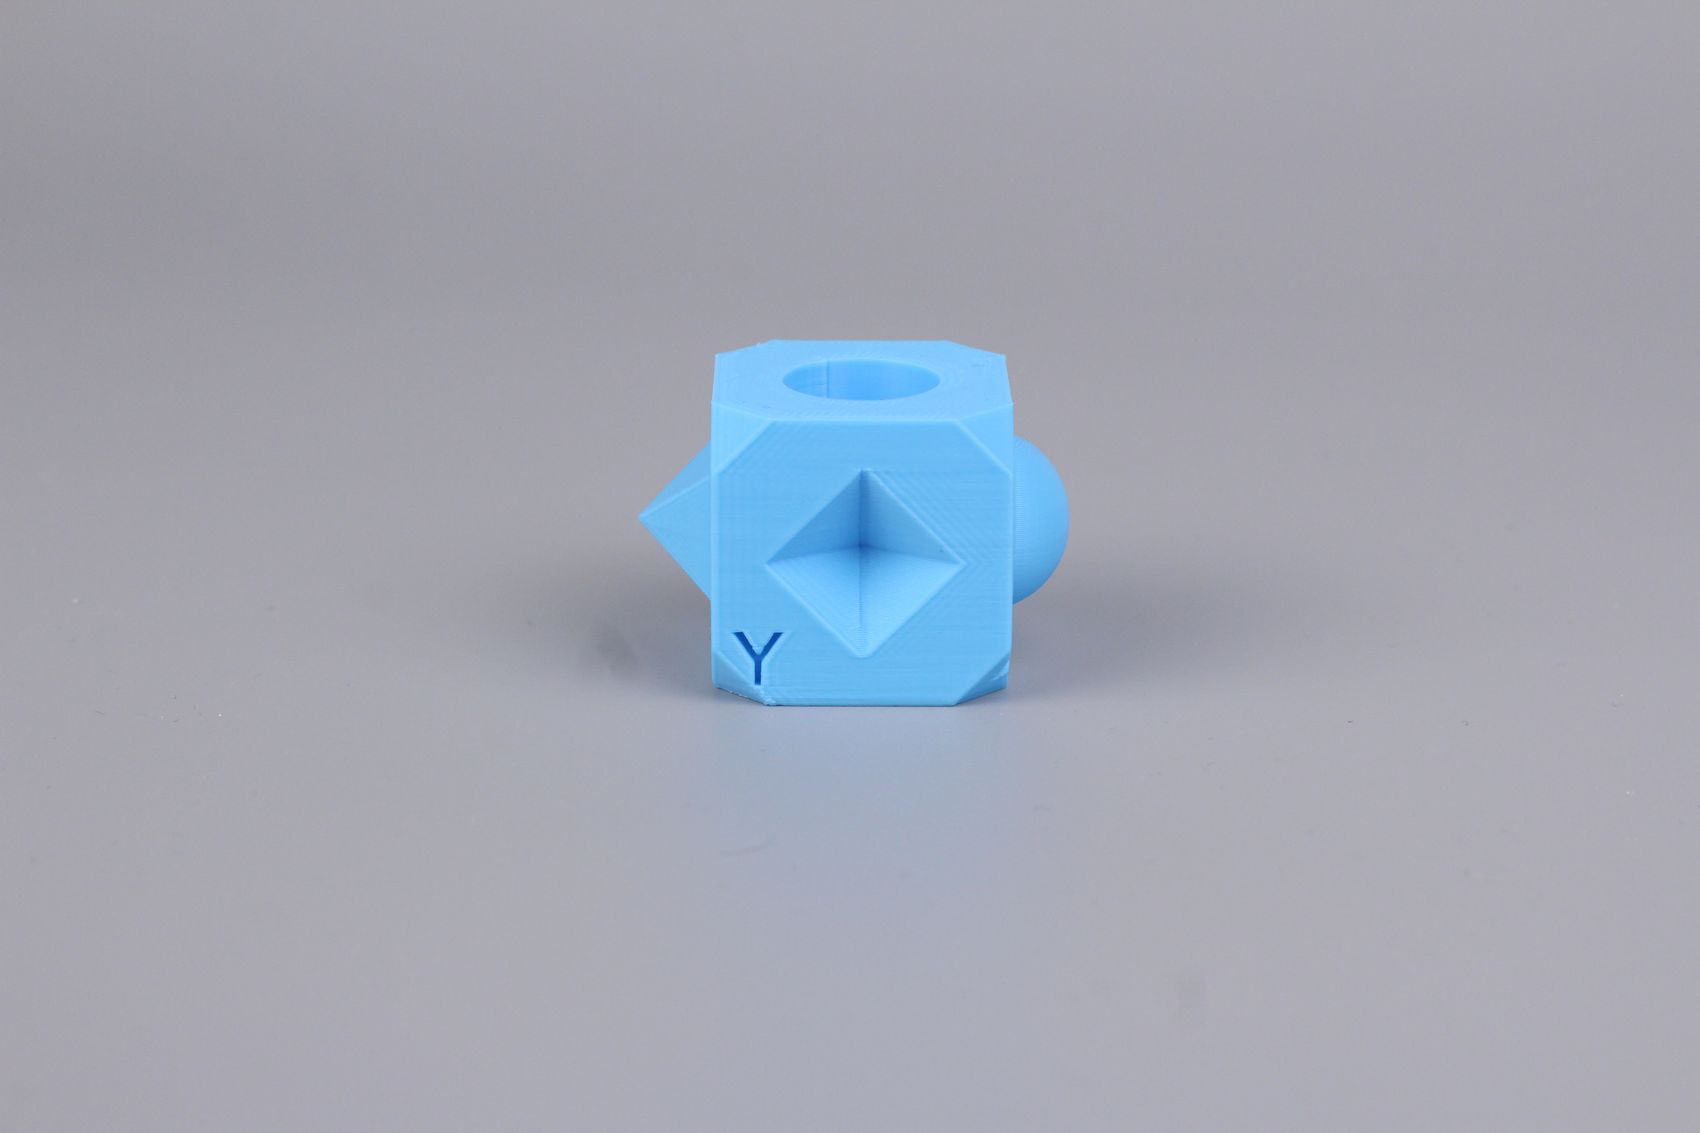
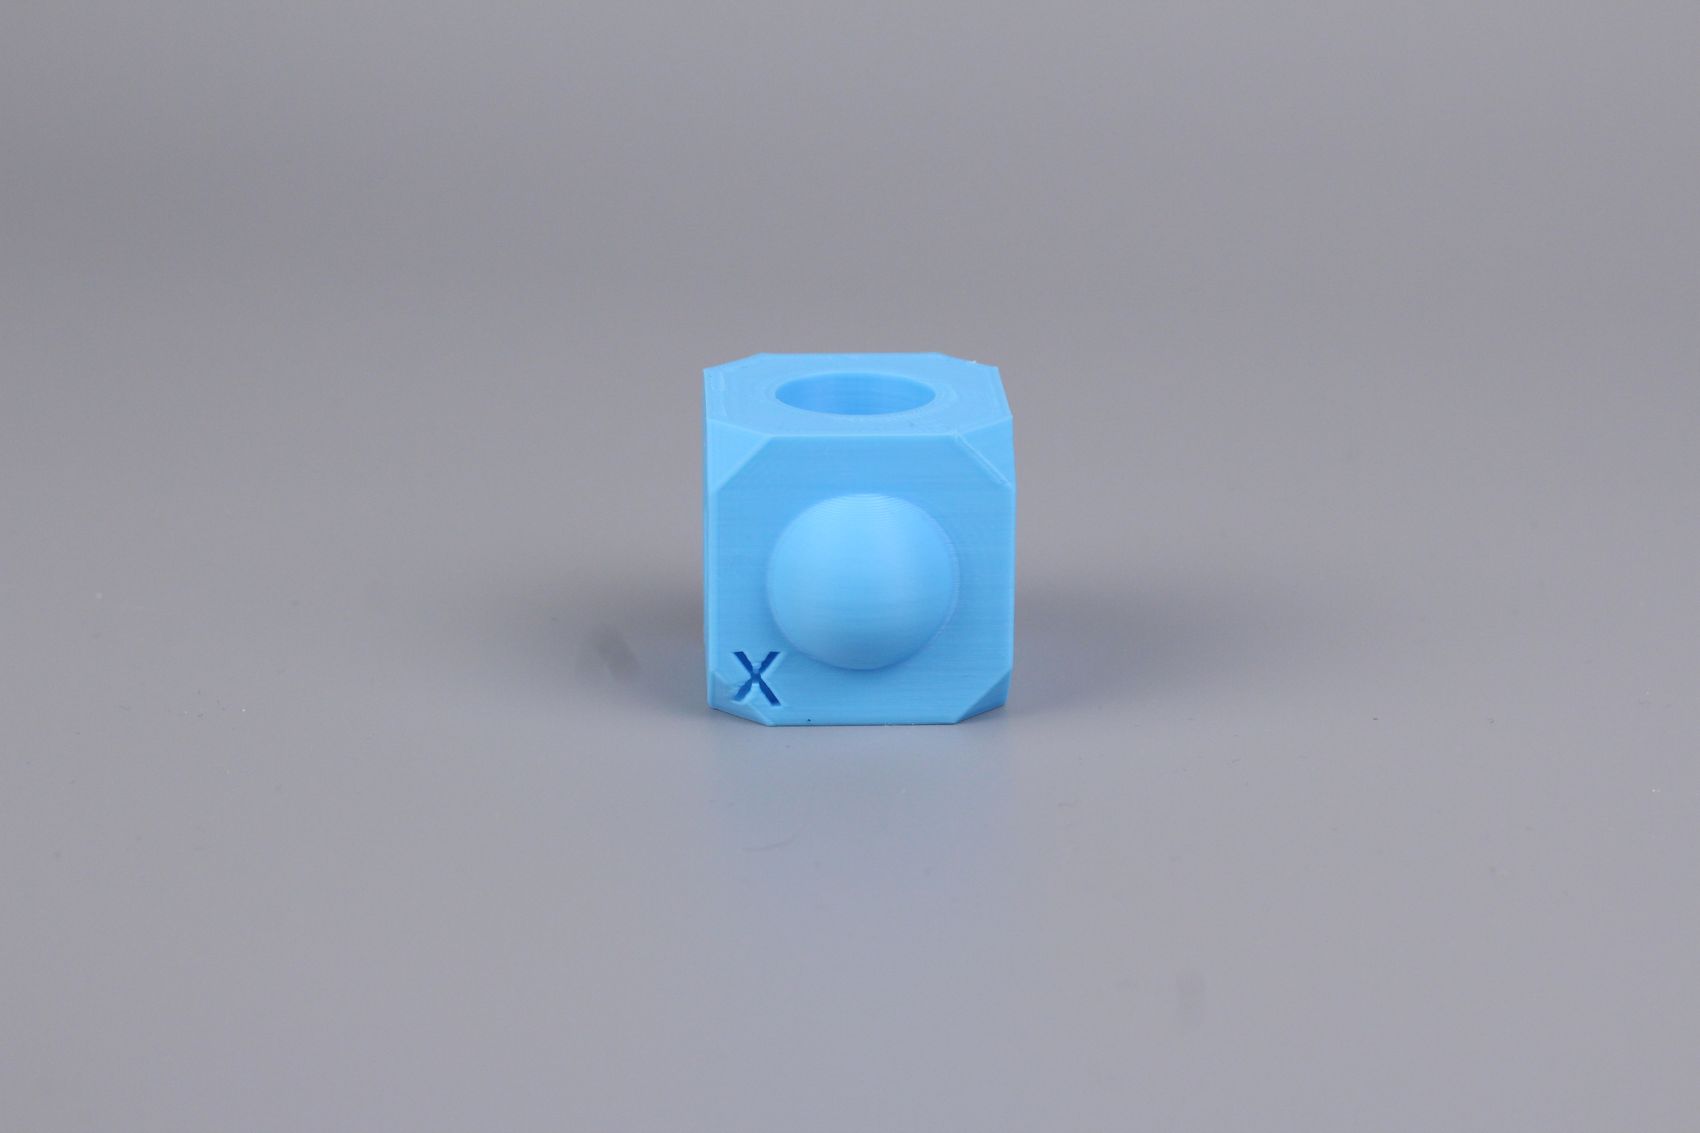
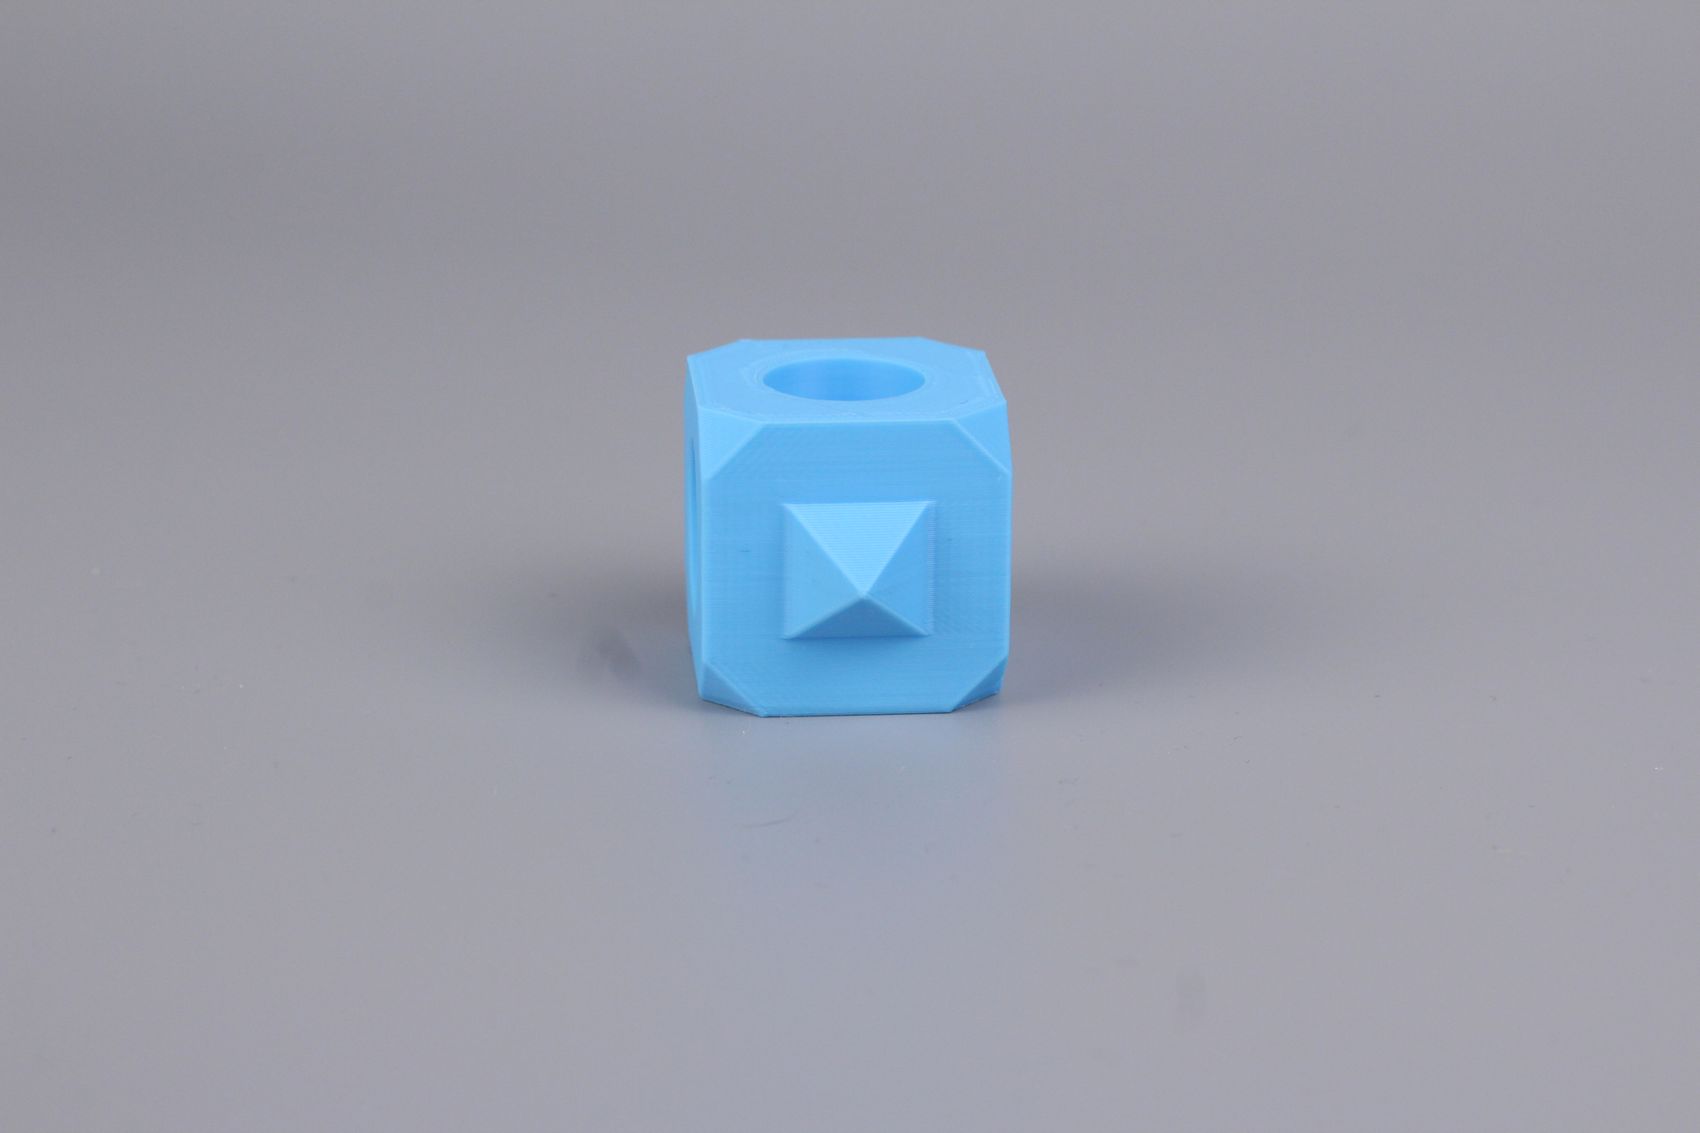
- Material: Gembird Blue PLA
- Layer Height: 0.2mm
- Nozzle Temperature: 210C
- Bed Temperature: 50C
- Print Speed: ~80 mm/s
Phil-A-Ment
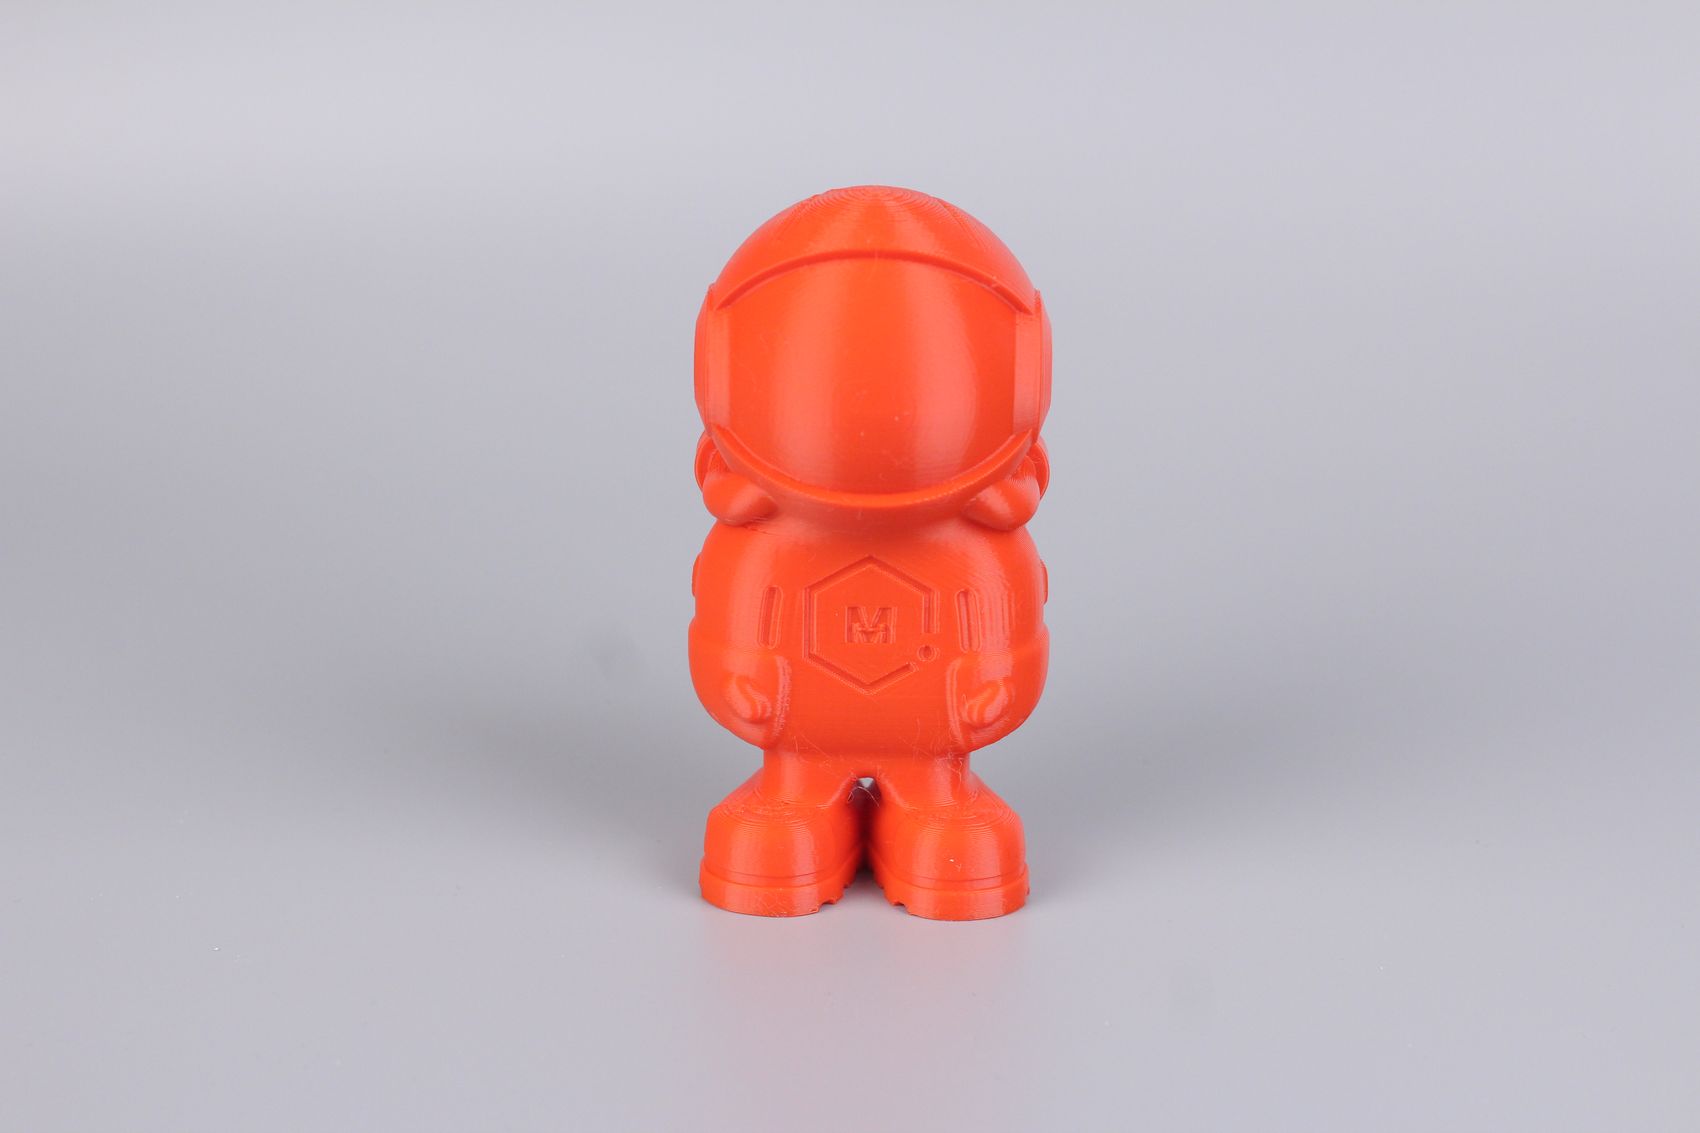
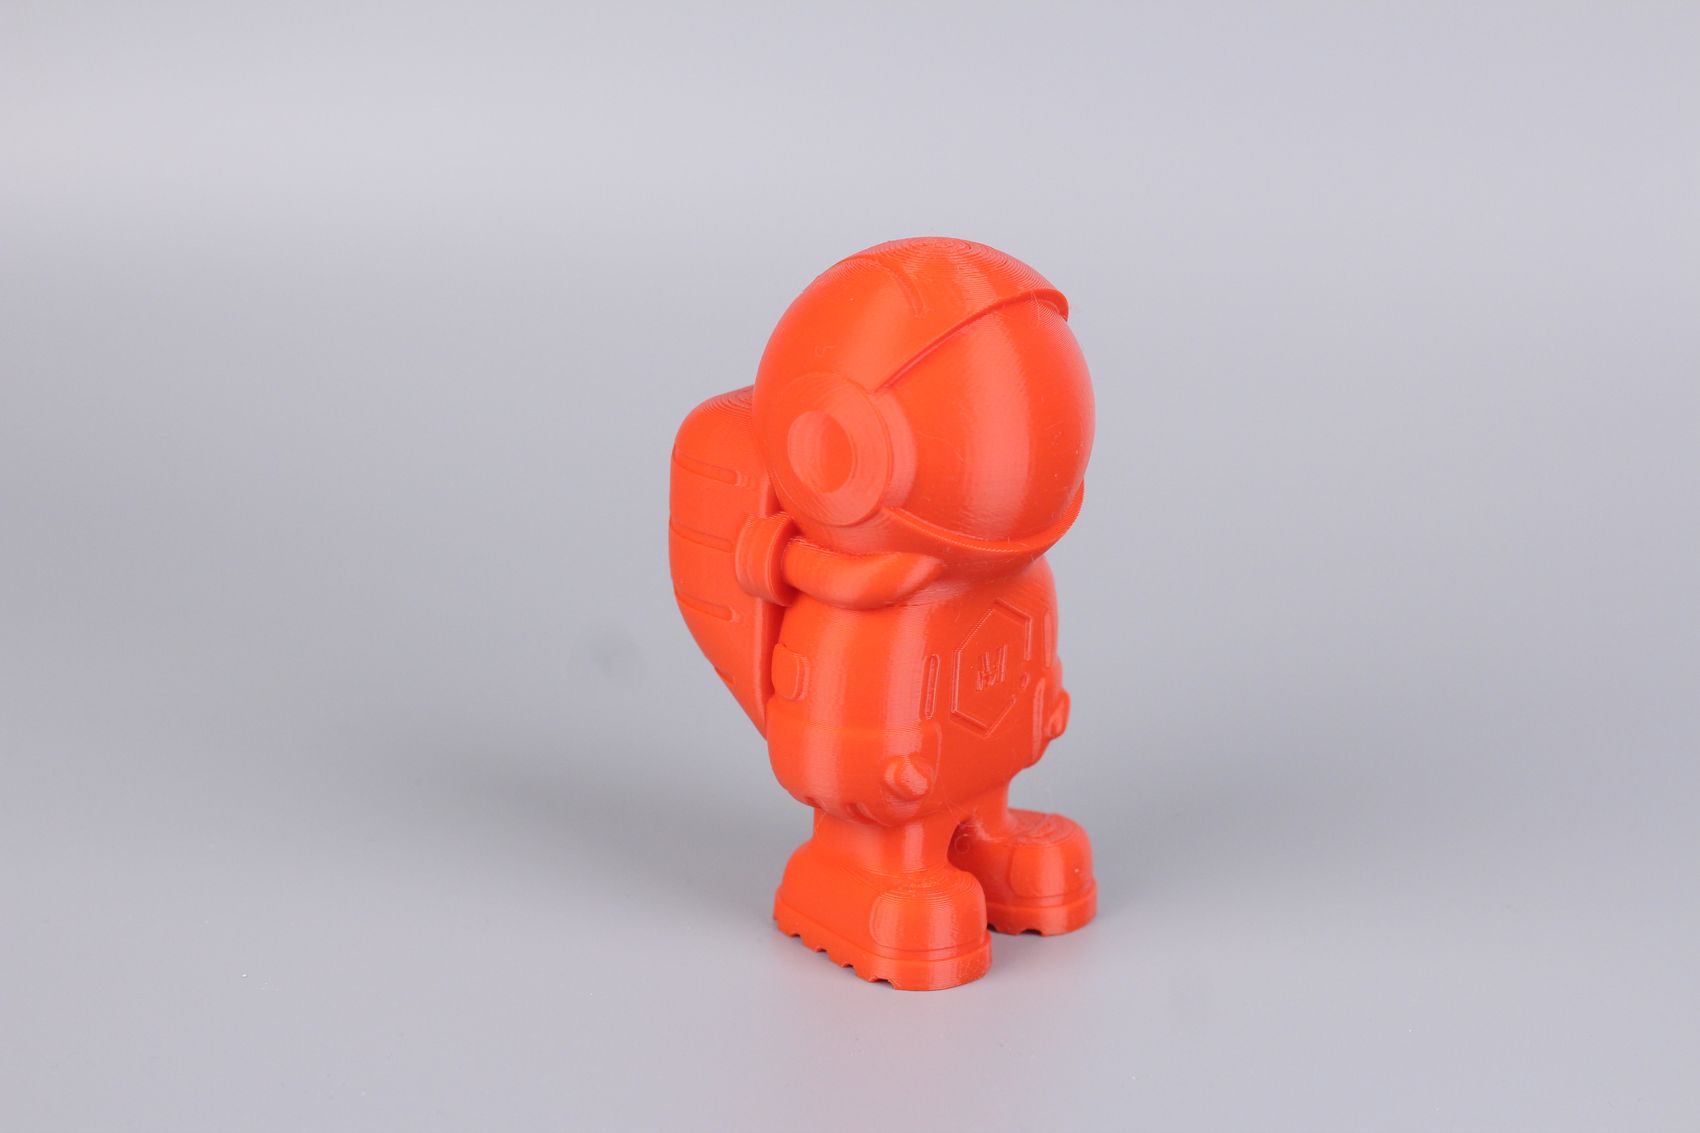
The Phil-A-Ment print came out great with good overhang quality, but again, significant ringing can be seen on some sections of the model. Other than that, the extrusion quality is nice, and it’s a good print.
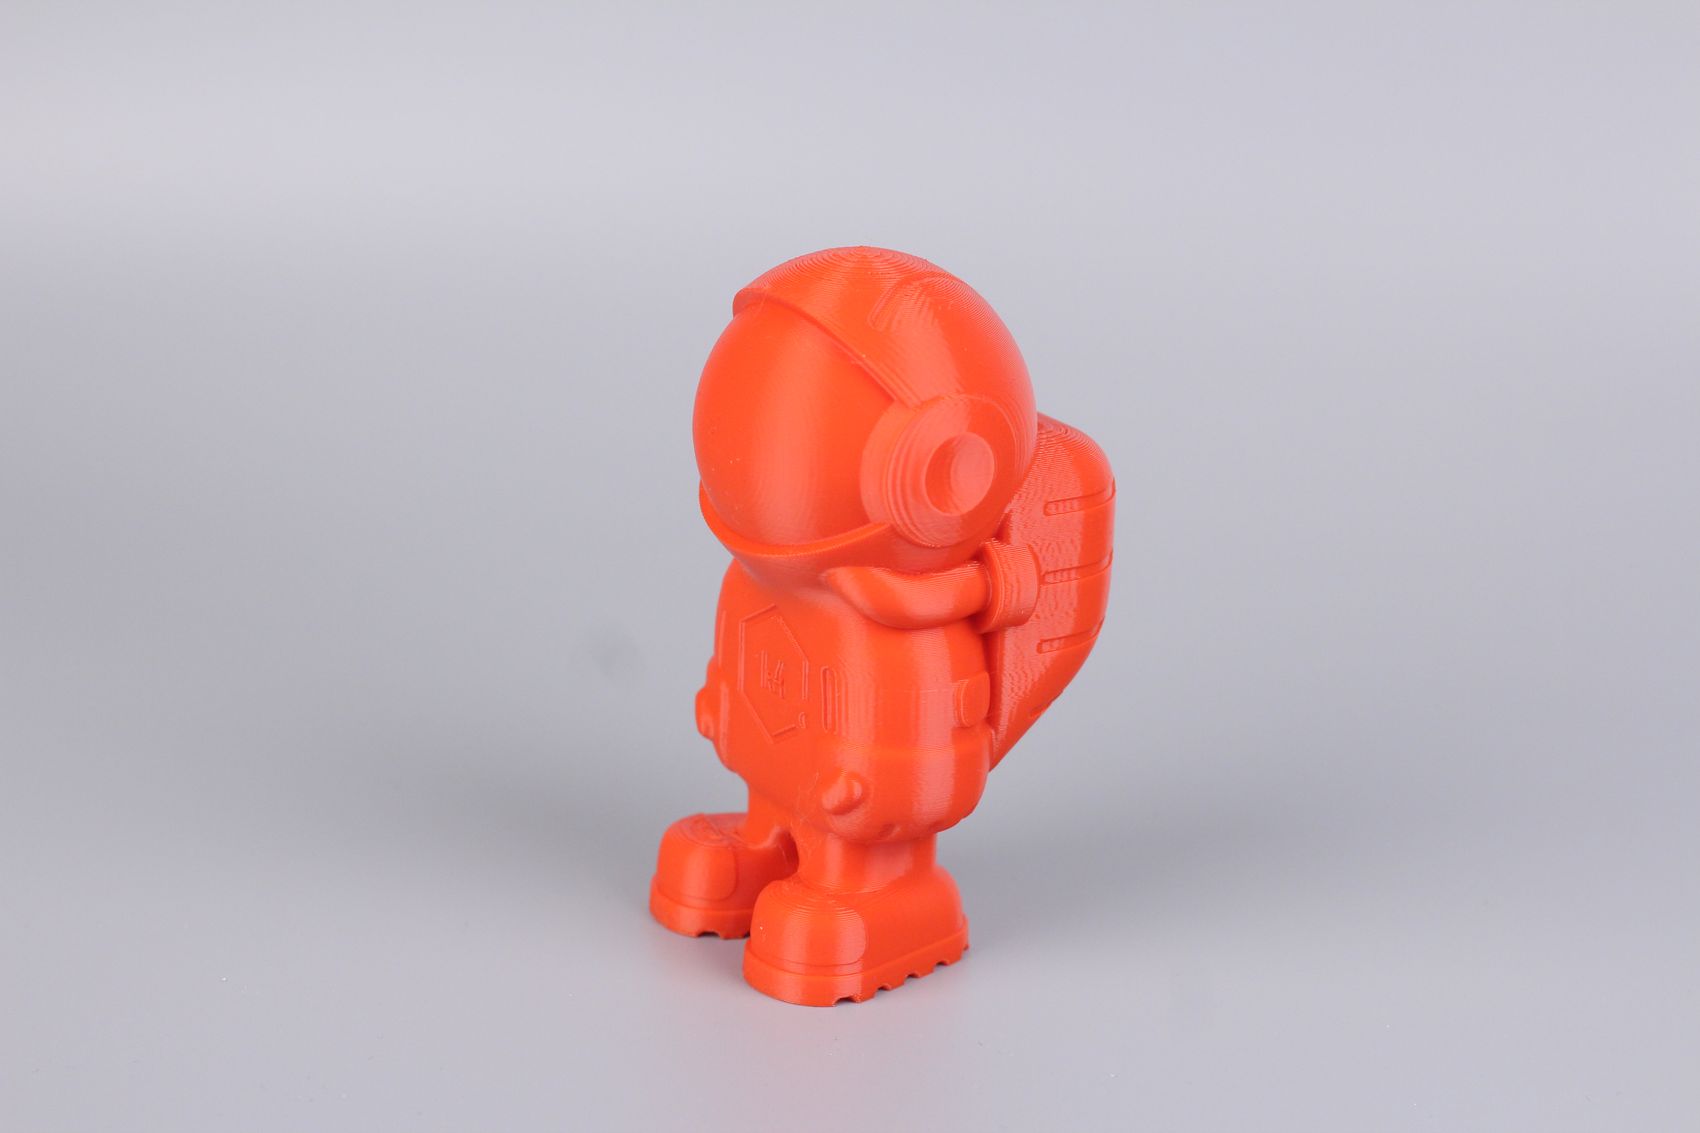

- Material: Sunlu RED PLA
- Layer Height: 0.2mm
- Nozzle Temperature: 215C
- Bed Temperature: 50C
- Print Speed: ~80 mm/s
Torture Toaster
Unfortunately, the torture toaster was not as successful, and I would blame this on the filament used. This is recycled PLA which is quite brittle and you can see some sections where the extrusion was not correct. This made the lever break when trying to raise the toast, and the small overhangs have clear signs of missed layers in some sections.
I was able to move most of the tolerance tests (up to 0.2mm) so I think this can be a successful print if a better filament is used.
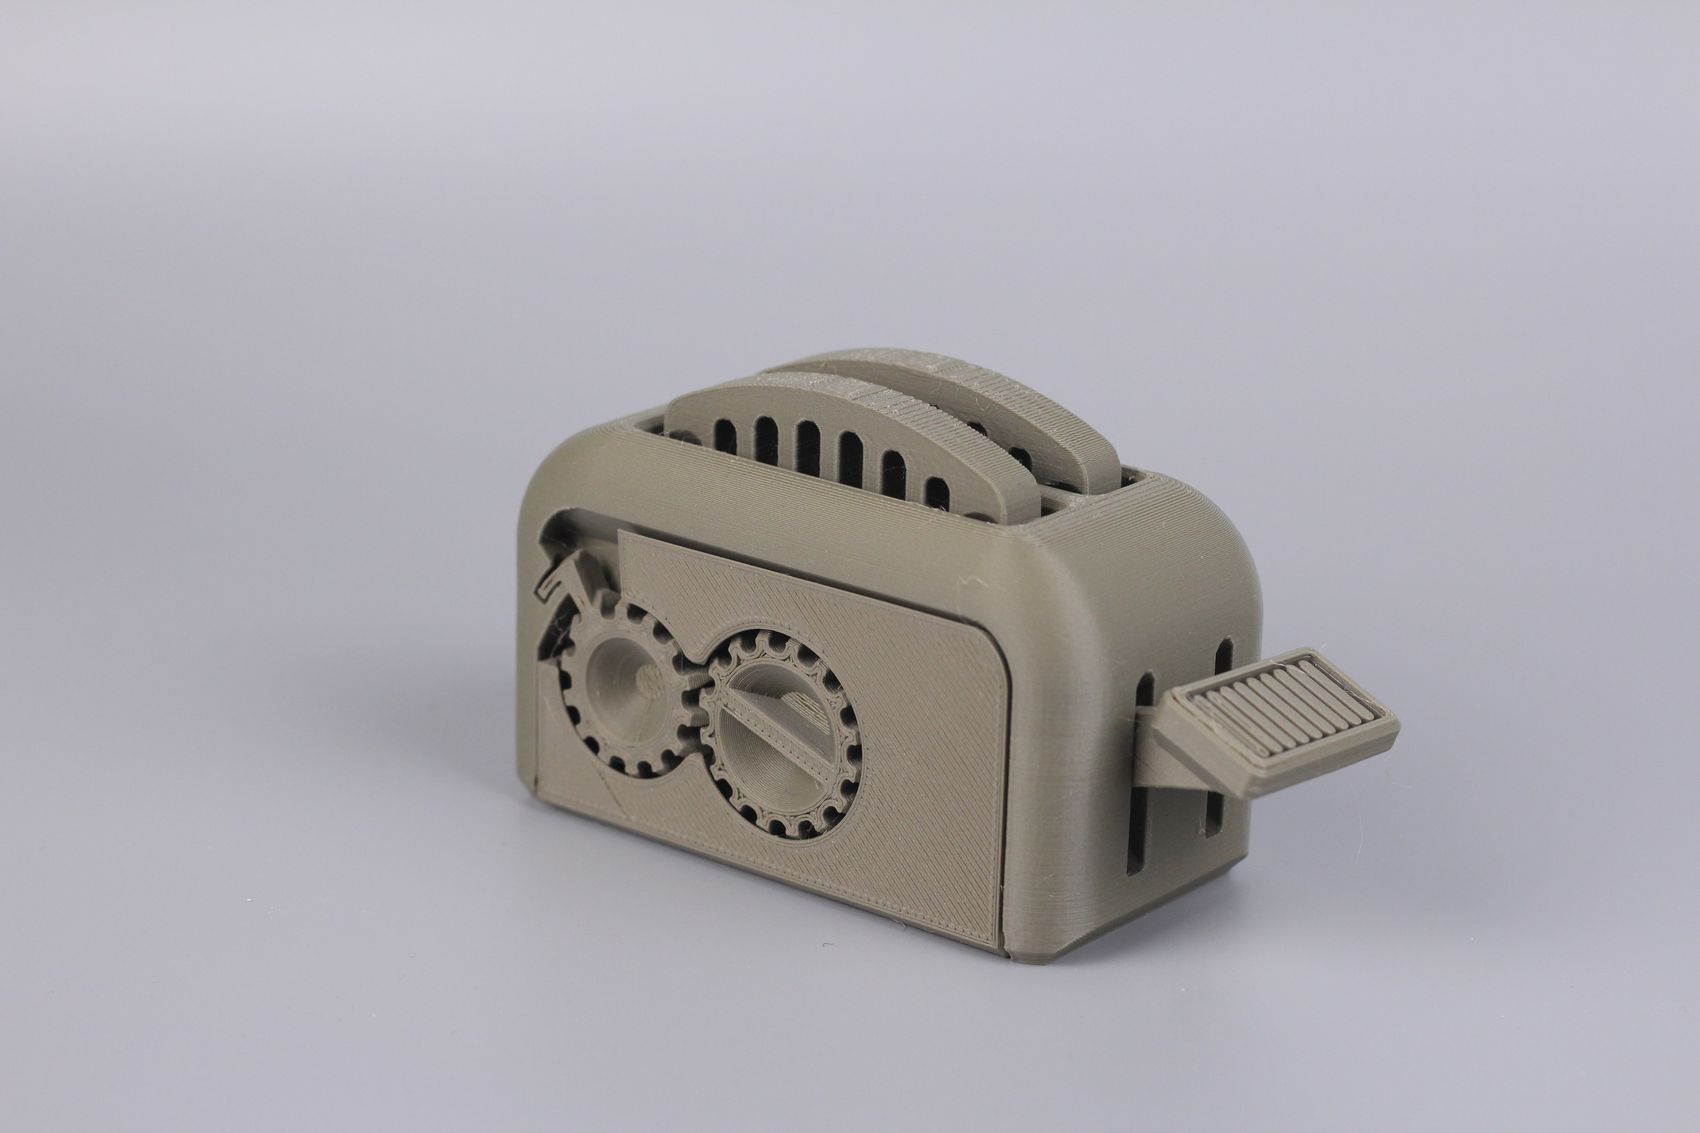
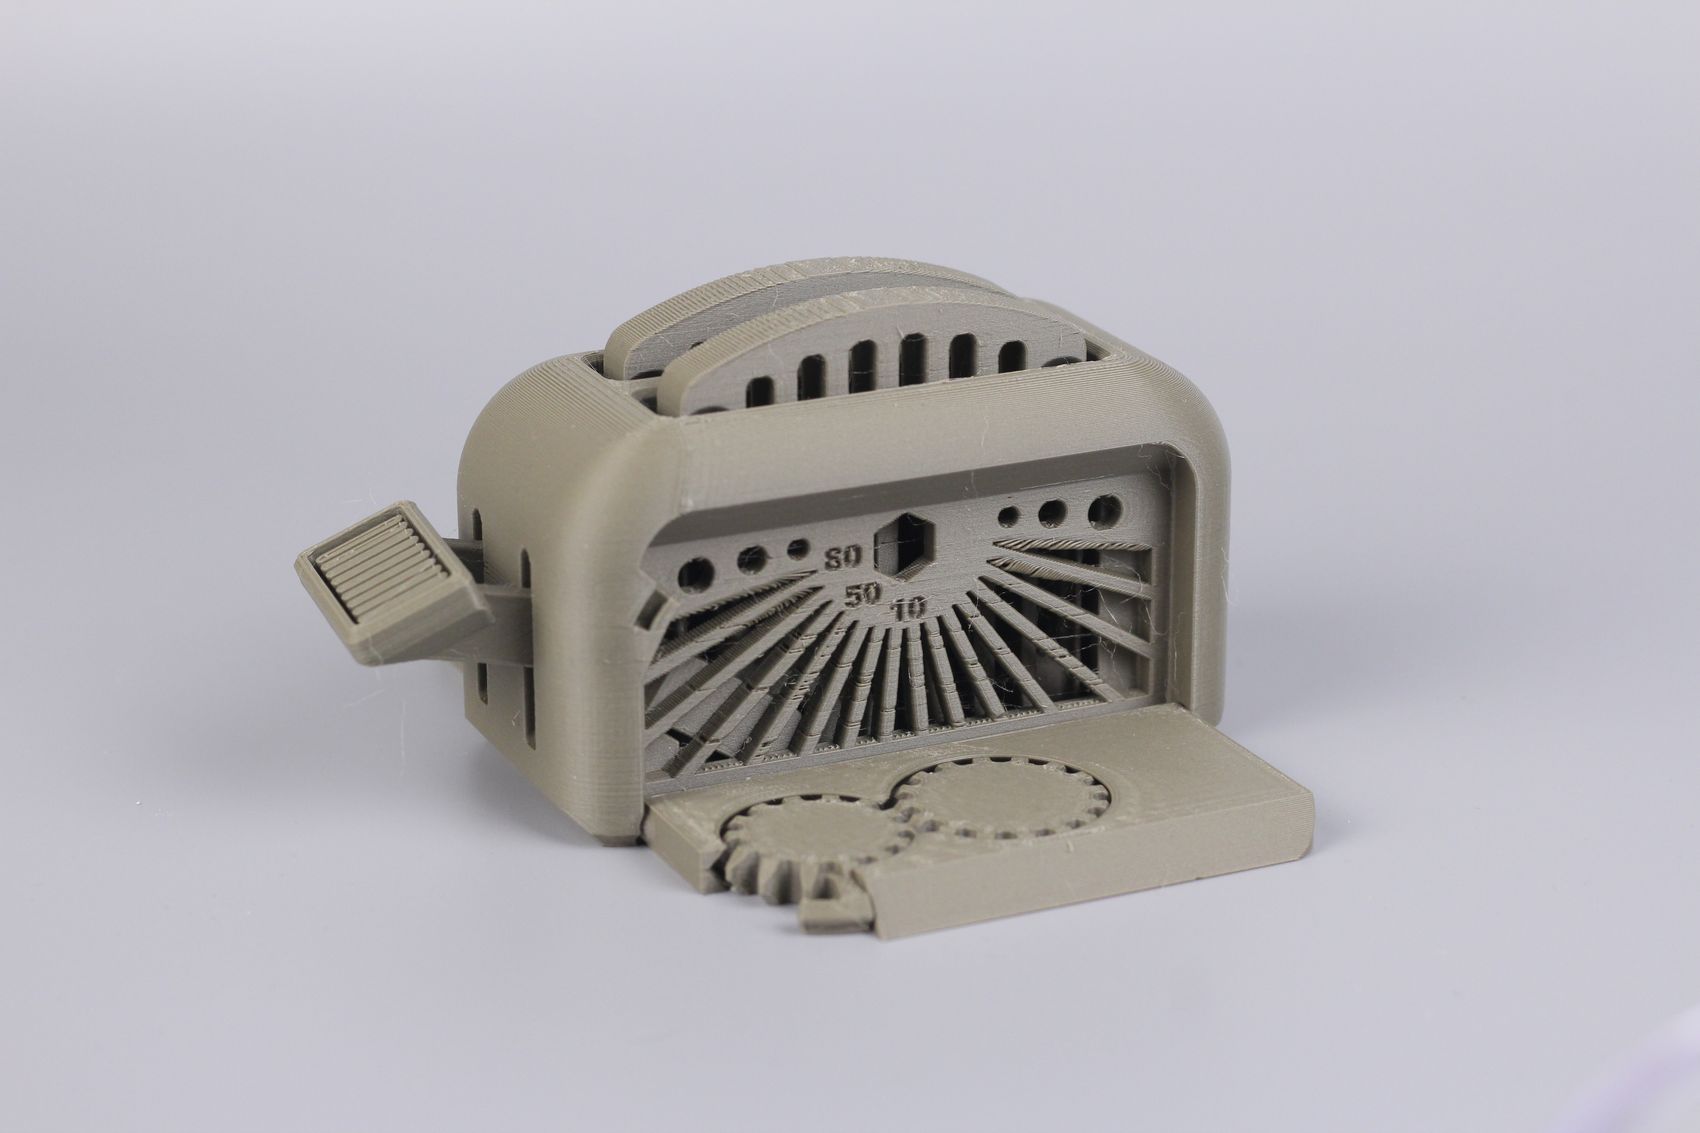
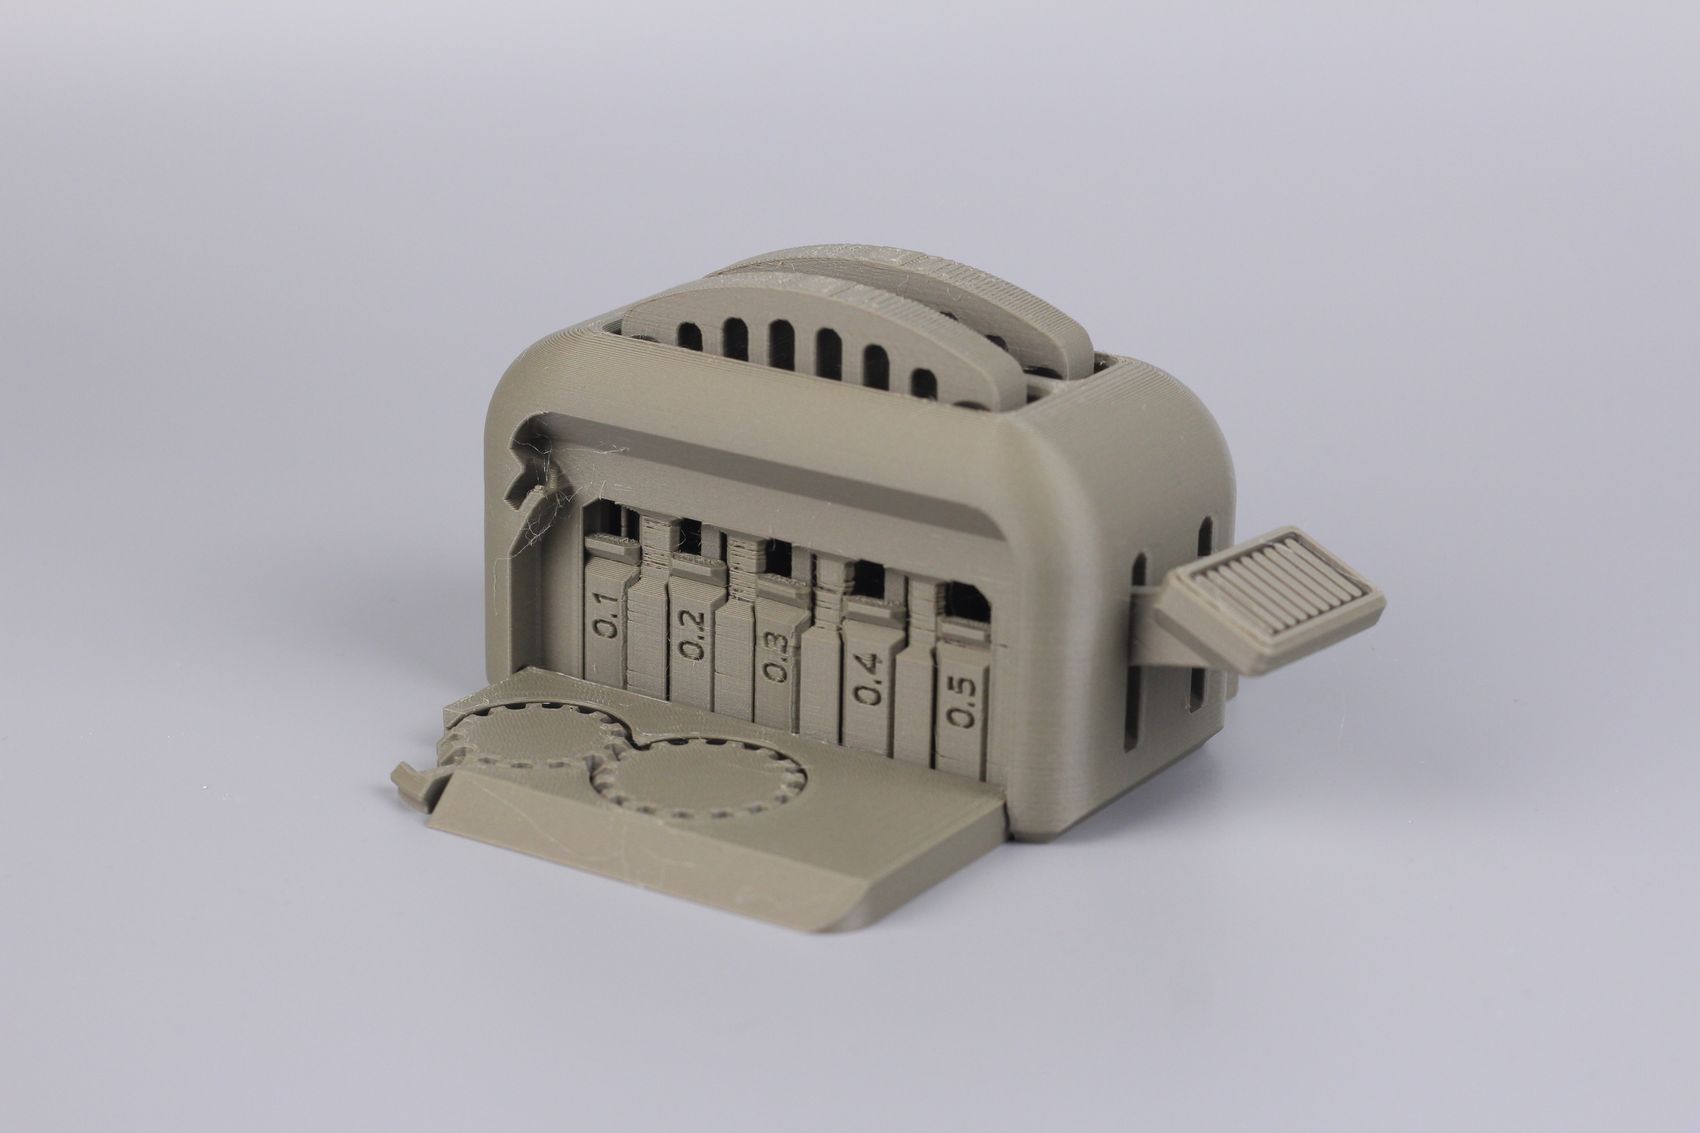
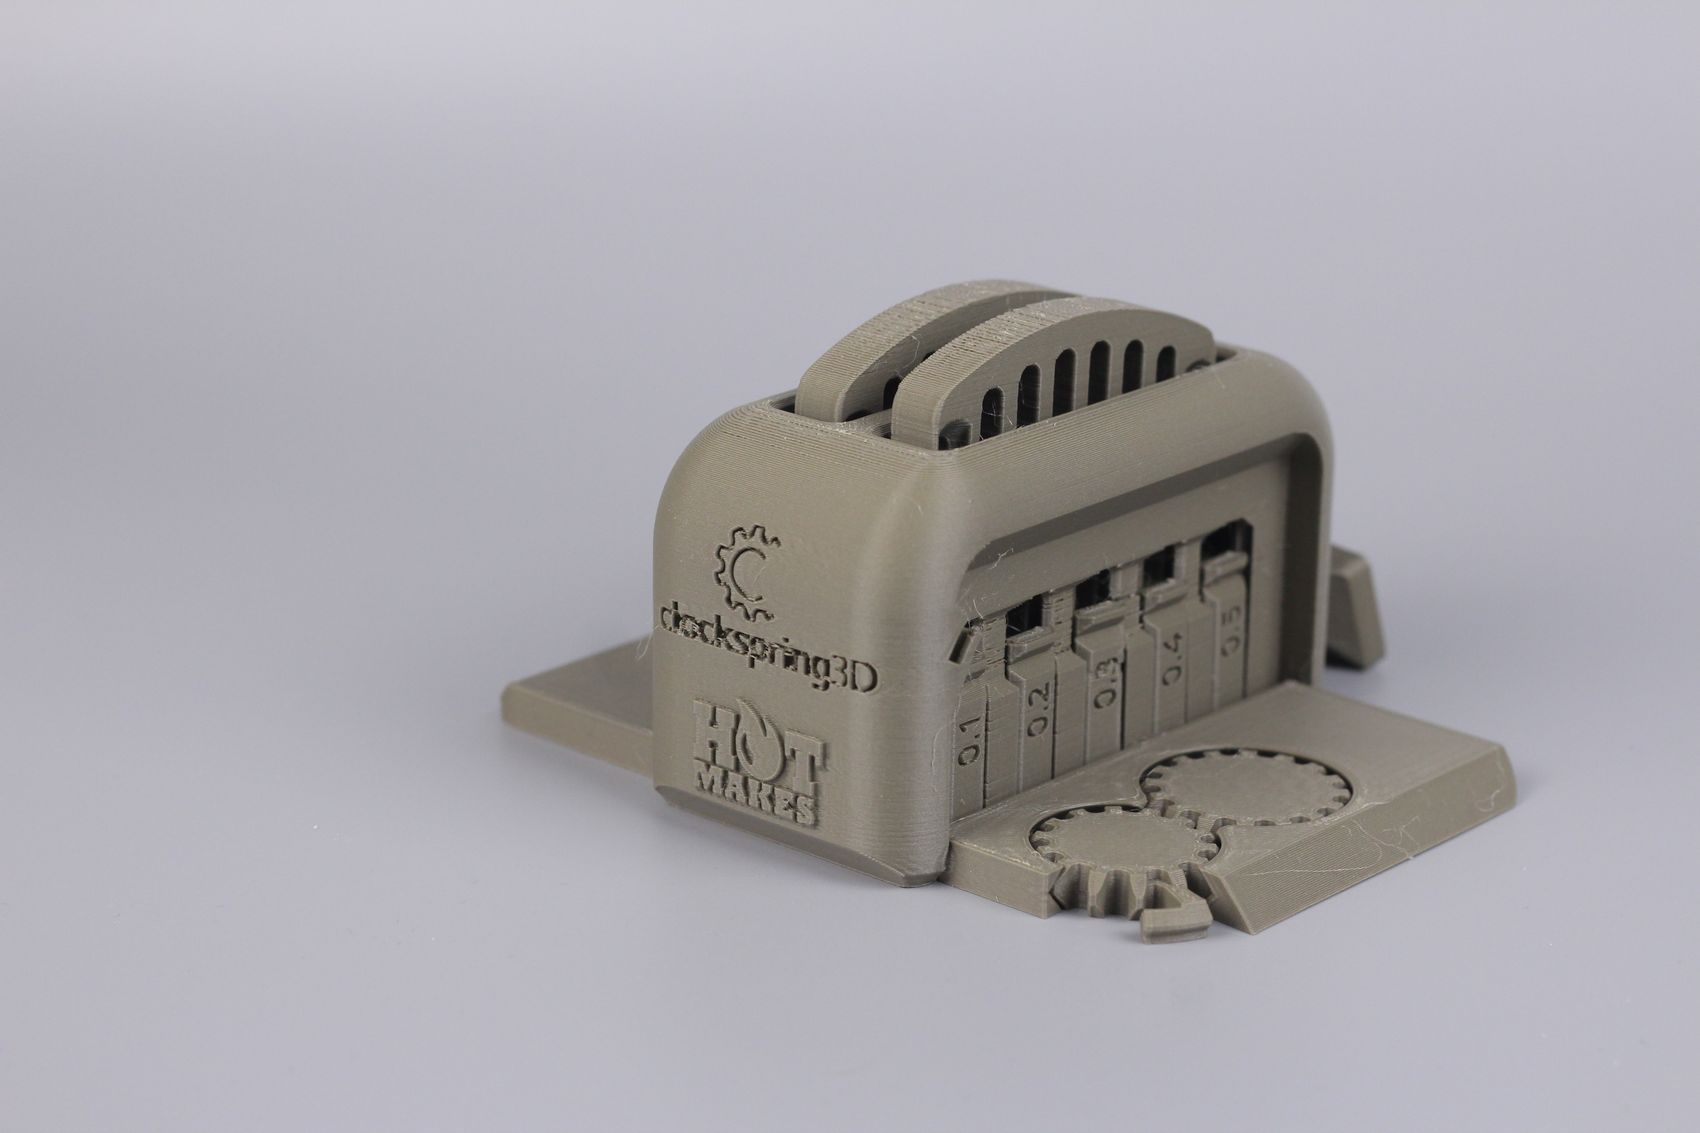
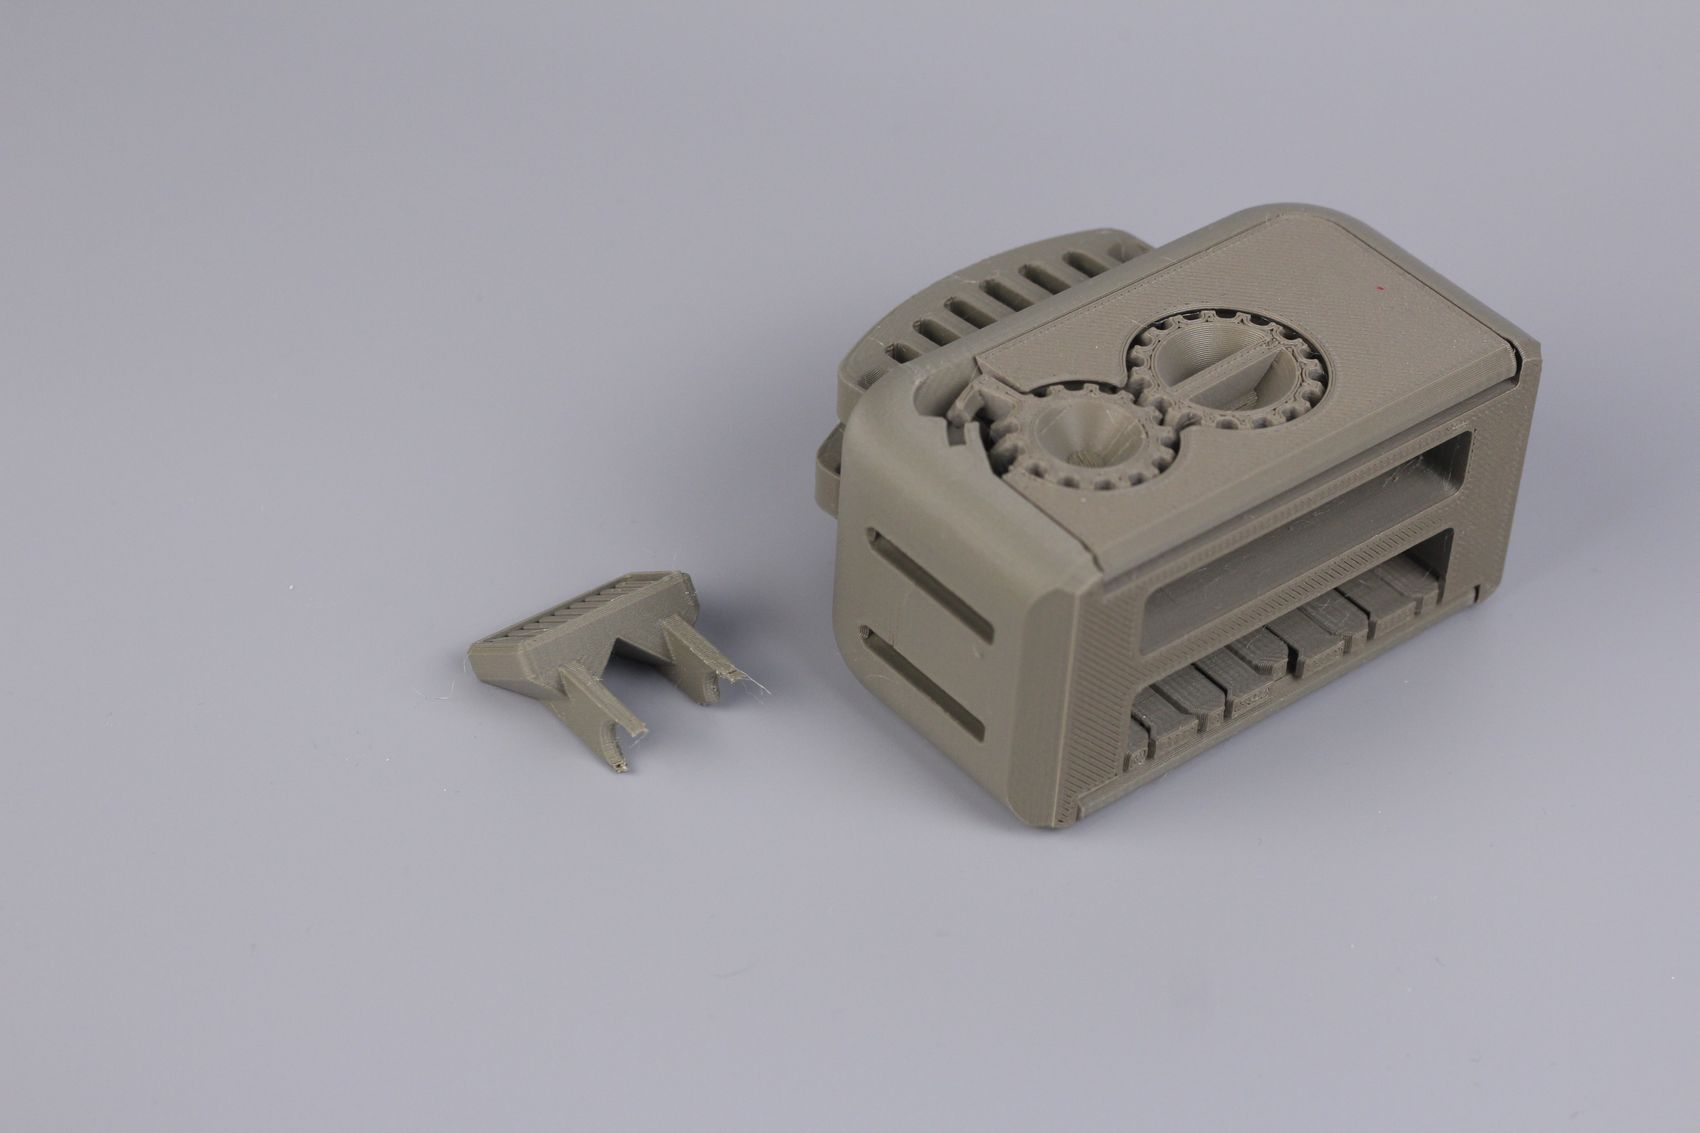
- Material: FilamentOne Recicled PLA
- Layer Height: 0.2mm
- Nozzle Temperature: 215C
- Bed Temperature: 50C
- Print Speed: ~60 mm/s
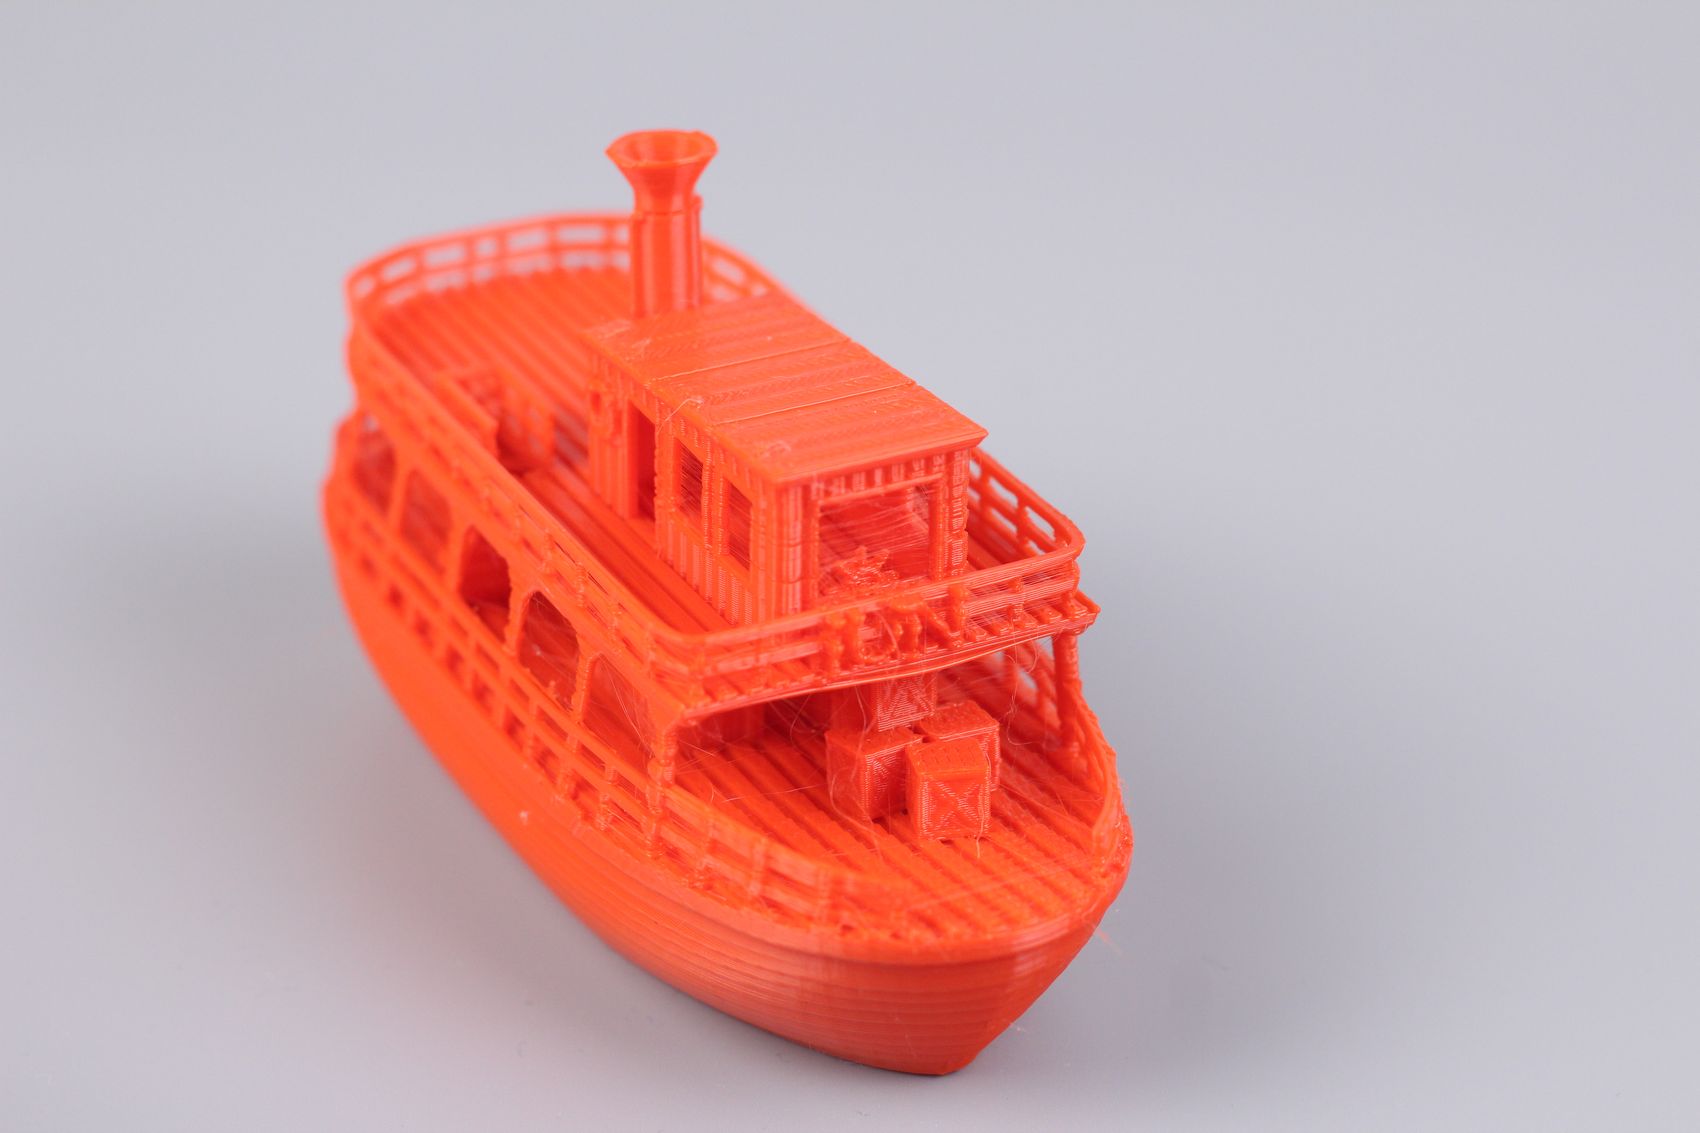
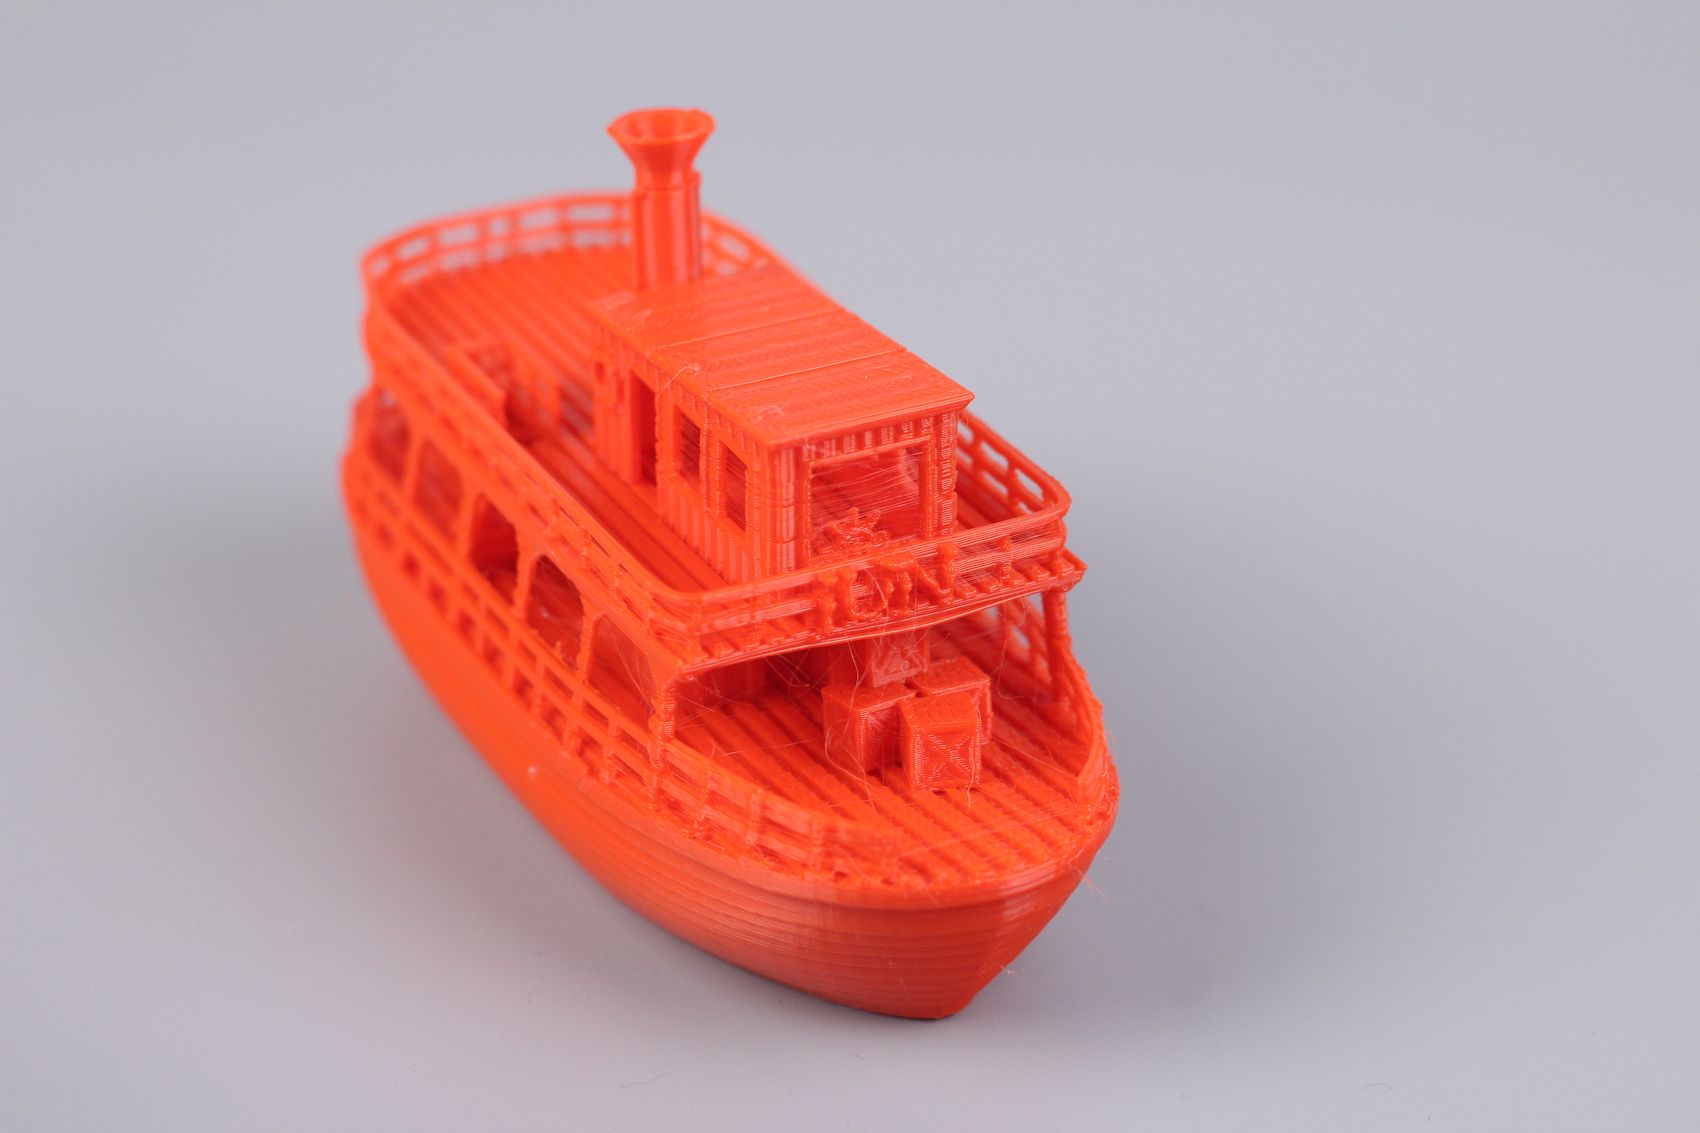
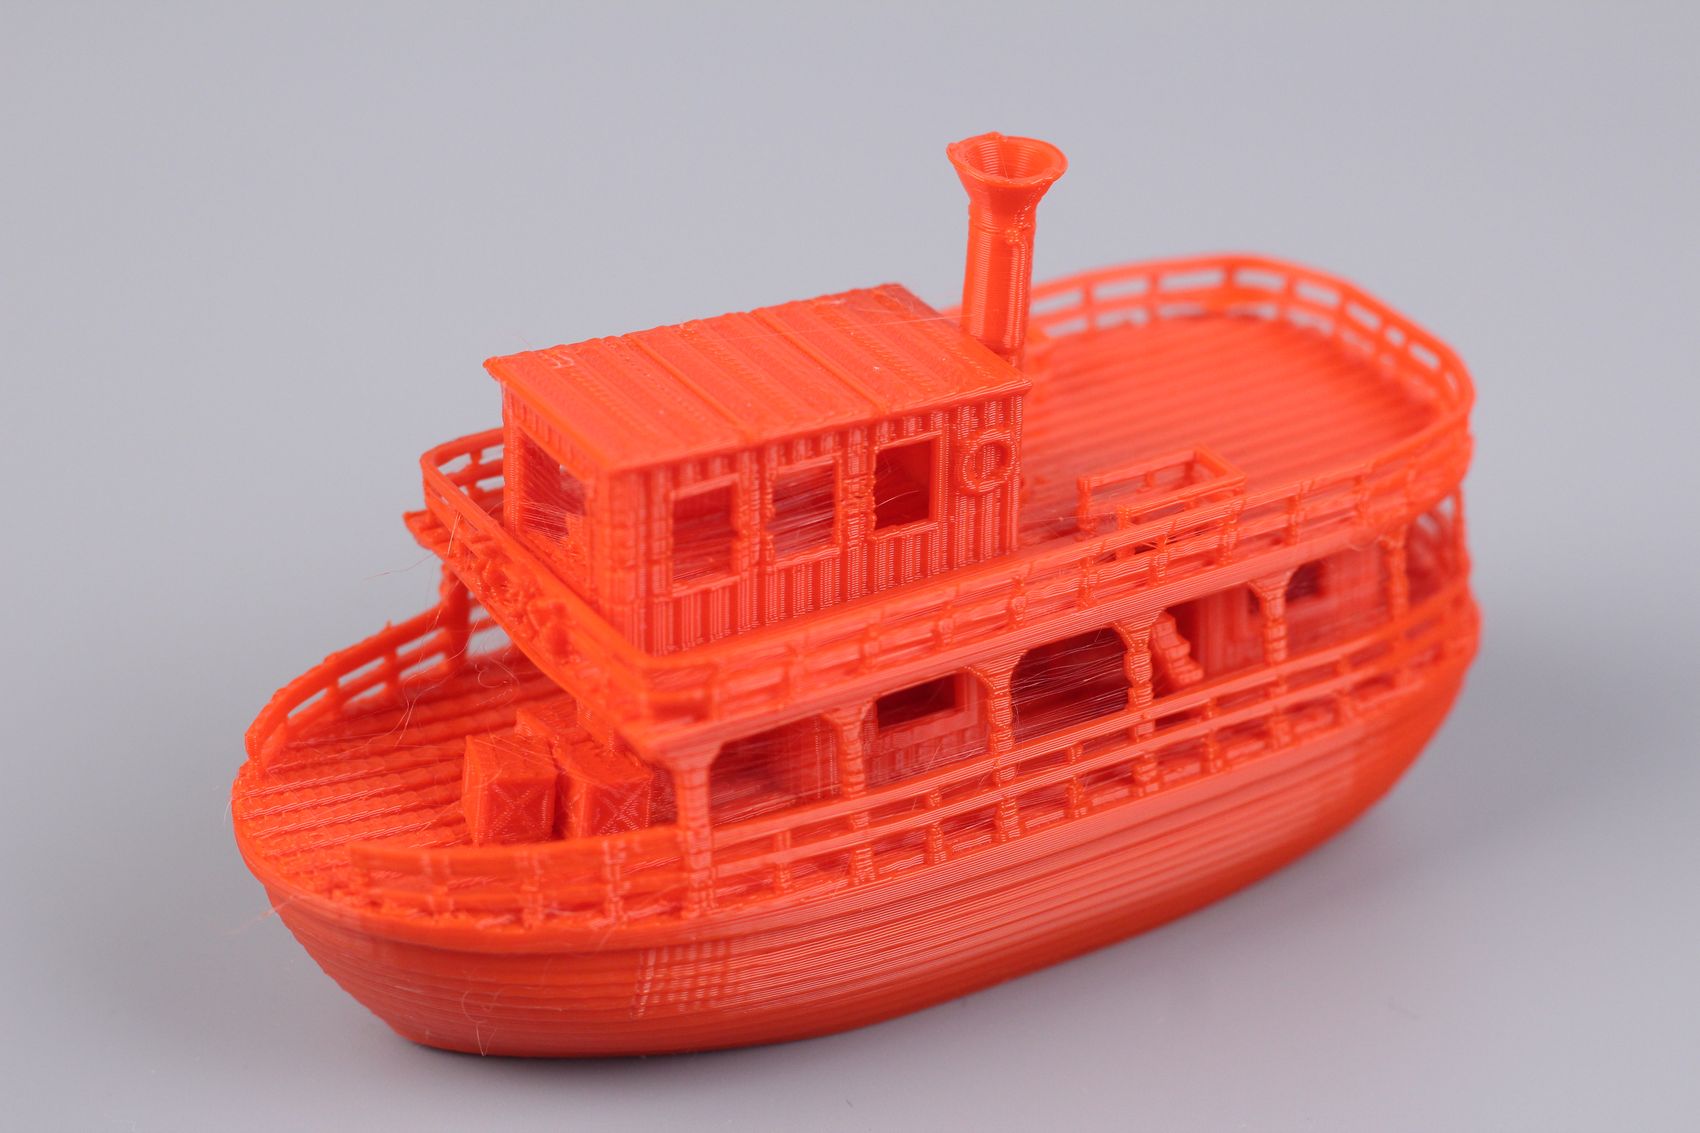
The Jungle Queen
Some printers have issues when a lot of retractions need to be done and The Jungle Queen model is an excellent stress test for this. It has a lot of tiny features that need good extrusion quality to be printed well, large overhangs, and bridging.
The printer was completed, but you can see tiny gaps in some layers which are caused by the repeated retractions needed and also the extruder tension which was a bit too tight in my case. After lowering the pressure for the idler tension, all other prints were much better.
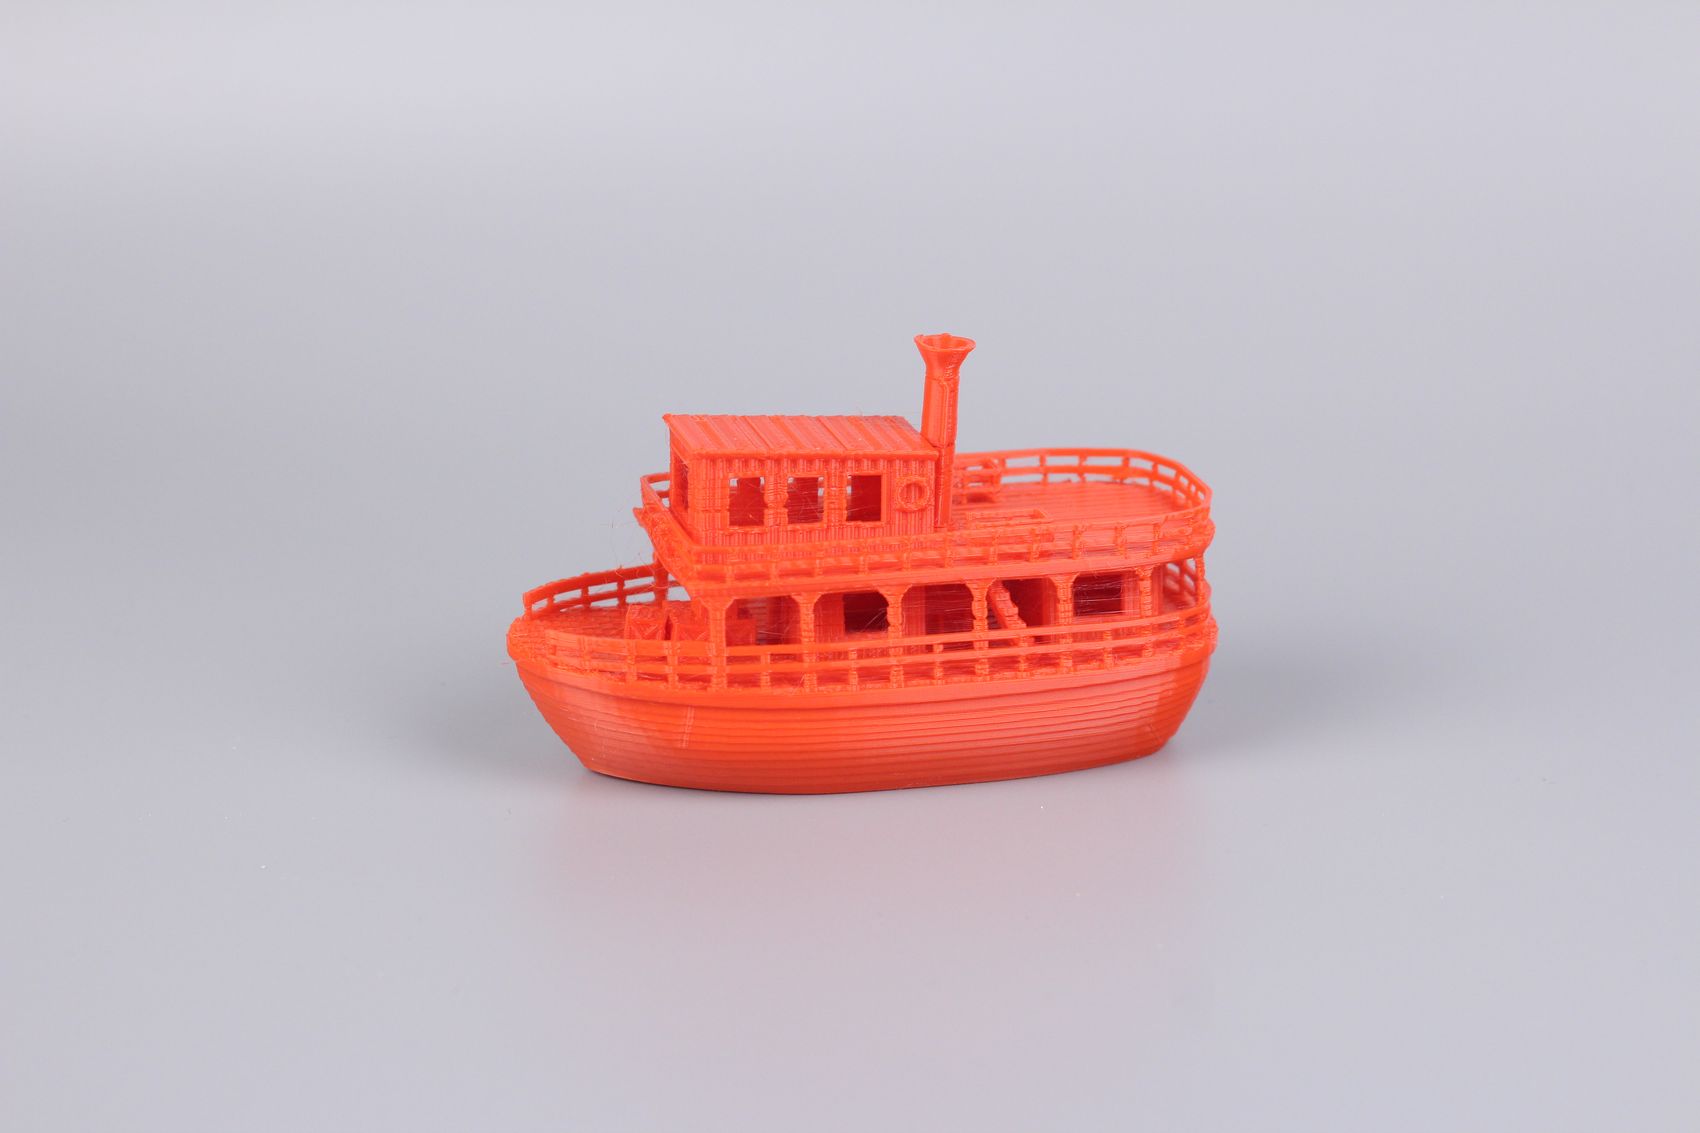
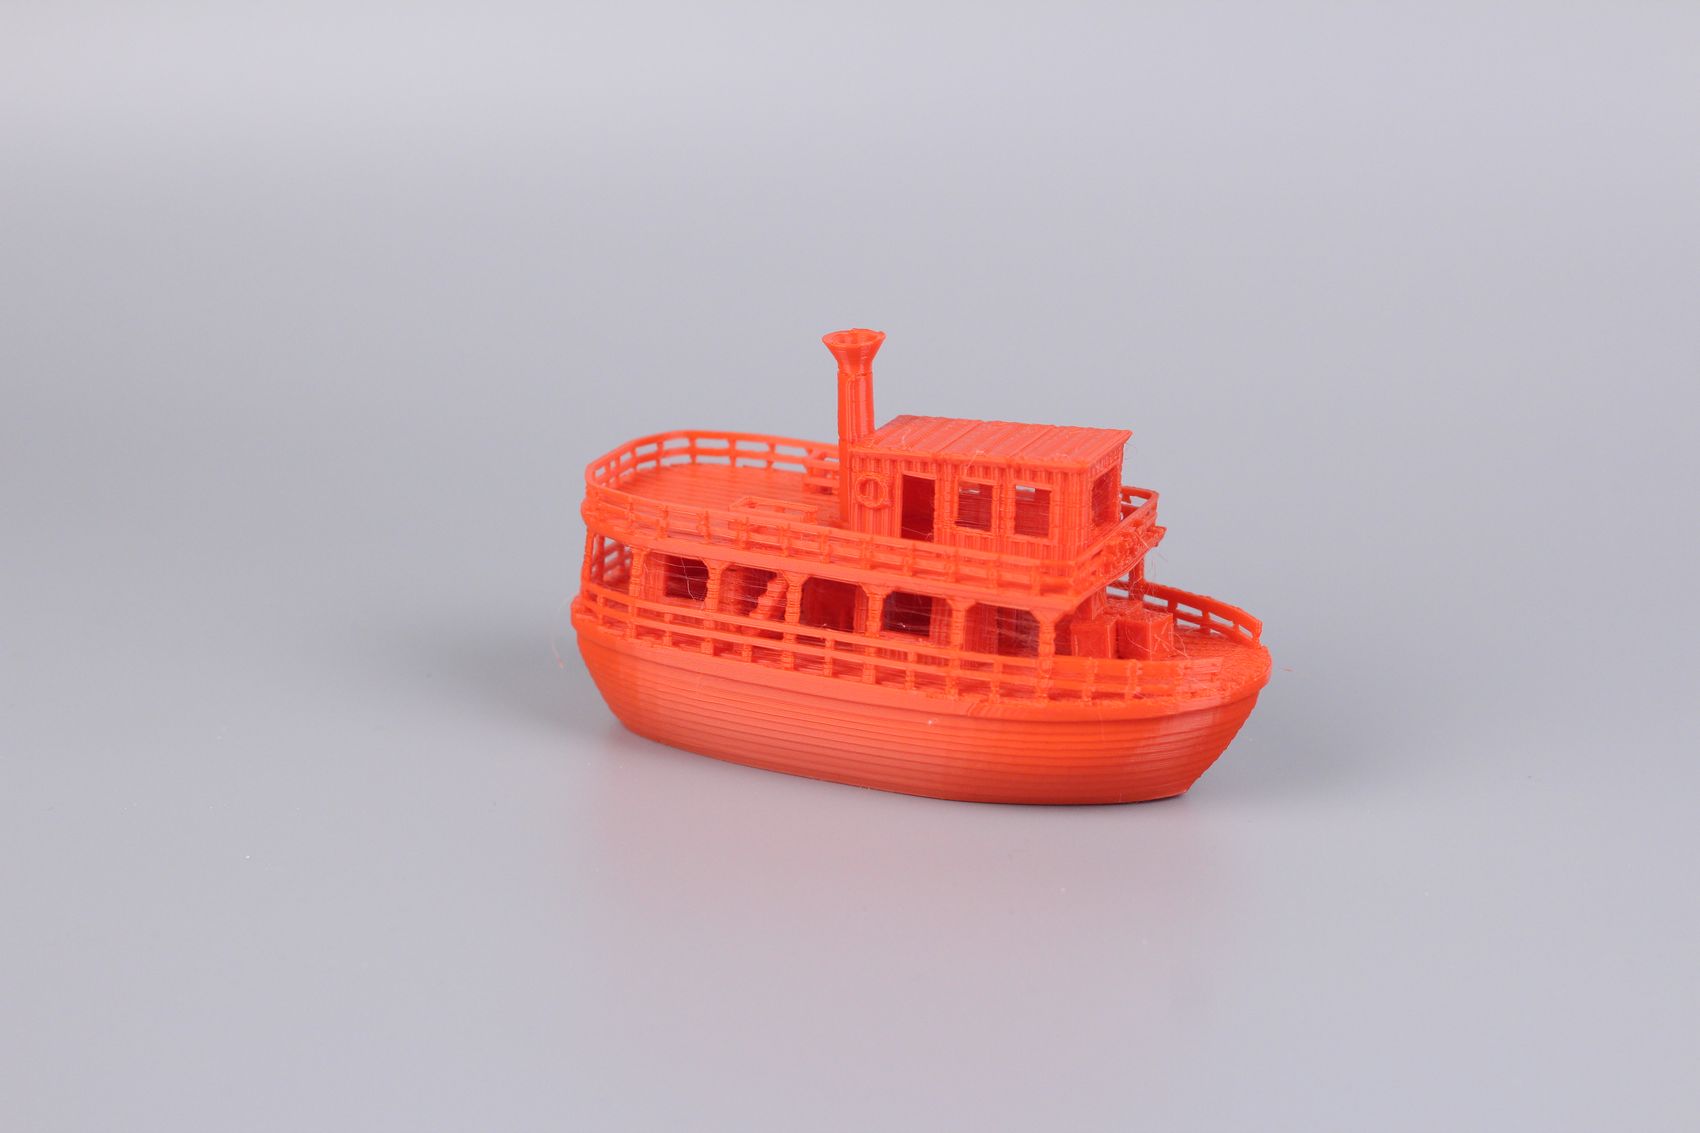
- Material: Sunlu RED PLA
- Layer Height: 0.2mm
- Nozzle Temperature: 215C
- Bed Temperature: 50C
- Print Speed: ~60 mm/s
Cali Dragon
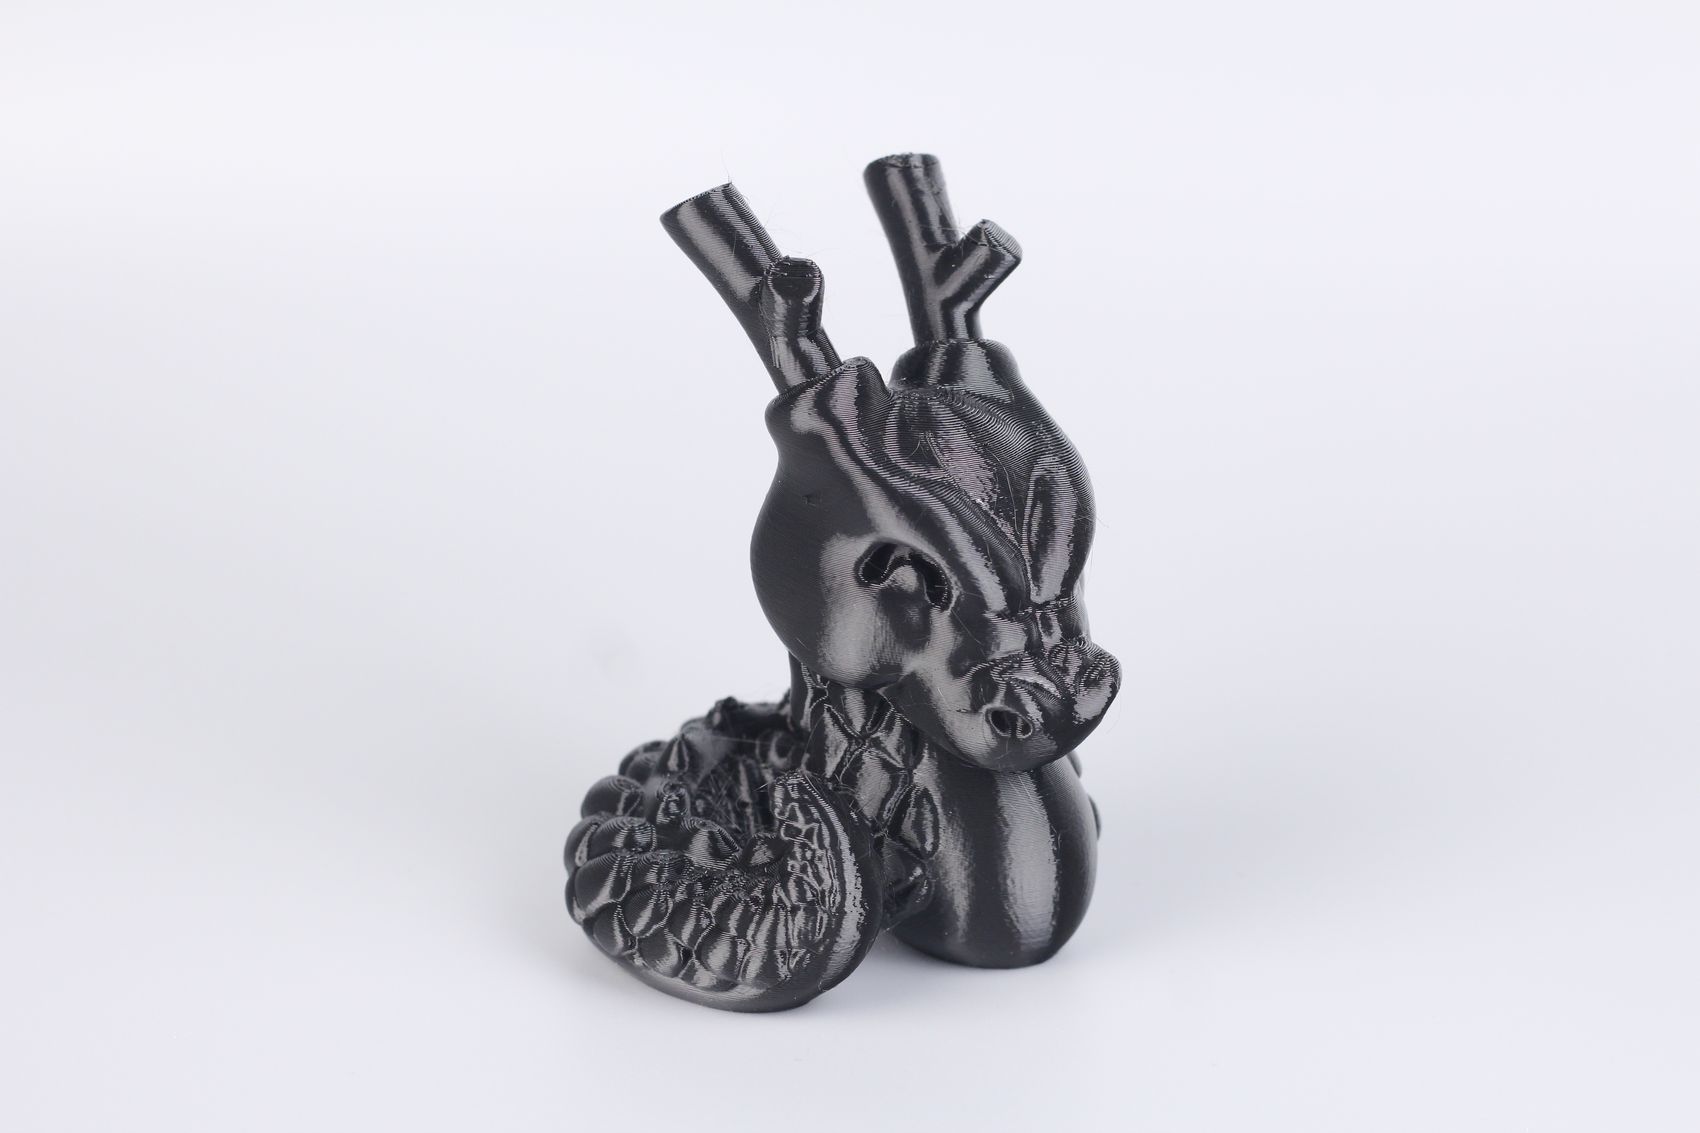
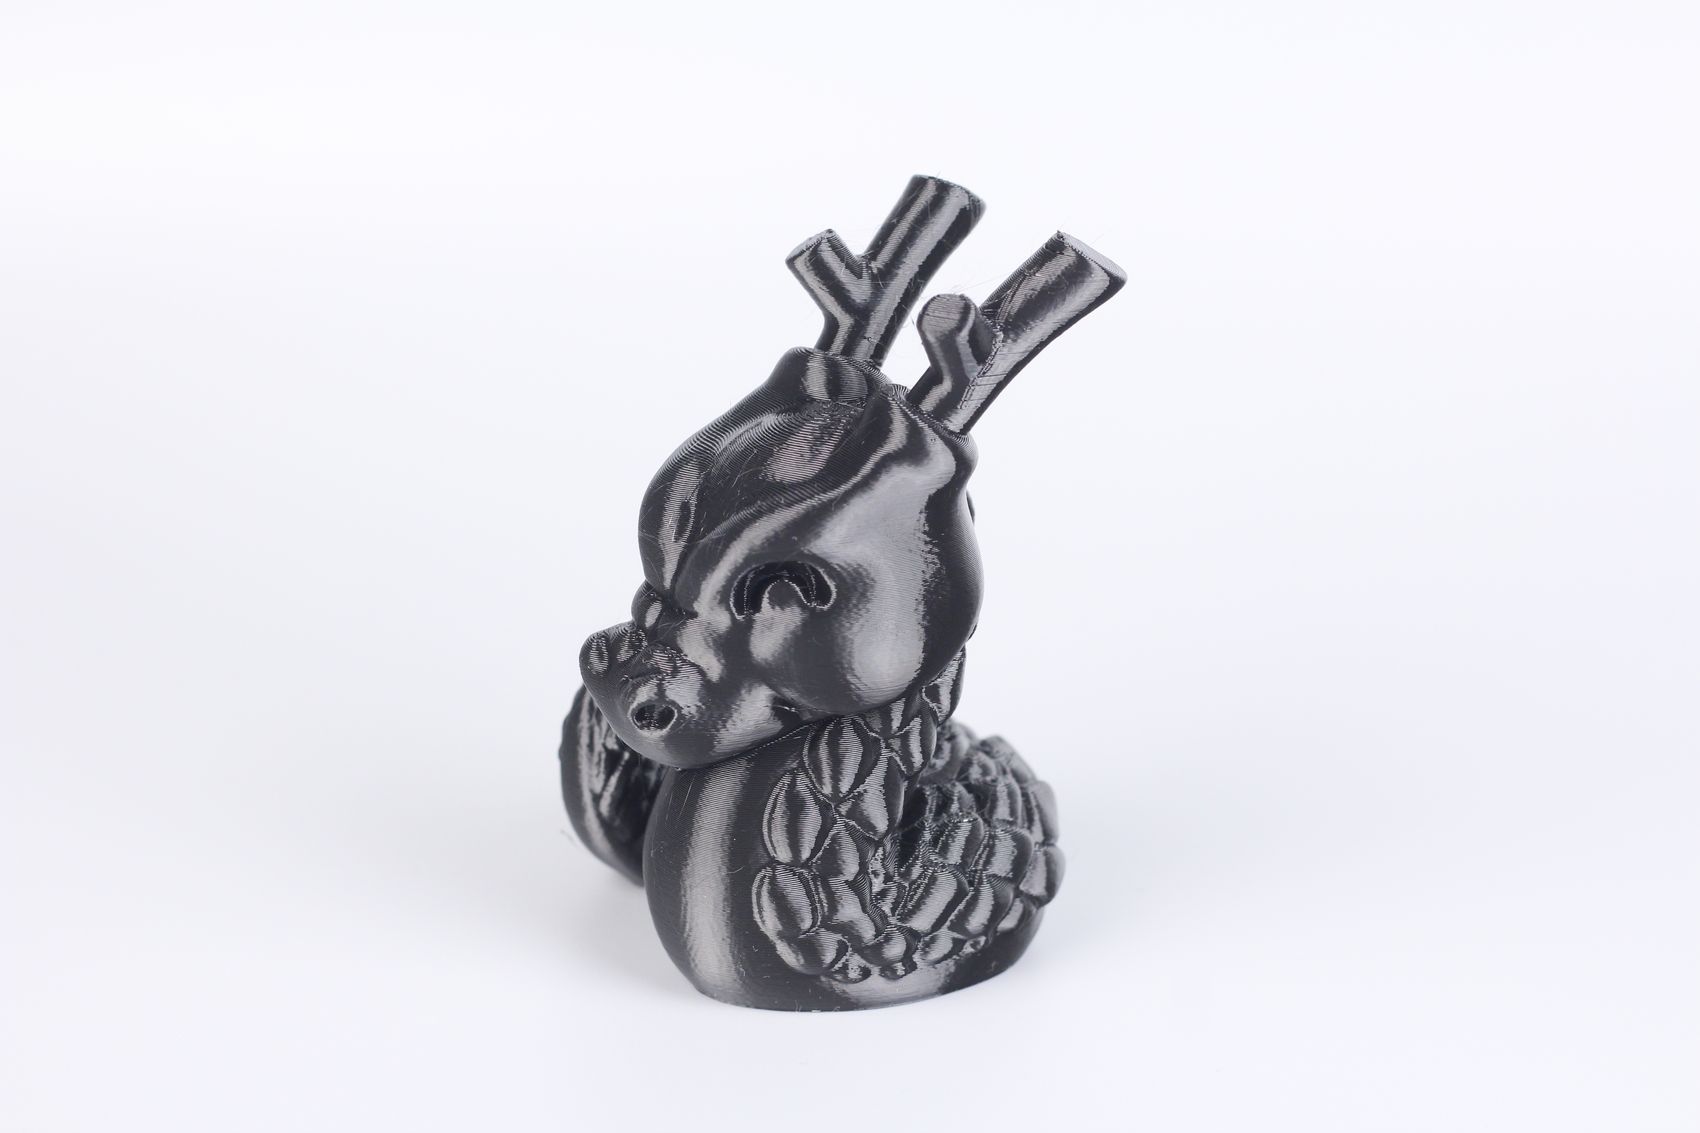
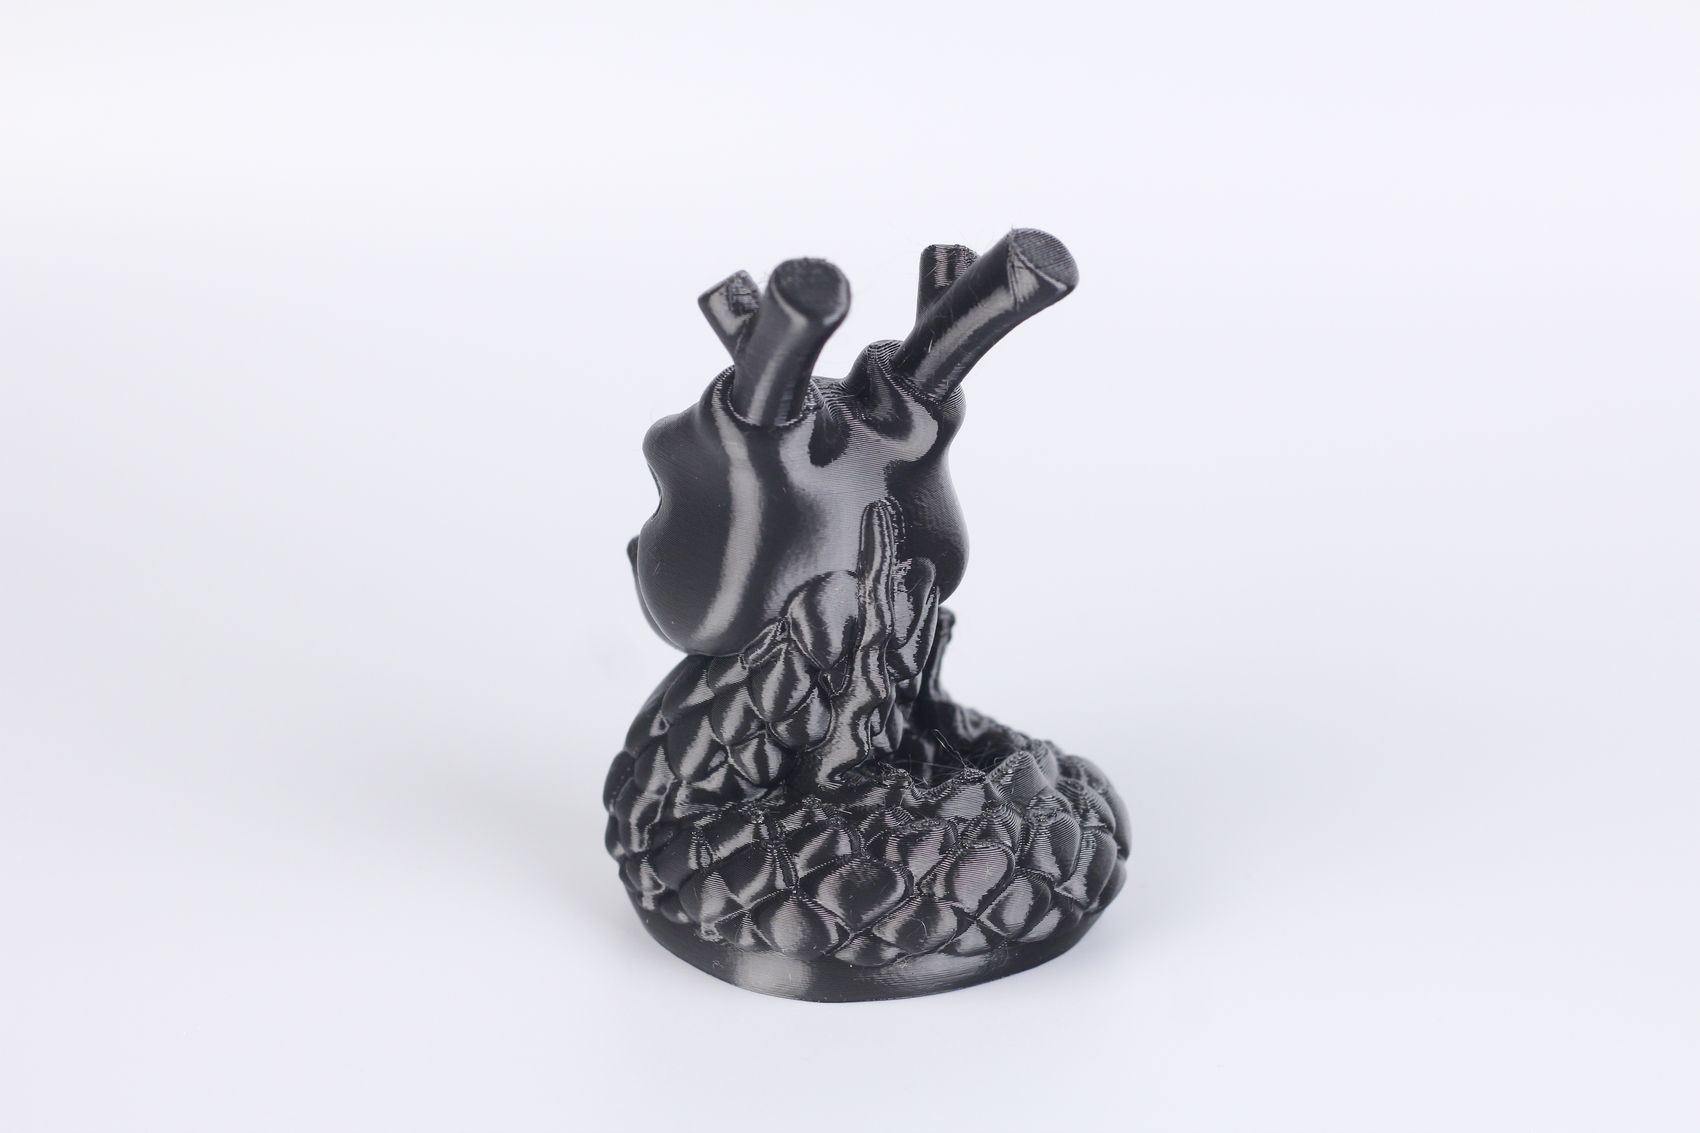
The 10cm Cali Dragon was printed in PETG and it came out great. Good overhangs, consistent extrusion, and a tiny bit of stringing caused by the filament being a bit too old. But I am happy with the results.

- Material: Devil Design Black PETG
- Layer Height: 0.2mm
- Nozzle Temperature: 230C
- Bed Temperature: 60C
- Print Speed: ~80 mm/s
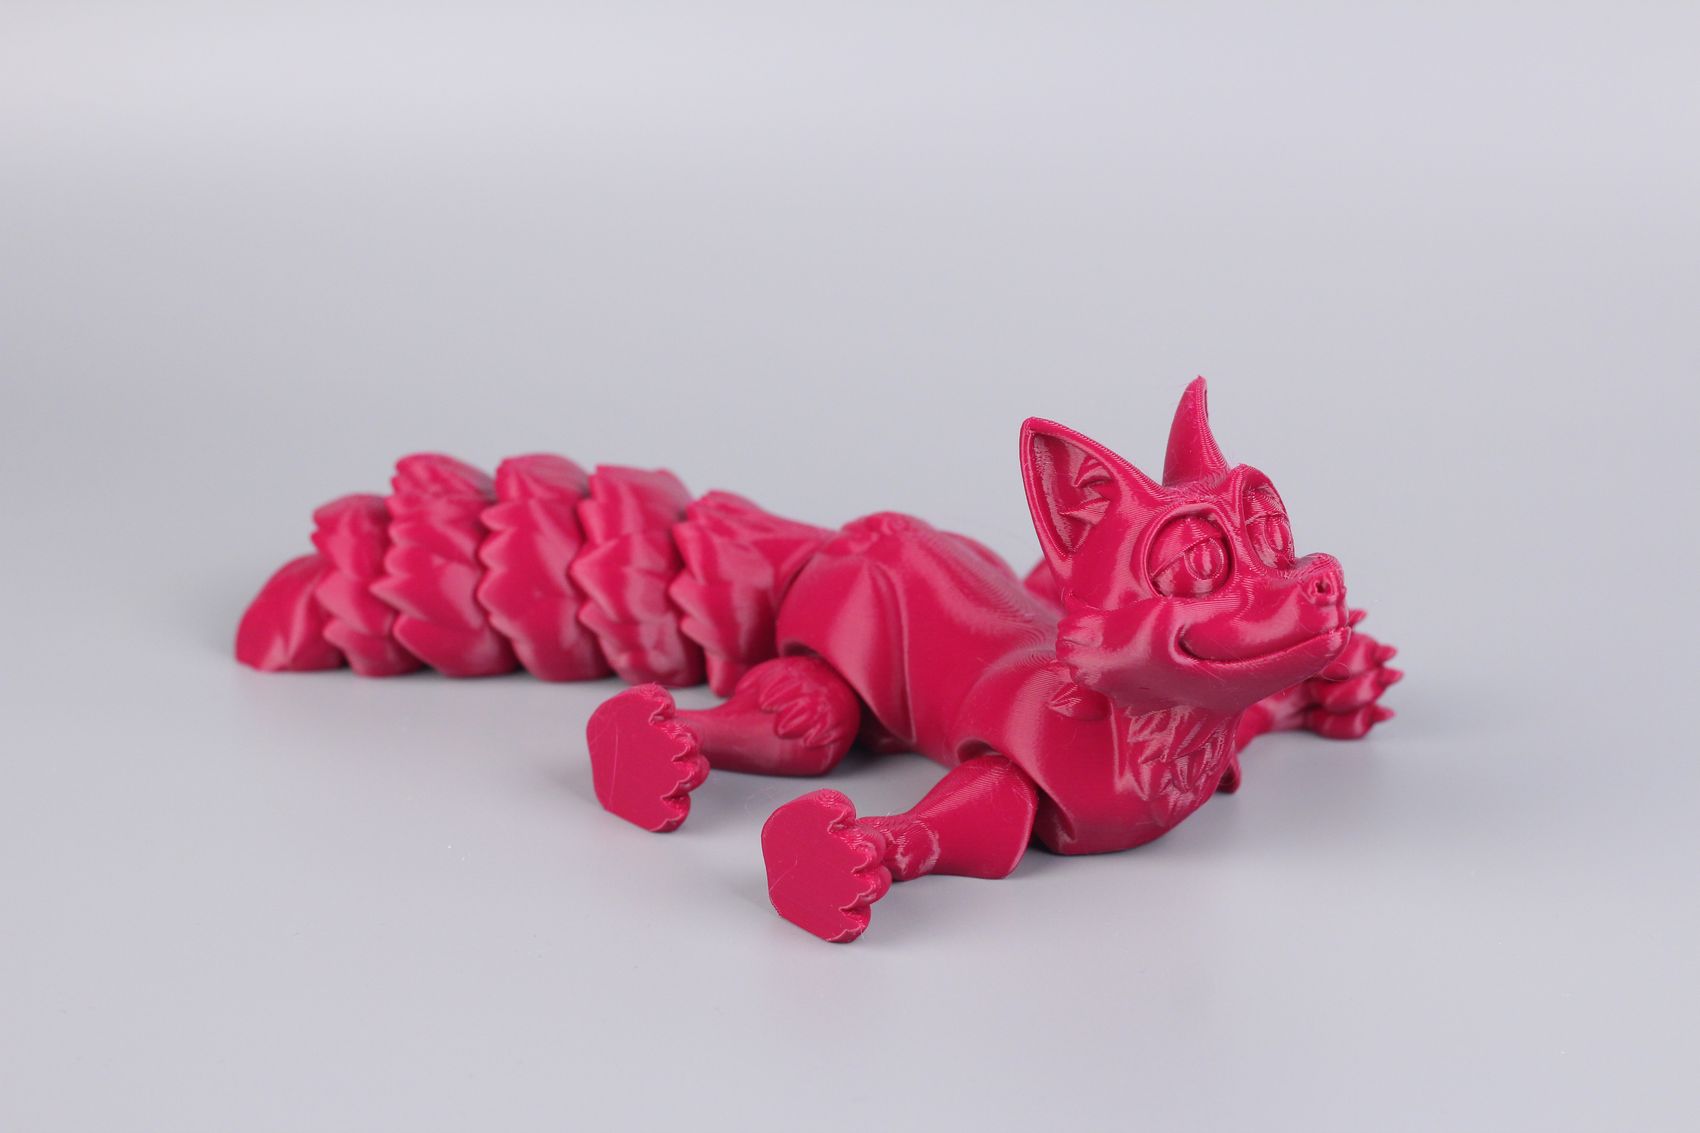
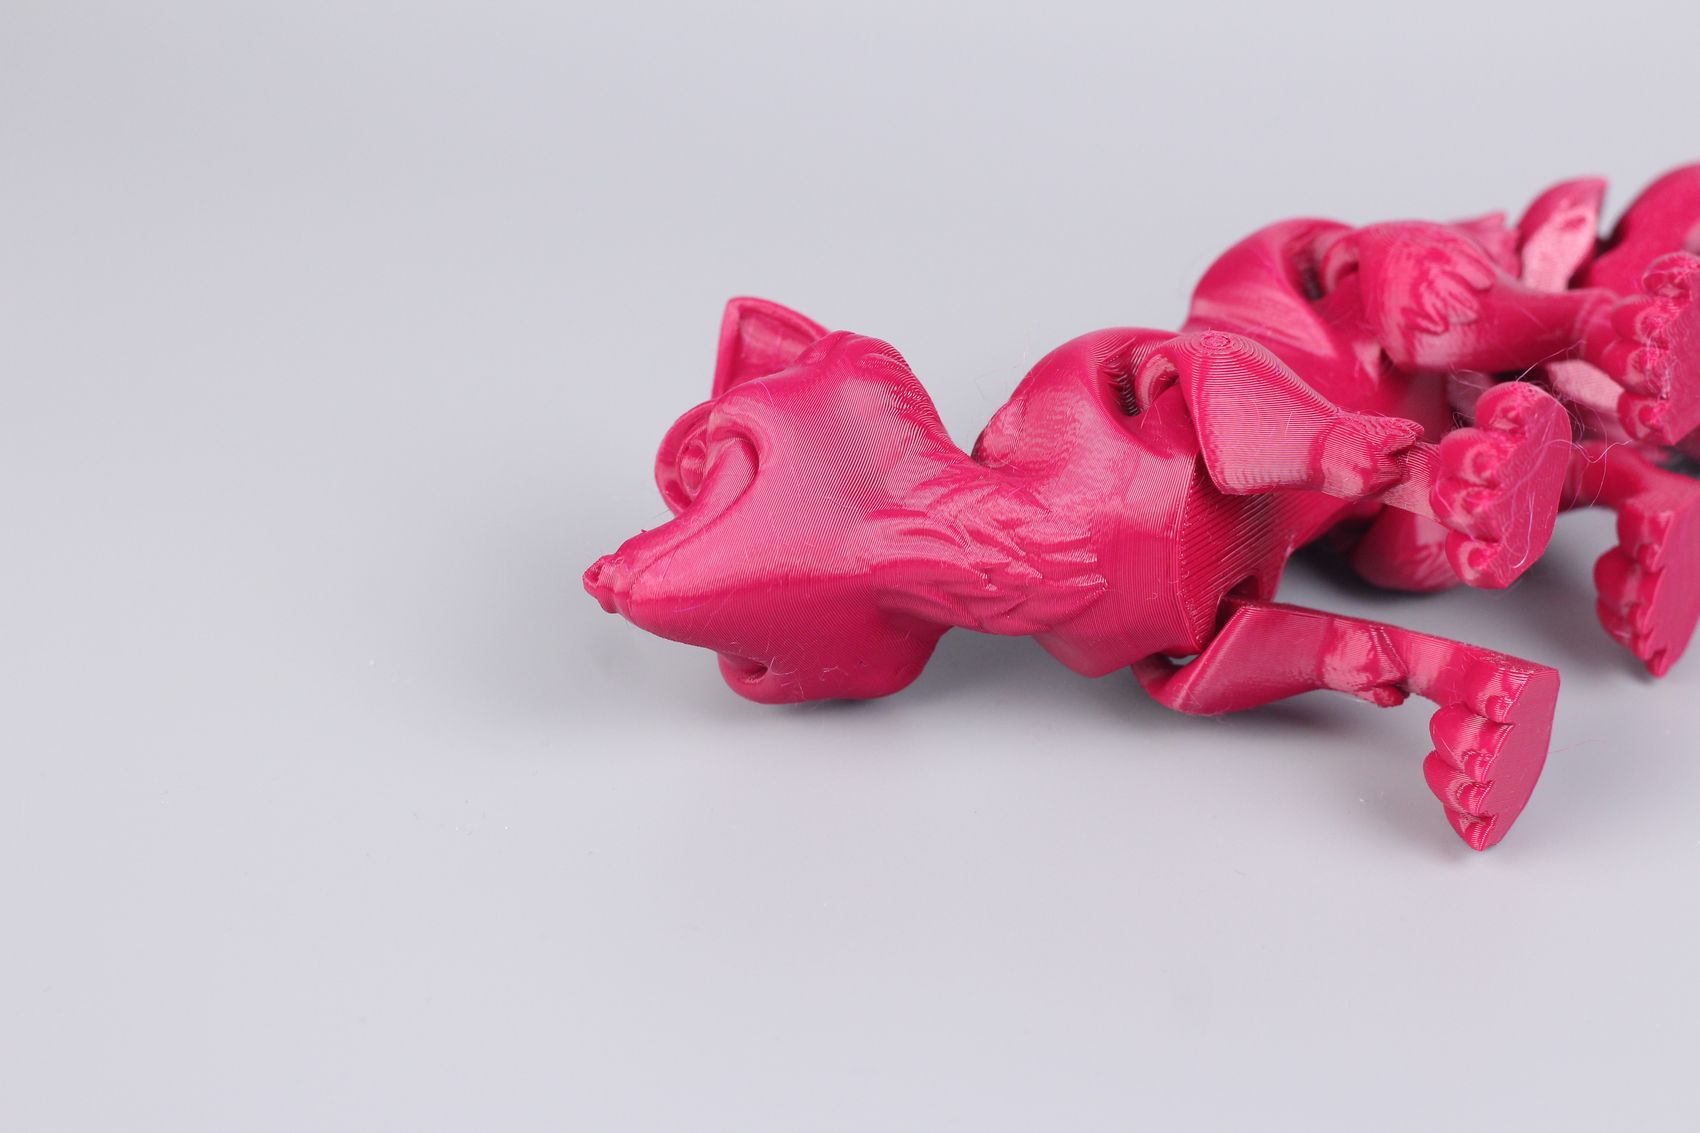
Flexi Fox
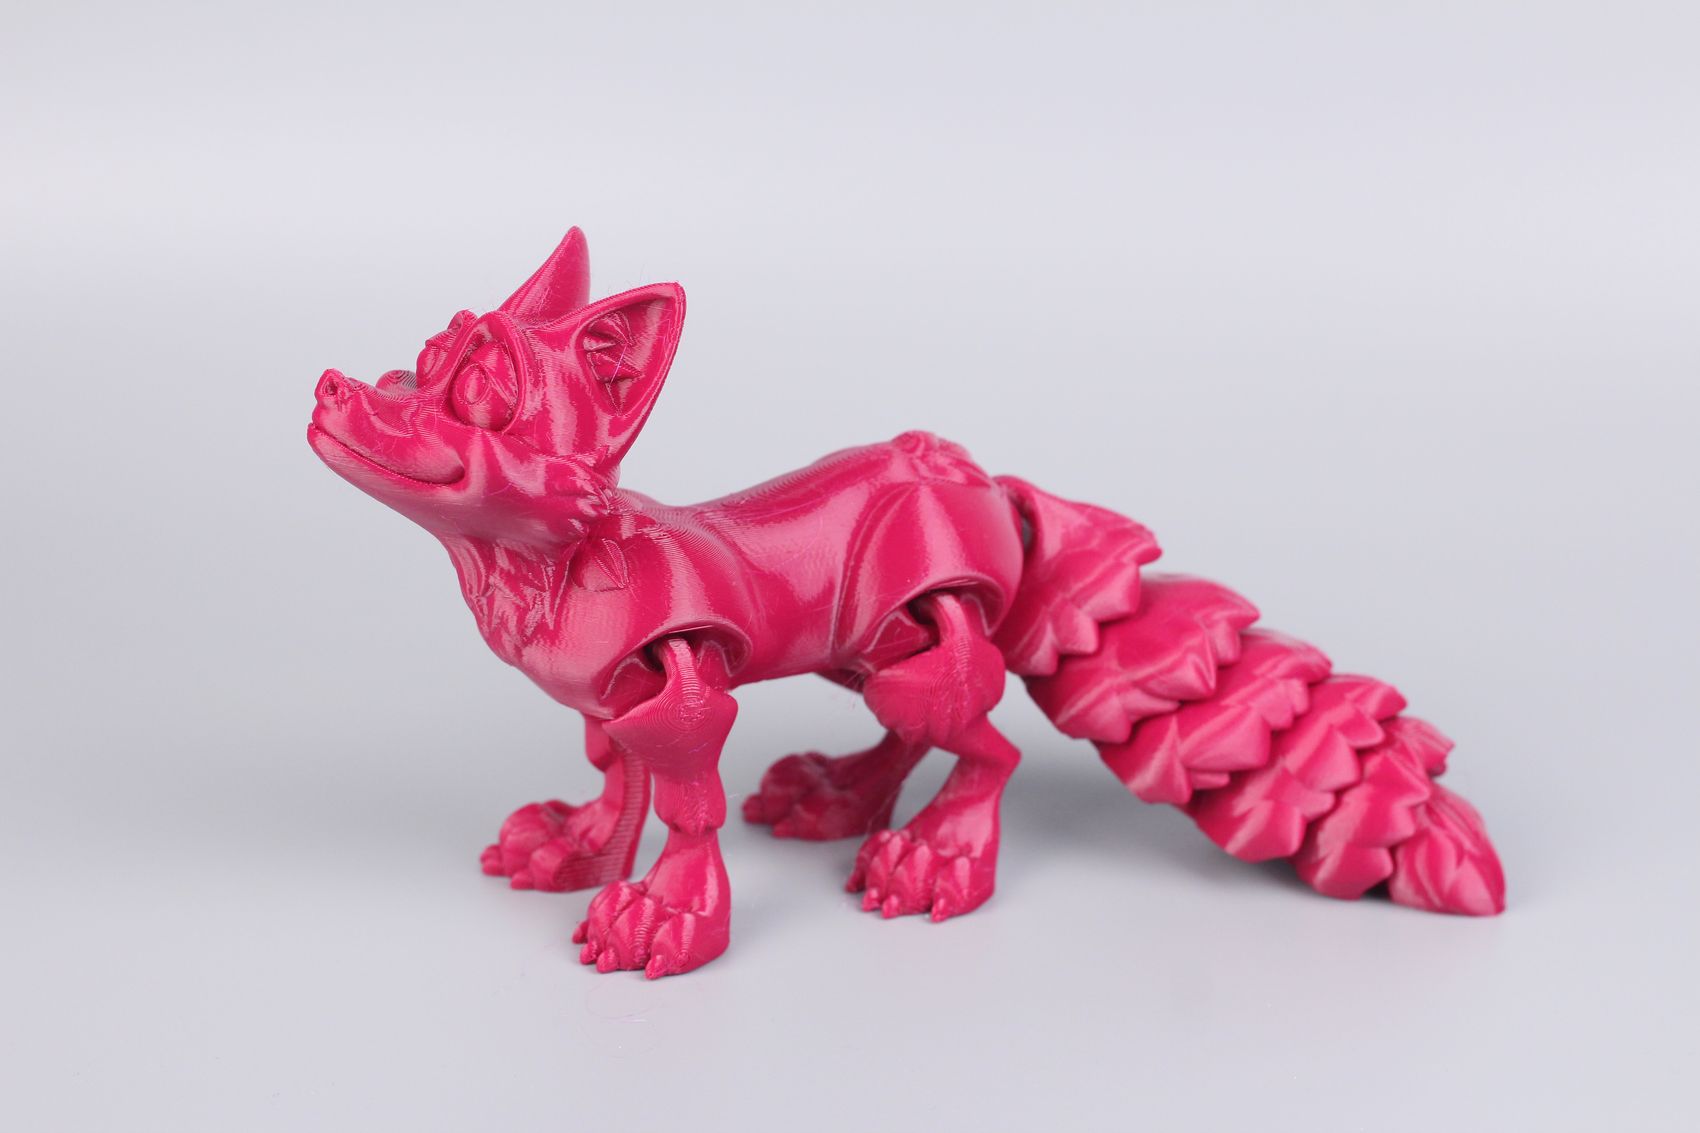
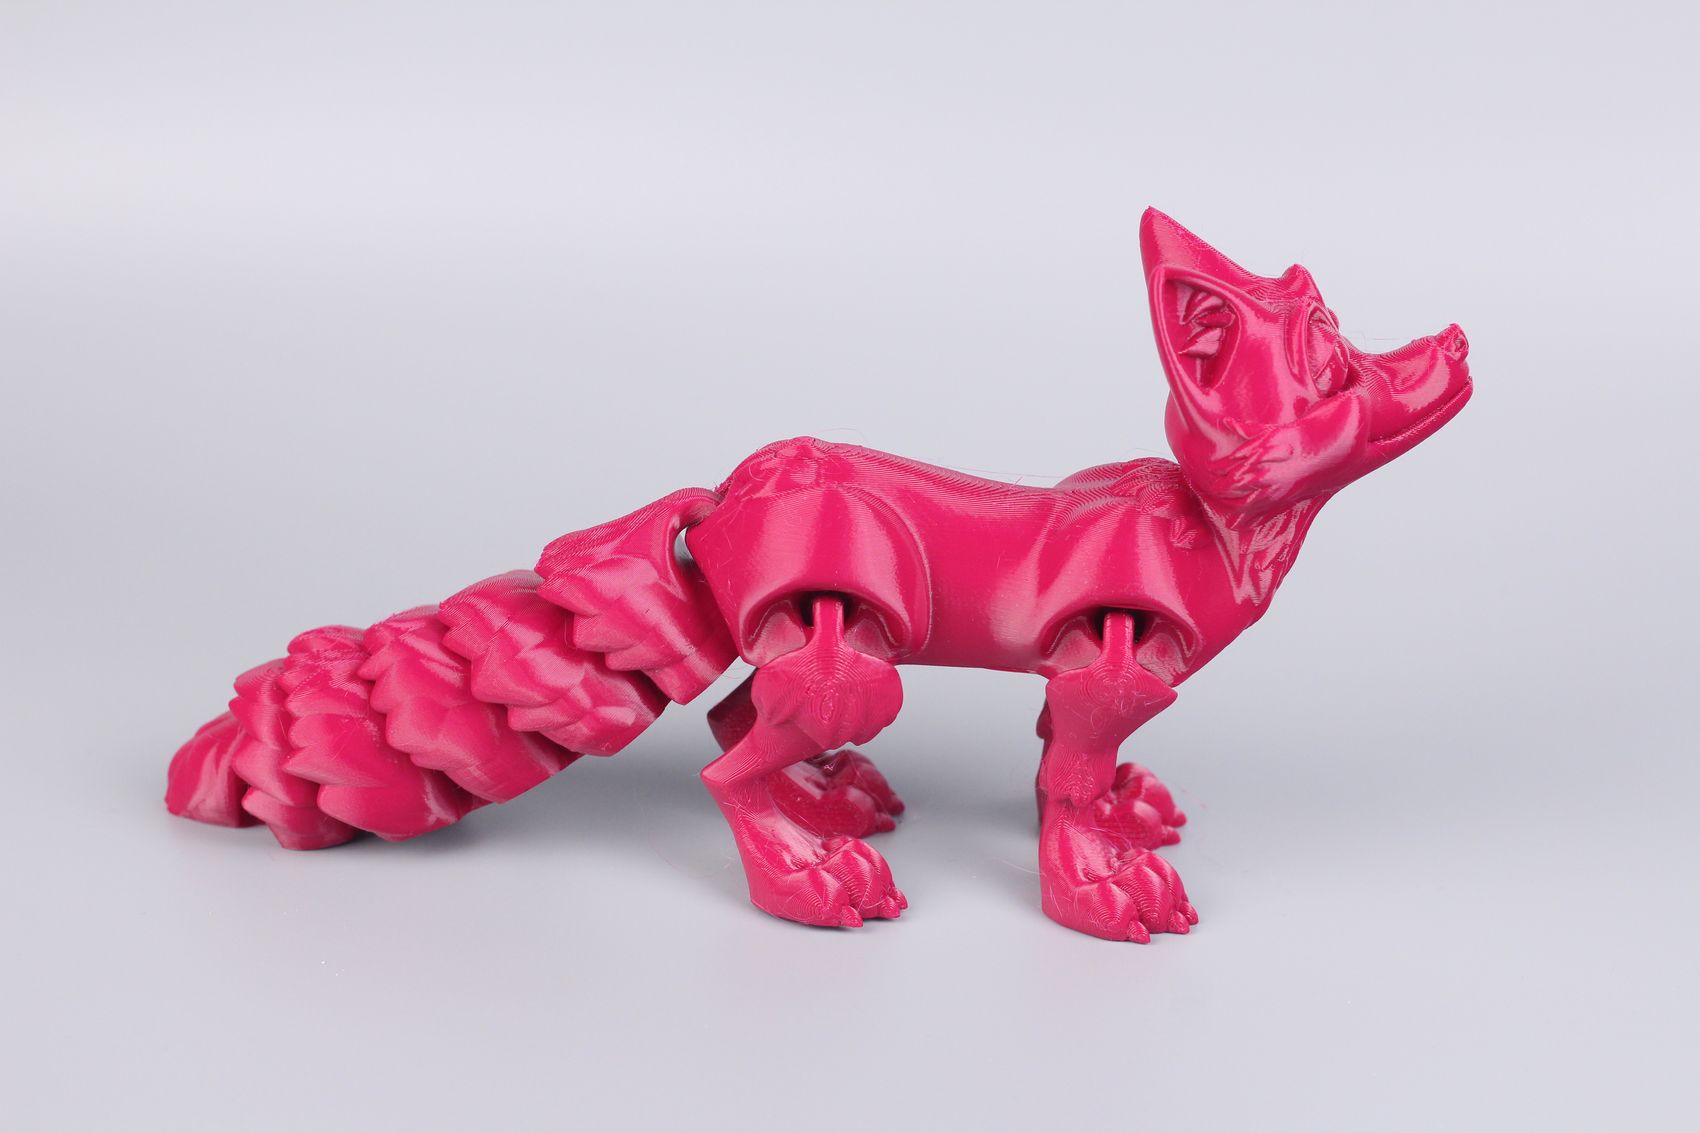
A common test print I do for PETG is the Flexi Fox, mostly because it’s a good test for adhesion with PETG. This time, this won’t tell us too much about the adhesion as my plate was scratched early in the review process so I used a textured PEI sheet. But it still came out quite good, with minor stringing so I’m happy.
- Material: Devil Design Pink PETG
- Layer Height: 0.2mm
- Nozzle Temperature: 230C
- Bed Temperature: 60C
- Print Speed: ~80 mm/s
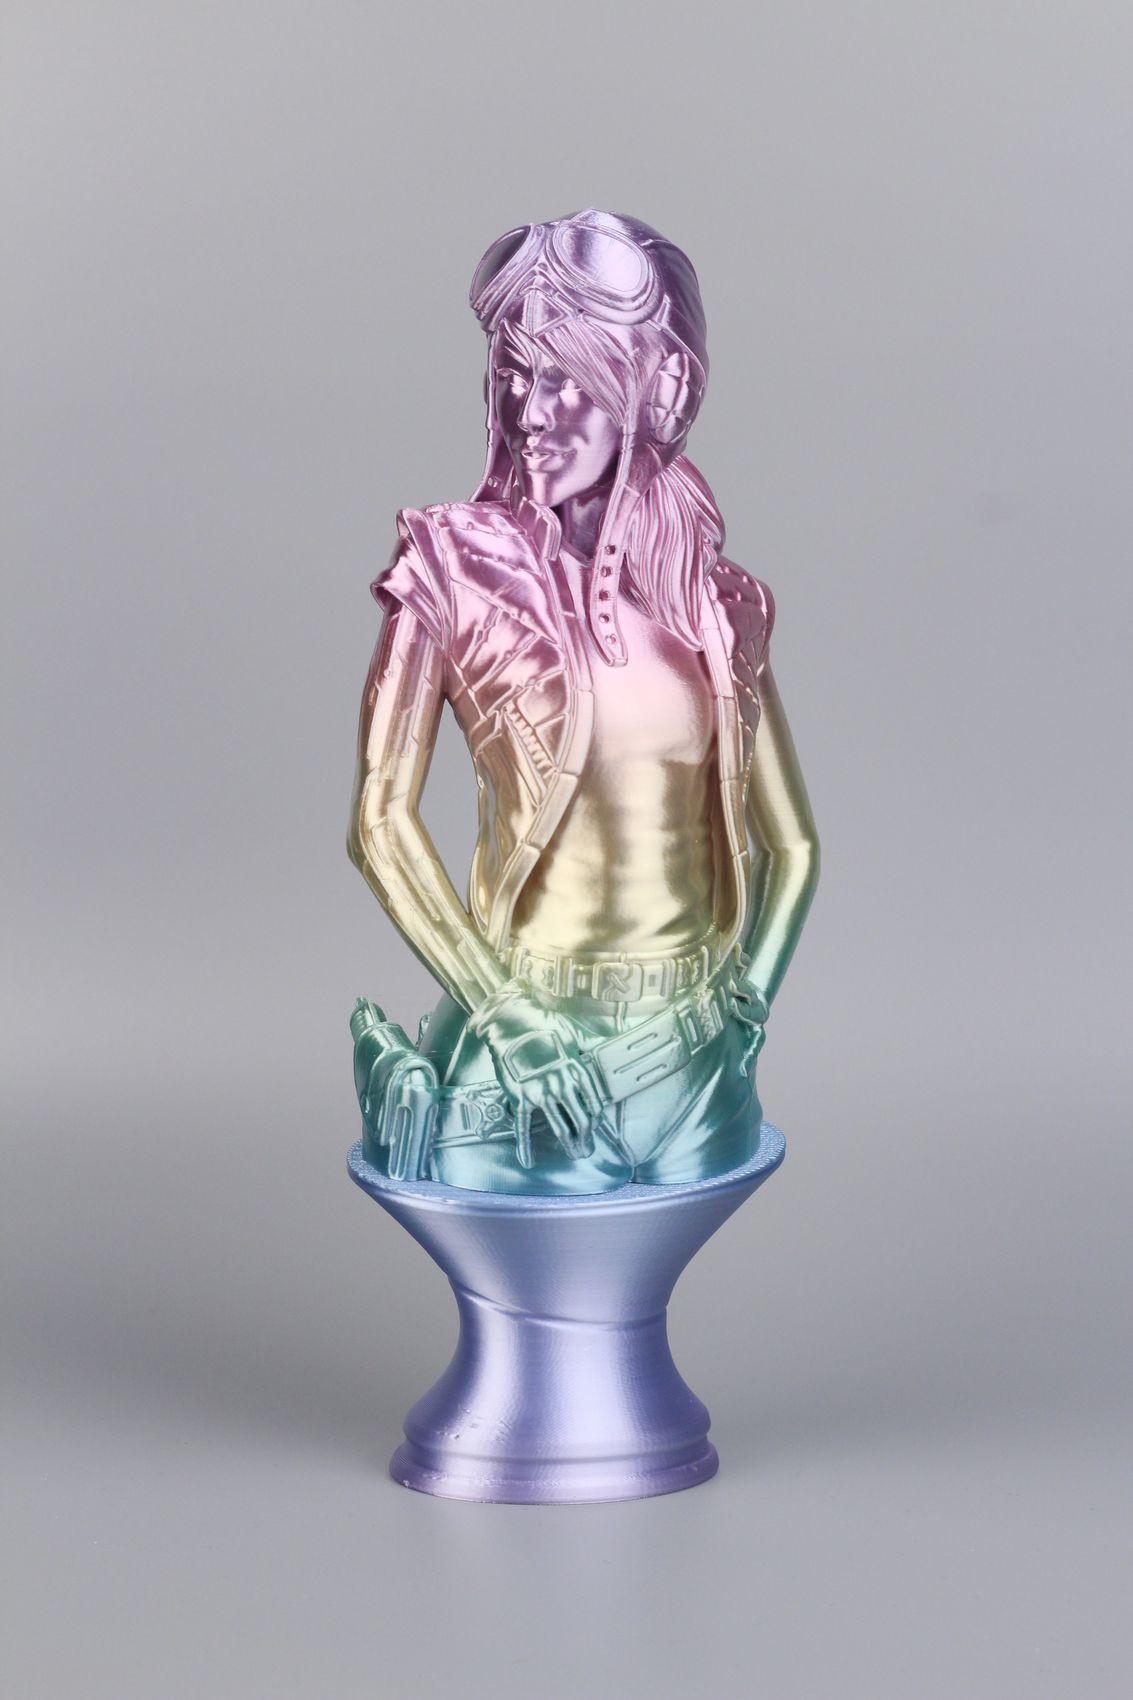
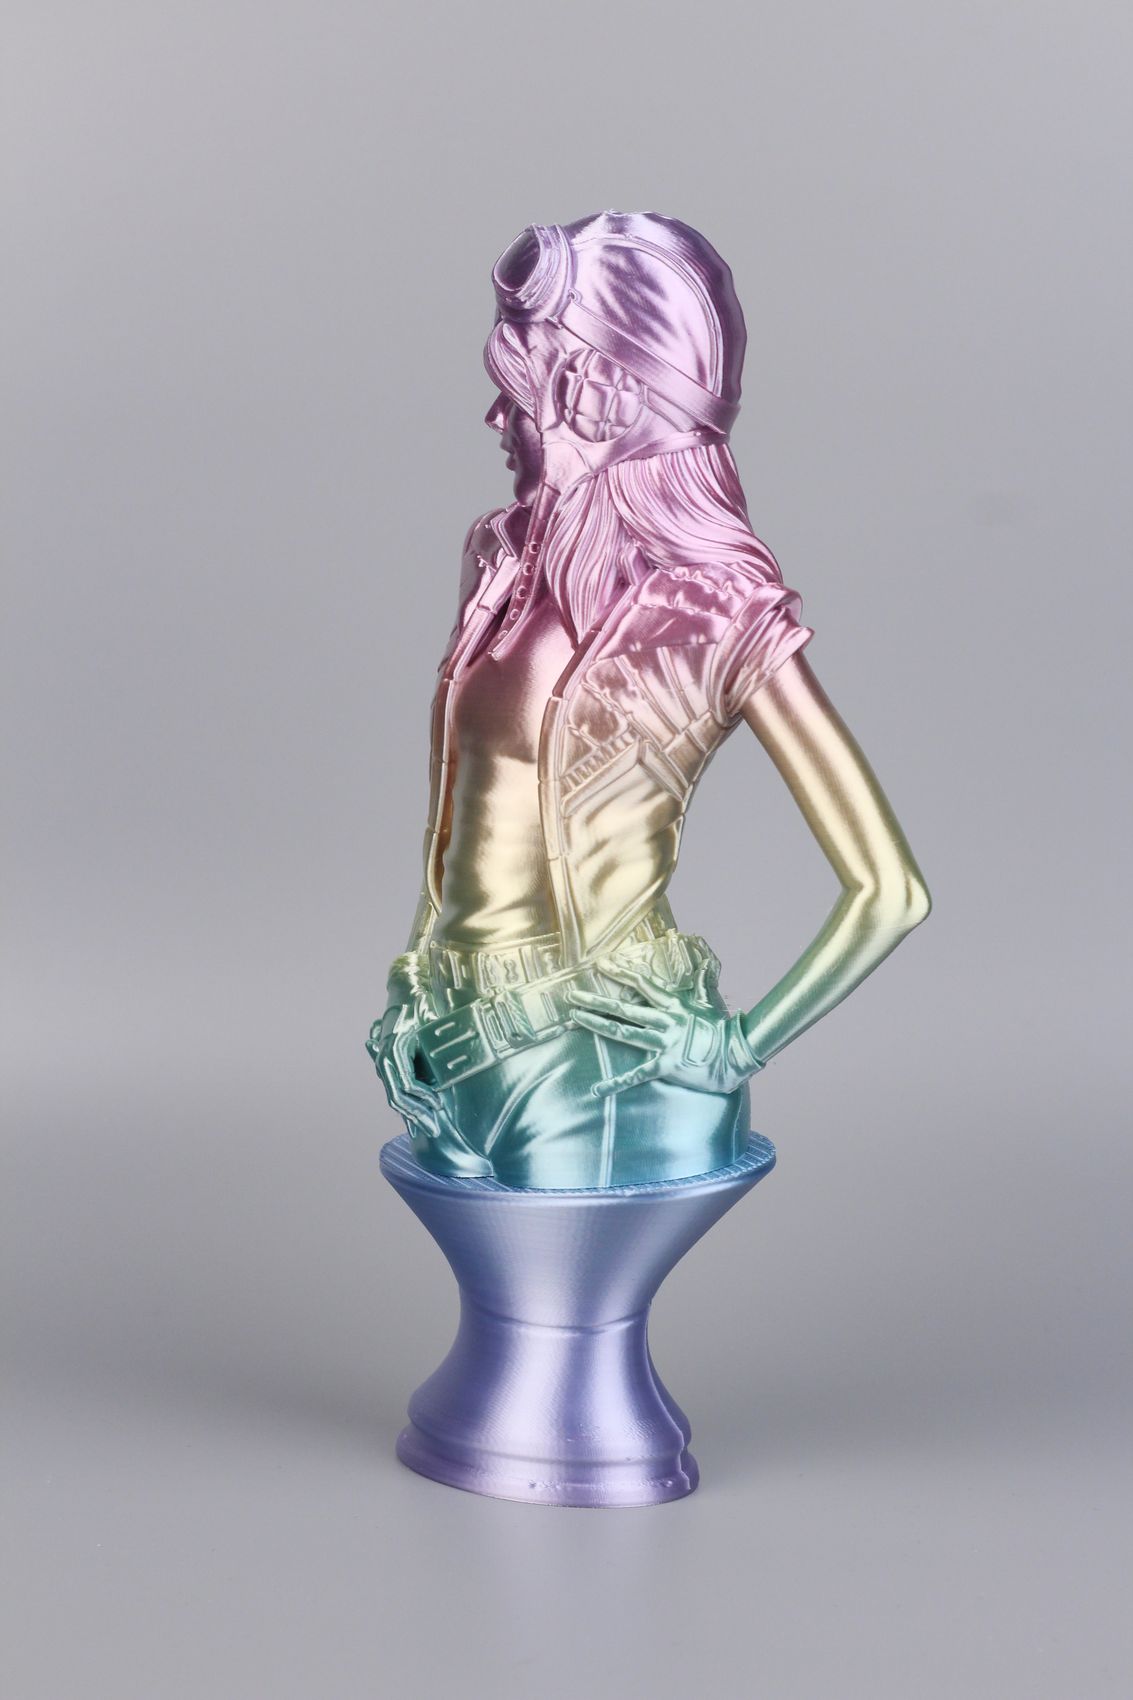
Doctor Aphra
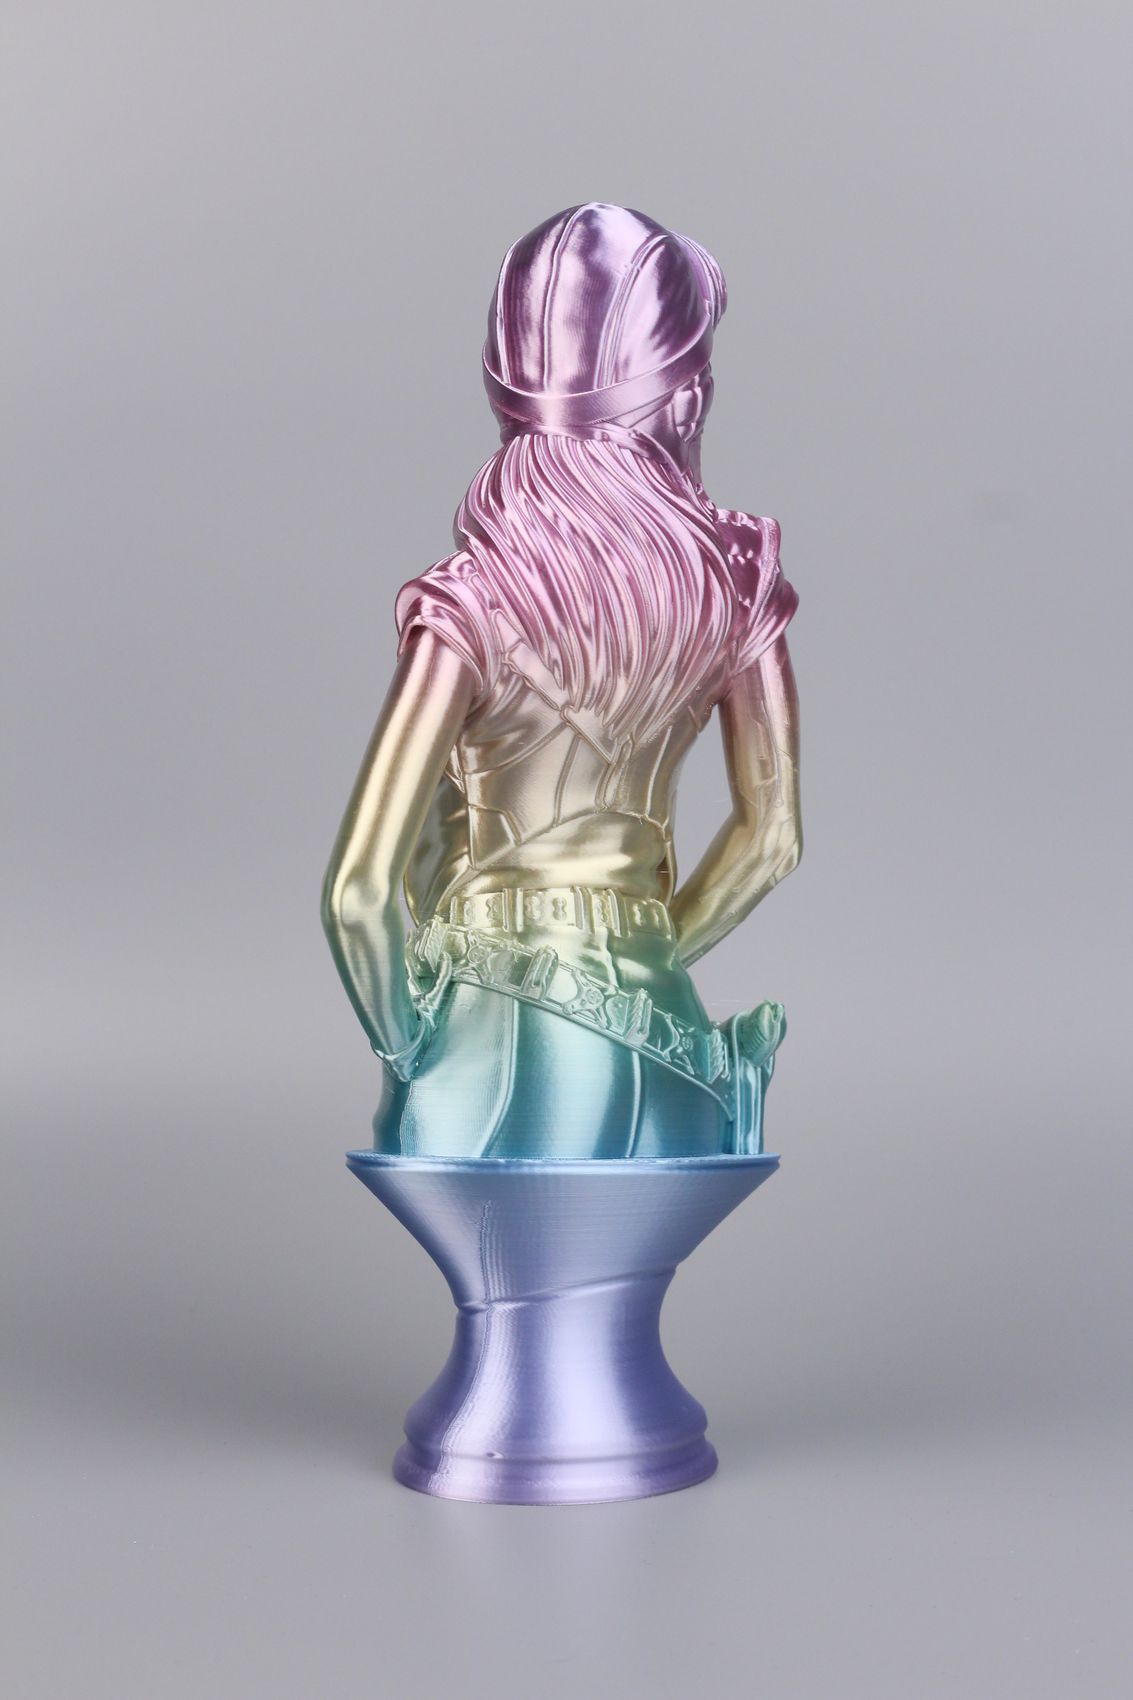
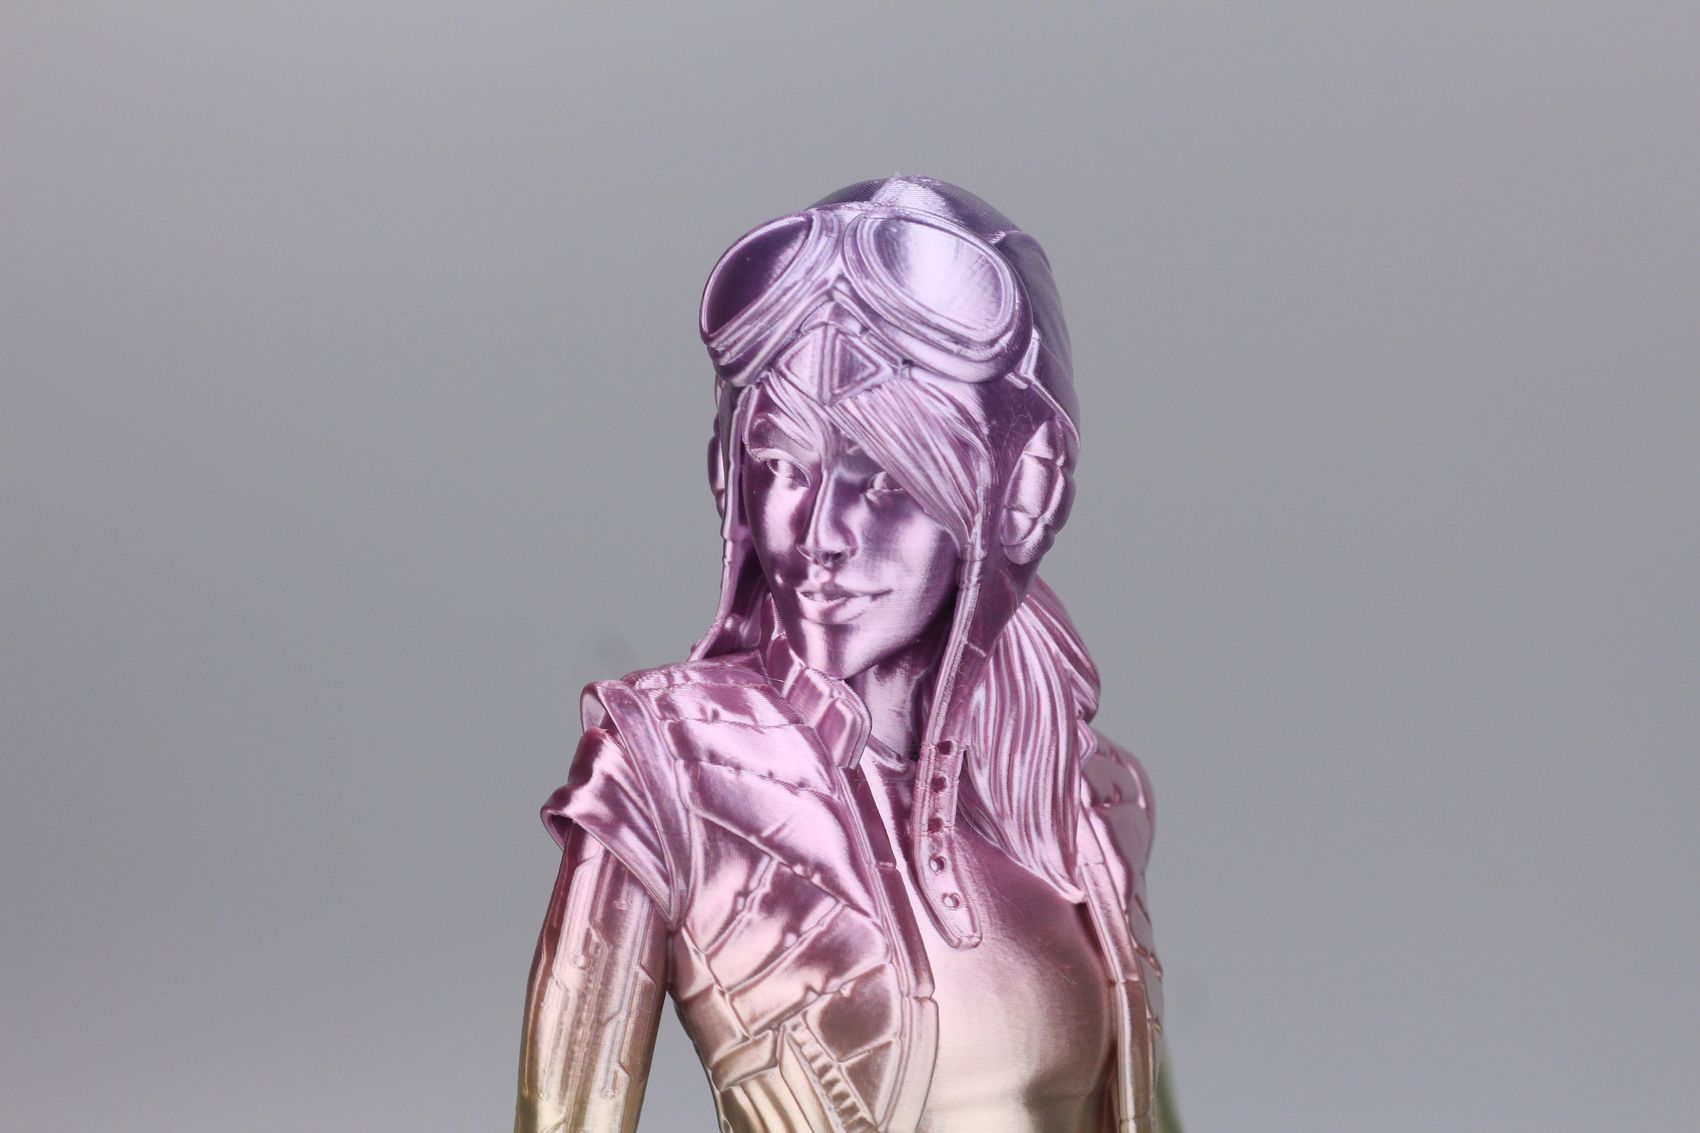
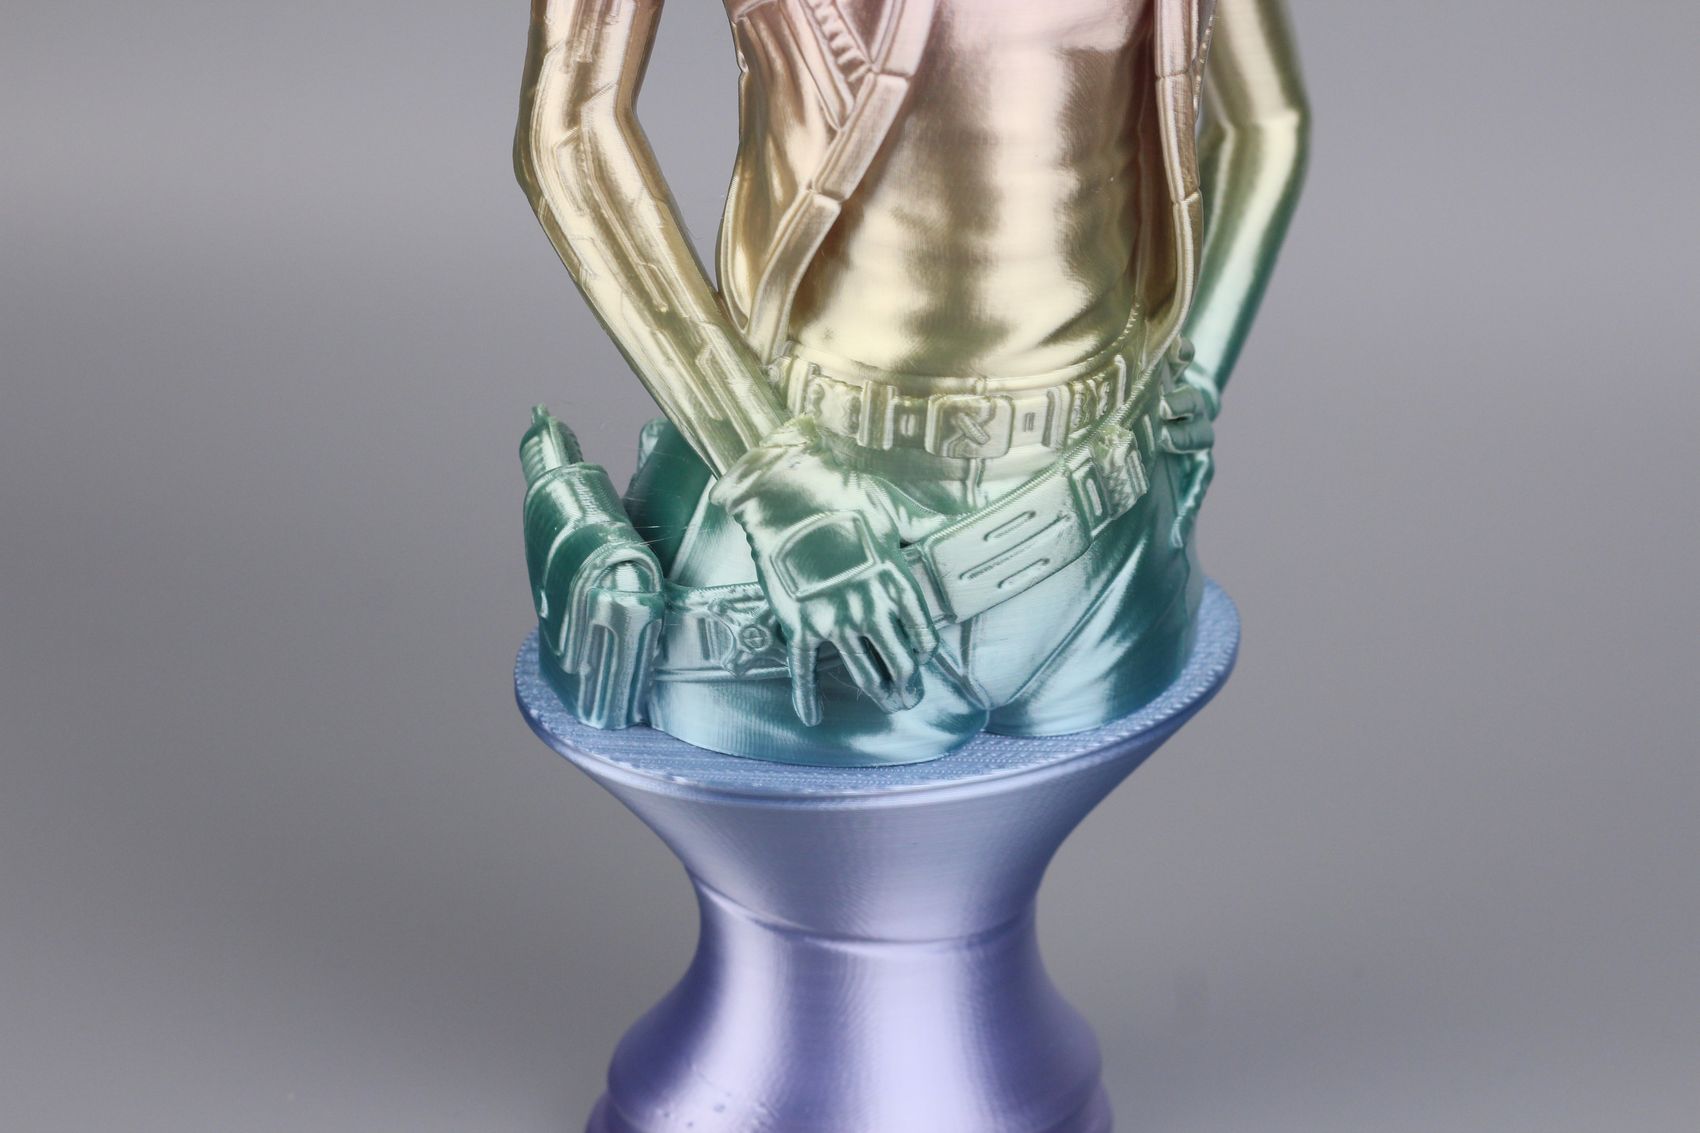
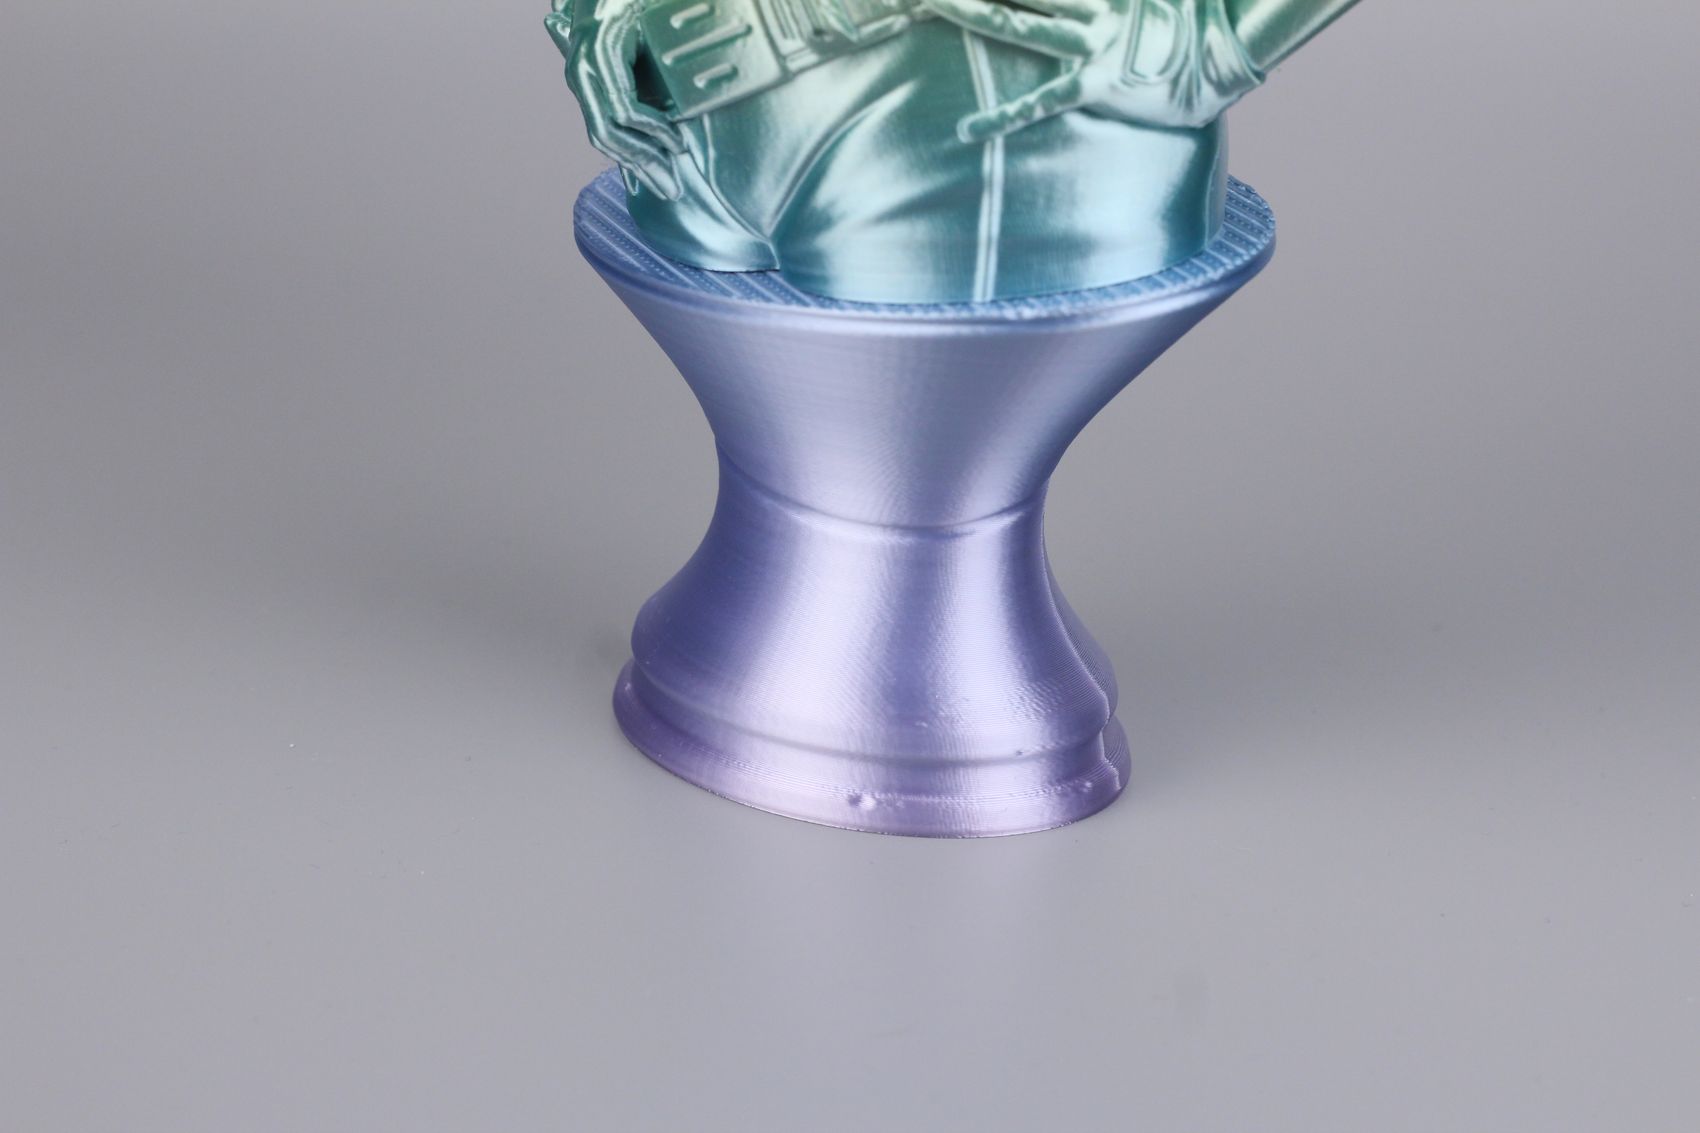
Finally, I printed Doctor Aphra from Eastman’s Patreon in Eryone Silk PLA and it came out really nice. Consistent extrusion and shine, good overhangs, and minor ringing. While it was printed a bit slower than the rest of the models, I think the printer can manage most common filaments easily.
The only problem with this model is a missed layer on the right-hand glove, but other than that, it looks really nice.
- Material: Eryone Rainbow Silk PLA
- Layer Height: 0.15mm
- Nozzle Temperature: 220C
- Bed Temperature: 50C
- Print Speed: ~60 mm/s
Conclusions: Is the Creality Ender-5 S1 worth it?
The Ender-5 S1 is a worthy successor to the older Ender-5, and the price doesn’t seem very bad considering the extra print speed you are able to get from it compared to the Ender 3 S1 Pro, for example.
Having the Creality Sprite extruder paired with a bi-metallic heat break is nice, but the entire X gantry is quite heavy now and you are limited in the acceleration values of the printer. Considering that the X-axis motor is attached to the gantry, the Y-axis motor needs to move a considerable weight which generates ringing and wobble.
Overall, the printer is a decent alternative, but the price it’s sold is a bit higher than other similar machines out there. Having the ability to enclose the printer afterward is also nice, but it makes me think of reasons why to get this instead of the more-popular Ender 6 if you’re looking for more speed. You could get that printer for a similar amount and get a real core-XY machine which already comes enclosed and has a stiffer bed.
Sure, you would need to upgrade the printer with a direct-drive extruder to get the most out of it, but I think it can be a better purchase if you are looking to print fast.
And there’s also the new Sovol SV05 which is cheaper, and also comes with a direct-drive extruder out of the box. It doesn’t have a color touchscreen, and it might not be as good-looking as the Ender-5 S1 but it performs similarly in my testing. I’ll have a review for that soon, so make sure to check back soon.
Creality Ender 5 S1 Plus Rating
Design
Specs
Noise Levels
Ease of use
Print Quality
Price
The Ender 5 S1 is a good 3D printer if you're looking for a cube design 3D printer that comes with a good extruder and doesn't require upgrades to get good results. It's not amazingly fast, but it can print quicker than other printers out there.
Where to buy the Creality Ender-5 S1?
The Creality Ender-5 S1 was provided free of charge by Creality for the purpose of this review. While the article includes affiliate links, all opinions are my own. Nobody reviewed the article before it was posted, following the Review Guidelines.
Liked it?
|
|



You mentioned someone shared Klipper config for the ender 5 S1, did I miss you shading it?
I have a config, but I am still working on tuning it.
Loved the article, the new Ender 5 is a decent competitor for not to much more. On another note, do you know if the desuuu Ender 6 klipper firmware with the screen is compatible with an accelerometer?
Howdy,
Any chance you could share your klipper config for the Ender 5 S1?
Mine seems to be underextruding slightly and I feel like the rotation_distance is off.