BIQU Hurakan Review: Klipper Firmware on a Budget
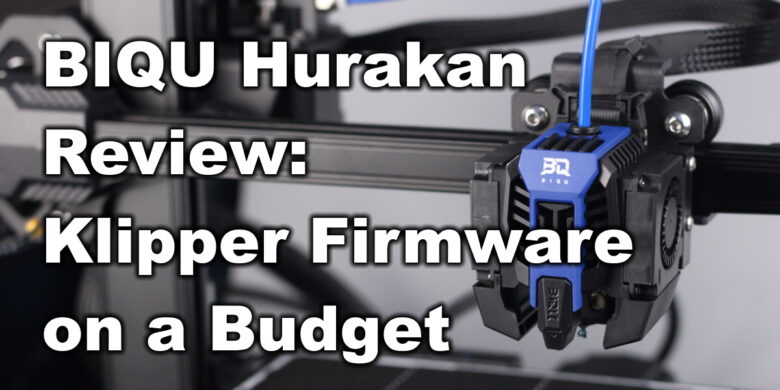
The BIQU Hurakan is a cheaper alternative cartesian 3D printer with the main selling point being the Klipper firmware being pre-installed from the factory.
The first printer sold with Klipper out of the box was the FLSUN V400 which performed very well, and it’s nice to see that BIQU is launching their own Klipper 3D Printer, in the form of the BIQU Hurakan.
In this BIQU Hurakan review, we’ll go over the specs and performance of the printer, to see if it’s worth the higher price tag compared to a regular cartesian printer with similar capabilities.
BIQU Hurakan Shipping and Packaging
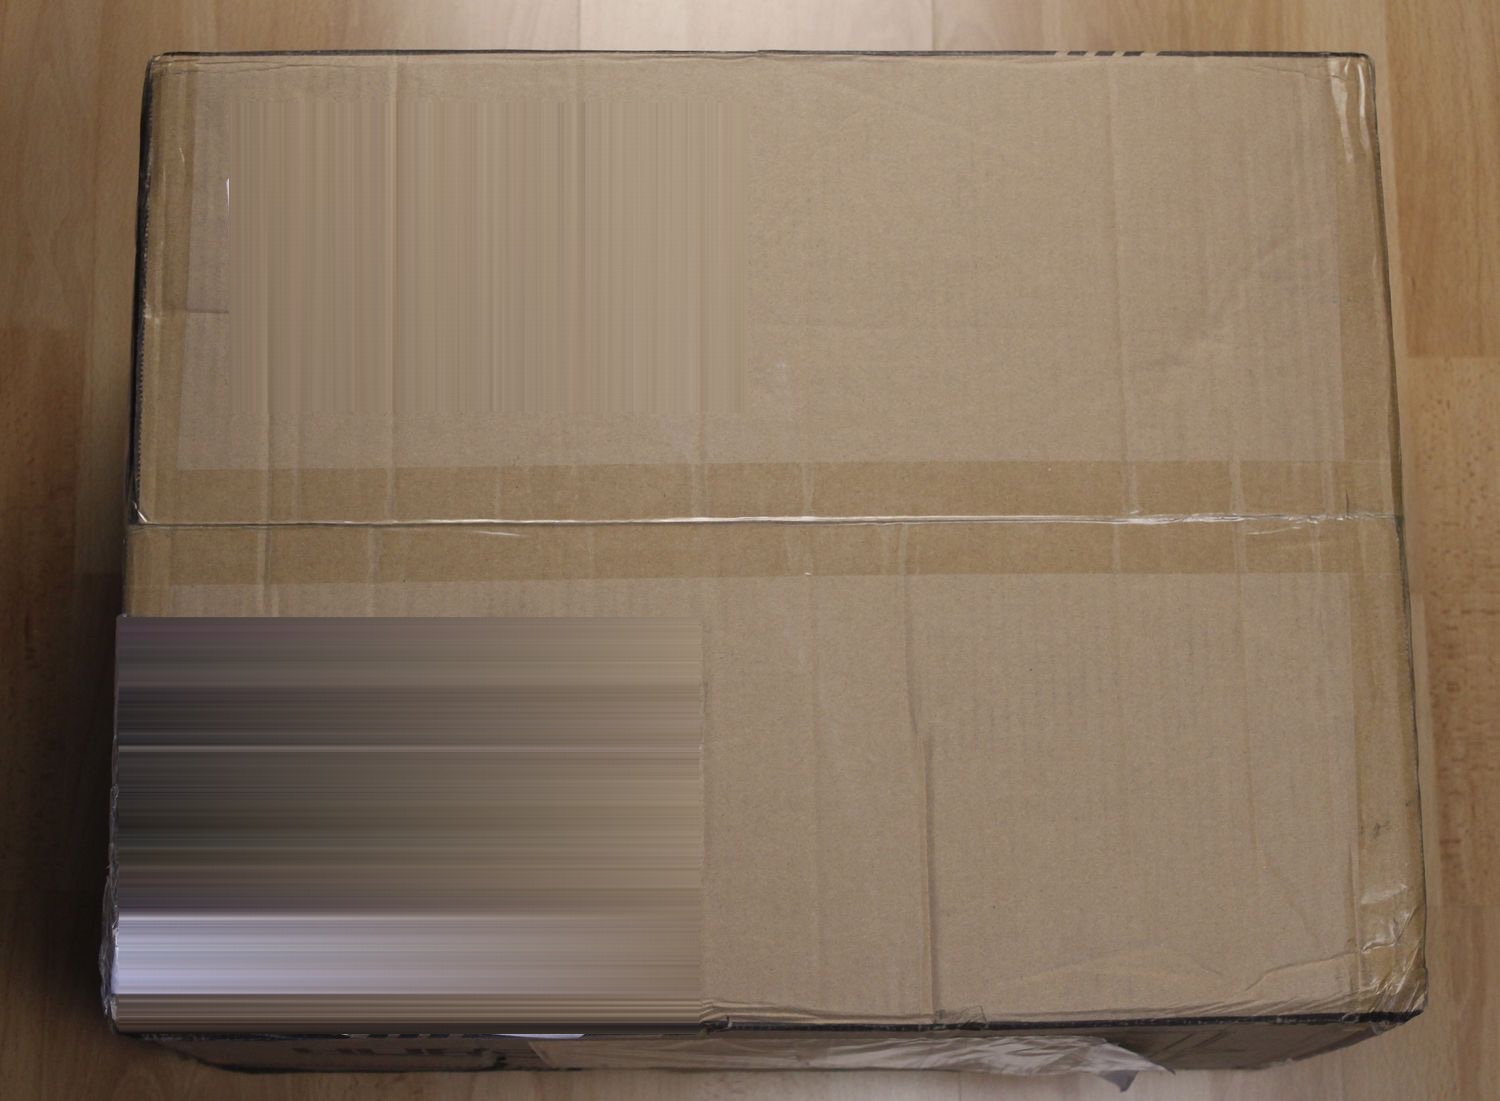
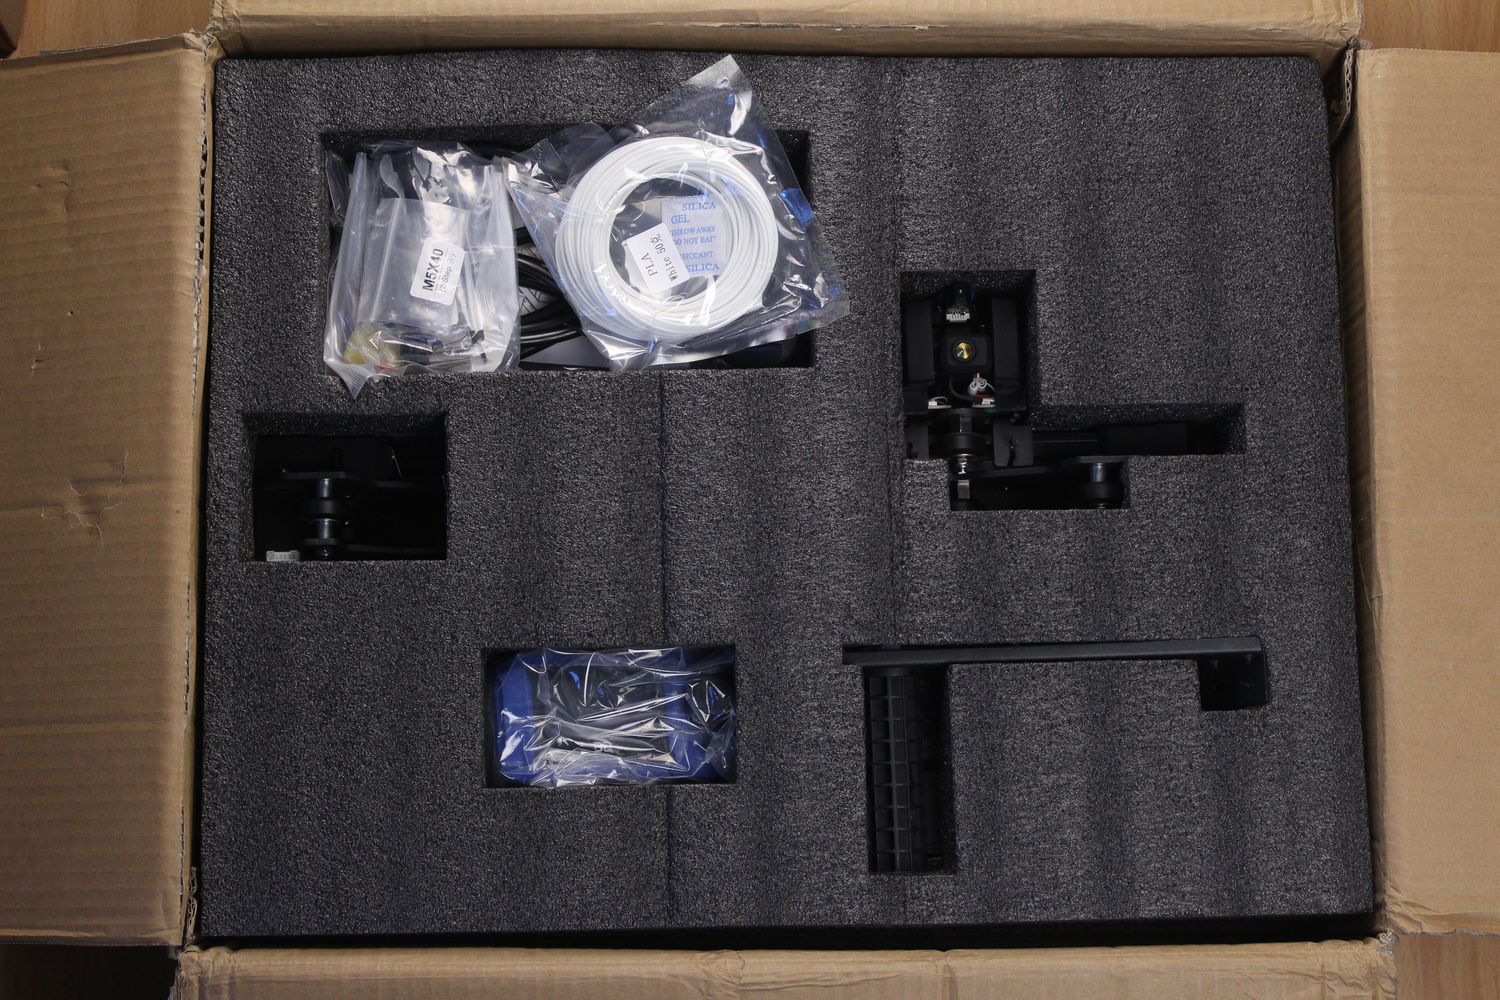
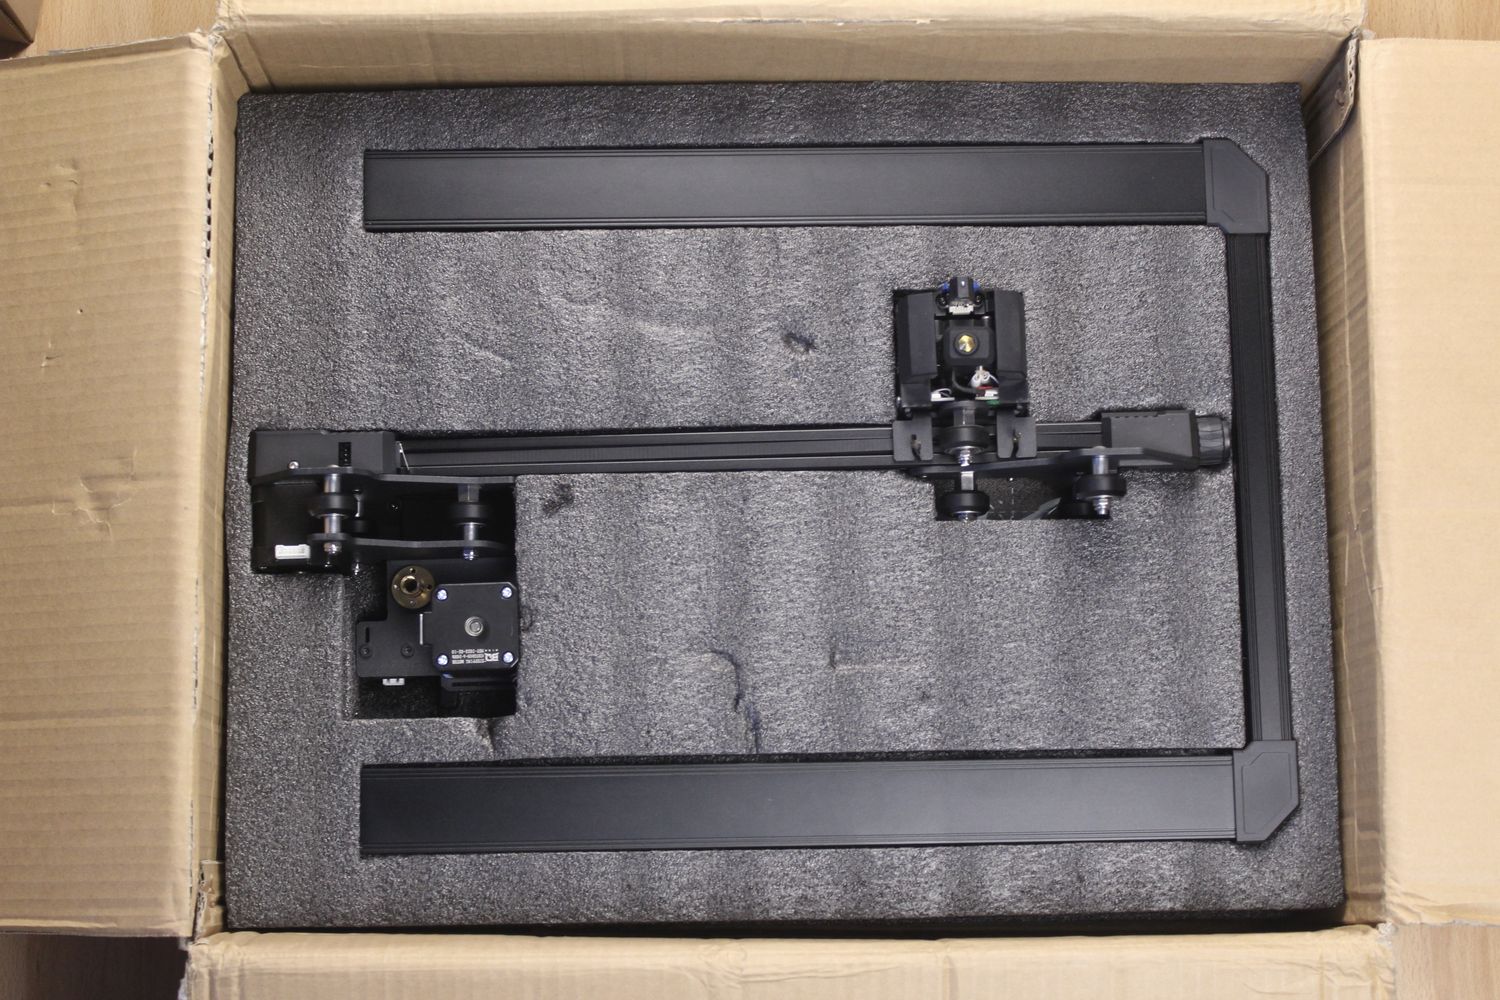
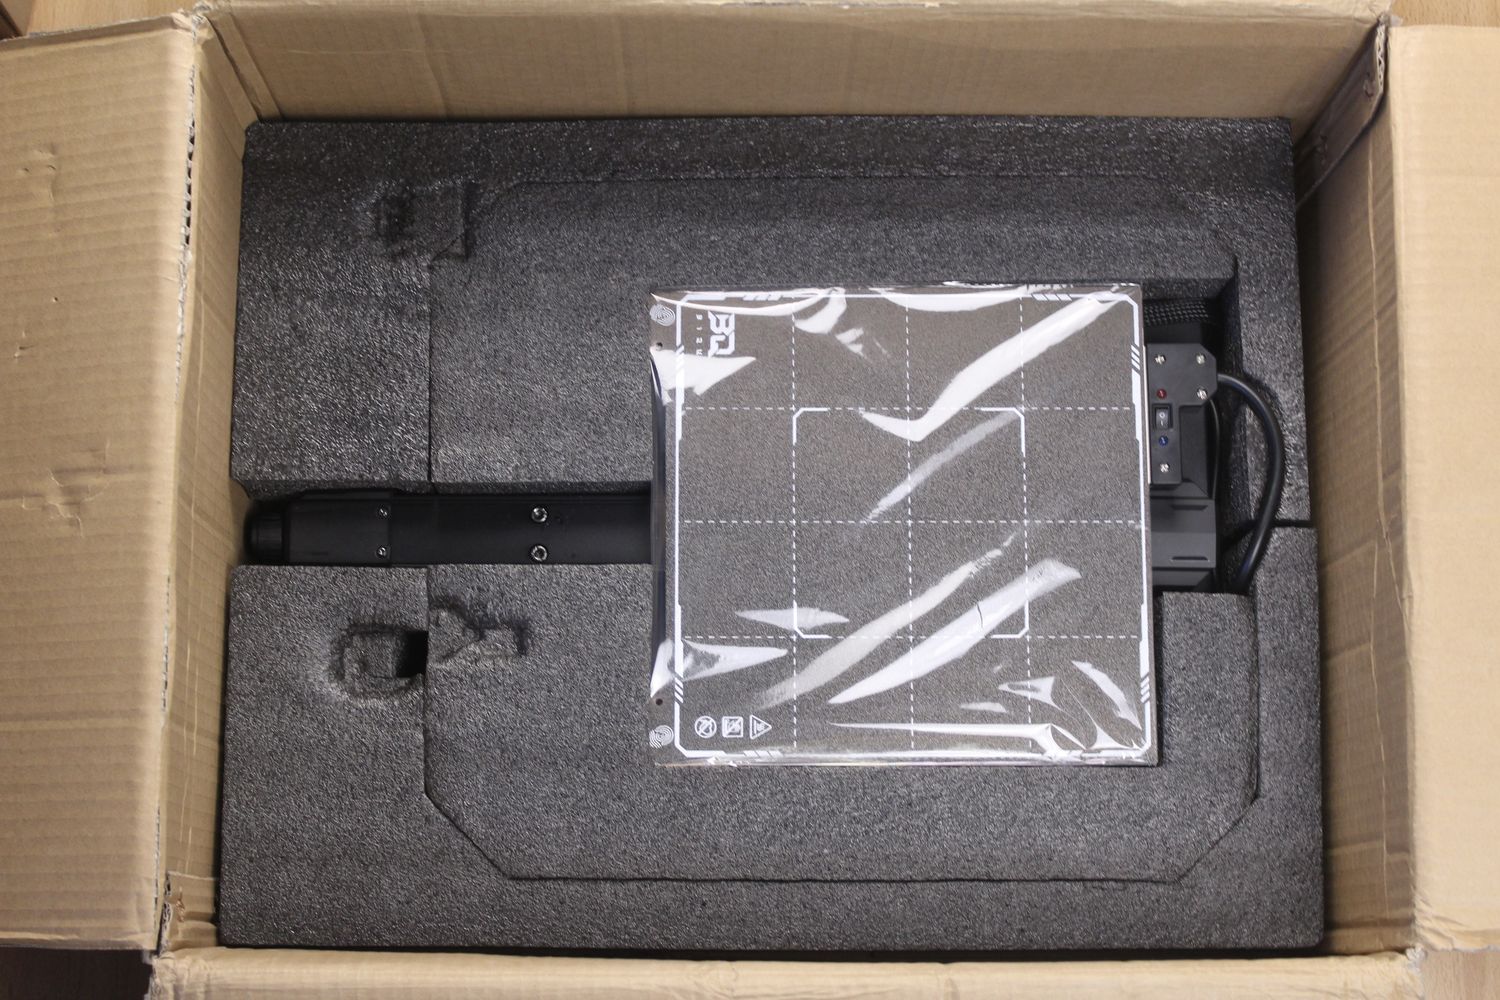
The BIQU Hurakan comes packed in a cardboard box with foam protection on all sides. It is delivered partially assembled, and the user needs to spend about 20 minutes putting the parts together. Asembly is pretty straightforward and all the steps are nicely described in the included manual.
BIQU Hurakan Design
While the BIQU Hurakan is not much different compared to similar cartesian 3D printers, it has a distinctive futuristic look that sort of resembles the Lamborghini Huracan which is probably why it has a very similar name.
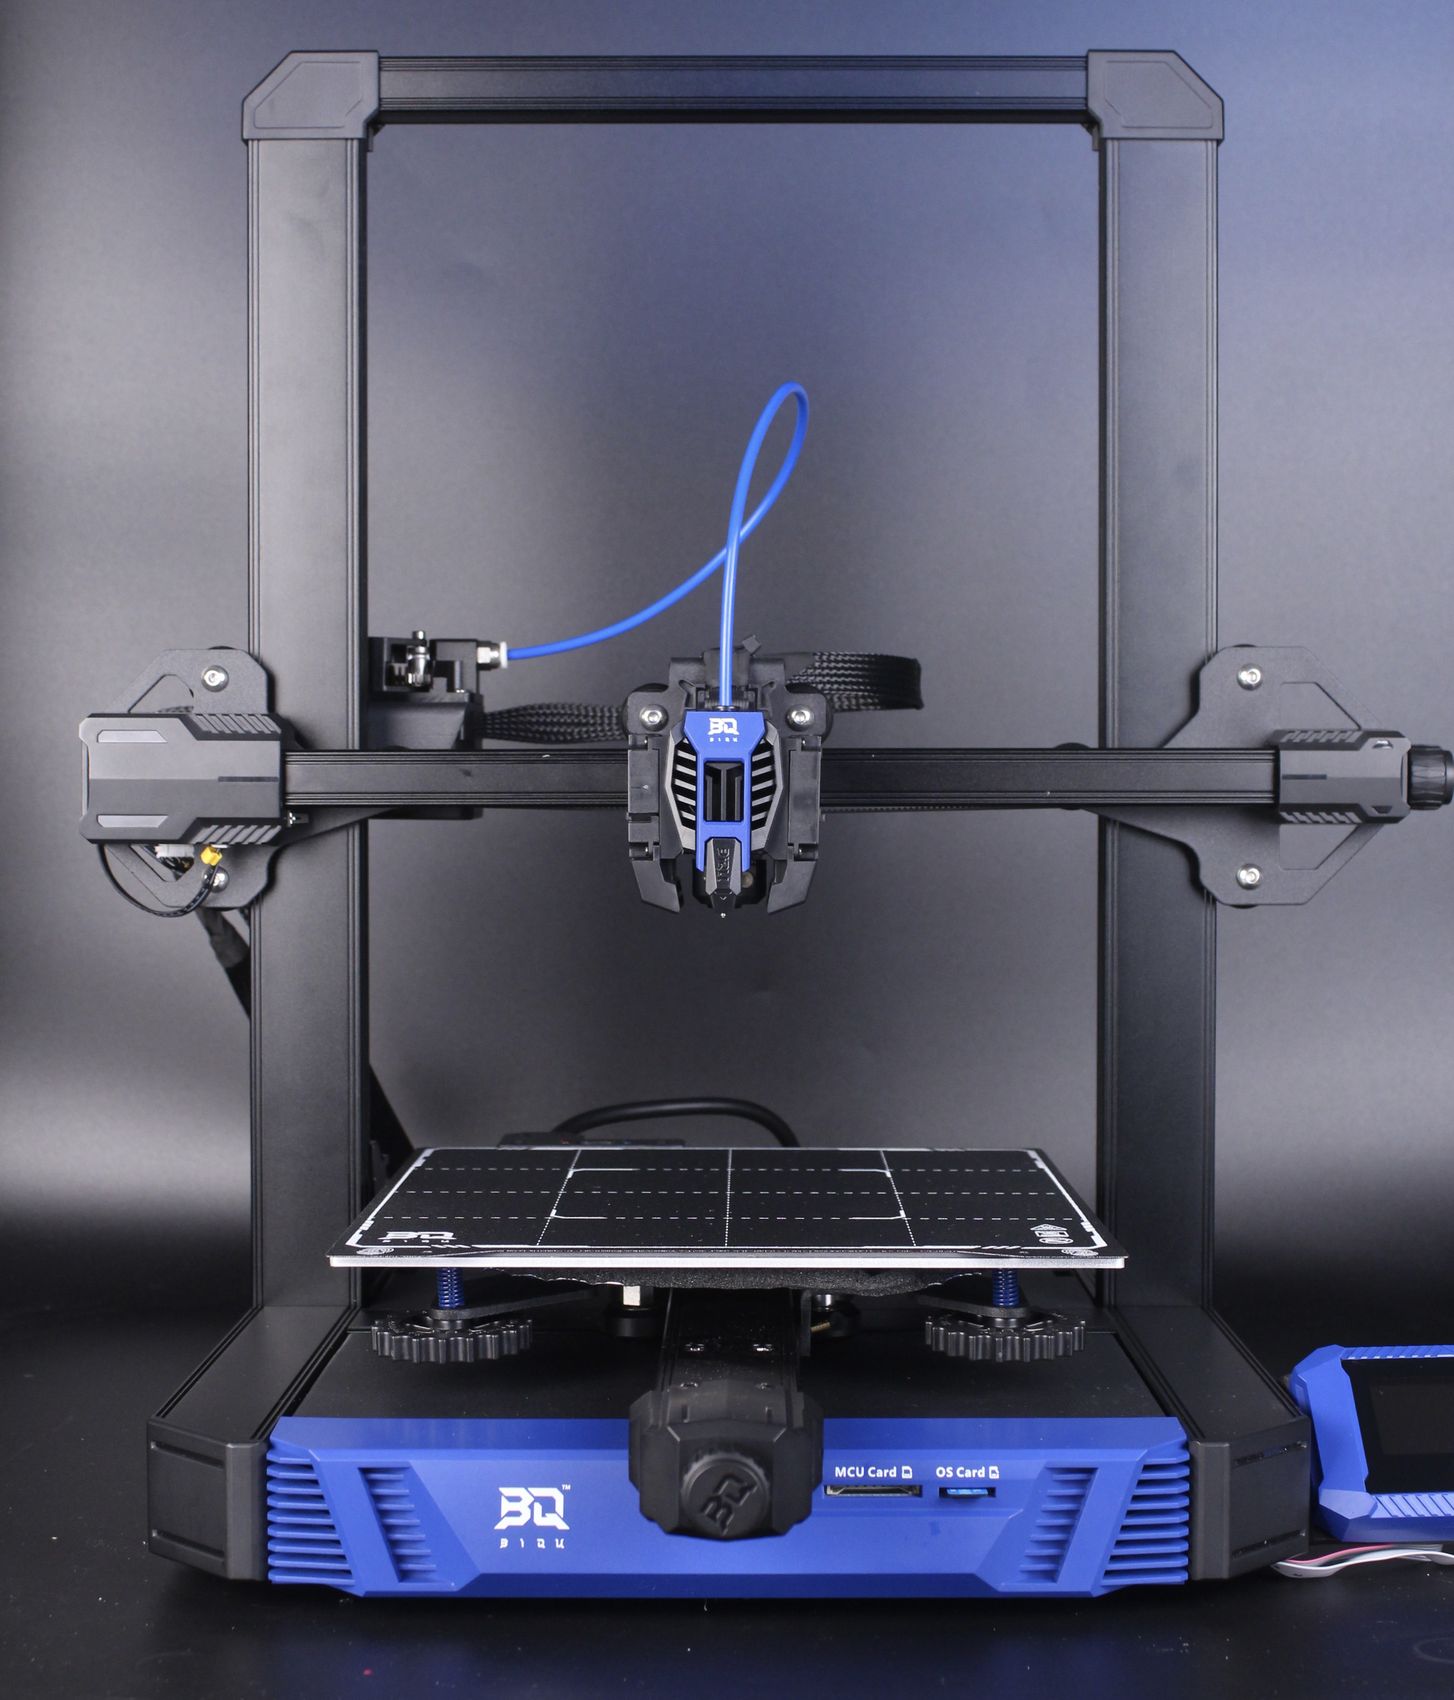
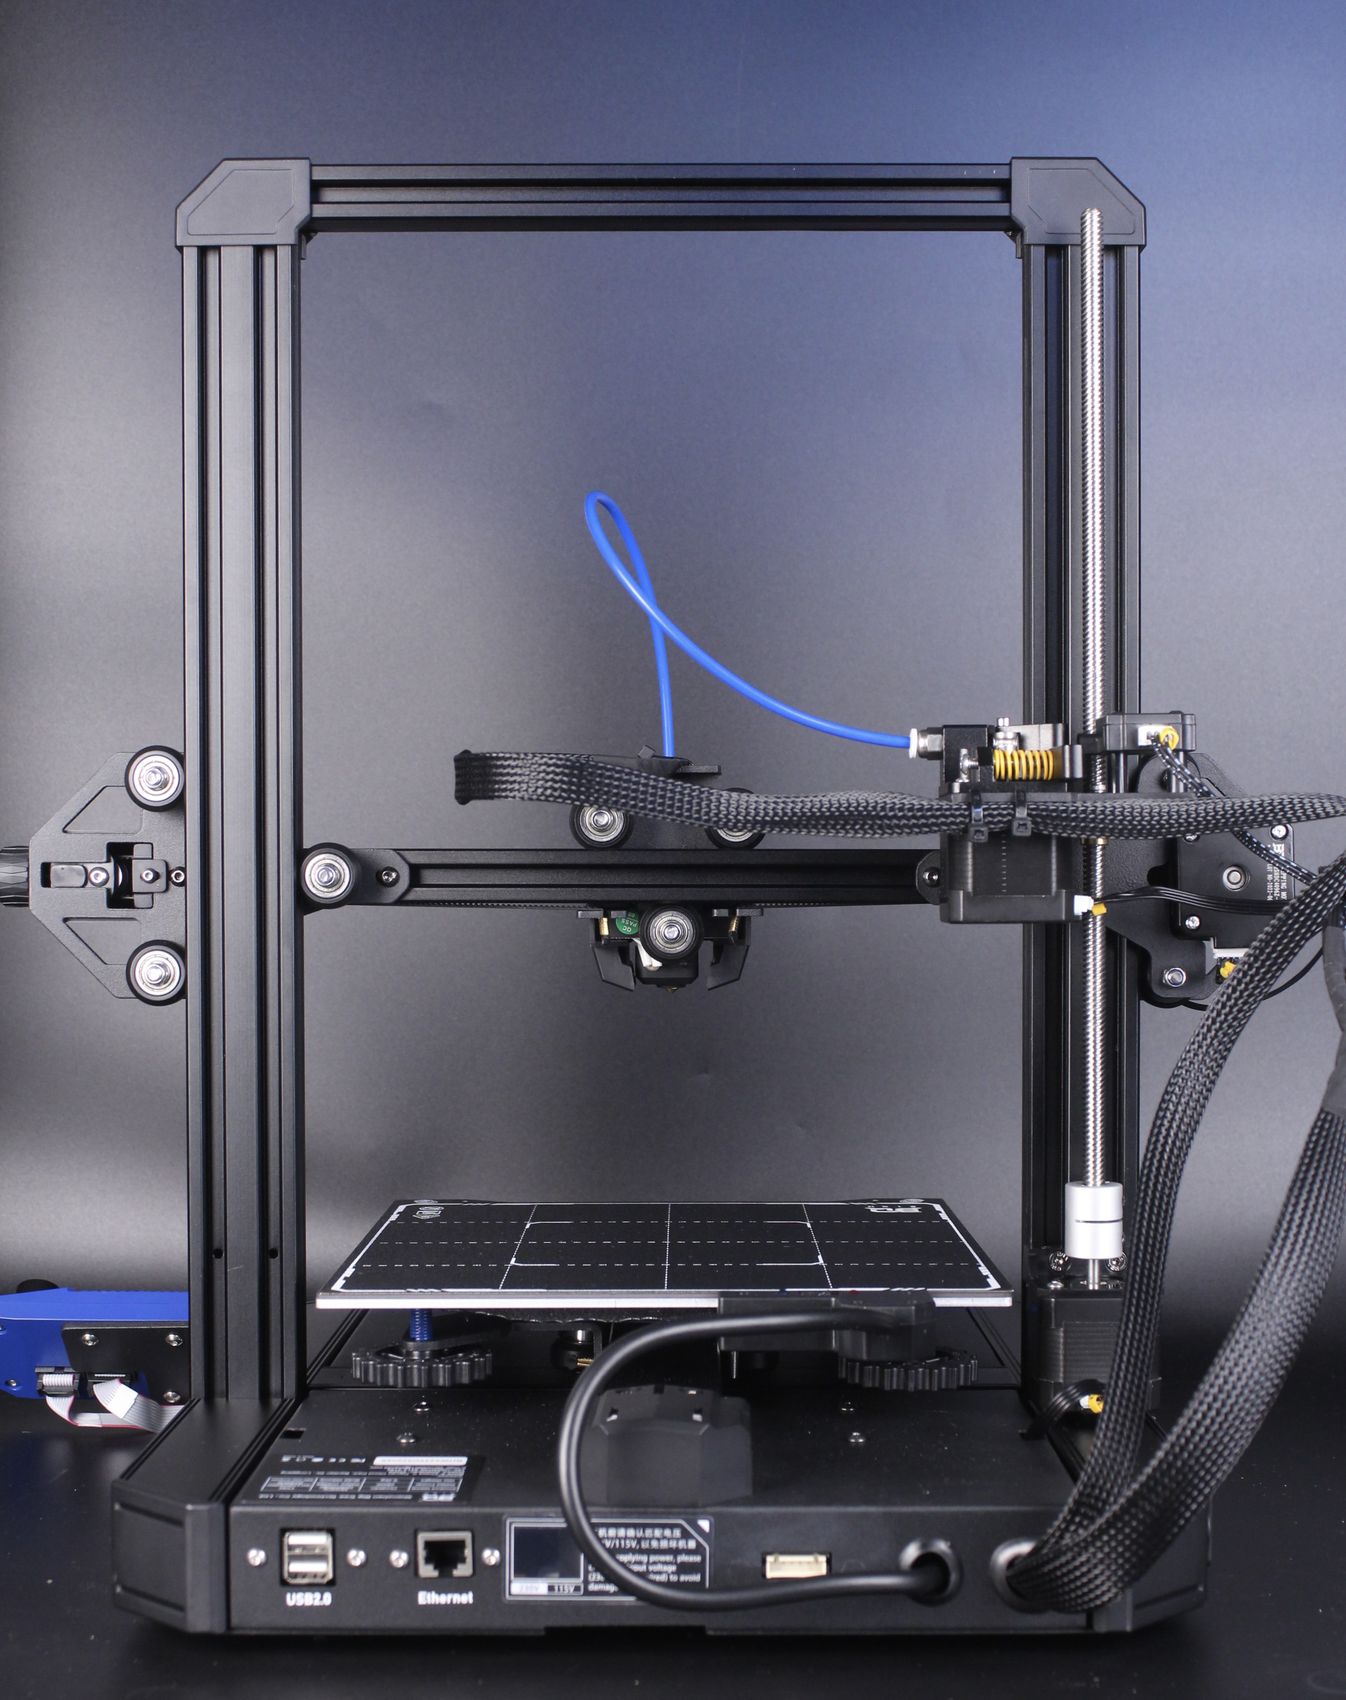
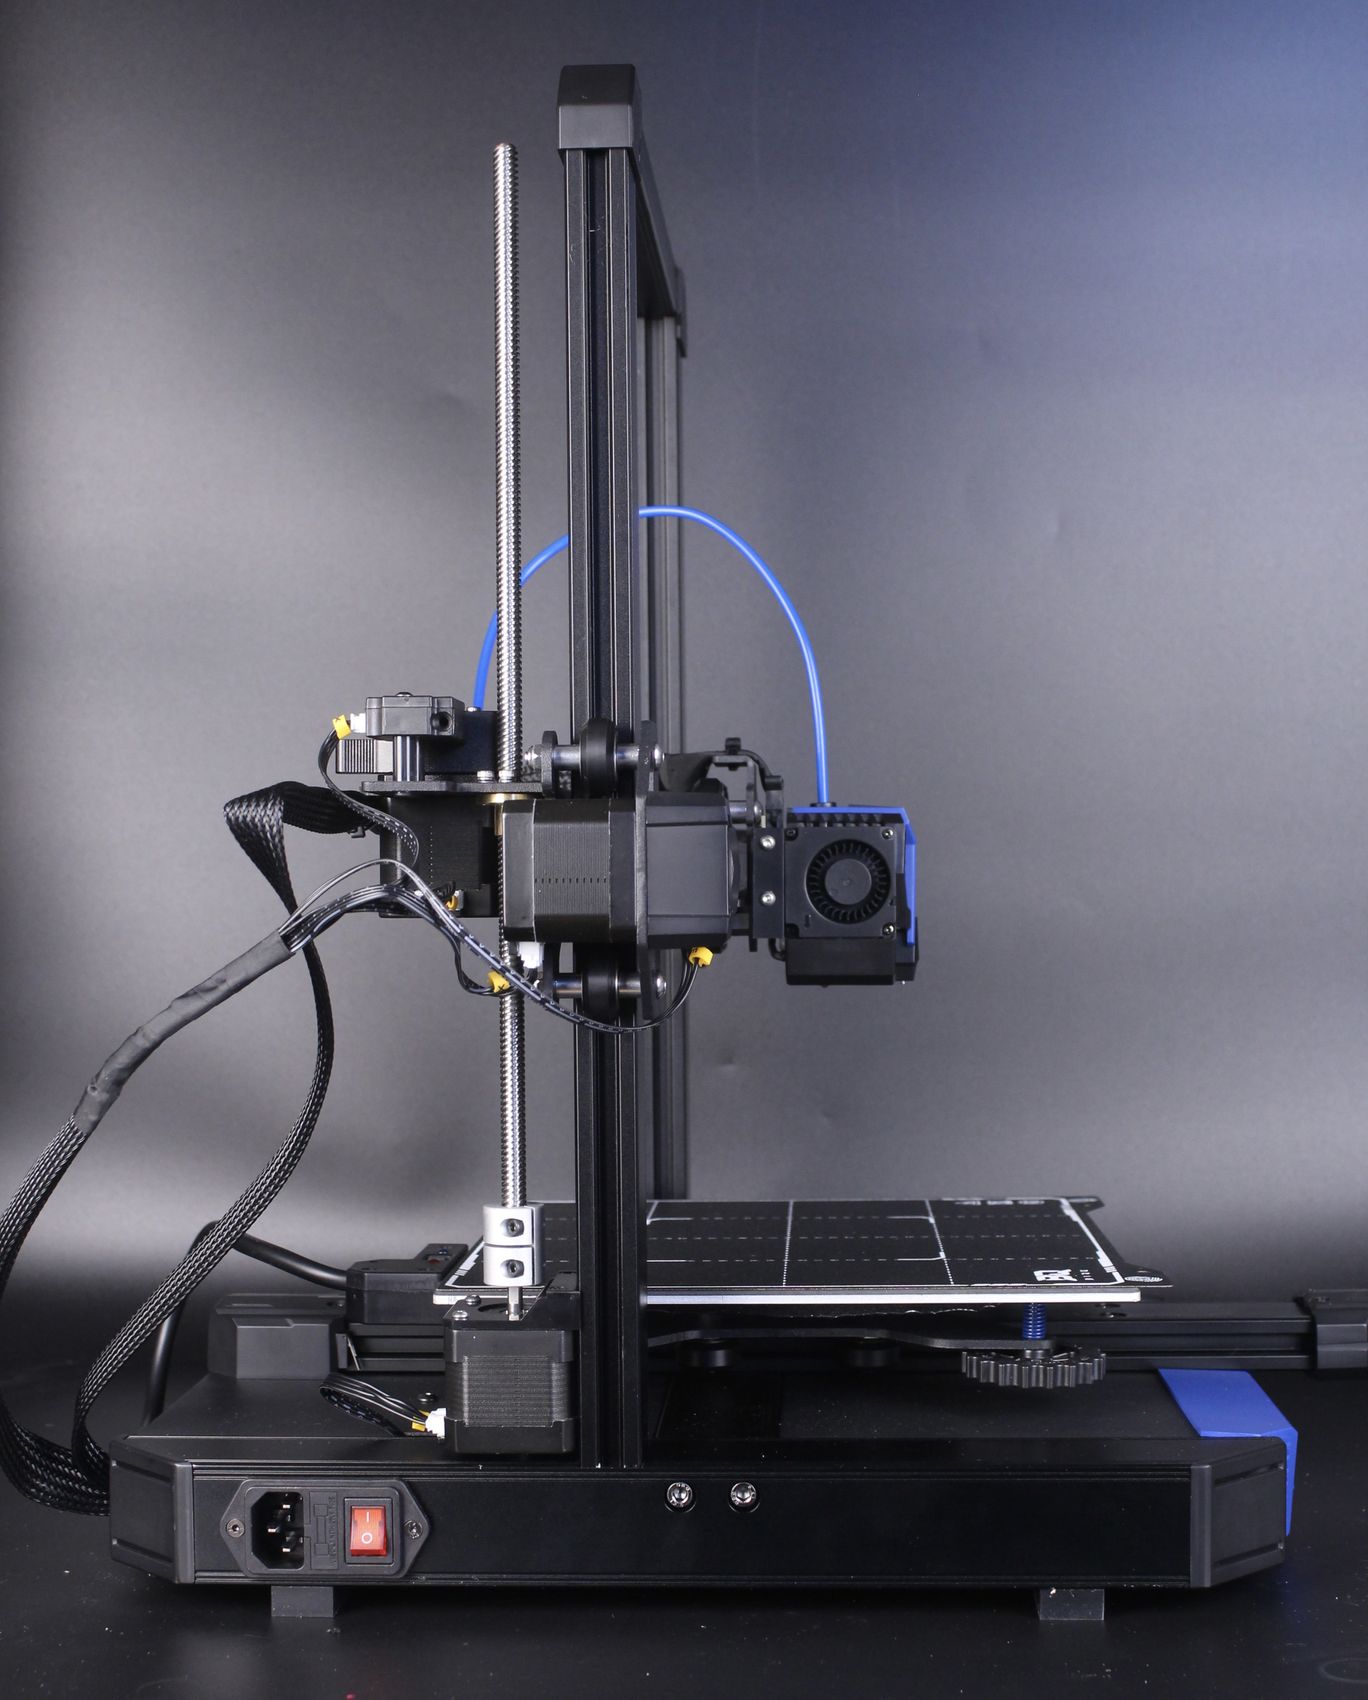
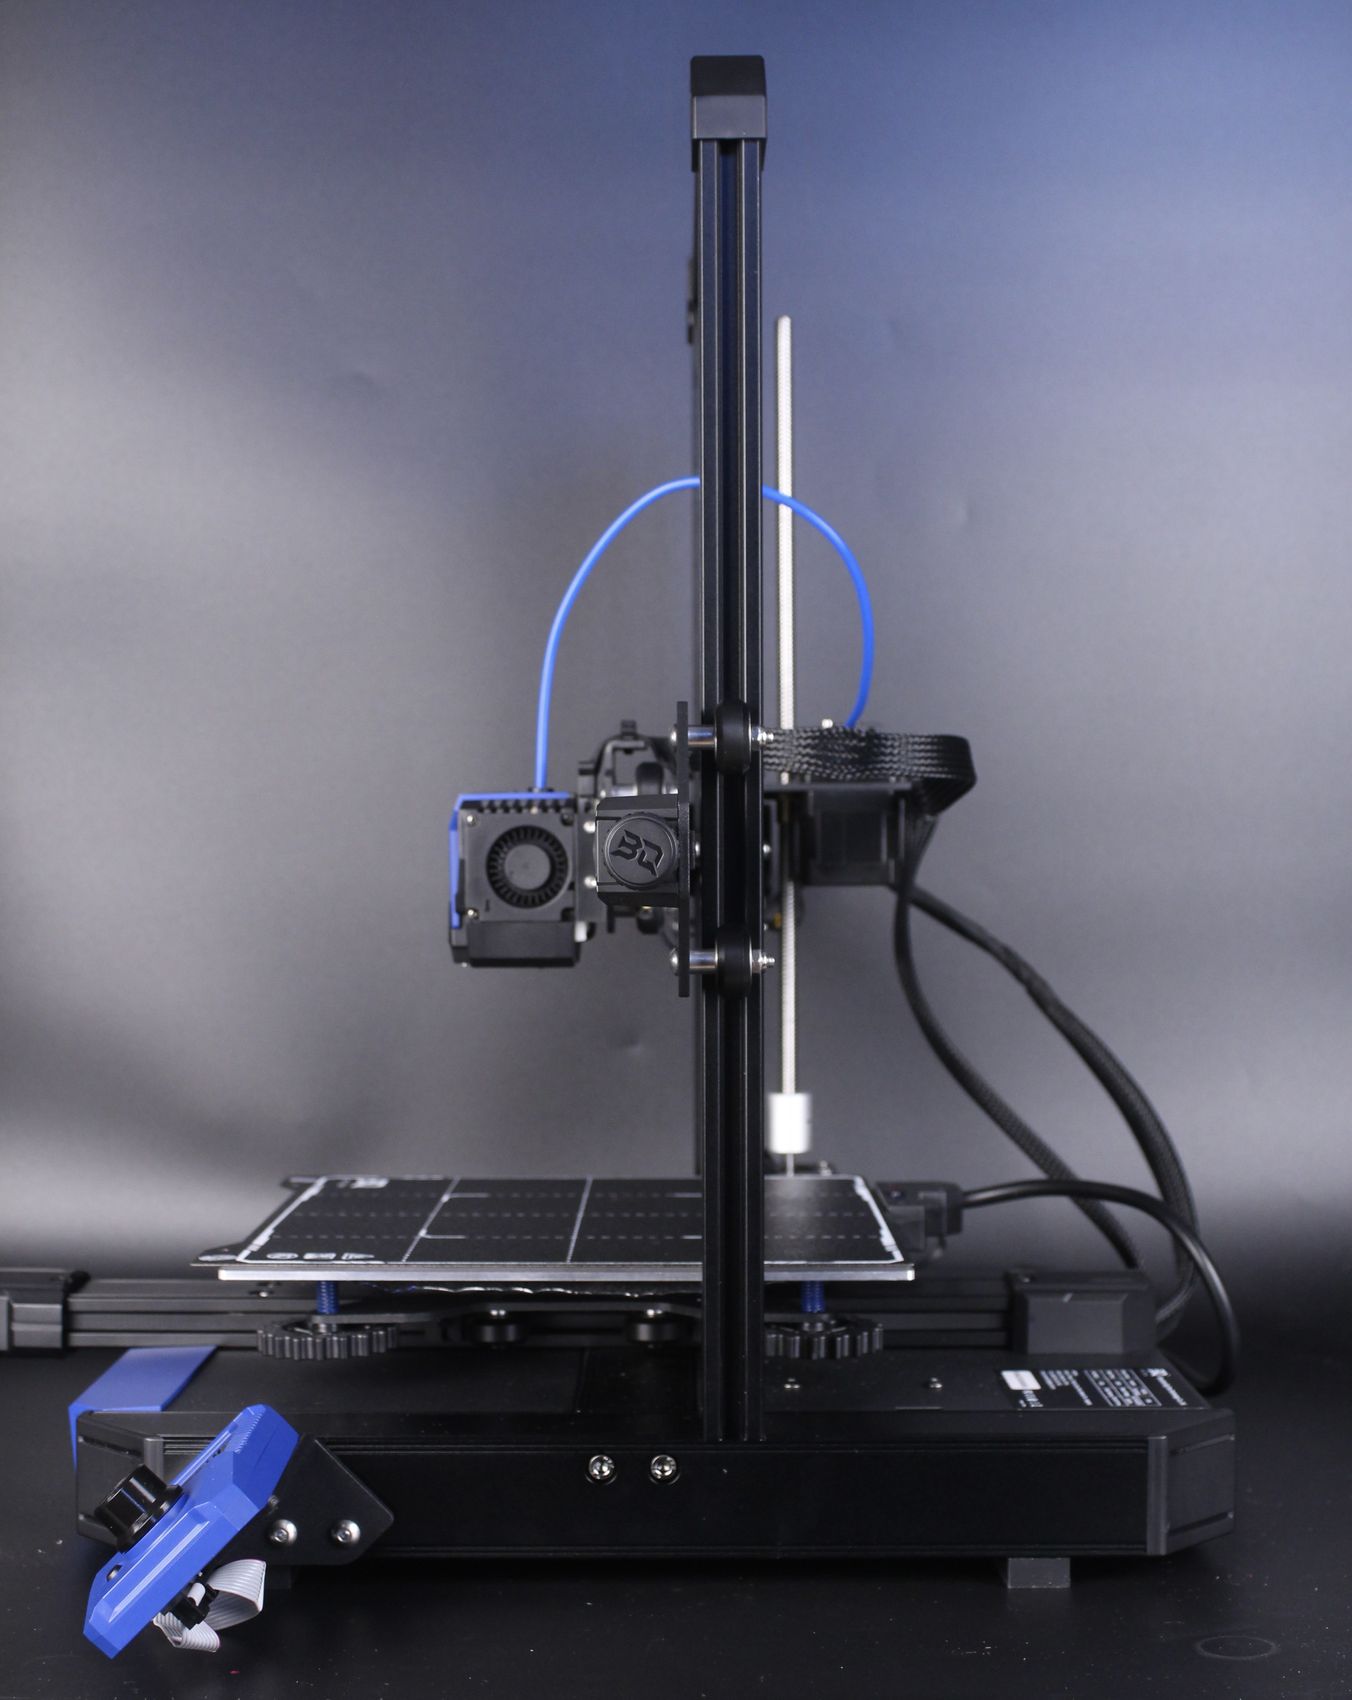
While the printer looks cool, the design features are not part of the printer’s capabilities or features, so don’t expect these cutouts to be integral of the hardware design of the printer.
BIQU Hurakan Specs
| 3D Printer Name | BIQU-Hurakan |
| Printing Size | 220 x 220 x 270mm |
| Printhead | 1 |
| Layer Thickness | 0.1mm – 0.3mm |
| Nozzle Diameter | Standard 0.4mm |
| Printing Accuracy | ±0.05mm |
| Filament | PLA/ABS/PETG…(Any material with print temp lower than 260℃.) |
| File Format | G-code |
| Firmware | Klipper |
| Printing Method | USB Drive / LAN Controlled |
| Slicing Software Compatibility | Cura / Repetier-Host / Simplify 3D |
| Rated Voltage | 100 – 120V / 200 – 240V 50 / 60 HZ |
| Output Voltage | 24V |
| Rated Power | 280W |
| Heated Bed Power | 100W/240W |
| Maximum Temperature of Heated Bed | 100℃ |
| Maximum Temperature of Nozzle | 260℃ |
| Default Speed Limit(Firmware) | 150mm/s |
| Suggested Printing Speed | 60mm/s |
| Filament Runout Detection | Standard Feature |
220x220x270 Print Volume
The BIQU Hurakan comes with a respectable 220x220x270 print volume which is what you would expect from other similar-sized machines.
PTFE lined hotend in a bowden setup
I really like the BIQU Hurakan print head which looks very high-tech and futuristic, but that’s mostly visual, as the print head doesn’t have any significant improvements to it. On the sides of the print head, we get two 4010 radial fans for part cooling with ducts to direct the airflow to the tip of the nozzle. The airflow of these fans is not that good, and you’ll see that the printer suffers on the cooling side when pushing the speeds higher on smaller models.
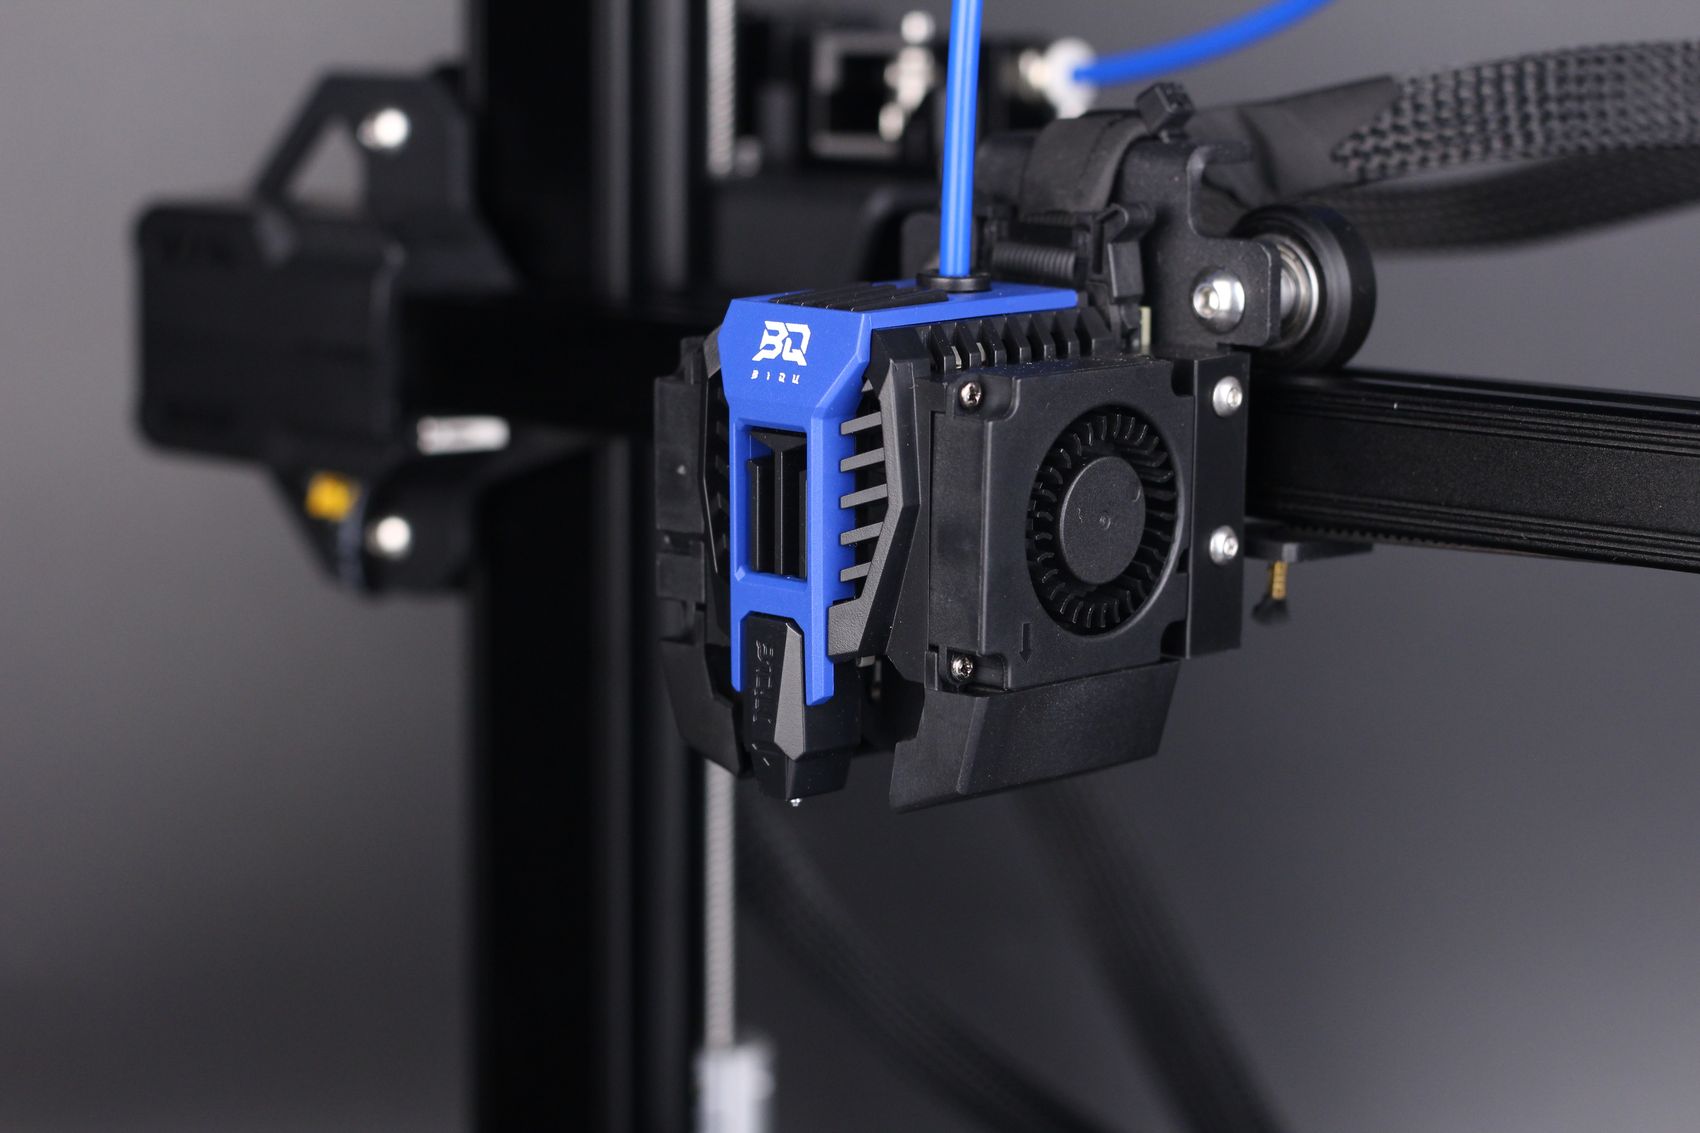
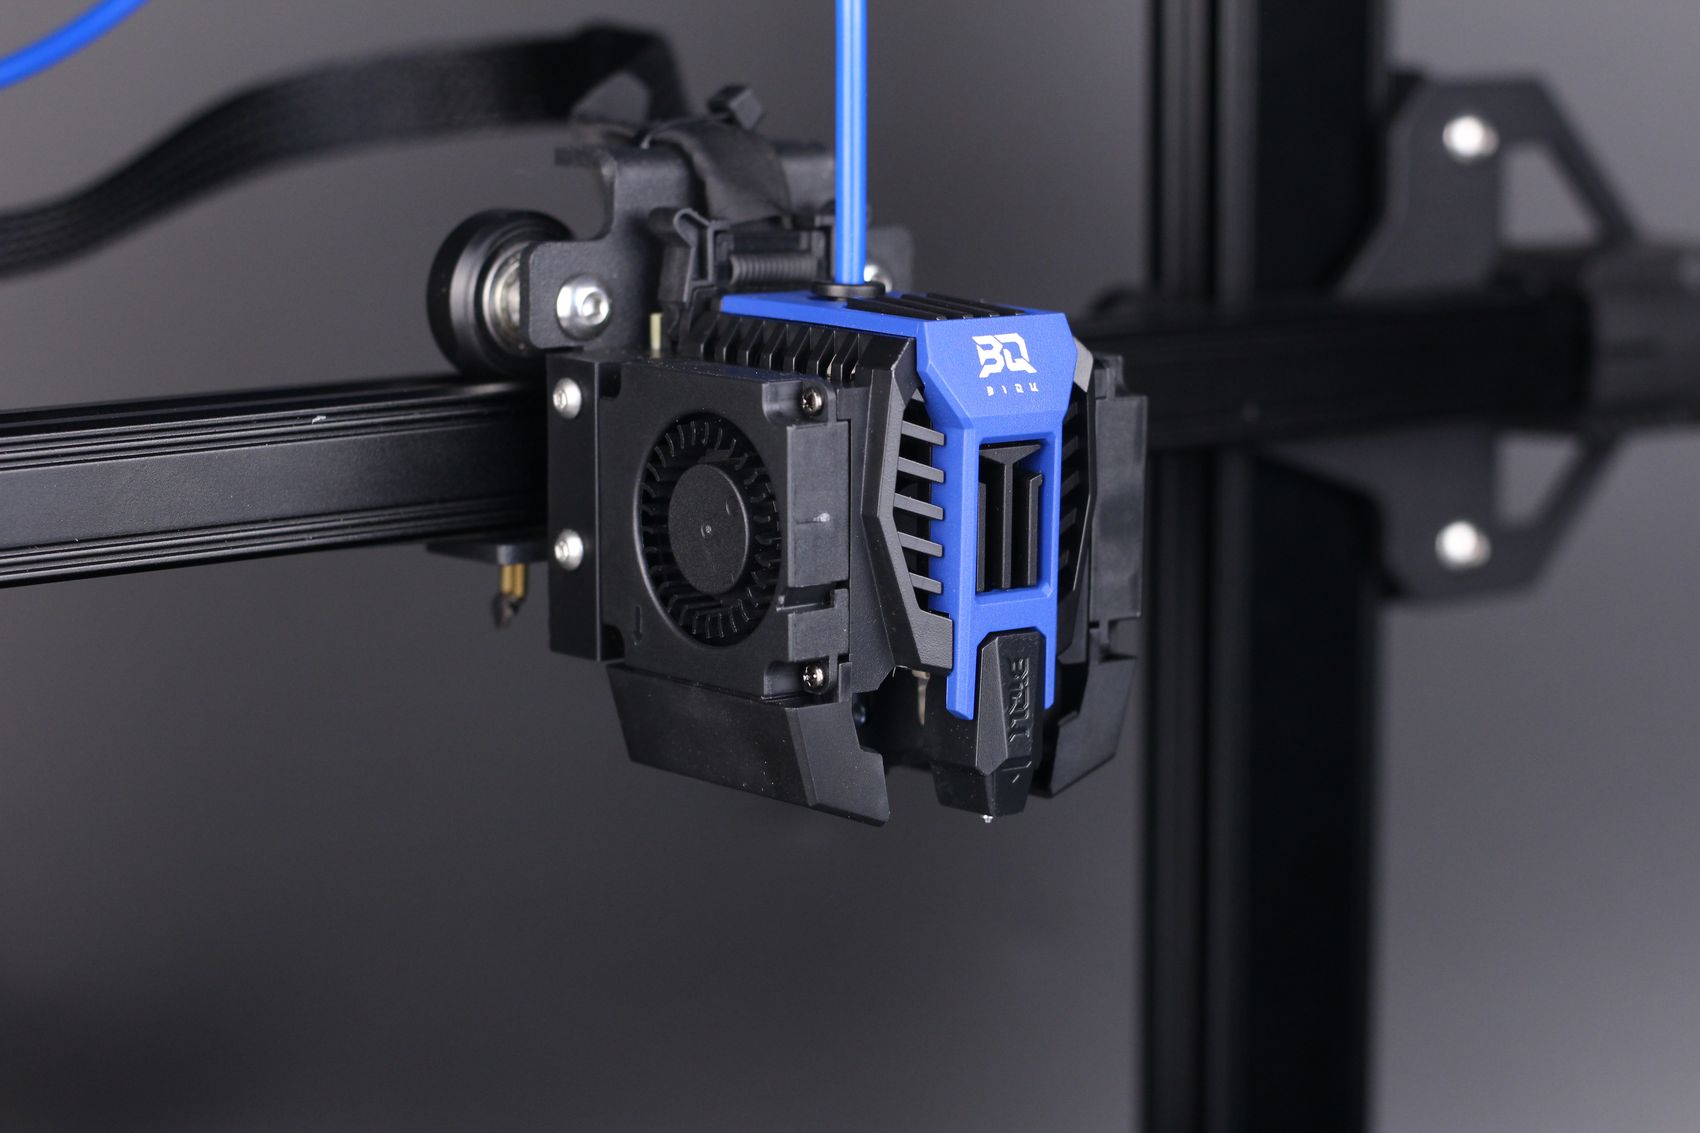
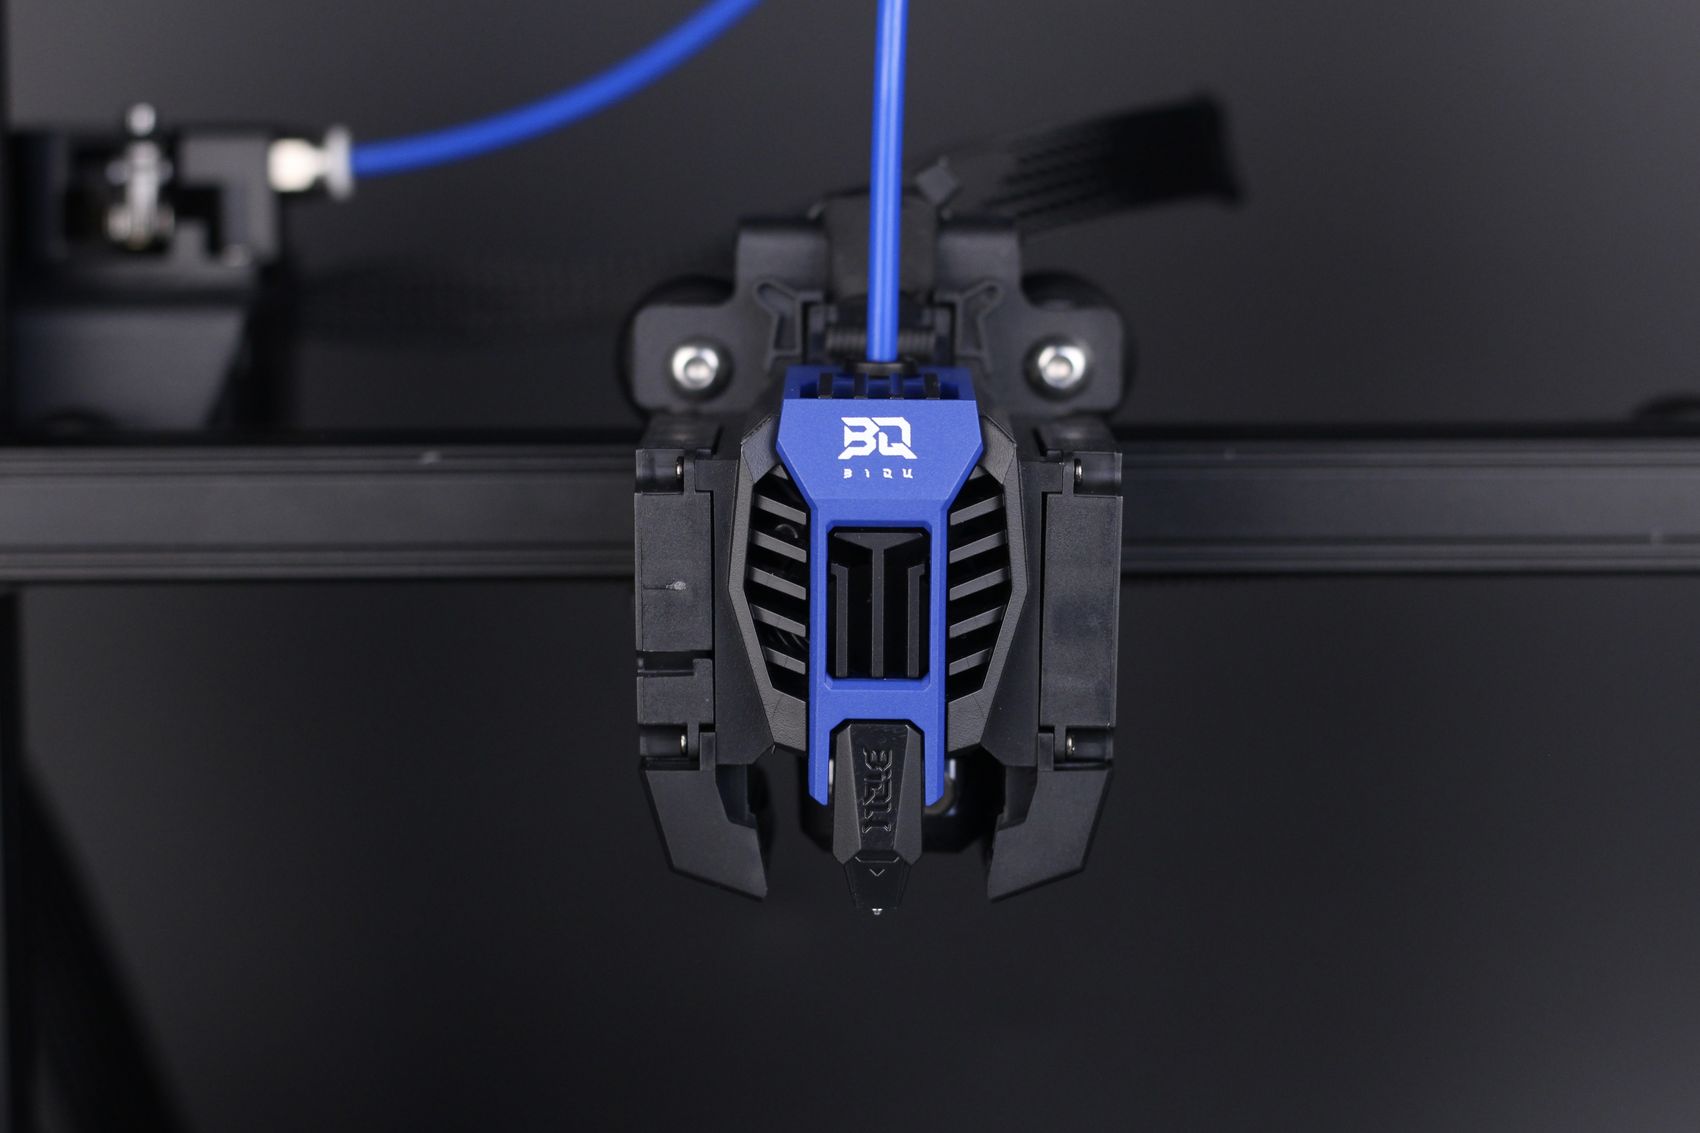
The printer comes with a regular PTFE lined hotend similar to what you would get with other budget 3D printers. I was expecting to see a bi-metal heat break installed, as these can improve print quality and minimize stringing but this is not the case.
The PTFE lined hotend will allow you to safely print up to ~235C-240C. While the printer allows you to set a temperature of up to 275C, I don’t recommend going past ~240C as the PTFE tube will get damaged and will start to release harmful fumes.
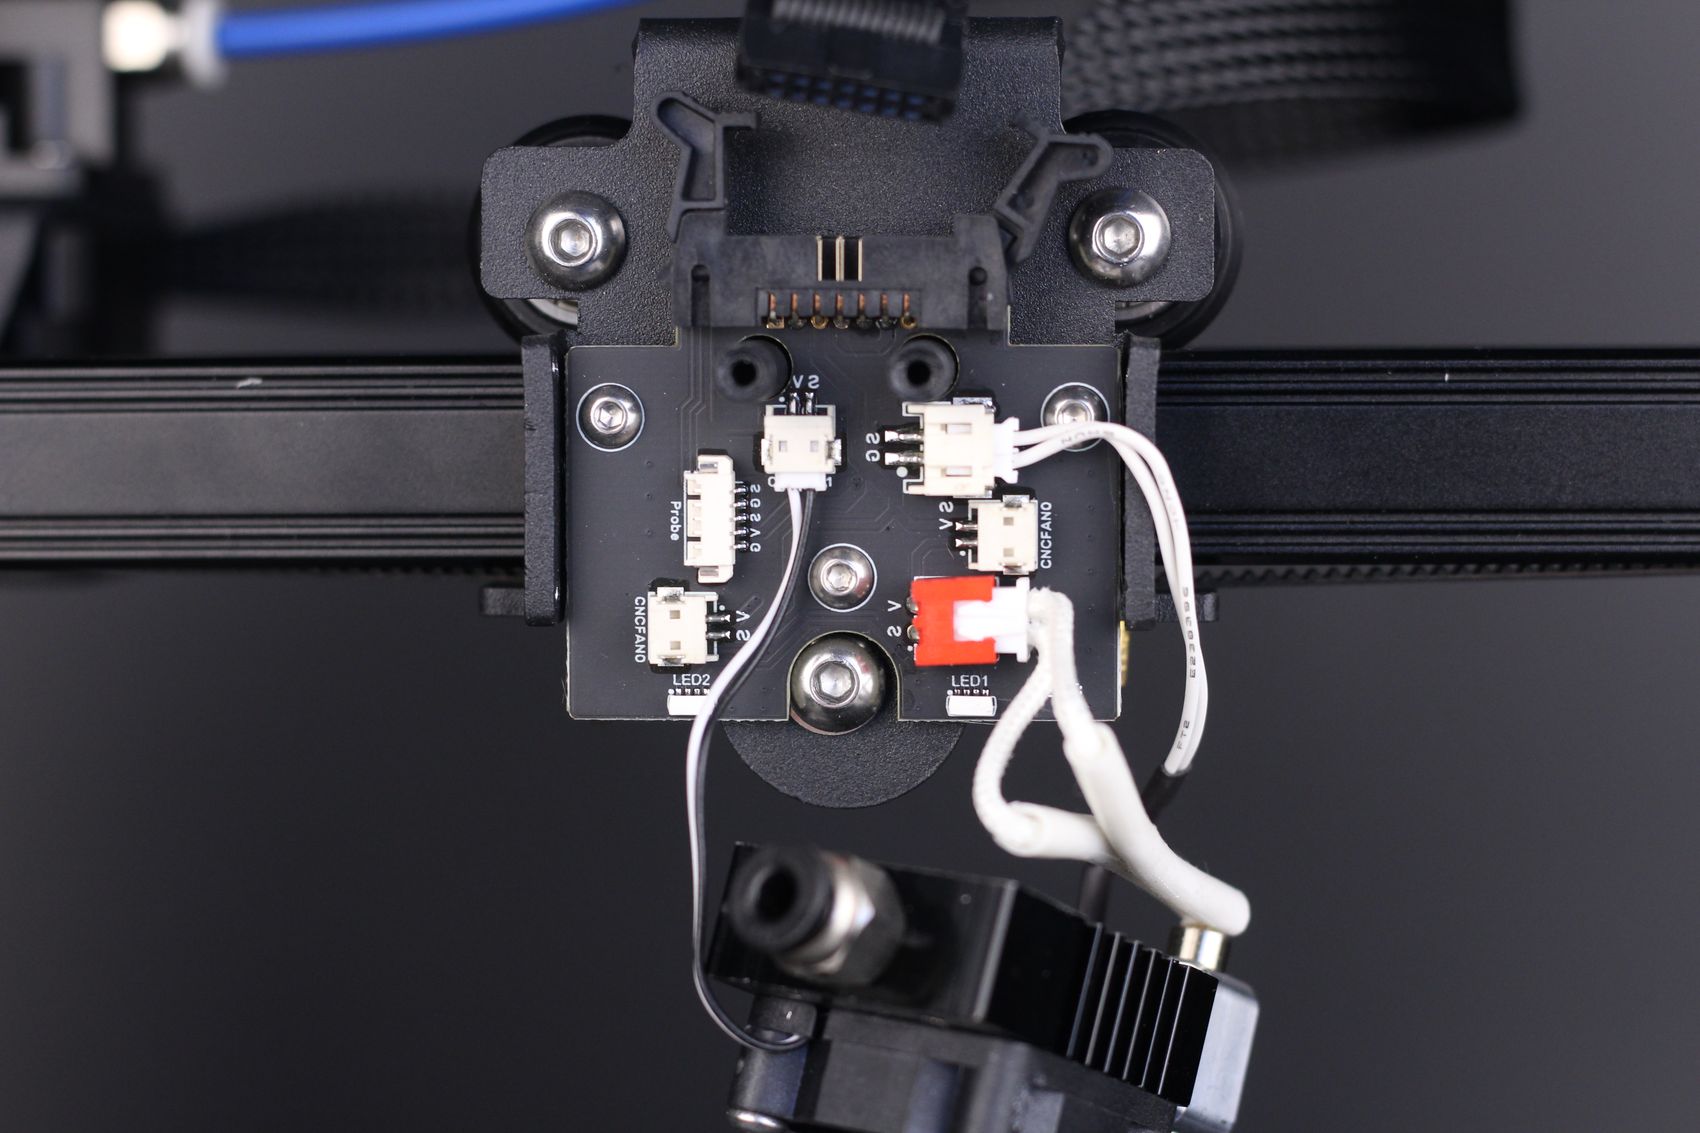
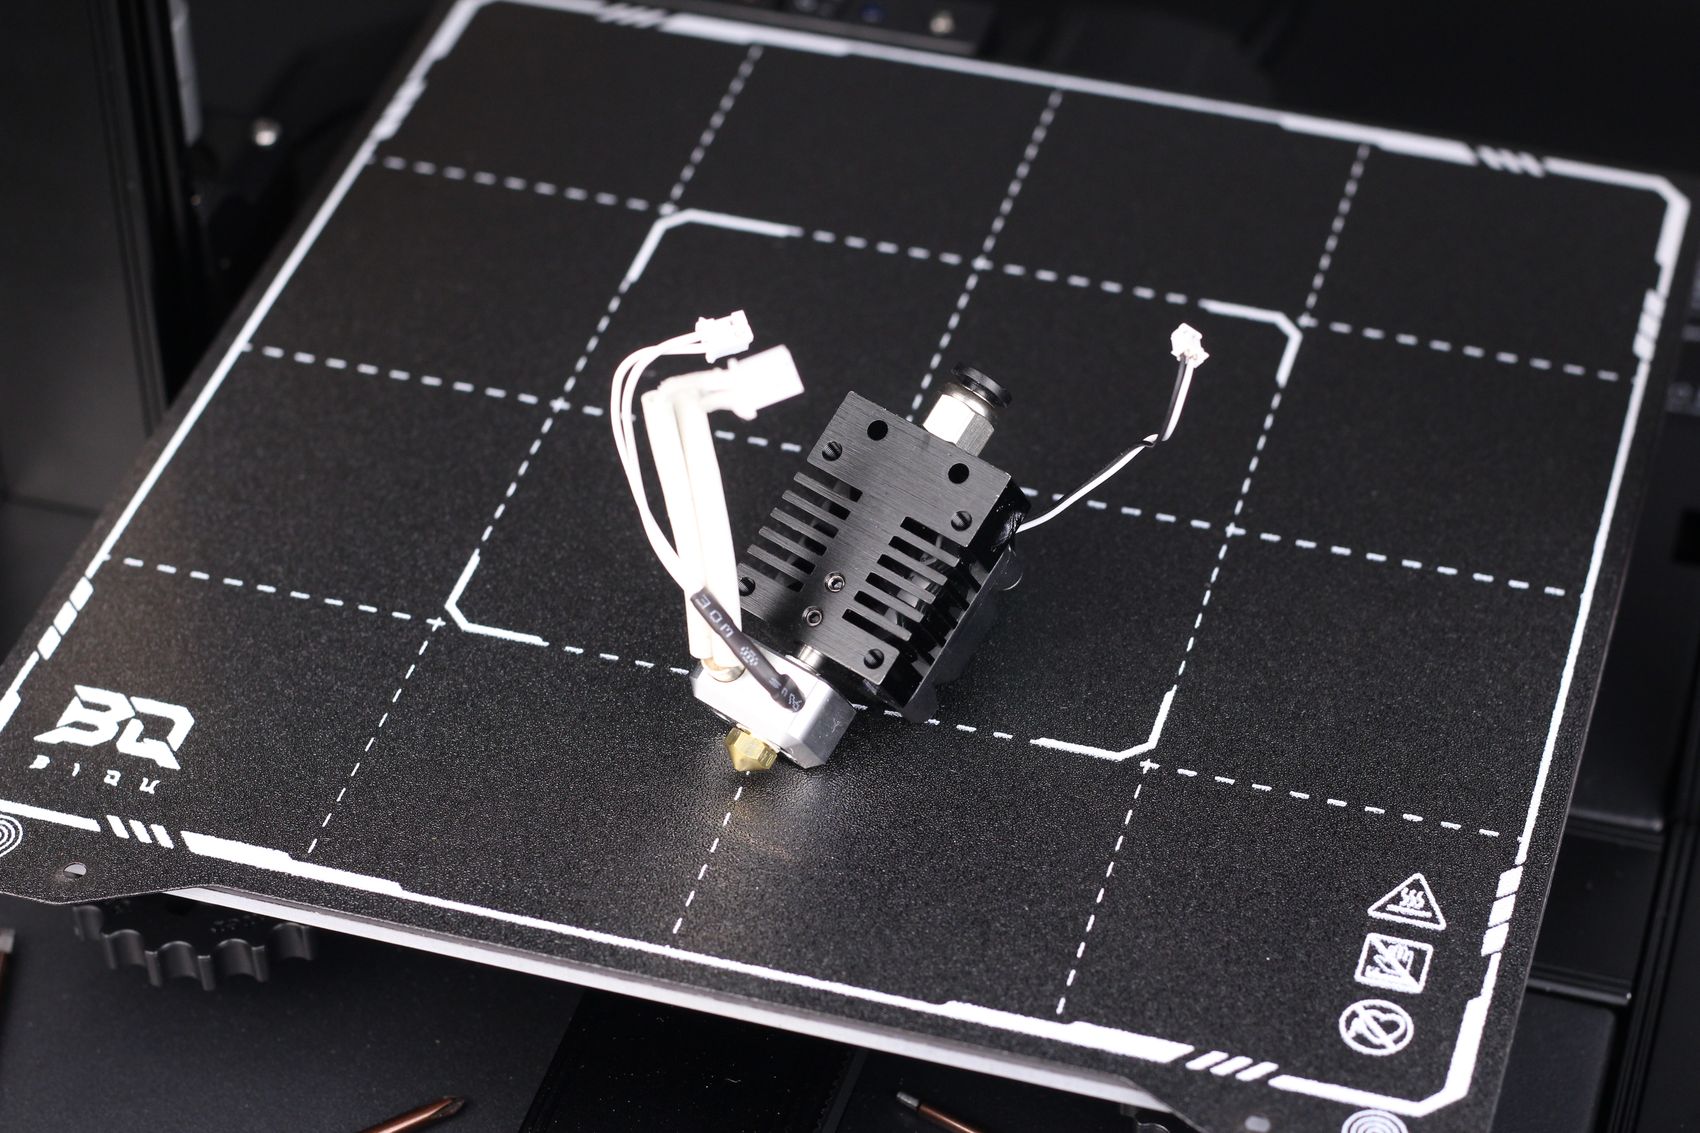
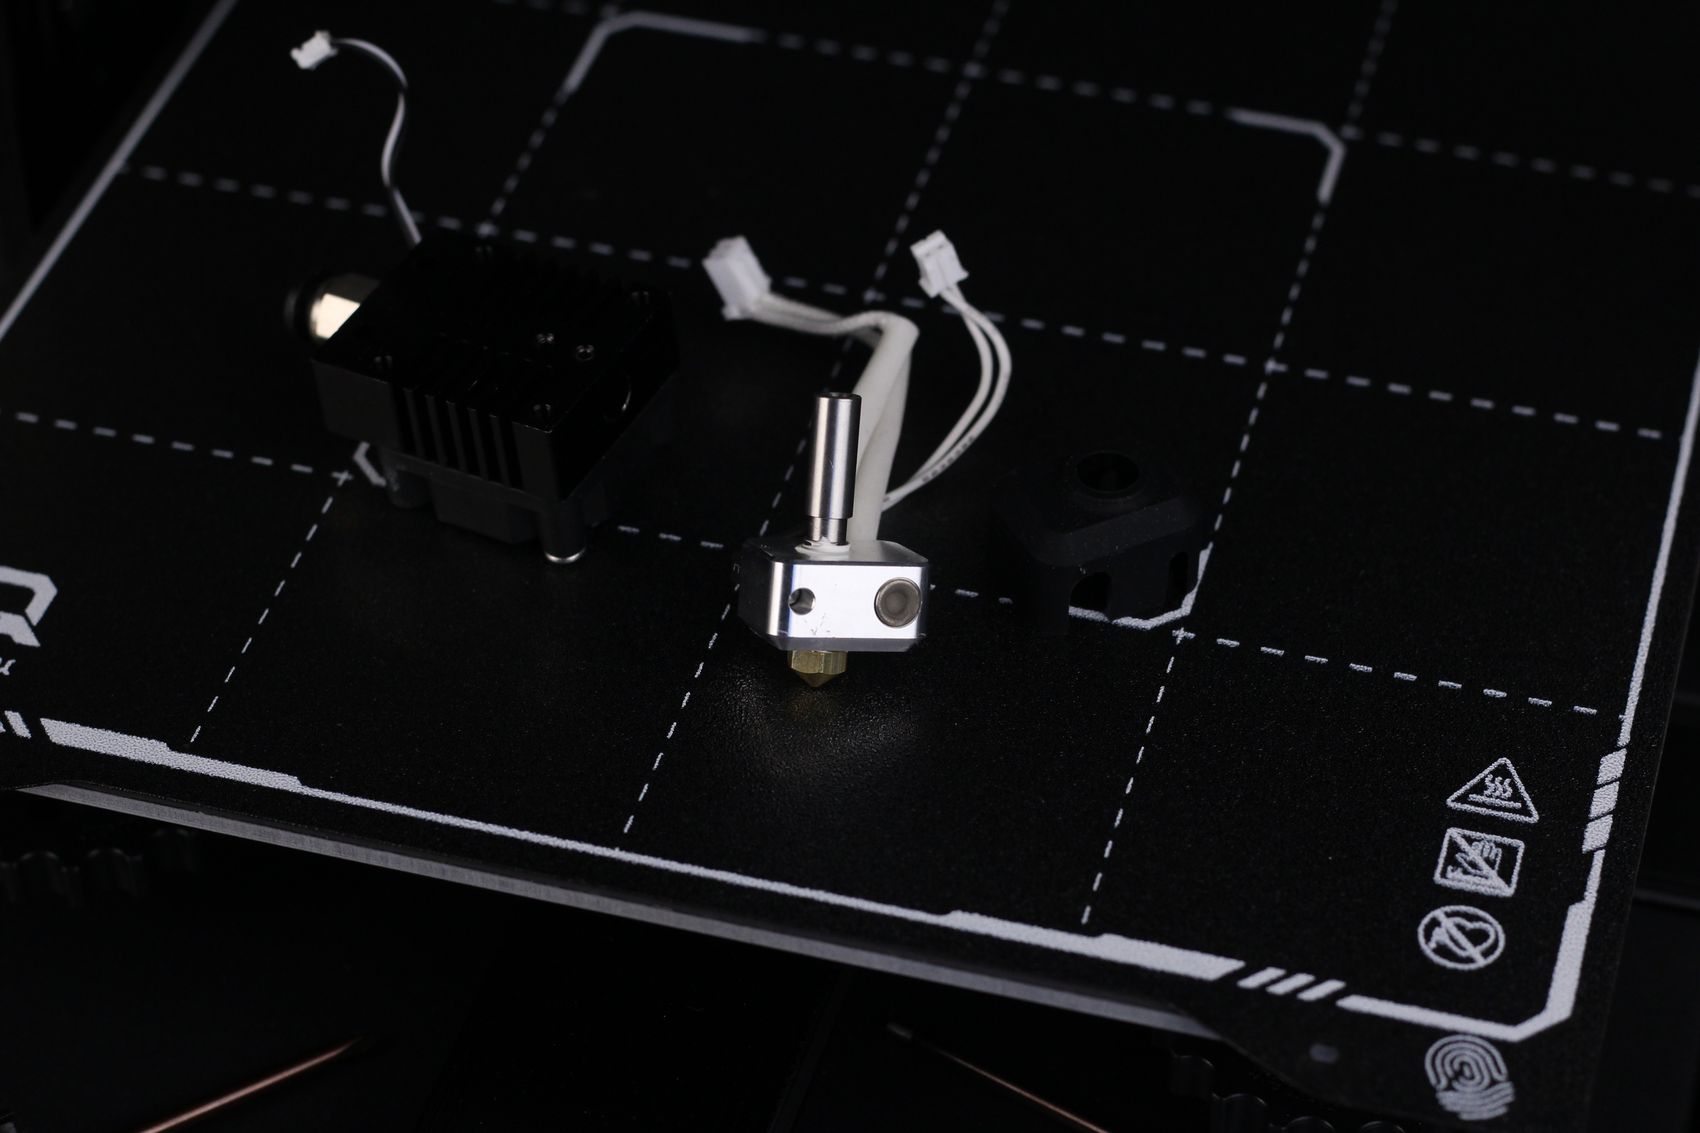
All the electronics in the hotend are attached to a small breakout board to make installation easier and this also allows easy connection with a single ribbon cable.
Auto Bed Leveling with BIQU MicroProbe
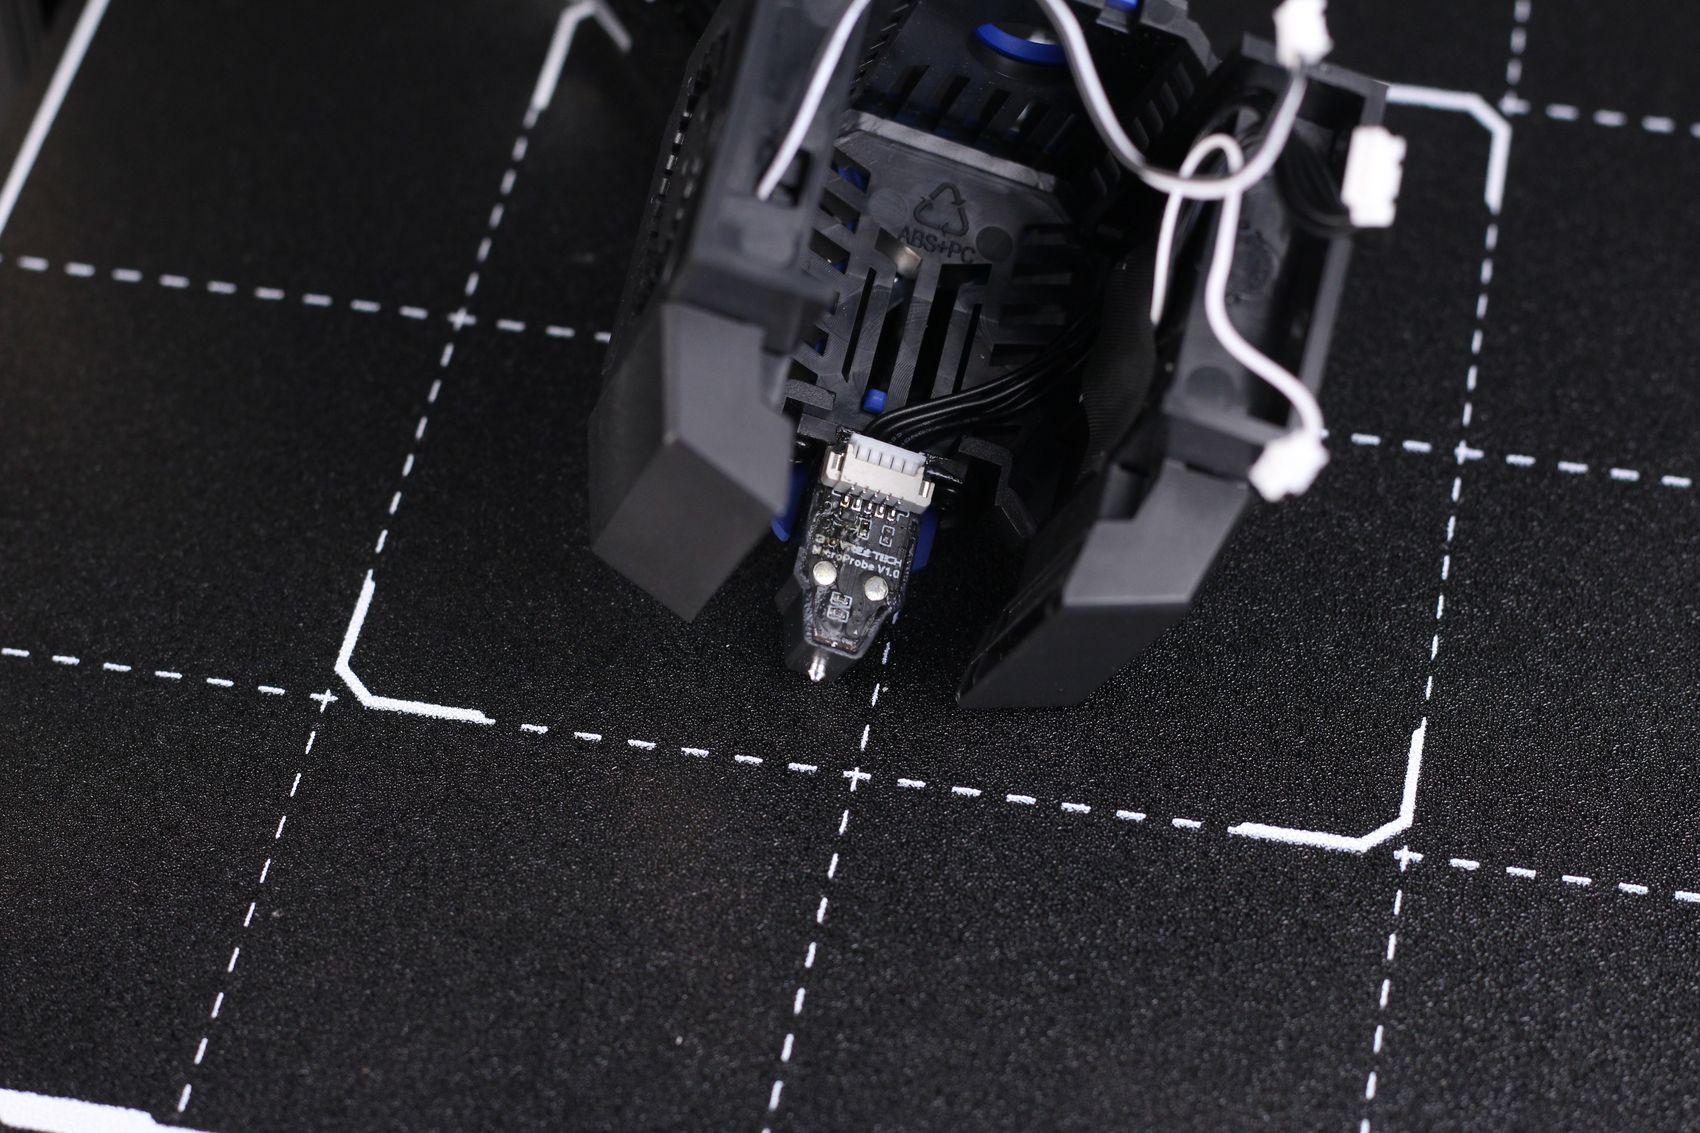
In the middle of the print head, we get a BIQU MicroProbe which is used for auto bed leveling. It seems like a scaled-down BL-Touch sensor and it performs well. My unit had a reworked sensor which is probably because the unit has some issues which were fixed.
During the testing period, I didn’t encounter any problems with leveling, so it’s only a cosmetic issue in this case.
What I like about this sensor is the size. It’s a very tiny probe but the repeatability is quite good and I have seen tests from other users where the results were even better than a BL-Touch which is nice to see.
Dual-Gear All-Metal extruder
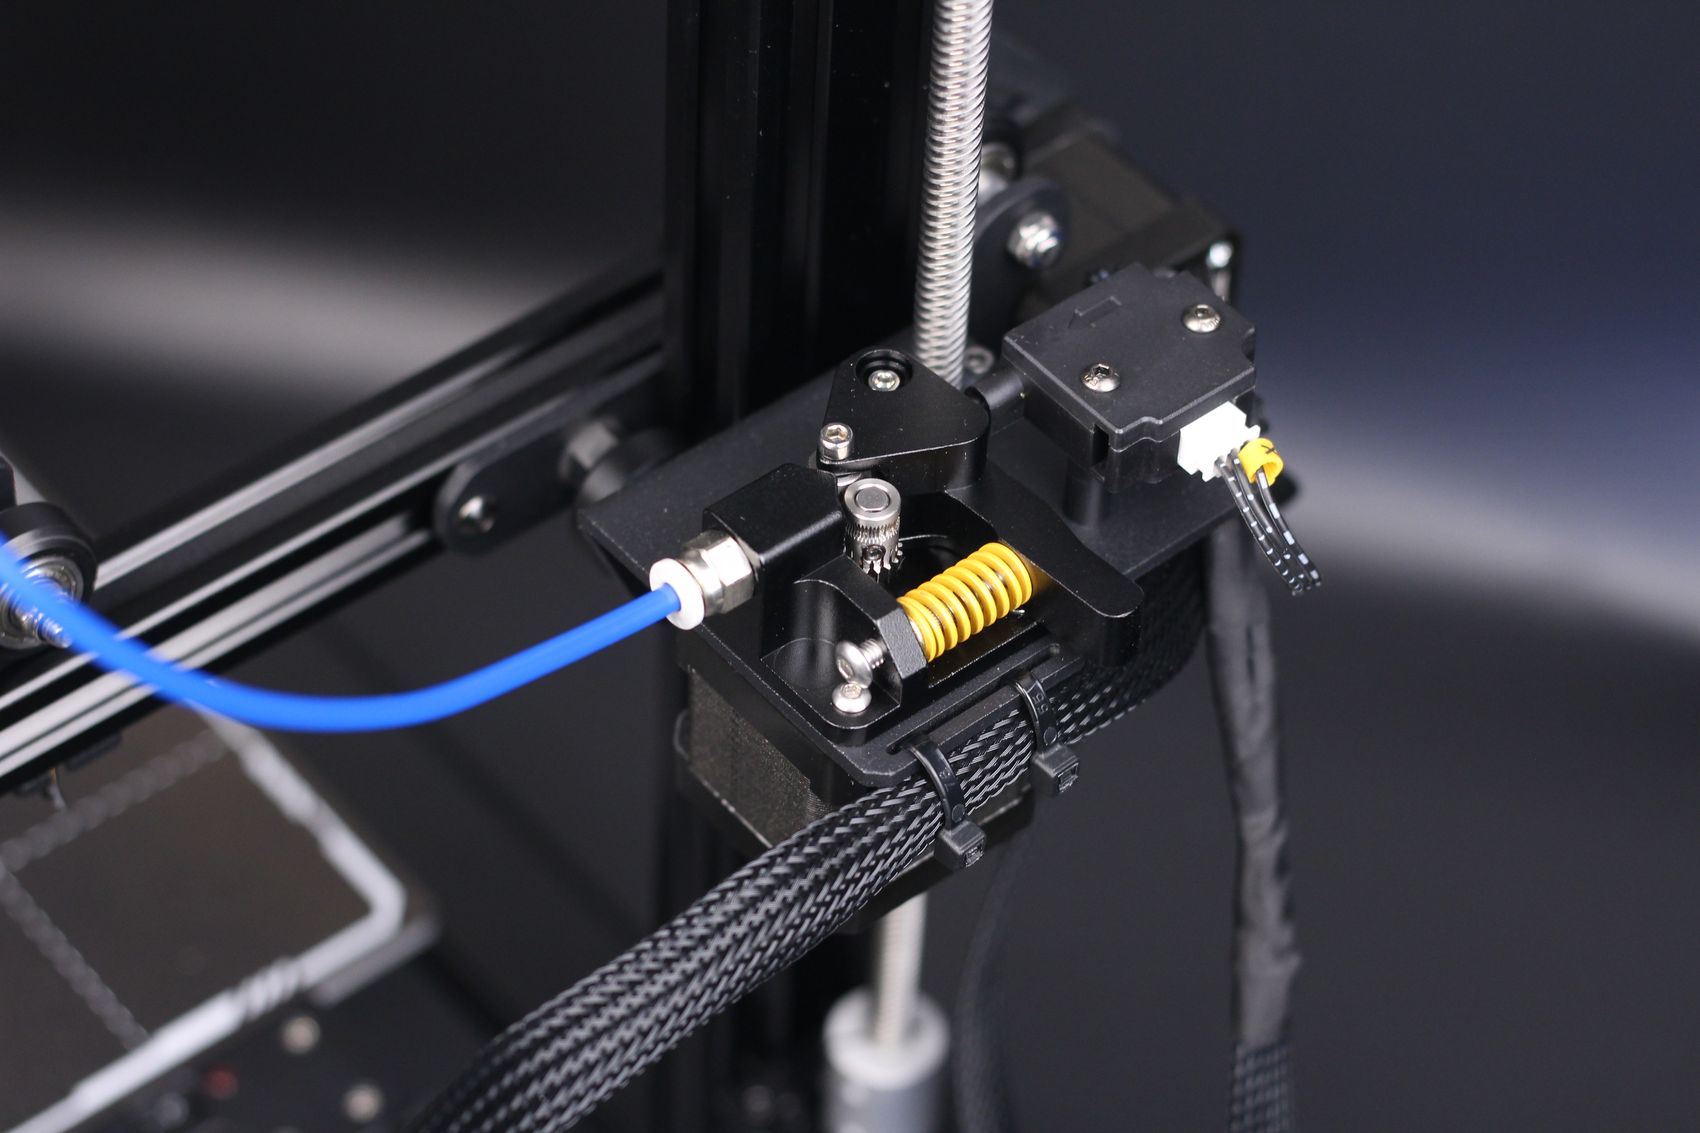
Budget 3D printers usually come with a single-gear extruder but the BIQU Hurakan comes with a dual-gear all-metal extruder which is nice to see. It’s the type of extruder used in various mid-range printers and it works quite well.
There’s not too much to say about it other than it performed well during testing, but the tension of the extruder was set a bit higher from the factory, so you might want to double-check it if you get the printer. TPU will not be printed correctly out of the box.
Belt Tensioners
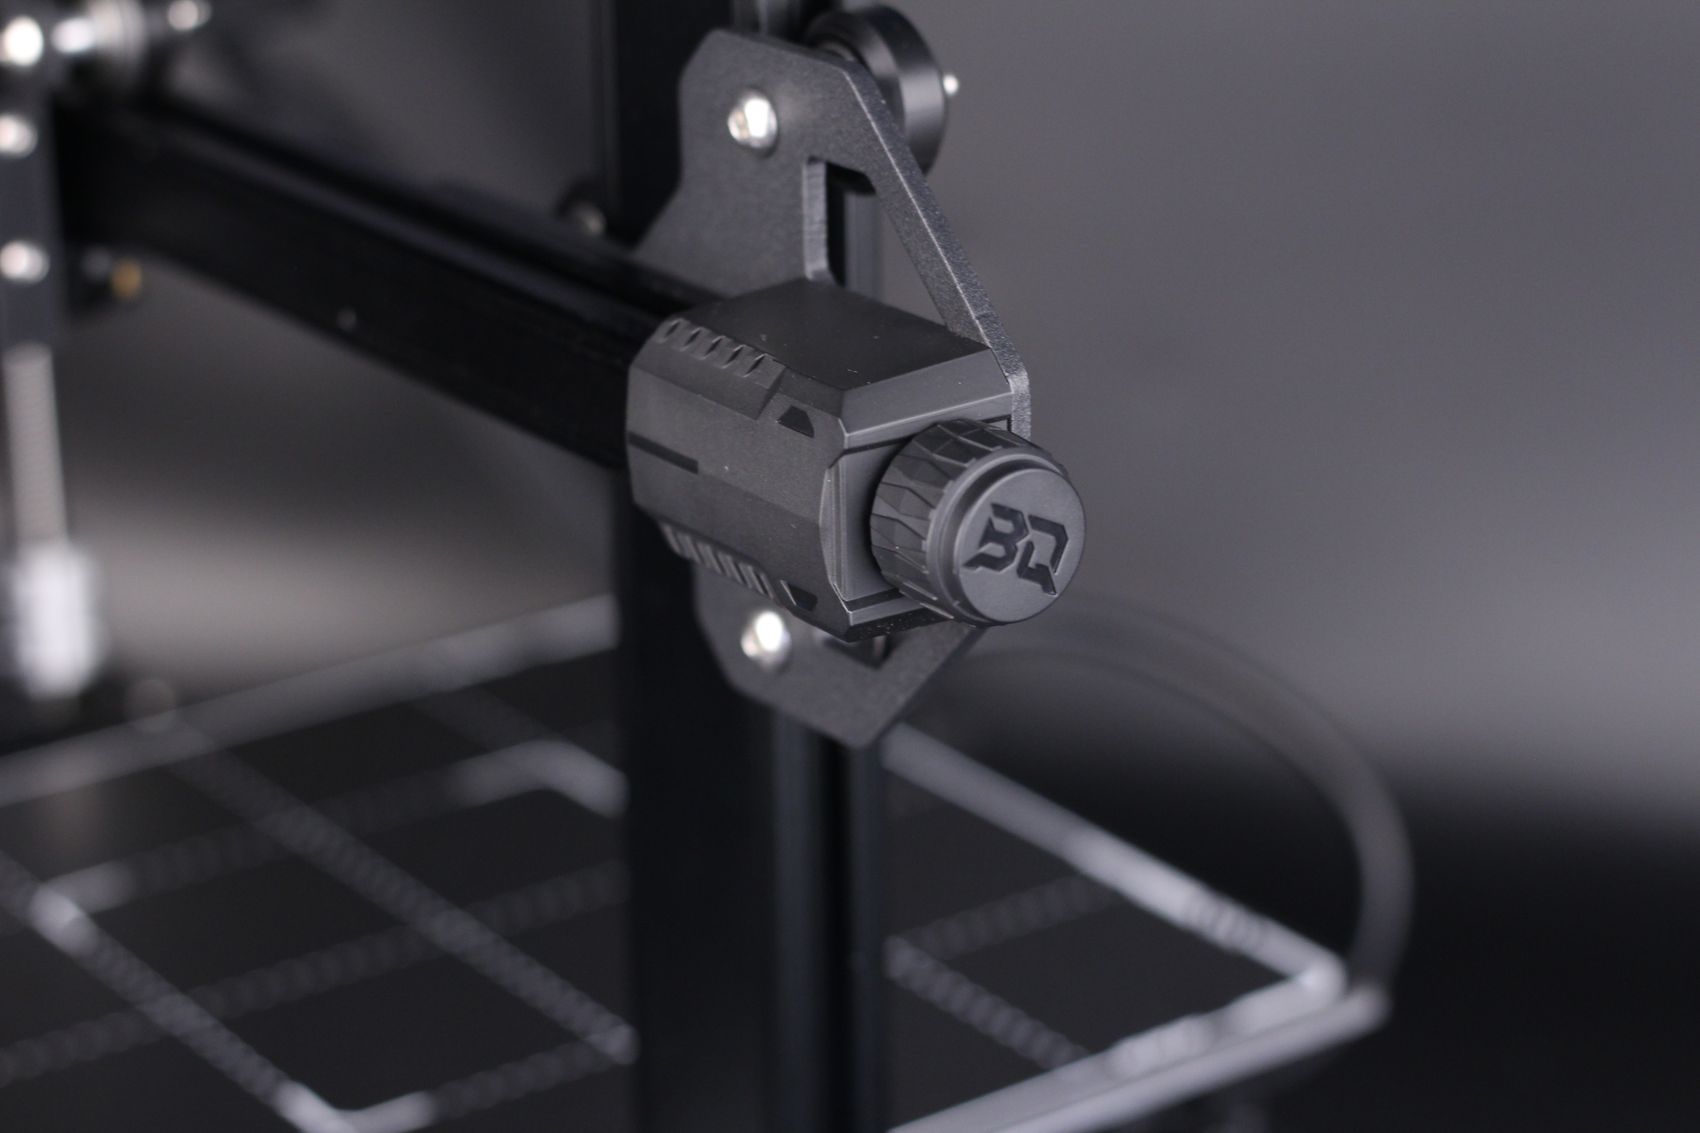
As with most printers nowadays, we also get belt tensioners for both the X and the Y axis. My review unit came with the belts very loose so I needed to use them to set the correct tension on the belts so you might need to check that too.
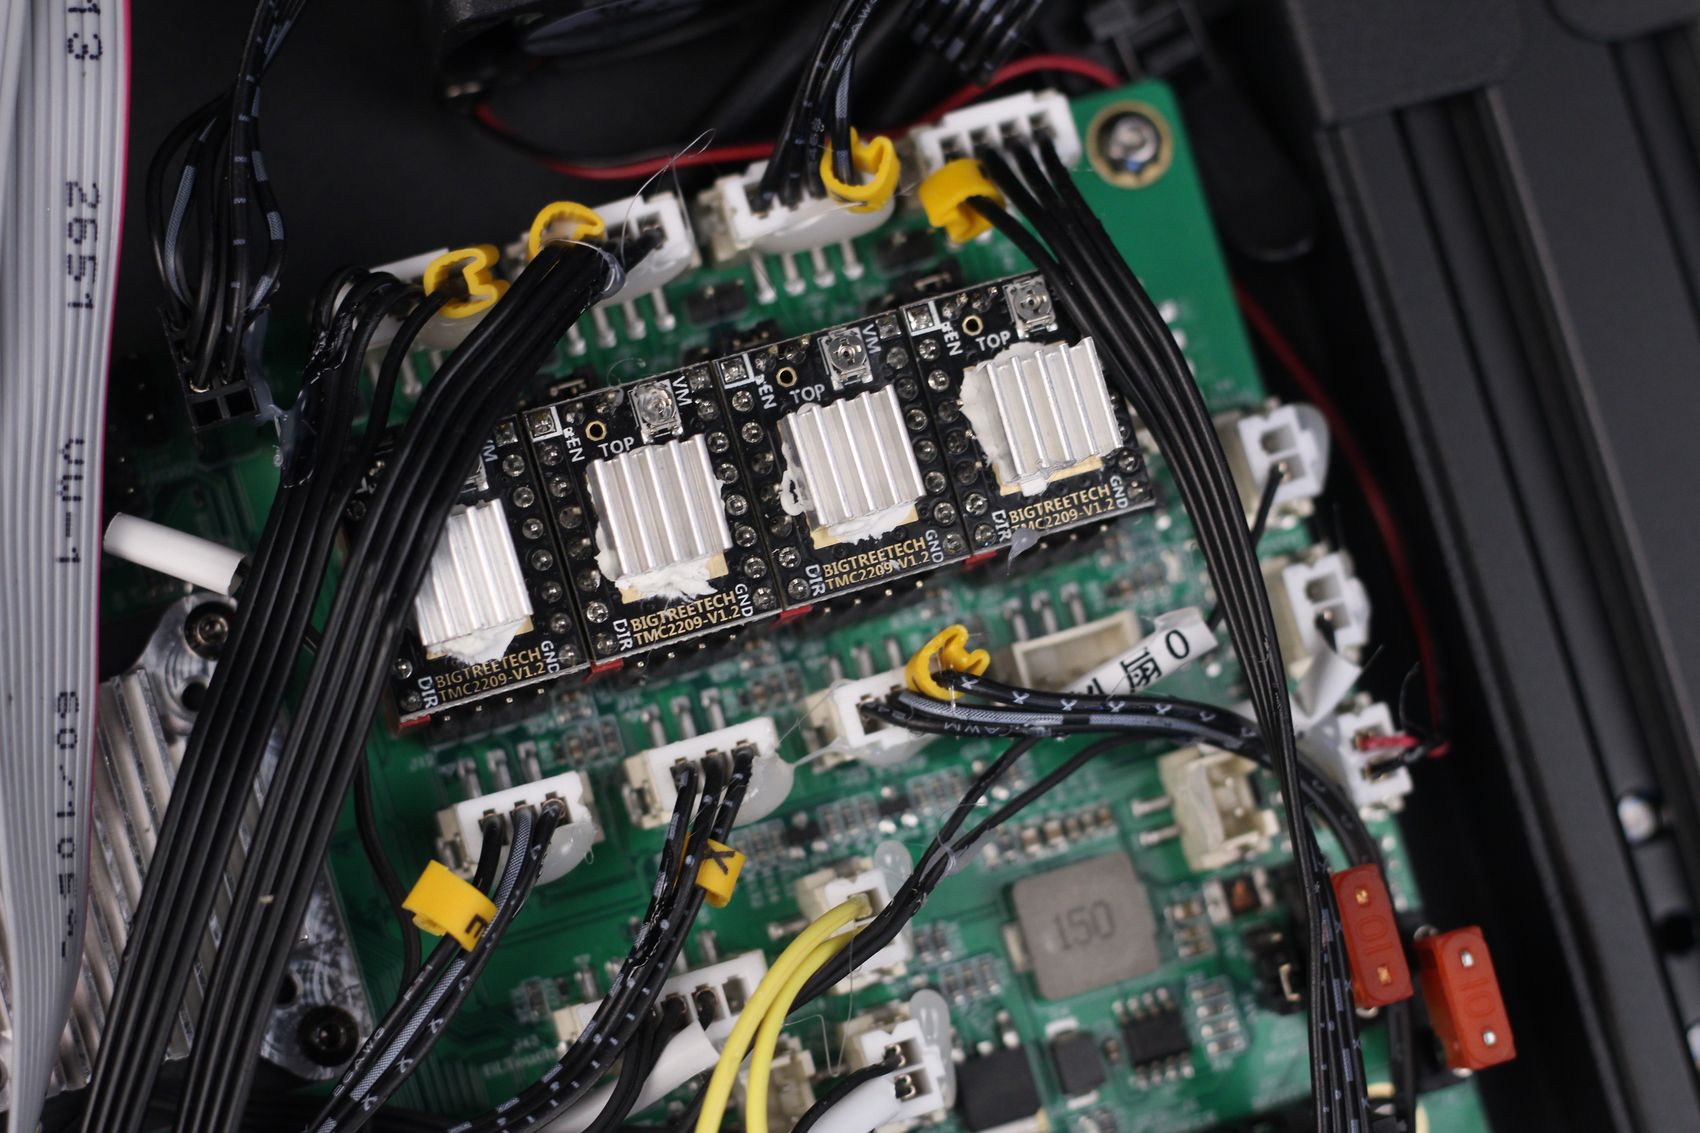
BIQU Manta M4P V2.0 with TMC2209 stepper drivers
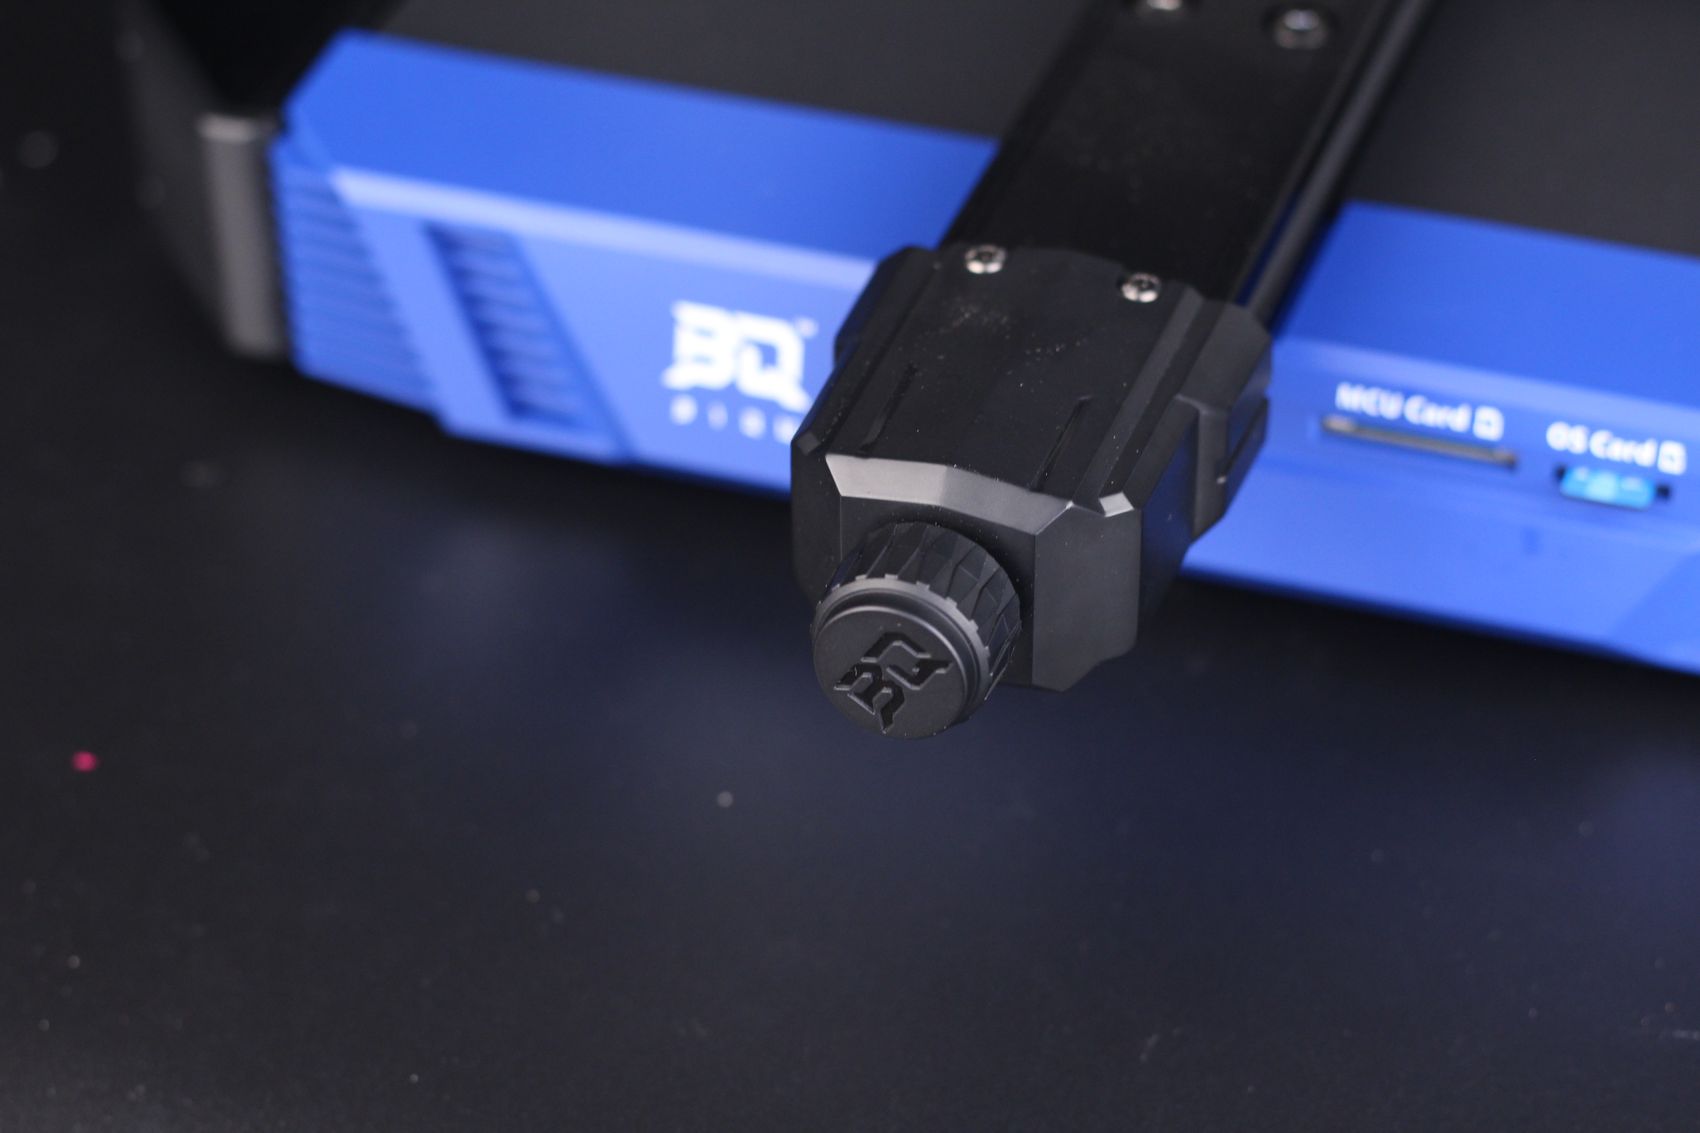
What makes Klipper firmware possible out of the box is the BIQU Manta M4P V2.0 board which comes installed on the BIQU Hurakan. It’s a new board developed by BIQU which has four TMC2209 removable stepper drivers and it includes the CB1 board unit.
The CB1 board is a Raspberry Pi replacement with an Allwinner H616, Quad-core Cortex-A53 @1.5GHz CPU which gets attached to the Manta board and allows you to run Linux and Klipper on it. The performance is quite good and more than enough for running Klipper on the BIQU Hurakan.
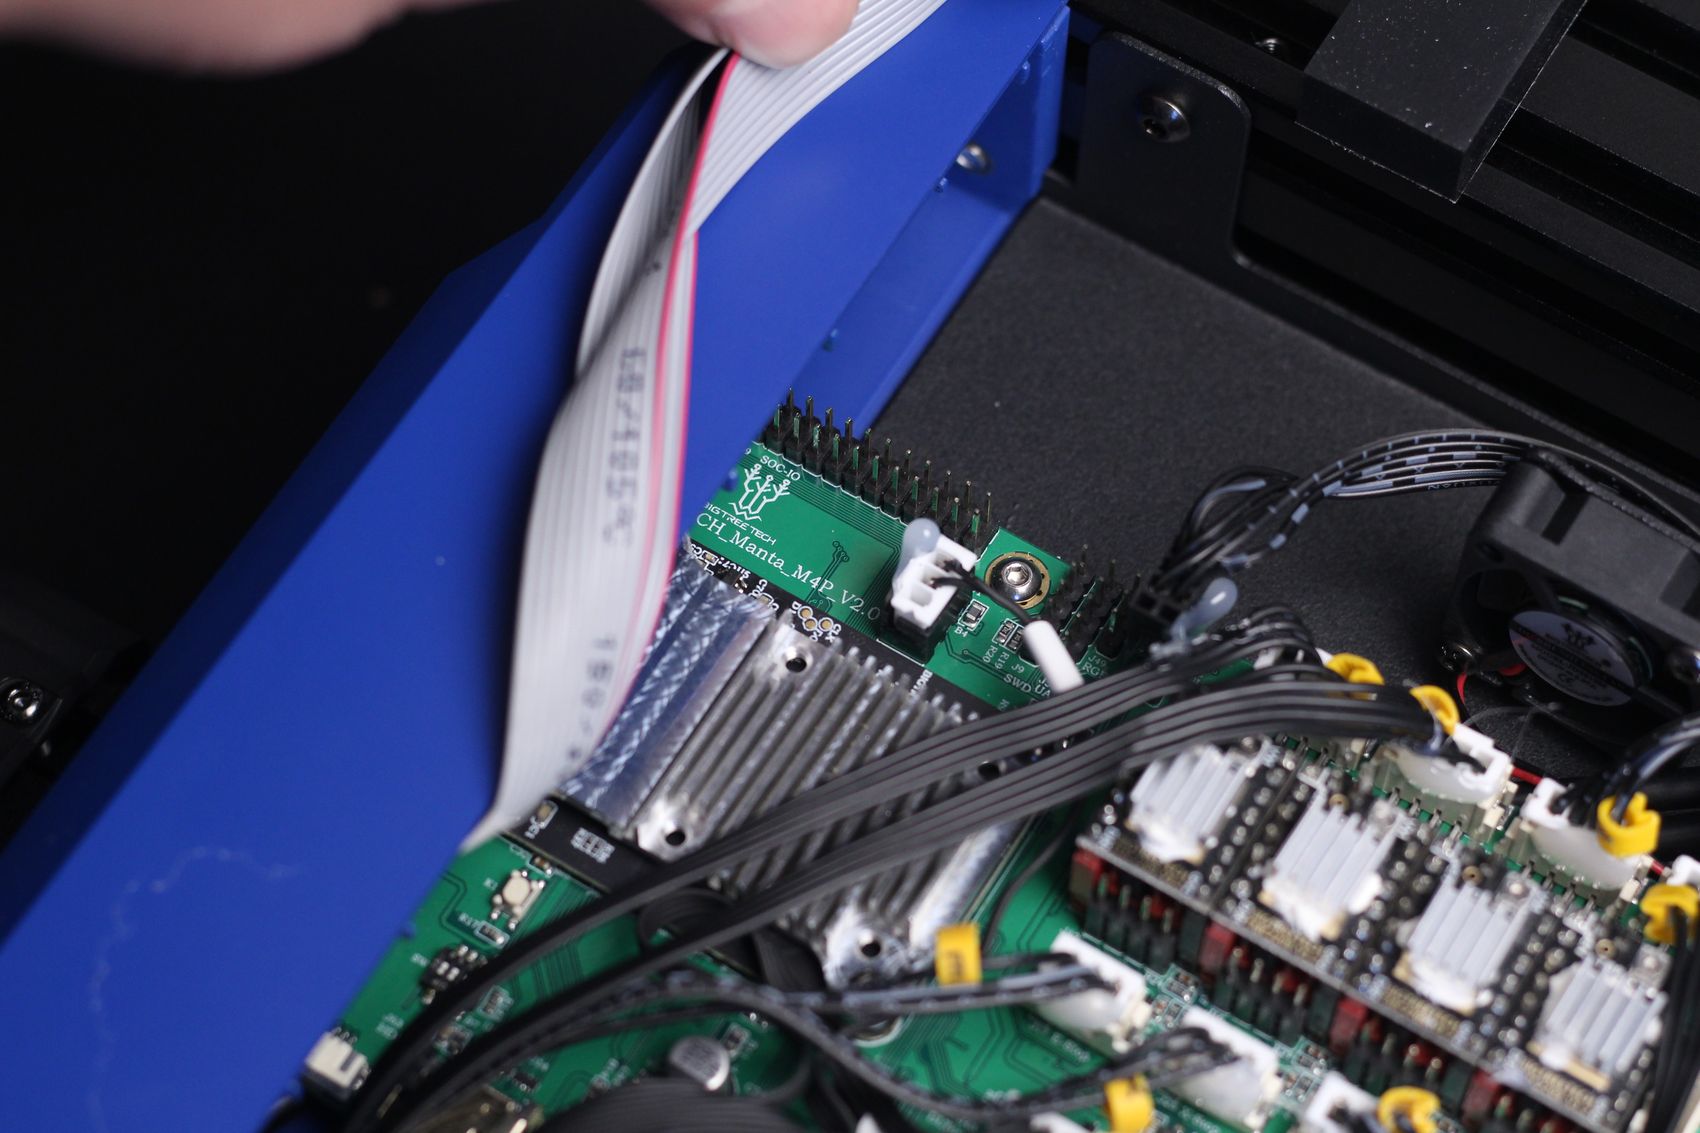
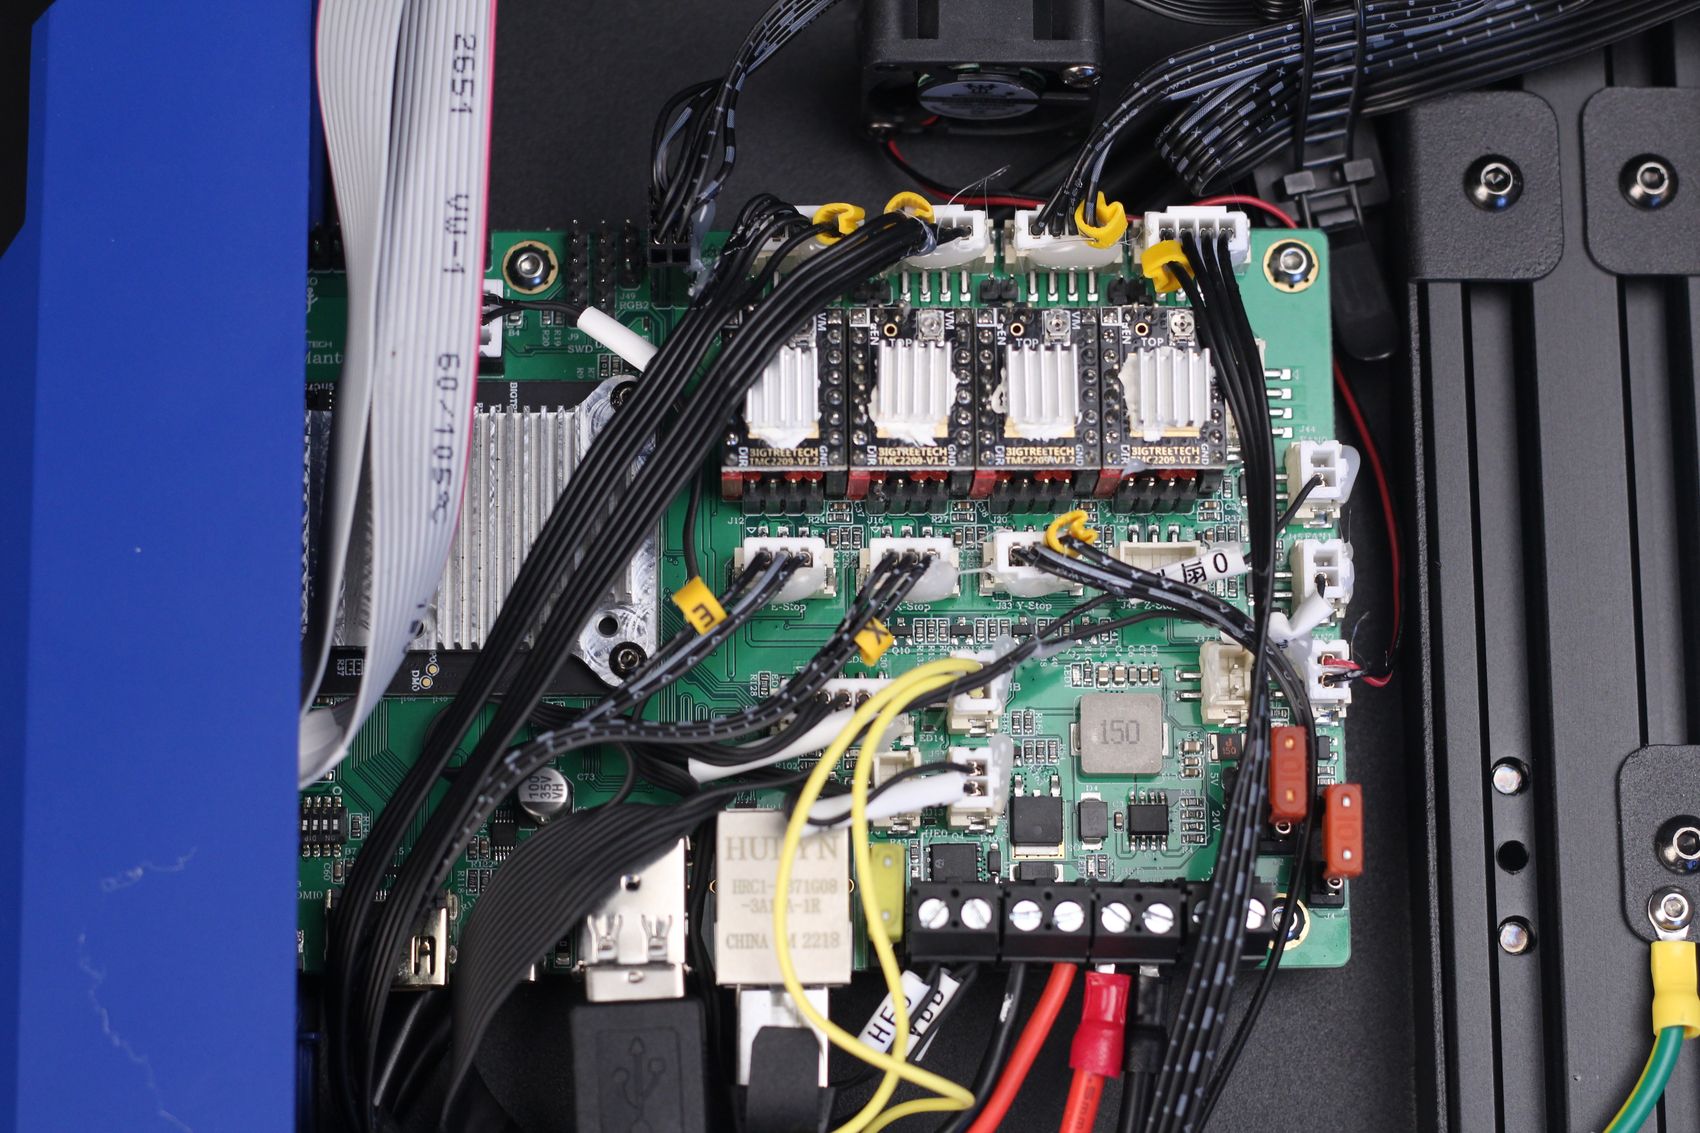
I also like the inclusion of a heatsink over the CB1 board to keep it cool during operation. You can also notice that my board is green, and this is probably because my review unit is using an early test model of the Manta M4P.
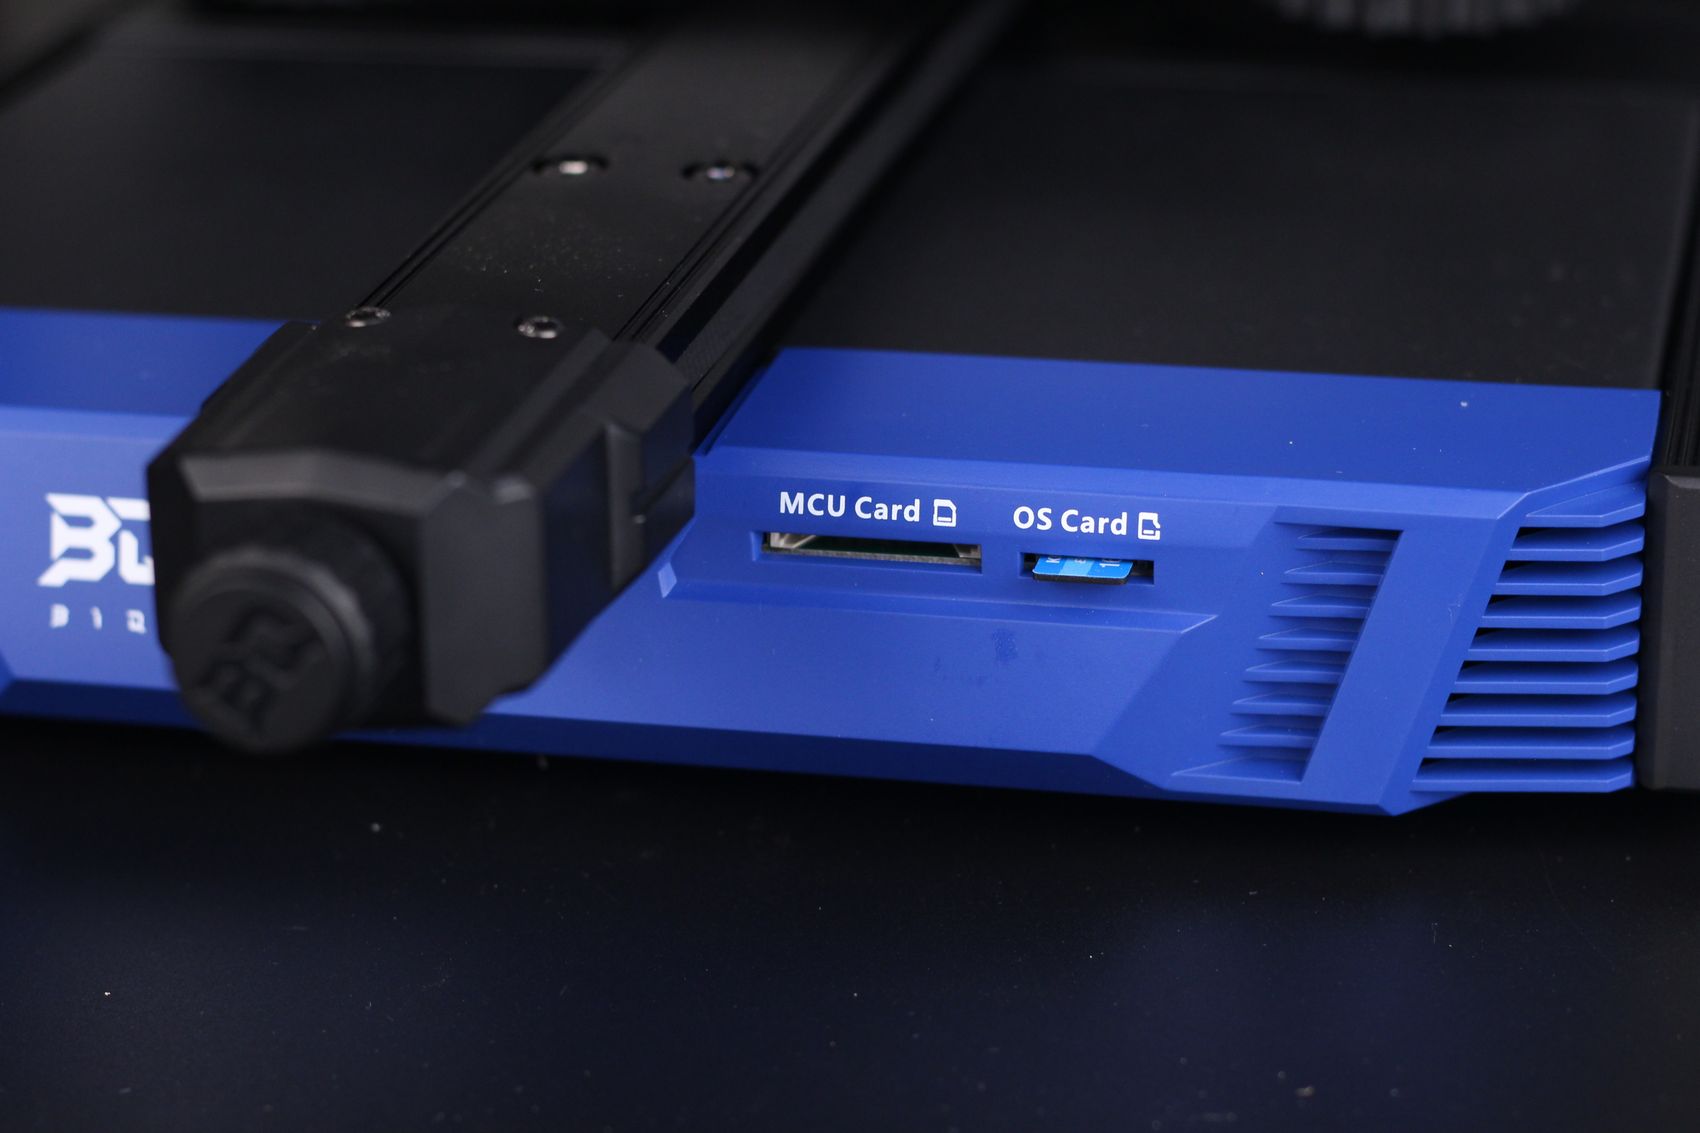
The printer has an MCU Card and OS card slot available in the front of the printer. The OS card is used for printing models via an SD card, if you decide not to use the web interface and the Wi-Fi functionality of the printer.
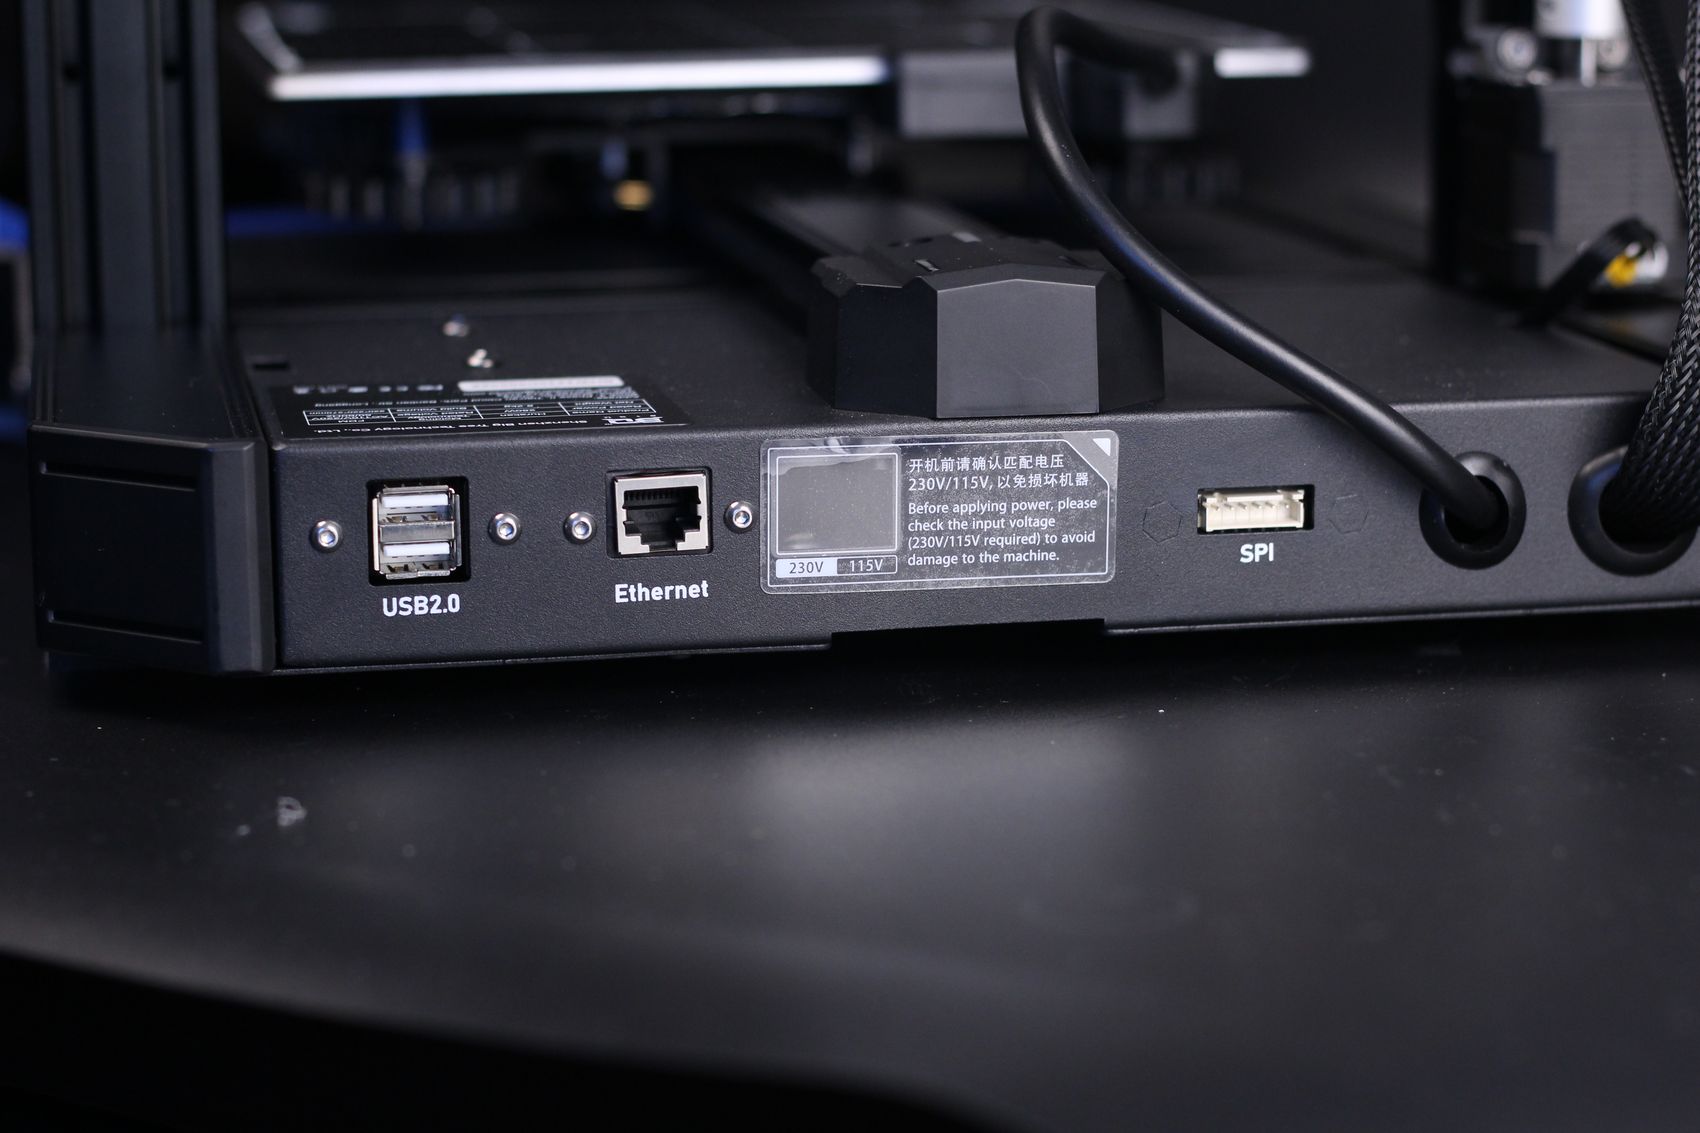
The IO of the board is extended in the back of the BIQU Hurakan to allow two USB A connectors, and Ethernet port, and the SPI port that is used in conjunction with the BIQU ADXL345 sensor for calibrating input shaper.
Overall, I like the board and all the connectors available to the printer, as it allows the use of all Klipper functionality without requiring you to open the electronics section for this.
Klipper Firmware
Of course, the main attraction of the BIQU Hurakan is the Klipper firmware it’s running. In case you don’t know about it, Klipper firmware is an easy-to-use firmware alternative to the popular Marlin firmware which allows you to use features like Input Shaper and Pressure advance to improve the print quality and speed of your machine.
Besides that, when using Klipper firmware you are also able to easily connect the printer to the network, control the functionality and send prints to the machine using a web interface. In this case, the web interface of choice is Mainsail which I covered in past articles.
The printer comes with pre-configured files for the machine, and the config is pretty well made, but I was expecting to at least see a default value for the Pressure Advance functionality already configured. Pressure advance needs to be tuned of course, but a default value that works on a range of filaments could be preloaded without any issues.
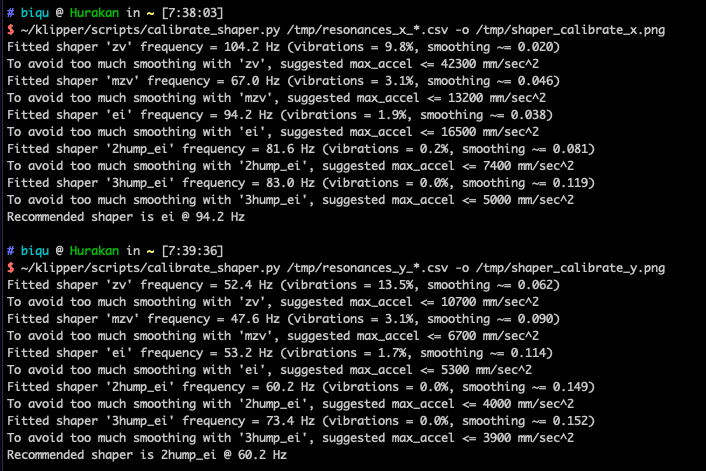
To calibrate input shaper, you need to use the ADXL sensor included with the printer. The sensor is attached to the print head for X-axis calibration, then it is attached to the bed to calibrate the Y-axis.
Overall, the process is quite easy and you will be done in about 15 minutes.
In the image below, you can see my calibrated values after measuring the resonance of the machine on both axis, but please be advised that it’s recommended you do your own measurements for this. Every printer will have different values depending on the surface it’s used and the way it is assembled.
Web Interface
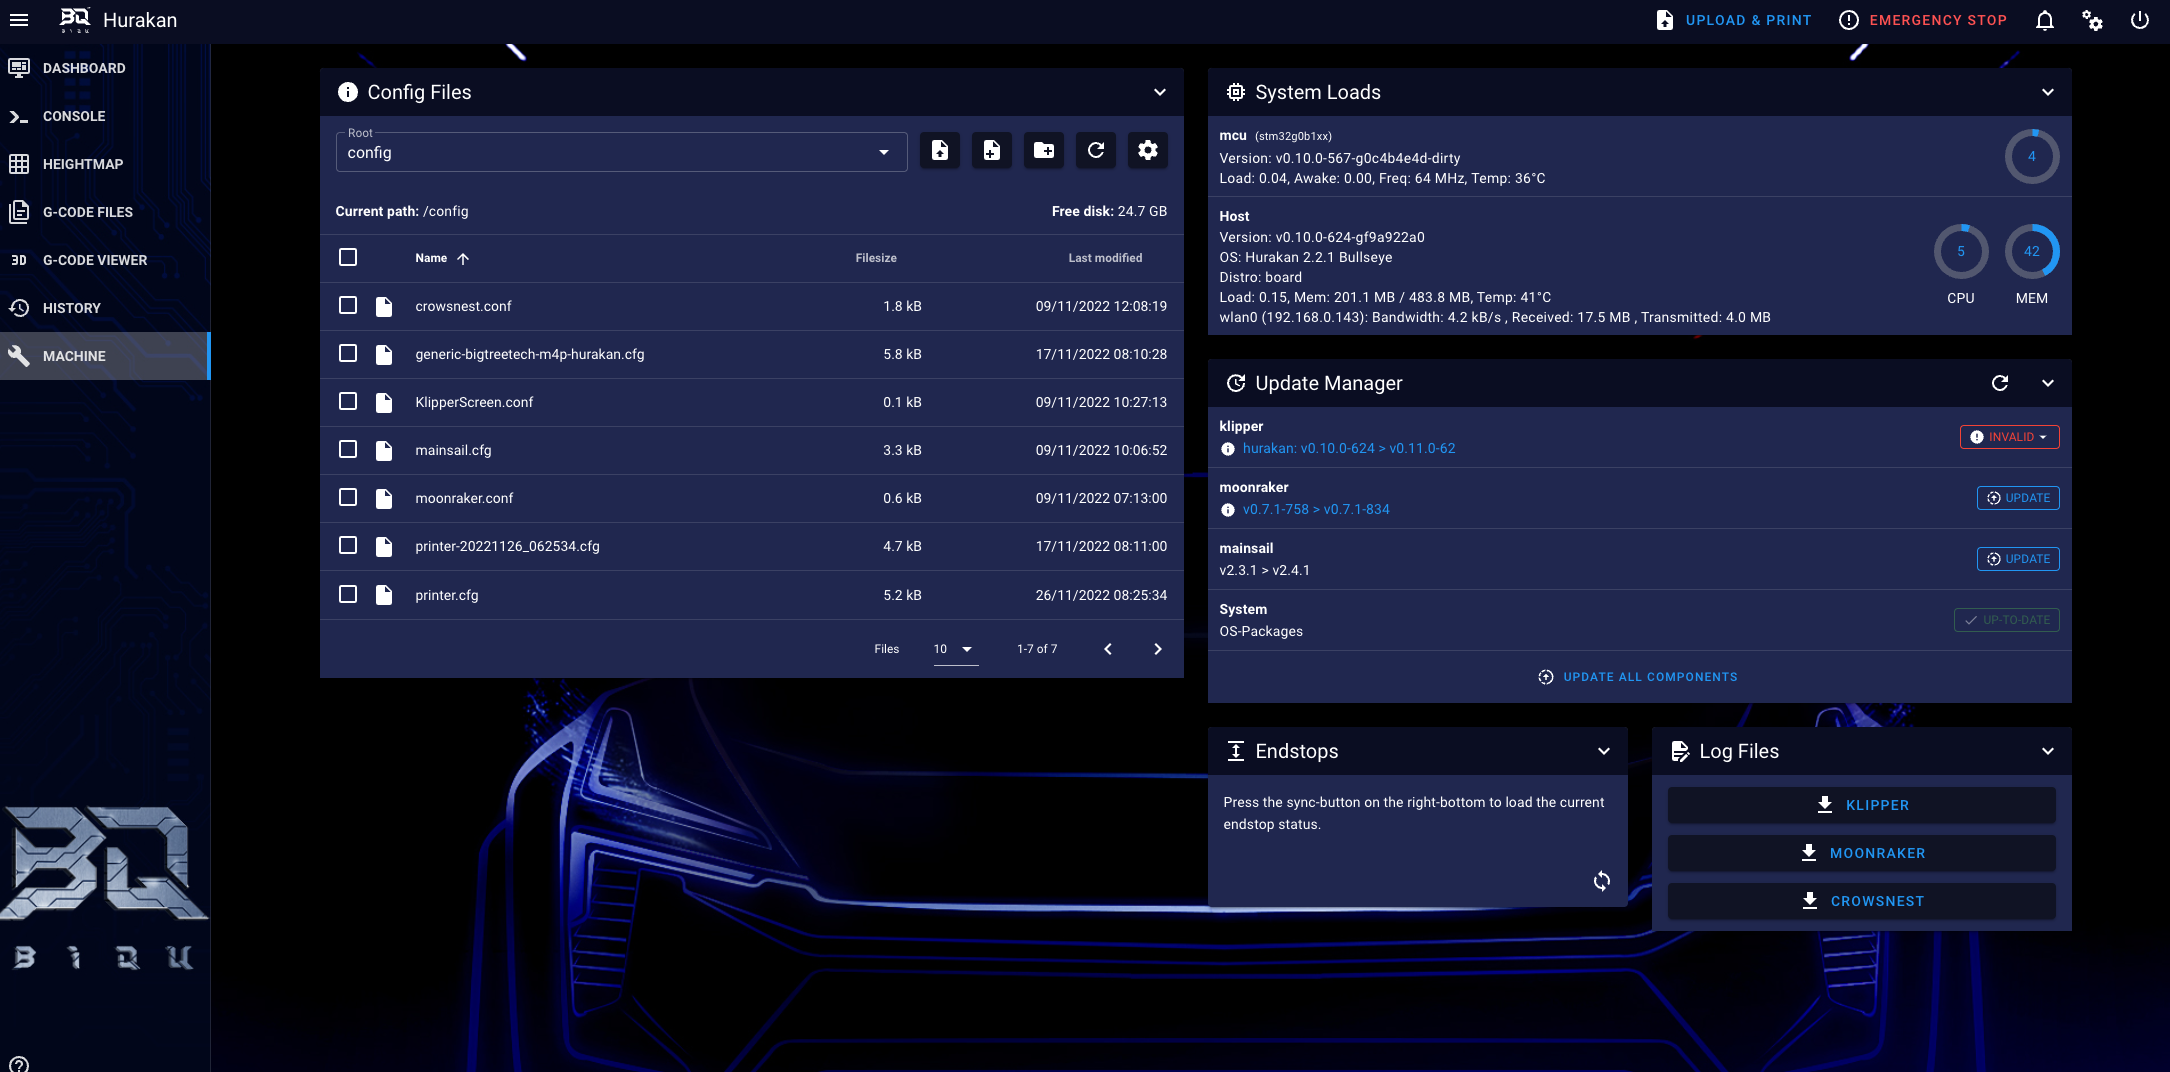
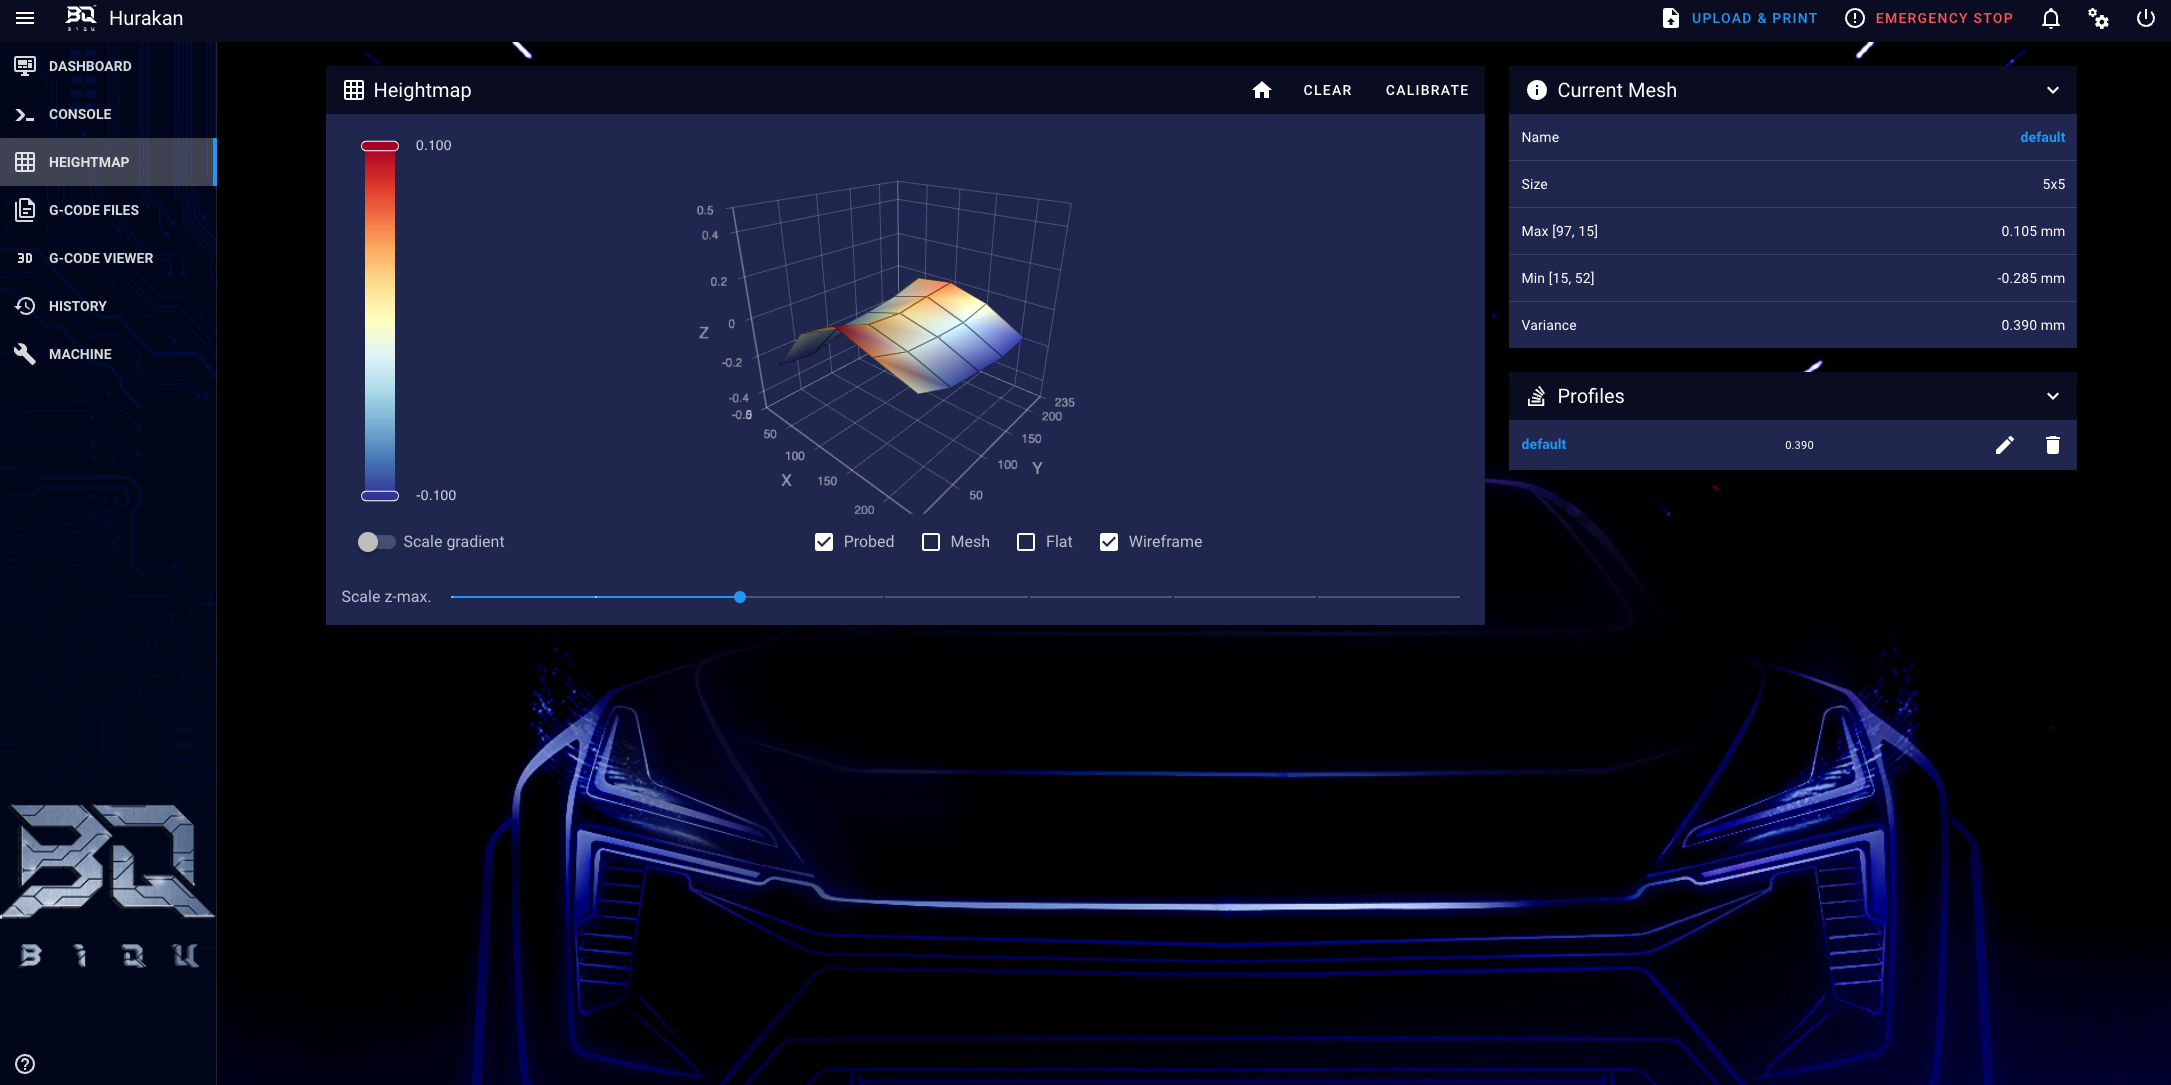
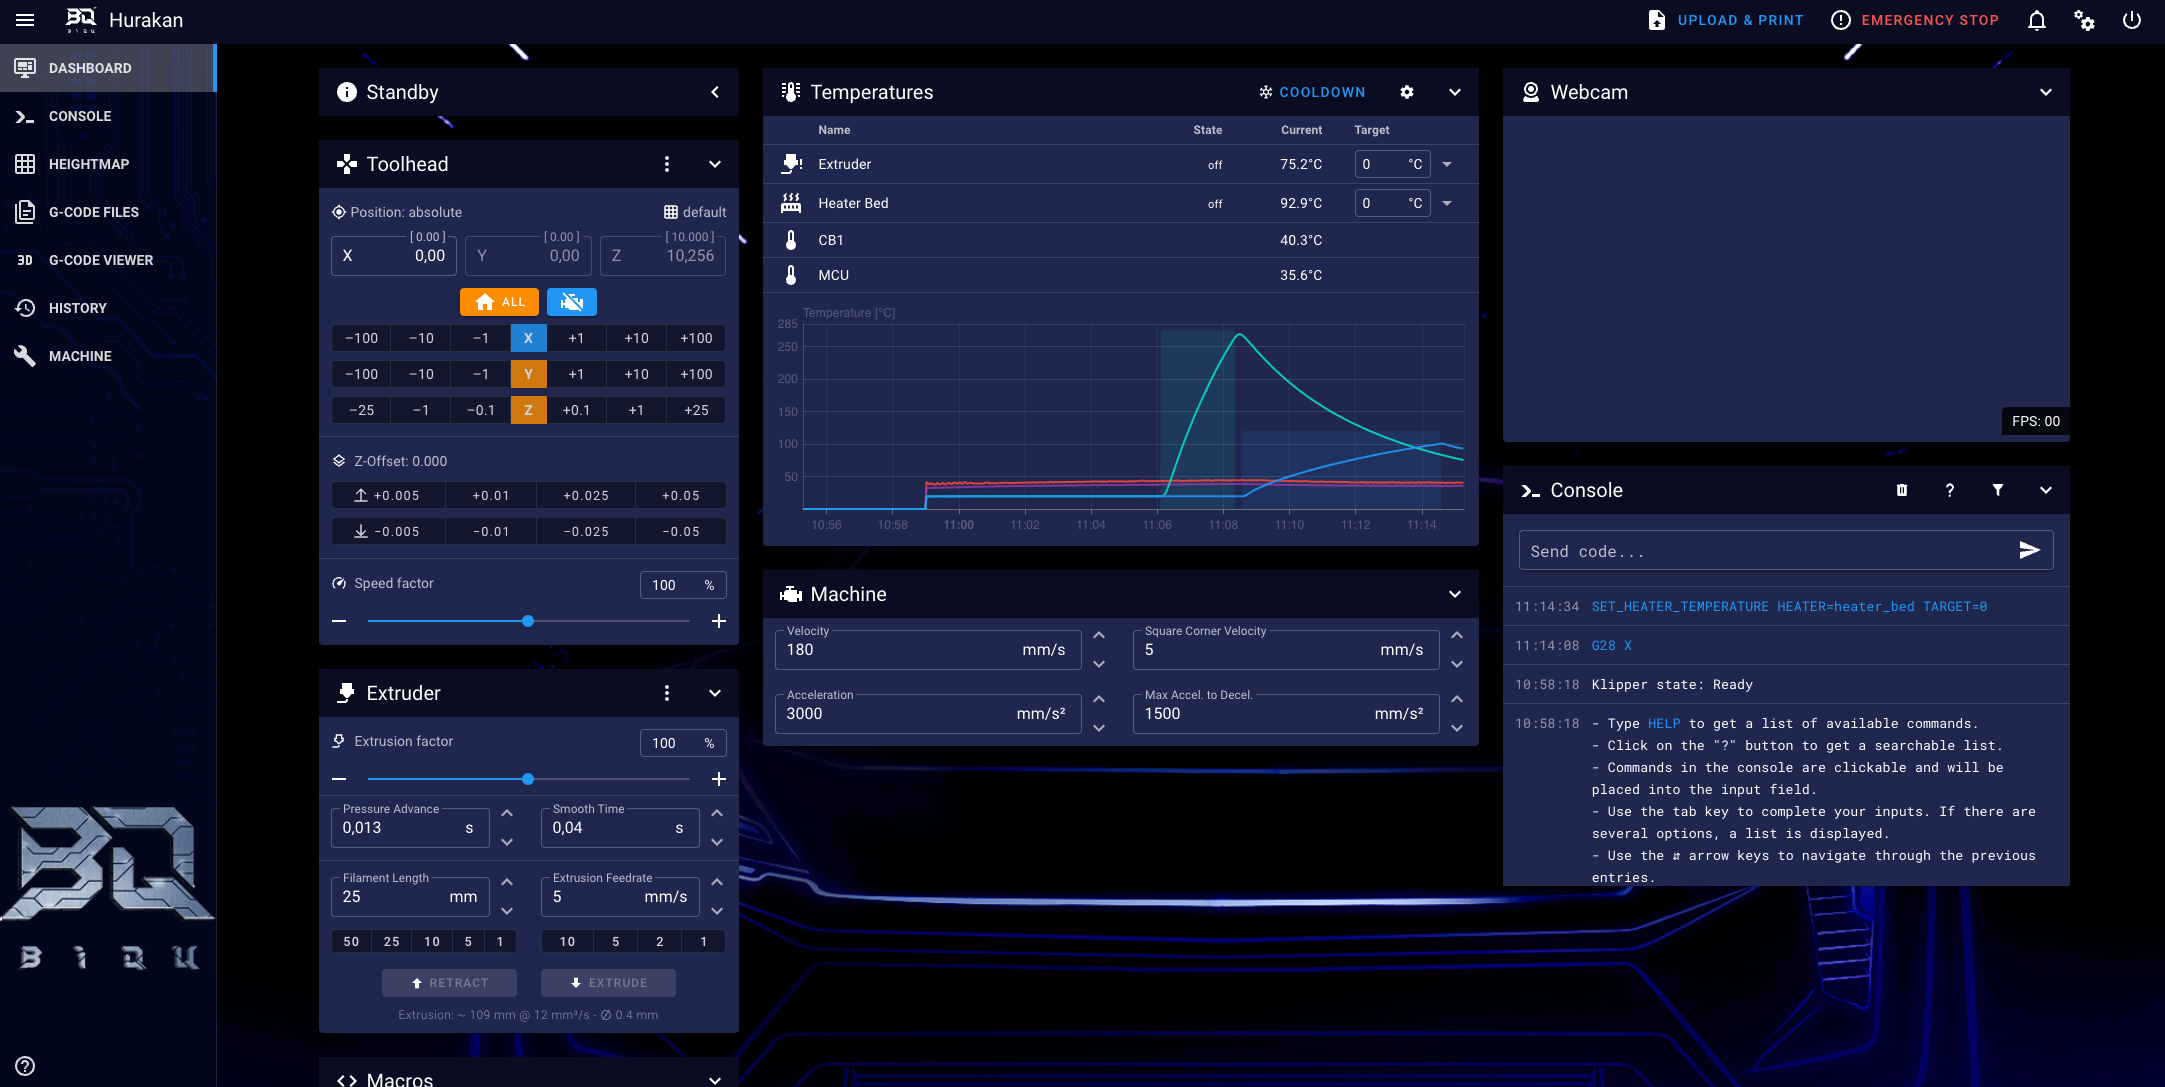
The BIQU Hurakan has Mainsail as the main web interface for controlling the screen, which is themed by BIQU with dark and blue accents. If you have used Mainsail in the past, then you will feel right at home
Dual-Sided Textured PEI flex plate
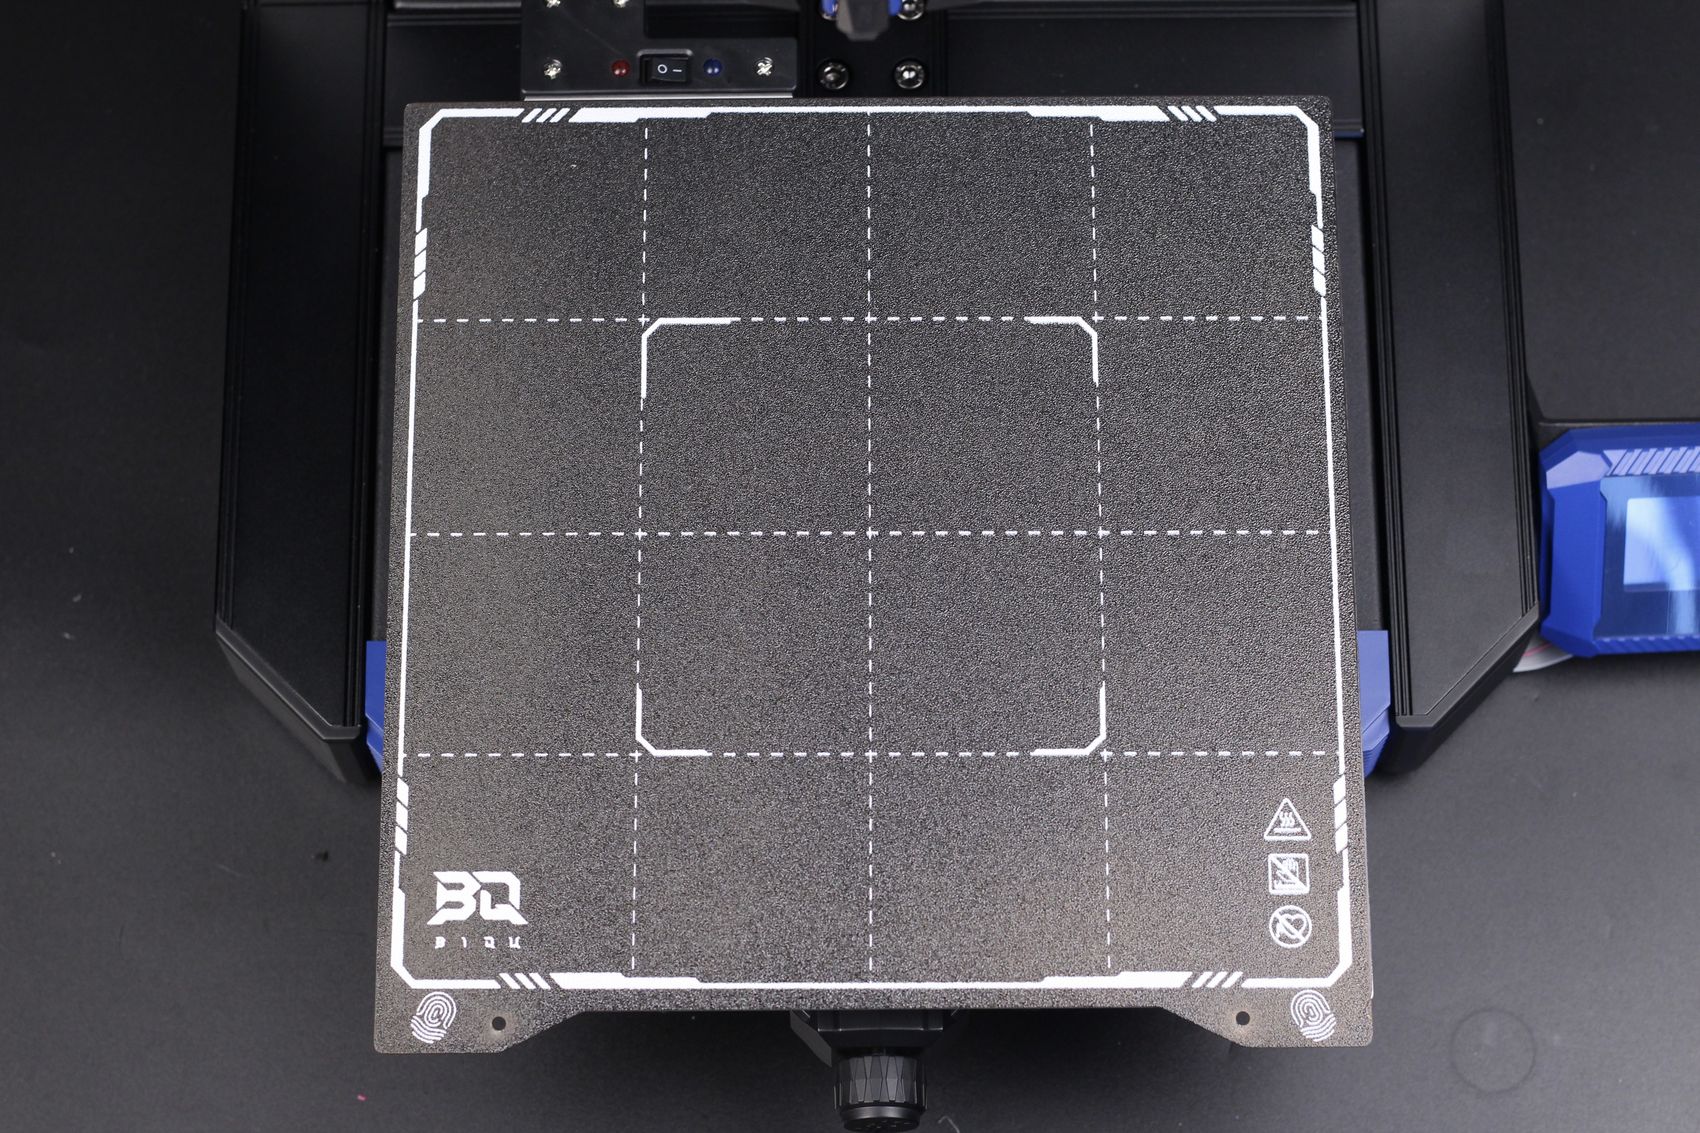
The BIQU Hurakan also comes with a double-sided textured PEI print surface which works great. It offers excellent adhesion during printing, and the models release easily when the print is done. The only thing I can complain about is the magnetic attraction of the plate and I fear that it might cause issues if printing large ABS or PETG models.
Dual-Zone Heatbed
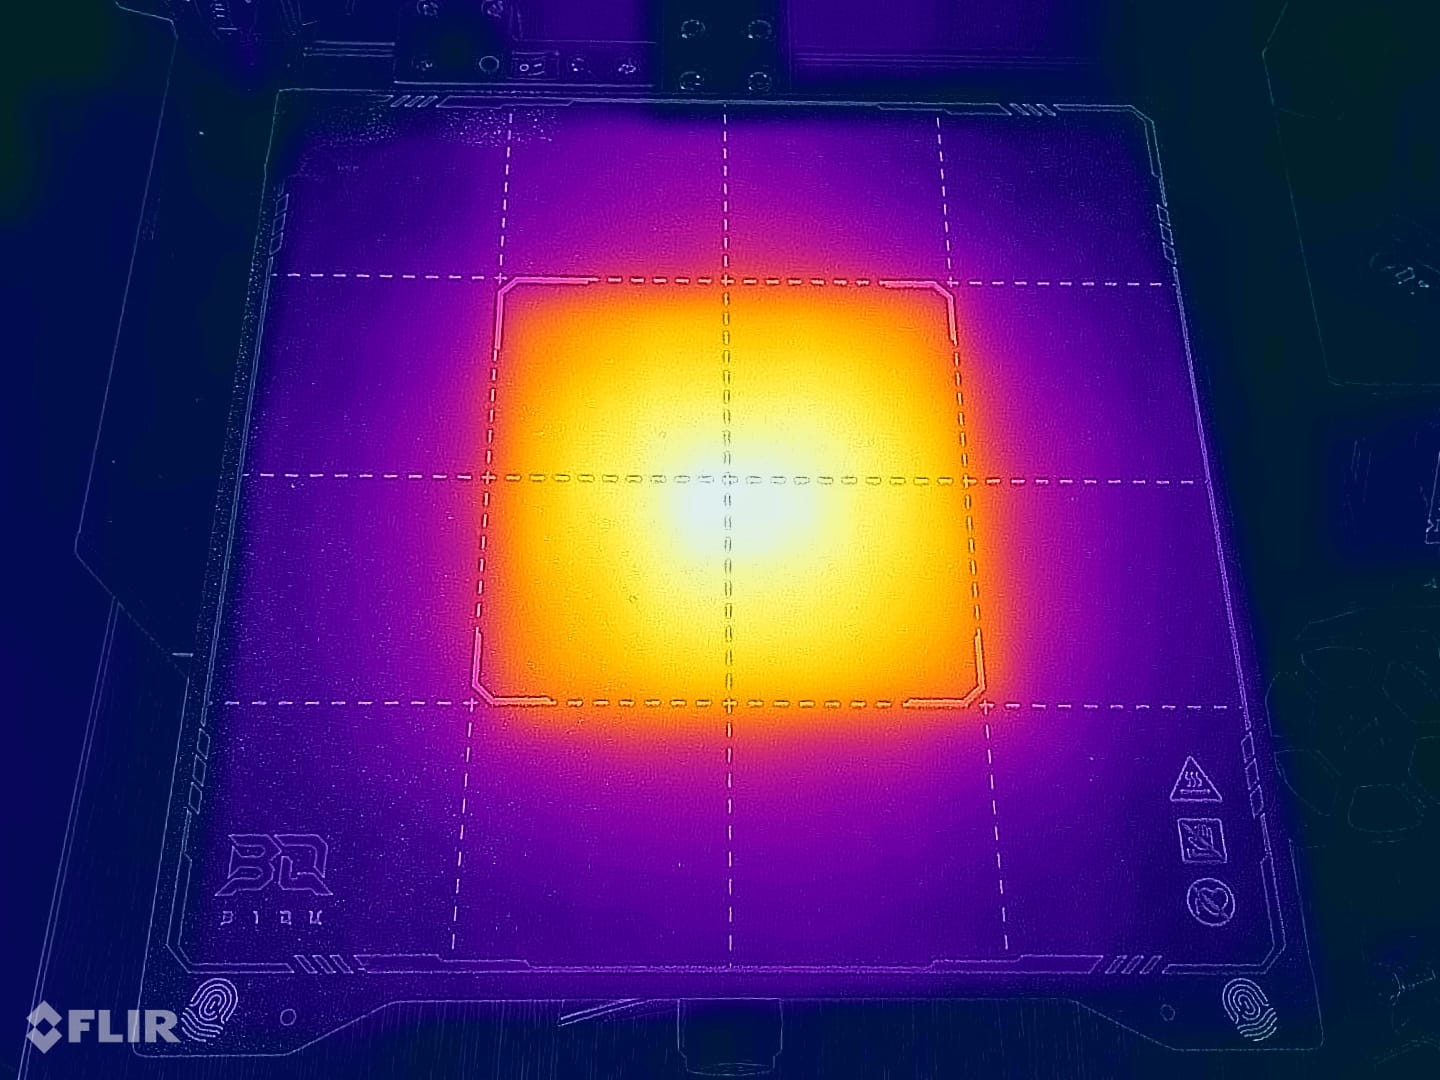
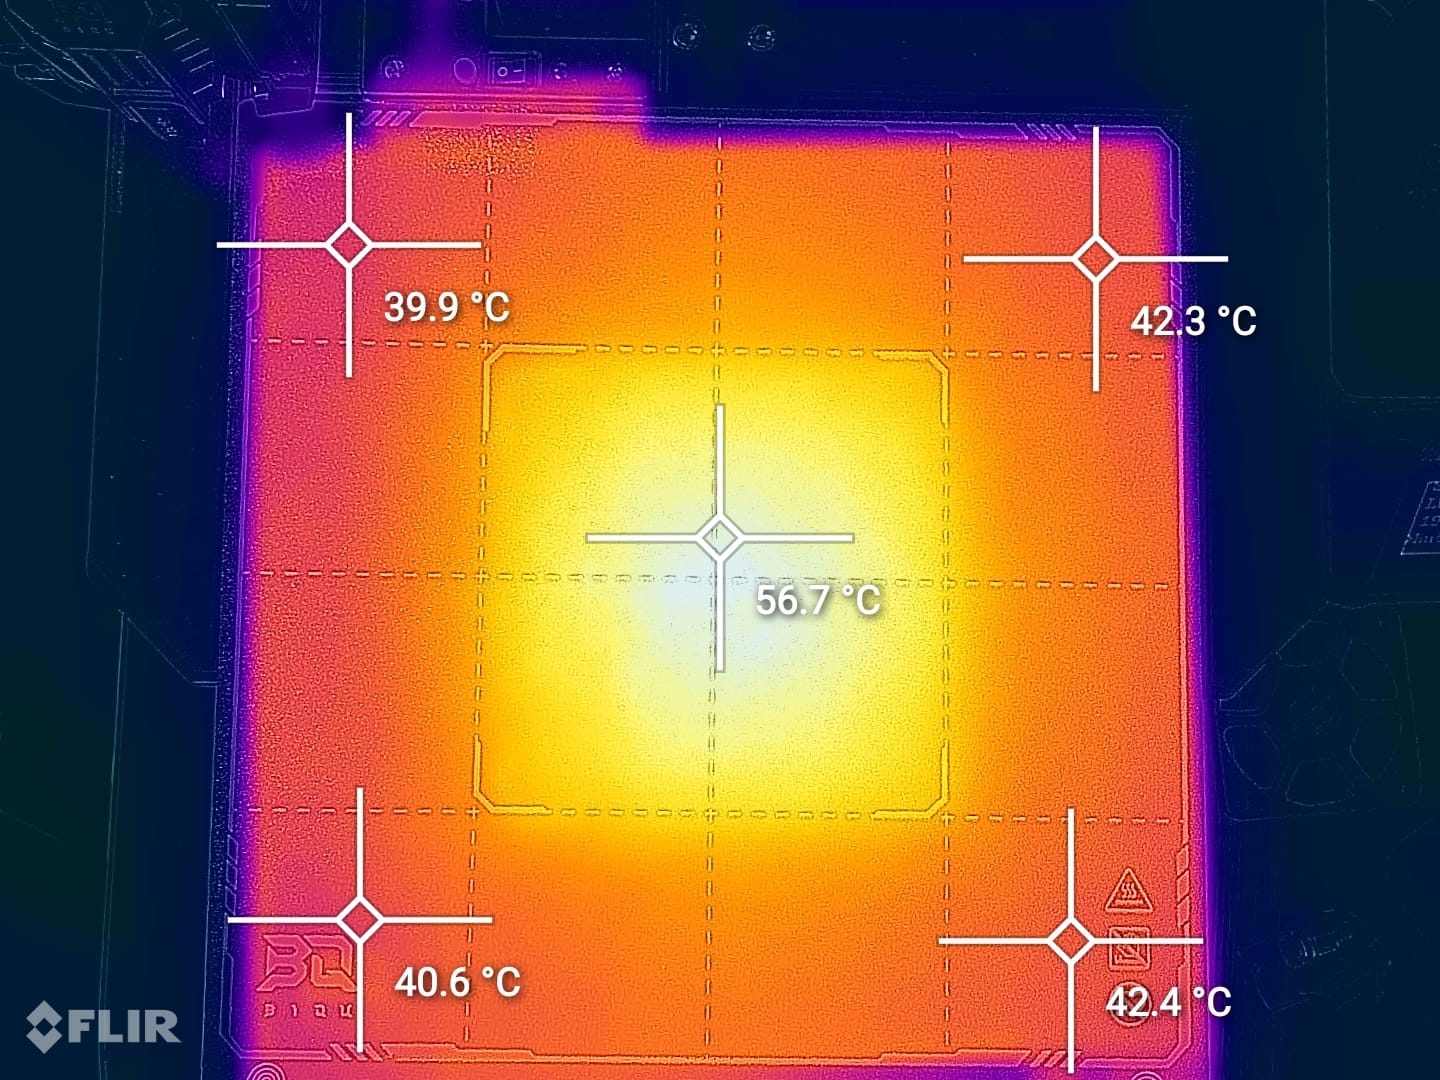
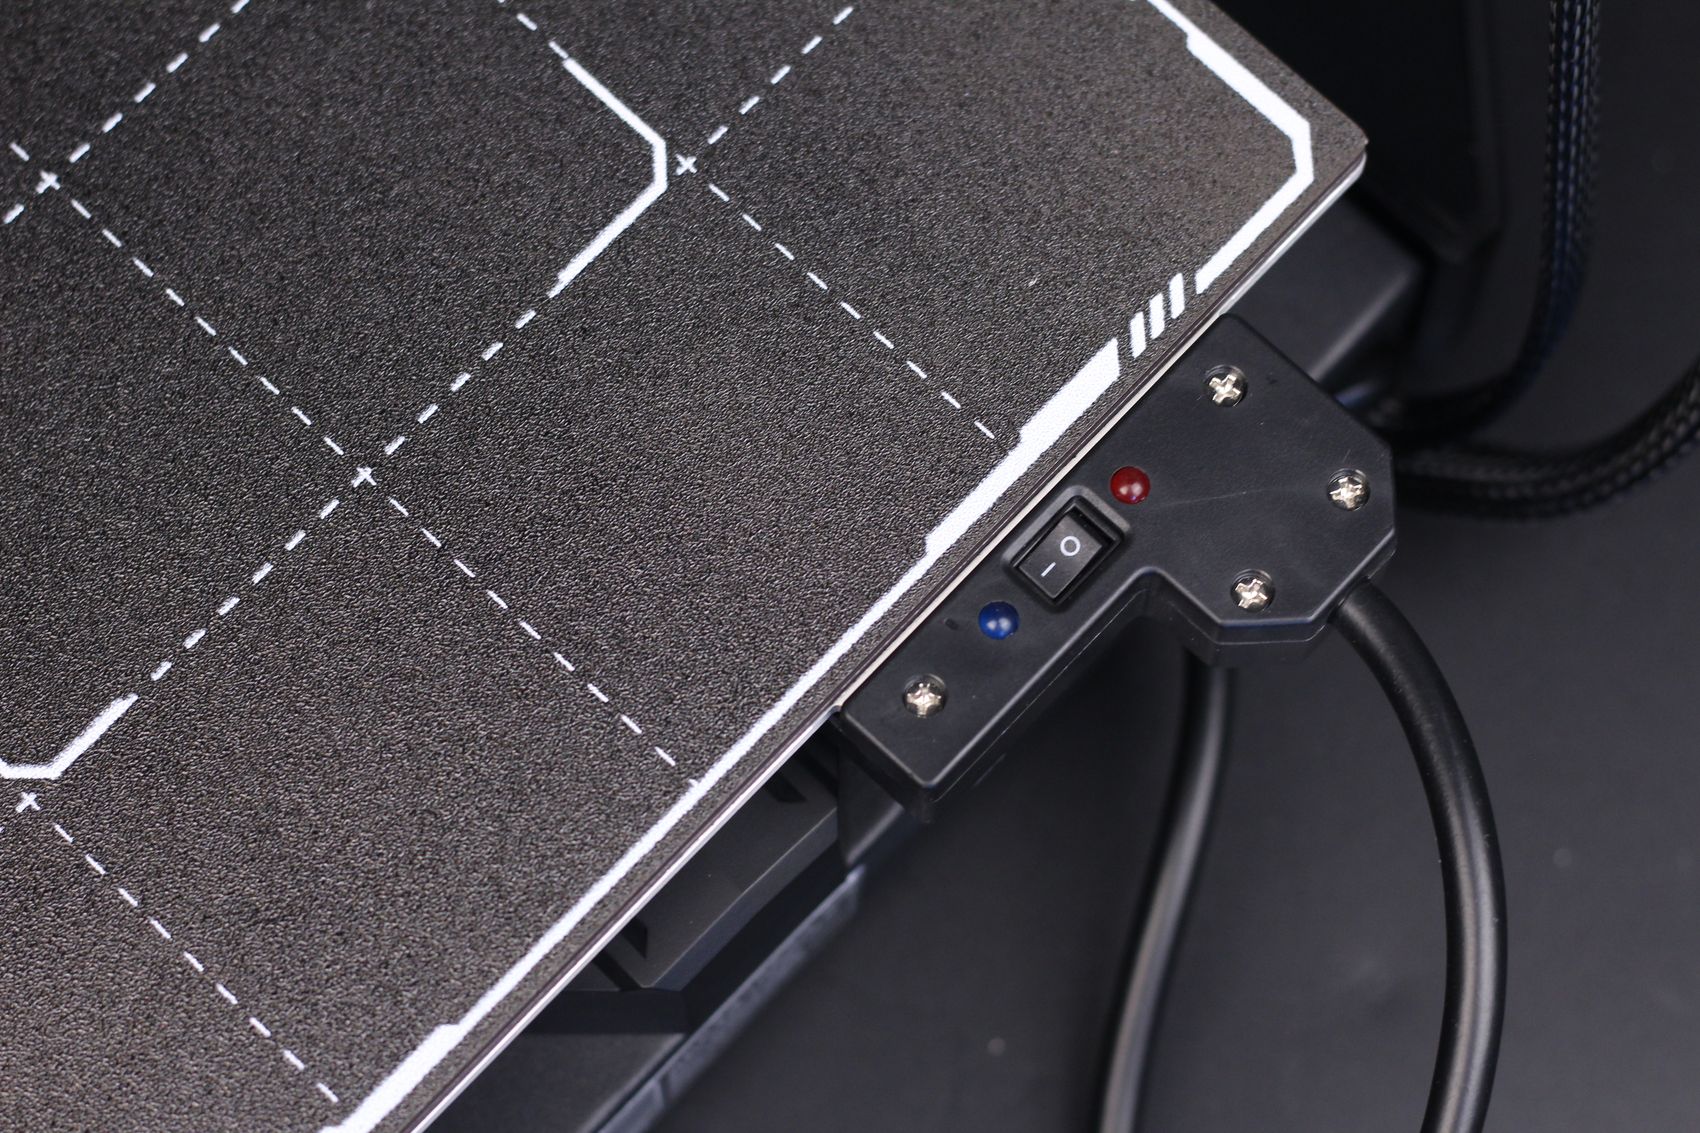
In the previous picture, you can see some drawings on the PEI textured plate, and those are to show you the dual heating zones of the bed. The BIQU Hurakan heatbed has a switch on the back that allows you to control the sections of the bed that get heated. This is done to save power when printing smaller models that don’t need the entire bed to be heated, and I like this feature.
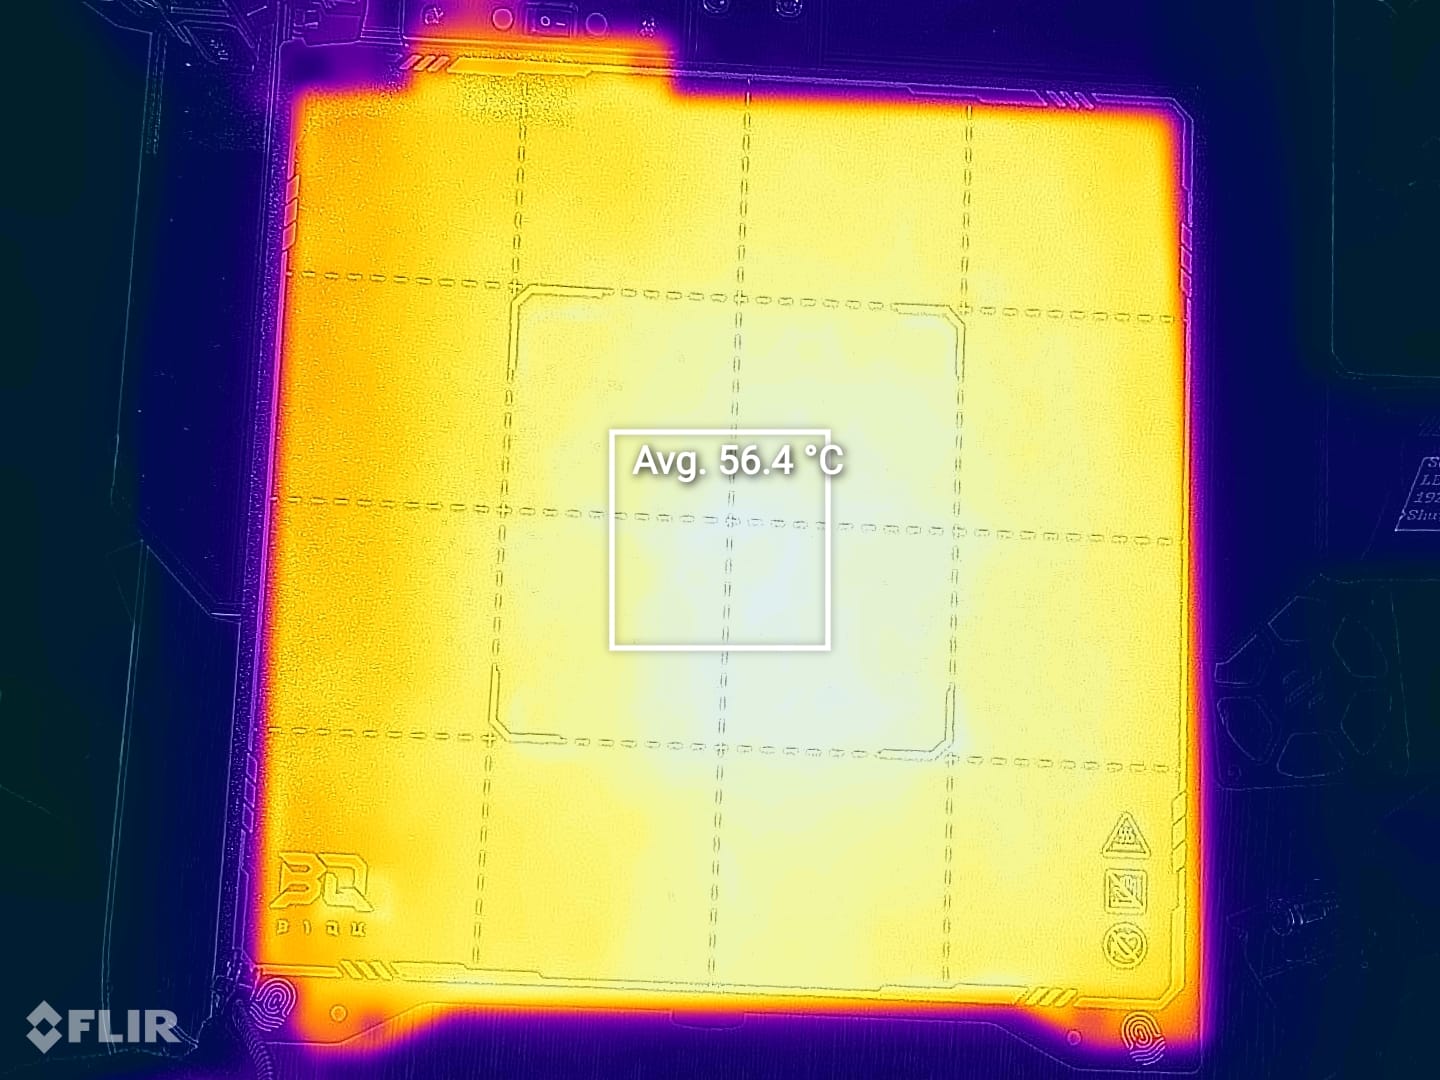
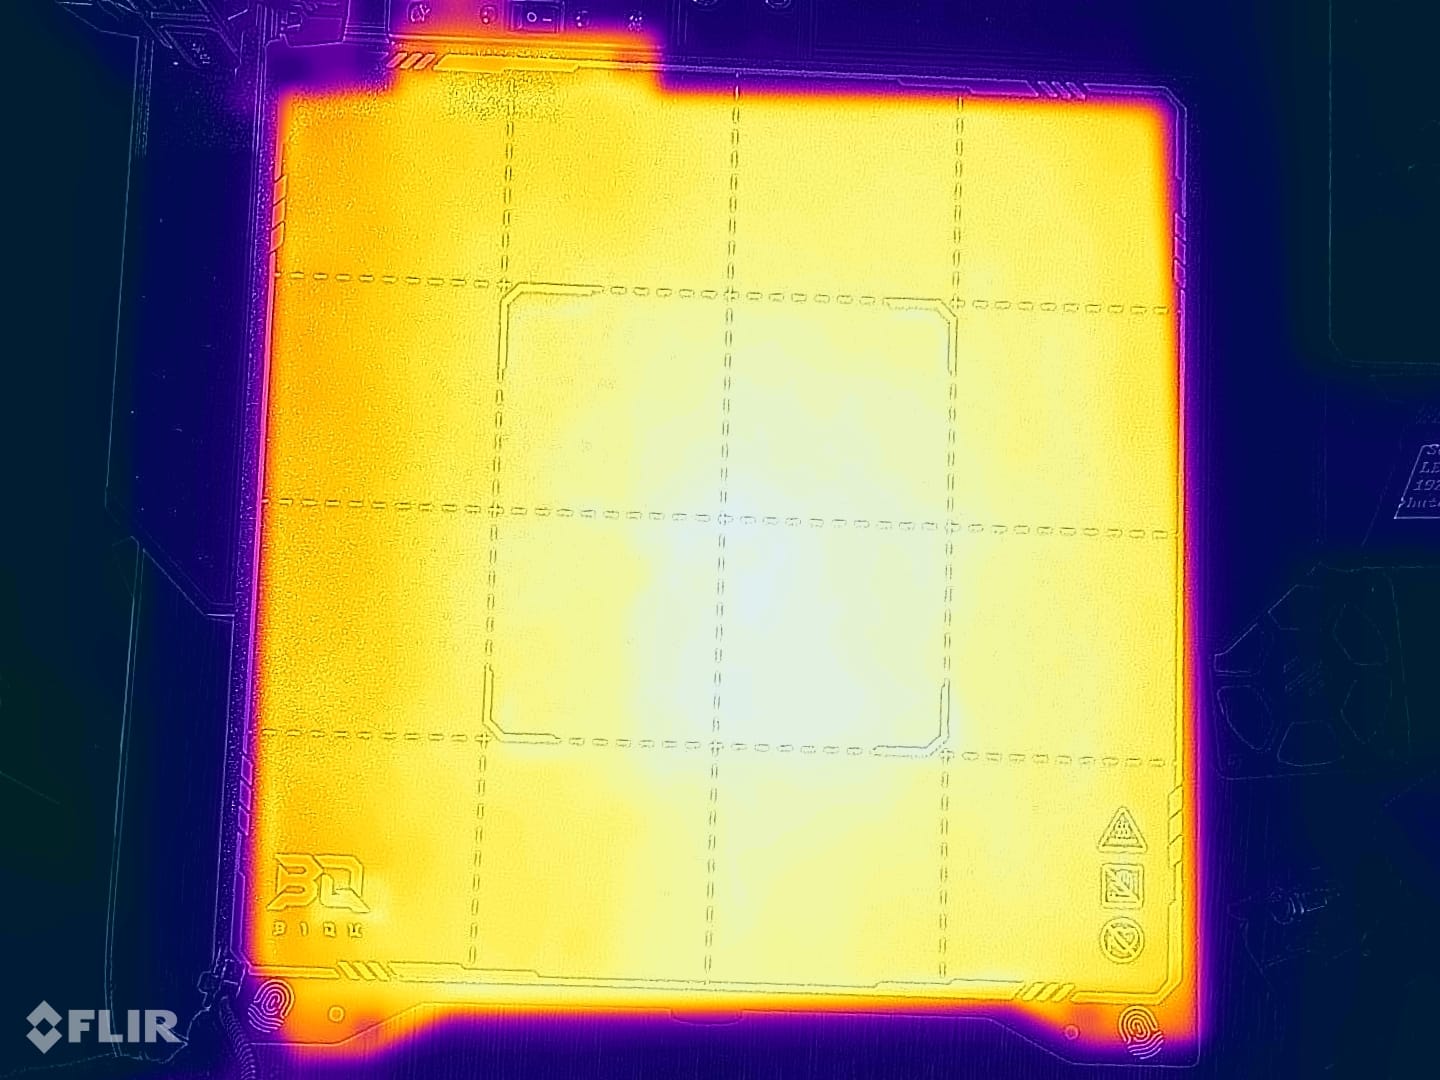
In the images below, you can see how this feature works. The first image shows the section that gets heated, and in the second image, you can see the overall heat distribution of the bed. When the middle part of the bed is headed, some heat travels to the side of the heated bed as it is not insulated. But that’s understandable and I don’t think it’s a drawback.
Mini 12864 V2.0 Display
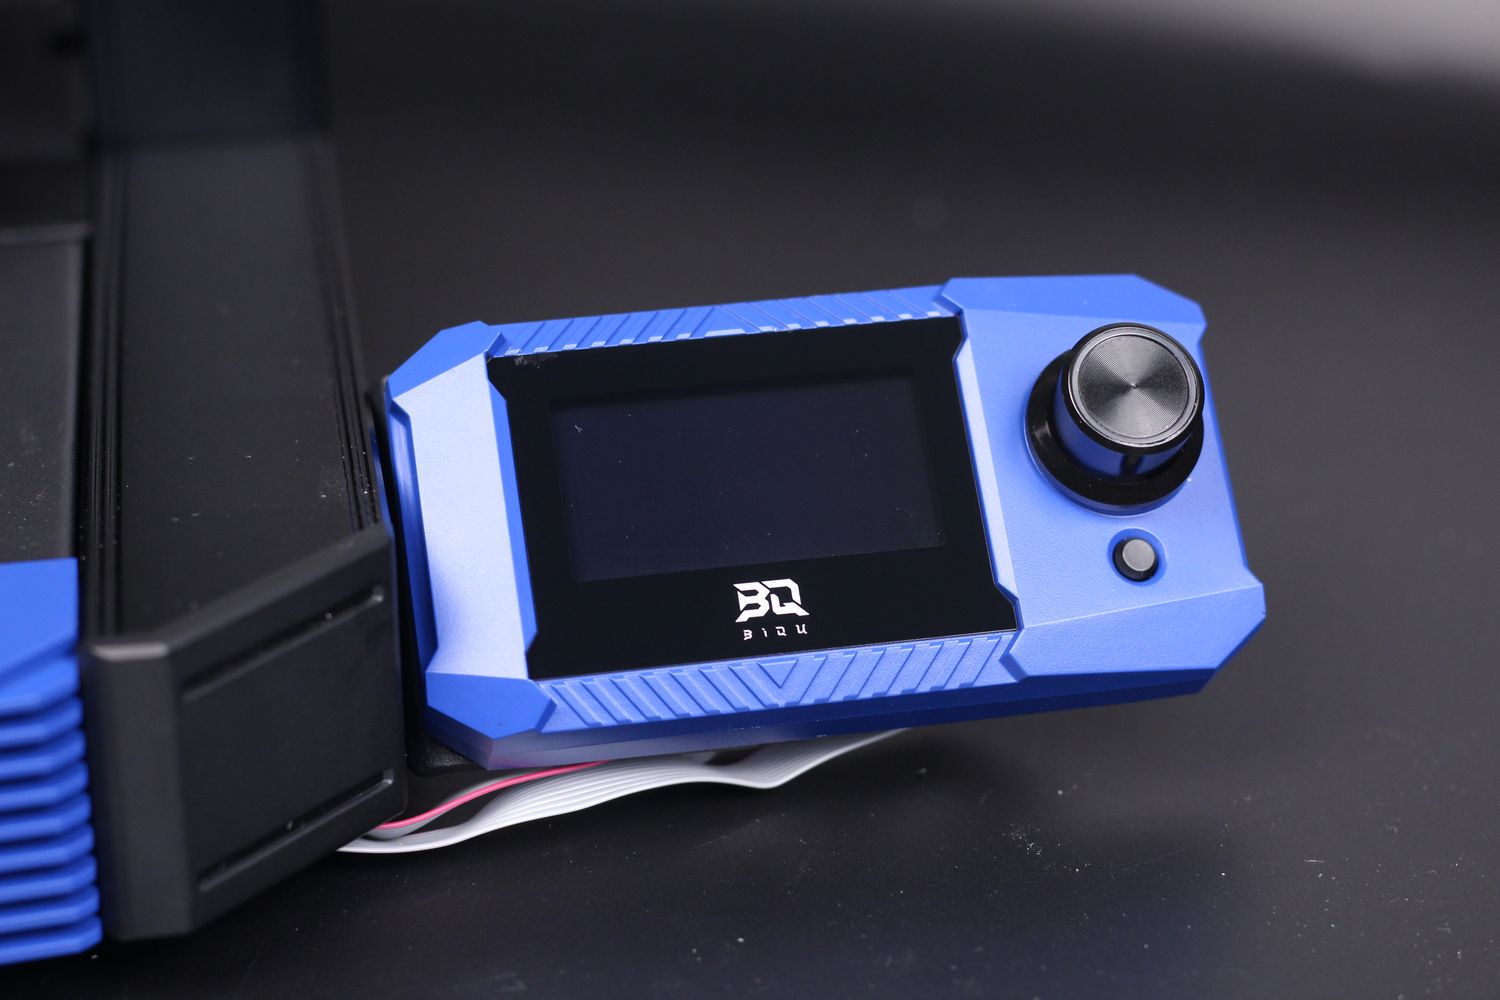
The included screen of the BIQU Hurakan is Mini 12864 click wheel monochrome screen made by BIQU and it’s fully compatible with Klipper. Don’t expect a high amount of features from it, but it’s a nice quick way to operate the printer if you want to see the status of the print, or quickly start the pre-heating before a print.
LRS-350-24V 350W Power Supply
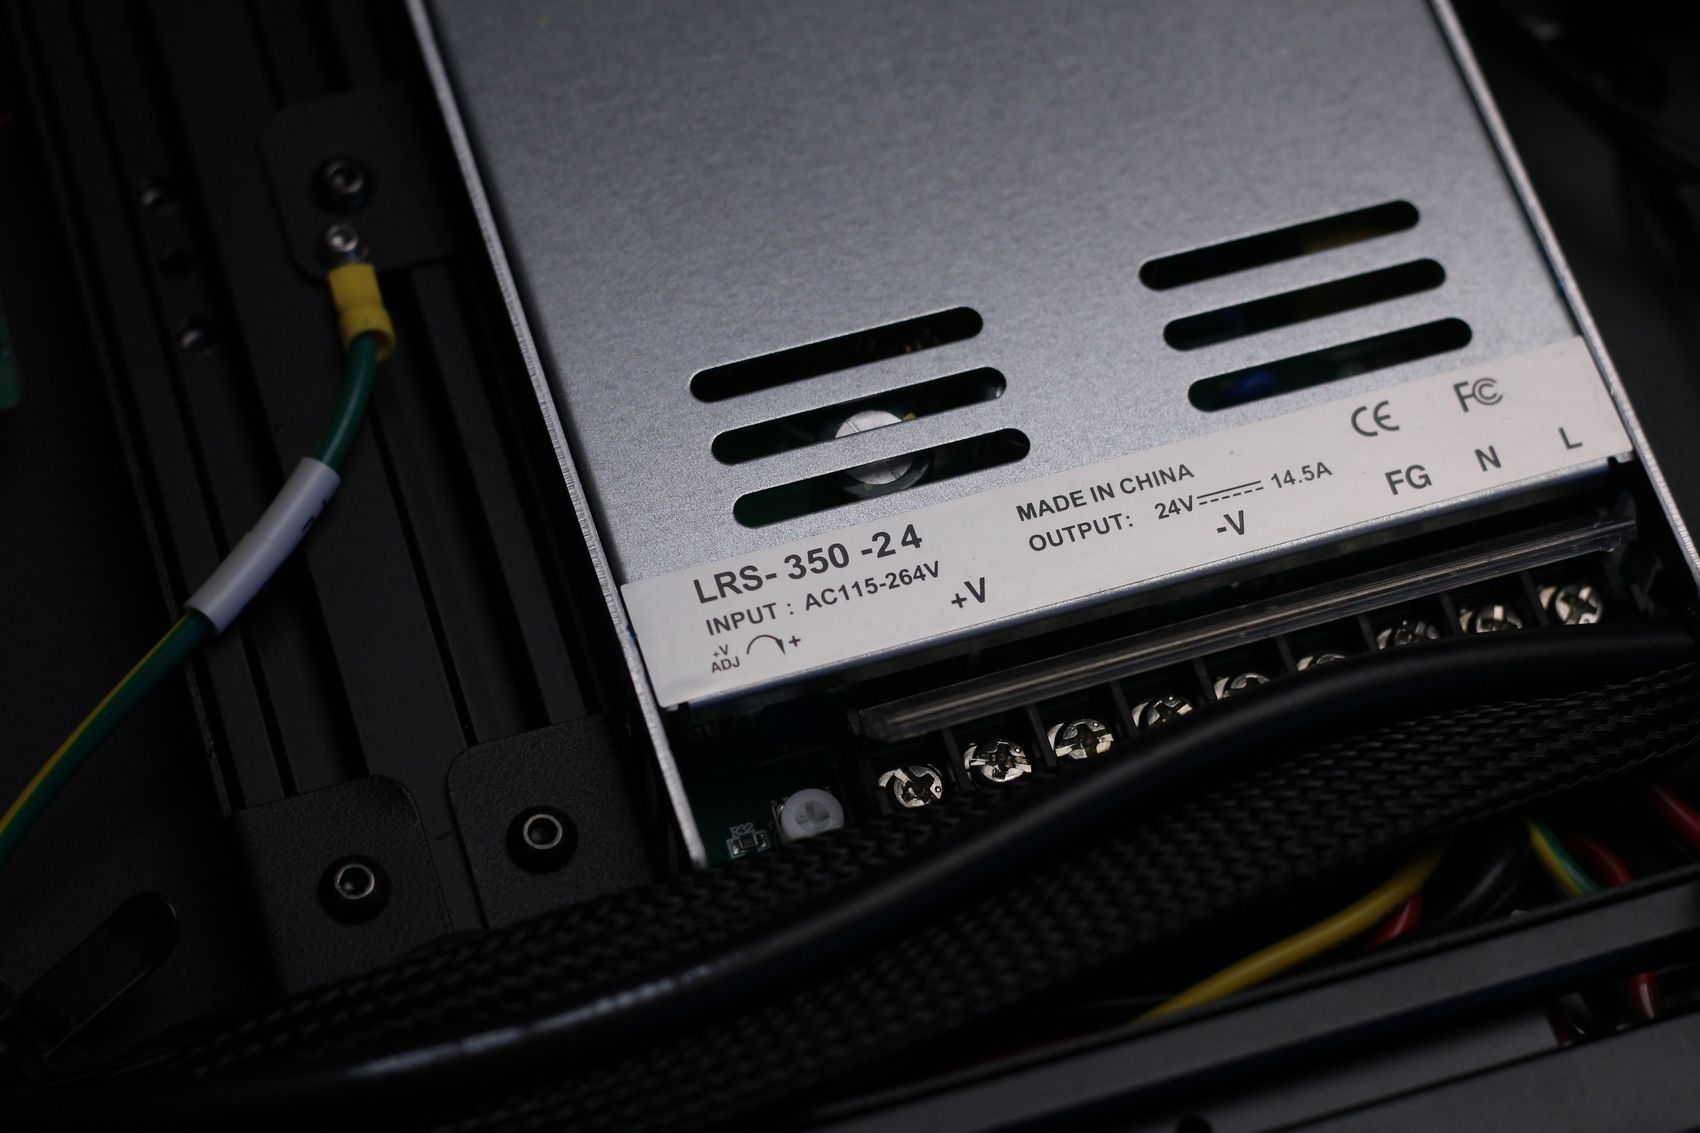
Powering everything is an LRS-350-24V no-name power supply. The name is similar to the popular Mean Well units, but this is not the case and it’s simply a regular power supply.
I like that the fan is not always on and it is controlled based on a temperature sensor inside, which helps with the noise levels of the printer. When that fan turns on, it’s pretty quiet and I can’t really complain about it.
Heating time and power consumption
Hotend
- 200C in 1 minute and 35 seconds
- 250C in 2 minutes and 5 seconds
Heatbed
- 60C in 2 minutes
- 100C in 6 minutes
Power Draw.
The idle power draw is around 10W. When the hotend and heatbed are heating up, the BIQU Hurakan draws around 275W (if both heating zones are turned on) and around 140W when only the single heating zone is enabled. After it starts printing, the power draw stabilizes to around 95W when the full bed is turned on, and around 55W when only the middle section of the heated is used.
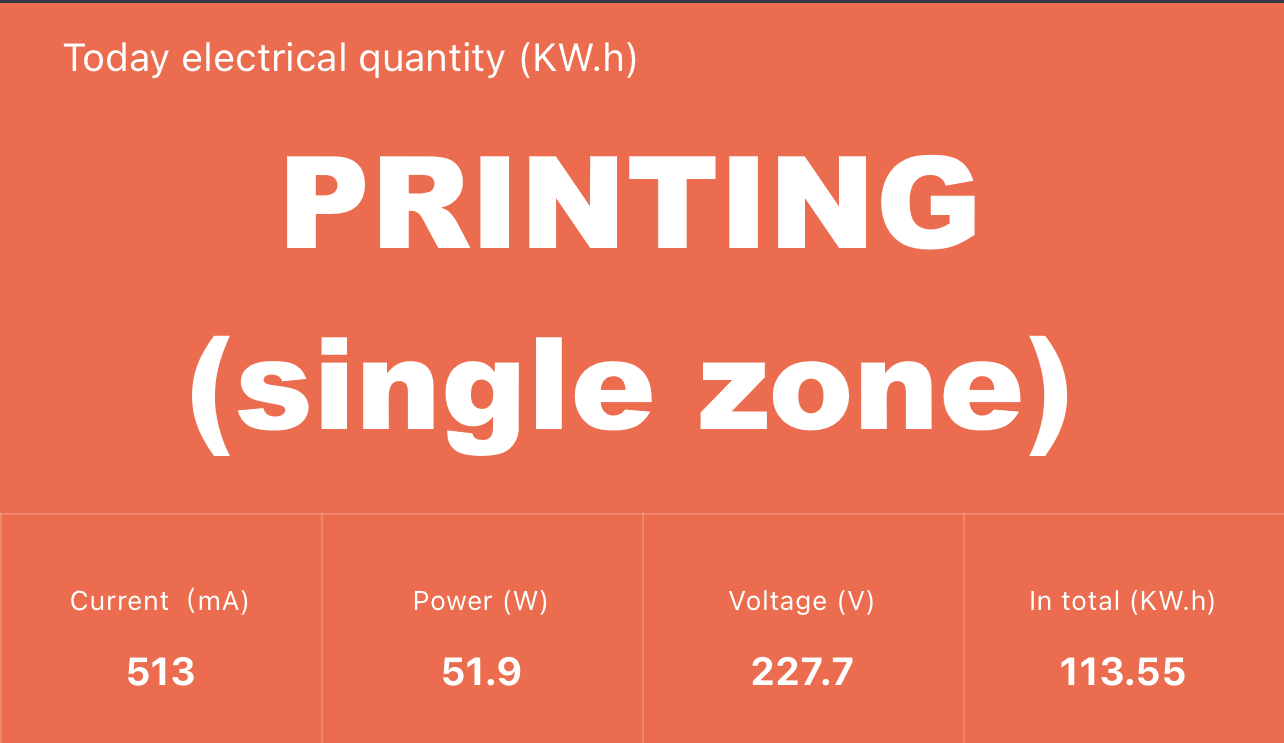
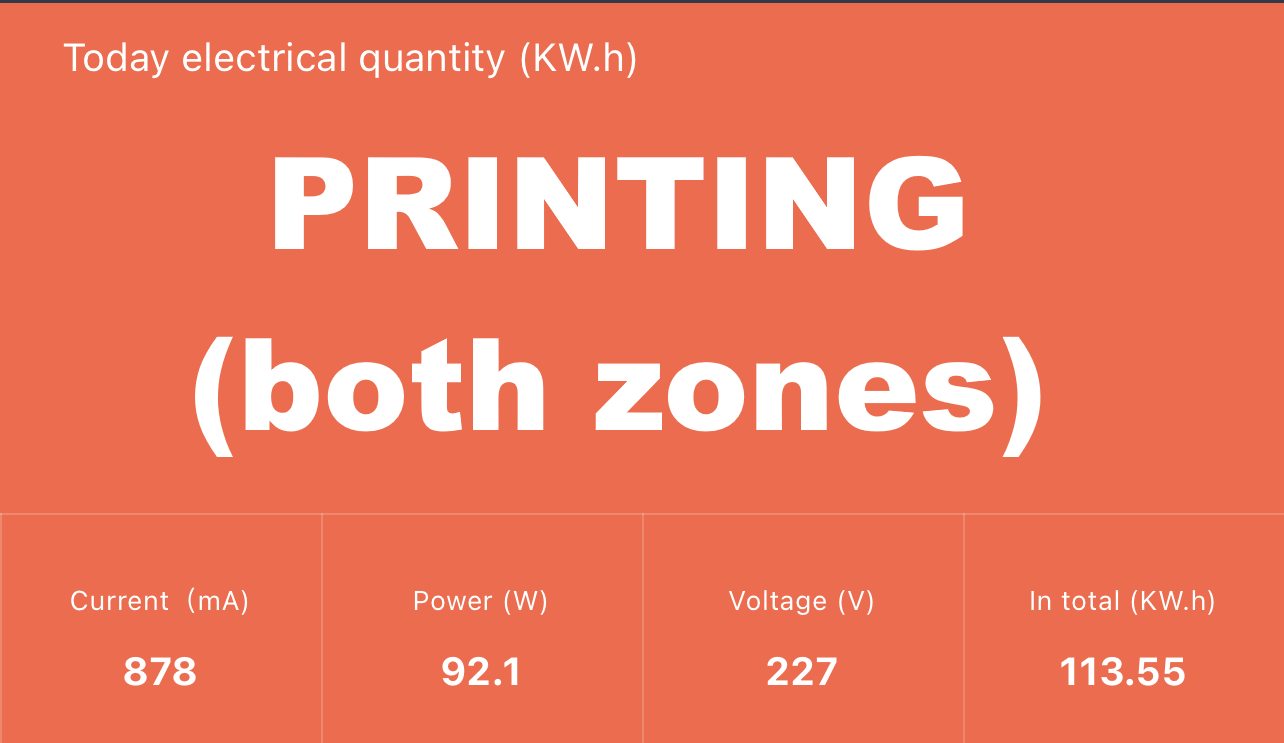
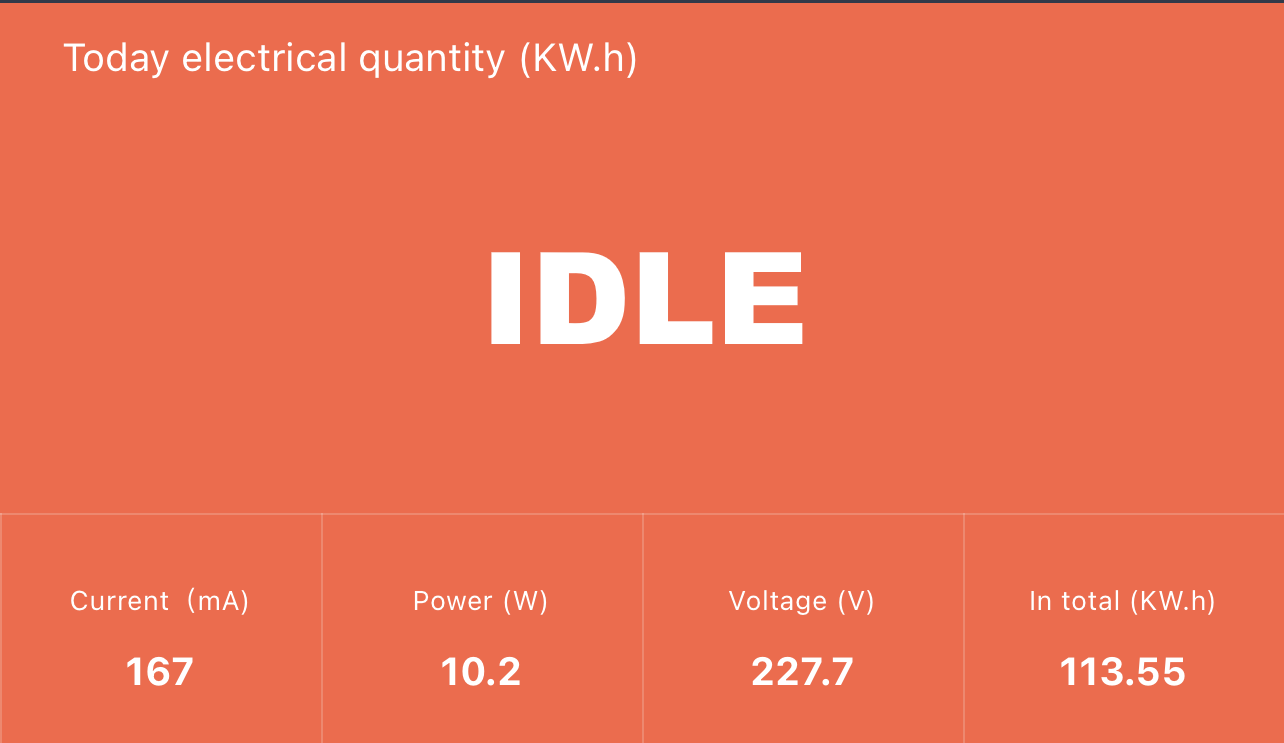
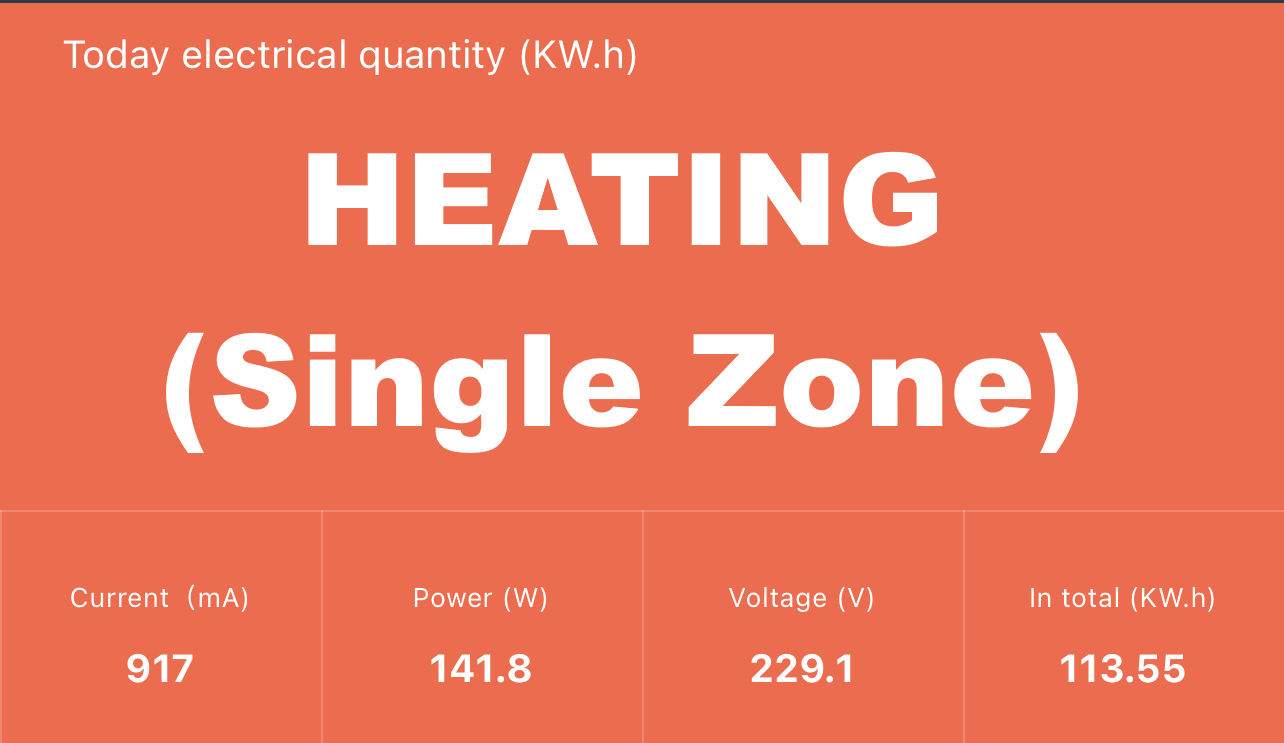
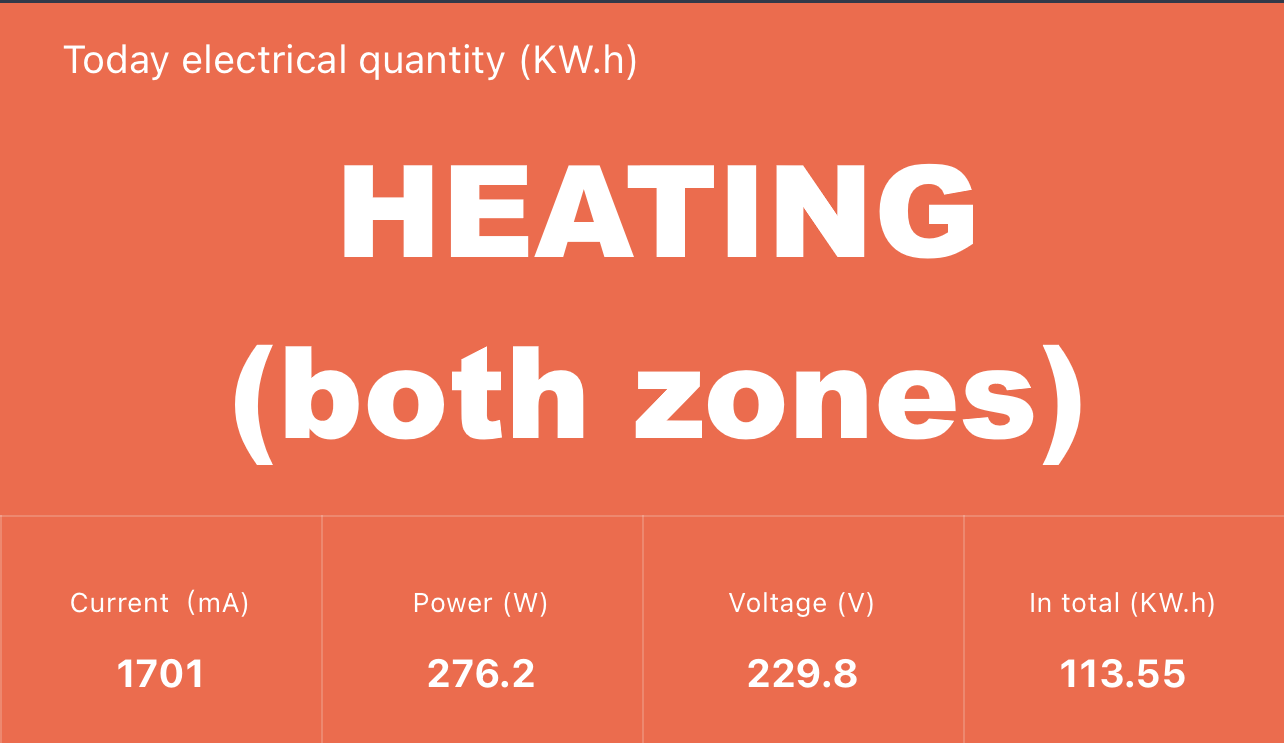
All these measurements were taken with a Blitzwolf smart power socket which indicates the power draw, and it can also be used for remotely powering on and off the printer.
Bed Temperature Uniformity
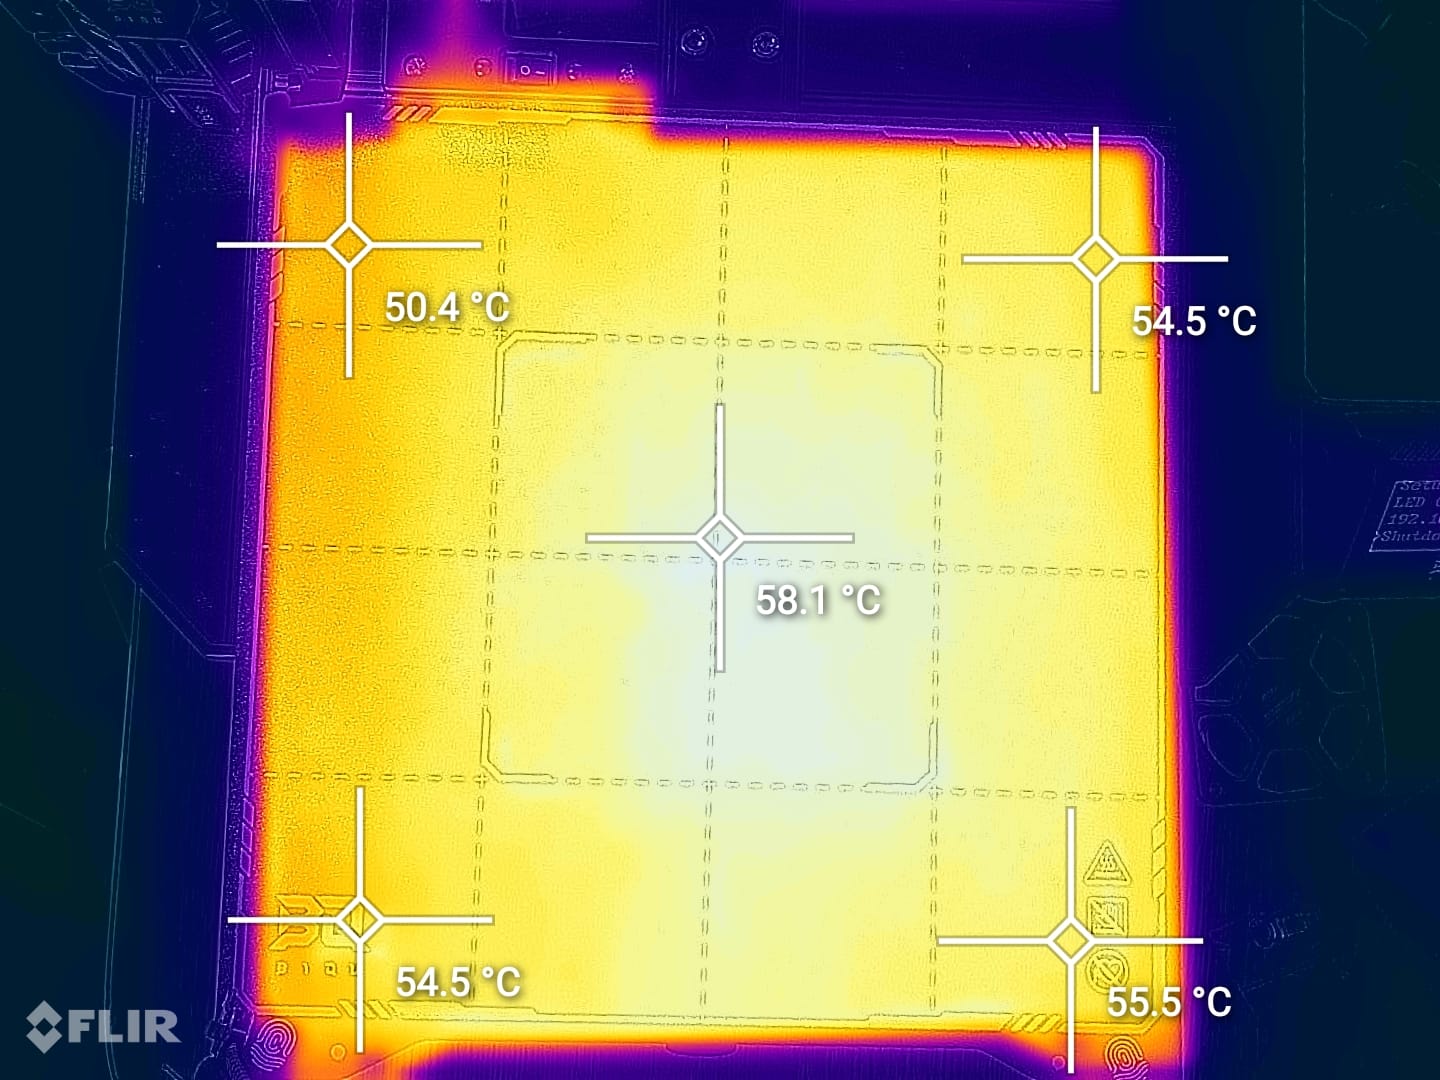
The bed temperature uniformity is not that great for the BIQU Hurakan as the surface temperature is around 5 degrees lower compared to the one displayed on the screen. Besides that, the left side has a temperature difference of about 10 degrees in some cases which might be an issue when printing a large model or a full plate of smaller prints.
Problems with the BIQU Hurakan
This review should have been posted earlier, but I had some unfortunate problems with the BIQU Hurakan. Most of these issues were related to the firmware/software which was not as stable as I was expecting.
I have printed a few models, but on longer prints, the Hurakan would simply freeze and stop printing. I had a few discussions with BIQU on this topic and they recommended to re-flash the firmware on a new SD card and that solved the problem.
During that time, multiple updates were available to the firmware, where minor problems were fixed and that’s nice to see.
A secondary issue I encountered with the BIQU Hurakan was that one of the fans cooling the board has become very noise in the first 24 hours of usage. While it’s not a very big problem, it’s still annoying to see that low-quality fans are still used especially considering the price of the Hurakan which is higher than other similar printers on the market. The fan can be replaced easily with a ball-bearing fan if needed.
BIQU Hurakan Noise Levels
Prusa Slicer profiles for BIQU Hurakan
During my time with the printer, I tuned a few Prusa Slicer profiles for the BIQU Hurakan. These profiles are tuned for the stock printer and are available to my Patreon supporters.
As usual, the flow rate will still need to be calibrated, according to your filament.
Test prints on BIQU Hurakan
3D Benchy
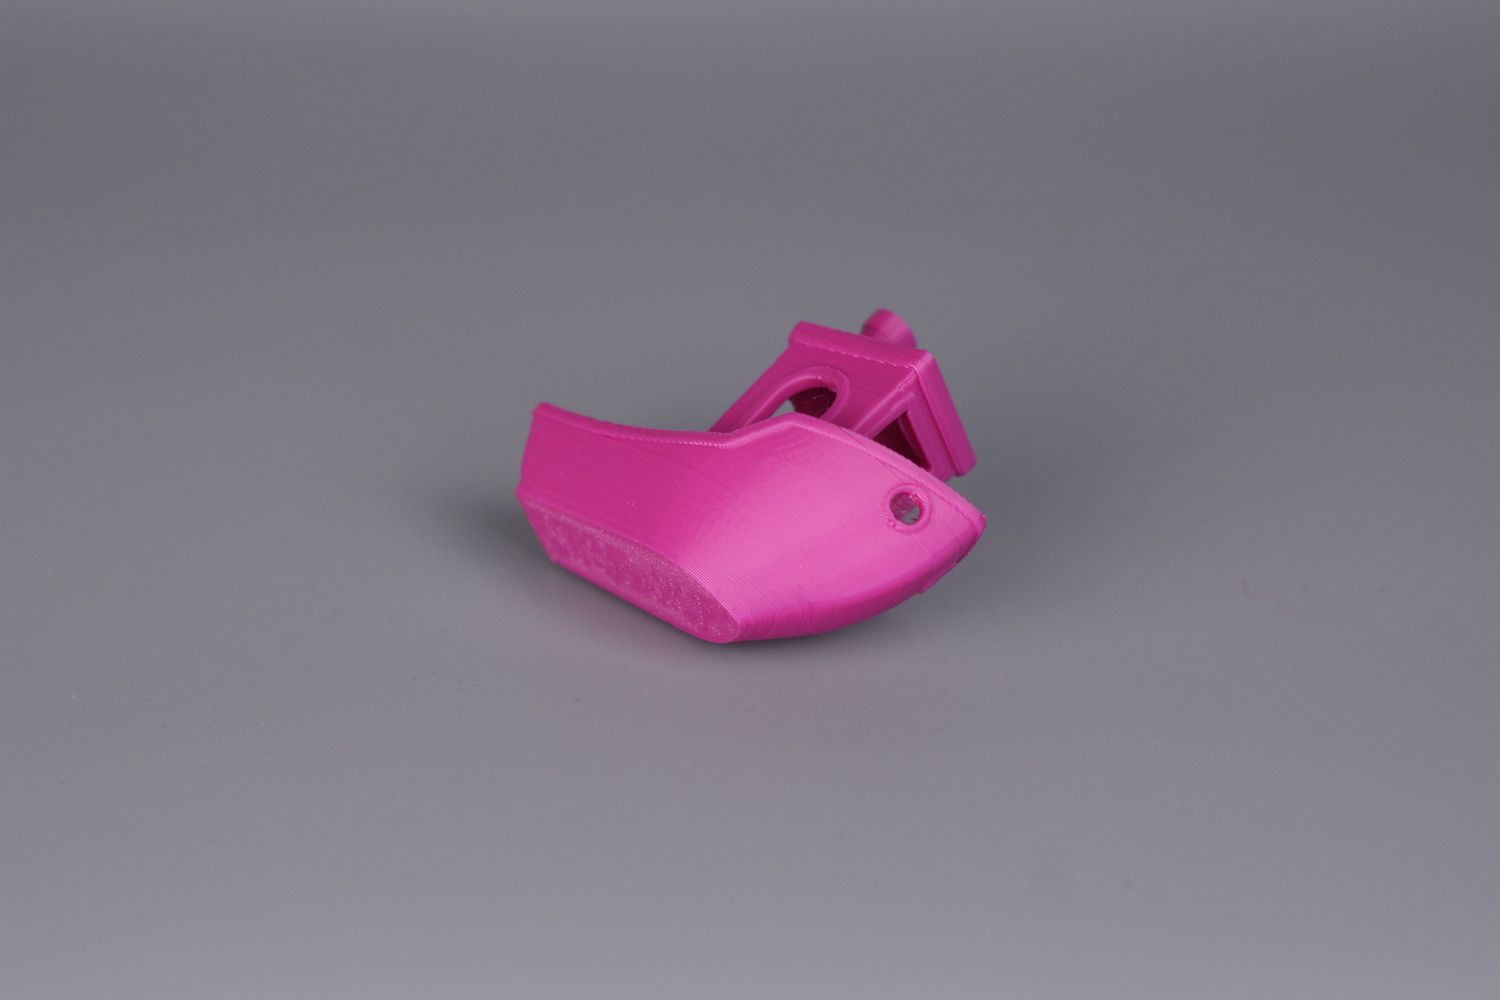
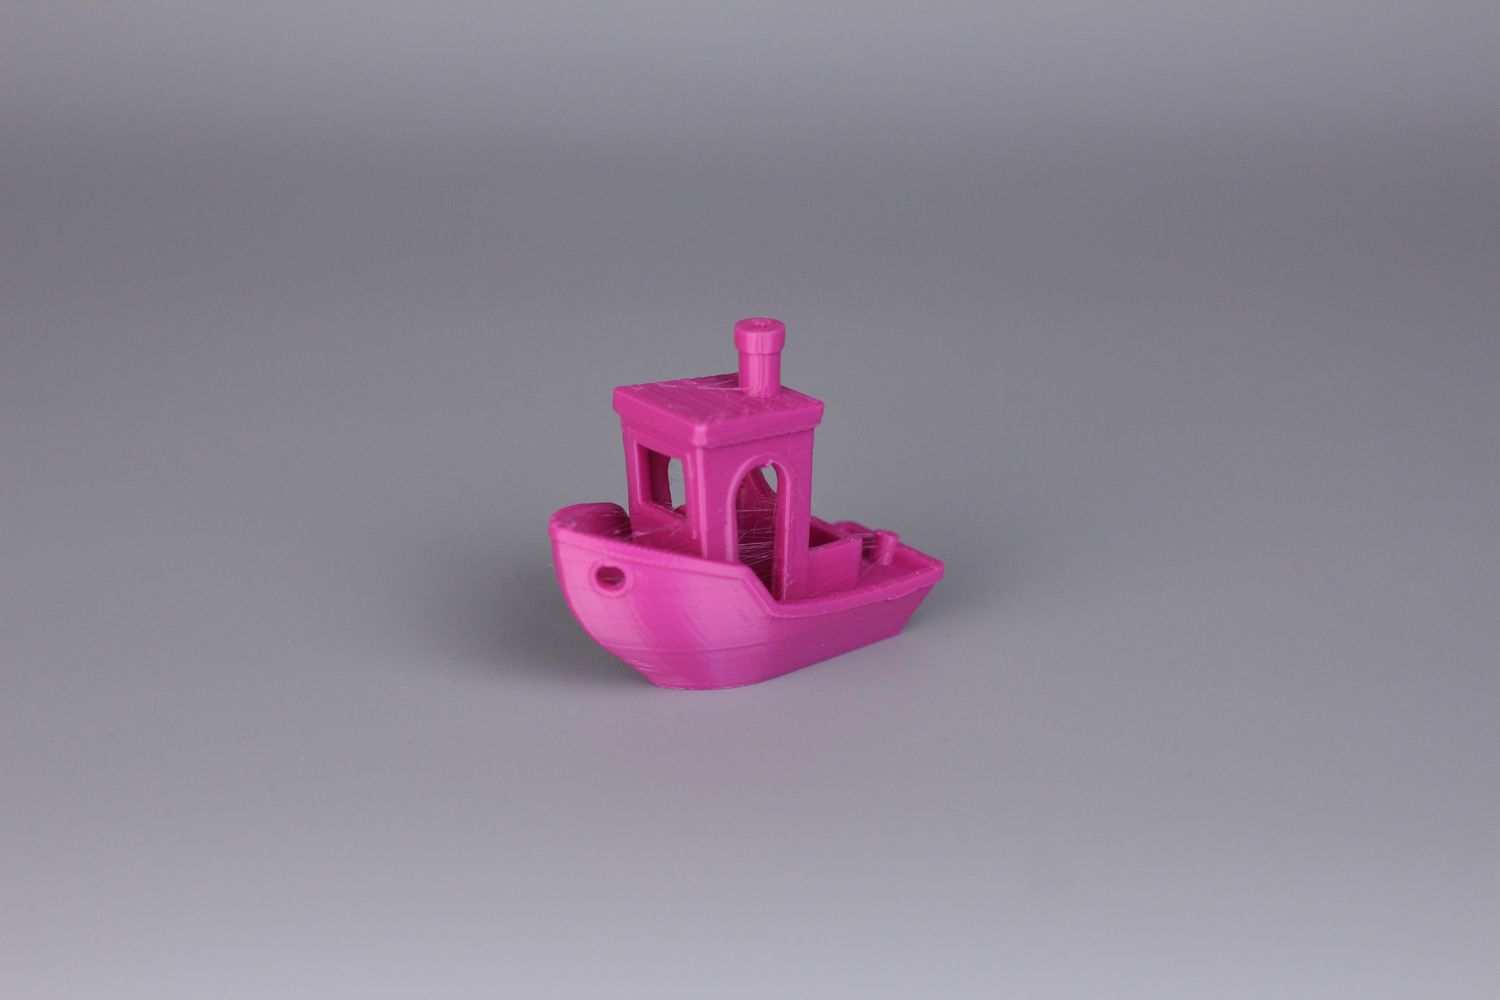
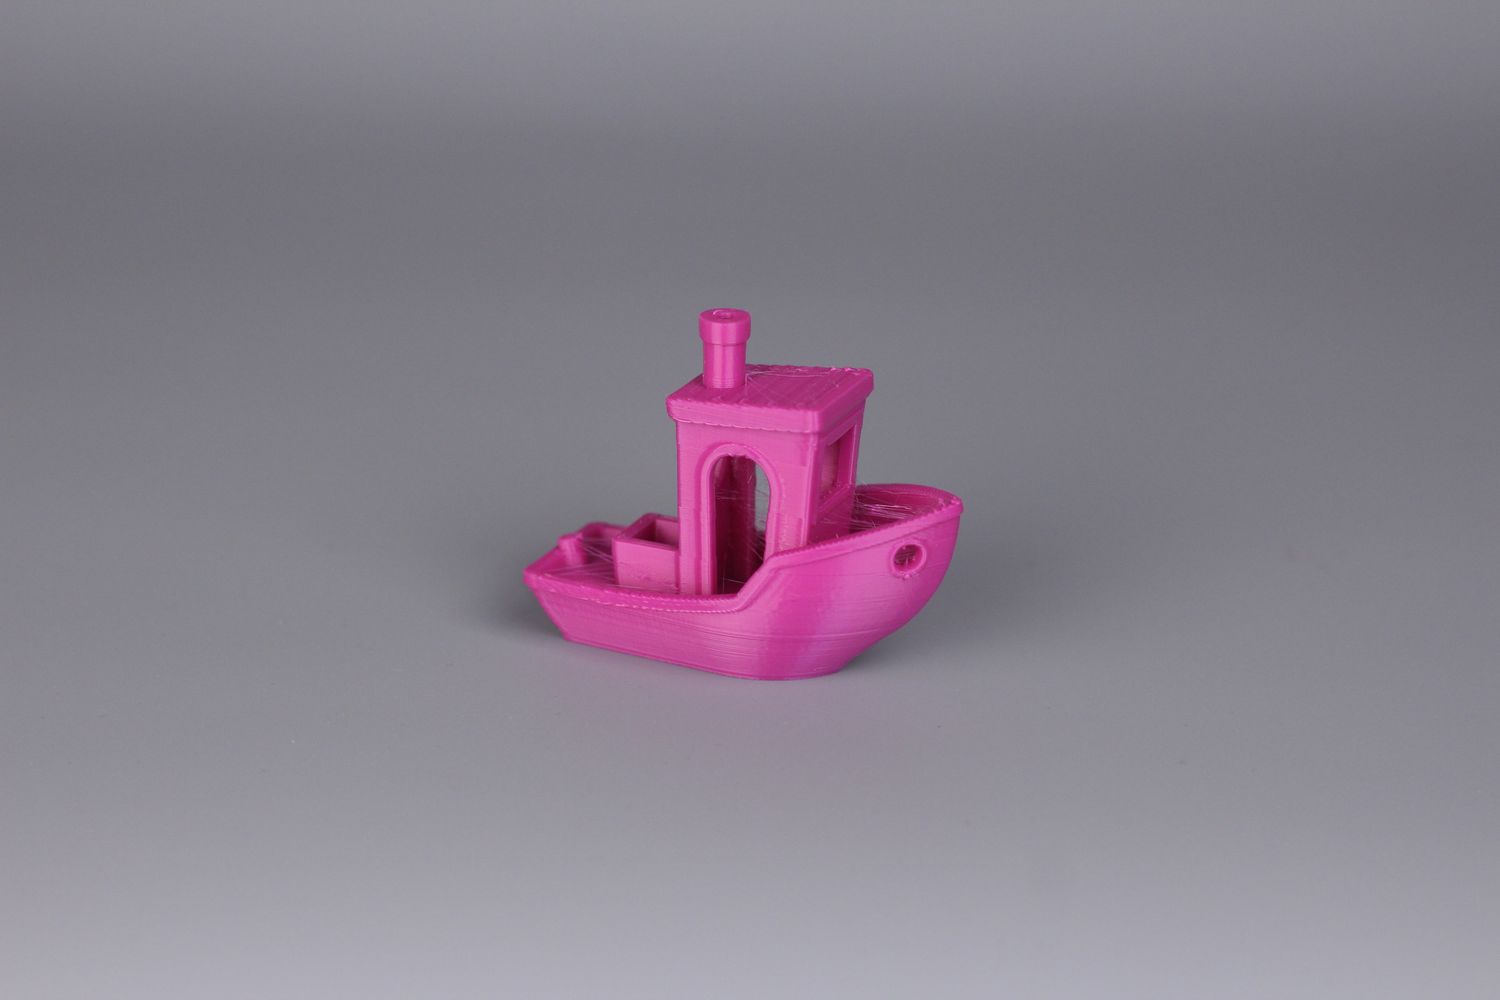
The first test print was a 3D Benchy at 80mm/s in PLA, and the results are pretty good. Some stringing is present due to the less-than-ideal retraction settings, but the results are decent, out of the box.
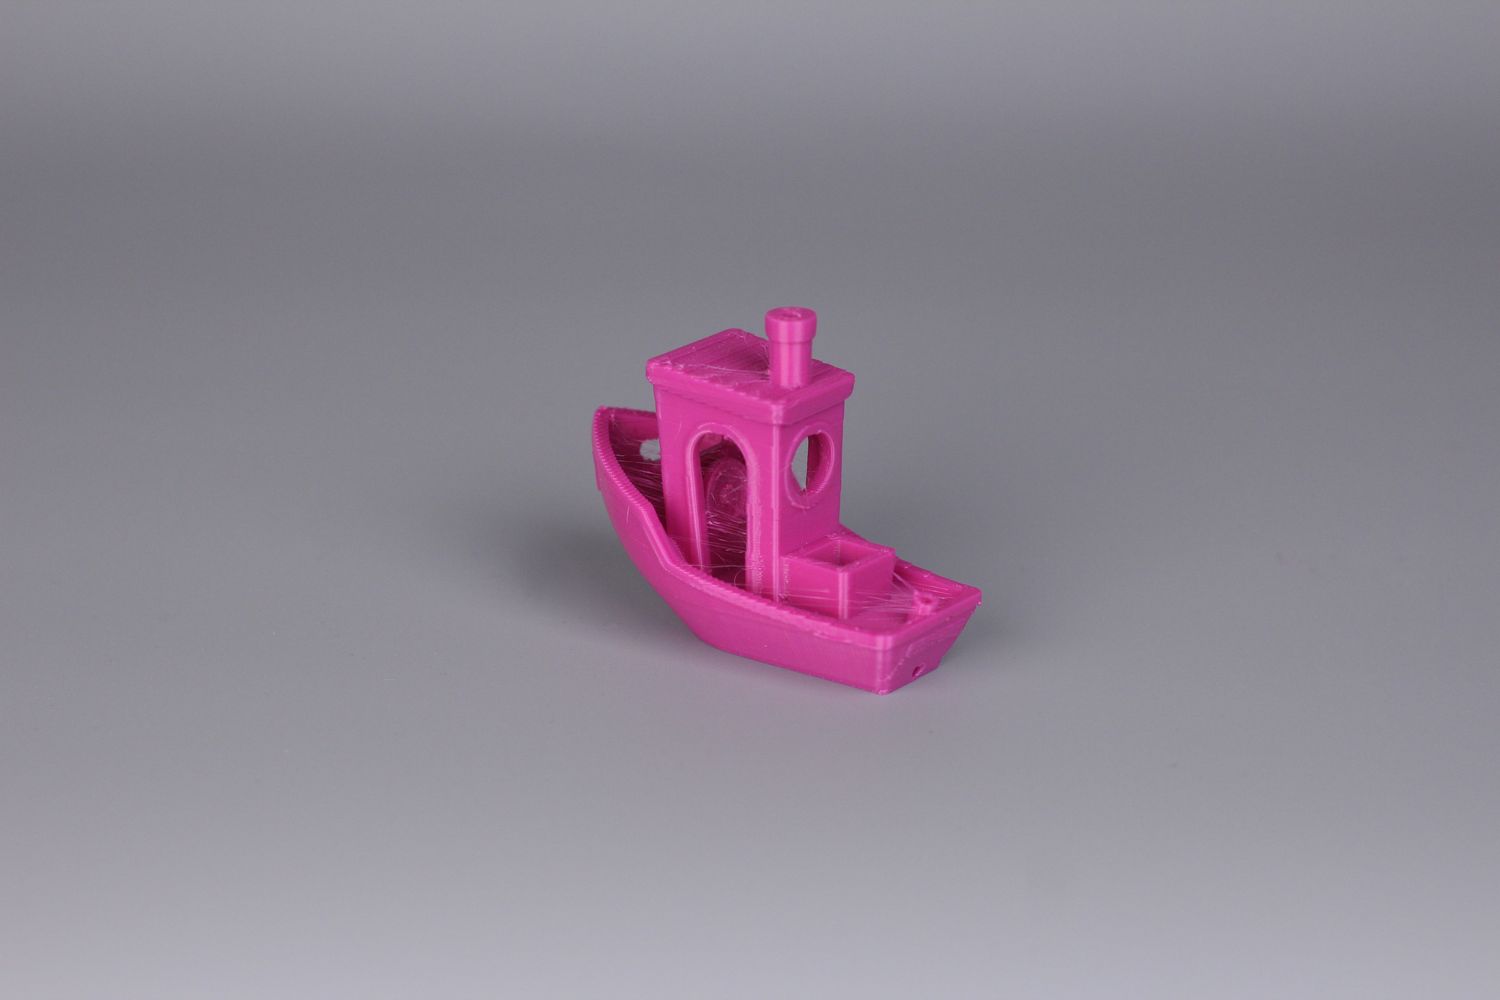
- Material: Devil Design Liliac PLA
- Layer Height: 0.2mm
- Nozzle Temperature: 220C
- Bed Temperature: 50C
- Print Speed: ~80 mm/s
40mm Zaribo Calibration Cube
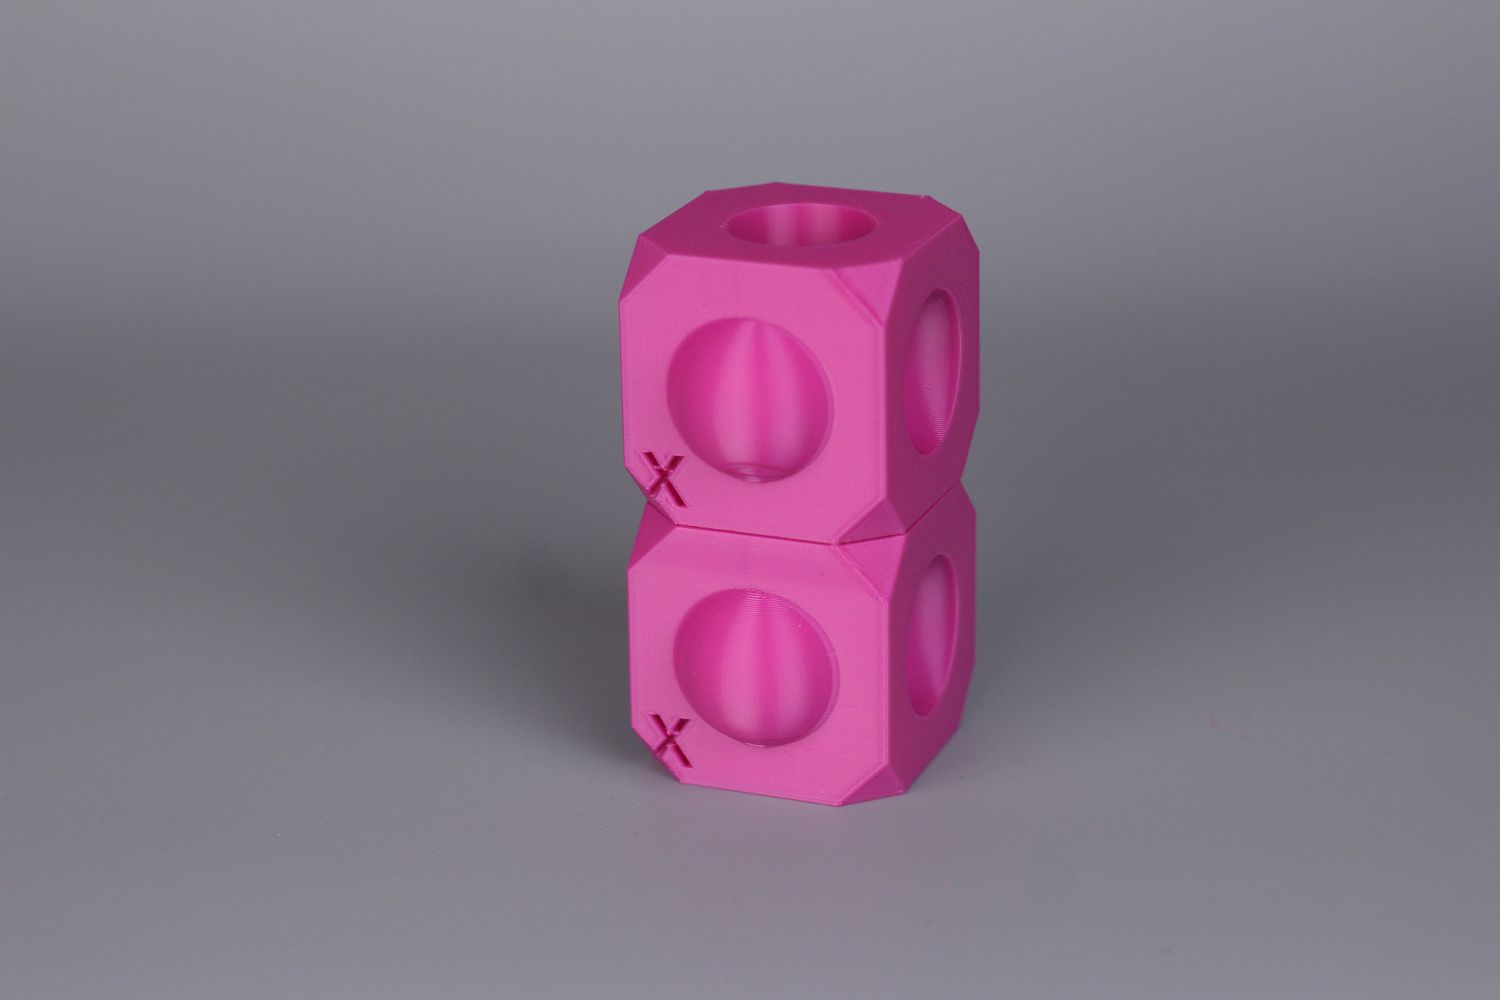
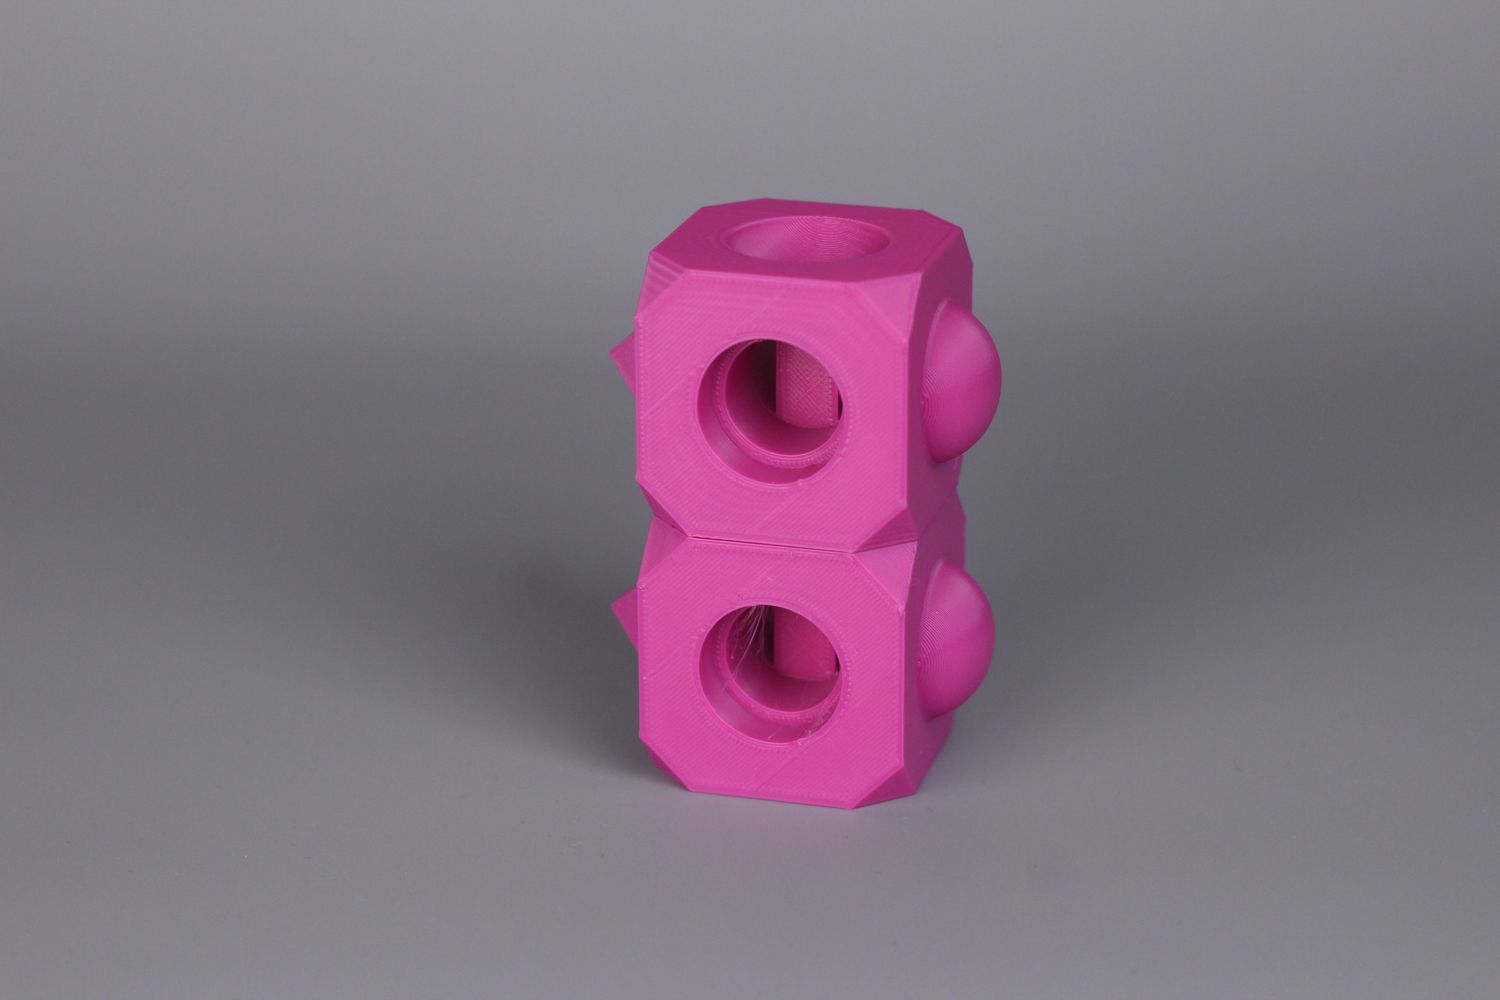
I wanted to share a good example of how the printer can perform before and after Input Shaper and Pressure Advance calibration. So in this test, you can see that the top cube is printed before the tuning, and the bottom cube is printed after tuning those features.
As you can easily see, the results are much cleaner on the cube on the bottom, with no ringing and cleaner corners.
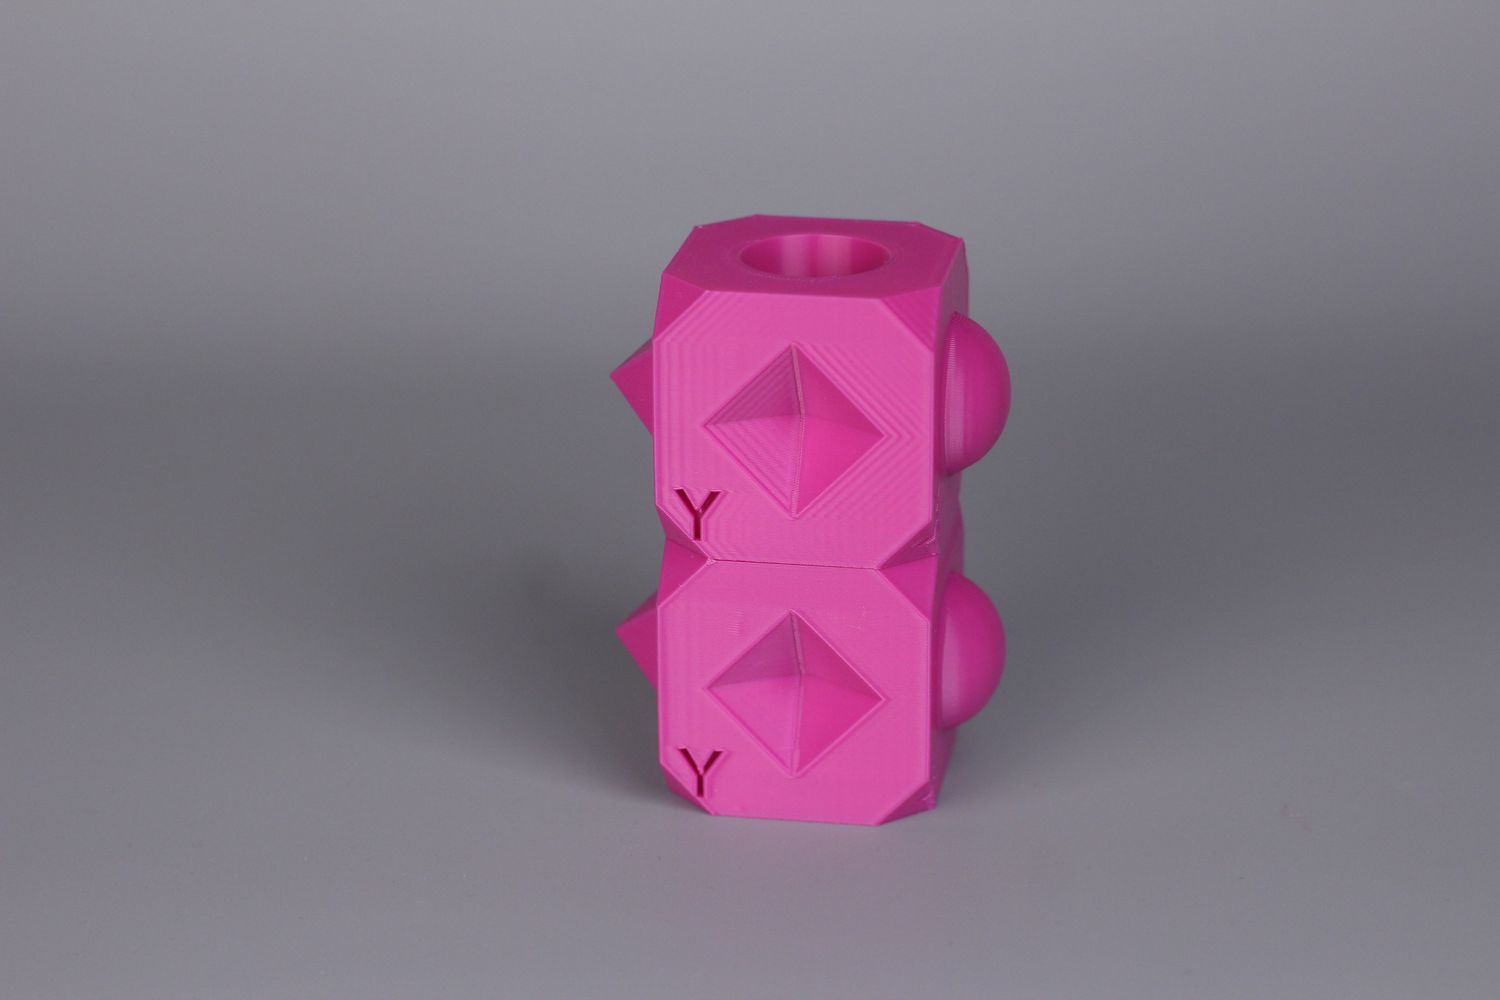
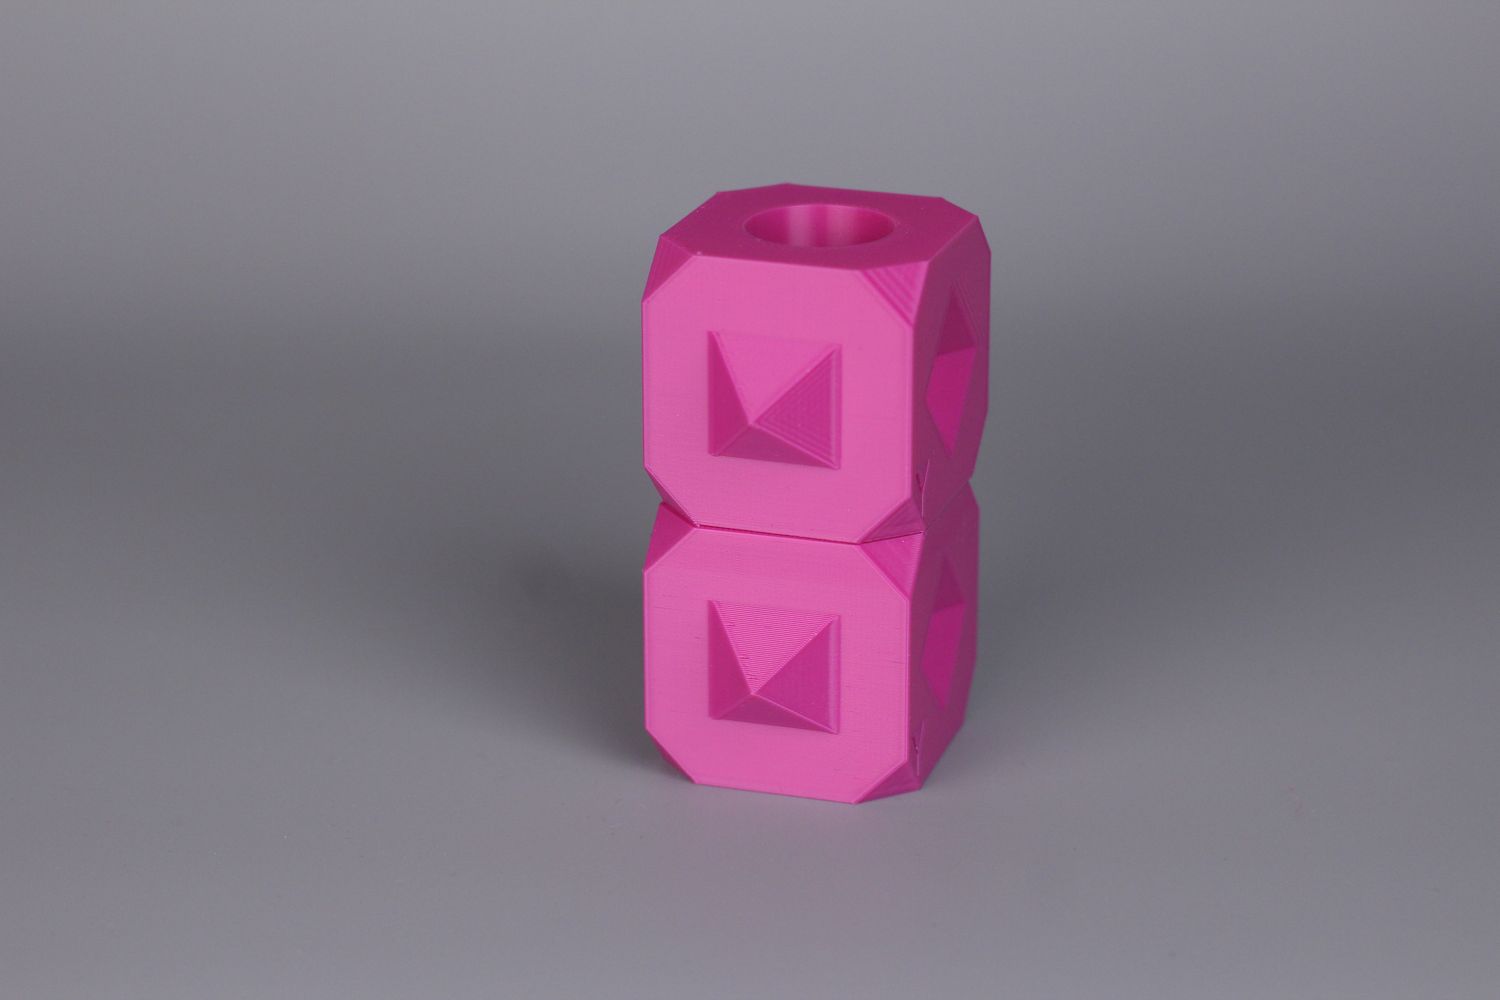
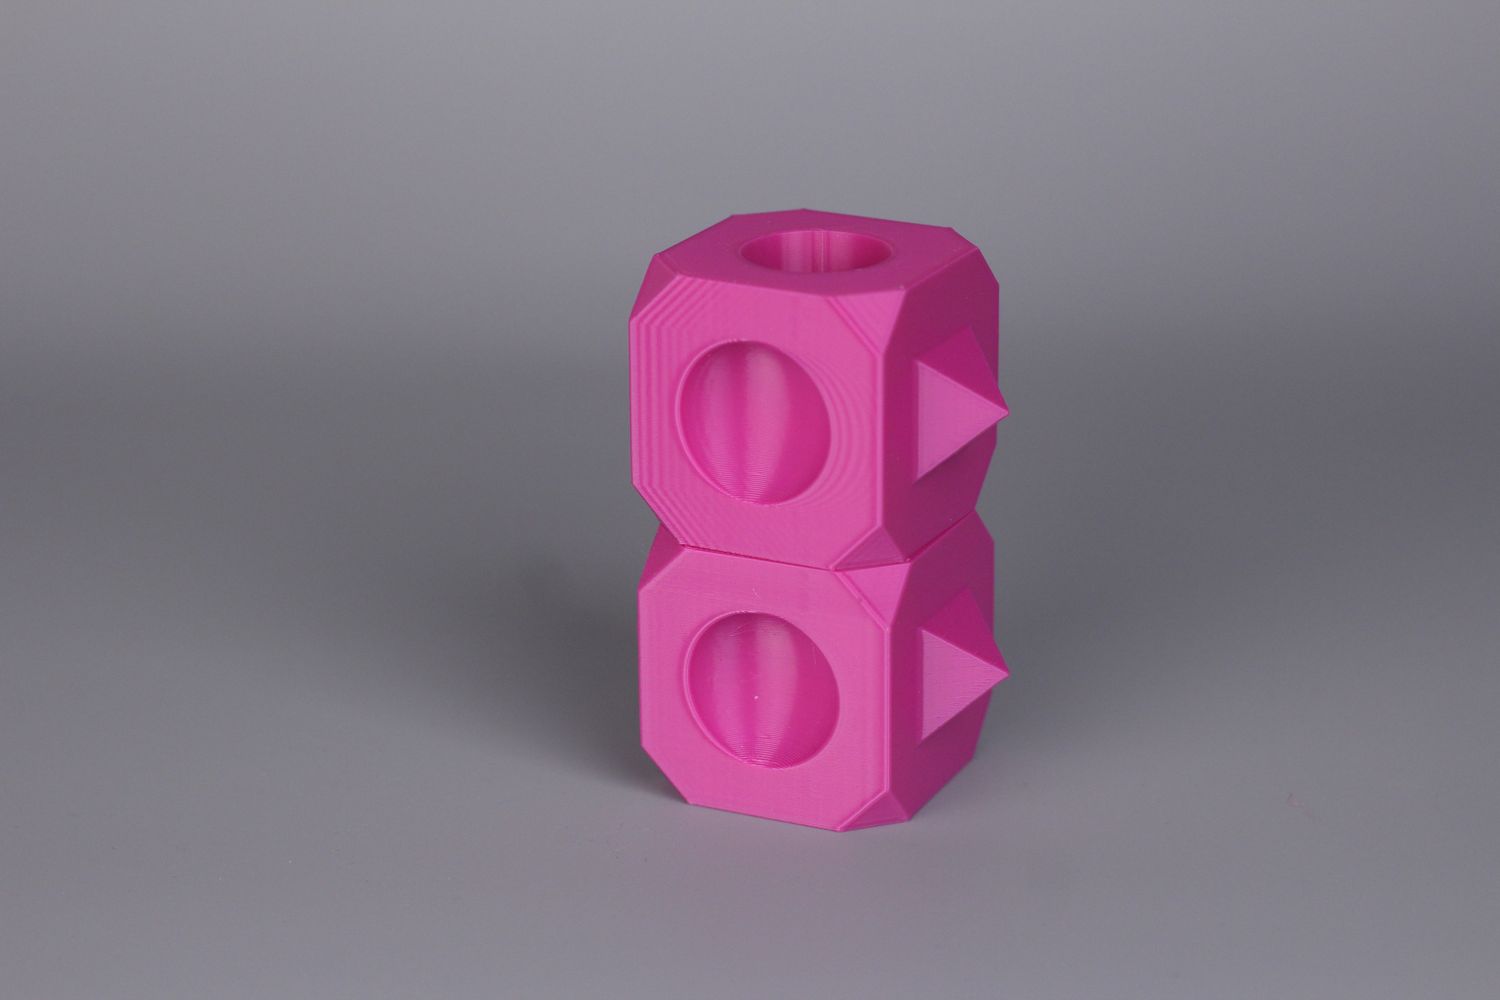
- Material: Devil Design Liliac PLA
- Layer Height: 0.2mm
- Nozzle Temperature: 220C
- Bed Temperature: 50C
- Print Speed: ~80 mm/s
Cali Dragon
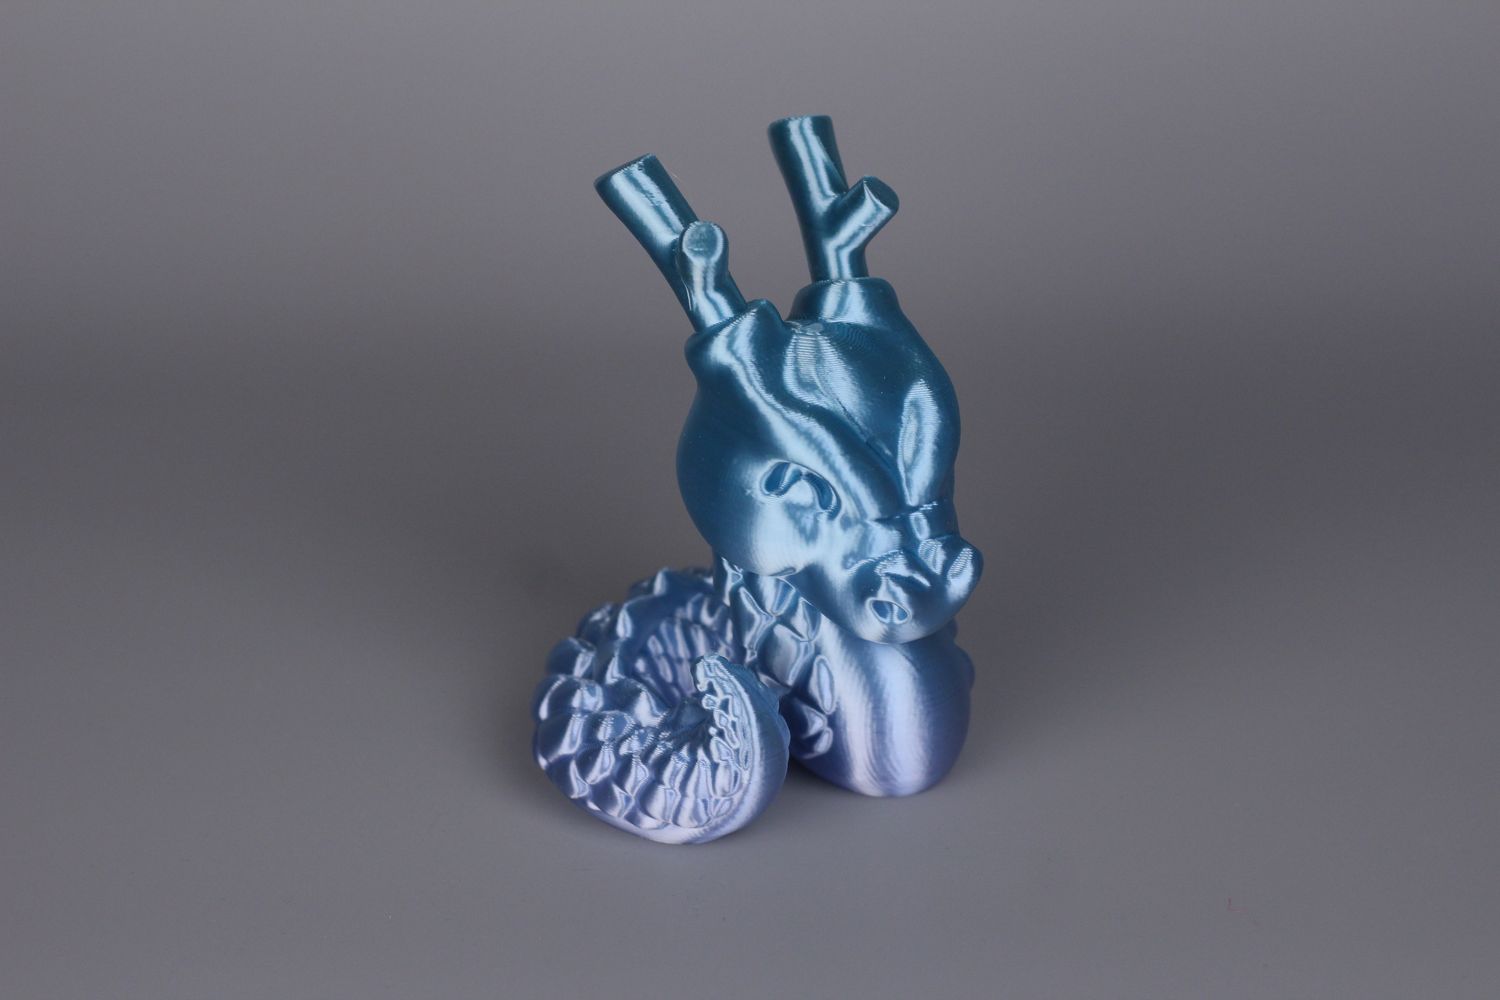
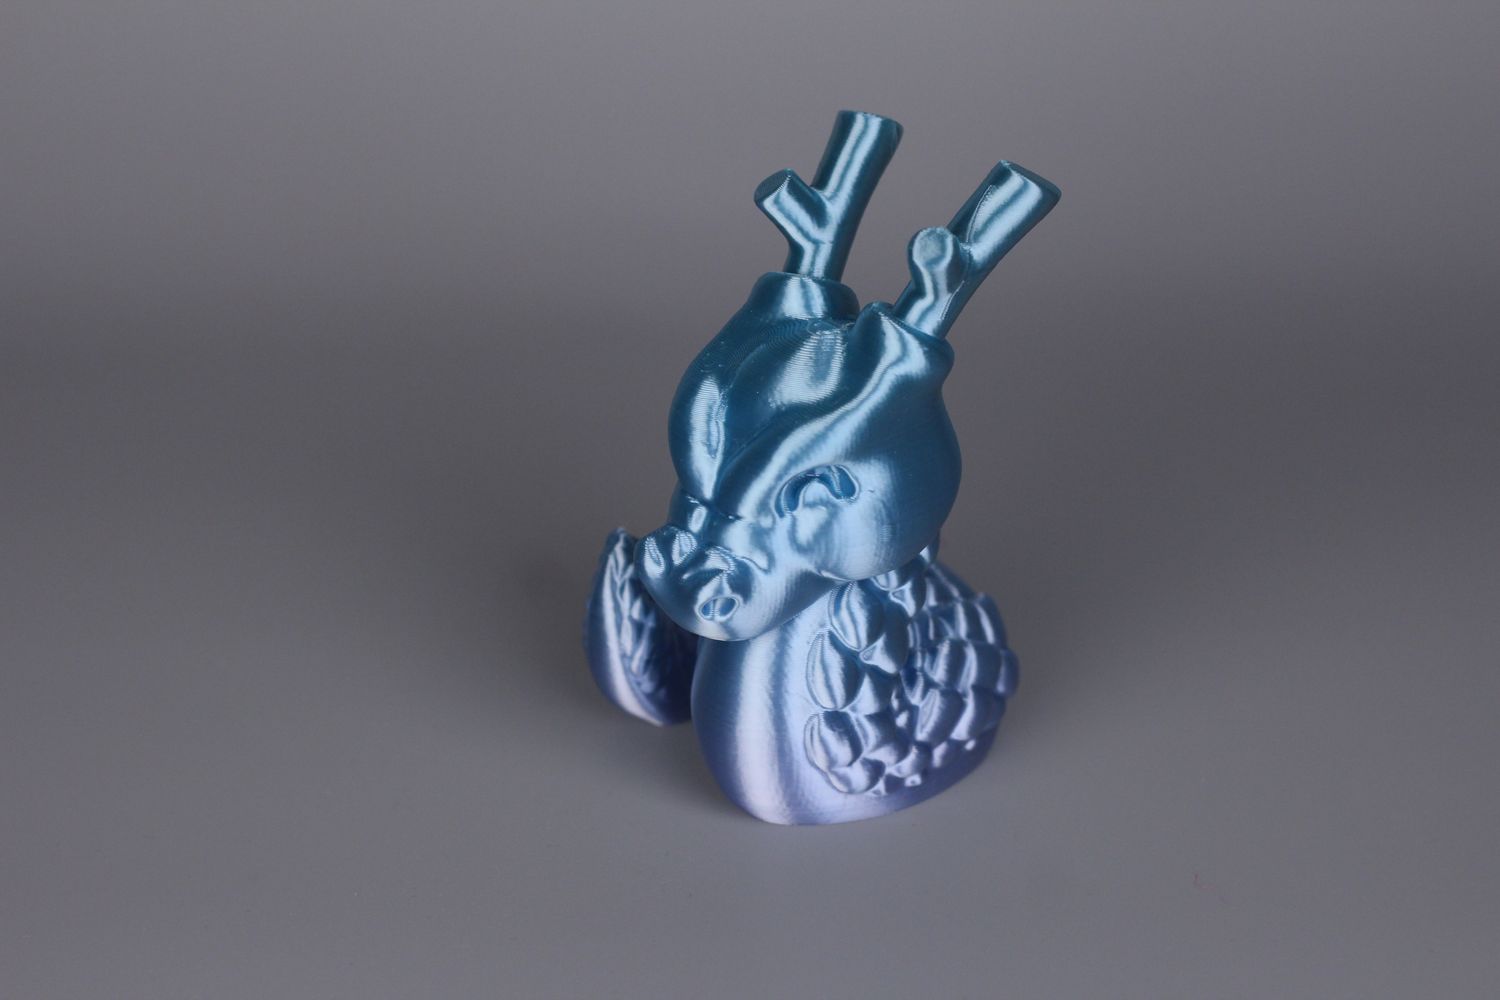
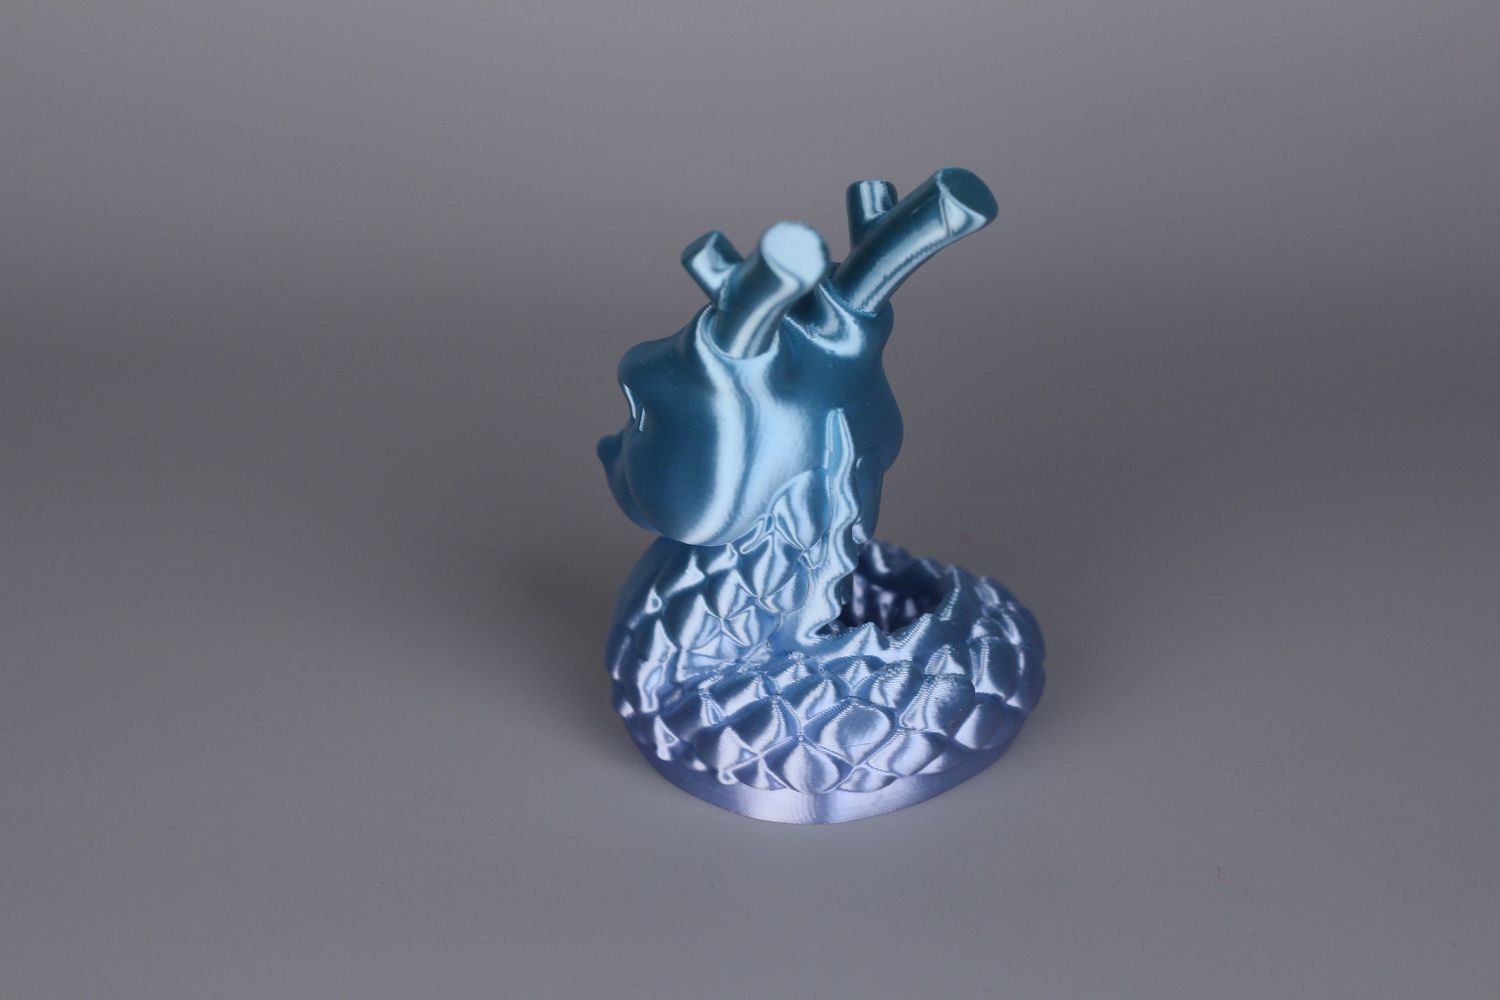
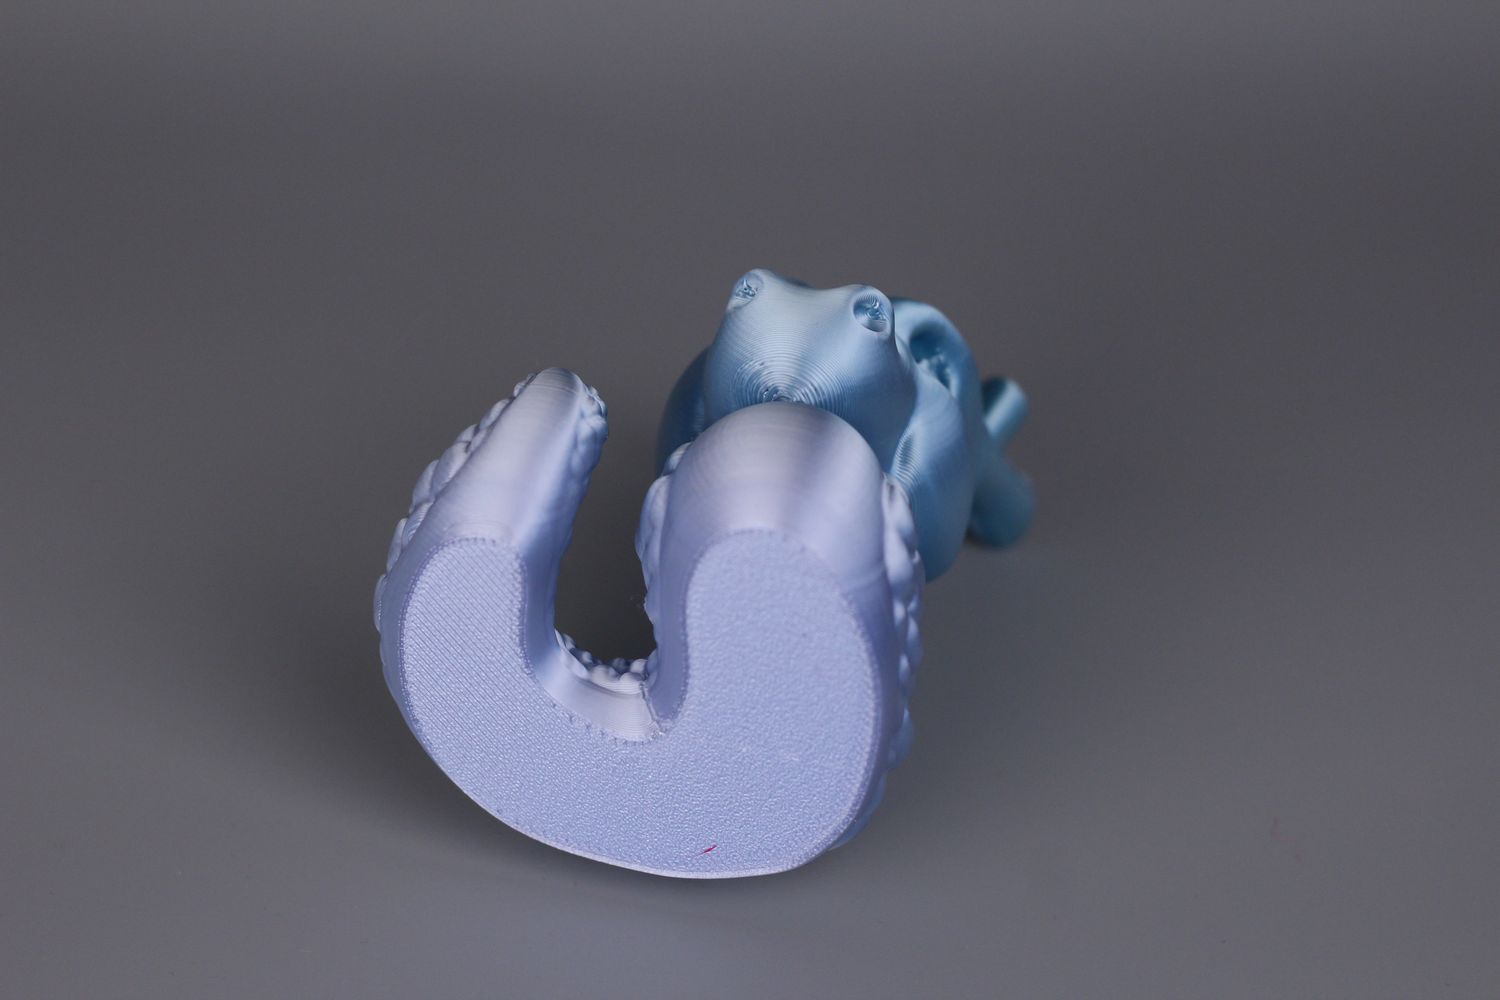
This Cali Dragon from McGybeer was printed just after the calibration was completed, and the results are great. No problem with retraction, smooth extrusion, and consistent shine for the filament.
I expected the overhands to look a bit worse due to the part cooling performance, but it seems that the fans can do a decent job if the print speed is not very high.
- Material: Eryone Rainbow PLA
- Layer Height: 0.2mm
- Nozzle Temperature: 225C
- Bed Temperature: 50C
- Print Speed: ~80 mm/s
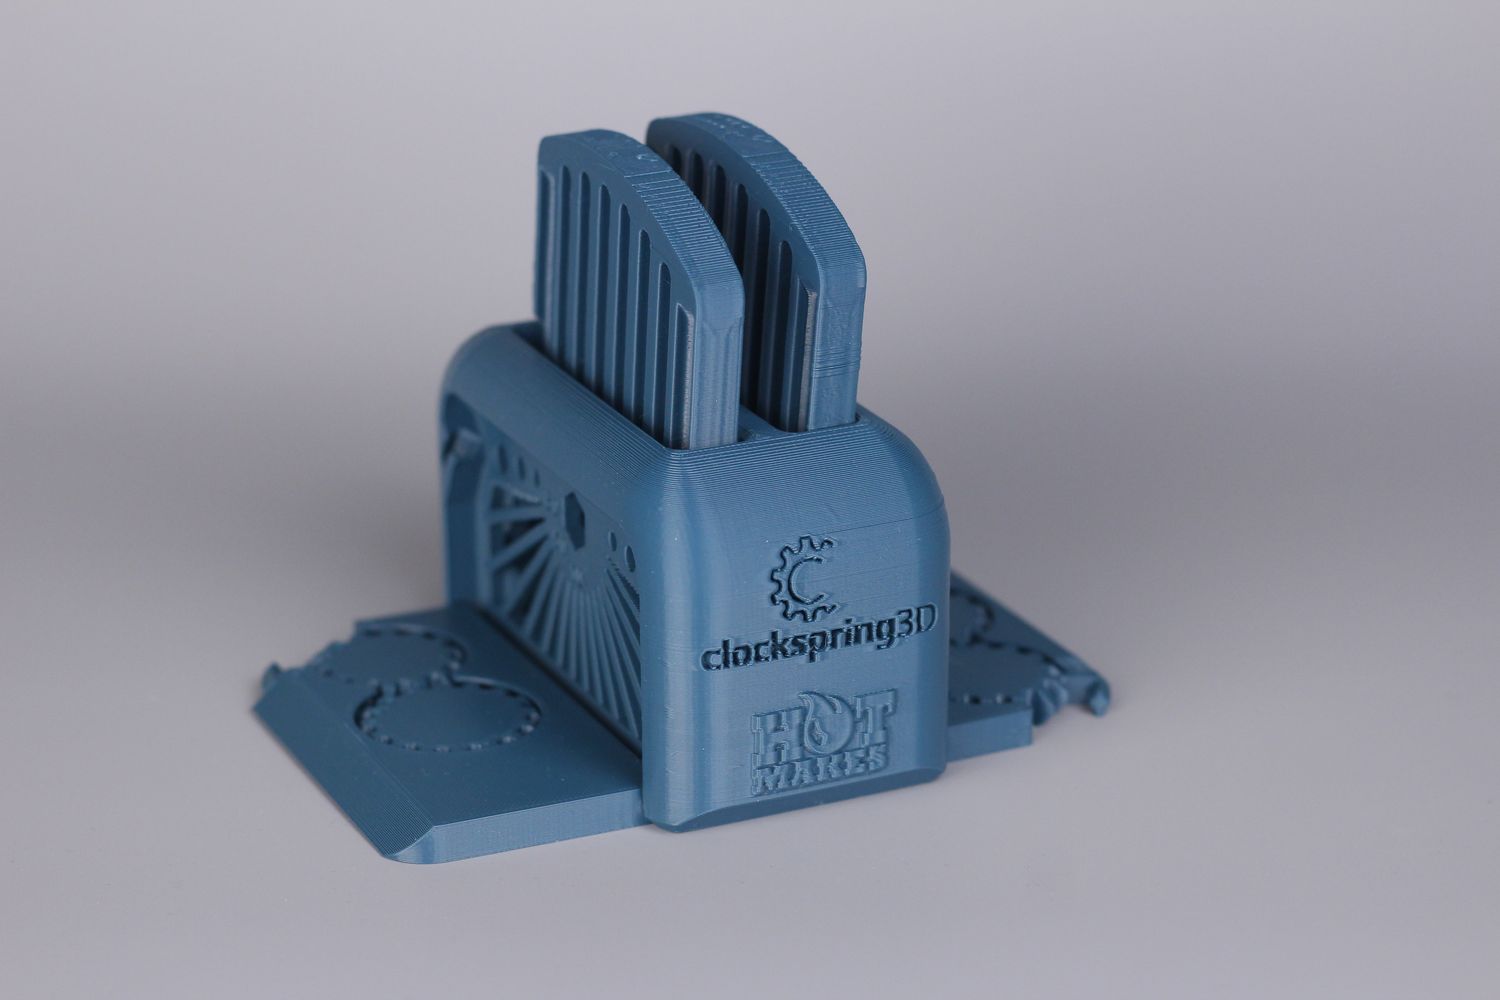
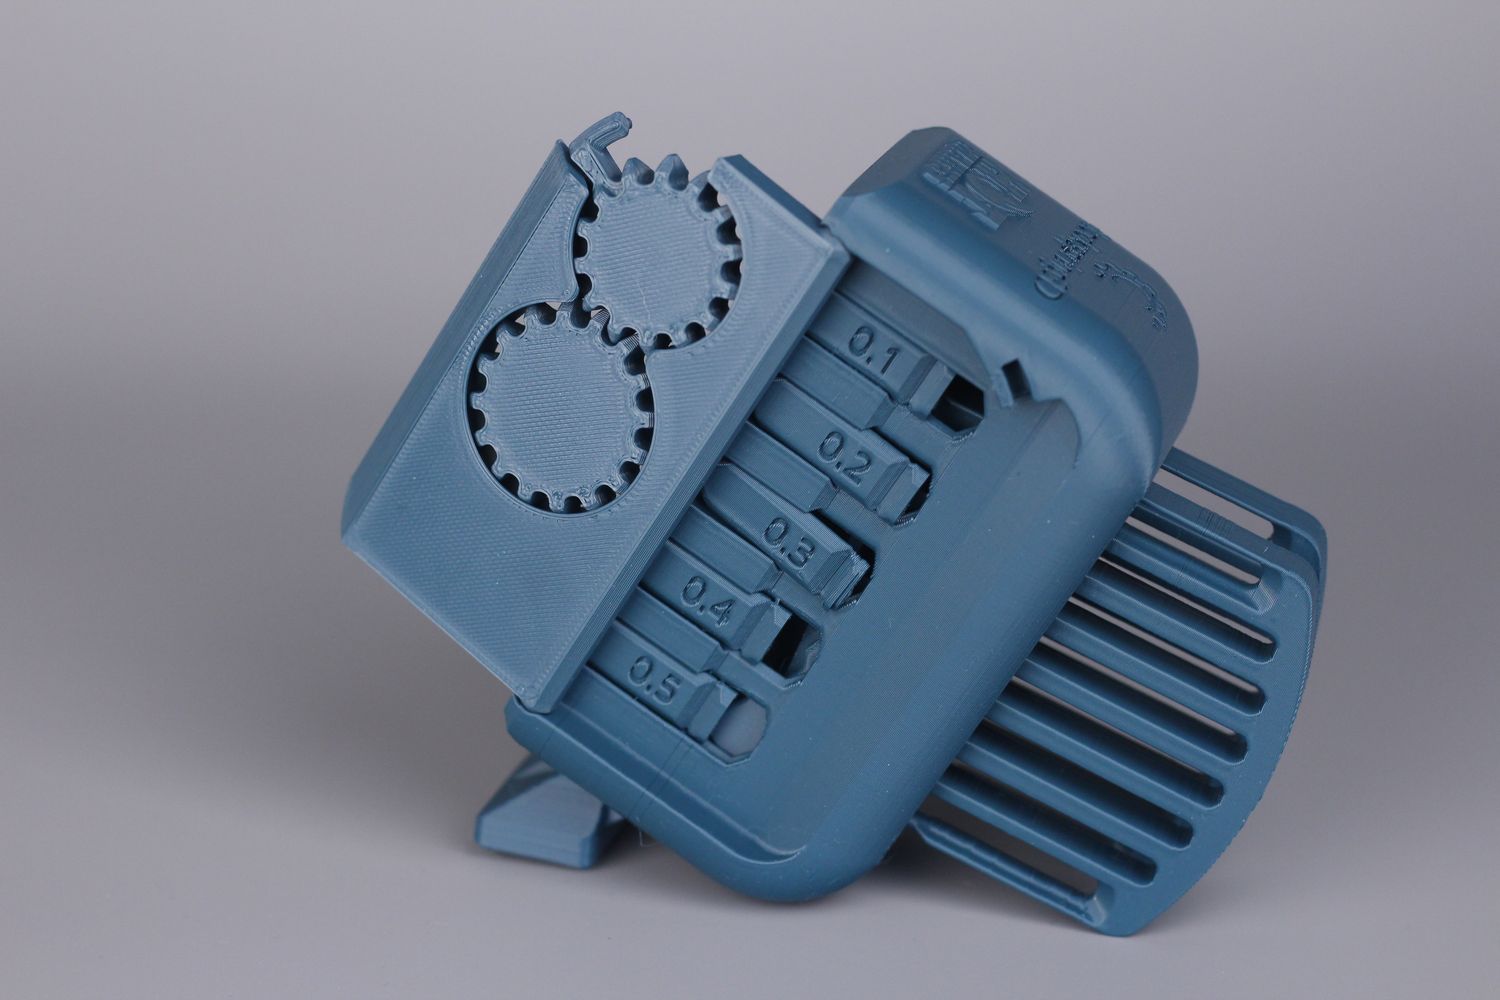
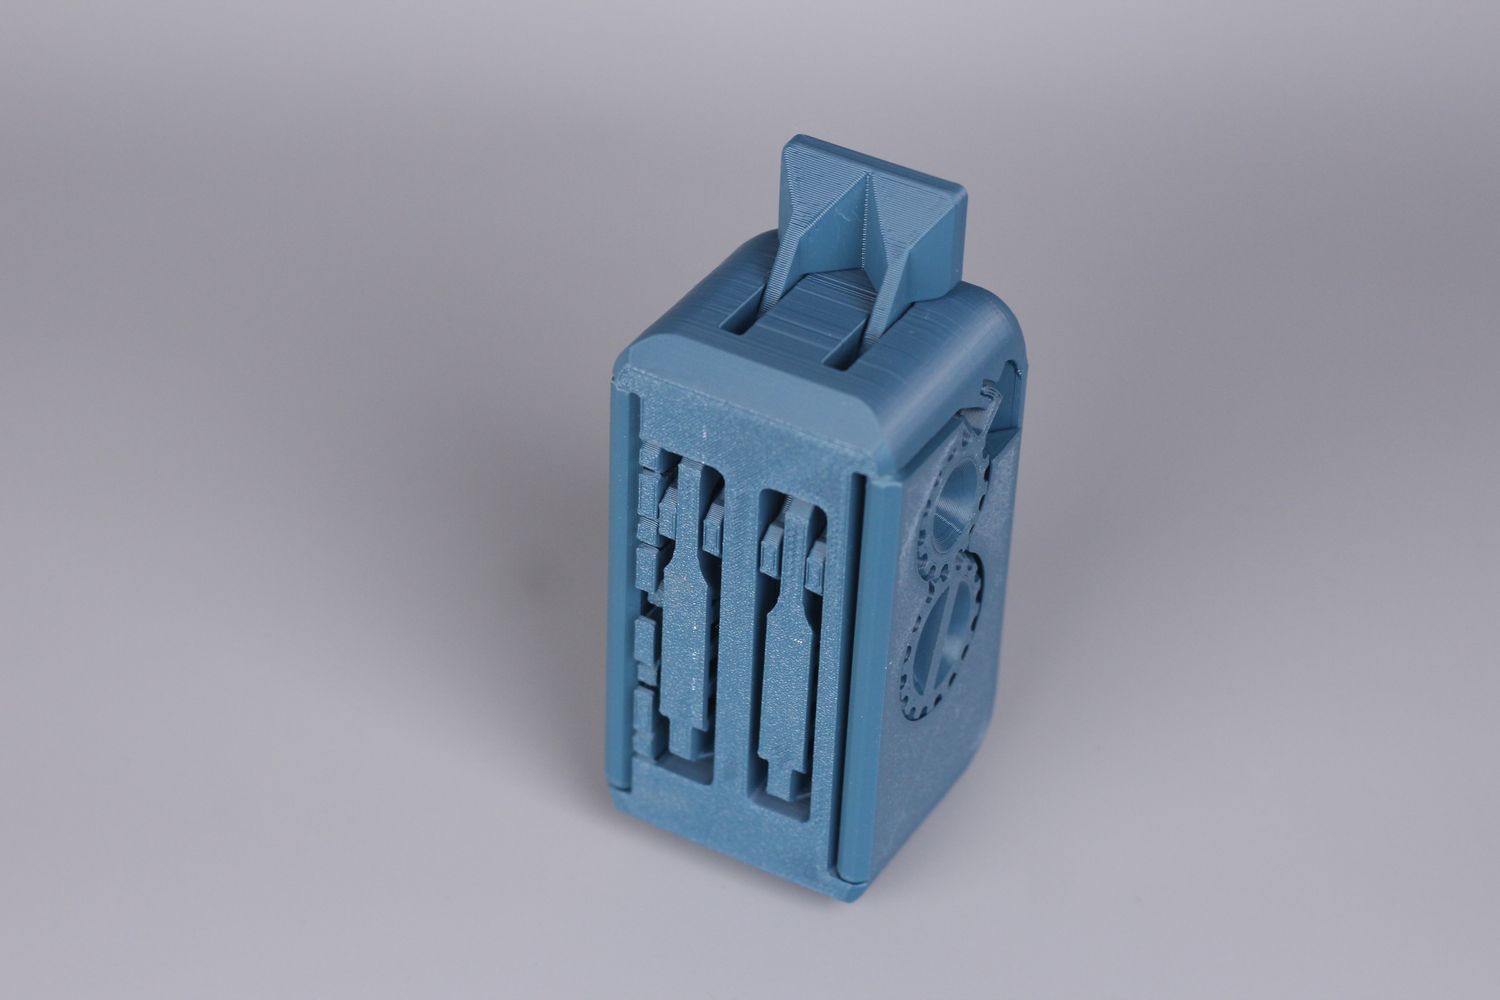
Torture Toaster
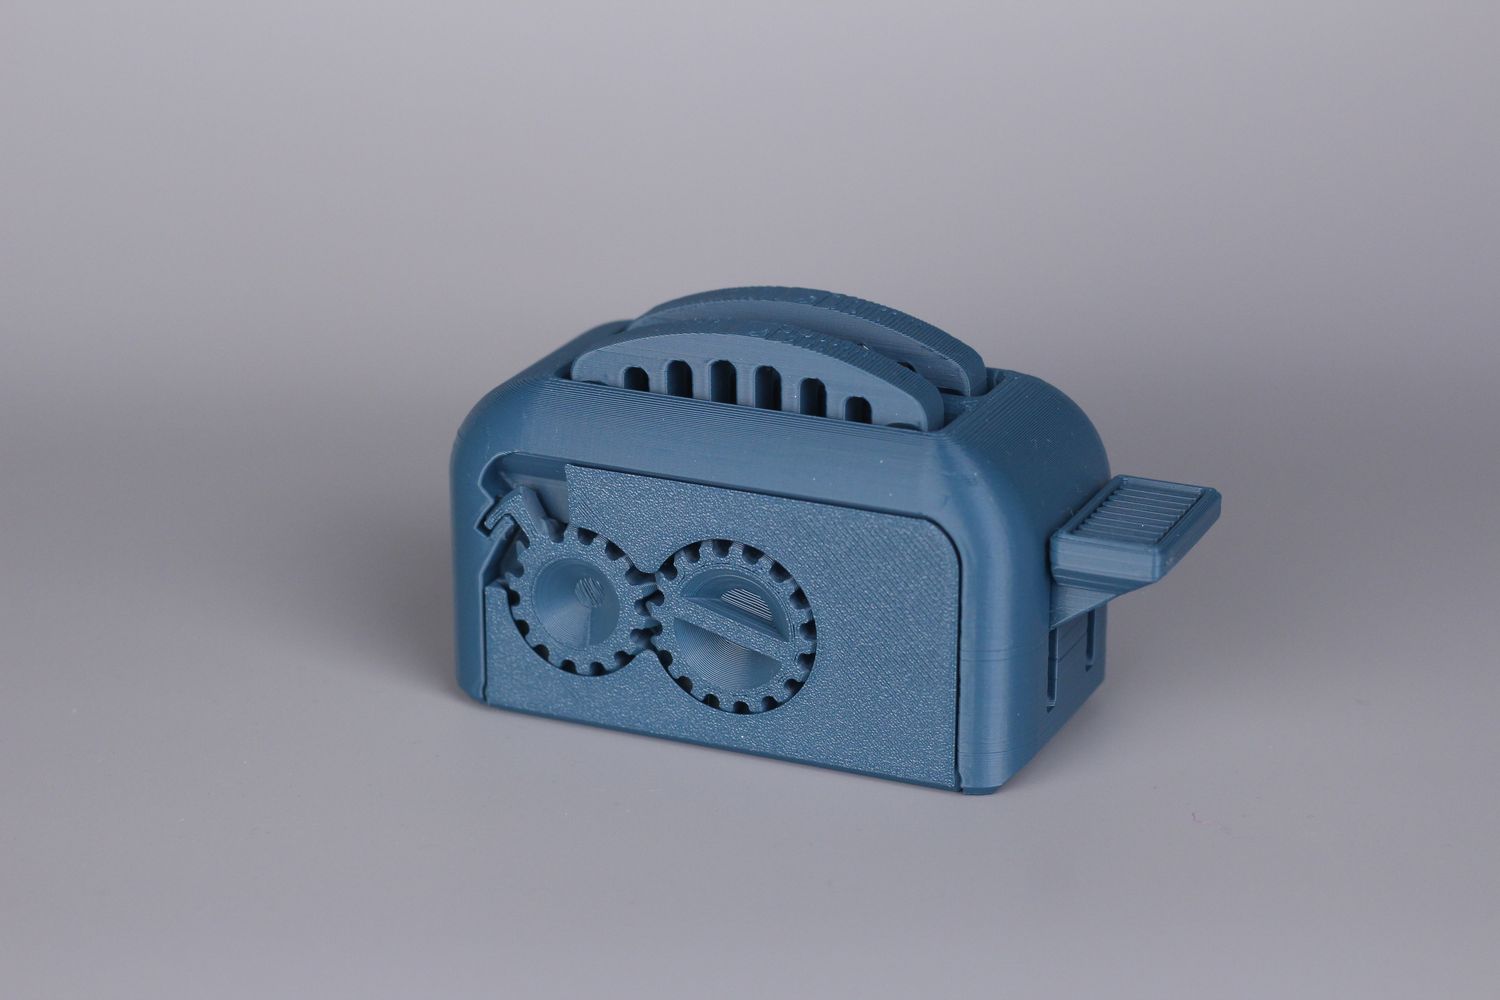
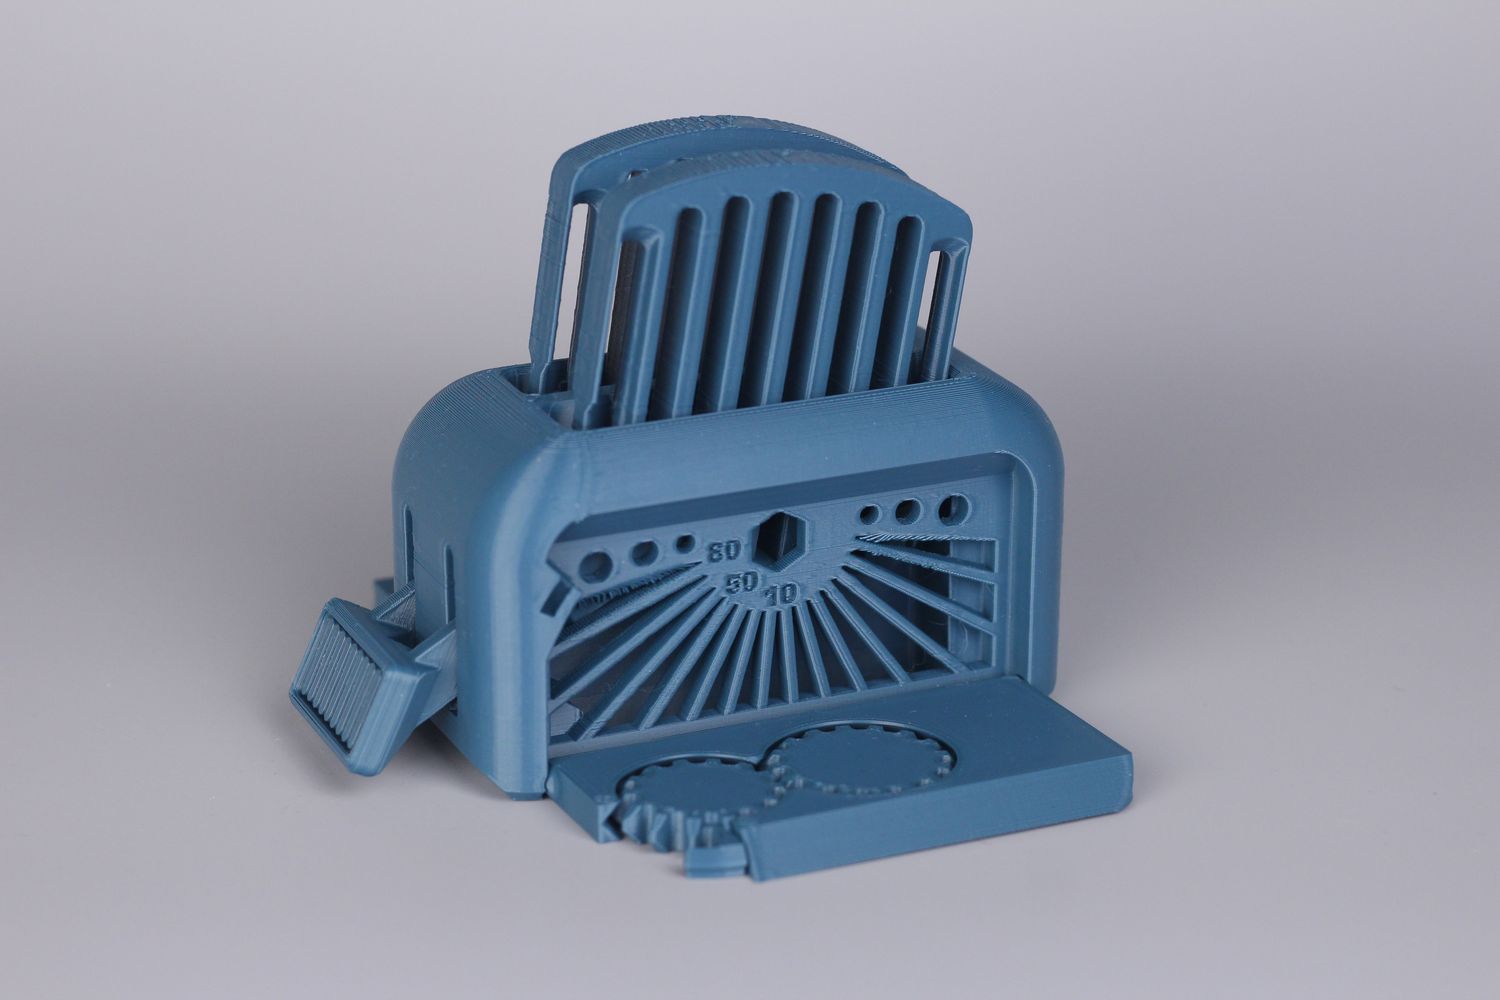
Of course, I cannot publish a review without also testing the print results with the Torture Toaster. As seen in the picture, the model was printed successfully, with better-than-expected overhangs and the tolerance testing brackets were all moving except the 0.1mm one which is a good result.
The 0.3mm bracket has a small printing imperfection due to it losing adhesion during printing, but it still managed to be completed without running the print.

- Material: Form Futura Turkish Blue PLA
- Layer Height: 0.2mm
- Nozzle Temperature: 220C
- Bed Temperature: 50C
- Print Speed: ~80 mm/s
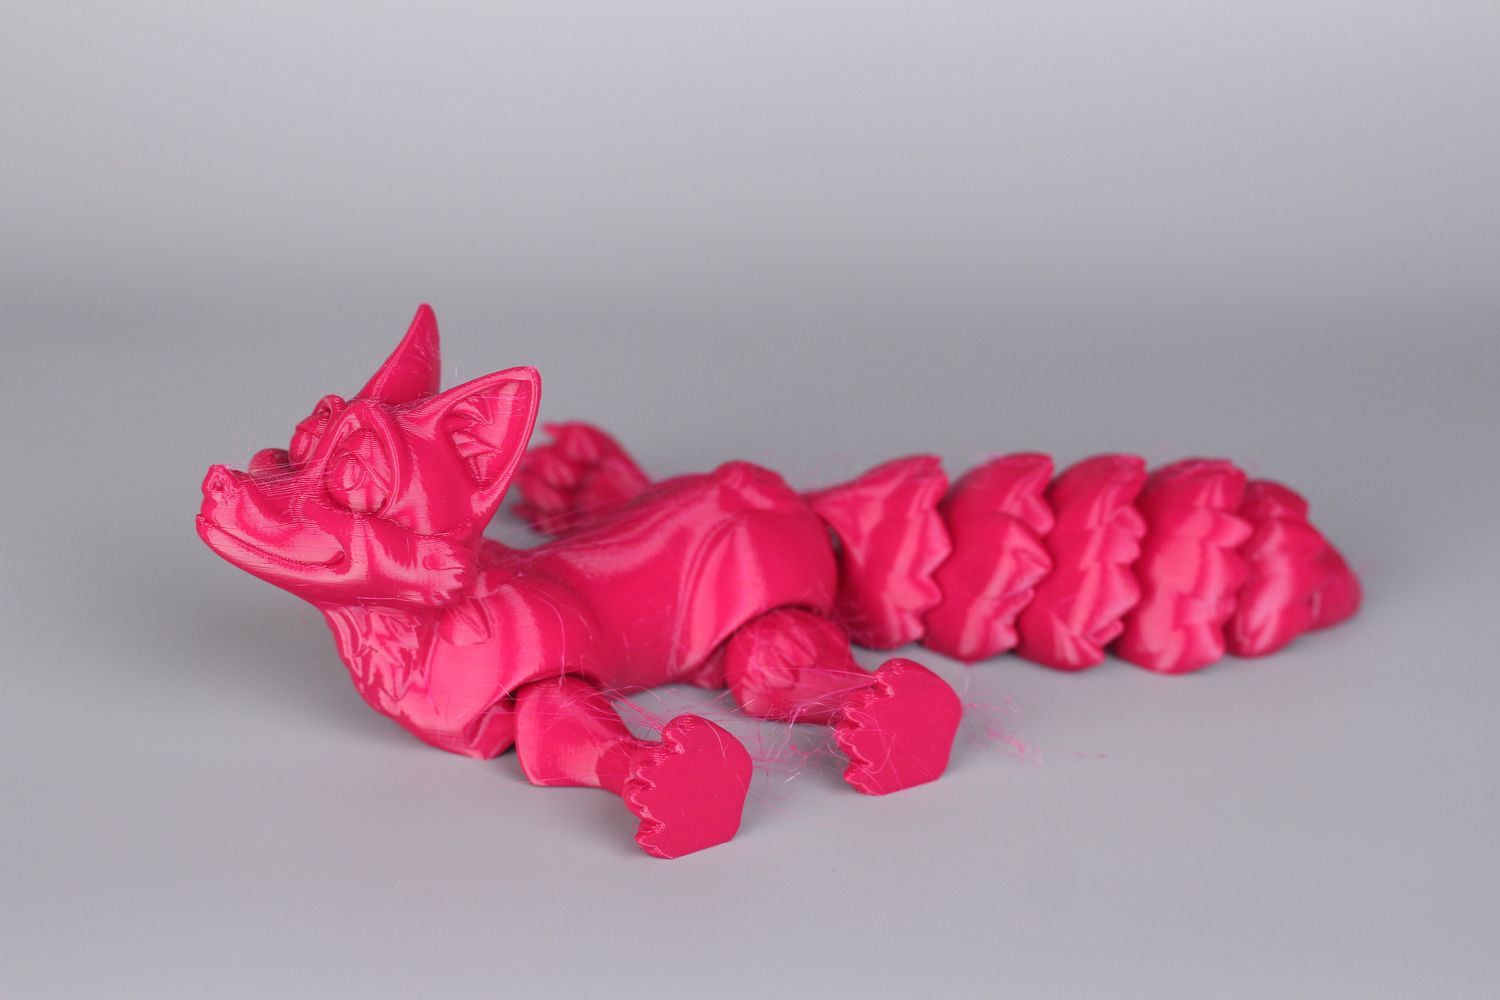
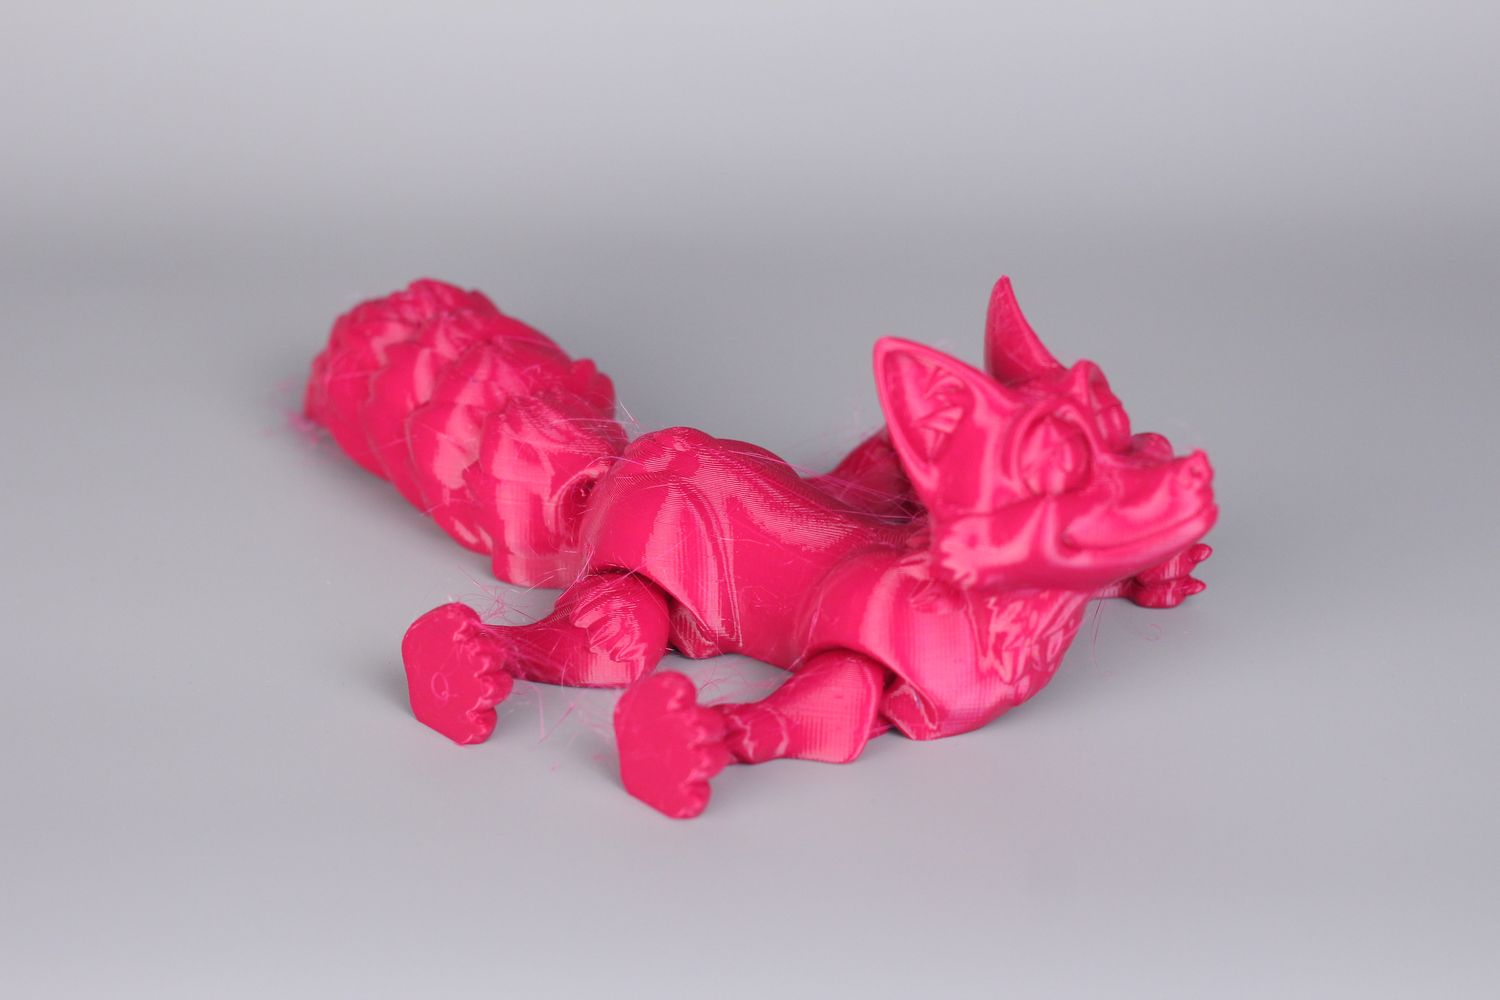
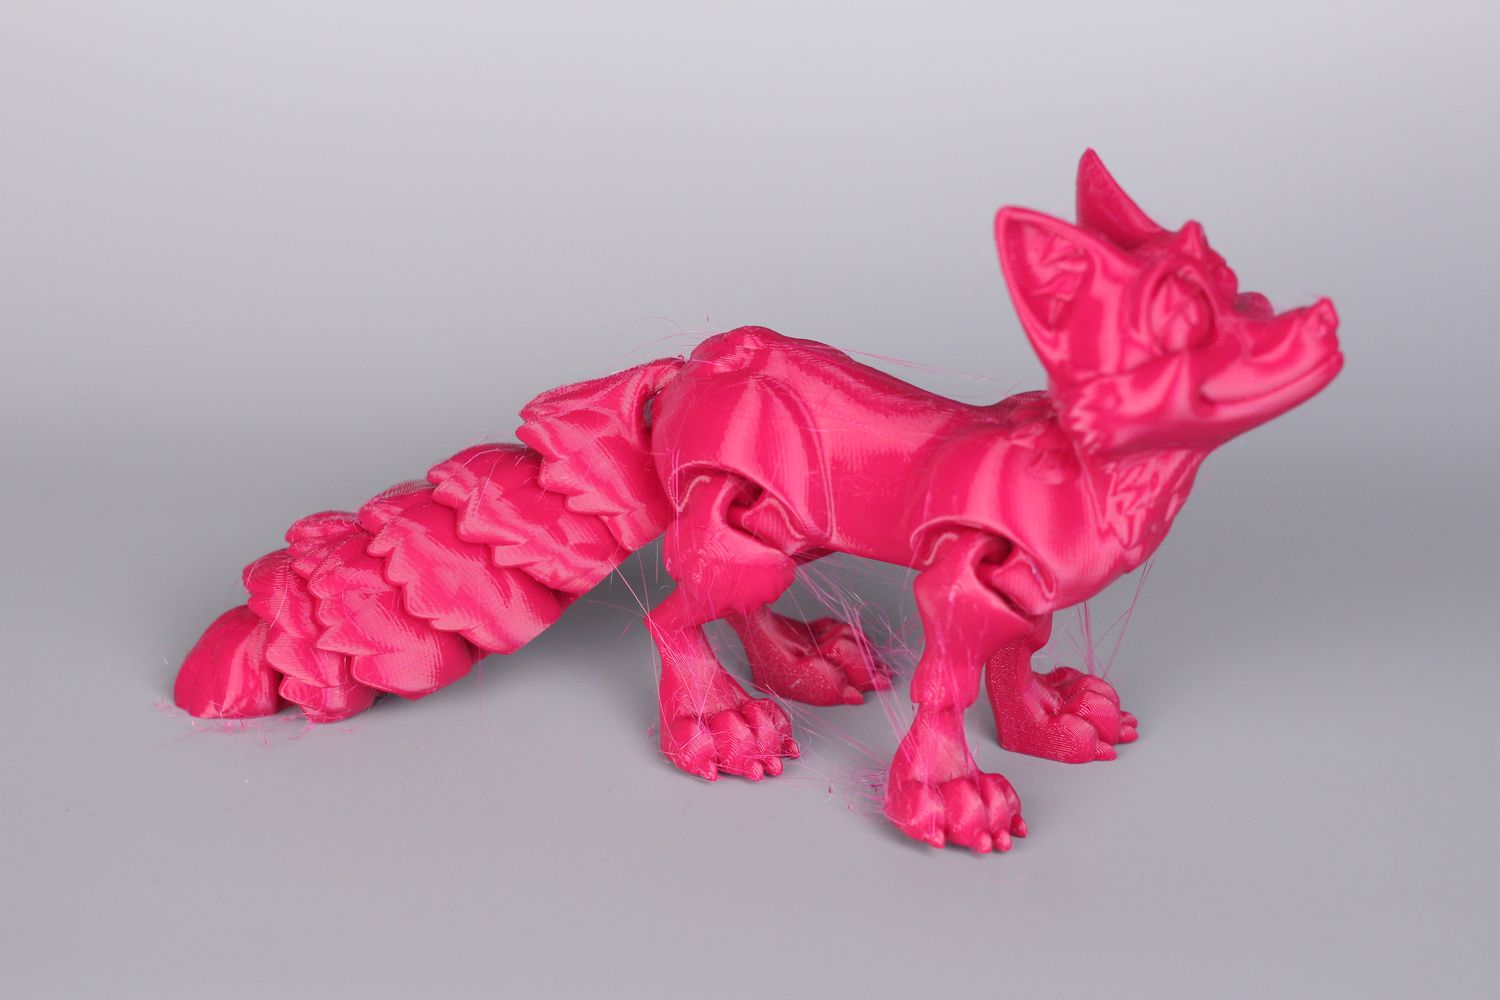
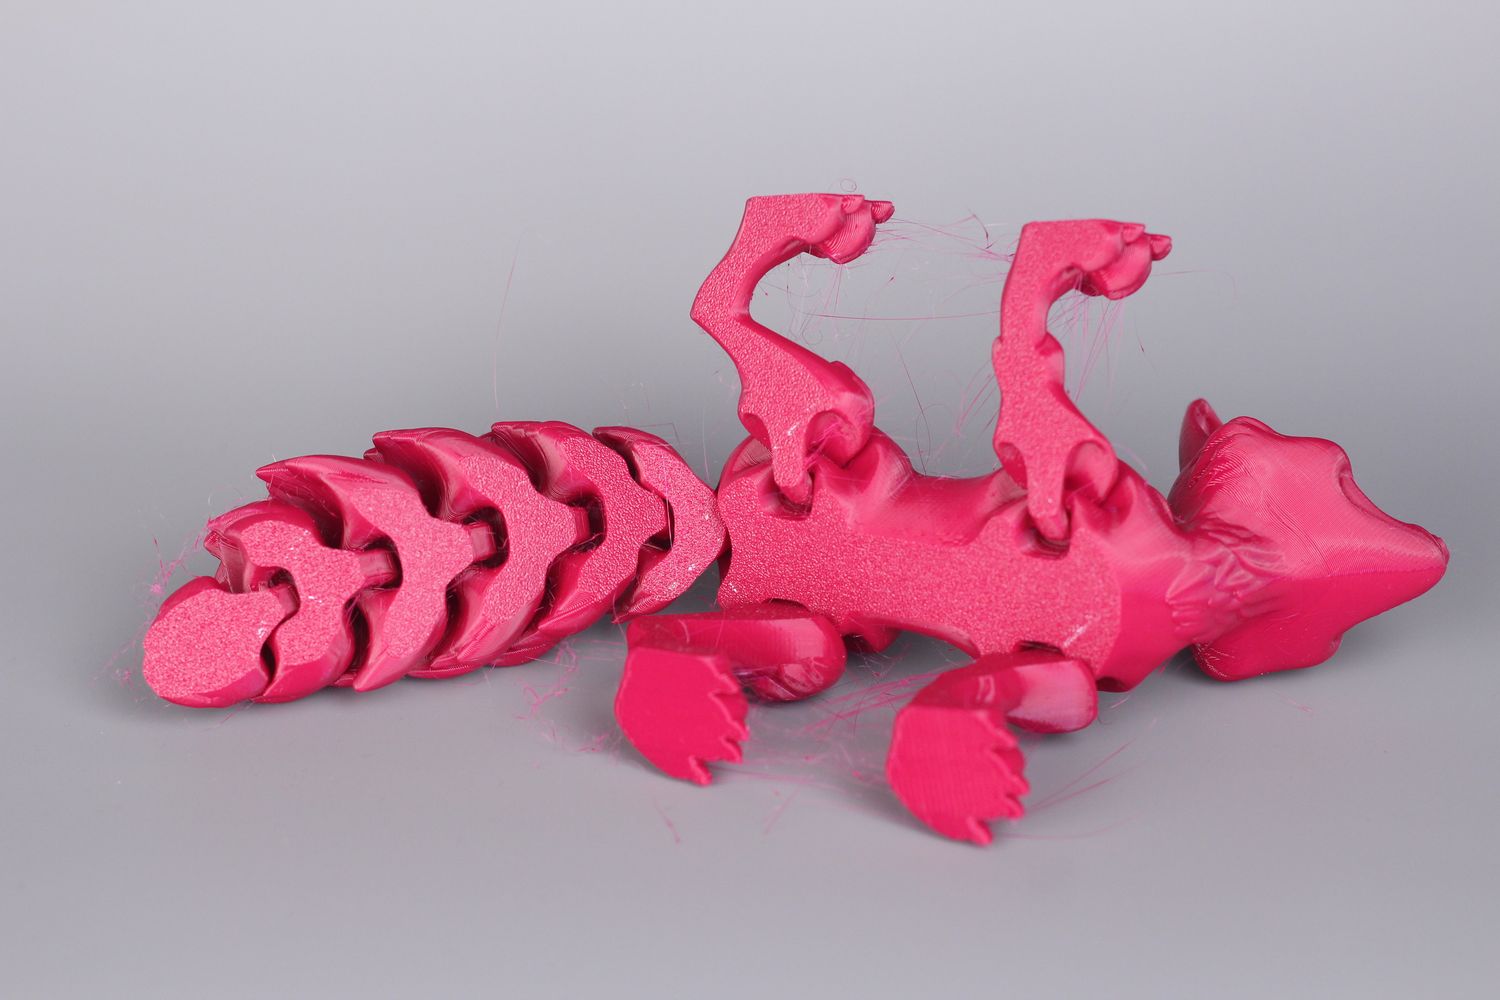
Flexi Fox
The Flexi Fox was printed at 100mm/s to test the capabilities of the printer after tuning. For some reason, there was still more stringing than expected even though the retraction has been calibrated correctly.
The results may be improved further by upgrading the PTFE-lined heat break of the printer, or by increasing the retraction value if needed. The print results are good overall if we ignore the stringing.
And the adhesion was excellent on the PEI plate.
- Material: Devil Design Pink PETG
- Layer Height: 0.2mm
- Nozzle Temperature: 240C
- Bed Temperature: 70C
- Print Speed: ~100 mm/s
Conclusions: Is the BIQU Hurakan worth it?
For ~370 USD, the BIQU Hurakan is not a bad deal considering all the features it includes. But at the same time, it’s also not much different than an Ender 3 with some upgrades and Klipper out of the box.
I believe that the BIQU Hurakan is great if you really want to get a printer that comes out of the box with Klipper and everything you need for it to get started. But I would think twice before I would purchase a BIQU Hurakan instead of an Ender 3 S1 as the Creality machine usually can be found even cheaper and installing Klipper on the Ender 3 S1 is not a complex operation.
Sure, you don’t get the same Klipper integration, but instead, you get a direct-drive extruder that works great, a dual Z axis, and a design that feels a bit more sturdy in my opinion.
If you can get a better deal on the Hurakan, then the printer will be much more attractive, as the price difference will allow for a hotend bi-metal heat break upgrade which I think is highly important for this printer.
BIQU Hurakan Rating
Design
Specs
Noise Levels
Ease of use
Print Quality
Price
Where to buy the BIQU Hurakan?
The BIQU Hurakan was provided free of charge by BIQU for the purpose of this review. While the article includes affiliate links, all opinions are my own. Nobody reviewed the article before it was posted, following the Review Guidelines.
BIQU Hurakan Rating
Design
Specs
Noise Levels
Ease of use
Print Quality
Price
Liked it?
|
|




You can leave a comment for this article on the 3DPrintBeginner Forum