Anycubic Vyper Upgrades: Paid and Free
The Anycubic Vyper is already pretty well equipped right from the factory, but there’s still a few upgrades which can be done for it to make it better. In this article I will share some of the Anycubic Vyper upgrades I recommend doing to improve your printing experience and minimize downtime.
Before you start upgrading your printer, make sure you read the 3D Printer Upgrades for Beginners article where I explain more about when and why to upgrade your 3D Printer.
Anycubic Vyper Paid Upgrades
Bi-metal heat break
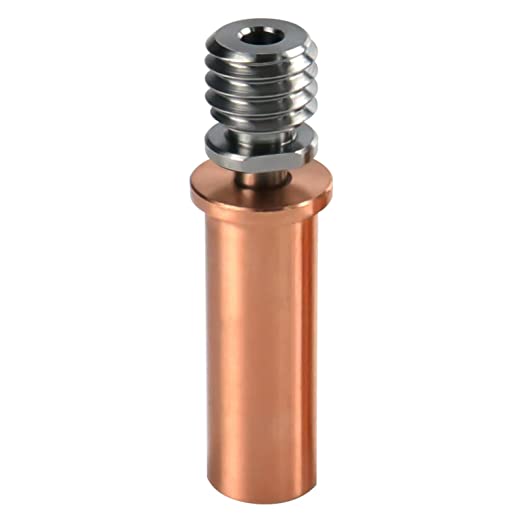
Installing a bi-metal heat break is probably the most recommended Anycubic Vyper upgrade, and one which brings quite a lot of improvements to your printing experience. First, you will be able to print higher temperature materials without worrying about the PTFE tube getting damaged.
The second reason why you would want to upgrade to a bi-metal heat break is the improved thermal performance of the hotend. Having a better delimitation between the hot zone and the cold zone of the hotend will allow you to have a bit more control over the filament and lower your retraction distances.
One of the more popular bi-metal heat breaks for the Anycubic Vyper is this one from Amazon. You can also go with the Slice Engineering Copperhead Standard G2 which is 5mm shorter, but it can work.
Bi-metal heat breaks for Anycubic Vyper can be bought from the following websites:
Amazon
Banggood
Aliexpress
Better PTFE tube
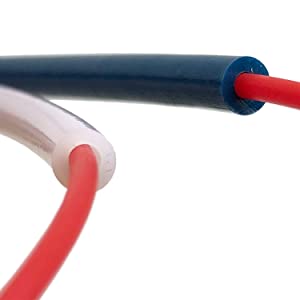
If you want even better filament control, then you can also look into upgrading the PTFE tube with one that has better internal tolerances. The most popular PTFE tube is the Capricorn XS which has a 1.9mm internal diameter. This PTFE tube will improve the filament control, but don’t expect incredible changes.
Some people like to point out that it’s also better when it comes to the thermal performance resistance. Unfortunately, I don’t agree. PTFE is still PTFE so I don’t recommend going over 240C for longer periods of time, to avoid burning the tube and release harmful fumes.
A better PTFE tube can be bought from the following websites:
Amazon
Banggood
Aliexpress
Silent fans
One of the main annoyances I’ve seen online for the Anycubic Vyper is the fan noise. That’s also one of the sections where Anycubic can work a bit more on their future products.
For example, the power supply fan and the one which cools the stepper drivers and board. If you plan to do a similar mod like RiRuKA did on his Thingiverse post, you will need to purchase a pair of Noctua NF-A9x14 fans and a step down converter to power the 12V fans from the power supply.
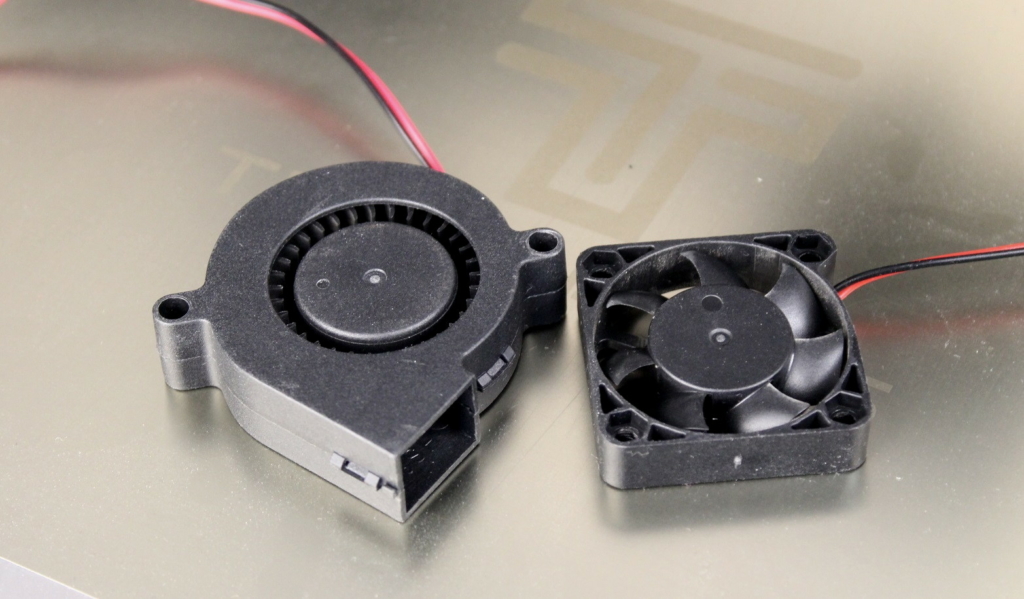
The hotend fan can also be replaced with a more silent variant, but I recommend doing this only if you also upgrade the heat break to a bi-metal variant. If the fan you install has less airflow, you risk encountering clogs during your printing process.
The part cooling fans can also be upgraded to 5015 radial fans for higher airflow and less noise. They can be installed on the Anycubic Vyper using this Anycubic Vyper 5015 cooler model from Thingiverse.
Polycarbonate v-slot wheels
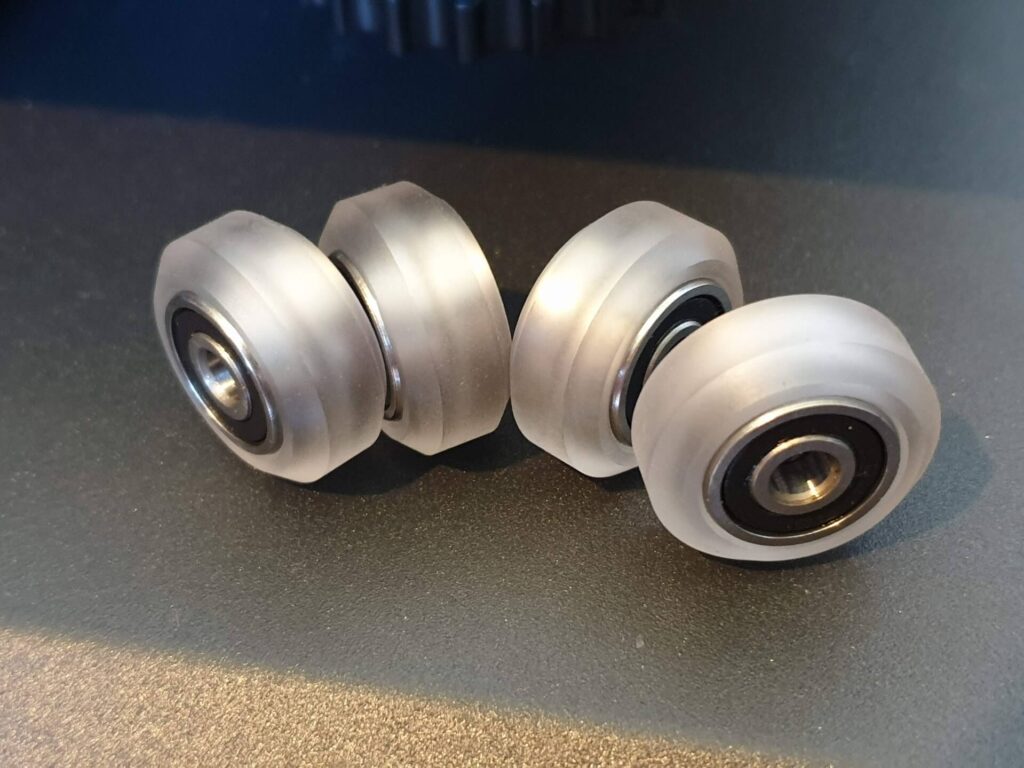
I recommend upgrading to polycarbonate wheels on most printers where you want to print faster, and eliminate the wear and tear POM v-slot wheels get over time. The PC v-slot wheels are an excellent upgrade for the Anycubic Vyper if you plan to install Klipper and push the printer further.
Of course, the stock POM wheels can work just as good if they are properly tensioned against the aluminum extrusion, but I still like to upgrade to PC on the X and Y axis.
PC v-slot wheels can be bought from the following websites:
Banggood
Amazon
Aliexpress
Bed Insulation
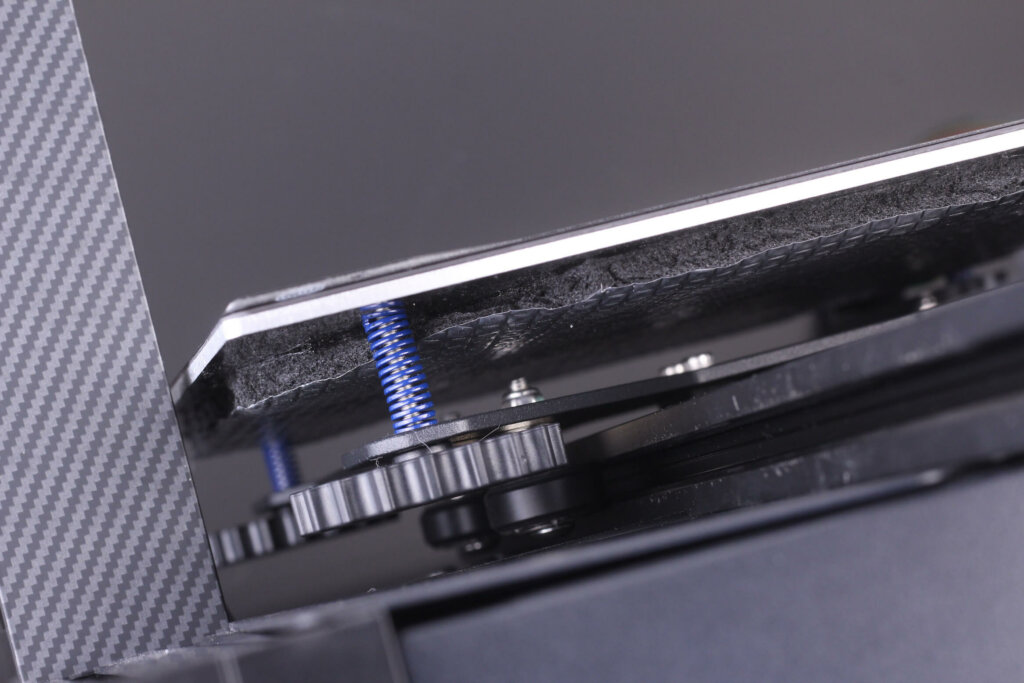
If you want to make your 3D printer more efficient, getting some bed insulation material is an excellent upgrade for the Anycubic Vyper. This bed insulation will allow the bed to heat a bit faster, and retain the heat much better.
It will improve the printer’s energy efficiency, and will make the printer a bit more silent because the power supply won’t be used as much, so the cooling fan will start less often.
Bed insulation material can be bought from the following websites:
Aliexpress
Banggood
Amazon
Anycubic Vyper Free Upgrades
Klipper Firmware for Anycubic Vyper
The Anycubic Vyper is printing quite well with the stock firmware, and the functionality is ok. But installing Klipper on the Vyper will bring you a lot more functionality, allowing you to print faster without losing quality
I covered the Anycubic Vyper Klipper Installation, so if you are feeling adventurous, feel free to give it a try. It’s one of the best Anycubic Vyper free upgrades you can do to your machine, if you already have a Raspberry Pi laying around.
Tool Box Organizer
I love the handy little drawer included on the Vyper, and by printing this tool box organizer, you can keep everything nice and tidy. There are other variants out there, so check them out before deciding which one you want to print.
V-Slot Covers
Another excellent and free Anycubic Vyper upgrade is printing and installing v-slot covers. Over time, dust and small pieces of filament can get stuck inside the v-slots, but these covers save you from needing to clean them in the future. And they are also easy to print.
SD Card Holder
If you don’t print v-slot covers, and want a place to store your SD cards, then check out this cool little printed upgrade for the Anycubic Vyper. The holder snaps onto the aluminum extrusion and can hold four SD cards.
Raspberry Pi 4B box with camera attachment
If you plan to install Klipper on the Anycubic Vyper, then you need a place to keep your Raspberry Pi. So why not use this awesome Pi box? It is attached to the side of the extrusion, and it comes with a camera attachment if you plan to add a camera in the future. Pretty neat.
Wrapping up
I hope these recommended upgrades are helpful for you. If you have any questions, feel free to leave a comment below. If you have other awesome Anycubic Vyper upgrades you would recommend, feel free to leave a comment below.
You can also join the 3DPrintBeginner Discord Server where there’s a dedicated Anycubic channel.
Liked it?
|
|



Would any of these upgrades also work for the Kobra max?
Yes. I will have a separate article soon.
Have you managed to upgrade the hot end with a bi-metal heat break? I couldn’t get the old heat break out and Anycubic’s support is telling me it’s not possible to remove the old one.
I had a similar issue which rendered my Vyper DOA. I now have a nice new unused heat-break if anyone wants it. It’s near-impossible to switch out, in my experience.
And I also now have a Vyper that gives me an abnormal hot end temp error when I turn it on.
I’ve been dealing with Anycubic, and their support staff is good at providing, and this isn’t “high-end” although I contend the Vyper’s quality when it worked, was astounding. So my expectations are in check. As in, I paid little for a 3d printer, (and another Anycubic I have that doesn’t work – a software issue) it died, so there you go.
It is possible to remove the stock heat break. You need to remove the heat block from the hot end assembly, clamp it gently in a vise, then heat up connection between heat block and the heat break with a propane torch or some such thing. Then grab the heat break with a pair of locking pliers and gently wiggle it back and forth until it breaks free. Then screw it out with the locking pliers.
Anycubic probably told you it wasn’t removable because they did not really build the vyper to be ungradable.
Which voltage does the 5015 radial fans need to be? 12v or 24v?
Same question for the hotend cooling fan…
24V. But you can also use 12V fans with a buck converter.
24v also for the hotend cooling fan? It appear to be to small to be 12v
If you don’t trust me, then check the fans 🙂
Great review, will installing an upgraded heat break allow you to print at higher temperatures without compromising the PTFE tube? Does it add distance to the end of the tube? TY
yes