QIDI Q1 Pro Review: New Printer, New Problems
QIDI is adding a new printer to their offering with the new QIDI Q1 Pro which sits between the QIDI X-Plus 3 and the QIDI X-Smart 3 in build volume, while also adding some improvements in terms of hardware.
In this article, we will look closer to the Q1 Pro to learn more about it and see if the new hardware improvements make it a good 3D printer for those looking to get a machine ready to print higher temperature materials without spending too much.
QIDI Q1 Pro Shipping and Packaging
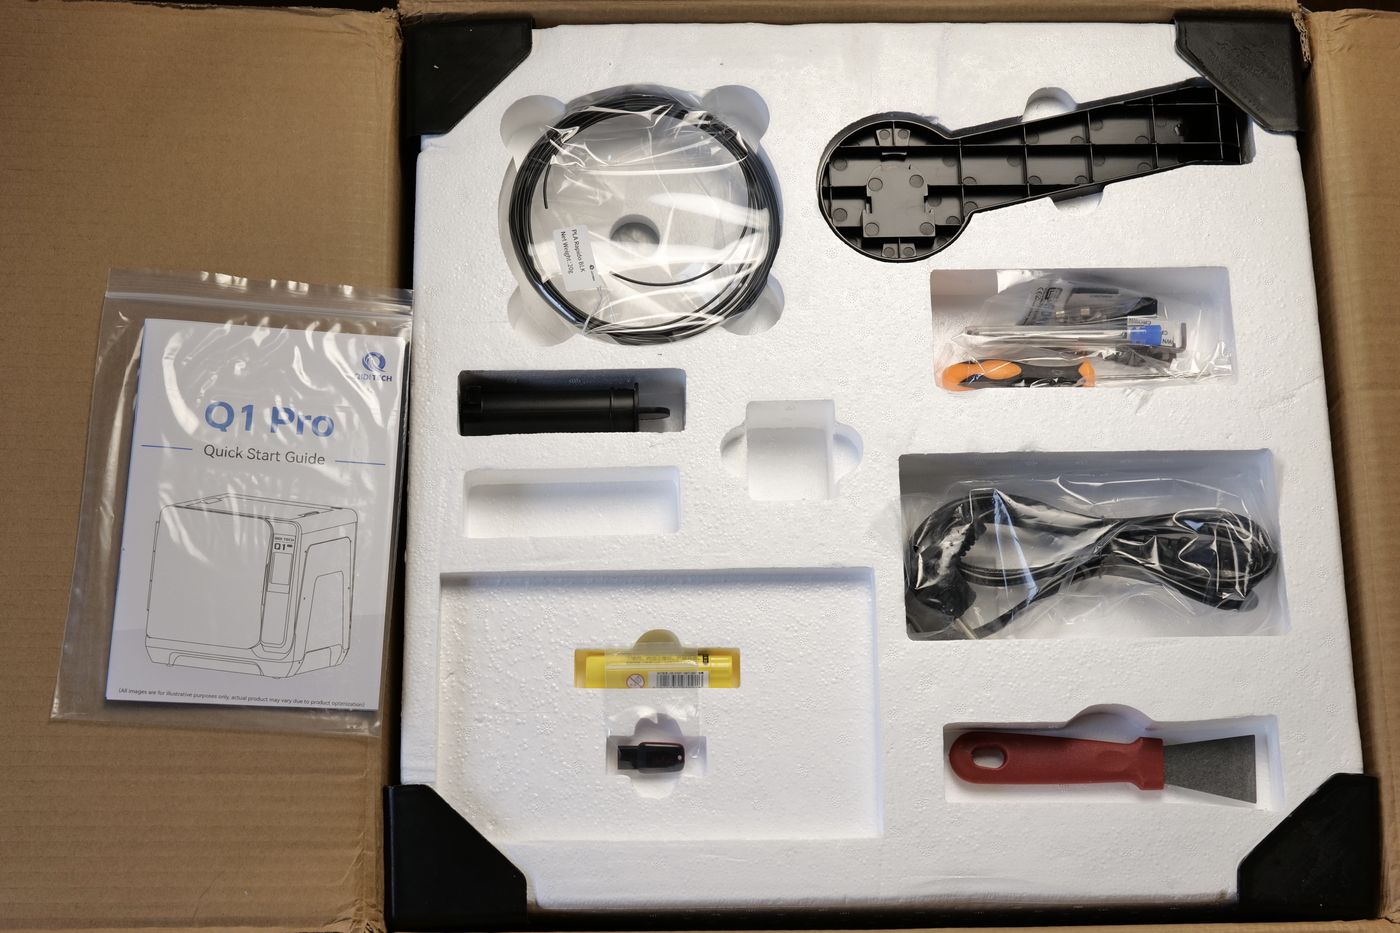
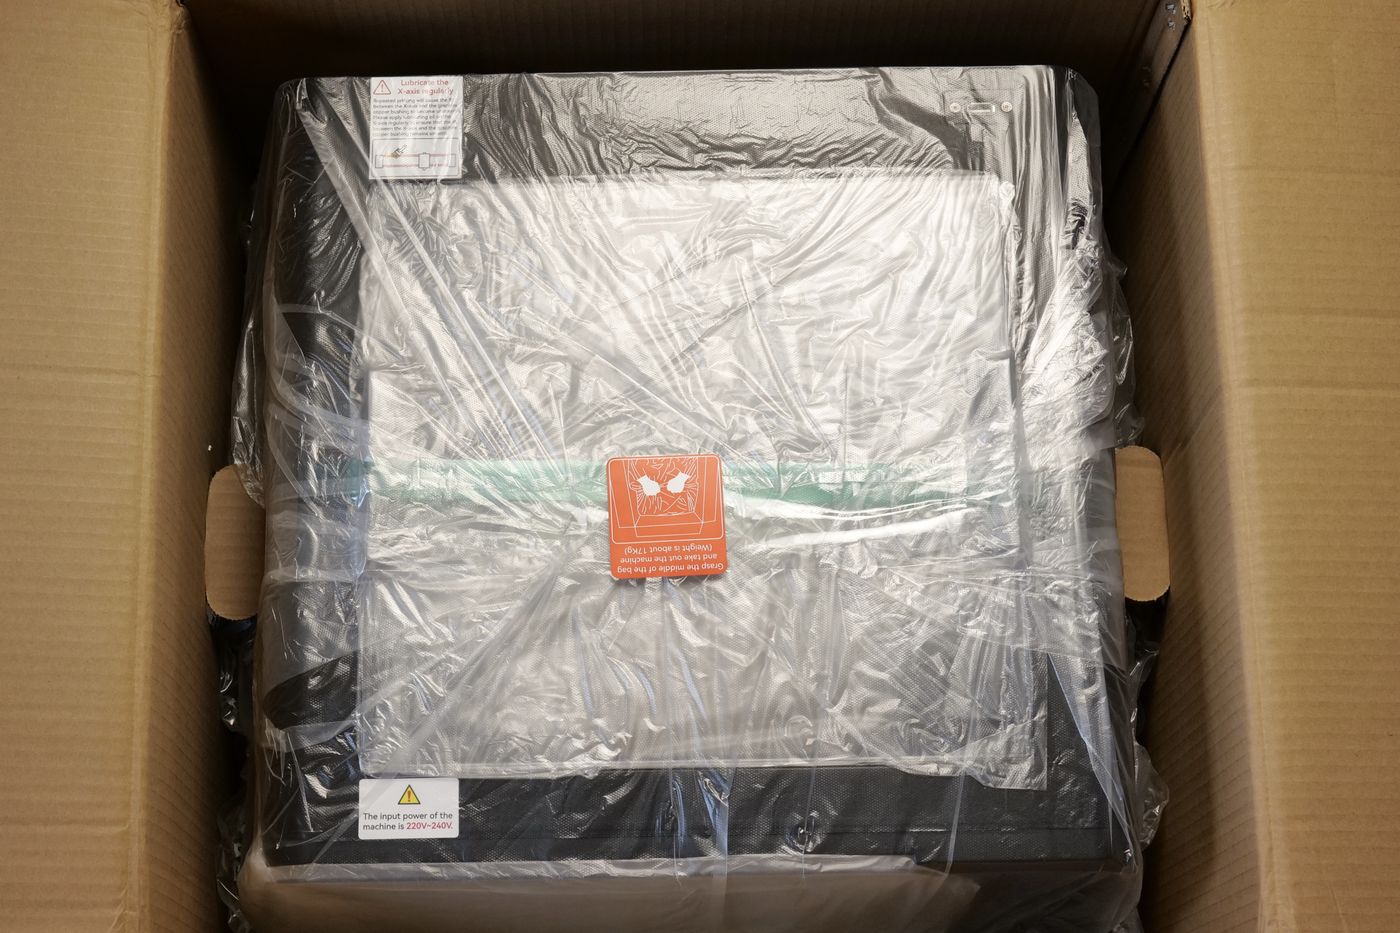
As expected, the QIDI Q1 Pro comes well packaged in a carboard box, with foam fixing the printer in place and to avoid it from any shipping damage. This is quite common for QIDI when it comes to packaging and I think there won’t be any delivery issues in this case either.
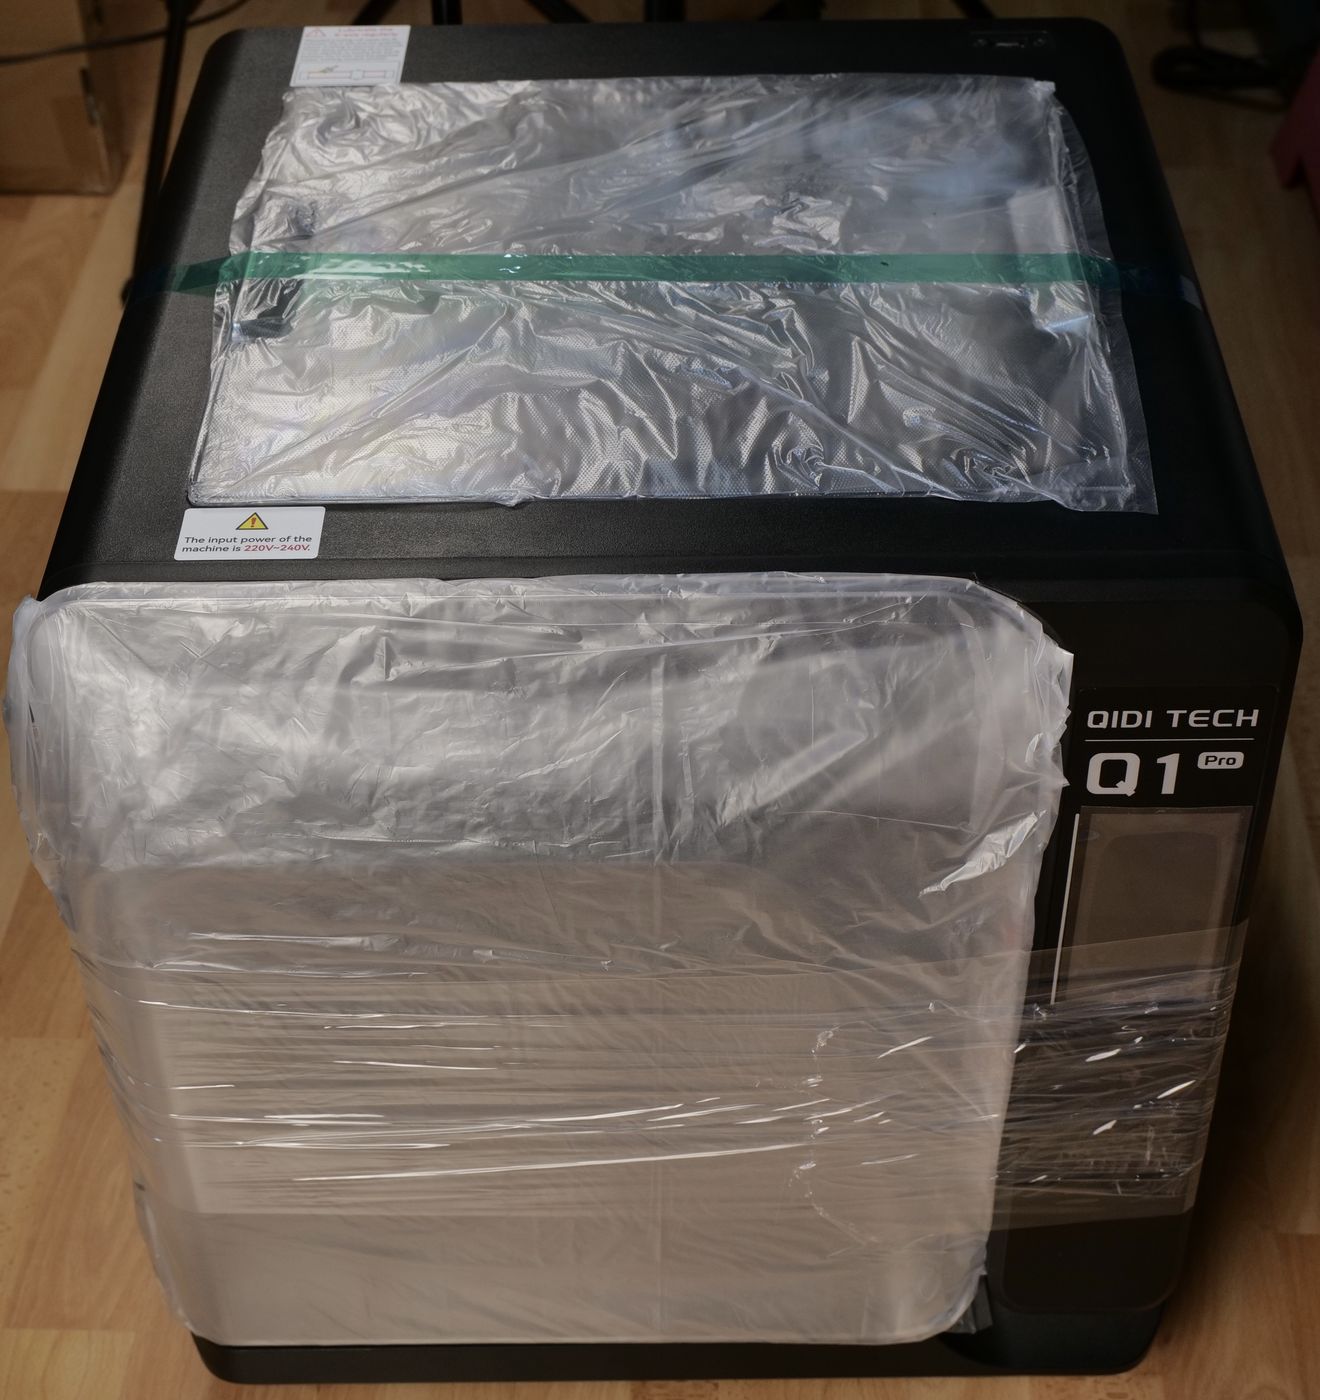
QIDI Q1 Pro Design
While the build volume of the printer is not very big, the actual space taken by the printer is larger than expected. The Q1 Pro takes quite a bit of space due to how it is build. It’s footprint is similar to the Creality K1 Max while having a smaller printing volume
QIDI Q1 Pro Specs
| Dimensions | 477*467*489 mm |
| Build Volume | 245*245*245 mm |
| Printing Accuracy | ±0.1mm |
| Printing Speed | ≤600mm/s |
| Nozzle Diameter | 0.4mm(0.2/0.6/0.8mm Optional) |
| Nozzle | Dual Metal Nozzle |
| Extruder Temp | ≤350℃ |
| Extruder | High-flow Direct Drive Extruder |
| Hot End | Ceramic Heating Core |
| Chamber Temperature Control | 60℃ Independent Chamber Heating |
| Recommended Filament | PLA、ABS、ASA、PETG、TPU、PC、PA、PA-CF、PET-CF、PAHT-CF etc. |
| Hot Bed Temp | ≤120℃ |
| Printing Acceleration | 20000mm/s² |
| Extruder Flow | 35mm³/s |
| Extruder Transmission Ratio | 8.9:1 |
| Firmware | Klipper |
| Main Processor | Cortex-A53,64-bit Processor |
| Connection Options | WiFi/USB Flash Drive/Ethernet Cable |
| Operating System | Windows/MacOS/Linux |
| Slicer | QIDI Slicer/Cura/Simplify 3D/ORCA/PRUSA Slicer |
| Voltage | 100-240 VAC, 50/60Hz |
| Rated Power | 350W |
| Net Weight | 20KG |
245x245x245 Enclosed Print Volume with Sheet Metal Frame
The QIDI Q1 Pro is build similarly to the other printers in the X-line of printers, being made from sheet metal with an enclosed printing chamber made from plastic. As mentioned before, the use of space is not the most efficient you can see, when comparing it to other printers like the Creality K1 series or the Bambu Lab printers which are more compact.
The quality of the plastic parts and panels is also lower quality compared to the machines mentioned above, but for the price, it’s relatively ok. The biggest issue I noticed is the resonance these plastic panels generate at different print speeds making the printer sound a bit “cheap”, but I will cover this later in the article.
Core-XY Motion System with Automatic Belt Tensioning
Similar to the other QIDI printers from late 2023, the Q1 Pro has a Core-XY motion system which is probably the best for fast printing. But there is an additional improvement for this printer which comes in the form of Automatic Belt Tensioners.
These belt tensioners work in a similar fashion as the Bambu Lab printer implementation where there is a strong pring pushing against the belt tensioners to try and keep the same tension on both belts which is important in a Core-XY motion system. To tension them, you would need to loosen a few screws to allow the tensioners a bit of movement, then re-tightening them.
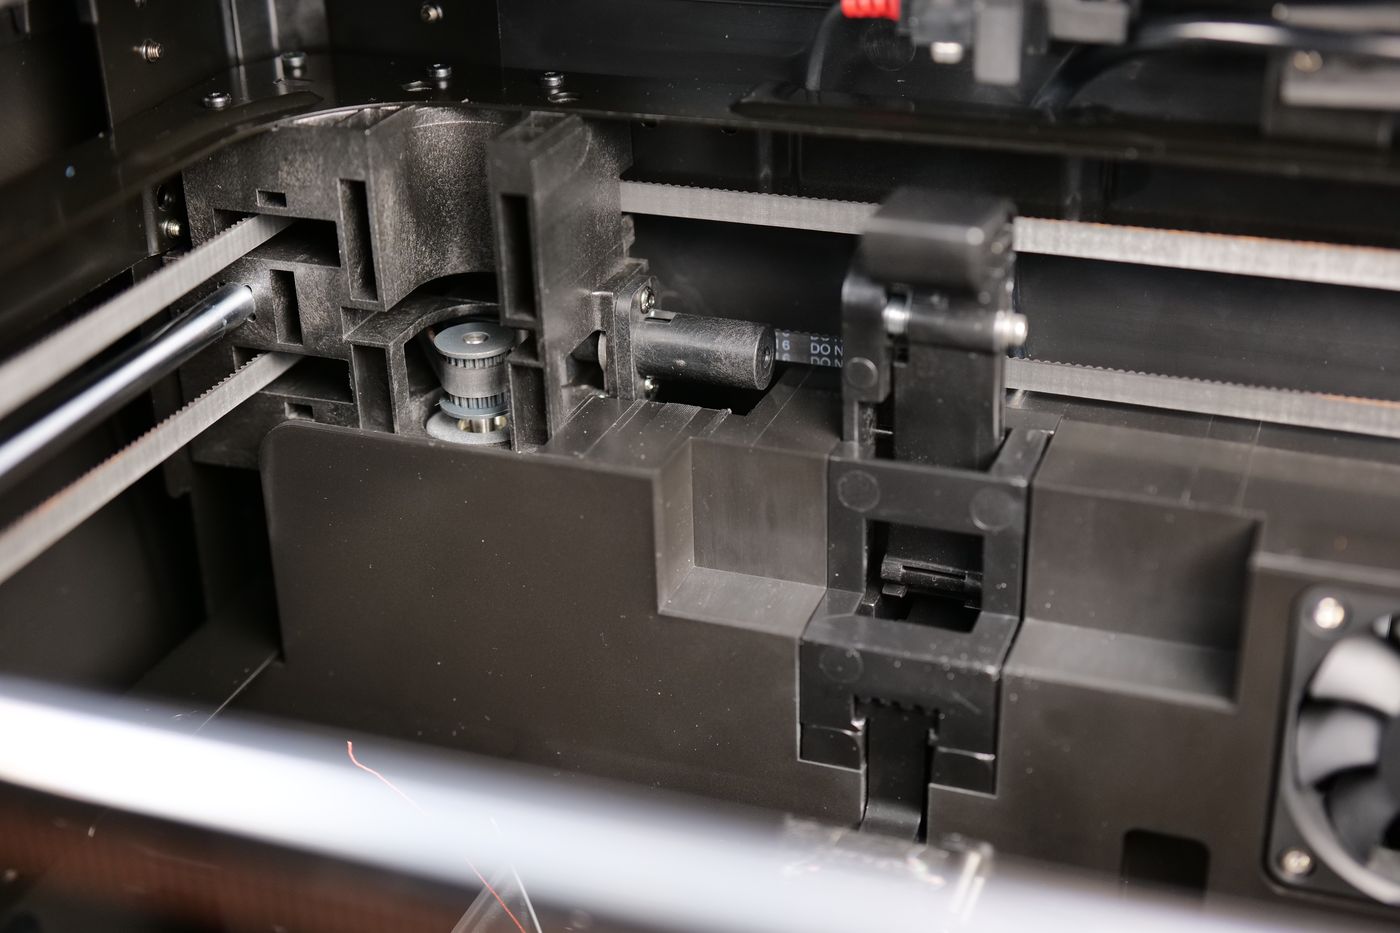
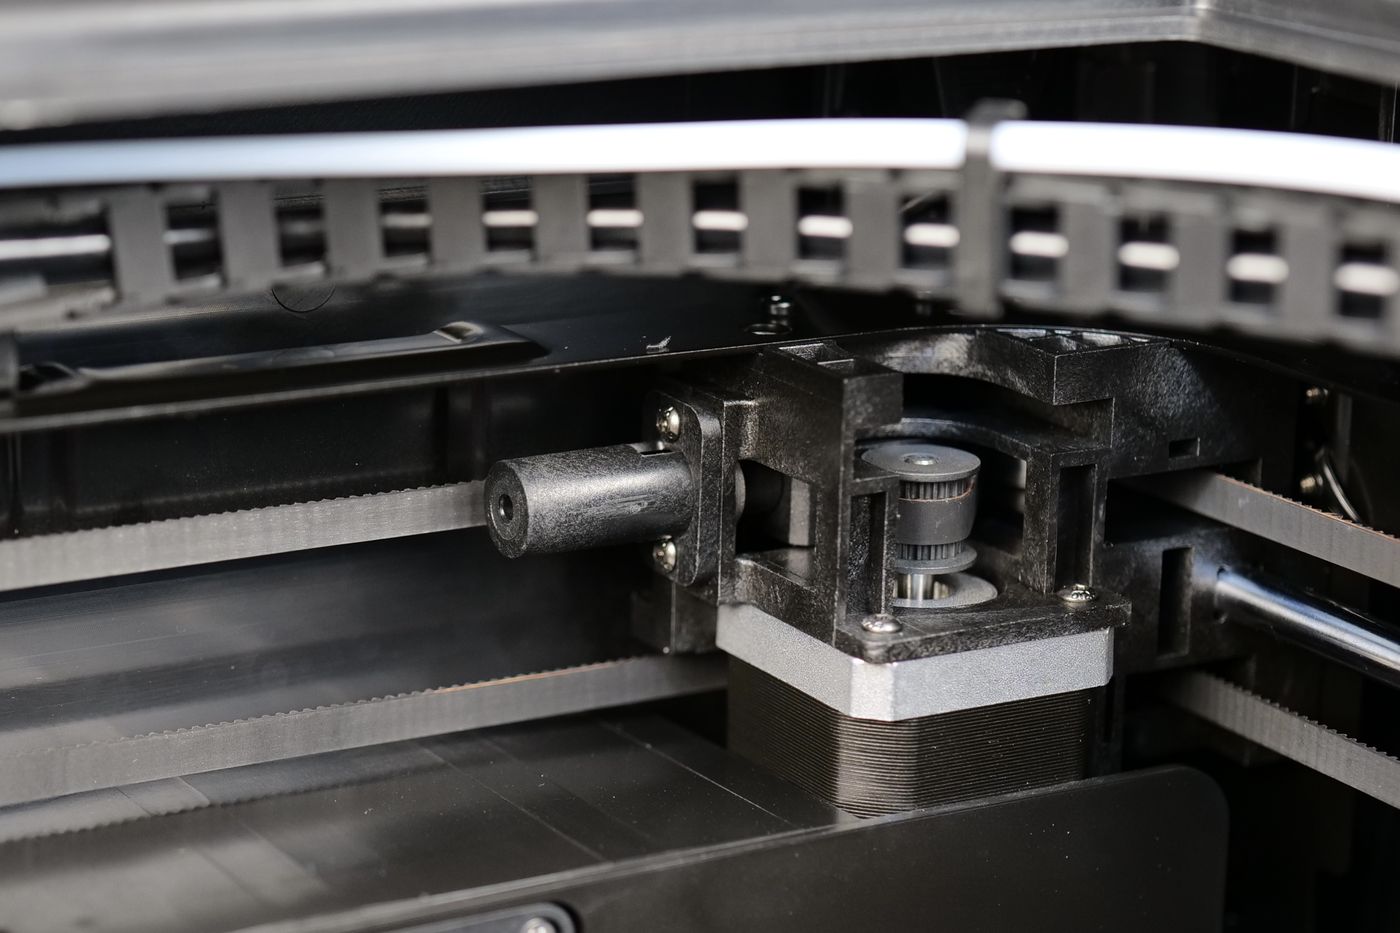
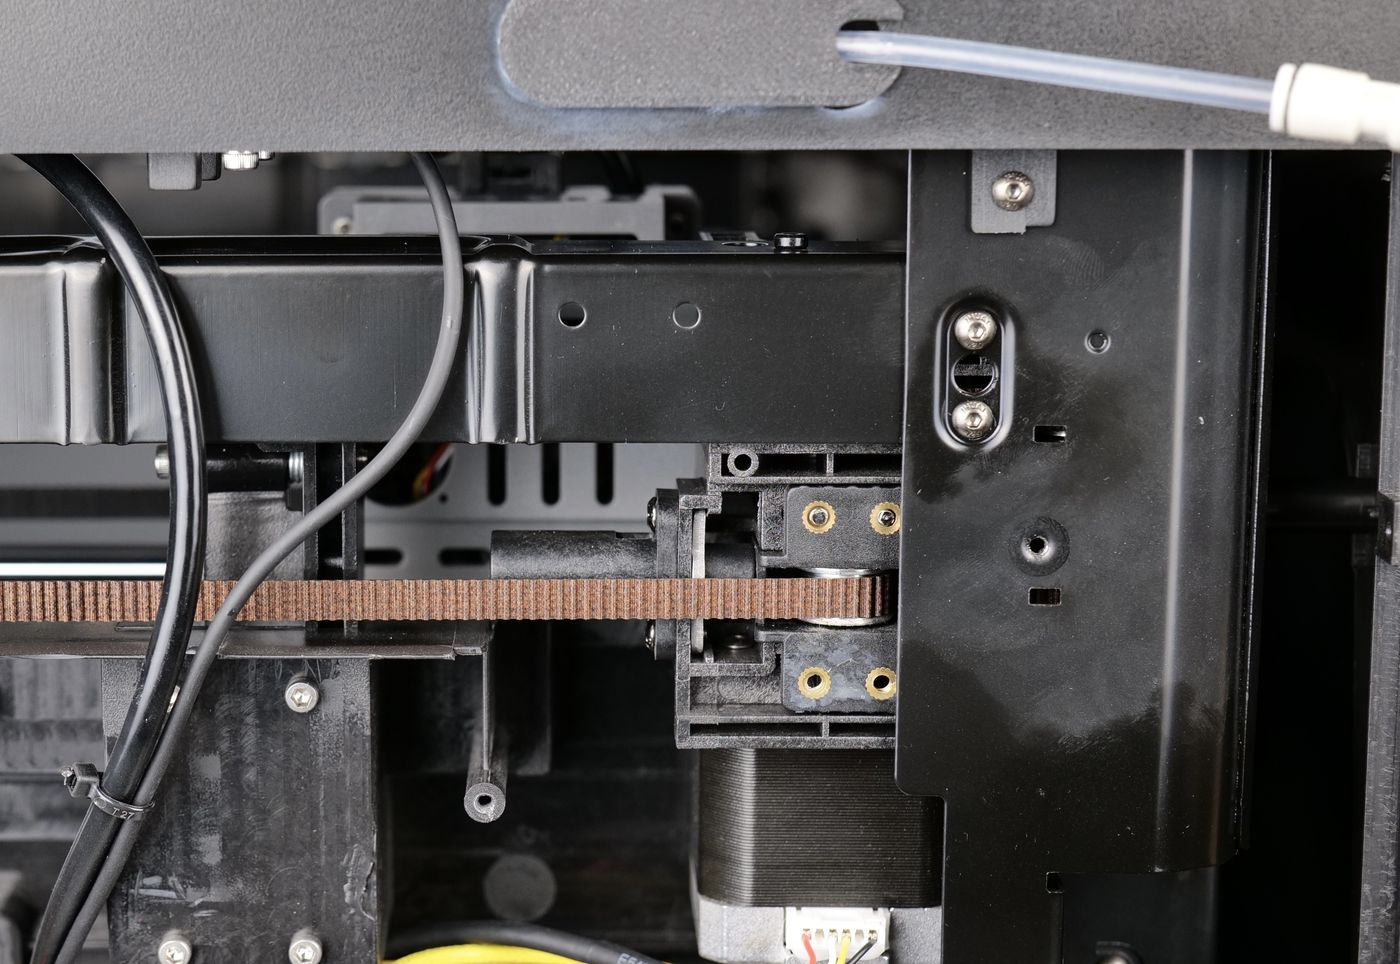
Unfortunately, the implementation is lacking due to the belt tensioners not being attached completely to the printer frame. As seen in the image below, the belt tensioners only use two screws located on the top section to hold them in place.
Even with the screws tightened, there is some movement in the tensioners leading to inaccuracies during the printing process. The tensioners flex during printing or when pushing on the belts which is not something you want to see in a Core-XY motion system.
This problem is not easy to solve, as the section where the bottom belt tensioner screws would need to be accessed is covered by the stepper motor pulleys. Maybe one way to help with this is to add two more screws in the back of the printer, but this requires the back cover to be completely removed and this is a hassle to do.
I don’t think this design mistake should be present for a printer with the “Pro” word in its name and I hope that future revisions of this machine solve this problem.
Direct Drive Extruder
The extruder design is quite similar to the one used by the X-Max 3. It uses a set of larger dual-gears somewhat similar to what Bondtech used in the LGX Lite which should help the extruder grip the filament better.
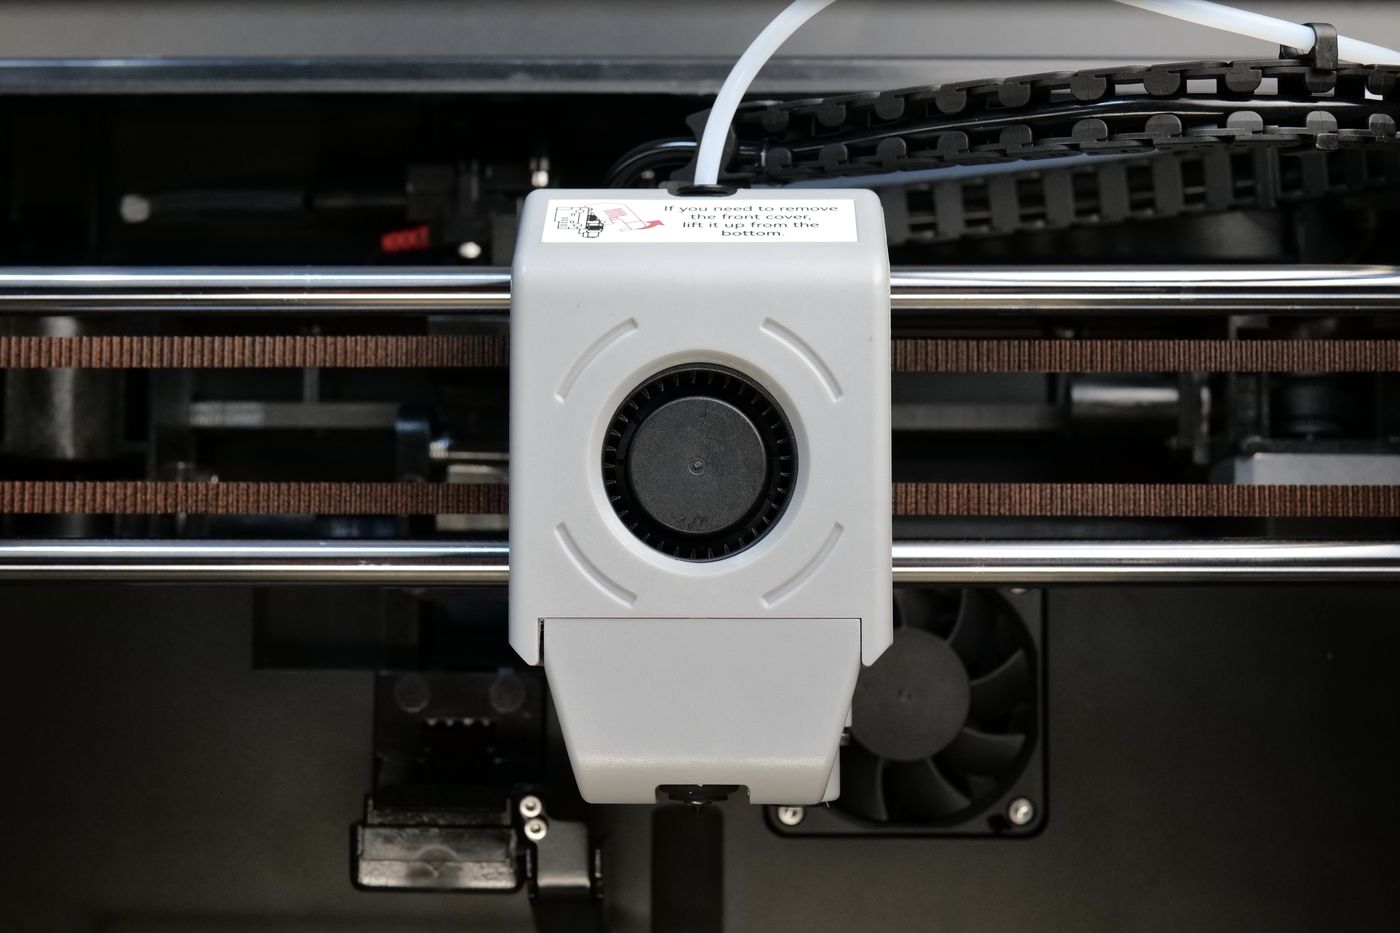
The front cover of the print head has a 5015 radial fan for part cooling and it’s held in place by two plastic tabs located on the top section, and two magnets. I can’t see any big problem here, other than the low-quality feeling plastic used.
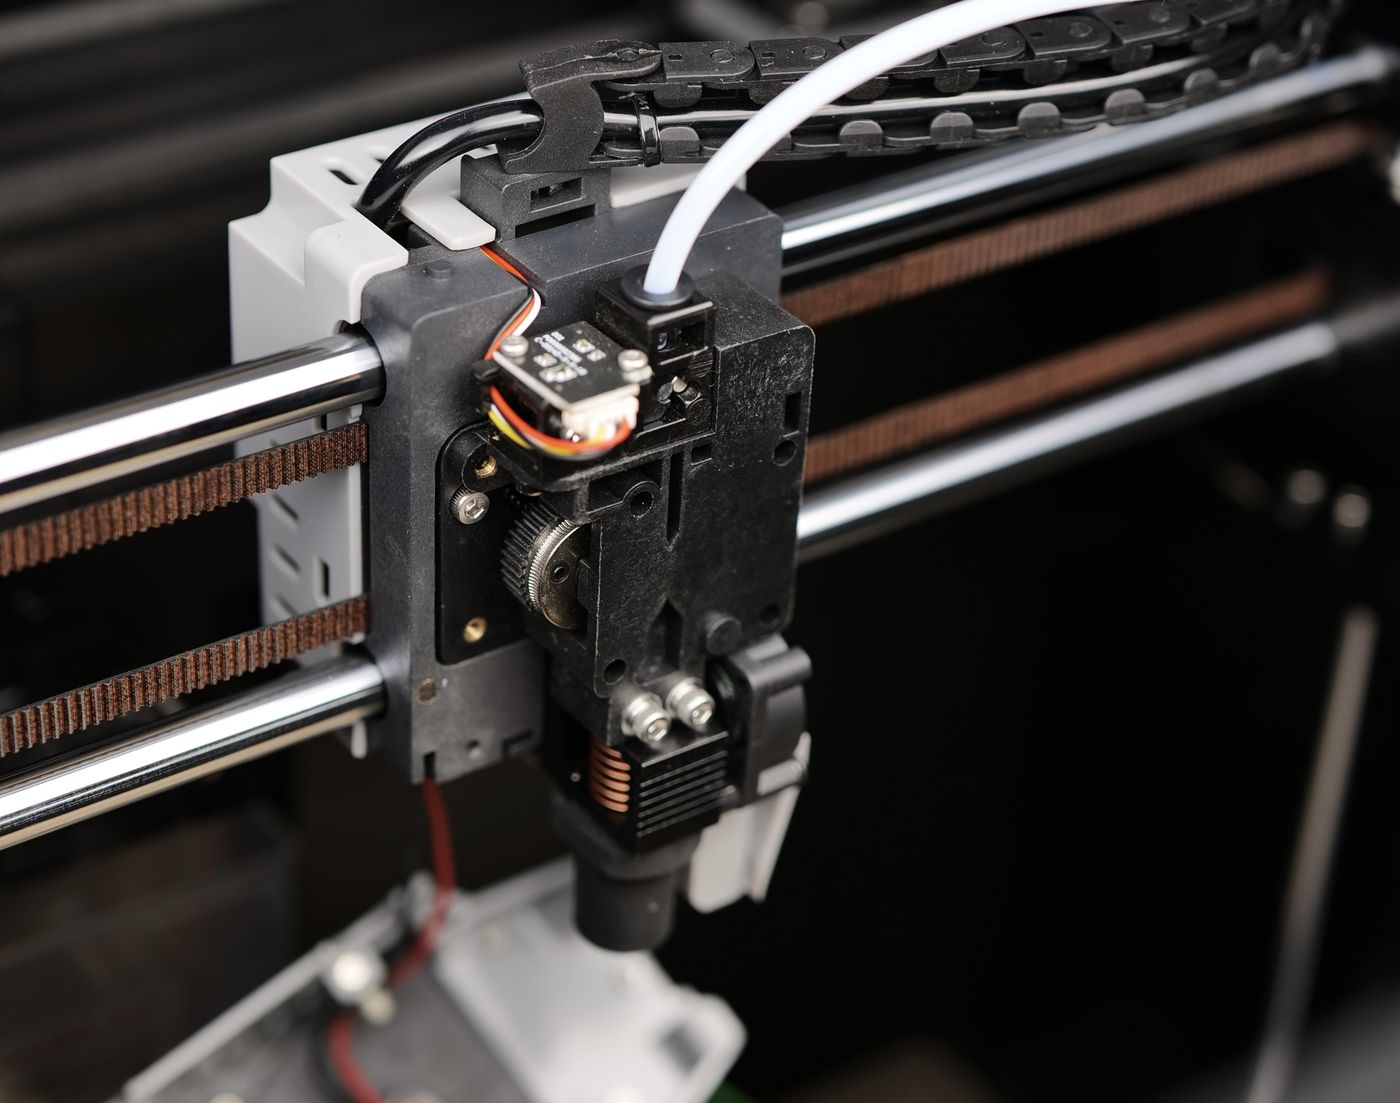
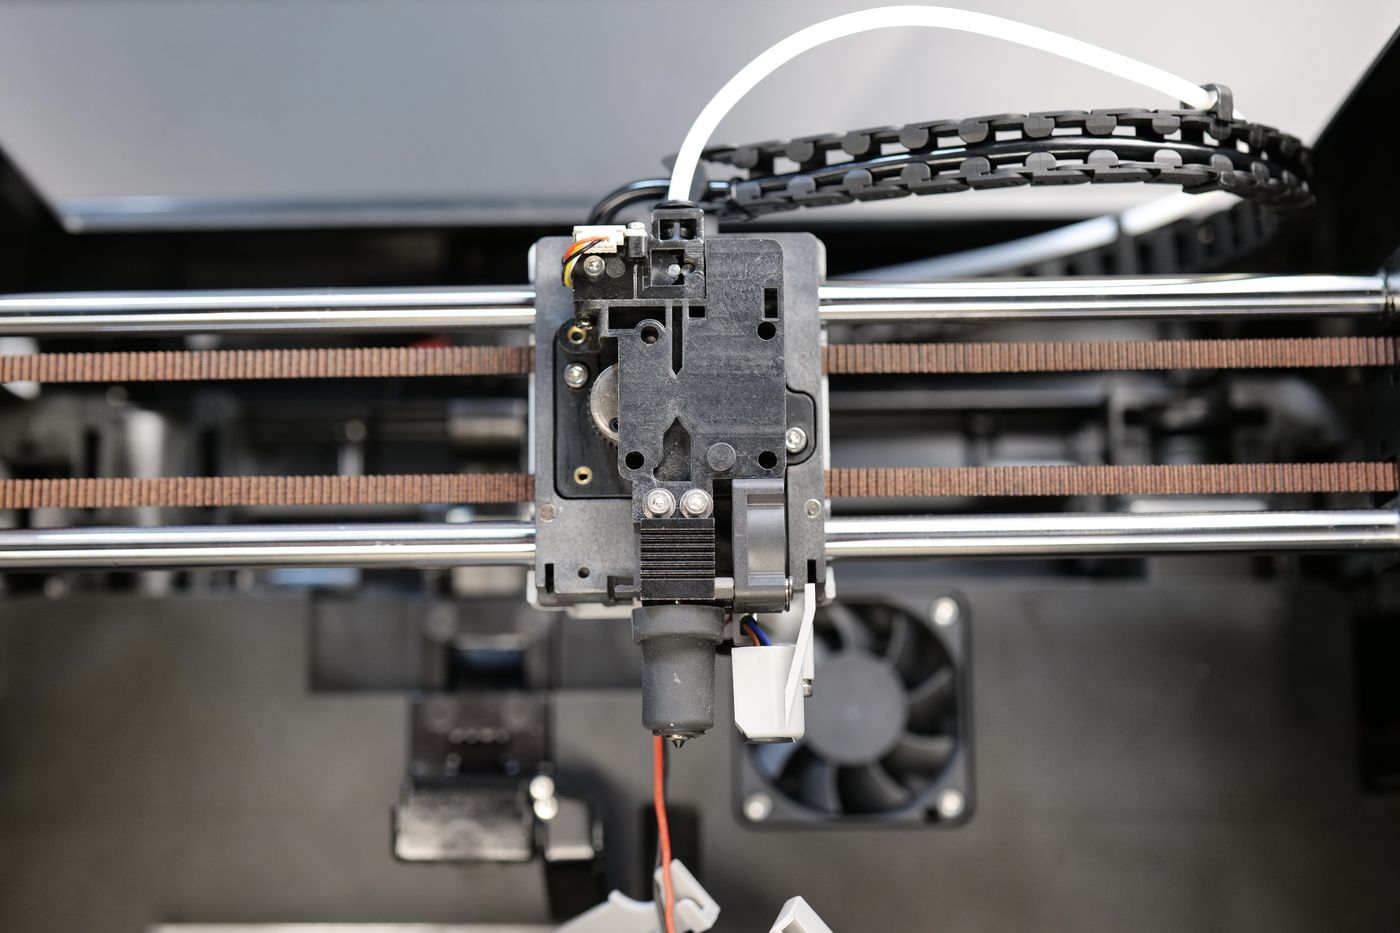
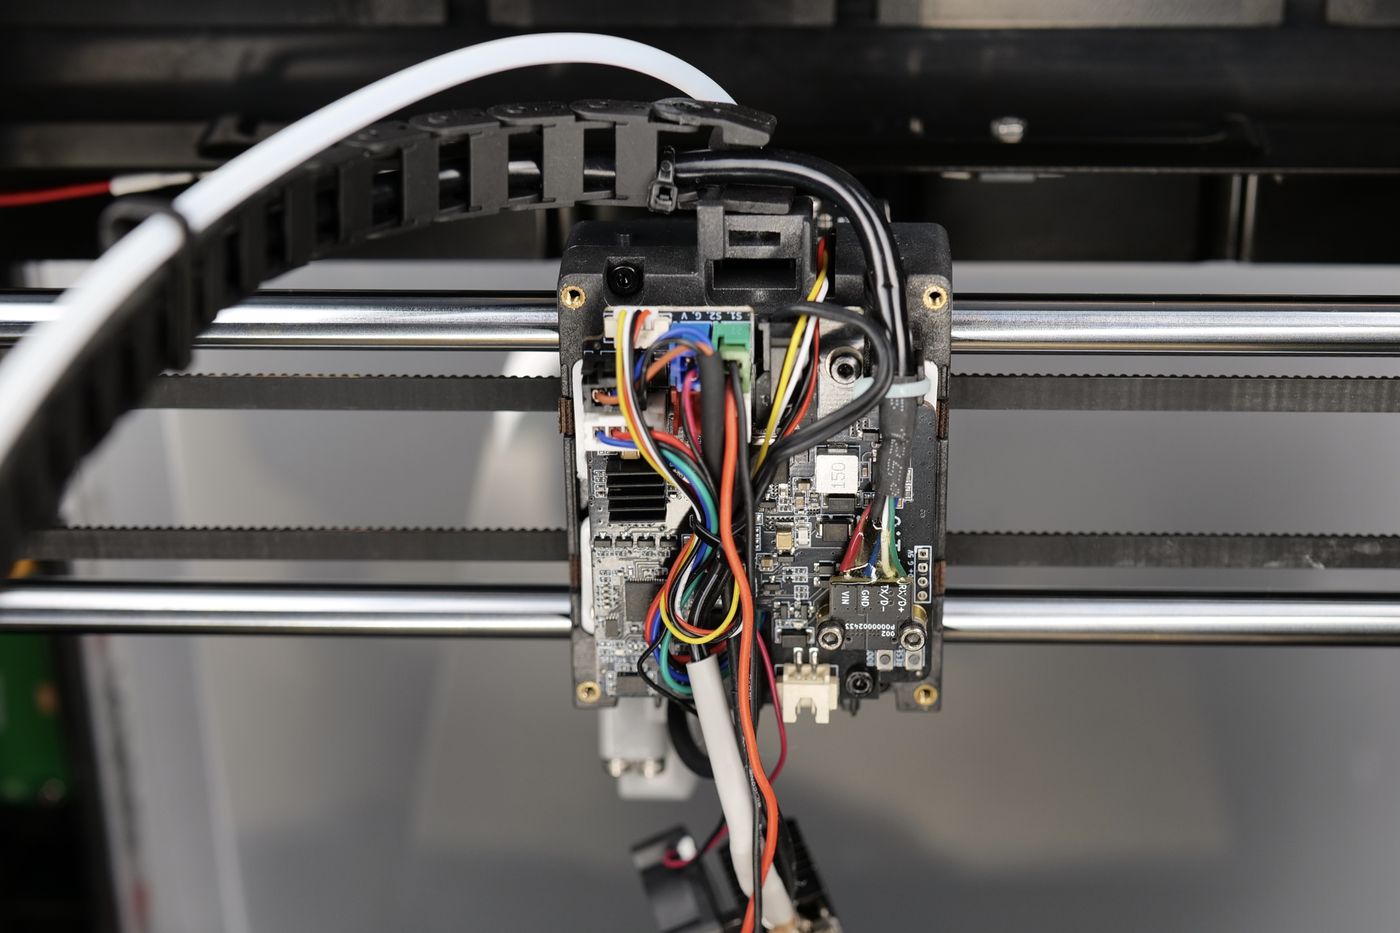
The hotend is held in place by two screws which would make the removal easy, but just like the other printers before, it has the wires attached to the back side of the print head. This means that every time you want to replace the complete hotend, you will need to disassemble the back section too.
Filament Runout Sensor and Tangle Detection
There’s other improvements coming with the Q1 Pro and this is in the form of a dedicated filament encoder sensor in the back of the printer which monitors the movement of the filament during printing and would detect if there’s a clog inside the hotend or a tangle on the spool of filament during printing.
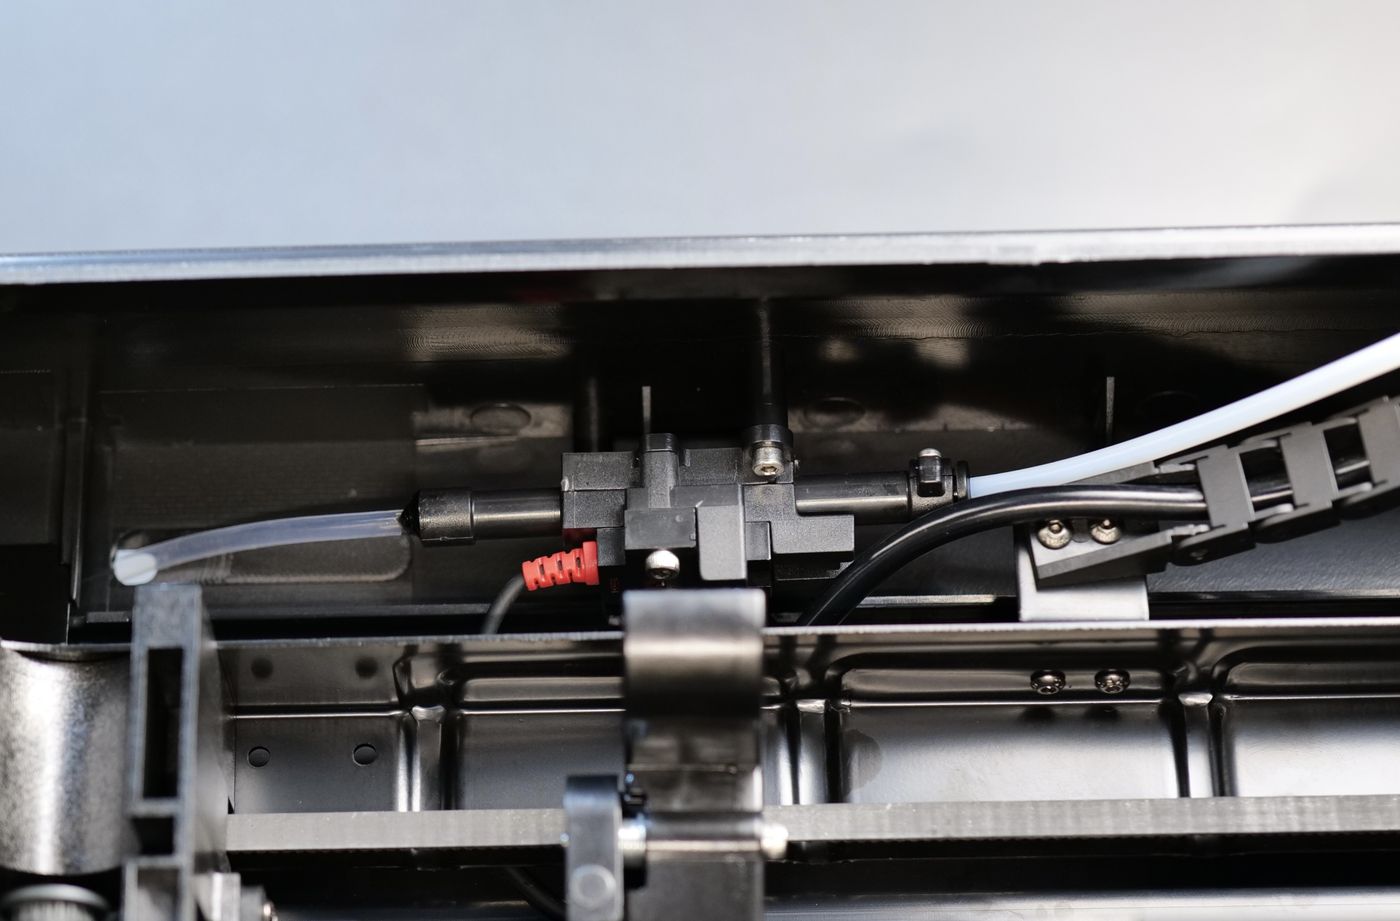
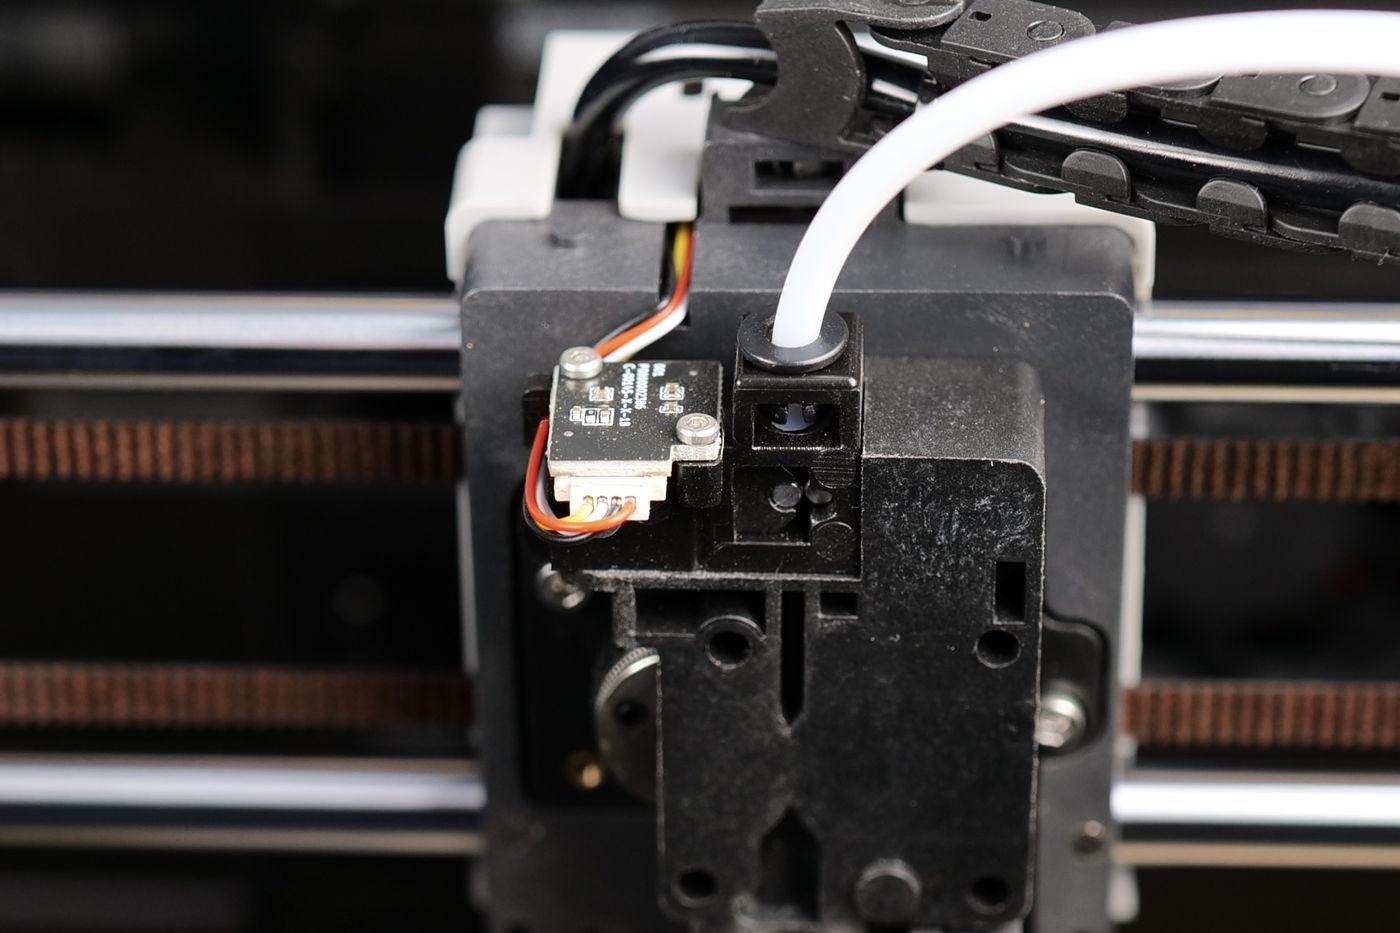
A secondary filament sensor is present on the extruder, just above the extruder gears to stop the print when the filament runs out and you need to install a new spool to continue the print.
All-metal High-Flow Hotend with dual-metal nozzle
As seen below, the hotend is different from the previous design used in the X-Max 3 which used a ring heater. This time, a flat heater attached to the side of the melt zone is used, similar to the Bambu Lab hotends.
The hotend can reach up to 350C which can be useful when printing more exotic filament that can benefit from such a high printing temperature, and the nozzle is also changed. This time, the nozzle is a “dual-metal” variant where the tip of the nozzle is made from a hardened material and the body of the nozzle is made from plated copper to help with thermal transfer.
On paper, the maximum volumetric flow of the hotend is 30mm3/s but in reality I was not able to achieve those results using the expected temperatures for the filaments used.
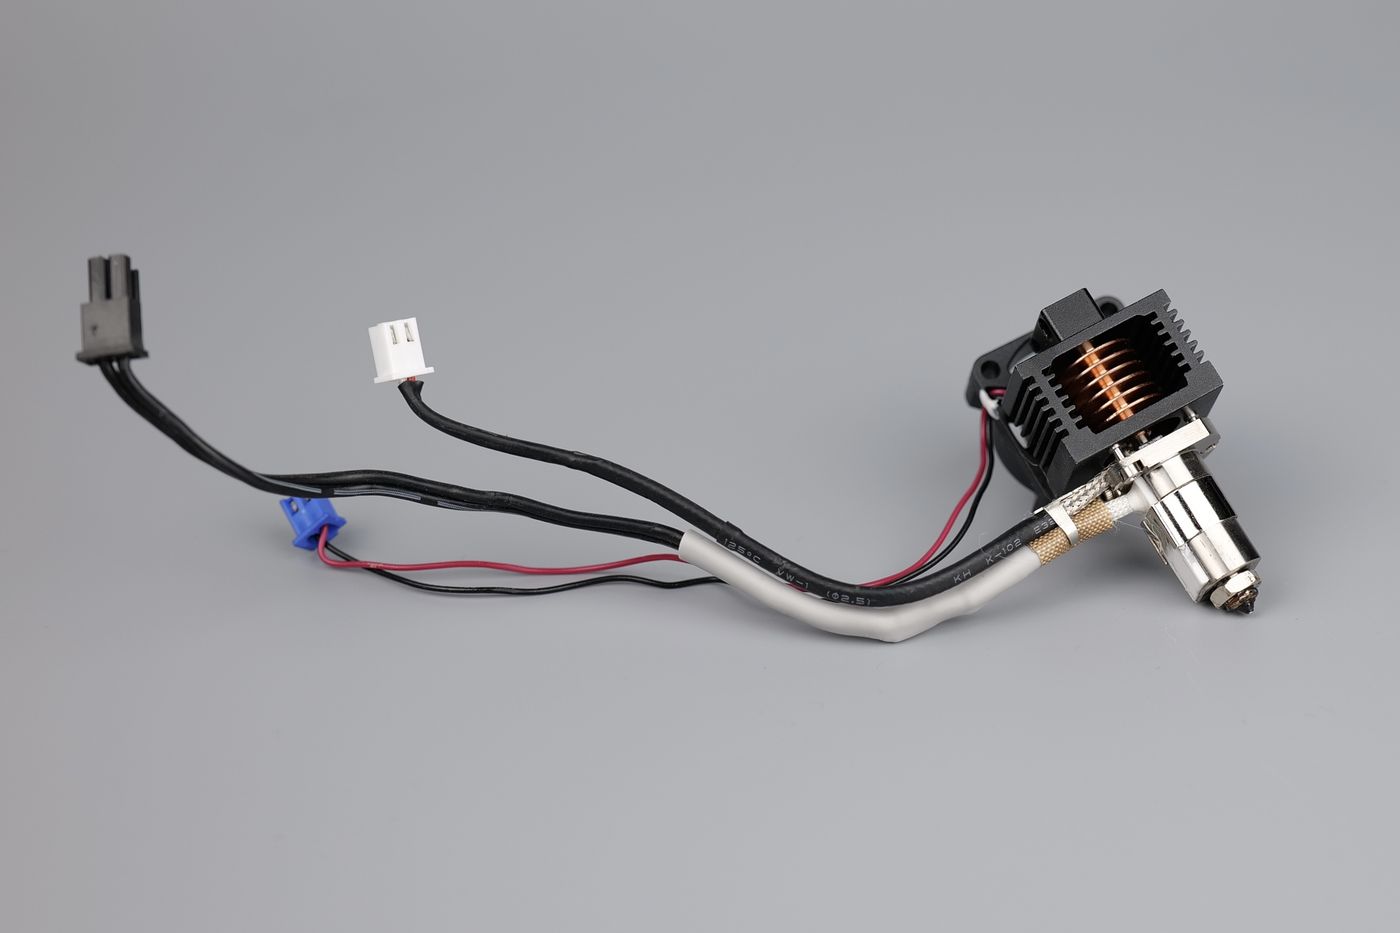
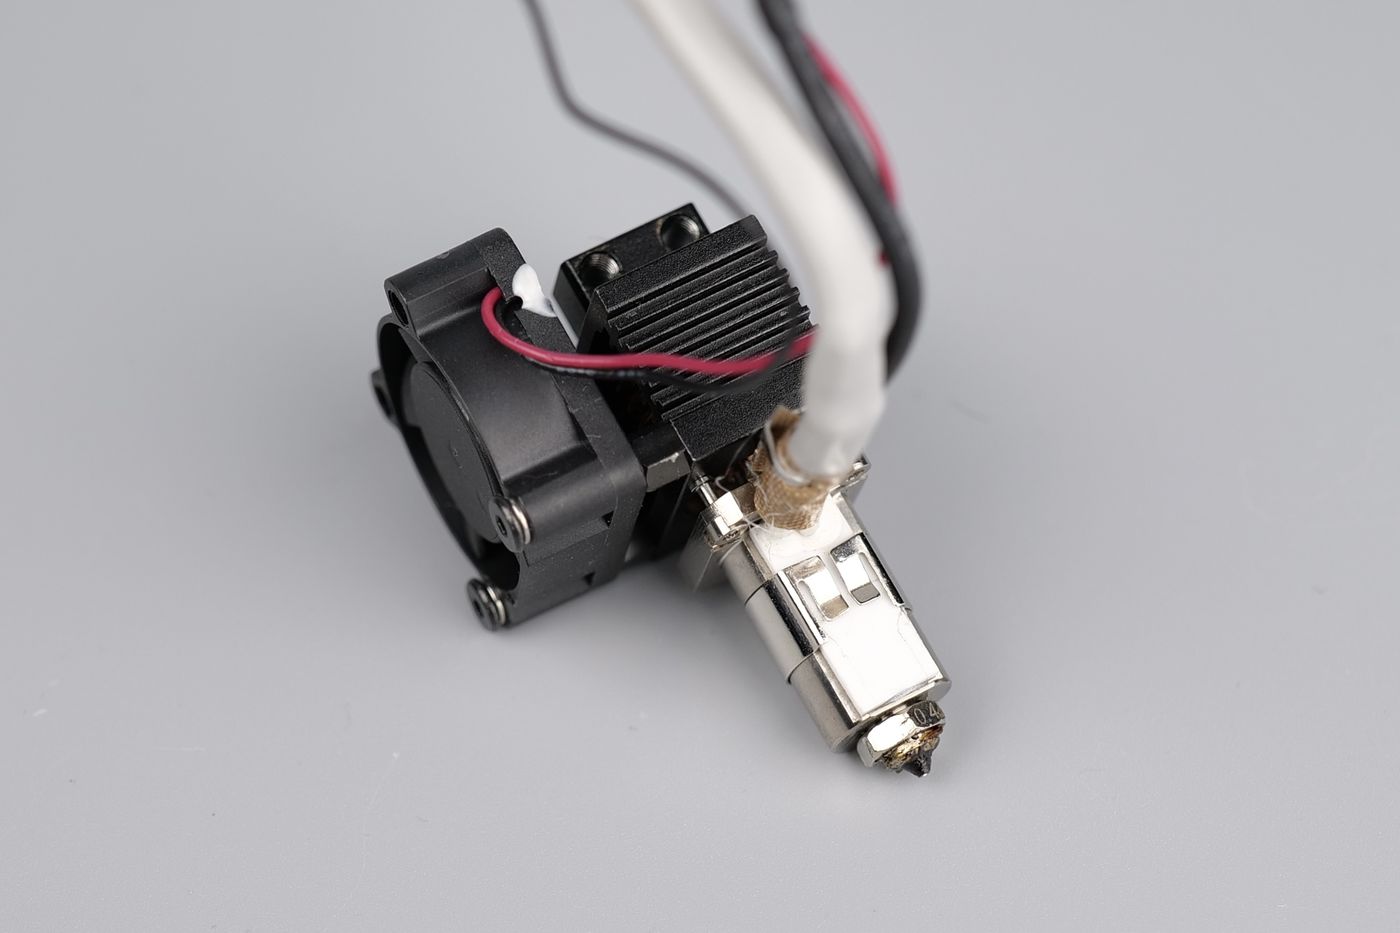
The heatsink section also has a copper section to keep the heatbreak cool during printing, which is probably needed due to the use of three standoffs for holding the melt zone in place.
Using such a system to attach the hot side to the heatsink helps in increasing the rigidity and resiliance of the hotend, but the downside is in more heat being transfered to the heatsink wich brings the need of increased cooling to avoid clogs, especially with PLA or other lower temperature filaments.
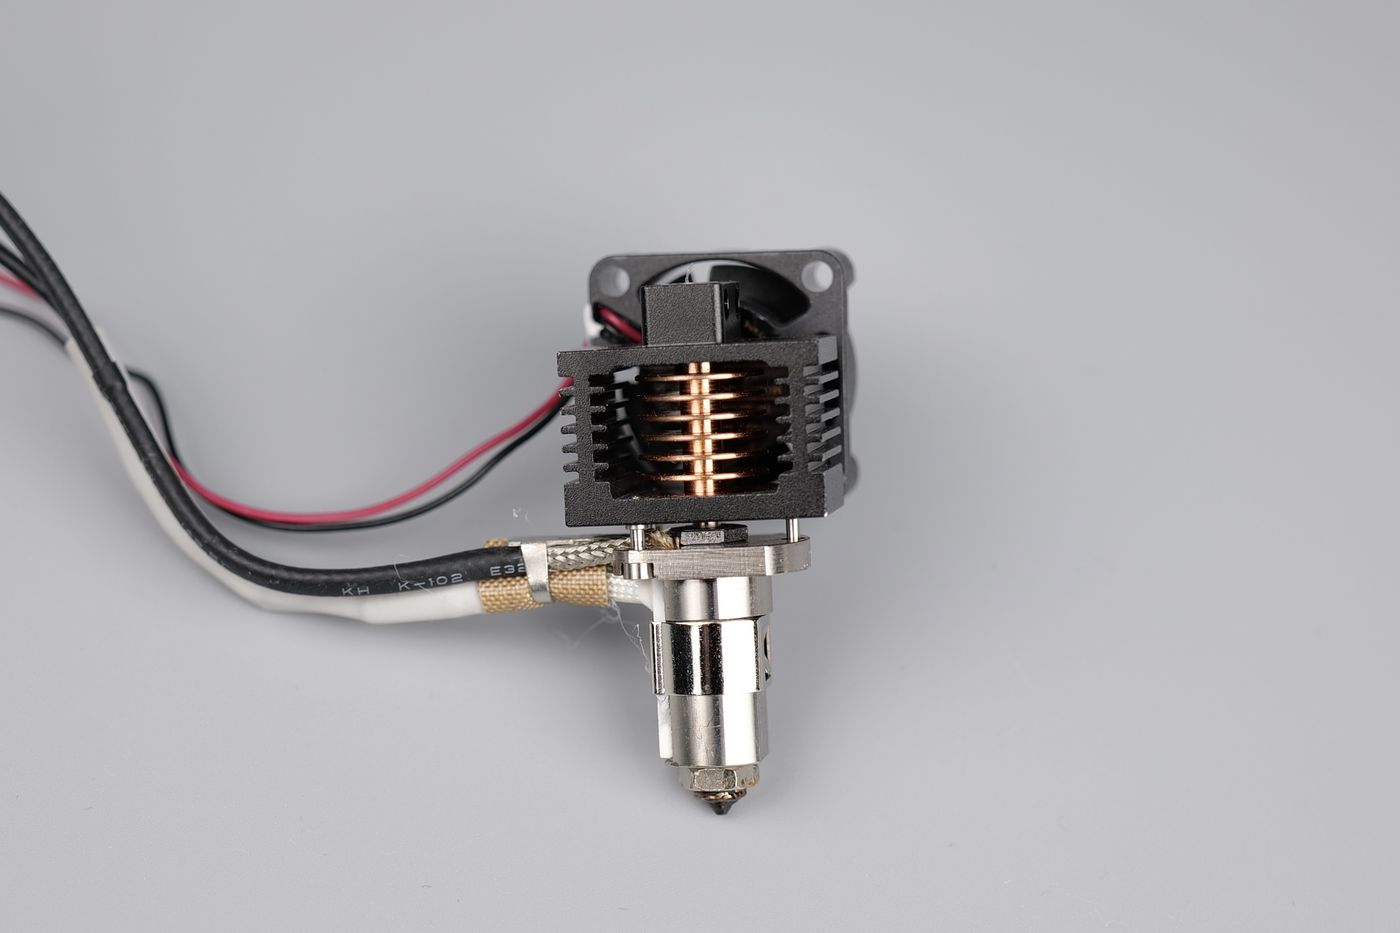
As previously mentioned, the hotend is attached to the back board of the print head, and will require the removal of 4 extra screws to access the wires.
Nozzle Wiping mechanism with a purge bucket
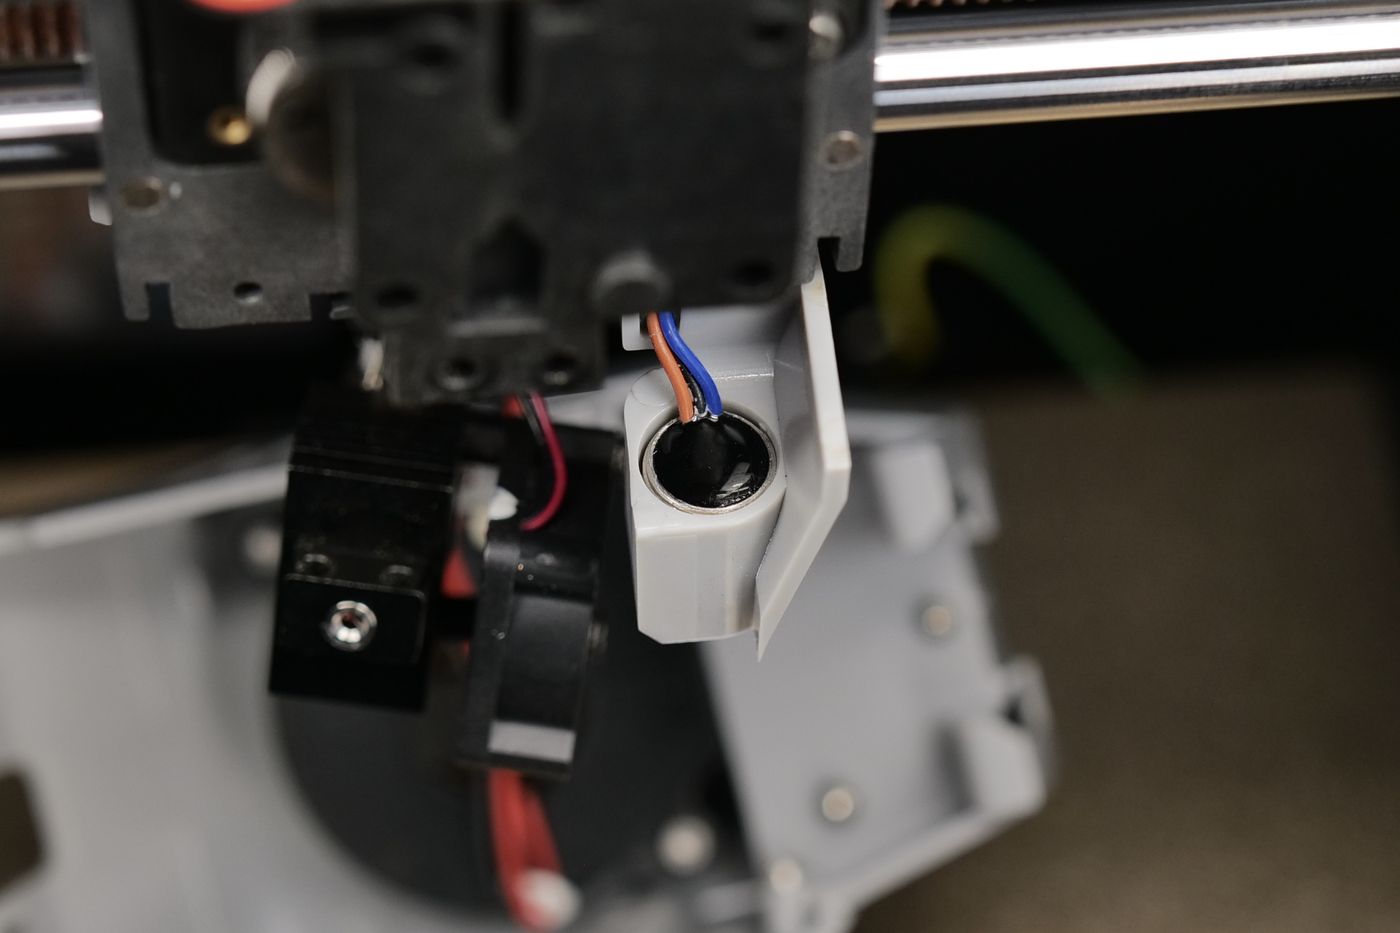
Another idea which seems to be inspired from Bambu Lab printers is having a nozzle wiper mechanism to keep the nozzle clean before leveling and starting a print. This mechanism is moved by the print head pushing against the lever then wiping the nozzle over it.
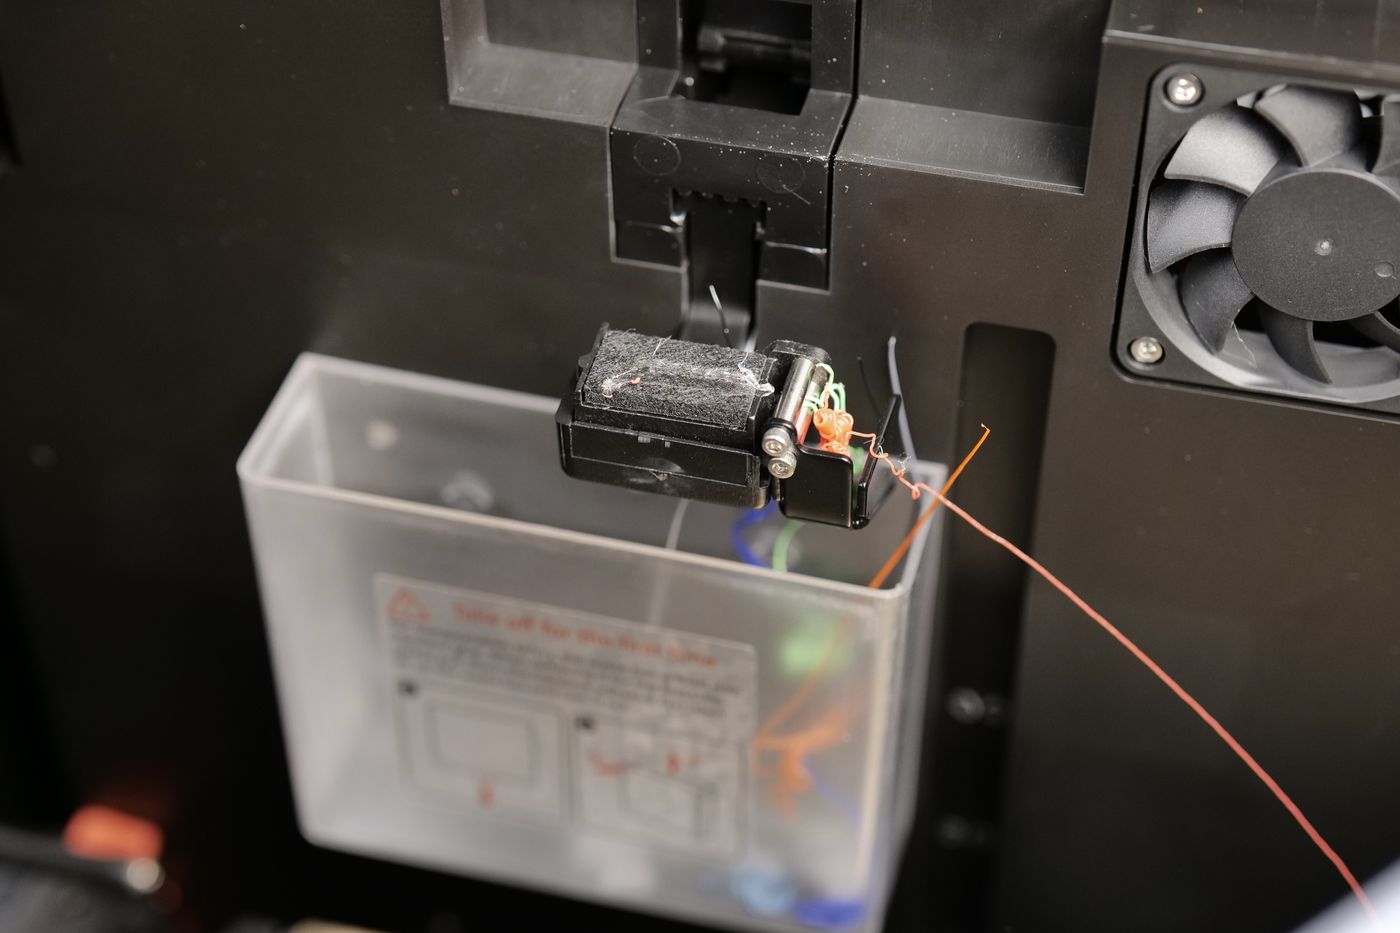
The nozzle wiper works quite well in keeping the nozzle clean, but after a few prints the wiped filament needs to be manually cleaned as it can get stuck in the metallic side.
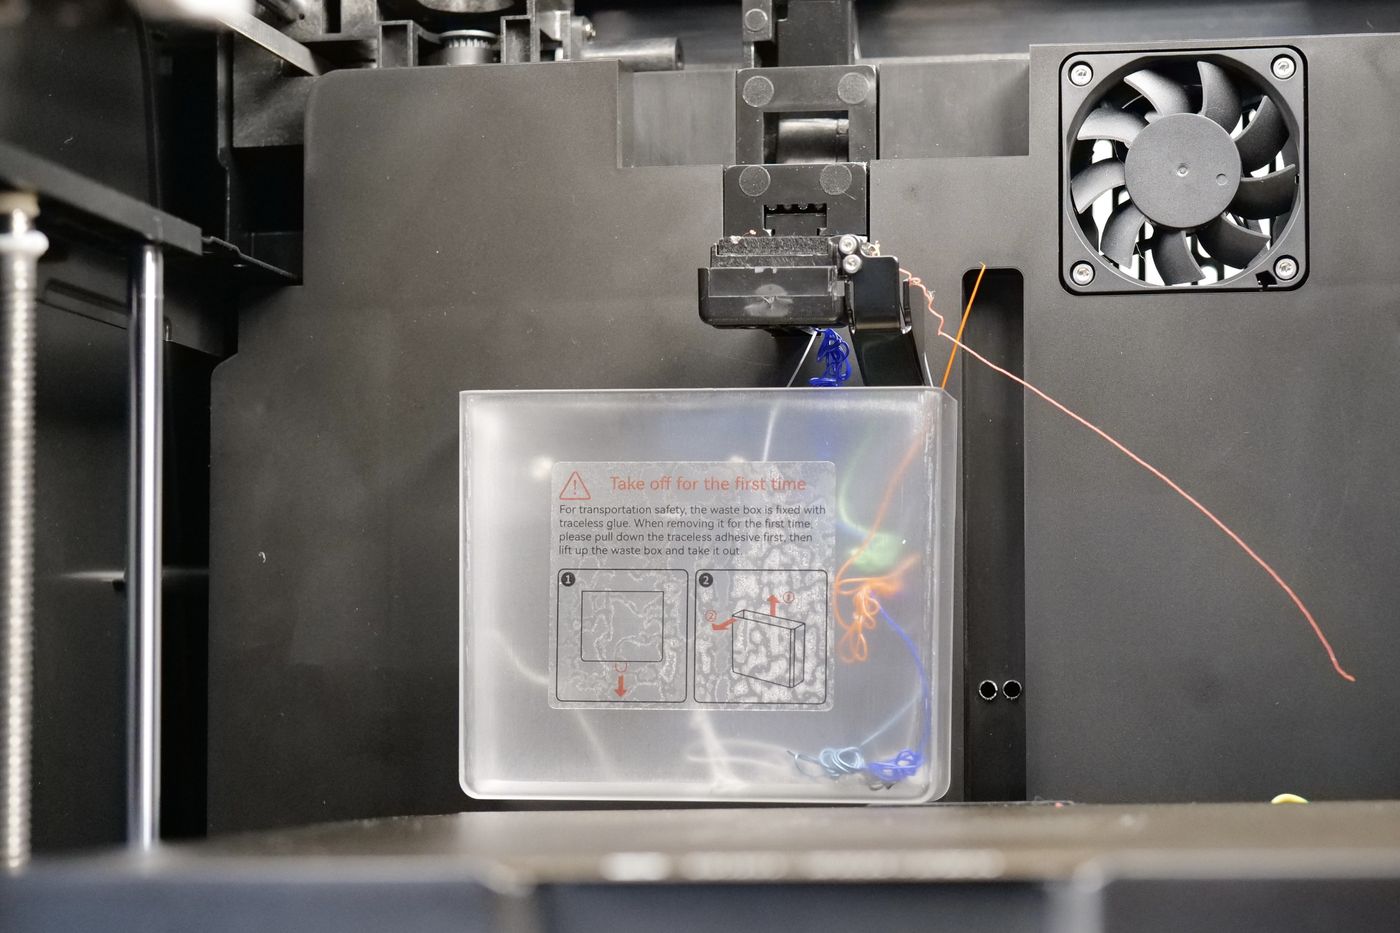
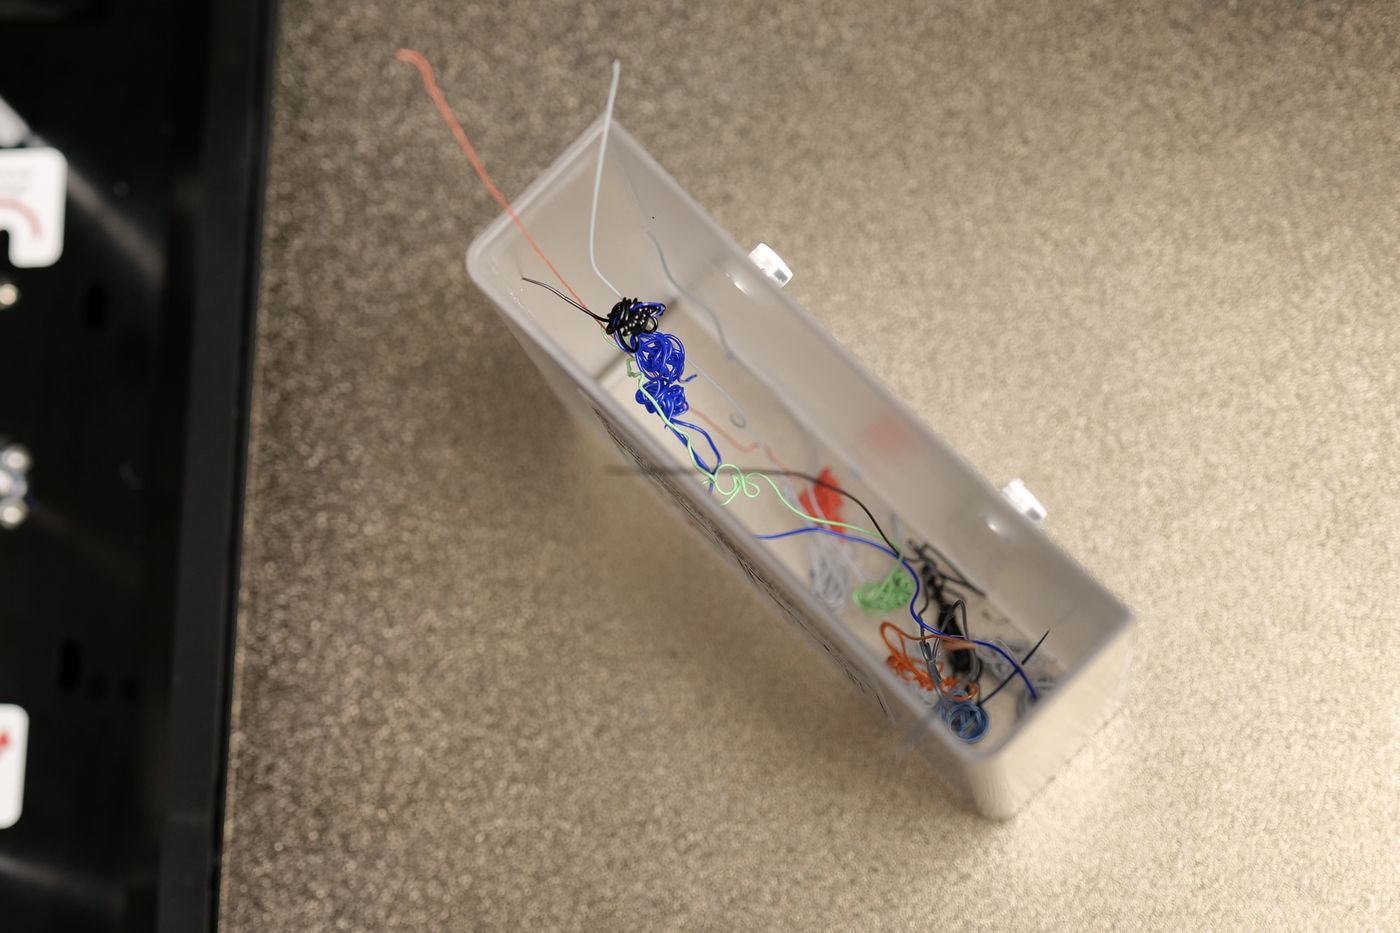
Besides that, the wiping mechanism moves more than I was expecting and feels quite flimsy.
Dual Bed-Leveling system with Dual-Z motors
Bed Leveling is completely automated on the Q1 Pro and doesn’t require any manual intervention. This automation is made possible by a few leveling systems working at the same time.
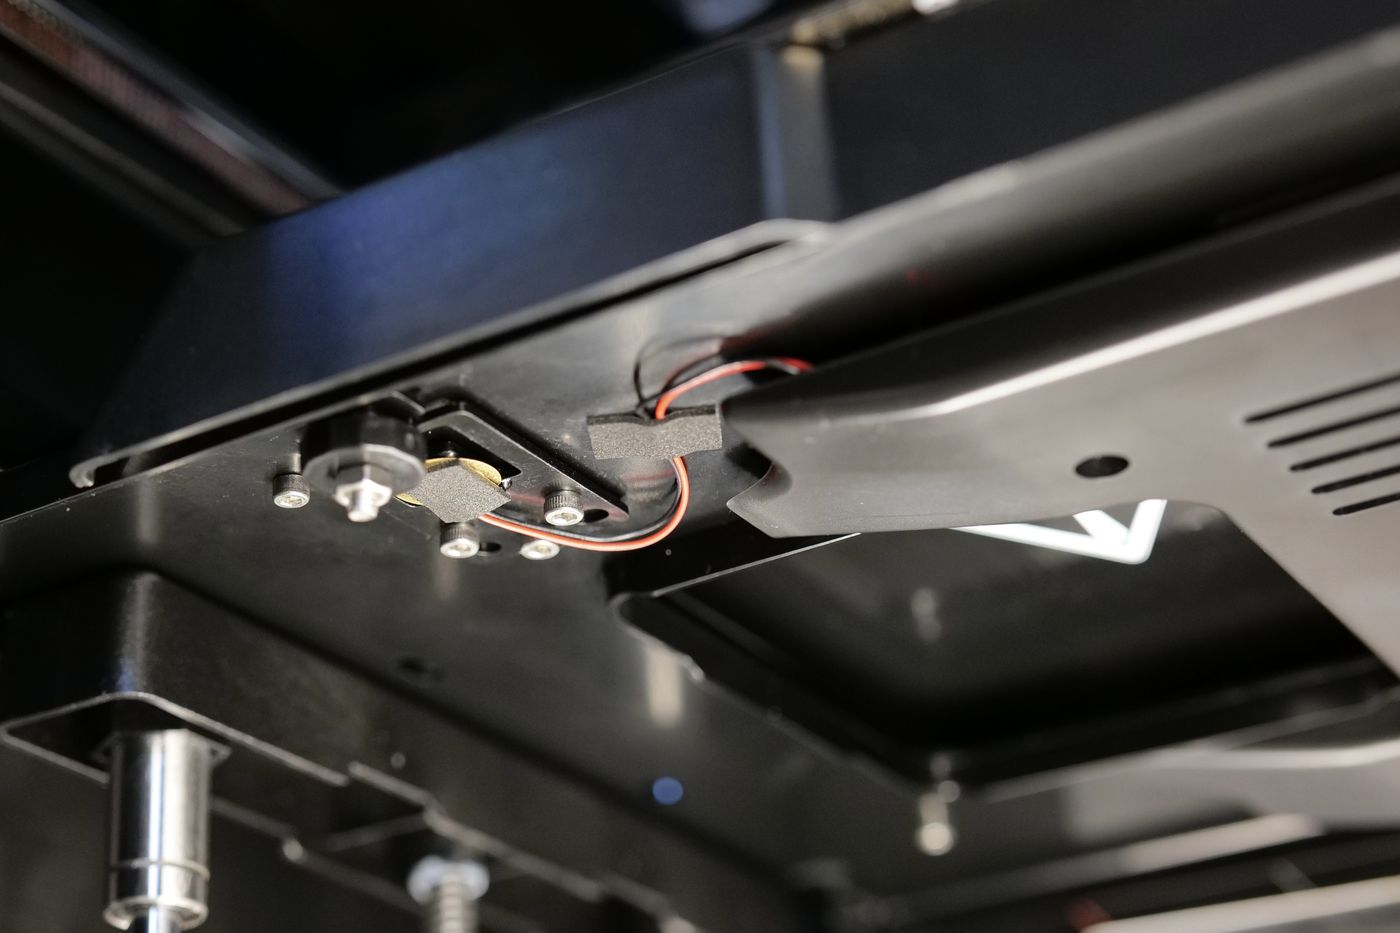
First, the heatbed is leveled using the Dual-Z motors that move the heatbed up and down. Before starting a print and the secondary leveling procedure, the nozzle moves on the left to probe the bed, then moves on the right for a second probing, which then triggers the leveling by adjusting the position of the motors.
With the heatbed level, the bed probing starts. I was first under the impression that the sensors under the heatbed detect the nozzle touching the bed thus allowing for the heatbed to complete the leveling process before starting the print. But in reality, it seems like the bed leveling procedure is done using a third sensor, which is the inductive probe on the right side of the nozzle.
I am not 100% sure of this, but I believe the heatbed sensors are only used during calibration for setting the Z offset. I also don’t know why there’s a need to use a secondary sensor on the toolhead for this, but I will update the article once I find out more.
During my testing period with the printer, I never experienced any bed leveling issues and the first layer quality was always great, so the system seems to be working as expected.
Dedicated 240V AC Chamber Heater
Usually, having an enclosed 3D printer will allow you to print most common higher temperature materials like ABS and ASA without issues while passively heating the printer enclosure. But the QIDI Q1 Pro comes with a dedicated heater to help raise the temperature quicker while also keeping the temperature more consistent.
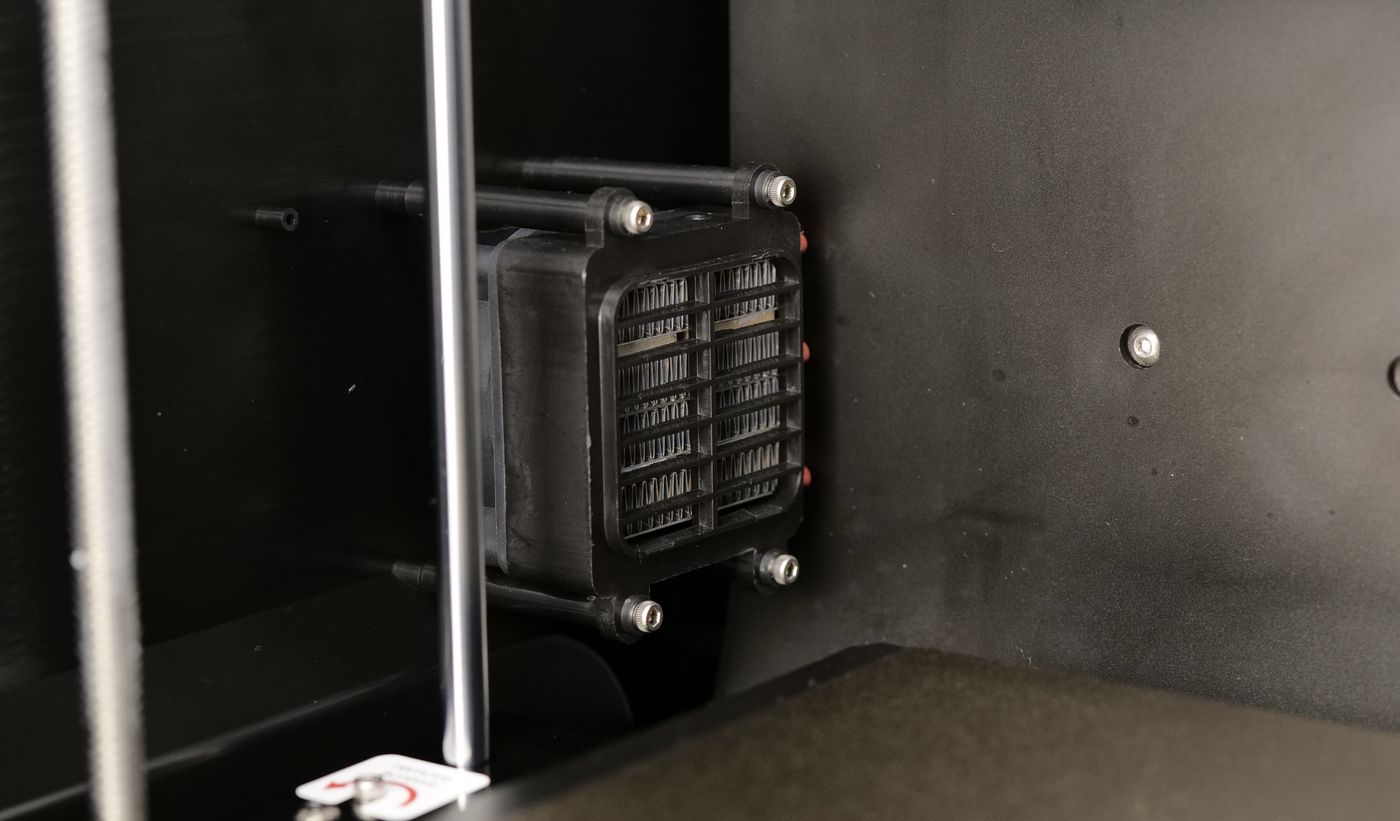
The 240V AC heater used with this printer helps raise the temperature in the chamber faster than relying only on the heatbed to passively heat the chamber. It can help to raise the chamber temperature up to 60C and keep it consistent.
Important Update: It has been confirmed by multiple users that the heater exposes live power which can be very dangerous during use. Avoid touching the heater while the printer is on otherwise there is a risk of electric shock. More information about this is available in this Mandic Labs video.
Having this heater is useful and can be considered an upgrade, but it’s unfortunate that the real-life results are not the ones expected, due to the materials used on the heatbed.
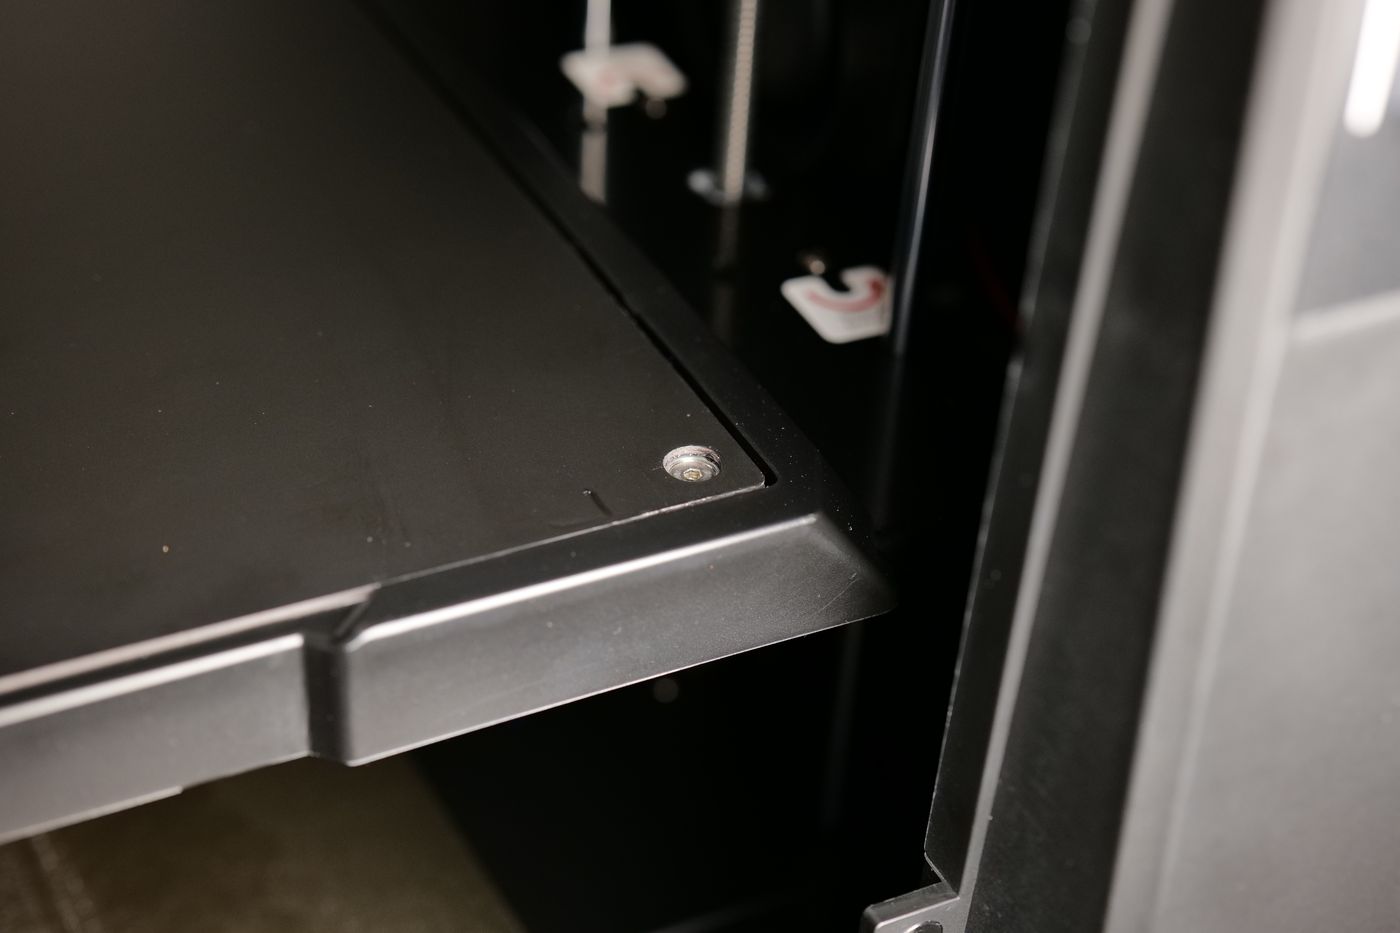
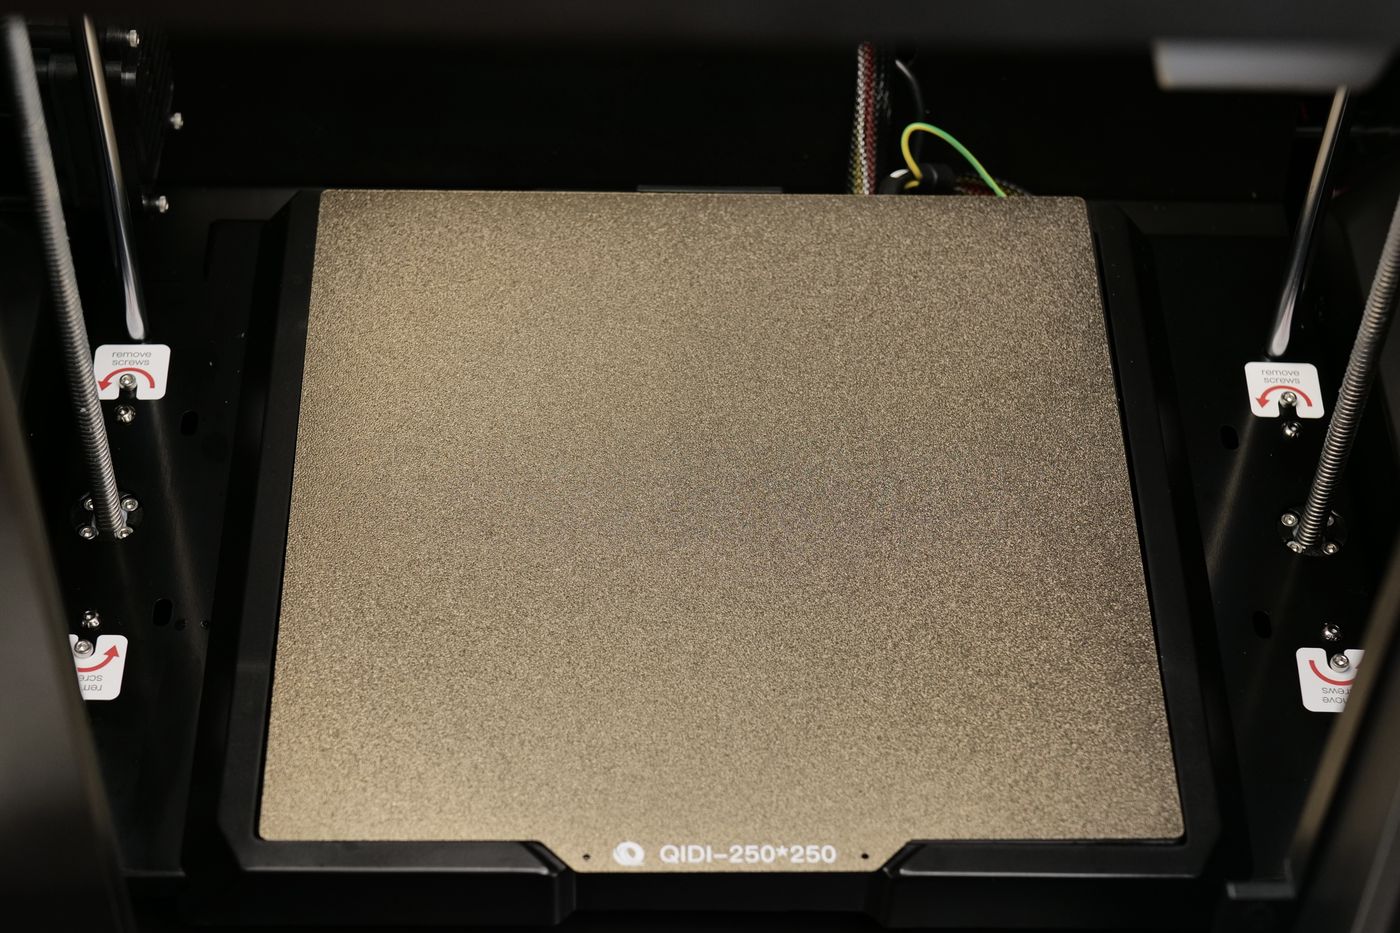
The heatbed is not the higher quality slab of metal with embedded magnets and instead, a PCB style heatbed is used which has a magnetic sticker applied to it for holding the Dual-Sided Textured PEI plate in place. This leads to issues when printing higher temperature materials due to the material shrinkage that is powerful enough to raise the plate from the heatbed.
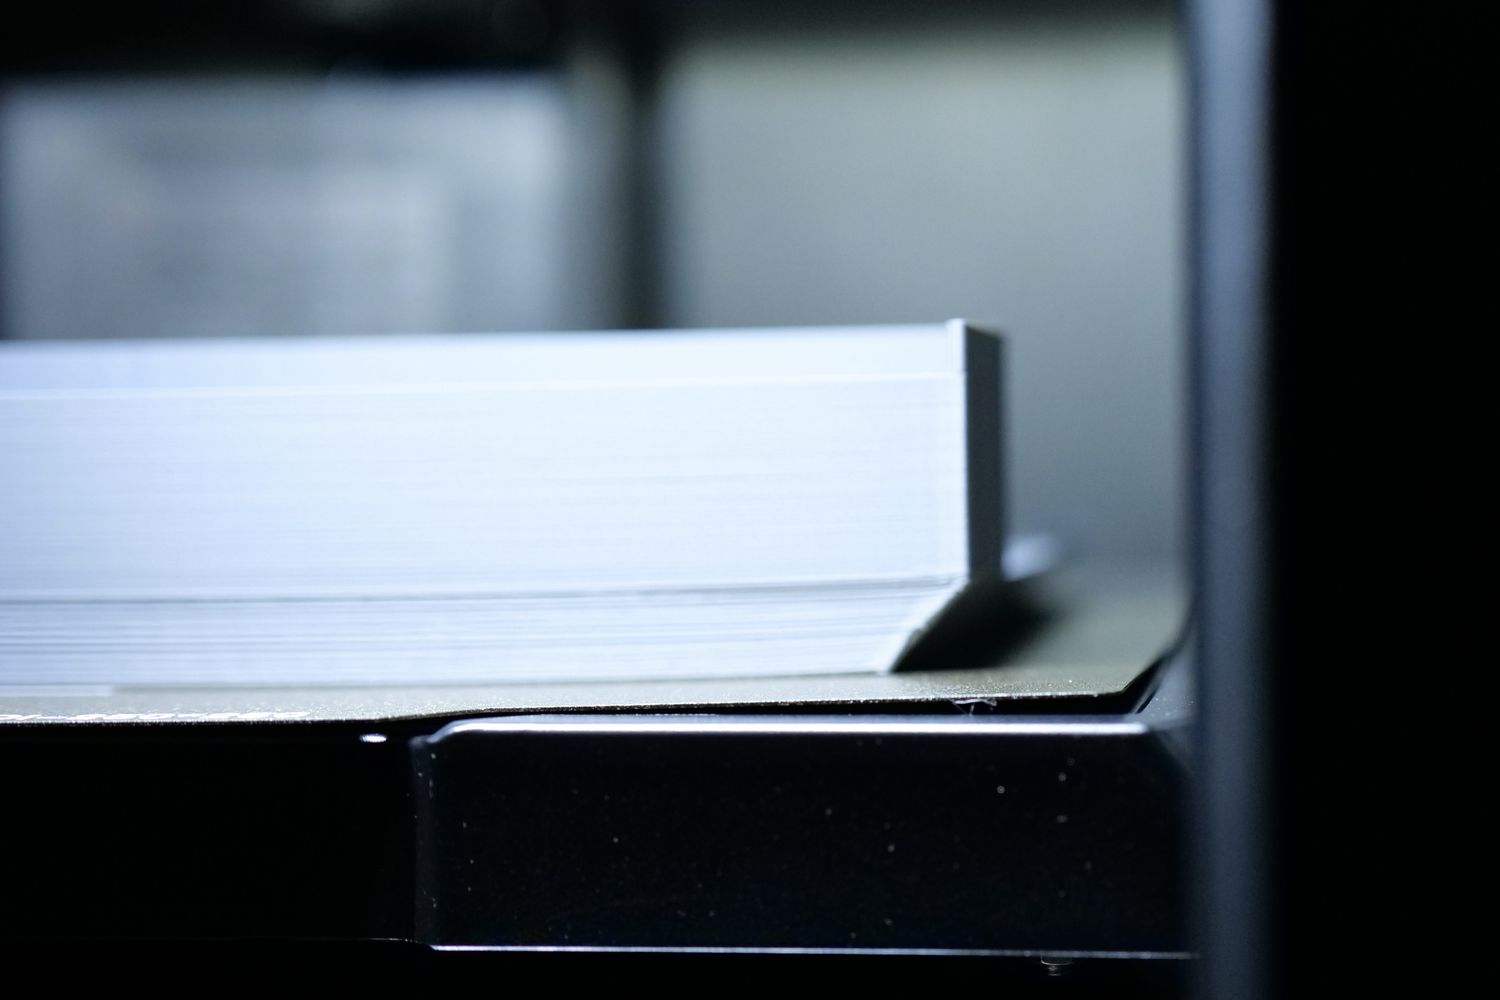
As seen in the picture, when printing a larger model in ASA, the printing surface has raised from the front right corner even though the chamber temperature was set to 60C and was constant during the entire print. And this issue occured even though the magnet sheet seems to be quite thick.
With this in mind, I don’t think the Q1 Pro is the best when printing such higher temperature materials that take a large portion of the heatbed, but for smaller prints the results are better.
Dual-Sided Textured PEI plate
It’s quite common for most 3D printers nowadays to come with a Dual-Sided Textured PEI plate and the QIDI Q1 Pro comes with one. This surface works great for most materials printed on it, and adhesion is quite good.
The only issue I have with it is related to the alignment tab on the back of the heatbed. Because the alignment tab is located in the middle, you need a bit of extra care when you install the plate back on the machine so it is correctly alligned on the sides.
A better implementation with dual alingnment tabs would have helped, but I don’t consider this a huge problem.
32-bit board running Klipper Firmware
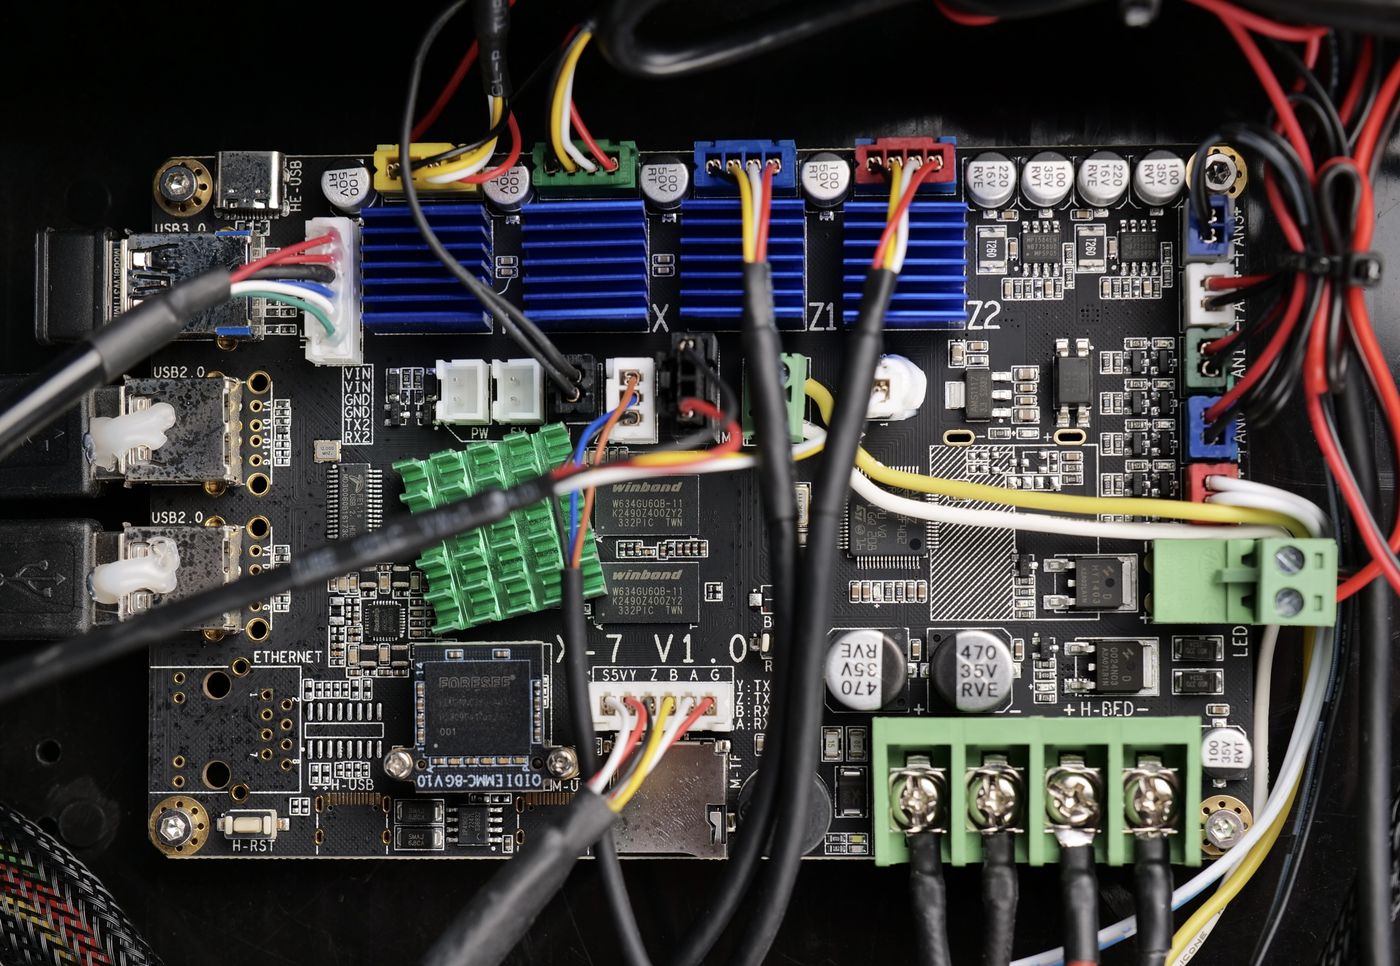
When it comes to the “brains” of the Q1 Pro, the same board used in the X-MAX 3 is present. This time, it comes with TMC2240 stepper drivers, but other than that I can’t see any obvious differences.
The board has a Cortex-A53 64-bit Processor running at 1.5Ghz and 1GB DDR3 RAM which should be plenty for running Klipper reliably. For storage, the board uses an MKS EMMC V1.0 chip which should last quite a long time compared to the unpopulated MicroSD option available on the board.
As you would expect from QIDI, their Klipper implementation is “clean” without altering the code too much from stock, which is something I can appreciate, especially with including features like KAMP or timelapse support out of the box. The main issue being that the Klipper version is quite old, and cannot be easily updated. Hopefully an update will come soon.
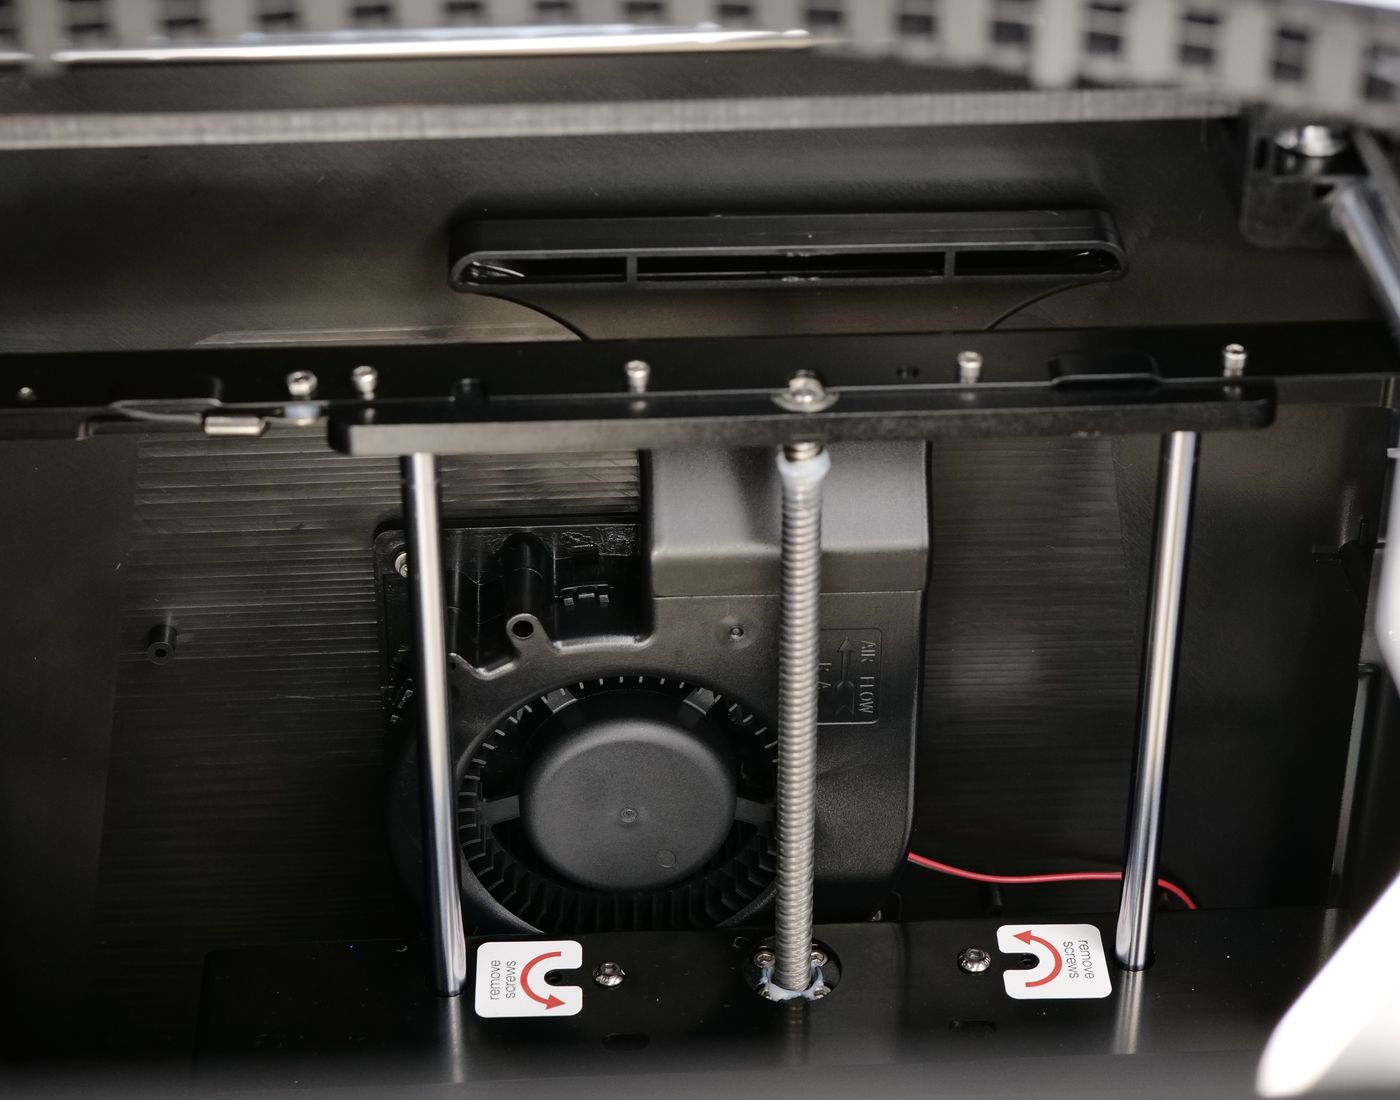
The only annoying thing is the cooling 4010 24V cooling fan which is running constantly, even when the printer is not being used. It’s not very noisy but it would be better if the fan would be turned off when the machine is idle.
Besides that, the printer is mentioned to have an Ethernet port to connect the printer by a network cable. Unfortunately, there is no connector on the board to allow this which is comical to be honest.
4.3-inch Touchscreen
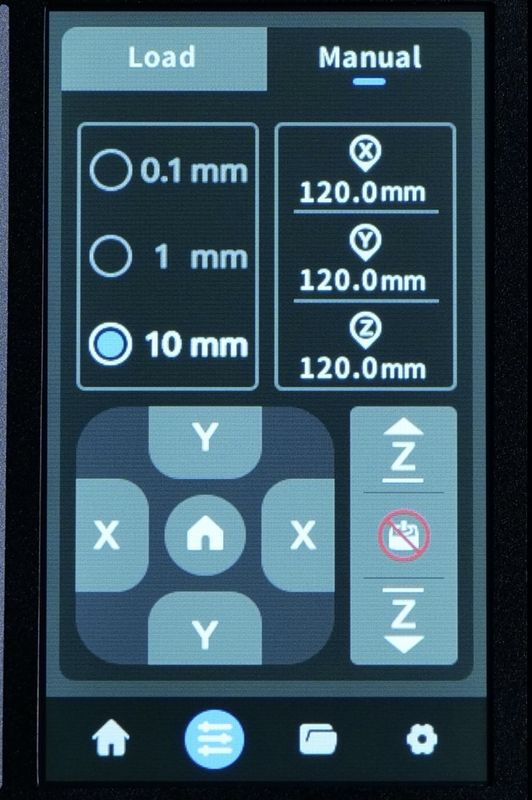
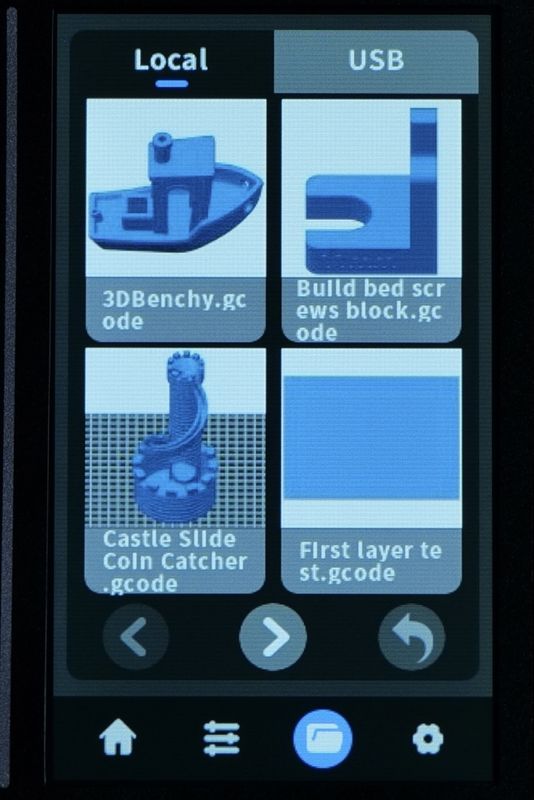
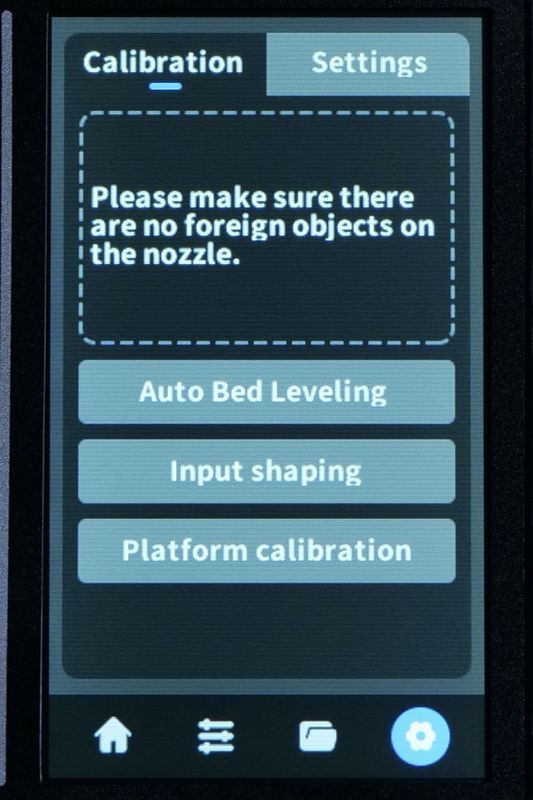
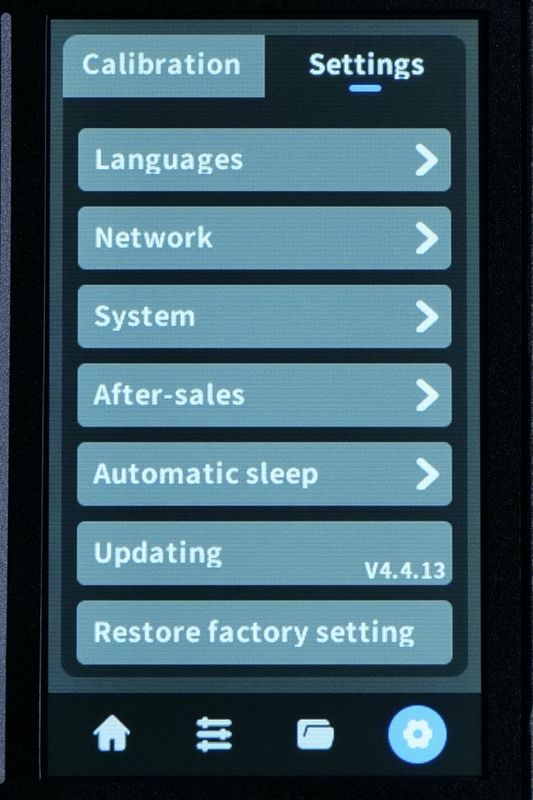
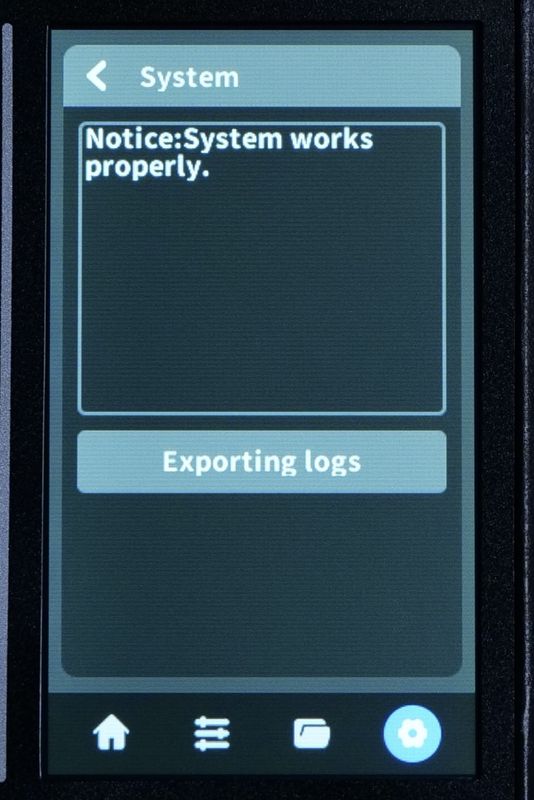
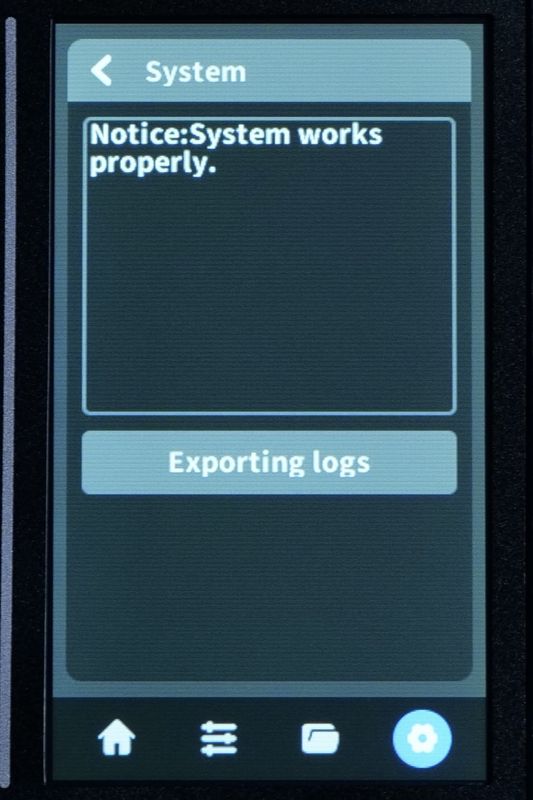
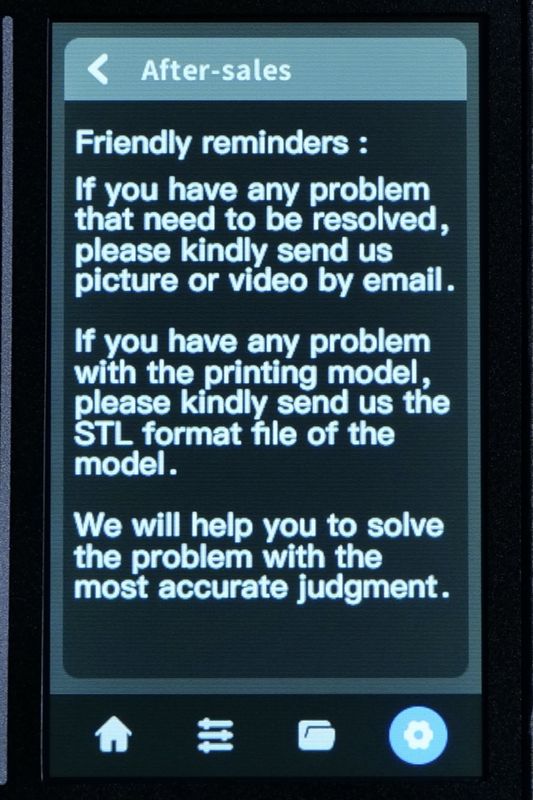
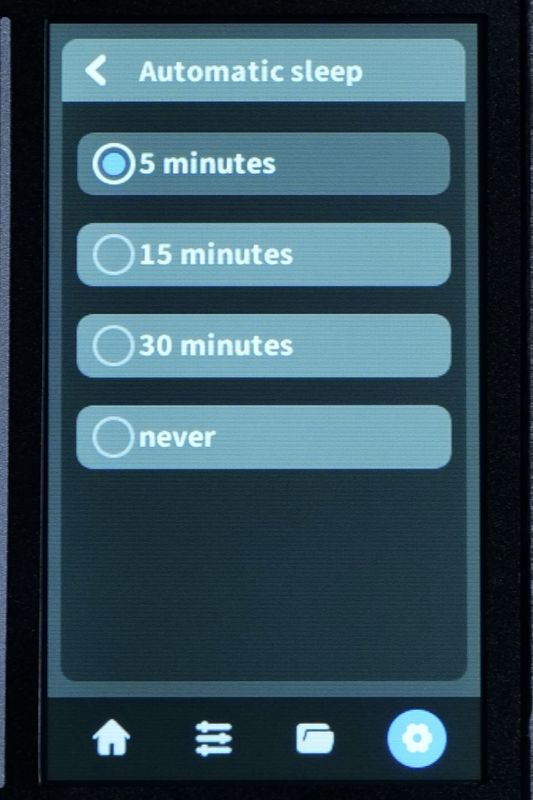
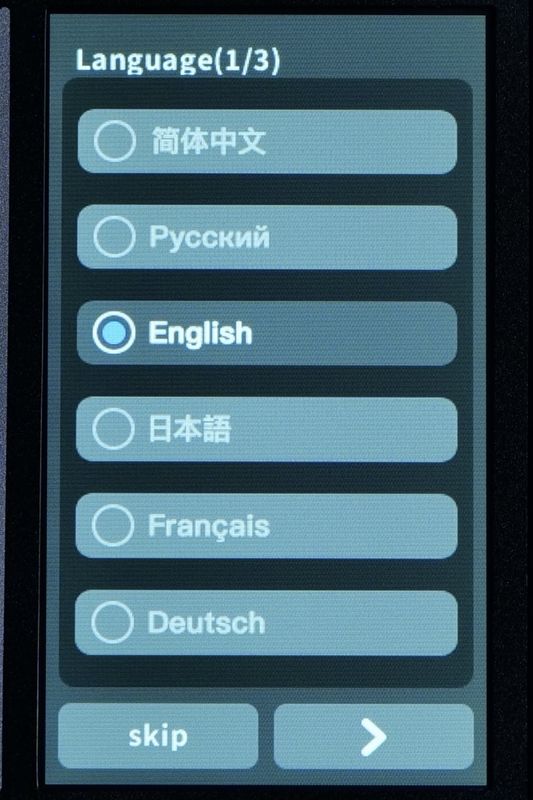
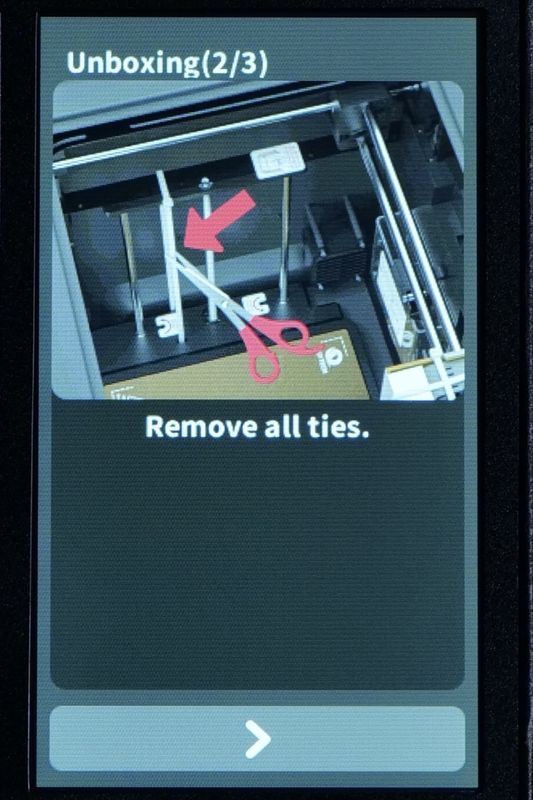
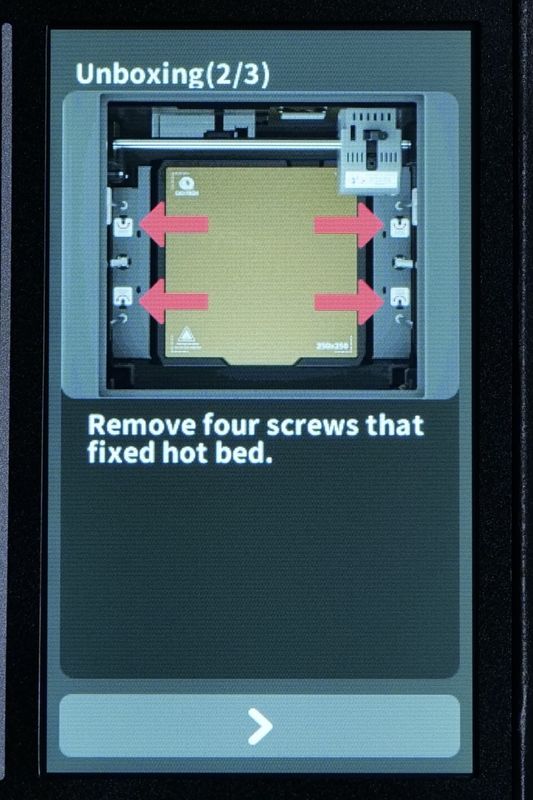
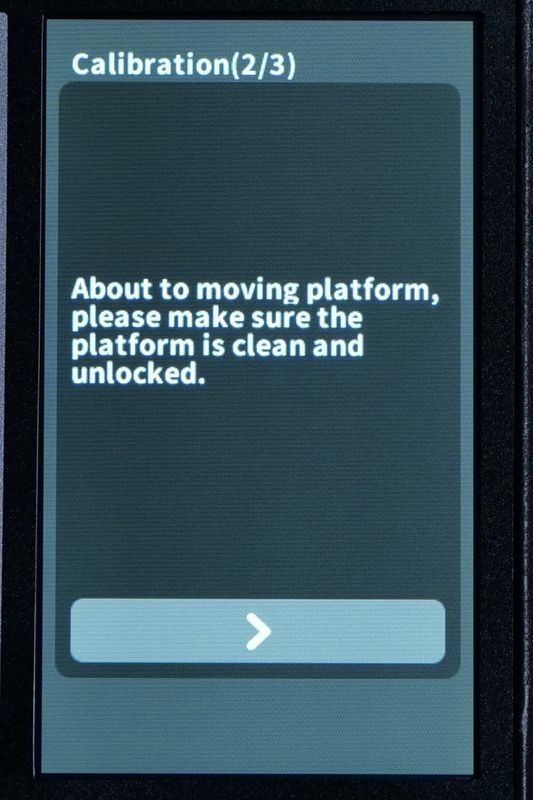
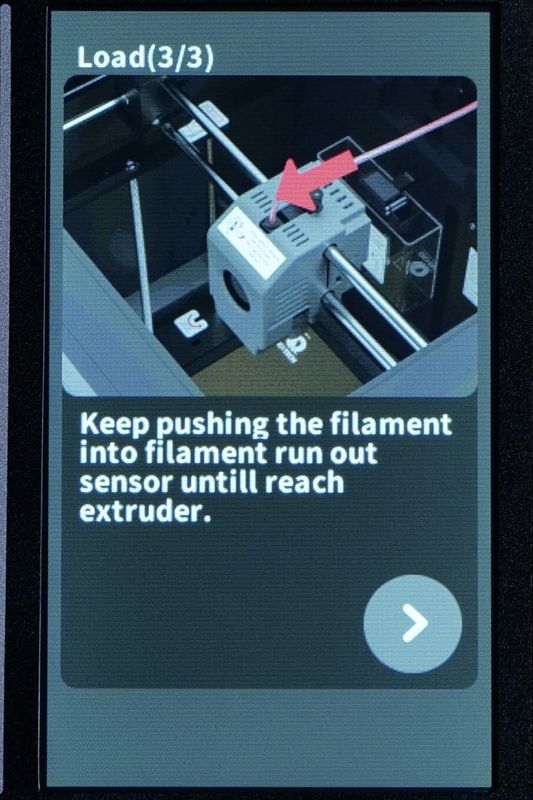
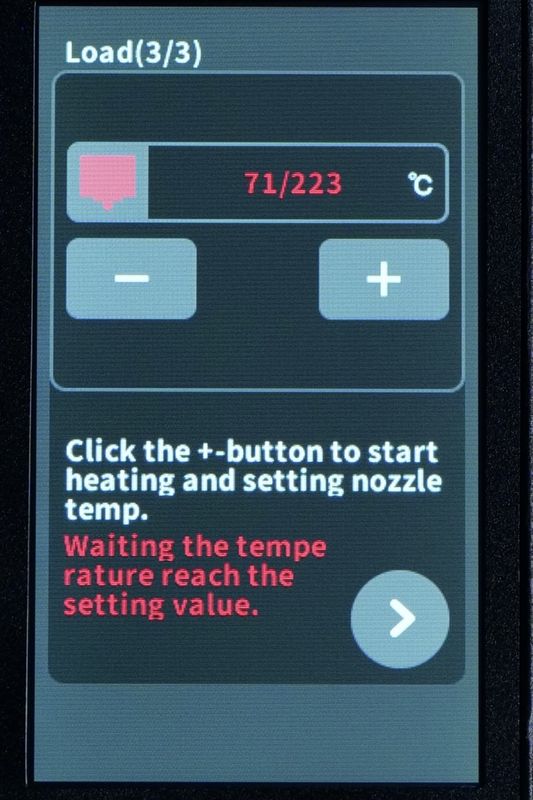
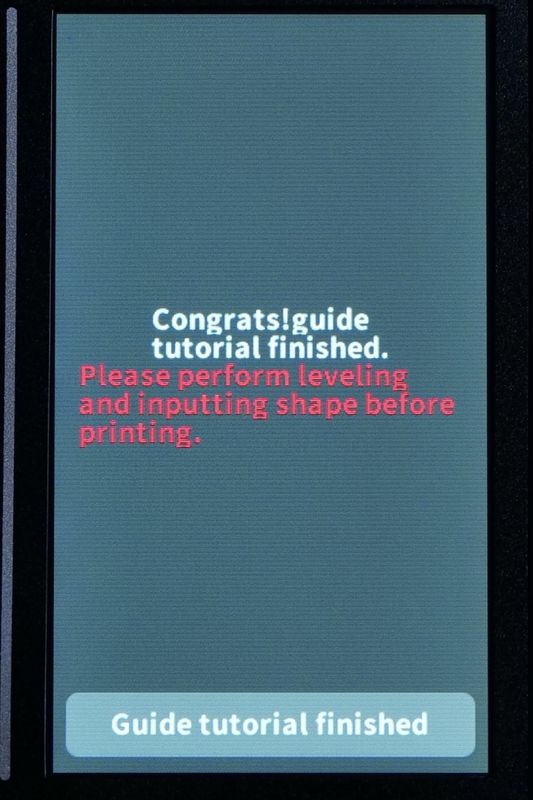
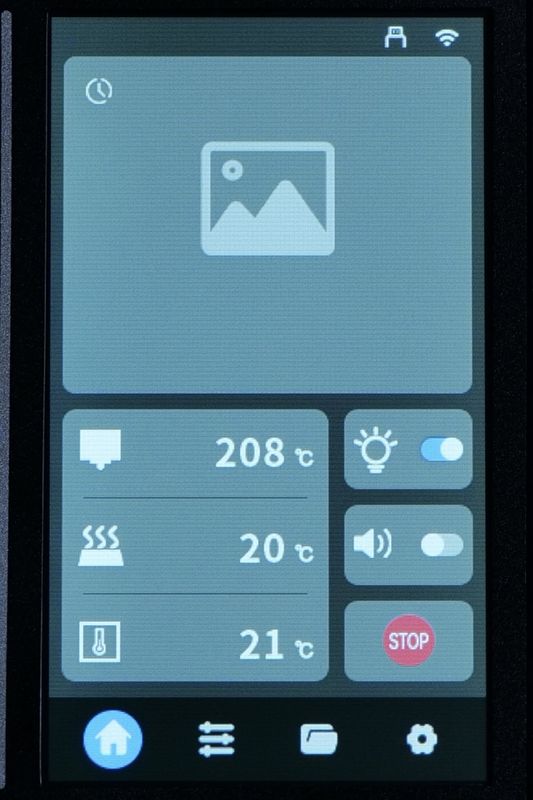
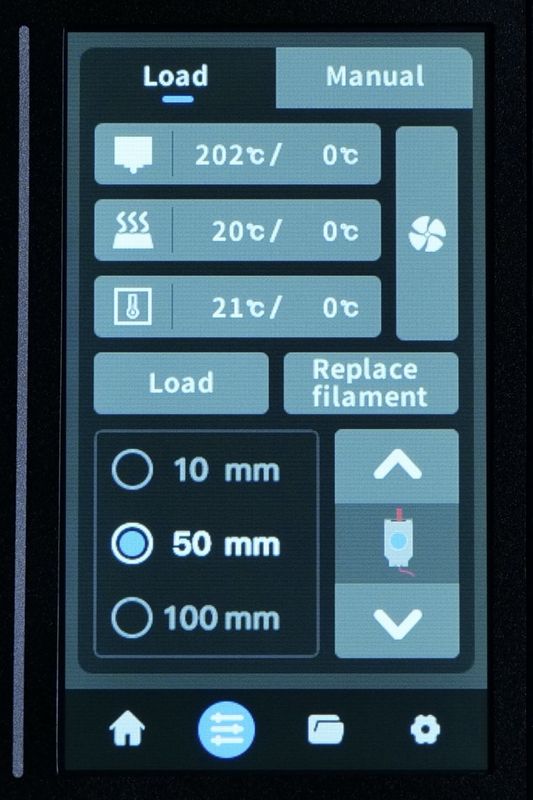
I like the touchscreen implementation for the QIDI Q1 Pro as the menu is nicely laid out and easy to use.
I also like the short gifs during setup which guide you through the process of setting up the printer.
Auxiliary Fan with partial cooling coverage
Having an auxiliary fan to help with part cooling became the norm lately, and the Q1 Pro also includes one. The cooling performance is good but when the fan is blowing a 100%, the noise increases signifficantly and can become annoying at times.
1080P Camera for Remote Monitoring
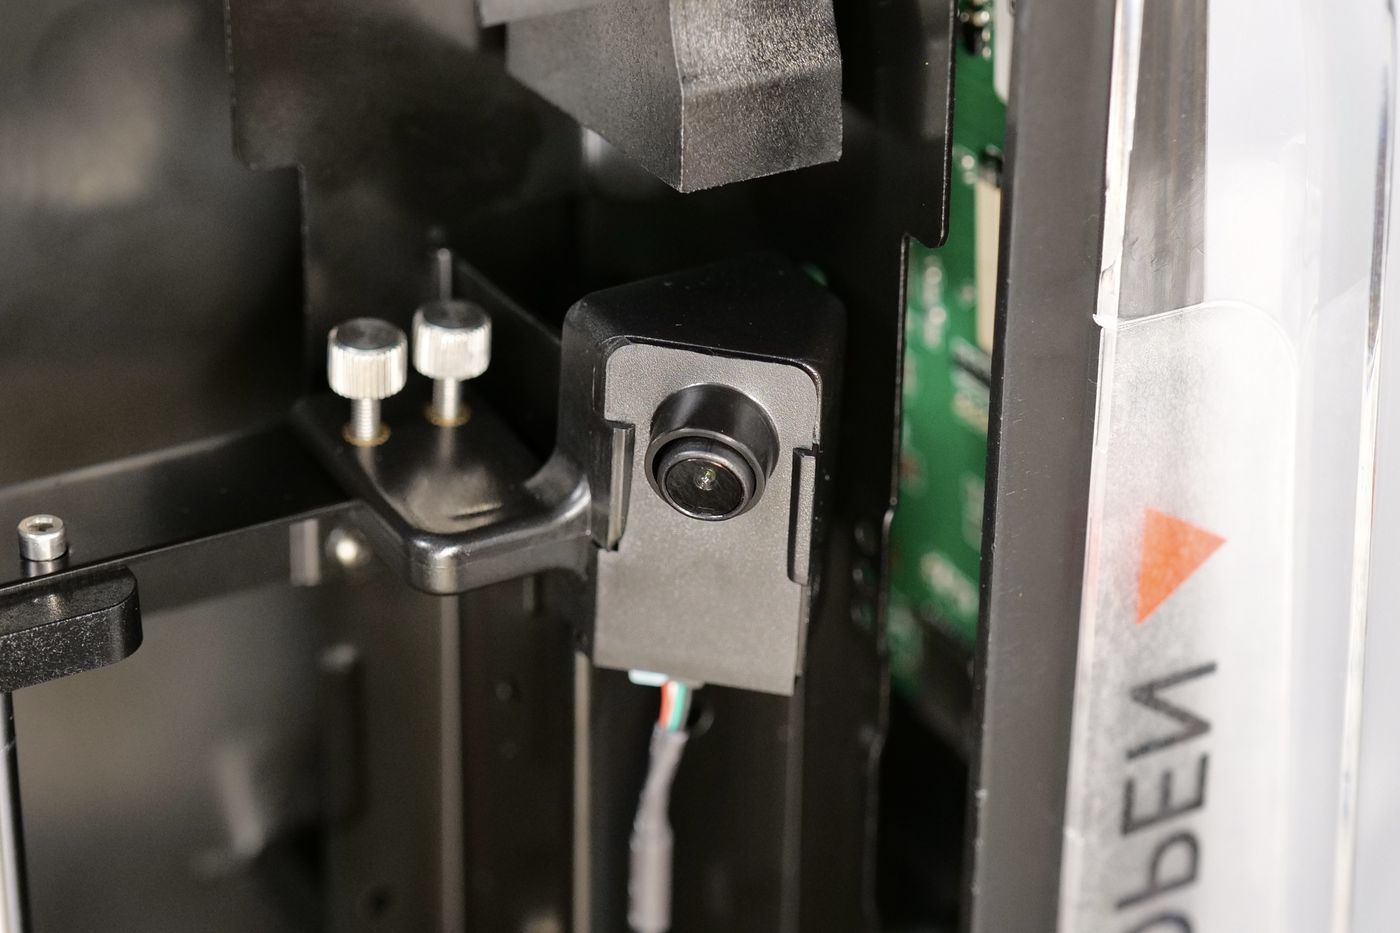
This time, QIDI made the right choice and included a remote monitoring camera out of the box which was a signifficant feature missing from the X-MAX 3. This allows for easy access to the printer remotely (when you are on the same network) to check on your print and confirm that everything is running as expected.
Unfortunately, the camera can only provide remote viewing functionality, and no smart features like Spagetti Detection or Print Failure Detection, features found in competitor printers from Creality and Bambu Lab.
An example of the camera quality output can be seen in the screenshot below, which is not the best out there, but it’s still acceptable with a relatively decent FPS to monitor the print.
Orca Slicer and QIDI Slicer
When reviewing the Q1 Pro, I got access to dedicated slicing profiles which were compatible with Orca Slicer and QIDI Slicer. Unfortunately, the material profile selection is quite limited and the quality I was able to get with them is not as good as I would like.
I really hope this problem is solved with future updates after the release, and not left to the users to figure out. Mostly because the recent printers I reviewed came with pretty good profiles out of the box which is expected in 2024.
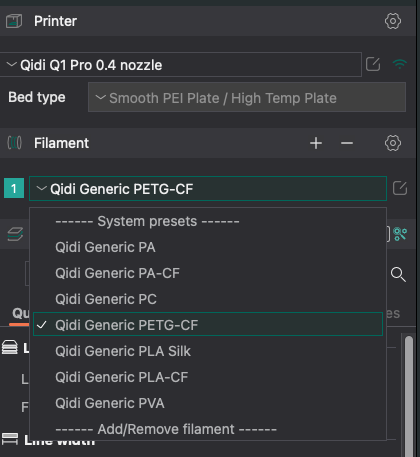
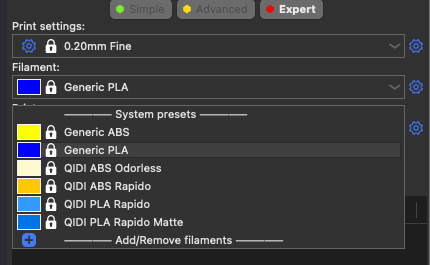
I would like to see more options for other filament types, as Generic PETG, ASA and TPU were completely missing from the compatible slicers and this should not be the case.
Heating time and power consumption
Hotend
- 200C in 35 seconds
- 250C in 52 seconds
- 300C in 1 minute and 16 seconds
- 350C in 1 minute and 58 seconds
Heatbed
- 60C in 3 minutes and 5 seconds
- 100C in 8 minutes and 26 seconds
- 120C in 14 minutes and 34 seconds
Power Draw
Idle power draw is around 10W. When the hotend and heatbed are heating up, the QIDI Q1 Pro draws around W. After it starts printing, the power draw stabilizes to around W.
All these measurements were taken with a Blitzwolf smart power socket which indicates the power draw, and it can also be used for remotely powering on and off the printer.
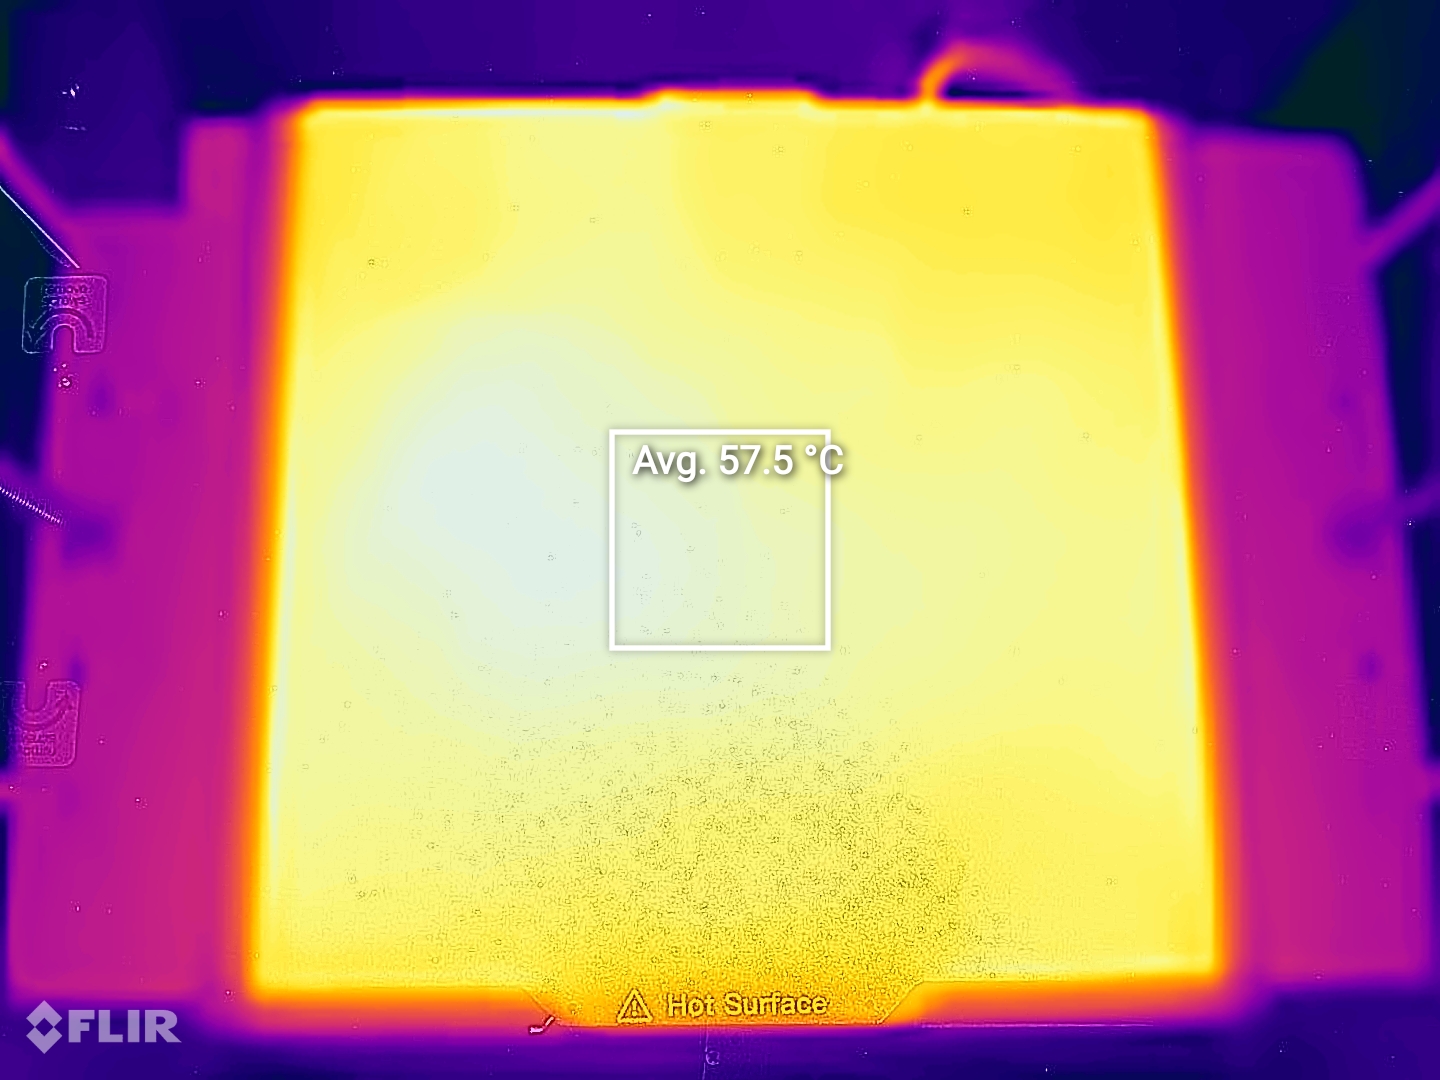
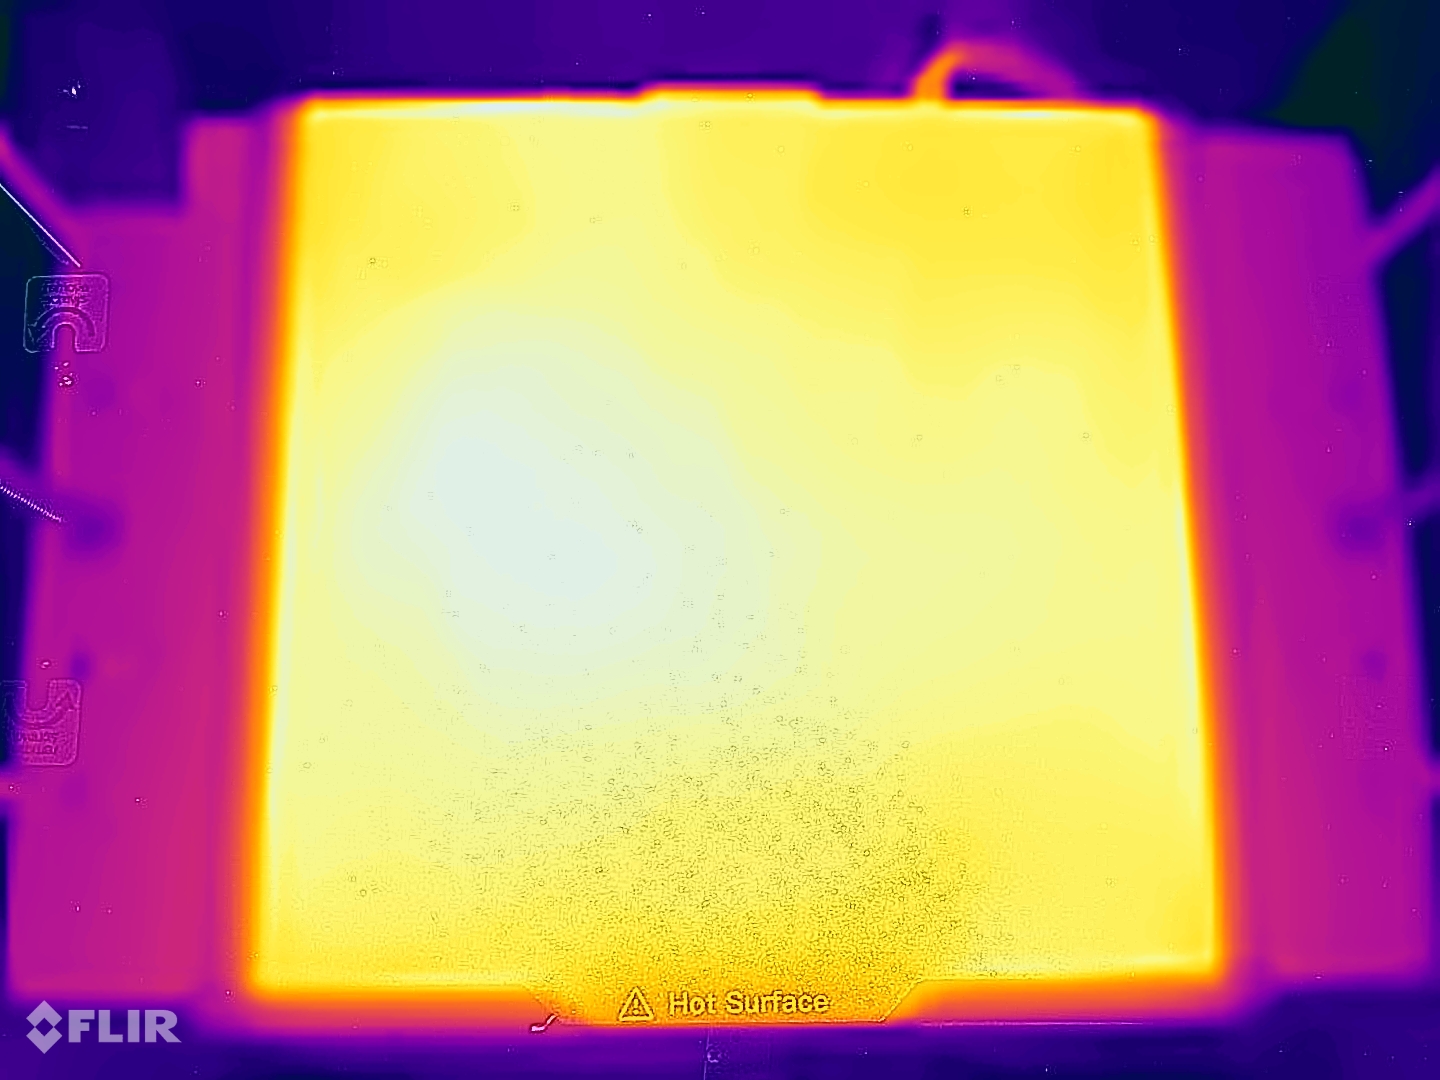
Bed Temperature Uniformity
QIDI Q1 Pro Noise Levels
When it comes to the noise generated by the Q1 Pro, I can’t say it’s a silent printer when printing PLA. But the noise levels are lower when printing models with filaments that don’t require the use of the Auxiliary fan on the side.
Unfortunately, the noise gets amplified in some situations due to the vibration generated by the front door which rattles at certain frequencies.
Test prints on QIDI Q1 Pro
3D Benchy
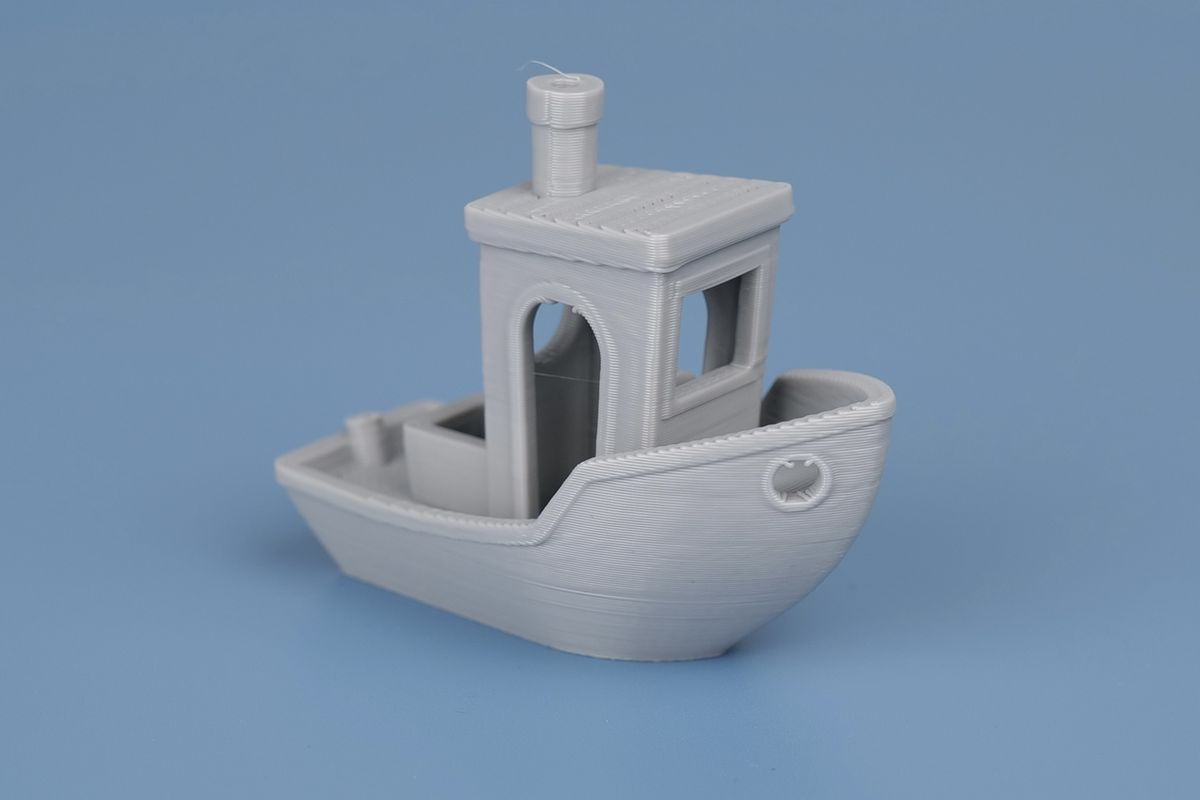
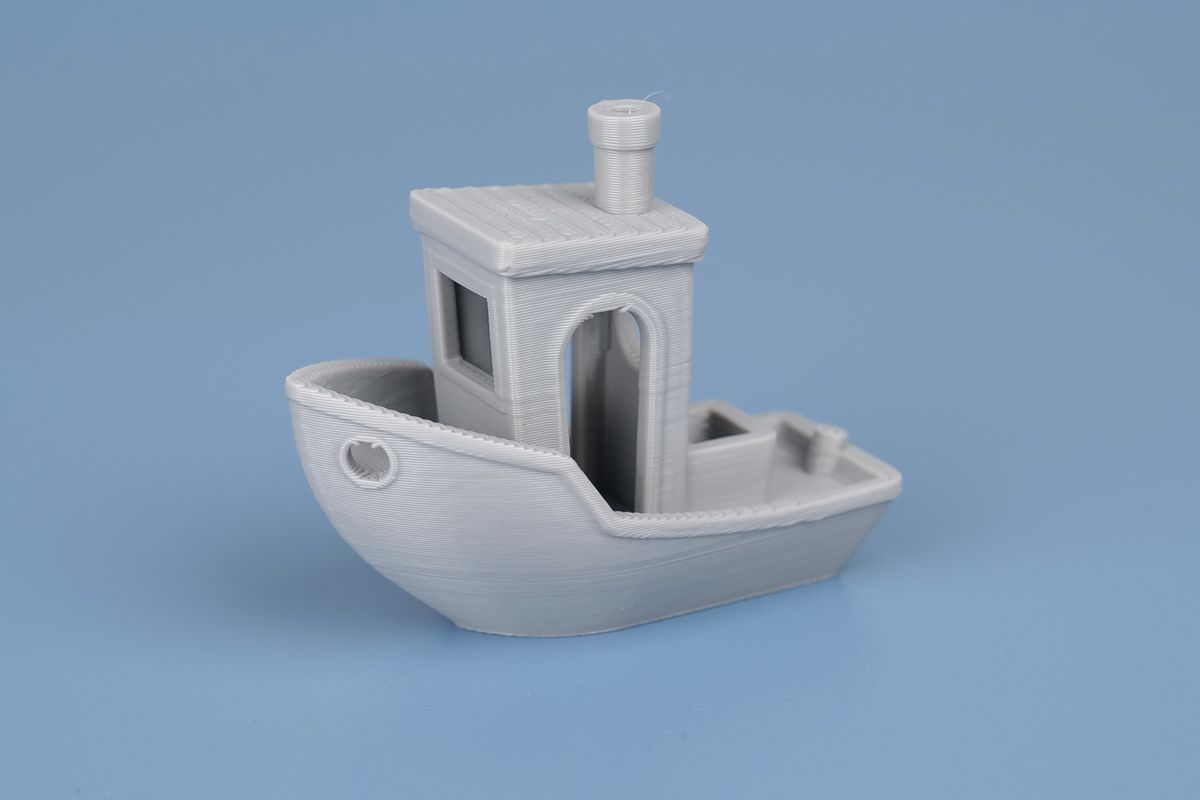
The first test print is the pre-loaded 3D Benchy which came out pretty good considering the print time, but you can see some under-extrusion sections on the roof caused by the pressure advance tuning which was a set a bit too high.
If you look closely on hte external wall quality, you can see some inconsistencies in what looks to be an extrusion issue, but considering the rest of the prints done, I blame on the motion system not being stiff enough due to the belt tensioners.
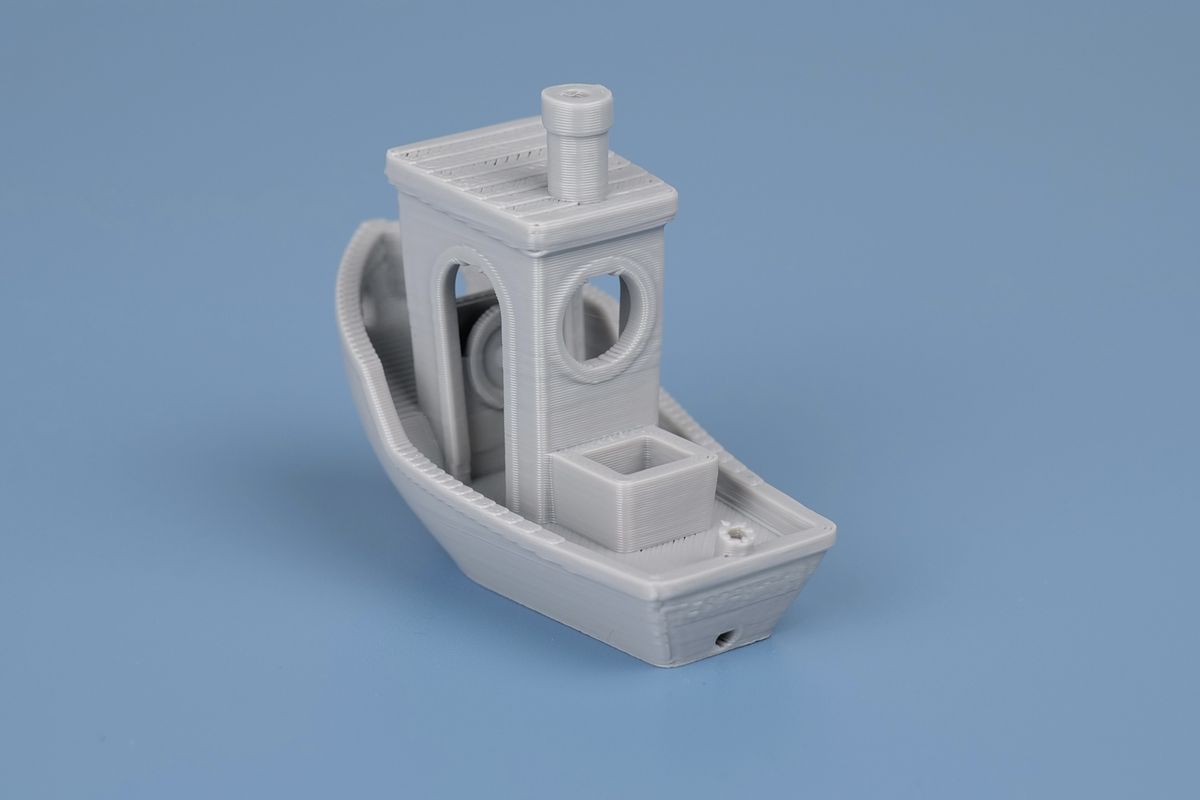
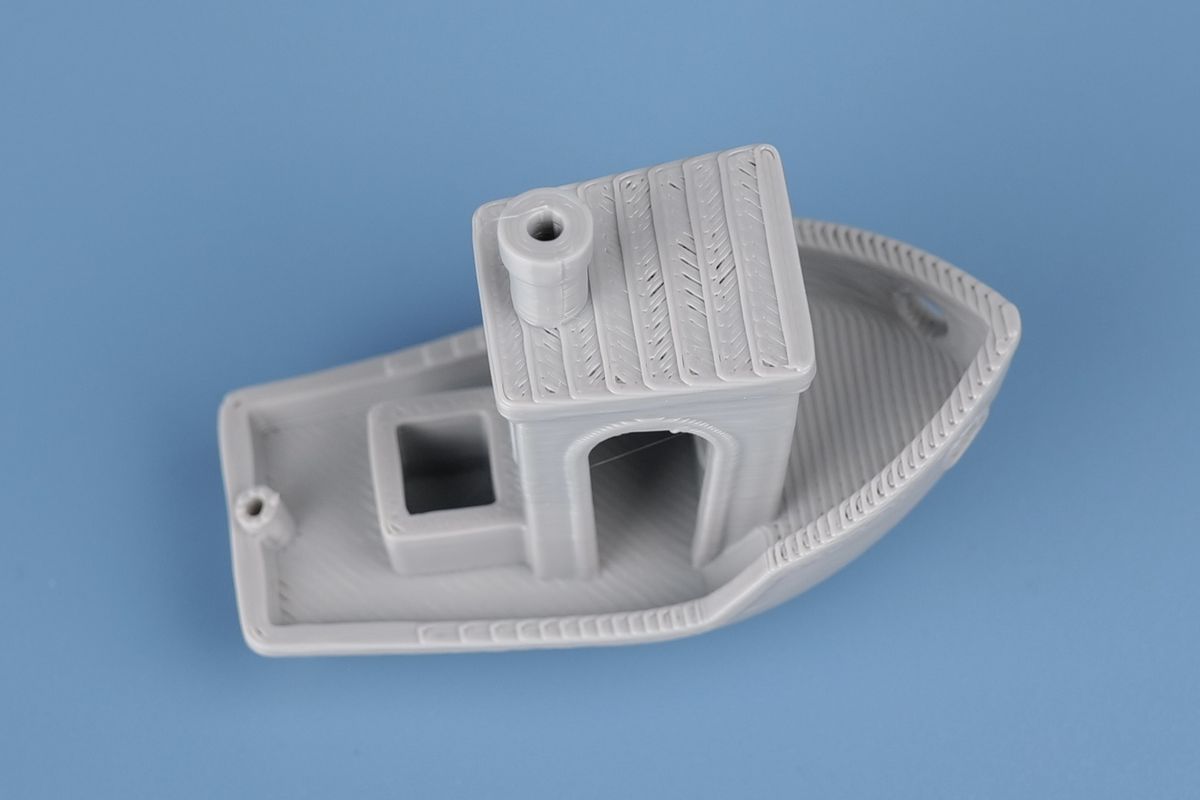
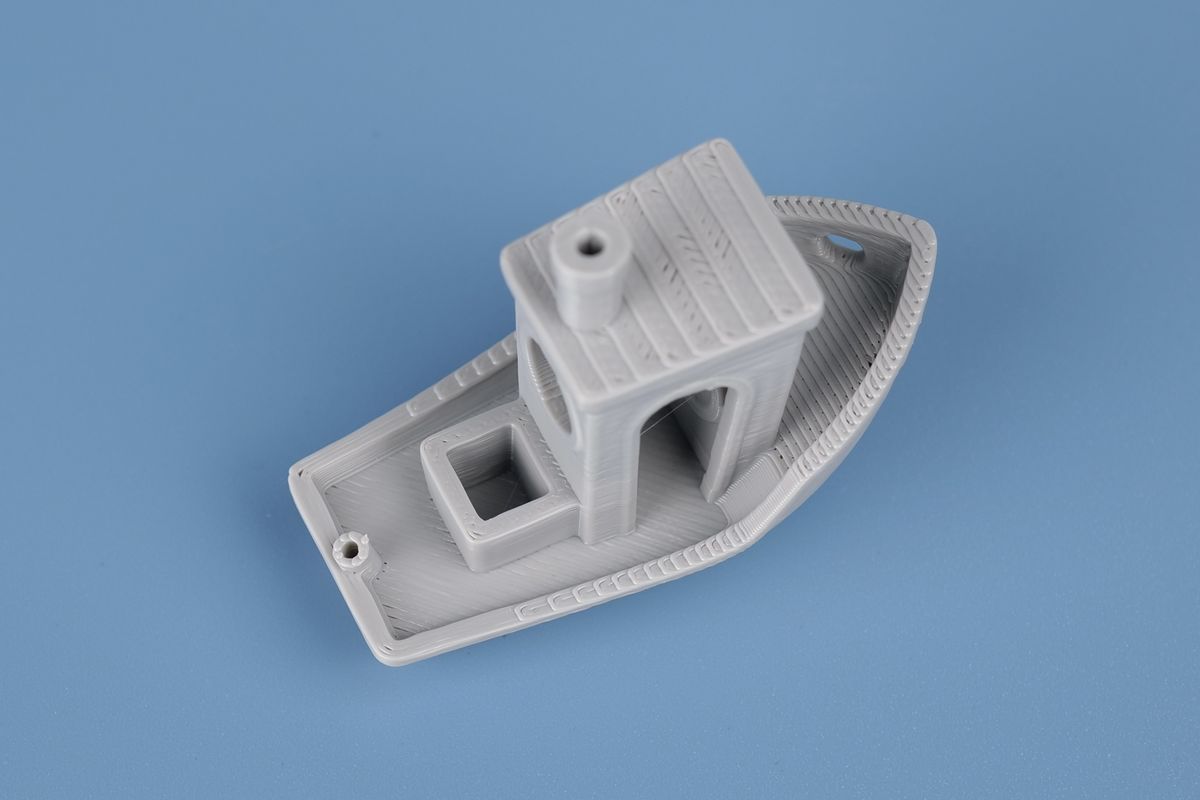
- Material: Creality Hyper PLA
- Nozzle Temperature: 210C
- Bed Temperature: 60C
Castle Slide Coin Catcher
This model was loaded on the printer memory, and the print quality is very good. There is only a tiny bit of stringing present, and there was a problem with one section where a line seems to have been missed during printing, but otherwise the result is probably the best I got from this printer.
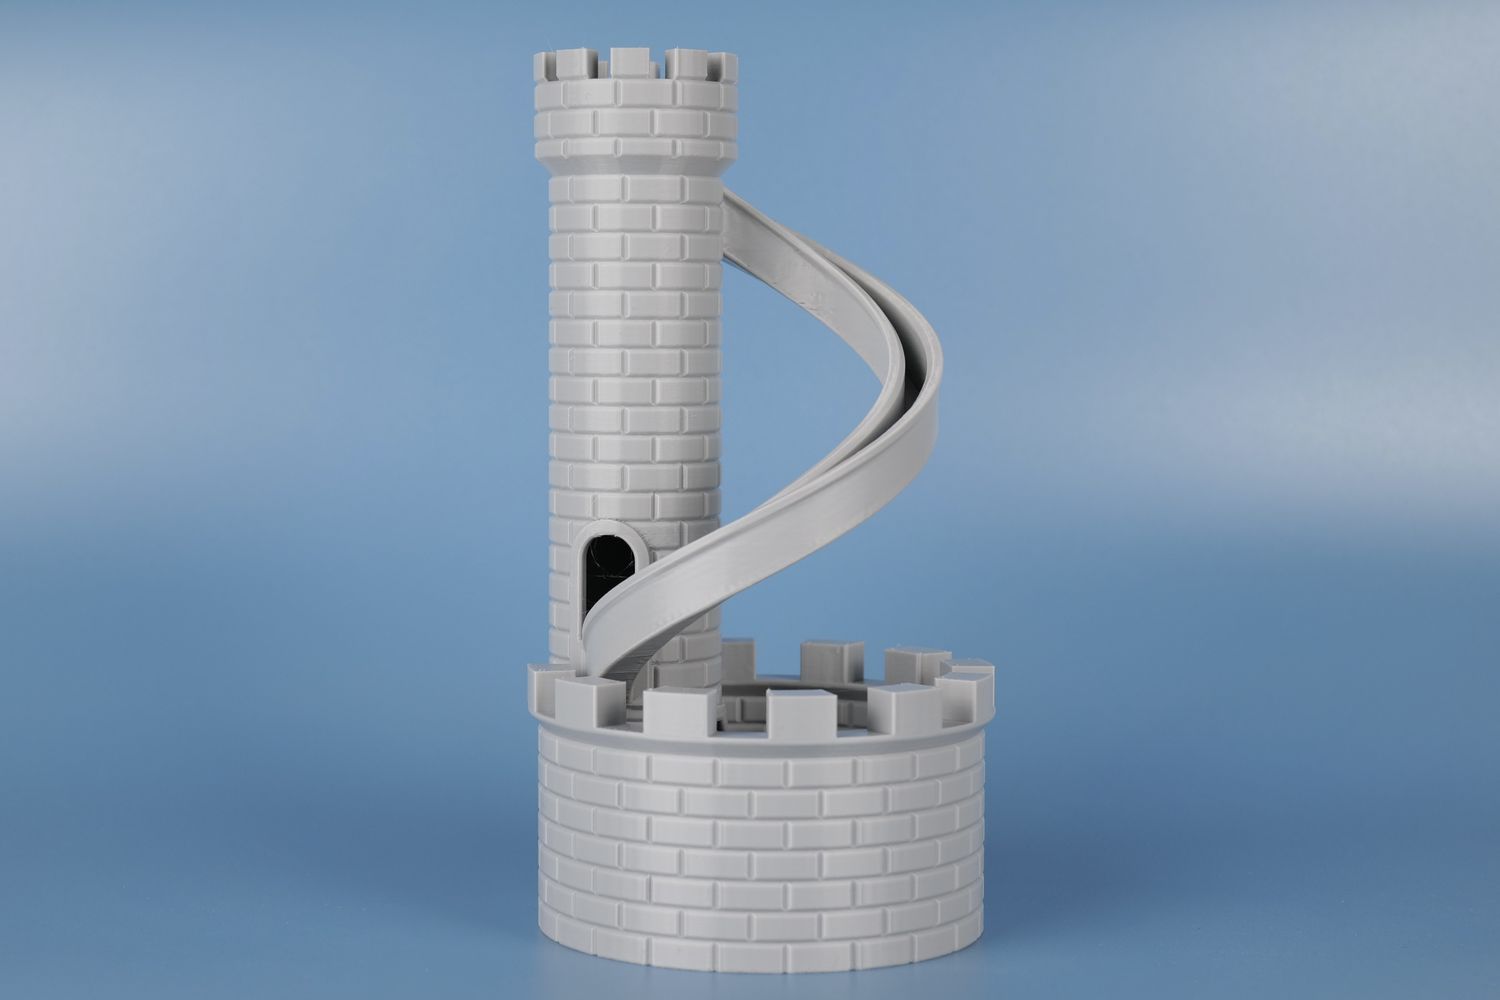
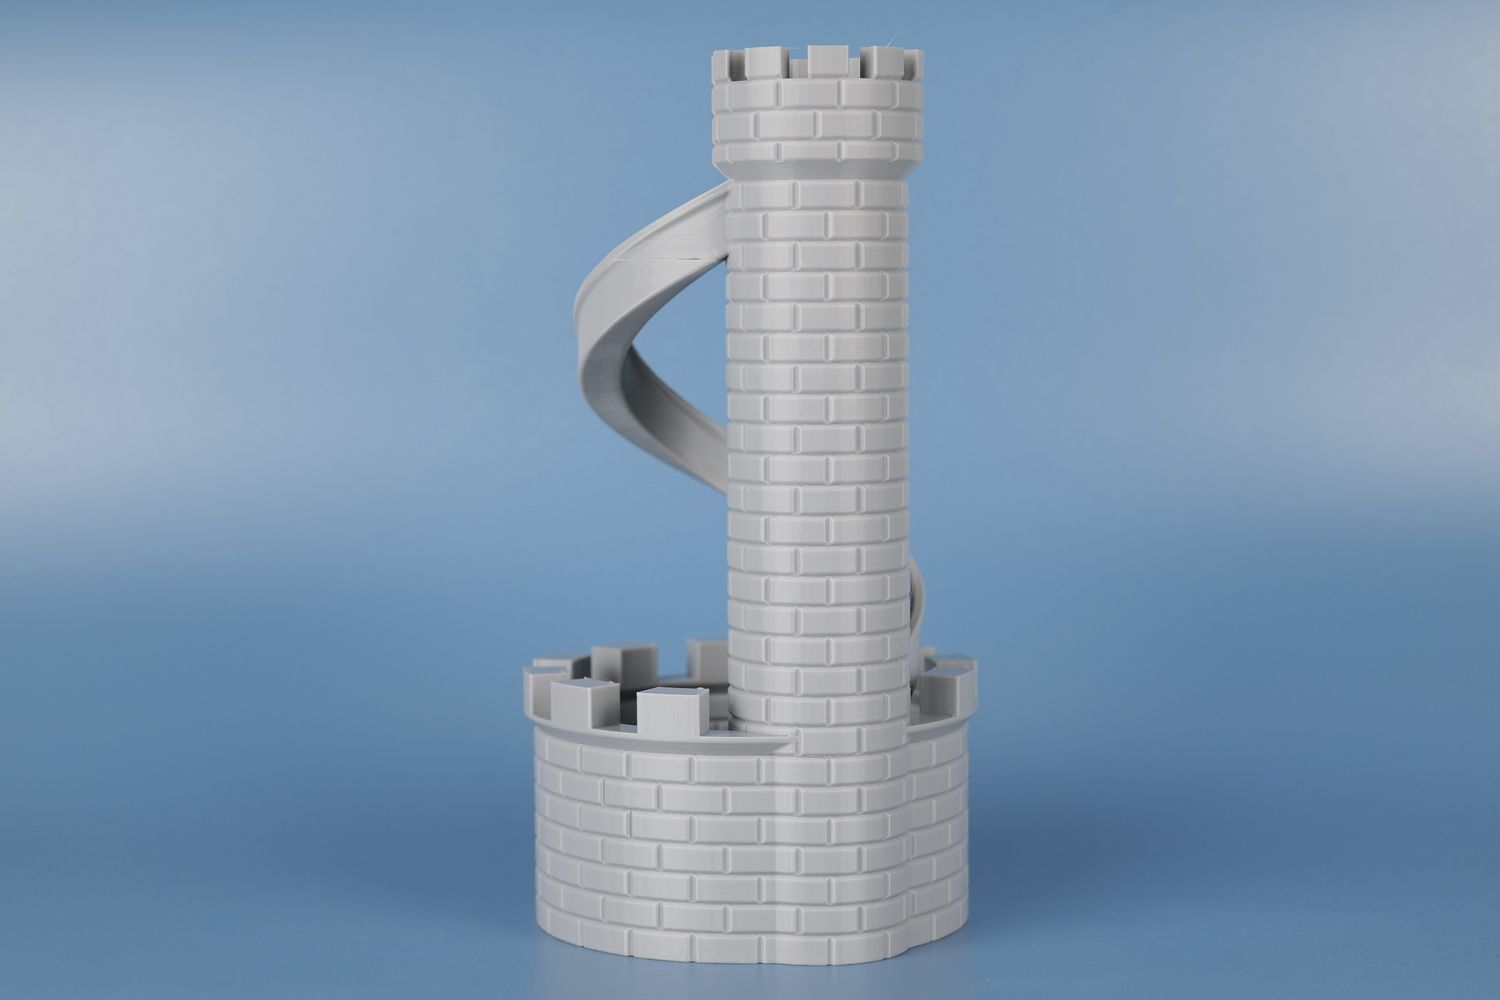
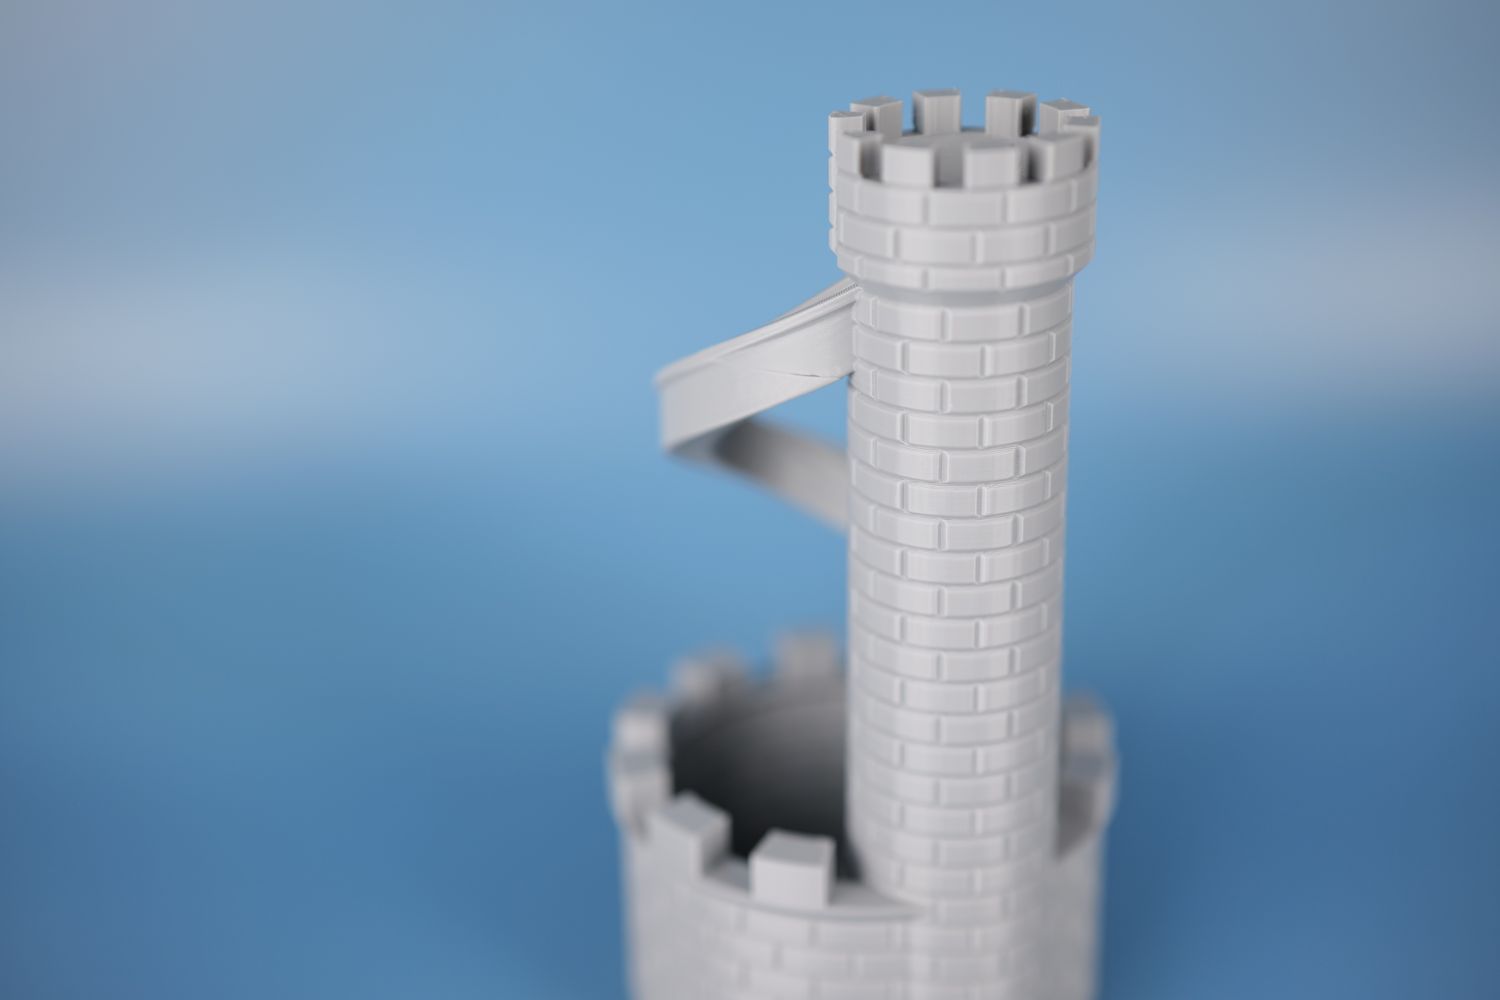
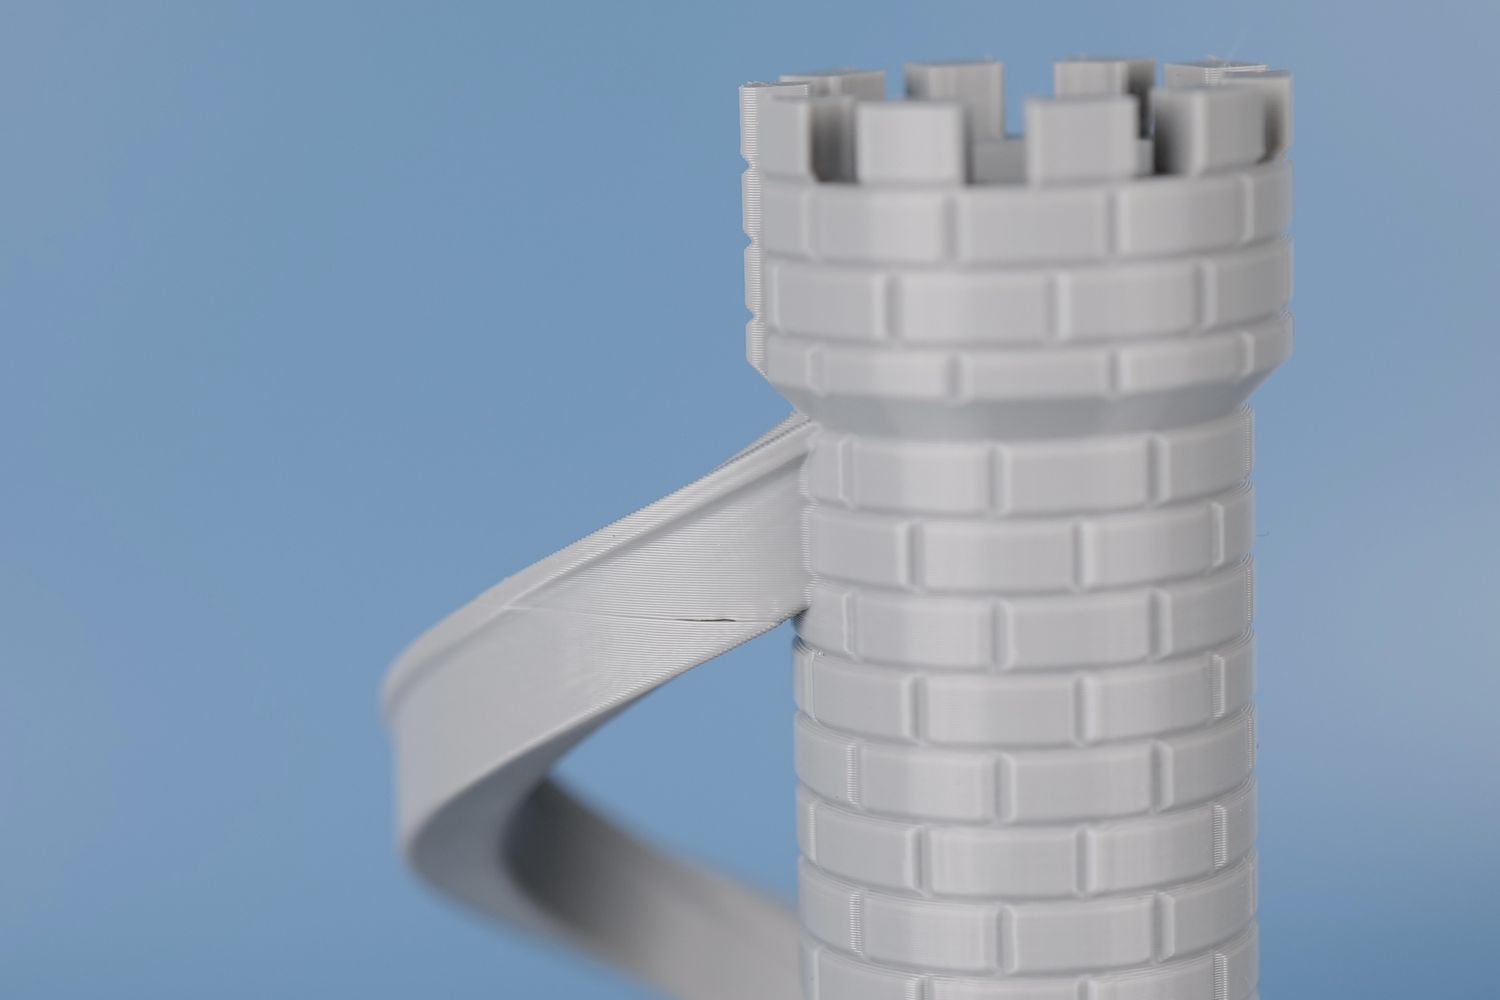
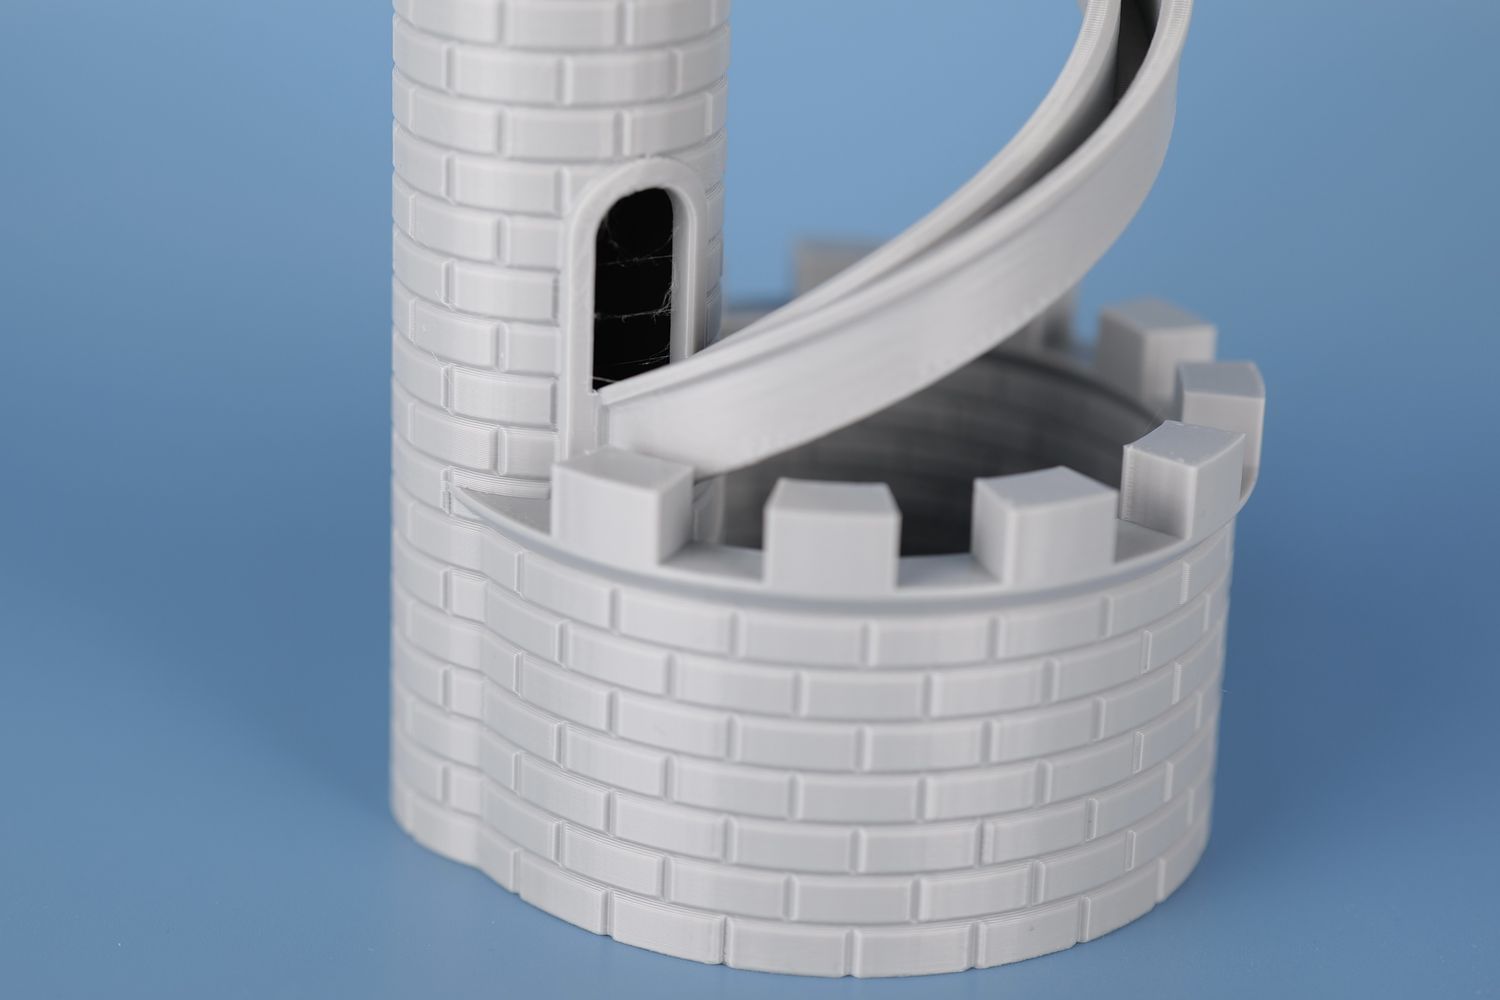
- Material: Creality Hyper PLA
- Nozzle Temperature: 210C
- Bed Temperature: 60C
Torture Toaster
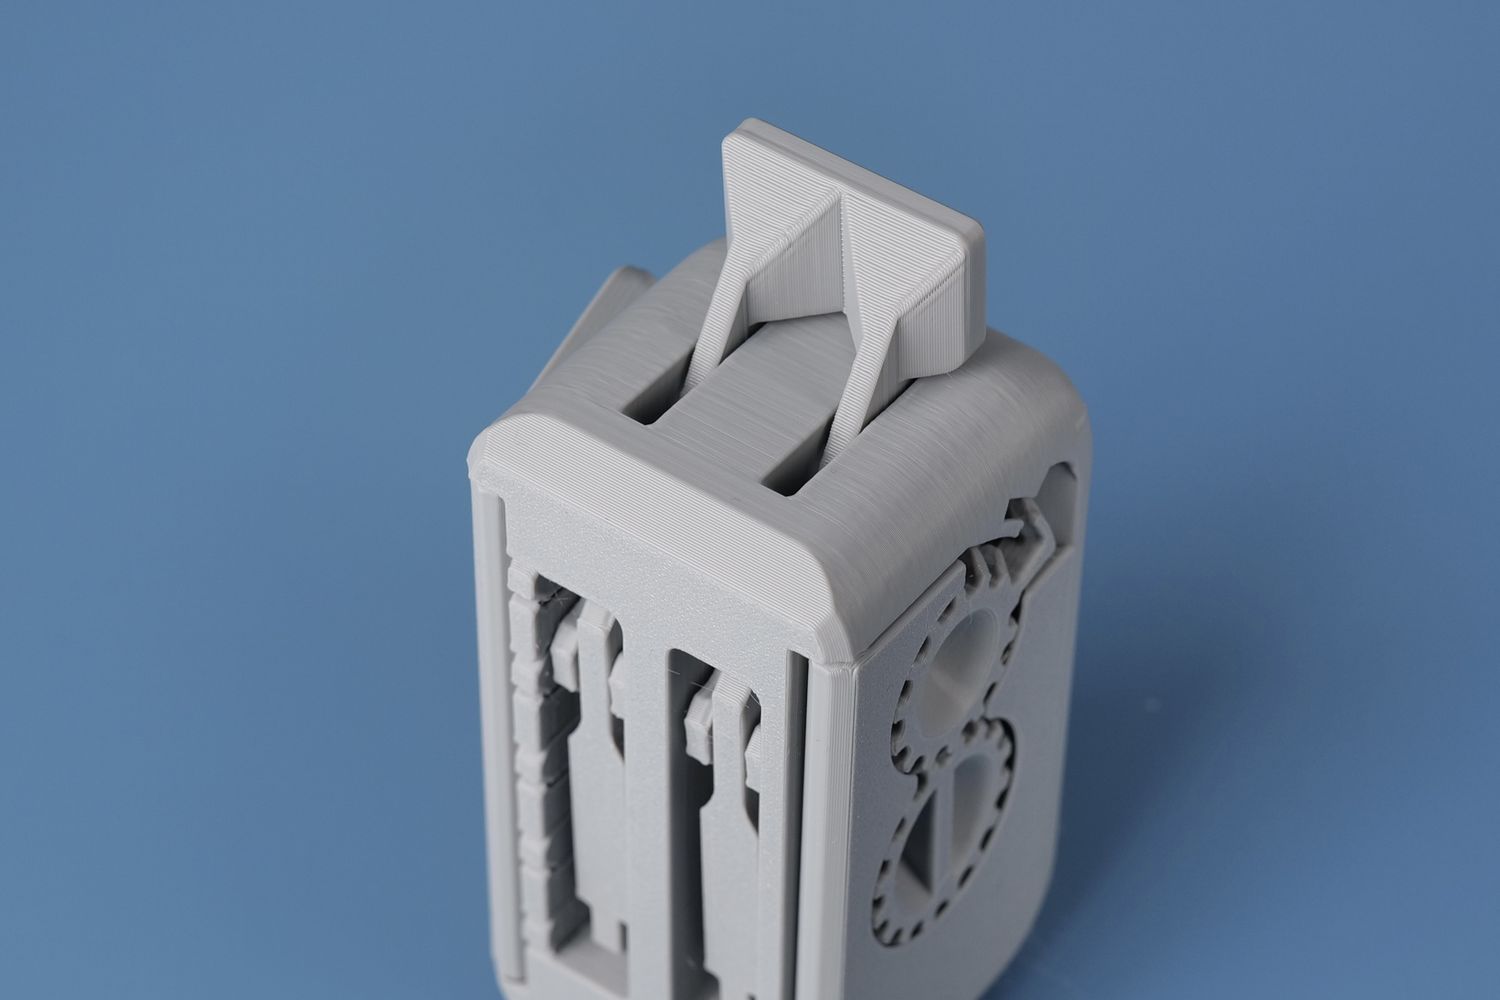
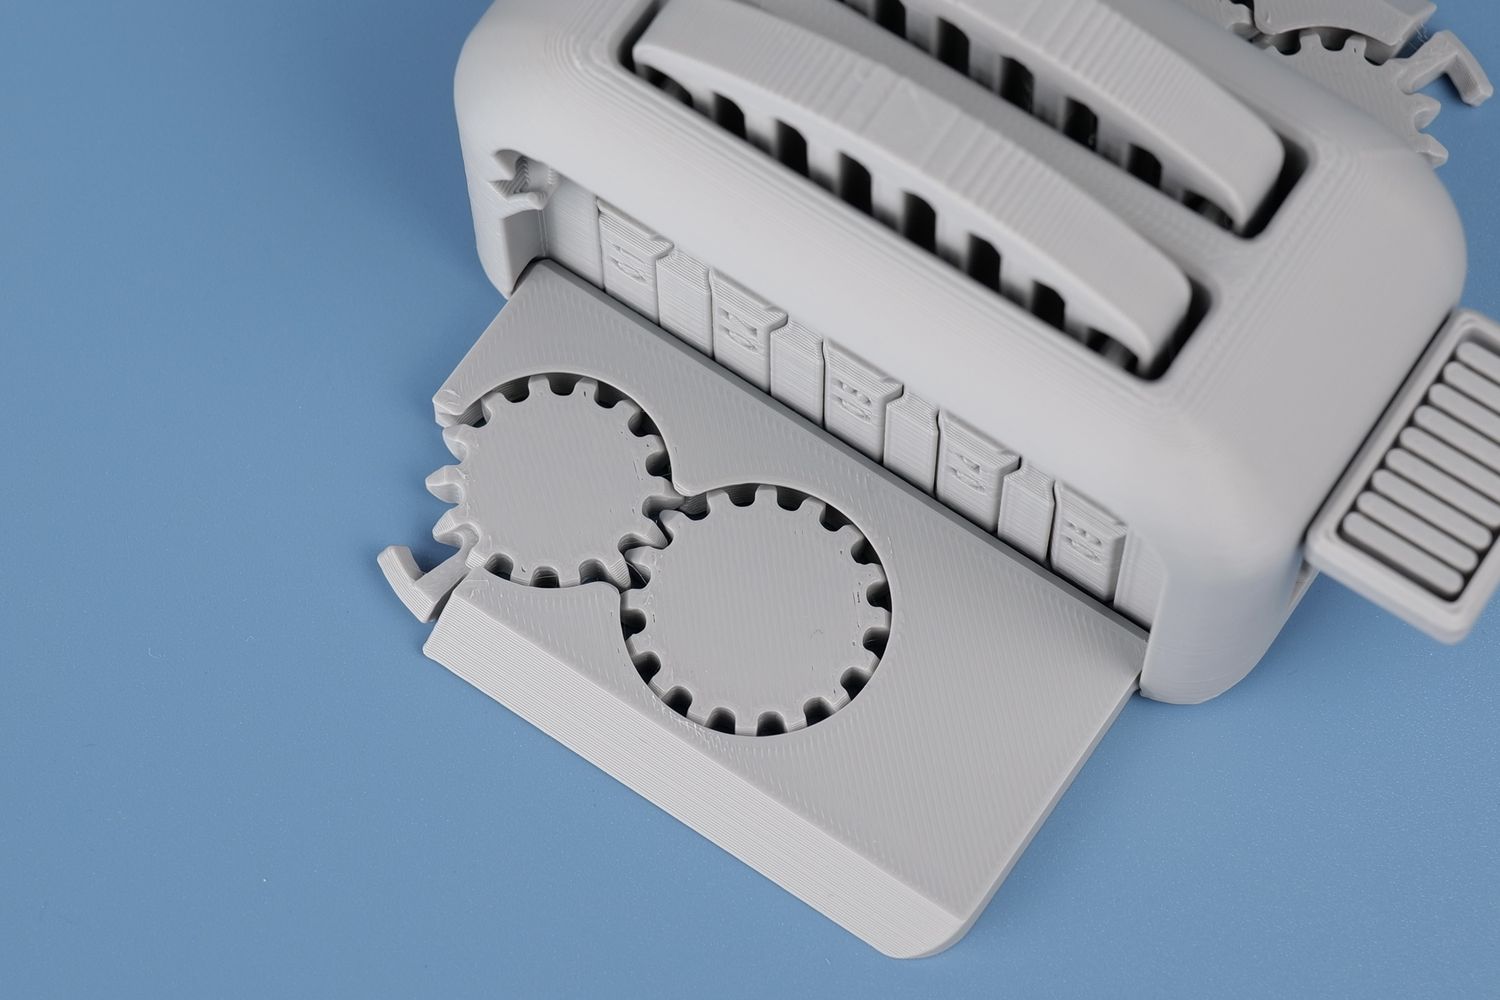
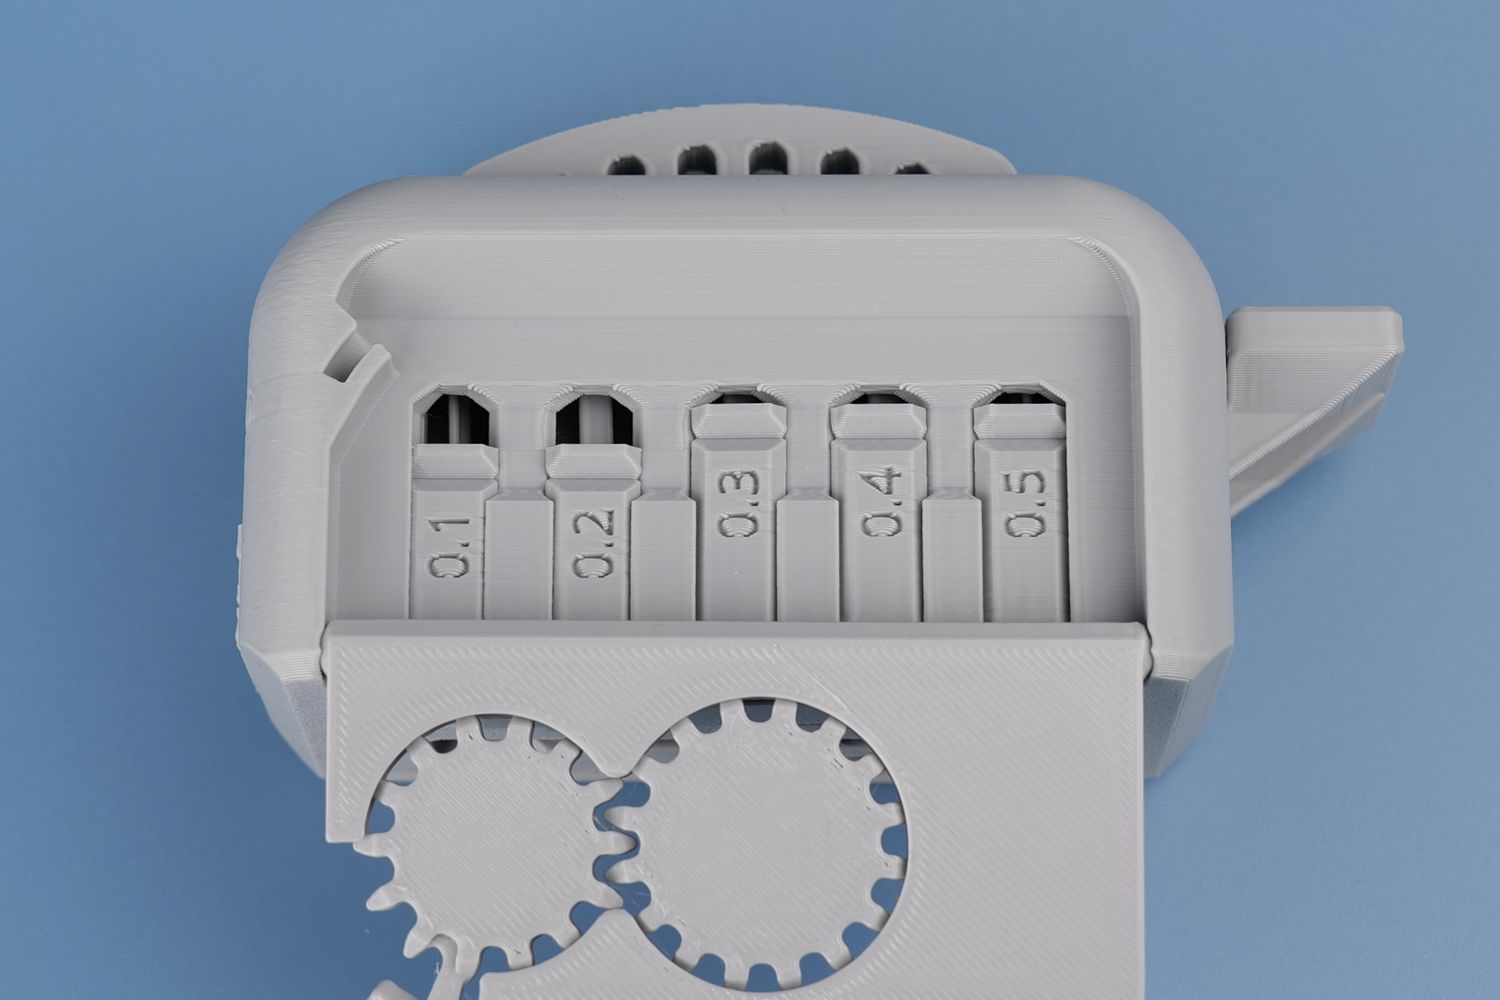
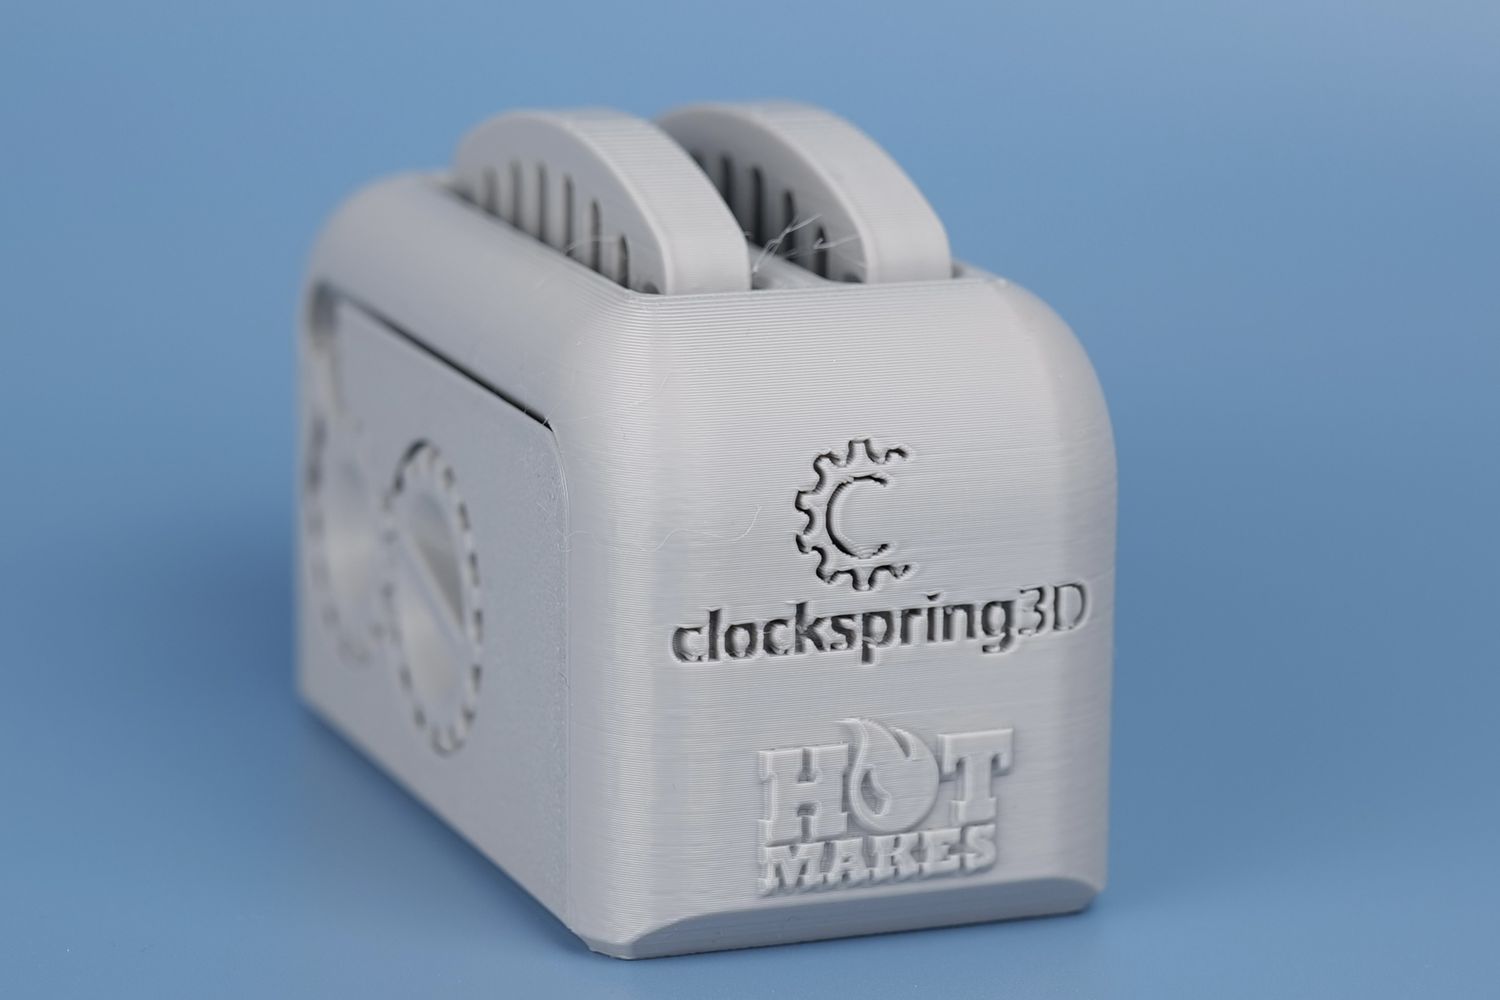
Printing the torture toaster showed a few other print quality issues like stringing being present between the slices and the overhang quality is lower than expected. The tolerance flags could be moved up to the 0.3mm one, with the 0.2mm being fused to the model.
The print results I got with the QIDI X-MAX 3 were slightly better so I believe the slicing profile will need further tuning to get the expected results.
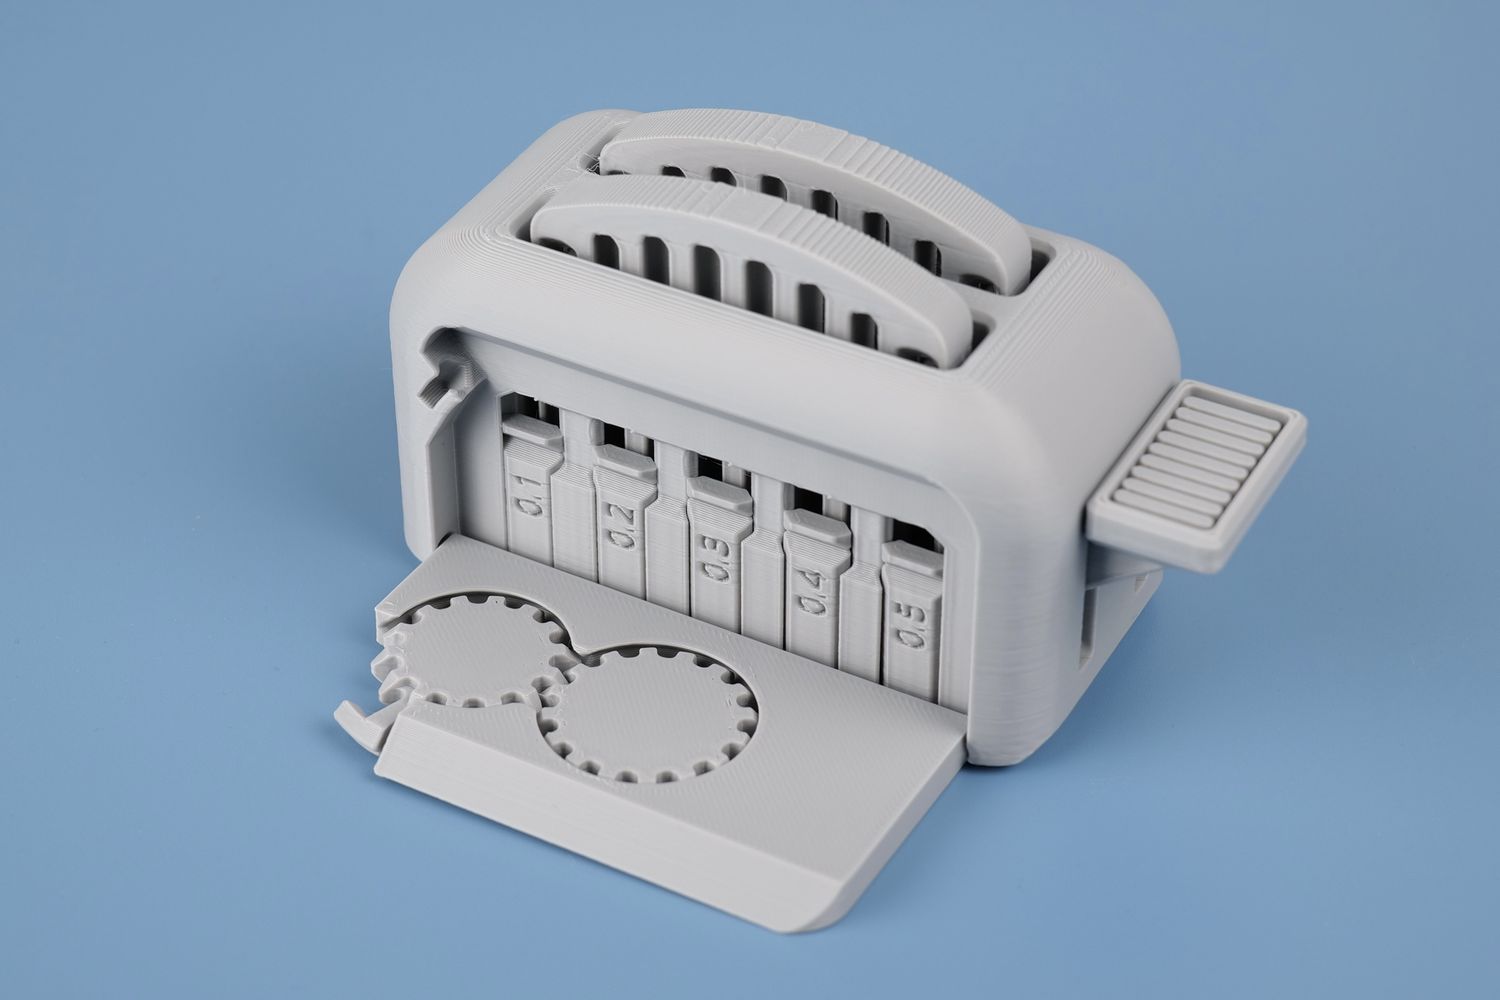
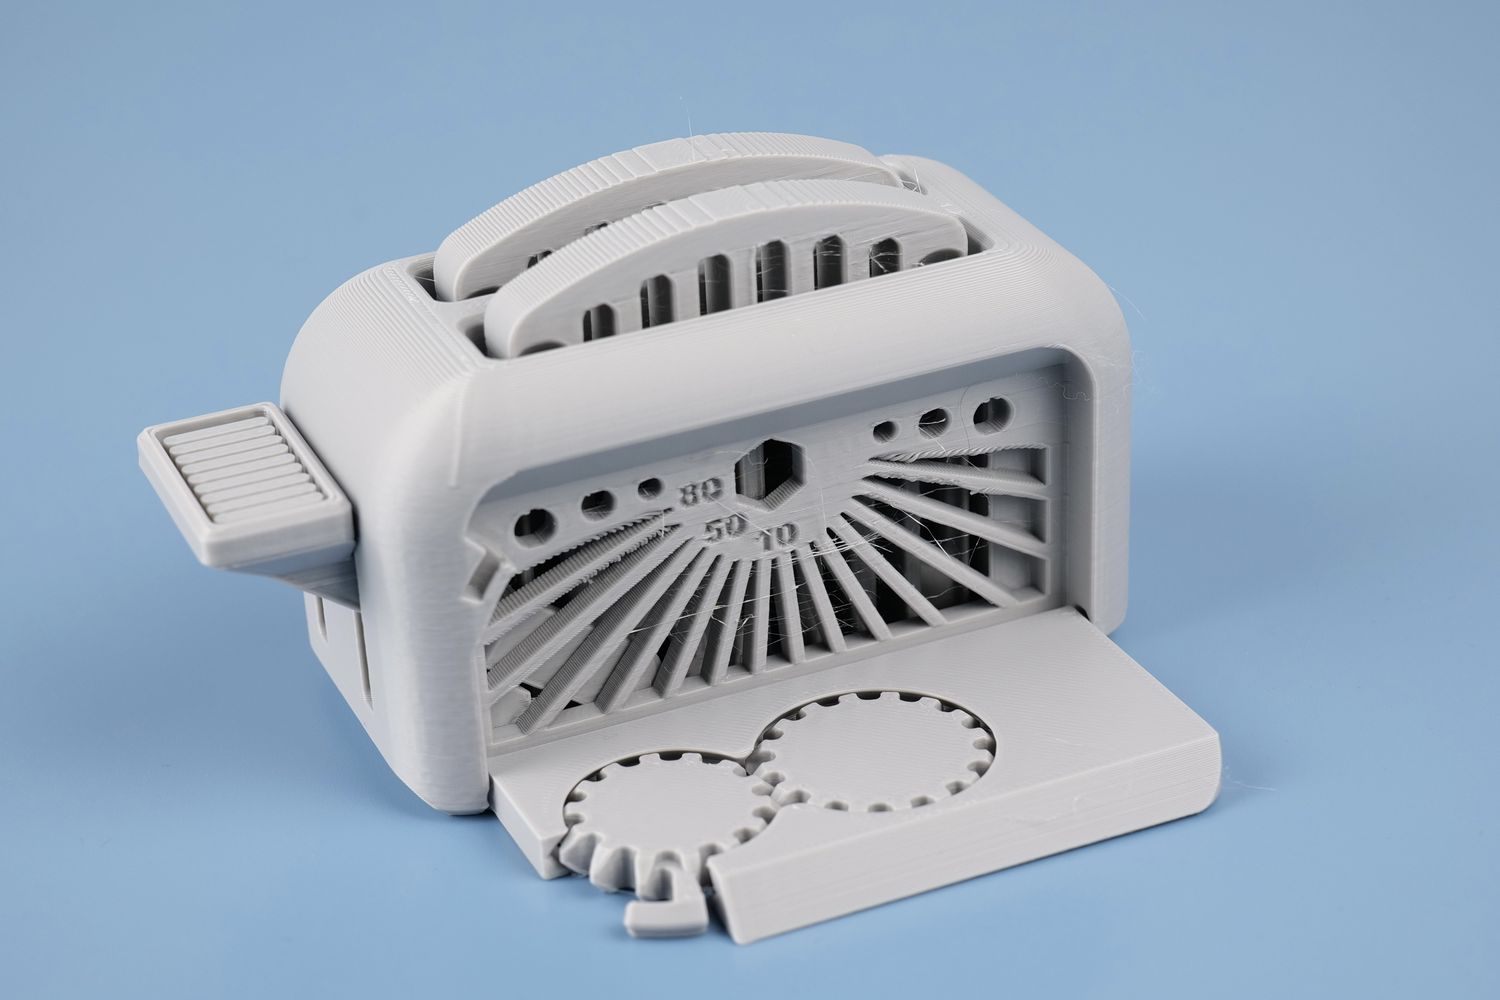
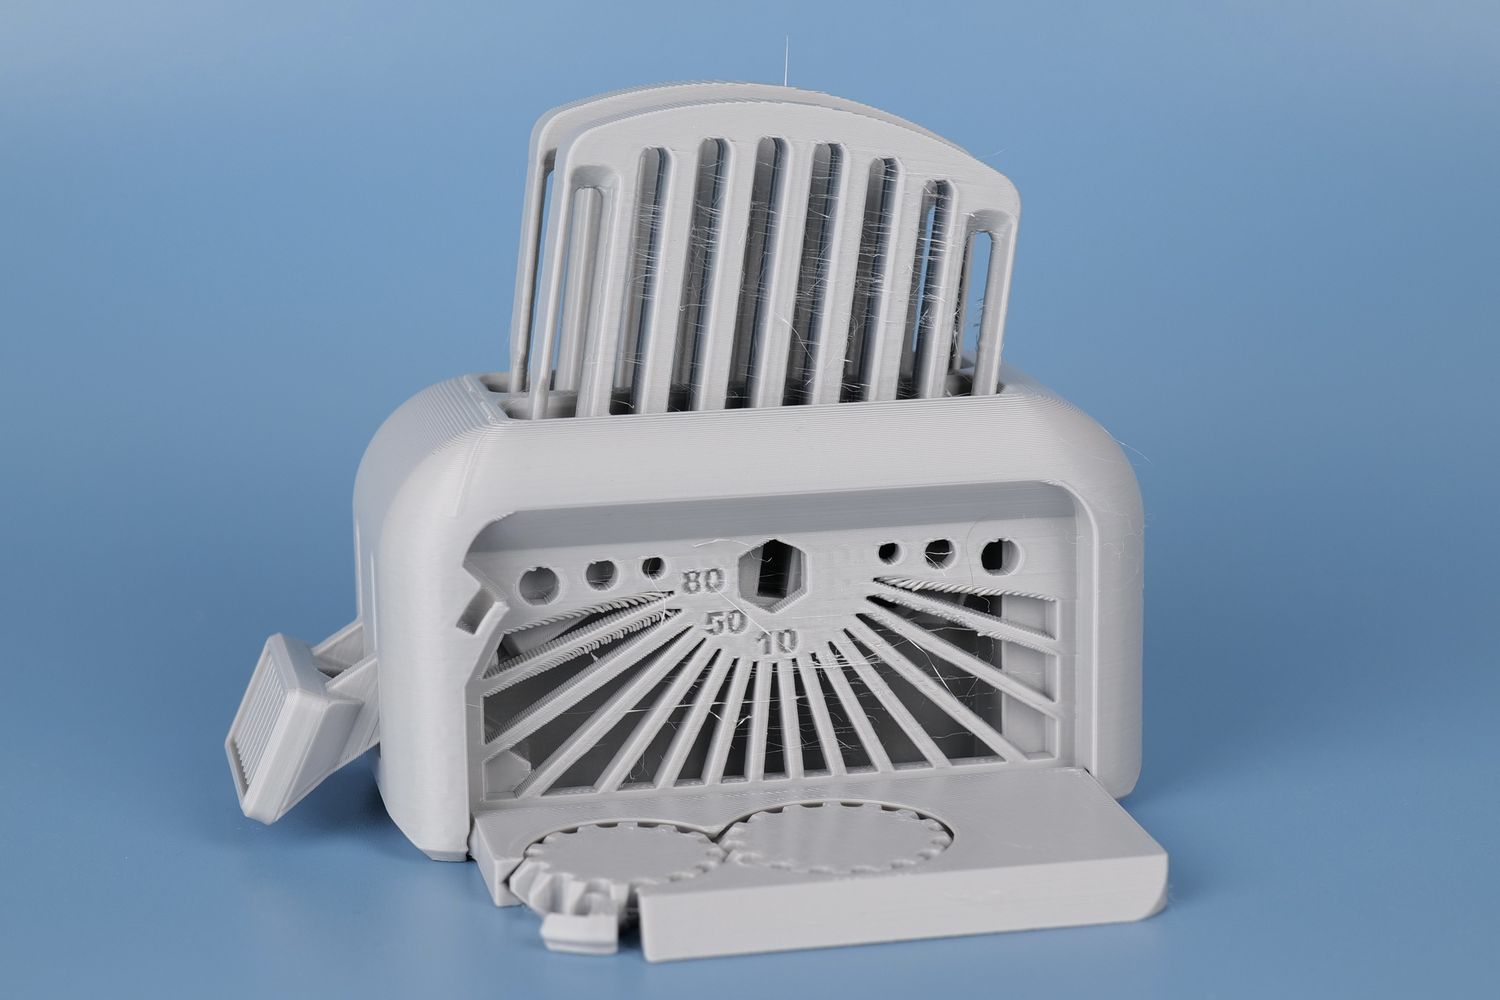
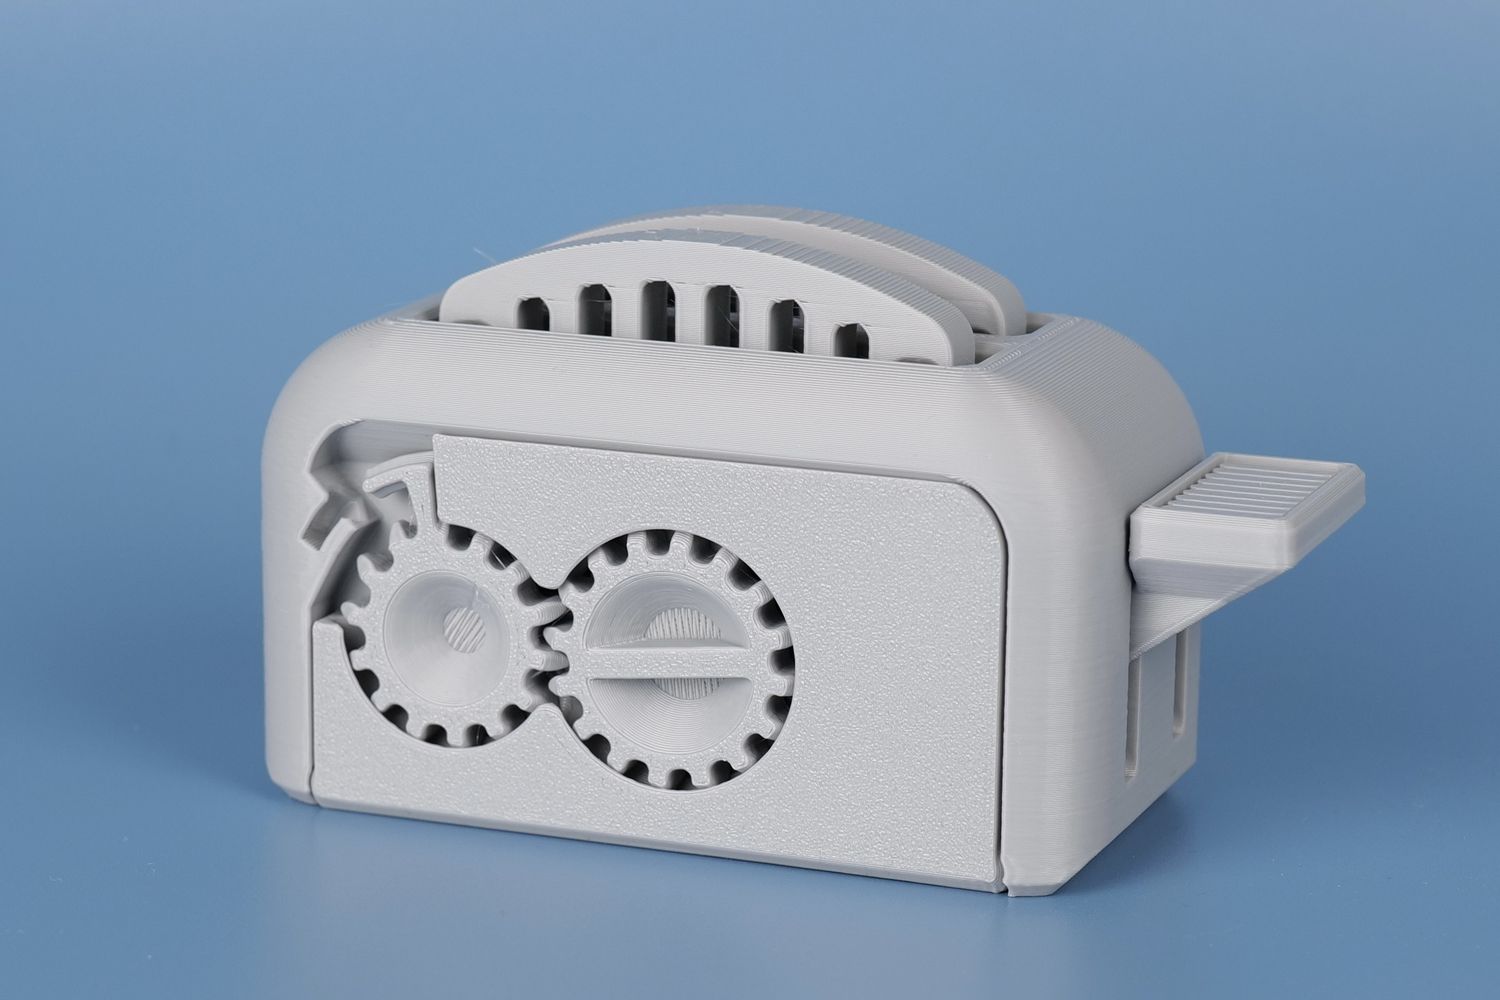
- Material: Creality Hyper PLA
- Layer Height: 0.2mm
- Nozzle Temperature: 210C
- Bed Temperature: 60C
- Print Speed: ~250 mm/s
200% Calibration Cube
Having a lower quality result than expected, I used the same QIDI Rapido PLA I received with the X-MAX 3 to see if the slicer profiles work better with it. Unfortunately, the Pressure Advance being set too high can be easily seen on the corners of the cube with are not properly fused and have gaps.
Besides that, you can also see some ringing and vibration artifacs on both the X and Y axis that are usually caused by an incorrectly tuned Input Shaper or slack in the belt tension
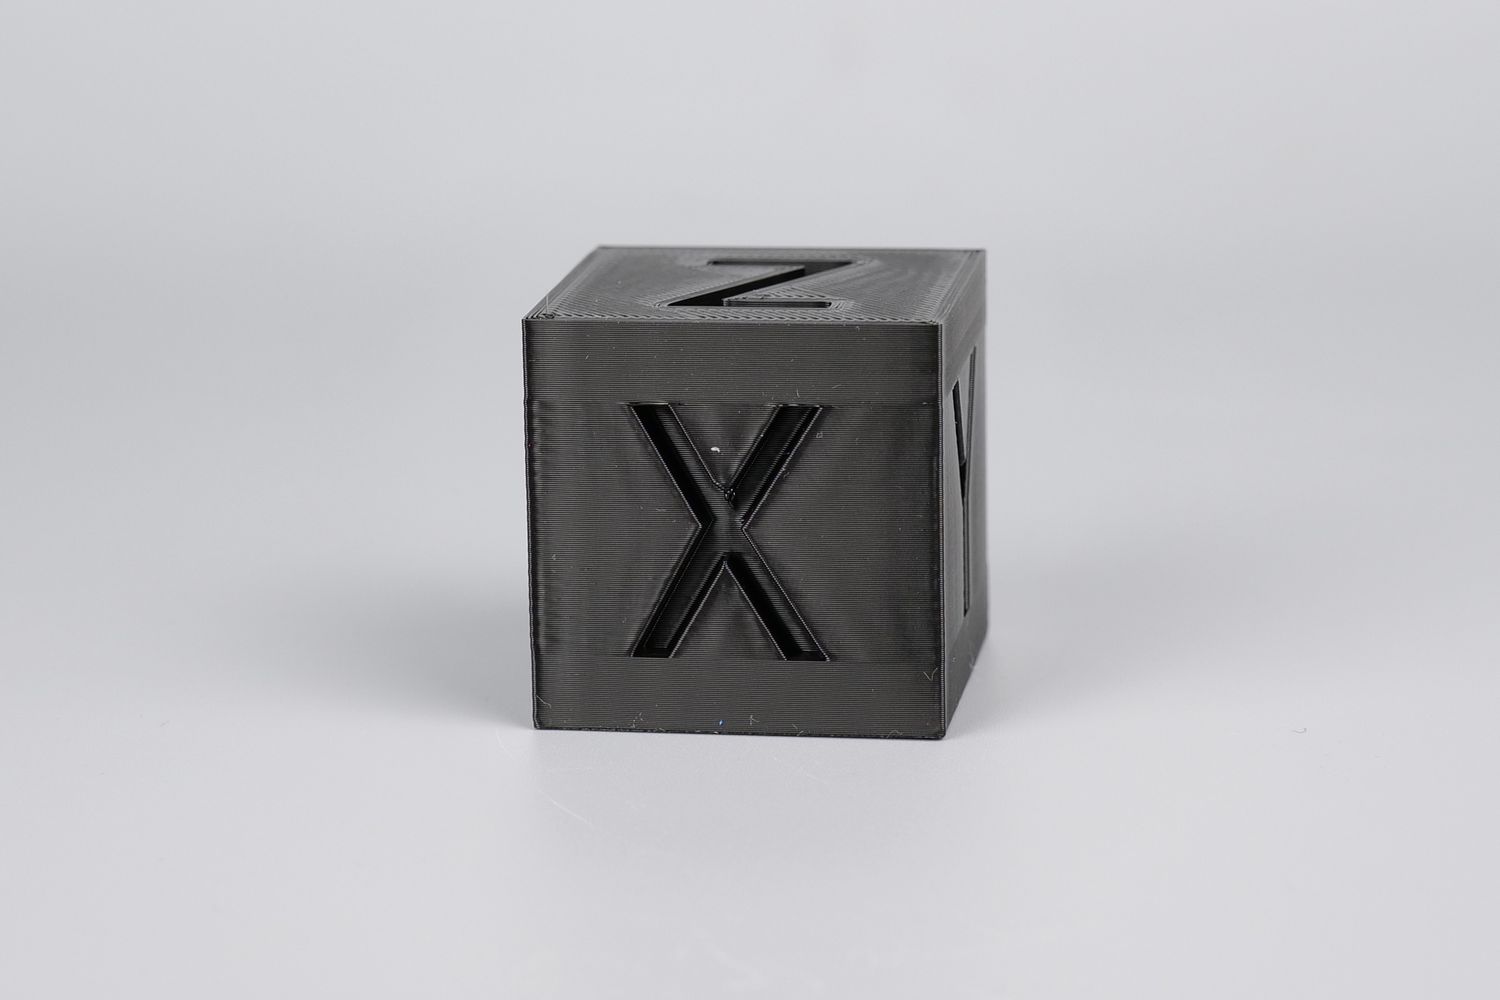
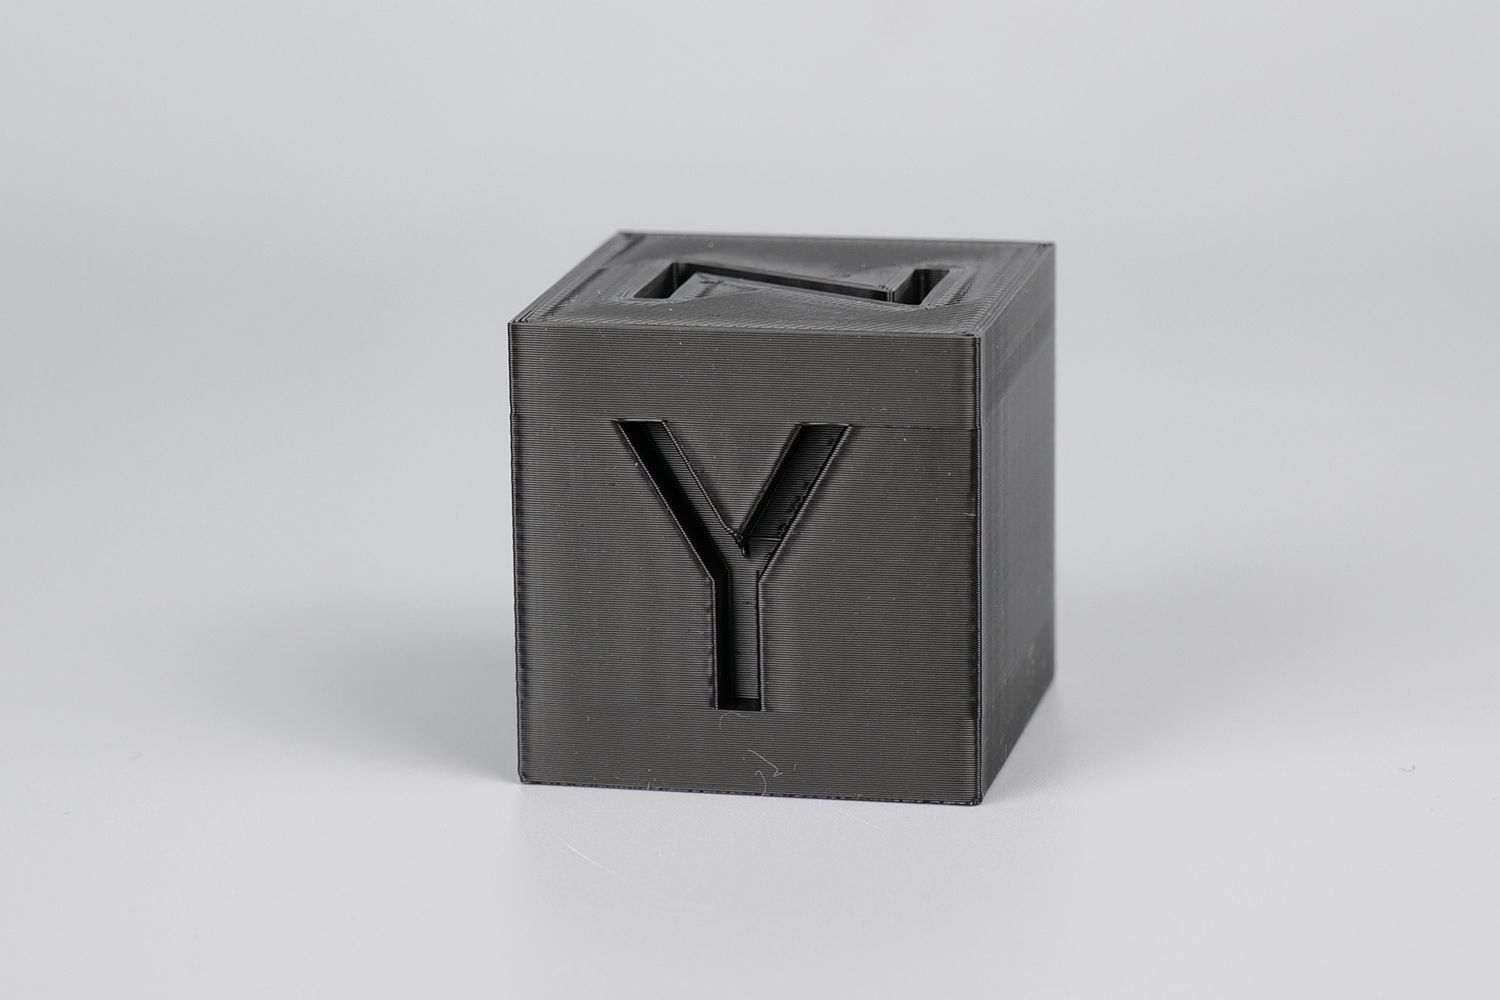
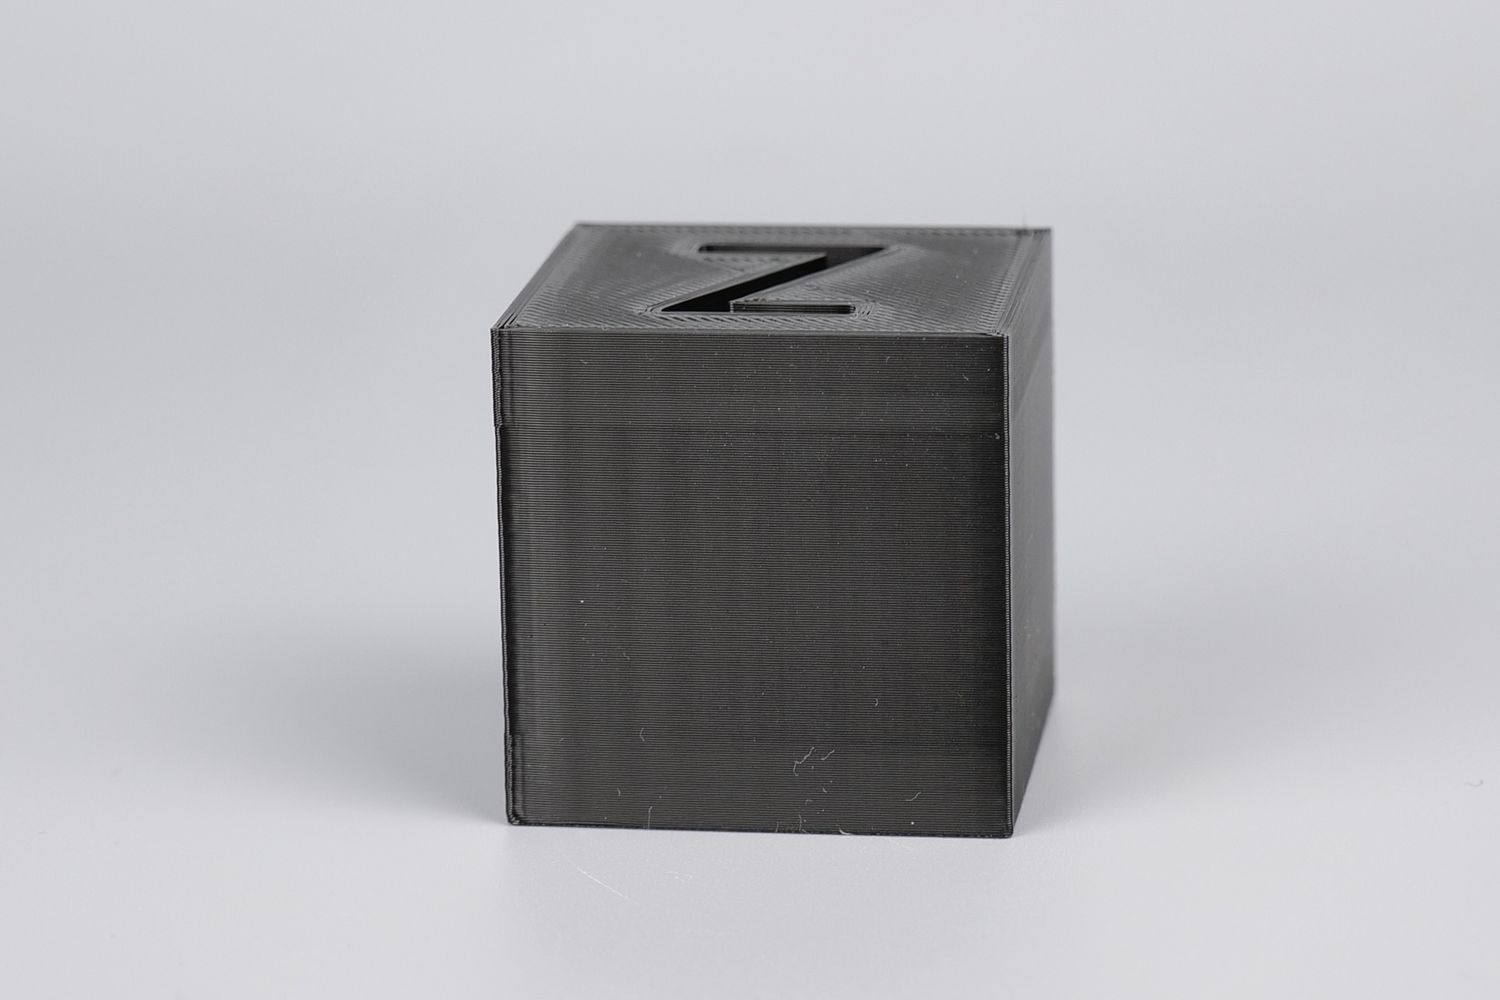
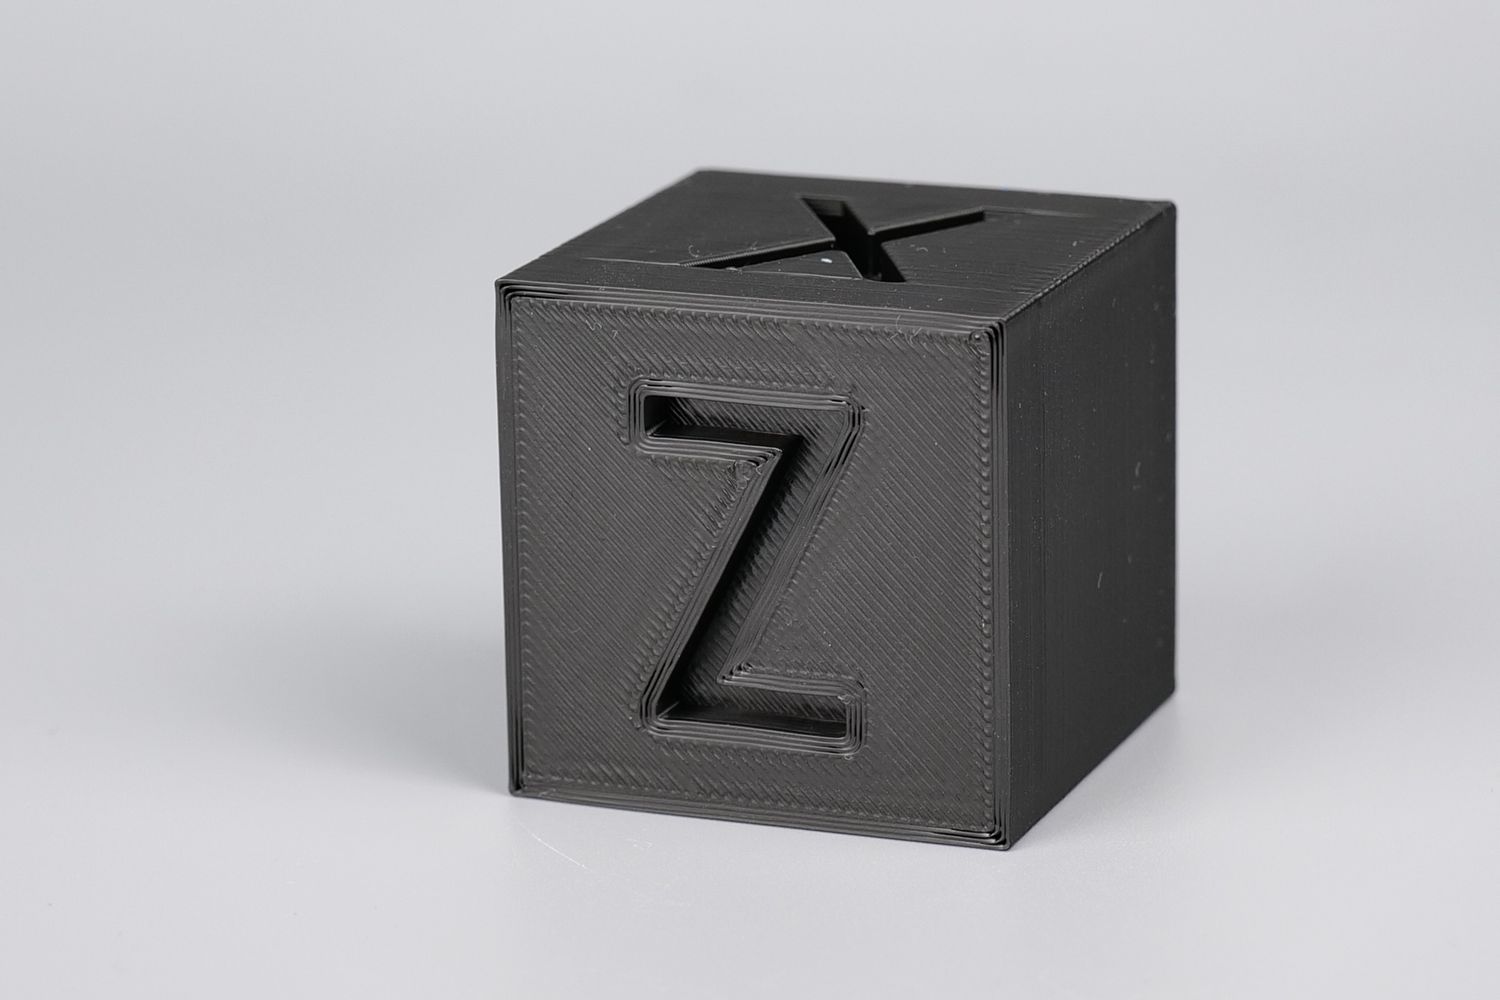
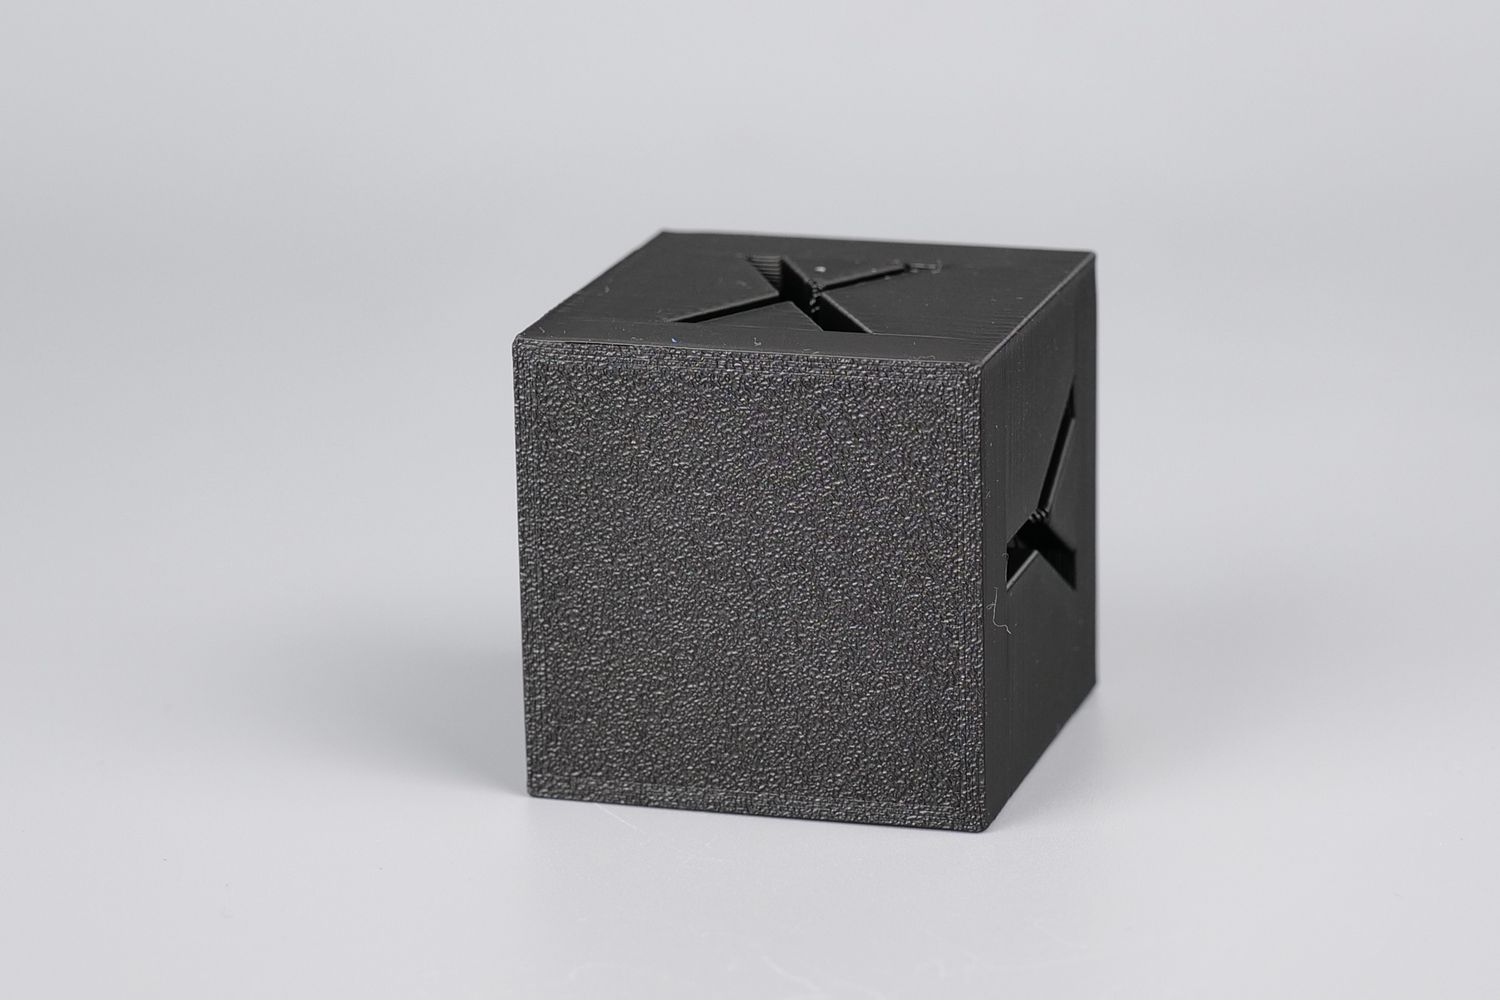
- Material: QIDI Rapido PLA
- Layer Height: 0.2mm
- Nozzle Temperature: 210C
- Bed Temperature: 60C
- Print Speed: ~250 mm/s
Phil-A-Ment
For easy comparison, I printed Phil-A-Ment in shiny filament to check if the quality is similar with the print I made on the X-MAX 3. This time the results were slightly worse for the overhangs and the walls of the model look less “sharp” with some vibration and ringing.
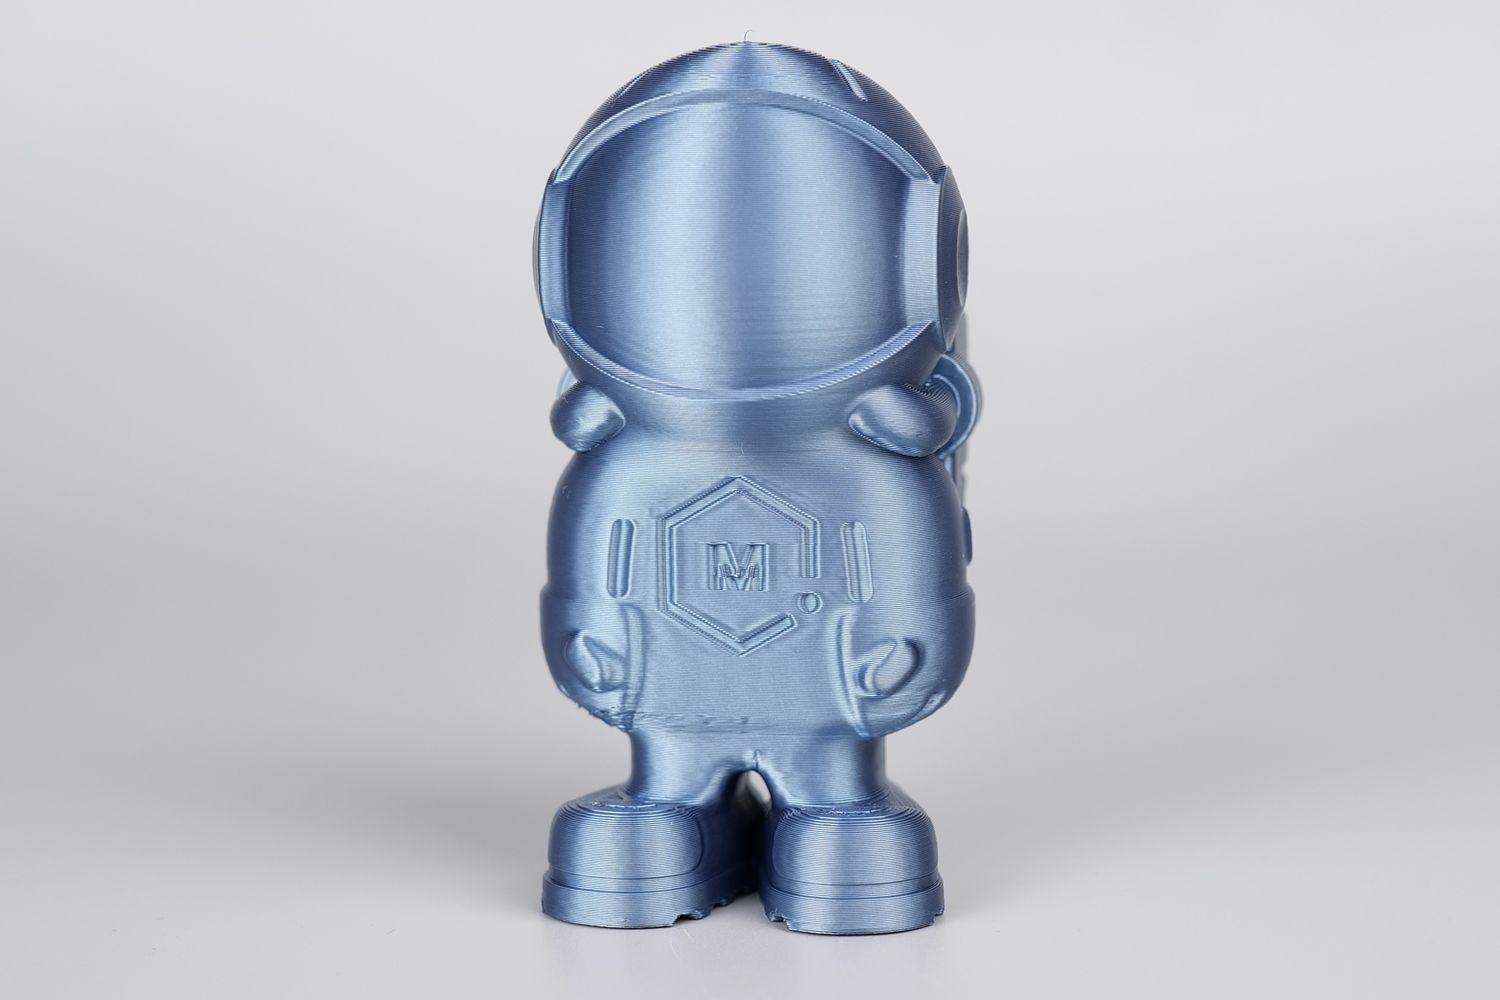
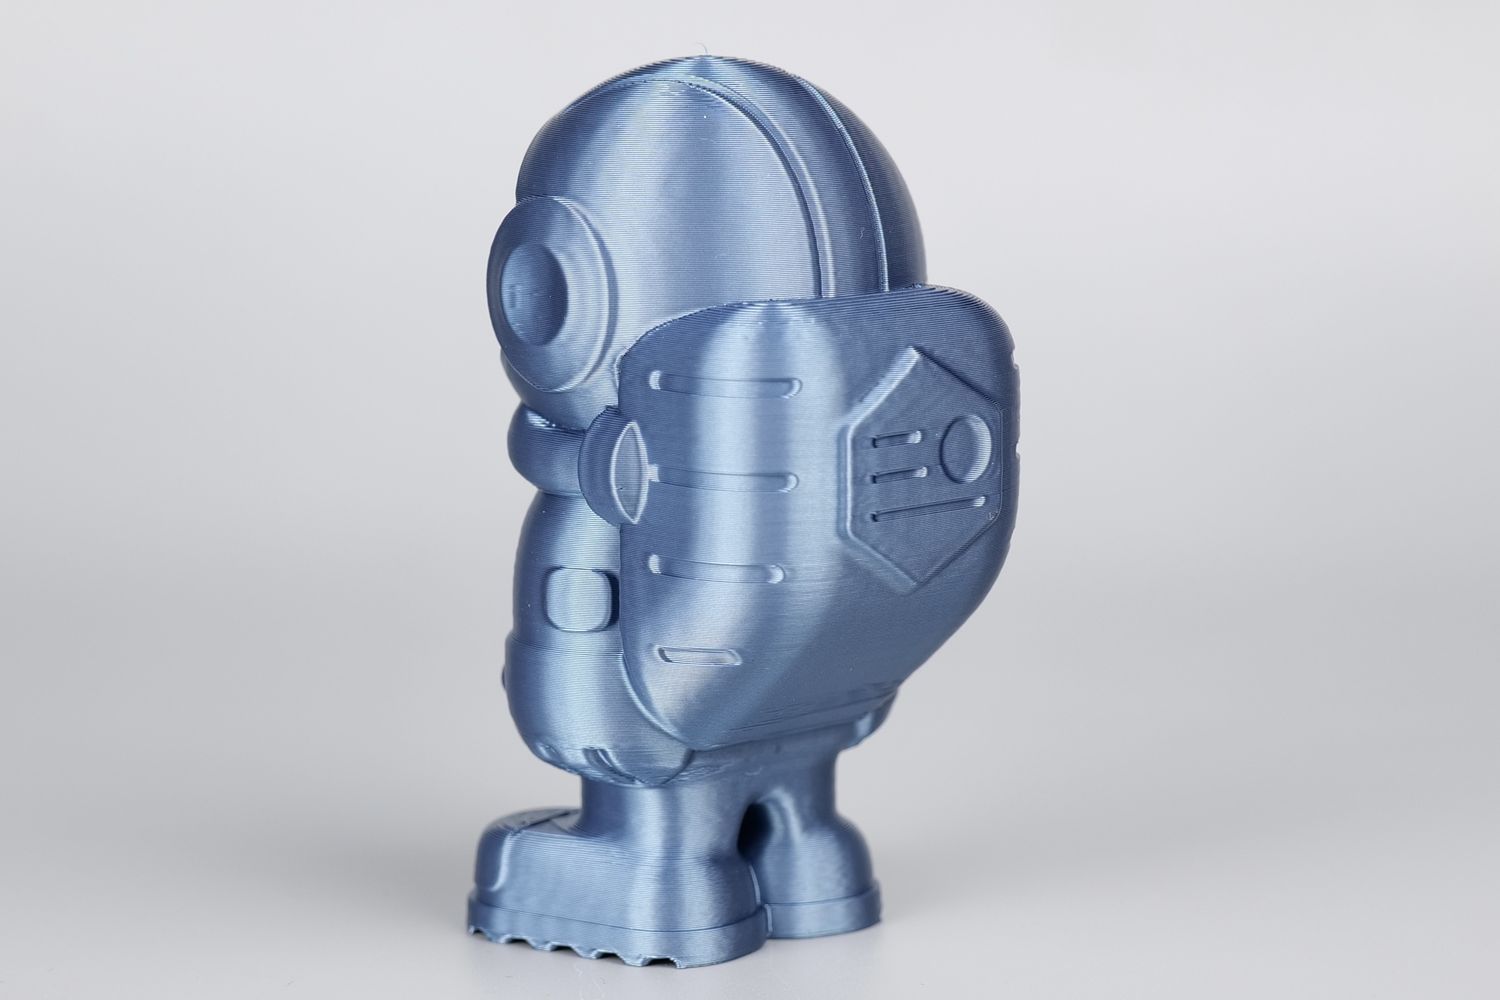
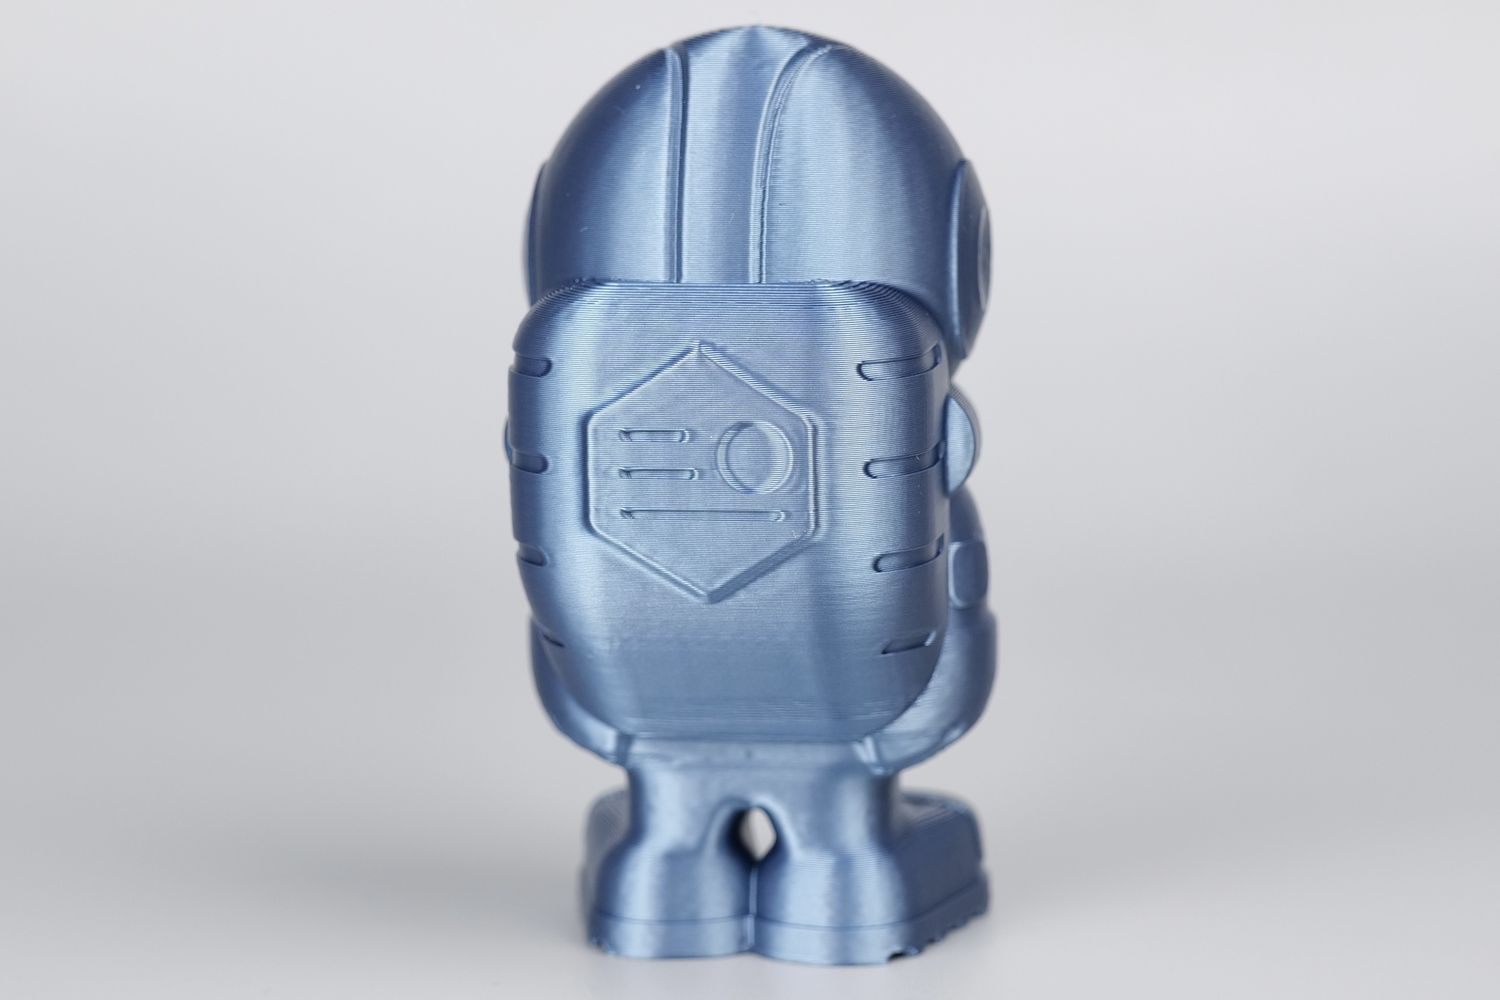
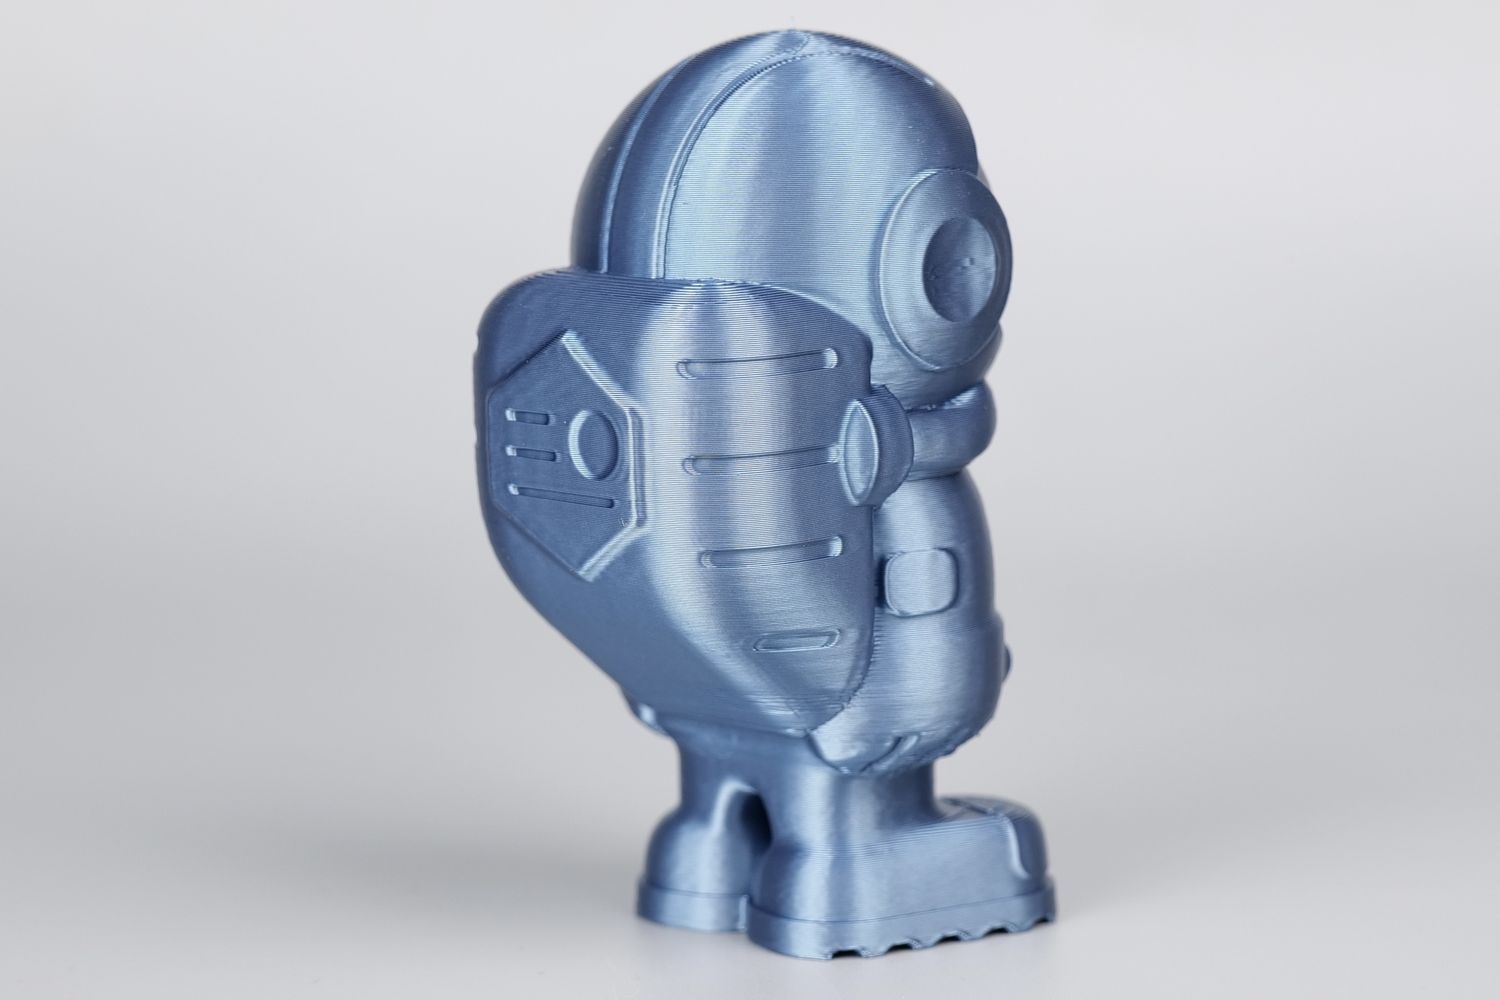
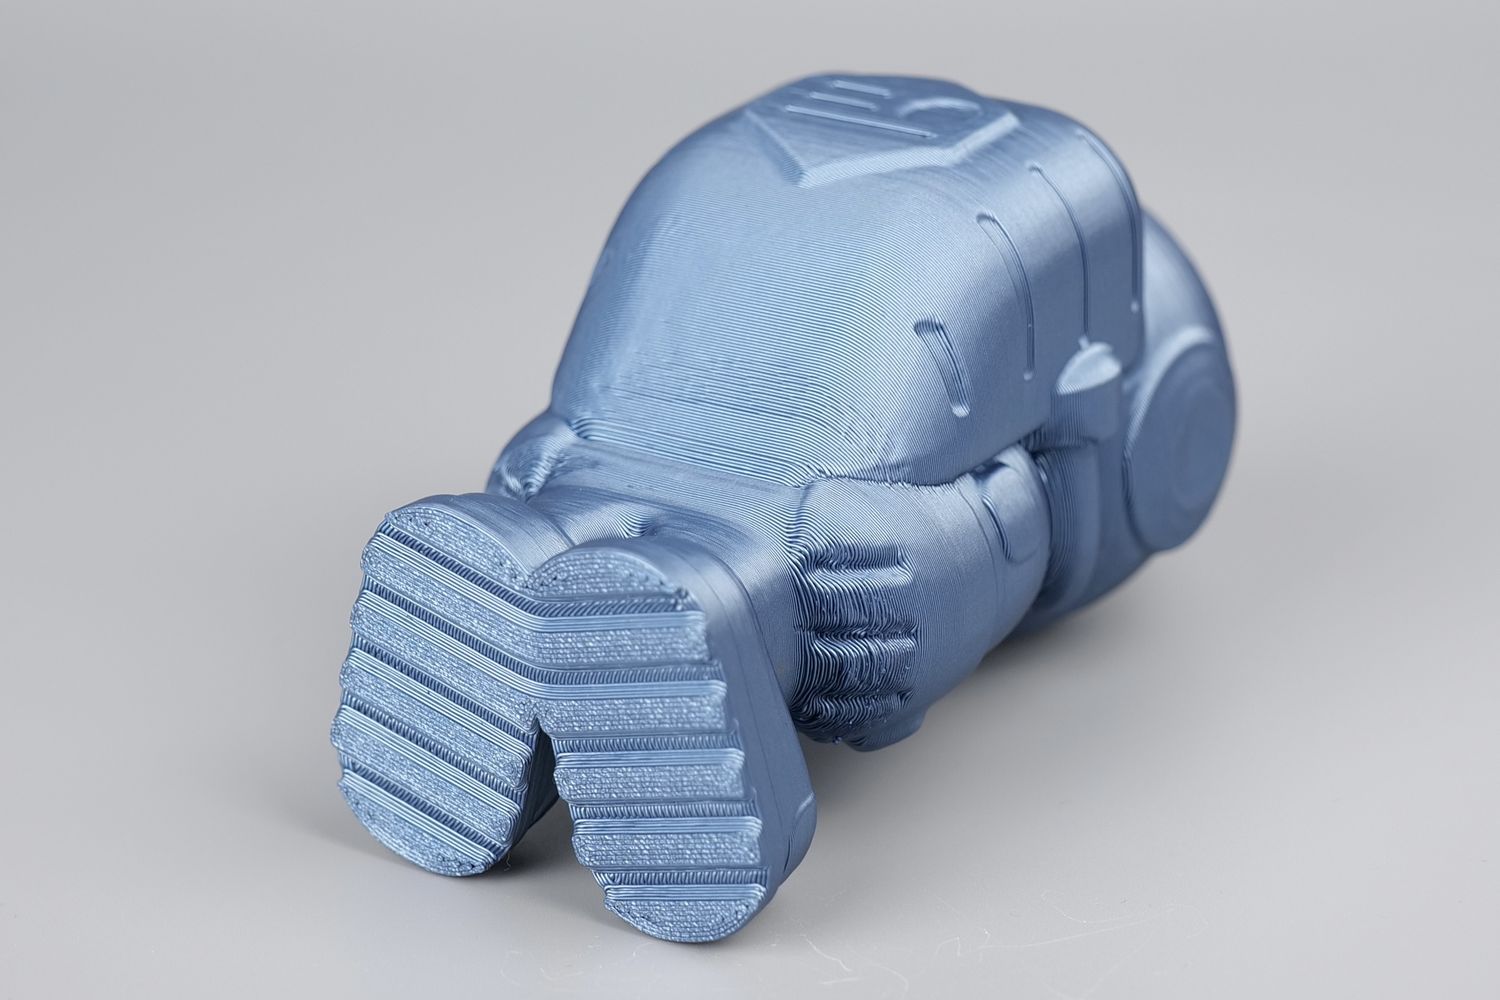
- Material: Bambu Lab Cobalt Blue Metallic
- Layer Height: 0.2mm
- Nozzle Temperature: 210C
- Bed Temperature: 60C
- Print Speed: ~250 mm/s
Print-In-Place Dump Truck
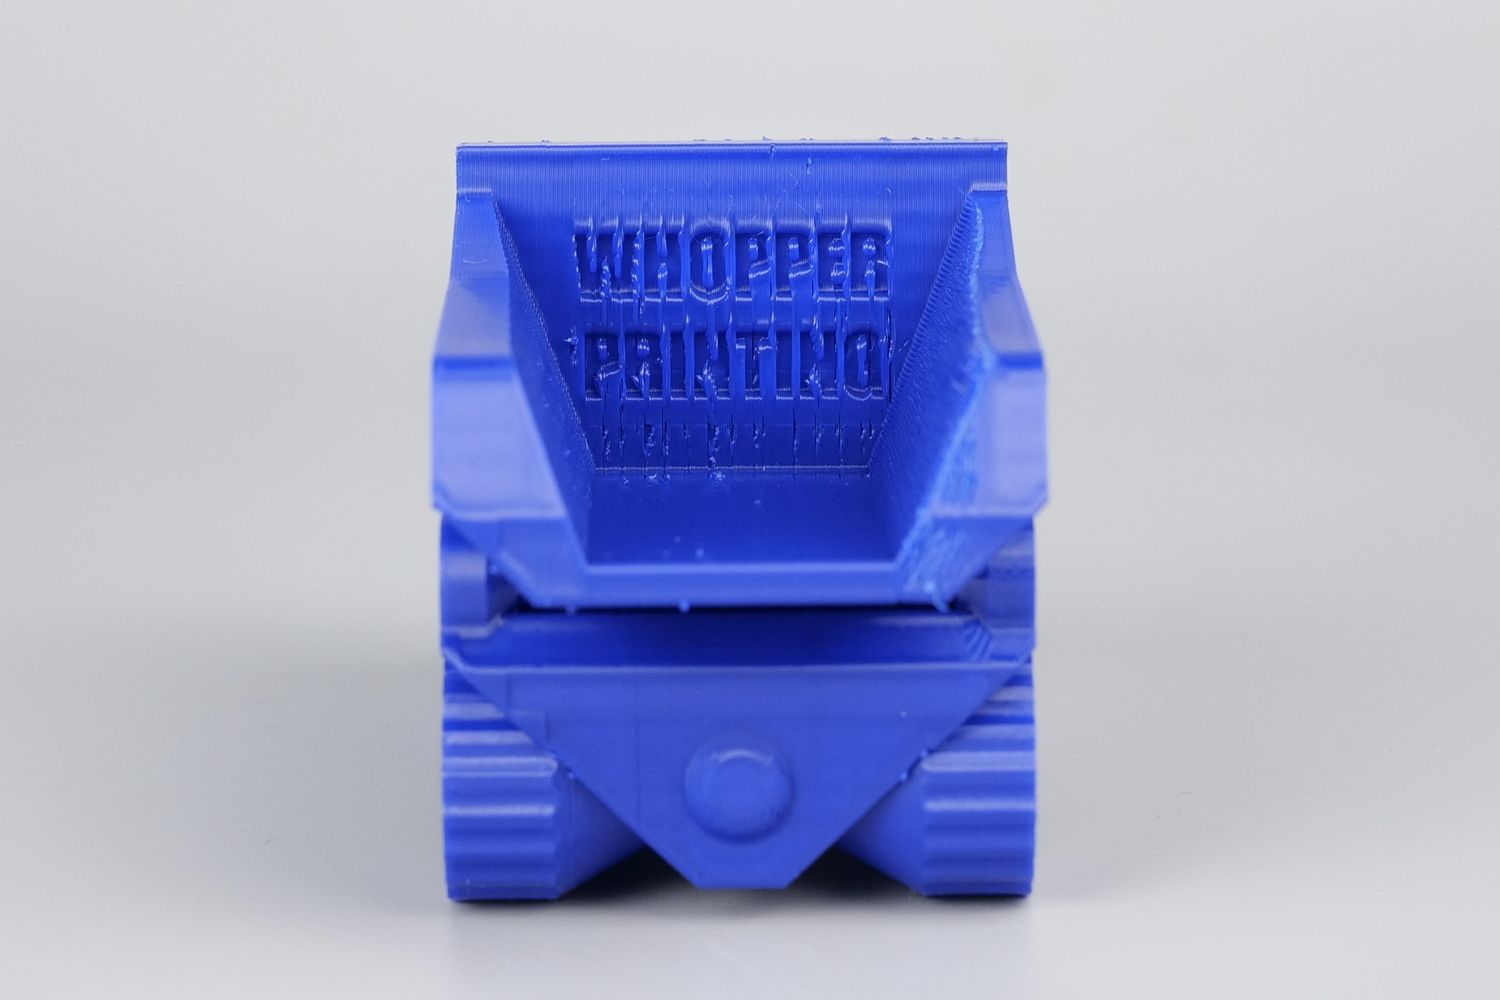
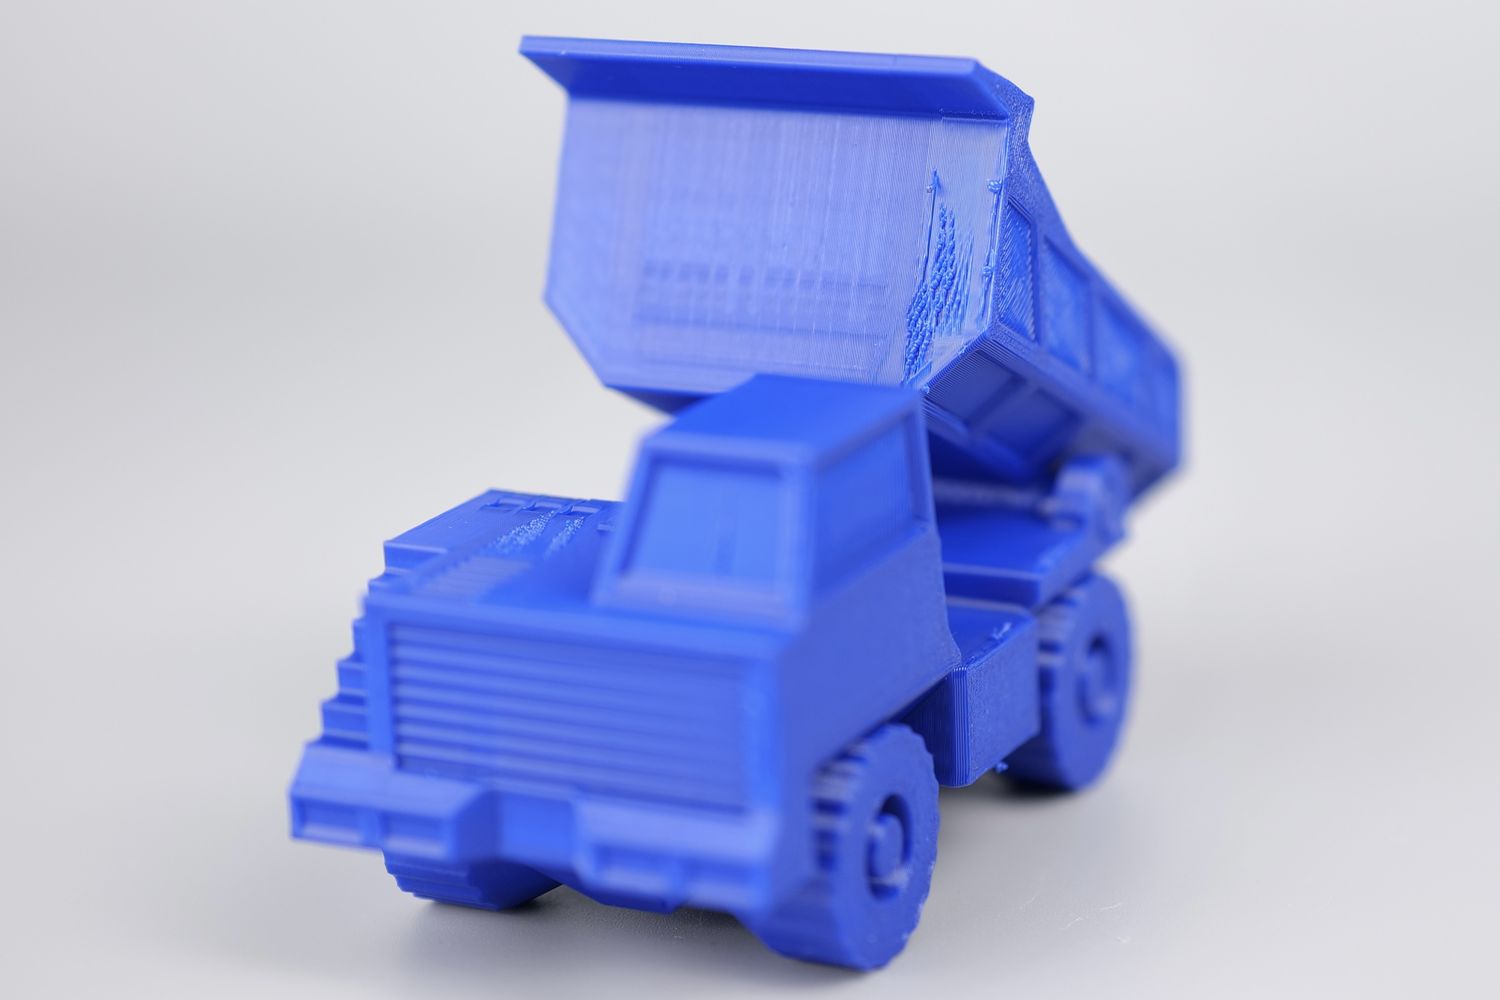
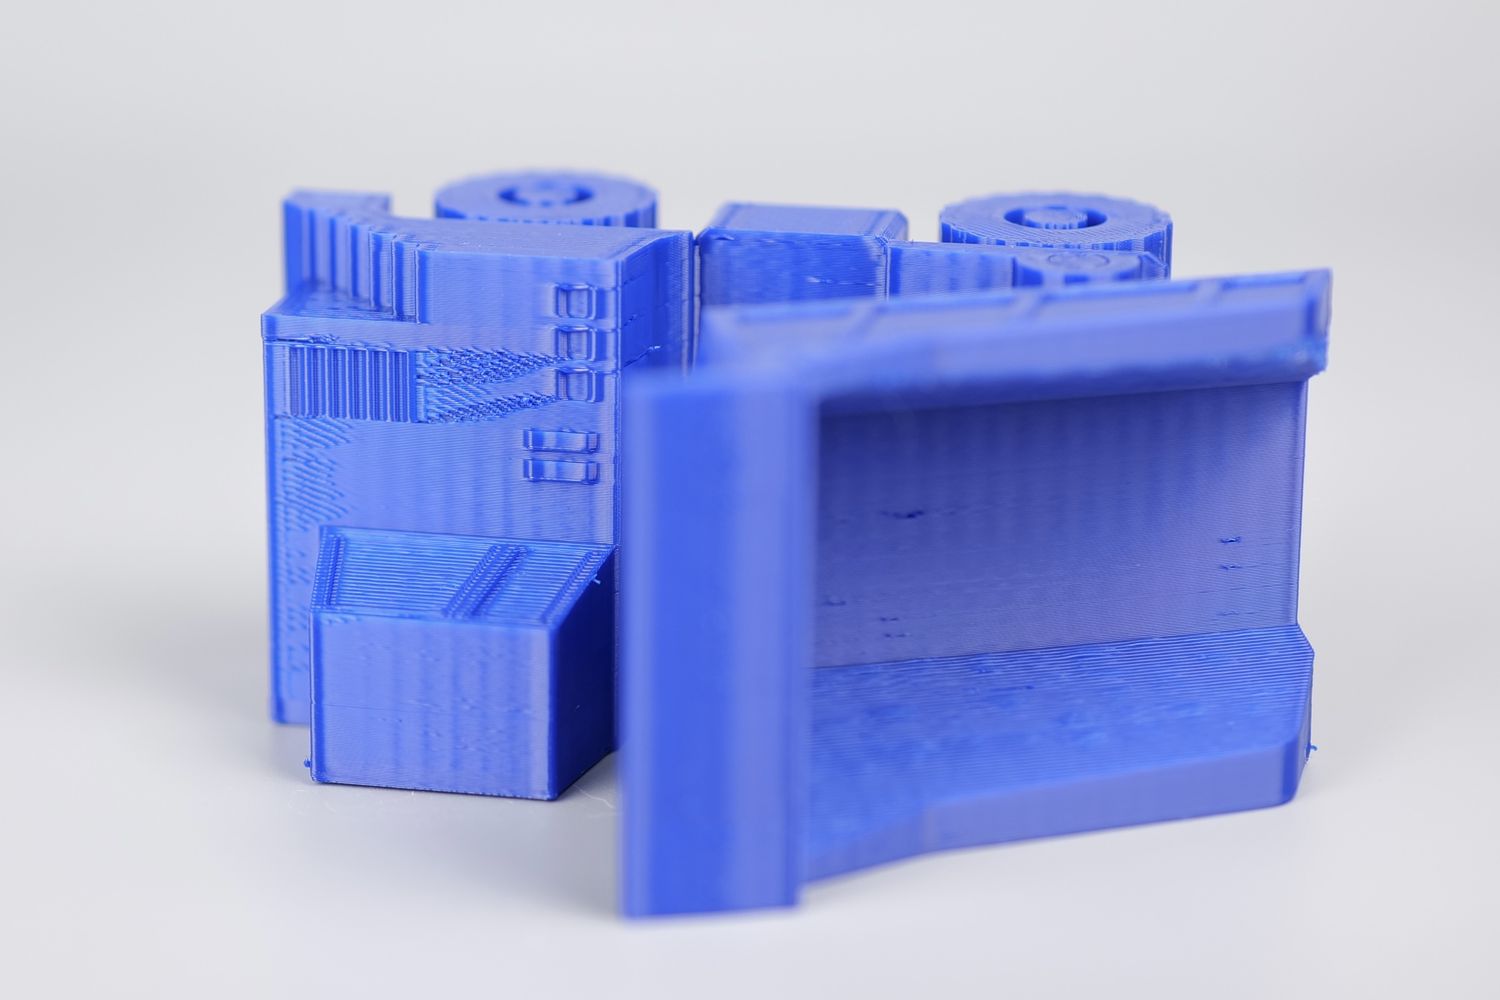
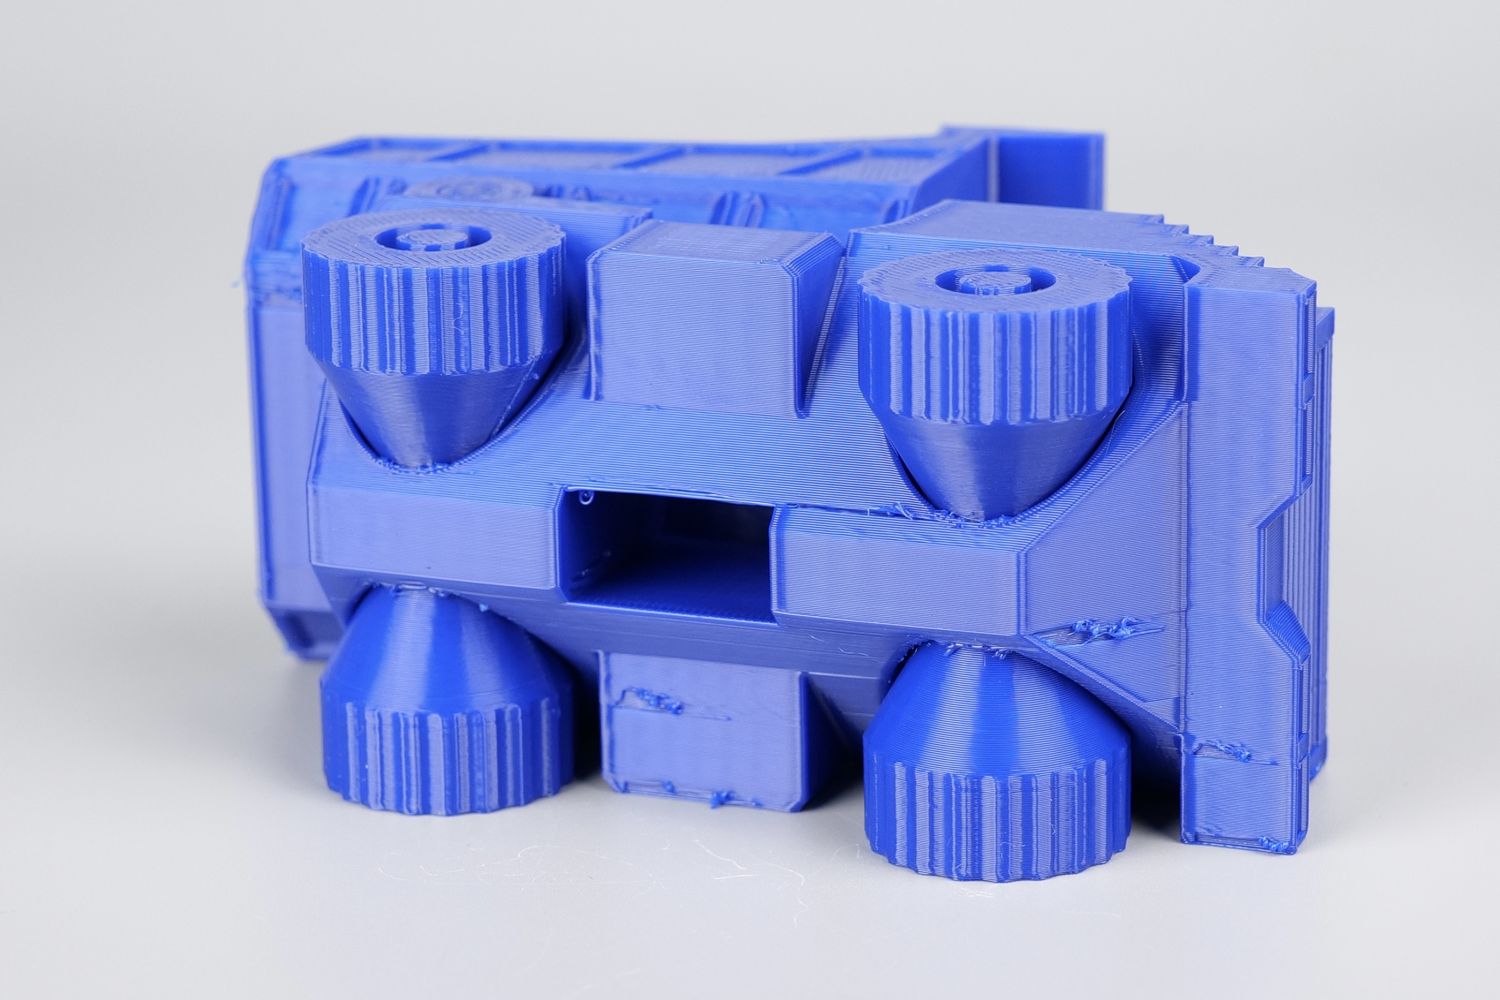
There was no PETG profile available, so I used the PETG-CF profile in Orca Slicer and adjusted temperatures a bit for the Print-In-Place Dump Truck. Unfortunately, the print quality is bad with multiple sections where the extrusion seems to have stopped and the layers were not printed correctly.
Just like with the other prints, there are vibration artifacts and VFAs present on the model.
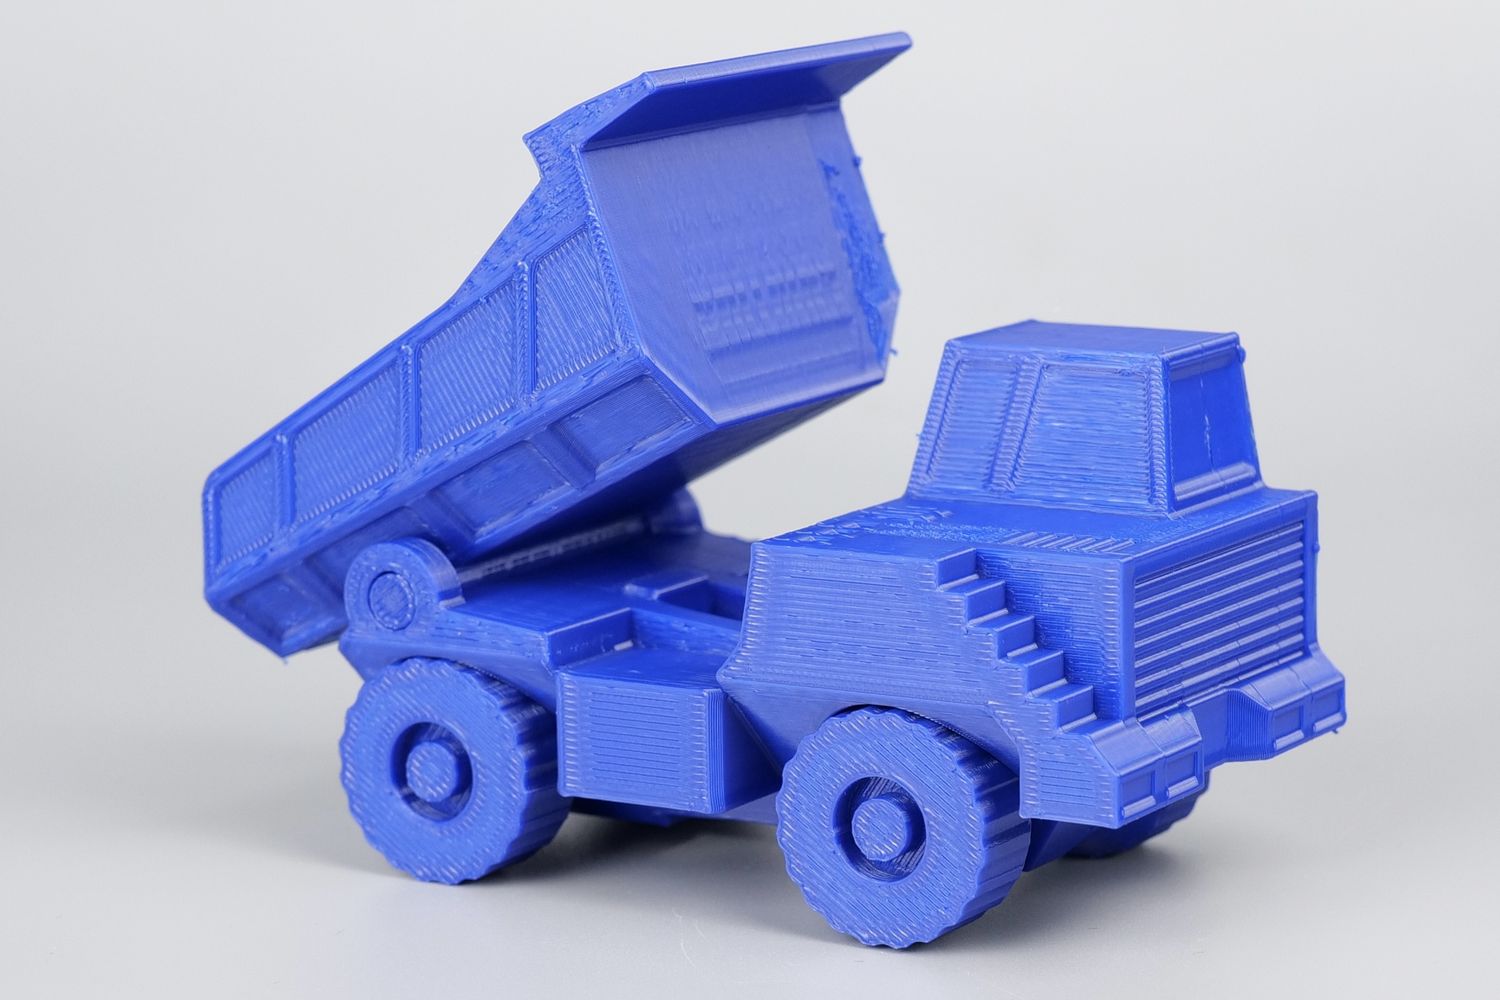
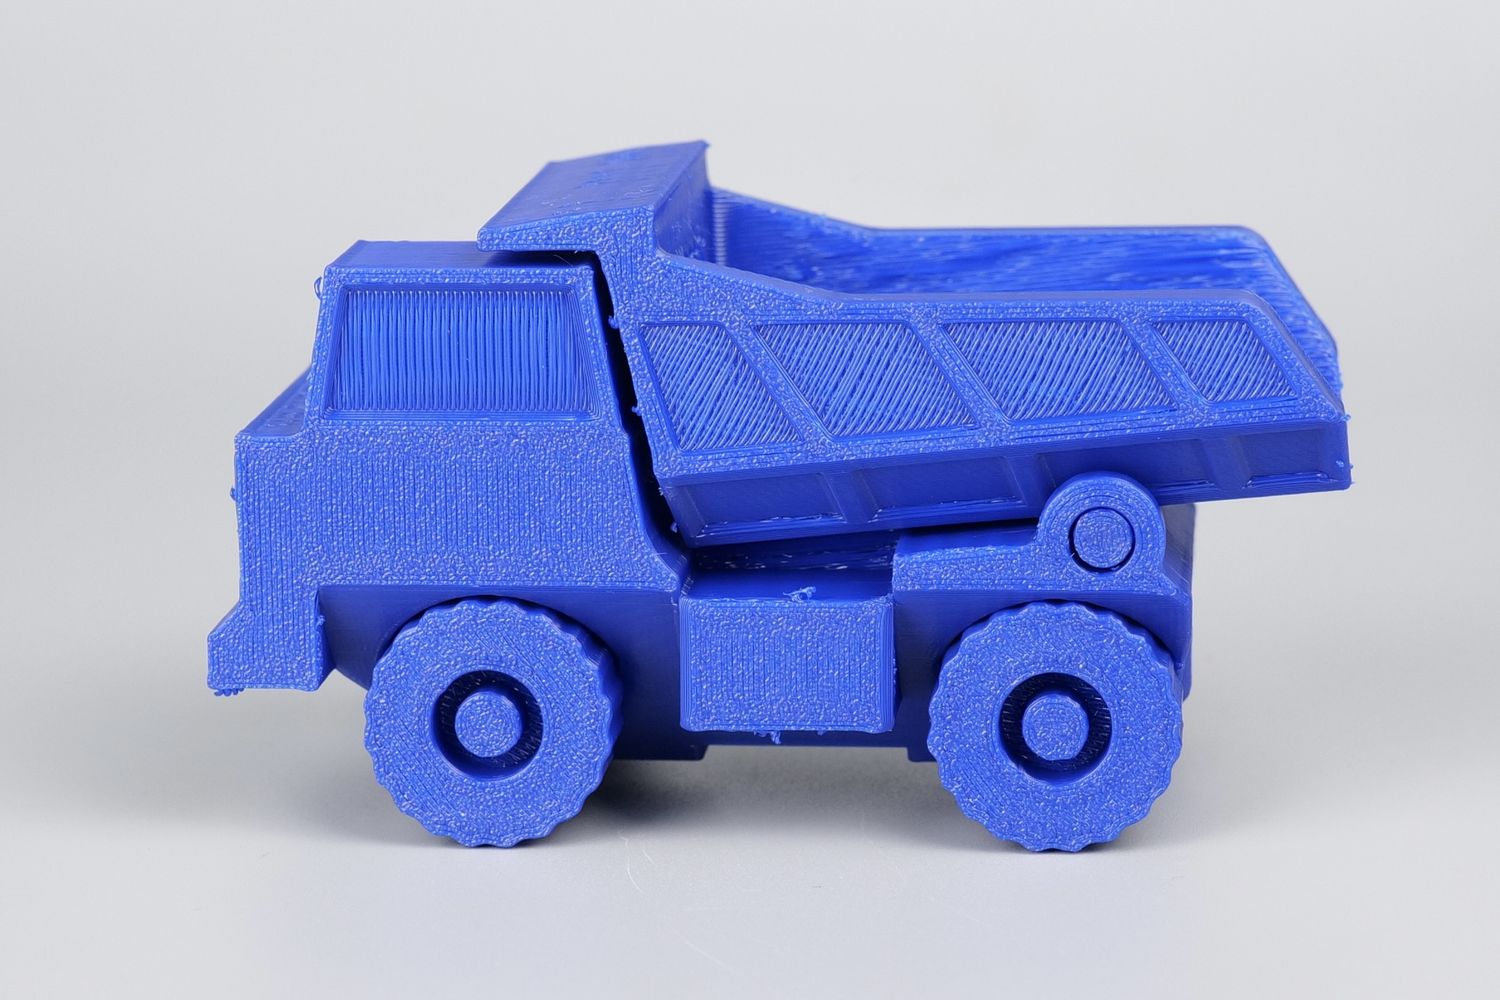
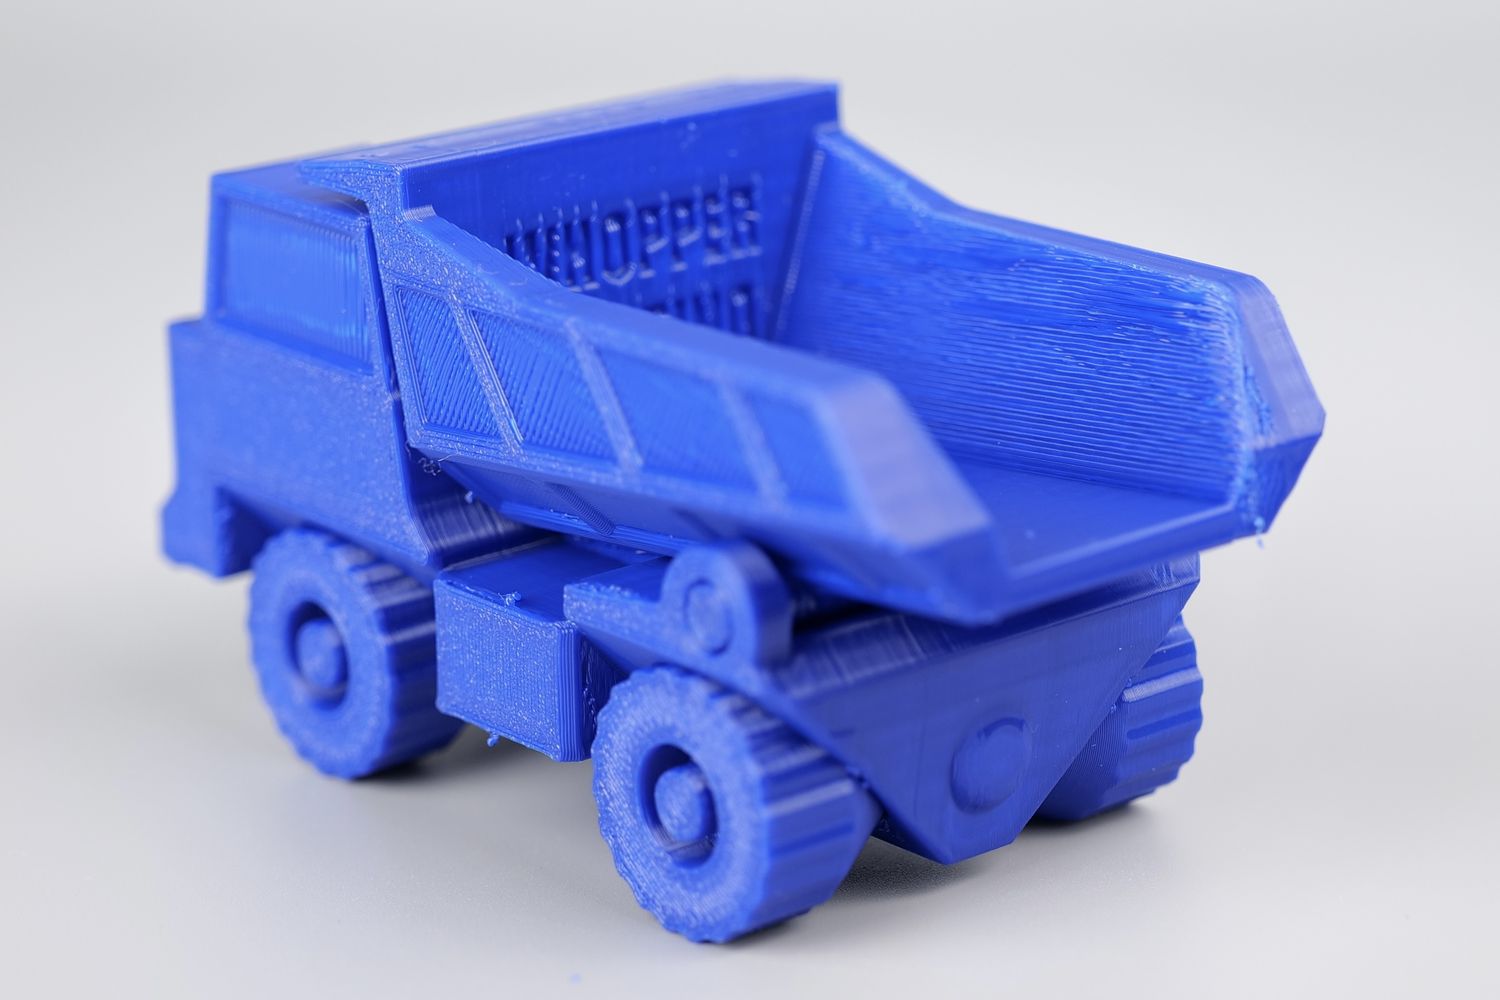
- Material: Bambu Lab Basic Blue PETG
- Layer Height: 0.2mm
- Nozzle Temperature: 250C
- Bed Temperature: 80C
- Print Speed: ~250 mm/s
Infinity Bins
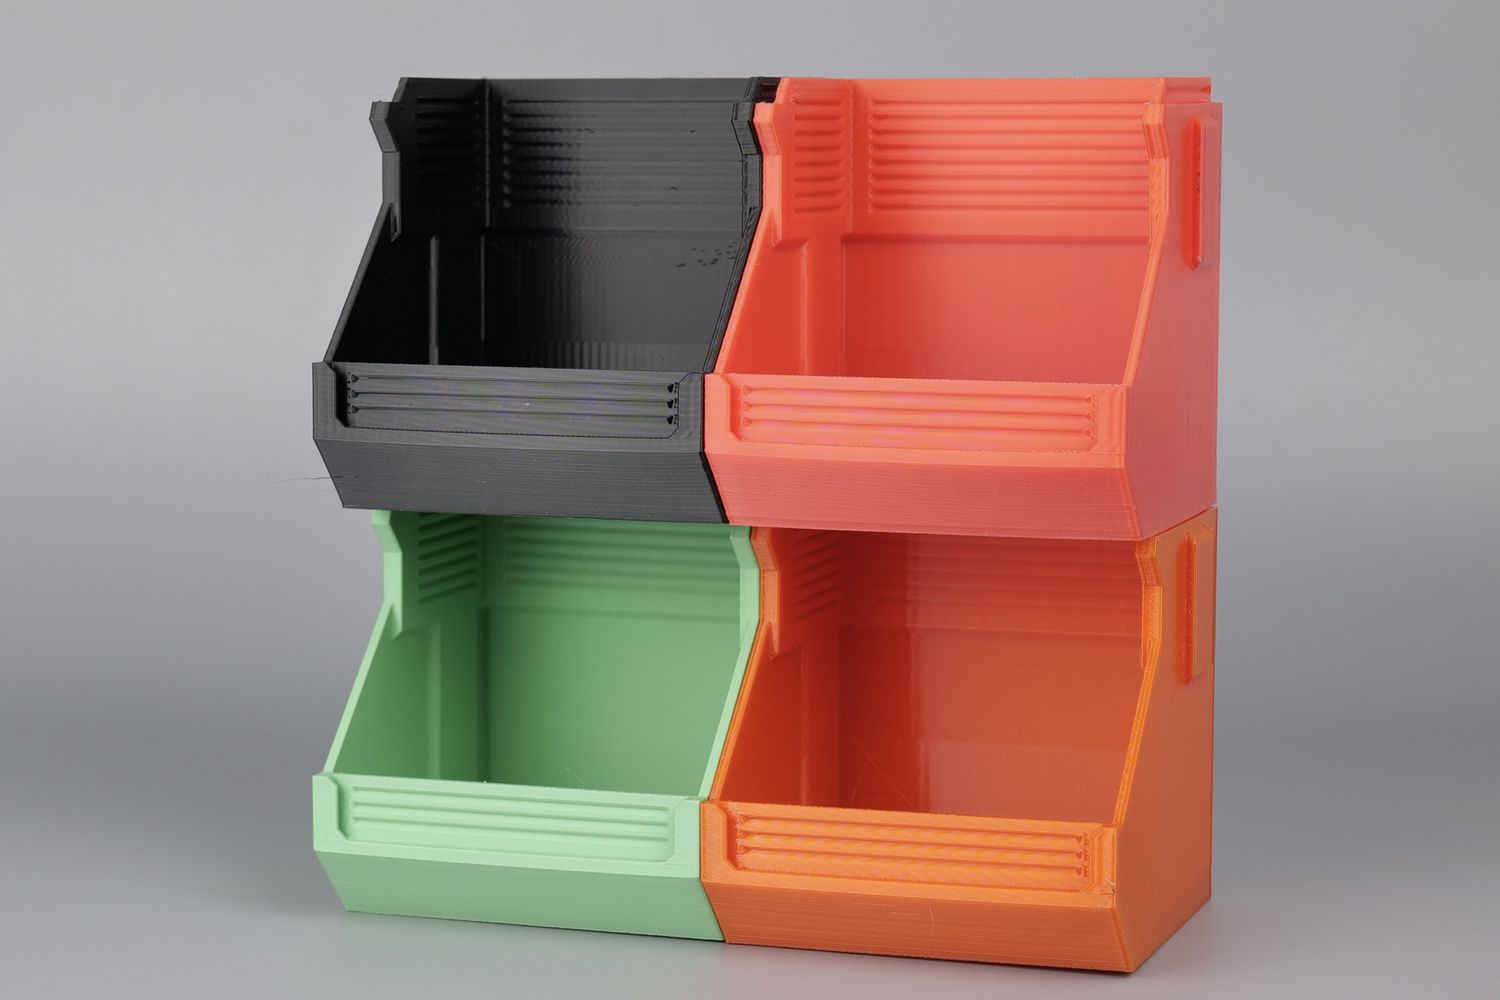
I have been printing a lot of Infinity Bins lately to organize my space and also use some leftover filament. To test the Q1 Pro, I printed these bins in varions filaments to test the results I could get.
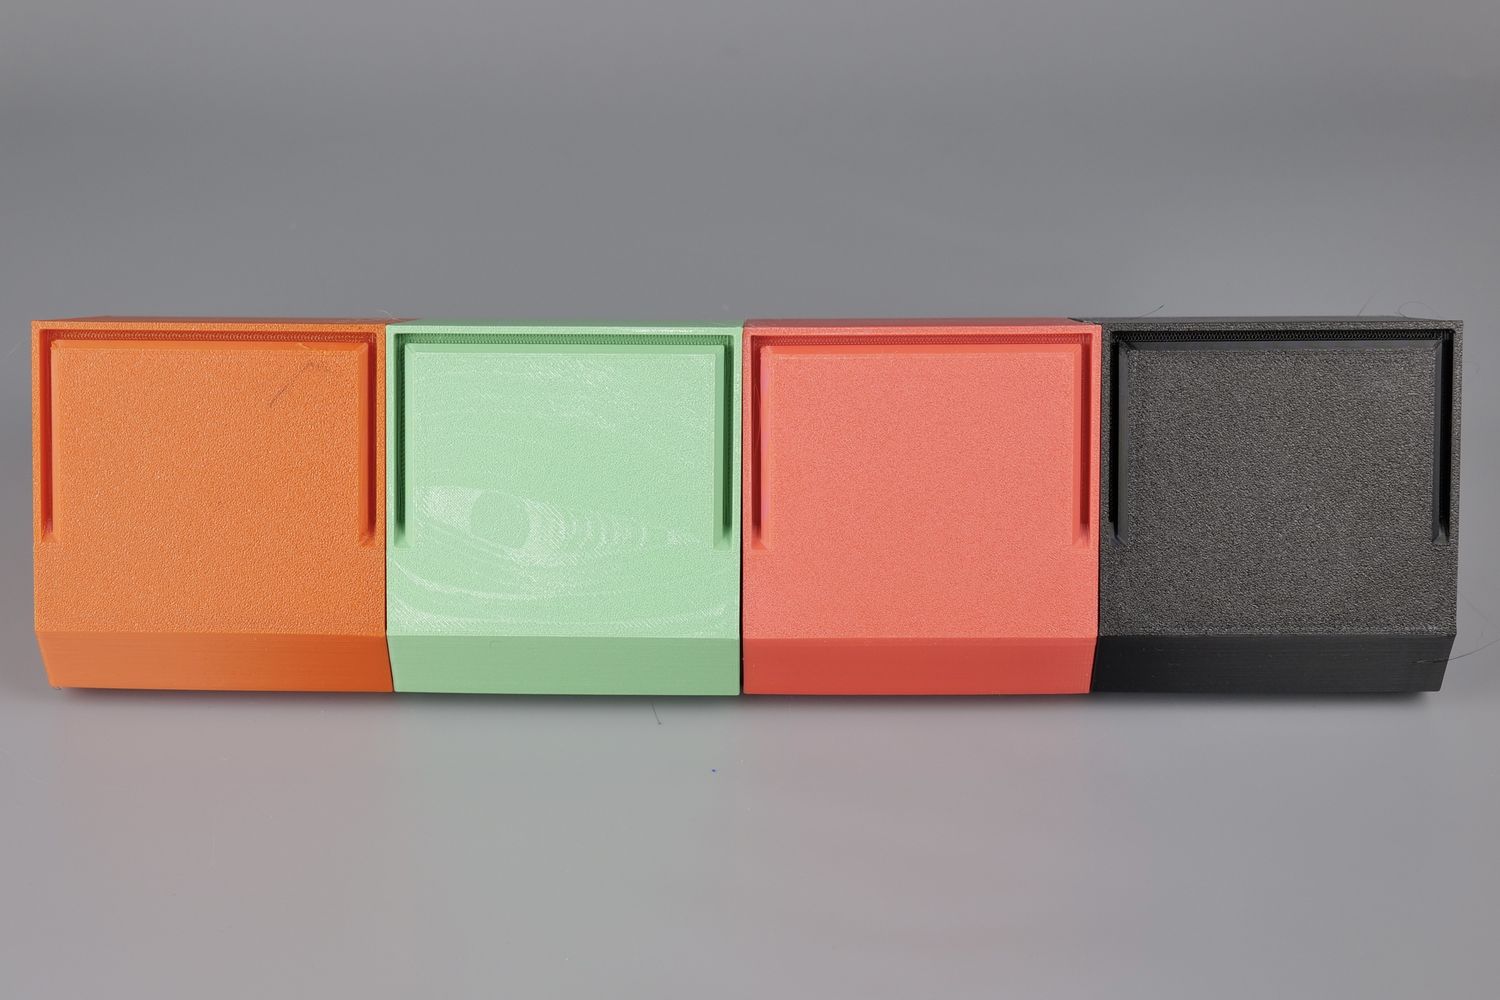
Infinity Bin in PC
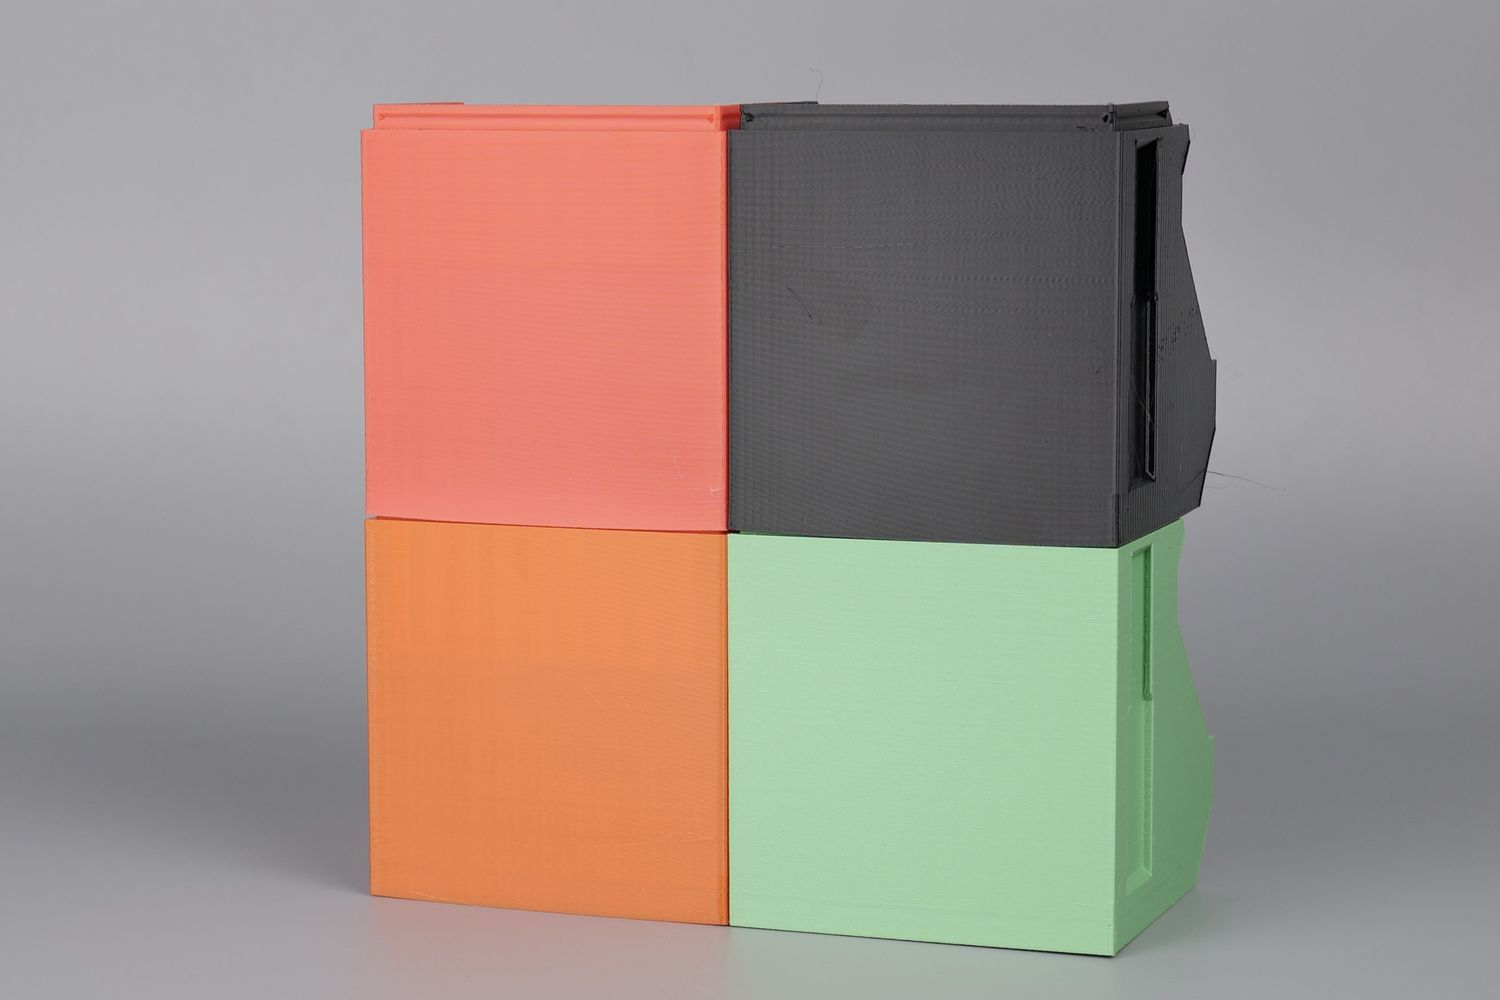
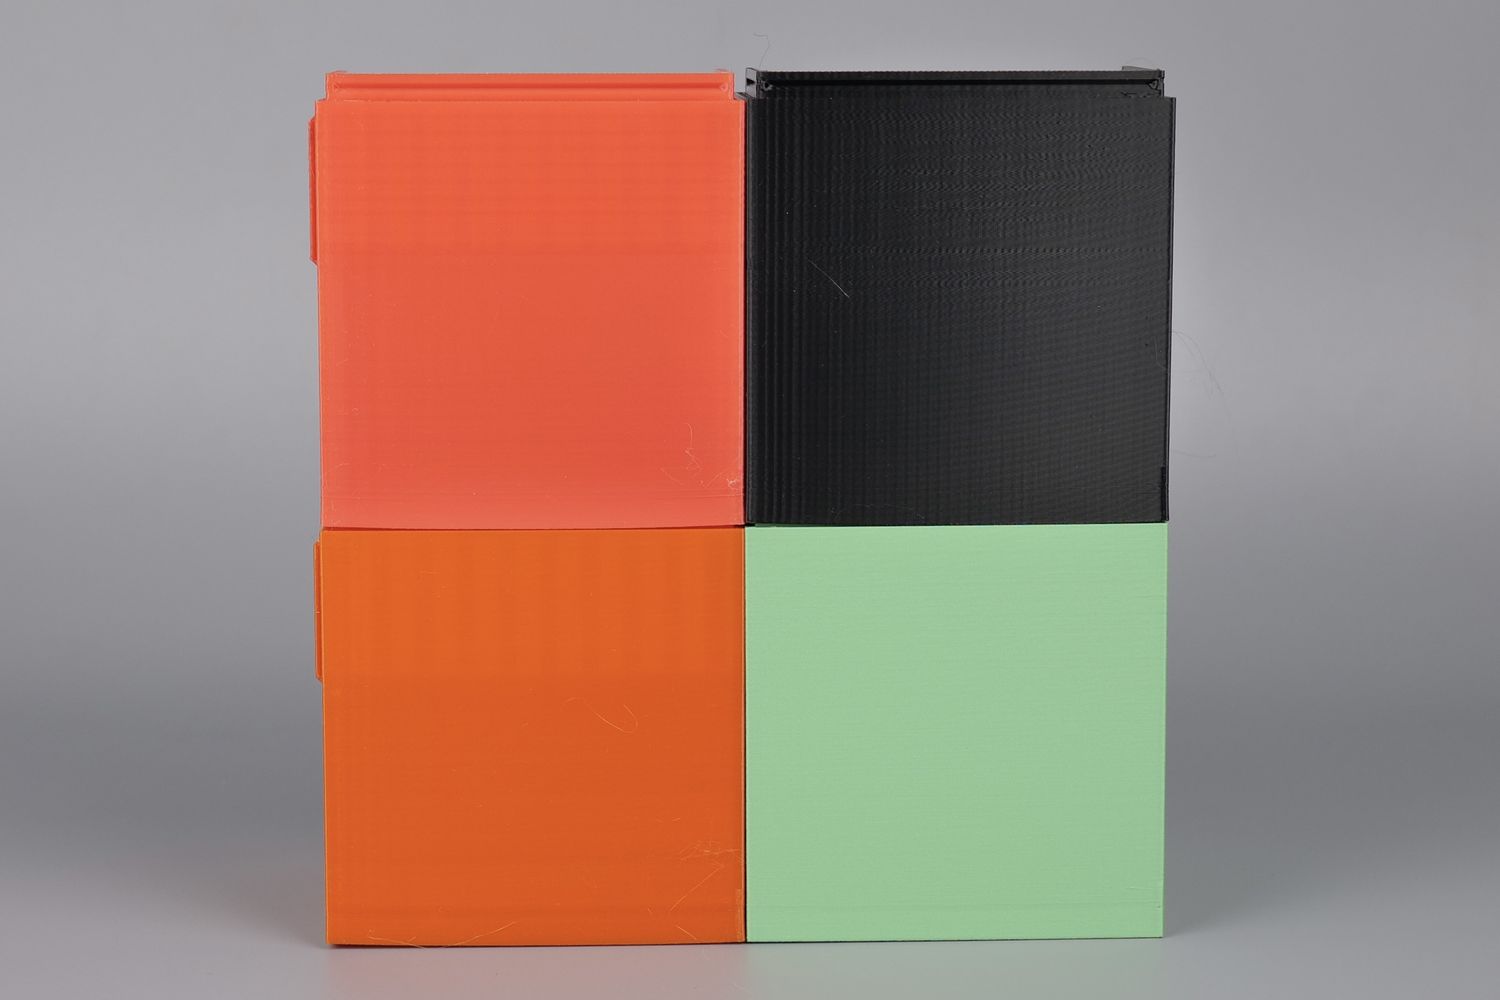
The first print I tried was with PolyCarbonate and I used a relatively low speed due to the requirements of the model. The print was successful and overall quality is good, but there is signifficant VFA artifacts present on the walls of the model.
These VFA artifacts change in intensity at different speeds, which can be seen in the last picture where the back end of the organizer is seen.
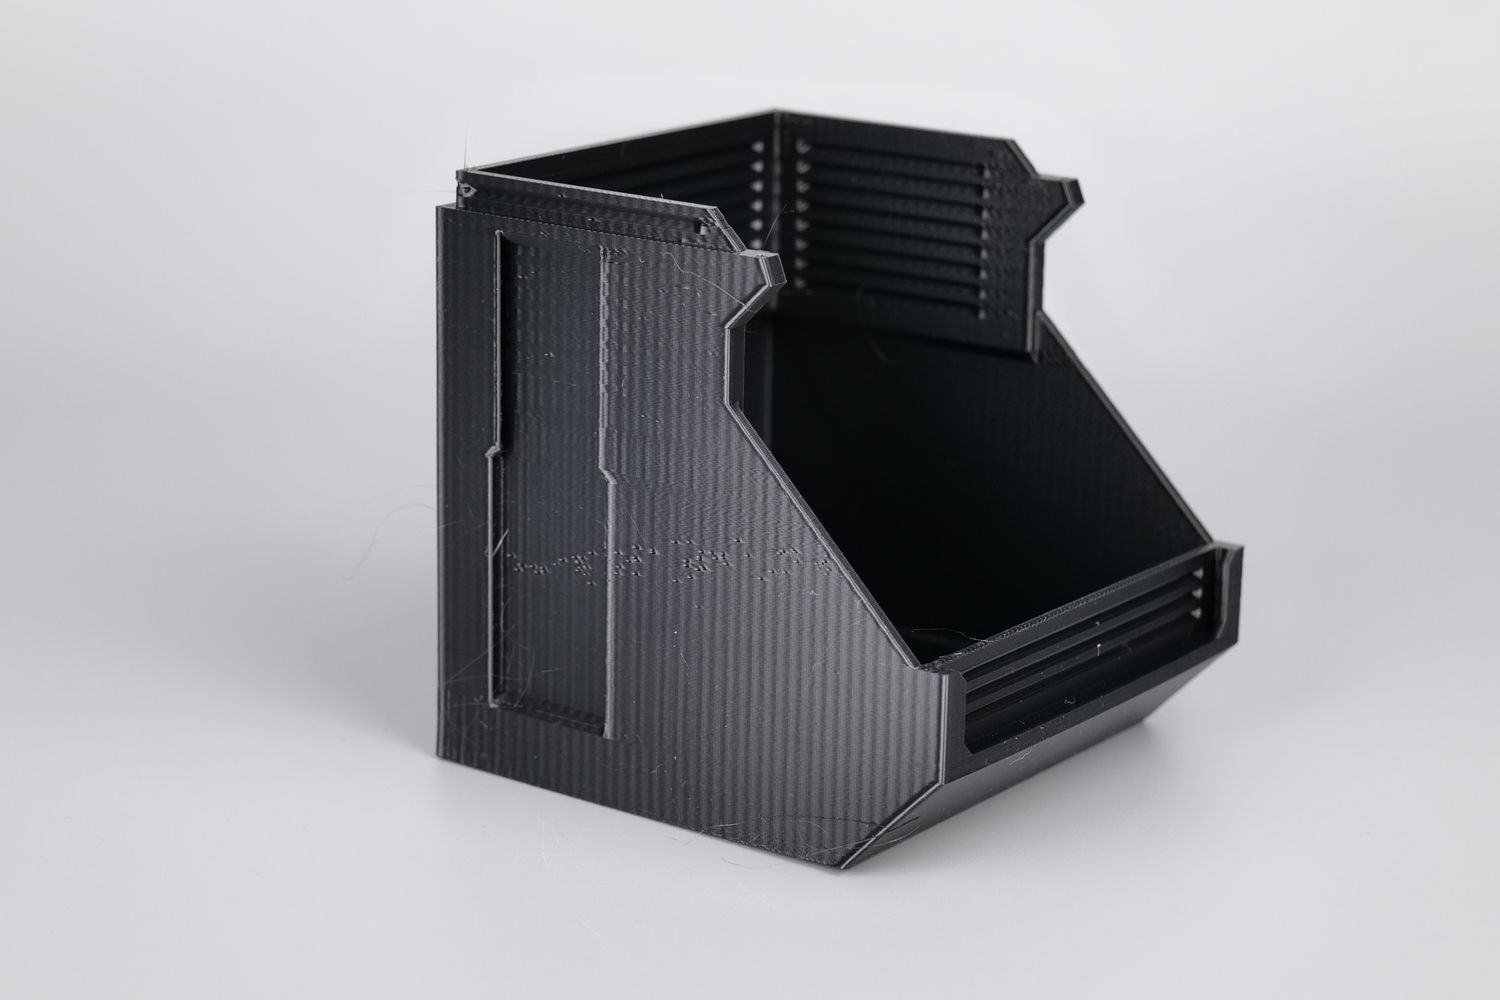
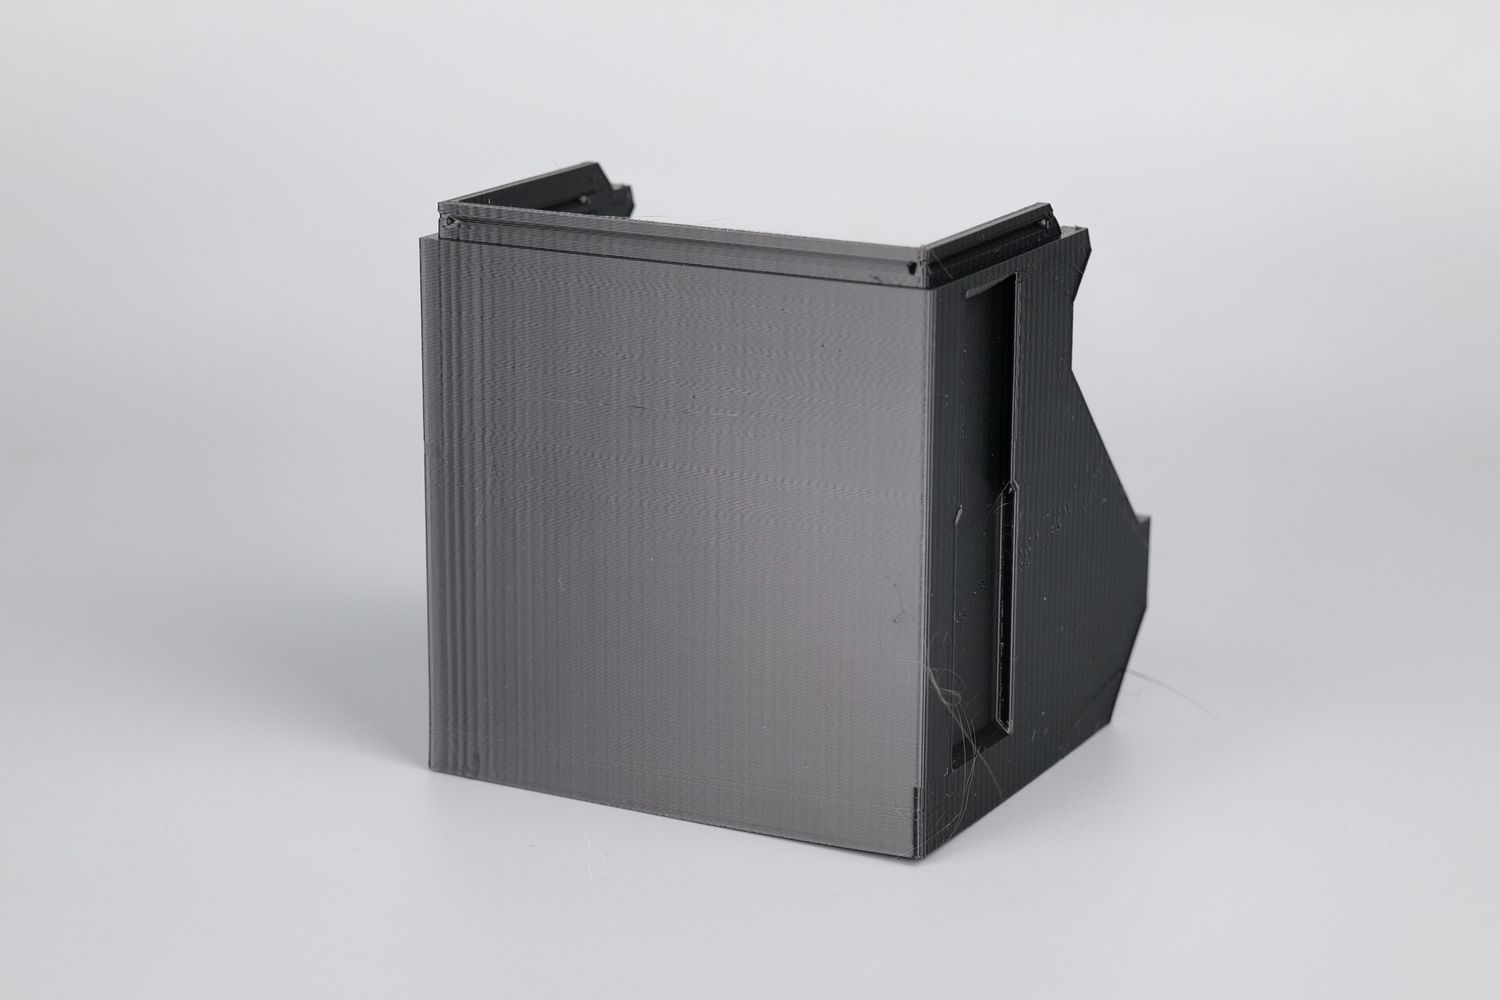
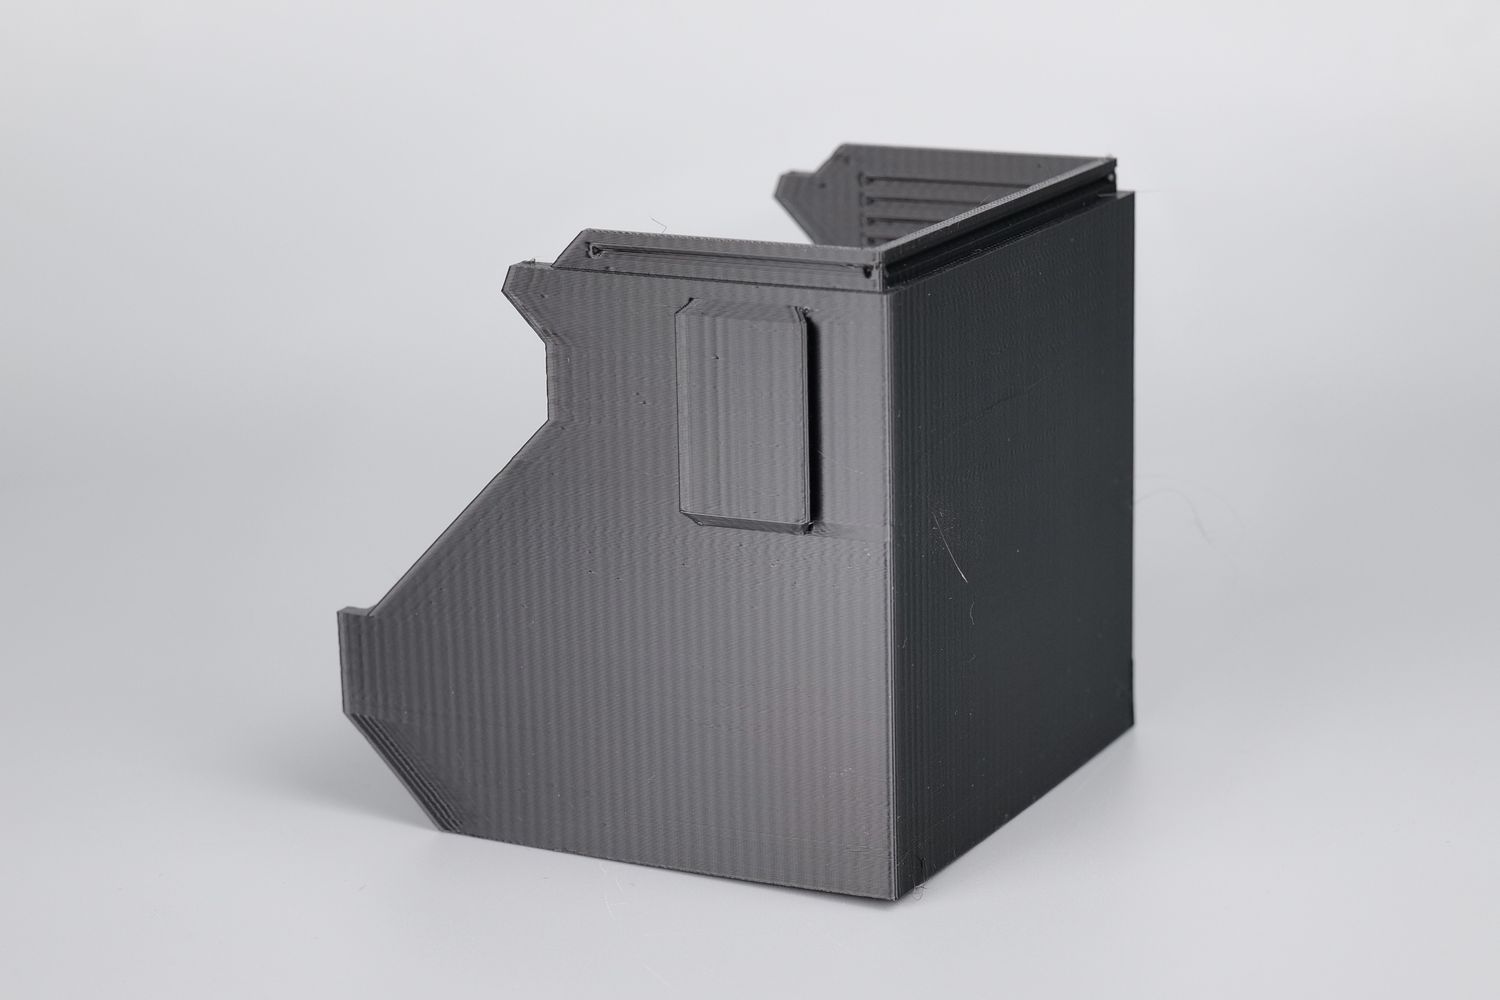
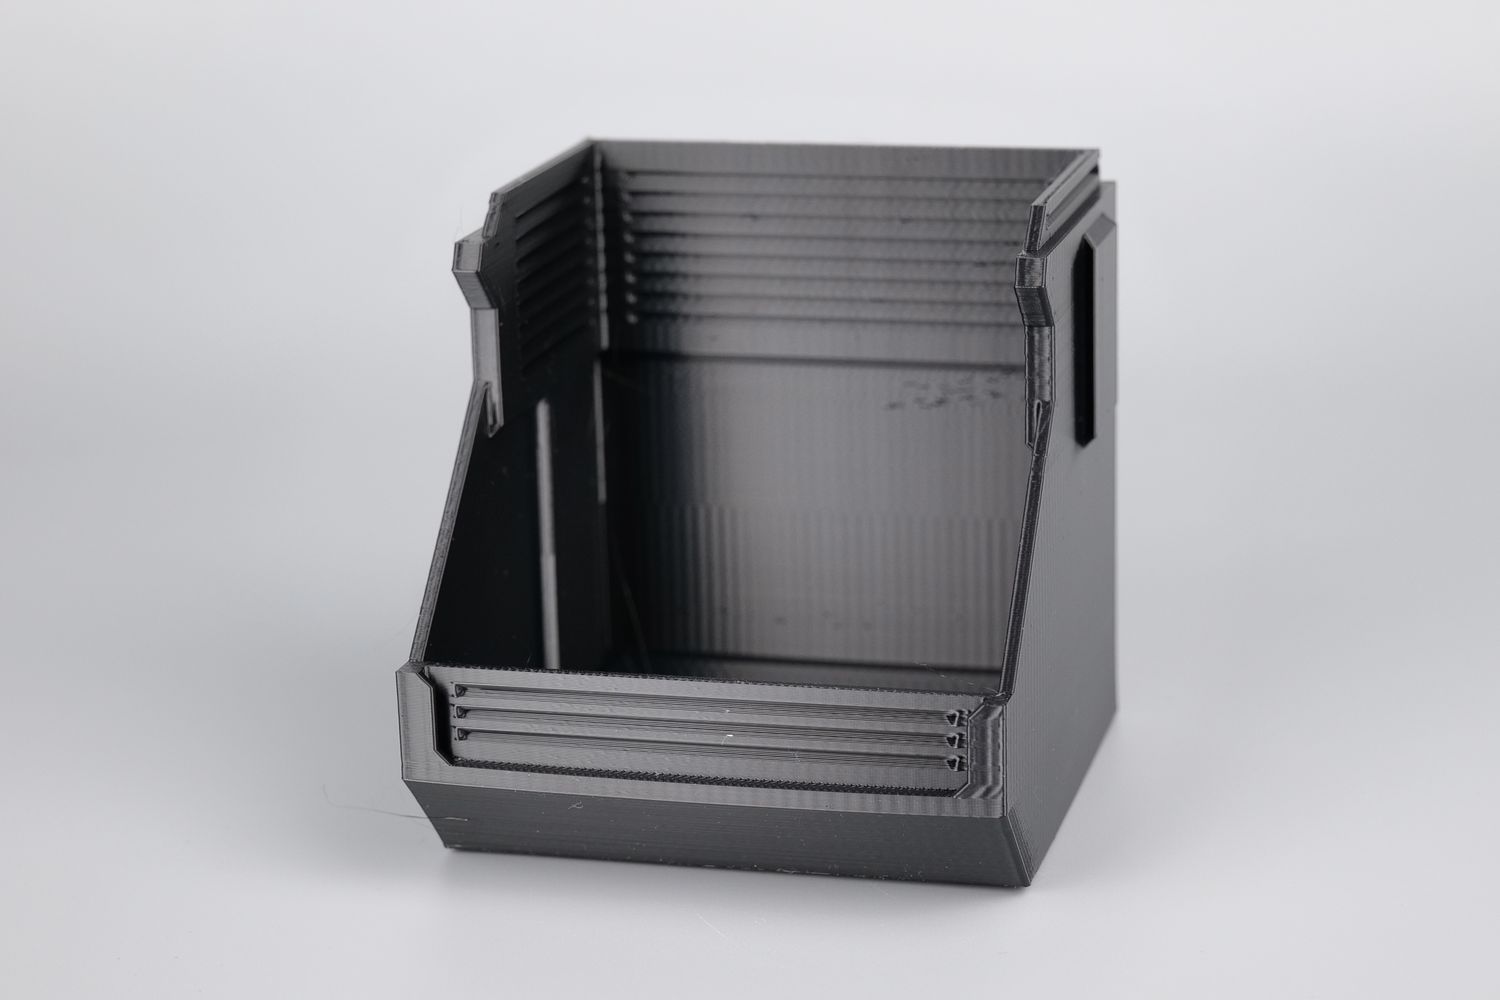
- Material: Polymaker PolyMax PC
- Layer Height: 0.16mm
- Nozzle Temperature: 250C
- Bed Temperature: 80C
- Print Speed: ~250 mm/s
Infinity Bin in ABS
Same model, this time in ABS. Due to the nature of the filament color, the VFAs are not as strongly seen, but there’s still some ringing at the end of the corners which leads me to believe the Input Shaper results are not very accurate. Besides that, there’s a small corner on the back where the print lifted and curled upwards.
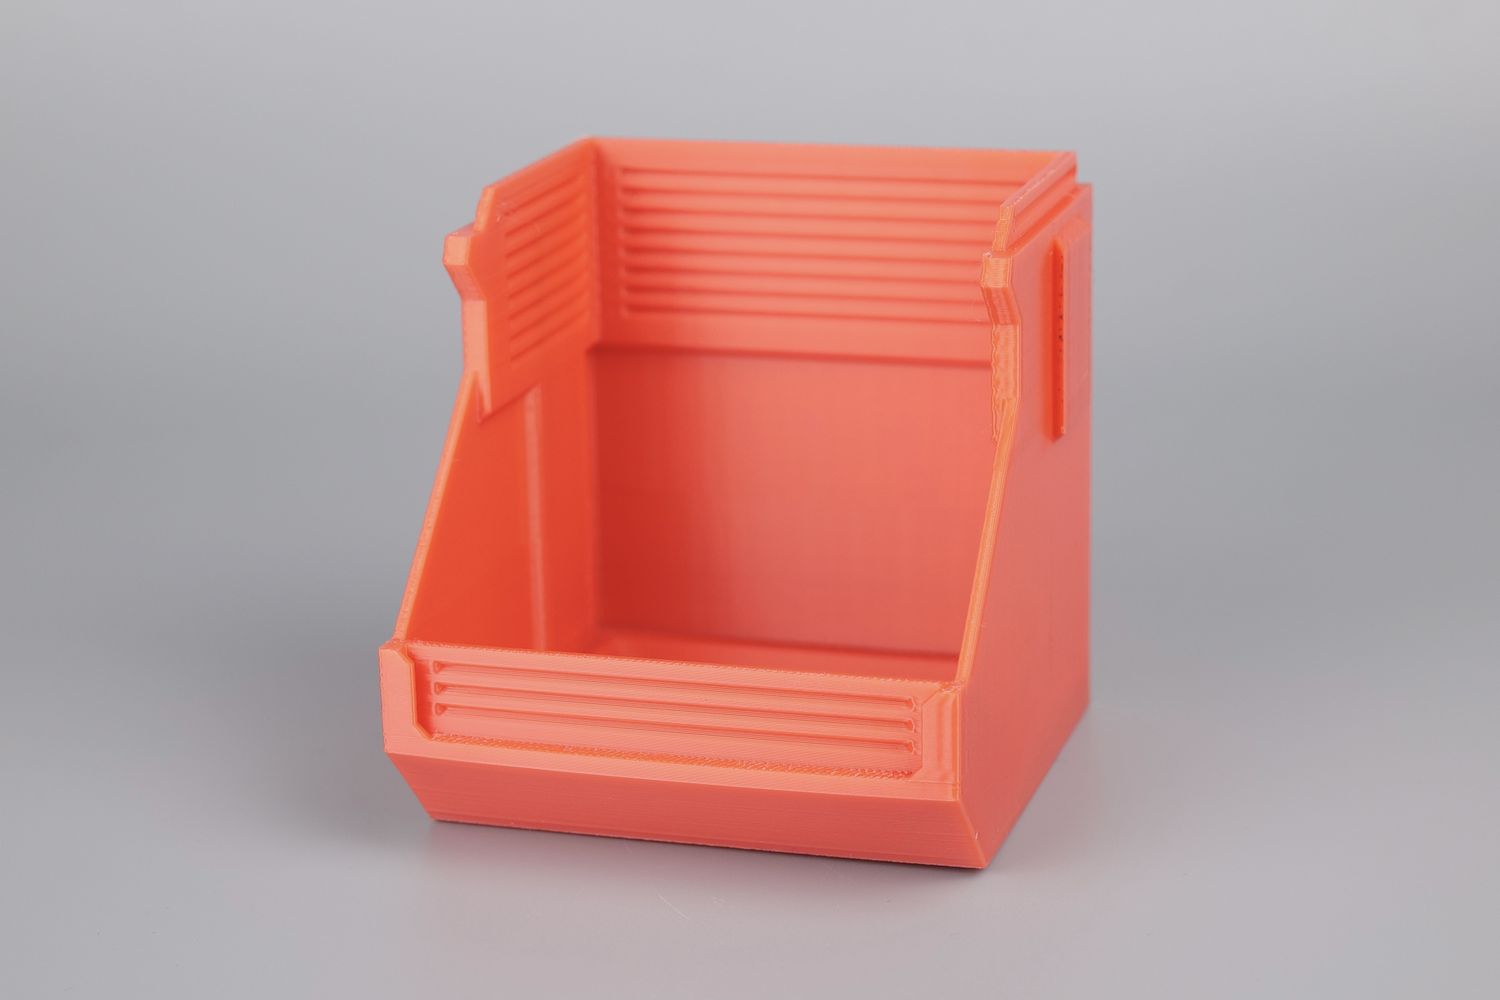
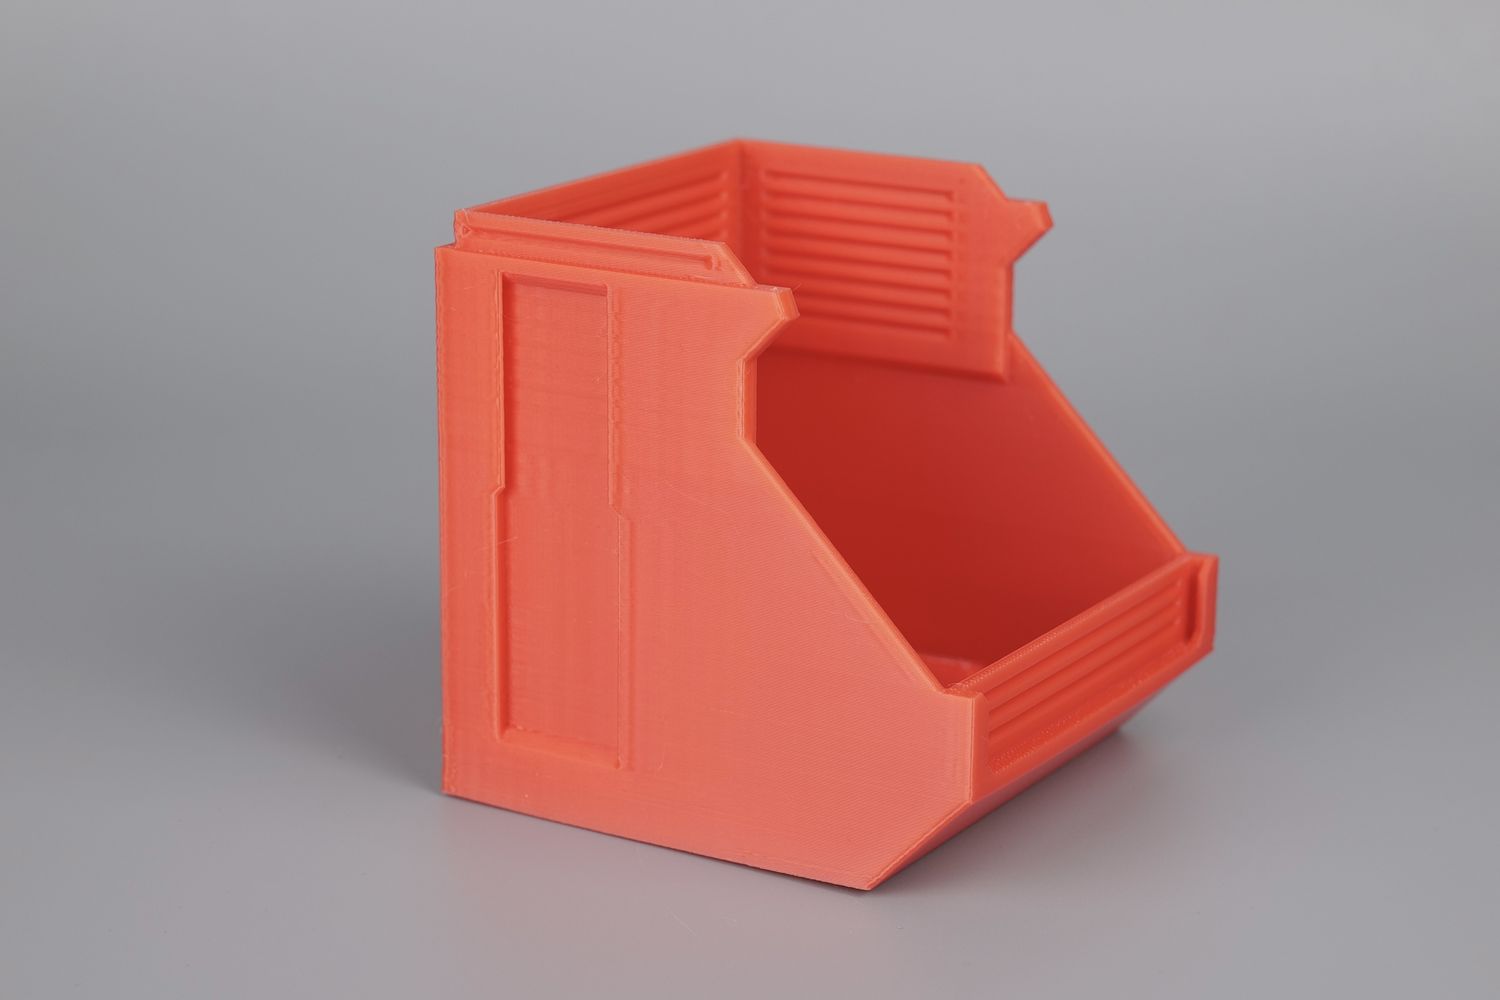
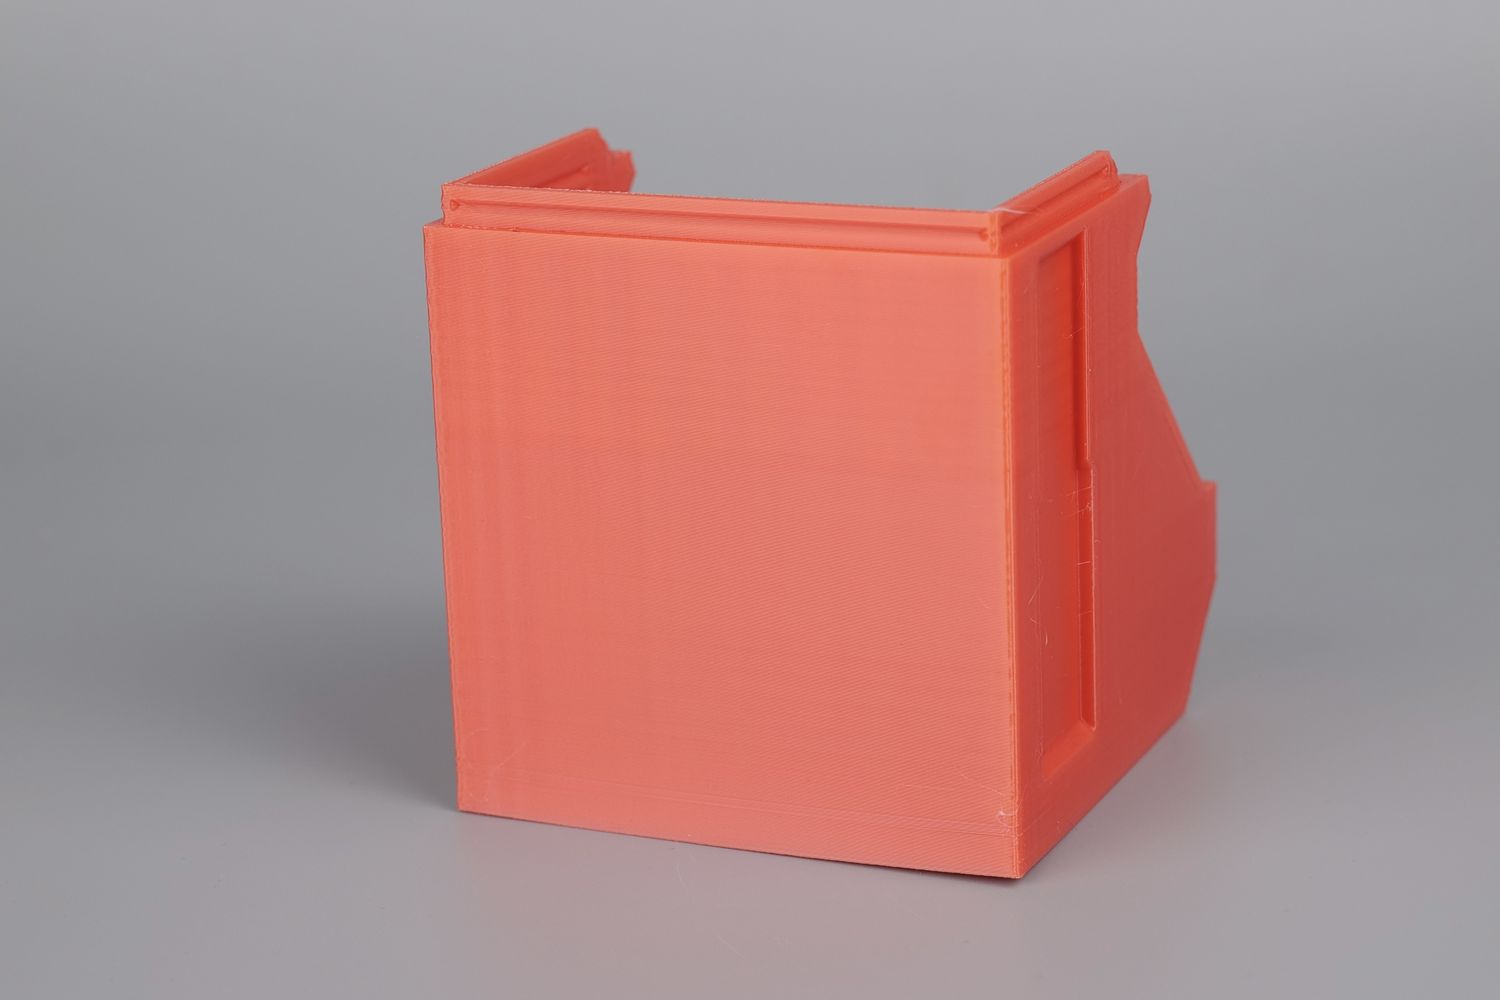
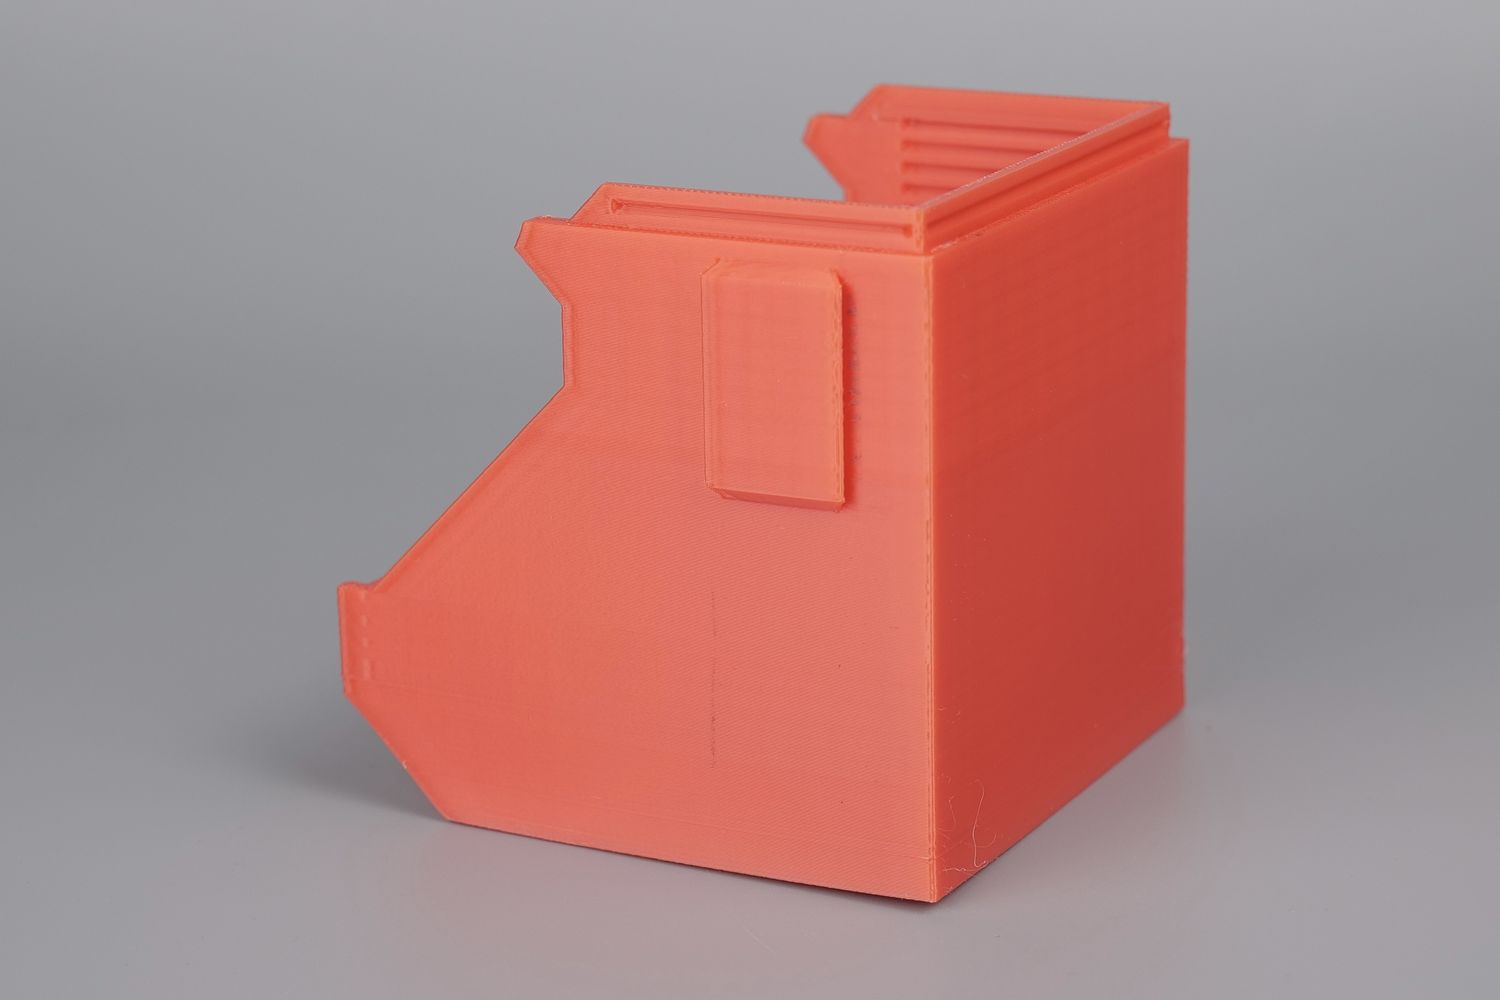
- Material: Generic ABS
- Layer Height: 0.16mm
- Nozzle Temperature: 250C
- Bed Temperature: 100C
- Print Speed: ~250 mm/s
Infinity Bin in Matte PLA
I also tried the same model in Matte PLA which came out really nicely and any VFA issues are well hidden by the material proprieties. Not too much to say about it other than it looks great.
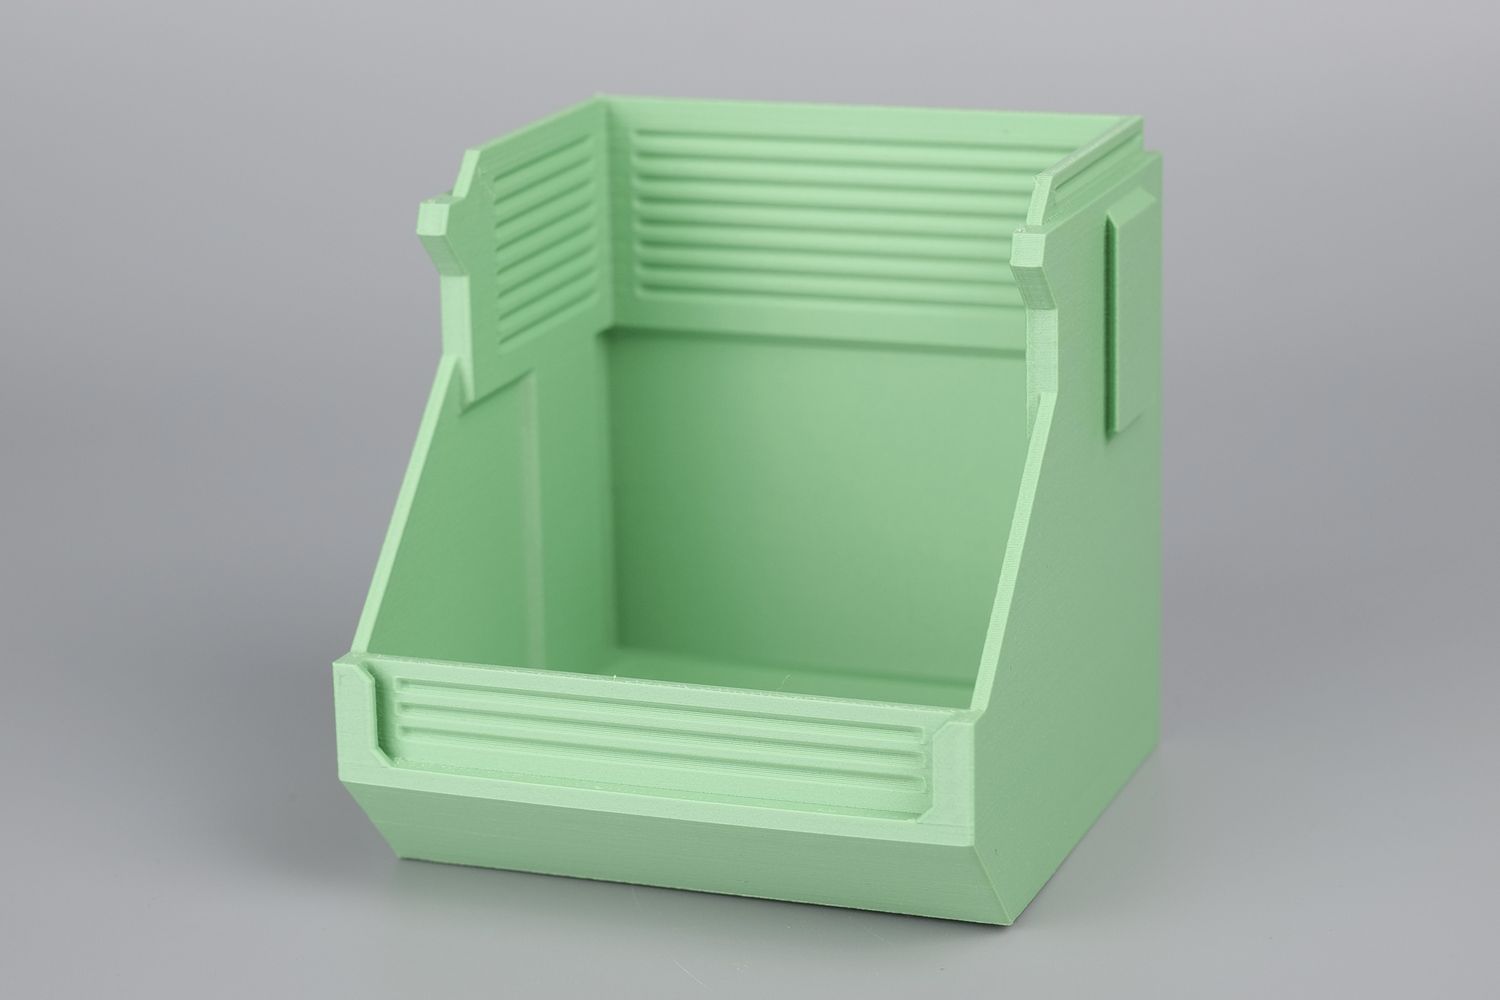
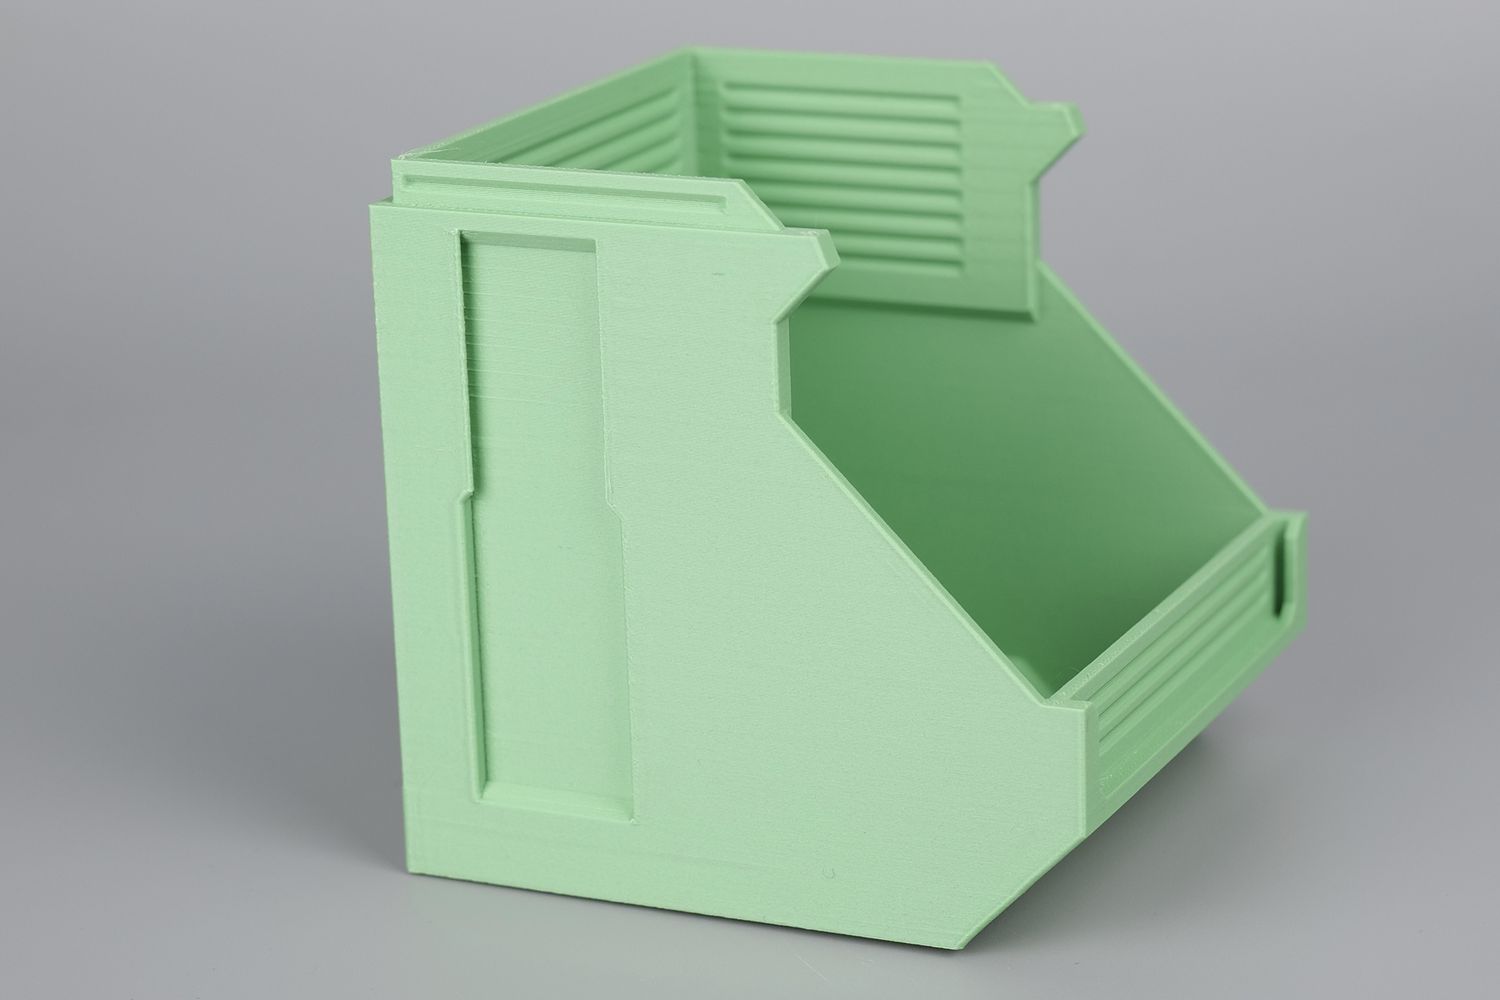
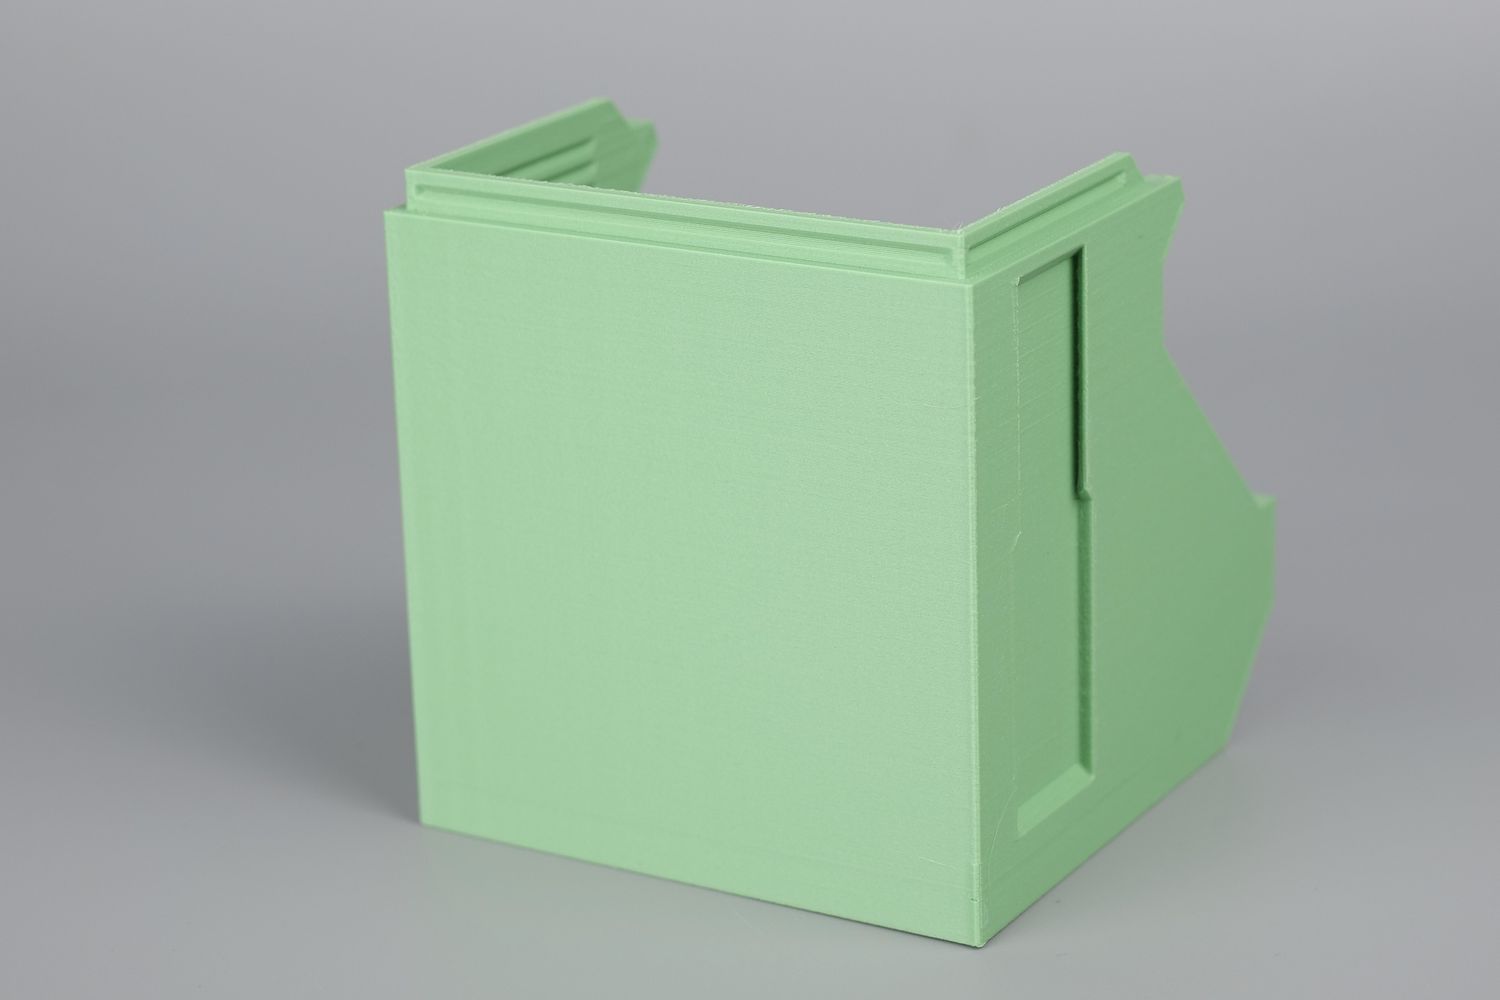
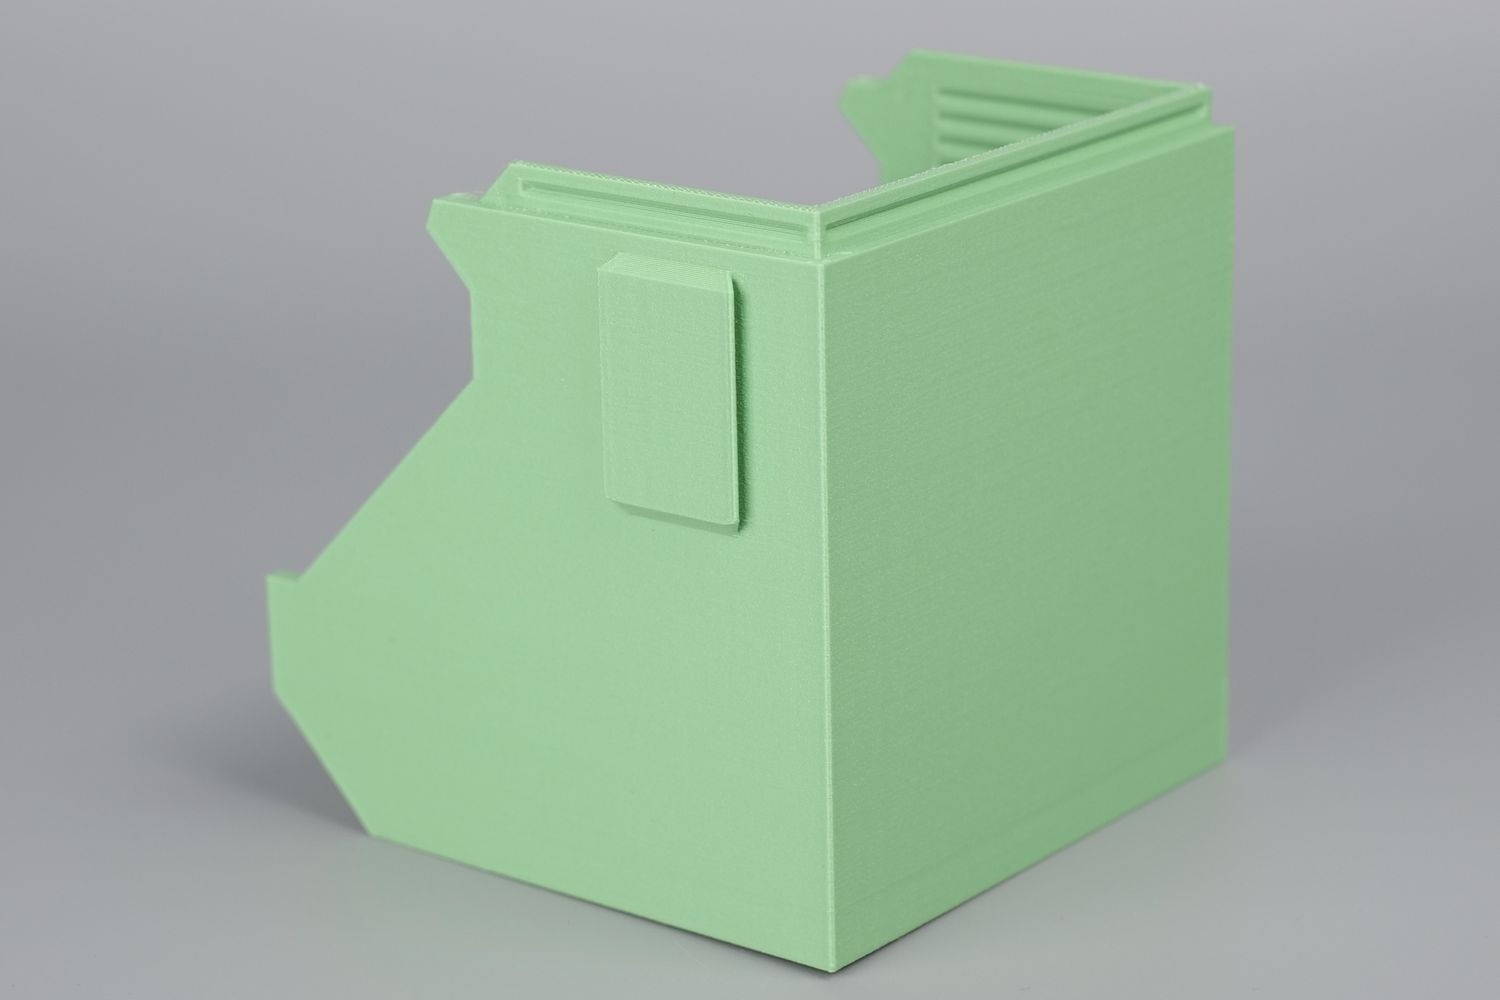
- Material: Bambu Lab Matte PLA
- Layer Height: 0.16mm
- Nozzle Temperature: 210C
- Bed Temperature: 60C
- Print Speed: ~250 mm/s
Infinity Bin in PETG
Finally, I printed the model in PETG using the PETG-CF profile and the model completed successfully, with the same VFA and vibration artifacts I encountered with other filaments.
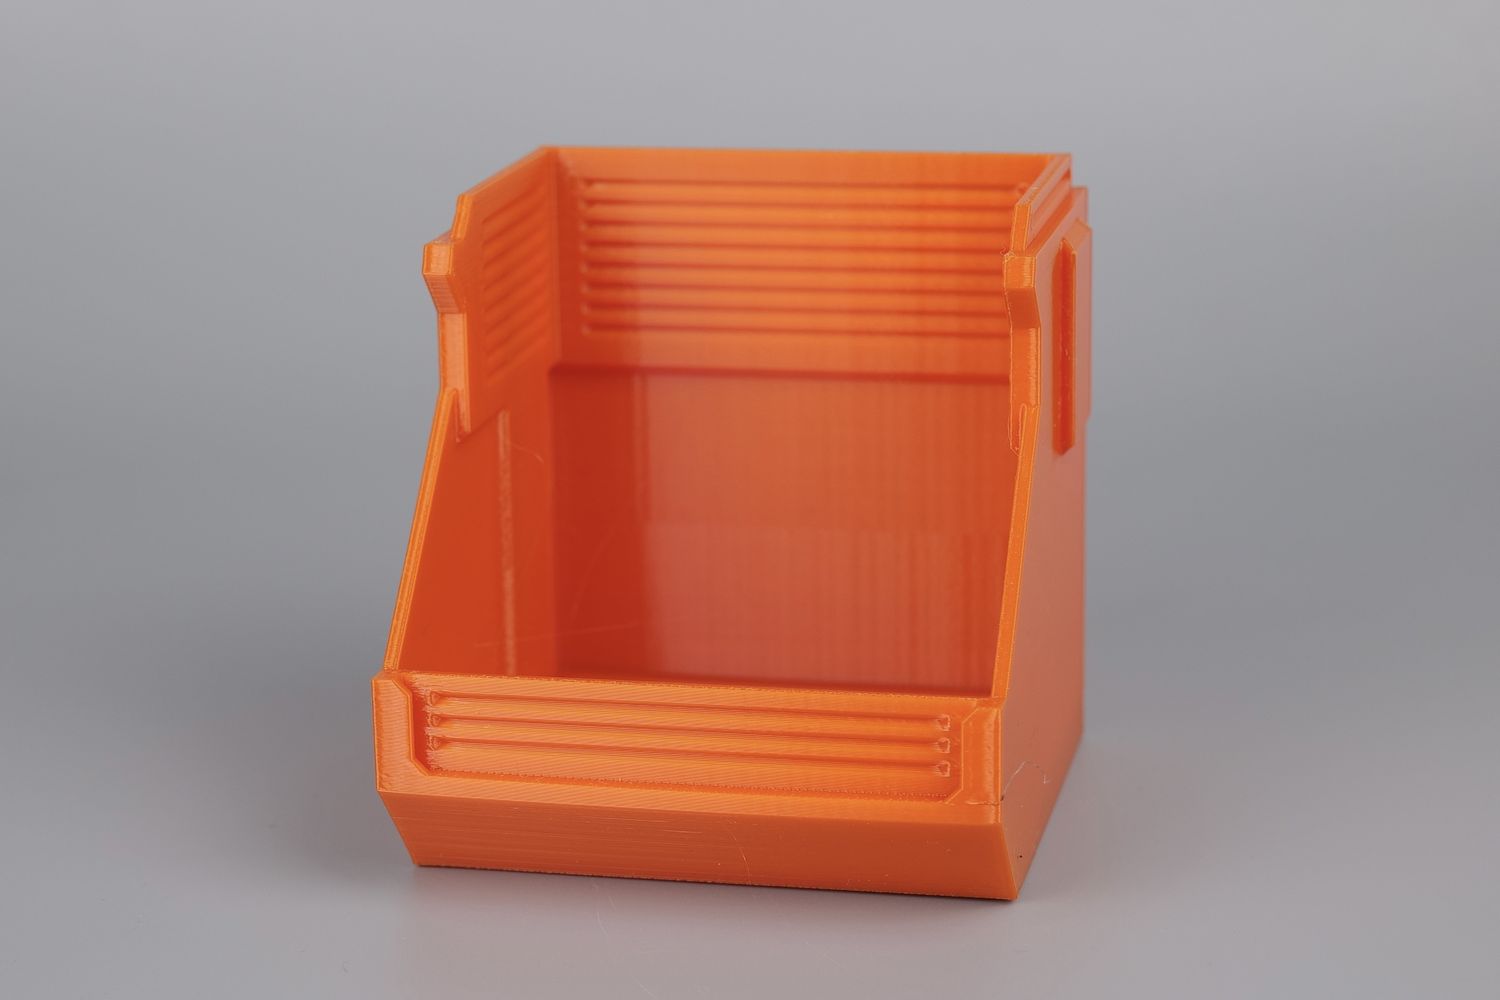
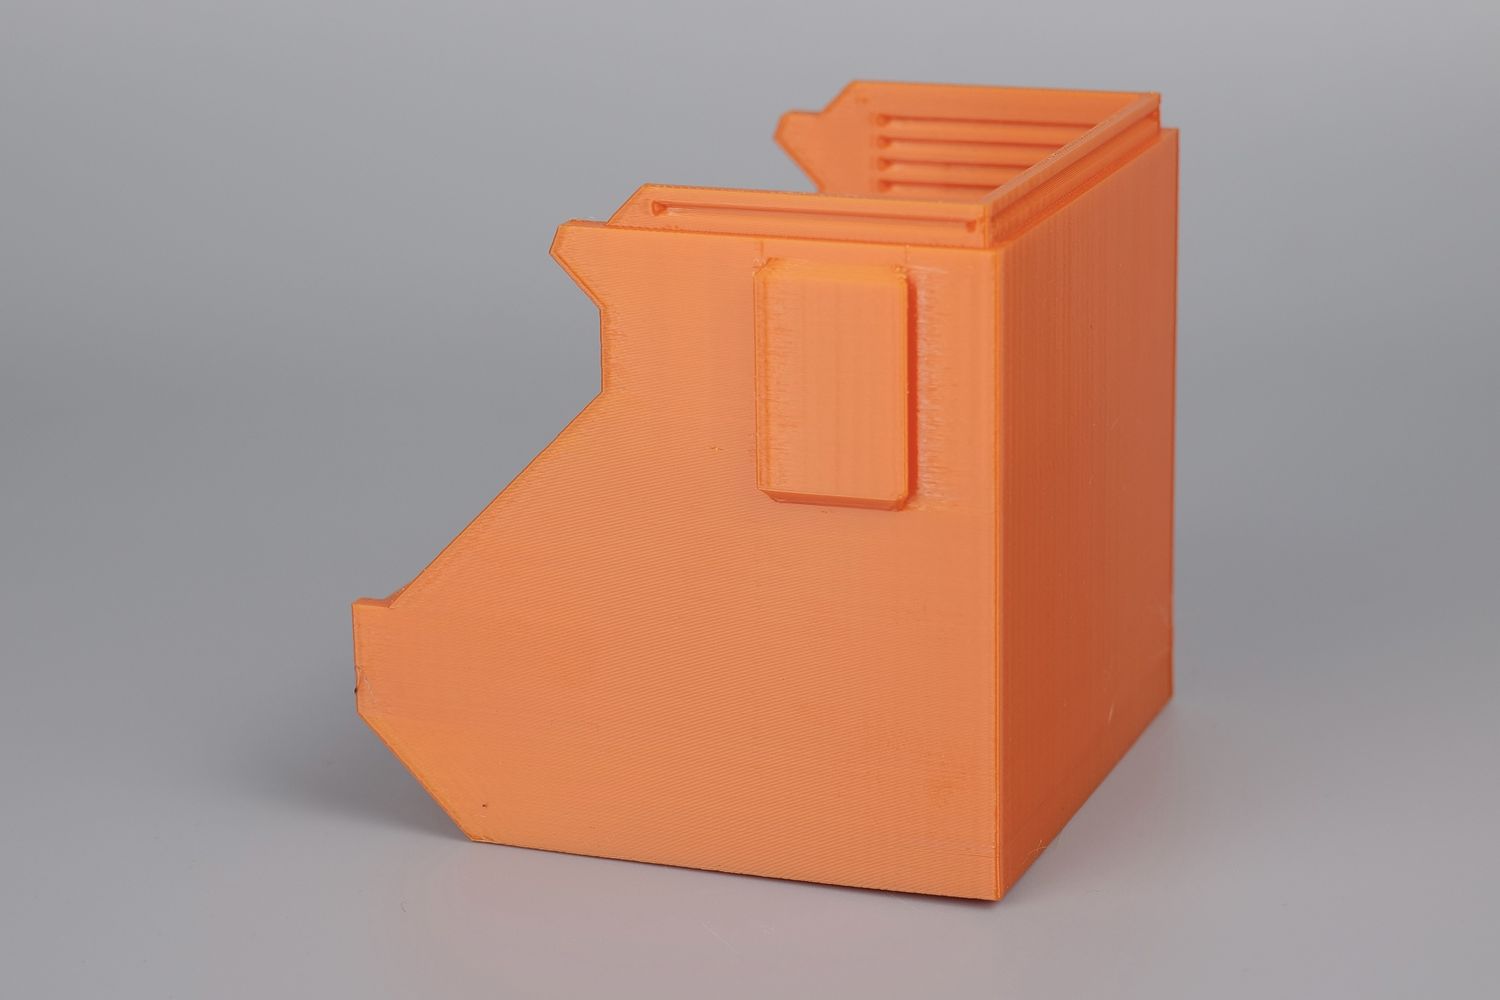
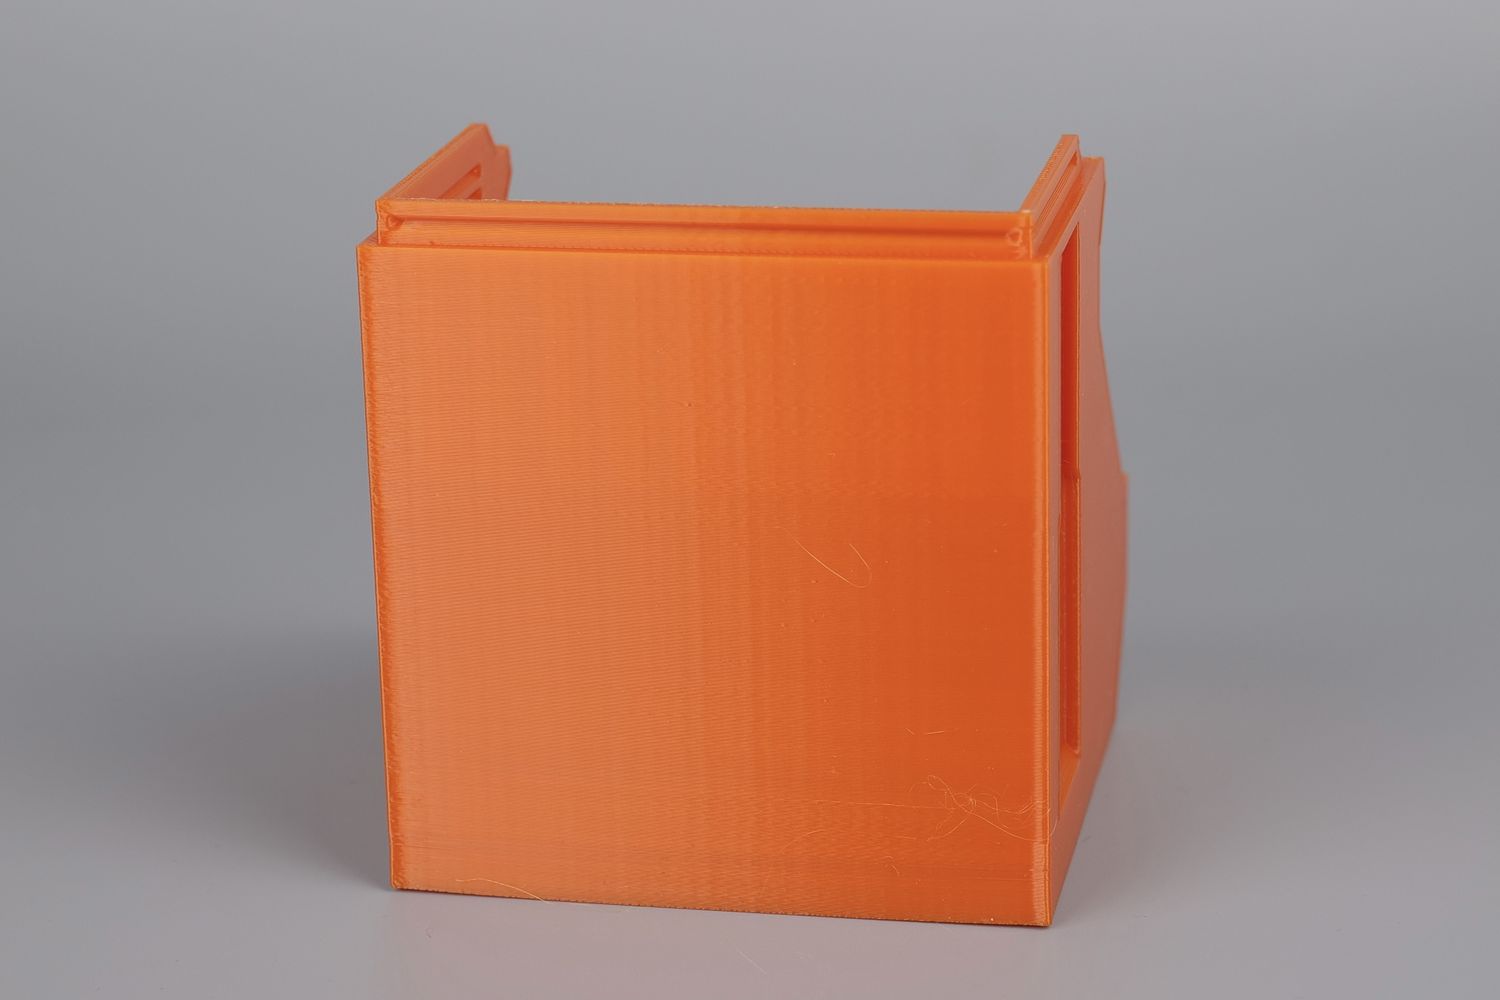
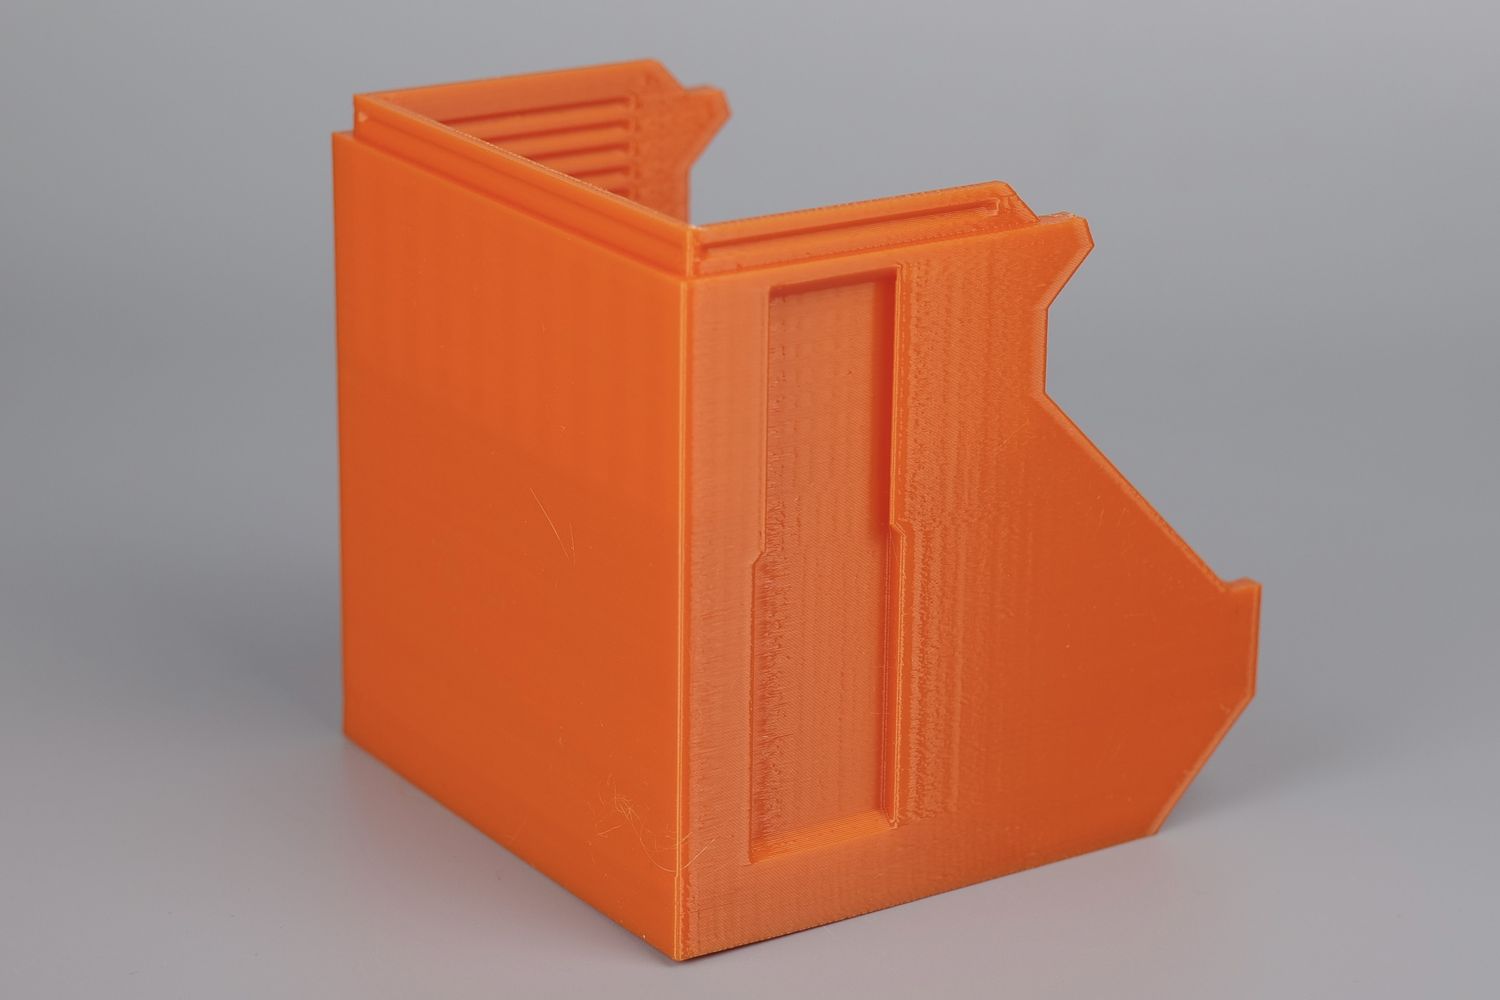
- Material: Devil Design Orange PETG
- Layer Height: 0.16mm
- Nozzle Temperature: 250C
- Bed Temperature: 80C
- Print Speed: ~250 mm/s
Scale Tray in ASA
A friend needed an attachment for his coffee machine and I printed it in ASA to test the results of the printer when a large flat model is printed. I used the ABS profile as there was no ASA available in any of the slicers.
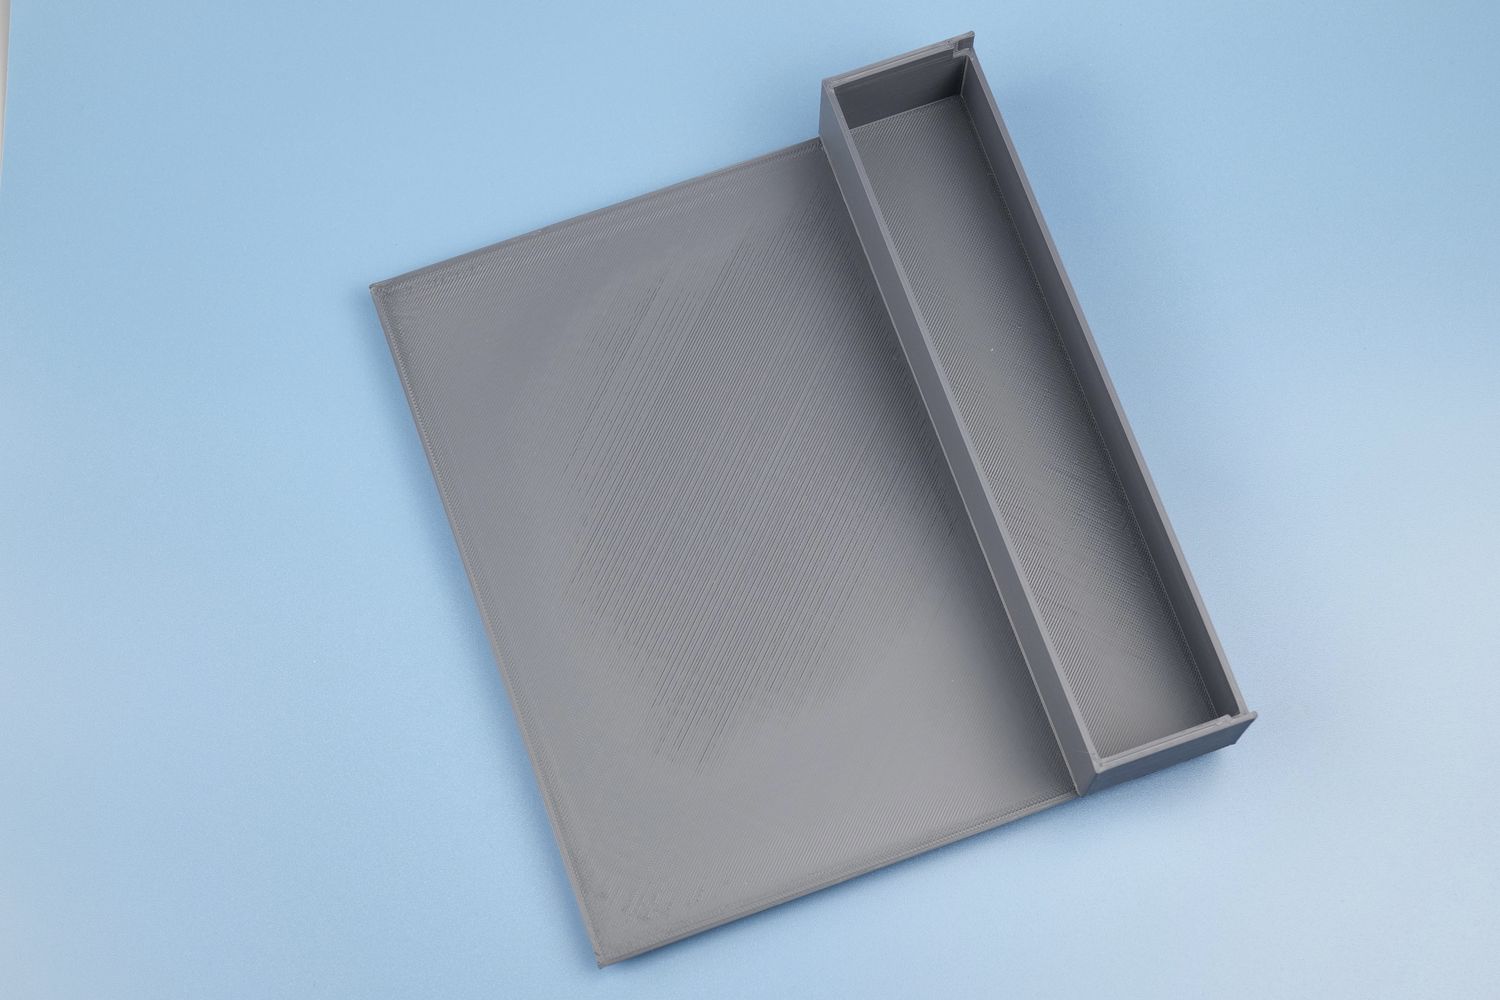
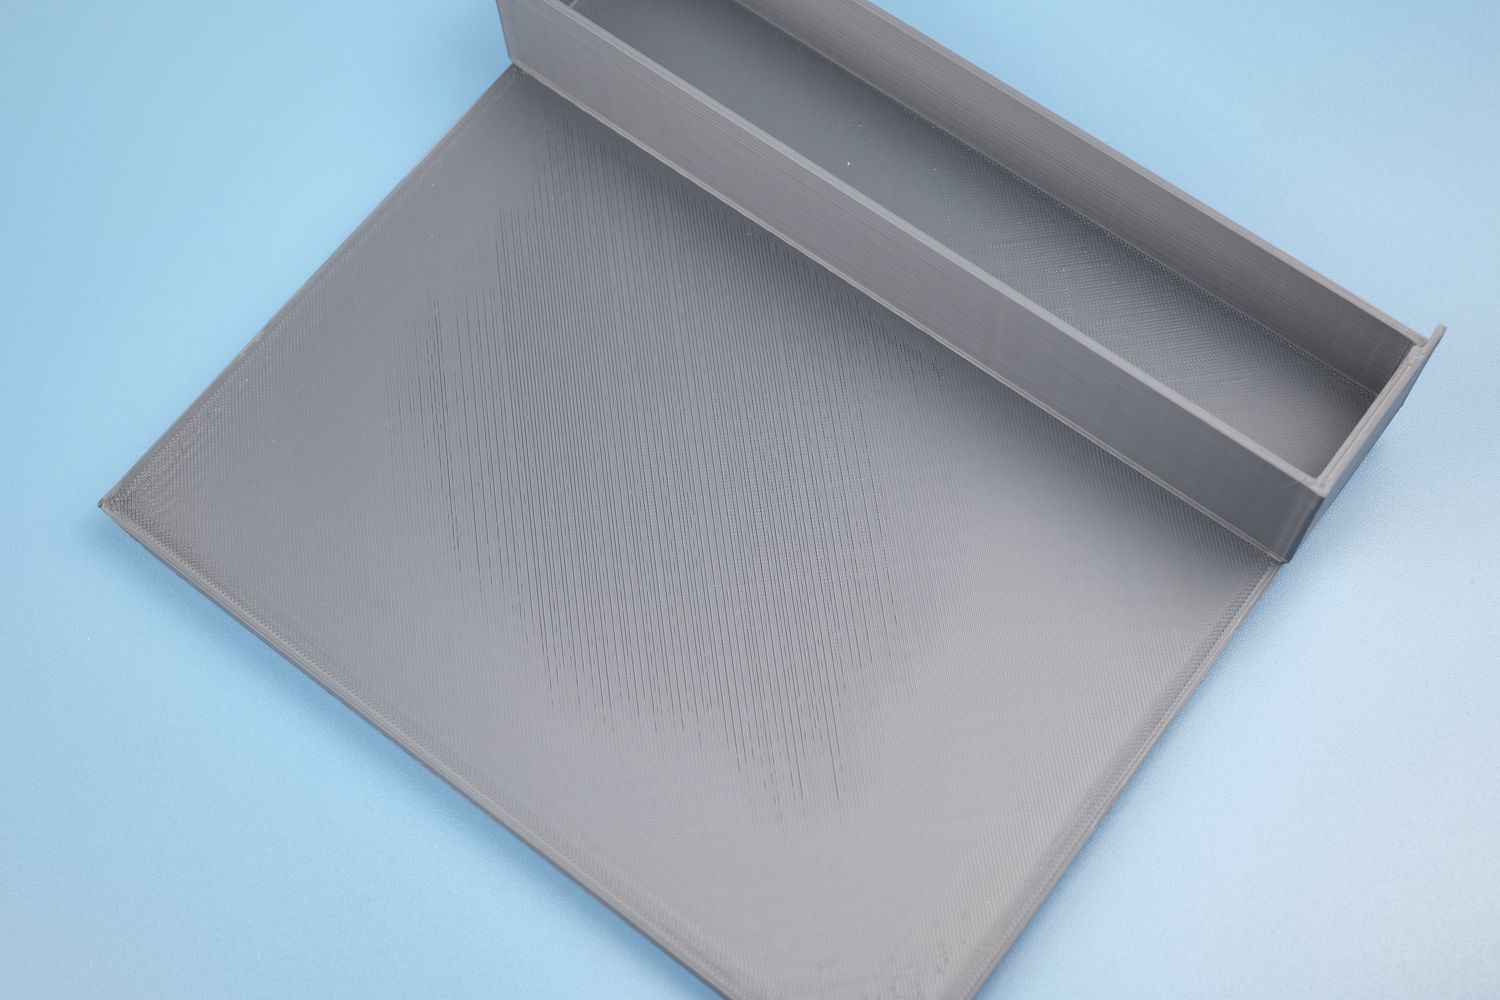
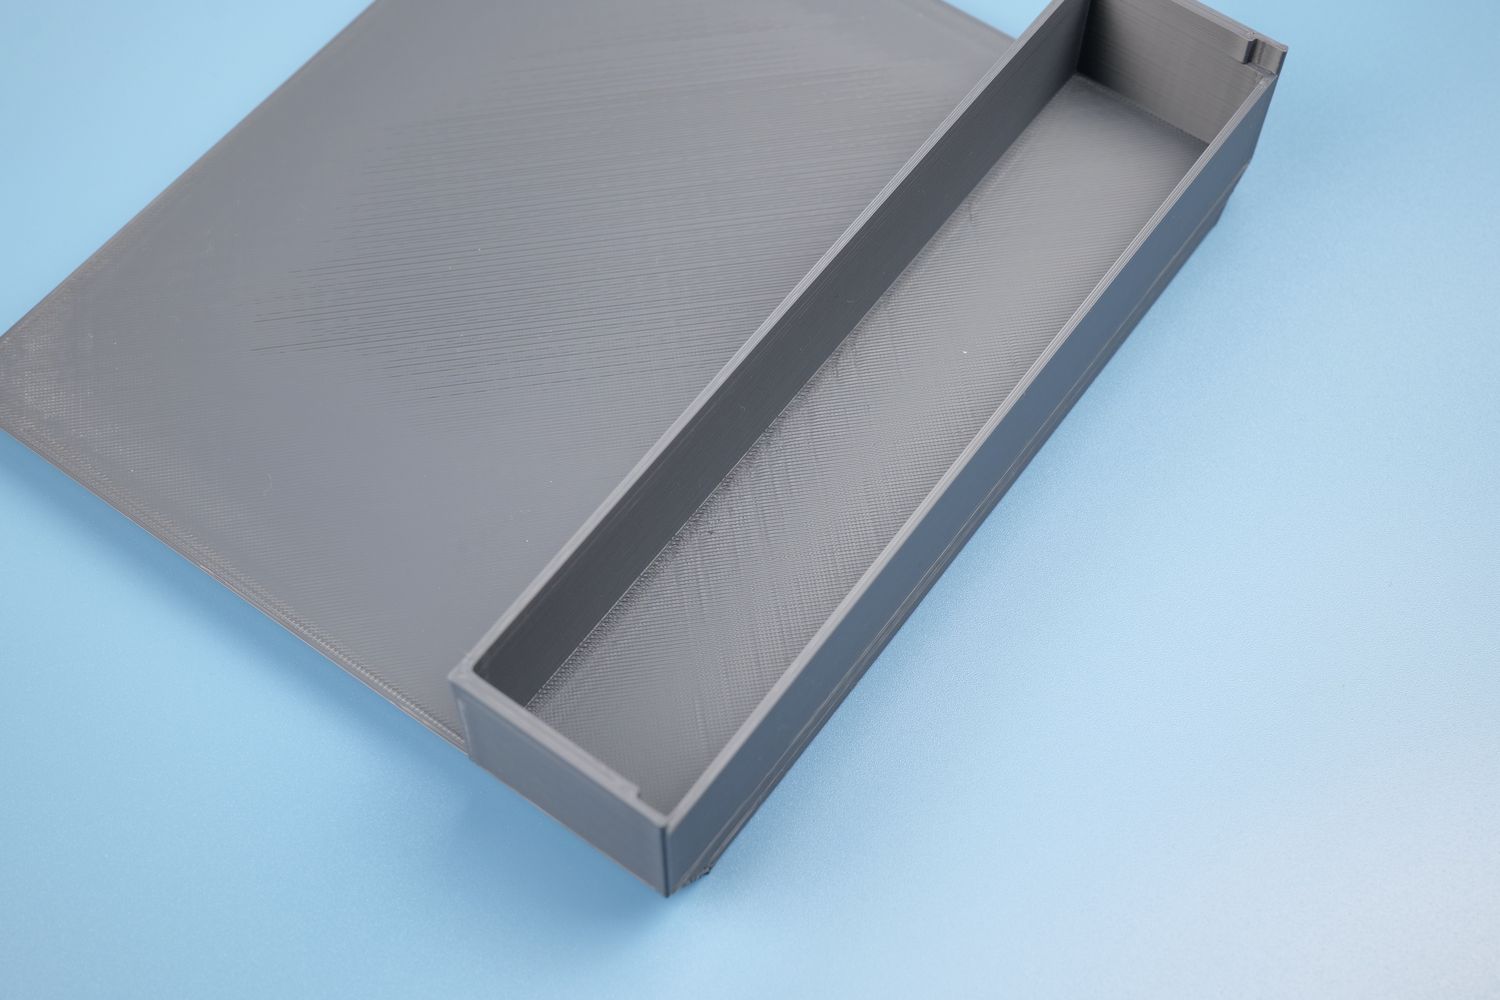
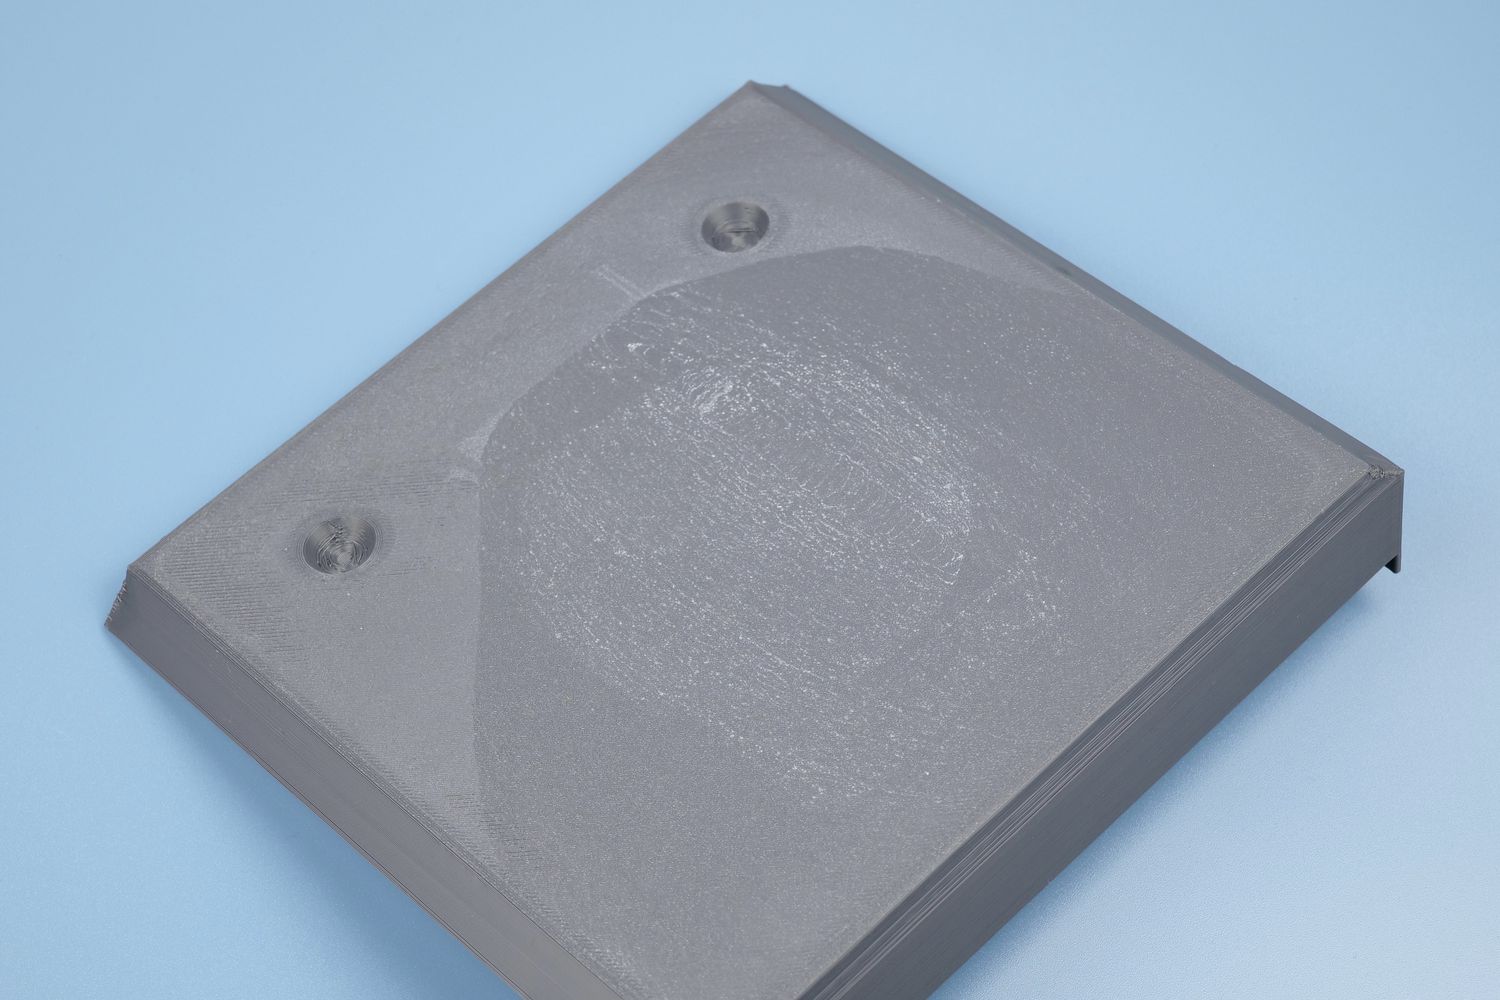
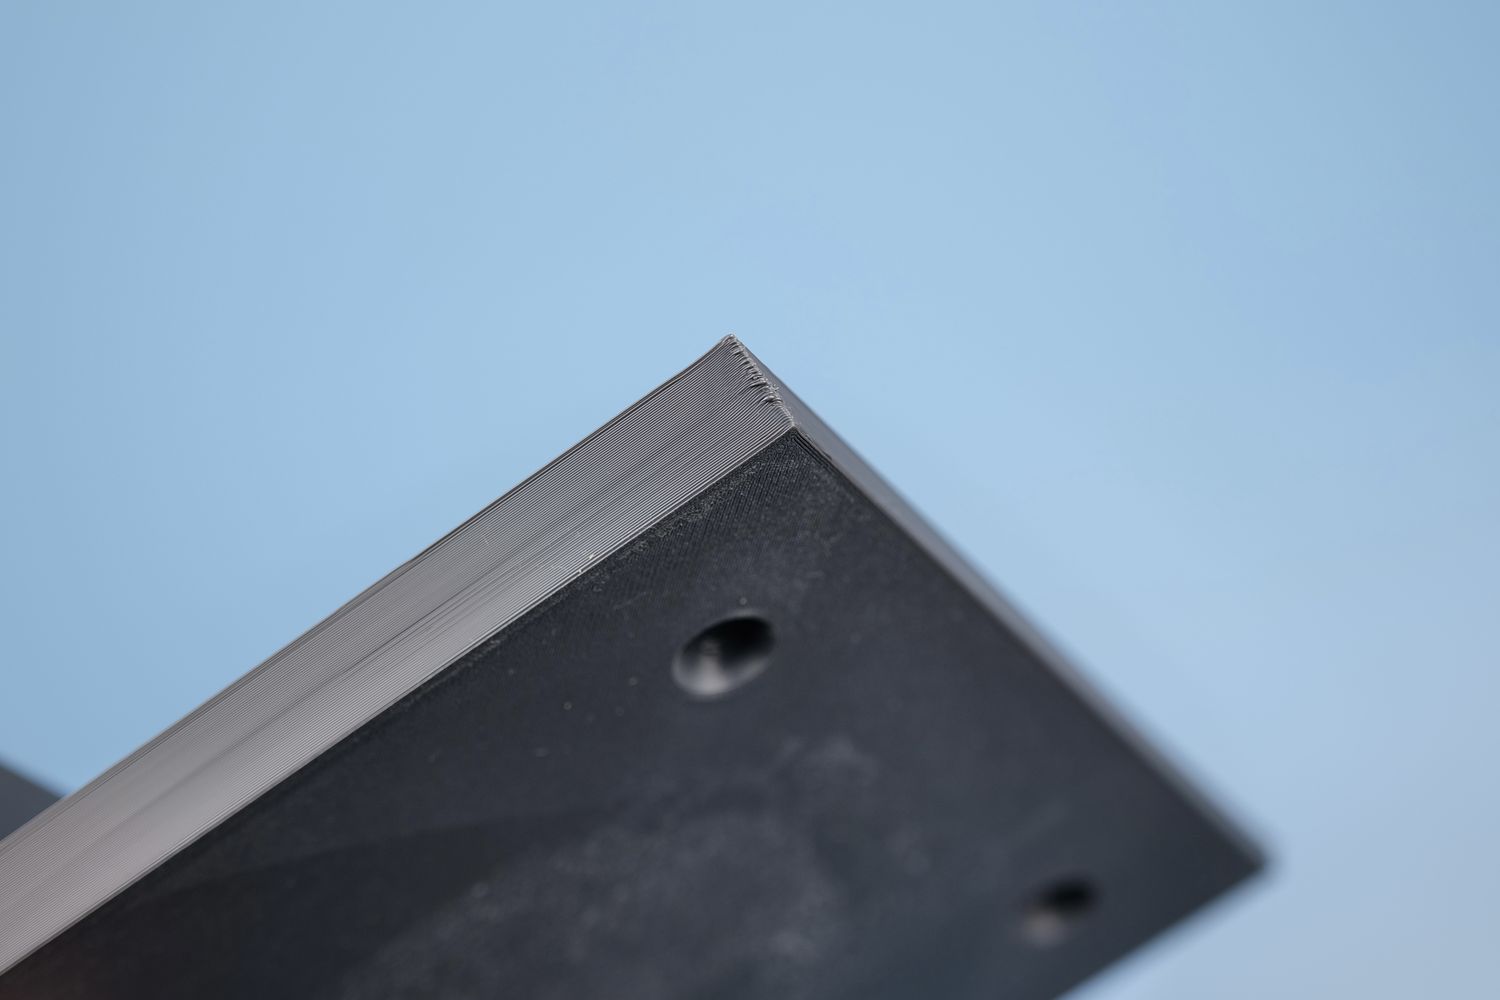
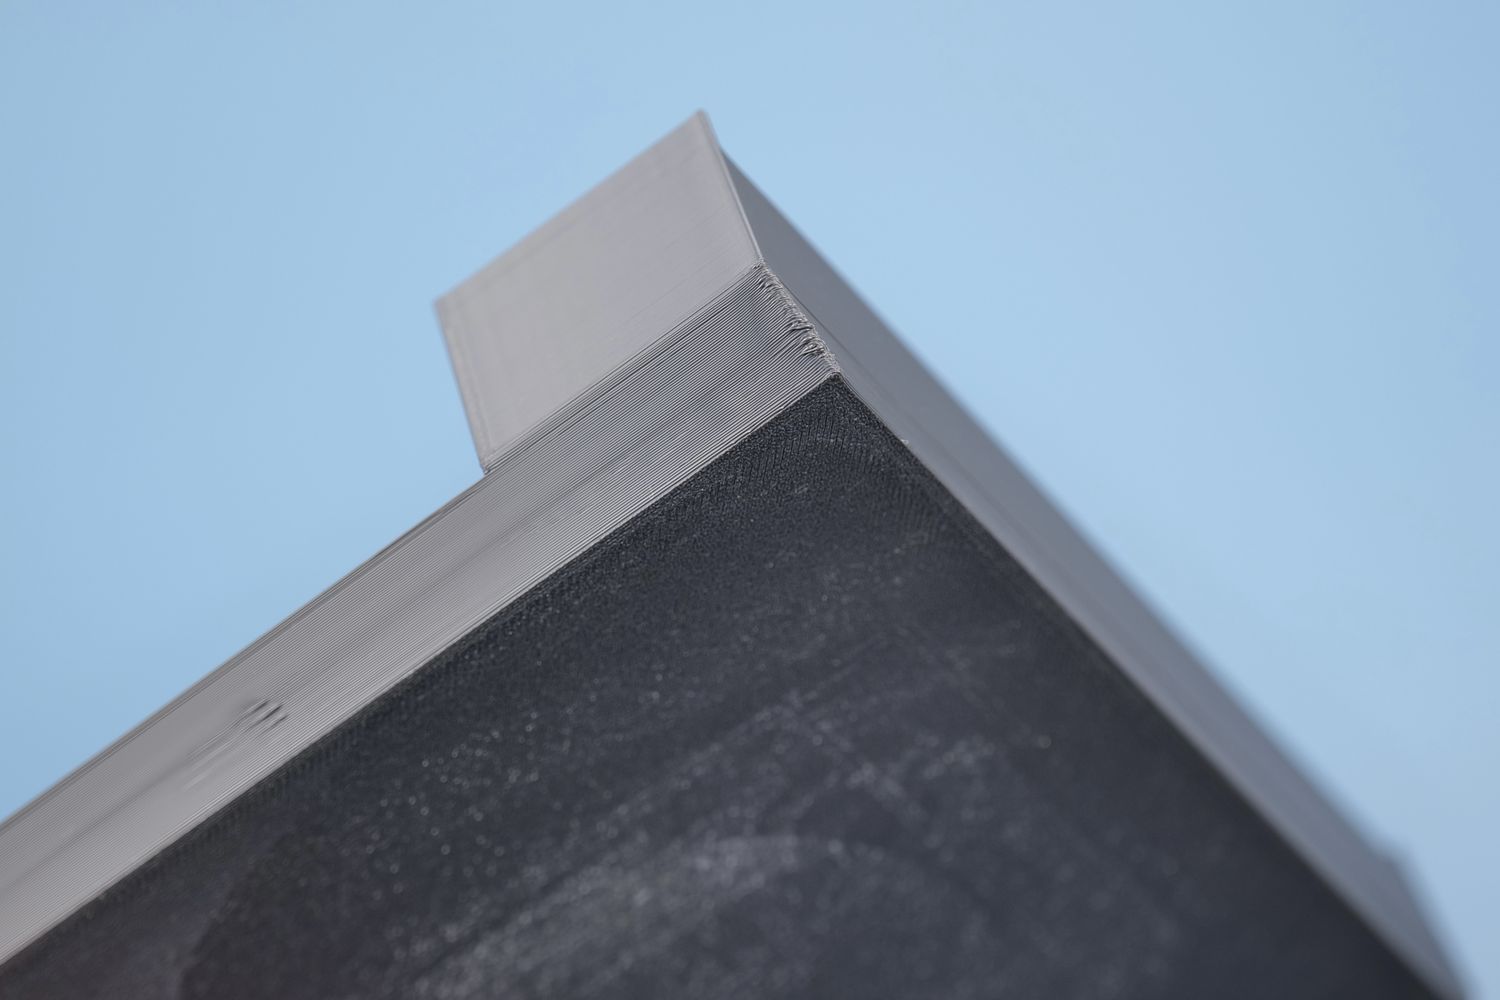
The results are not as high quality as I was expecting, due to the plate raising from the front right corner, and the model and leading to a lower quality result. I also used a 60C chamber temperature to give the model the highest chance of success, but it seems like the magnet is not strong enough to keep such a large model flat.
- Material: FilamentOne ASA Grey
- Layer Height: 0.2mm
- Nozzle Temperature: 260C
- Bed Temperature: 110C
- Print Speed: ~250 mm/s
Conclusions: Is the QIDI Q1 Pro worth it?
When I tested the QIDI X-MAX 3 last year, I was pretty happy with the performance of the printer, and the print quality. Unfortunately, I am not as happy with the Q1 pro due to multiple inconsistencies in the experience delivered, and some of the manufacturing decisions made.
First, I believe the belt tensioning mechanism is flawed and it’s not reliable due to the movement in the tensioners. This is not a simple fix that can be done by the end user, meaning that there would need to be an improvement made to them before I could recommend this printer. The belt tensioning mechanism on the X-MAX 3 worked great and I believe this new implementation was just an idea that was taken but badly implemented leading to print quality issues.
The second notable issue is the heatbed and the magnet used on it. Considering the Q1 Pro is marketed as being a printer with high temperature printing capabilities using a chamber heater, I would expect the heatbed to be better in holding the plate attached when using those high temperature filaments. Instead, you will be limited to printing models smaller than the print volume or with filament that has Carbon Fiber in it, otherwise the plate could curve upwards and lead to failed prints.
Finally, the slicer profile tuning and material availability is very limited. Not having very common filament profiles like PETG, TPU or ASA doesn’t make a lot of sense, but this could be solved with future updates.
Still, I can only review what I have access to now, and people considering this printer should have the issues described above in ming before making a purchase decision.
At this time, with the issues discovered during the time spent with the Q1 Pro, I am not comfortable with recommending the printer as a “high-temperature” 3D printer alternative before the issues are solved, considering that you can get other printers that are more polished hardware wise, even if the firmware implementation is not as “clean” as QIDI has done.
As usual, I recommend checking other reviews of this machine before making a purchase decision.
QIDI Q1 Pro Rating
Design
Specs
Noise Levels
Ease of use
Print Quality
Price
The QIDI Q1 Pro has the potential to be a decent printer with high-temperature filament capabilities, but falls short due to unfortunate hardware design and lack of available slicer profiles at launch which impact the print quality results.
Where to buy the QIDI Q1 Pro?
The QIDI Q1 Pro was provided free of charge by QIDI for the purpose of this review. While the article includes affiliate links, all opinions are my own. Nobody reviewed the article before it was posted, following the Review Guidelines.
Liked it?
|
|




One of the least accurate and most misleading reviews I’ve ever read.