PETG Printing – Tips For Good Quality Prints
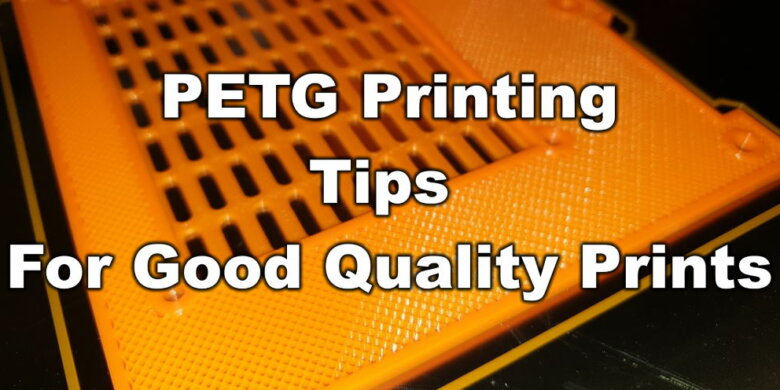
I have struggled with PETG printing for a while now but I am finally getting beautiful prints – as good or better than PLA. Here are a few little PETG tricks I have learned along the way.
These came about after spending countless hours watching my printer and analyzing the results. I have tinkered with this for so many hours that my wife asked if I was obsessing. I’m not going to tell you what settings to use but rather what you want to look for when making your settings and why you want to look for that. If I gave you my settings you might just get frustrated because machines are different. For instance, my retraction is set VERY high. Many people comment how high it is, but for me it is perfect, for you it might not be.
PETG Printing Tips For Good Quality Prints
1. Filament brand and color matters with PETG printing
For my settings I found eSun Black PETG works best. I have tried Hatchbox white and it was a goopy mess. I tried eSun Grey and it was OK but had strings. Then I tried eSun Translucent Orange but it failed to stick to my print bed – but prints well I did get adhesion. Then I found eSun black and that had no goops or strings, and great adhesion.
2. Bed leveling
It really does matter. I don’t have an auto leveling system and still get great prints. Using a corner to corner and center leveling STL from Thingiverse, I level on filament changes and run the test two times – one to hone it in the and the other to confirm. For PETG you want a glassy surface on the top but if you had to make a compromise, it is better to be a little too far from the bed than too close (see tip 3). This is also a time for you to see if your retraction is set correctly (see tip 5).
3. Extruder nozzle distance for PETG printing
You really do need more distance than with PLA. The head should not dig into the print and there should be a little gap between the bottom of the head and new layer you are extruding. Live leveling helps the most with this as it will allow you to observe if your head is digging into the print or picking up filament along the way. For those of you who print PLA and PETG – and your bed is already level, you will want to change your first layer height to get the same effect.
4. Z hop and coasting
I set mine to 0.2mm on retract. This ensures I don’t pick up any filament while my extruder travels to a new part of the print. The larger the hop, the longer the print.
Another important slicer feature to use when PETG printing is coasting. Usually, a value of 1 mm helps eliminate the pressure from the nozzle.
5. Retraction distance
I set mine high at 8mm and 60mm/s on a Creality bowden setup. I never see extra filament left behind when the extruder leaves an area. When you set your retraction distance you want to be able to move from one end of the bed to the other without seeing any filament oozing out. I use bed leveling (tip 2) to test this. The retraction distance ensures it won’t ooze. The retraction speed ensures you don’t get a little string from the area you just left.
Please note that retraction distance needs a lot of tweaks and this setting is impacted by the PTFE tube length and quality. But having a good retraction value eliminates stringing and improves your PETG printing experience.
6. Infill matters A LOT
This is one that no one ever talks about. PETG loves to goop and string and it usually does this most often when traveling from section to section on your print – between laying down filament. I found Zig Zag is the best to eliminate strings. This is because Zig Zag prints in the longest continuous line before traveling. Every other infill lays down a line, moves and lays down another line etc… To illustrate the point further, if you were to lay infill in a 30cm x 30cm square, Zig Zag would start laying down the infill on one corner and not travel to a new spot until the entire layer of infill was laid down. Every other infill will lay down a line then travel to lay down the next line, etc… Now, Zig Zag is not the strongest infill pattern so you might need to increase your infill percentage for strength depending on what you are printing.
7. Optimize wall printing order
This setting removes unnecessary retractions and travel moments by printing all walls on a feature before moving to the next feature. It matters for both stringing and print time.
8. Slicing
Look at your slicer and particularly the walls. Are all the walls being laid down with a straight line or is there something else at play where the extruder “fills” the wall line by moving sideways. This is bad. It means your slicer wants to print a like but the thickness of the wall needed is thicker than the wall width you have set. This happens in situations where you are printing something and have two different features with walls that back up against each other. The slicer will try to fill in the space by “coloring” in the line instead of just printing it in a straight line. To fix this you can either change your line thickness by 0.1mm or 0.2mm smaller, or if you can, redesign your print to eliminate that need. The benefit of making this change is that you will usually get less stringing and faster prints. I have seen up to 10% reduction in print time after these few tweaks.
9. Print temperature
Print temperature is important but I put it near the end because if you don’t have the other settings dialed in, your print temperature won’t tell you much. Do a temperature tower after you set everything else as best you can.
From my experience, a temperature of ~220-230C works great but this can be different according to the filament you use when PETG printing.
10. Print speed
This is the last tip because once you dial this all in, you will have a lot of freedom with your print speed. I print at 50mm/s for my PETG but I could go faster if I wanted – I have tested 65mm/s with good results. The tip I would say is to set it 40mm/s on a test print then observe the print and play with the feed rate dial. Move it up and down and see what is working. That will inform you on the kind of speed you could try in the future.
11. Observe the printing process
This is the only way I was able to find all this out. You cannot diagnose a problem until you observe it. It will save you a TON of frustration if you can actually see what is happening to mess things up. Looking at a failed print after the fact is not nearly as helpful.
Wrapping up
I hope this was informative to you all. I have moved from pure frustration to optimism for my printing future by putting these things into practice!
If you have a Creality printer and use Simplify 3D you can download this profile and tweak it according to your printer,
This is a guest post made by Ian Dalton from the Creality Official User Group.
Liked it?
|
|


