Creality K1 Review: CoreXY for Tinkerers
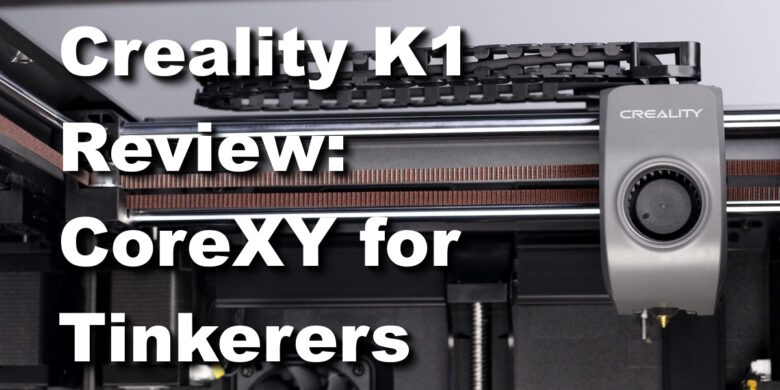
In this Creality K1 Review we’ll try to answer the question: Is the Creality K1 worth purchasing? Can it match the ease-of-use and out-of-the-box experience Bambu Lab is able to provide?
After the huge success of the Bambu Lab X1 and P1P, there was only a matter of time before Creality would come up with a machine that can compete in the fast 3D printing environment we now have.
There’s only one way to find out. So let’s see how the Creality K1 performs, and what you can expect from Creality’s latest CoreXY 3D printer.
Creality K1 Shipping and Packaging
The Creality K1 came boxed in a wood crate which is not something that I’ve seen with other printers in the past. This seems to be common for the review units being sent so I am not sure if this is something all customers will get.
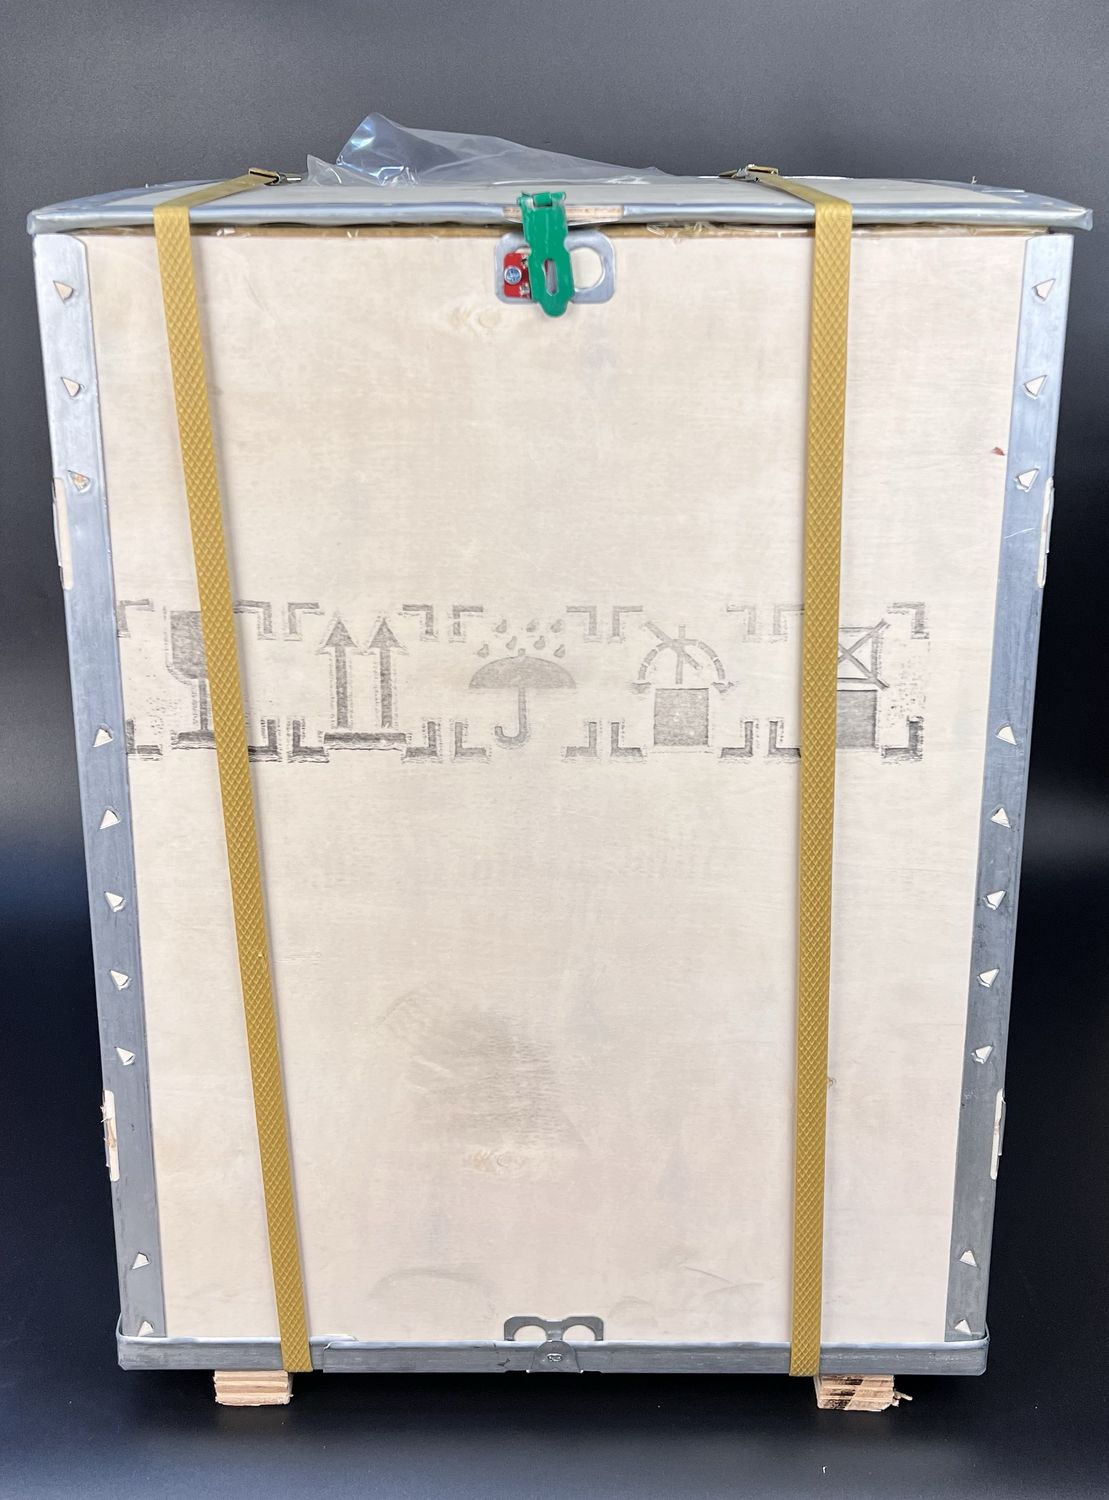
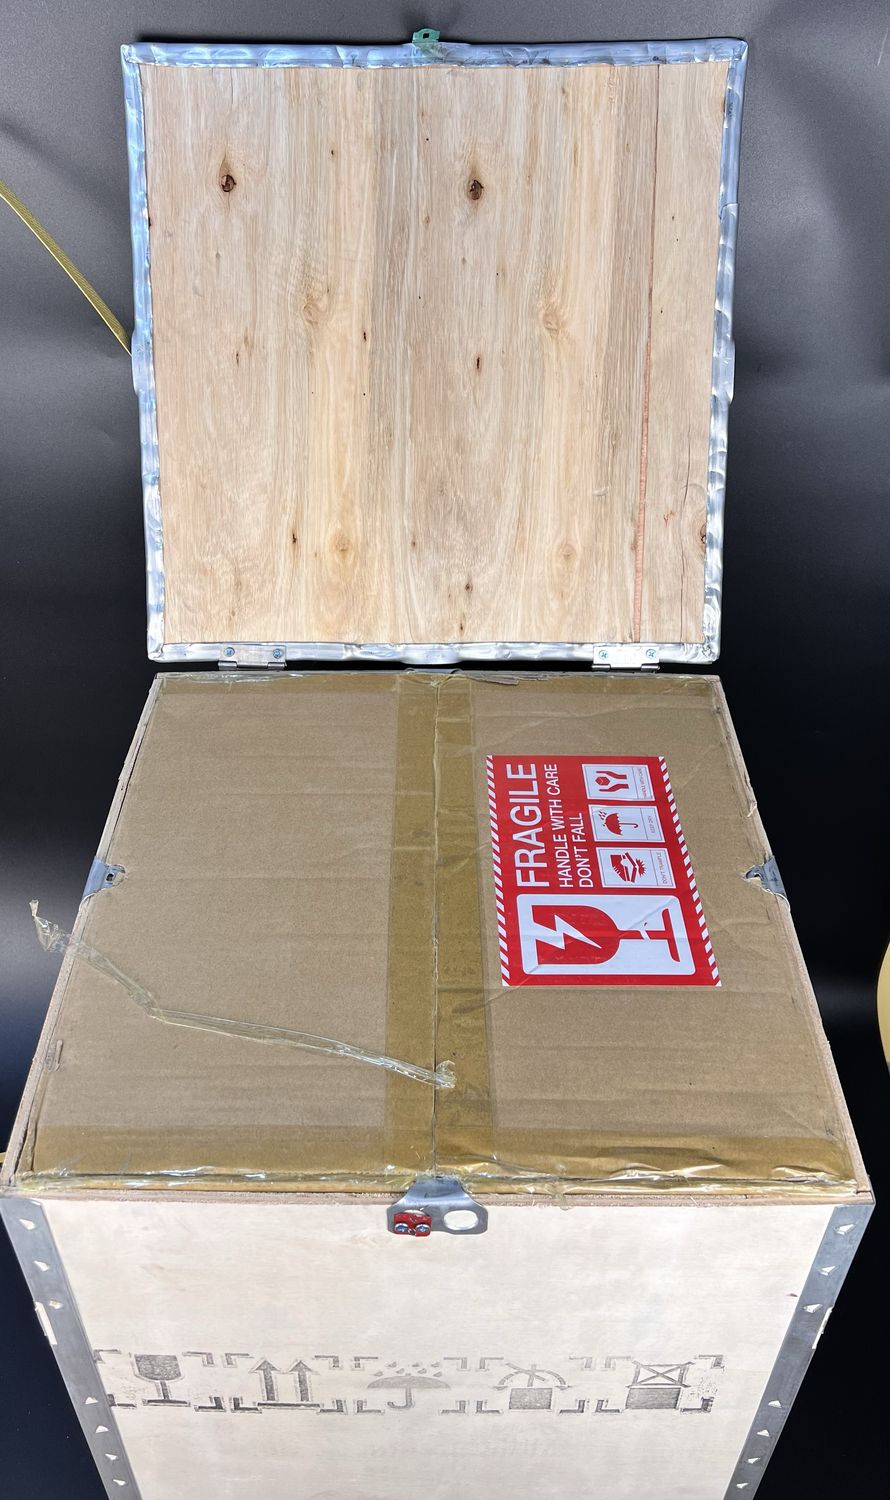
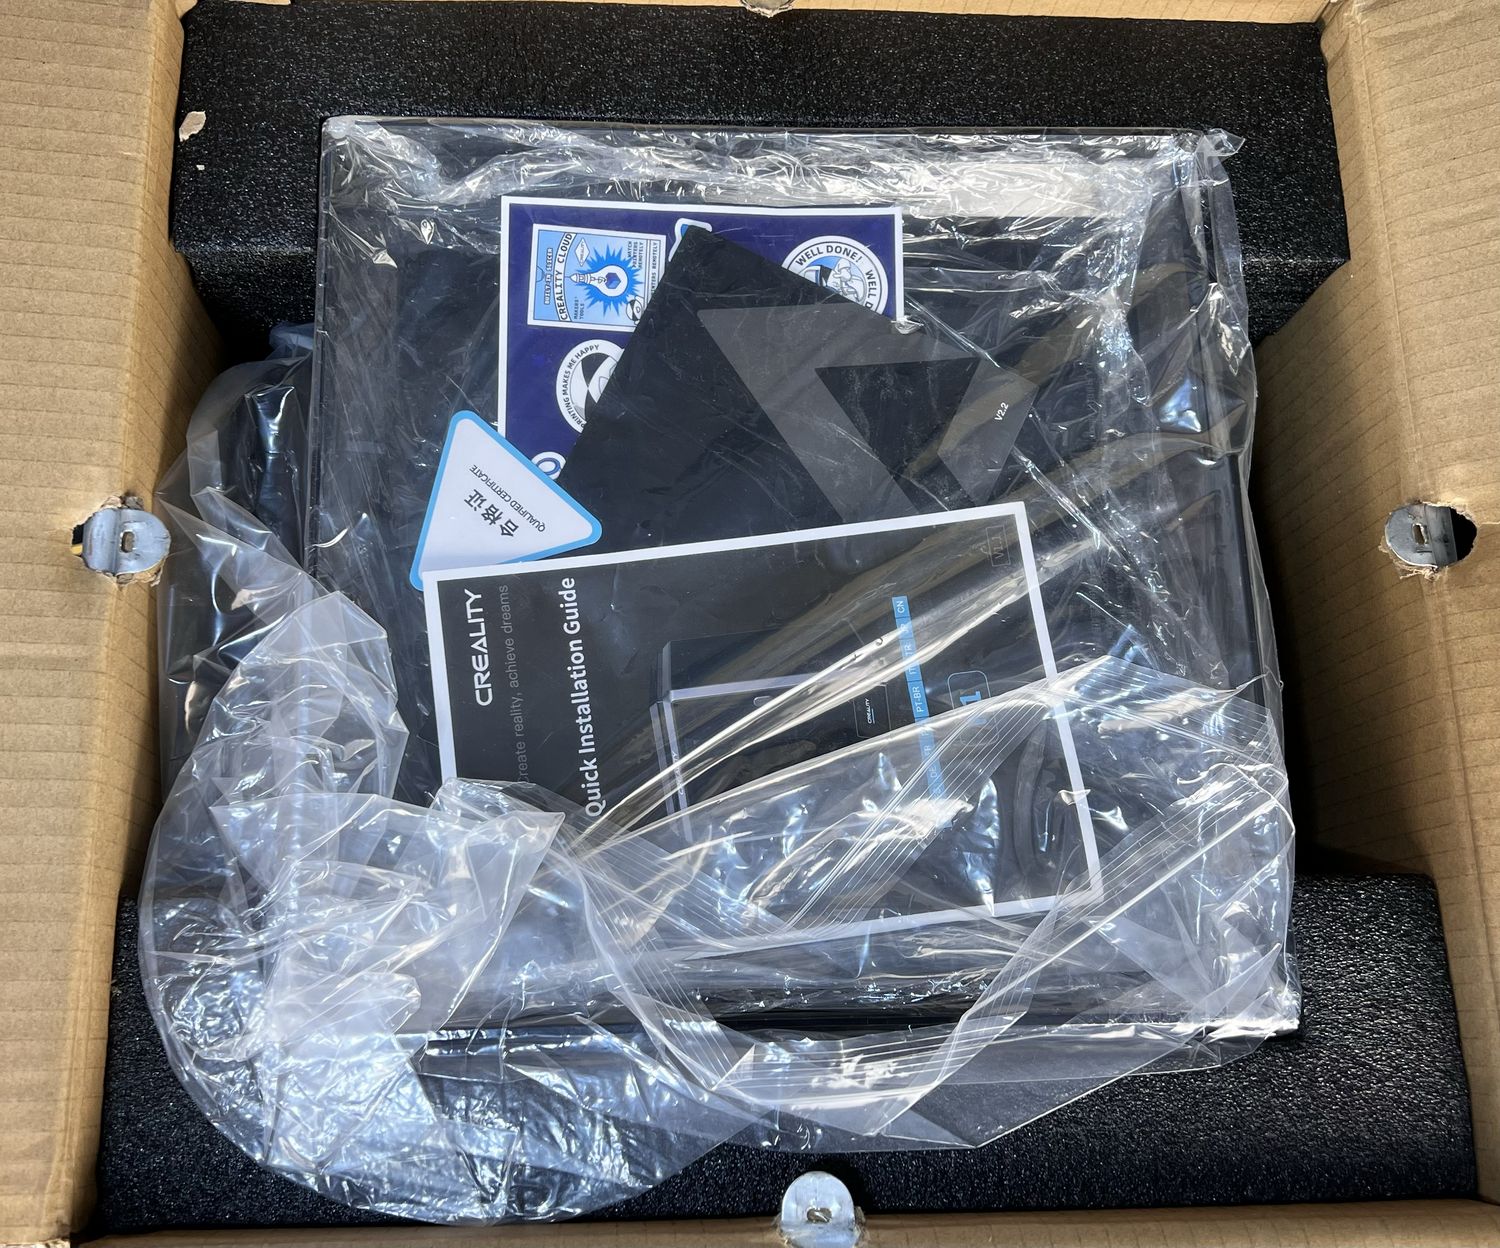
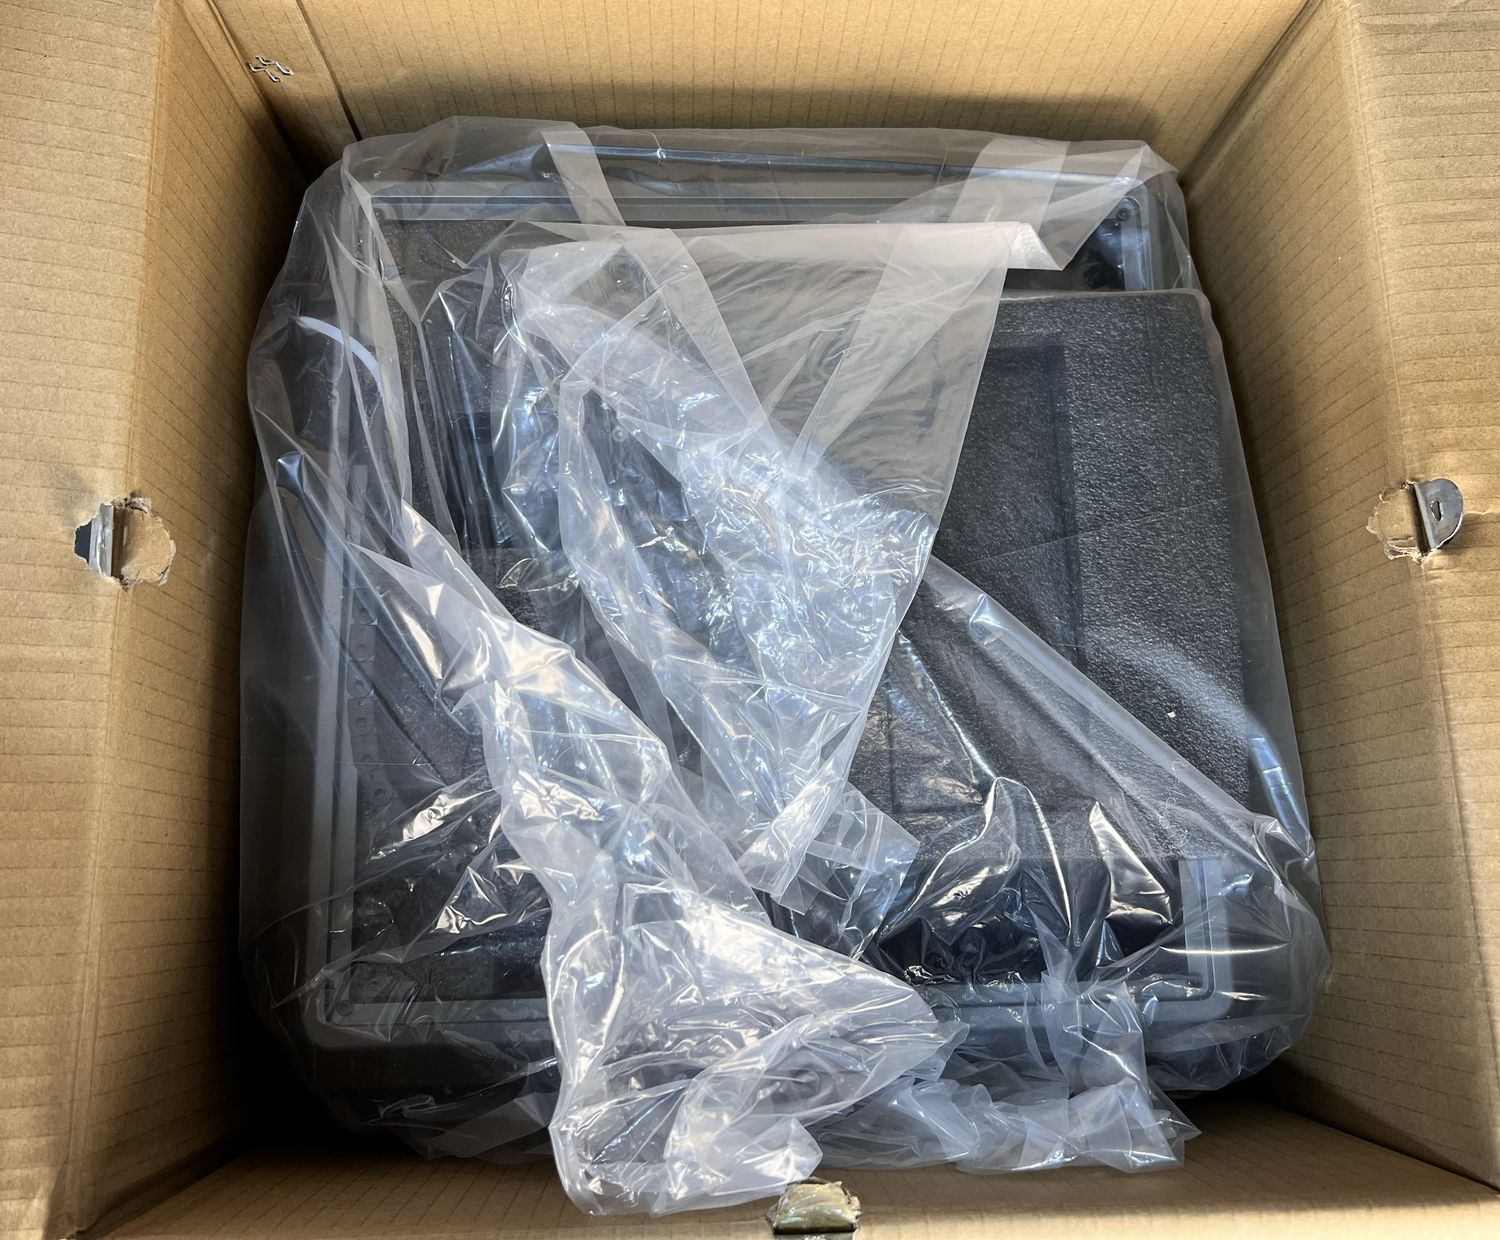
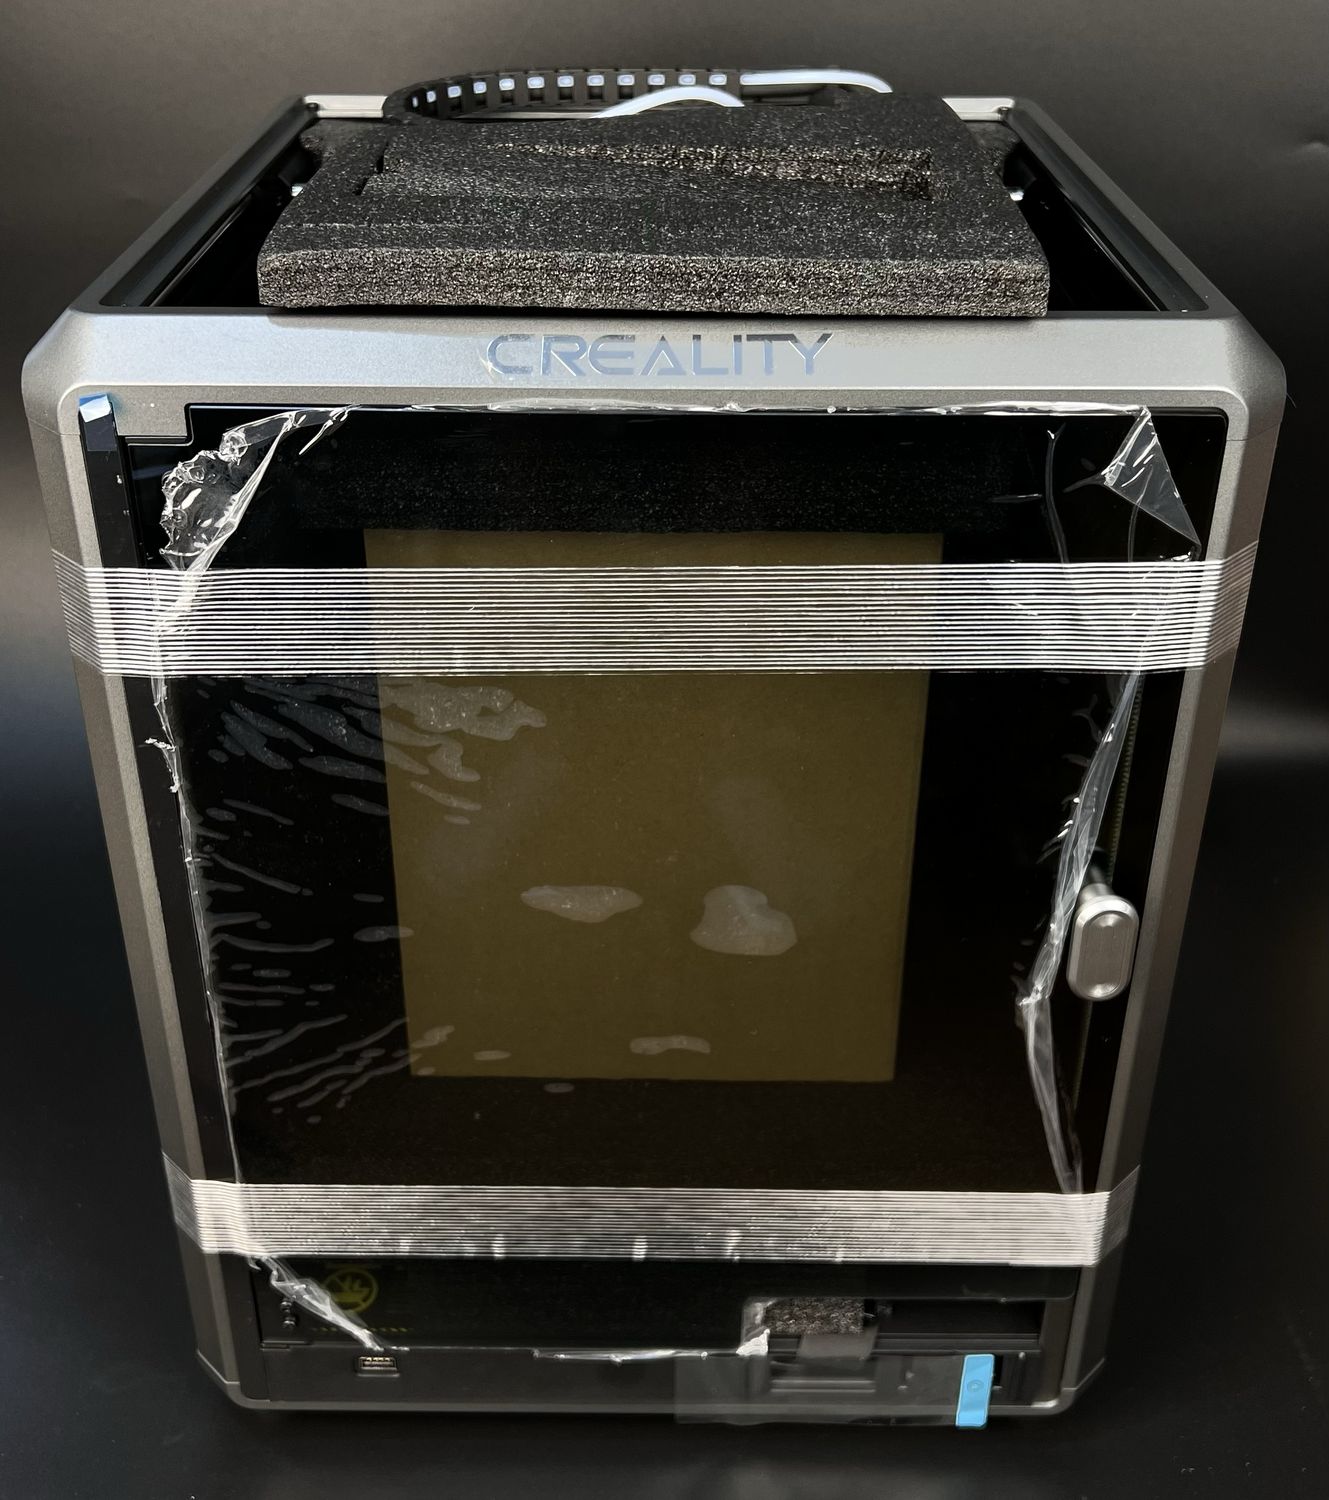
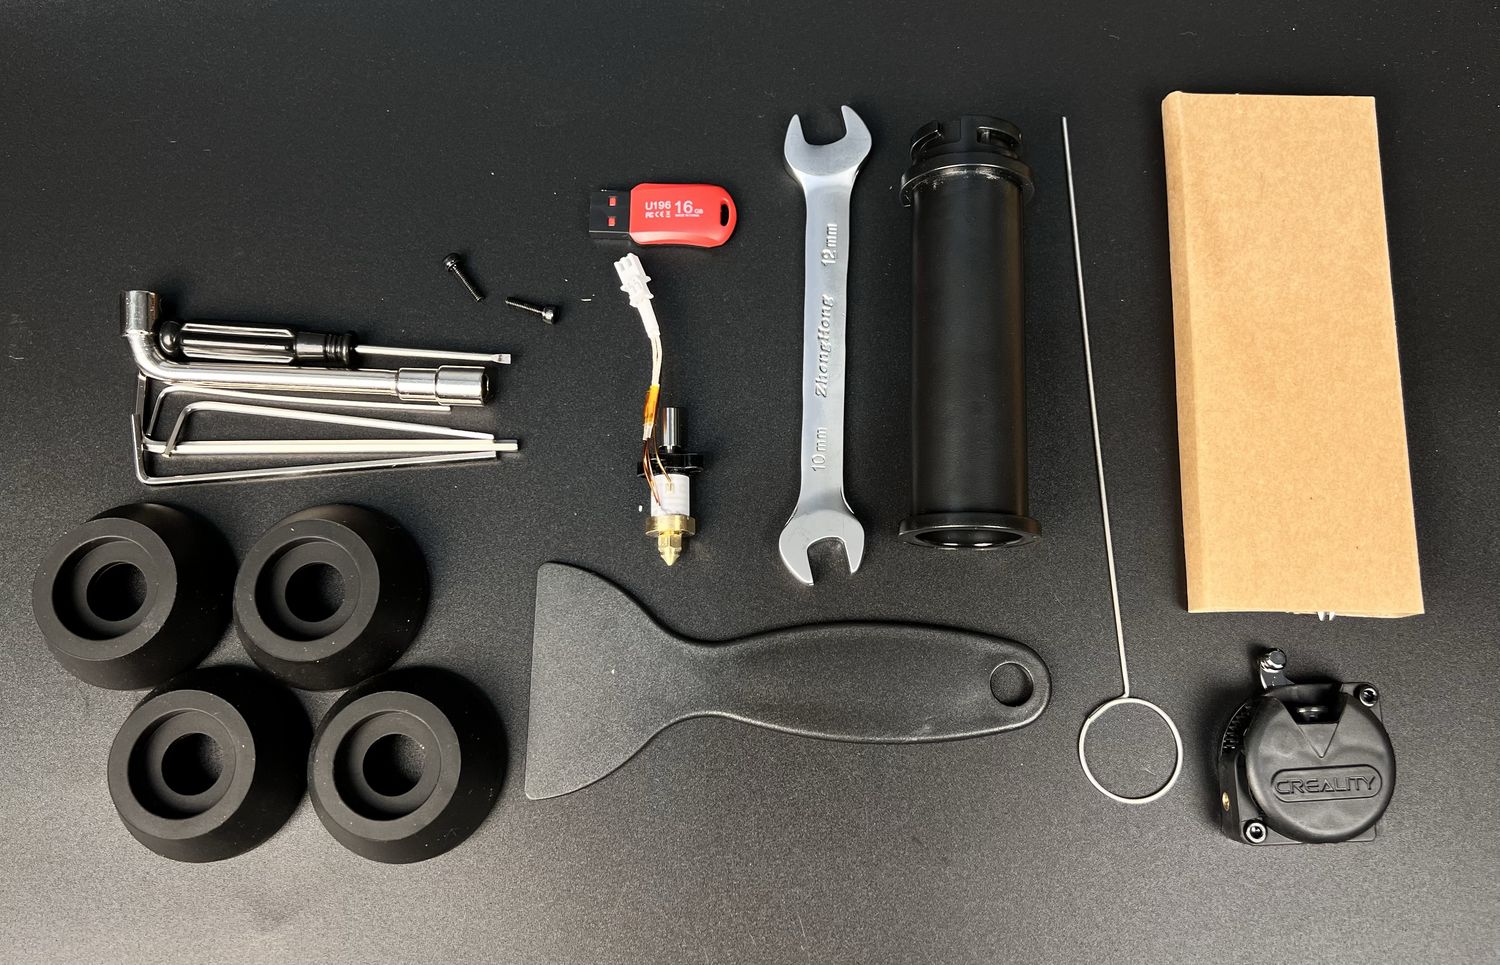
Inside the wood crate, there’s a secondary regular cardboard box with foam protection for the printer ensuring that it is delivered safely. With all this protection, the machine was delivered in perfect shape.
Creality K1 Design
After unboxing the Creality K1, I can’t say I am not impressed with the design of the machine. It’s a really nice-looking 3D printer with acrylic dark-tinted panels and a glass front door. The metallic frame is also contributing to the very nice design of the printer.
Unfortunately, I can’t share really cool pictures of the machine as it’s incredibly reflective and hard to take good shots of it. But I am sure you already know how it looks from the product shots.
Creality K1 Specs
| Machine Specs | Name | K1 |
| Product Dimensions | 355*355*480mm | |
| Package Dimensions | 415*415*550mm | |
| Net Weight | 12.5kg | |
| Rated Voltage | 100-120V~, 200-240V~, 50/60Hz | |
| Rated Power | 350W | |
| Display Screen | 4.3″ Color Touch Screen | |
| Printing Specs | Printing Technology | FDM |
| Build Volume | 220×220×250mm | |
| Layer Height | 0.1-0.35mm | |
| Supported Filaments | PLA, PETG, PET, TPU, PA, ABS, ASA, PC, PLA-CF, PA-CF, PET-CF | |
| Speed | Typical Speed | 300mm/s, 12000mm/s² |
| Max Speed | 600mm/s | |
| Max Acceleration | 20000mm/s² | |
| Printhead | Extruder | Dual-gear Direct Drive Extruder |
| Max Hotend Temp | 300℃ | |
| Hotend Heating | Heating to 200℃ within 40s | |
| Standard Nozzle Diameter | 0.4mm | |
| Optional Nozzle Diameter | 0.6/0.8mm | |
| Chamber | Type | Enclosed |
| XY Structure | CoreXY | |
| Heatbed | Build Surface | Flexible Build Plate |
| Max Heatbed Temp | 100℃ | |
| Heatbed Heating | Heating to 60℃ within 180s | |
| Features | Filament Runout Sensor | Yes |
| Power Loss Recovery | Yes | |
| File Transfer | WiFi, USB Drive | |
| Lighting Kit | Yes | |
| Input Shaping | Yes | |
| Leveling | Hands-free Auto Leveling | |
| Air Purifier | / | |
| Sleep Mode | Yes | |
| Self-test | Yes | |
| Error Notification | Yes | |
| AI Camera | Real-time Monitoring | Optional |
| Time-lapse Filming | ||
| Failure Detection | ||
| Foreign Object Detection | ||
| AI LiDAR | Automatic Leveling | Optional |
| First Layer Inspection | ||
| Software | Printable File Format | G-code |
| Slicing Software | Creality Print; Compatible with Cura, Simplify3D, PrusaSlicer | |
| Supported OS | Windows, MacOS | |
| APP | Creality Cloud |
Core-XY Design with 220x220x250 print volume
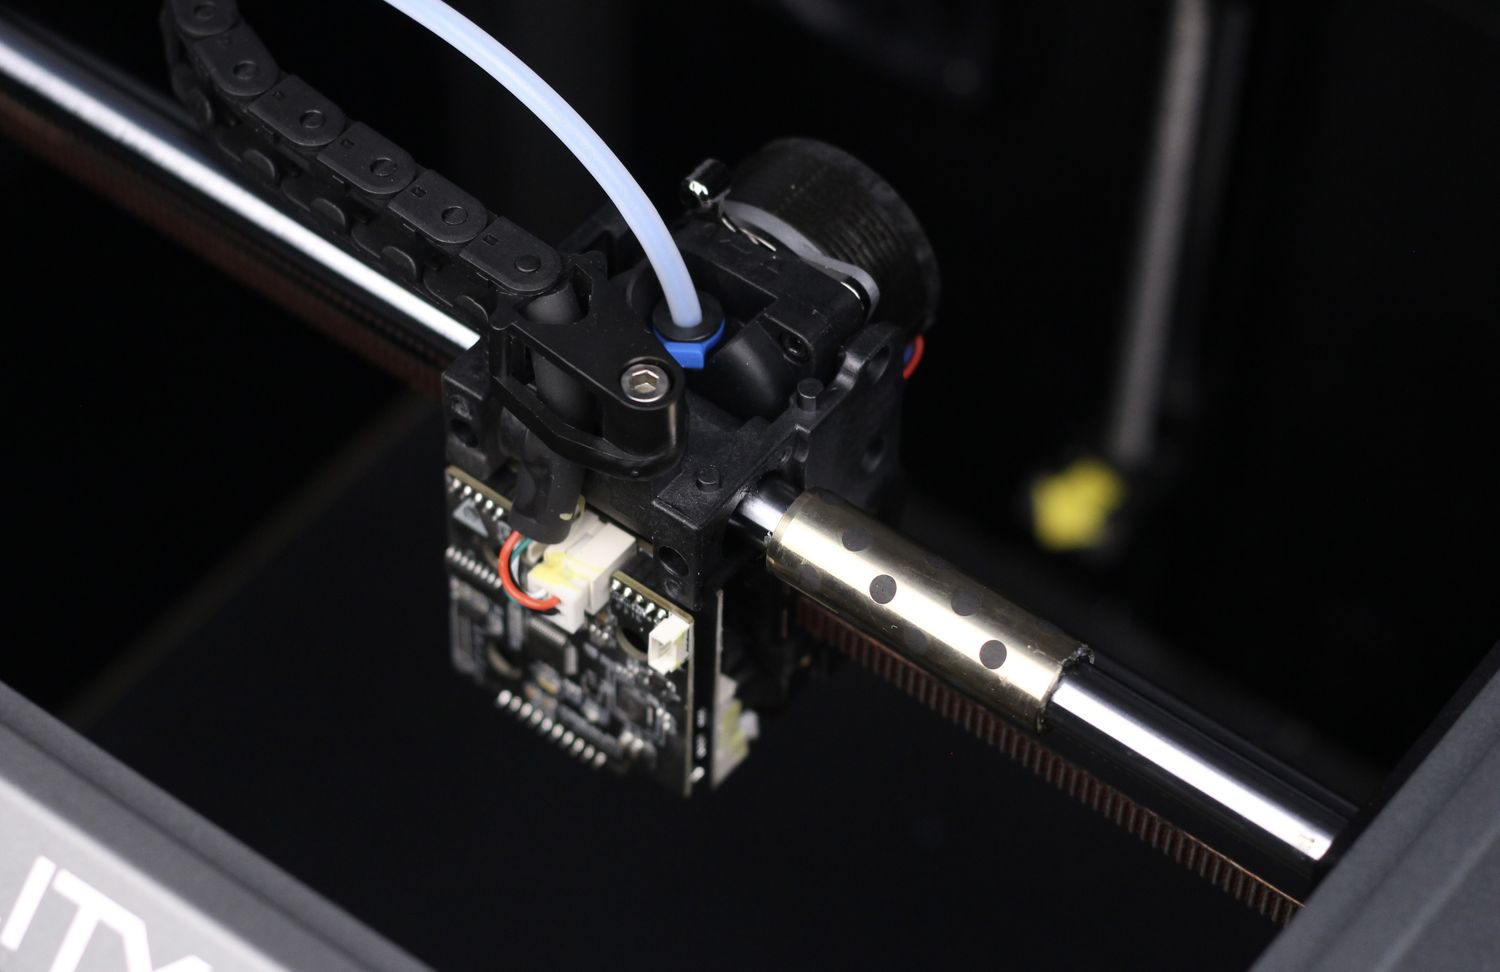
The new Creality K1 printer comes with a Core-XY motion system with metallic linear rails on the X and Y axis which allows the printer to reach high print speeds. While the Y-axis is running on regular LMU8 bearings, the X-axis seems to be using self-lubricating bearings/bushings with graphite inserts similar to what the X1 Carbon is using.
I am not an engineer, so take this information with a grain of salt, but I don’t think using self-lubricating bearings/bushings on a metallic rod is the right way to do it. Besides that, Creality has added some lubricant to the X-axis which is not something that should be done with such bearings.
Of course, I might be wrong and the application is correct, but after 20 hours of usage, there was some dark grease deposit on the linear rail. During printing, the X-axis wasn’t moving as expected and in some situations, there was a loud vibration/resonance coming from the movement.
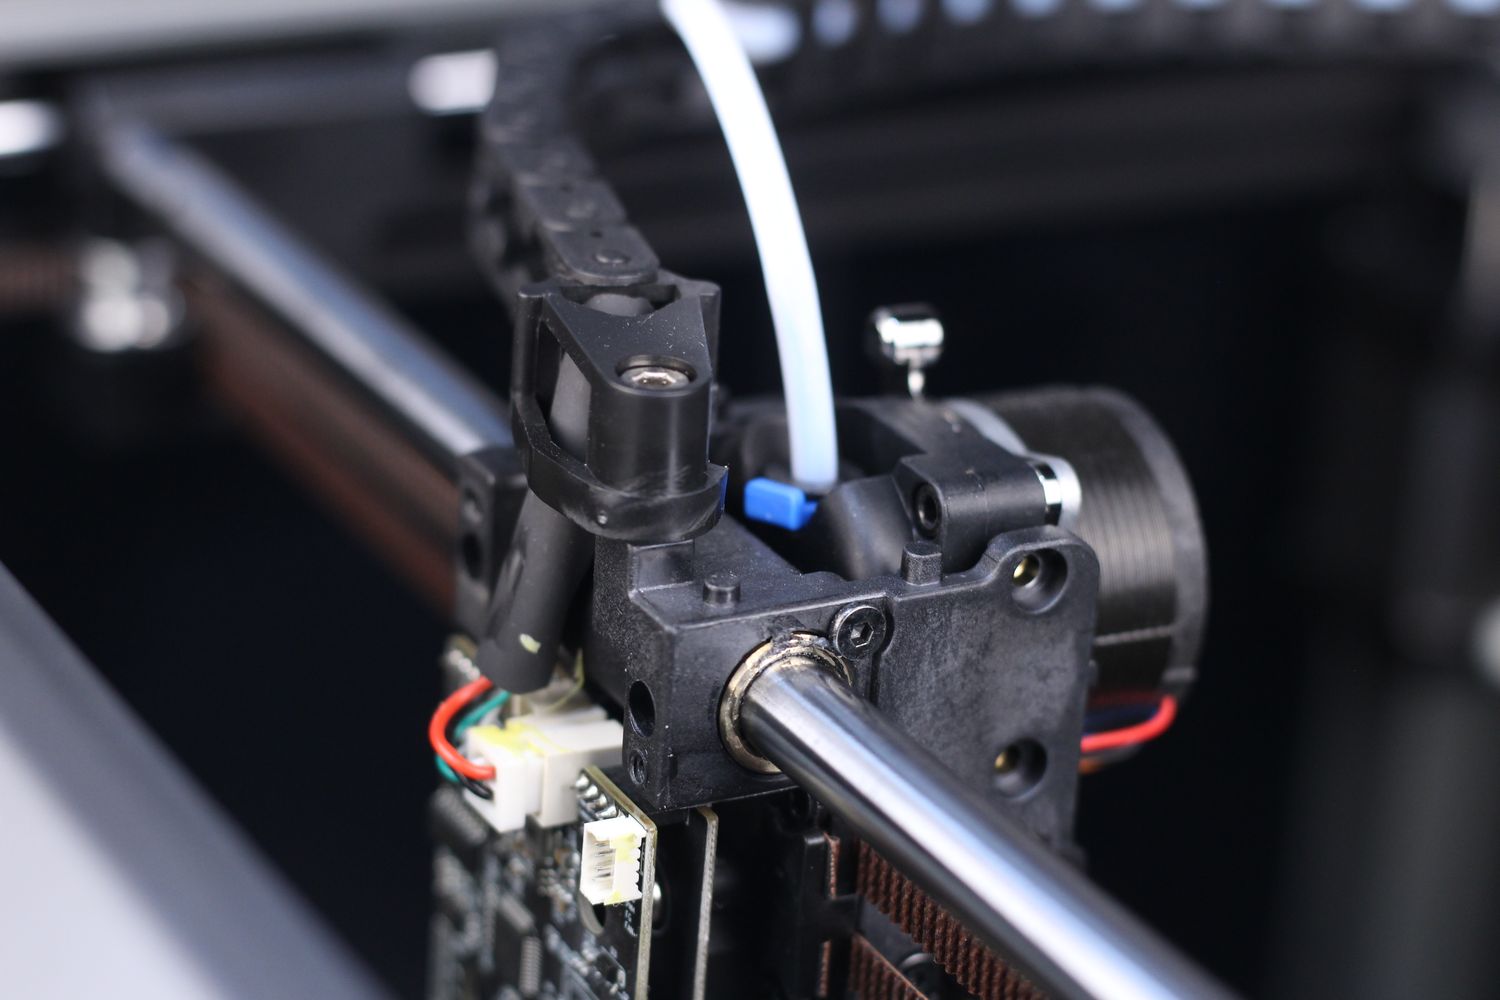
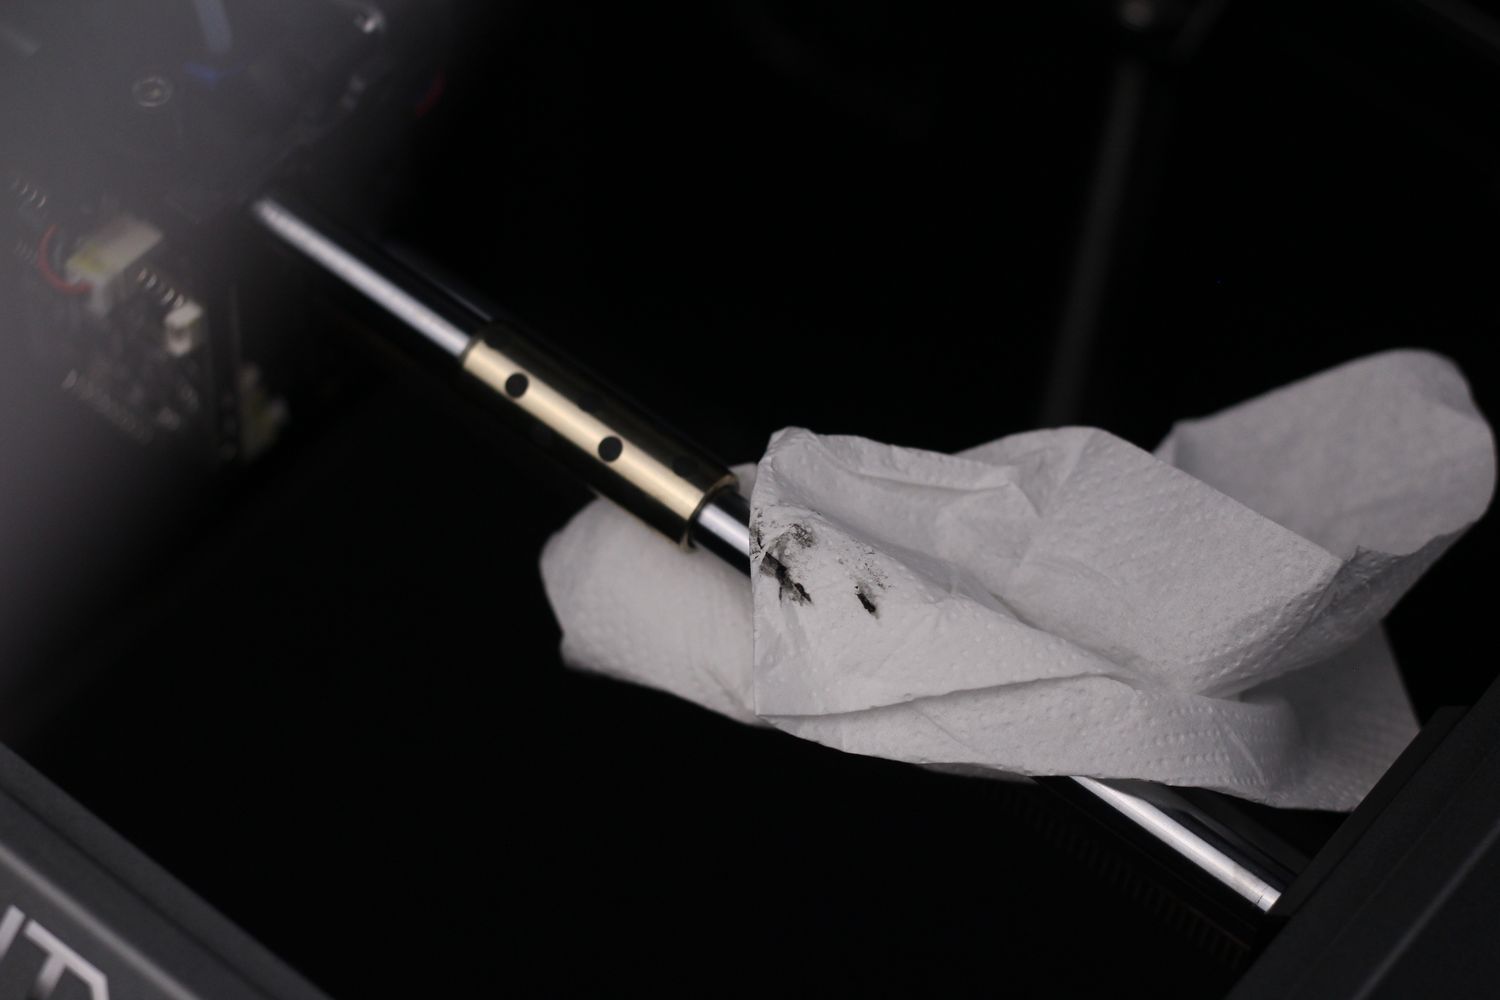
After seeing this issue, I cleaned the rods and bushings with IPA and continued my testing, which resulted in better print quality results but I am not sure how much time will the bearing survive. I don’t recommend you do what I did as it’s probably not the way Creality intended for this printer to be used. But I felt like the print head was not moving smoothly with grease on the rods, and instead of a smooth motion, it was “skipping” over the rods.
The print head is put in motion by the large A and B motors located in the back corners of the printer. They have larger pulleys to help with print speed, and if you look closer, you can see a pair of belt tensioners too.
The system looks somewhat similar to what Bambu Lab has used, with springs and tensioning screws which should provide a similar tension for both belts. It’s super important to have similar belt tension in a Core-XY system to avoid any printing artifacts
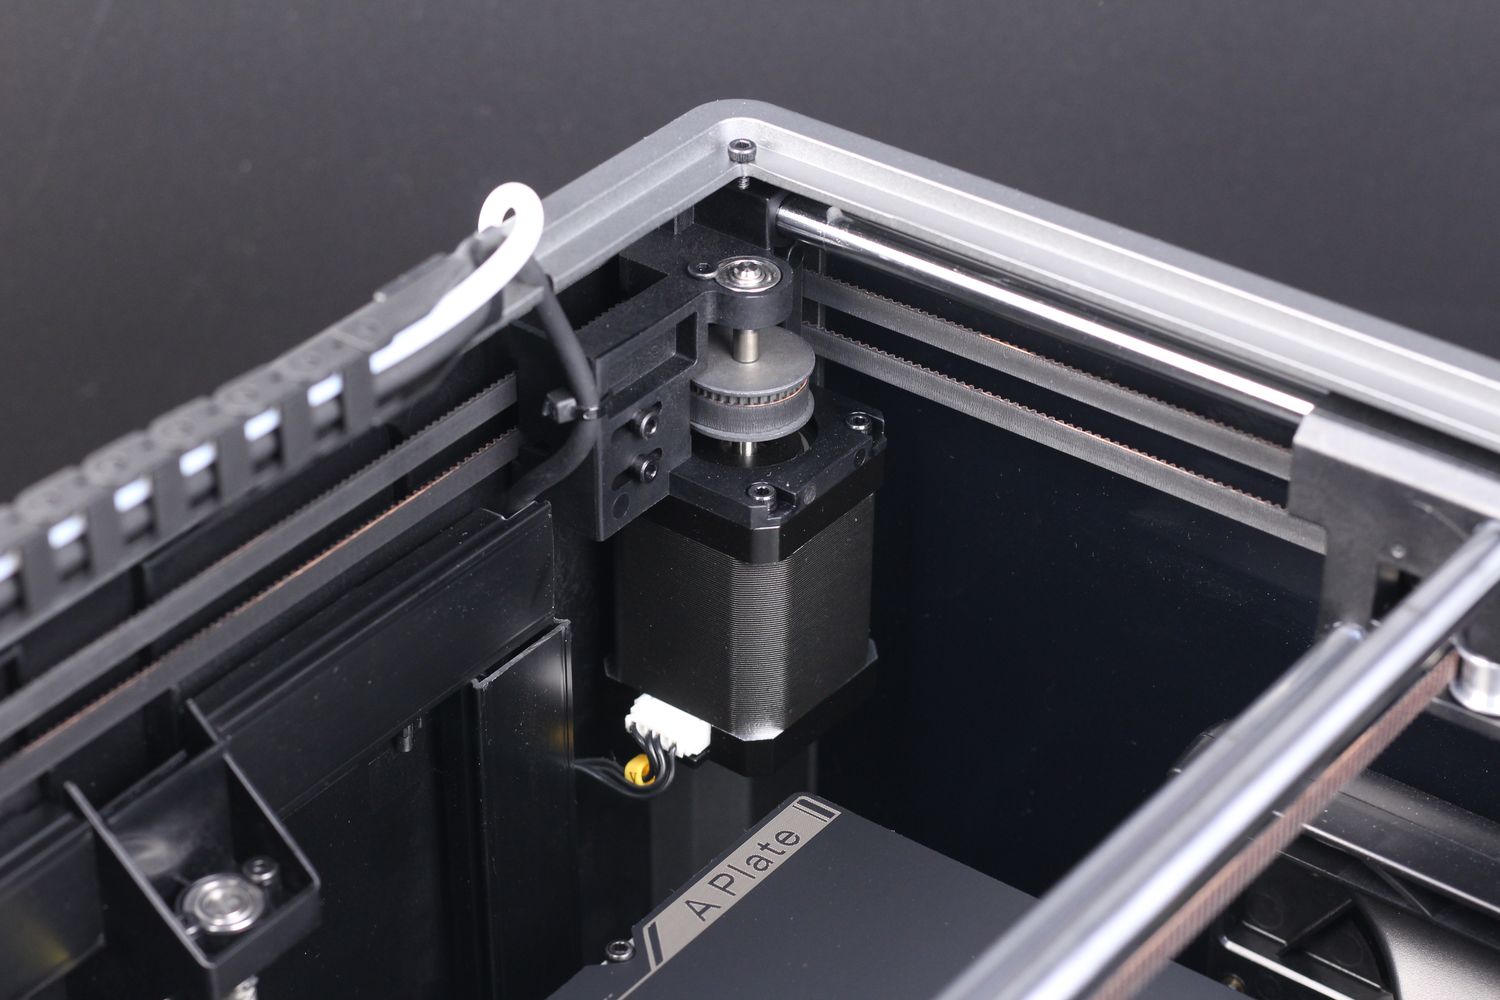
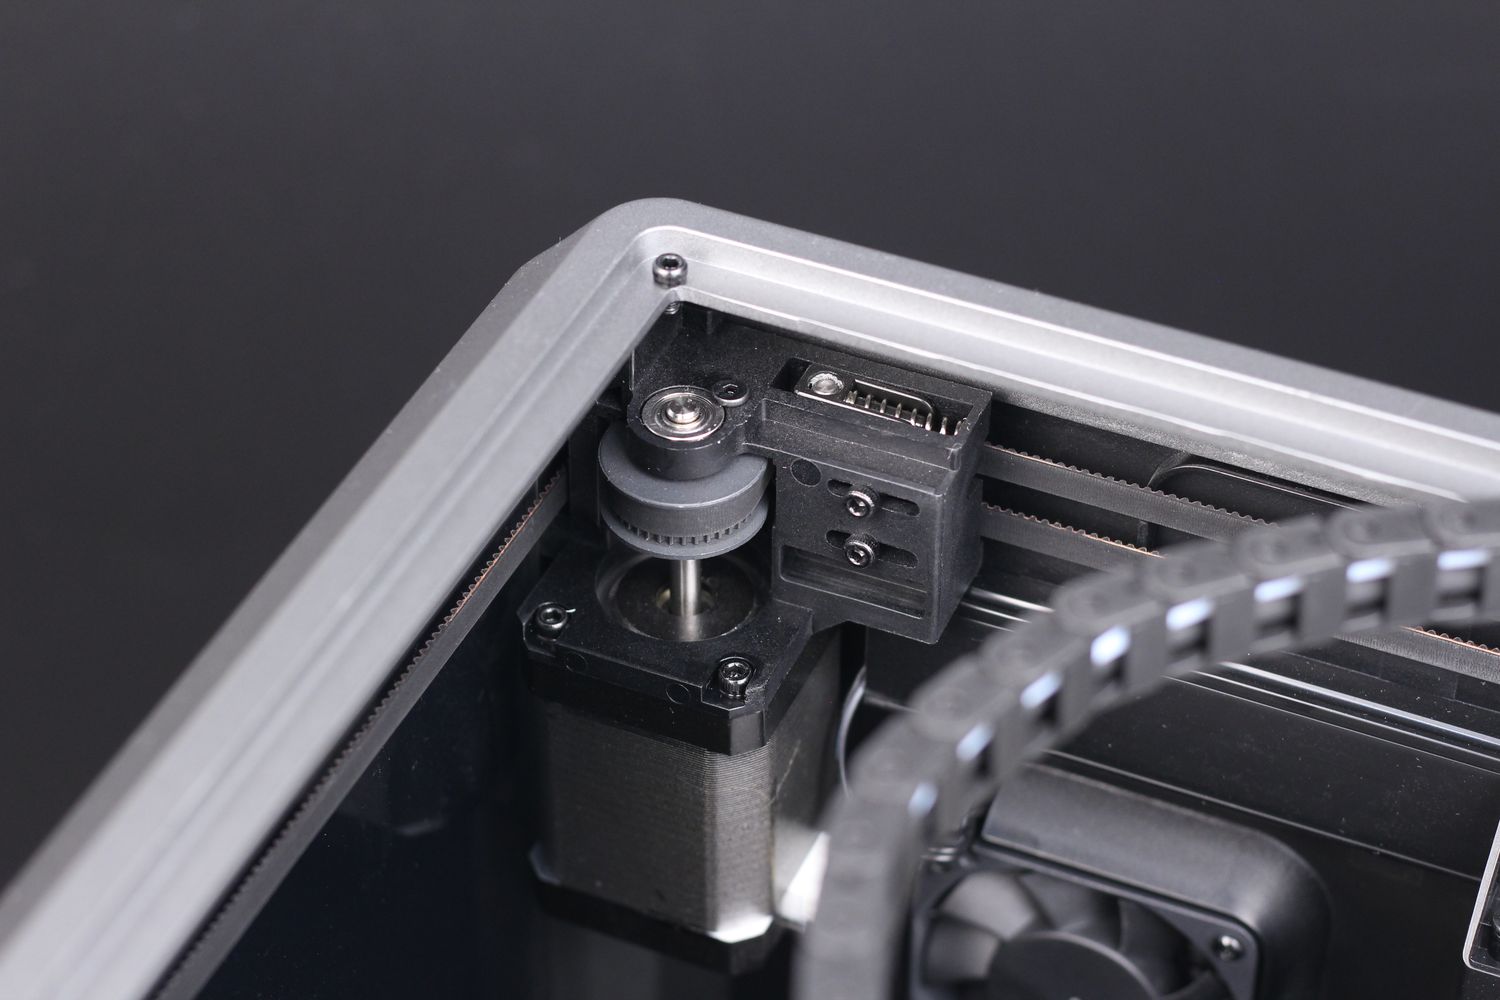
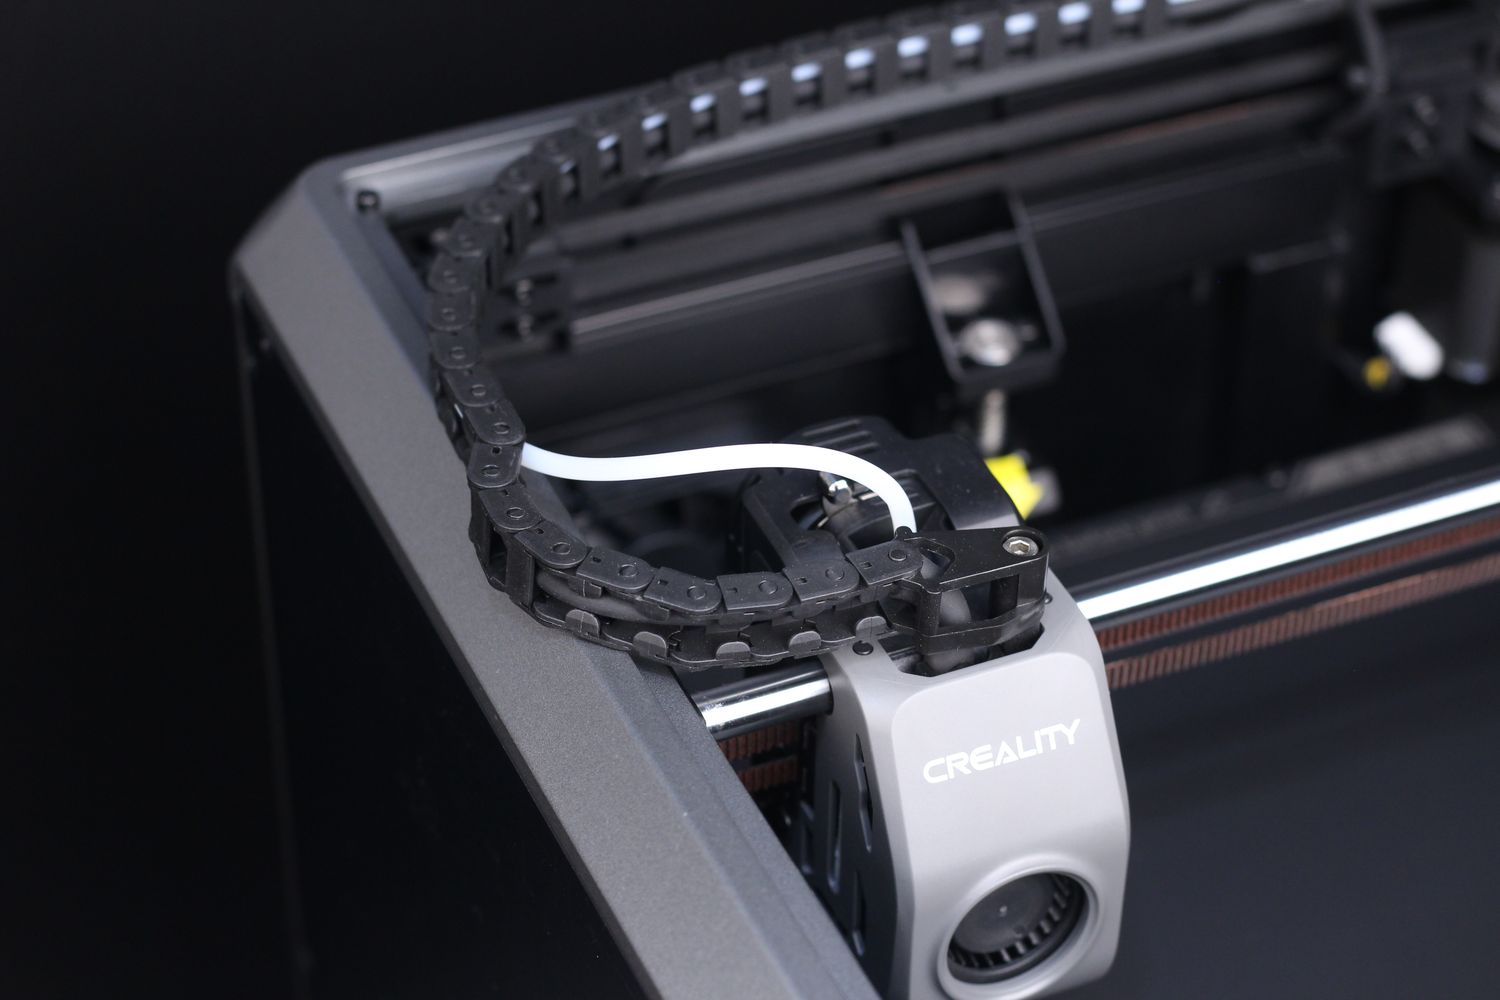
The wiring required for the print head is nicely routed with a drag chain, but the design is a bit lacking as when the printer is used without the cover on (for PLA) the chain is rubbing against the top of the machine and after a while, it will show signs of wear.
Besides this issue, when the top cover is installed, the drag chain can push against the extruder locking lever and change its position, generating problems with the extrusion.
Another issue is the PTFE tube routed through the drag chain which increases the filament friction significantly, contributing to extrusion issues which I will explain later in this article.
When it comes to the print volume, the little brother in the Creality K1 Series allows for 220x220x250mm which is a decent size for most people getting the printer. My personal use for most 3D printers doesn’t usually require a larger print volume, but as usual, your requirements can be different.
Compact Print Head with Tiny Direct Drive Extruder
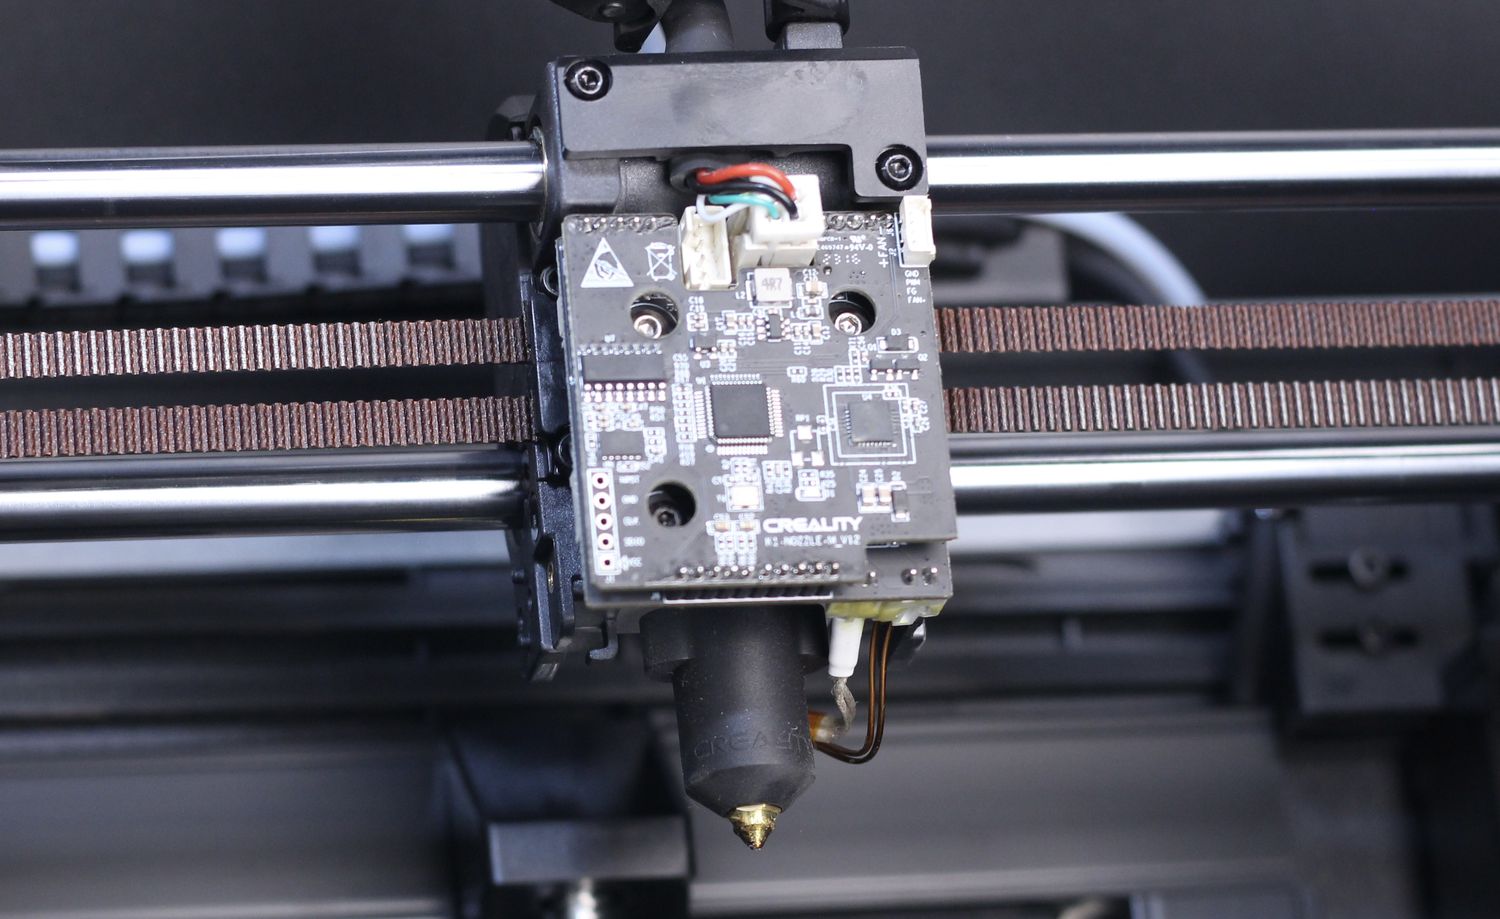
At first glance, the Creality K1 print head looks great, and I can see that quite a bit of work has gone into its design. Unfortunately, this is on the outside, because when you remove the front cover you can see some less-than-desirable design decisions.
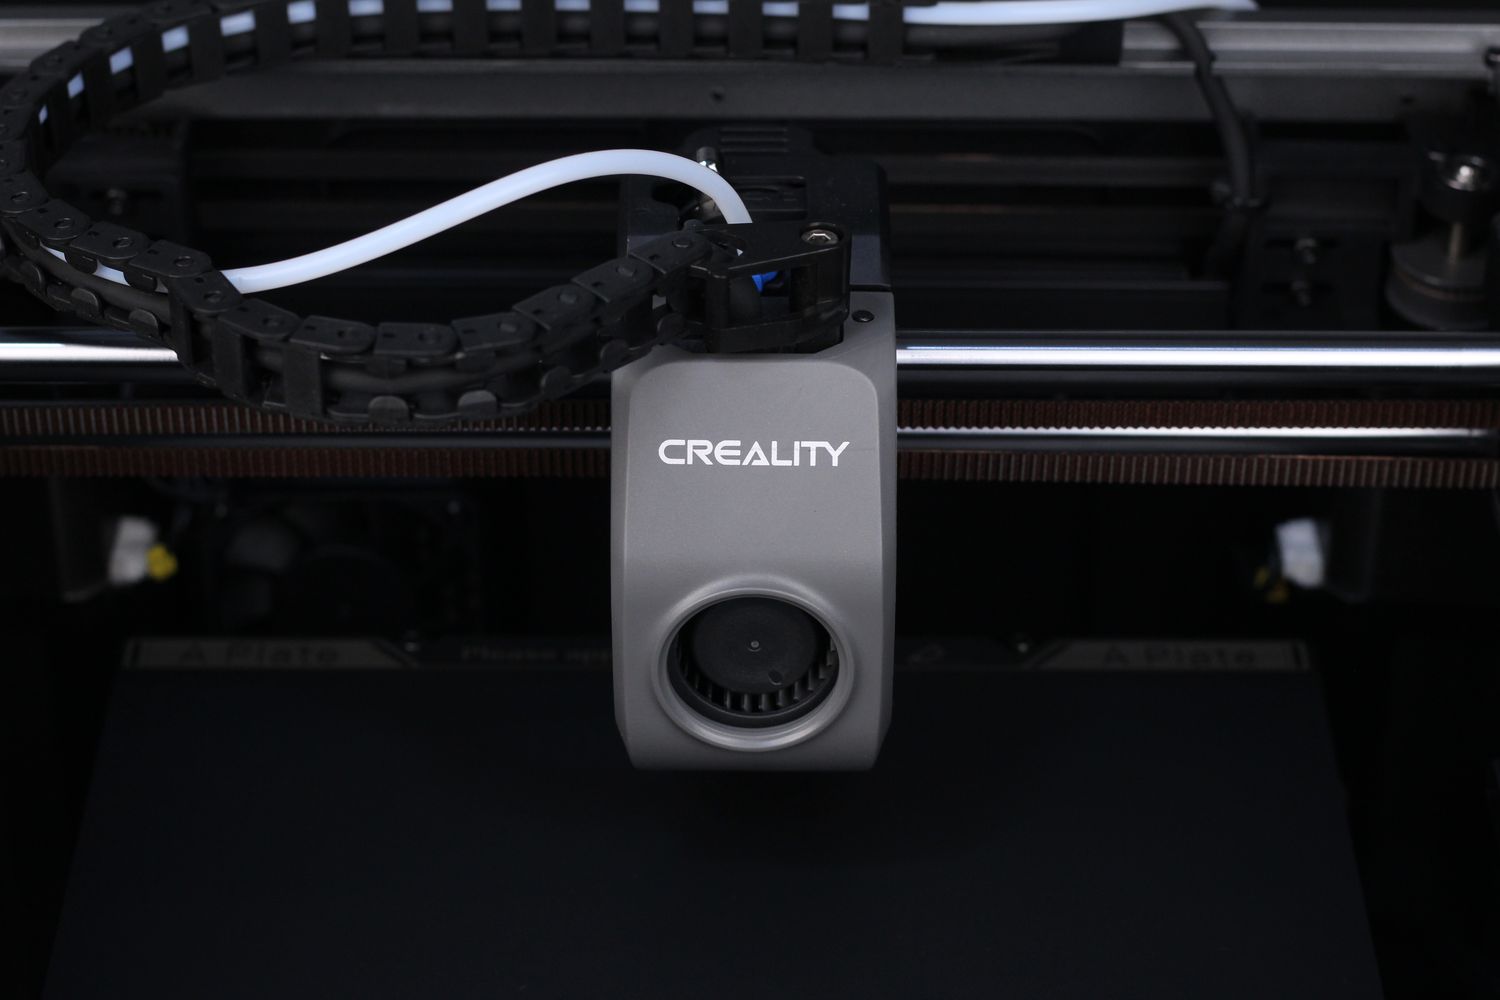
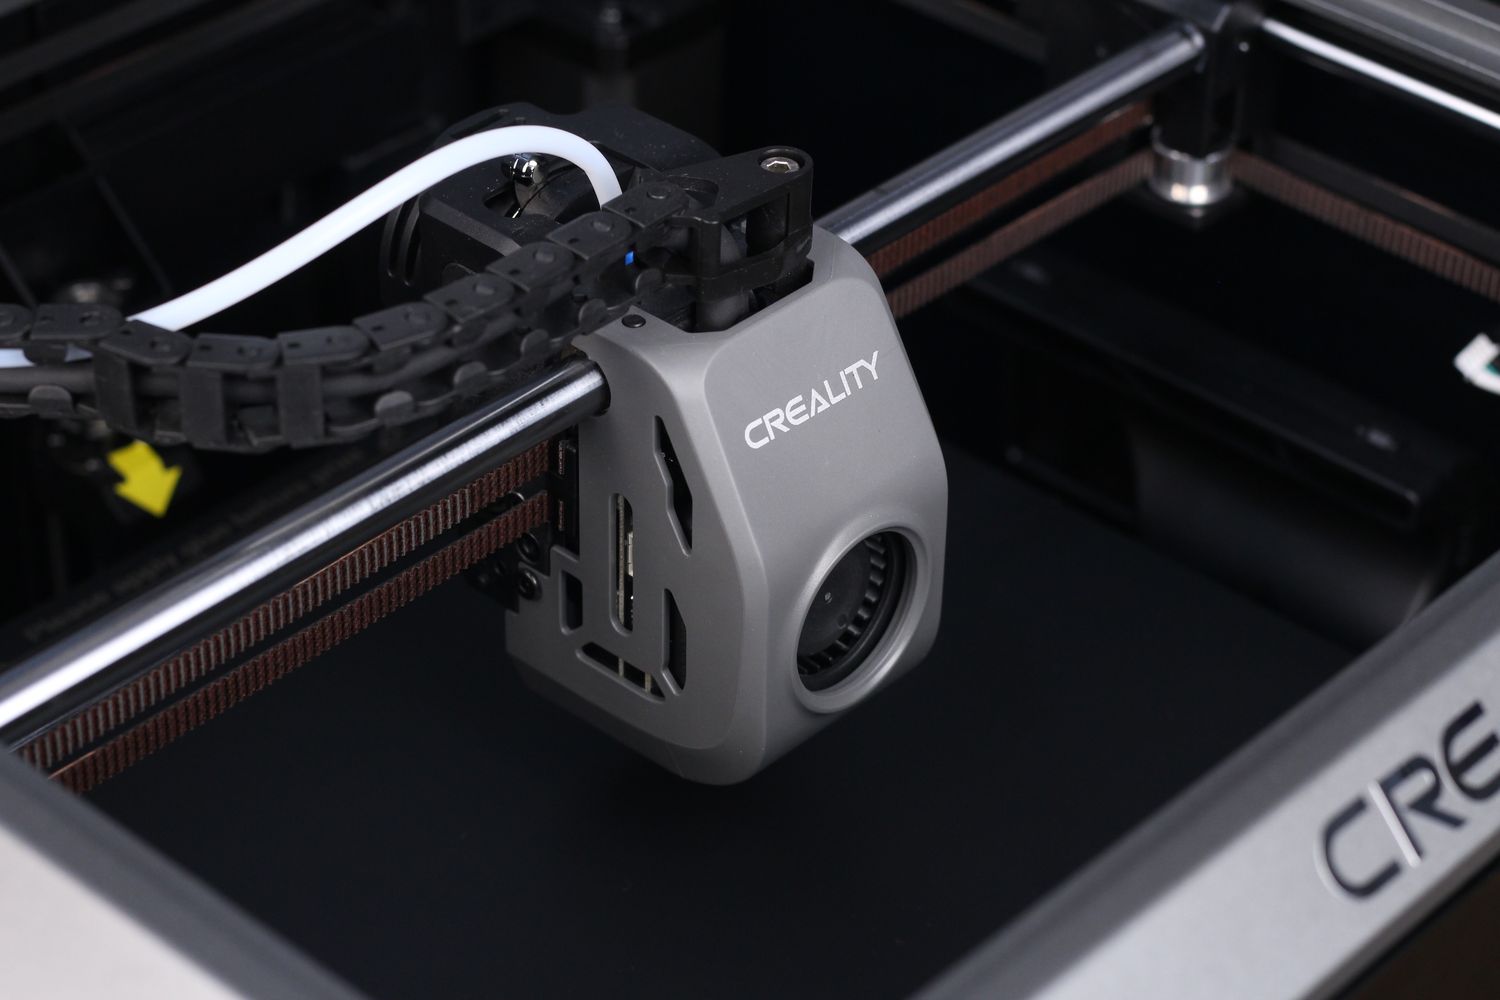
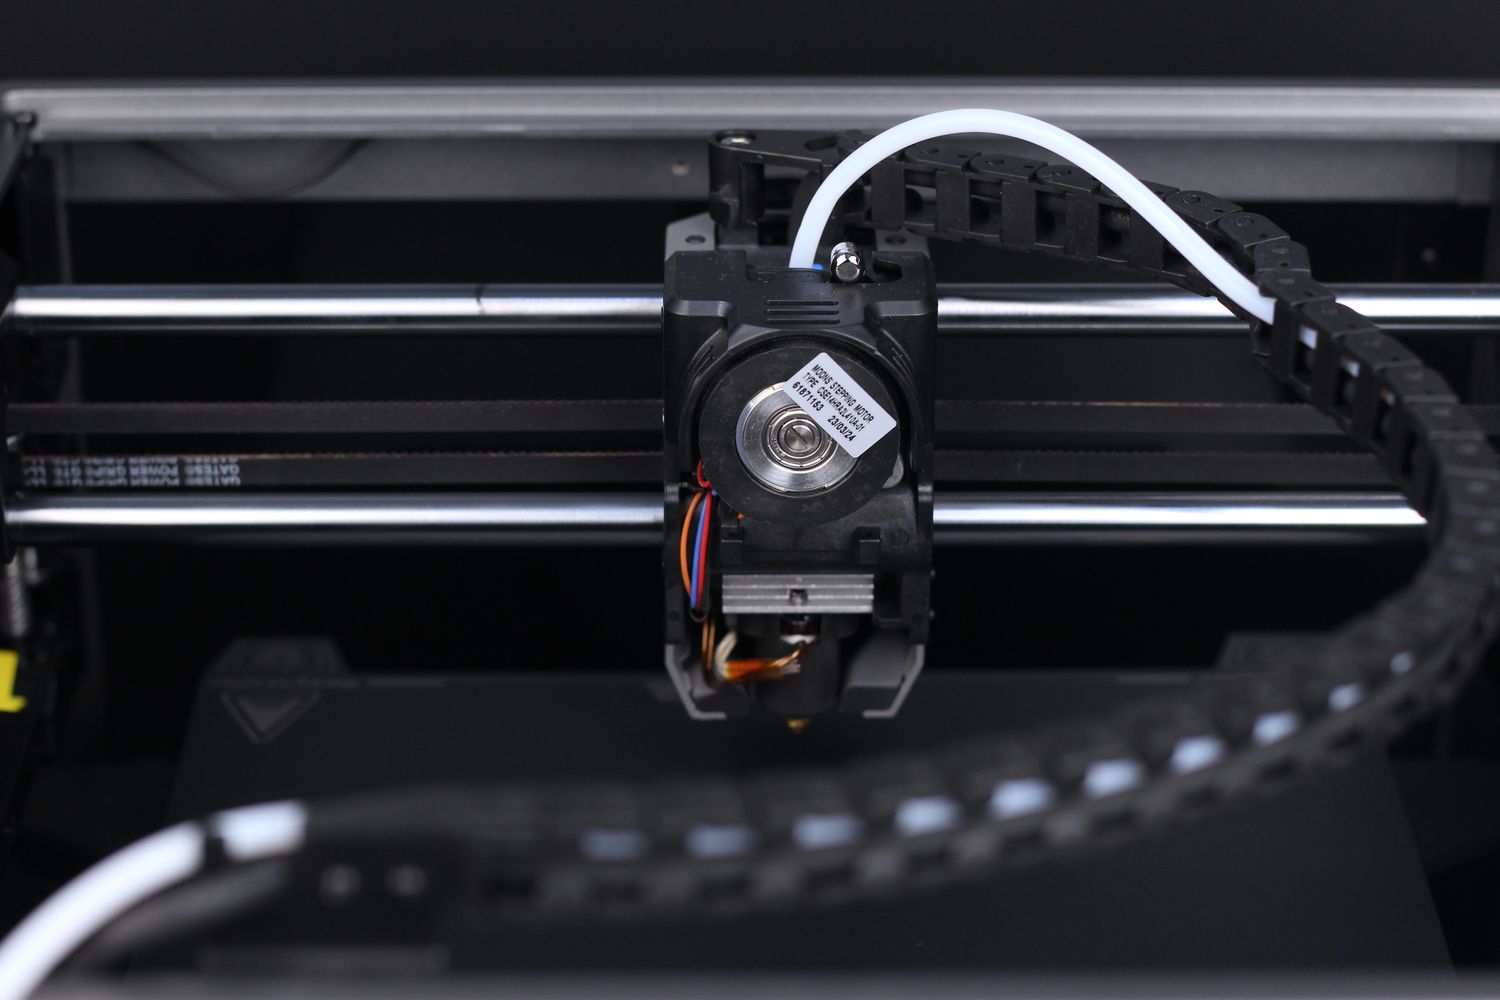
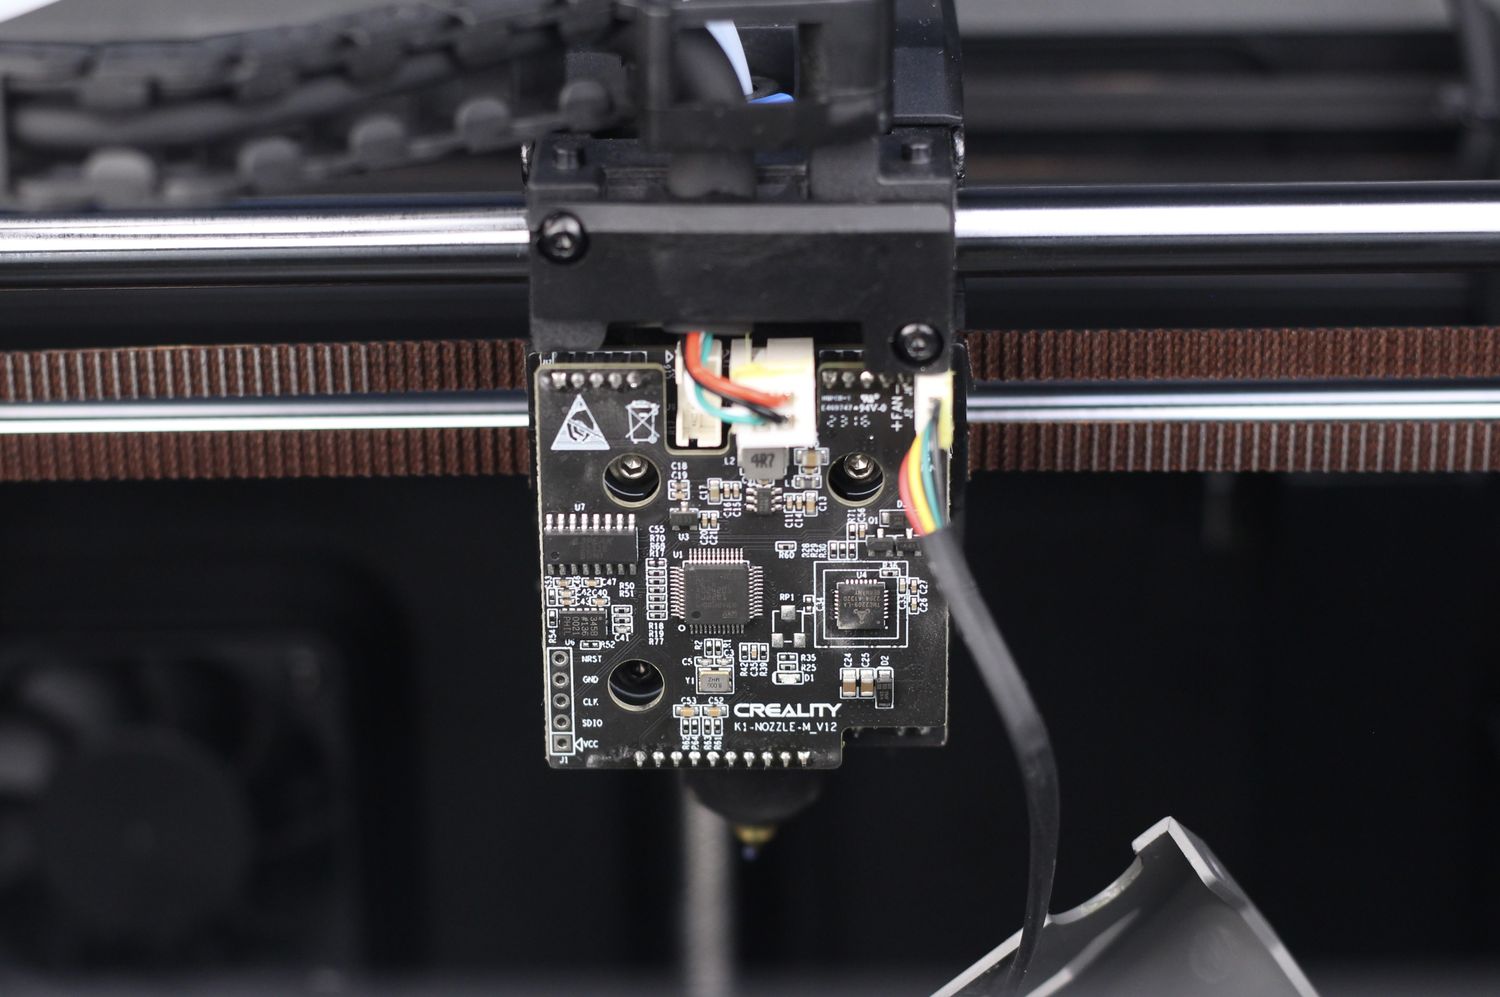
One of those decisions is to “sandwich” the two print head CAN bus boards and have the heatbreak hotend fan inside. It seems to work for now, but I don’t expect the performance of the cooling to be great.
Besides that, this sandwich arrangement also has the hotend connectors behind, instead in a place that’s easily reachable. I needed to replace the entire hotend due to a failure, and the entire process was frustrating and annoyingly complicated. It could have been much easier if the connectors would have been placed in the front.
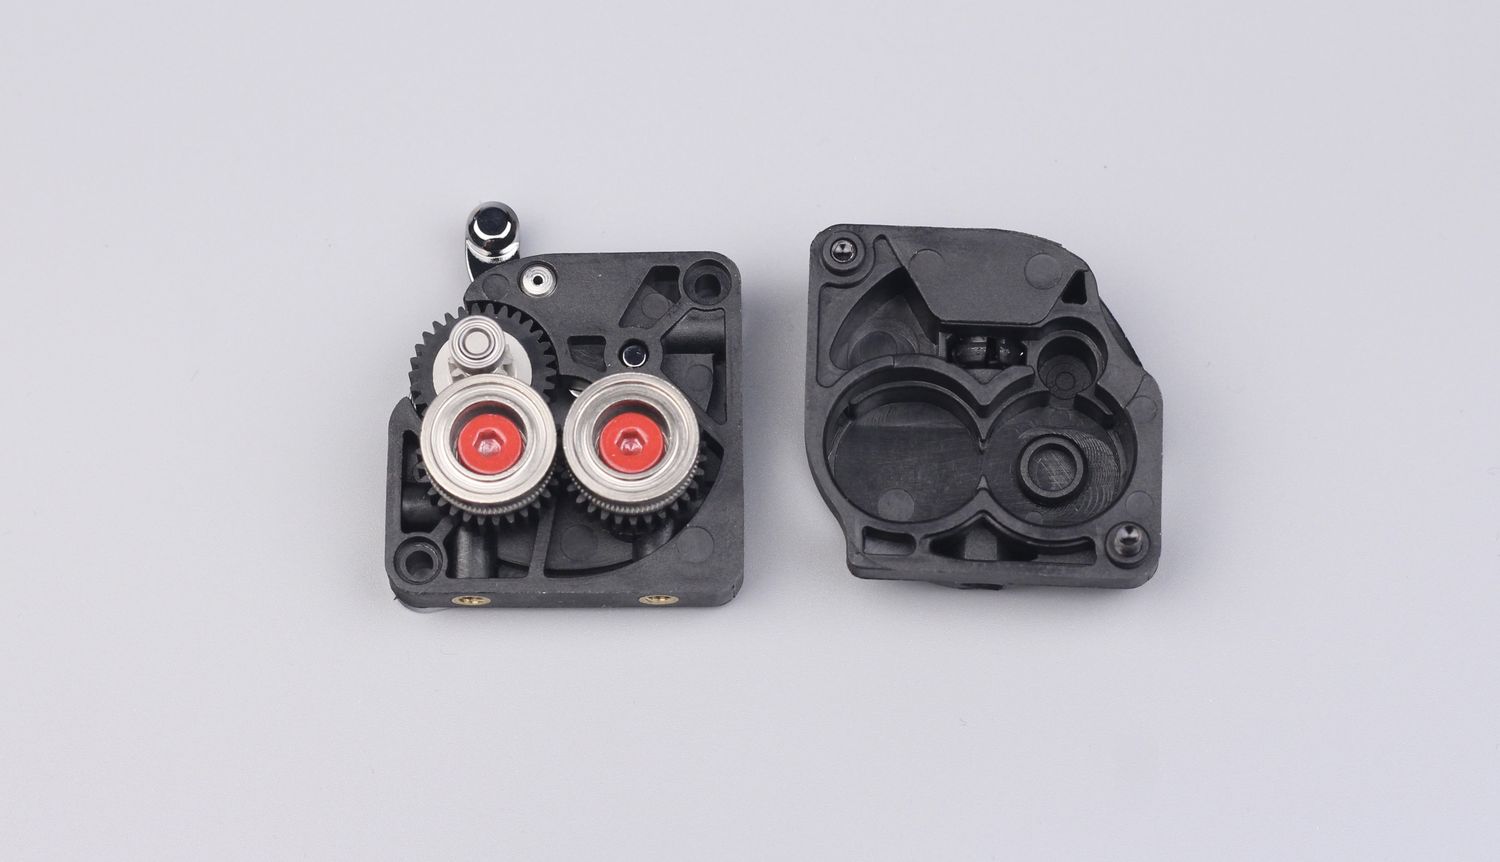
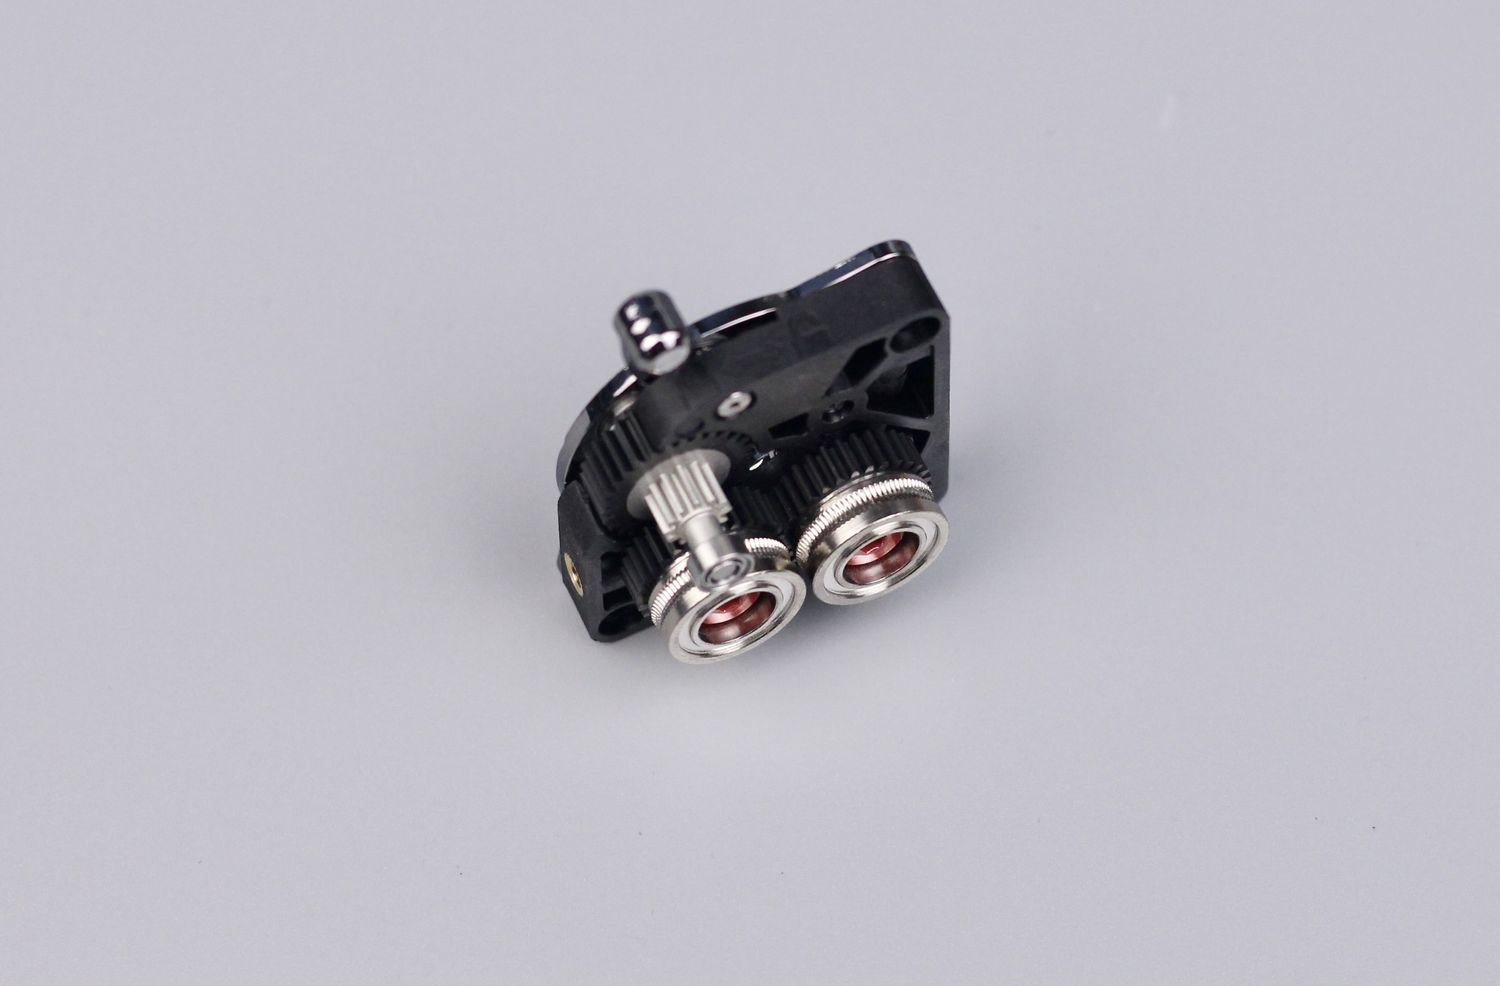
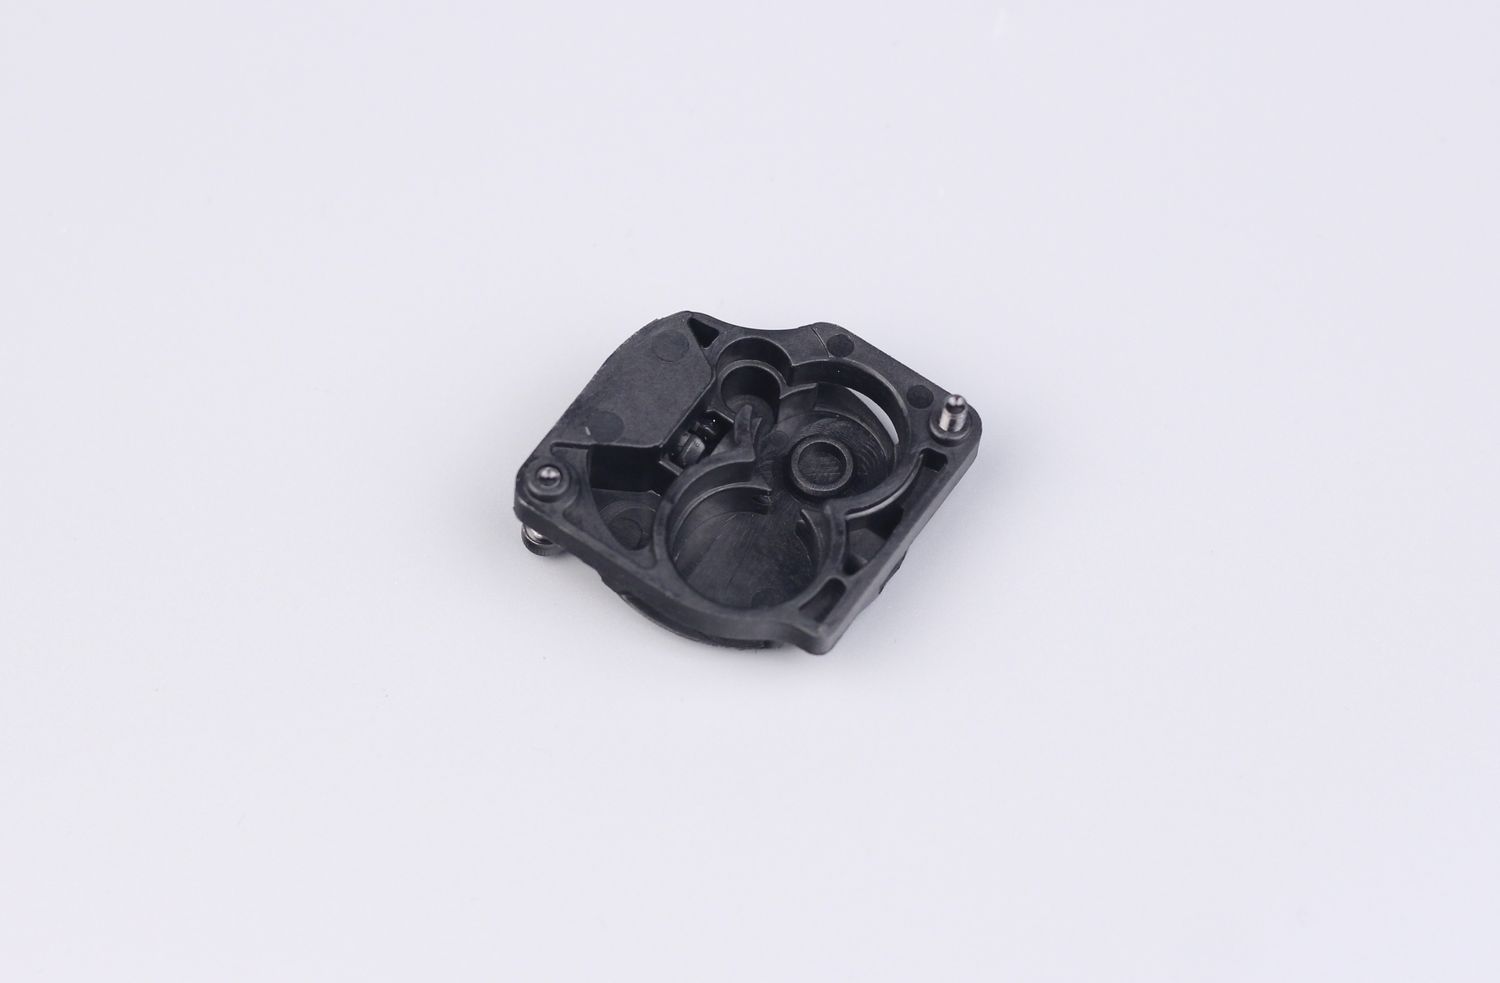
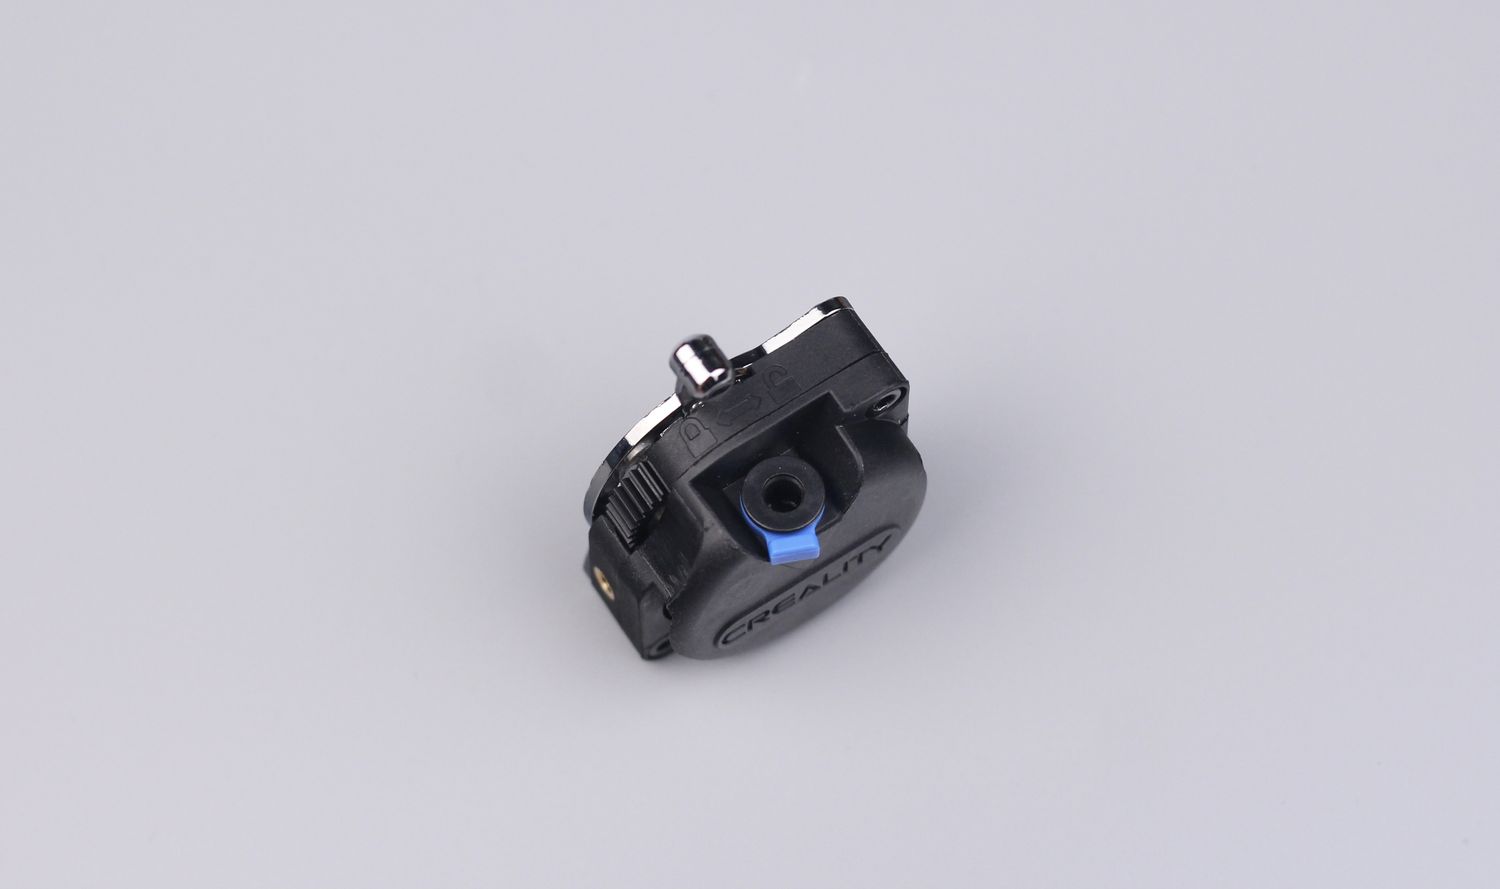
When it comes to the extruder, I can’t say I’m not impressed when it comes to the size and the design.
I believe it’s pretty clear that the “inspiration” for this design is the Bondtech LGX Lite but with a change that generates a significant problem for this extruder, which is extrusion power.
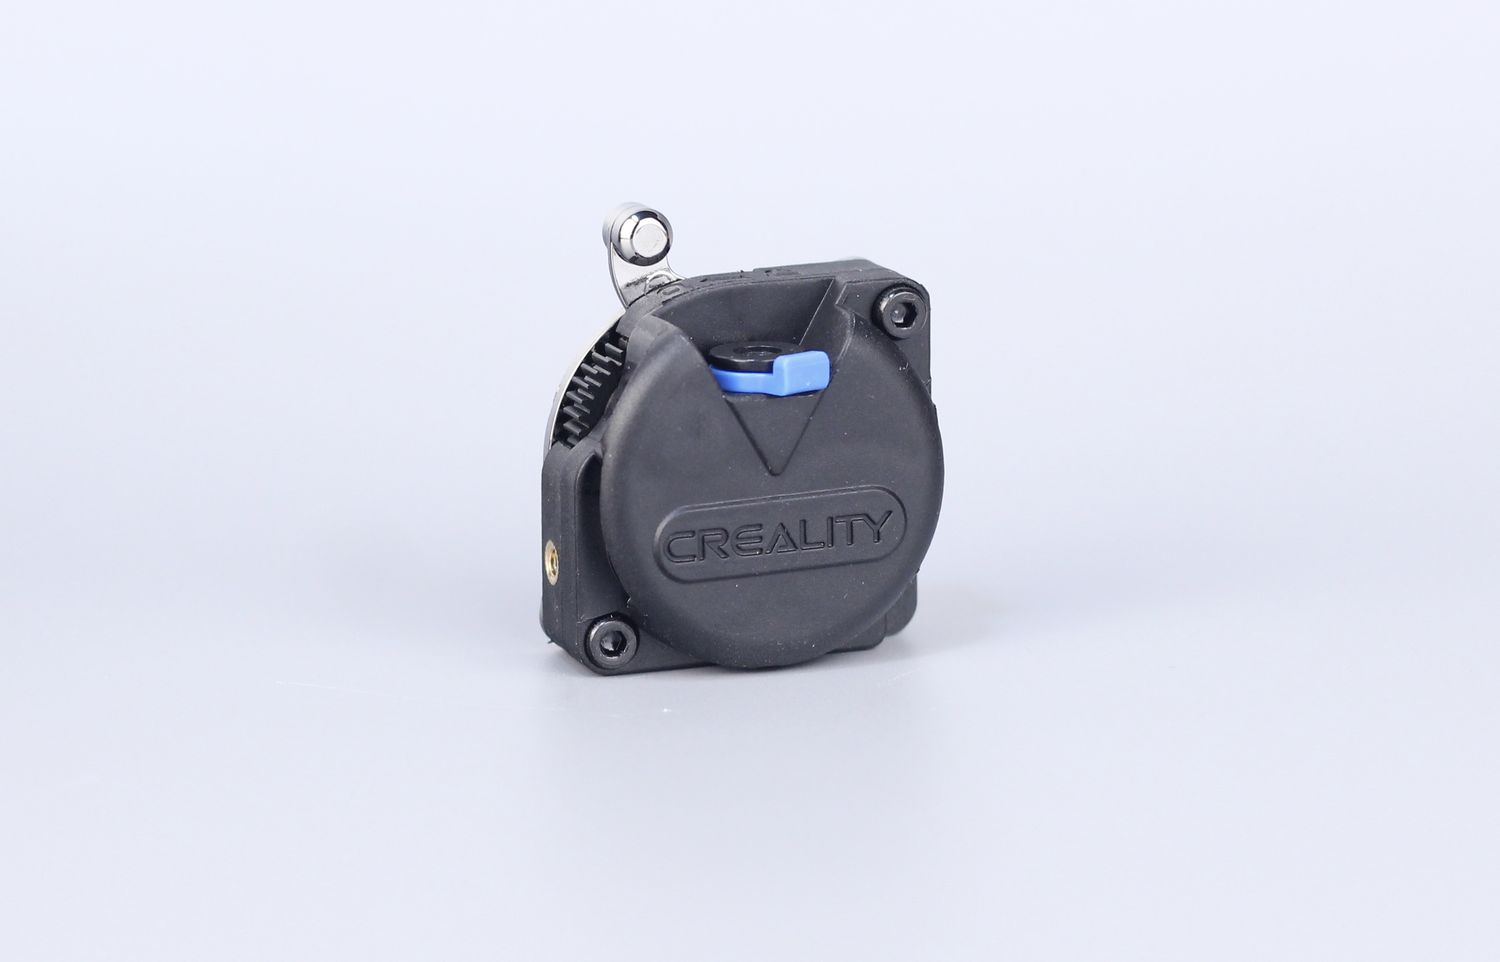
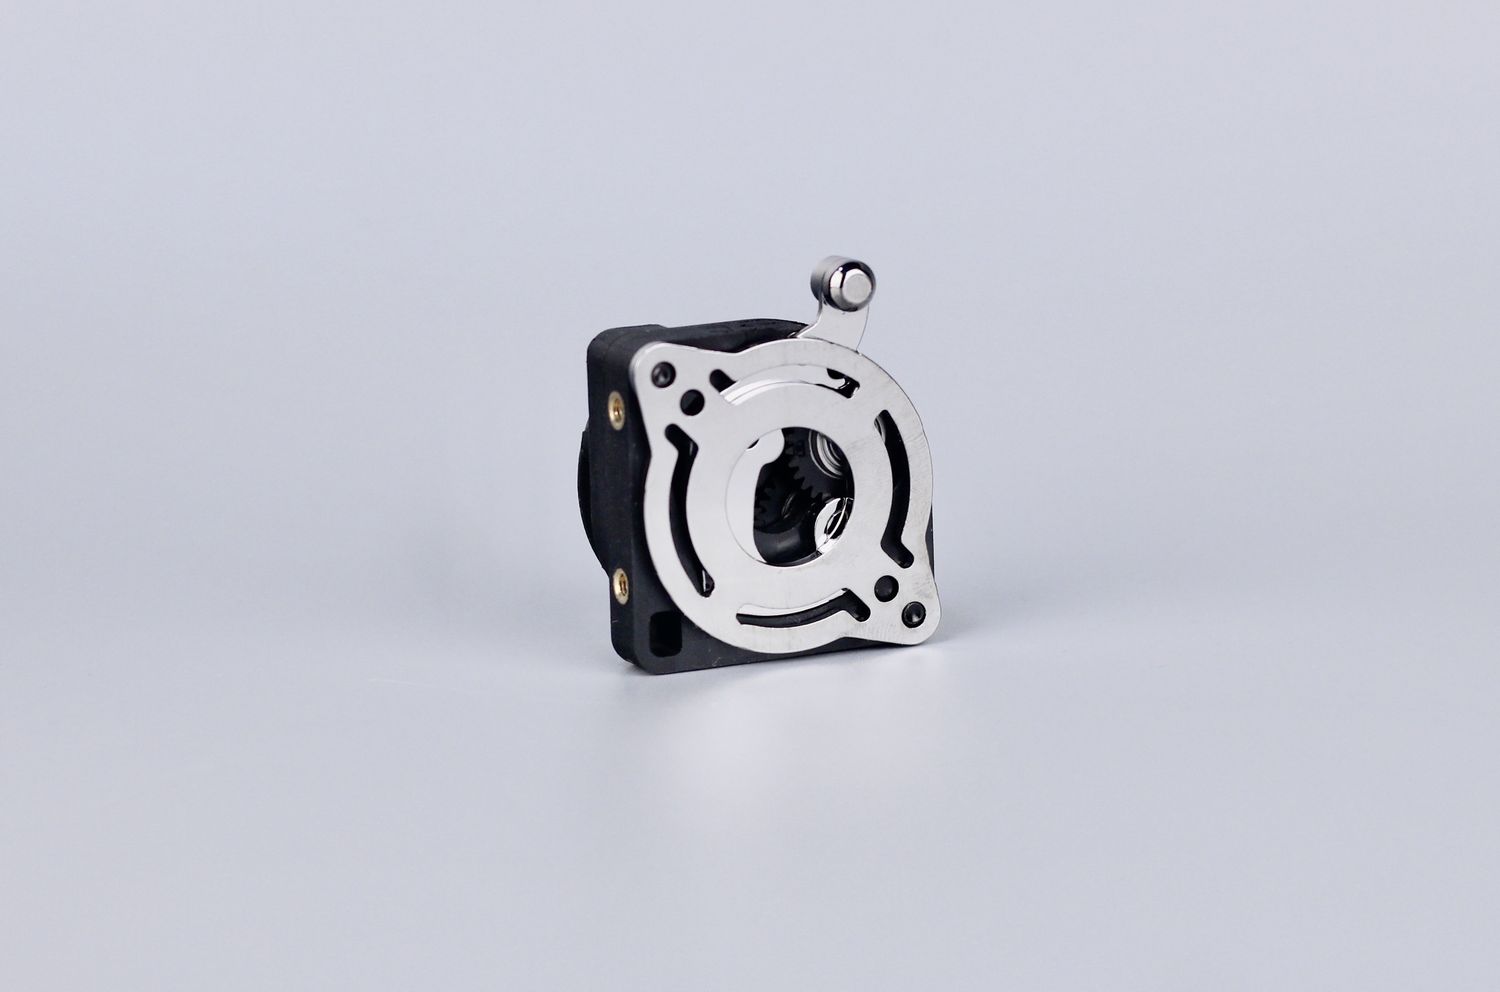
The gear which is in contact with the motor is smaller than on the LGX Lite, which requires the extruder motor to have a higher torque to efficiently drive the filament and push it through the nozzle. When you add the filament PTFE drag, Filament Sensor drag, sharp bends in the PTFE tube, and potential back pressure from the nozzle, the limits of the extruder start to show.
I had problems with the pre-installed extruder where it under-extruded due to the lack of torque. The replacement seems to be working now but I still believe that a larger driving gear would have helped a lot.
Other than that, the larger filament gears are nice to see, and I also like the lock/unlock feature which is helpful when loading and unloading filament. The filament path in the extruder is also very constrained which is great for TPU or other flexible filaments.
All-Metal Hotend with up to 300C capabilities
On paper, the new all-metal hotend from Creality looks good. It can heat up to 300C, it has a ring heater which helps the hotend reach the specified temperature pretty fast, and it also allows you to use Volcano nozzles.
What I don’t really understand is why Creality did not use a bi-metallic heat break on the K1 hotend instead of the regular all-metal. They have the part available to purchase as an upgrade for other machines, so I feel like this would have been the obvious choice to ensure a good transition temperature between the nozzle and the heatsink of the print head.
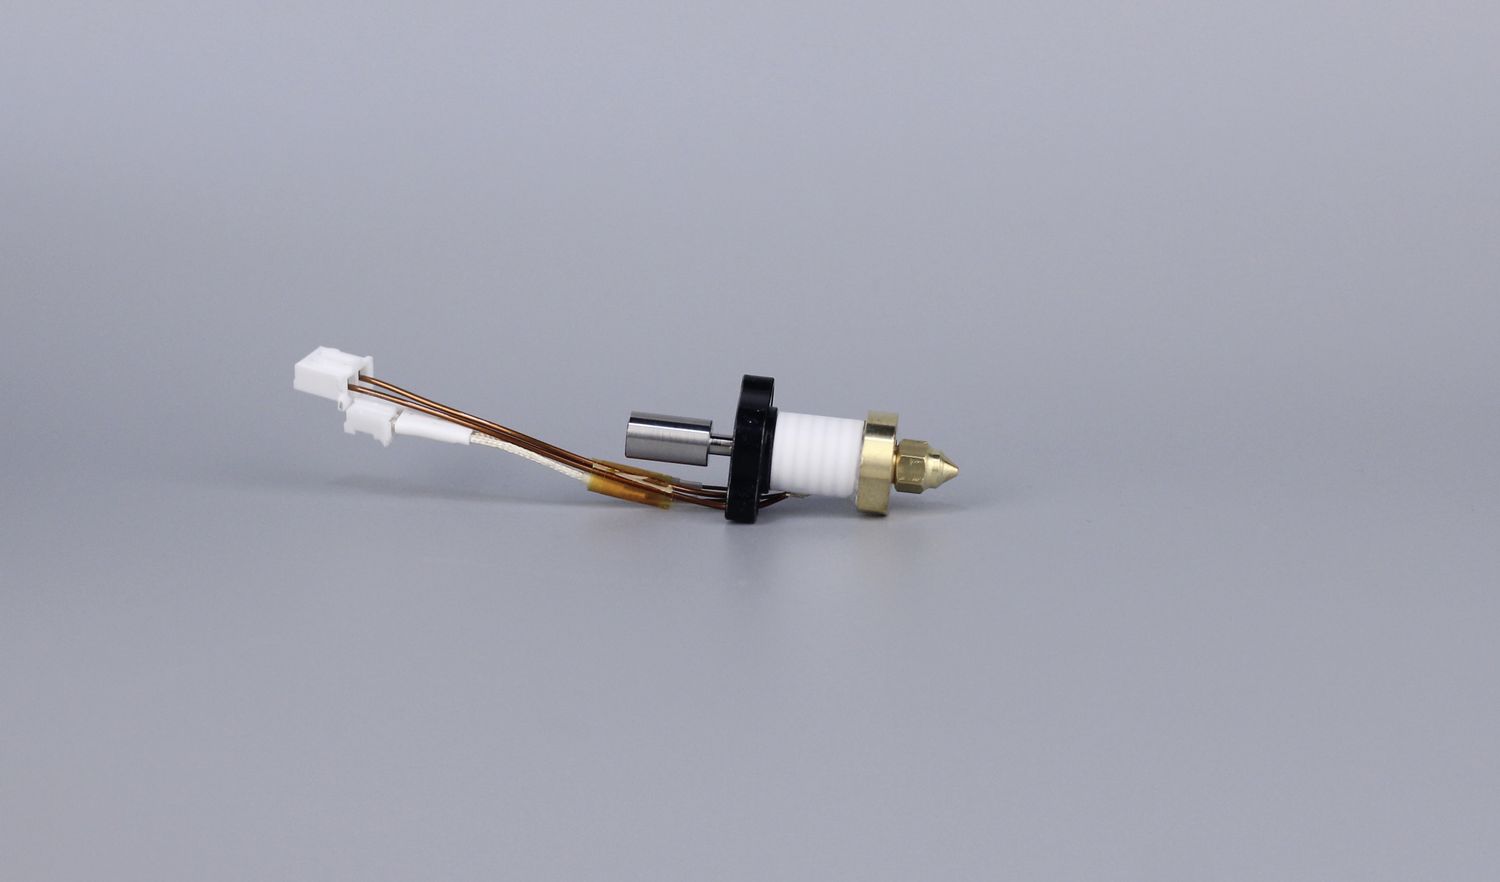
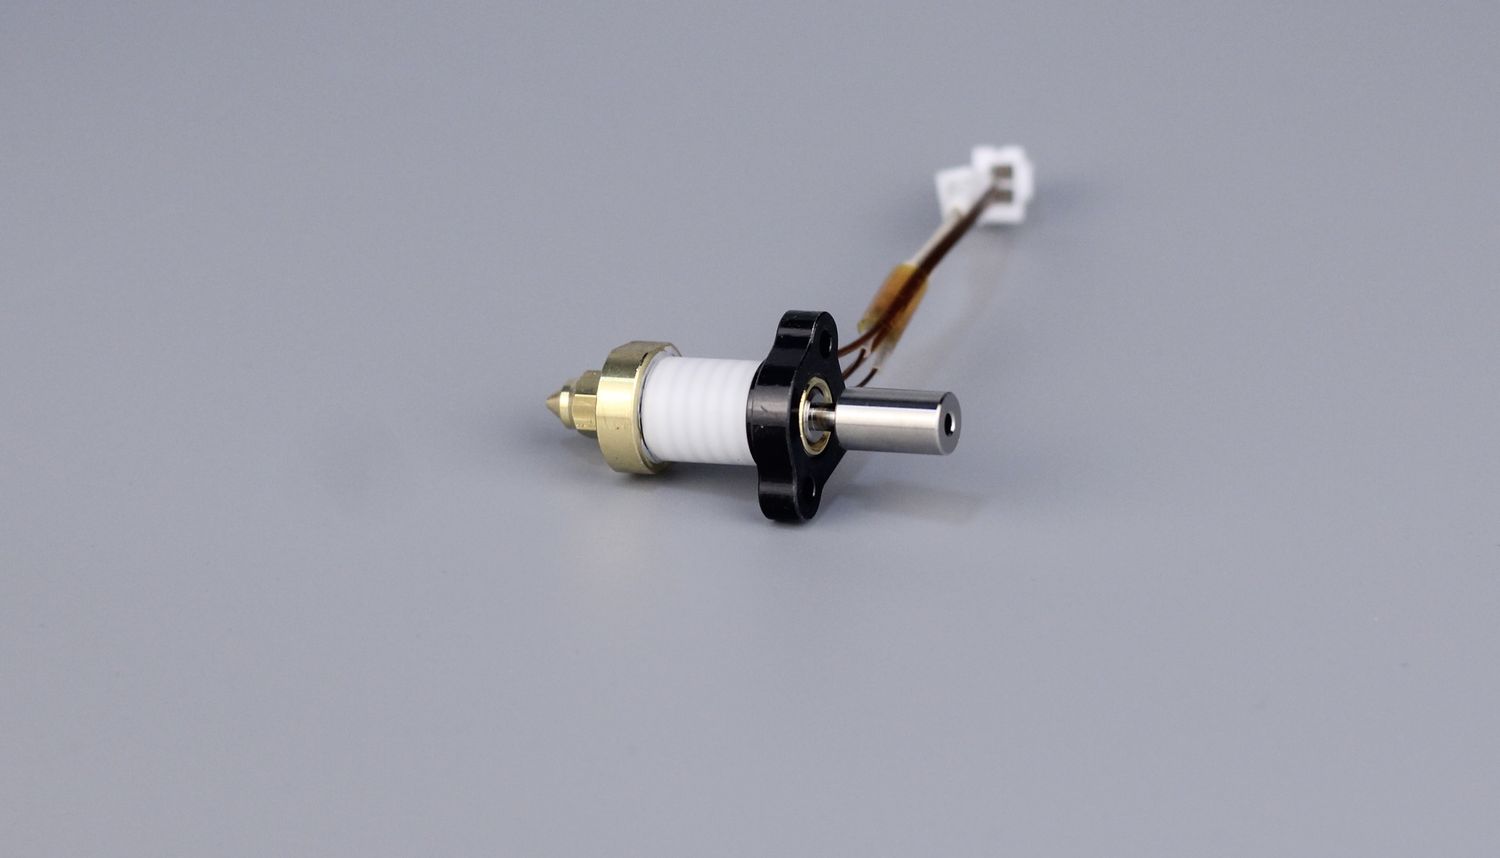
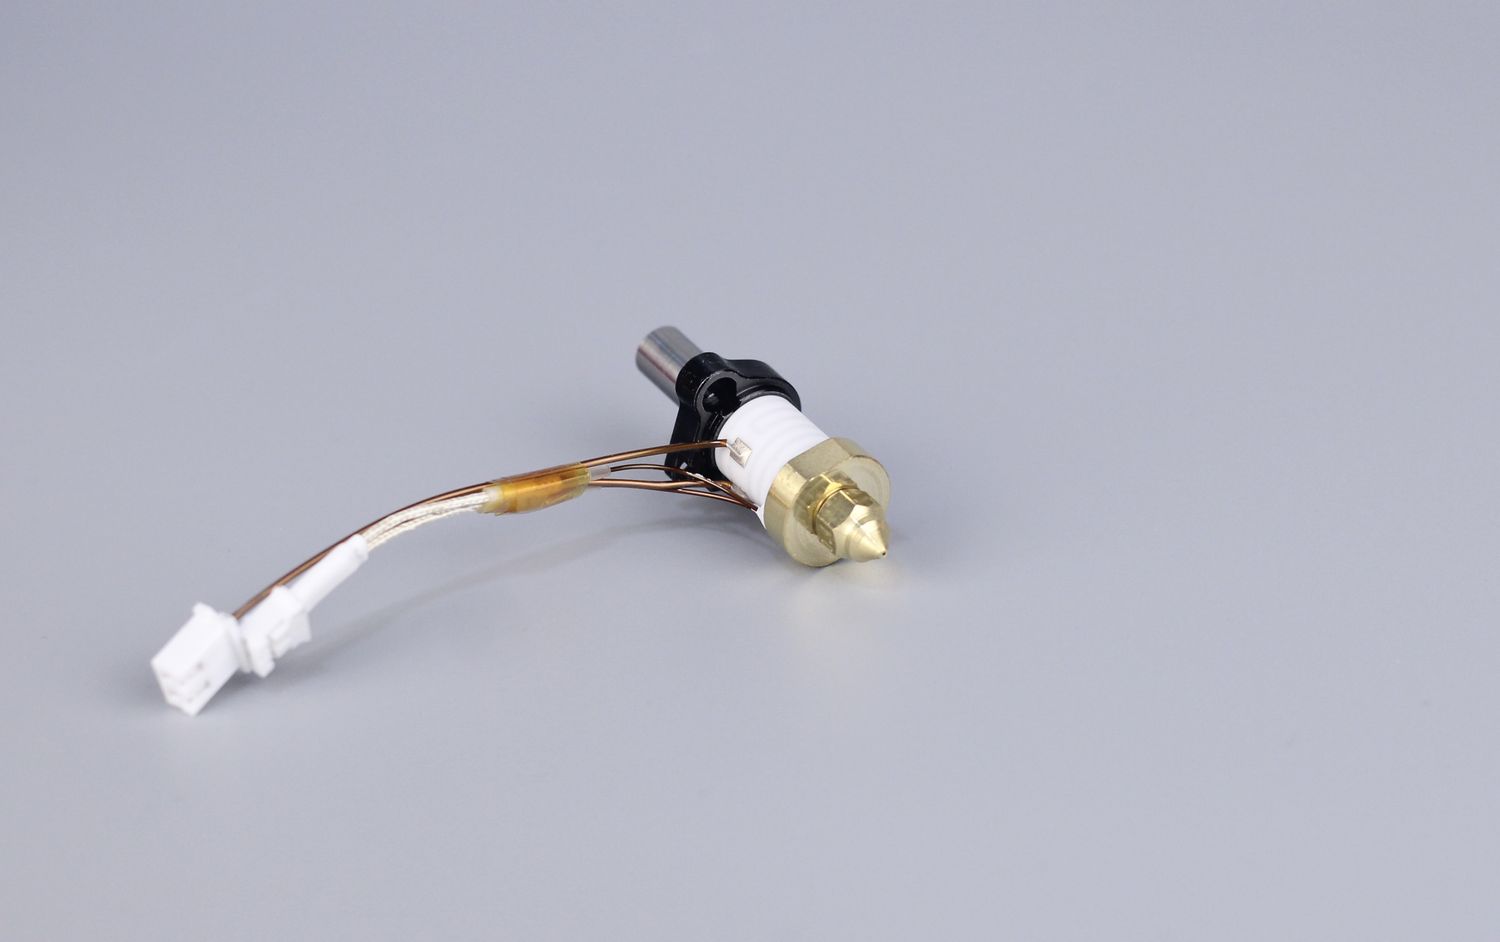
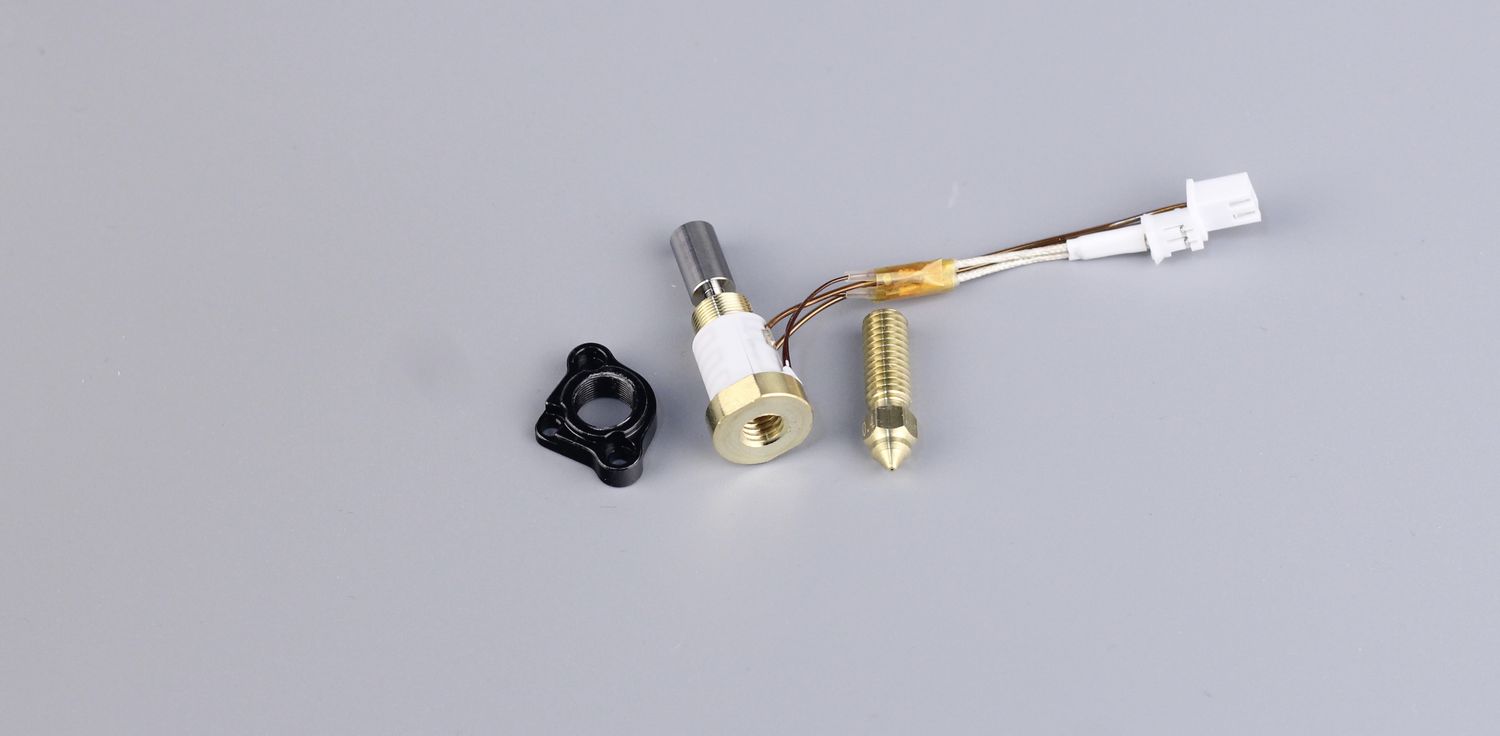
Below, you can see the hotend with the mounting solution and nozzle removed. The black part attaches the hotend to the heatsink of the print head with two bottom screws, while a third screw (which is located in the back of the print head) needs to be tightened against the heatbreak to ensure good thermal transfer.
The entire hotend replacement process is hard to do, but I don’t expect a lot of people to do it considering that the nozzles are replaceable. But this comes with a new caveat, as you need to use the included wrench to keep the hotend in place, then a second wrench to remove the nozzle.
It’s something that is required on most printers, but I have to say I am spoiled with the easy hotend replacements for the Bambu Lab printers, or the Revo system which is one-handed.
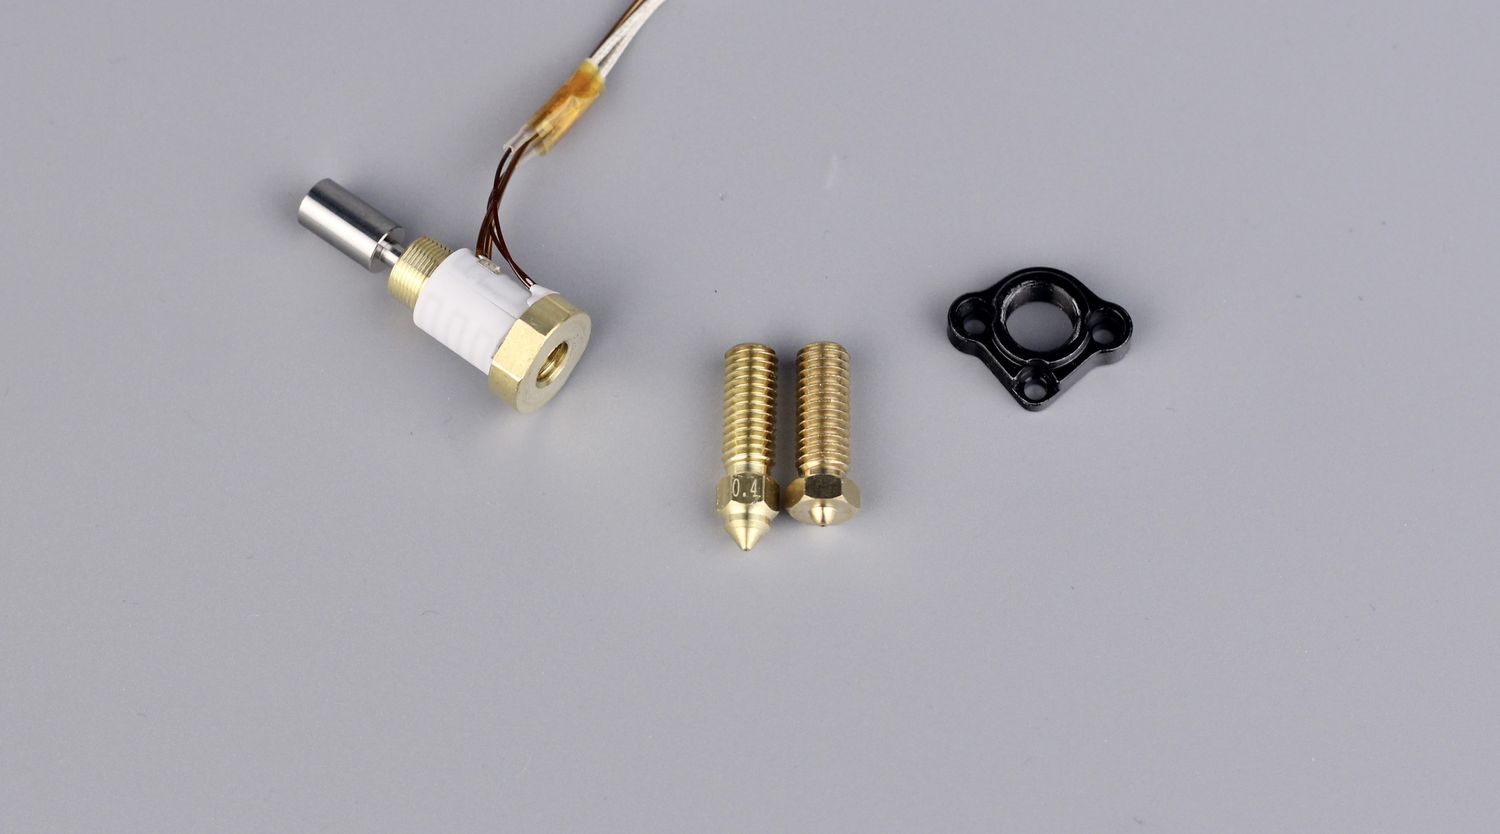
As seen below, the included hotend is slightly longer, but you can still install a regular Volcano nozzle.
The nozzle on the right is a CHT clone spare I got with the FLSUN V400, so I don’t see a reason why a real Bondtech CHT nozzle would not work on the K1. It’s really needed for an increased flow rate.
Even though the Creality K1 Speedy is advertised to print at 600mm/s, the volumetric flow rate of the hotend is the main limiting factor, and you can reach those speed only with very low layer heights like 0.08-0.1mm, and also very high accelerations that make the printer shake quite hard.
Just make sure not to over-tighten the nozzle as it’s very easy to damage the hotend and split it open.
Be very gentle when you do this, as it can be a mistake that stops you from printing, as I can’t see too manny stores selling the hotend replacement available right now, online.
Another place where you need to be careful is when removing the silicone sock. It fits great around the hotend, but it can be damaged on the top side if you don’t remove it gently. I managed to damage mine on my first nozzle change.
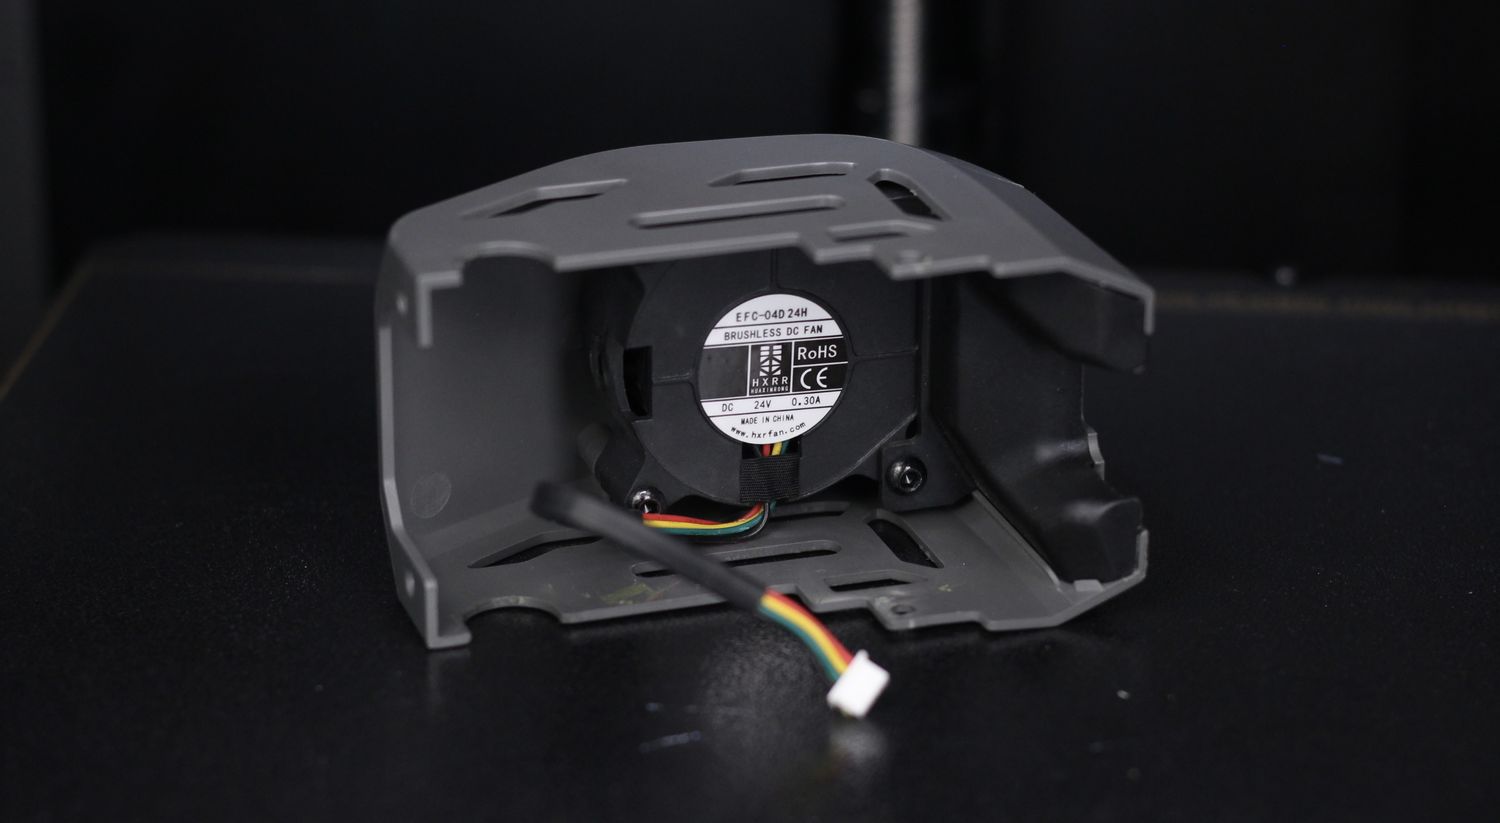
In the image below, you can see the front cover with the 4020 radial fan and the airduct for part cooling.
Auto Bed Leveling with strain gauge sensors
With the Creality K1 you get a 220×200 heatbed which sits on strain gauge sensors that are used for bed leveling. These sensors are similar to the ones used by other companies in their print head to detect when the nozzle touches the heatbed.
The system works well and bed leveling works as you might expect. After the printer probes the bed, there is no need to set a Z offset to ensure a good first layer, and most of the time, my prints required no intervention when it comes to the first layer.
The K1 already had a first layer test included on the memory of the printer, so I printed it to test the bed leveling and first layer quality. While the print was completed without failure, the consistency is not perfect and you can see the results below.
Unfortunately, one of the screws underneath the heatbed was not tightened as expected which made the heatbed move as seen in the video.
The issue was easily fixed by simply tightening the screw underneath, and Creality confirmed that future printers will have better QC, but your experience might be different. I would also like to point out that the issue with the first layer quality mentioned above occurred even after tightening the bed screws.
Magnetic PEI Flex Plate
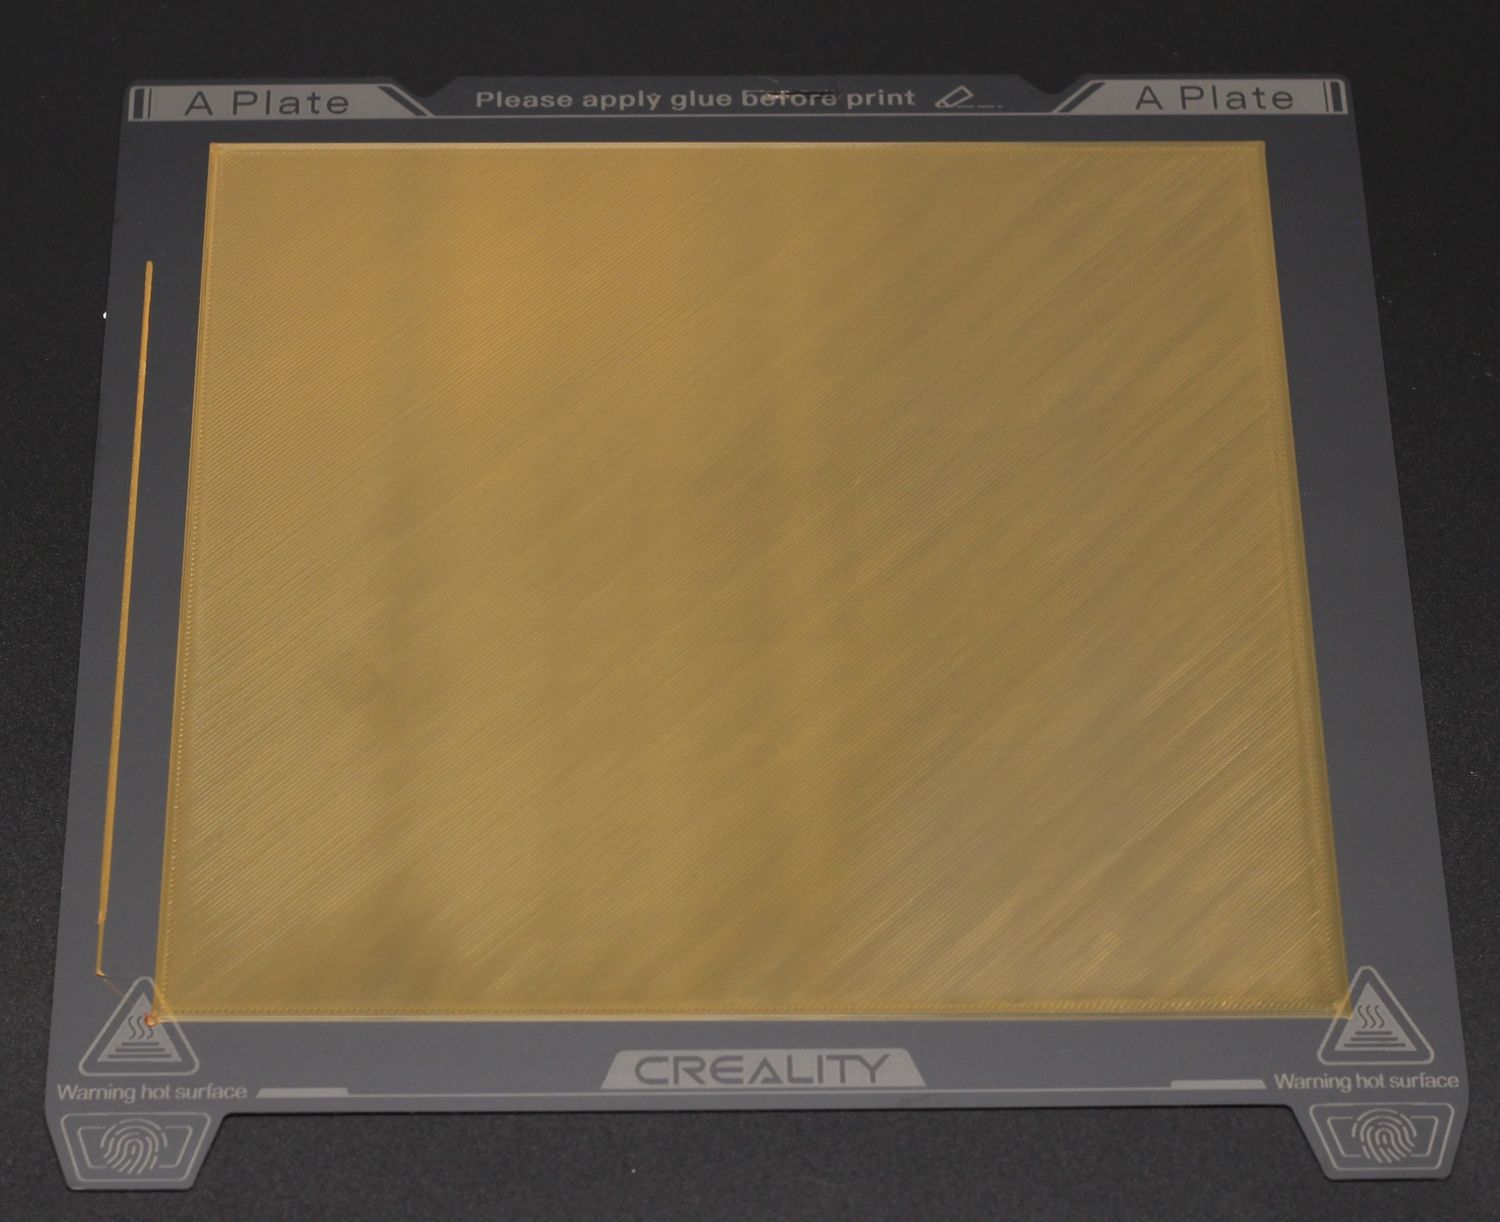
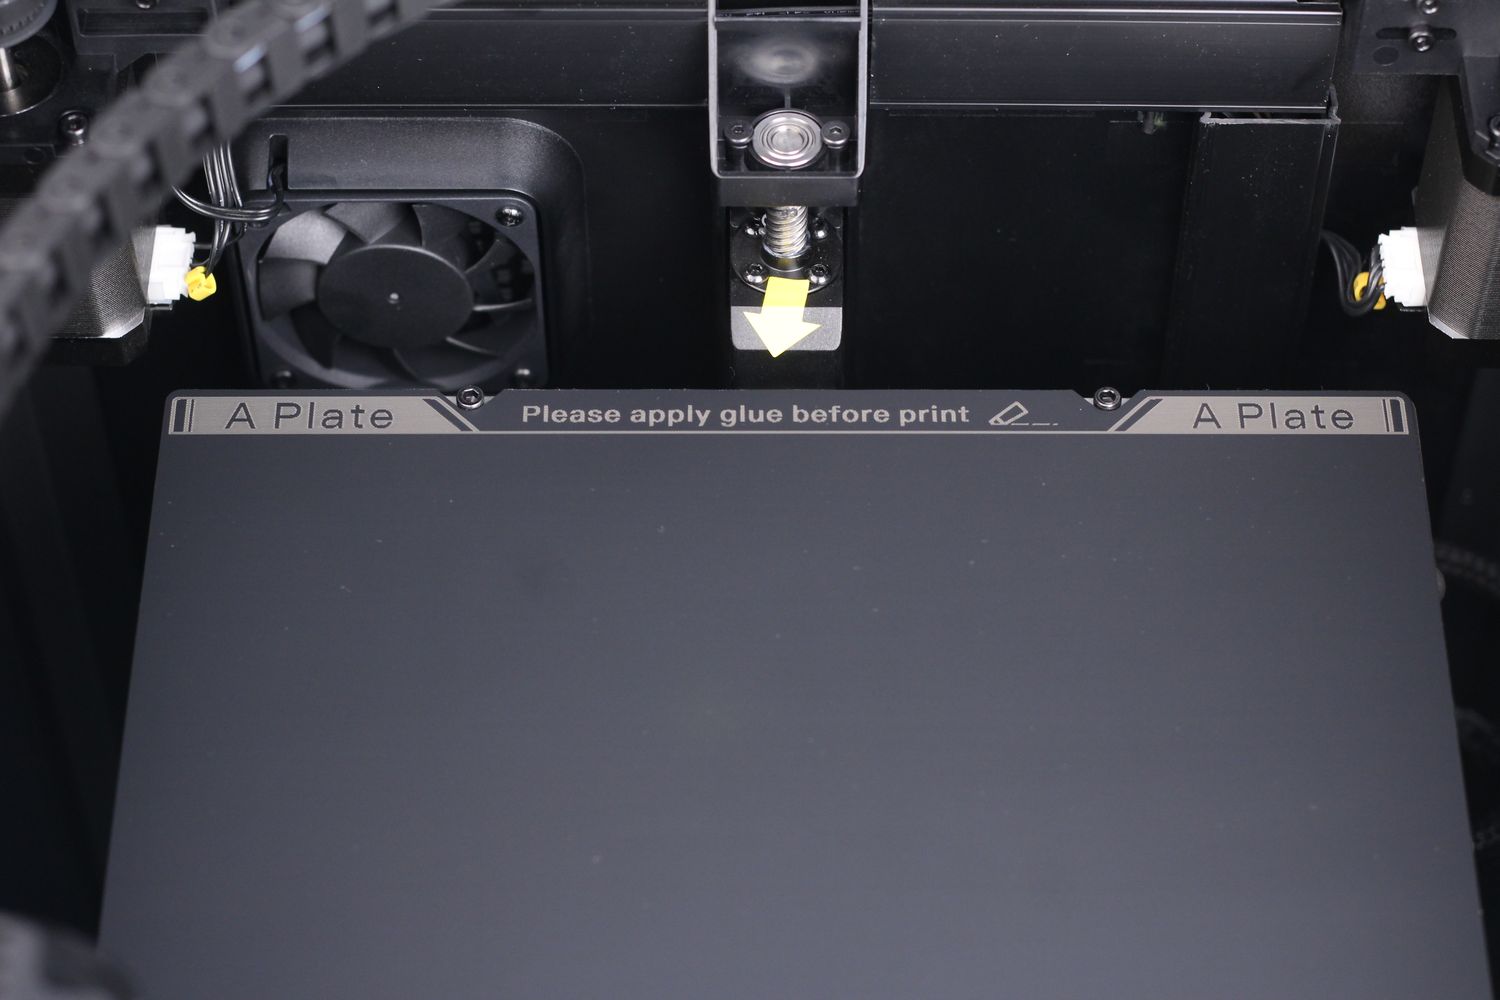
When it comes to the print surface, the Creality K1 comes with a single-sided dark-tinted magnetic flex plate that looks similar to the High-Temperature Plate from Bambu Lab. They are calling it the A plate and it seems to be working just like a regular PEI printing surface.
Adhesion is good, but just like the High-Temperature Plate I was mentioning, it doesn’t seem to be as good as a regular PEI plate. It’s recommended to use glue on it for better results, and probably to protect it against wear.
I ignored this requirement and printed directly on the plate which resulted in small spots on the plate where the “PEI sticker” had small “bubbles” under the printed model.
I don’t think this plate is as good as a textured PEI plate and I would have liked to see this one instead of the one we get with the K1 as it’s more resilient, doesn’t require glue for good adhesion and it also gives a nice finish on the surface of the model touching the surface.
The heatbed is a regular 24V unit which is not as fast to heat compared to an AC heatbed but works fine. It also has some insulation underneath but for some reason, it doesn’t cover the entire surface of the bed making it a bit less power-efficient. I don’t really understand why this is done, but it’s something I’ve seen multiple times from Creality. It’s probably because it takes slightly longer to customize the cut of the insulation.
Auxiliary fan for improved cooling
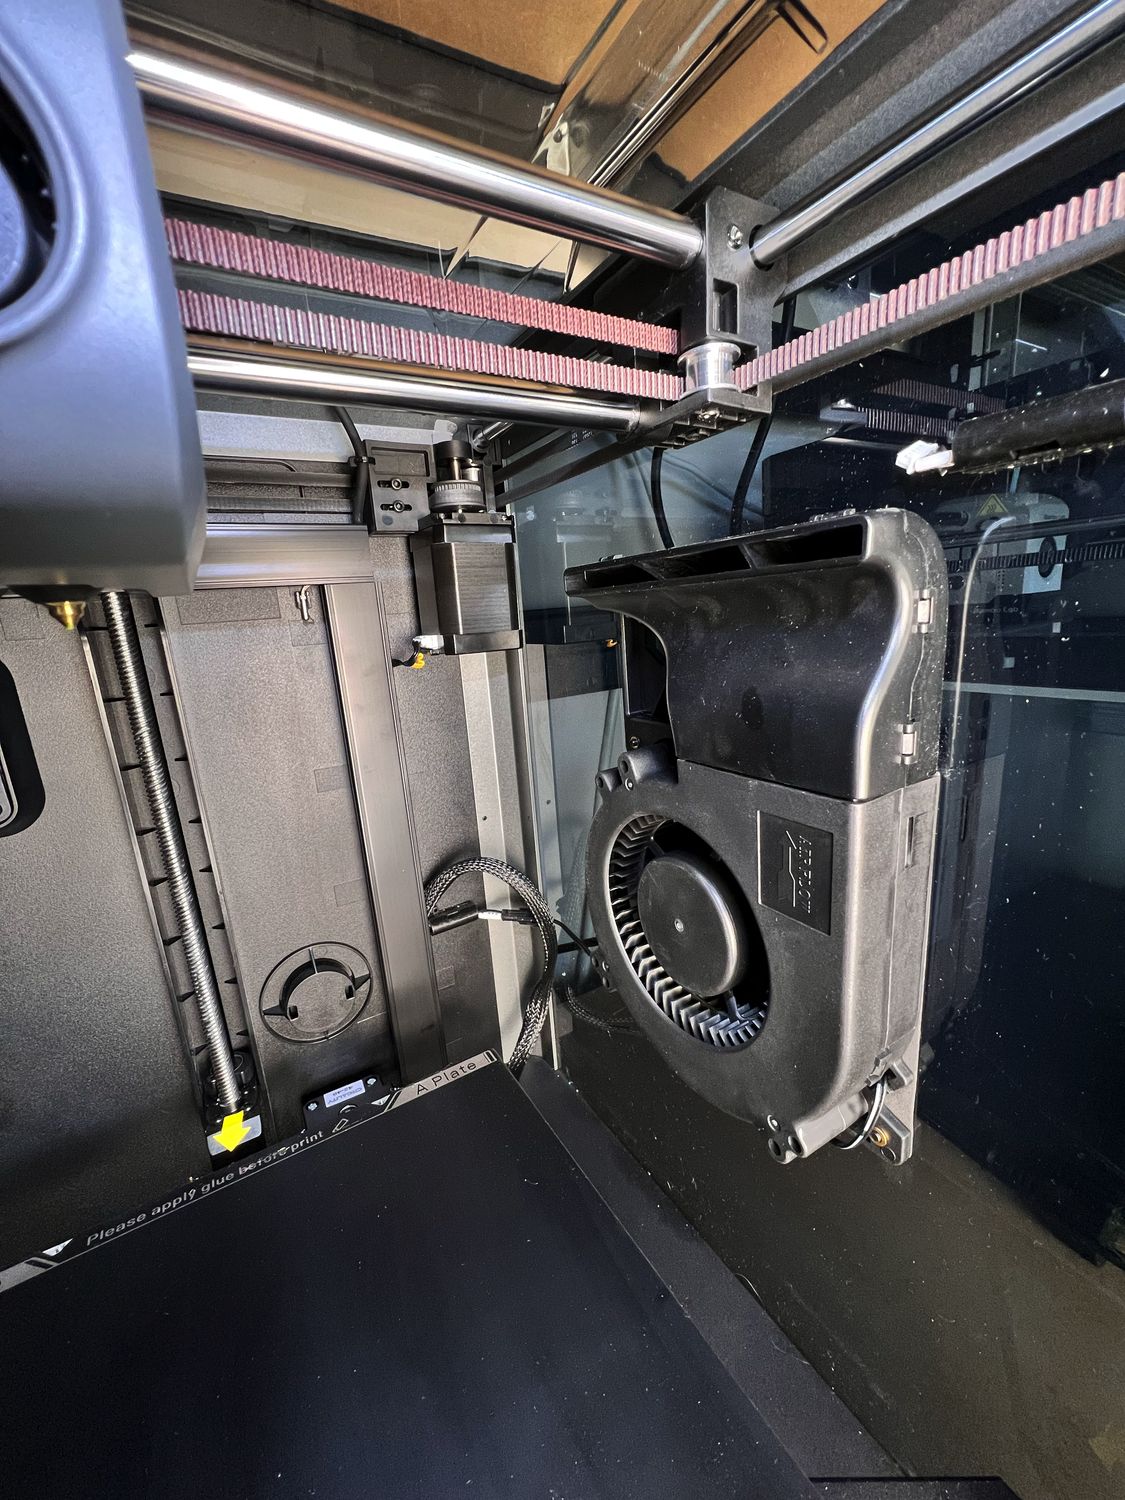
As you might expect, the Creality K1 comes with an Auxiliary fan on the right side of the printer. Most of the time, the print speed of a machine is limited by the part cooling speed, and having an Auxiliary fan to help cool the filament faster is great to see.
This fan has a very good airflow that can create a “curtain” of air over the printed layer and it seems to be more powerful than the one included with the Bambu Lab X1. But that airflow also comes with a big downside which is noise.
When it’s running at 100%, the noise levels are very high and it makes the K1 much louder compared to an X1 or P1P, making it a bit hard to use in the same room where you might be working.
32-bit board with Klipper
Creality has developed a new board for the Creality K1 and I expect this one to be the new “standard” when it comes to the Klipper printers they will be launching.
The board is made around the Genic X2000E Dual-Core CPU based on the MIPS32 architecture and it’s made for IoT applications. The cores are clocked at 1.2 GHz with 256MB of LPDDR2 memory.
To supplement the needs of the board, an 8GB Sandisk EMMC chip is included, and onboard Wi-Fi with 2.4Ghz network support only.
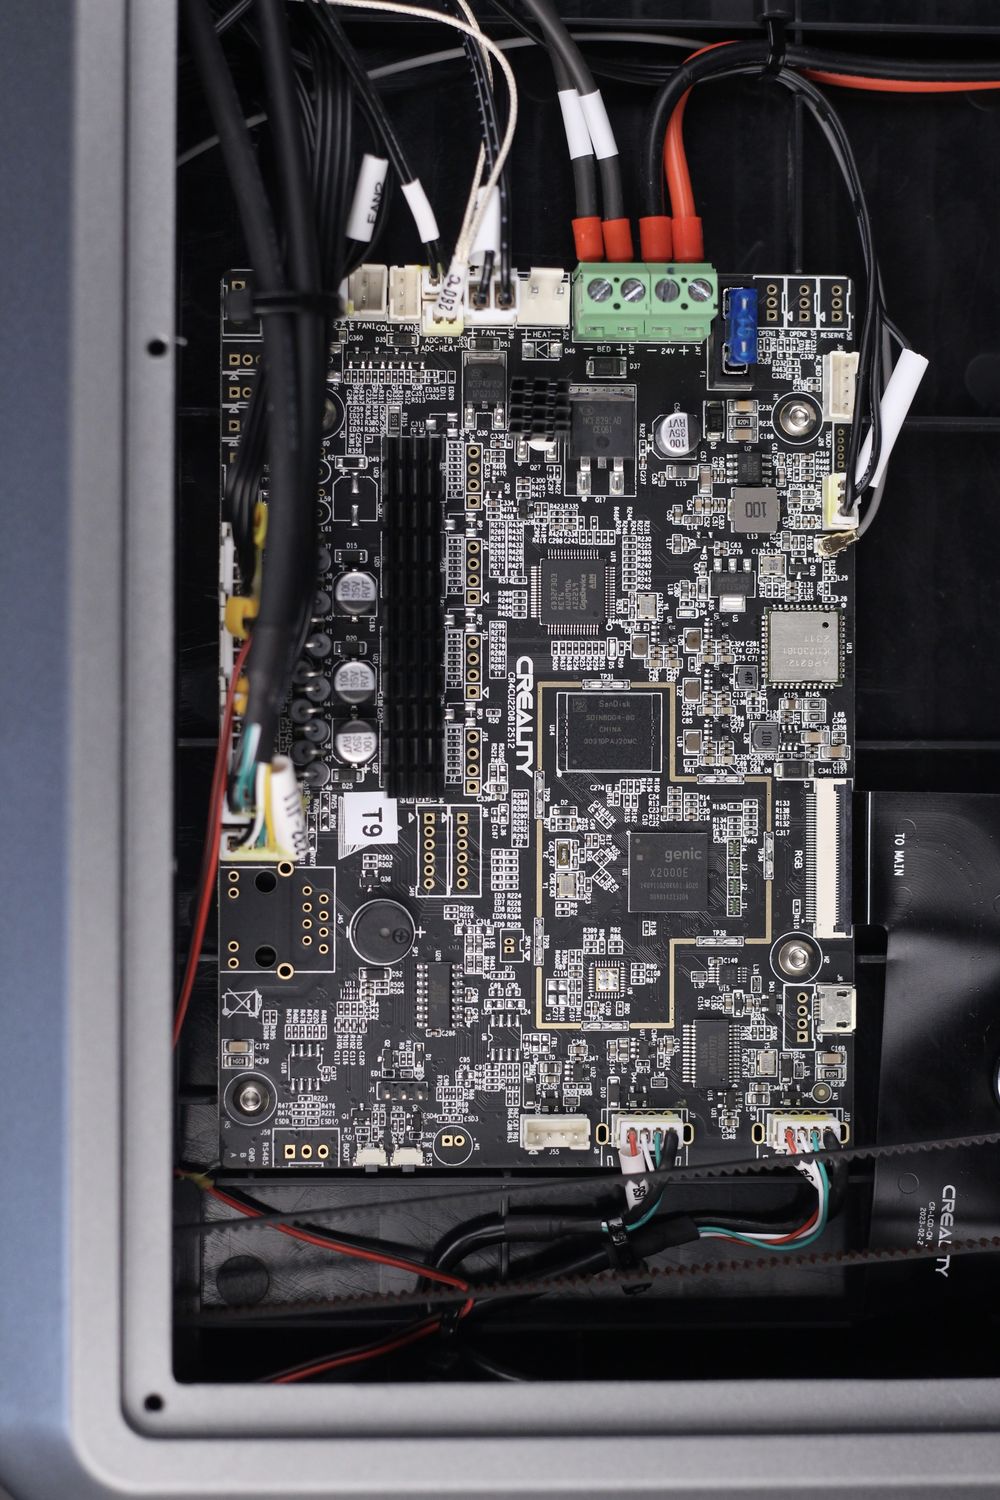
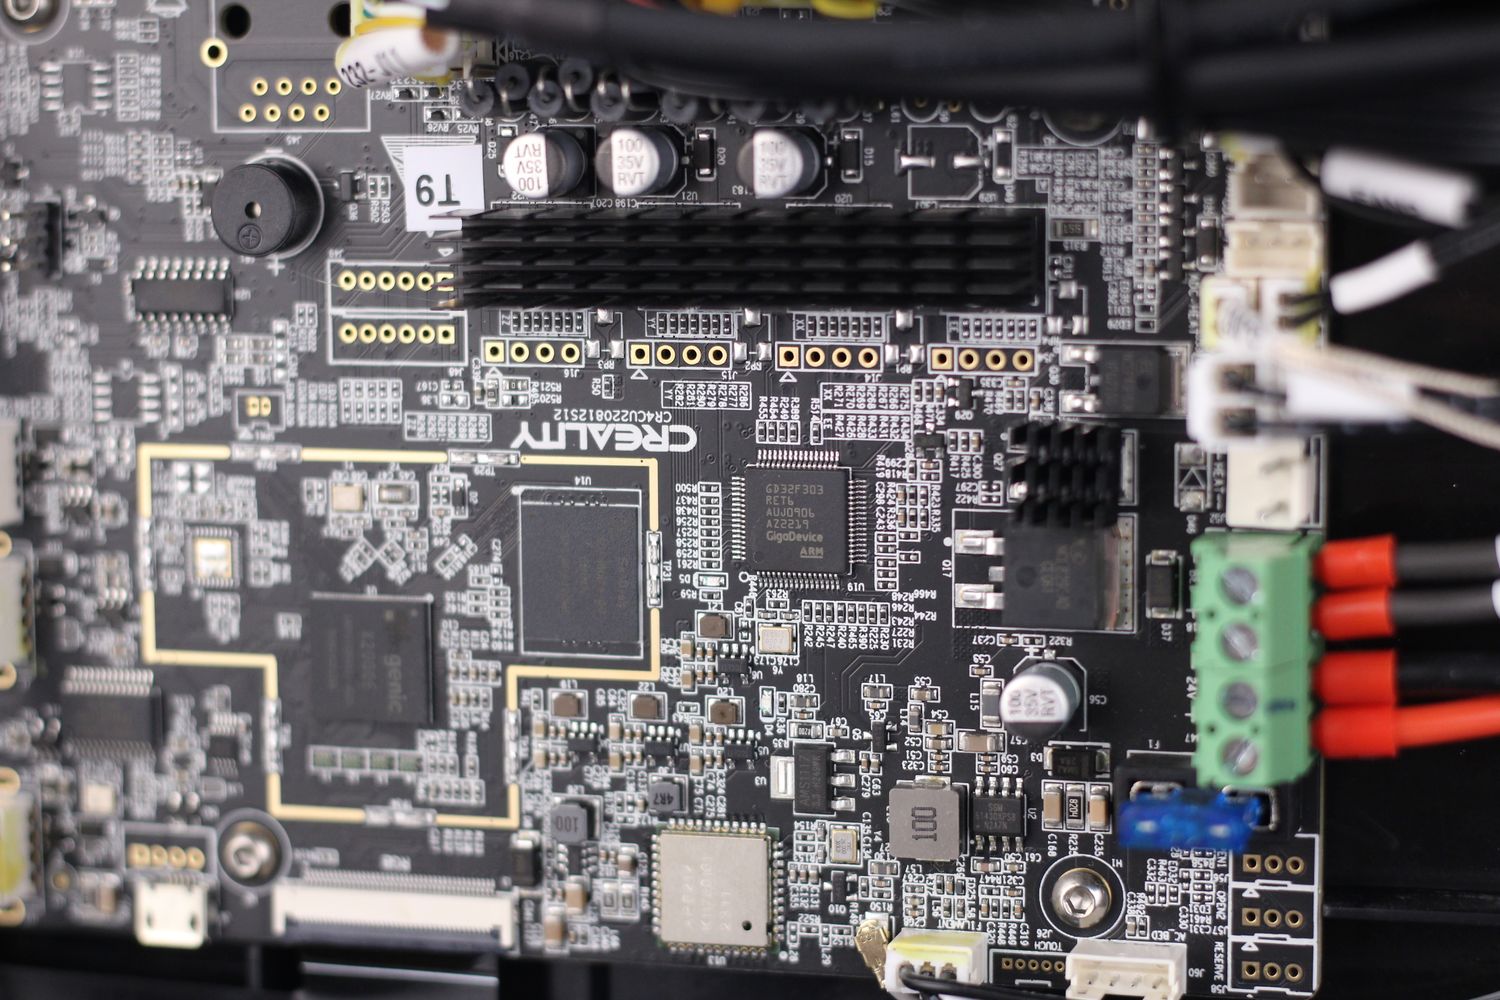
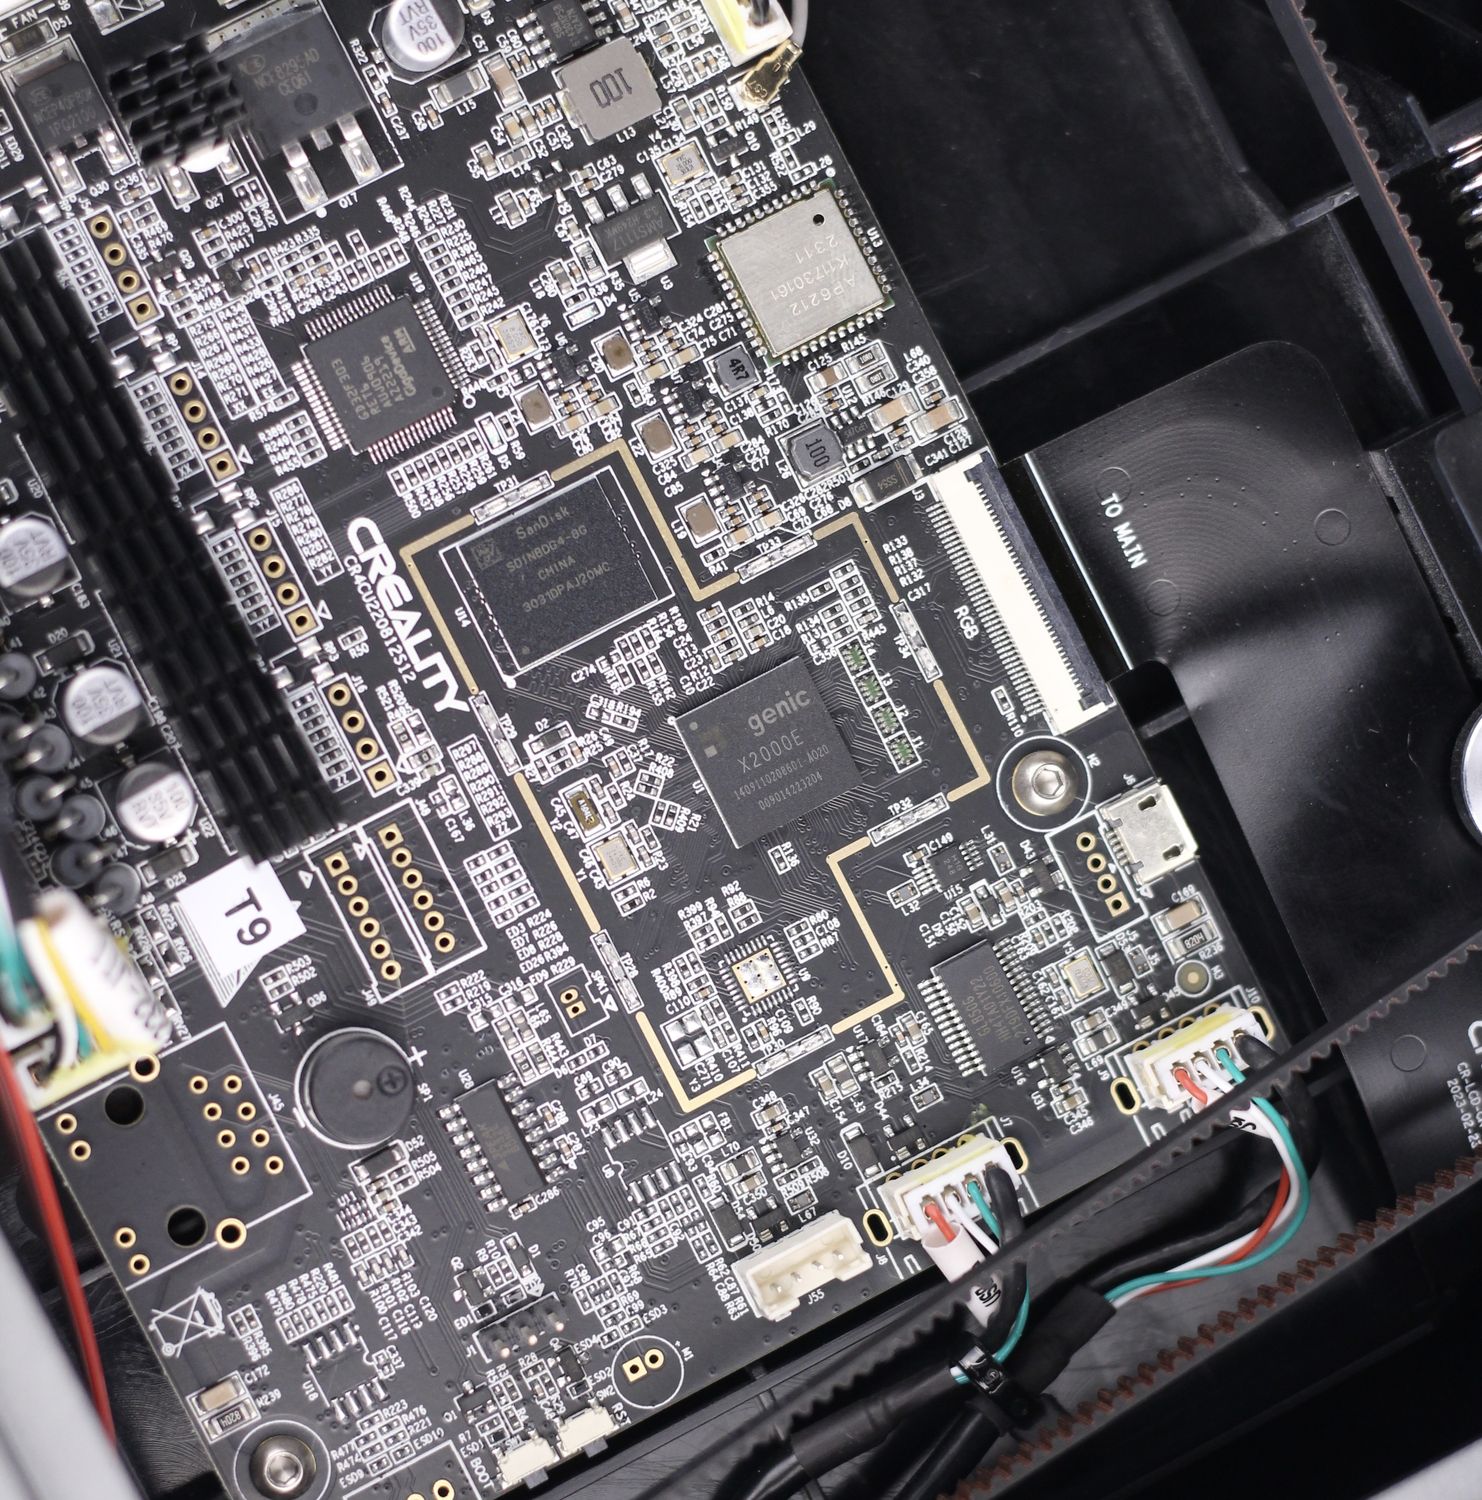
For the Klipper combo to work, the IoT section is connected to the GD32F303RET6 CPU to control the motion system of the printer. Under the large heatsink, there are three TMC2209 drivers that control the A,B, and X motors with a 4th location that is not populated.
The printer also has a large fan on the bottom which is constantly powered on to keep the board cool. I would have liked for this one to be turned off automatically when not in use, as it can be quite loud but considering there’s no heatsink on the main CPU, it might not be possible to do it without adding one.
Limited Wi-Fi and Remote Capabilities
One of the biggest drawbacks of the Creality K1 is the way Creality decided to lock down the features of the firmware. Considering that the machine is running Klipper firmware, it should be very easy for everyone to use the plethora of options and features available with Klipper to customize their own experience. There’s not a lot of memory available on the board, but it should be more than enough for vanilla Klipper.
Unfortunately, the regular Mainsail or Fluidd interfaces we got used to running on Klipper machines are not available. Instead, we are forced to use a customized Fluidd interface which is very limited in terms of functionality.
On one hand, I can understand if Creality wants to make sure that beginners don’t have too many features available on the web interface which can be confusing, and can also lead to the printer not working as expected. If a beginner starts editing configuration files without knowing what they are doing, then it can easily lead to problems.
On the other hand, it’s also not very useful to have access to the operating system locked away especially considering that basic functionality from Klipper firmware is missing in the stock setup of the software.
For example, it is not possible to simply connect a regular camera to the USB port of the printer and have remote monitoring for the printer. This is a feature that can be easily enabled in Klipper firmware to allow the use of a webcam, but it has been locked away. Maybe there’s some incompatibility, or Creality wants you to purchase their camera, which truth be told, would integrate a bit nicer with the machine.
There’s also a Chamber Temperature thermistor available, but the reading form that sensor is not available in Creality’s web interface, or the slicer.
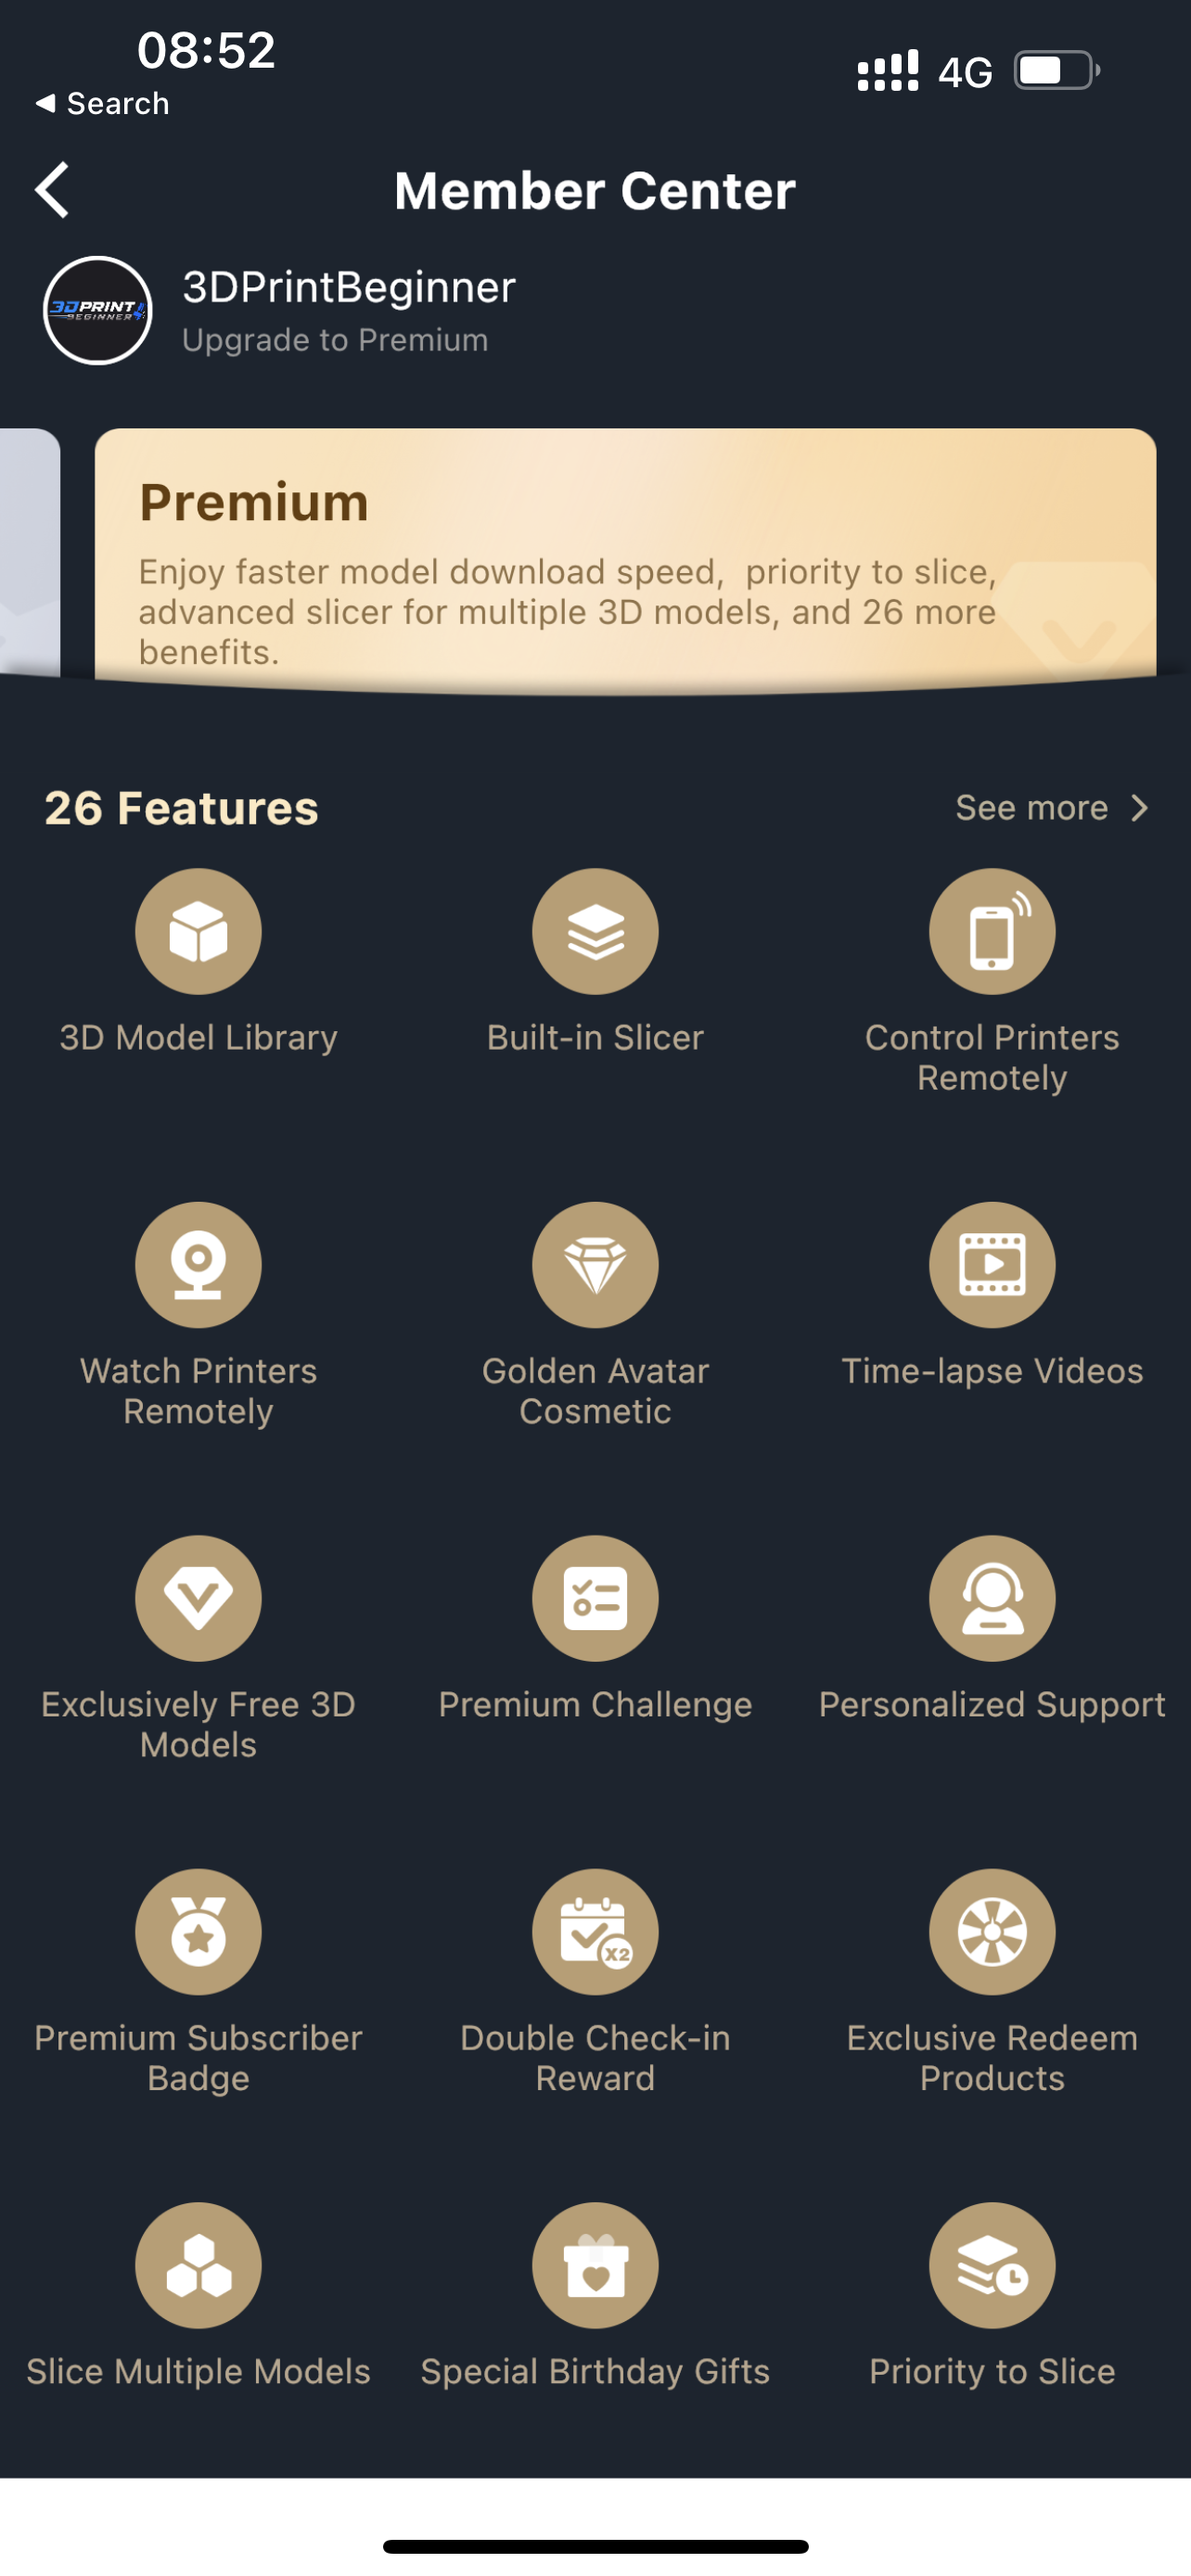
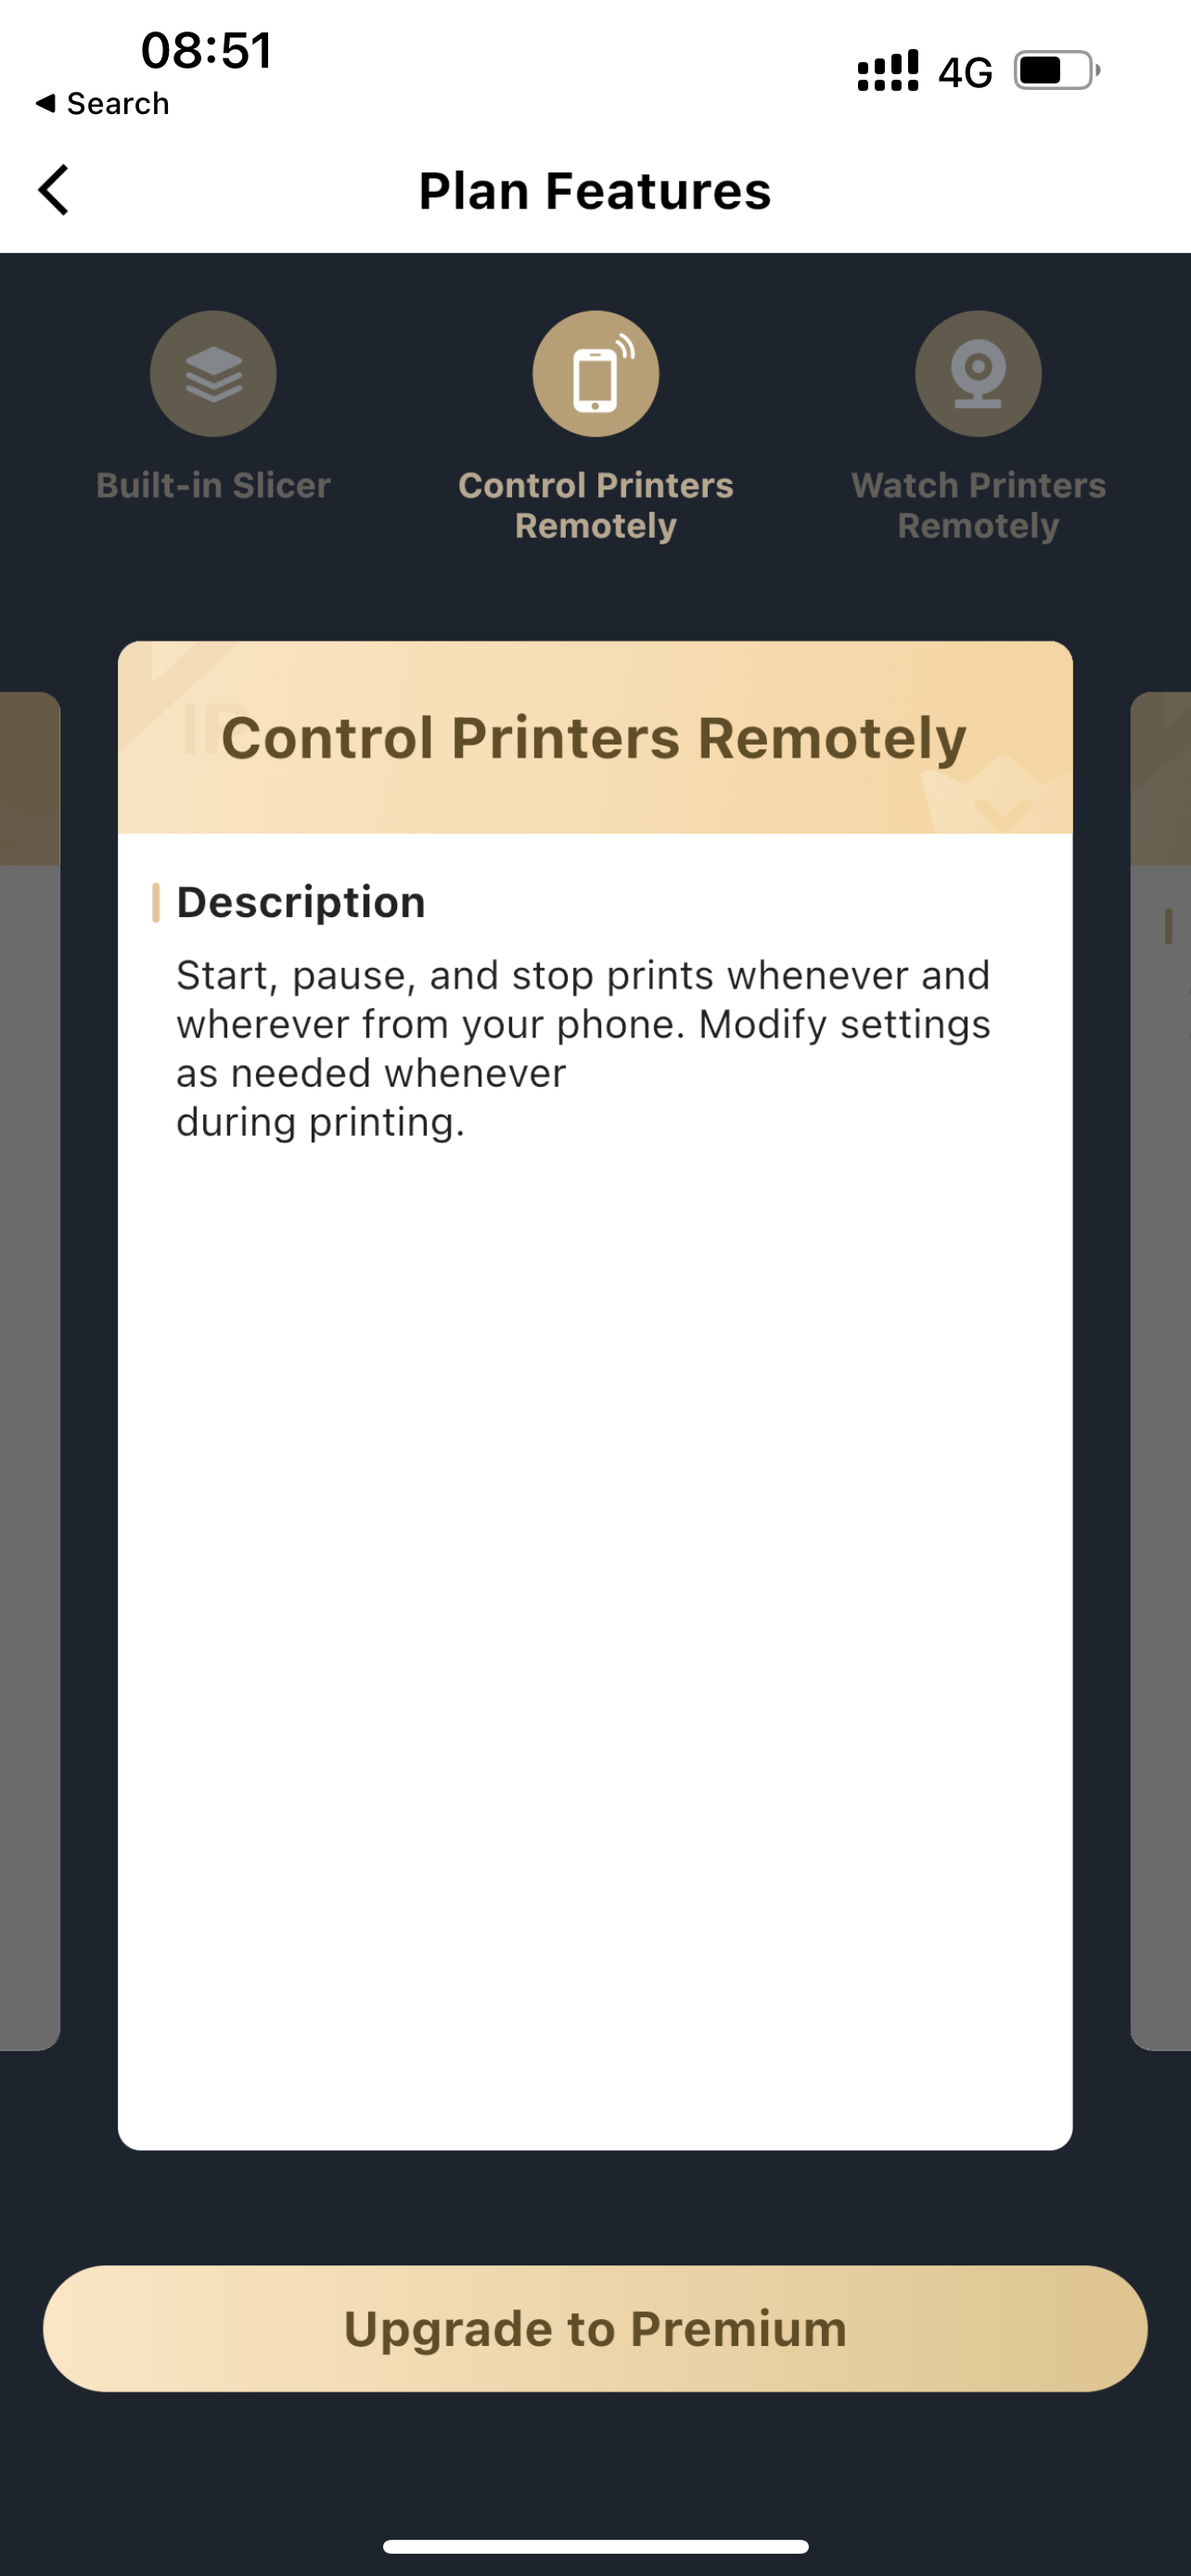
Another bad decision in my opinion is locking a lot of useful features behind a paywall of the Premium subscription available on Creality Cloud. For a monthly subscription, you get Cloud Slicing, Personalized Support, and Exclusive access to 3D models which might be ok to charge for. But features like Control Printers Remotely and Watch Printers Remotely should be available without a subscription, in my opinion, especially considering that Bambu Lab gives those options for free.
Fortunately, some work has been done in this regard by the community where SSH access was enabled and the printer can be “jailbroken” to access the Linux operating system. This allows regular access to web interfaces like Mainsail and vanilla Fluidd, and will also allow you to use an app like RC Klipper 3D to remote control the machine with a nice web interface.
4.3-inch Touchscreen
To interact with the printer, you get a 4.3-inch color touchscreen which is nice and responsive. The interface layout looks familiar and seems to be “highly inspired” by the Bambu Lab X1 screen interface.
The home menu is similarly configured, but the sub-menus are kind of mixed and not where you would expect them to be. Unfortunately, there are some spelling mistakes in some sections, and the text is not always visible in some menus due to the length and the design choices.
I don’t like the fact that there’s no easy way to extrude some filament, other than the Extrude/Retract option which is automated, but takes too long in some cases, and also purges filament close to the AUX fan. If the AUX fan is spinning (as it’s programmed to do), that AUX fan sucks the purged filament inside it and can damage it or give you a scare. At least that’s what happened to me.
Hopefully, the entire screen firmware will continue to be developed over time and improve the experience.
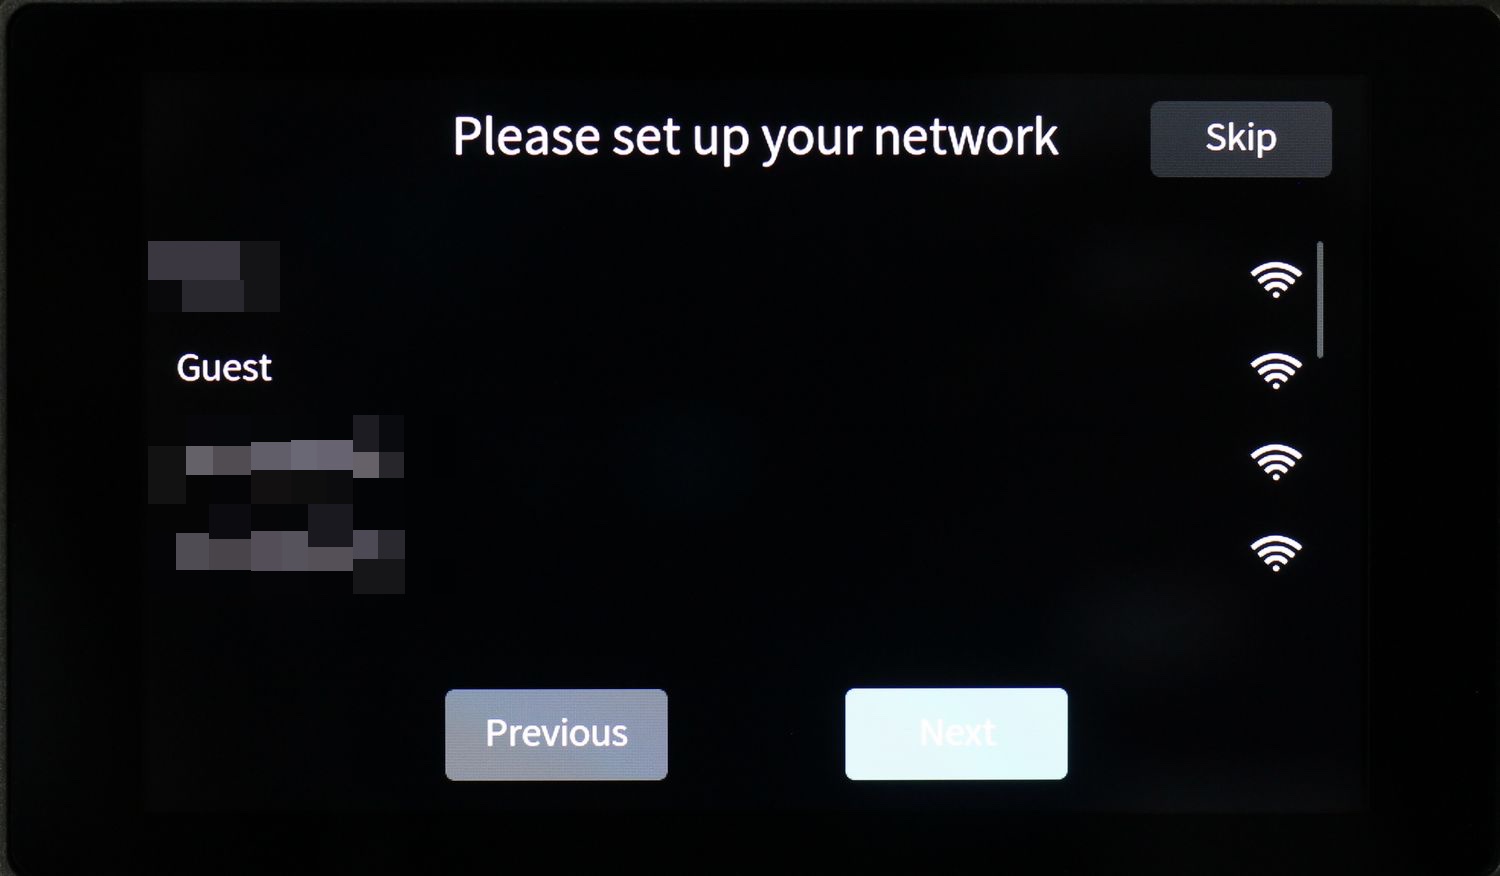
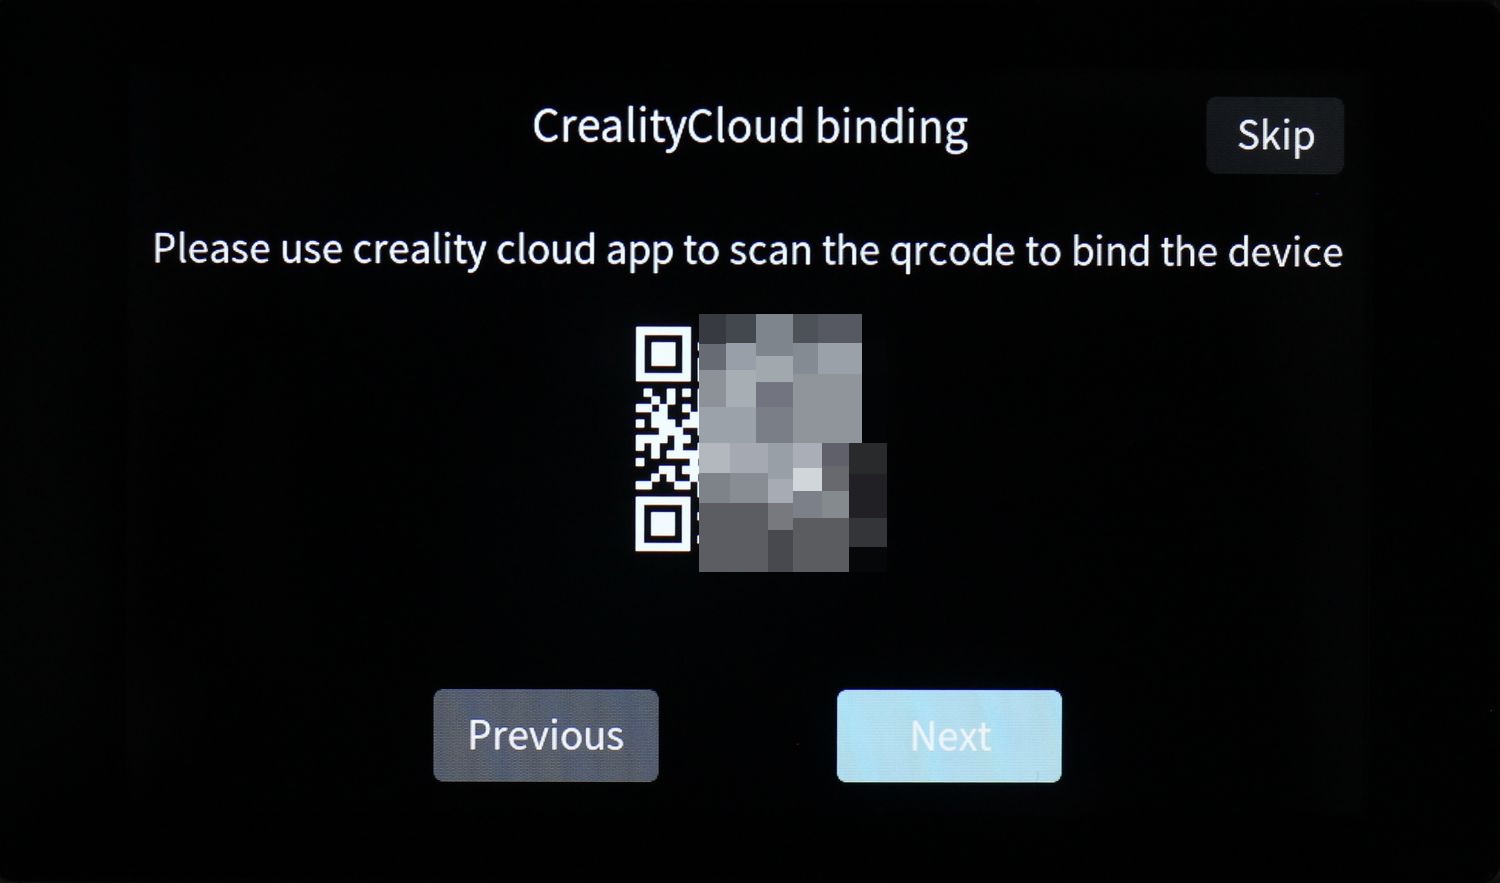
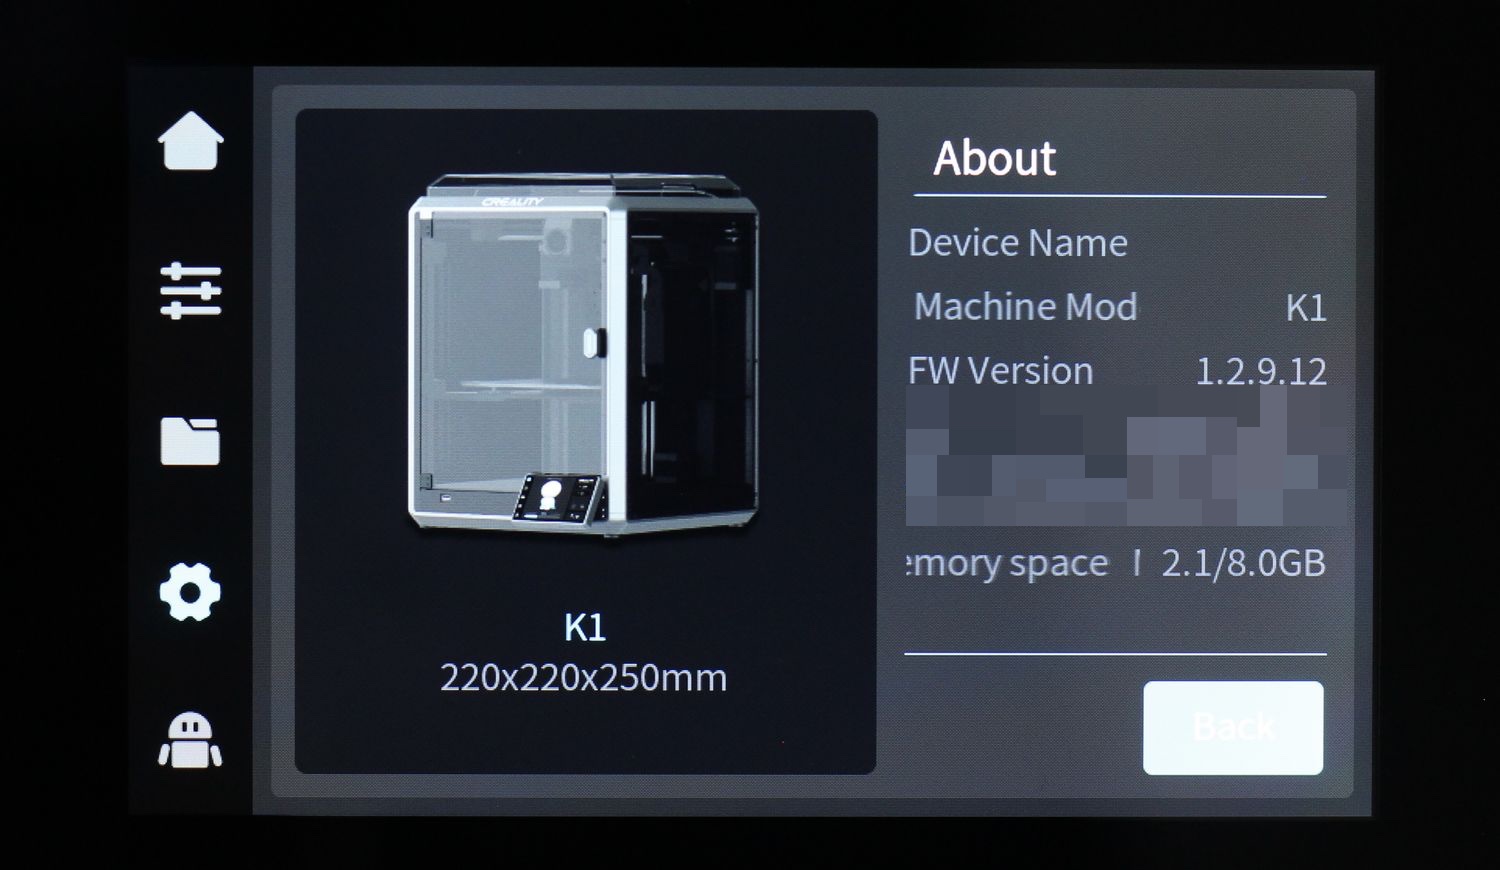
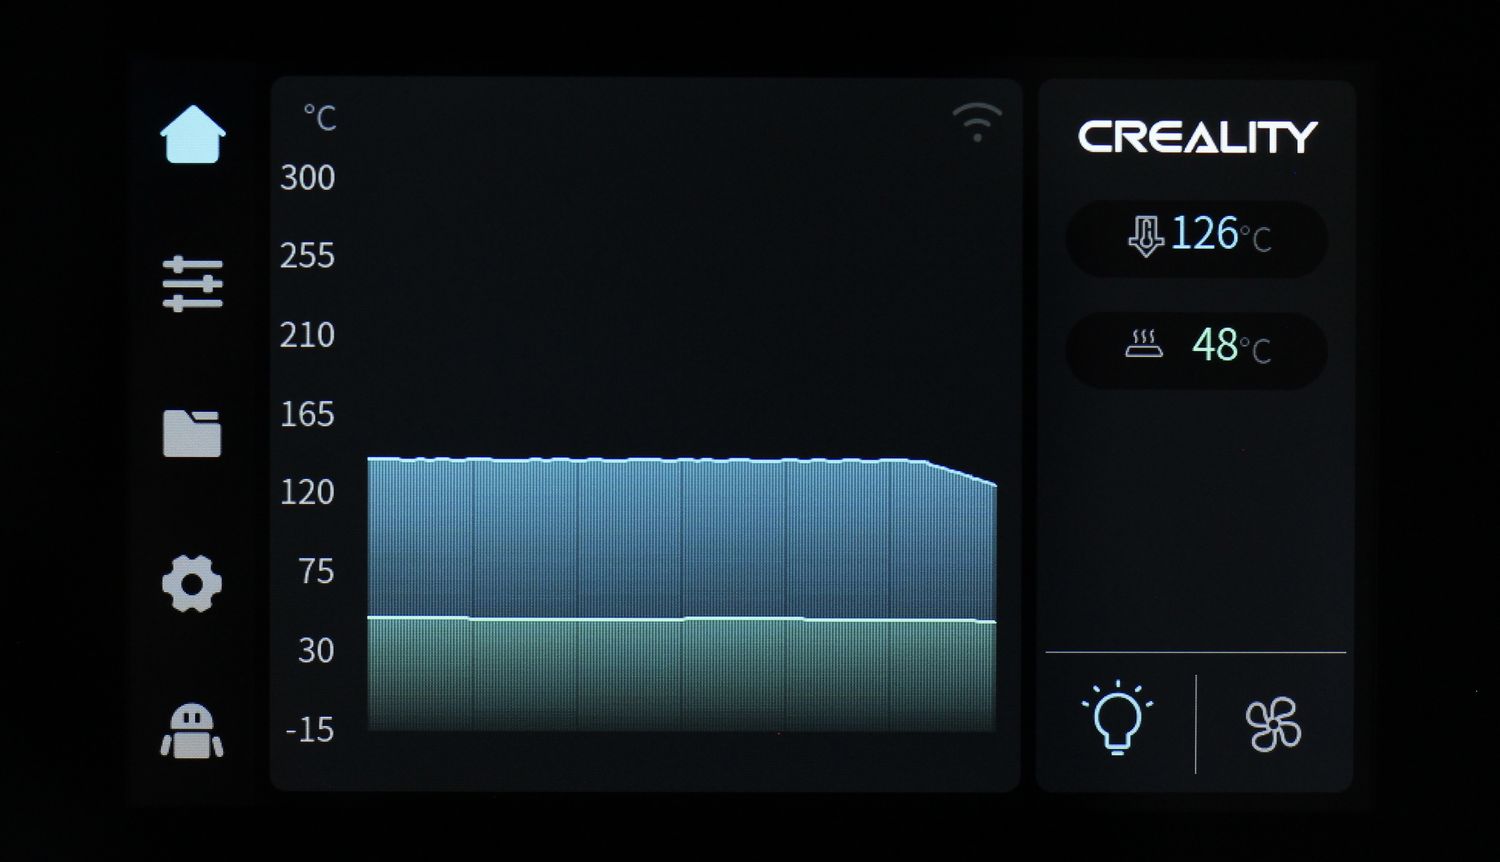
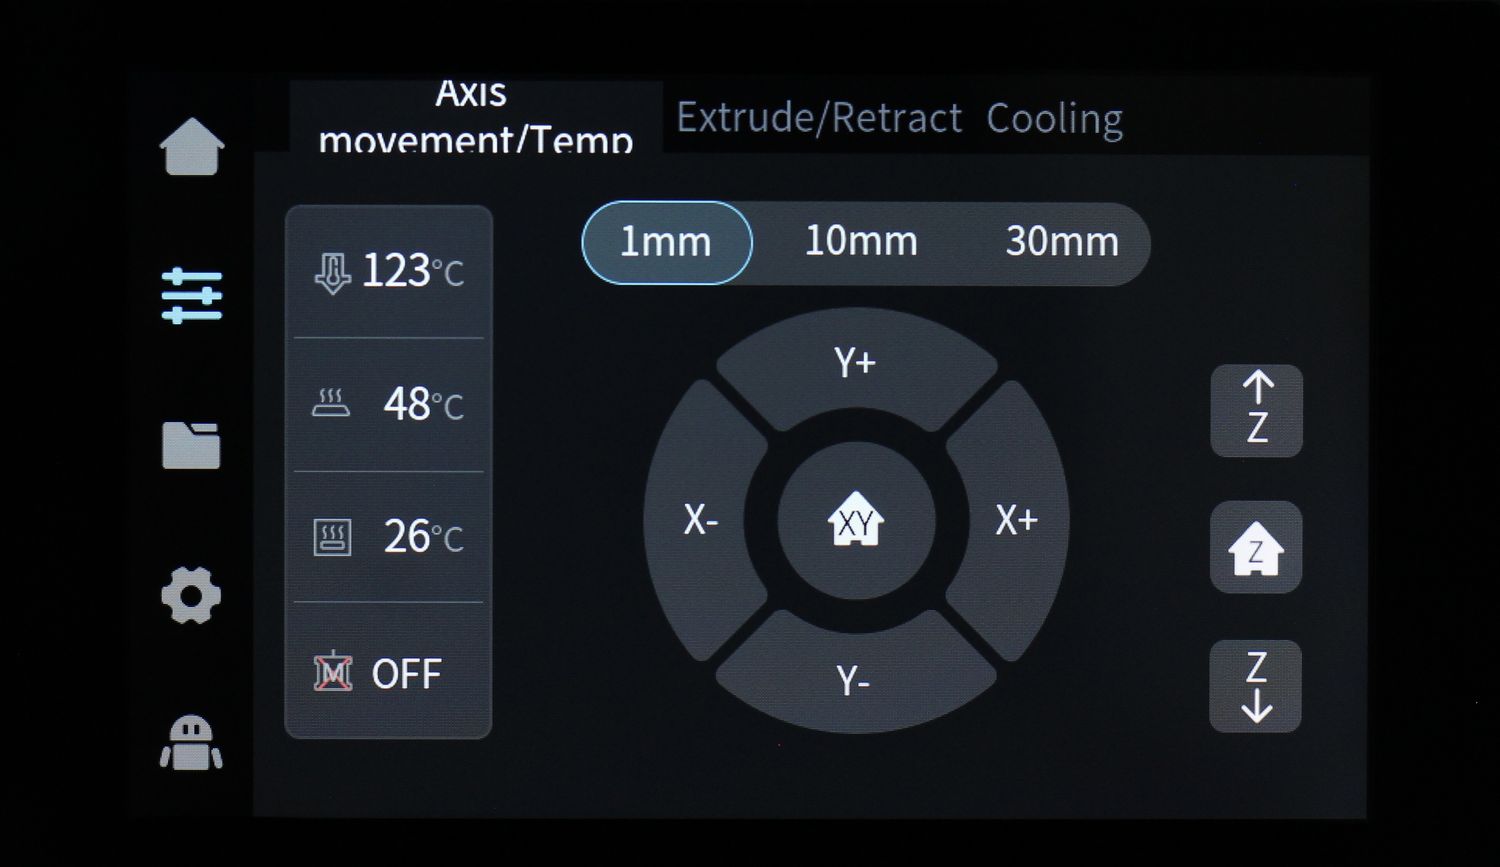
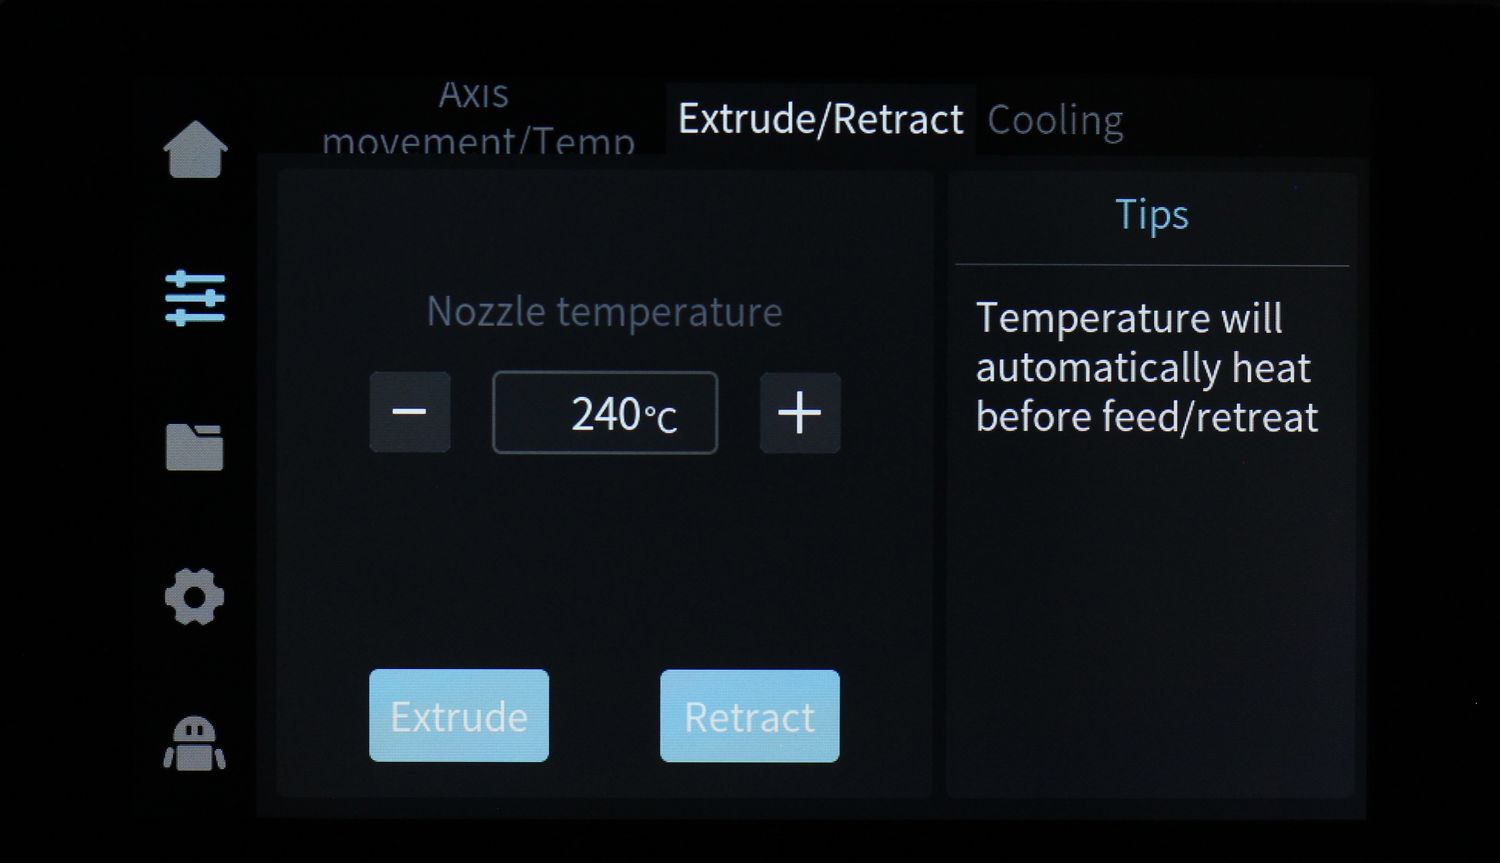
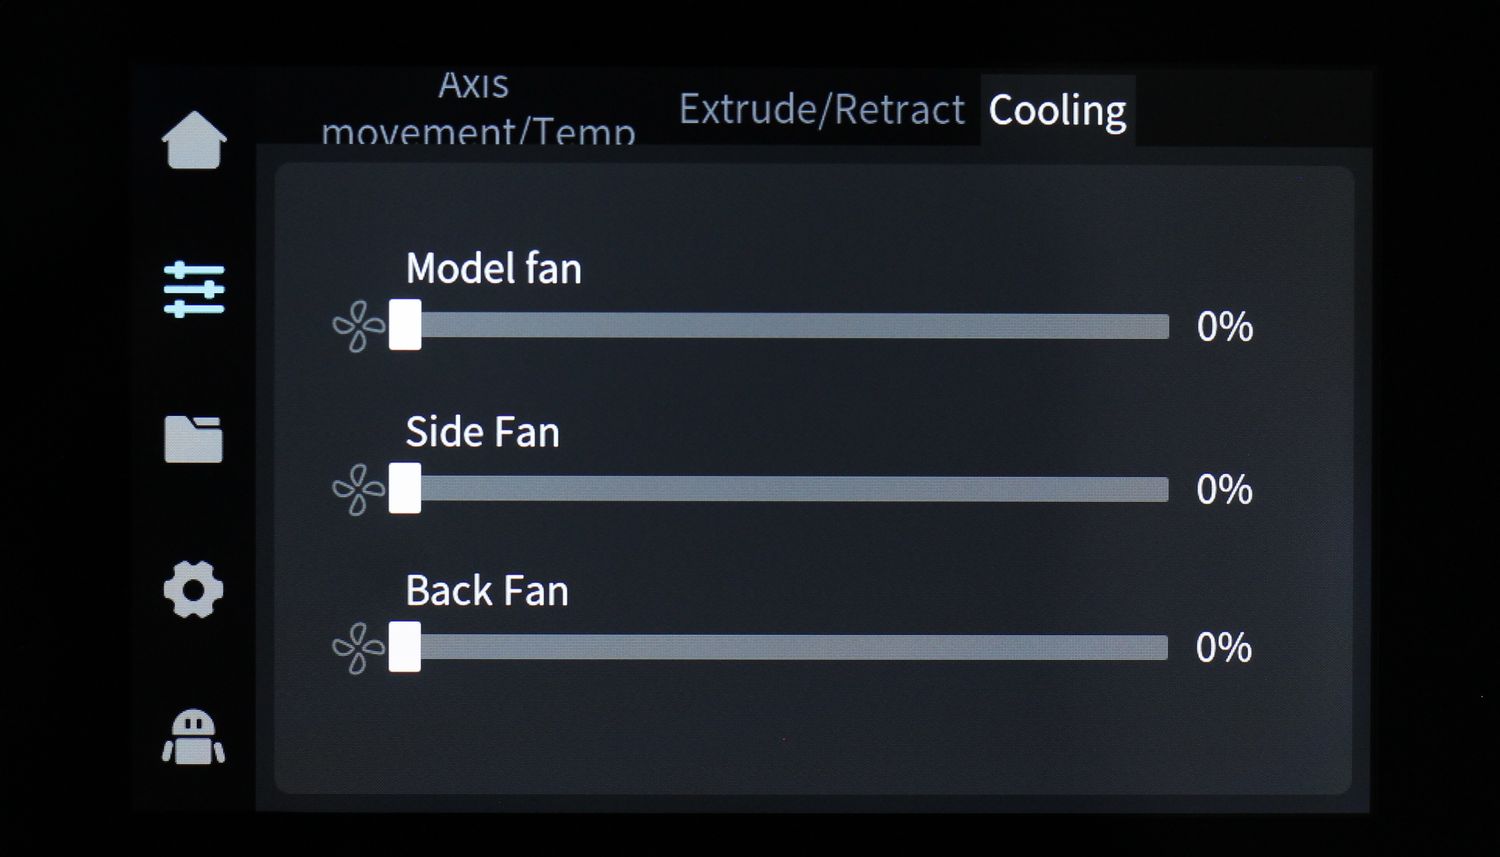
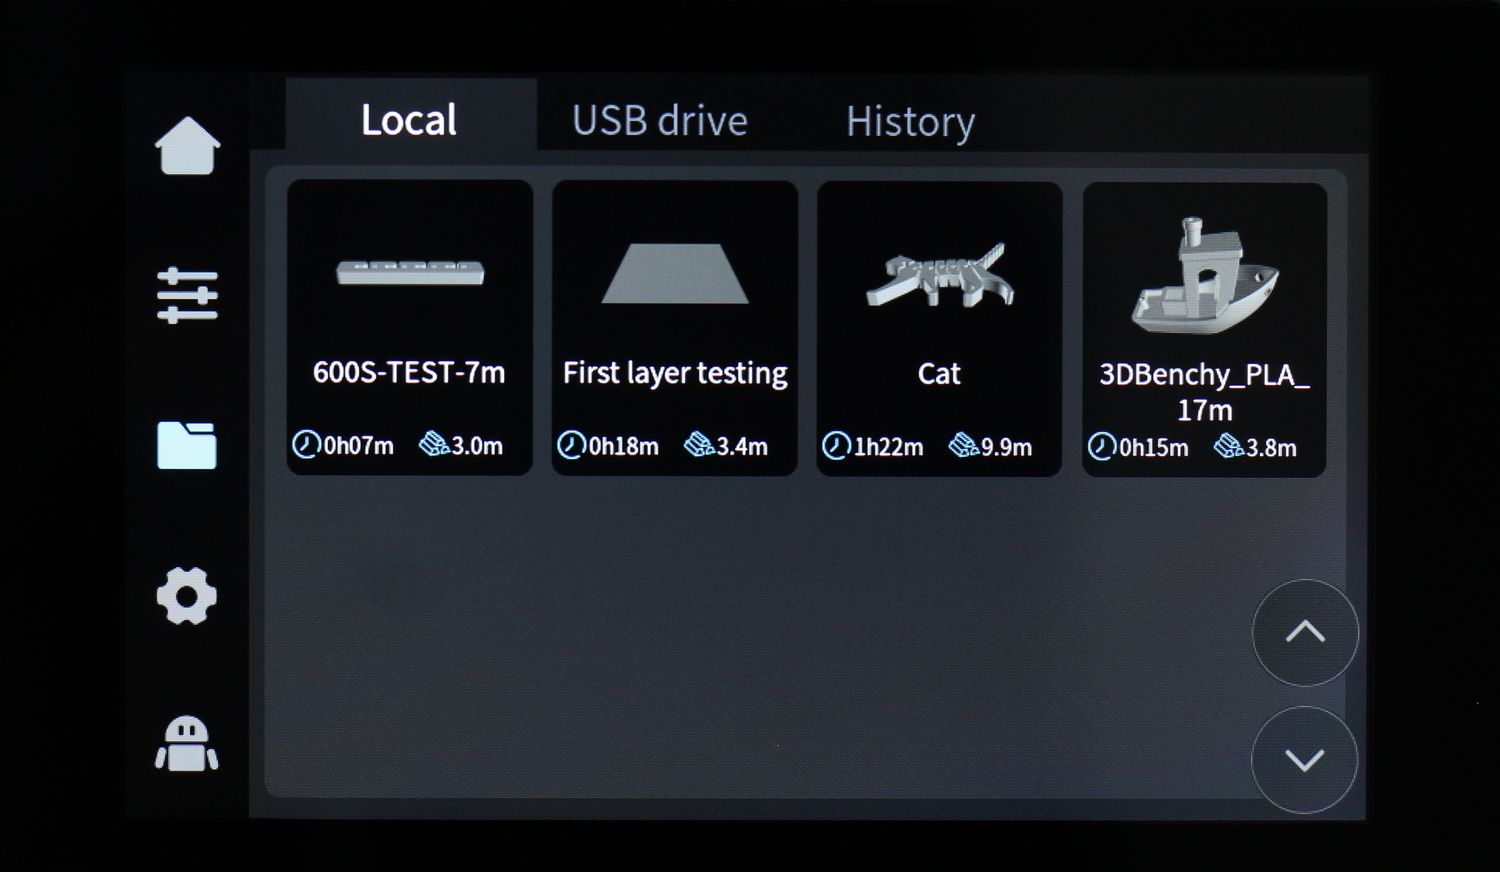
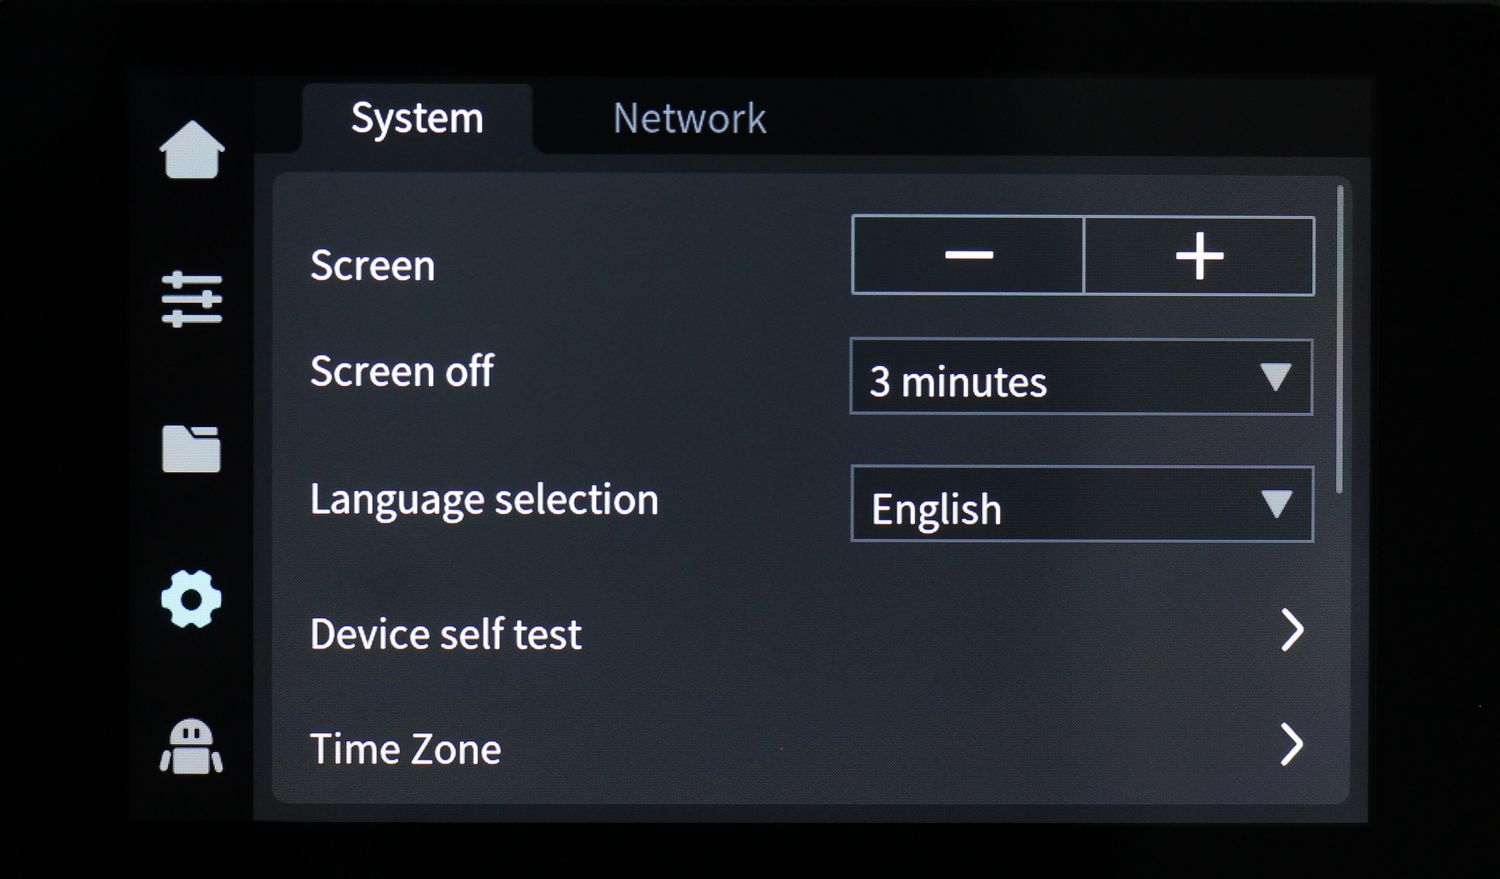
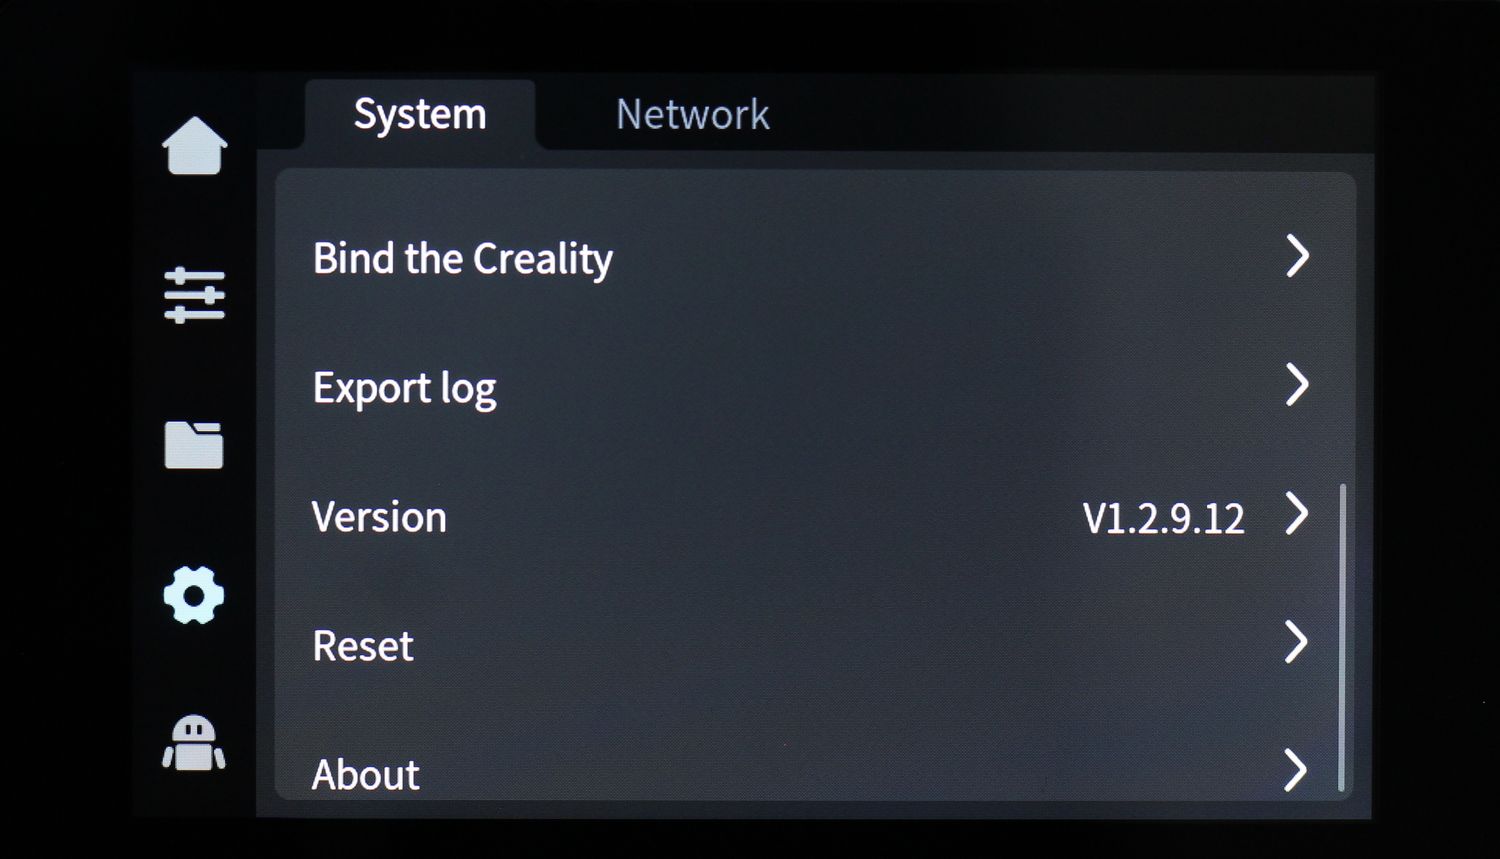
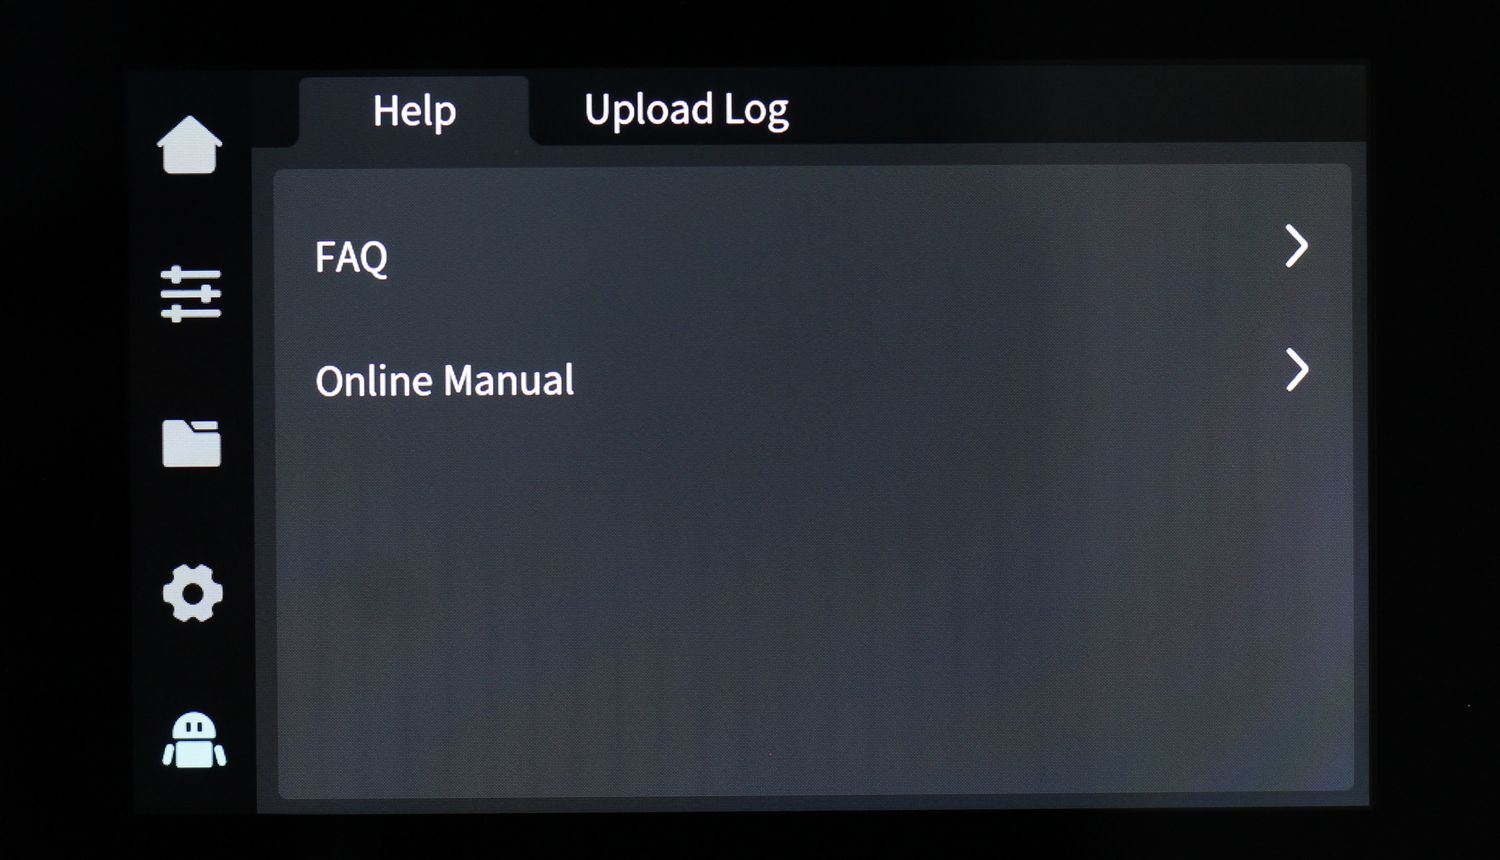
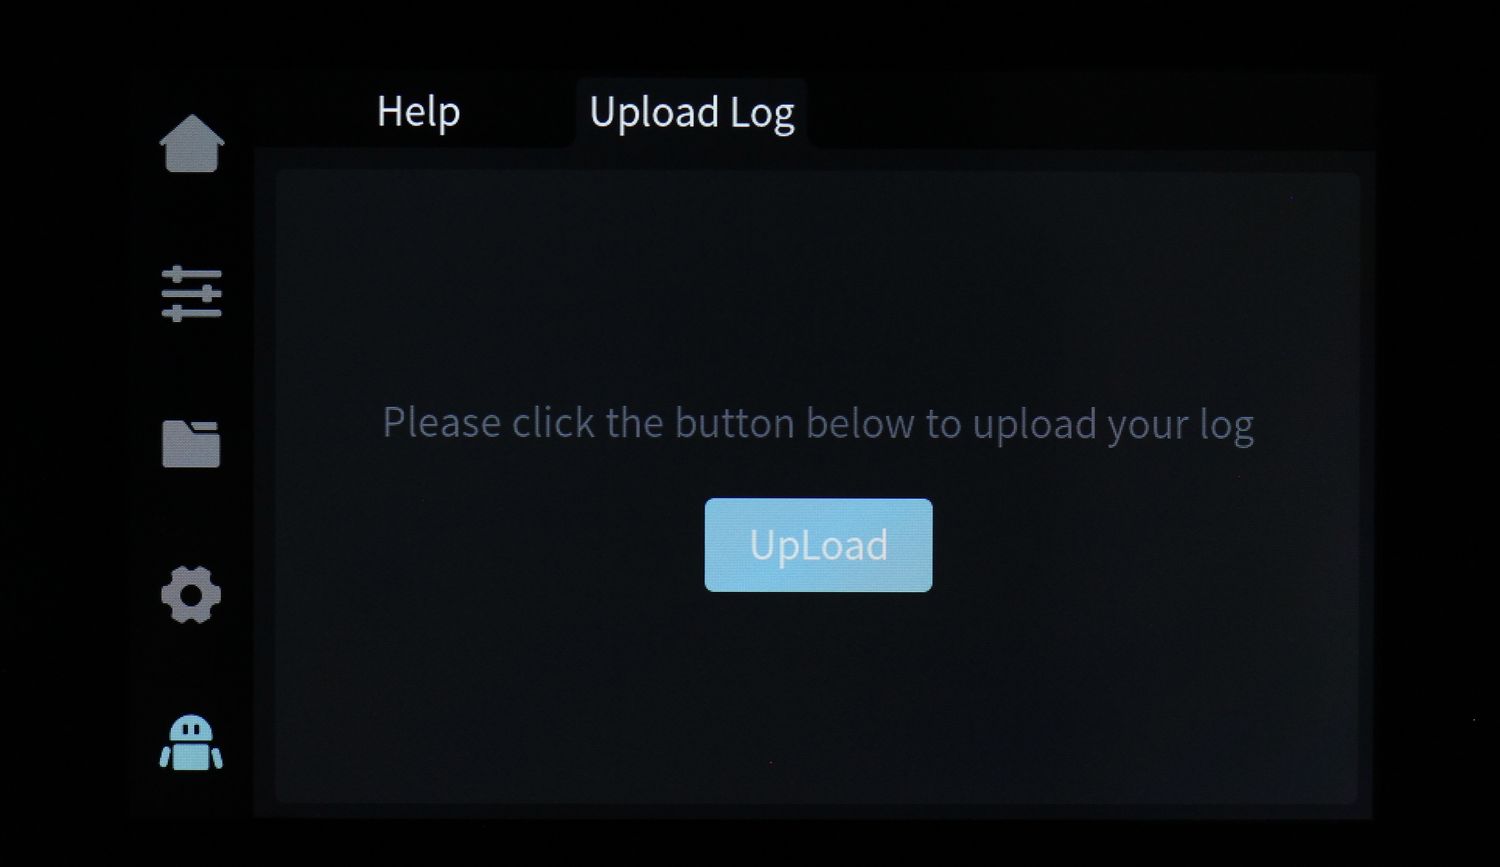
The first setup experience is easy to follow. You get prompts about what you are required to do, and the printer goes through a self-check process to ensure everything works as expected and the printer is calibrated before use.
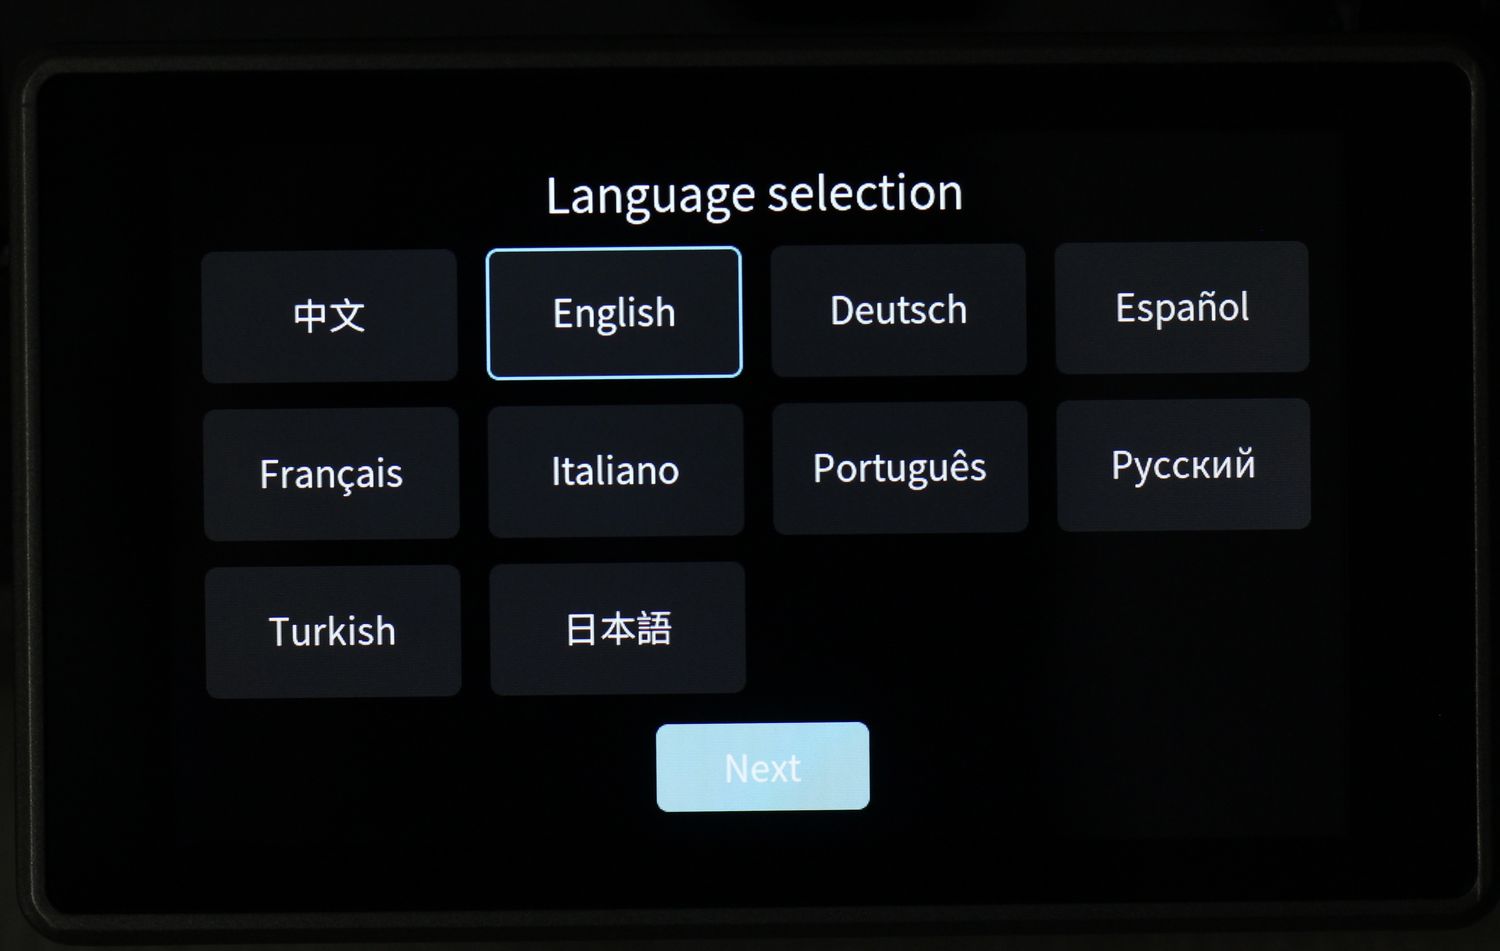
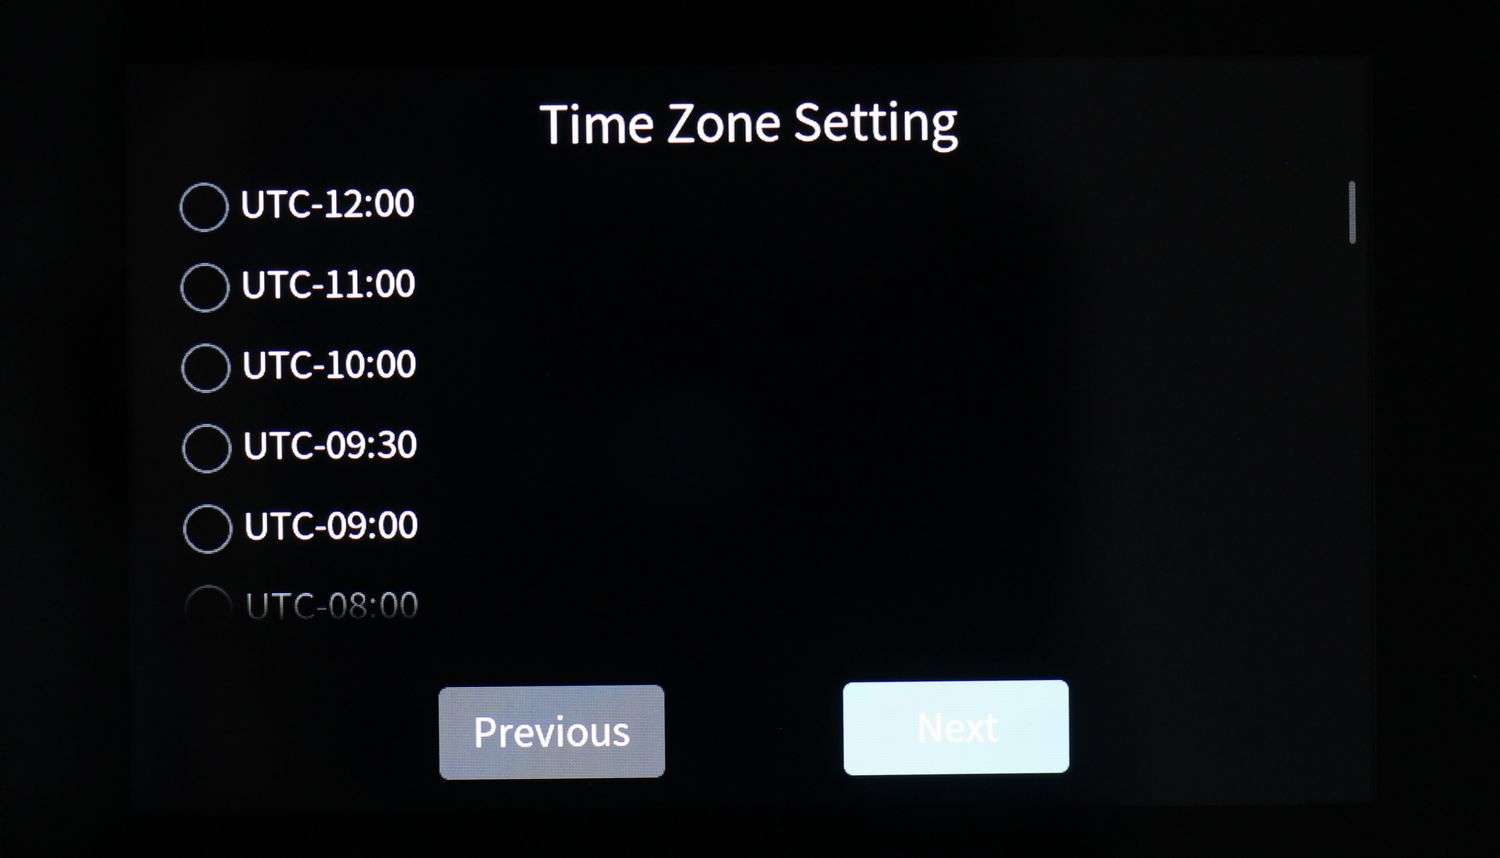
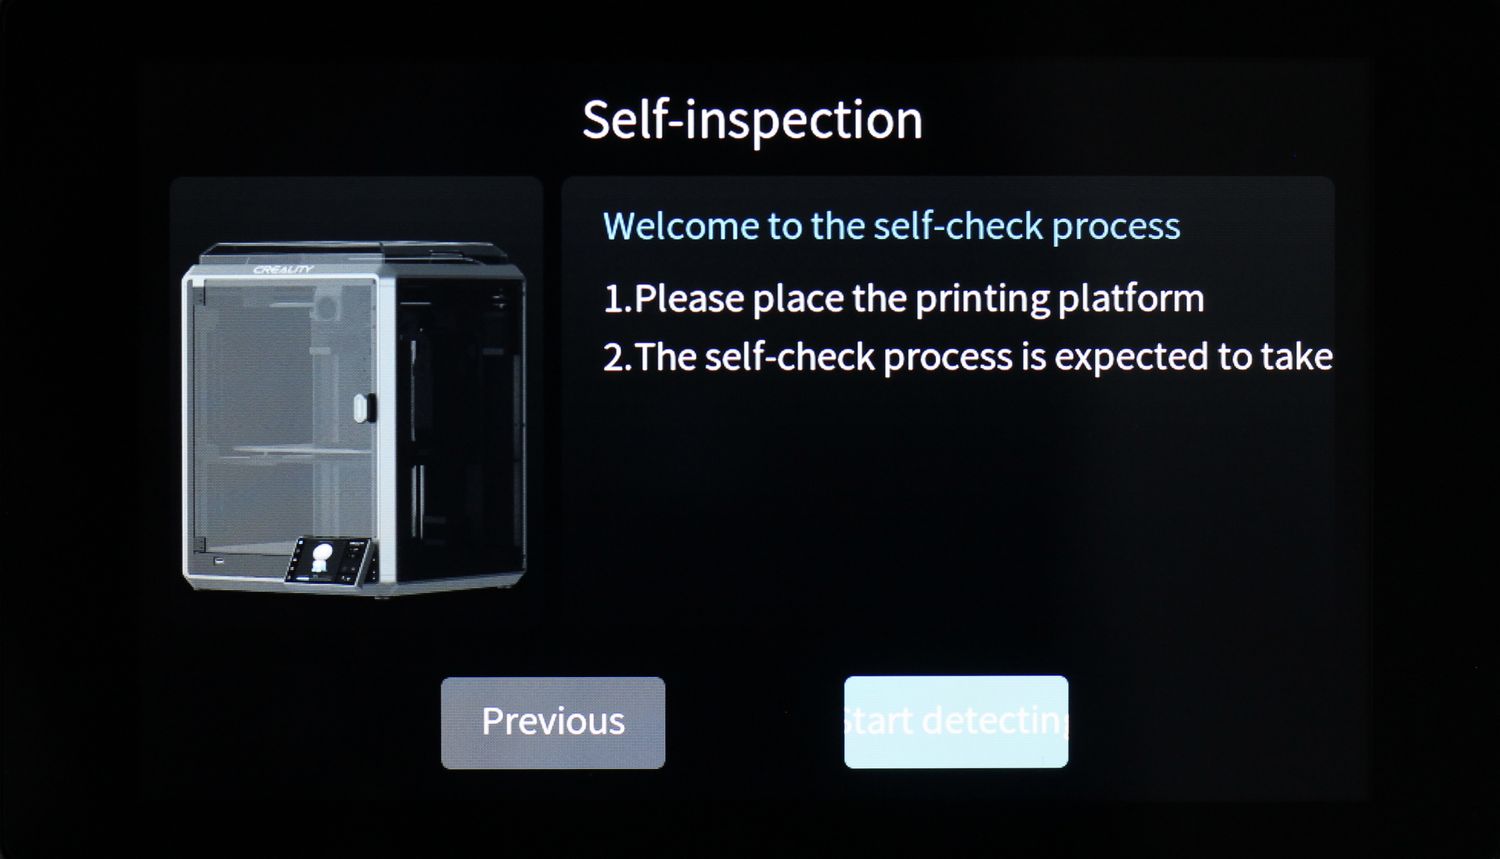
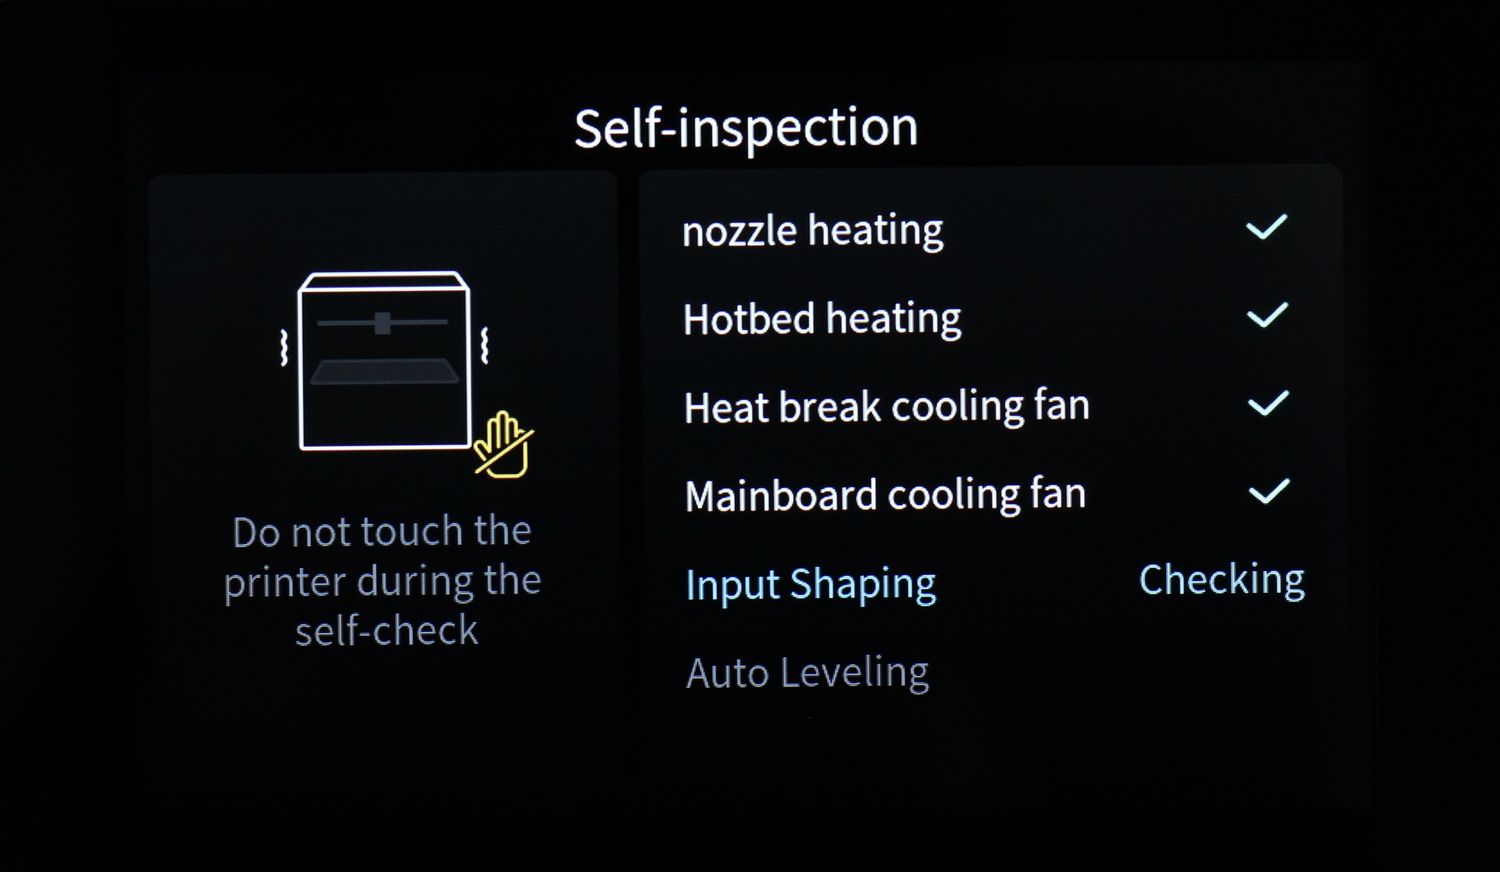
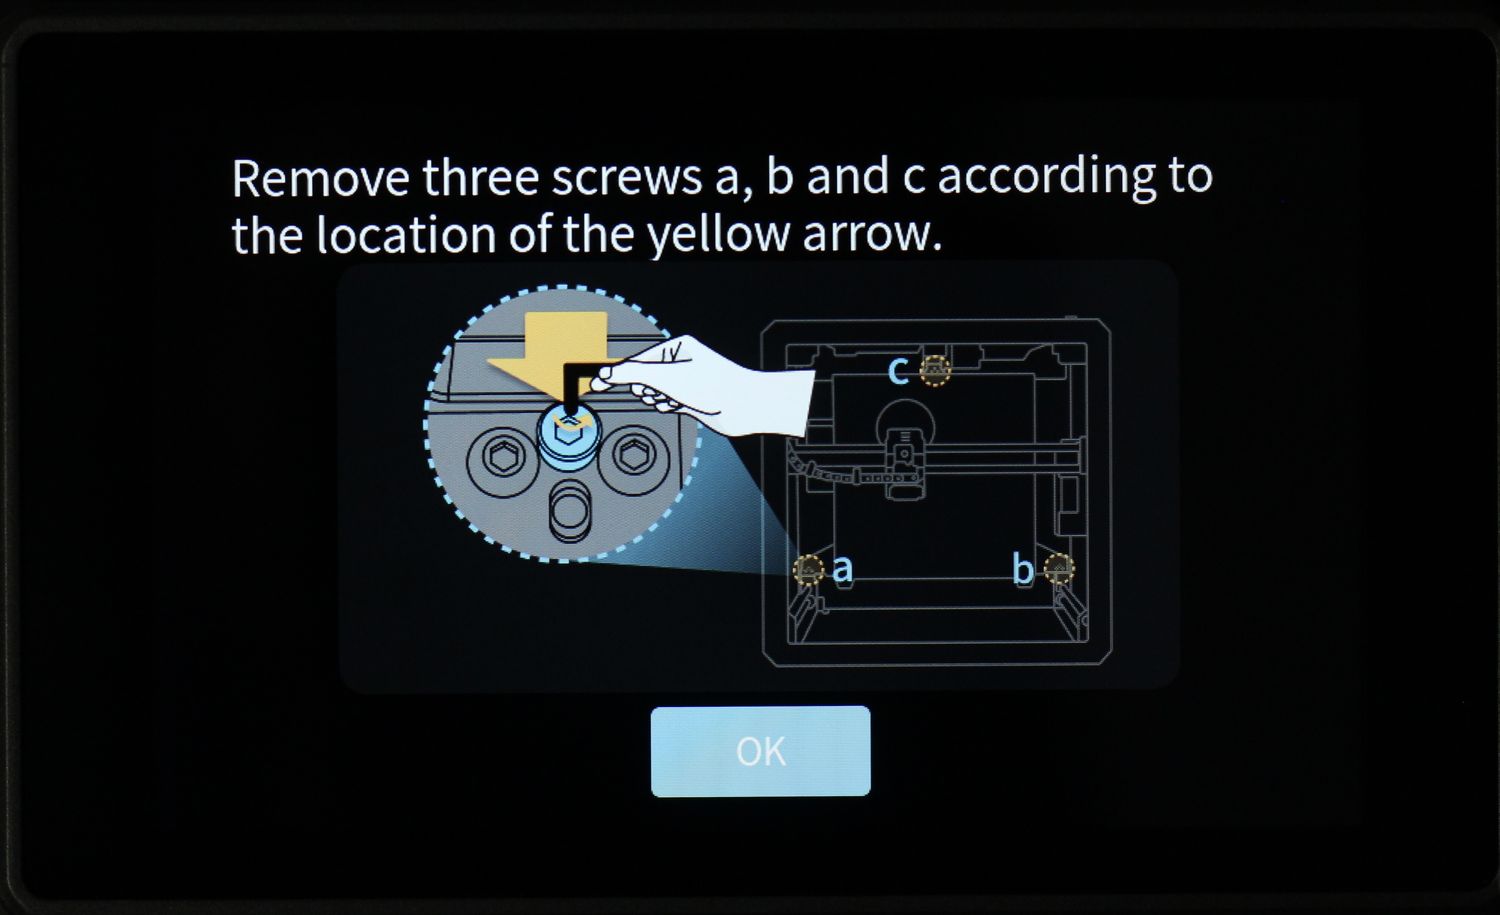
It takes a bit more time than expected (about 15 minutes) but the calibration process should be done once, then the results could be used for future prints so it shouldn’t be a huge issue.
Three Z leadscrews with separated electronics
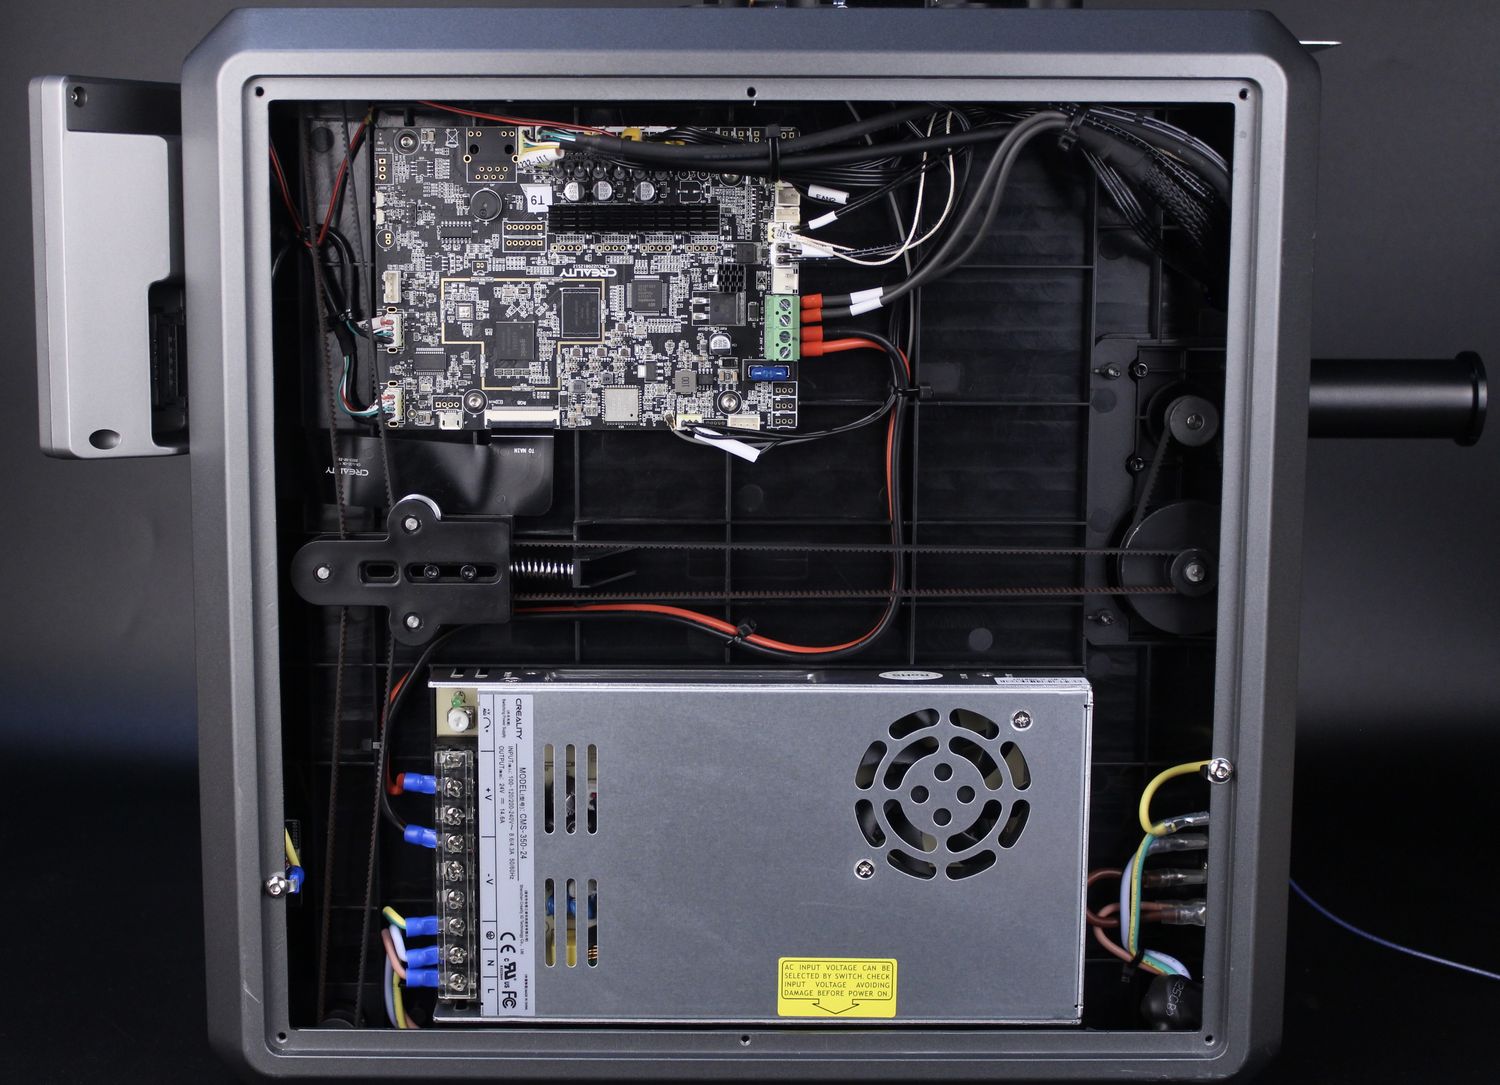
As mentioned at the beginning of the review, the bottom side of the printer is completely separated from the printing chamber, and this is where the electronics are located.
You can see the Z-axis config which is comprised of three Z-axis leadscrews linked to a Z-axis motor via a single belt. There’s also a belt tensioning mechanism available which is nice to see.
I guess it would have been cool to have three independent motors to control the bed movement, but most of the time that’s overkill as long as the heatbed is properly trammed from the factory.
Fully Enclosed Design
I love the fact that the Creality K1 has a good separation between the printing chamber and the electronics located at the bottom of the machine. This can help keep the electronics cool while the printing enclosure is hot.
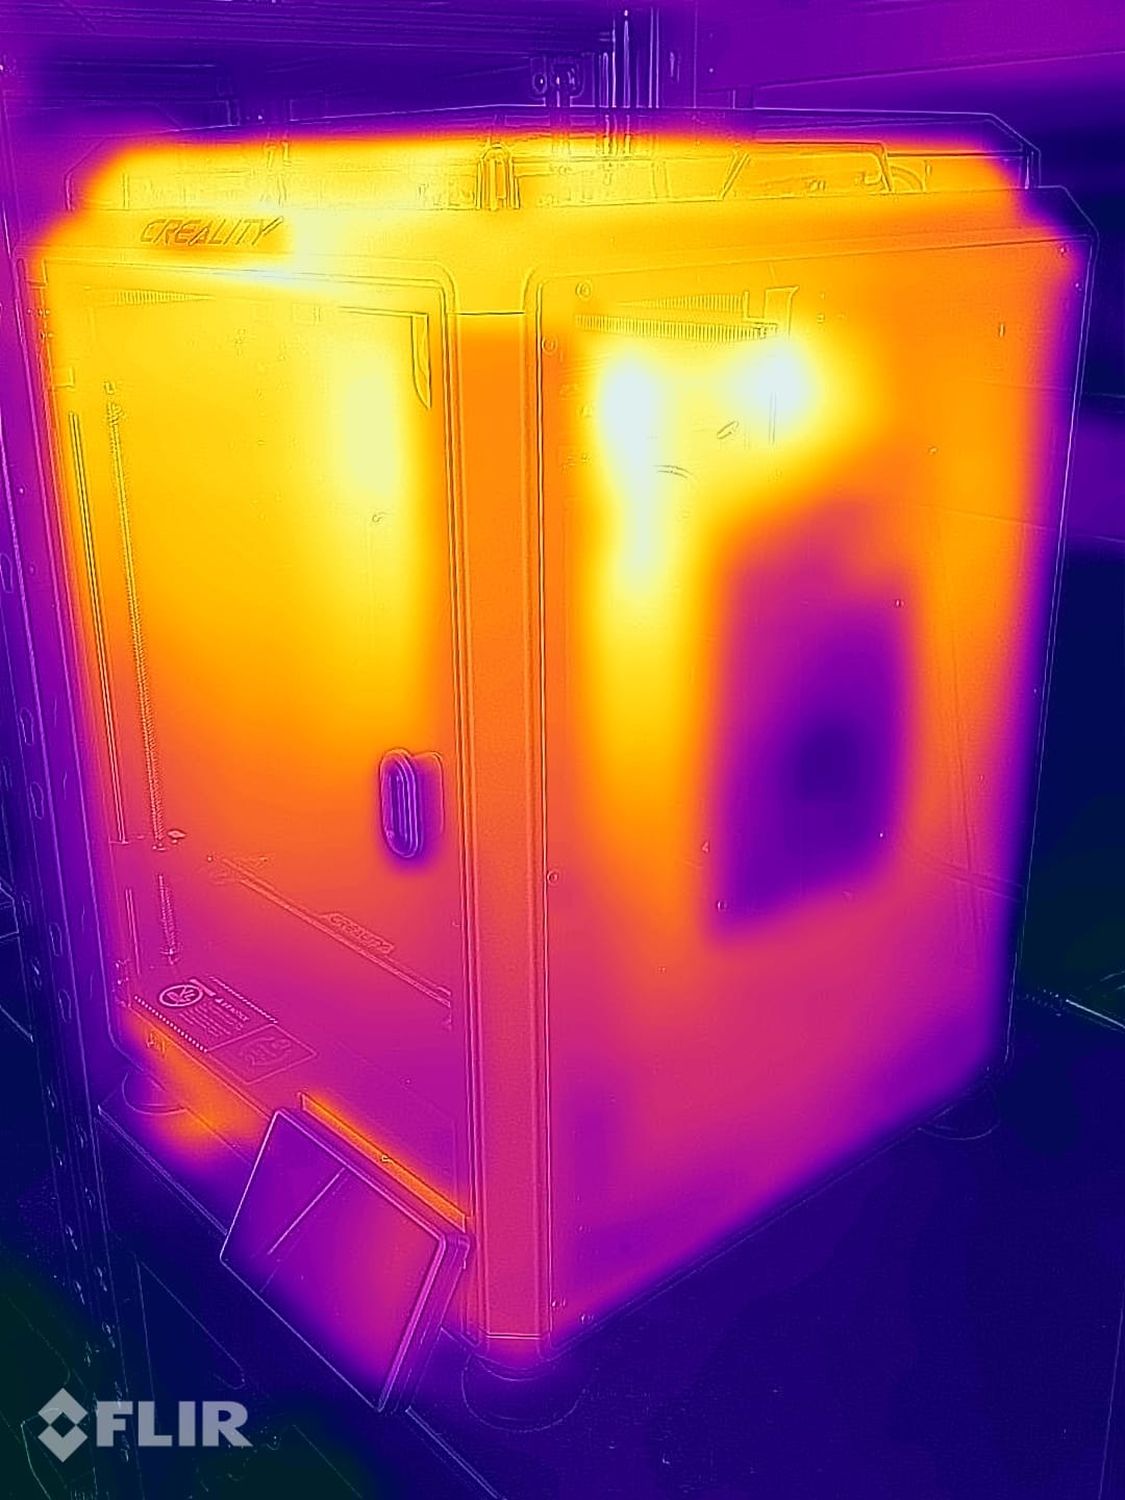
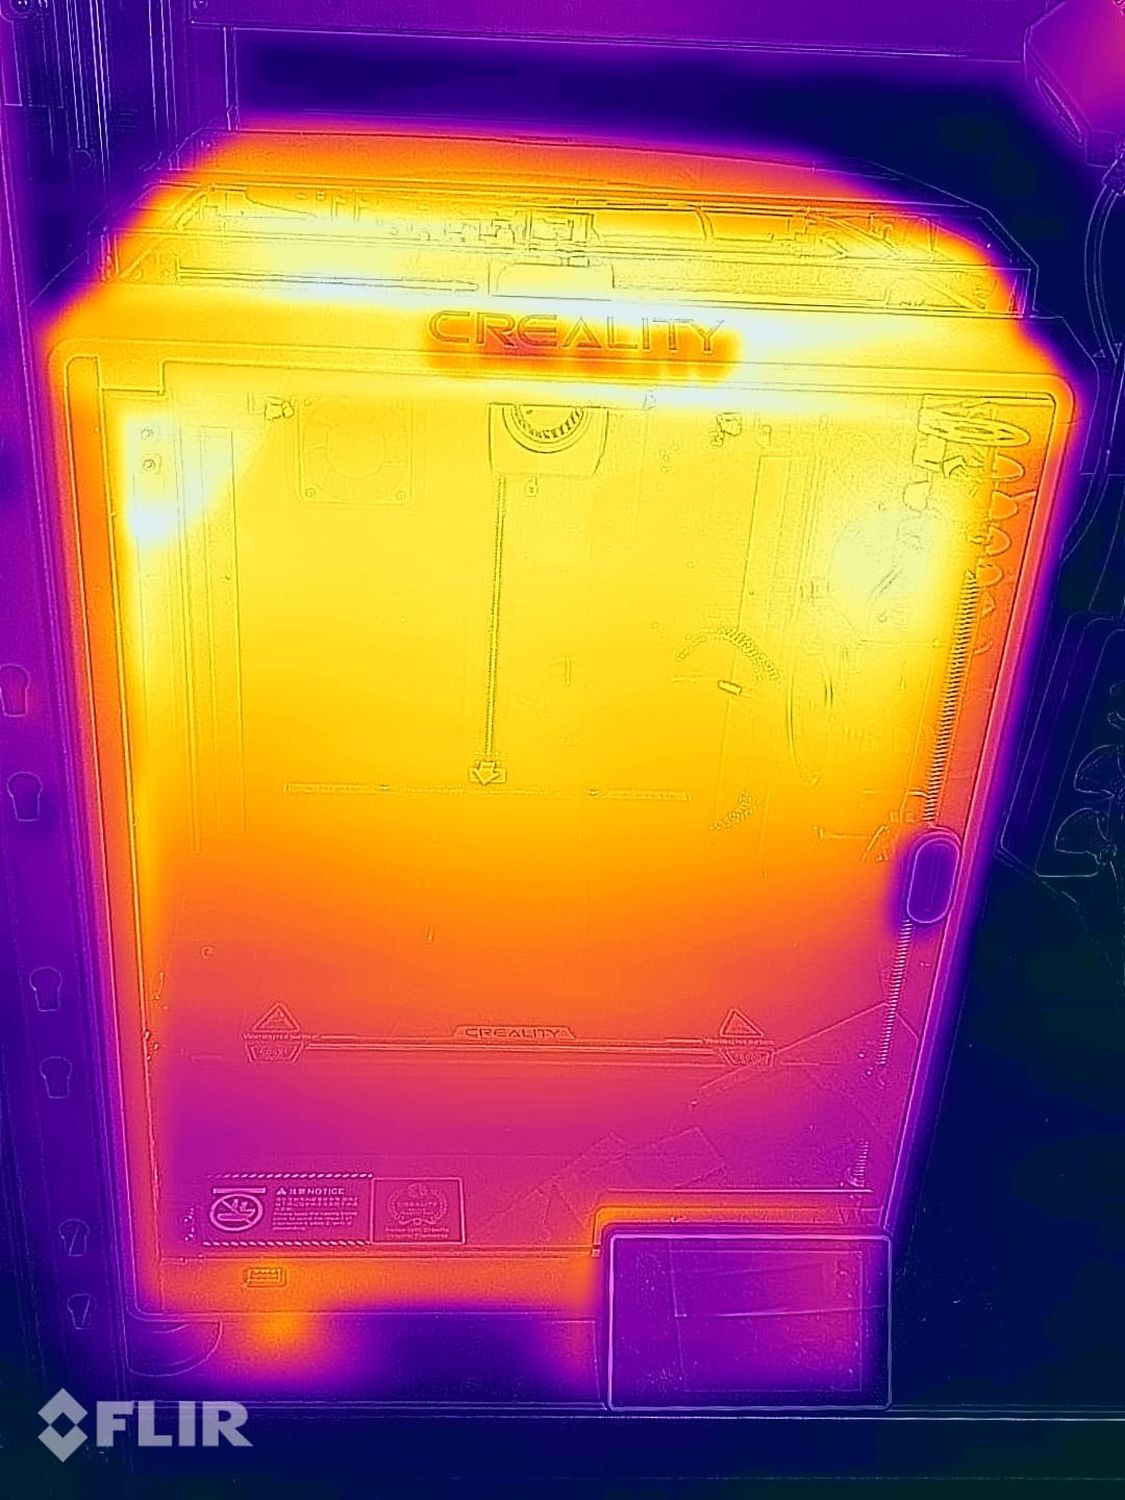
Talking about the enclosure temperature, I have reached a 46C temperature during my ABS print tests. This measurement was taken with a rudimentary thermometer, as the Enclosure Temperature thermistor is not available in the interface, as mentioned before.

I also took a picture of how the temperature looks inside the printer when it’s hot. There doesn’t seem to be any significant heat loss but if you need a higher temperature, modding the sidepanels with some added insulation material should be quite easy.
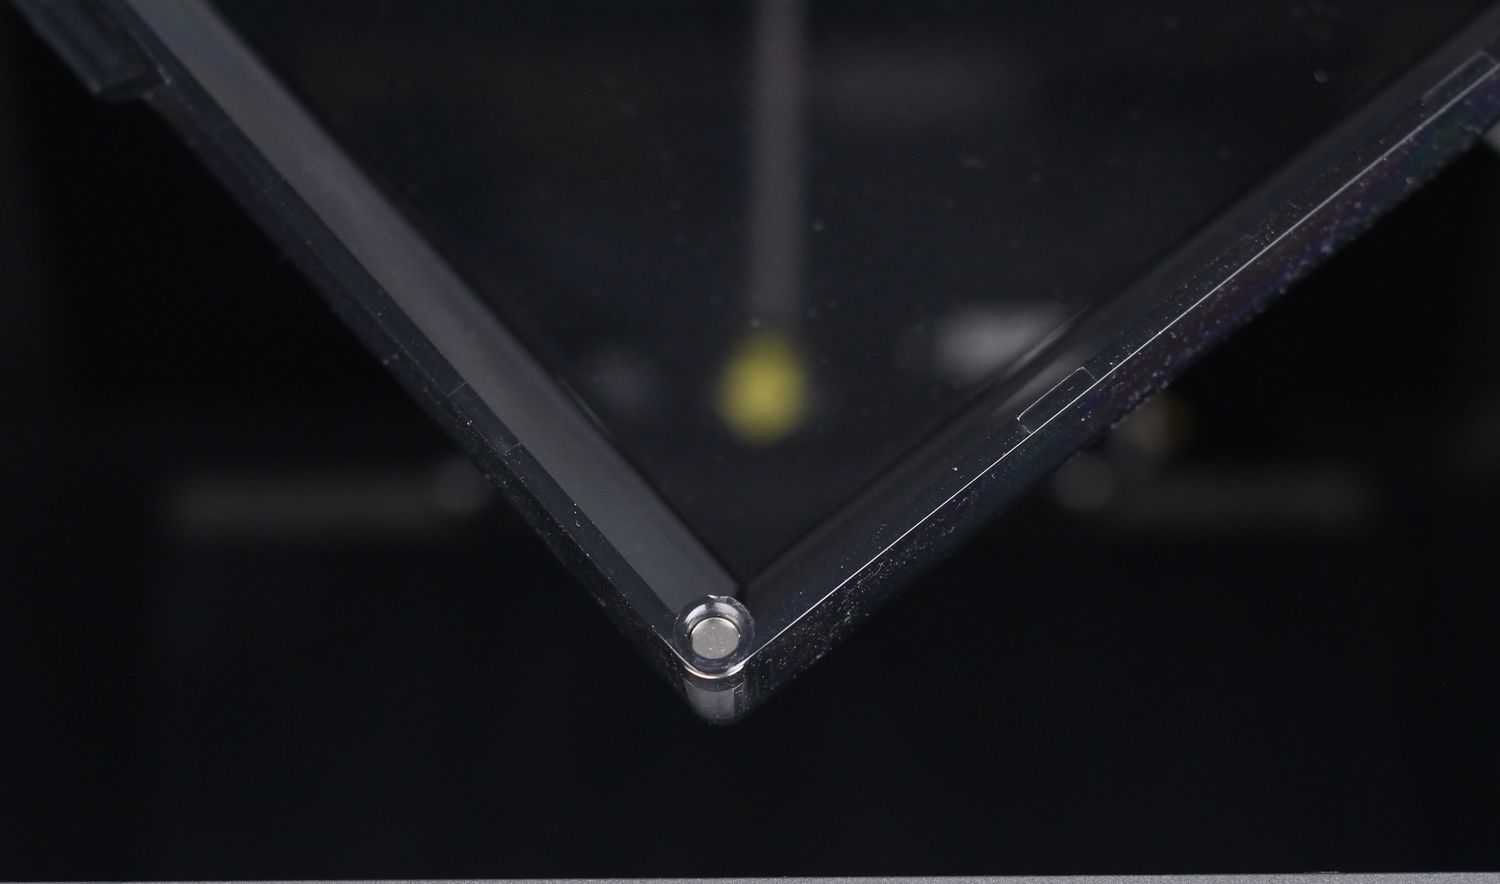
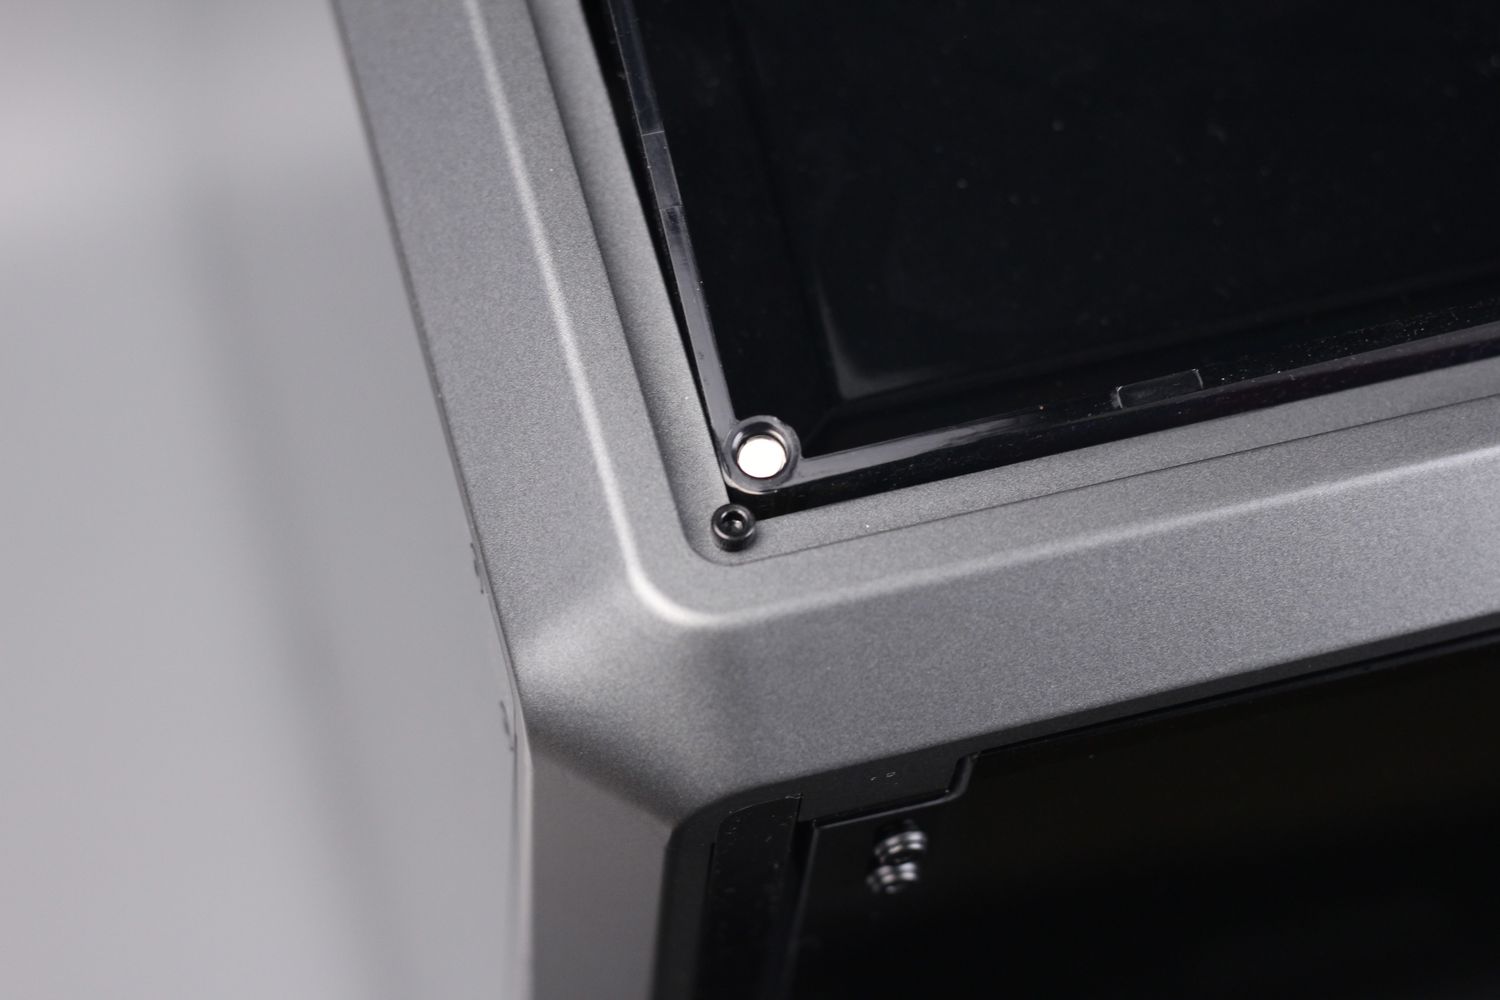
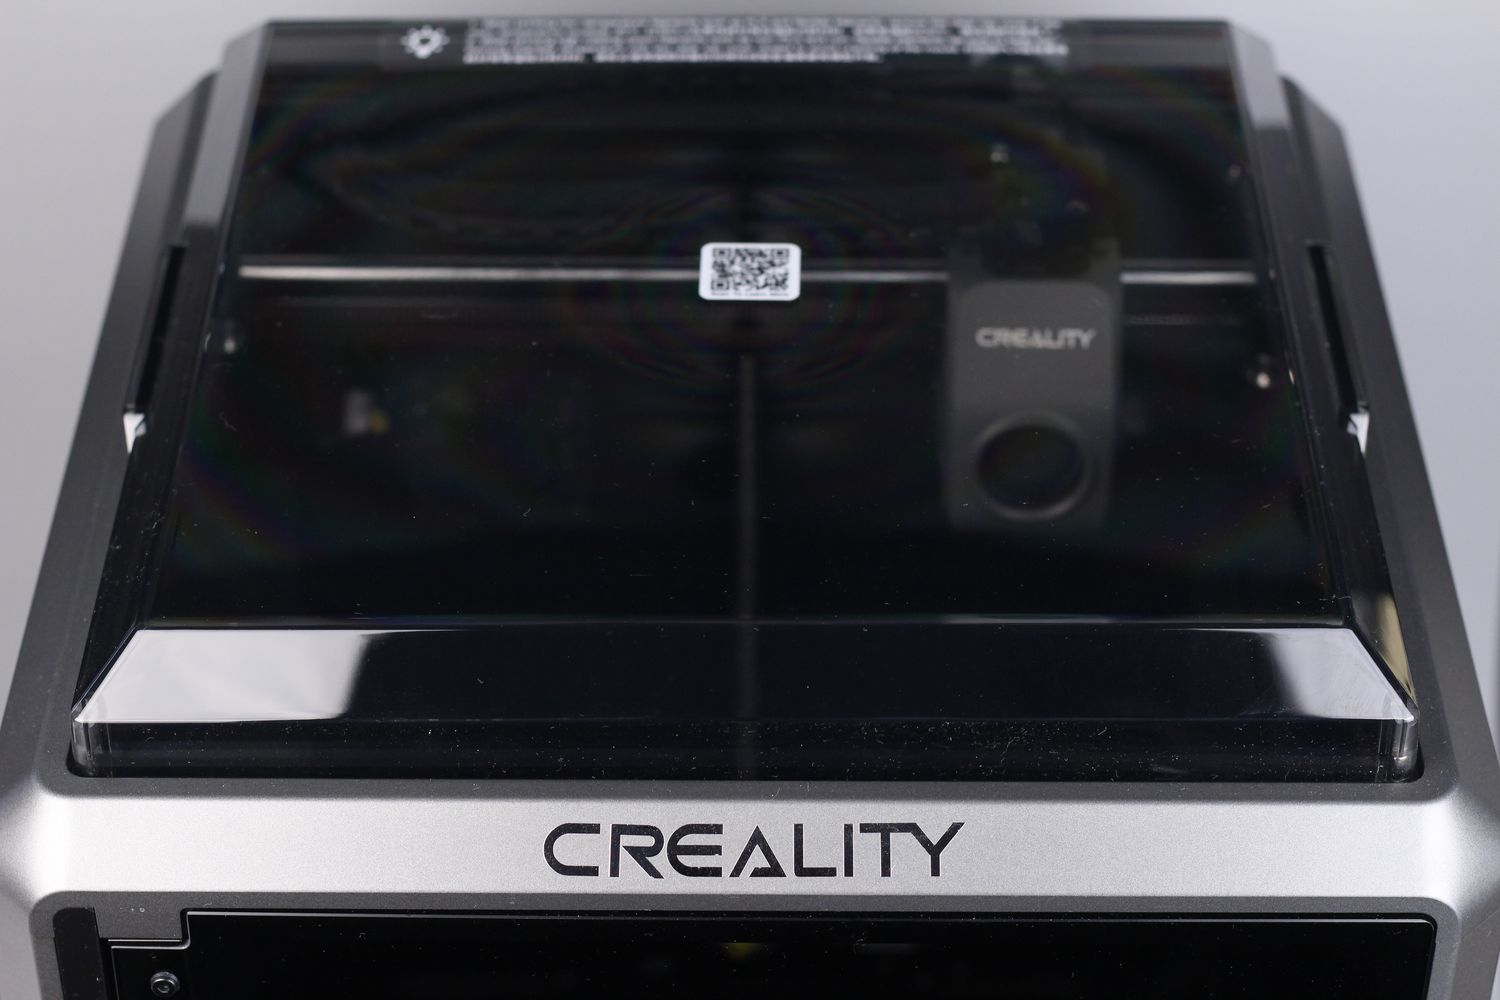
I also like the top cover of the machine which can be easily removed when printing filaments like PLA that don’t really benefit from an increased chamber temperature. The cover has magnets on the corners to keep it in place, and it also “clicks” on top of the machine to make sure it does not rattle during fast printing.
Creality Print
In my opinion, one of the sections where Creality K1 still needs a lot of development is the slicer. Creality Print is the slicer software that works with the Creality K1 and it has direct integration with the network capabilities of the printer.
At first glance, Creality Print seems to be a combo of multiple features from other popular slicers put together for the Creality Ecosystem. The slicer is functional, but it’s far from being perfect as on Mac OS is quite laggy and cumbersome to use. Model manipulation is not as easy as with other software, and there’s also a problem of scaling in some situations if you move from a laptop to a desktop screen.
In other cases, the text is not correctly aligned and might spill out of its designated section
When it comes to the available slicer profiles, there are only 10 available, made for 0.2mm and 0.1mm layer heights. While I would have liked to see more profiles made for other filament types, the results you can get with the included profiles are pretty good. Most prints in this review were made with the default settings in the slicer profiles, with slight changes to layer height.
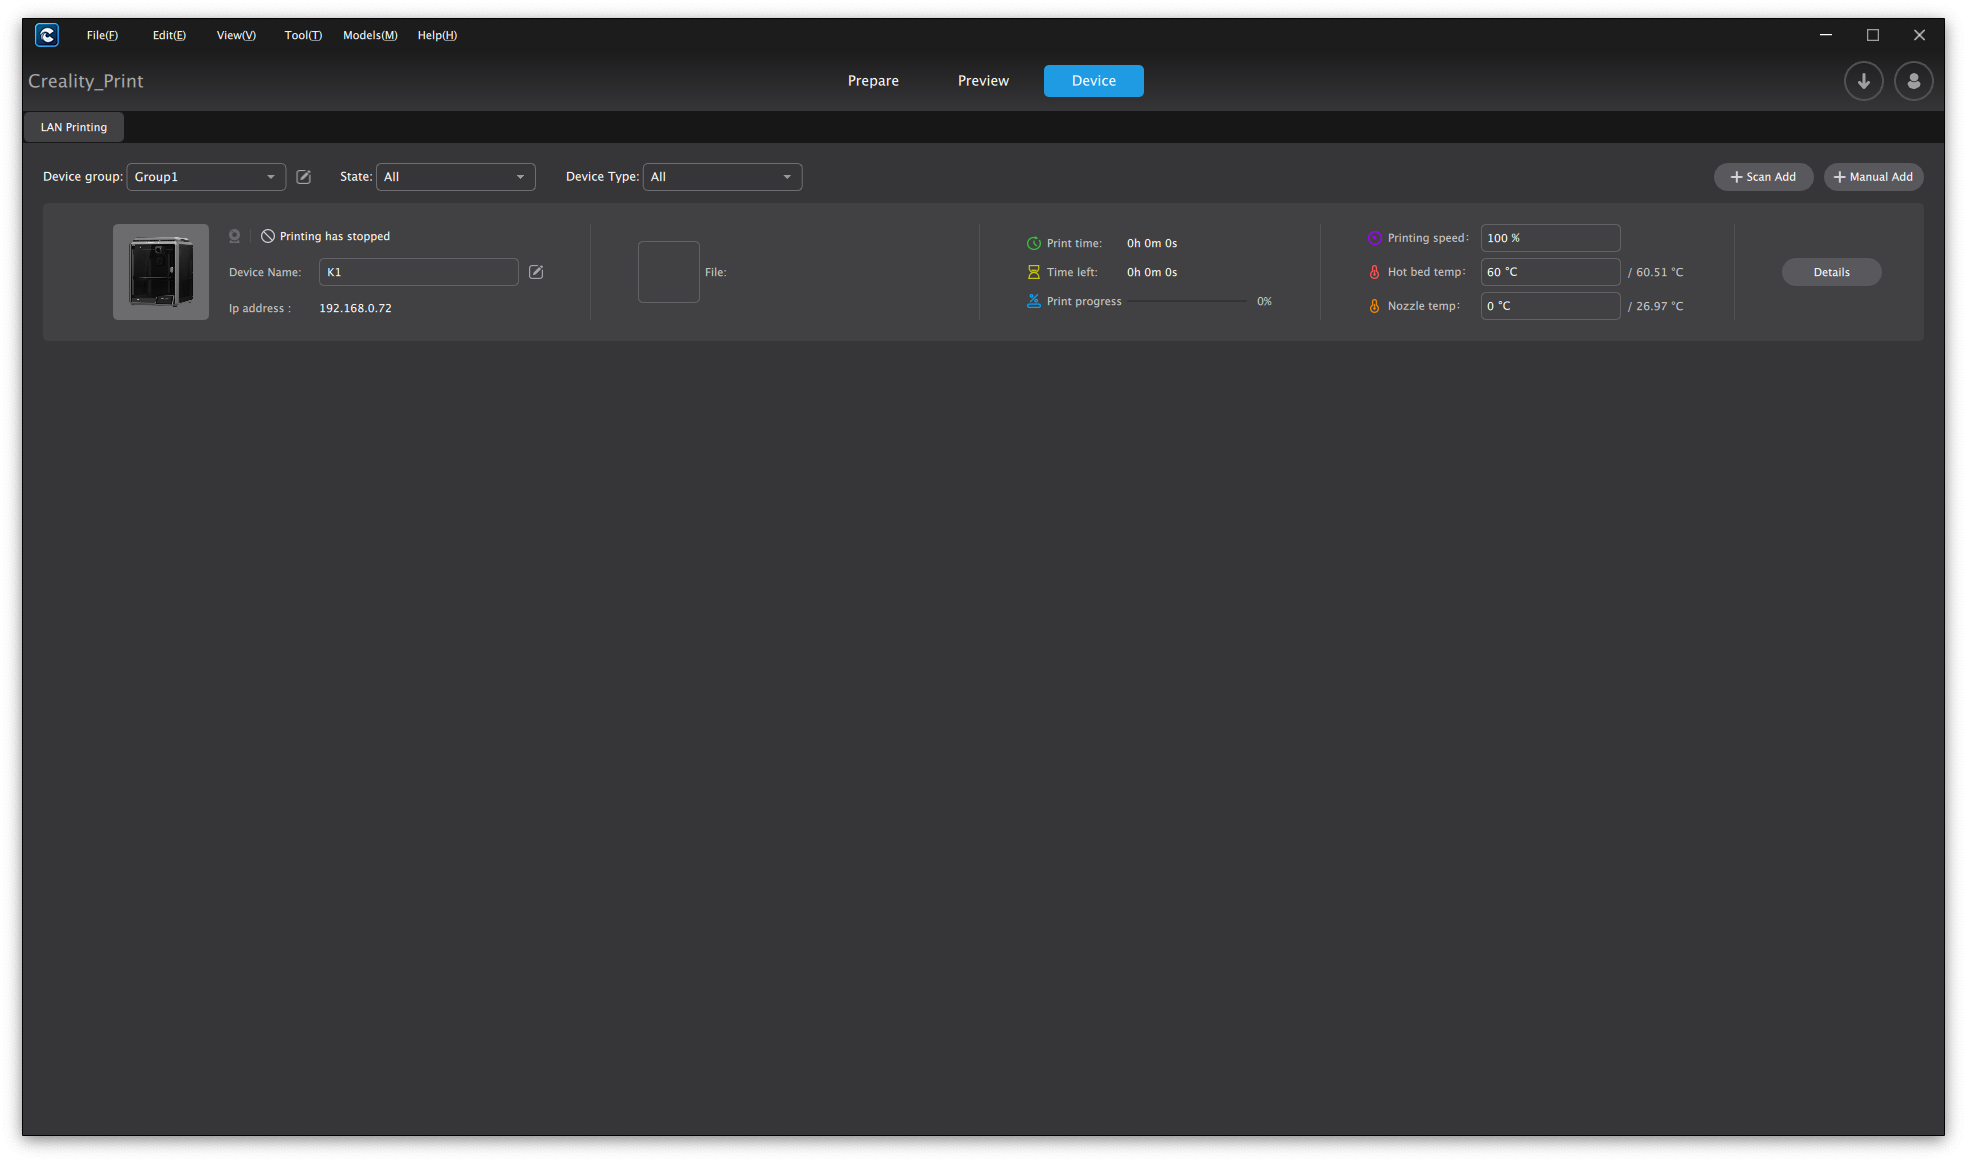
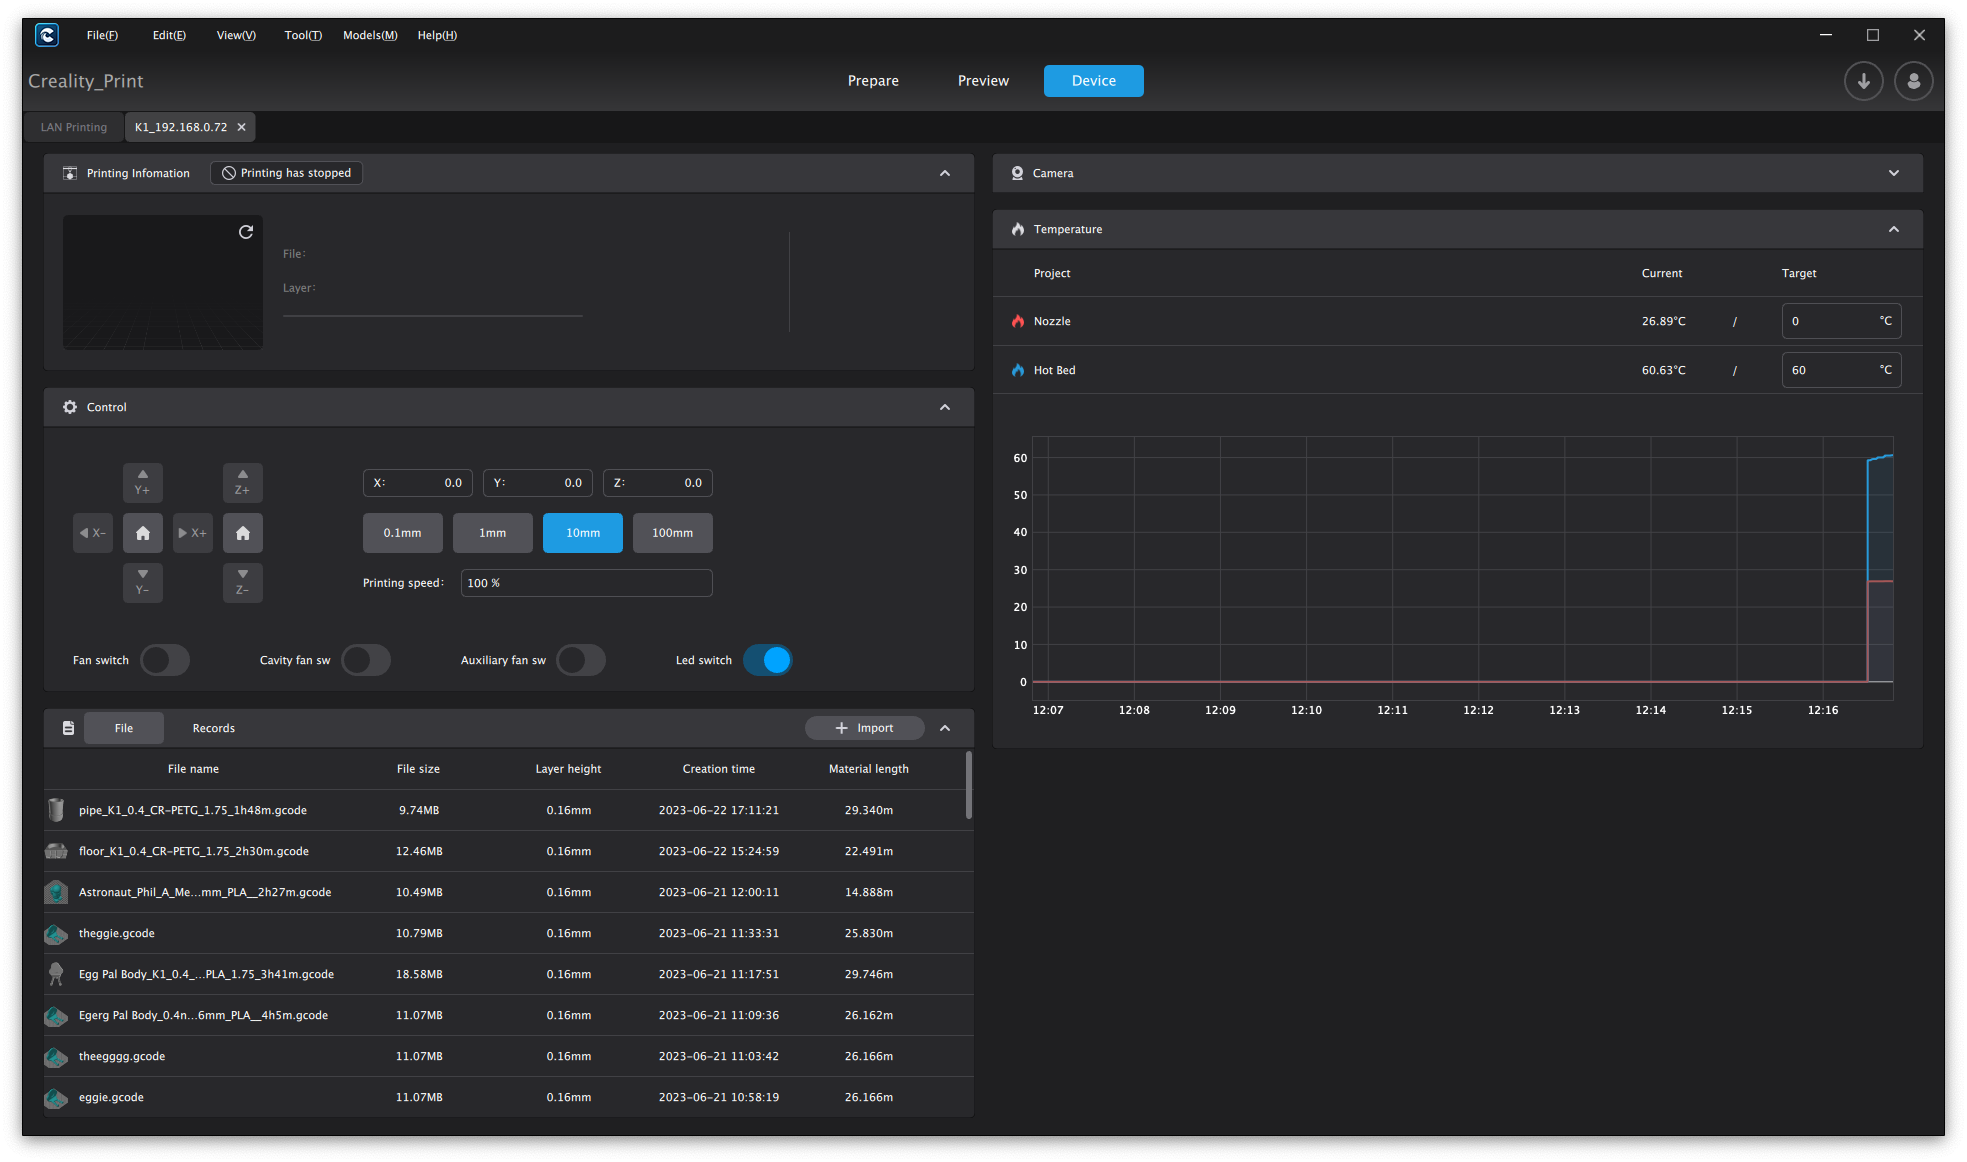
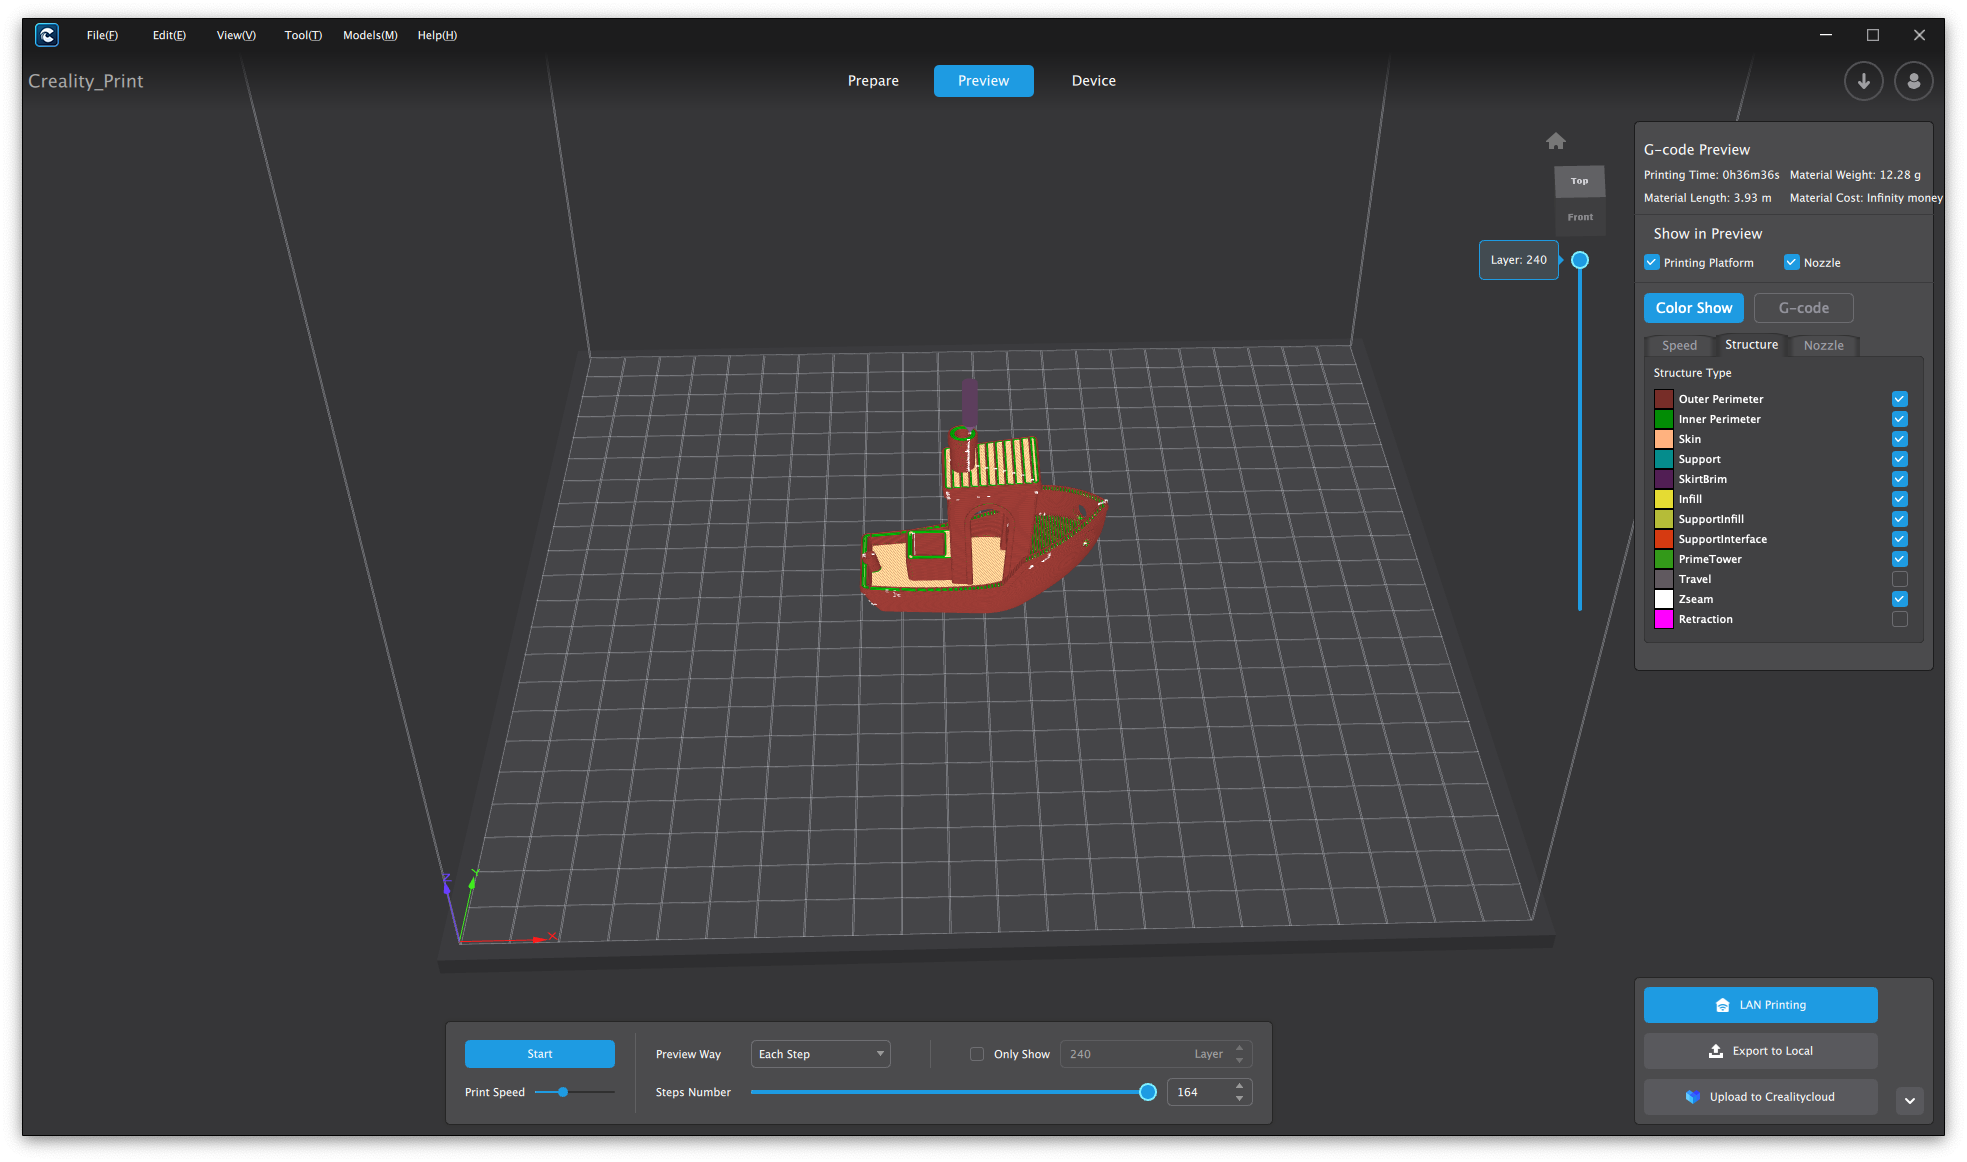
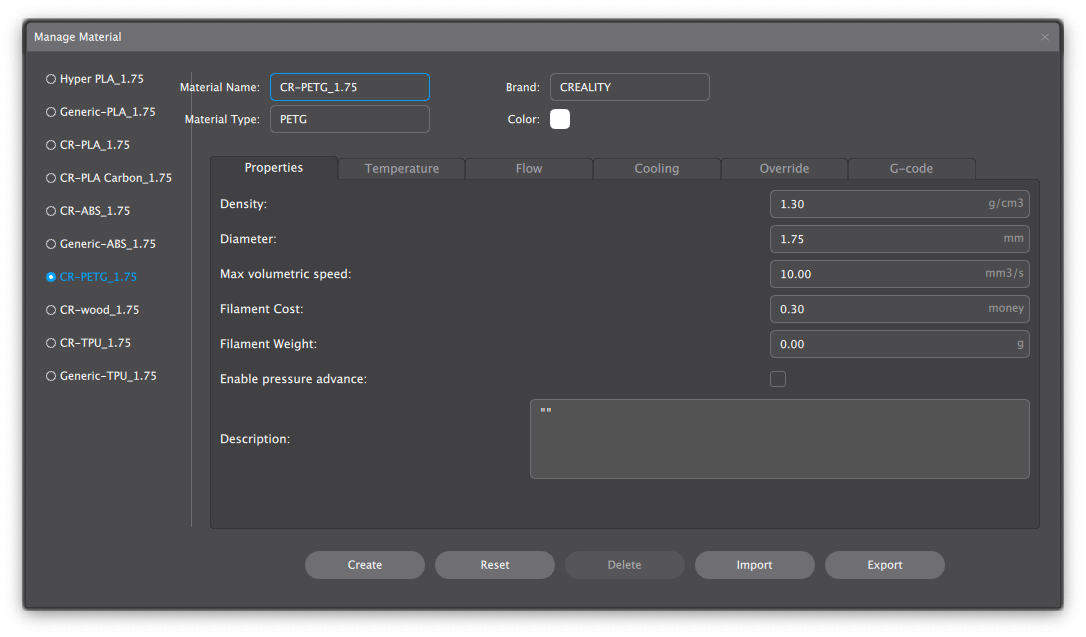
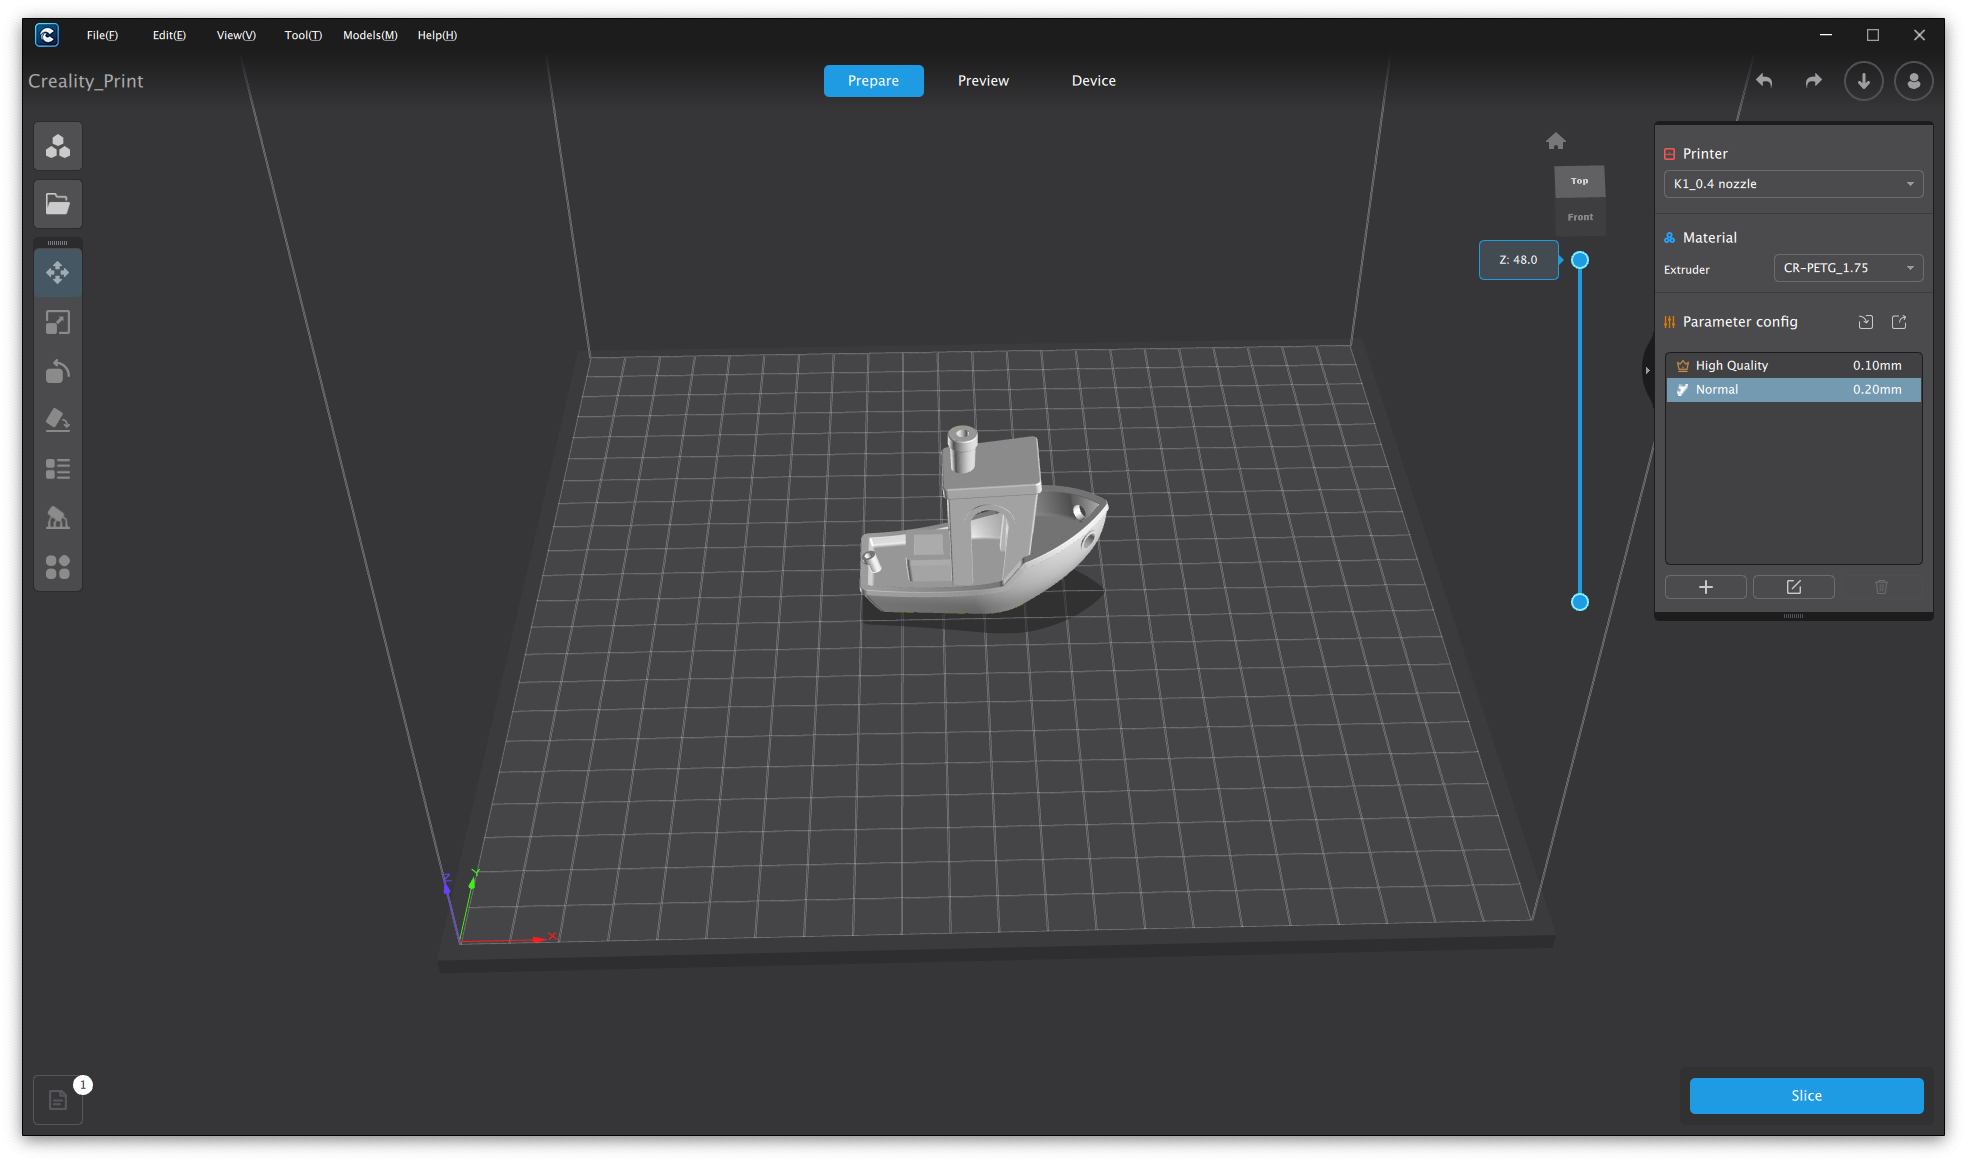
In Creality Print, you also get access to the web interface of the printer which is mostly similar to what you get when connecting via the IP address. Unfortunately, it’s much more limited compared to Mainsail or Fluidd.
Heating time and power consumption
Hotend
- 200C in 37 seconds
- 250C in 50 seconds
- 300C in 1 minute and 8 seconds
Heatbed
- 60C in 2 minutes
- 100C in 5 minutes and 10 seconds
Power Draw.
The idle power draw is around 20W, much higher than I expected. When the hotend and heatbed are heating, the Creality K1 draws a maximum of 370W. After it starts printing, the power draw stabilizes to around 100W with spikes from 45W up to 295W.
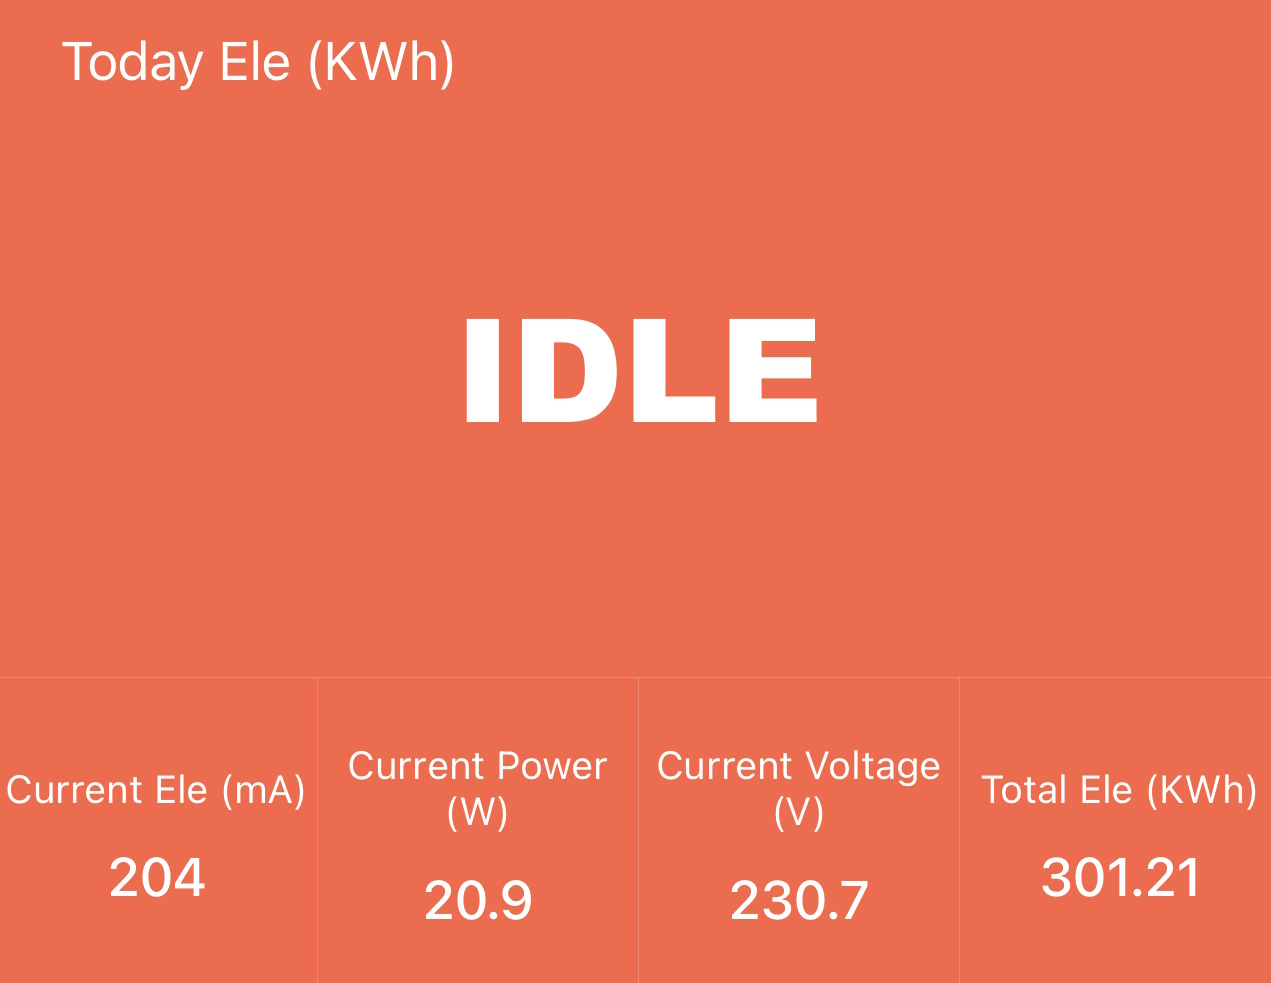
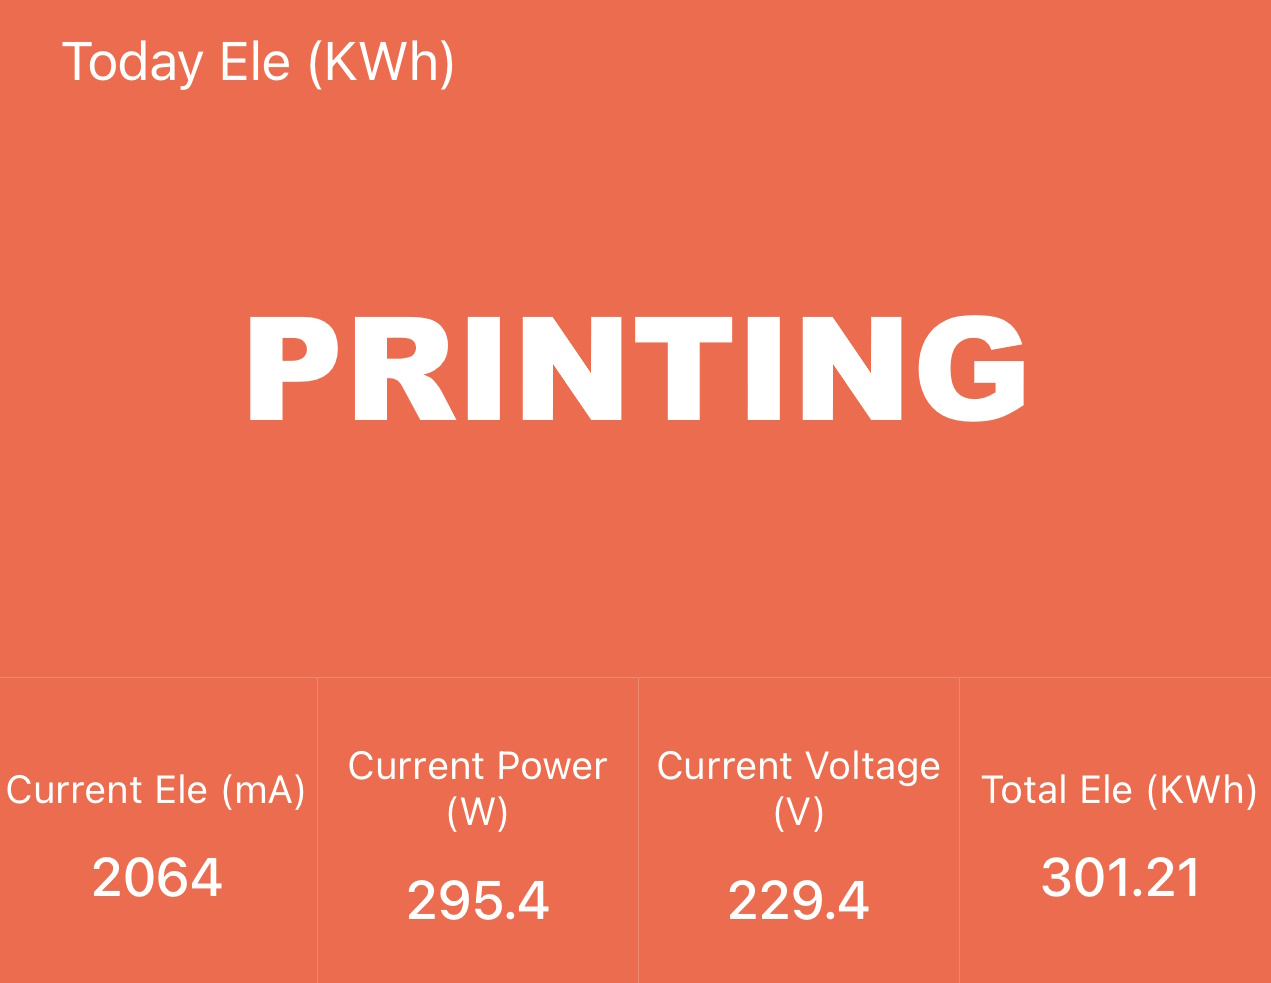
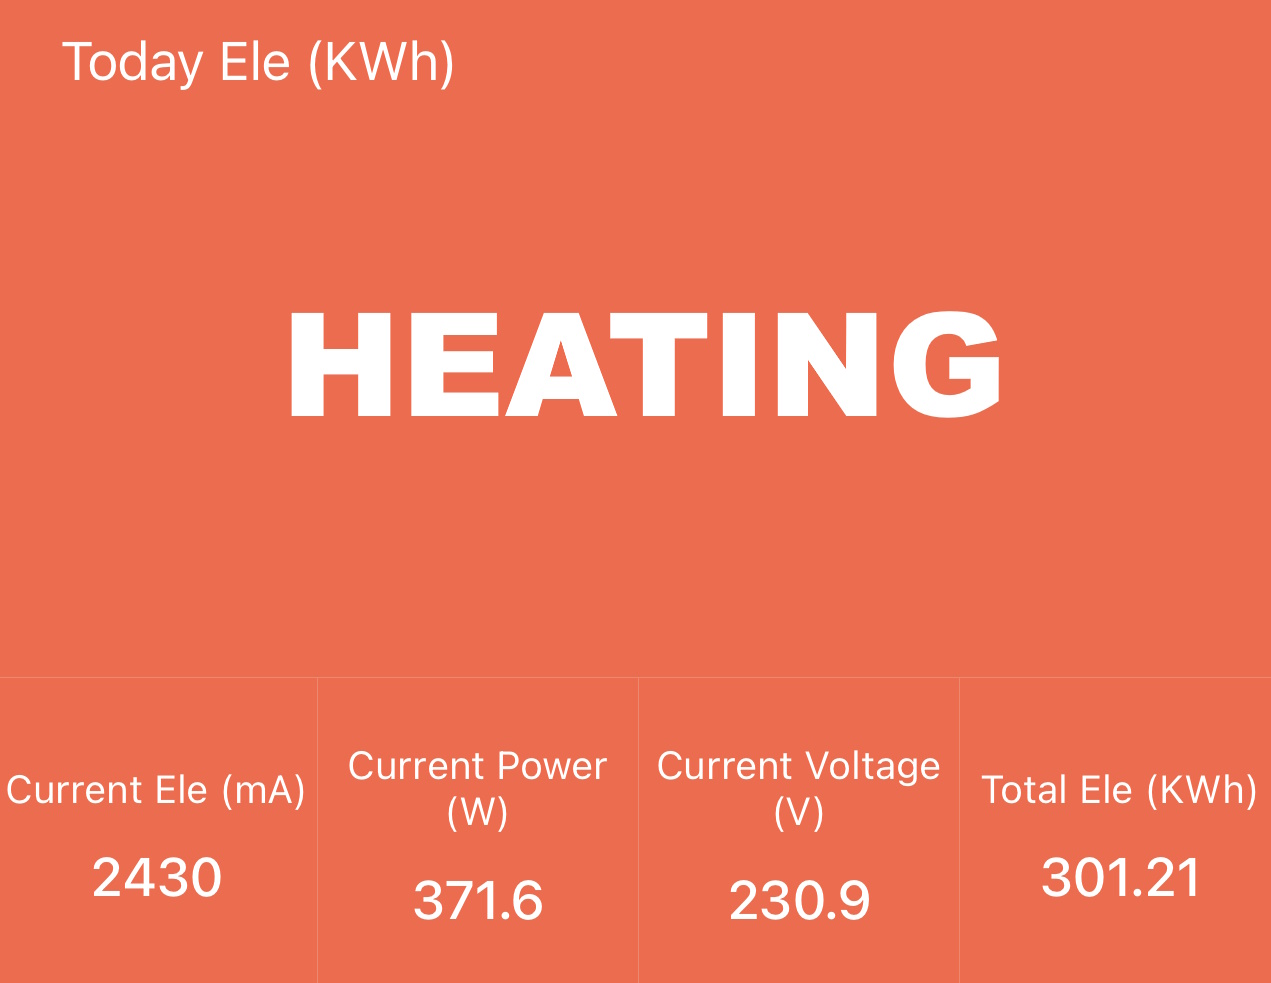
All these measurements were taken with a Blitzwolf smart power socket which indicates the power draw, and it can also be used for remotely powering on and off the printer.
Bed Temperature Uniformity
I tested the temperature uniformity for the Creality K1 bed with the FLIR Camera installed on the CAT S62 Pro. The bed has been set to 60C and I waited 2 minutes for the temperature to stabilize.
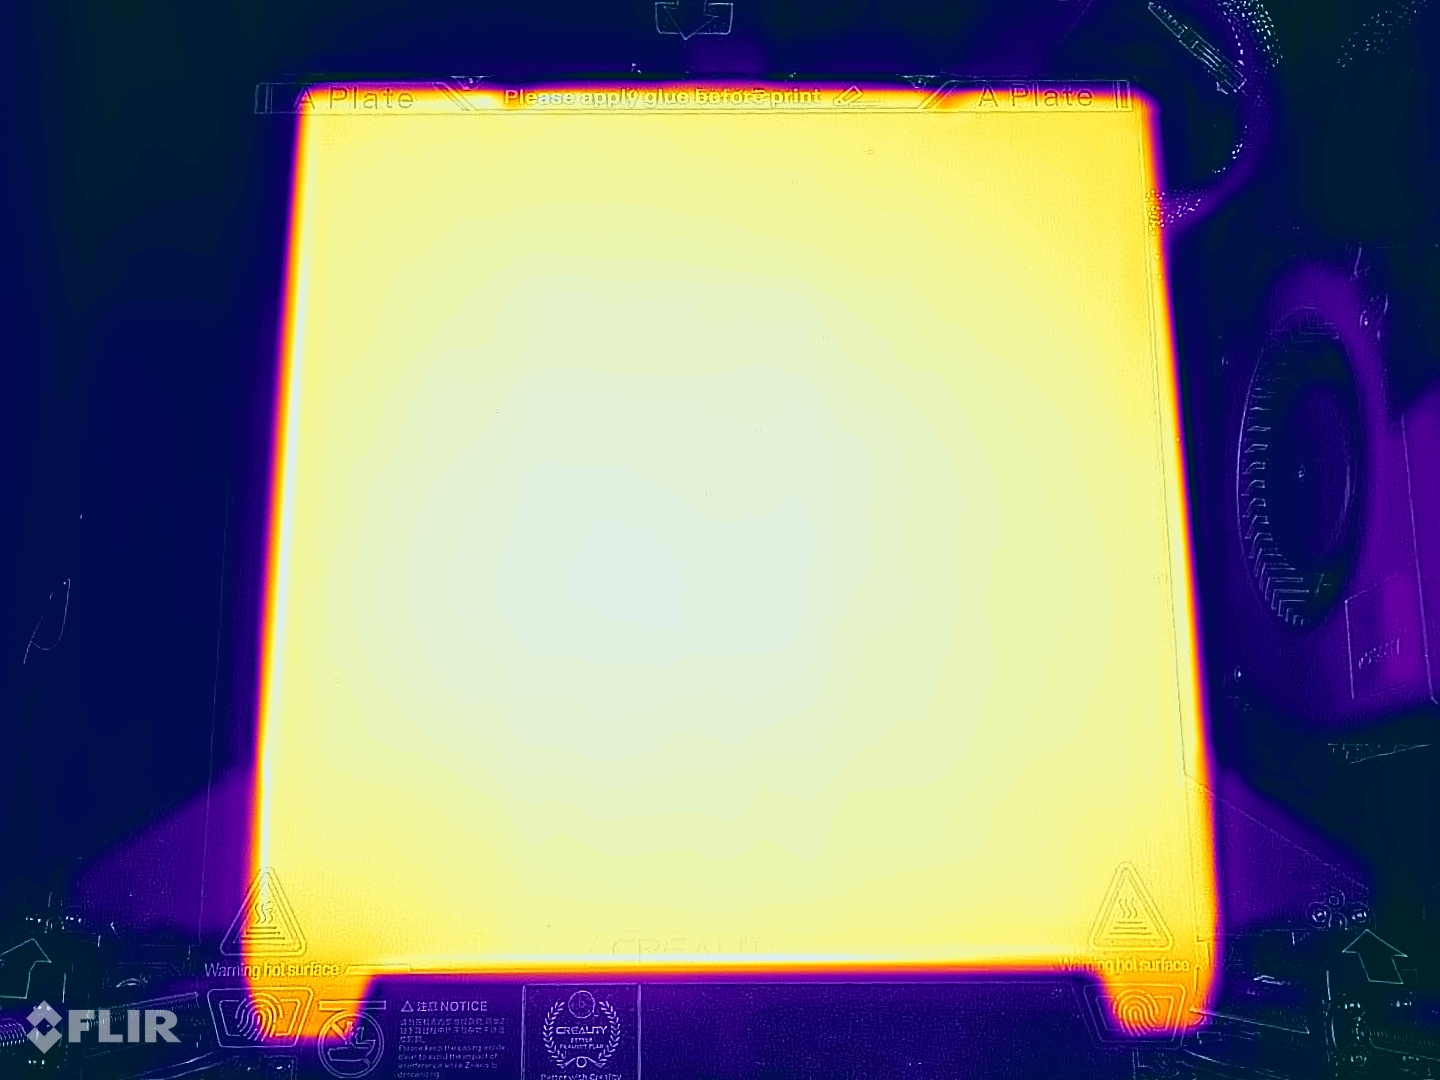
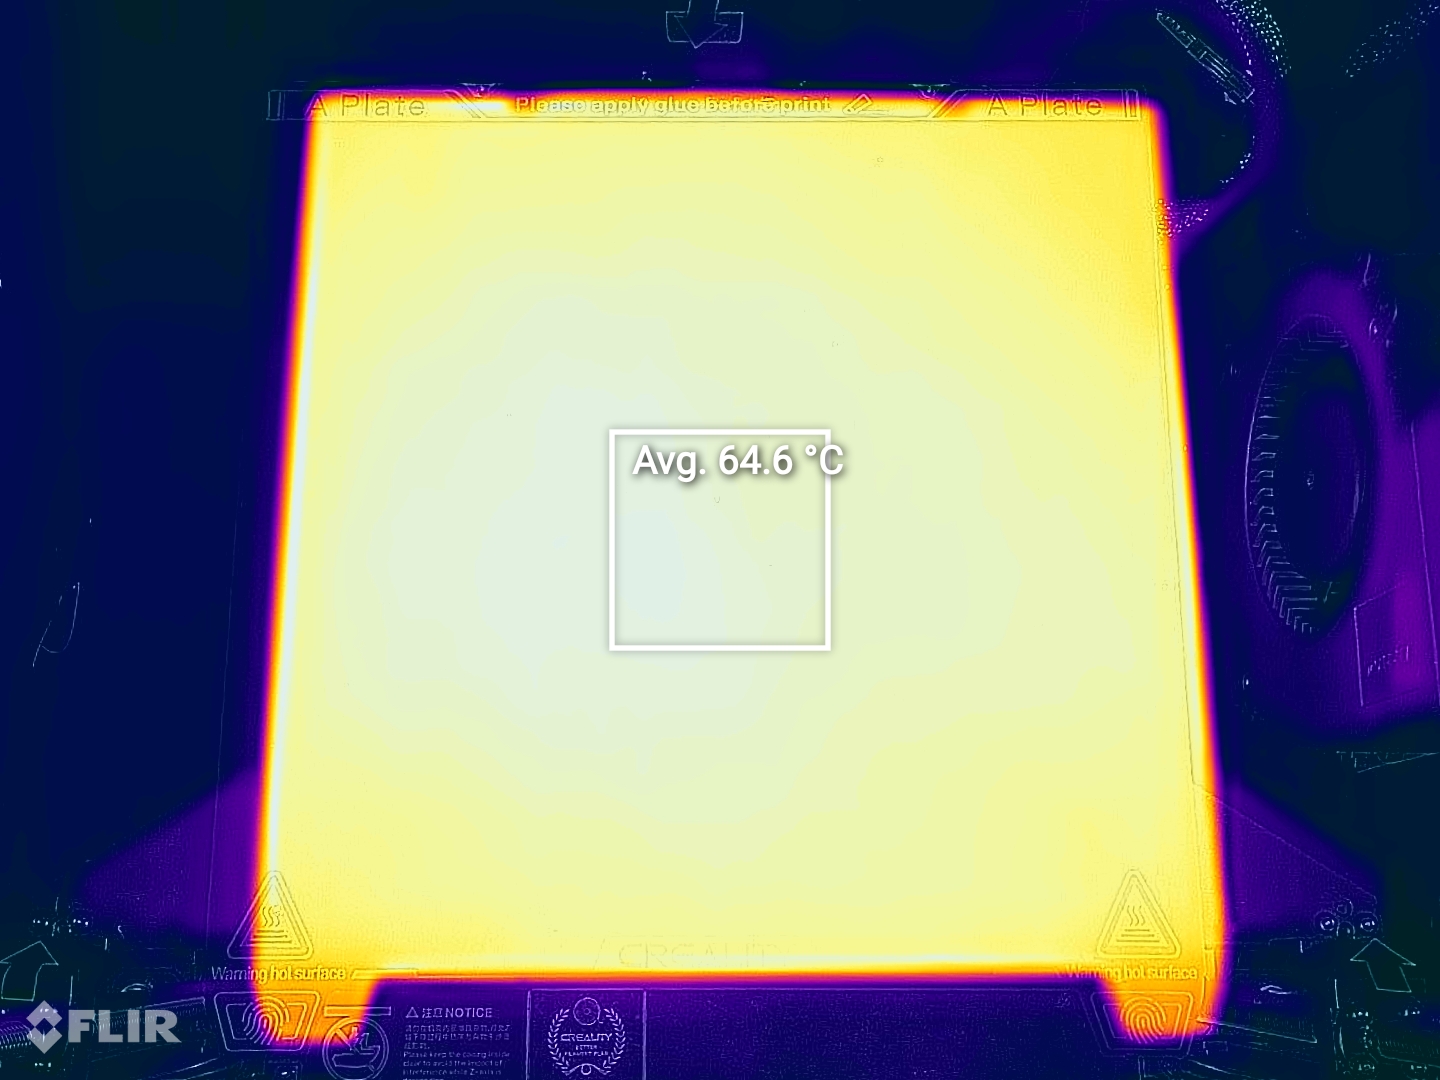
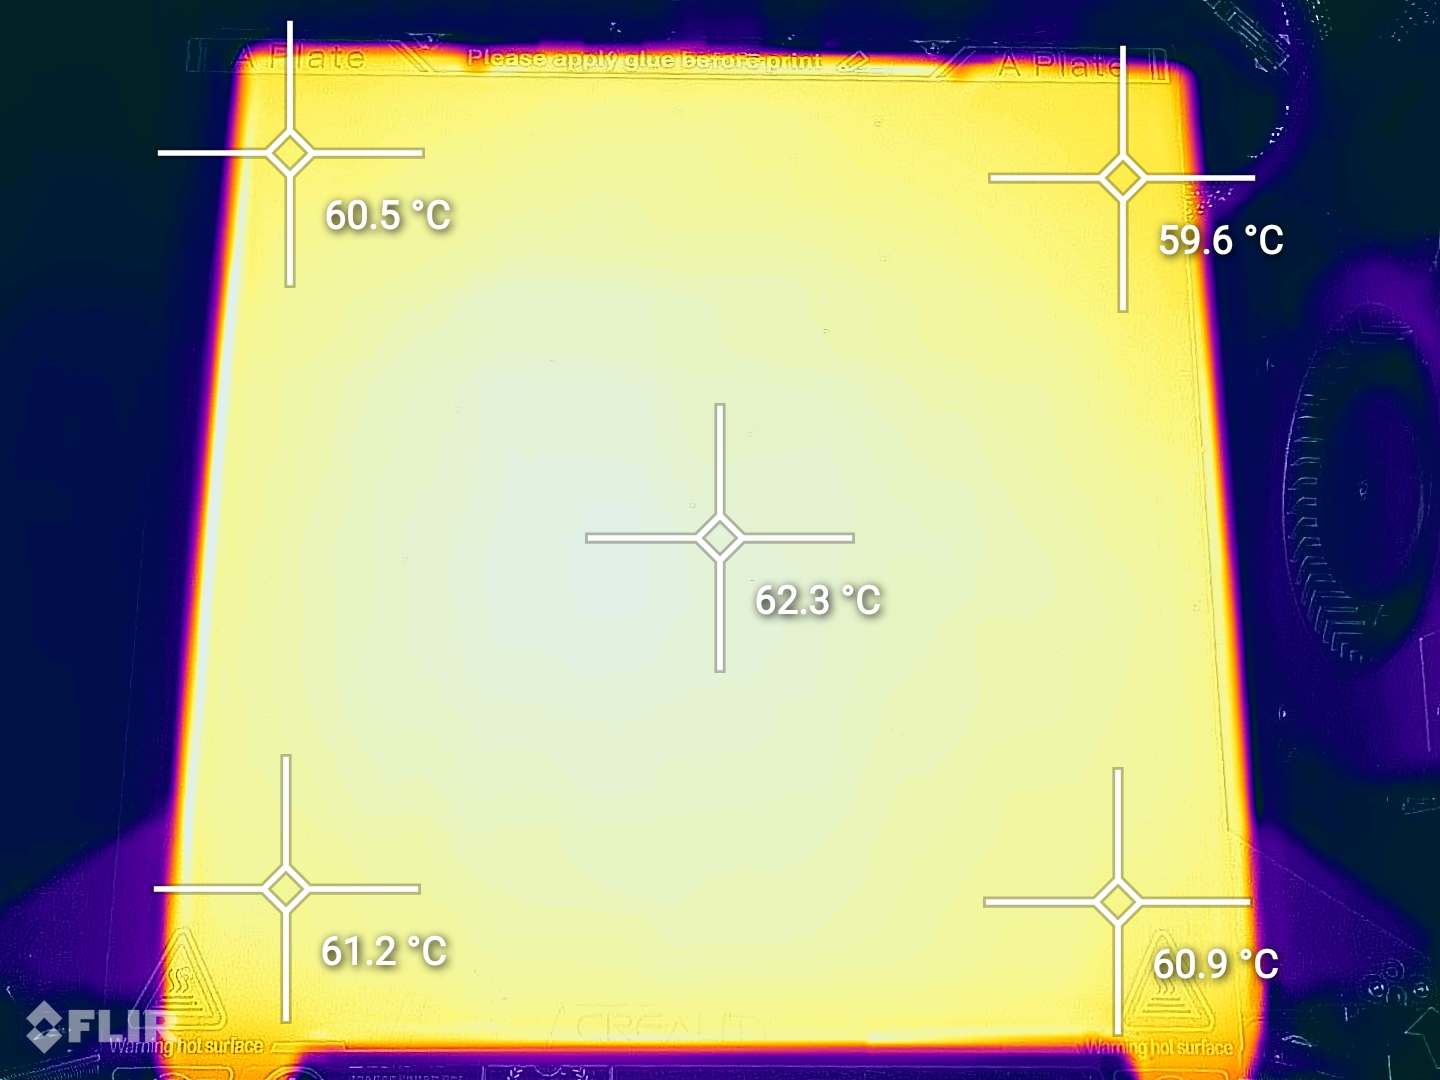
As seen in the measurements above, the heatbed uniformity is great, with no cold spots that might generate issues.
Creality K1 Noise Levels
When printing filaments like PLA at high speed, the Creality K1 is one of the loudest printers I have tested. The main source of this noise is generated by all the fans being turned on, with the Auxiliary fan and the print head fan being the main sources of noise.
The motion system and stepper motor noise are quite low, so if you are printing ABS or other filaments that don’t require too much cooling, the K1 can also be relatively silent.
If you take some time to fine-tune print speeds and part cooling fan settings, you can find a good setting that can still allow for relatively fast print speed without causing a lot of noise due to part cooling fan noise which is kind of overkill at 100%.
The video above shows the difference in printing noise with the fans adjusted during printing.
Profiles for Creality K1
During my time with the printer, I tuned a few Prusa Slicer profiles for the Creality K1. These profiles are tuned for the stock printer and are available to my Patreon supporters.
Please note that I am still working on improving these profiles, and I will update them over time, but they should be relatively usable for now.
As usual, the flow rate will still need to be calibrated, according to your filament.
Test prints on Creality K1
3D Benchy
My first test print was, of course, the pre-loaded 17 minutes 3D Benchy. The print quality is very good for such a fast-printed model, but it’s hard for me to show this to you as it can only be printed reliably with the included filament which is a special high-flow formulation of PLA and it’s white.
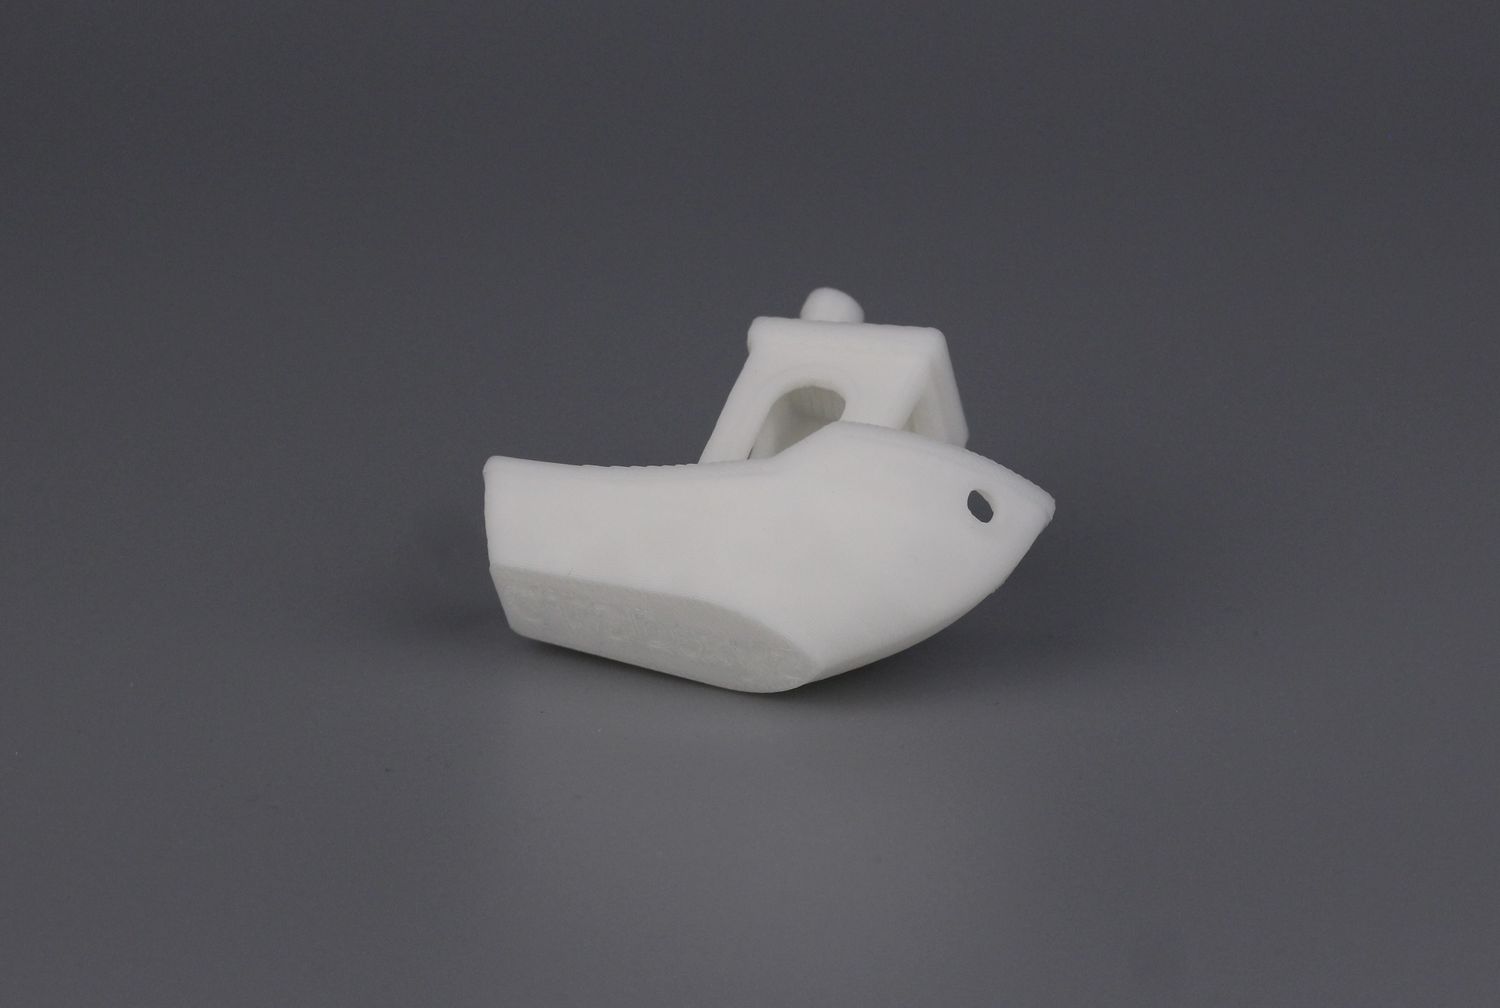
In this case, you would just have to take my word for this but don’t expect a regularly sliced Benchy to be as fast as this one. It’s just a “showpiece” and most companies do this.
- Material: Creality White HyperPLA
- Layer Height: 0.2mm
- Nozzle Temperature: 220C
- Bed Temperature: 45C
- Print Speed: pretty fast
40mm Zaribo Test Cube
The next test was printing this Zaribo Test Cube slightly scaled up to 40mm (as I do most of the time). It was sliced with the default settings in Creality Print and I can’t really complain about the print quality.
Other than slight external wall inconsistency which is probably caused by speed changes, the results are great.
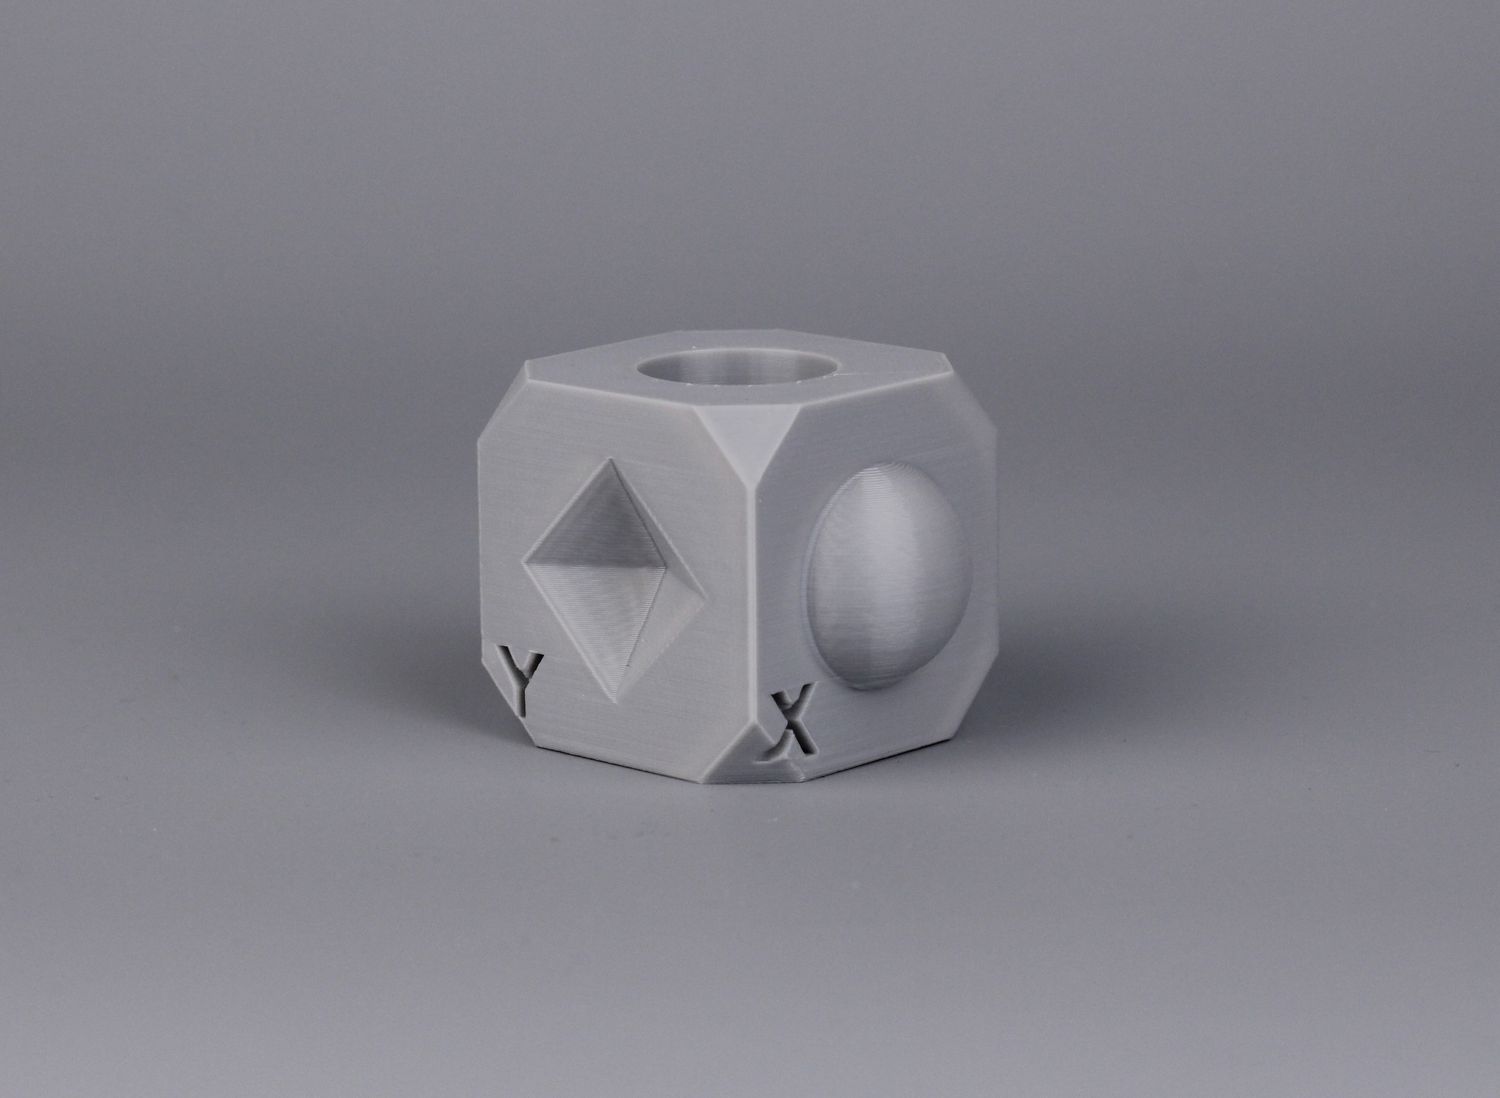
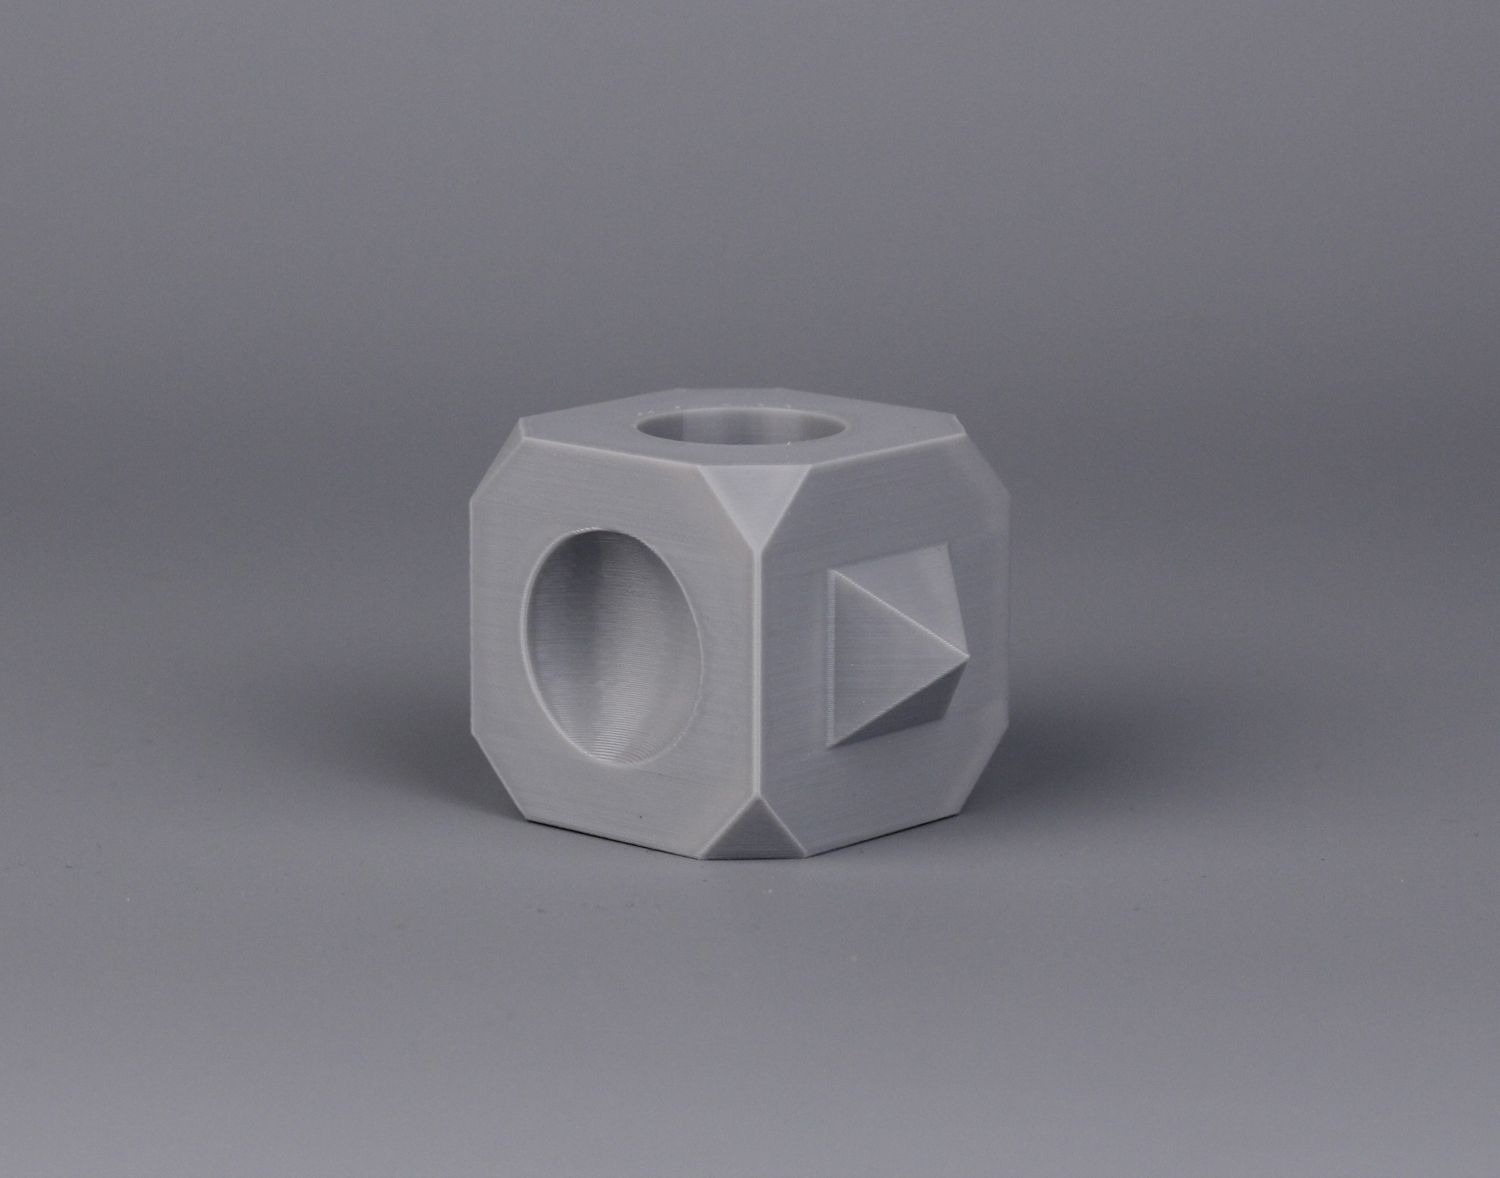
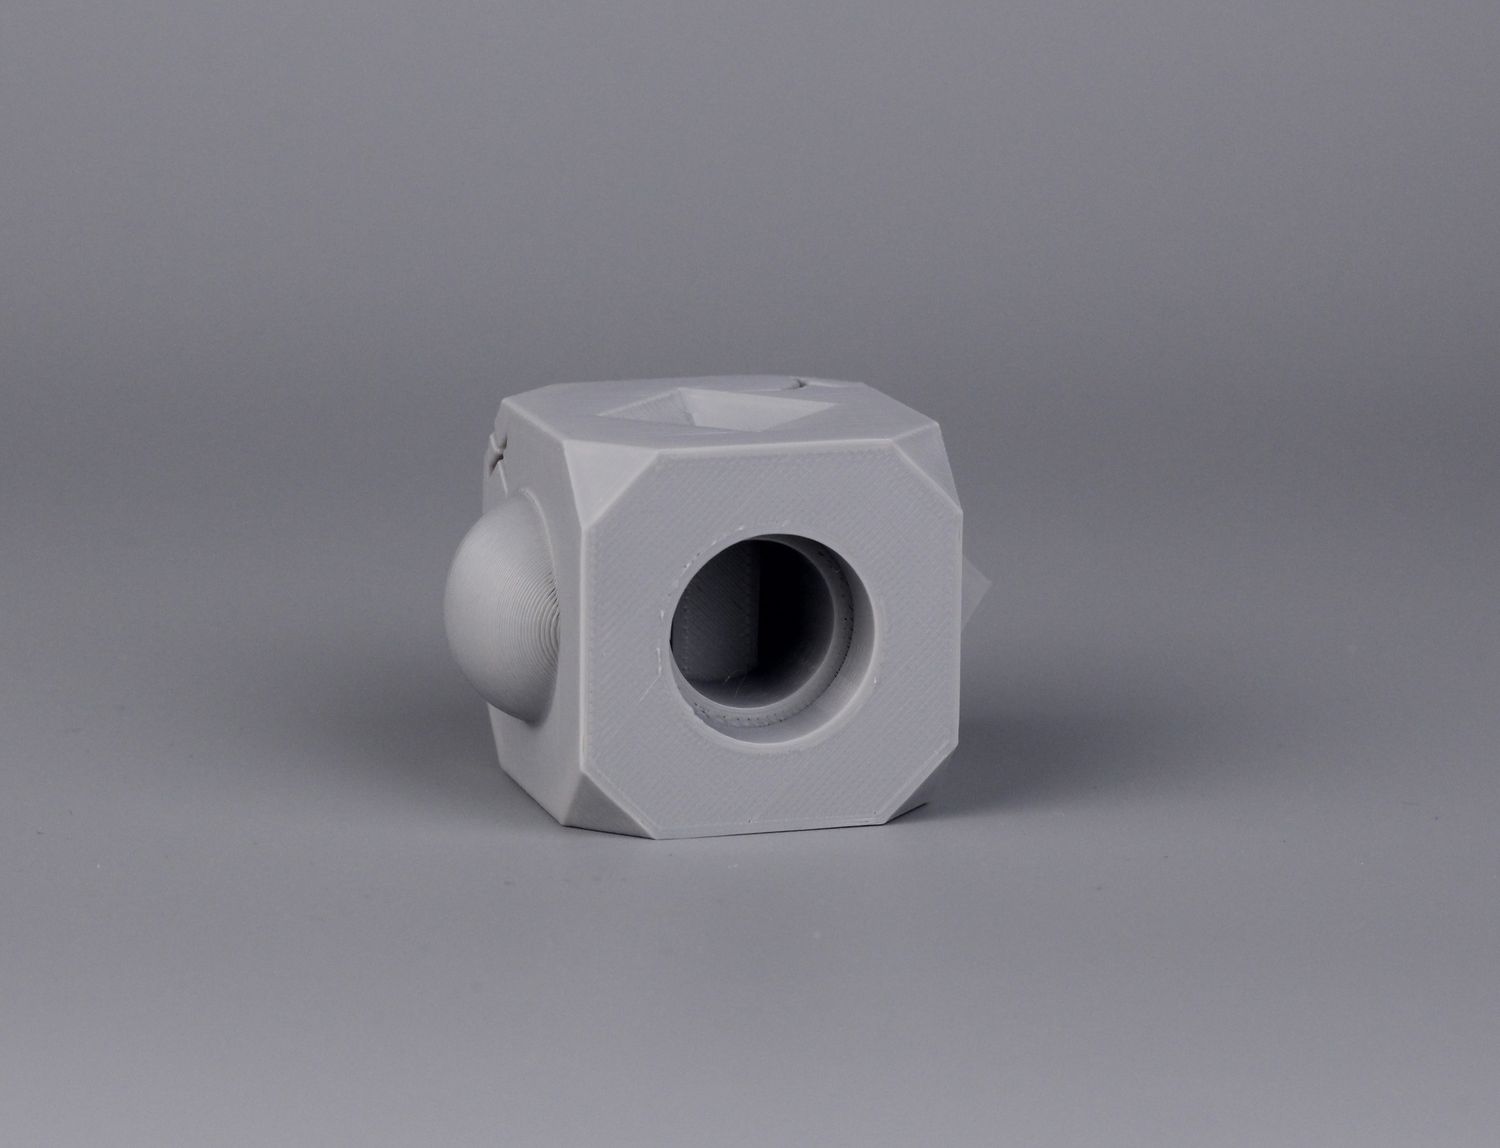
- Material: Anycubic Grey PLA
- Layer Height: 0.2mm
- Nozzle Temperature: 220C
- Bed Temperature: 60C
- Print Speed: ~300 mm/s
Phil-A-Ment
Printing with a silky filament is something I do when reviewing printers as this filament shows problems with the motion system easier. And this is the model that helped me see the problems related to the Creality K1’s grease added to the rods (which is bad). The print head is not moving smoothly, it “skips” over the rods, and there’s a vibration or resonance artifact shown on the external walls of the model
Fortunately, the problem seems to be gone after cleaning.
If we ignore this artifact, the print quality is great with good overhang quality showing that the part cooling is great.
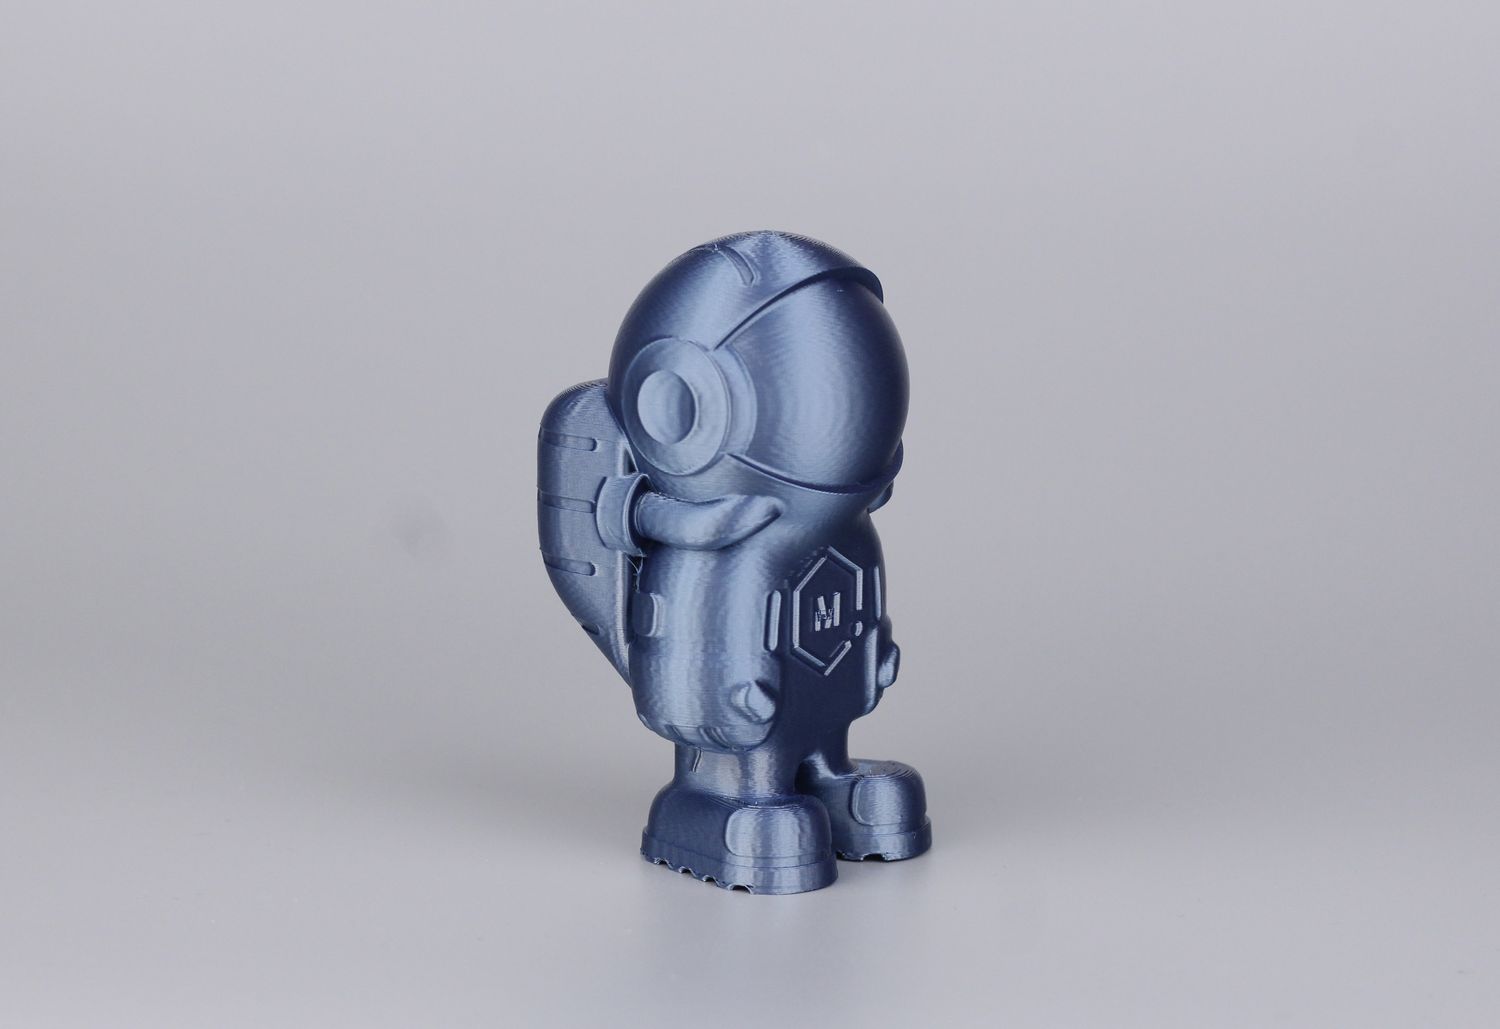
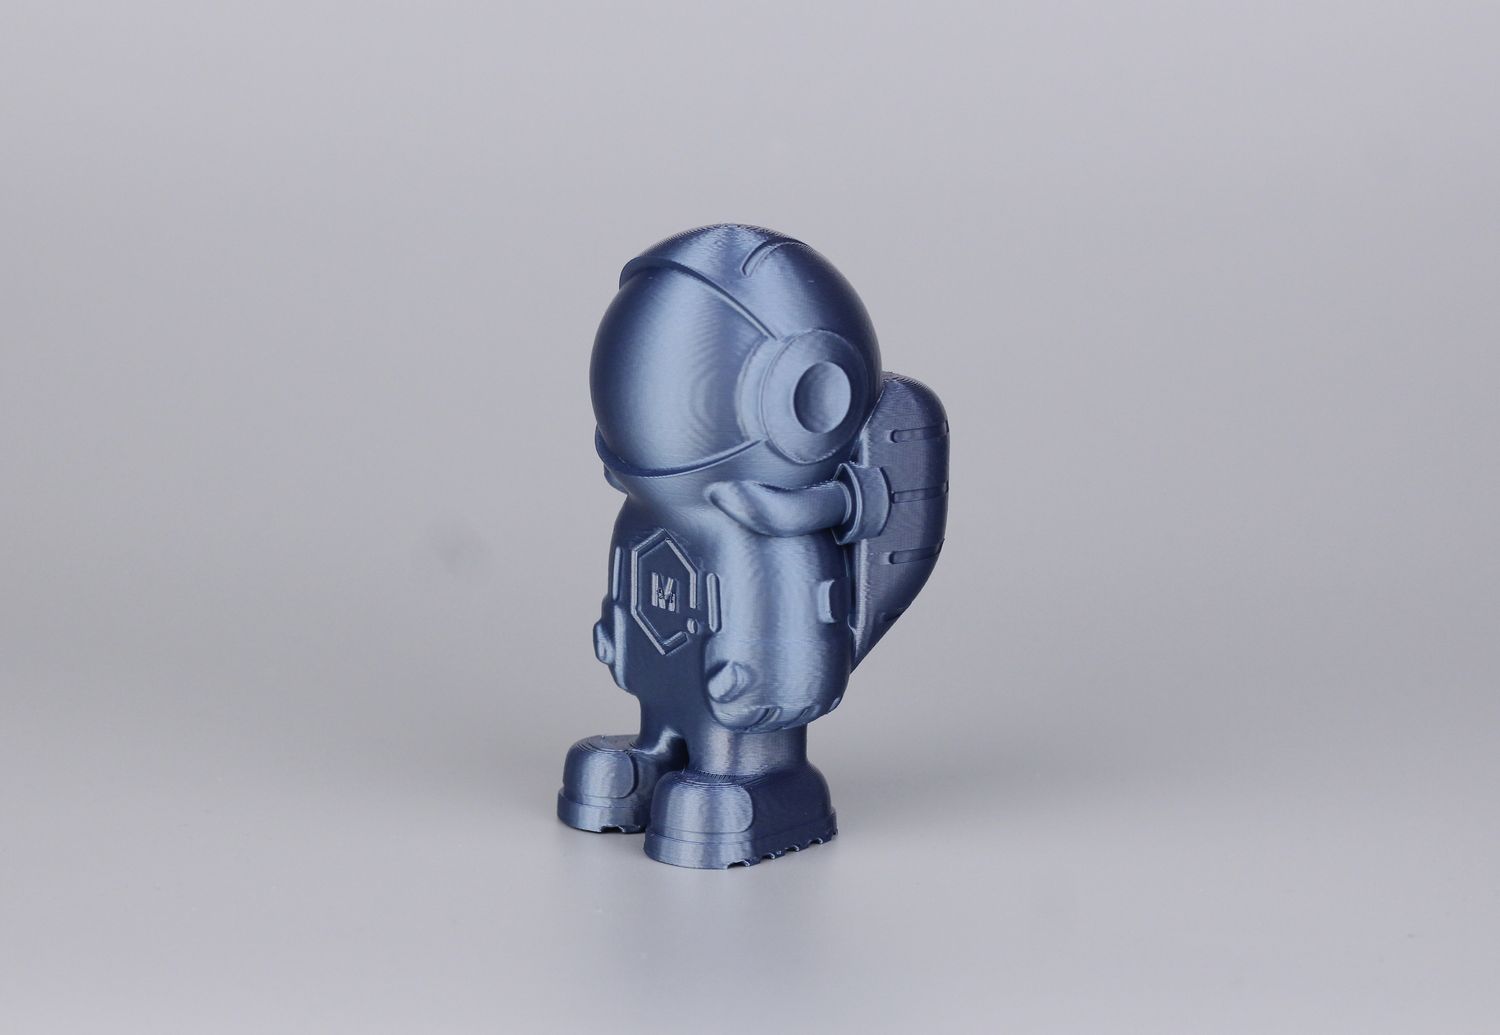
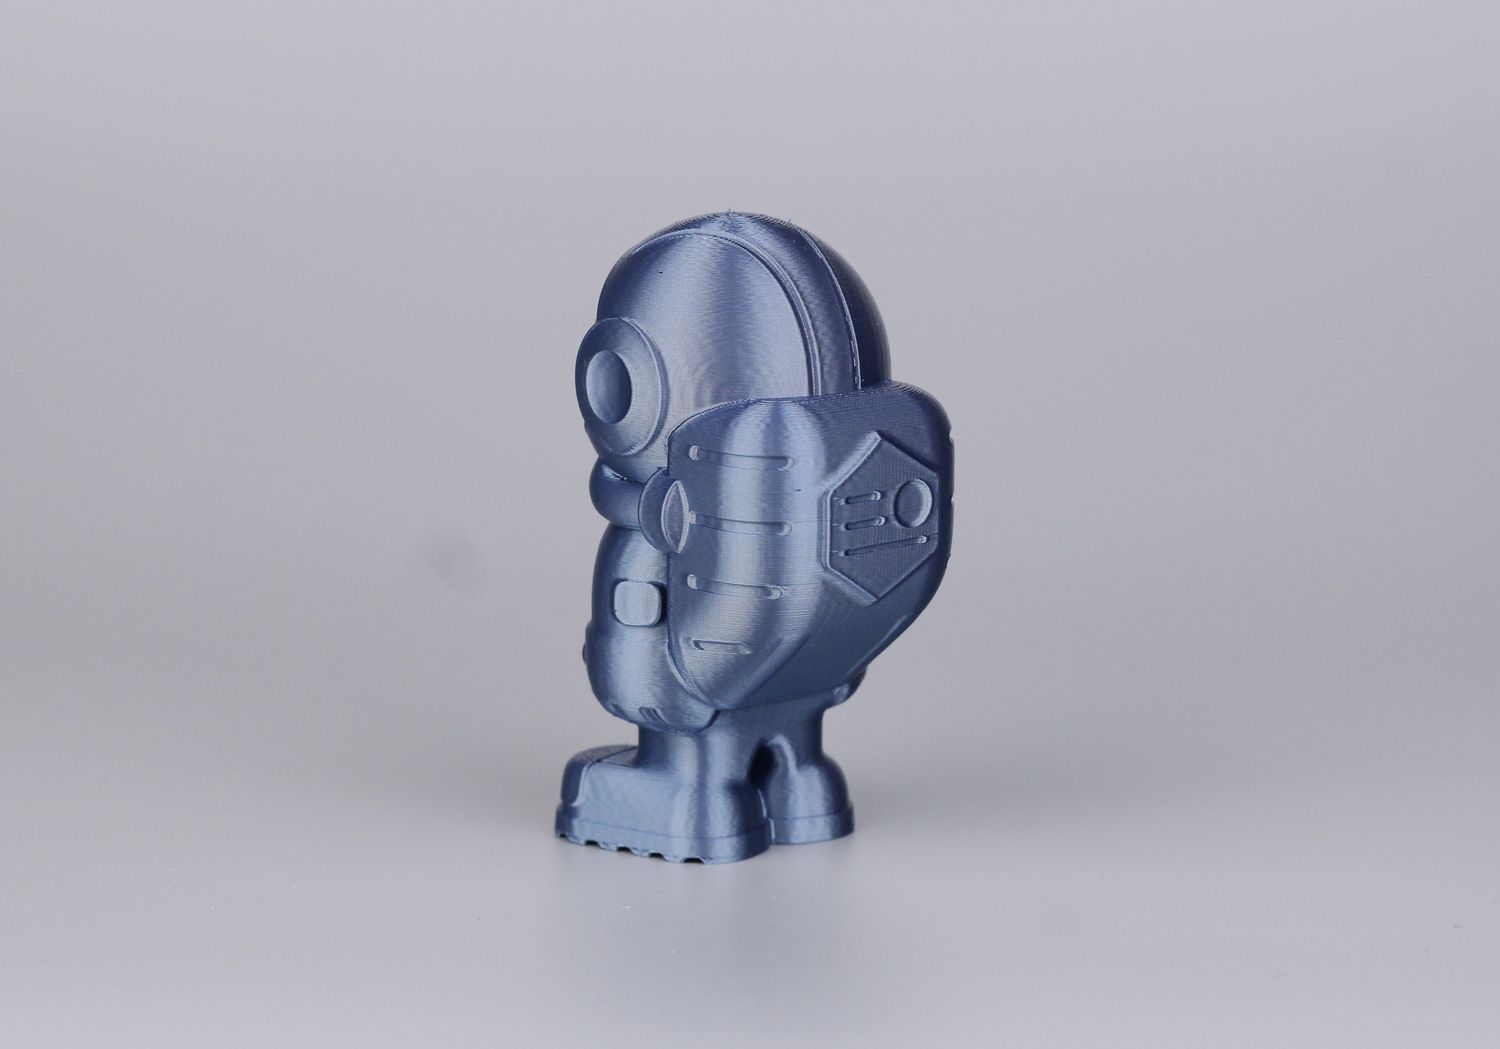
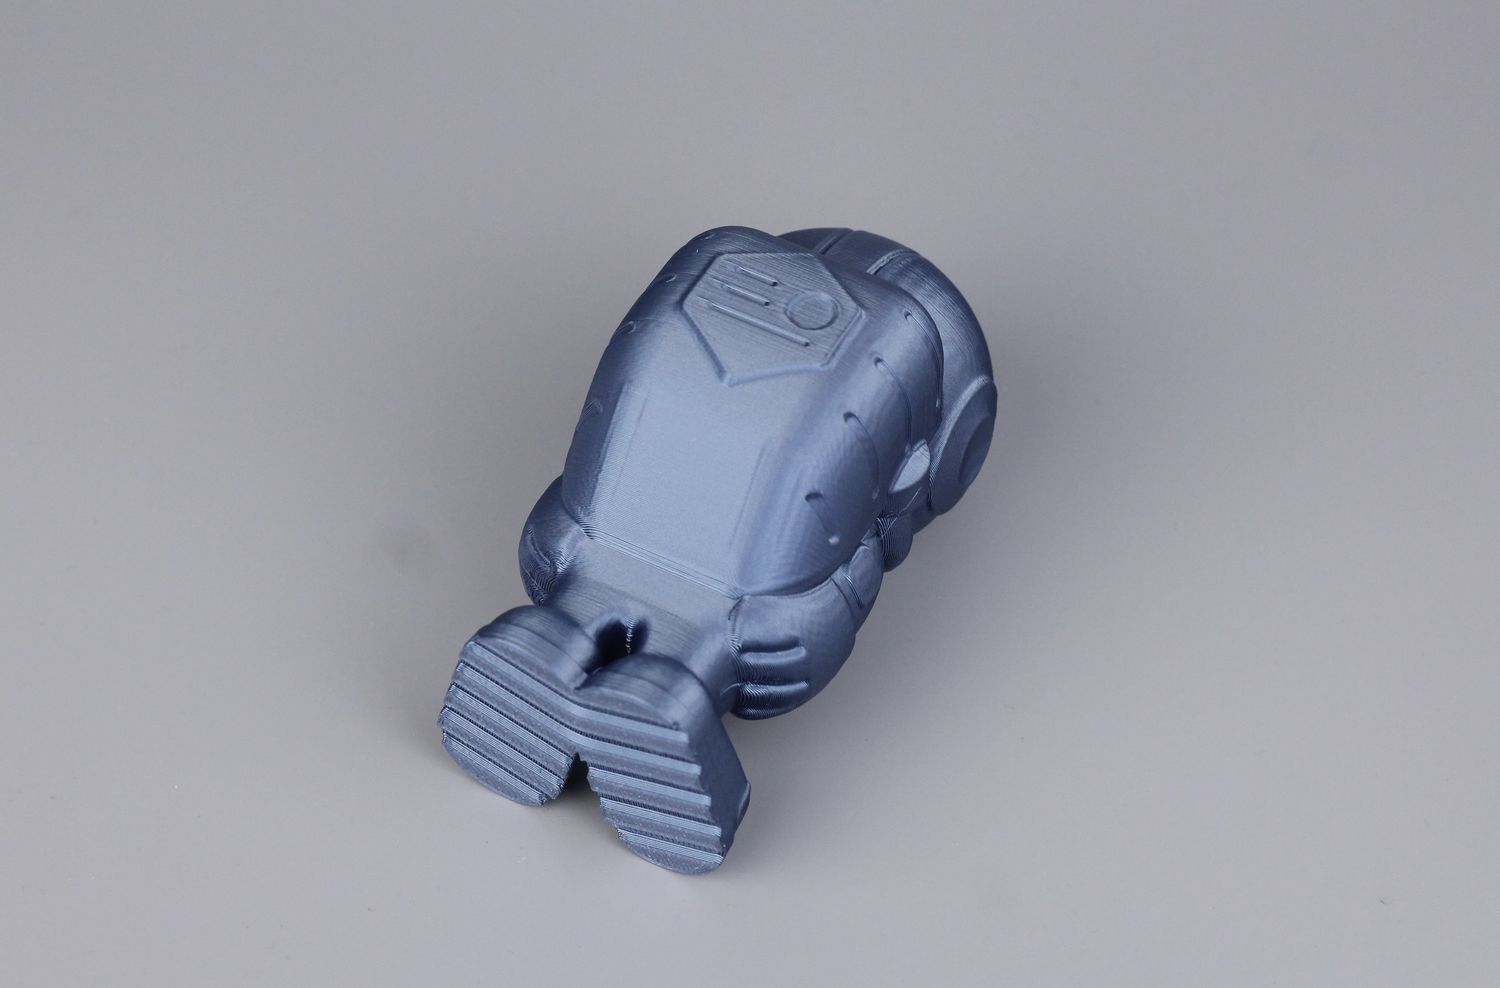
- Material: Bambu Lab Cobalt Blue Metallic
- Layer Height: 0.2mm
- Nozzle Temperature: 220C
- Bed Temperature: 60C
- Print Speed: ~200 mm/s
Flexi Fox
I use this Flexi Fox model to test PETG print quality and adhesion, and I can say that the results are as expected. But if you look closely, this model also has the vibration problem mentioned above.
I wasn’t very careful when checking the print quality I got for this when it was completed, but as seen now, the external walls have the reported artifact making the fox look “furry” or printed with the Fuzzy Skin” enabled, but that’s not the case.
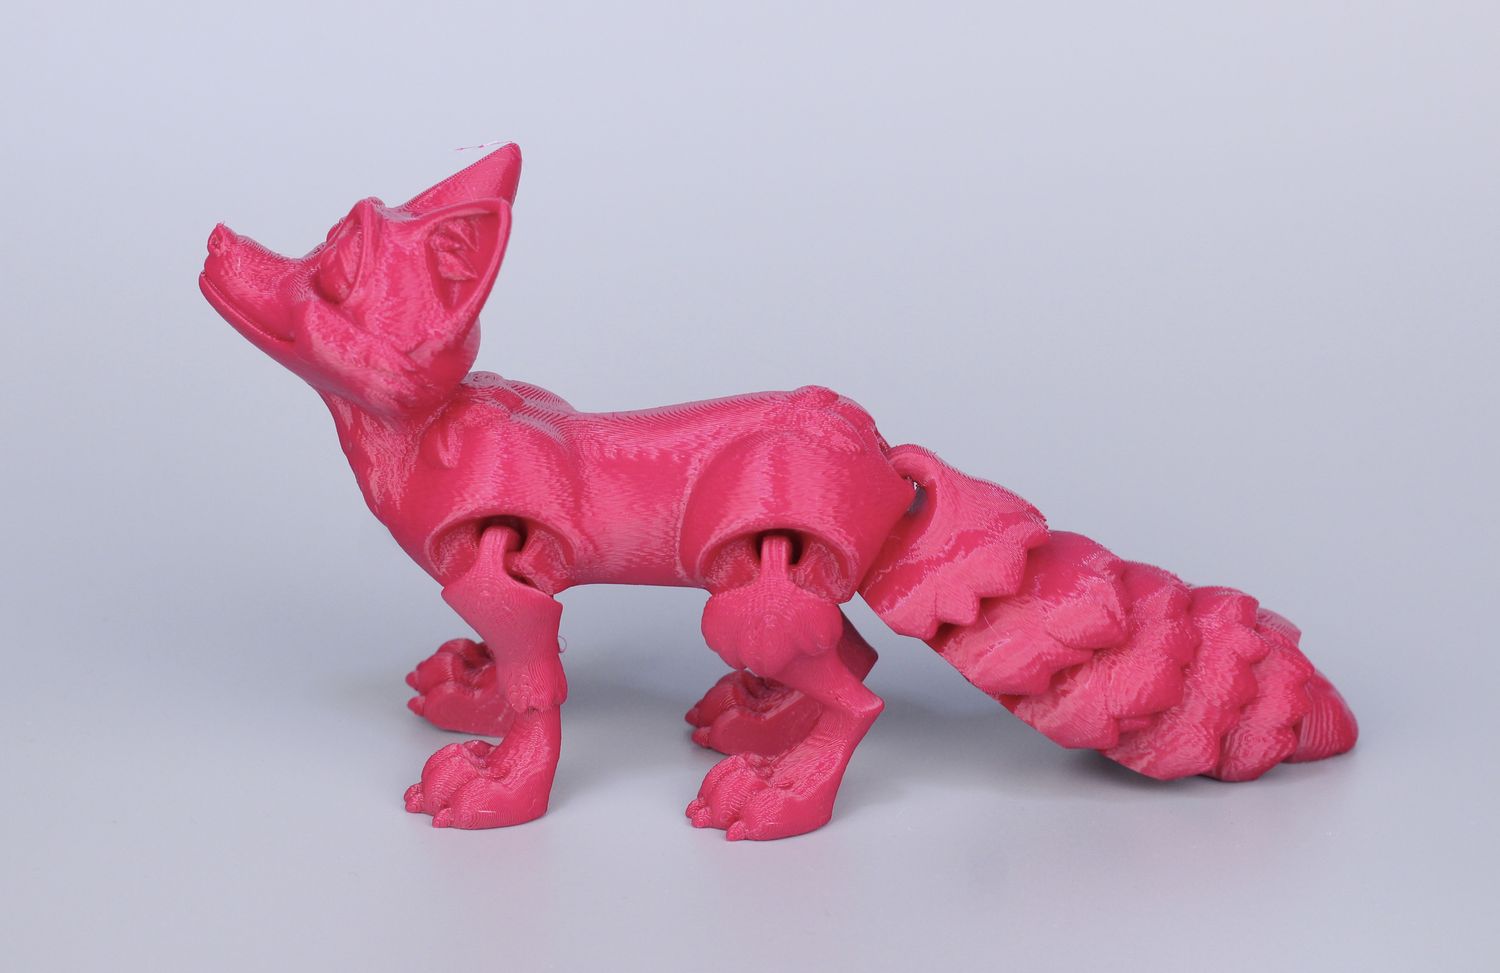
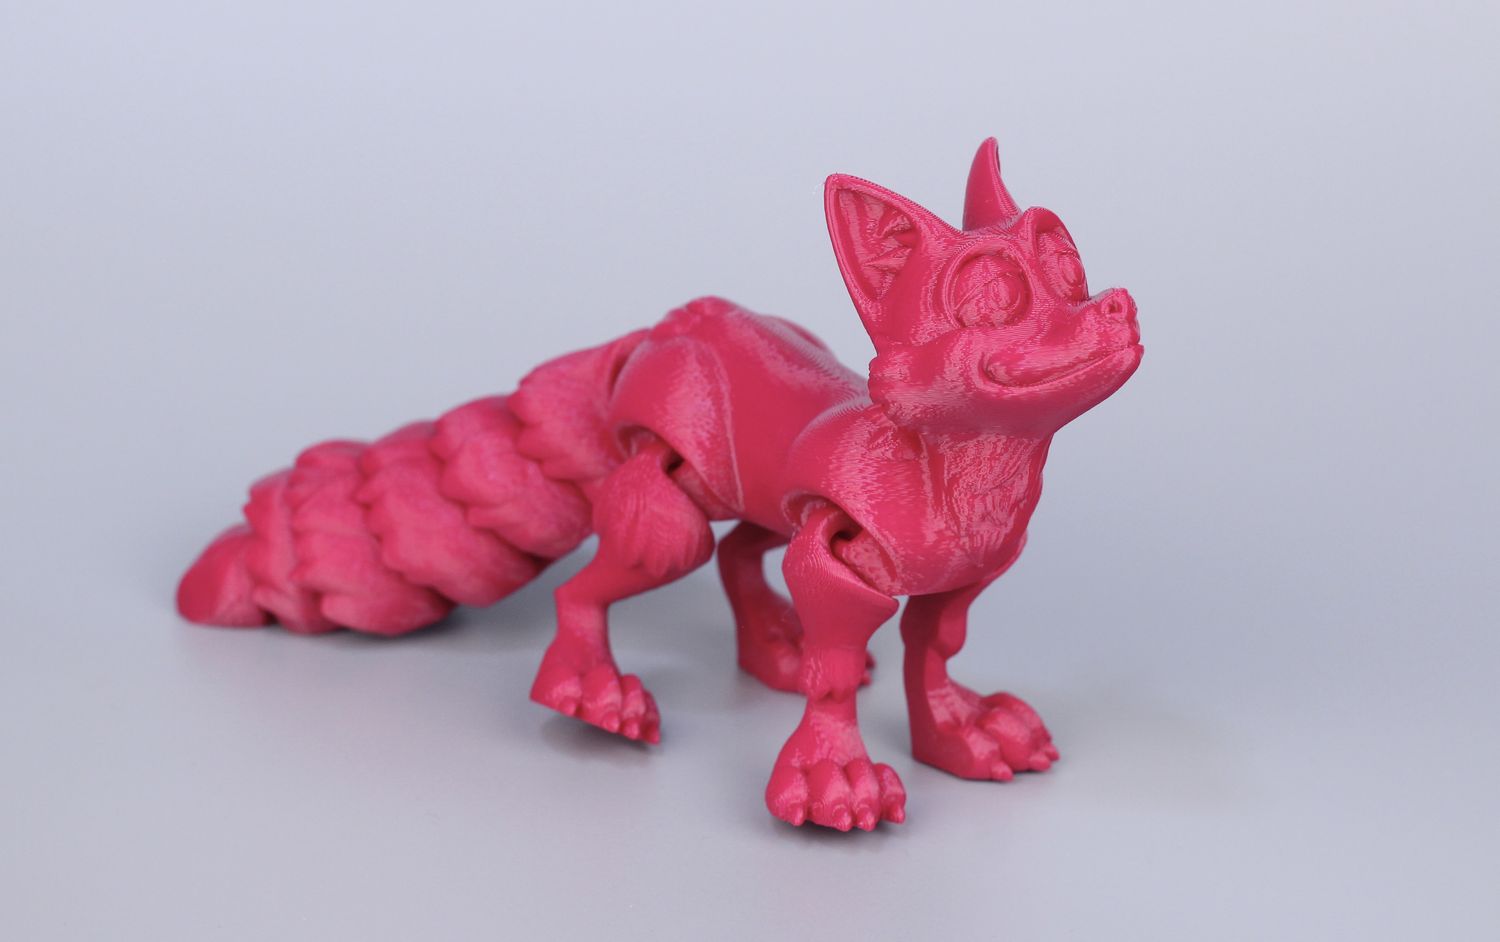
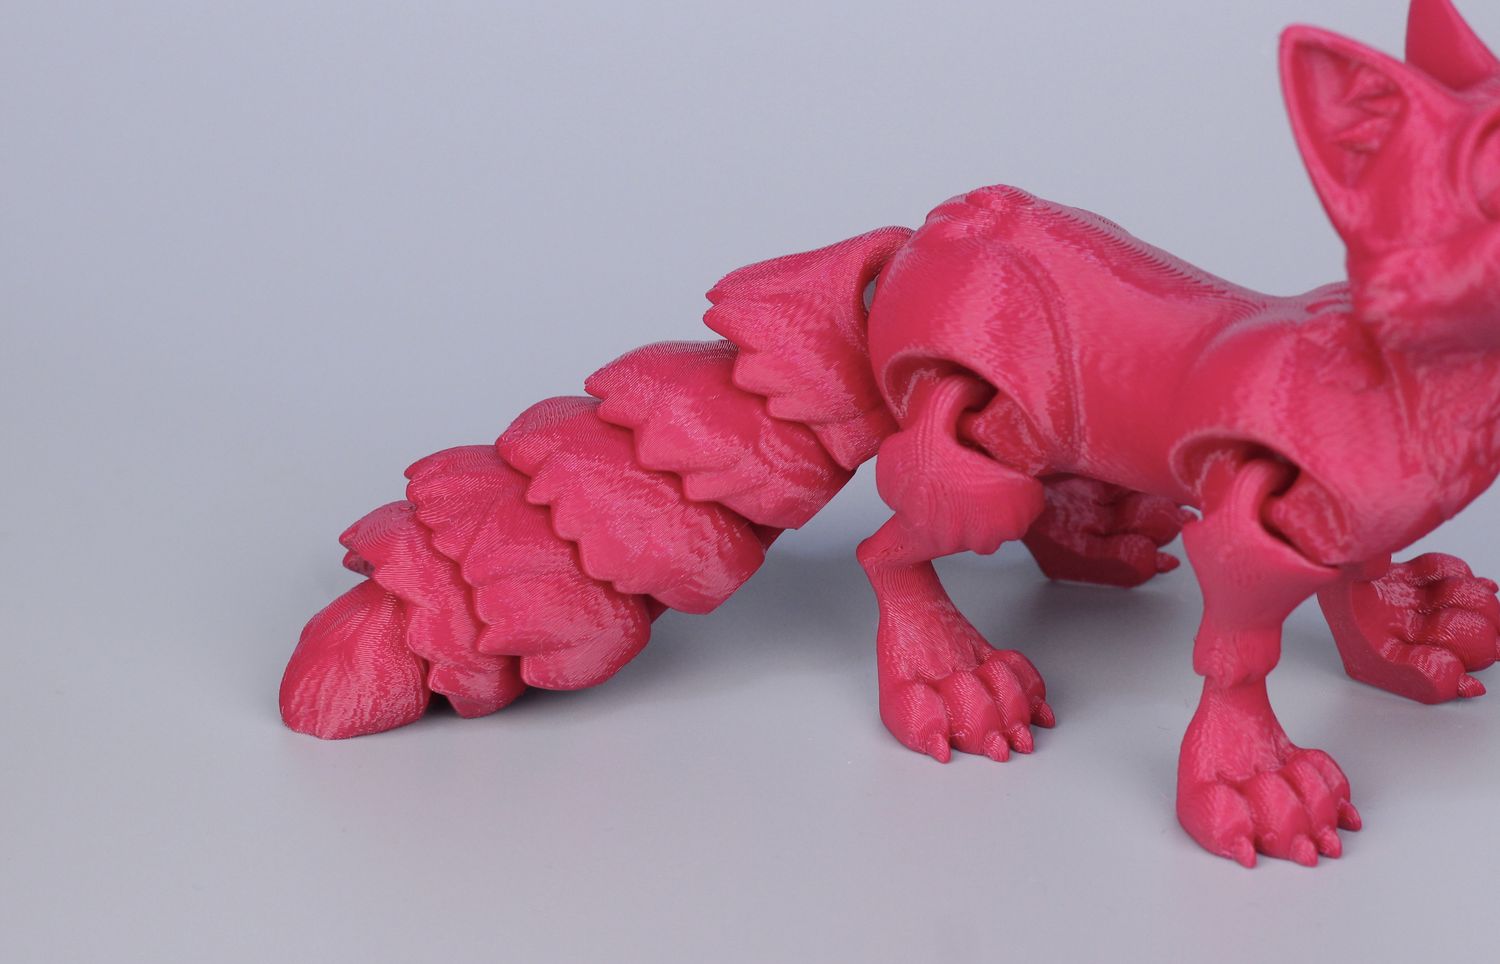
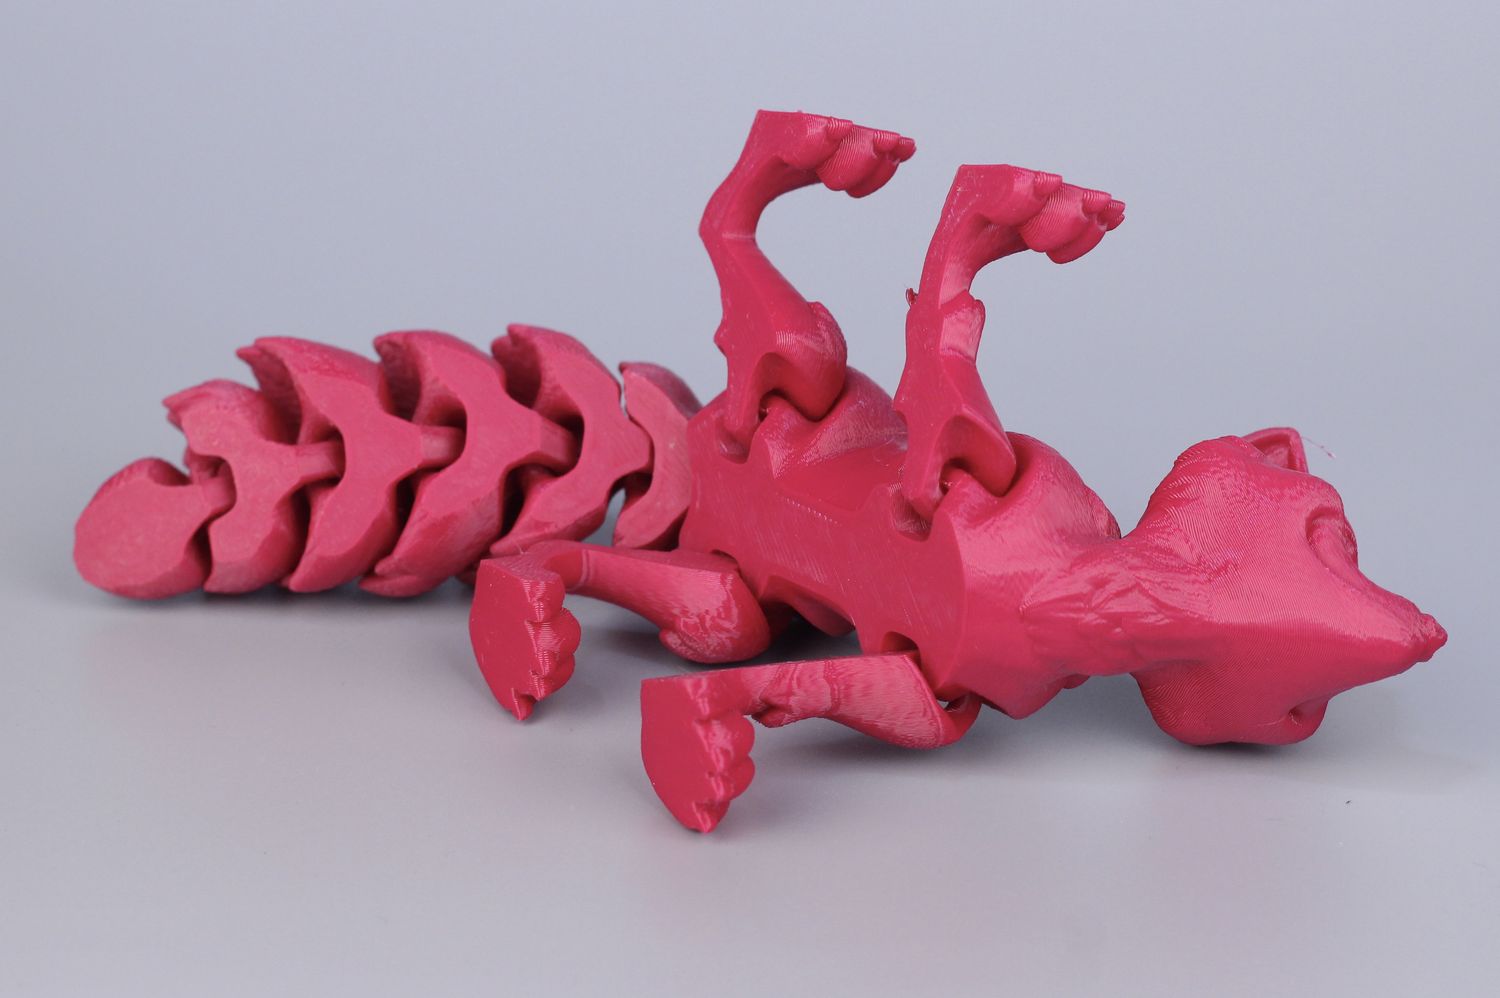
- Material: Devil Design Pink PETG
- Layer Height: 0.2mm
- Nozzle Temperature: 260C
- Bed Temperature: 80C
- Print Speed: ~300 mm/s
Real Scale Super Mario Bros Pipe
After fixing the problems with the motion system, I printed another cool model in PETG with great results.
Very slight Z banding which might be better after a flow rate calibration (I used the default PETG profile) but I can’t really complain about the print quality.
This model from Wacky3DPrints also allowed me the chance to test the power recovery function, as power failed when printing the orange base. The printer knew how to catch that and continue the print like nothing happened so that’s good to see.
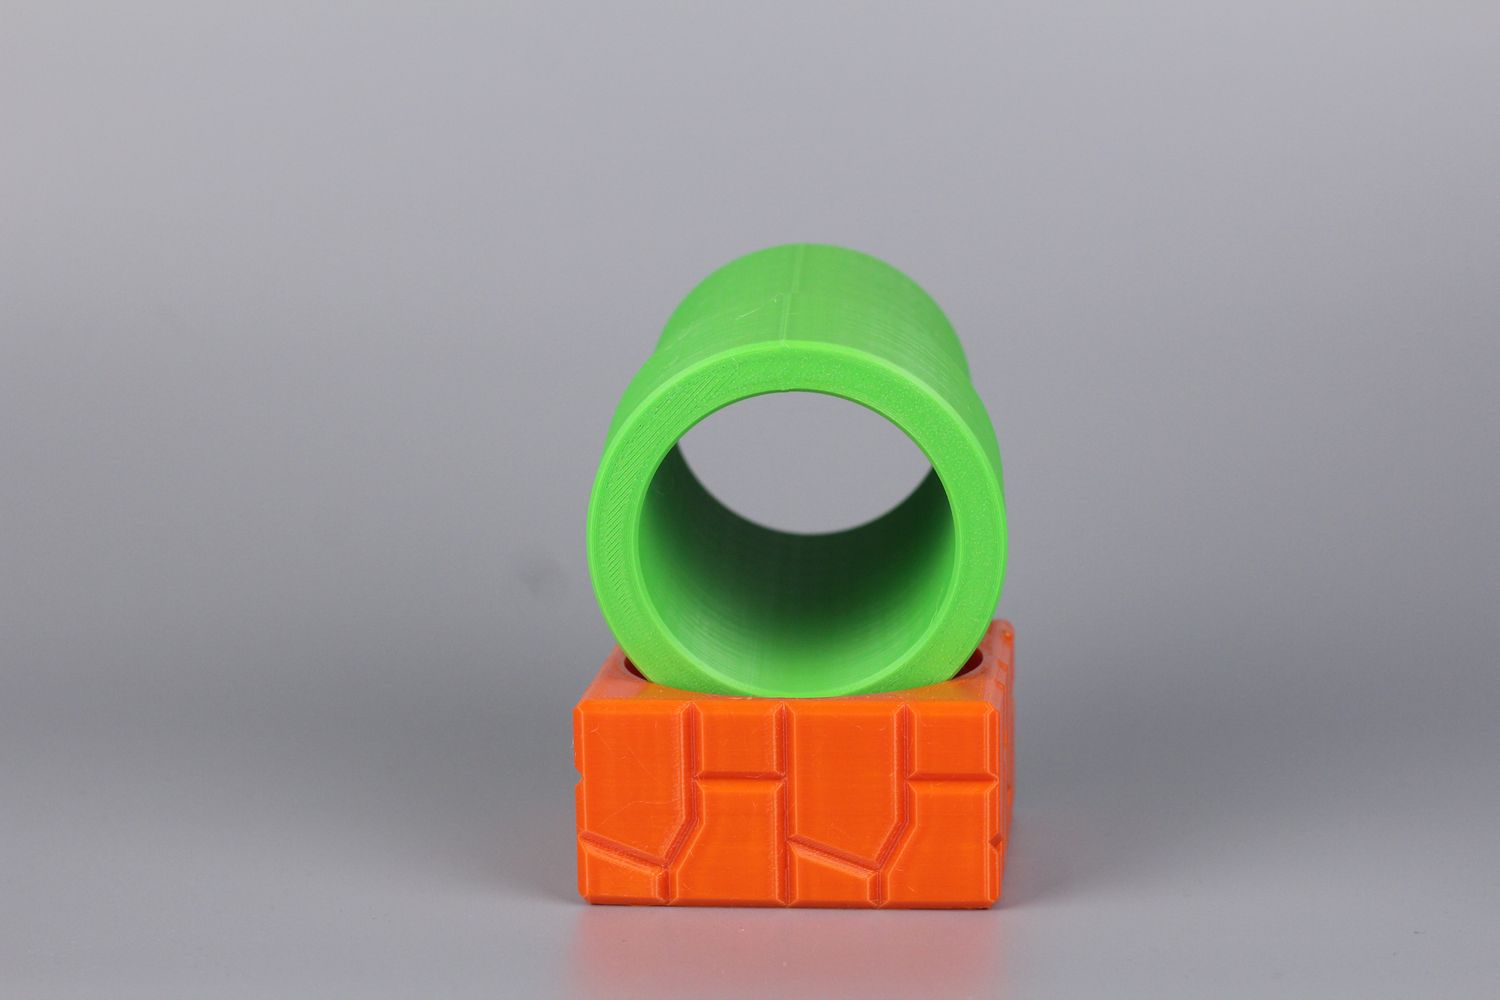
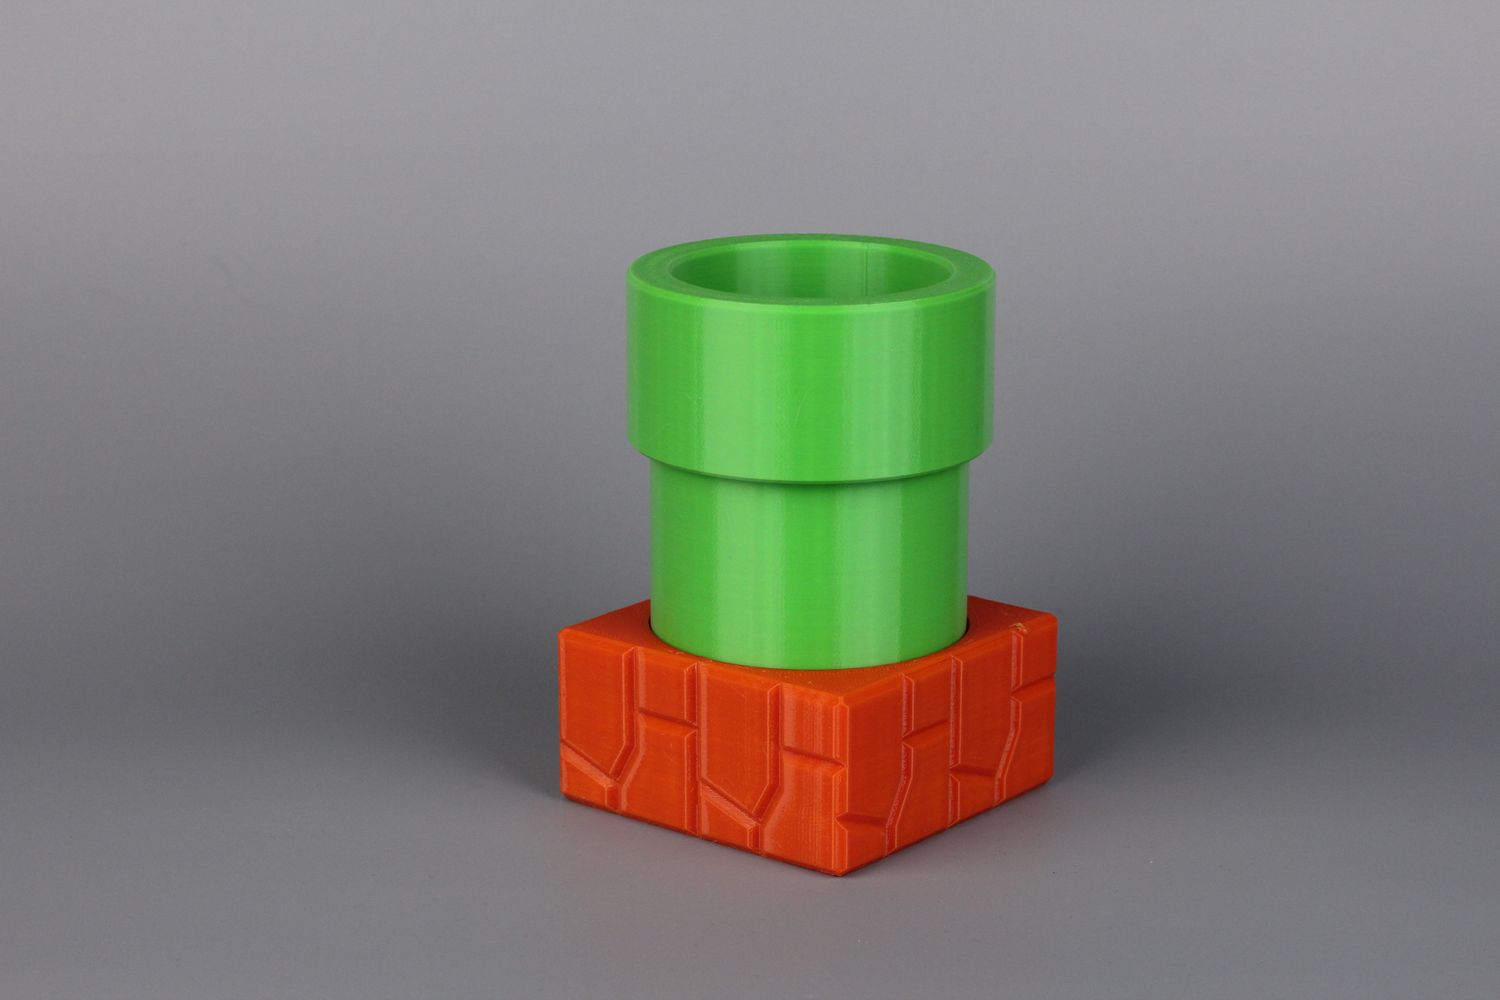
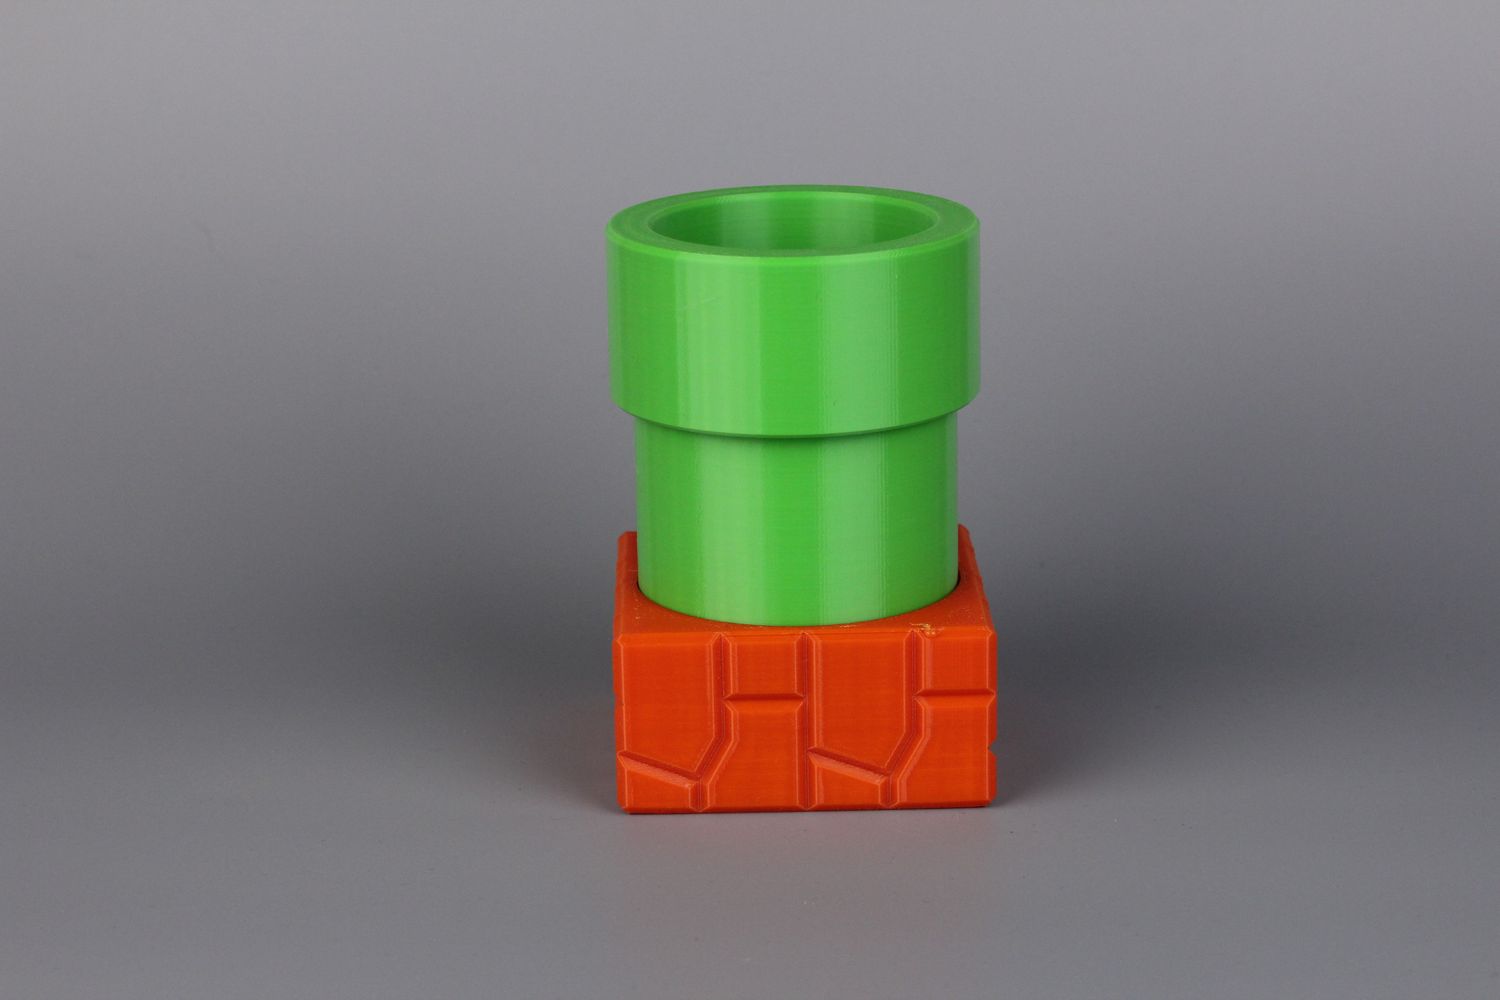
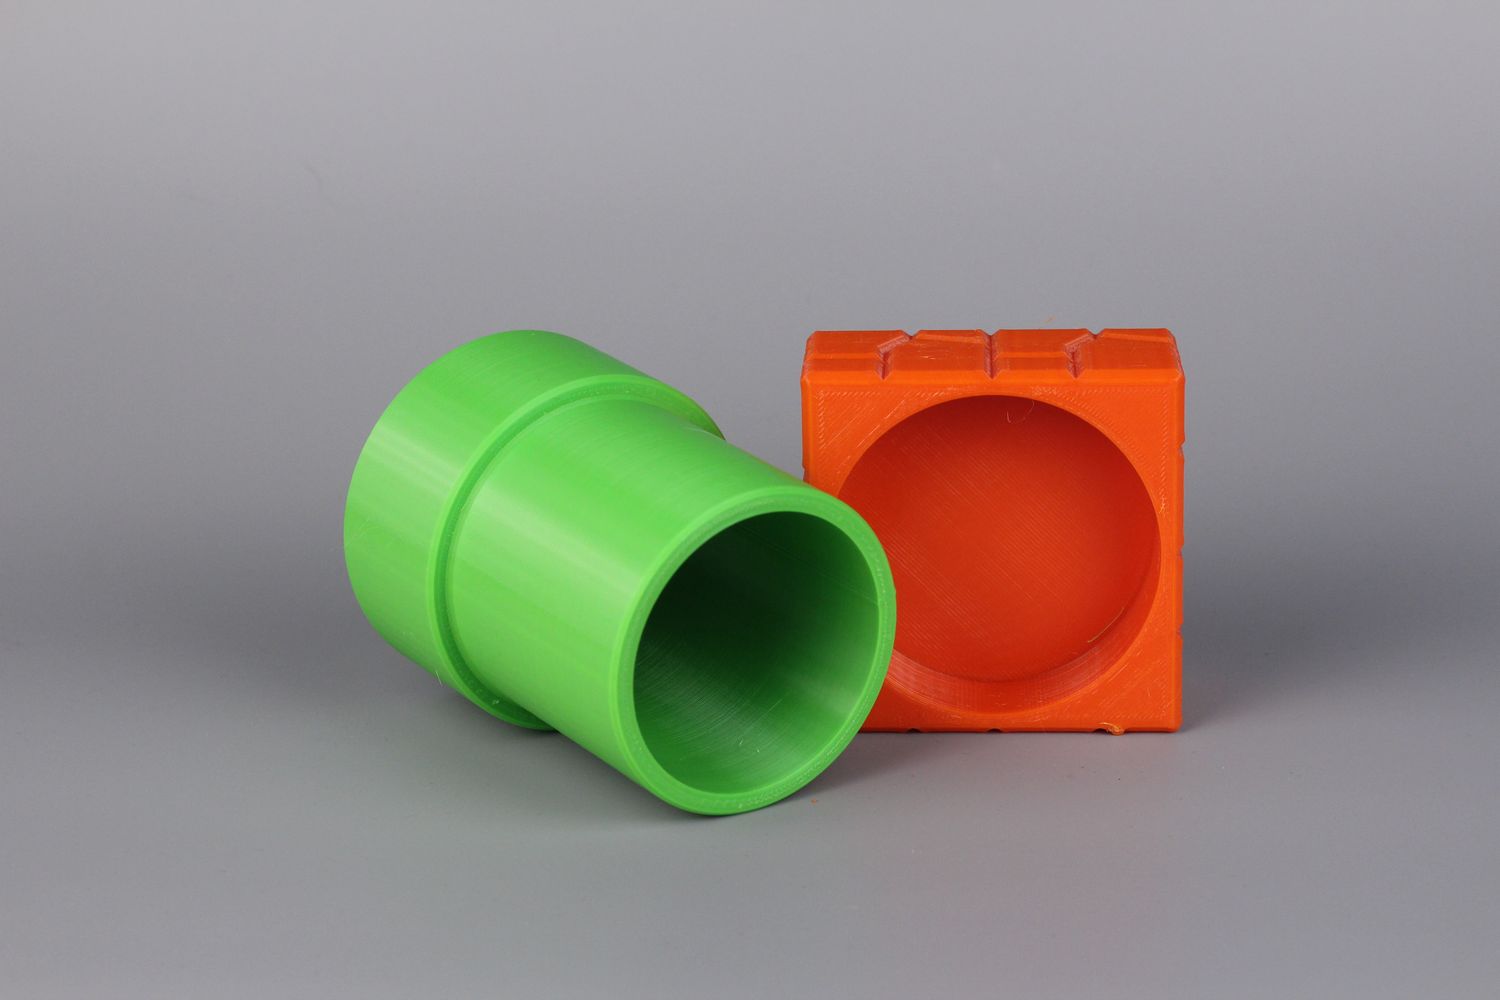
- Material: Devil Design Orange and Green PETG
- Layer Height: 0.2mm
- Nozzle Temperature: 260C
- Bed Temperature: 80C
- Print Speed: ~300 mm/s
Torture Toaster
The ultimate benchmark test when it comes to a printer’s performance is the Torture Toaster from Clockspring3D. It’s pretty hard to print successfully, especially at a higher speed but the Creality K1 was able to do it on the first try.
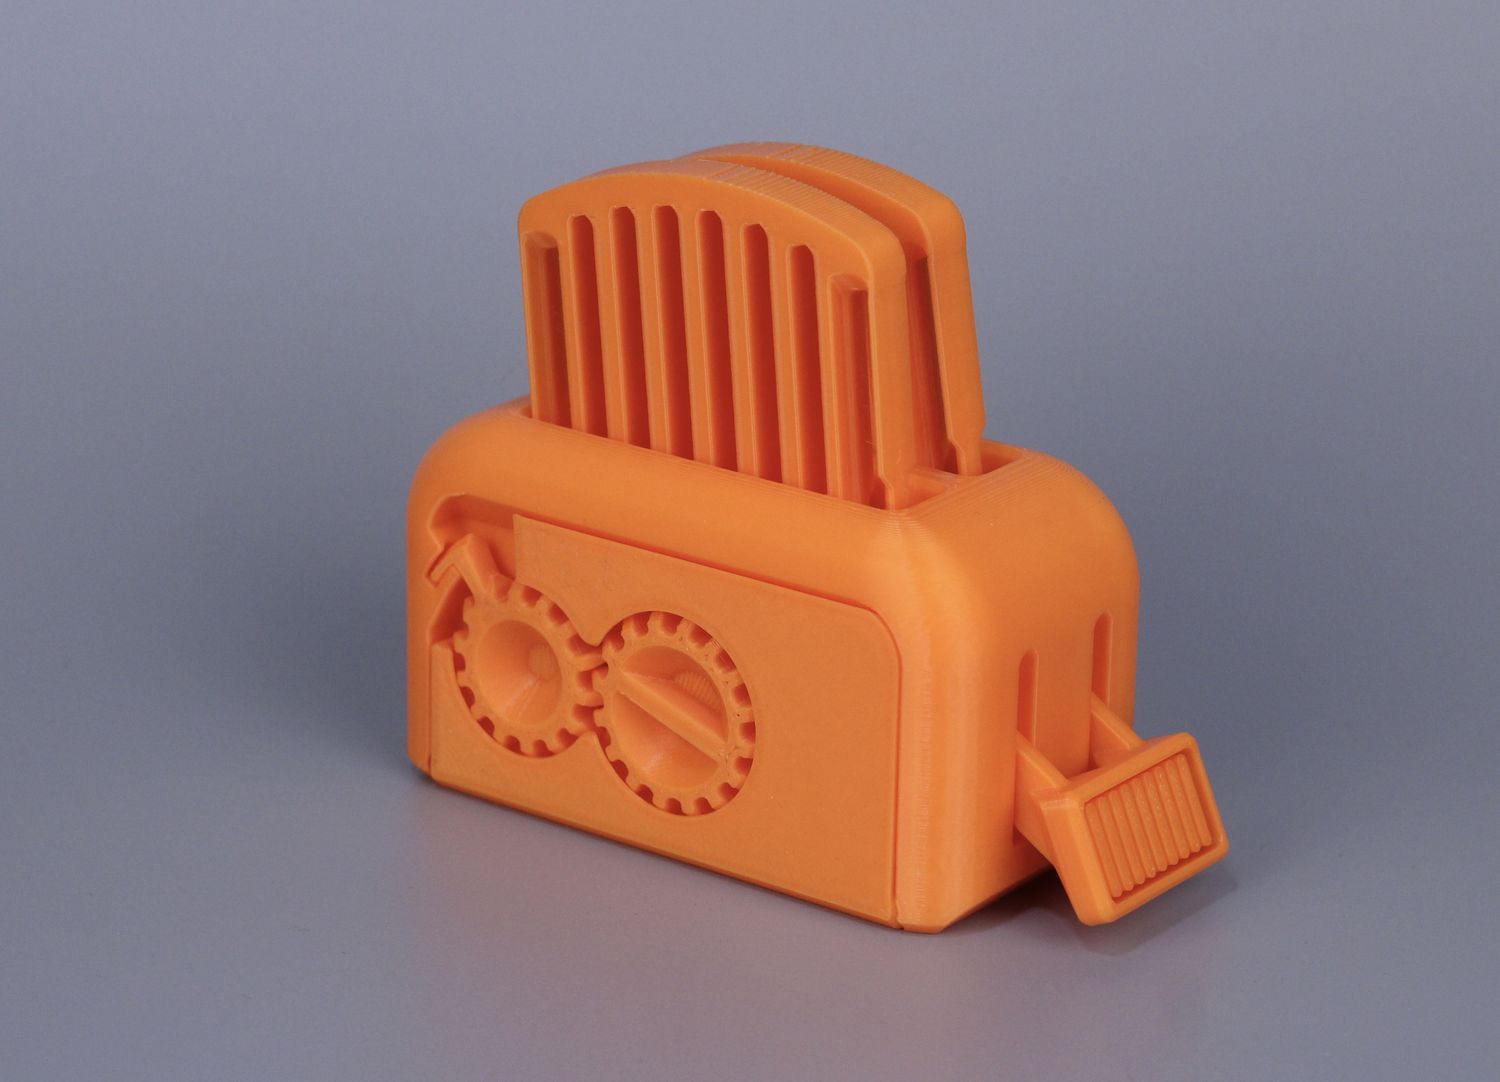
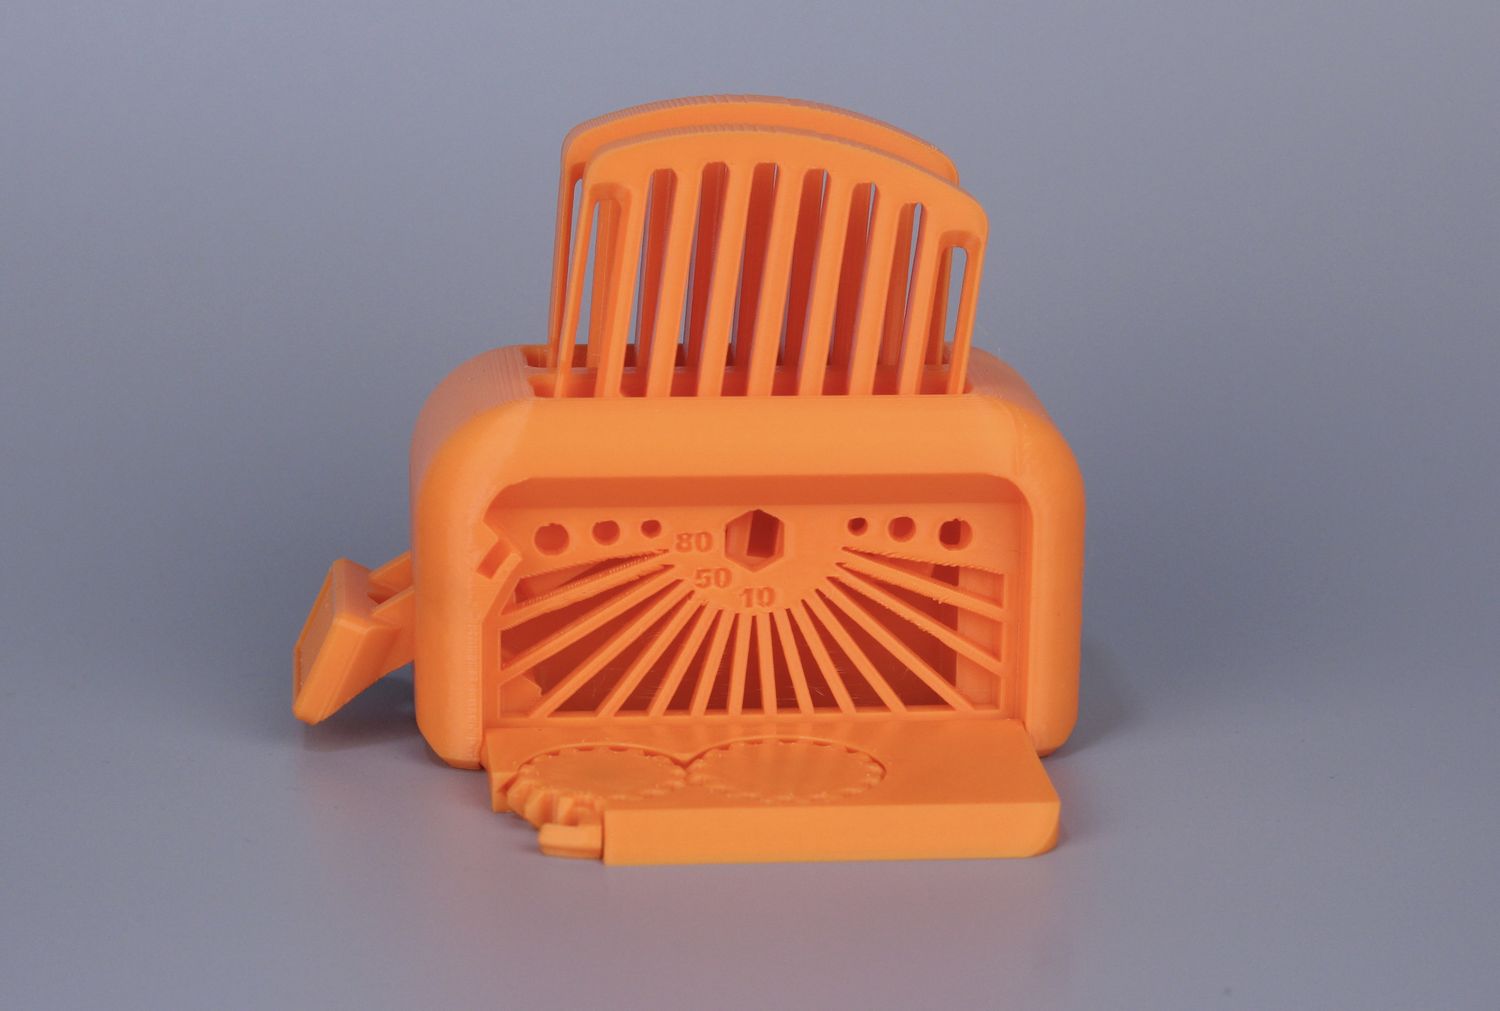
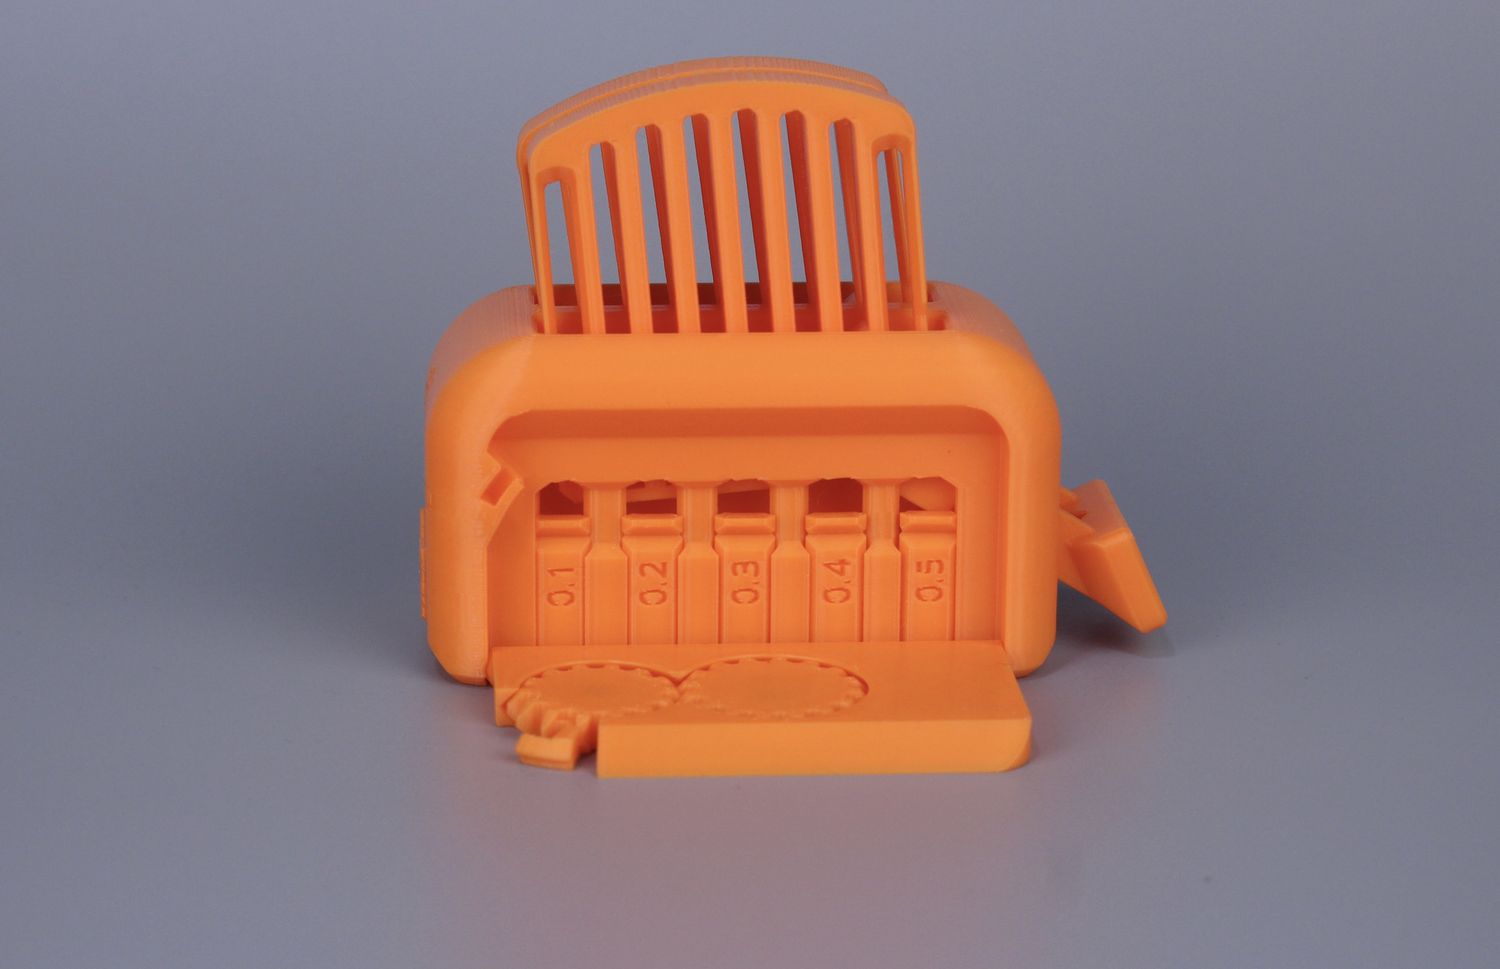
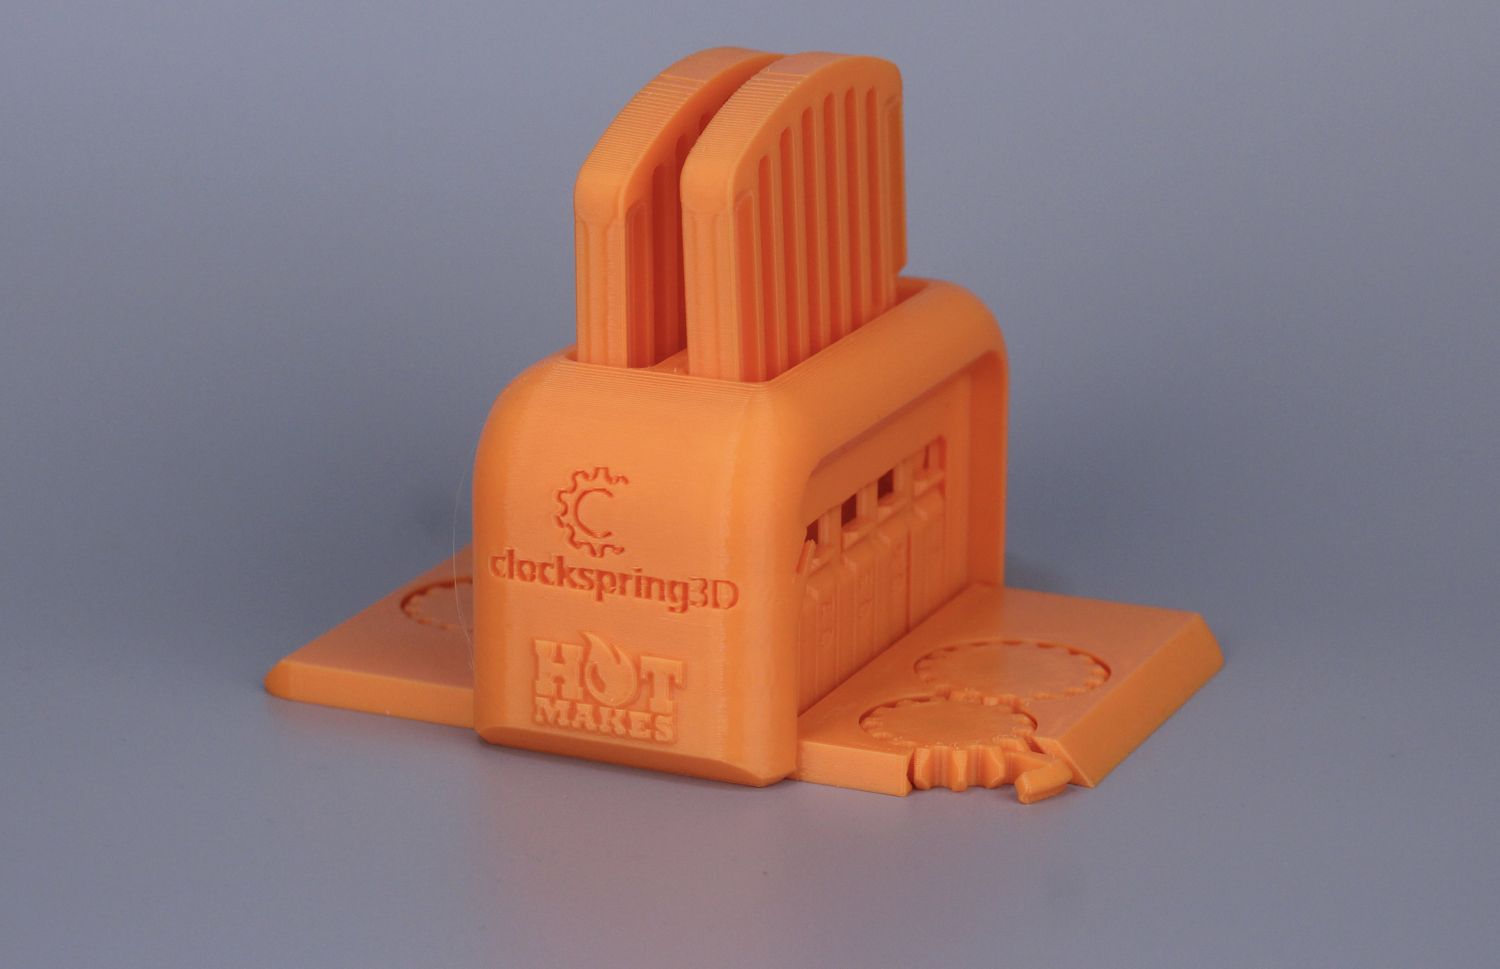
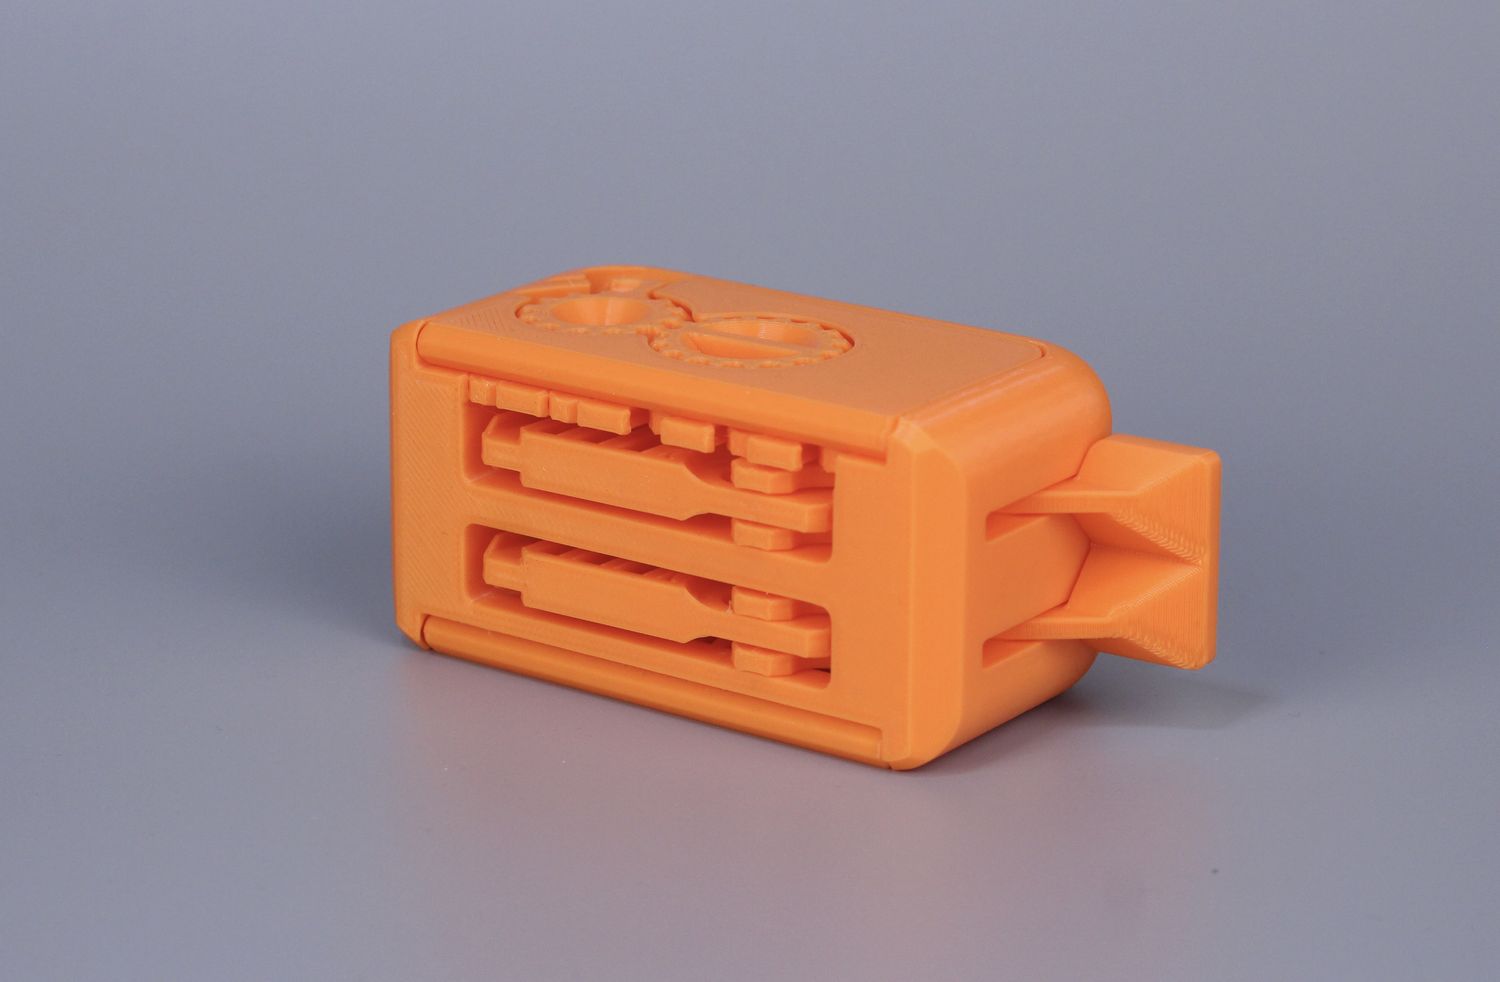
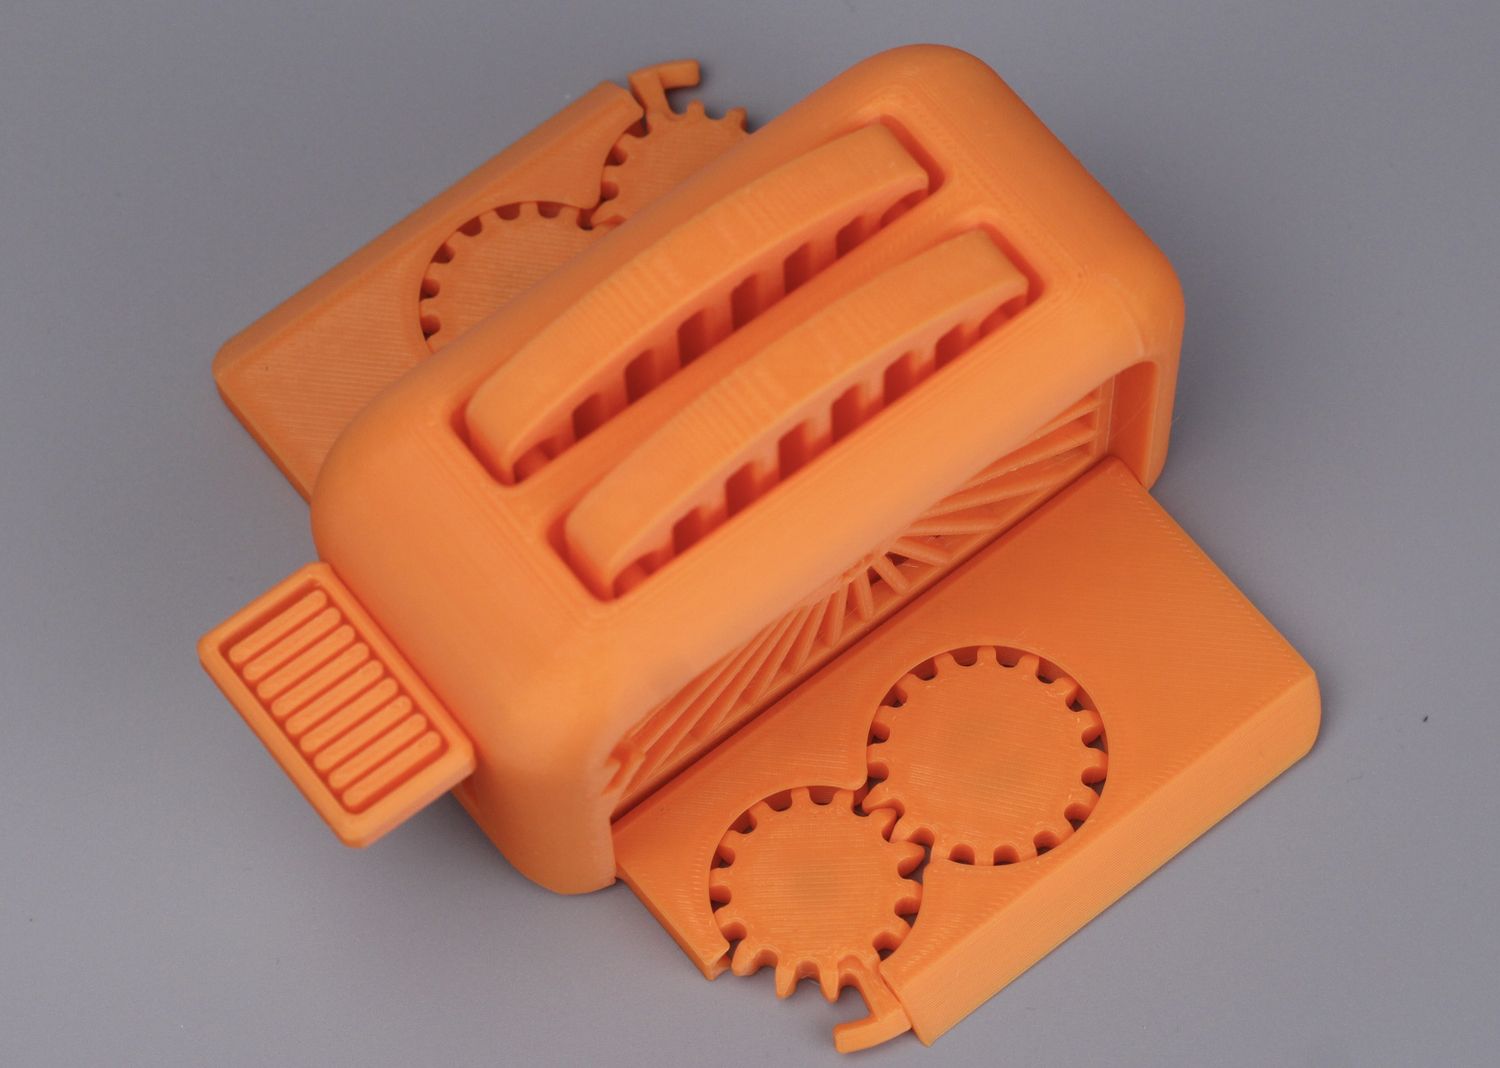
All the parts move as expected, the overhang quality is good and the tolerance flags could be moved except 0.2 and 0.1 which were fused. Not bad for the default profile in Creality Print.
- Material: Bambu Lab Orange PLA Basic
- Layer Height: 0.2mm
- Nozzle Temperature: 220C
- Bed Temperature: 60C
- Print Speed: ~300 mm/s
Modular Truck and Hyundai N Vision 74
Another PLA test is with these to awesome print-in-place Modular Truck and Hyundai N Vision 74 models from Vit Budina. They were printed at the same time, but the print was not a complete success. If you look closer, you can see the sections where the extruder has lost its grip and was unable to reliably push the filament.
It managed to recover after a few failed layers, but new prints continued to fail and I needed to replace the extruder to continue testing.
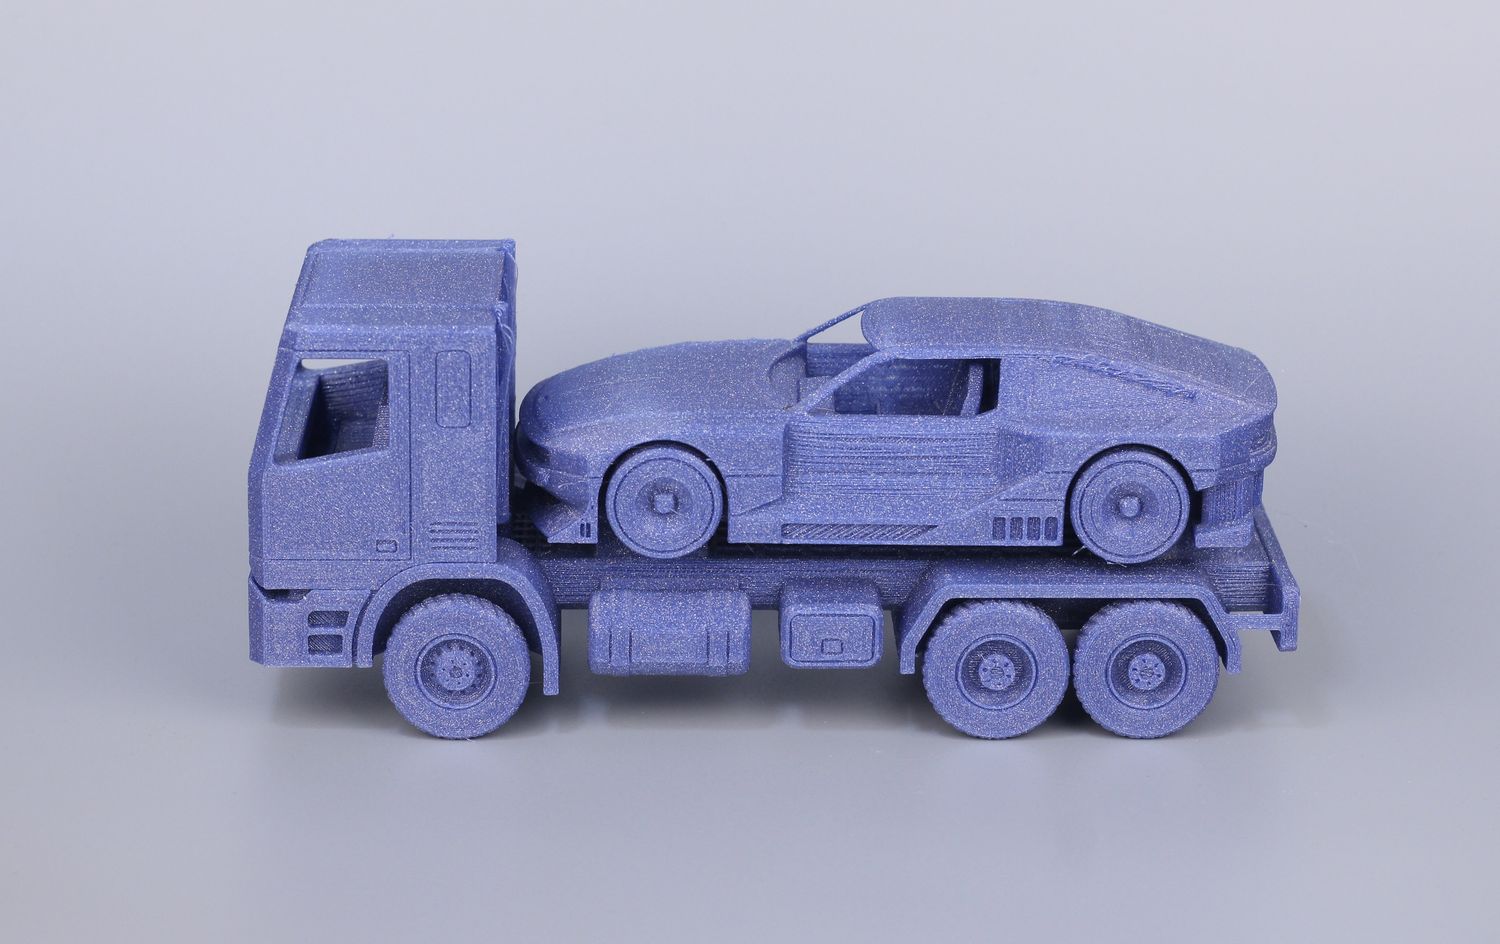
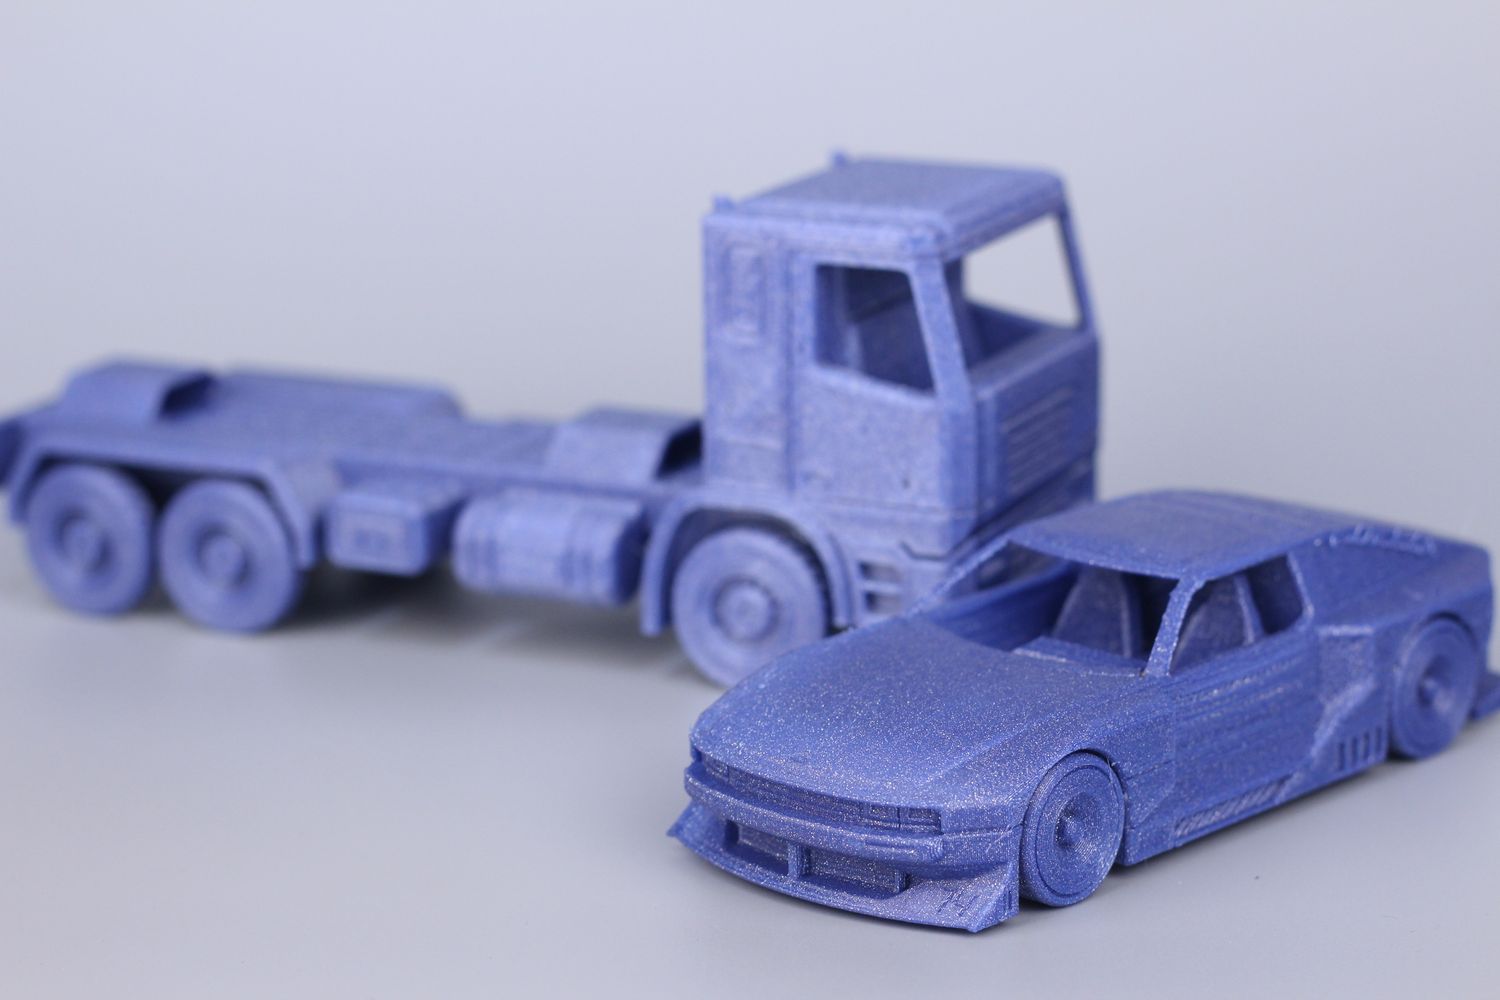
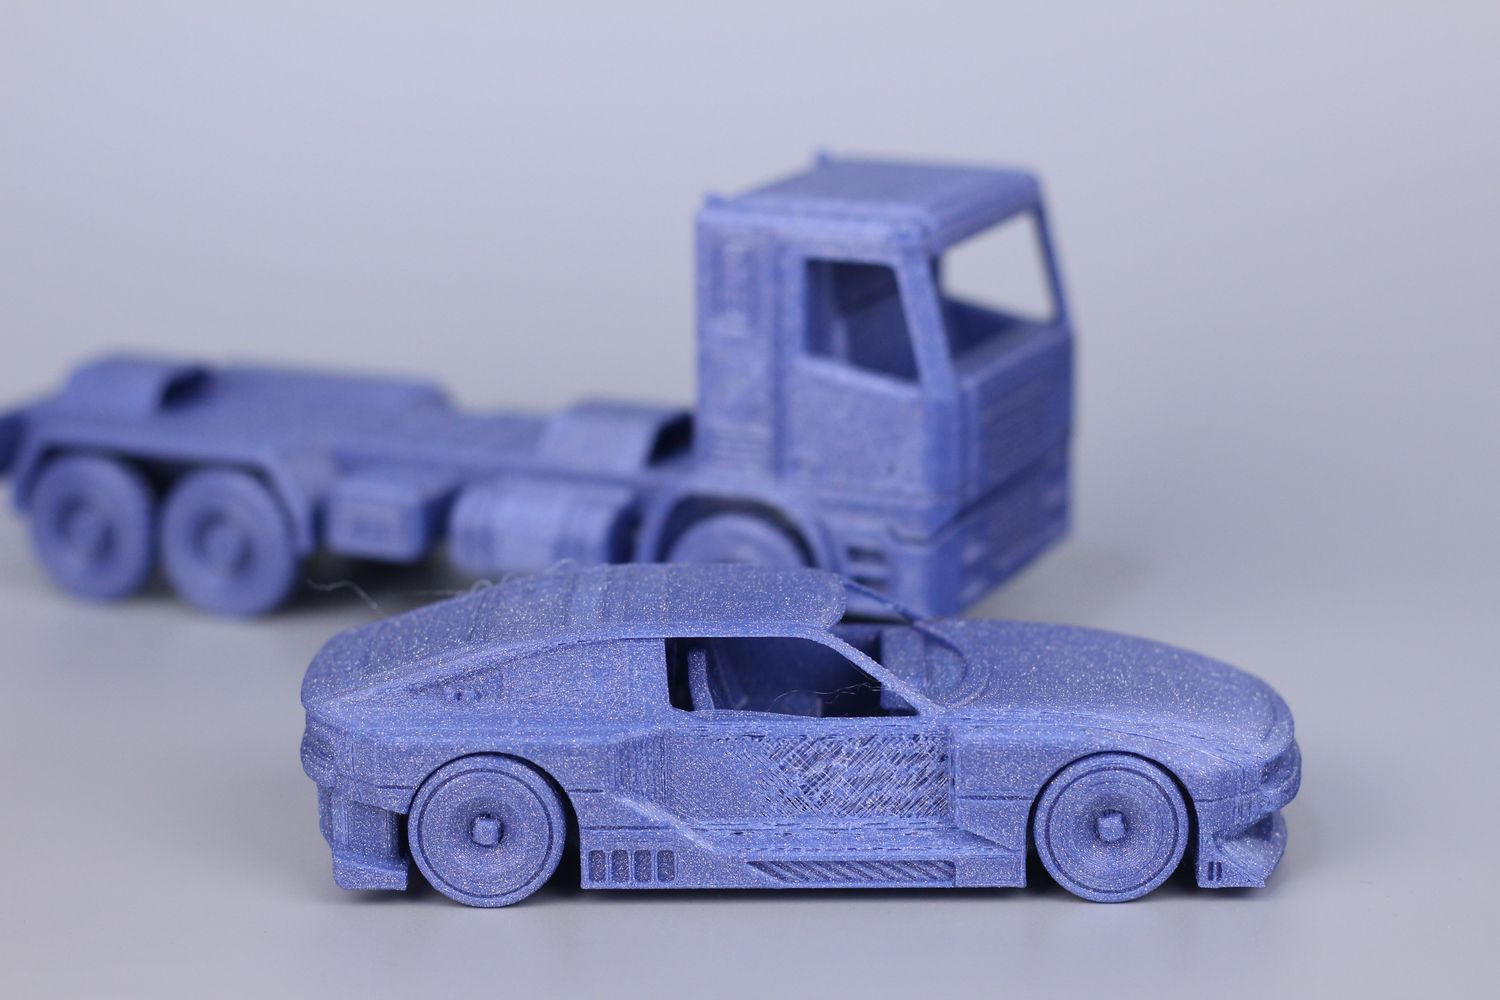
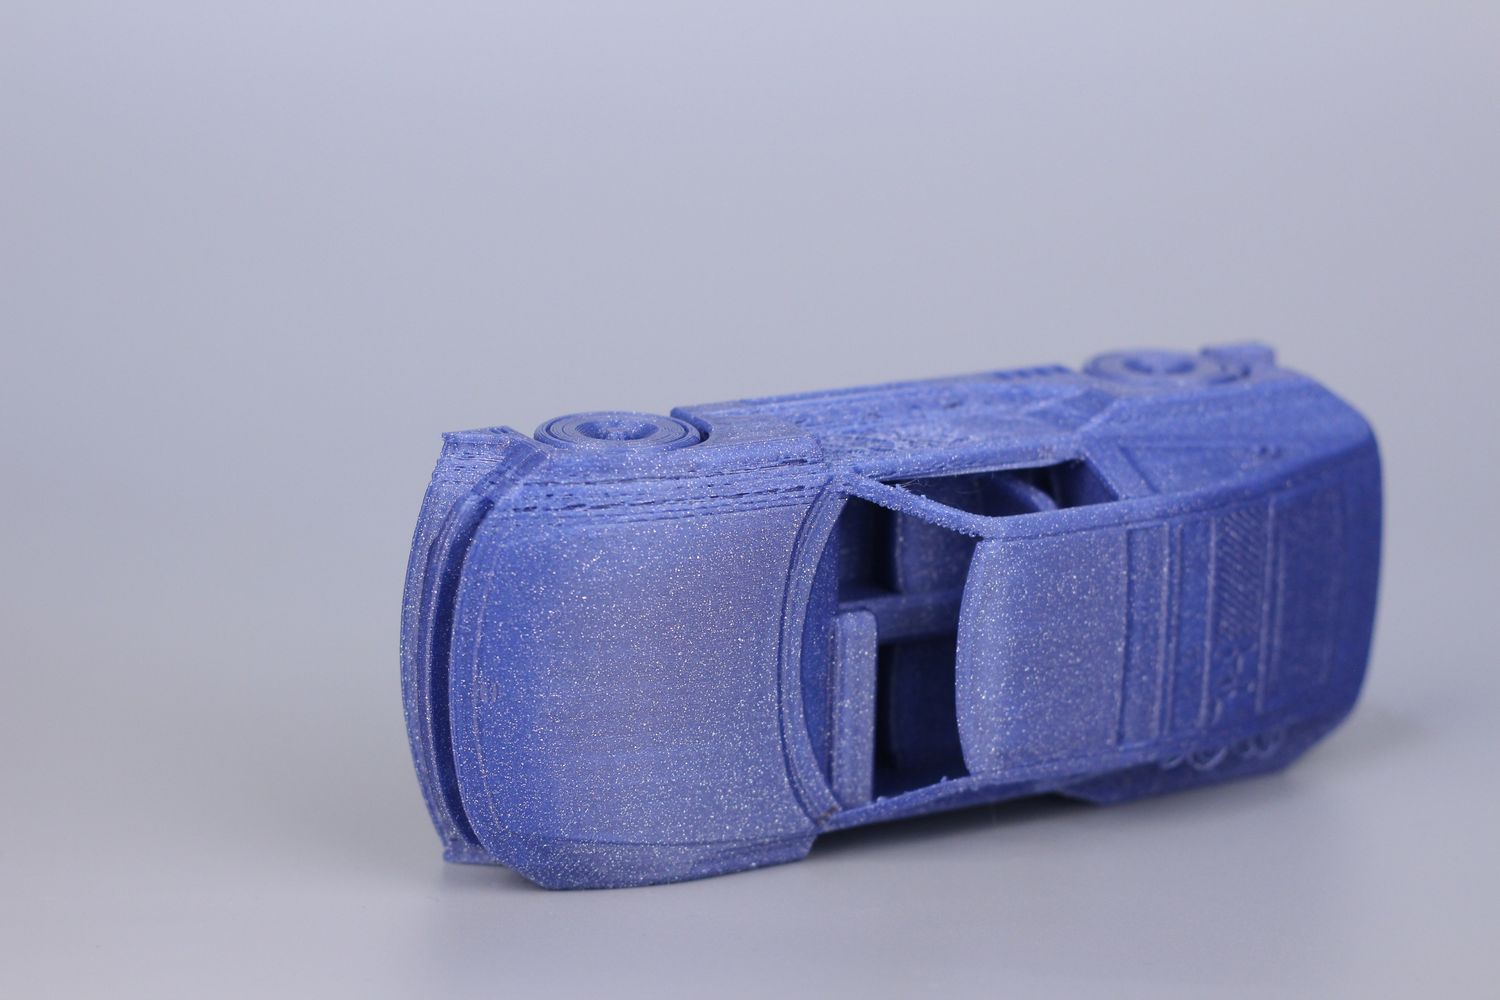
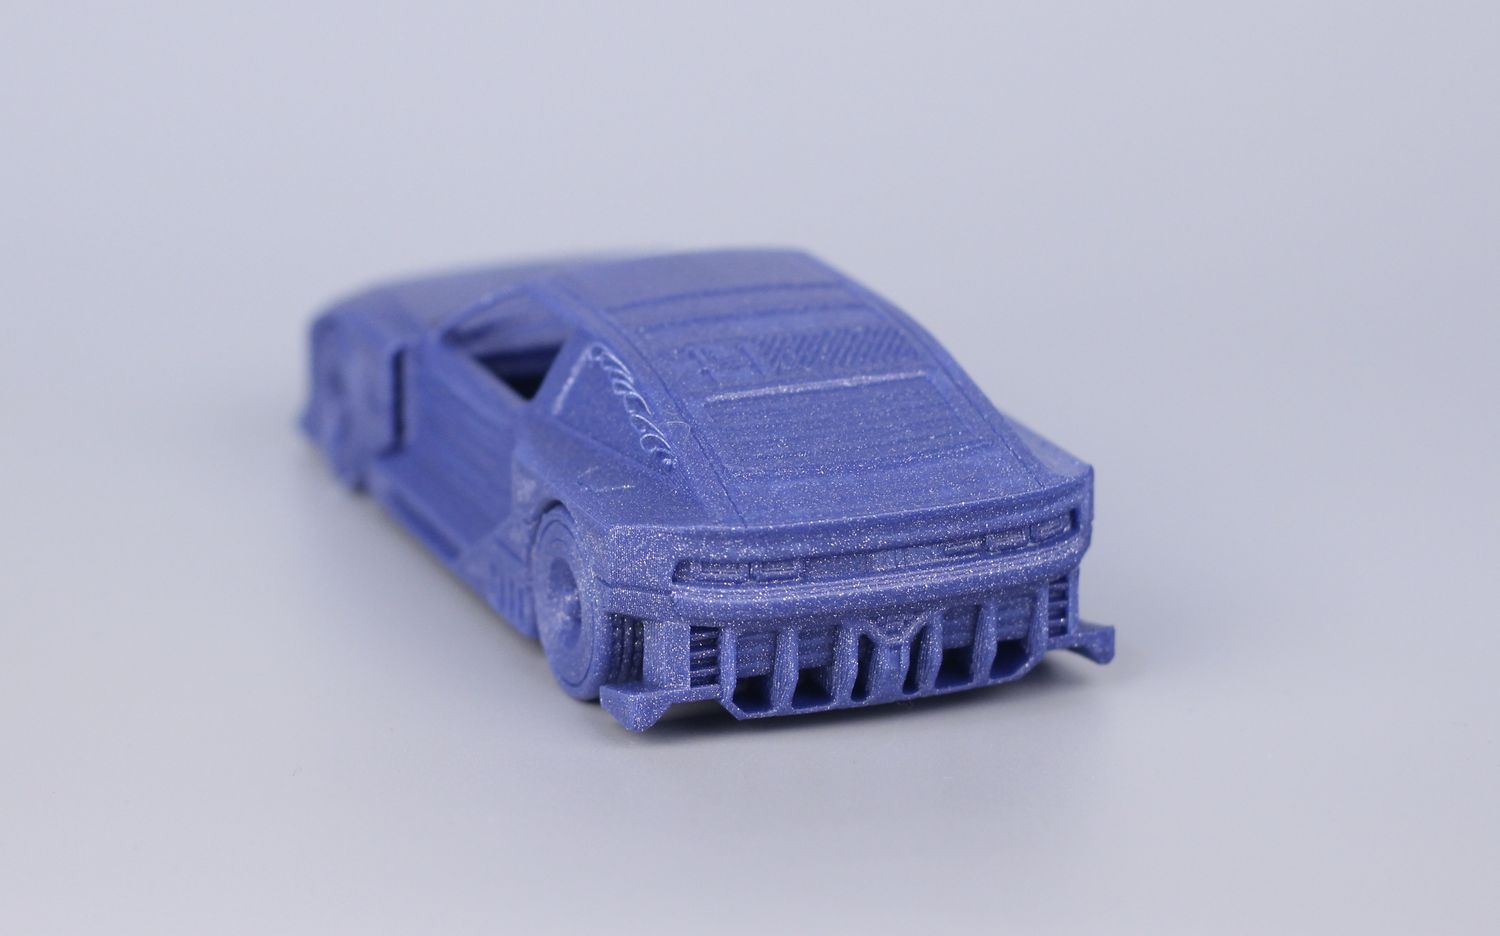
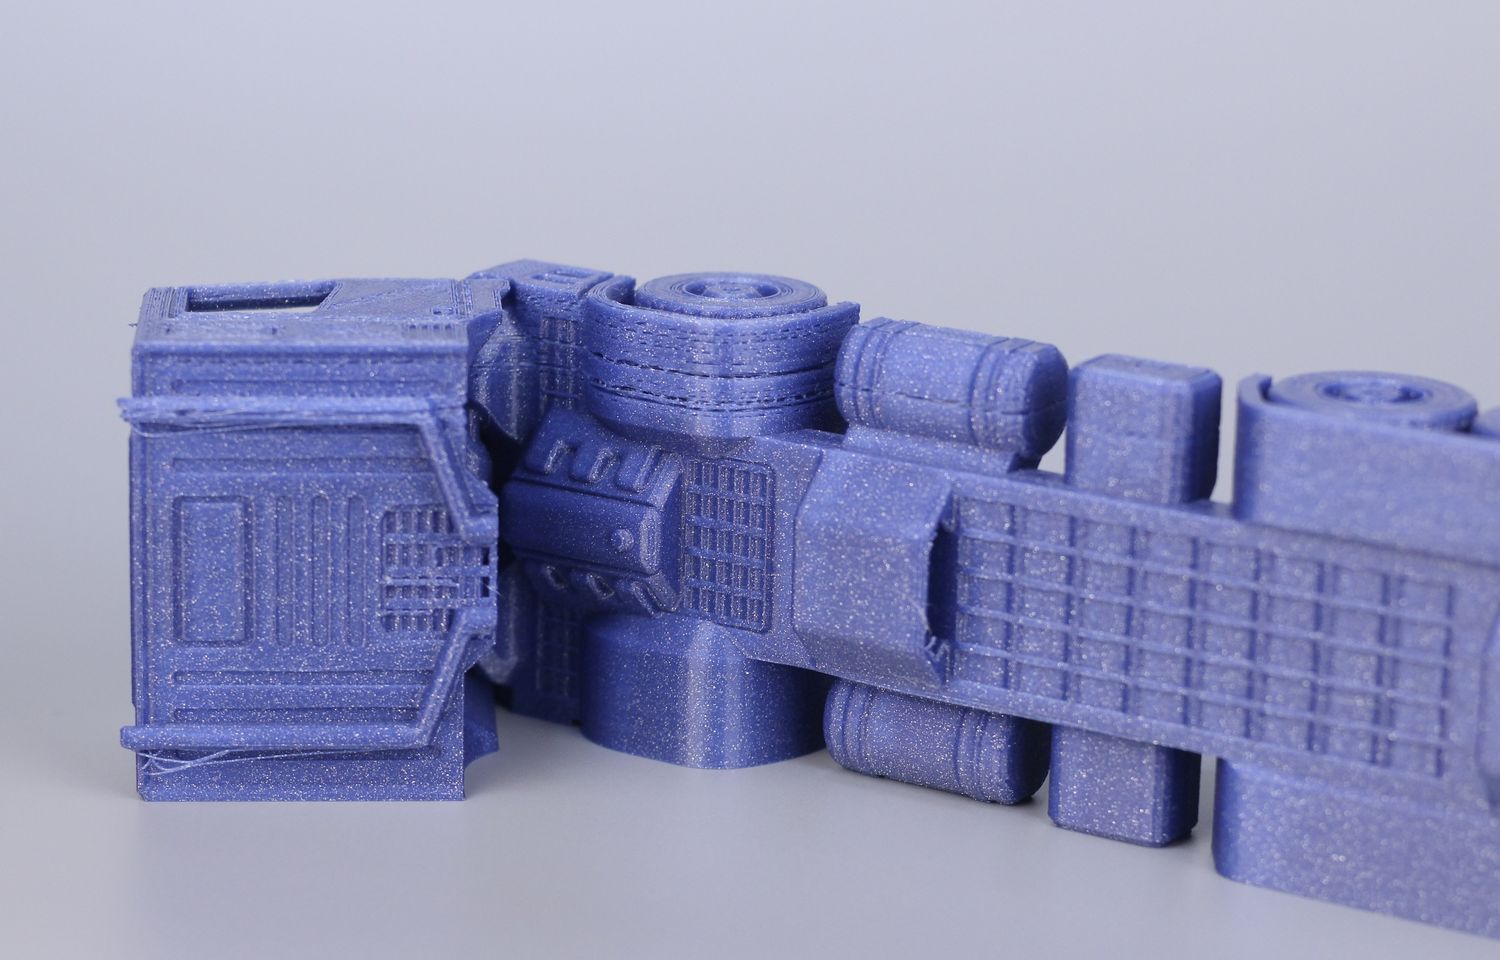
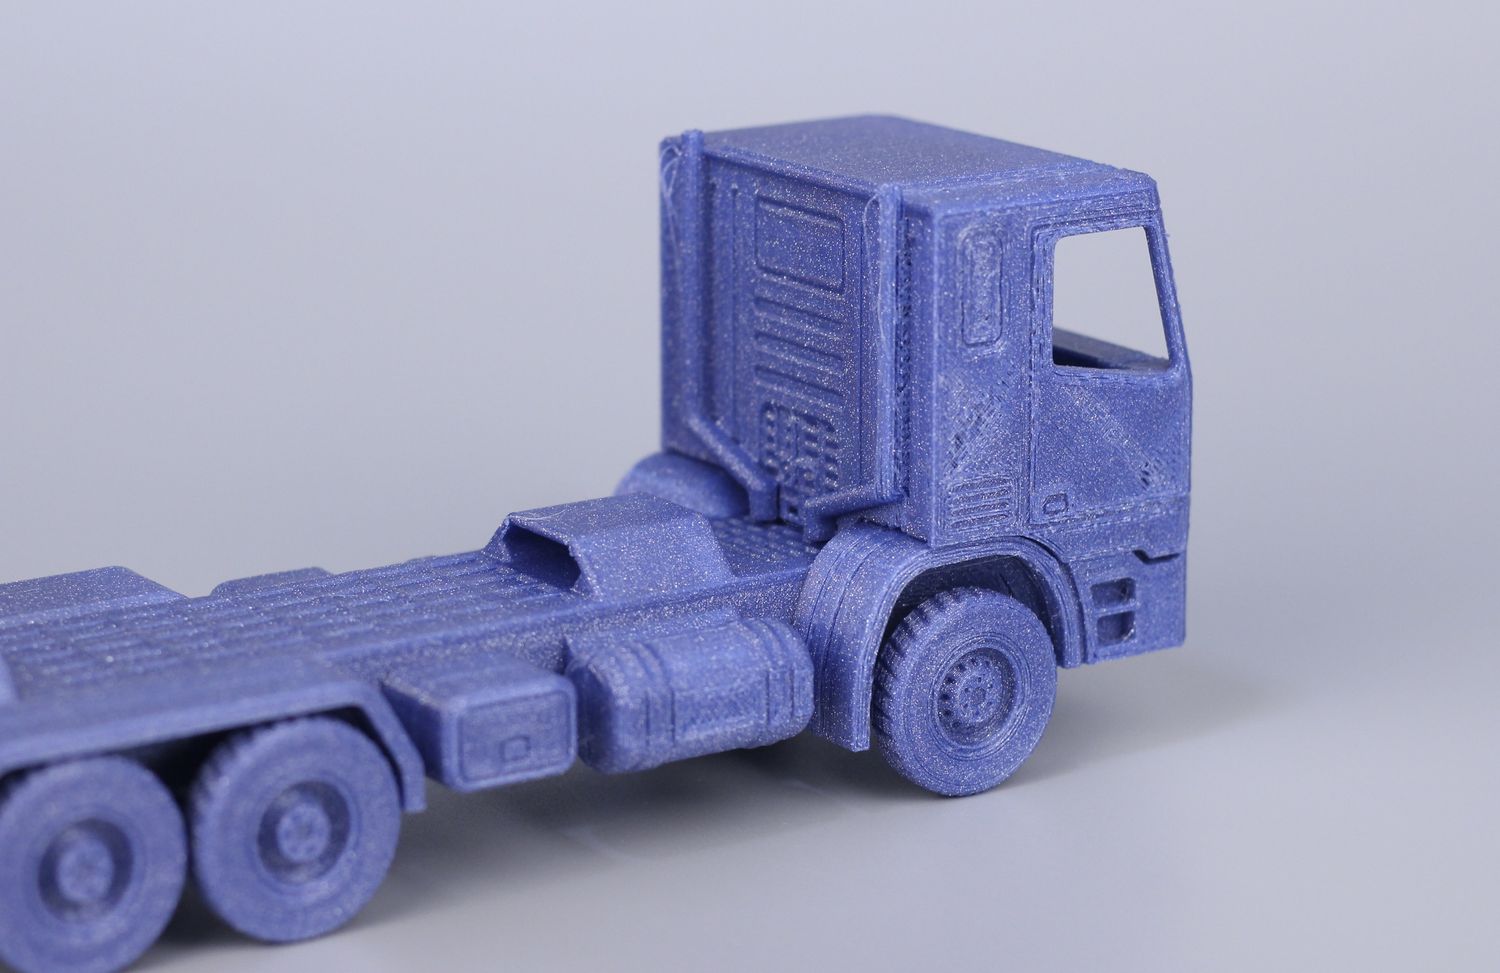
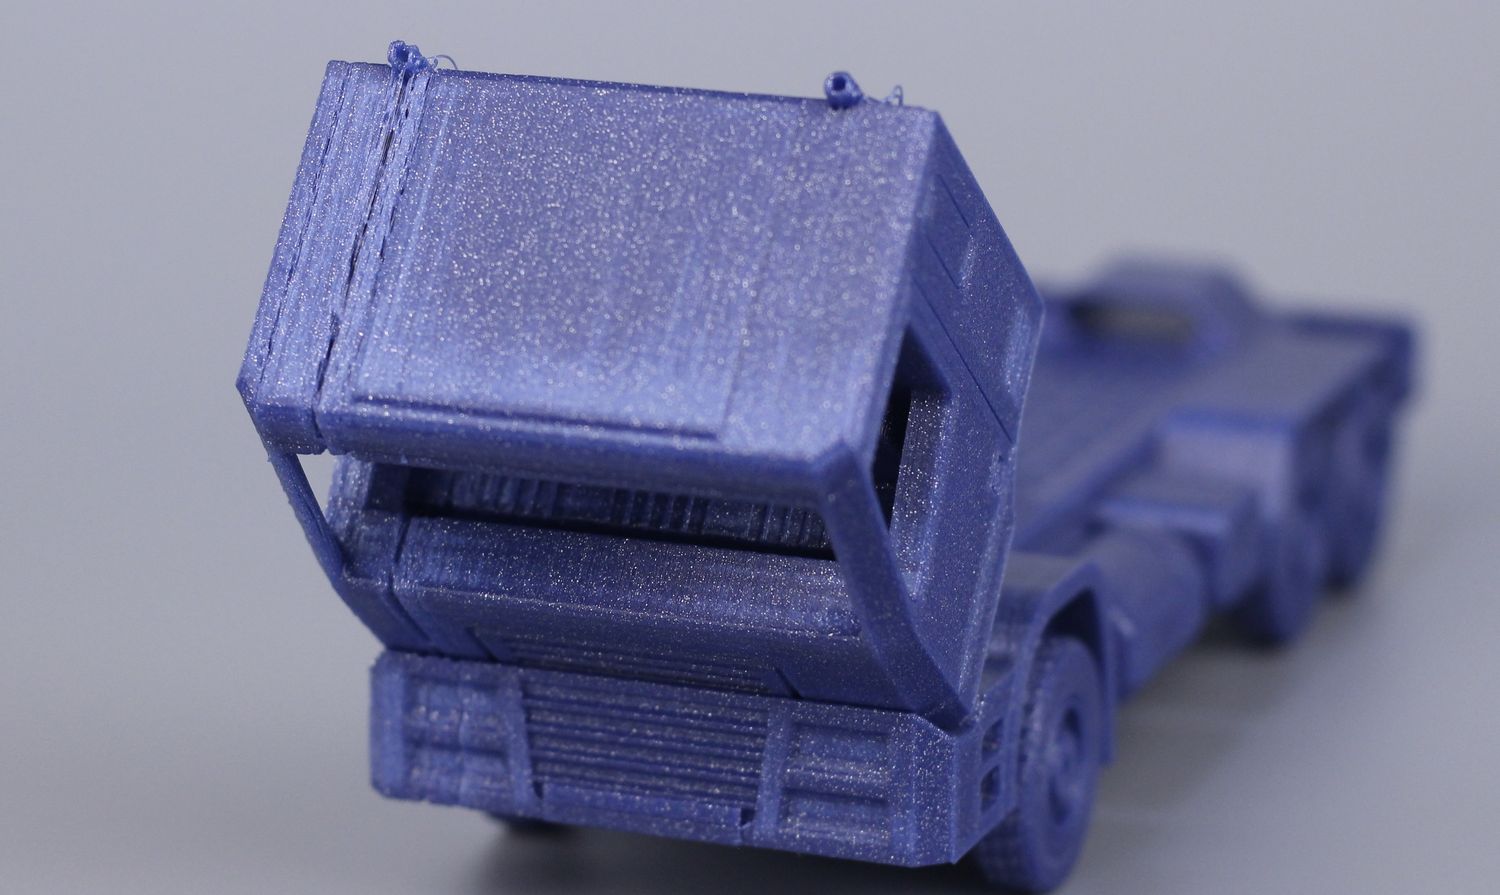
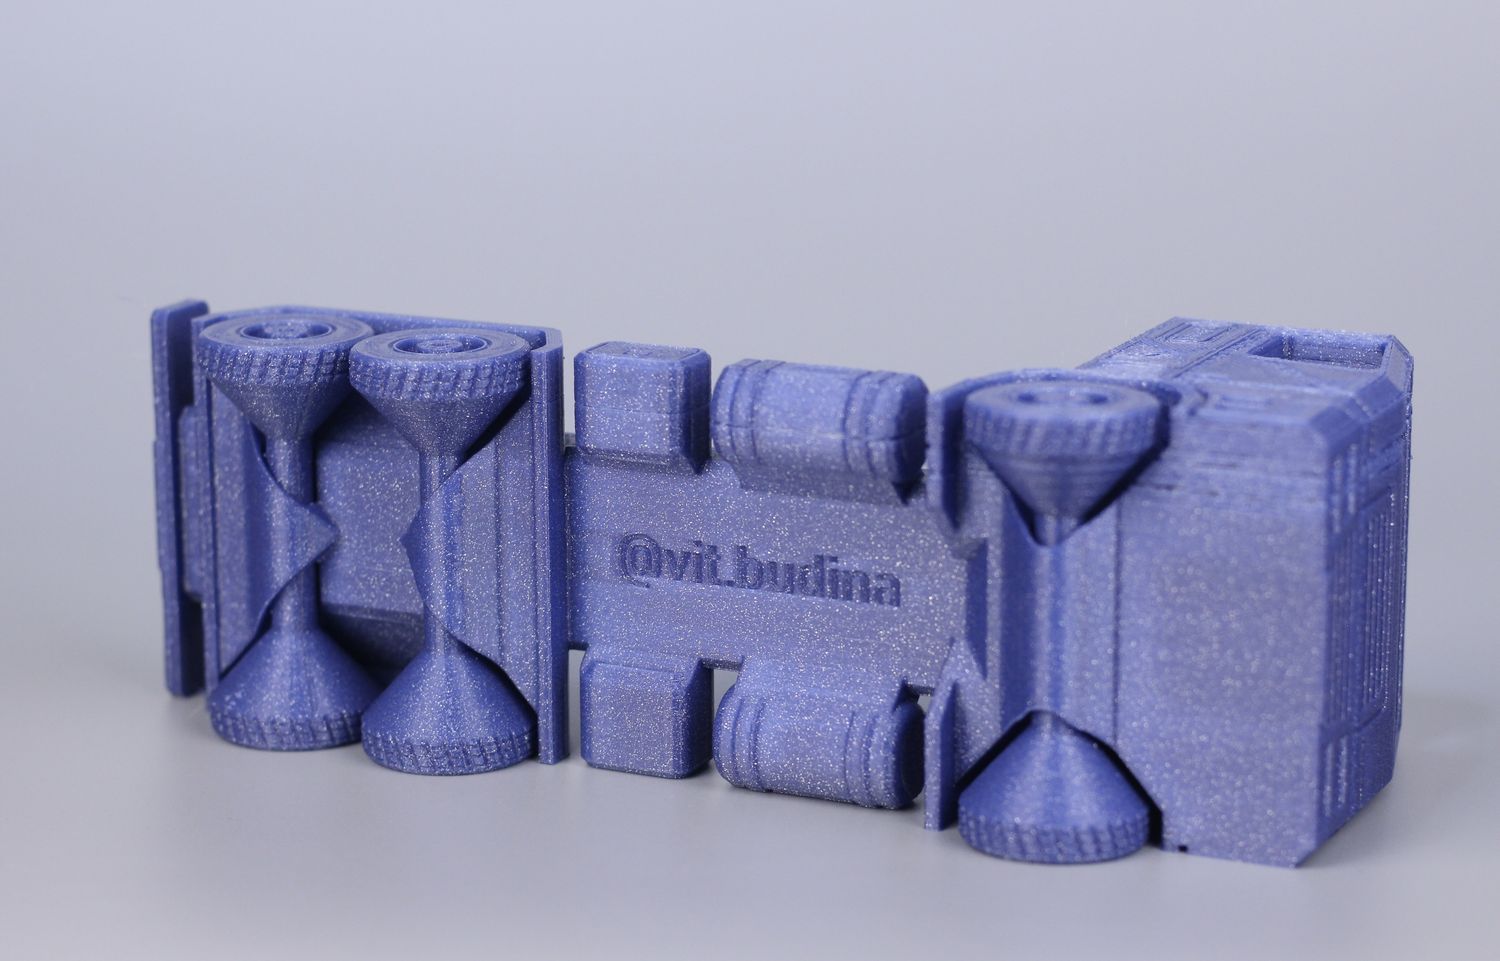
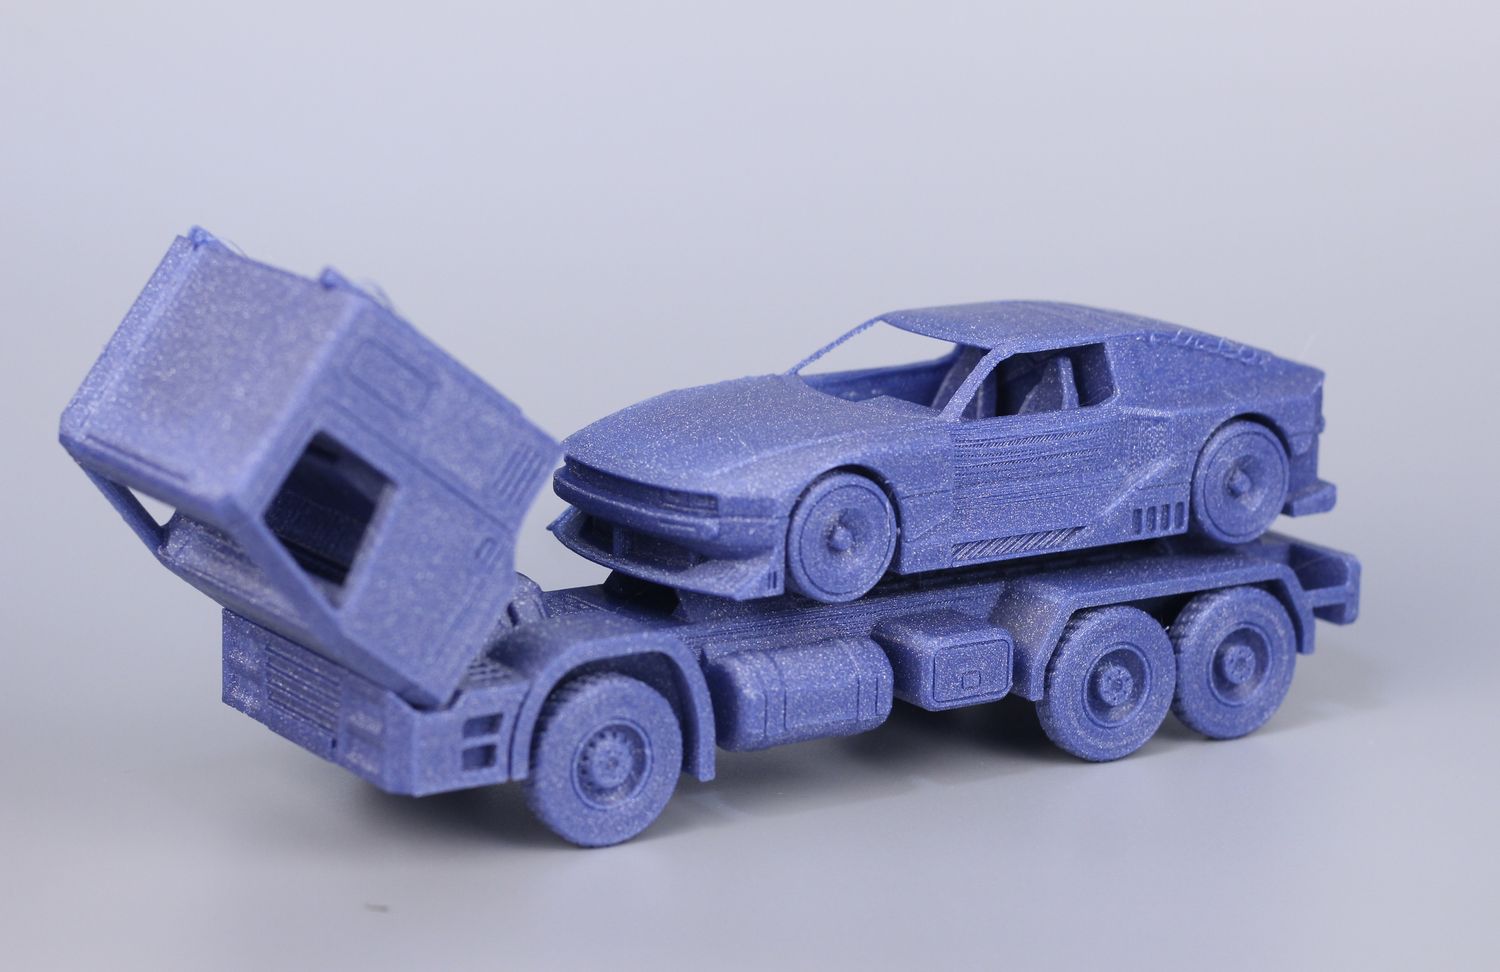
With that said, the results are again pretty great for a default profile included with the printer, especially considering that I used a different filament compared to the Creality PLA selected in Creality Print.
- Material: FilamentOne Glint Blue PLA
- Layer Height: 0.16mm
- Nozzle Temperature: 220C
- Bed Temperature: 60C
- Print Speed: ~300 mm/s
A pirate with his rat
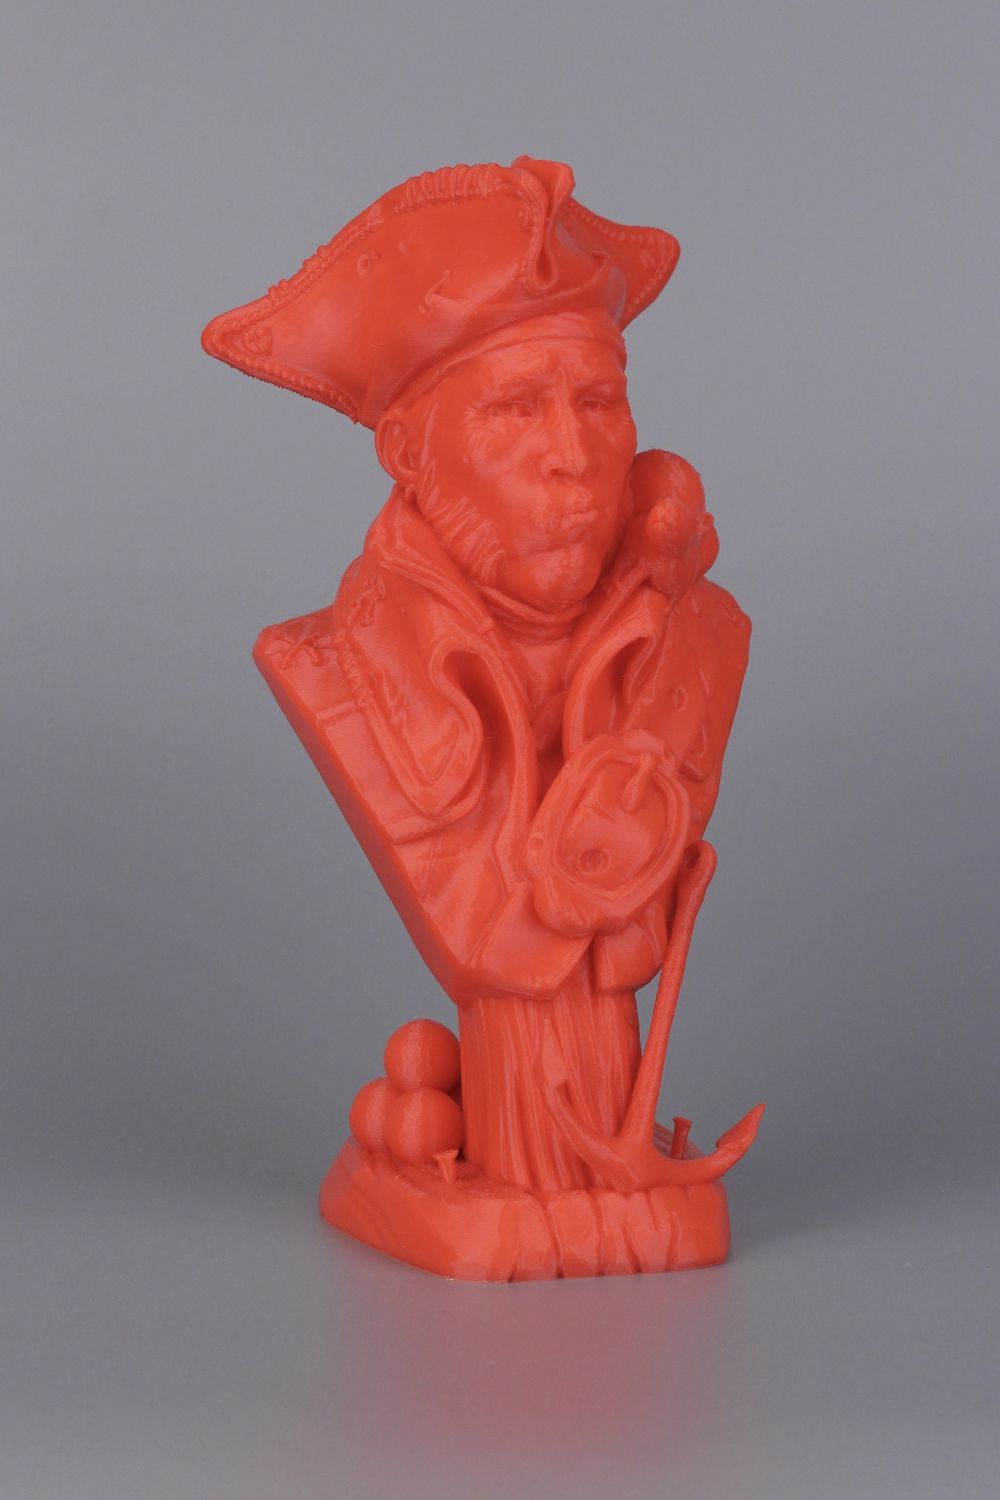
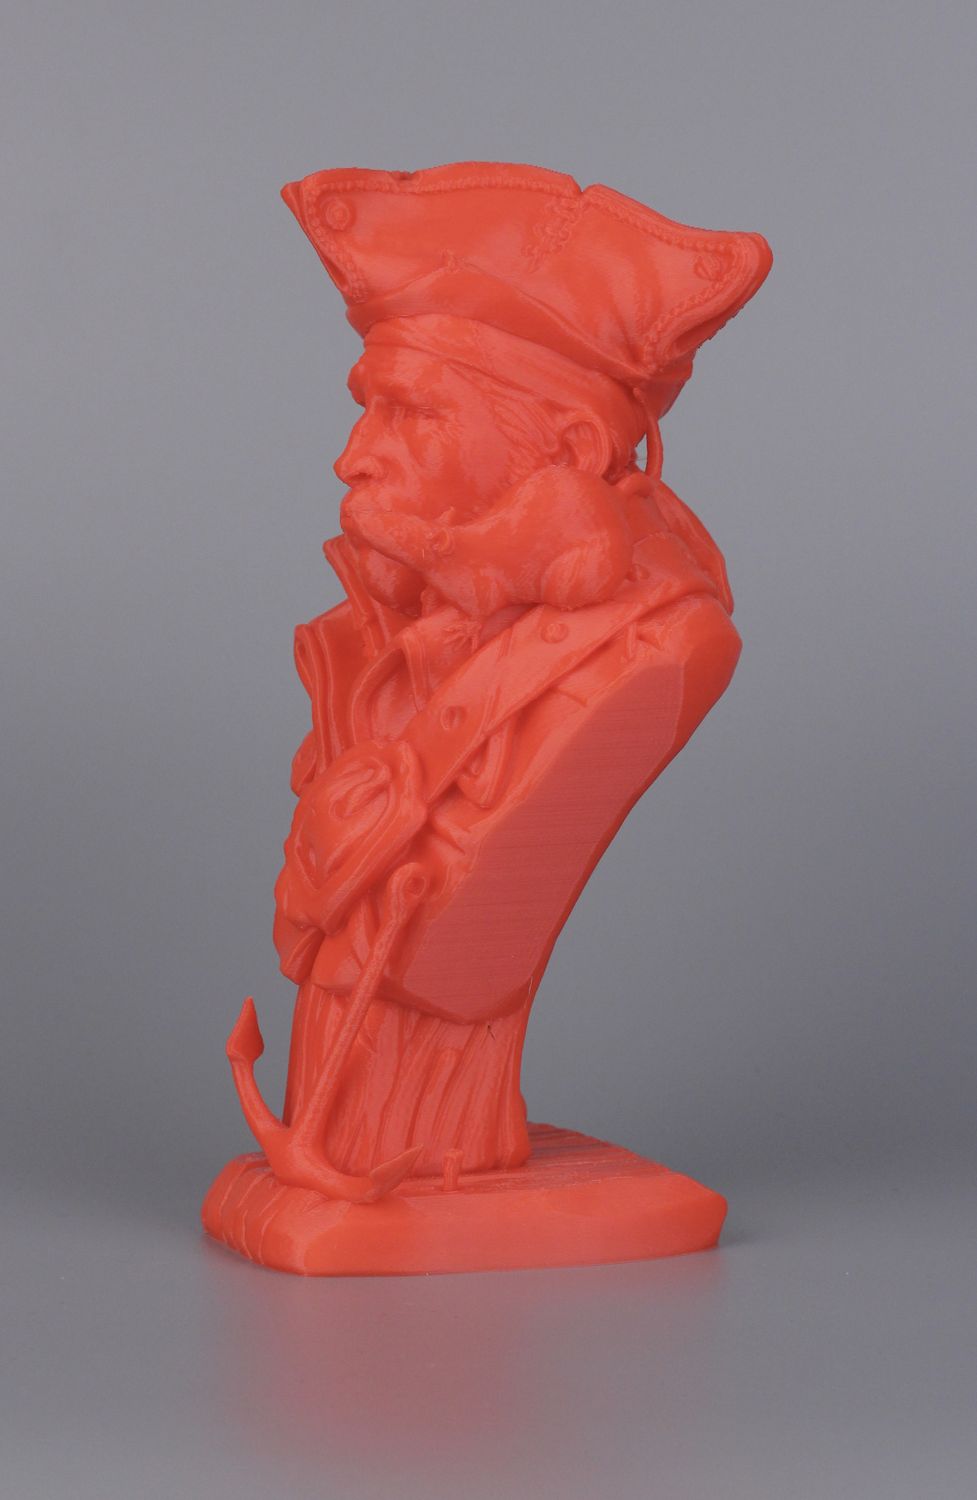
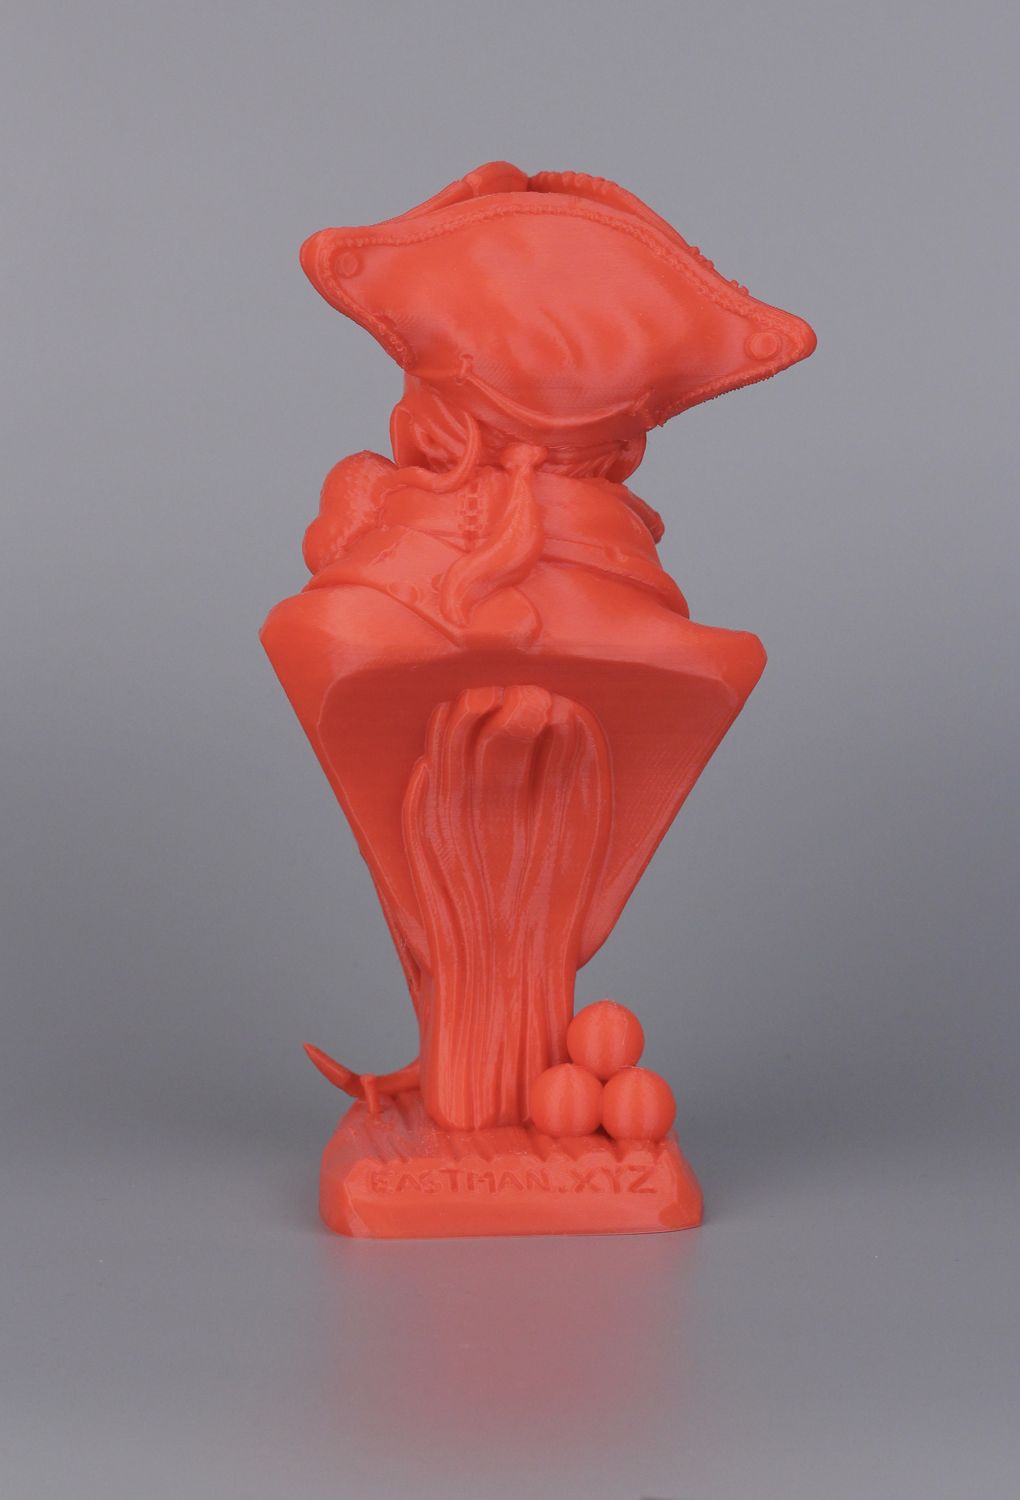
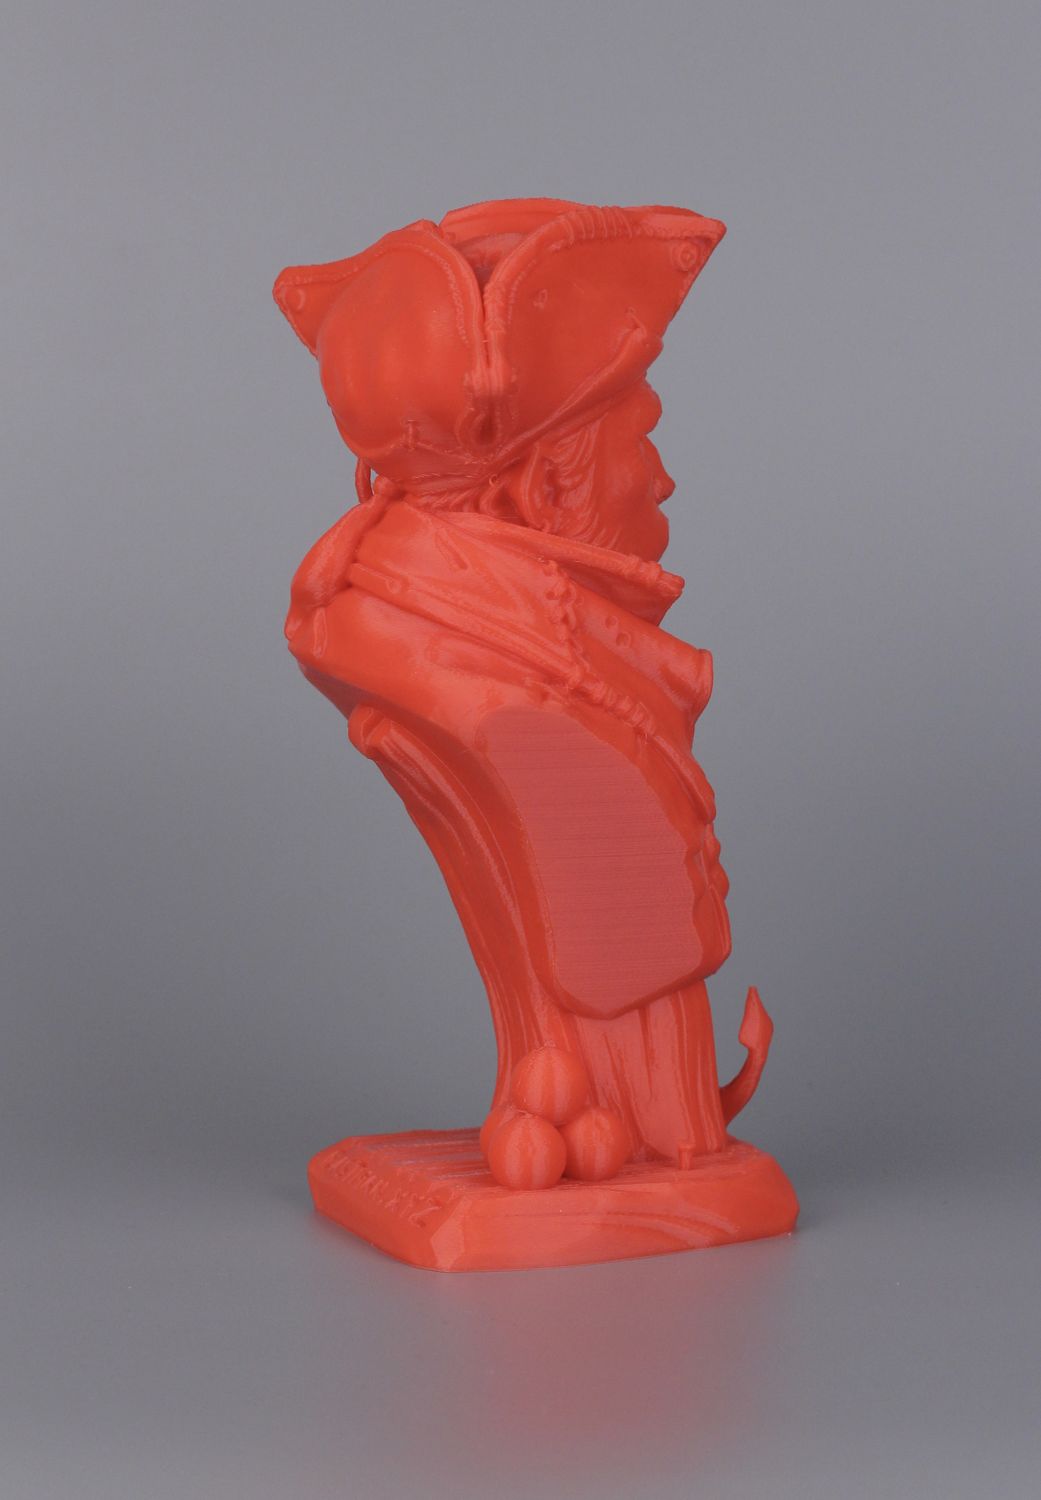
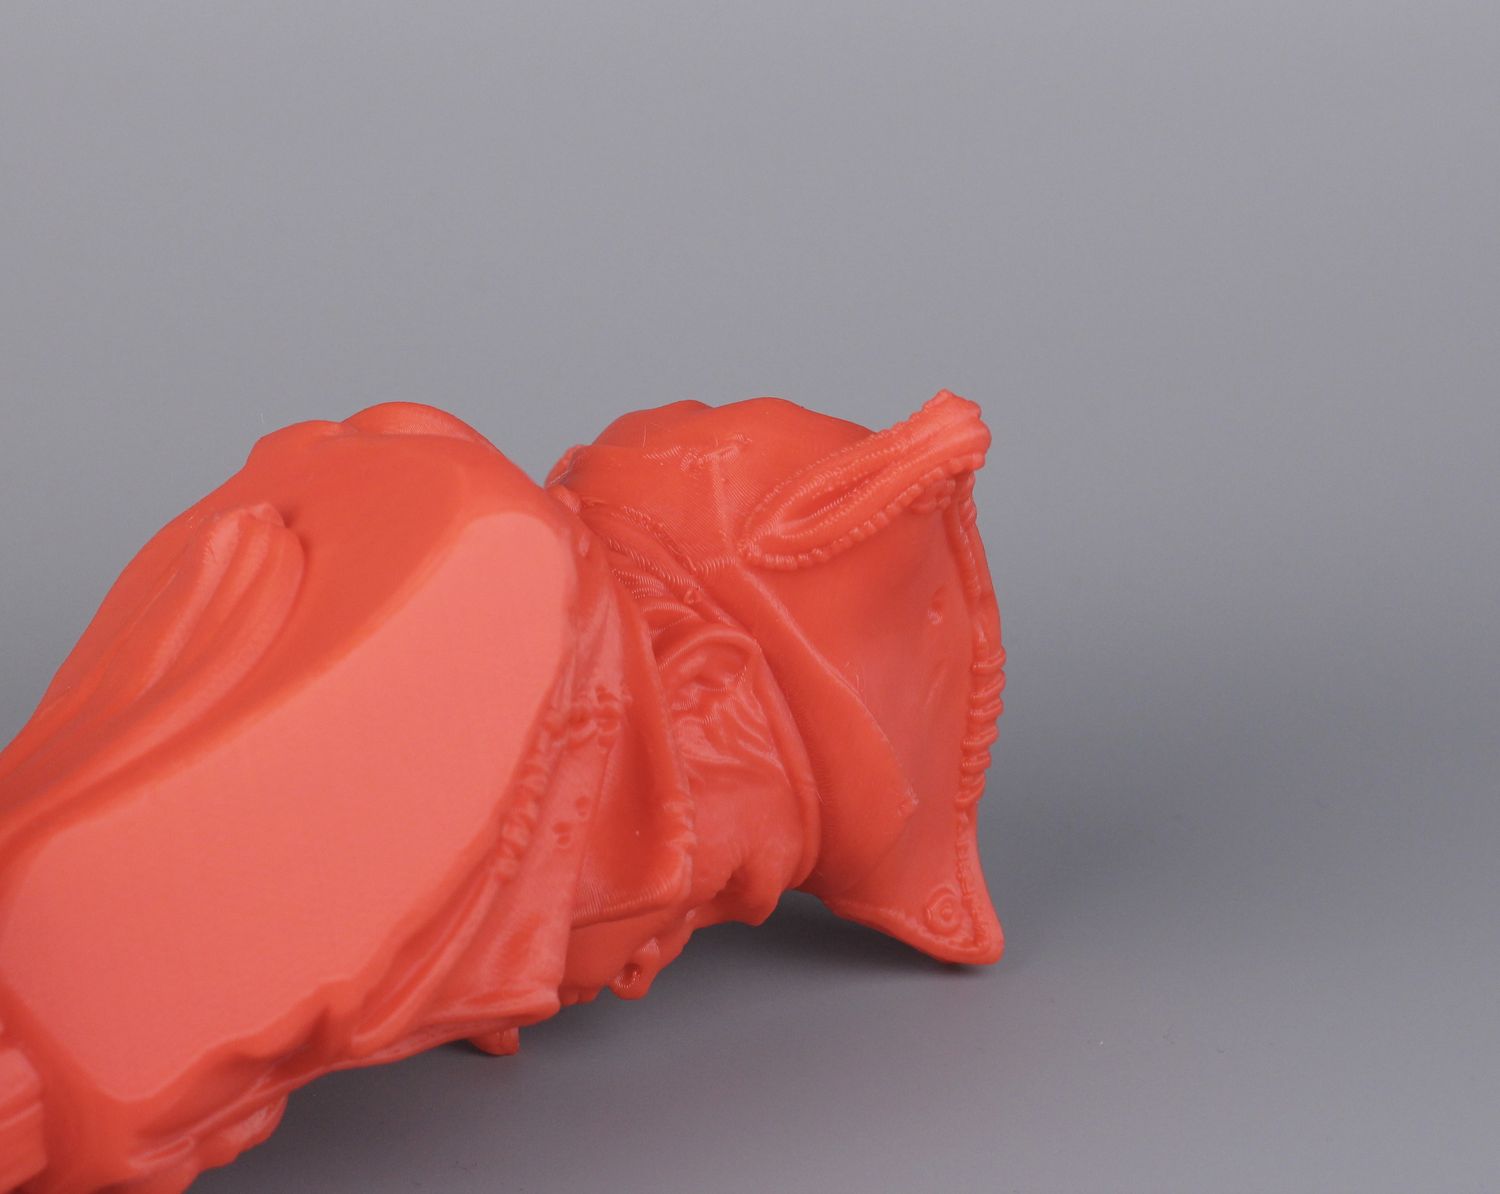
The final print in this review of the Creality K1 is this model from Eastman, which I use in most of my reviews as it’s another good test to see what kind of quality can be expected from a printer.
It was printed in Red ABS and the default Creality Print profile, and I’m happy to say that the print quality is good. There is slight banding again, but it’s not easily visible in real life. You can also see that the overhangs managed to print quite well, with no drooping or bad layers.
- Material: Gmbird Red ABS
- Layer Height: 0.2mm
- Nozzle Temperature: 250C
- Bed Temperature: 100C
- Print Speed: ~300 mm/s
Creality K1 vs Bambu Lab P1P
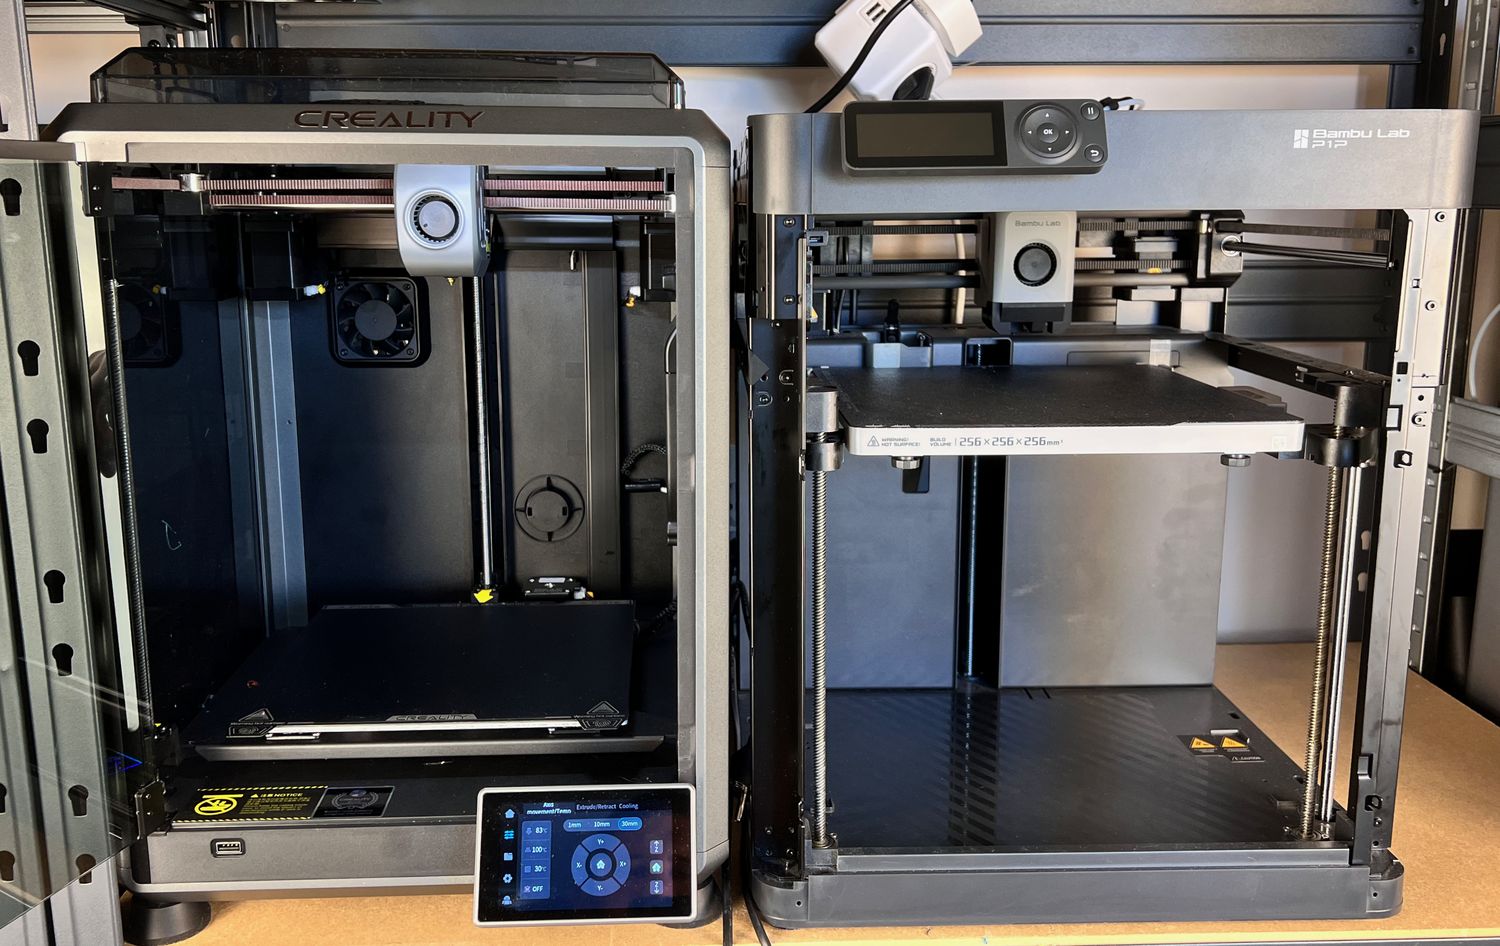
I am sure that a lot of people would be interested in a short comparison between the Creality K1 and the Bambu Lab P1P. I took a picture to show the size difference. At first glance, they are just as big, but in reality, the K1 is slightly smaller, especially on the Y-axis.
Better “hackability” vs a streamlined experience
The Creality K1 can be better for people that love tinkering and want to have access to the firmware setup of the printer. While it’s not available out of the box, the printer can be “jailbroken” so you can have most of the Klipper firmware functionality you get from other Klipper 3D printers and can be a decent alternative to building a Voron for example.
But at the same time, the Bambu Lab P1P offers a much better user experience, where most of the printer features are automated to remove the tinkering from the process of 3D printing. They have a very good track record of firmware updates that bring improvements to the printer over time, but this comes with the drawback of having to wait for new features to be added.
With the K1, it should be possible to always add new features developed by the community by simply enabling them in the Klipper firmware used by the machine.
Enclosed 3D Printer vs Open Frame
One of the main attractions of the K1 is the enclosed printing chamber it comes with. This allows you to print filaments like ABS and ASA without needing to do any modifications to the printer and it should also be easy to add extra insulation for the side panels if a higher temperature is needed. The side panels can be removed easily and with a bit of modding, you could even add a dedicated chamber heater as the electronics are insulated from the chamber.
The P1P comes with an open-frame design that requires additional spending to enclose. Besides that, the electronics are not completely insulated from the printing chamber, requiring additional changes like adding a main board part cooling fan to keep the printer running smoothly if enclosed. But if you don’t really print a lot of high-temperature materials, the P1P is great for PLA, PETG, TPU and other “regular” filaments.
It’s also worth mentioning that the P1P has a larger print volume on the XY axis (256×256) vs the K1 (220×220). It might not seem much, but this slight difference can be significant in some situations.
Remote Monitoring and App Quality
One of the biggest downsides of the K1 vs the P1P is the lack of a camera to remotely monitor the prints.
During the review, I wanted to check on the print multiple times only to remember that there is no camera included, and an aftermarket USB webcam is not compatible with the printer out of the box.
You can now buy a camera upgrade, but that’s an extra expense and something that should have been part of the initial offering.
On the other hand, the P1P now comes with a pre-installed camera which is available to view in the mobile app. Sure, it’s not the best camera, and it has low FPS but I think it’s more than enough to check out the printer from time to time.
Talking about the mobile app, there’s also a big difference between the quality of Creality Cloud app and the Bambu Handy app. The Handy app has much more streamlined features allowing you to control most of the printer’s functionality which almost eliminates the need of using the pretty bad screen of the P1P.
And while the K1 has a better screen, their mobile app is severely limited in functionality, with some features available behind a subscription paywall.
Single material printing vs AMS
The Creality K1 can only print with a single filament at once, meaning that you won’t be able to do multi-color prints as you can on the P1P. And this can be ok if you don’t need that.
But on the other hand, the P1P can be upgraded later with an AMS system for multi-color 3D printing. Another benefit of the AMS is always having a few spools of different filaments available to print without needing to switch spools every time like in the case of the K1. For me, the AMS makes the Bambu Lab printers worth it just for the quality of life benefits this brings.
Abbrasive materials support
Both printers are made to print regular filaments with no consideration when it comes to abrasive filaments like carbon fiber-infused PLA, PETG, ABS, or PA.
You could upgrade the Creality K1 with a hardened steel nozzle, but the extruder still uses regular steel gears which means that they can degrade over time and will require replacement at some point.
The P1P can be easily upgraded with a hardened steel nozzle and an extruder that has hardened steel gears to make it ready to print abrasive filaments.
Besides that, replacing nozzles is much easier on the P1P in my opinion. I would give the K1 an advantage here considering that you could install regular Volcano nozzles to it which gives you the possibility of using a Volcano CHT nozzle to increase flow rate significantly.
Bambu Lab P1S is now available
Bambu Lab just recently launched the P1S which is just 100$ more expensive than the regular P1P. A lot of the differences mentioned above are now fixed, so Bambu Lab has an even more compelling offering to compete with the K1. Considering the price difference, I think it is worth checking it, especially if you plan to upgrade in the future for multi-color 3D printing with the AMS unit.
Conclusions: Is the Creality K1 worth it?
After my time with the Creality K1, I believe that the machine is a decent offering for the price. You can buy one for 569$ by using a discount code which is quite an attractive price. But this comes with a big asterisk which I will explain.
The Creality K1 is not the type of printer that “just works”. The integration between Creality Print and Klipper firmware on the machine is not as smooth when comparing the K1 to the P1P from Bambu Lab.
The hardware side of the K1 is pretty good and getting a Core-XY machine for under 600$ is great but to be able to get consistent high-quality results and worry-free printing is not as easy as it is with a P1P.
It pains me to say this, but comparing the K1 from Creality with the P1P from Bambu Lab is just like comparing Android and iOS. You can hack various functionality in Android to customize it and do various changes based on your needs but iOS “just works” even though you have some specific limitations.
Of course, the P1P has its own problems, but the experience is more streamlined.
With that said, if you have good knowledge about 3D printing, and you want to get an enclosed Core-XY 3D printer with Klipper, I don’t think the Creality K1 is a bad deal especially if you can get it for a discount. I am sure that in a short period of time, it will be easy to get the entire Klipper experience with it, and this can be an attractive feature for people that don’t want to step into the “walled garden” from Bambu Lab.
My only gripe is with Creality, who kind of wasted the chance to release a great printer with a lot of potential by not taking their time to work on the software and integration side. Maybe the time it takes to work on the Creality K1 Max will allow them to become better and improve on the experience with what they learn from the K1.
If you just want to print, not having to worry about tuning and learning a lot about how the printer works, I think the P1P from Bambu Lab can be a better fit in most cases, especially when it has the same price tag as the K1. It doesn’t look as good, it’s not enclosed, and it can’t easily print ABS or ASA, but the experience is just plain better for a beginner or a newbie.
Of course, I recommend checking out other reviews before making a purchase decision, to ensure you get different opinions from other reviewers out there.
Creality K1 Rating
Design
Specs
Noise Levels
Ease of use
Print Quality
Price
The Creality K1 has a good hardware design for the price, but the software side is lacking. If you are happy with tinkering, and want a decent Core-XY baseline to start with, the Creality K1 can be an attractive 3D Printer.
Where to buy the Creality K1?
The Creality K1 was provided free of charge by Creality for the purpose of this review. While the article includes affiliate links, all opinions are my own. Nobody reviewed the article before it was posted, following the Review Guidelines.
Liked it?
|
|



You can leave a comment for this article on the 3DPrintBeginner Forum