Uncategorized
Creality CR-10s Pro Custom Build Plate for Simplify 3D
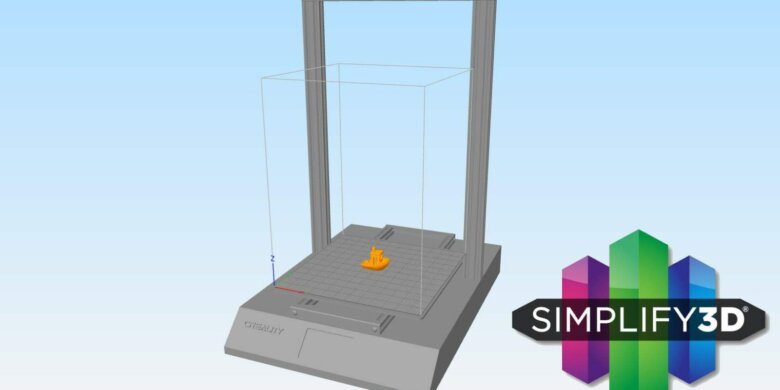
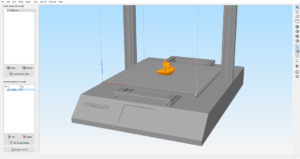
Did you know that you can have a 3D representation of your printer inside the slicing software? The default build plate from Simplify 3D is functional, but boring. If we are customizing the printers in real life, then let’s also modify the looks in Simplify 3D. Here’s how you can add a custom build plate in Simplify 3D for Creality CR-10s Pro that helps you visualize the size of your prints better
- Download the CR-10s Pro custom build plate .STL file from this link
- Copy the downloaded file to this path: C:\Users\yourusername\AppData\Local\Simplify3D\S3D-Software
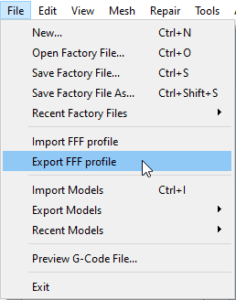
- Open Simplify 3D and export your CR-10s Pro profile by navigating to File->Export FFF Profile.
- Open the exported FFF profile with notepad, and search for the following lines:
<overridePrinterModels>0</overridePrinterModels>
<printerModelsOverride></printerModelsOverride>
- Replace the two lines with the following:
<overridePrinterModels>1</overridePrinterModels>
<printerModelsOverride>CR10sPro.stl</printerModelsOverride>
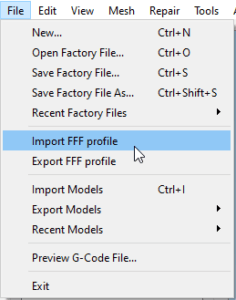
- Save the file and import the profile back into Simplify 3D by navigating to File-> Import FFF Profile
- Enjoy your 3D representation of your printer.
That’s it! Now you can have a better visualization of your 3D print size by using a custom build plate for Simplify 3D.
Liked it?
|
|


