BIQU B1 Hotend Fix: Bi-Metal Heat Break Installation Guide
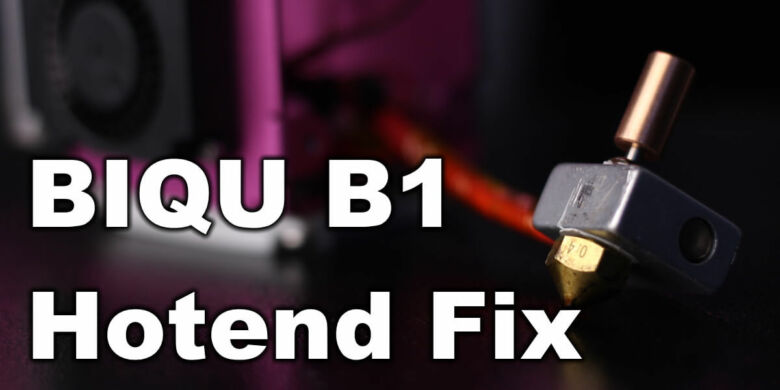
In my BIQU B1 review, I reported that the hotend is not that great, and I will follow up with an upgrade guide. In this BIQU B1 hotend fix article, I will show you how to upgrade the stock hotend with a bi-metal heat break while keeping the stock looks of the printer.
Why do the BIQU B1 hotend fix?
The stock BIQU B1 hotend is one of the worst hotends I used. This is because the thermal design is not that good, the stock heatbreak is quite thermally conductive, and it’s also PTFE lined.
This translates into a lot of heat moving up from the heatblock trough the heat break up to the heatsink causing clogs, oozing, and bad retraction performance.
Besides that, the PTFE tube is going right up to the nozzle where it starts to slowly melt and degrade over time (if you print under ~235-240C) and much faster if you go over 240C.
By installing a bi-metal heat break, the temperature difference between the nozzle and the heatsink will be much bigger improving retractions, minimizing oozing, and also allowing for better cooling with the stock heatsink.
With the bi-metal heat break, you will also be able to increase your maximum temperature which the hotend could print at because there is no more PTFE tube touching the nozzle.
Overall, a bi-metal heatbreak is an excellent upgrade for the BIQU B1 and I strongly recommend doing it. You can read more about the bi-metal heat breaks in my Bi-Metal Heat Break Review.
Bi-metal heat break downsides
Please keep in mind that the bi-metal heat break also has a few downsides. First of all, it’s more delicate compared to a regular heat break.
Because of how it’s designed, you need to pay attention when you install it to avoid damaging it.
The second downside is clogging with high retractions. I strongly recommend you re-calibrate the retraction distance because you will see that much less retraction is needed after upgrading the BIQU B1 with a bi-metal heat break.
After installing the bi-metal heat break on the BIQU B1, my retraction value is set to ~2.5mm.
Before you begin
Read the full guide carefully and do the BIQU B1 hotend fix only after you understand all the steps involved. I am not responsible for any damage you may cause to your printer by following this guide. You are doing this on your own responsibility.
Prerequisites
To install the BIQU B1 hotend fix, you need the following:
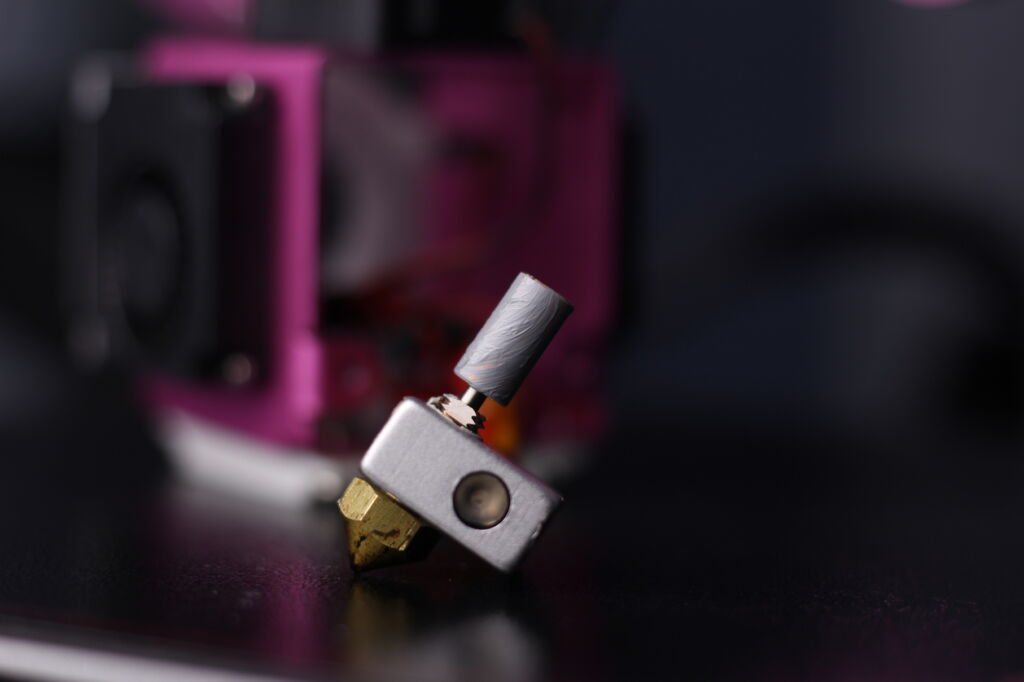
Mellow Bi-metal heat break – M variant
Other bi-metal heat breaks might work, but I recommend using the same one as I did. This will ensure that you will be able to install it on the BIQU B1 stock printhead without any other modifications.
The bi-metal heat break from Mellow is not as long as the original one, but it’s long enough for it to work.
Thermal performance comparison
To properly evaluate the thermal performance, I thought it would be a nice idea to take some thermal photos using my brand new Flir Camera from CAT S62 Pro.
In the images below, you can see the temperatures reached by the hotend after heating it up to 250C and waiting for 5 minutes. As you can see, the heatsink reached ~51C and the stock heat break reached ~64C.
With the bi-metal heat break, the heatsink reached ~39C and the heat break reached ~46C.
This is not the most thermal accurate sensor out there, but it’s good enough to show some helpful information, and the difference you can get by installing a bi-metal heat break on the BIQU B1.
How to install the bi-metal heat break on the BIQU B1?
Disassemble the print head
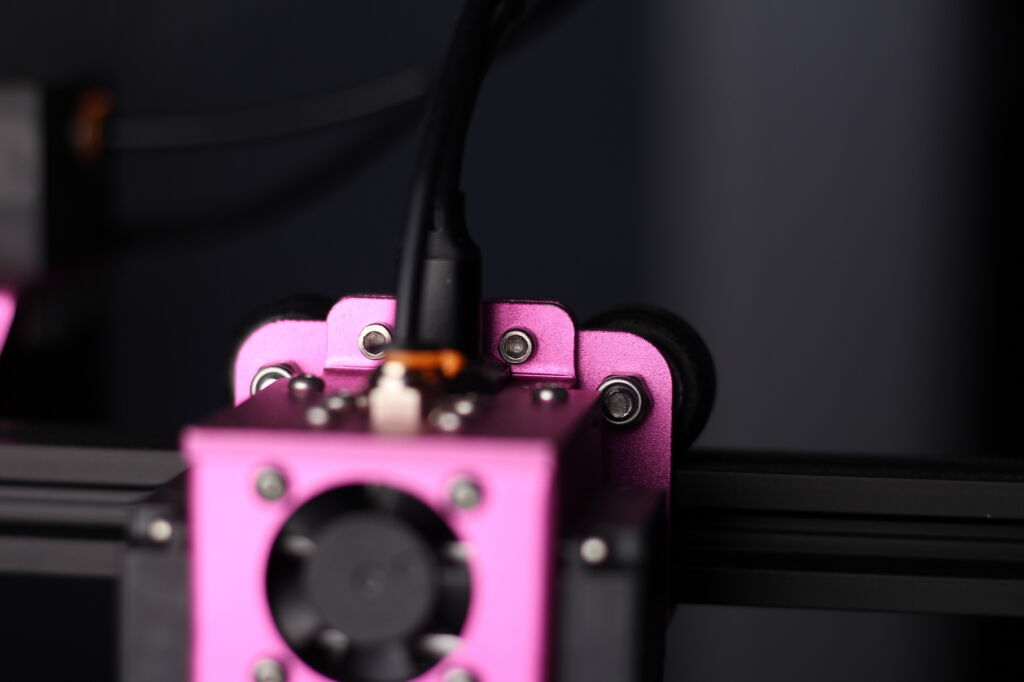
First, remove the print head from the printer by unscrewing the two M3 screws in the back and remove the PTFE tube and Type C cable.
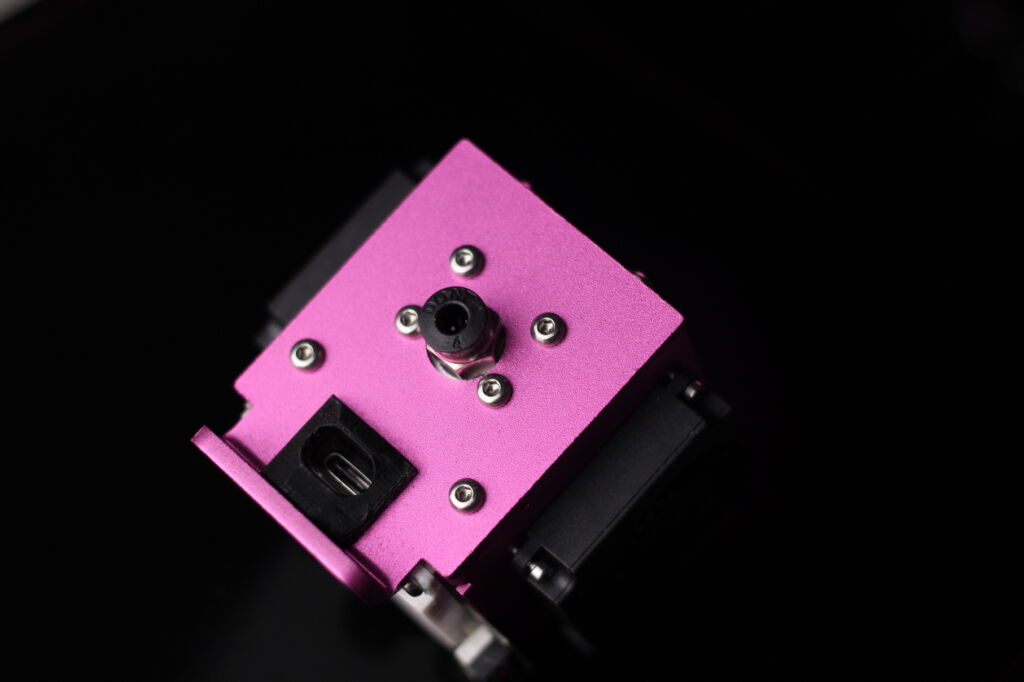
Remove the six screws holding the top cover.
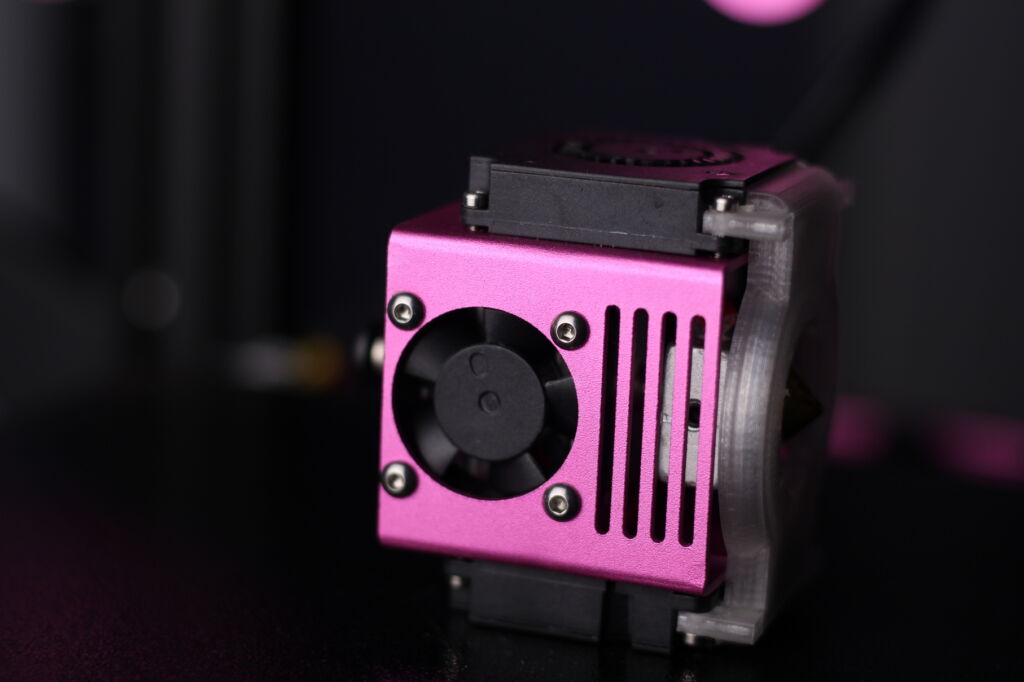
Remove the four screws holding the front fan
With the screws removed, you can no pull out the hotend and start disassembling it.
Disassemble the hotend
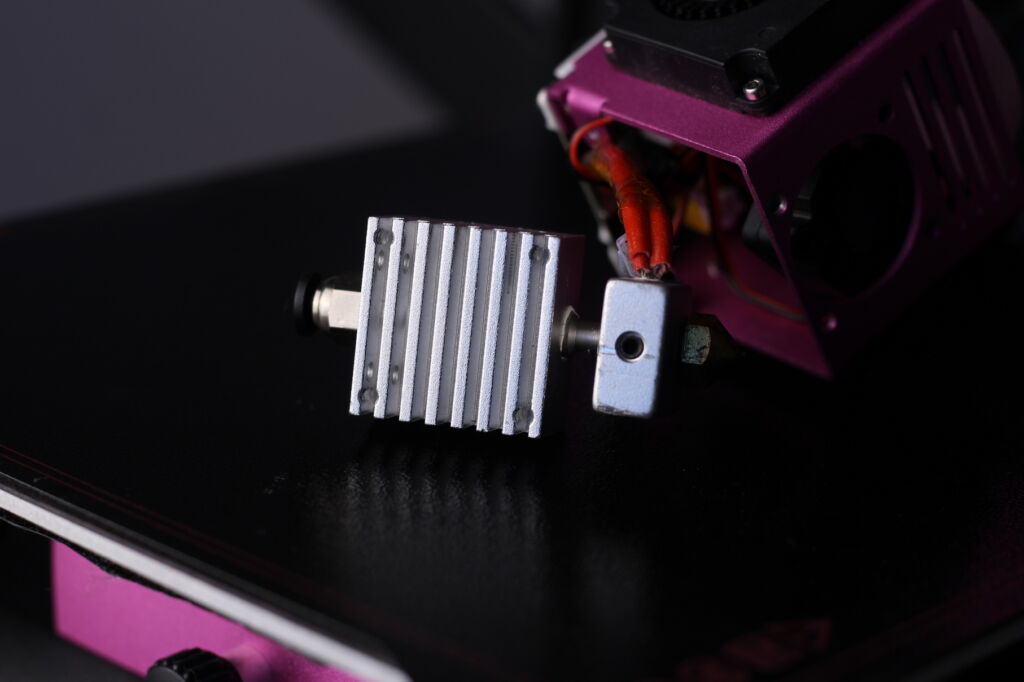
First, unscrew the two grub screws from the back of the heatsink, then gently pull out the heatsink. You will be left with the heatblock.
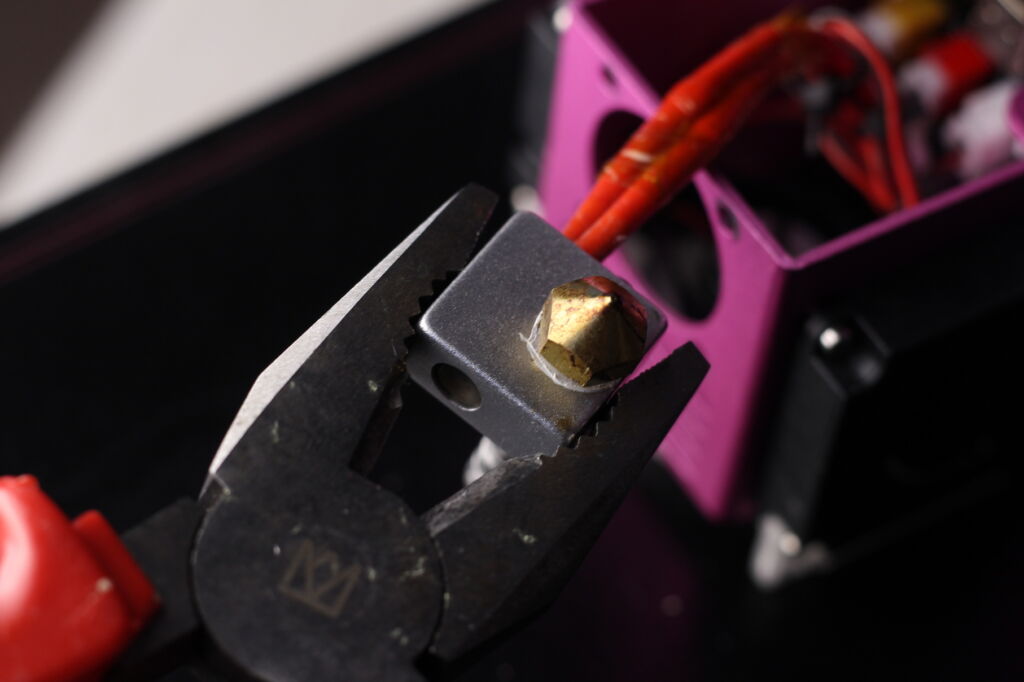
Grab the heatblock with metal pliers and unscrew the nozzle. I usually heat the hotend using a lighter/torch to make it easier. After you unscrew the nozzle, you will be able to also remove the stock heat break.
Install the bi-metal heat break
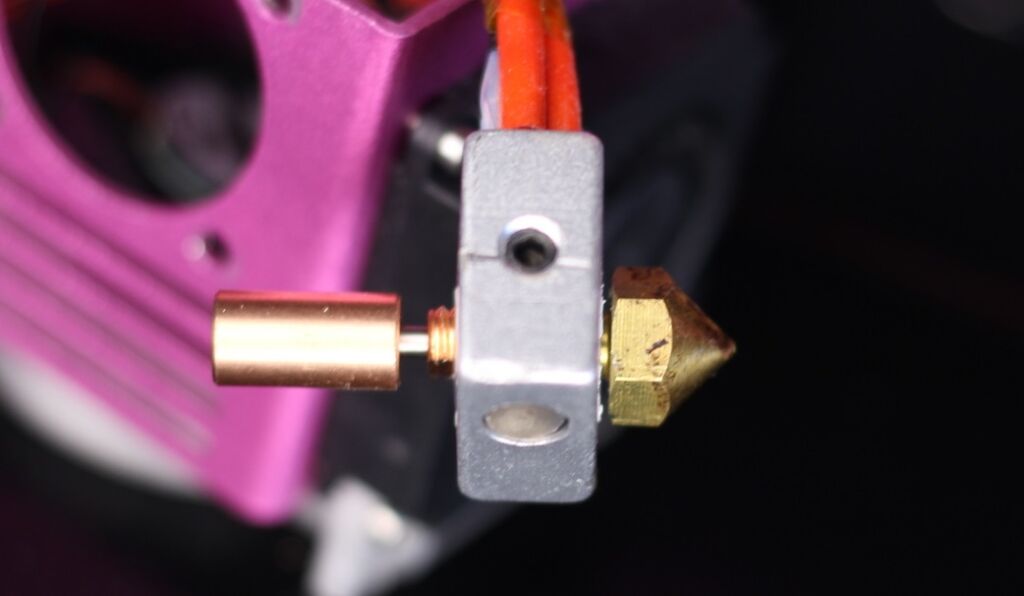
You can now install the bi-metal heat break. First, screw in the nozzle and leave about ~1mm of space between the nozzle and heat block.
Next, screw in the bi-metal heat break until it reaches the nozzle and then tighten it.
With the bi-metal heat break installed, it’s time to add some thermal paste on the cold side. This will improve thermal transfer between the heat break and the heatsink.
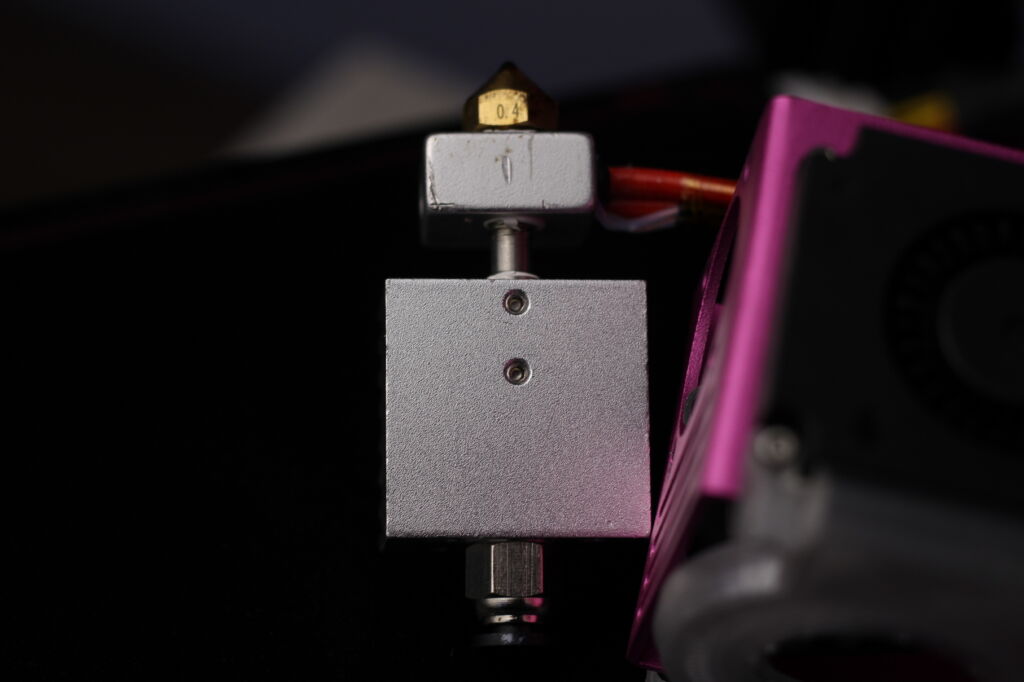
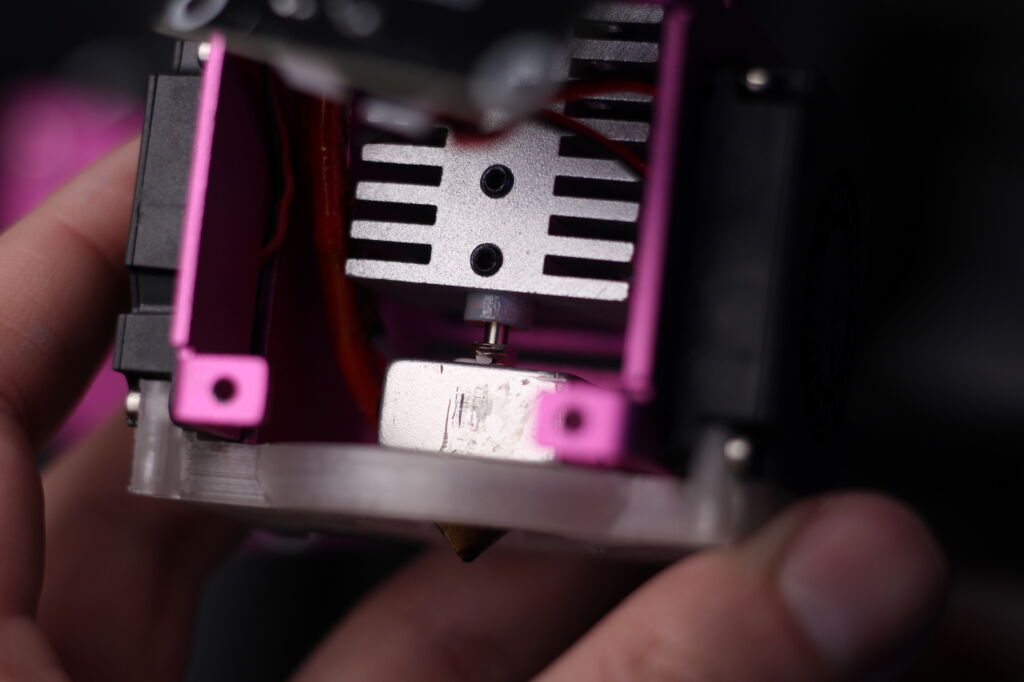
Next, insert the bi-metal heat break into the heatsink, but pay attention to the image below.
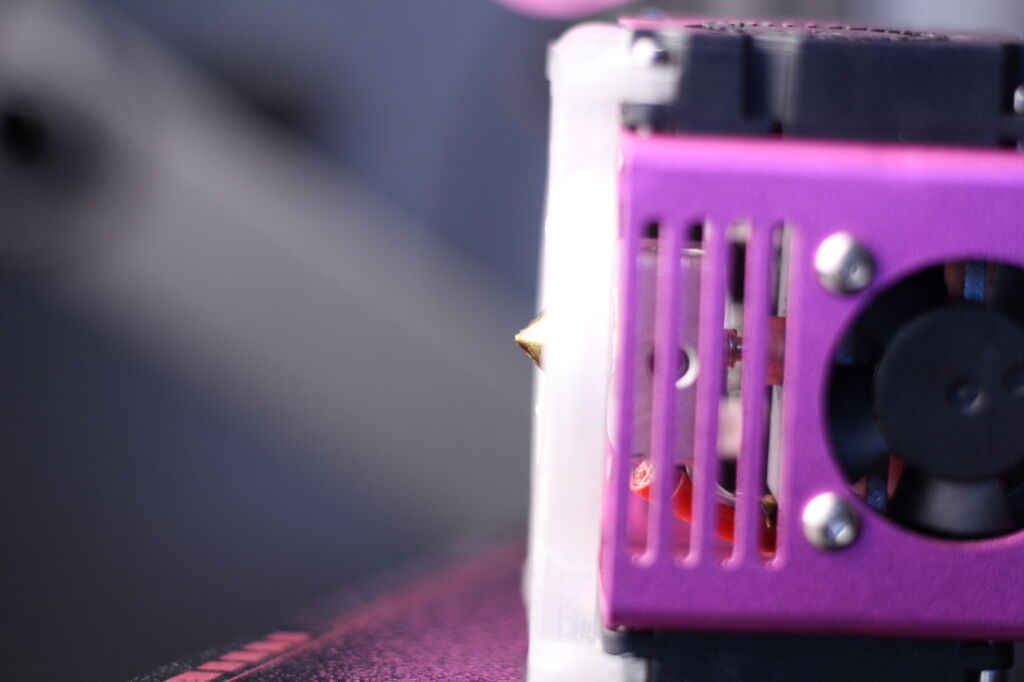
It’s important for the nozzle to be a few mm lower than the plastic cover. You can adjust the distance when tightening the grub screws which hold the bi-metal heat break in place.
Re-assemble the print head
The hotend is now complete, so you can start putting everything back together. Just follow the steps backwards and everything should be good to go.
You might also need to perform a hotend PID tuning if you notice that the hotend is not holding a constant temperature.
Start printing
As previously mentioned, it’s important to alter your print profile and set a lower retraction value. I recommend starting from ~2mm and increase or reduce as needed.
If you need some good starting profiles, you can download the BIQU B1 IdeaMaker Profiles I shared a while ago.
Wrapping up
That’s it! Now, your printer should be a bit more reliable for daily prints.
If you have any questions, feel free to leave them in the comment section. You can also join the 3DPrintBeginner Discord where you can get help.
If you are looking for other upgrades to do for your BIQU B1, check out the Ultimate 3D Printer Upgrade Purchase Guide. For example, I recommend getting a BMG extruder, or at least a dual-gear one for more accurate extrusions.
Liked it?
|
|


I’m noticing that my extruder is skipping steps after following this guide.
did I do something wrong? it seems like it’s getting jammed where the tubing meets the heatbreak. I’ve replaced the line itself with genuine Capricorn that is on center.
At what temperature can you safely set the hot end to after this upgrade?
Is it the same heat break and the same process for a B1 SE Plus? Thank you.
Would you replace the heatsink and heater block as well (copper block)? If you were going for whole hotend kit upgrade for the Biqu, which one would you choose?
After you upgrade the heat break, the hotend is pretty good. It’s hard to recommend a replacement hotend because there are no drop-in replacements as far as I know.
Are there any other option for the heat break?
Should i tighten the nozzle at a 240°C for example or not needed?
You should always perform the nozzle tightening with the heatblock heated. But take extra precautions not to over-tighten it because you can damage the heat break.
will the pfte tube be just as long with this mod? or do i need to get some ptfe tube before doing it?
The stock PTFE tube should be enough.