Artillery Bed Leveling Mod – Sidewinder X1 and Genius
Bed leveling is one of the most common issues when it comes to 3D printing. This bed leveling mod tries to fix this issue.
Getting the bed leveling right takes a bit of fiddling around with the printer and can cause a lot of frustration for a beginner. With the bed leveling mod described in this guide, you will only have to level the bed once, then it should stay level for a long time.
Why do the Bed Leveling Mod?
Most of the bed leveling systems included with the printers consist have springs. The bed sits on these springs and you can adjust the bed with the knobs underneath the bed and control the spring tension.
While this is the easiest way to manually level the bed, cartesian printers move the bed constantly when printing and the z leveling will start to degrade. The springs are not strong enough to keep the bed stiff and after a couple of prints you may need to level the bed again
Please note that a beginner will have a hard time doing this mod. It’s recommended for people which already know their way around a 3D printer and know how to troubleshoot small issues that can arise.
Prerequisites for the Bed Leveling Mod
Before starting this mod, you will need the following items:
- 0.2 mm feeler gauge (recommended) or a business card
- 4 x M5 nuts
- A lot of patience
- BLTouch (optional, if your bed is flat)
This bed leveling mod can be done on a completely stock printer, but it’s recommended you have a custom firmware for the screen and board. This will allow you to use the babystepping feature and easily fine-tune the first layer. I also suppose that your X gantry is square to the bed, and the whole printer is checked in advance. You can follow my guide for a quick check to make sure everything is mechanically ok.
If your bed is not perfectly flat, you won’t be able to do this mod without any kind of bed leveling to compensate for the unevenness of the bed surface. A BLTouch is recommended for this and will make everything much easier.
Another important thing to note is the Z end-stop. Before starting, make sure your Z end-stop is installed in the stock location, and it’s properly fixed to the frame. The bed leveling mod can be harder do to with the end stop in a different place.
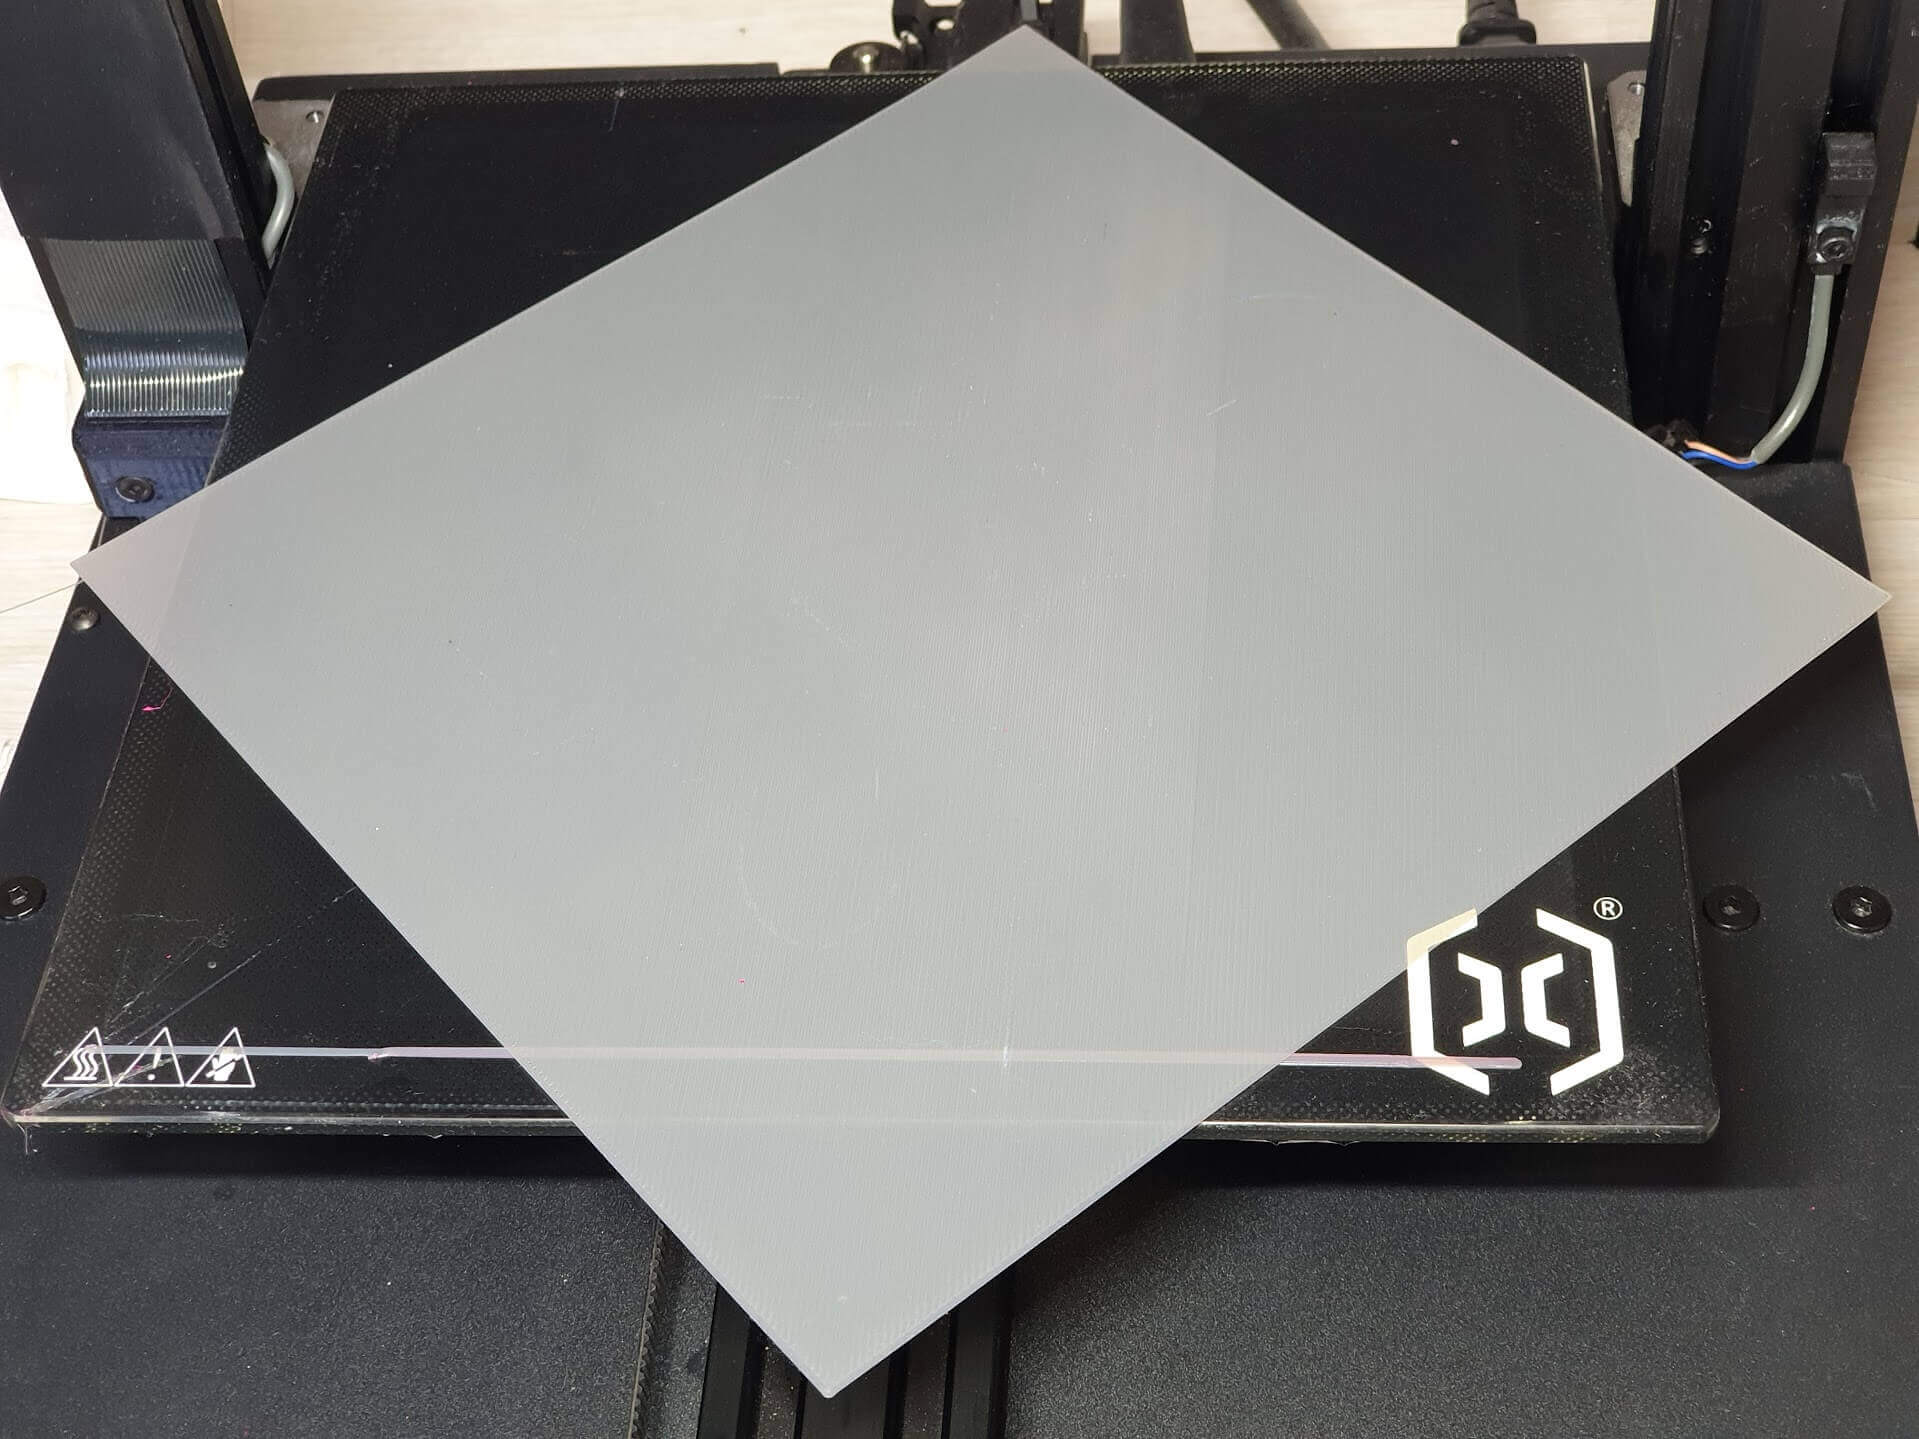
In this guide, I will show you how I replaced the bed springs with a fixed bed solution using just 4 x M5 nuts. After the bed leveling mod, I was able to get a perfect first layer without needing to use any kid of babystepping or adjustments.
Remove the bed leveling knobs and springs
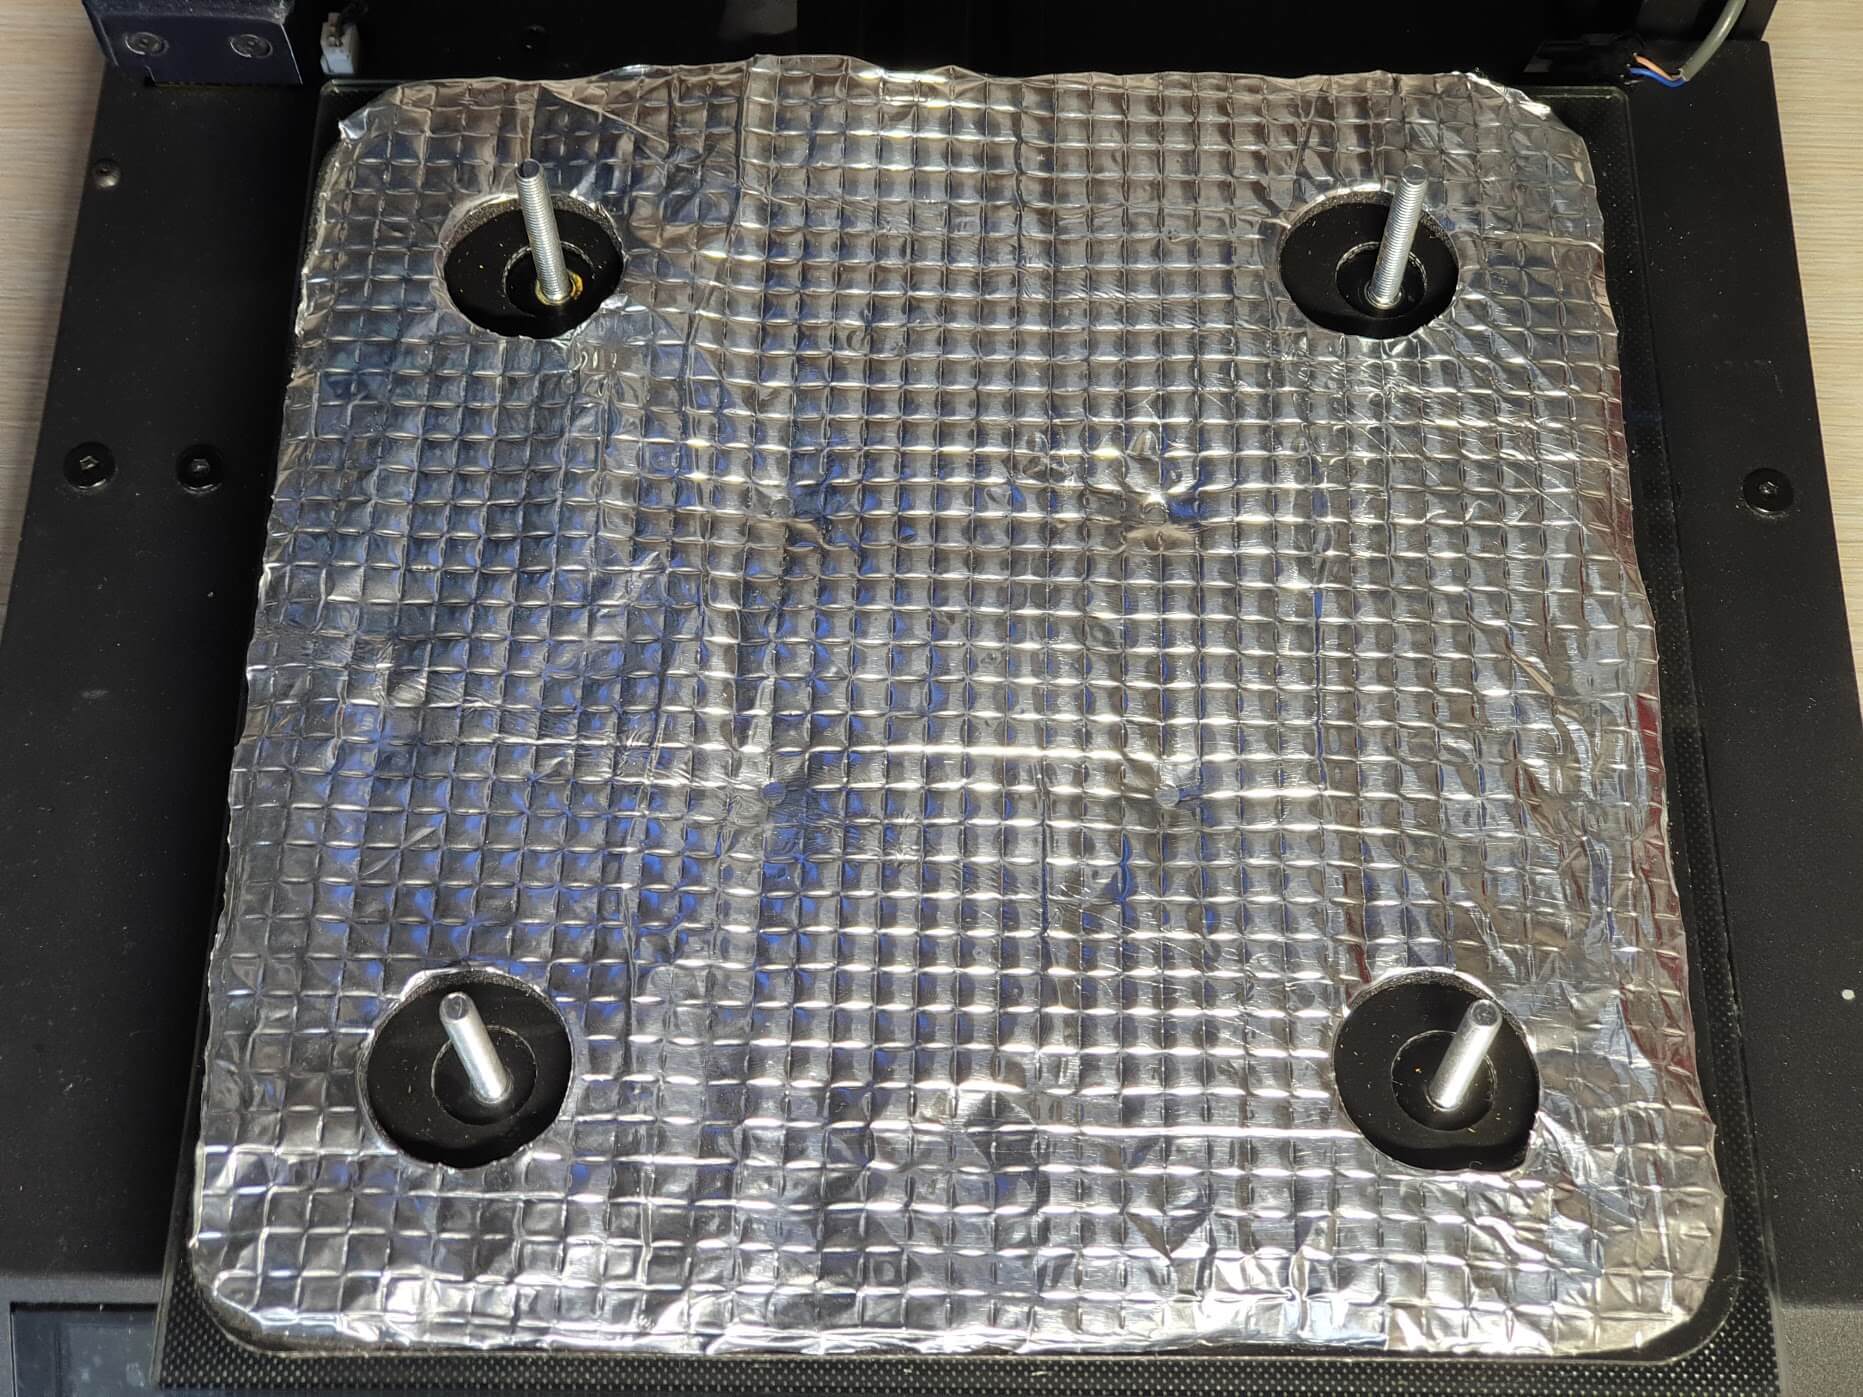
Disconnect the power from the printer. Then, turn the current bed leveling knobs underneath the bed and remove them. Flip the bed, and also remove the springs.
Install the bed leveling knobs
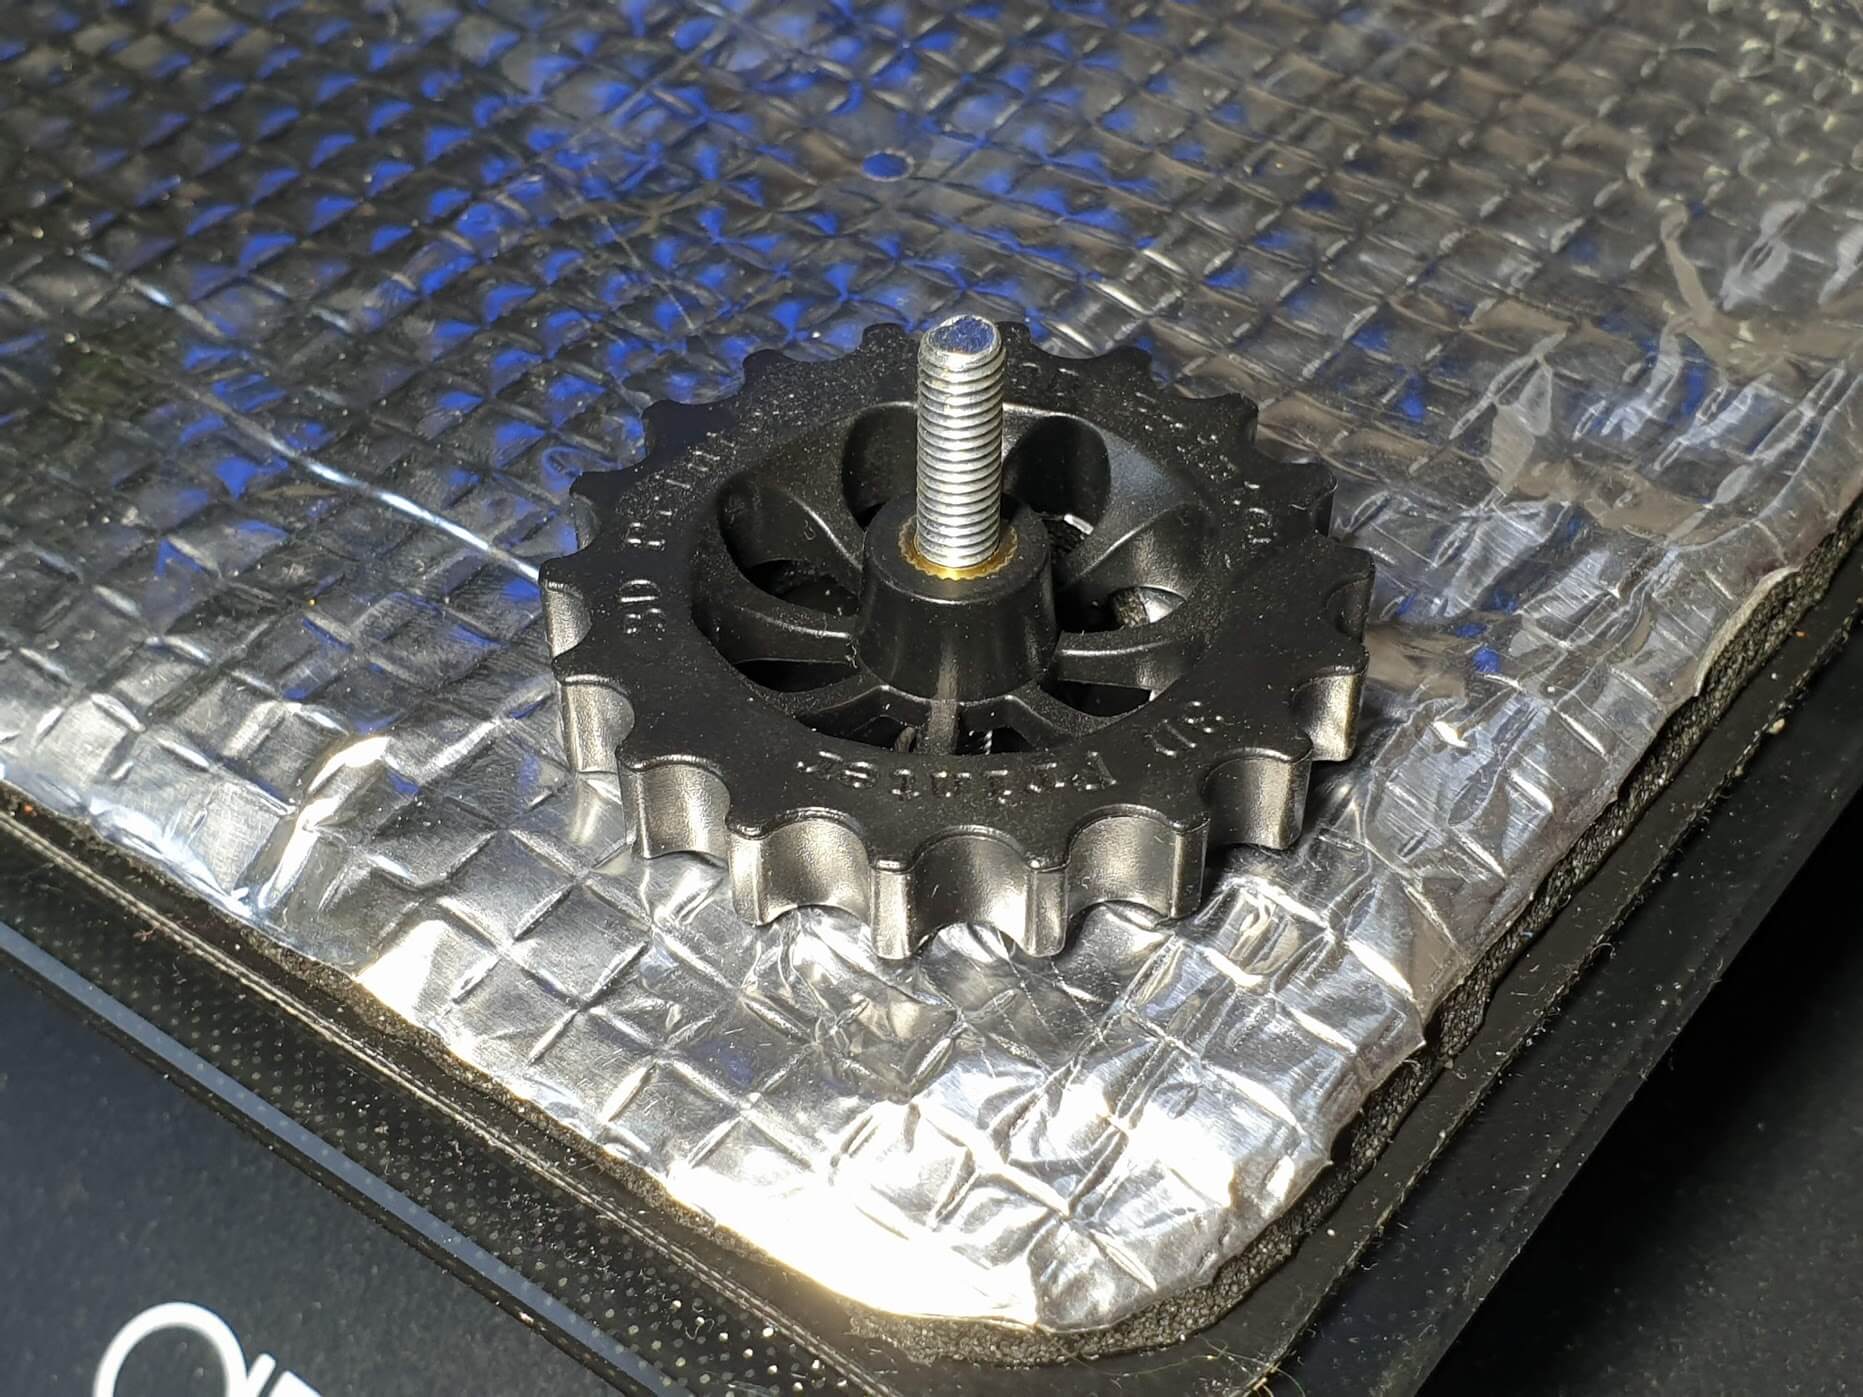
With the bed flipped, install the leveling knobs as shown in the picture. It’s important to install the knobs with the taller side on top, so that when the bed is installed, you can turn them for adjustment.
Turn the knobs until they reach the bed insulation, but you don’t need to tighten them. Try to have all four knobs at around the same height.
Install the bed on the carriage
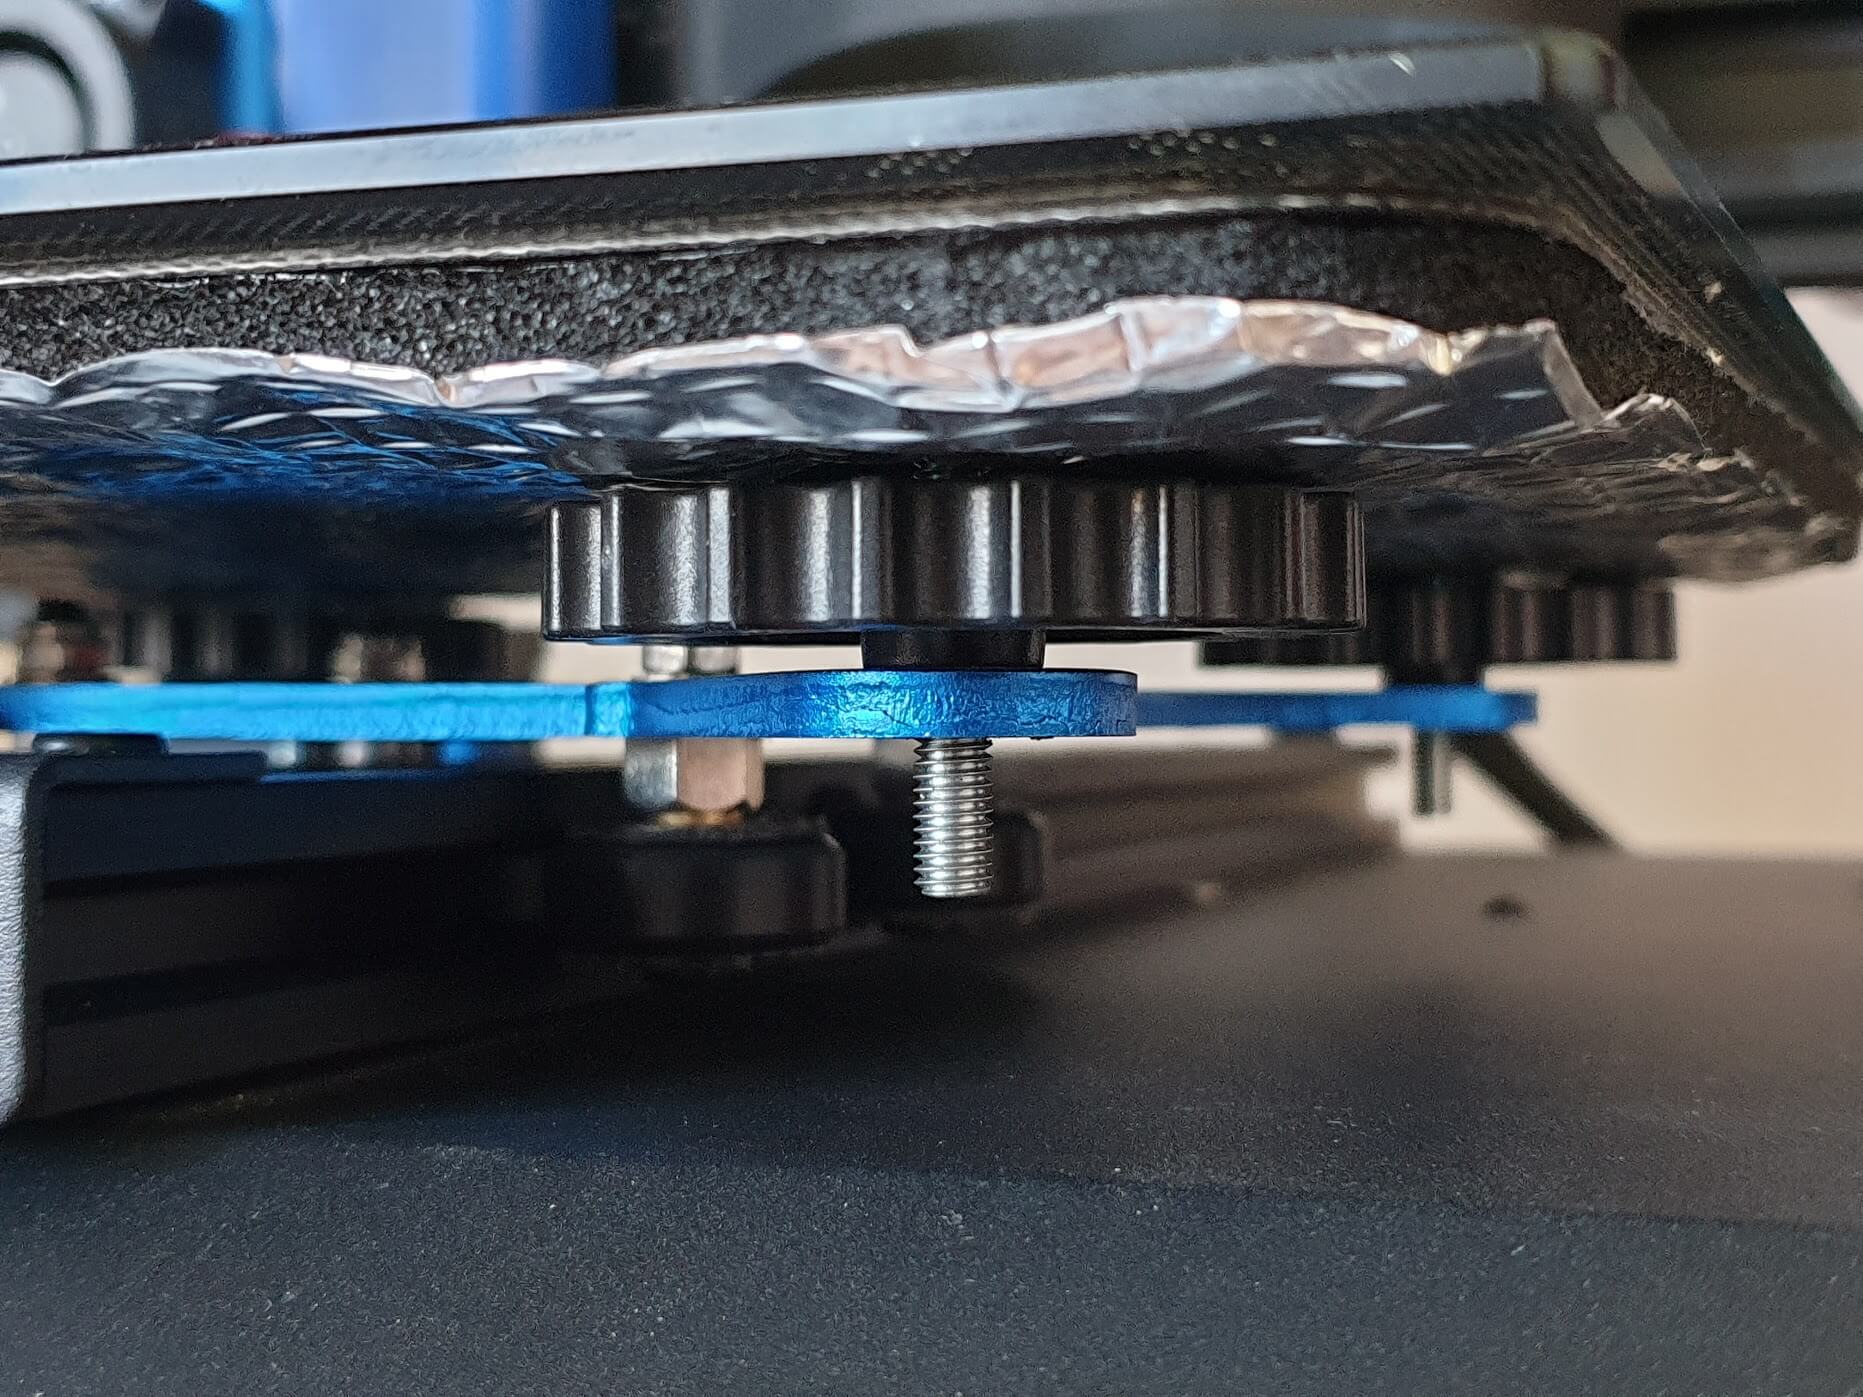
With the leveling knobs installed, flip the bed and install it back on the Y carriage. Carefully place the bed back on the carriage and move to the next step.
Home the printer and level the bed
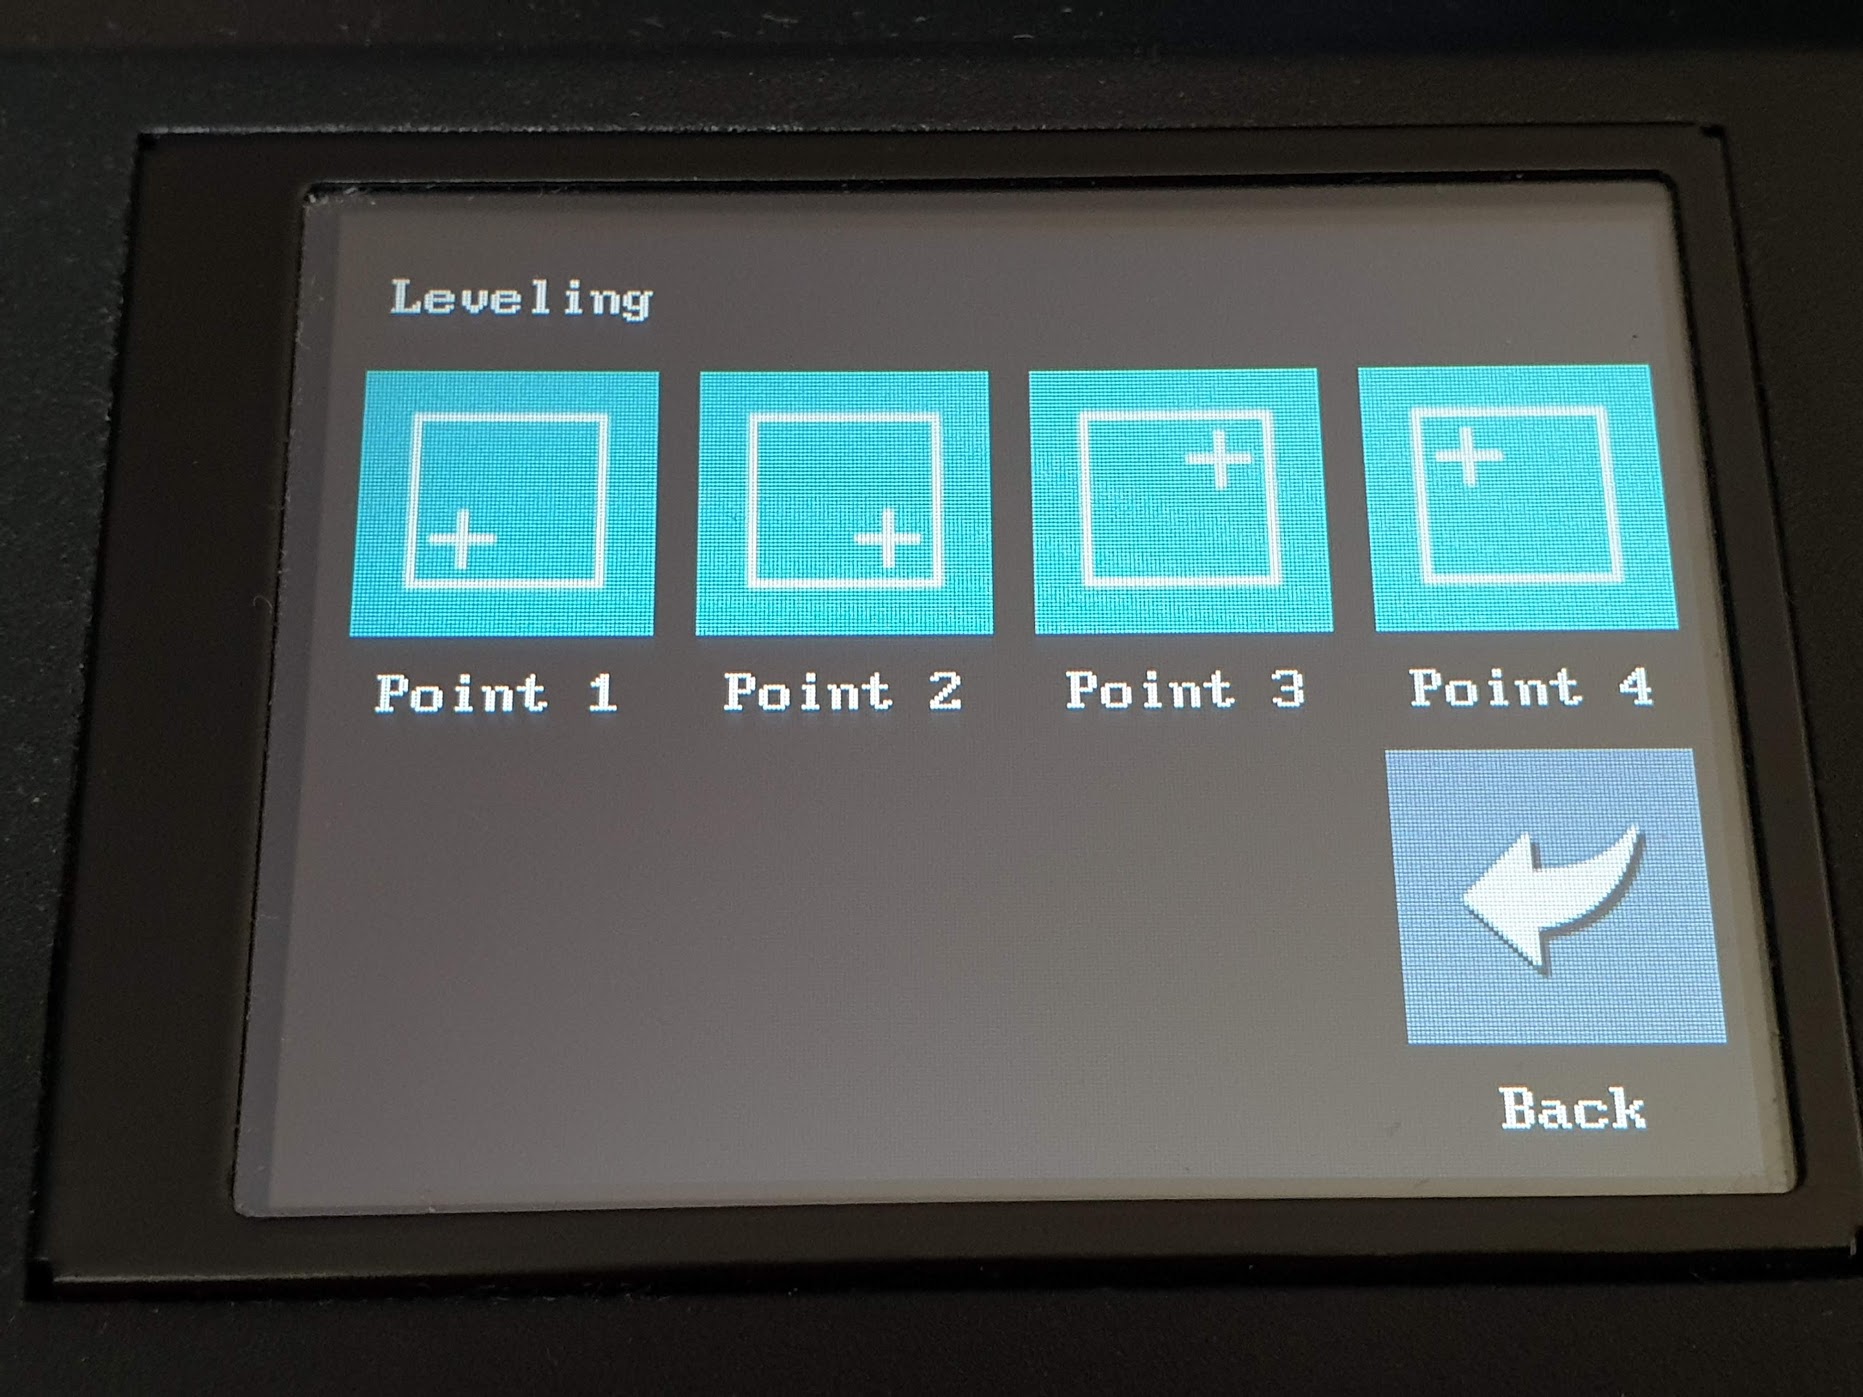
Home the printer and then navigate to the leveling section on the screen. You can now level the bed for the first time. Go through all 4 corners using the touchscreen controls, and carefully turn the leveling knob until the distance between the nozzle and the bed is around 0.2 mm.
I use the 0.2mm feeler gauge, but a business card can be used. It’s really important to have the same distance between the nozzle and the bed especially if you don’t use a BLTouch.
Install the locking nuts
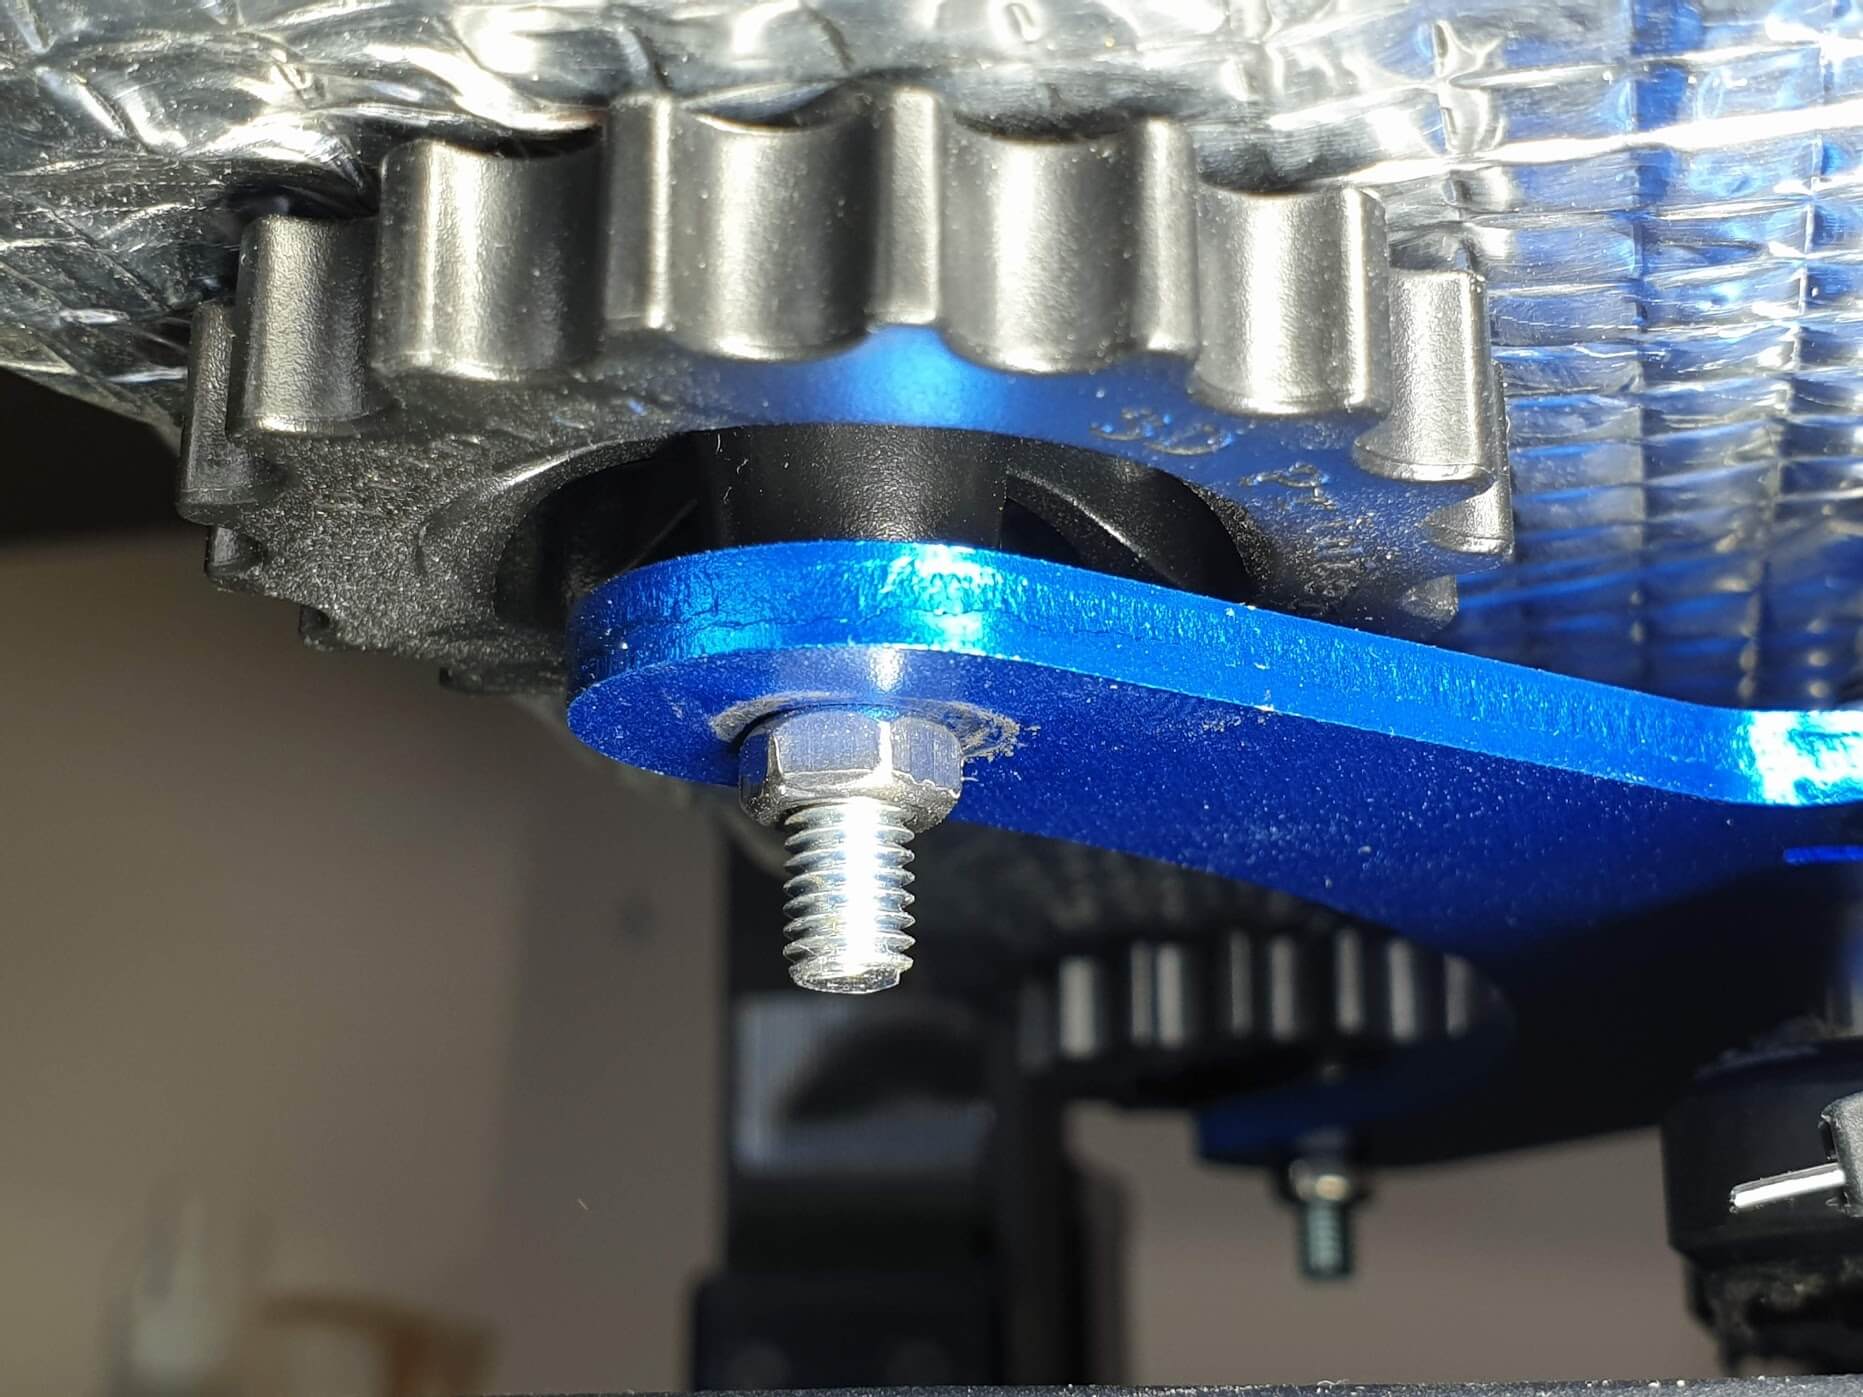
Now that the bed is level, we need to install the locking nuts. Carefully install the nuts, but don’t tighten them yet. There needs to be some slack available to allow some bed flex when it gets hot in the next step.
Preheat the nozzle and bed
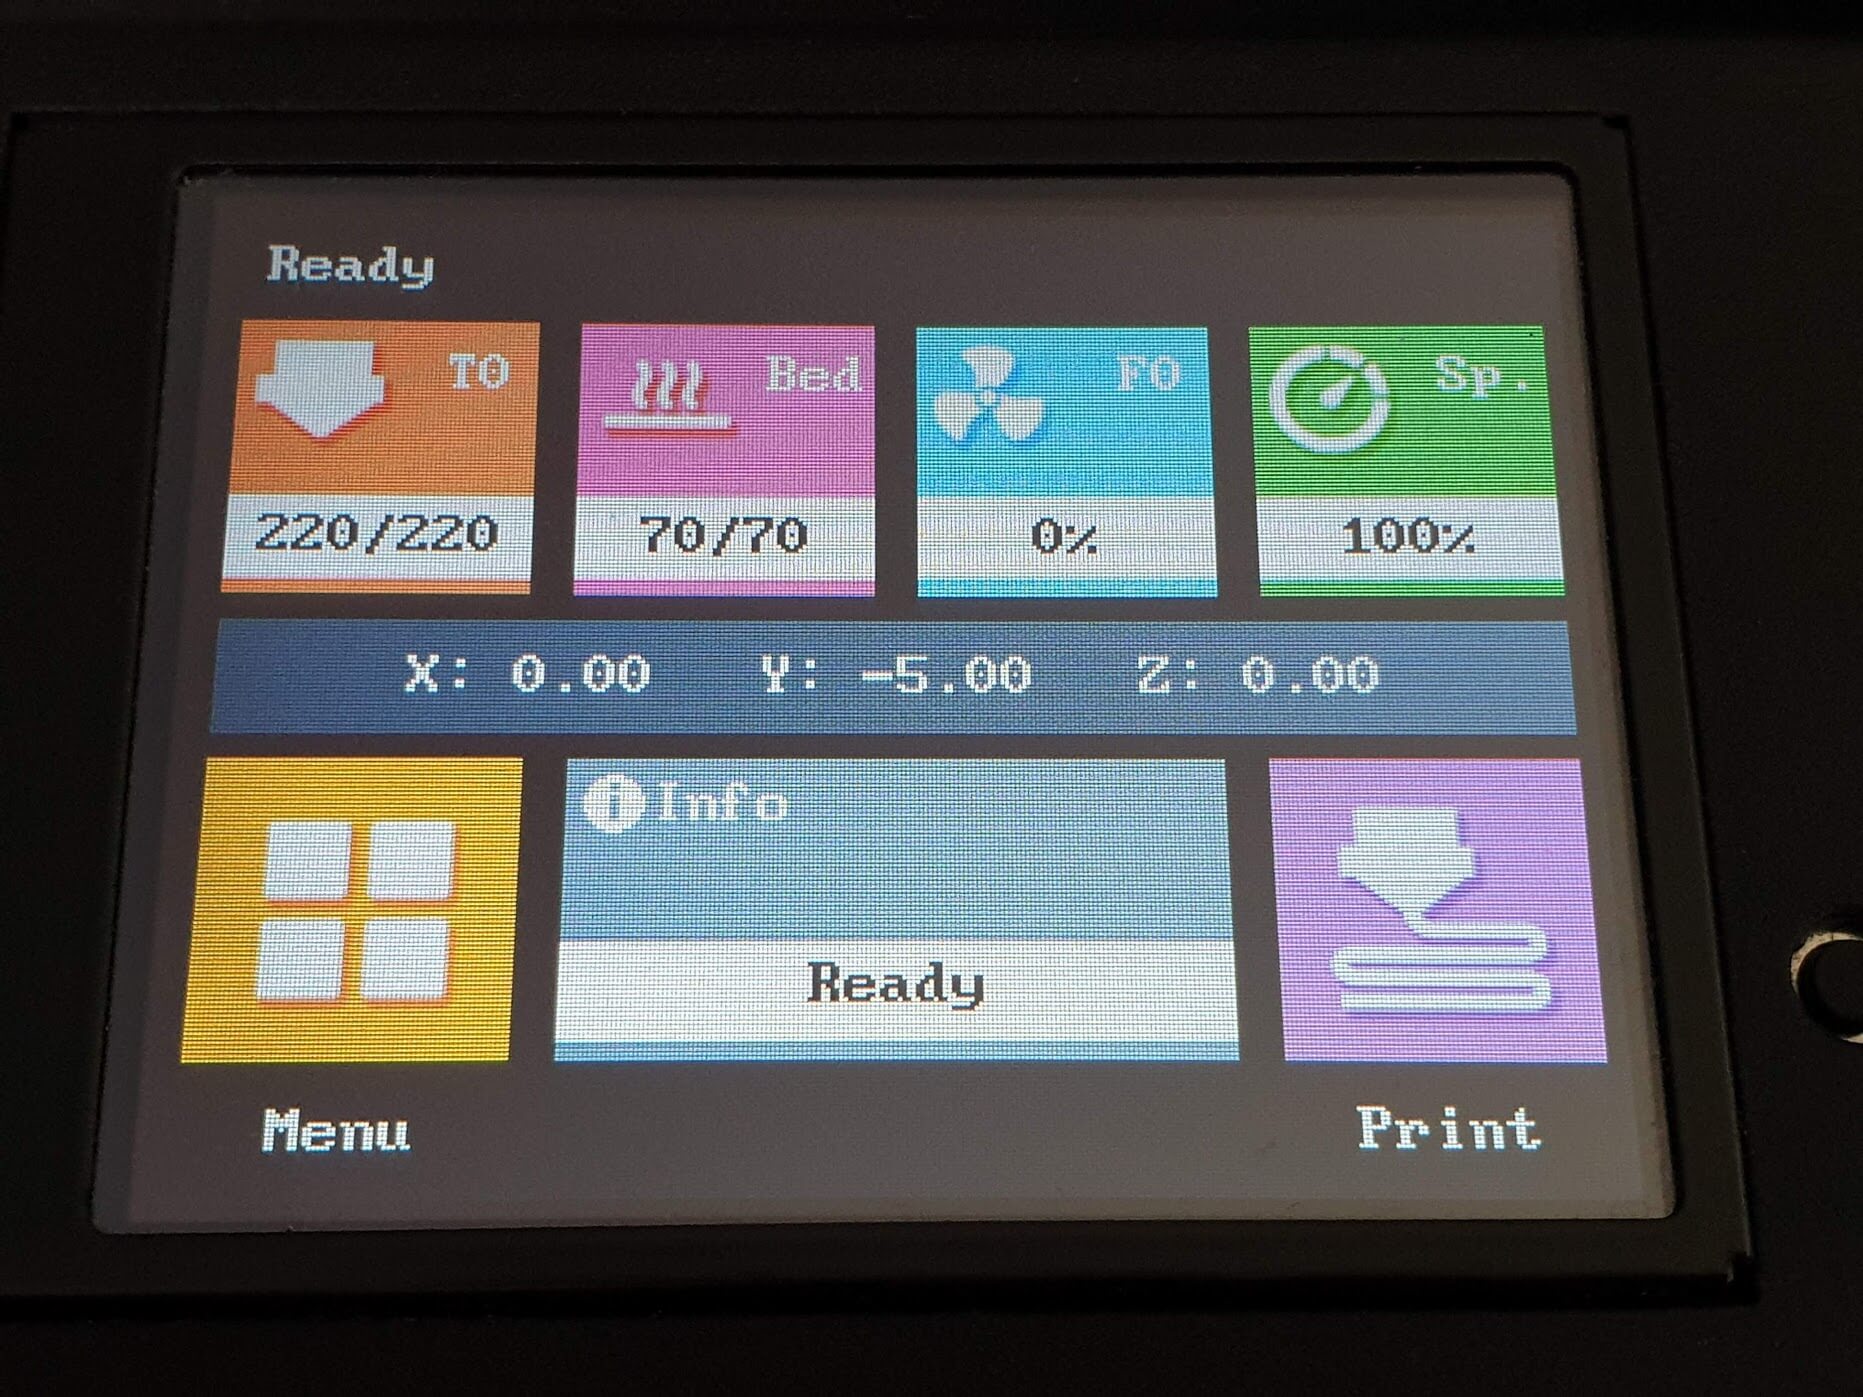
In order to make sure the bed leveling mod is successful and the bed will be perfectly flat when printing, we need to preheat everything to the correct temperature.
I recommend going for 220C on the hotend and 70C on the heatbed. When the printer reaches this temperature, wait for around 5 minutes to make sure the glass bed has reached the temperature and stabilized.
Fine-tune the nozzle distance
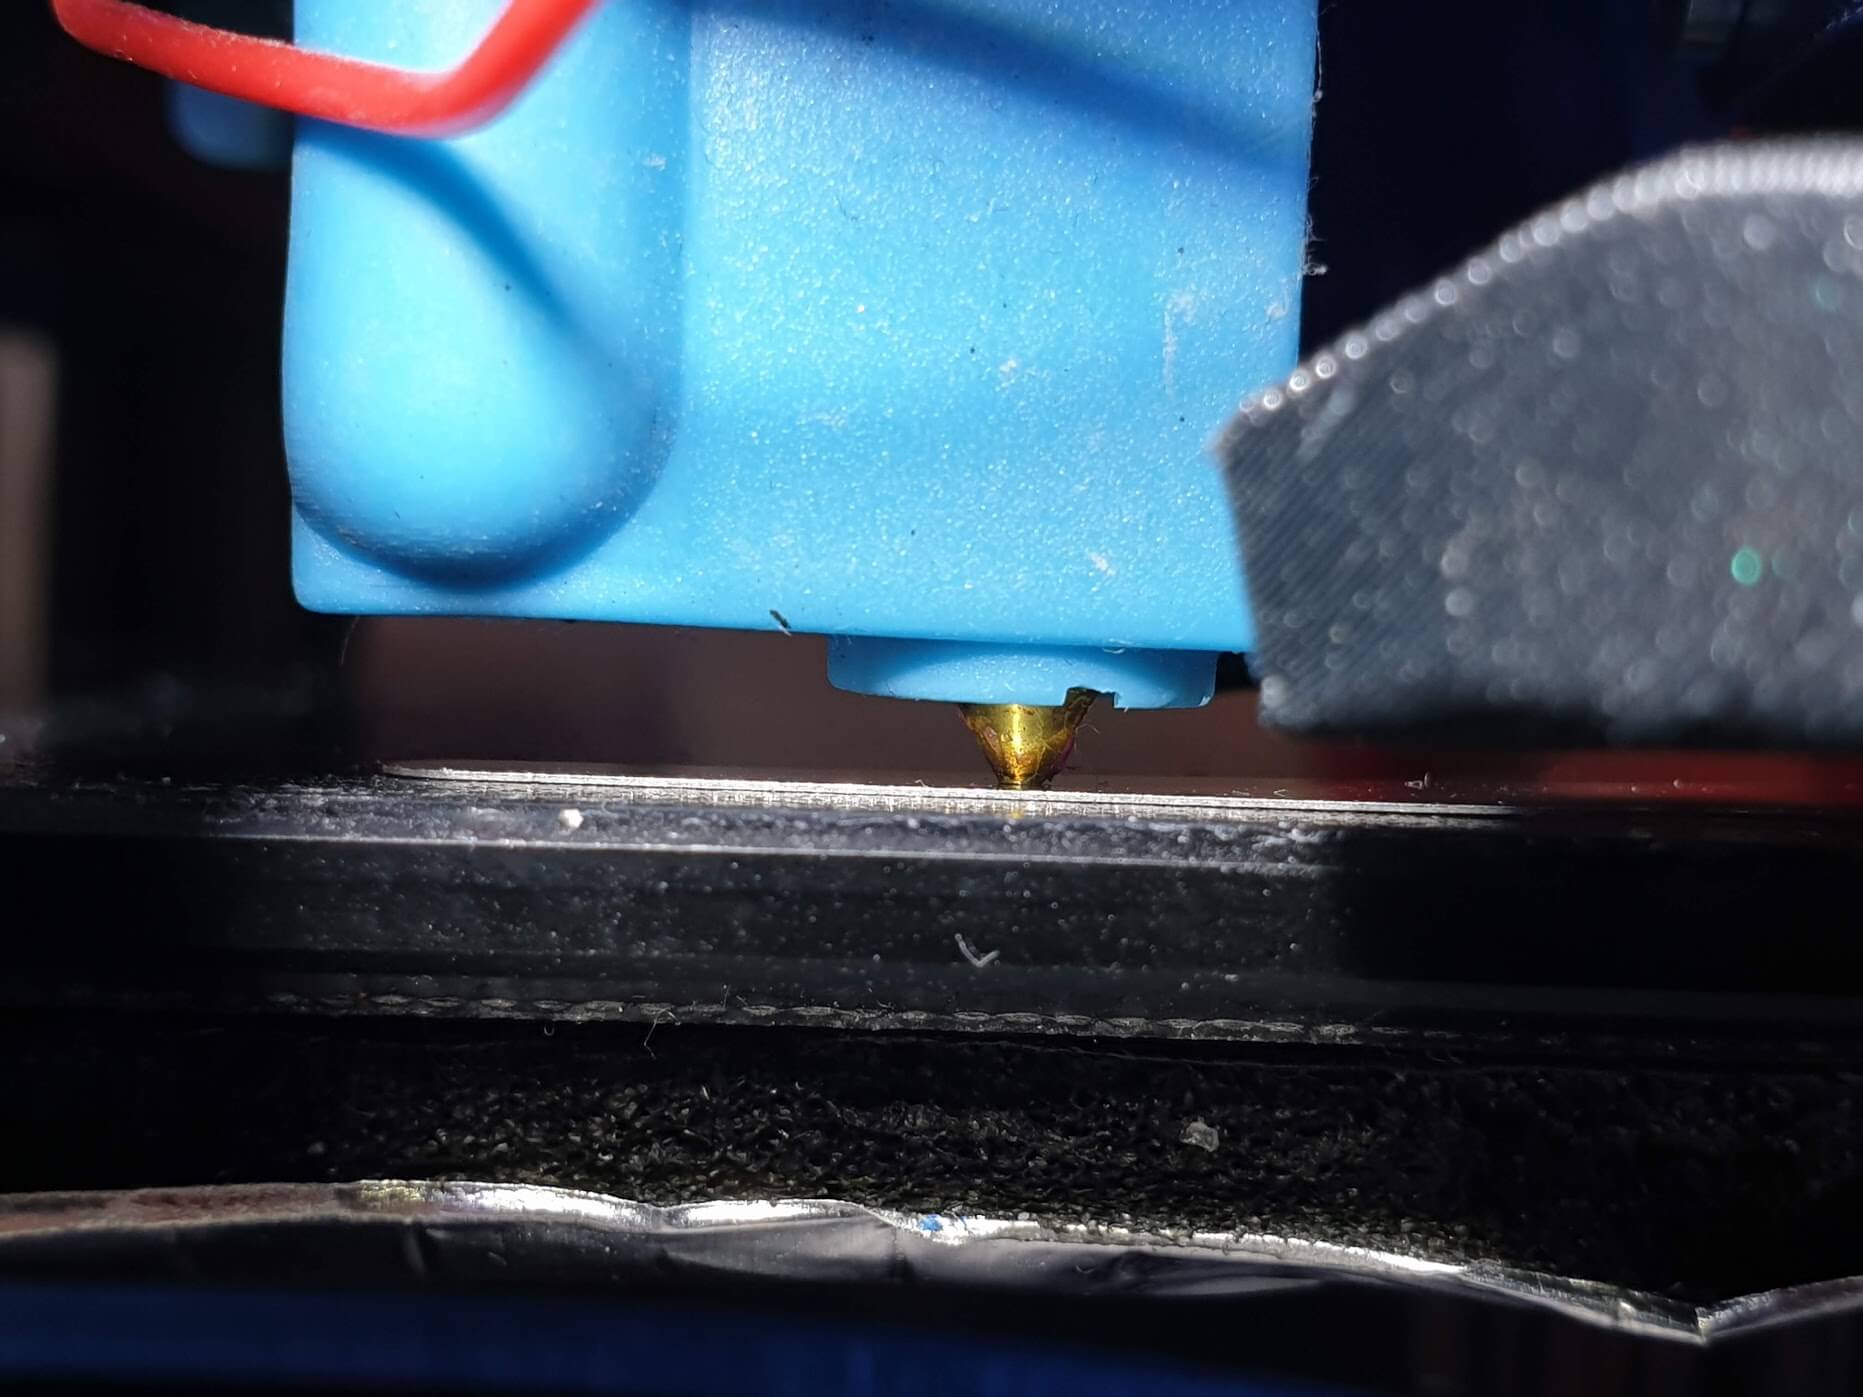
Now we can fine-tune the leveling. Using the touchscreen controls, adjust each of the corners just like you did in step 4. This time, after you manage to have the same distance from the nozzle to the bed on all 4 corners slowly tighten the bottom nuts.
This is the most important step. Take your time and go through all 4 corners a few times while tightening and do a final check after everything is tight. It’s not the easiest thing to do, but with some patience you can do it.
If there are differences between the corners and you don’t have a BLTouch installed, you may notice an uneven first layer and you may need to adjust the bed leveling mod.
Test the leveling
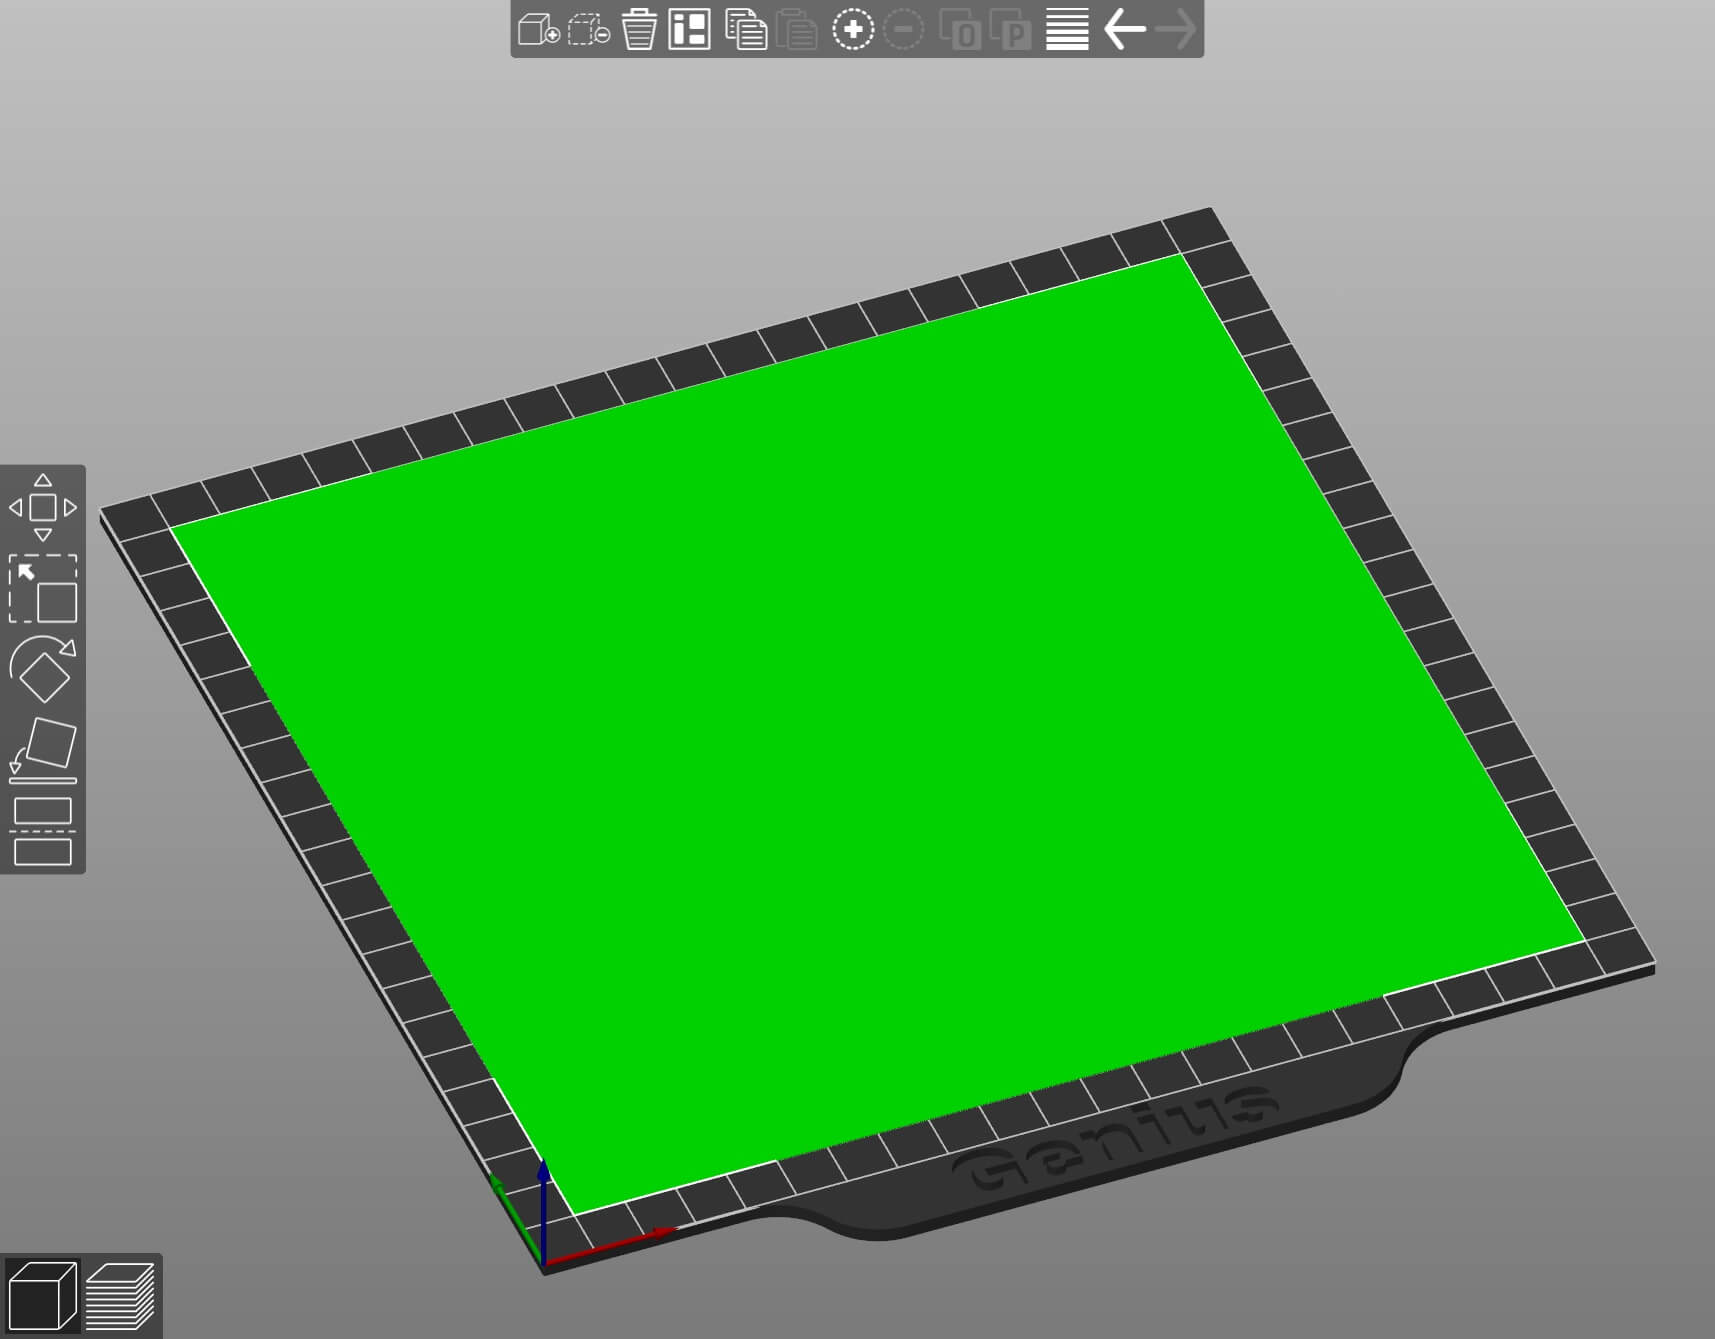
The bed should be now leveled, but we need to test this. Grab a first layer calibration STL and print it. I used this file, and I modified the dimensions in Prusa Slicer to 200×200 mm with a 0.2mm layer size.
If the bed is leveled correctly, at the end you should have a flat sheet of plastic that’s easy to remove from the bed after it cools down. If you notice any uneven lines and inconsistent layer, then you will need to put more time in leveling the bed.
With a custom firmware, you can also fine tune the first layer using the babystepping feature and get a perfect first layer.
Wrapping up
That’s it! This was the bed leveling mod i did to my Artillery Genius.
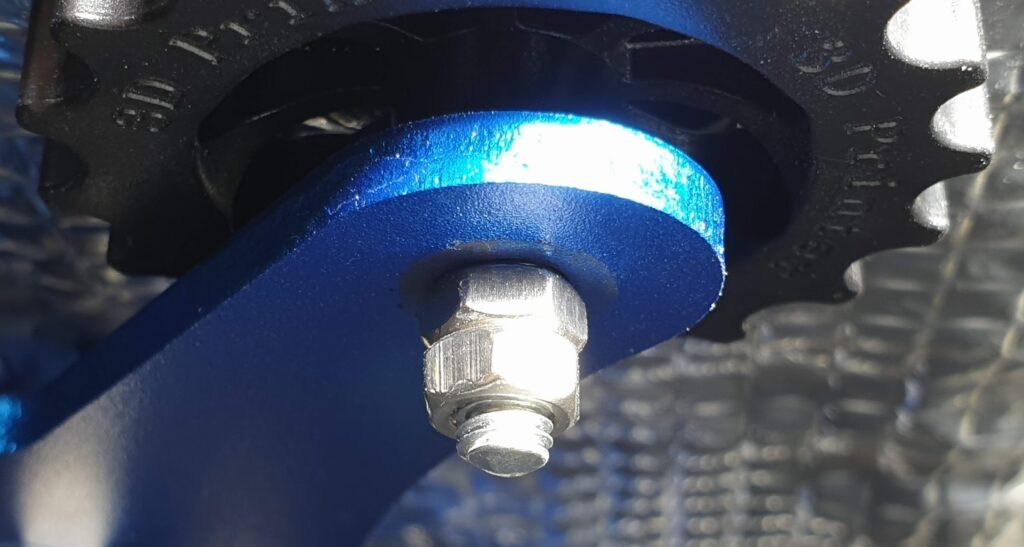
After you manage to properly level the bed, and have a good first layer, you can add an extra M5 nut in the bottom of each corner. You can even use a nylon M5 nut to make sure they don’t loosen themselves during printing.
If you want to further upgrade your Artillery printer, you can check my Artillery Sidewinder X1 Upgrades – Paid and Free article. Most of the upgrades will work both for the Sidewinder X1 and Genius.
Liked it?
|
|

