Sidewinder X2 Custom Touchscreen Firmware: Flashing Guide
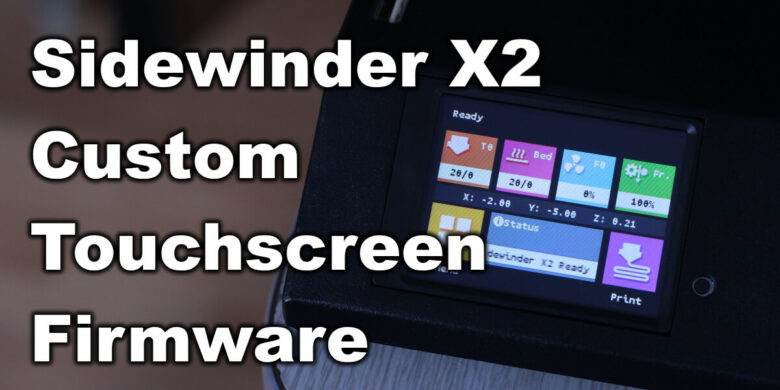
I mentioned in the Sidewinder X2 review that Artillery missed the opportunity of offering an improved experience for their customers by updating the touchscreen firmware. Fortunately, the Sidewinder X2 uses the same TFT28 touchscreen as the Sidewinder X1.
This means that we can use the excellent firmware made by Digant to upgrade the Sidewinder X2 Touchscreen Firmware and get extra functionality.
Why flash Digant’s Touchscreen Firmware on the Sidewinder X2?
The main reason why you would flash Digant’s custom Touchscreen Firmware is because of the extra functionality. It’s based on the BIGTREETECH firmware originally made for the TFT line of touchscreens sold by them.
Here are a few awesome features:
- Gcode terminal
- PID Tuning Menu
- Z offset menu
- ABL Mesh Viewer
- ABL Mesh Editor
- Gcode Thumbnail support
I strongly recommend checking out the screenshots and details in Digant’s Thingiverse page for more information.
Before you begin
Please note that installing a custom firmware on the Sidewinder X2 requires some experience with 3D printers and hardware. Even though the flashing process has been tested and it’s confirmed to work on my side, you may break your printer during the process. If you don’t feel comfortable doing this, then keep the stock firmware.
Read the full guide carefully and install the custom firmware for the Sidewinder X2 only after you properly understood all the steps involved. If you have questions before starting, leave a comment and wait for a reply.
I am not responsible for any damage you may cause to your printer by following this guide. You are doing this on your own responsibility.
Flash the Sidewinder X2 Touchscreen
Navigate to Digant’s page on Thingiverse and download the latest version of TFT Firmware. At the time of writing this article, the latest version is artillery_tft_fw_1.27.x_patch_5..rar.
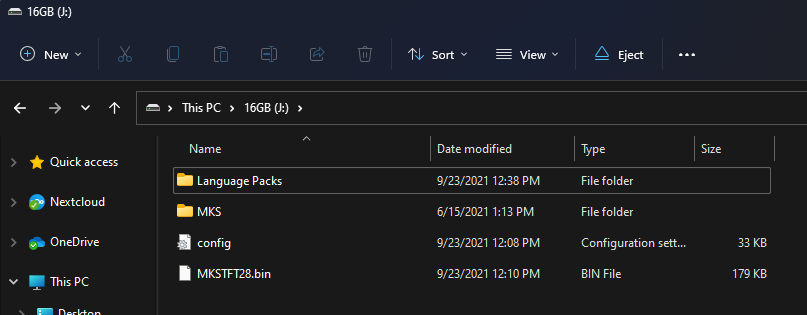
Unzip the contents of the archive, and copy the files on a Micro SD card. It’s recommended to use a 16GB SD card or smaller.
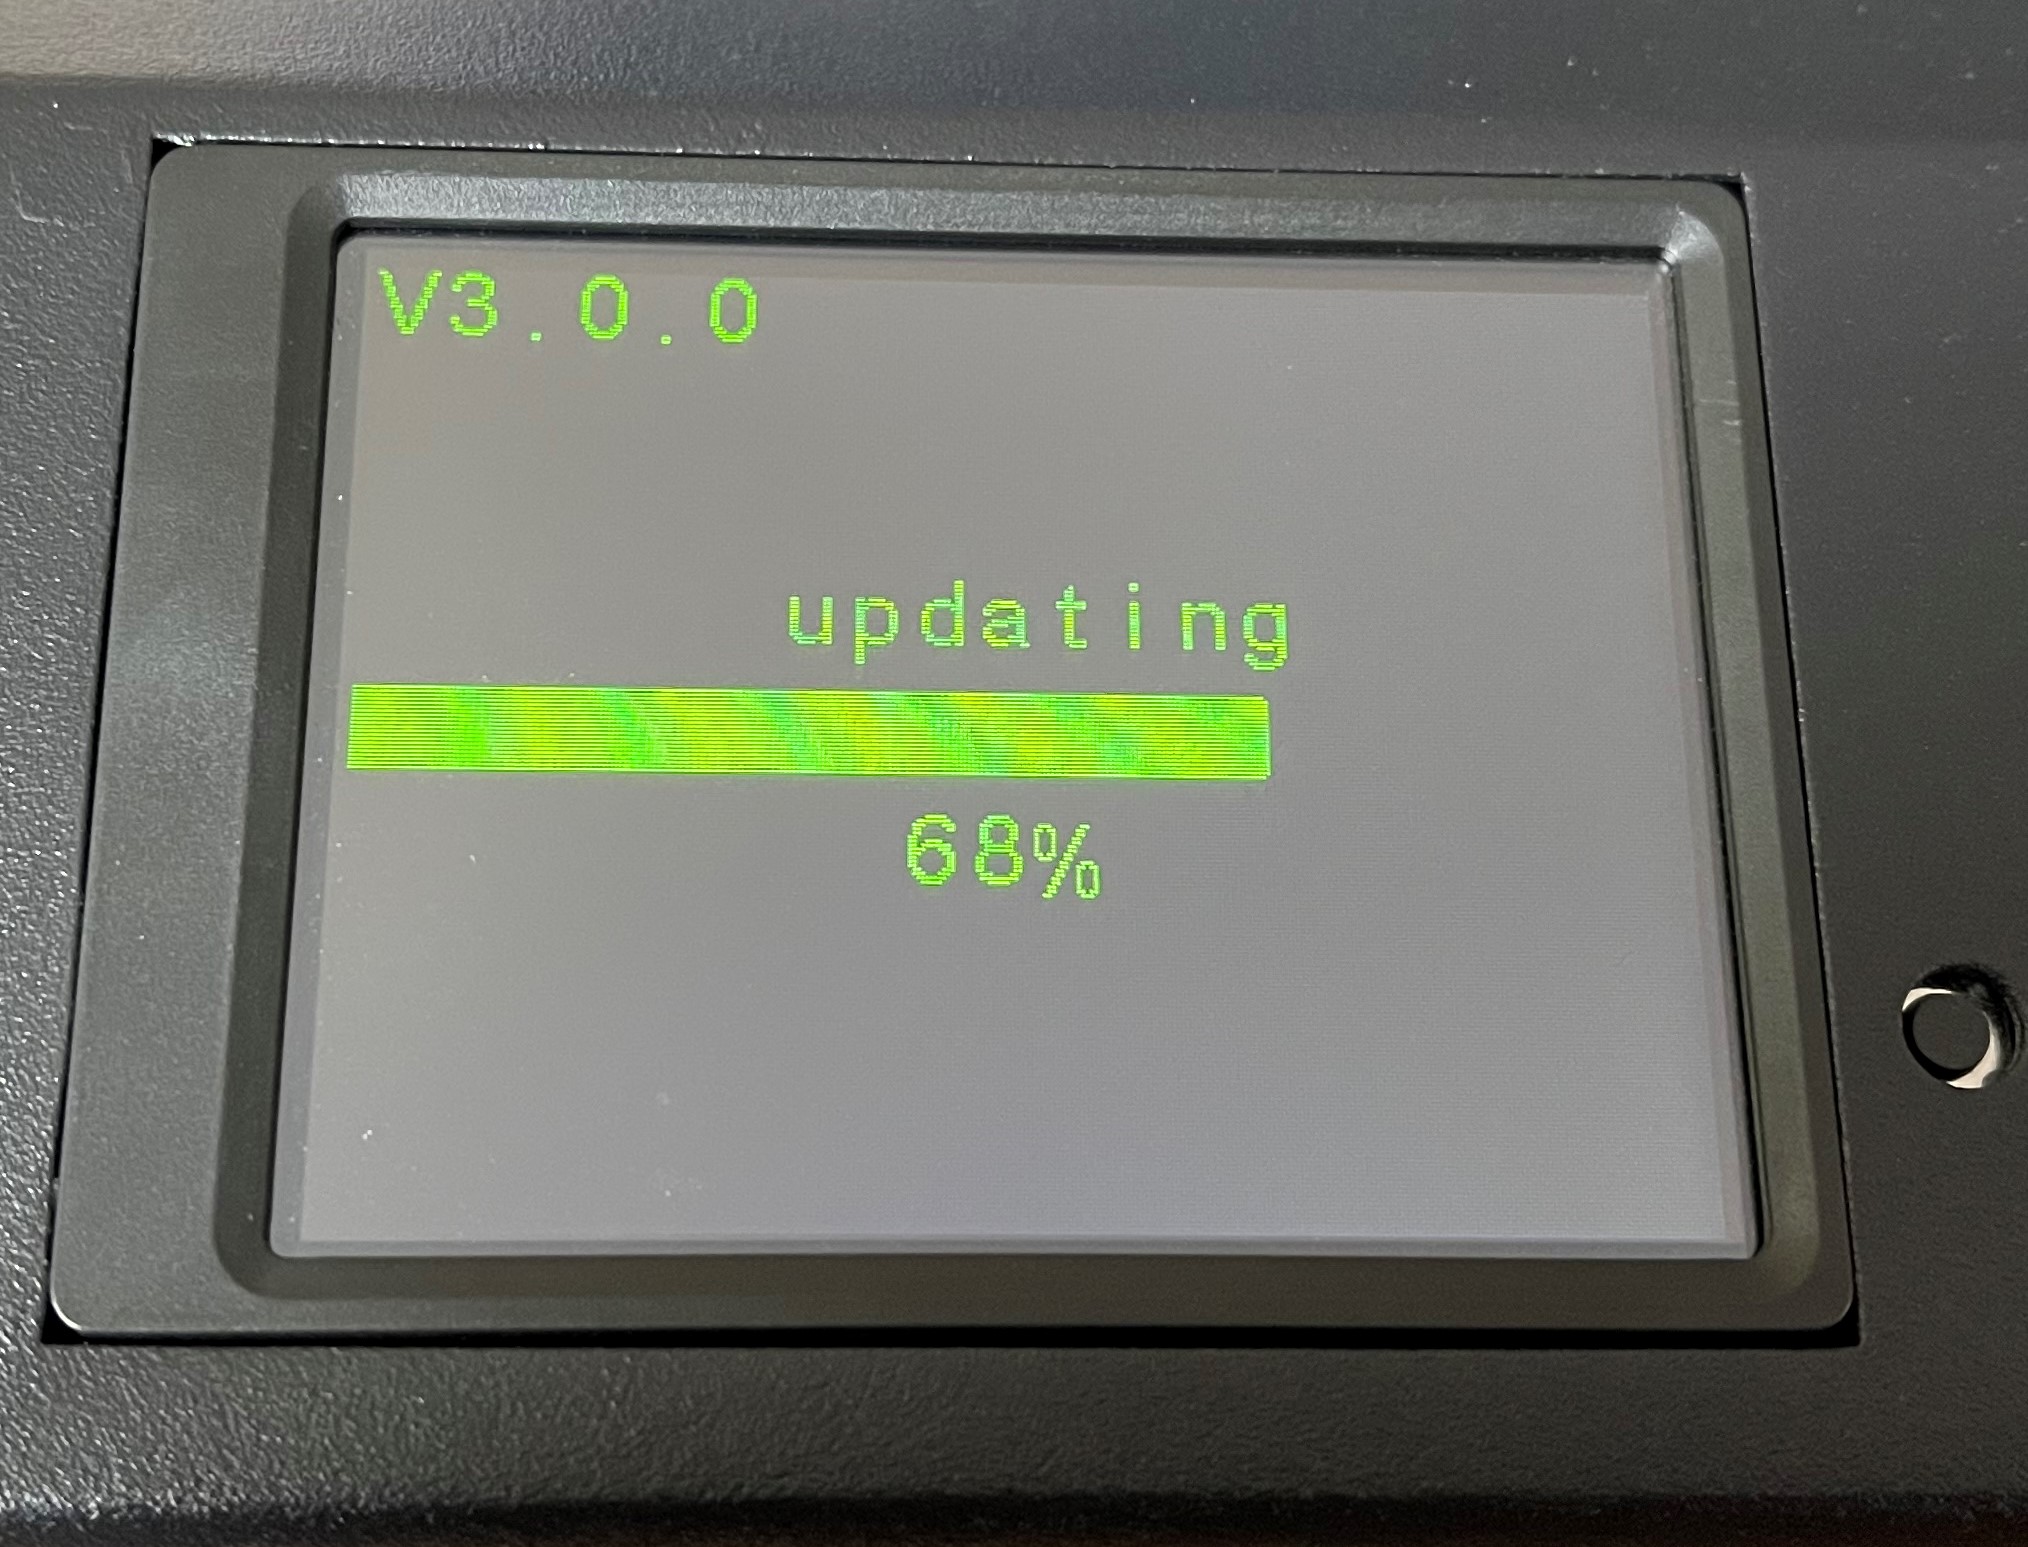
Insert the SD card into the printer then reboot it. The flashing will start.
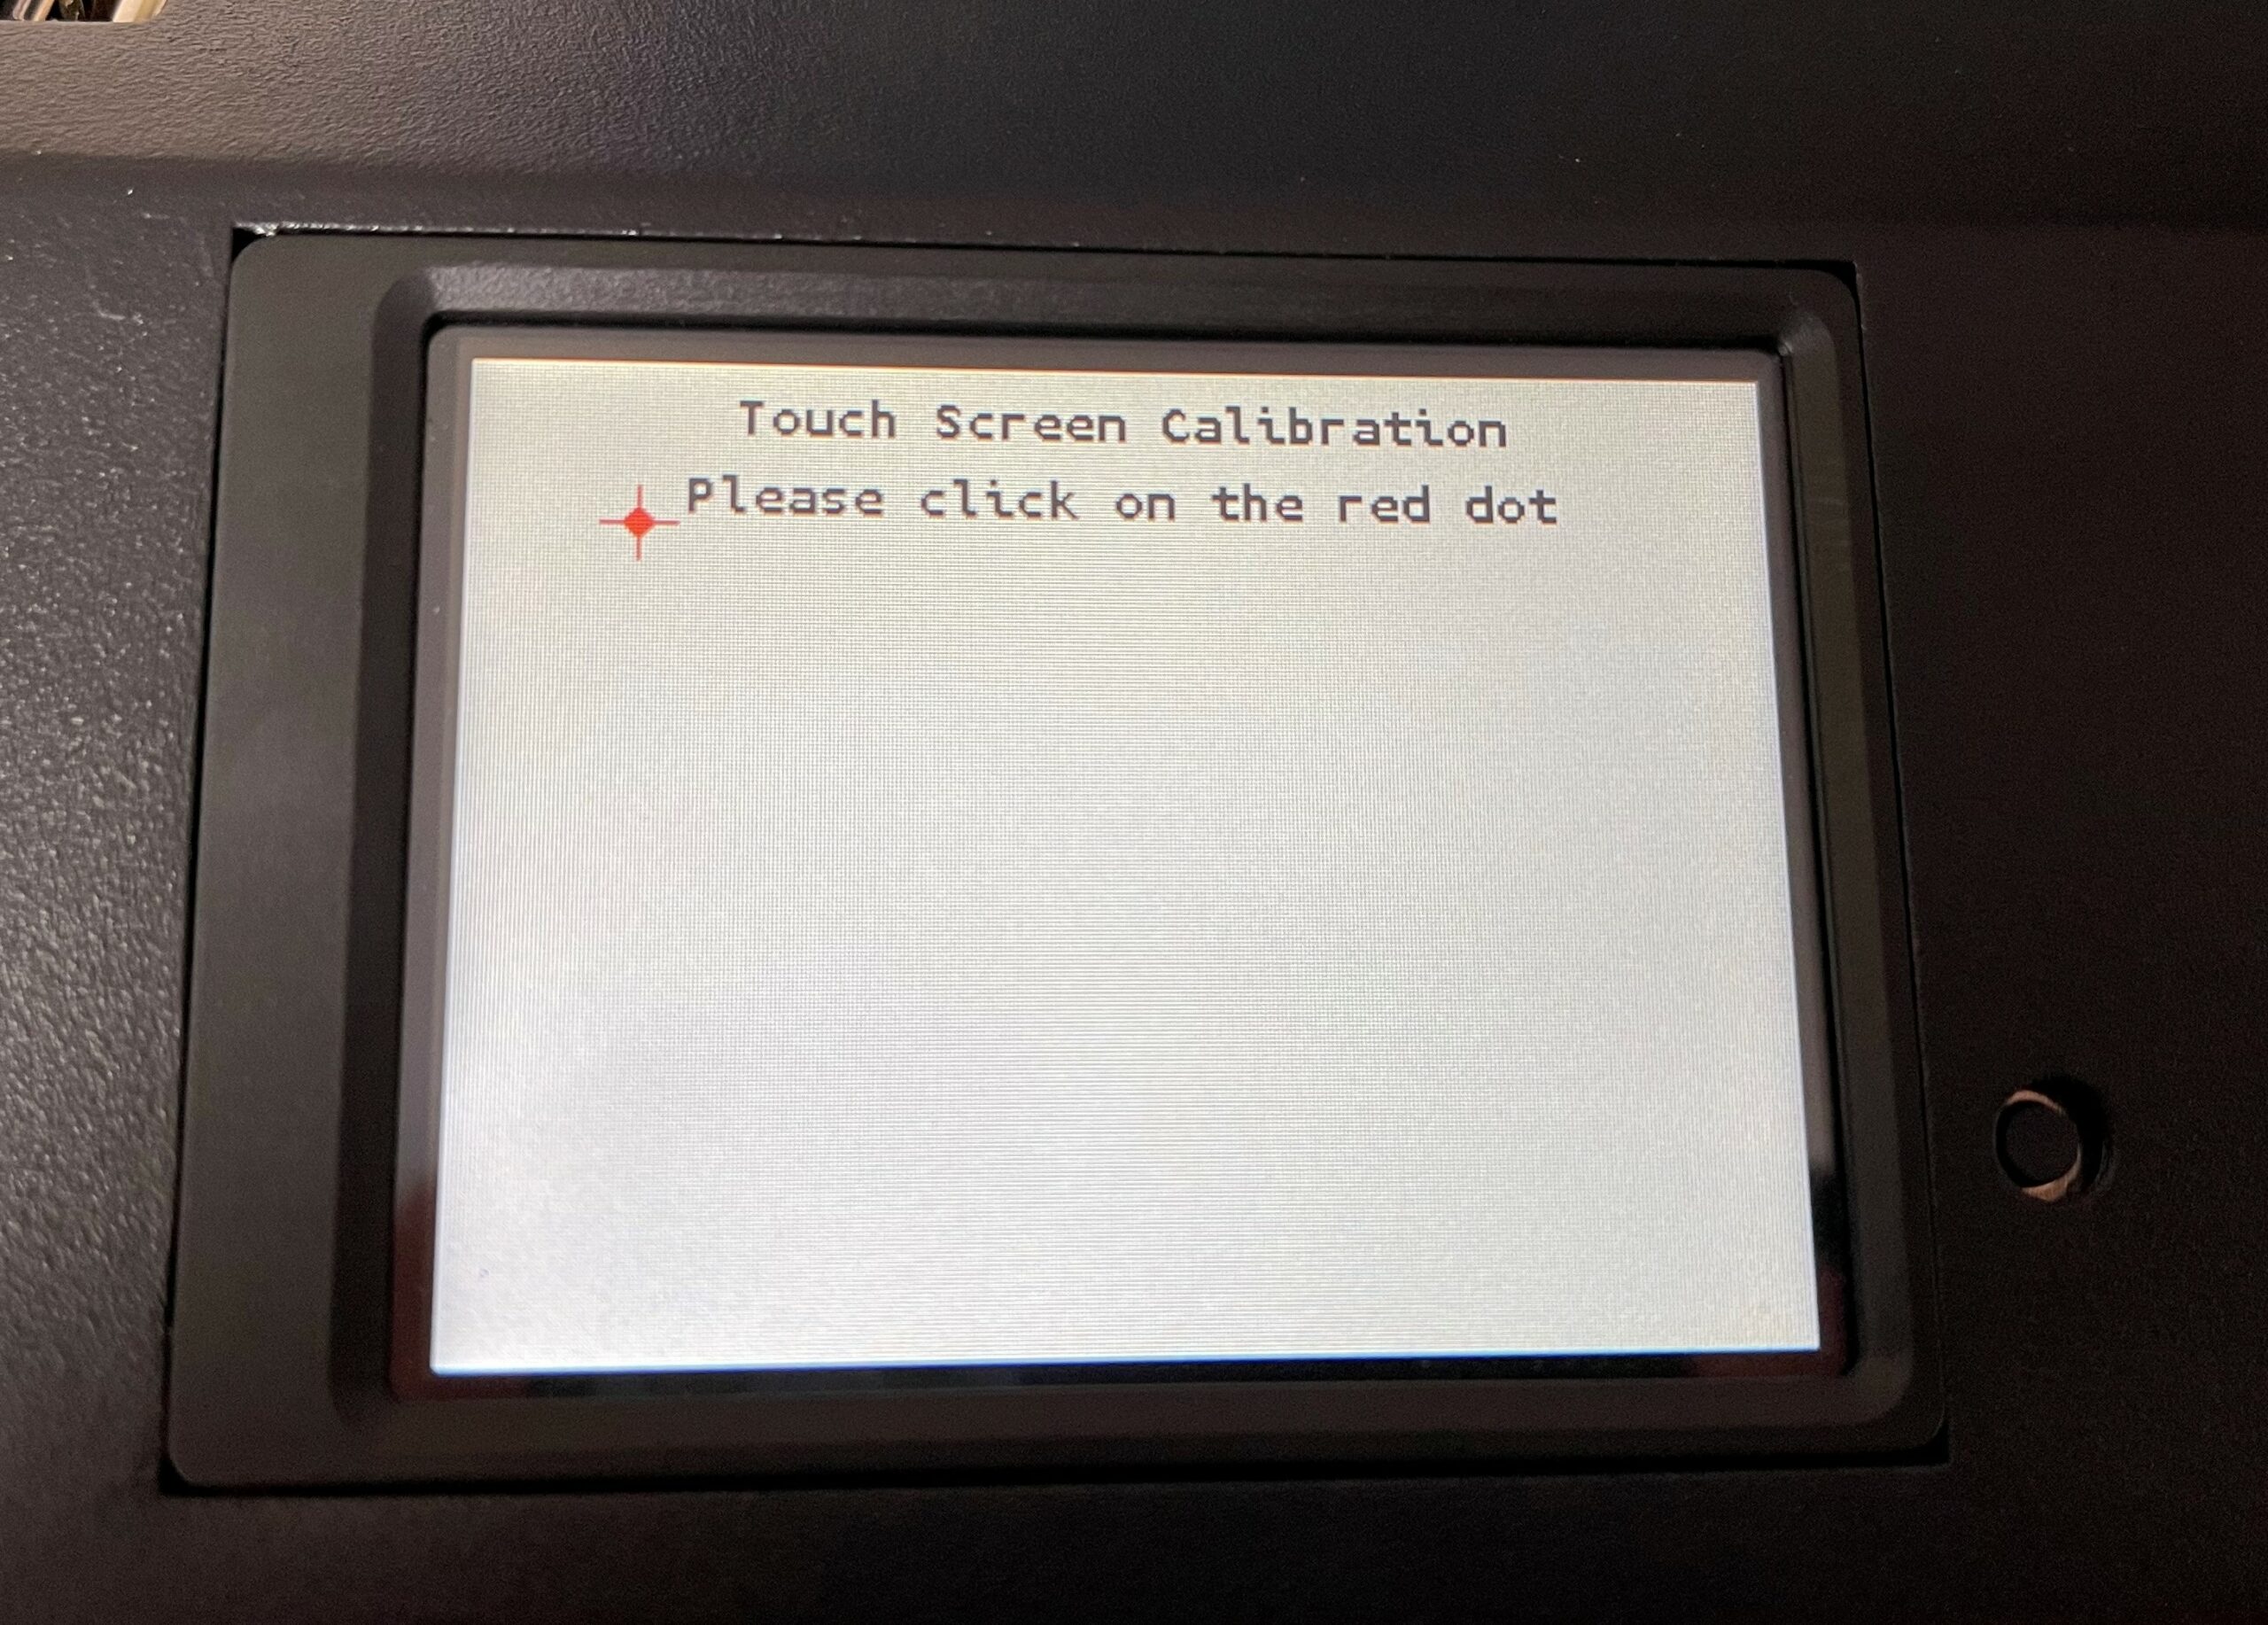
After 2 minutes, the process is complete. You will be asked to calibrate the touchscreen
The touchscreen firmware is now installed, but you will notice that it’s not connecting to the printer. For this, you will need to do the changes listed in the second step.
Configure the Touchscreen Firmware for Sidewinder X2
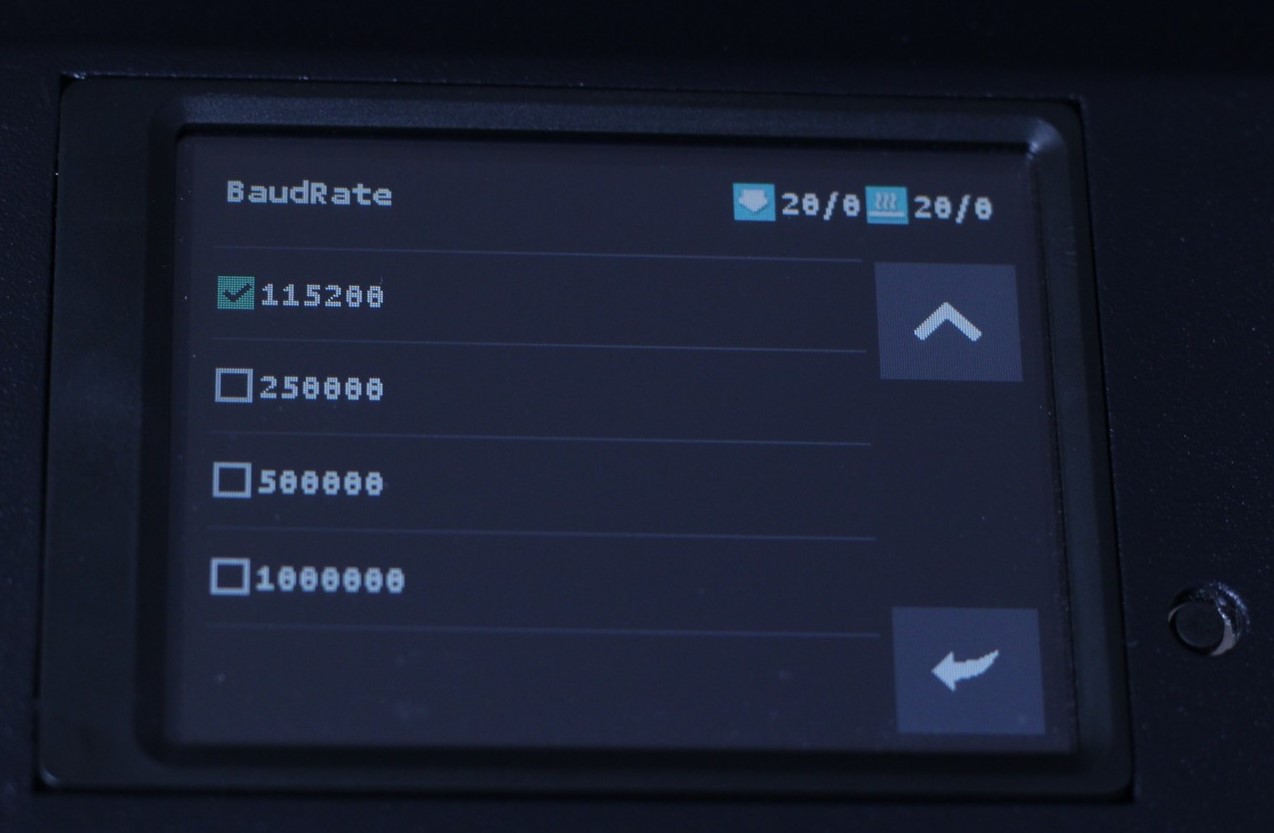
Navigate to Settings -> Connection -> S Ports and set the Baud Rate to 115000
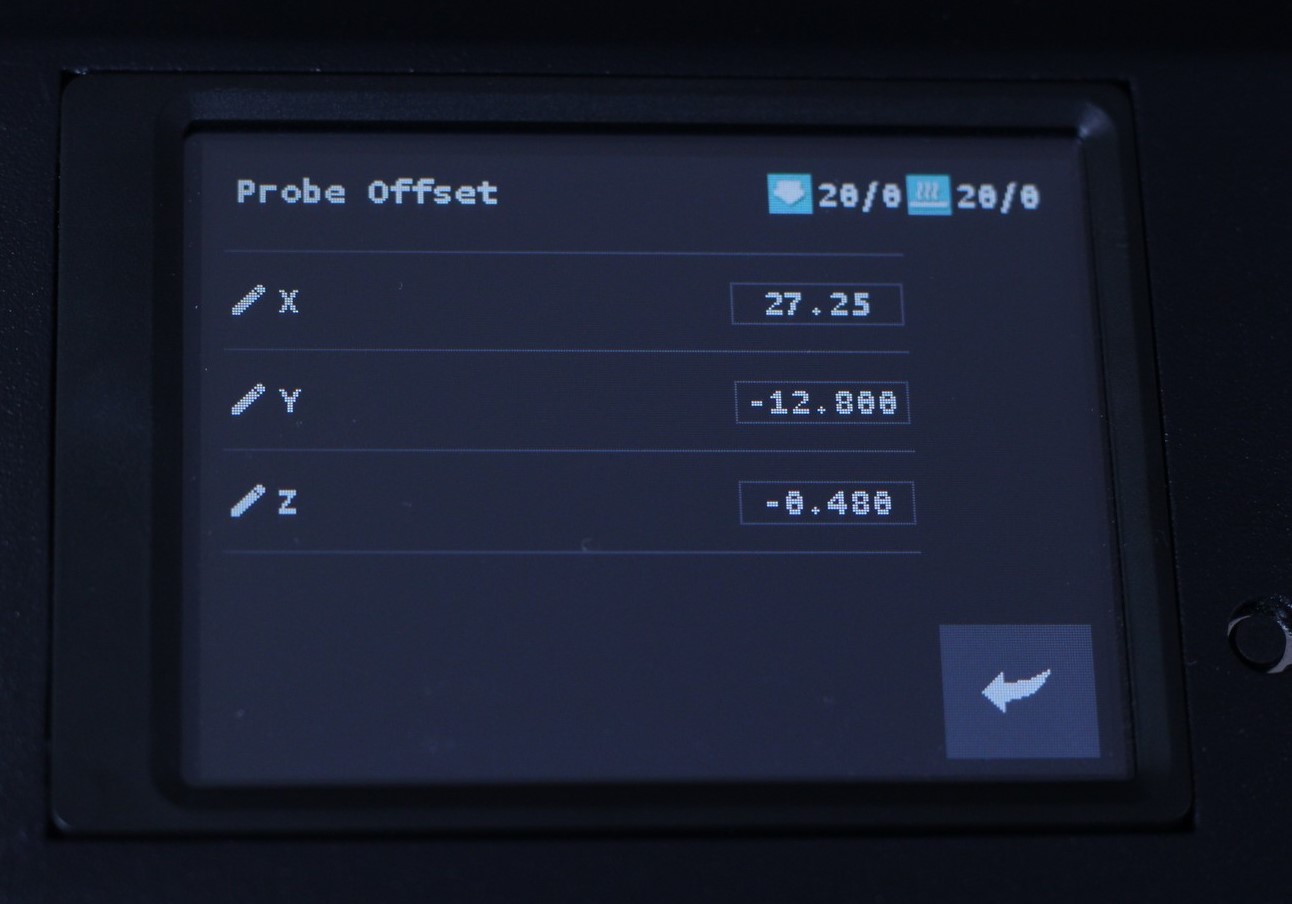
Navigate to Settings -> Machine -> Settings -> Probe Offset and set the following:
X Offset: 27.25
Y Offset: -12.8
Z Offset: -0.48
Don’t forget to tap on Save Settings after changing the values. I also recommend calibrating the Z offset again, after the new firmware is flashed.
Revert to the stock Sidewinder X2 firmware
If you decide you don’t like the functionality, it’s easy to revert back to the stock Sidewinder X2 firmware.
First, download the Sidewinder X2 Stock Touchscreen Firmware
Next, copy the contents of the firmware to the Micro SD card
Insert the SD card into the printer then reboot it. The flashing process will start
Finally, the printer will reboot and your Sidewinder X2 will be running the stock screen firmware.
Wrapping up
Hopefully this guide was helpful and now you can enjoy the extra functionality brought by the custom Sidewinder X2 touchscreen firmware. Don’t forget to thank Digant for the awesome work he did on this firmware because he’s the real MVP.
You can also join the 3DPrintBeginner Forum where there’s a dedicated thread for Artillery 3D Printers.
Liked it?
|
|




Hi,
are the “Probe Offset” equal to X1/X2 and Genius/Genius Pro?
Greetings.
Hello, I tried to install the custom firmware exactly as the guide describes, but when i insert the sd card into the printer and rebooted the printer, the flashing process didn’t start
is there anything, I need to prepare beforehand?
Hello,
I follow all the steps and insert SD card but nothing happens, it just boot like normal?
I’m using an 8gb micro sd and restarting it doesn’t seem to do anything. any insight?
Just got an X2 via geekbuying.. the TFT won’t upgrade by just placing the files on a micro sd card and booting with it in. Tried both a 16gb and 8gb card. The screen shows 3.0.2 when you first power it on, I assume that’s the TFT and not the printer’s firmware.
Don’t know if mine is older, or newer than what was used in this article.
It might be related to how the SD card is formatted. I recommend formatting to Fat32 with an allocation unit size of 4096
Hi I downloaded the firmware as per instructions, I installed it but in the end when I go to have the filament loaded it gives me an error message and it doesn’t load anything, where will I go wrong?
Can you tell me the procedure?
Load the filament manually. I think the load option doesn’t work right now.
Digant on github https://github.com/digant73
Digant Thingiverse link changed to this one : you could update your entry with this new link https://www.thingiverse.com/thing:5157805