Sapphire Plus Review – Affordable CoreXY

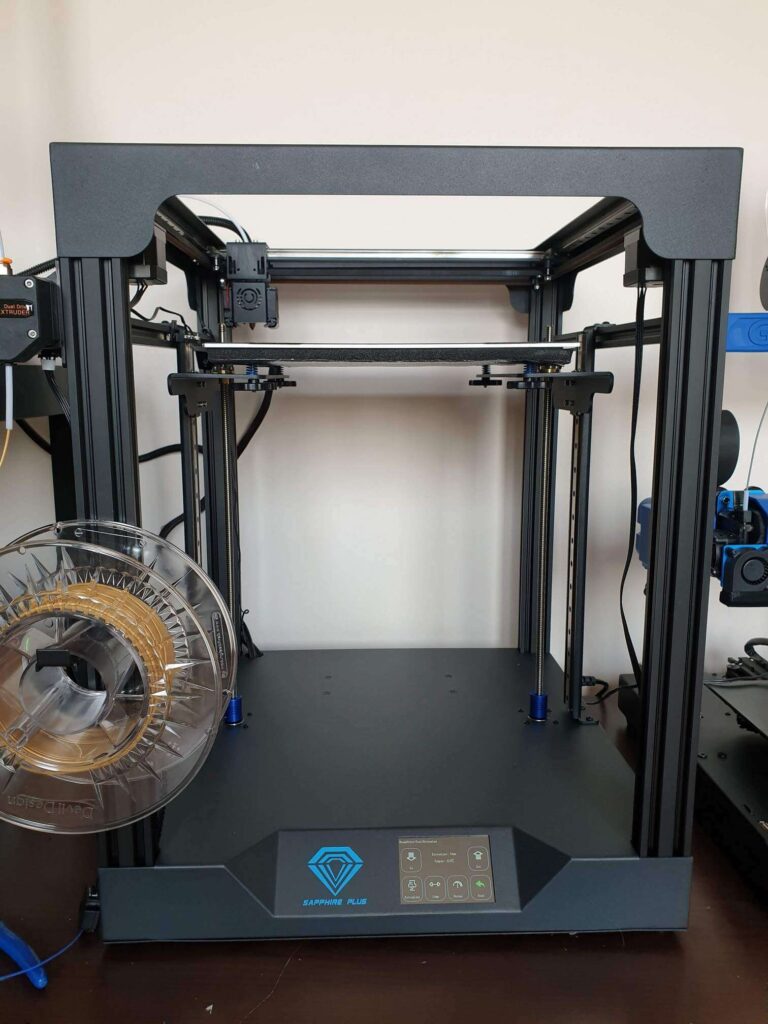
The Sapphire Plus from Two Trees seems like a great CoreXY printer, available at an affordable price. It boasts a big print volume with a sturdy frame and Linear Rails to keep everything nice and precise. In the following article, we will test the Sapphire Plus and check it’s strengths and weaknesses.
Without further ado, let’s see if the Sapphire Plus is a good CoreXY printer worthy of the price tag.
Why choose the Sapphire Plus CoreXY 3D Printer?
To fully understand the benefits of a CoreXY printer, I recommend you first watch the awesome explanation video from Teaching Tech.
He does a great job explaining the benefits and drawbacks of a CoreXY printer. The differences between Cartesian and CoreXY printers are also nicely described in the video.
Sapphire Plus Shipping and Packaging
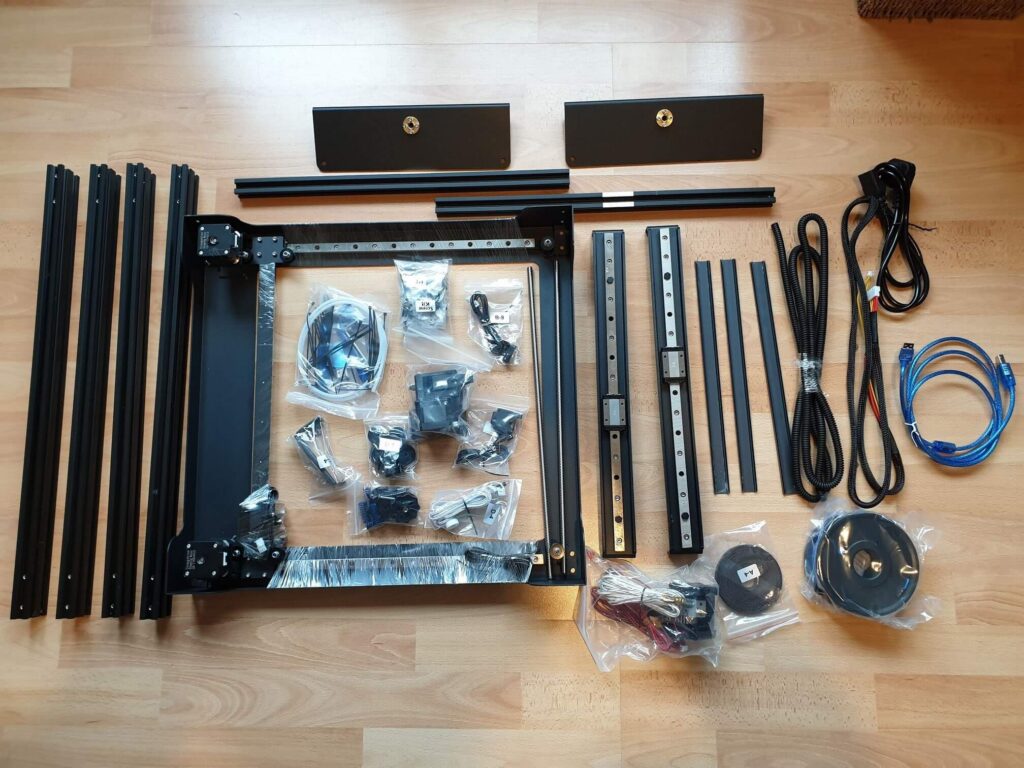
The Sapphire Plus was ordered from Aliexpress directly from Two Trees’ store. It came in a big and heavy box with Sapphire Plus inscriptions and drawings of the printer on it.
After opening the box, we find that the printer is properly packaged and it has foam protection on all sides to ensure the package arrives safely to the end-user.
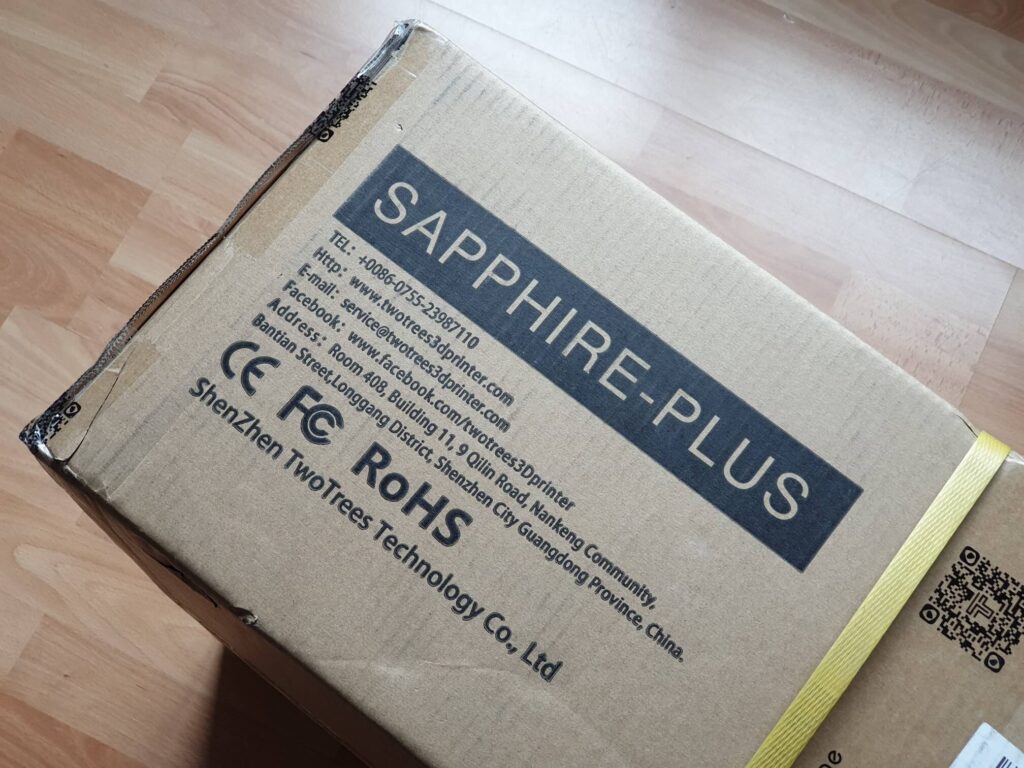
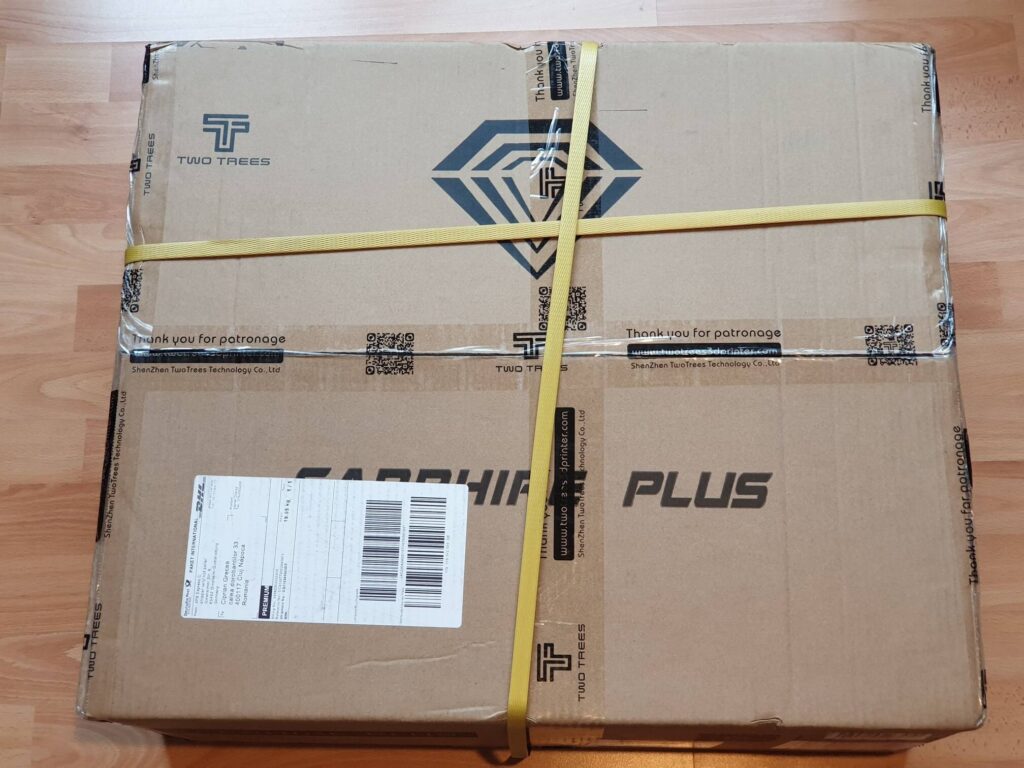
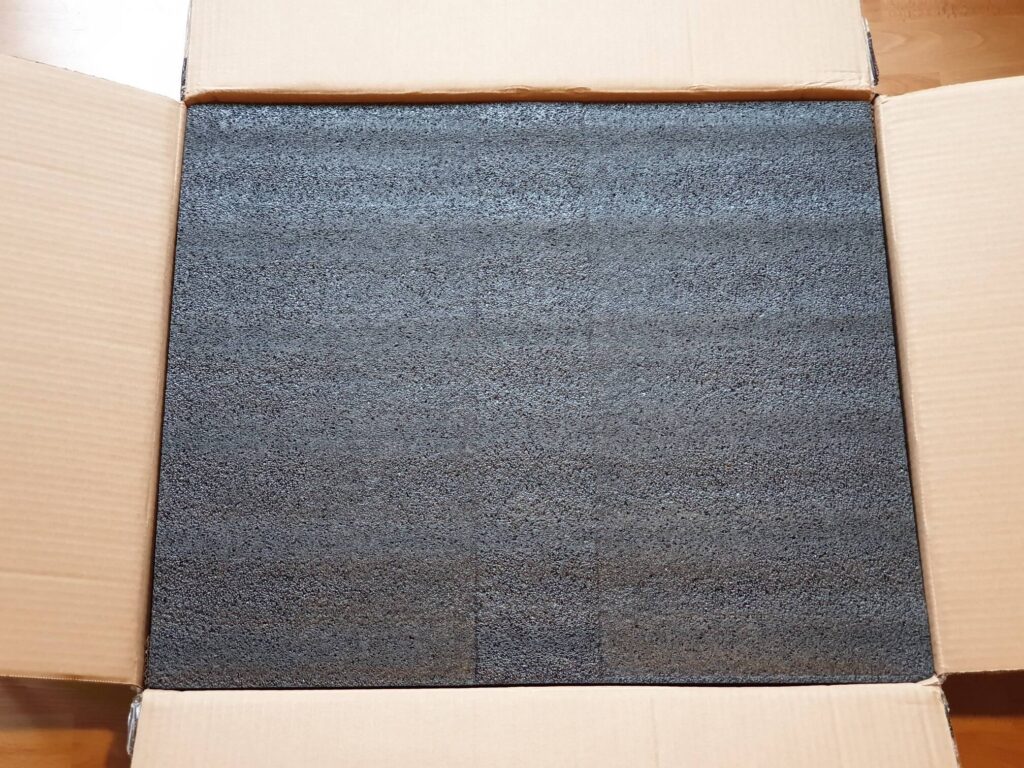
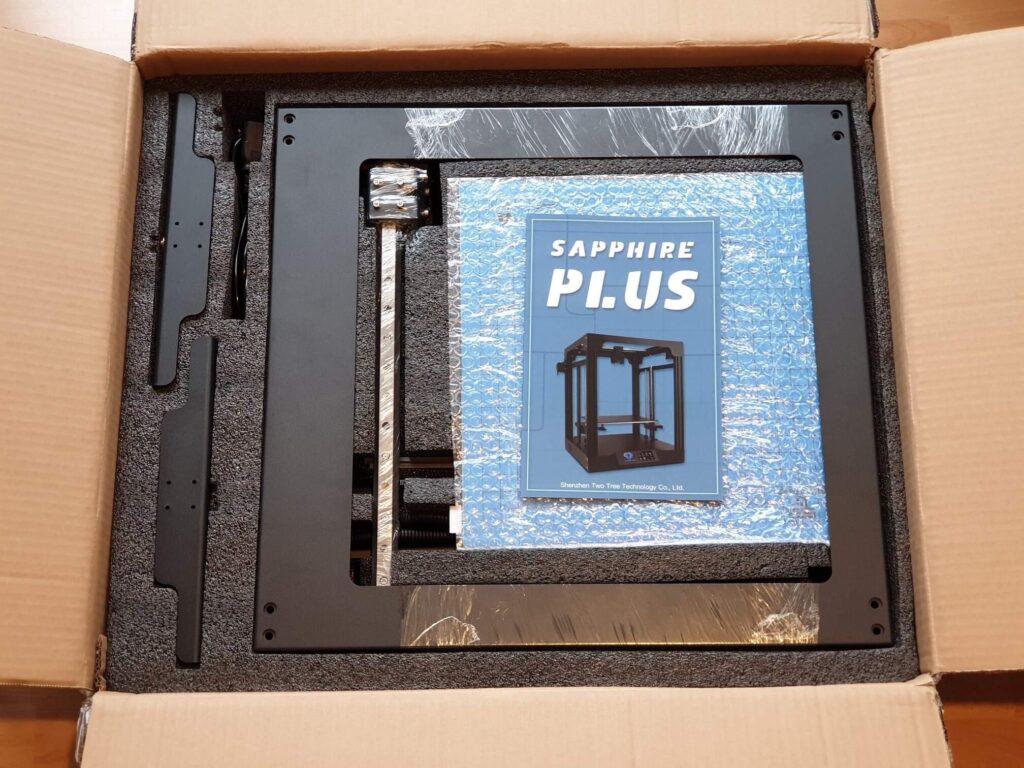
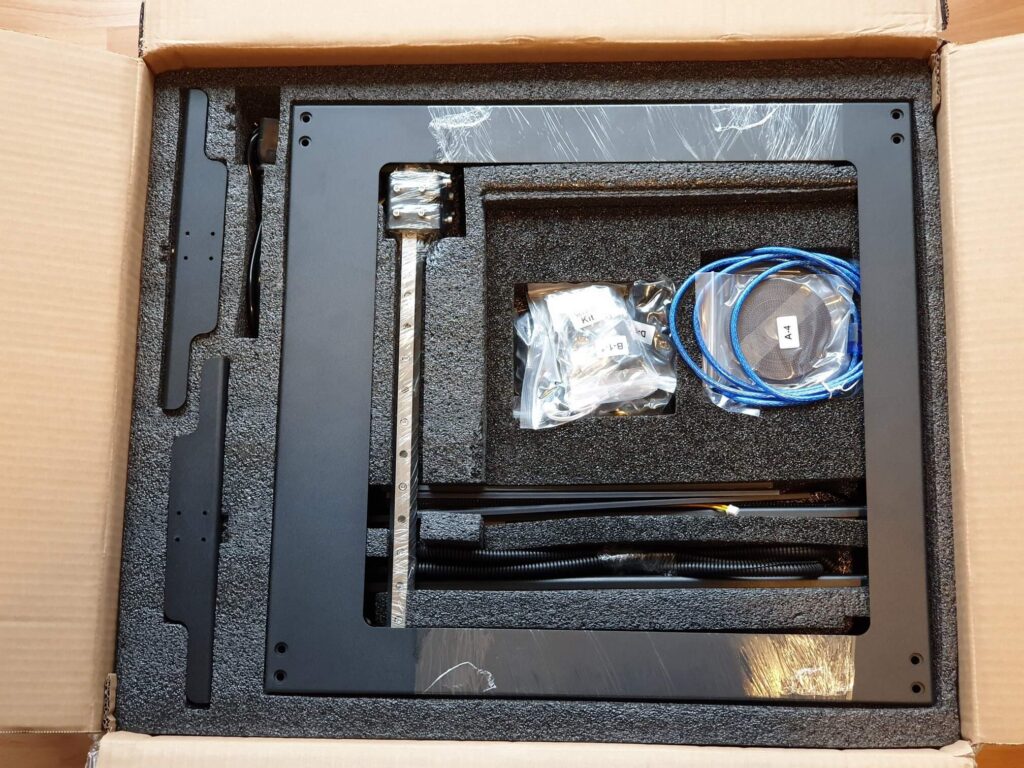
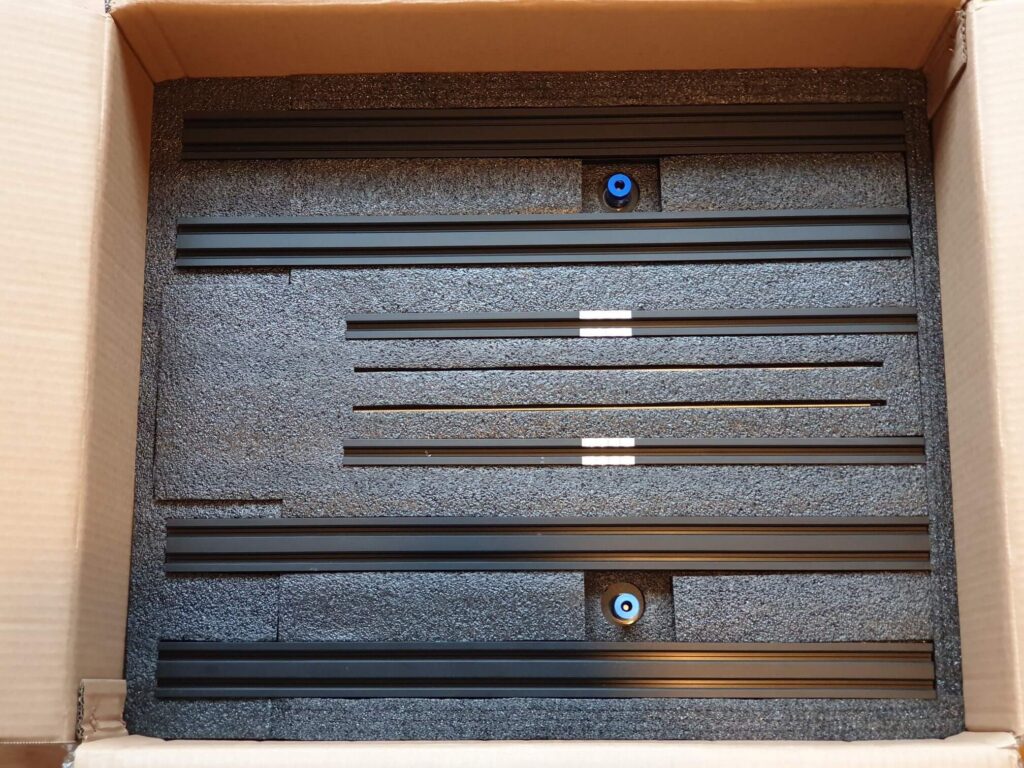
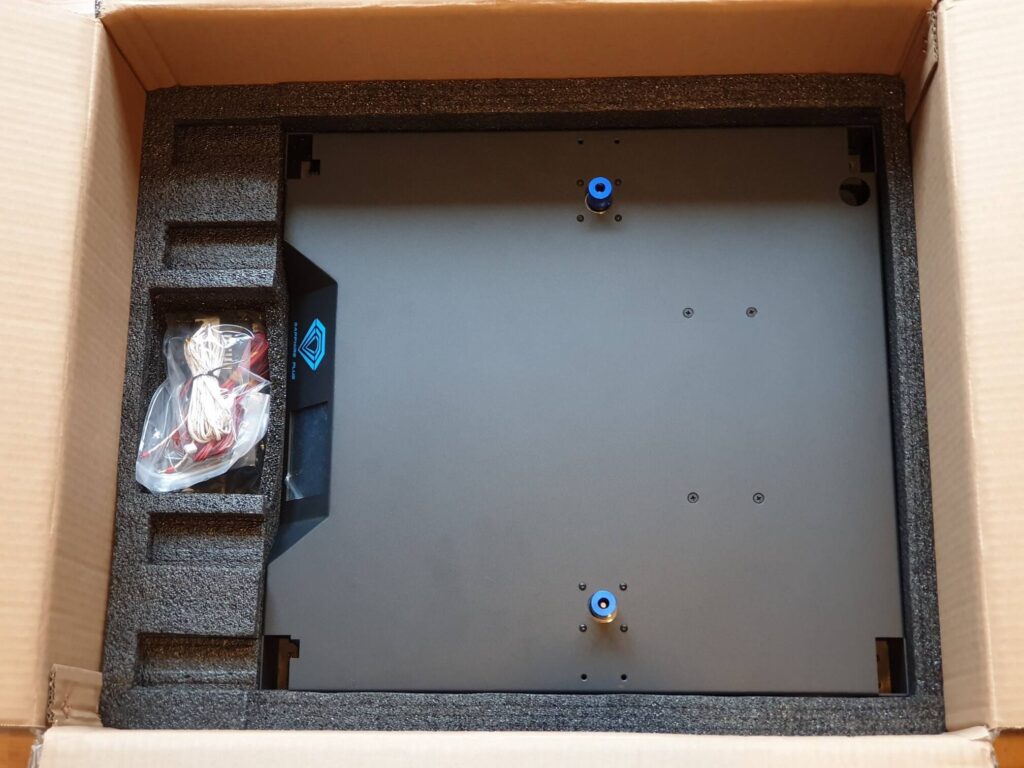
It’s not really worth it to describe every piece of the package, so check the pictures for more information on the packaging. Overall the packaging is great, with excellent organization of the printer parts. All the parts arrived safely and I don’t think there will be any issues with it for others.
Assembly
The Sapphire Plus comes as a kit, with some parts already assembled. In my case, the assembly of the kit took around 3.5 hours. This was mainly caused by the bad manual I followed. I recommend you use the information included on the SD Card that comes with the printer. You will find a lot more information about how to assemble the printer with 3D models included and videos that show the assembly steps.
Also, make sure you take your time to properly assemble the printer. Two Trees did a good job in making sure the holes are correctly done and the extrusions are cut accurately to ensure the squareness of the frame.
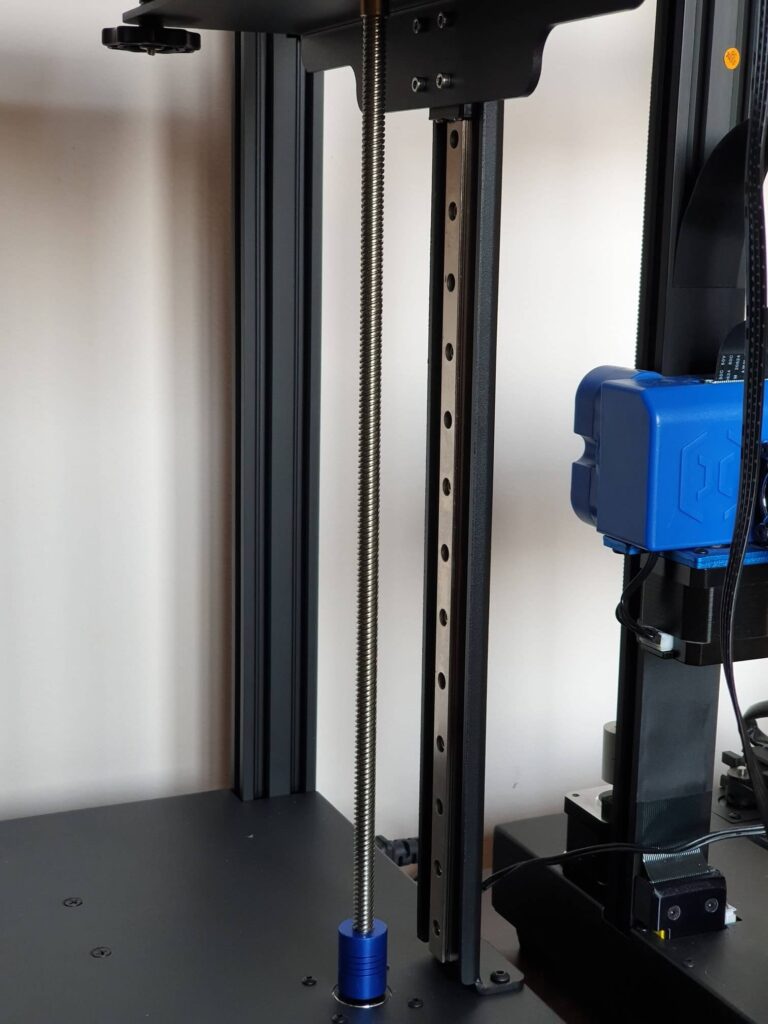
Extra attention needs to be provided when attaching the Z rails to the printer. Before installing the Z screws make sure you use a lubrication agent. Unfortunately, Two Trees did not include any lubrication to use with this but you can get some PTFE lubricant or lithium grease and properly apply it on the Z screws to ensure a smooth operation.
DO NOT run the printer without lubricating the Z screws.
Sapphire Plus Specs
Sapphire Plus is one of those printers that first captures your attention with the specs. And boy, does it boast some awesome specs!
Complete Linear Rail motion system
The main feature of the Sapphire Plus is the addition of linear rails. For a CoreXY printer like the Sapphire Plus, the linear rails make sense and by using them.
It sports 5 MGN12H linear rails. Three of them are located on the X and Y axis and two are located on the Z axis holding the bed in a stable and fixed position with no backlash.
Two Trees made this printer really accurate and capable of fast printing while keeping the cost down.
I was expecting to have to clean the bearings first (like you need to do with cheap MGN Rails) but there was no need in this case. The movement is smooth and the bearings are properly greased from the factory.
Dual Z axis
Another excellent feature that contributes to the print quality is the inclusion of Dual Z-axis for the heatbed. While you can run the bed from a single Z screw (like in the case of the Sapphire Pro) for a machine this large the Dual Z Axis setup works a lot better. The Z motors are linked on the bottom with a synchronization belt that keeps the Z rods in sync. This addition ensures smooth operation for the Sapphire Plus and eliminated backlash.
When assembling the printer I was expecting to spend a lot of time with the alignment of the linear rails and the bed but this was not the case. I managed to put together the Dual Z-axis and the heatbed assembly in less than 30 minutes and the movement was really smooth from the start.
Two Trees did a fine job of properly aligning the holes to make sure everything will be aligned.
Quality BMG Extruder
While the included Sapphire Plus extruder is a clone, I can say it’s good quality one. The body is sturdy, and the gears are properly machined ensuring a good grip on the filament.
Unfortunately, the bowden couplers seem to be “ok” but judging by my past experiences with bowden couplers I will order a few spares just to make sure I have them at hand when they fail.
Quality 32-bit board and TMC2208 stepper drivers
Sapphire Plus comes with a powerful MKS Robin Nano V1.2 board. With a 32-bit CPU, it supports Marlin 2.0, 5 axis interface, 2 hotends, and 3 thermistors. Because the MKS Robin Nano has an extra stepper driver slot, in the future the printer can be upgraded with dual-color capabilities without replacing the board. By adding another stepper driver, and a dual-color hotend the printer will be multi-color capable.
MKS Robin Nano can be also upgraded with the MKS Robin WiFi for cloud printing, but this is not included with the Plus.
I’ve been in contact recently with Makerbase and they are committed to open source so I can’t wait to see what improvements will be released in the future. If you have recommendations for their firmware, send your messages to them. They seem to be responsive and willing to improve their products.
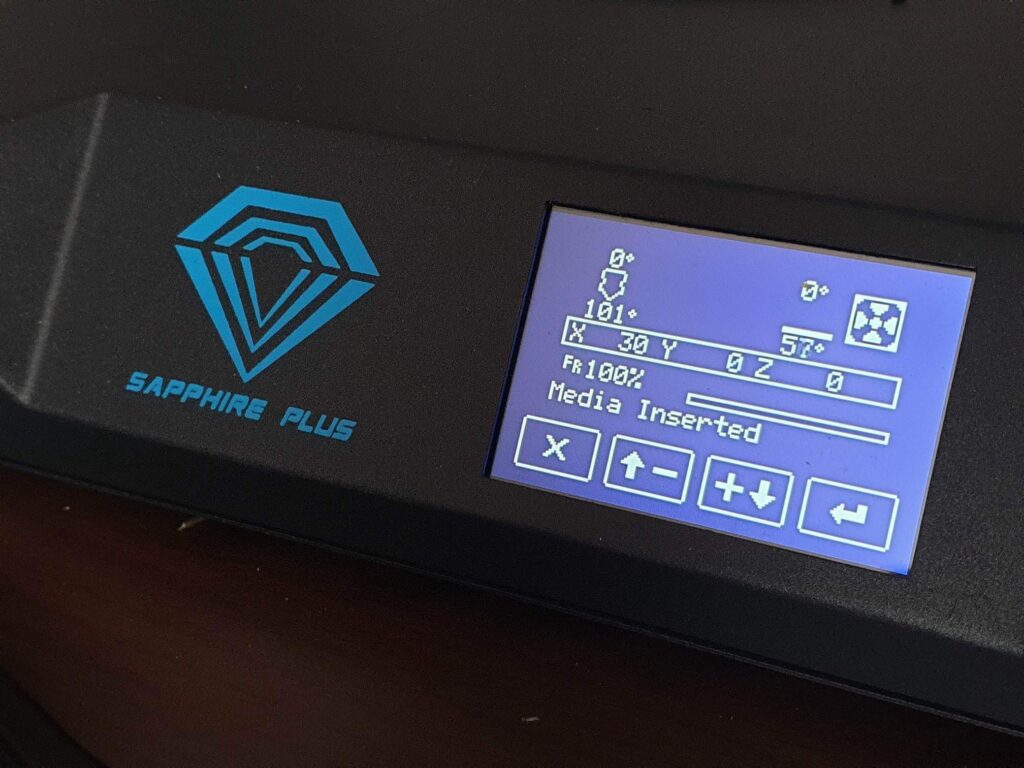
The board is connected to a large 3.5-inch touchscreen that does not send gcode to the board like regular printers. In this case, the screen is directly linked to the memory of the board so you get the benefits of a modern touchscreen while keeping the same functionality as a regular click-wheel screen. This allows the use of the usual Marlin interface with a touchscreen.
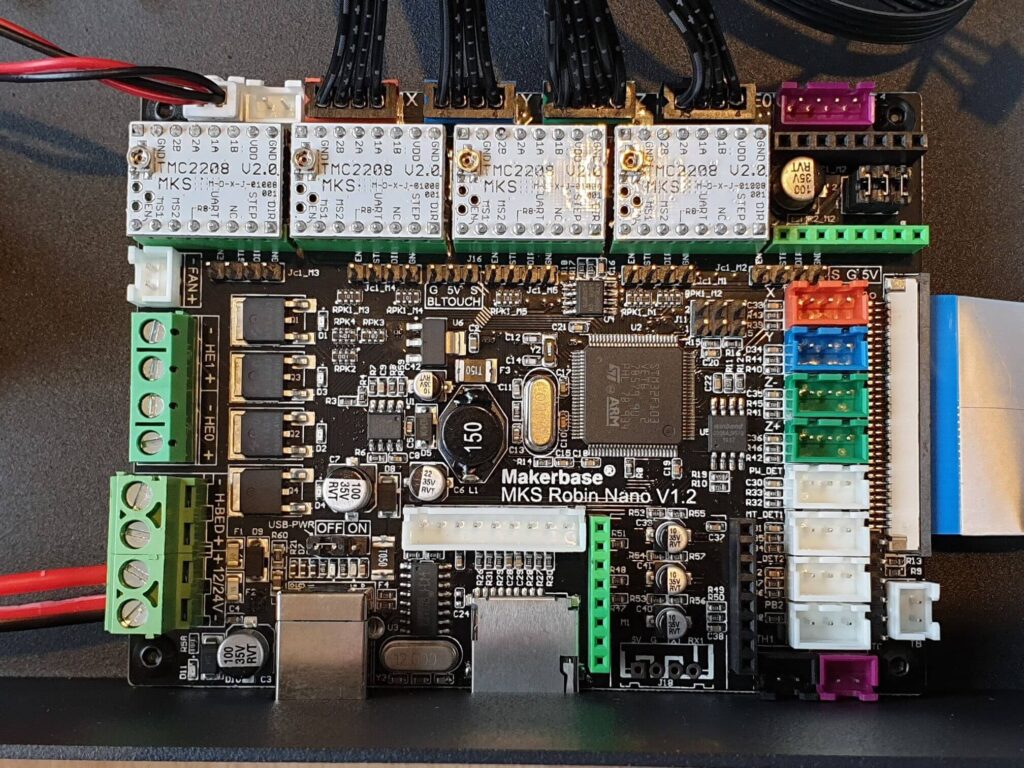
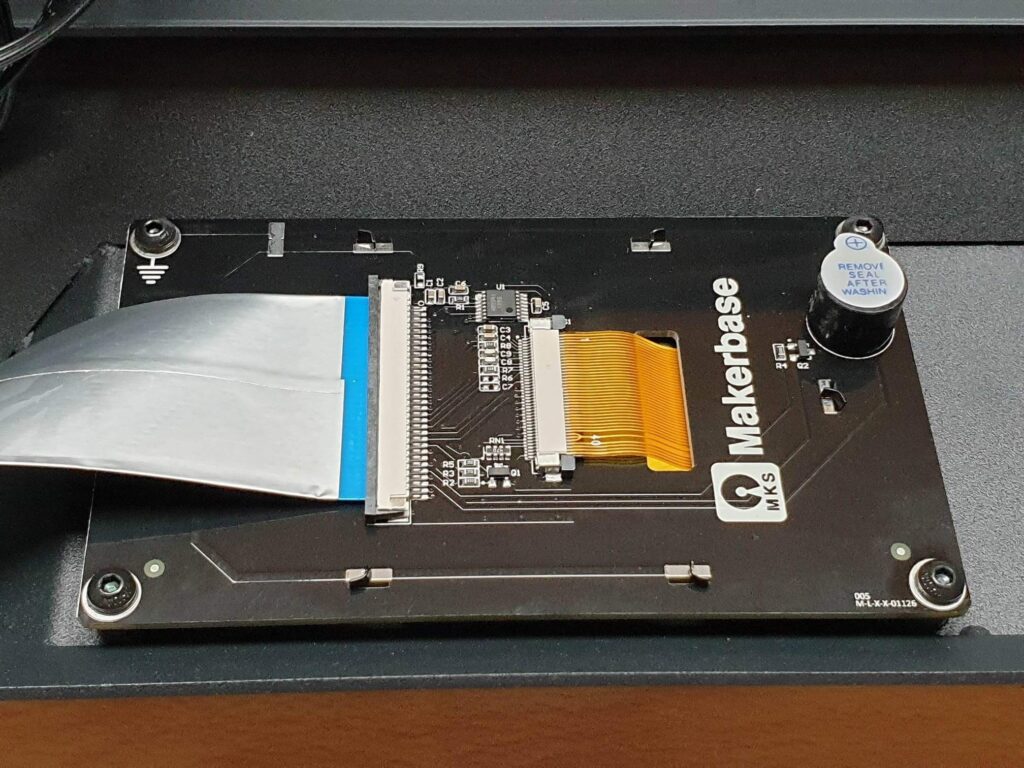
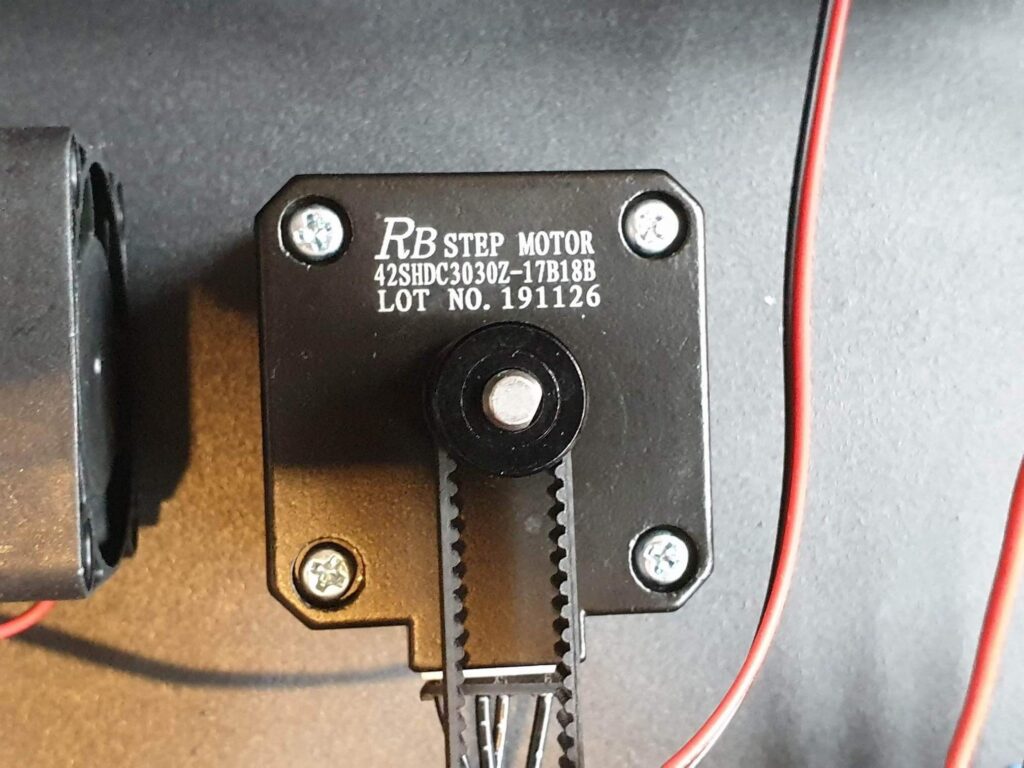
The stepper drivers used with the Sapphire Plus are MKS TMC2208 V2.0. They have included large heatsinks to install over the drivers to keep them cool.
VREFs had a value of 1.35v which is a bit too much and can cause overheating drivers, motors and skipped steps. I manually lowered each stepped driver VREF to a more appropriate 0.9V value.
Unpolished firmware, but Marlin 2.0 can be installed
The firmware installed on the Sapphire Plus is from Makerbase with Two Trees customization. It has a configuration file available where settings can be tweaked before flashing. I can’t say the firmware is bad, but I’d really wish they would release proper firmware sources for their fork of Marlin allowing for more customization. By doing this they would respect the GPL and Open Source community.
Unfortunately, at the time of writing this review, there are no proper Marlin 2.0 sources for building the latest firmware for the Sapphire Plus. The firmware included on the SD card does not perform correctly and the printer fails to home properly. So I don’t recommend using that.
I will work on a custom Marlin 2.0 build for the Sapphire Plus and link it to this article when finished.
The screenshot below is with the Marlin 2.0 interface. It really takes you to the origins, and it’s awesome that you can have the regular Marlin interface on a touchscreen.
Large build volume
The build volume is another important feature offered by the Sapphire Plus. You get a 300x300x350 build volume in a relatively compact and clean frame. While you can easily use the 300×300 build size on the X and Y axis, the Z-axis will not allow for the full 350mm movement.
Linear rails on the Dual Z-axis assembly are a little too short and if you lower the heatbed to the max 350 Z position, you risk to slide the bearing out of the linear guide.
Another issue I discovered is the missing manual bed leveling option in the firmware. Even though the printer comes with the cheapest manual bed leveling sensor, it cannot be used because of the missing functionality. The firmware configuration needs to be updated in order to benefit from it.
24V heatbed
The heatbed is 24V and reaches 60C in around 7 minutes. I would have loved to see an AC powered heatbed like on the Artillery Sidewinder X1 to have really fast heating but I don’t think this is a big issue for most of the users. Maybe I’m just spoiled after I used it for so long. Another complaint i have about the heatbed is the inclusion of a connector for the power. It has been previously demonstrated by the Anet A8 issues reported by other users that this connector can fail and cause issues. Hopefully, this won’t happen in our case but it would be a good idea to directly solder the wires to the heatbed. Although is nice to see that the ends are crimped instead of tinned like other manufacturers do.
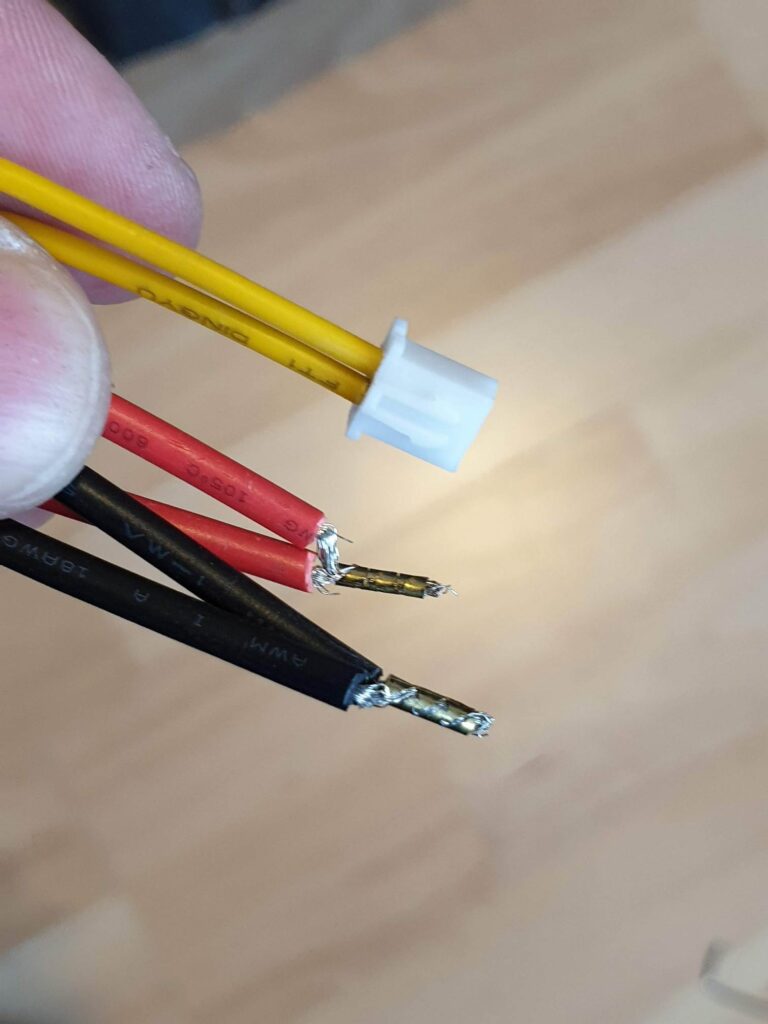
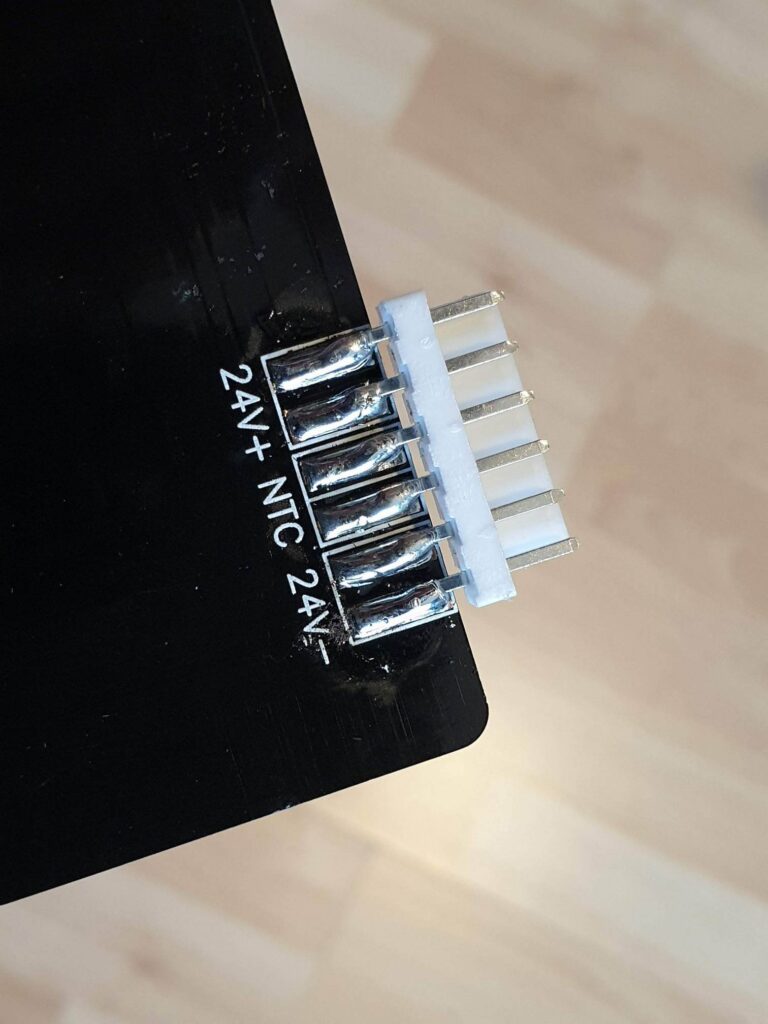
I was lucky enough to get a flat bed and I had no issues with leveling. With the included flat springs and thumbwheels you can easily level the bed and get a good first layer.
The included print surface looks fine, but I did not install it so I can’t comment on it’s performance. I preferred having a Magnetic PEI Spring Steel sheet installed to be able to easily remove it when the prints are finished. It’s a good investment and I can totally recommend it as an upgrade. I previously reviewed the Textured PEI Sheet from Trianglelab which is a good option for a nice bottom finish on your prints. Or you can look into the ENERGETIC PEI Spring Steel Sheet.
If you plan to do the same, don’t stick the included surface to the heatbed because it will probably be really hard to remove it in the future.
Included hotend is bad
Unfortunately, even with these awesome features, there has to be something bad on this printer. And that’s the hotend.
The heatsink is just a piece of cast aluminum with a metal heat break that does not sit properly in the heatsink to help with the cooling. So because of this, the possibility of clogs is real.
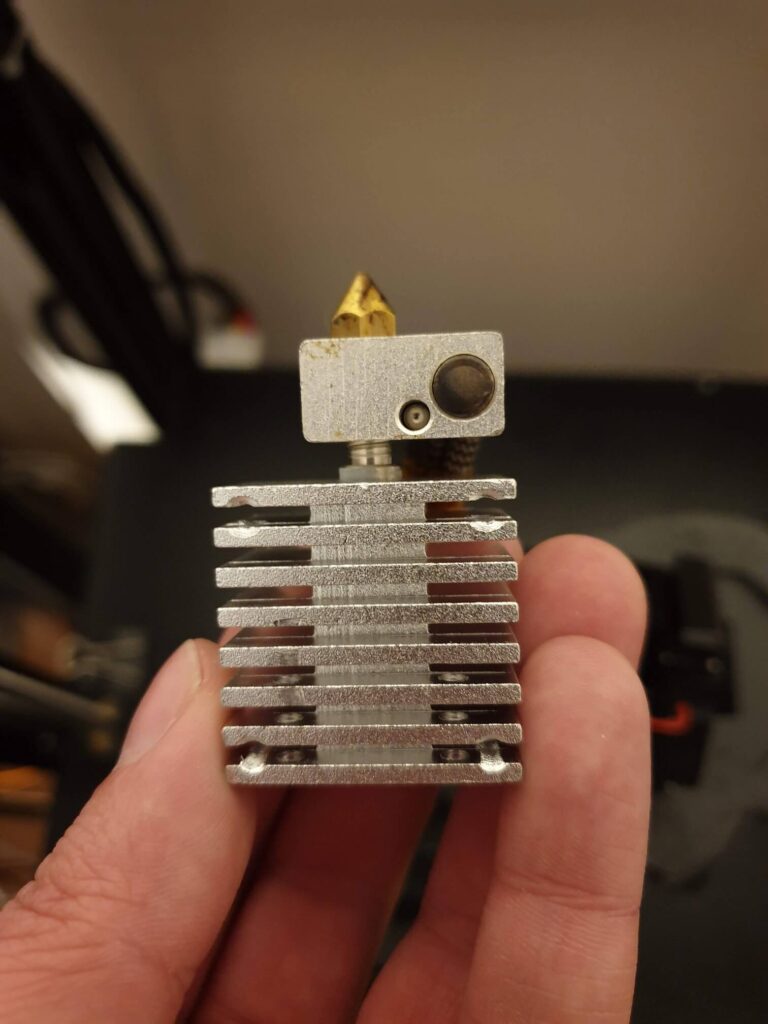
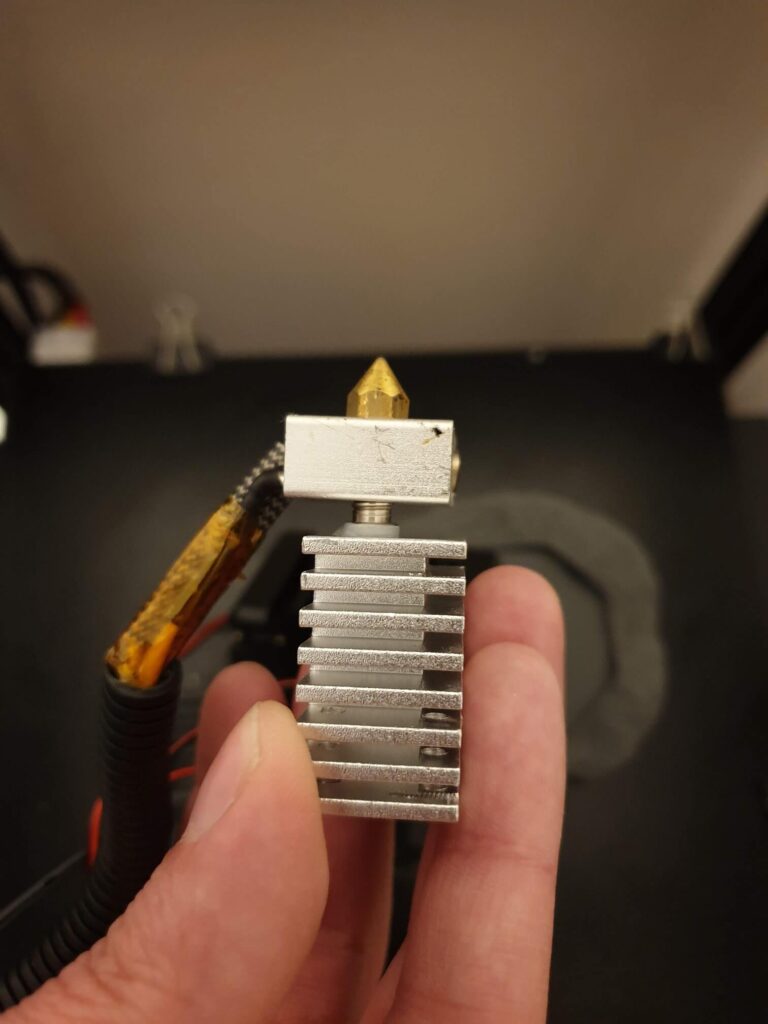
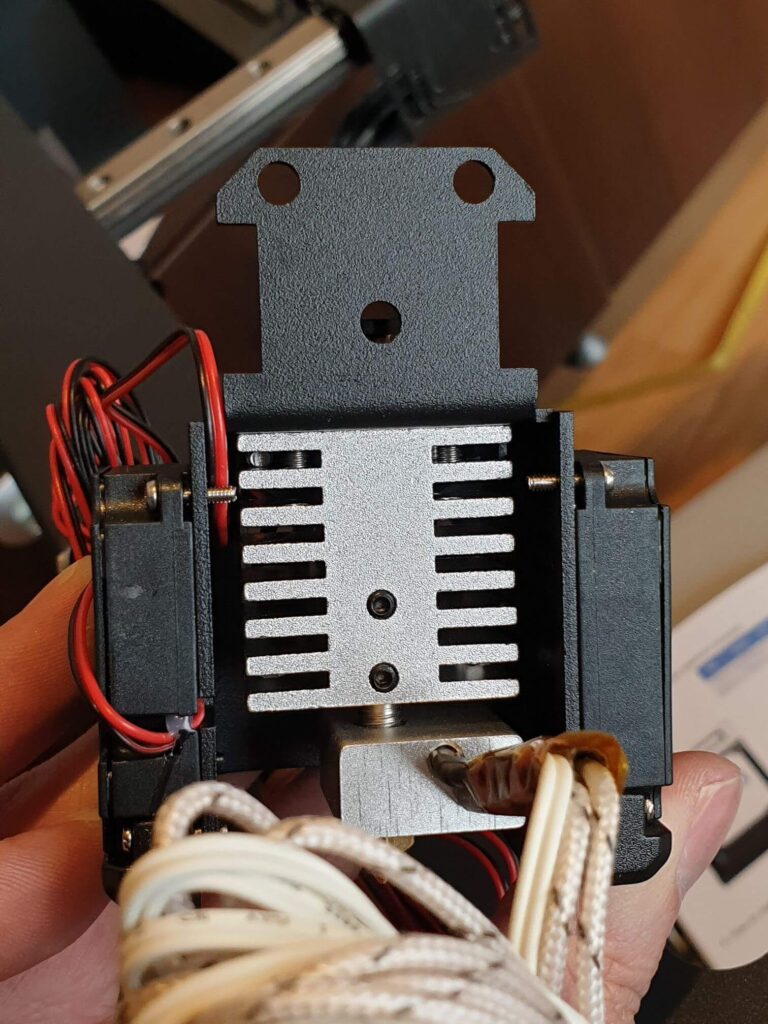
Since I got the printer, after the first two prints I had nothing but issues with it. I got multiple clogs that required disassembly of the hotend and multiple cold pulls.
While looking online for this issue I found a lot of reports with similar issues. Owners of Sapphire Pro have the exact same issue caused by the bad hotend. So I decided to replace it with the Dragon Hotend I had laying around.
I printed a mount I found on a german forum and it improves. I really wish Two Trees will replace this in the future and include a proper hotend.

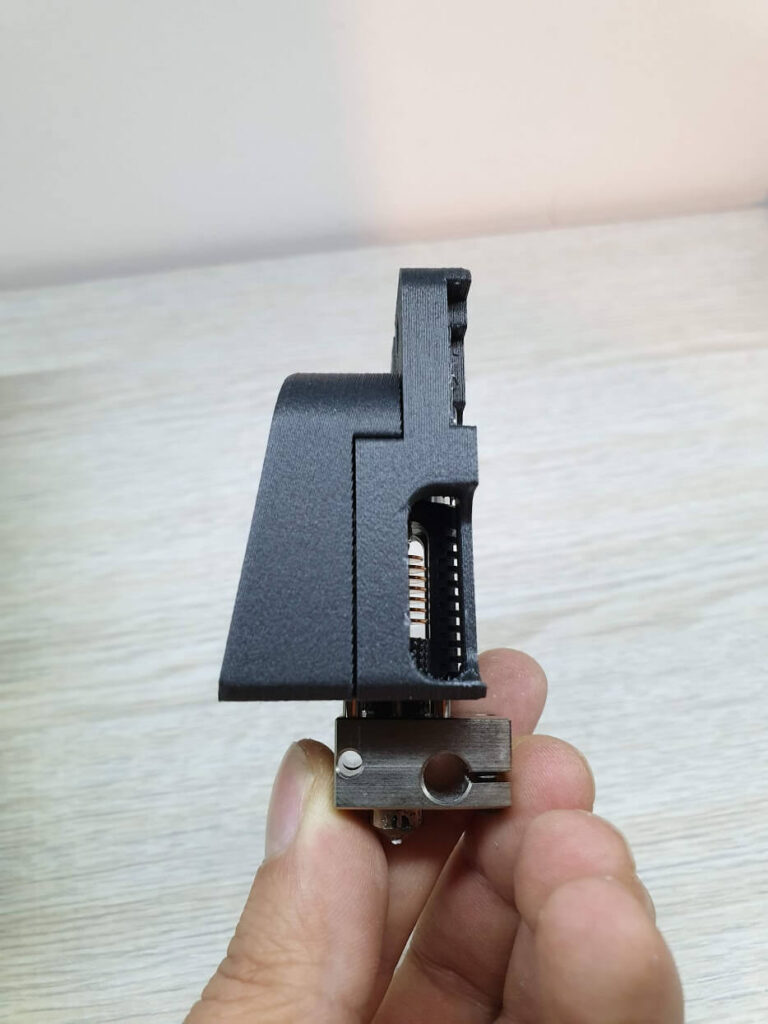
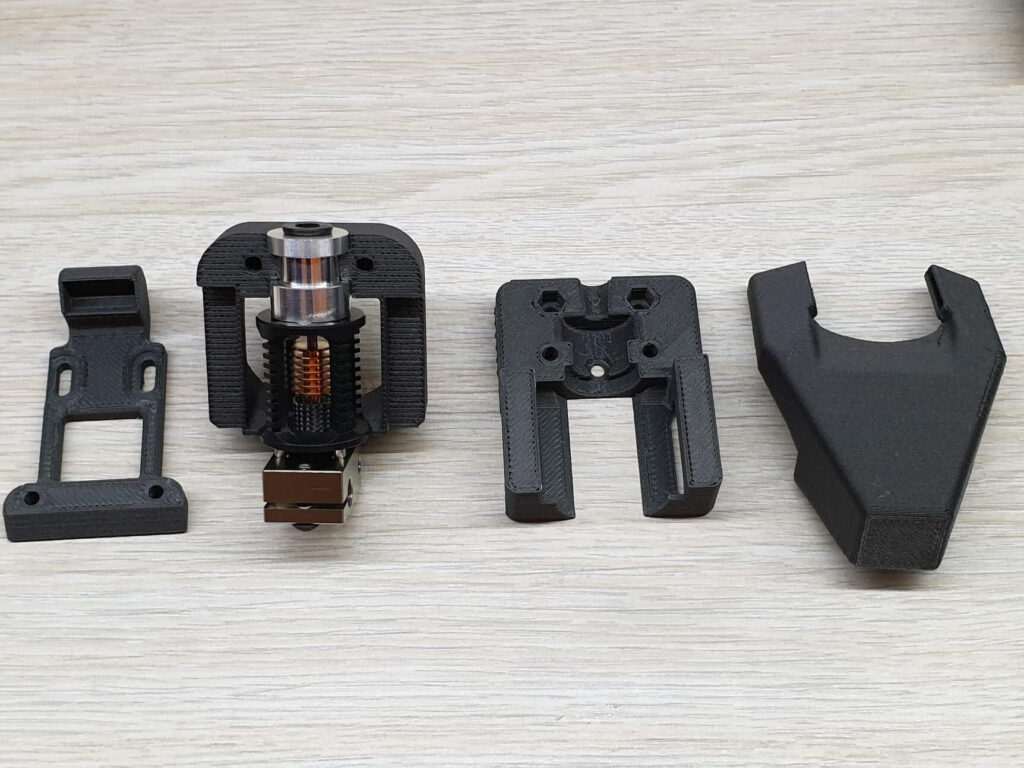
All the sample prints I did on the Sapphire Plus are completed using the stock configuration. I will post other results with the upgraded hotend in a few days.
Great design with a sturdy frame
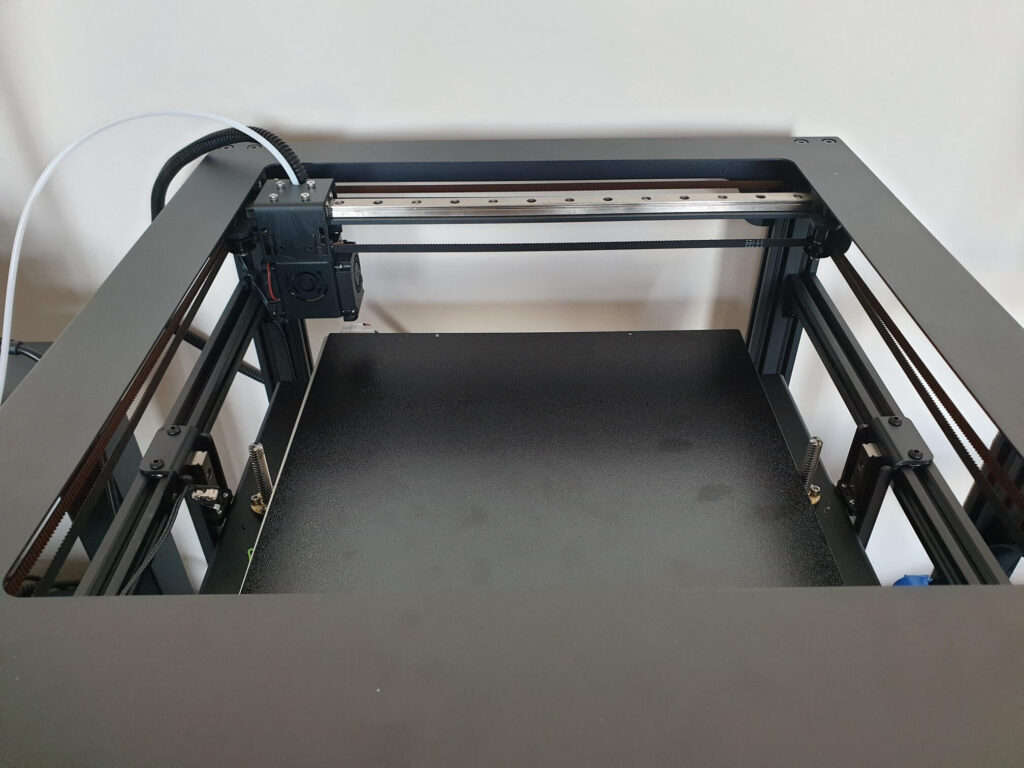
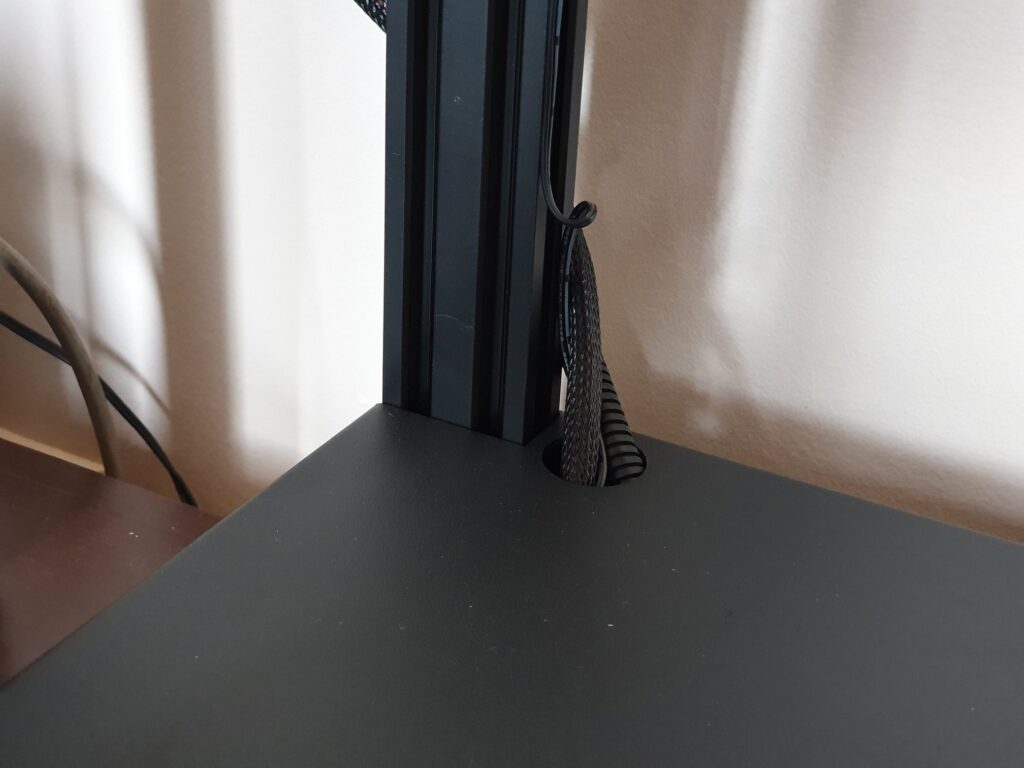
Sapphire Plus is a gorgeous CoreXY printer. It has a clean design with straight corners and good wire management. The electronic components are all placed in the bottom housing. There’s a small 40mm fan that blows the air out. A similar fan blows over the stepper drivers to keep them cool.
Unfortunately, the fans are a bit loud and in my case, one of them failed after ~100 hours of printing. It was not centered anymore and started to make more noise.
This issue could have easily been fixed by replacing those two small fans with a single 80mm / 120mm fan on the bottom of the printer to pull air out and keep good airflow in the case.
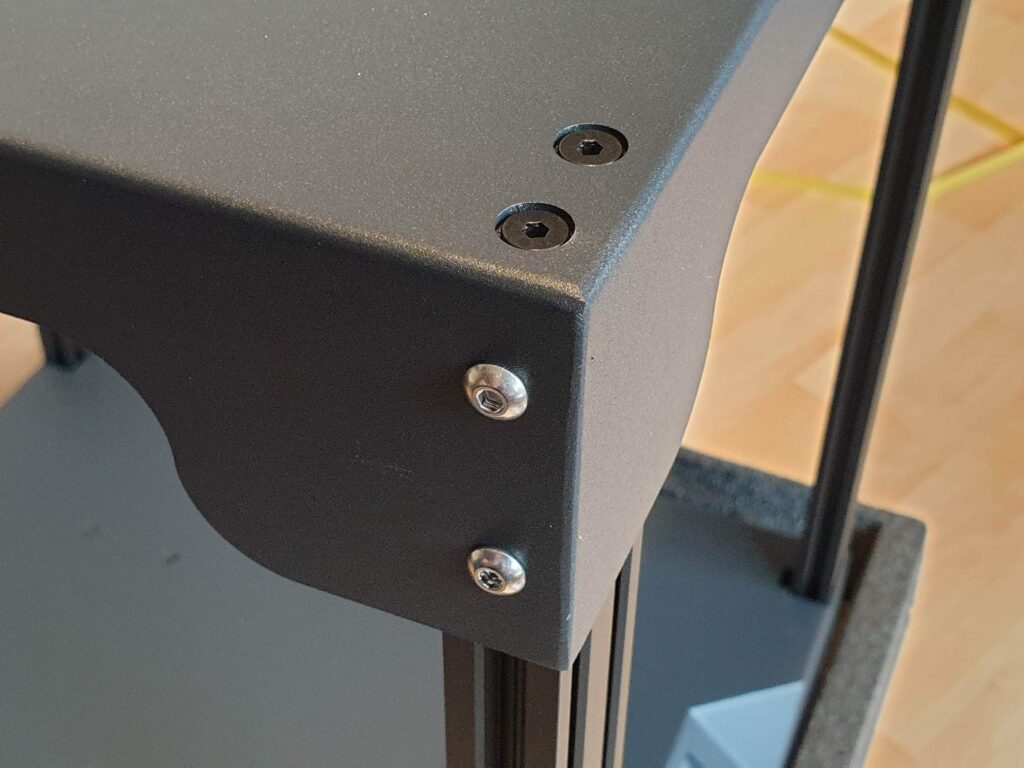
A lot of other printers are not cut precisely on their ports or have bad joints or welds. In the case of the Sapphire Plus, I could not find any issues with this. Furthermore, everything fits perfectly and gives you the impression of a well-built printer.
I also love the metal top that makes the whole frame a lot more rigid and allows me to use my Wyze Cam for monitoring without the need for complicated mounts. It works great with the stock magnetic mount and I can totally recommend getting one for your printer.
I recommend printing some wire-management clips to help with the wire-management of the printer. I wish Two Trees would have included something similar in the package, or maybe some v-slot covers for the aluminum frame.
Sapphire Plus test prints
After completing the assembly process, I did the first 3D Benchy with no calibration and a profile tuned for my BLV Cube printer. I was amazed by the quality I got. Layers are good, the dimensions are accurate and overall the print quality is great out of the box. I wanted to calibrate the extruder but it was already calibrated precisely. I asked the printer to extrude 100mm of filament, it extruded 100mm of filament. Awesome!
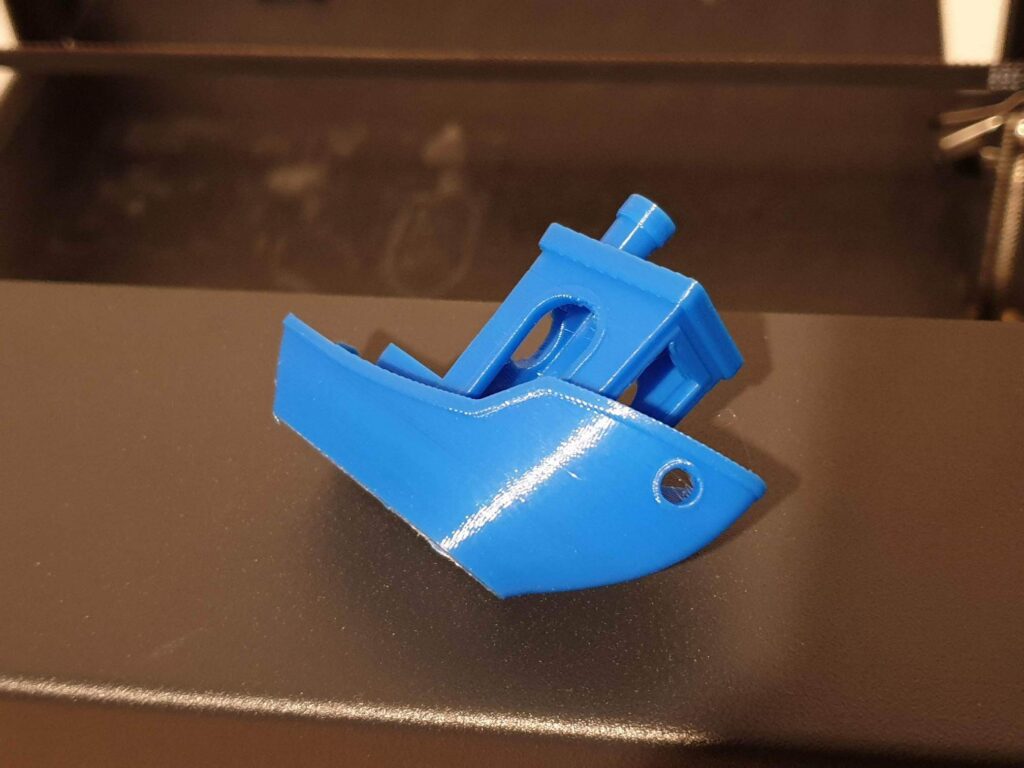
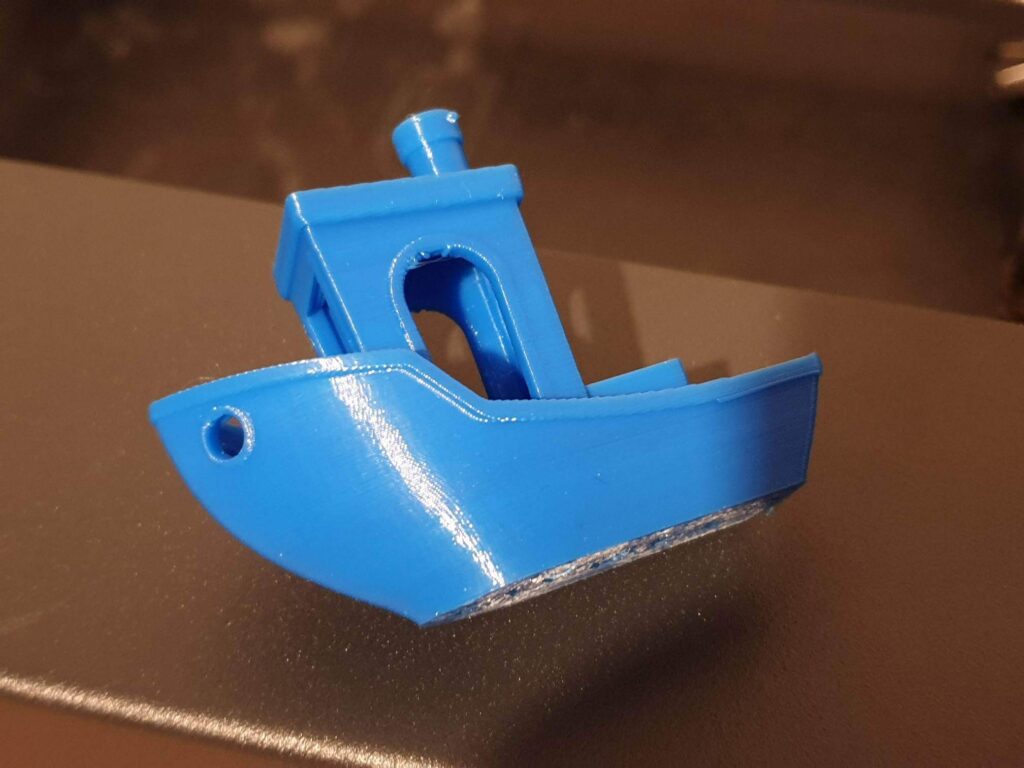
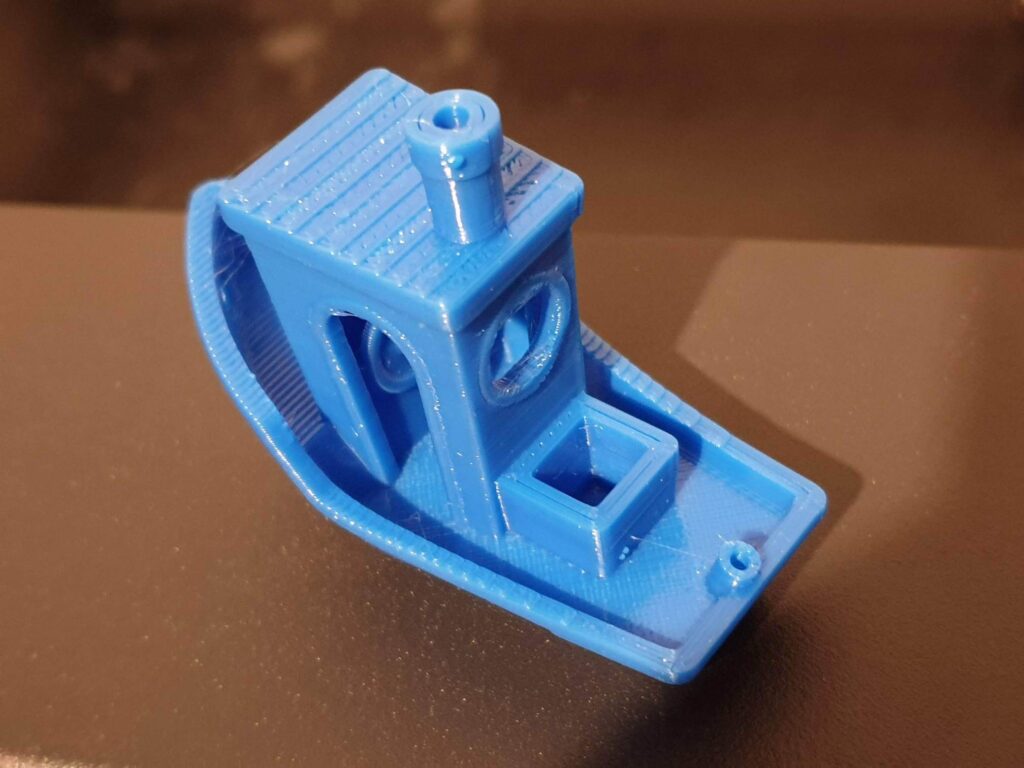
The only calibrated value was Flow. I lowered it to 0.97 to have 0.96 mm extrusion with on a two-wall test cube.
Really impressed by the accuracy, so I started an 8 hour print at 70mm/s to test how the printer performs when printing fast.
Joker
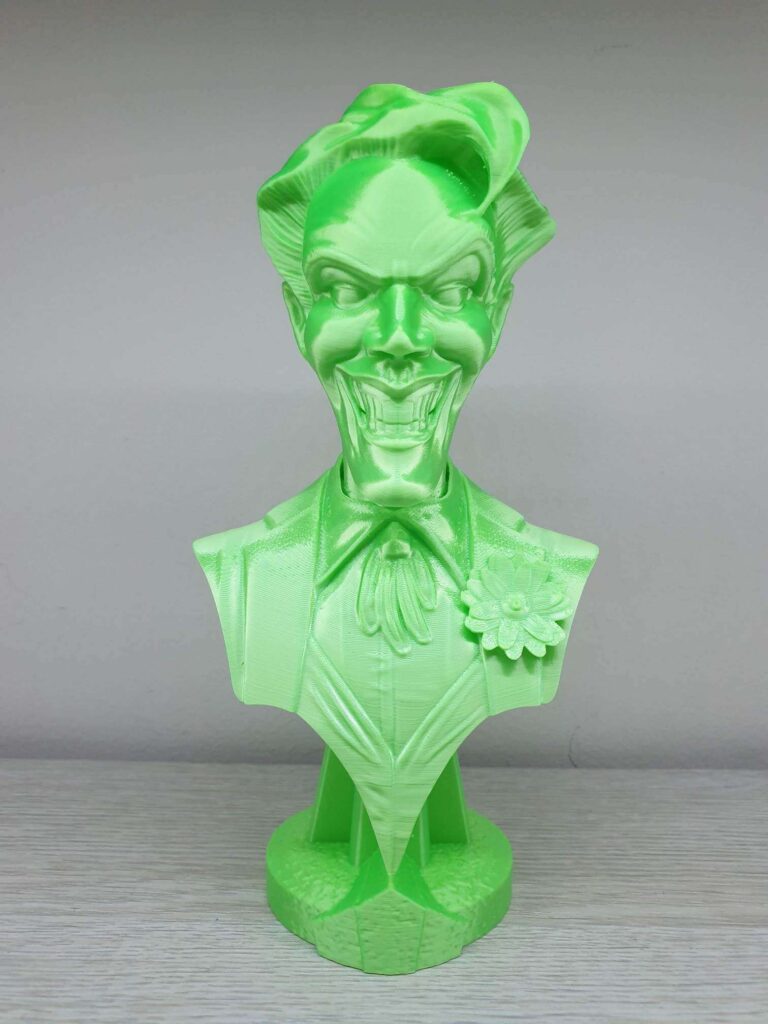
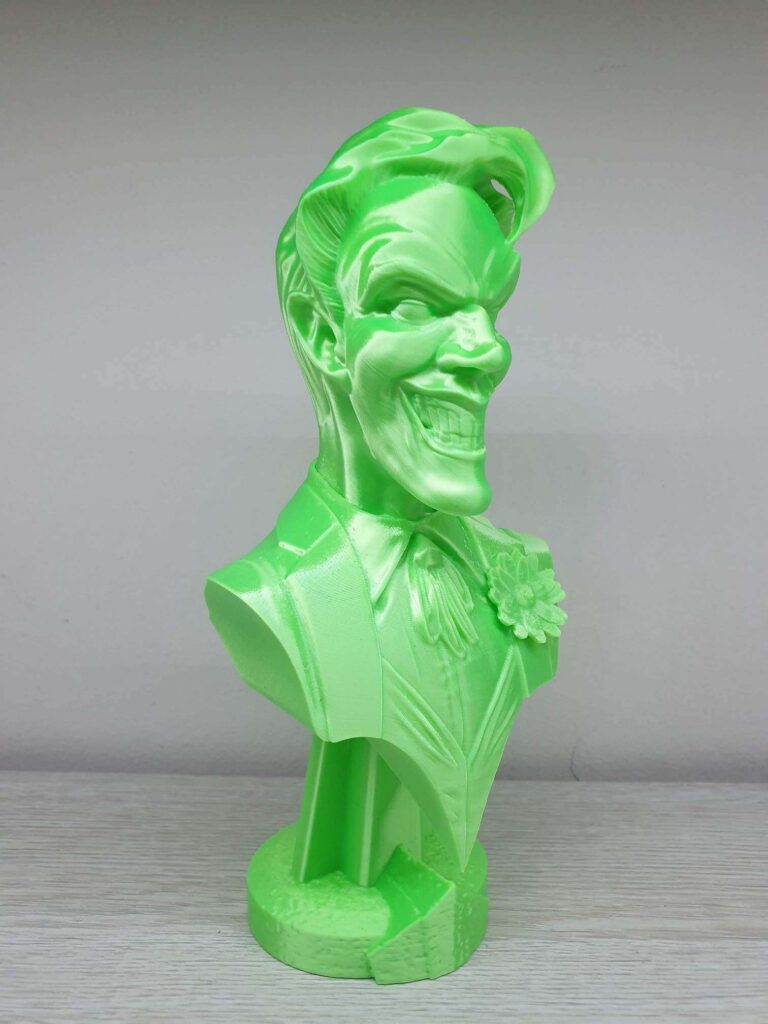
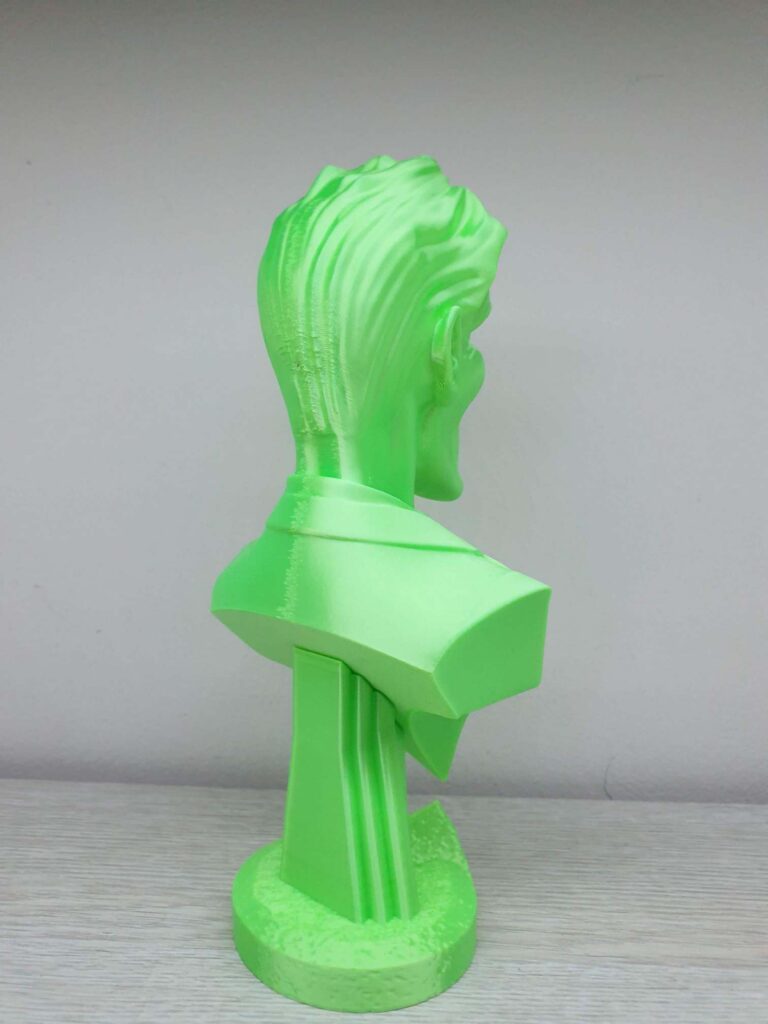
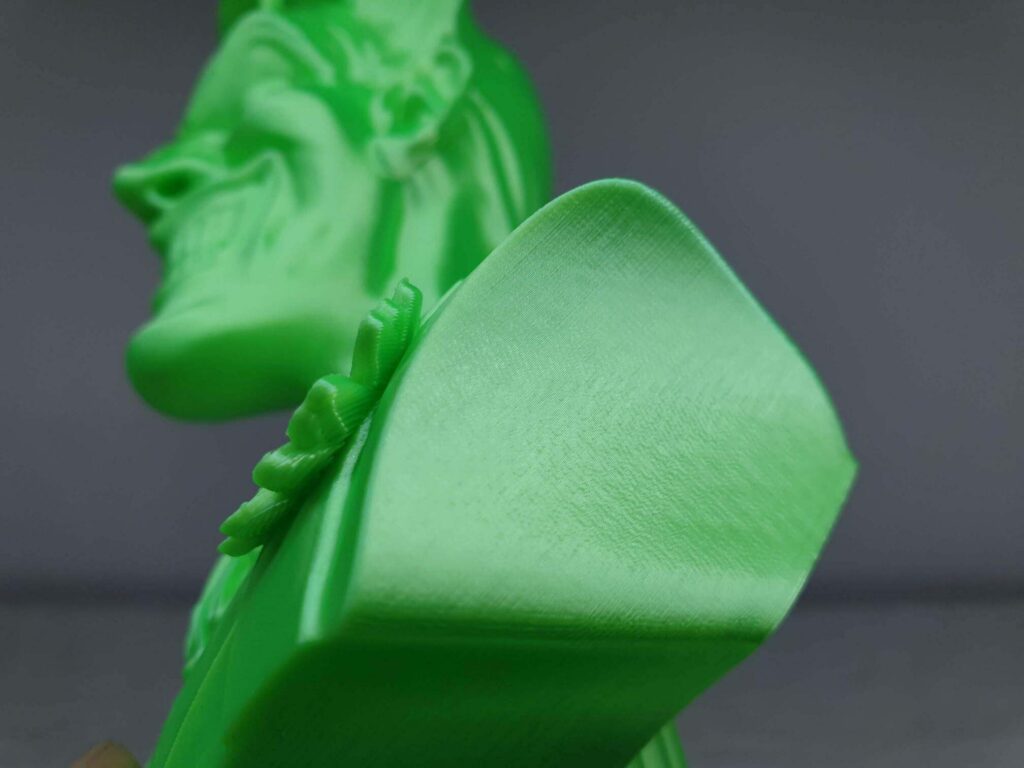
This Joker bust from MyMiniFactory printed in Gembird Silk Green PLA, with 0.15mm layer height, 70mm/s, and 205C. The result are excellent for a print at this speed.
The only fault I can report is the small issues behind the head caused by a lack of cooling and steep overhang.
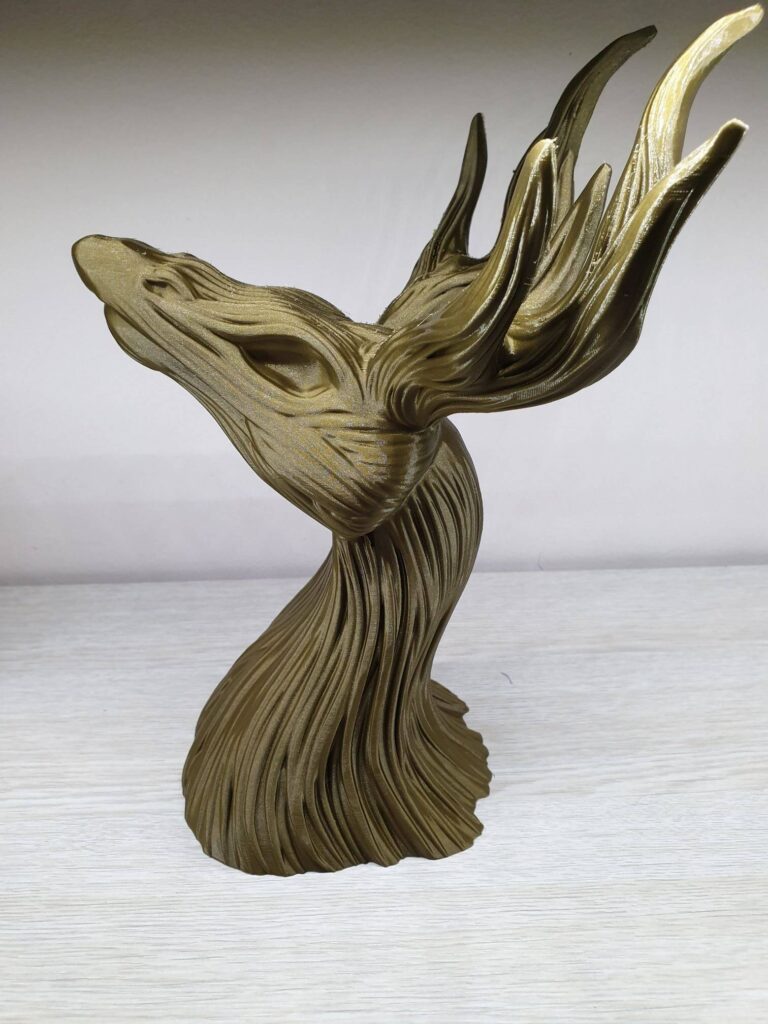
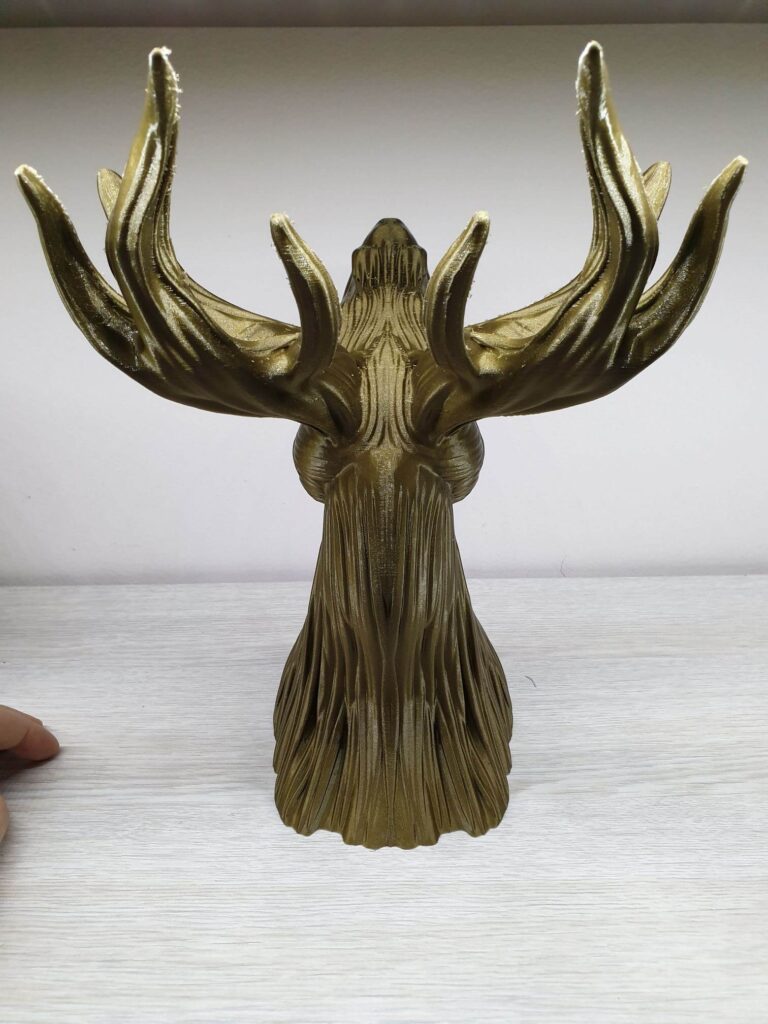
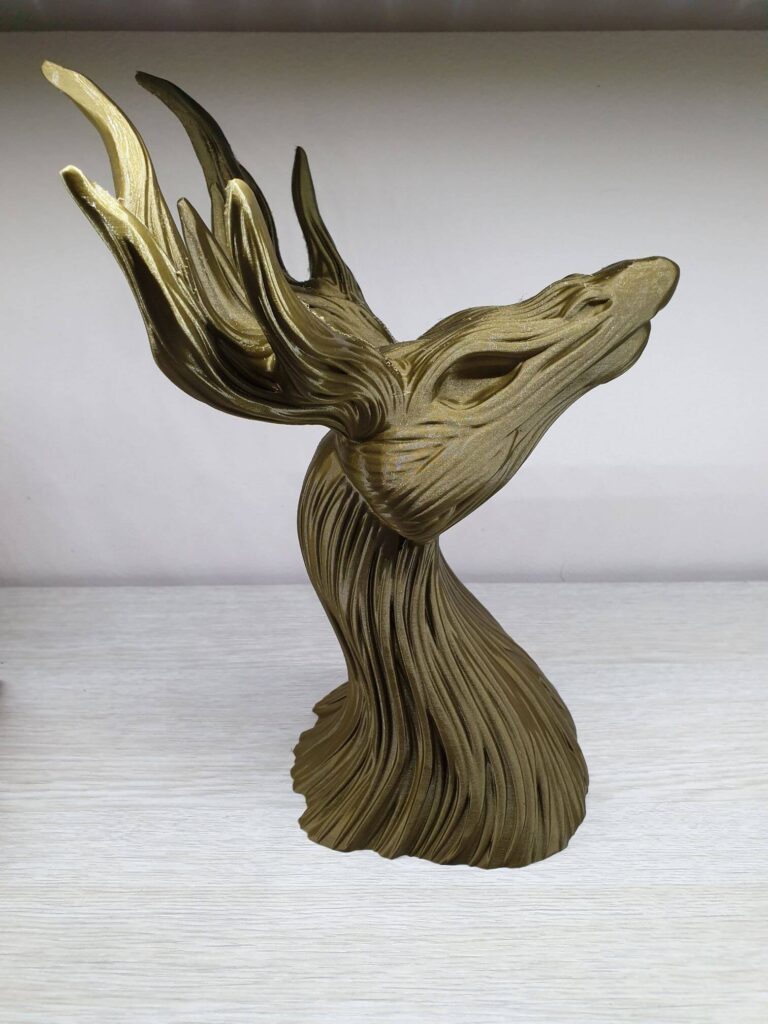
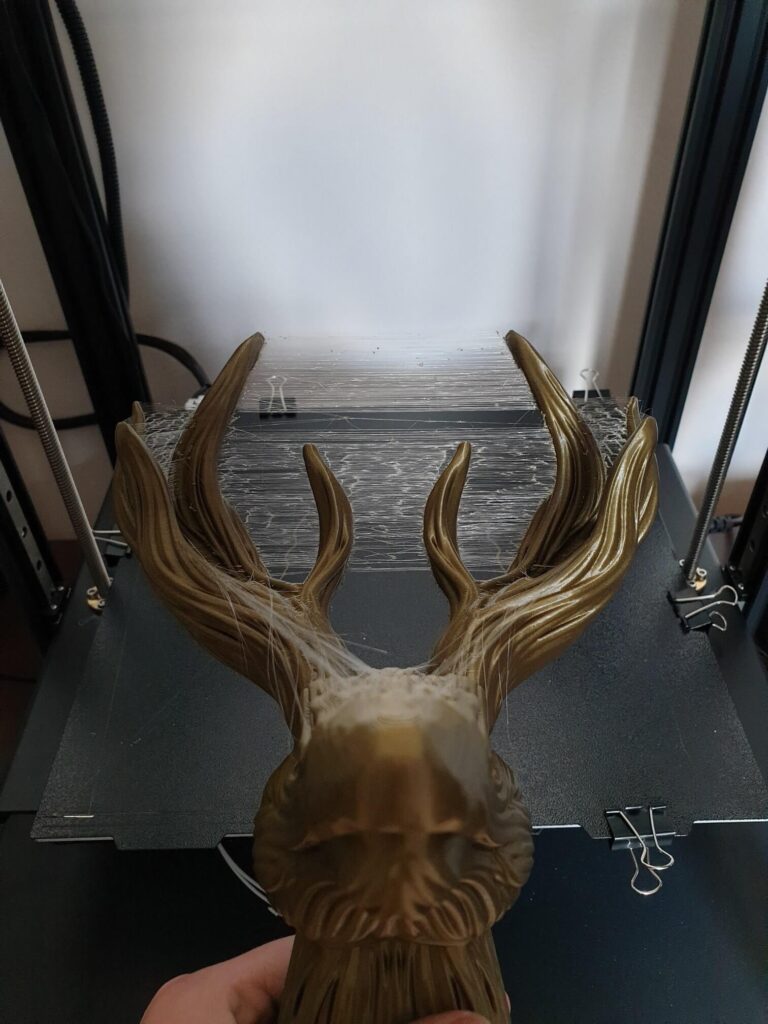
Stagroot
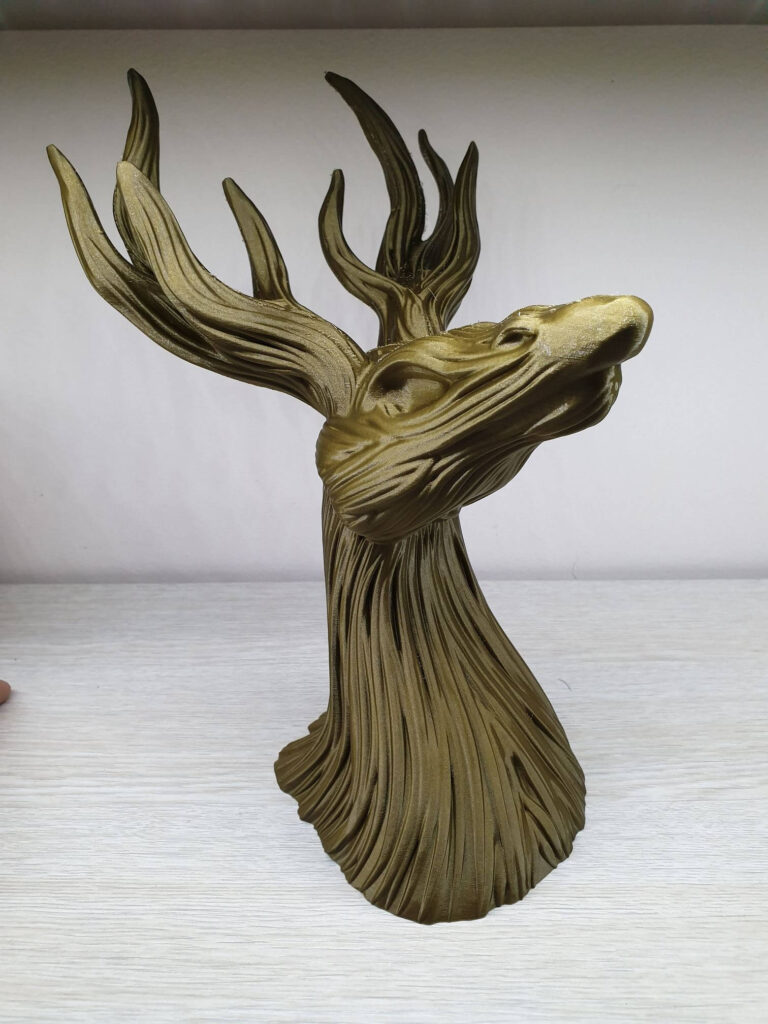
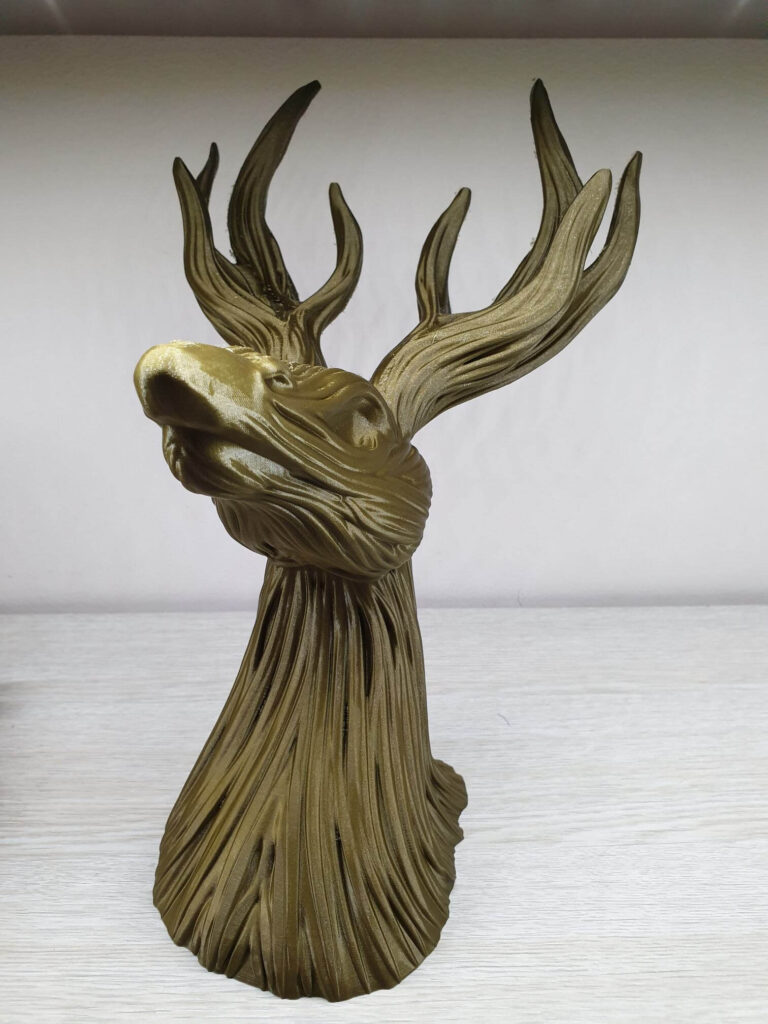
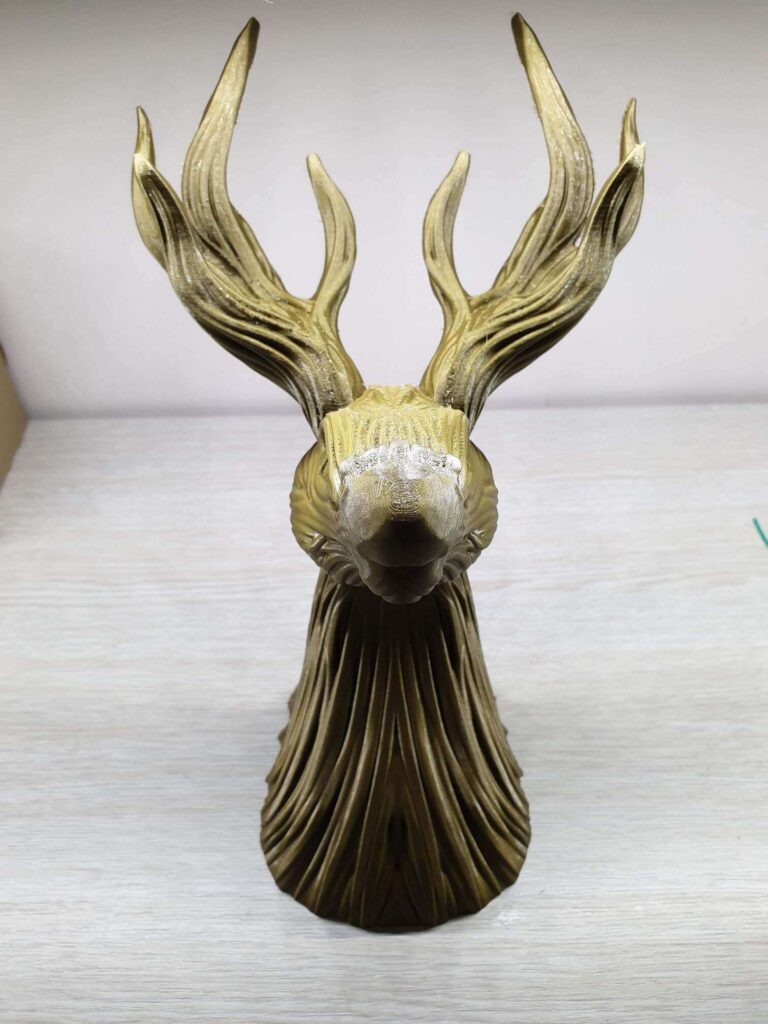
The Stagroot from MyMiniFactory was printed in Sakata 3D Ingeo 3D850 Gold PLA, with 0.15mm layer height, 70mm/s, and 210C.
No major issues were encountered other than the bad stringing between the horns. Unfortunately, I forgot to properly tune the retraction values and it was printed using 0.7mm retraction, from my Direct Drive setup. But nothing too bad and with a few minutes of cleanup, everything looks good.
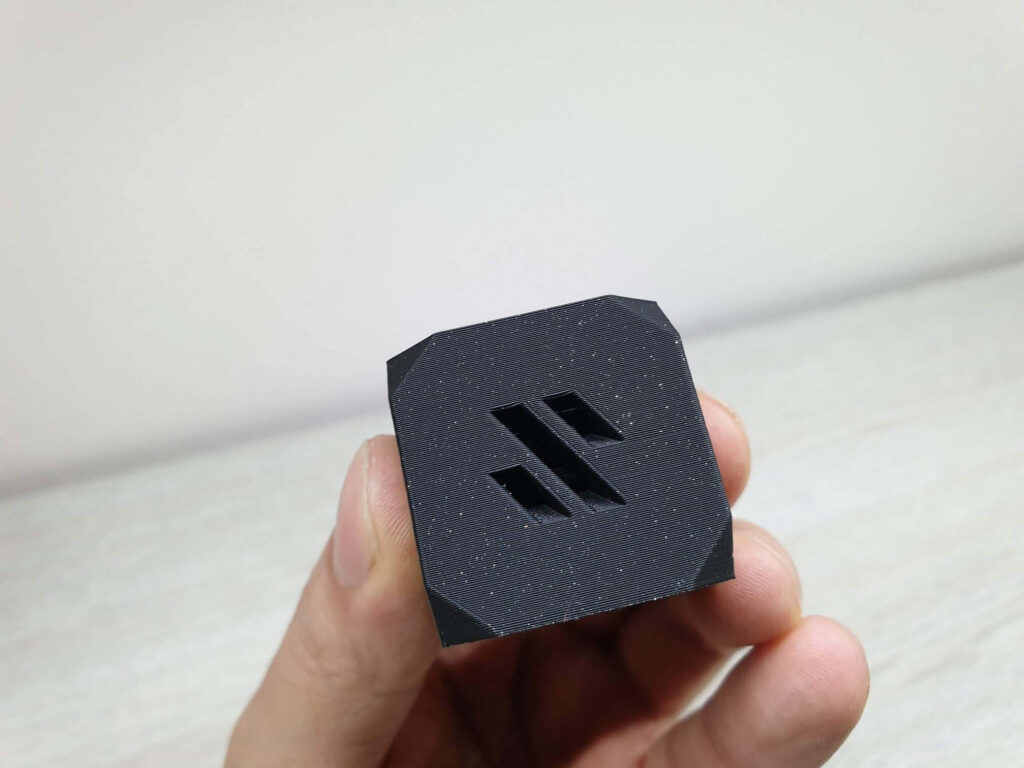
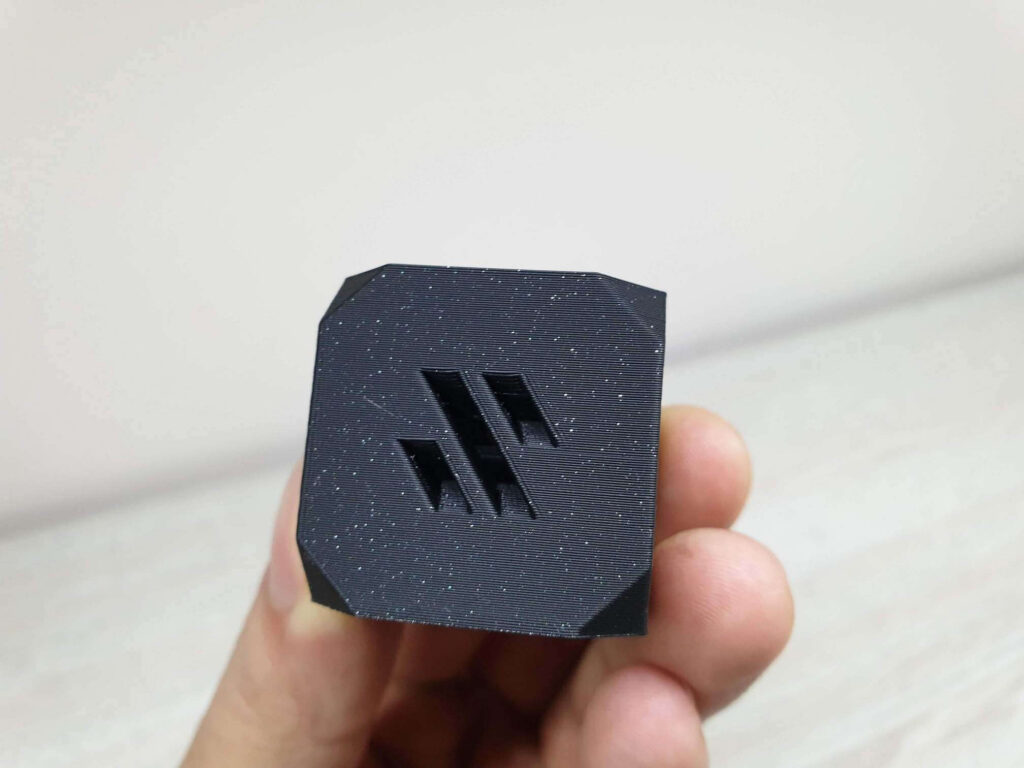
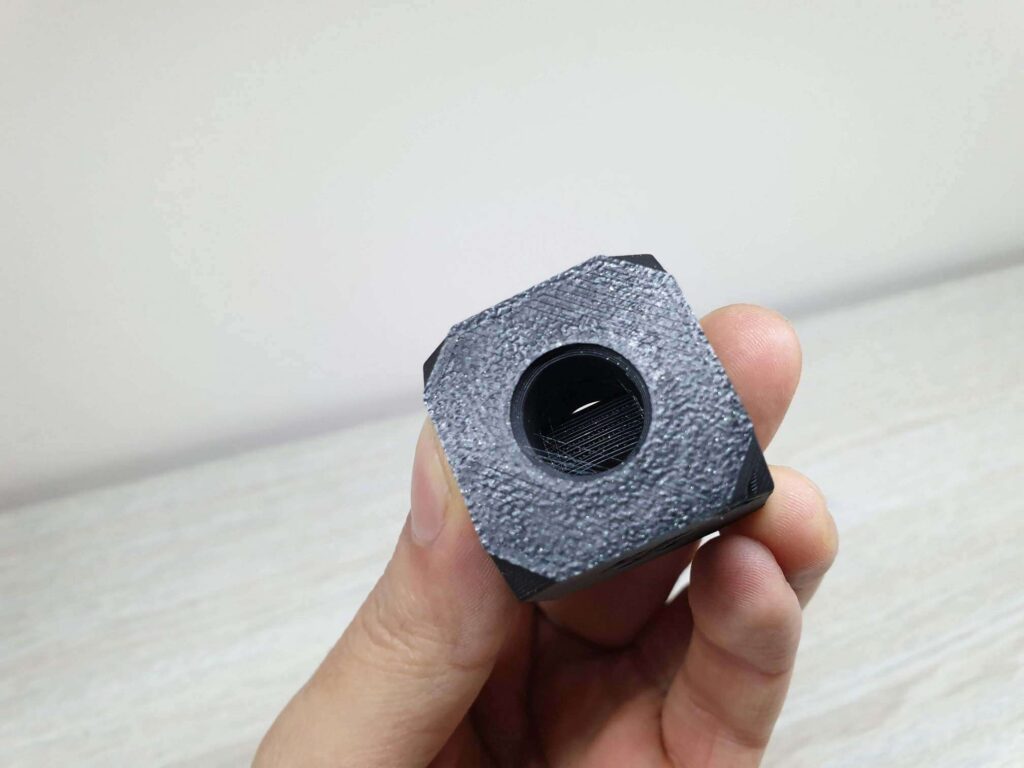
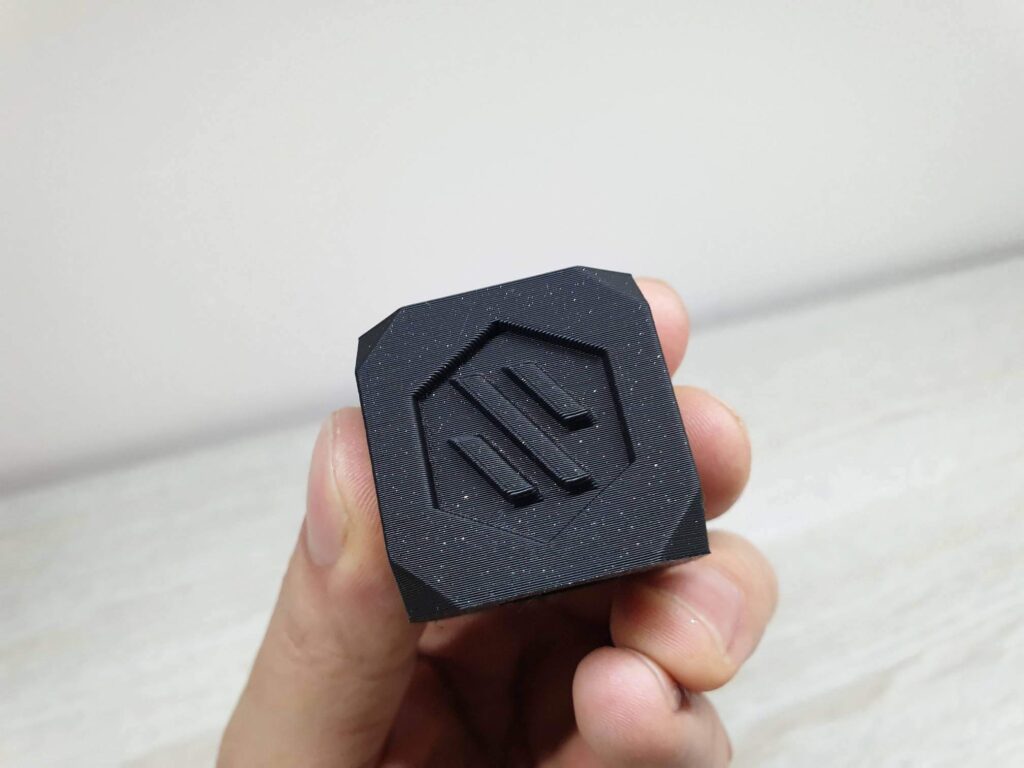
Voron Cube
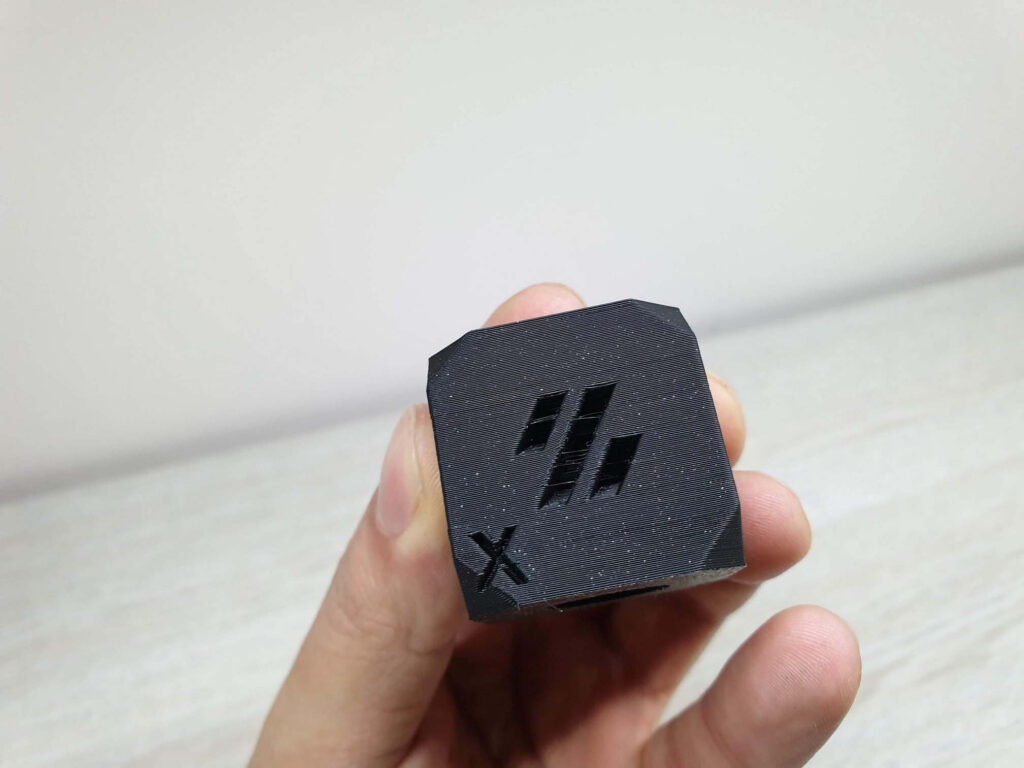
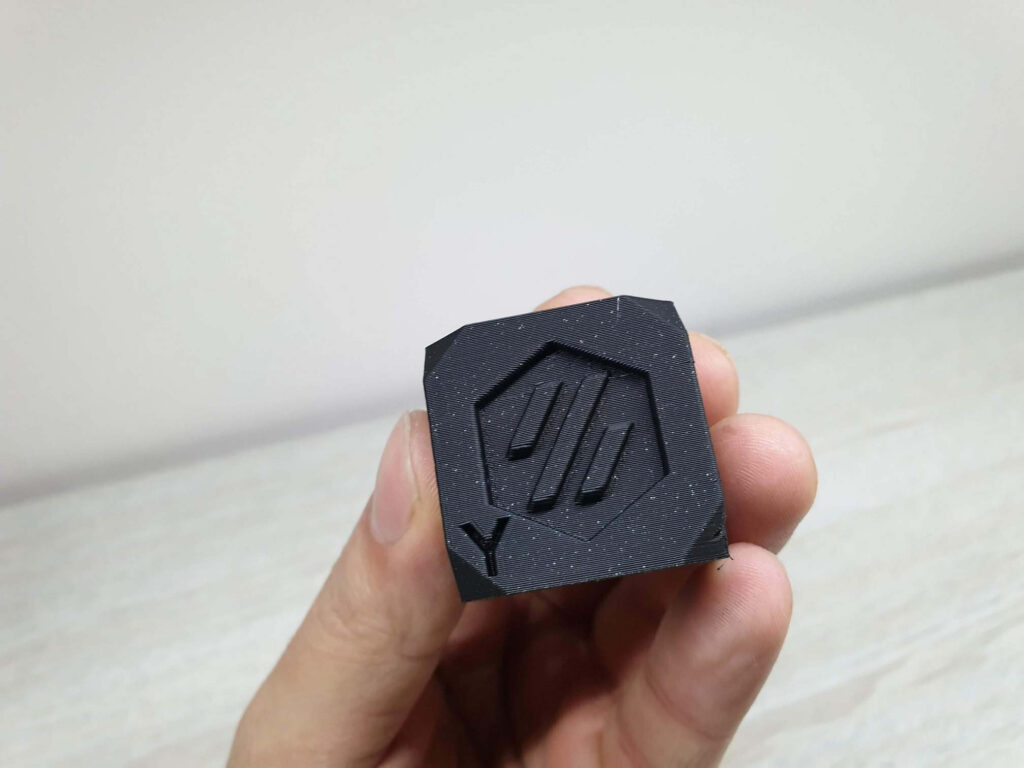
Next, I printed a Voron Cube in Devil Design Galaxy Black PLA, with 0.2mm layer height, 80mm/s, and 205C for a matte finish. I like this filament because if I increase the temperature to 215C, I can get a shiny finish if needed.
As you can see, the print is almost flawless and the layering is really good. For a print done at 80mm/s, the results are excellent.
Besides the good quality prints, you can also see the accuracy made possible by the Sapphire Plus.
The Elder Lighthouse
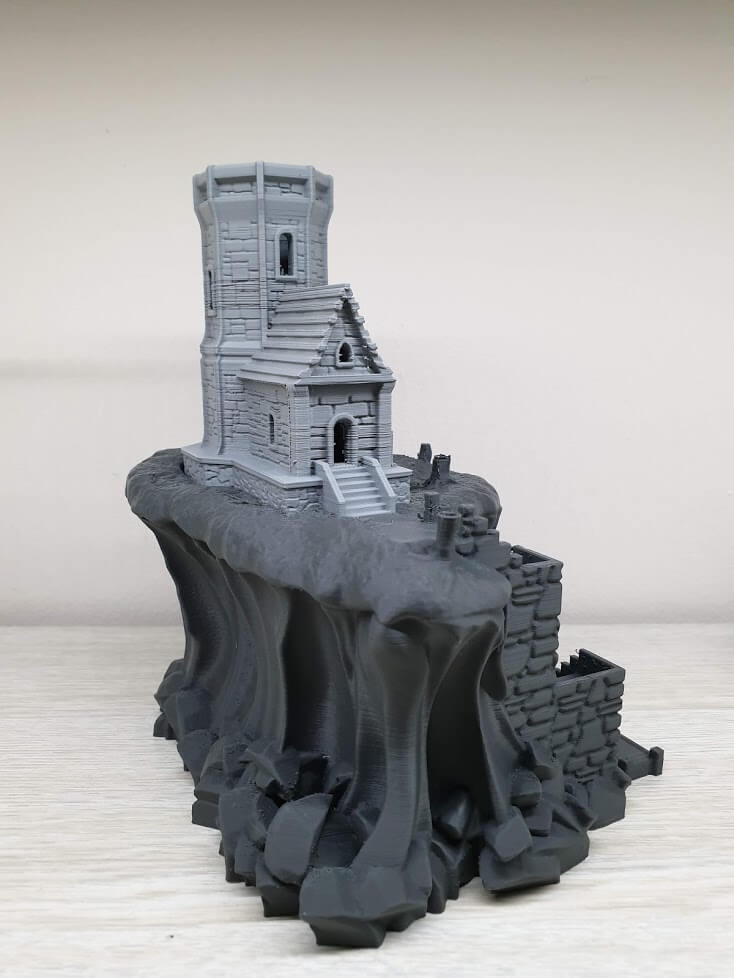
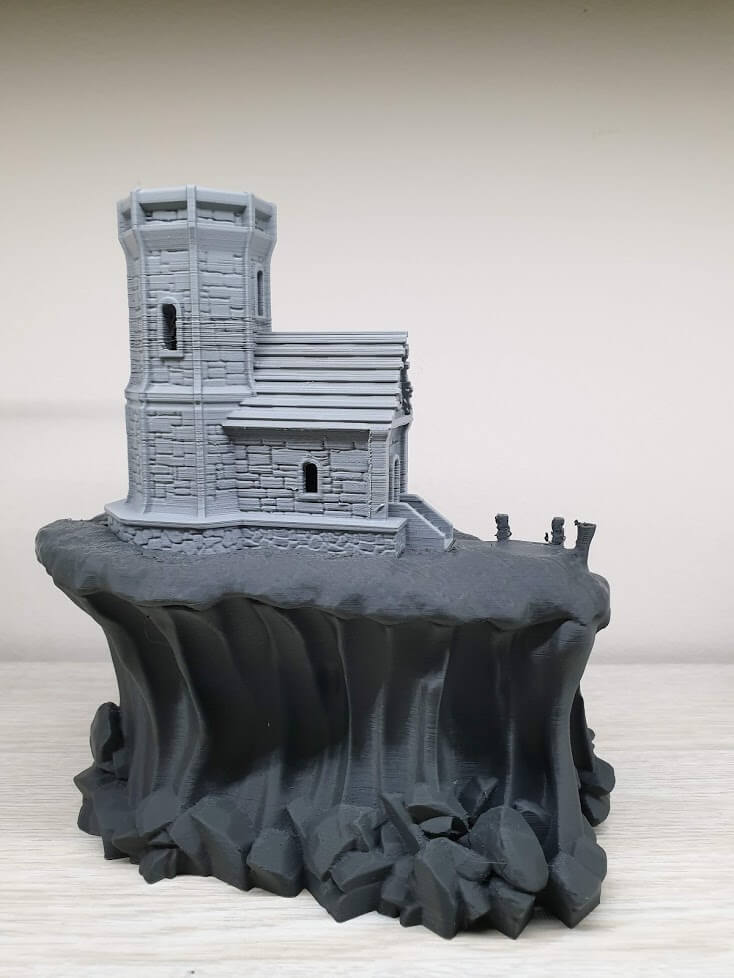
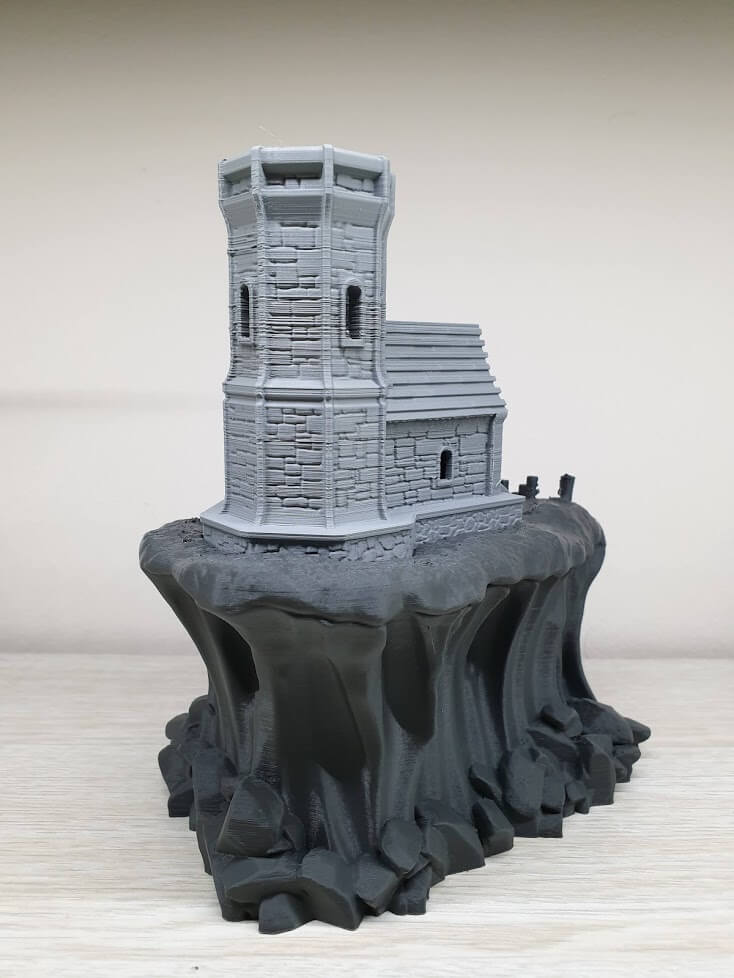
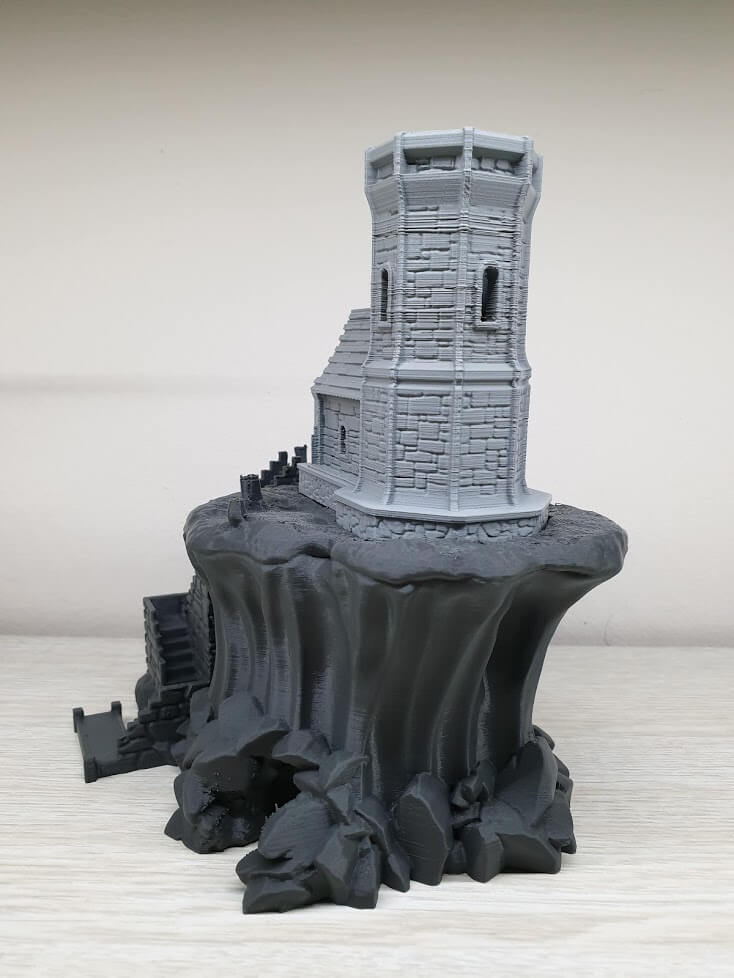
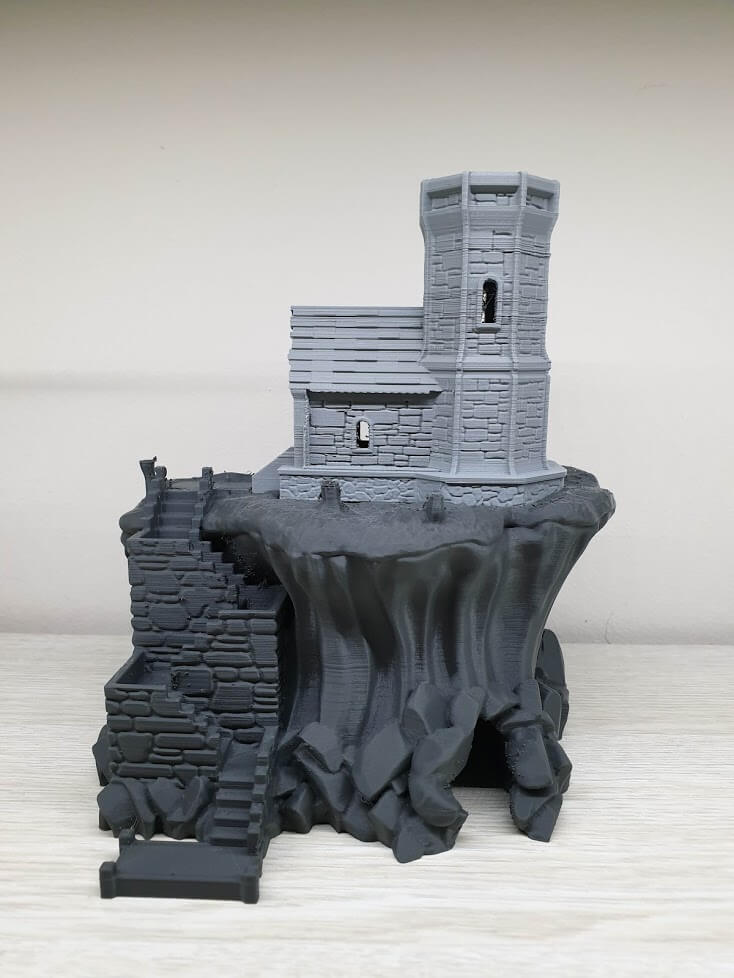
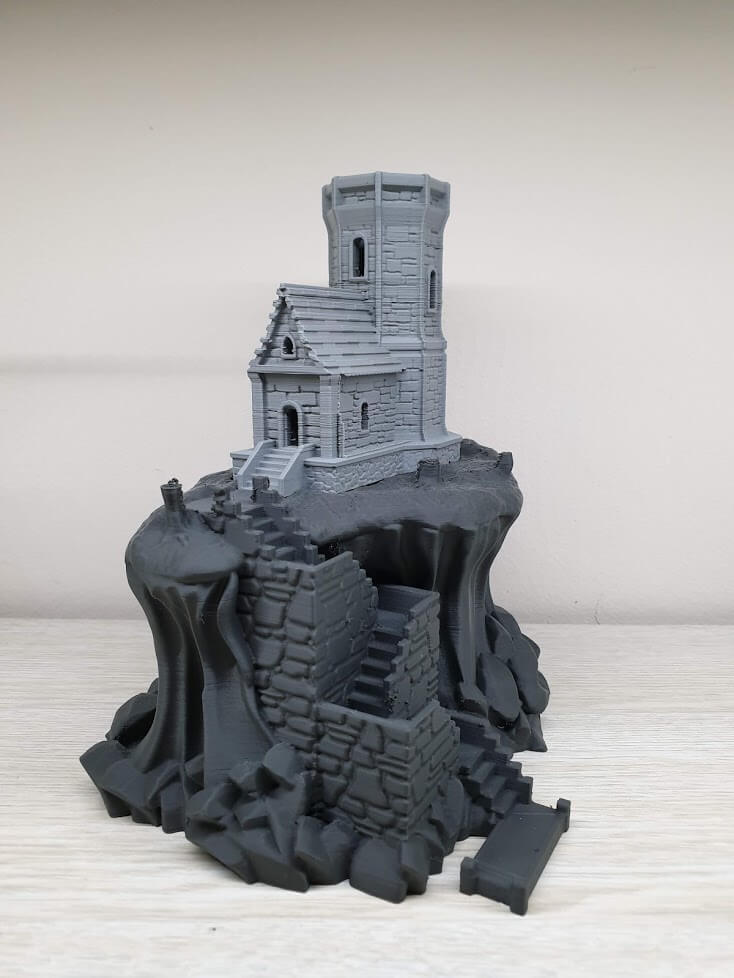
Another print I did is The Elder Lighthouse from MyMiniFactory printed in Devil Design Dark Grey PLA, with 0.15 mm layer height, 70mm/s and 210c. The lighthouse was printed with the same settings but with Grey PLA. Unfortunately, the hotend clogged twice. First, it clogged when reaching the trees. Later, it clogged when reaching the top end of the lighthouse. There are some signs of inconsistent extrusion caused by a partial clog.
Prints still look ok, but this is another confirmation that the hotend is troublesome and not the best quality.
Frankenstein Monster
The final print I did for this review is the Frankenstein Monster bust from MyMiniFactory printed in Gembirds Silver Glossy PLA, with 0.12 mm layer height, 70mm/s and 210c. This one managed to completely print without any issues.

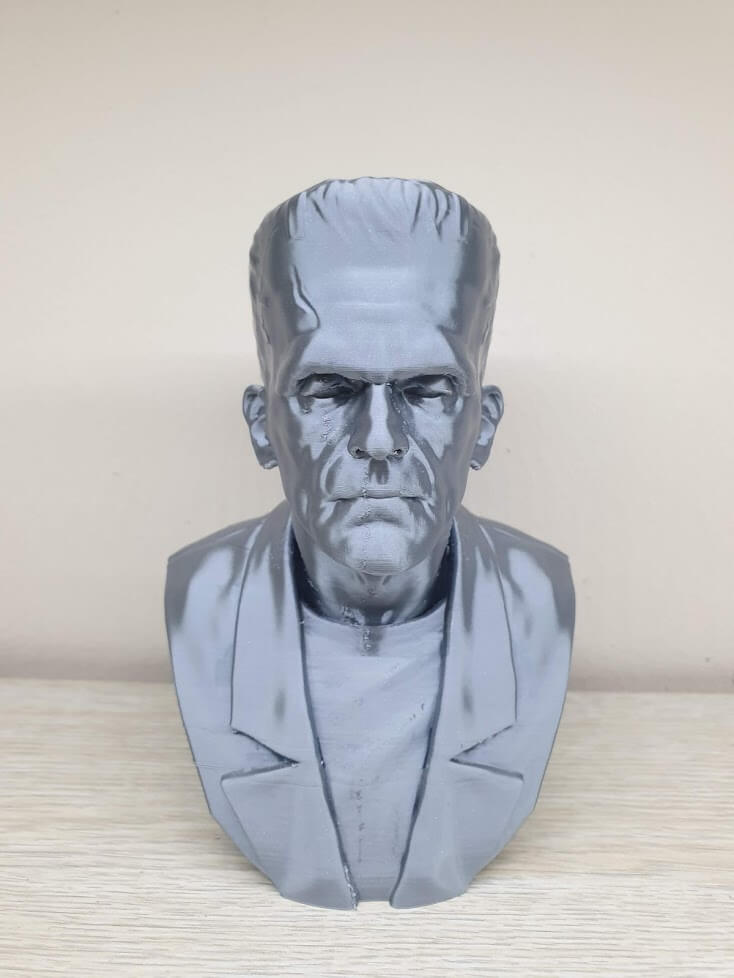
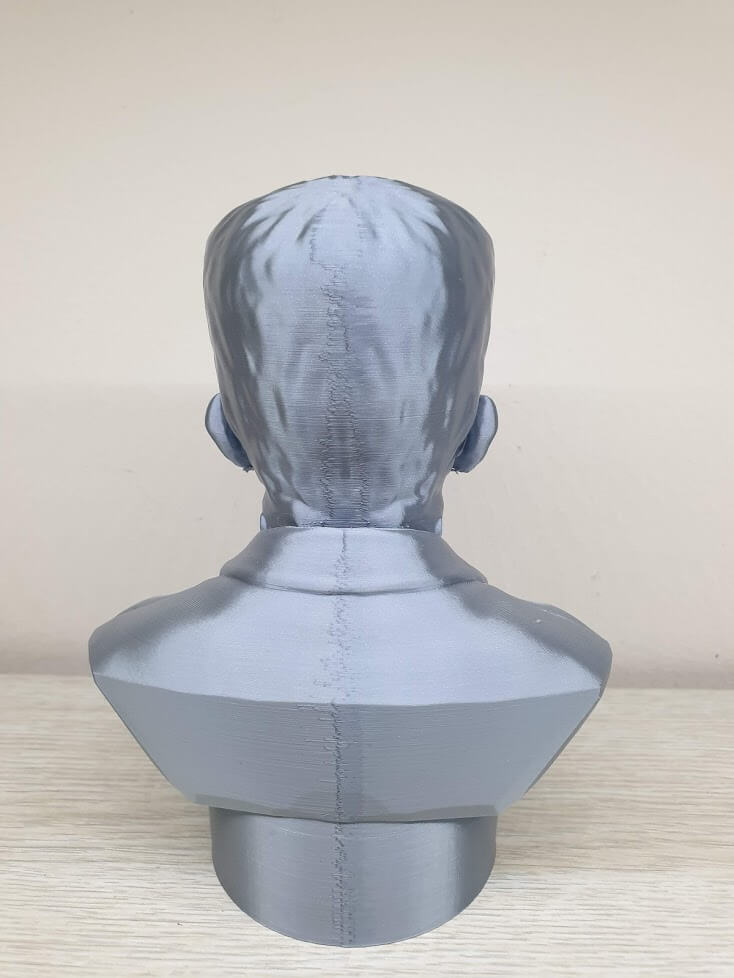
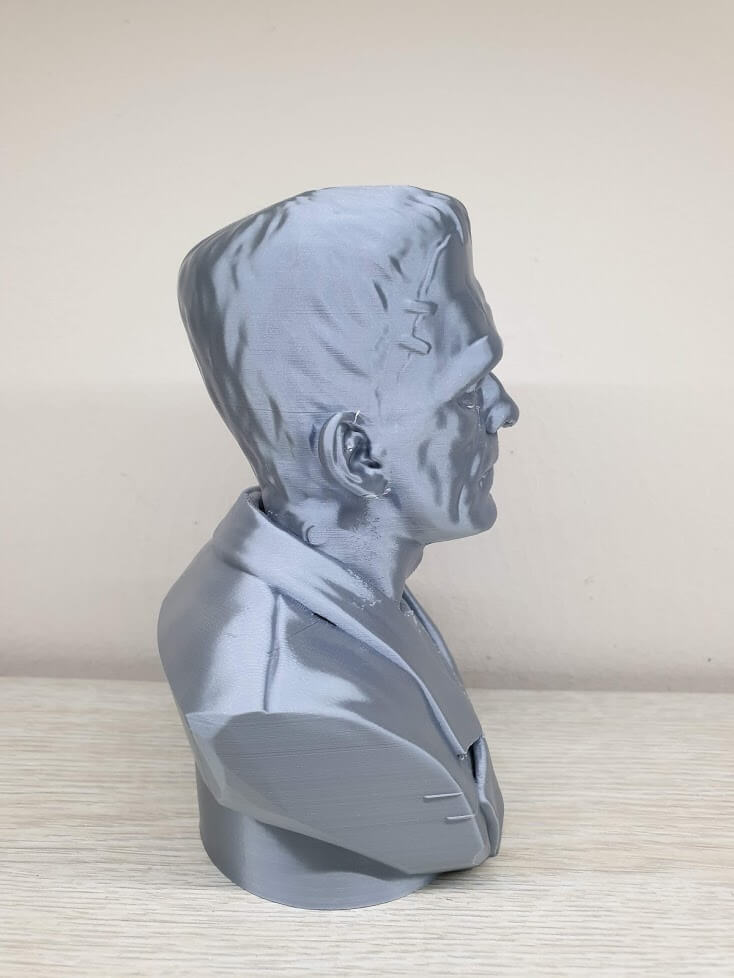
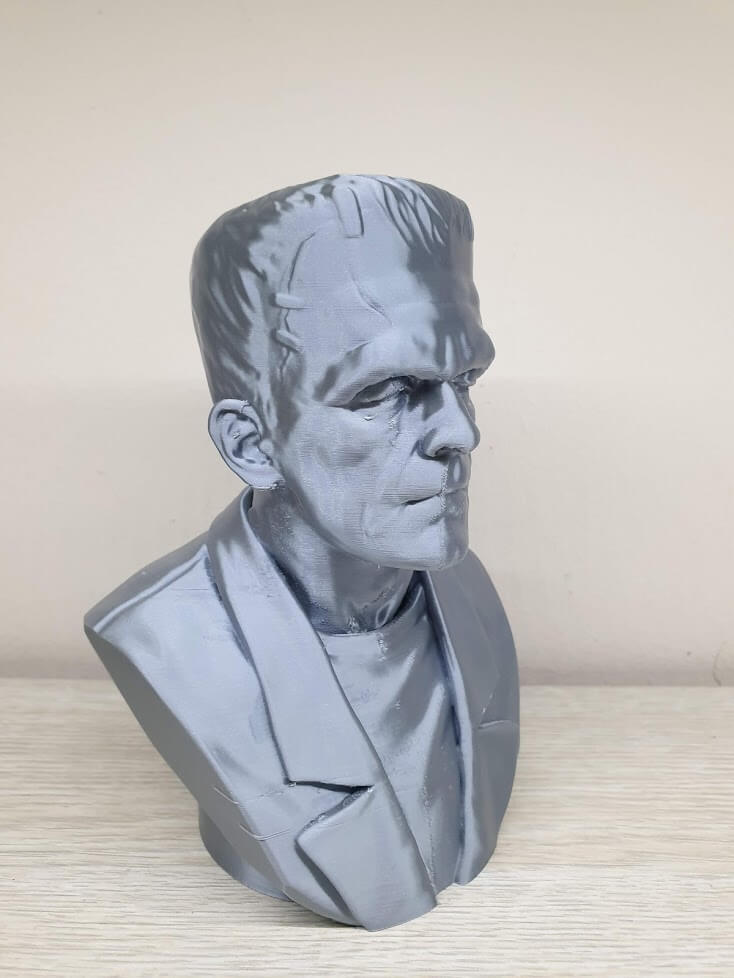
Bonus: Test print for Sapphire Plus with Dragon Hotend upgrade – 130mm/s
Conclusions – Is the Sapphire Plus worth it?
I really like the Sapphire Plus. Mechanically, it’s a good printer and the kinematics are great. But it’s held back by some bad choices like the bad hotend included with the printer and noisy fans. Because the hotend is often clogging, I recommend buying this printer with a spare upgrade to save yourself the headache. I did not have the chance to test their after-sales support. The only hardware issue I had is with the mentioned 40mm fan from the base. The review will be updated with thoughts of their support when I replace it.
If Two Trees will upgrade these in the future, I see no reason why not to recommend this printer without any reservation. In its current state, the Sapphire Plus is not recommended for a complete beginner in the 3D printing world. Some experience is needed to troubleshoot small issues and make the printer run reliably. If it’s the first 3D Printer you get, prepare yourself with a lot of patience and be ready to invest some time in troubleshooting issues that may occur.
For an enthusiast, the Sapphire Plus is great! You get a solid printer that can be upgraded to be a fast and reliable workhorse giving you excellent prints in a small amount of time.
I previously reviewed the Sidewinder X1 which is a solid cartesian printer. Compared with the Sapphire Plus, I think the ladder is more worthy of your attention. The CoreXY setup makes it more accurate and capable of much higher speeds compared to the Sidewinder X1. The frame is a lot more stable, it comes with a 32-bit board and easy to upgrade firmware. I can safely say the Sapphire Plus is a better buy.
Later Edit: The support you get after-sales is not good. I send videos with the problems encountered and I am ignored. Fortunately, I did not have big issues with the printer, and I was expecting this
But please note that when buying this printer, you are getting no support. So buy from a reputable store that can help with issues that may arise in the future.
Besides that, there was an update to the MKS Firmware launched by Makerbase. The released firmware for the Sapphire Plus was not even properly configured. So please be warned about the support you get from Two Trees after a purchase.
The Good
- Build Quality is really good and the printer is solid.
- Original MKS board and screen with excellent performance and Marlin 2.0 support.
- Easy firmware upgrades with the Micro SD Card
- Possibility to have a dual-color upgrade in the future.
- Smooth MGN12H Rails with no binding.
- Silent fans on the hotend and part cooling.
- Good quality BMG Extruder
- Synchronized Z motors + belt.
- Cable management is good.
The Bad
- No customer support aftersales
- Instructions from the manual are bad.
- Stepper drivers are not properly tuned.
- Missing cable management mounts.
- Z screws are not lubricated and there is no lubricant included.
- The hotend is bad – It often clogs and it’s not designed for fast printing.
- Unfinished original firmware with missing functionality
- The hotend fans are silent, but not powerful enough to cool the print properly
The Ugly
- Case fans are a bit too noisy
- The max print size can’t be more than ~320mm
- Slight misalignment on the X-axis idler
- A bit hard to assemble by a beginner
- Proper Marlin sources not available
Where to buy the Sapphire Plus?
The Sapphire Plus from Two Trees can be bought from multiple stores. You can check the links below for the most up to date prices available:
- Banggood – Two Trees Sapphire Plus
- Aliexpress – Two Trees Sapphire Plus
- Geekbuying – Two Trees Sapphire Plus
I recommend checking out the Discount Codes page before purchasing. I regularly update the article with discount codes for various online shops, and you might find one for this particular model.
Liked it?
|
|

