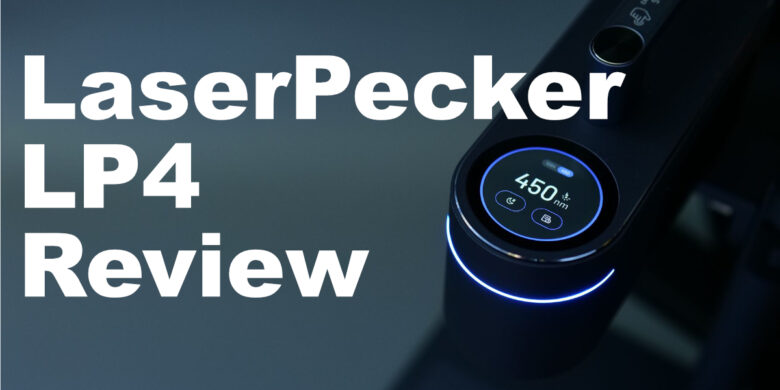
The LaserPecker LP4 is a pretty interesting device. I am not a very big fan of laser engravers, but the LaserPecker LP4 sparked my interest after seeing the compact format and the high-quality finish of the unit.
After LaserPecker got in contact with me to review it, I accepted just to see at what level laser engravers are currently, and how easy they are to use. In this article, I will share my experience with the LaserPecker LP4 to see if it’s worth buying.
LaserPecker LP4 Shipping and Packaging
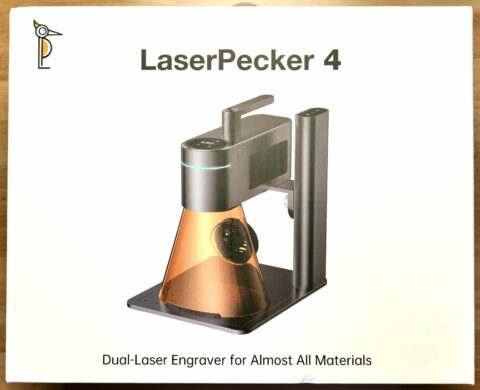
The LaserPecker LP4 comes double-boxed with a regular brown cardboard box on the outside, and a fancy white box on the inside, which has a nice graphical representation of the unit.
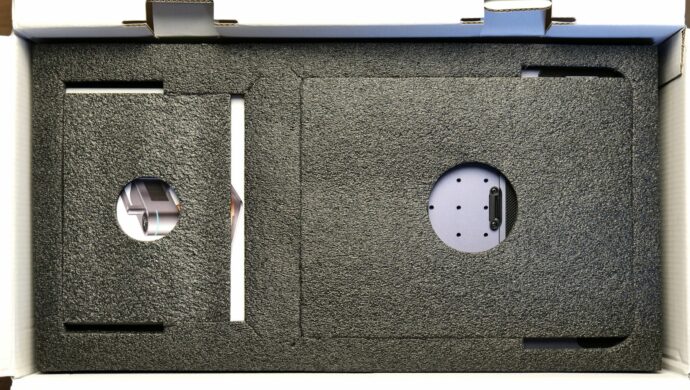
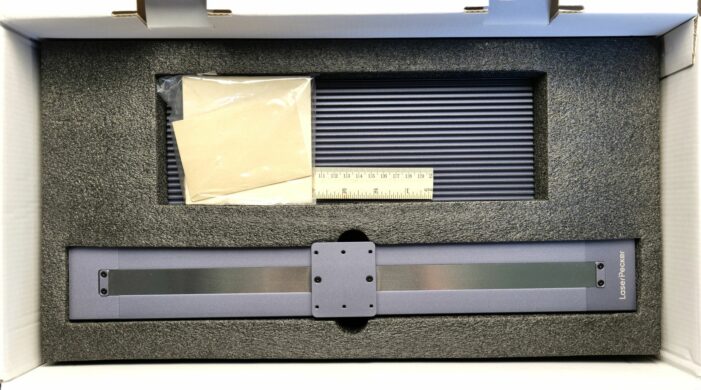
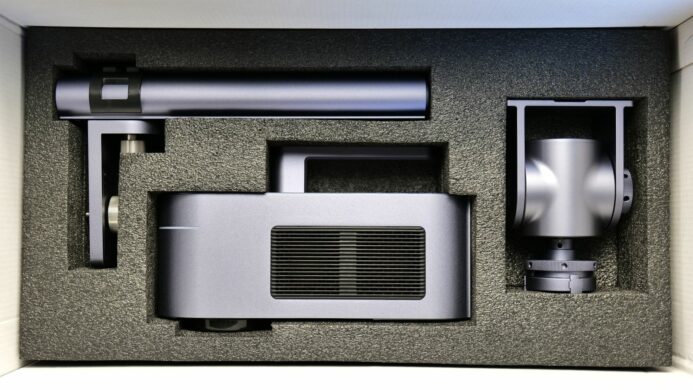
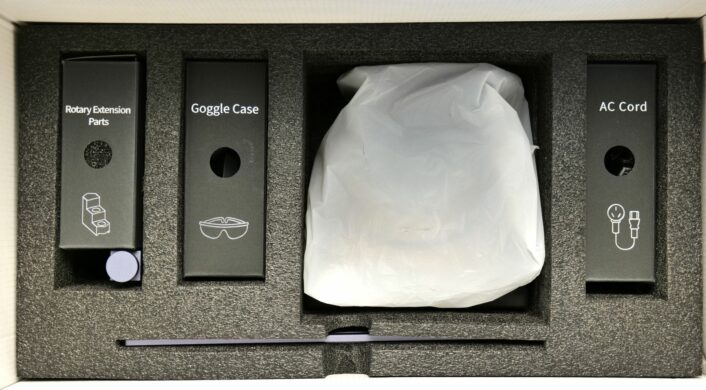
As you might expect, all the items inside the package are very well packaged and there should be a low chance of the product being damaged due to shipping.
LaserPecker LP4 Design
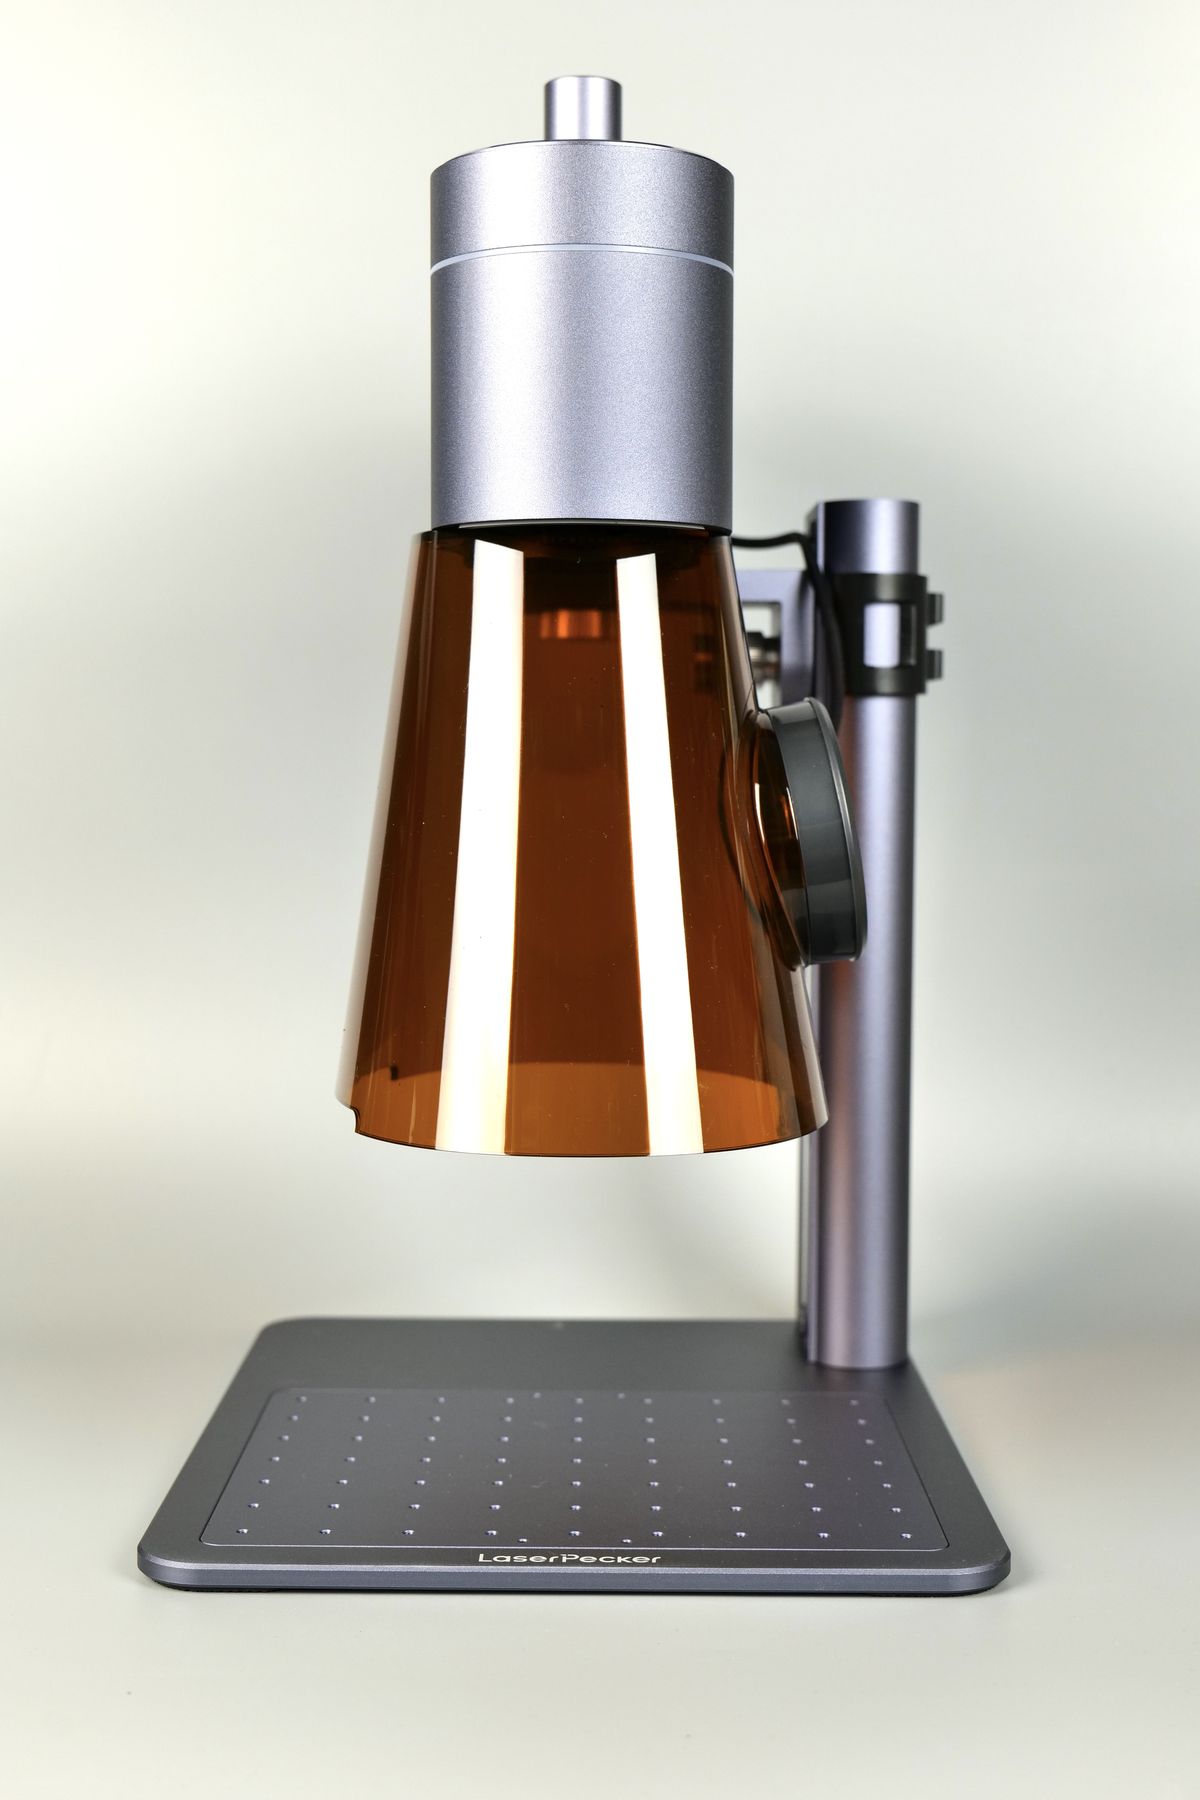
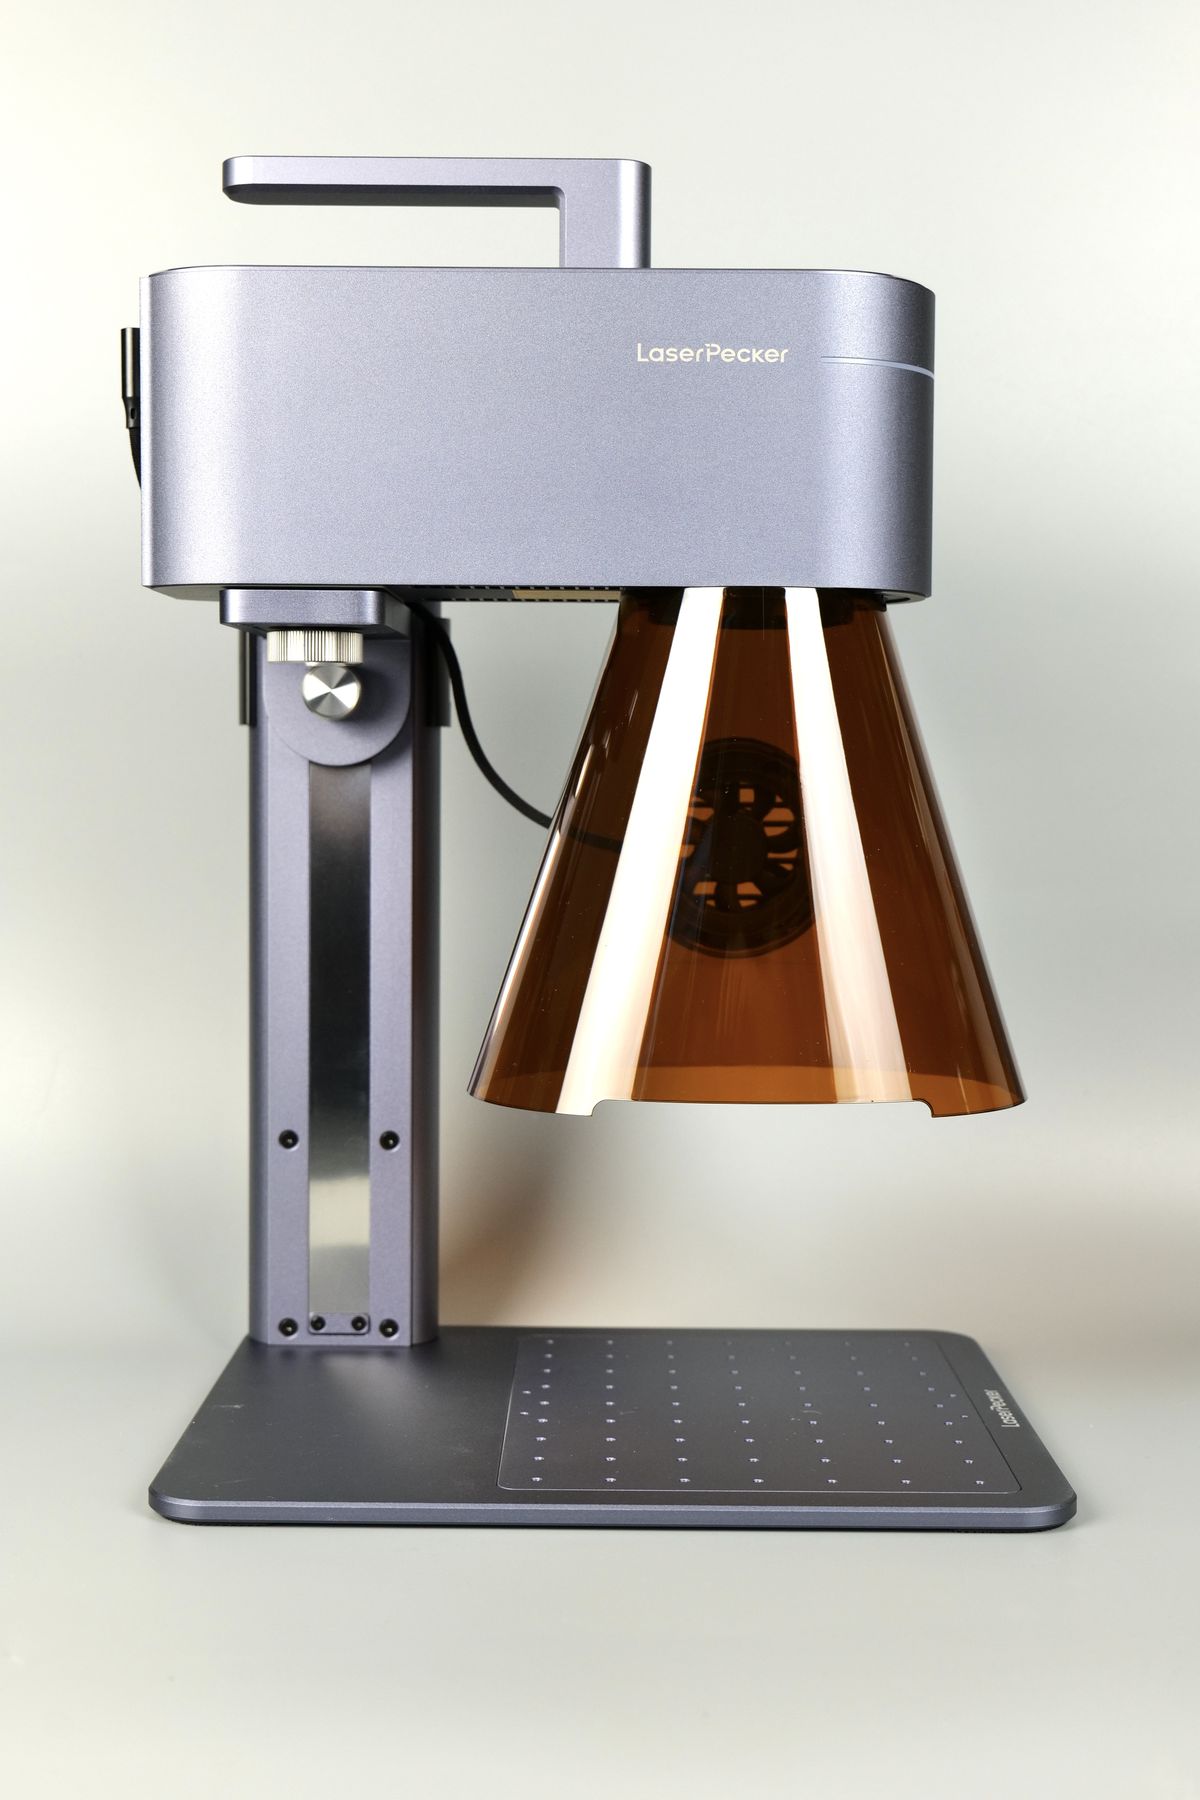
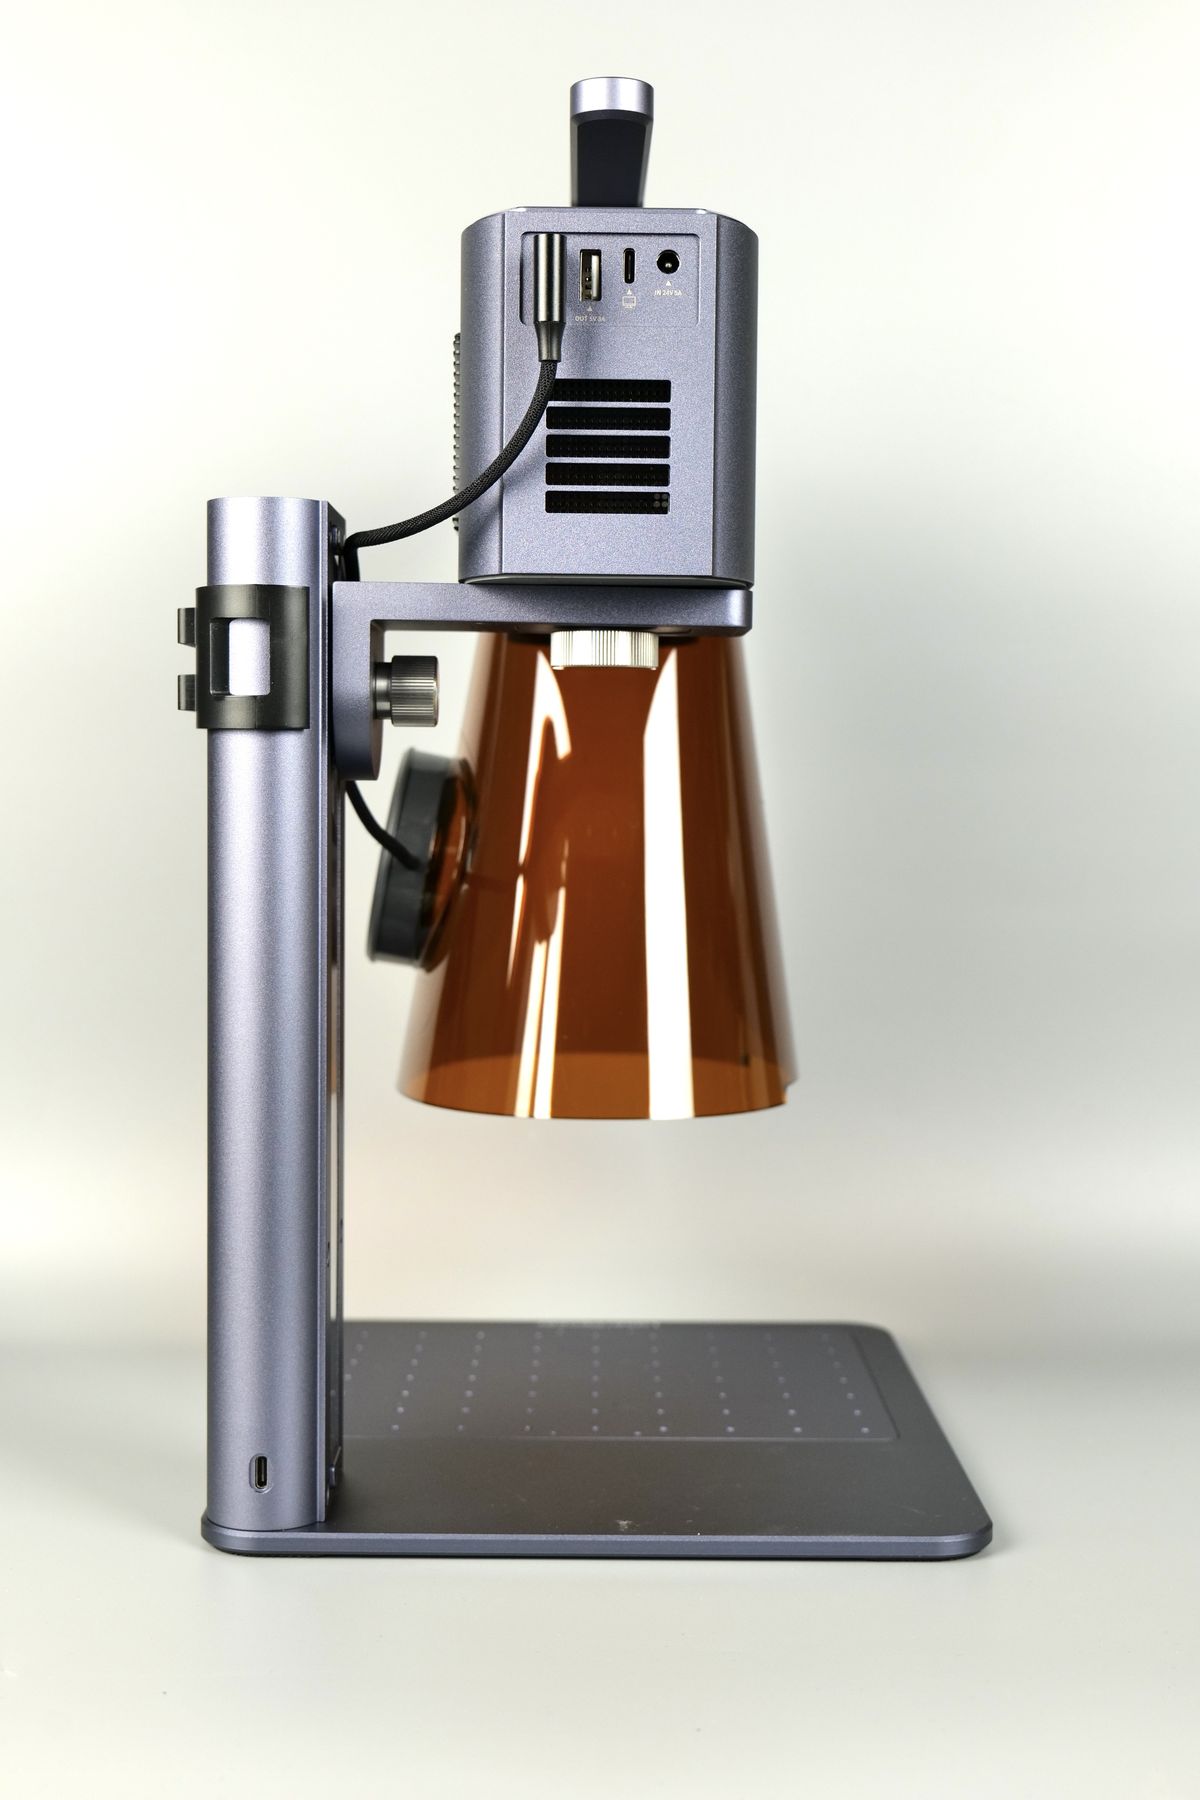
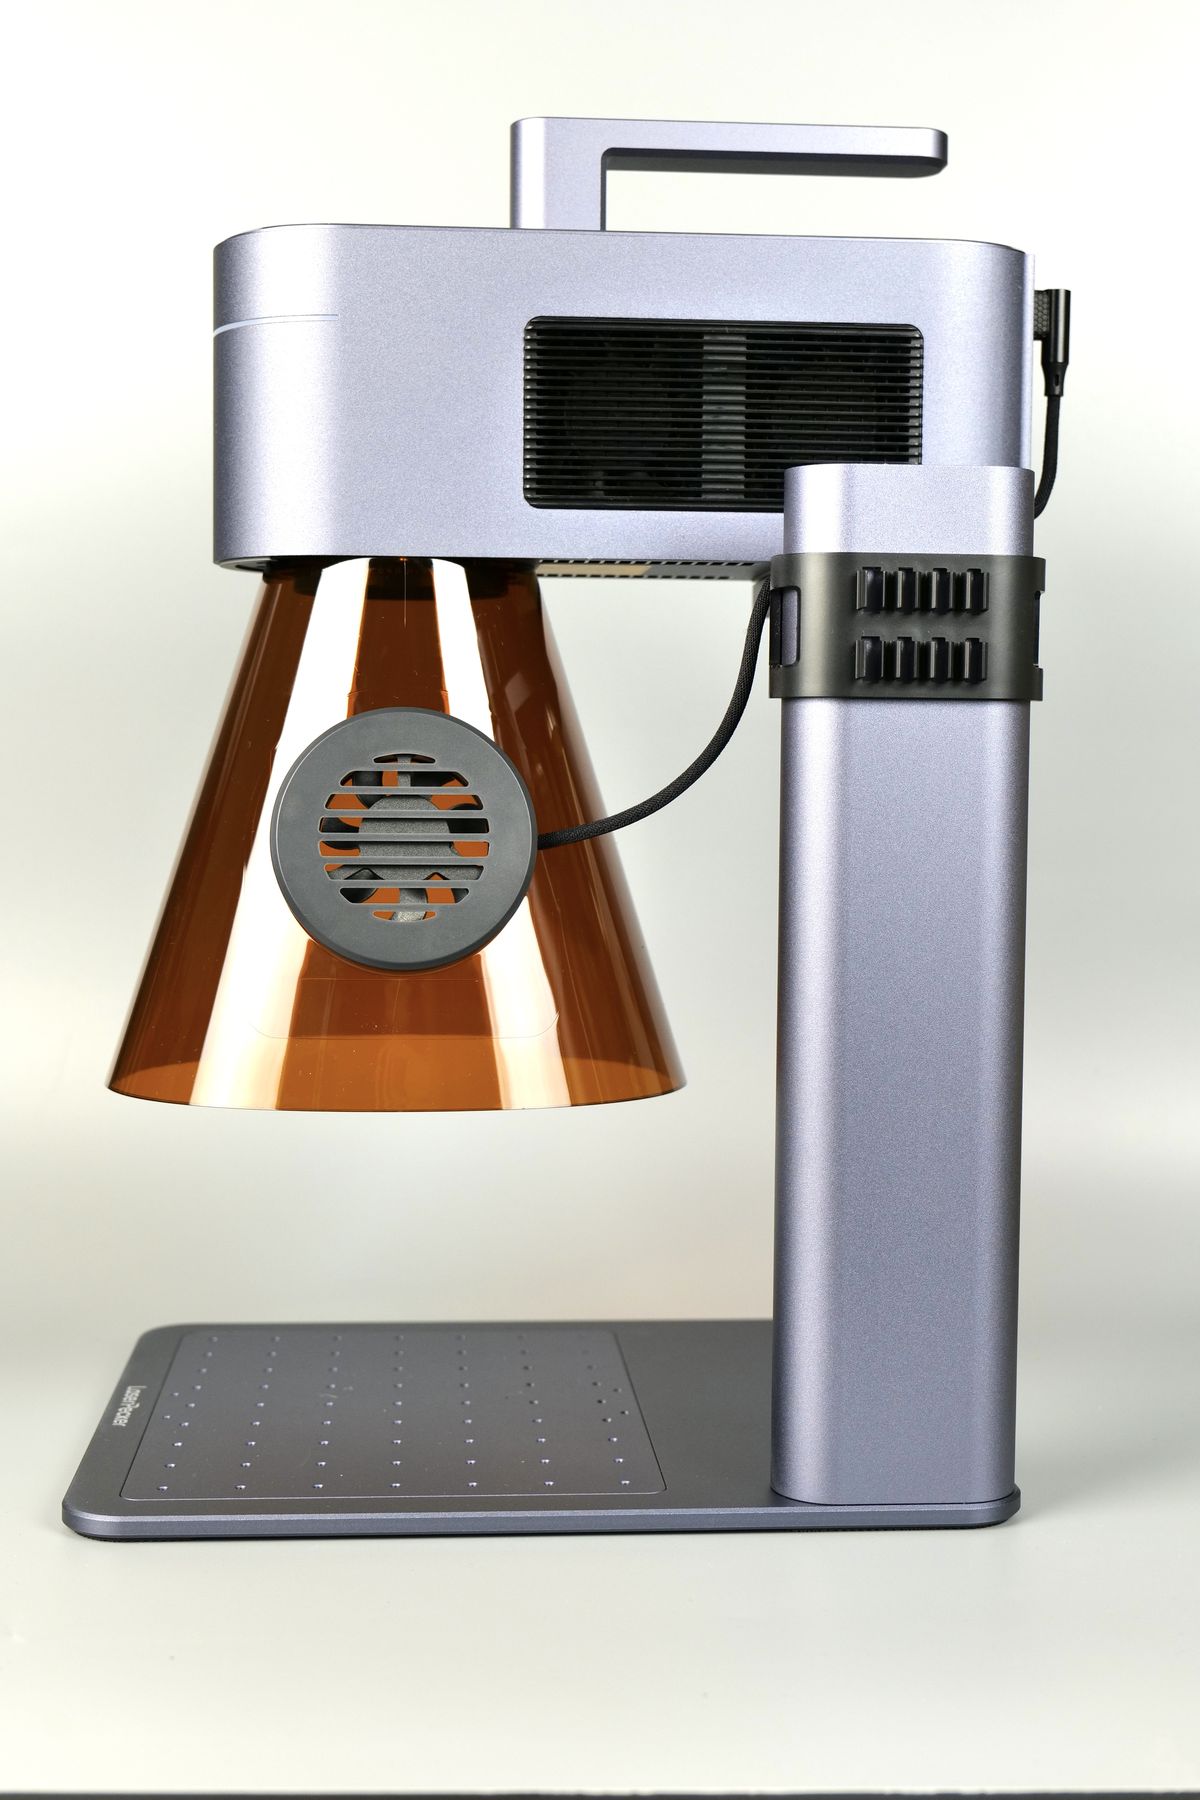
The LaserPecker LP4 has a very modern design with an aluminum construction. After putting everything together, it feels like a high quality device and a well-made unit.
LaserPecker LP4 Specs
| Laser Type: | 10W 450 nm Blue Diode Laser 2W 1064 nm Infrared Laser |
| Working Area: 160 mm x 120 mm (Basic) | 160 mm x 120 mm (Basic) 160 mm x 300 mm (with the Slide Extension) |
| Working Speed: | 2000 mm/s |
| Preview Speed: | 16000 mm/s |
| Engraving Precision: | 0.003 mm |
| Resolution: | 1K/2K/4K/8K |
| Applicable Materials: | 10w 450 nm Blue Diode Laser: Lacquered metal, Anodized aluminum, 304 stainless steel, Bamboo, Wood, Leather, Food, Paper, Fabric, Photosensitive printing, Plastic, Acrylic, Tinted glass, Color glaze ceramics, etc. |
| 2w1064 nm Infrared Laser: Metal, Plastic, Leather, and any material with paint coating | |
| Cutting Depth: | 8 mm Balsa Wood, 5 mm Dark Opaque Acrylic |
| Preview Mode: | Center Point, Outline Frame, and Contour Preview Modes |
| Software: | LaserPecker Design Space & LaserPecker PC Software & LightBurn |
| Support Format: | PC: G-Code/JPG/PNG/BMP/SVG/DWG/DXF etc.Vector Format APP: JPG/PNG/G-Code/SVG |
| Connection: | Mobile – Wireless Bluetooth 5.0 PC – USB Connection / Wireless Bluetooth 5.0 (Dongle Required) |
| Operating System: | Mobile – iOS 9.0 & Android 7.0 PC- macOS 10 & Windows 10 |
| System Languages: | Simplified Chinese/Traditional Chinese/English/Japanese /Korean/German/Spanish/French |
| Safety Certification: | CE, ROHS, FCC, FDA, CDRH, NCC, KC, UKCA, TELEC |
| Input Power: | DC(24V 5A) AC(100-240V, 50-60HZ) |
| Size: | Laser Head: 241 x 82.1 x 139.7 mm Stand: 260.5 x 218 x 283.5 mm Protective Shield: 176 x 145 x 155.7 mm |
10W Blue Diode and 2W Infrared Laser
The LaserPecker LP4 has a dual laser system. One of them is a 10W Blue Diode laser which works best for Wood, Acrylic, Glass, Leather, Ceramic, Paper and stone. The other laser is a 2W infrared unit that is used for Stainless Steel, Aluminum, Gold, Silver and plastic.
This means that you can perform an engraving using a single laser unit, or you can combine the lasers if you wish to engrave an item that has different materials, without needing to restart the process or change the settings.
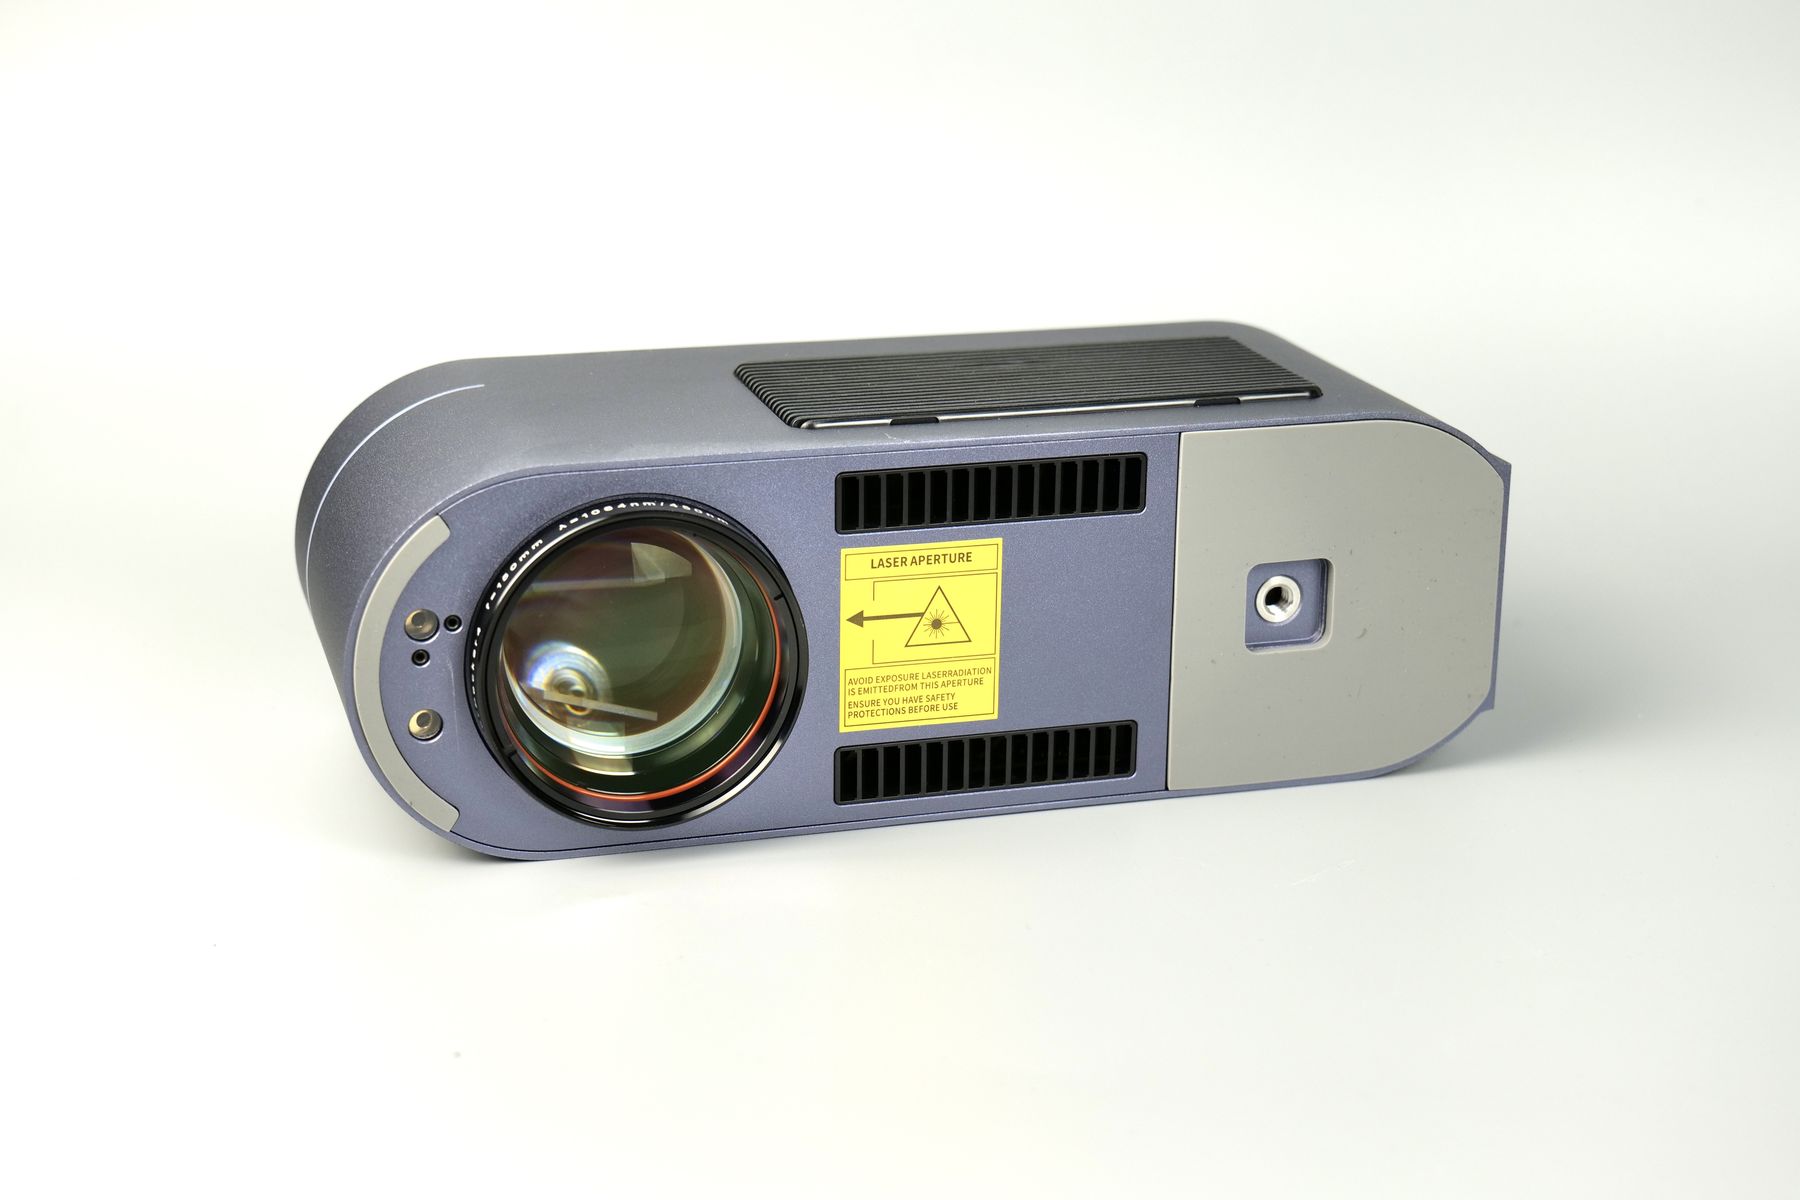
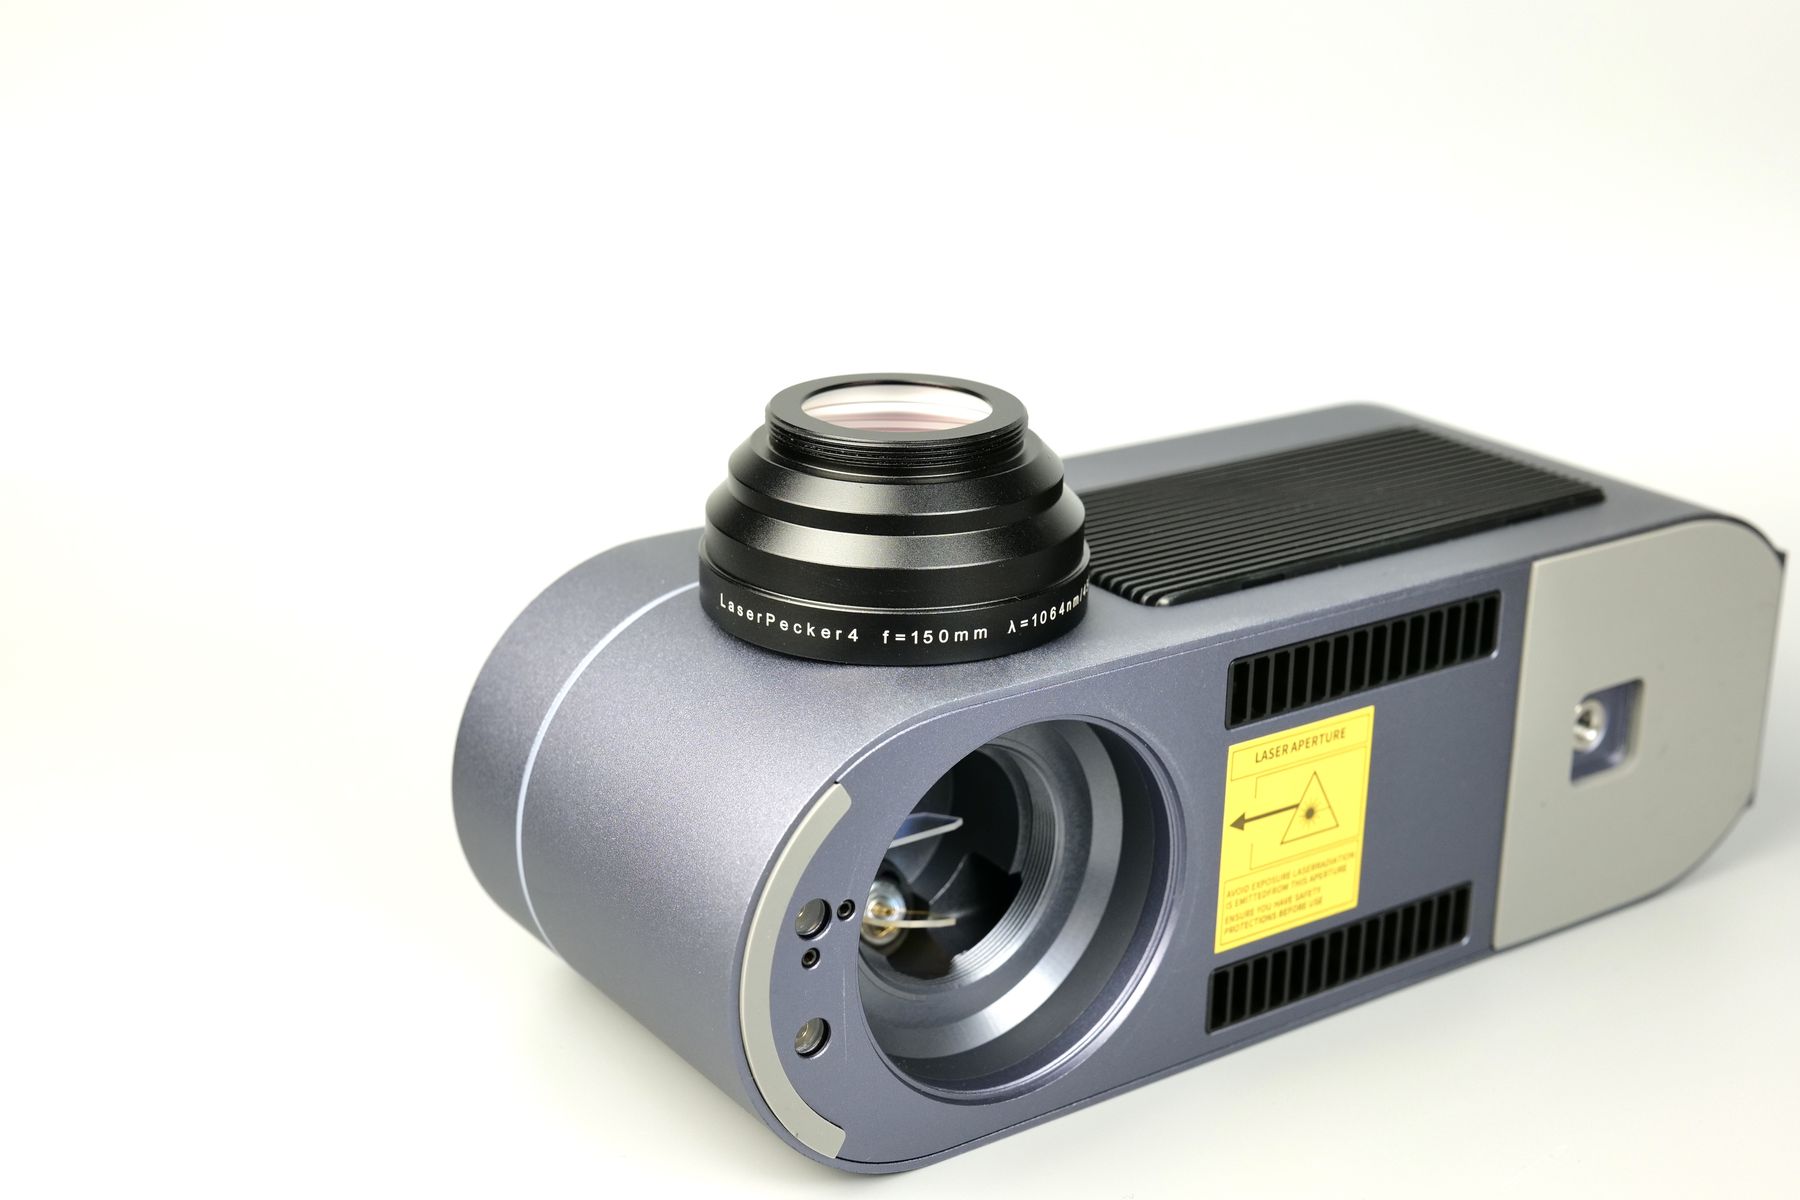
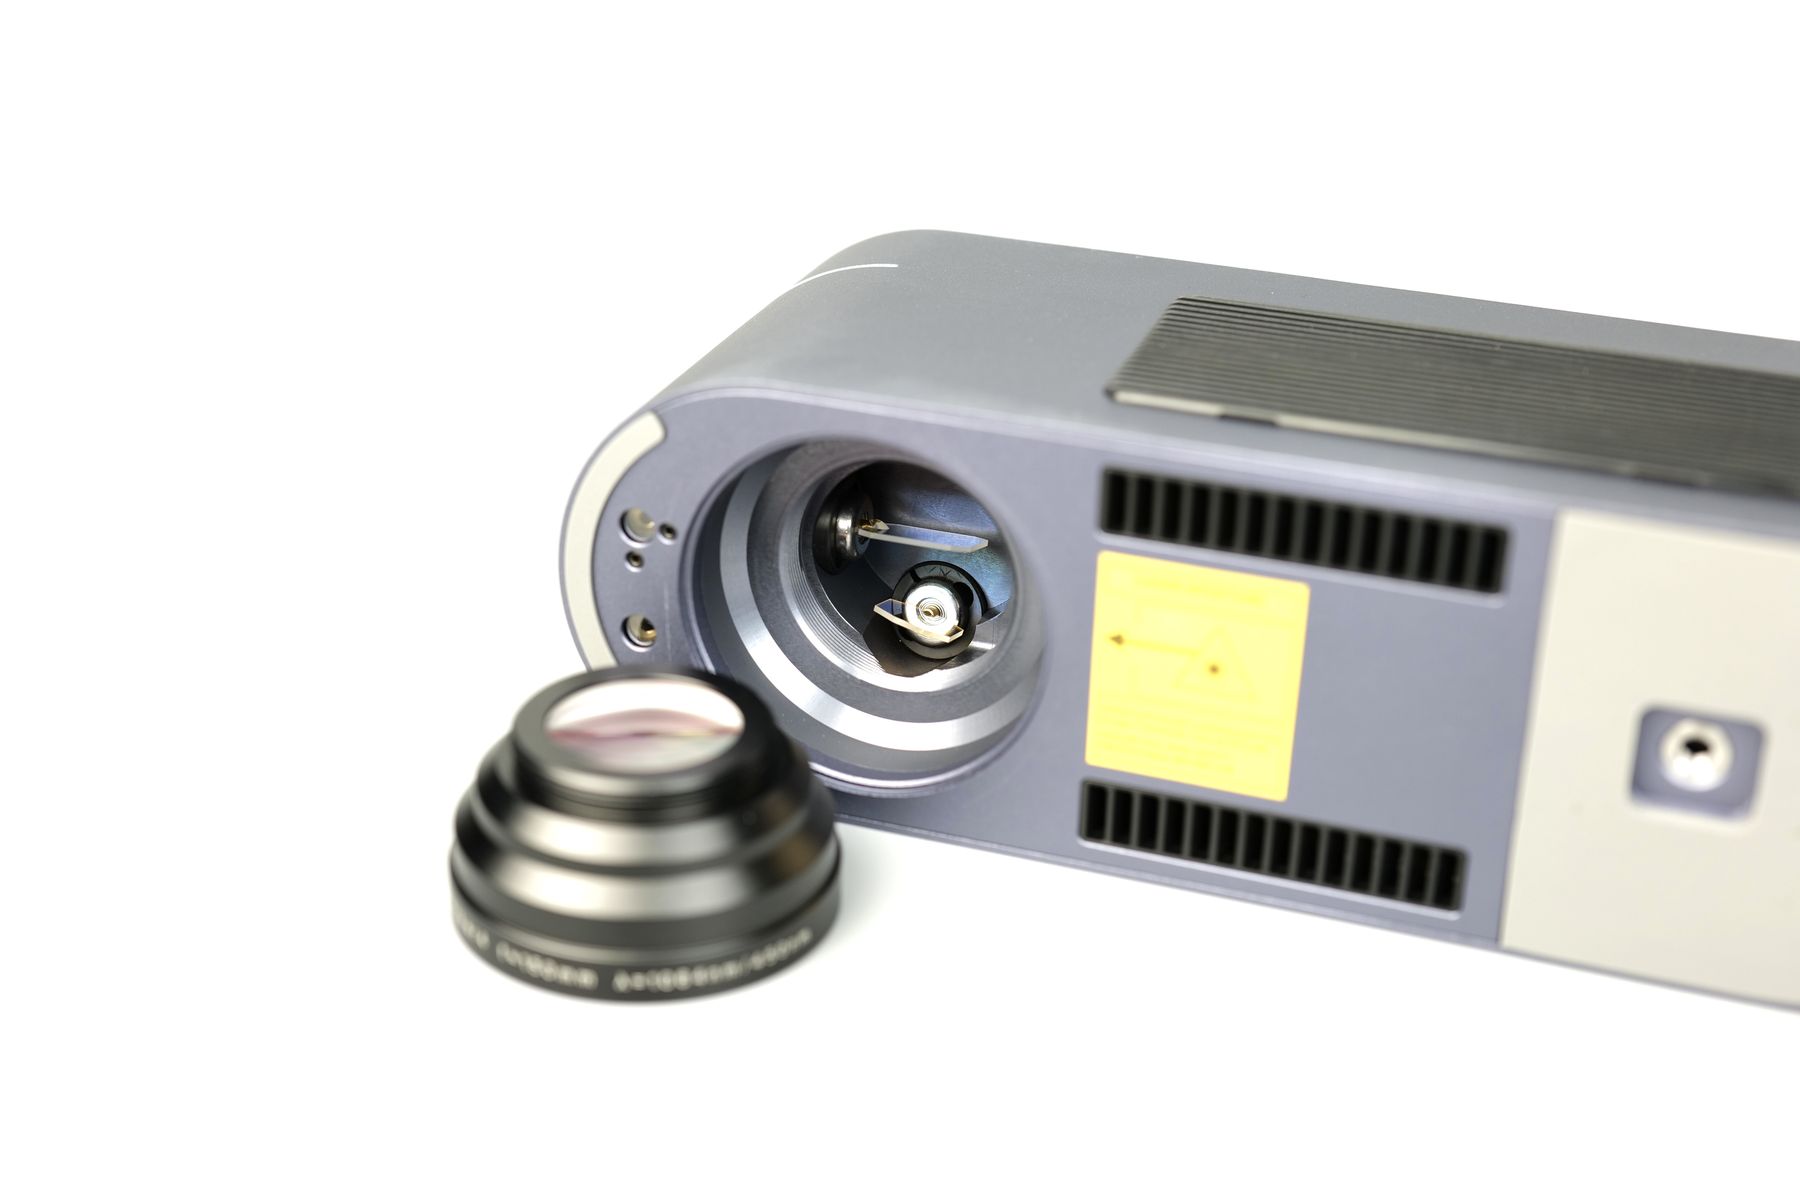
With the 10W laser unit, you should be able to cut up to 8mm balsa wood (based on the marketing information shared by LaserPecker) but in my opinion, this feature is not very useful considering the cutting size of the laser module. I believe that you can get the best use out of the LP4 for engraving and cutting thinner items.
Focusing the laser is also very easy, as there’s no complicated method do to it. There are two red laser dots from the model, and to focus the laser unit you just need to adjust the laser unit on the Z axis until both laser points are overlapping. Very easy process and simple to use.
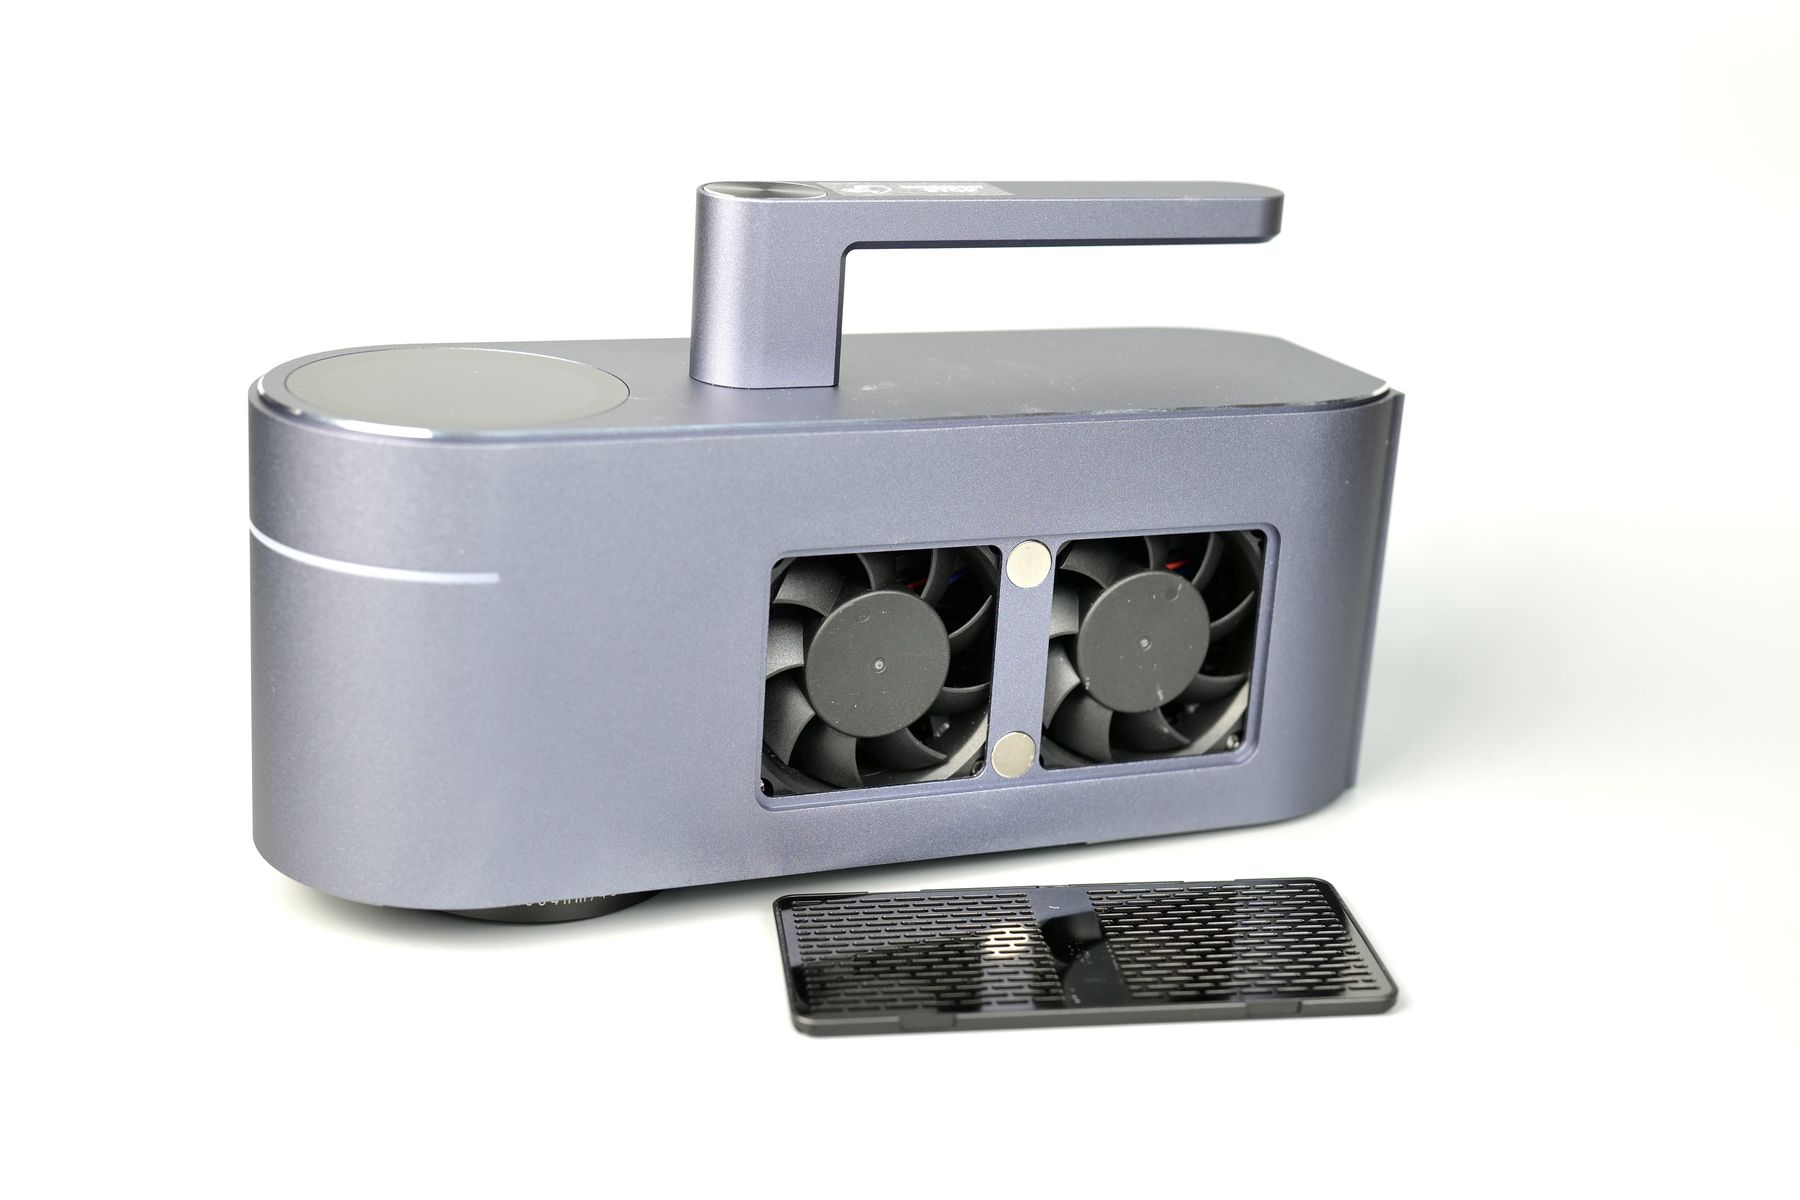
I really appreciate the inclusion of a magnetically attached cover for the fans meaning that it will be very easy to clean the unit from time to time and ensure a long lifetime for it
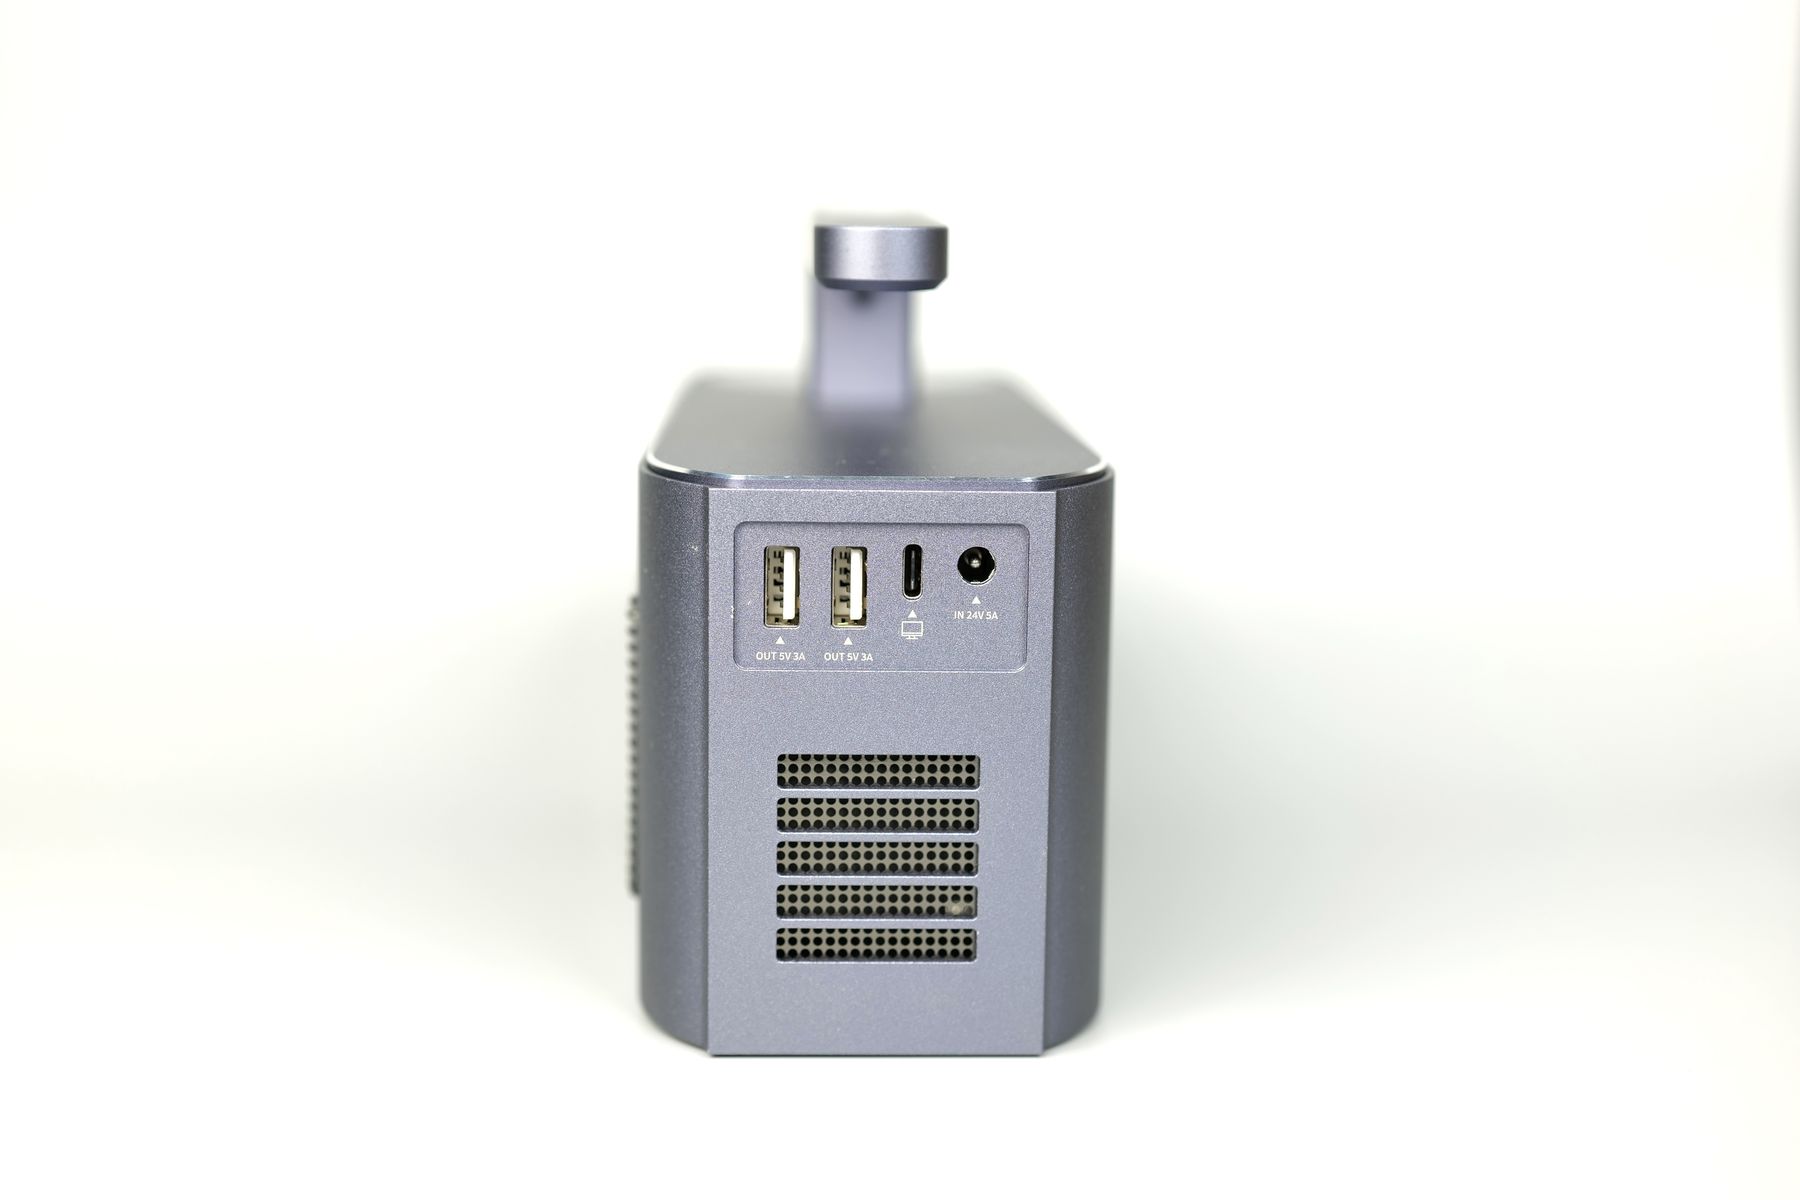
In the back of the LP4 you can access the two USB A ports, the USB Type C used to connect the unit to the computer, and the power barrel connector. On the base, there’s a USB C connector for the cable that runs from the main unit.
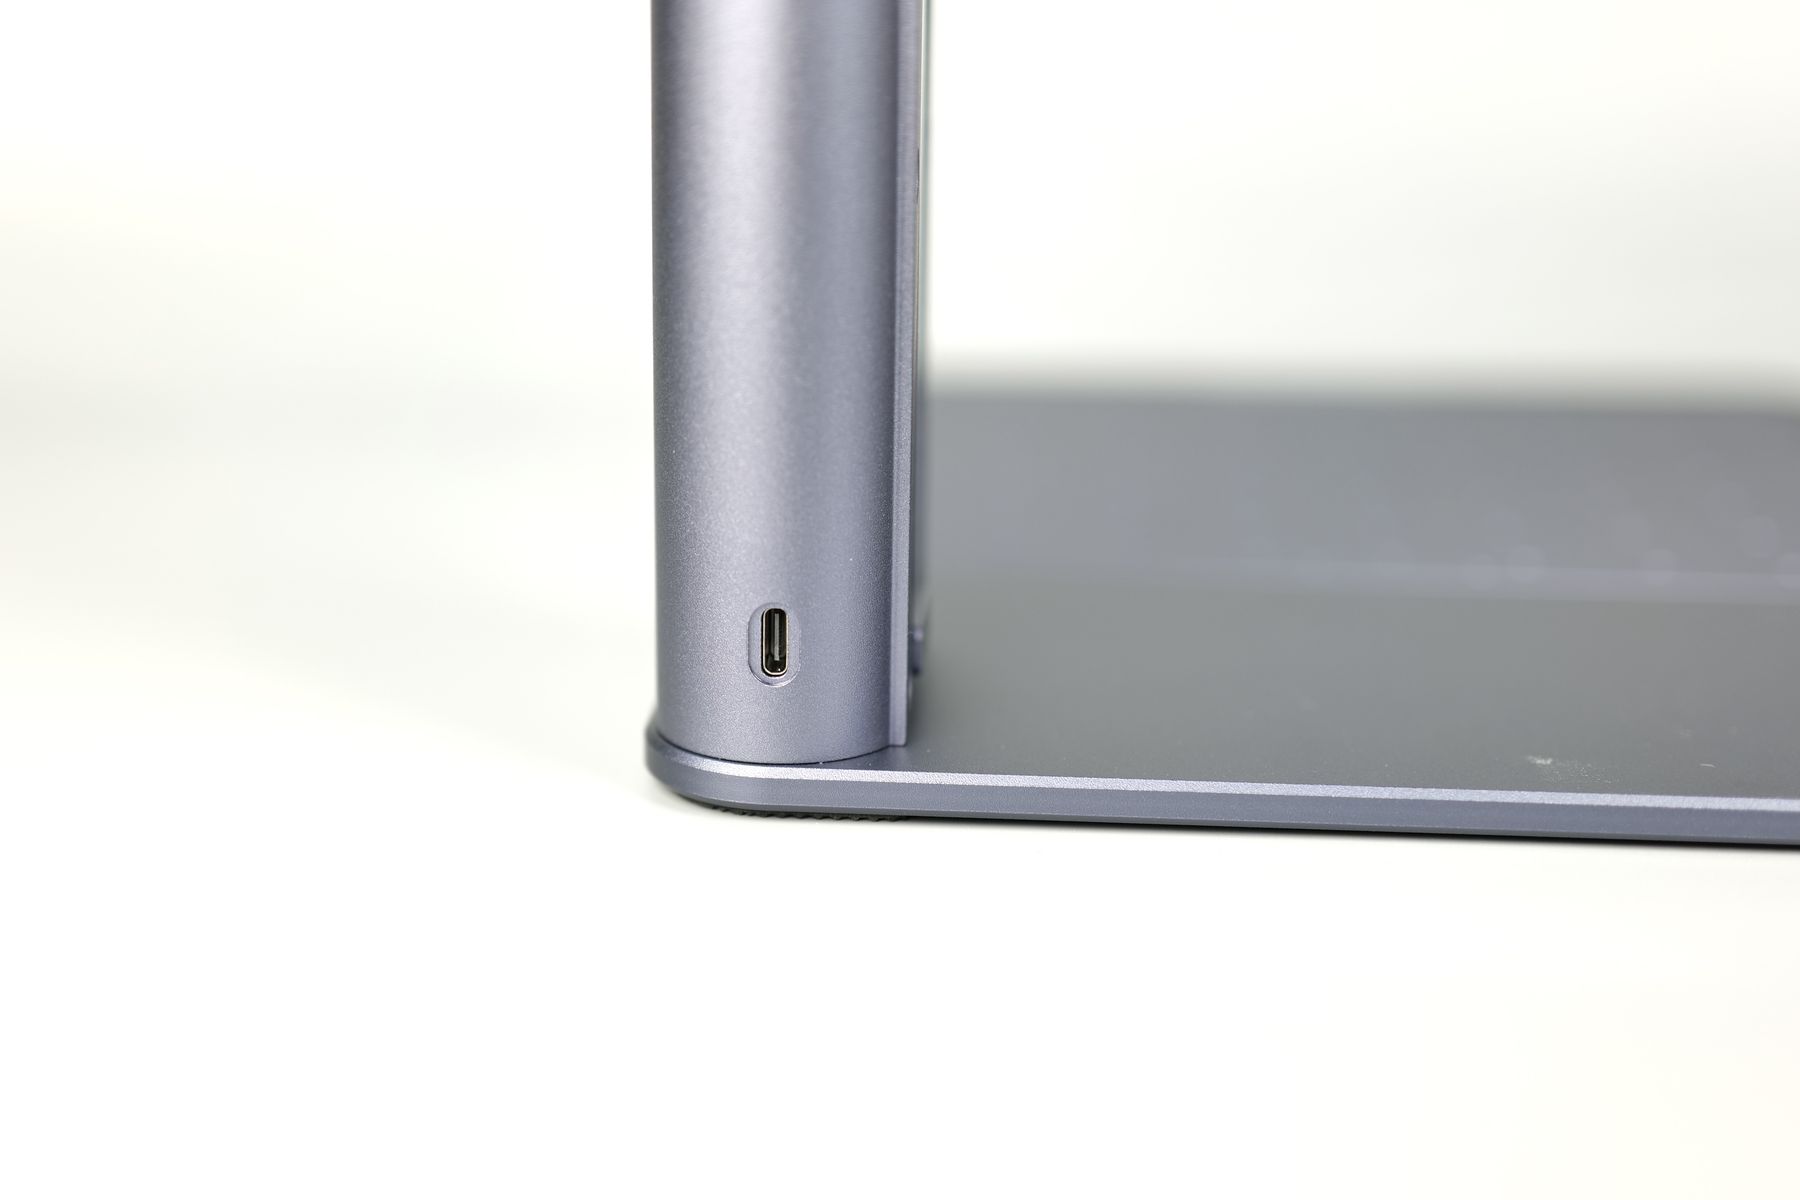
Talking about cables, they have a very nice wire management attachment on the side of the laser engraver’s arm so you can route them without worrying that they might be in the way.
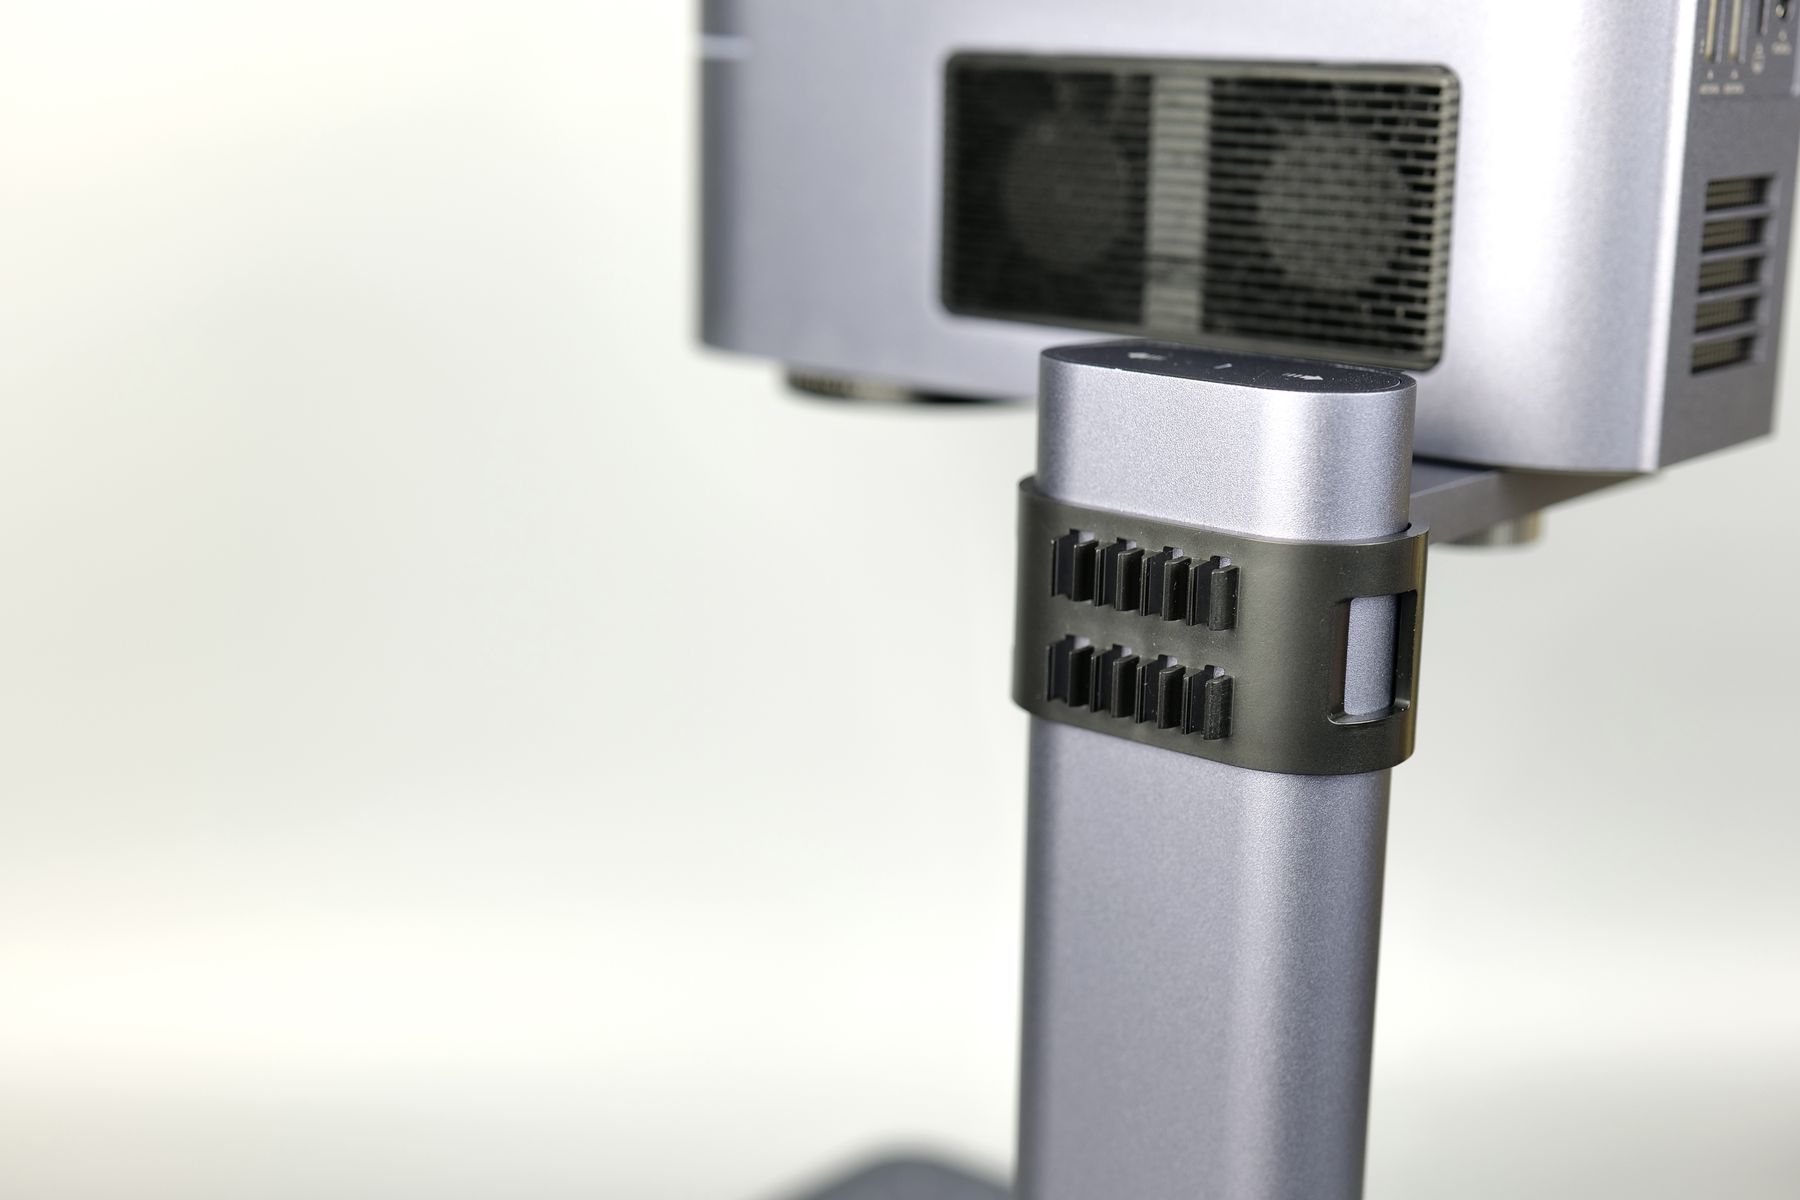
On the top of the LP4’s support base, there are two buttons which are used to move the unit up and down. This is especially useful when adjusting the focus of the laser which can be done with simple clicks for fine adjustment, or by pressing the buttons to move the unit for a longer distance.
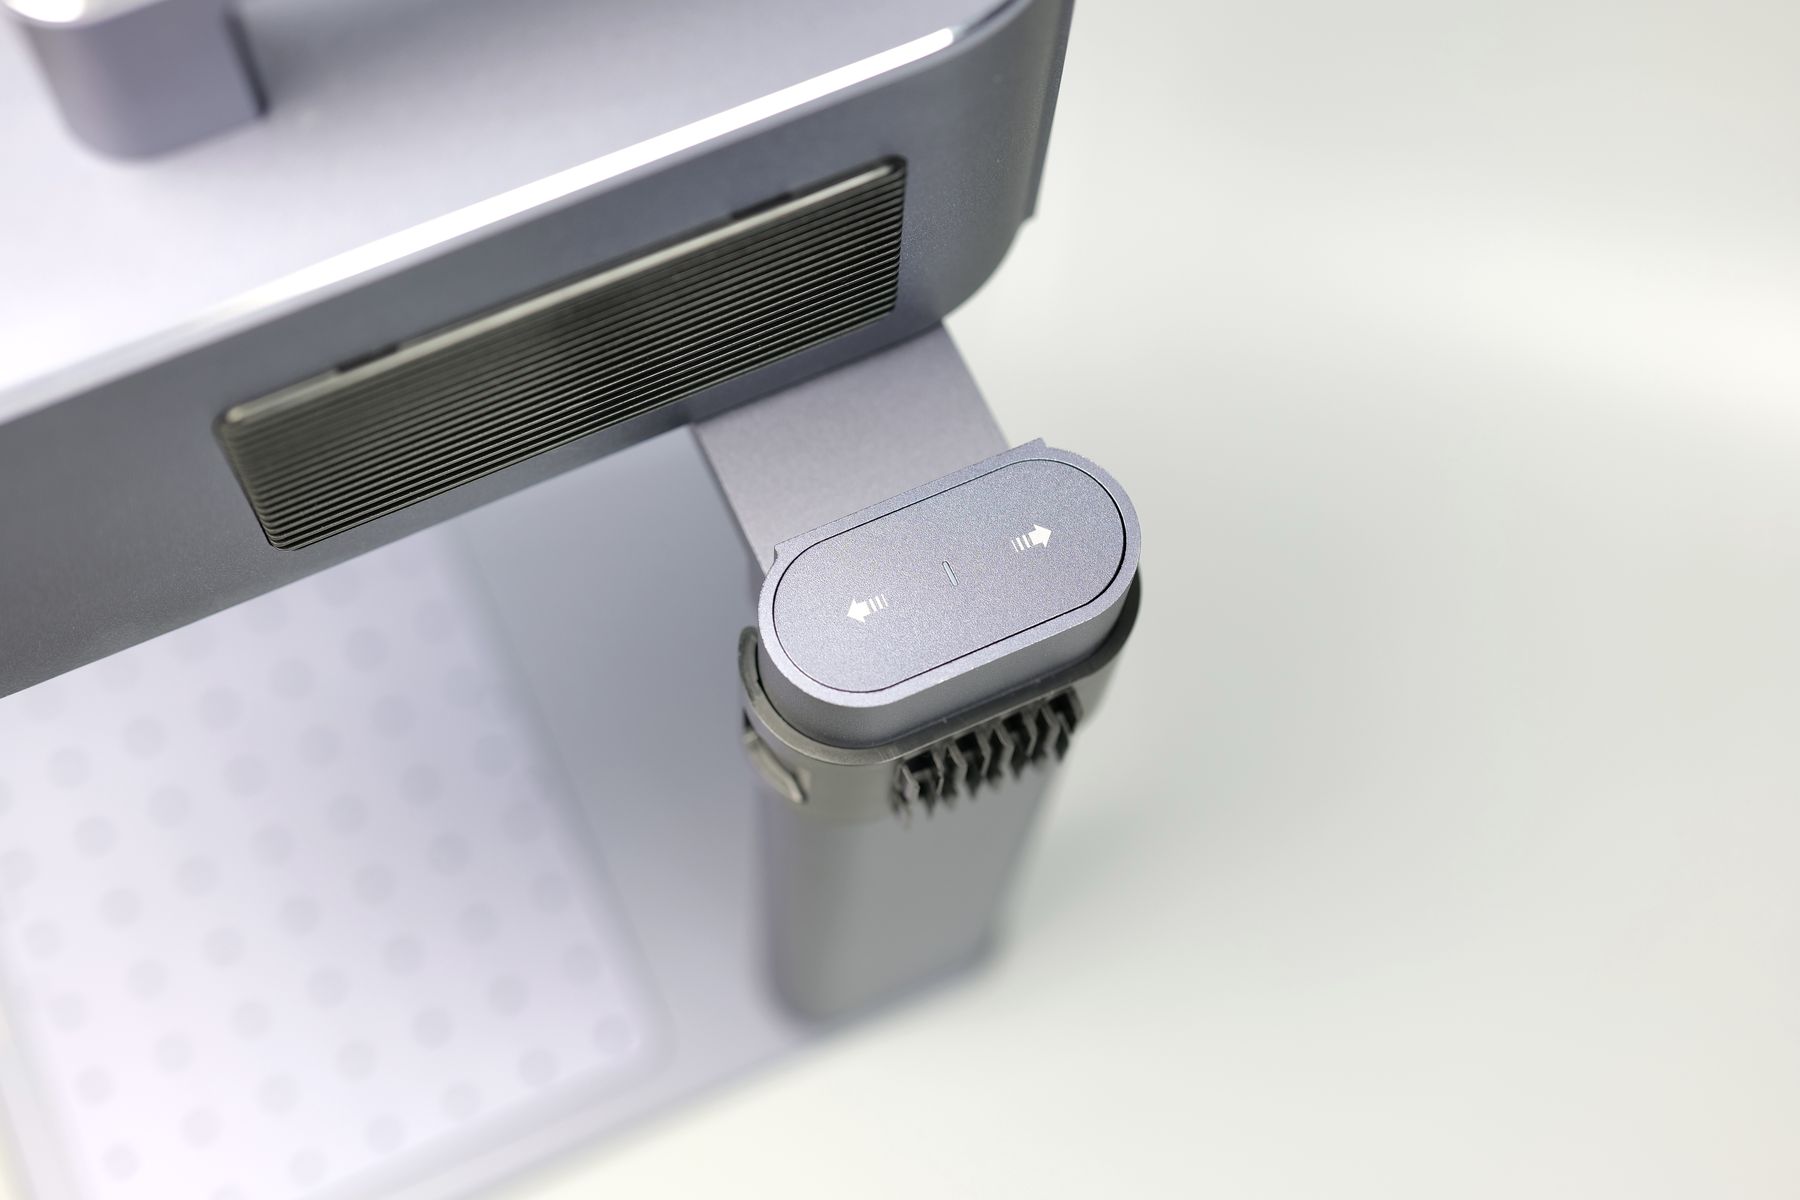
Keeping the button pressed for a few seconds will start the movement and you can then let go of it and the laser unit will keep moving in that direction. Finally, when it reached your desired position, another simple tap will stop it. Overall, a nice operation feature.
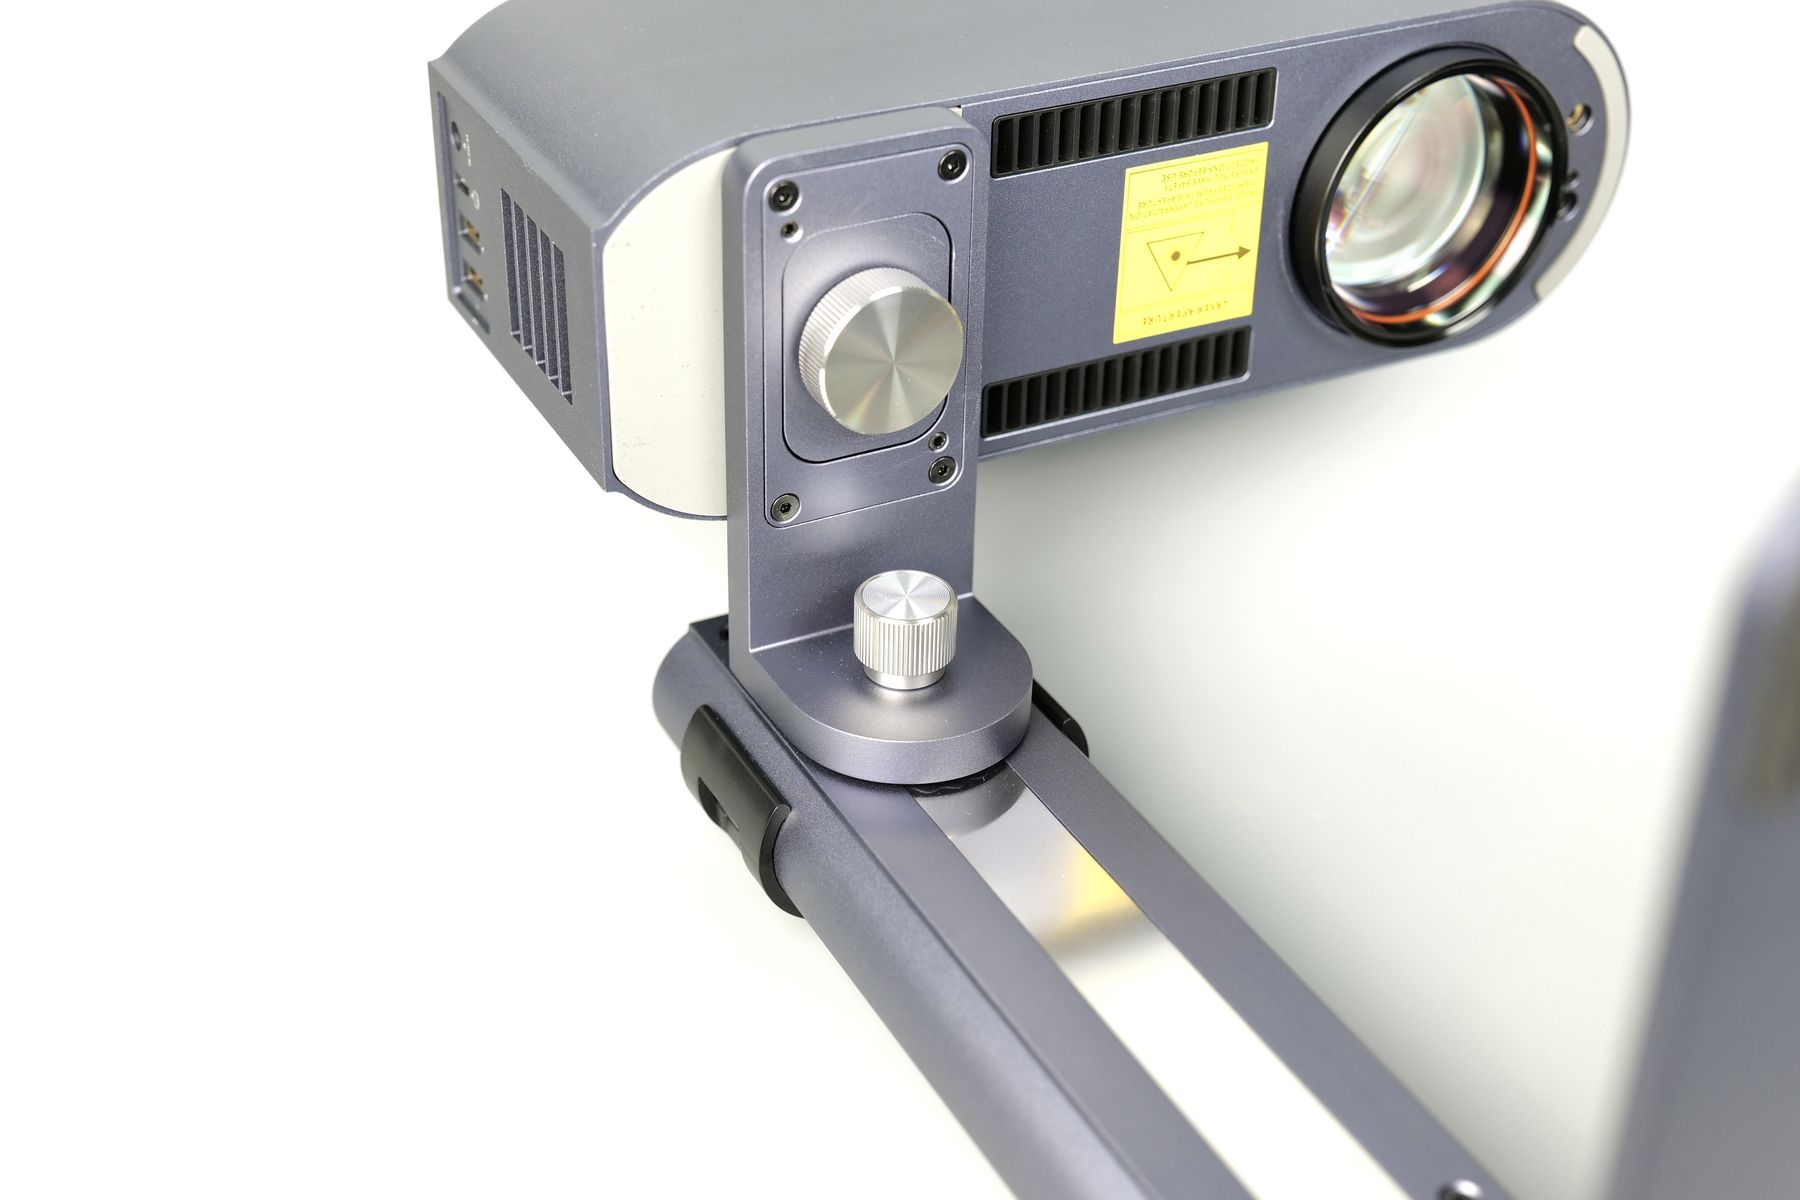
Of course, you can also orient the laser unit in 360 degrees rotations due to the dual separate adjustment knobs present on the support, meaning that you could position the unit in almost any location you might want to engrave something.
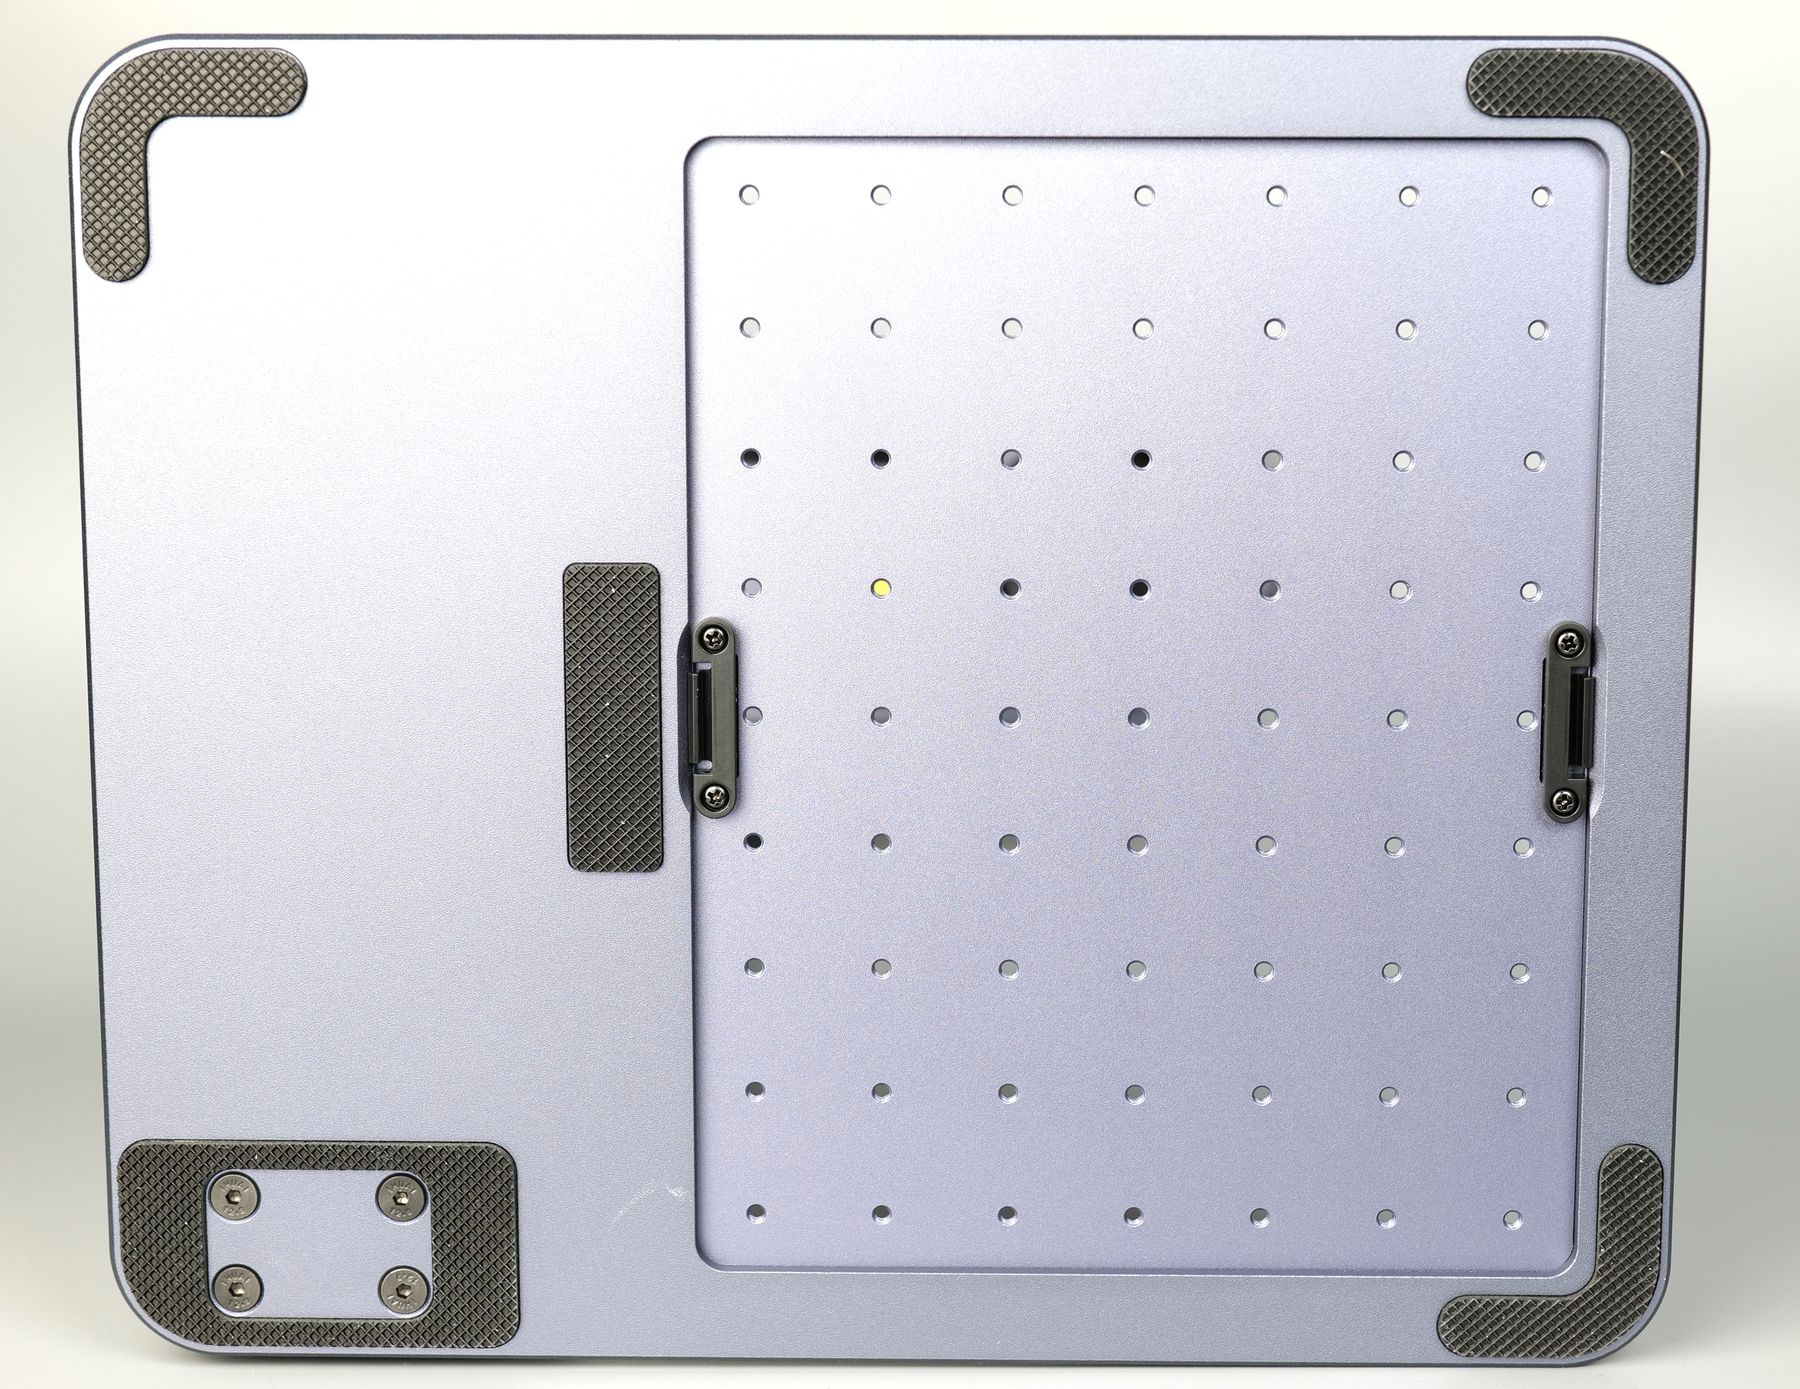
Below, you can observe that the base of the unit is also removable, which can be handy if you need to engrave something underneath the laser unit, or if you want to take the plate out for adjusting the alignment plates you get in the box.
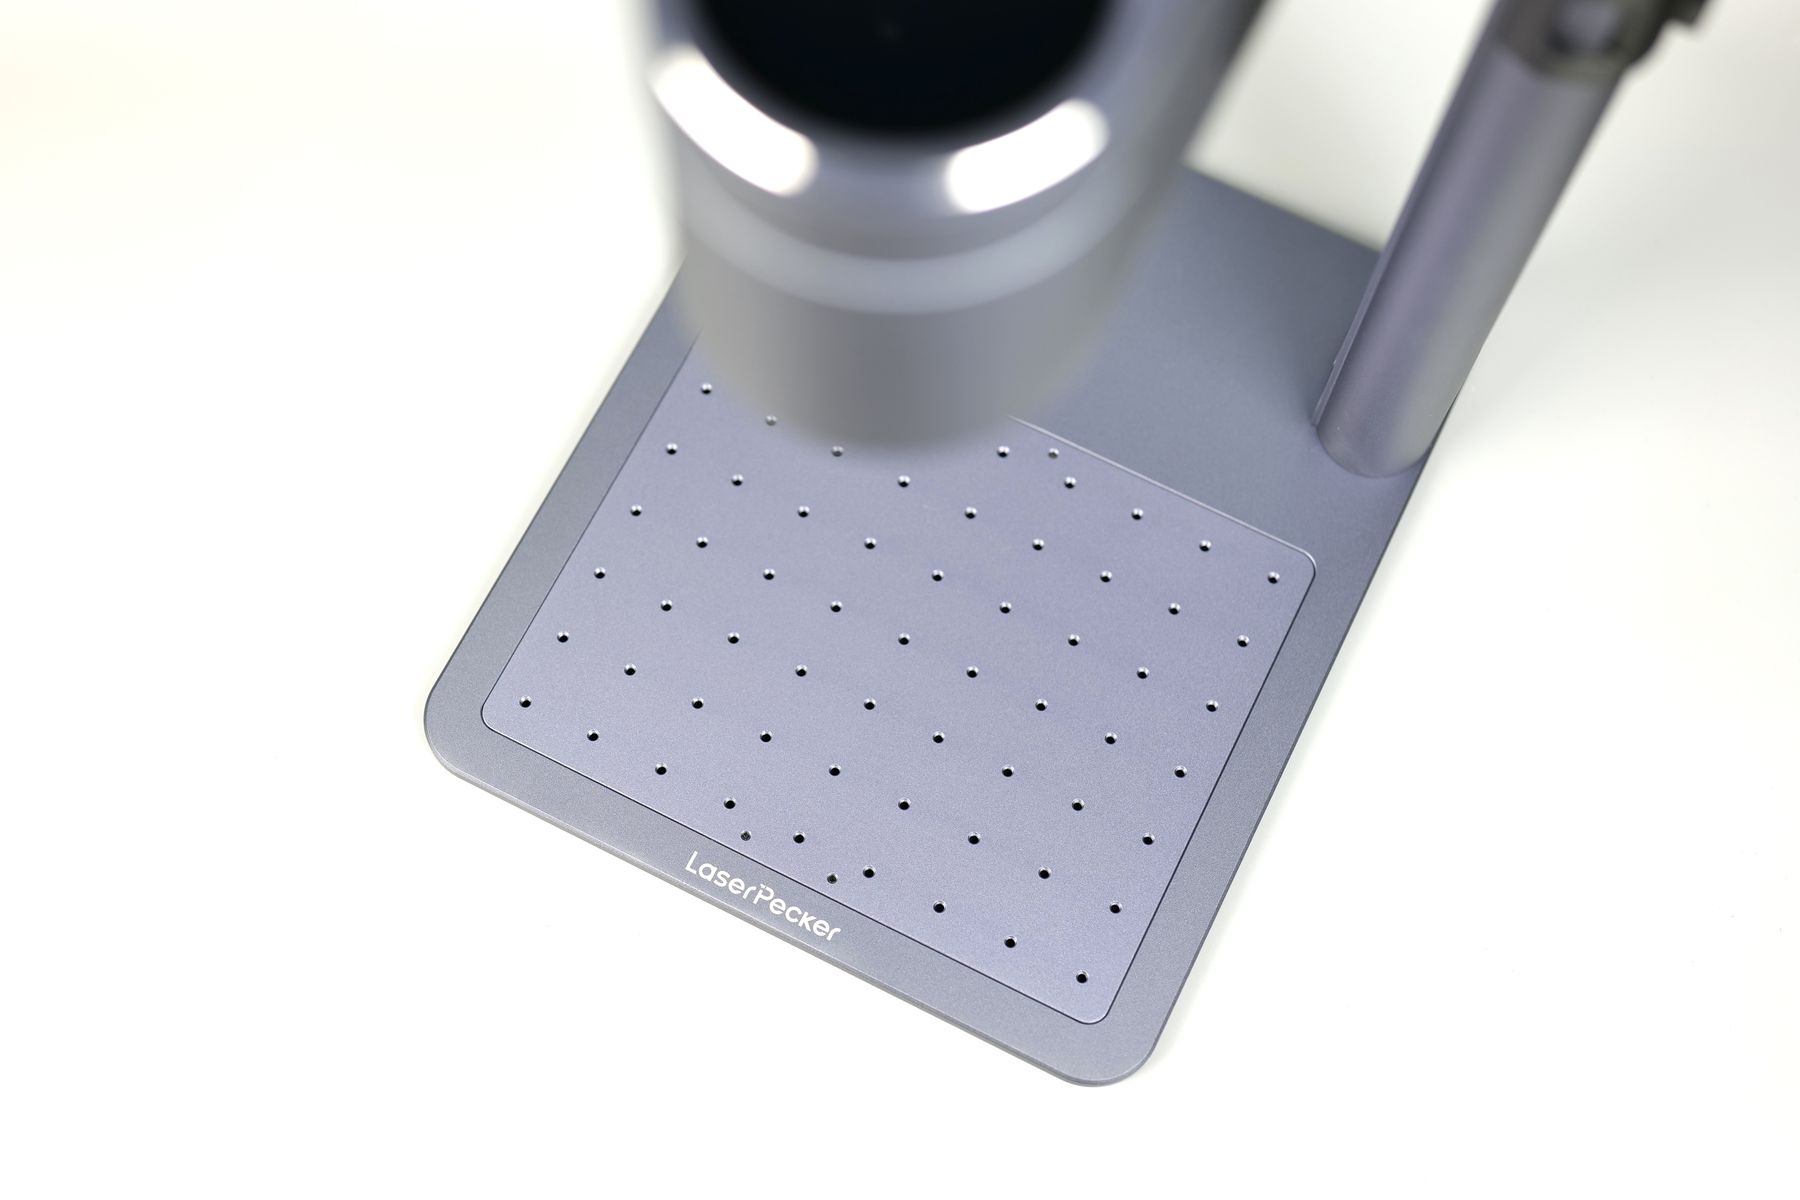
Magnetic Cover with Fan
The LaserPecker LP4 has a magnetic cover with a fan to pull out the fumes during engraving. While the fan is good and does its job, I found the magnetic cover a bit annoying to use when trying to engrave certain objects, like the Zippo lighters.
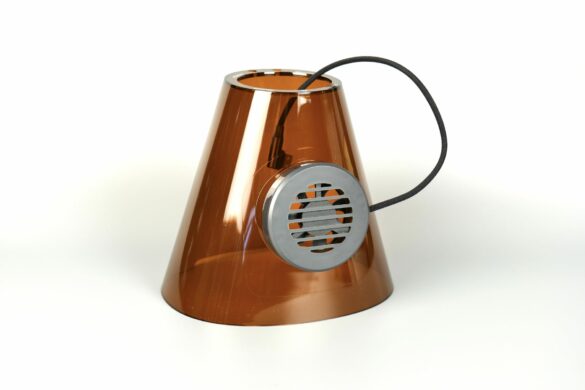
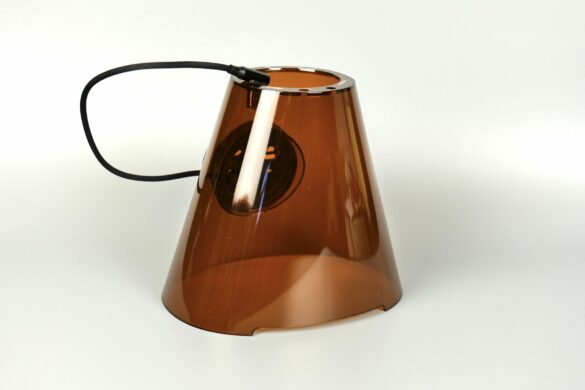
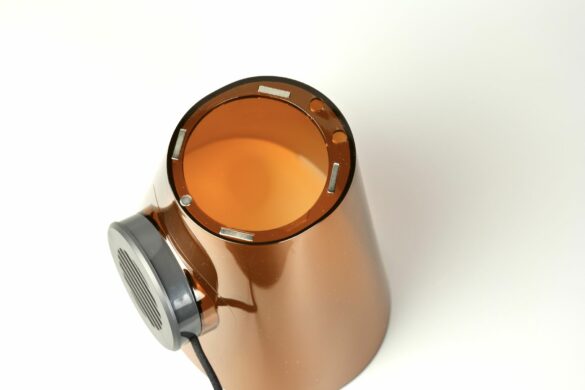
On such objects, it is hard to adjust the position when the laser is focused as there is barely any space between the laser and the object meaning there’s no room for your fingers to move and align the objects as you wish. Besides that, the magnetic cover blocks any view of the laser (which is as expected, and totally normal) so you are unable to see the trace of the model when aligning. It might be a small issue to report, but I think it was frustrating enough to mention.
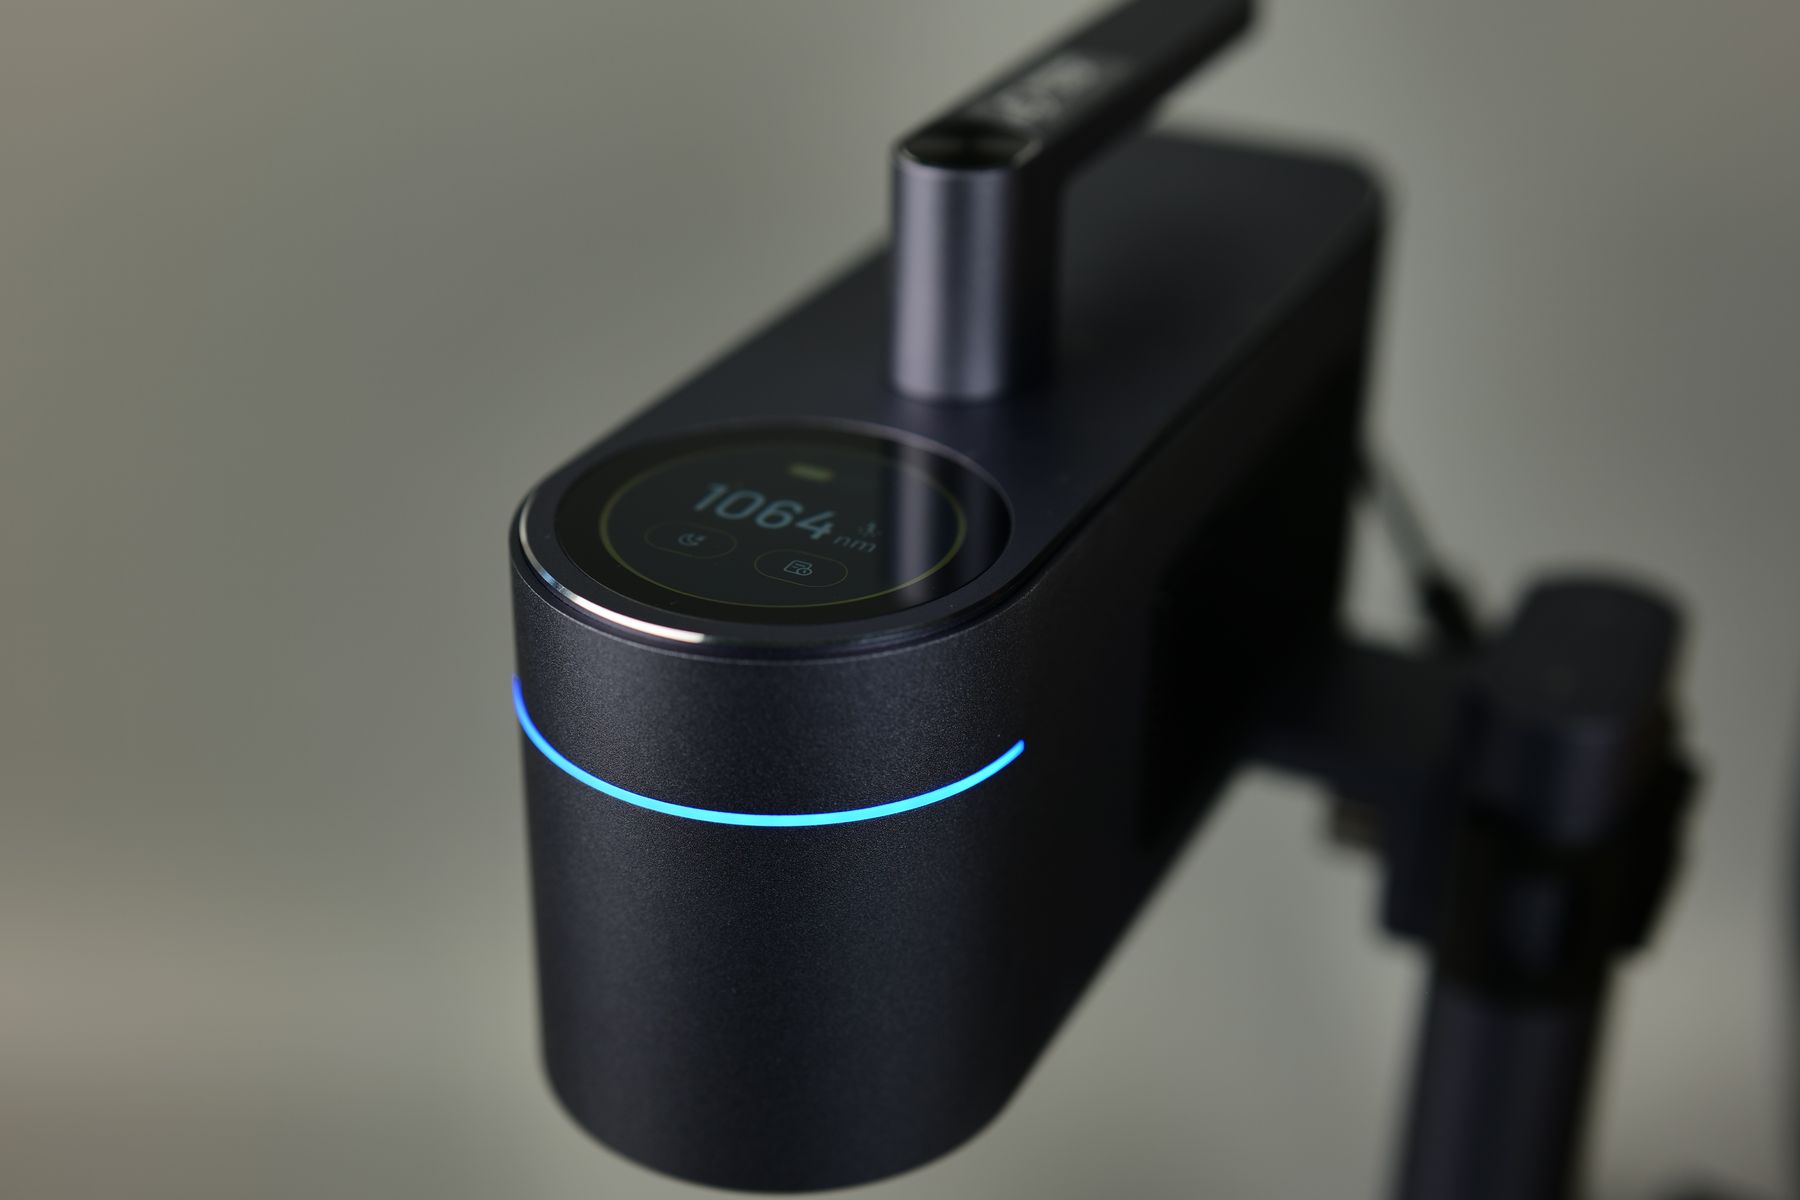
On the top of the unit, there is a very nice circular touchscreen which shows the type of laser used and allows the operation of the unit, but I rarely used it as I relied more on the Mobile Aapp which worked really well.
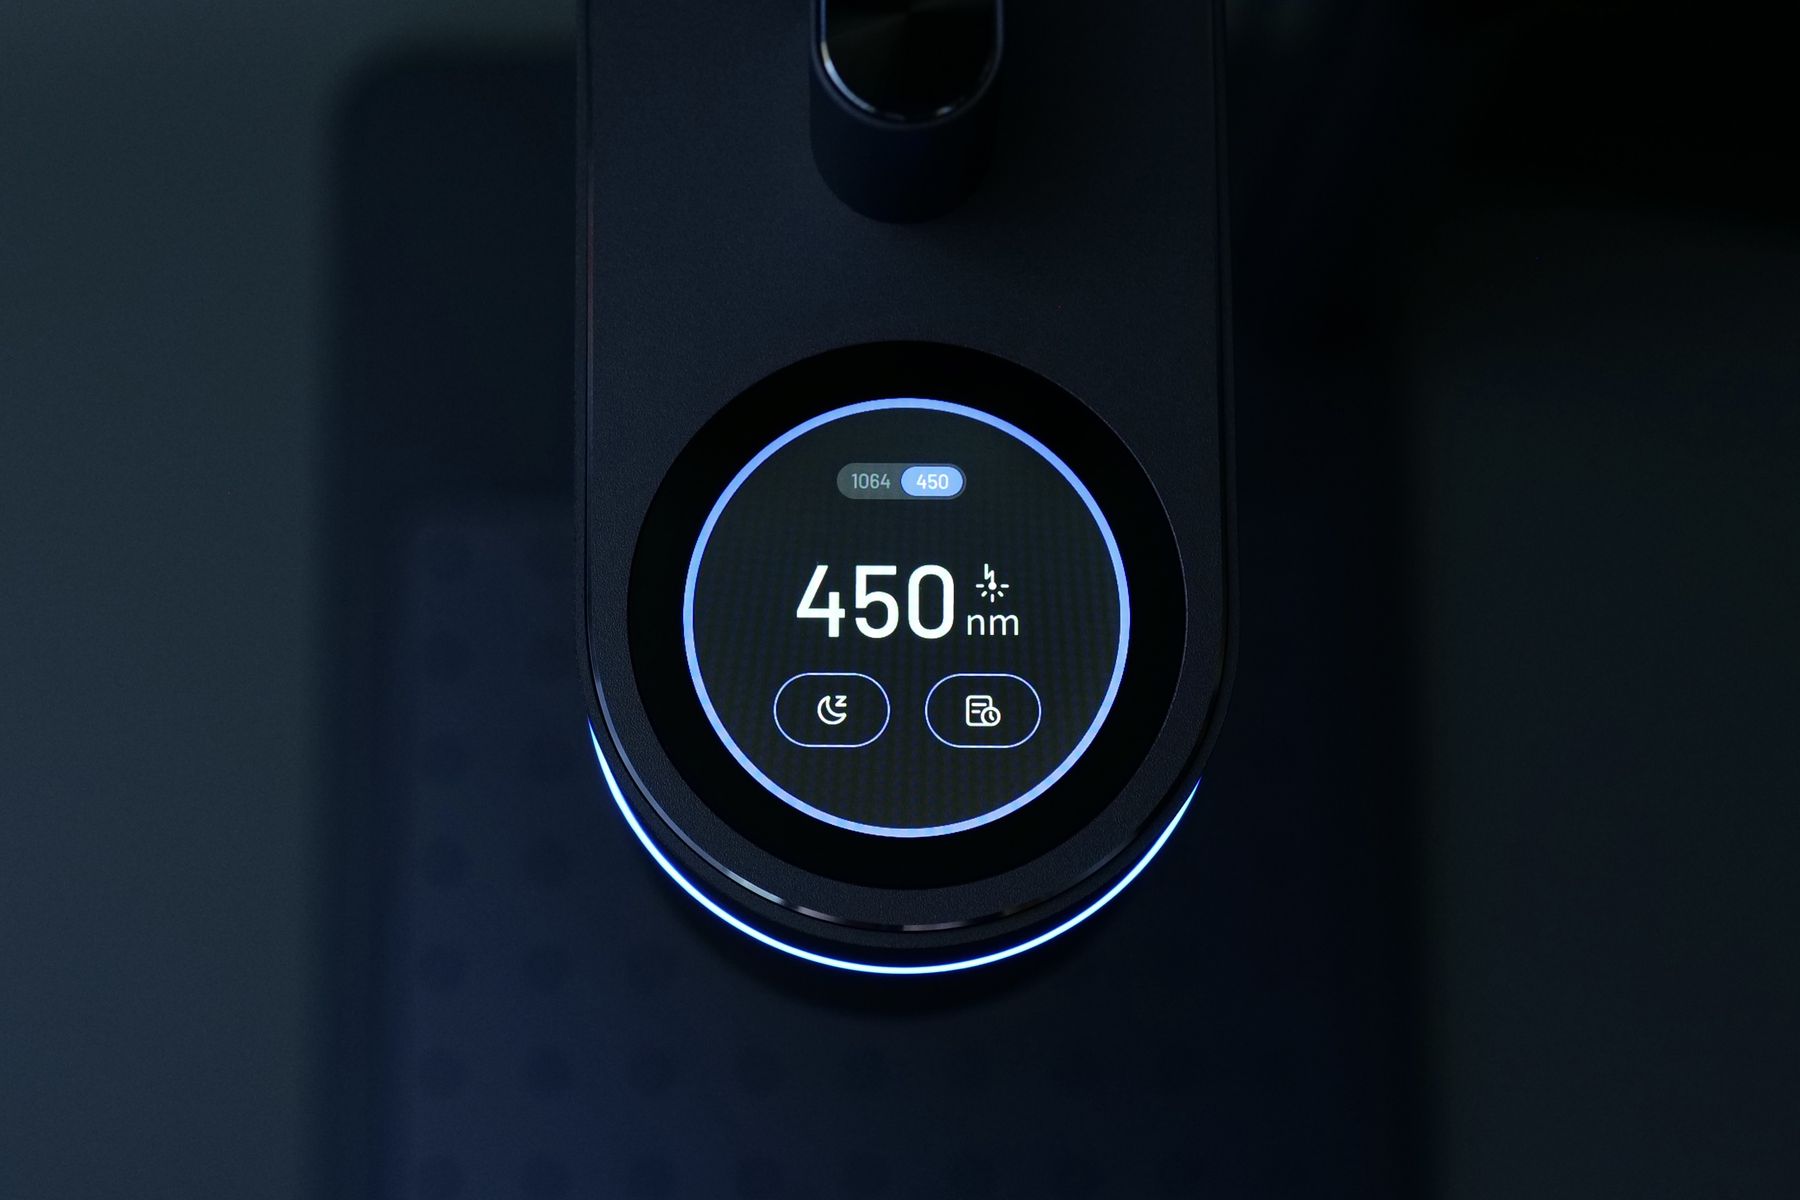
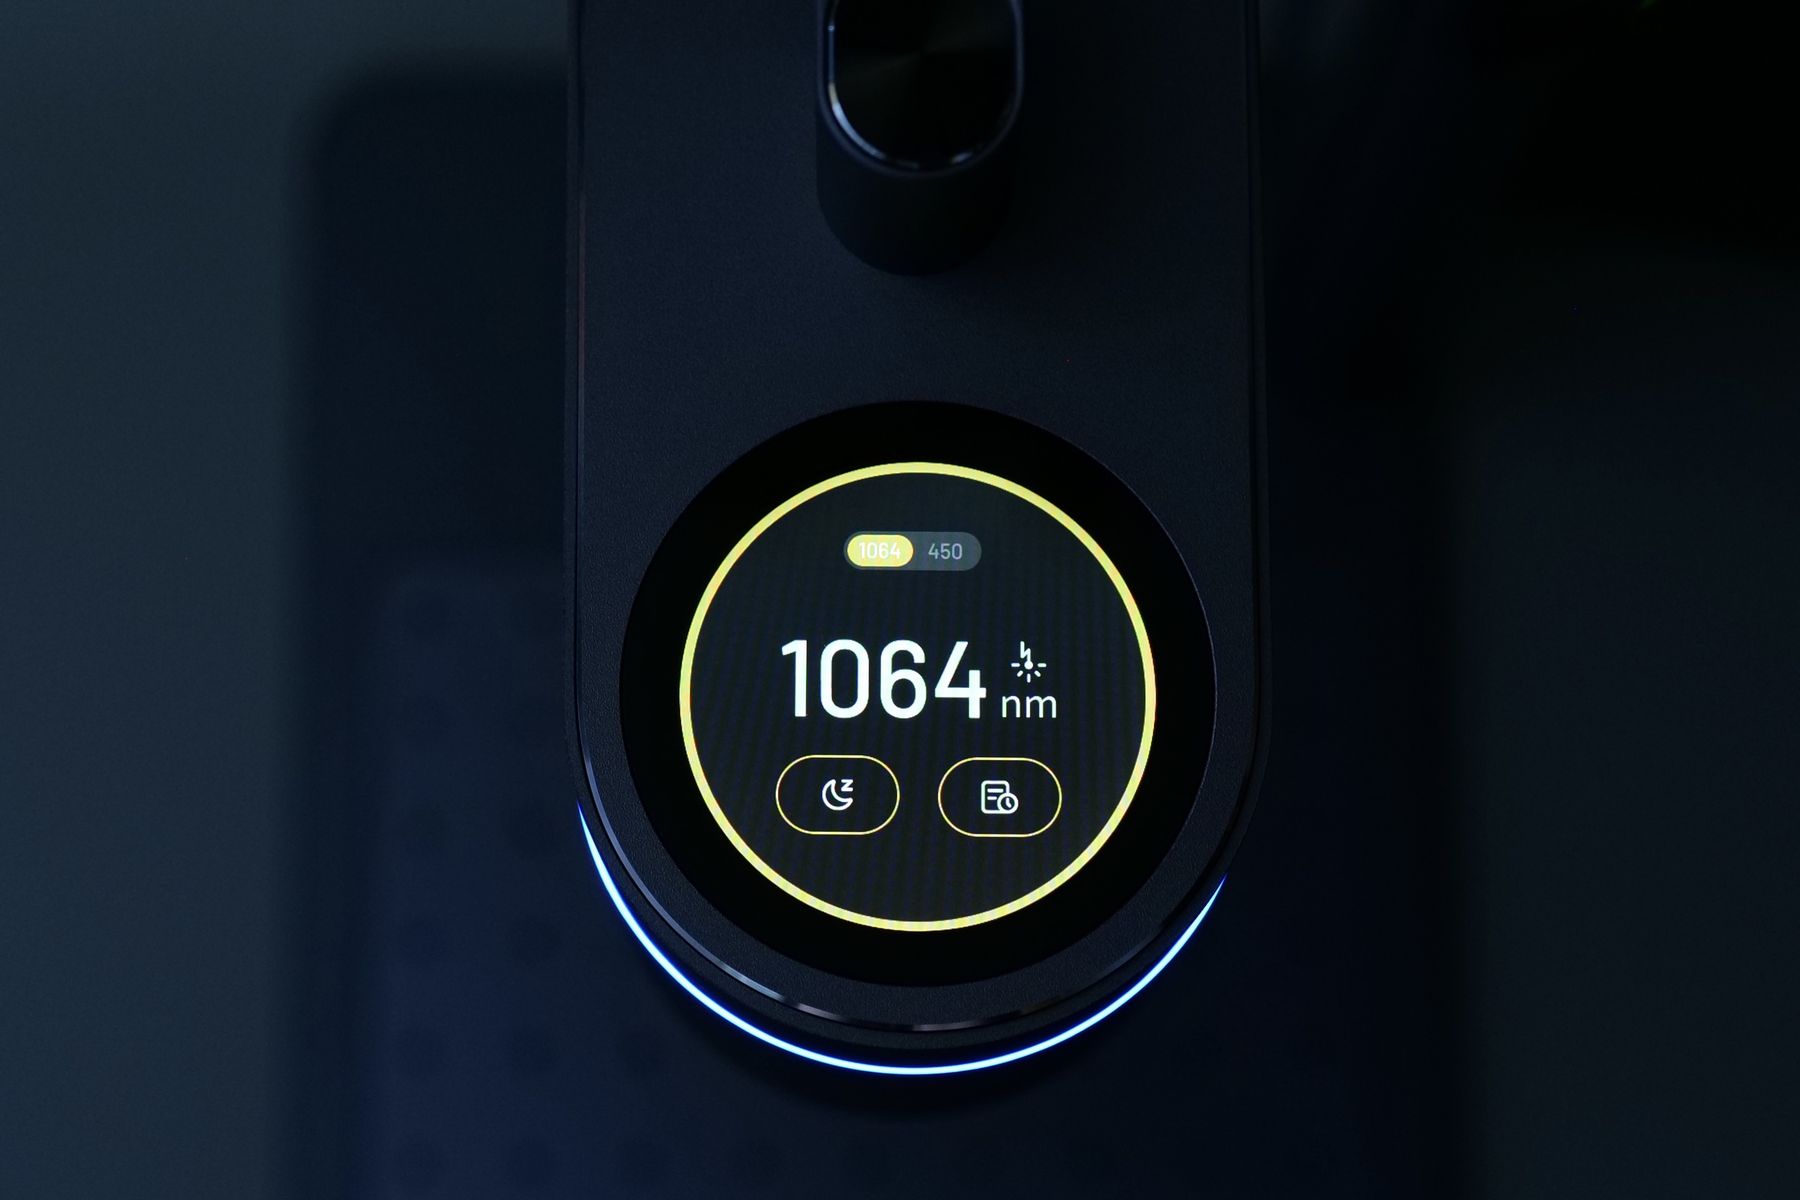
The front light of the unit is also turned on during operation, to show that the laser is working
LaserPecker Software
LaserPecker Design Space
The tool used to prepare the models for engraving is called LaserPecker Design space and it’s user friendly enough that I was able to import a .SVG file and start the engraving process in less than 5 minutes.
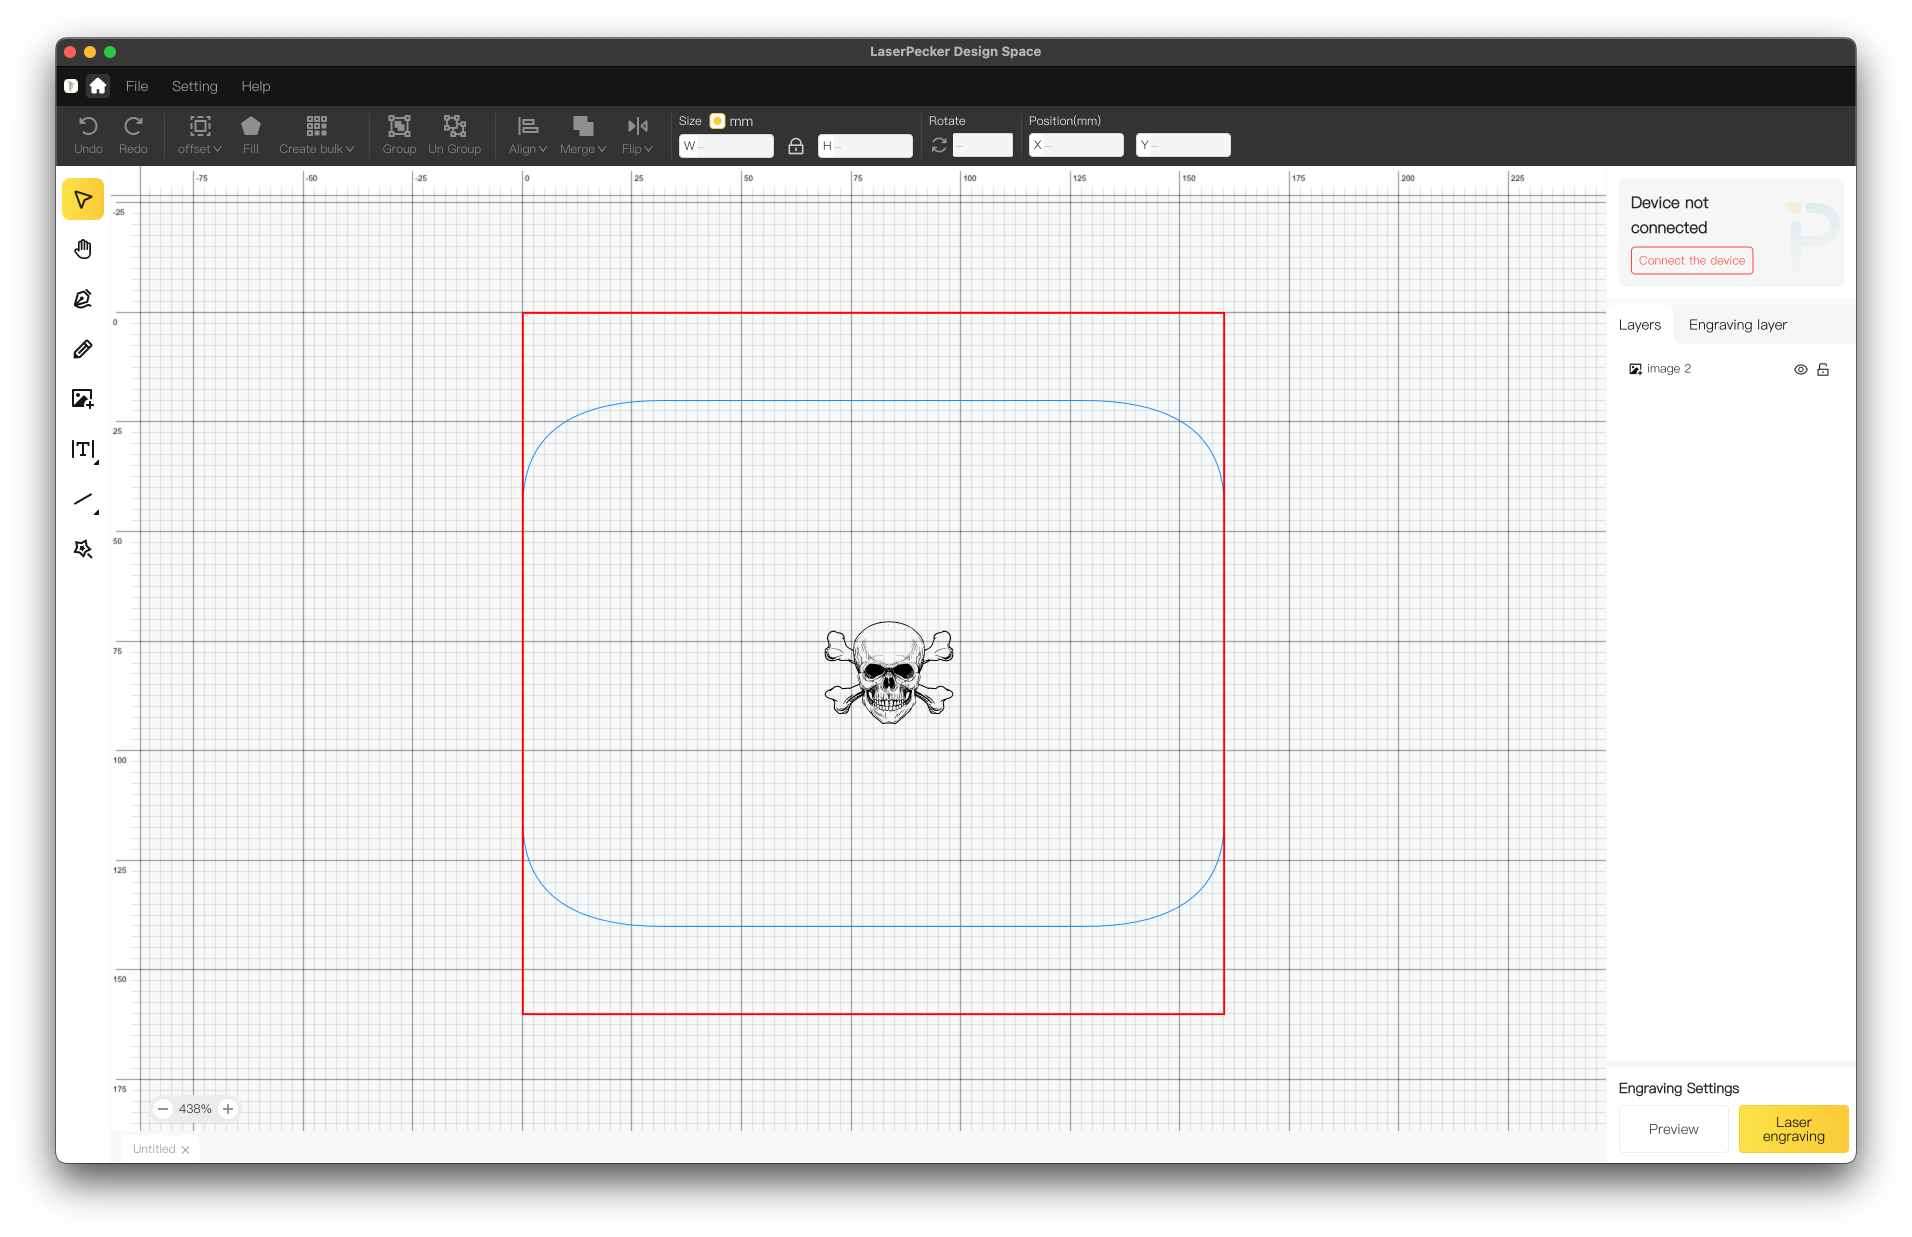
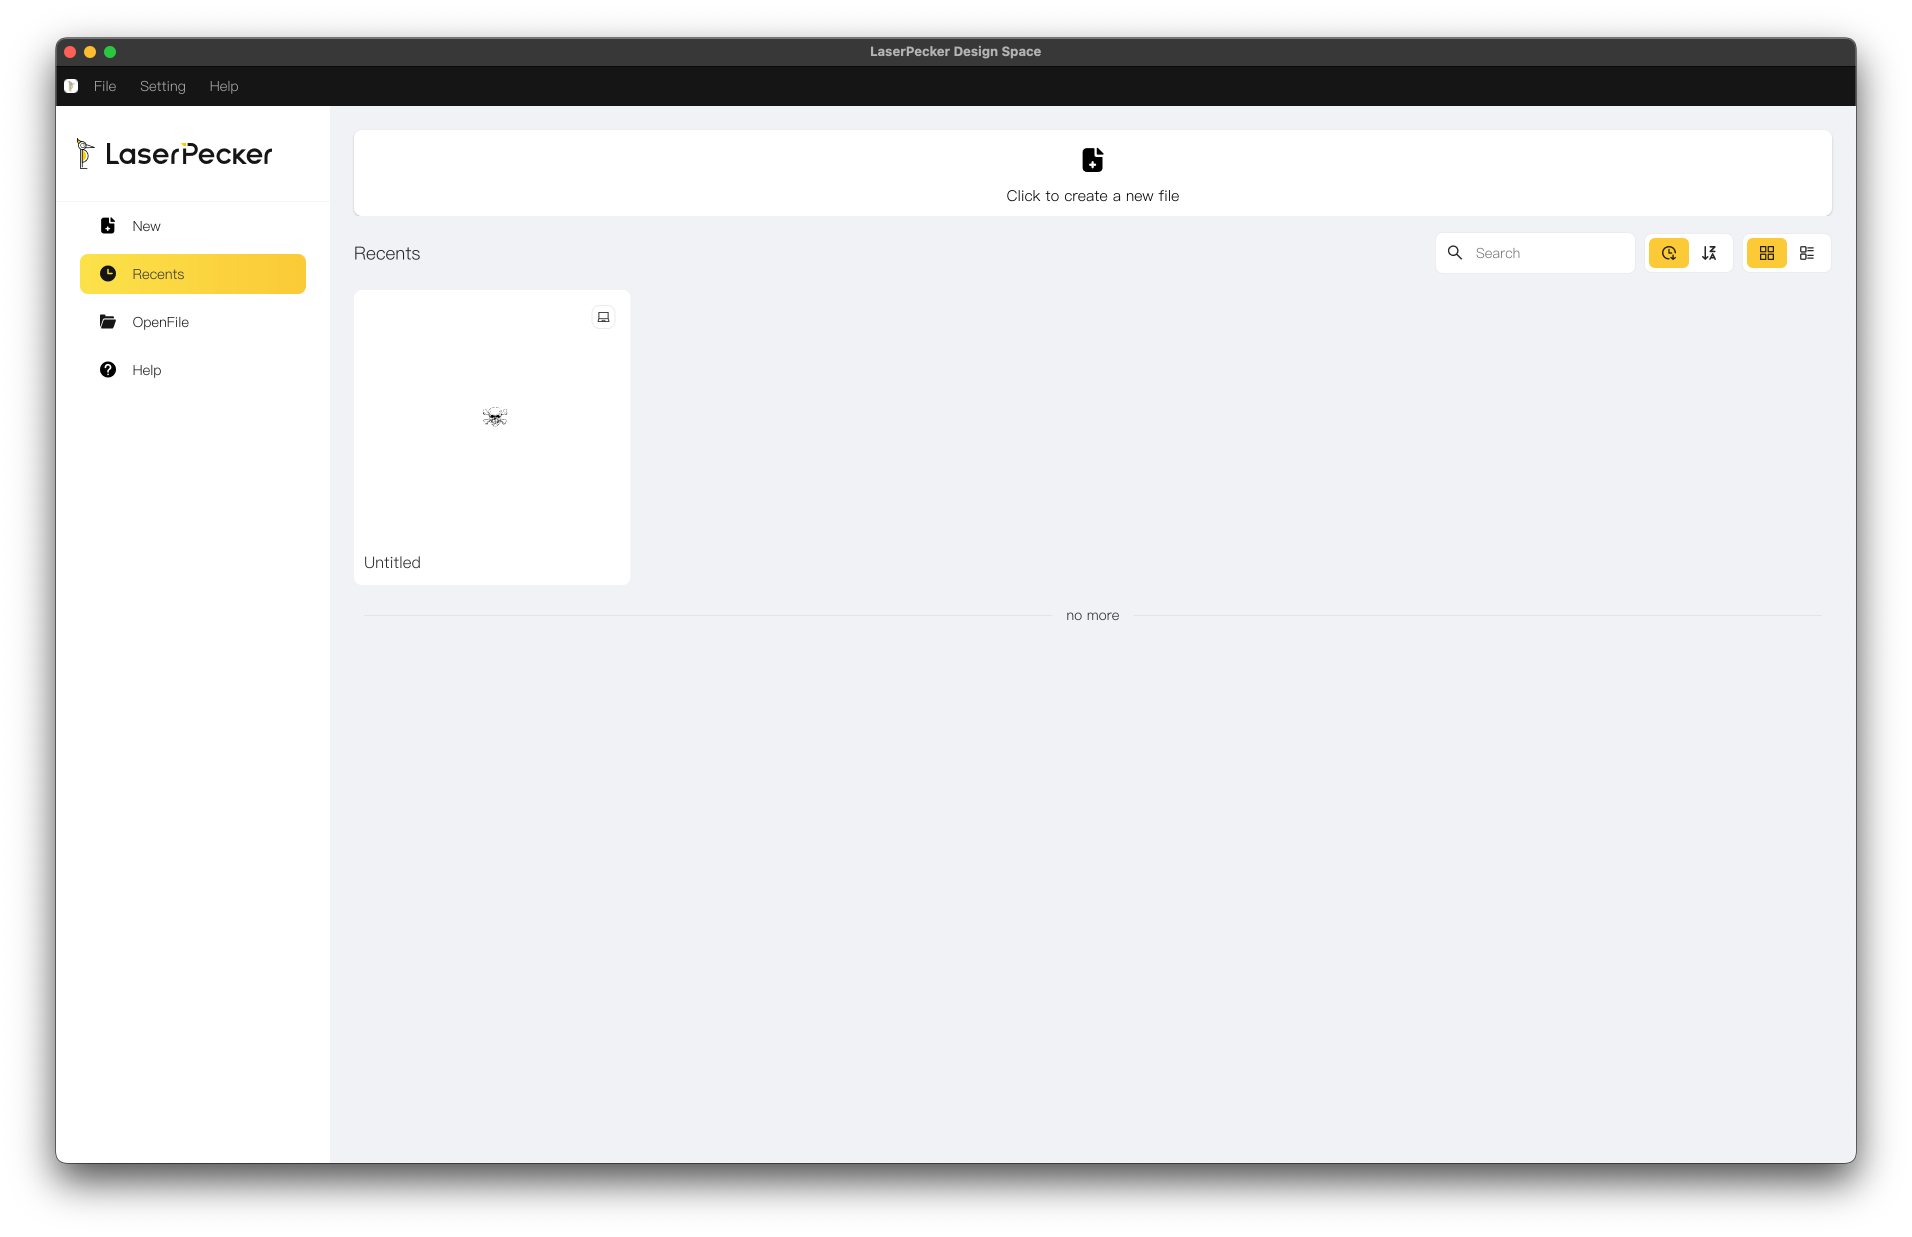
You just need to connect to the laser unit, import the file you wish to engrave, scale it to the correct size then select the type of material you wish to engrave it on. The final step is to start the process and wait for the completion of all steps.
Safety Precautions
Wear eye protection
It’s extremely important to take the necessary precautions when using a laser engraver. Always wear the included protective glasses when the laser is on to avoid eye injury. The laser can instantly blind you so it’s not something to take lightly.
Use the laser in a well-ventilated area
When you start engraving or cutting different materials, smoke is released by the material. Do not use the laser in an enclosed space without ample ventilation because, besides the bad smell, your lungs don’t like the fumes produced. Always use the laser in a well-ventilated area and it’s also recommended to use a face mask if you don’t enclose the laser.
Experience with the LaserPecker LP4
The time spent with the LaserPecker LP4 was probably the most enjoyable for most of the laser units I have tested. Mostly because the unit is very easy to use, with the LaserPecker Design Space software or the mobile app.
I also moved it around between rooms, and setting it up took just a few minutes from setup to engraving.
LaserPecker LP4 Laser Tests
Cardboard Engraving
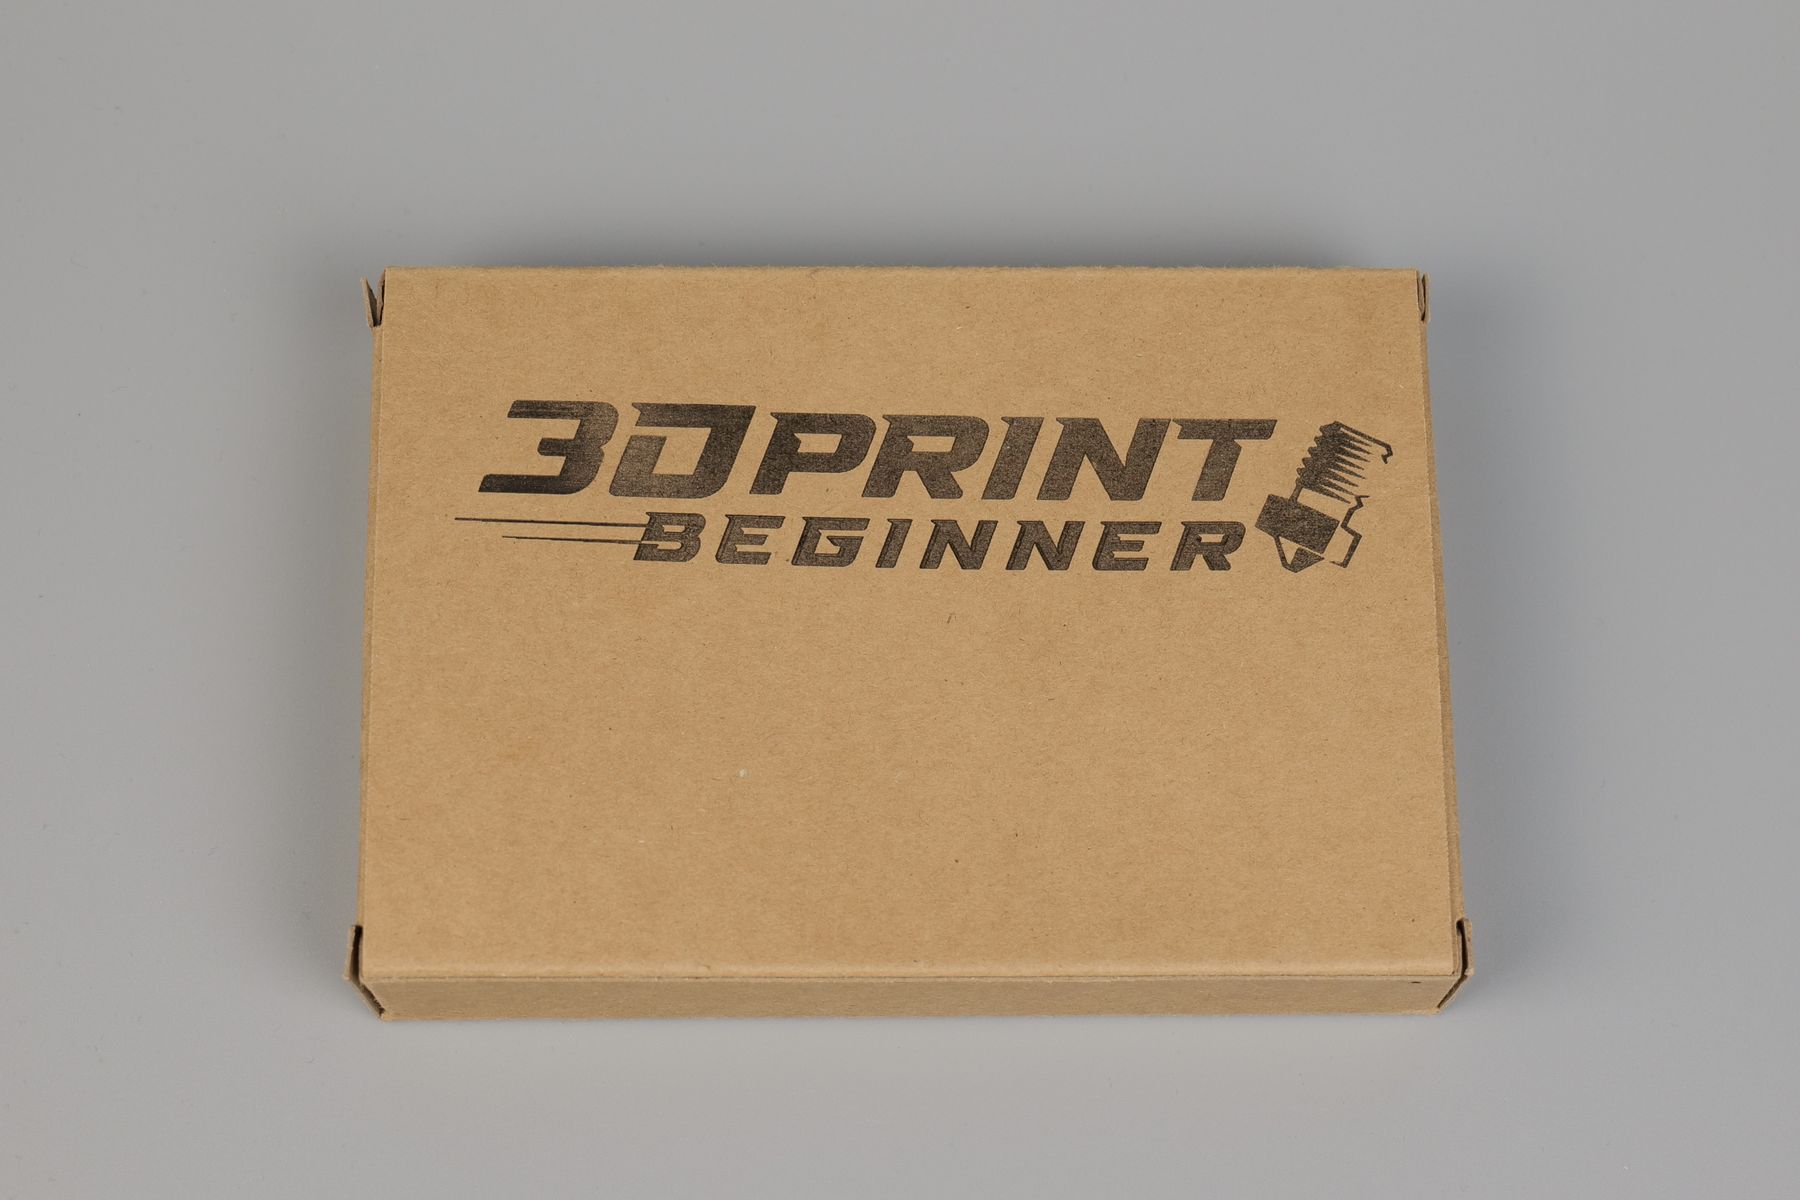
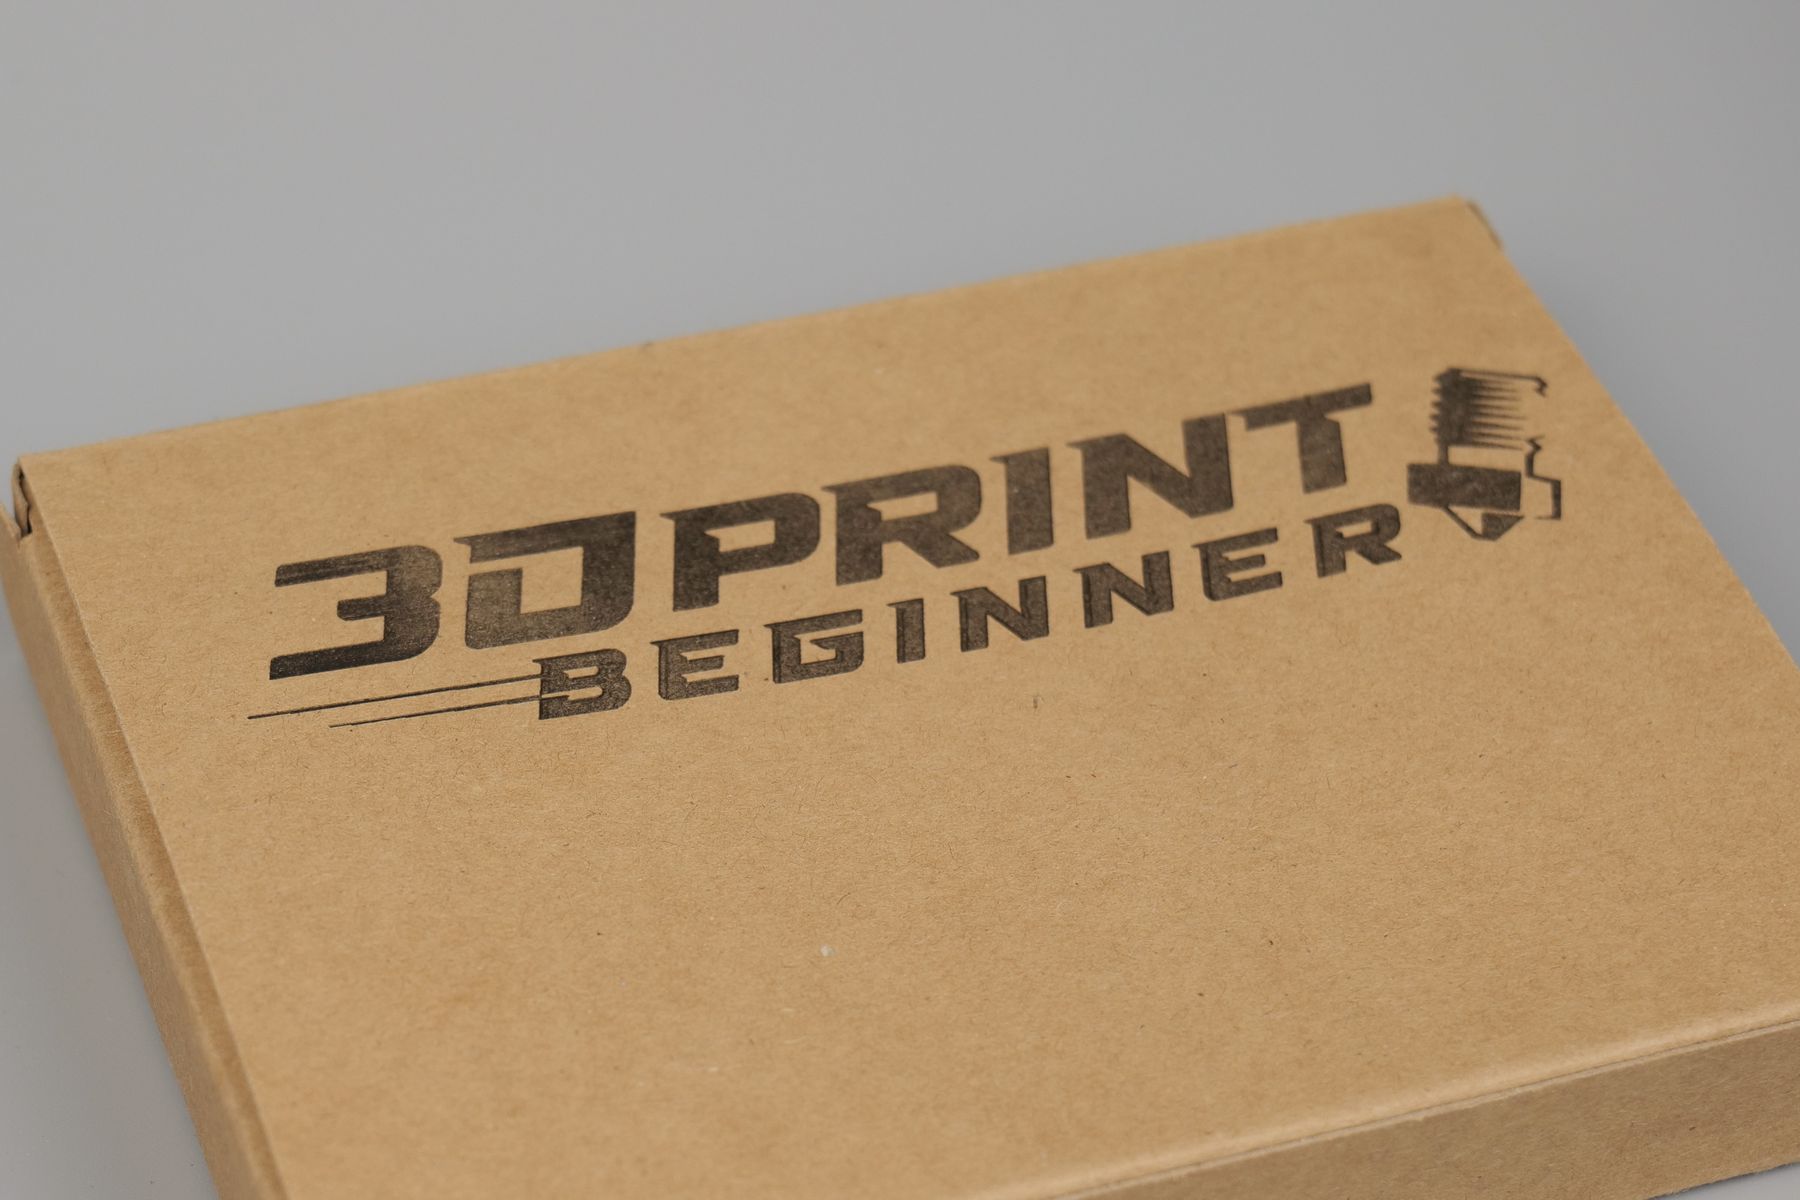
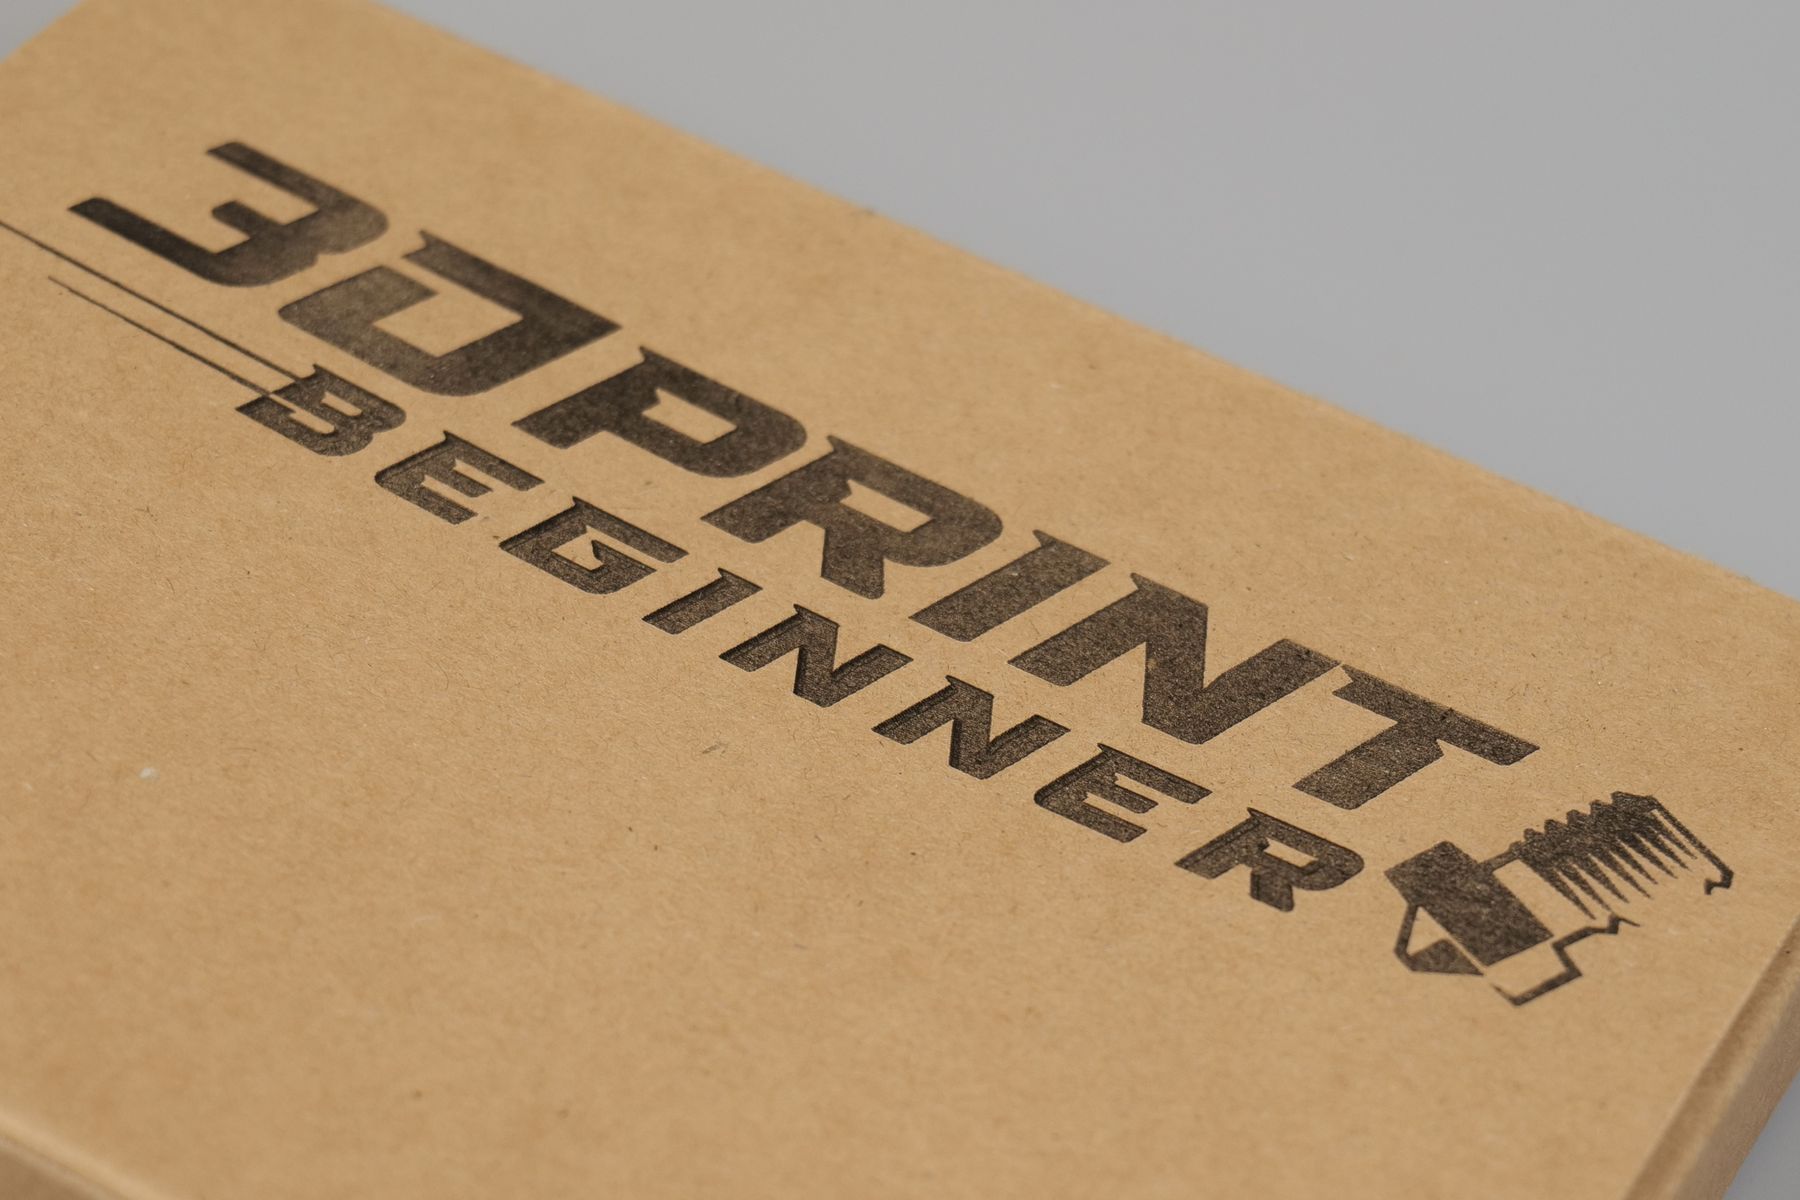
The first test was with a simple carboard box and I engraved the website logo. Without any complicated procedures, I was able to get a very clean engraving which was very interesting for me as before this unit, the process was always a bit complicated in finding the right settings and config.
Wood Engraving
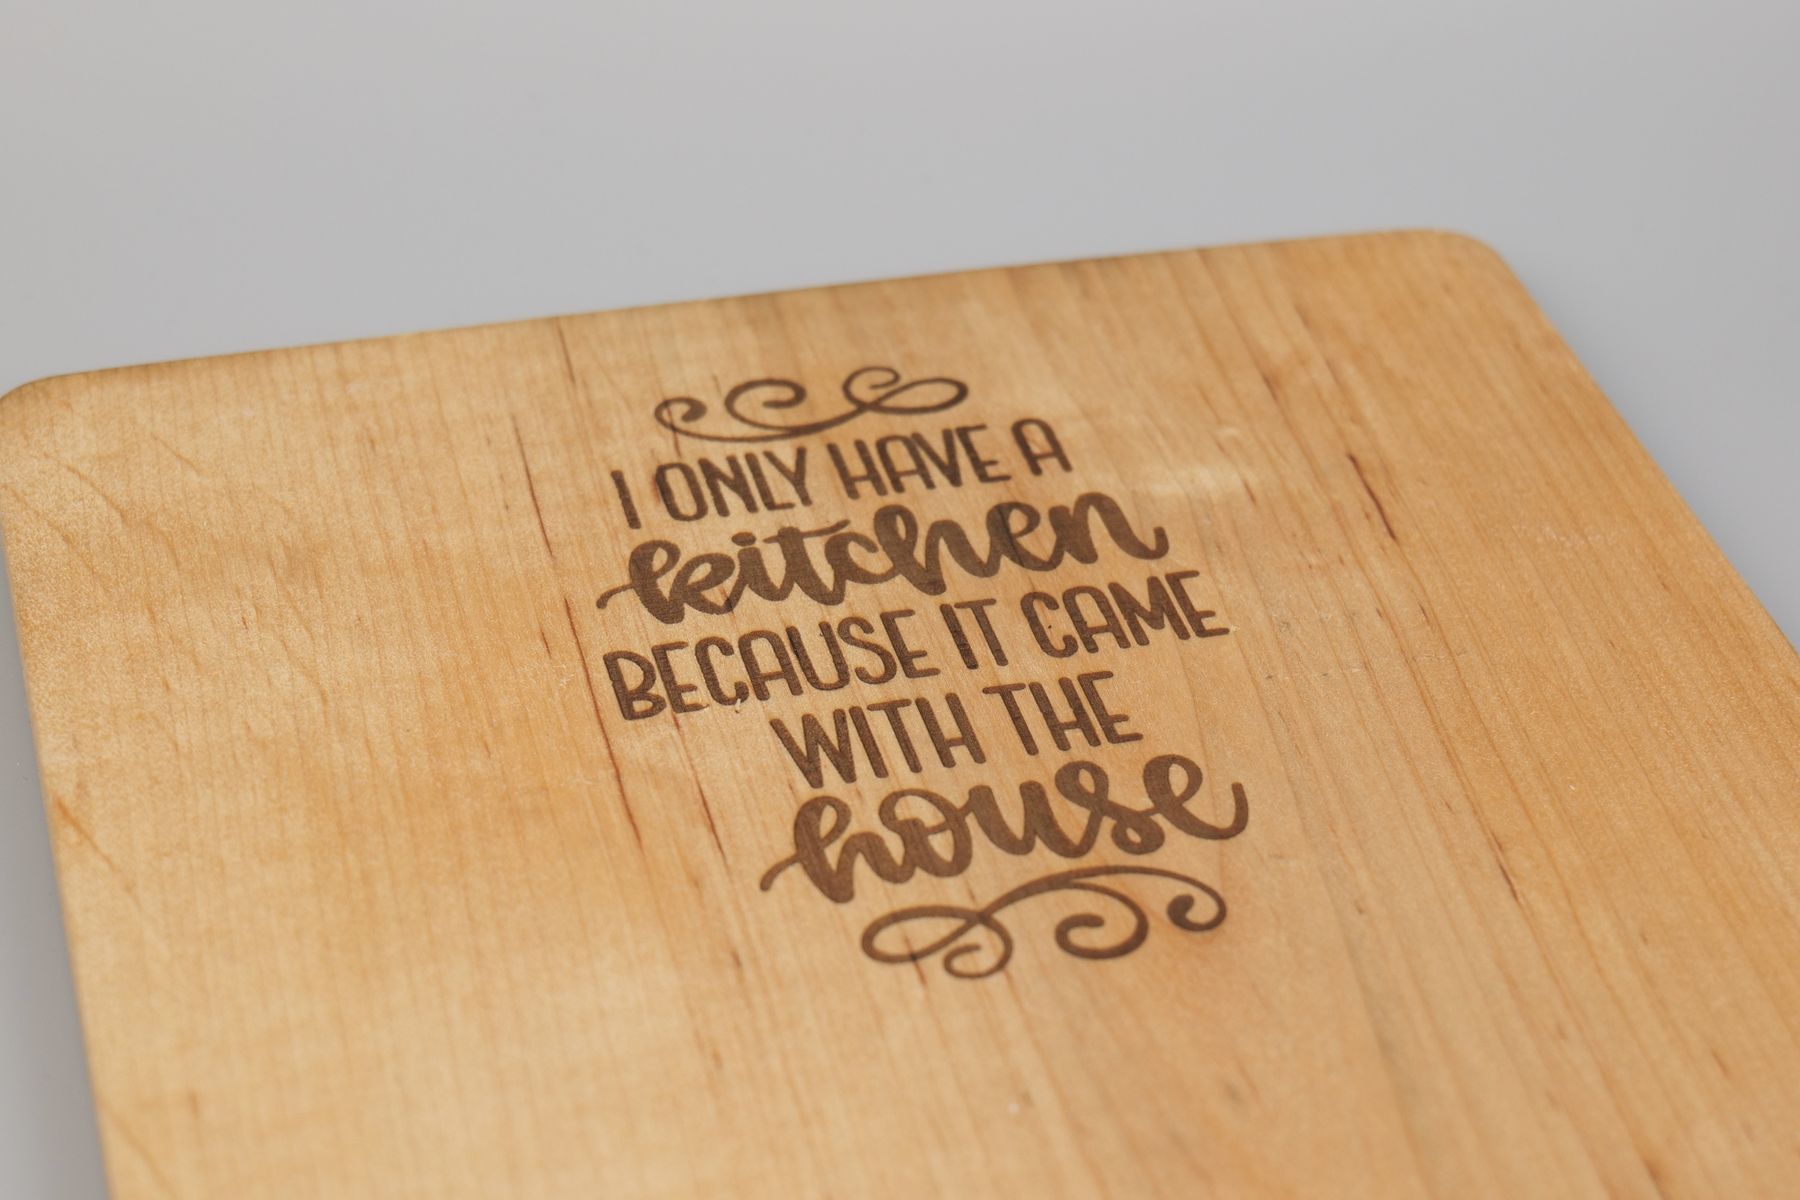
I tried to engrave wood, with the default profiles on the LaserPecker software, and as you can see below, the results are excellent. The engraving quality is very good, with good contrast and sharp text.



Spare Box Engraving
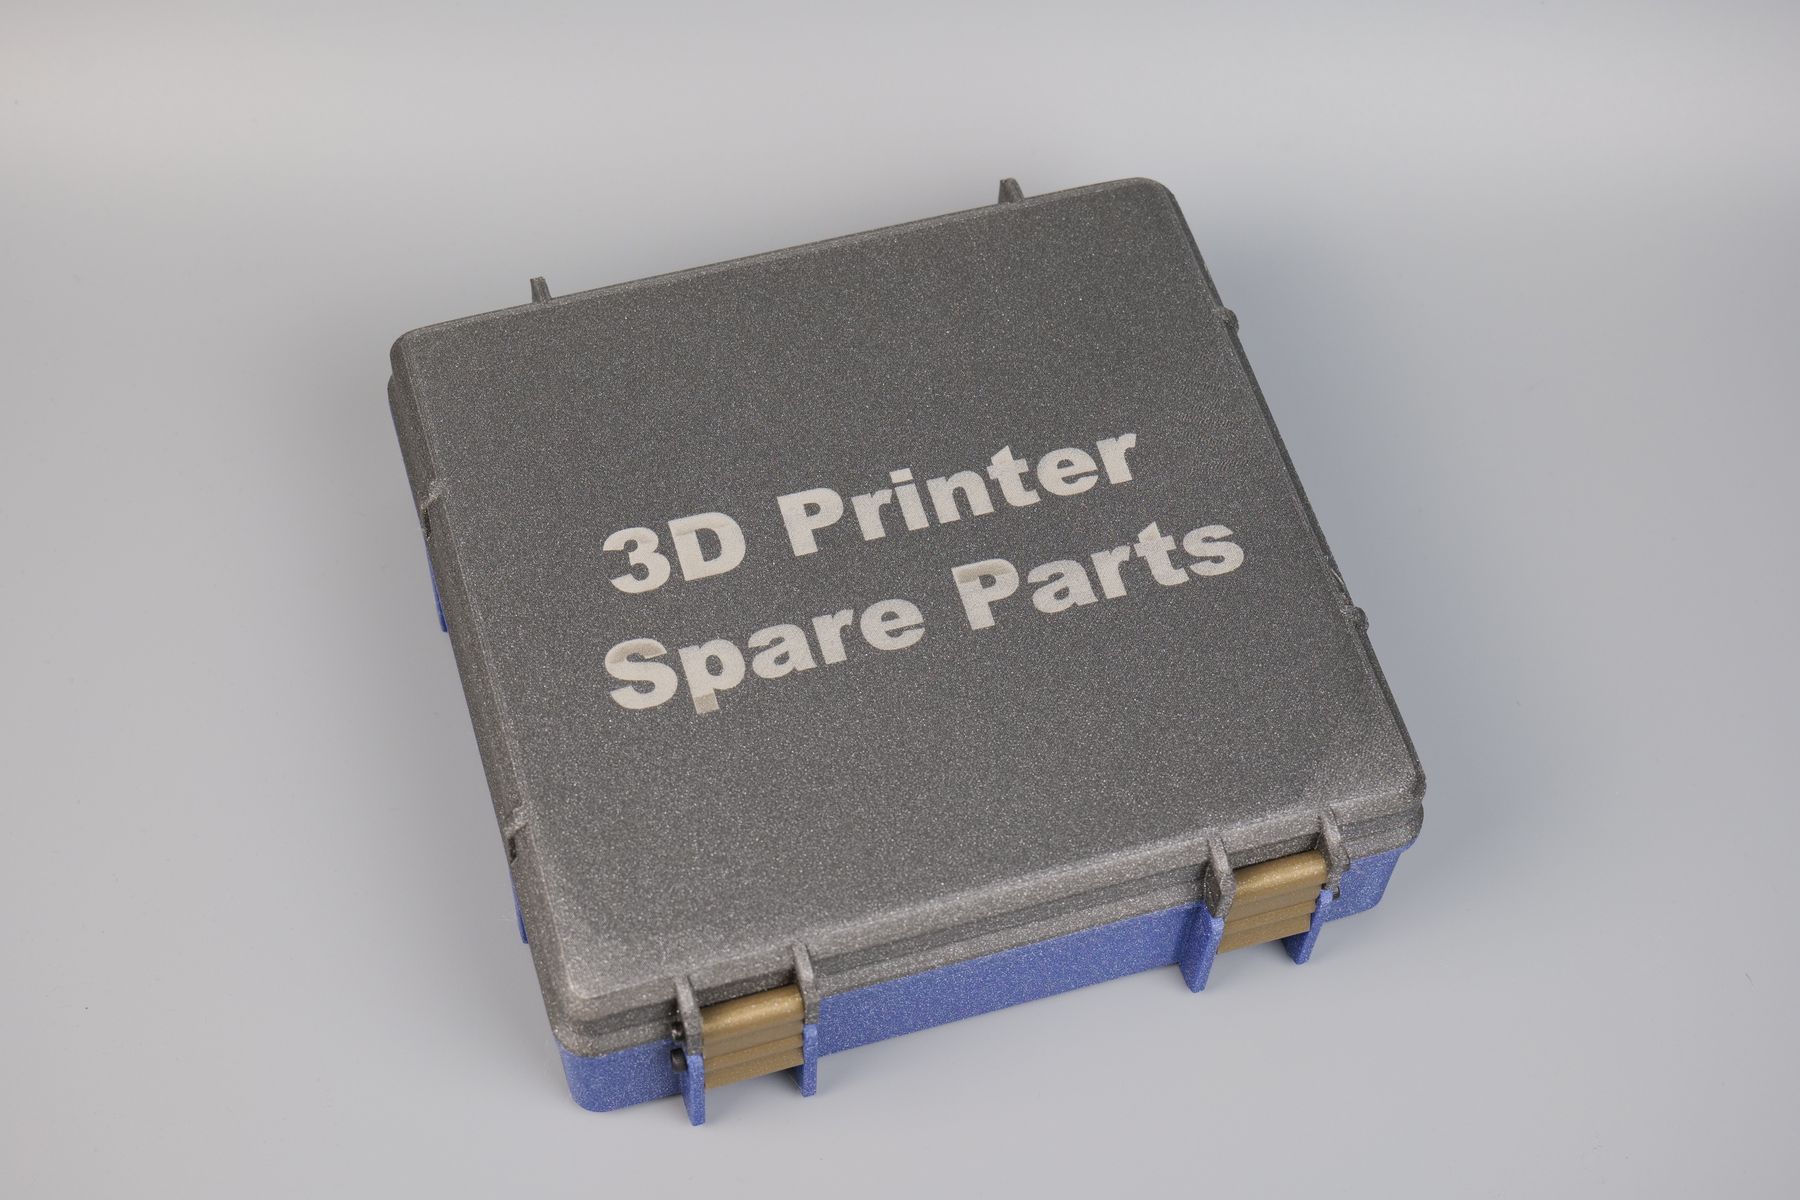
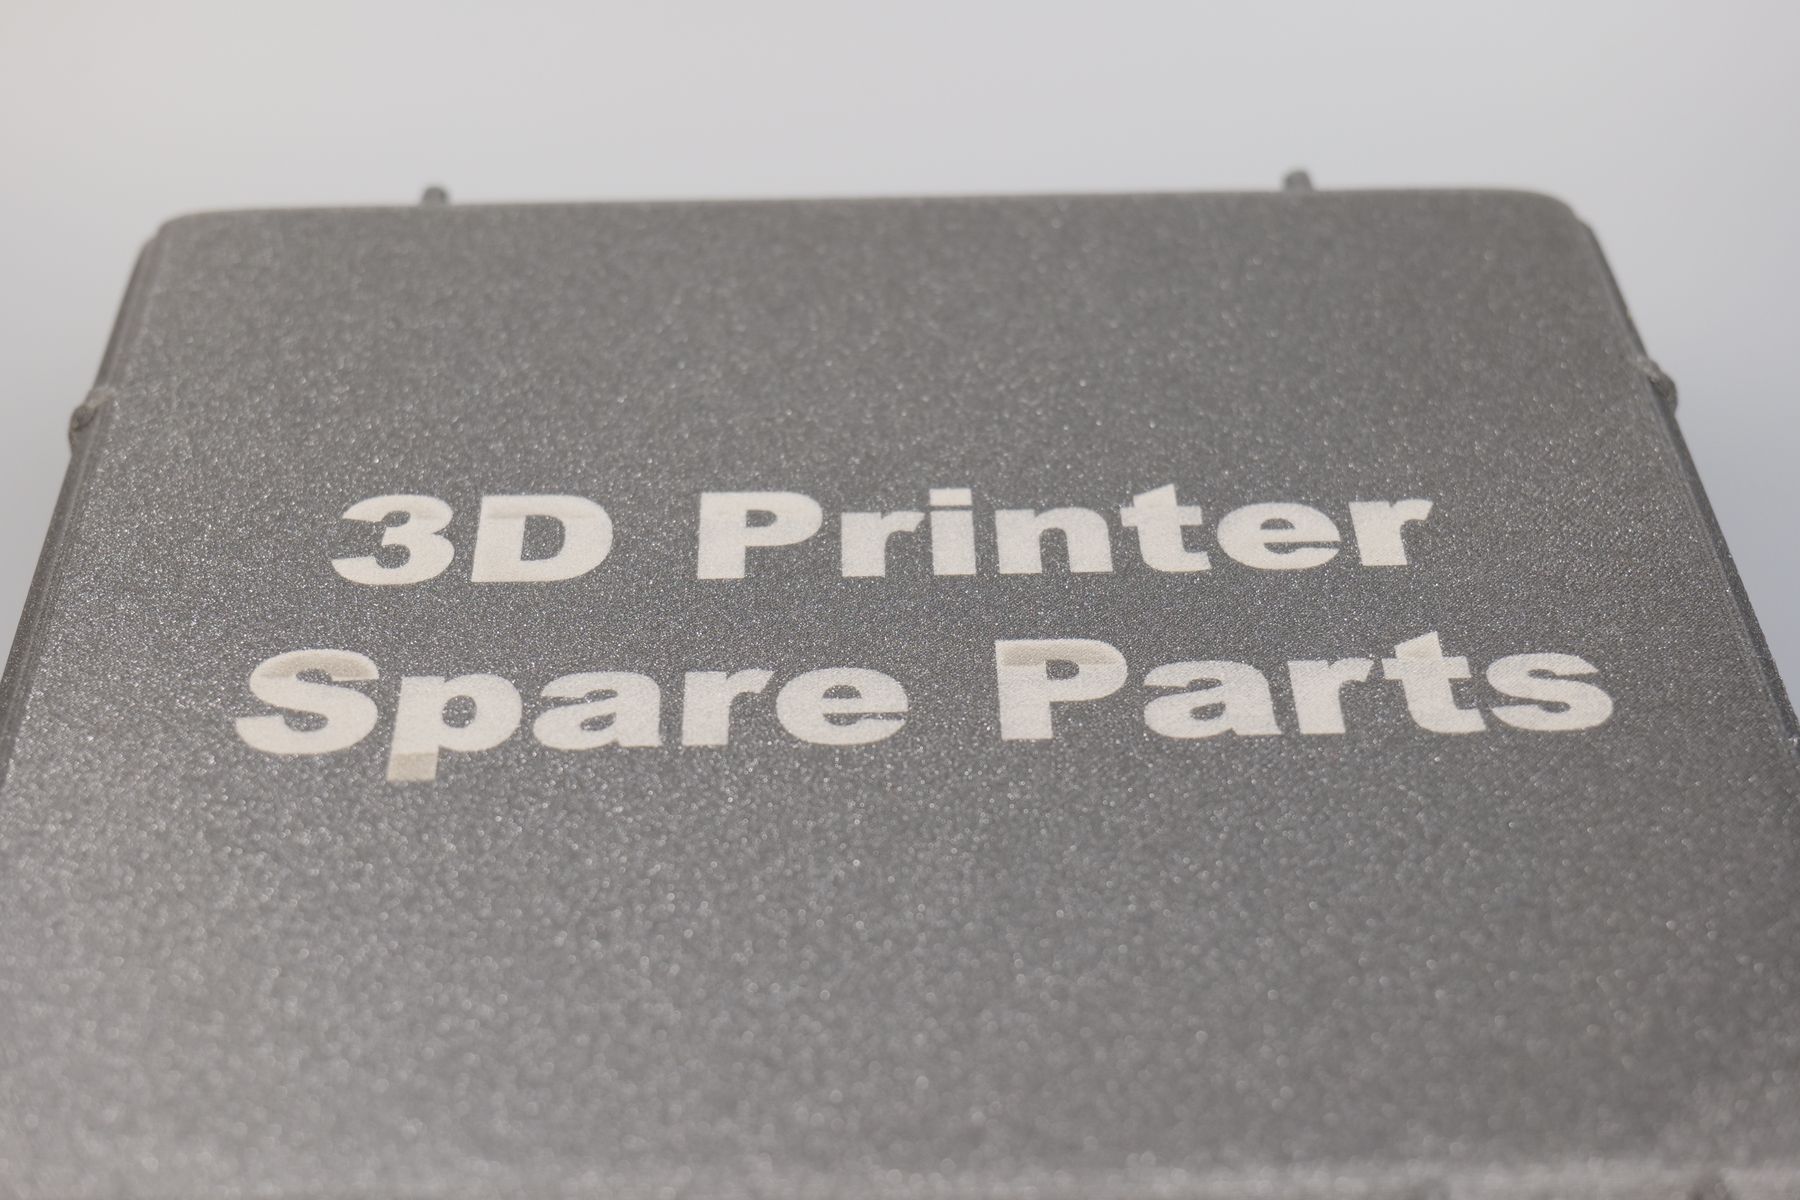
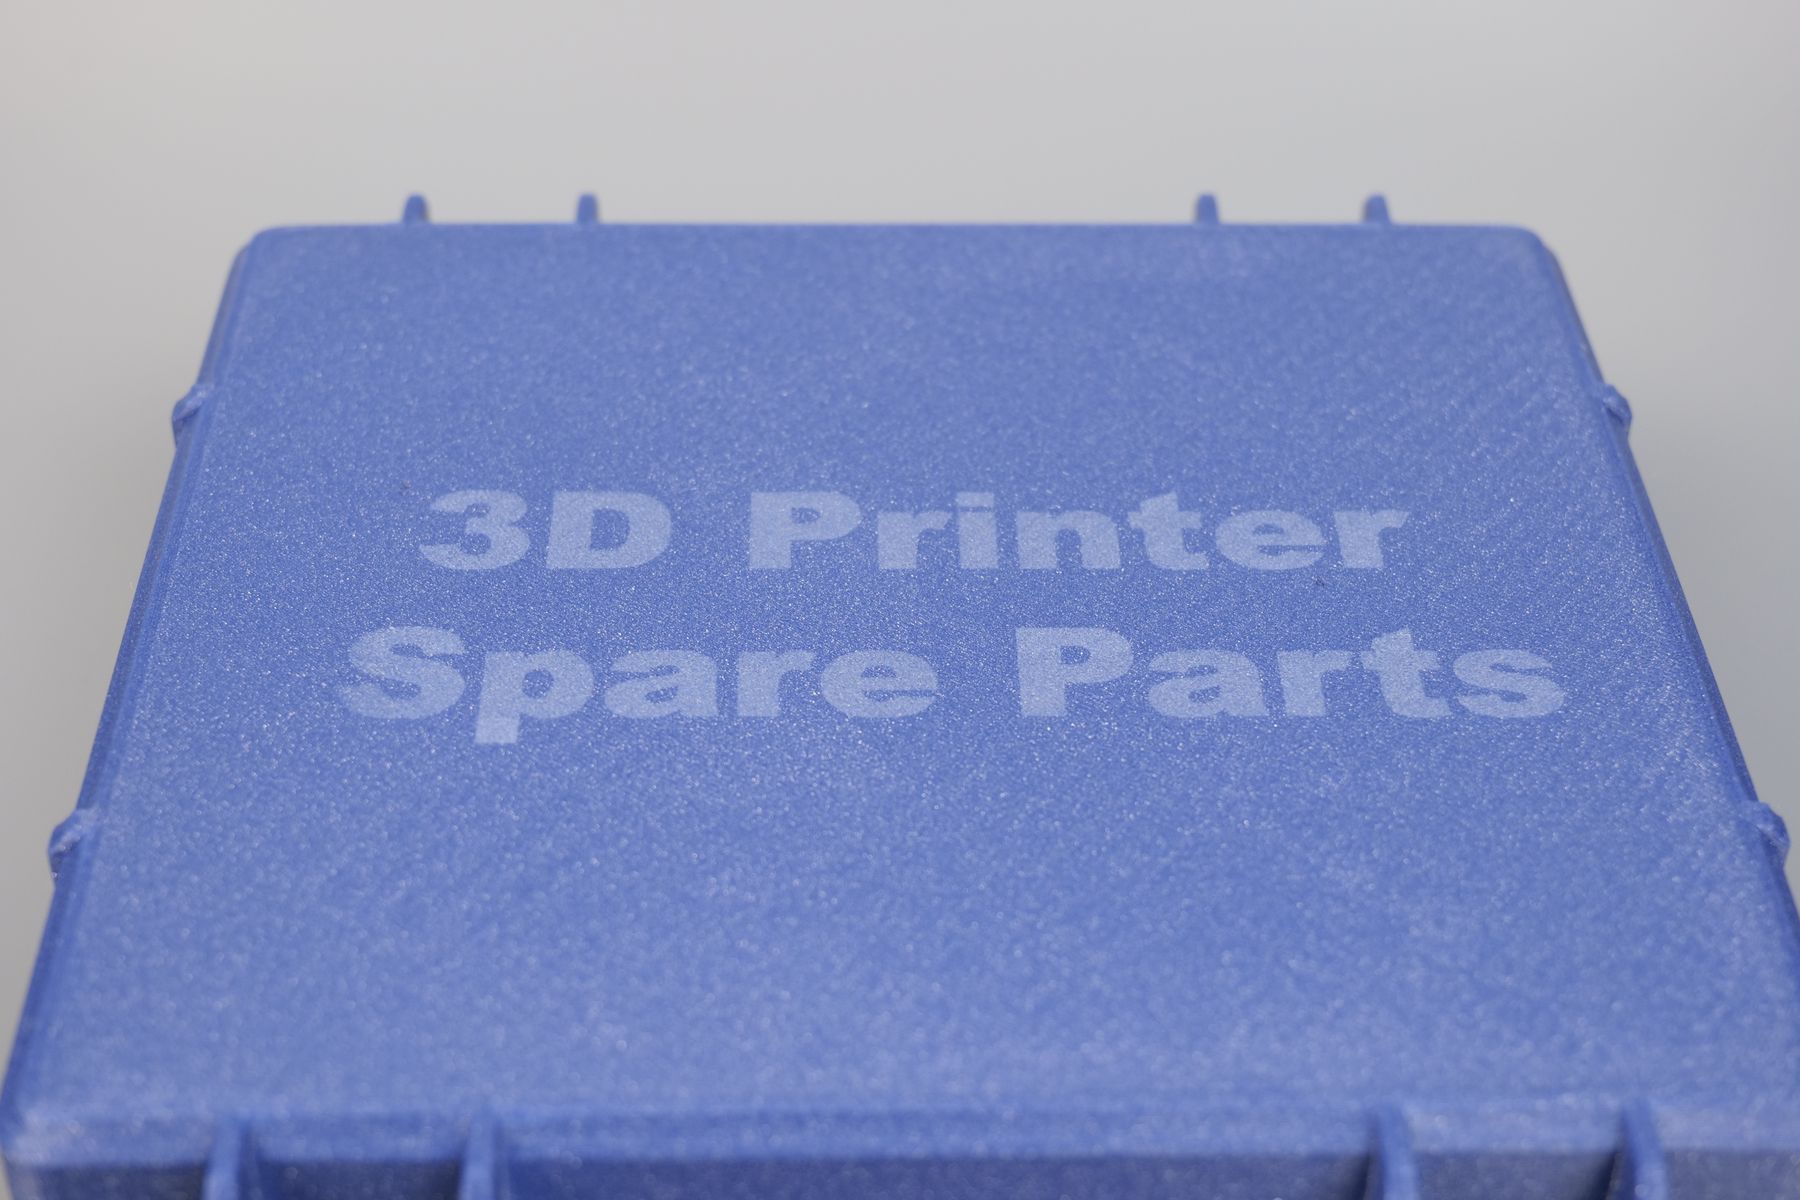
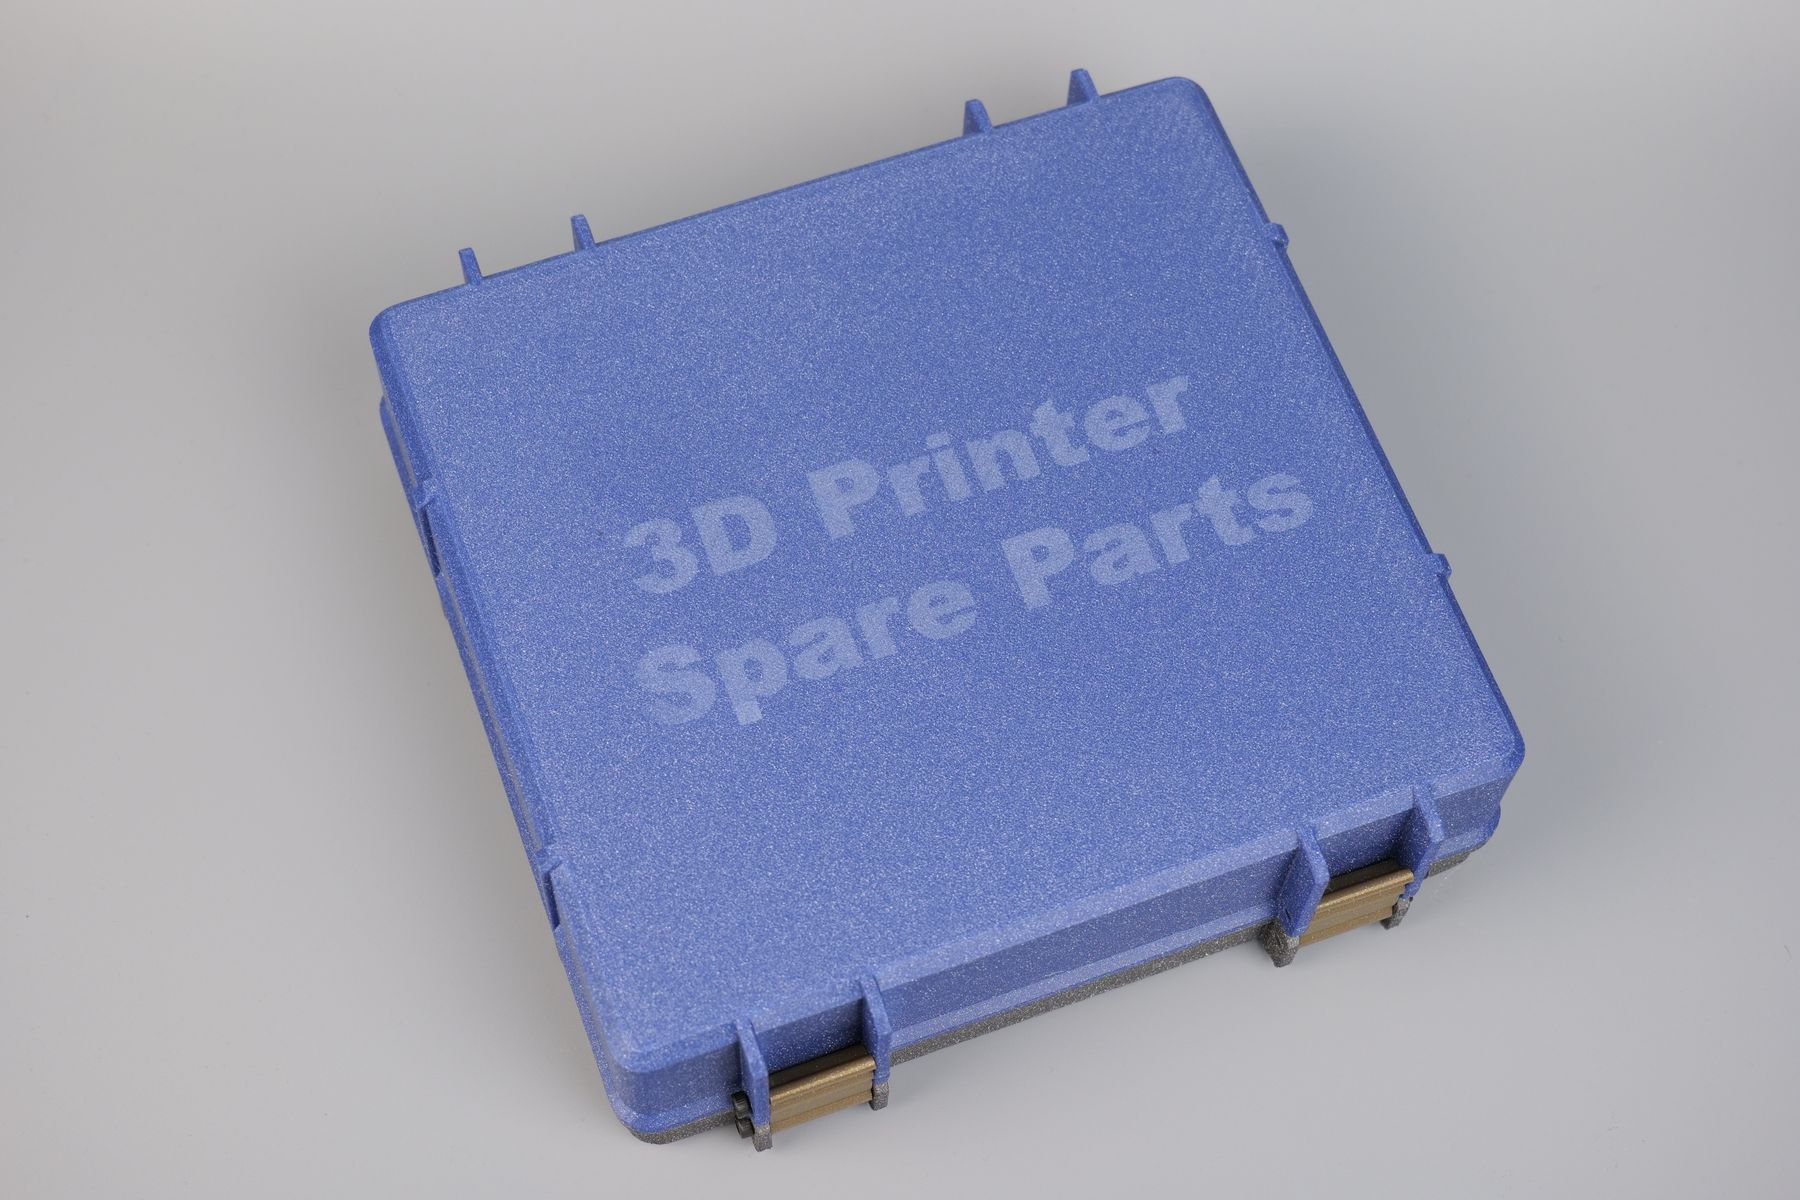
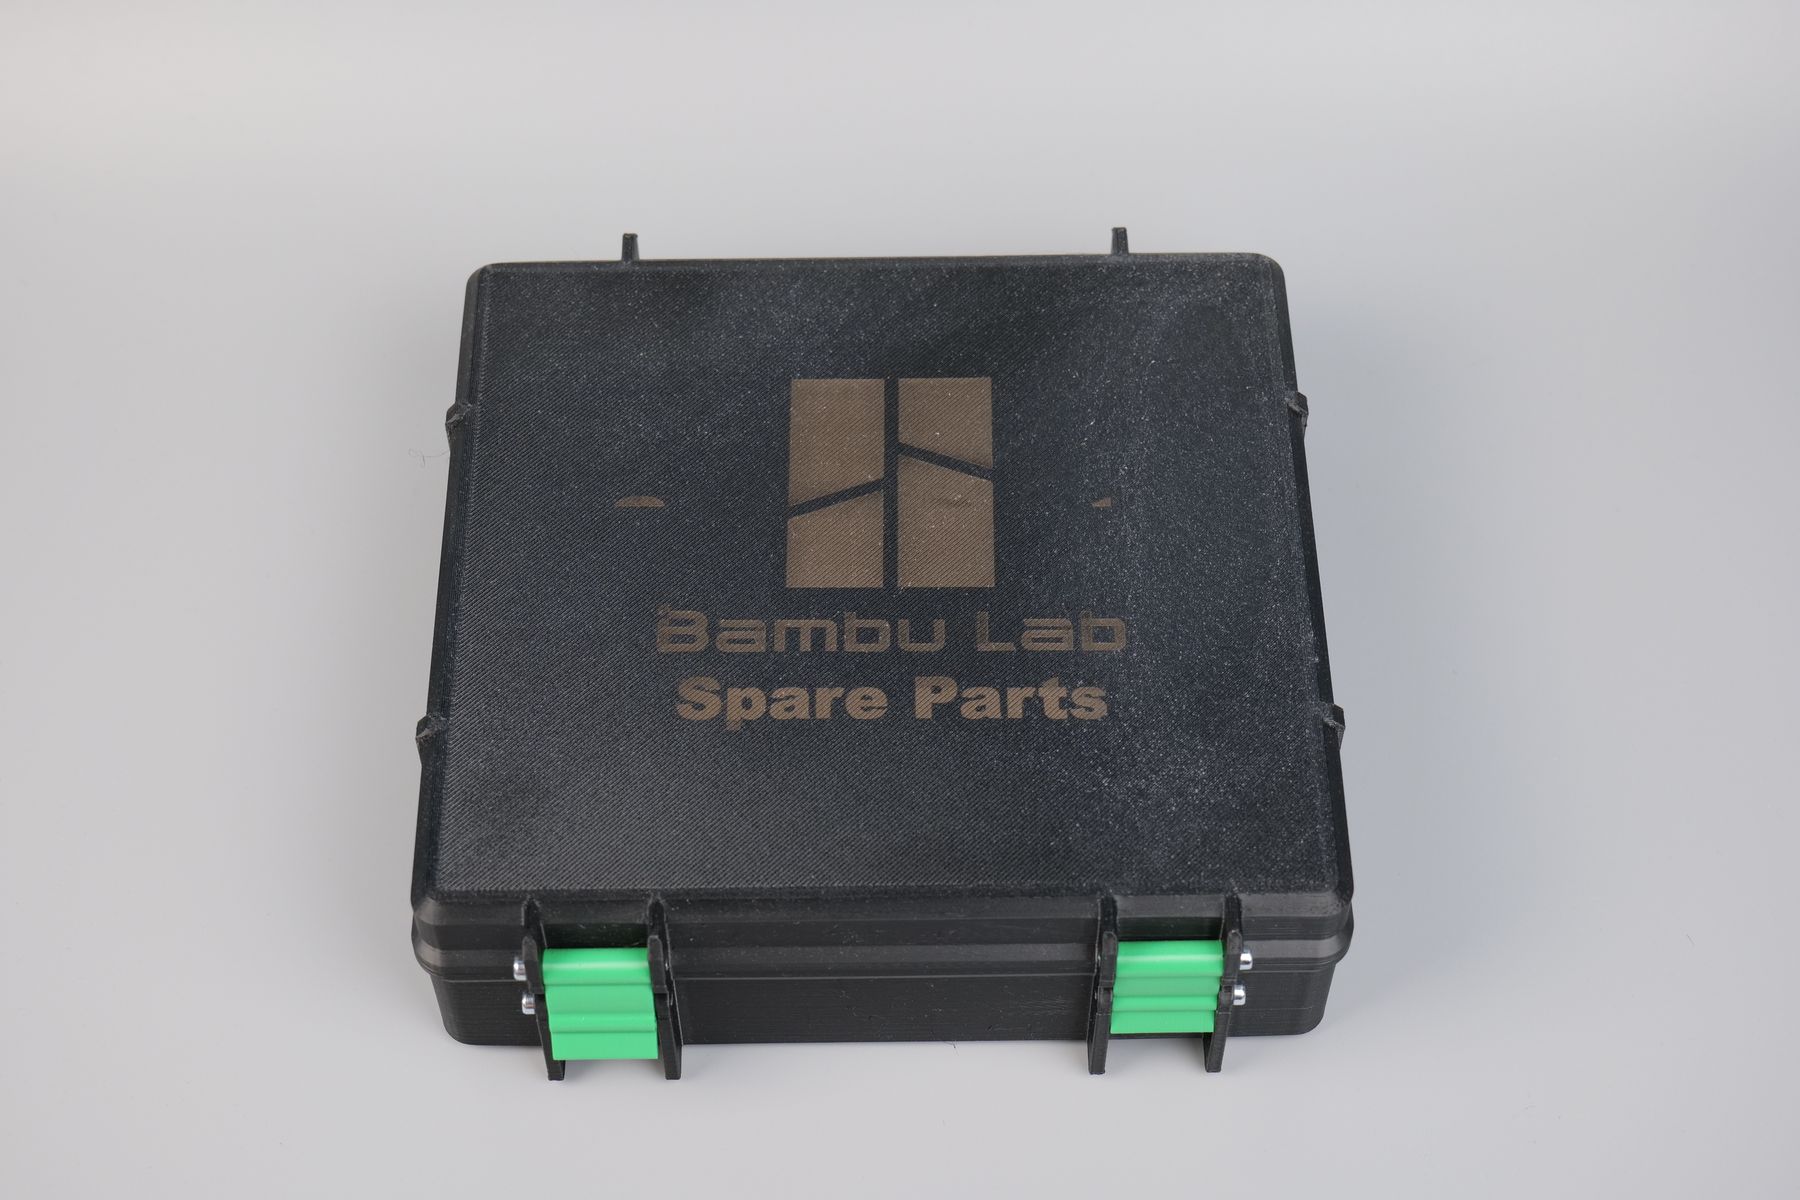
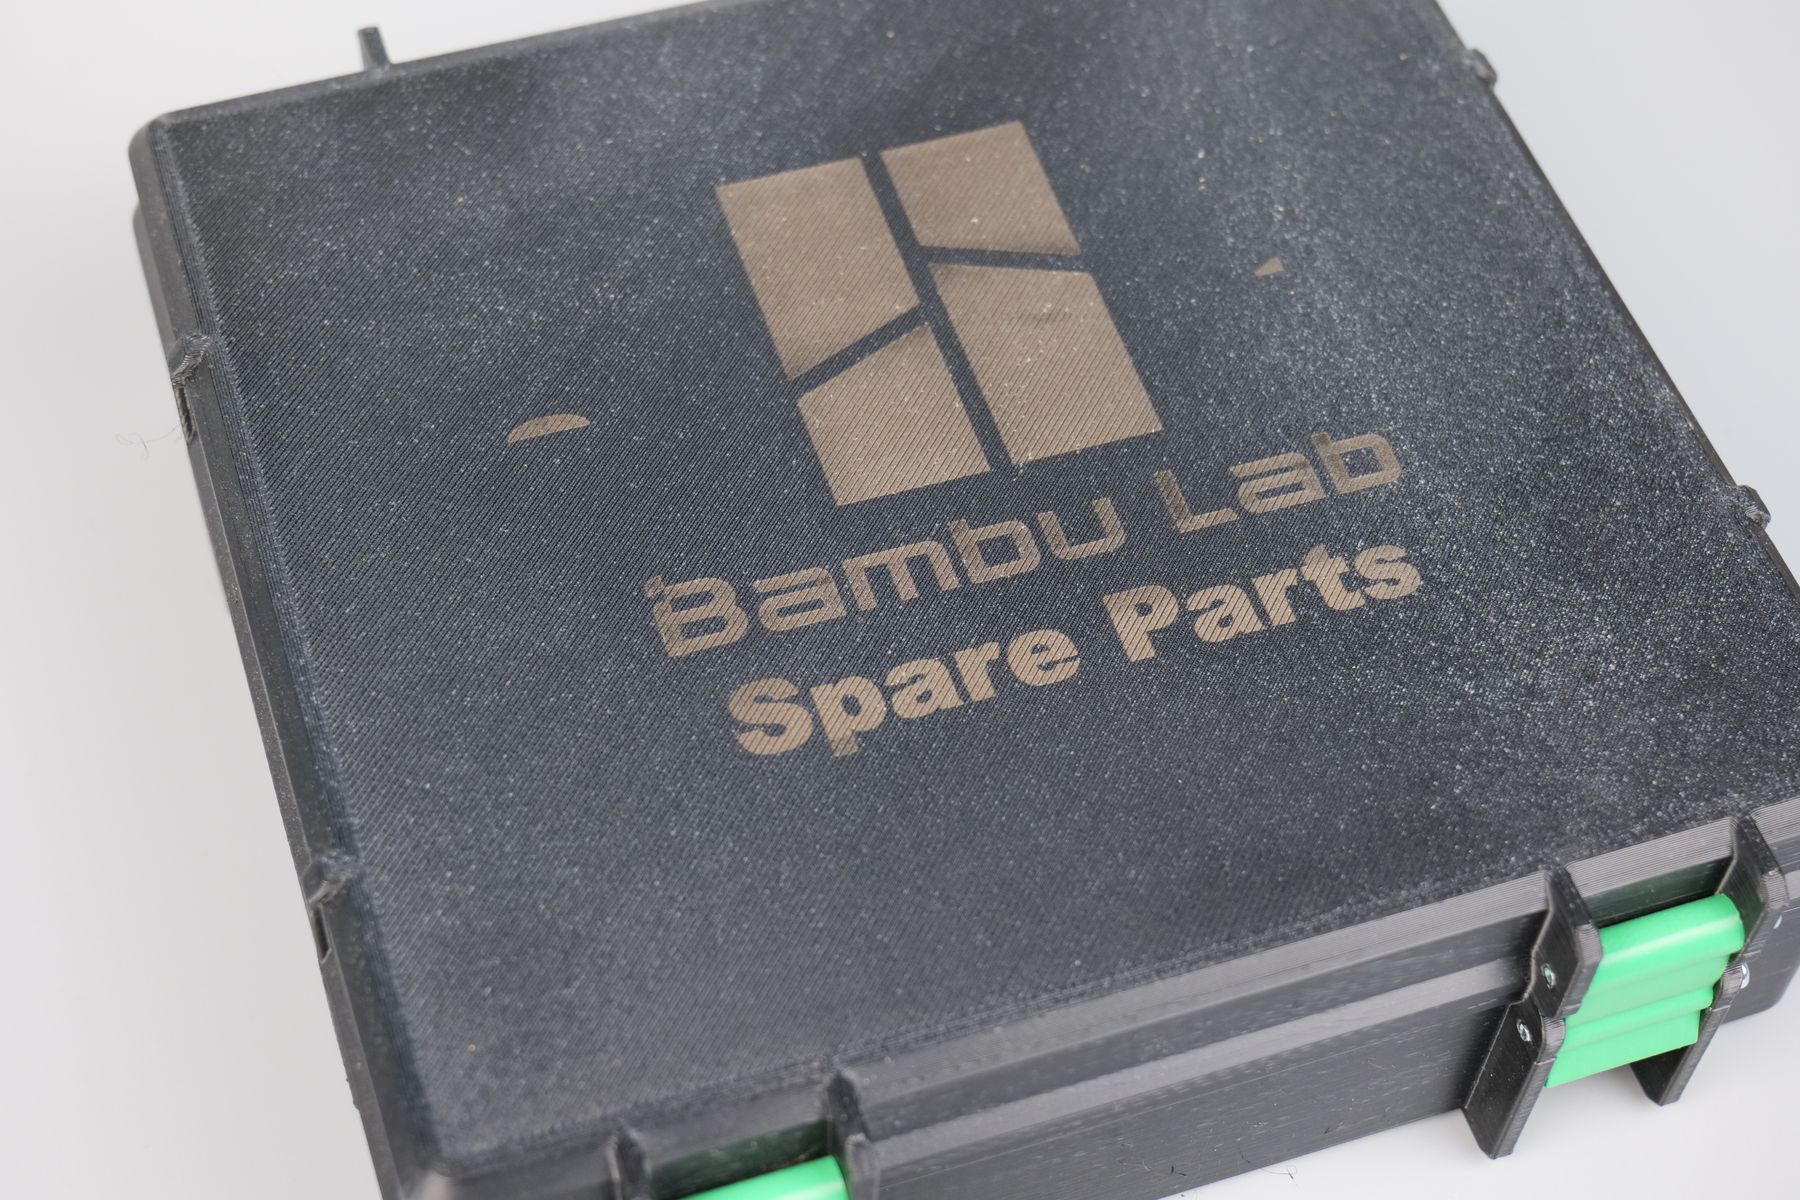
In my previous reviews, I have printed some boxes where I keep various 3D printer parts. But these boxes were lacking any labeling so I tried using the LP4 to engrave some text on the boxes.
The results can be seen in the pictures below. I am very happy with the results of engraving on PLA (especially the grey side). The black box is PA-CF filament which seems to be harder to engrave cleanly, and there is a bit of inconsistency in the finish.
Zippo Lighter Engraving
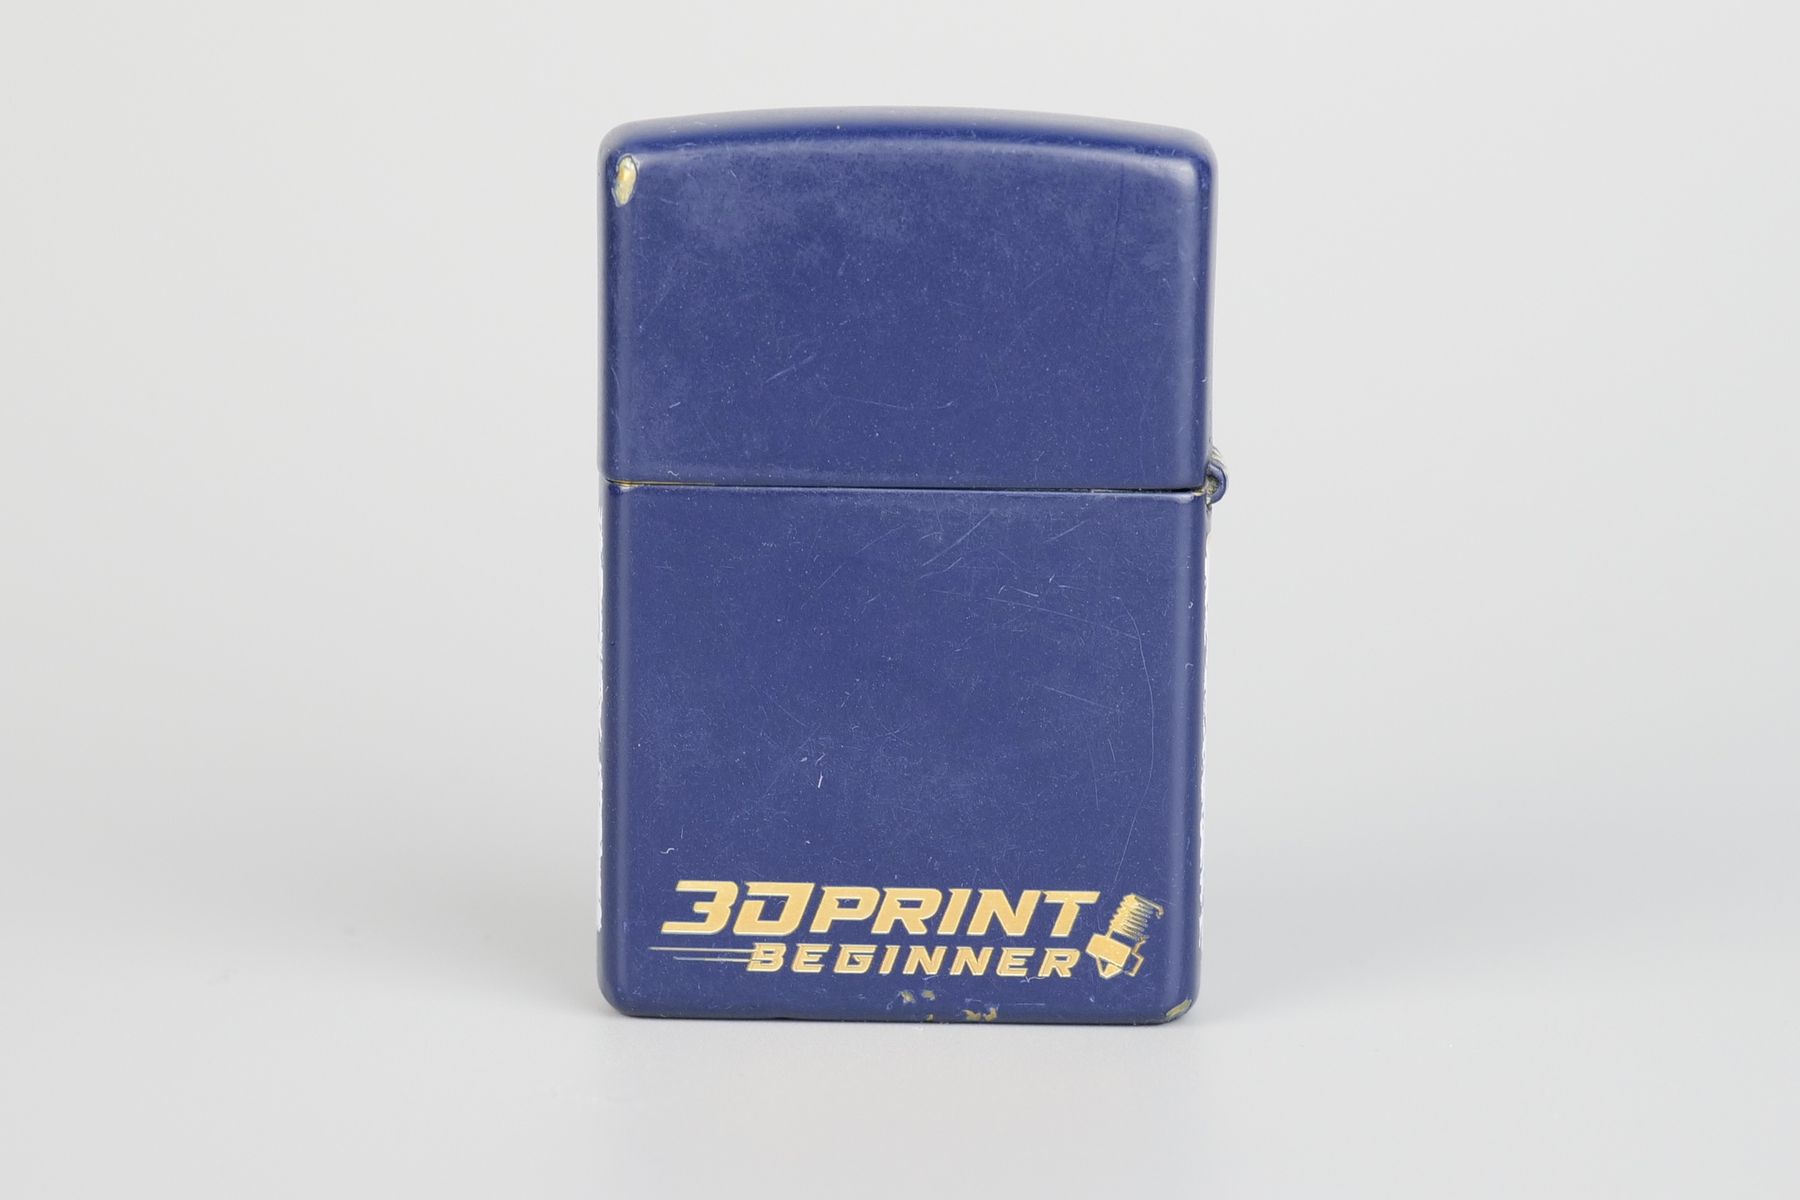
I believe a lot of people would use this LaserPecker LP4 for engraving various objects, and one of them might be even engraving lighters. So I tried engraving my two Zippo lighters and I am happy with the results.
The blue one has engraved very cleanly due to the laser simply removing the paint, and leaving a nice finish which shows a good contrast for the logo. On the other hand, the silver lighter needed a lot more time under the laser to get an engraving.
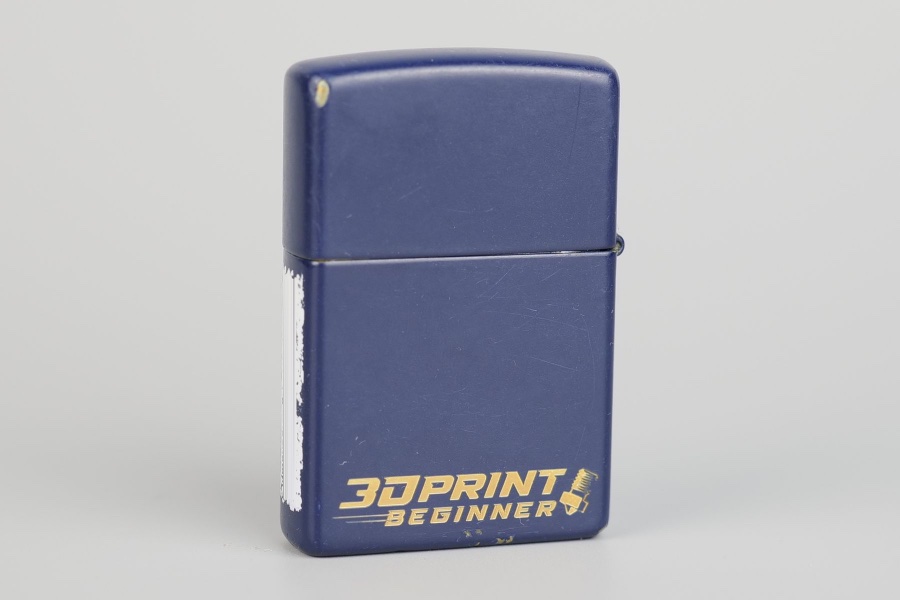
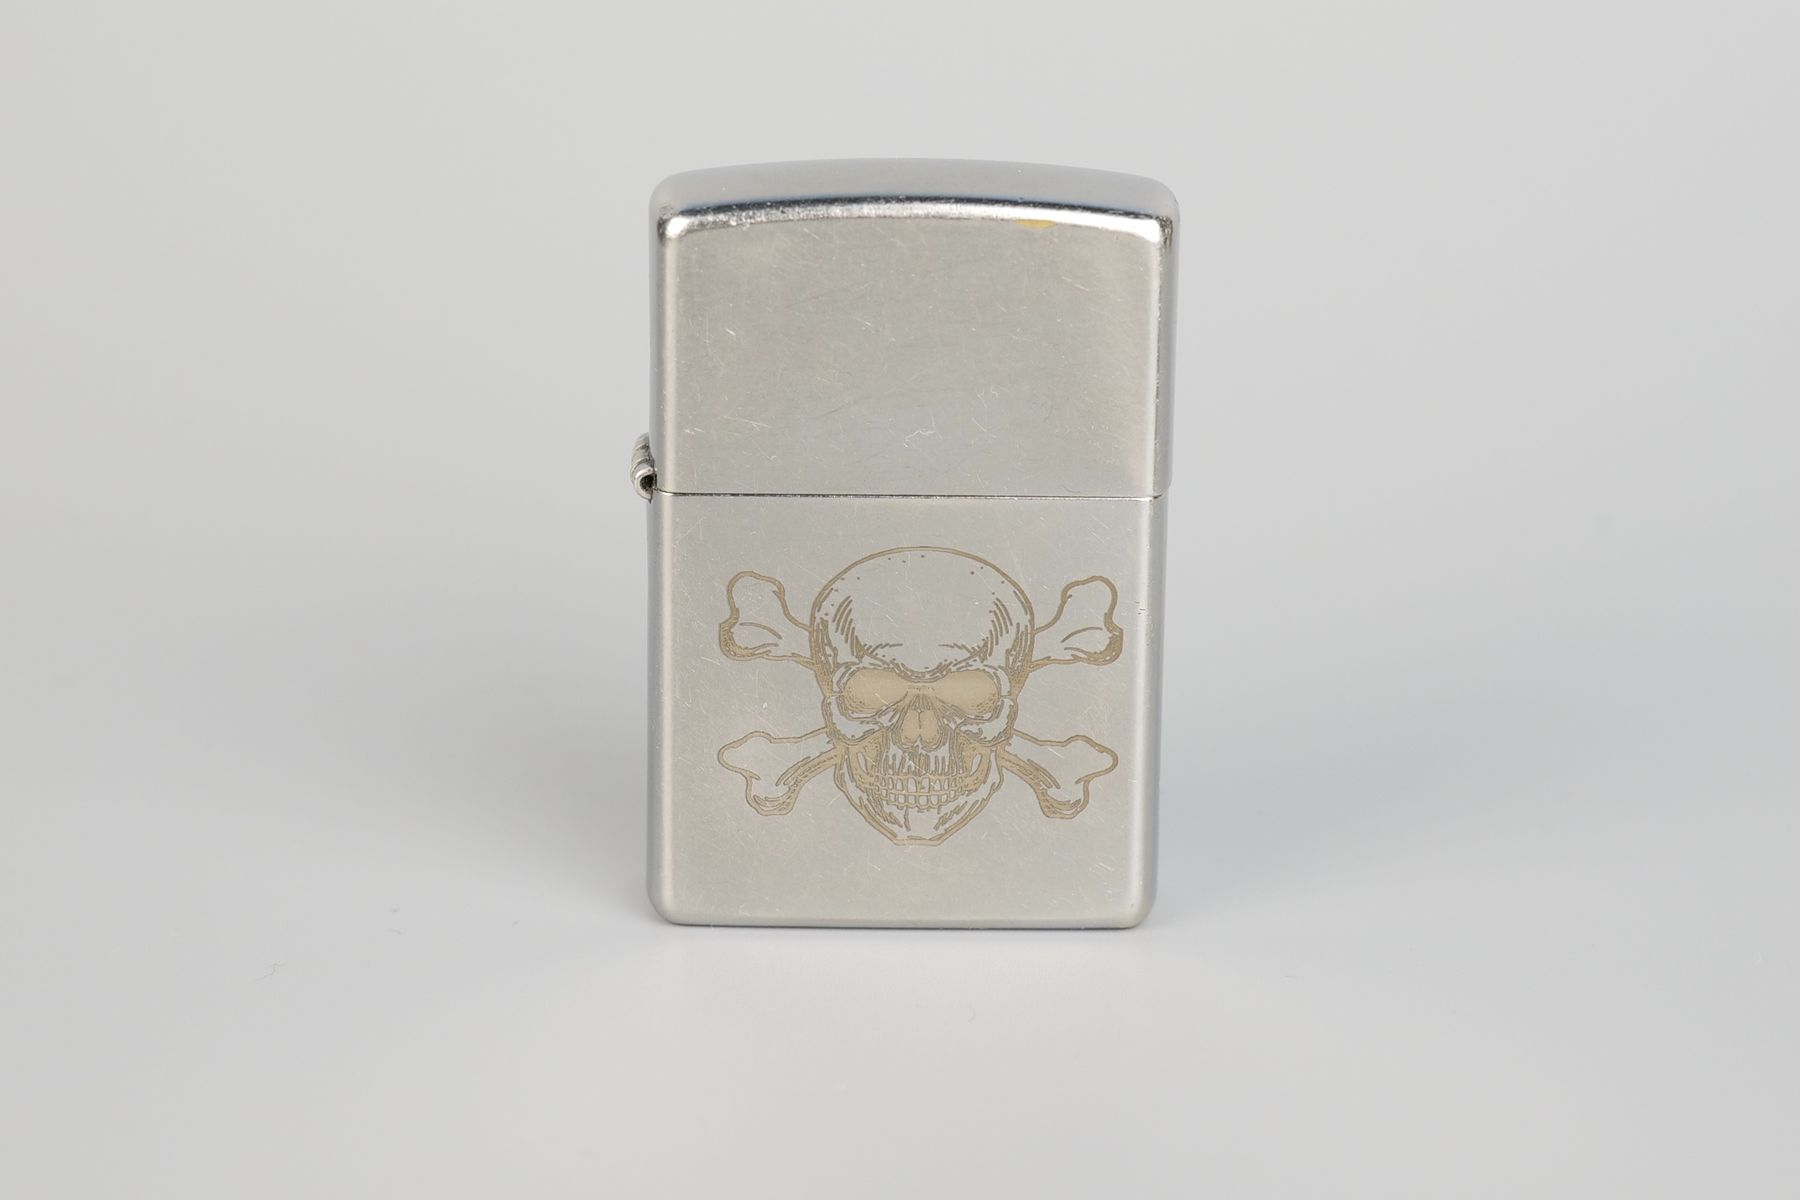
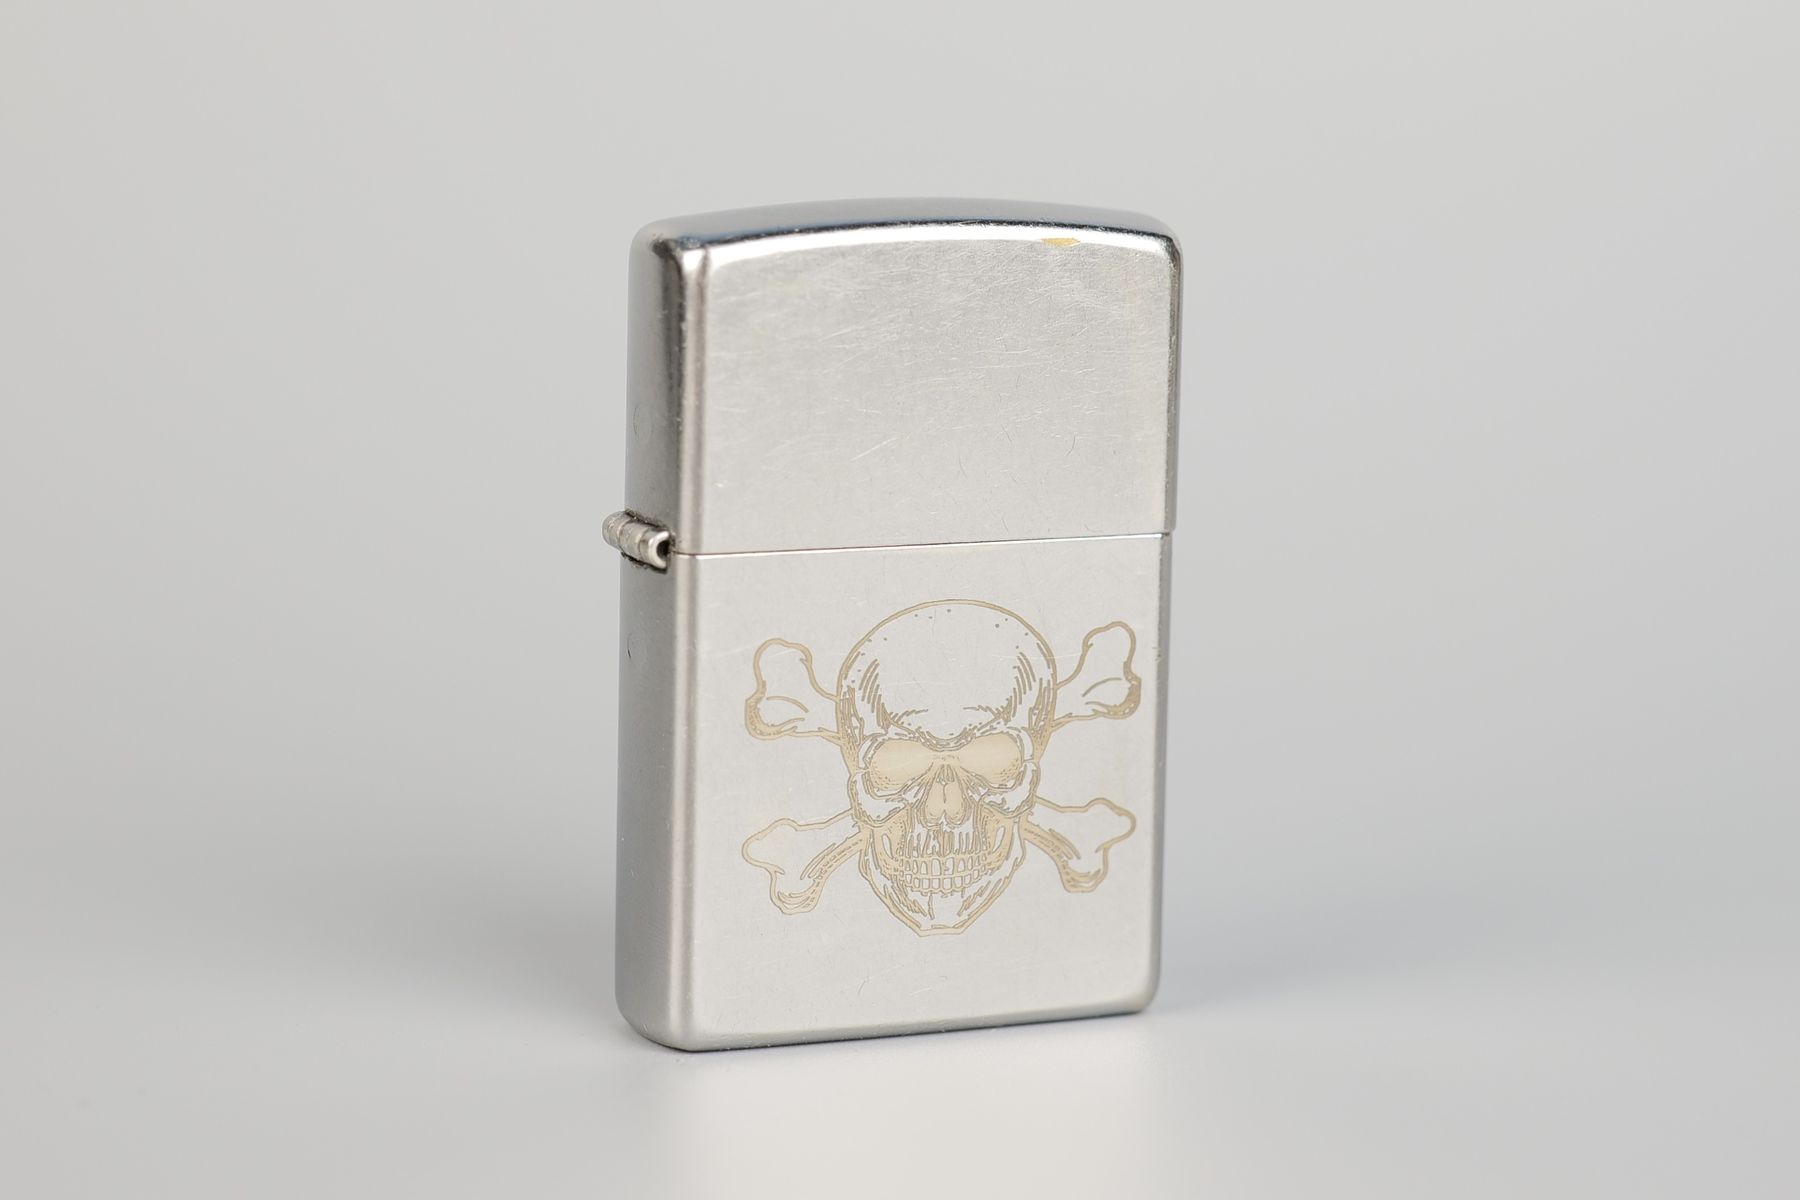
While it shows pretty clearly in the pictures, in real life, the skull image is a bit harder to see. Even so, I think the result is relatively OK for a direct engraving.
Conclusions: Is the LaserPecker LP4 worth it?
There’s no denying that the LaserPecker LP4 has a more premium price, but I believe that its not too very expensive for what you get.
The construction is good, with quality materials and excellent finish. The software is also better than most other manufacturer made laser engraving tools, and I really like the mobile app integration which makes engraving much easier and accessible for everyone.
Having a dual laser setup also provides more flexibility in what kind of materials you can engrave or cut, and considering you have this in a 2-in-1 package, the value proposition is quite good.
I recommend checking other reviews made by different people who used this laser engrave before macking a purchase decision, but while a bit more expensive, the LaserPecker LP4 performed really well for me and if you need such a tool, I believe it is worth getting as the experience is quite good for a beginner, but also for an advanced user.
Where to buy the LaserPecker LP4
You can purchase the LaserPecker LP4 from the following stores:
LaserPecker – code 3DPRINT10 gives 10% OFF
Amazon
The LaserPecker LP4 was provided free of charge by LaserPecker for the purpose of this review. While the article includes affiliate links, all opinions are my own. Nobody reviewed the article before it was posted, following the Review Guidelines.
Liked it?
|
|

