Ender 5 Plus RepRap Firmware Upgrade with FLY-RRF E3 board
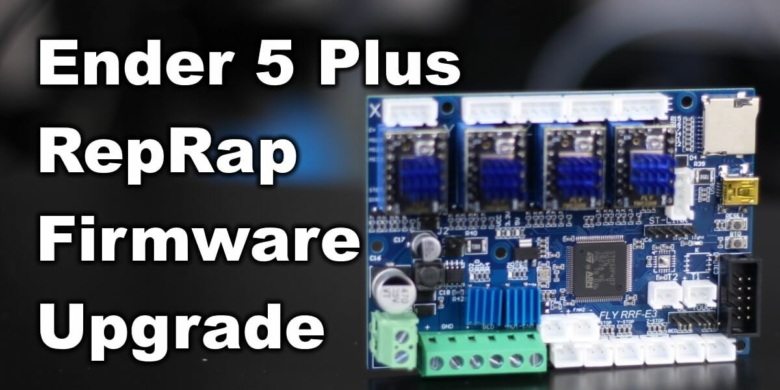
In this guide, I will show you how to upgrade the Ender 5 Plus with the FLY-RRF E3 board and the FLY Screen. This will allow you to install RepRap Firmware to add Wi-Fi capabilities on your Ender 5 Plus.
What is RepRap Firmware?
I previously covered the LPC project where some talented people are porting RepRap Firmware on different boards, eliminating the need of purchasing a Duet board.
Until now the Duet Firmware (RepRap Firmware) was only available to use with the Duet boards like the Duet 2. But a few awesome people developed a firmware compatible with the popular SKR 1.3 and SKR 1.4 boards.
The main reason to install RepRap Firmware is the added web interface that allows much better control of the printer.
Besides this, you will also be able to edit the firmware configuration directly in the web interface, eliminating the need of constantly flashing the board when you do major changes.
With the Duet Firmware, you will be able to use features only available in the RepRap firmware. Features like Pressure Advance (comparable with Linear Advance in Marlin), Dynamic Acceleration will be available now.
Macros are also a big thing in RepRap firmware. These can be set up for any kind of task you want your printer to do, allowing a great degree of automation.
Another quality-of-life feature you get with the Duet Firmware is the possibility of easily backing up your firmware and restoring it. The firmware and all the configurations live on the SD card, so it’s easy to copy the contents to another printer if needed.
Why upgrade the Ender 5 Plus with FLY-RRF E3 board and install RepRap Firmware?
Duet Web Control (DWC)
The main reason to upgrade the Ender 5 Plus with the FLY-RRF E3 board is the added web interface which allows much better control of the printer and offers a lot of extra information which is not available anywhere else.
This adds Wi-Fi capabilities to the Ender 5 Plus which is not a feature present when using the stock board.
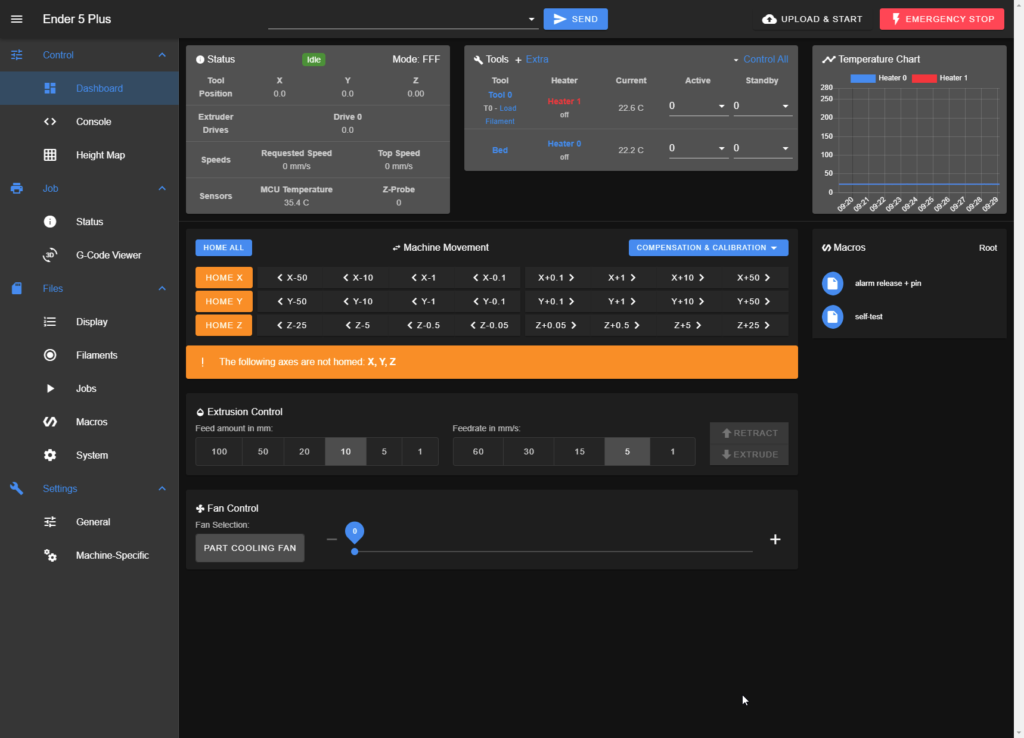
From the Duet Web Control dashboard you can see the print speed in real time for each movement and control the printer. You can even start the leveling process (if you use a probe) and generate a detailed 3D heightmap of your bed allowing easy troubleshooting of your print surface.
You can connect to DWC from any device with a browser, like a tablet or smartphone. This allows you to control your printer with ease.
Firmware modifications directly from DWC
The firmware configuration can be edited directly from Duet Web Control eliminating the need of constantly flashing the board when you do major changes like with Marlin.
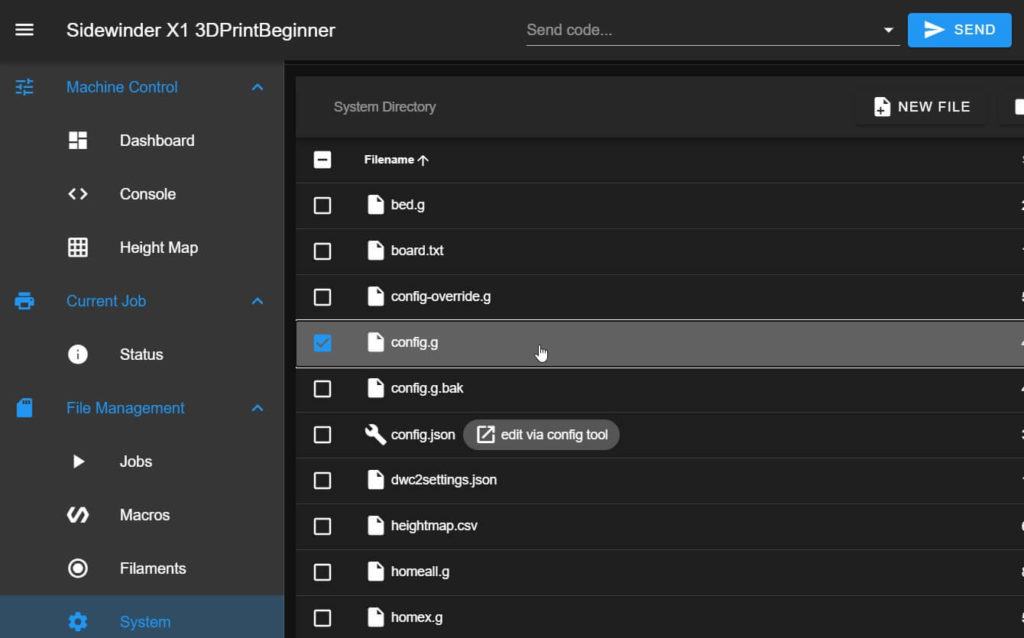
Most of the configuration settings are stored in the config.g file and it’s a lot easier to manage it this way. Because all the configuration files are easily available, you can back up a working configuration in just a few clicks. The backup can be restored just as easy if there’s a need for that.
Newer drivers for silent operation
If you are running a stock Ender 5 Plus, you probably know that the printer is quite noisy. This is caused by the old A4988 drivers wich are noisier than newer TMC drivers.
After upgrading the Ender 5 Plus with the FLY-RRF E3, you will notice a significant improvement in the sound department. The printer will be more silent during printing.
Excellent hardware for a low price point
Jay does a great job listing all the features present on the FLY-RRF E3 board, but here are some of the highlights:
- Powerful CPU – STM32F407VGT6 (the same one used on the BTT GTR Board
- ESP07s Wi-Fi Module with external antenna – this board will work with no signal issues because you can easily install the antenna outside the Ender 5 Plus metallic housing
- PT100 support – You can install a PT100 or K type thermocouple which allow higher temperatures without purchasing any addons.
- Dedicated port for the FLY-Screen
- Dedicated BLTouch connector
It’s worth noting that I detected a bit of “coil whine” when heating up the bed. This is probably caused by the integrated mosfet, and even tough the Ender 5 Plus has an external mosfet for the bed, there’s still some noise present according to the PID setting used. It’s not that annoying for me, but your mileage might vary.
I checked with other users and they reported that there’s no sound coming from the board when used directly with the integrated mosfet on printers with smaller heated beds (ex: Ender 3).
Prerequisites
To upgrade your Ender 5 Plus with the FLY-RRF E3 board and install RepRap Firmware, you need to have the following:
- FLY RRF E3 Board with TMC2209 drivers (other drivers can be used)
- FLY 4.3 Inch Touchscreen (if you also want to use a working screen)
- Configuration and firmware files FLY-RRF E3 and TMC2209
Please note that the stock screen will not work with the FLY-RRF E3 board.
Before you begin

Please note that in order to upgrade the Ender 5 Plus board and install RepRapFirmware you need some experience with 3D printers and hardware. This is not a trivial task for beginners, and you may break your printer during the process.
Read the full guide carefully and start only after you properly understood all the steps involved. If you have questions before starting, leave a comment and wait for a reply.
Also keep in mind that the stock Ender 5 Plus screen is not compatible with RepRap Firmware so it won’t work. This is the reason I also recommend getting the FLY 4.3 Touchscreen (if you need a screen).
I am not responsible for any damage you may cause to your printer by following this guide. You are doing this on your own responsibility.
Install the FLY-Screen 4.3
I chose to also upgrade the stock screen with the FLY-Screen 4.3 inch module because I like my printer to have all it’s original functionality intact.
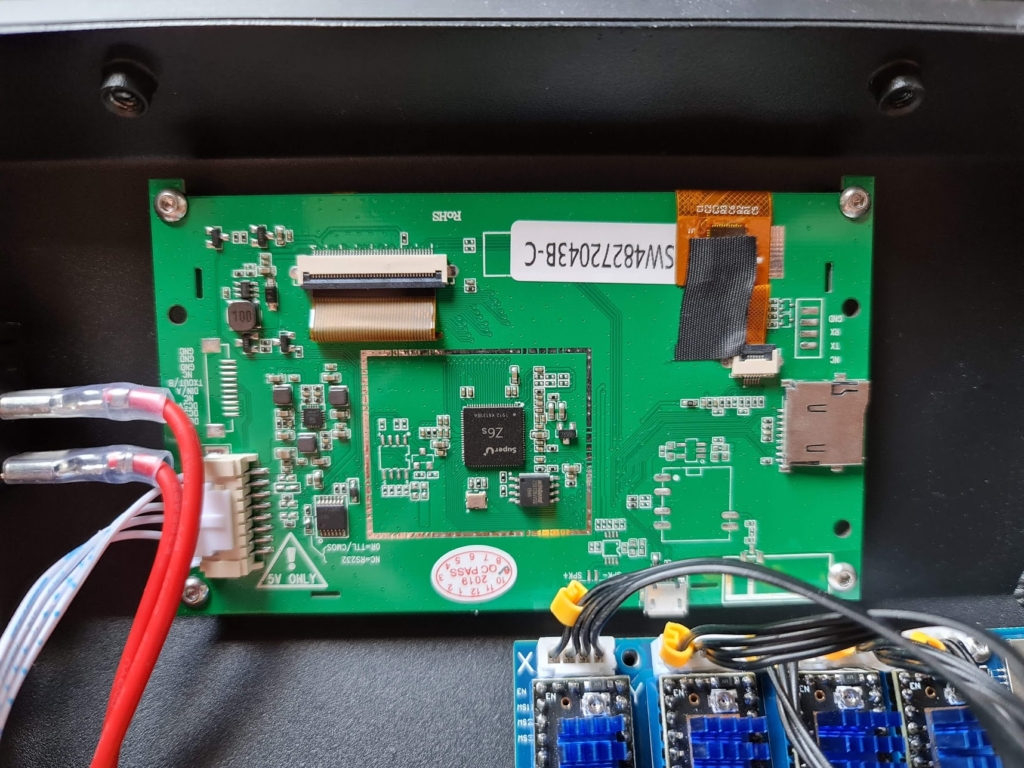
The first step is to install the screen. Because the FLY-Screen 4.3 is a drop-in replacement, the installation process is quite easy. Just remove the four screws from the original screen and install the new one.
This is how the new FLY-Screen will look like, when installed.
Upgrade the FLY-Screen firmware
Development of the RepRap firmware are ongoing, and so is the FLY-Screen firmware. Extra functionality is constantly added to the screen, so I recommend installing the latest version.
To upgrade the FLY-Screen firmware, follow the steps below:
- Download the latest release from FLY-Screen Github page
- Rename the file to update.img
- Copy the update.img file to SD card (FAT32 formatted card, max 16GB)
- Connect the SD card to the screen
- Turn on the printer and wait for the firmware to be flashed.
- Turn off the printer, and remove the SD Card
After the firmware upgrade, this is how the menu will look like. You can even add a custom splash screen easily.
The FLY-Screen 4.3 doesn’t have the best viewing angles and I can’t say it has any interesting functionality right now, but it’s responsive and it works. Hopefully more features will be added in the future to make it a bit more useful.
Install the FLY-RRF E3 Board
Now that the screen is installed, we move to the more interesting part of installing the FLY-RRF E3 board. This board can be easily installed on the Ender 5 Plus, but it’s not a drop-in replacement. We need to perform a few firmware modifications after physically installing the board inside the printer.
Preparing the FLY-RRF E3 board
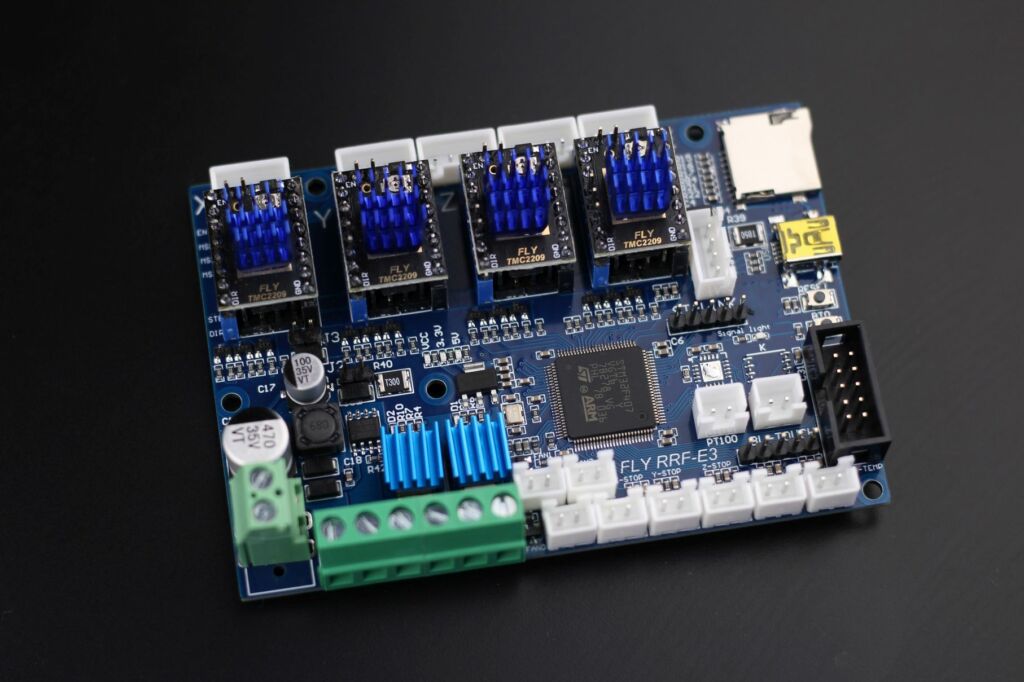
Before physically installing the Fly RRF-E3 board inside the Ender 5 Plus, we need to add some four jumpers underneath the stepper drivers, as show in the Ender 3 FLY documentation to set the drivers in UART mode.
This is how the board will look like with the drivers and jumpers installed correctly.
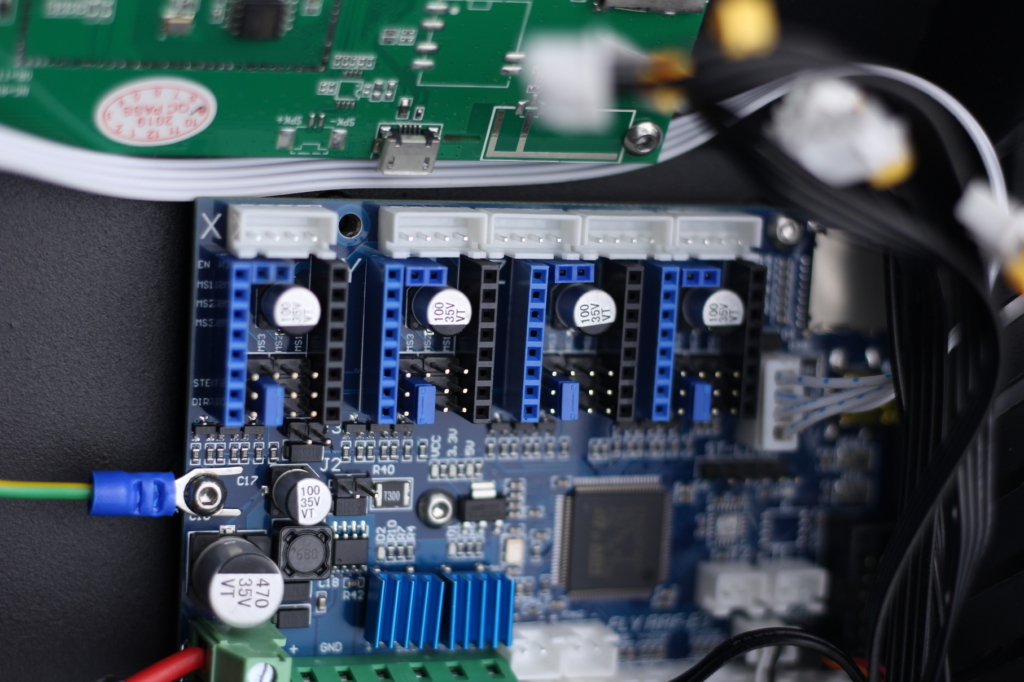
Next, we can install the board to the printer, and wire everything to the correct board jumpers. There’s no wiring diagram made for this, but I attached a few images with the board installed. Just follow the board lables when connecting the wires.
Updating the FLY-RRF E3 firmware
Copy the required files on SD Card
To make things easier, I prepared an archive with the latest firmware available at the time of writing this guide. If you want to use the latest board firmware and Wi-Fi firmware, feel free to download them and rename them accordingly.
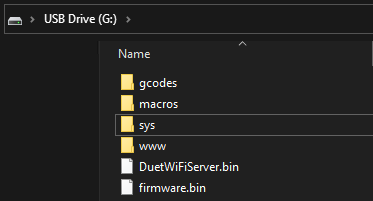
Copy the files inside the folder to the root of your SD card as shown below:
We need to edit the credentials for Wi-Fi. Open the SetNetwork file from the macros folder with Notepad and enter your network name and password, then save the file.
You can now remove the SD card and plug it into the FLY-E3 board.
Connect to the board using YAT
To flash the required Wi-Fi firmware, we need to connect to the board using YAT. Download the latest version of YAT and install it.

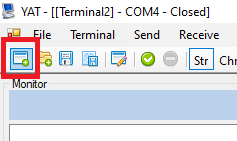
Next, open YAT and create a new connection by clicking the small top left icon
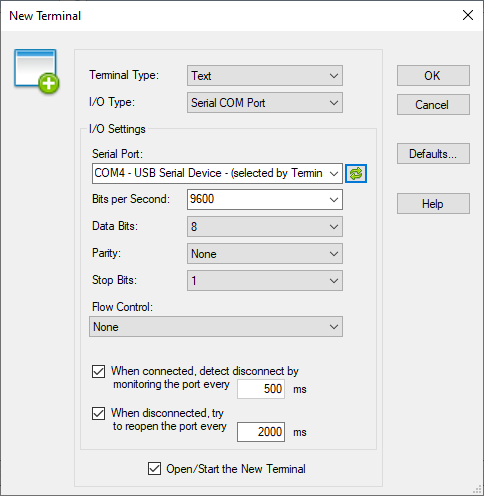
Set your new connection according to the image below, then press OK
Finally, run the following command to ensure that RRF has been flashed successfully
M115Flash Wi-Fi chip
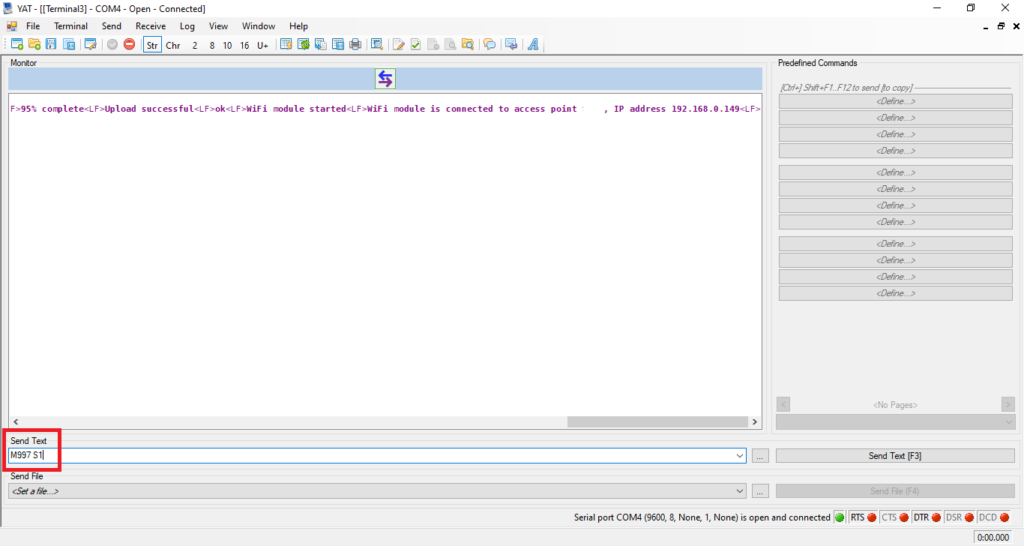
First, we need to flash the Wi-Fi chip. To do this, type the following command:
M997 S1The flashing process will finish in about a minute. As you can see, my printer connected to Wi-Fi automatically but this is because I previously ran the SetNetwork macro. If you are doing it for the first time, you need to manually connect to Wi-Fi first.
Connect to Wi-Fi
There are two ways to connect the FLY-RRF E3 to Wi-Fi. The easiest way would be to use the touchscreen and run the SetNetwork Macro which will automatically connect your printer to Wi-Fi.
If you haven’t upgraded the screen, or for some reason, this process does not work, you can also connect manually by running the following commands:
M552 S0
M587 S"WiFi Name" P"WiFi Password"
M552 S1
Of course, you will need to enter your own SSID name and password, just like you did when editing the SetNetwork macro.
After running these commands, you should be able to connect to the DWC web interface using the printer IP.
Mandatory calibration steps for the Ender 5 Plus
While I included my calibrated settings in the firmware configuration, every printer is different. So it’s important to do these three calibration steps before going further.
Hotend PID Tuning
- Home the printer.
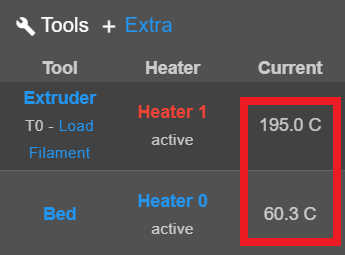
- Turn on the part cooling fan to 100% and set the bed temperature to 60C.
- Run the M303 T0 S195 command.
- Wait for the process to finish.
- Run the M500 command to save the values.
I am using 195 for the S value because that’s the hotend temperature I use most of the time. Please use your own value according to the material you use during printing
Heatbed PID Tuning
- Home the printer.
- Run the M303 H0 S60 command.
- Wait for the process to finish.
- Run the M500 command to save the values.
I am using 60 for the S value because that’s the bed temperature I use most of the time. Please use your own value according to the material you use during printing.
Z Offset Calibration
1. Home the printer
2. Set the hotend to 195C and heatbed to 60C. Please use your own value according to the material you use during printing (ex: 230/70 for PETG) The offset can change according to the temperature.
3. Place a piece of paper between the nozzle and the bed.
4. Lower the nozzle using the Z -0.05 increment button until the nozzle barely grips the paper.
5. Run the G92 Z0 command to define the 0 position.
6. Move the Z axis 10 mm up by clicking the Z+5 button twice.
7. Run the G30 S-1 command.
8. Copy the Z height value from the home screen.
9. Open config.g and edit the Z value under the G31 command then save your modification.
Wrapping up
I hope this guide helped you upgrade your Ender 5 Plus to RepRap firmware and now your printer has more functionality.
Make sure you also check out the Ultimate 3D Printer Upgrade Purchase Guide article where I cover various 3D printer hardware which can improve your print quality.
If you have questions, feel free to leave a comment or join the 3DPrintBeginner Discord where you can get help.
Liked it?
|
|














Hello, I have problem with ender 5 with FLY-RRF. Everything work fine instead of printing and F2 fan(printing cooling)- on screen it’s showing (-100%) of speed. So the problem is that when I start priting it generally be very slowly. The speed was set to 80mm/s but it’s run 12mm/s at pik. I’m using Cura 4.9 and in setting change value to reprap firmware. I dont know what to do :/
Sorry, I don’t use Cura. Maybe join the FLY Discord for help, or send the seller a message.