Creality Ender 2 Pro Review: Is it worth it?
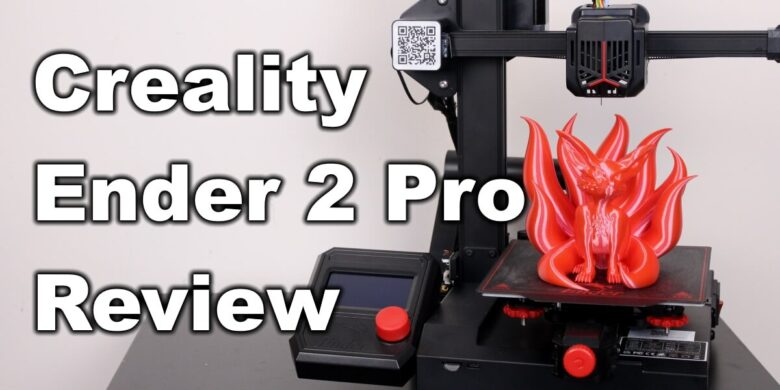
It’s no secret that I love compact 3D printers, so when the Creality Ender 2 Pro was launched I was eager to get my hands on one to test it. I previously tested the Prusa Mini Clone from Fysetc and also the Kingroon KP3S which is currently my favourite compact 3D printer.
Let’s see if the Creality Ender 2 Pro lives up to the expectations and if it manages to dethrone any of the previously mentioned 3D printers.
Creality Ender 2 Pro Shipping and Packaging
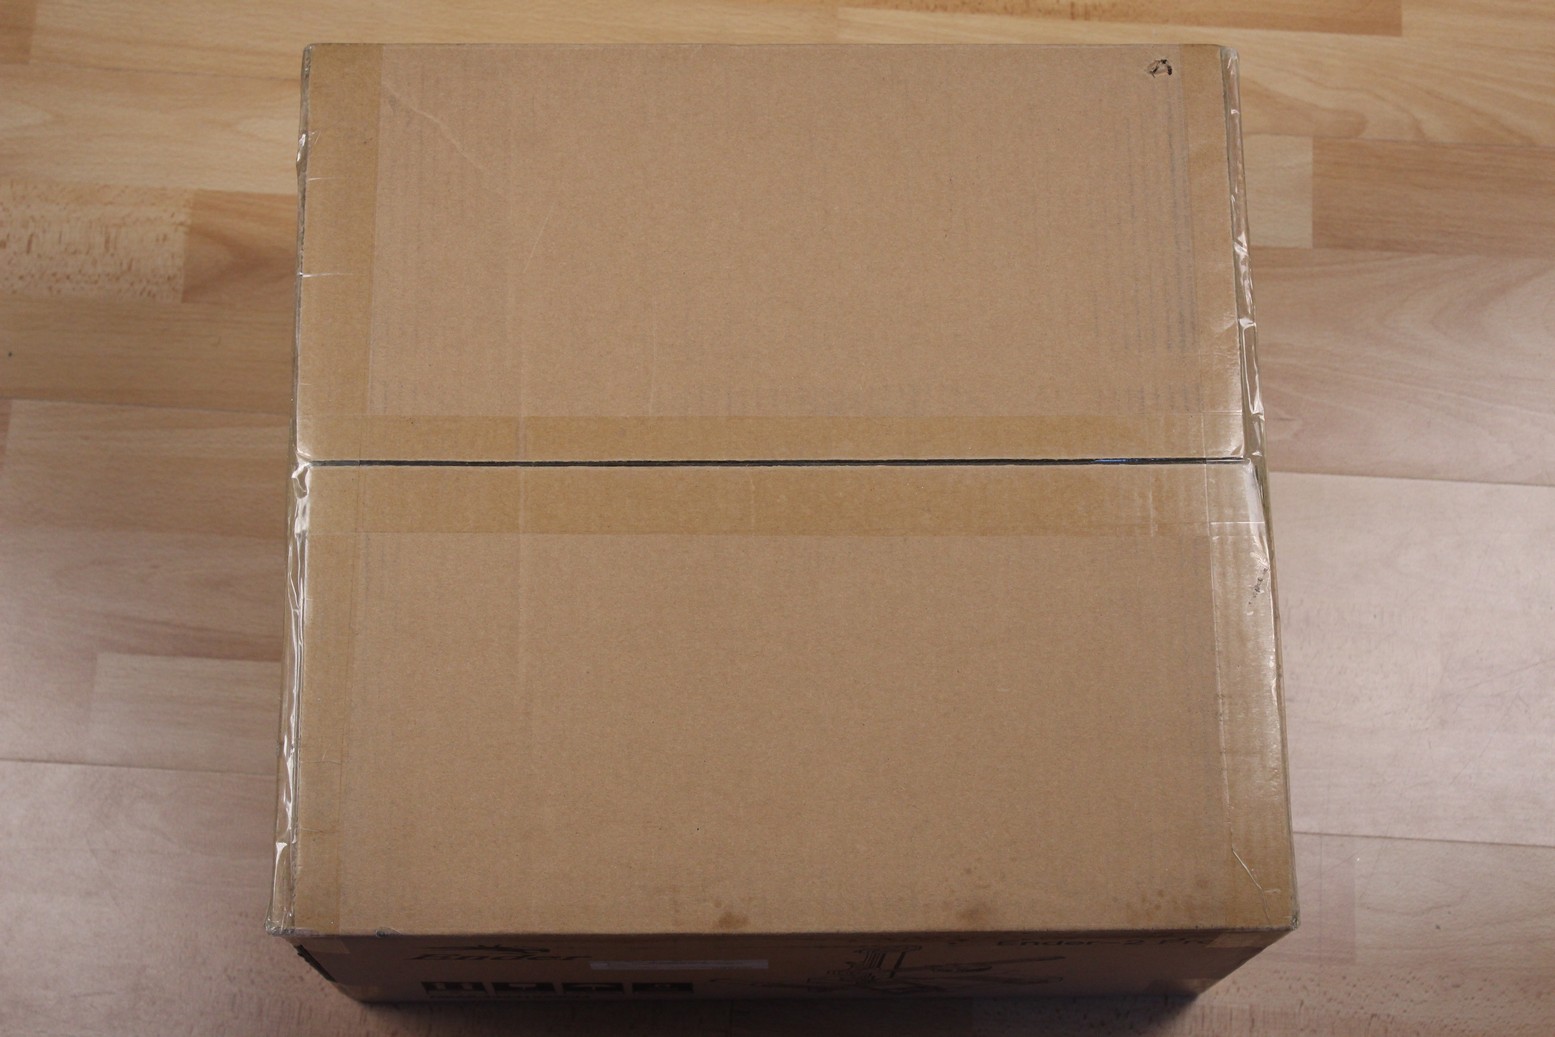
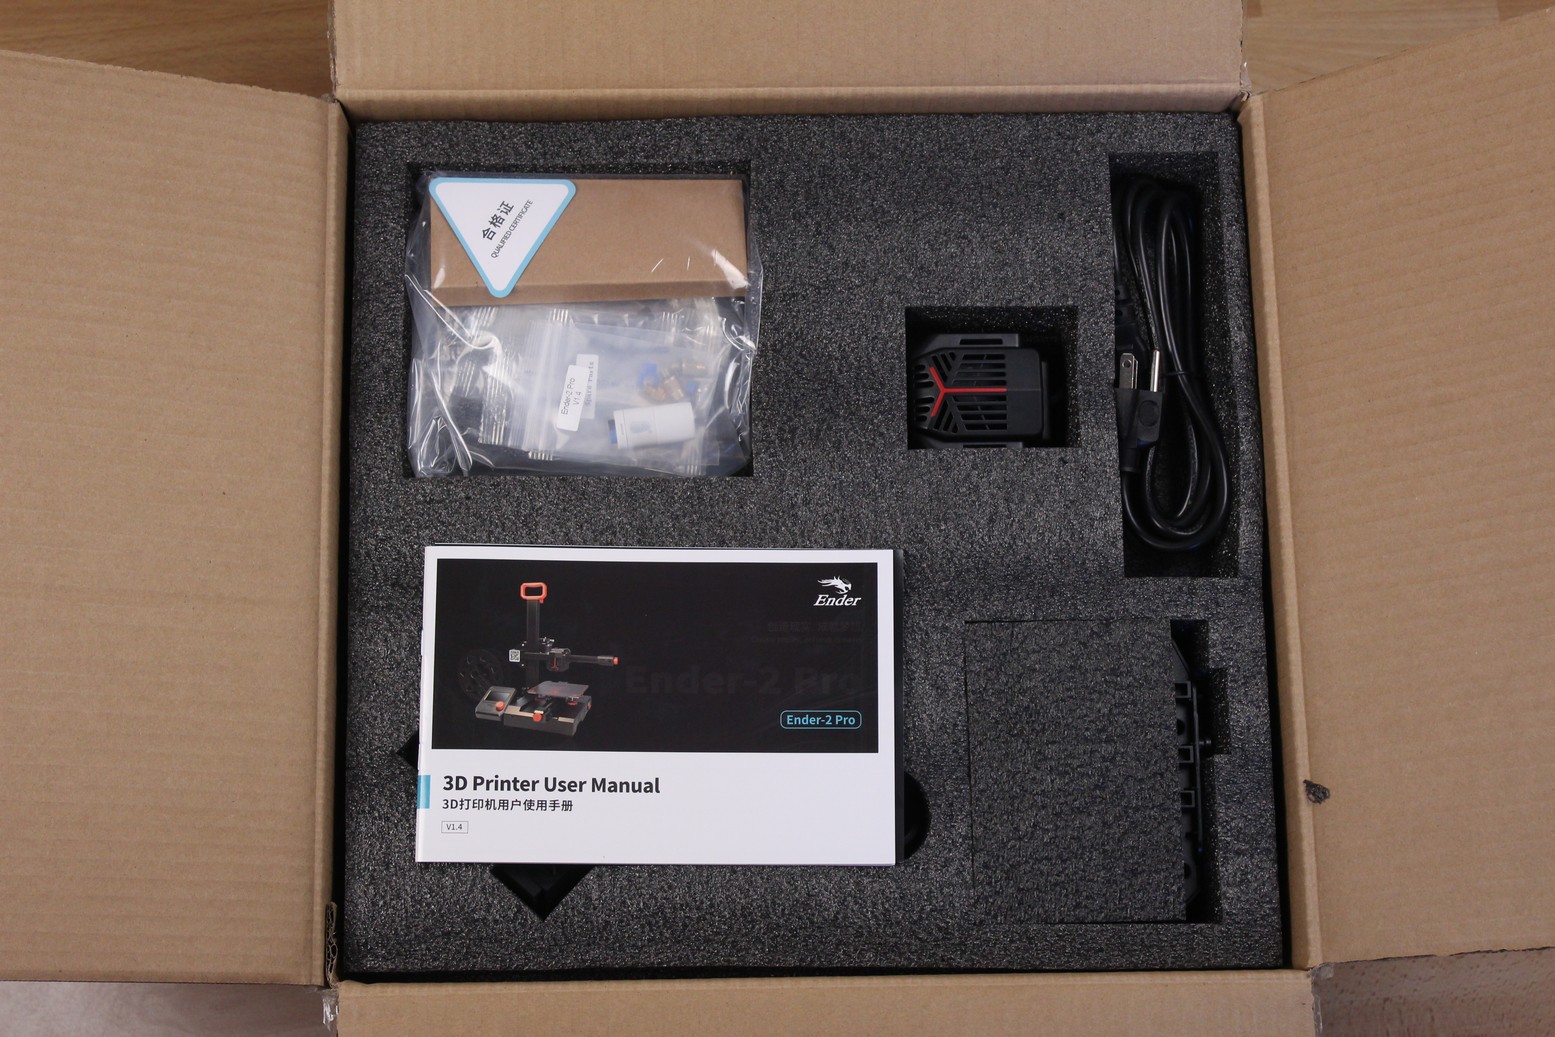
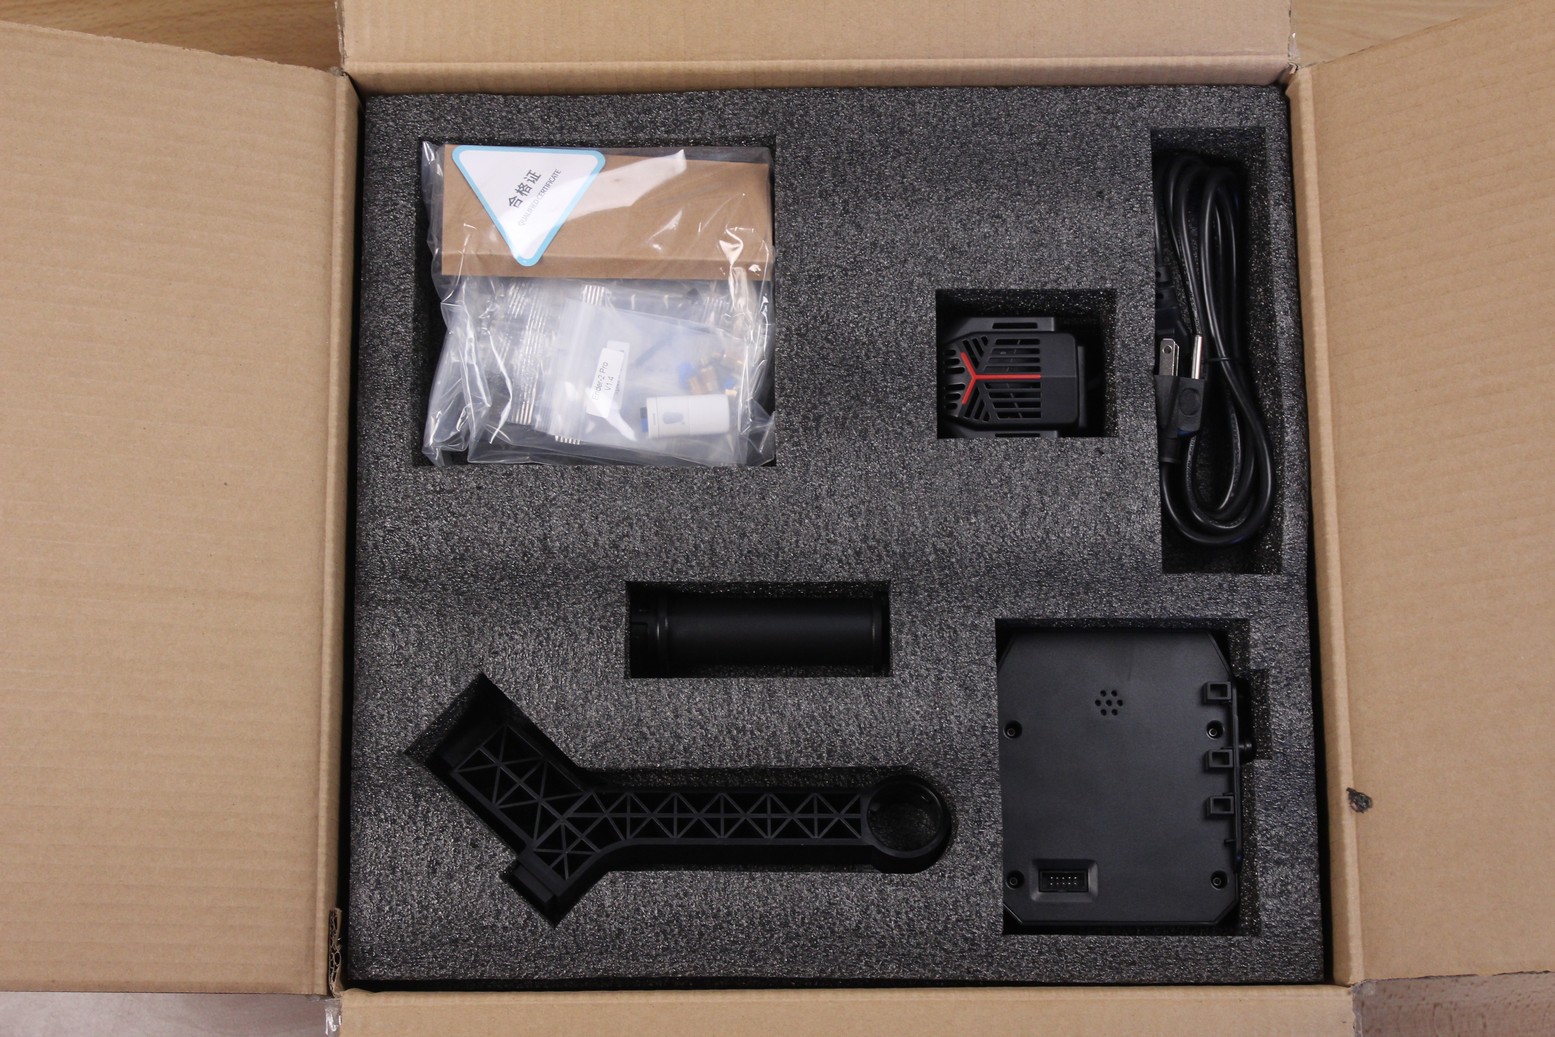
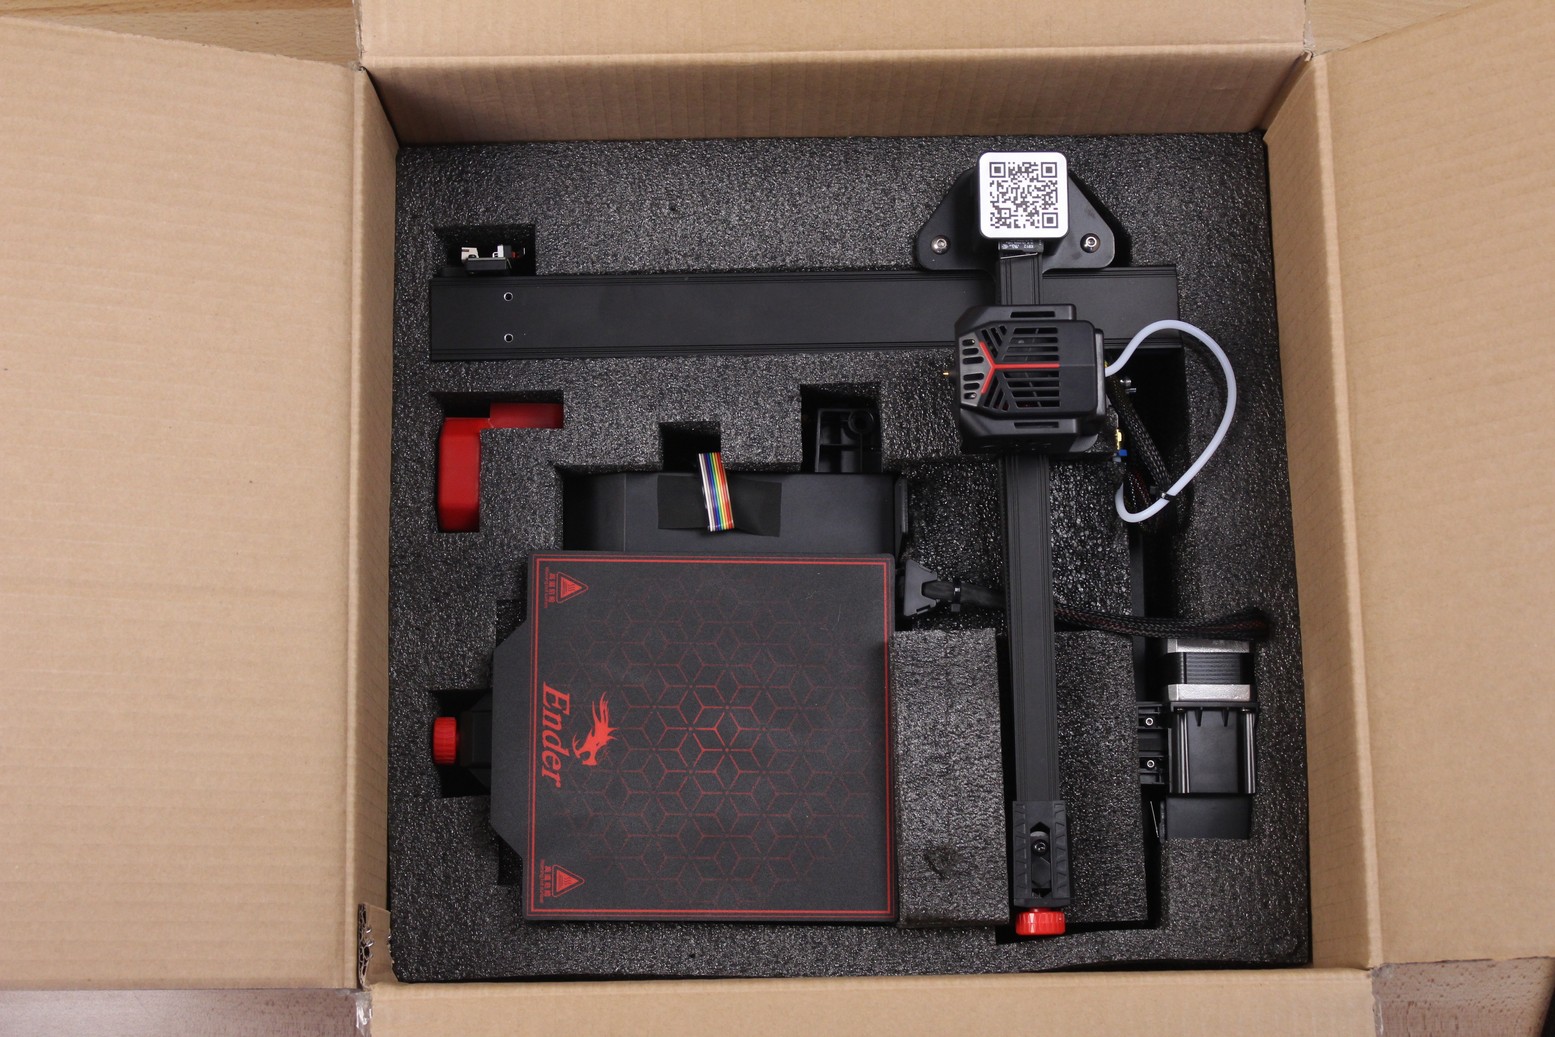
The Creality Ender 2 Pro comes in a small cardboard box with foam packaging around the components. The printer comes partially assembled, and it takes less than 10 minutes to put it together.
Design
The Ender 2 Pro has a cantilever design similar to the KP3S or Prusa Mini. All the electronics are housed in the bottom of the machine.
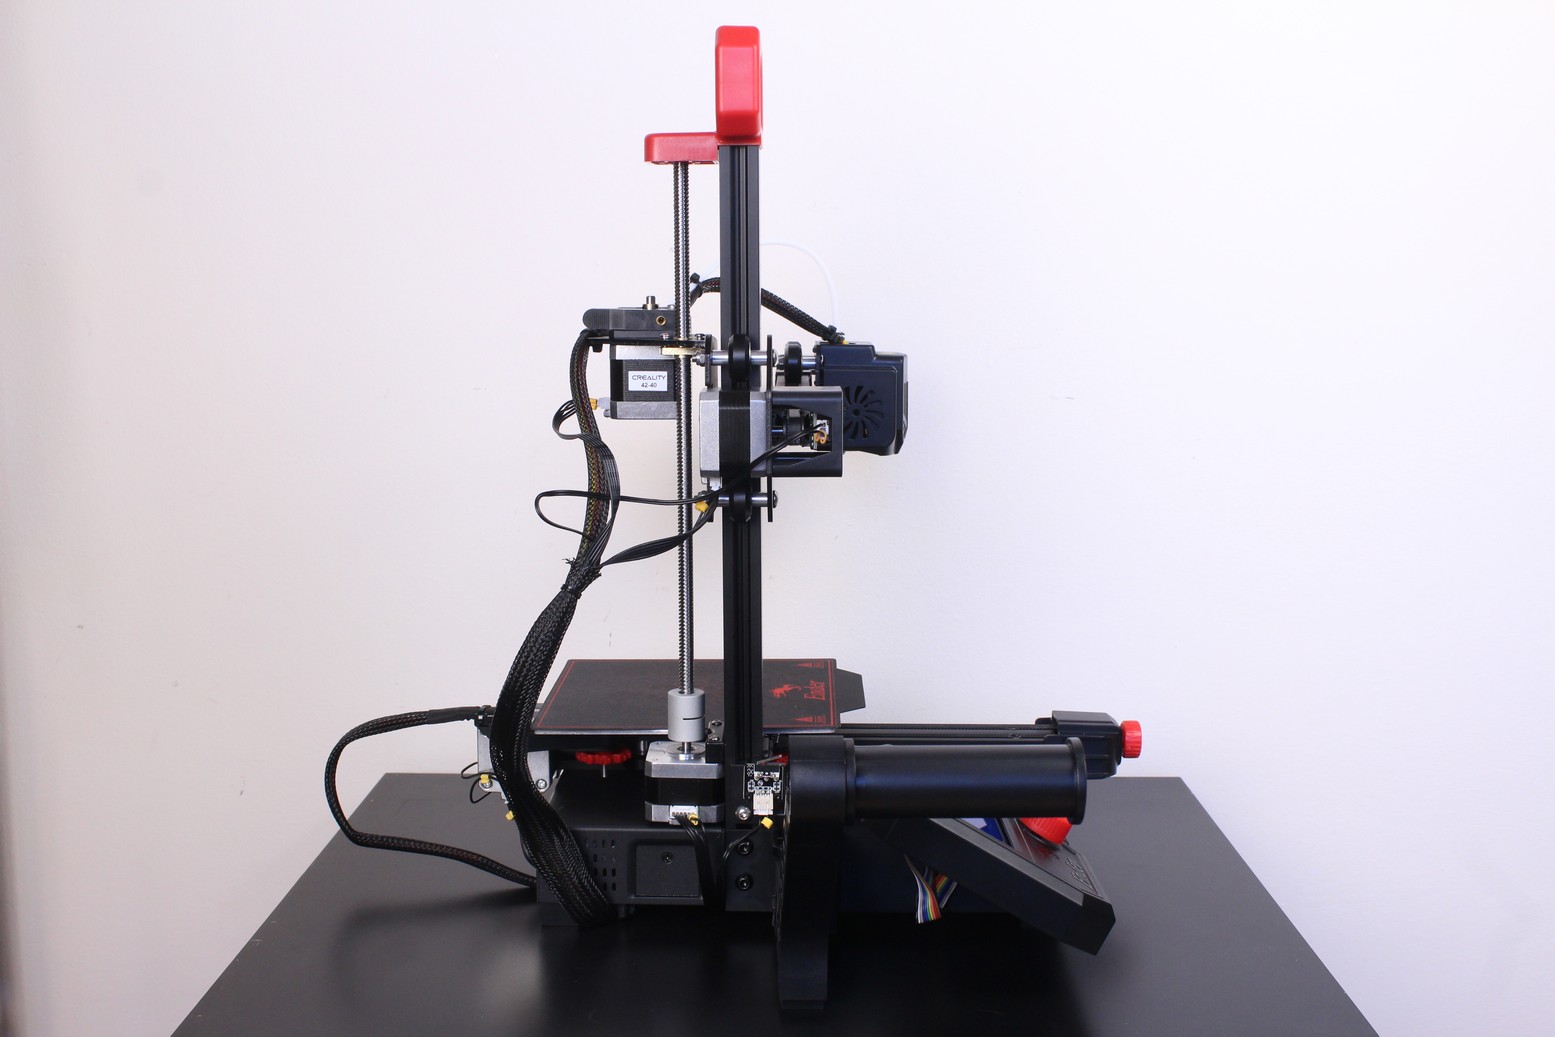
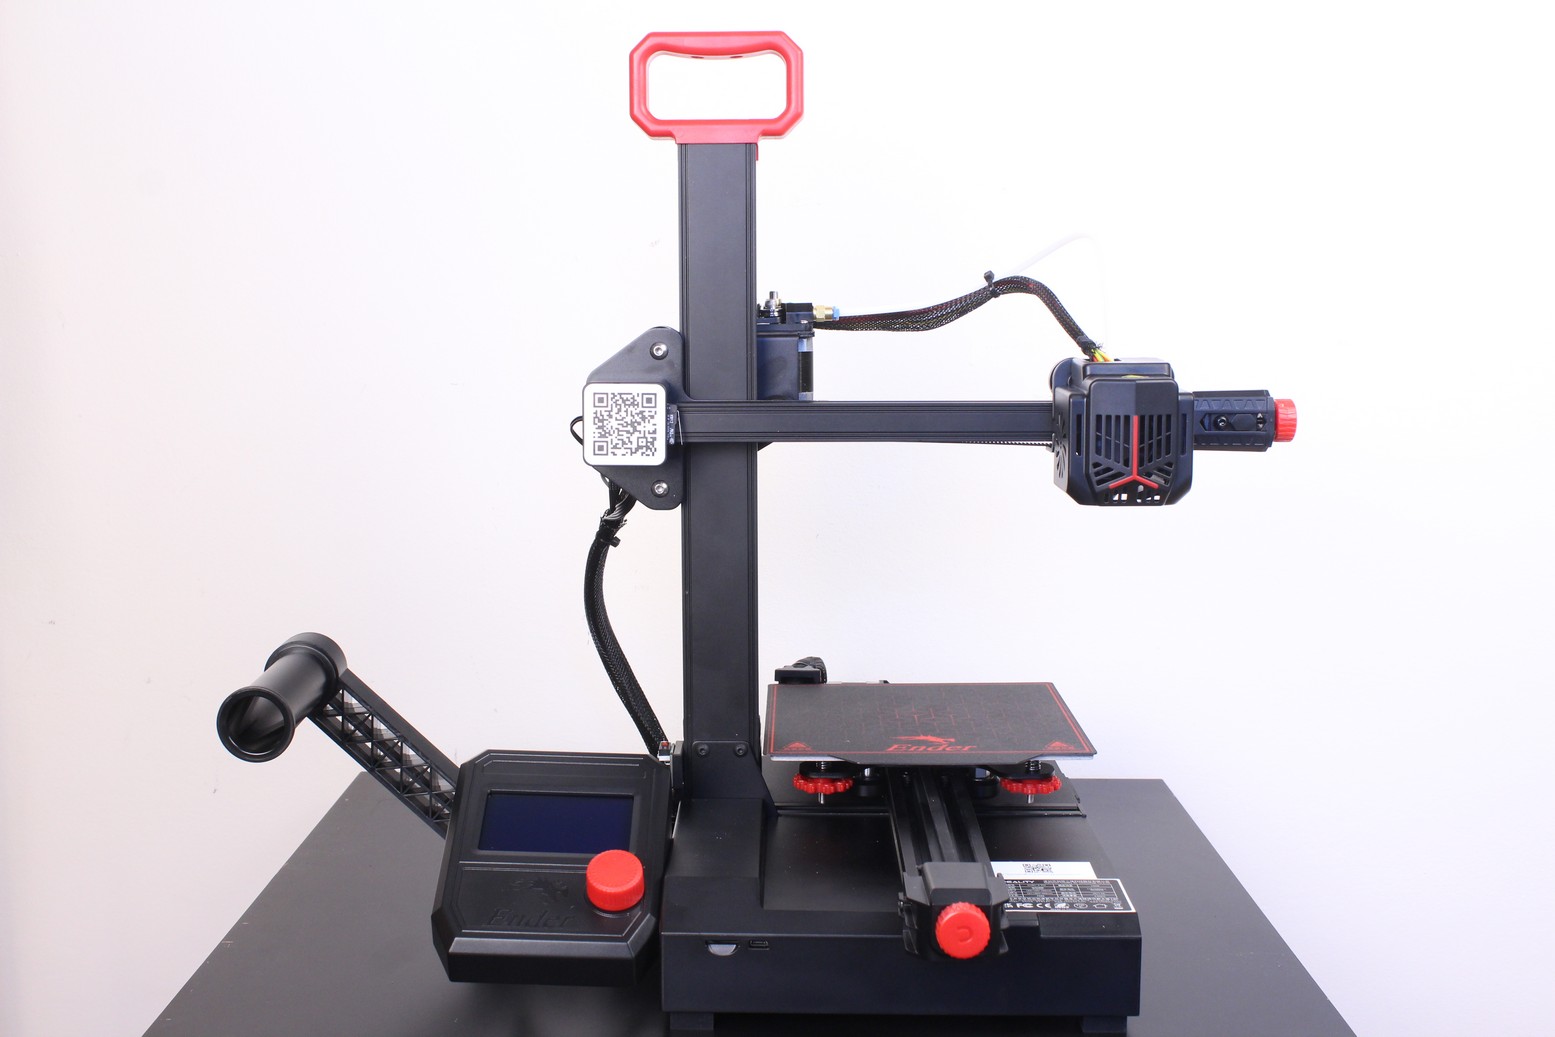
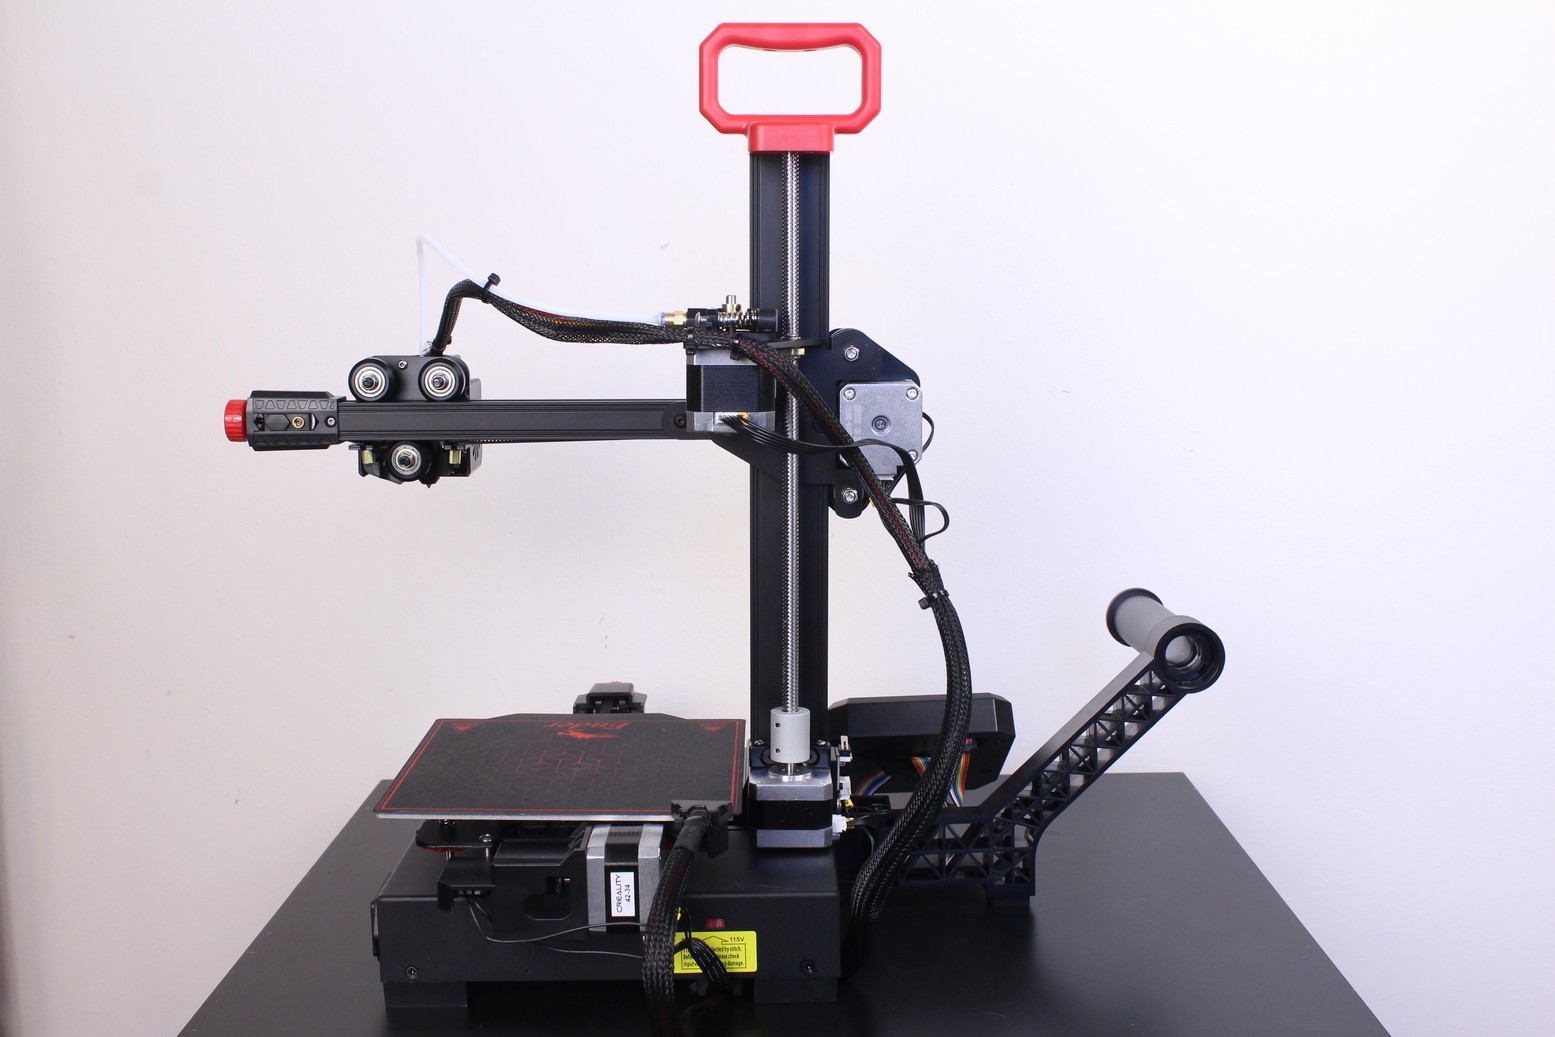
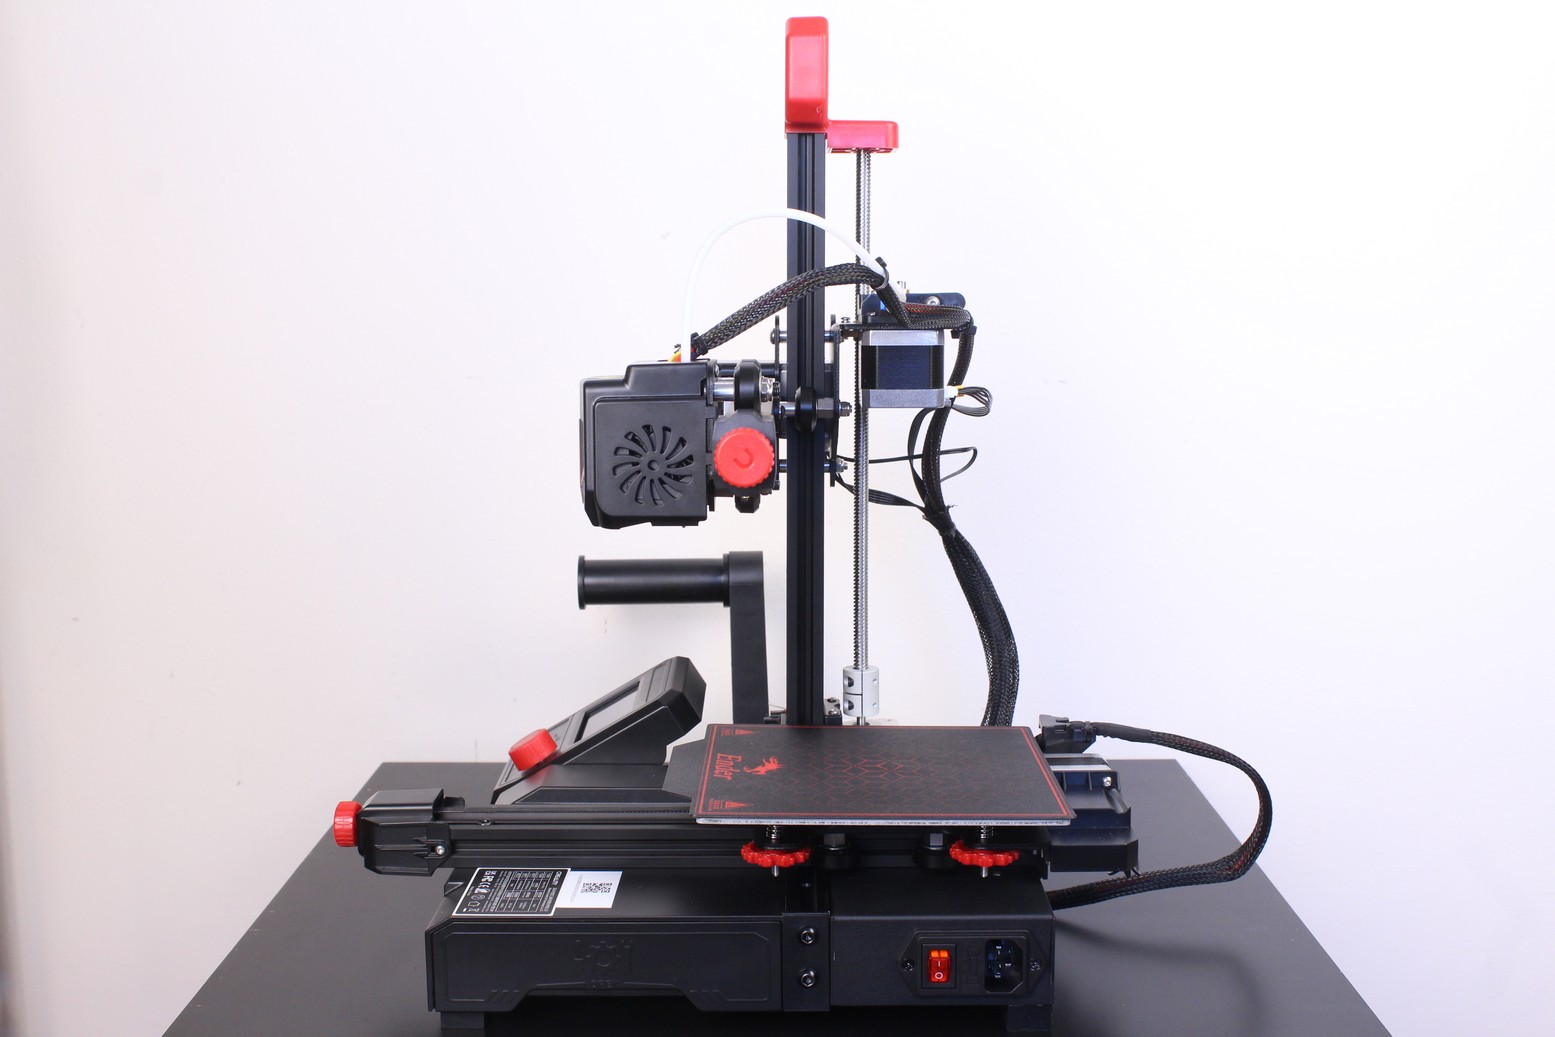
While the Ender 2 Pro is a small 3D printer when it comes to print volume, I can’t say it’s super compact when it comes to the space it takes on a table. The spool holder almost doubles the real estate taken by the printer, but it’s still quite portable.
Creality Ender 2 Pro Specs
| Molding technology | FDM |
| Printer dimensions | 421 x 383 x 465 mm |
| Build size | 165 x 165 x 180 mm |
| Net weight | 4.65 kg |
| Leveling method | Manual leveling |
| Resume printing | Supported |
| Filament detector | No |
| Nozzle temperature | ≤ 260℃ |
| Hotbed temperature | ≤ 80℃ |
| Rated power | 150W |
| Supported filament | PLA/TPU/WOOD |
| Printing speed | ≤ 100 mm/s. Average printing speed |
| Extrusion method | Bowden extruder |
| Display | 12864 integrated screen with control knobs. |
165 x 165 x 180 mm build volume
Compared to the Prusa Mini and the KP3S, the Ender 2 Pro has a smaller build volume on the X and Y axis. 15 mm doesn’t seem too much, but considering that the aforementioned printers take a bit less space and have a bigger print volume, the Ender 2 Pro falls a bit behind.
I say this because after printing for a while with it, I found some models which did not fit on the build plate without resizing them while with the Prusa Mini or KP3S, I did not encounter this issue.
Aluminum heated bed with removable magnetic print surface
The Creality Ender 2 Pro has an aluminum heatbed with a magnetic sticker applied to it. The print surface is magnetic, and similar to the one you get with a KP3S.
Unfortunately, the magnetic attraction between the print surface and the bed is nothing to write home about, so don’t expect to print large ABS models or other kind of materials which could create excessive pulling forces.
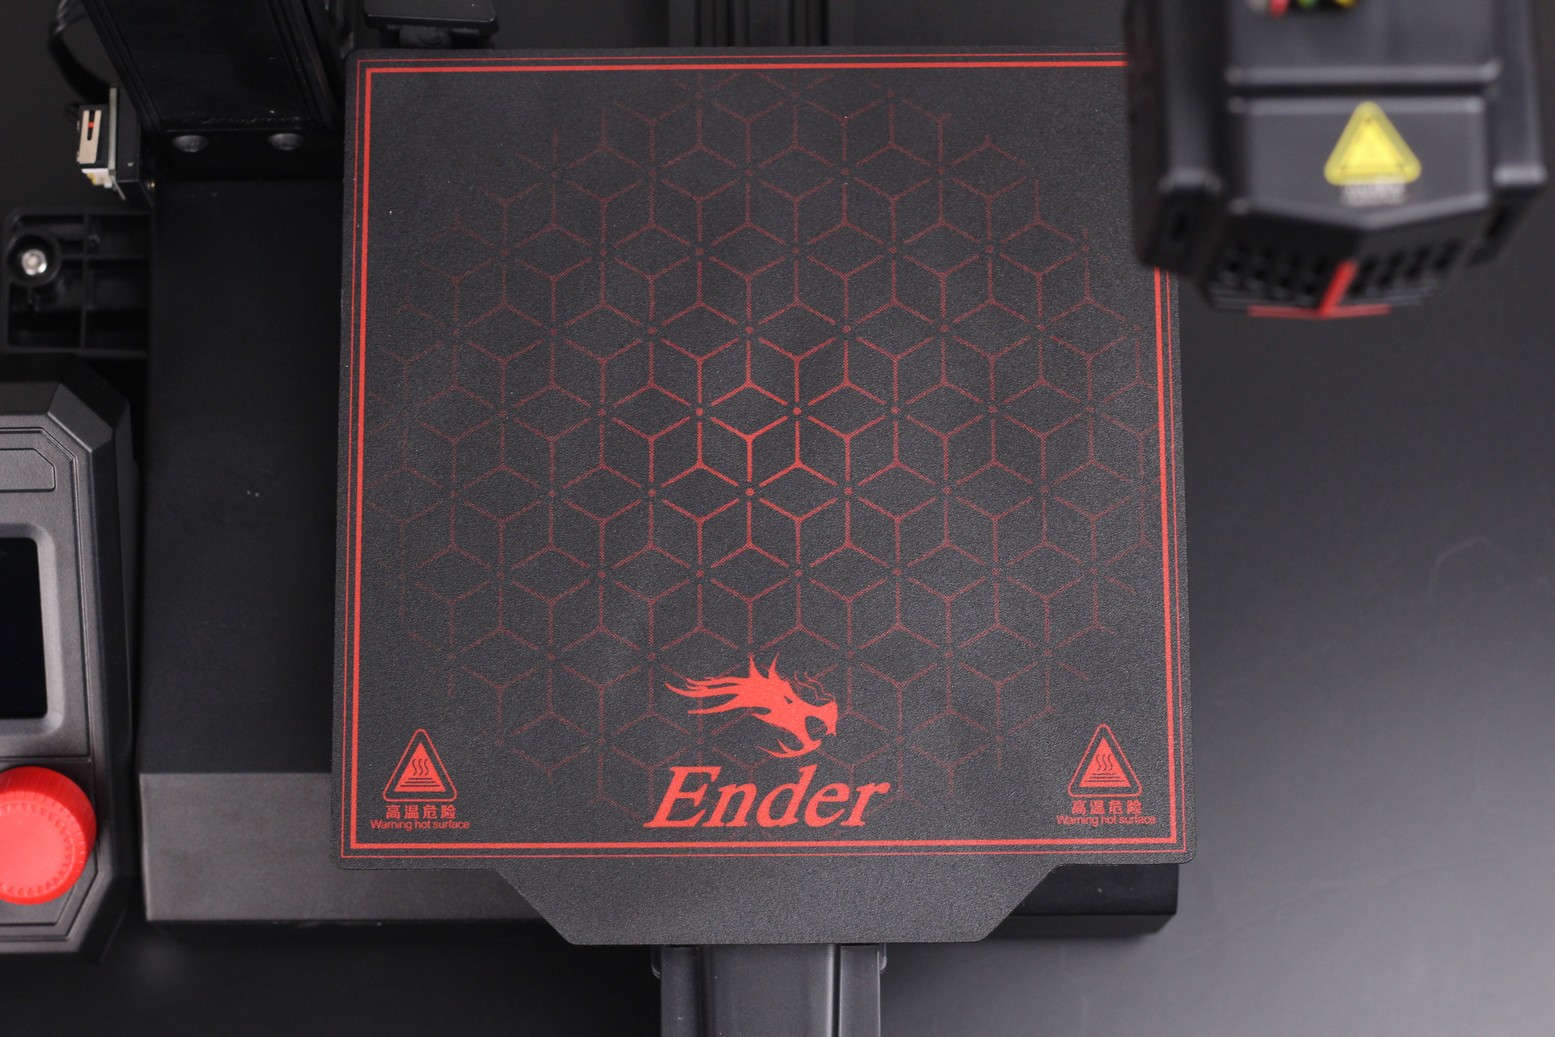
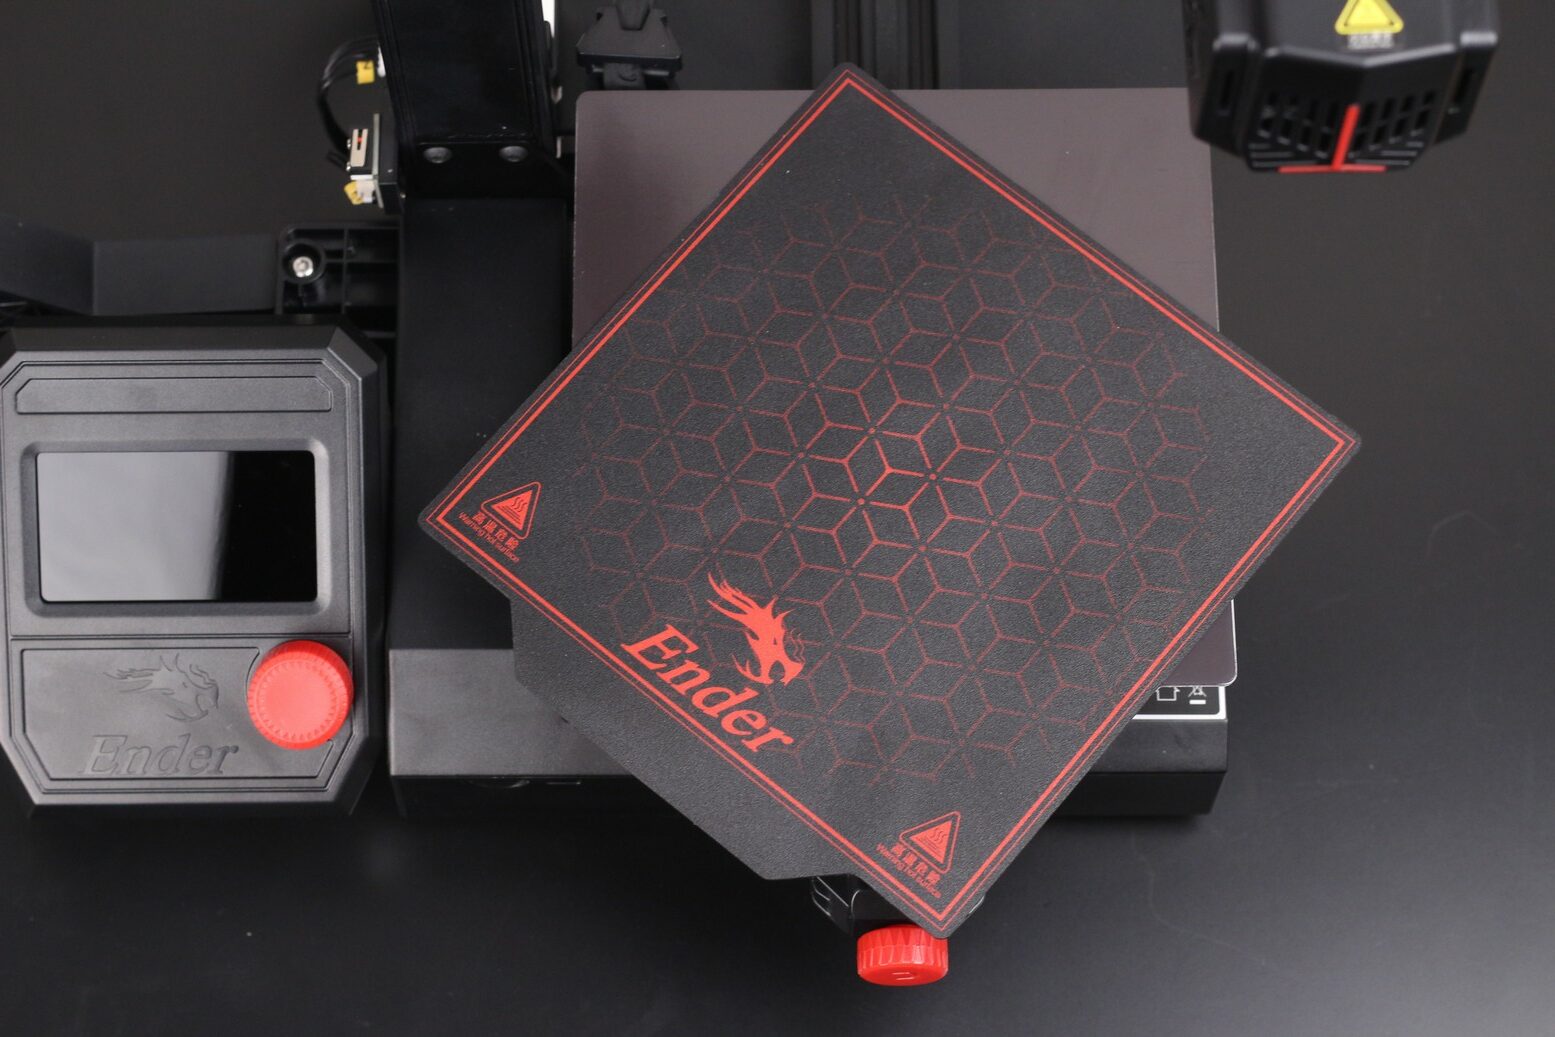
Besides that, the adhesion when printing regular materials like PLA and PETG is not that good. I had to add a thin layer of printing adhesive over the print surface to ensure a good adhesion during printing. There’s also no heatbed insulation to improve efficiency and keep the bed temperature stable.
PTFE Lined Hotend
As you might expect from a budget 3D printer made by Creality, we get the same Creality PTFE lined hotend like in other printers like the Ender 3. You can print lower temperature filaments like PLA and PETG without issues but I recommend not going past 240C because the PTFE tube will start to degrade and start to release harmful fumes.
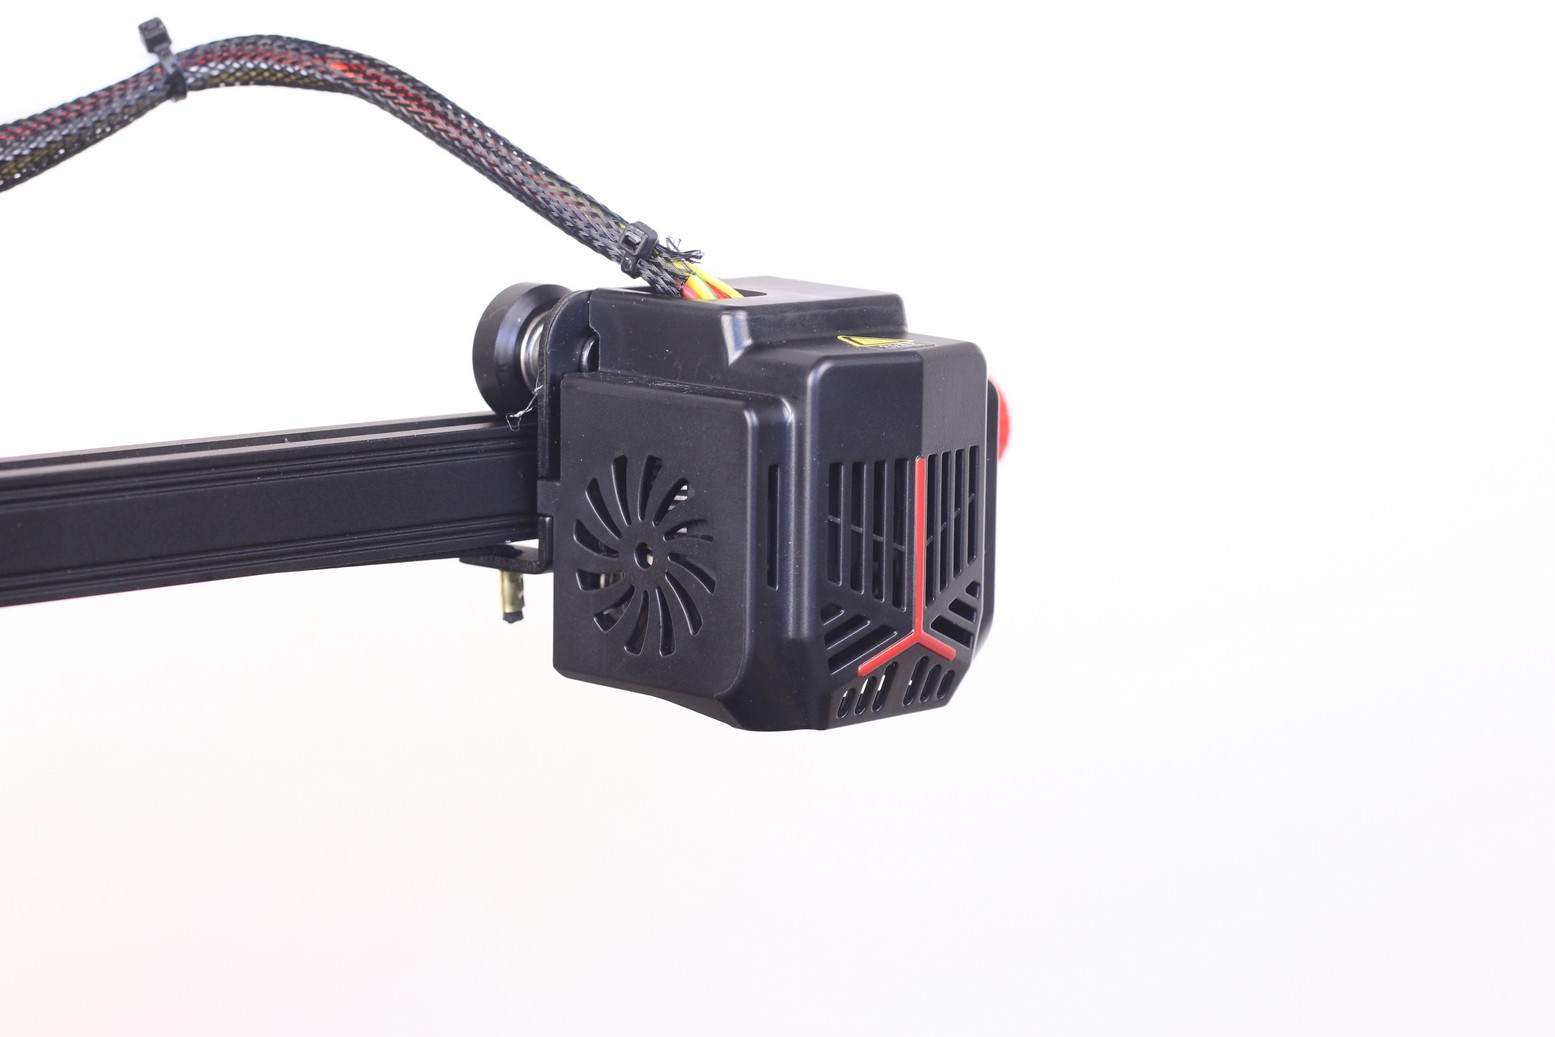
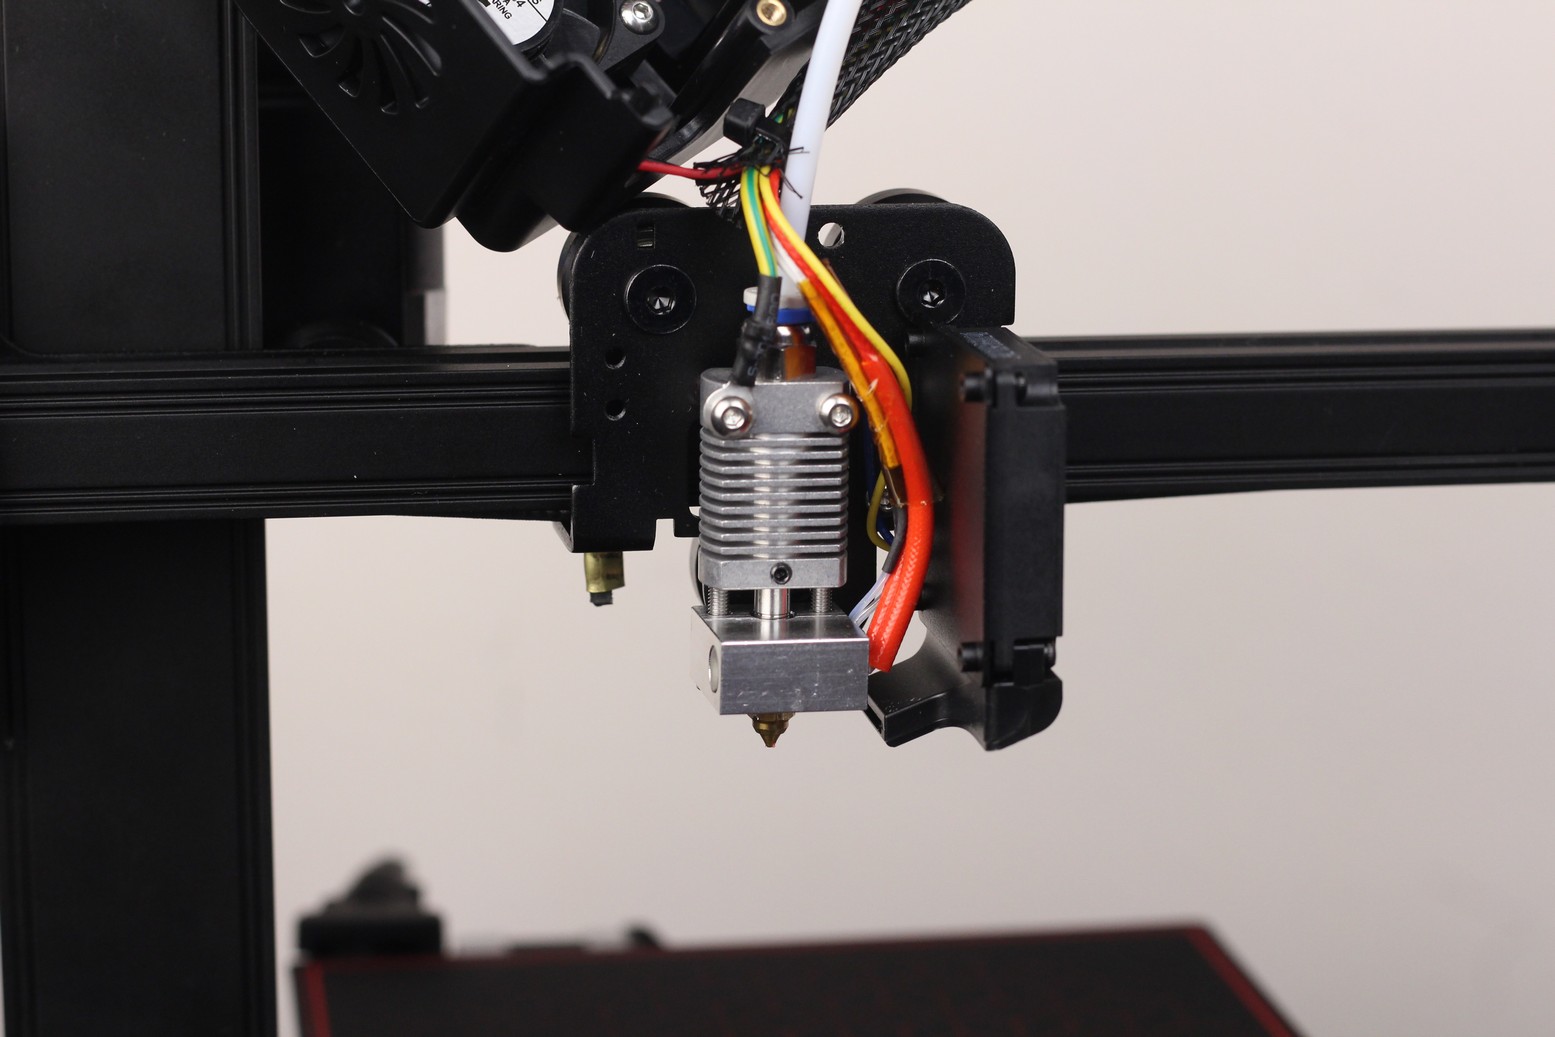
Unfortunately, this hotend performed quite bad during my testing and I blame it on the bad thermal performance of the heat break. When the heat break gets too hot, filament starts to soften before reaching the heat block and this causes inconsistent extrusion and even clogs. Fortunately, I haven’t experienced any clogs, but you will see what I’m talking about in the prints section.
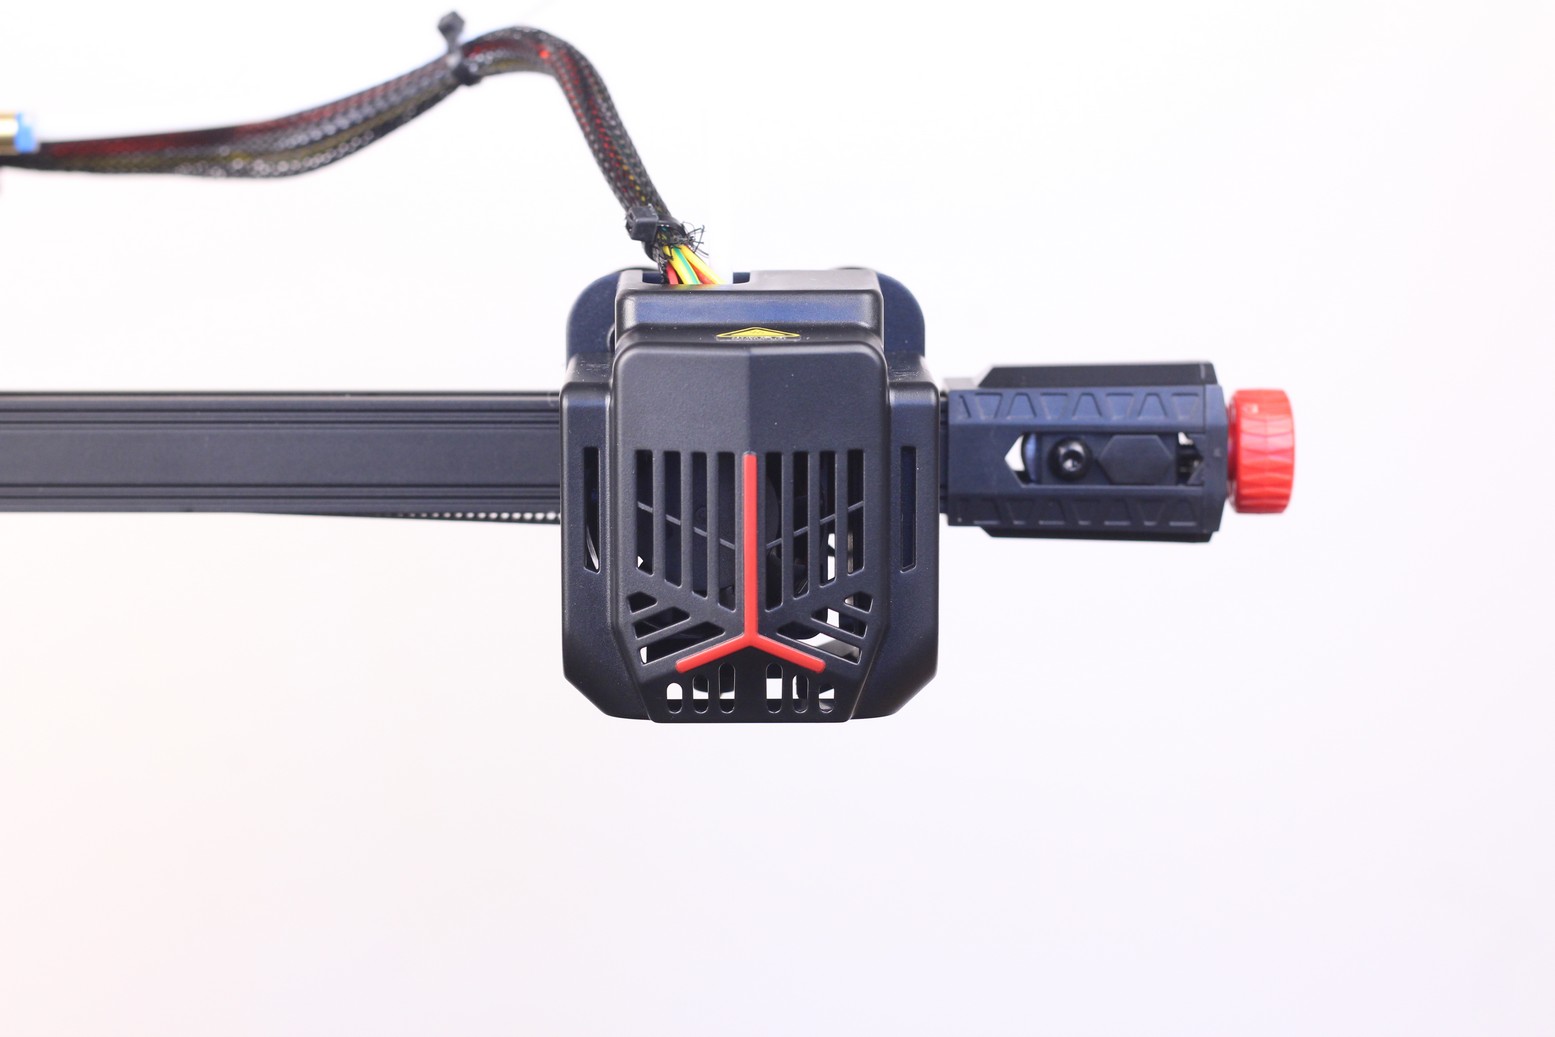
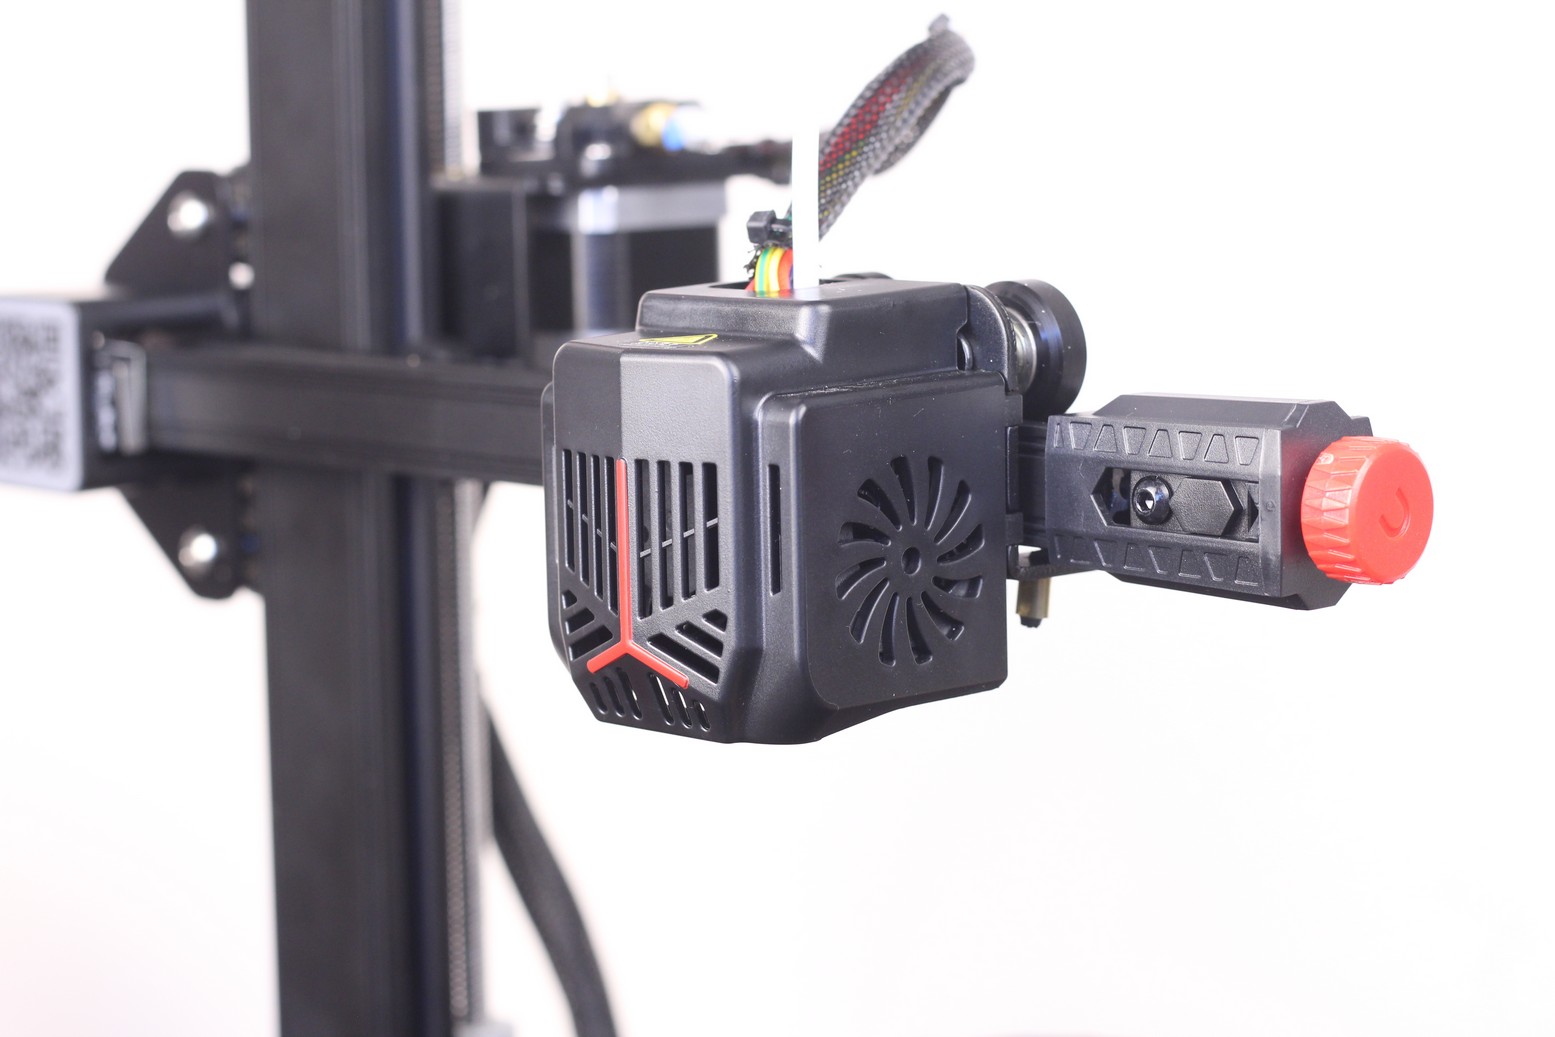
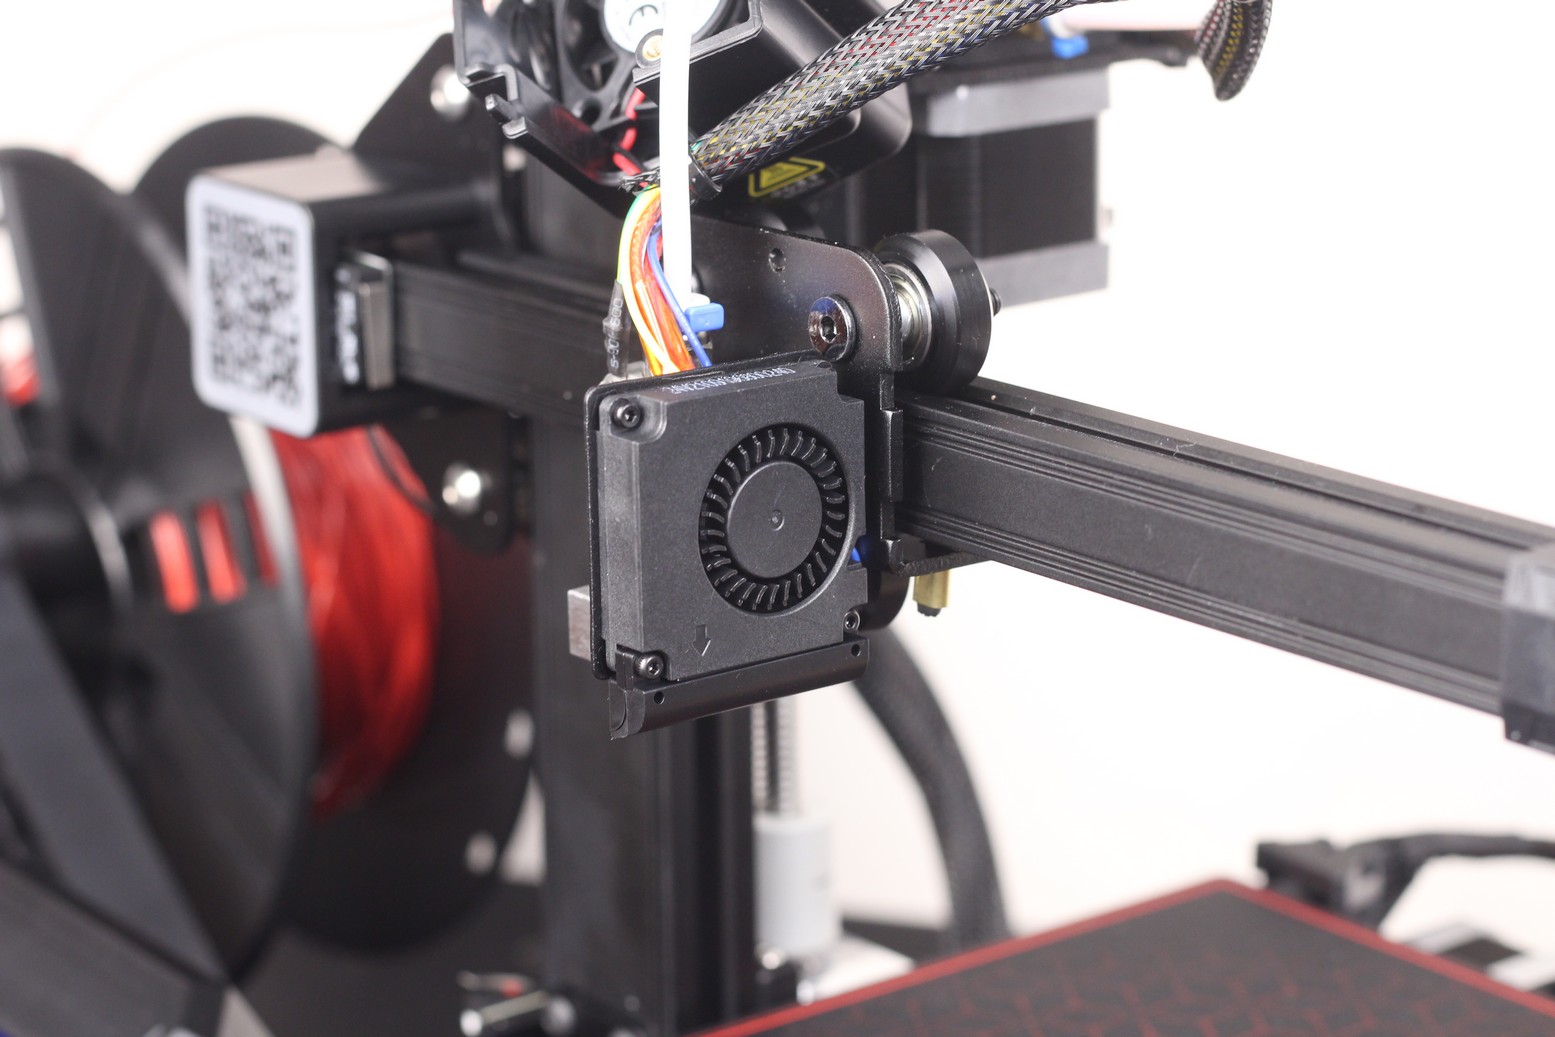
The printhead cover looks nice, and it covers the 4010 radial fan located at the right of the hotend. This fan is probably enough considering the print speeds and the print size of this printer, but there’s clearly space for having two fans inside the shroud. Adding an extra fan would have increased the cost of the printer with a dollar or two, but it would have improved the part cooling performance significantly.
Plastic Single Gear Extruder
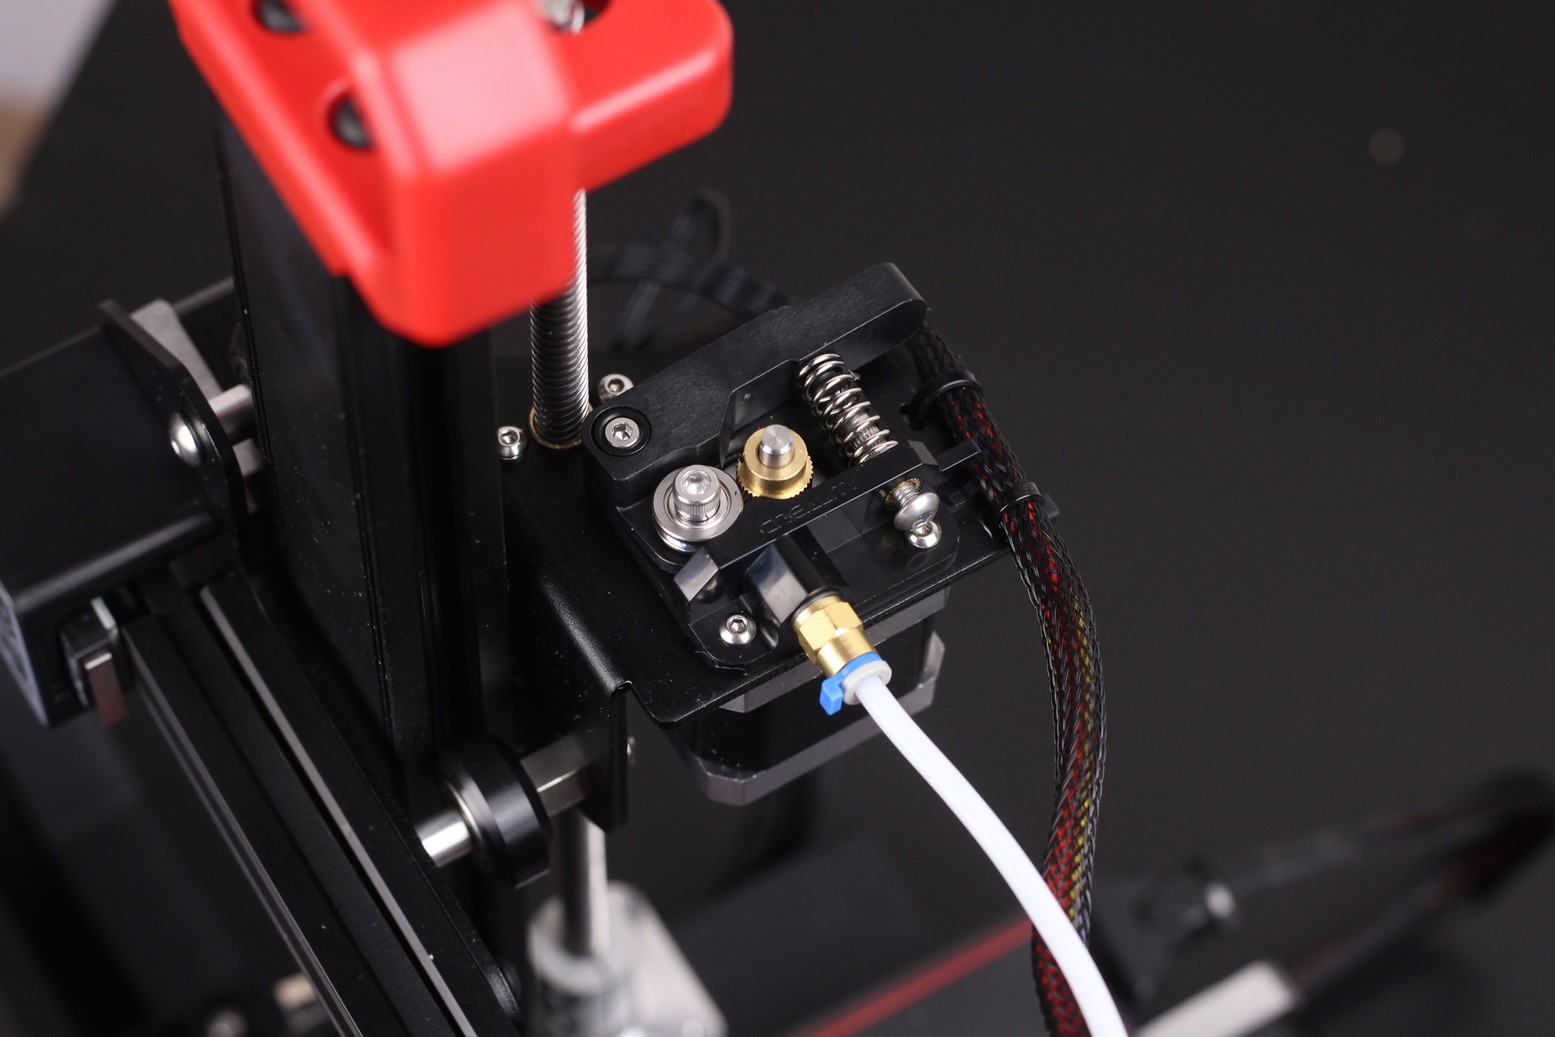
The extruder included with the Ender 2 Pro is made from plastic, and it’s single gear. I would have preferred to see an aluminum extruder like we get on other 3D printers because there are multiple reports online about this plastic extruder cracking over time. During my time with the printer, the extruder is still fine, but considering the price of this machine, I would have still liked to have a metal extruder.
12864 Monochrome Screen
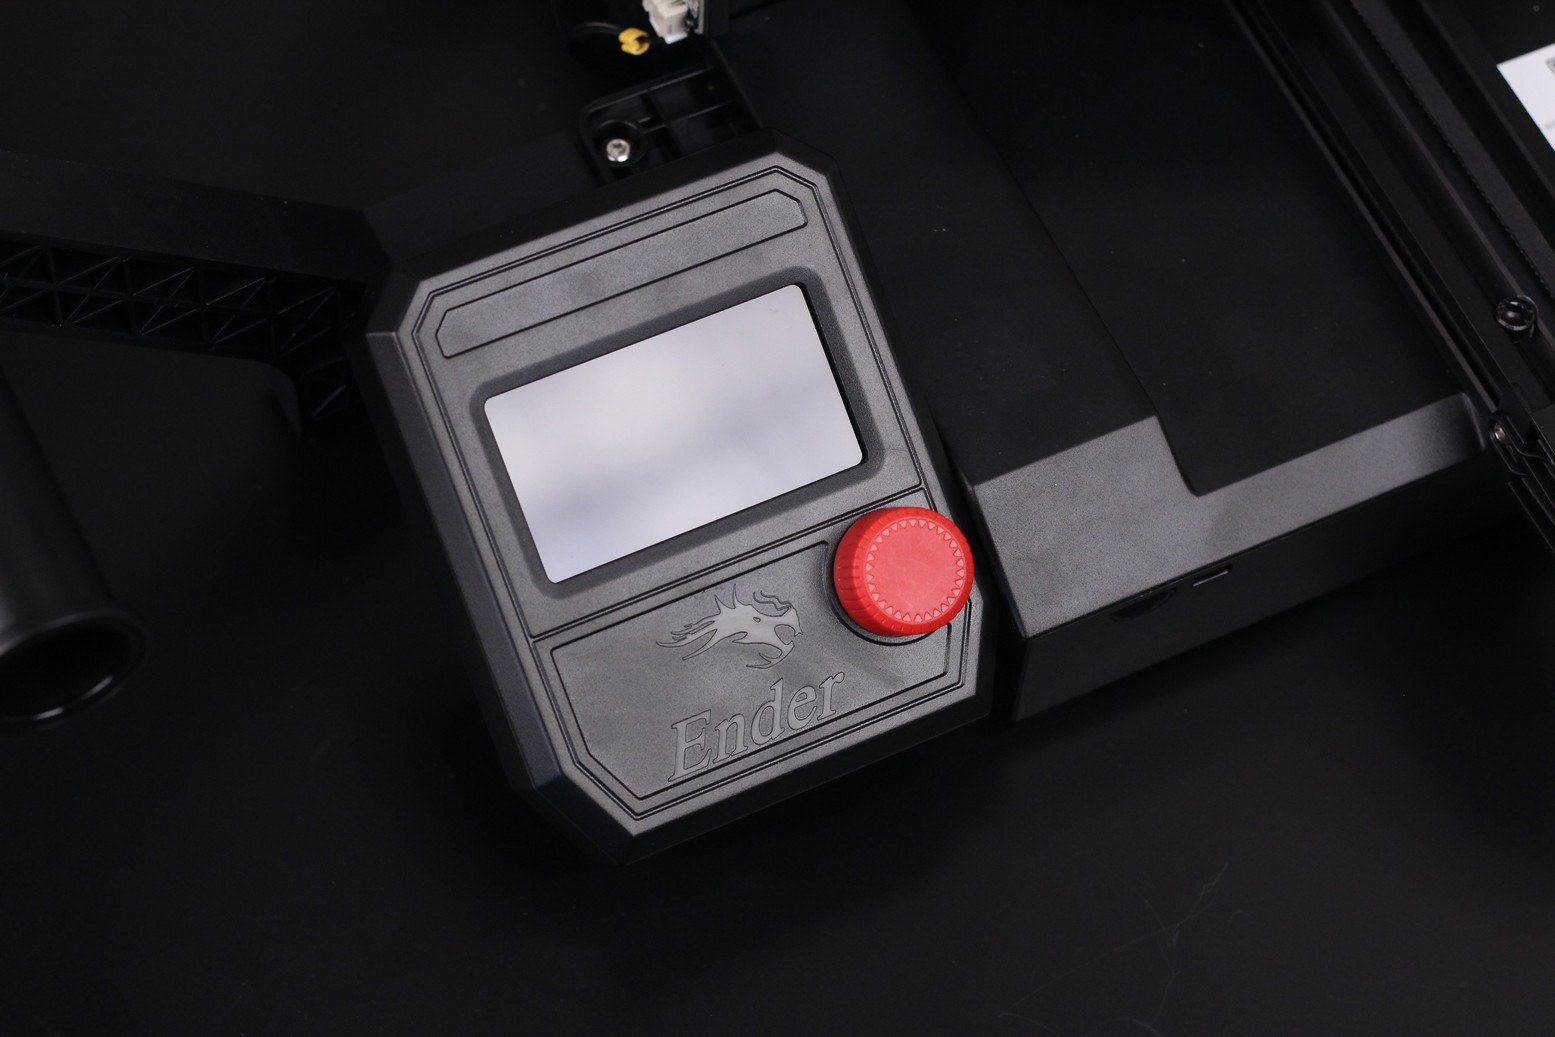
With the Ender 2 Pro, we get a 12864 monochrome screen similar to what we used to get on the older Ender 3. The text is clear and easily legible, so I can’t really complain. It’s also more useful than a touchscreen because it allows to easily implement the M600 command with a custom build of Marlin. But if we’re talking about the firmware…
The printer comes with Marlin 2.0.6.3 but a lot of firmware features are not enabled. For example, the assisted corner leveling feature is not enabled and I’m not sure why. This feature would allow users to automatically move the print head to each of the corners for easier bed leveling.
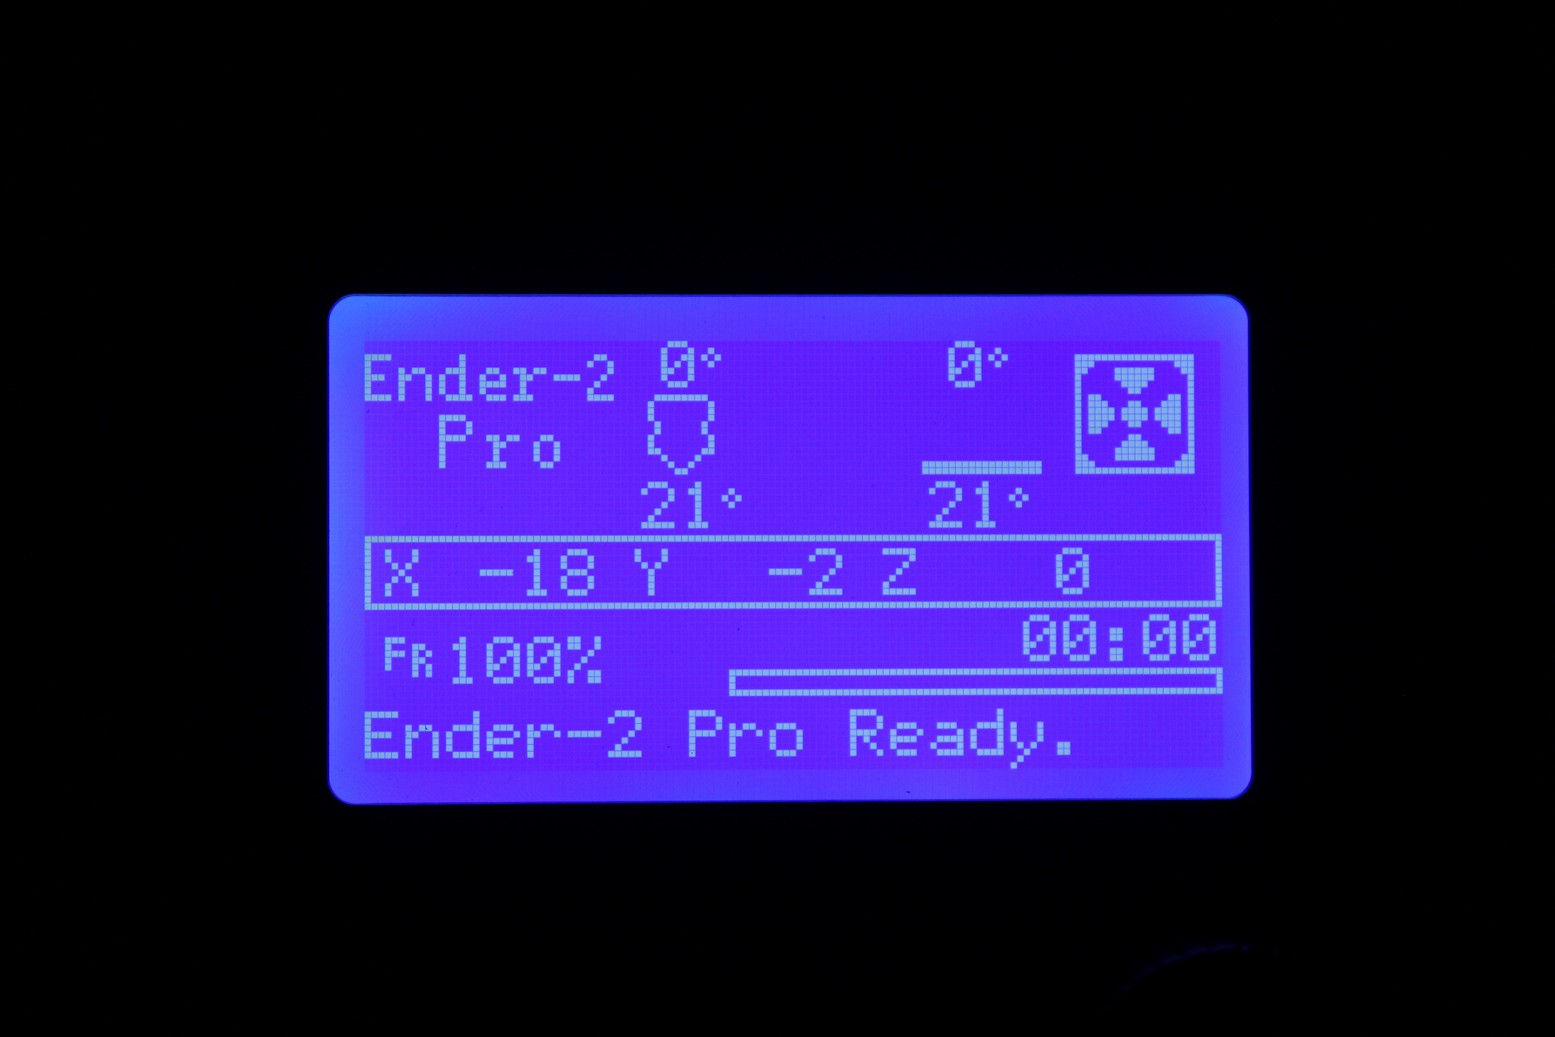
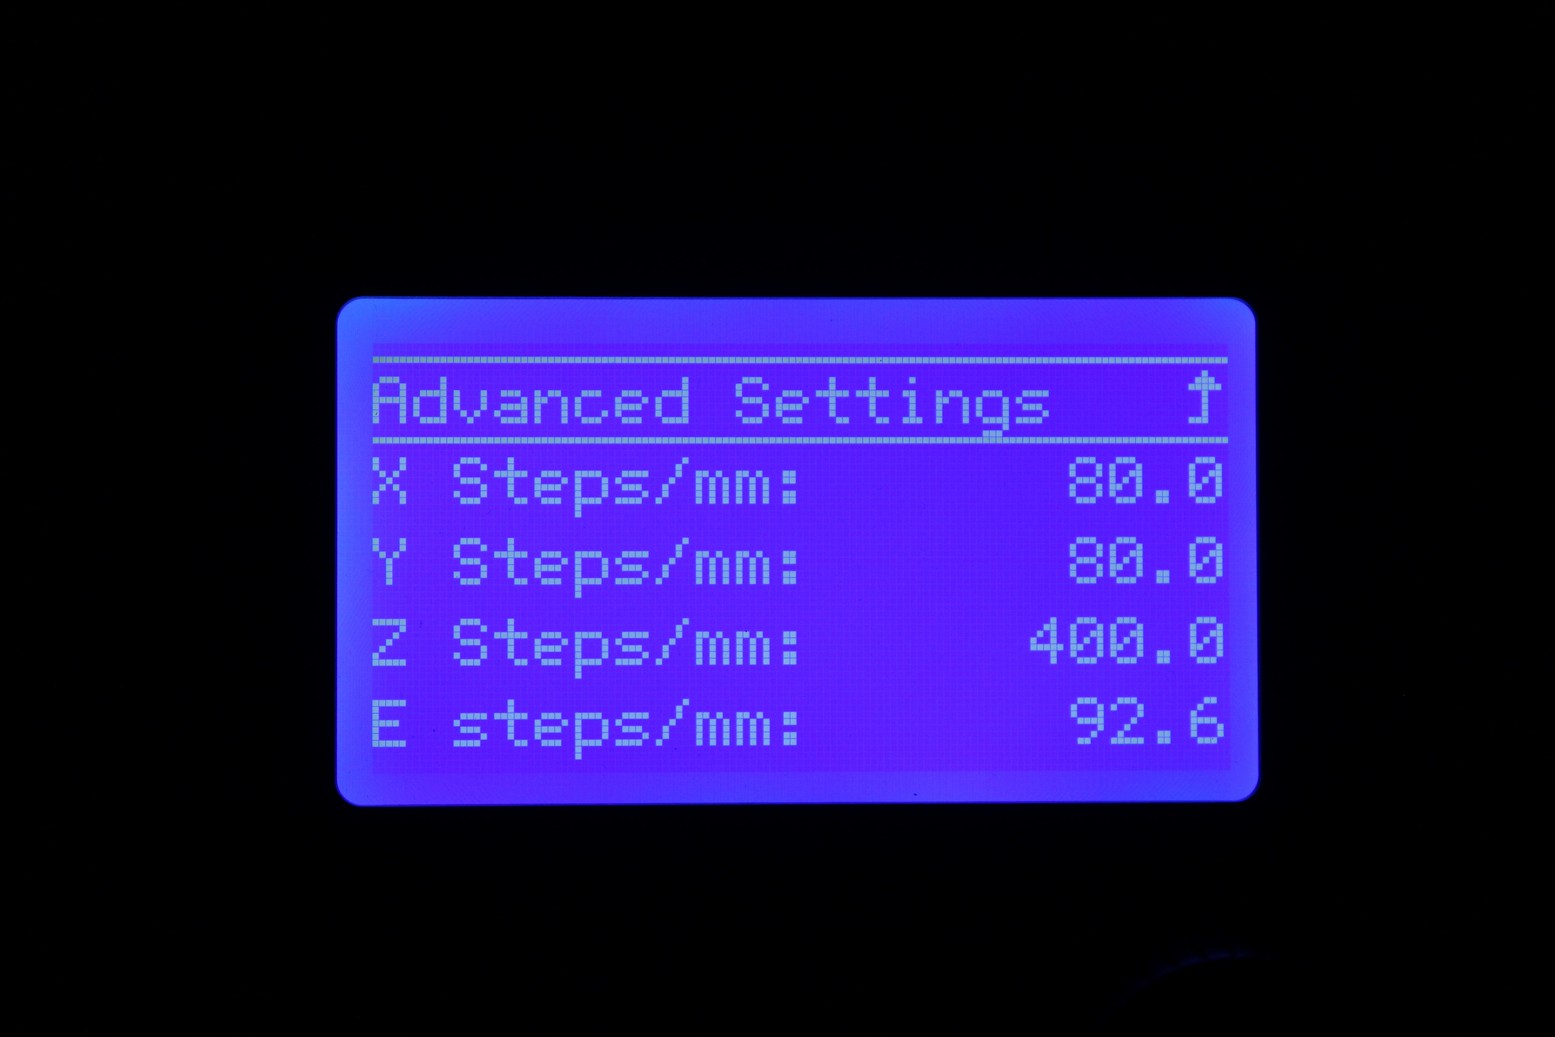
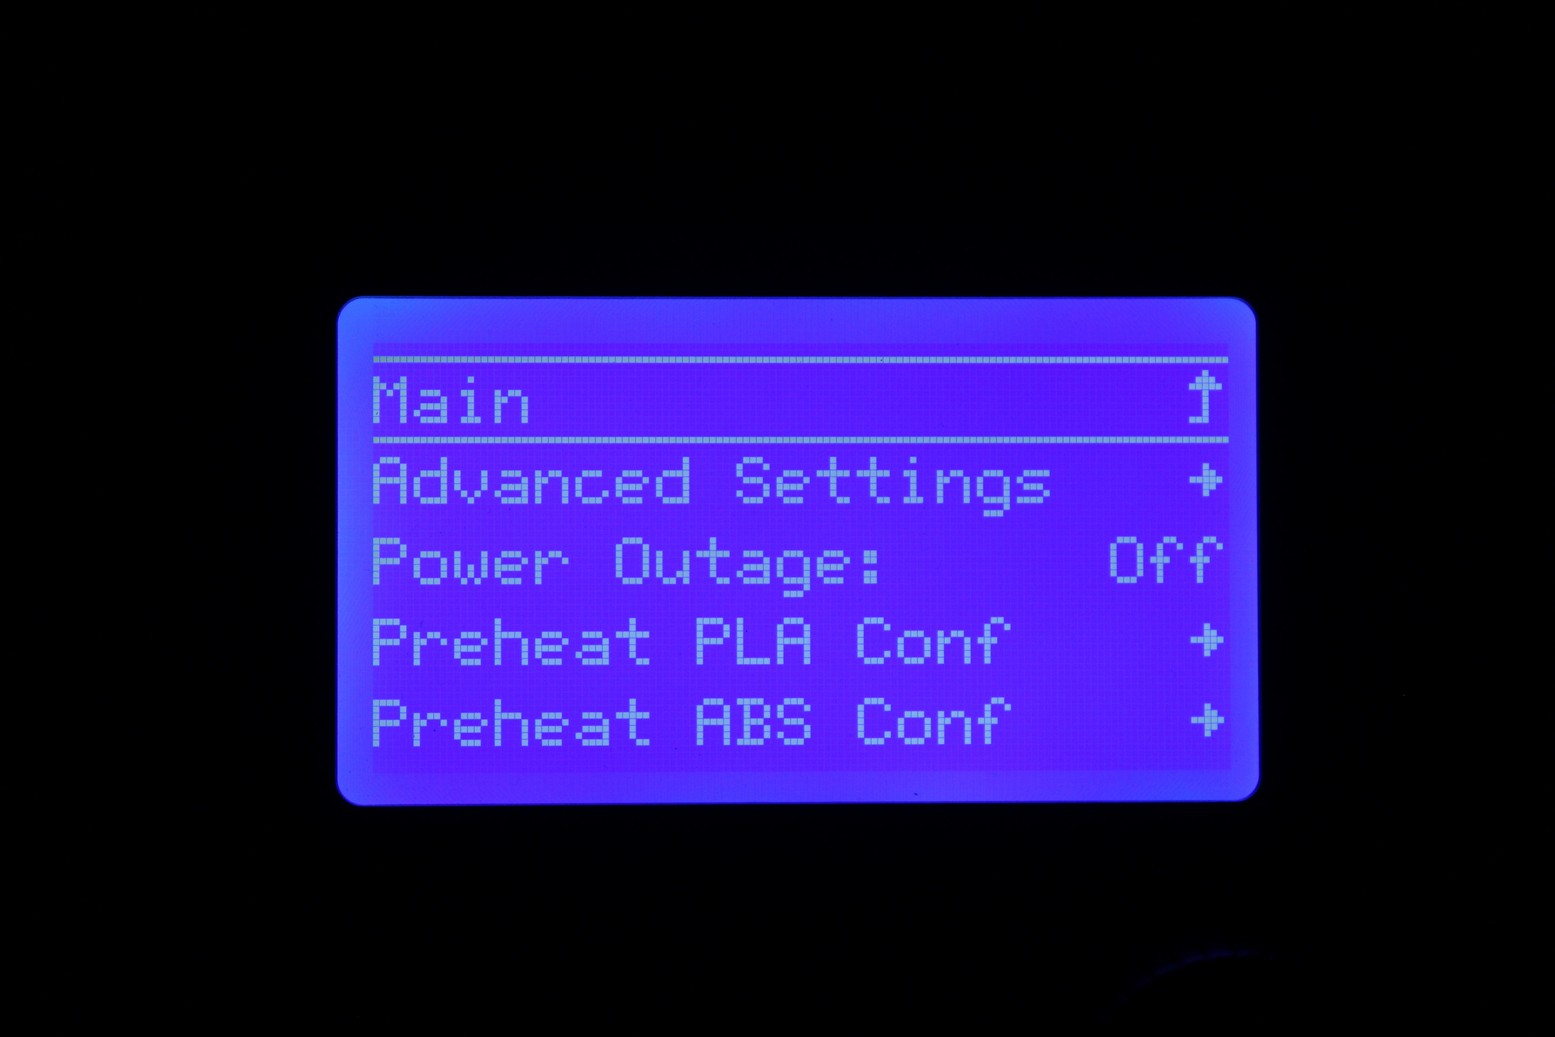
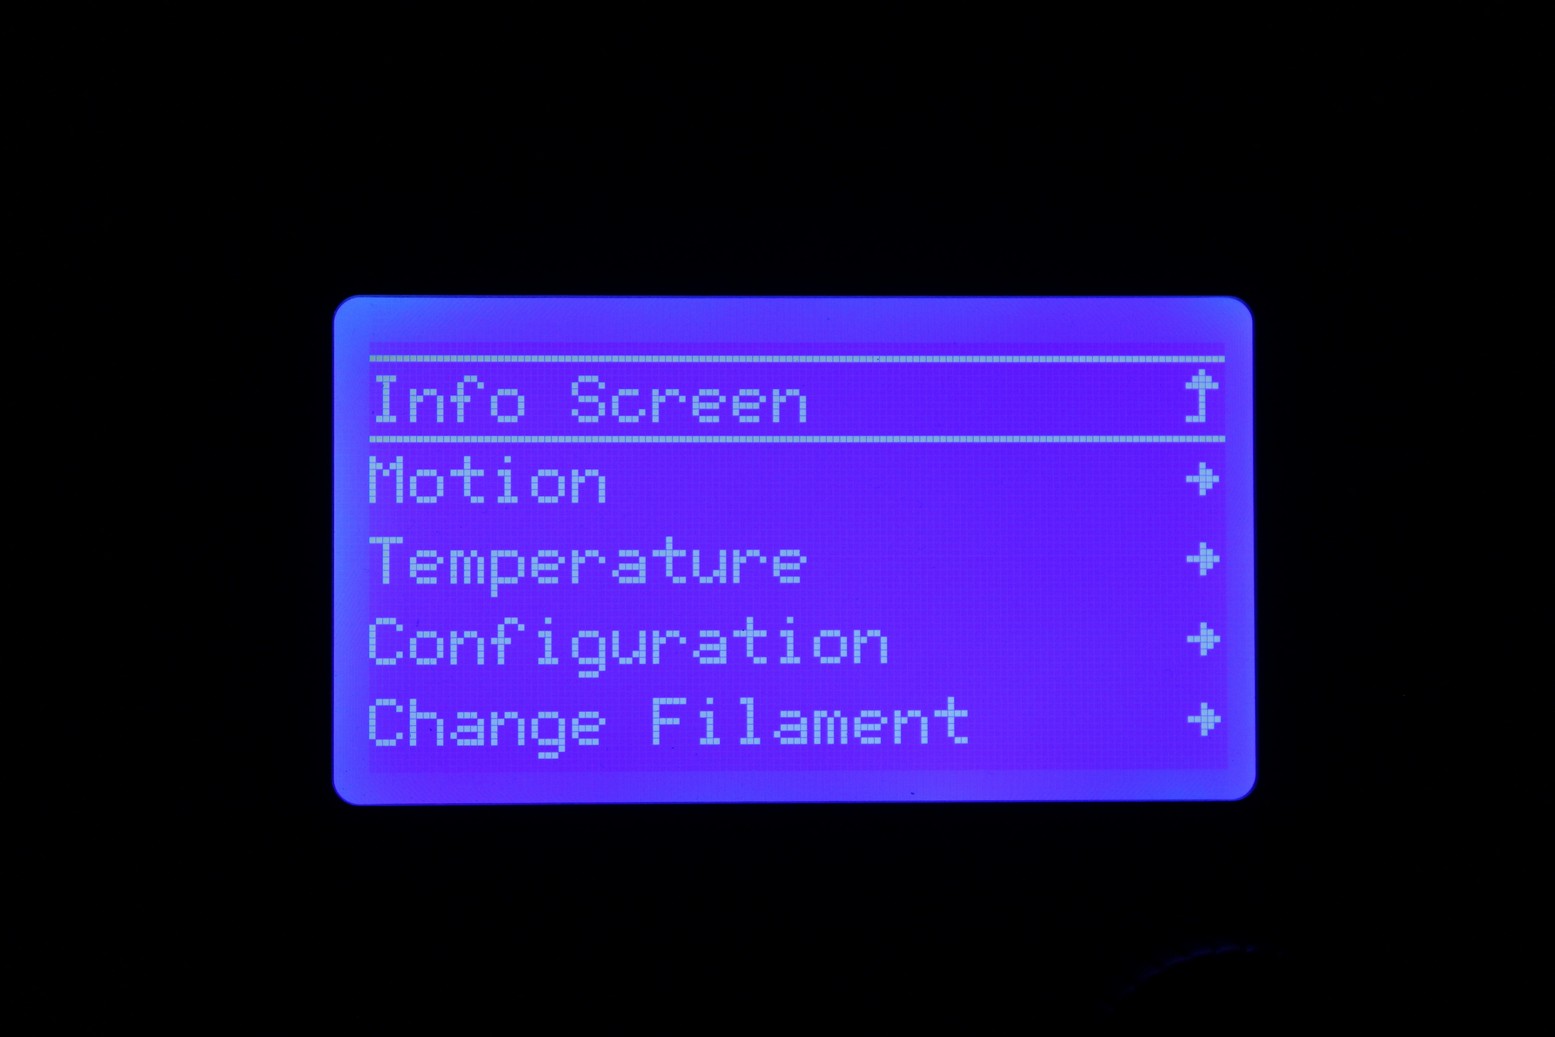
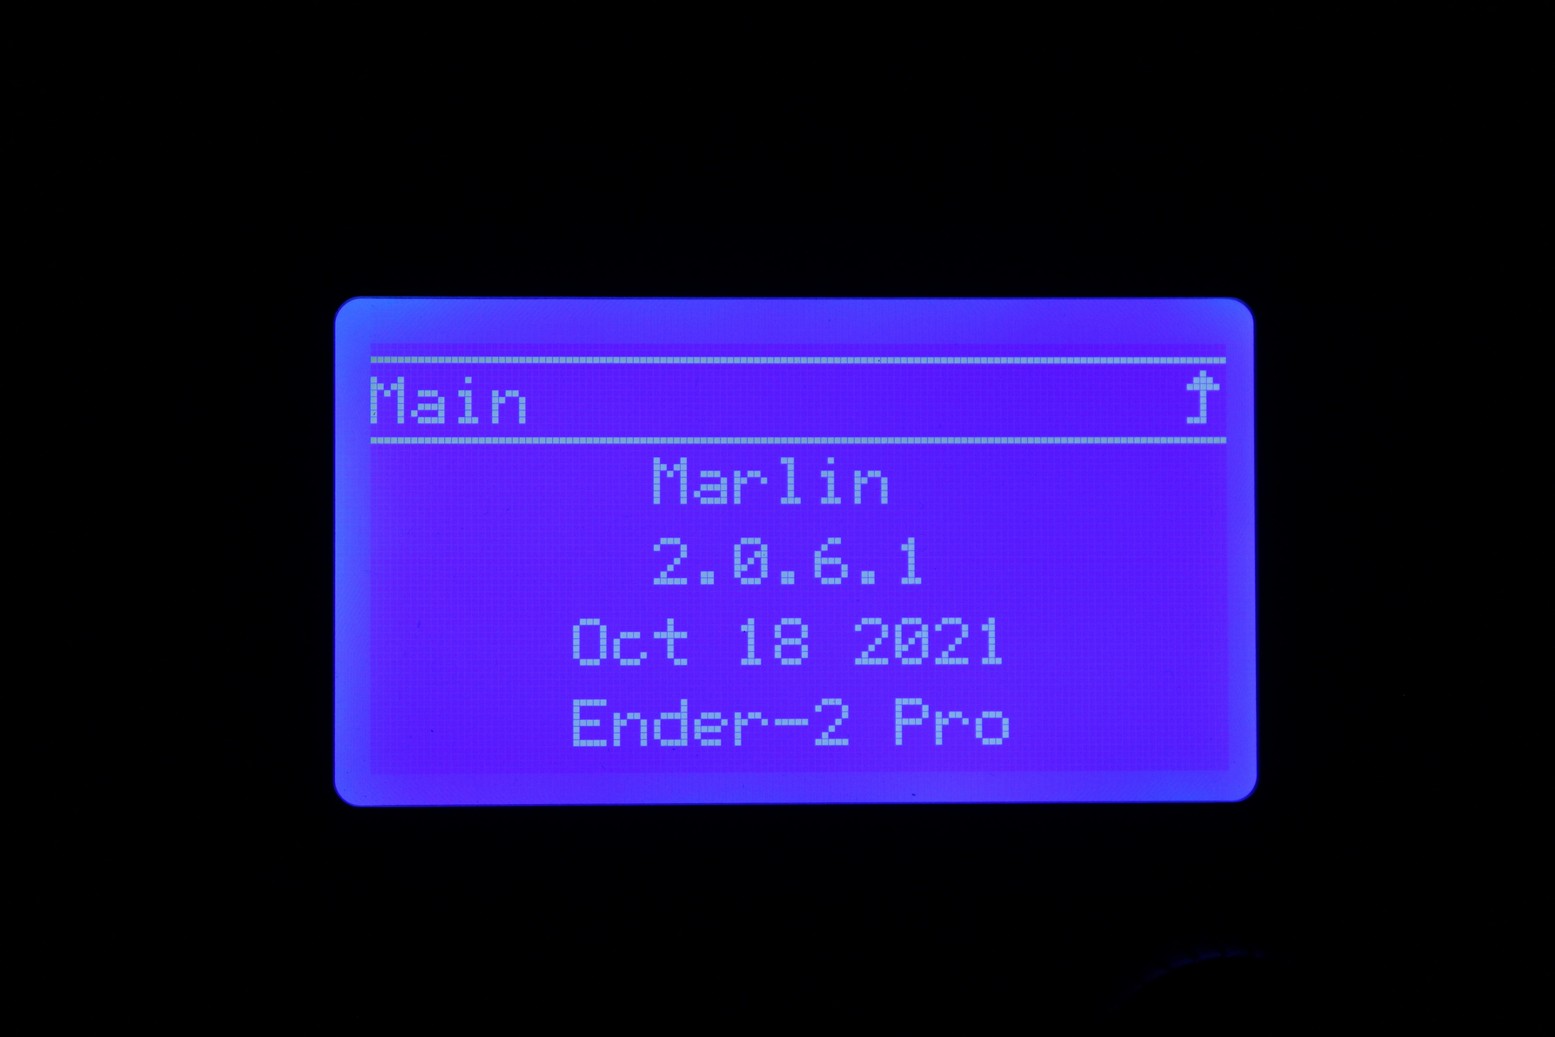
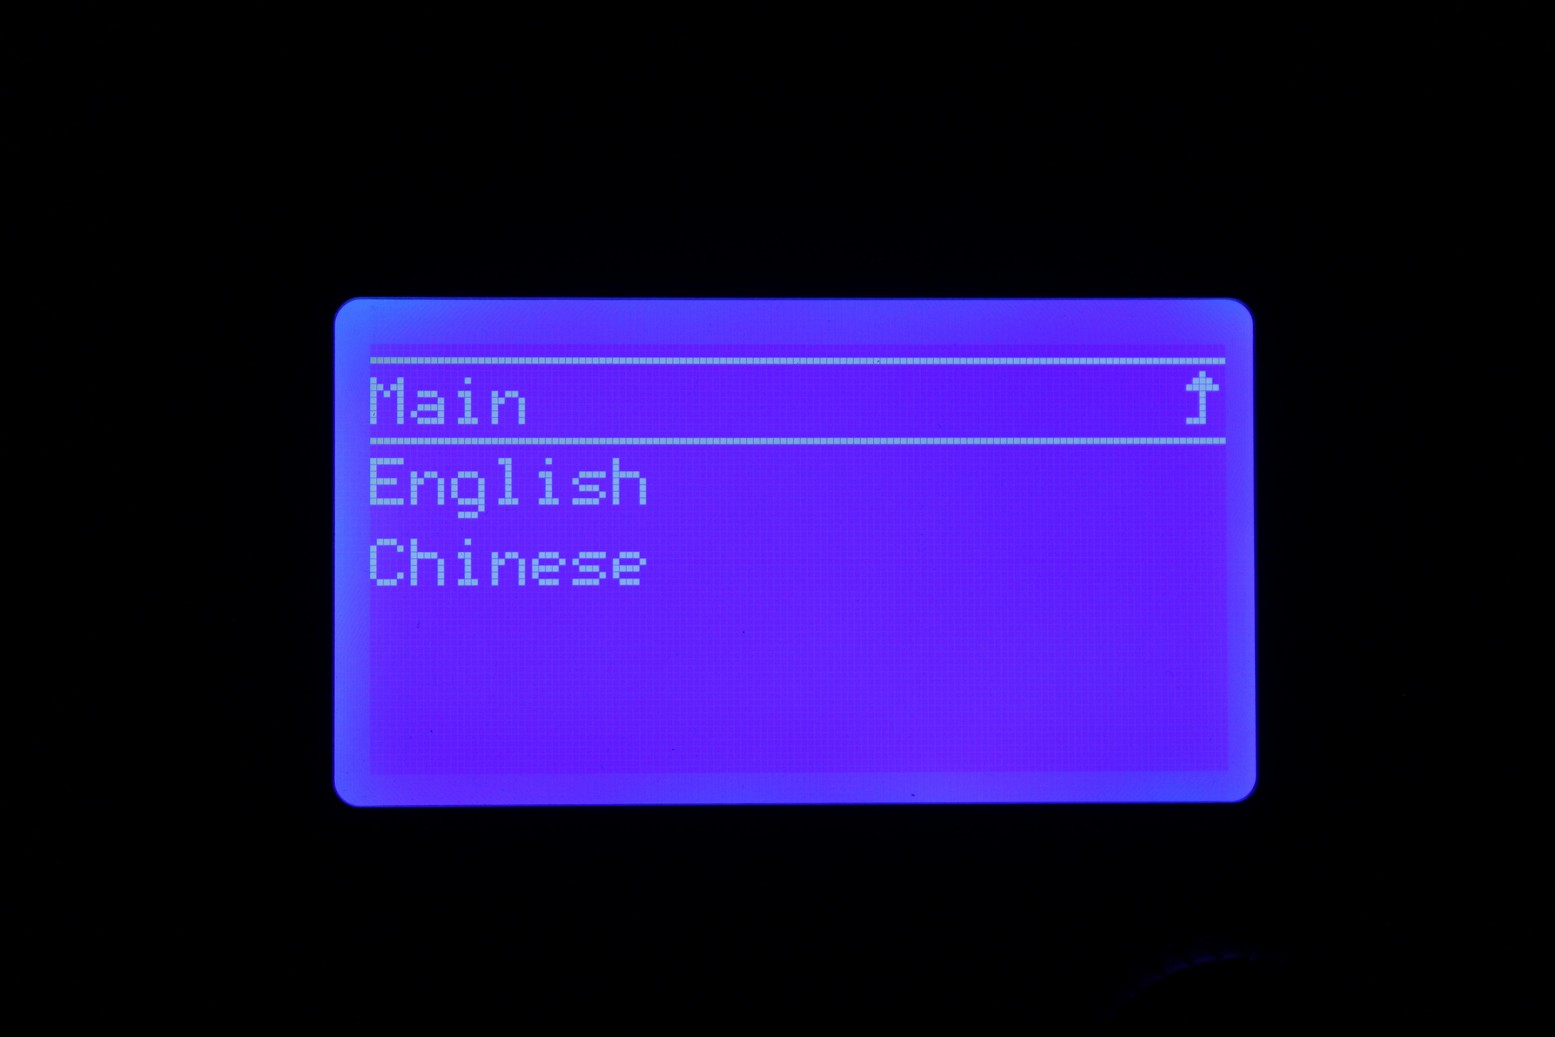
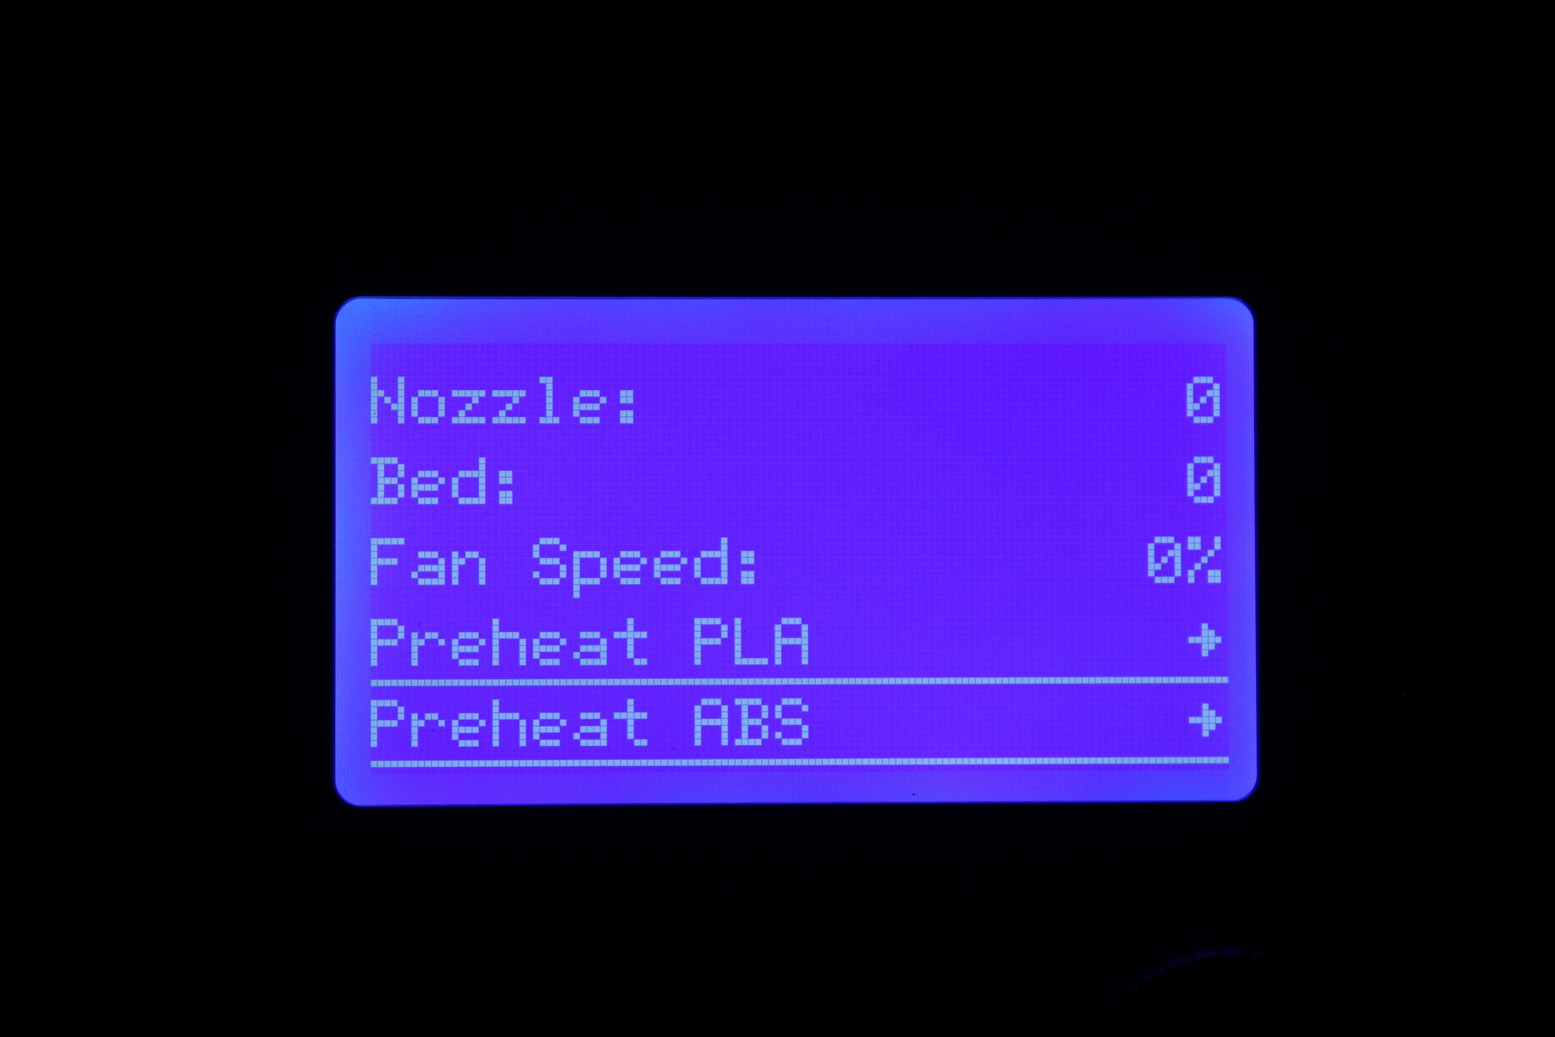
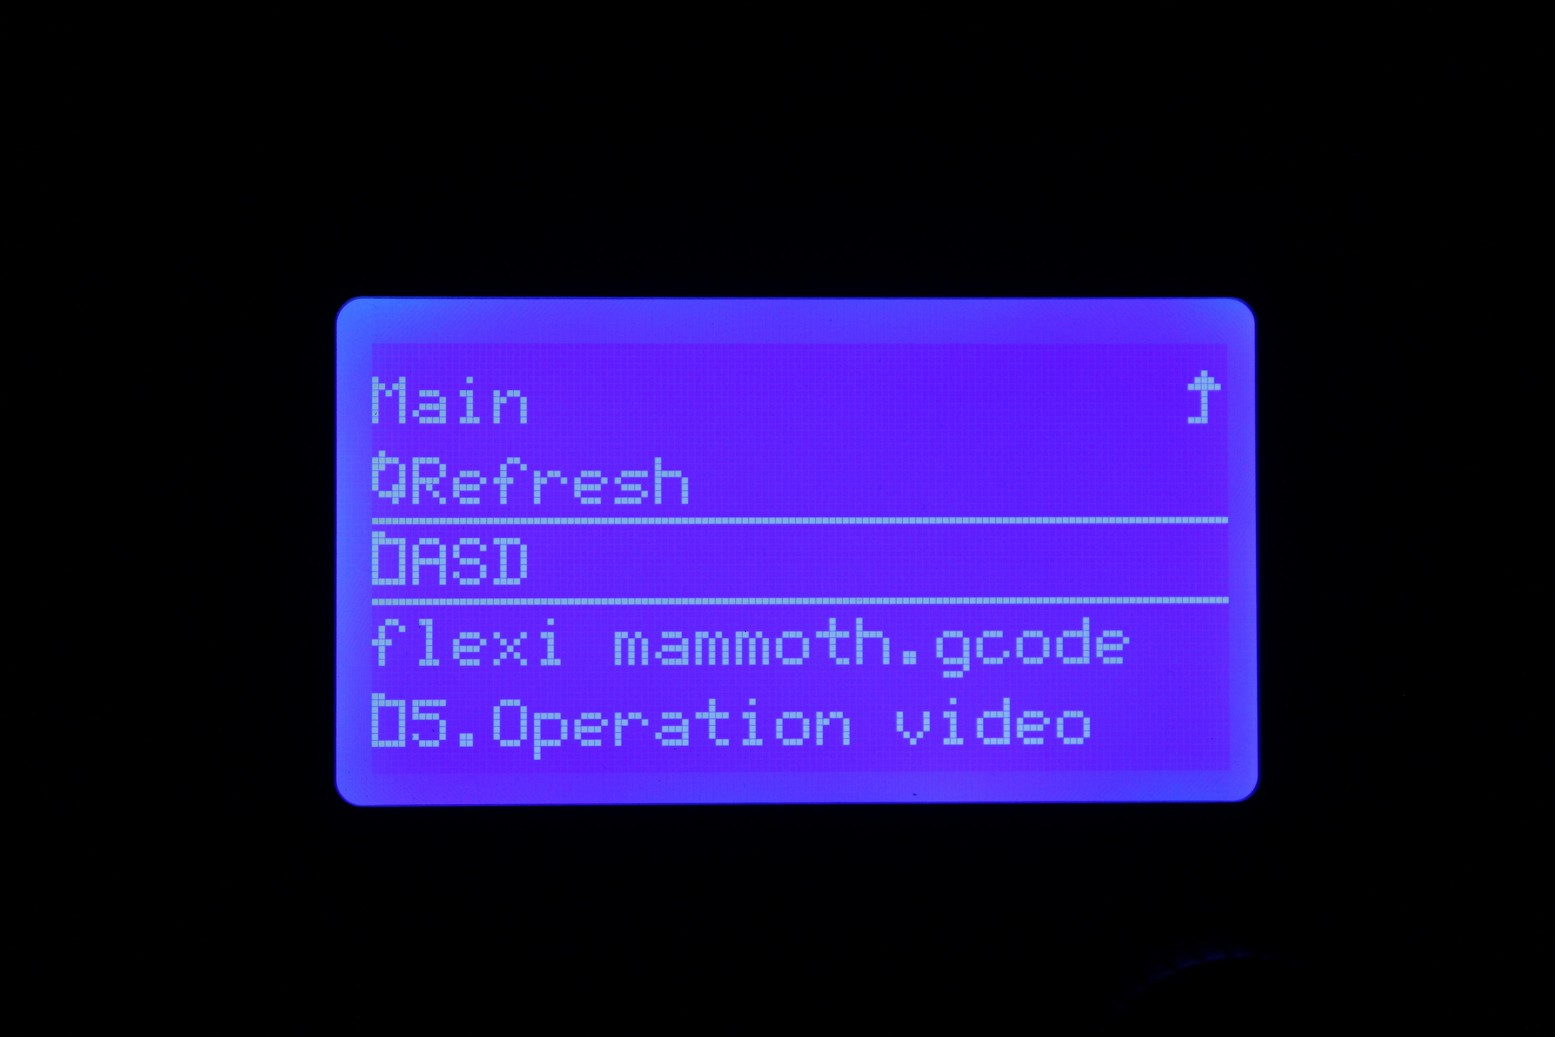
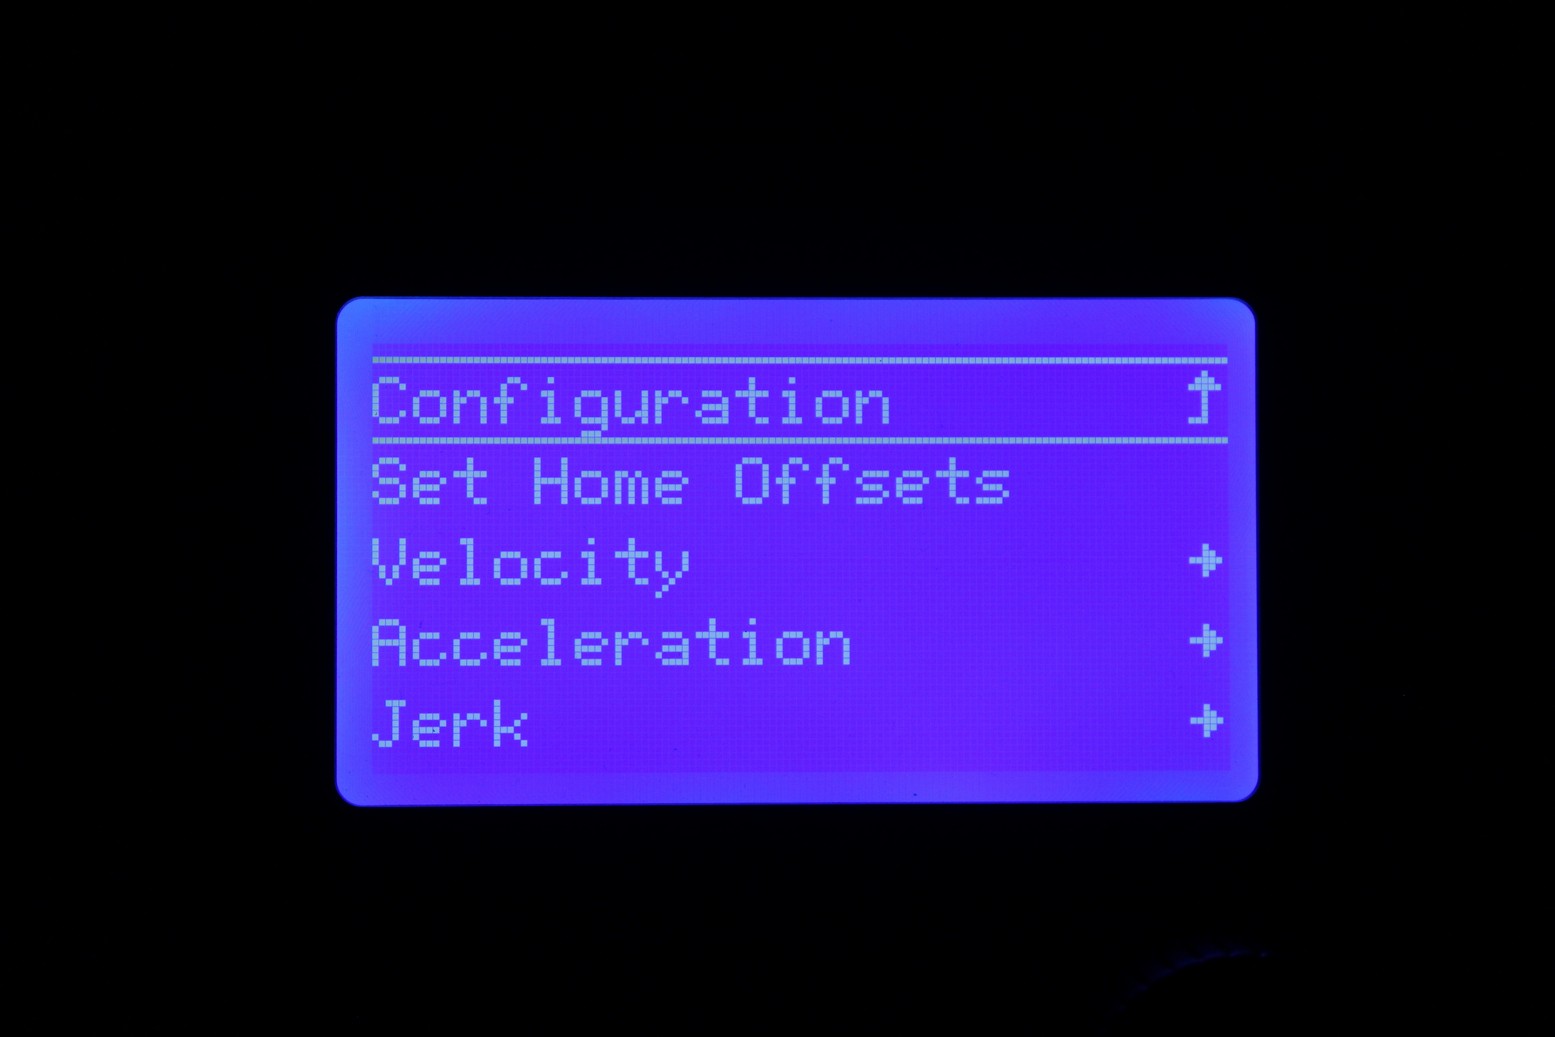
Considering the screen type, you could have a lot more Marlin features enabled, like the filament change I previously mentioned. Simple features with big impact which don’t cost anything to implement, but they are missing.
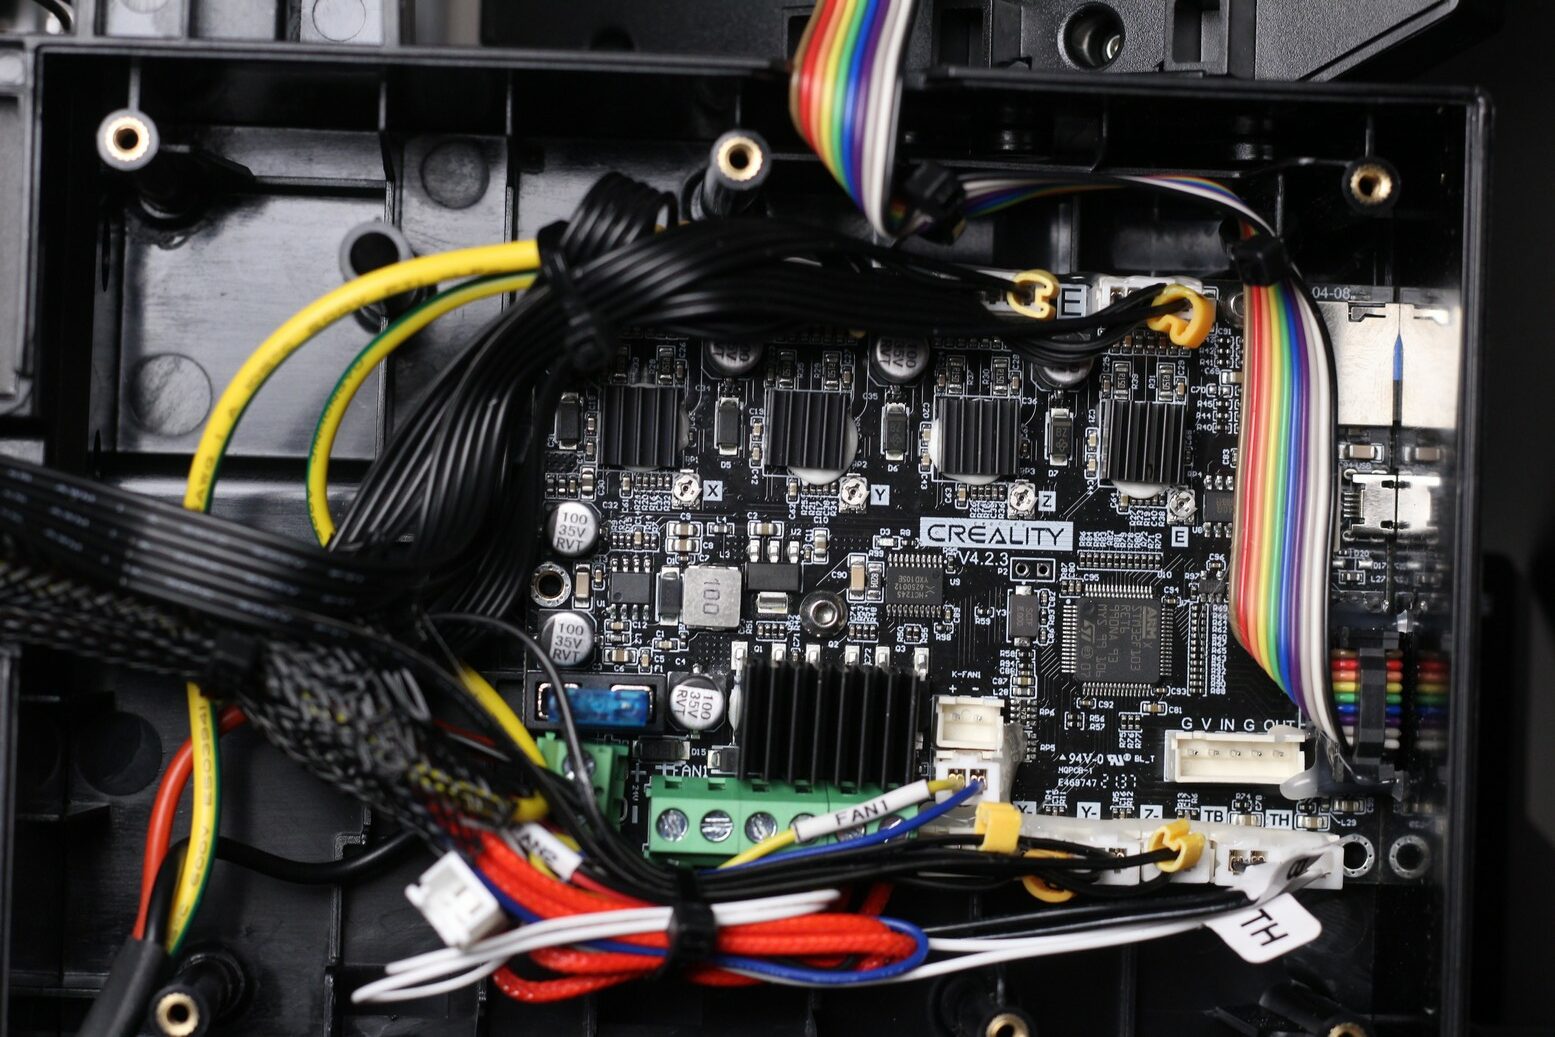
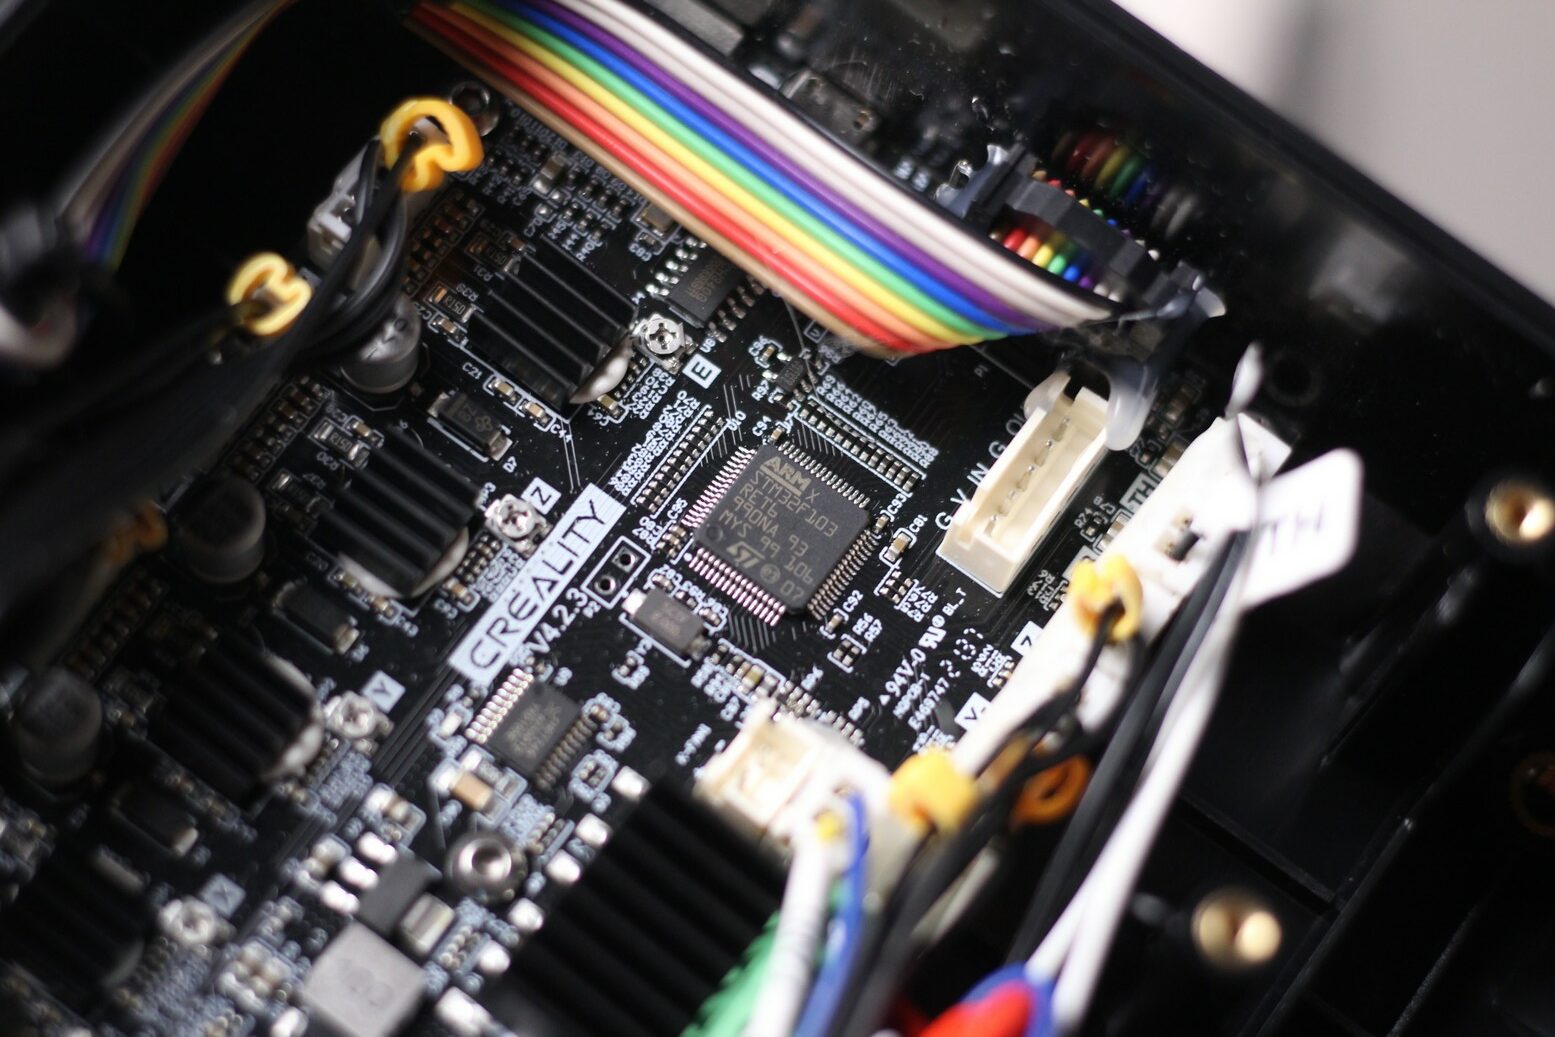
Creality v4.2.3 32-bit board with silent stepper drivers
Side mounted spool holder, handle and integrated drawer
The Ender 2 Pro comes with a collapsible spool holder on the left side of the printer. This is nice because it allows to tuck it away when the printer is not in use, saving a bit of room.
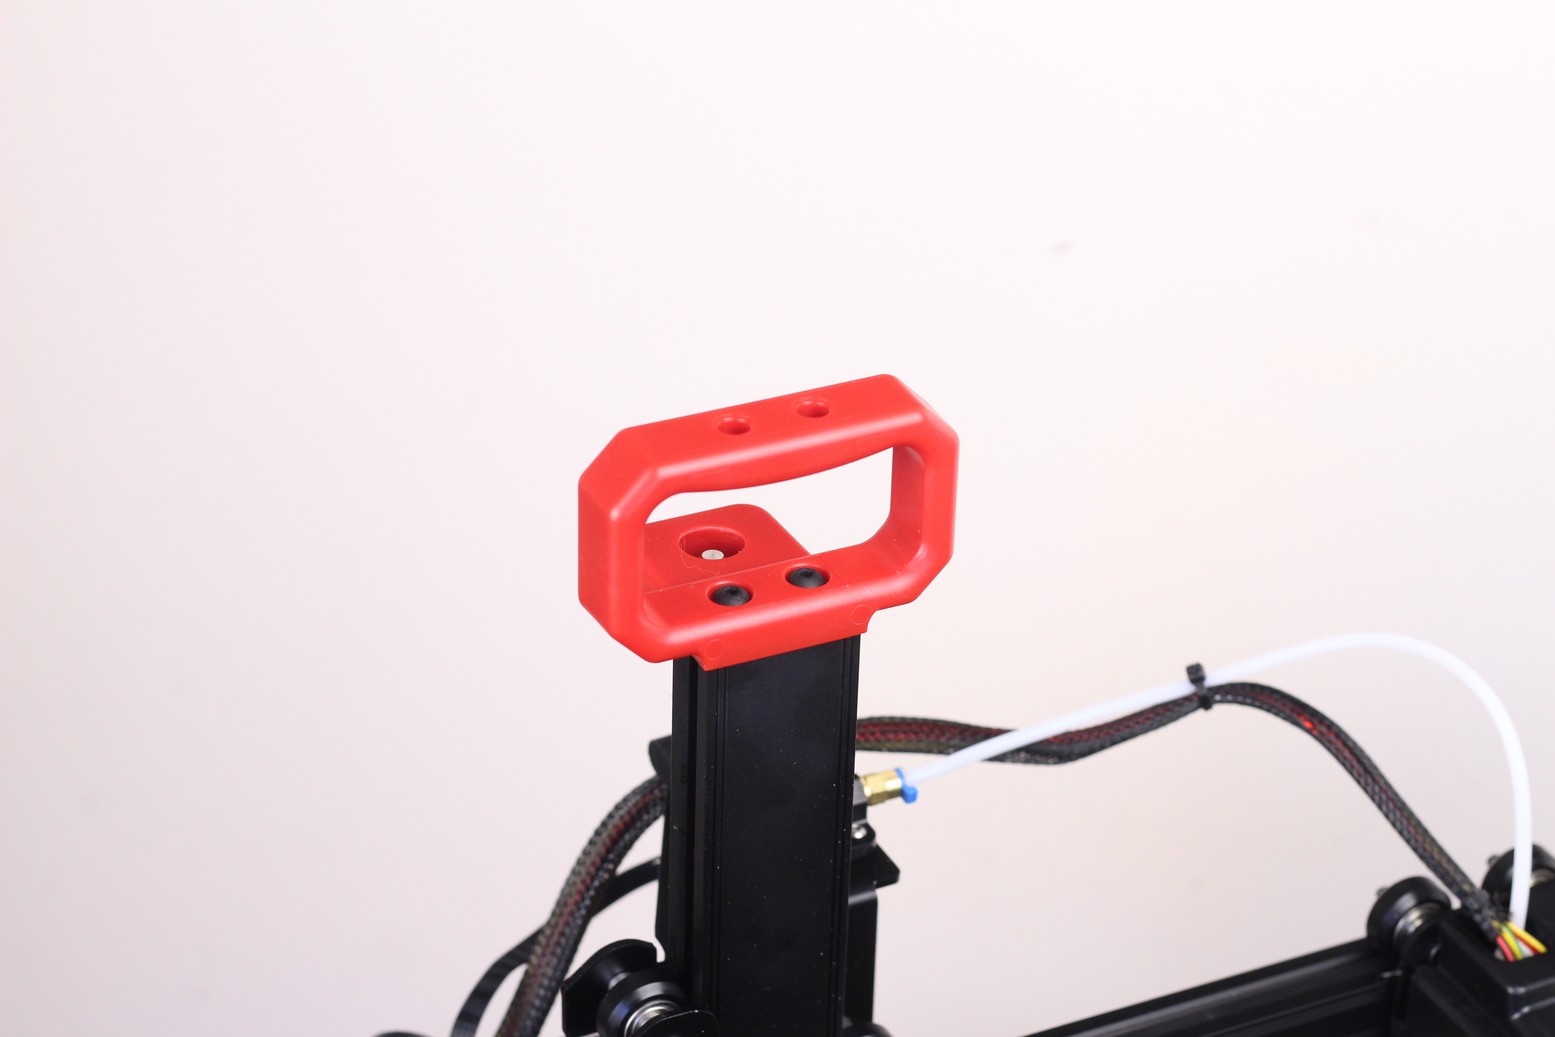
On the top of the printer, there’s a handy handle which makes the printer easy to move around and even carry if needed.
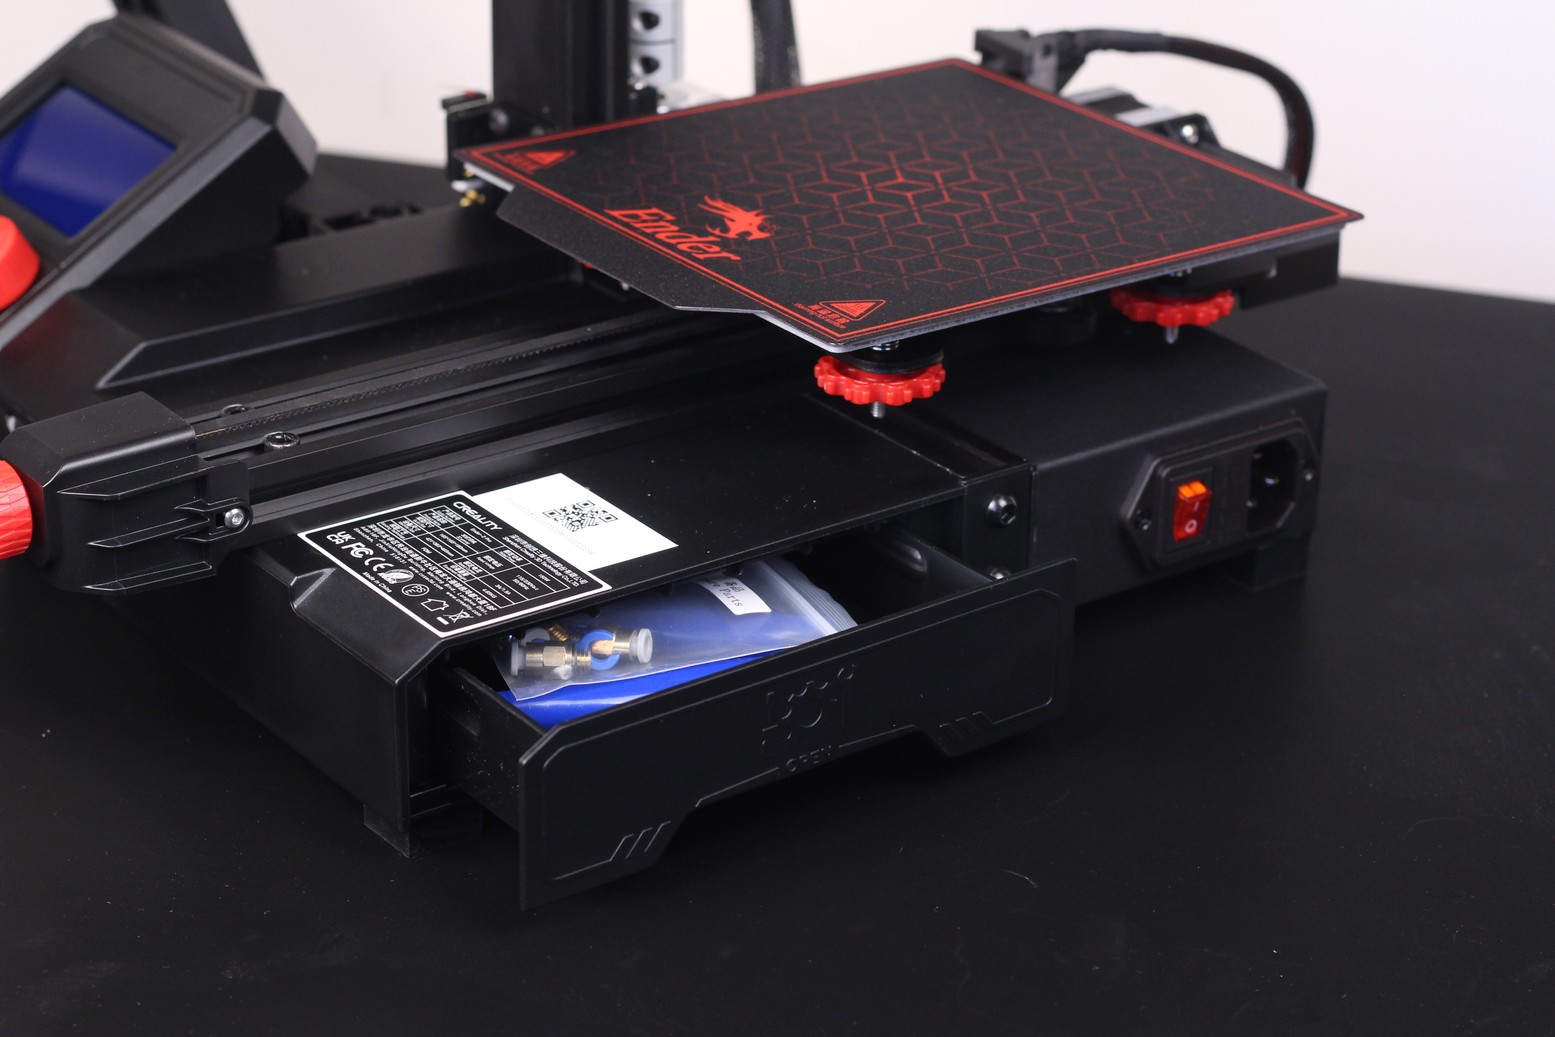
The bottom of the machine also has a nice little drawer where you can store the included accessories which come with the printer.
Heating time and power consumption
I tested the heating time for both hotend and heat bed and here are the results:
Hotend
- 200C in 1 minute and 30 seconds
- 250C in 2 minutes and 30 seconds
Heatbed
- 60C in 2 minutes and 10 seconds
- 80C in 3 minutes and 50 seconds
Please note that the heatbed cannot be heated over 80C.
Power Draw
Idle power draw is around 10W. When the hotend and heatbed are heating up, the Creality Ender 2 Pro draws around 160W. After it starts printing, the power draw stabilizes to around 70W.
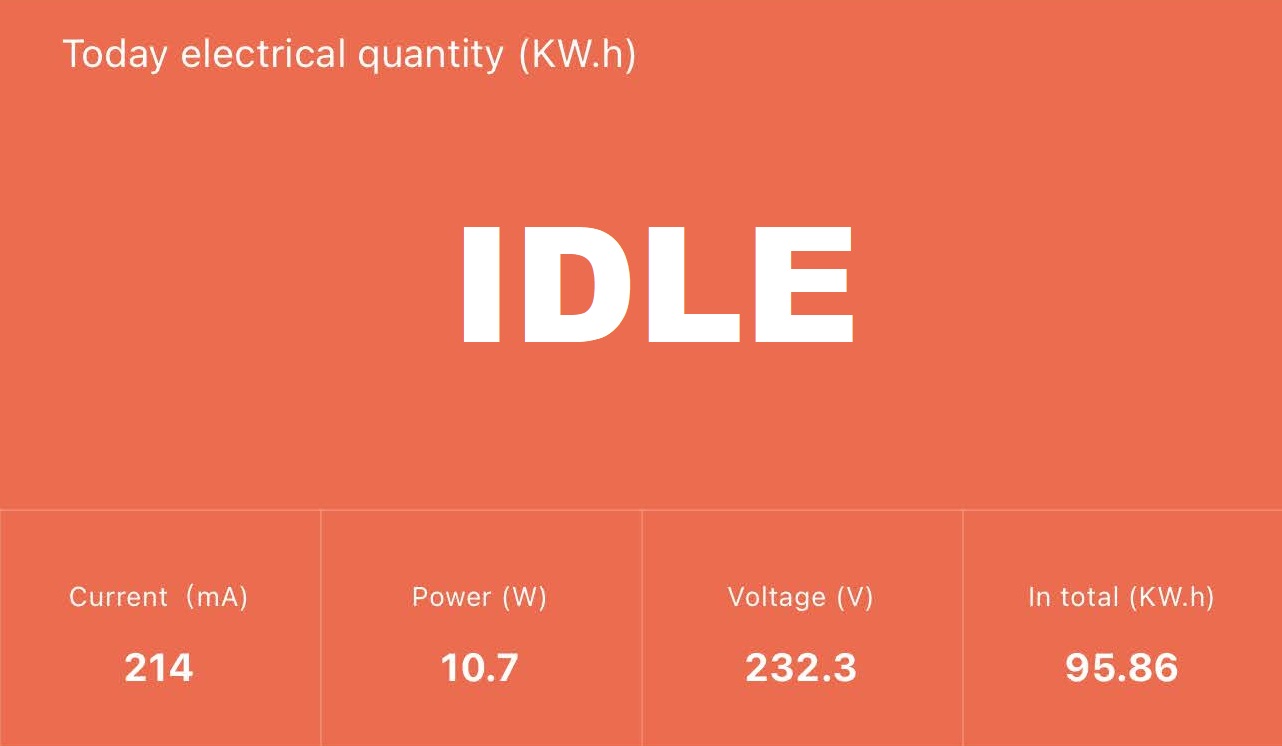
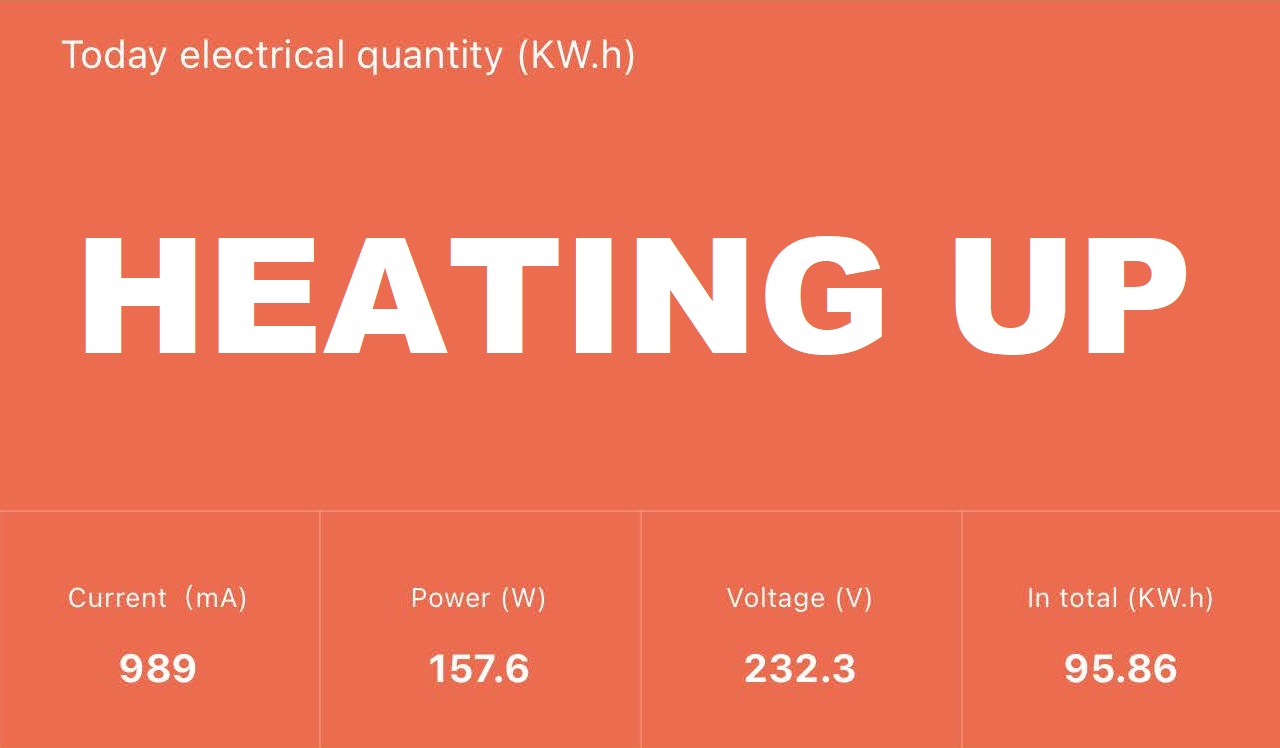
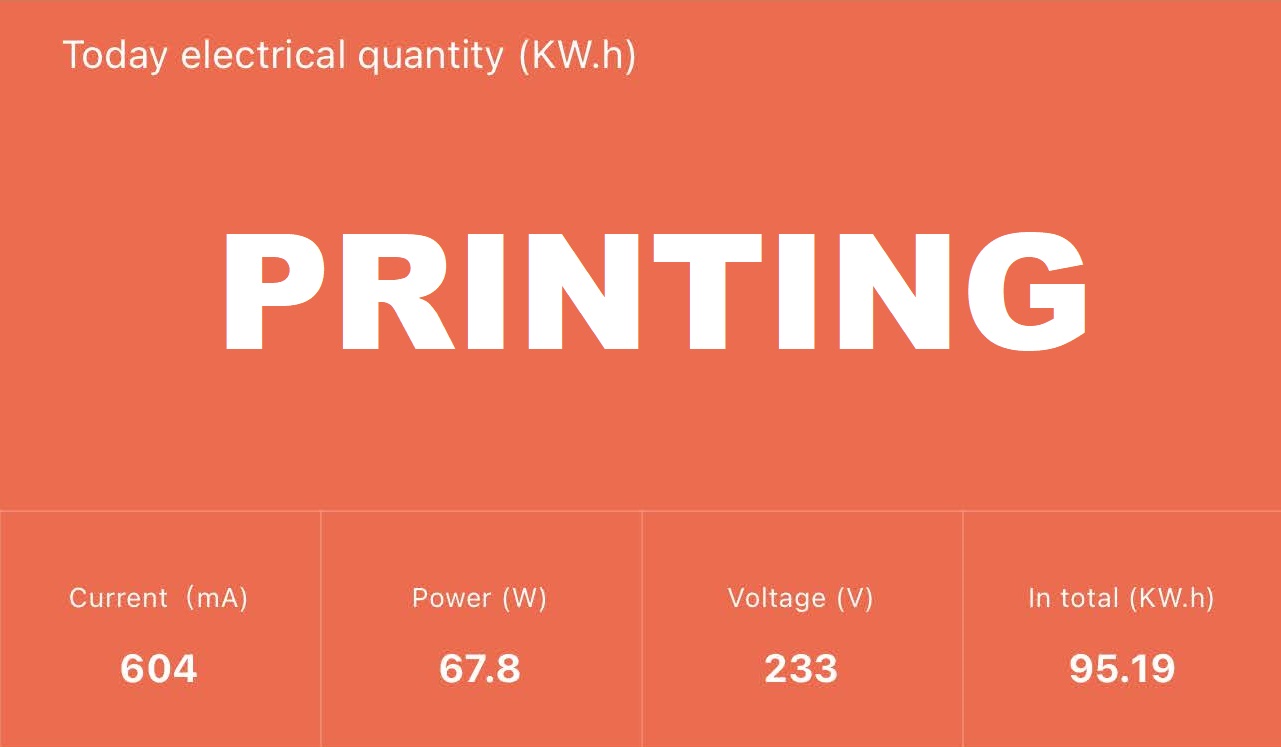
All these measurements were taken with a Blitzwolf smart power socket which indicates the power draw, and it can also be used for remotely powering on and off the printer.
Bed Temperature Uniformity
I tested the temperature uniformity for the Creality Ender 2 Pro bed with the FLIR Camera installed on the CAT S62 Pro. The bed has been set to 60C and I waited 2 minutes for the temperature to stabilize.
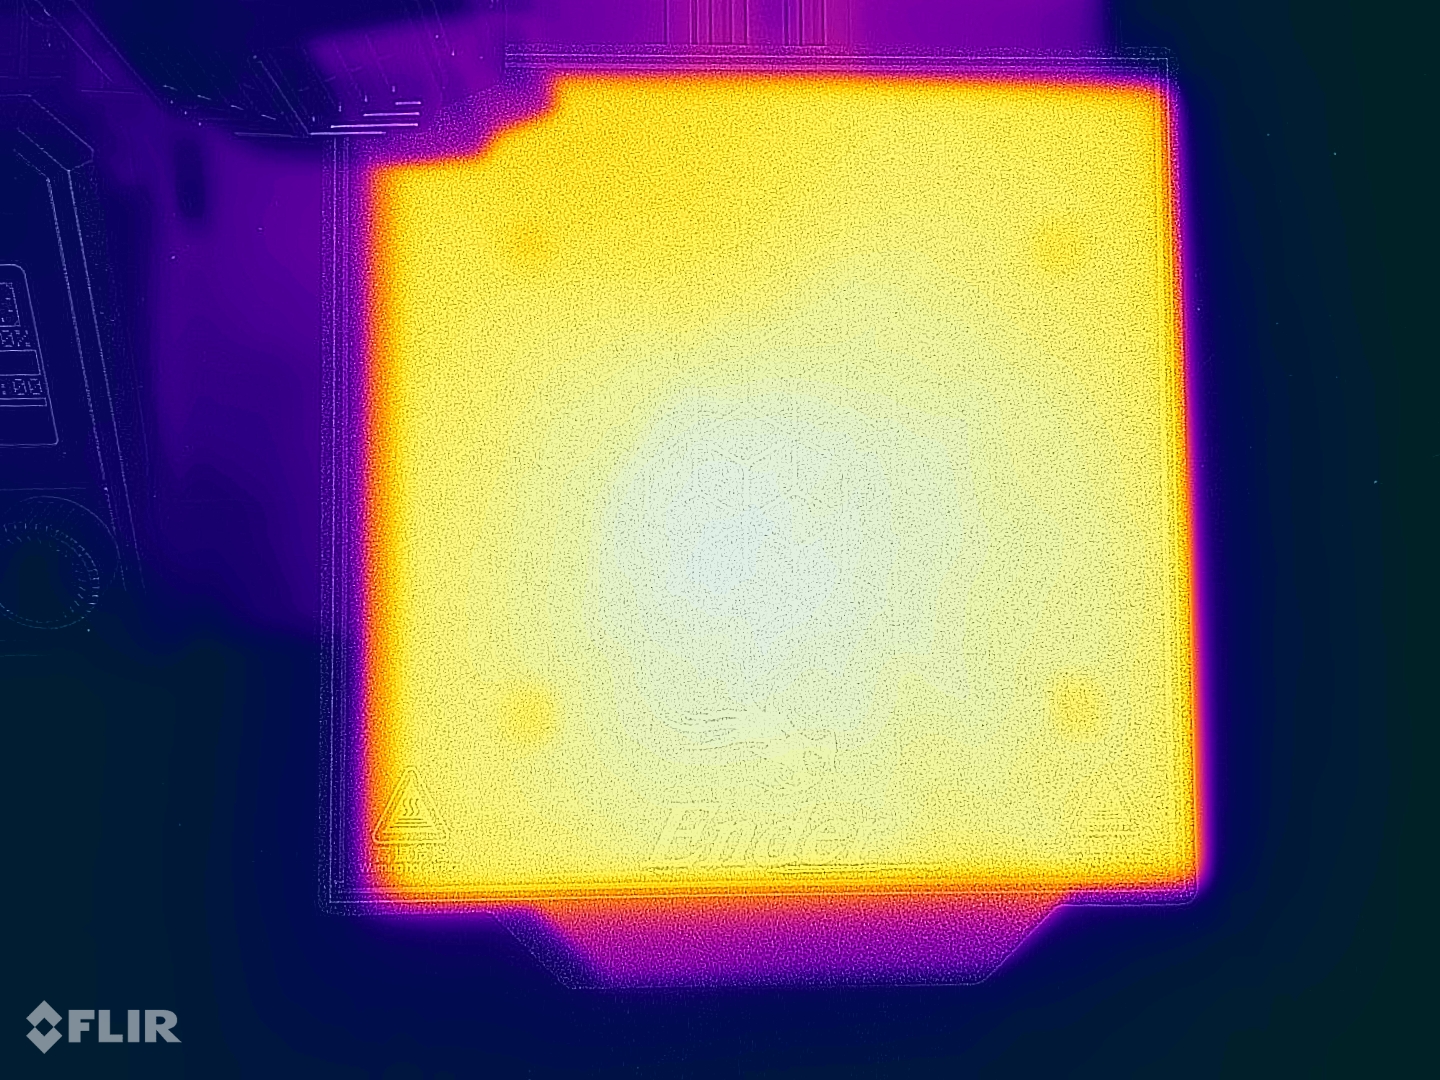
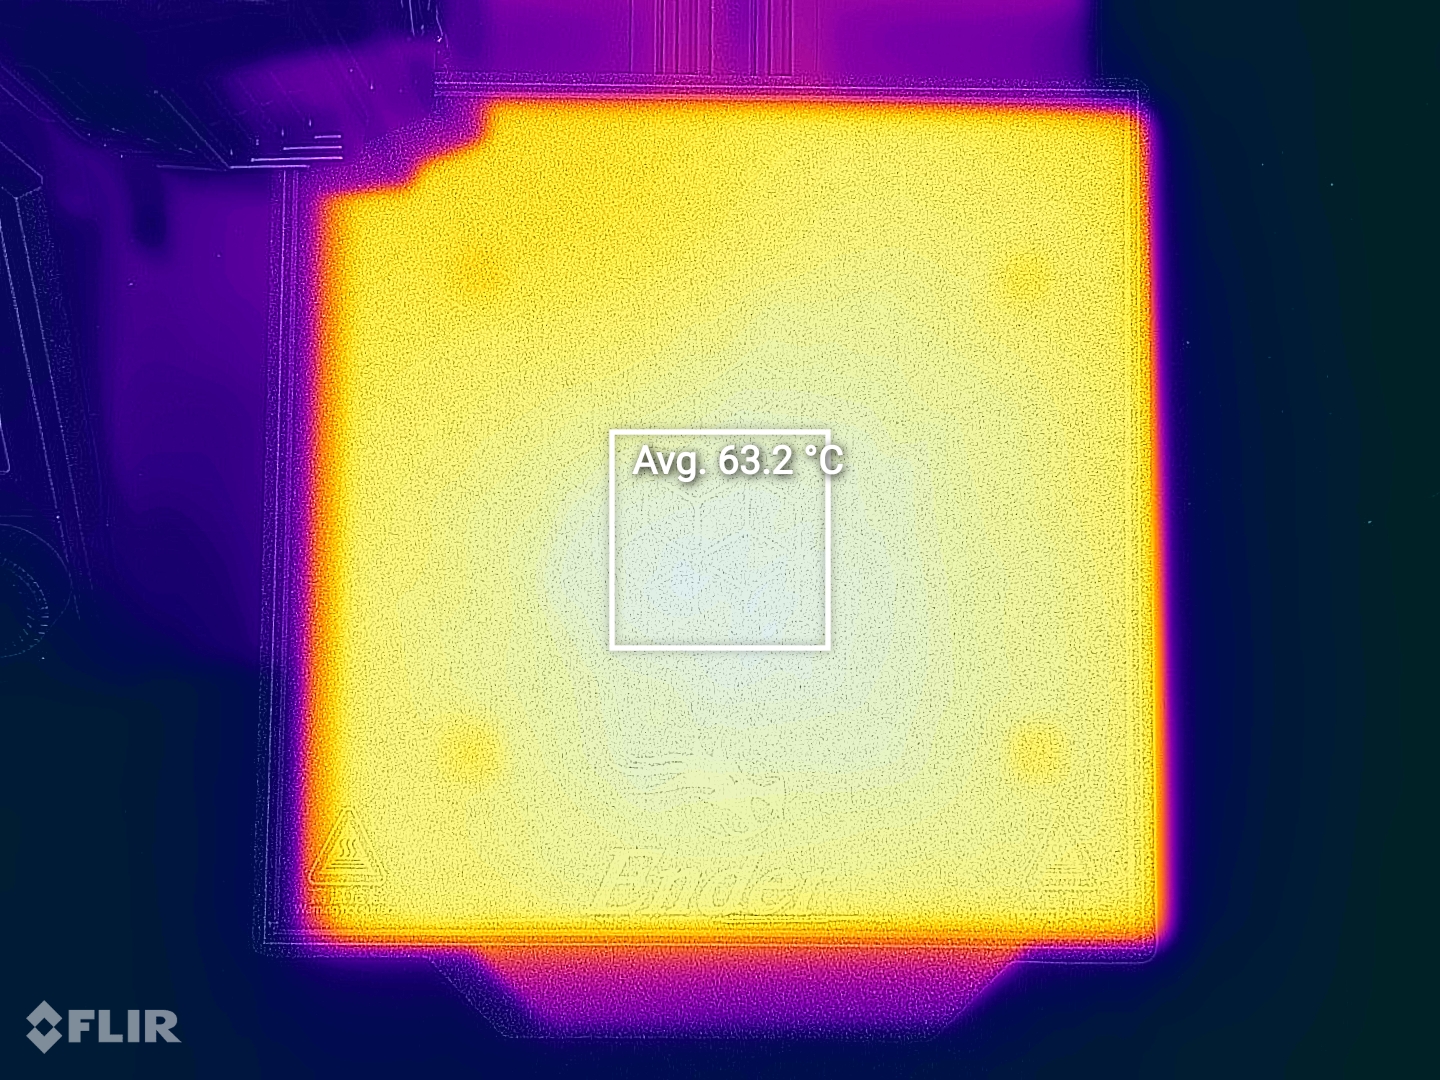
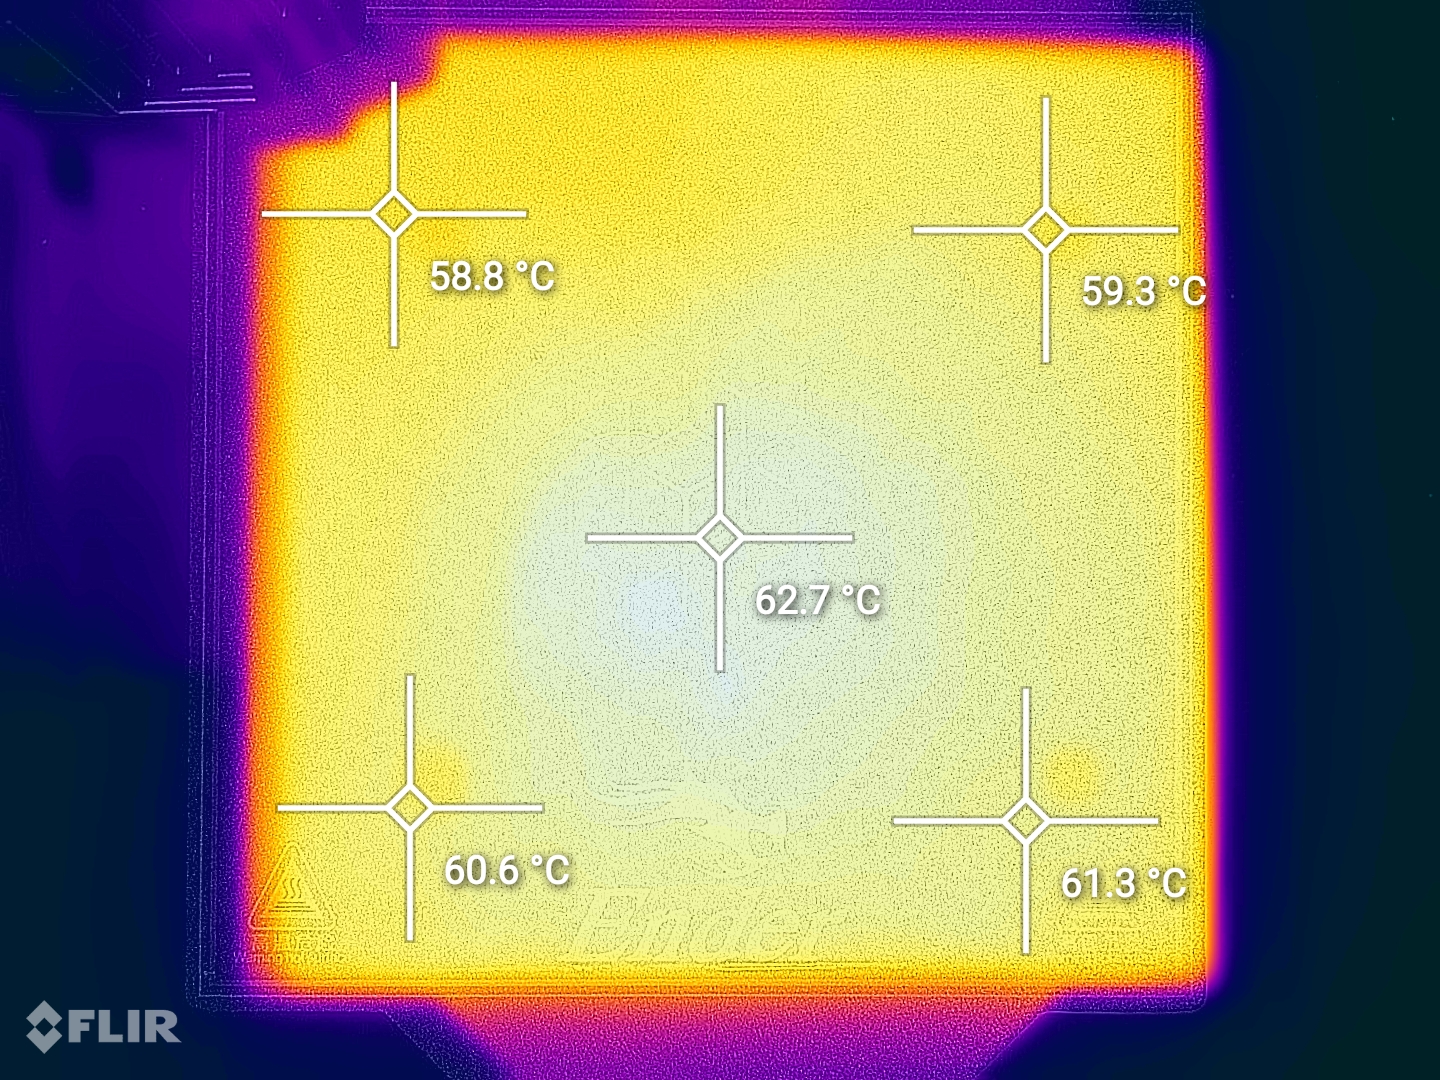
As seen in the thermal shots, the heat is spread evenly across the bed and there are no large temperature differences for the corners.
Creality Ender 2 Pro Noise Levels
Unfortunately, the Ender 2 Pro is one of the loudest 3D printers I’ve tested. The high RPM fans generate quite a bit of noise. Most of the times, I print models over night, but this printer is too loud for that and I had to use it during the day. If only Creality would decide at some point that noise is also an important factor to work on…
IdeaMaker profiles for Creality Ender 2 Pro
As usual, during my time with the printer, I also tuned two IdeaMaker profiles for the Sidewinder X2 using the tools available in the 3D Printer Calibration Guide using IdeaMaker article.
Creality Ender 2 Pro IdeaMaker Profile – PLA – 3DPrintBeginner
Creality Ender 2 Pro IdeaMaker Profile – PETG – 3DPrintBeginner
Test prints on Creality Ender 2 Pro
3D Benchy
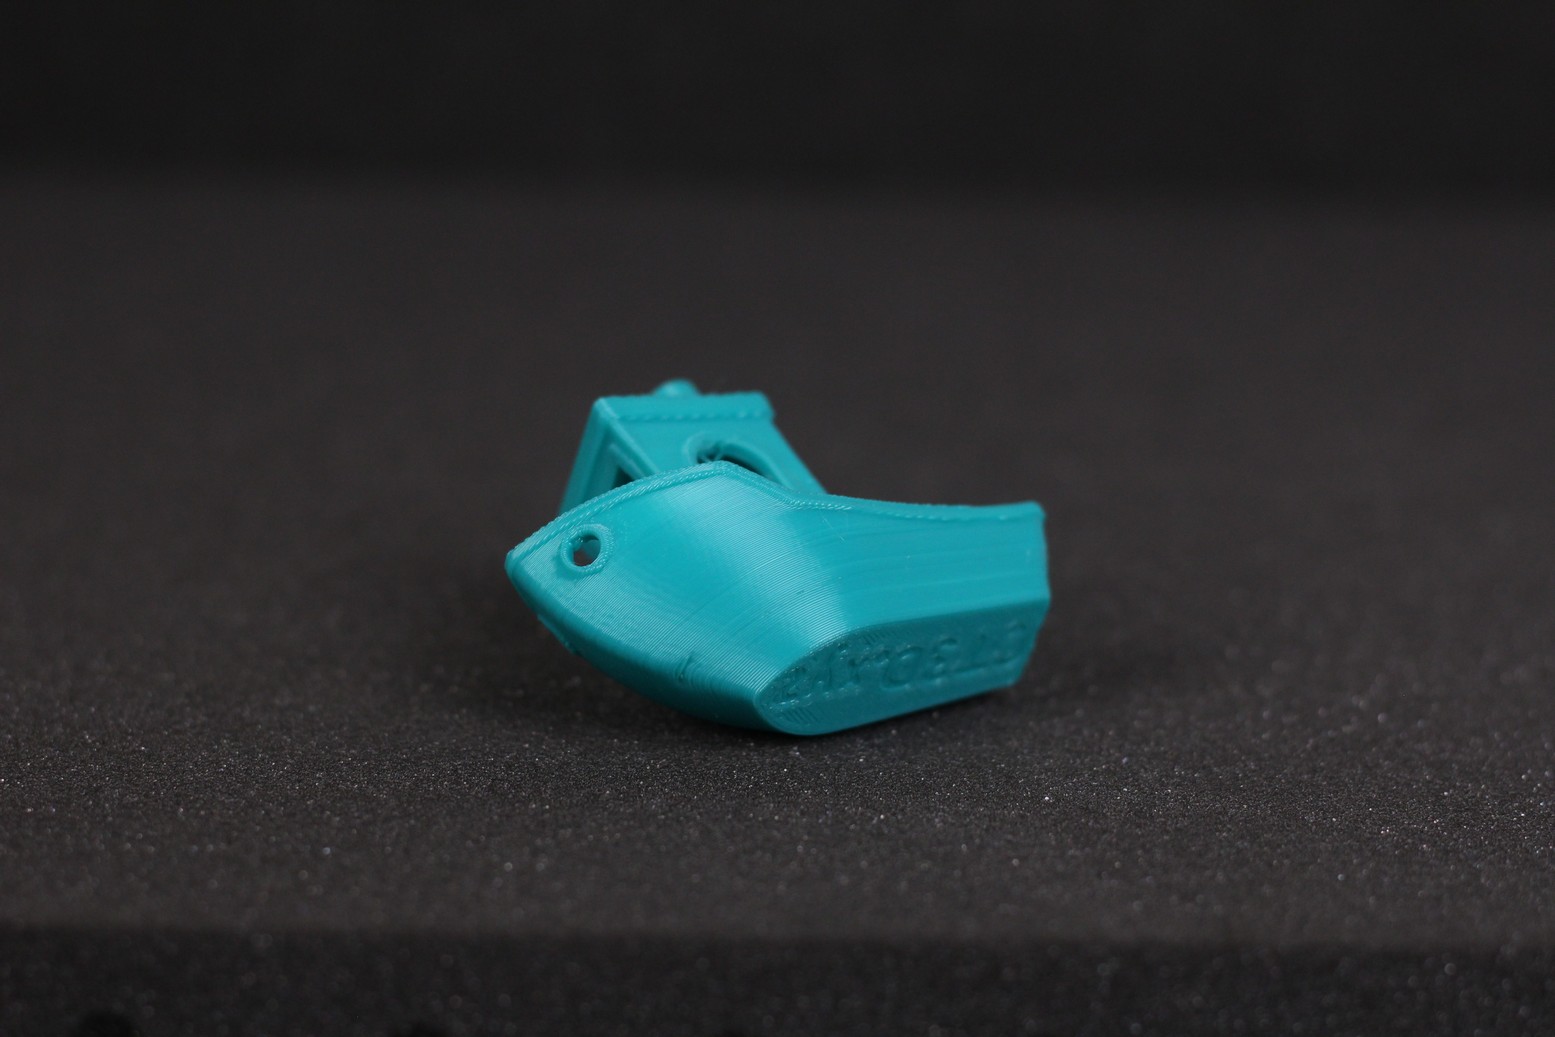
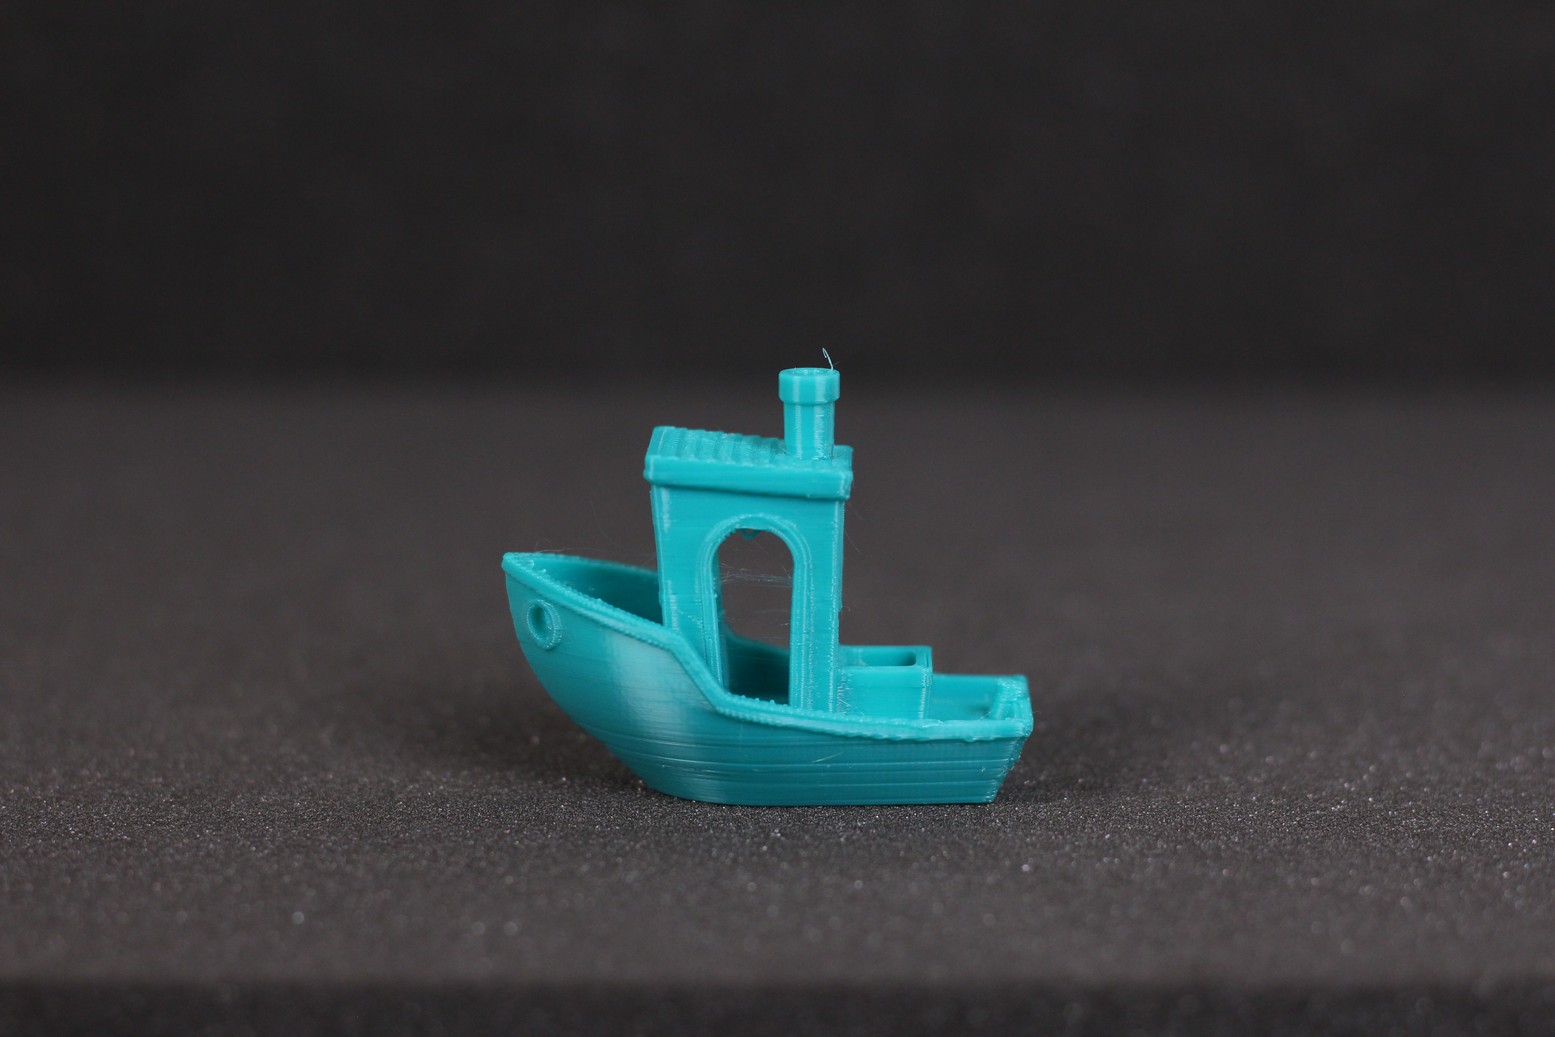
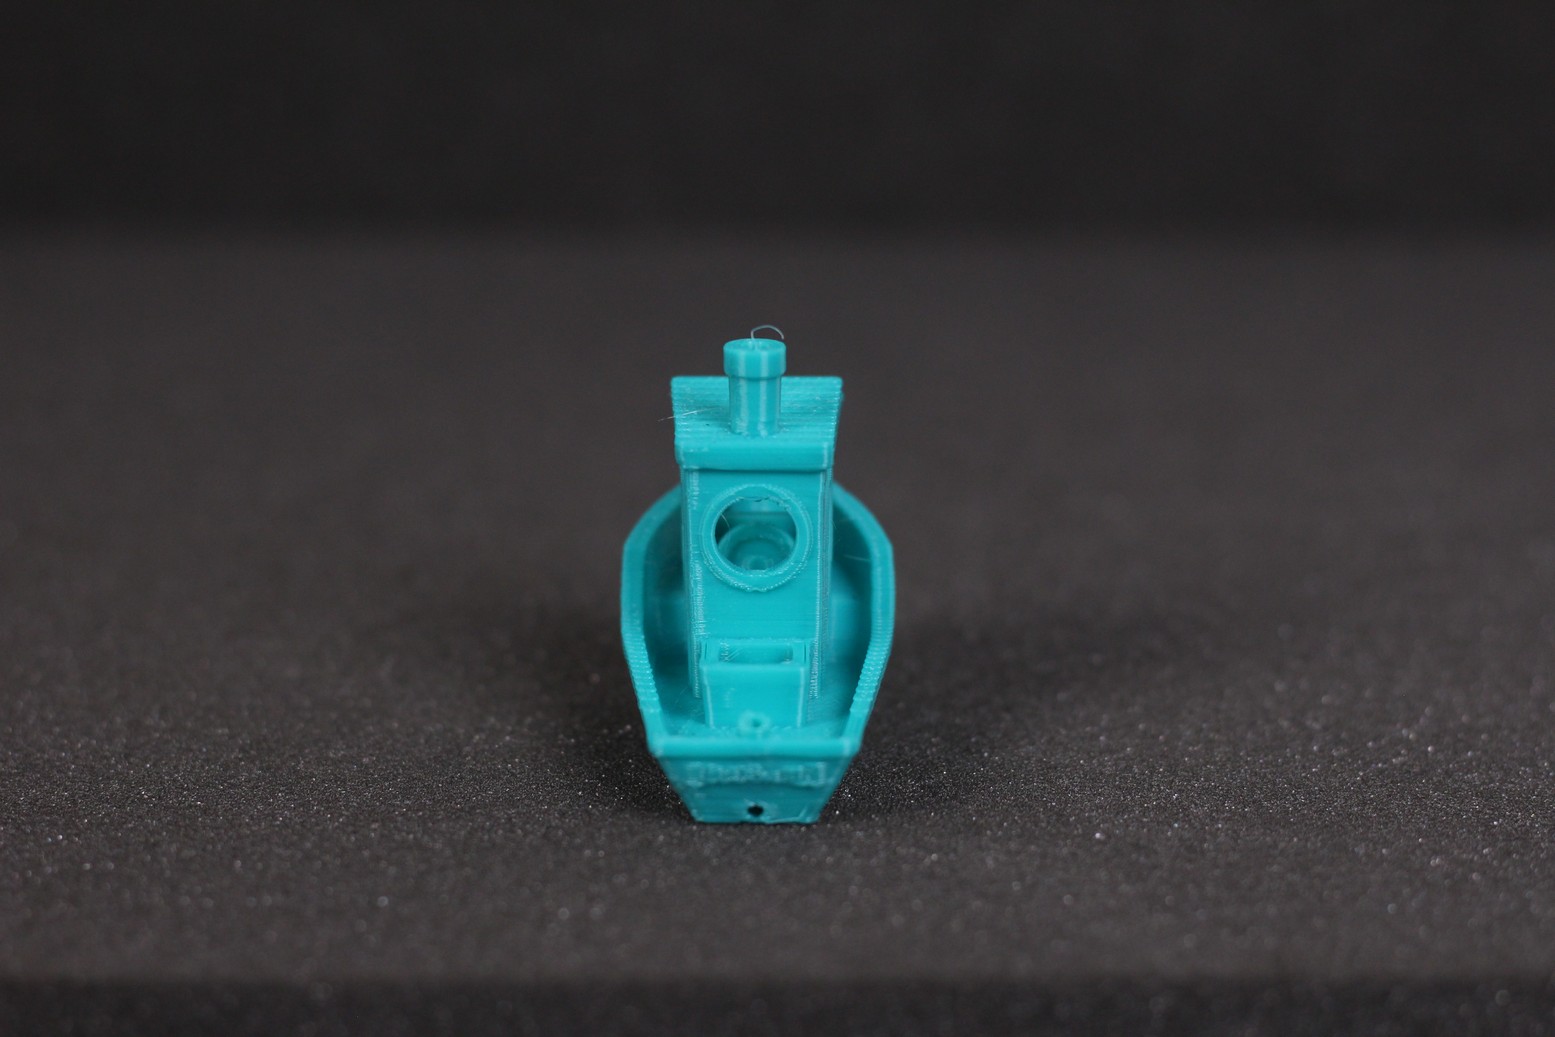
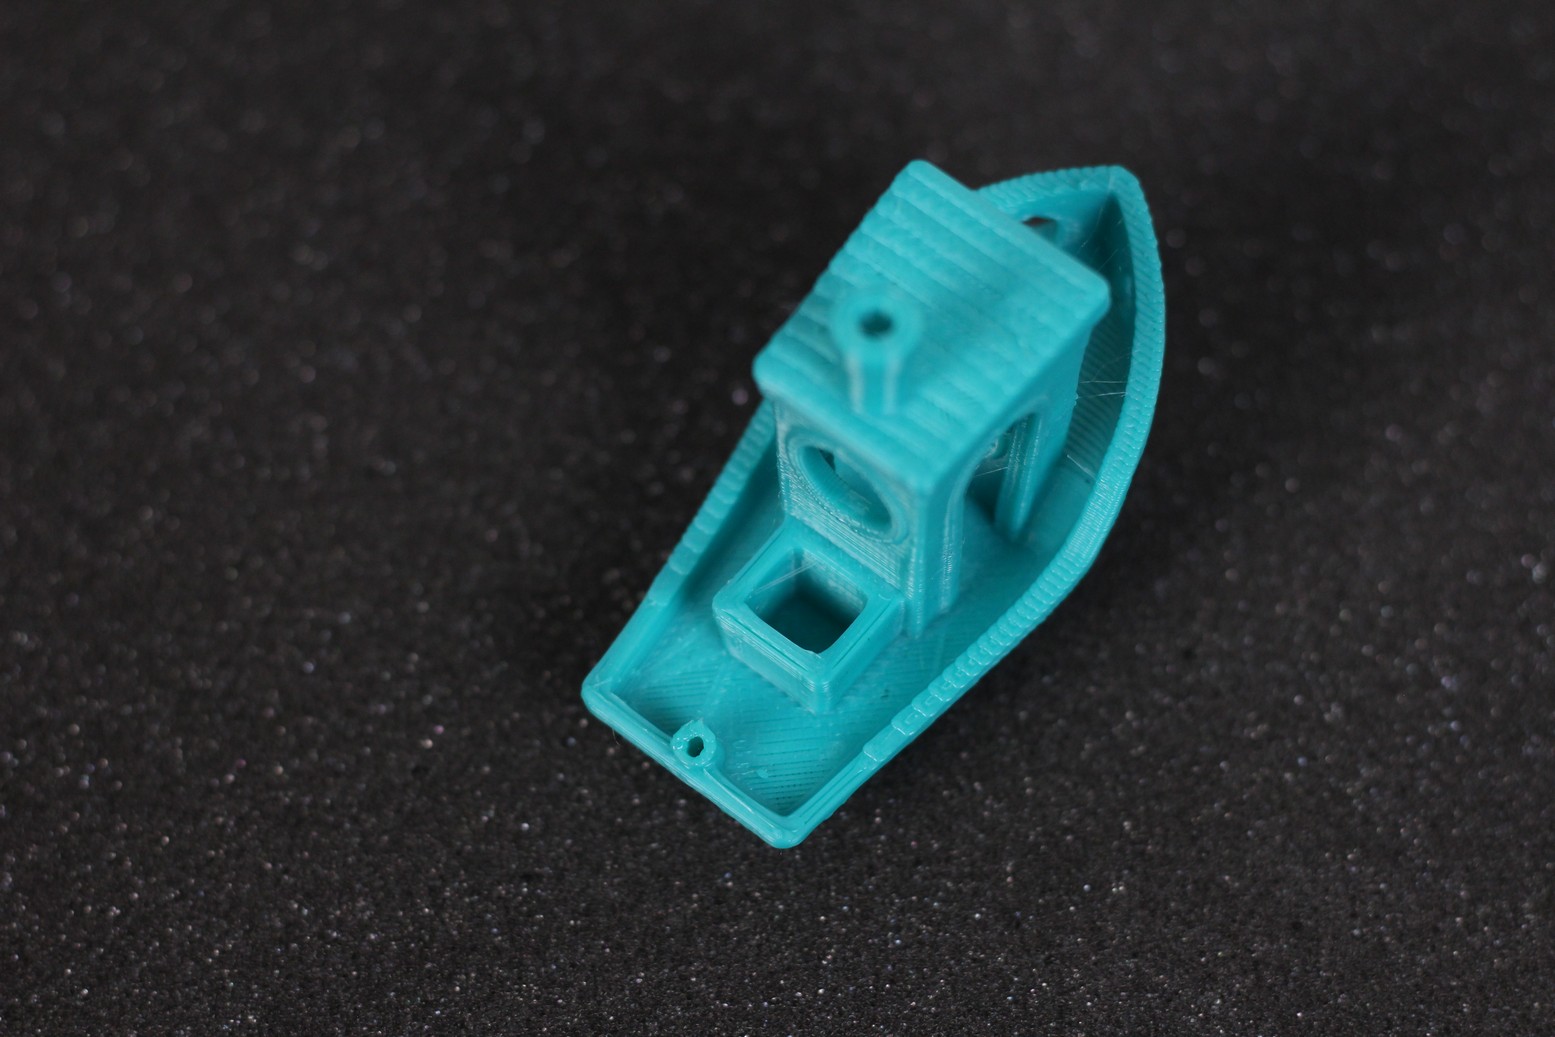
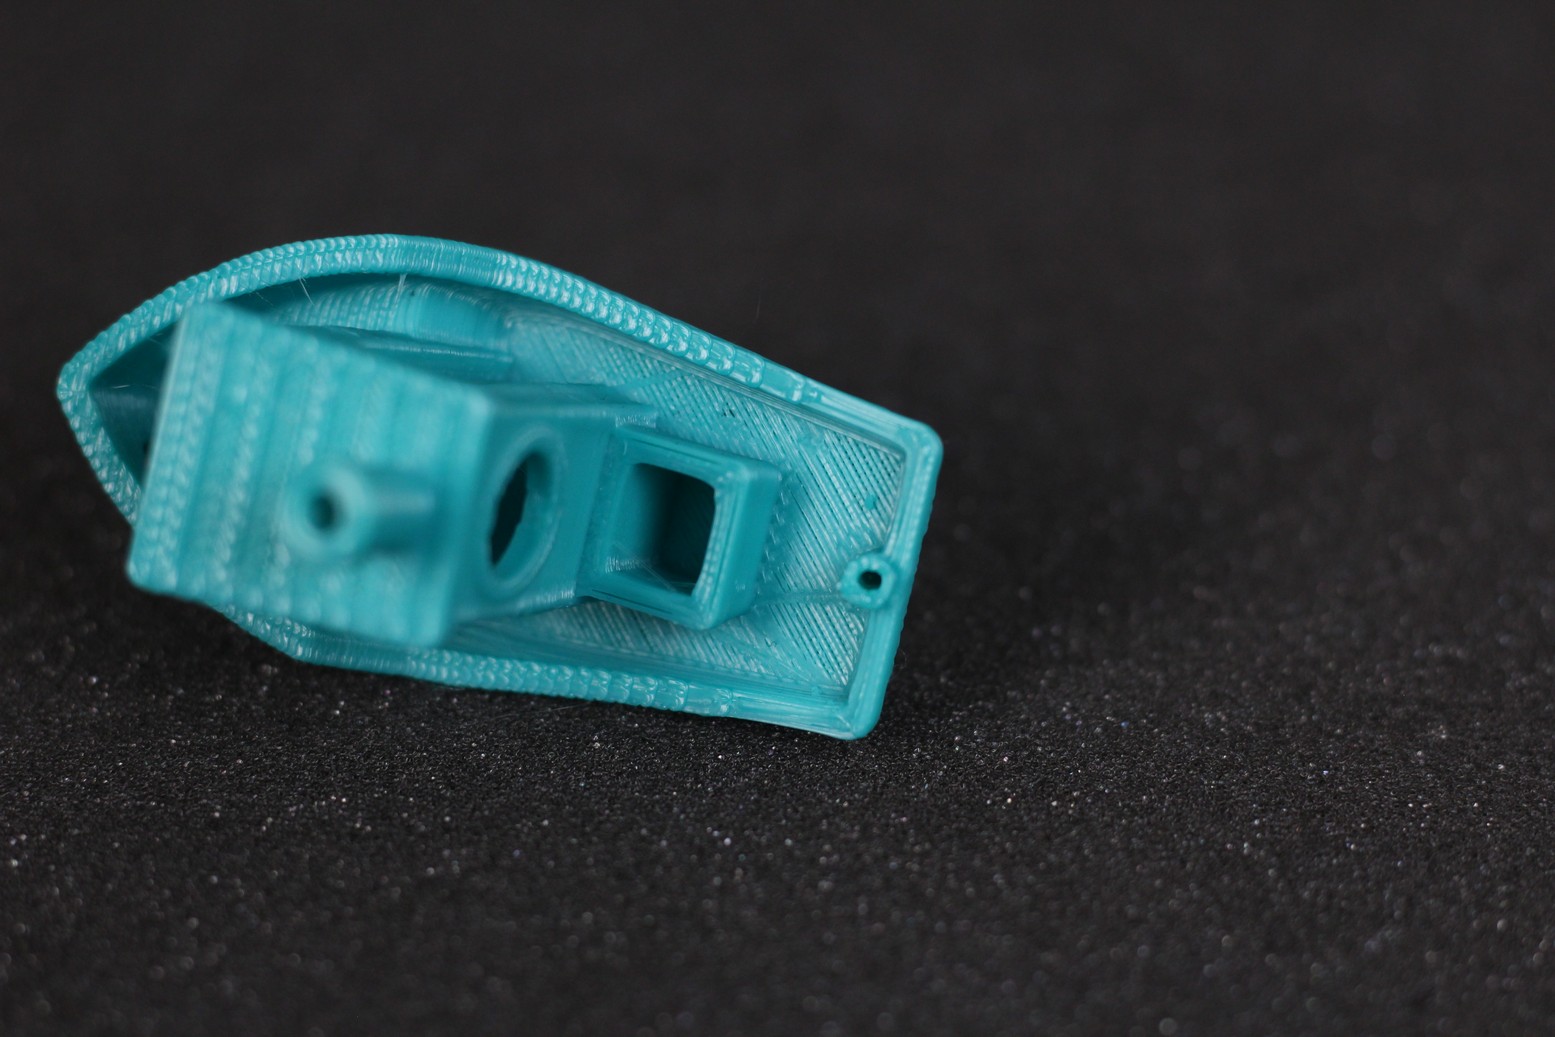
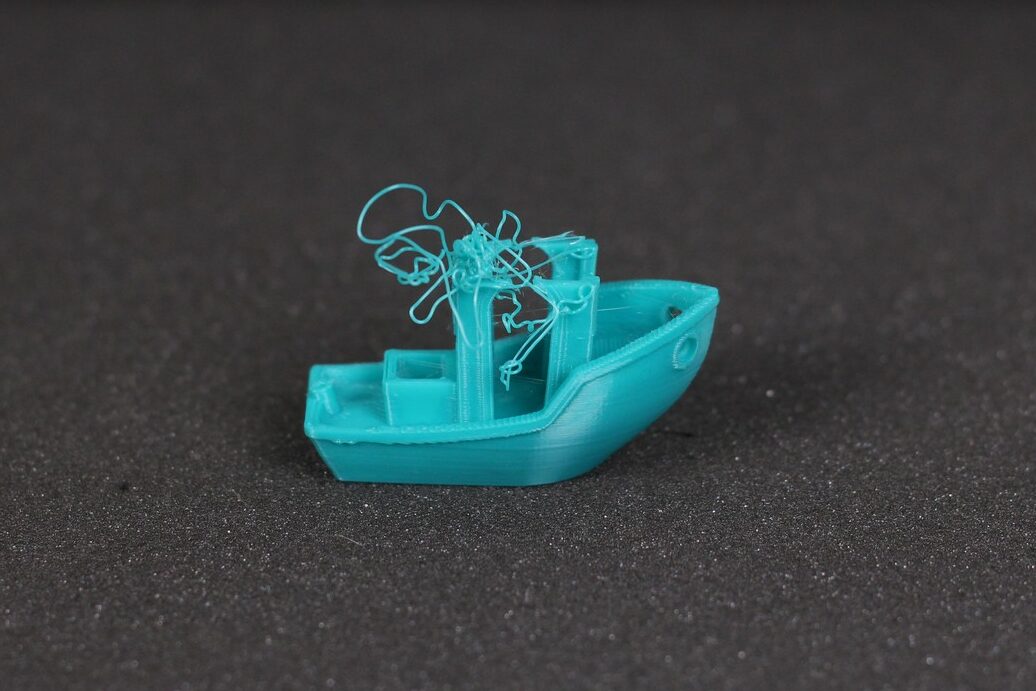
My first print on the Ender 2 Pro failed, even though is a simple 3D Benchy. Because of the adhesion issues I was mentioning, the model didn’t adhere properly on the print surface and failed.
I tried again, with the nozzle a bit closer to the bed, and managed to print it successfully. There’s a bit of stringing present, some inconsistent layers and even a bit of curling in the front bow, caused by the insufficient part cooling.
Honestly, I was expecting a bit better from the Ender 2 Pro.
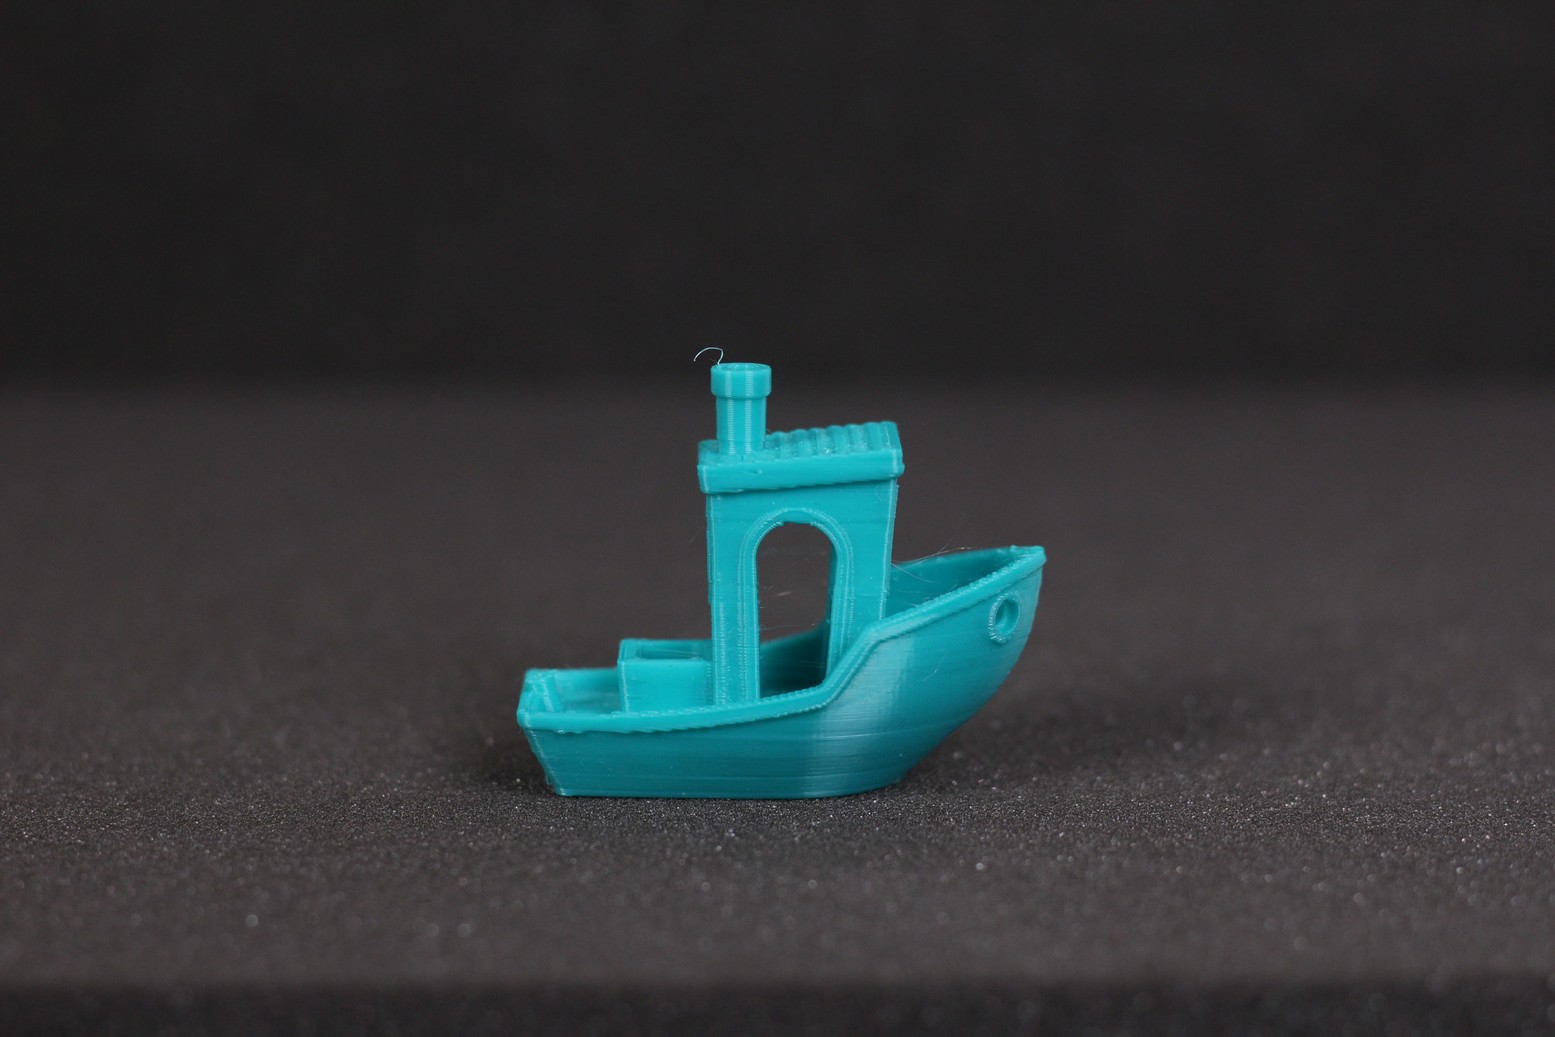
- Material: Devil Design Azure Blue
- Layer Height: 0.2mm
- Nozzle Temperature: 215C
- Bed Temperature: 60C
- Print Speed: 60 mm/s
Phil-A-Ment
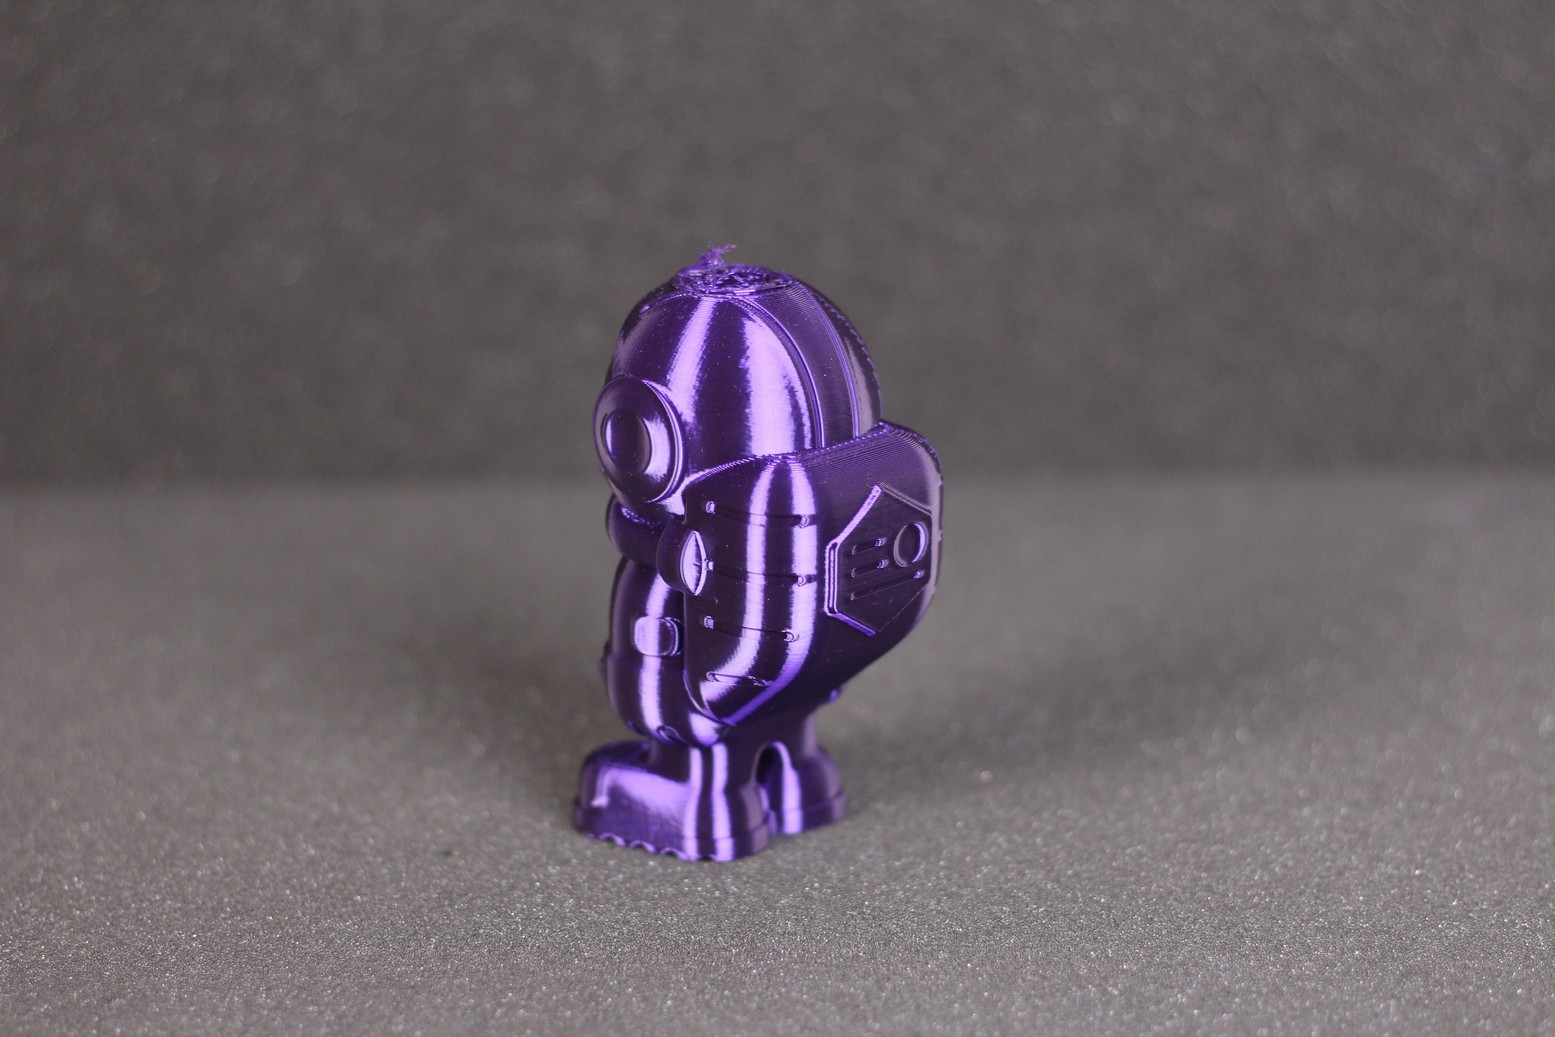
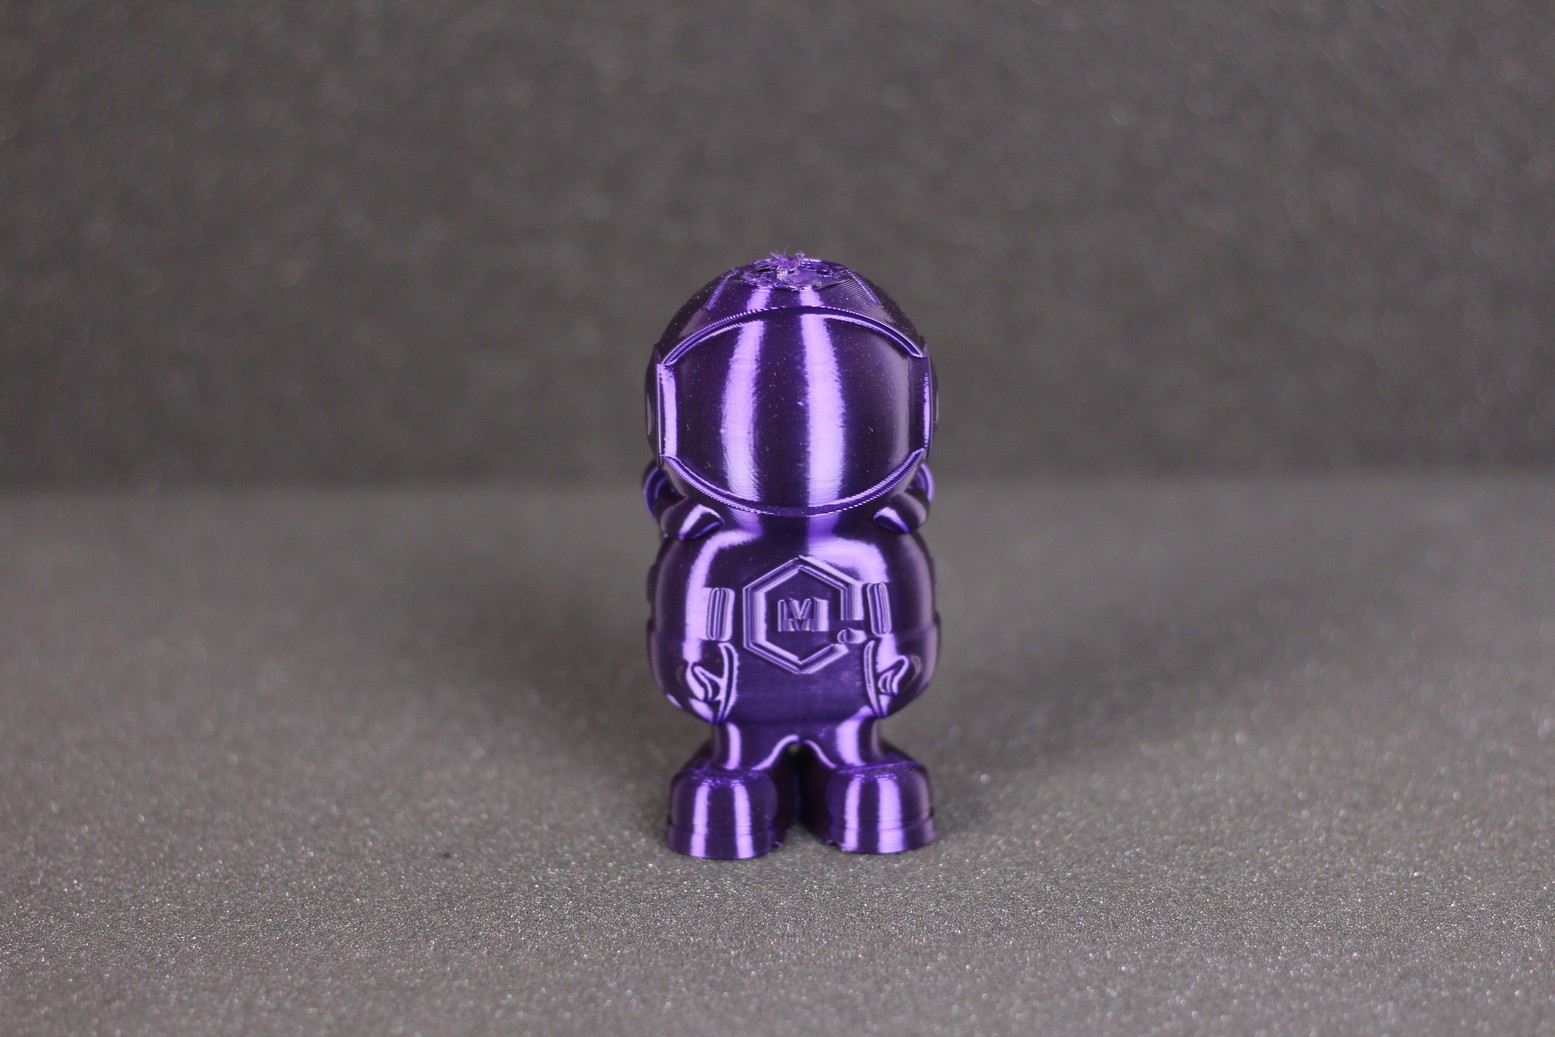
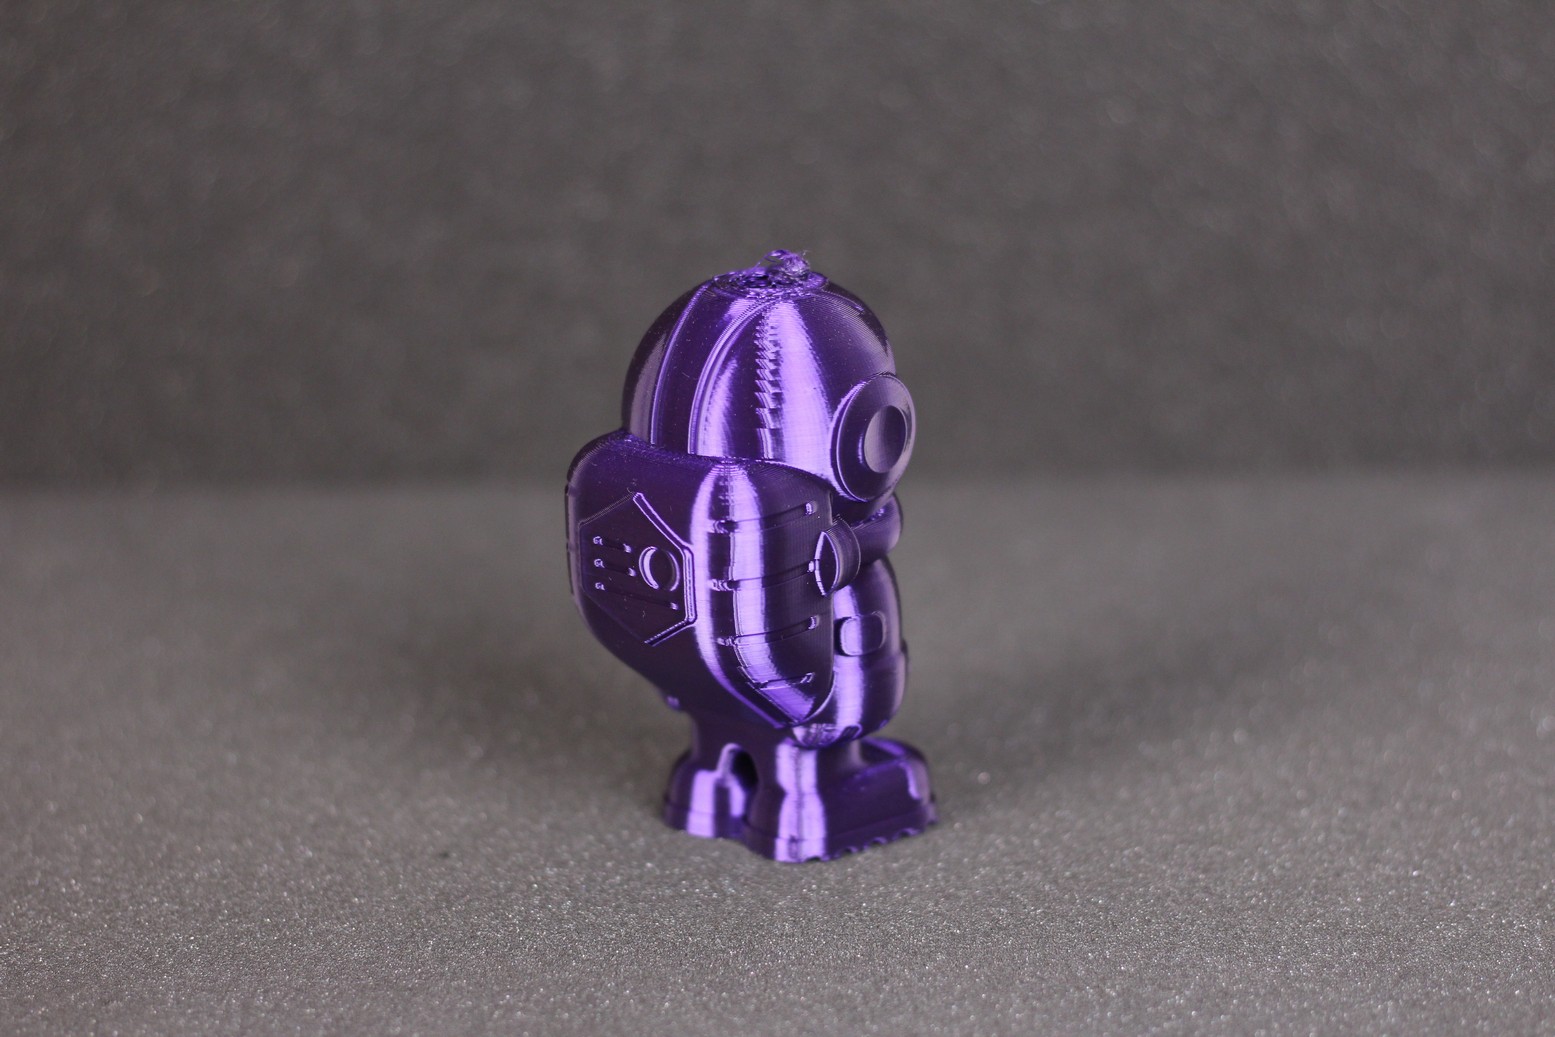
The second failed print is this Phil-A-Ment model. This one failed because of the exact same reason like the 3D Benchy – Lack of adhesion. To avoid this in the future, I started using some adhesive on the print surface which solved my problem.
If the model wouldn’t have lost adhesion, it would have completed successfully, with good print quality.
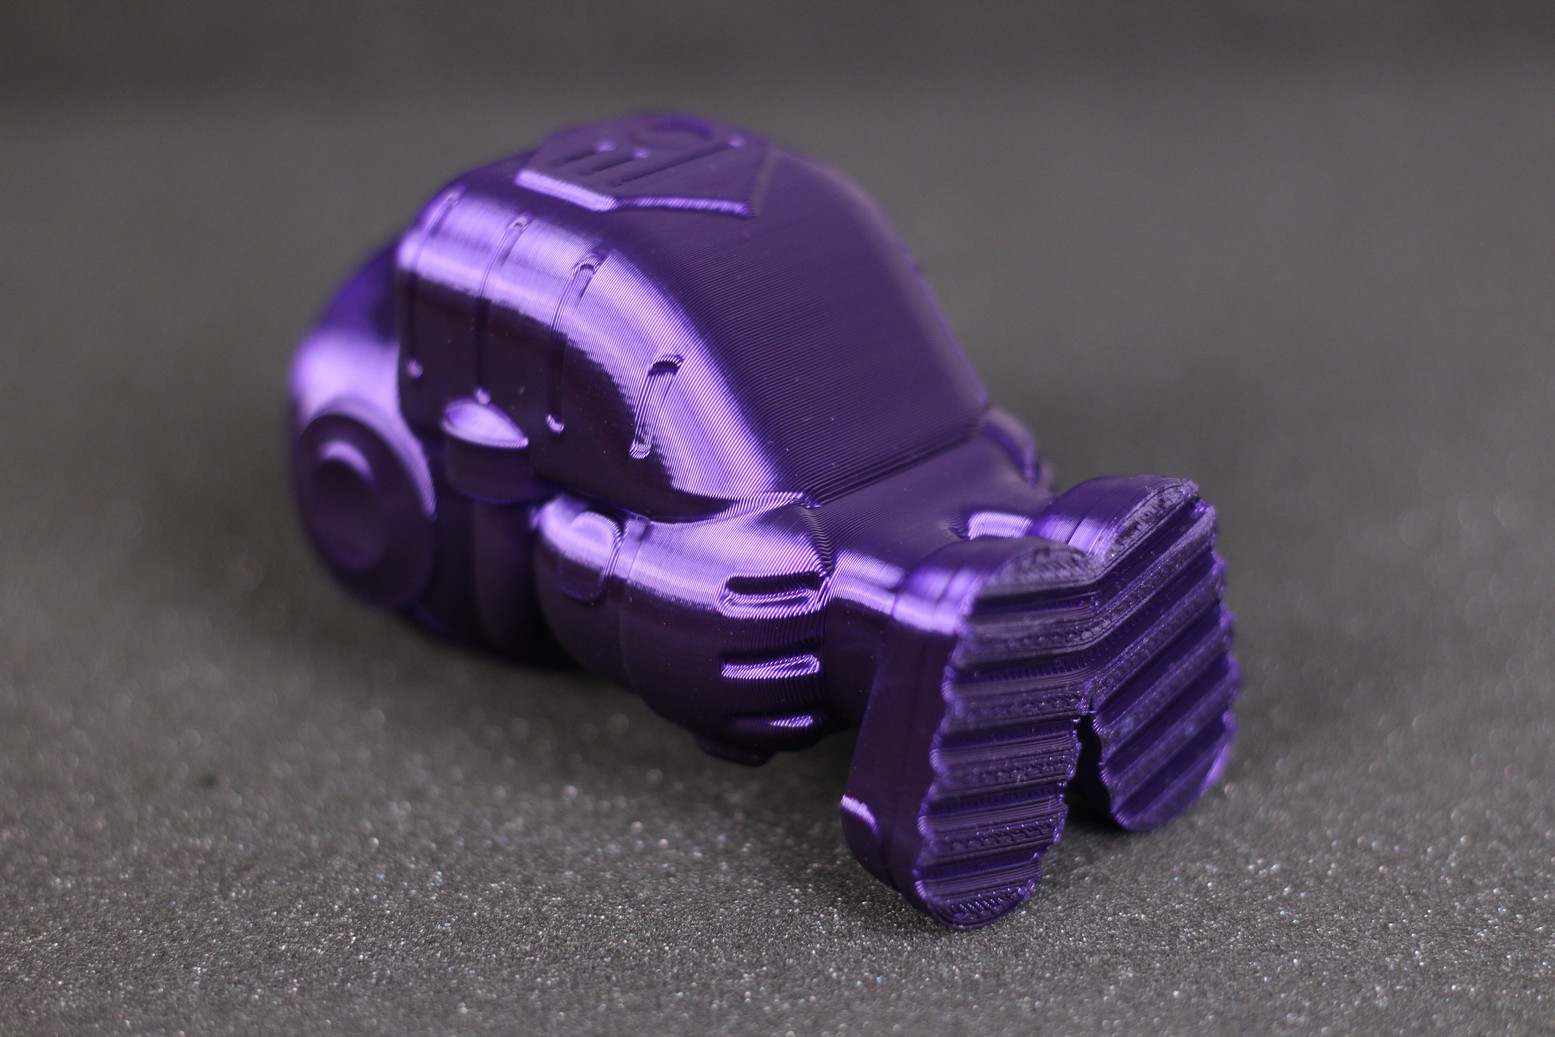
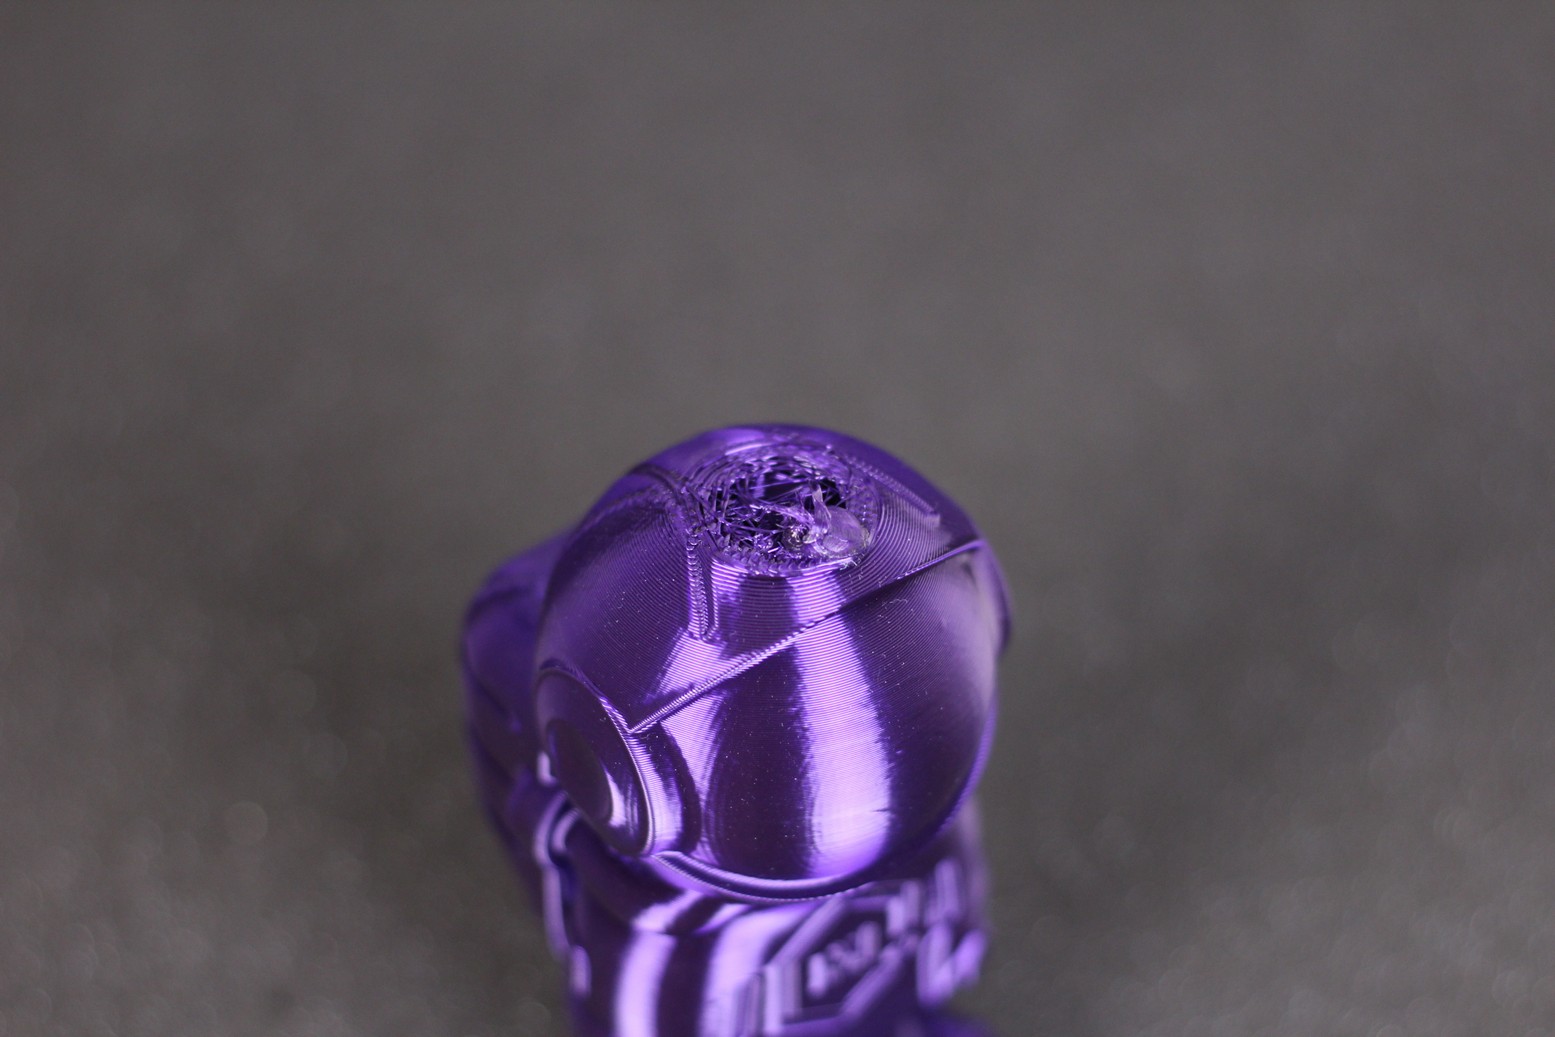
- Material: Extrudr Biofusion Epic Purple
- Layer Height: 0.15mm
- Nozzle Temperature: 220C
- Bed Temperature: 60C
- Print Speed: 50 mm/s
Chameleon Pen Holder
To test the adhesion after applying some adhesive, I printed the Chameleon Pen Holder and it was a success. It’s true that there is a larger contact surface, but it was attached much better to the print surface. The print quality is quite good, with a bit of under extrusion on the top layers.
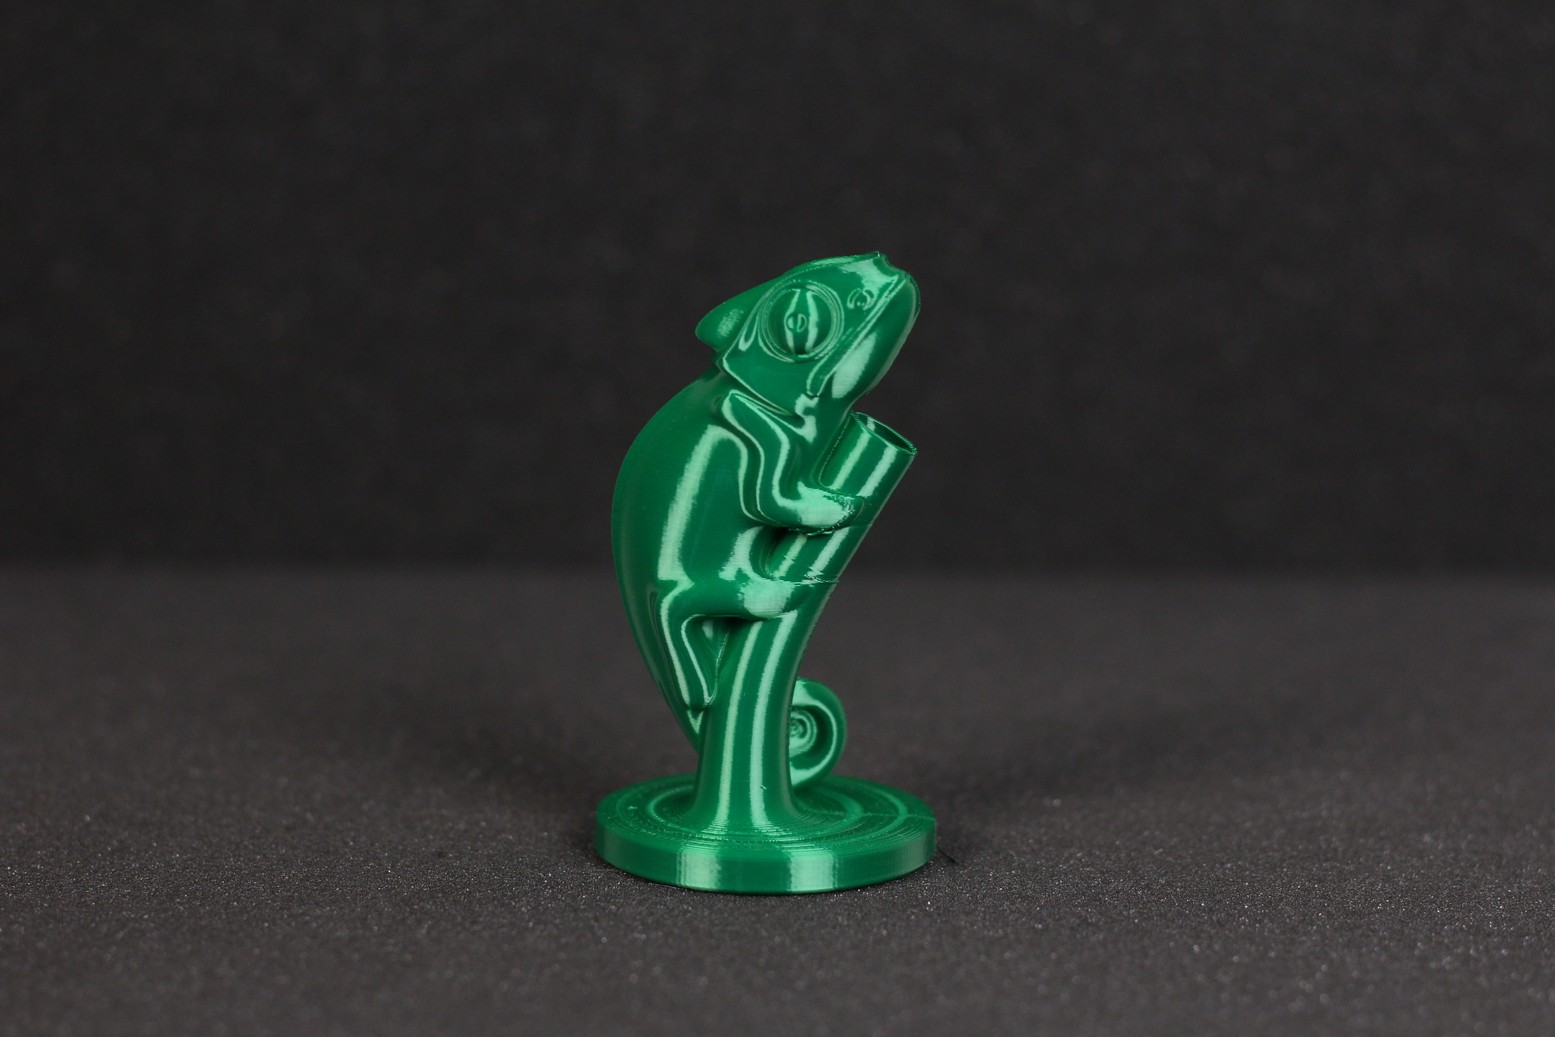
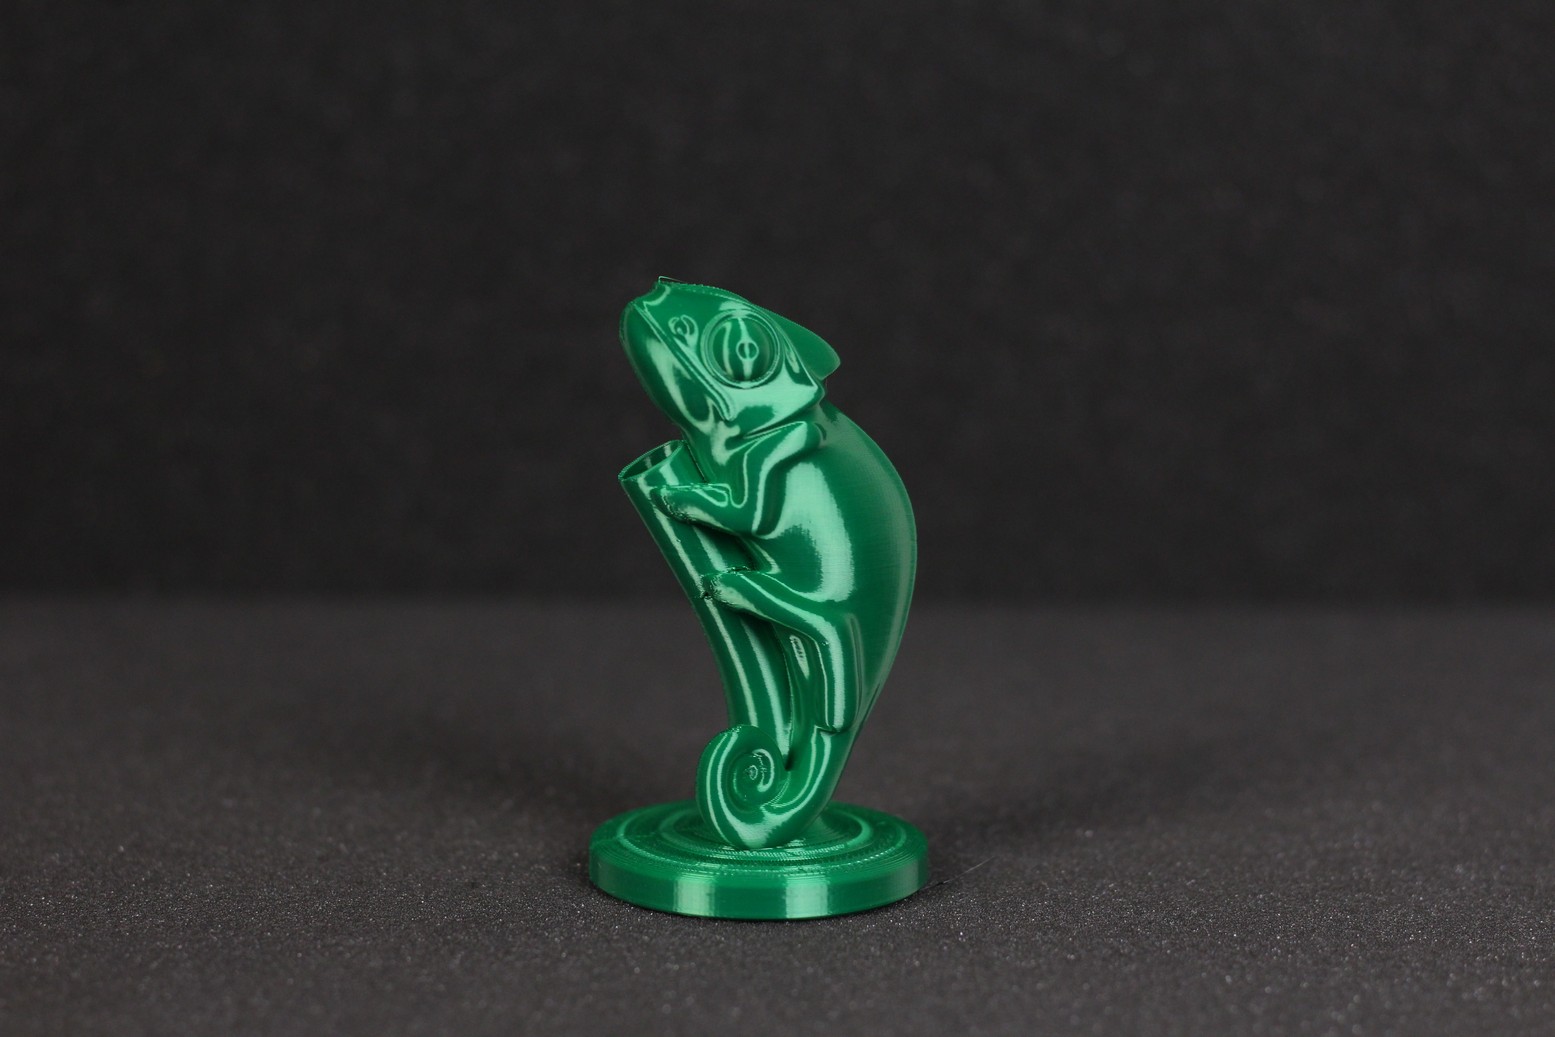
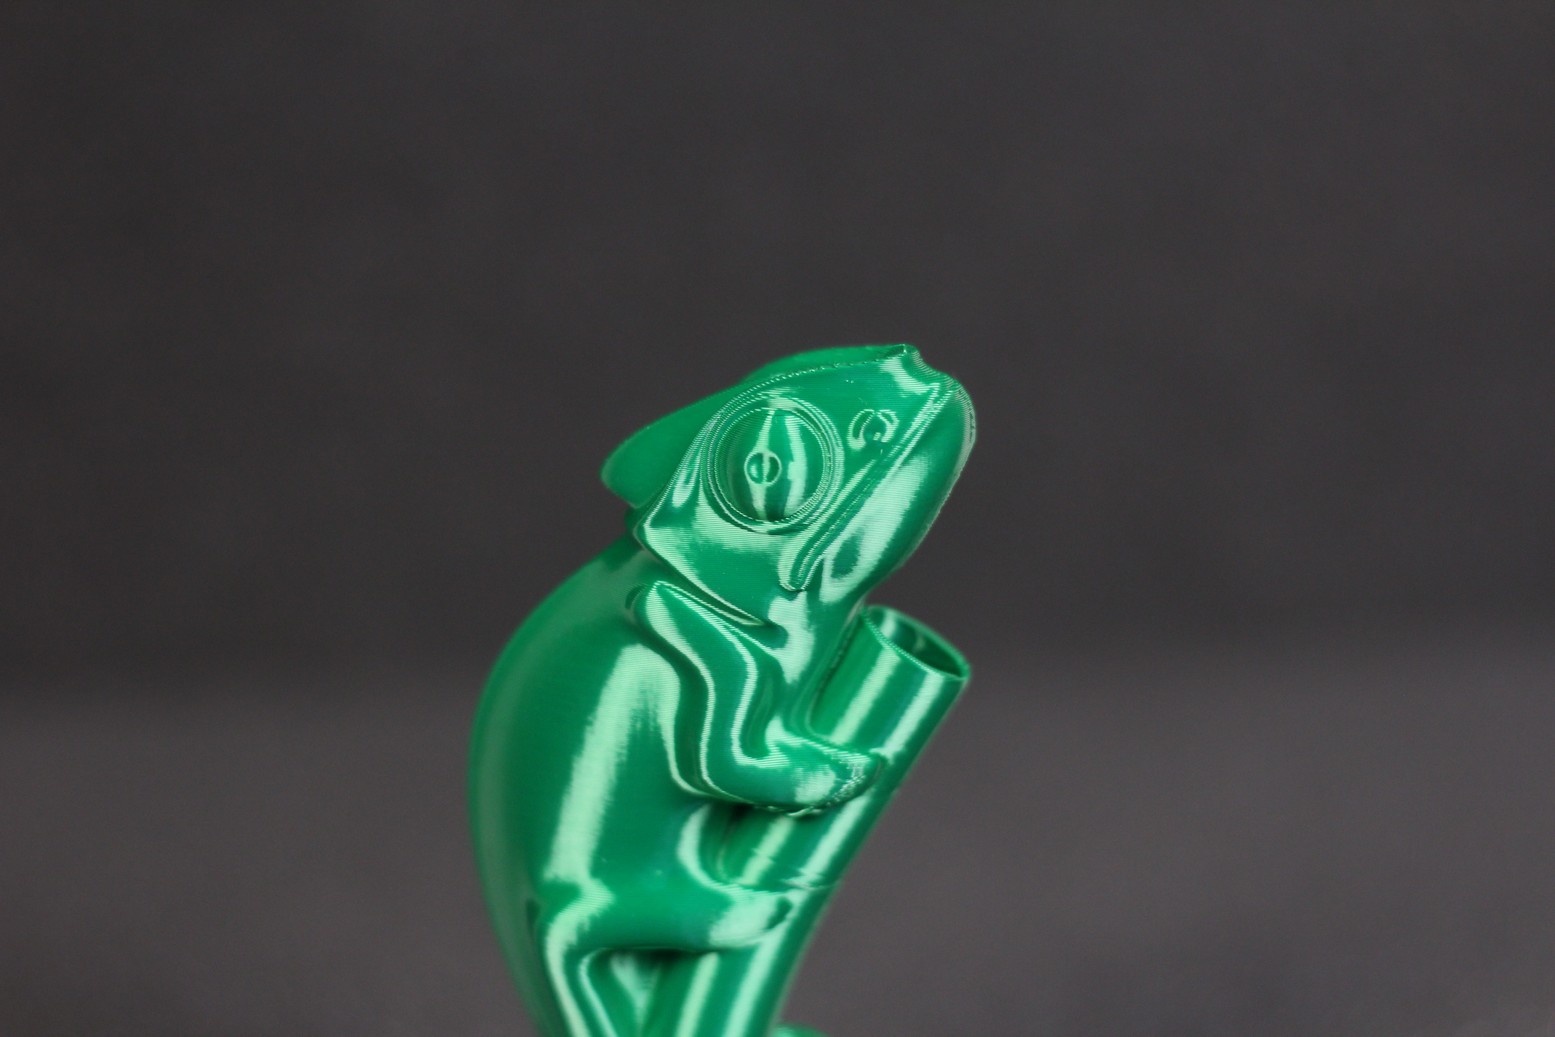
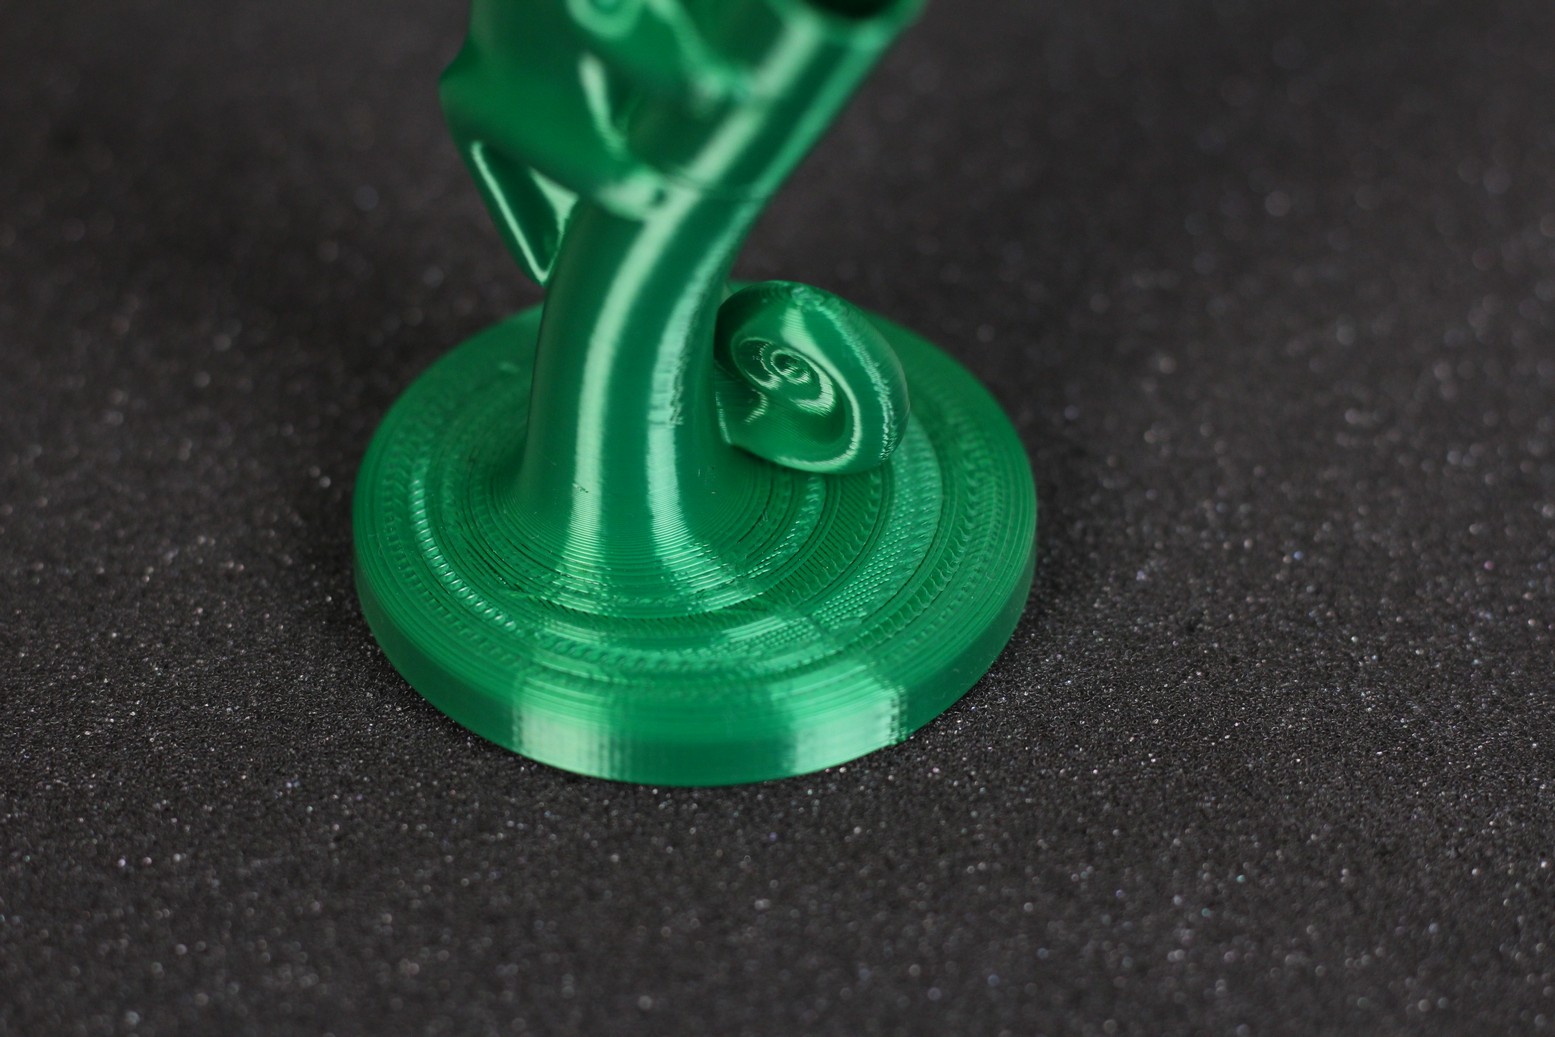
- Material: Extrudr Biofusion Reptile Green
- Layer Height: 0.15mm
- Nozzle Temperature: 220C
- Bed Temperature: 60C
- Print Speed: 50 mm/s
Flexi Puppy
I had a small sample of Extrudr ASA filament so I thought I could try it out on the Ender 2 Pro with the Flexy Puppy to see how well does it handle higher temperature filaments. As you can see, the quality is pretty good on sections where there’s not a lot of retraction needed. In other places, there is inconsistent extrusion and I blame this on the high pressure which builds up in the hotend.
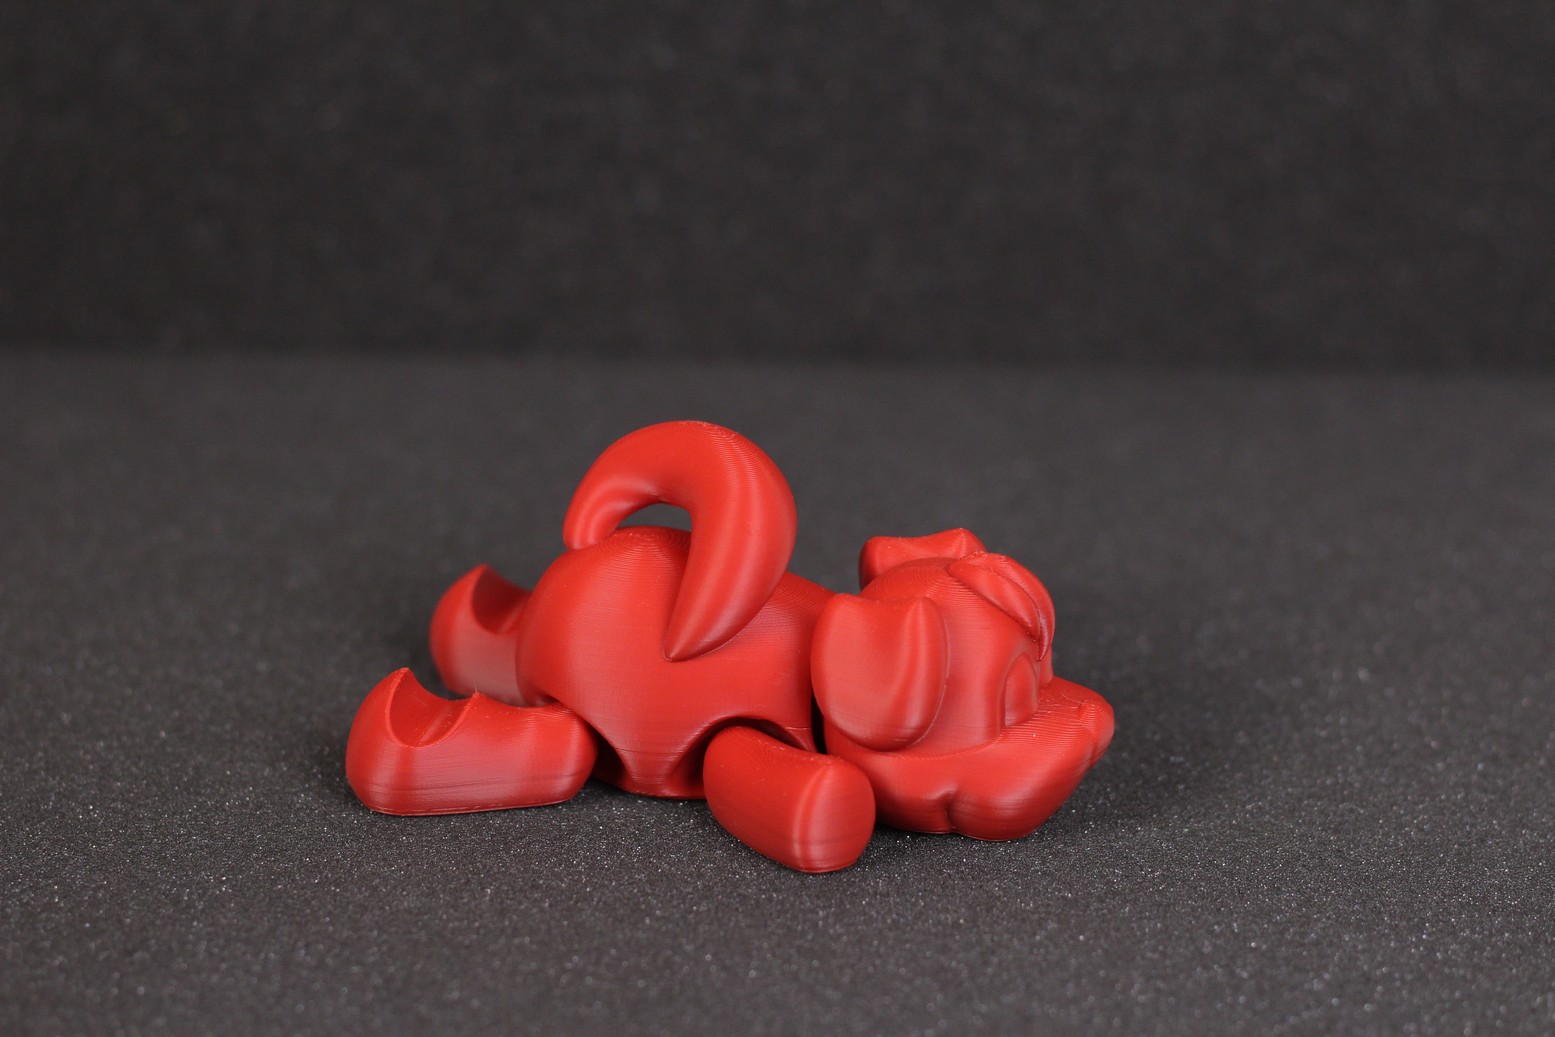
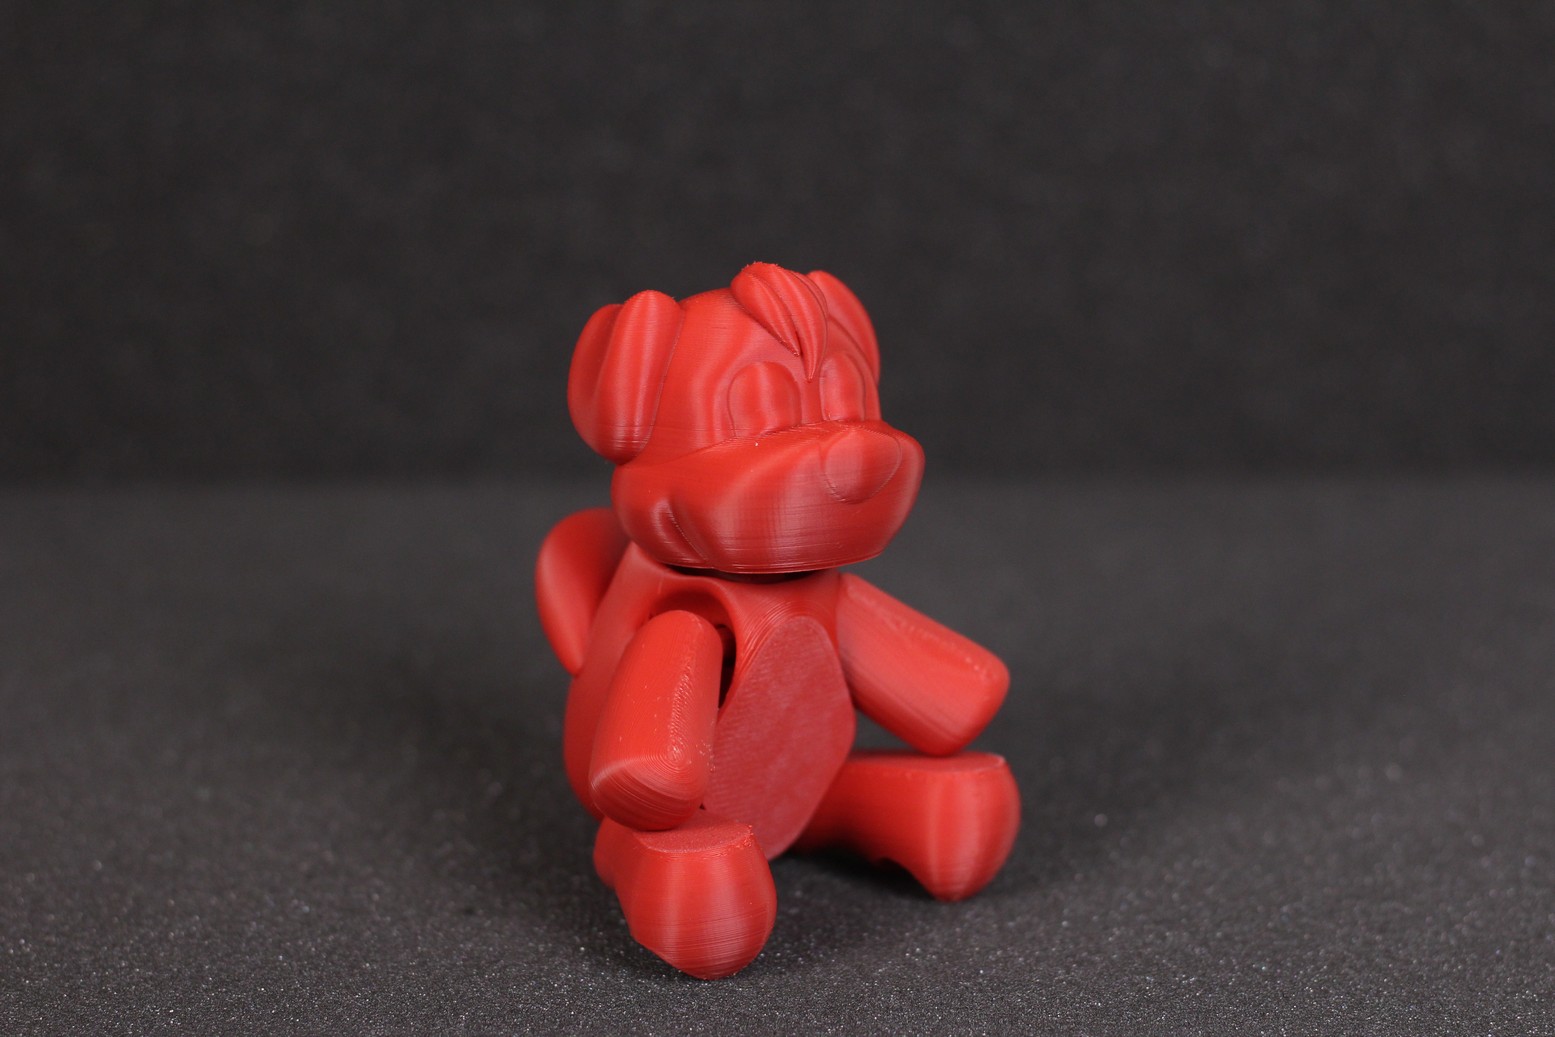
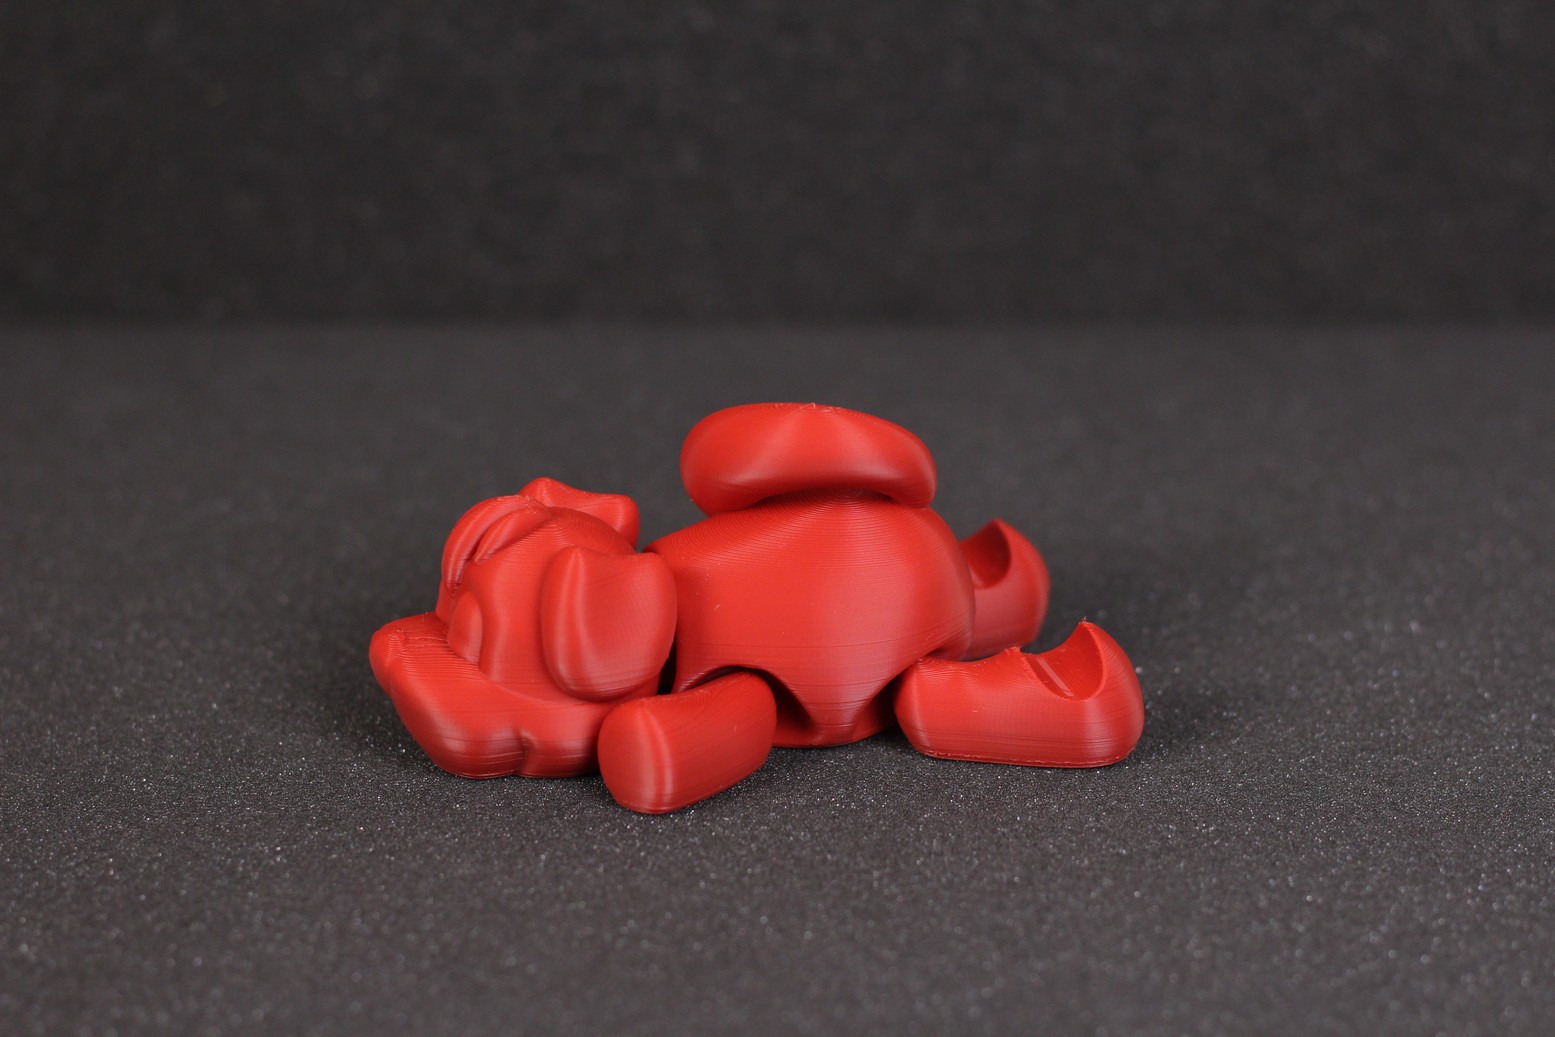
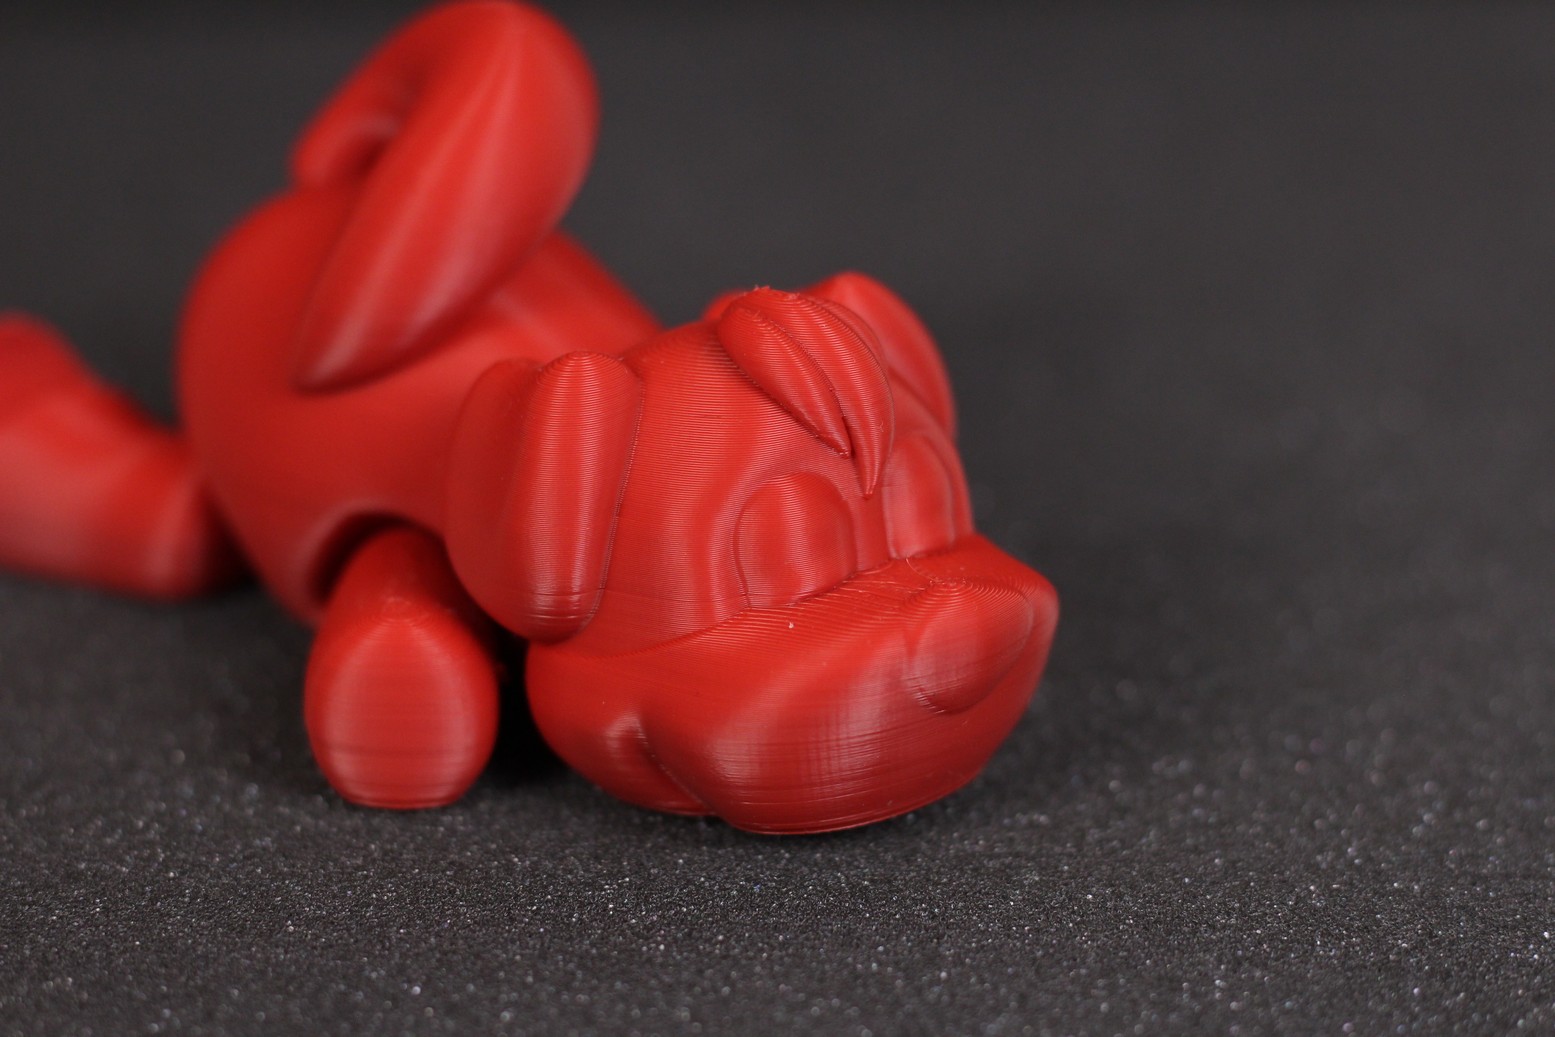
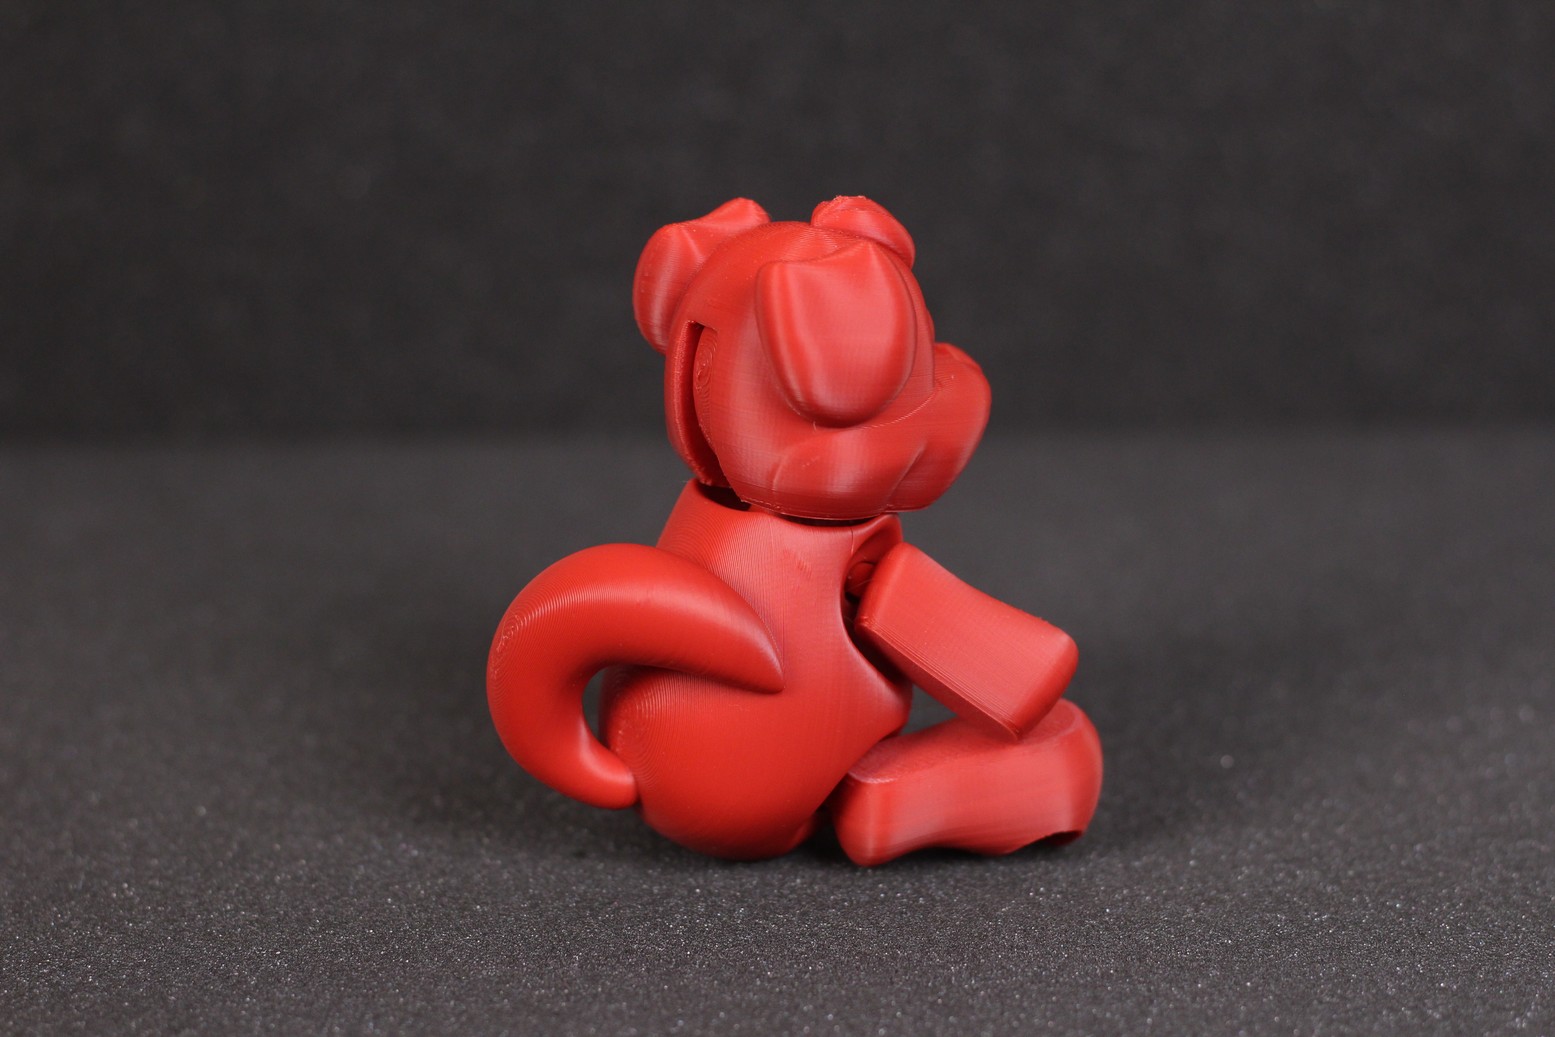
- Material: Extrudr DuraPro ASA Red
- Layer Height: 0.2mm
- Nozzle Temperature: 240C
- Bed Temperature: 80C
- Print Speed: 50 mm/s
Flexi Mammoth
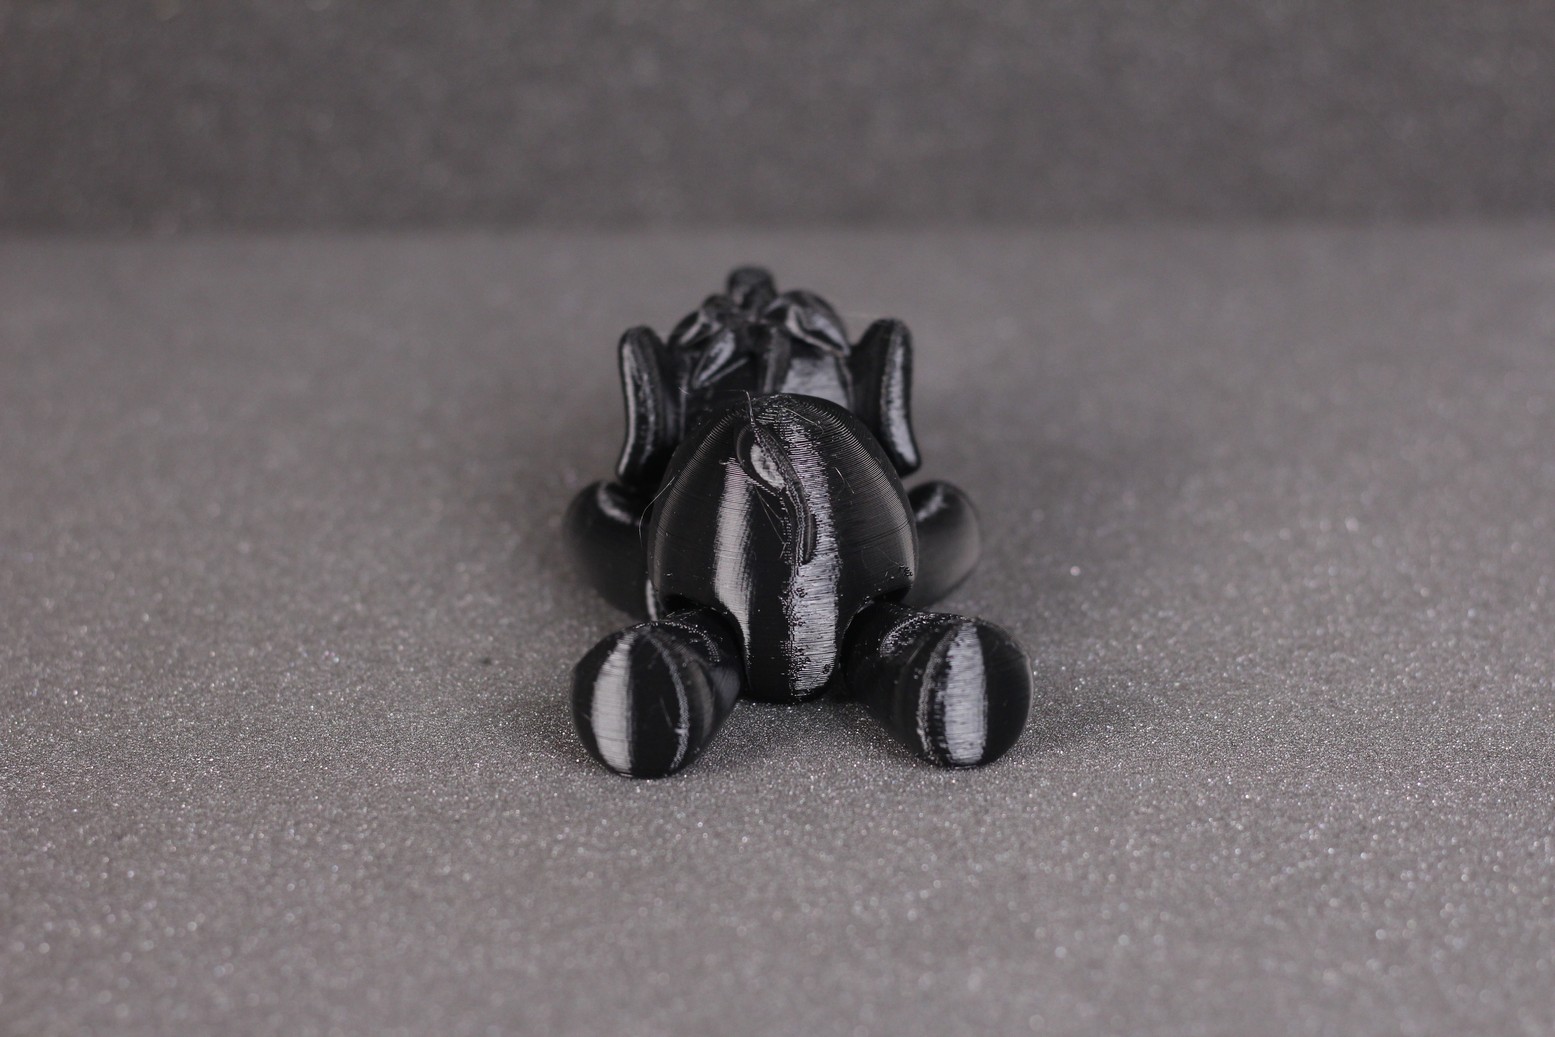
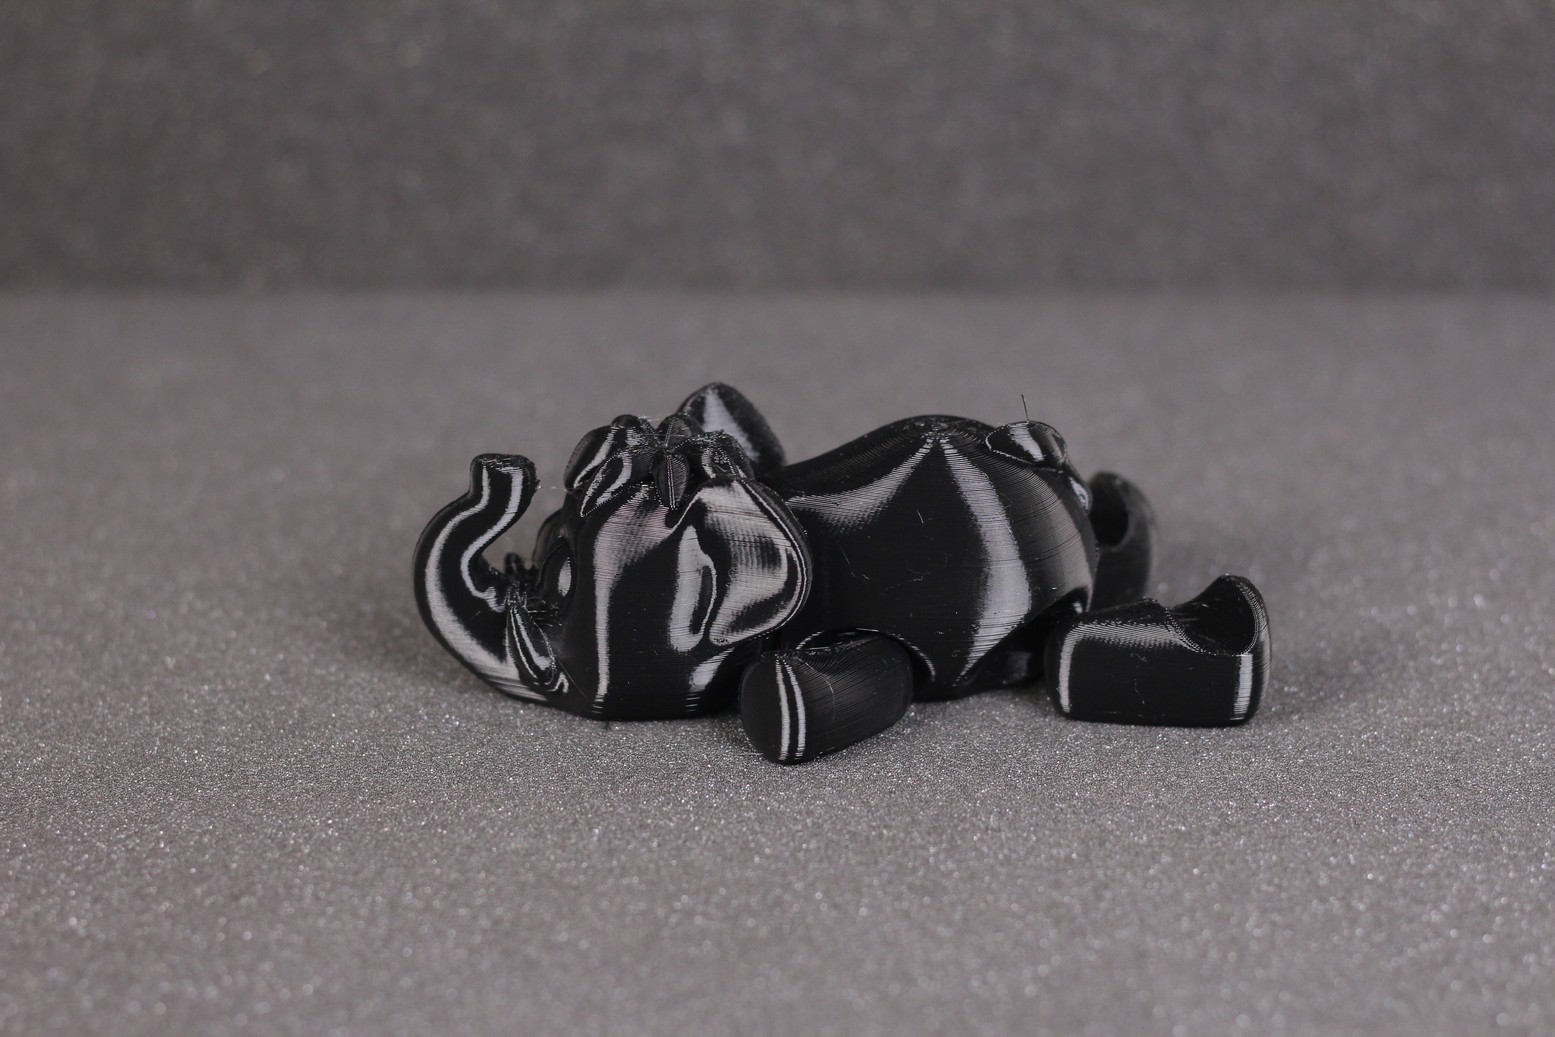
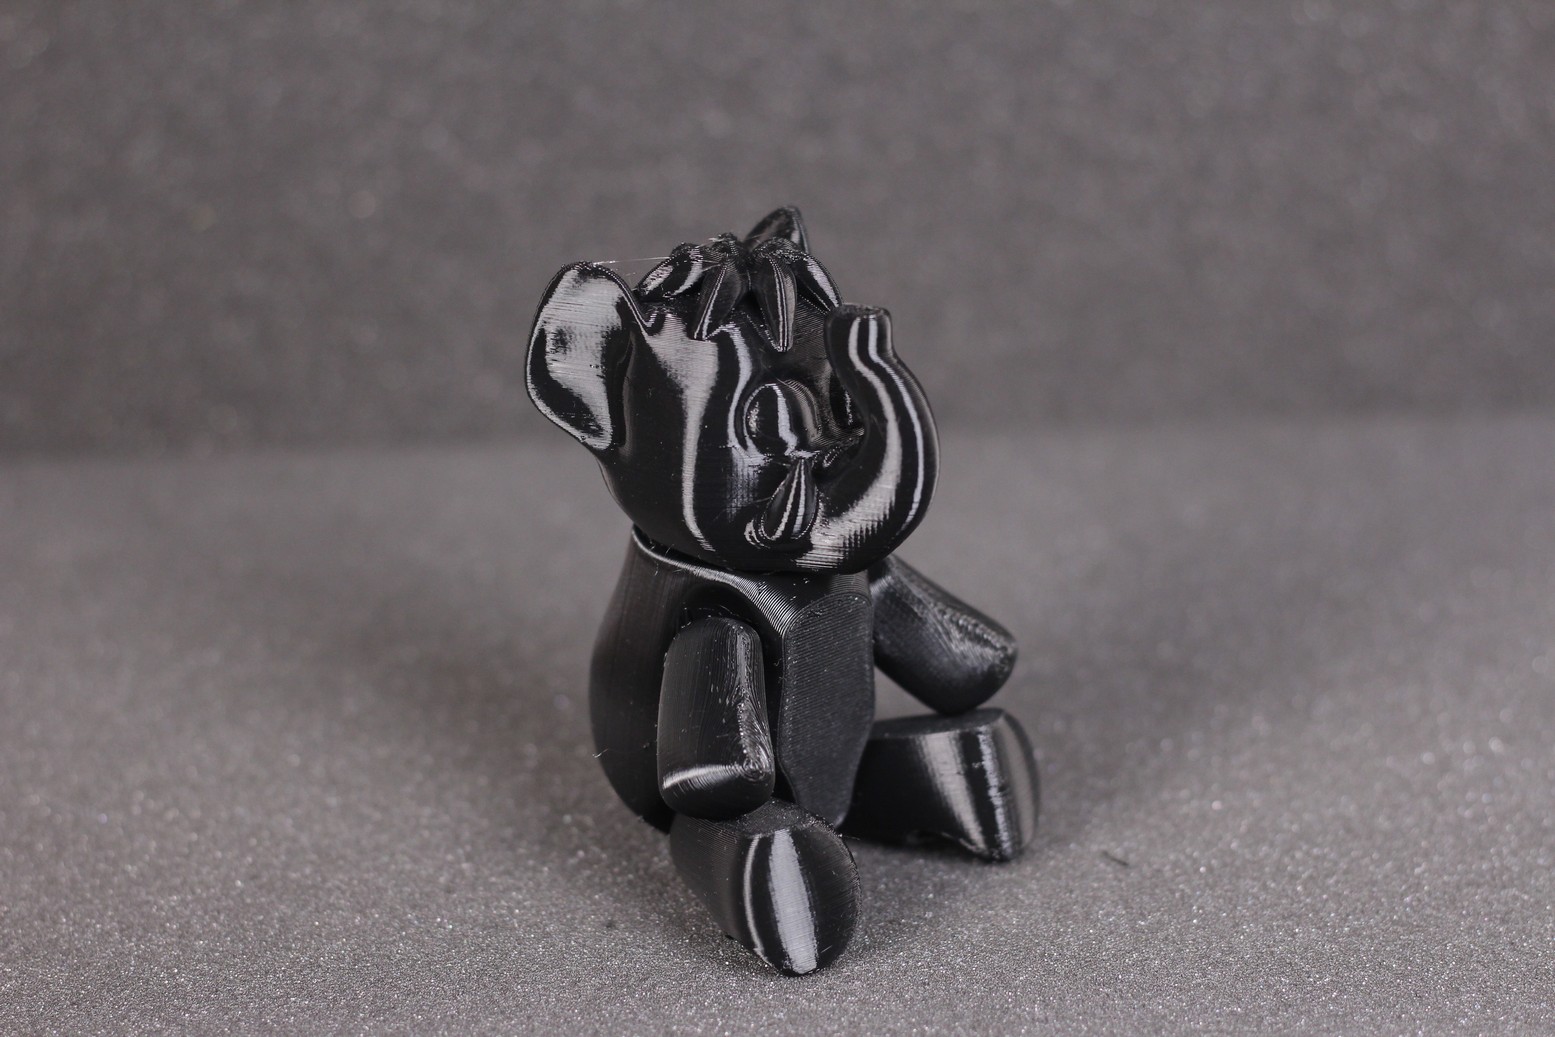
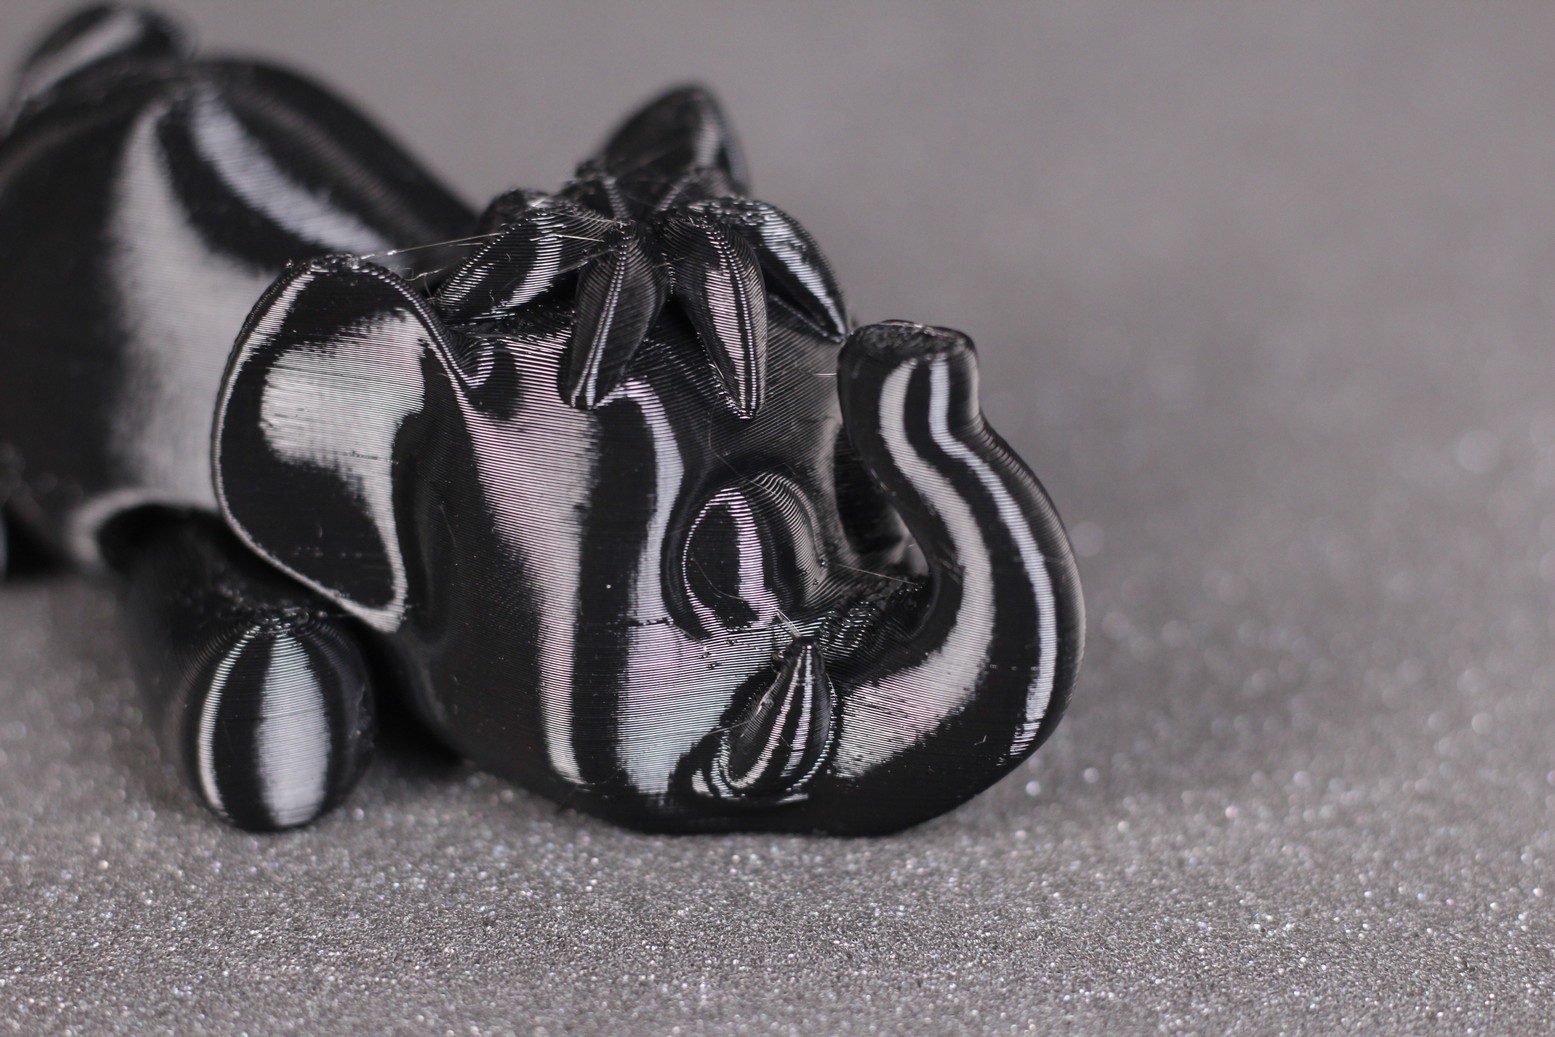
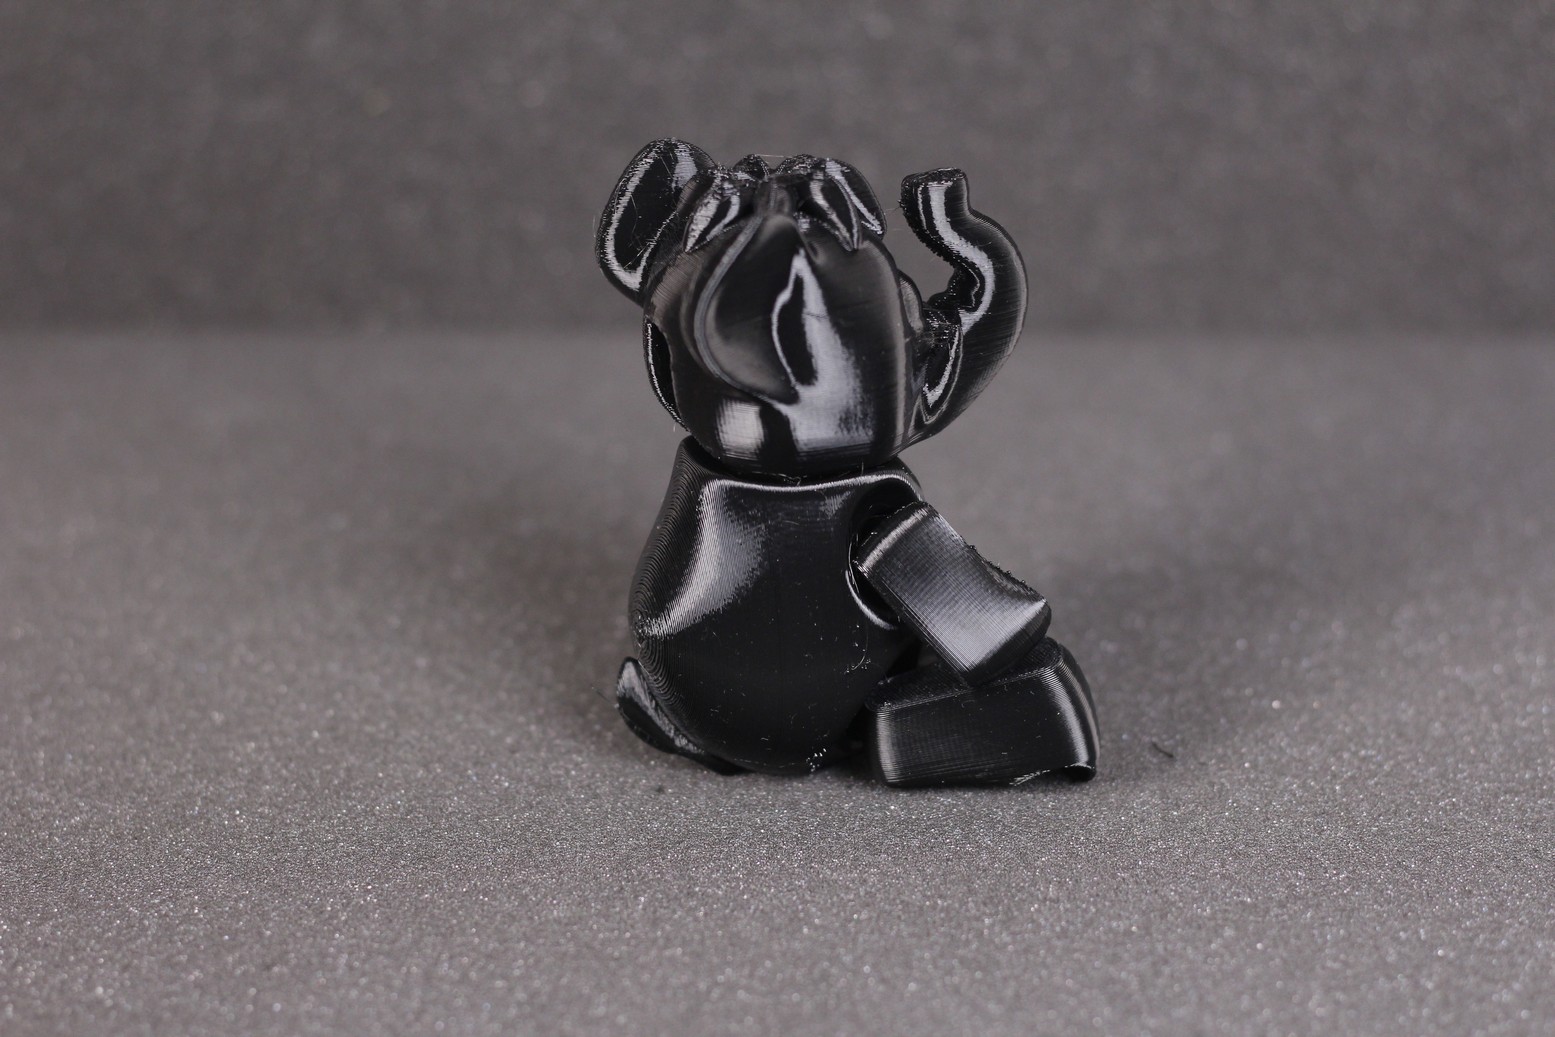
I also tested PETG on the Ender 2 Pro and I had decent results with the Flexible Mammoth model. It’s not my best PETG print, but it still looks good. A small amount of stringing present, but other than that I can’t complain about it. The adhesion was also fine, with some bed adhesive applied.
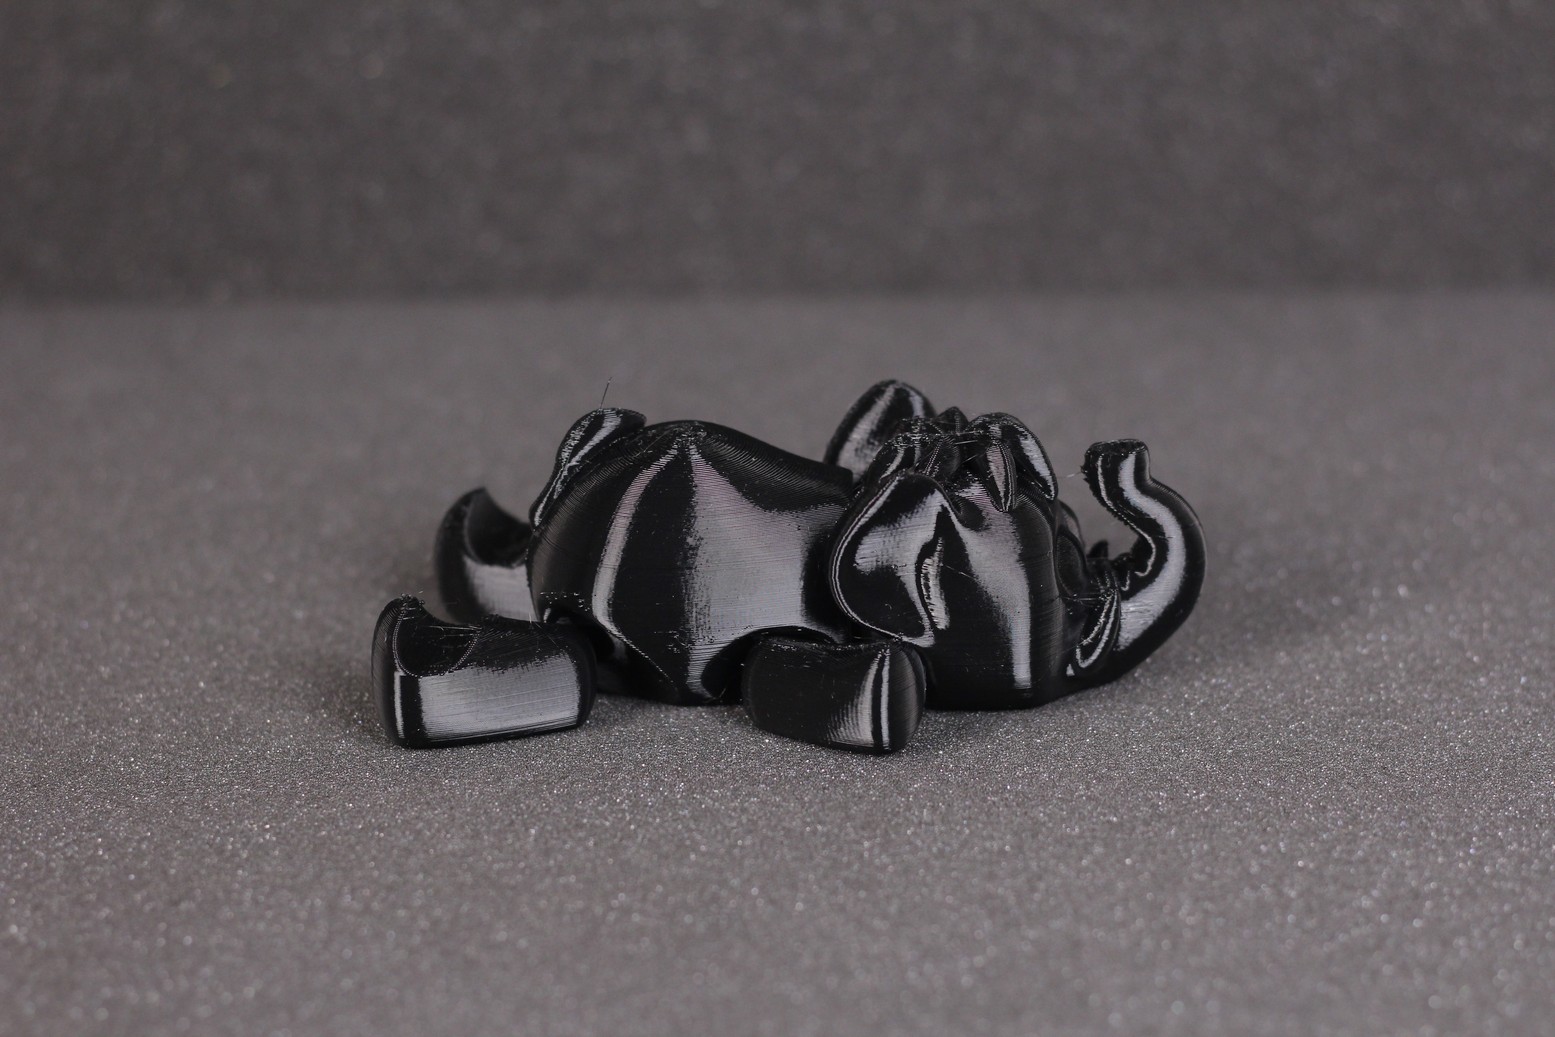
- Material: Sunlu Black PETG
- Layer Height: 0.2mm
- Nozzle Temperature: 240C
- Bed Temperature: 80C
- Print Speed: 50 mm/s
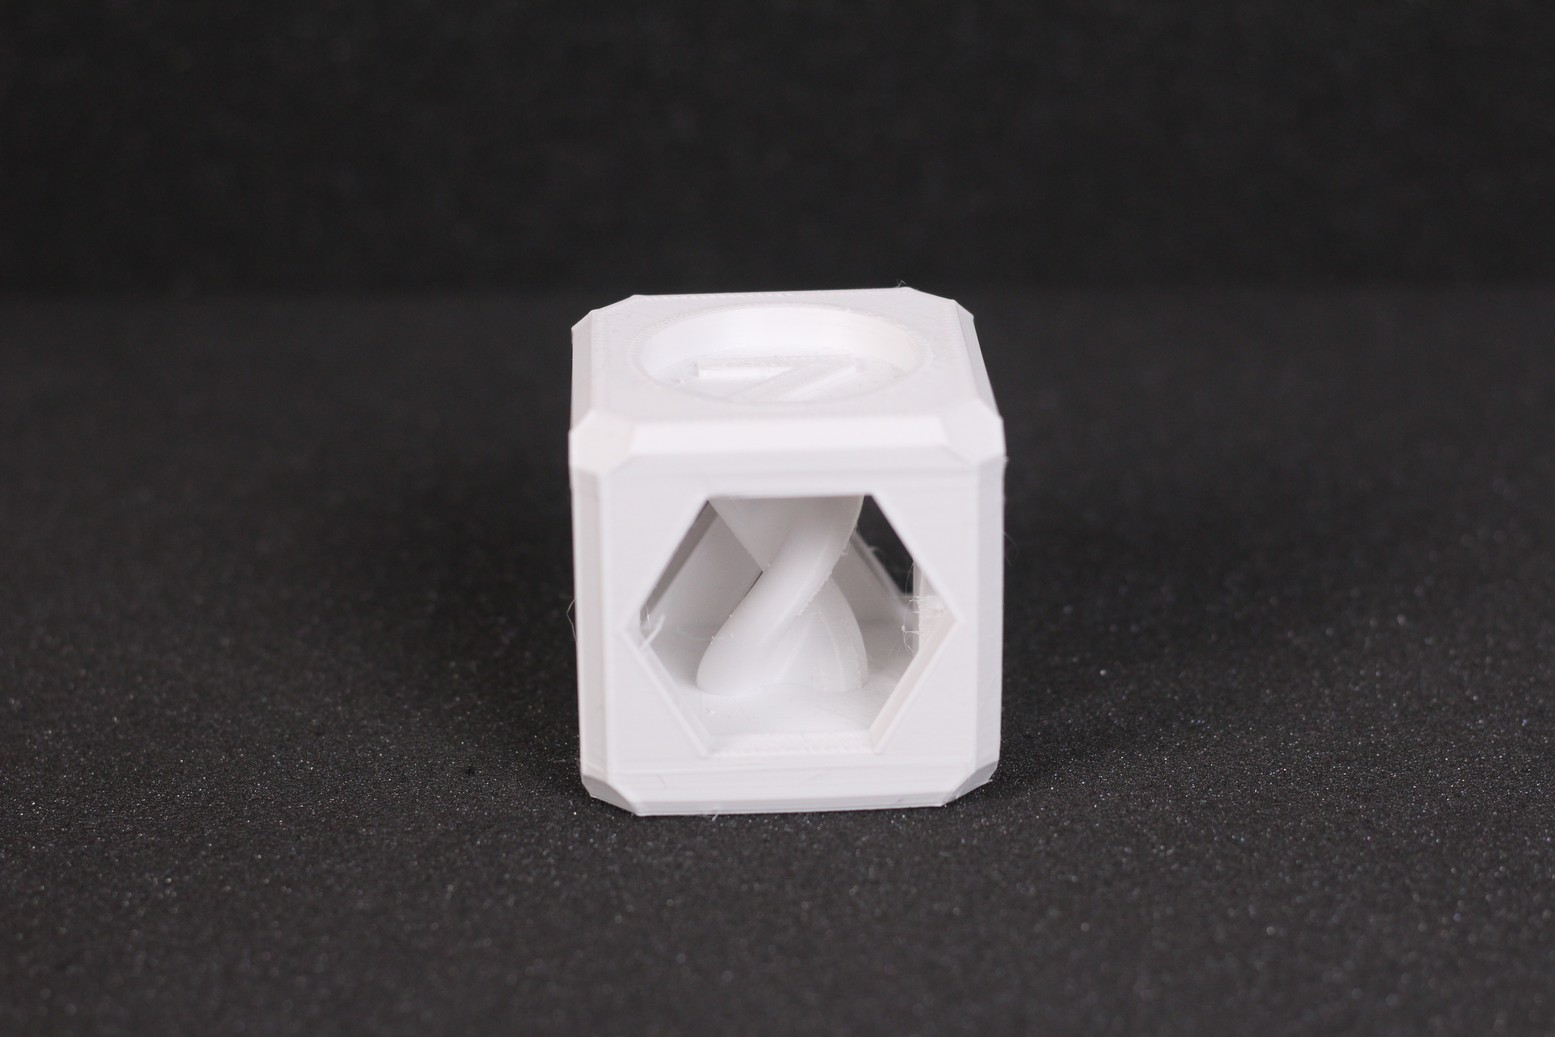
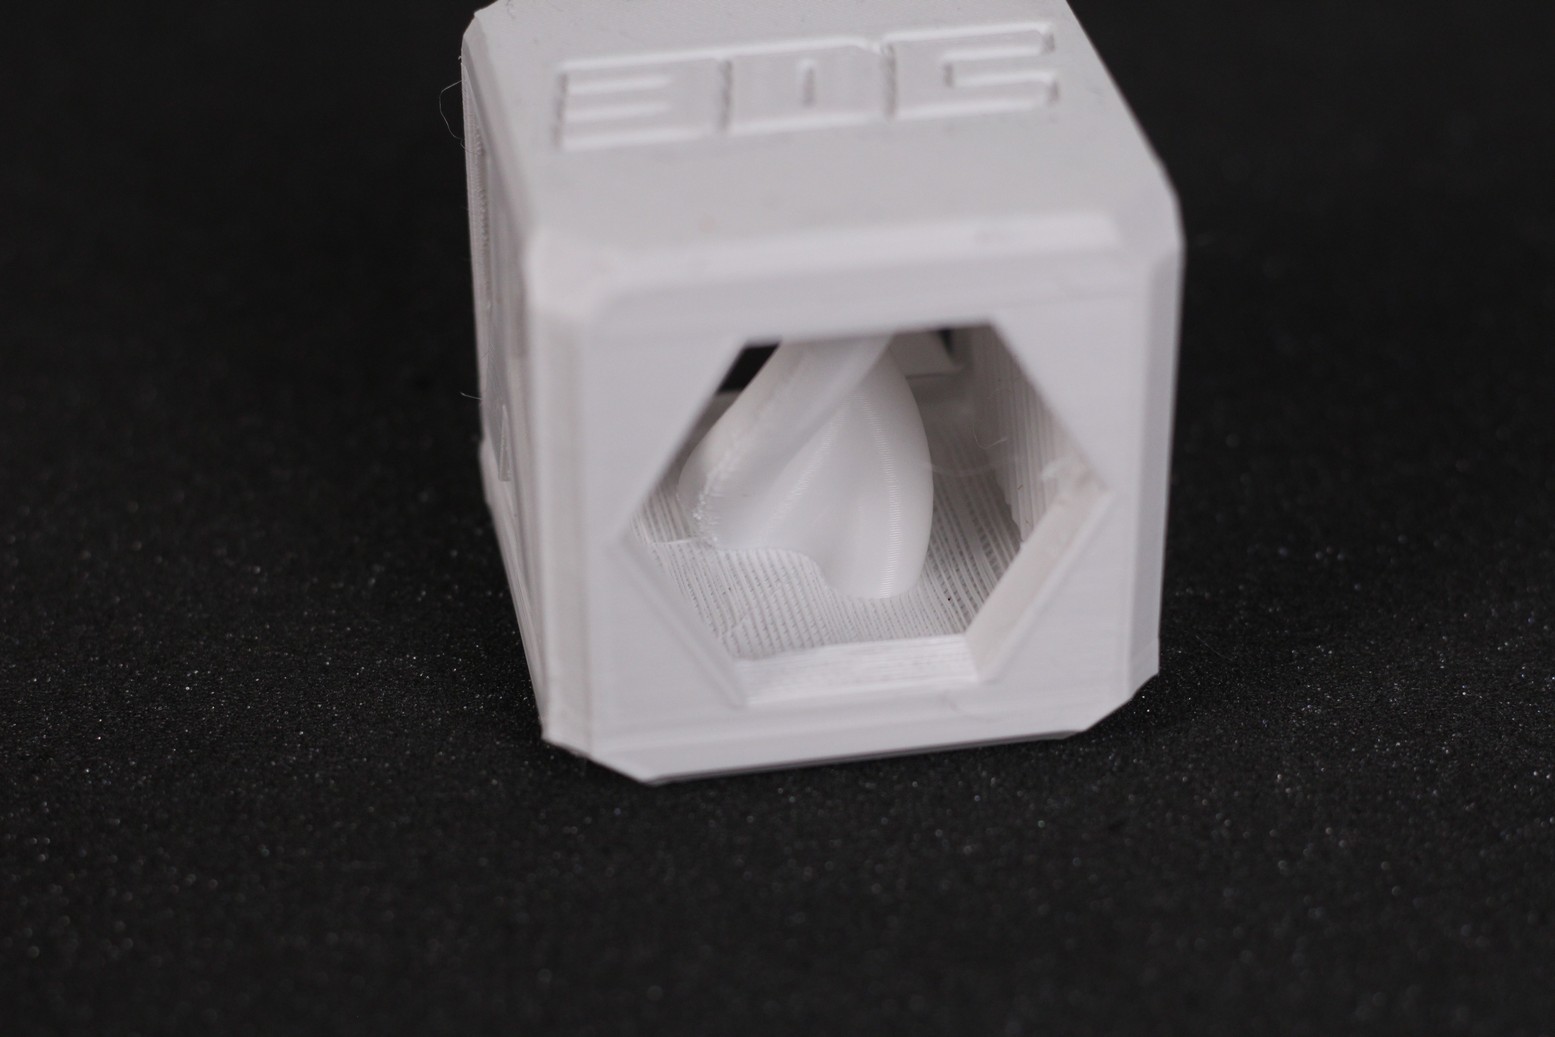
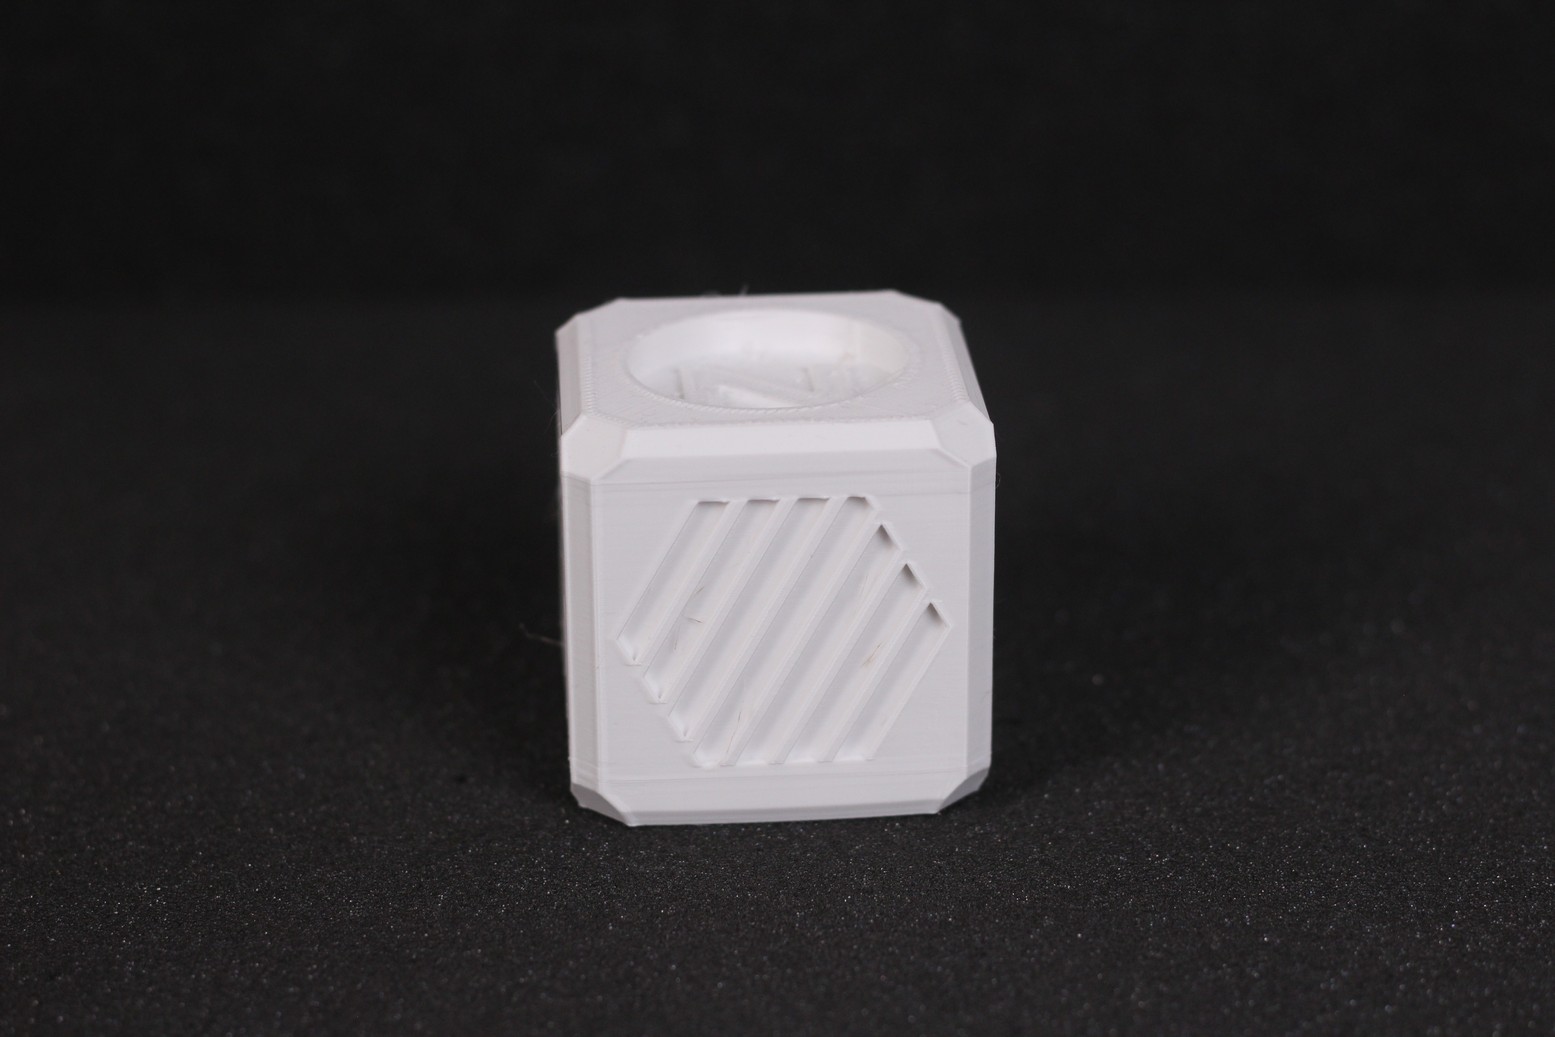
200% Helix Test Cube
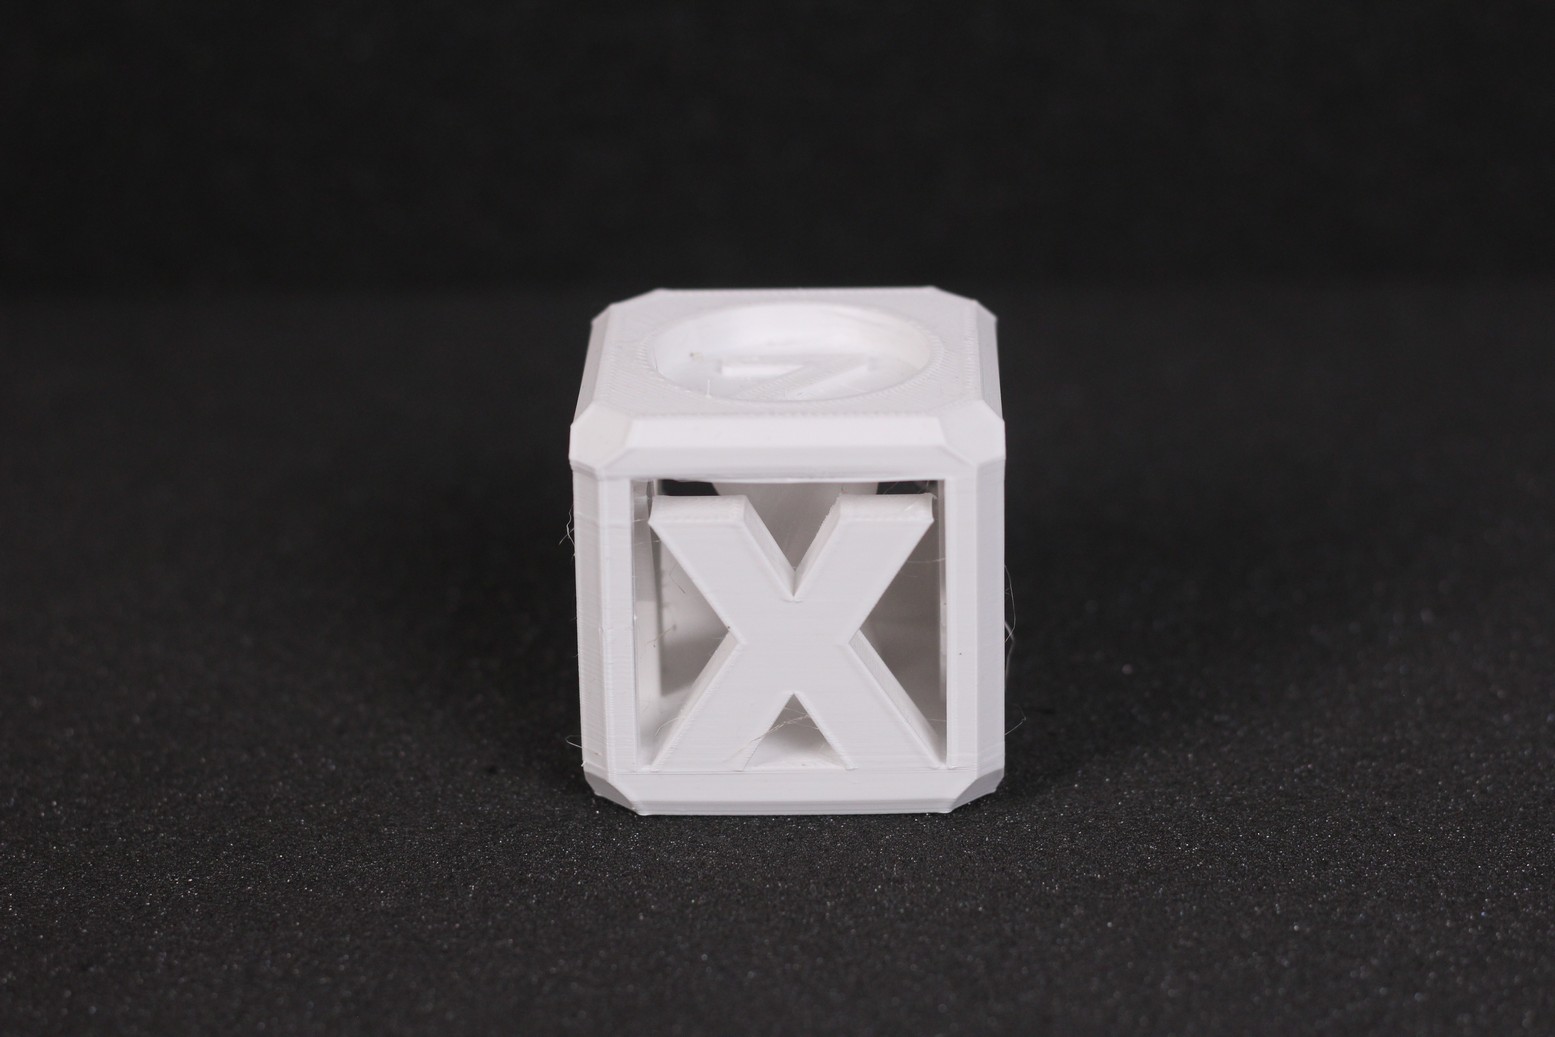
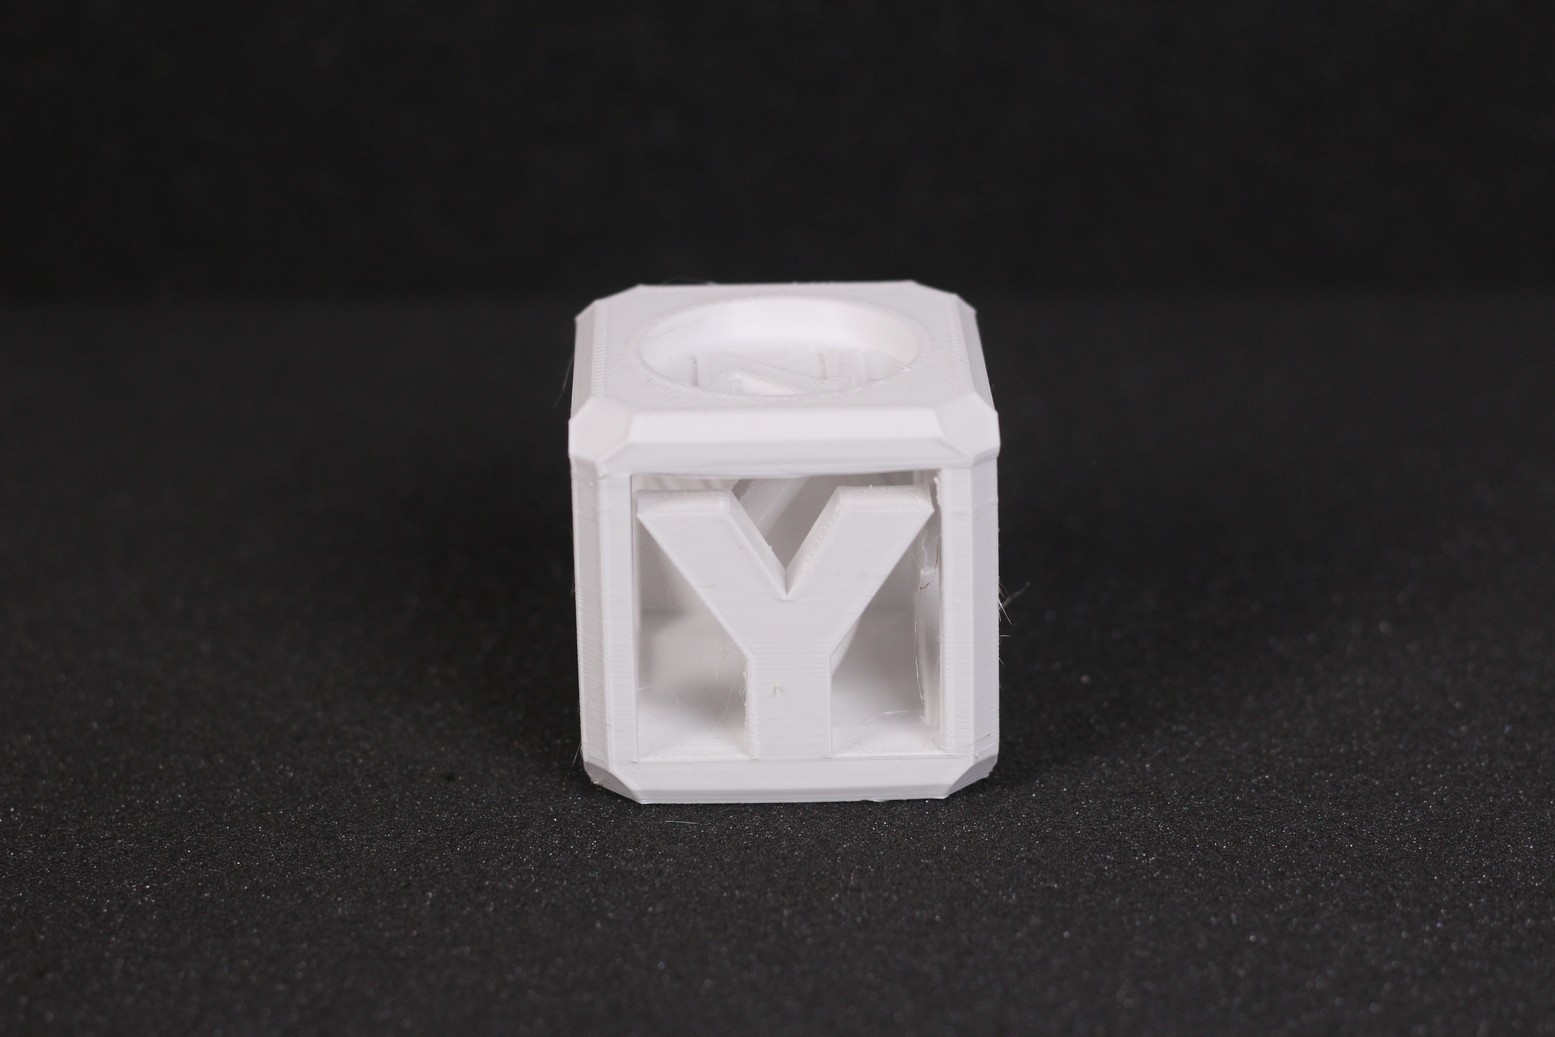
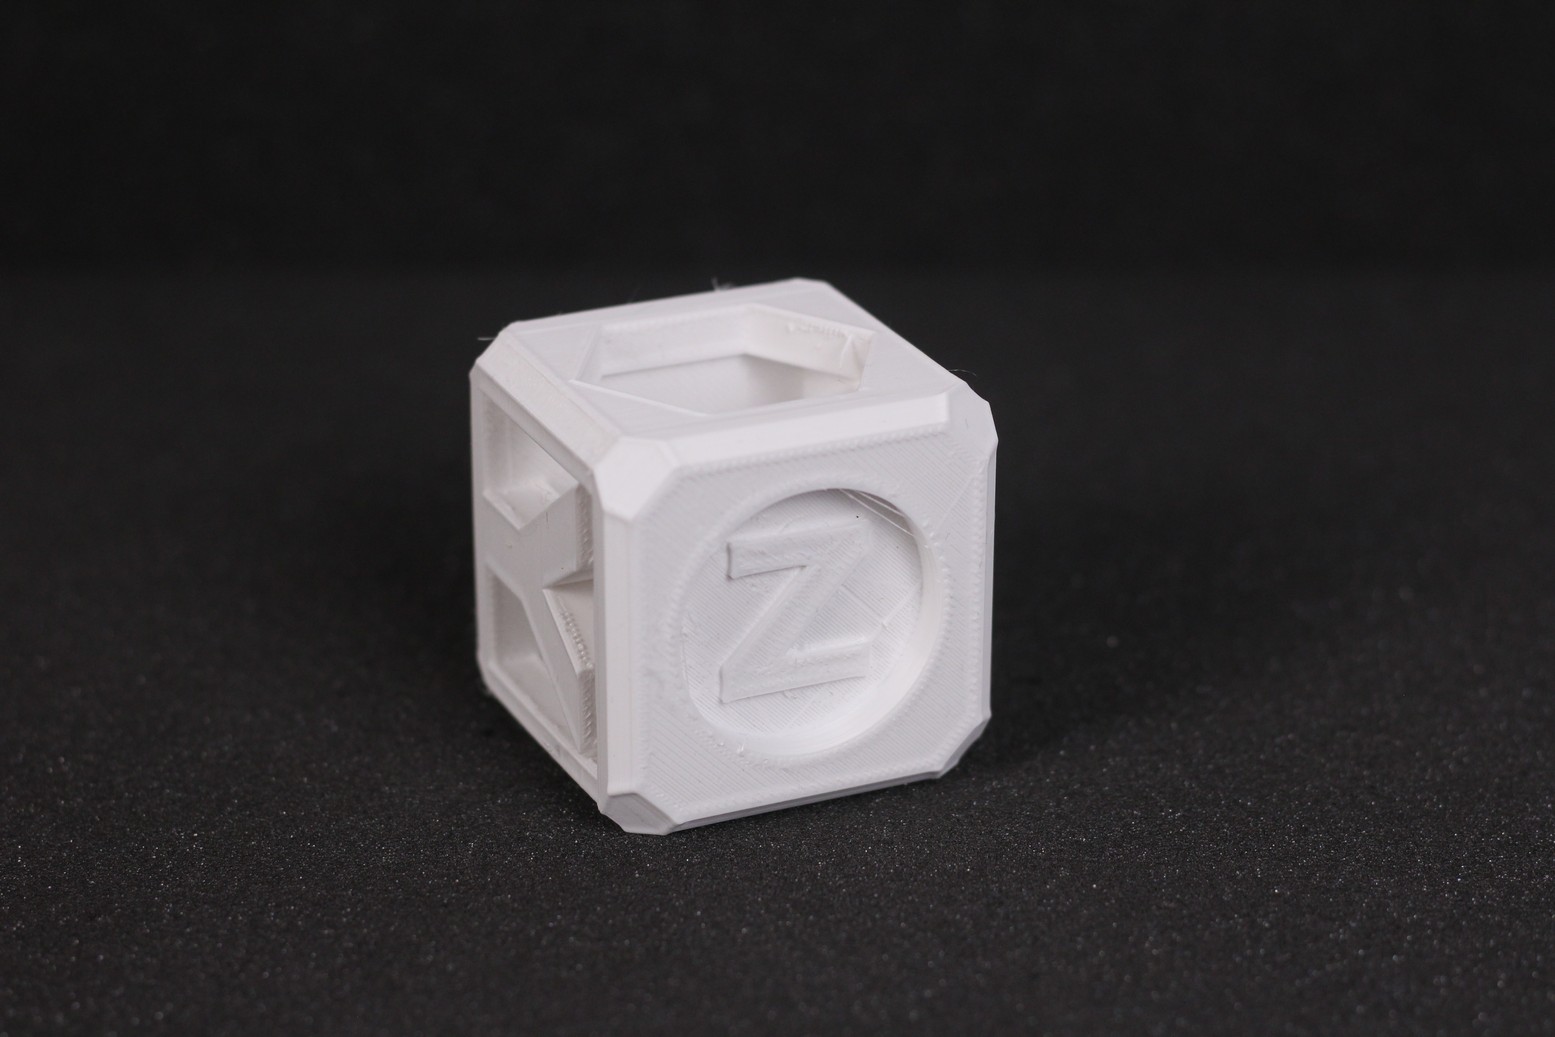
This Helix Test Cube printed at 200% is pretty good at showing up imperfections on a print, and it also does a bridging test. Unfortunately, the white PETG I used was not that fresh, and it might have contributed to the higher amount of stringing present on the model. You can also see the same inconsistency on some layers where a higher amount of retractions were needed.
- Material: Devil Design White PETG
- Layer Height: 0.2mm
- Nozzle Temperature: 240C
- Bed Temperature: 80C
- Print Speed: 50 mm/s
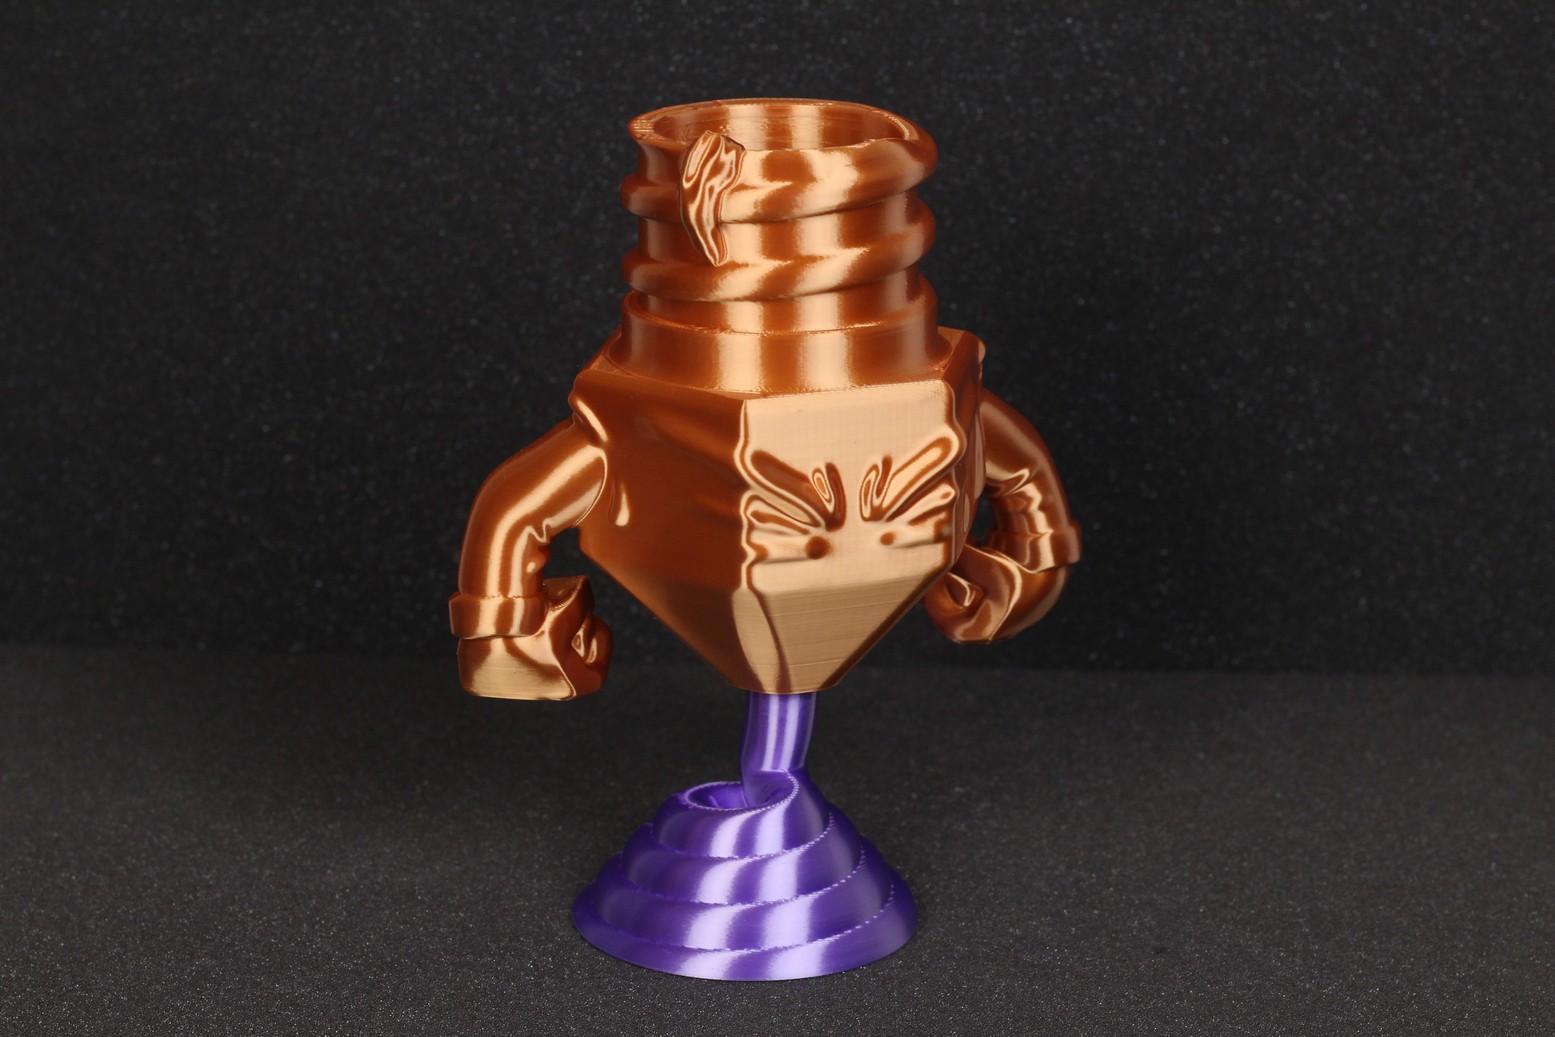
Unclog me pls!
I wanted to print this model by Mamsih for a long time, but I kept forgetting about it. So I finally did it on the Ender 2 Pro. I wasn’t expecting to have such a good result considering the inconsistencies I encountered on my previous models, but it seems that if there aren’t a lot of retractions present, the print quality is quite good.
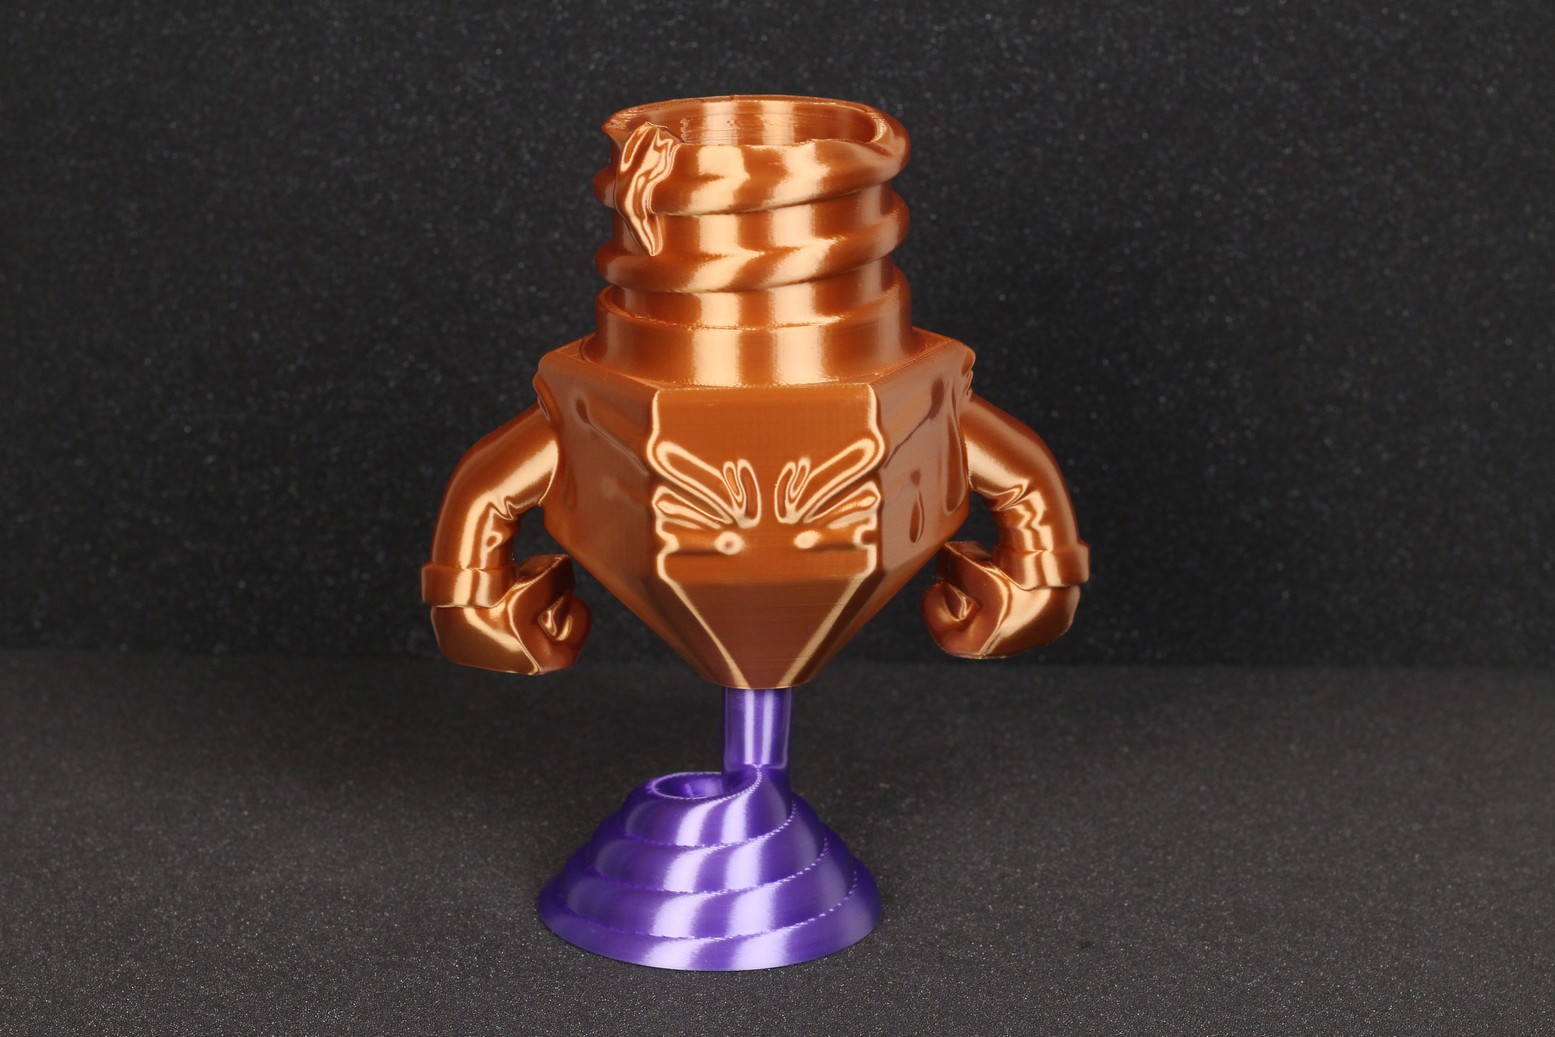
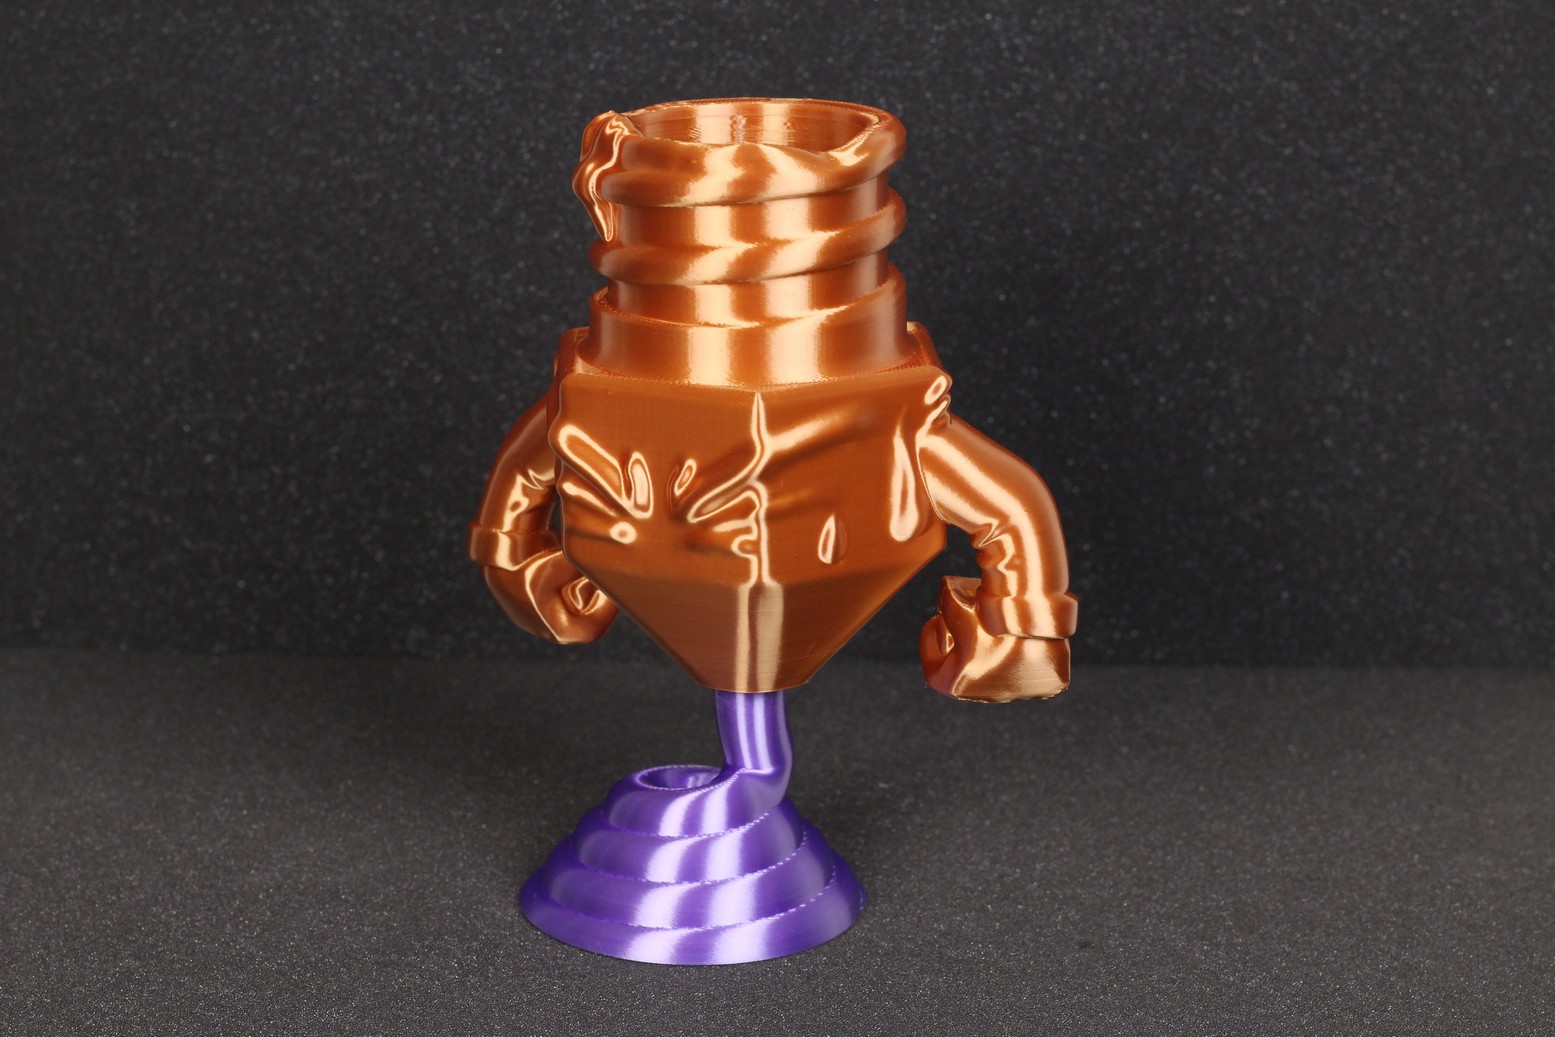
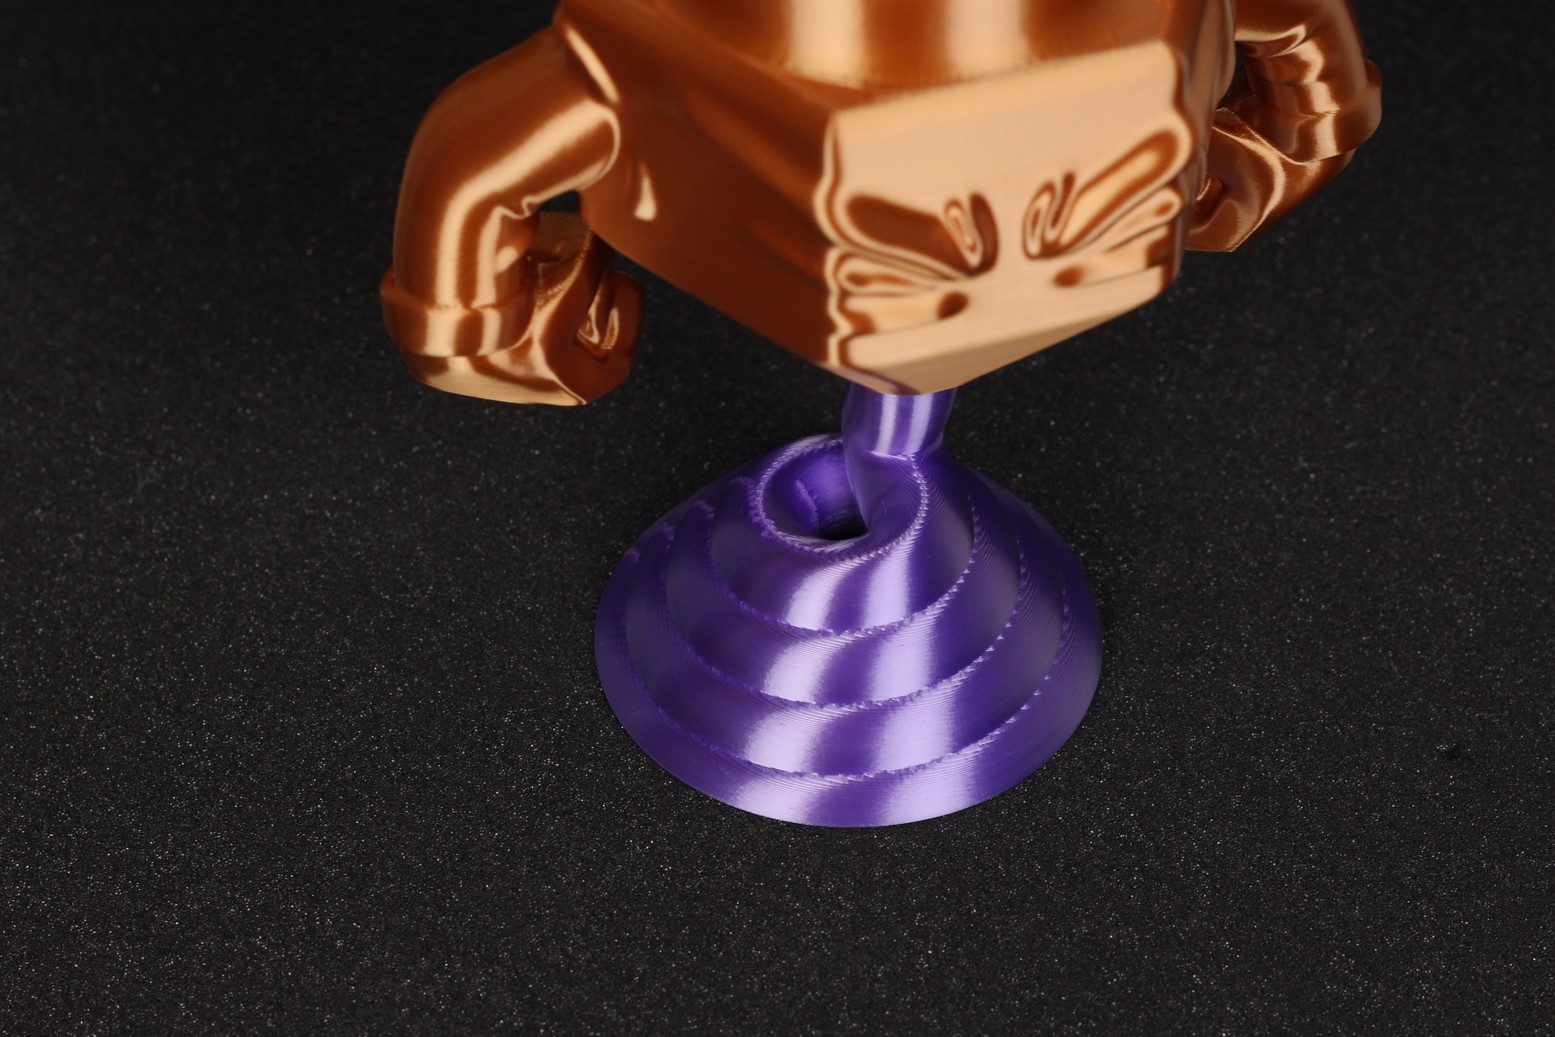
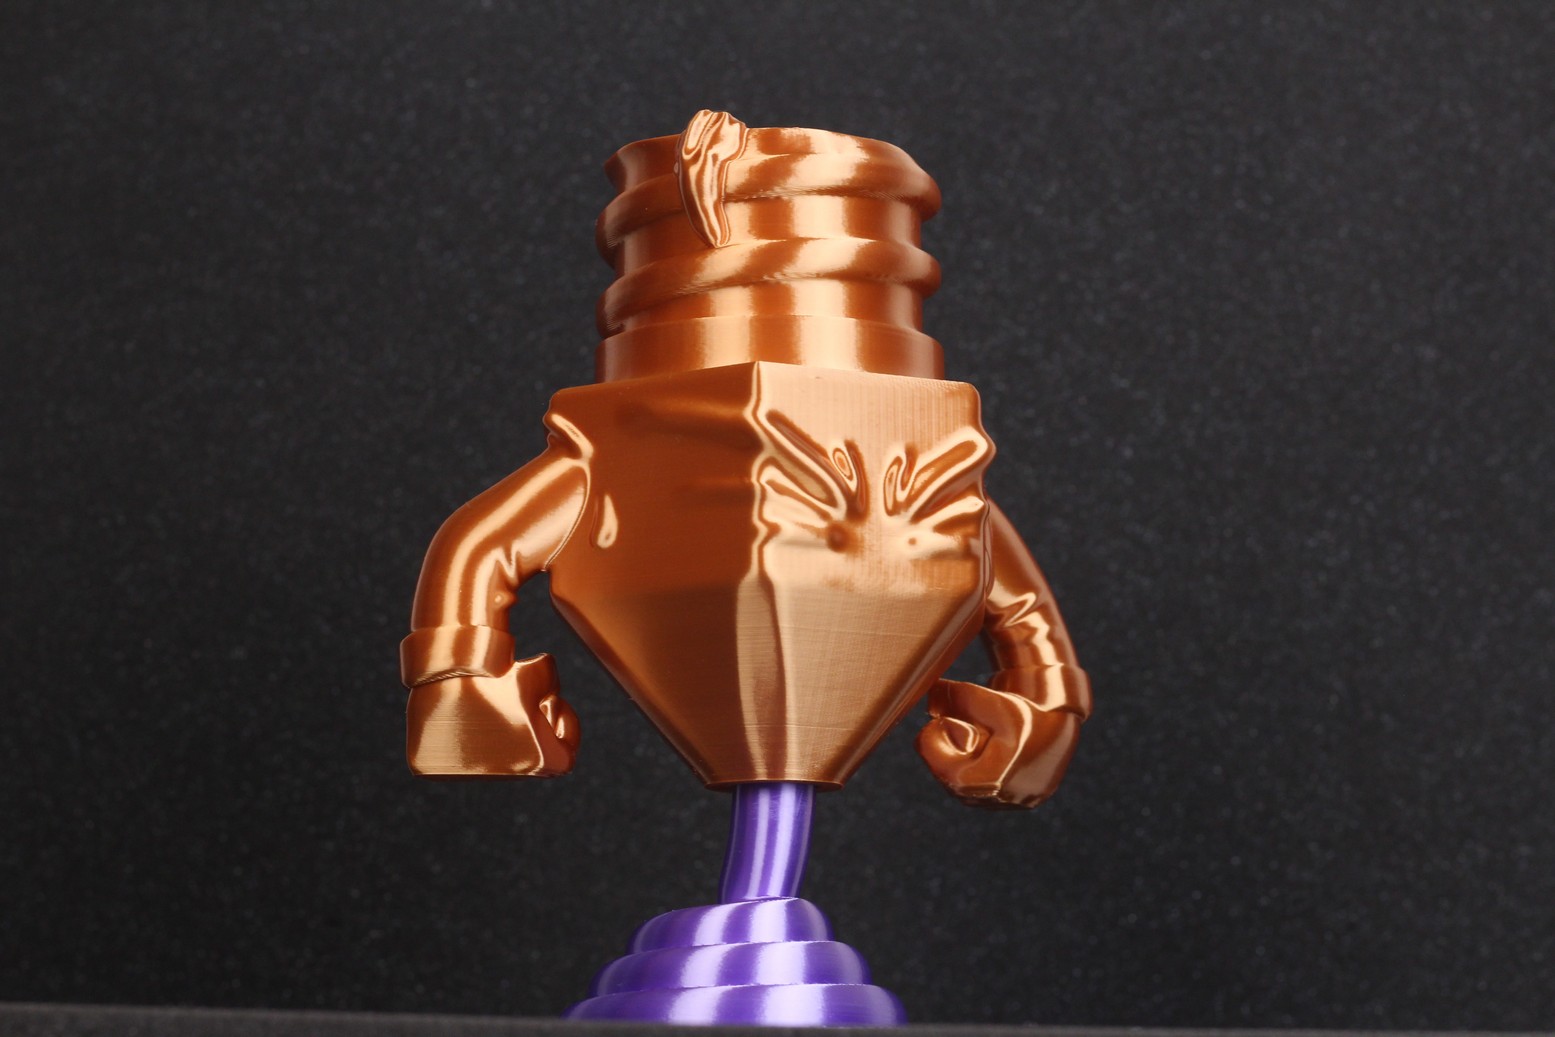
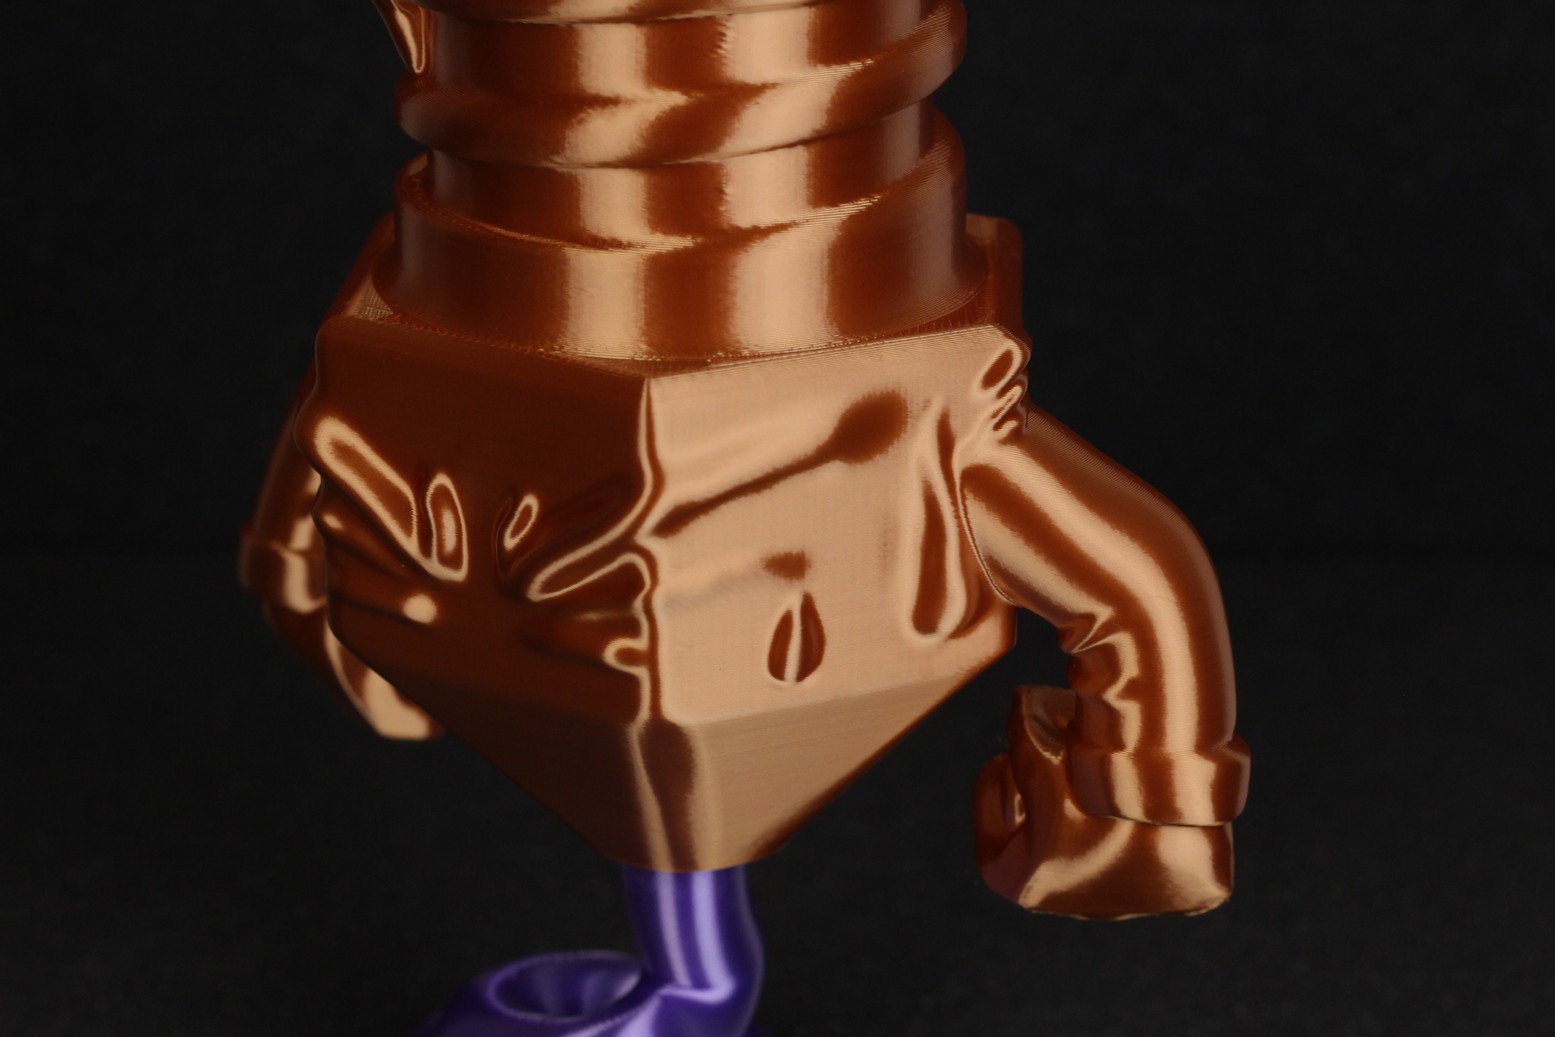
- Material: SUNLU Silk Copper PLA
- Layer Height: 0.15mm
- Nozzle Temperature: 220C
- Bed Temperature: 60C
- Print Speed: 50 mm/s
Adolescent Nine-Tails
This model from Jukka Seppanen is also one of the excellent looking prints made by the Ender 2 Pro. The silky look of this filament hides the small inconsistencies on some section of the print, but it’s still one of the best I did on this printer.
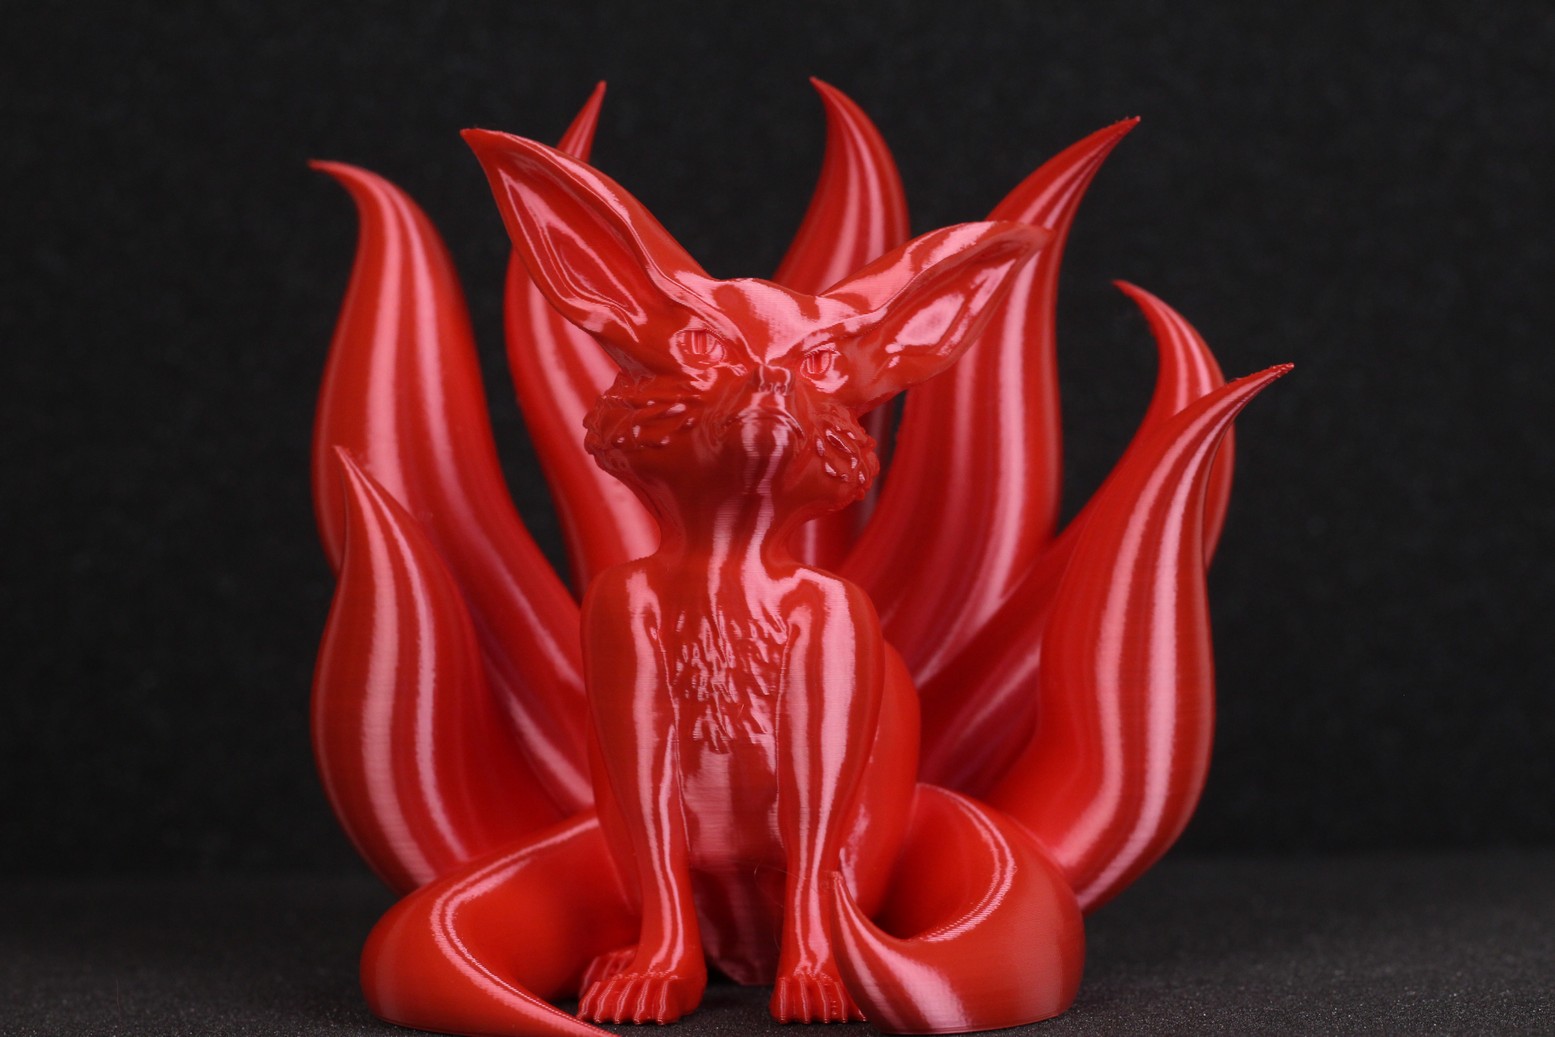
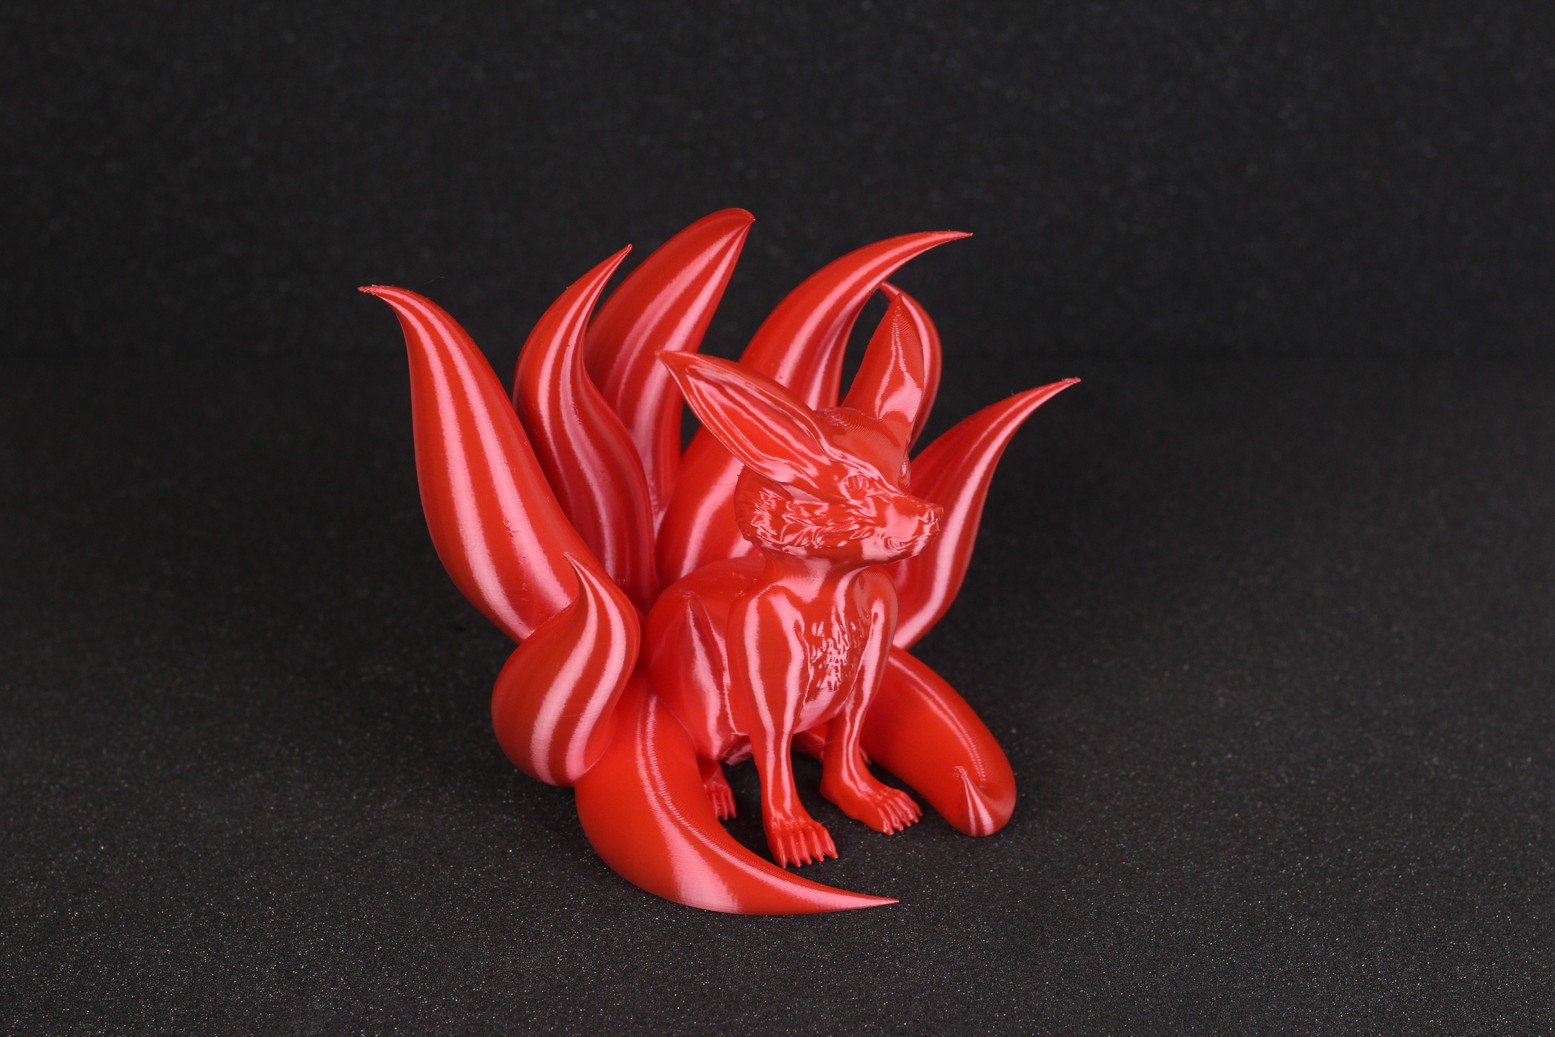
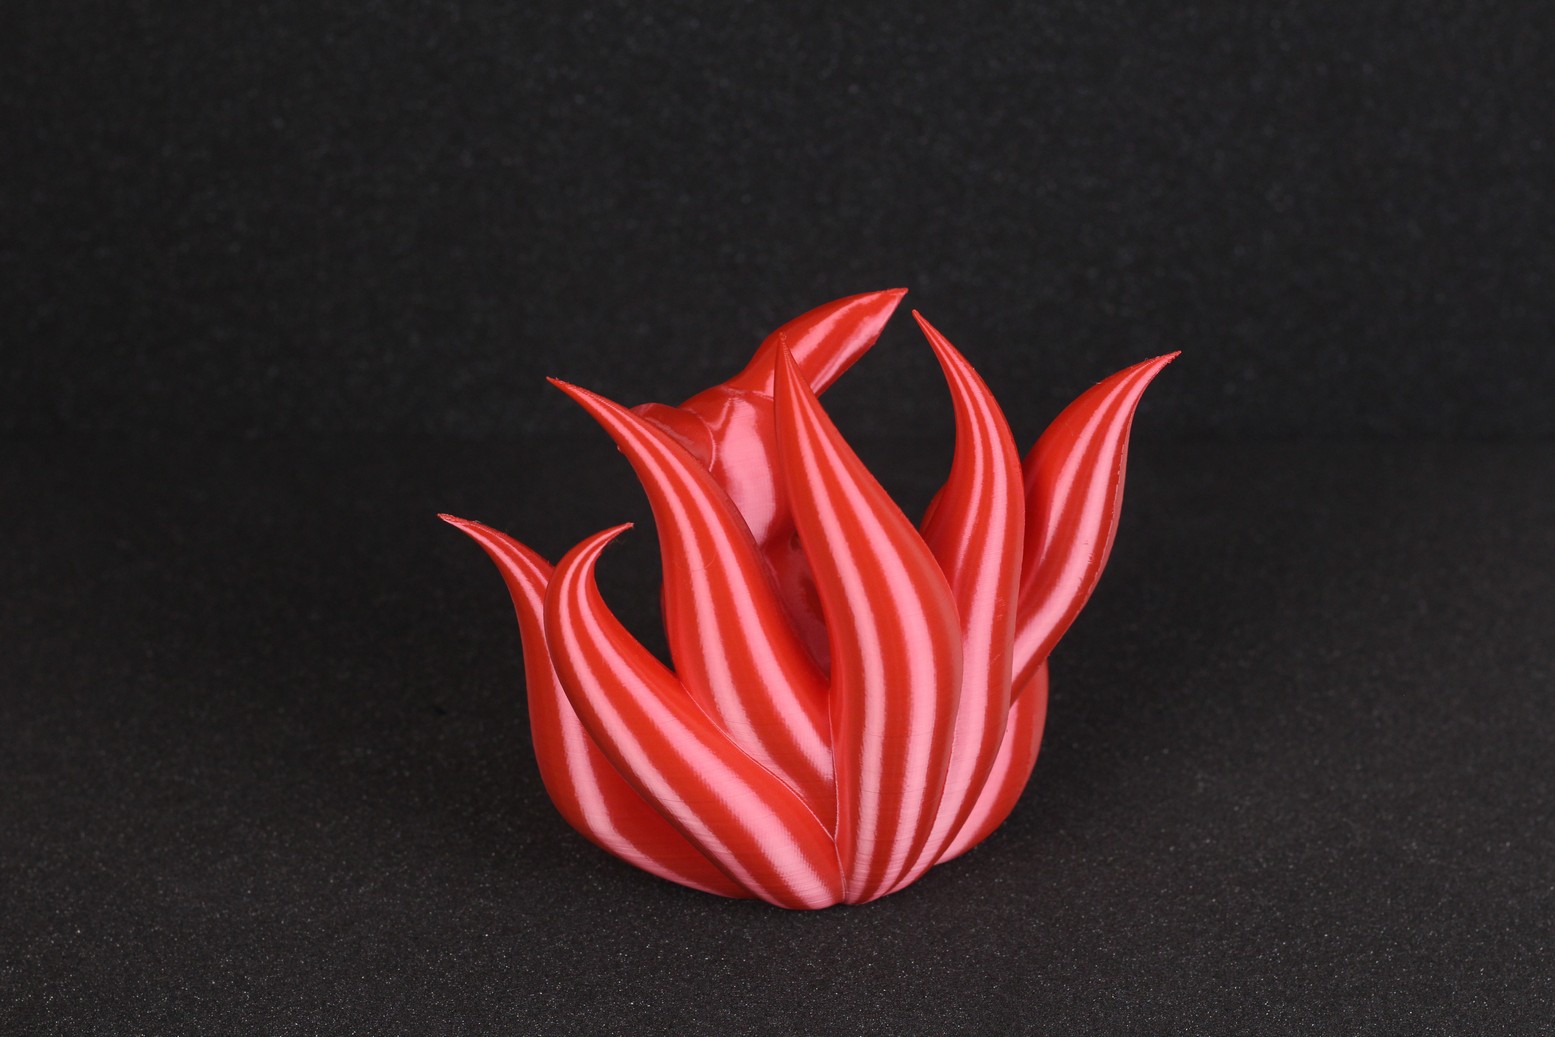
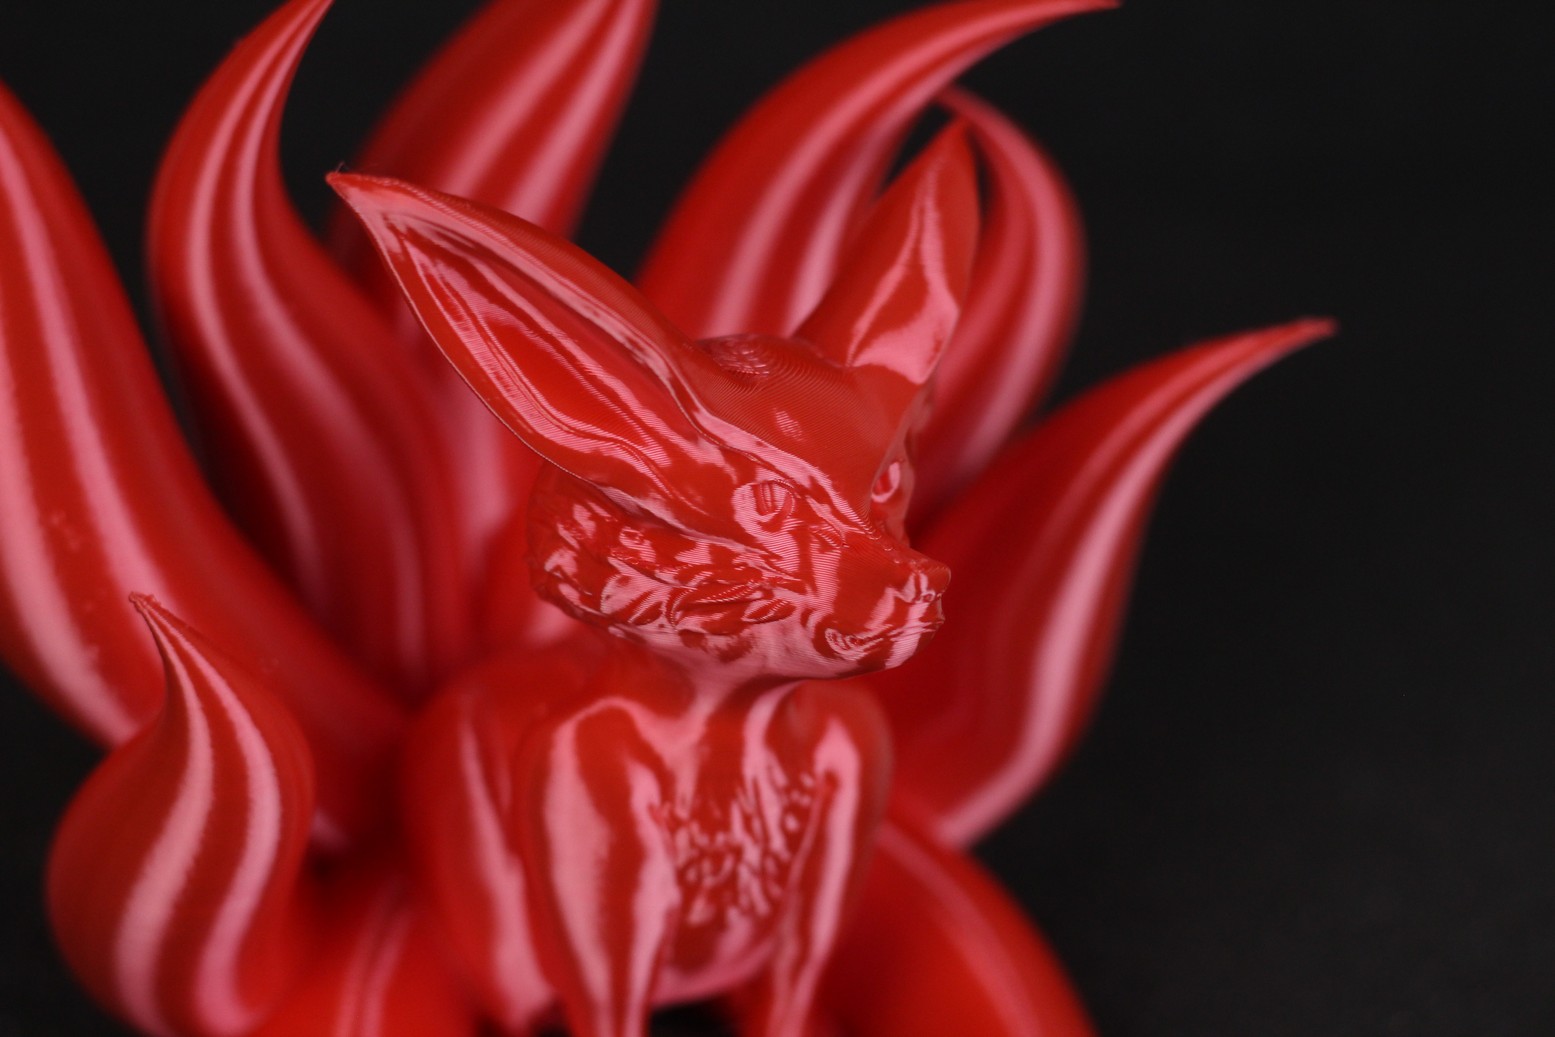
- Material: Extrudr Biofusion Cherry Red
- Layer Height: 0.15mm
- Nozzle Temperature: 220C
- Bed Temperature: 60C
- Print Speed: 50 mm/s
Piggy PiggyBank
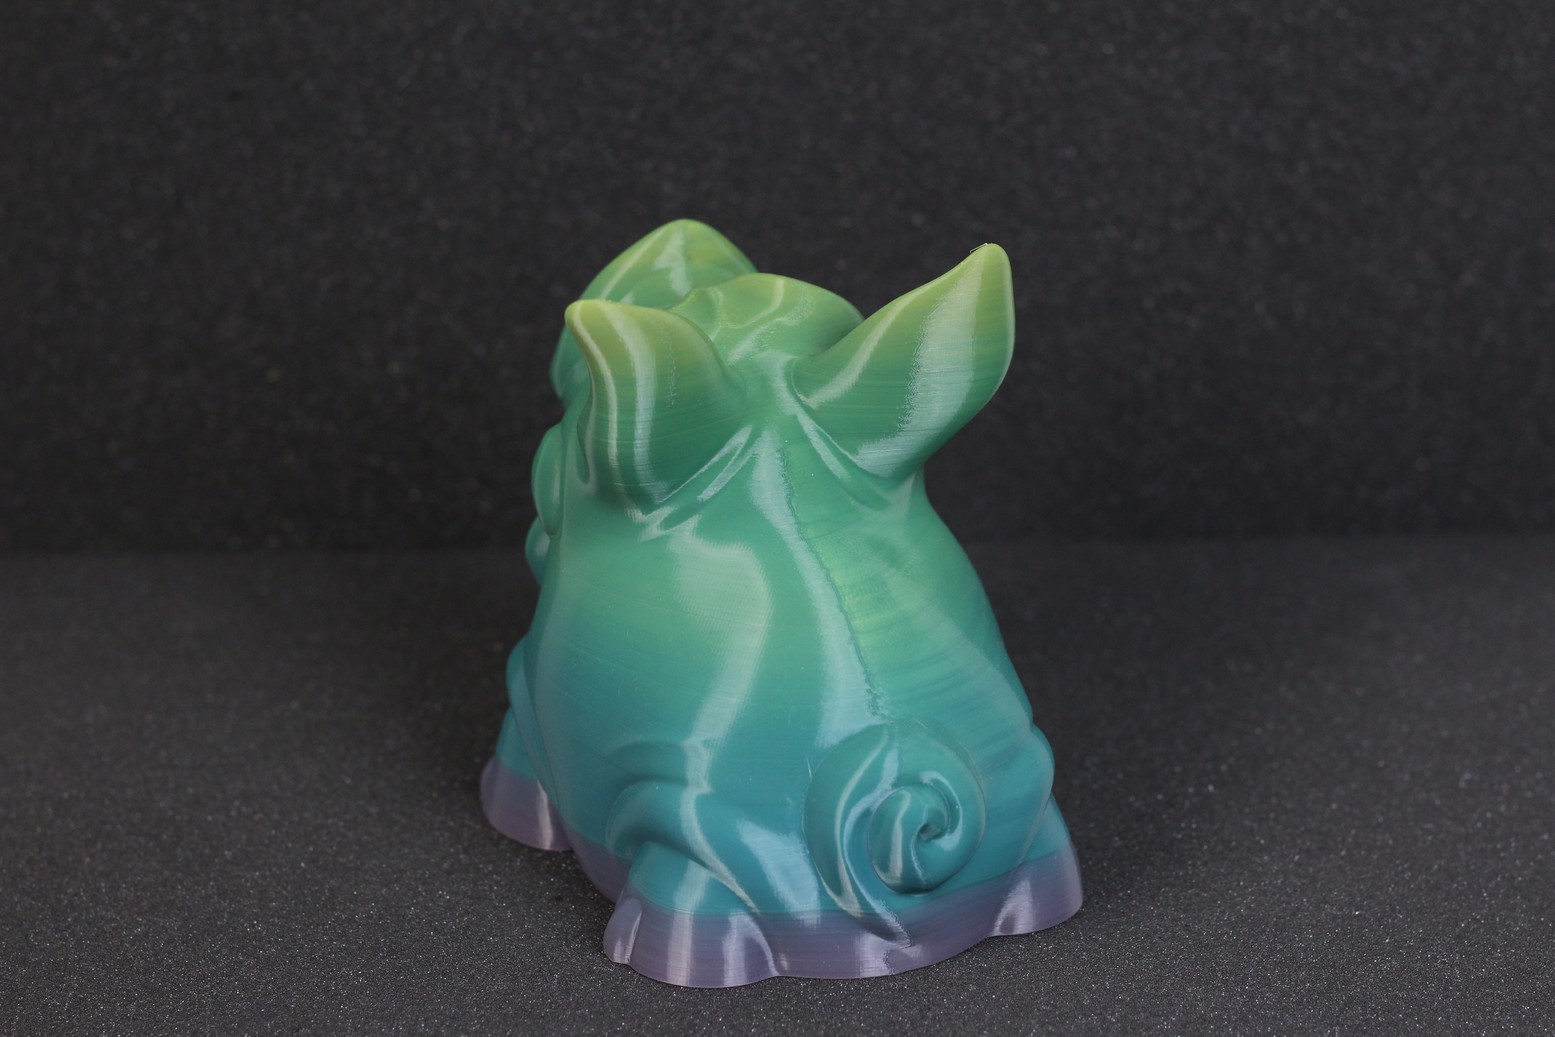
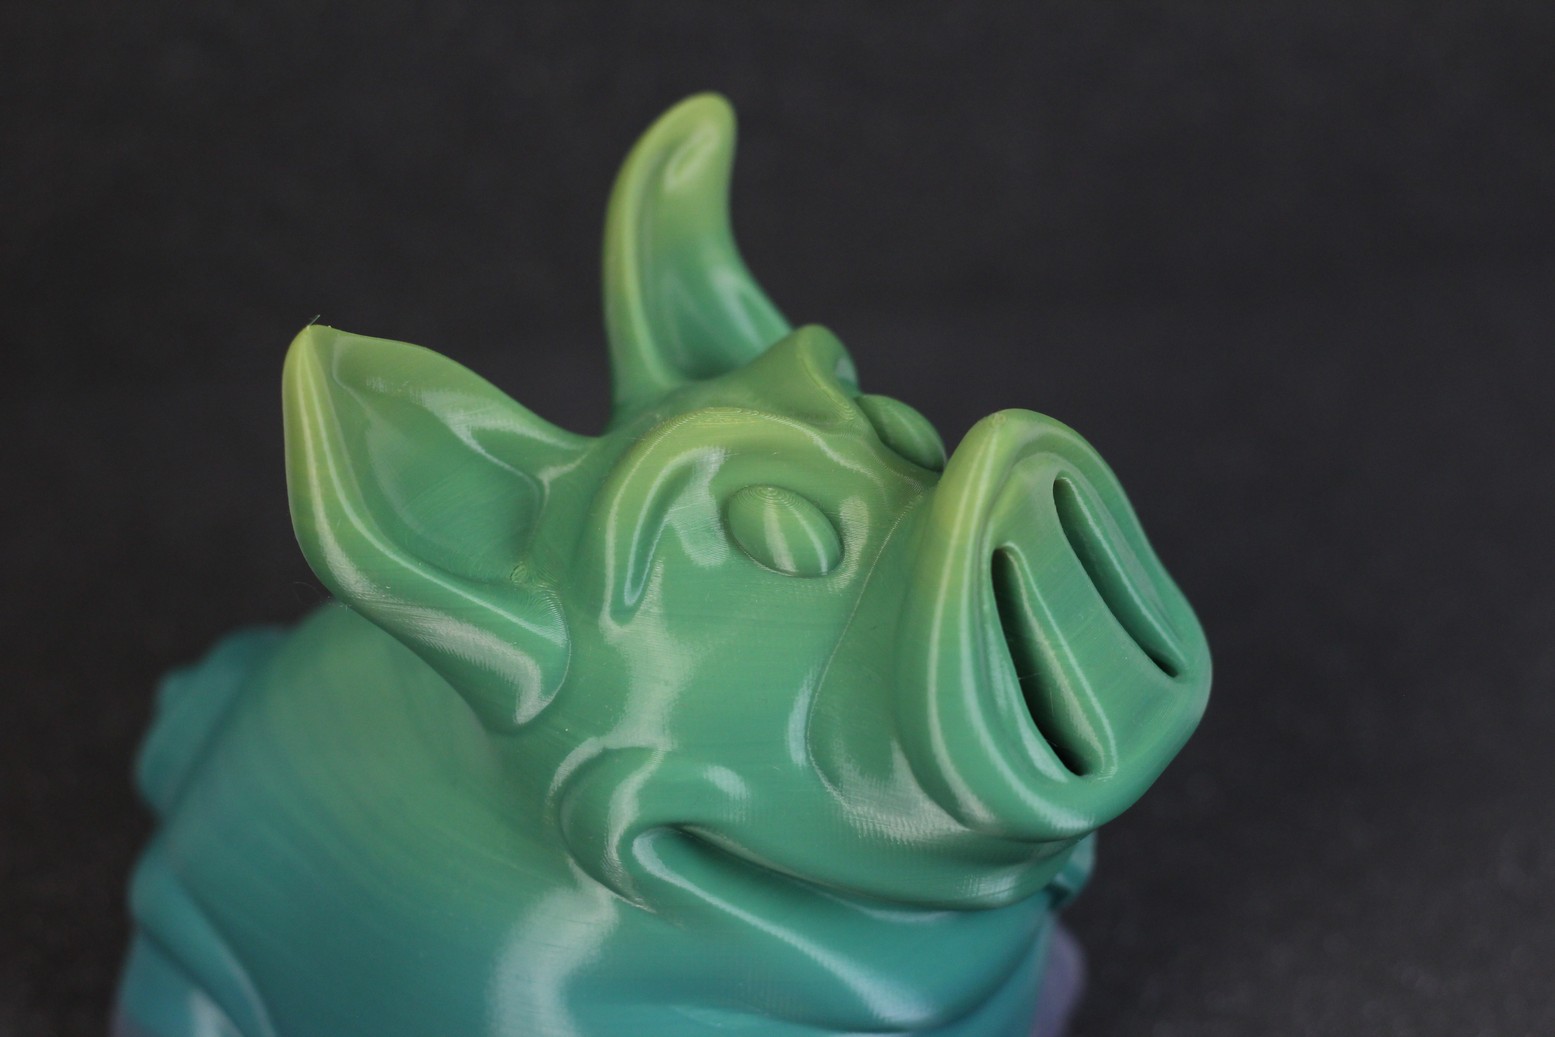
Finally, I printed this PiggyBank model which came out good. But if you look at the Z seam in the back of the model, you can see the inconsistency I was mentioning. The right side of the Z seam is where a new layer was begining, after a retraction, Unfortunately, it takes a few mm of printing before the flow rate gets stable again and this can only be caused by the hotend and the bad performance of the heat break.
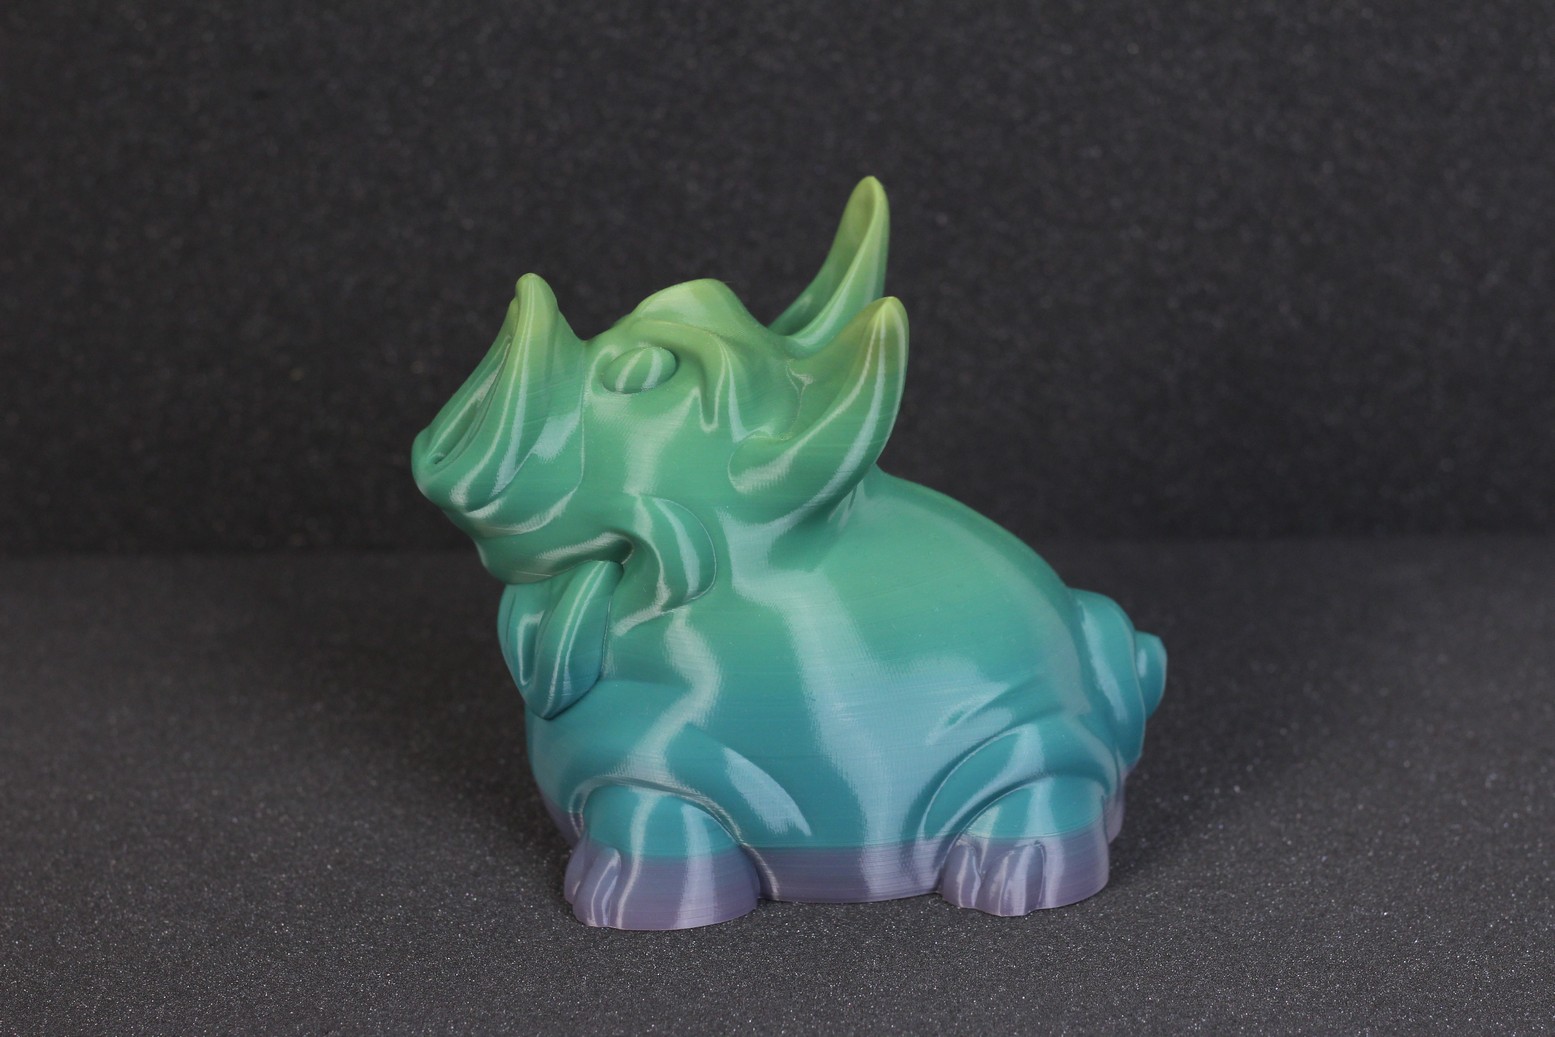
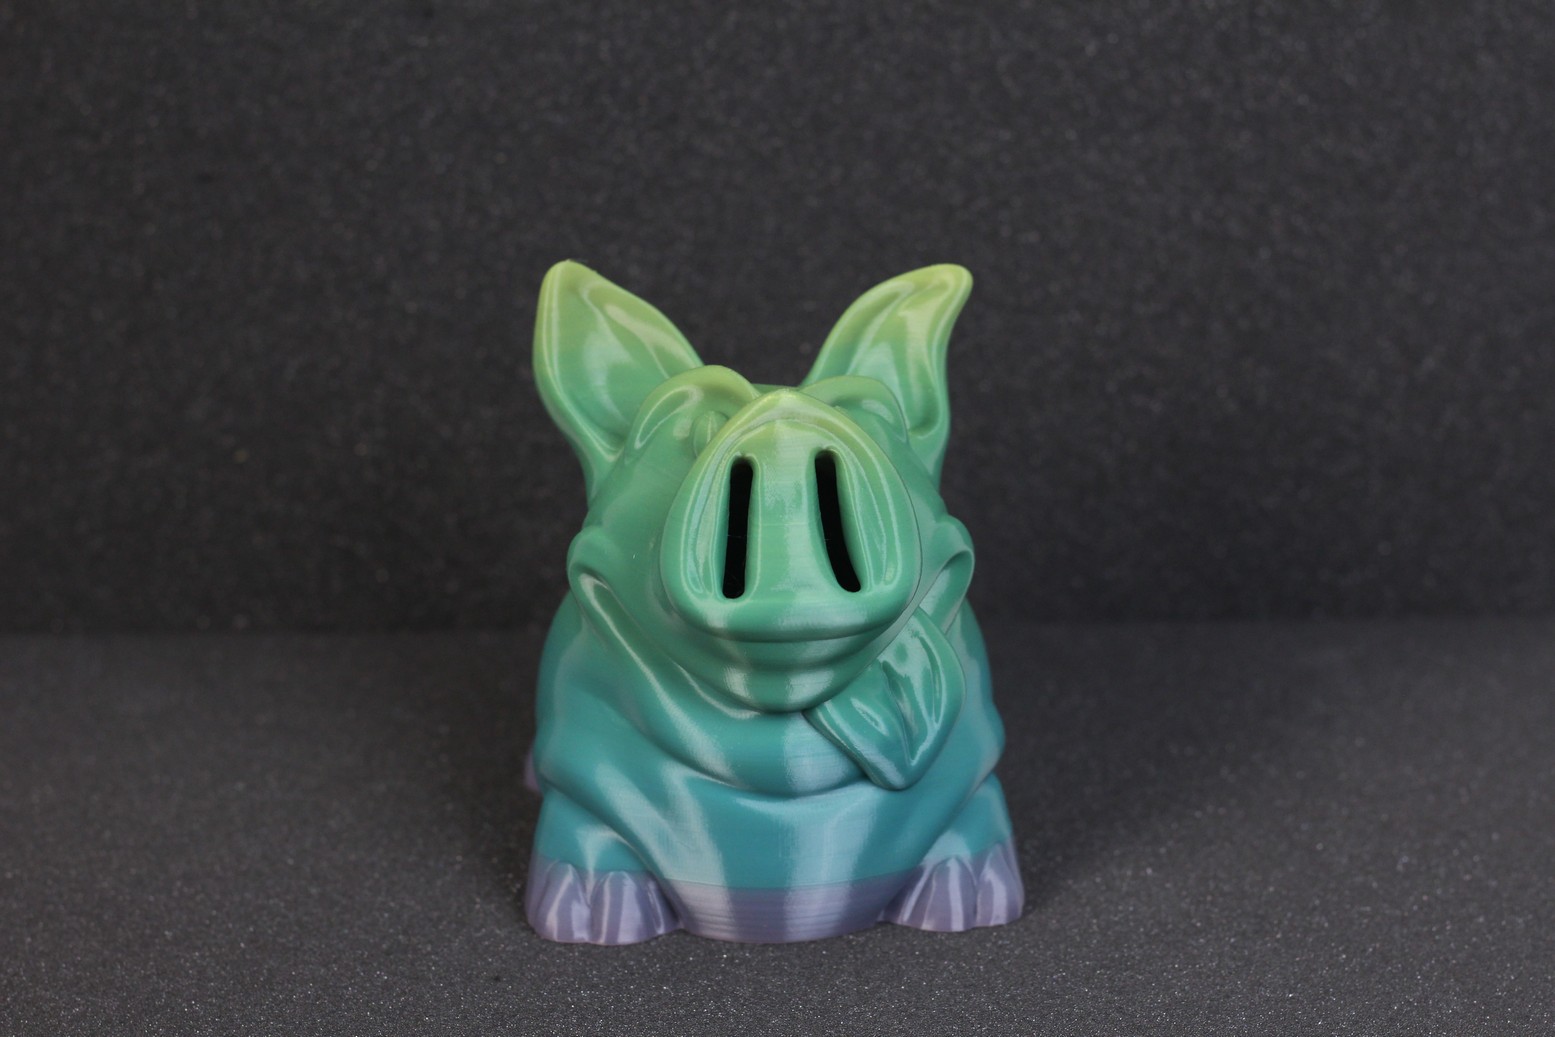
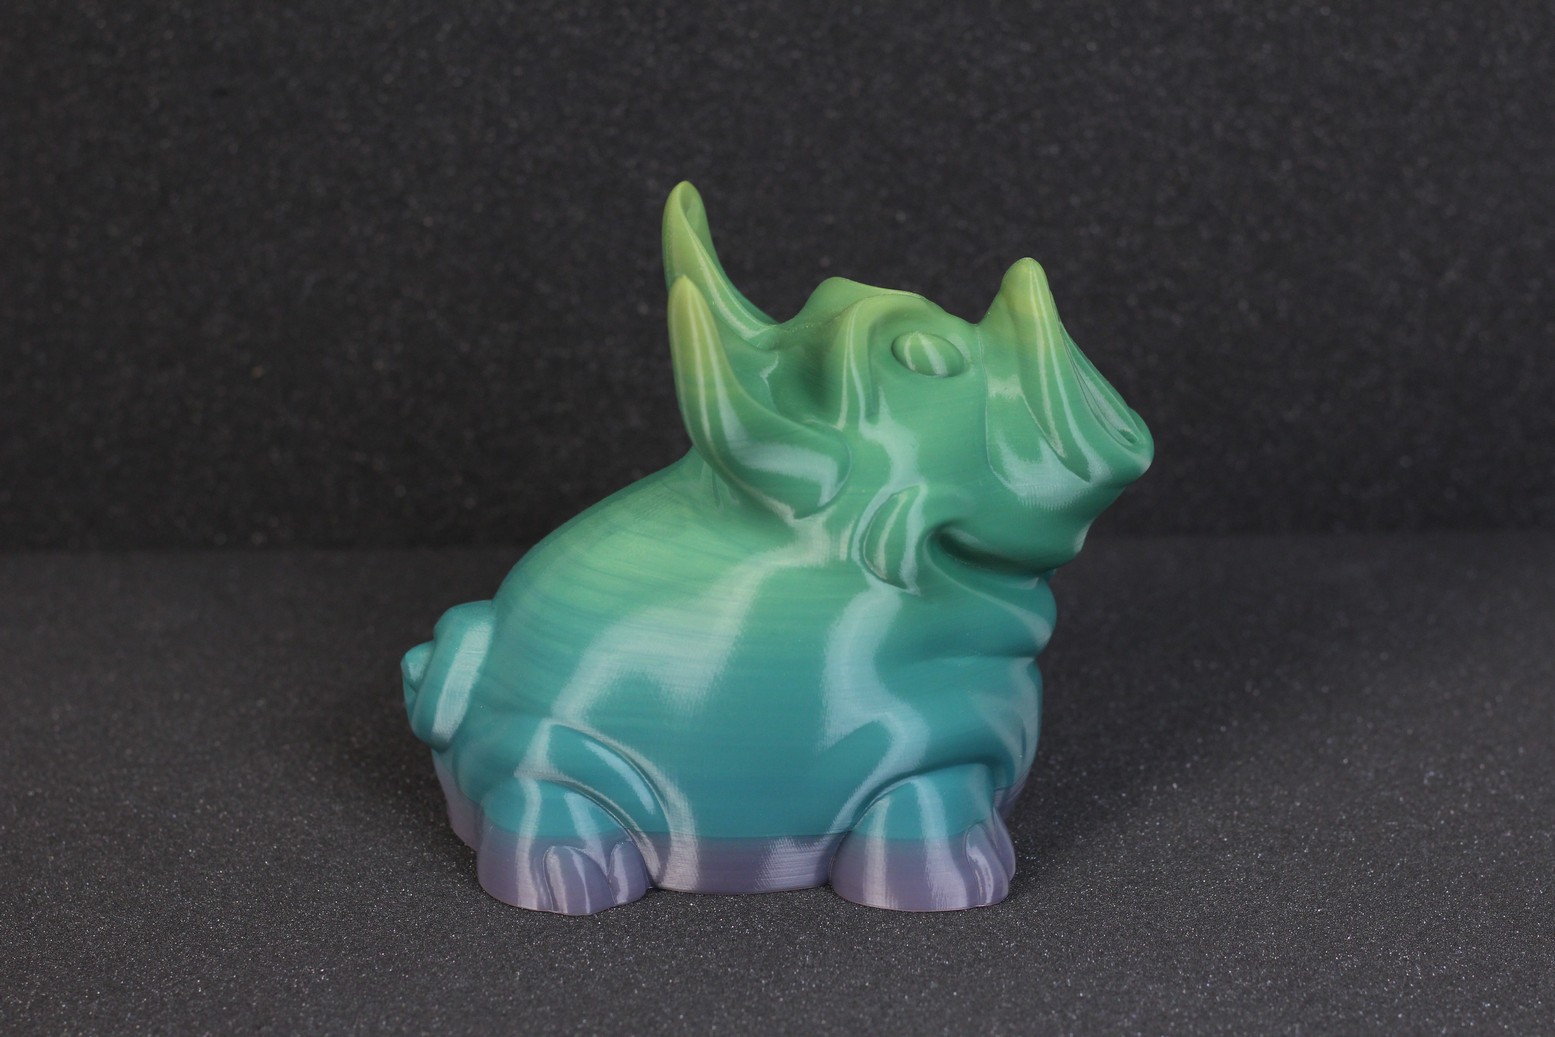
- Material: Sunlu Rainbow PLA
- Layer Height: 0.12mm
- Nozzle Temperature: 215C
- Bed Temperature: 60C
- Print Speed: 50 mm/s
Conclusions: Is the Creality Ender 2 Pro worth it?
While I am a huge fan of tiny 3D printers, the Ender 2 Pro is my least favorite. It’s a huge upgrade over the old Ender 2, but falls behind more popular options like the Prusa Mini and the Kingroon KP3S which are better equipped and have better print quality.
The Ender 2 Pro is still a somewhat decent printer, but not at the current price which is being sold for. On most of the online shops you can find it for over 200$ which is not reasonable for the kind of performance you can get from this printer, and the hardware used with it.
For around the same price, you could get a KP3S which has linear rails and a geared direct drive extruder. Or if you want to save a bit of money, and get a larger print surface, you could look into getting the Artillery Hornet which is probably one of the best options right now for a budget FDM 3D printer. If you’re lucky, you might even find an Artillery Genius at less than 200$.
I would only recommend getting the Ender 2 Pro at a price closer to 150$, so you can spend a bit on getting a bi-metal heat break upgrade or a better hotend.
Creality Ender 2 Pro Rating
Design
Specs
Noise Levels
Ease of use
Print Quality
Price
The Creality Ender 2 Pro is a decent 3D printer, but the hardware configuration and the current asking price makes it hard to recommend, considering the alternatives available on the market.
Where to buy the Creality Ender 2 Pro?
AliExpress
Banggood
Creality3DOfficial
Creality Store
I recommend checking out the Discount Codes page before purchasing. I regularly update the article with discount codes for various online shops, and you might find one for this particular model.
The Creality Ender 2 PRO was provided free of charge by Creality3DOfficial for the purpose of this review. While the article includes affiliate links, all opinions are my own. Nobody reviewed the article before it was posted, following the Review Guidelines.
Liked it?
|
|




You can leave a comment for this article on the 3DPrintBeginner Forum