Copperhead Heat Break Review – Temperature Performance Test
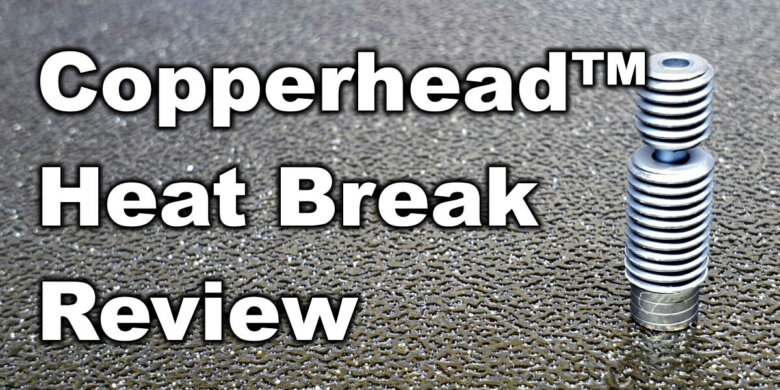
I purchased the Copperhead heat break from Slice Engineering as soon as it was available. I was really interested to see how it compares to the bi-metal heat break clone I tested previously.
Today I received the Slice heat break and I started testing.
Copperhead Heat Break vs Bi-Metal
You are probably wondering what’s the difference between the Copperhead heat break vs the Bi-Metal heat break I tested previously.
Most notably, the Copperhead heat break is the original design from Slice Engineering. They are the company which came up with the idea of a bi-metallic heat break to improve thermal design. It was introduced with the Copperhead hotend and it’s been just a few days since the heat breaks are available to purchase.
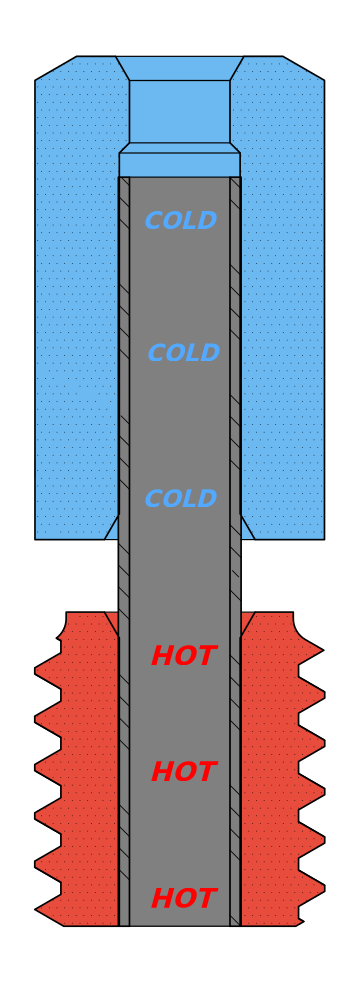
Both heat breaks are bimetallic and they use a combination of copper threads for the hot and cold zone. They are united by a thin tube with bad thermal conductivity to insulate the two zones for best possible thermal performance.
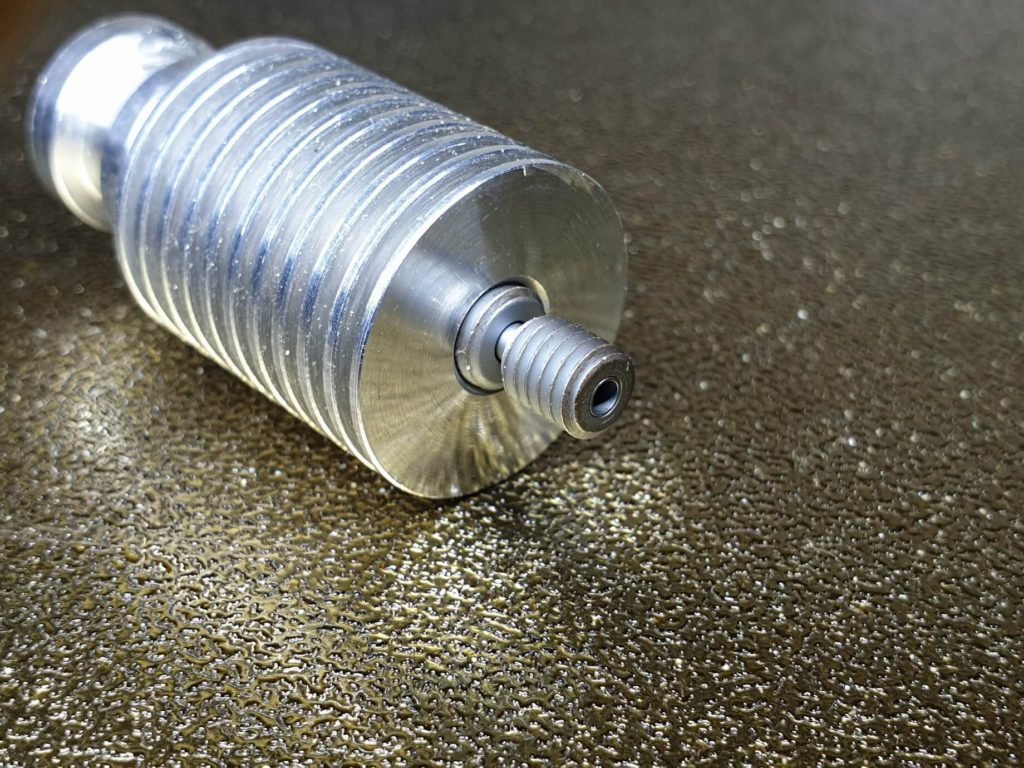
Copperhead Heat Break build quality
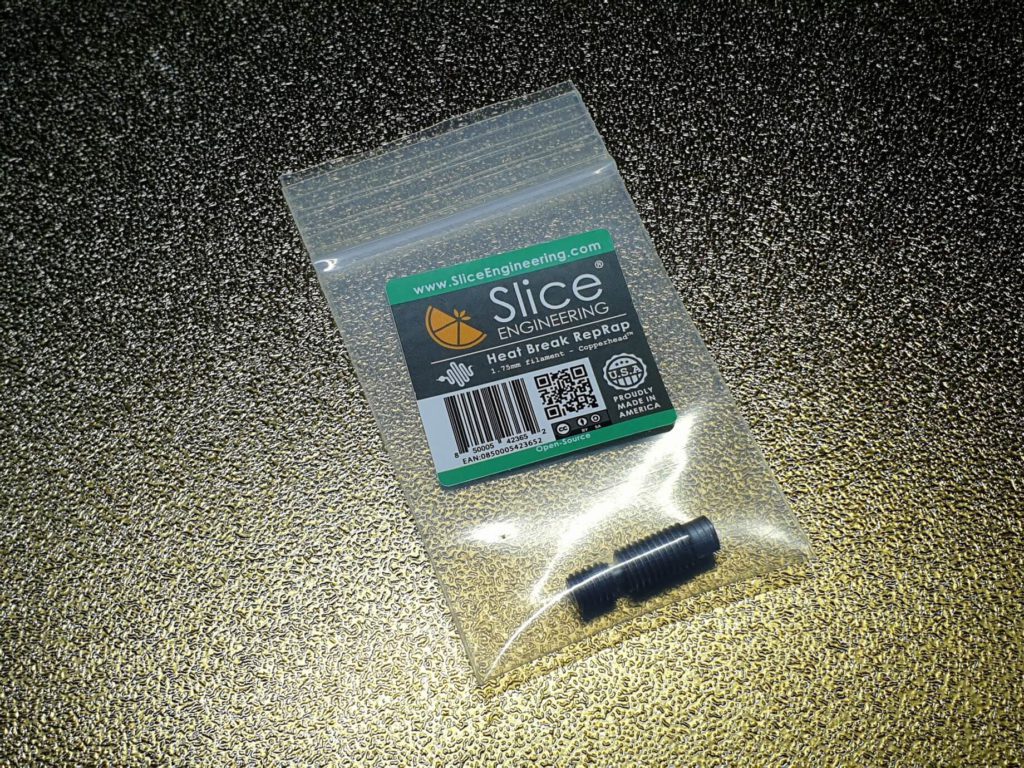
Compared to the bi-metal heat break from Trianglelab, the Copperhead heat break is build better. It’s a bit heavier and it gives you the impression of a well built product.
Honestly, it feels sturdier compared to the clone.
Another feature not included with the clones is the coating that protects the copper from oxidation. It doesn’t improve or hurt the performance, but it’s nice not to worry about the copper.
I’ve read some reports online where people were complaining about the bi-metal clones. Some reported that the copper started to spin around the stainless tube.
The Copperhead heat break does not have this issue. I tightened it well, and it’s solid but please don’t overtighten it. The risk of damage is high and you don’t get extra performance from this.
Just make it tight enough so it doesn’t unscrew itself when printing.
Considering the heat break from Slice is build a bit better, and the price difference is small, I don’t really thing it’s worth getting the clone. You also get the nice feeling of supporting the original creators of this awesome heat break.
Why use a Bimetallic Heat Break ?
Usually when you think about upgrading the heat break, it’s because you want to print higher temperature filaments. Most of the heat breaks used on regular printers are made from metal with a PTFE tube inside. This tube thermally insulates the filament before it reaches the nozzle.
Print higher temperature filaments
The PTFE lined heat break is fine for PLA prints because you don’t really need to go over 210C. But if you plan to print PETG or ABS it’s important to have a all-metal heat break to avoid any PTFE degradation and dangerous fumes. PTFE starts degrading after ~240C and releases dangerous fumes.
An all-metal heat break will allow you to reach up to 300C without any concerns, but there’s a downside. PLA is a bit harder to print with all-metal heat break.
This is not the case with the bimetallic heat break. The temperature difference between the hot zone and the cold zone is much better, so the PLA does not start to soften when printing to cause clogs.
Better heat transfer
Because the bimetallic heat break uses a better design, the temperature from the heatblock is not transferred to the cold end of the heat break. This means that you don’t need a lot of cooling surface if there’s not much heat to remove.
The Copperhead heat break uses copper on the threaded sections. This means that any kind of heat which gets passed from the tube is quickly transferred to the heatsink and dissipated.
On the hot size, the same copper will transfer the heat better from the heatblock and will help with melting the filament.
By upgrading to a bi-metallic heat break like the Copperhead, temperatures will be lower inside the cold zone and PLA prints with an all-metal heat break will be clog free.
Less noise
If you have less heat on the heat break cold zone, then you don’t need powerful fans for cooling that heatsink. I still recommend using a good quality fan with enough airflow. But if you are considering using quiet Noctua fans, now you can do it without the risk of clogs.
Noctua fans are still not recommended with a regular heat break.
Testing procedure for the Bi-Metal heat break
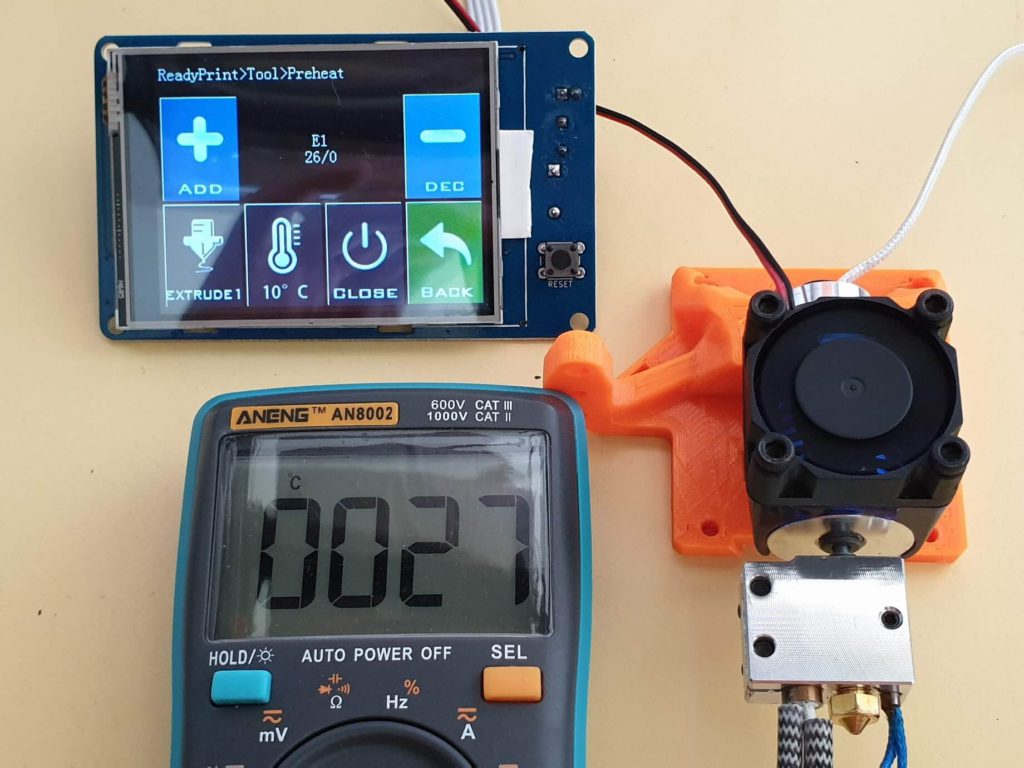
In order to properly test the bi-metal heat break, I made a test rig from old parts after the SKR 1.3 upgrade for Sidewinder X1. I used the MKS Gen L clone to power everything, a Volcano heatblock with 40W heater cartridge and a regular 100k thermistor.
The temperature inside the heat break was checked using a multimeter with a temperature probe. The probe was inserted in the heat break just above the transition zone and the end was touching the inside metal wall.
The ambient temperature was 25C. Keep this in mind if you compare the results with the bi-metal heat break clone I tested before because the heat break temperatures are influenced by the environment temperature.
For each test, the hotend temperature was set then I waited 10 minutes for the temperature to stabilize. After 10 minutes, I checked the temperature from the multimeter probe.
Please note that I tried to keep all variables the same in order to have good results. These are ideal setups, with no airflow constrains or other parts which may influence the temperature (ex: heatbed temperature). Real life temperatures can be a few degrees higher.
As you can see, I only tested up to 250C. Unfortunately, I was not able to go higher with a 40W heater cartridge (even tough last time it worked). I will add more temperature tests when the 60W cartridge will arrive.
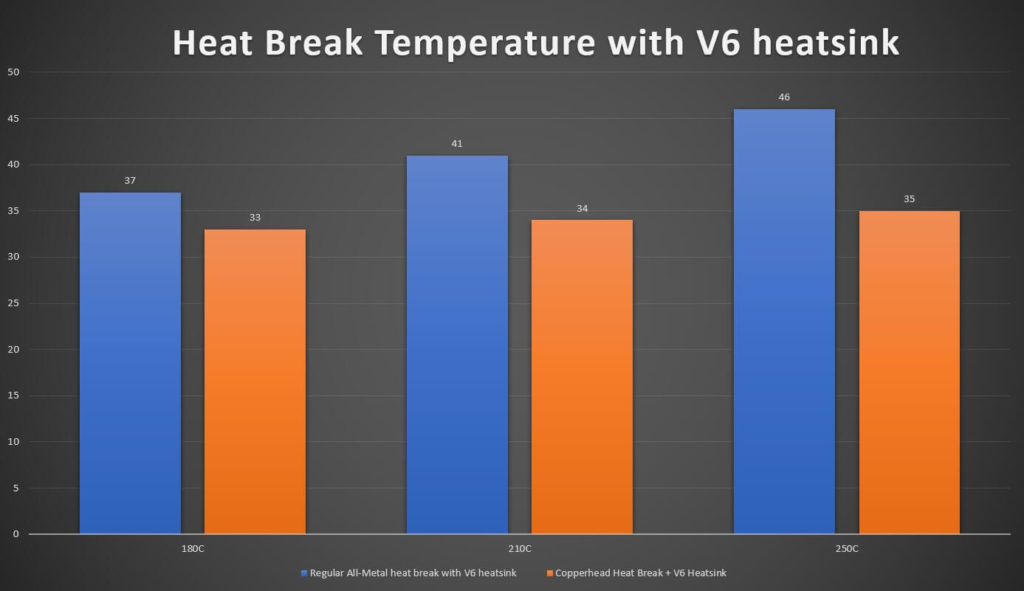
Copperhead Heat Break with V6 heatsink
| Hotend Temperature | Setup | Duration | Heatbreak Temperature |
| 180C | Copperhead Heat Break + V6 Heatsink | 10 minutes | 33C |
| 210C | Copperhead Heat Break + V6 Heatsink | 10 minutes | 34C |
| 250C | Copperhead Heat Break + V6 Heatsink | 10 minutes | 35C |
Regular All-Metal heat break with V6 heatsink
| Hotend Temperature | Setup | Duration | Heatbreak Temperature |
| 180C | Regular All-Metal + V6 Heatsink | 10 minutes | 37C |
| 210C | Regular All-Metal + V6 Heatsink | 10 minutes | 41C |
| 250C | Regular All-Metal + V6 Heatsink | 10 minutes | 46C |
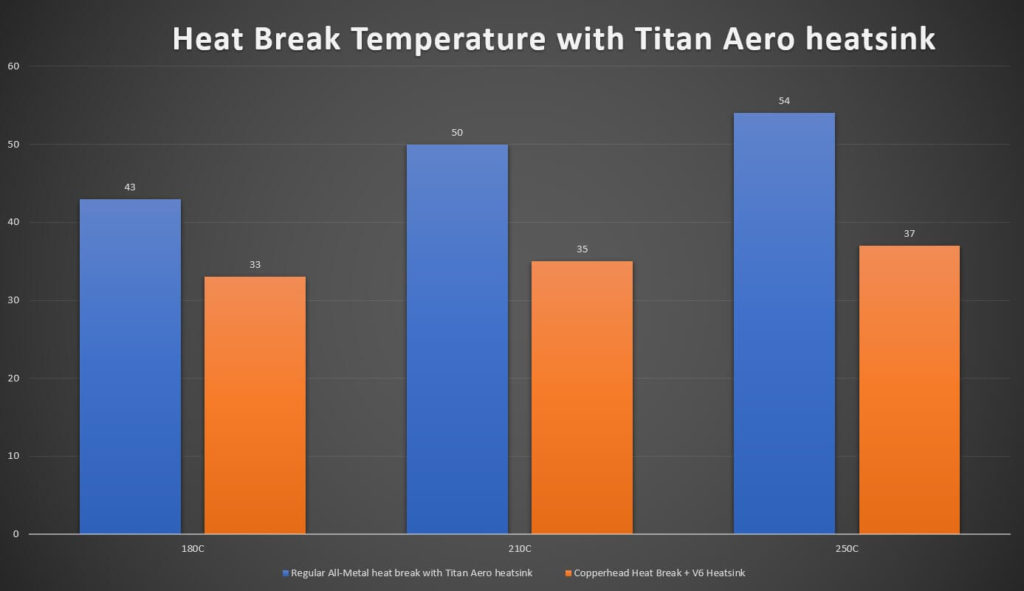
Copperhead Heat Break with Titan Aero heatsink
| Hotend Temperature | Setup | Duration | Heatbreak Temperature |
| 180C | Copperhead Heat Break + Titan Aero | 10 minutes | 33C |
| 210C | Copperhead Heat Break + Titan Aero | 10 minutes | 35C |
| 250C | Copperhead Heat Break + Titan Aero | 10 minutes | 37C |
Regular All-Metal heat break with Titan Aero heatsink
| Hotend Temperature | Setup | Duration | Heatbreak Temperature |
| 180C | Regular All-Metal + Titan Aero | 10 minutes | 43C |
| 210C | Regular All-Metal + Titan Aero | 10 minutes | 50C |
| 250C | Regular All-Metal + Titan Aero | 10 minutes | 54C |
Conclusions – Is the Copperhead Heat Break worth it ?
The Copperhead heat break is worth every penny and I recommend you buy this one instead of the clone. It’s one of the best upgrades for any hotend. And you are also supporting Slice Engineering, the original creators of this awesome design.
If you got money to spend, then go right ahead and buy the copperhead hotend. I have not tested it, but considering the heat break performance I don’t doubt it’s a great hotend.
If you are looking to get good performance but you’re on a budget, here’s an idea:
Buy a V6 heatsink, a Copperhead heat break an pair it with your favorite heat block (I would go for a Volcano). You will get a really good hotend with excellent thermal performance which you can use to print any material. PLA, TPU, ABS, PETG, Nylon. No problem.
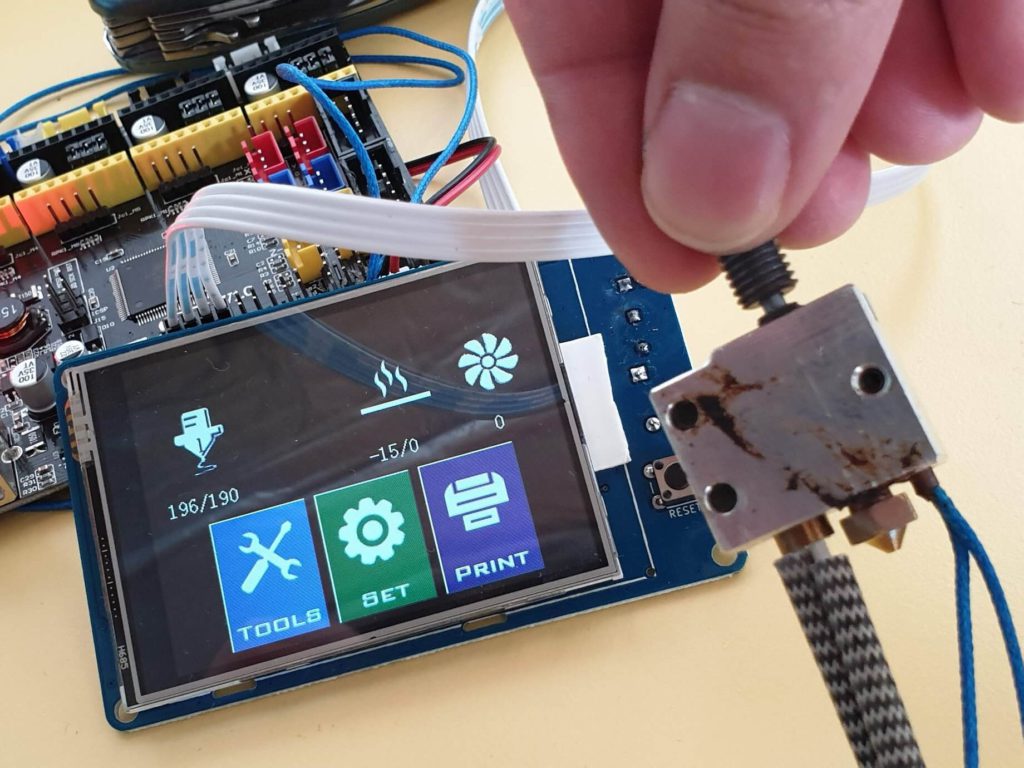
And in the end, here’s a small test using the good old “Finger-o-meter” for about 30 seconds. You won’t be able to do this with a regular heat break.
(Please don’t do it. It’s a bad idea. I’m a trained professional in handling hot stuff :D)
Where to buy the Copperhead Heat Break?
You can purchase the Copperhead Heat Break from the following stores:
Slice Engineering (US) – Use 3DPRINTBEGINNER code for a small discount (affiliated code).
Freeform4U (Europe) – This is where I bought it
Liked it?
|
|


