Artillery Sidewinder X2 Upgrades: Paid and Free
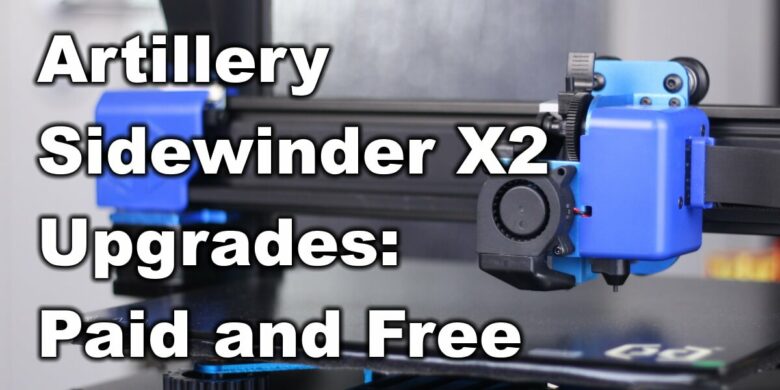
In this guide, I will go over a few of my recommended Sidewinder X2 upgrades which should improve your experience with this printer. In my Sidewinder X2 Review I complained about the lack of a few upgrades I was expecting from Artillery, so we’re going to go in more detail over them.
As always, take your time and read this article before jumping over and buying any of these upgrades.
Artillery Sidewinder X2 Paid Upgrades
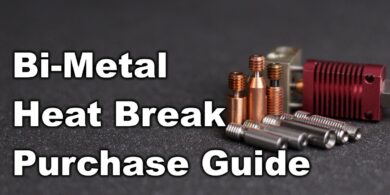
Bi-metal heat break
One of the best upgrade you could do to your Sidewinder X2 is changing the PTFE lined heat break. The stock one is PTFE lined which means that there’s a PTFE tube inside which touches the nozzle. This PTFE tube starts to degrade after a period of time, and can even release harmful fumes if used with temperatures over 240C.
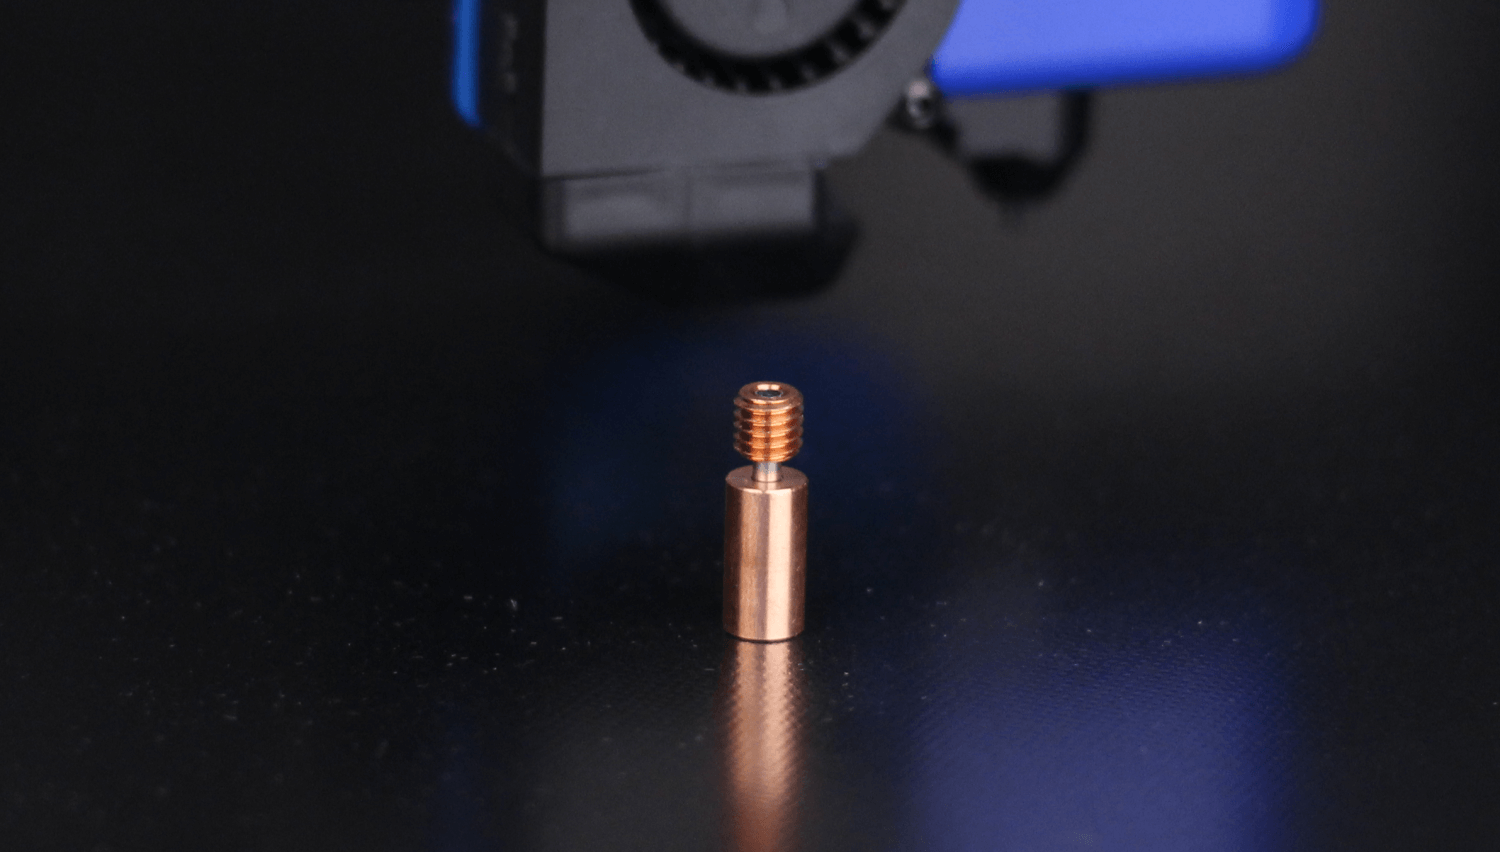
A bi-metallic heat break upgrade is one of the most important Sidewinder X2 upgrades which will replace the stock one and provide some improvements when it comes to thermal performance. I covered this topic in other articles, so I also recommend checking them. But in a few words, a bi-metal heat break will transfer less heat to the extruder heatsink, will provide a better thermal break and because of how it’s built, it will also improve the flow rate a bit.
Basically, you will be able to print higher temperature filaments, experience less clogs, shorten the retraction value and print a bit faster.
The best variant would be the Copperhead Heat Break from Slice Engineering because it’s well built and won’t cause issues like the really cheap variants. Unfortunately, they don’t have compatible variants right now so you can try the alternatives provided by Trianglelab (smooth) or Mellow (DCrazy).
A bi-metal heat break can be purchased from the following websites:
Banggood
Amazon
Aliexpress
Metal Extruder Idler
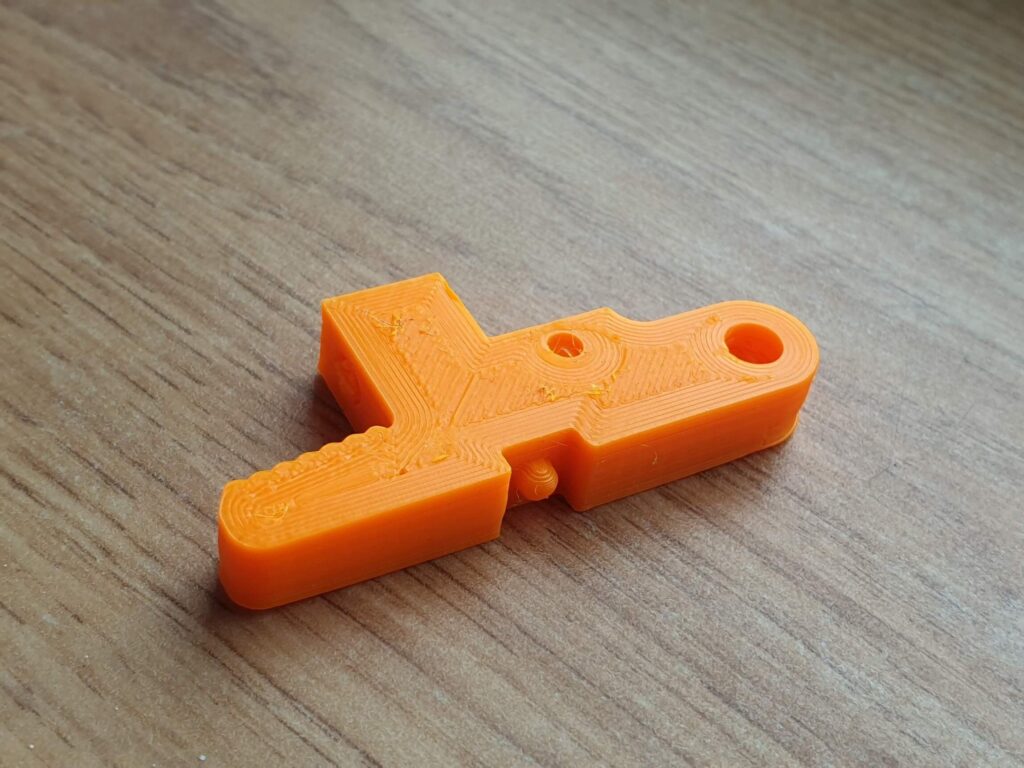
The Sidewinder X2 received a few interesting upgrades, but Artillery failed to fix a common point of failure which is the plastic extruder idler. There are reports online for the X1 where this plastic idler cracks and you won’t be able to extrude anymore.
You can either print a replacement to ensure you have a spare when the failure happens, or fix the issue for good and purchase an all-metal. This is one of the most needed Sidewinder X1 upgrades because it can randomly fail during a print.
A metal extruder idler can be purchased from the following websites:
Banggood
Amazon
Aliexpress
PEI magnetic flex plate
While everybody was expecting for Artillery to also upgrade to an aluminum bed for the Sidewinder X2, we received the same glass print surface we got with the X1. The bed wiring has been improved, but the thermal performance is still spotty. There are two ways to tackle this problem
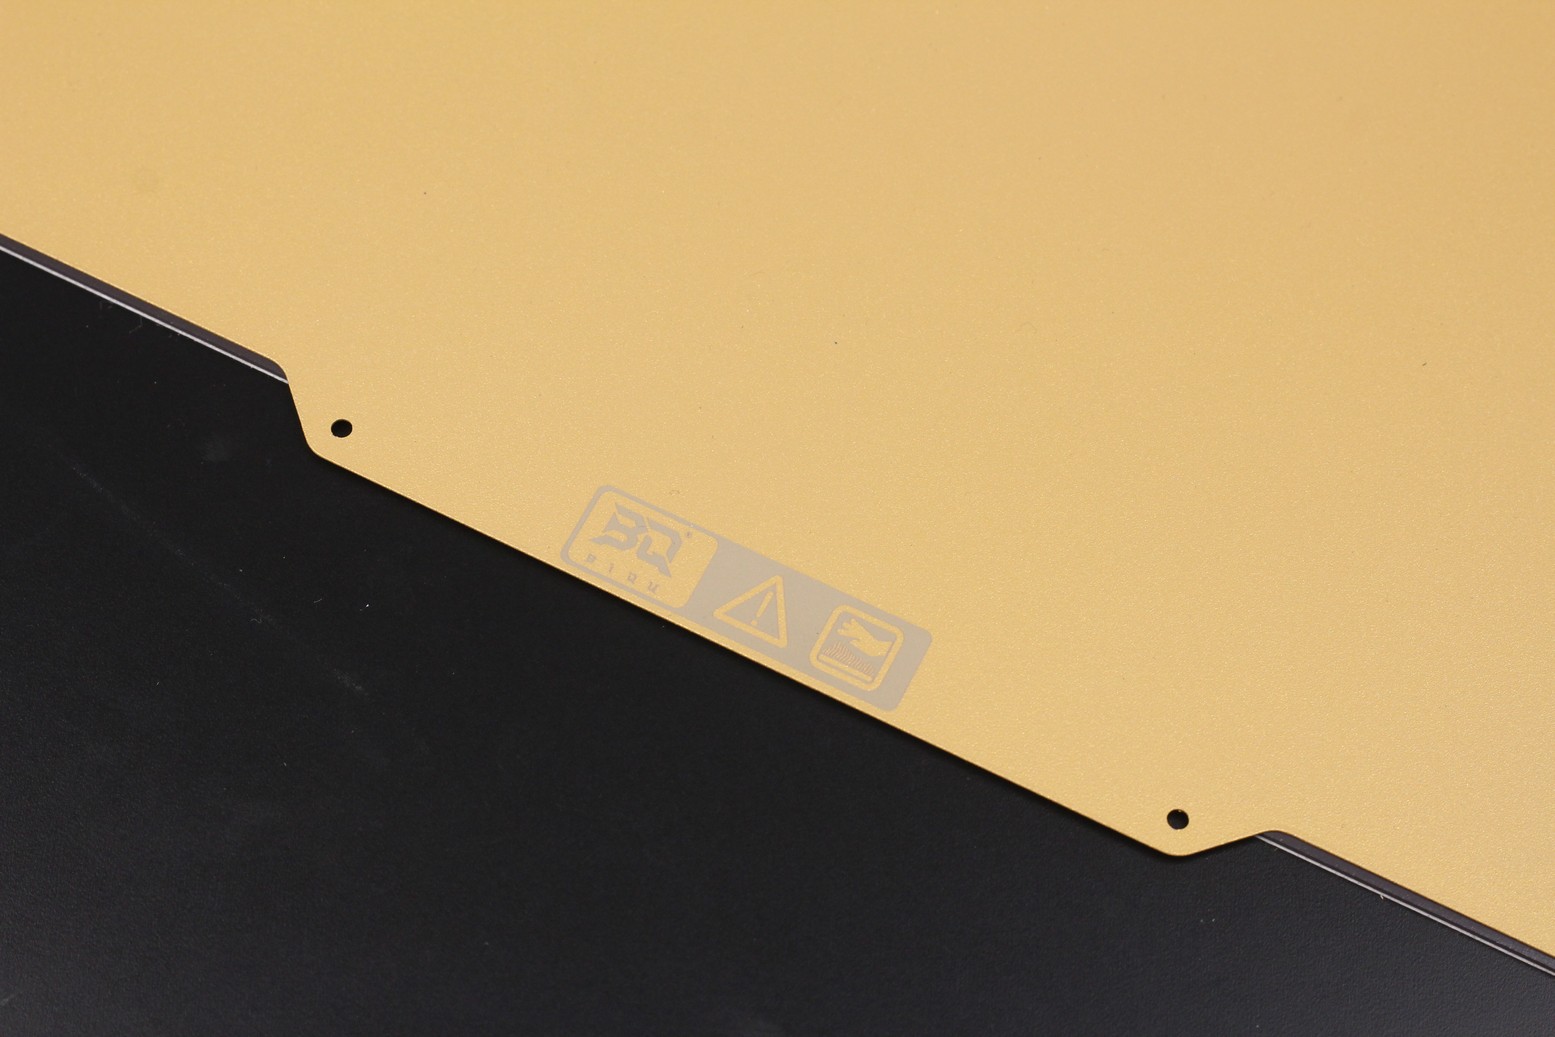
A cheap and easy to install option would be to purchase a PEI magnetic flex plate. This will improve adhesion and will allow easy removal of your printed parts. I recommend getting a dual-sided textured plate from Energetic, but there are other alternatives out there which perform similarly.
In the image below, I have the BIQU UltraSSS magnetic sheet which I will review soon.
The more expensive variant is purchasing a cast aluminum bed assembly. This has a thick aluminum plate which had much better thermal performance compared to the stock bed. If you want, you can also pair it with a PEI flex plate and have a really good print surface. But keep in mind that this option will also take a bit more time to install.
A PEI magnetic sheet can be purchased from the following websites:
Banggood
Amazon
Aliexpress
5015 Radial Fan
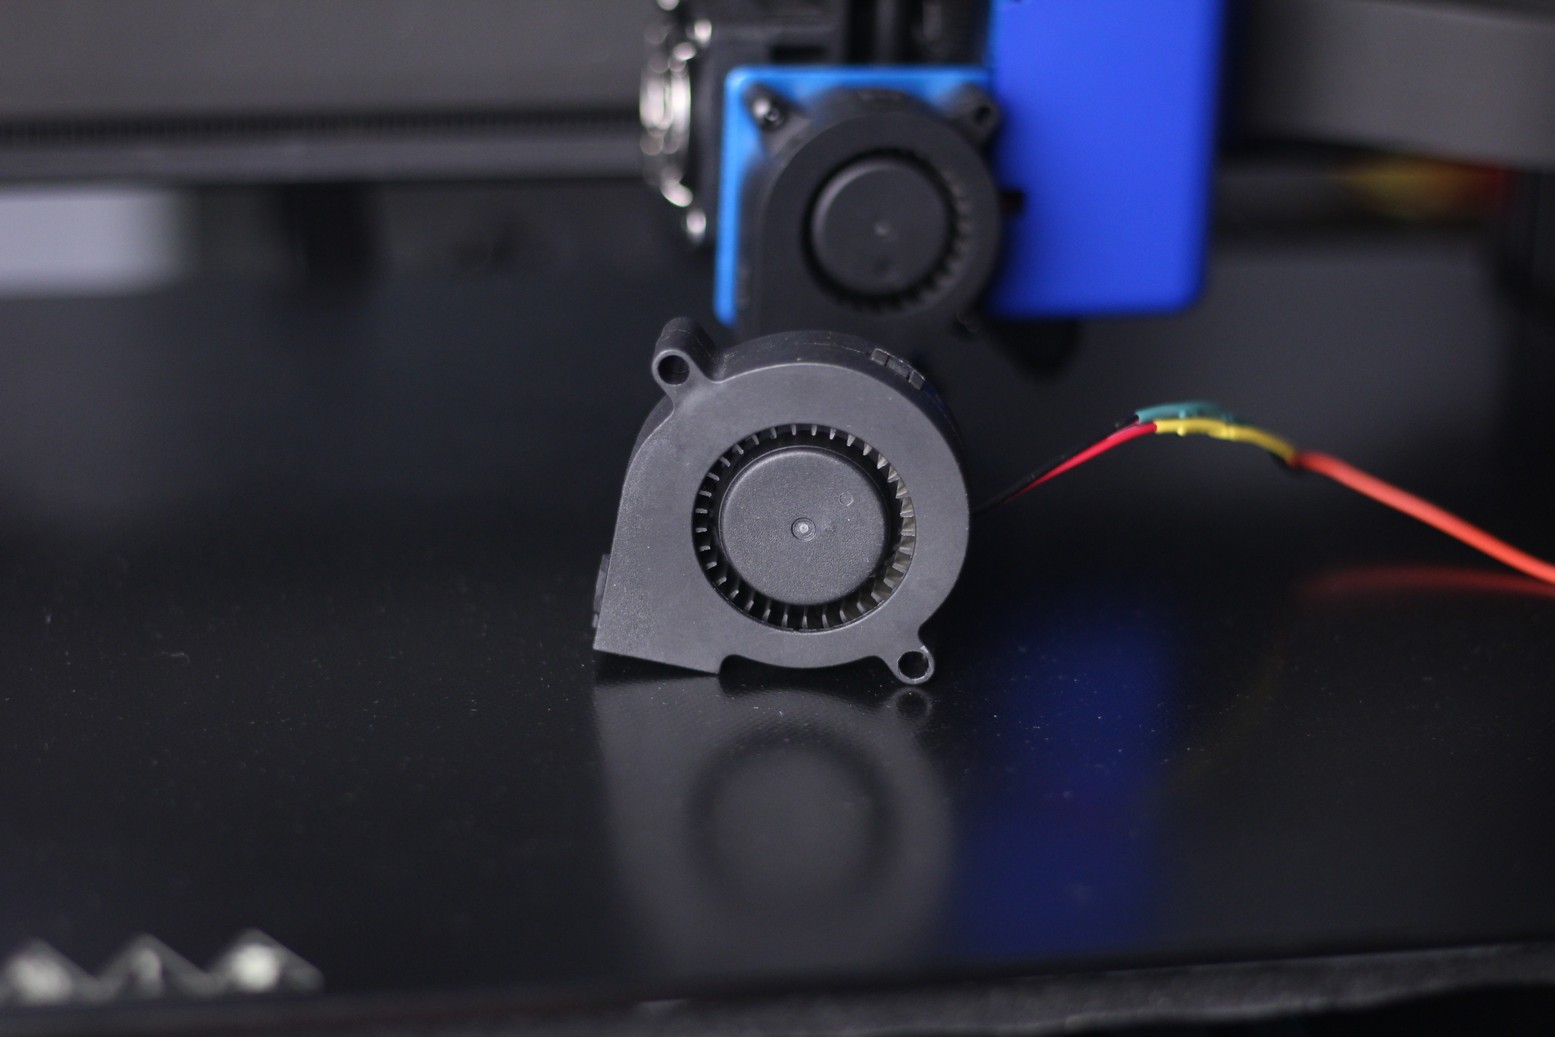
Just like the X1, the Sidewinder X2 comes with a 4020 radial fan for part cooling. This fan does it’s job pretty well and it’s a good balance between noise and airflow. If you plan to print a bit faster, you will need better cooling so I recommend upgrading to a 5015 fan. Paired with a good part cooling duct, you will be able to print better overhangs.
As always, I recommend getting a good quality ball-bearing 5015 radial fan. These fans are a bit more expensive but they last longer and have less vibration. I had a great experience with the Sunon 5015 fan from Mellow, but these cheaper GDSTIME alternatives are really close.
5150 radial fans can be purchased from the following websites:
Amazon
AliExpress
Silicone Bed Mounts
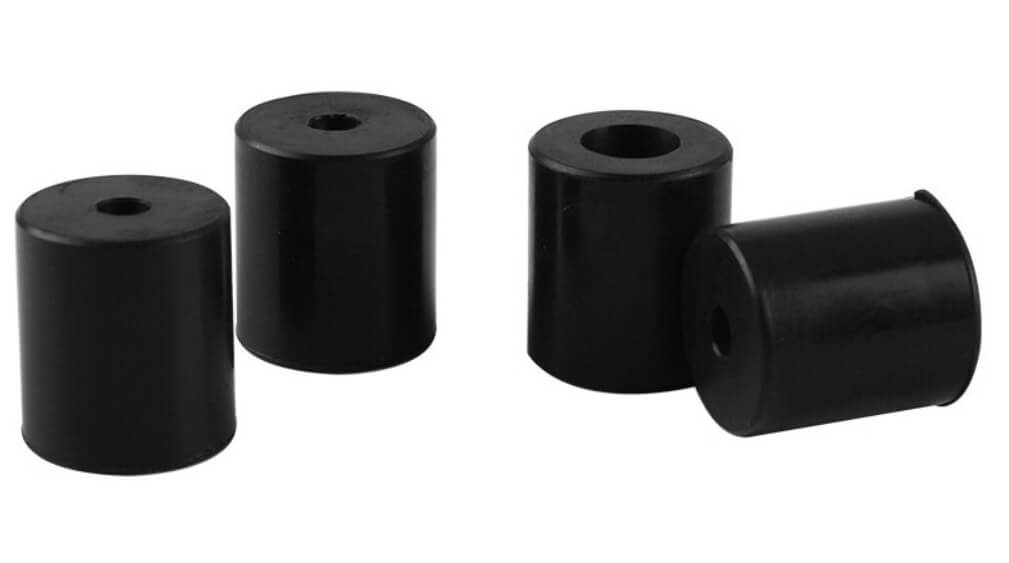
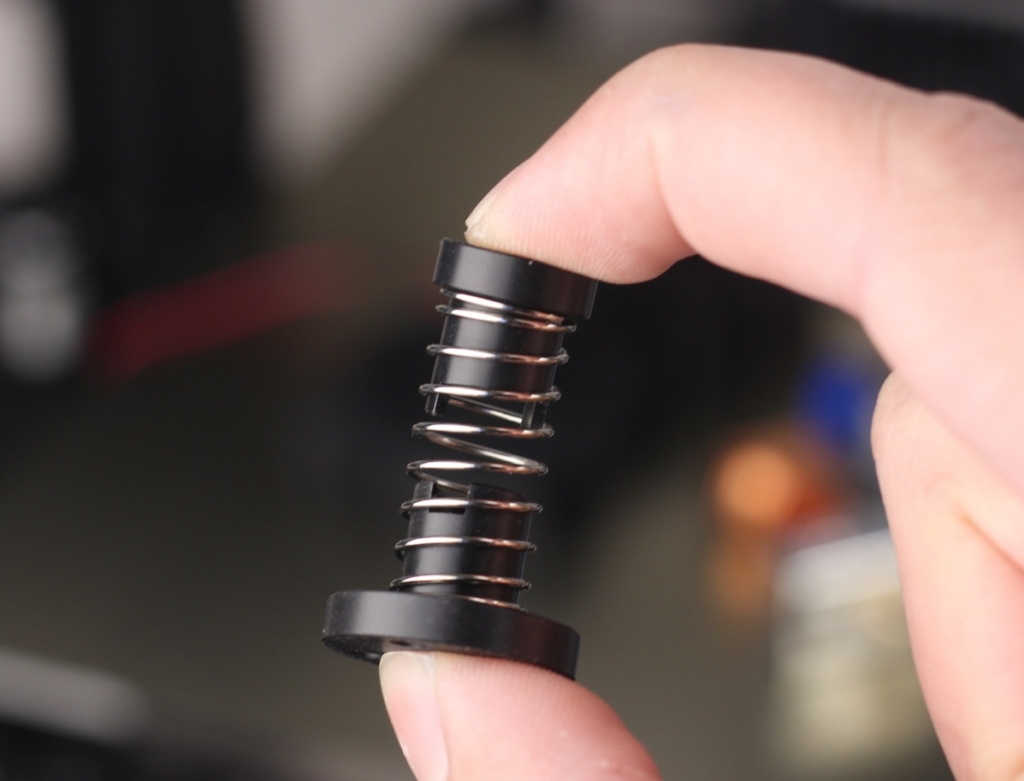
As you might expect, the Sidewinder X2 uses the same springs like the X1 for bed leveling. They work well but if you want to have a stiffer bed and avoid having to manually level the bed from time to time, then I recommend looking into silicone bed mounts.
They are cheap and easy to install. Much easier compared to the bed leveling mod I did in the past for Artillery printers.
You can buy silicone bed mounts from the following stores:
Amazon
AliExpress
Banggood
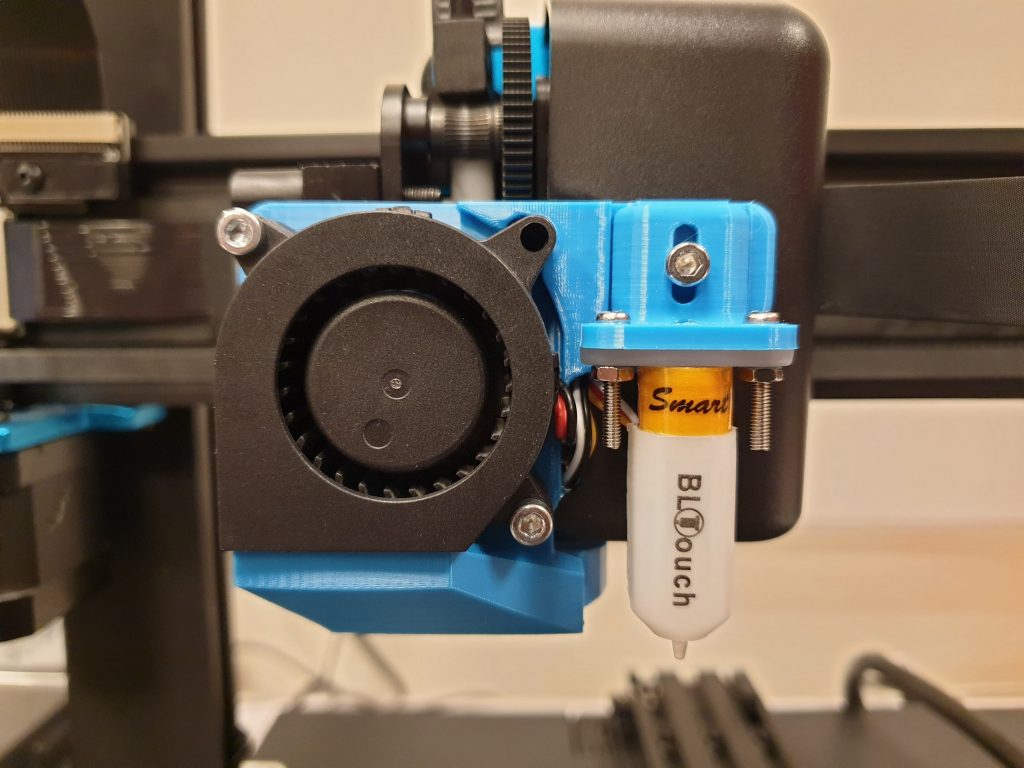
Original BLTouch
I’ve seen a few reports online where people are complaining about the BLTouch clone used with the Artillery Sidewinder X2 and Genius Pro. My Sidewinder X2 sensor still works great and I didn’t have any issues with it but I have a friend who can’t get reliable probing with it.
If something happens, I would recommend contacting Artillery and getting a replacement. But if you want to fix the printer yourself, you could purchase the Original BLTouch. Please keep in mind that you will need some wiring experience. It’s not a drop in replacement.
The Original BLTouch can be purchased from the following websites:
Banggood
Amazon
Aliexpress
Belt tensioners
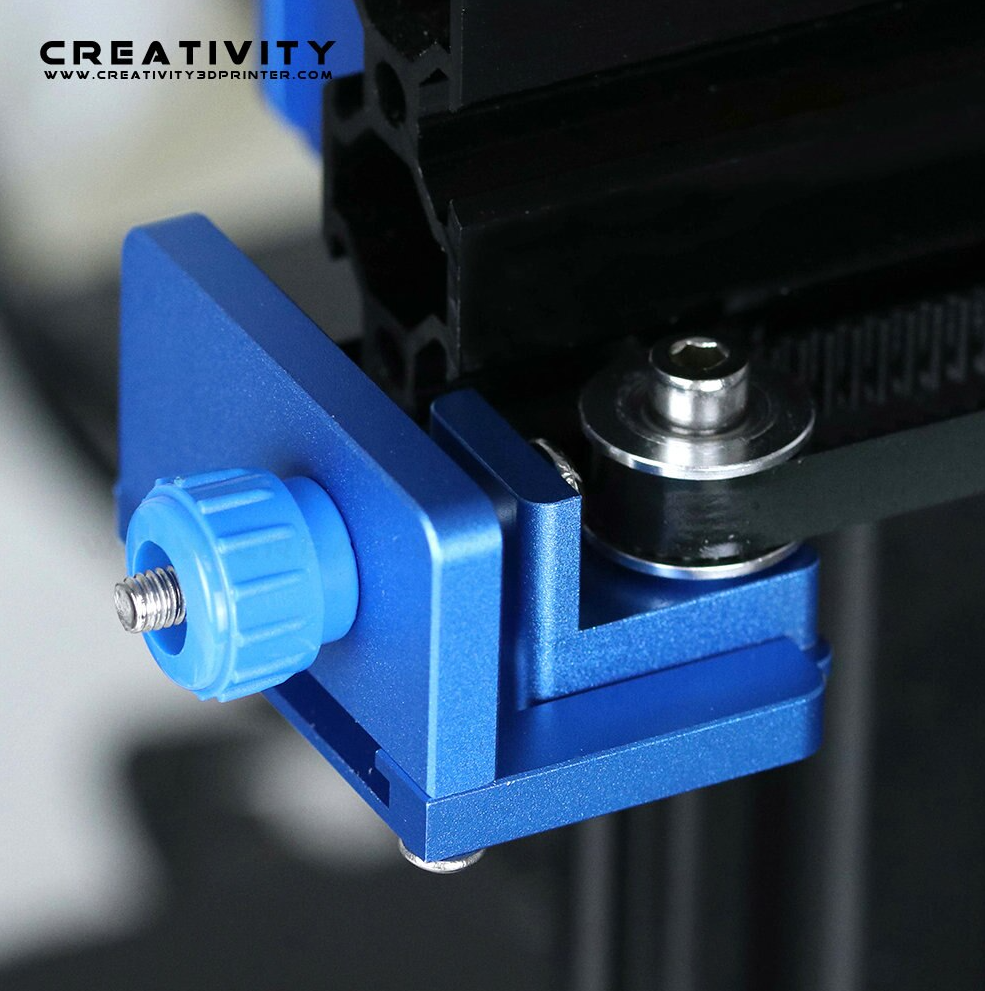
Most of the time, people are overtightening the belts on their 3D printers which causes printing artifacts and increases the wear for the belt and idler bearings. Some printers come with their belts overtightened from factory.
The Sidewinder X2 doesn’t have belt tensioners, so you will need to fiddle with the printer a bit to adjust the belt tension. If you want an easier way, then you can upgrade to aluminum belt tensioners which allow better control of your belt.
For me, this is not an essential Sidewinder X2 upgrade, but it’s nice to have.
Belt tensioners can be purchased from the following websites:
Banggood
Amazon
Aliexpress
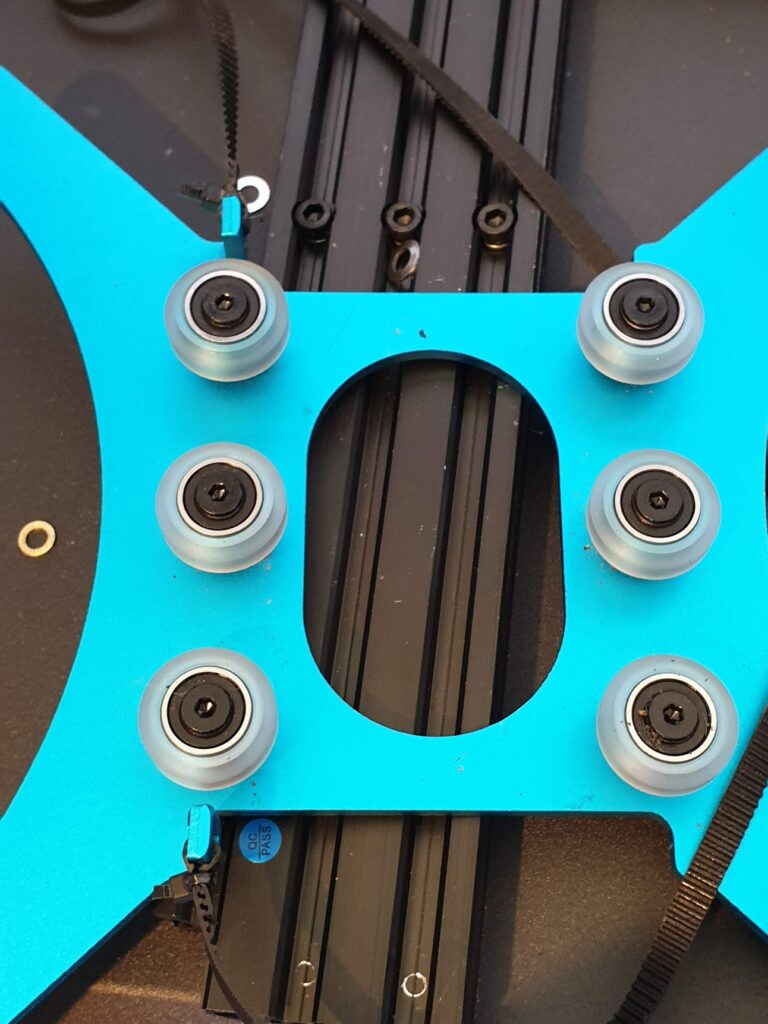
Polycarbonate V-Slot Wheels
The Artillery Sidewinder X2 comes with regular POM v-slot wheels. They are pretty good if tightened correctly against the v-slot extrusion.
Polycarbonate v-slot wheels are much stiffer and are not as easily deformed when tightened. I would recommend upgrading the wheels only if you have issues with your stock wheels, and want to ensure a smoother motion for the extruder carriage and your bed.
I did the same upgrade on the Sidewinder X1 and I was very happy with the results, so I consider PC v-slot wheels a worthy Sidewinder X2 upgrade
The polycarbonate v-slot wheels can be purchased from the following websites:
Banggood
Amazon
Aliexpress
POM Anti-Backlash Nuts
With the Sidewinder X2, we get the same brass nuts for the Z axis. They work well when combined with the Z sync belt, but they require some maintenance (greasing the Z screws from time to time).
If you want to get rid of maintenance, you could upgrade to POM nuts. They don’t require any maintenance and they have better tolerances so you should see a smoother movement, especially if you use Z hop.
The anti-backlash variant are recommended if you plan to remove the Z sync belt and use Marlin’s G34 for automated Z stepper alignment, but I’ve used them with the Z sync belt on and haven’t encountered any issue.
The POM anti-backlash nuts purchased from the following websites:
Banggood
Amazon
Aliexpress
Artillery Sidewinder X2 Free Upgrades
Extruder Idler Brace
You might have noticed that the idler can slightly move on the sides. One of the easiest Sidewinder X2 upgrades would pe printing this extruder idler brace which will make the idler a bit more stable. An example of the difference with the brace installed is shown by the designer, in this video.
Better part cooling duct
One of the first printable Sidewinder X2 upgrades I recommend is printing a better part cooling duct. This particular model is compatible with the X2, and it’s easy to print. But make sure you print it in PETG or other material which can withstand heat better. PLA will deform quickly.
After you install it, ensure that the nozzle is lower than the part cooling duct, so it doesn’t interfere with printing.
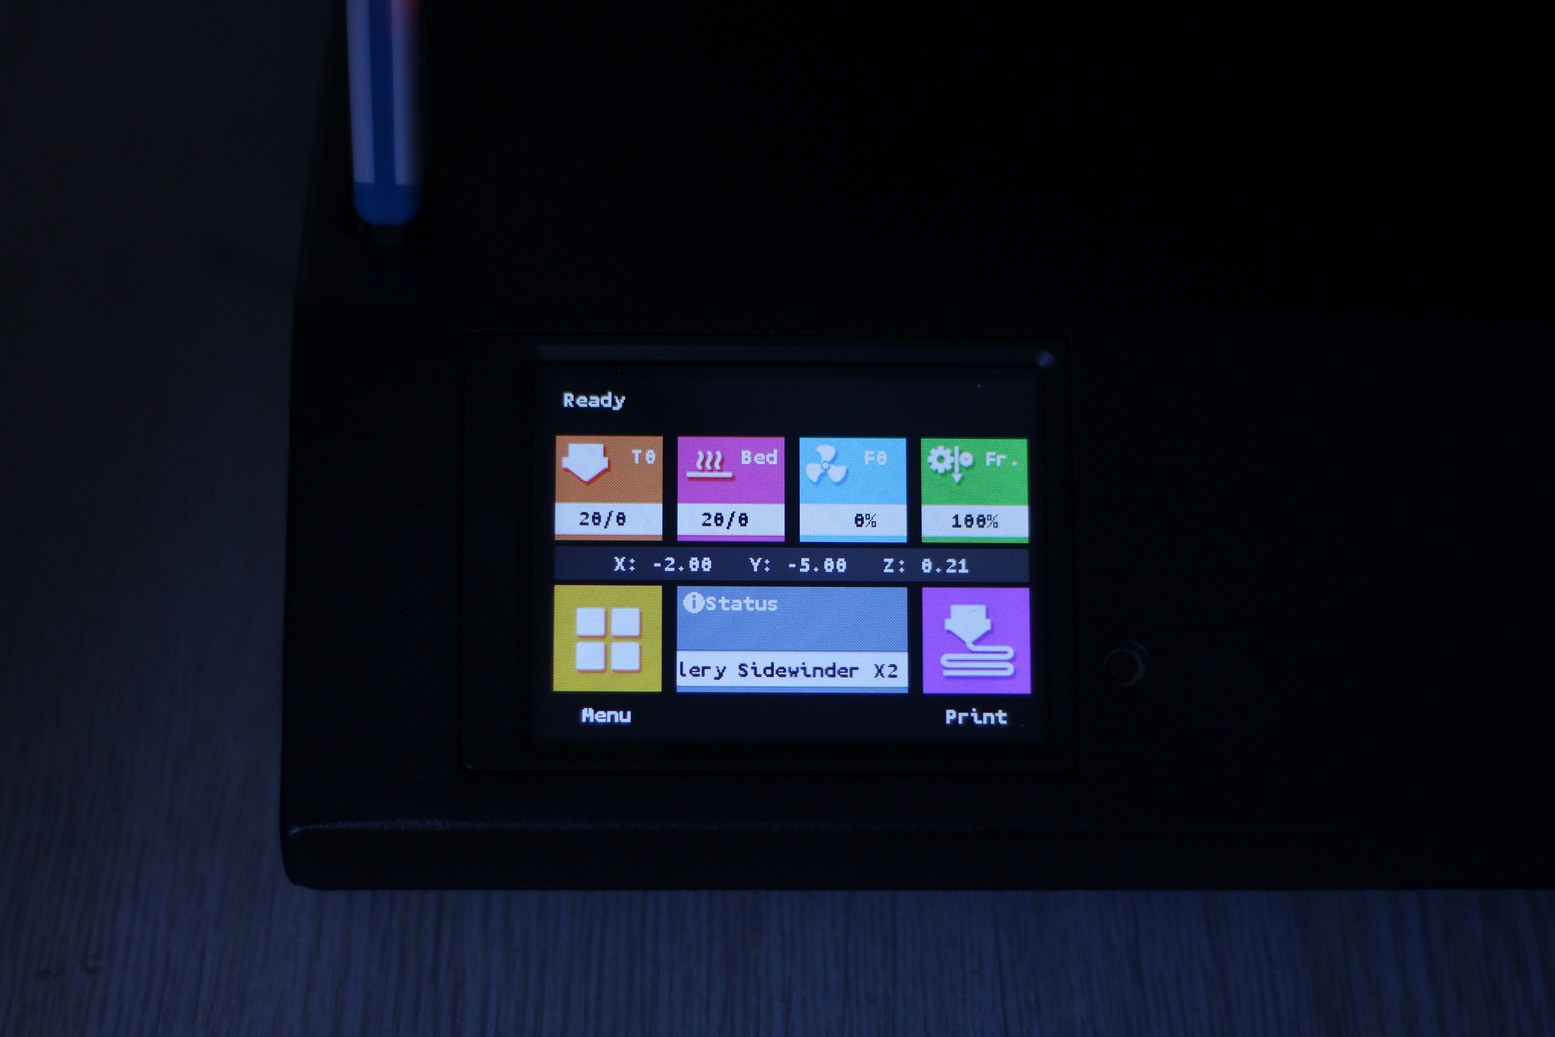
Custom screen firmware
The Sidewinder X2 stock firmware is just as bad as it was on the X1. Sure, it has the basic functionality and does it’s job, but it can be so much better. Fortunately, Digant’s Screen Firmware based on the TFT35 variant from BIGTREETECH is also compatible with the Sidewinder X2.
Installing this firmware should be on top of your software Sidewinder X2 upgrades because it offers a lot more functionality compared to the stock variant. I also wrote a quick guide on how to install it, so make sure you give that a go. It’s easy to revert back to stock if you don’t like it.
Custom board firmware
I must recognize that Artillery usually provides a pretty well tuned Marlin Firmware out of the box. But features like Linear Advance or M600 are not enabled by default. These features could offer a significant improvement in print quality and usability at no extra cost.
Besides that, I also don’t really like the fast movements done by the printer when homing. The custom firmware is tuned with slower movements which should provide better accuracy when homing and probing. I am still testing the custom firmware, and I will release it in a couple of weeks
Klipper Firmware
As always, there’s also the alternative of running Klipper Firmware on the Sidewinder X2.
With Klipper, you can push the print speeds of your 3D printer higher, without any downgrades when it comes to print quality. I wrote a guide on How to Install Klipper on Sidewinder X2: Config and Setup which should guide you trough the process of installing and configuring Klipper on Sidewinder X2.
Wrapping up
I hope these recommended upgrades are helpful for you. If you have any questions, feel free to leave a comment below. You can also join the 3DPrintBeginner Discord Server where there’s a dedicated Artillery channel. Feel free to also share this article with others.
Liked it?
|
|


The POM antibacklash nuts can be installed on the Z axis of the X2, but collide with the Z motor when the nozzle is lowered.
Install them upside down at the top of the rail and they will work just fine!
Thank you for your work!
So I only need to buy a metal heat break in order to print at higher temps and not the complete full-metal upgrade kit that they offer for 100 USD? Very good news!
I’m having a very tough time deciding between Anycubic Chiron (with proper aftermarket wiring and quiet driver upgrade) and this substantially more refined but also considerably smaller printer right here – the Artillery X2. 300x300x400 with (almost) zero hassle vs 400x400x450 that would be a bigger pain in the ass but probably worth it for that much more build volume….I really can’t decide.
That is correct. I haven’t tried the Chiron but I recommend you to really think if you need the extra size or not.
How can I fix the shooting in the extruder it is caused by retraction when it is turned off it does not fire and when it is turned on it shoots
Any update on the Klipper tutorial for the X2?
I’ve been busy the last couple of months. But it’s on my radar 🙂
+1 for this!
Thanks for your great review, helped me a lot. I cant find a decent 5015 duct with bltouch for the X2.
Can you recommend us one?
Thanks
Thanks for the great review on paid upgrades for Artillery Sidewinder X2. Will I be able to launch a small business producing parts for metalworking manufacturing with this? I have an interesting idea about this, but I’m still quite new to this topic. I have already found several tooling solutions on the Engre engineering b2b market and this inspired me to launch something of my own.
Have you some News about Klipper for X2.
One again a great guide thank you! One question though, you mentioned in the X1 guide that you would be using the BMG wind extruder on your future printers, but you’re not using it here. Any reason for that?
The extruder has been improved over time, and now you can get decent performance out of it with a simple bi-metal heat break upgrade.
when will u release custom board firmware i am waiting 🙂
Would be nice if you included better (even basic) details for how to shop out these upgrades than just links. One could read this article a year from now, and not be able to follow half the links, and have to run to some discord group to get any details whatsoever.
These are problems I noticed trying to shop with this help from this guide (and it’s links):
Many people complaining in Amazon reviews to silicone bed mounts that they are wrong size for their printer. QA indicates not quite correct for X1. What does that mean for X2?
TFT Firmware guide has dead download/firmware links. No one seems to host a mirror.
No indication of proper voltage for 5015s. (must assume link still works to correct variant). Amazon QA says it matters, Aliexpress seems to claim a universal sales listing.
The heat break links seem to indicate the smooth style is correct, but neither that nor the D-Crazy link provides enough information on how to shop out an alternative. Neither here or in the dedicated heat break articles does it say anything about what the standards are (threads, dimensions, etc).
If you need such detail when purchasing the upgrades, then I recommend not doing it.
You need a minimal understanding of how stuff works so you don’t damage your machine when doing it. The links will be updated if they fail over time.