How to Update PanelDue Firmware
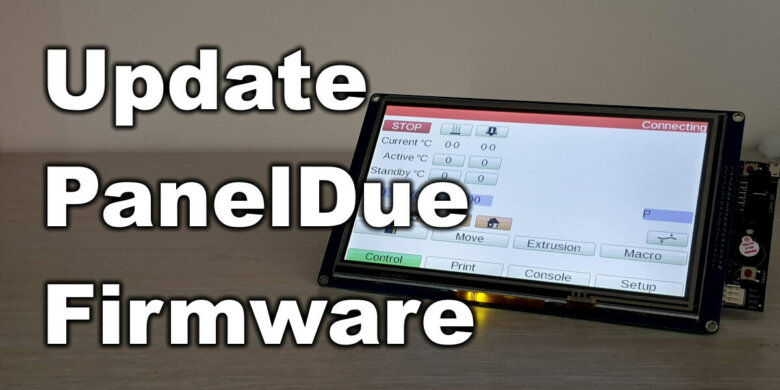
A few weeks ago I got a MKS Duet 2 Wifi with PanelDue 7 display. First thing I did is to update PanelDue firmware to the latest available and I thought I document the process. I am preparing to use the PanelDue 7 touchscreen with RepRap firmware on the SKR boards and it’s best to have the latest firmware installed.
MKS PanelDue 7
The MKS PanelDue 7 screen I got in the MKS Duet 2 kit is the V1.0 version. The PanelDue connector board is labeled V3.0, so this is the version I will focus on in this guide.


The PanelDue firmware update is also described in the Duet3D wiki where the install process is covered for any type of screen. I thought it would be helpful to do an easy to follow guide specifically for the MKS clone because I encountered a small issue with mine.
How to update PanelDue Firmware?
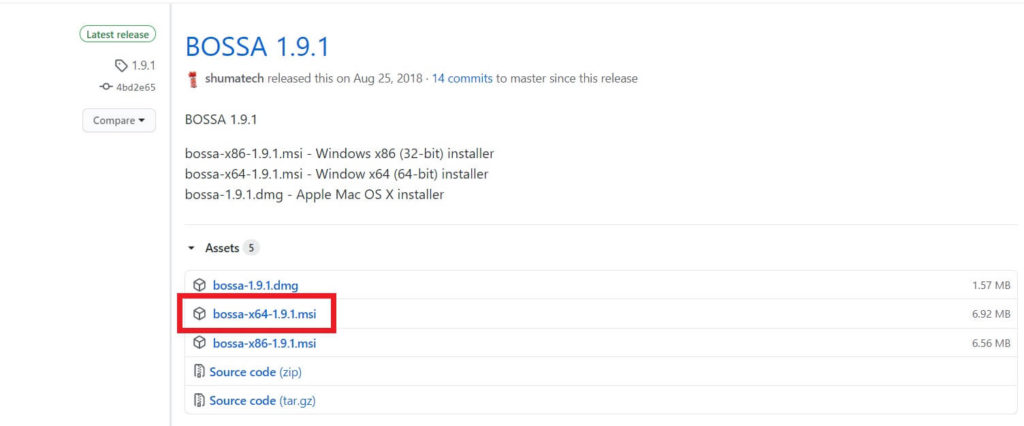
1. Download and install the latest BOSSA release from GitHub.
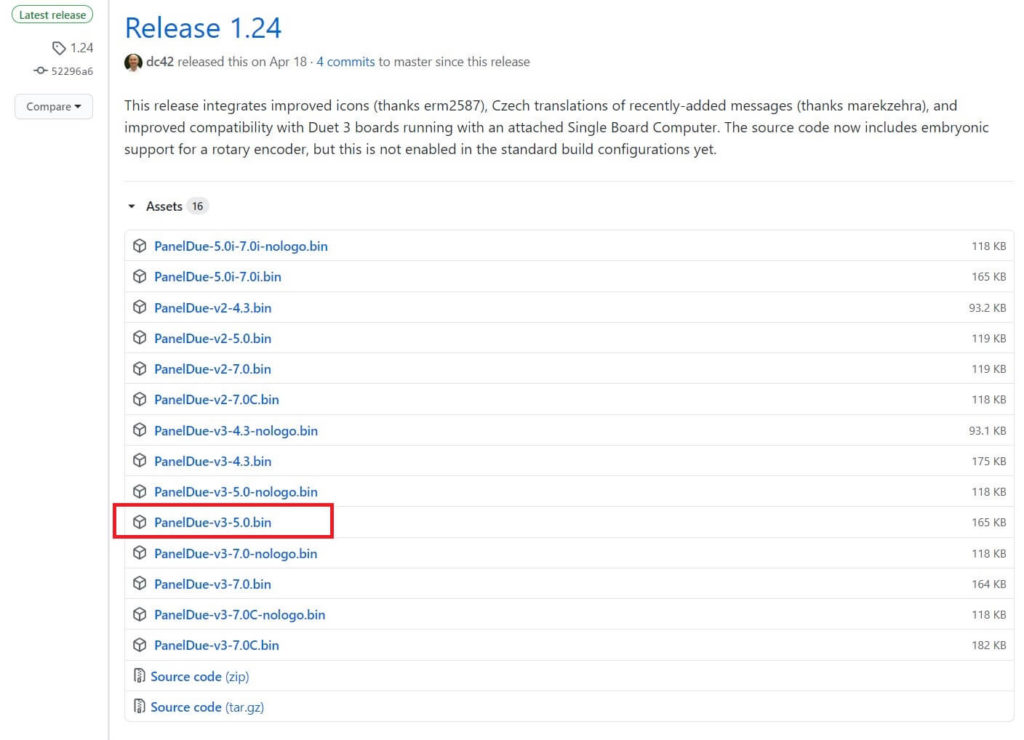
2. Download the latest PanelDue firmware from GitHub. I will use PanelDue-v3-5.0.bin for my 7 inch screen.
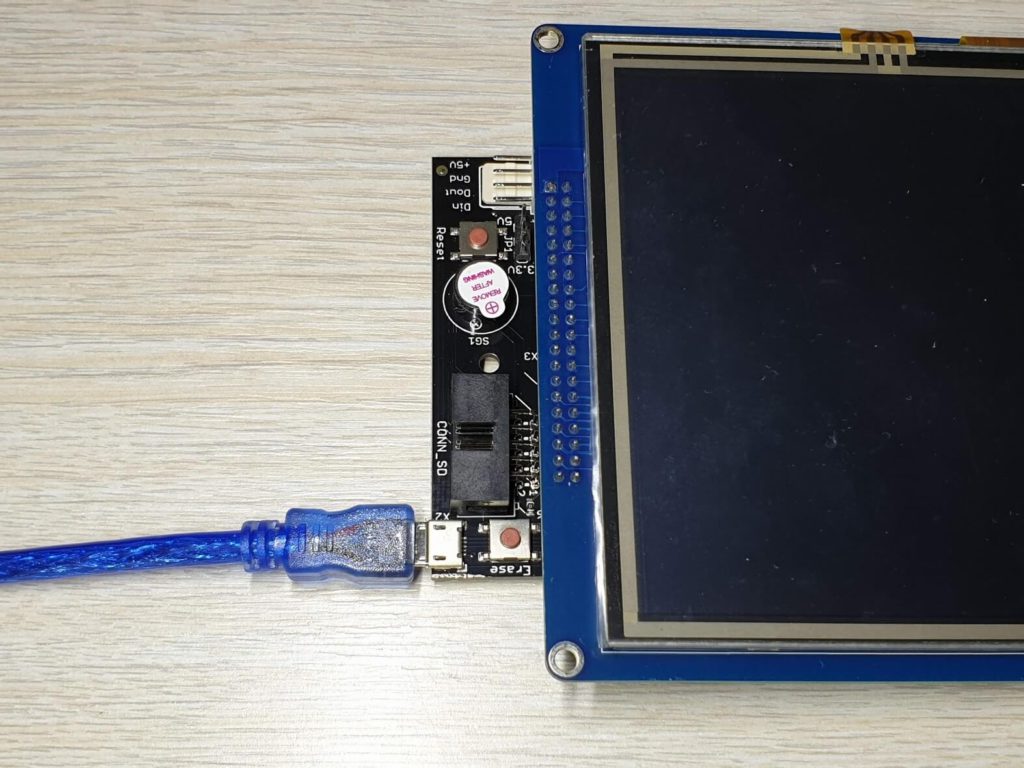
3. Connect the PanelDue screen to your computer with the MicroUSB cable
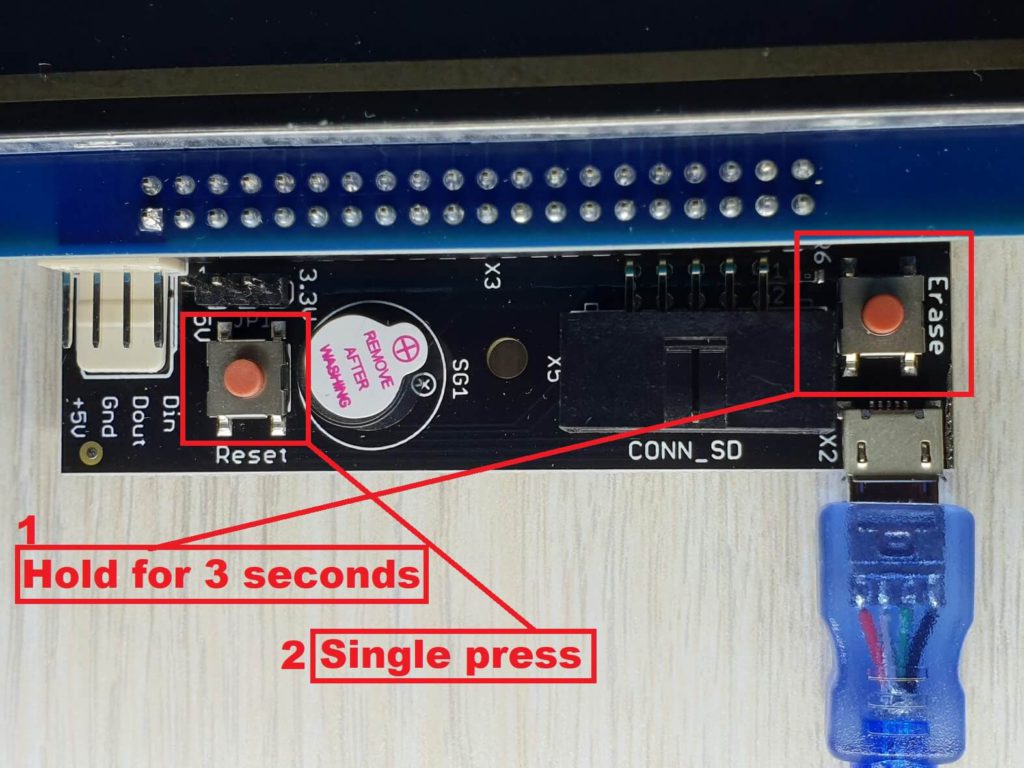
4. Hold the Erase button pressed on the PanelDue for 3 seconds, then release it and single press the Reset button. Your screen will turn off and connect to the computer
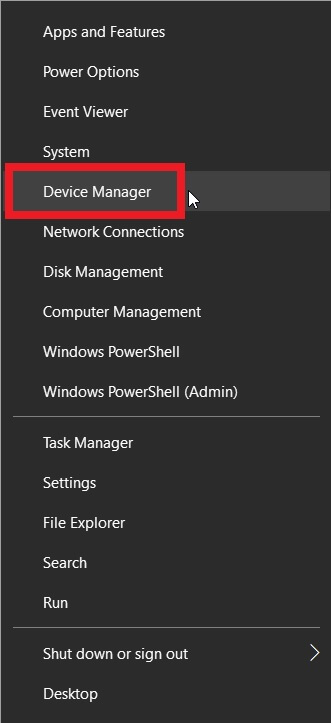
5. Right click on Start, then click on Device Manager
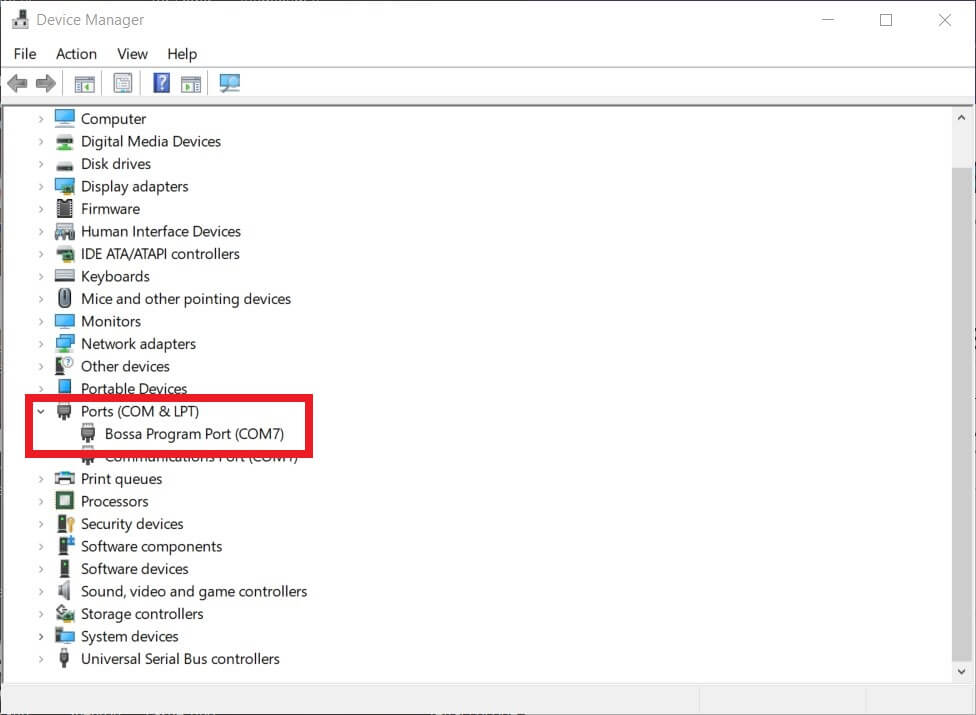
6. Check the Bossa Port used. In my case it’s COM7.
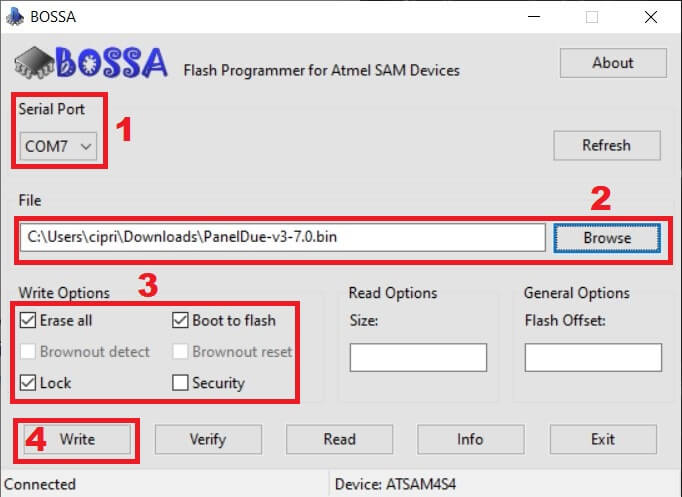
7. Open Bossa and enter the right settings for your PanelDue screen. Select the port and firmware file. Next, make sure you check all the Write Options (Erase all, Lock and Boot to flash) then click on Write.
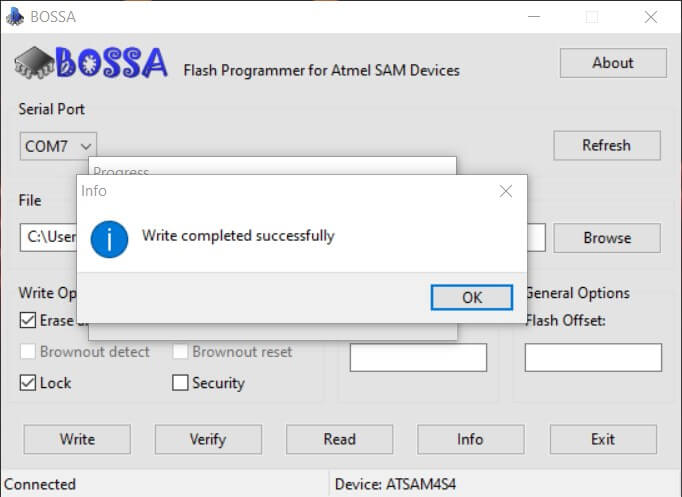
8. The PanelDue firmware update will be started.and it should finish after 1 minute. The Write completed successful will show up.
It’s recommended you also click the Verify button to perform a flash verification just to make sure the PanelDue firmware update was correct.
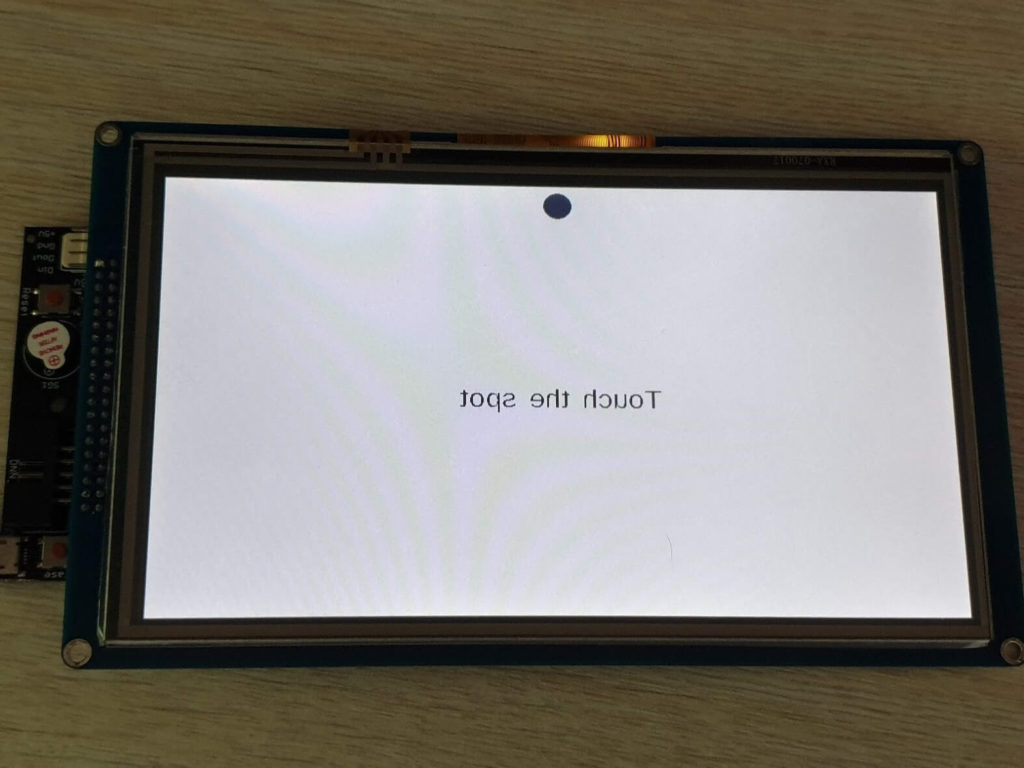
9. Press the Reset button and your PanelDue screen will reboot. If everything went fine, you will be taken to the touch calibration. As you can see, the PanelDue display is inverted.
Touch the four dots on the screen to reach the main screen.
10. If the PanelDue display is inverted, touch the Setup button then the Mirror display button. This will fix the mirroring issue.
We’re done. Now, the PanelDue screen is prepared to be used with the board.
Wrapping up
Hopefully, this little guide helped you update PanelDue firmware to the latest version. In a future guide I will show you how to connect the PanelDue touchscreen to a SKR board running Rep Rap Firmware.
Liked it?
|
|

