QIDI X-MAX Review: Enclosed High-Temperature 3D Printer
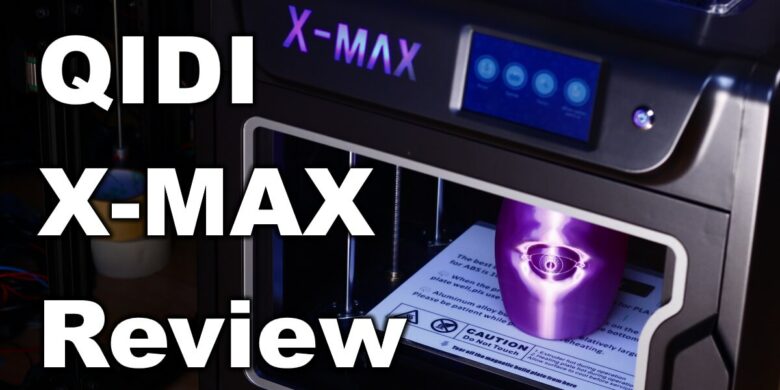
I never tried a QIDI printer, but that changes today. I got the QIDI X-MAX 3D printer to review and after more than a month with it, I am quite impressed by its capabilities. But I don’t want to spoil all the details right from the start, so let’s get right to it.
QIDI X-MAX Shipping and Packaging
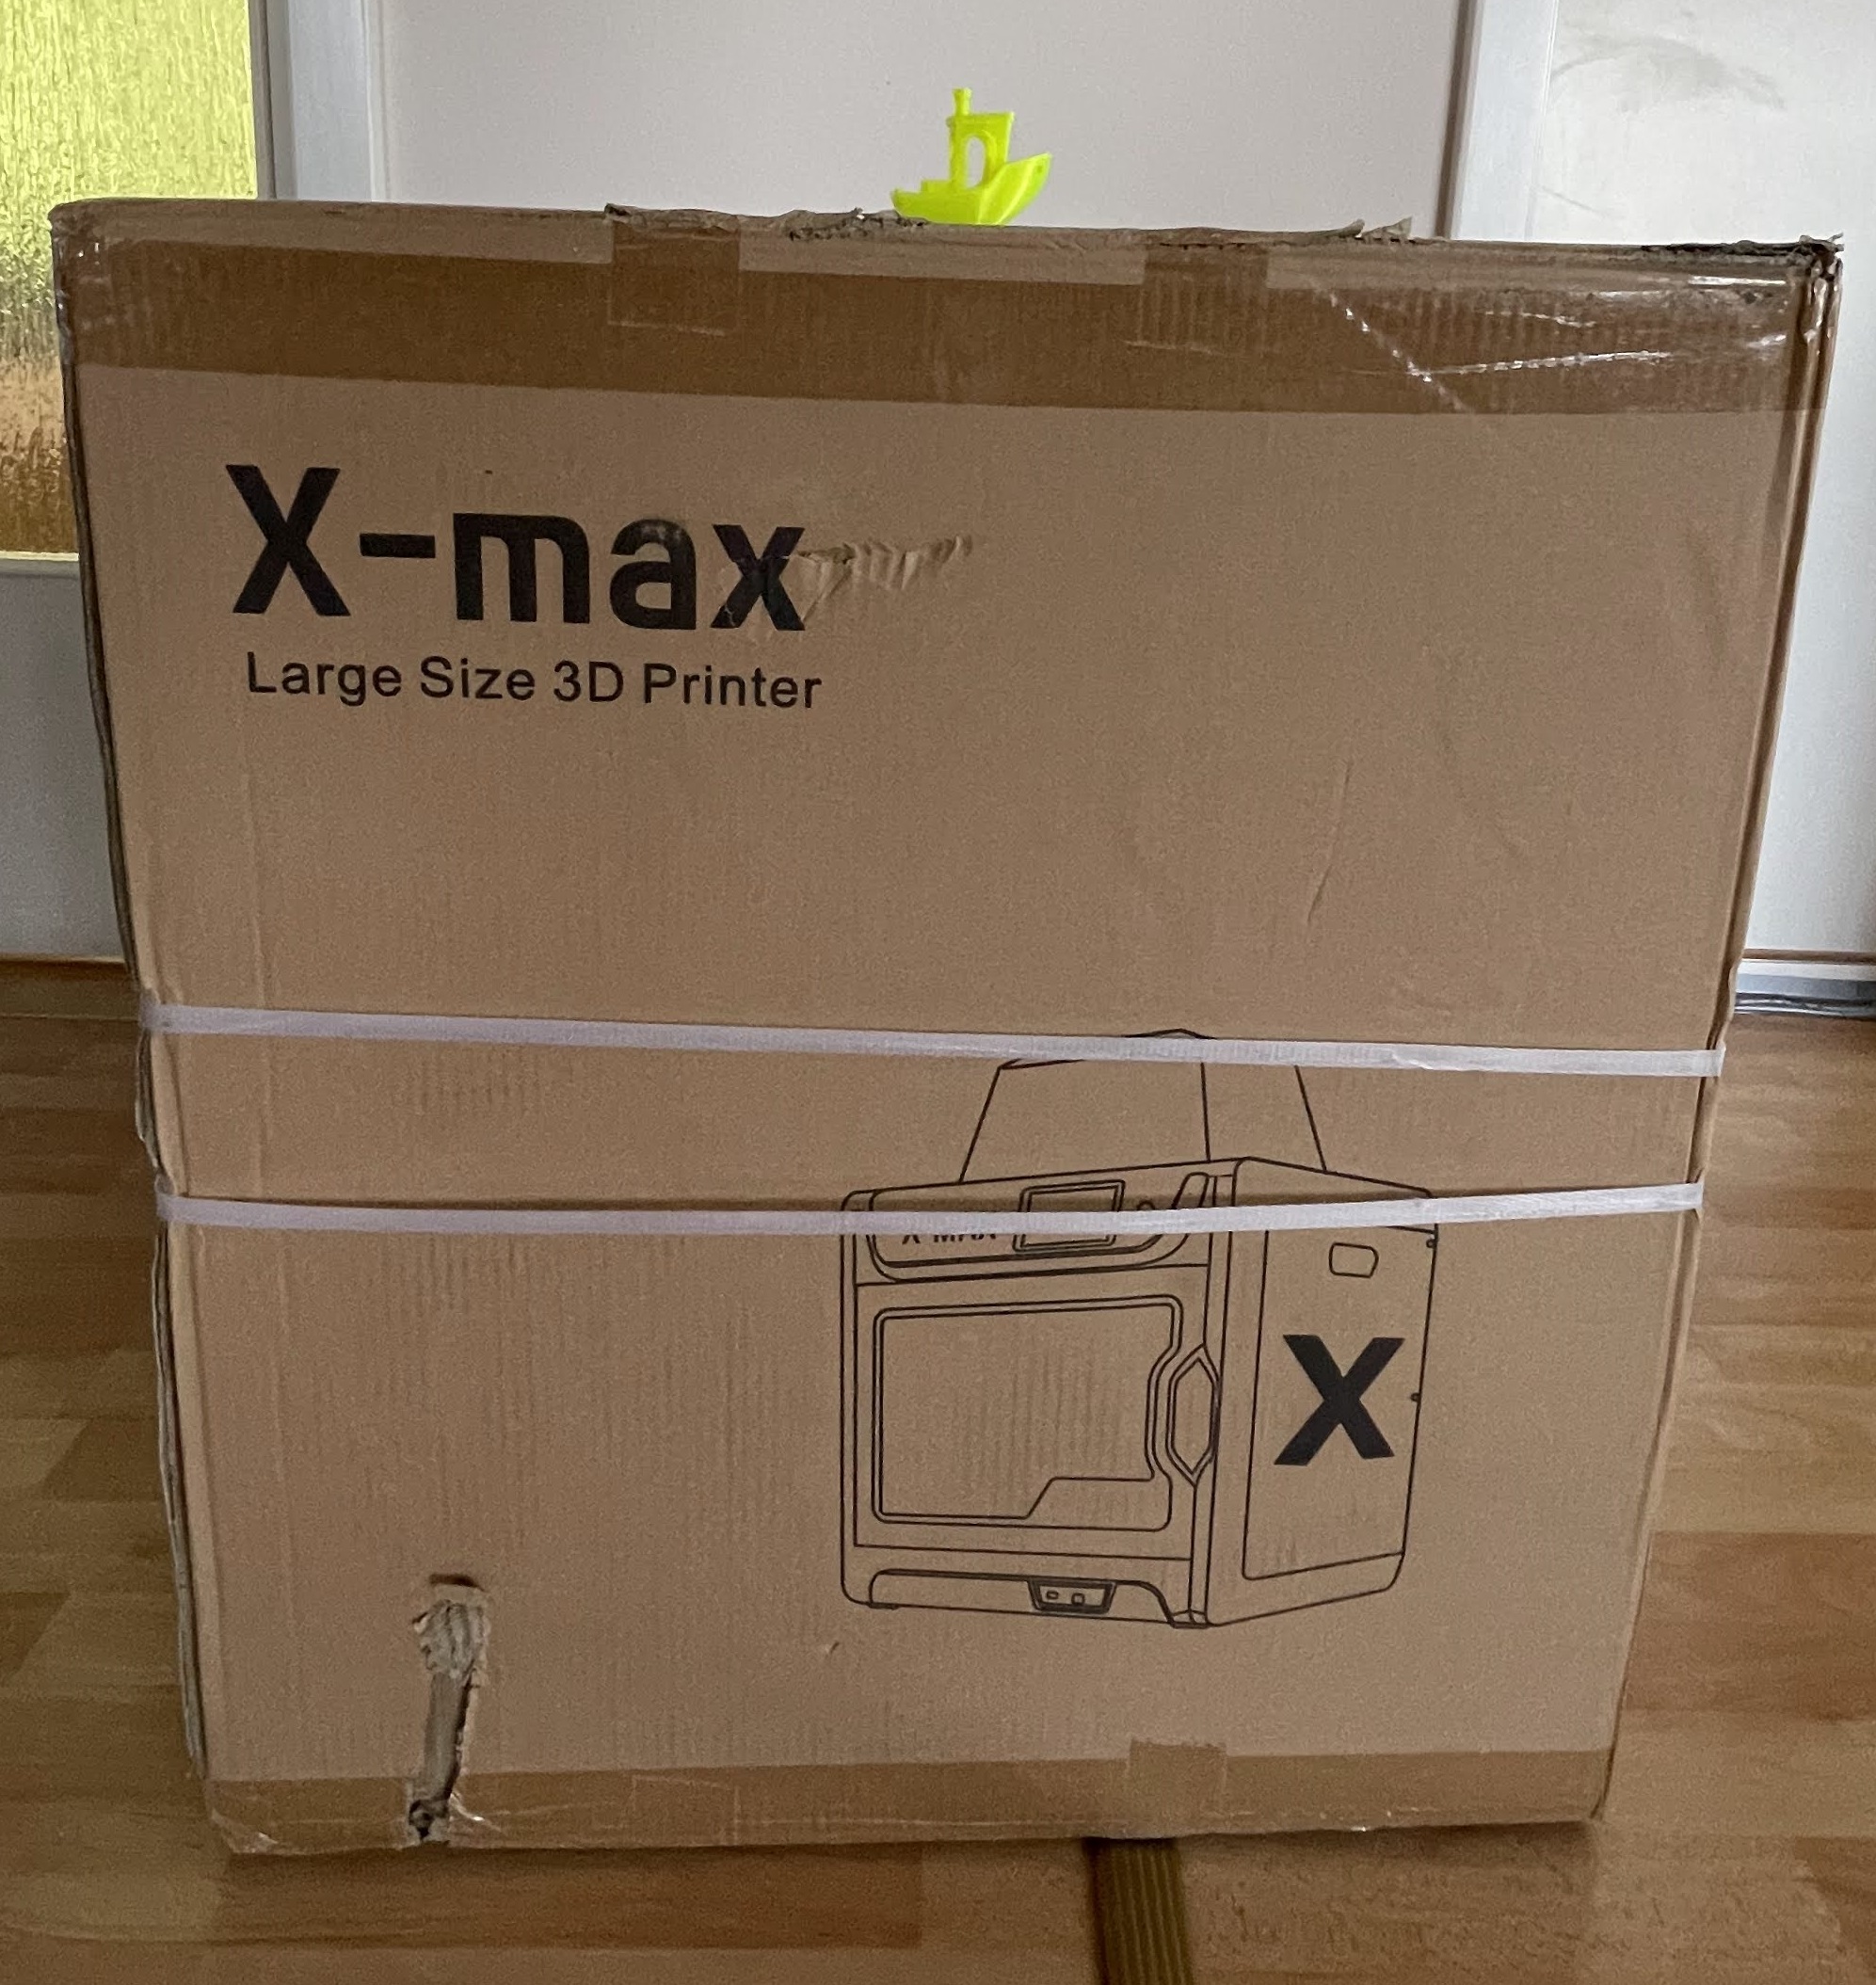
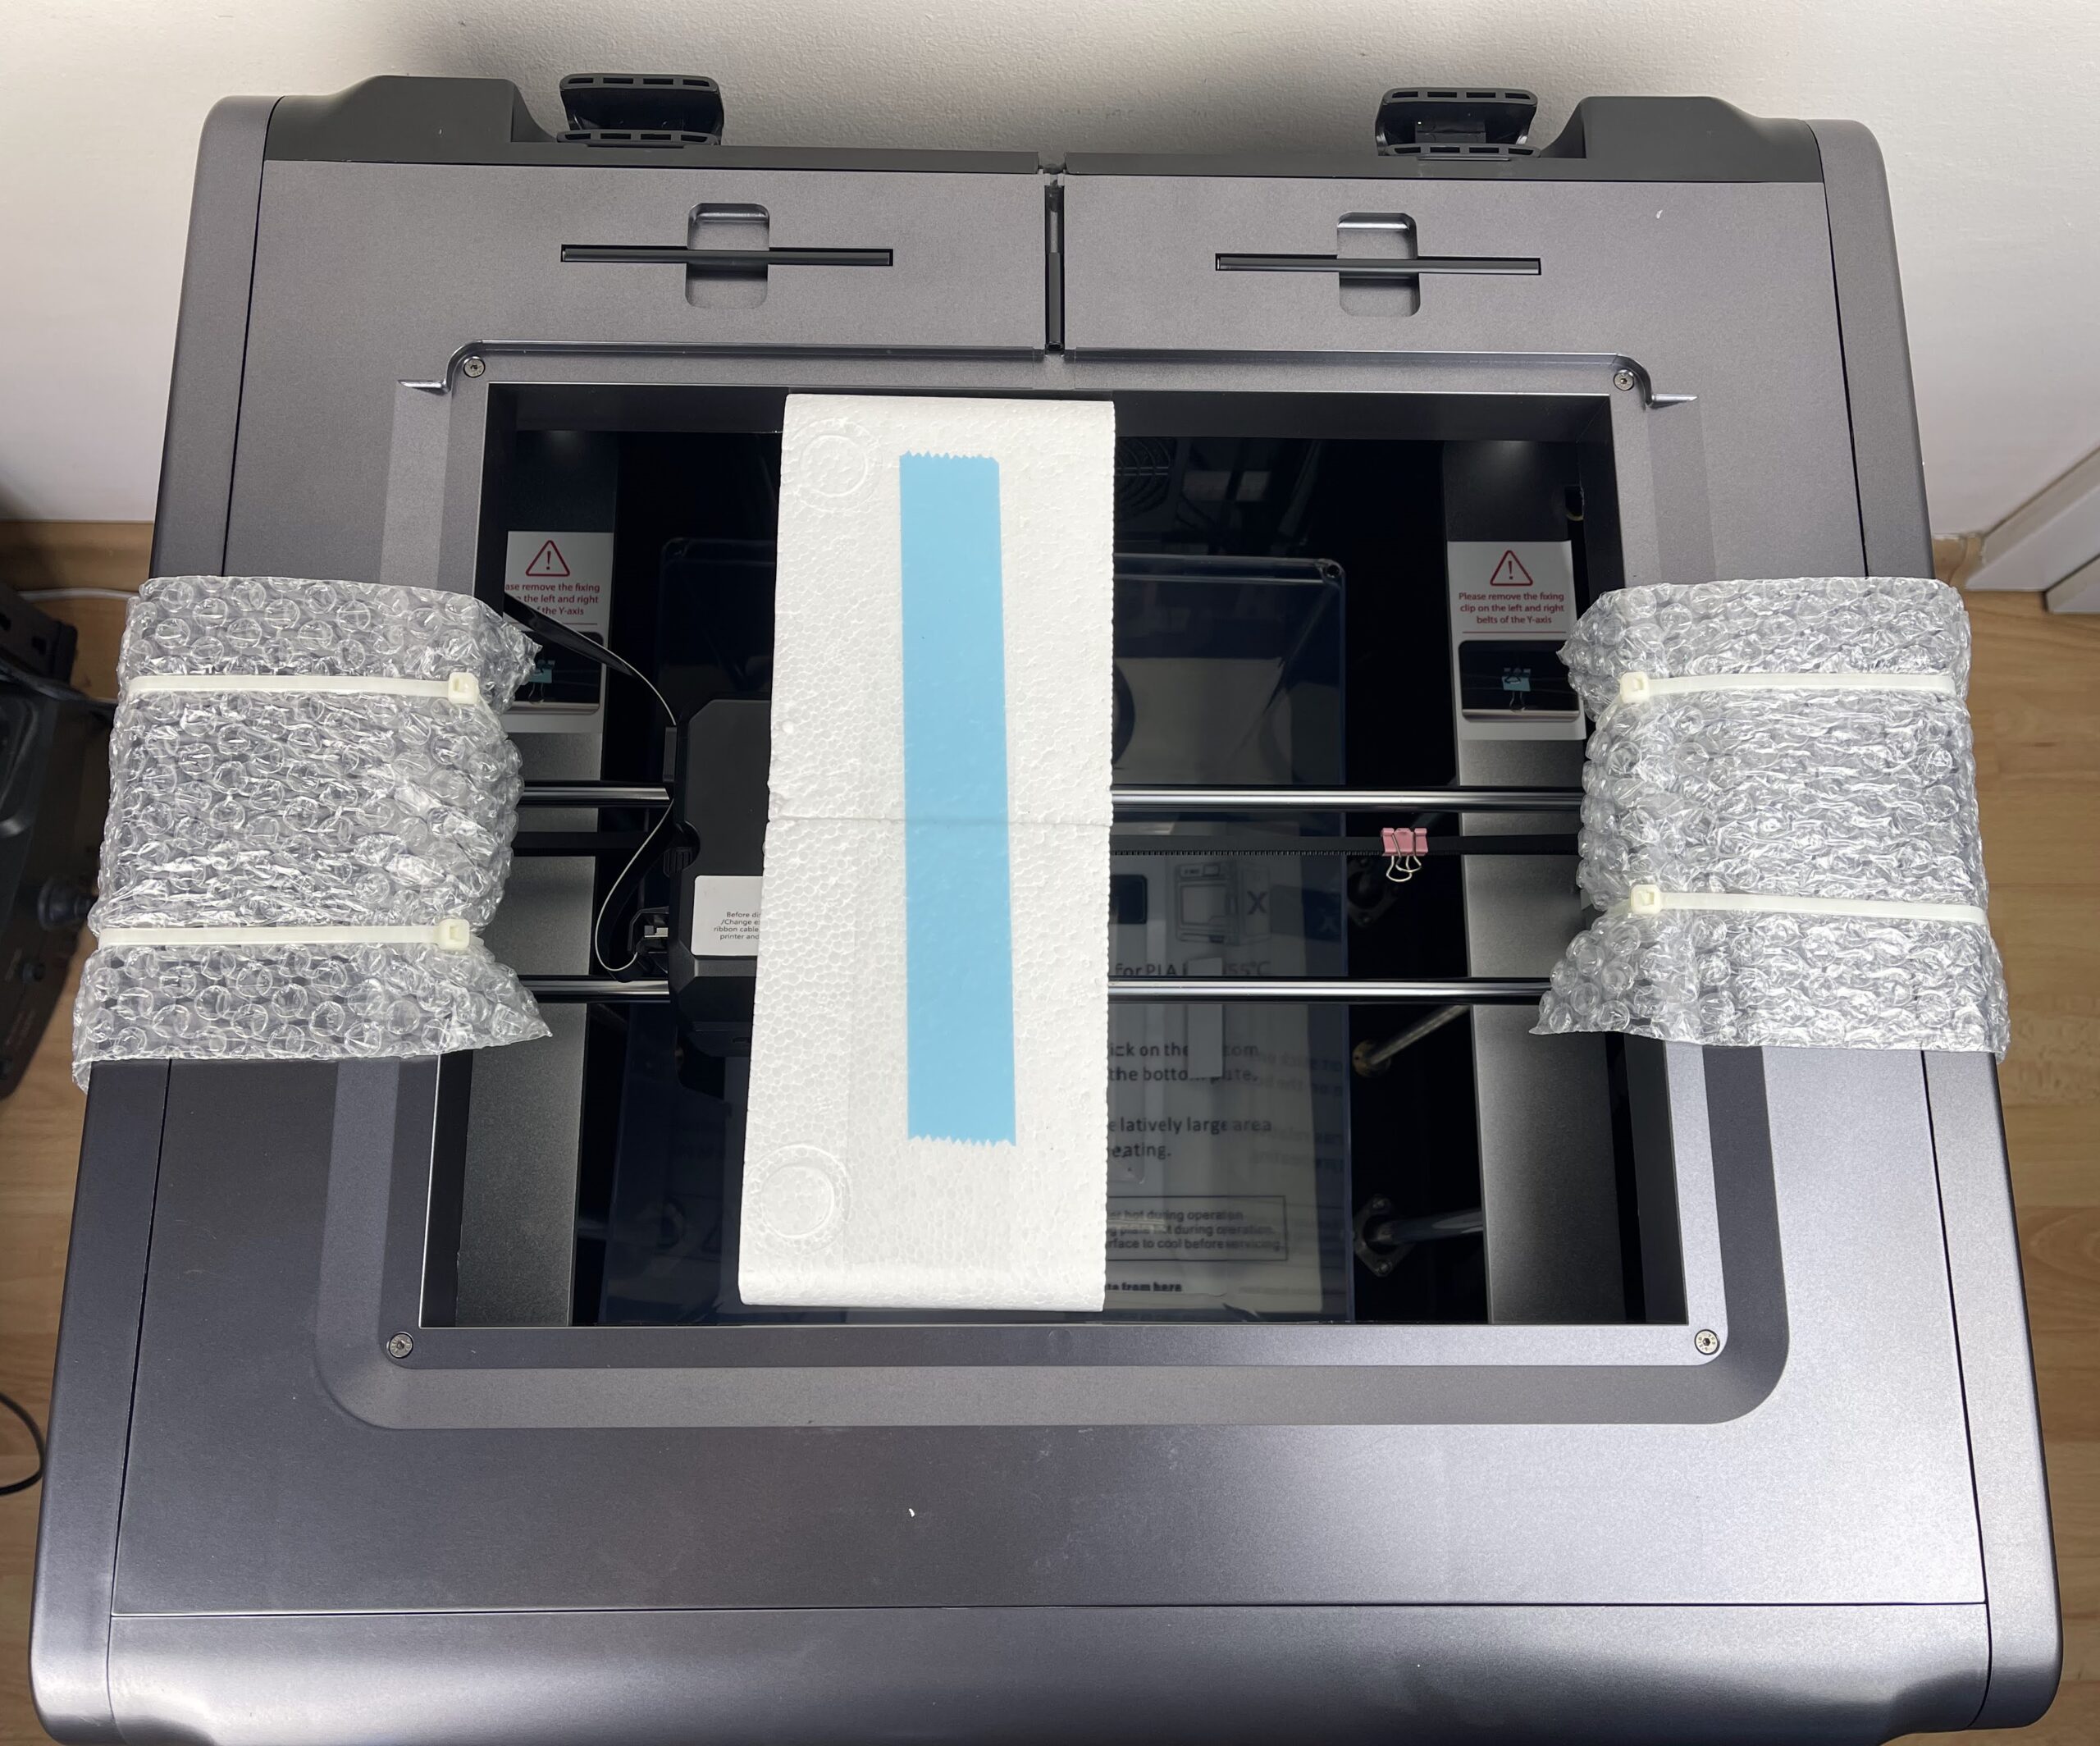
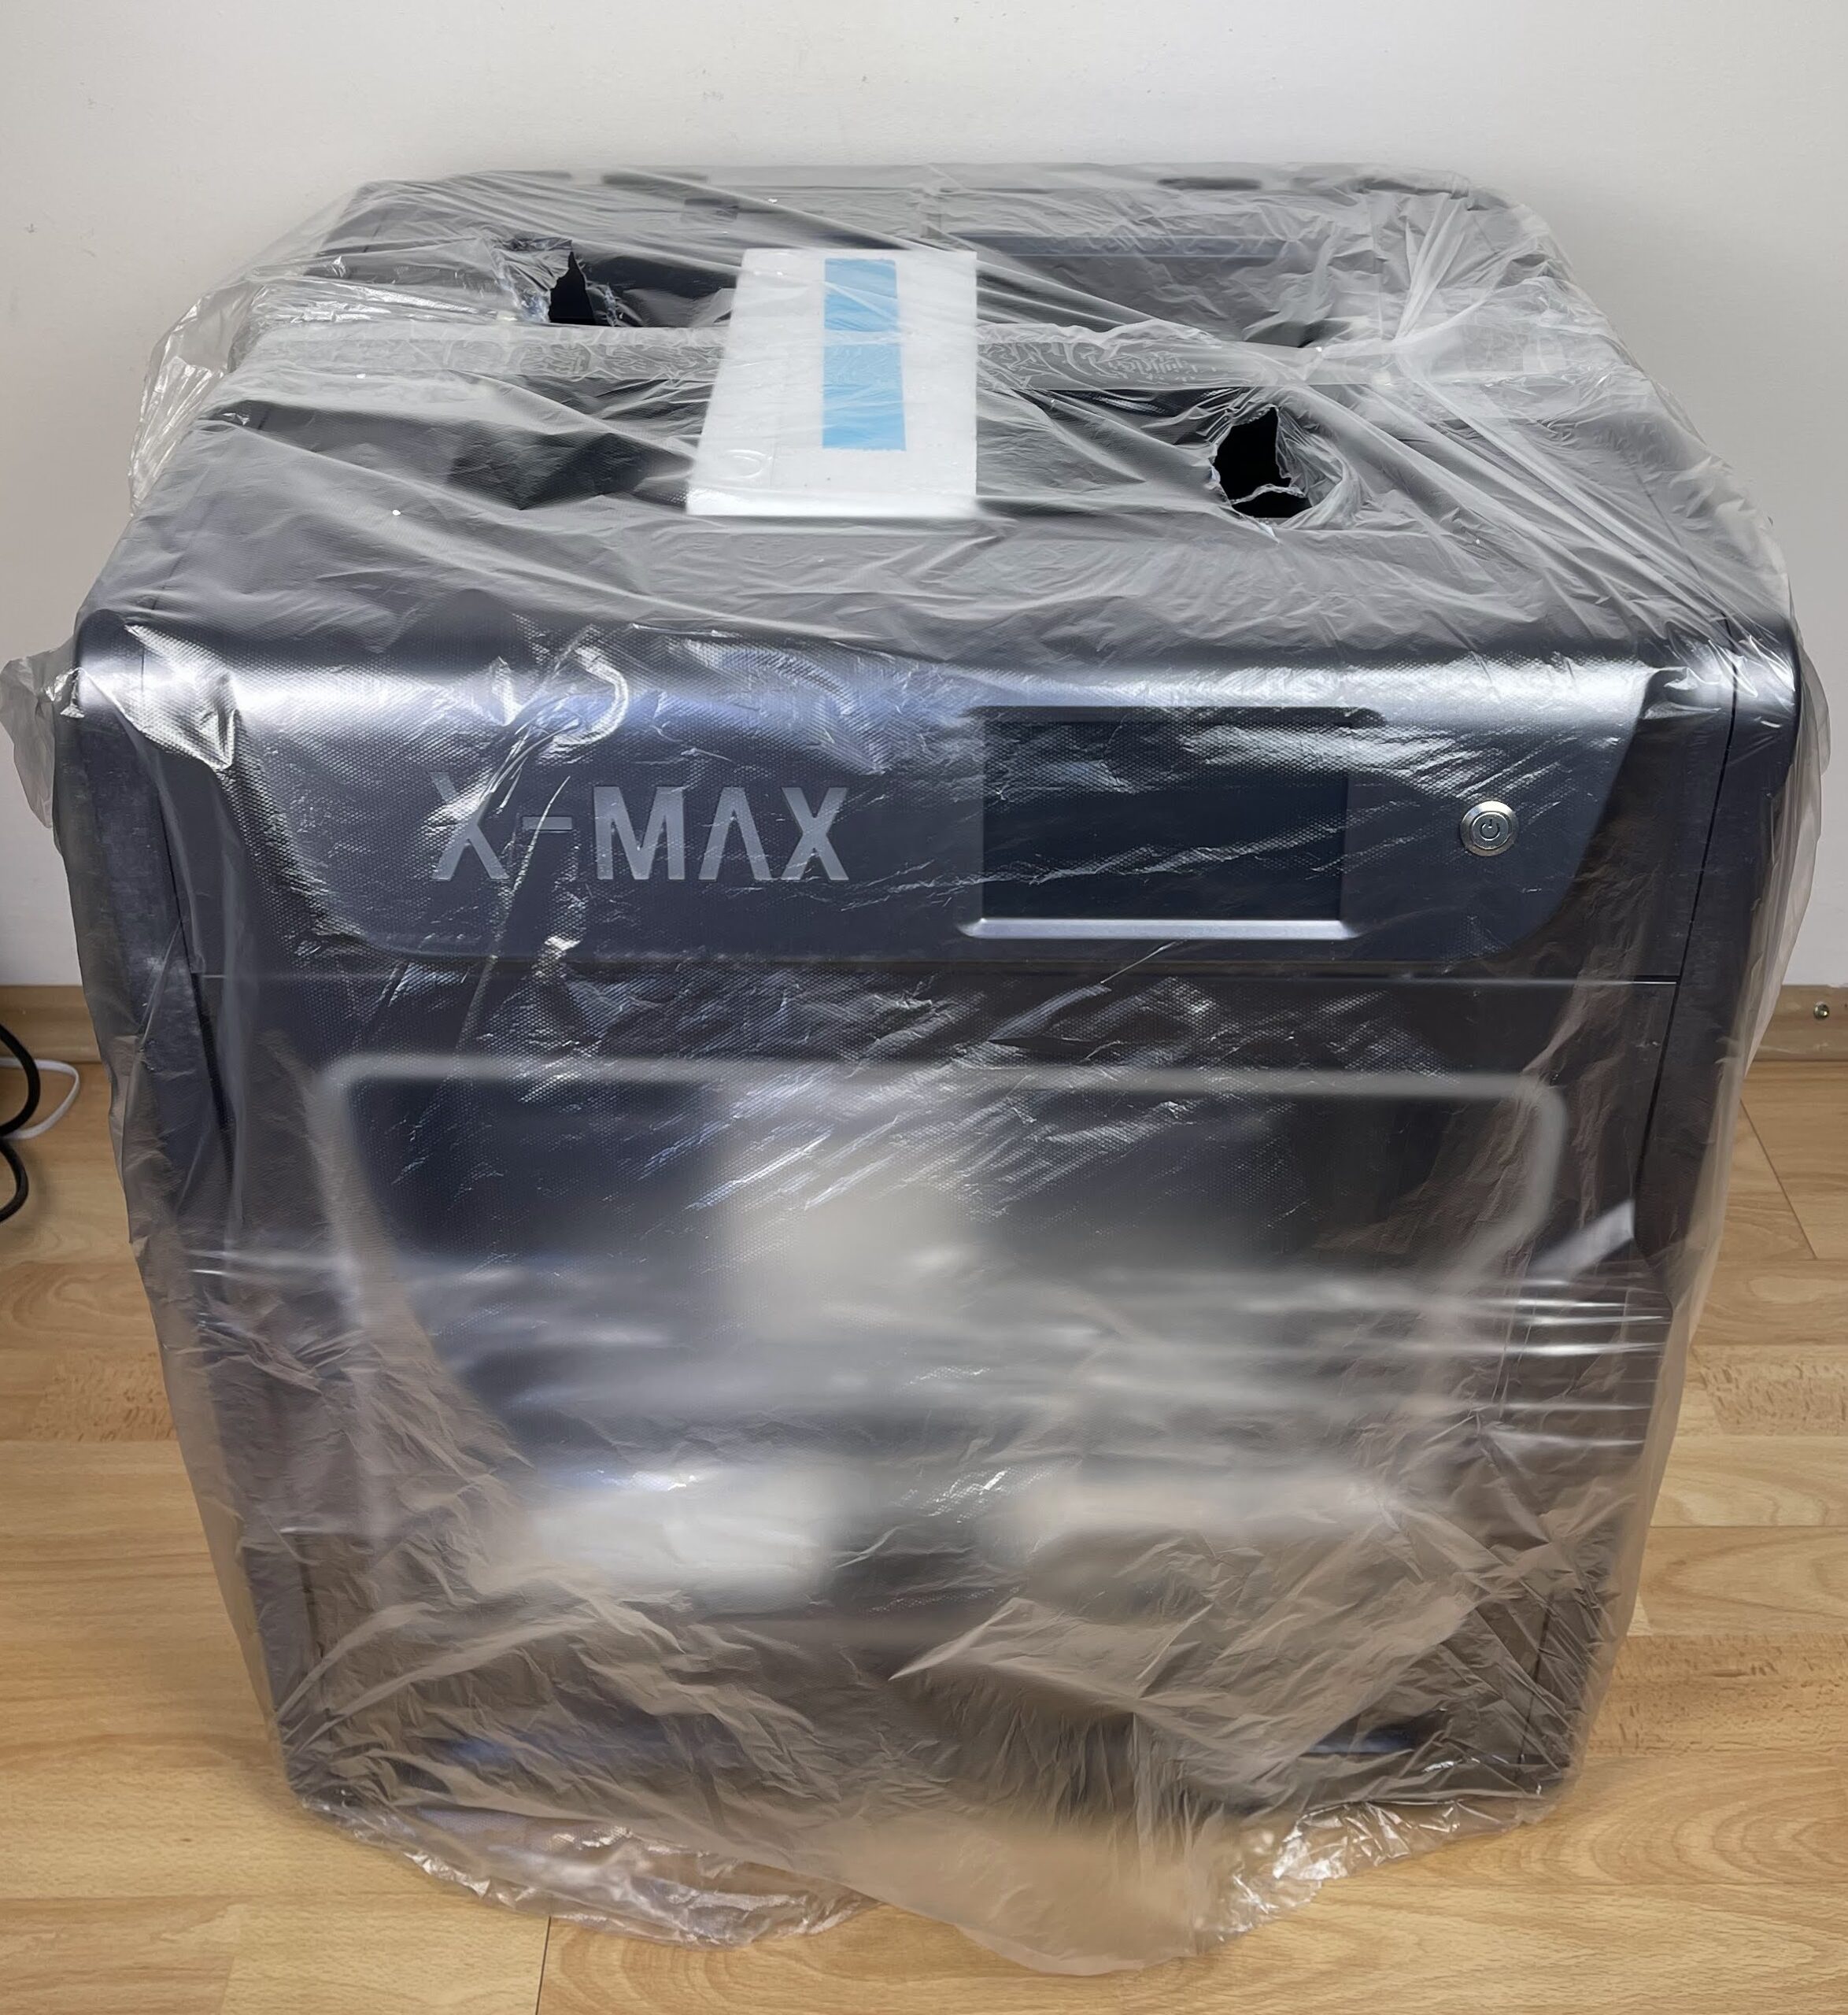
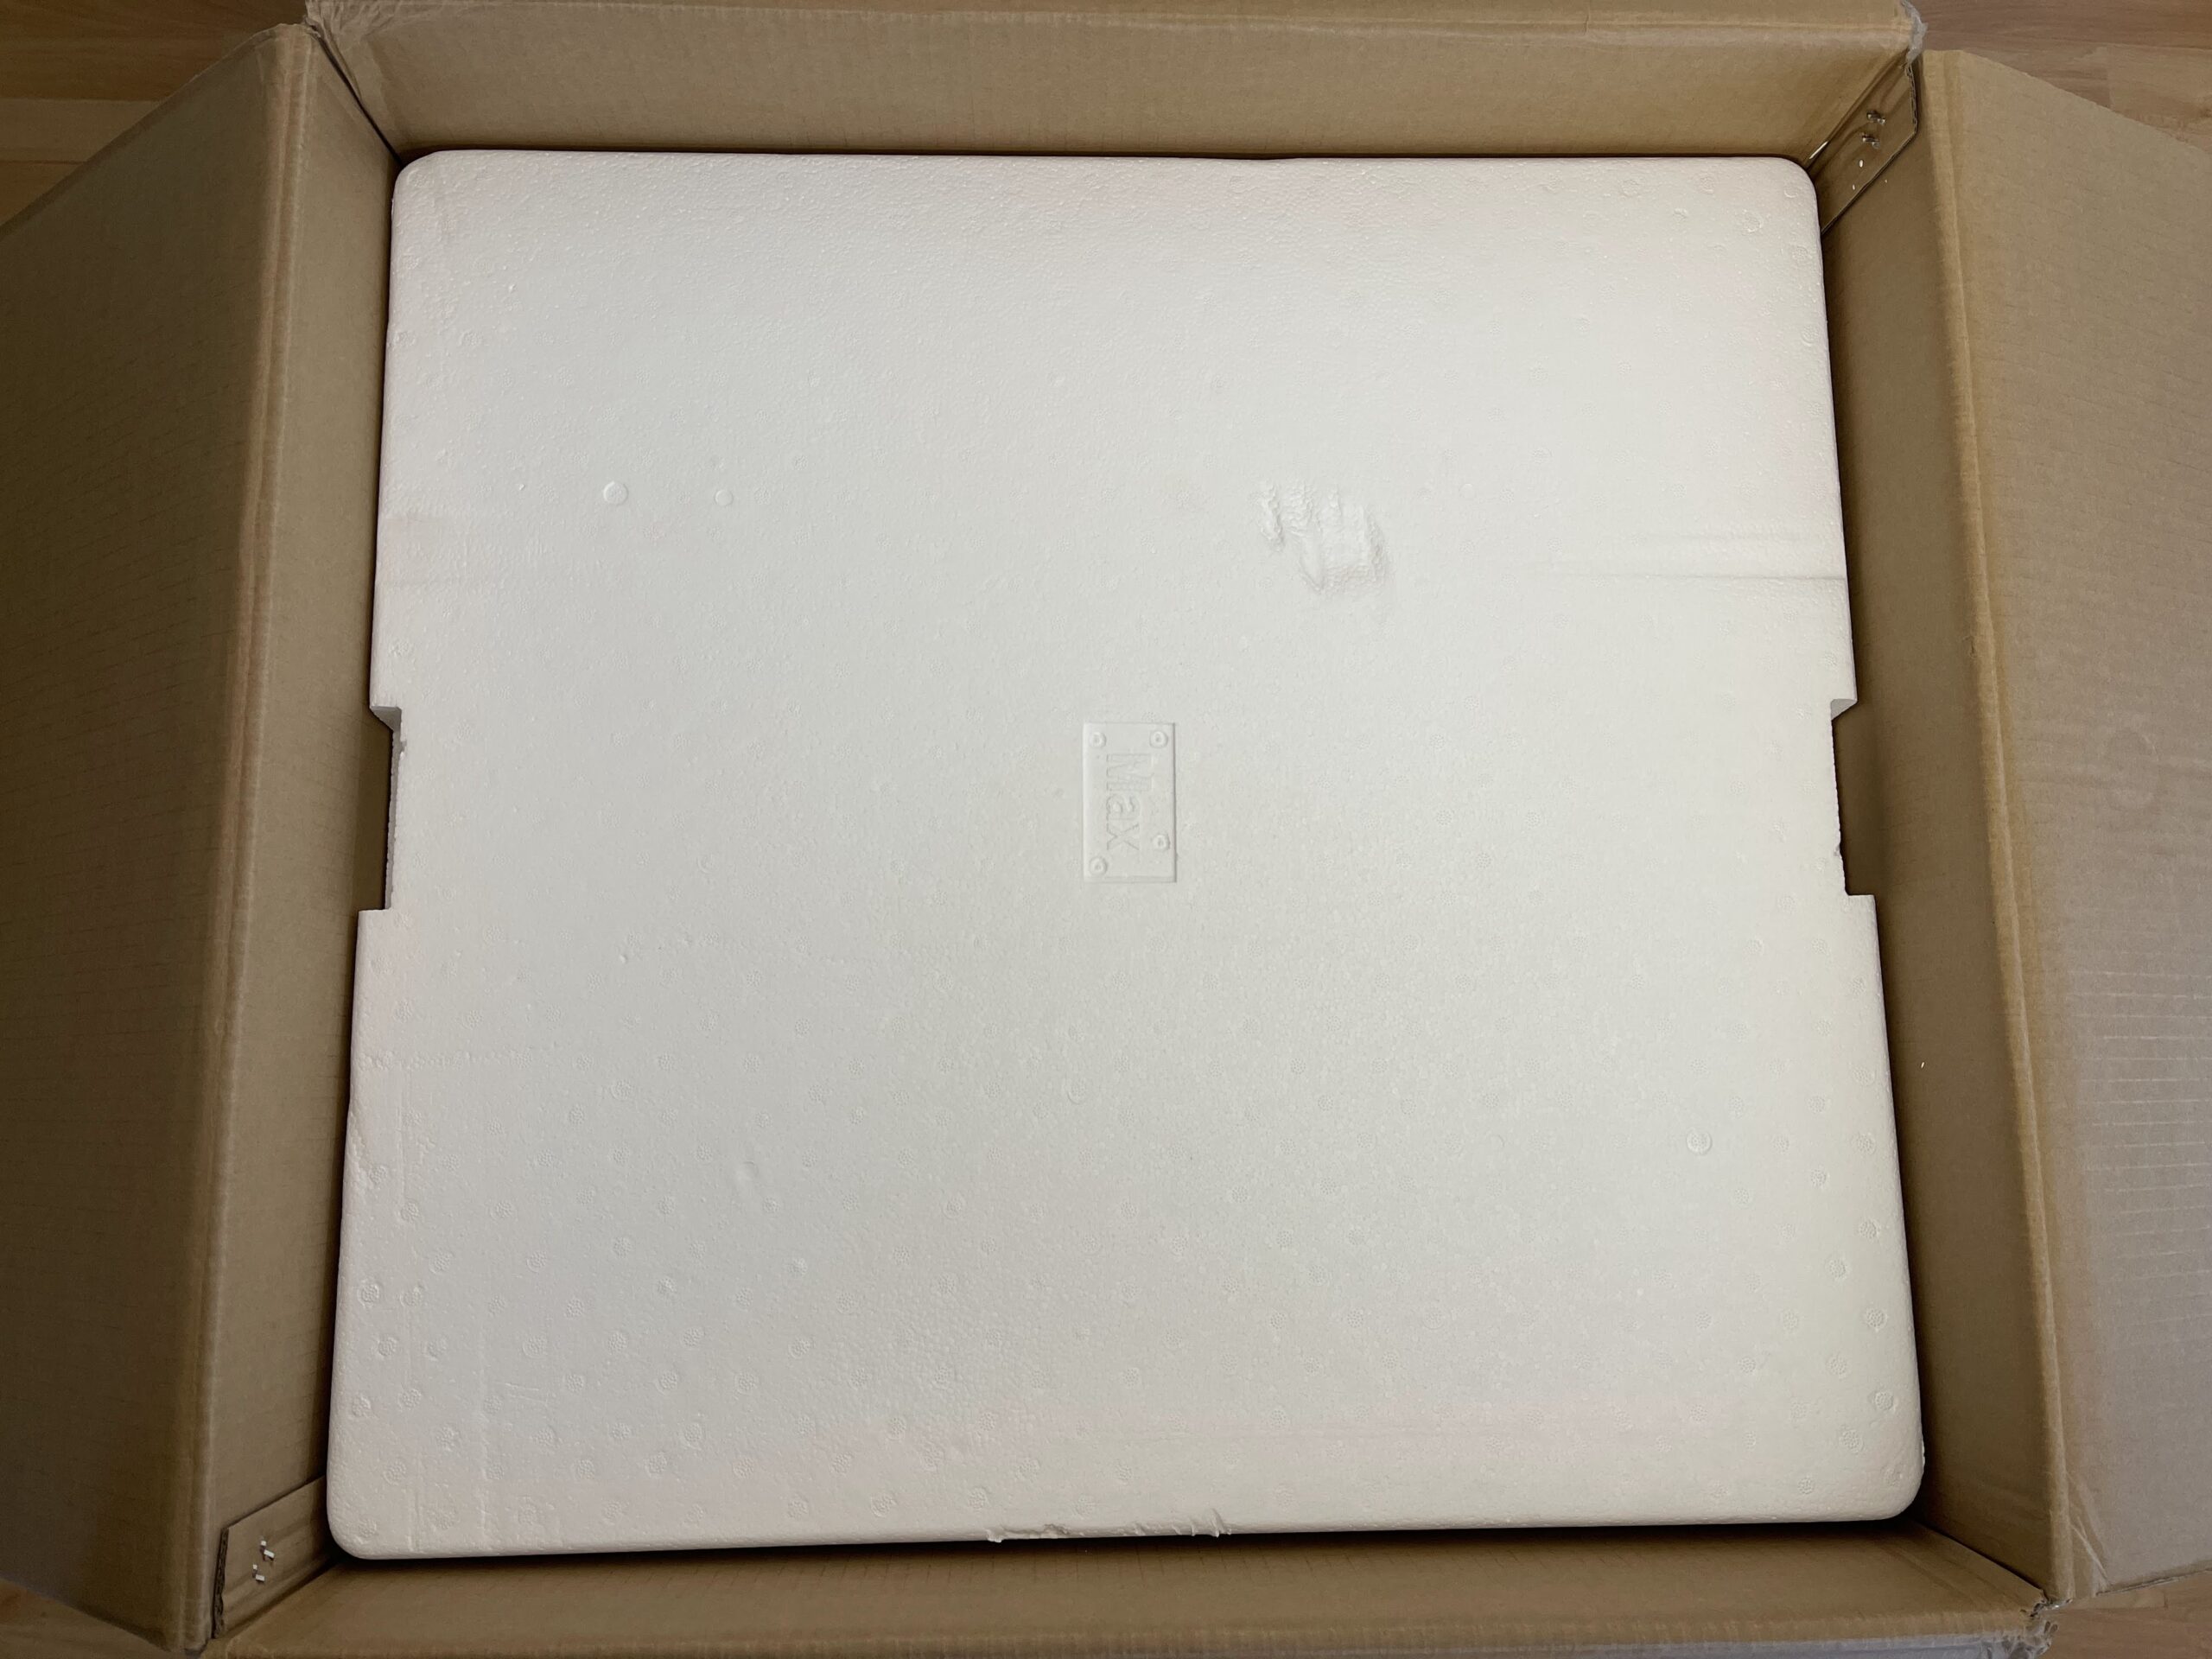
The QIDI X-MAX comes in a huge carboard box which requires two people to move it around. The printer is packaged really well and I don’t think there’s a risk of receiving the package with damage. The X and Y axis were secured in place to avoid any movement during shipping.
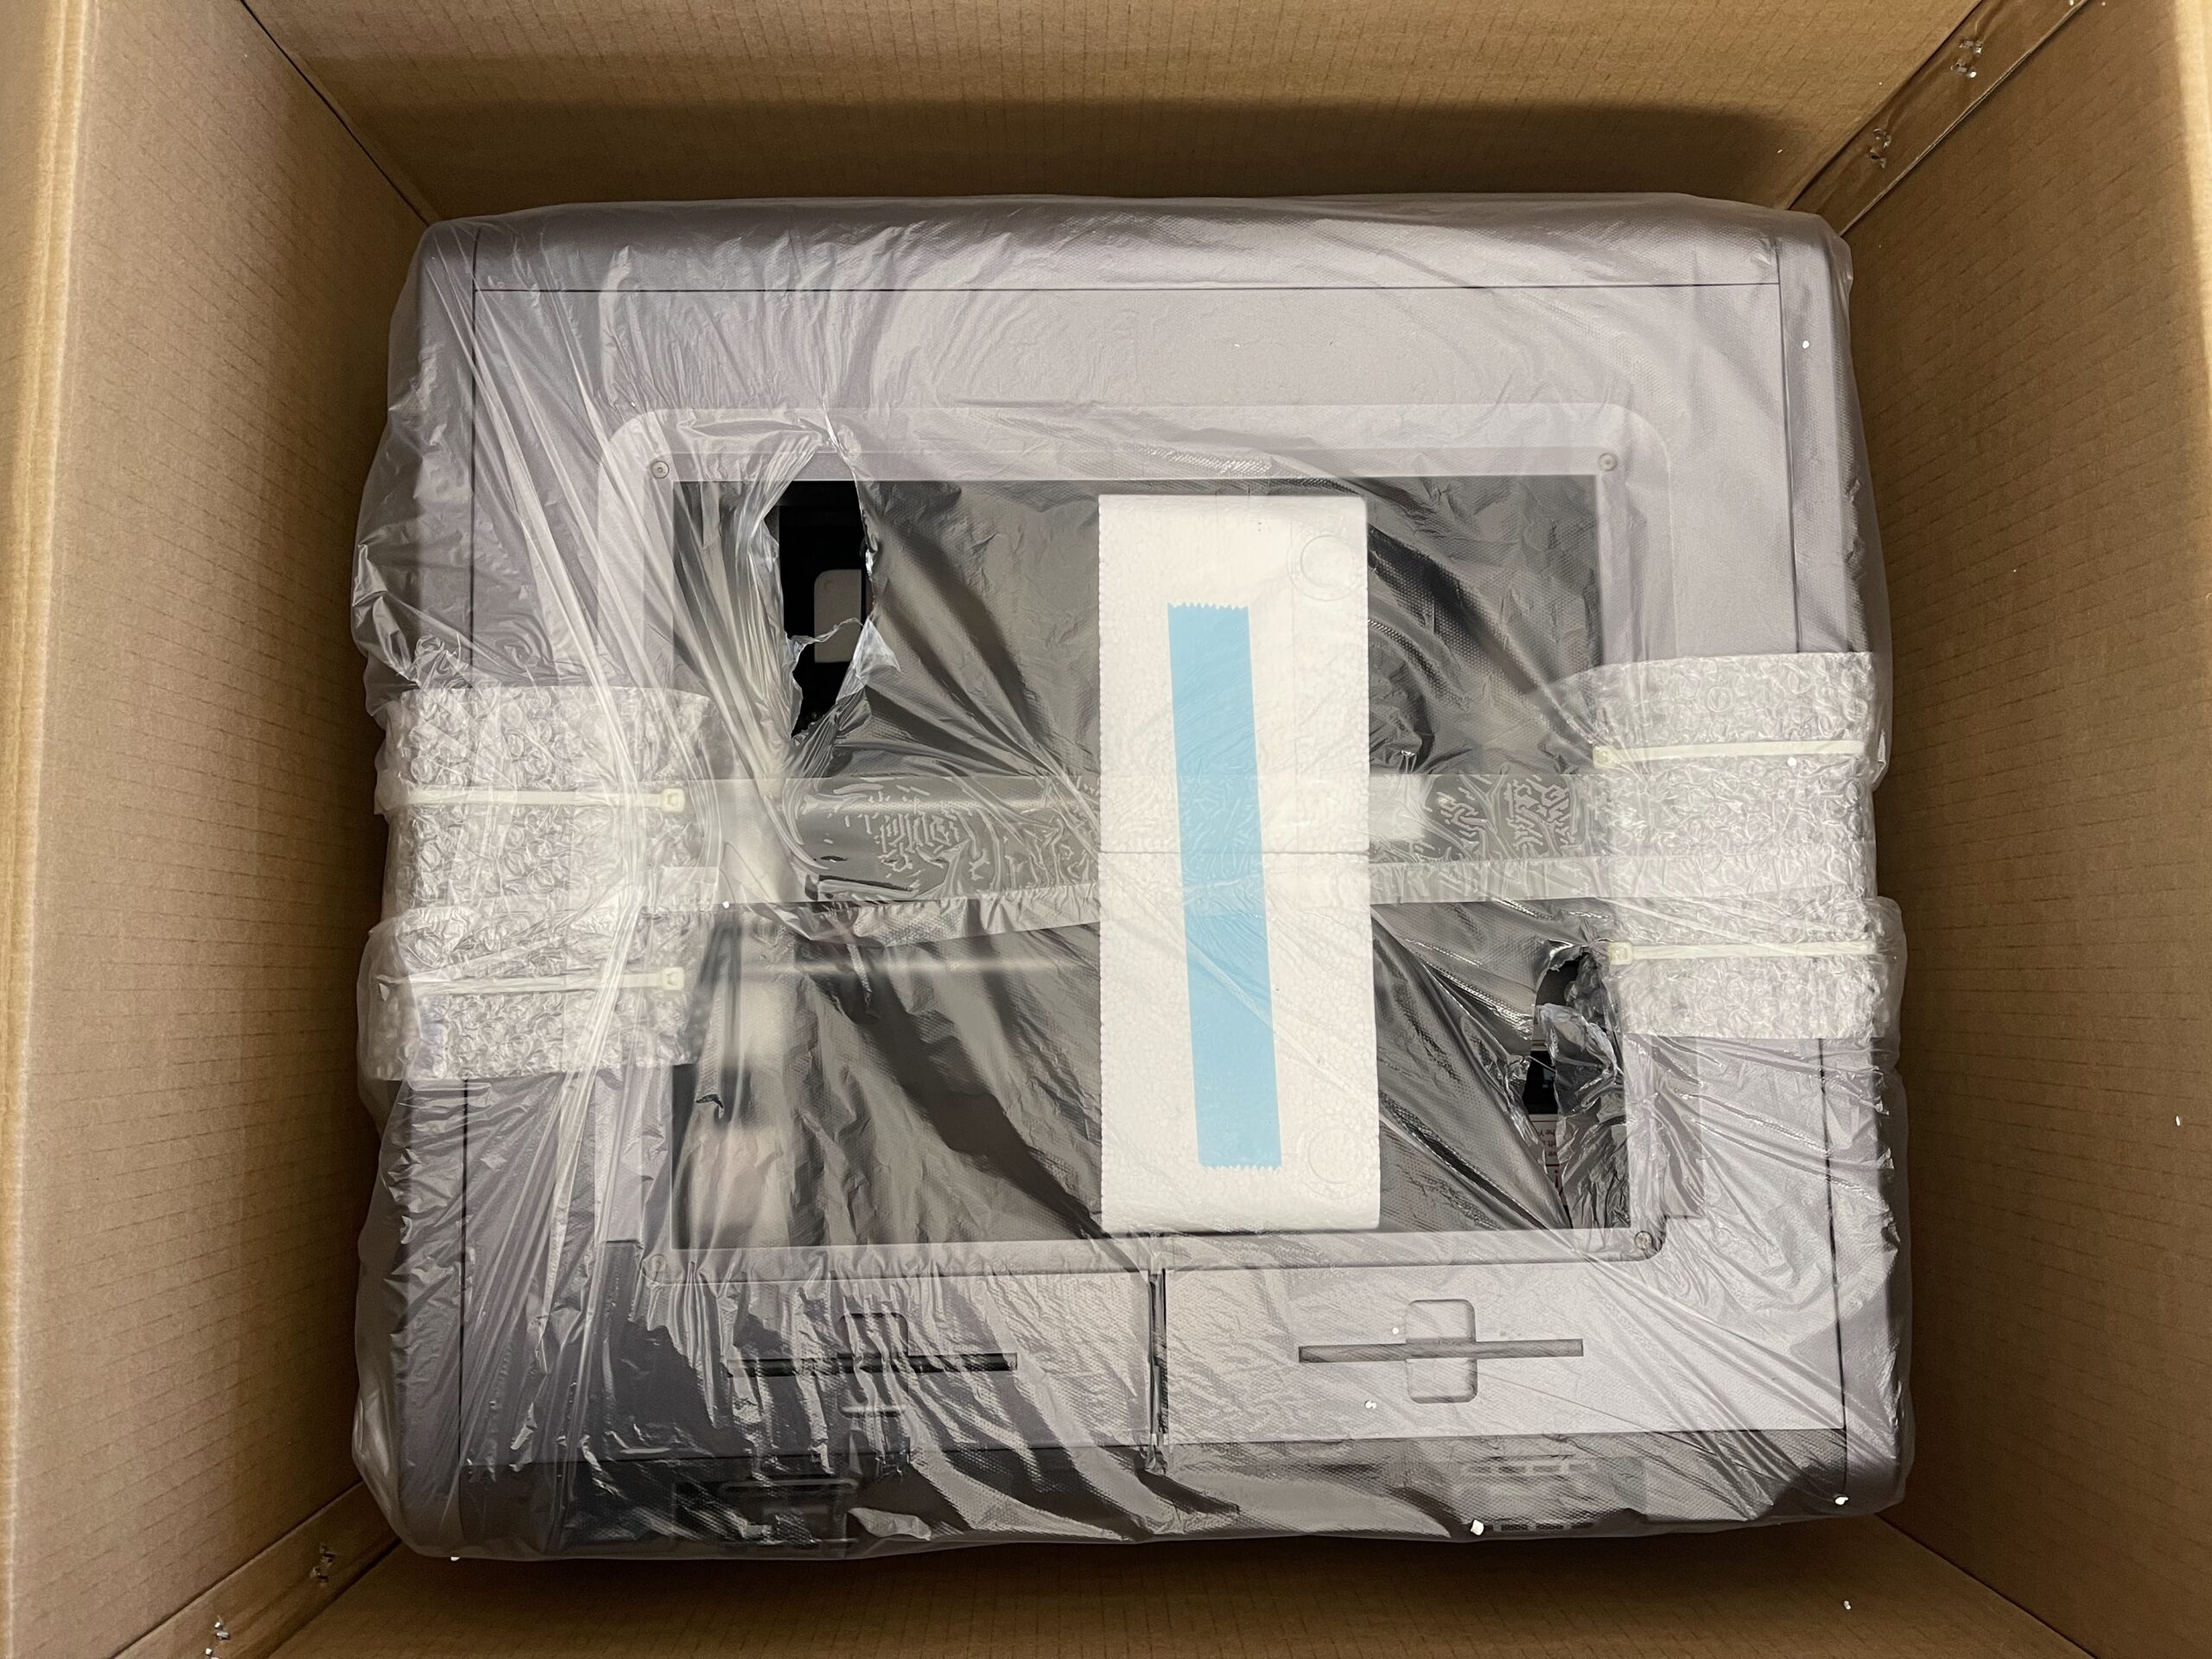
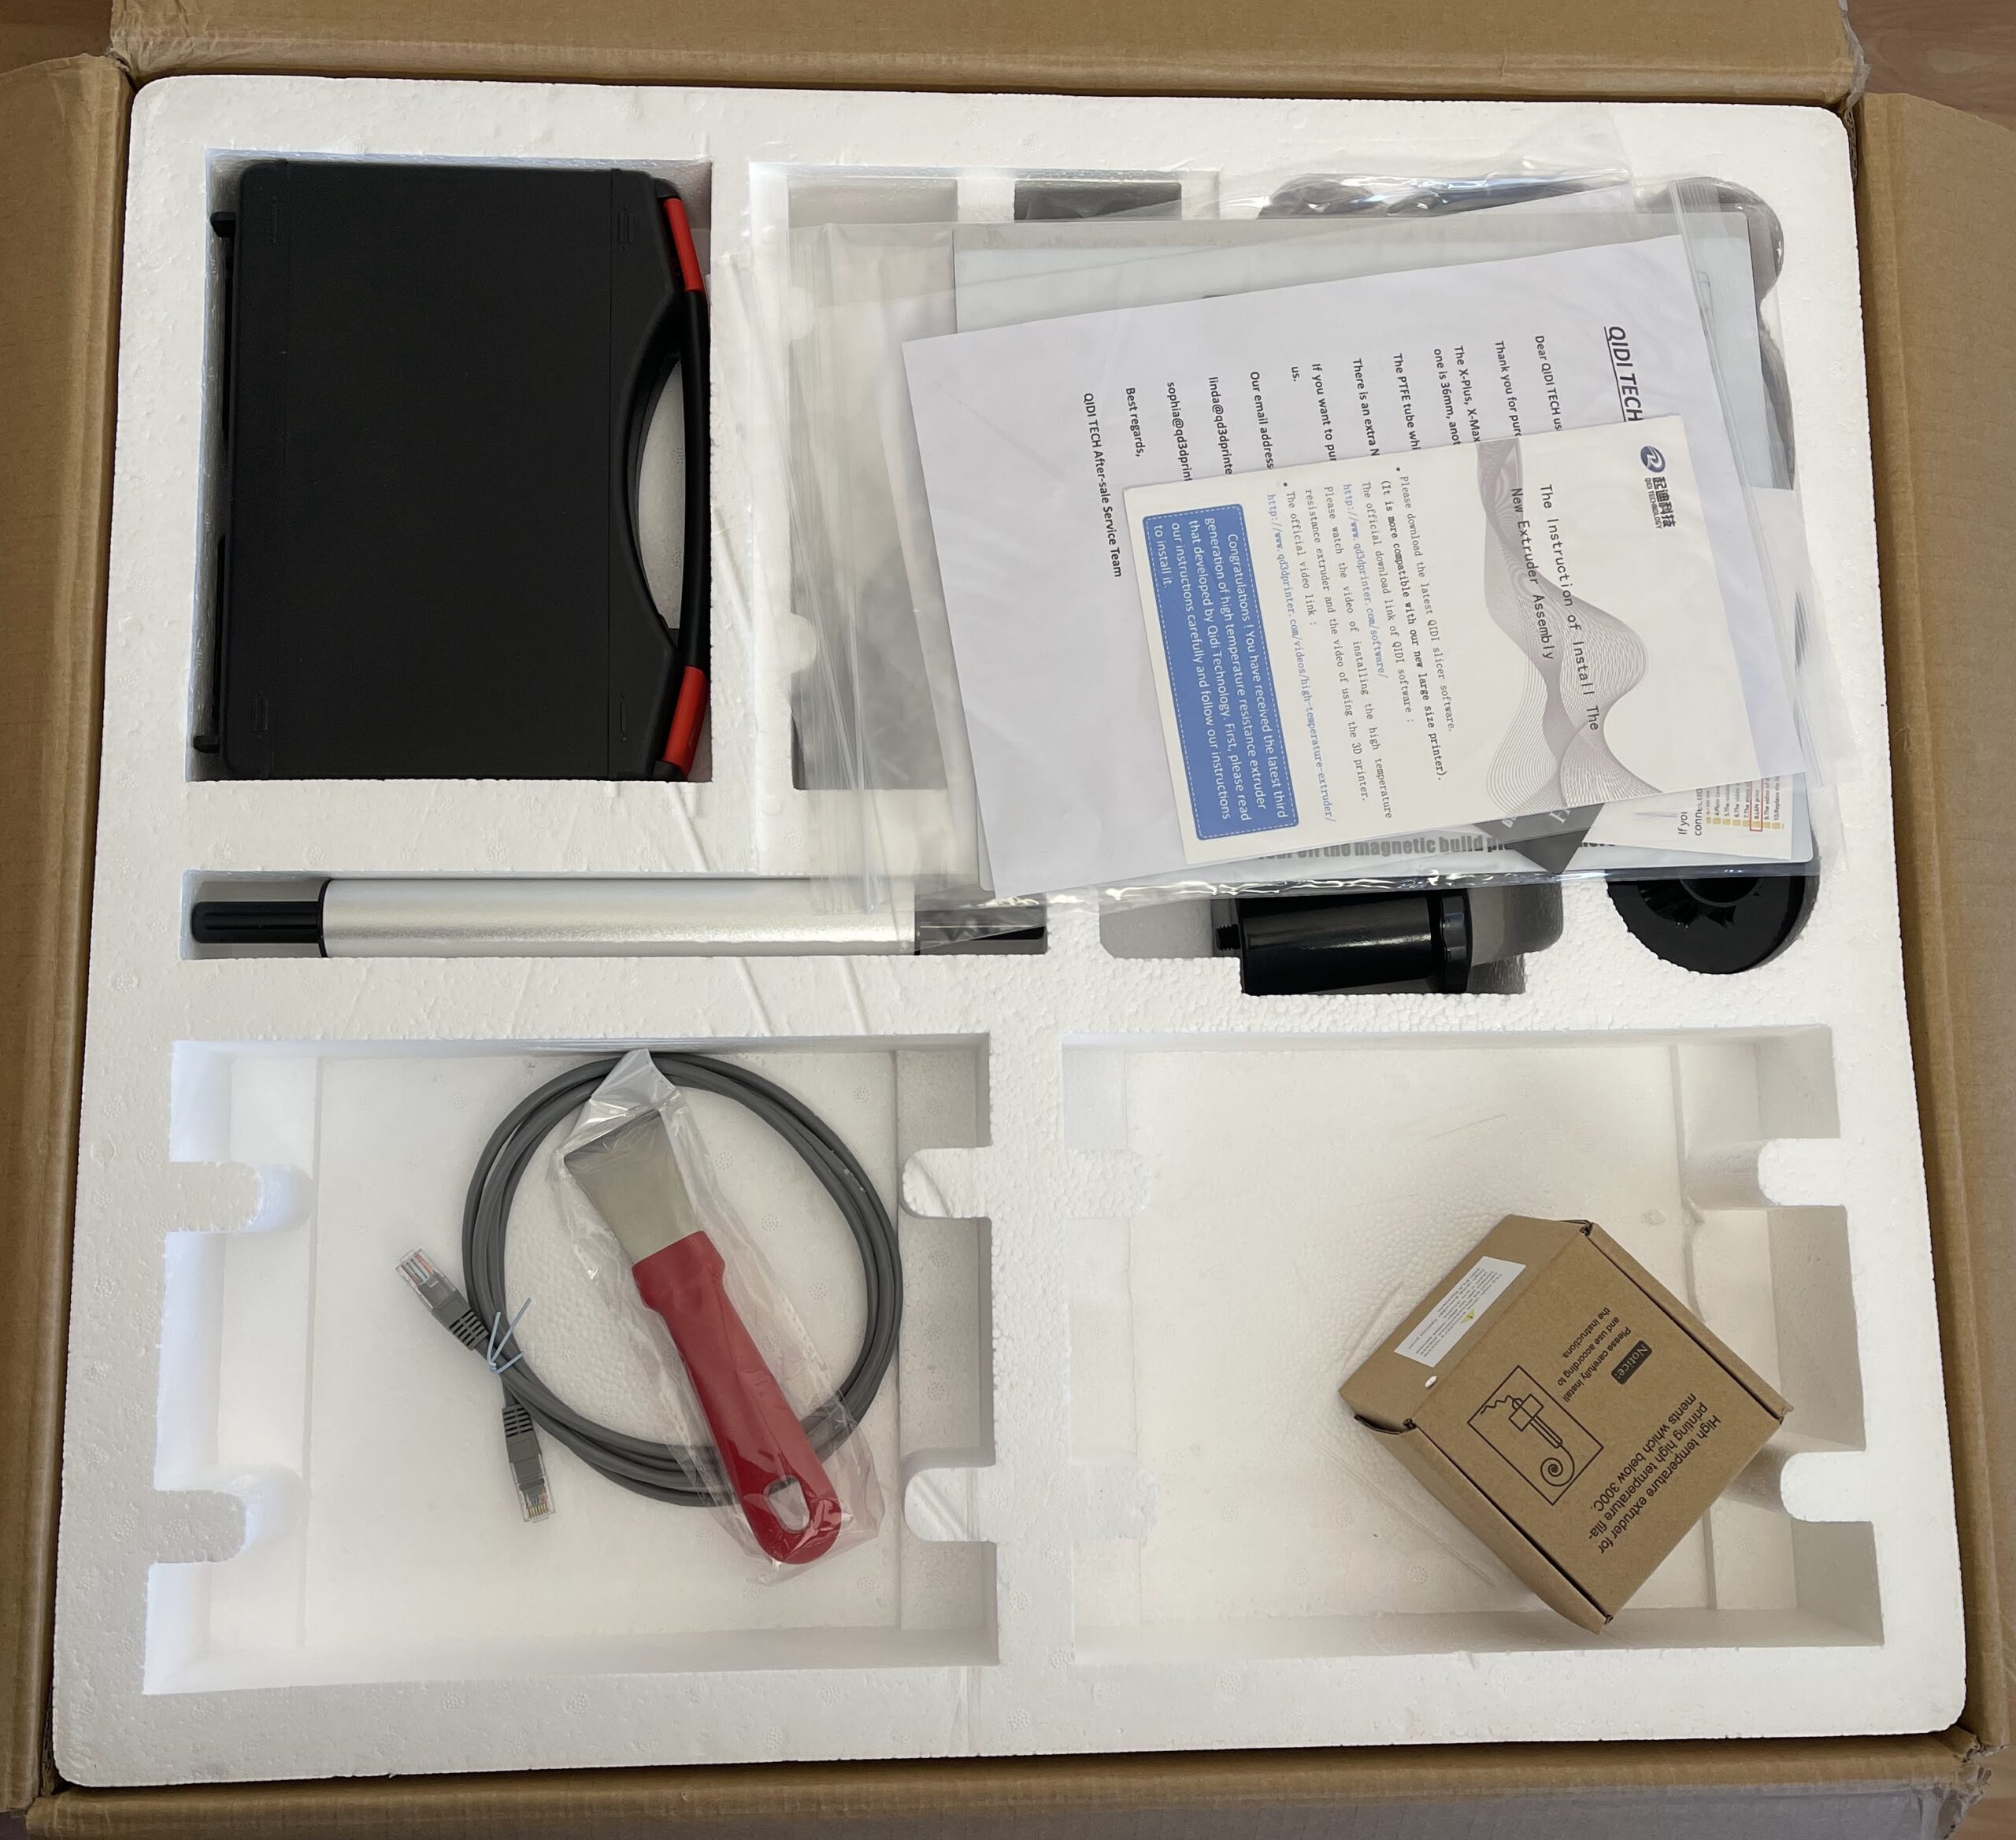
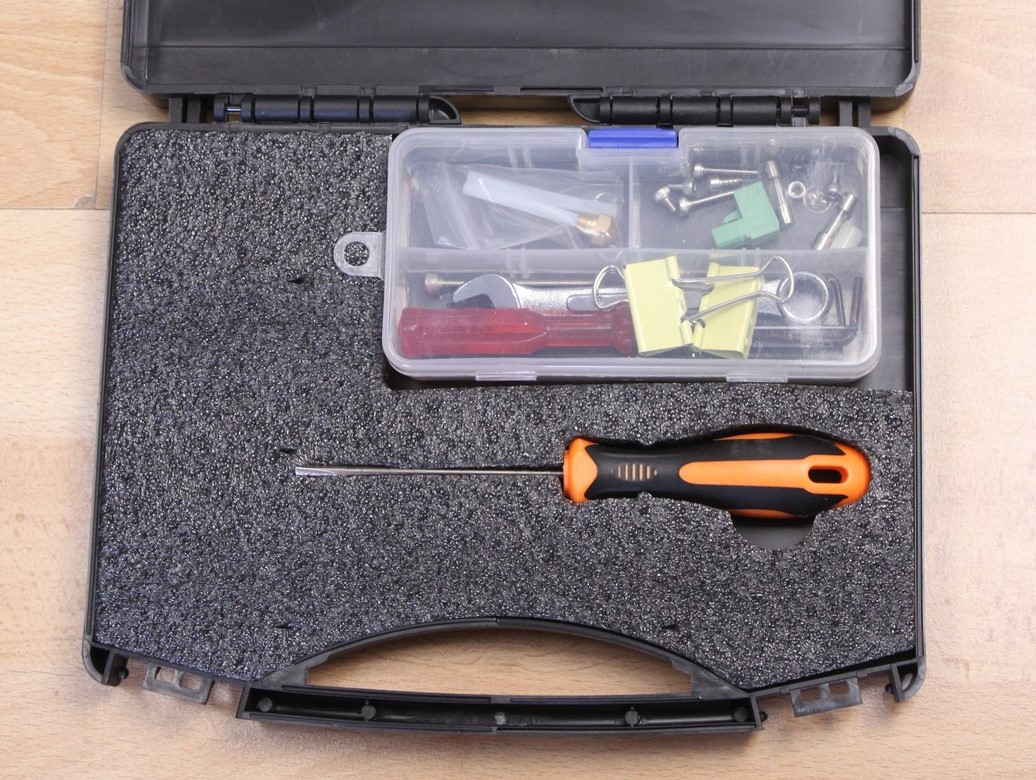
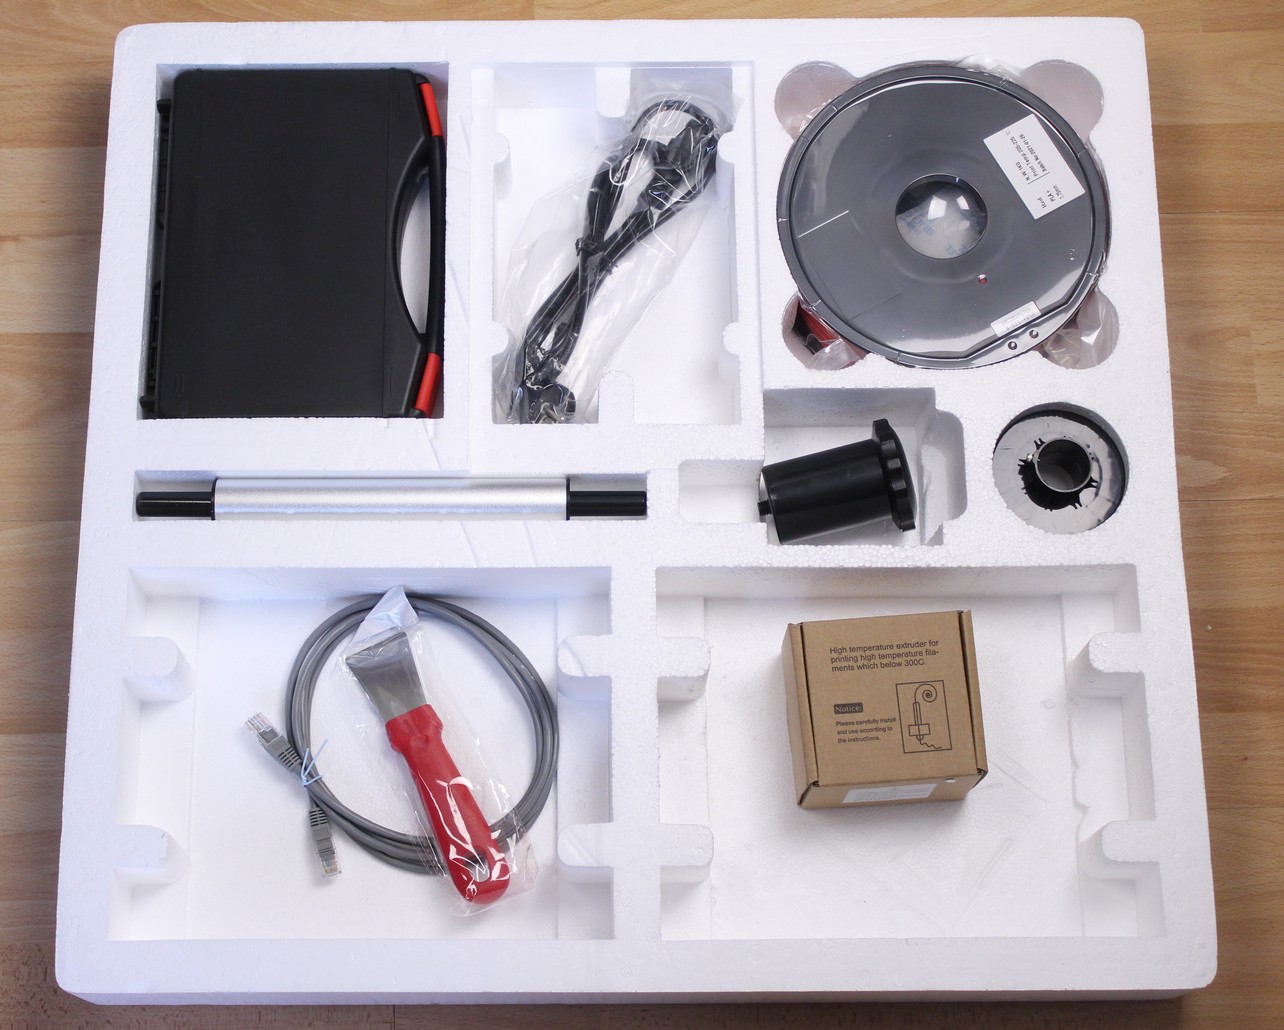
Besides the printer, you also get a wide range of accessories and spares including an all-metal extruder capable of high temperature printing and a spare print surface. The manual and documentation are also very thorough which is great for any beginner.
QIDI X-MAX Design
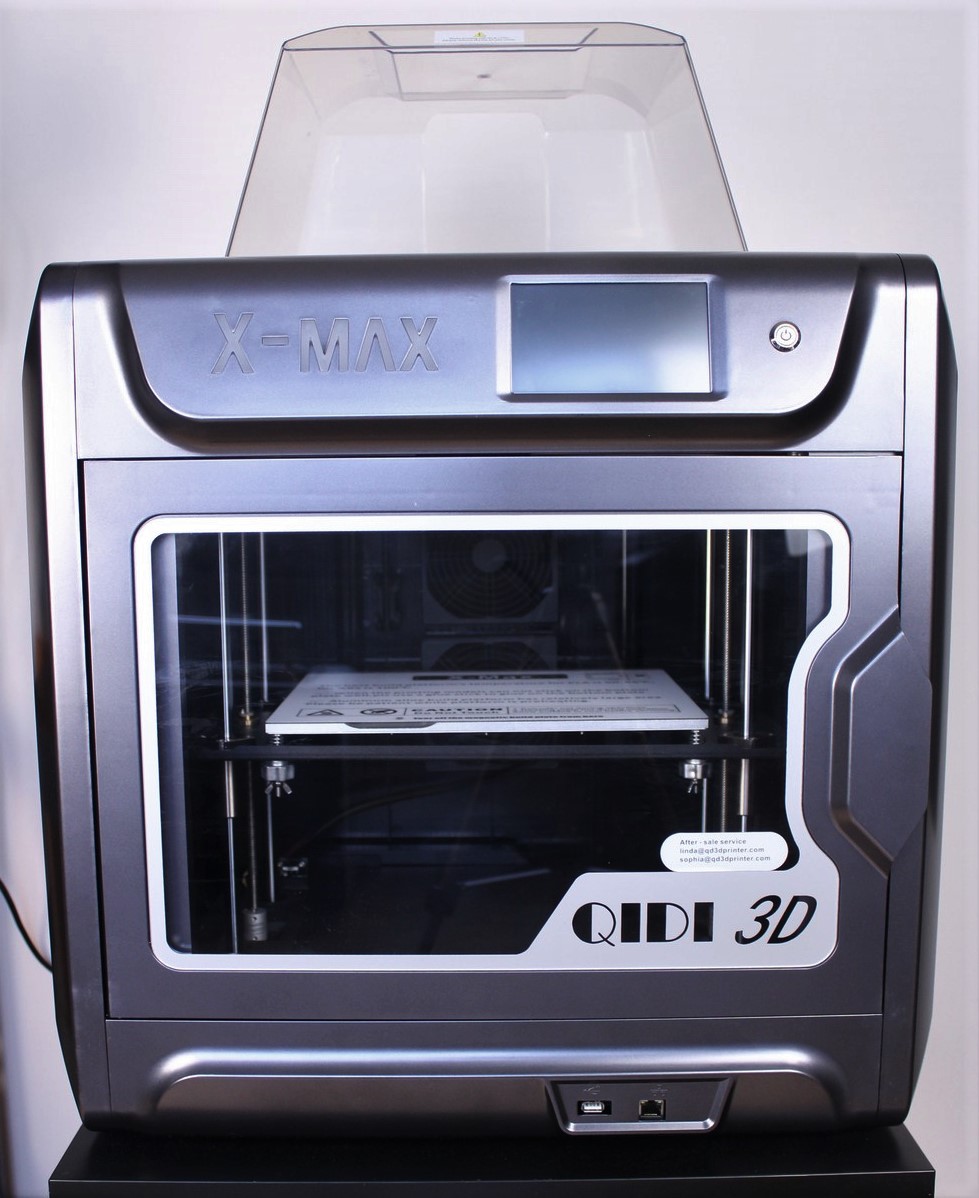
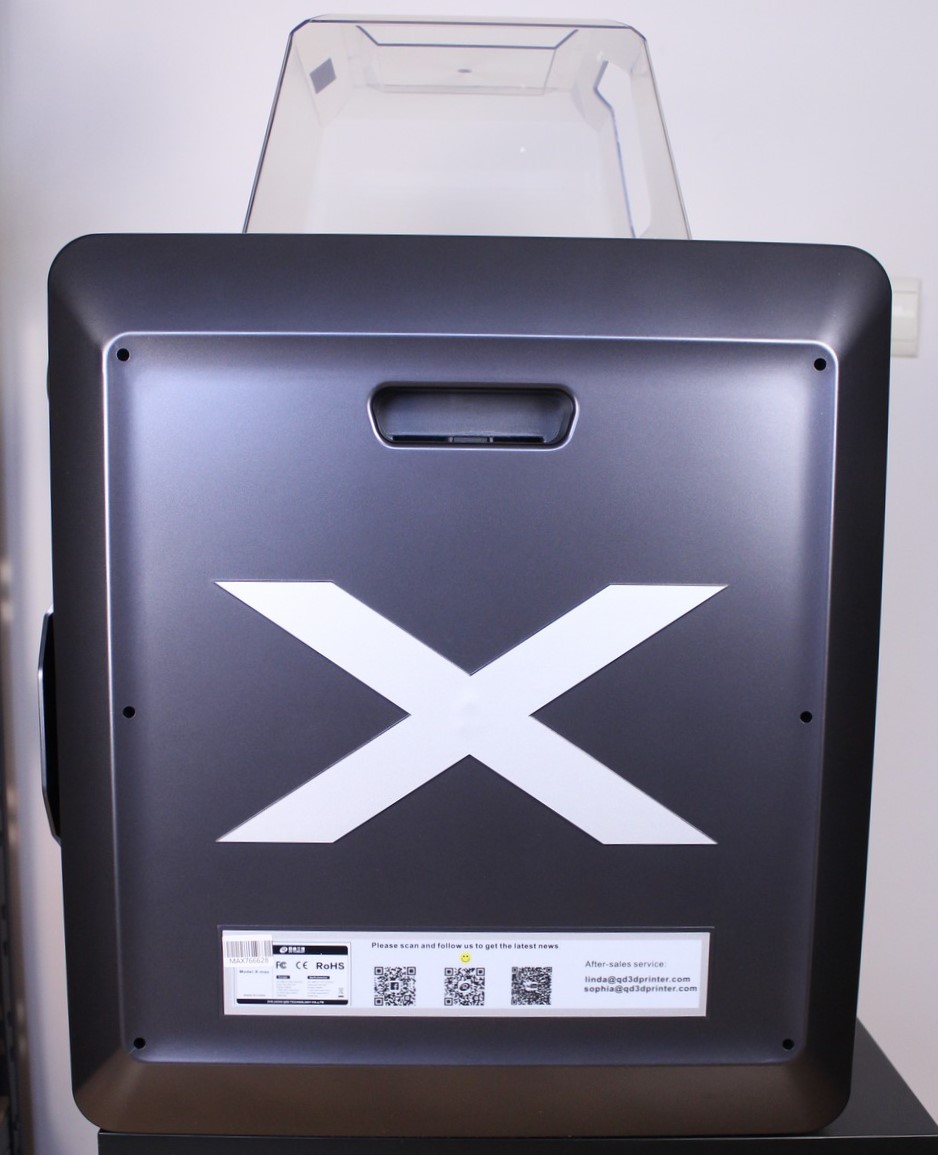
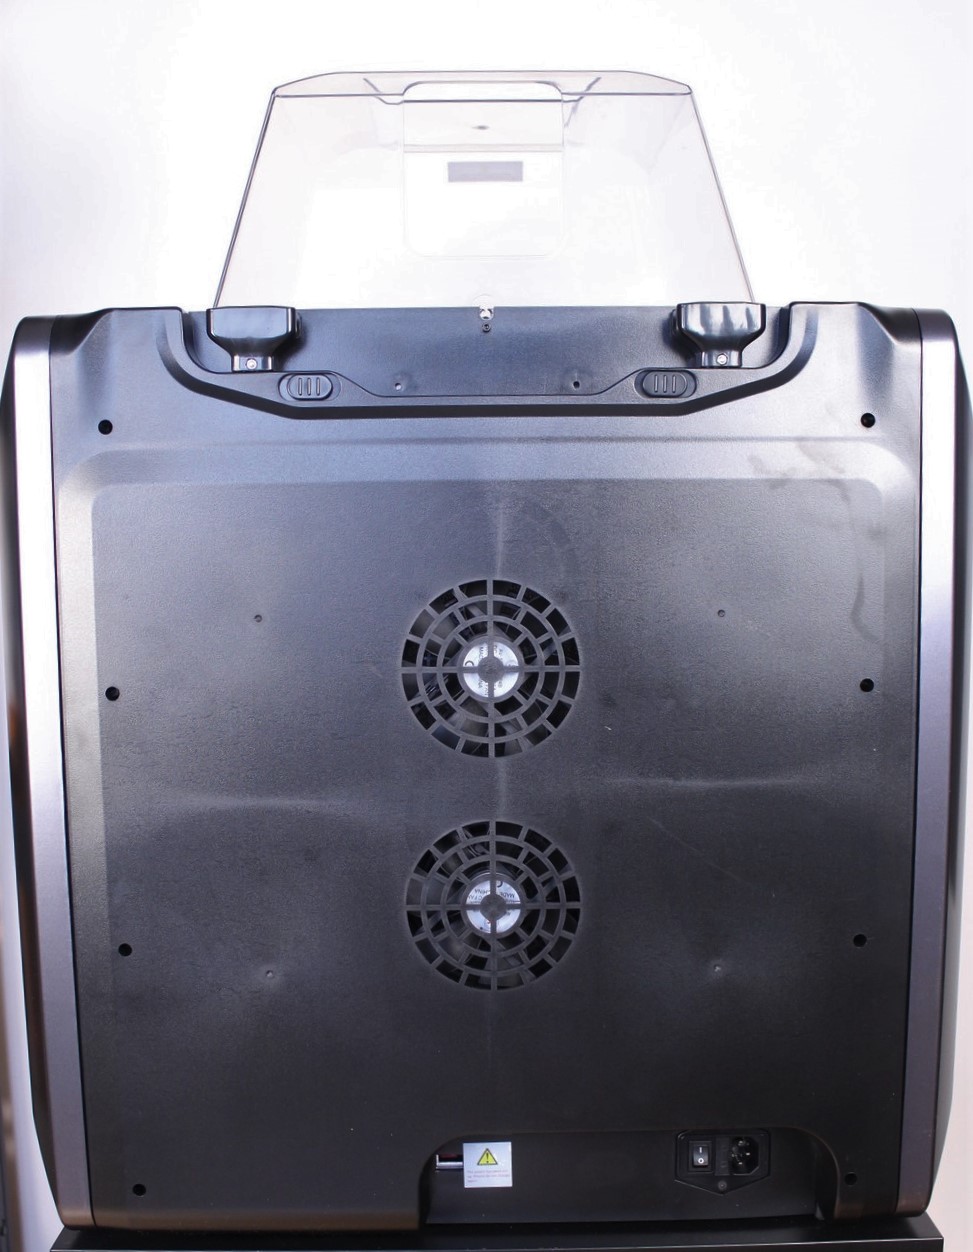
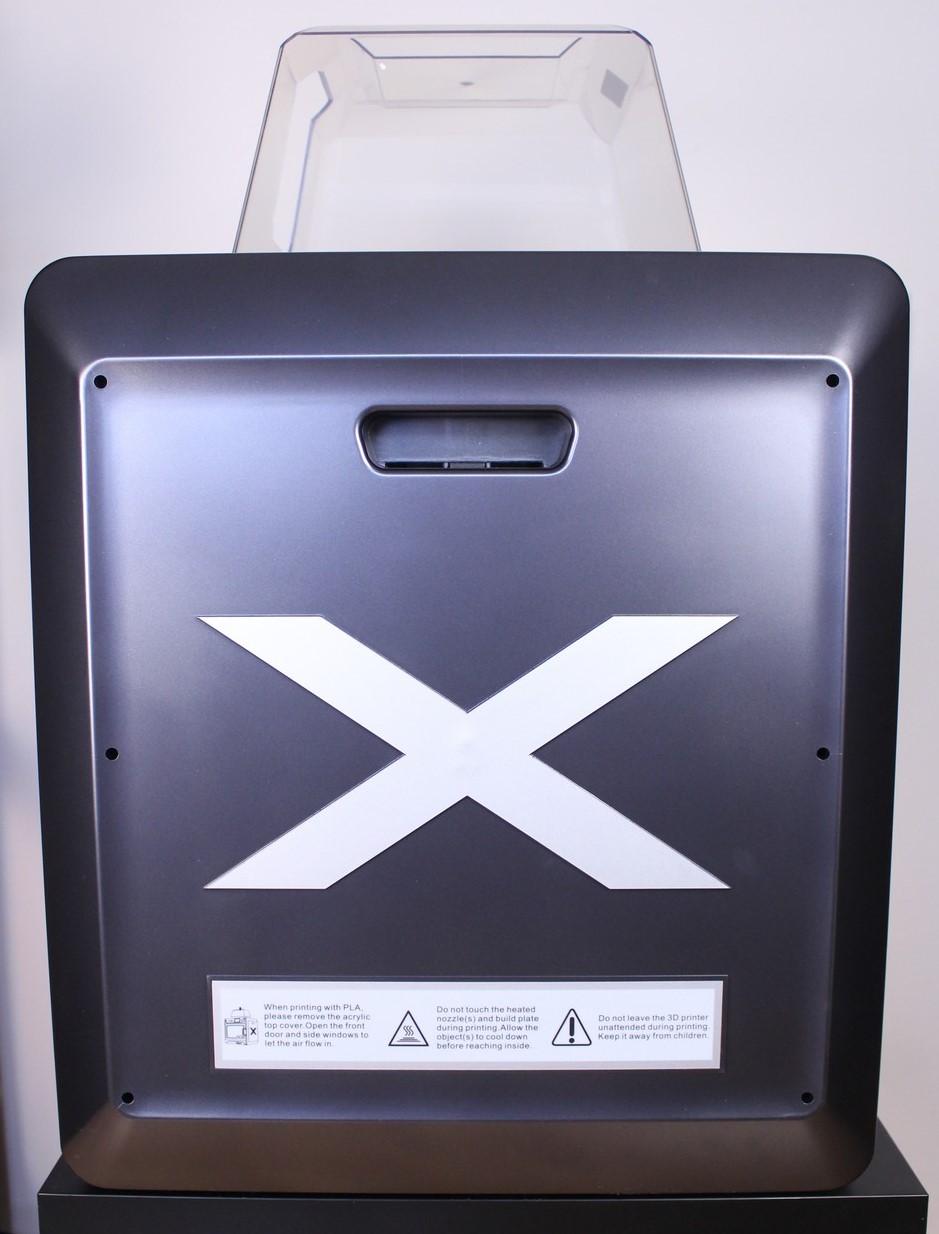
The QIDI X-MAX looks quite attractive, but I feel that it looks a bit “cheap” compared to other printers I’ve tested. The plastic look and feel of the housing makes the printer feel a bit outdated, but the looks are subjective and you might enjoy it.
QIDI X-MAX Specs
| Brand Name | QIDI TECHNOLOGY |
| Model Number | X-MAX |
| Origin | CN(Origin) |
| CE Certification | Yes |
| Consumables Diameter | 1.75mm |
| Printing Speed | 60mm/s |
| Bed Temp | 120℃ |
| Slice Thickness | 0.05-0.4mm |
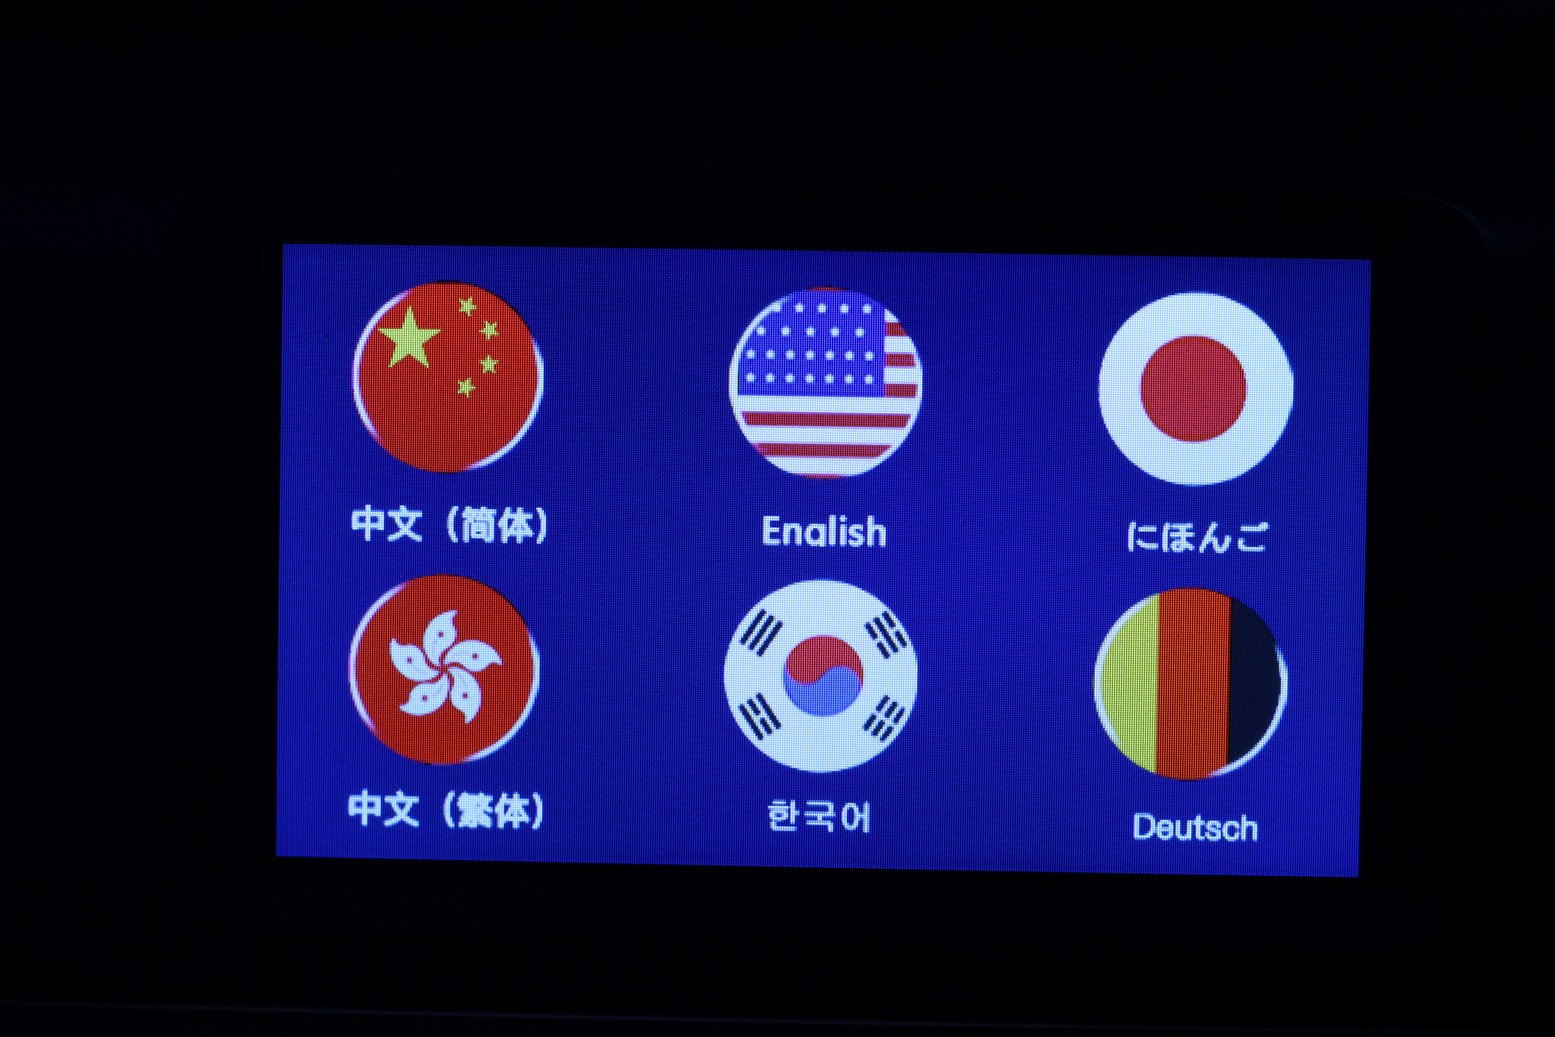
| Language | English/Japanese/German/Korean |
| Maximum Printing Speed | 180mm/s |
| Color Print Speed | 20-180mm/s |
| Fliament | PLA,ABS,TPU,PETG,Nylon,PC,Carbon fiber,etc |
| Slice Software | QIDI Print/Cura/IdeaMaker/PrusaSlicer |
| Maximum Working Speed | 180mm/s |
| Precision | 0.05-0.4mm |
| Voltage | 110-220V |
| Operating System | window64 bit/mac |
| File Format | obj/stl/jpg/png |
| Nozzle Diameter | 0.4mm |
| Diameter Temp | 300℃ |
| Auto Leveling | no |
| Maximum Print Size | 300*250*300mm |
| Molding Technology | FDM |
| Connection | USB Pen Drive/Lan cable/WIFI |
| Extruder Quantity | Single |
| Platform Support | Double Z axis |
Direct Drive Extruder (with a High-Temperature spare)
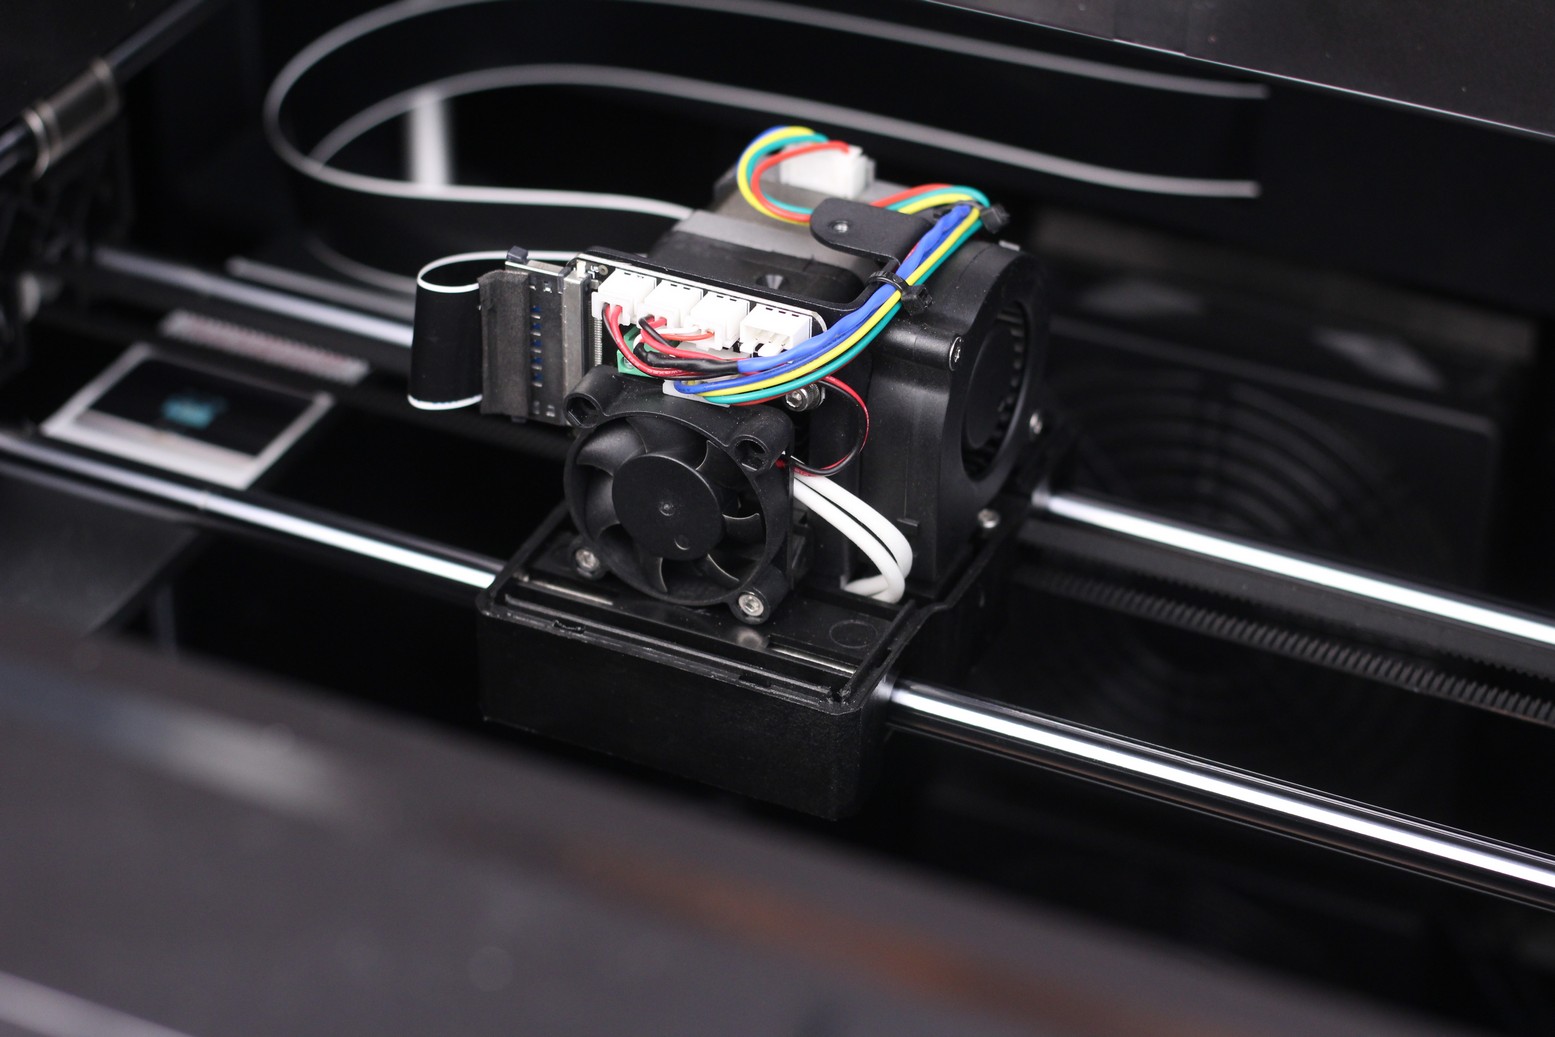
The QIDI X-MAX comes ready to go with the PTFE lined print head installed. This direct drive extruder works great for filaments that require temperatures of up to 240C. This extruder has a 4010 24V fan which keeps the heat break cool, and also a 5015 radial fan for part cooling.
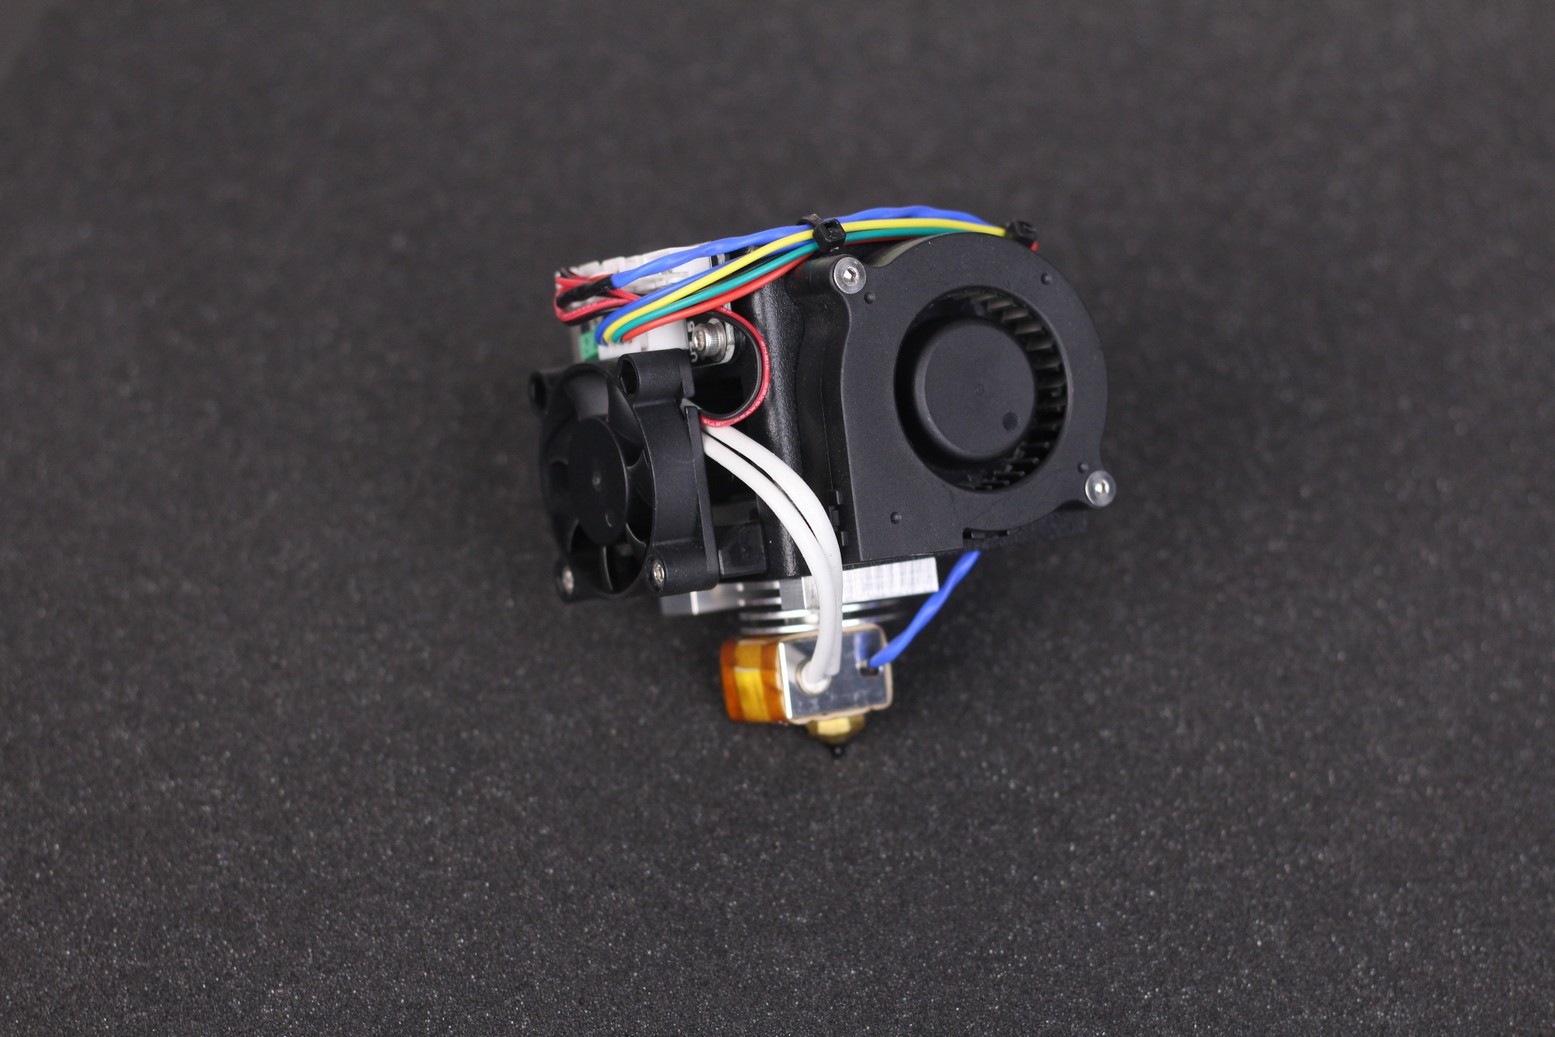
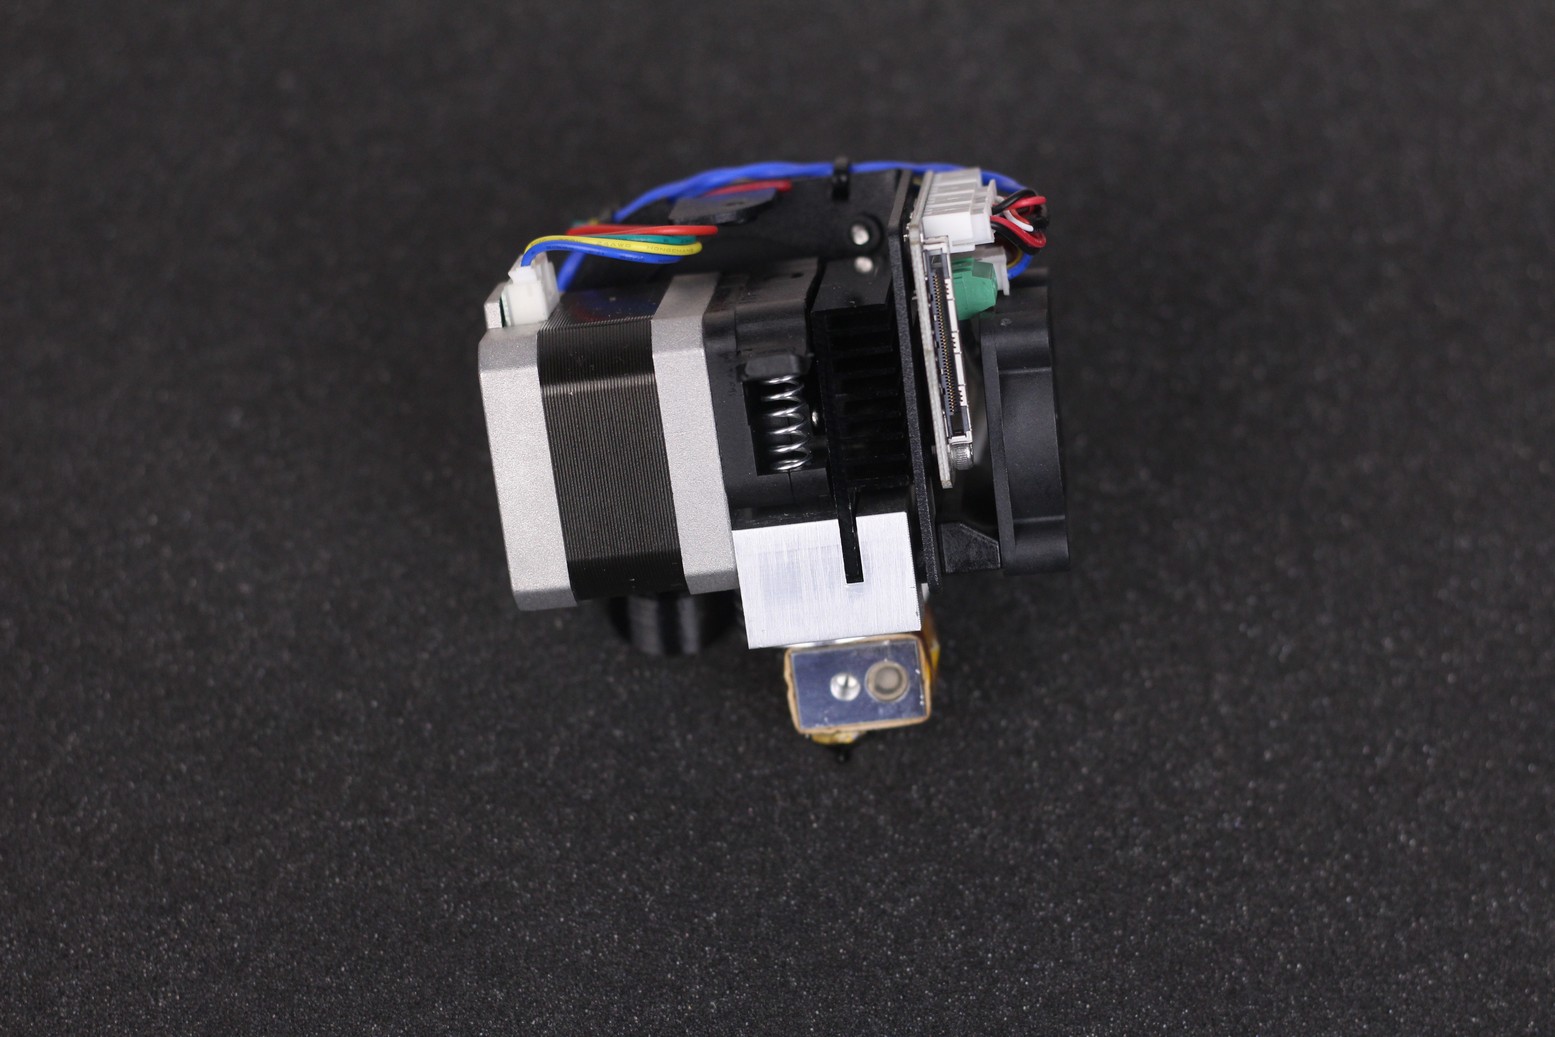
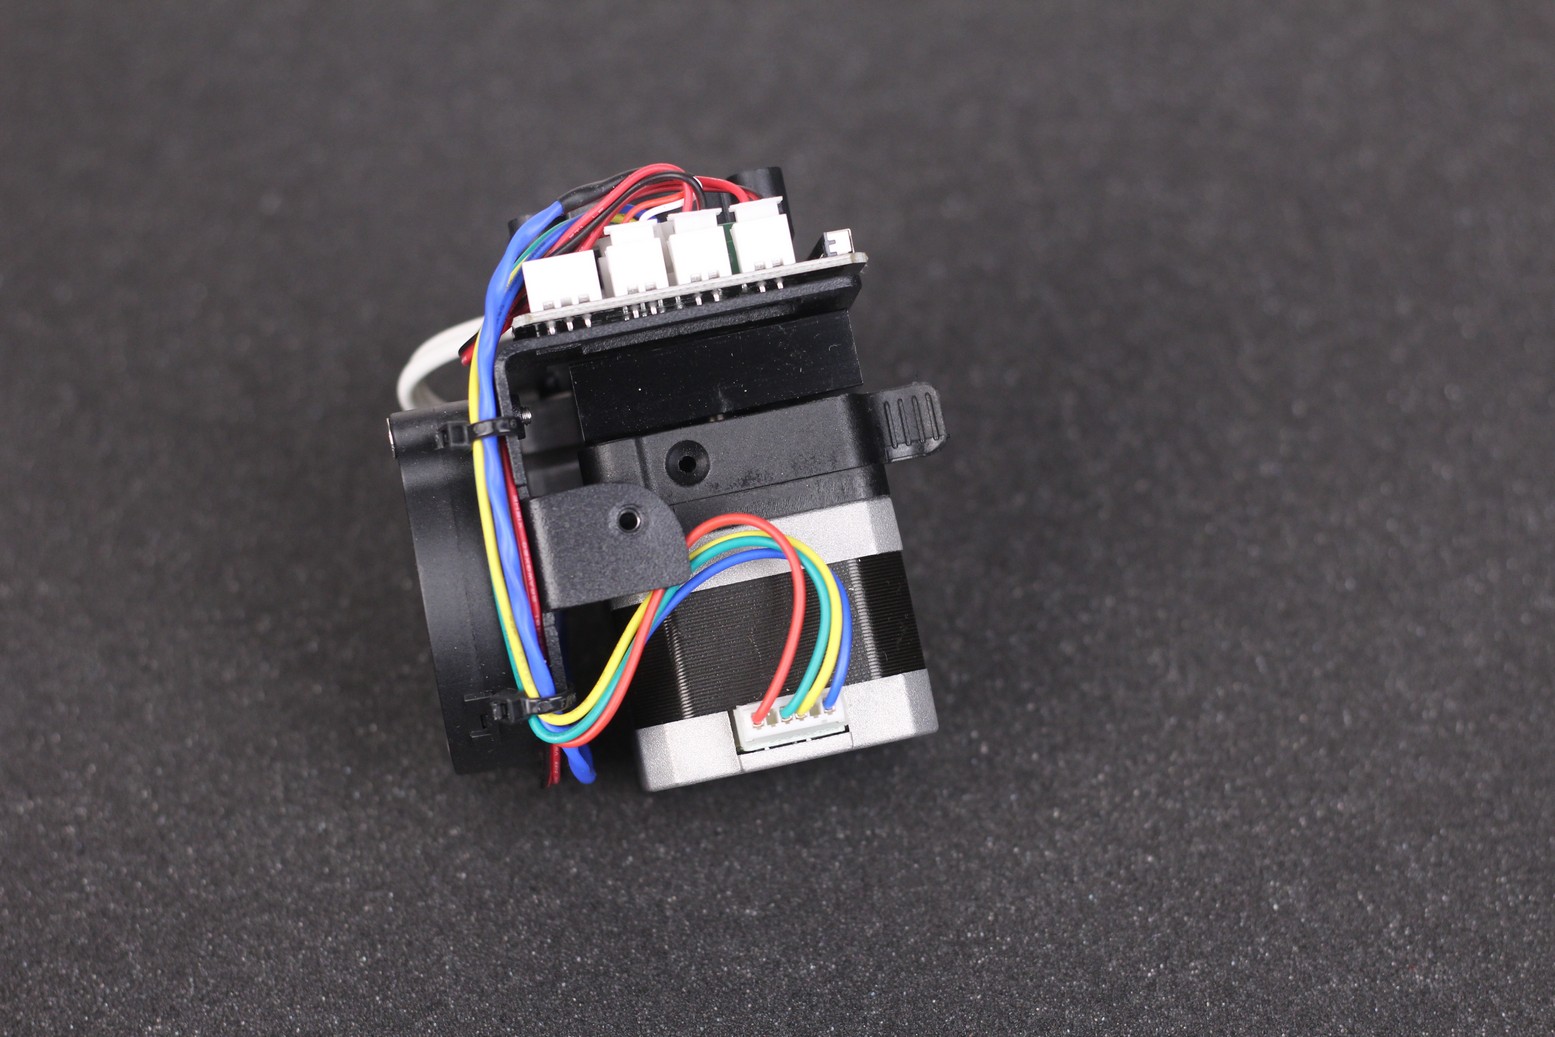
As you might expect, the extruder is single gear but it does a decent job. Of course, you can’t expect it to be as accurate as a dual-gear extruder with a gear ratio, but it’s still decent and capable of producing good-looking prints.
To power all the electronics, we have a ribbon cable which has a pair of locking clips to ensure that there are no issues with the electrical connection. Much better solution compared to the Artillery printers which use ribbon cables with no locking clips.
The second extruder included in the package can be installed for printing filaments up to 300C. Changing the whole extruder is easy, and takes about 10 minutes, including the quick leveling procedure to set the Z offset.
The high-temperature extruder has a smaller fan for the heat break, and it also lacks the 5015 radial fan for part cooling. If needed, you can move the 5015 fan from the stock extruder, but that wouldn’t be of too much use because most of the time you don’t need a part cooling fan when printing high-temperature materials.
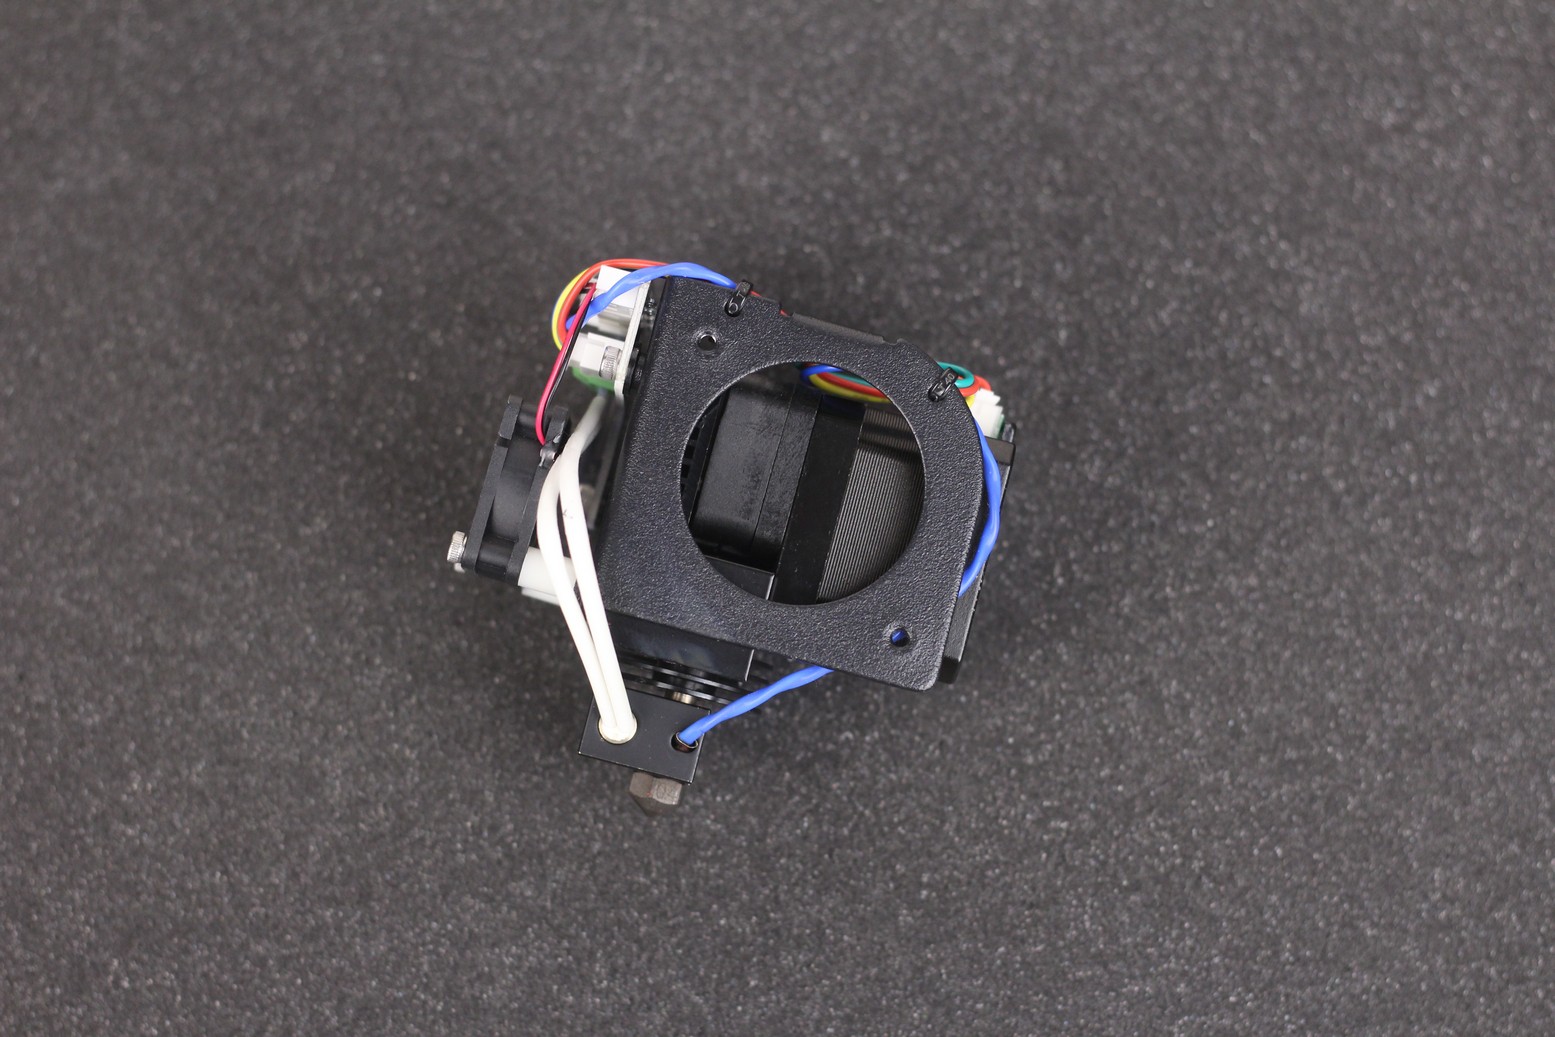
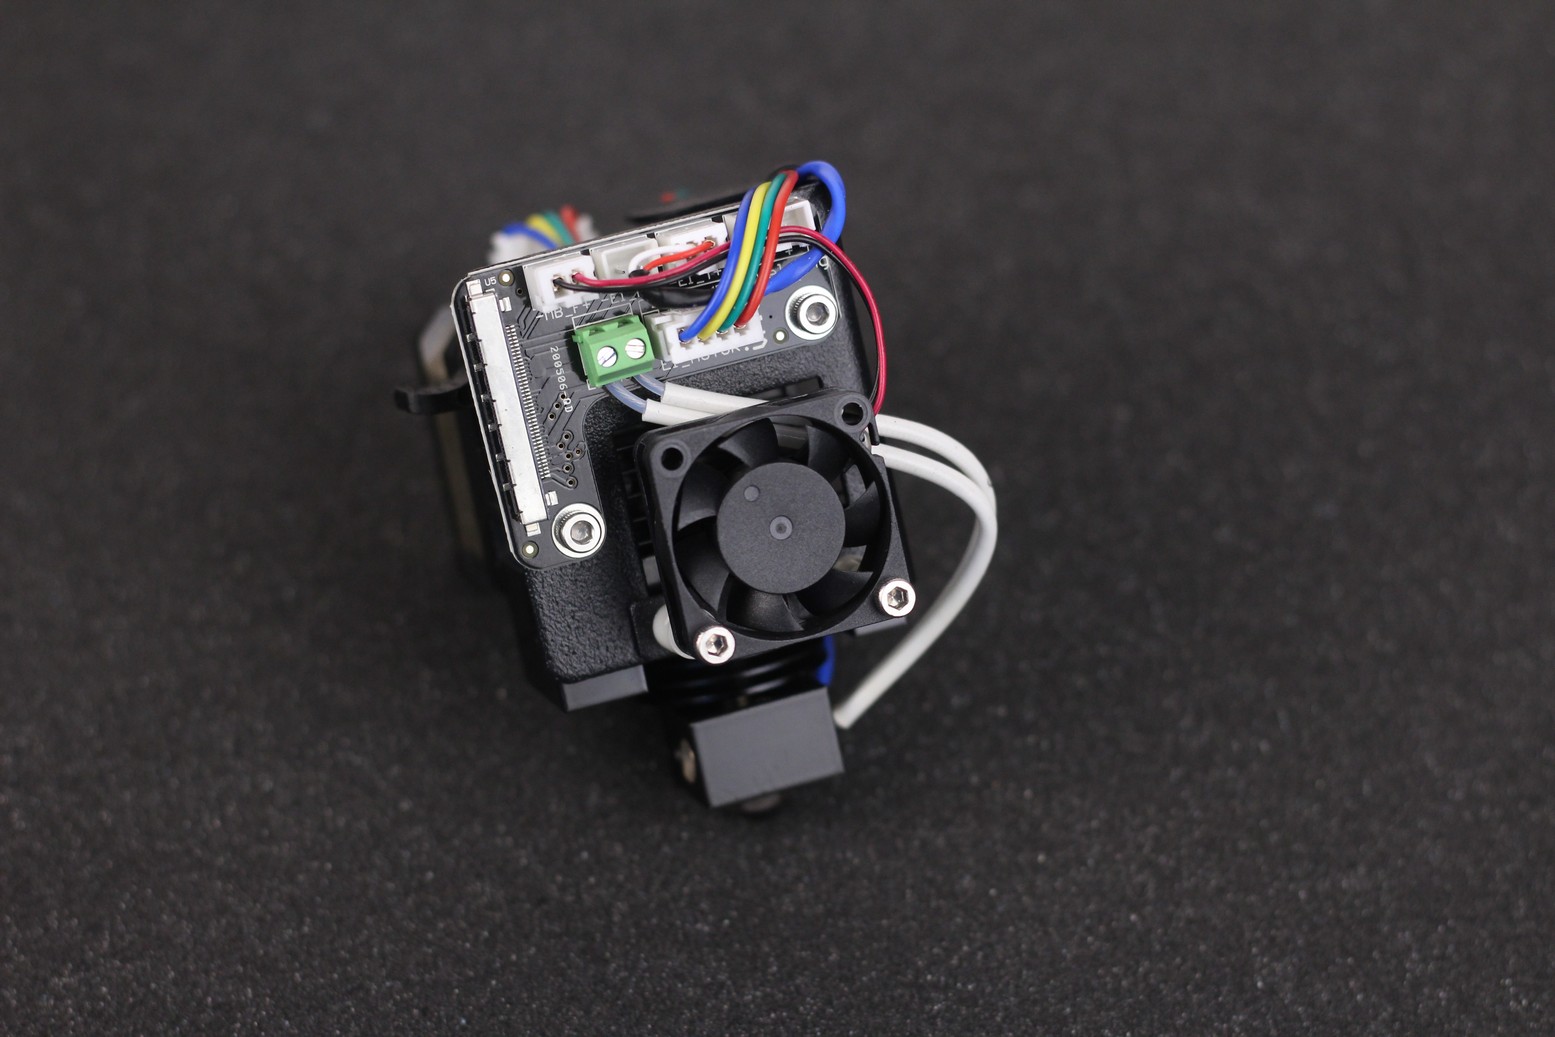
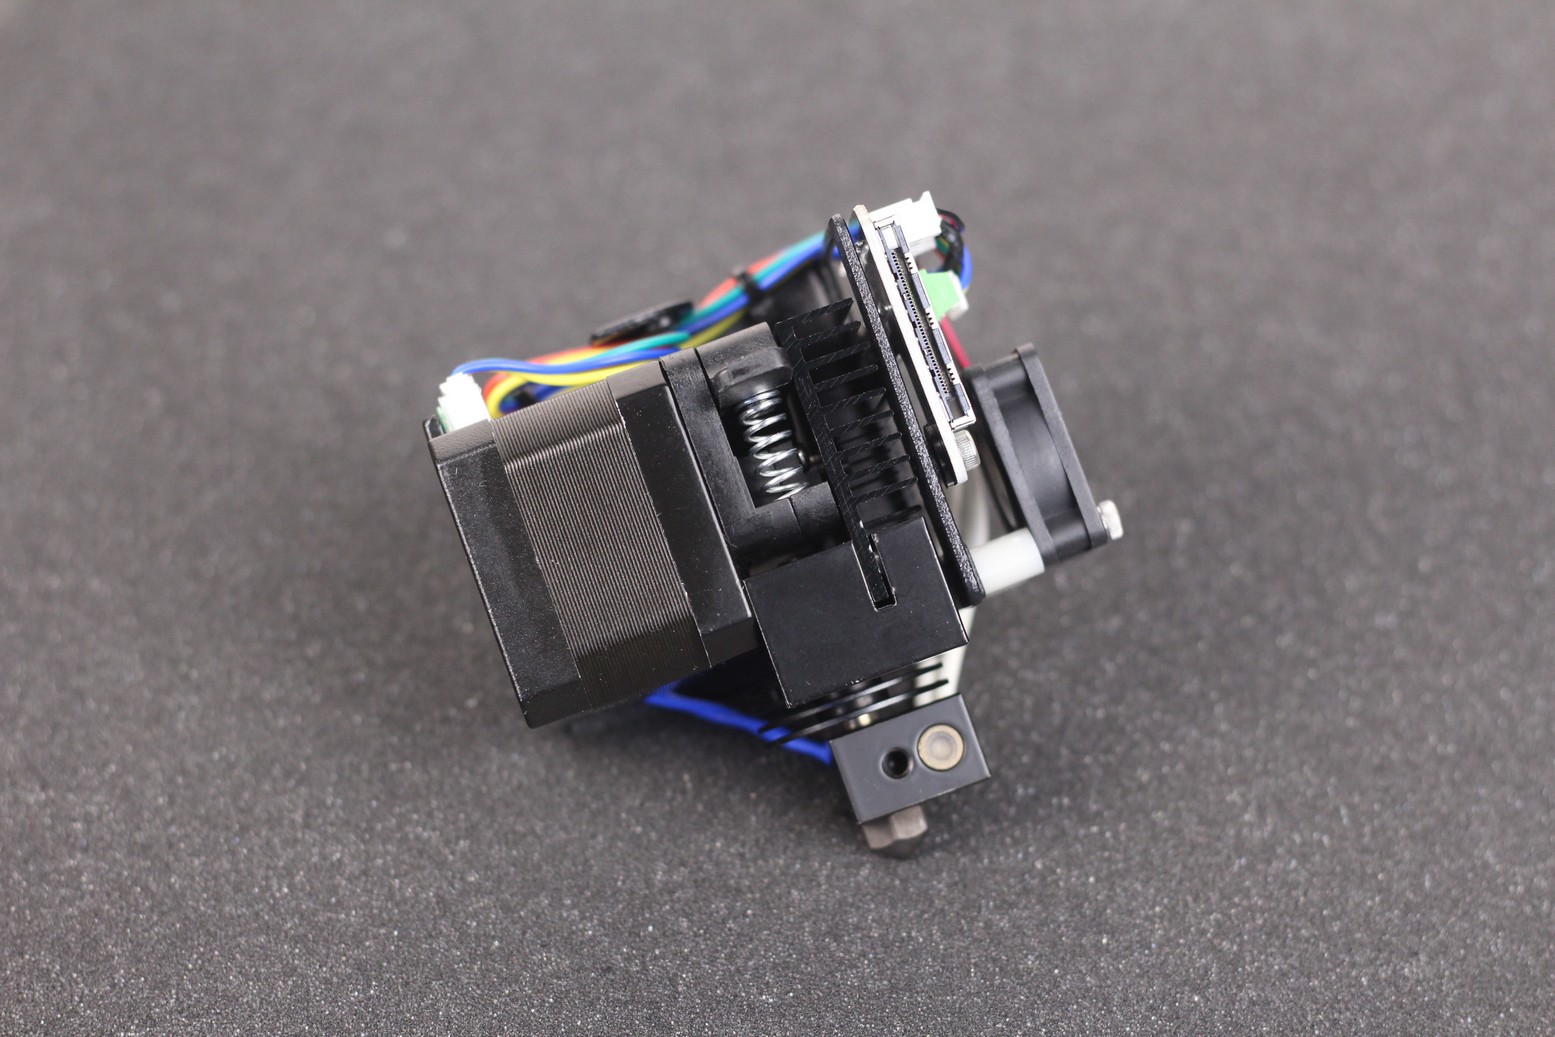
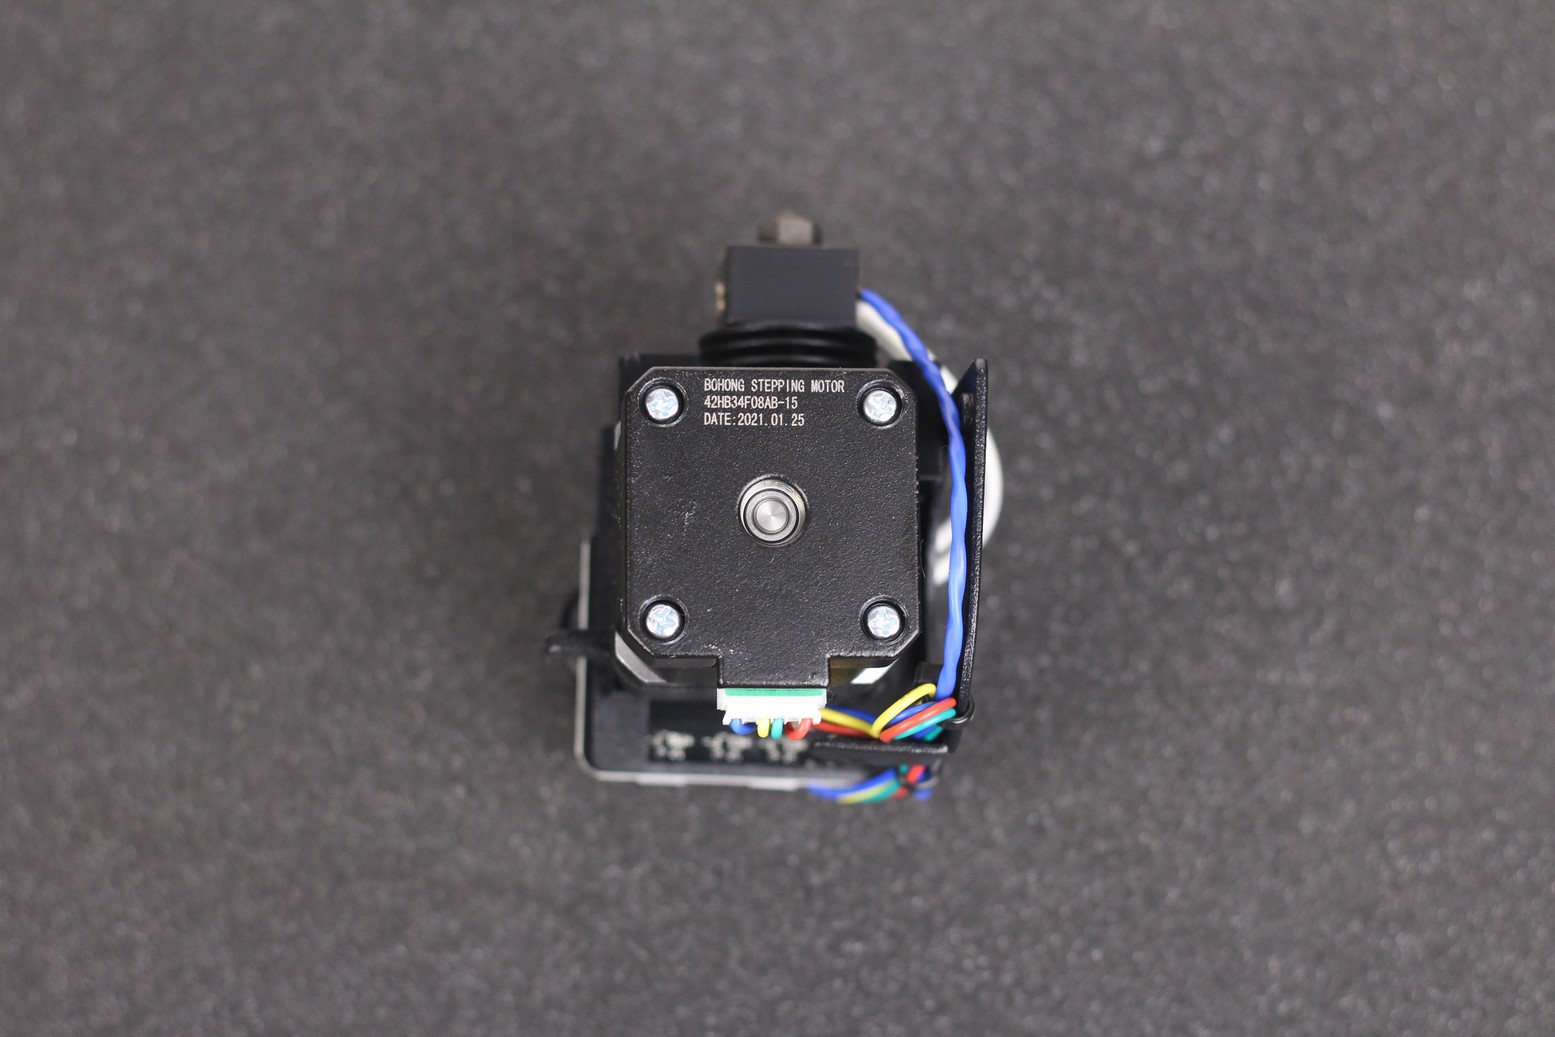
The extruders are quite heavy, so don’t expect the QIDI X-MAX being a really fast machine without adding quite a bit of ringing.
32-bit board with silent stepper drivers
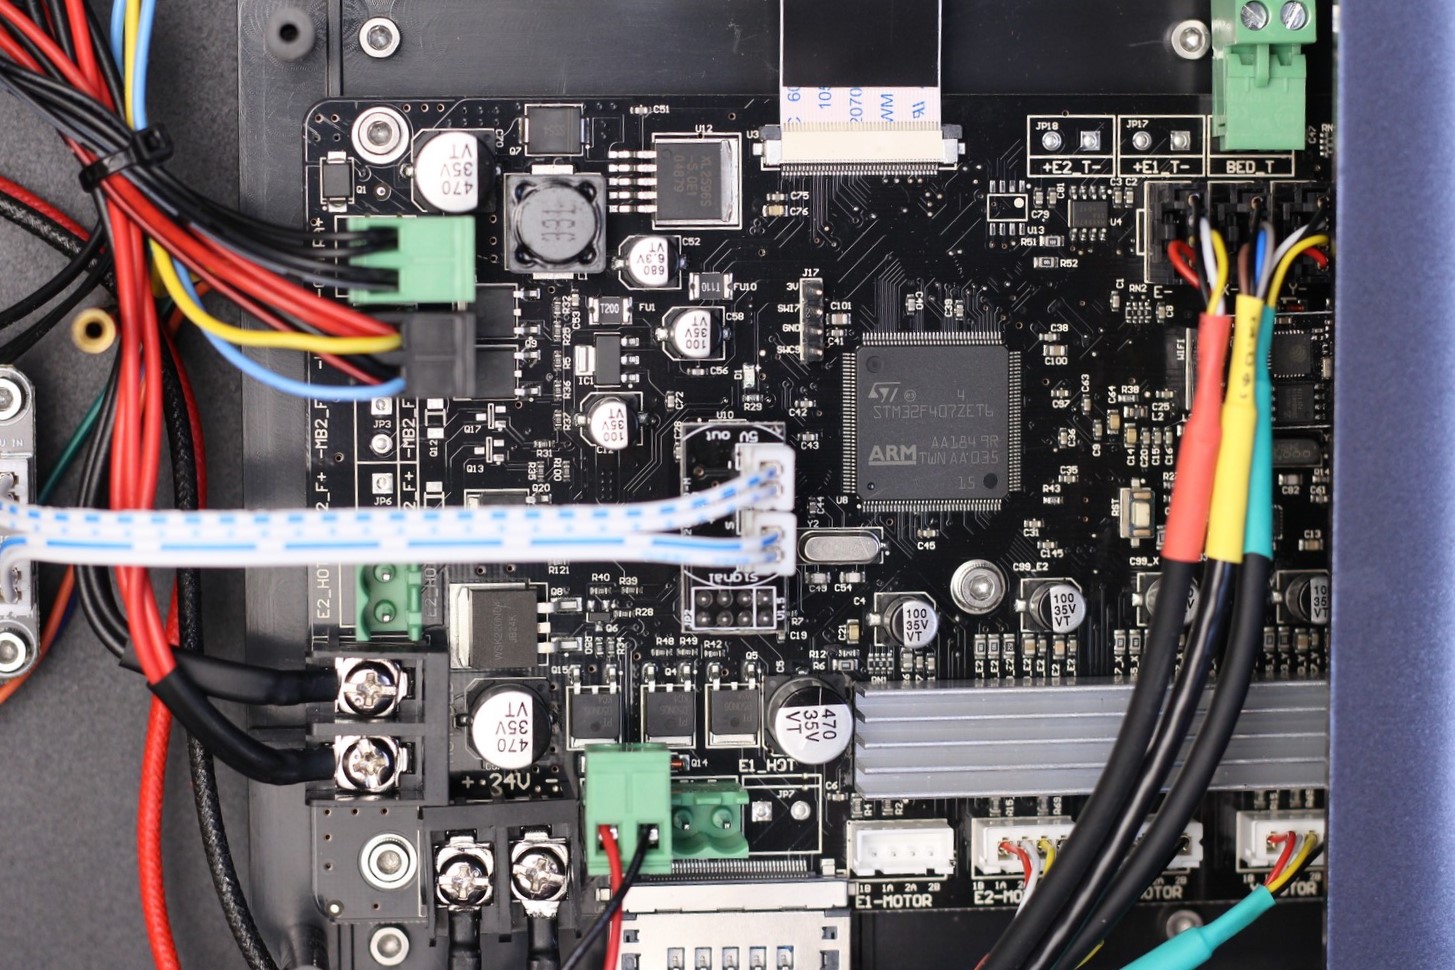
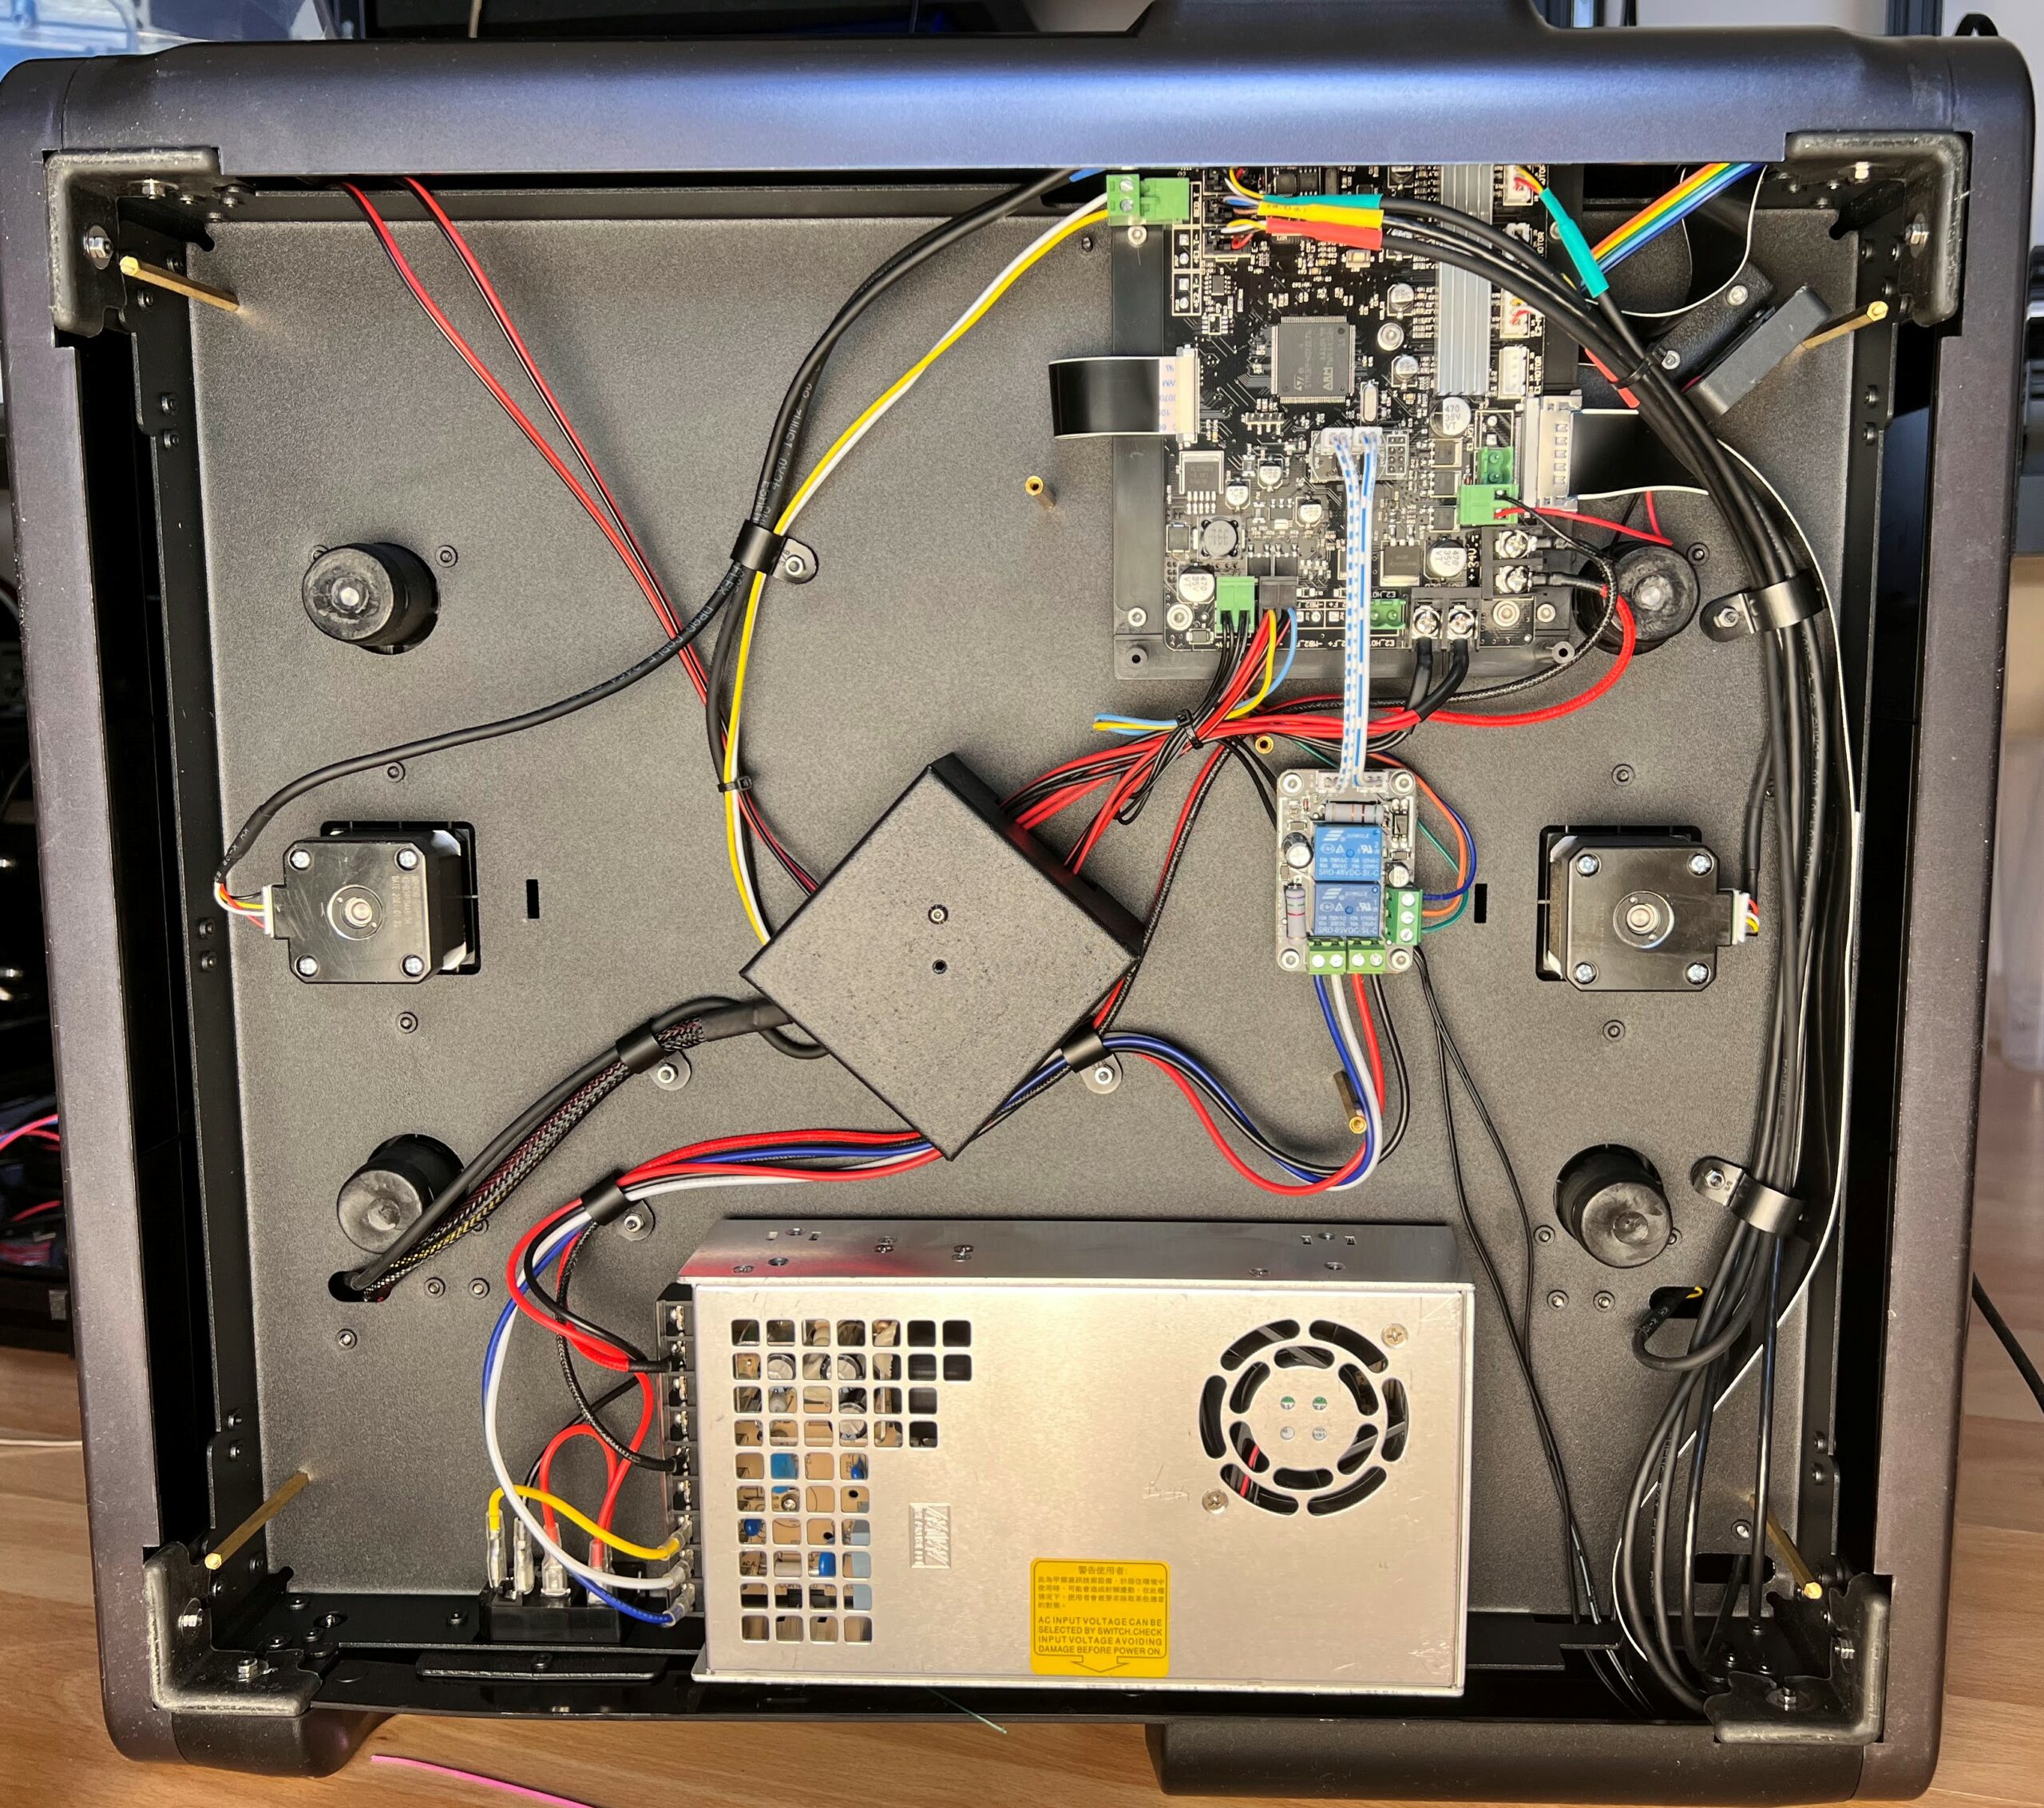
The QIDI X-MAX has a proprietary 32-bit board with silent stepper drivers. Unfortunately, you won’t be able to easily upgrade the board without doing some extensive re-wiring but that’s a minor annoyance for modders like me. Regular users won’t care about this. There’s also no way of connecting the printer to OctoPrint or a PC because there’s no USB connection for this.
The stepper drivers are cooled by a 4010-fan situated on the right. Besides that, there’s ample ventilation in the bottom side of the printer so you don’t need to worry about overheating electronics.
Dual Z axis
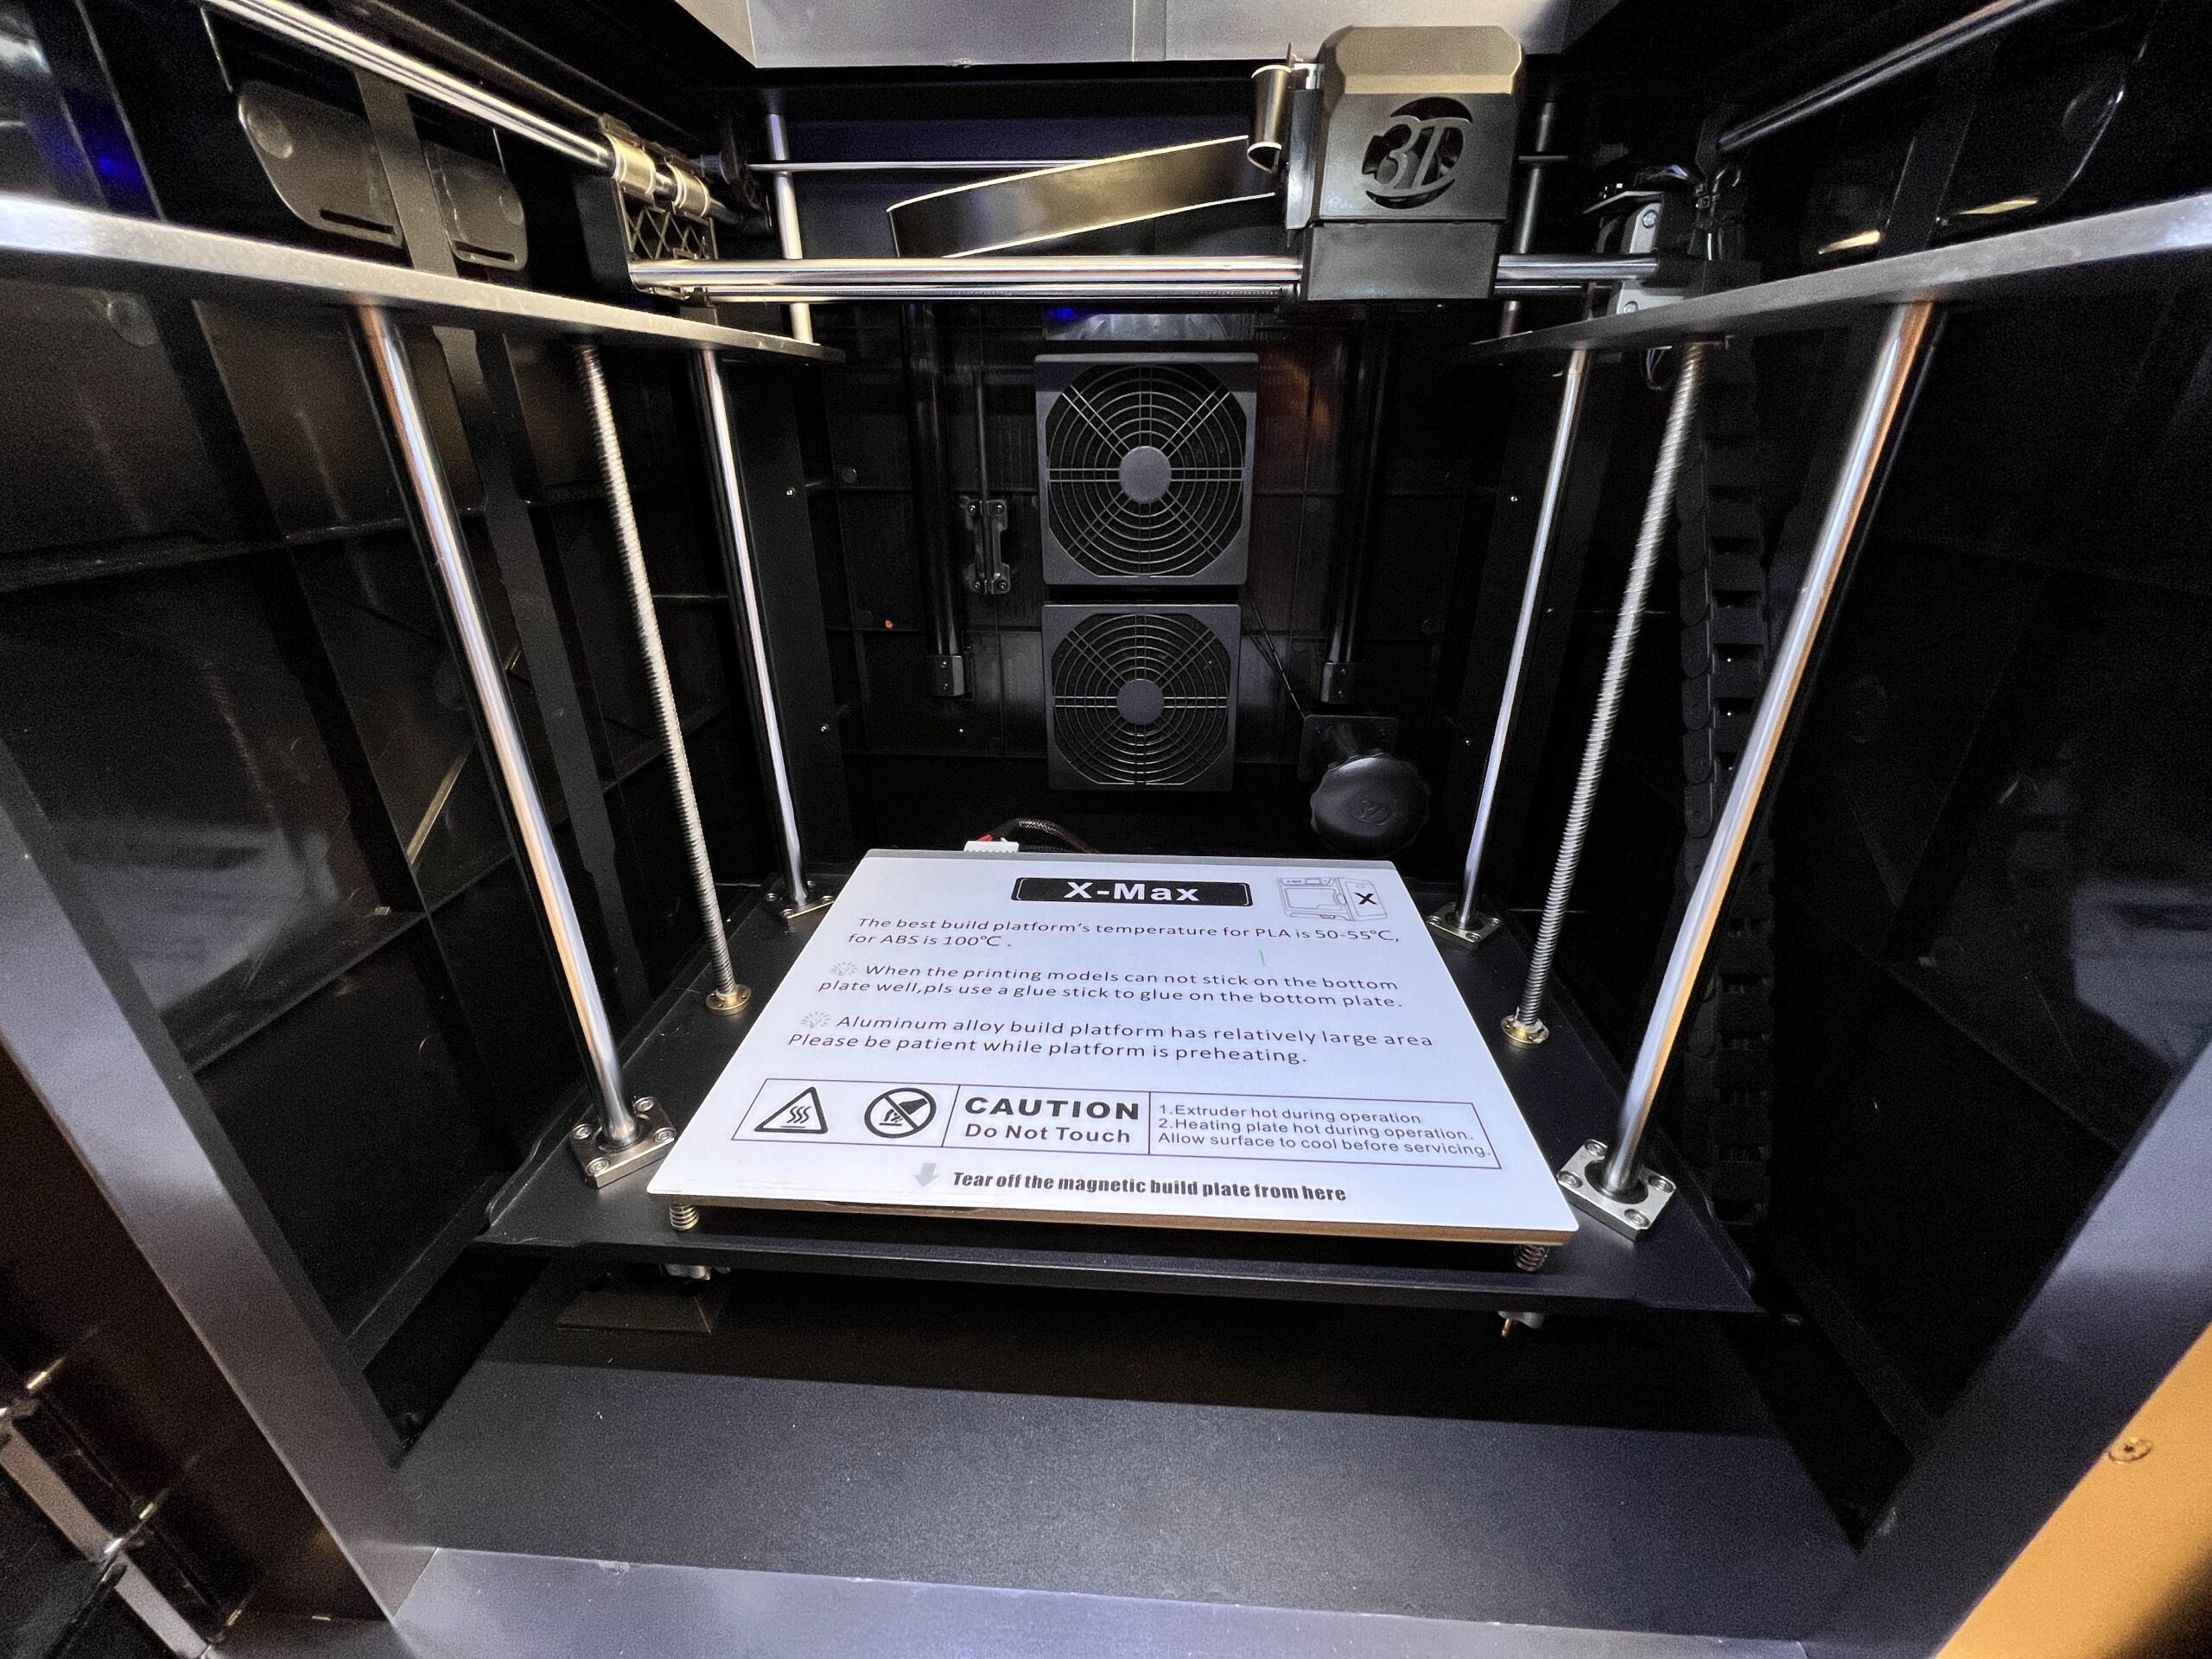
For the QIDI X-MAX, the bed moves on the Z with the help with independently controlled Z axis motors. Each side of the bed has an endstop which gets triggered when the bed moves to the bottom. This setup ensures that the bed is always level.
Unfortunately, there are no anti-backlash nuts installed on the Z axis. Because of this, the bed can easily “droop” and fall to the bottom of the printer when the stepper motors are not engaged. It’s not a huge issue, considering the dual Z endstops, but having anti-backlash nuts would have helped with keeping it in place.
There’s also no possibility of installing anti-backlash nuts instead of the stock ones because of the lack of space. An anti-backlash nut would be too tall for the stock setup so if you really want to install something like this, you need to re-position the Z endstops.
Sturdy aluminum bed with embedded magnets
The aluminum bed included with the QIDI X-MAX is awesome! It comes with 25 powerful magnets embedded in the 6mm aluminum plate. These magnets do a great job when it comes to keeping the flexible print surface in place during printing.
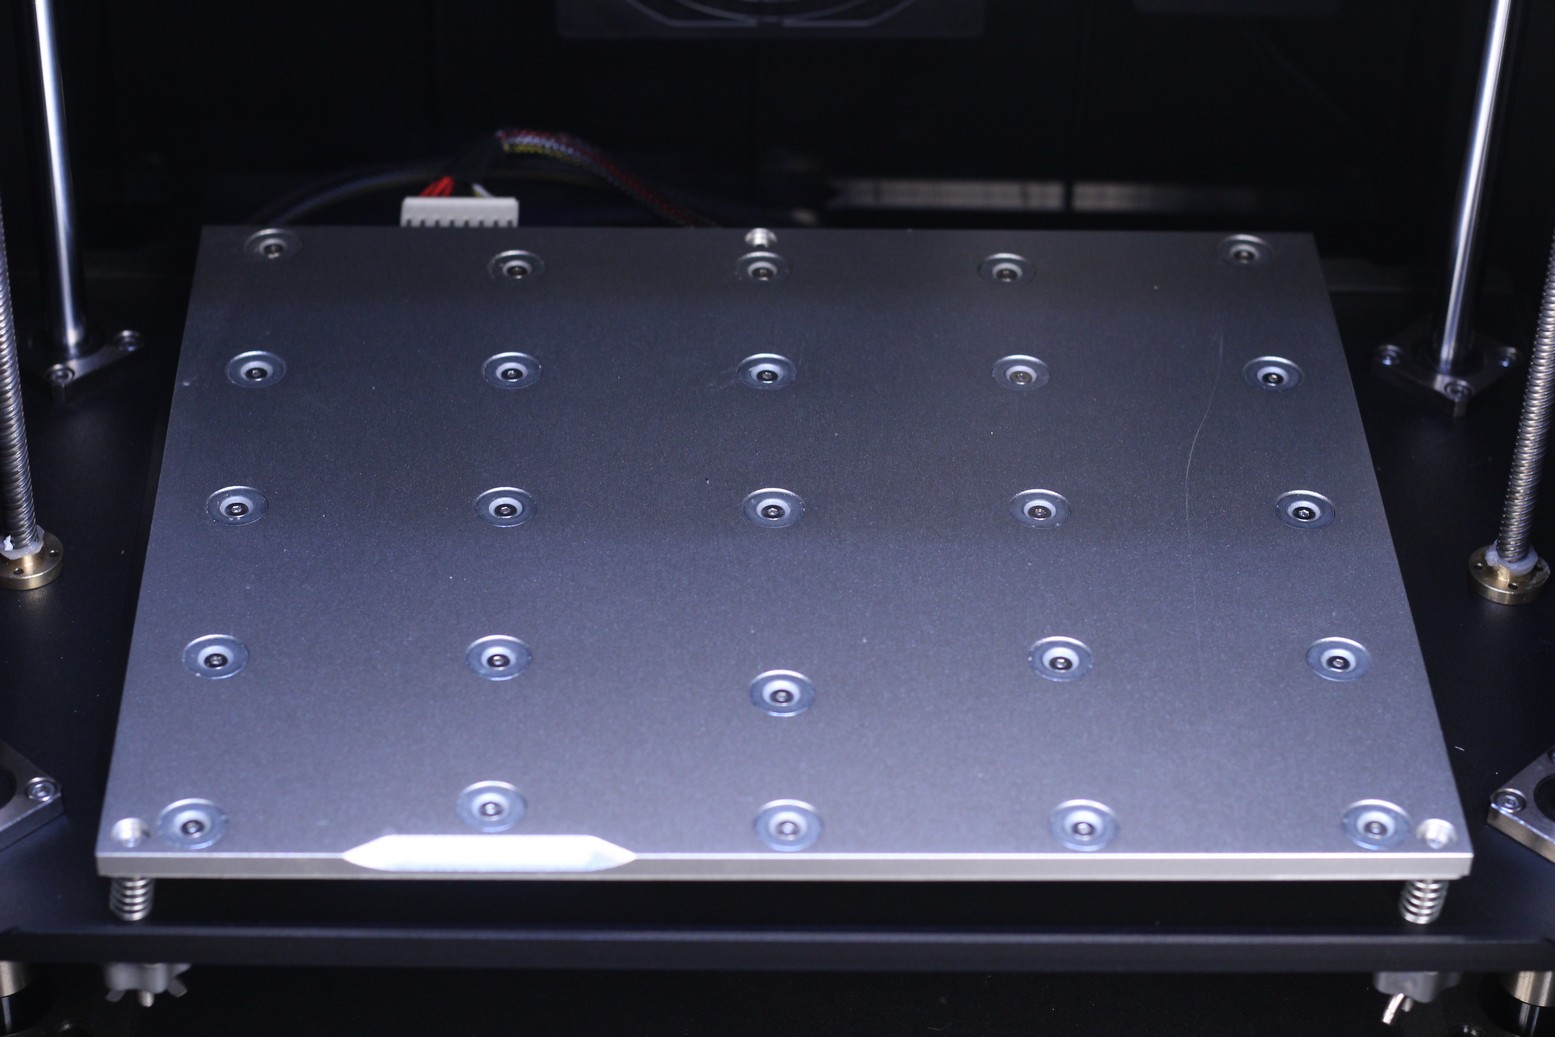
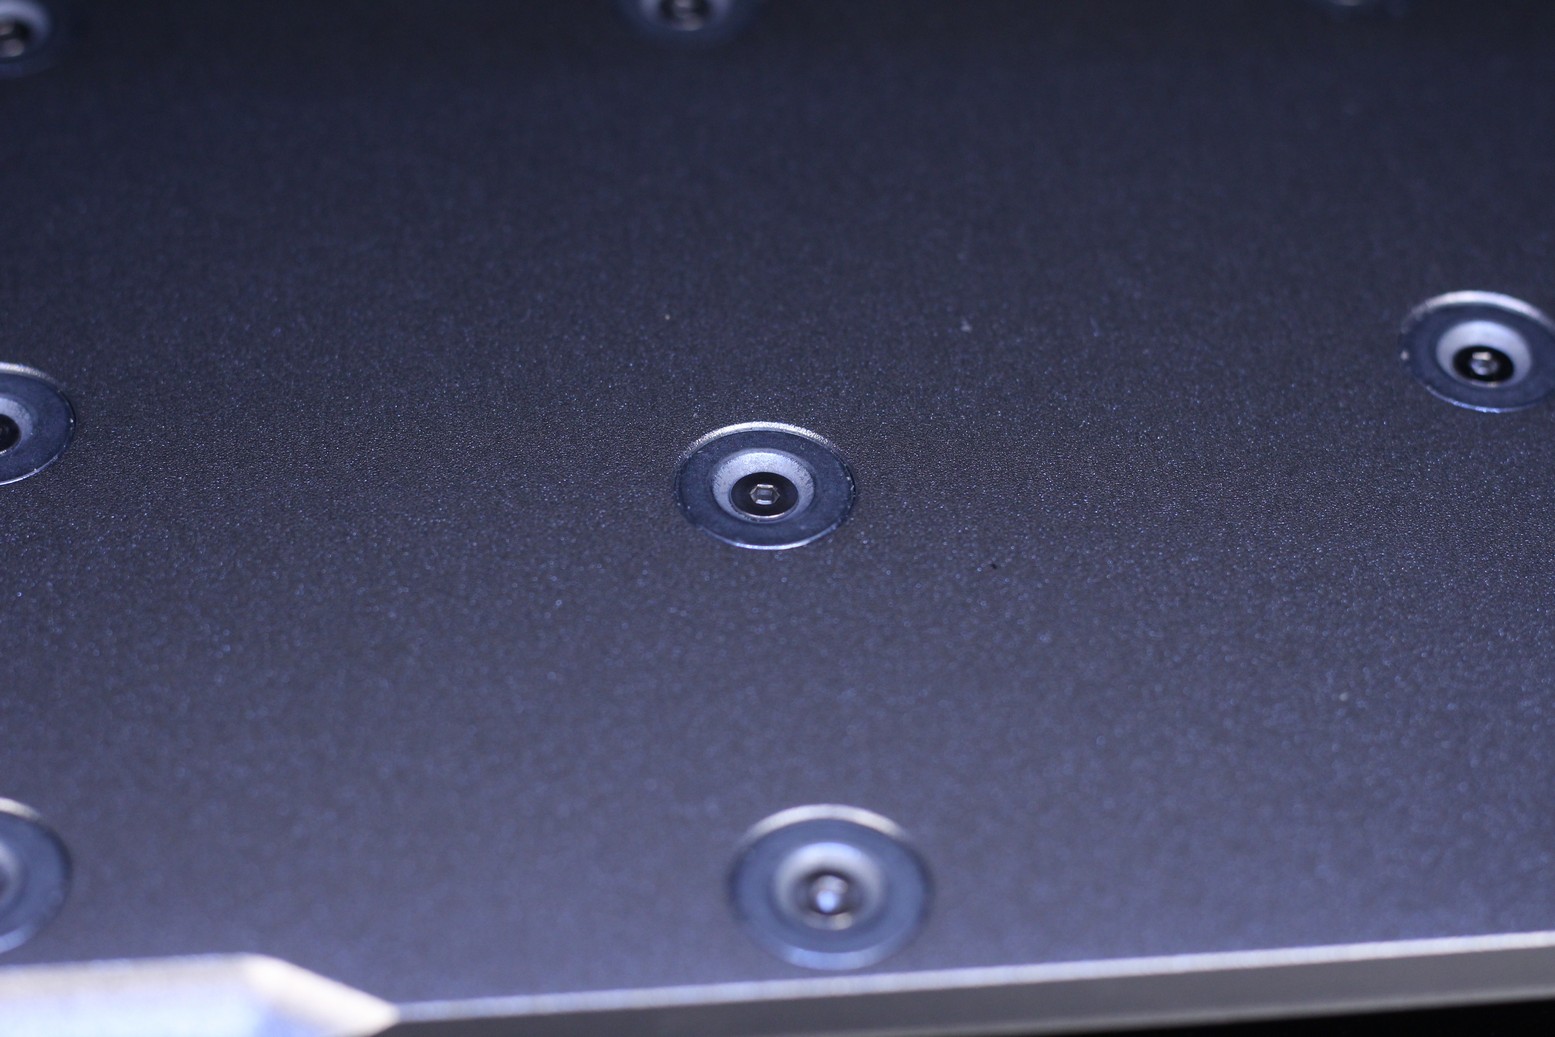
Leveling the bed is also a breeze because of the three mounting points it has. Right out the box, the printer was perfectly leveled and I was able to print without even touching the adjustment screws, but I also went through the leveling procedure and it’s easy to follow. The X-MAX is one of the easiest machines to set up right of the box.
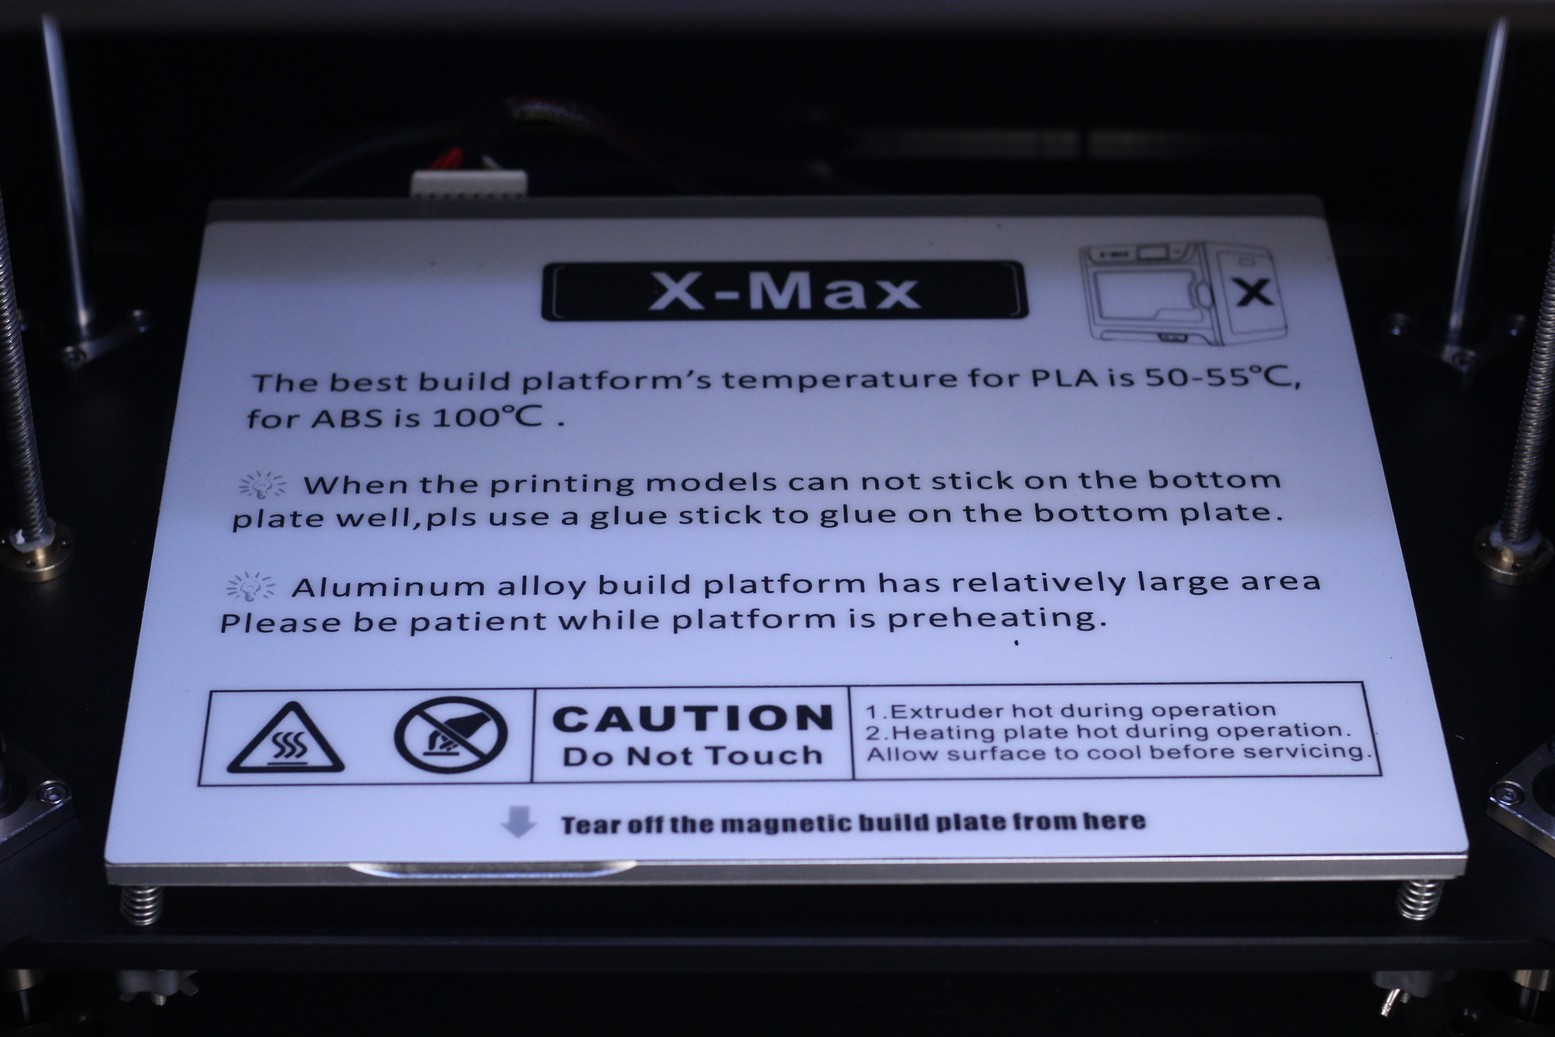
What I don’t really like is the “manual” on the print surface. Considering that you don’t need to read the information multiple times, I would have preferred having a simple surface with no writing on it. The back side of the print surface is smooth, and works best for ABS, PETG and PC if you apply a light coat of glue stick.
Enclosed design with plastic panels
One of the main selling points of the QIDI X-MAX is the enclosure. Having an enclosure allows you to easily print high-temperature materials without worrying about the model losing adhesion because of drafts.
The top cover is made from transparent plastic and it’s held in place by four small magnets located in the corners.
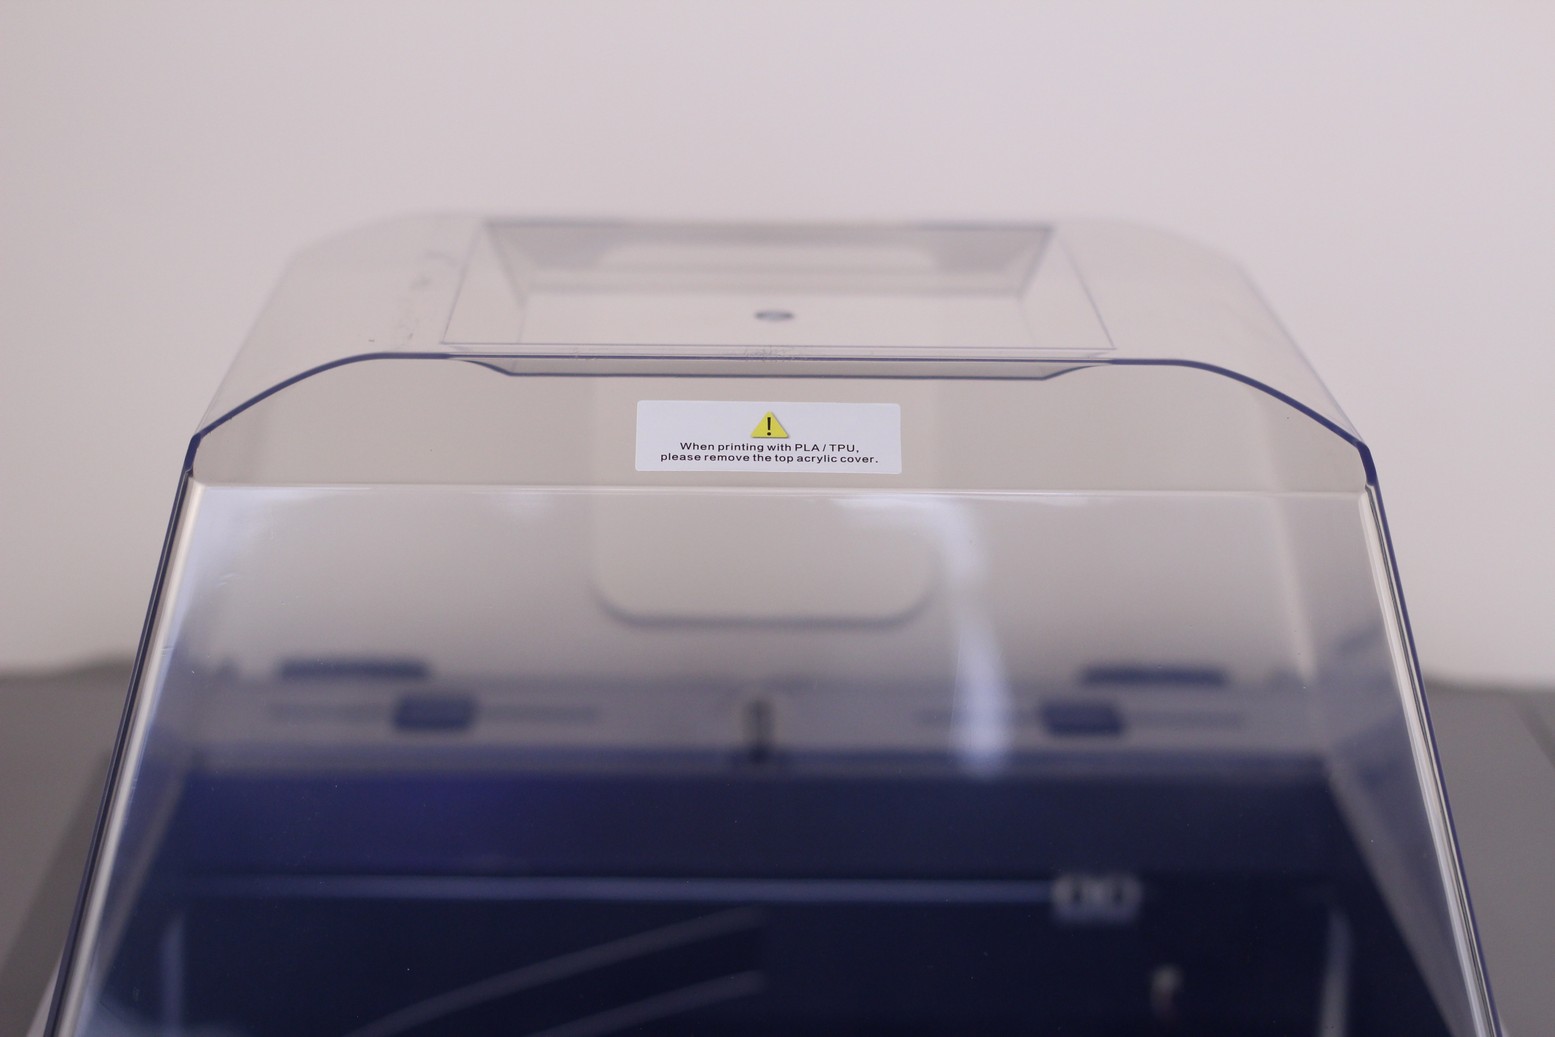
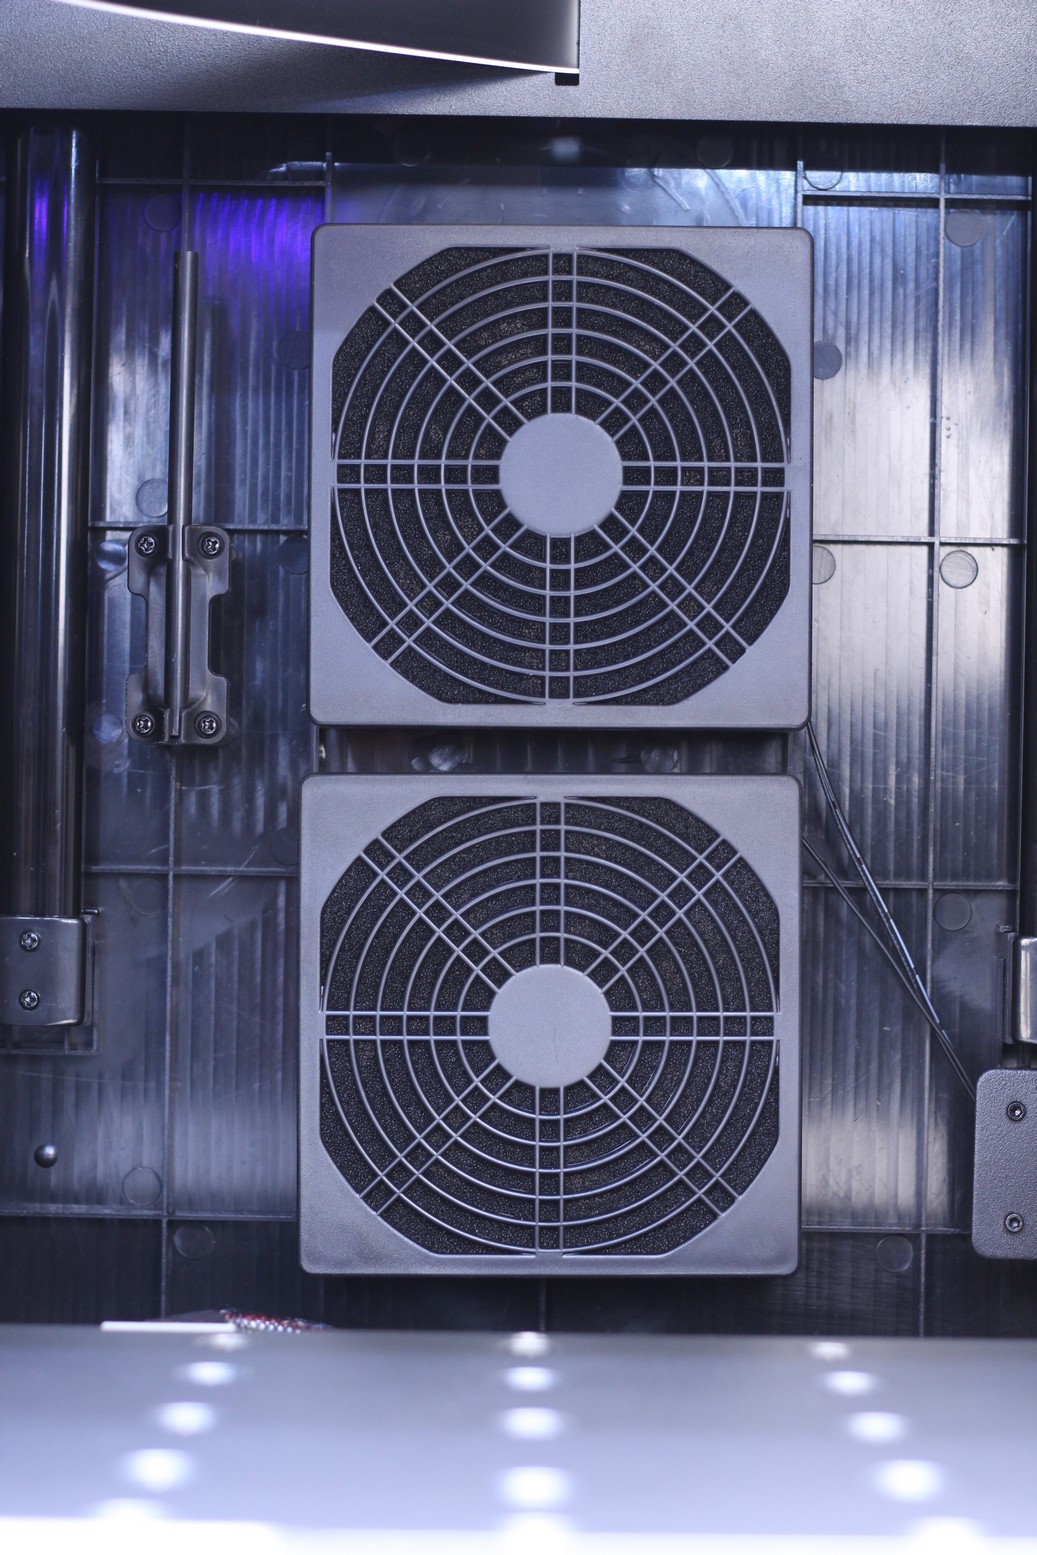
The QIDI X-MAX also has a pair of 120mm fans in the back, which can be turned on and off according to your needs. It’s especially important to turn them on when printing PLA, to evacuate the hot air which build up inside the printer, but they can be left off when printing high temperature filaments.
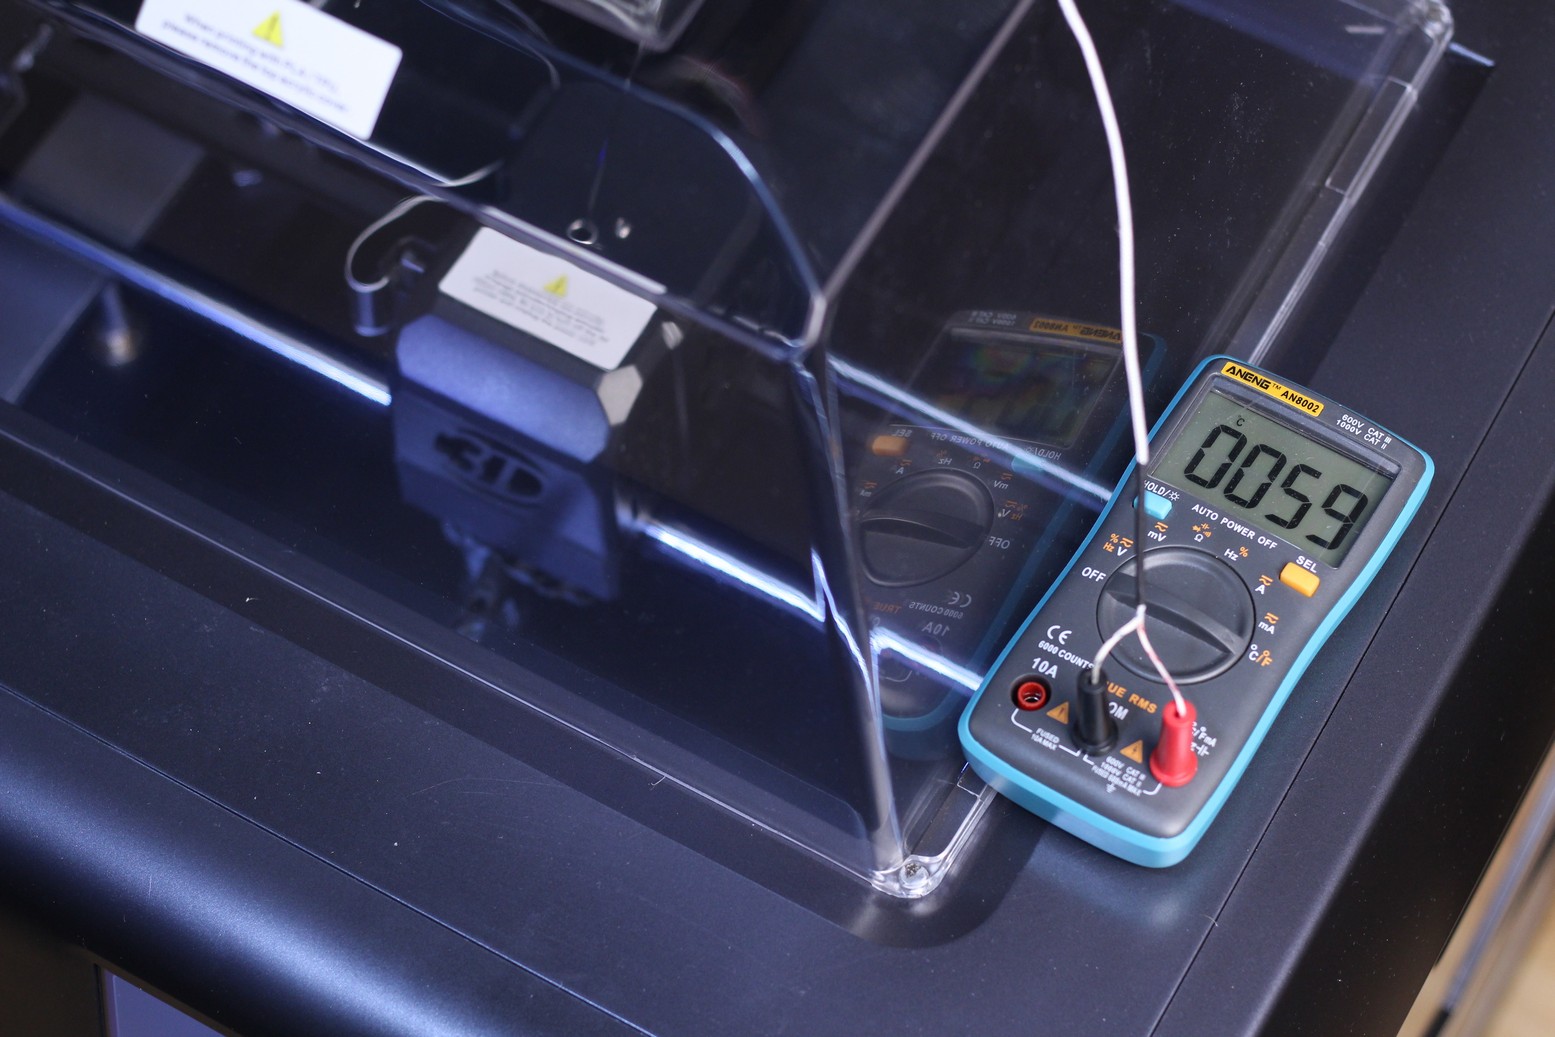
I measured the printing temperature inside the enclosure during an ABS print and it reached 59C which is quite impressive considering there’s no insulation material on the enclosure walls.
Dual Spool holders
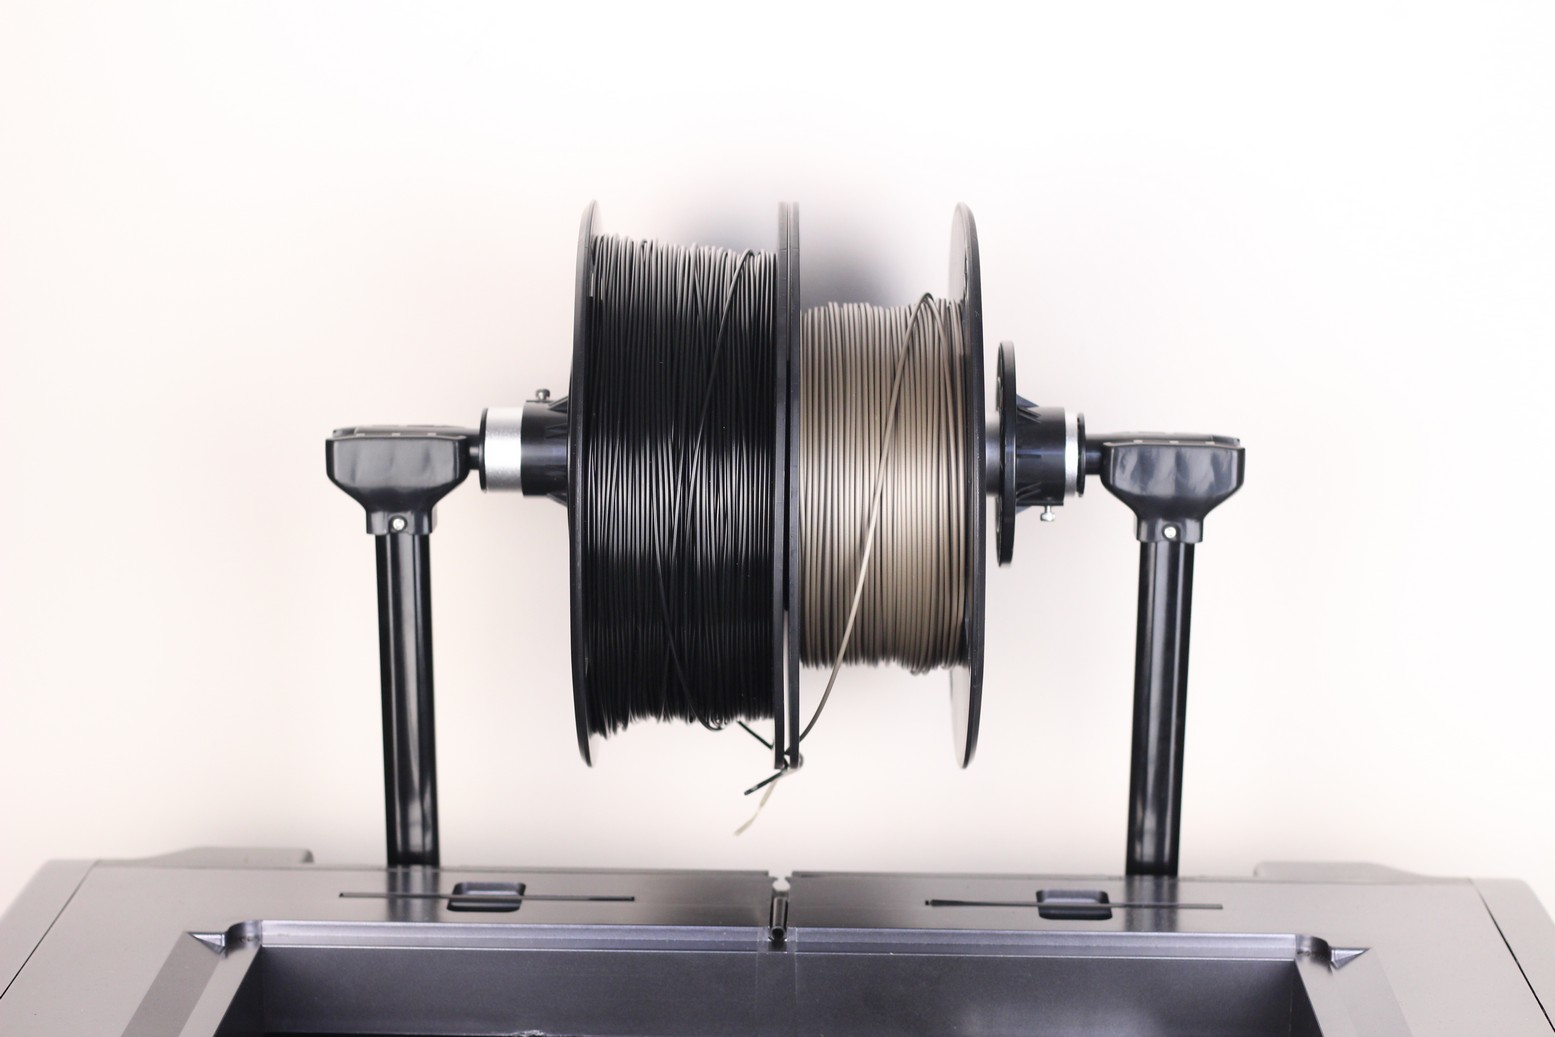
The spool holder attaches to the back of the printer with the help of two stands that can be raised up from the printer, just like a trolley.
You can install multiple rolls of filament on the top spool holder, but only if you print without the top cover. When the top cover is installed, only one roll of filament can fit the printer.
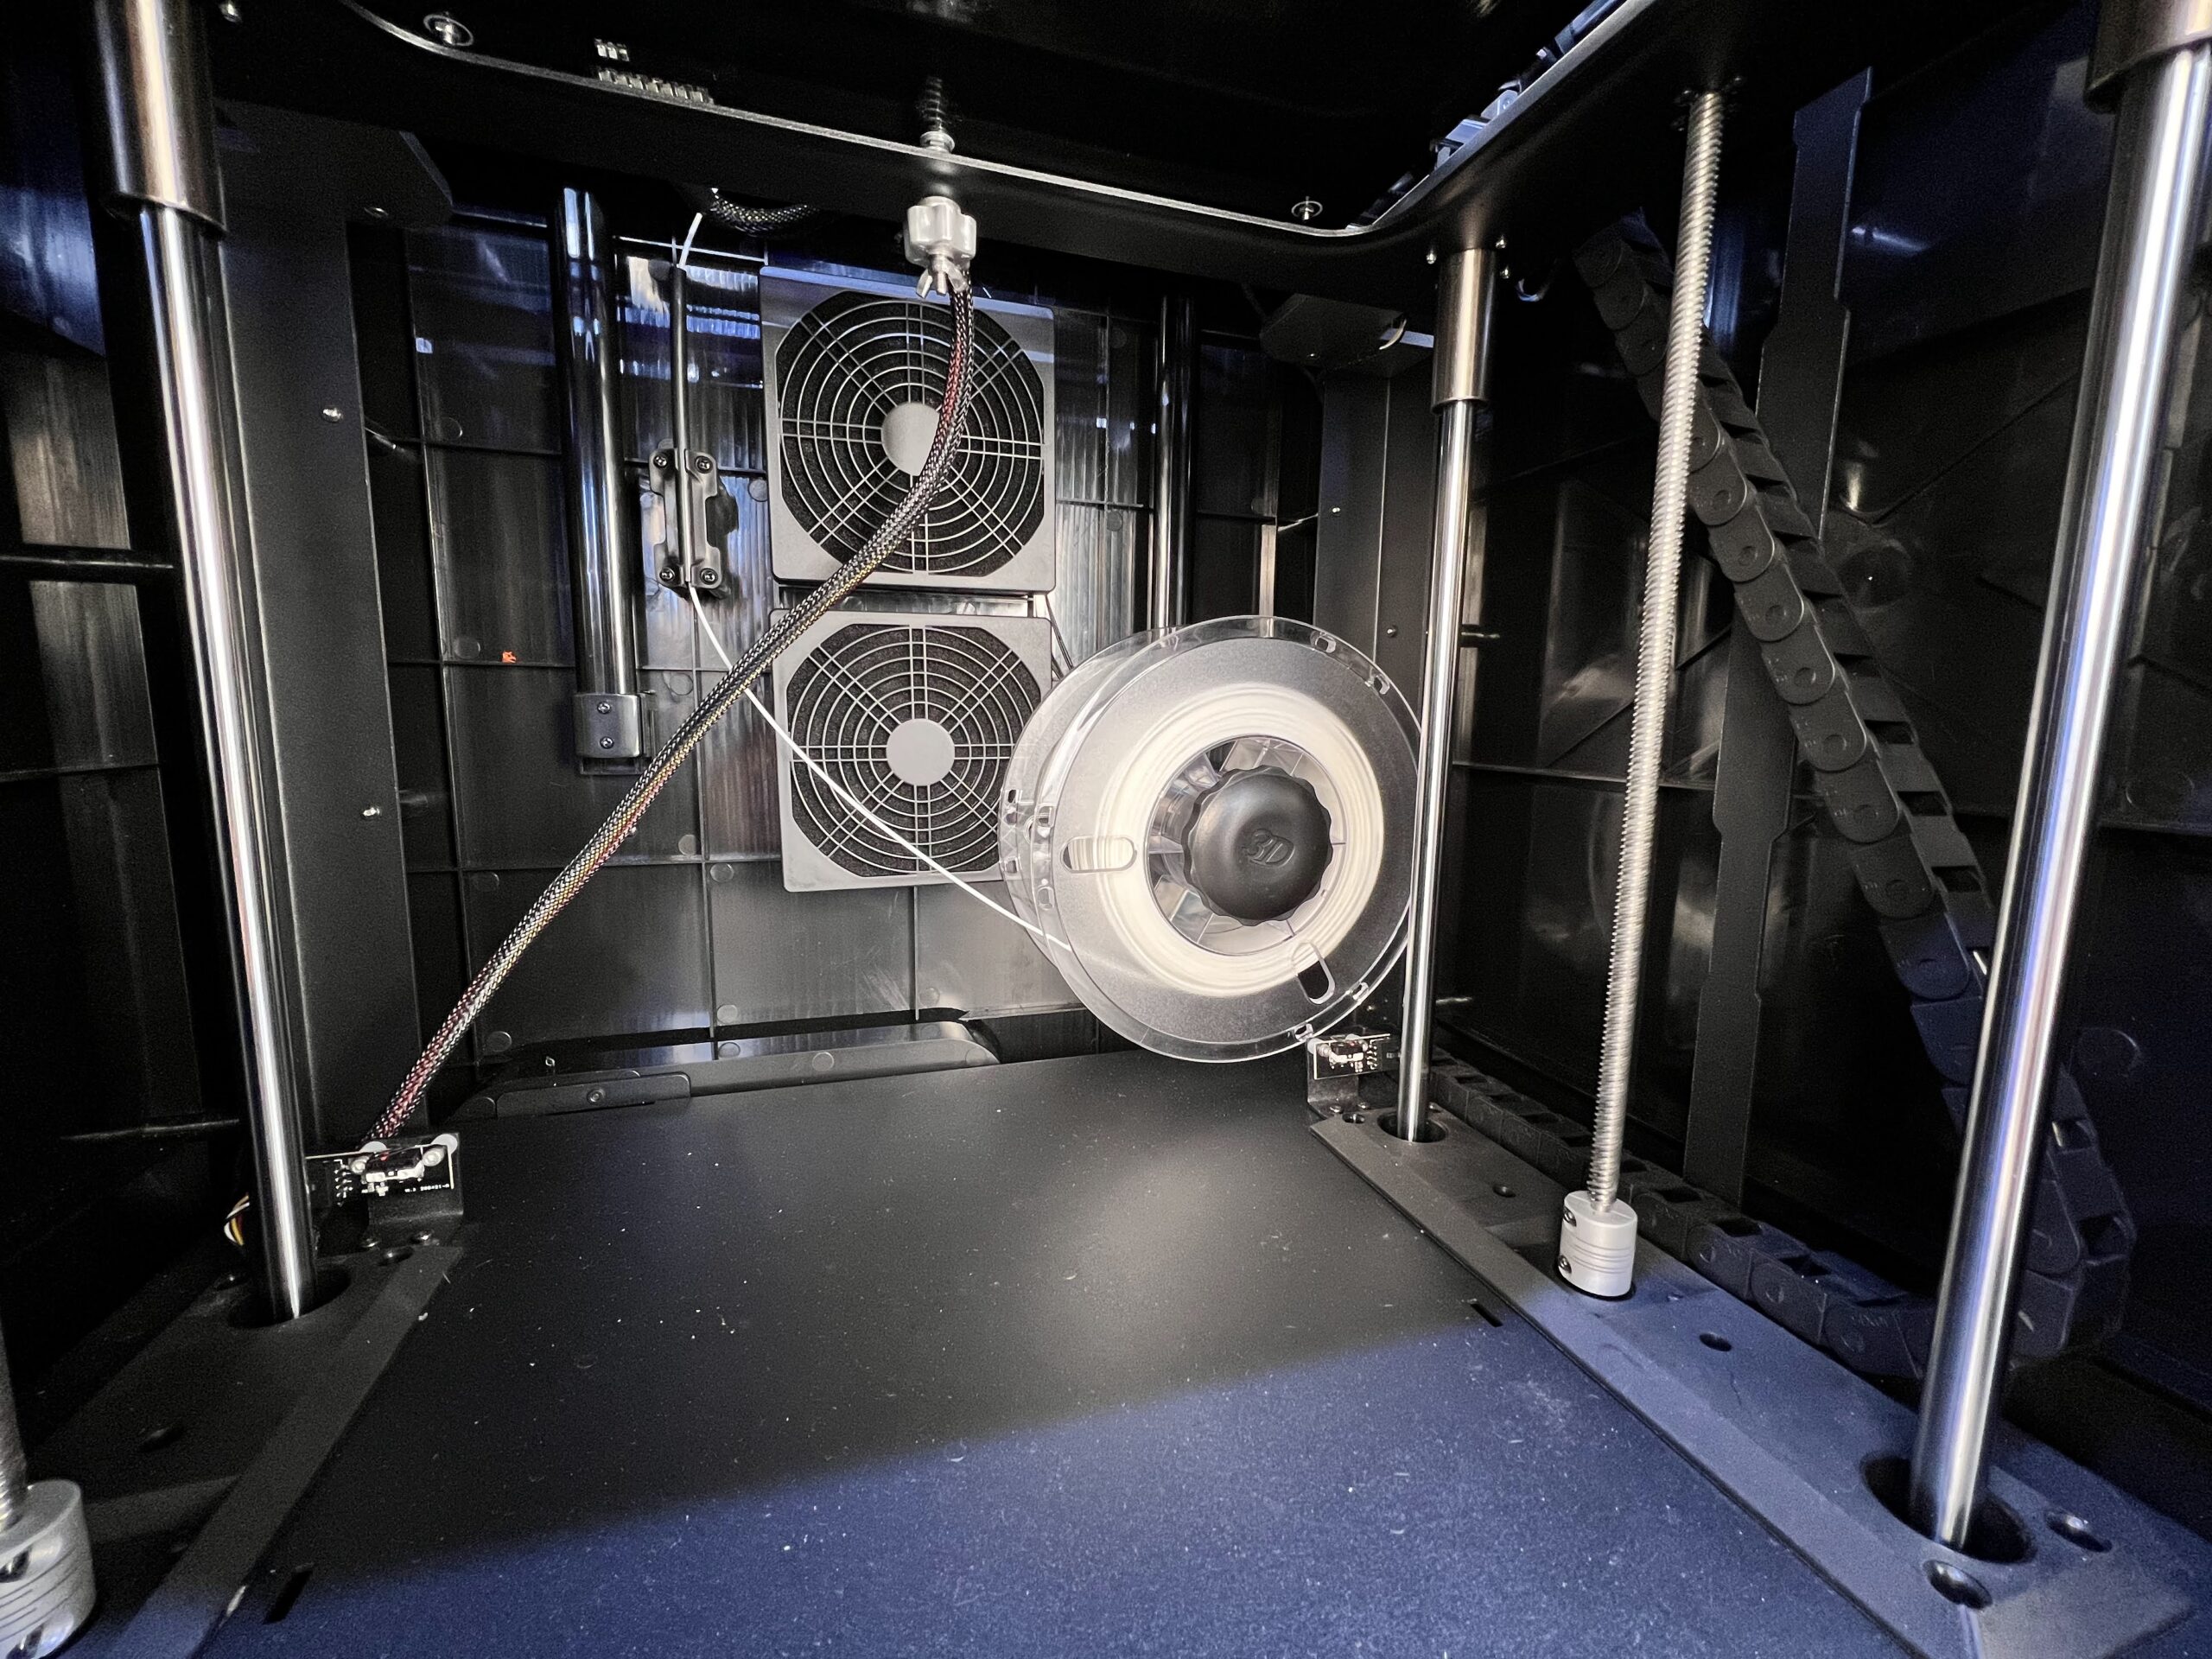
There’s also a place for installing the spool inside the printer to also dry the filament when printing, and avoid moisture to be absorbed in the material. While I love this feature, I don’t really like that it takes a bit of work to install the spool inside, then route the filament to the extruder. This might be a small inconvenience if you print 24/7 and you change filament often.
Wi-Fi and LAN port
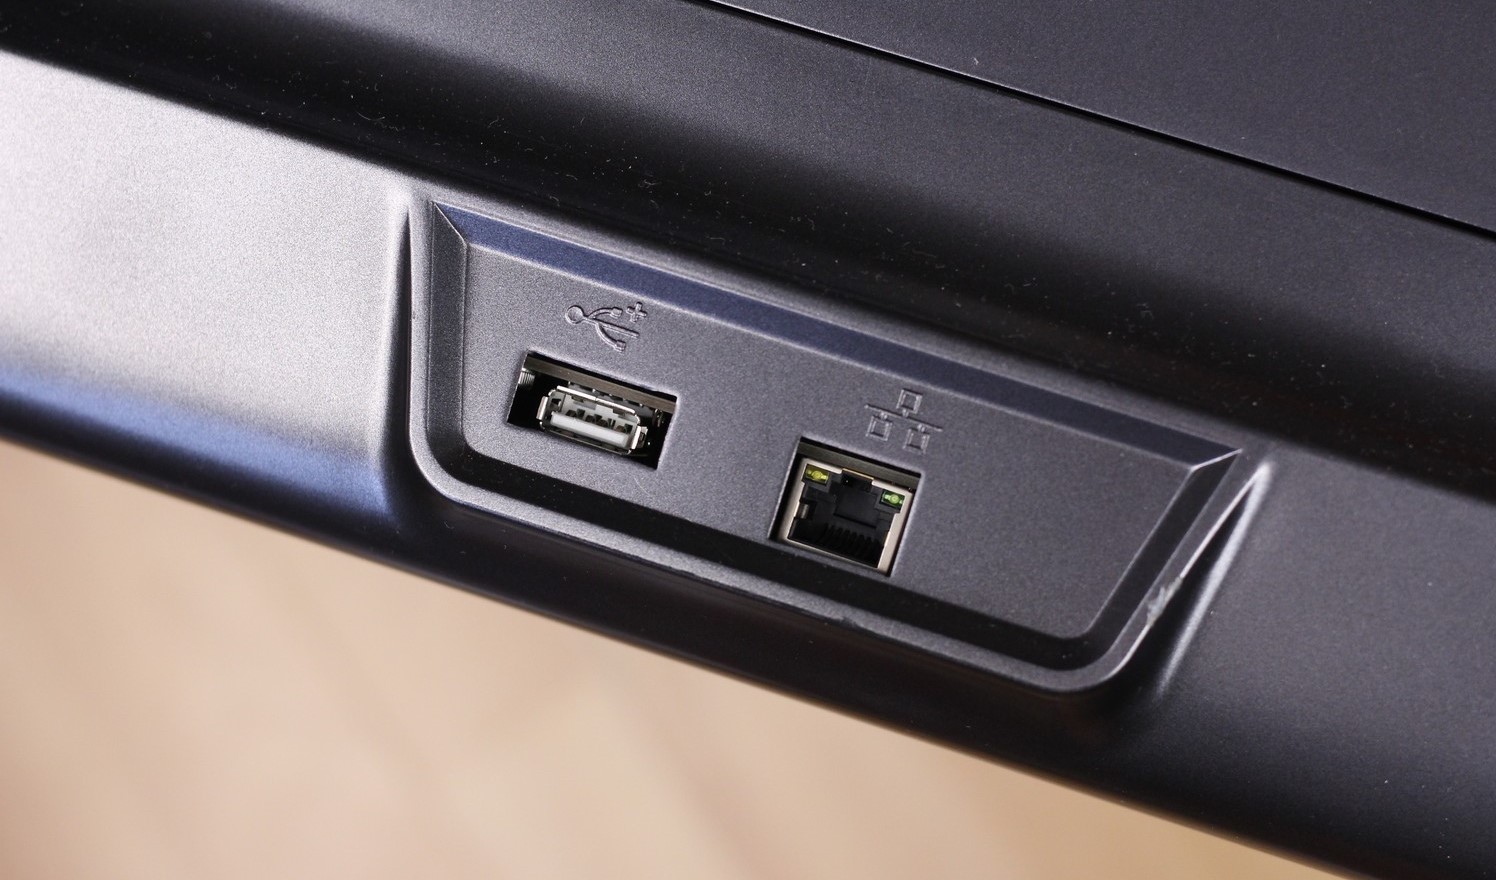
The QIDI X-MAX also comes with Wi-Fi and LAN network connectivity. I don’t really like the position of the RJ45 connector in front of the printer, but it is what it is.
Mean Well SE-450-24 power supply
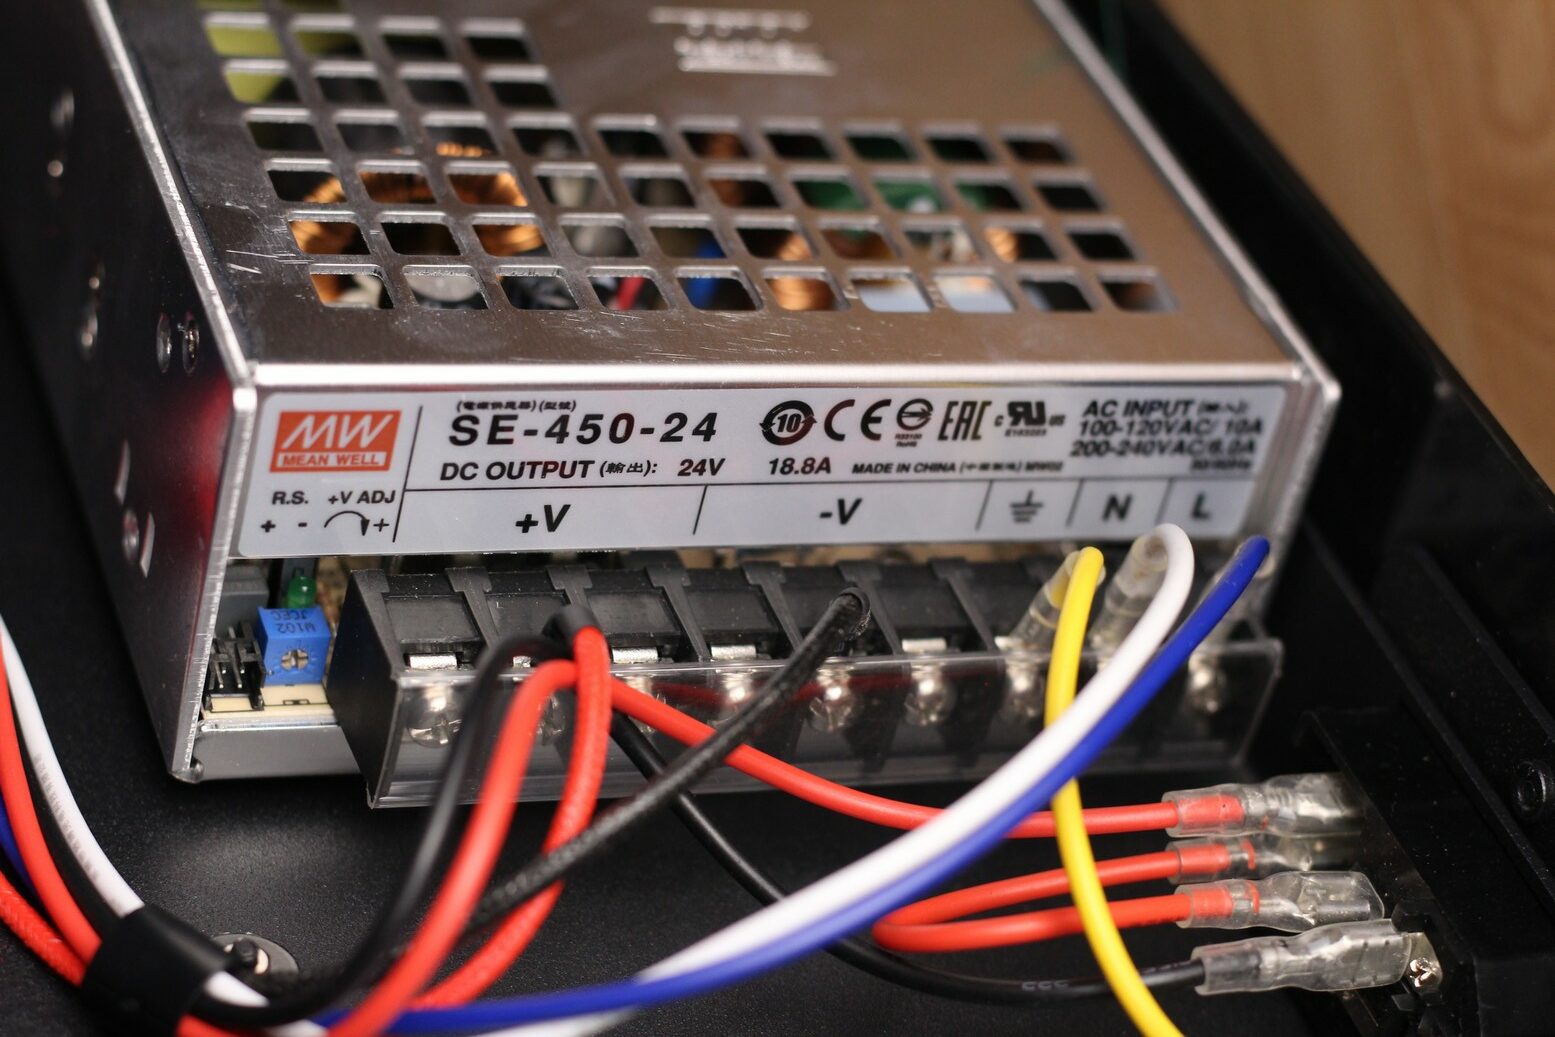
As you might expect, the QIDI X-MAX comes with a Mean Well 24V 450W power supply. The power supply fan produces a bit of noise, but it’s not disturbing.
5-inch touchscreen
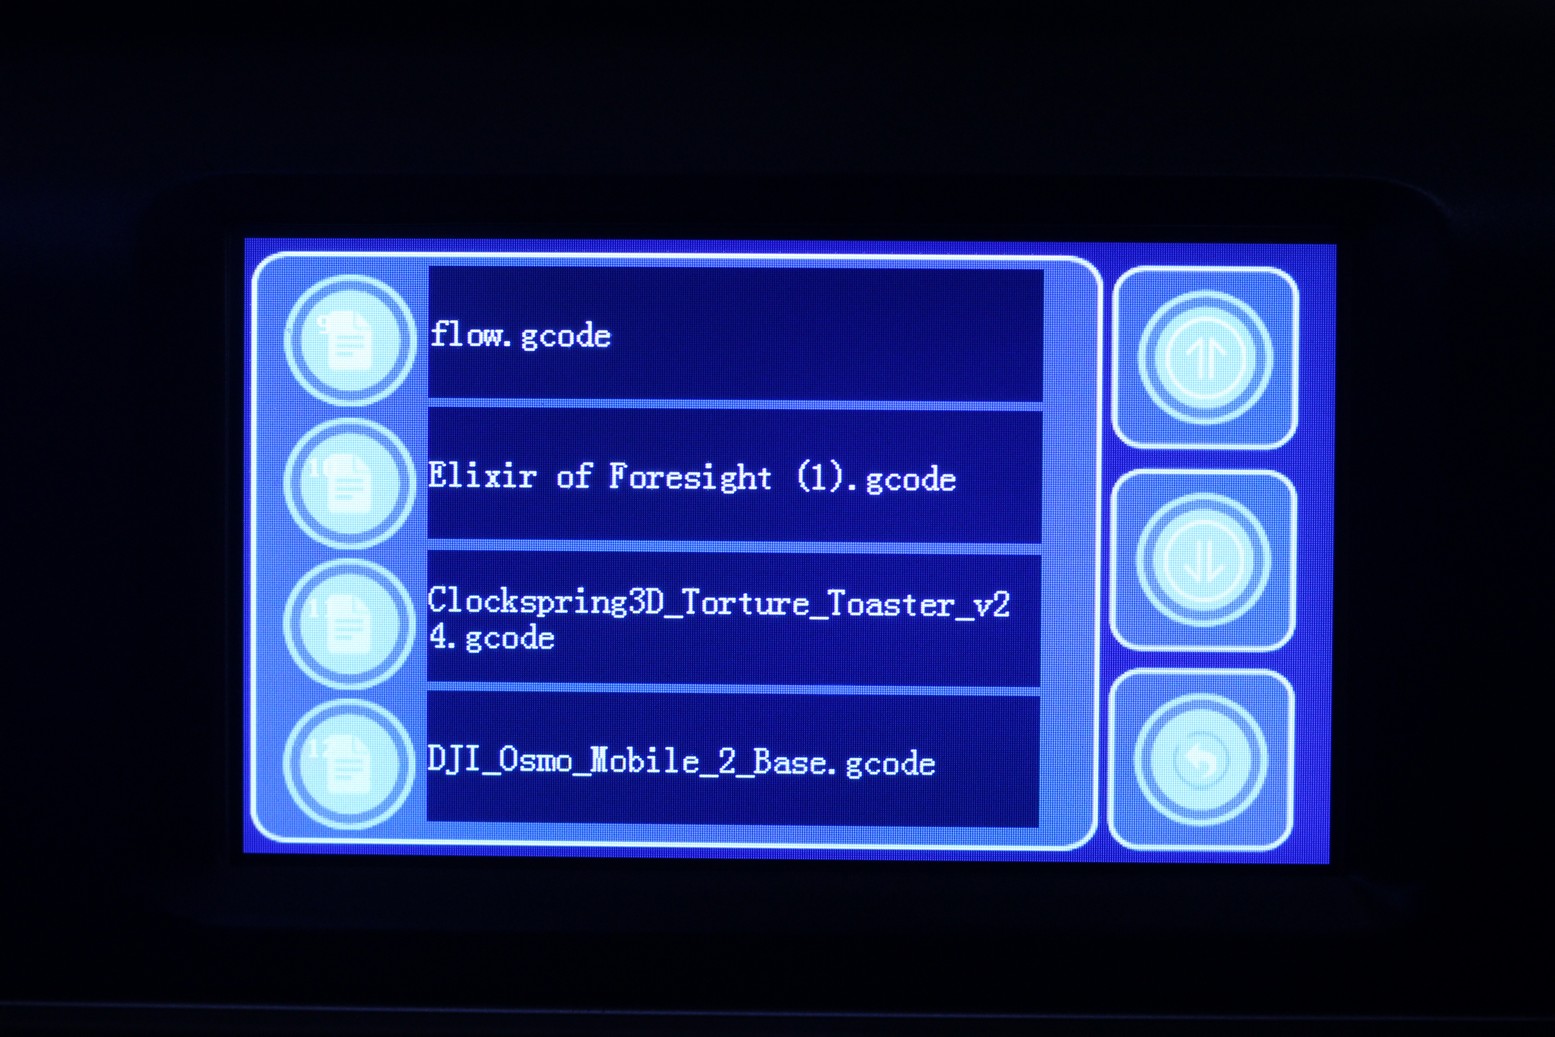
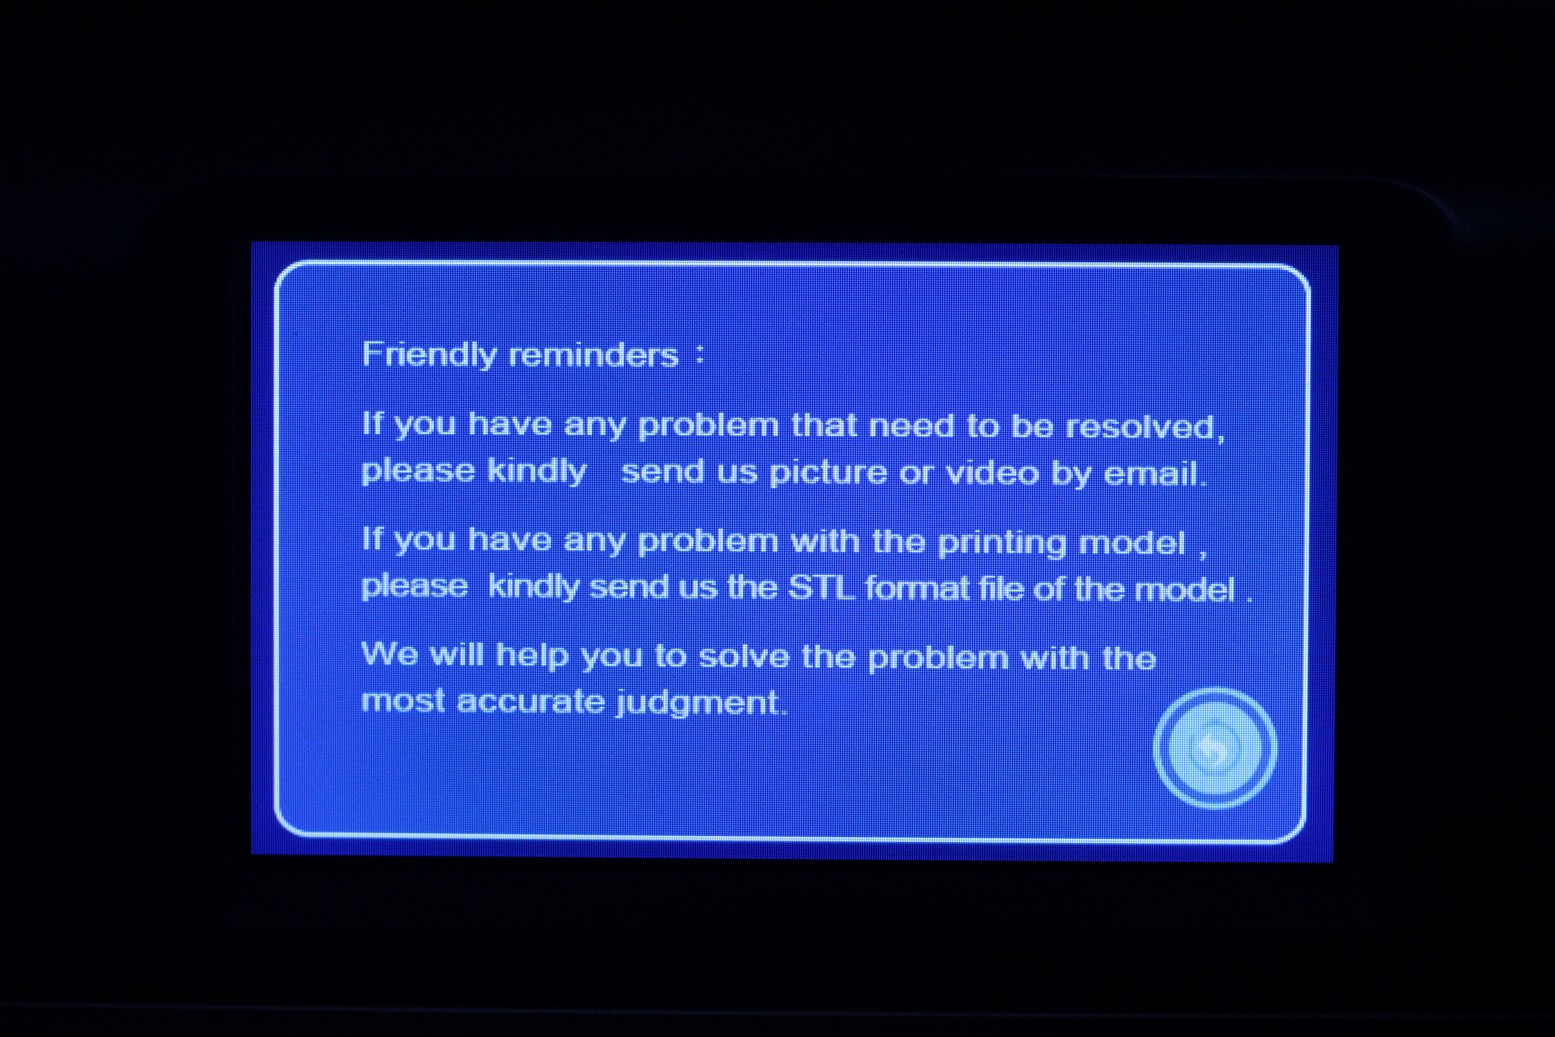
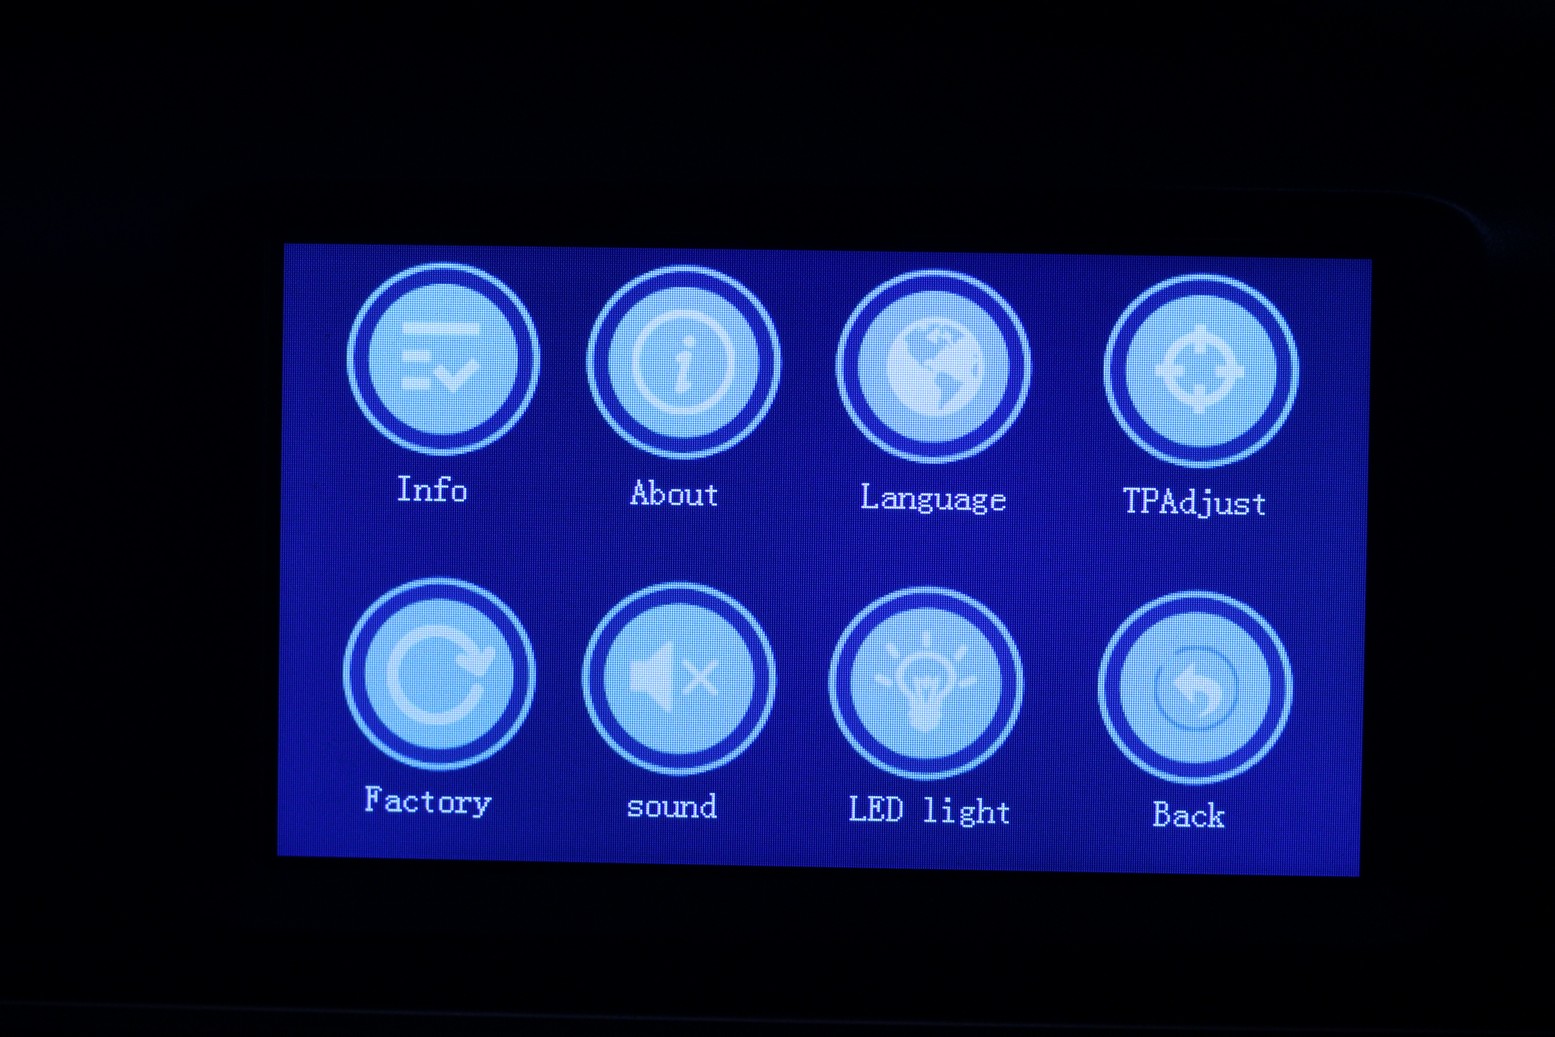
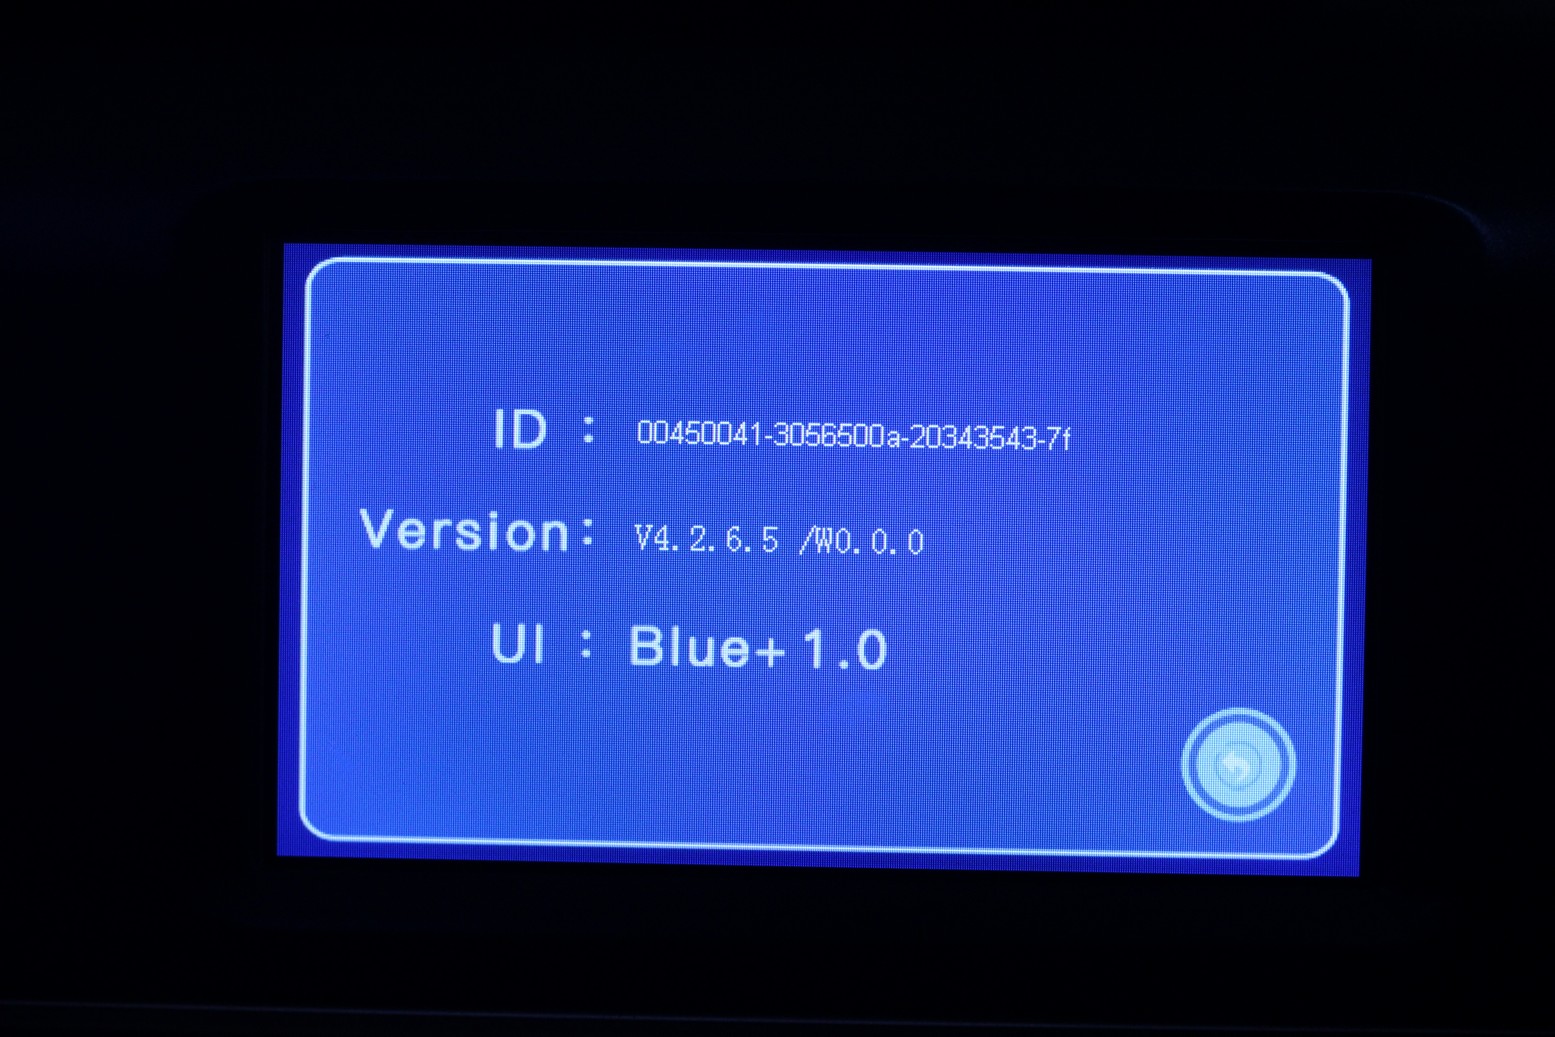
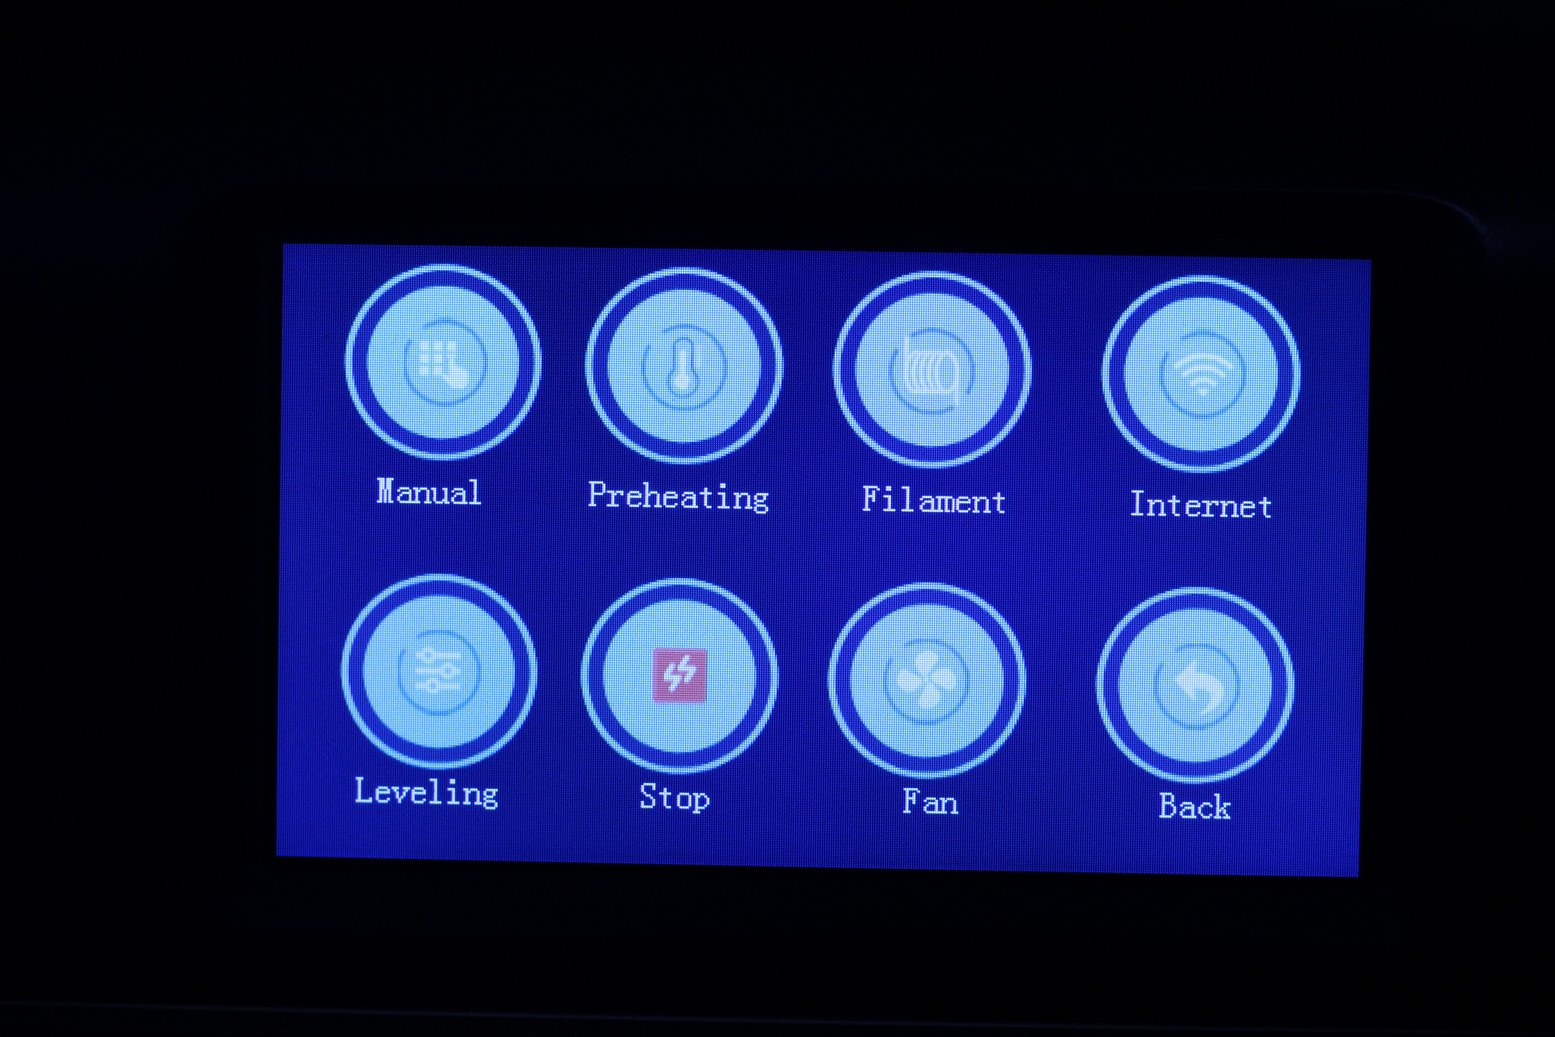
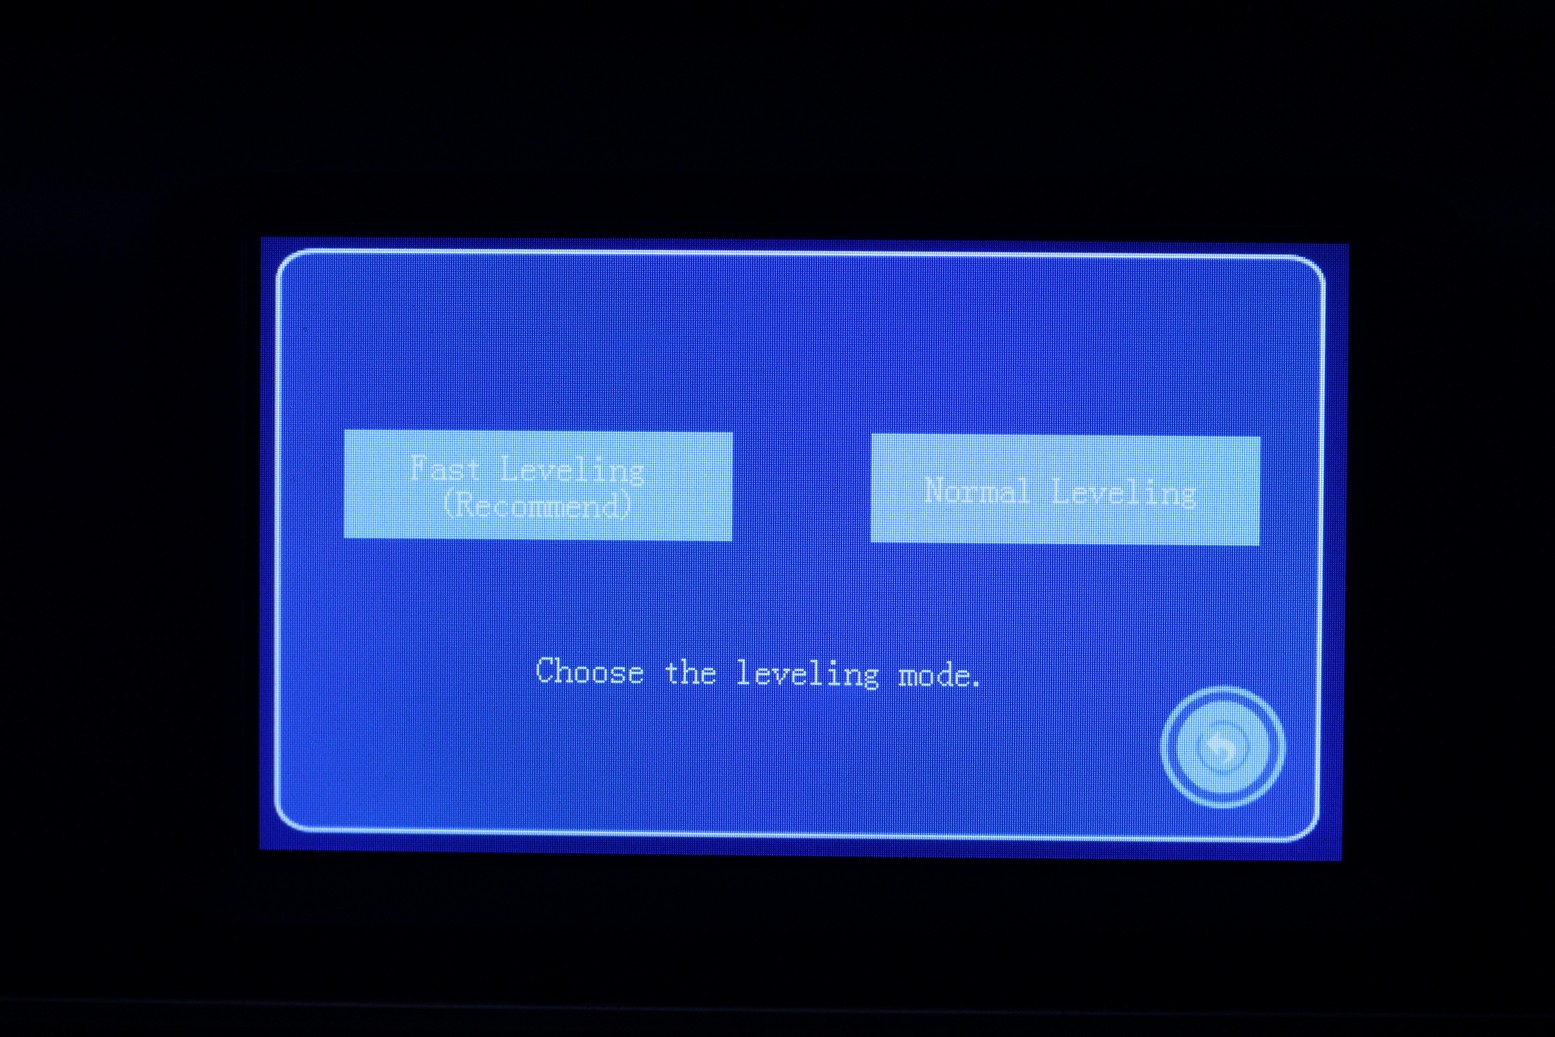
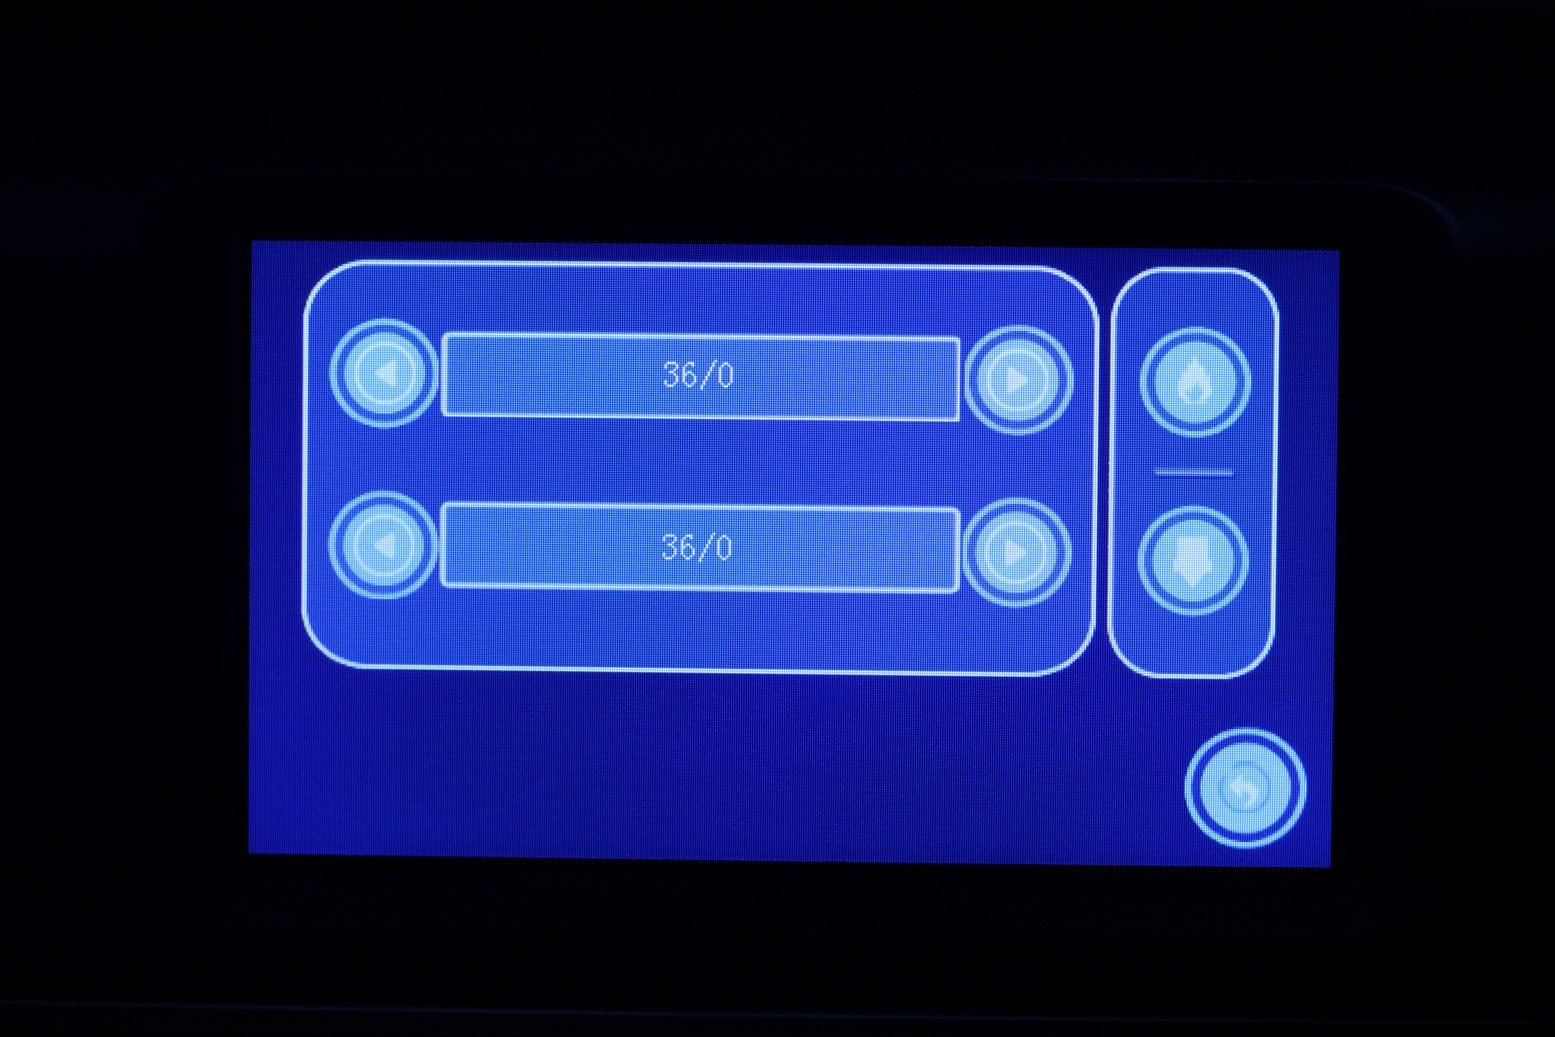
The 5-inch touchscreen works fine, but the interface is outdated and not very responsive. Some buttons are not correctly defined to show their purpose. But you won’t be playing too much with the screen for this printer, so it’s good enough.

Heating time and power consumption
I tested the heating time for both hotend and heat bed and here are the results:
Hotend
- 200C in 2 minutes and 10 seconds
- 250C in 3 minutes and 40 seconds
- 280C in 6 minutes and 10 seconds
Heatbed
- 60C in 3 minutes
- 100C in 9 minutes and 10 seconds
- 120C in 15 minutes and 25 seconds
Power Draw
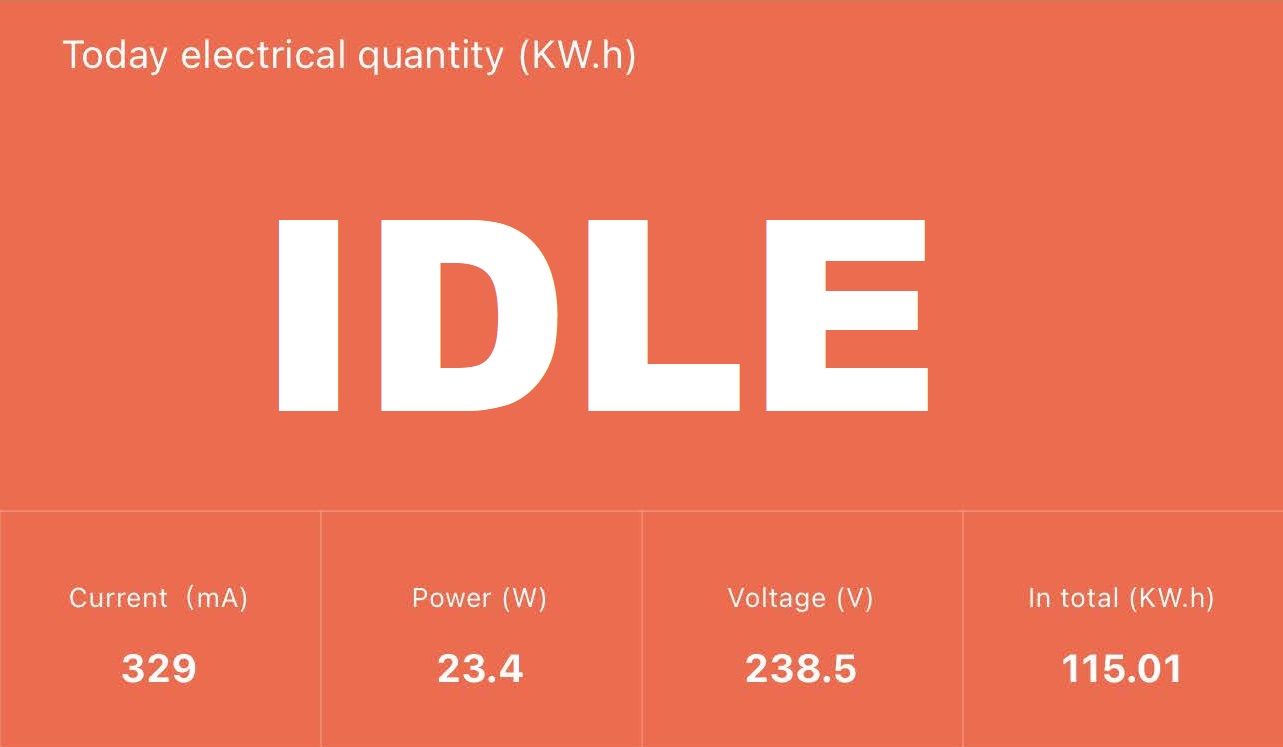
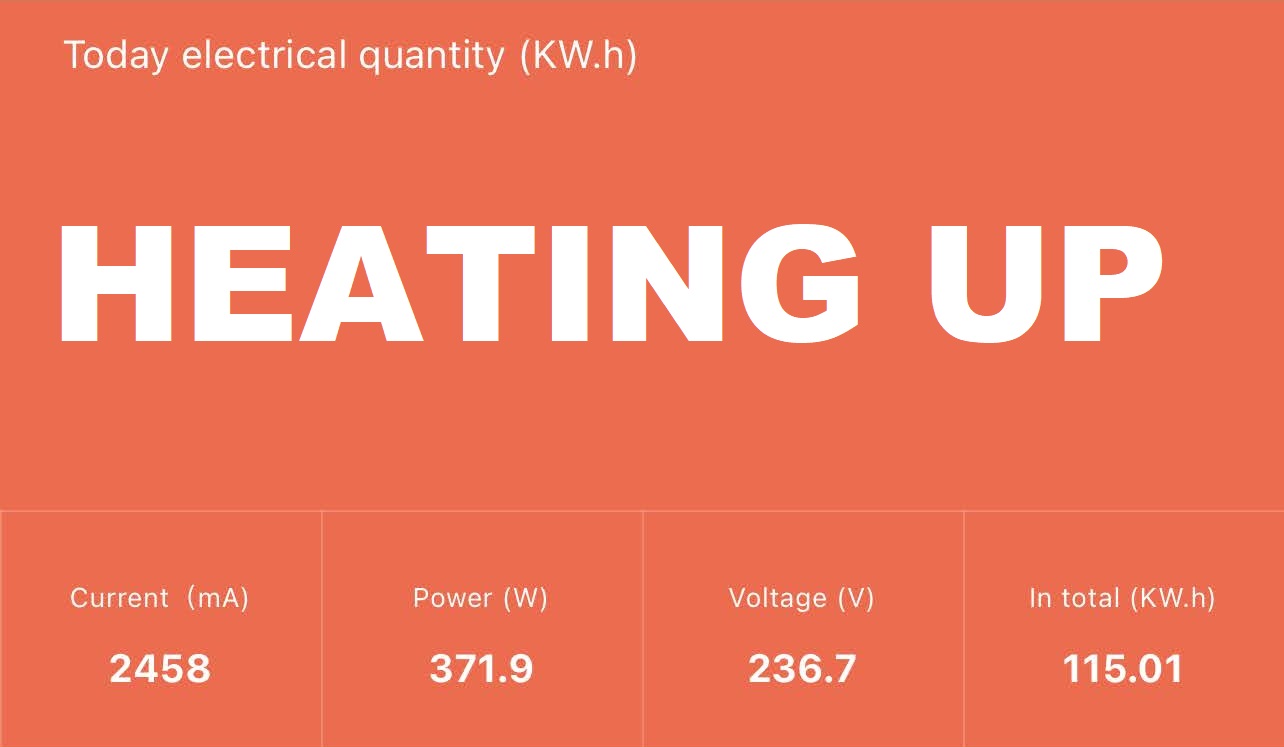

Idle power draw is around 23W. When the hotend and heatbed are heating up, the QIDI X-MAX draws around 375W. After it starts printing, the power draw stabilizes to around 140W.
Bed Temperature Uniformity
I tested the temperature uniformity for the QIDI X-MAX bed with the FLIR Camera installed on the CAT S62 Pro. The bed has been set to 60C and I waited 2 minutes after reaching that temperature for the temperature to stabilize.
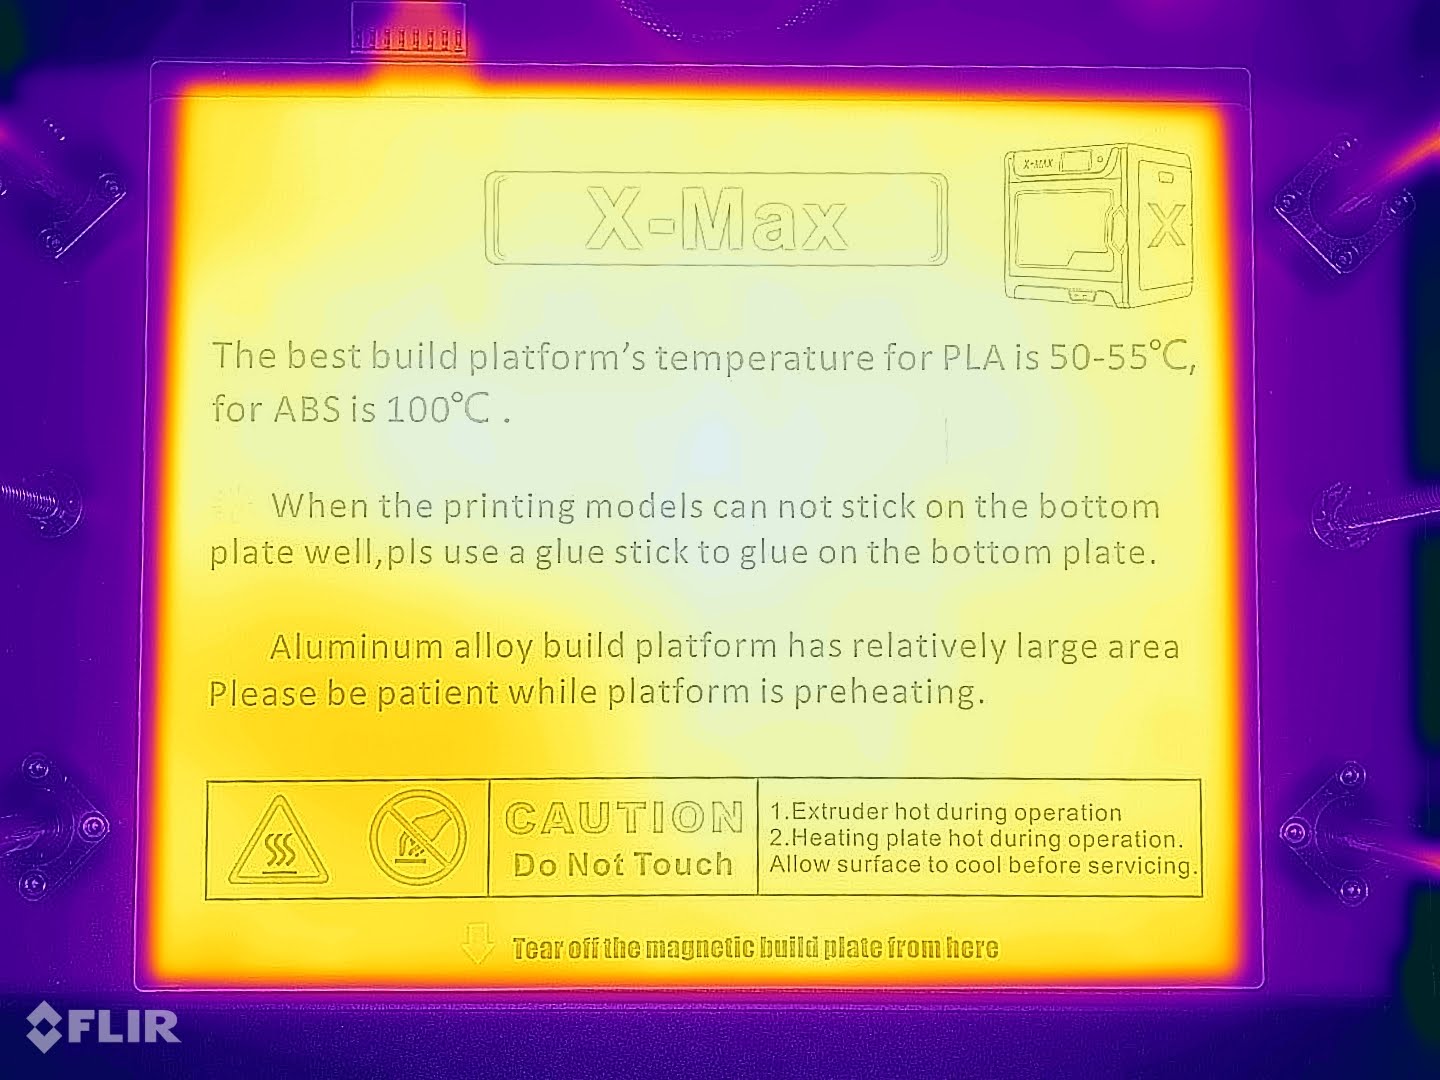
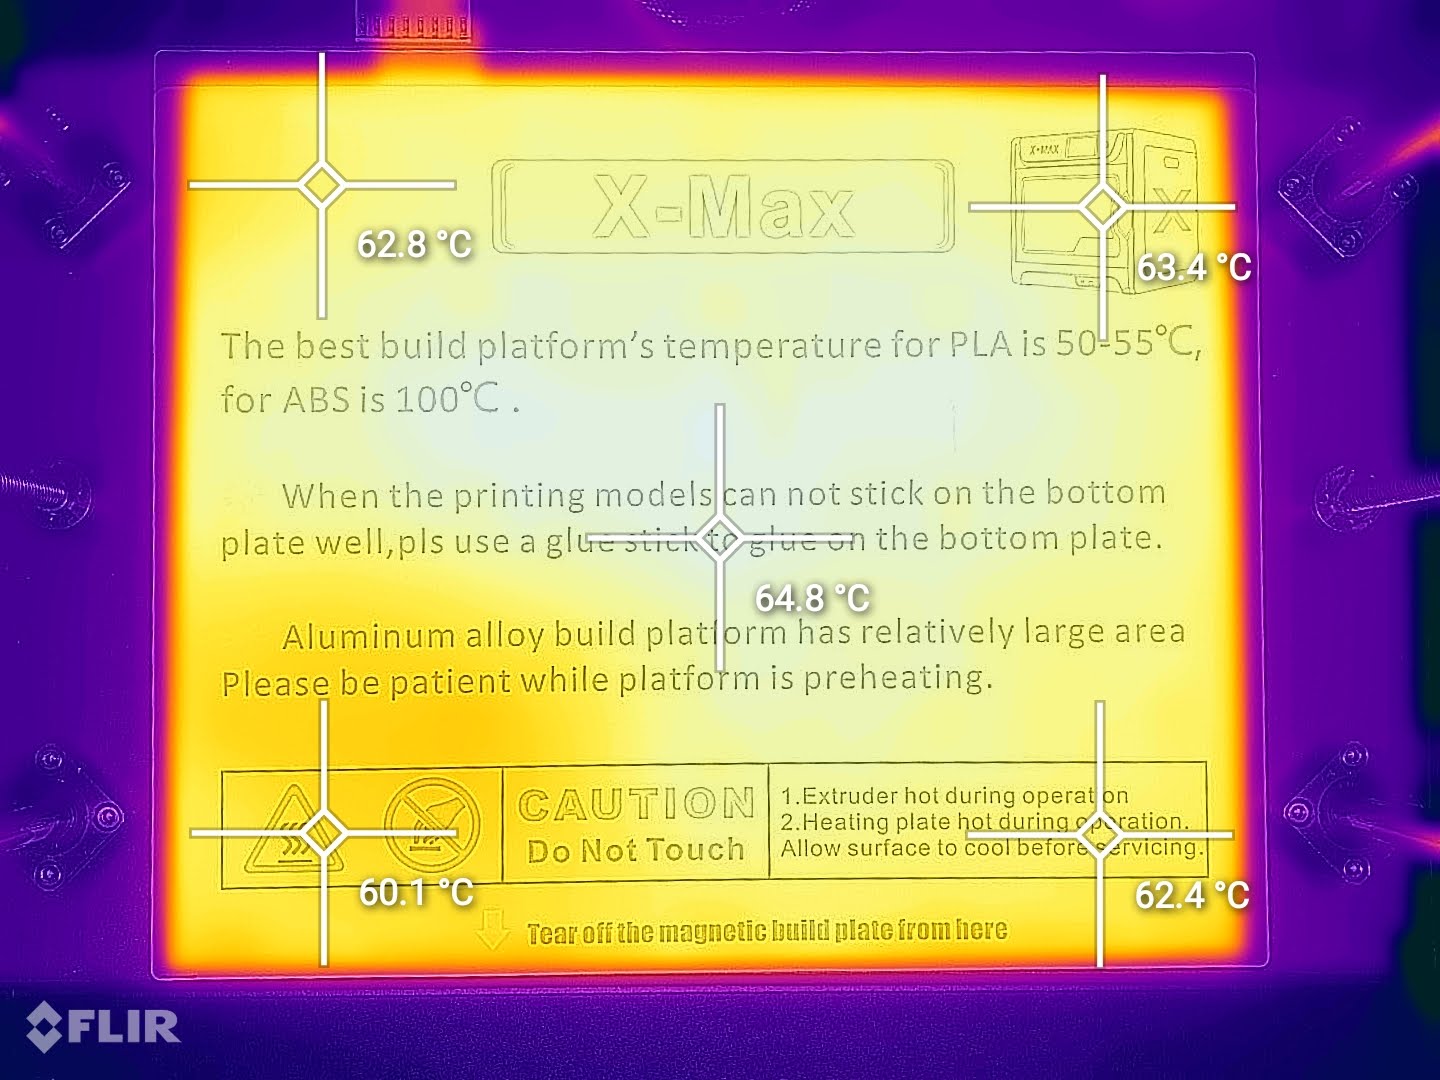
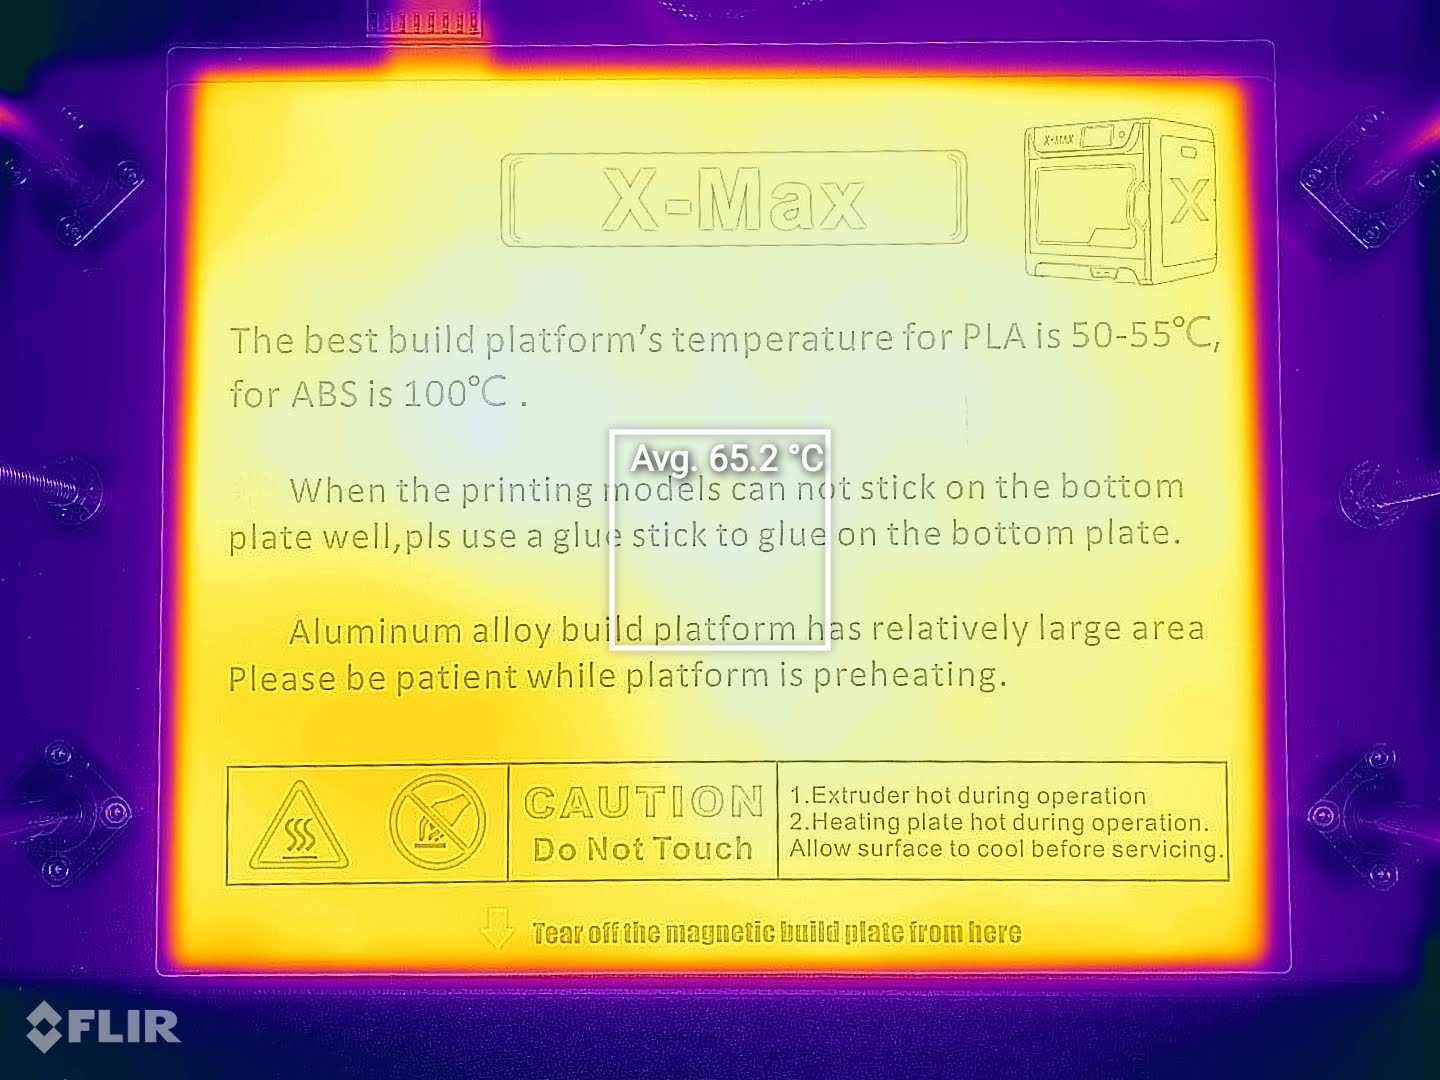
As you can see, the bed temperature uniformity is good, with a small temperature difference in the bottom right side.
QIDI X-MAX Noise Levels
IdeaMaker Profiles for QIDI X-MAX
During my time with the printer, I also tuned four IdeaMaker profiles for the QIDI X-MAX using the tools available in the 3D Printer Calibration Guide using IdeaMaker article. These profiles are tuned for the stock printer and worked well for me. Feel free to give them a go.
QIDI X-MAX IdeaMaker Profile – PLA – 3DPrintBeginner
QIDI X-MAX IdeaMaker Profile – PETG – 3DPrintBeginner
QIDI X-MAX IdeaMaker Profile – TPU – 3DPrintBeginner
QIDI X-MAX IdeaMaker Profile – ABS – 3DPrintBeginner
Test prints on QIDI X-MAX
Phil-A-Ment
I started my testing of the QIDI X-MAX with a PLA Phil-A-Ment which came out really well. The adhesion was great, and the extrusion quality looks good.
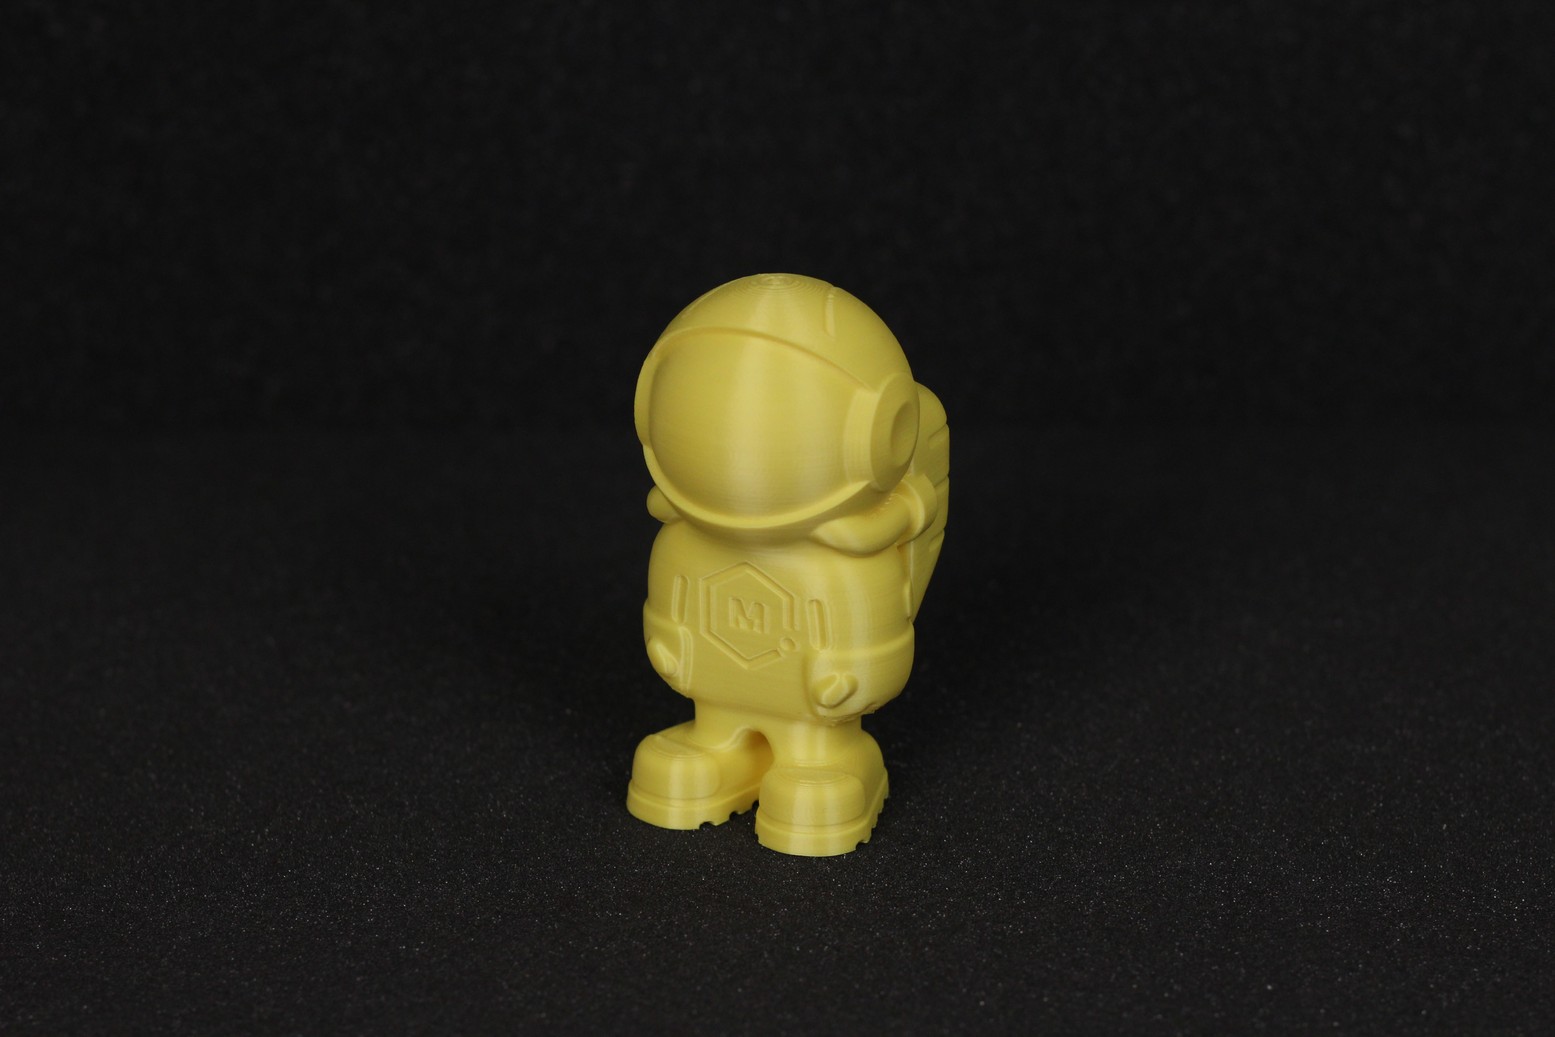
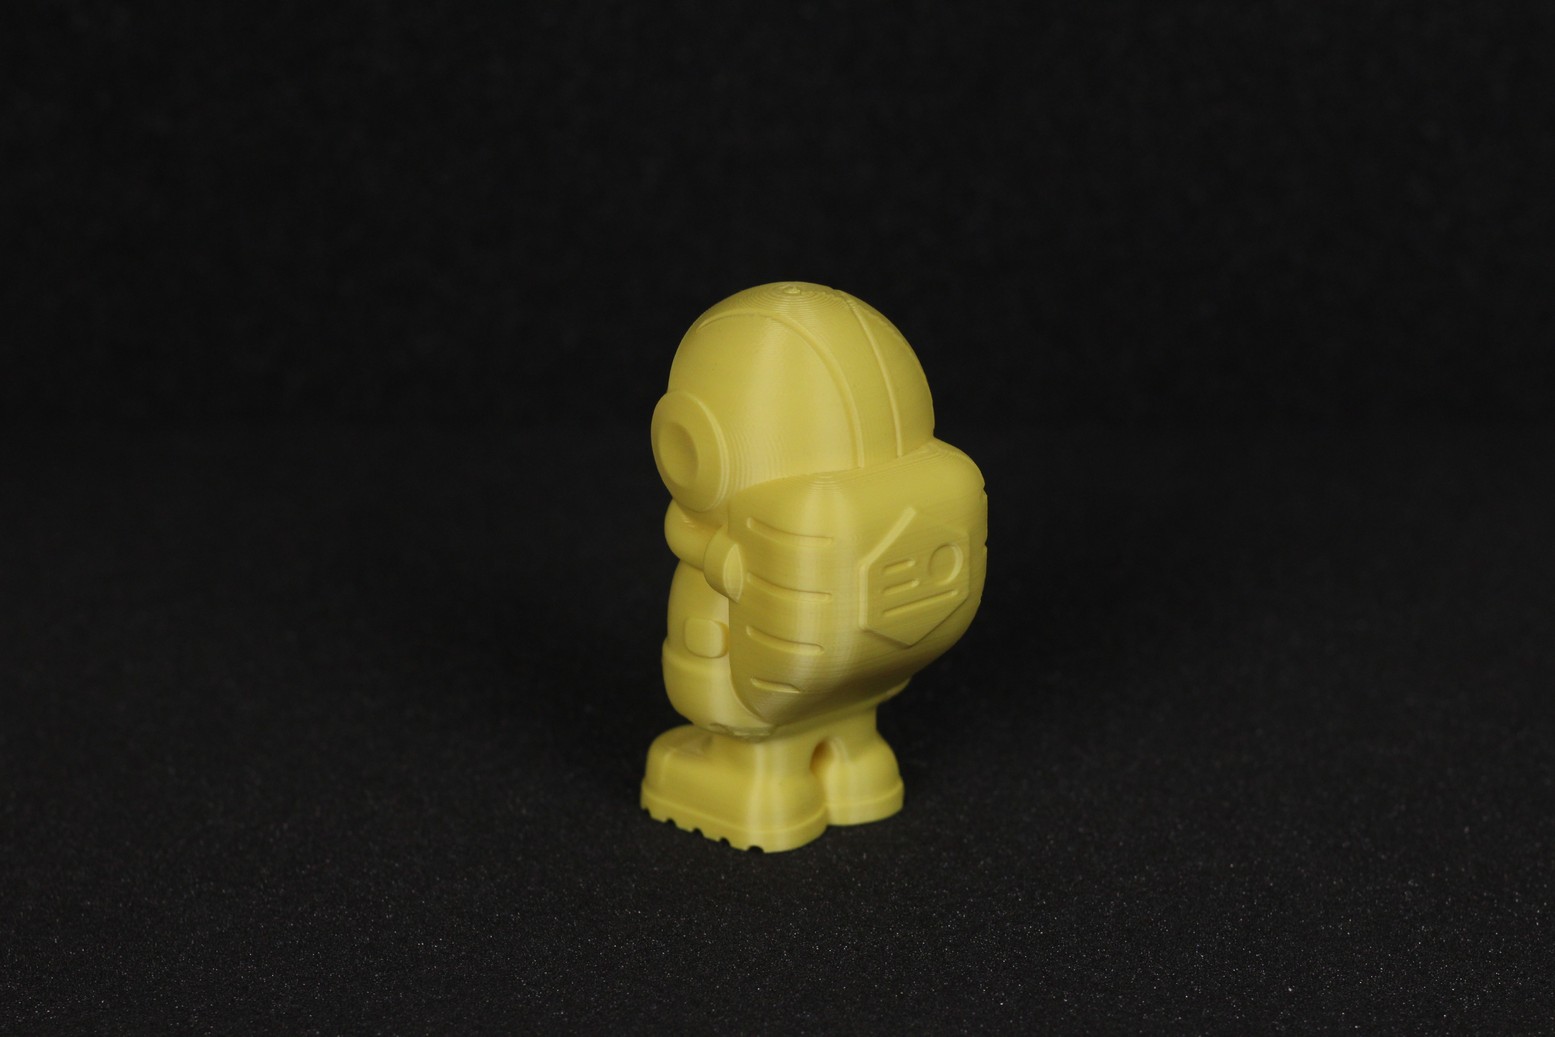
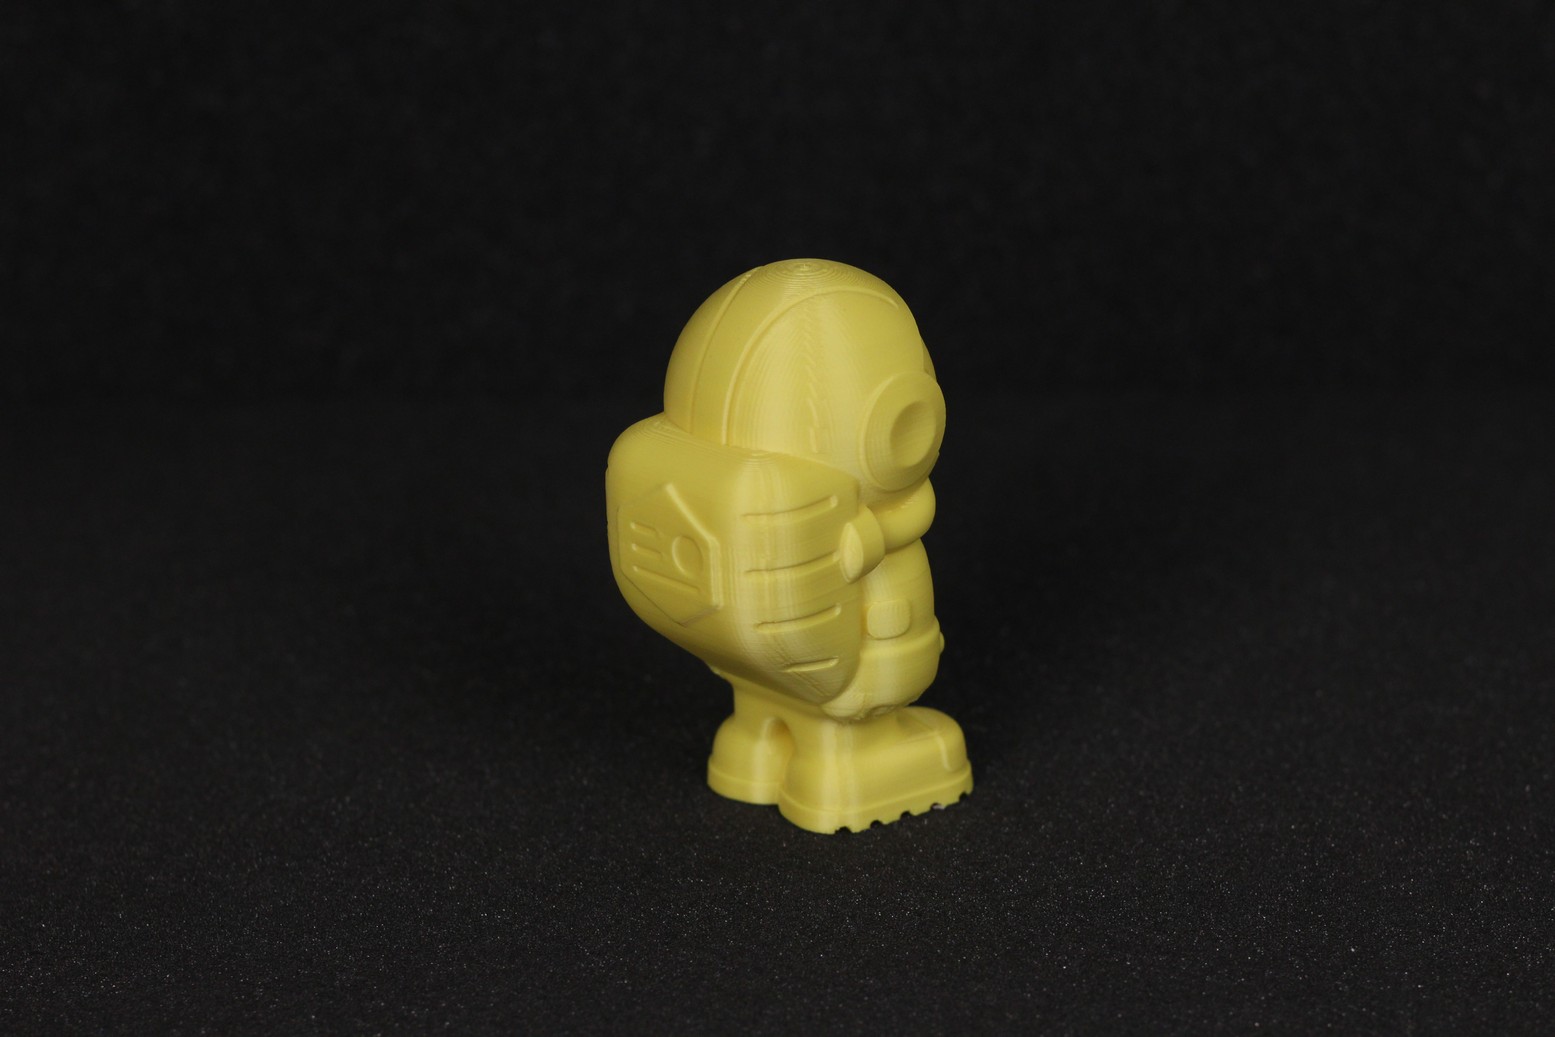
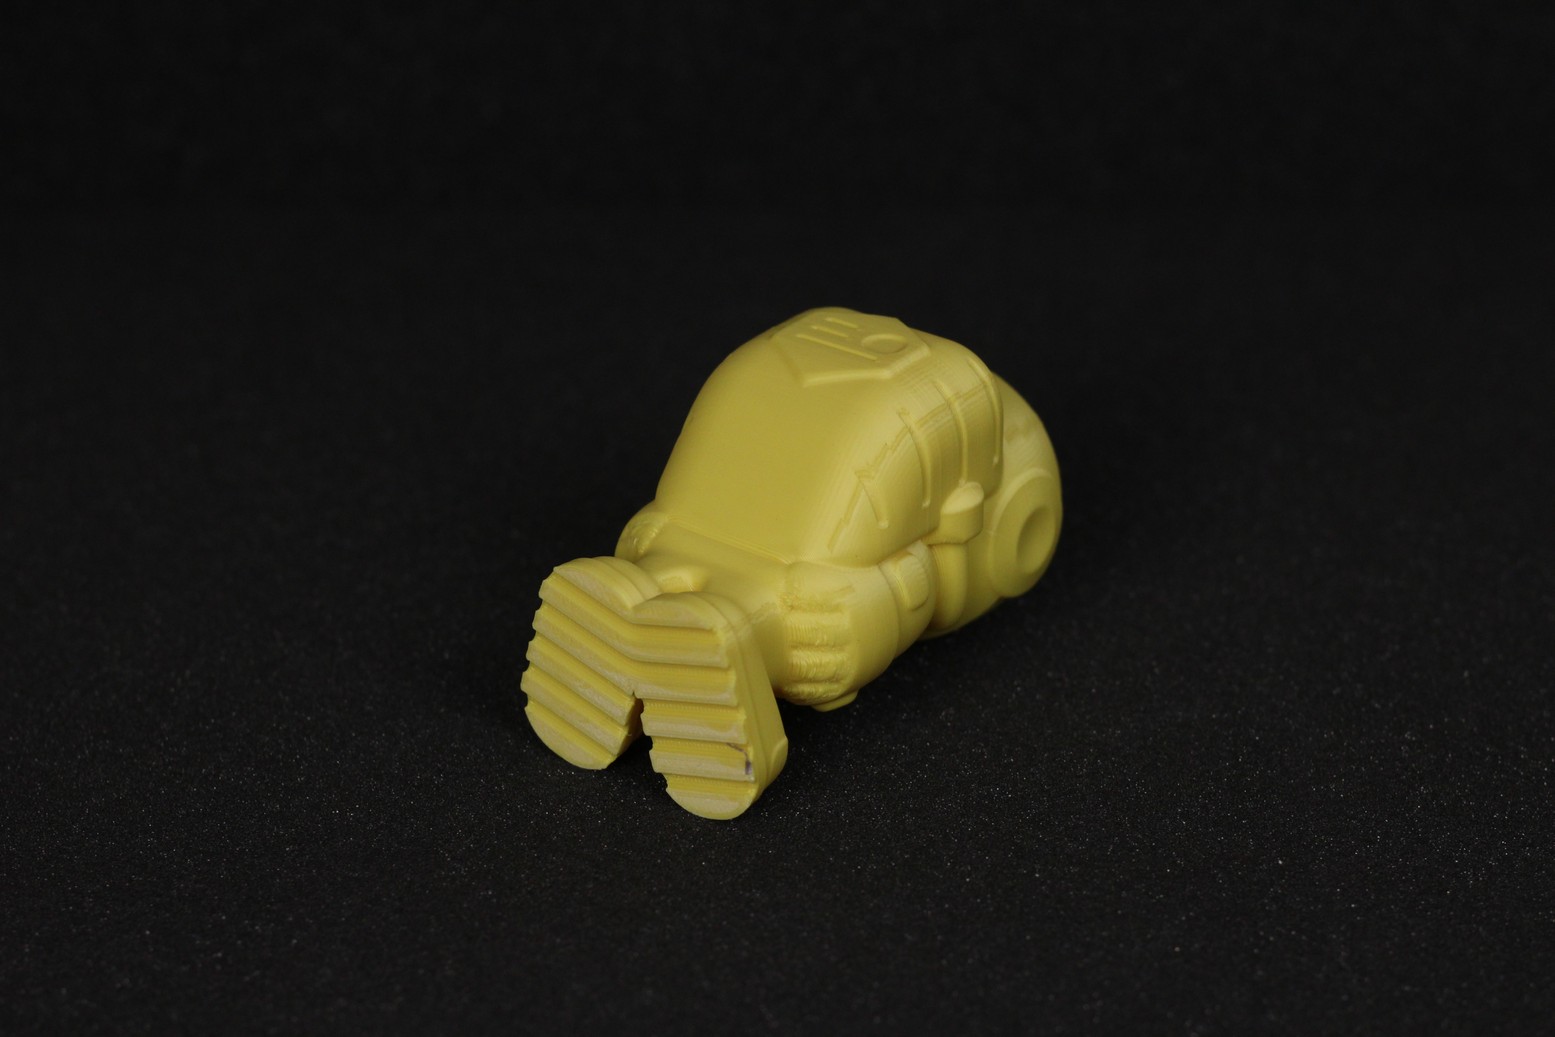
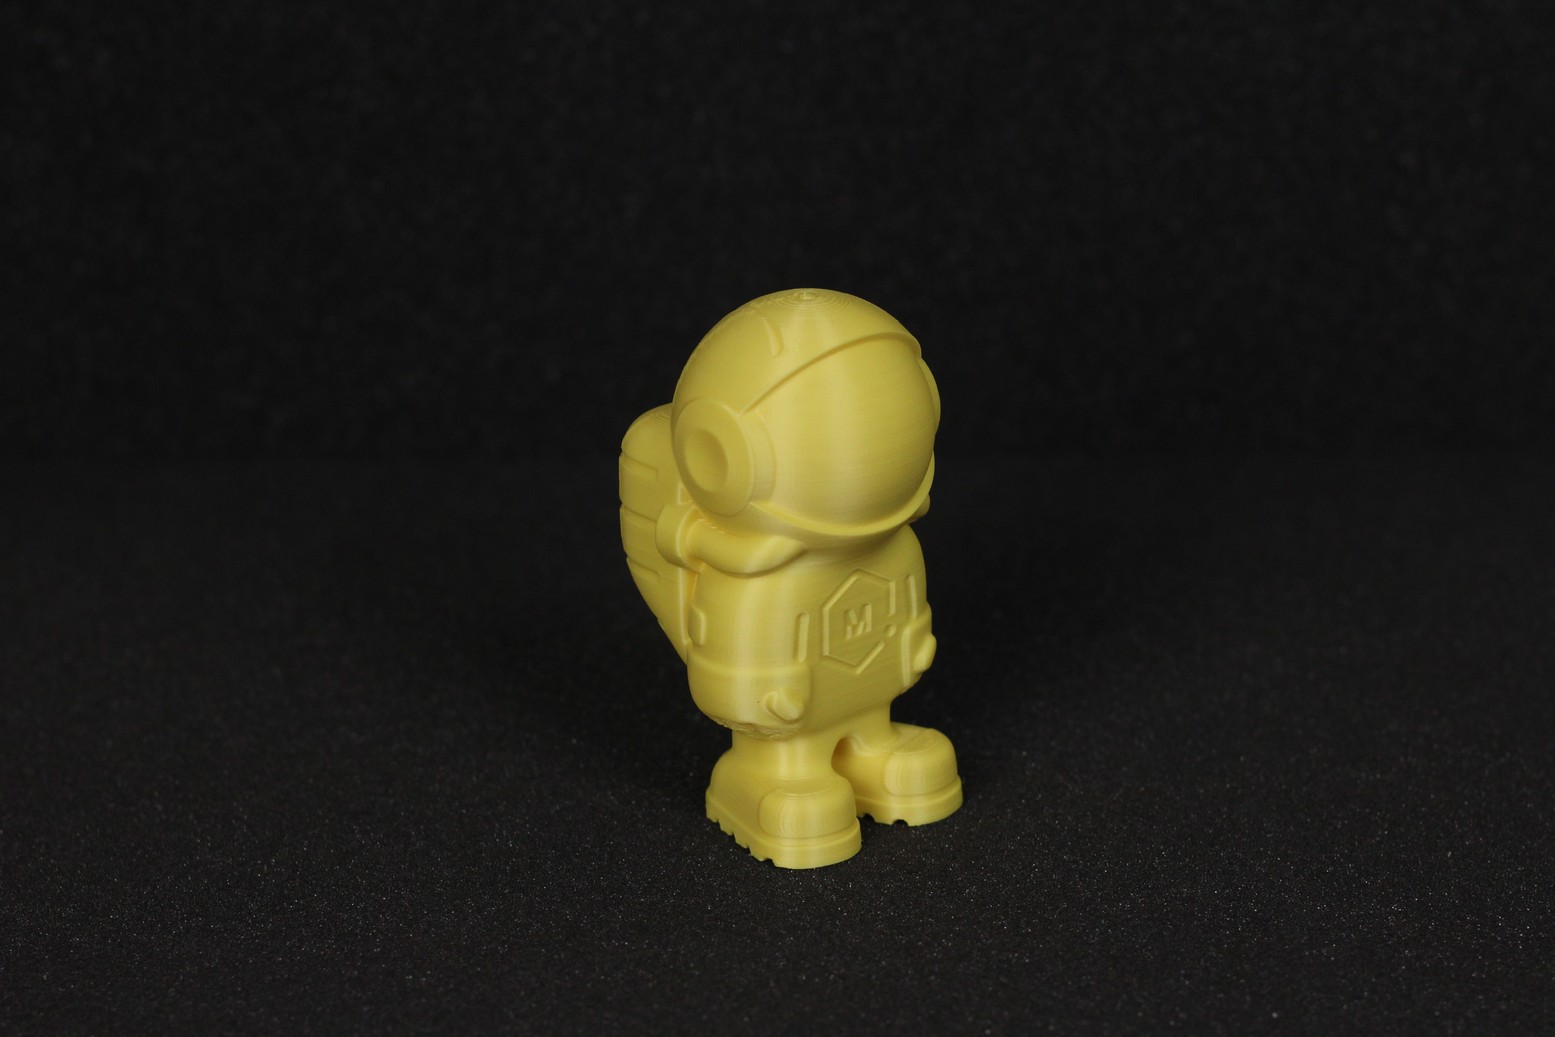
- Material: Gembird Yellow PLA
- Layer Height: 0.2mm
- Nozzle Temperature: 215C
- Bed Temperature: 60C
- Print Speed: 50 mm/s
200% Calibration Cube
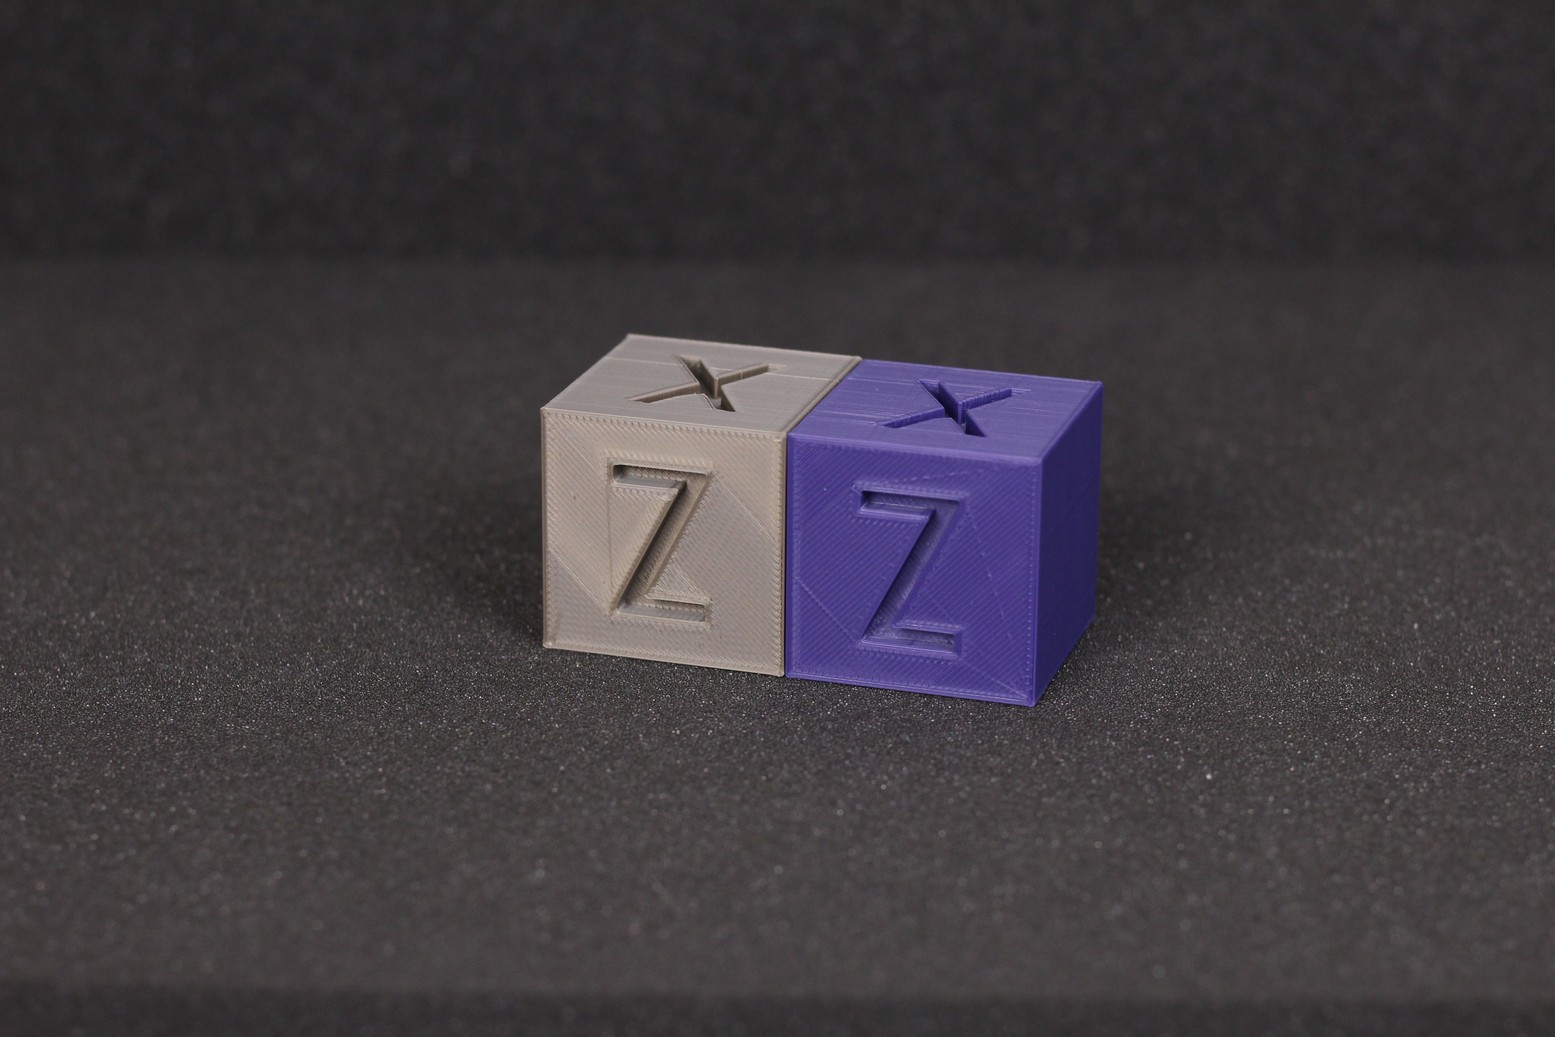
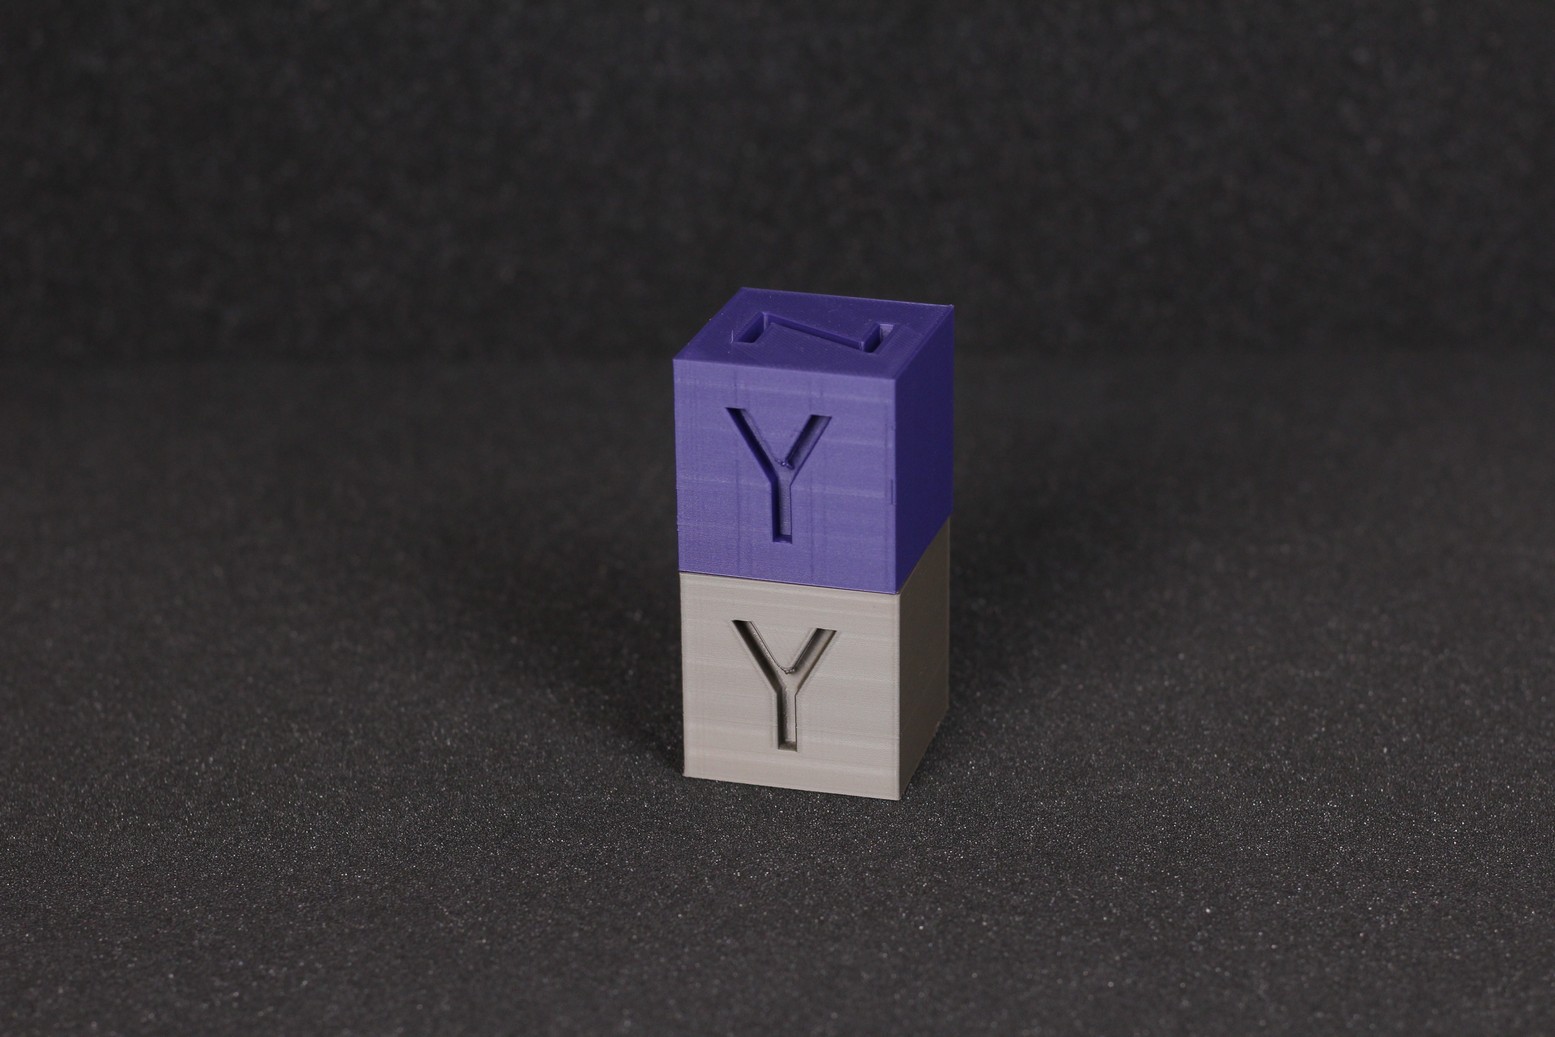
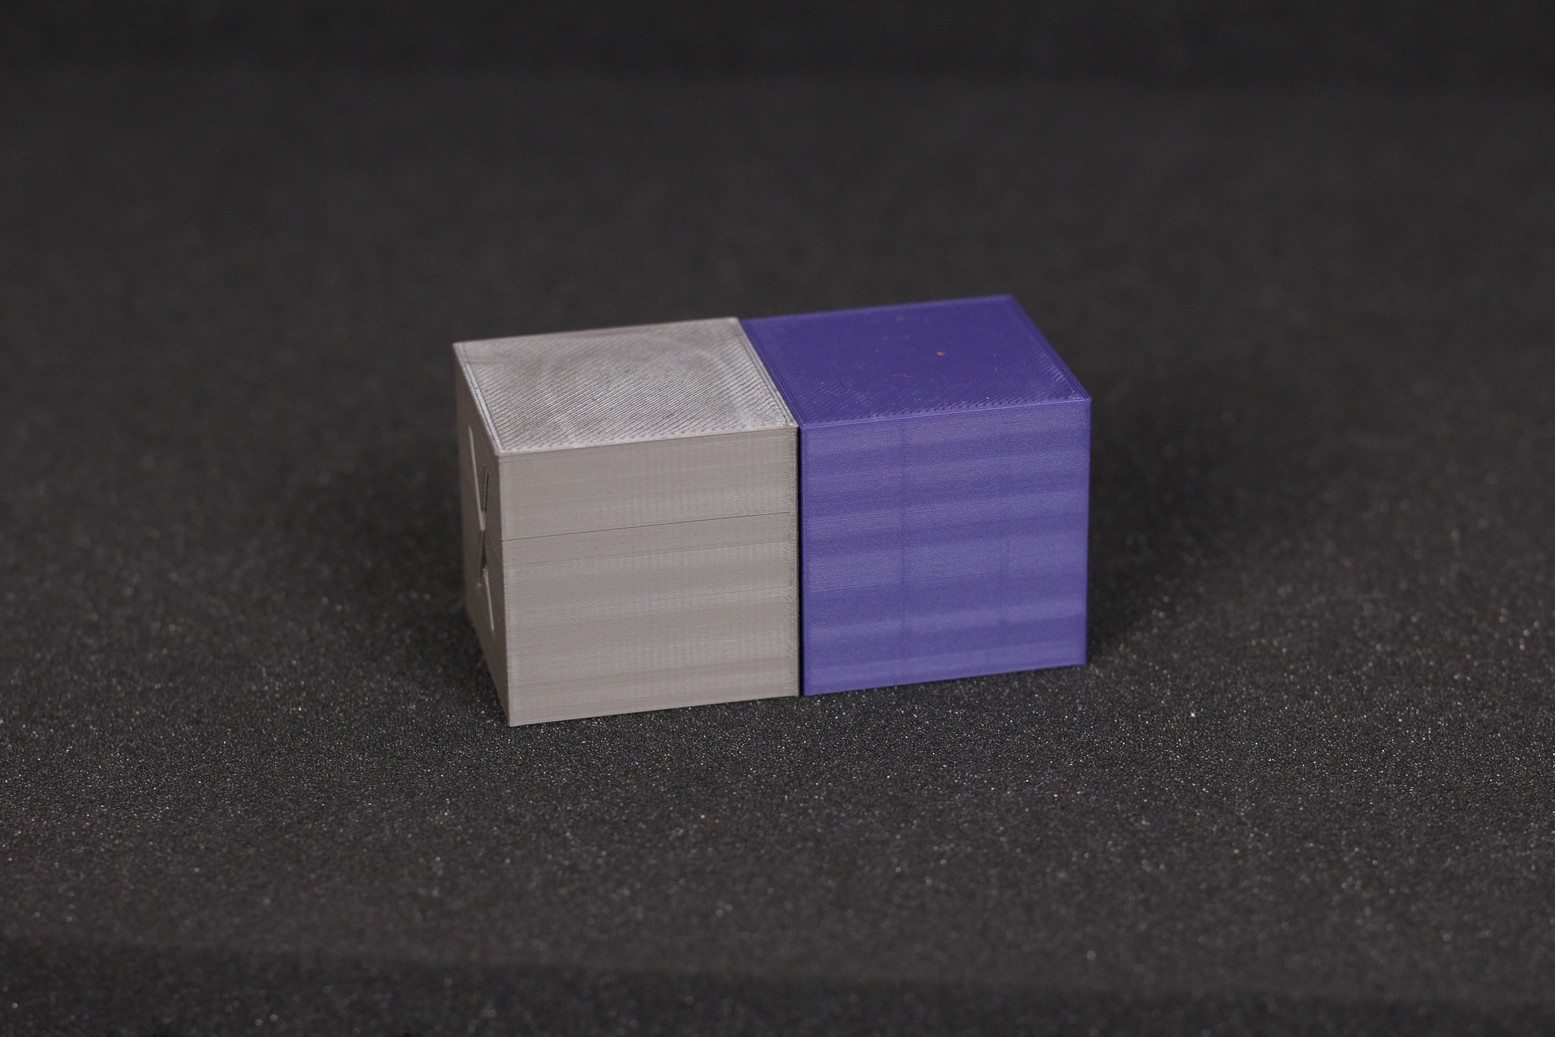
I wanted to test the printing quality difference with the stock QIDI Print profile and my IdeaMaker profile. The purple cube was printed with the stock slicer and you can easily see the infill showing up on the external walls. On the other hand, the cube printed with IdeaMaker doesn’t have that issue.
Still, you can see a change in filament color on the sides of the cubes, which I think it’s caused by the change in print speed for some sections. A more constant printing speed solved this issue.
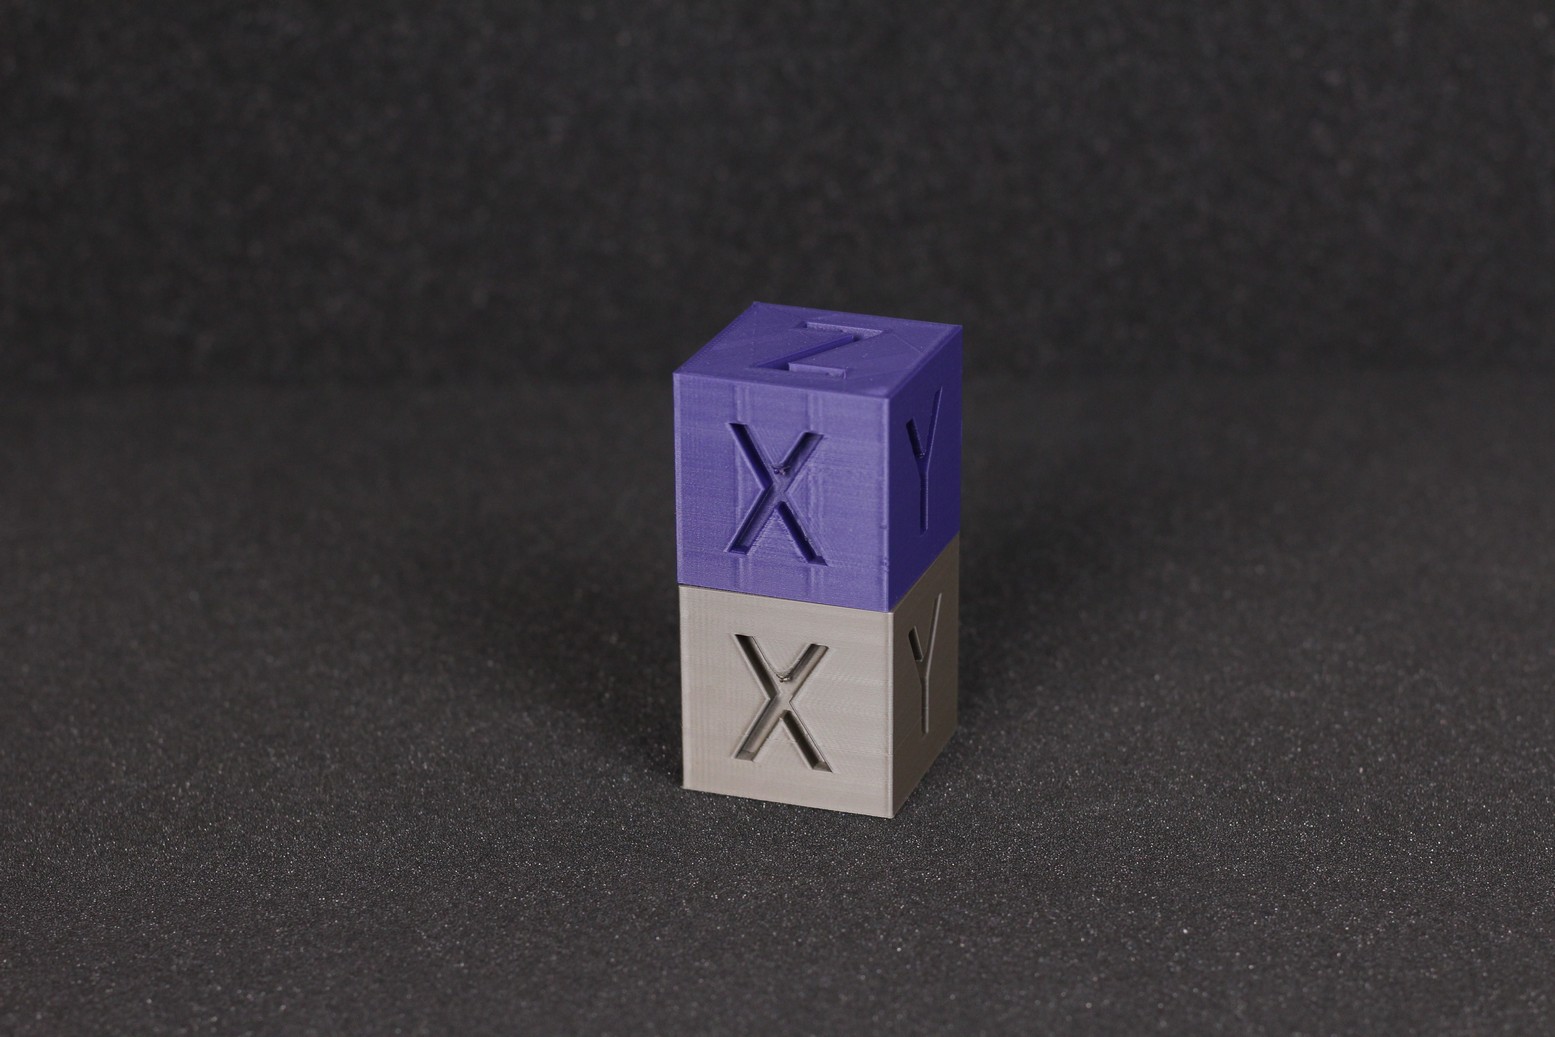
- Material: Gembird Purple and Gold PLA
- Layer Height: 0.2mm
- Nozzle Temperature: 215C
- Bed Temperature: 60C
- Print Speed: 50 mm/s
3D Benchy
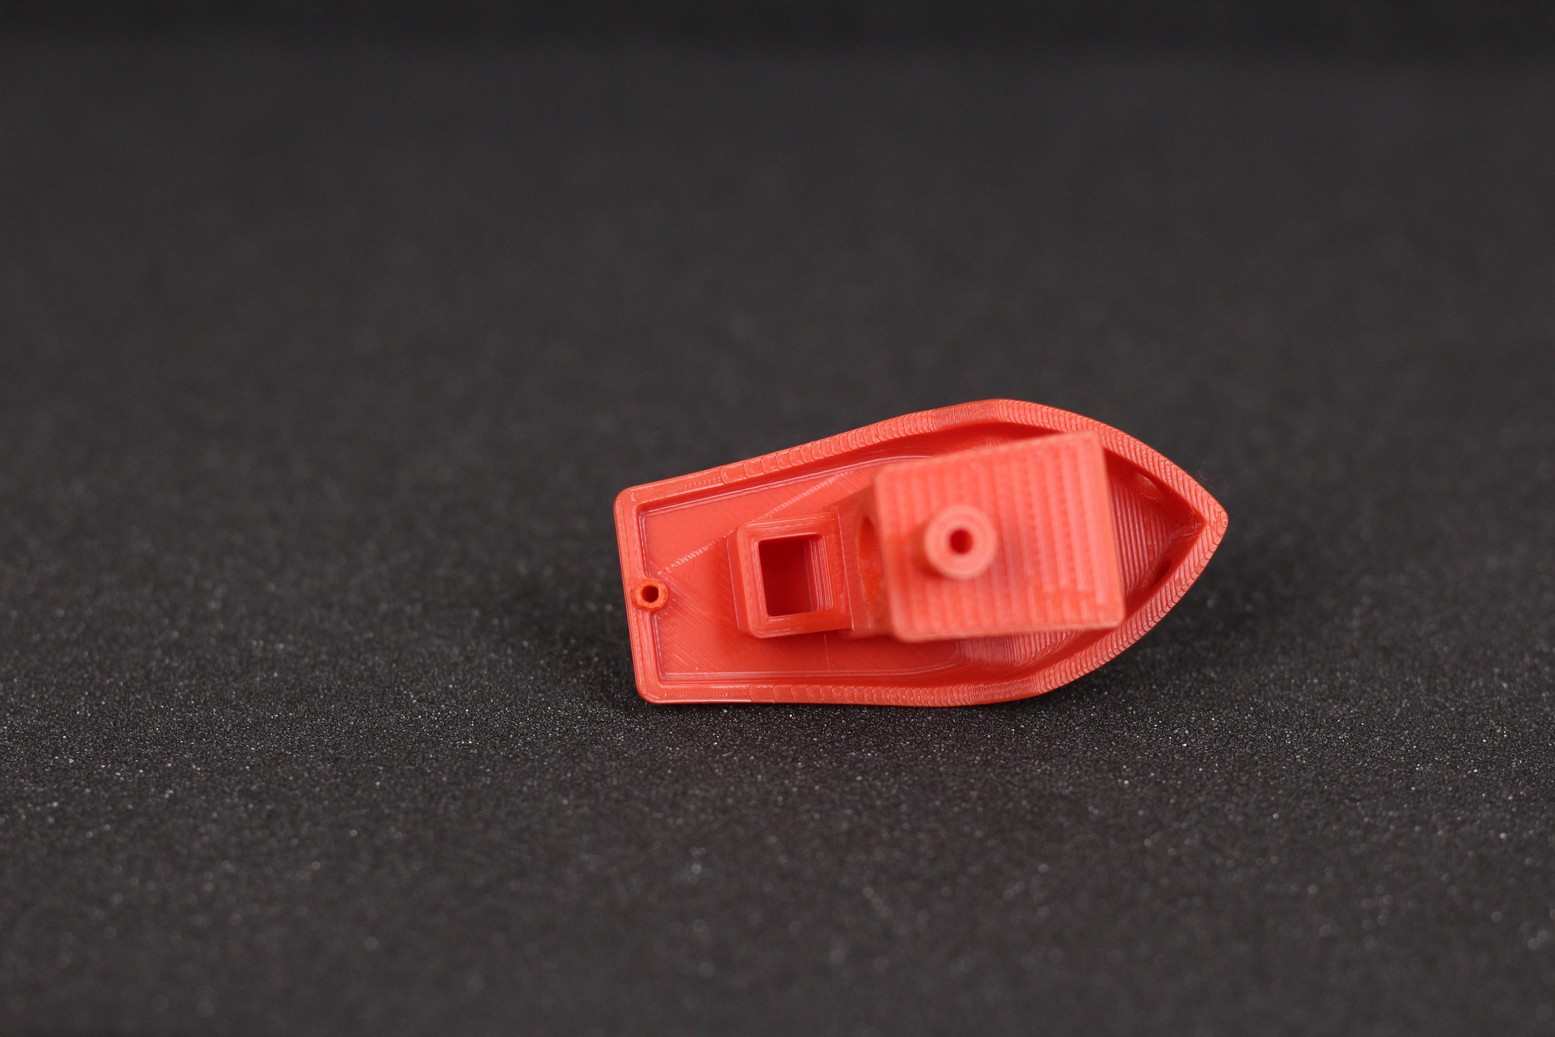
Of course, it wouldn’t be a complete review without also printing a 3D Benchy so here it is. The print quality is good but if you look closer, you can see a bit of z banding on the external walls of the print, with some ringing.
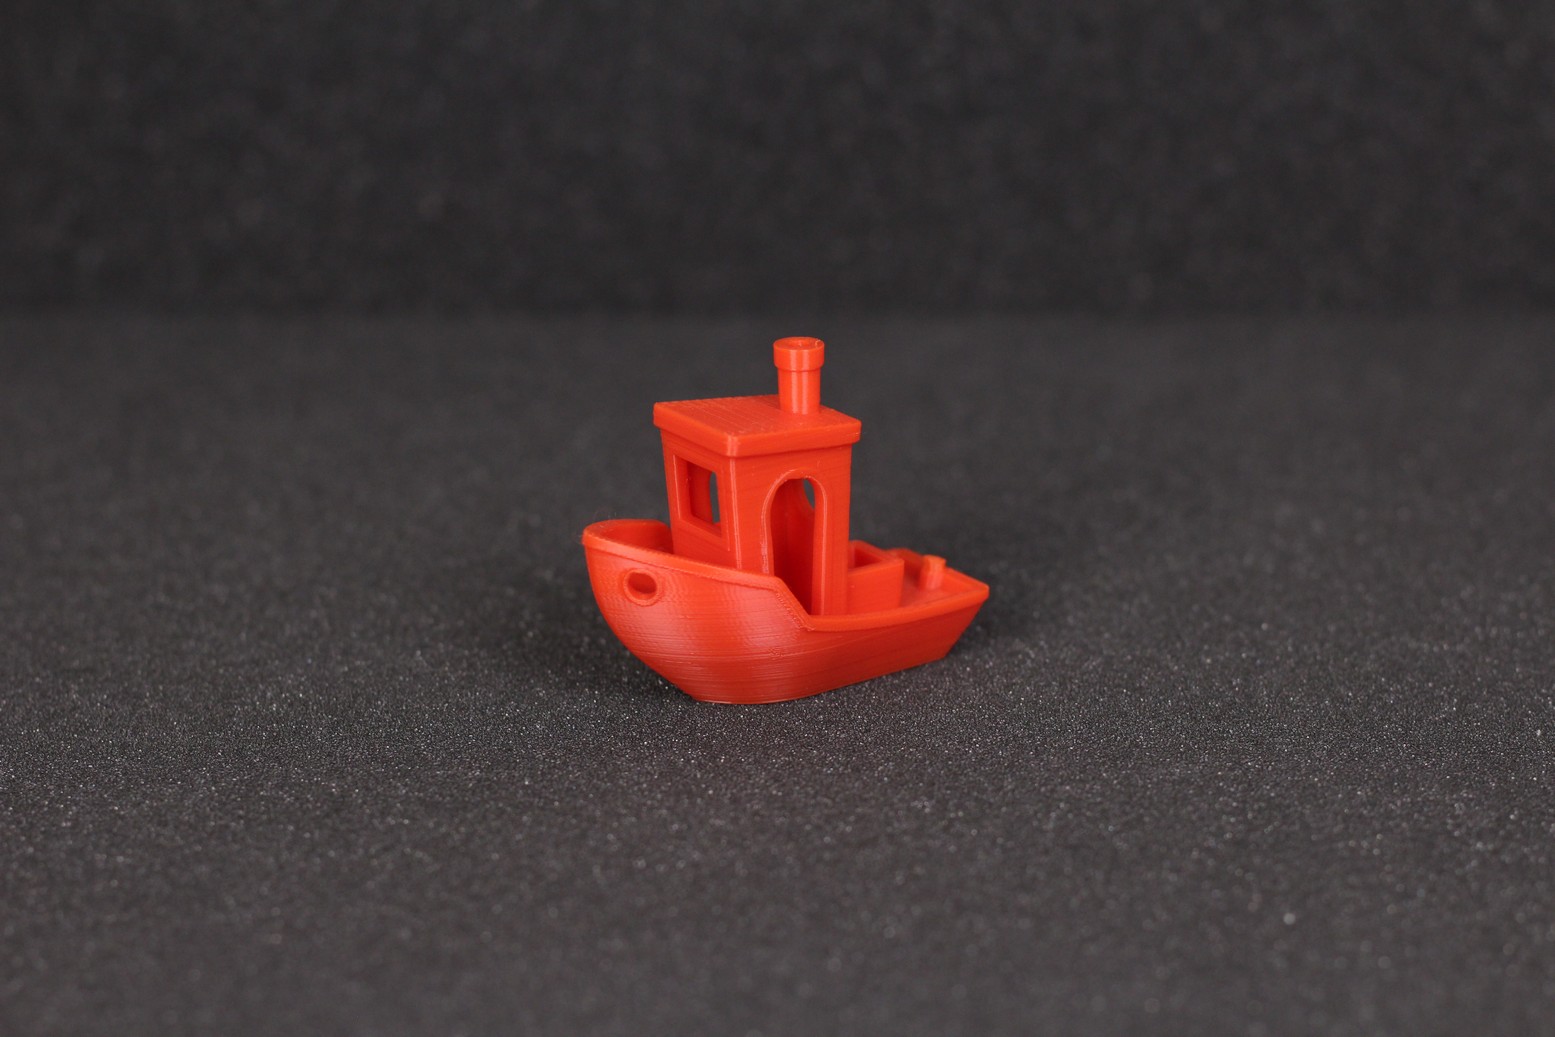
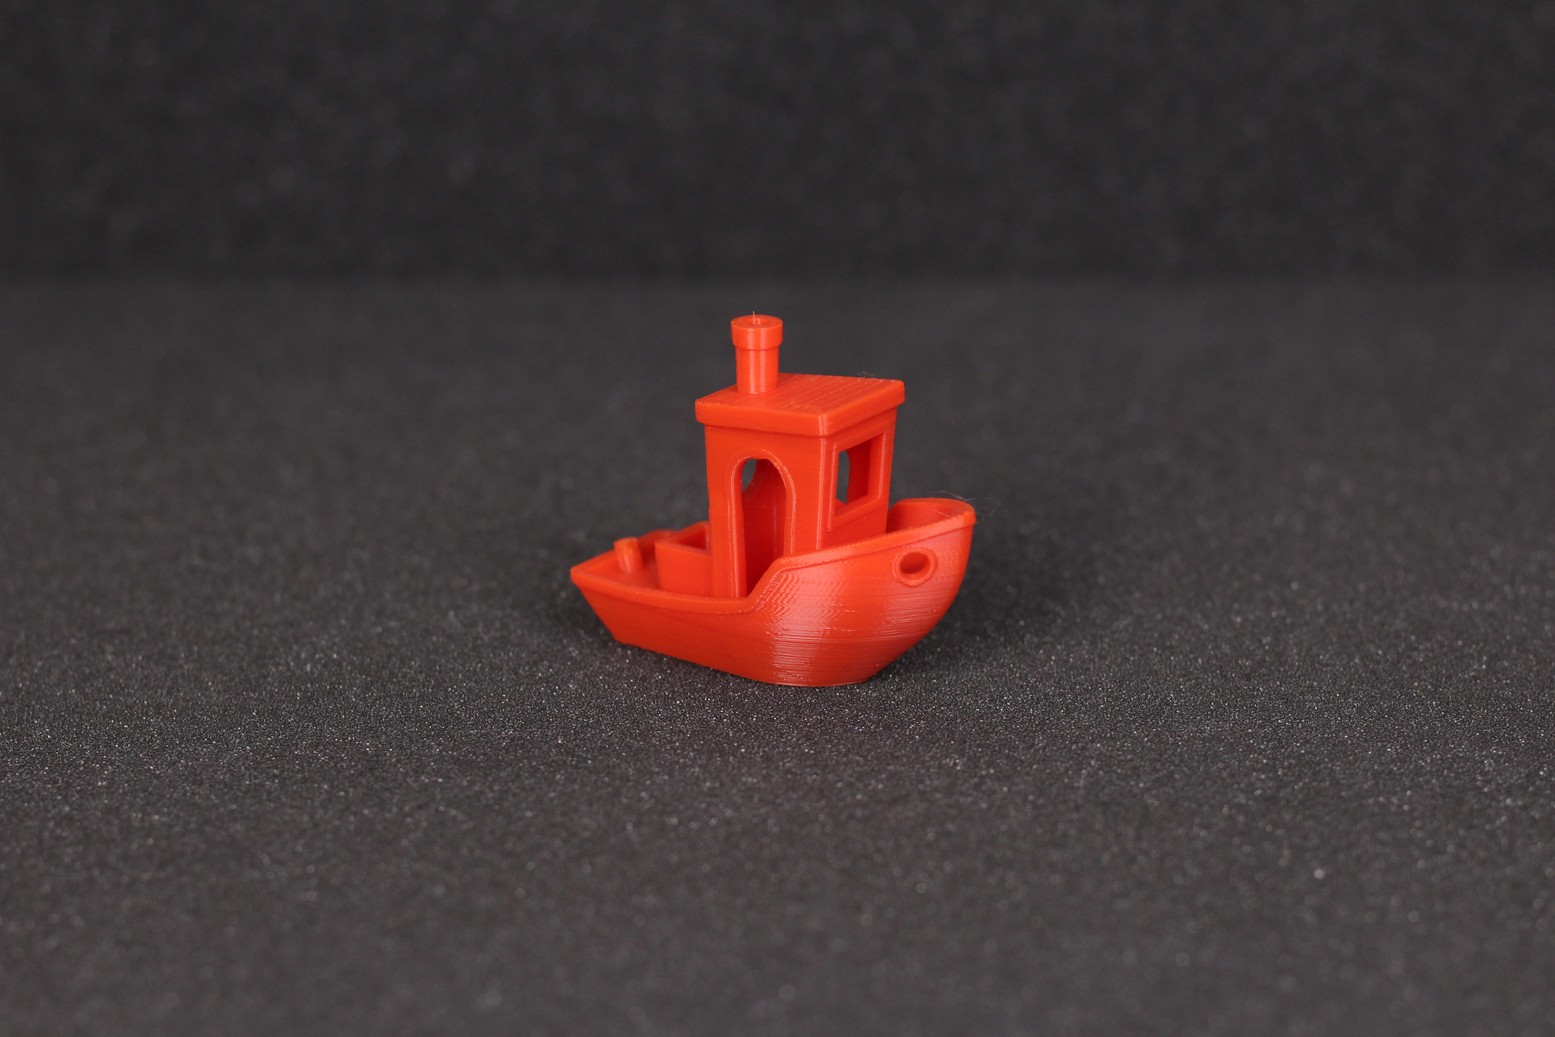
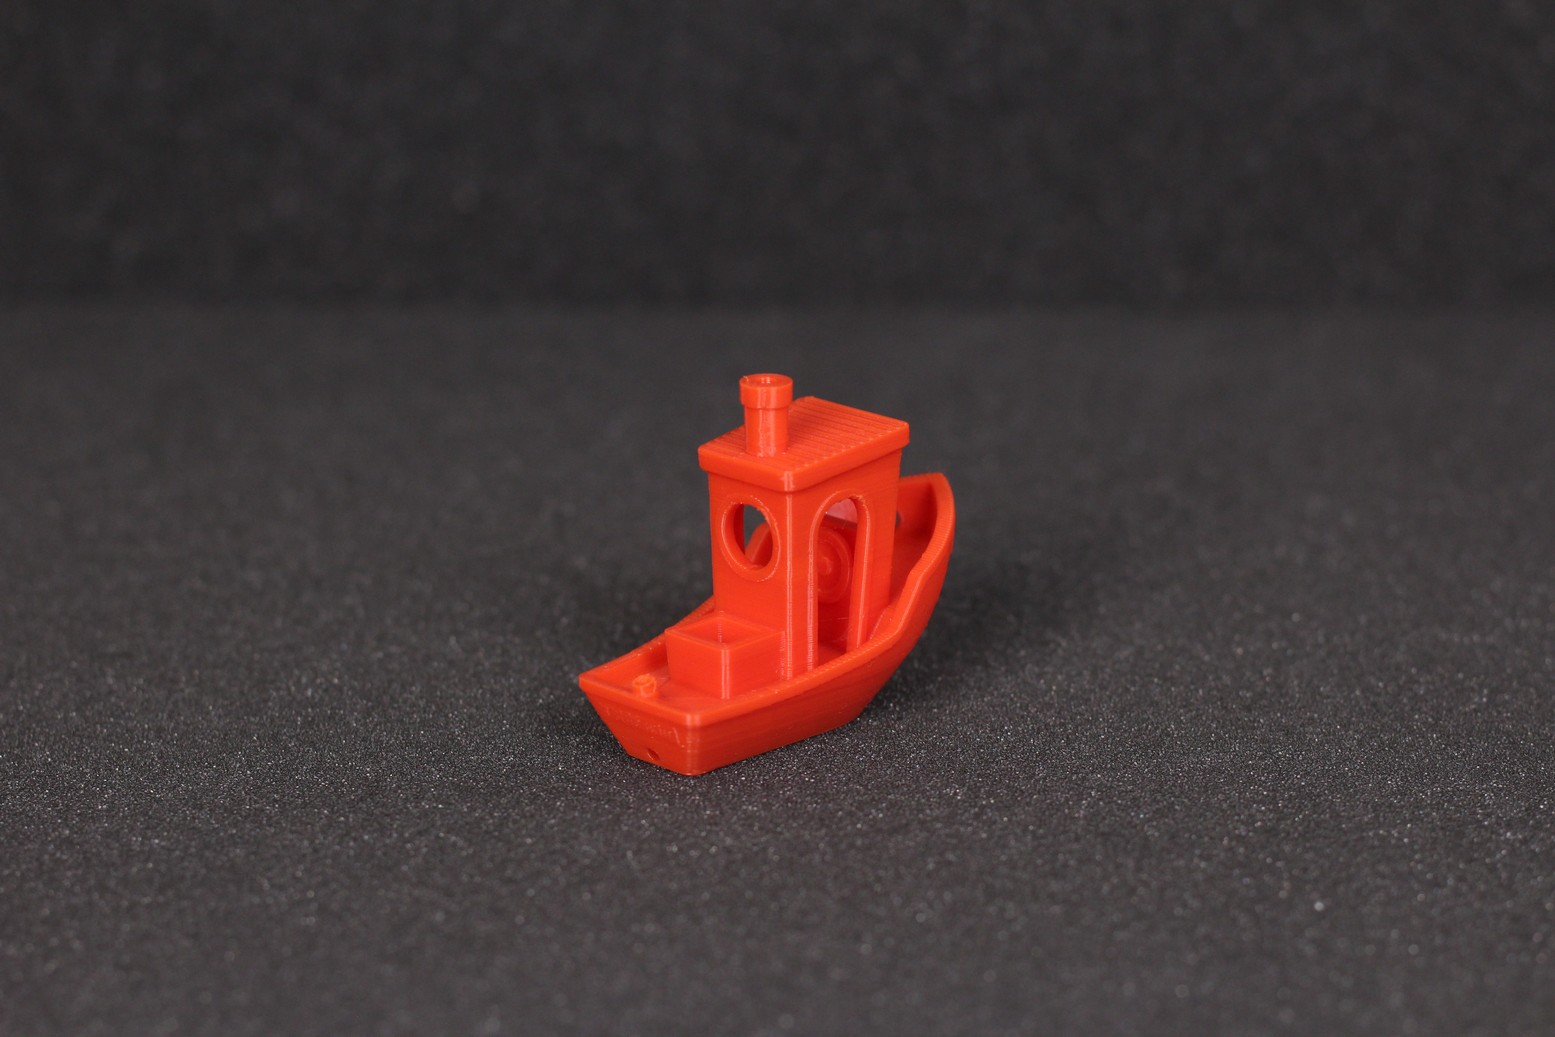
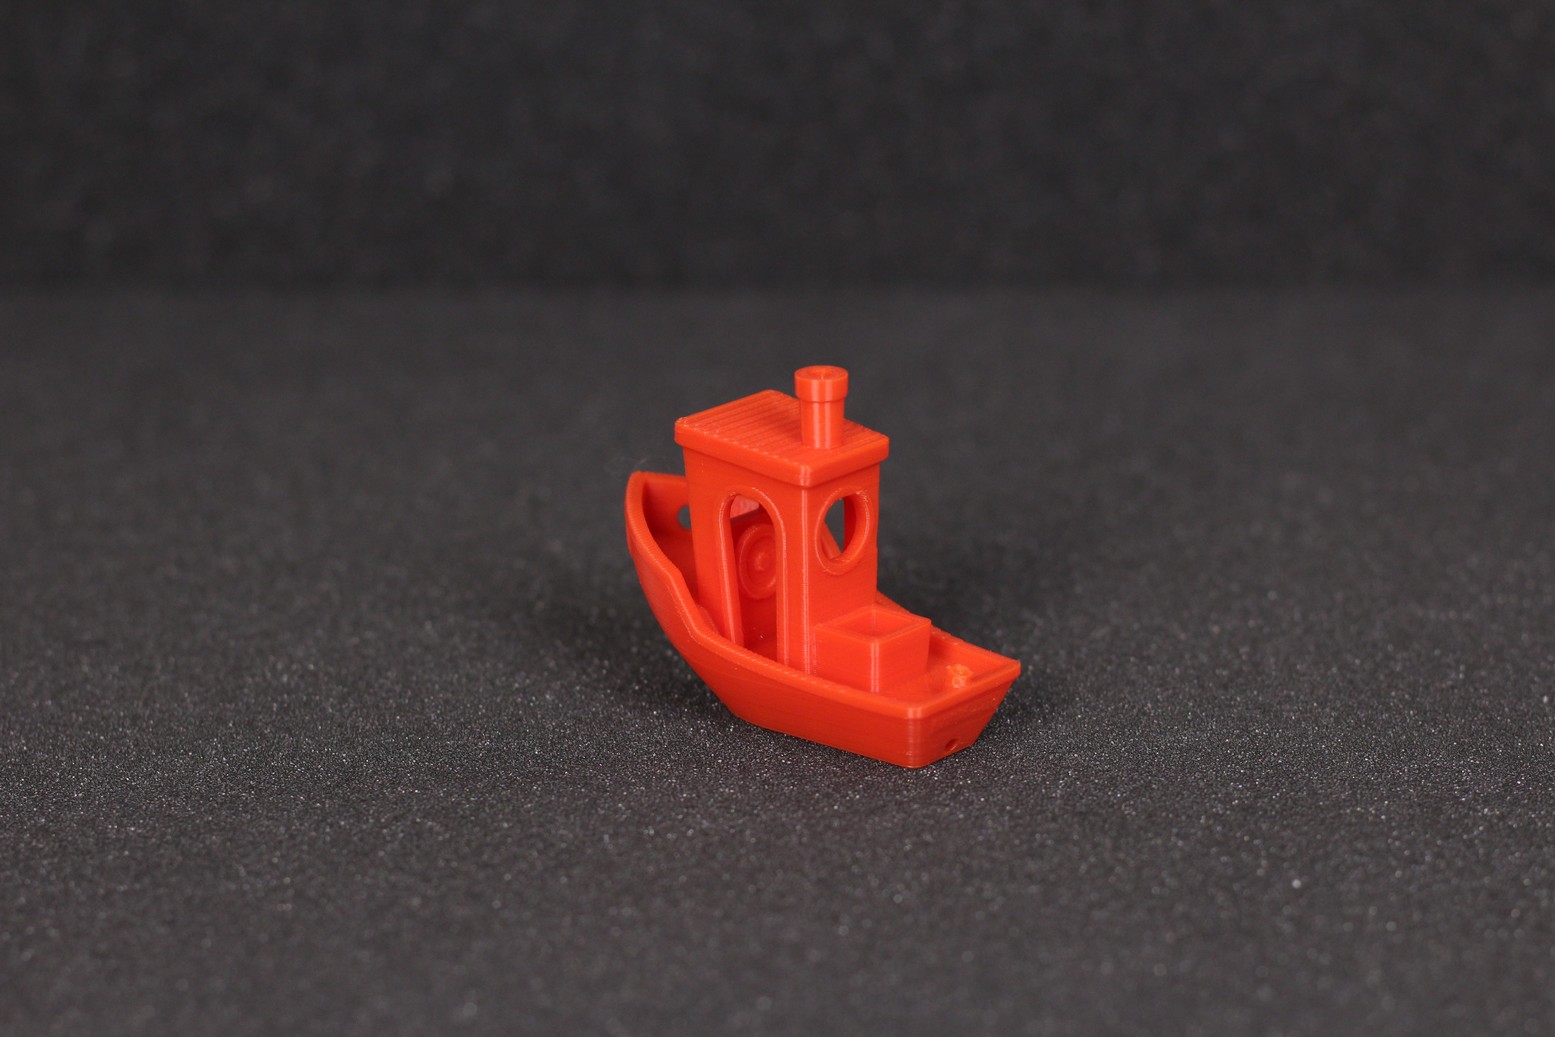
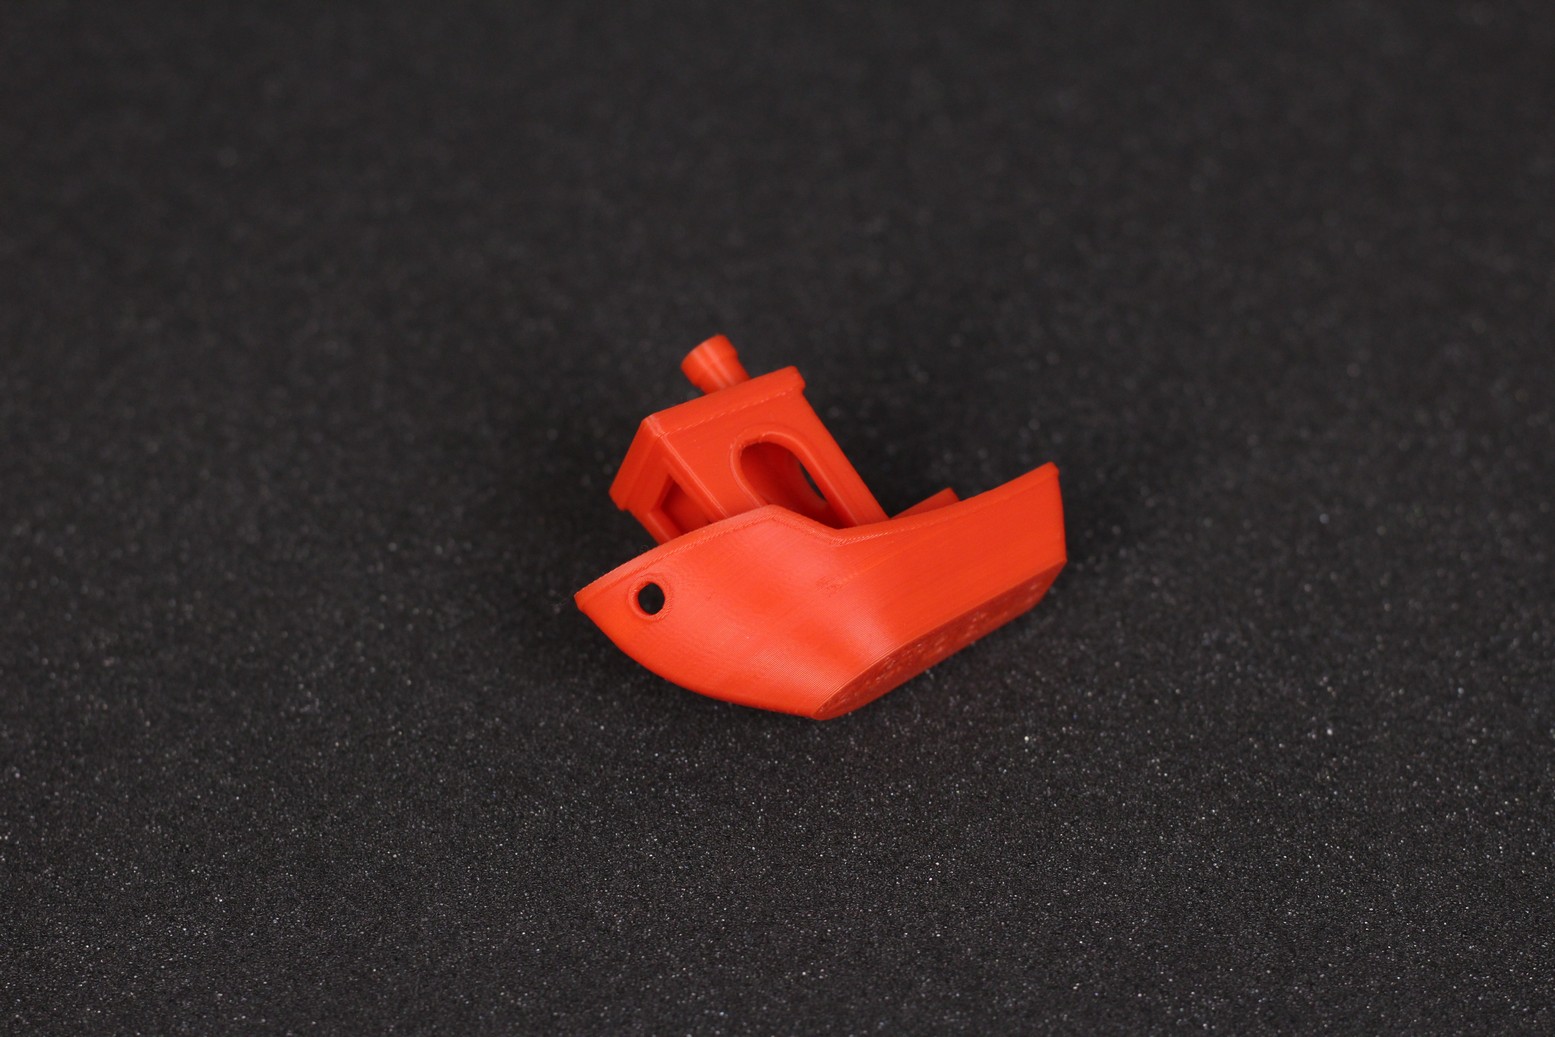
- Material: Gembird Red PLA
- Layer Height: 0.2mm
- Nozzle Temperature: 215C
- Bed Temperature: 60C
- Print Speed: 40 mm/s
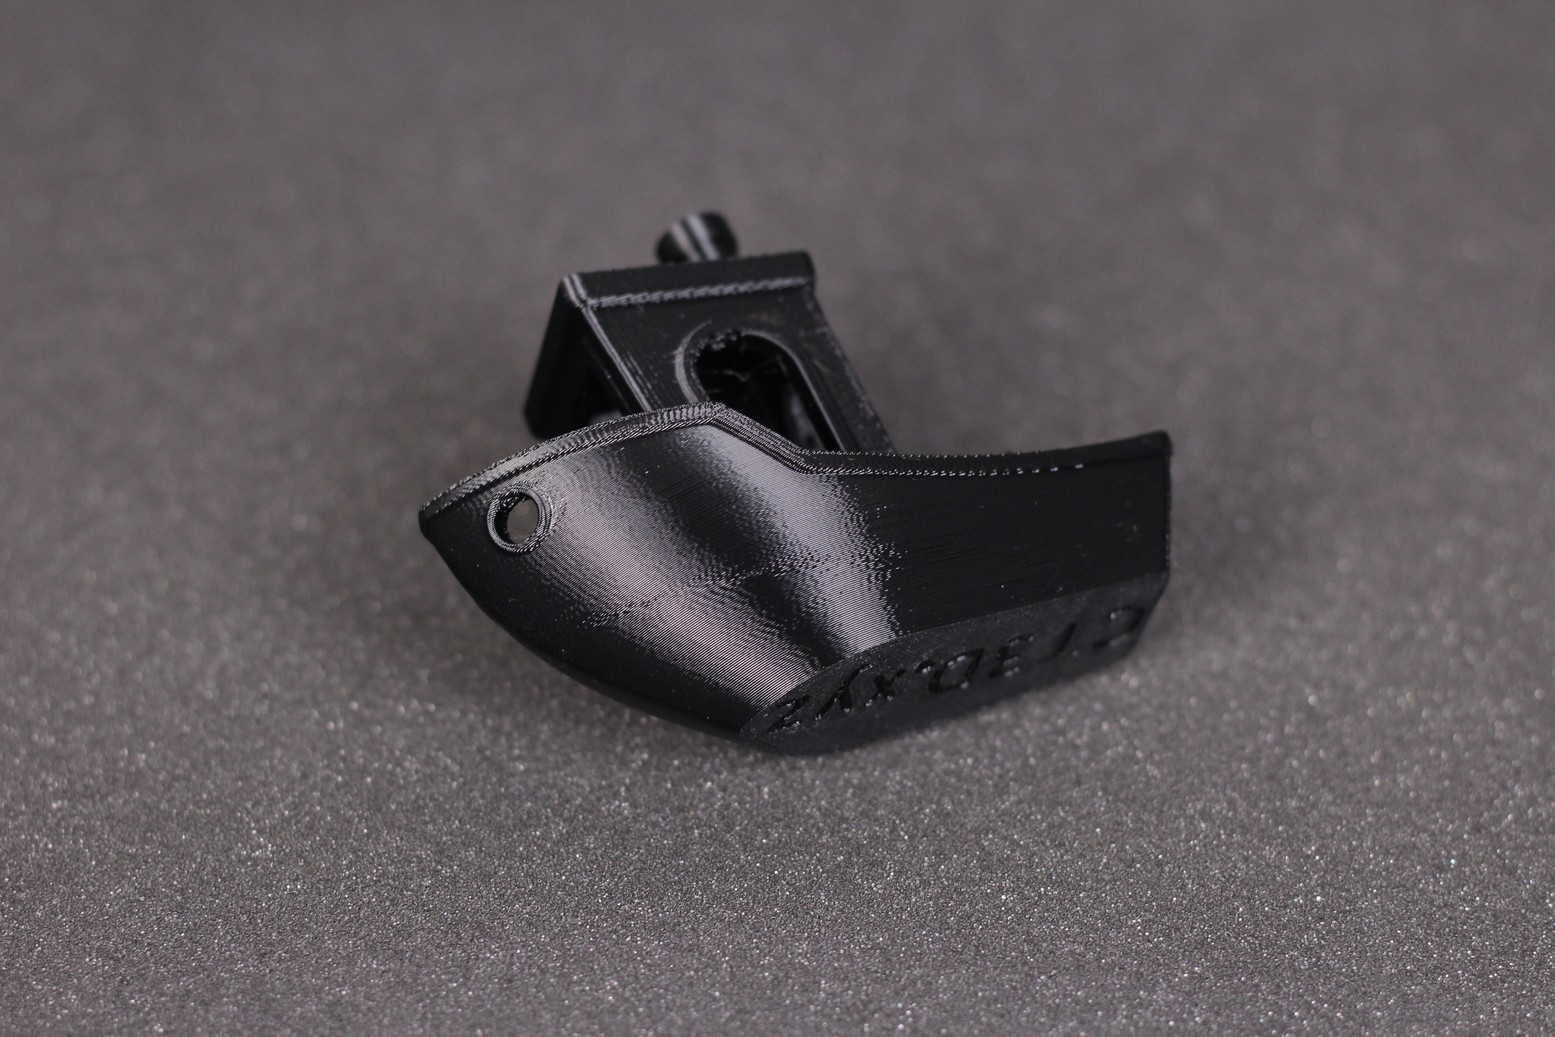
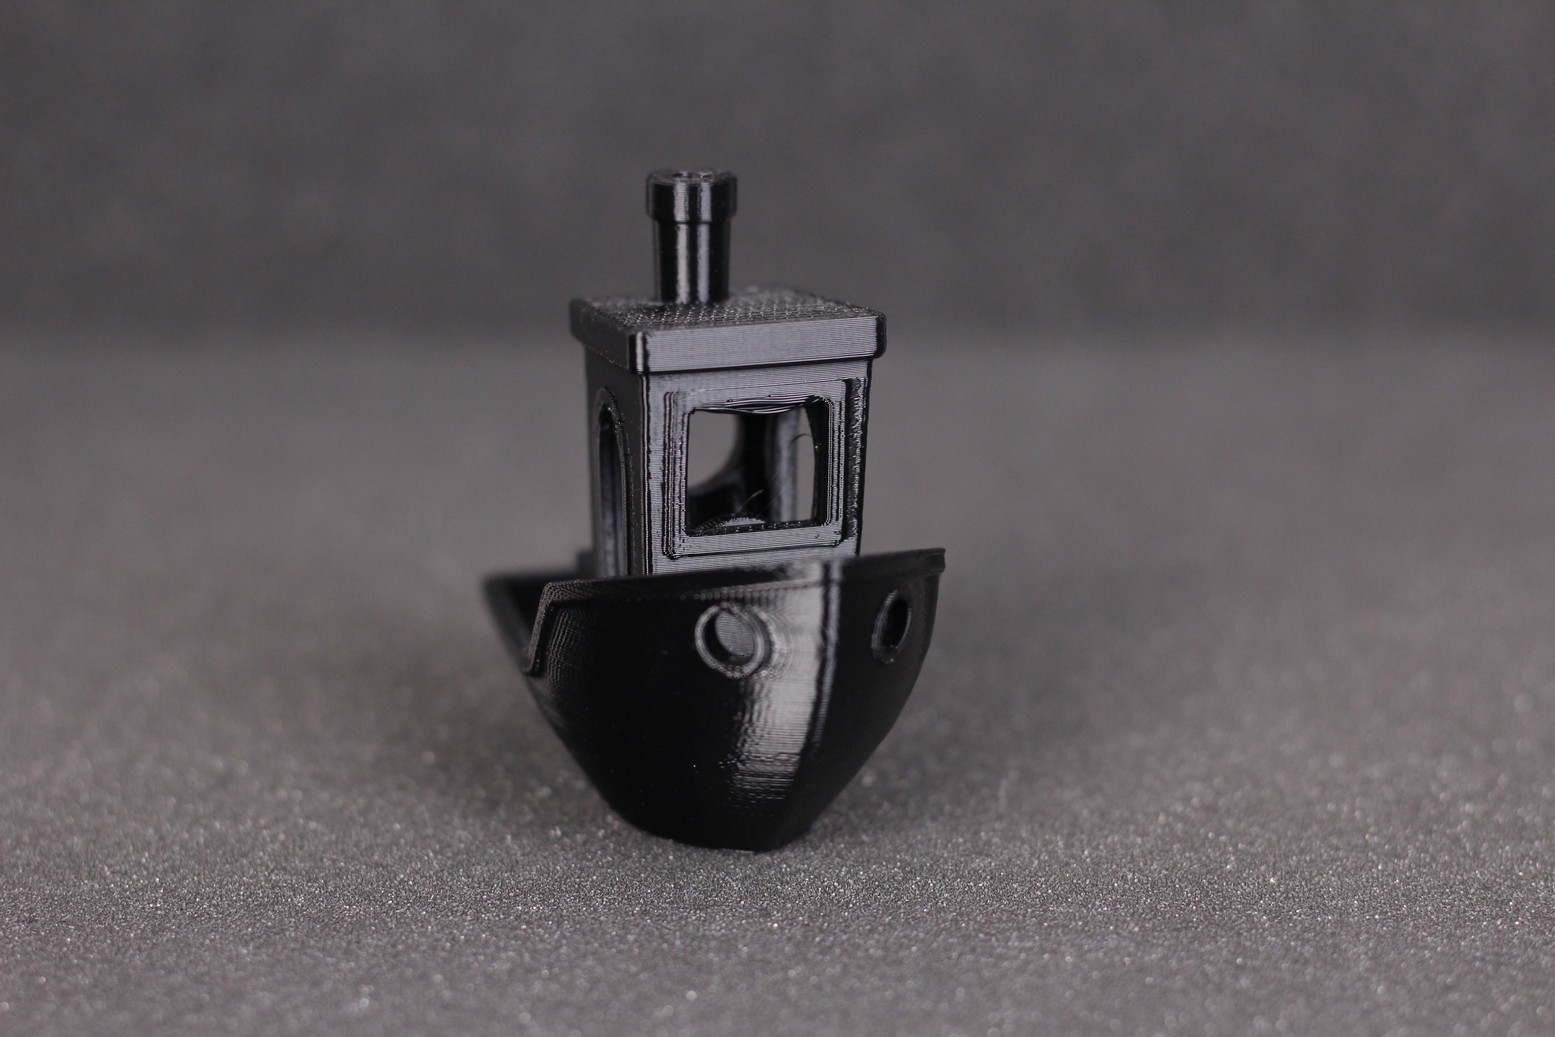
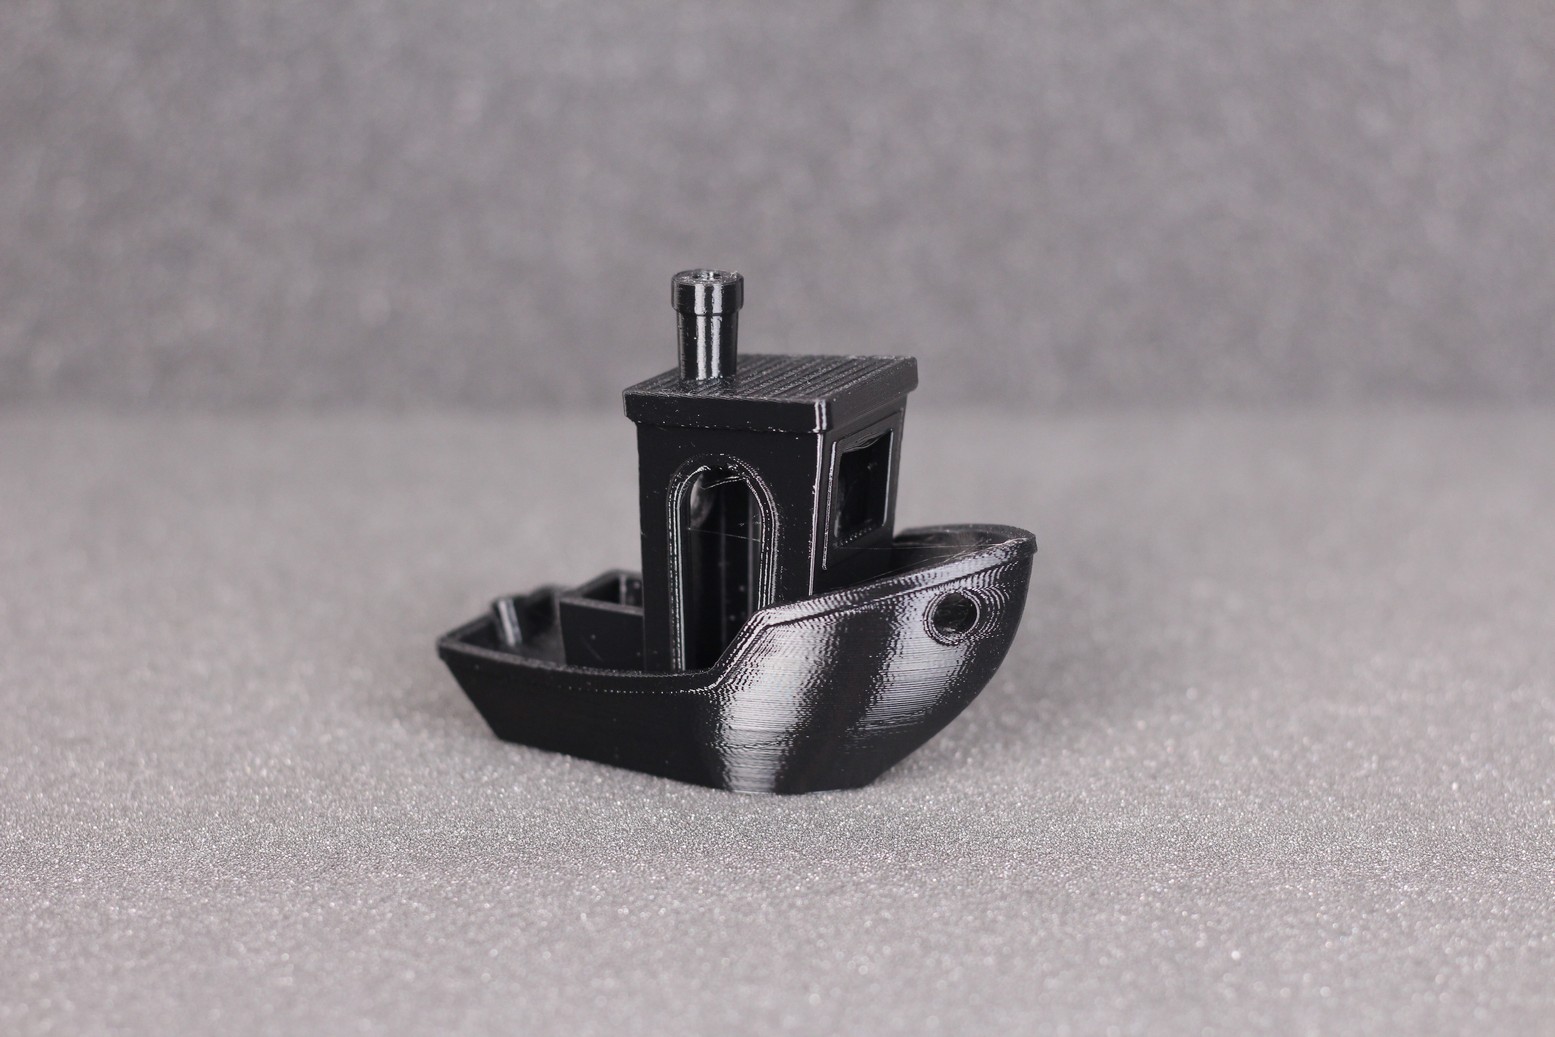
150% TPU 3D Benchy
Having a direct drive extruder allows you to print flexible filaments with ease, so I printed a 150% 3D Benchy in TPU. I really can’t complain about the print quality considering it was printed at PLA speeds There’s only some noticeable ringing present due to the weight of the extruder and some minor stringing. But other than that, I think the printer did a great job with TPU. The line across the front bow of the benchy was generated by a bad setting in the slicer and can be ignored.
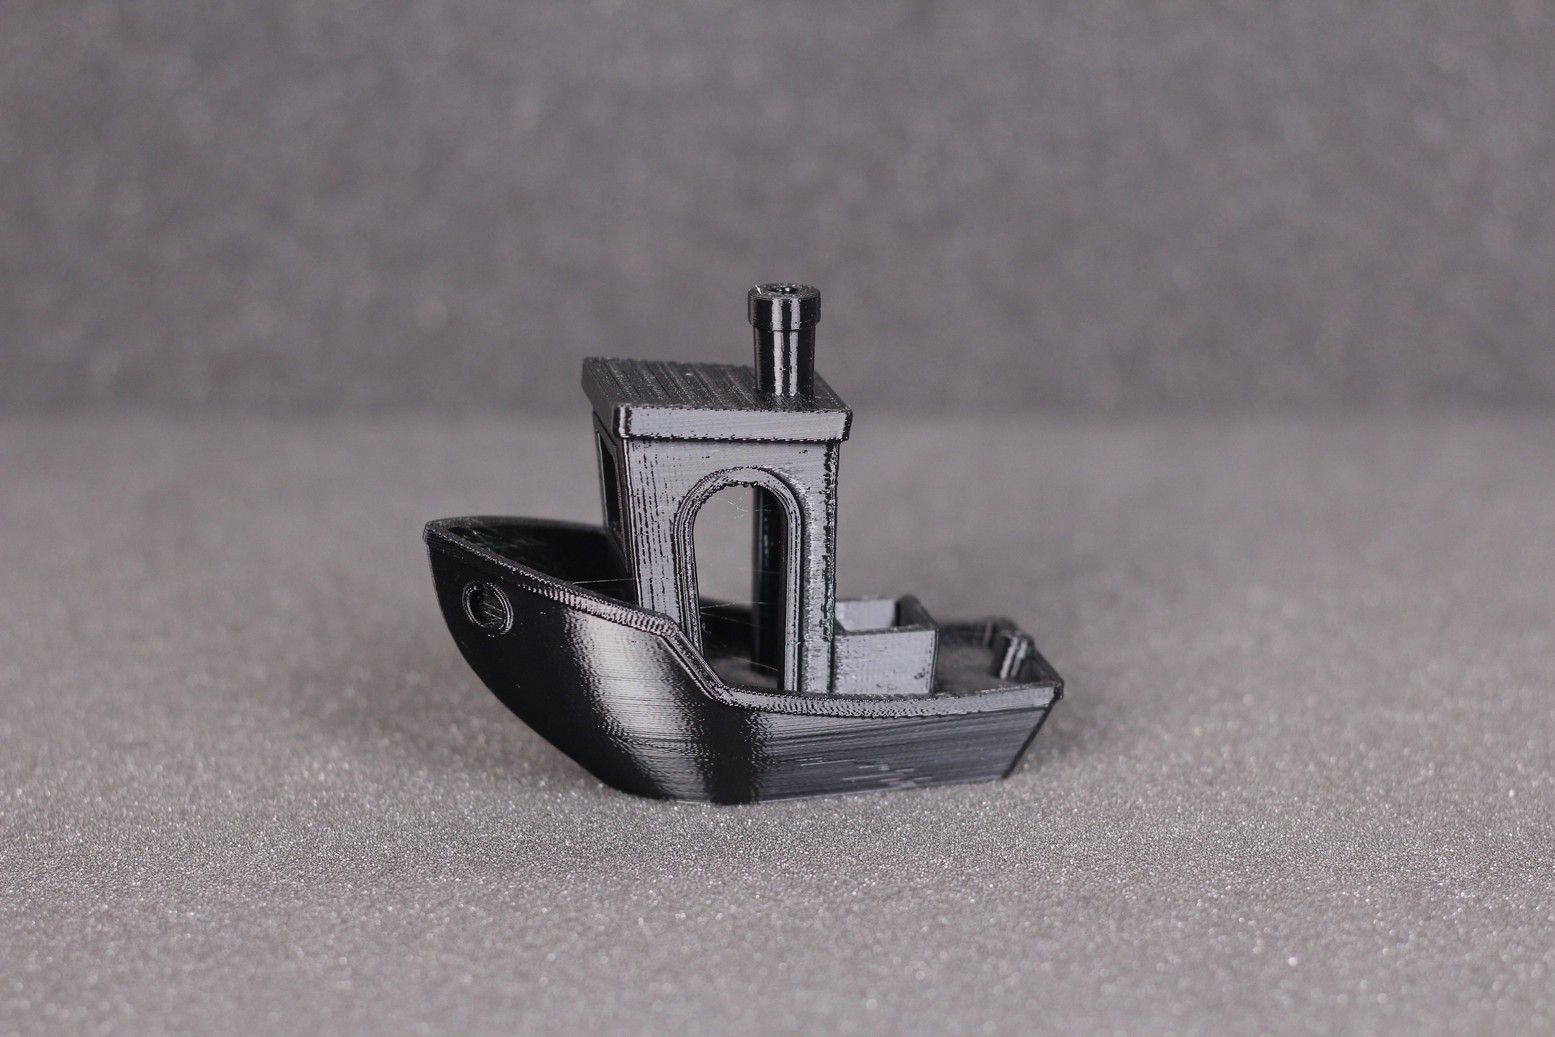
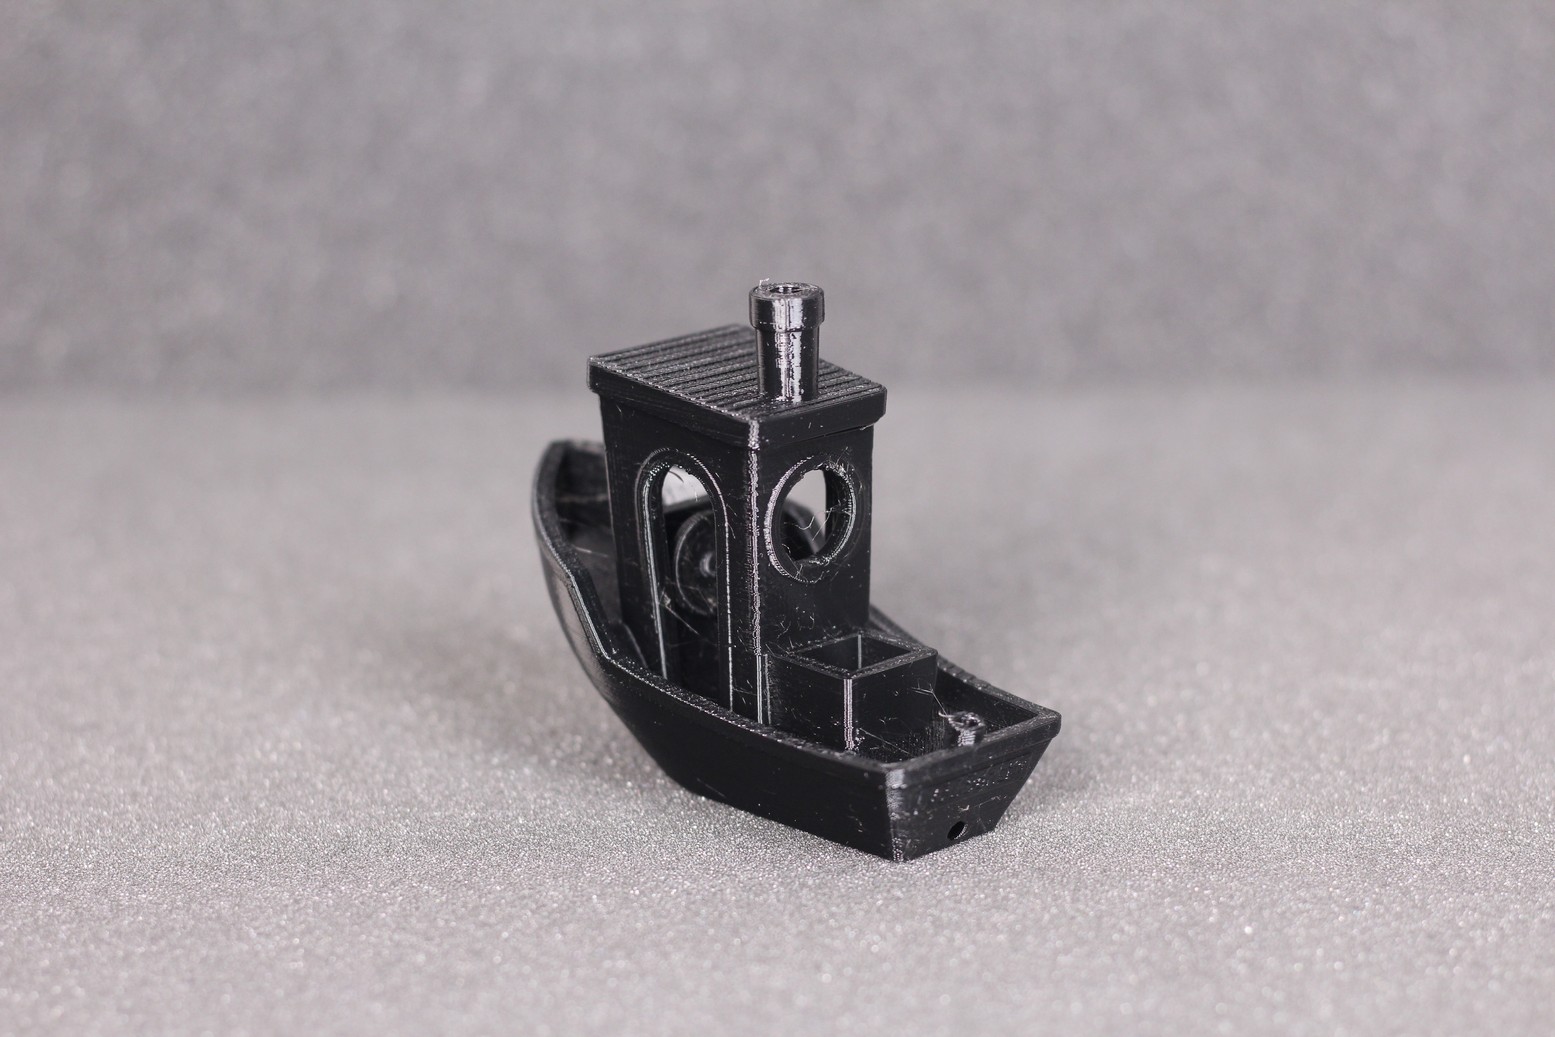
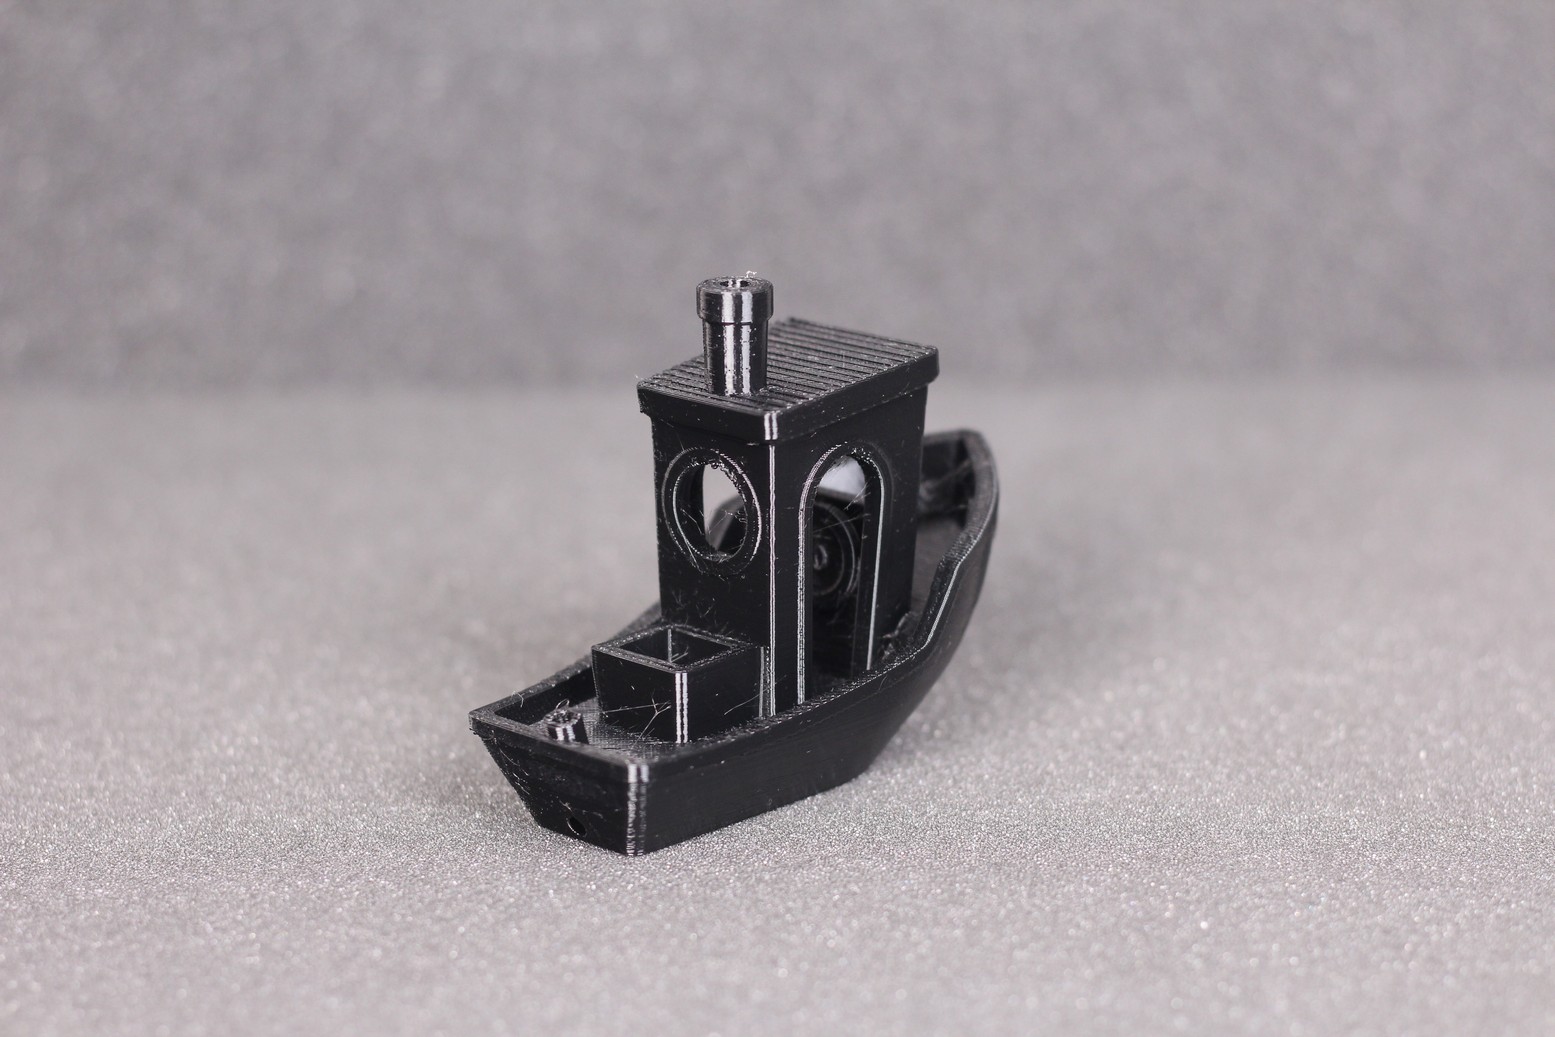
- Material: Polymaker PolyFlex TPU95-HF TPU
- Layer Height: 0.2mm
- Nozzle Temperature: 215C
- Bed Temperature: 60C
- Print Speed: 40 mm/s
Gimbal support
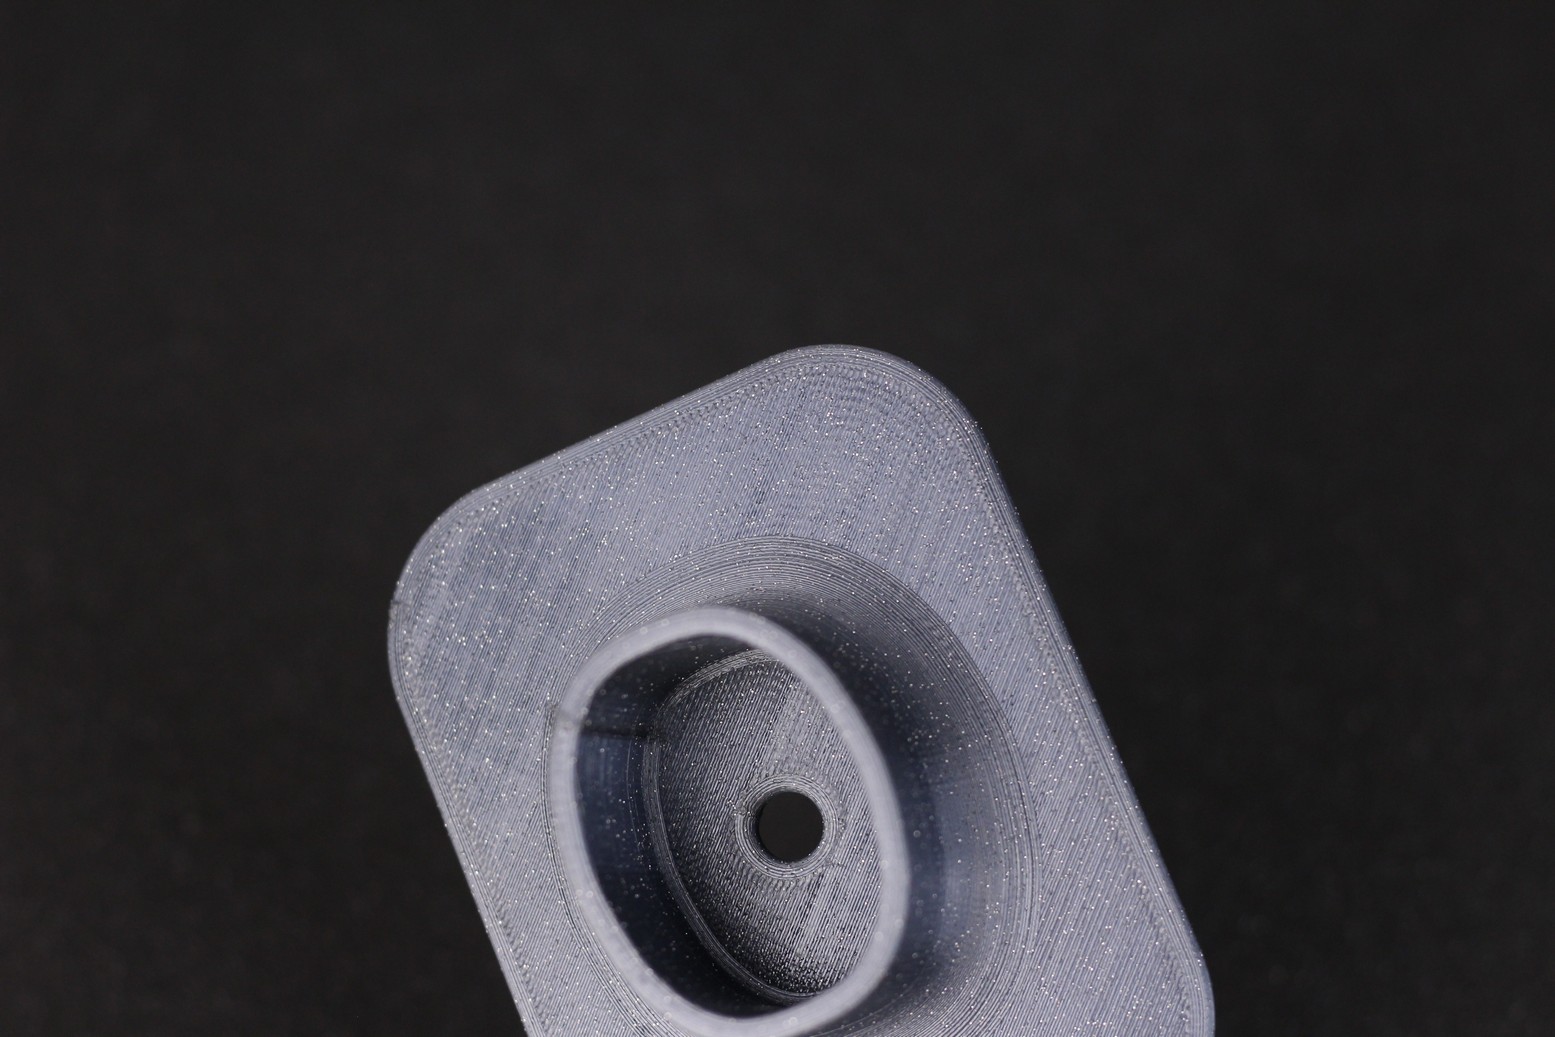
I recently purchased a gimbal so I needed a support for it. I printed this support in PETG and as you can see, it came out really well. The top and bottom layers are great, while the external walls also look good.
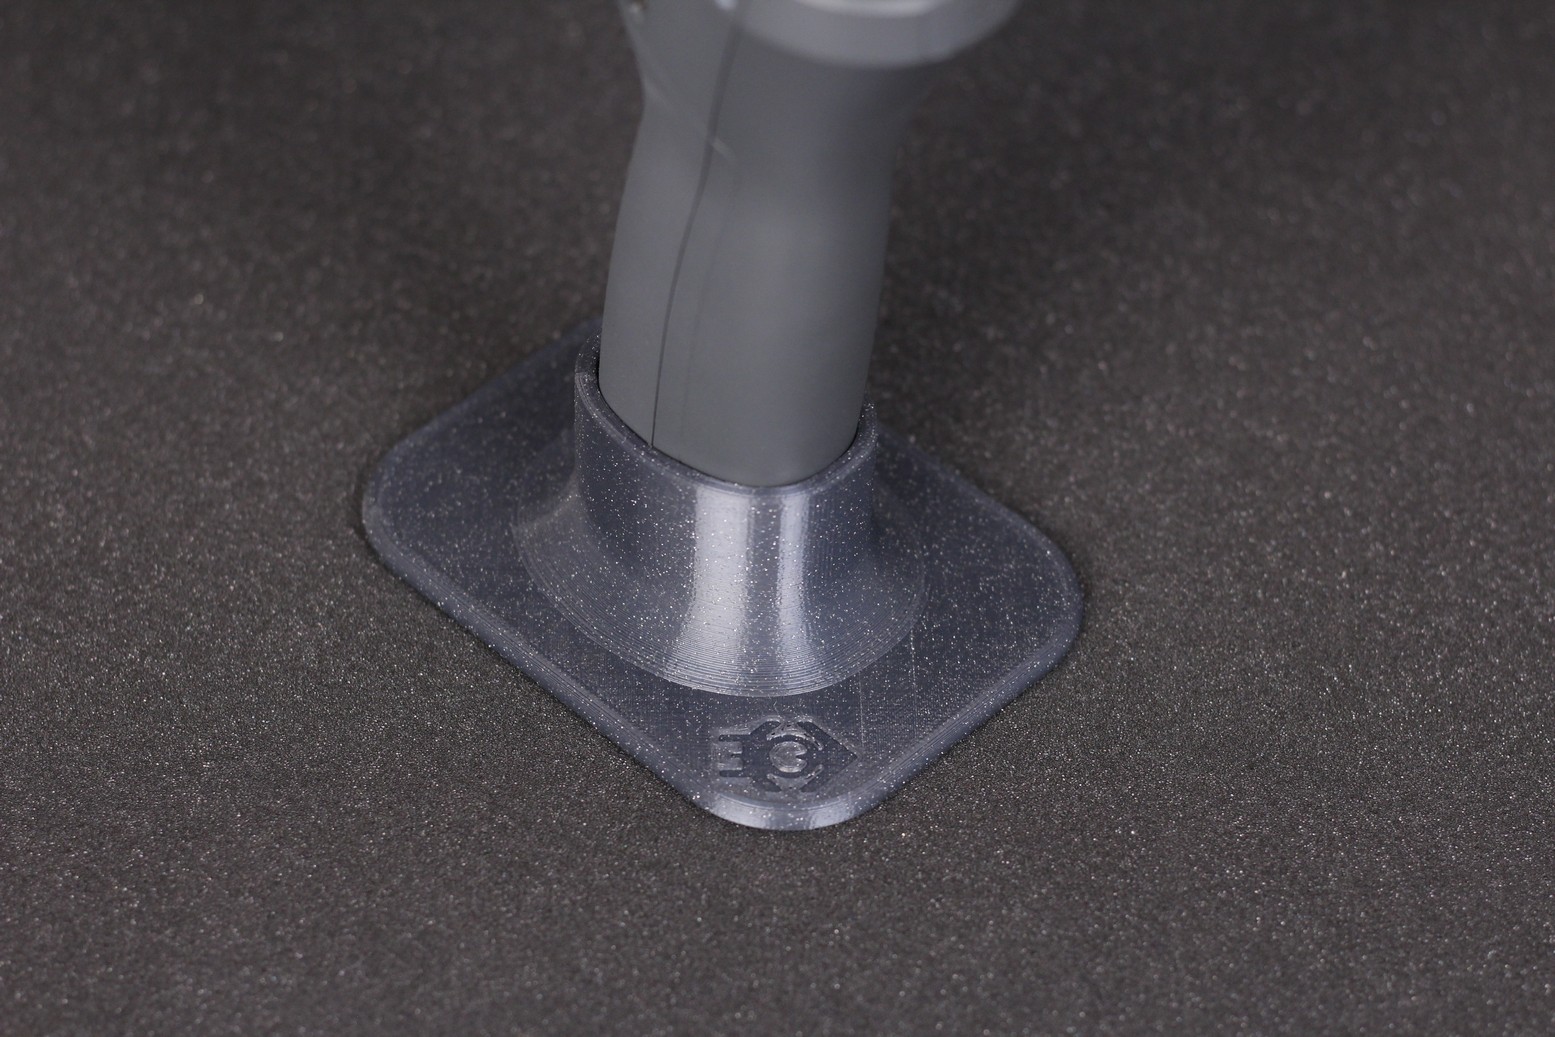
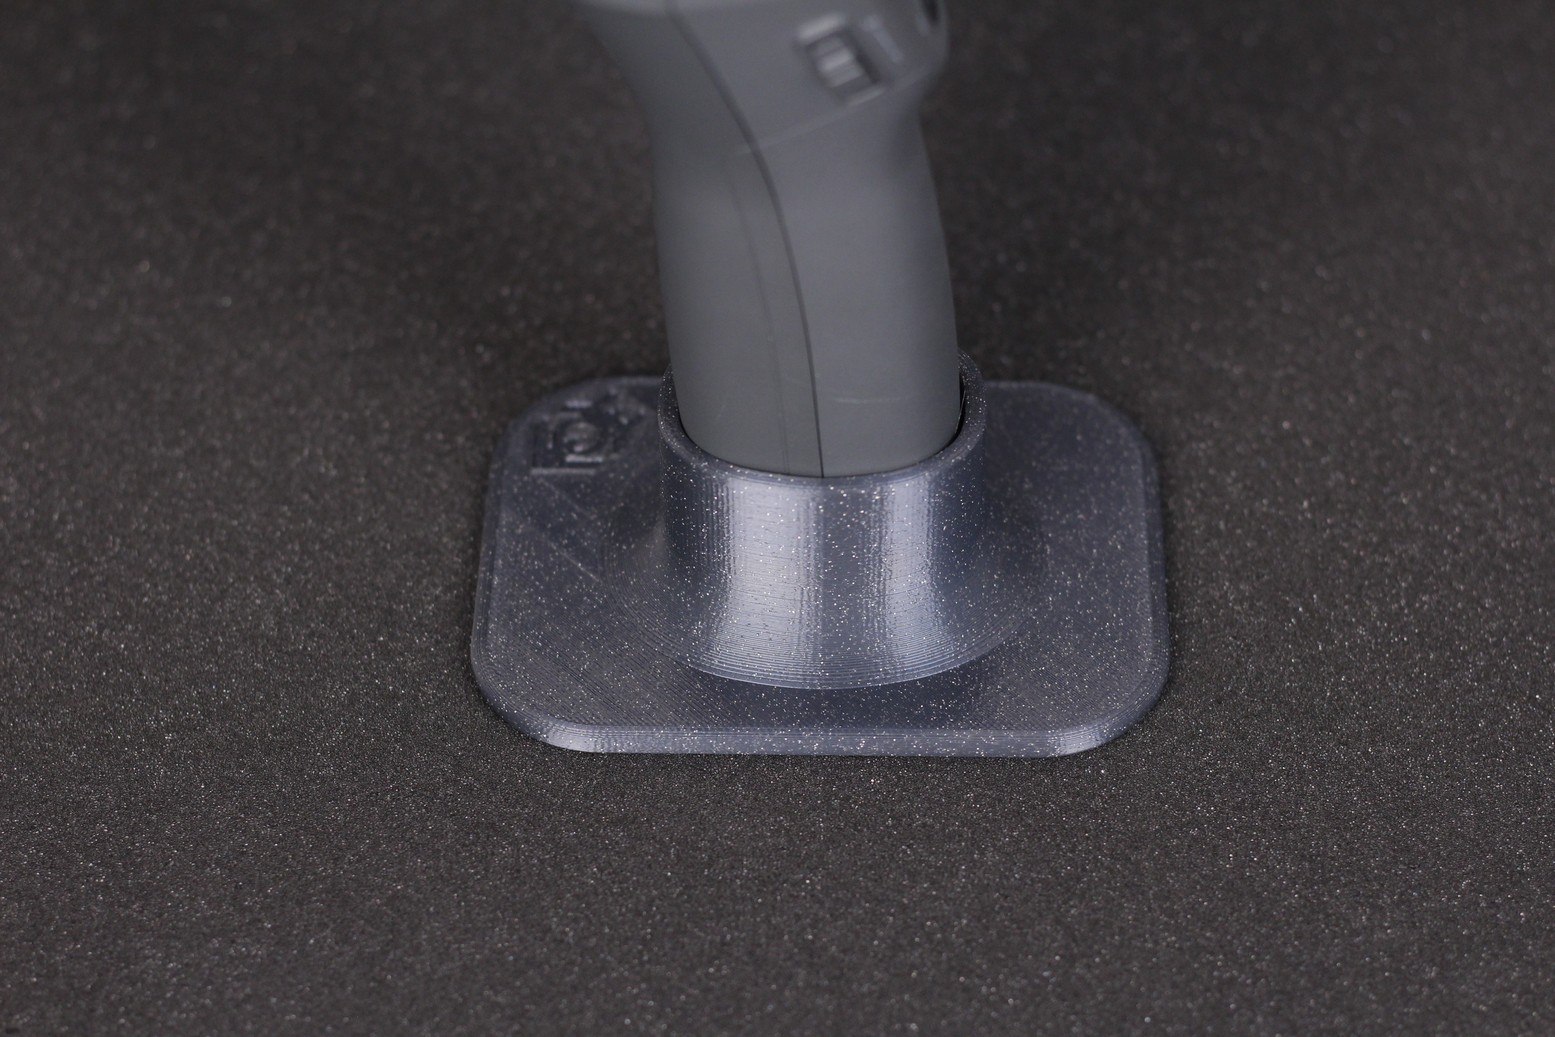
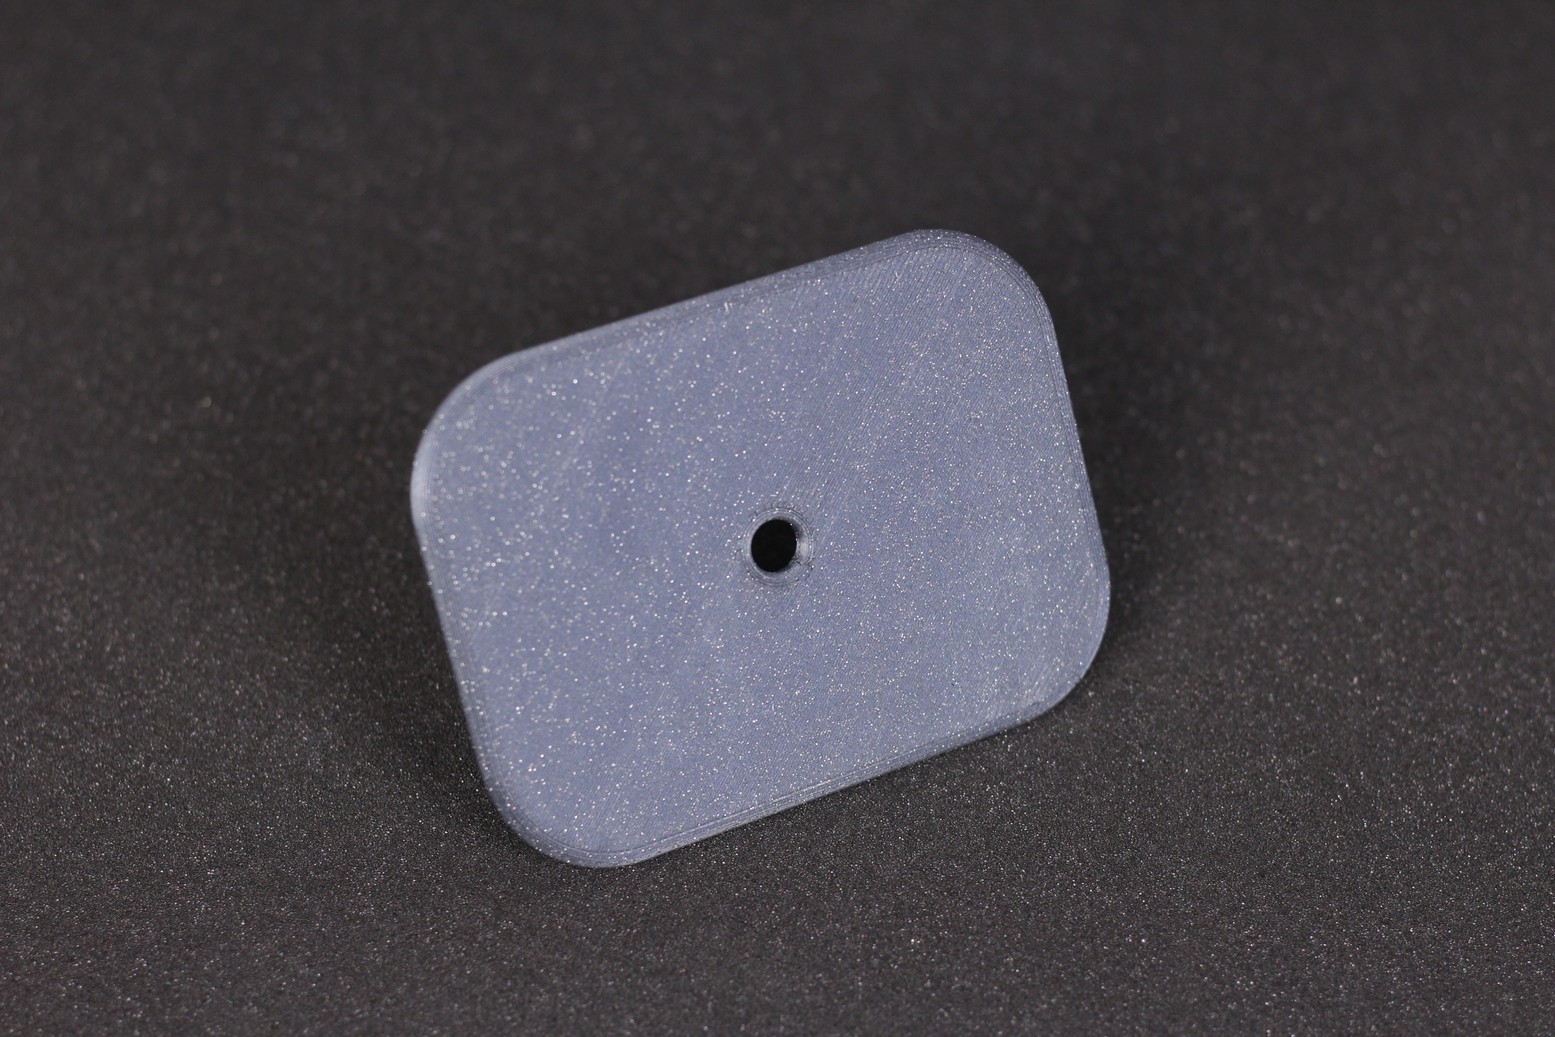
- Material: DevilDesign Galaxy Gray PETG
- Layer Height: 0.2mm
- Nozzle Temperature: 235C
- Bed Temperature: 70C
- Print Speed: 50 mm/s
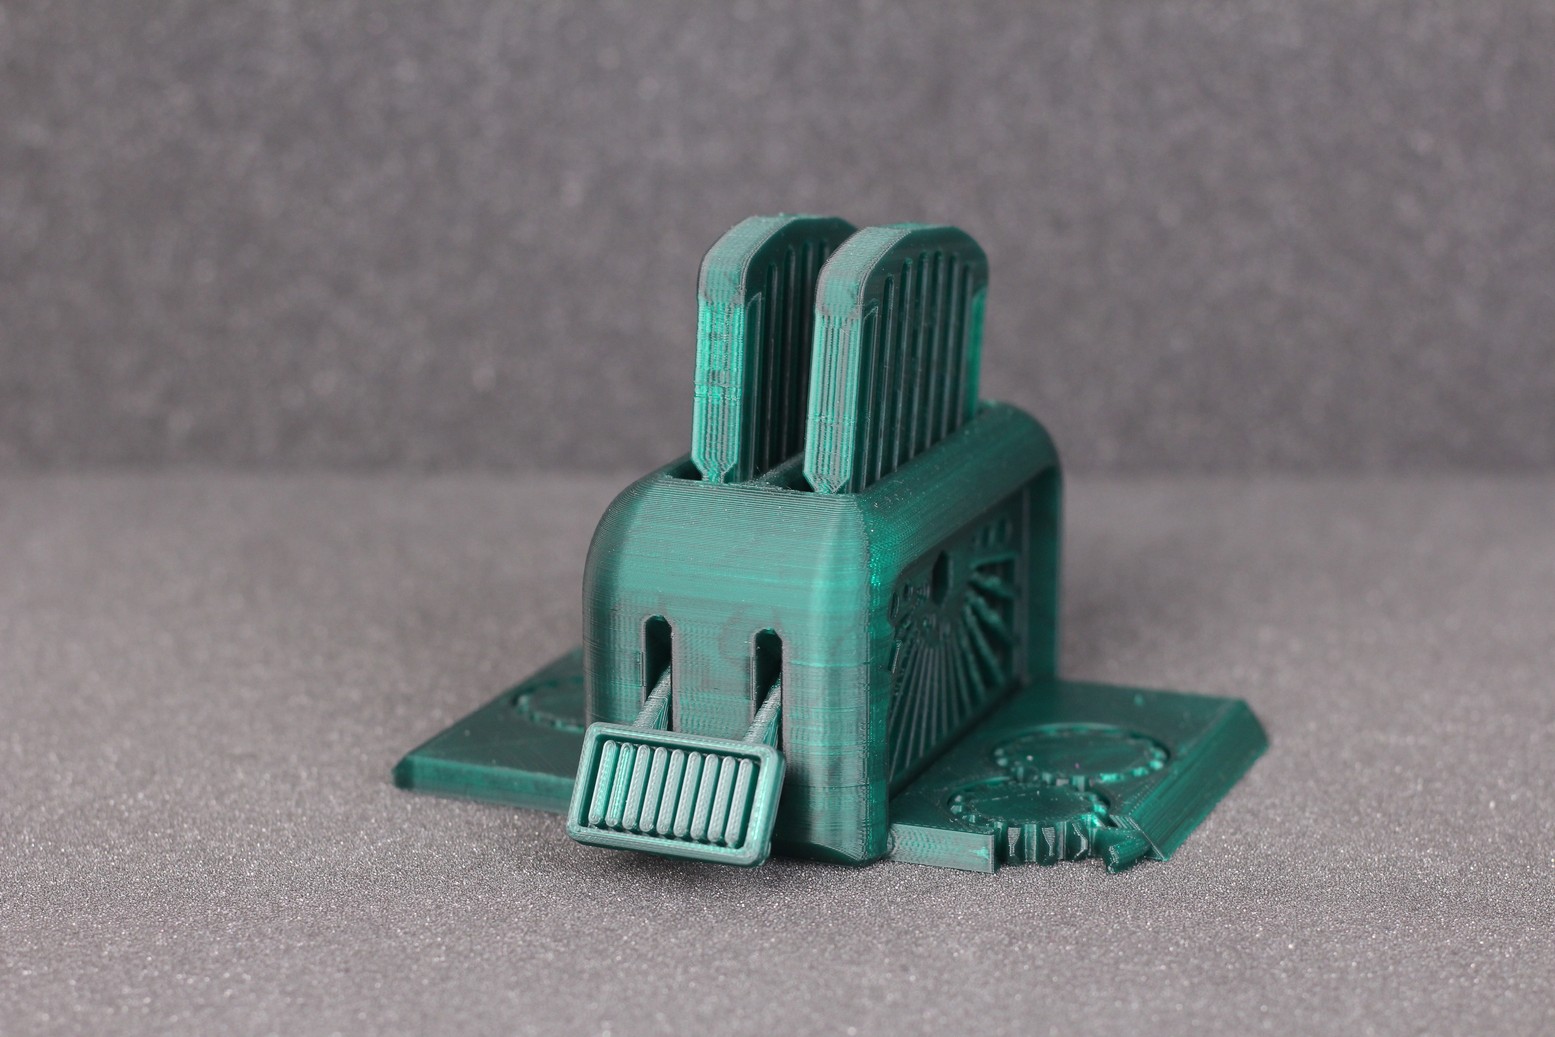
Torture Toaster
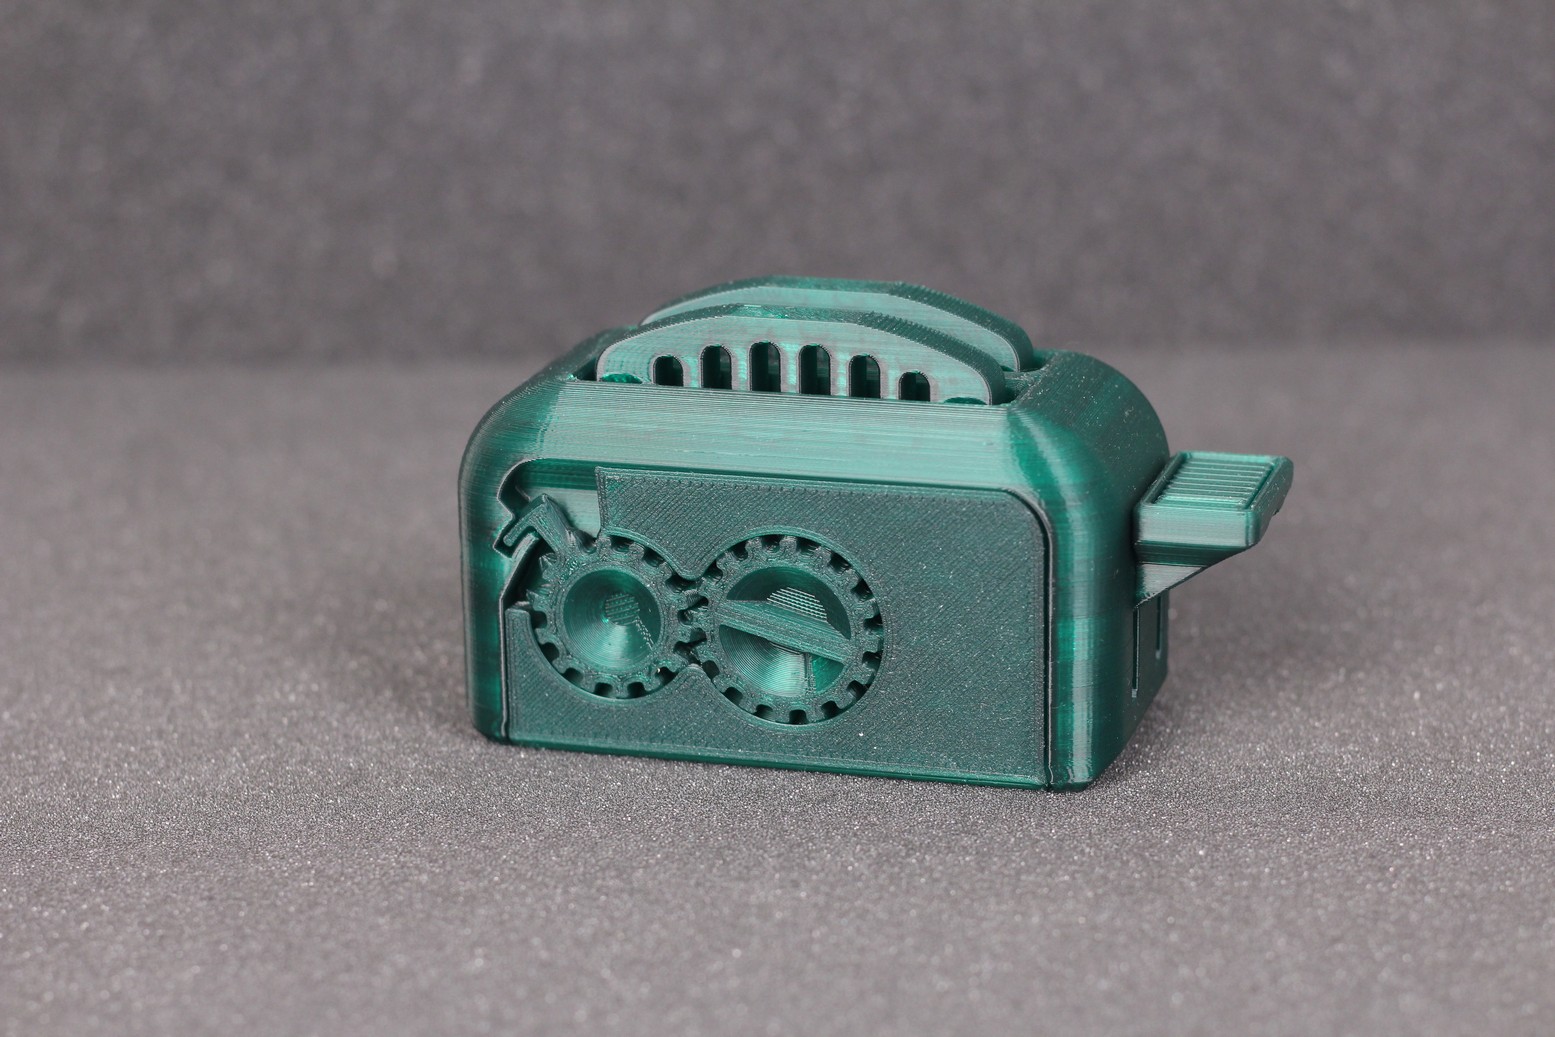
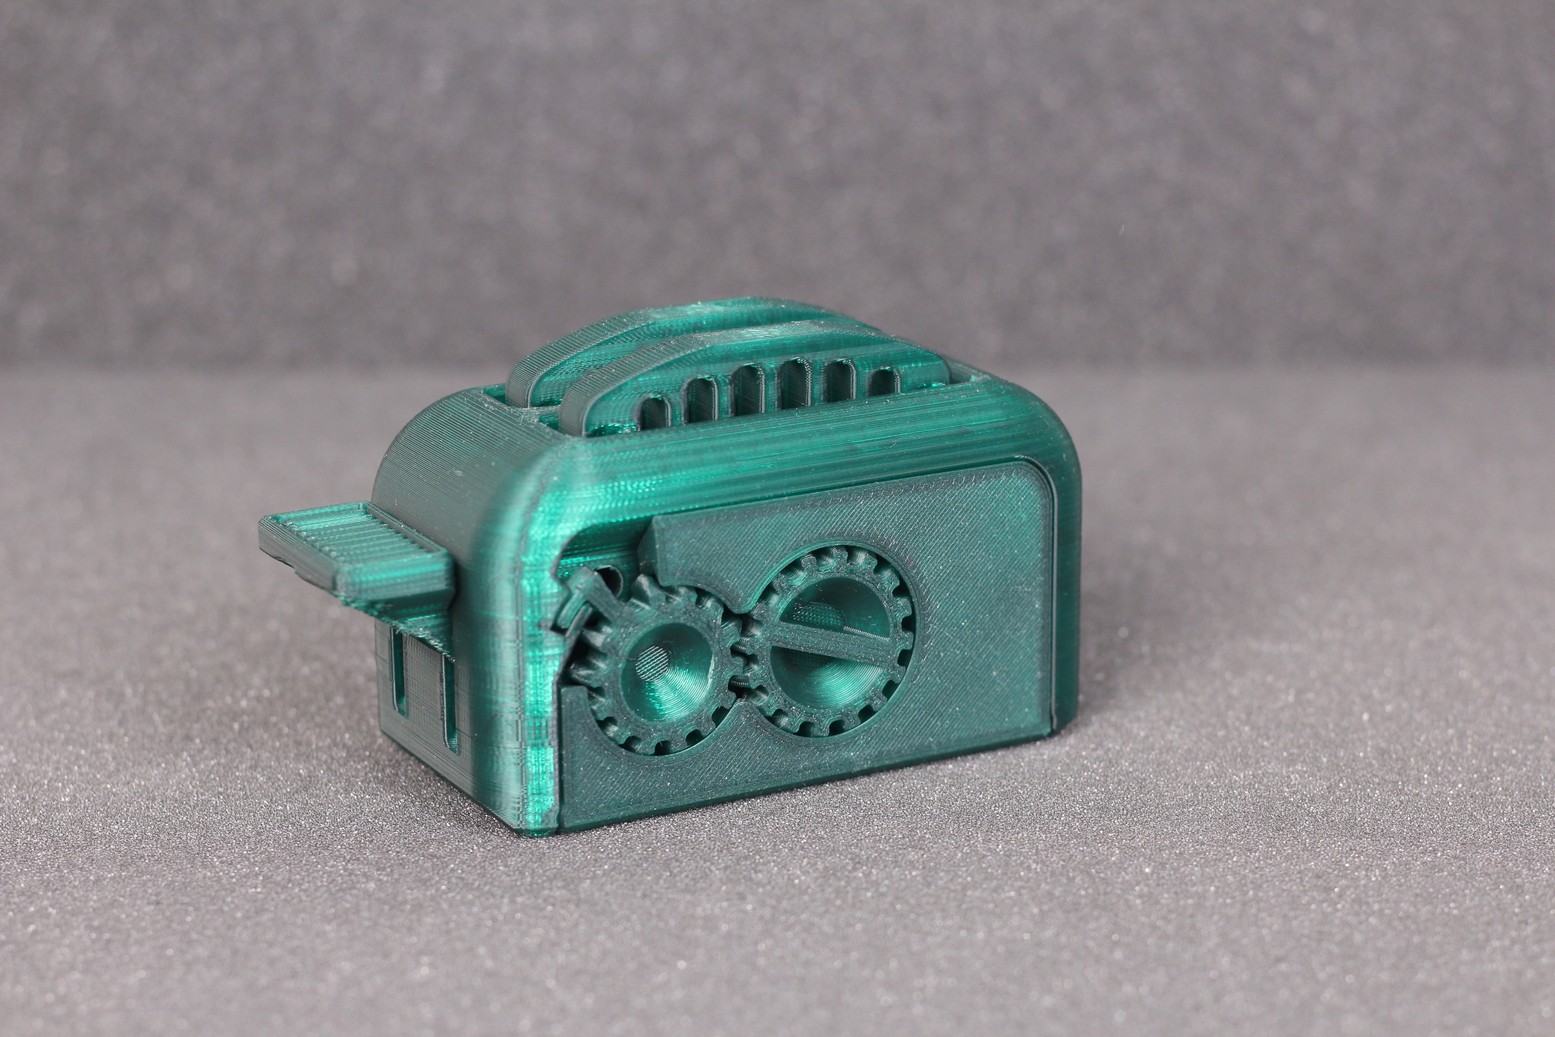
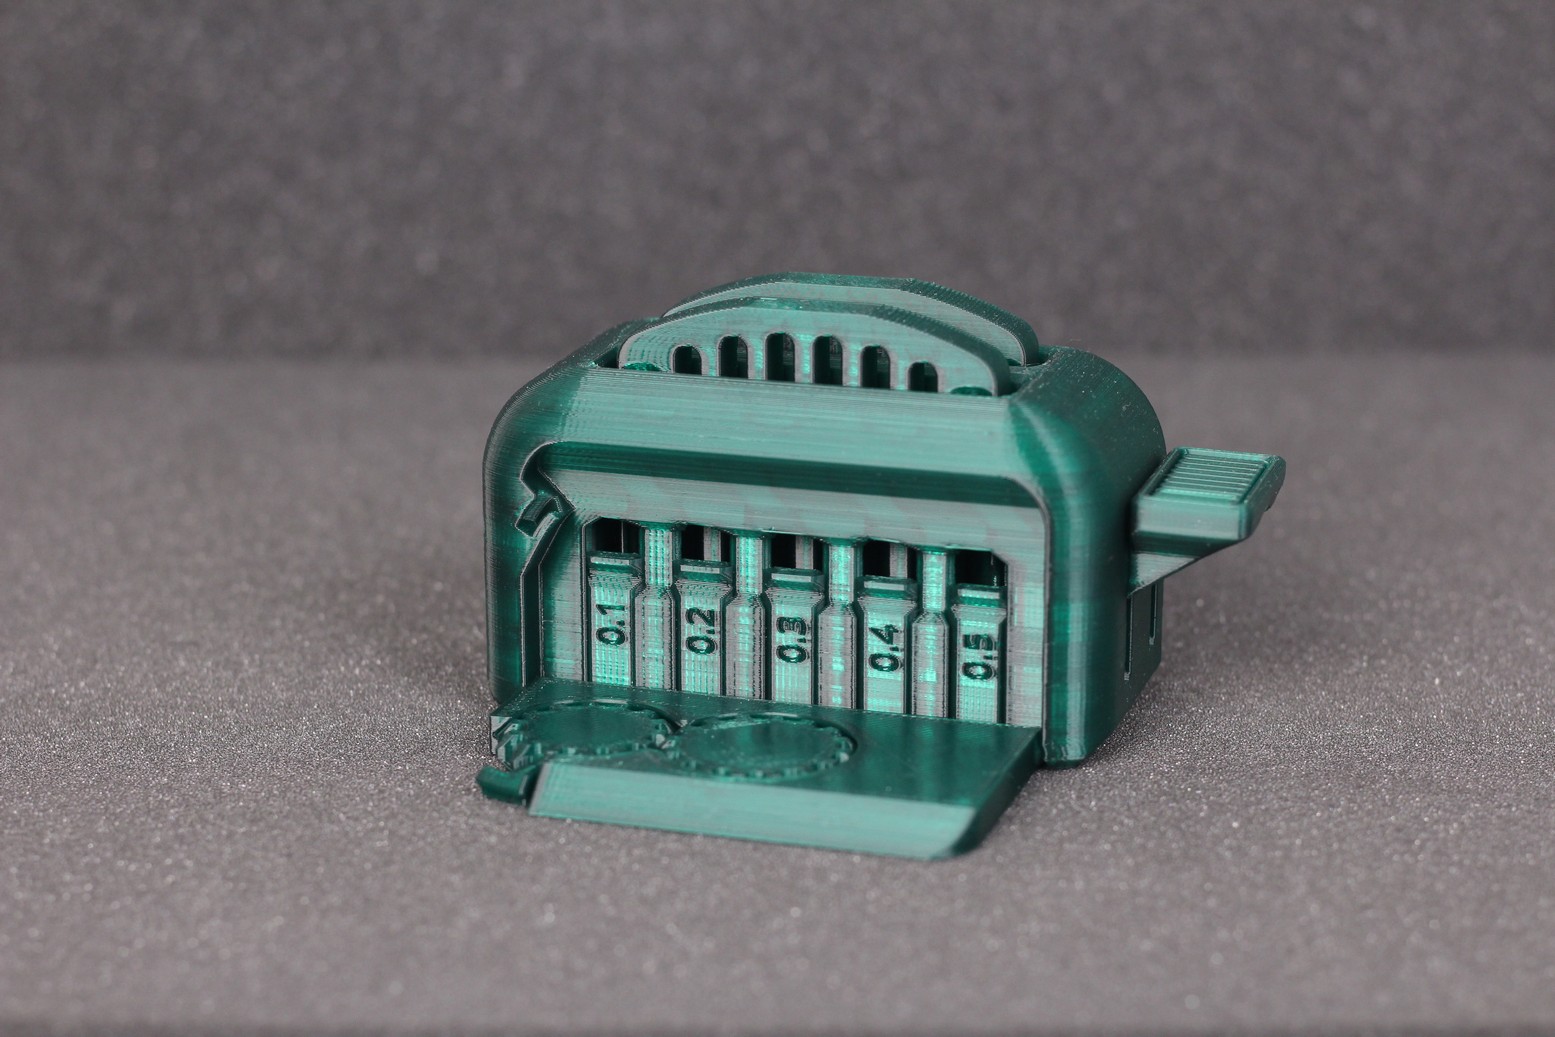
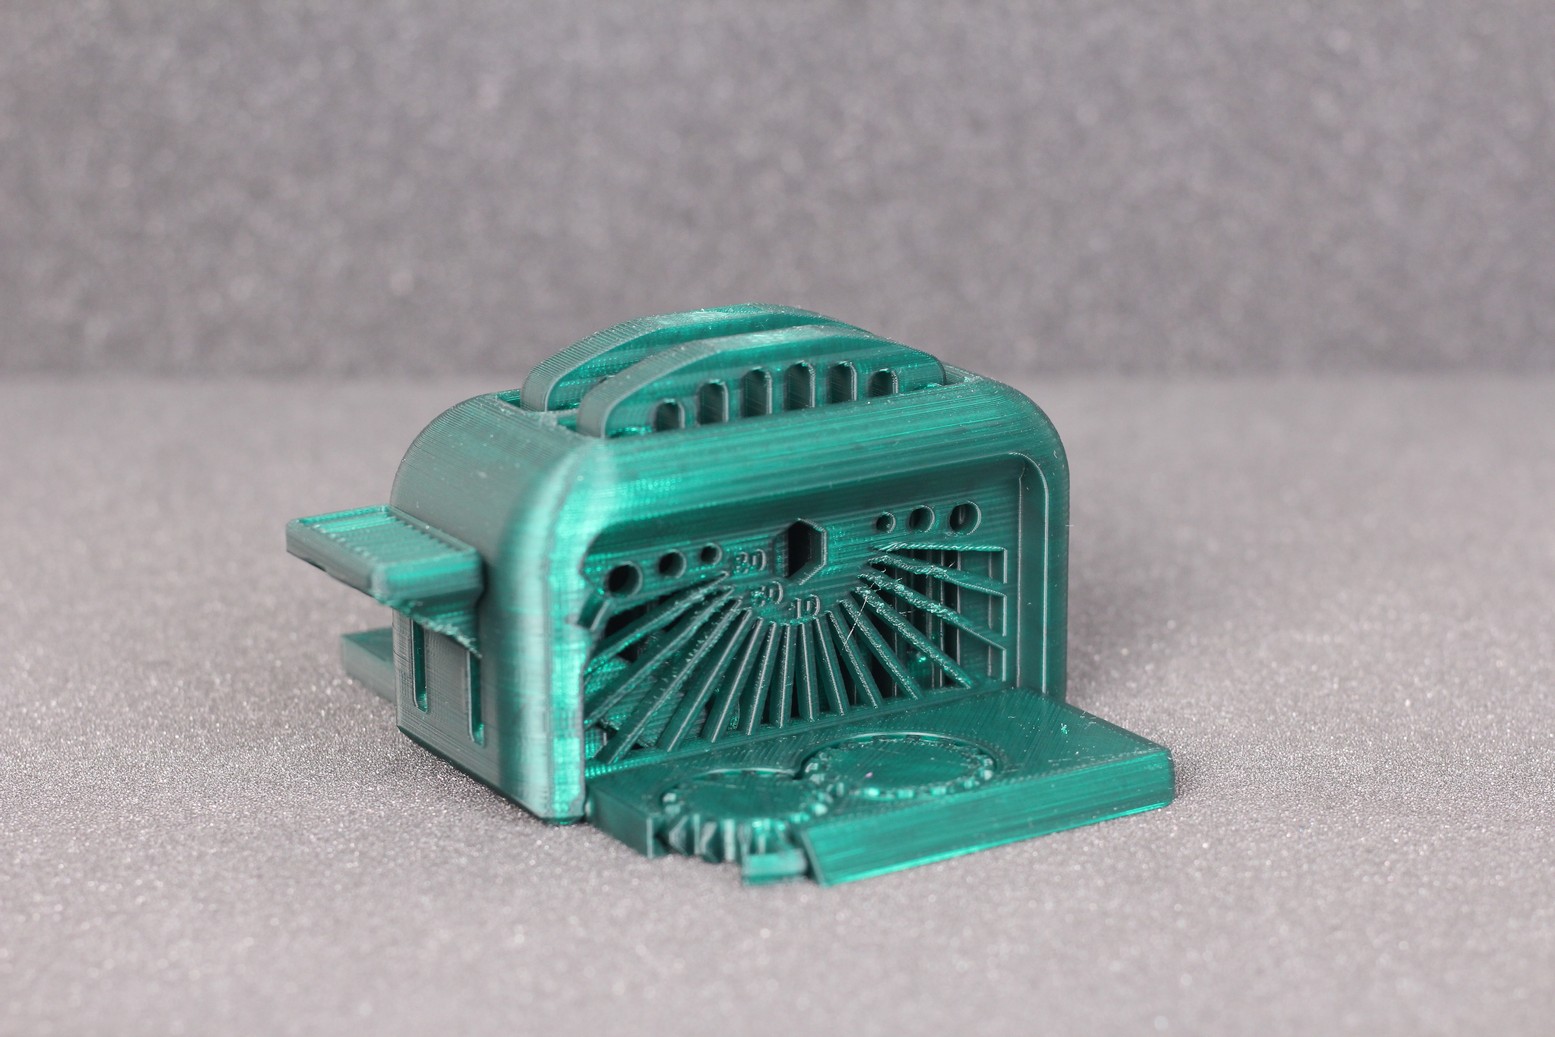
Like I do with every printer I review, I also printed the Torture Toaster from Clockspring 3D. I printed this model in a translucent green PLA filament which doesn’t look great on camera, but it came out great. All the model’s features were printed correctly, with no major printing defects but I was only able to move the 0.5 mm tolerance test.
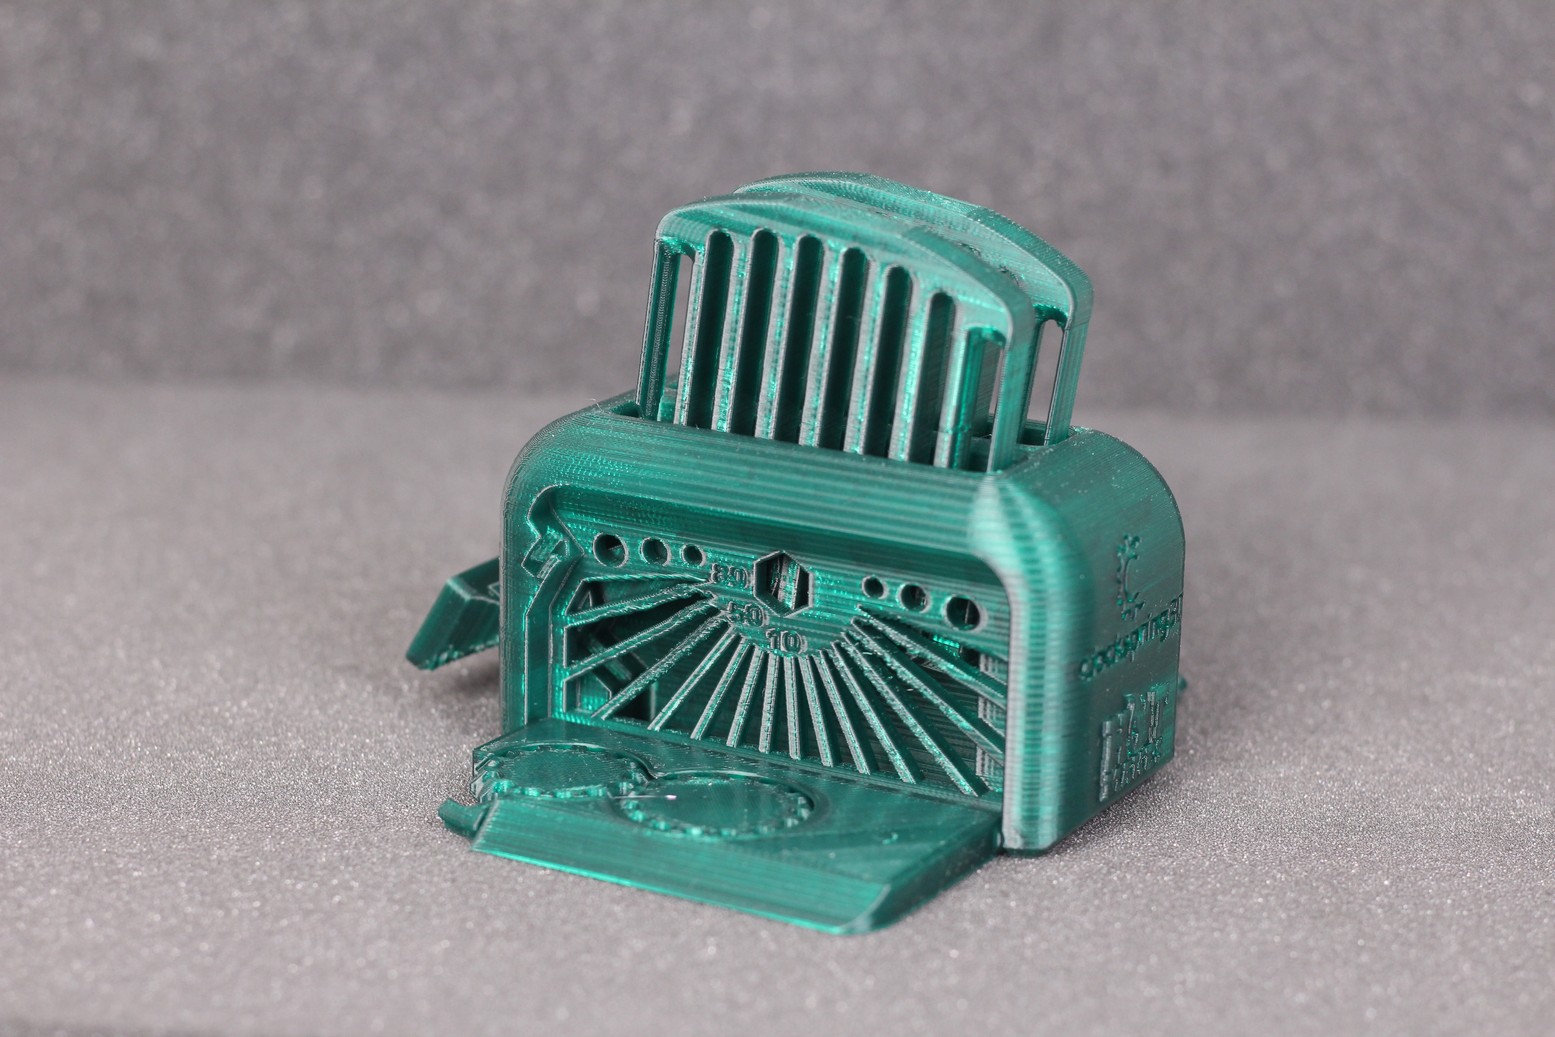

- Material: Gembird Christmas Green PLA
- Layer Height: 0.2mm
- Nozzle Temperature: 215C
- Bed Temperature: 60C
- Print Speed: 50 mm/s
Tusklands Boar
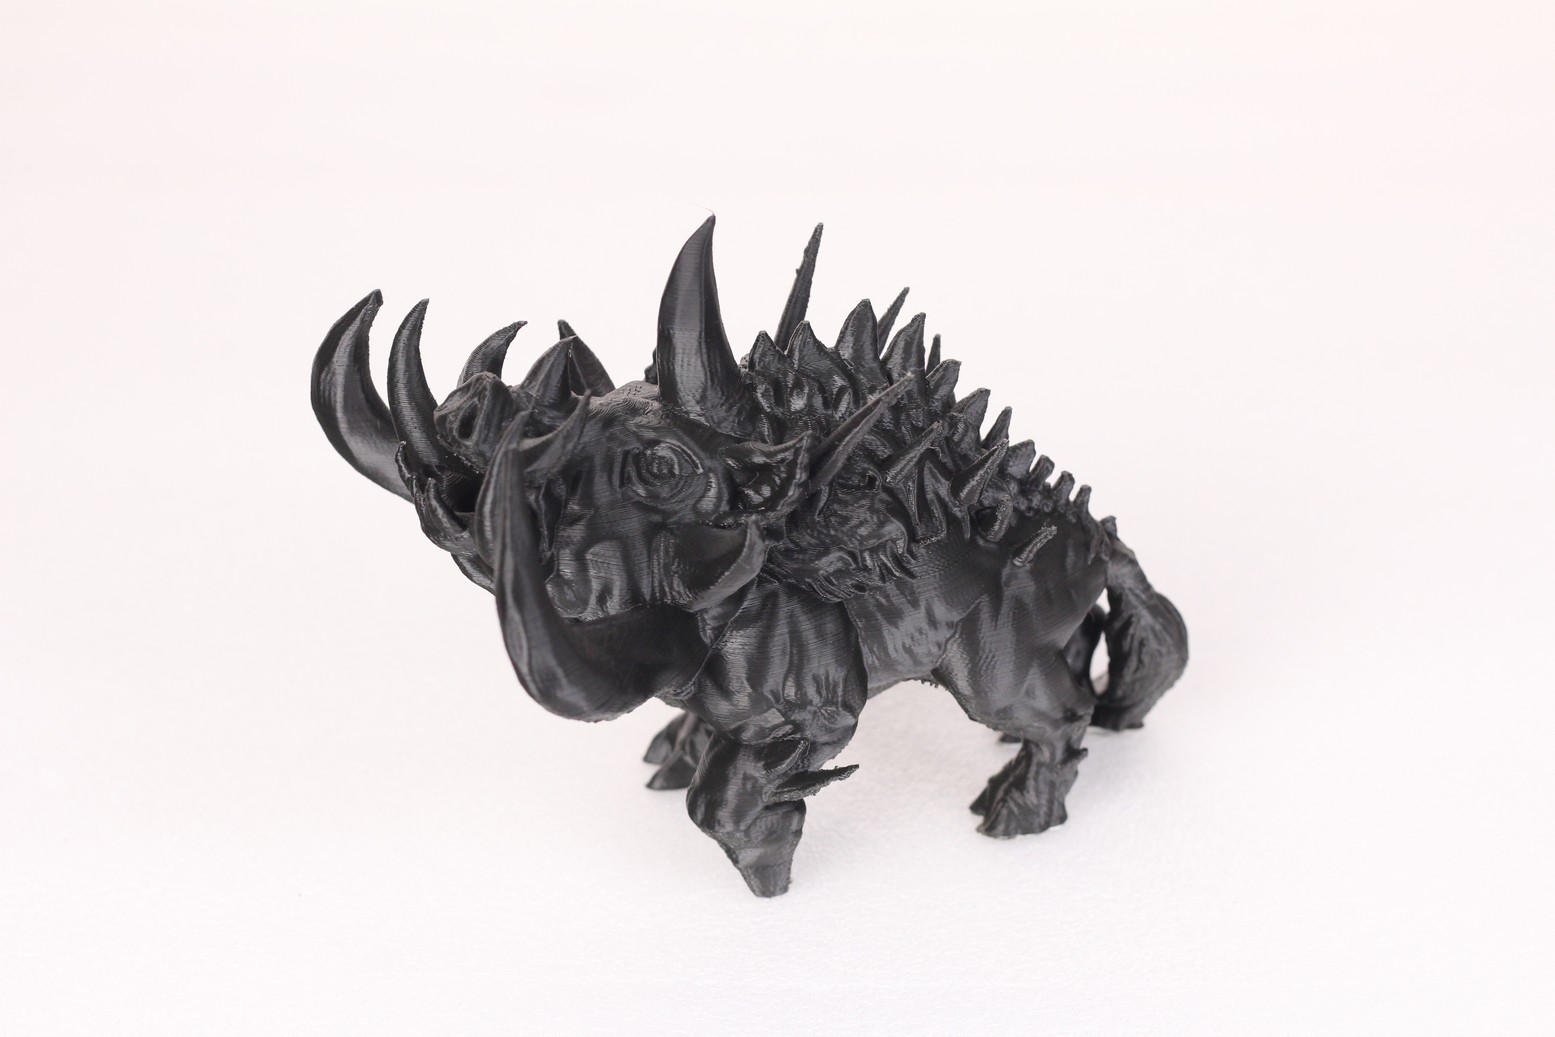
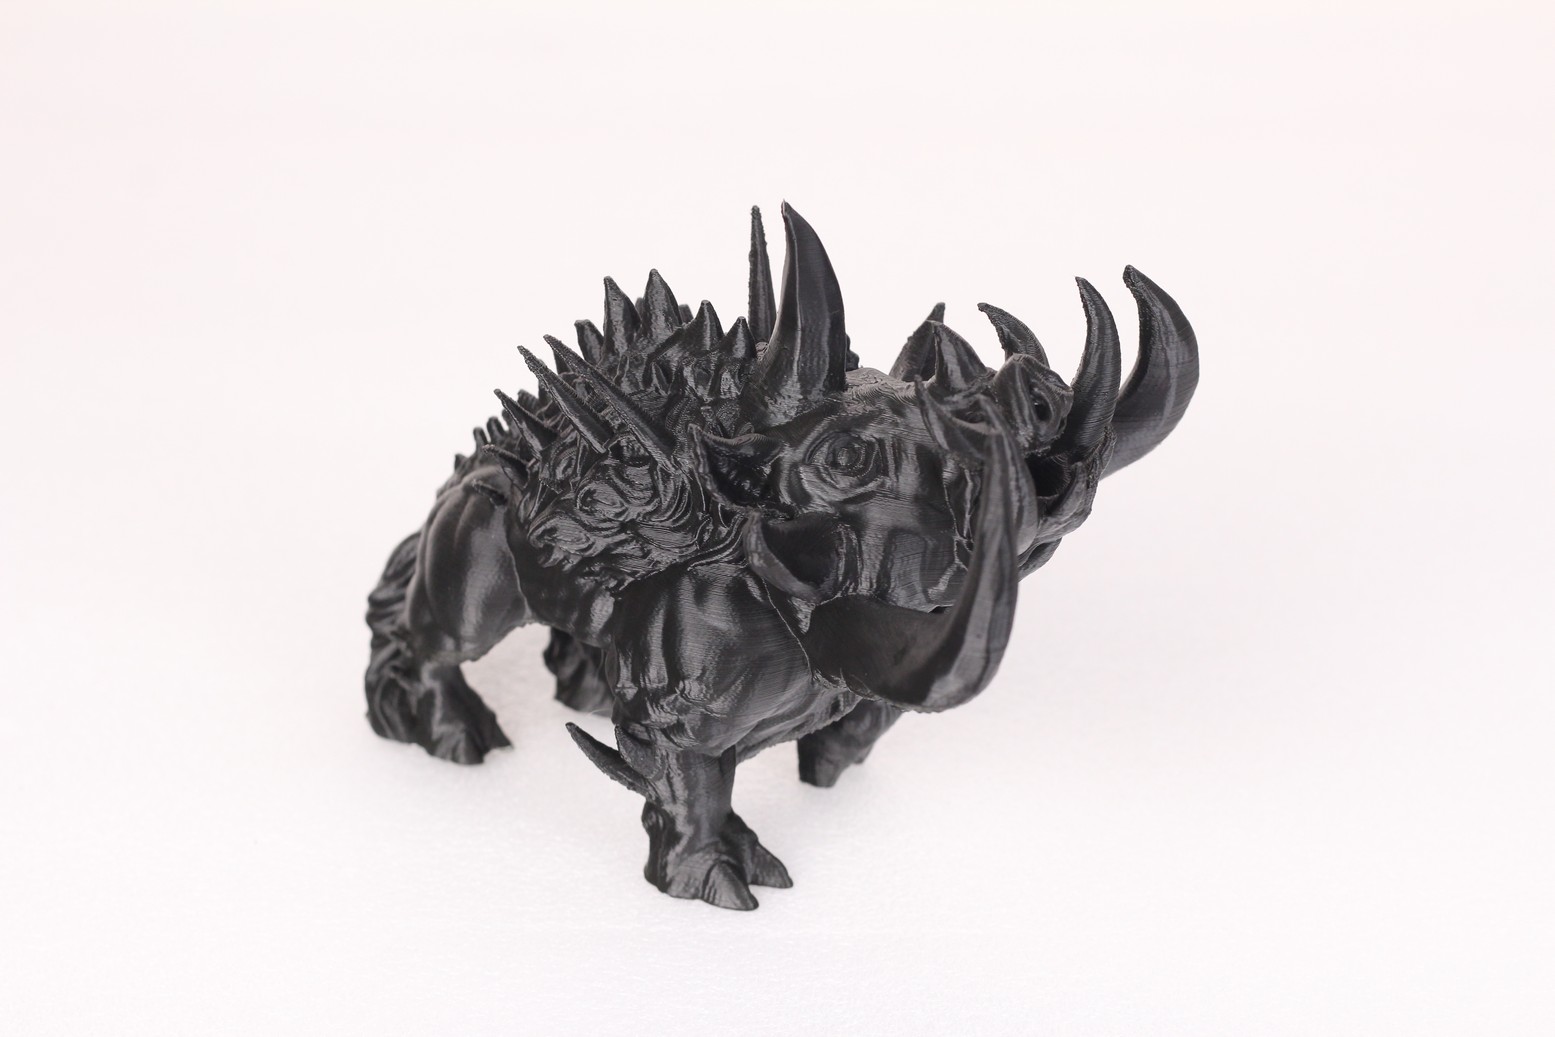
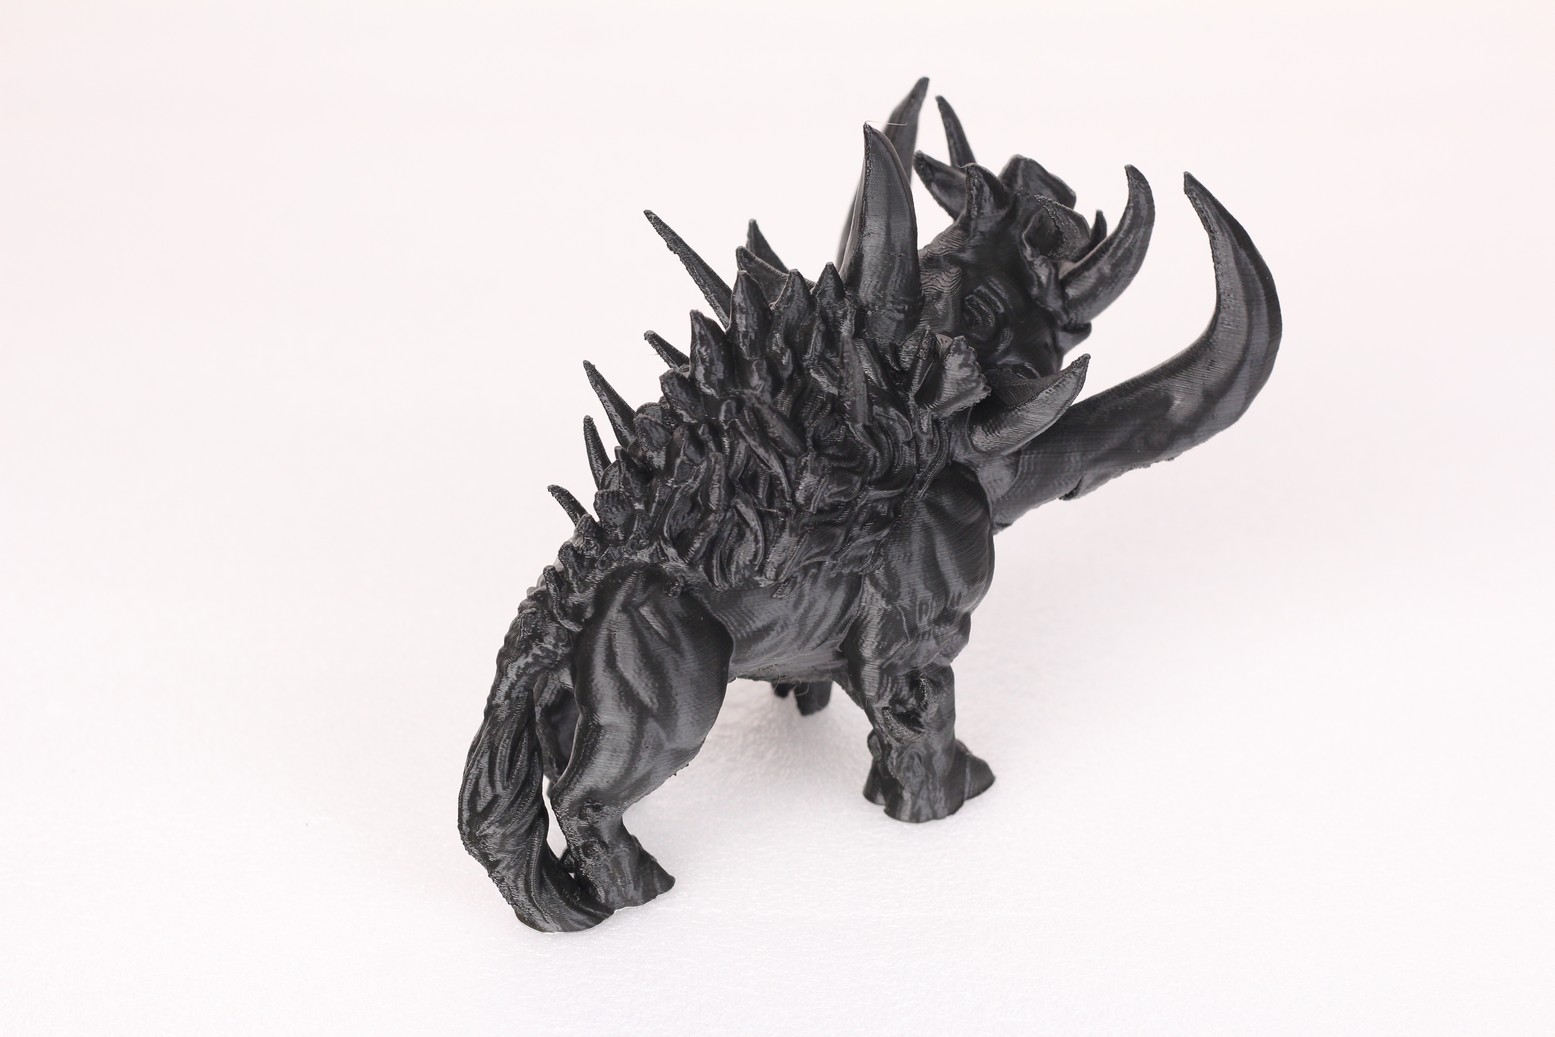
Having an enclosed printer is great for ABS, so I went with the Tusklands Boar model to test the ABS printing performance of the QIDI X-MAX. The printer managed to finish the model successfully, but as you can see there are print quality issues for the big overhangs. Considering that the model was printed with no supports, I think the printer did a decent job. With a bit more tuning, the print quality can be better.
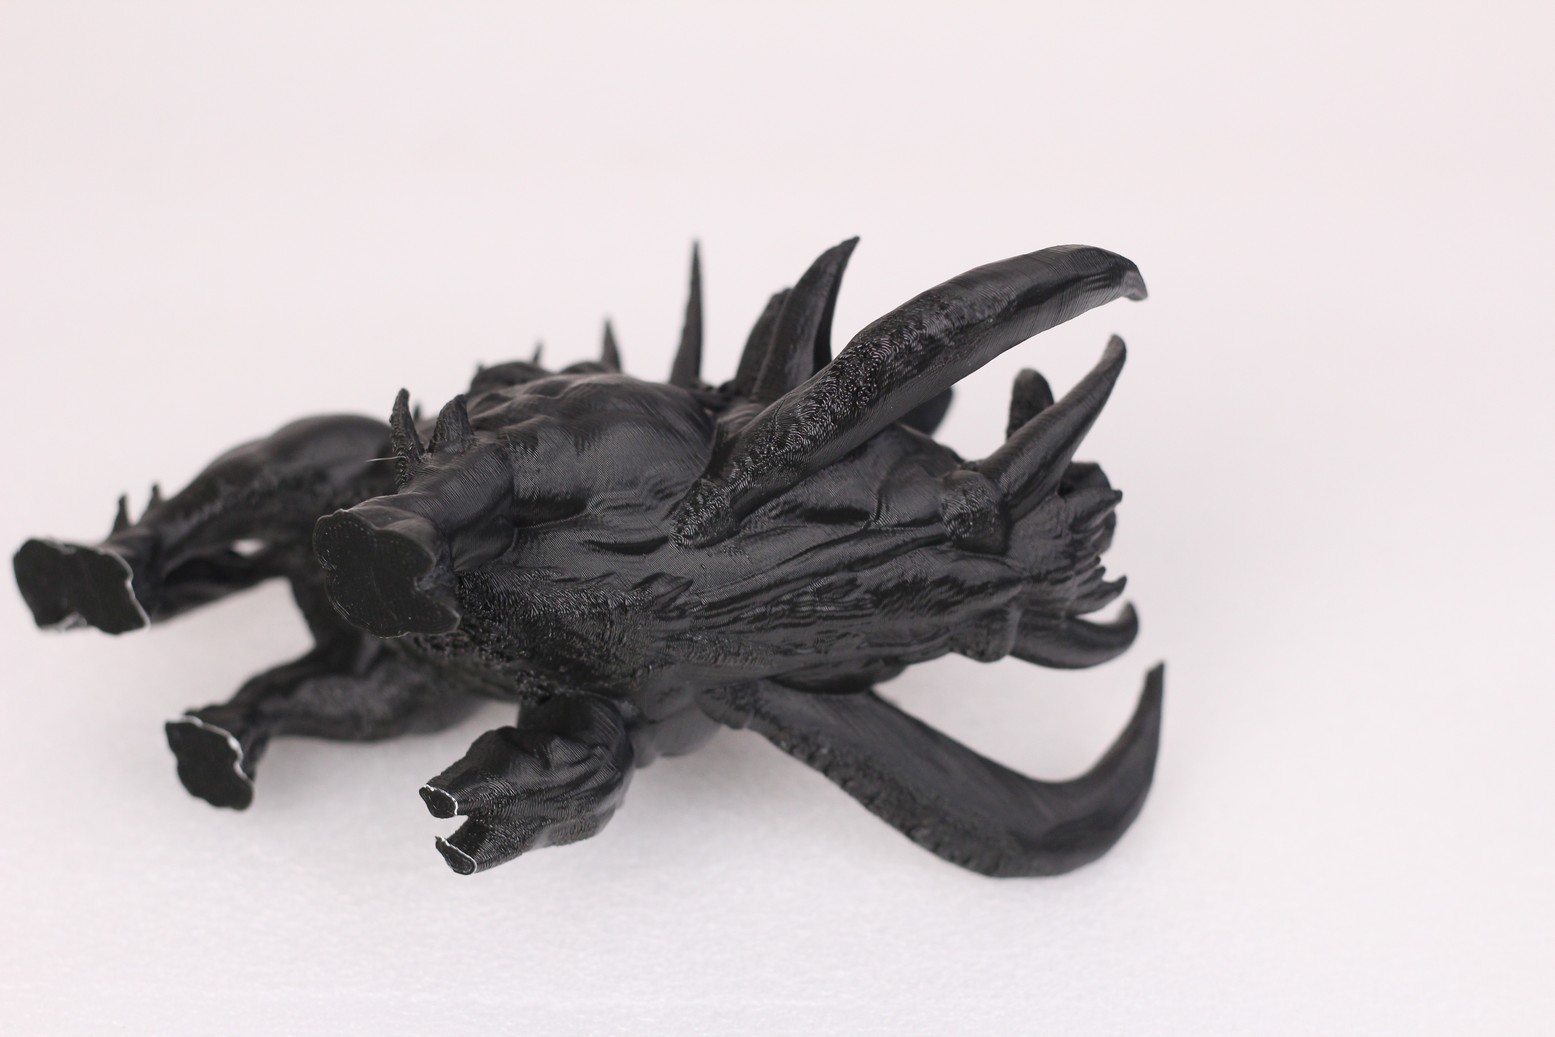
- Material: Gembird Black ABS
- Layer Height: 0.15mm
- Nozzle Temperature: 235C
- Bed Temperature: 100C
- Print Speed: 50 mm/s
Elixir of Foresight
Finally, I printed the Elixir of Foresight model from Bugman_140 in Vase Mode to test the full Z volume and confirm that there’s no extrusion quality issue with the extruder. And as you can see, the QIDI X-MAX is able to print beautifully at lower speeds.
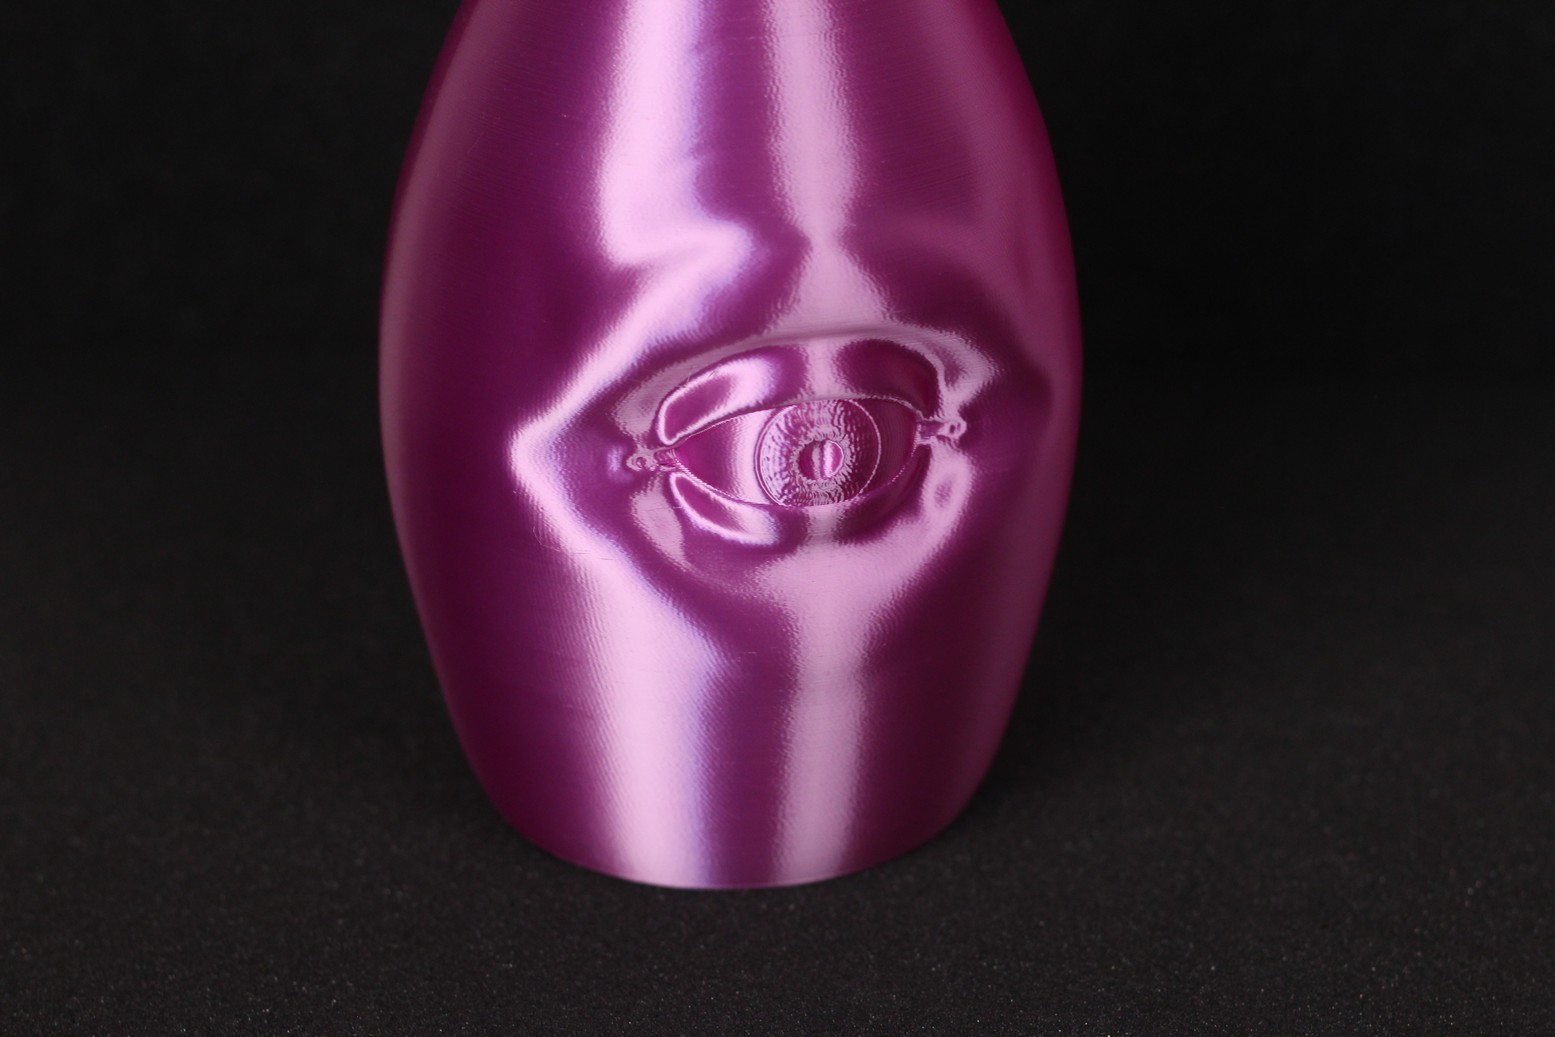
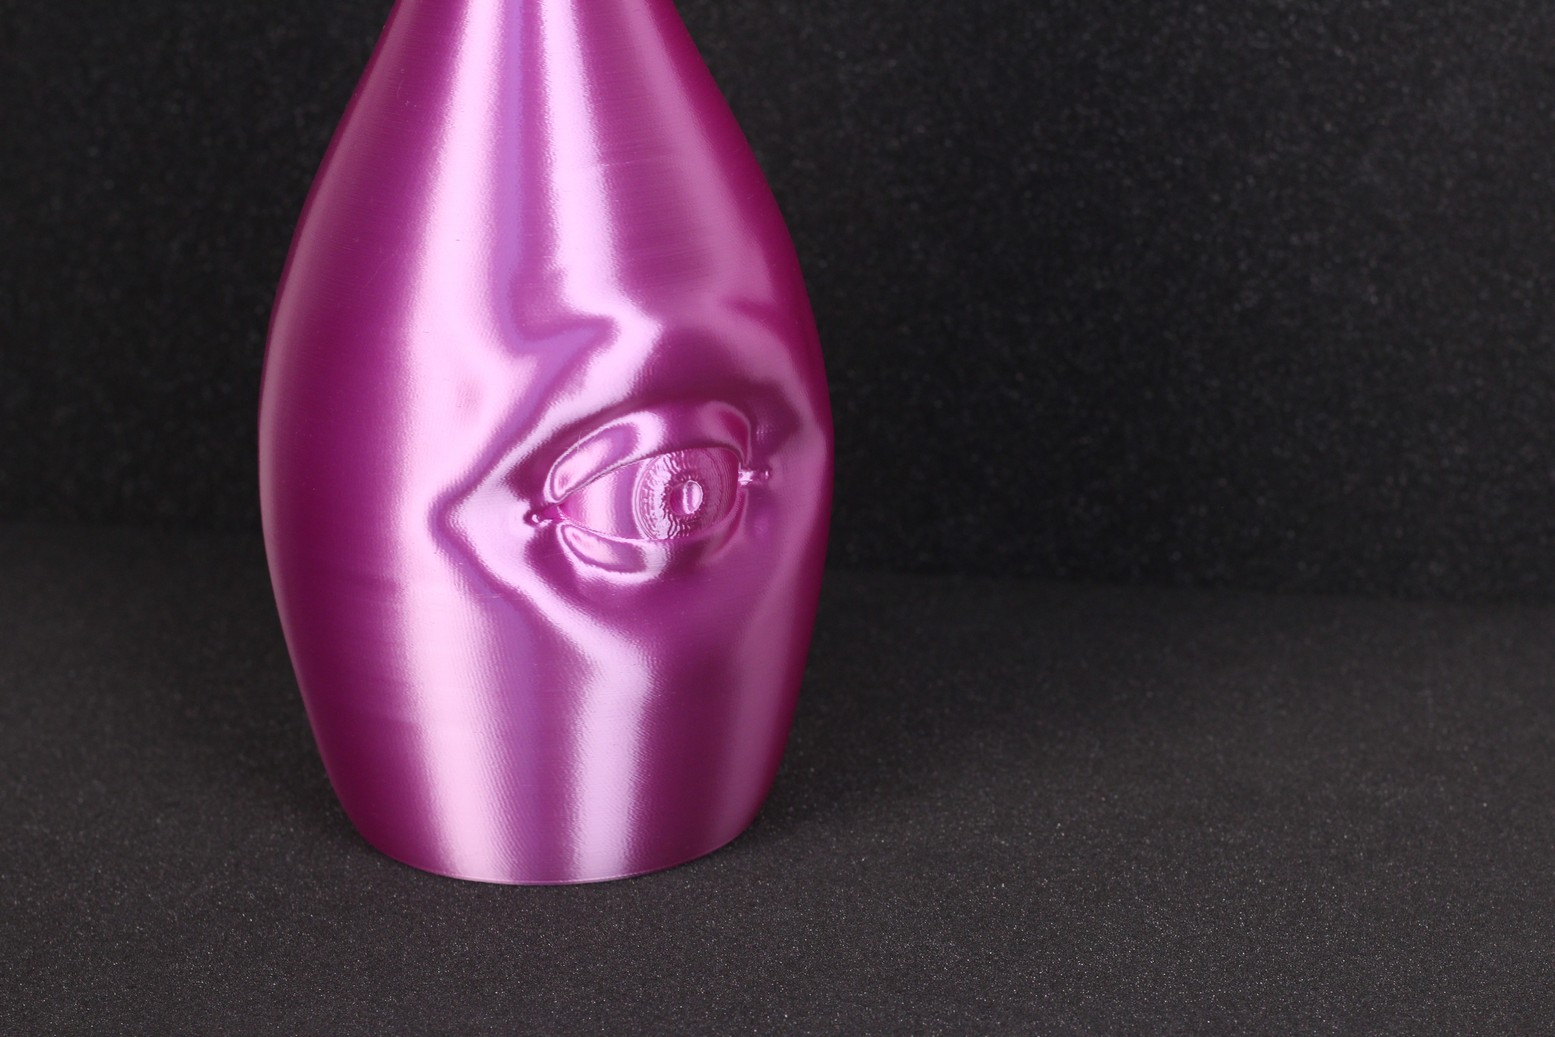
- Material: DevilDesign Silk PLA
- Layer Height: 0.2mm
- Nozzle Temperature: 215C
- Bed Temperature: 60C
- Print Speed: 30 mm/s
Conclusions: Is the QIDI X-MAX worth it?
The QIDI X-MAX is a really attractive printer when considering all the features you get, and the current price. For about 1000$, you get a large format 3D printer with an enclosure, capable of printing high-temperature filaments without needing to spend more money for upgrades.
It comes ready to print, with a bunch of spare parts included in the box in case you need them over time. It’s the first printer I’ve reviewed which comes with a spare extruder and a spare print surface, besides the regular spares you get with other machines.
One of the drawbacks would be the single geared extruders which don’t have the same precision you would get with newer solutions out there. Besides that, you are not able to connect it to OctoPrint, or even install a custom firmware like Marlin but these “issues” can be ignored considering how easy it is to use even for a complete beginner.
There was no way for me to test this, but I’ve read online that QIDI’s customer support is also quite responsive and people seem to be happy with the assistance they get from the company which is nice to see.
Right now, I don’t think you can go wrong with the X-MAX if you’re looking for a machine which is able to consistently produce prints with the same print quality, over and over again. Sure, it’s a little bit outdated, and a bit more expensive compared to other machines, but if you look closer you can’t really find a better solution for ~1000$.
The QIDI X-MAX is a capable high-temperature 3D printer which is really easy to use out of the box. Even though it's a bit older, the machine is still more than capable to be a production machine and you can't really go wrong with it if you need consistent performance for a fair price.QIDI X-MAX Rating
Design
Specs
Noise Levels
Ease of use
Print Quality
Price
Where to buy the QIDI X-MAX?
The QIDI X-MAX can be purchased from the following websites:
AliExpress
Amazon
Banggood
Geekbuying – Discount code NNNR3DPBQIDI – 995$
QIDI
I recommend checking out the Discount Codes page before purchasing. I regularly update the article with discount codes for various online shops, and you might find one for this particular model.
The QIDI X-MAX was provided free of charge by QIDI for the purpose of this review. While the article includes affiliate links, all opinions are my own. Nobody reviewed the article before it was posted, following the Review Guidelines.
Liked it?
|
|



There is a uart port on the motherboard so you can install and use octaprint without issues…
This printer needs a better extruder, better filament reeding system, mine came with faulty parts. I would love to see you suggest a better extruder and hotend for this machine.
I’ve seen someone installing a Hemera which seems like a good idea, but I haven’t looked into upgrading the machine yet.
You can add a TTL to the mainboard and use octoprint
Nice review but the printer is not my cup of tea.
Anyway…what is your verdict on the Polymaker TPU?? It isnt cheap but does it work well with faster speed?
If you check the 3DPrintBeginner YouTube channel, there’s videos with higher speeds for this kind of TPU (over 100mm/s). I think it’s worth it if you want to print fast.