QIDI X-MAX 3 Review: Big Printer with Good Results
The QIDI X-Max 3 didn’t have an amazing launch, as there were some manufacturing and design issues that created problems which made the company stop the sale for a while.
After a few months of additional work, QIDI managed to solve the issues they had and came back stronger than I have expected. In this article, I am reviewing the QIDI X-MAX 3 which is the newest large-format offering from QIDI based on the CORE XY motion system with Klipper firmware out of the box, promising fast 3D printing for an affordable price.
QIDI X-MAX 3 Shipping and Packaging
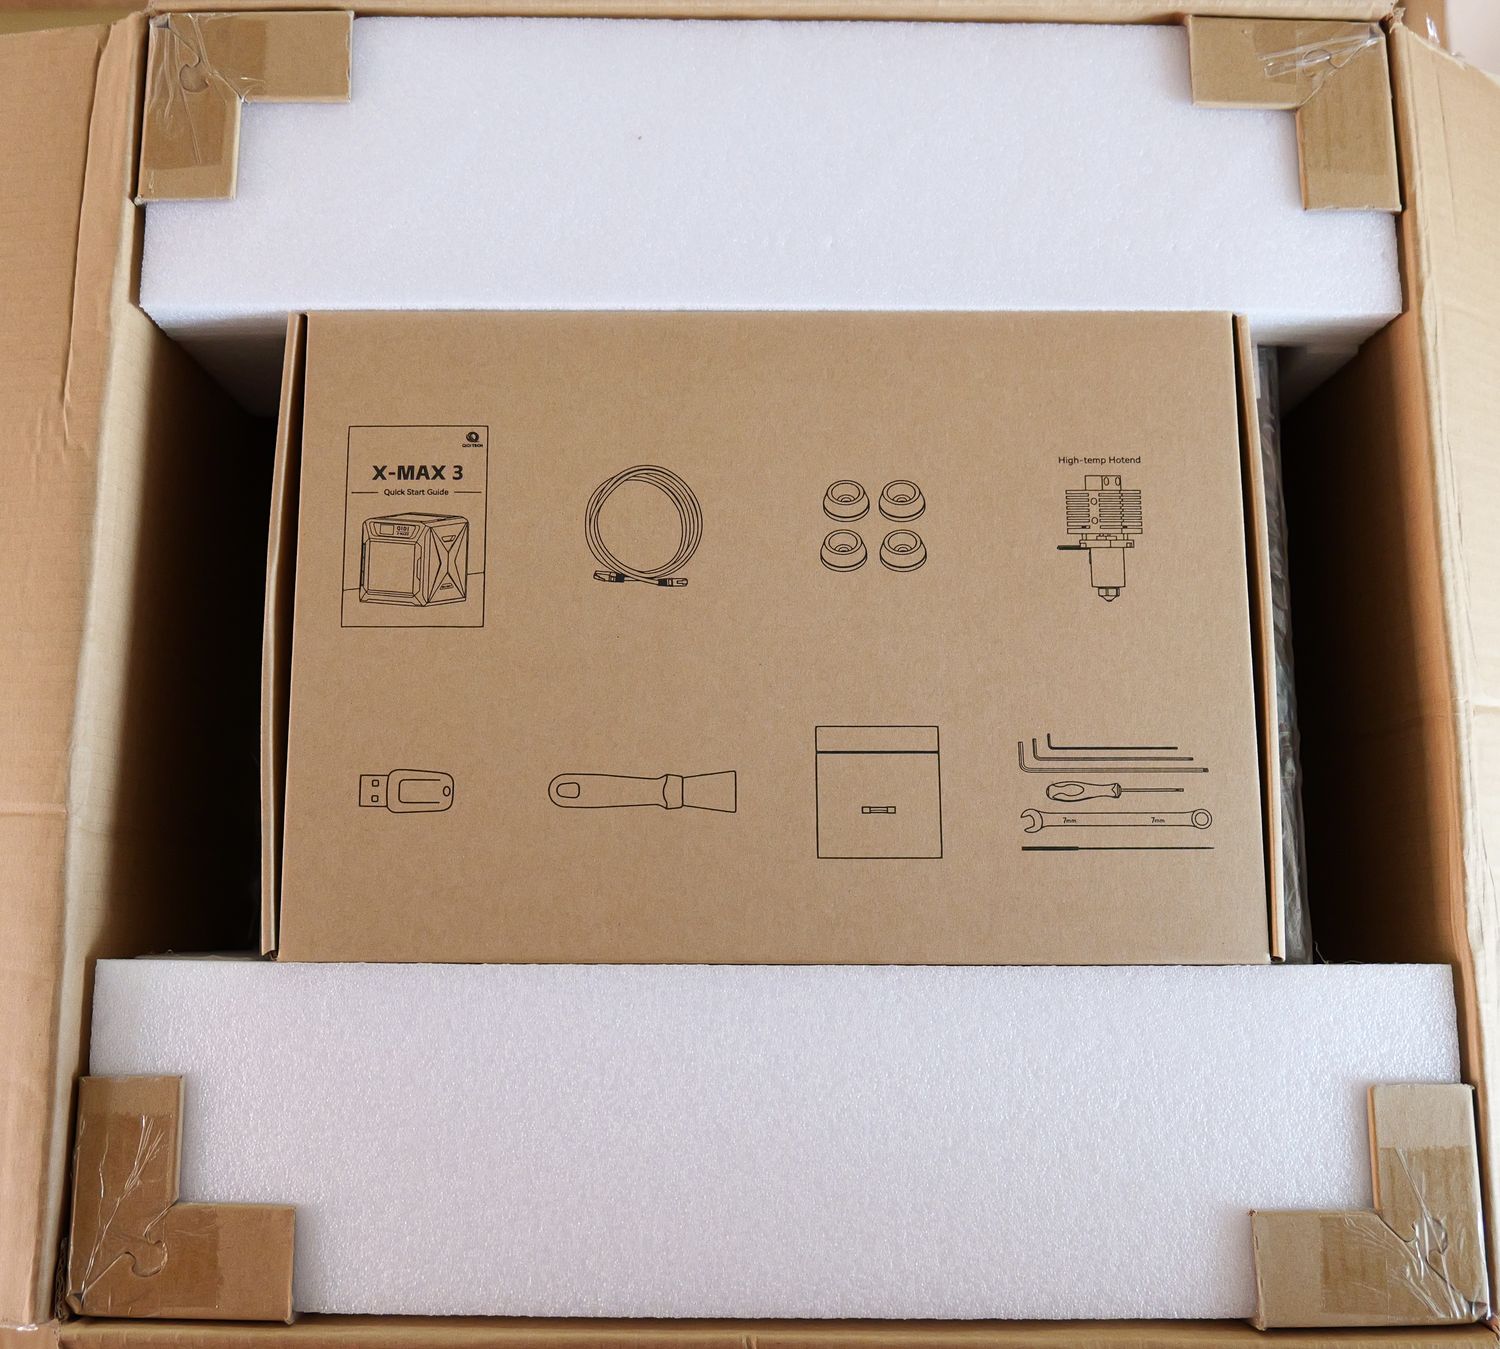
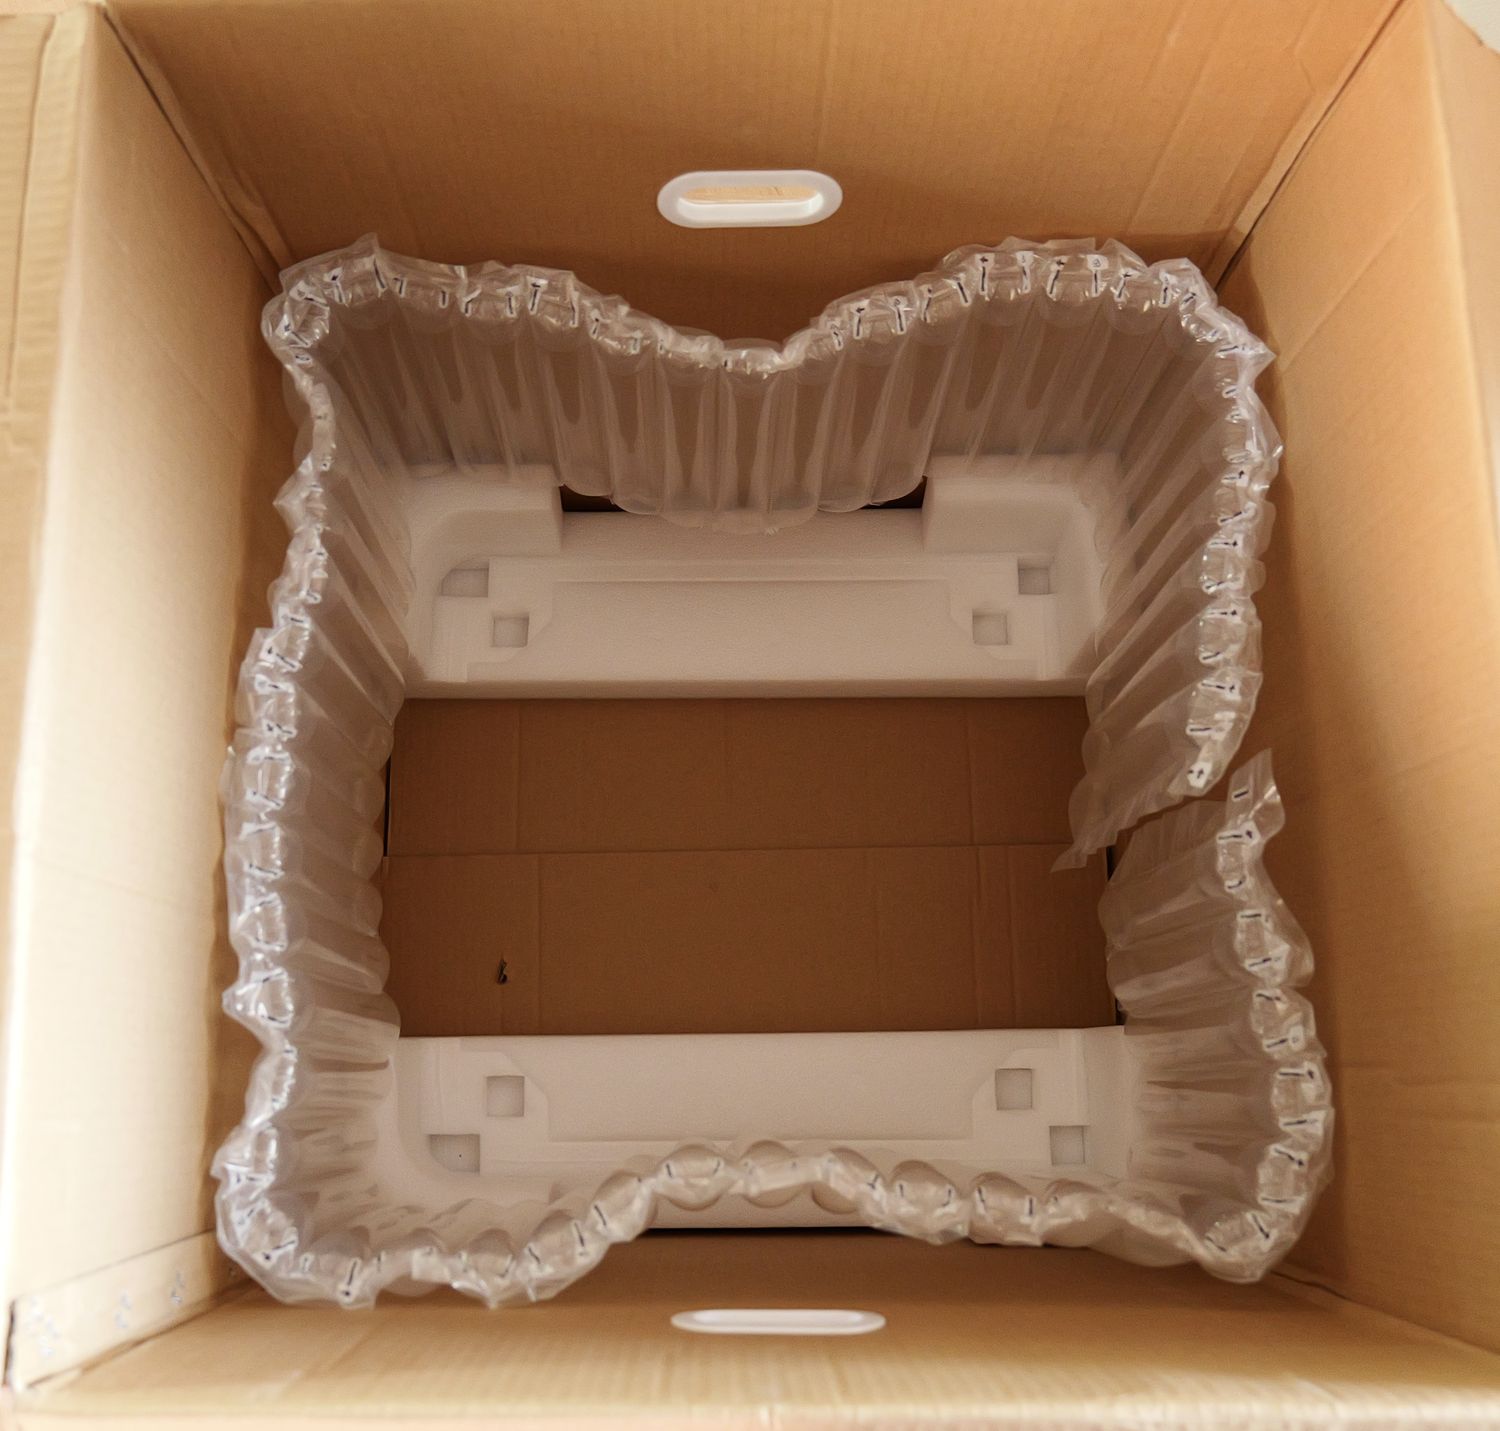
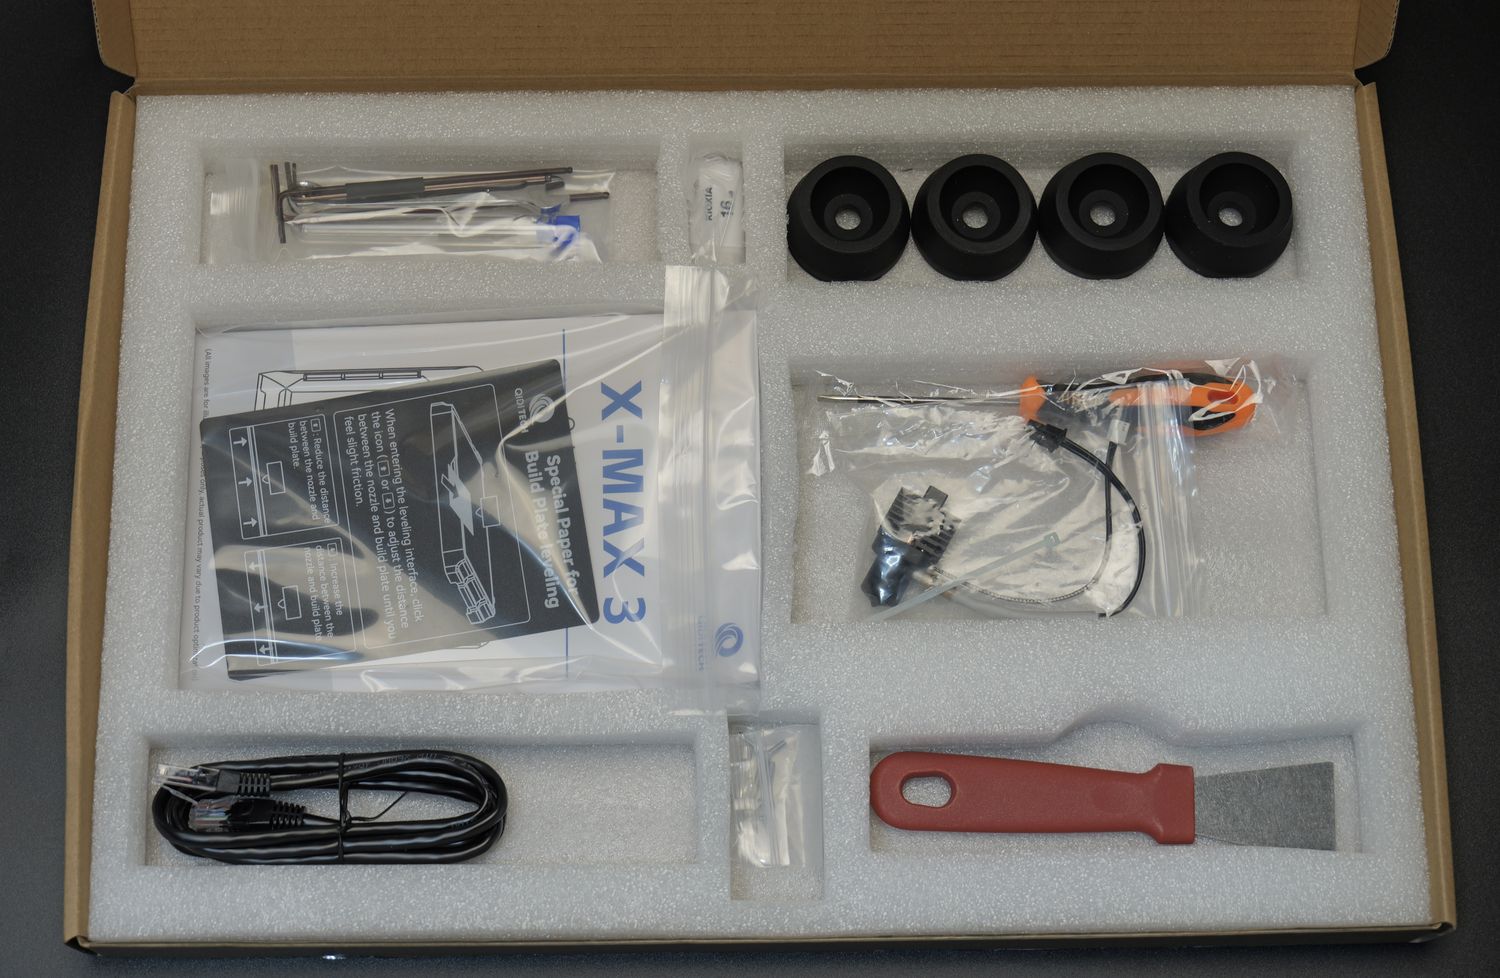
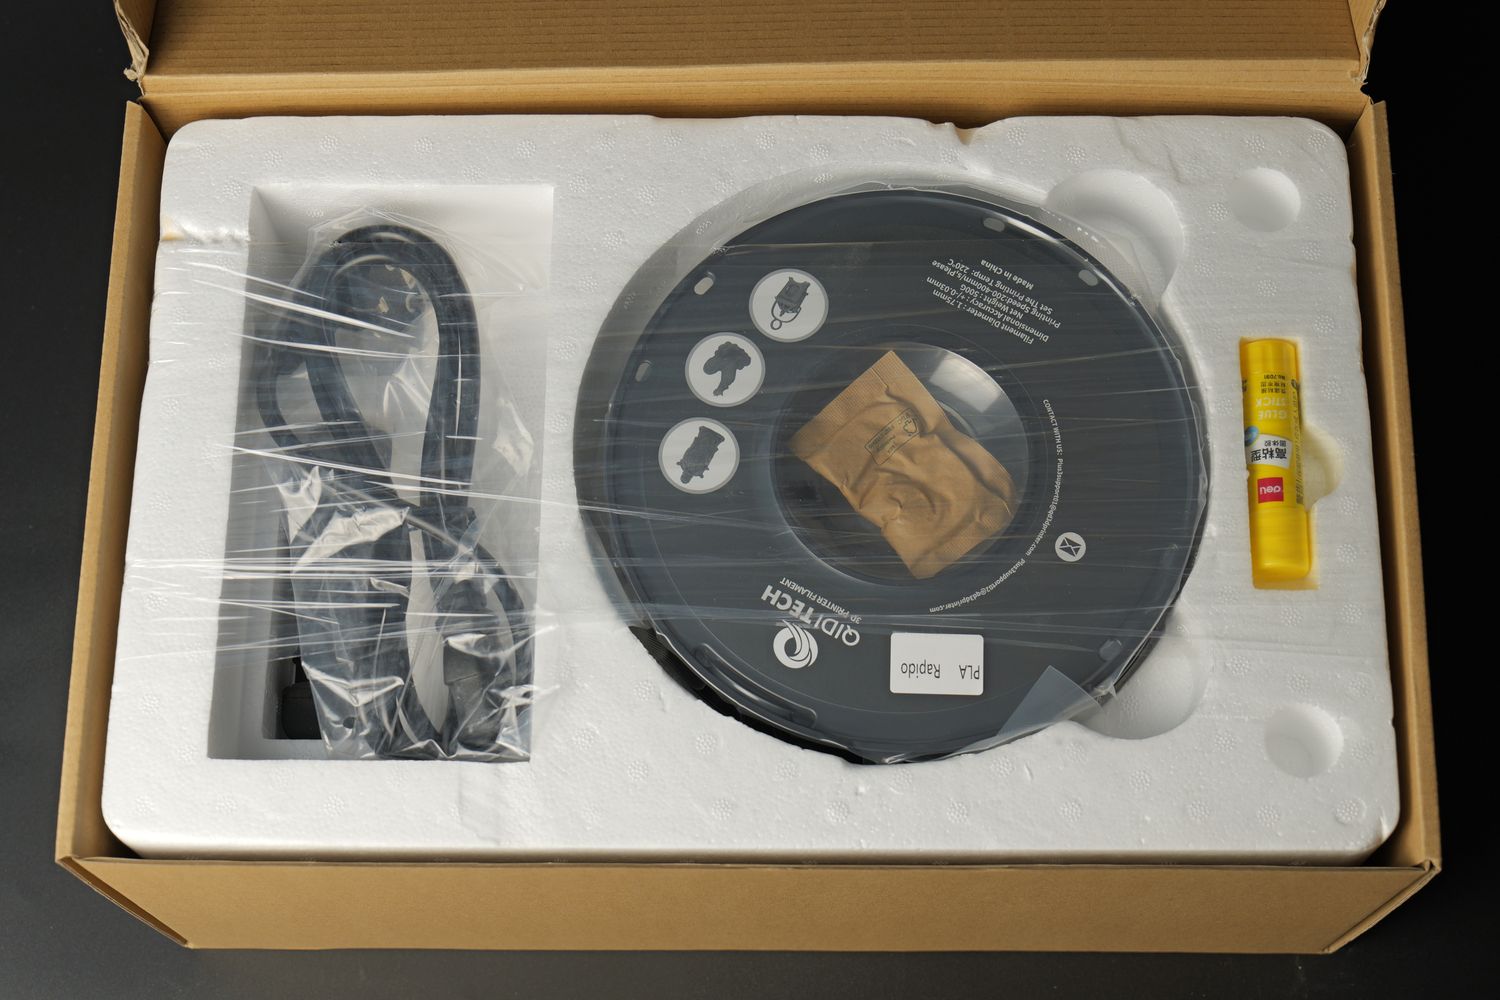
The QIDI X-MAX 3 comes in a huge box that requires at least 2 people to carry it as it’s around 38 KG. I was barely able to fit it in my printing room, but after unboxing it everything was fine.
All the packaging is well-made, to ensure the printer reaches the customer safely, which is great to see.
QIDI X-MAX 3 Design
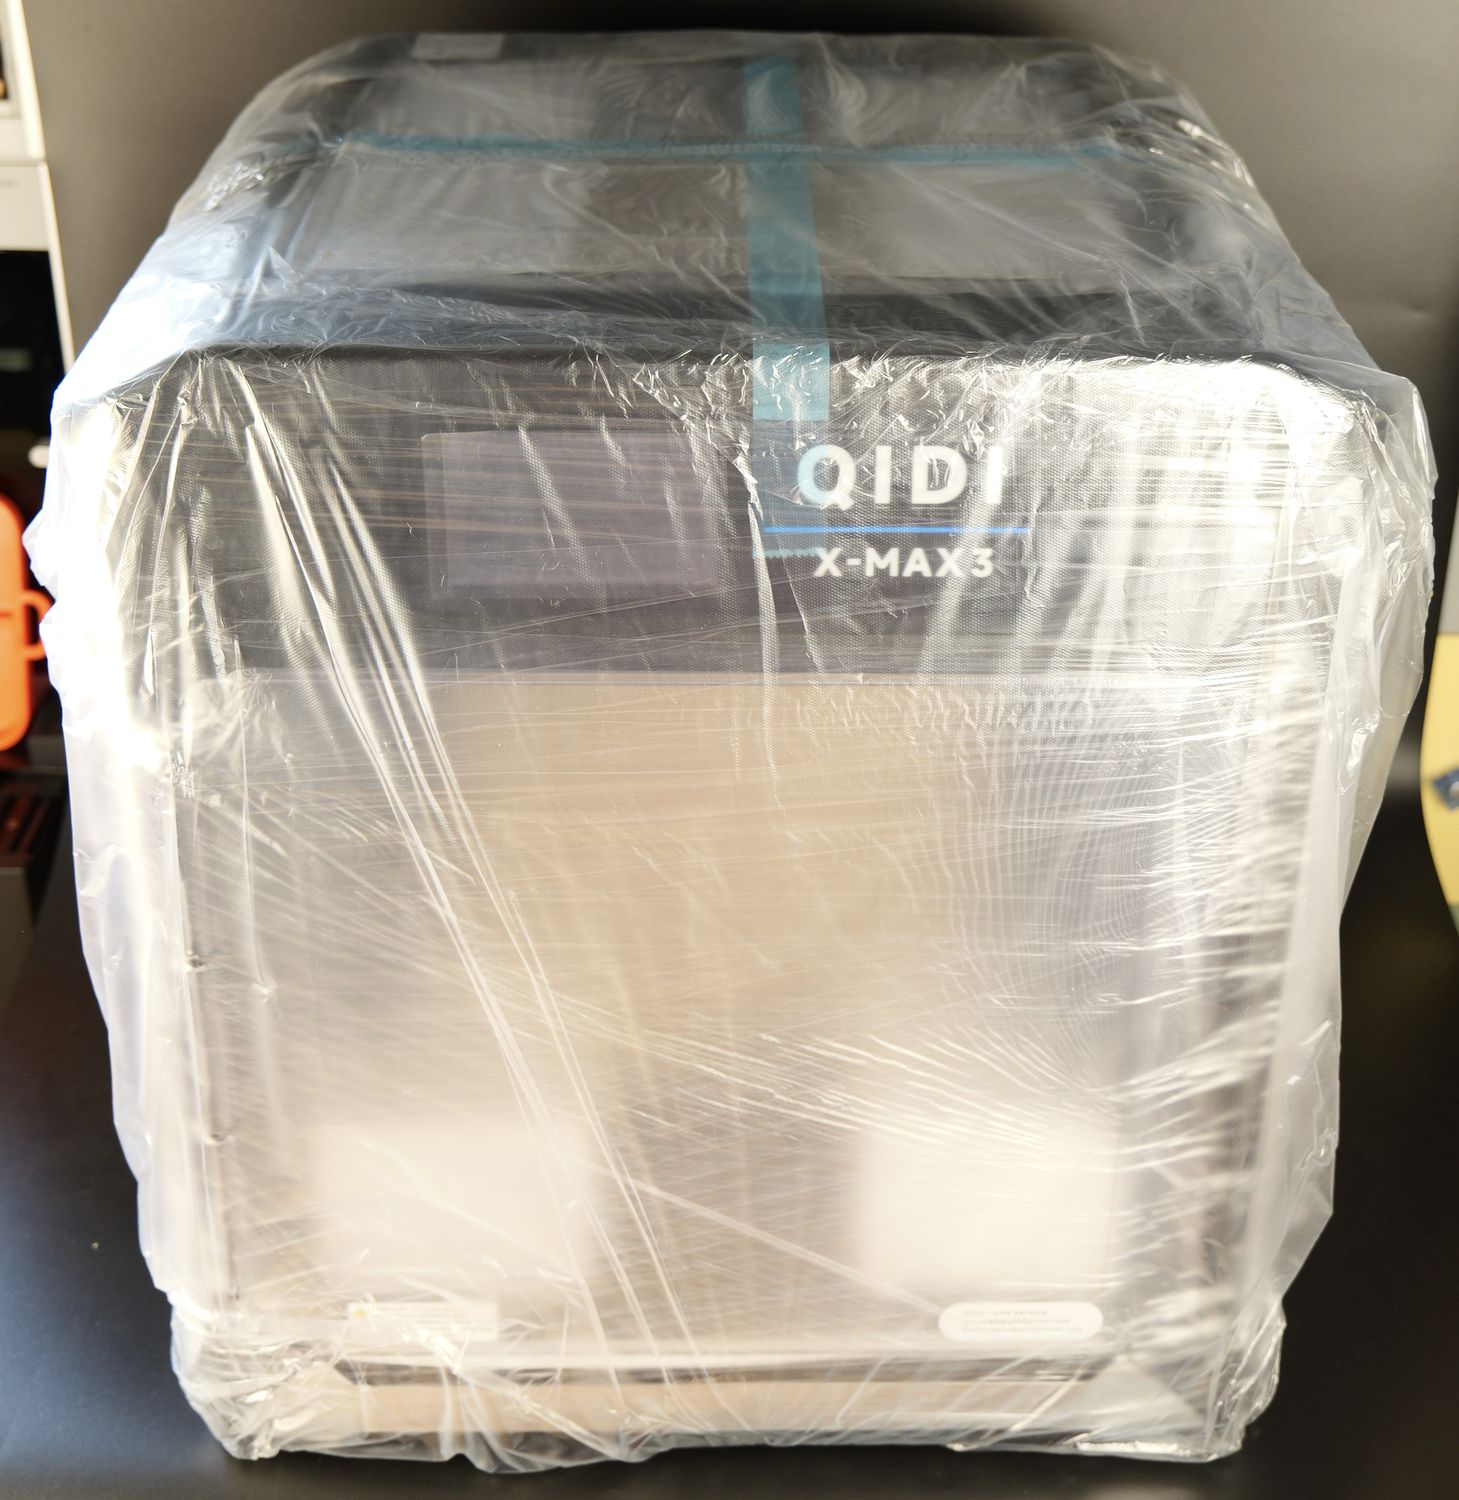
The printer is huge, which makes it hard for me to take great pictures of the entire unit but I am sure you can see the design better in the promotional pictures available online. Overall, the printer looks nice even though the plastic quality is slightly lower than expected
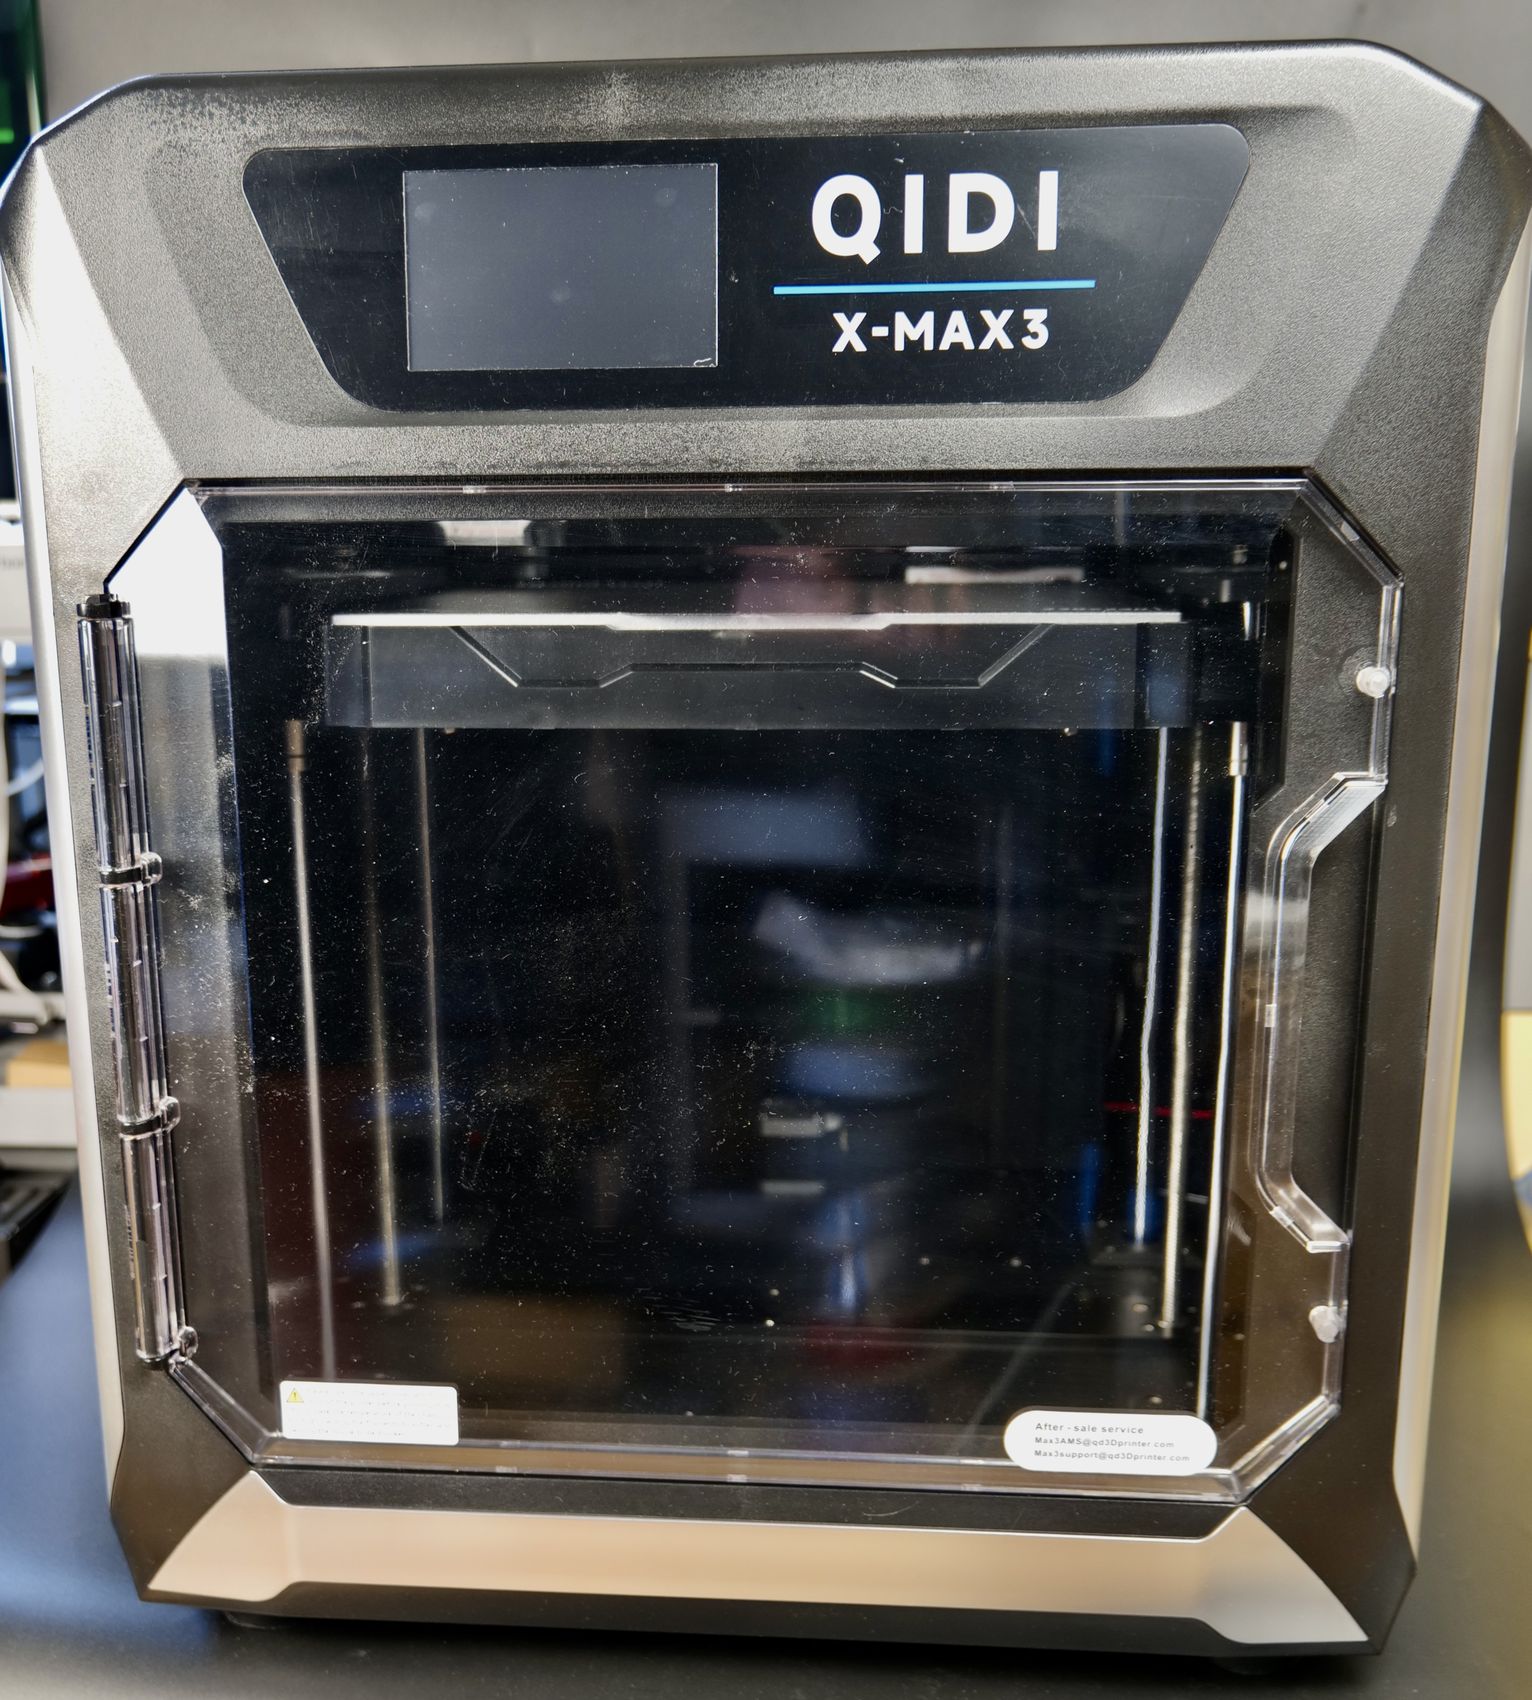
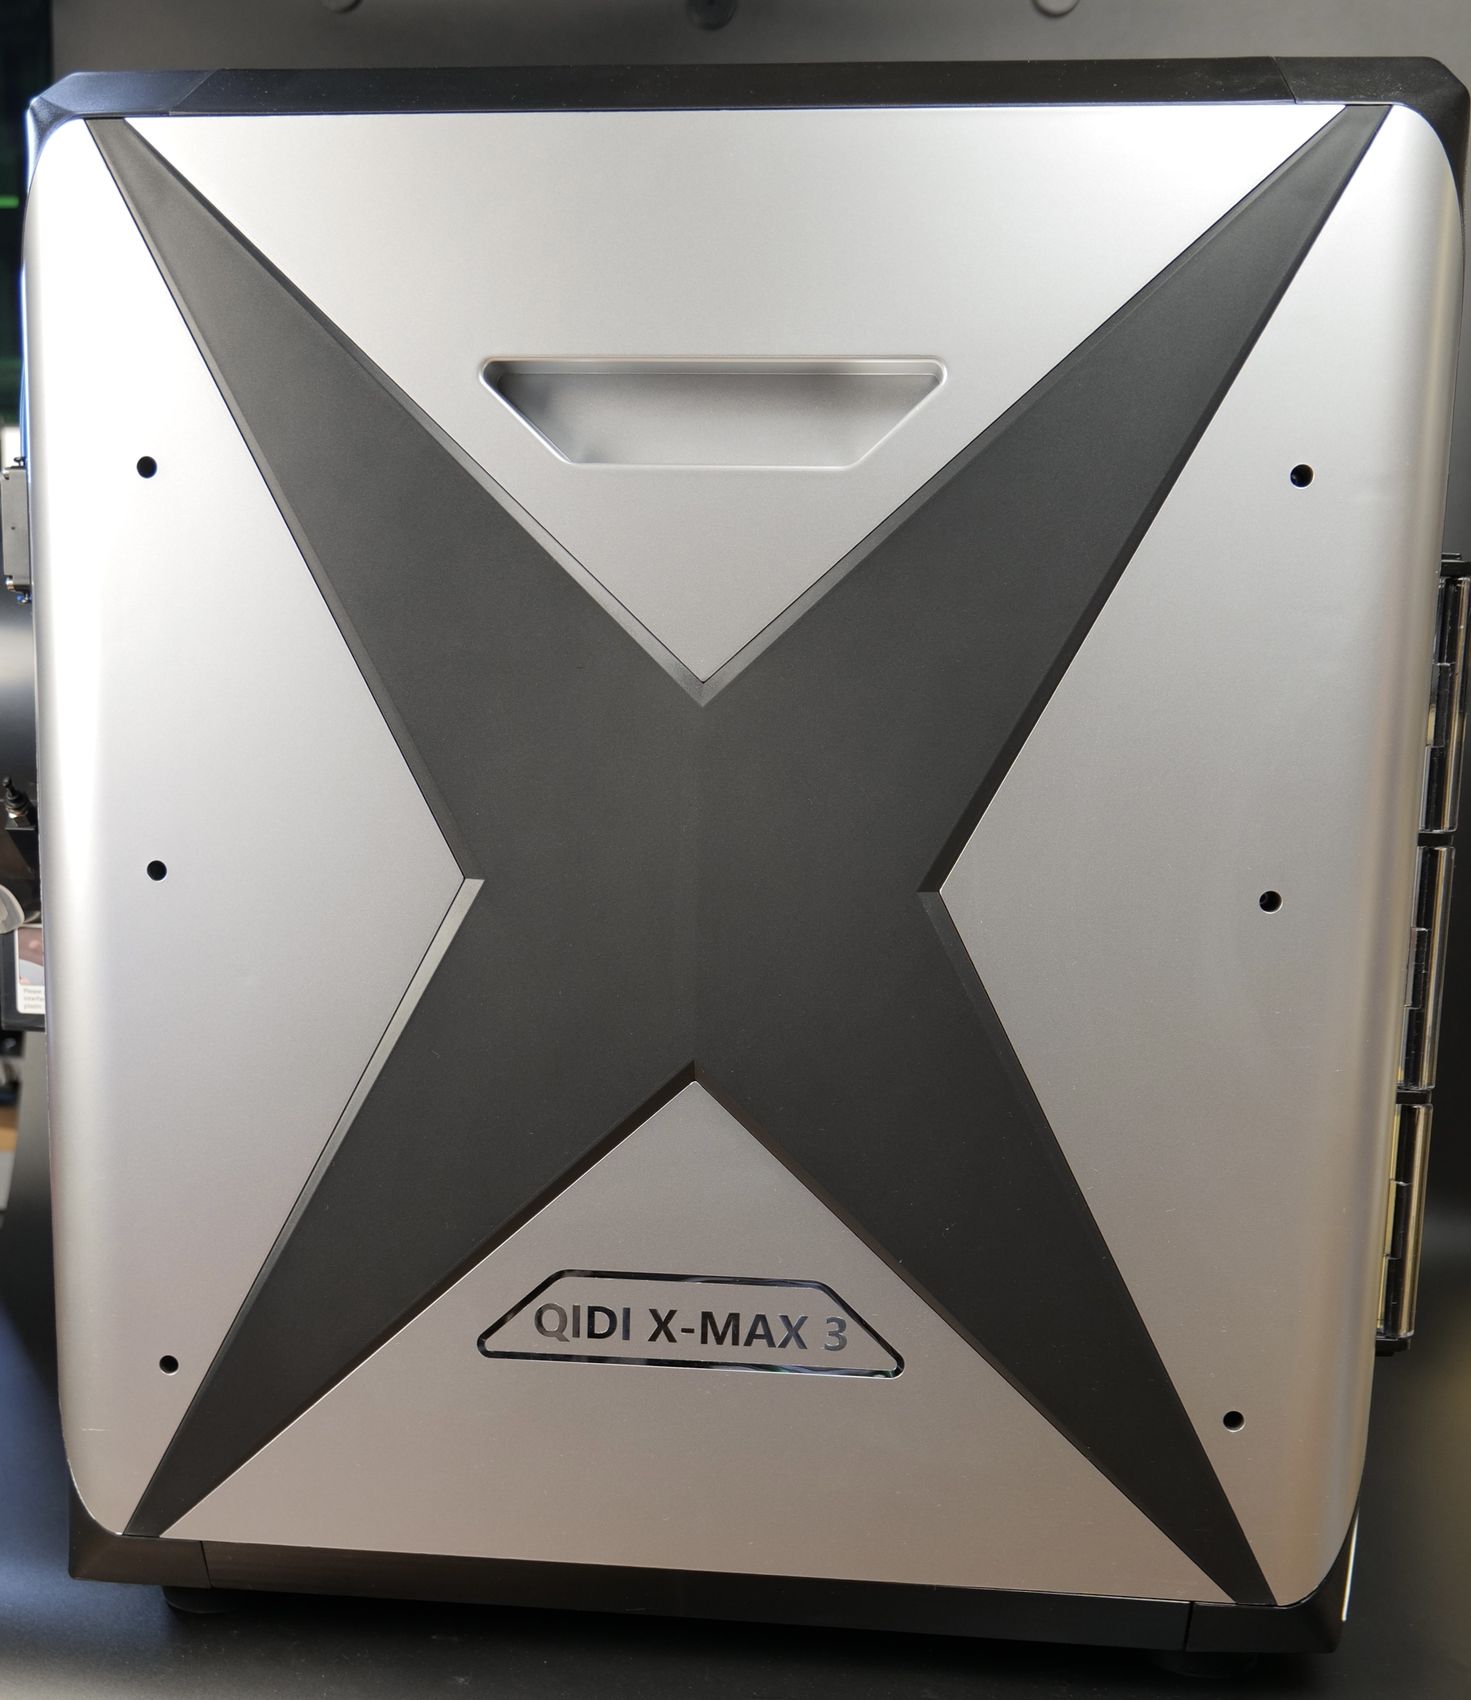
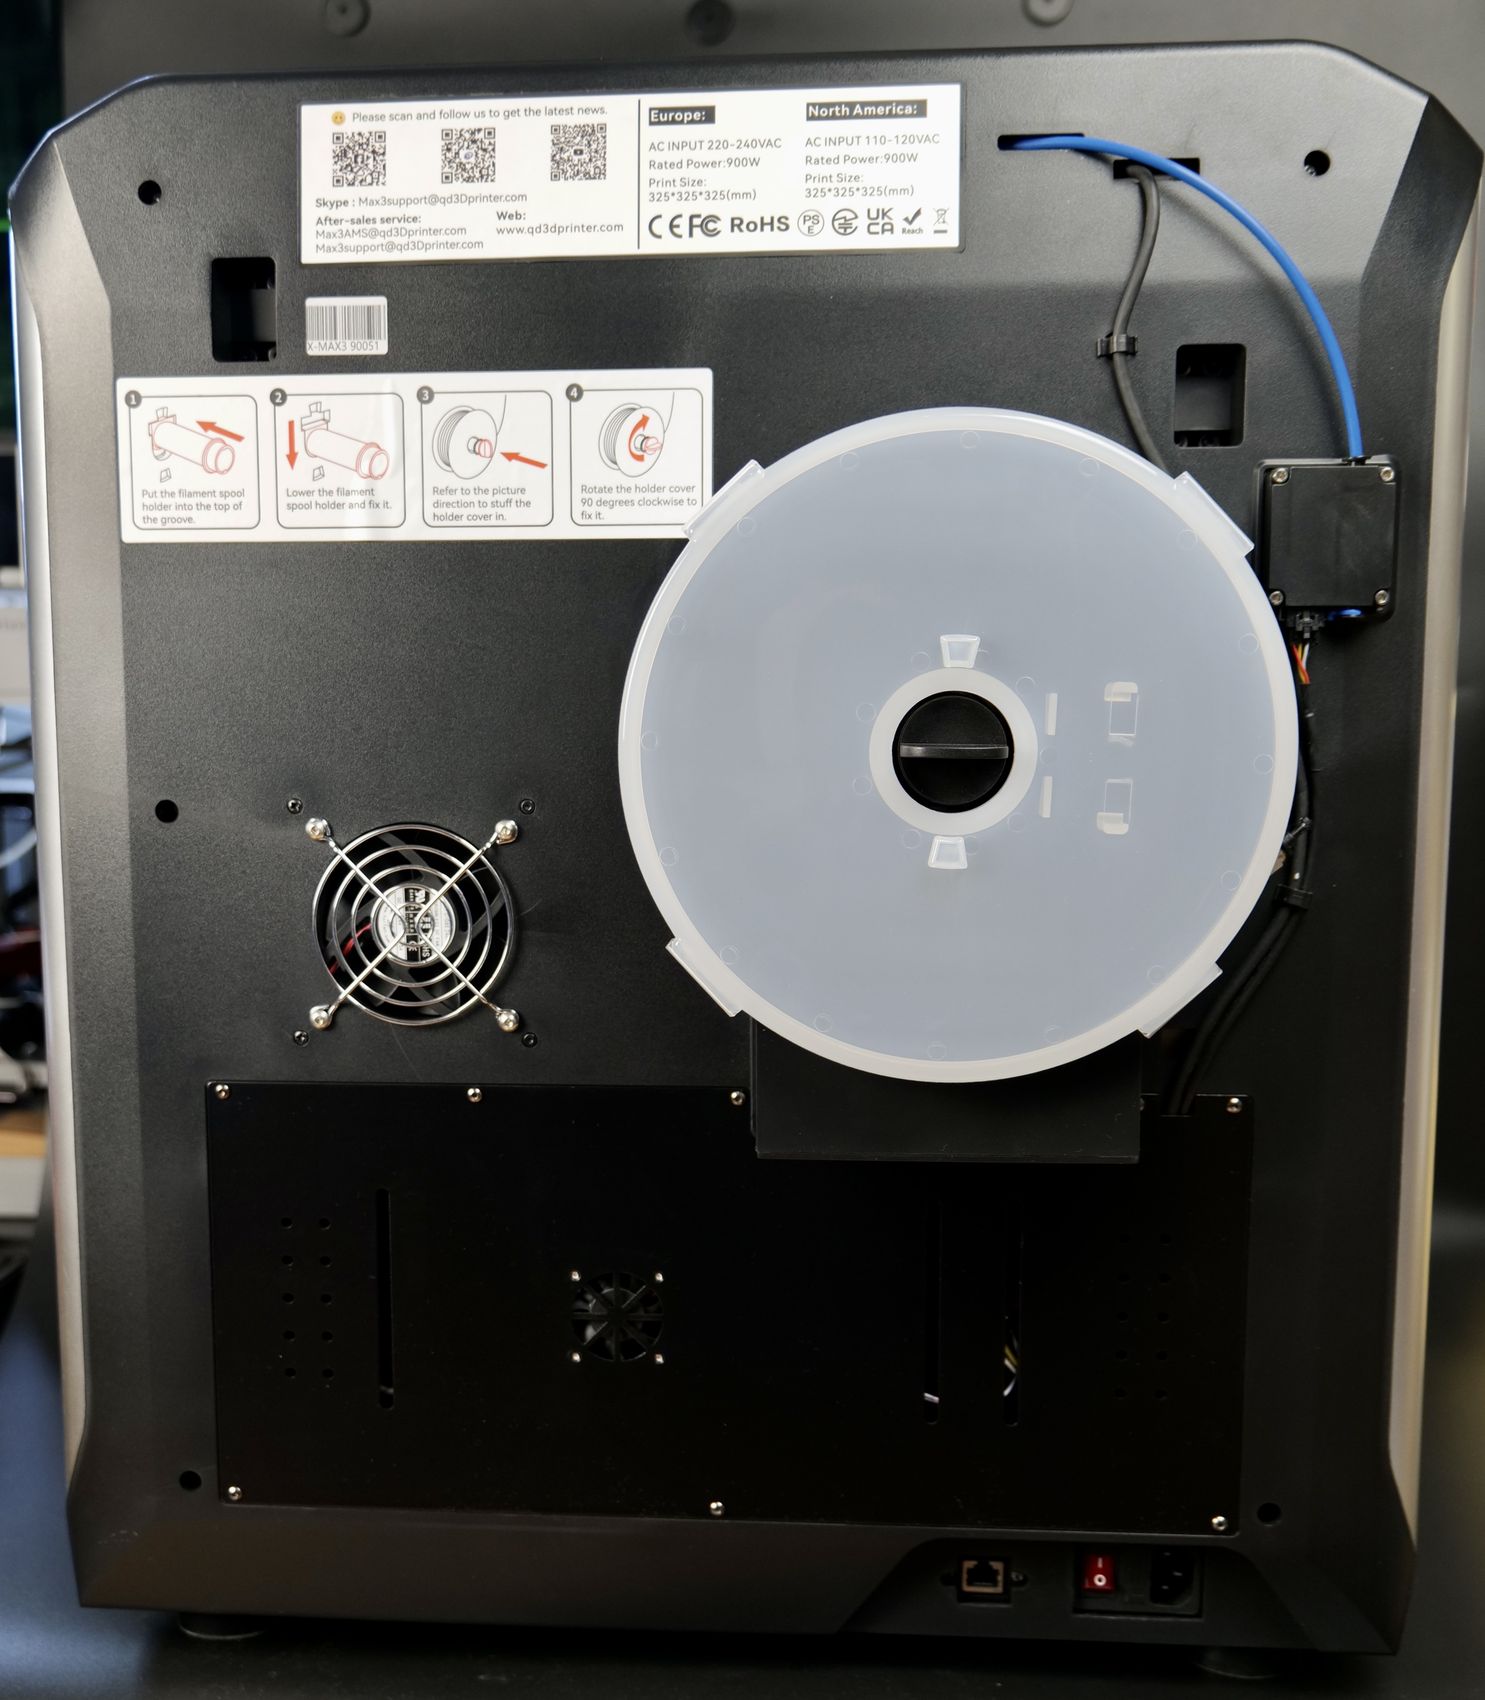
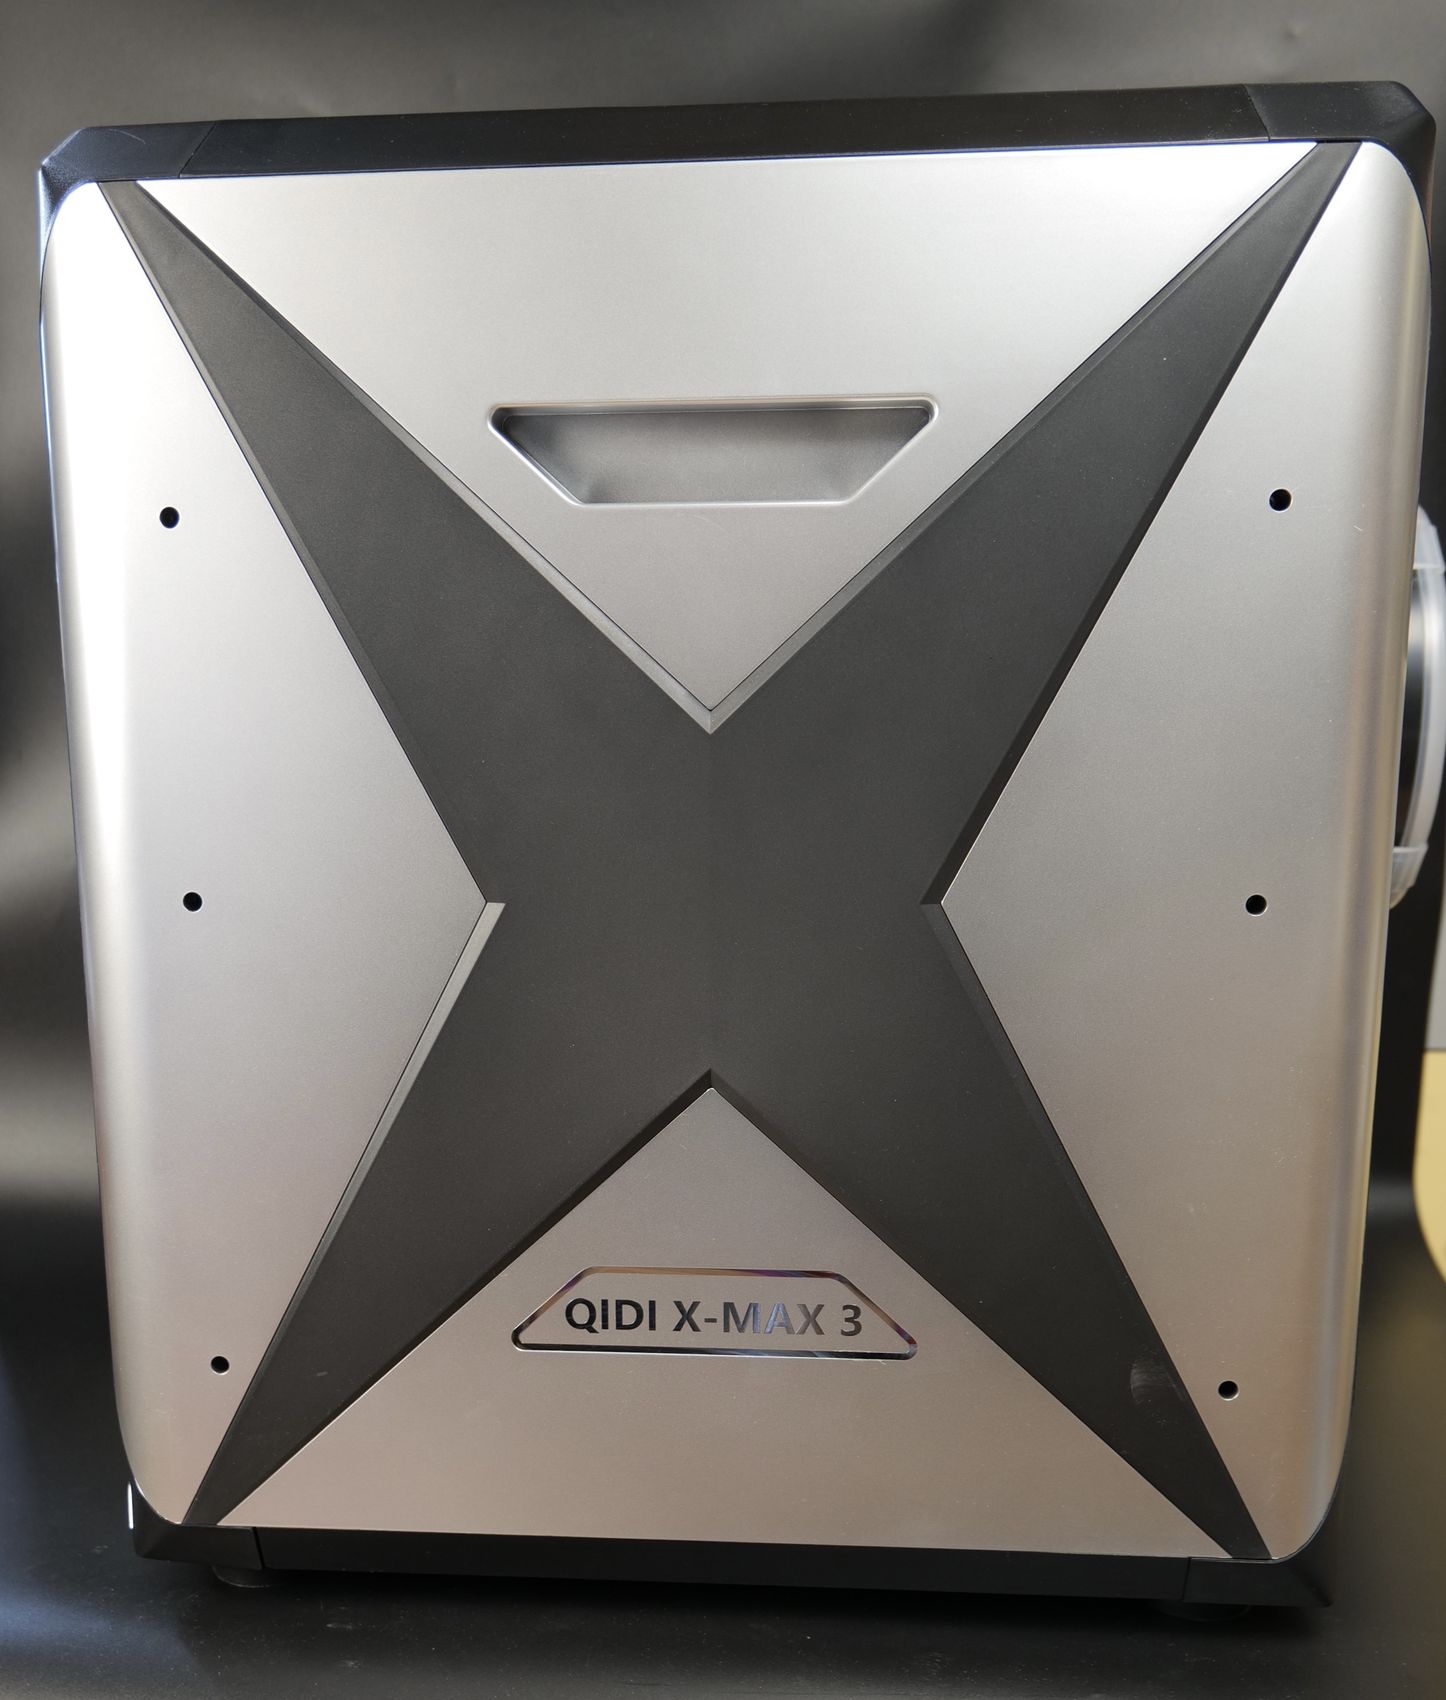
What I am not a fan of is the huge size of the machine compared to the printing volume available, as it is not as efficiently constructed as other machines out there. But this might not be a problem for most people.
QIDI X-MAX 3 Specs
| Machine Name | X-Max3 | ||
| Technology | FDM(Fused Deposition Modeling) | ||
| KLIPPER、CoreXY Structure、High Speed high-performance、Extruder material | |||
| Build Volume (W×D×H) | 325*325*315mm | ||
| Dimensions (W×D×H) | 553*553*601mm | ||
| Net weight (kg) | 38 | ||
| Structure | CoreXY | ||
| Z Axis | Double Z axis | ||
| X axis | High-grade hardness steel linear hollow optical axis | ||
| Firmware | Klipper | ||
| Max Speed of Tool Head | 600mm/s | ||
| Printing Acceleration | 20000mm/s² | ||
| Max Extruder Flow | 35mm³/s | ||
| Printing Accuracy | ± 0.1 mm | ||
| Extruder Temp | ≤350℃ | ||
| Filament diameter | 1.75mm | ||
| Bed Leveling | Automatic Leveling 8×8 | ||
| Extruder transmission ratio | 9.5:1 | ||
| Hot end | Ceramic Heating Core | ||
| Extruder | High-flow Direct Drive Extruder | ||
| Nozzle material | Copper alloy nozzle hotend For Common materials Hardened steel nozzle hotend For Abrasive materials | ||
| Nozzle diameter | 0.4mm (0.2,0.6,0.8mm Optional) | ||
| Hot bed temperature | ≤120℃ | ||
| Printing Plate | Double-Sided Flexible Magnetic HF Plate | ||
| Auxiliary Part Cooling Fan | ✔ | ||
| Chamber Temperature Control | 65°C Independent Chamber Heating | ||
| Chamber Circulation Fan With Activated carbon air filter | ✔ | ||
| Screen | 5.0 inch 800*480 touch screen | ||
| Seal print | Dryer Box + Desiccant | ||
| Connection Options | 150M 2.4G Wi-Fi/USB Flash Drive/Ethernet Cable | ||
| Filament Detection | ✔ | ||
| Resonance Compensation | ✔ | ||
| Pressure Advance | ✔ | ||
| Voltage | 100-240VAC, 50/60Hz | ||
| Rated Power | 900W | ||
| Main Processor | Cortex-A53, 64-bit Processor 1.5Ghz, 8G-EMMC, 1GB DDR3 | ||
| Slicer | QIDI Slicer and other third-party software, such as Ultimaker Cura, Simplify3D, PrusaSlicer, etc. | ||
| Operating System | Windows, MacOS, Linux | ||
| Recommended Filament | PAHT-CF,PET-CF,PA12-CF | ||
| Compatible filament | PLA, ABS, ASA, PETG, TPU, PC, UltraPA, Nylon, etc. | ||
| Assembly | Assembled and First Print within 10 minutes | ||
| Additional gift | 0.5KG QIDI PLA | ||
325x325x315 Enclosed Print Volume with Sheet Metal Frame
The QIDI X-MAX 3 is made from a reinforced sheet metal frame for the structure, which is fully enclosed with plastic side panels. The print volume of the printer is 320x320x340 mm which is quite generous and should be awesome for most people looking to get a larger enclosed format 3D printer.
The first version of the X-MAX 3 had a problem with the build quality of the structural frame where the bottom structure was not strong enough to maintain repeatability, an issue which was also covered in this review. Fortunately, the updated model comes with significant alterations to the design to make it much sturdier and perform as expected.
Fully enclosed, with chamber heating capabilities
As mentioned, the QIDI X-MAX 3 is a fully enclosed 3D printer, with plastic sidepanels to trap the hot air inside and ensure quality printing for higher temperature filaments like ABS, ASA, PETG, PAHT-CF and so on.
While the printer looks fine, and the functionality is there, the plastic side panels can rattle sometimes, and they also give the printer a cheaper look. I would have liked to see some sort of additional insulation material on the inside of the printer, to lower the resonance and also trap the heat better.
The front door of the enclosure is made from transparent plastic, just like the removable top cover. This cover should always be removed when printing filaments like PLA or TPU to avoid heat creep and nozzle clogs due to the increased chamber temperature.
Of course, having such a big printer with an enclosure might not be very useful if the chamber temperature cannot reach a good-enough temperature for the high-temperature materials mentioned before. I am happy to hear report that a Chamber Heater module is included with the QIDI X-MAX 3 which will help in heating the enclosure fast and keep it at a set temperature to ensure your models won’t warp during printing (for most materials).
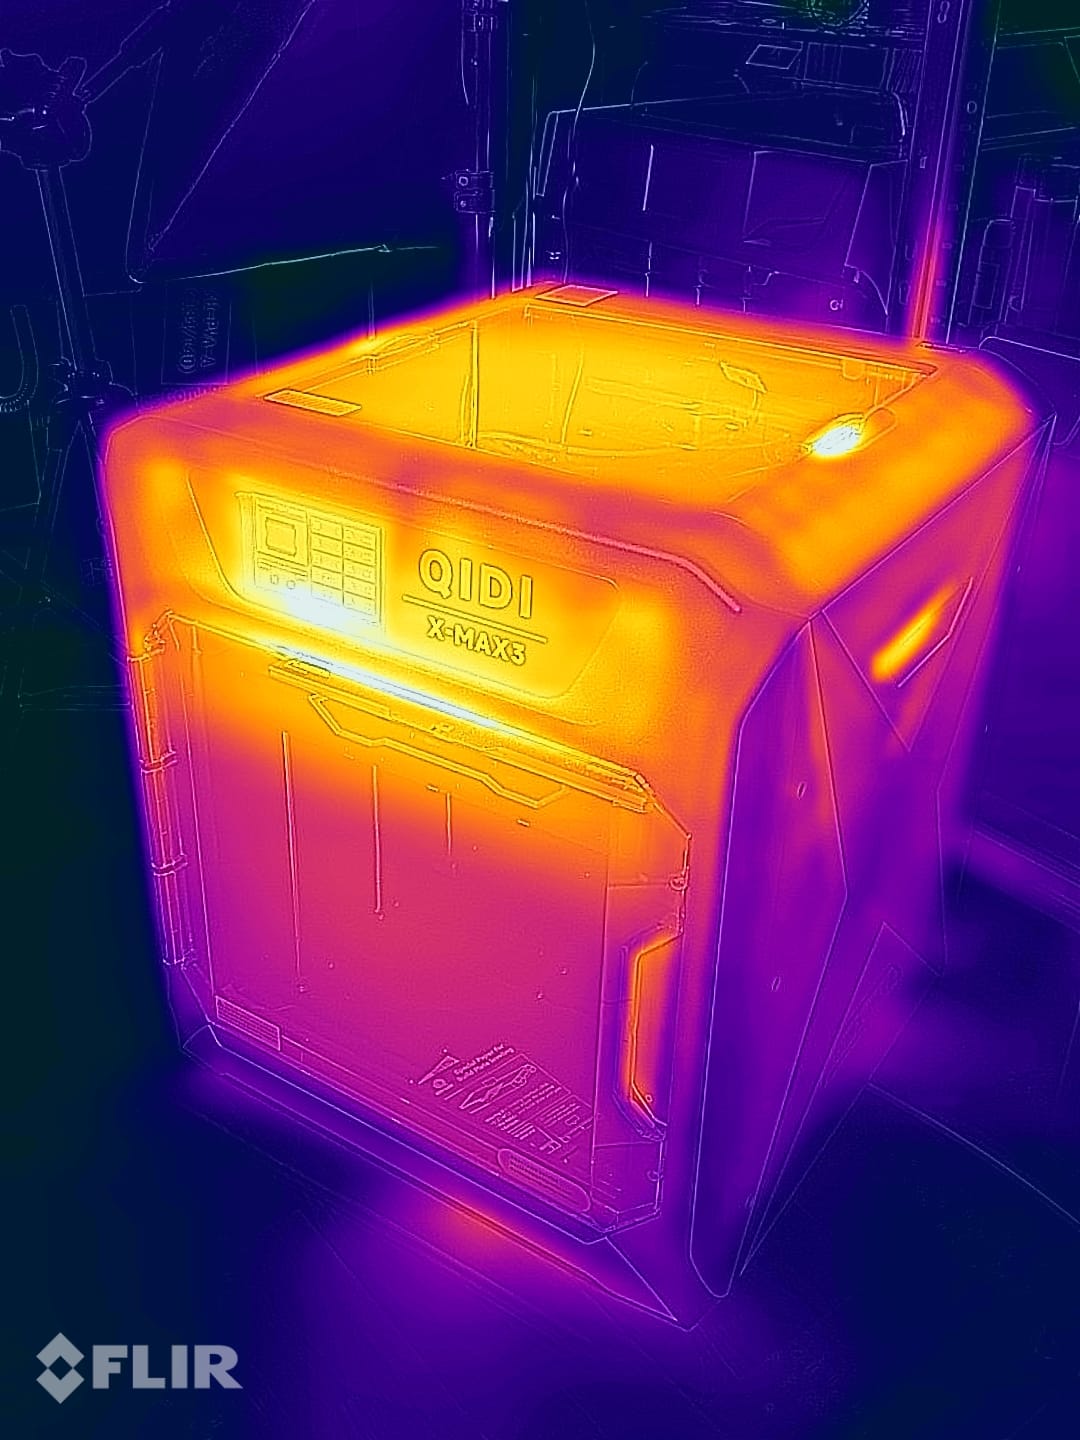
I have also taken a thermal shot of the QIDI X-MAX 3 when printing ABS to show how the enclosure is heating and where the heat can escape.
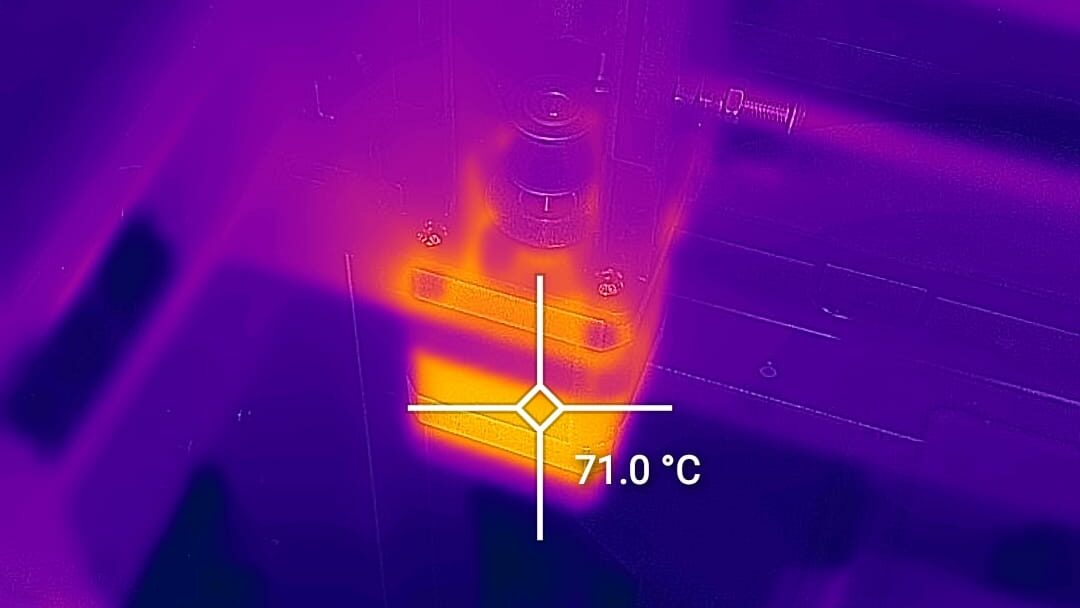
I also noticed that the XY stepper motors were pretty hot, reaching about 70C when printing PLA with the top cover of the enclosure removed. It wasn’t a problem during the review period, even when printing with the enclosure heated to 65C but I thought it was worth mentioning.
Core-XY Motion System with Hollow Rods
Bambu Lab has started the trend of carbon fiber rods for the X axis, and QIDI shortly followed by including a similar system in their previous version of printers. Unfortunately, these carbon rods were not removable so they probably changed their mind due to the overall bad feedback provided about this, and moved to “linear hollow optical axis”.
I believe that the marketing naming tries to suggest something more advanced, but they look like regular 10mm stainless steel linear rods with a hollow section inside to make them lightweight.
I am happy to see this, and I think it’s also a good decision to use hollow rods, compared to the regular linear rods used by Creality K1. It allows the CoreXY motion system to move faster without any print quality degradation.
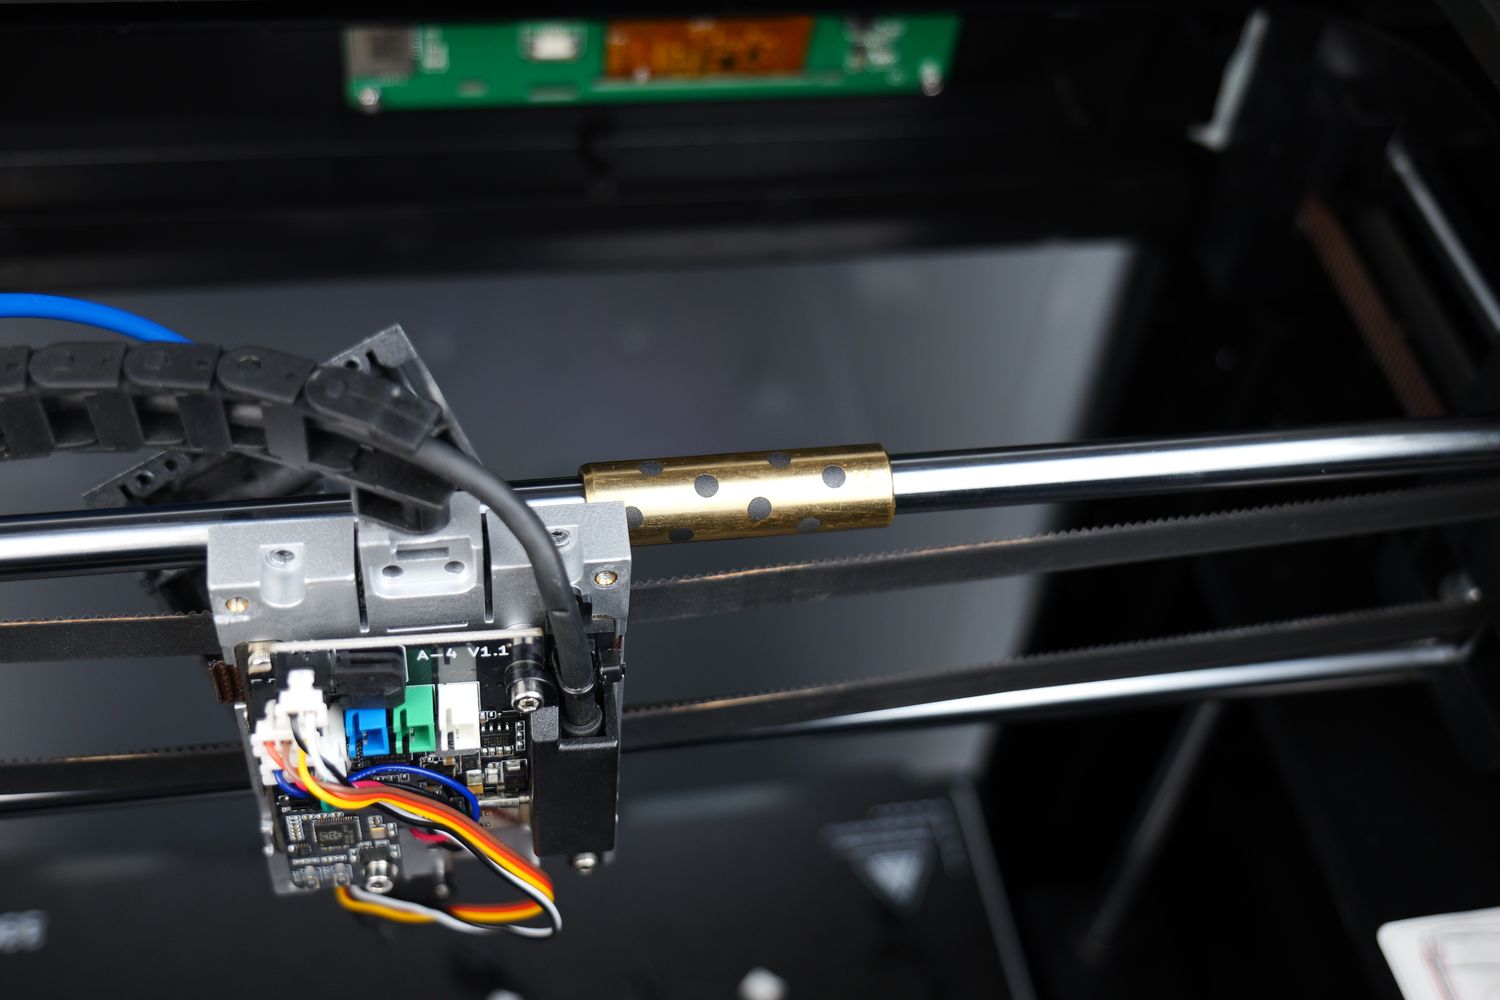
What I am not 100% sure about is the use of self-lubricating brass bushings with graphite inserts. These bearings are made to be used without lubrication, but QIDI added a thin layer of grease on the linear rods to improve motion.
It’s the same thing Creality did on the K1 printers but just like in their case, I am not sure if it’s the right thing to do. Fortunately, I don’t sense any binding or skipping during printing and I was able to complete the review without needing to clean them, but I will make sure to update the review if this changes in the future. I’m not a mechanical engineer to say for sure if this is right or wrong, but a quote from this website explains it better.
Graphite impregnated bushings, also known as self-lubricating bushings or oilless bushings, are mechanical components designed to reduce friction and wear between moving parts. These bushings are embedded with graphite, a solid lubricant known for its excellent lubricating properties.
The Y-axis uses a pair of regular 10mm linear rods with LMU10UU bearings and it works just fine. The motion is a bit noisier on the Y-axis, but it’s within expectations.
It was also a nice surprise to see that QIDI used wider 10mm GATES belts in the build of this printer, but on a closer look, the belt path is not perfectly straight which can generate some issues in special cases when it comes to dimensional accuracy. It’s not a huge problem, but it’s still there.
Direct Drive Extruder
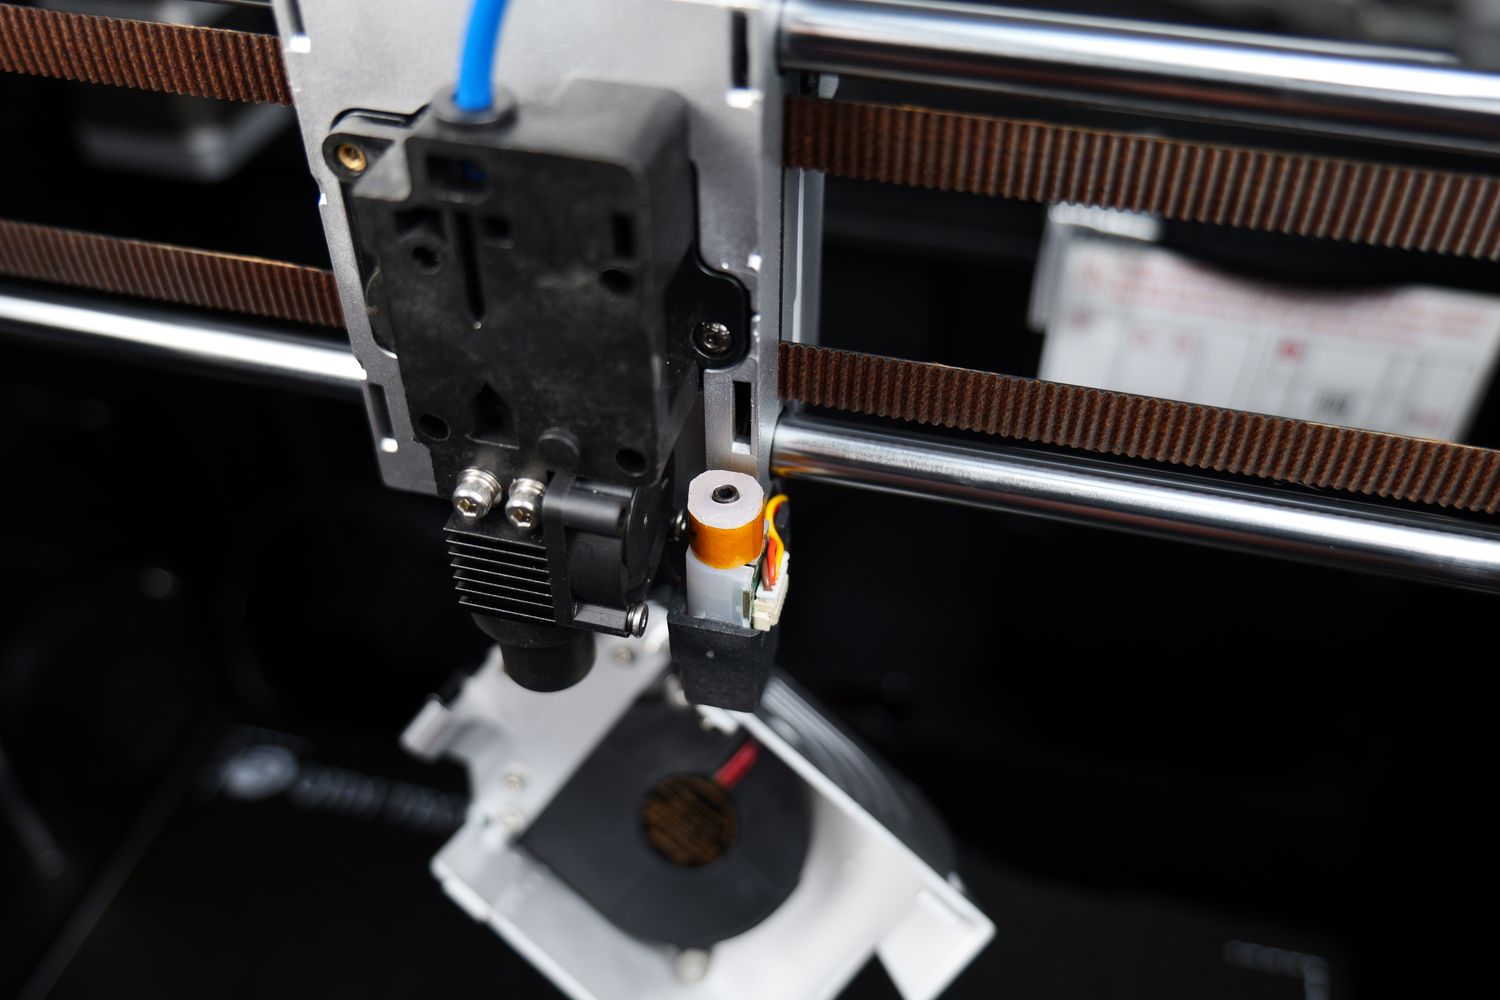
When it comes to the extruder, QIDI made a custom design that uses a set of larger dual-gears somewhat similar to what Bondtech used in the LGX Lite. These larger gears allow the extruder to grip the filament better and have a stronger extrusion force.
Both gears are relatively easy to access allowing users to clean the gears with a brush if there’s any filament griding over time, making the maintenance easier.
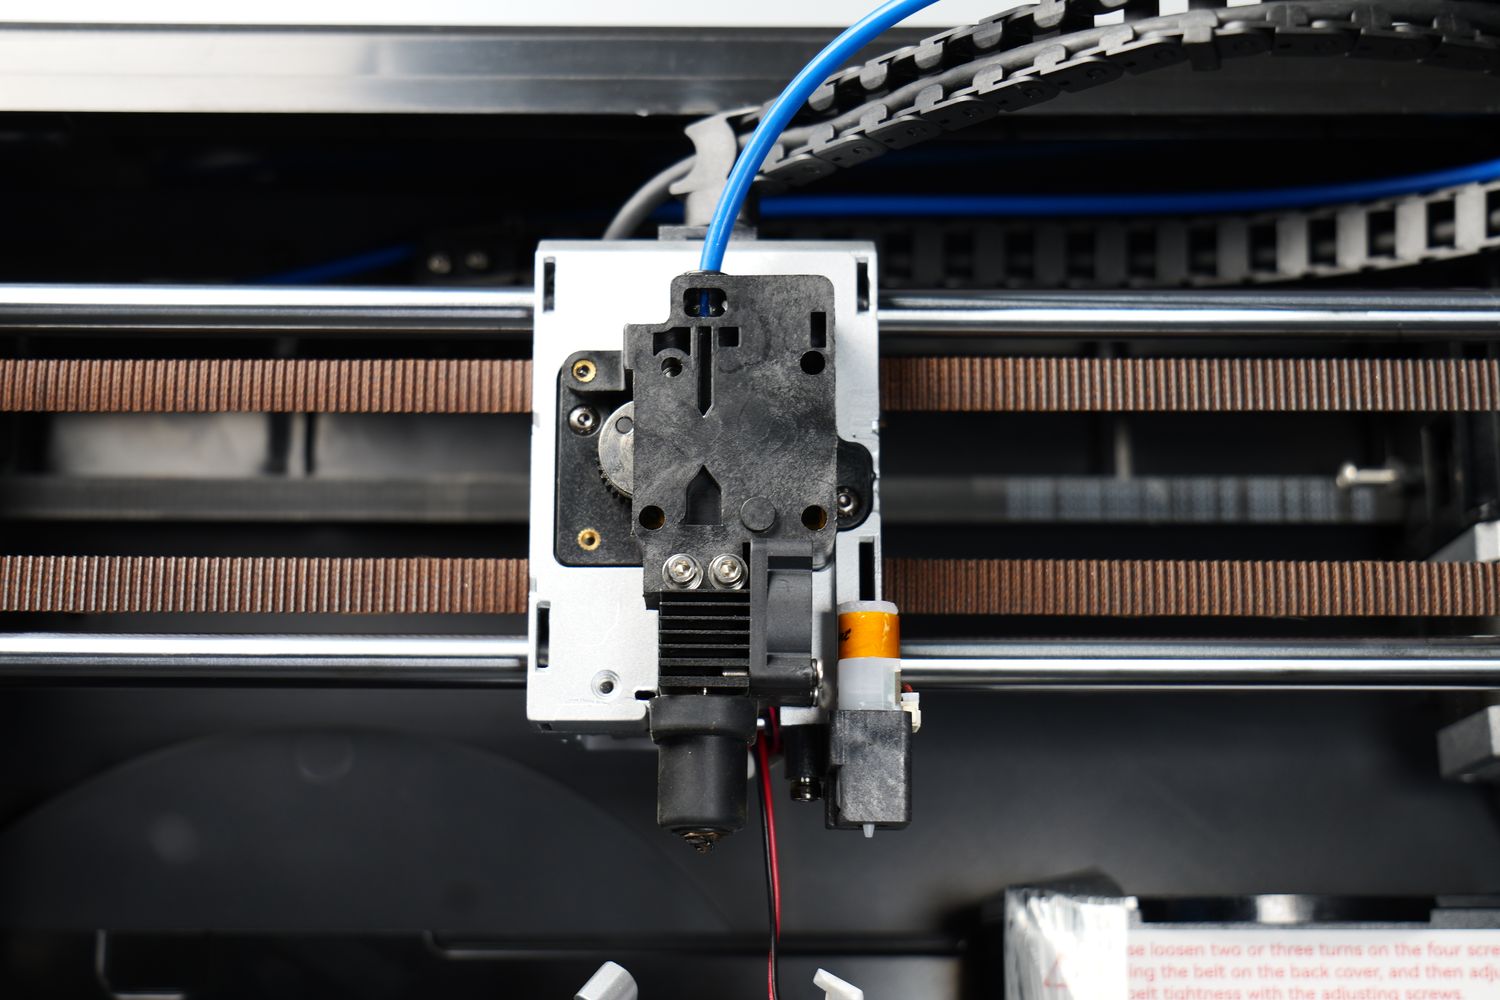
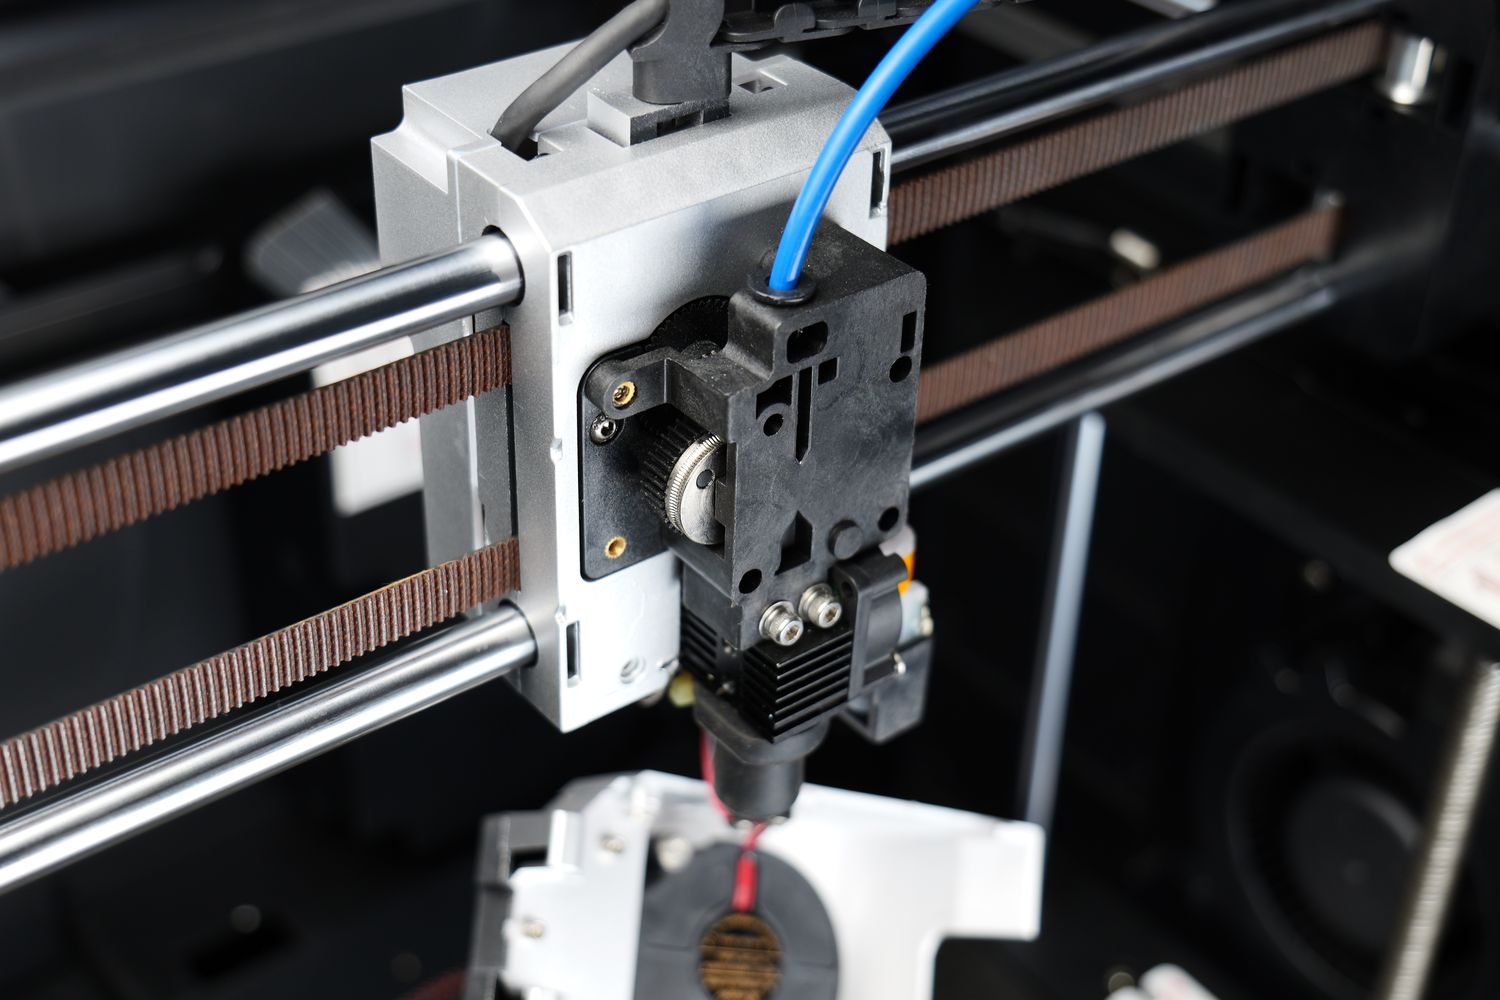
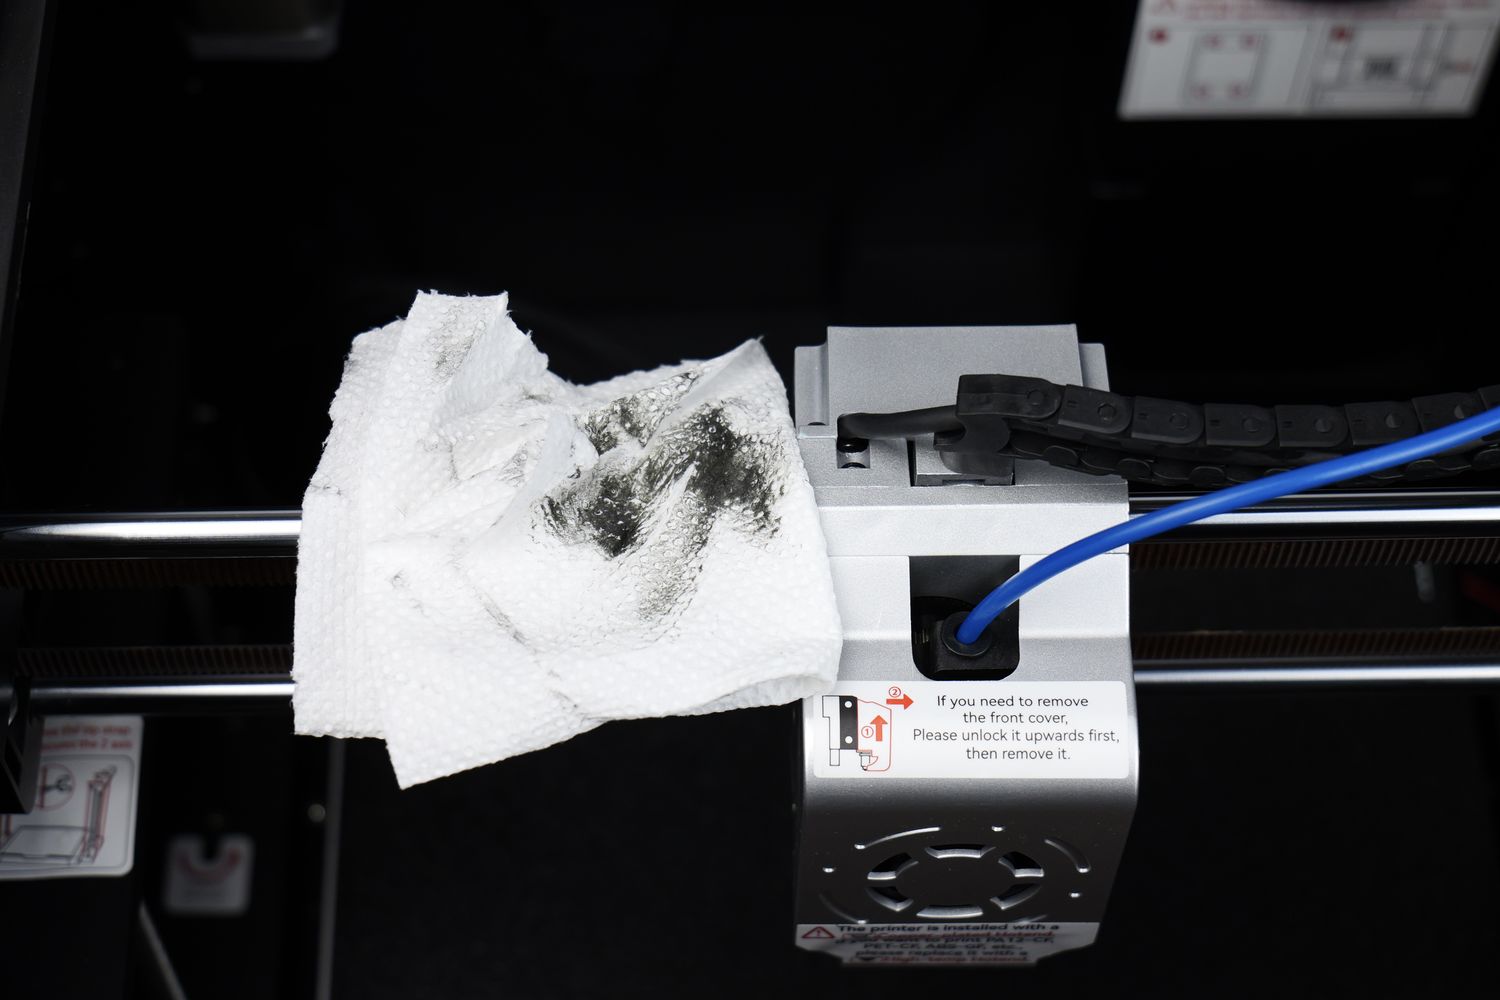
The hotend is attached with two bolts on the bottom of the extruder, similar to how the Bambu Lab hotends are attached. This makes it easier to remove the hotend, but all the benefits brought by this attachment method are eliminated considering that you need to access the back side of the extruder and remove the cover to disconnect the wires.
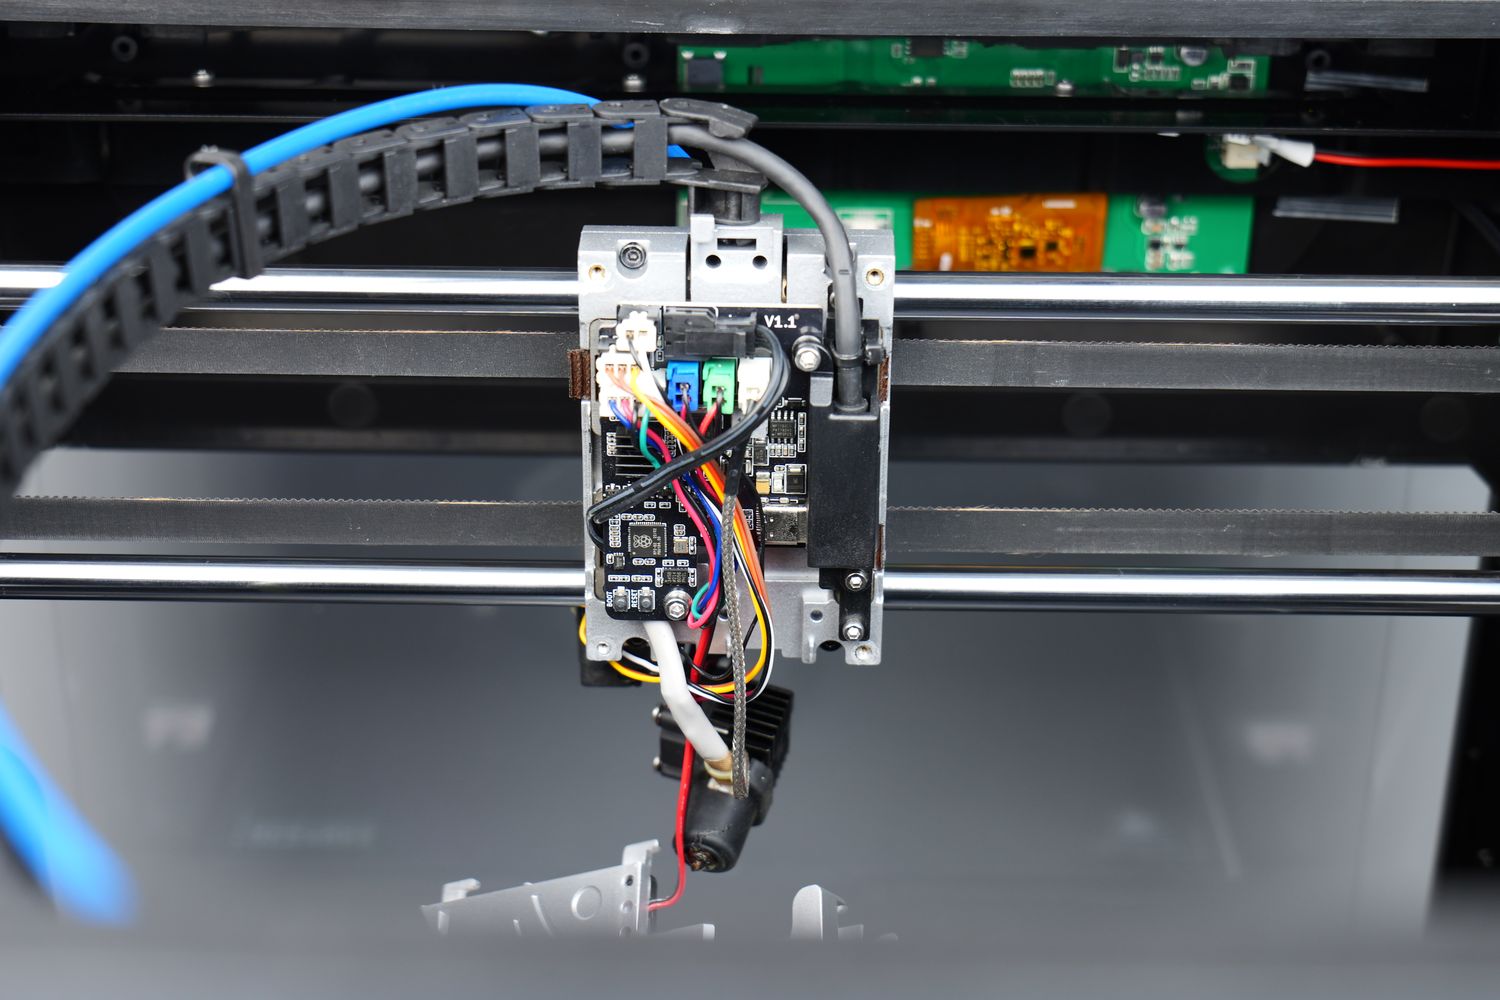
Talking about the back side of the extruder, we have a daughter board which is connected to the main board using a single Type-C cable and a CAN BUS connection. All the print head wires are connected to this board, which also contains the ADXL345 accelerometer for measuring the resonance and generating the Input Shaper data required for resonance compensation.
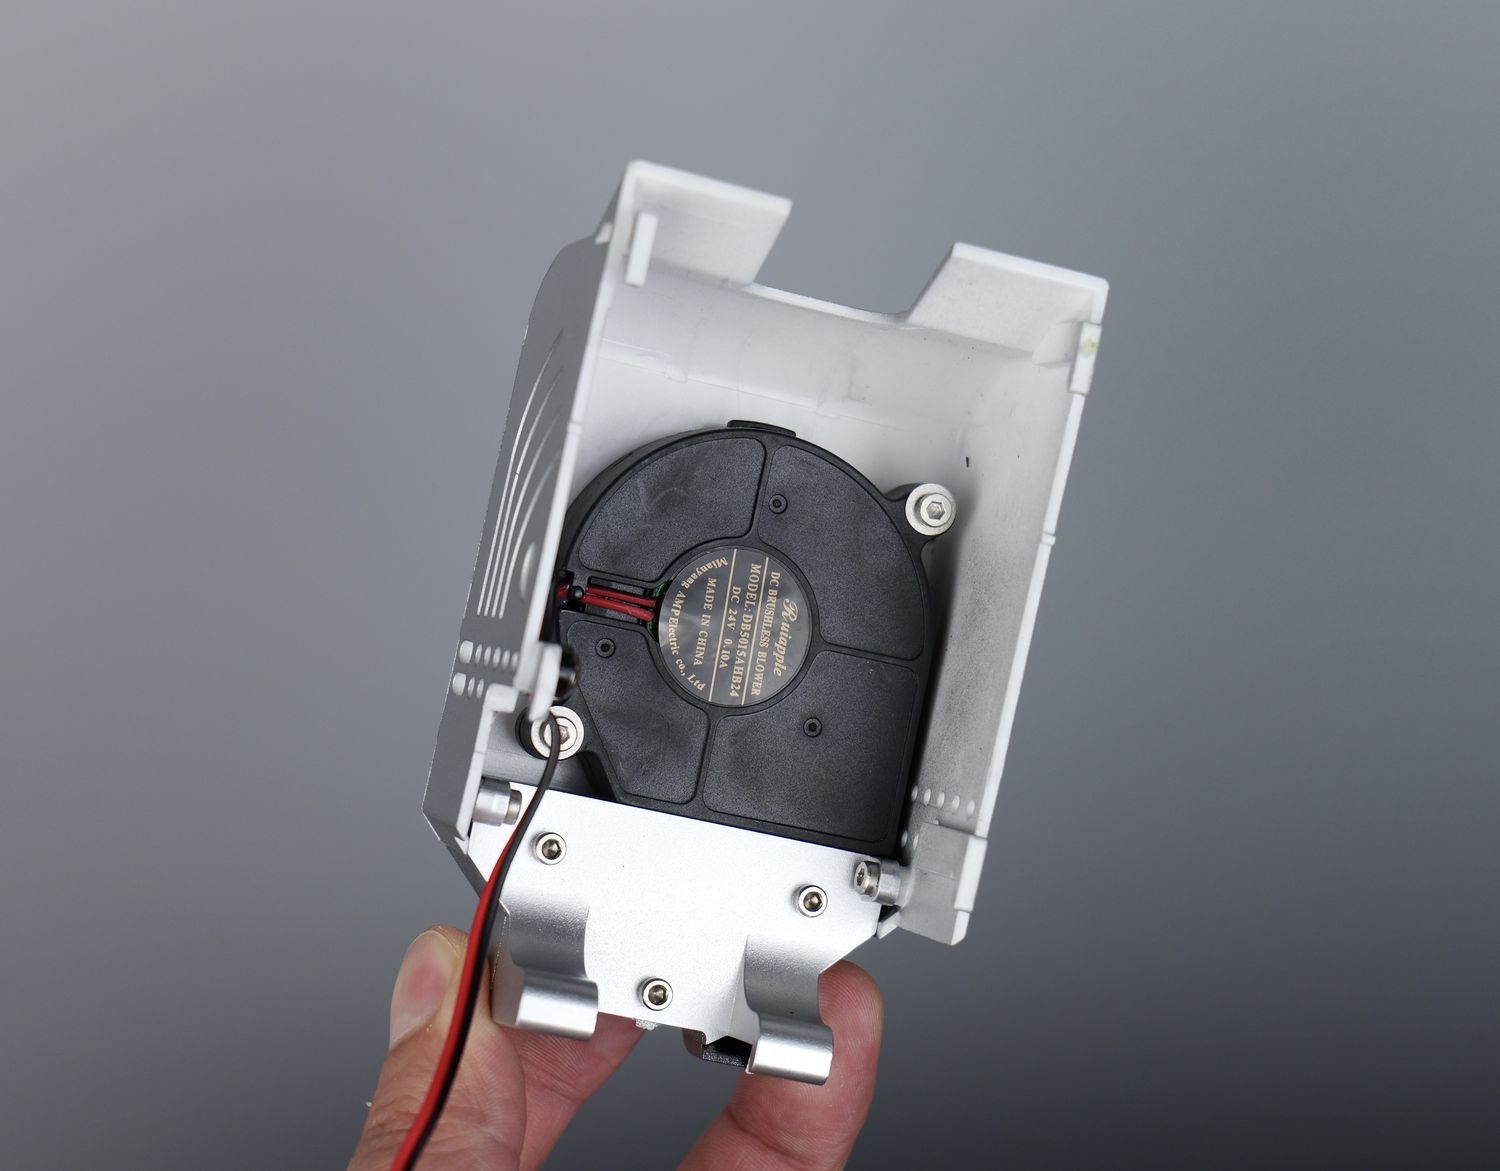
For cooling, the print head uses a 5015 radial fan which does its job well, but it has an annoying sharp whine during operation. The picture below also shows that the front cover uses a white plastic with a silver coat of paint. It’s ok, but it makes it look quite cheap and low quality.
All-metal High-Flow Hotend with Rapido-like heat block
The new version of the QIDI X-MAX 3 also comes with an improved hotend that has a bi-metallic heat break for a good temperature transition between the hot side and the cold side. It also uses a heatblock which is similar to Rapido hotends from Phaetus. It has 3 screws for attaching it to the heatsink meaning that you should be able to replace the nozzles relatively easily
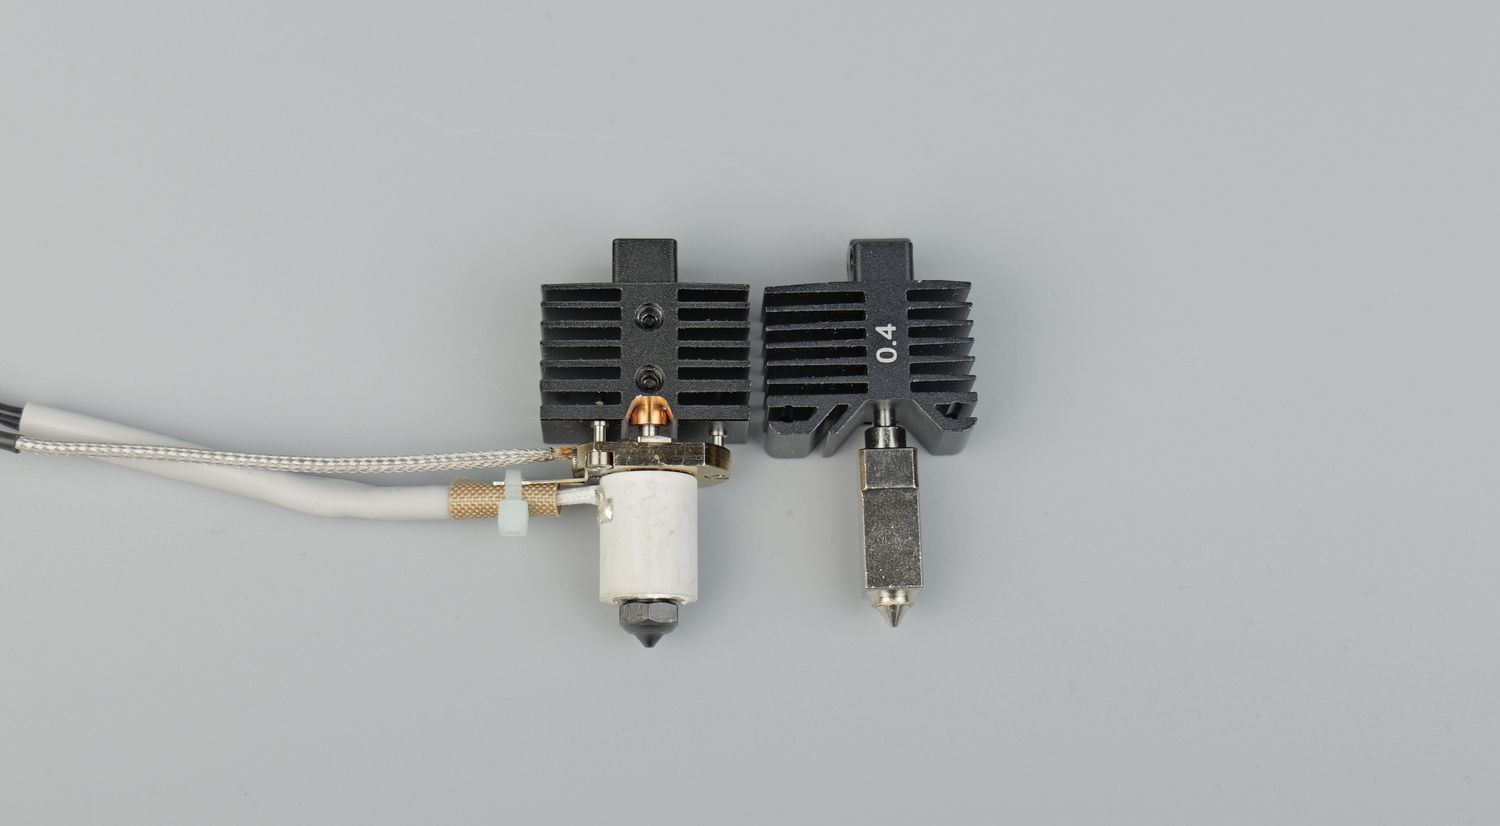
You get two hotends in the package, one using a copper-plated nozzle which works great in transferring the heat to the filament meaning that you will be able to print faster with PLA, PETG and other non-abrasive materials.
The secondary hotend is similar, but it has a hardened steel nozzle installed which works best with more abrasive filaments which are infused with Carbon Fiber (PA-CF, PET-CF, ABS-CF) or glow in the dark filaments.
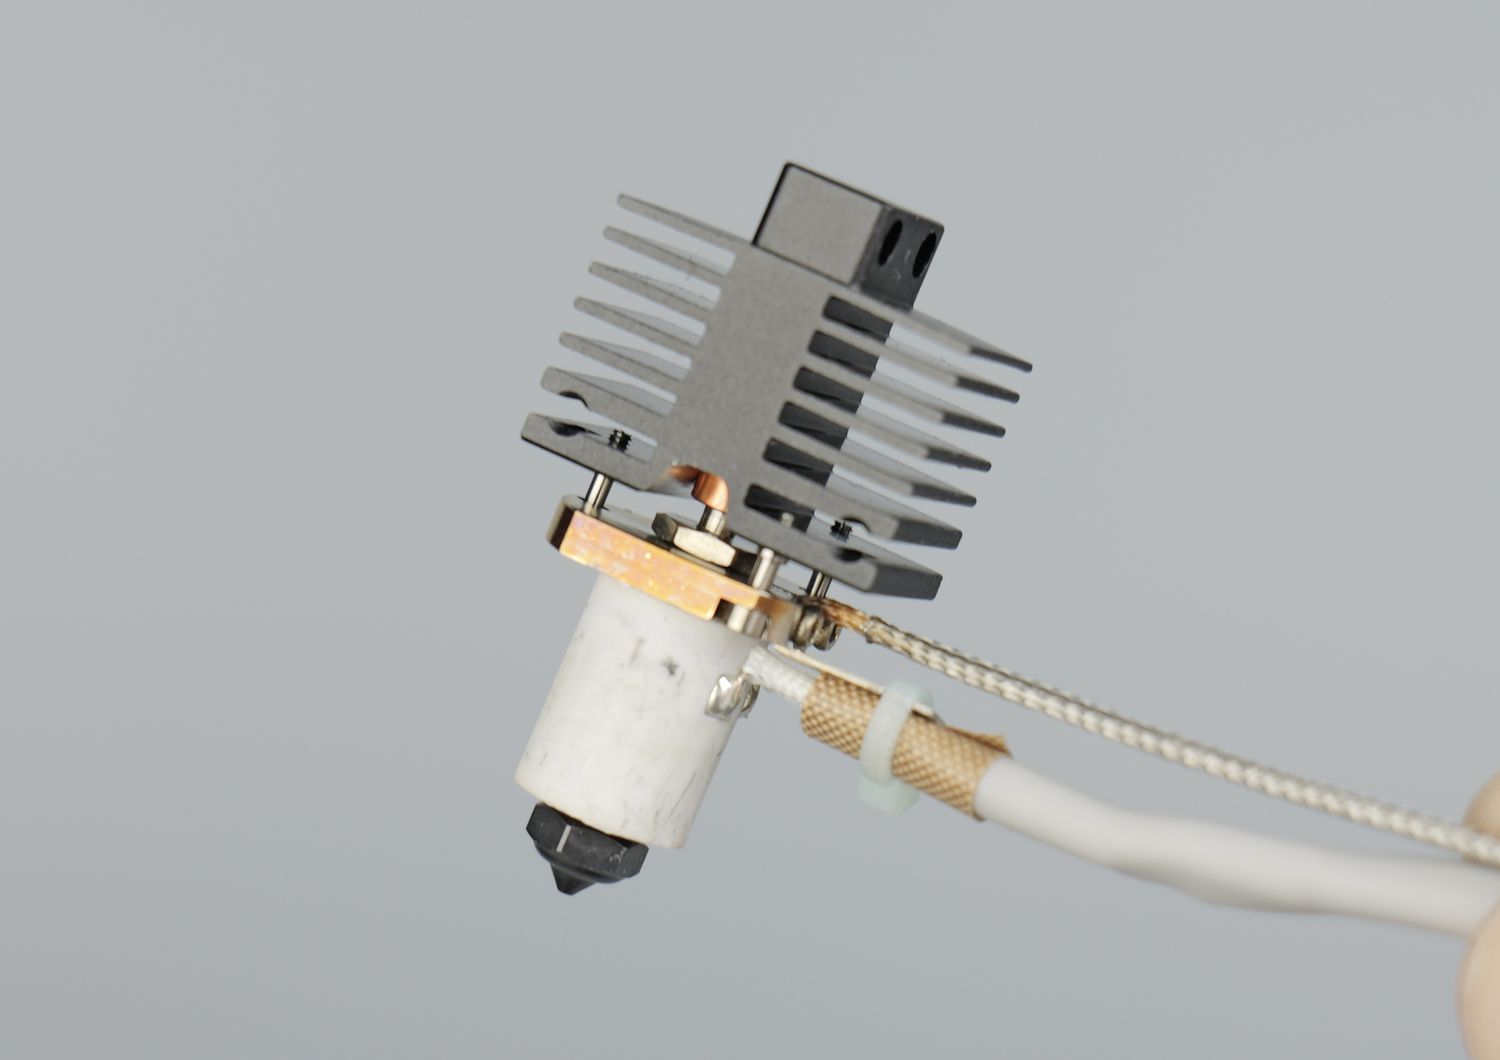
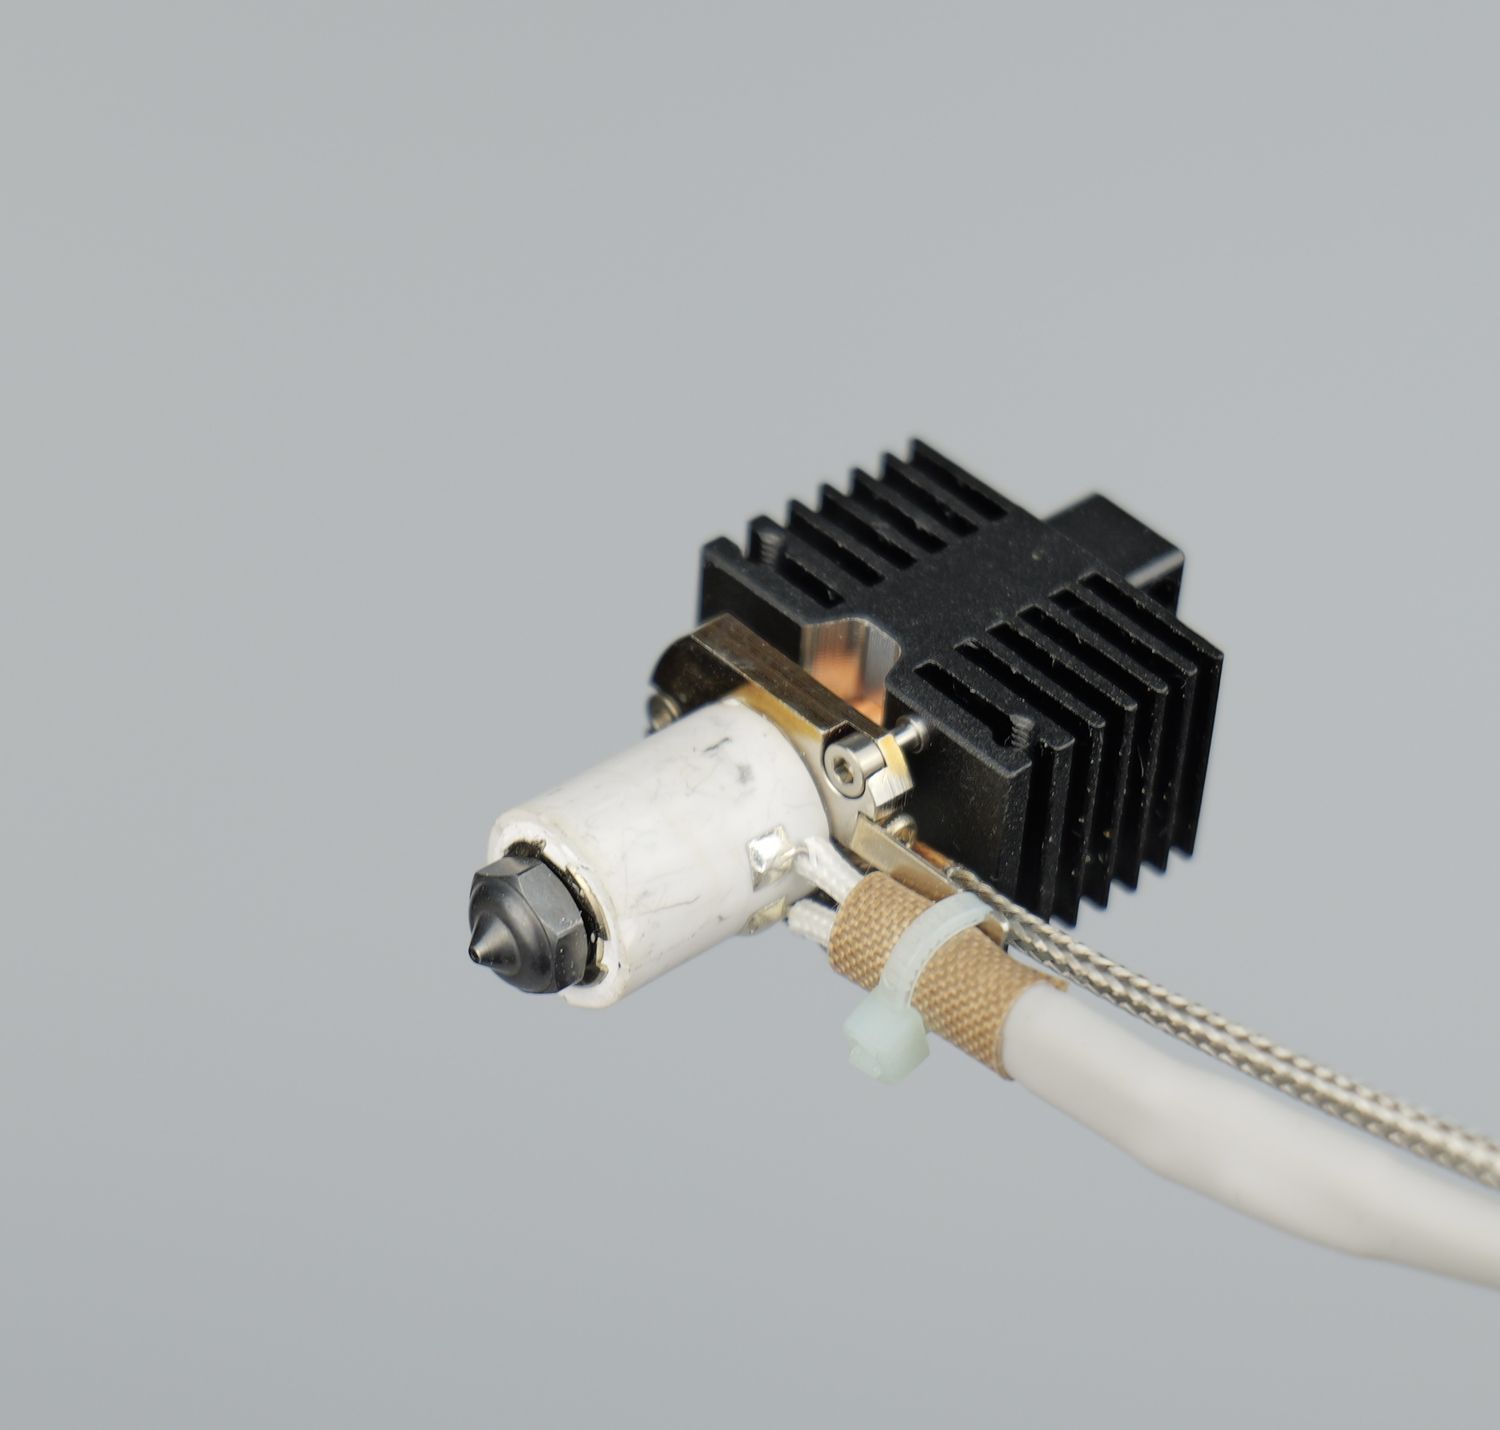
Looking at the pictures below, you can see a striking similarity to the Bambu Lab hotend which leads me to believe they have been inspired by it. But the main difference is when it comes to the heater unit used by the hotend. On the QIDI hotend, you get a ring ceramic heater that is heating the nozzle from all sides.
Another benefit for this nozzle is the possibility of replacing only the nozzle which will allow you to install a CHT Volcano nozzle for better flow rate. Even though volcano nozzles are slightly longer, there is no problem during printing as long as the BLTouch is able to touch and retract the probe as expected.
While QIDI is boasting up to 35mm3/s volumetric flow rate of the hotend, that might be true only in very specific situations and with special High Flow filament. I have not managed to test the flow rate with different filaments but I think the “usual” number used is 20-22mm3/s which is also the limit set on the fastest profiles for High-Flow filament.
BLTouch Bed Leveling Sensor
For bed leveling, you get a BLTouch sensor next to the print head which is used during homing and also for probing the heatbed to generate a bed mesh to compensate for any inaccuracies in alignment or the bed surface.
What I found a bit funny is the mounting solution which is not what you would see with a BLTouch, as the top side was cut round and instead, it is attached to the printer from the middle.
The BLTouch is not as user-friendly as the nozzle probing we started to get with a lot of new printers like the K1 or X1 but it does the job. After I calibrated the Z offset in the beginning, the first layer quality was quite consistent and I didn’t need to fiddle with it anymore during the review.
I was expecting inaccuracies due to my experience with the previous QIDI X-PLUS 3, but I am happy to report that it is no problem for the X-MAX 3.
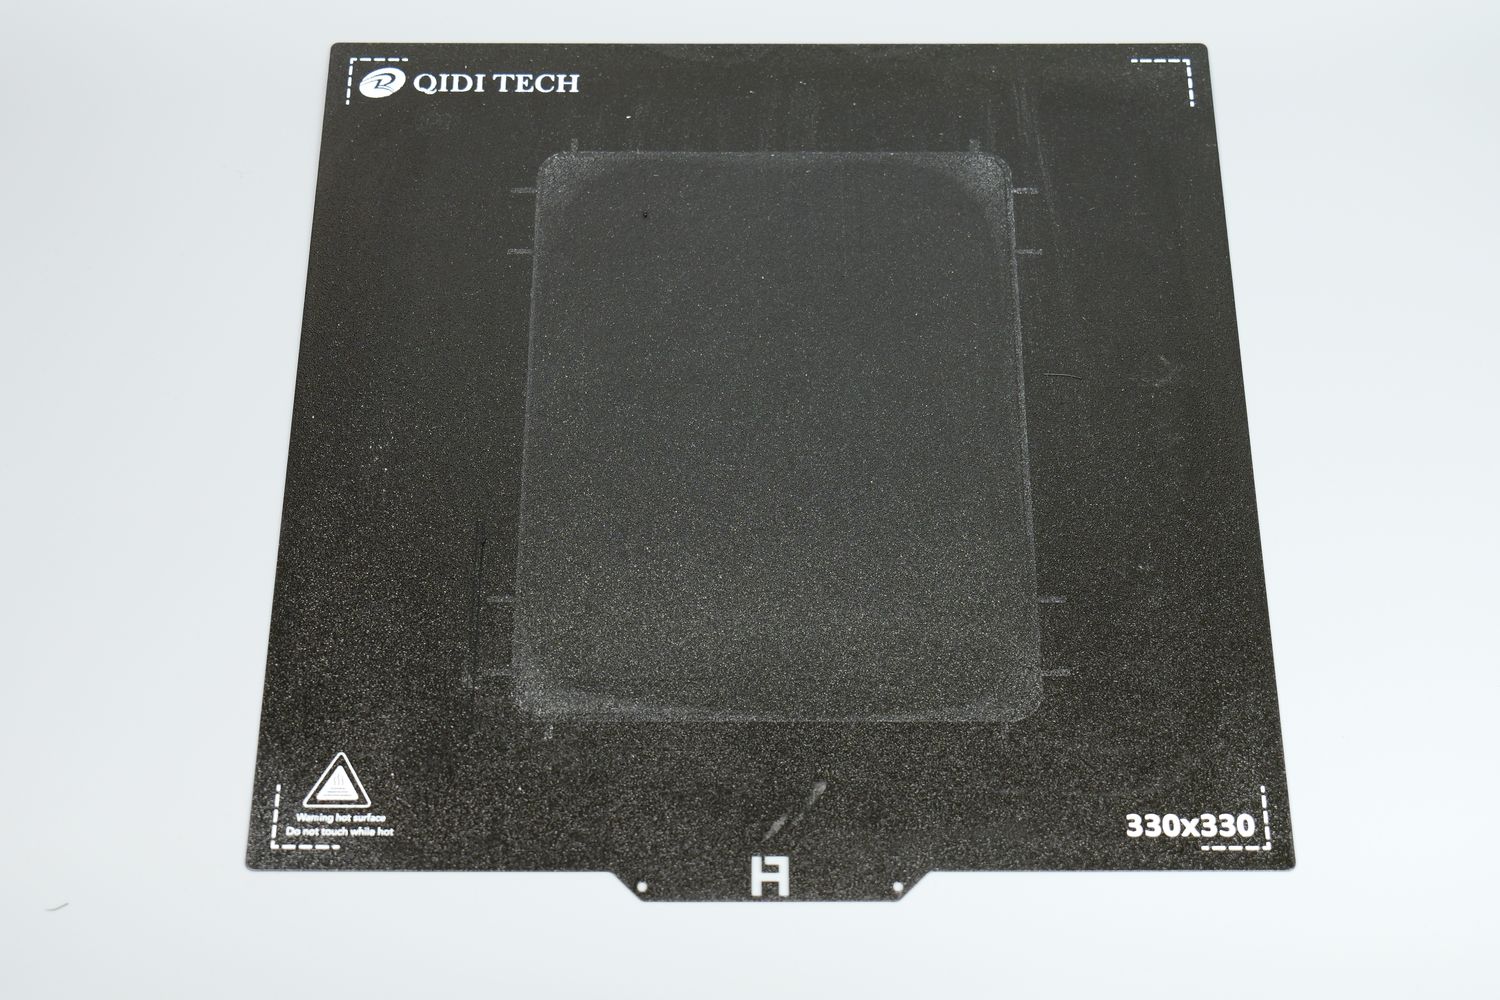
Dual-Sided Textured PEI plate
The Dual Sided Textured PEI plate included with the QIDI X-MAX 3 has managed to deliver excellent adhesion throughout my review period for most materials. Most prints had very good adhesion when the bed was heated, and they released easily after cooling down without requiring any glue.
The only problematic material I had issues with was the PA-CF. Even though I used the enclosure heater and glue for the plate, the sides of the model still raised a bit, as you can see in the image below.
It might work better with a different type of glue, like Vision Miner, but I don’t have that available so I am unable to confirm it.
6mm Aluminum Heatbed with Embedded Magnets, with up to 120C capabilities
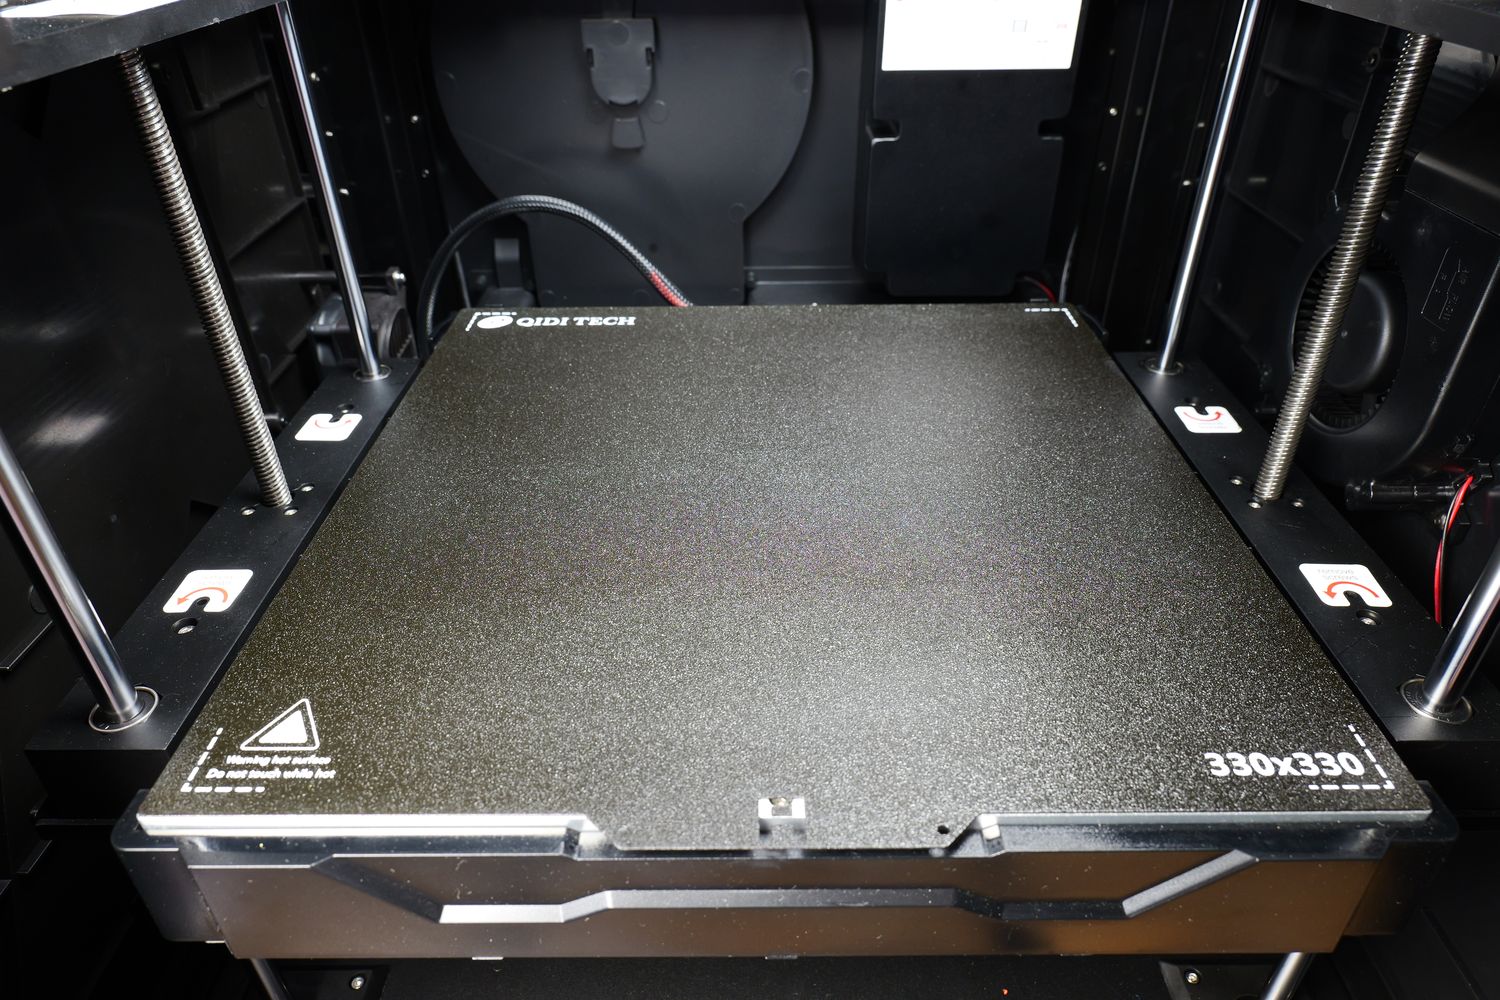
What I am very happy to see is the use of a 6mm thick aluminum heatbed with embedded magnets inside. It’s the type of heatbed QIDI used in their older machines and it was great. This heatbed option manages to provide a great magnetic attraction for the PEI plate and also a relatively stable surface with good tolerances.
I don’t particularly like the plastic support that holds the heatbed in place on the printer. It’s more flexible than I anticipated, which could potentially affect the bed mesh. However, during my testing, this issue didn’t cause any significant problems.
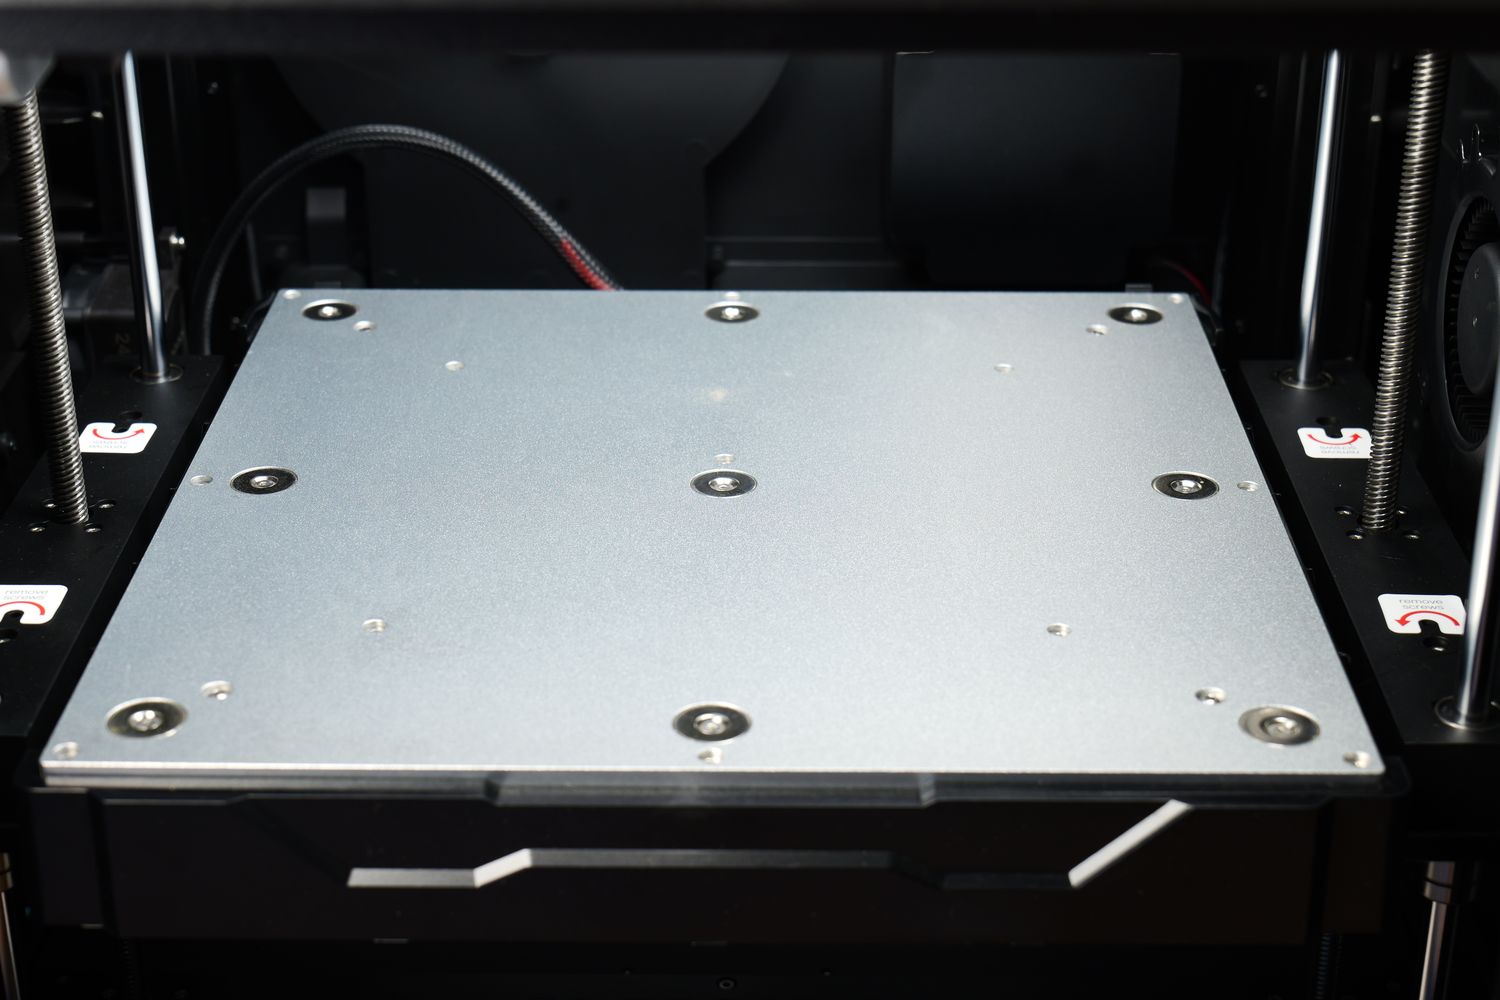
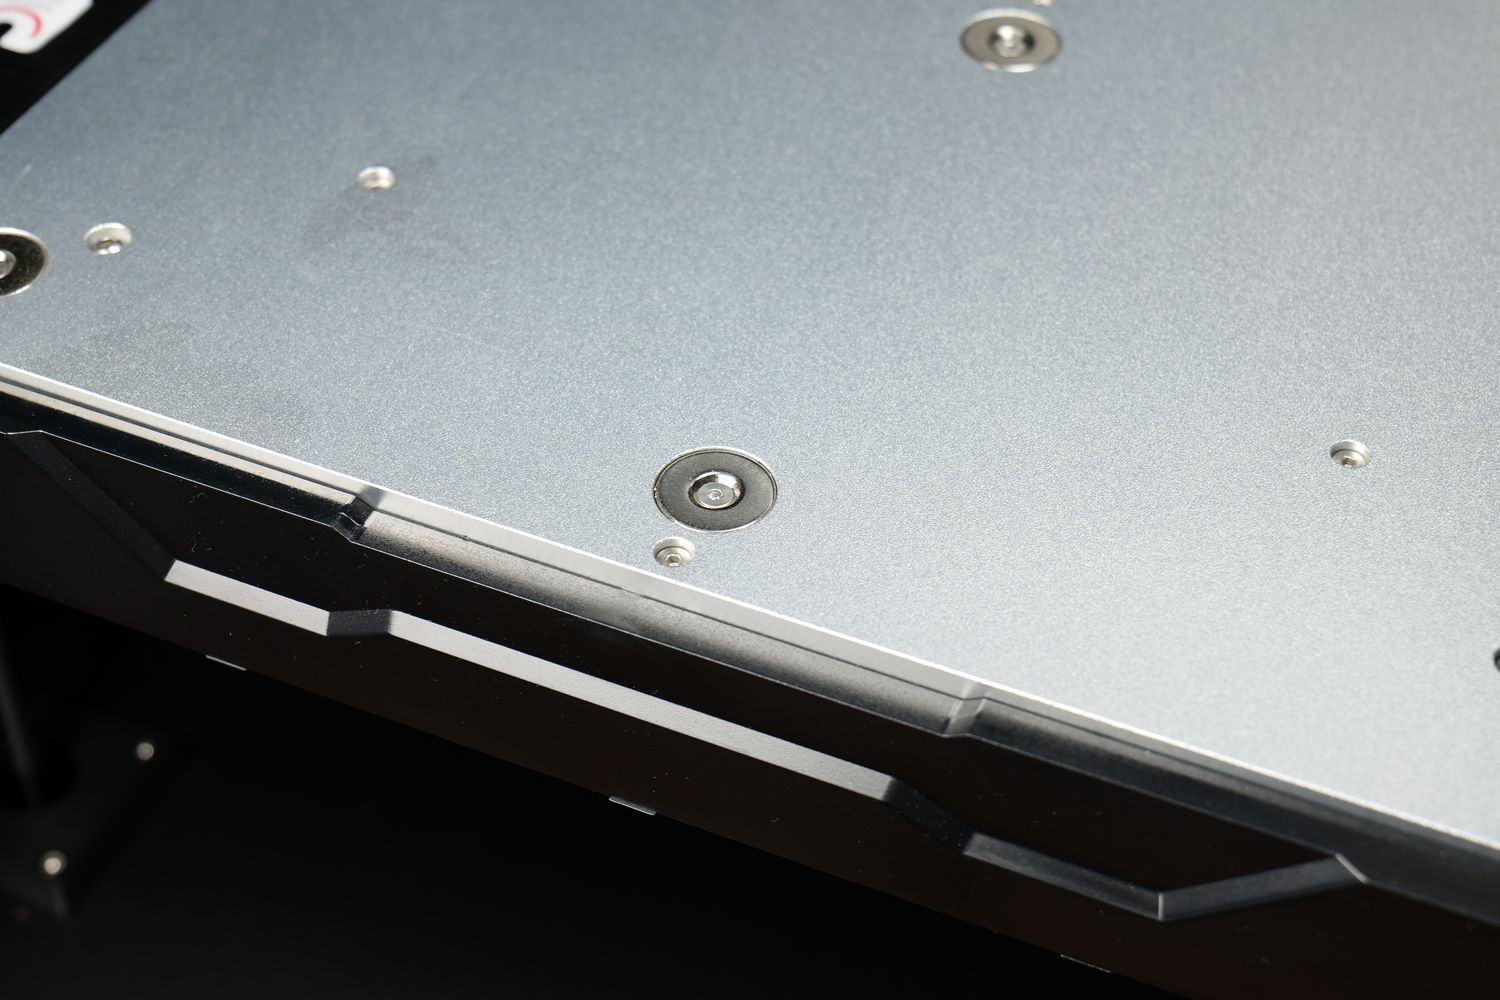
In the previous QIDI X-PLUS 3 I got from them, a regular PCB heatbed was used with no top aluminum plate which wasn’t that great, so I am happy to see QIDI going back to this. But the printer still has the PCB layer underneath to heat the bed, and there’s no heatbed insulation under it which can increase power consumption.
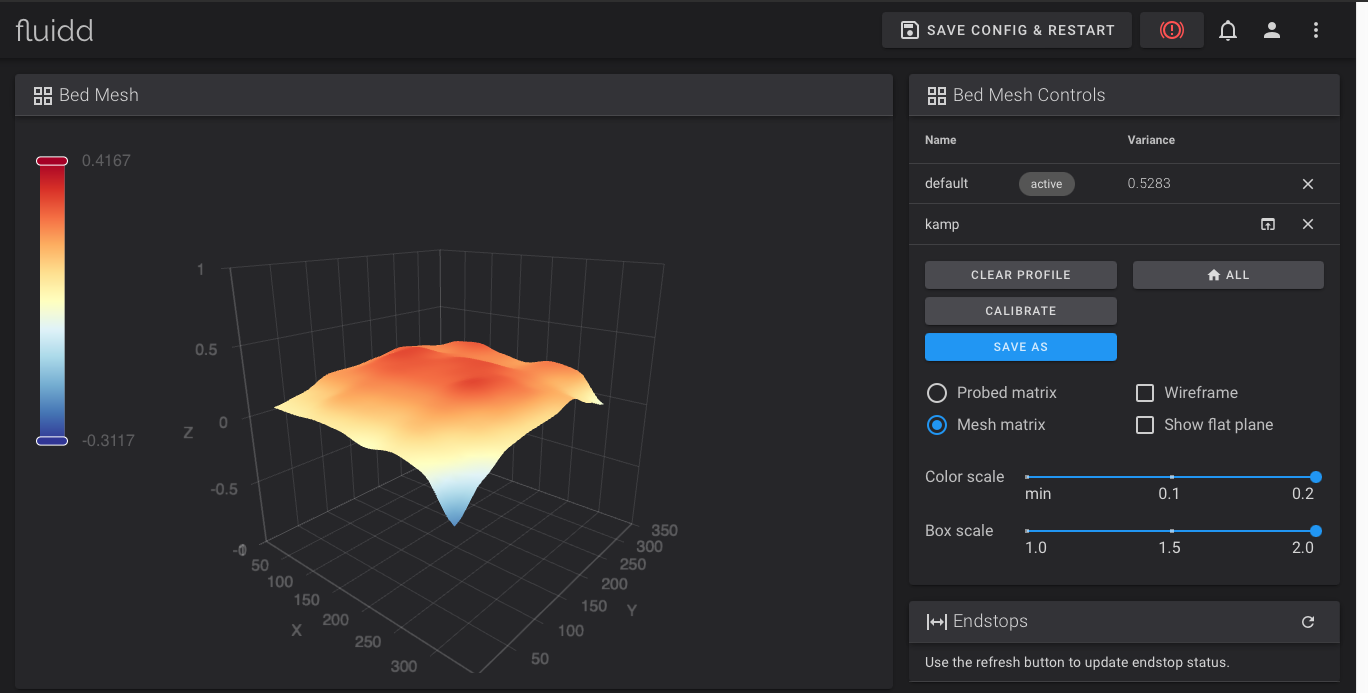
The mesh data generated during the heatbed leveling is 0.52 which is not amazing, but also not very bad for such a big heatbed.
Dual 24V 450W Power Supplies
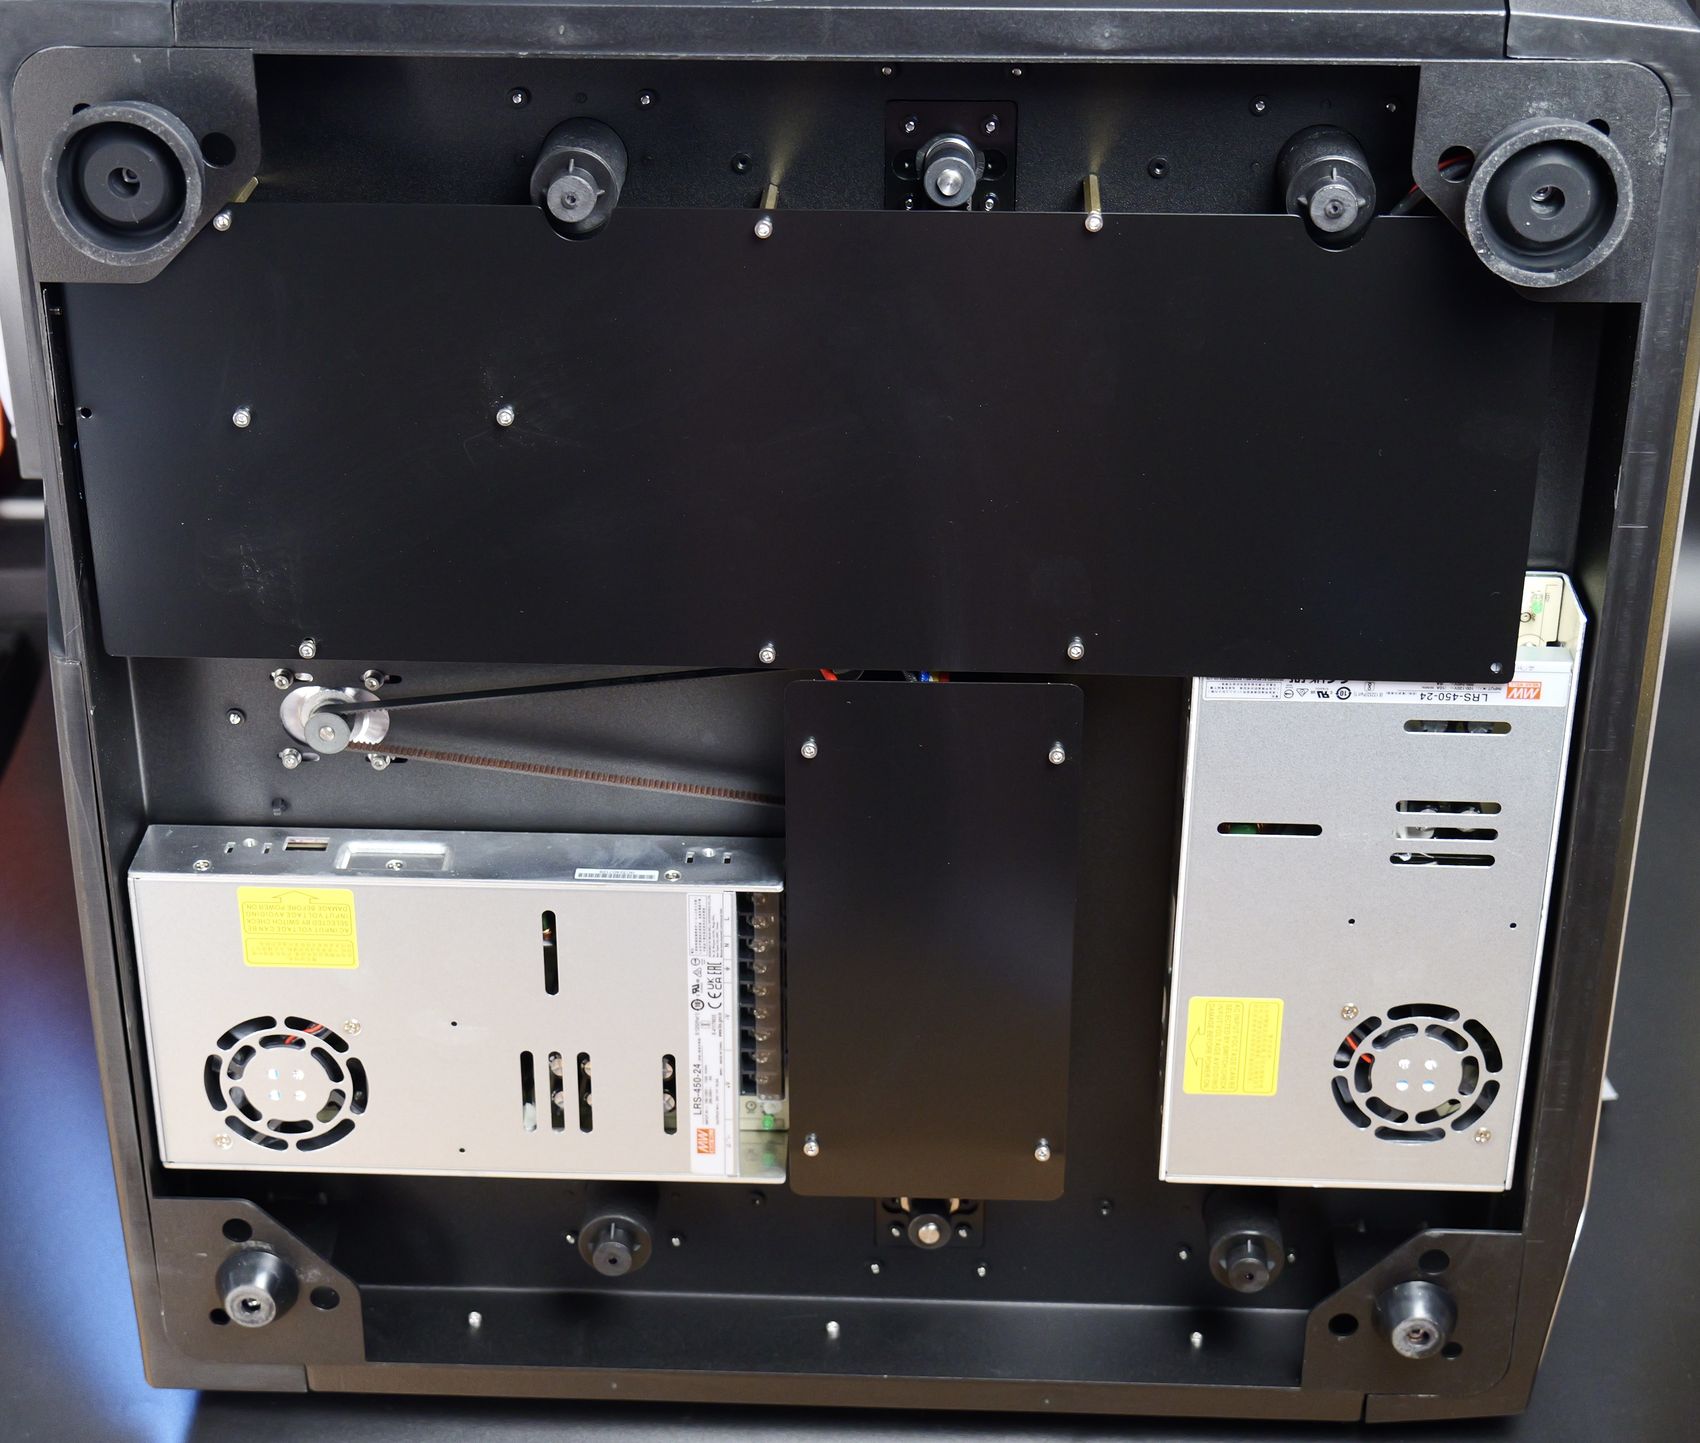
To power this huge printer and the chamber heater, QIDI used a dual 24V 450W power supply setup. Most of the time, the fans on the power supply are turned off, but you can hear them running from time to time when pre-heating the printer.
32-bit board running Klipper Firmware
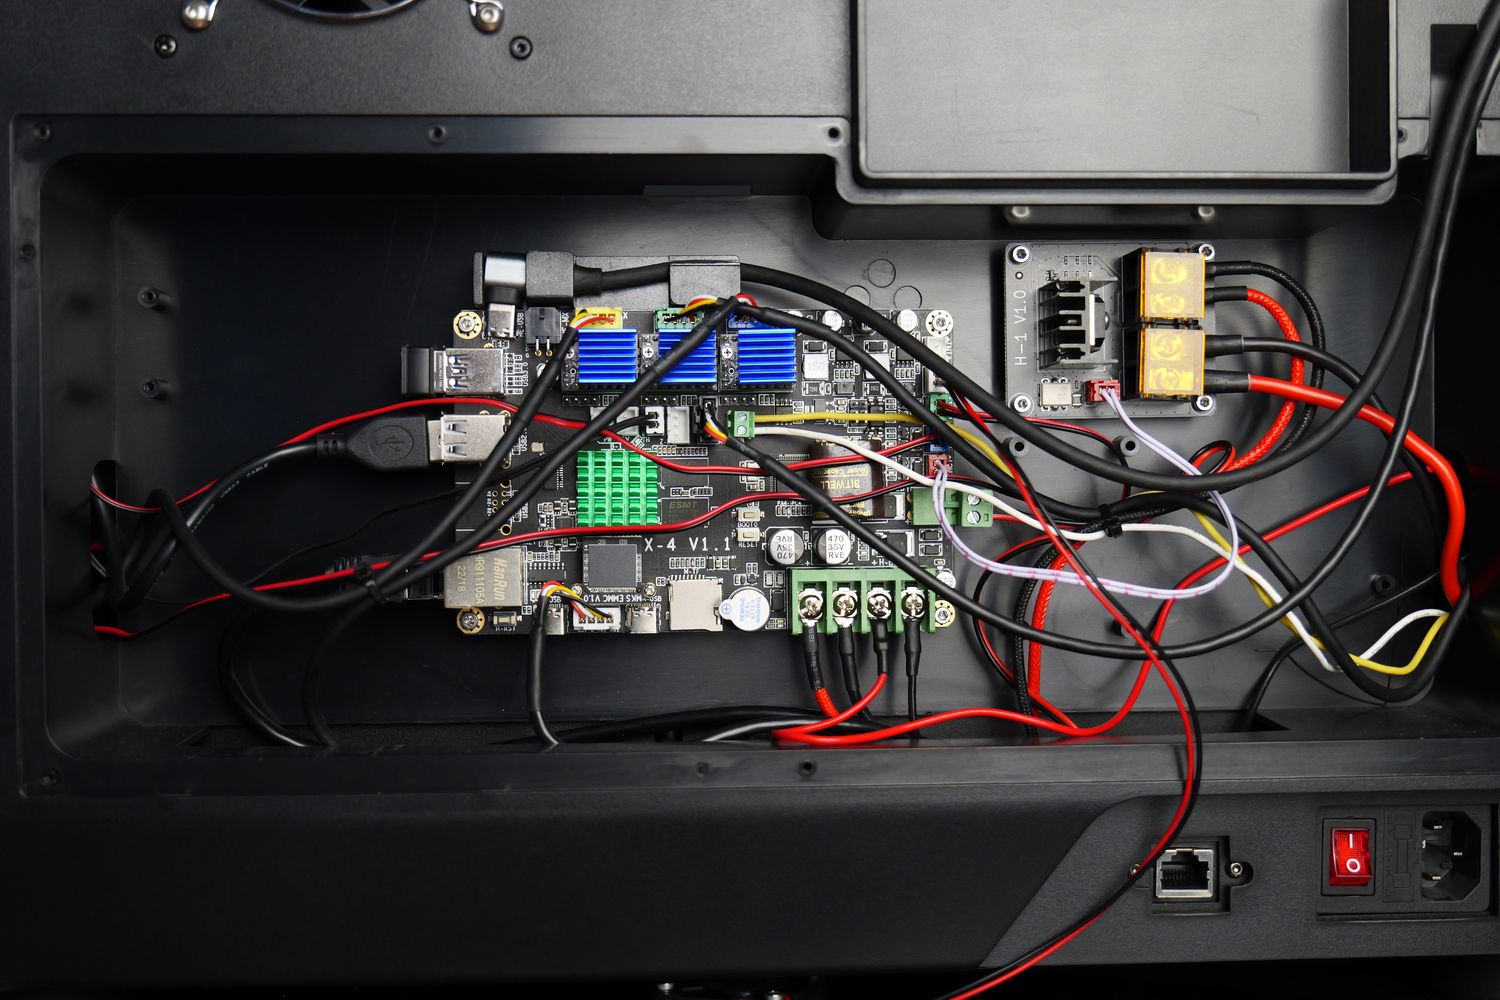
To be able to run Klipper out of the box, QIDI uses an X4-V1.1 board which is probably made by MKS. It uses only three TMC2209 stepper drivers (which are removable) as the board only moves the A B and Z motors. The extruder has its own stepper driver on the toolhead board.
The board has a Cortex-A53 64-bit Processor running at 1.5Ghz and 1GB DDR3 Ram which should be plenty for running Klipper reliably
For storage, the board uses an MKS EMMC V1.0 chip which should last quite a long time compared to the unpopulated MicroSD option available on the board. I also see a pair of capacitors that are used for keeping the power on for the board a few extra seconds if power fails. This is important to make sure the config file is not corrupted in case of a sudden power loss.
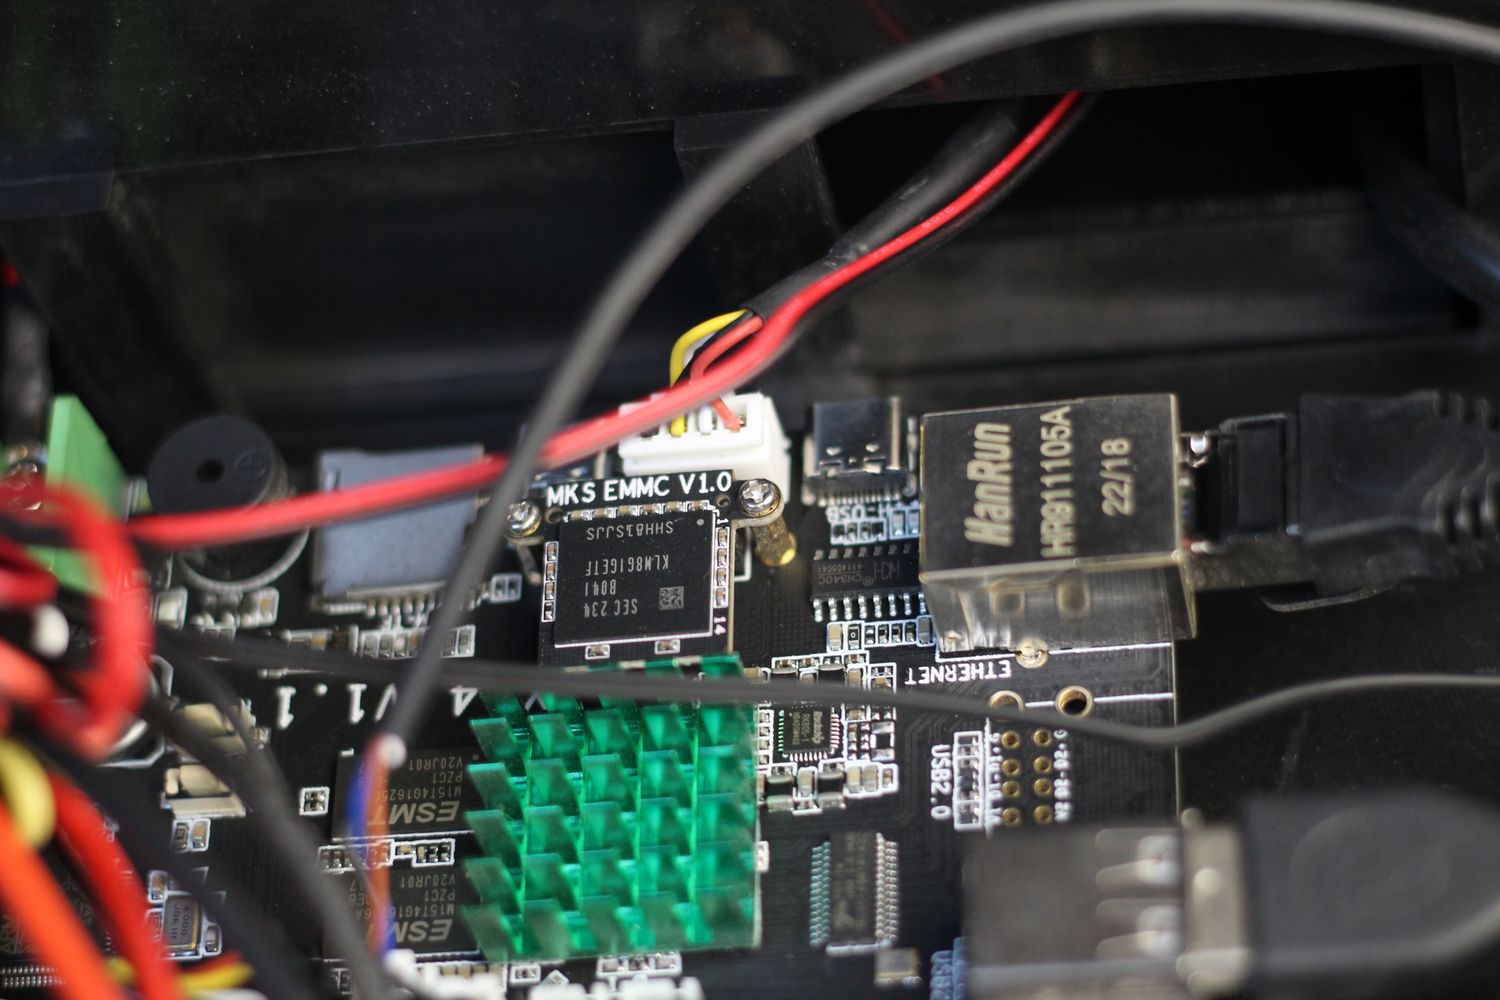
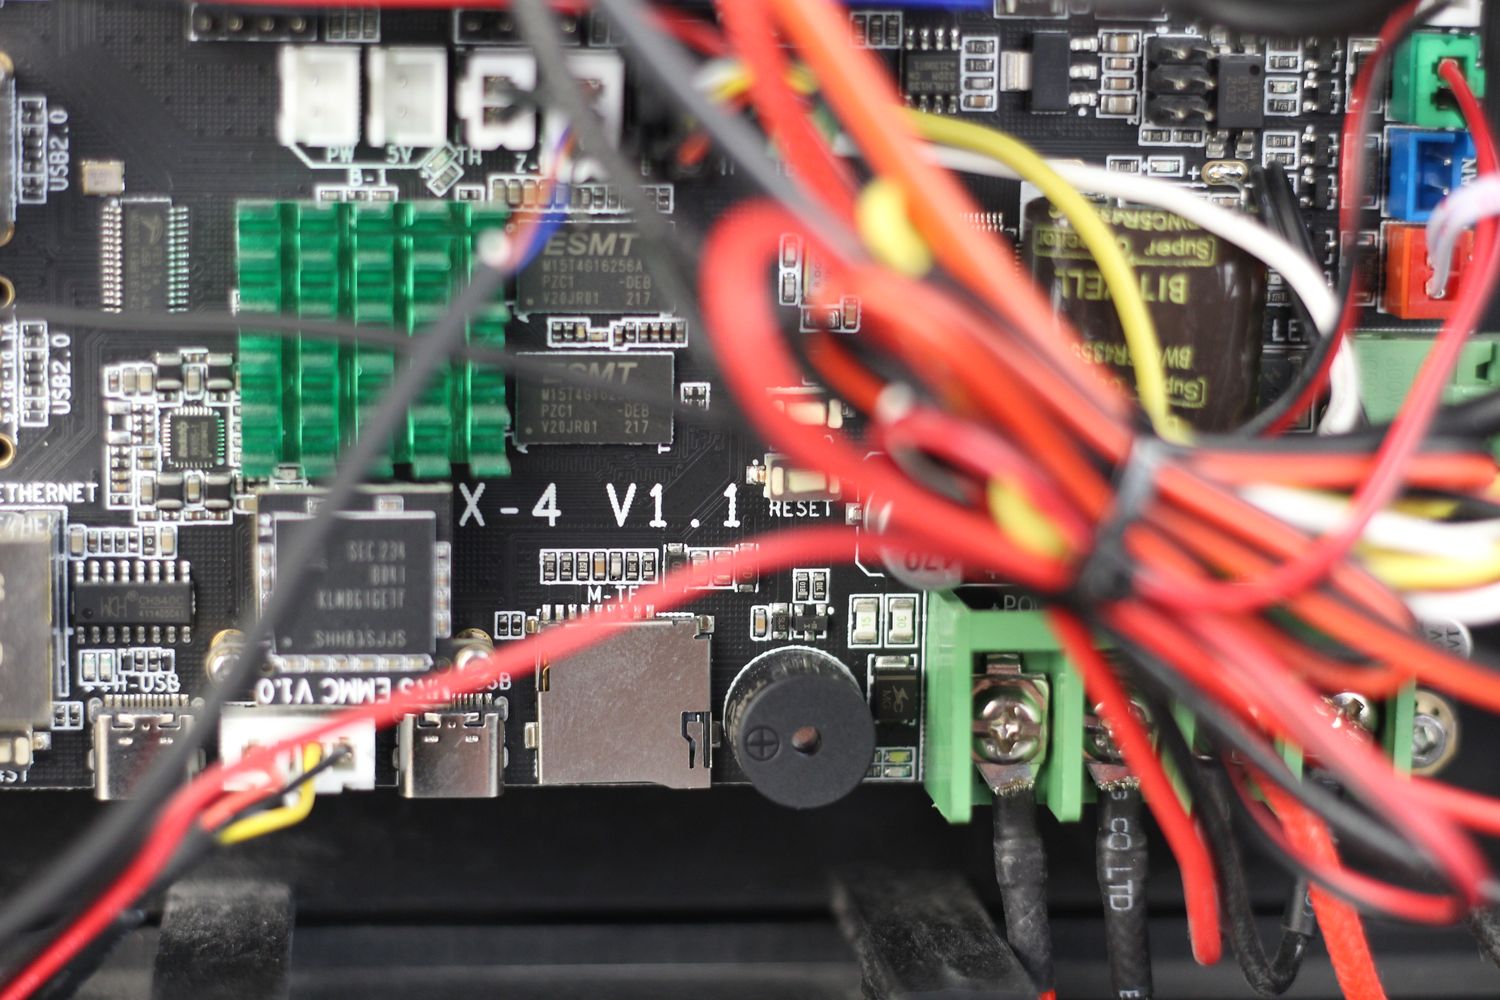
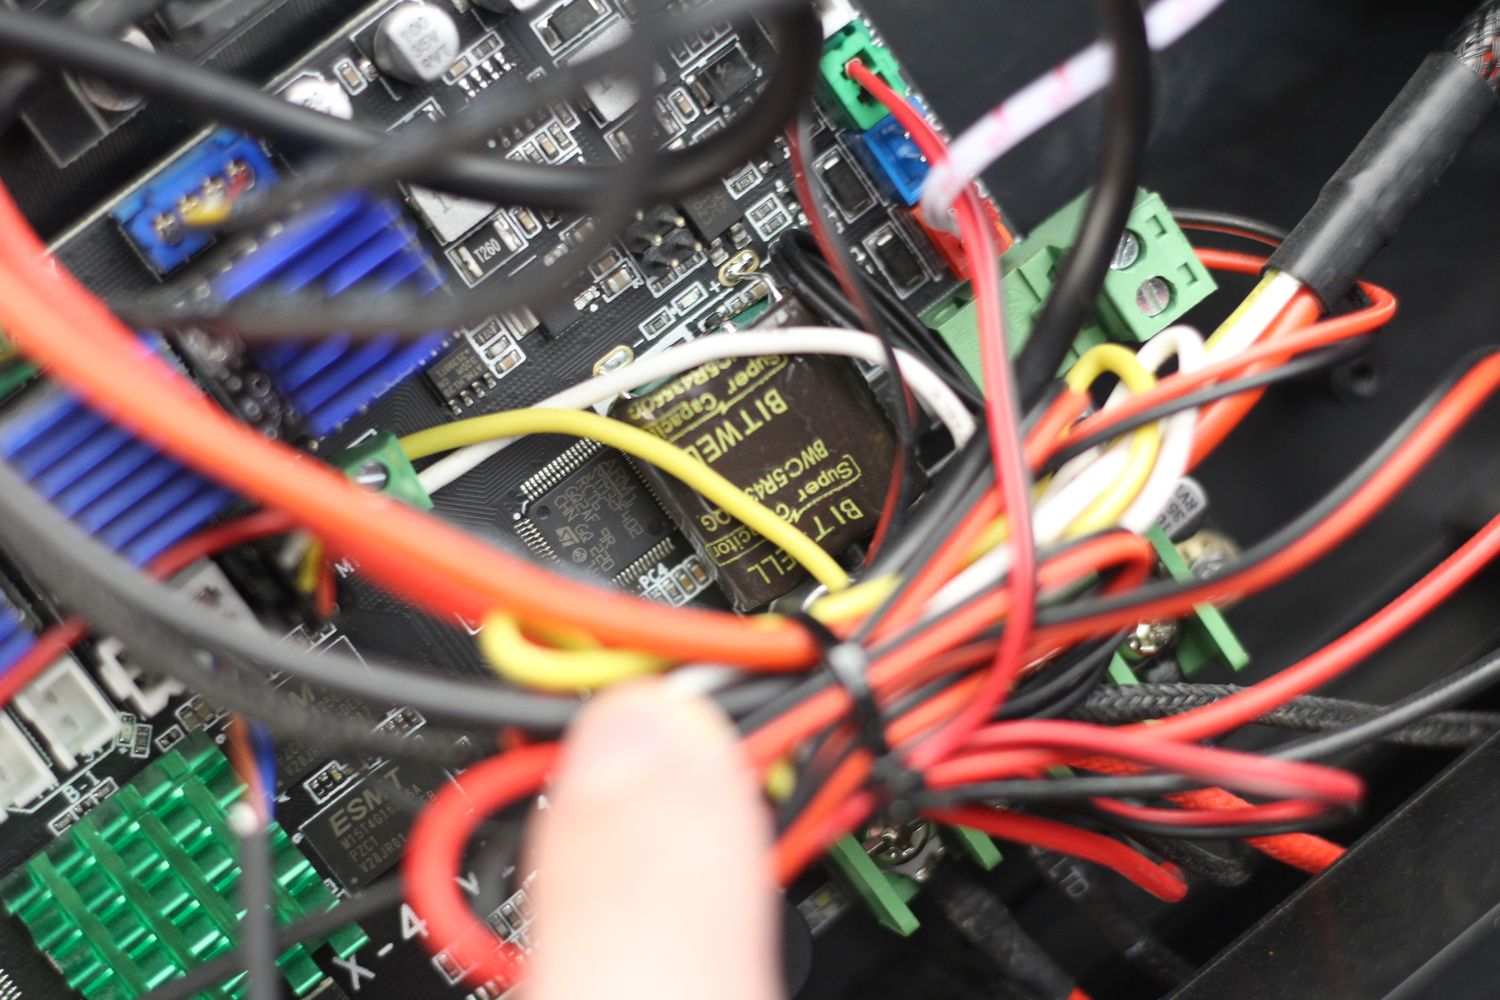
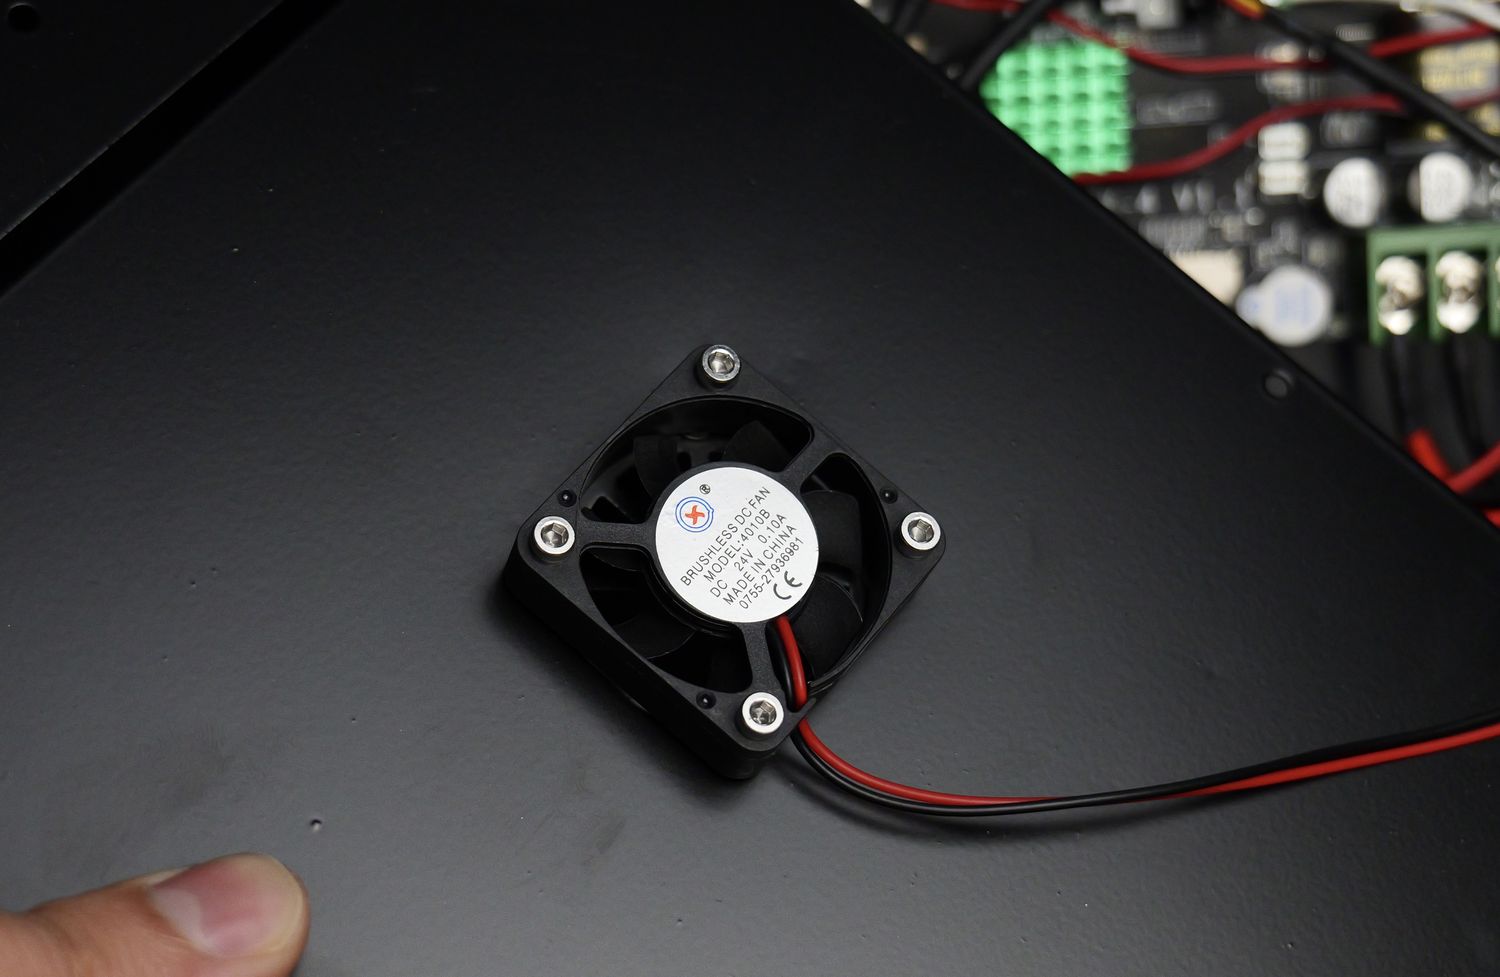
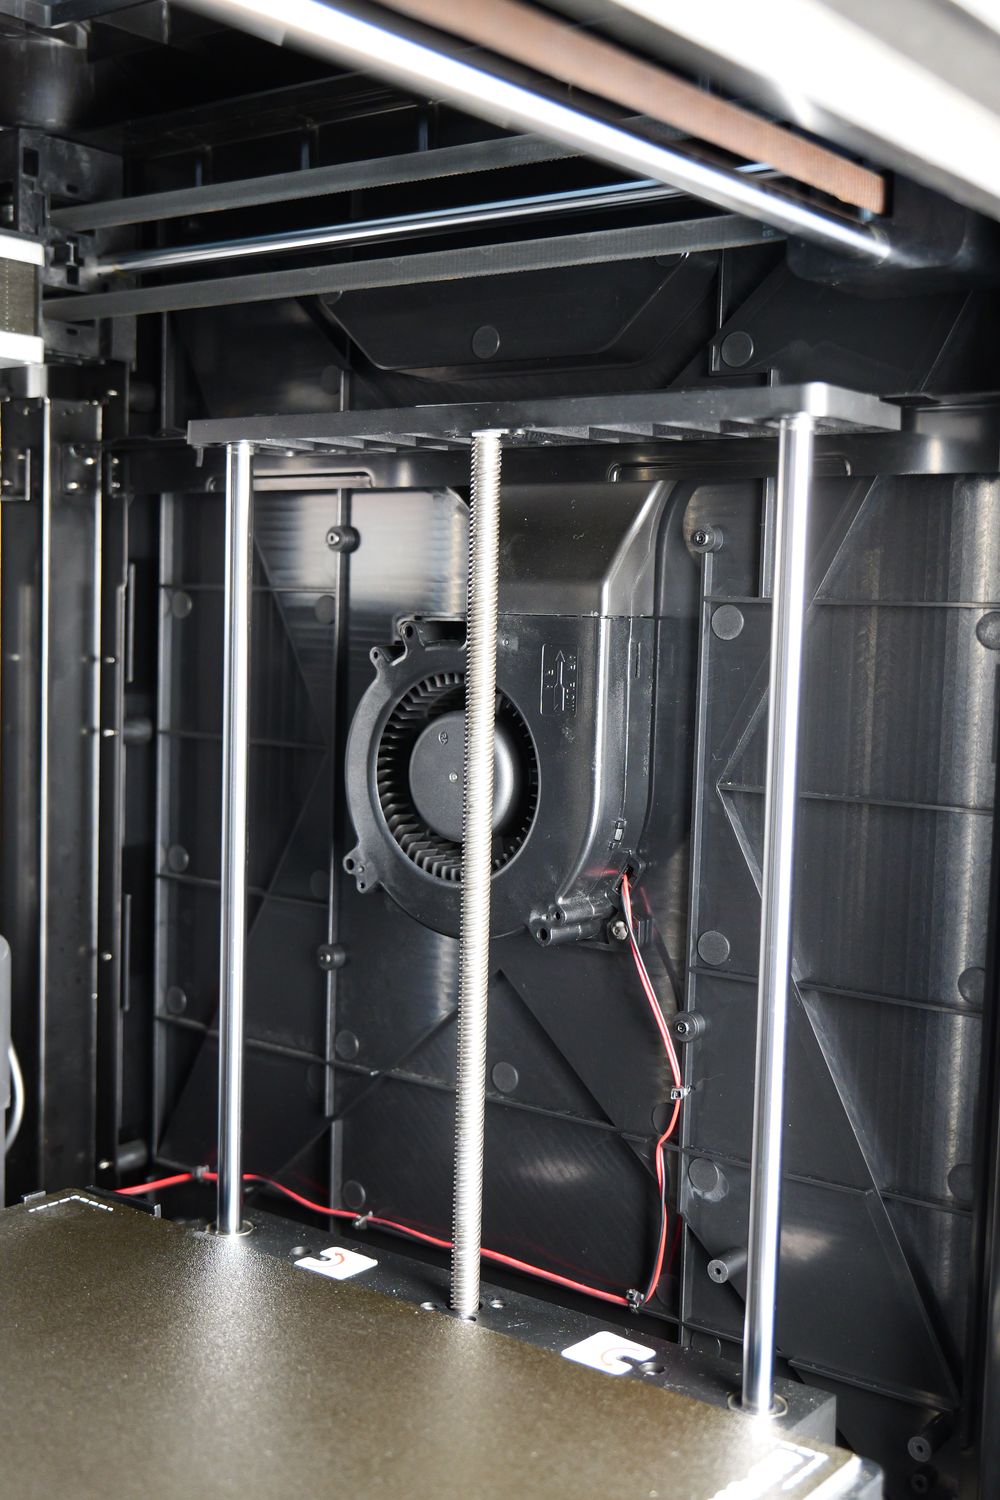
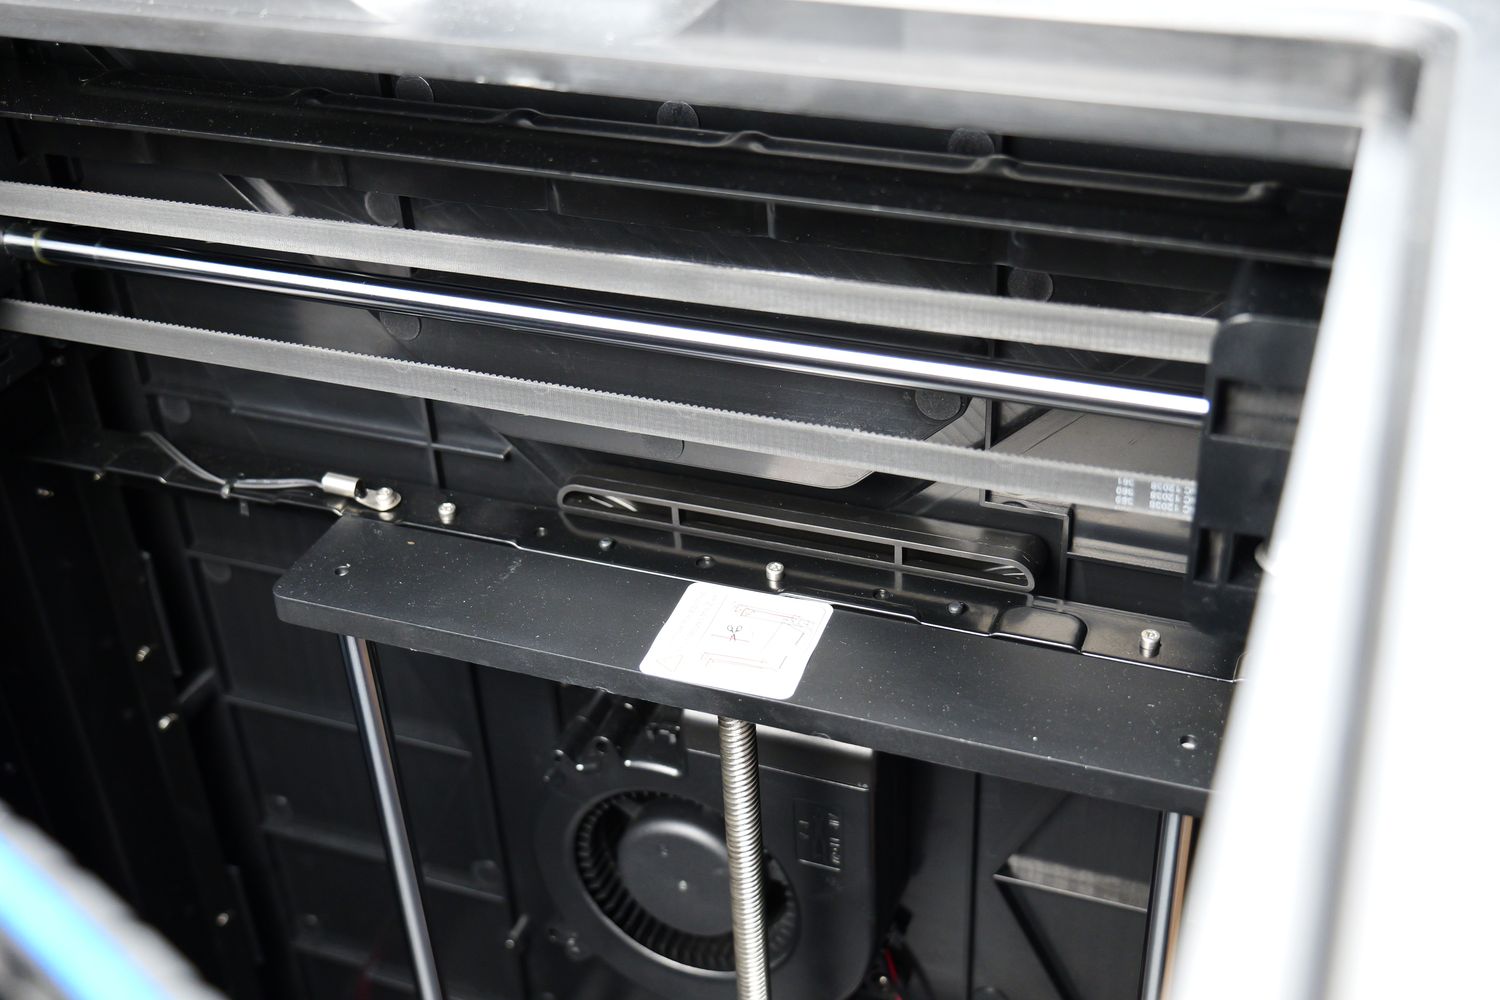
To keep the board and the stepper drivers cool, the QIDI X-MAX 3 uses a regular 4010 24V fan which is fine, but generates some noise when the printer is idle. I would have liked to see a slightly larger fan so the airflow is better even when running slower.
5-Inch Touchscreen
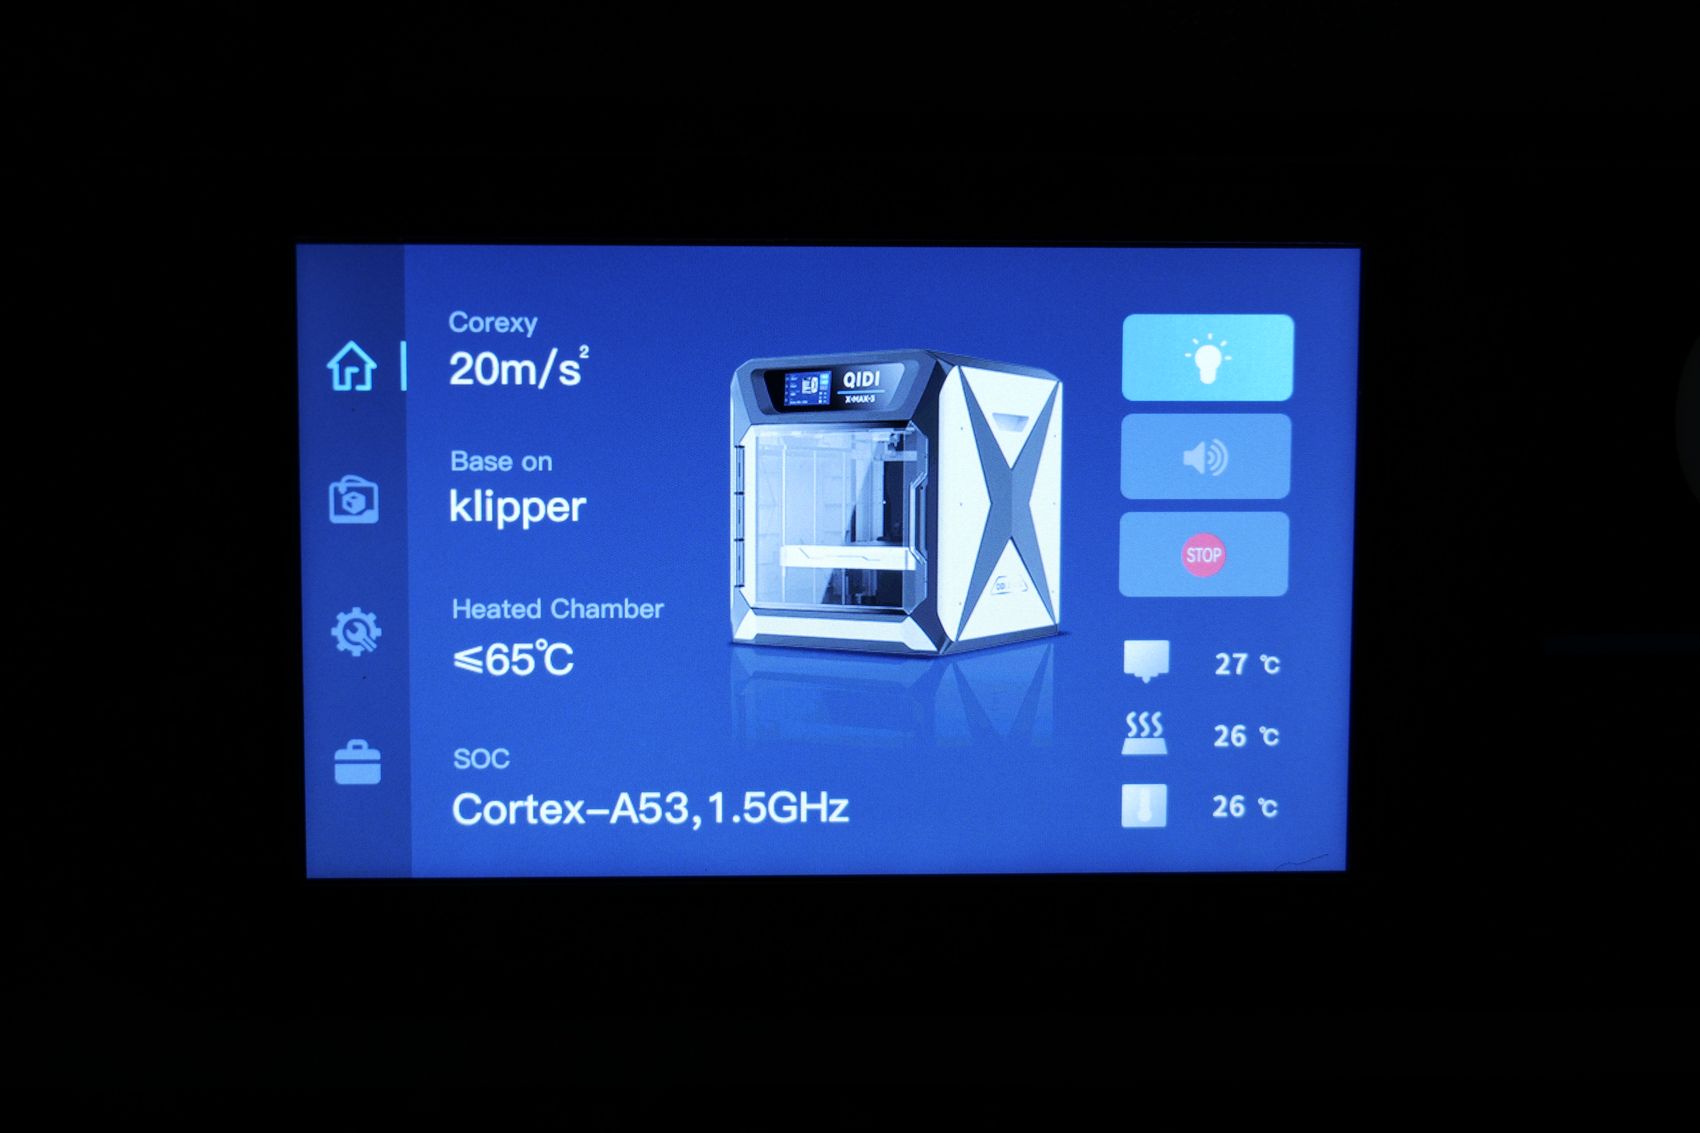
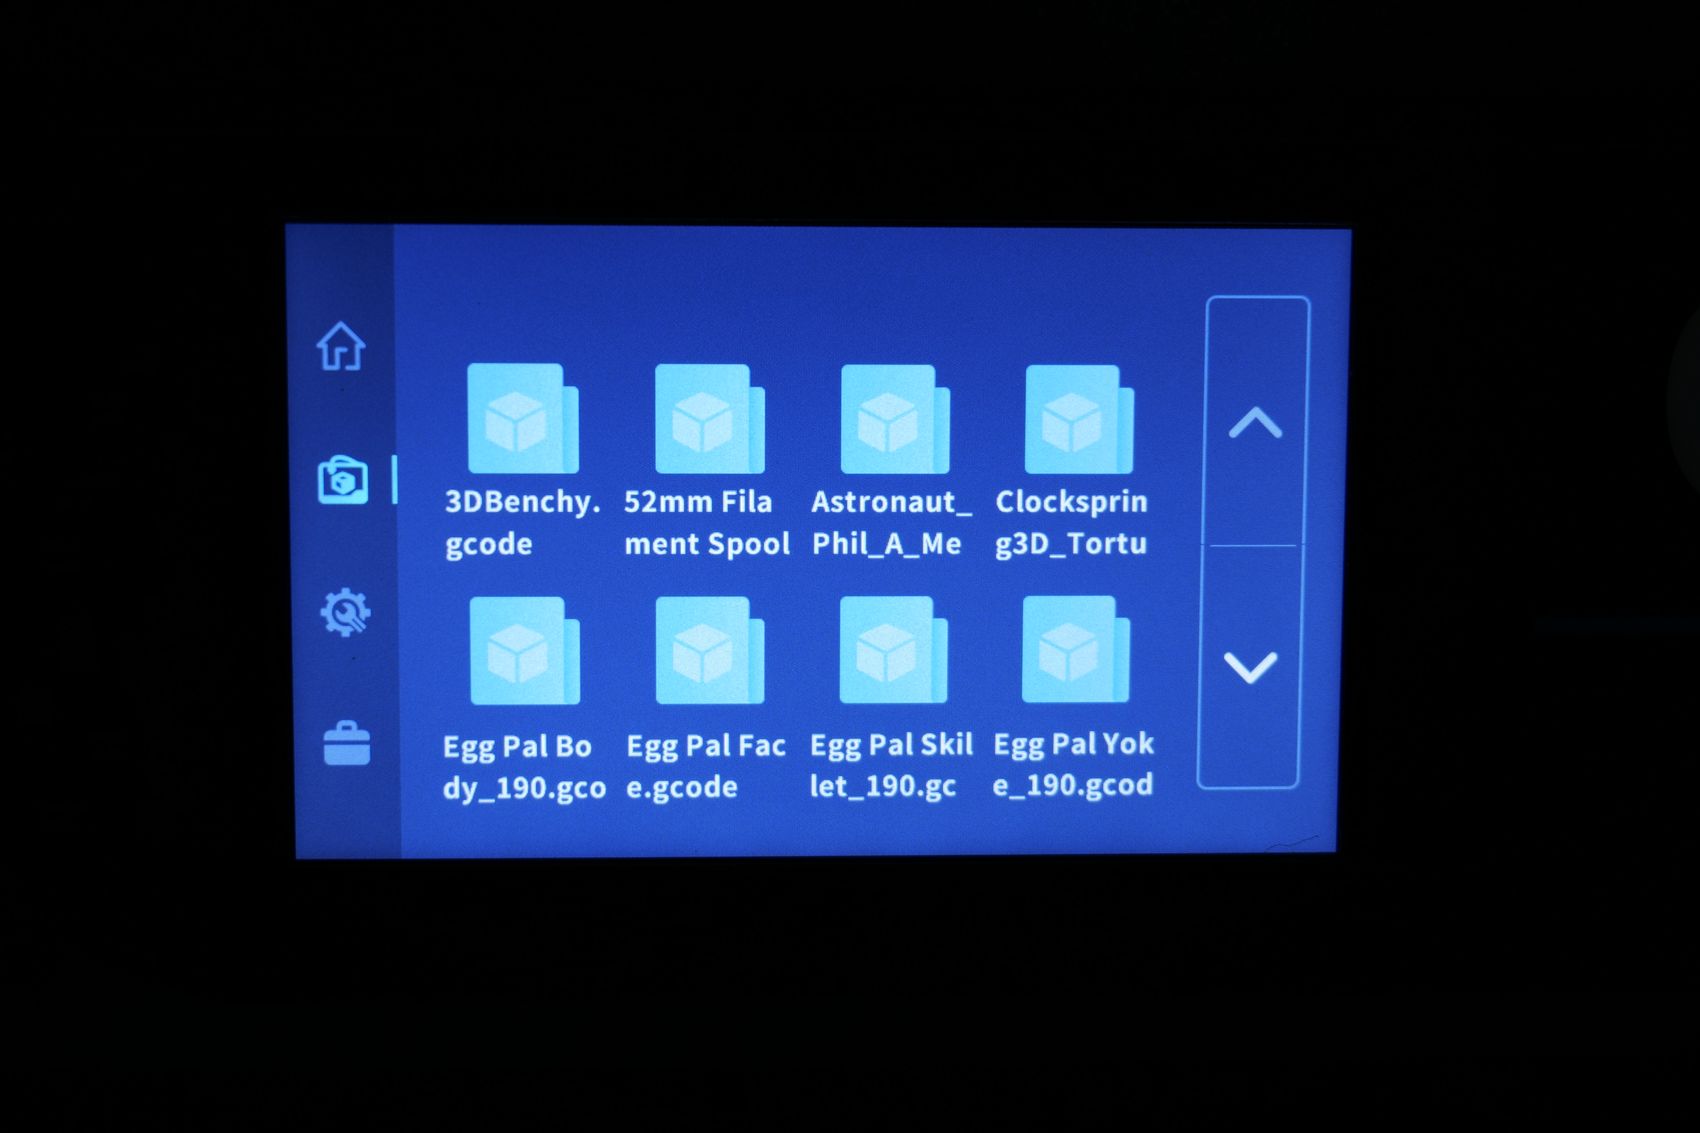
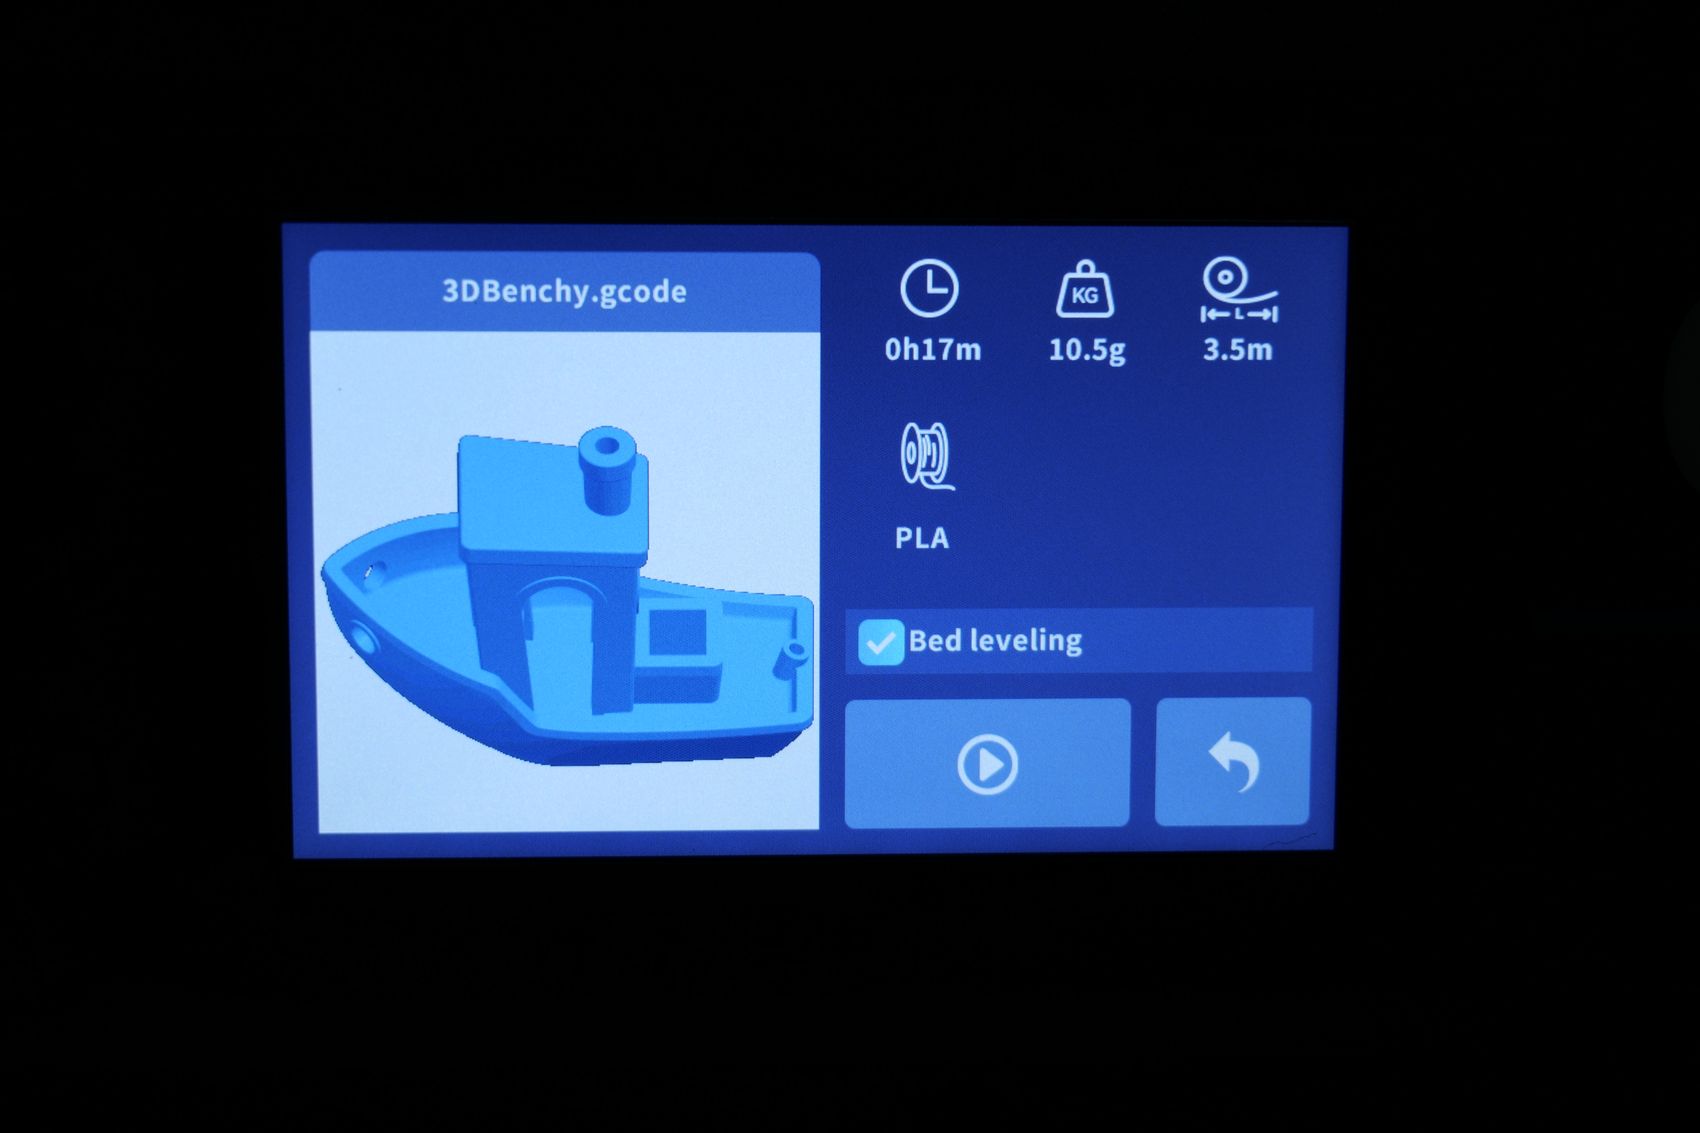
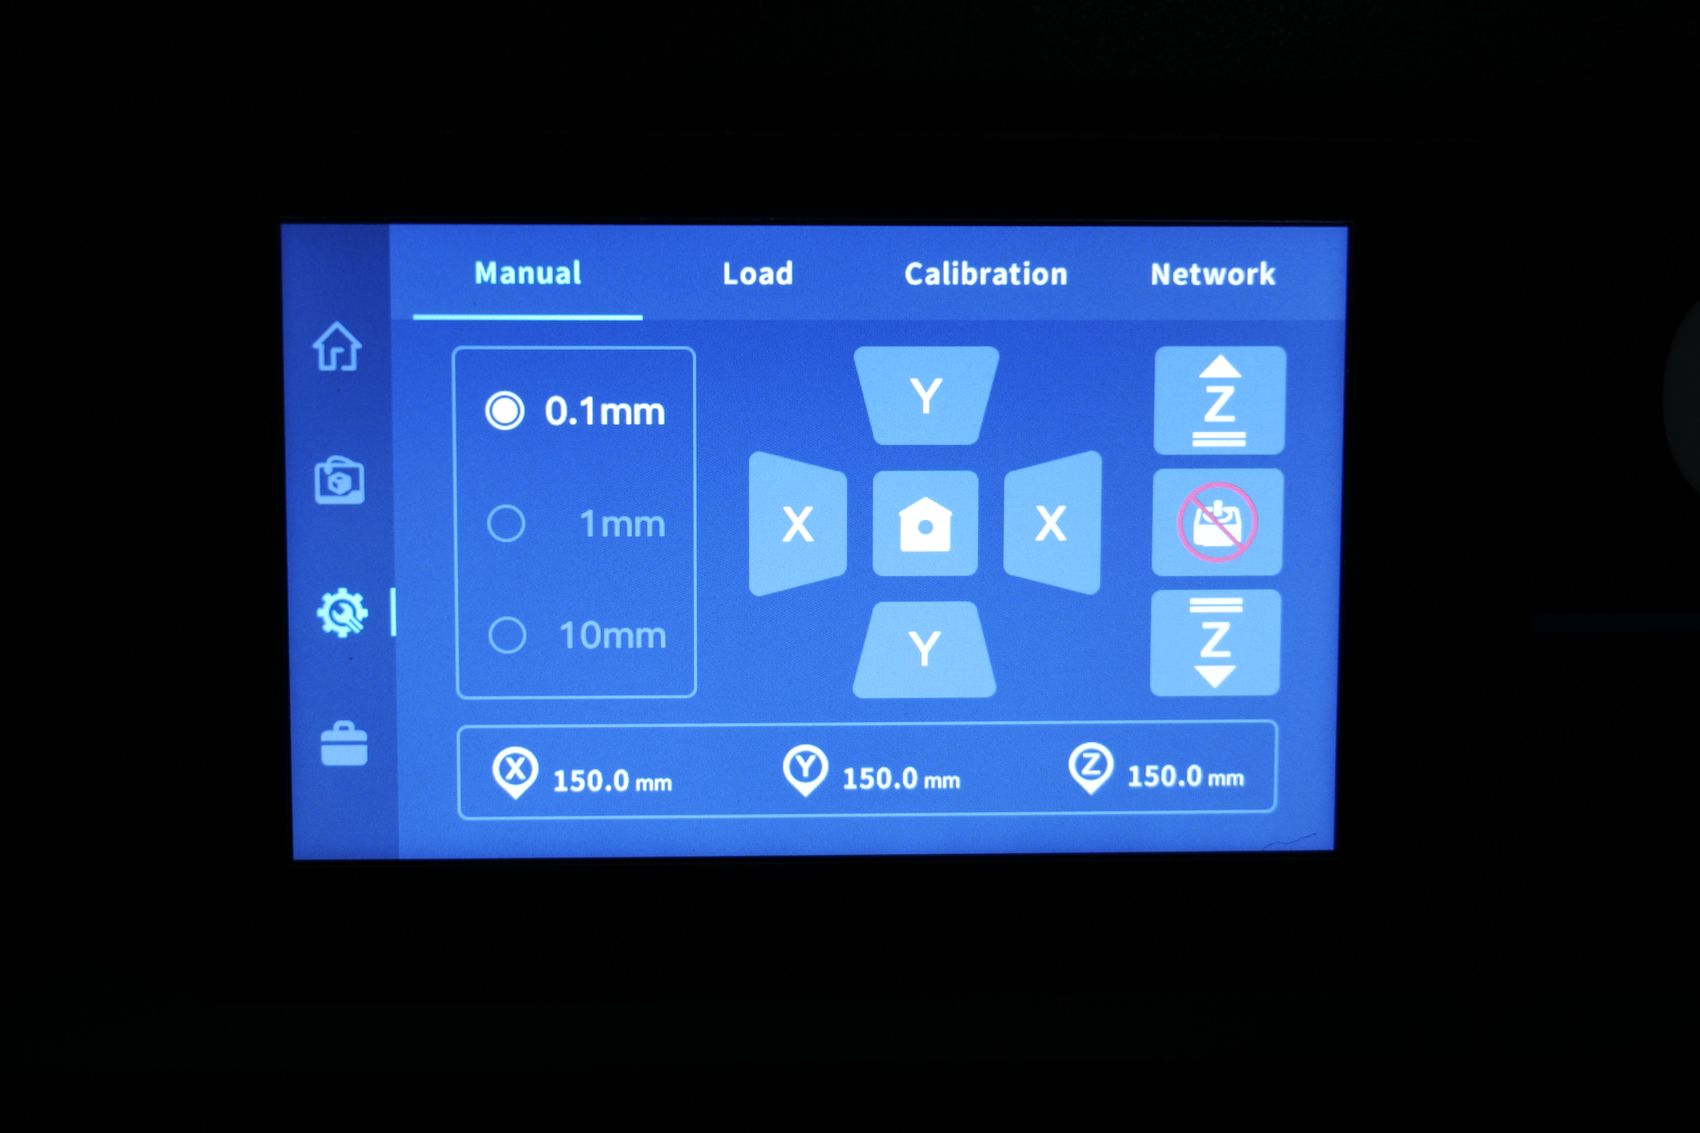
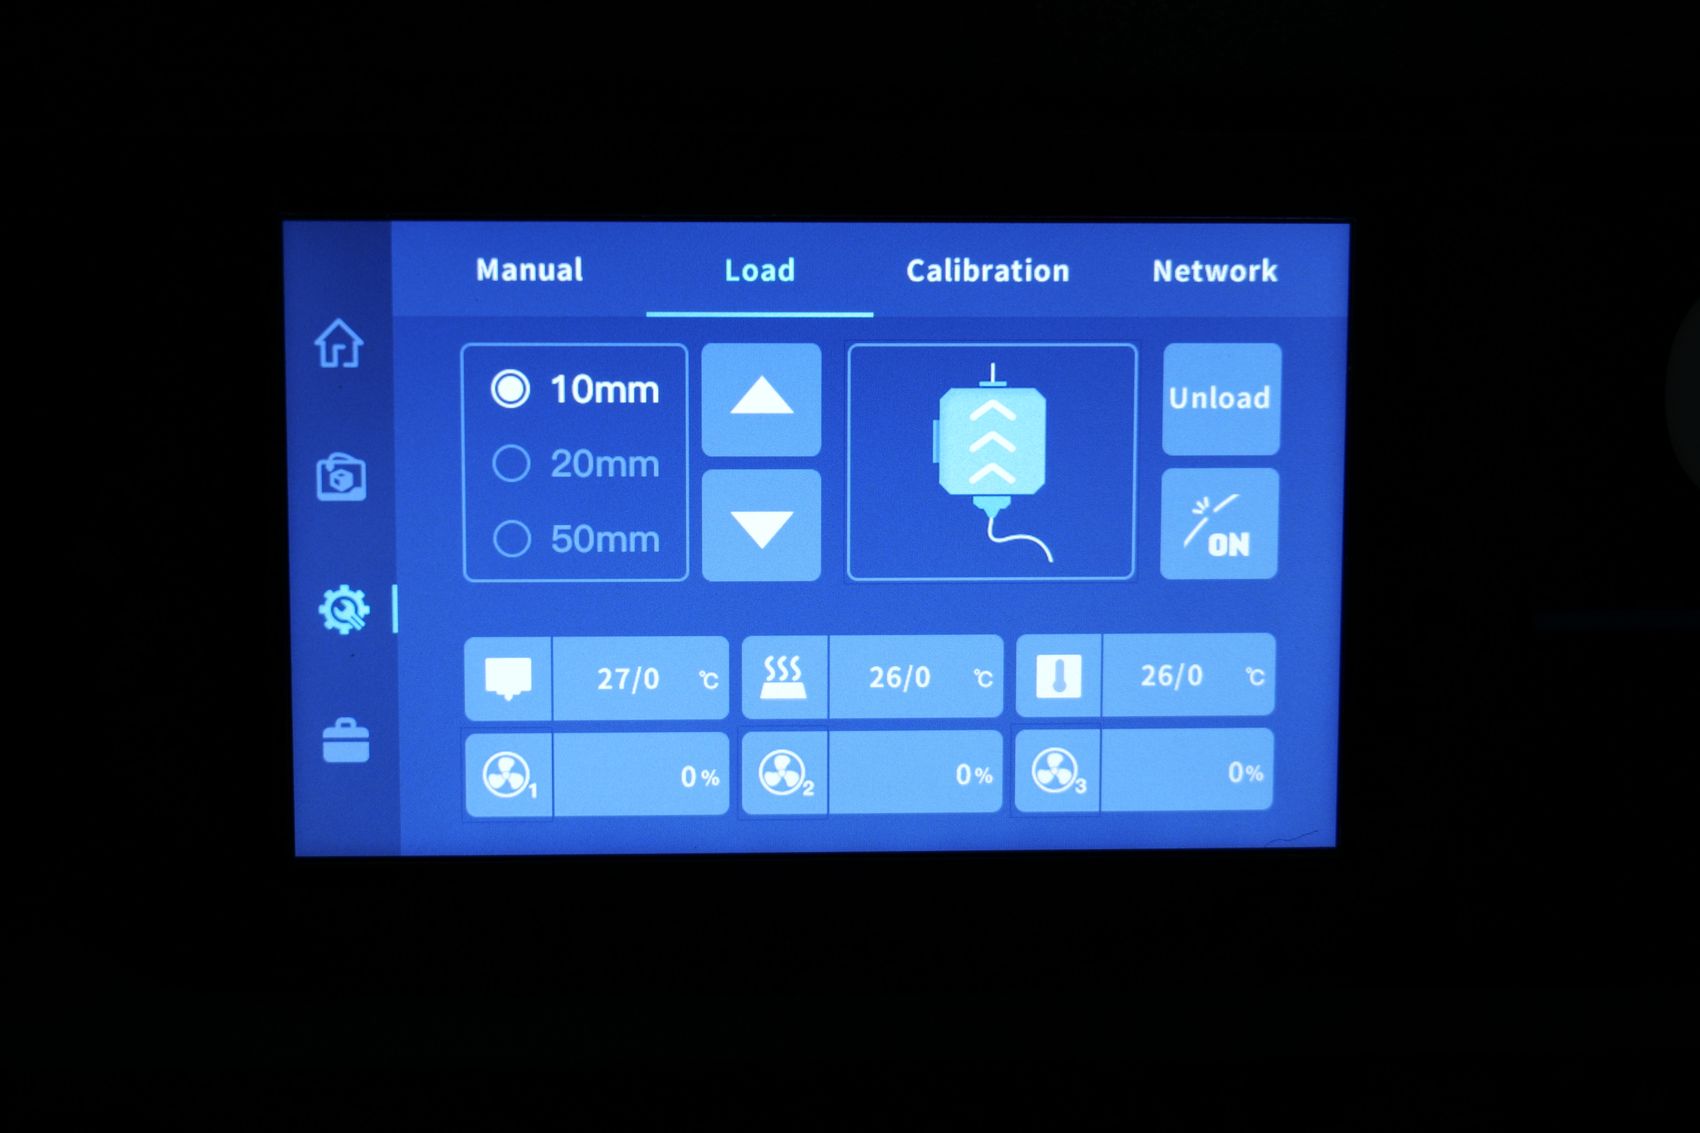
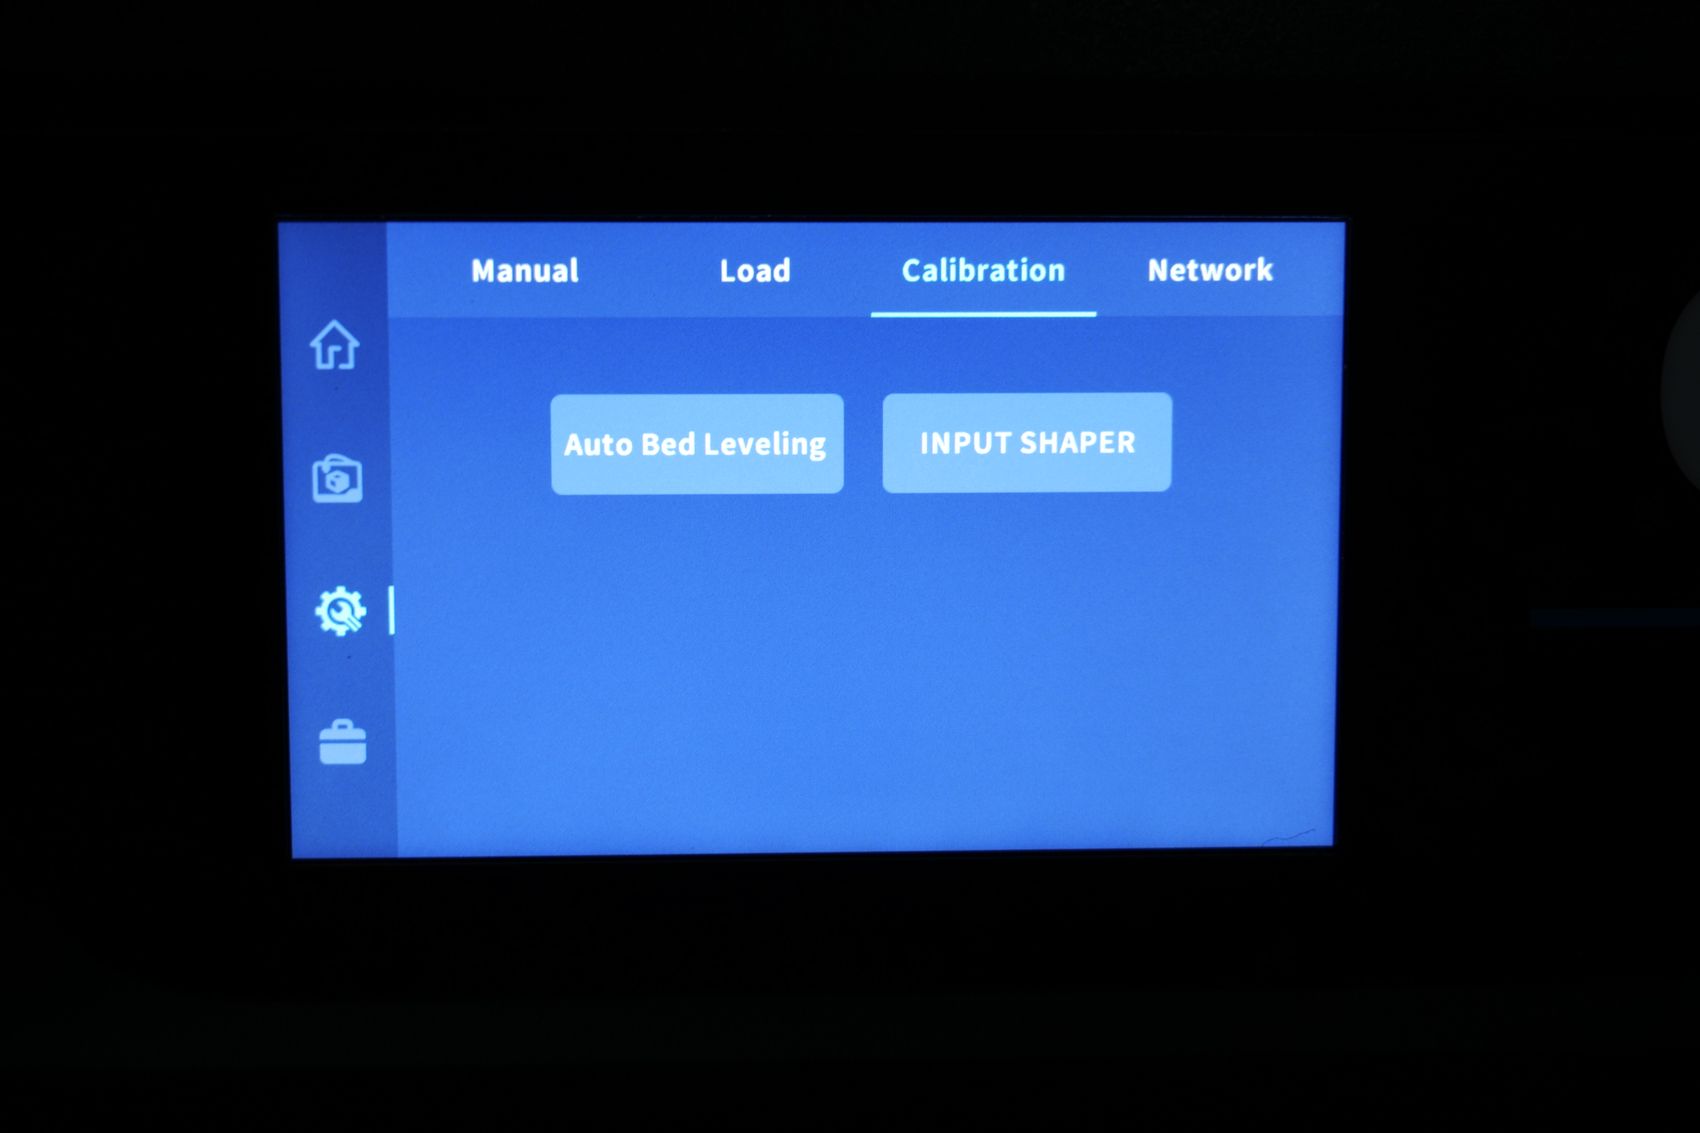
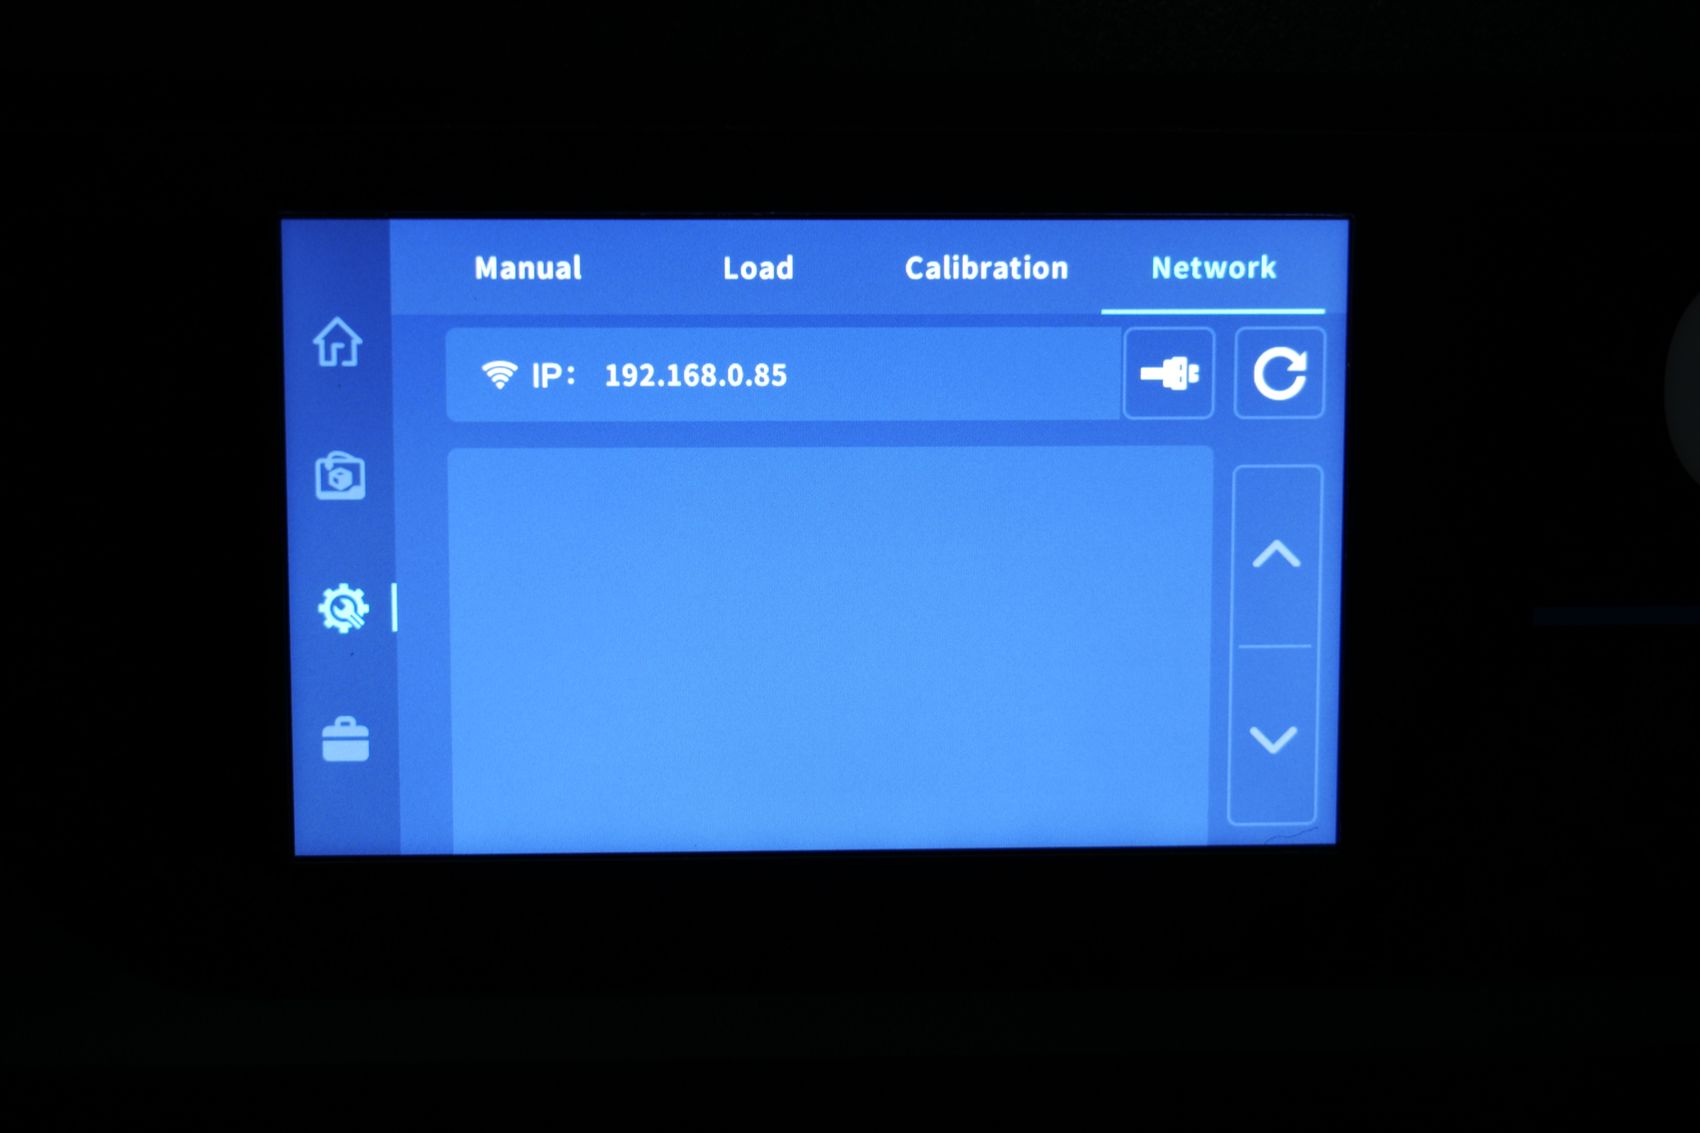
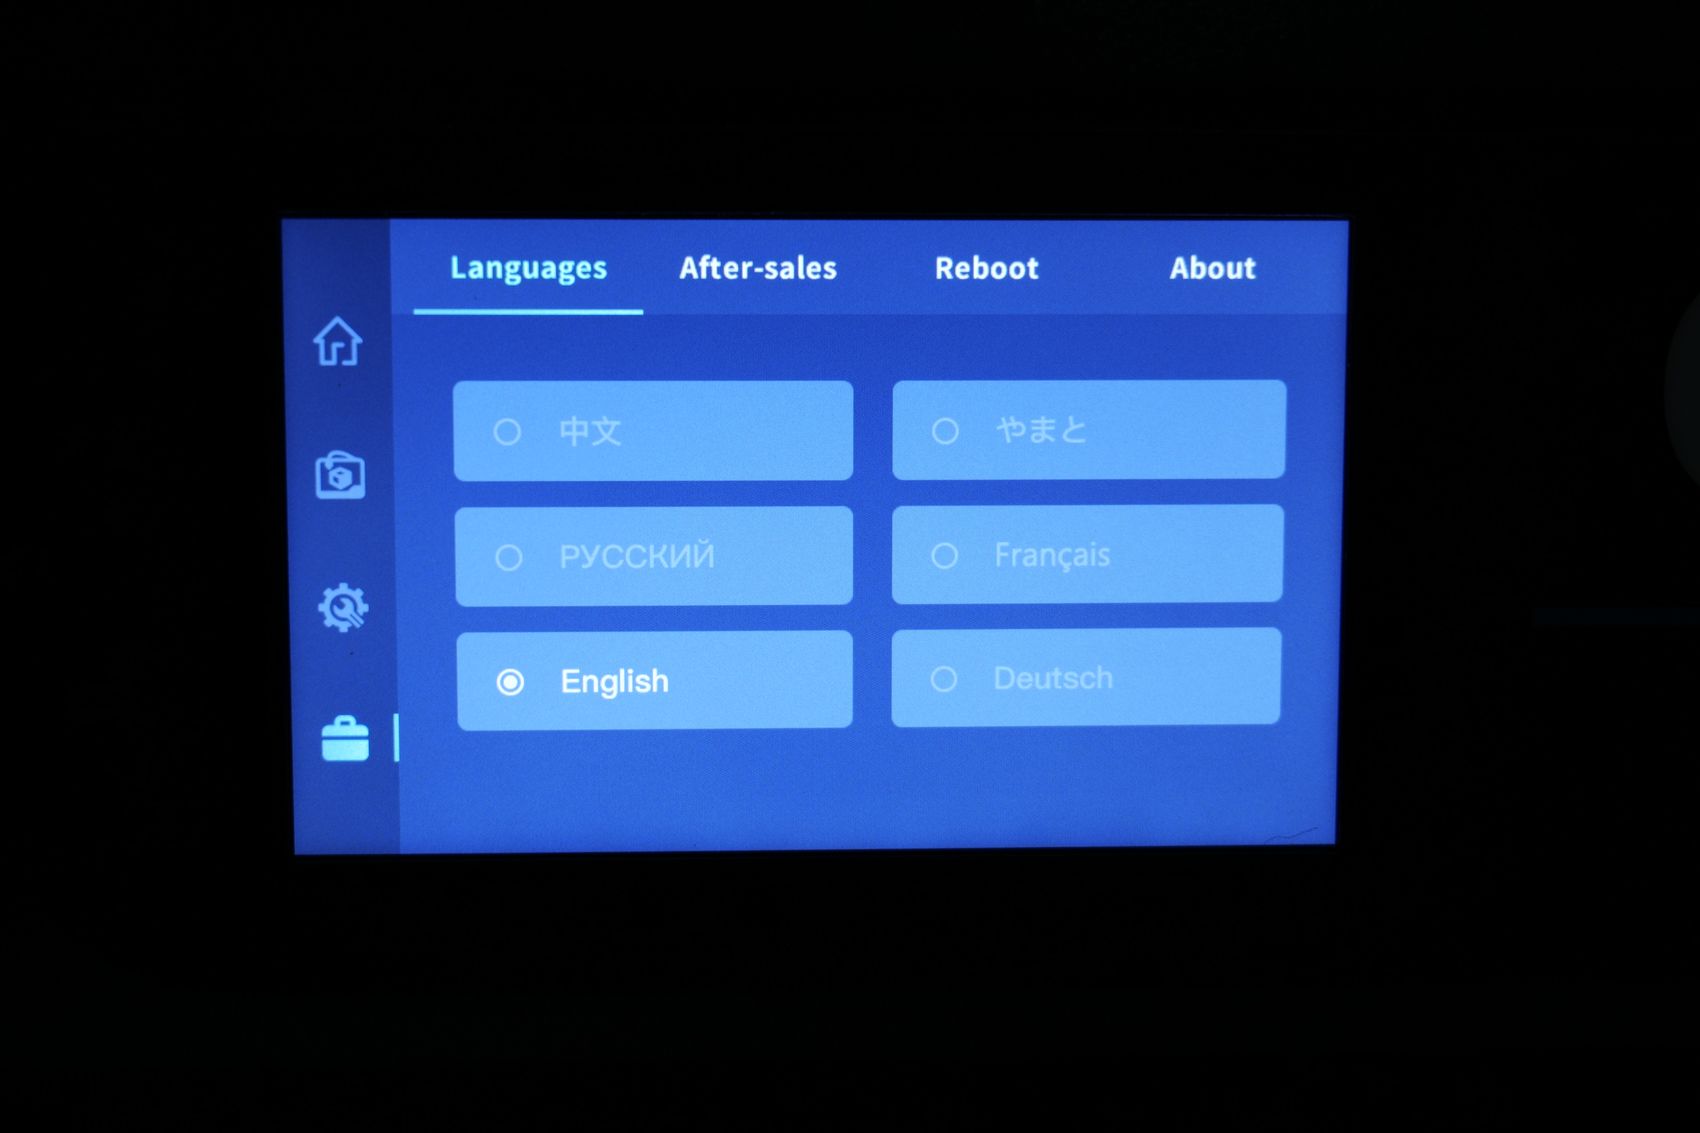
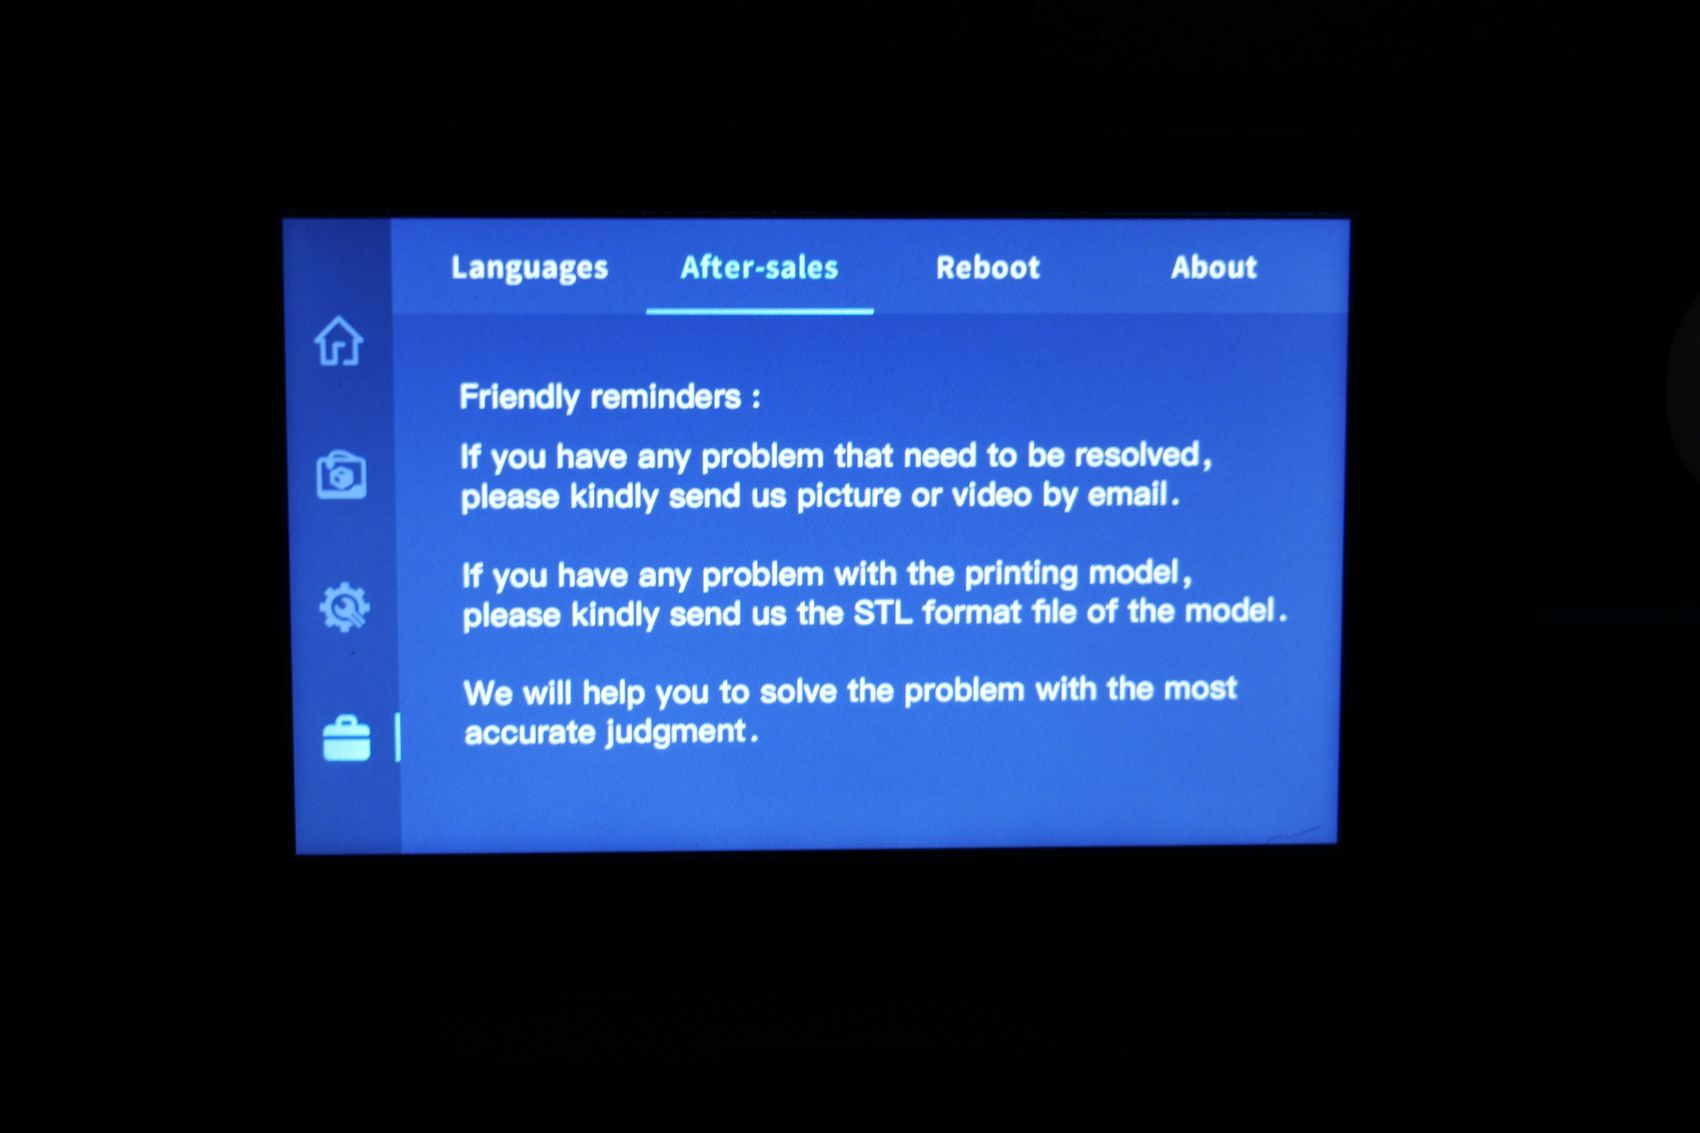
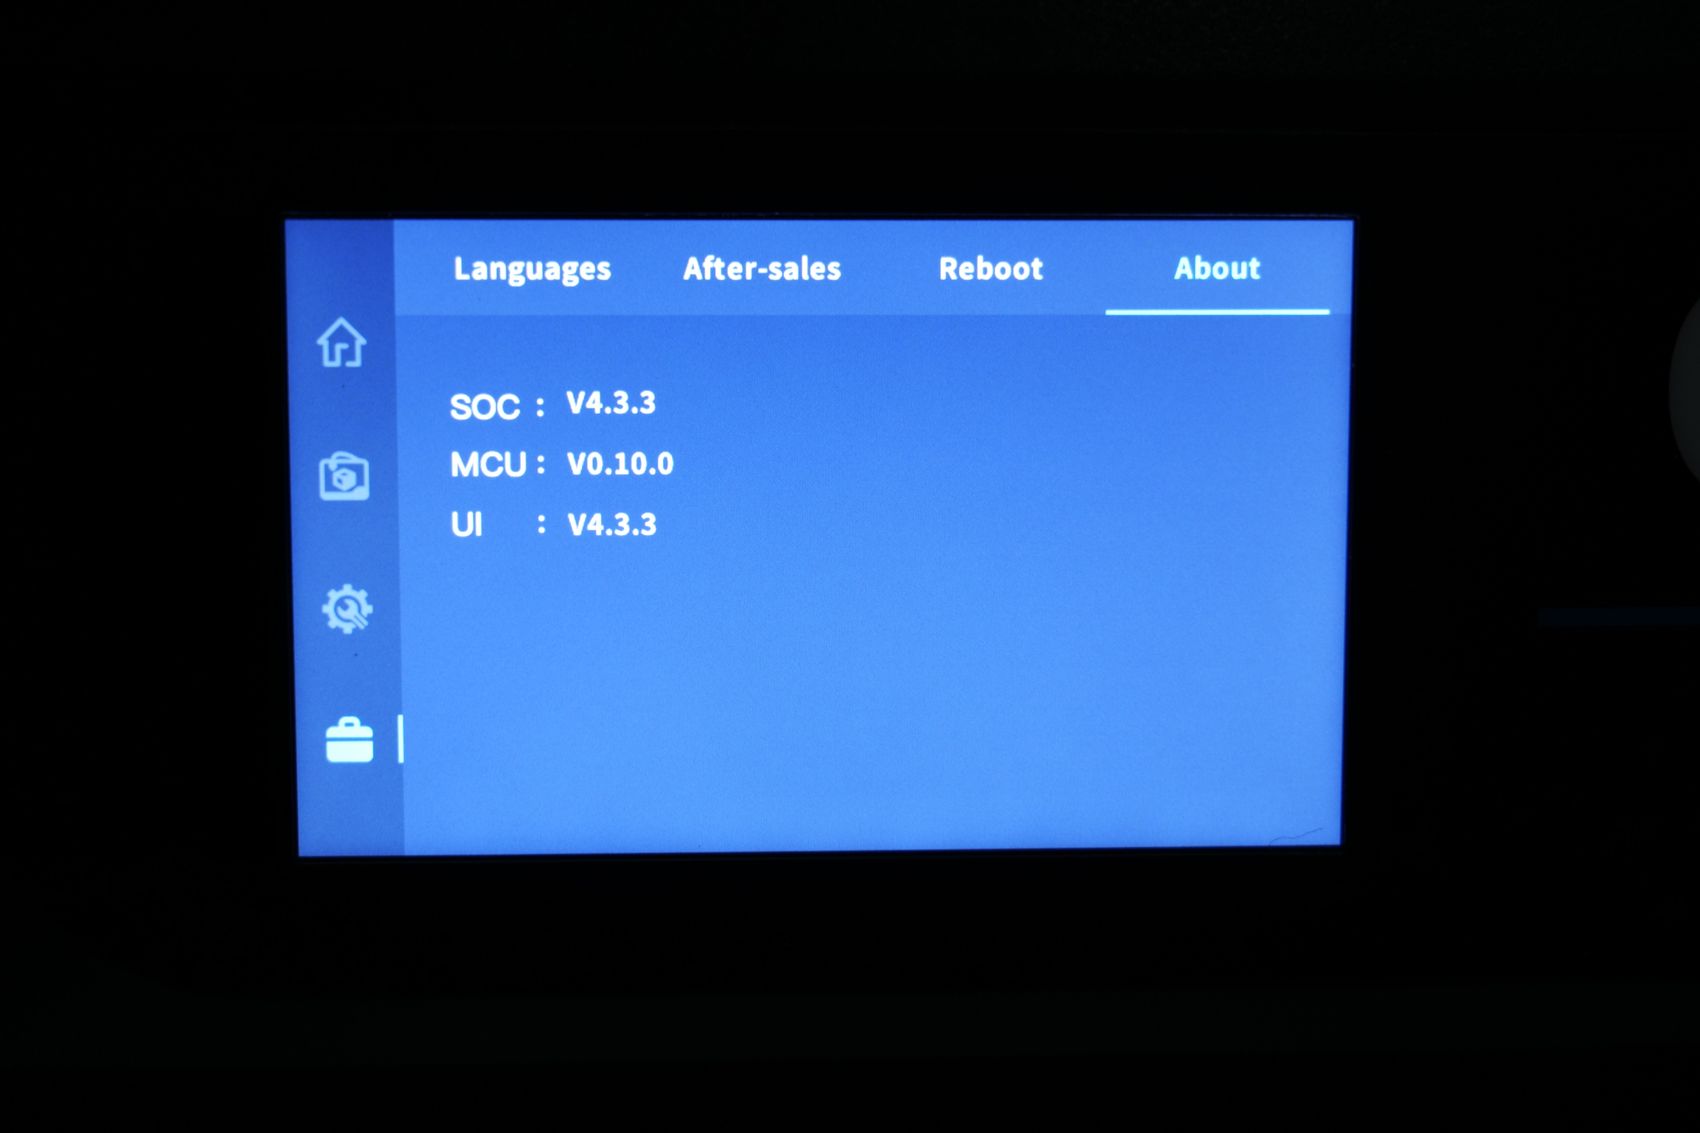
The touchscreen installed on the QIDI X-MAX 3 is a 5-inch unit with a resolution of 800×480 pixels with a resistive input. It’s not as nice as capacitive screens but it does the job well and I had no problems when operating the printer.
Dedicated 300W Chamber Heater
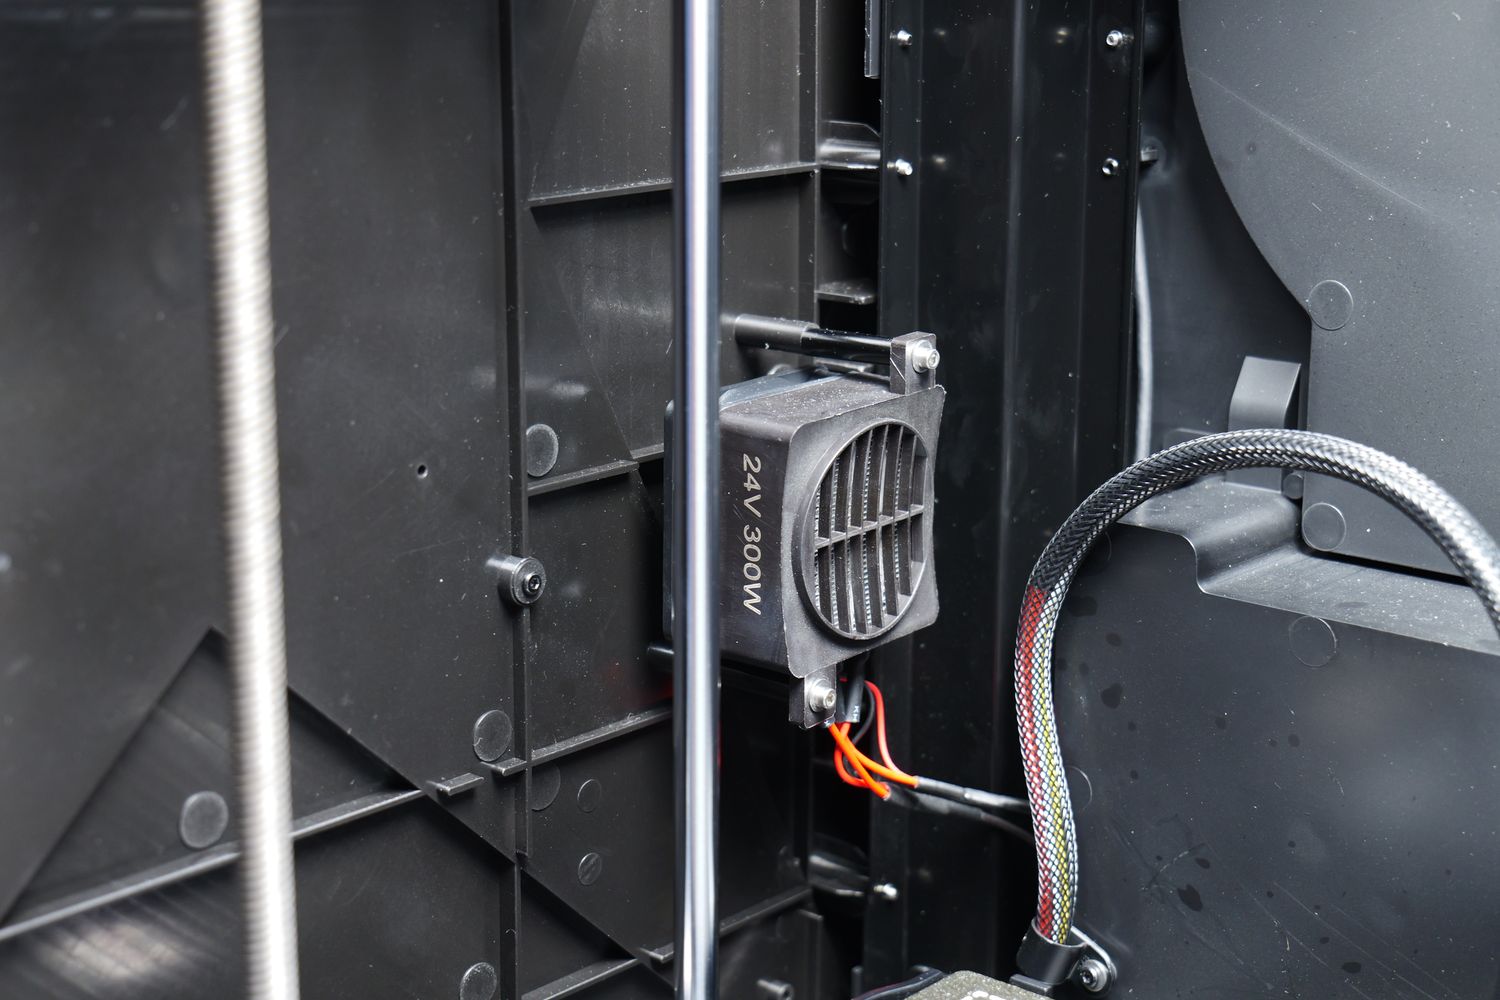
Considering the size of the printer, and high-temperature printing capabilities it’s a good idea to have a dedicated Chamber Heater available. This is a 300W 24 unit placed on the bottom left side of the printer which can be turned on using the printer controls to heat the chamber up to 65C.
You can set a higher temperature from the Fluidd interface, and while the printer can get hotter, it’s not as stable. The heat inside the chamber can reach 70C but Klipper usually enters in thermal runaway protection due to the slower heating.
I also noticed that the temperature control for this heater is set to bang bang instead of PID, meaning that the heater can only be ON or OFF during operation.
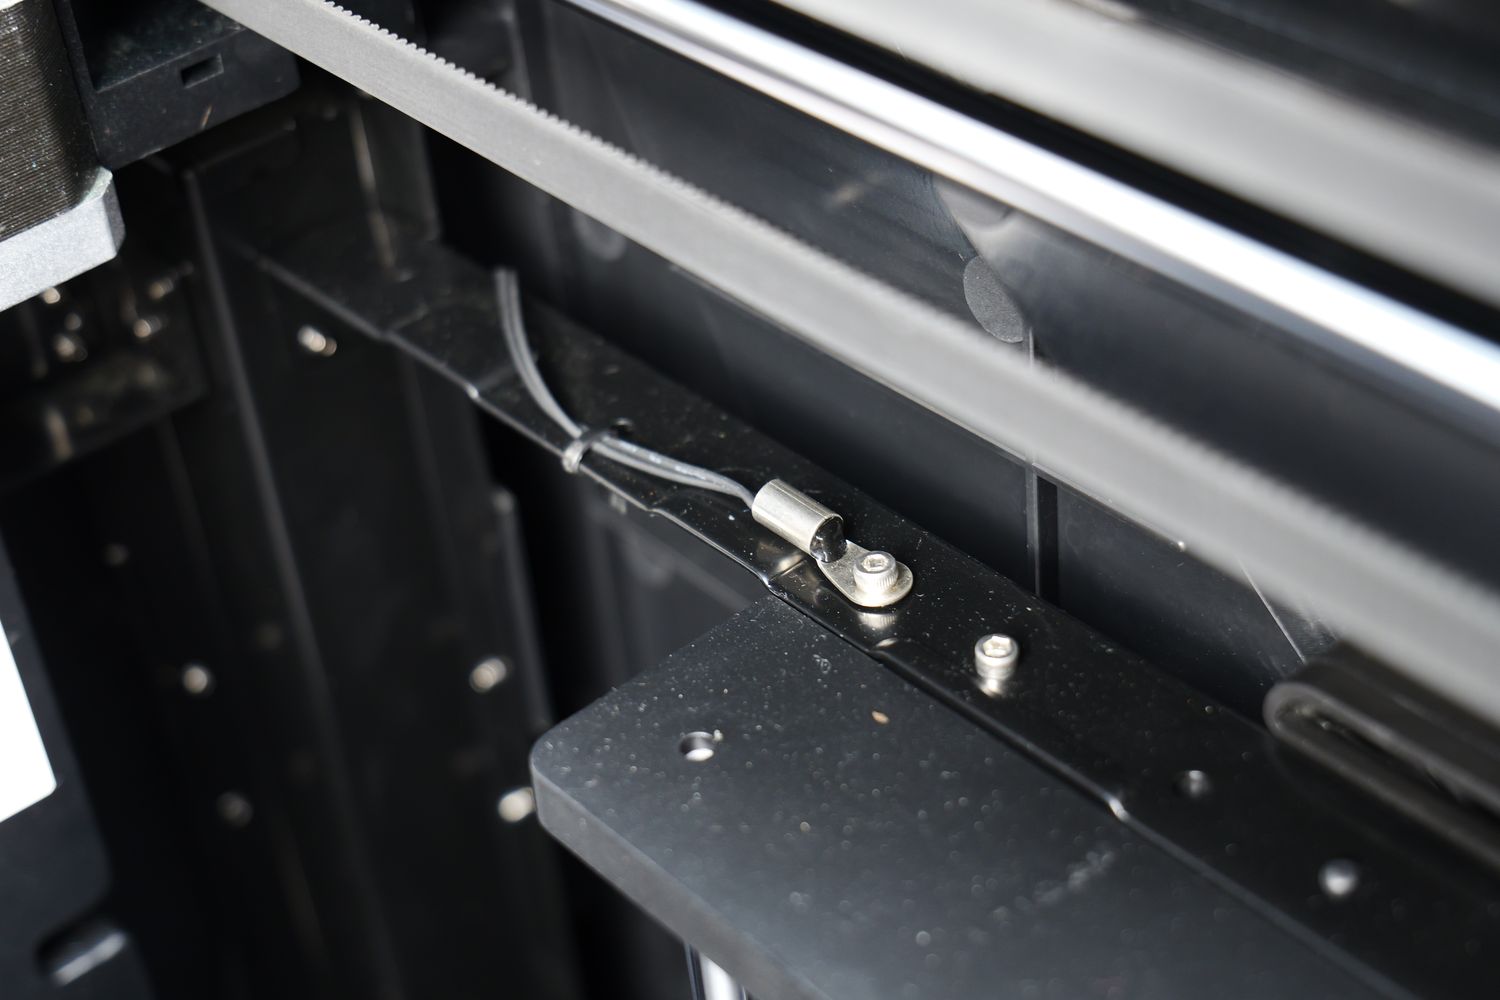
A chamber temperature sensor located on the top right side of the printer enclosure controls the heater to ensure a stable temperature during printing.
Overall, the functionality is good and this helps a lot with printing large ABS or PC parts that can benefit from an increased temperature in the chamber, but the system is not as efficient as it could be.
As I have mentioned before, the printer only has some plastic side panels trapping the heat inside, and I would have liked to see some form of additional insulation to make it more power efficient to trap the heat better and lower the overall power consumption of the machine.
With additional insulation, the noise levels of the printer might be a bit lower, and the enclosure temperature might go a bit higher, and maybe Nylon prints would have a better chance of success.
Auxiliary Fan with partial cooling coverage
To allow for fast print speeds, you also get an Auxiliary Fan on the right side of the printer which is starting to become quite common on newer printers that print fast. But in this case, the fan is smaller than expected and it is not able to create a good “blanked of air” over the layer you are printing.
Mostly because the air duct is directing the air over about 70% of the printing surface due to the size of the fan and the design.
If you plan to print a model that doesn’t take advantage of the entire print surface, it shouldn’t be a problem as long as you make sure to put the model in the middle of the heatbed to benefit from the additional cooling. But if the model takes the entire print volume, I expect that some of the sections on the back side of the printer to get less than adequate cooling which is a shame.
No webcam out of the box
The QIDI X-MAX 3 comes well equipped with a lot of features, but during the review period I always felt the lack of a webcam to monitor the print.
Sure, you can take a webcam and connect it to the printer, but the Klipper firmware included with the printer is not pre-configured to automatically detect a webcam so you can use it easily which is a downside.
Considering the size of the printer, I believe QIDI could have included a small webcam in one of the corners of the enclosure to make it easy to monitor your prints, but that’s not included unfortunately.
Klipper Firmware
One of the main attractions for the QIDI X-MAX 3 is the Klipper firmware (for which the sources seem to be public) that comes configured with a plethora of plugins and features making it quite versatile and giving users a nice experience out of the box.
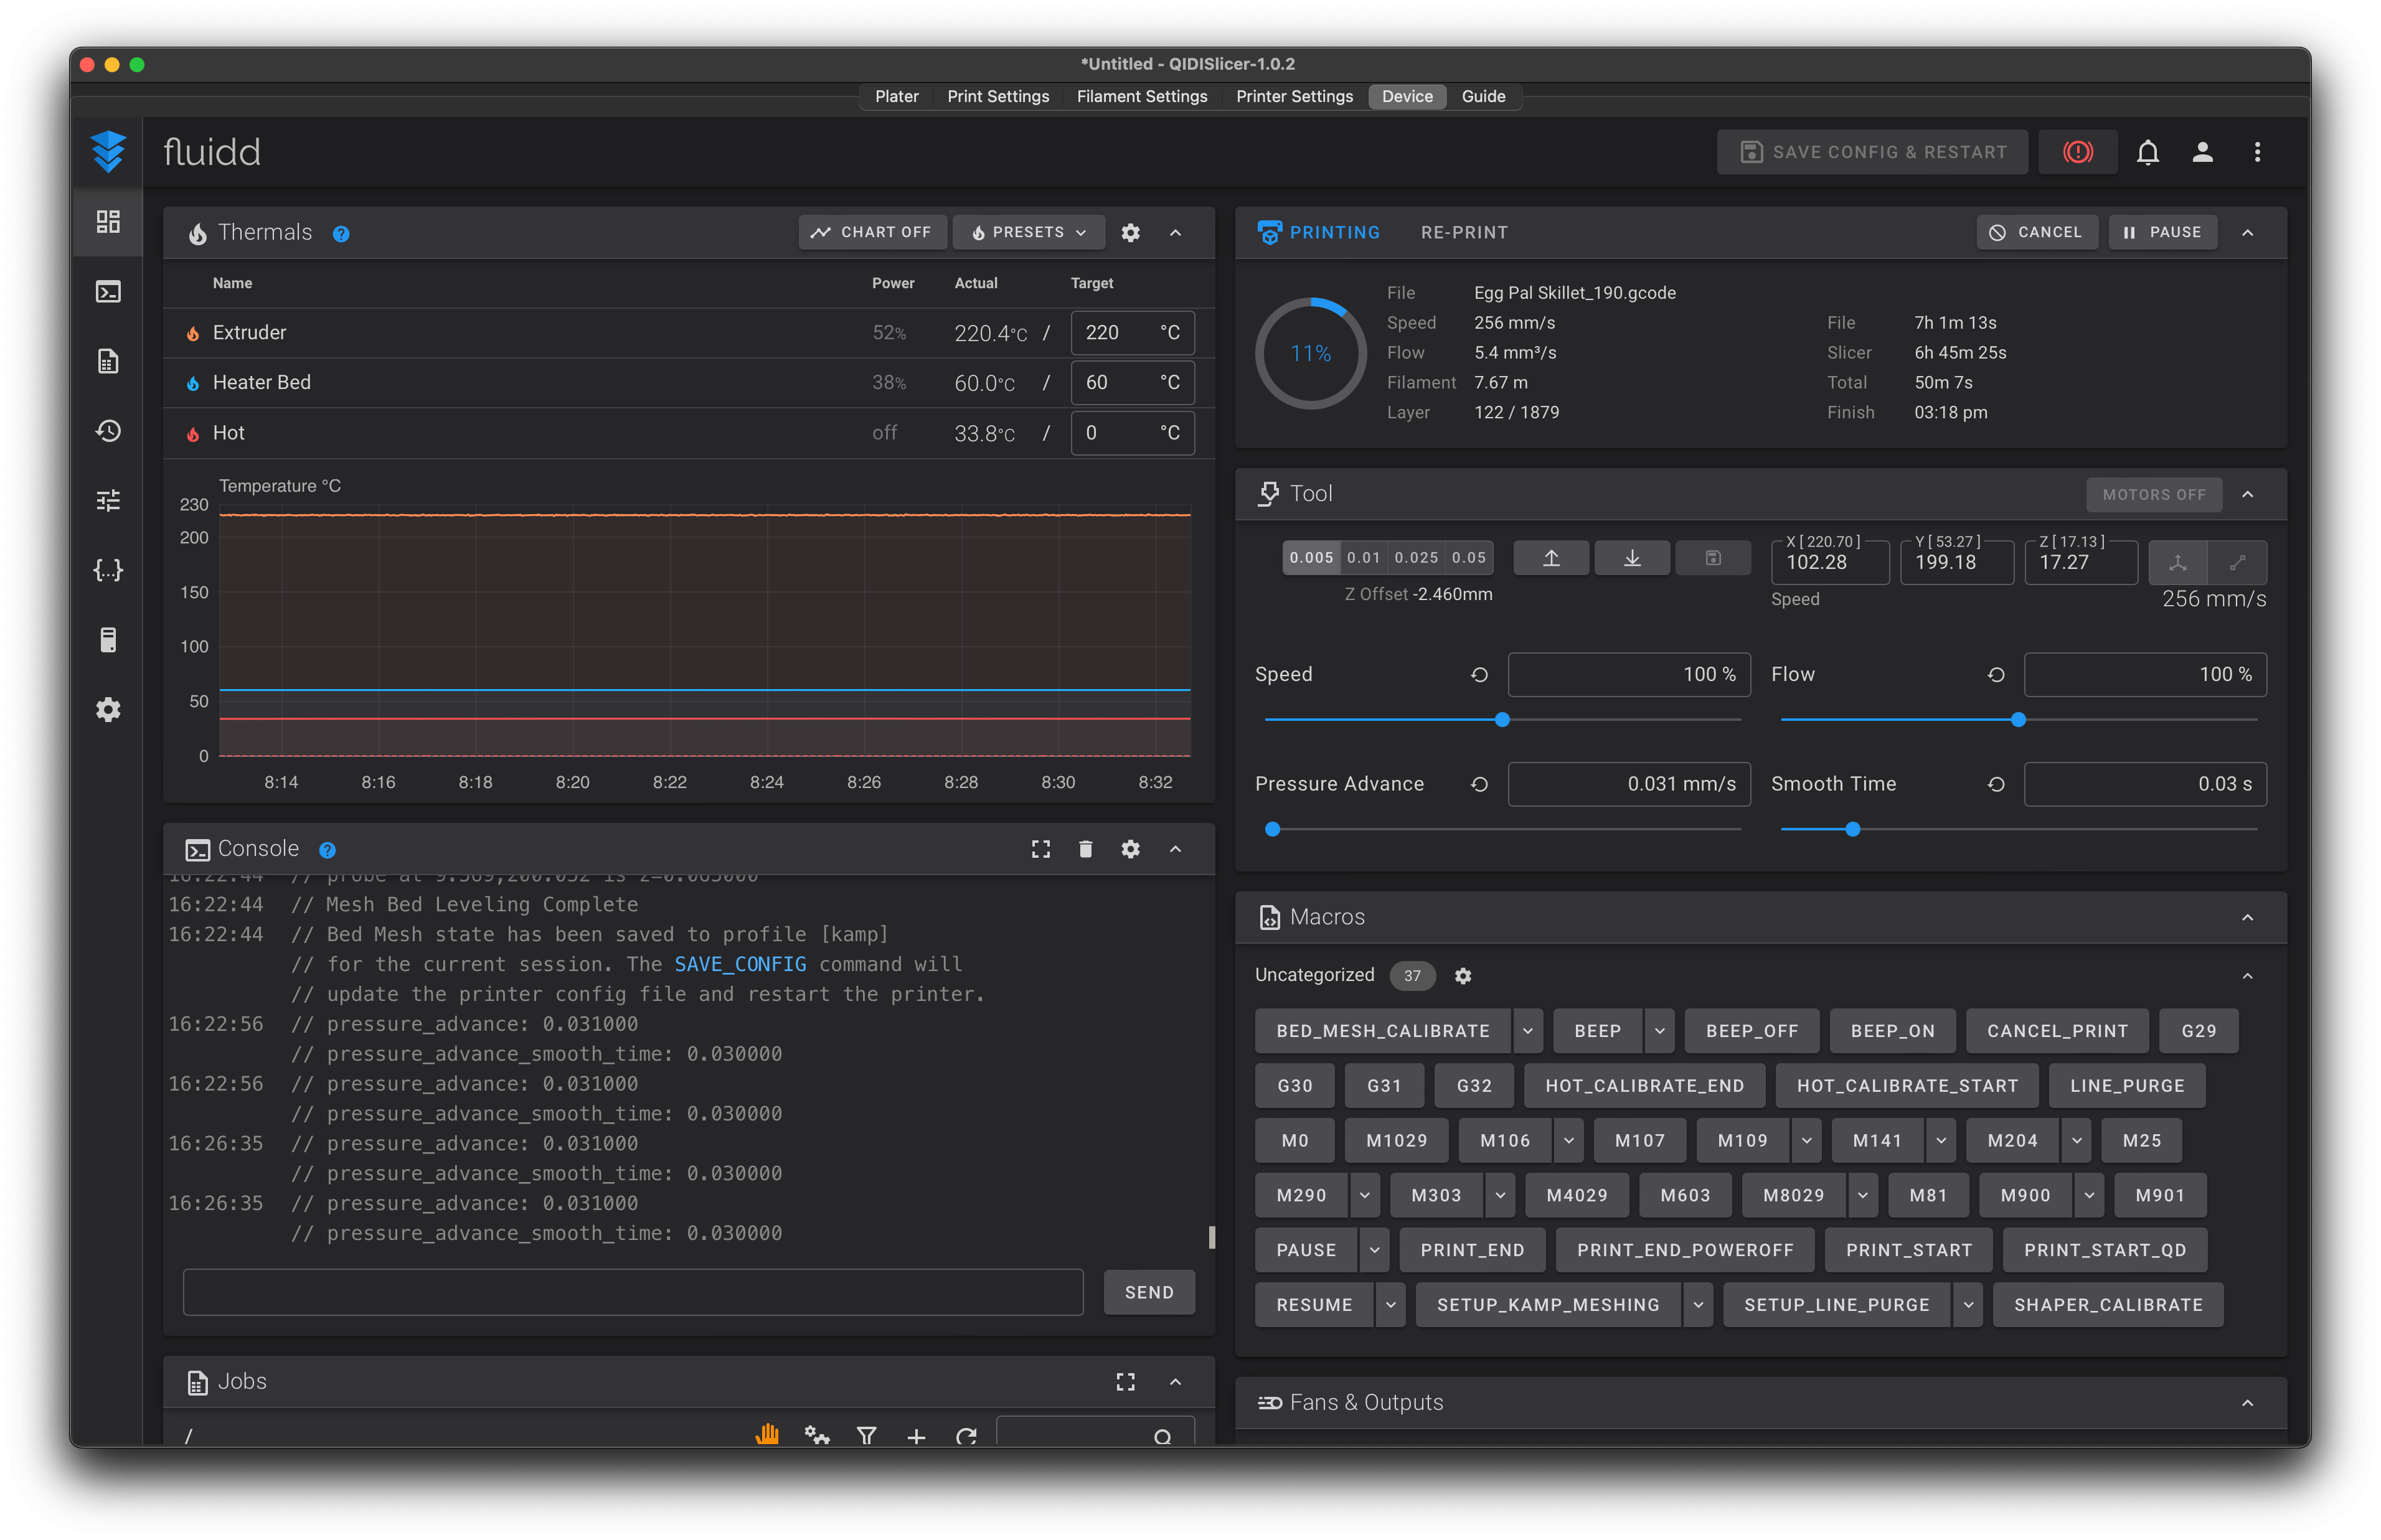
The main web interface chosen by QIDI is Fluidd, which I covered in other guides before. It has a “dark-mode” theme with a lot of features that allow you to control every function of the printer easily. From fan speeds, printer acceleration, and a console, to a list of Macros and a G-code preview plugin pre-installed.
Another cool plugin installed and configured is KAMP which stands for Klipper Adaptive Meshing & Purging. This is an awesome plugin that allows the printer to only probe the section it needs for printing a specific model, without requiring a full bed mesh to be done before each print.
It can save a lot of time, especially if you need to probe a large printing surface like the X-MAX 3 has.
The only thing that doesn’t come pre-configured is the webcam. Unfortunately, you are unable to simply connect a webcam for remote viewing what’s happening during your print, without needing to learn a bit about how to set it up in the configuration.
While the config process is not hard, I believe a minimum working configuration should still be available in the firmware, to allow less experienced users to benefit from it.
QIDI Slicer based on Prusa Slicer
One very nice improvement that QIDI brought to their line of printers is changing the old QIDI Slicer to a fork of Prusa Slicer. This change brings significant improvements in how easy it is to use the printer, with fine-tuned profiles that are made to work great with Klipper printers, like the X-MAX 3.
If you have used Prusa Slicer in the past, then the interface will be super easy to use as it’s the same. But there are two additional tabs, Device and Guide which add to the experience provided by the printer.
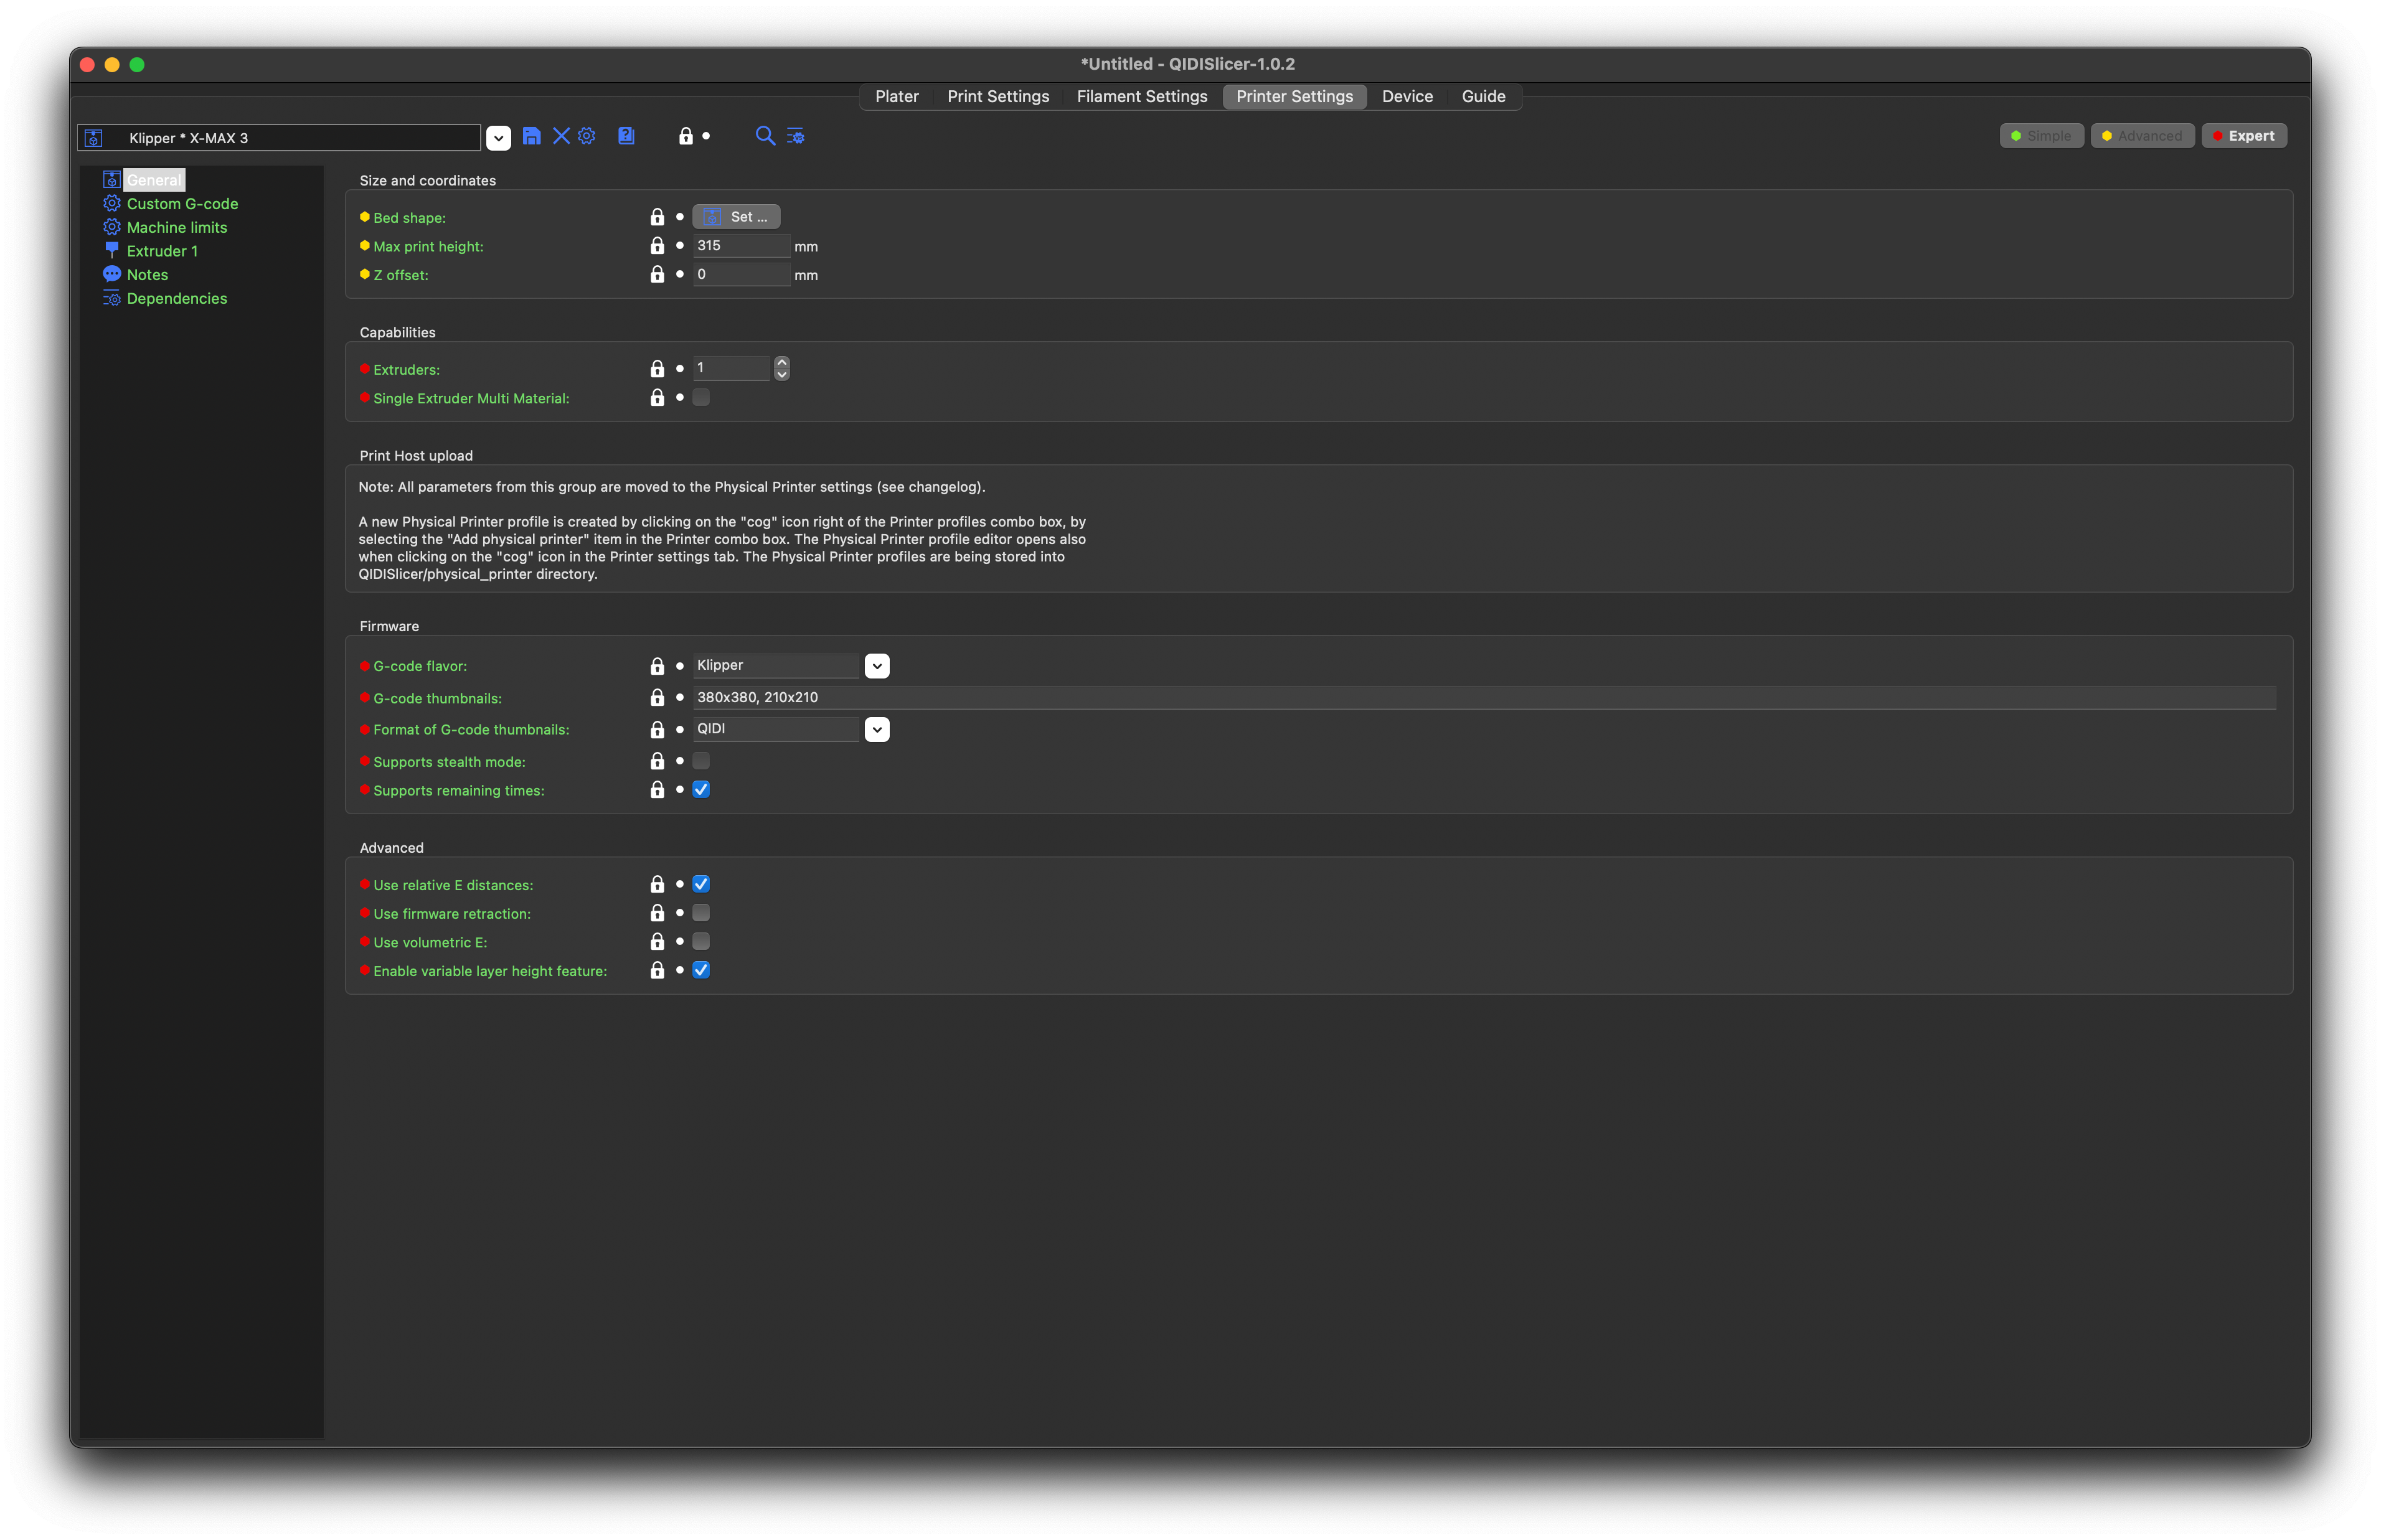
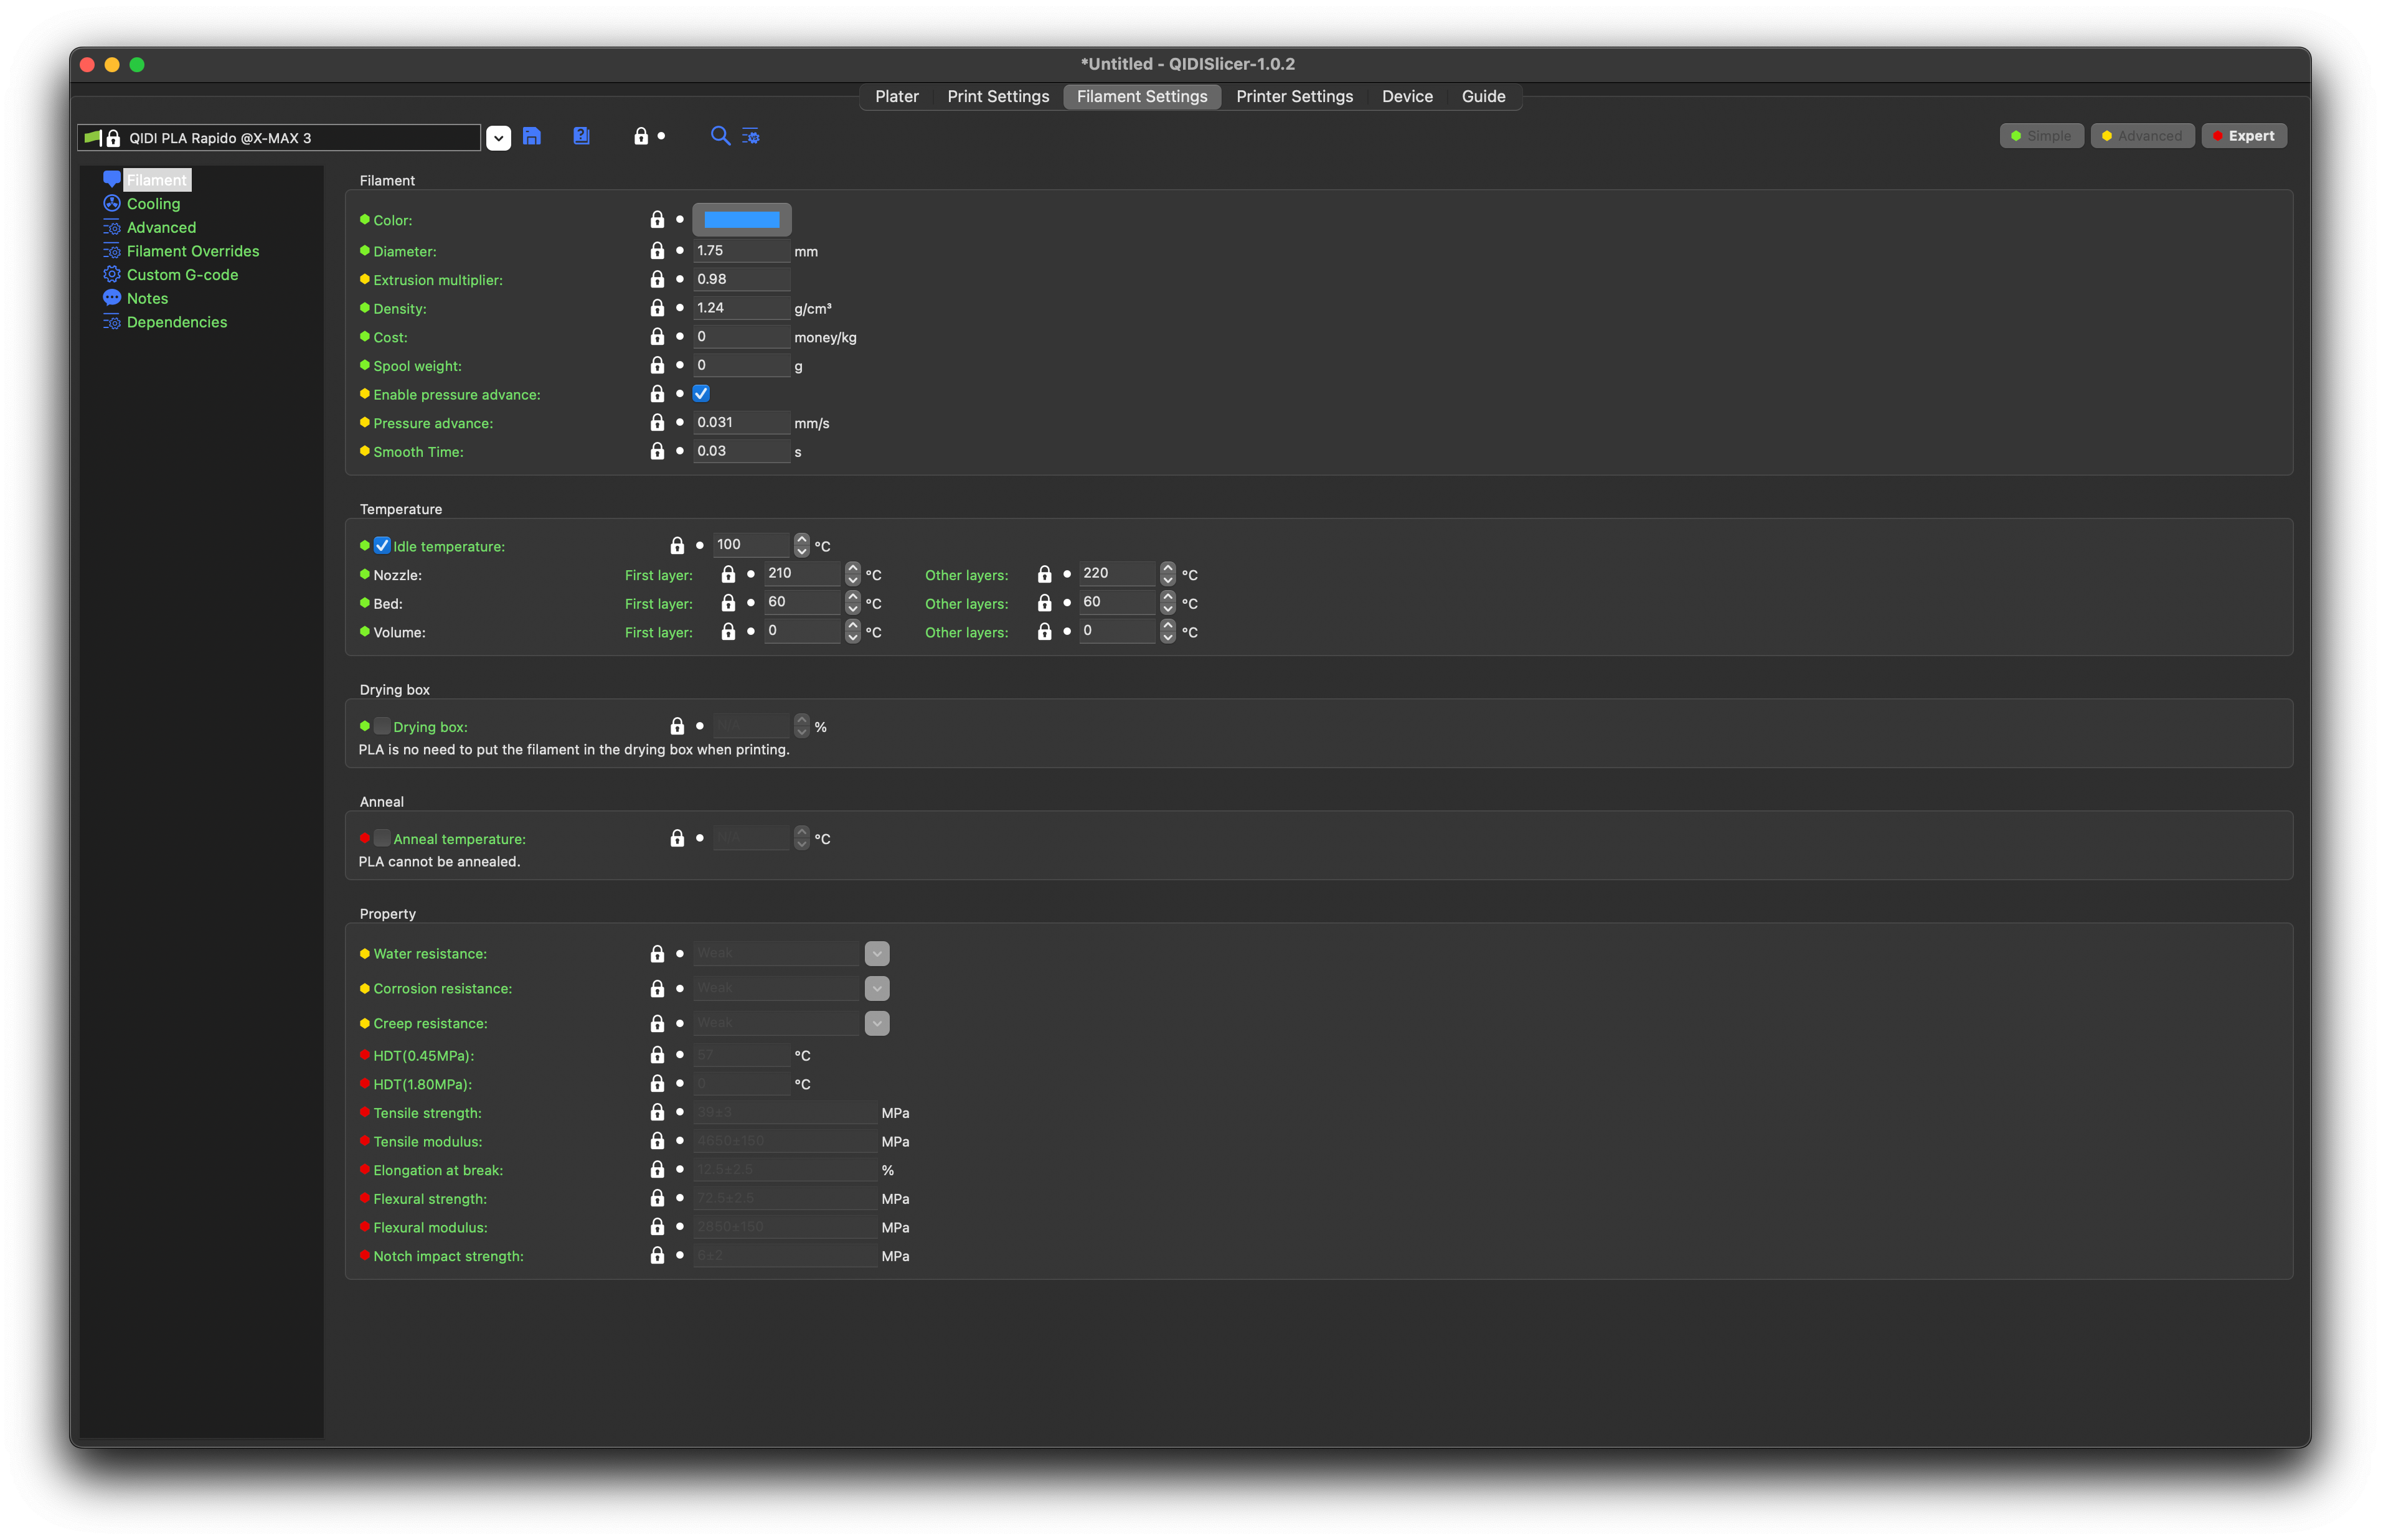
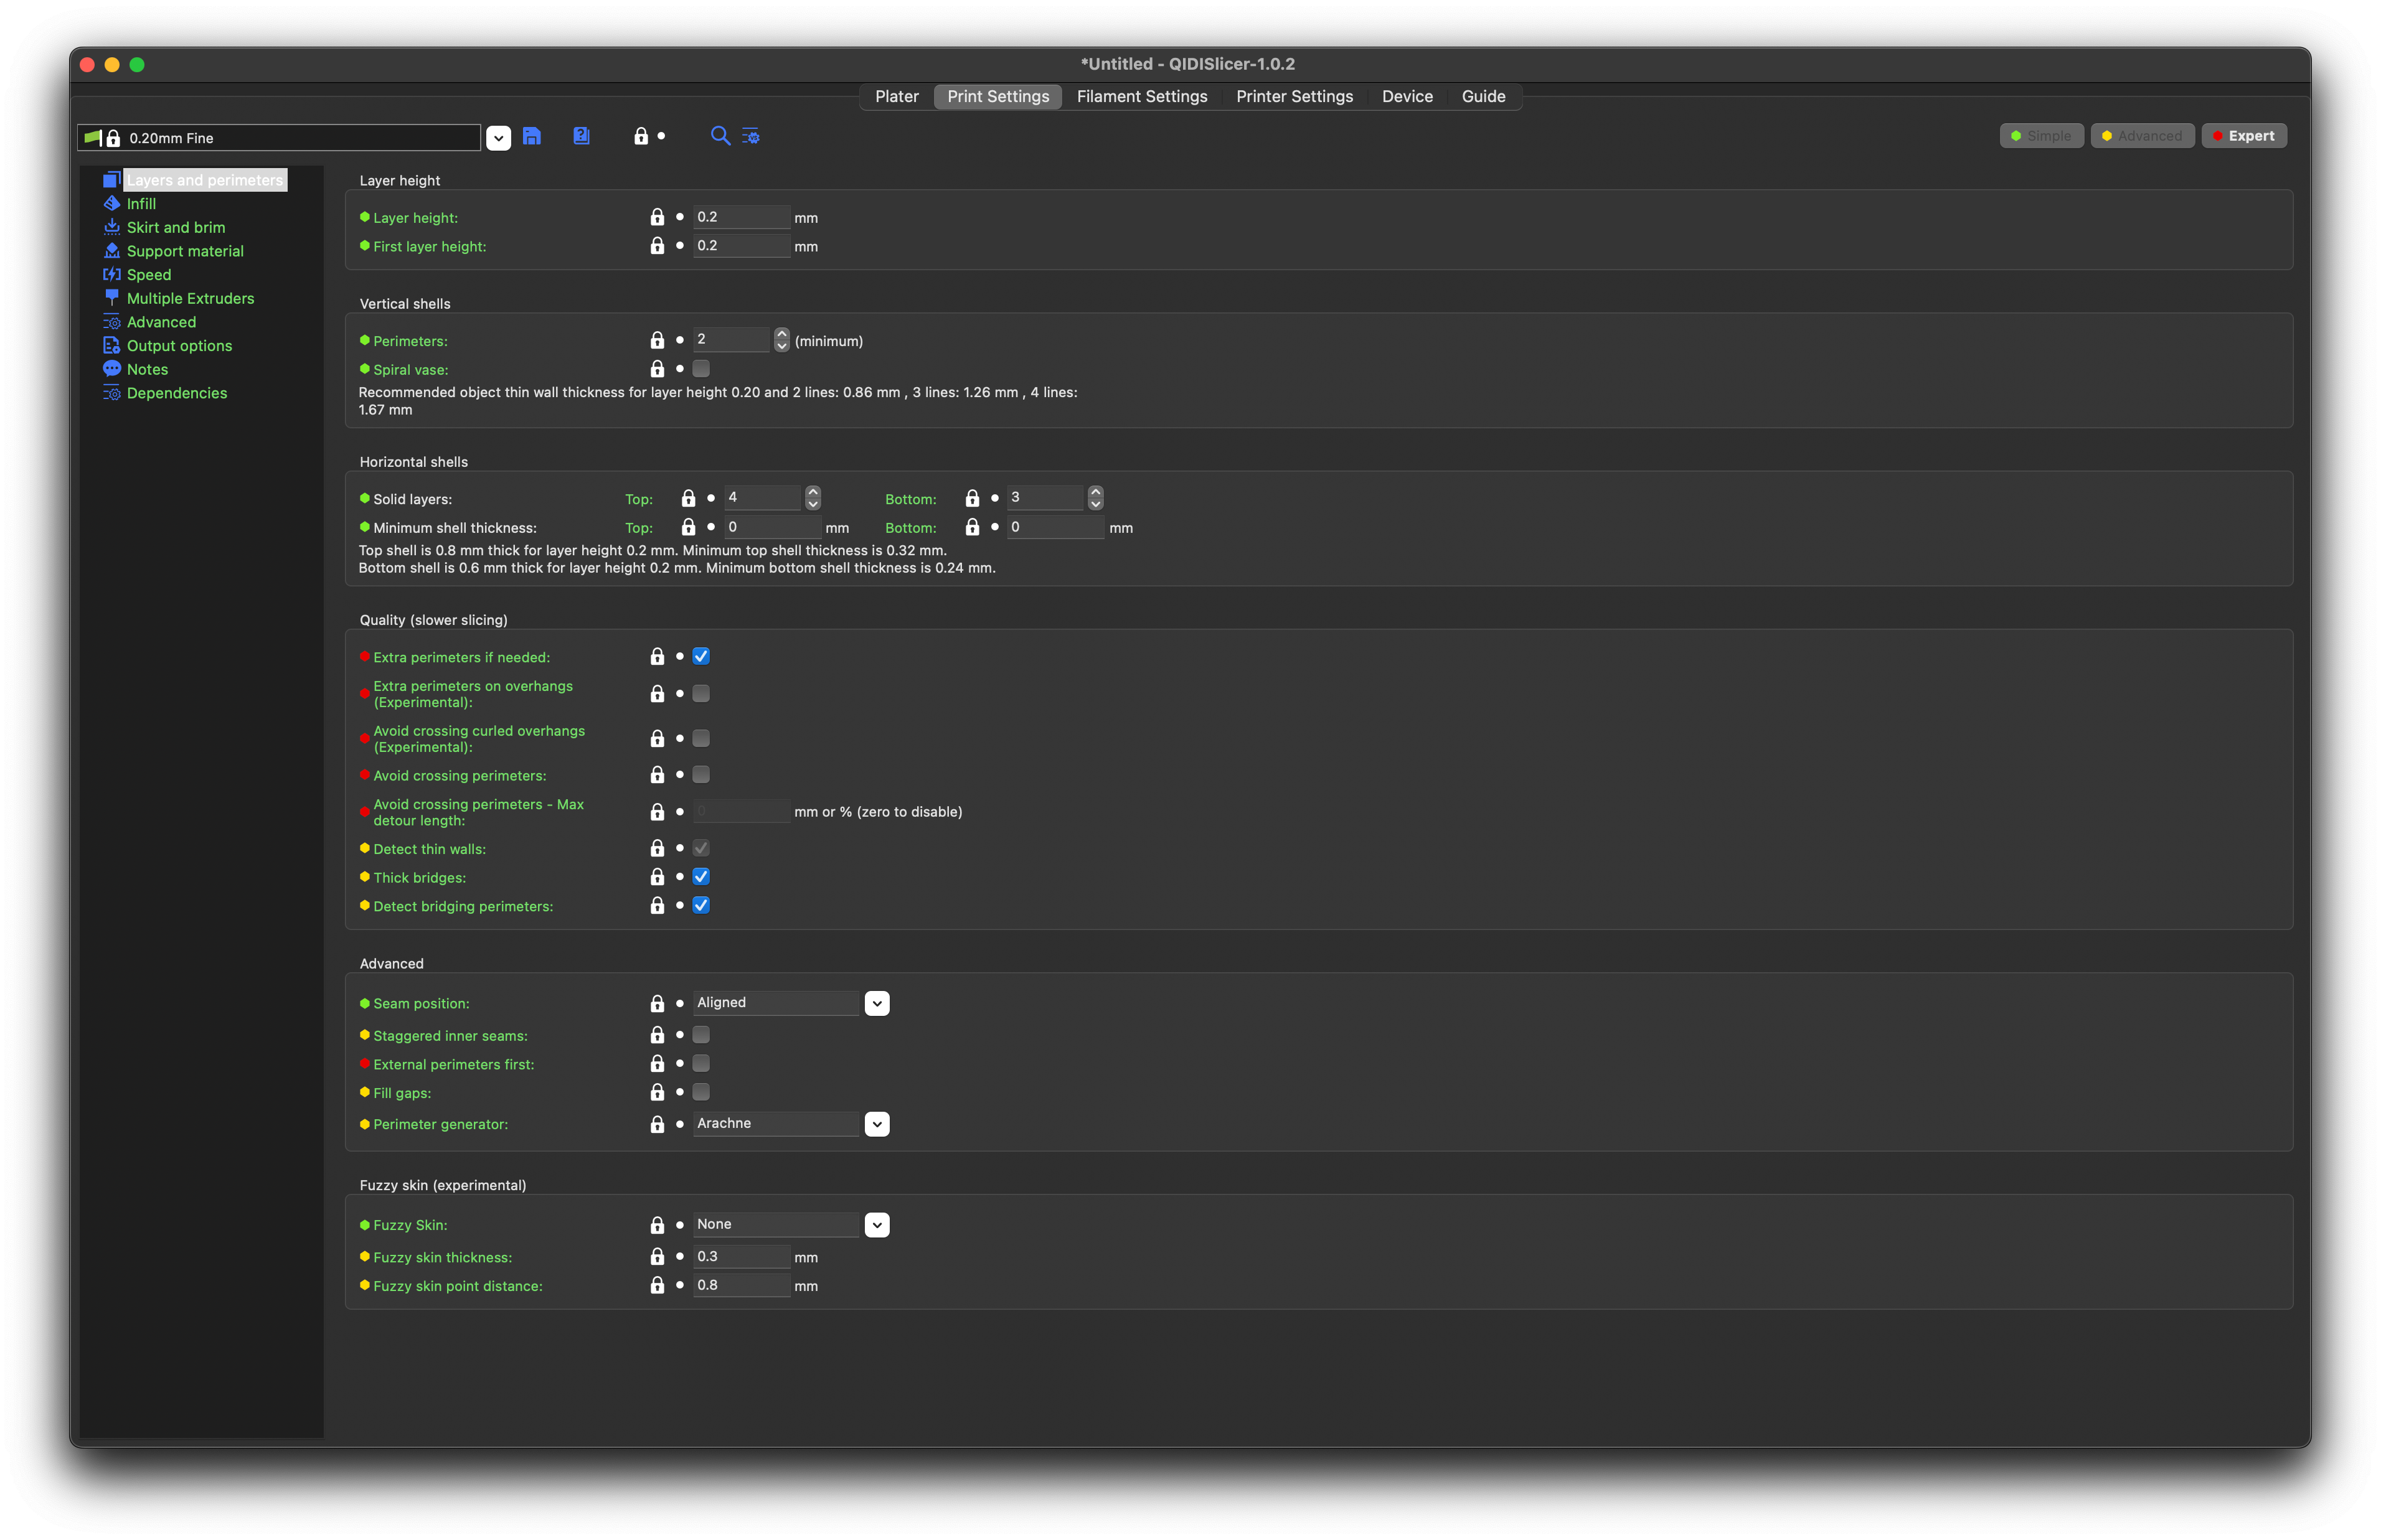
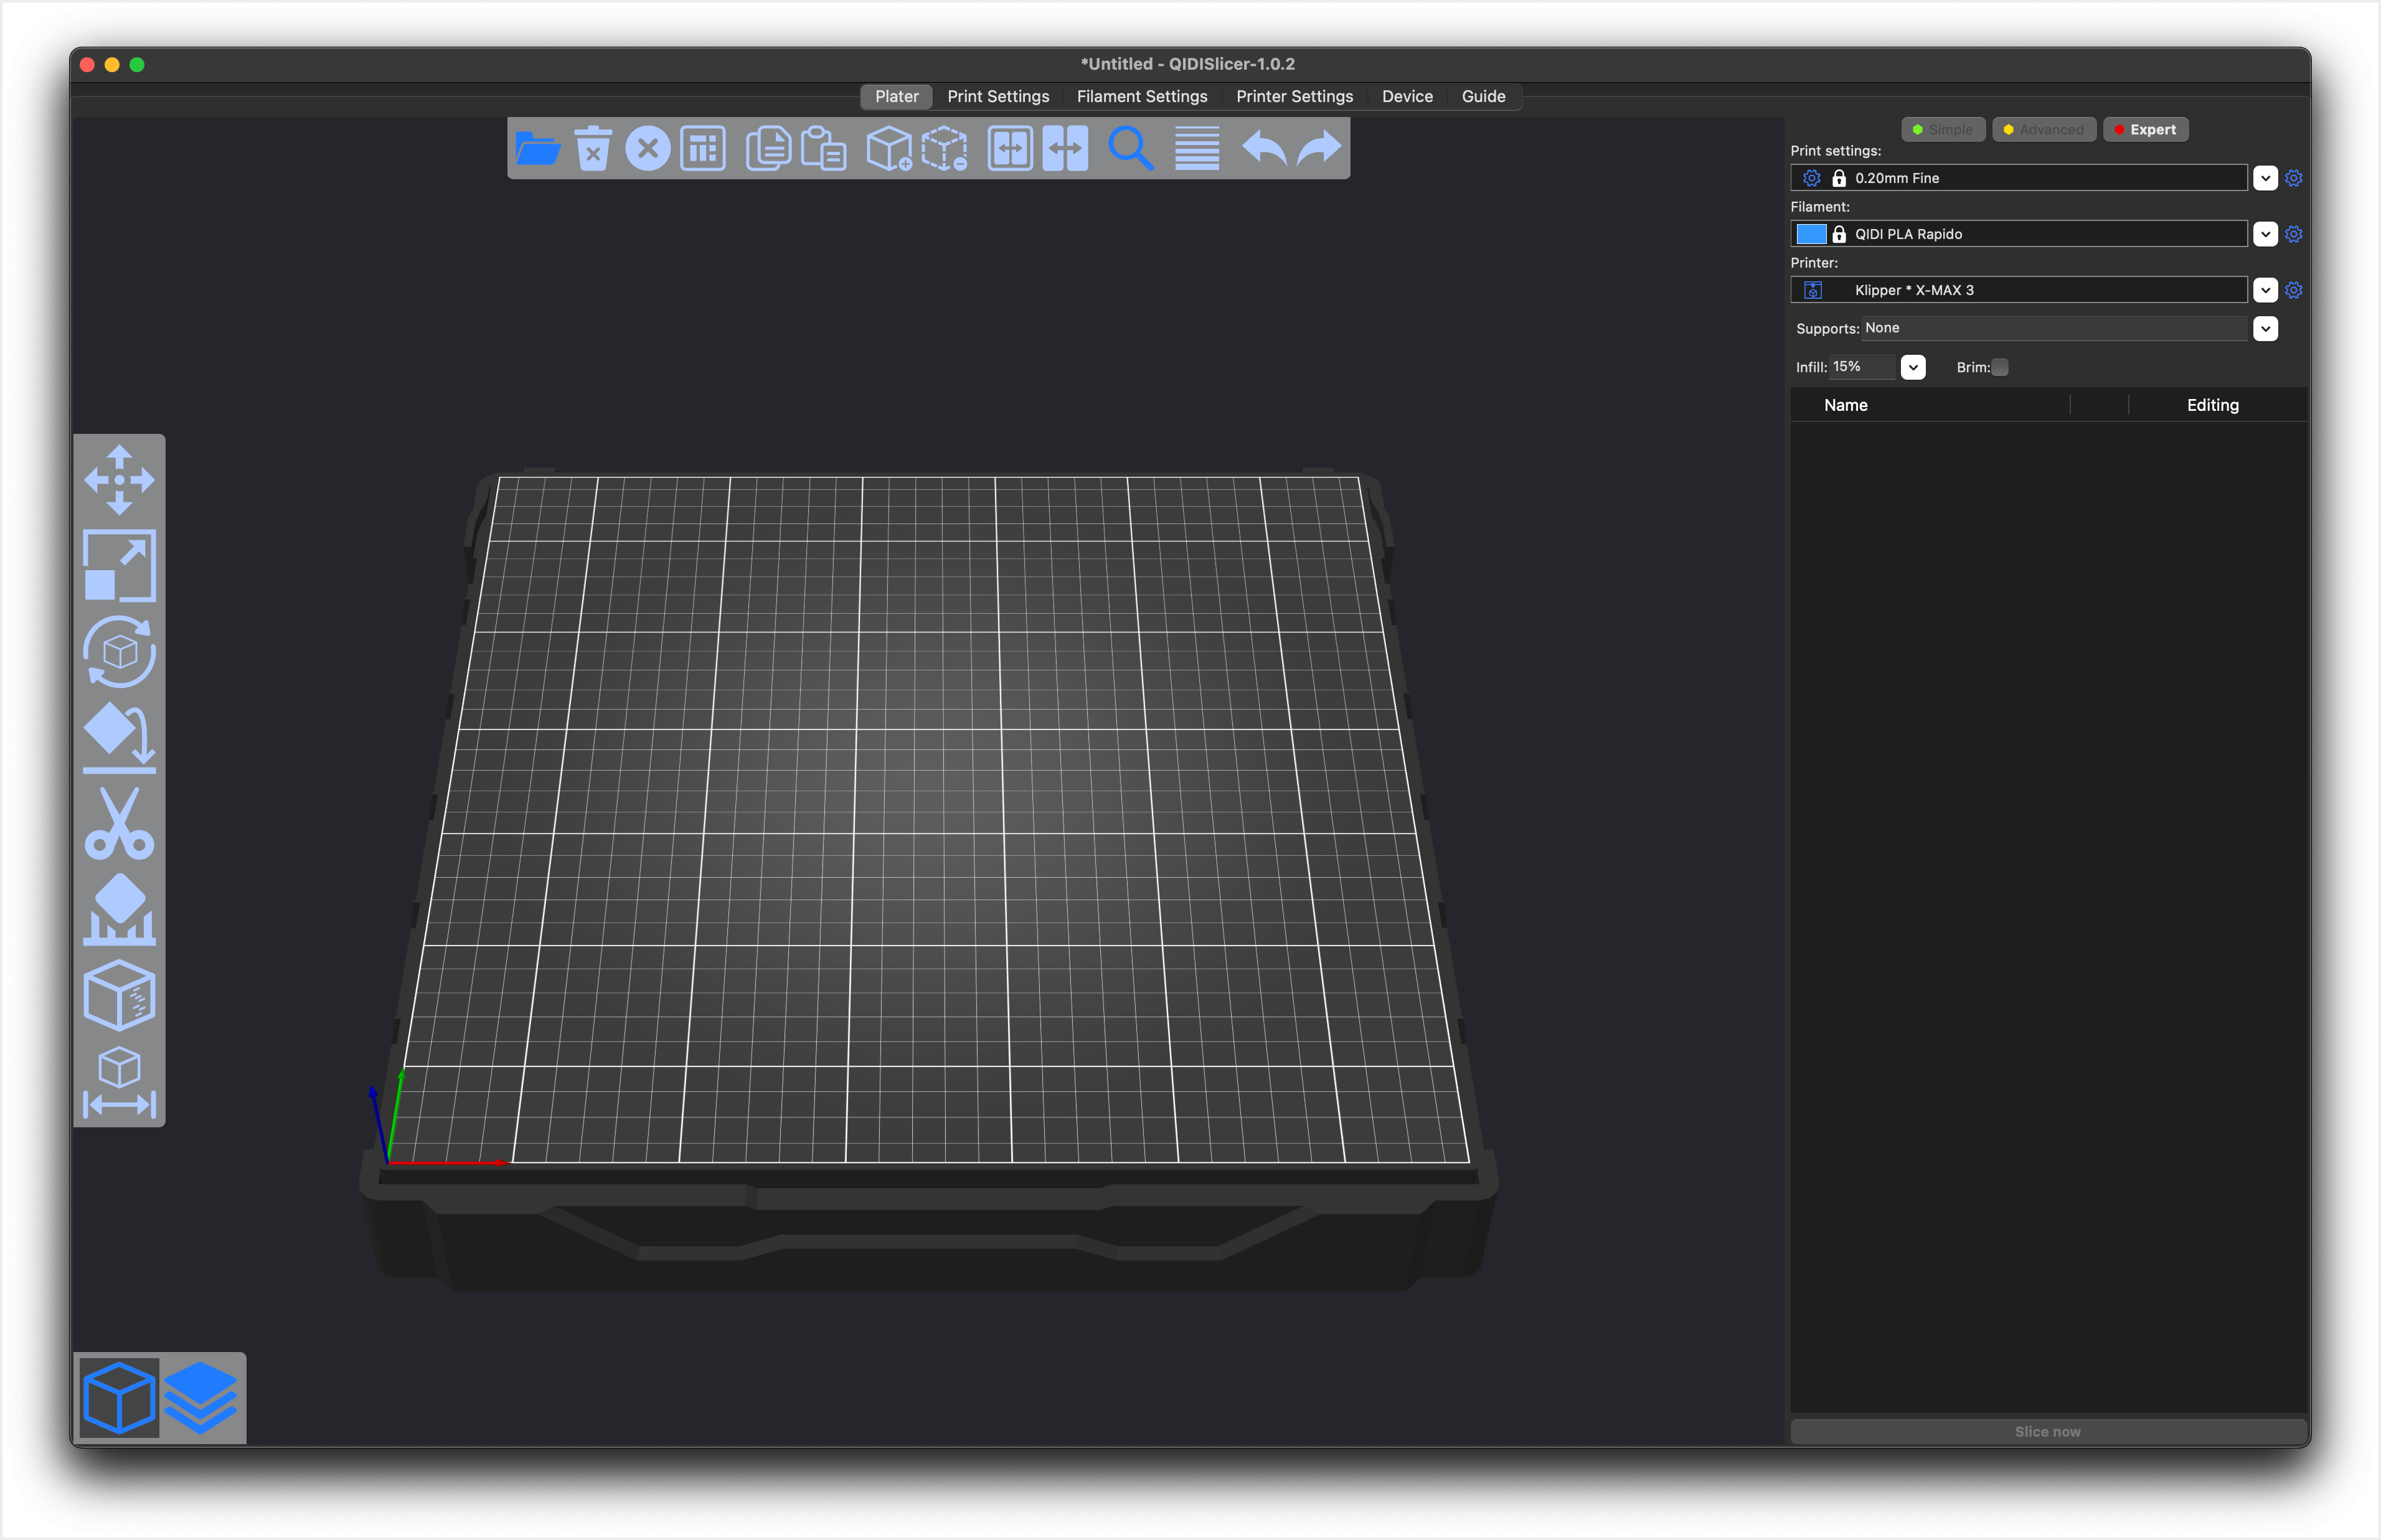
After you connect the QIDI X-MAX 3 to QIDI Slicer, the Device tab shows the Fluidd web interface right within the slicer making it super easy to access all the various functions available to the printer.
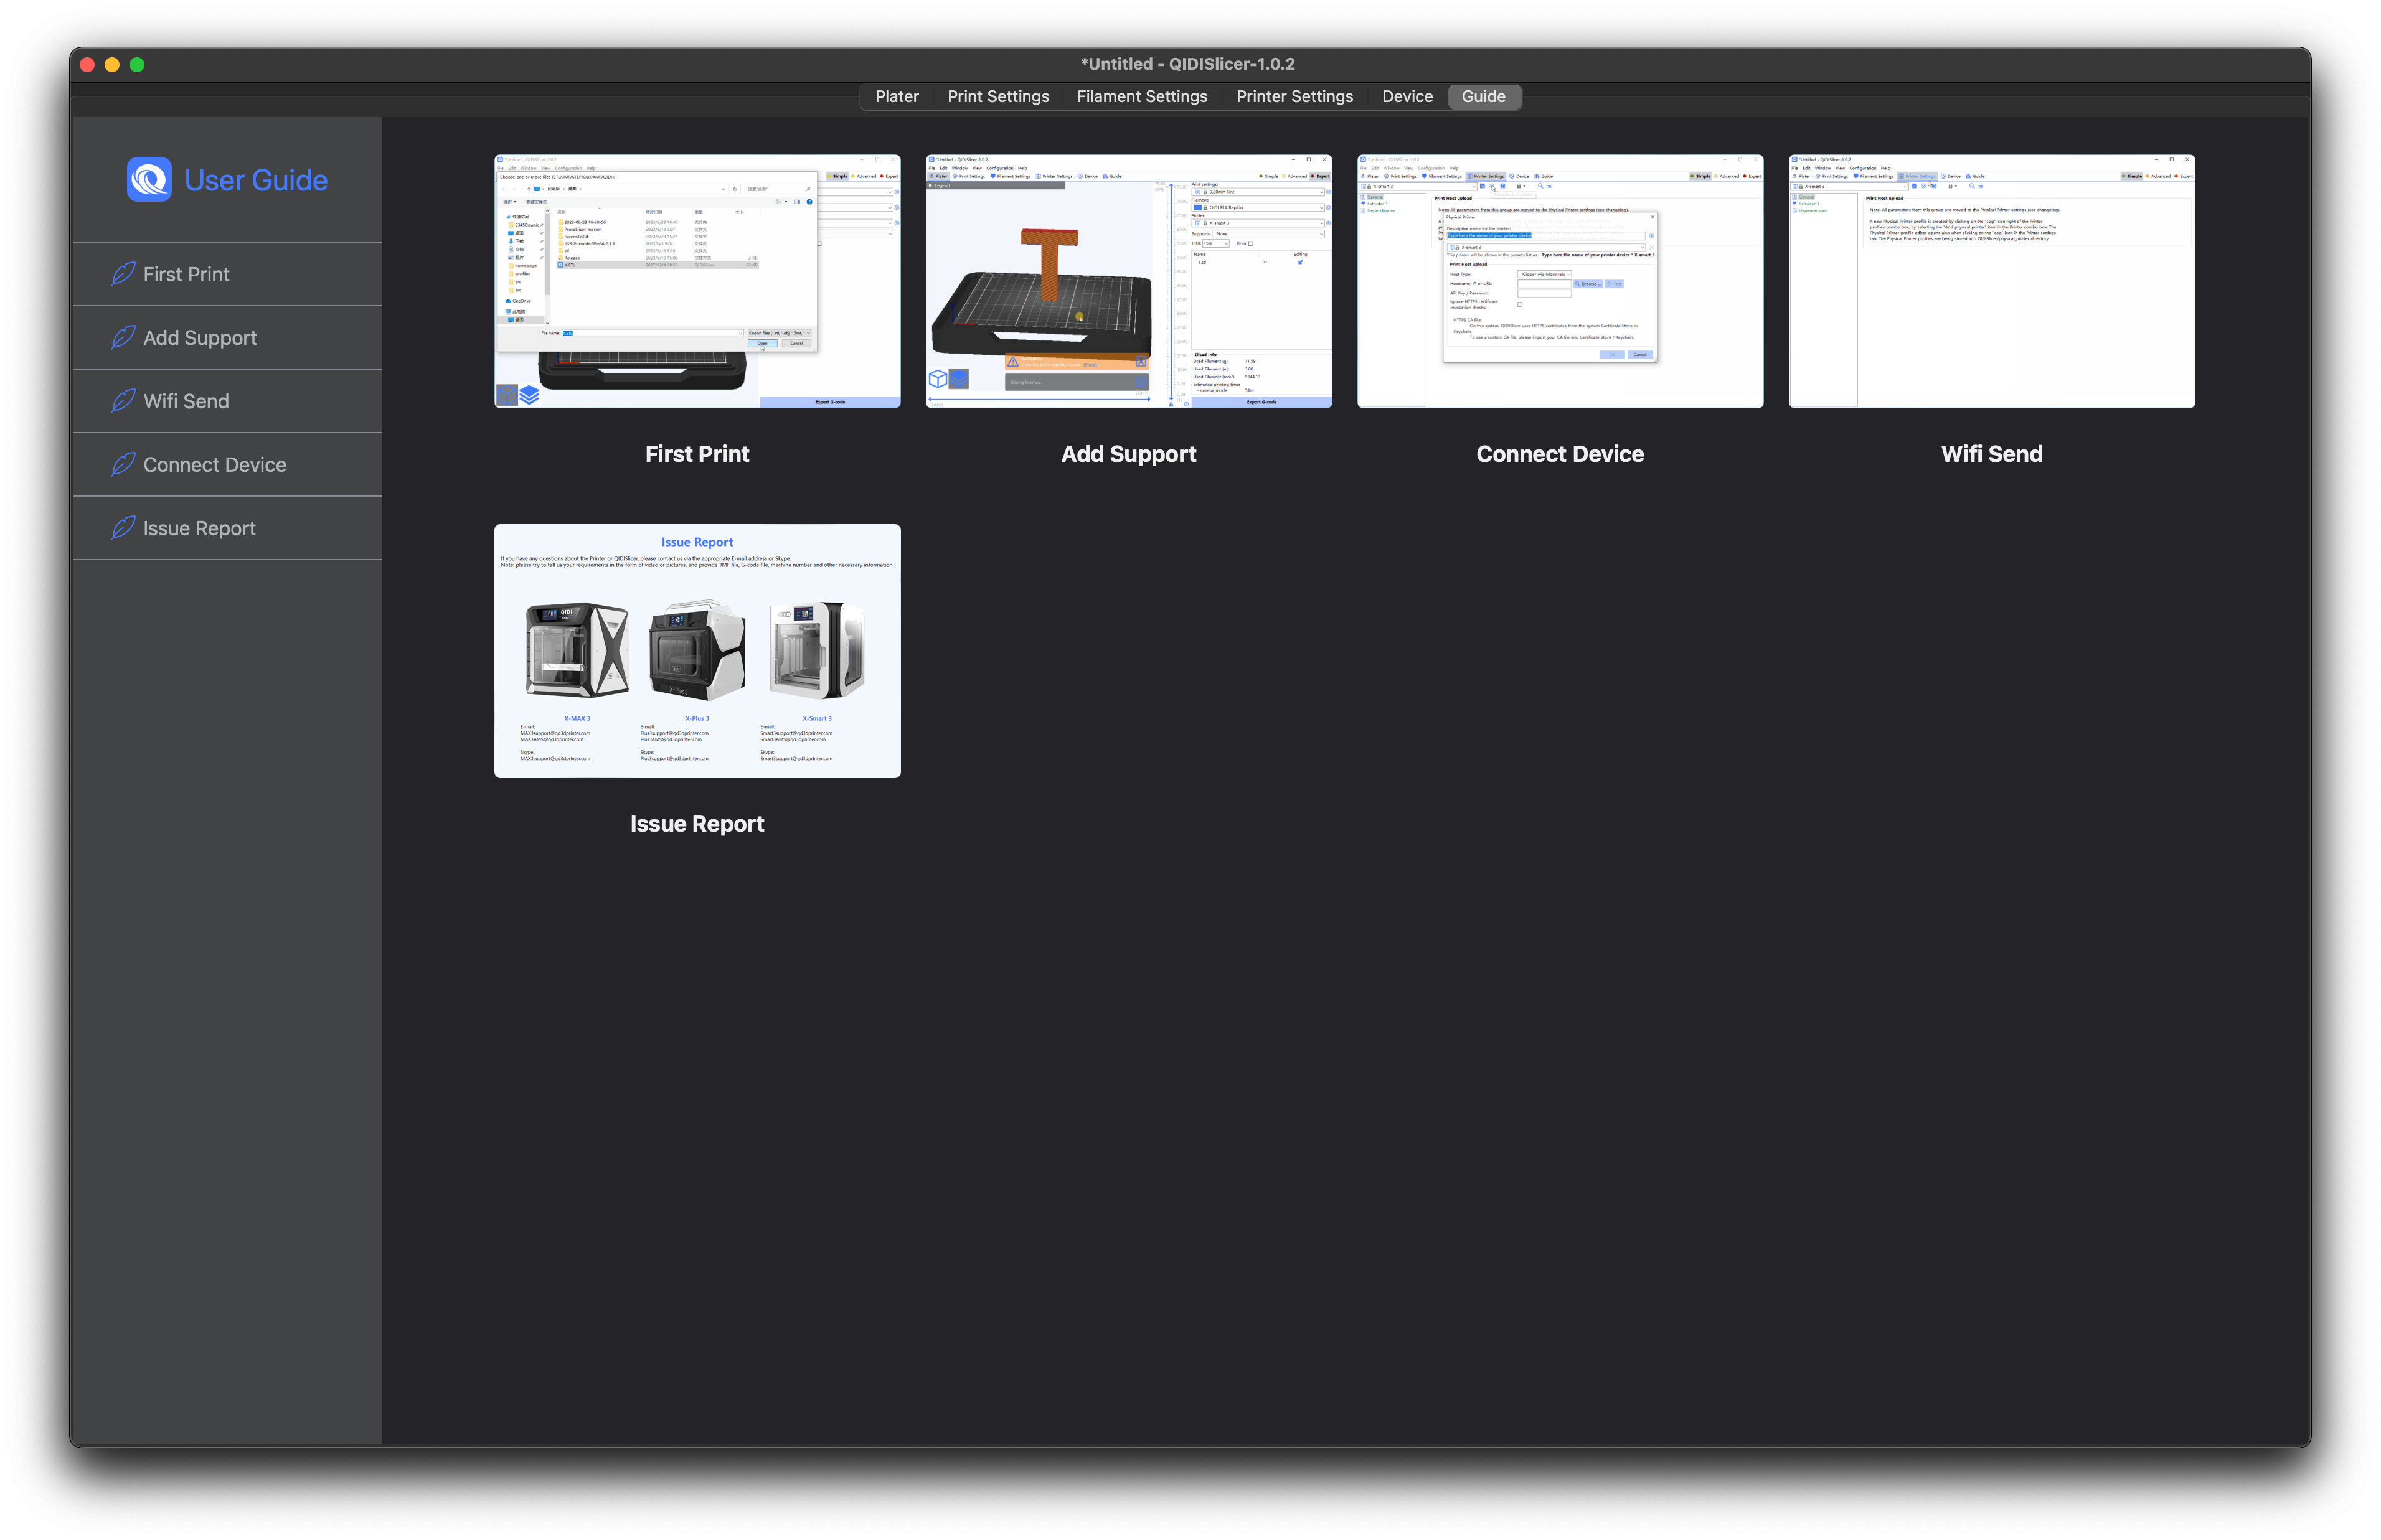
The other tab named Guide has a few animated gifs that show you how to use the printer, slicer and how to do the connection between them.
Overall, I love the new slicer integration with the printer, and I am sure that QIDI will continue to add new features, printer profiles, and better usability to the entire integration. If they manage to also add a mobile app into the mix, that allows remote access to the printer for controlling the printer, it will be quite awesome.
If QIDI Slicer is not something you like, there’s also a QIDI X-MAX 3 0.4 mm nozzle profile available in the latest version of Bambu Studio and Orca Slicer, but I did not test this during the review.
Heating time and power consumption
Hotend
- 200C in 49 seconds
- 250C in 1 minute and 15 seconds
- 300C in 1 minute and 54 seconds
- 350C in 3 minutes
It’s worth mentioning that at 350C there’s a burnt smell coming from the nozzle, which might be related to the silicone sock which I am not sure if it is designed to withstand these temperatures.
Heatbed
- 60C in 1 minute and 53 seconds
- 100C in 8 minutes and 47 seconds
Power Draw.
The idle power draw is around 20W. When the hotend and heatbed are heating up, the QIDI X-MAX 3 draws around 400W. After it starts printing, the power draw stabilizes to around 250W.
The power draw changes significantly when the 300W heater is used. You can see up to 720W of power draw when the printer is heating, and around 450W of power usage when printing higher temperature filaments with the chamber heater on.
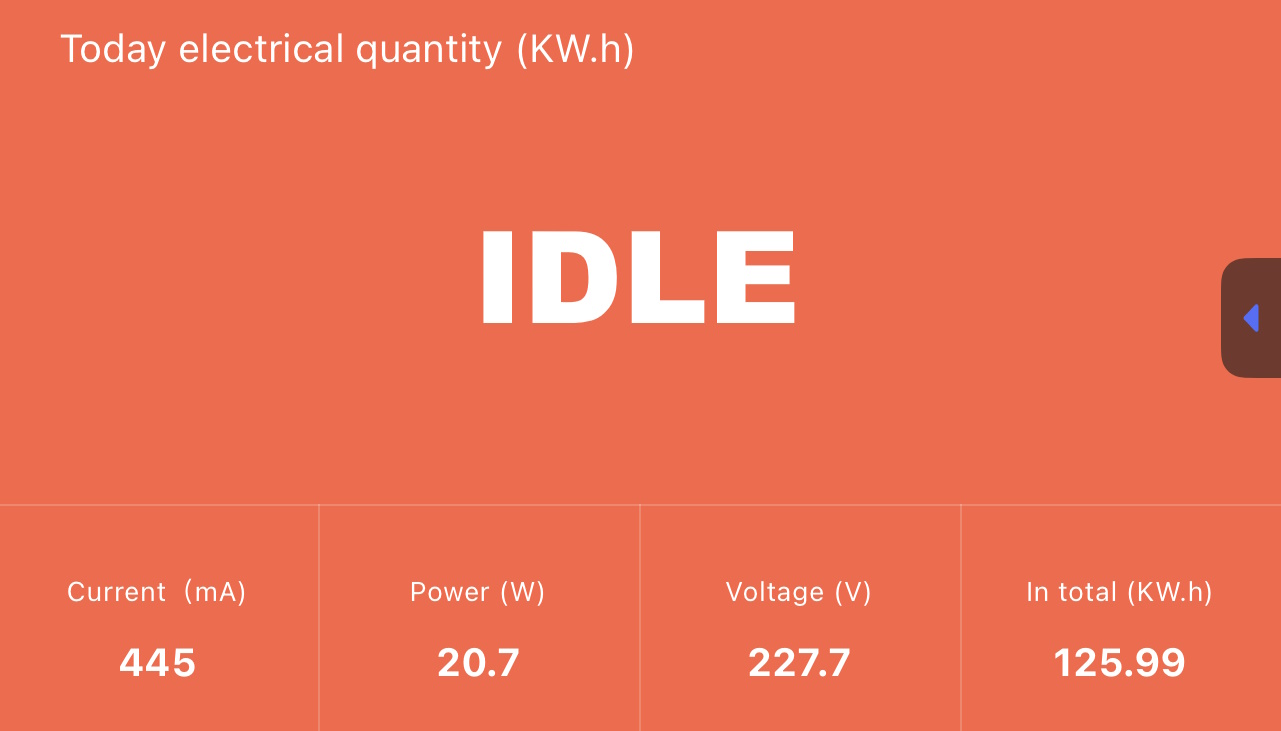
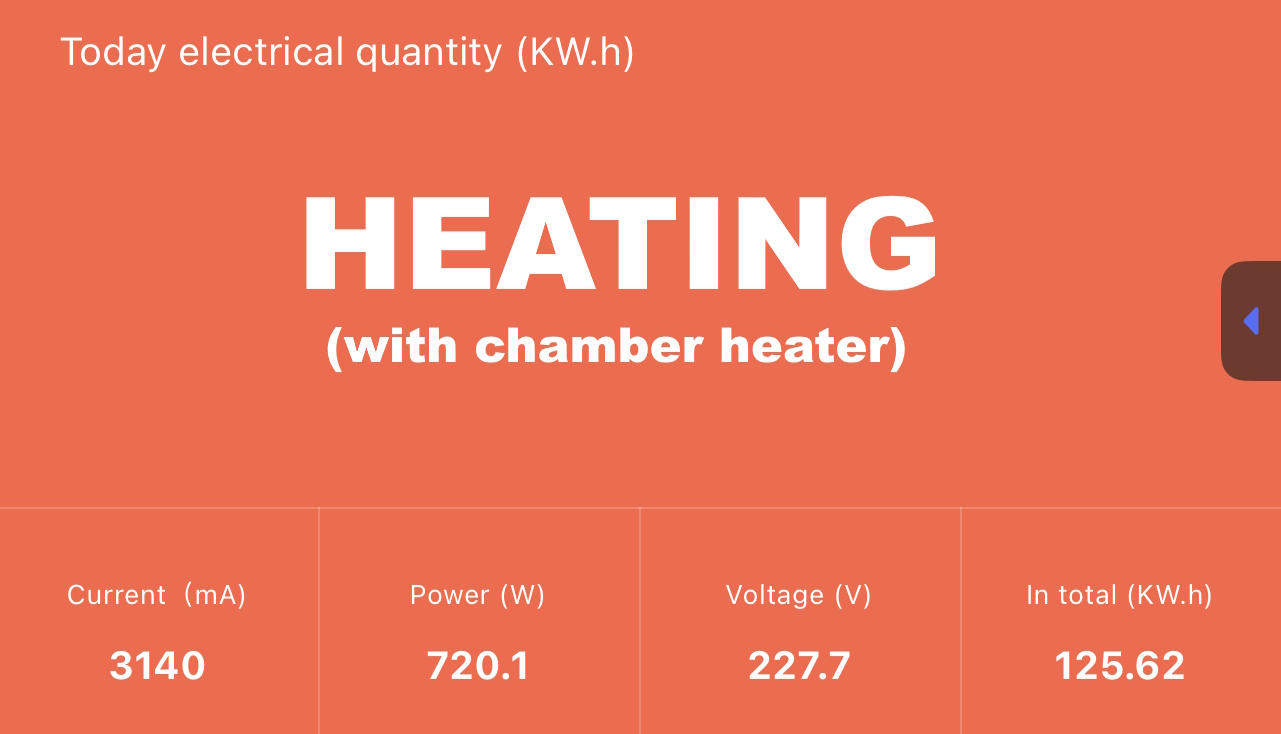
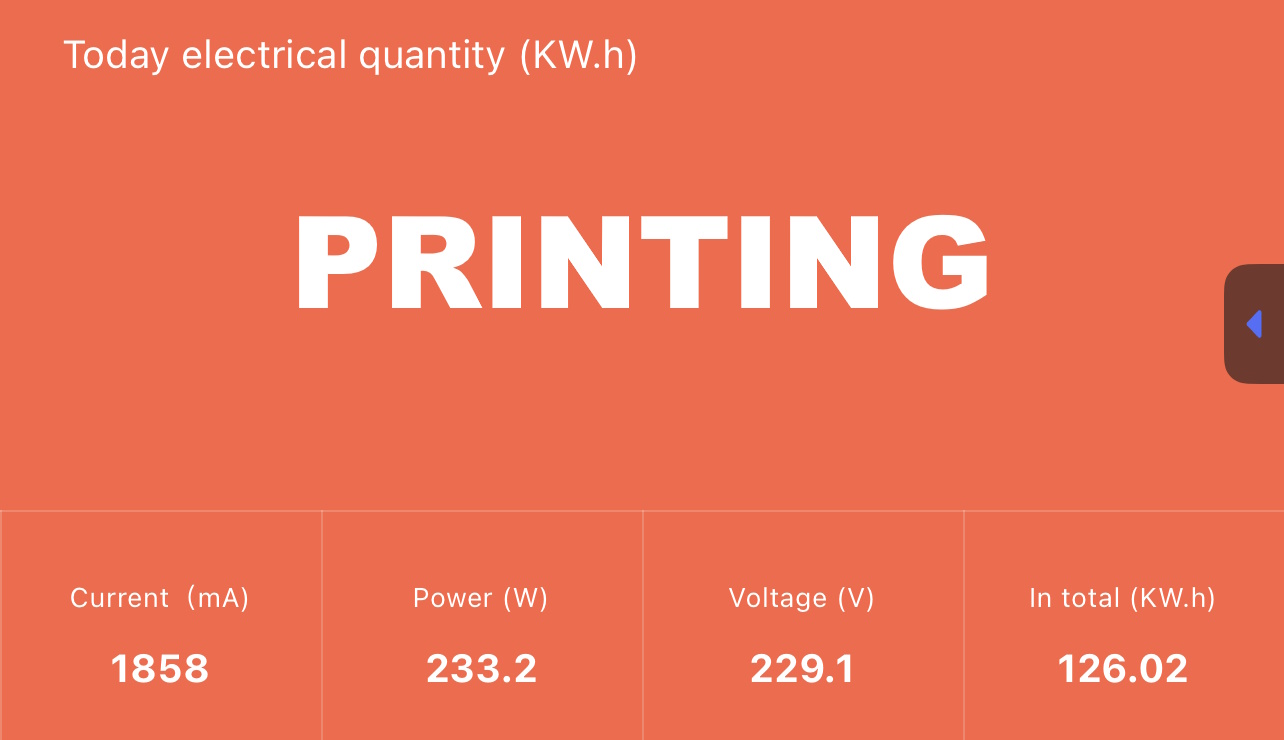
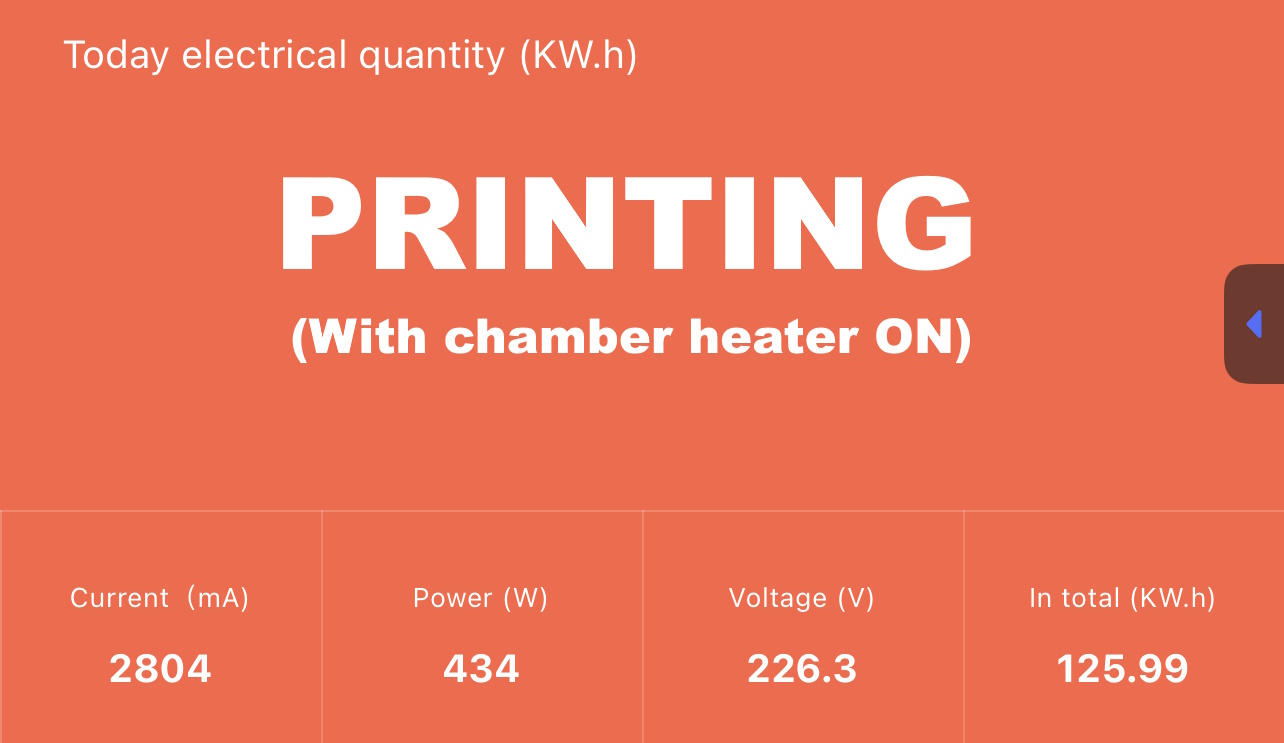
All these measurements were taken with a Blitzwolf smart power socket which indicates the power draw, and it can also be used for remotely powering on and off the printer.
Bed Temperature Uniformity
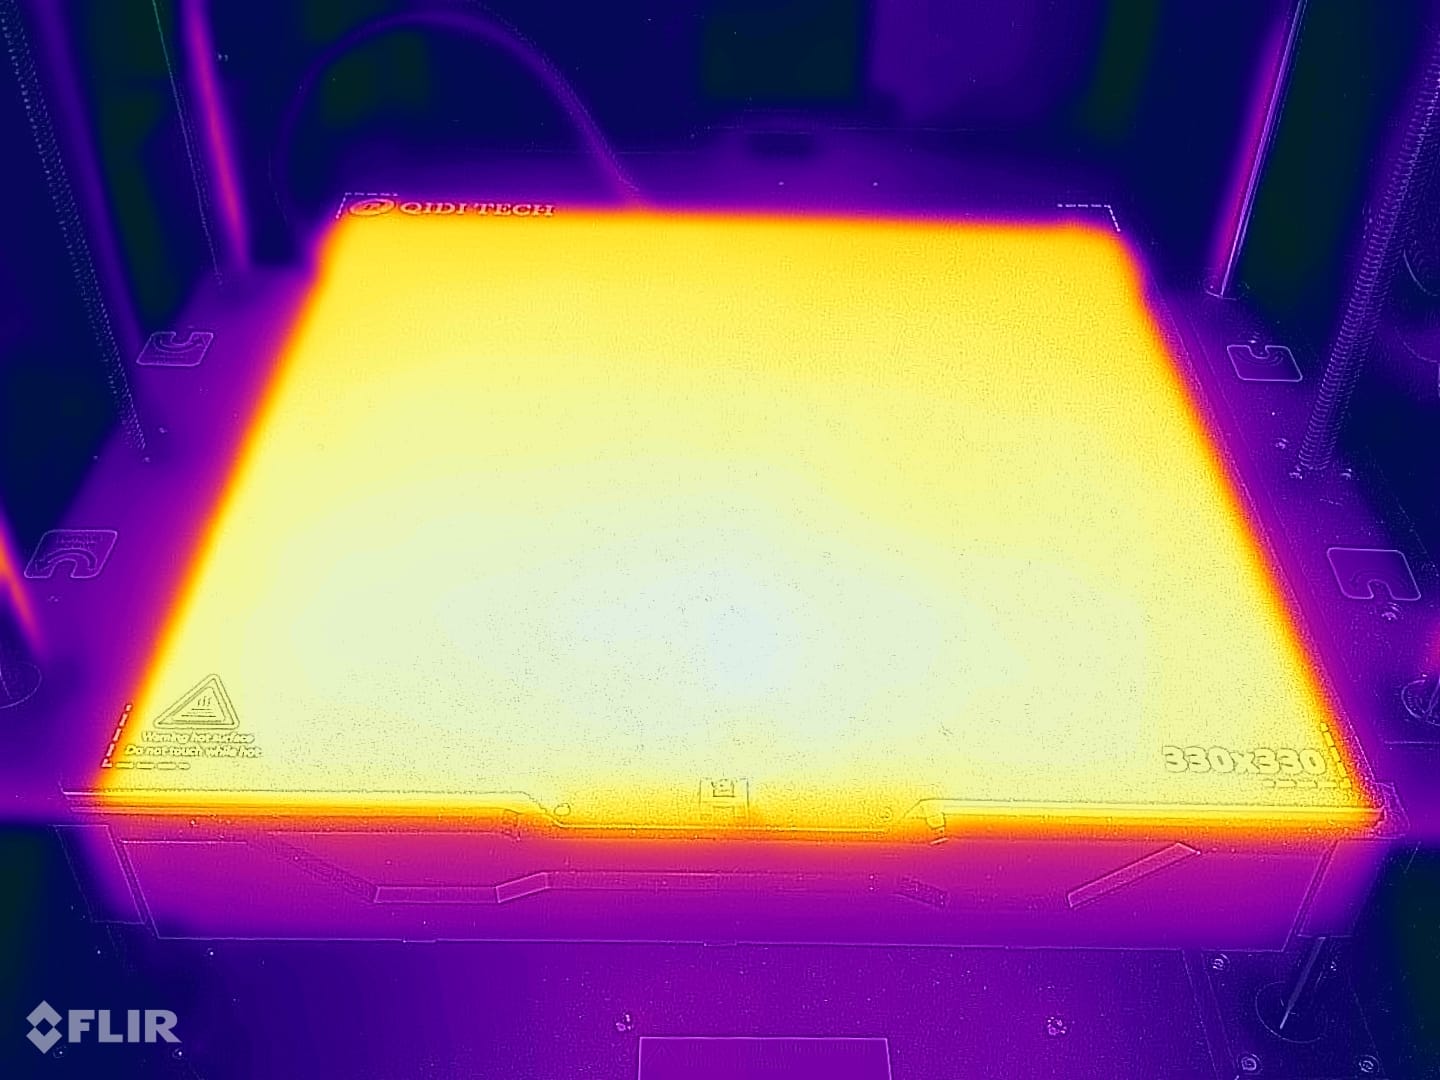
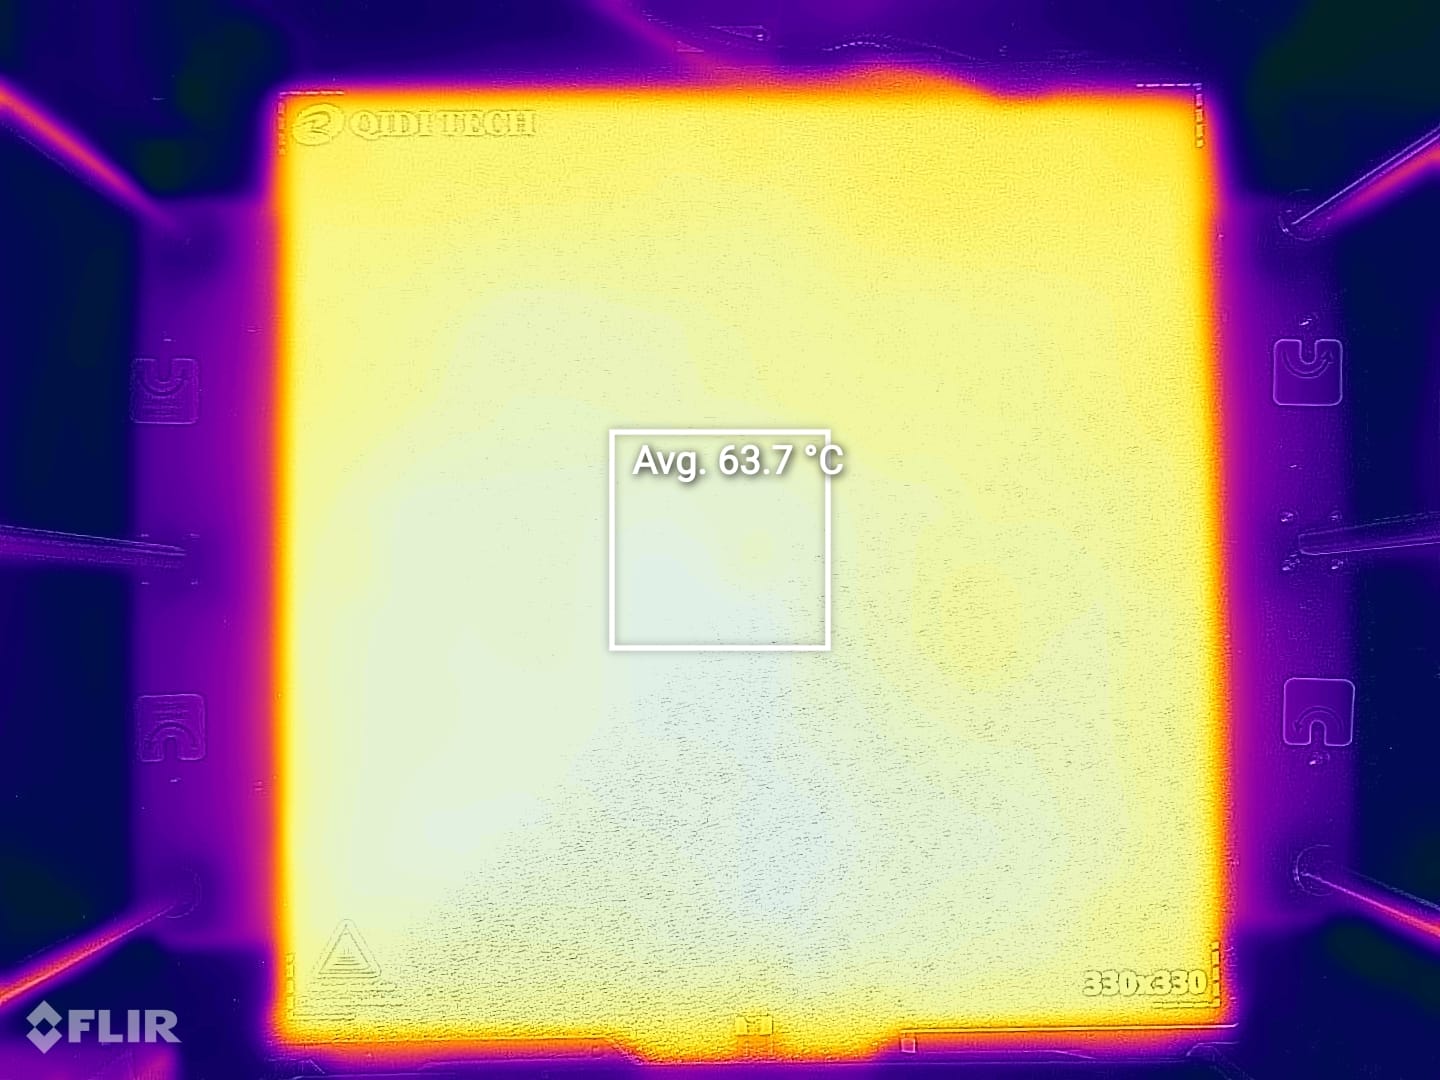
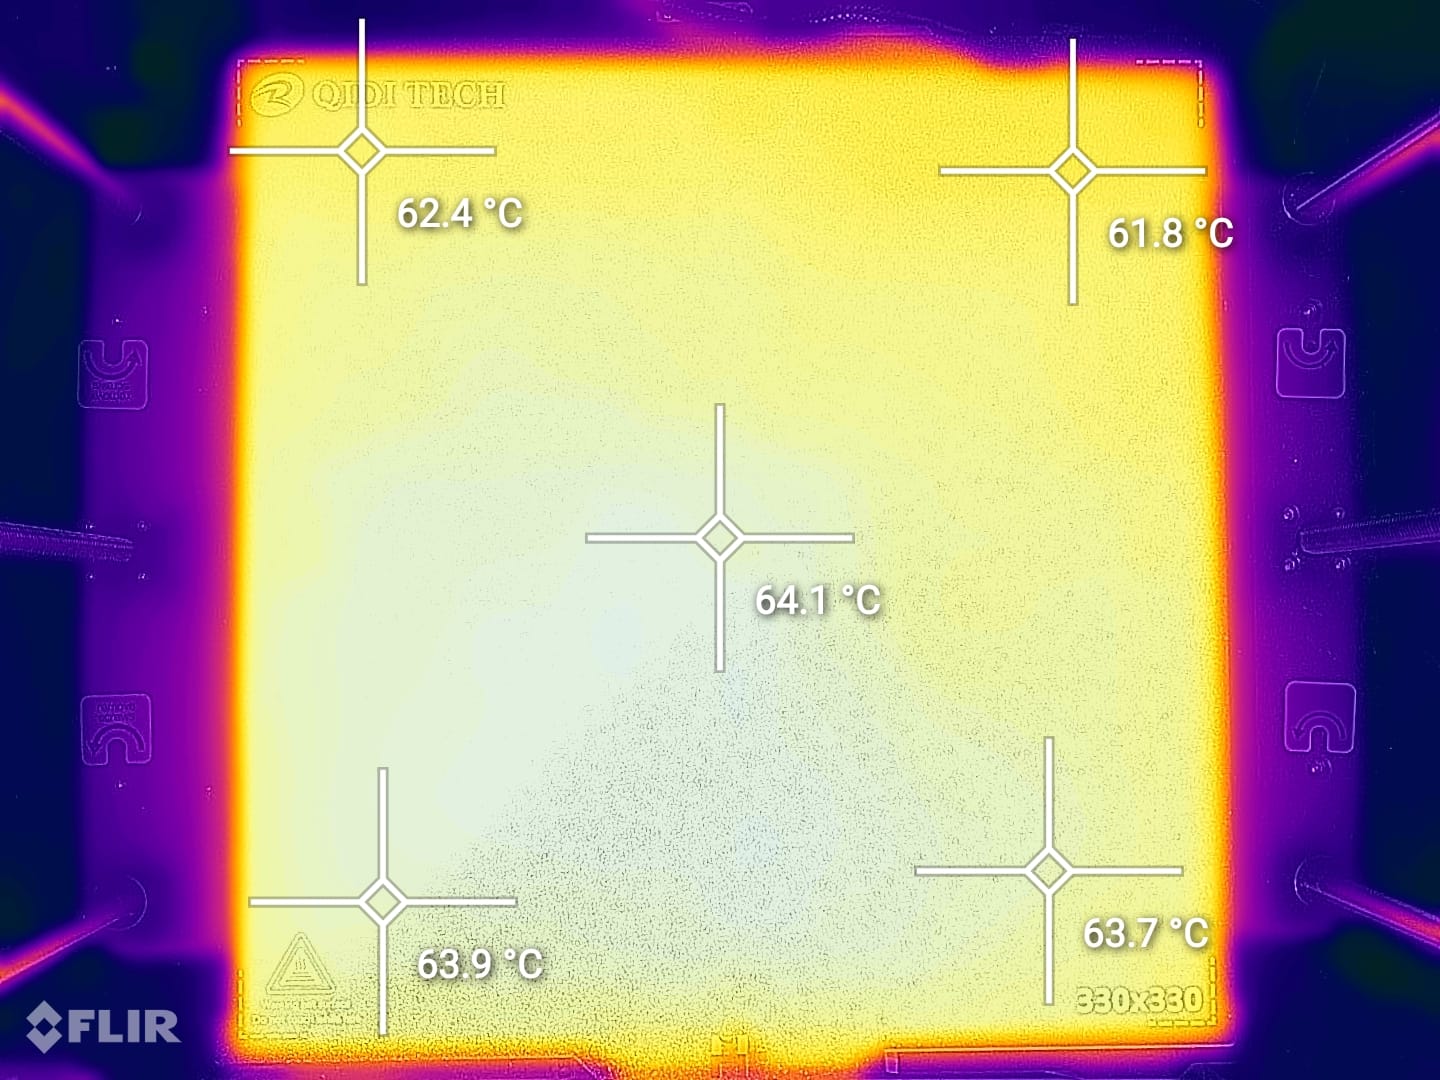
As you might expect, the heatbed temperature uniformity is good, with the temperature on the surface being a few degrees higher than the one reported by the firmware.
QIDI X-MAX 3 Noise Levels
I was surprised to see that the motion system of the printer is more silent than expected even at higher speeds. There’s no significant resonance generated, but there’s still significant noise generated by the part cooling fan on the print head. I am not sure if this applies to all units, but mine has a sharp tone when the fan is running at 100% which can be more annoying compared to a regular 5015 fan.
When printing high-temperature filaments, with the top cover of the printer in place, the printer noise levels are quite good.
Prusa Slicer profiles for QIDI X-MAX 3
Usually, I am sharing fine-tuned Prusa Slicer profiles in my reviews, but in this case, the work has been done by the QIDI team and I could not find any significant reasons to further calibrate the settings.
All profiles used worked great if the correct filament type was selected, which is great to see.
I will share some additional profiles over time when I fine-tune different filaments for the printer, but they will probably be made for Bambu Studio or Orca Slicer as that’s my main slicer at the moment.
Test prints on QIDI X-MAX 3
3D Benchy
I started testing with the included PLA filament and the pre-loaded 3D Benchy on the machine. The result is much better than I was expecting and I don’t have much to complain about the print quality.
All the features are nicely printed, with some slightly skewed walls but that’s just looking into it very closely.
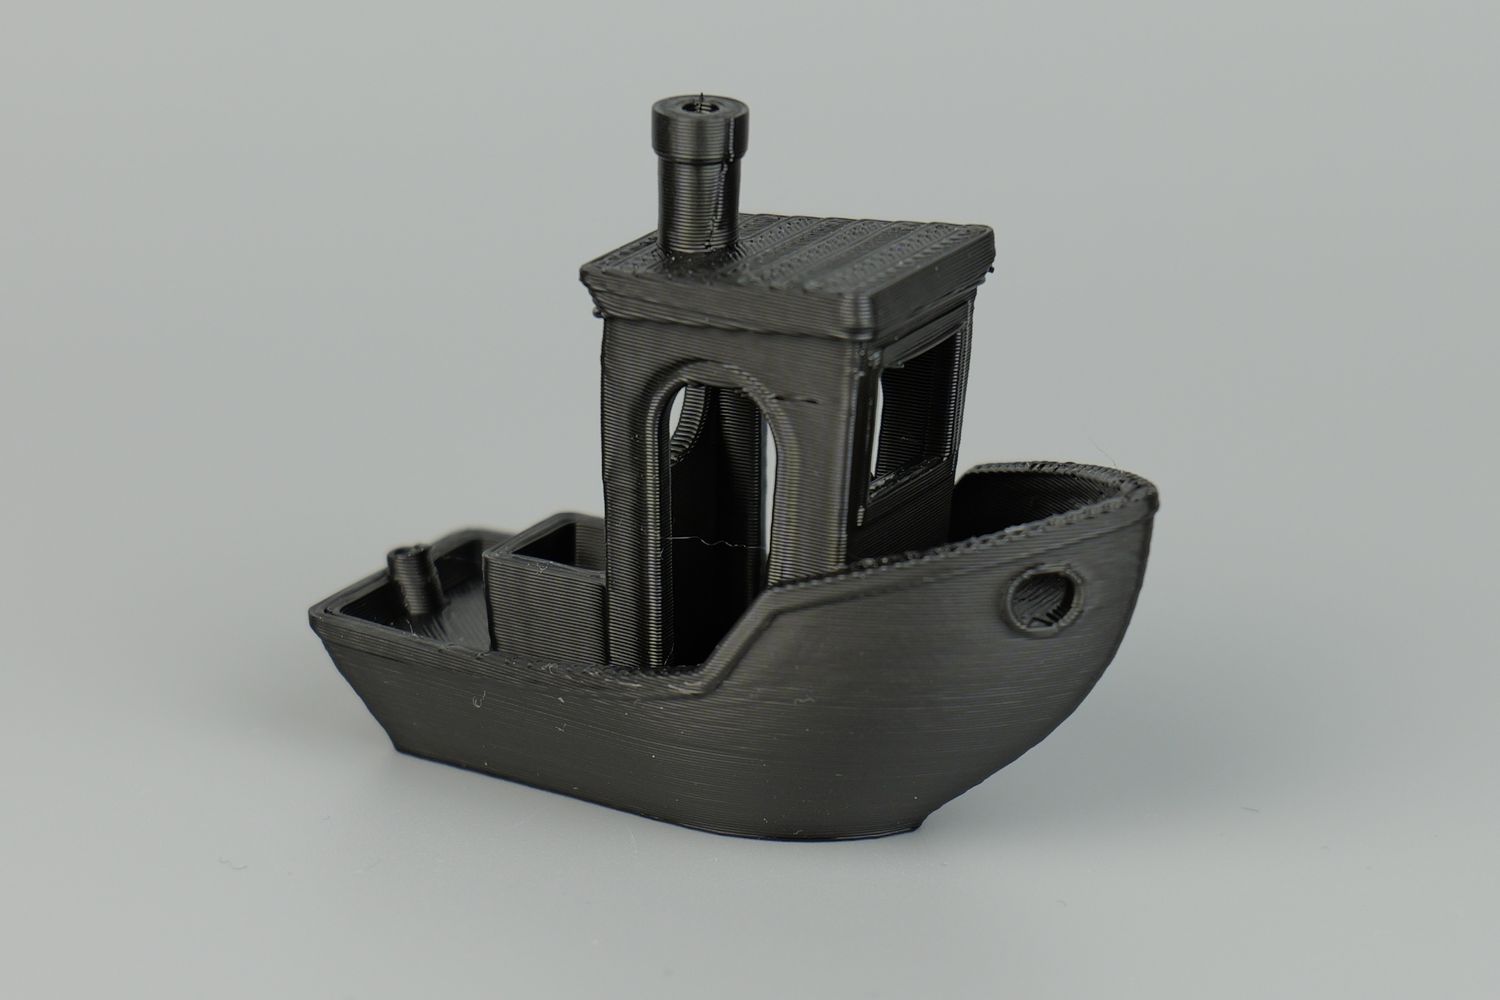
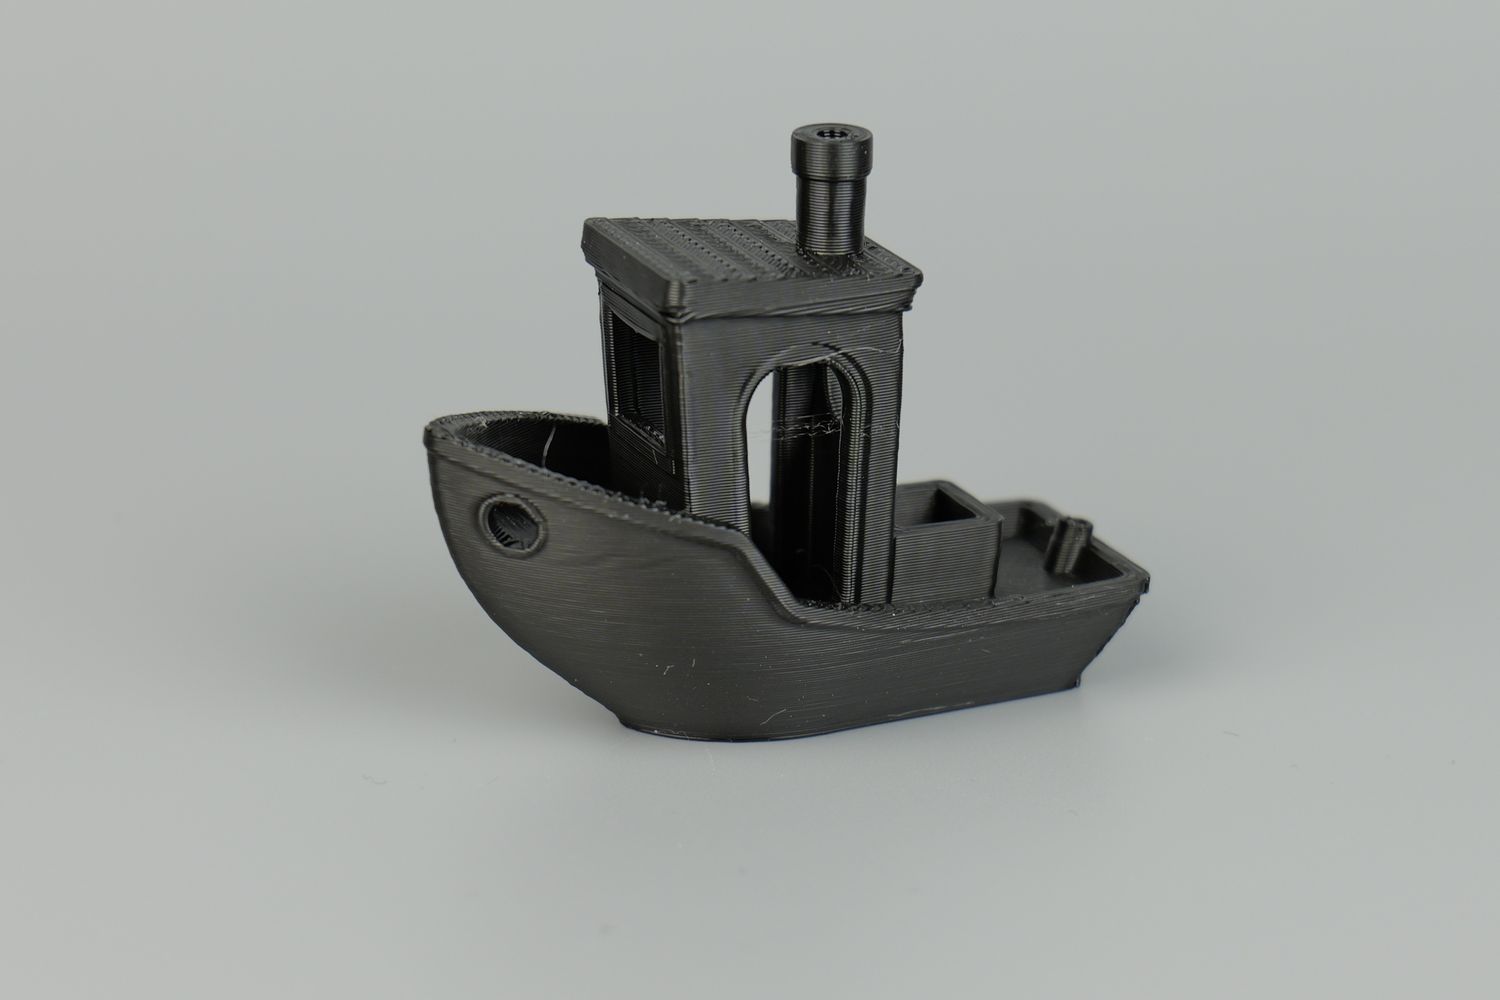
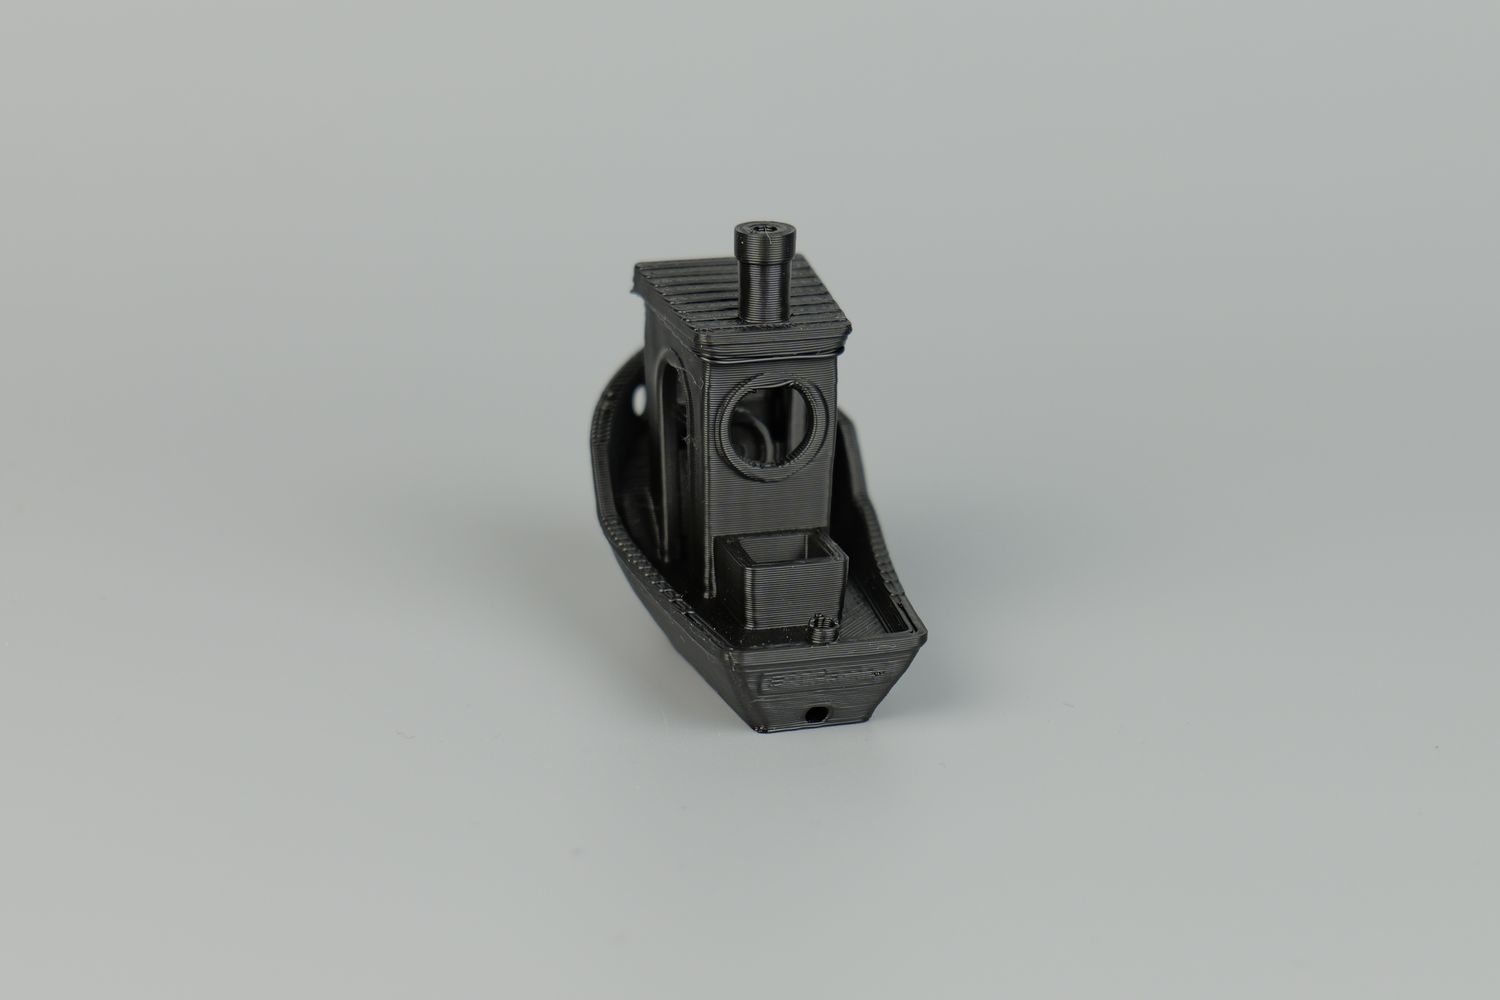
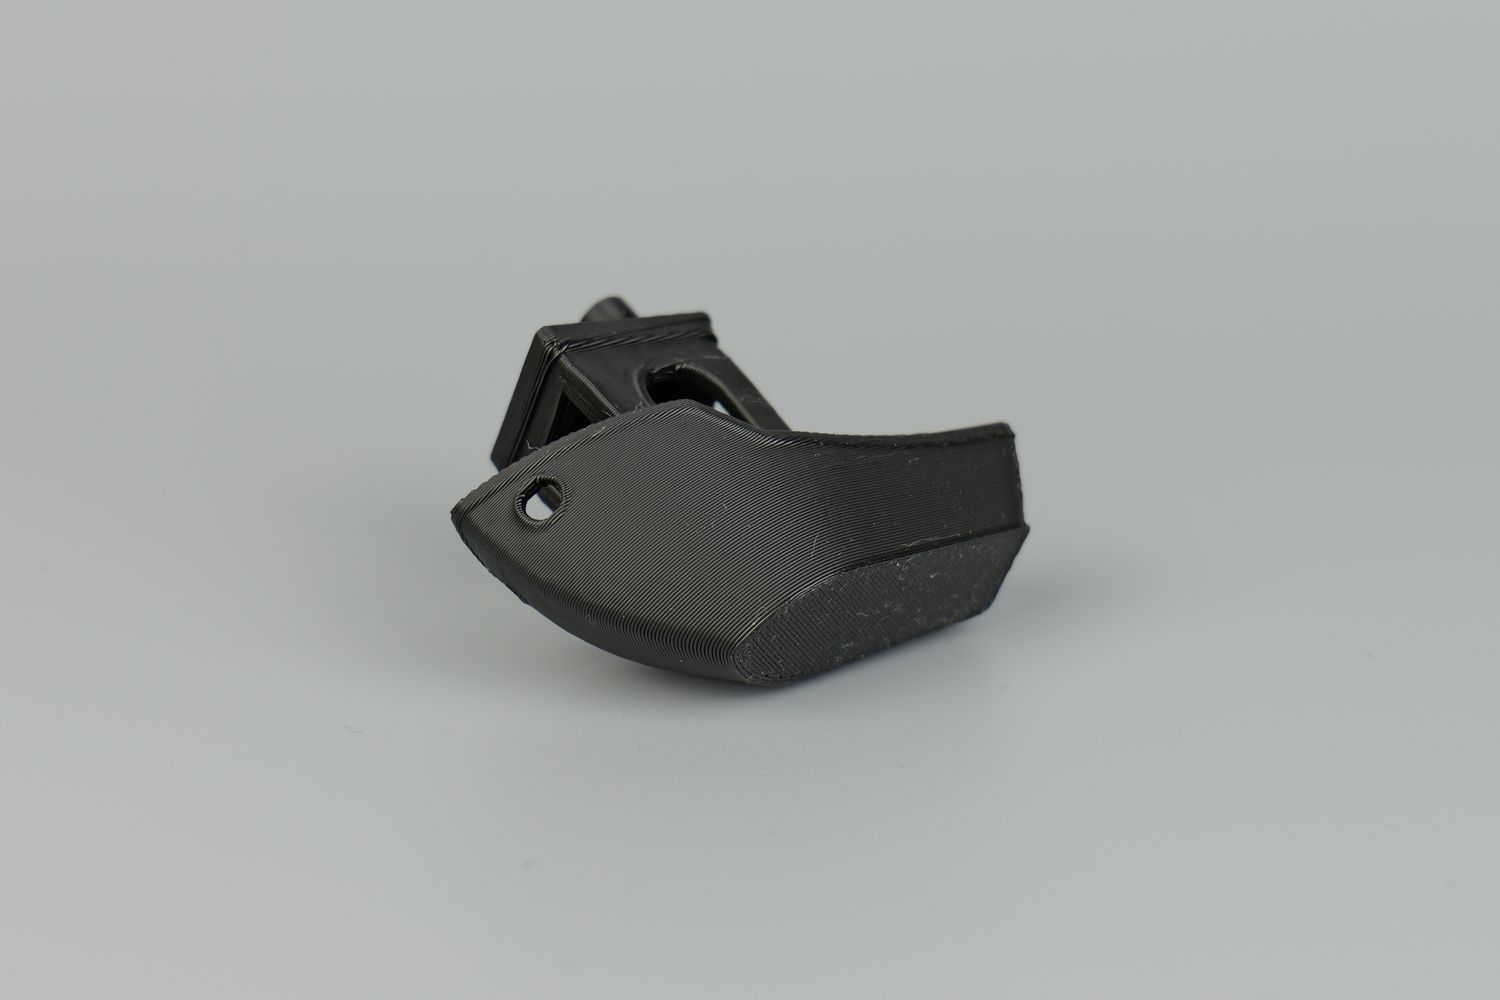
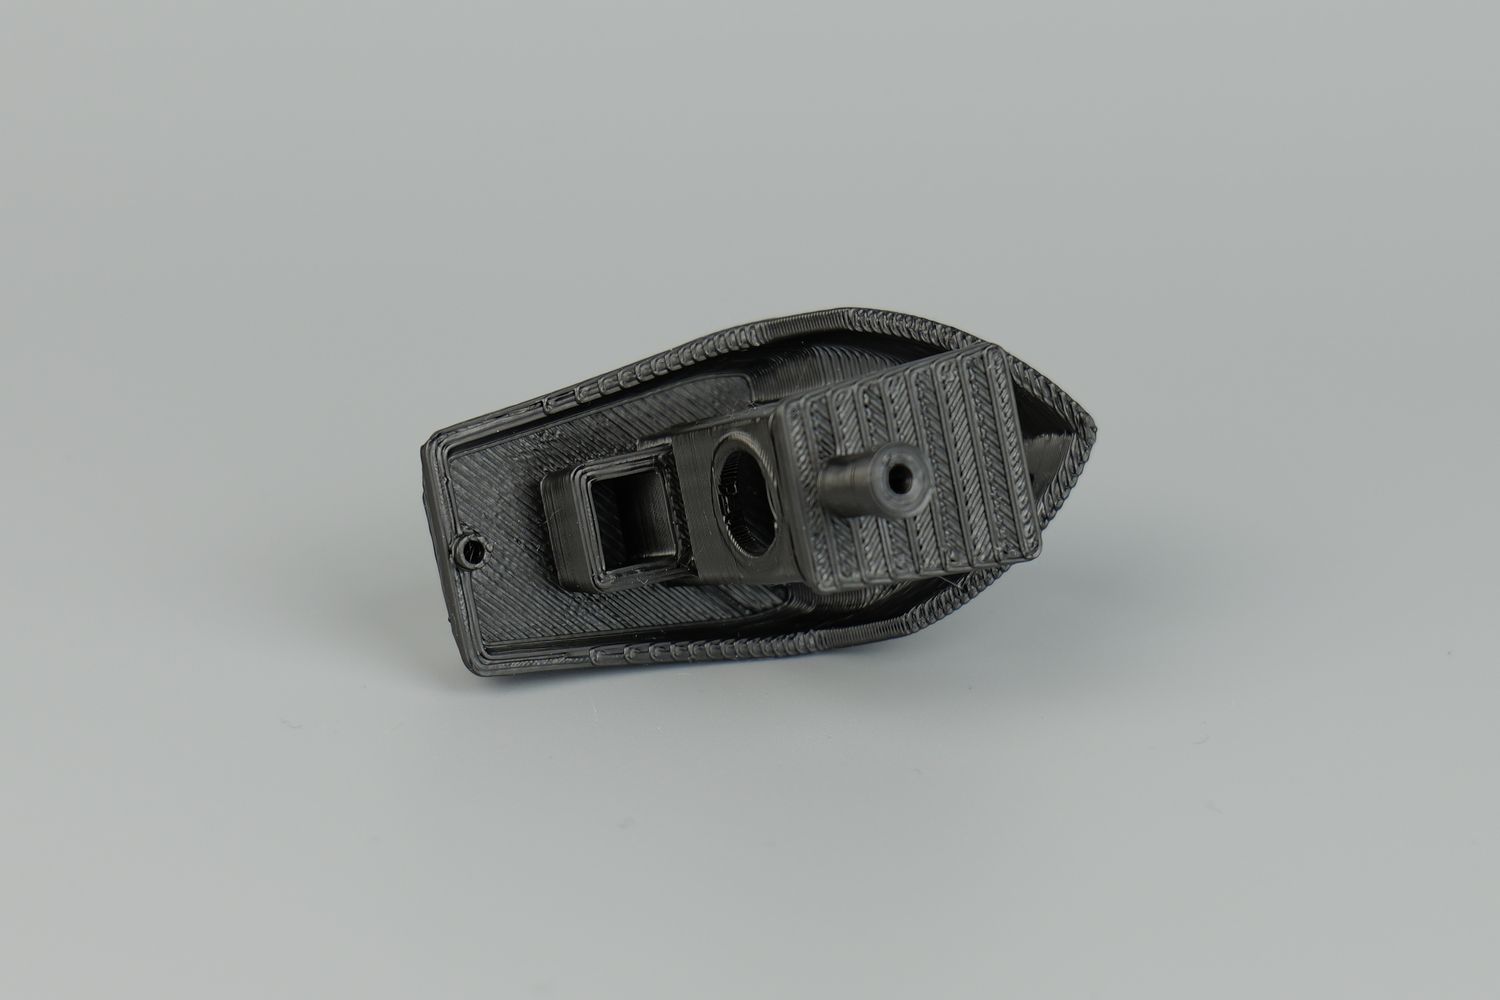
Overall, the results are great for such a fast 3D Benchy and after seeing it I was looking forward to testing other models just to see more.
I also took a video of this 3D Benchy being printed, which you can see below:
- Material: QIDI Rapido PLA
- Layer Height: 0.2mm
- Nozzle Temperature: 220C
- Bed Temperature: 60C
- Print Speed: ~250 mm/s
200% Calibration Cube
I sliced a 200% Calibration cube in the new QIDI Slicer and started the print. If you look closely, you can see that the print quality is ok, but there’s some ringing showing on the walls of the model which is a sign that maybe the vibration compensation doesn’t work as good as it can, or there’s some additional movement in the motion system.
Besides that, you can also see that the first layer is a bit too close to the heatbed, but that’s my fault as I needed to tune the Z offset a bit better. After I did it, future prints were good.
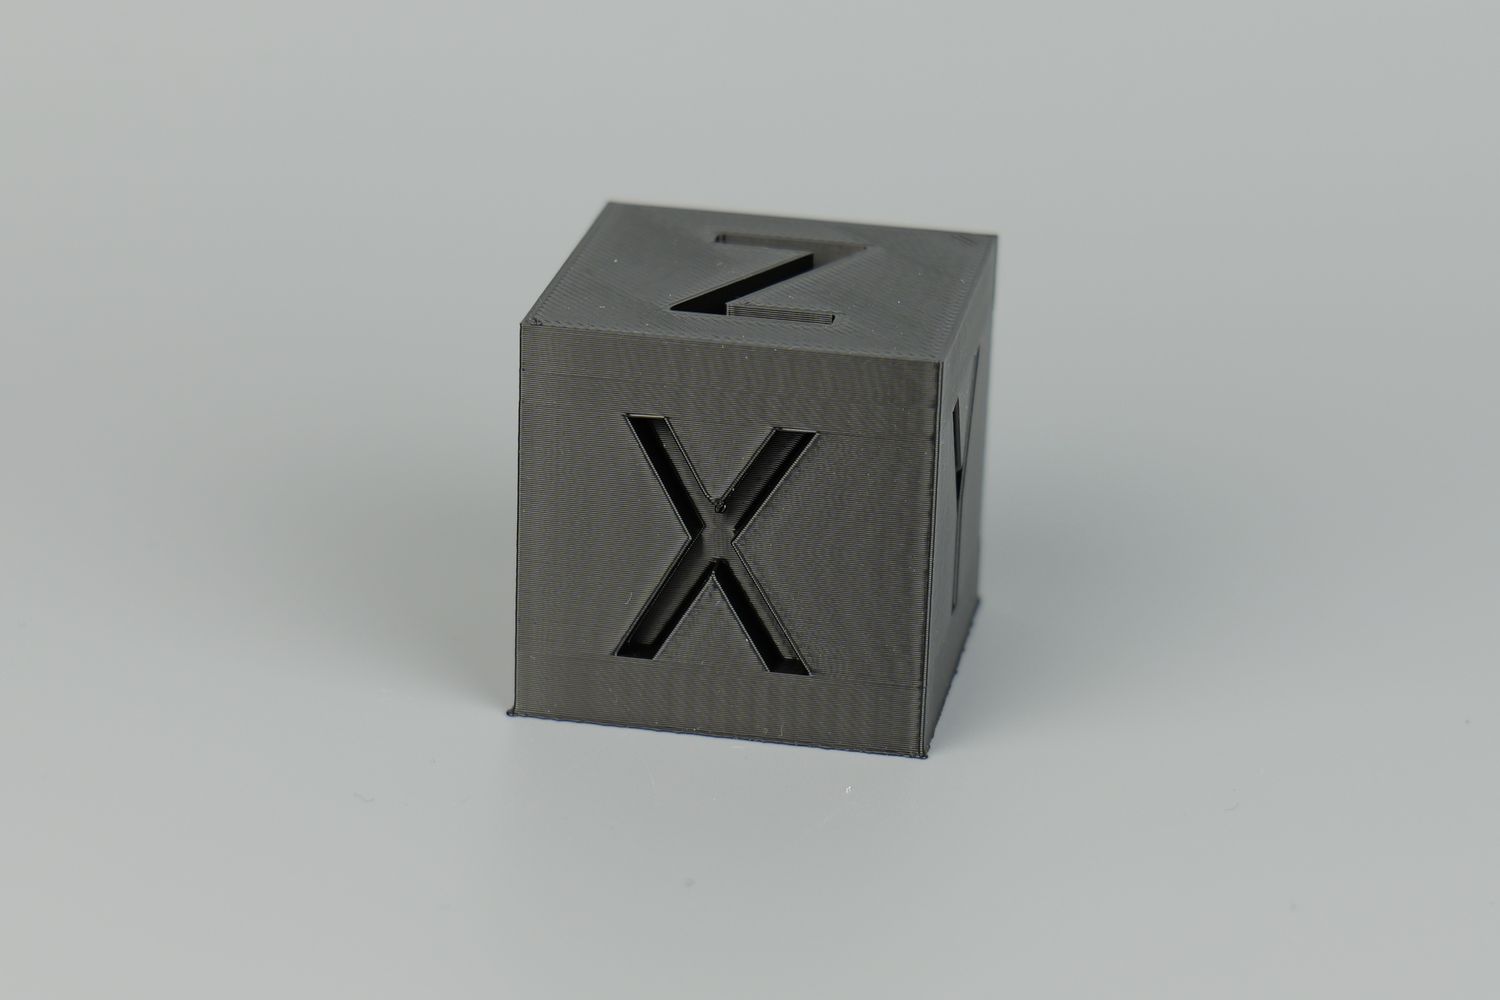
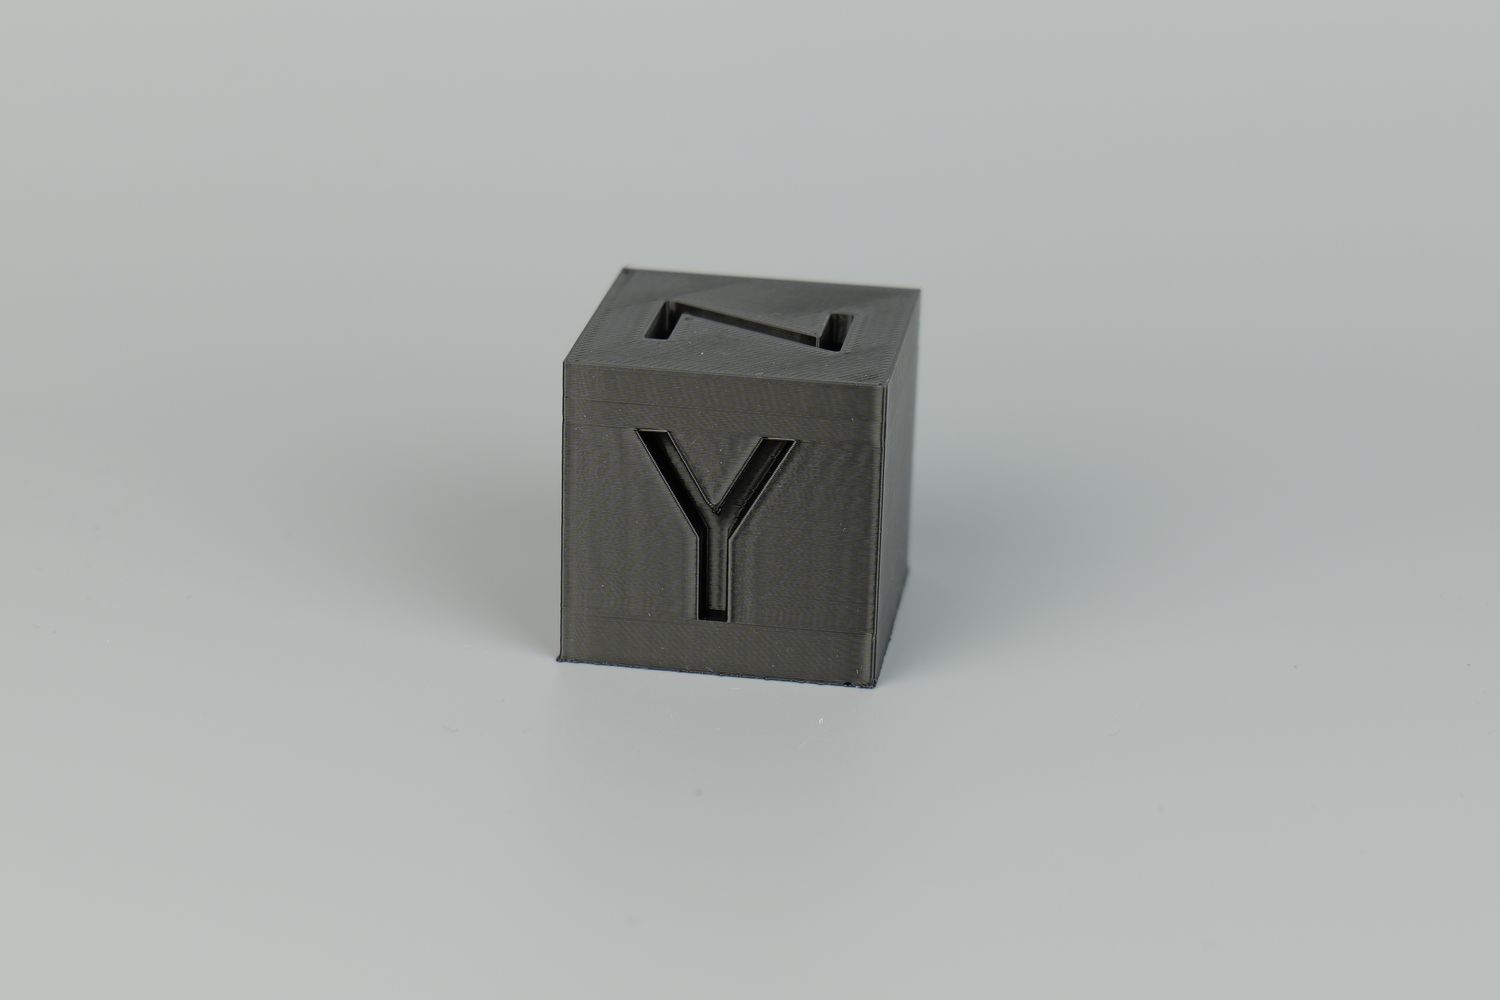
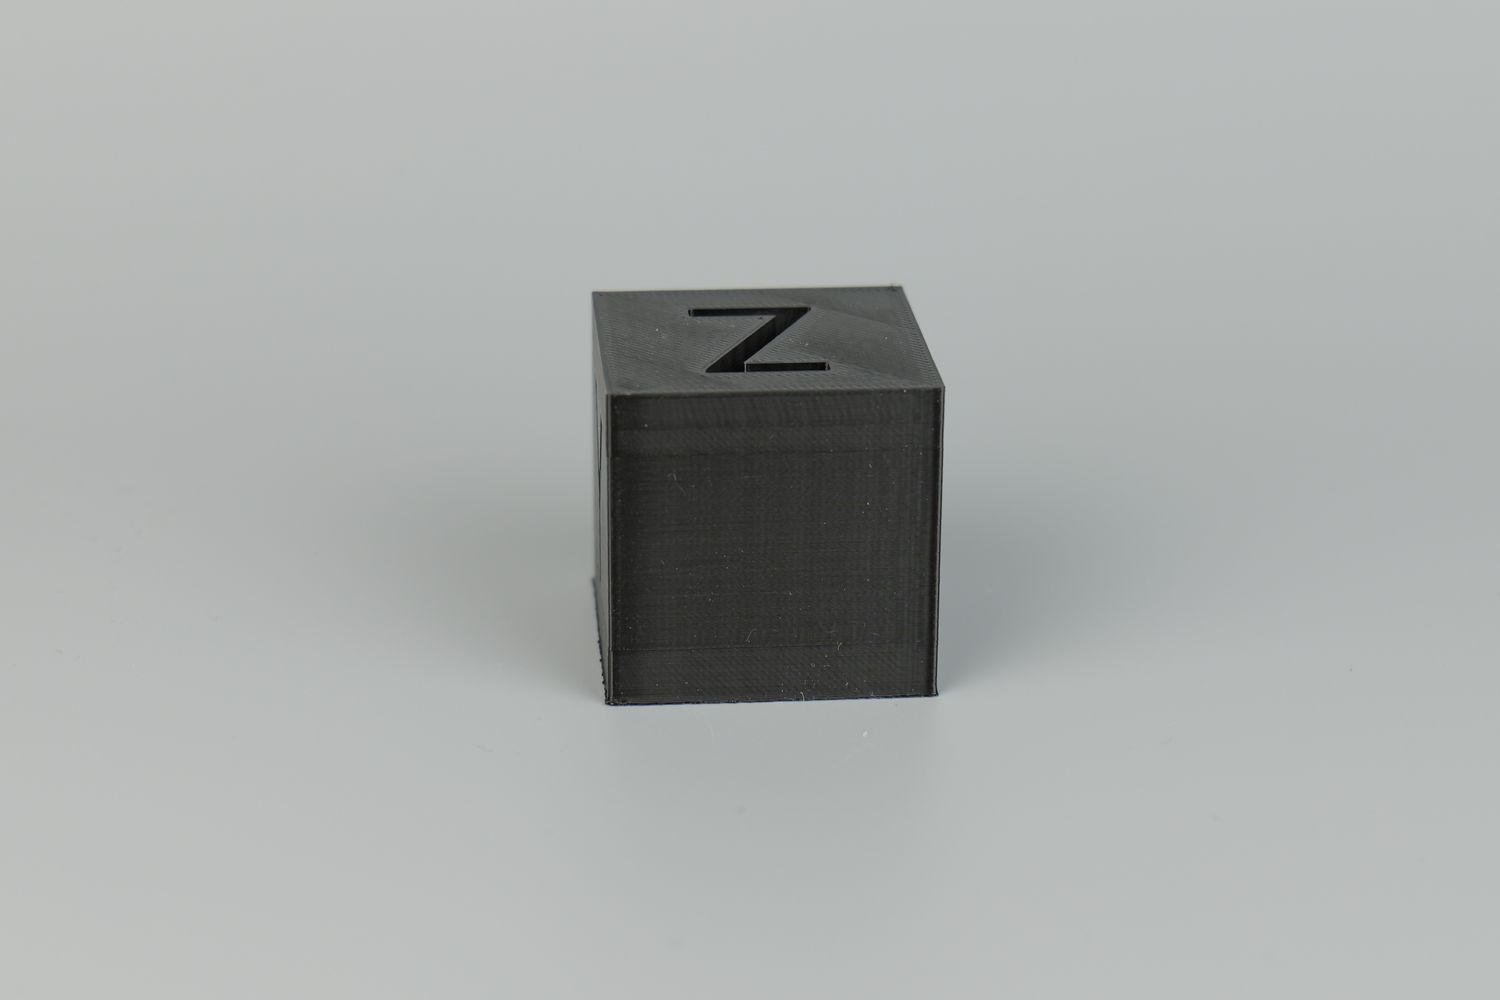
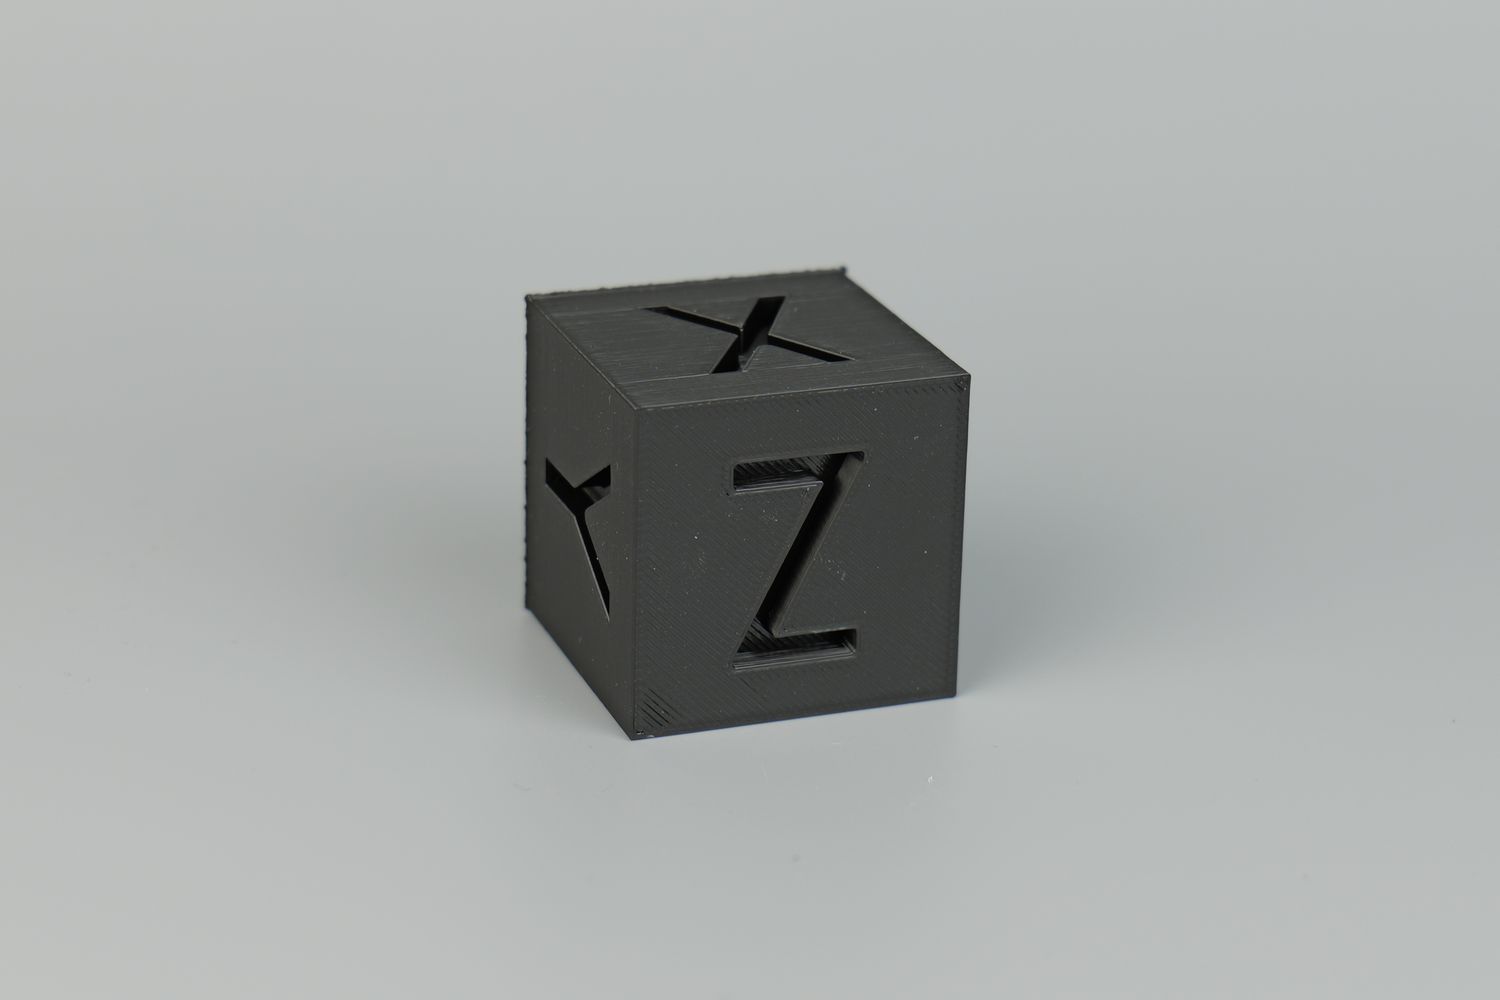
- Material: QIDI Rapido PLA
- Layer Height: 0.2mm
- Nozzle Temperature: 220C
- Bed Temperature: 60C
- Print Speed: ~250 mm/s
Phil-A-Ment
I also printed the Phil-A-Ment model in this silky/shiny filament to see if there are any significant printing artifacts as I found this filament to show it quite well. But as you can see, the results are quite good.
Other than some slight issues underneath the gloves, the print quality results are as expected with clean walls and a consistent finish.
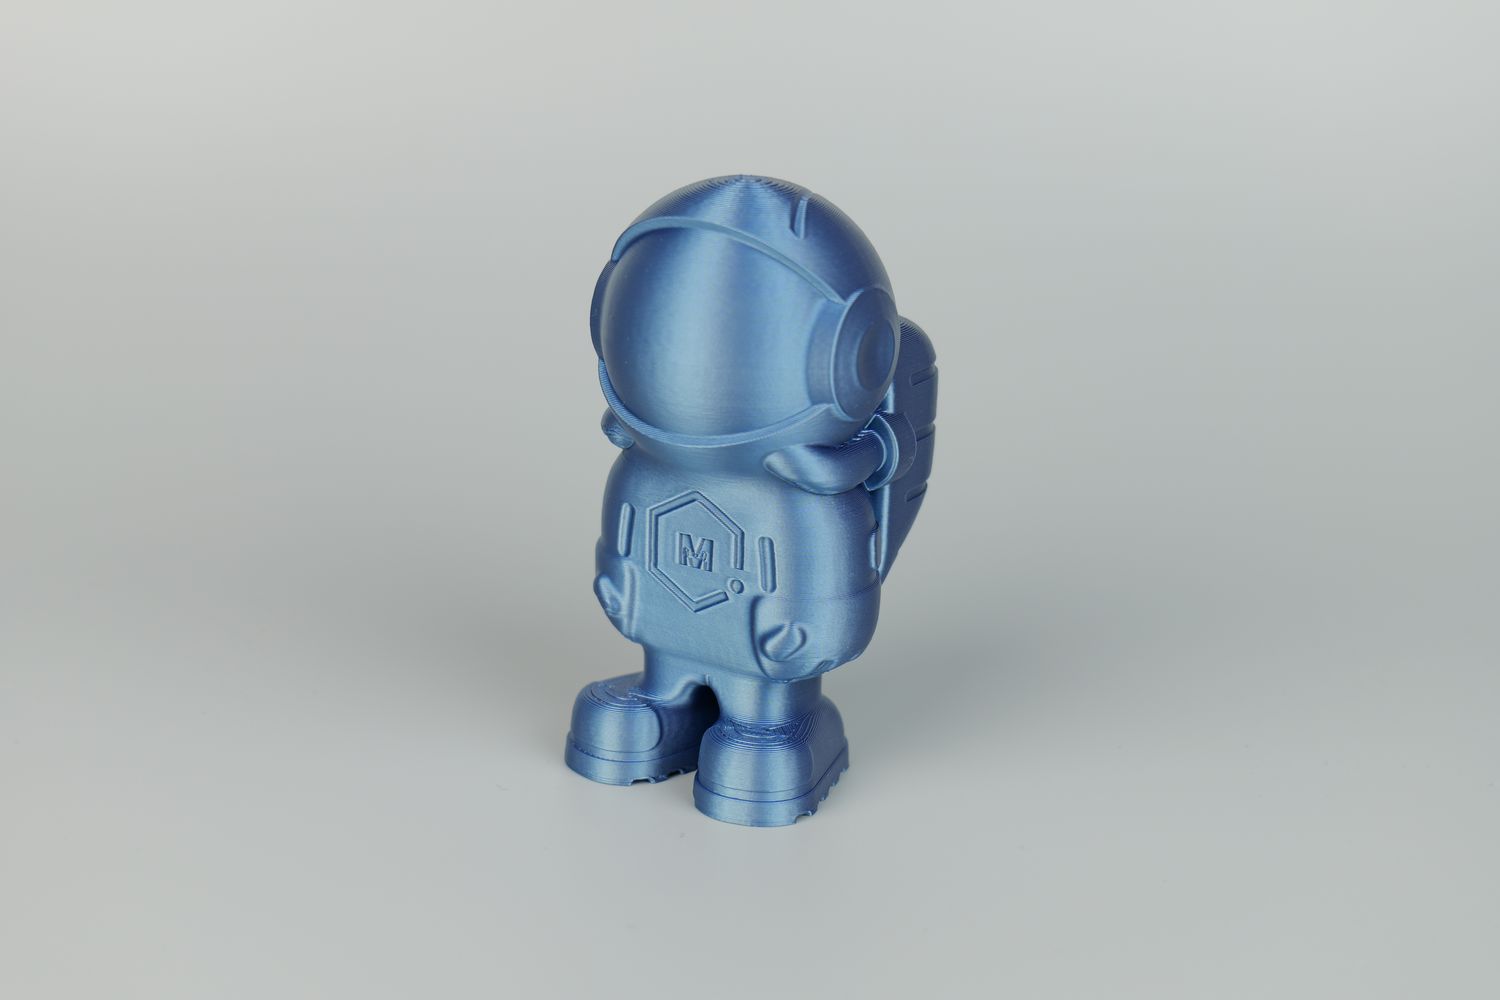
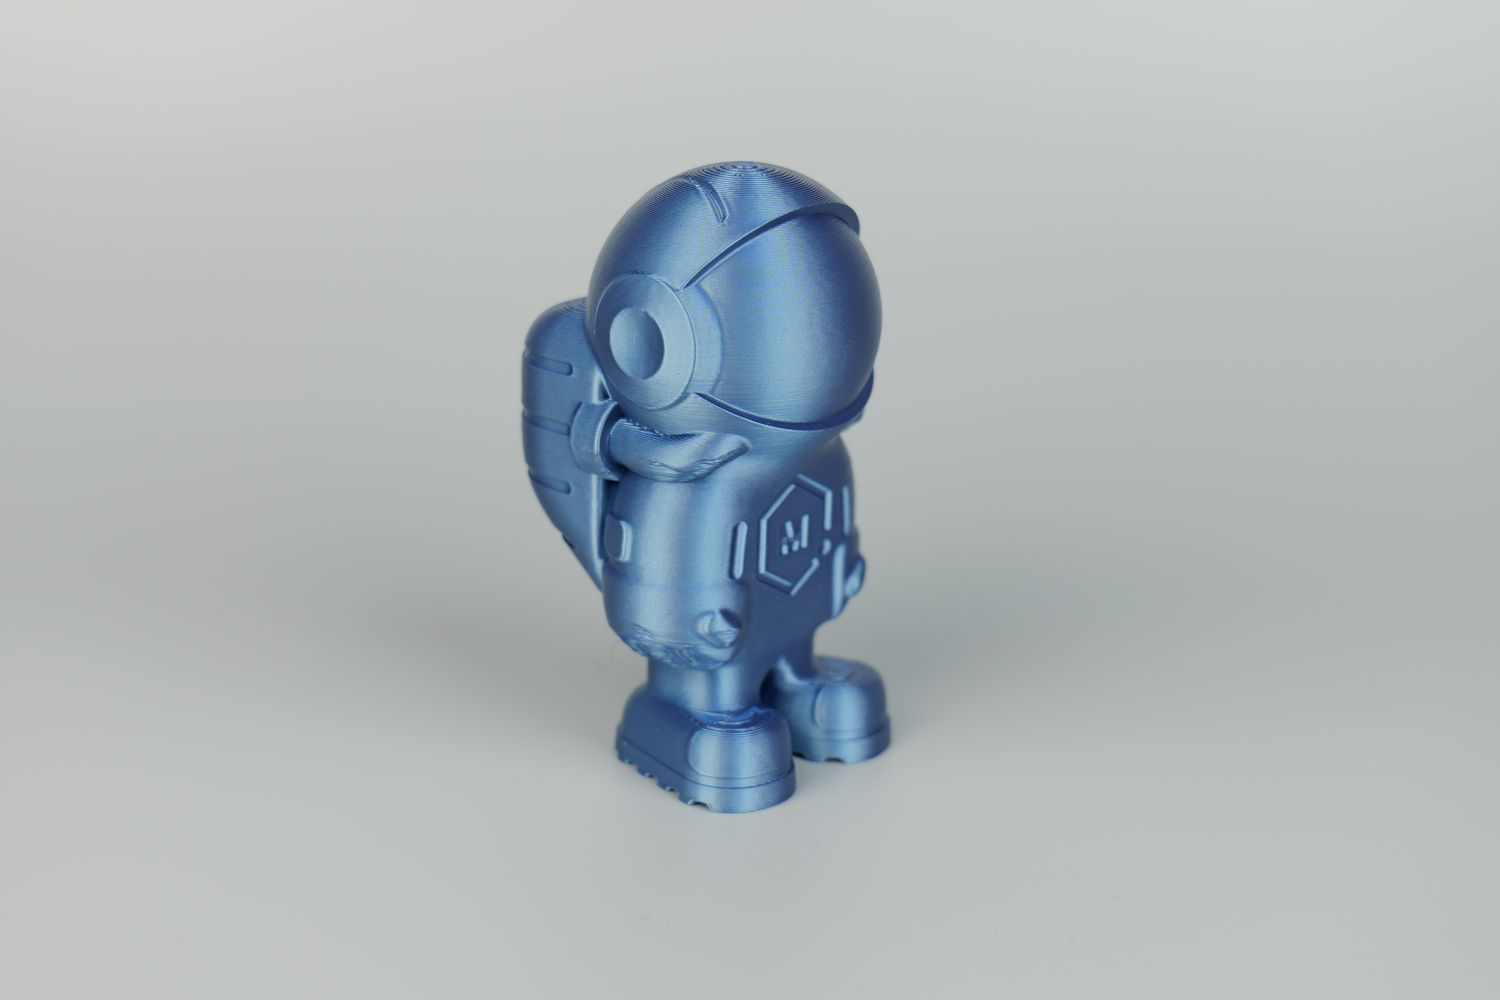
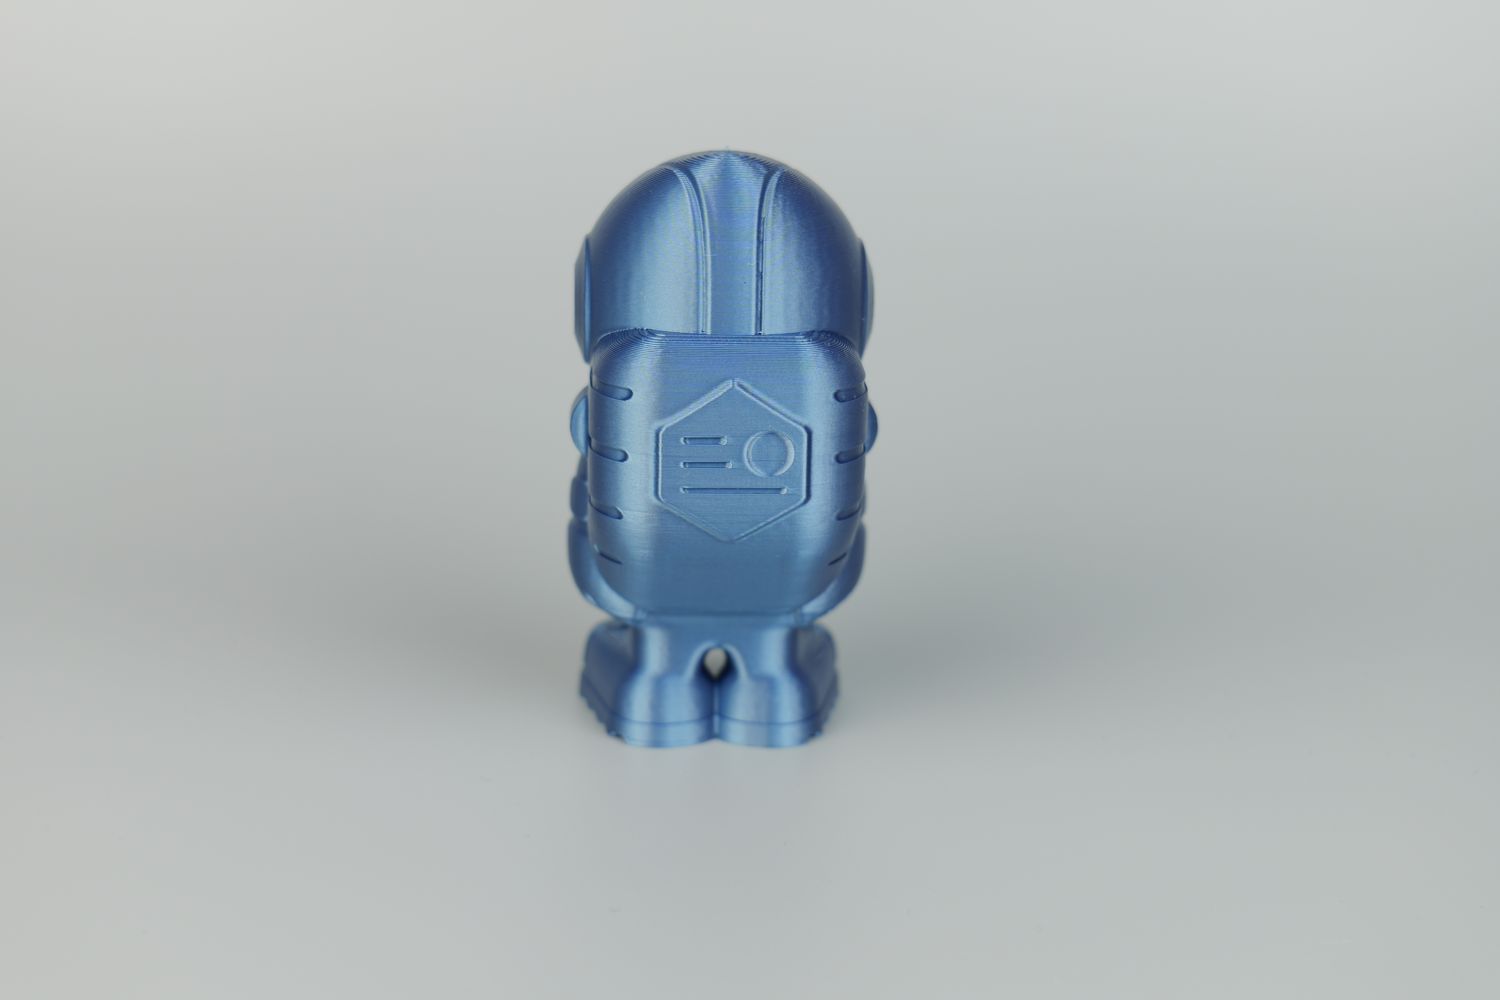
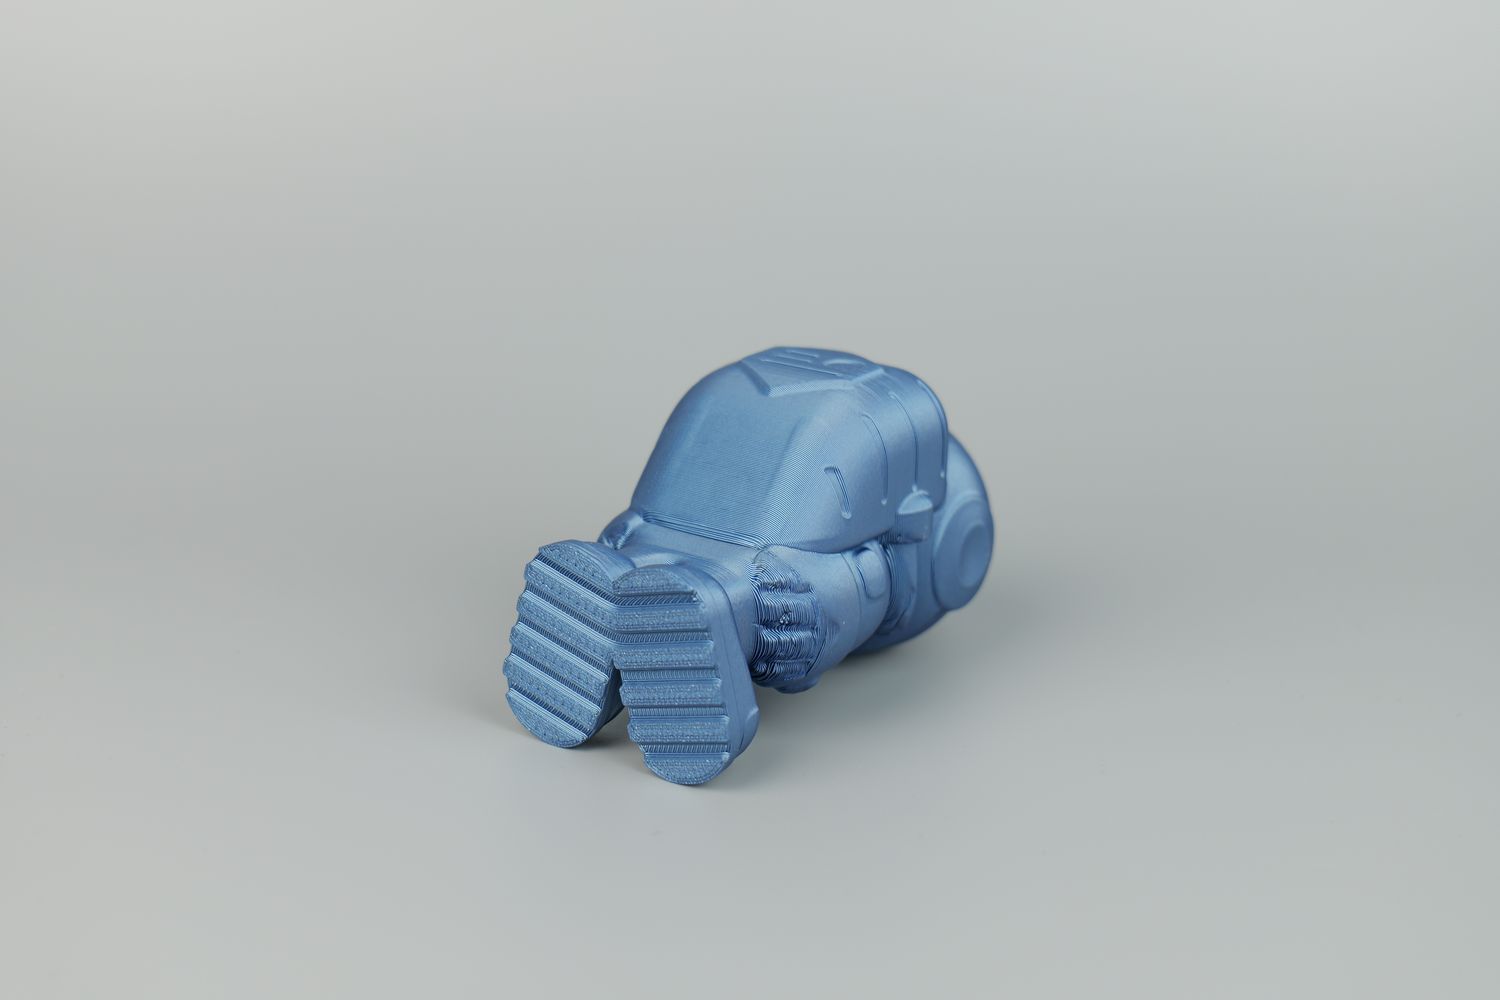
- Material: Bambu Lab Cobalt Blue Metallic
- Layer Height: 0.2mm
- Nozzle Temperature: 220C
- Bed Temperature: 60C
- Print Speed: ~250 mm/s
Torture Toaster
Of course, I can’t test a printer without also printing the torture toaster. I did it with the same PLA filament which should be a high-flow variant from QIDI to allow for fast printing.
The printer managed to complete the model in just over 5 hours which is great, but there were some problems with the layer bonding, as you can see in the picture showing the tolerance flags which are damaged.
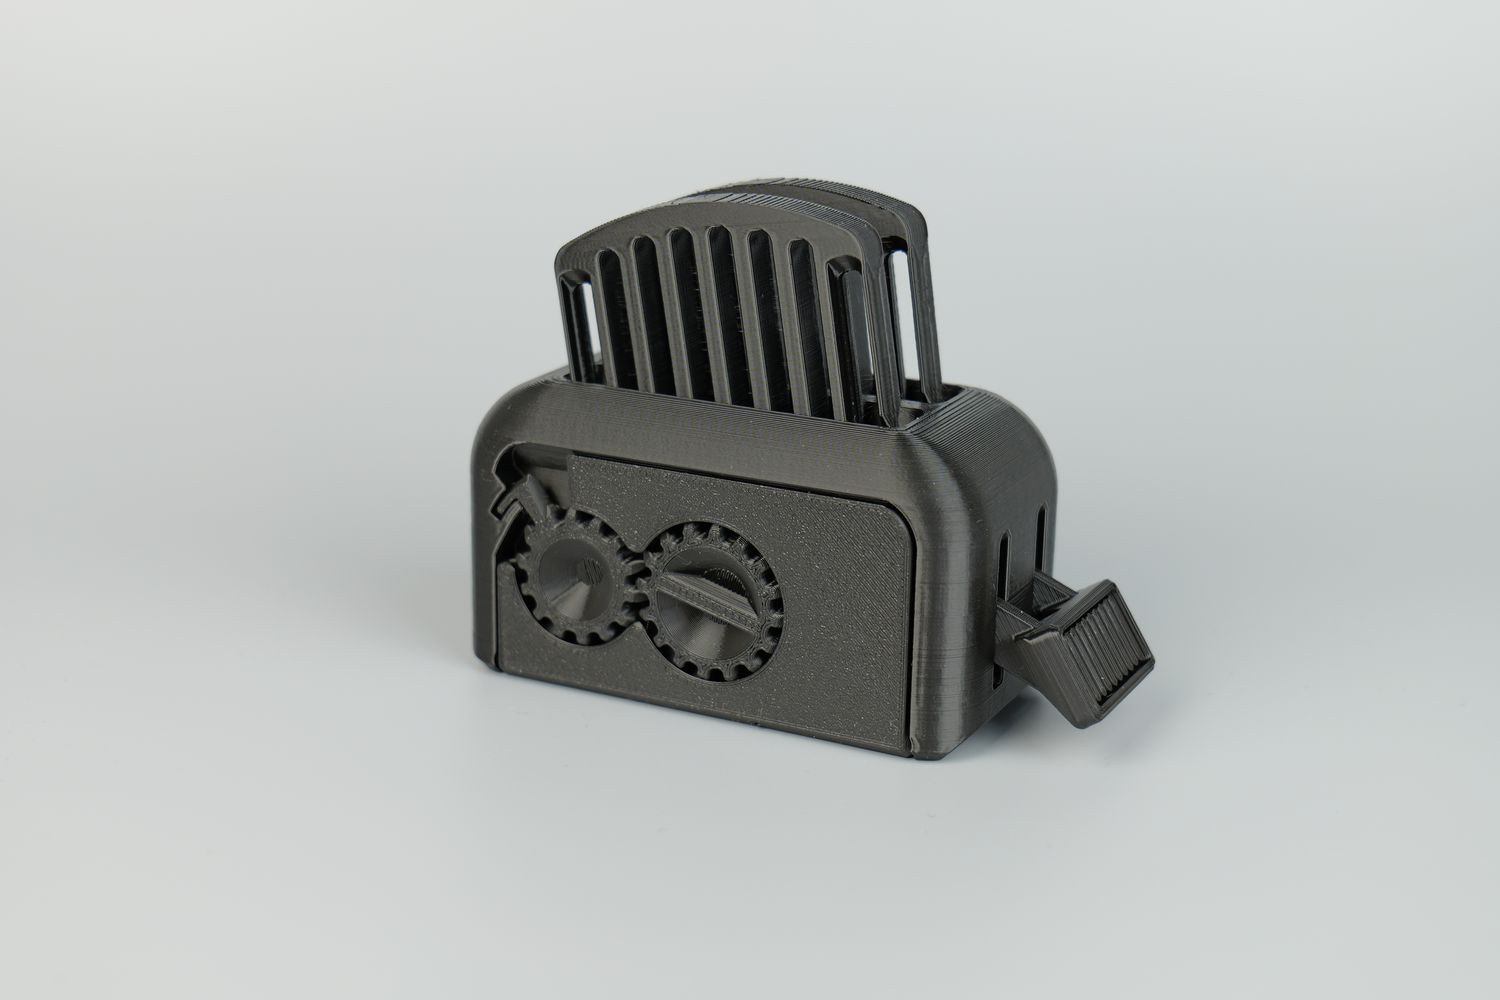
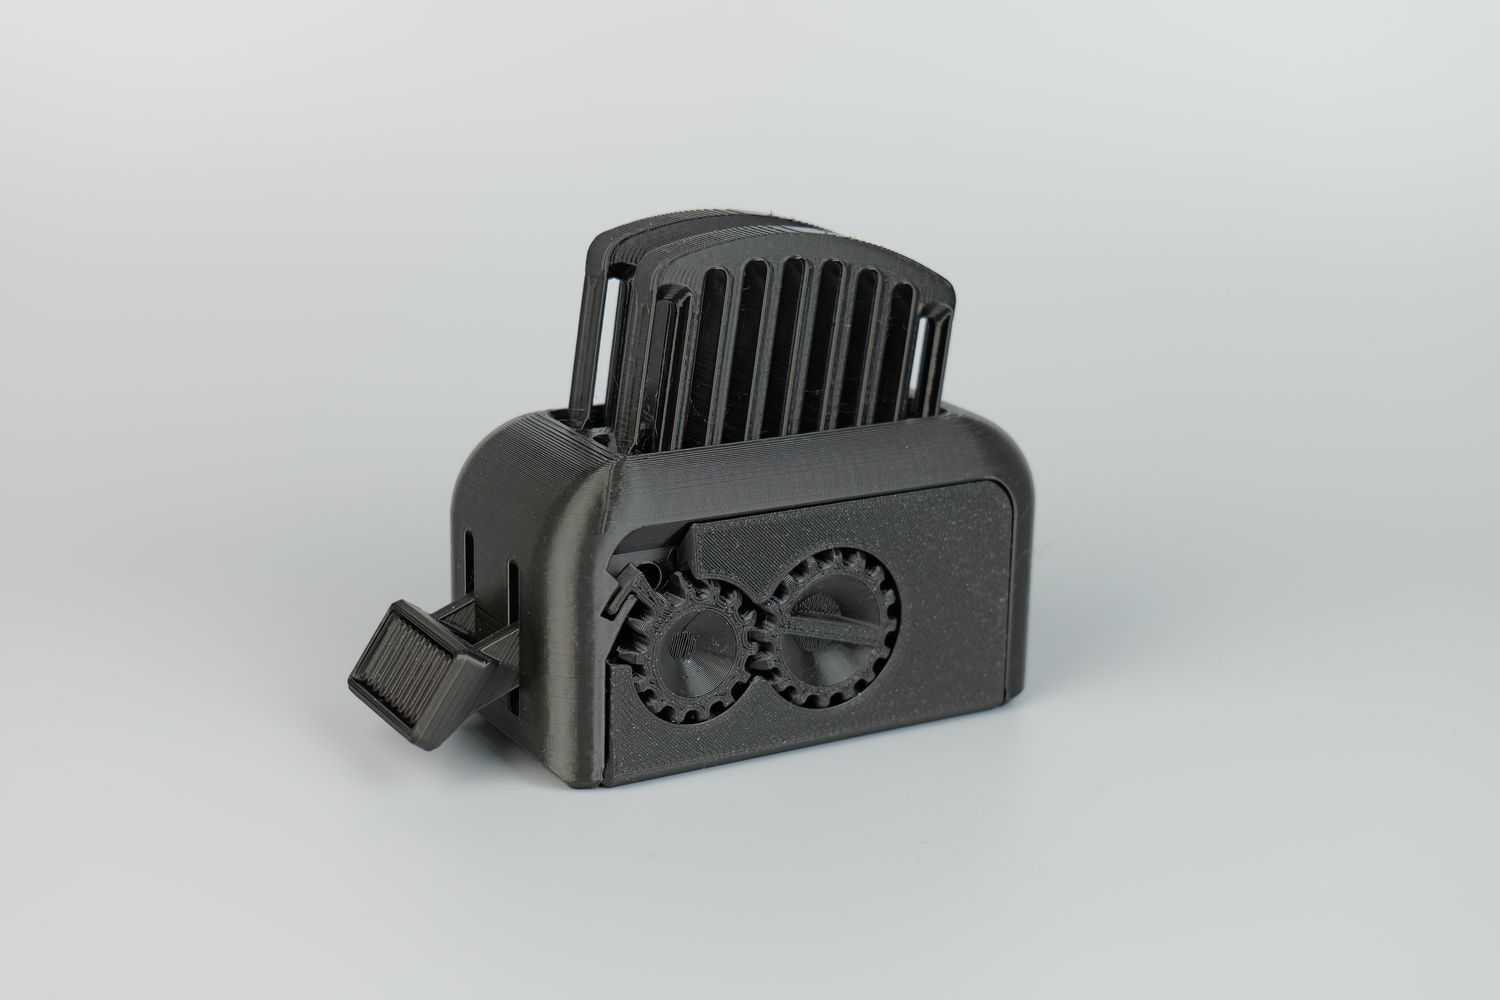
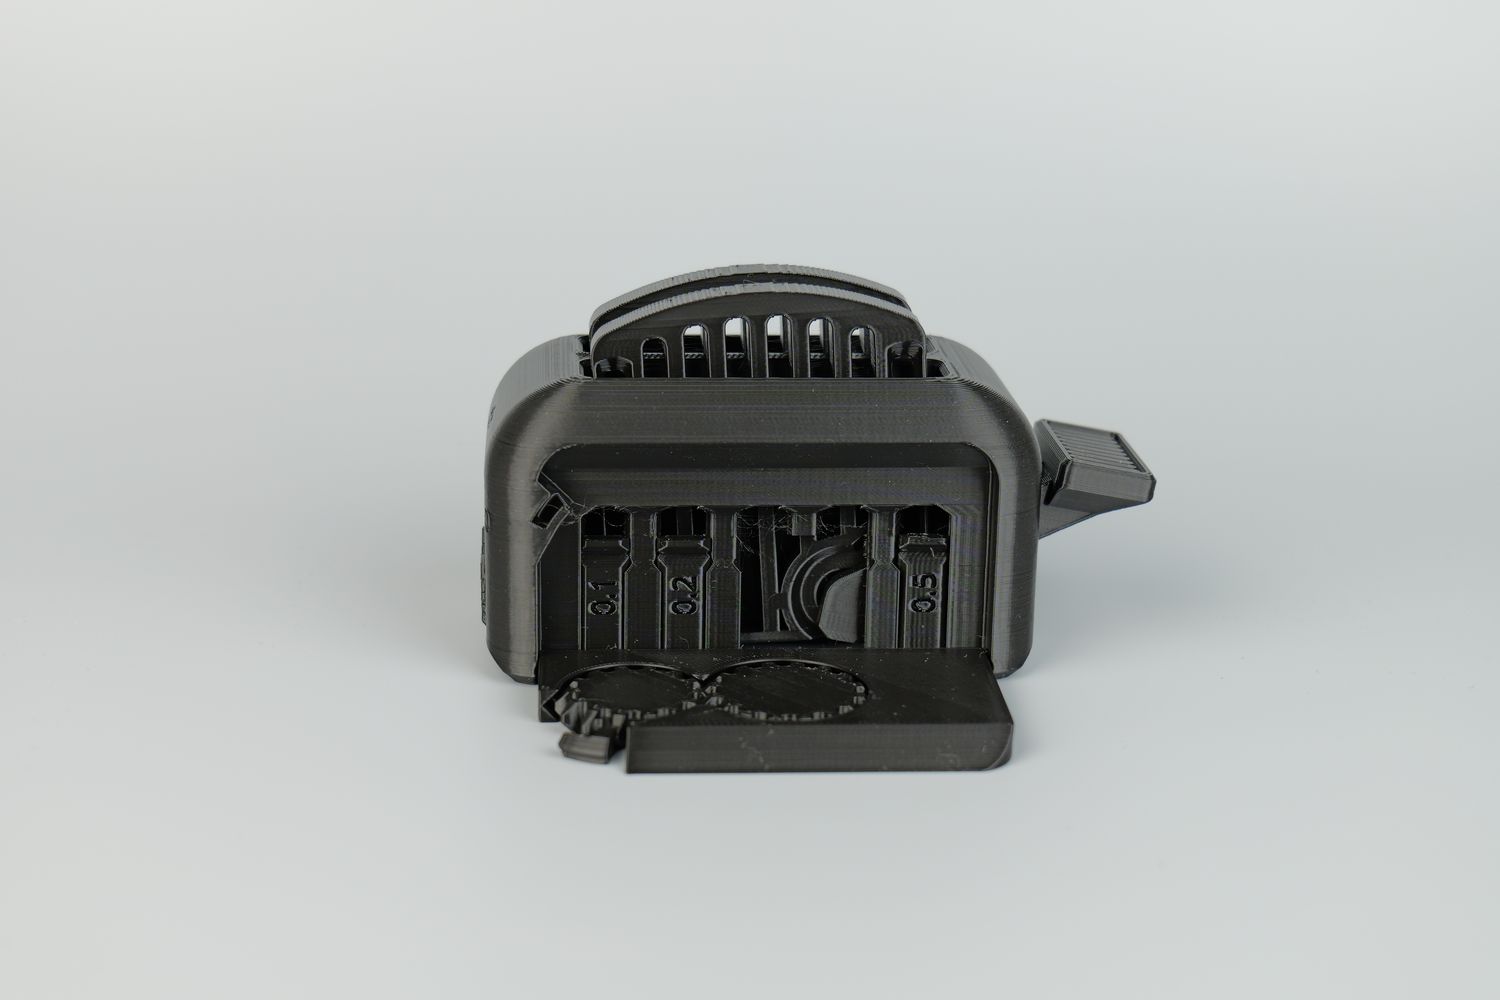
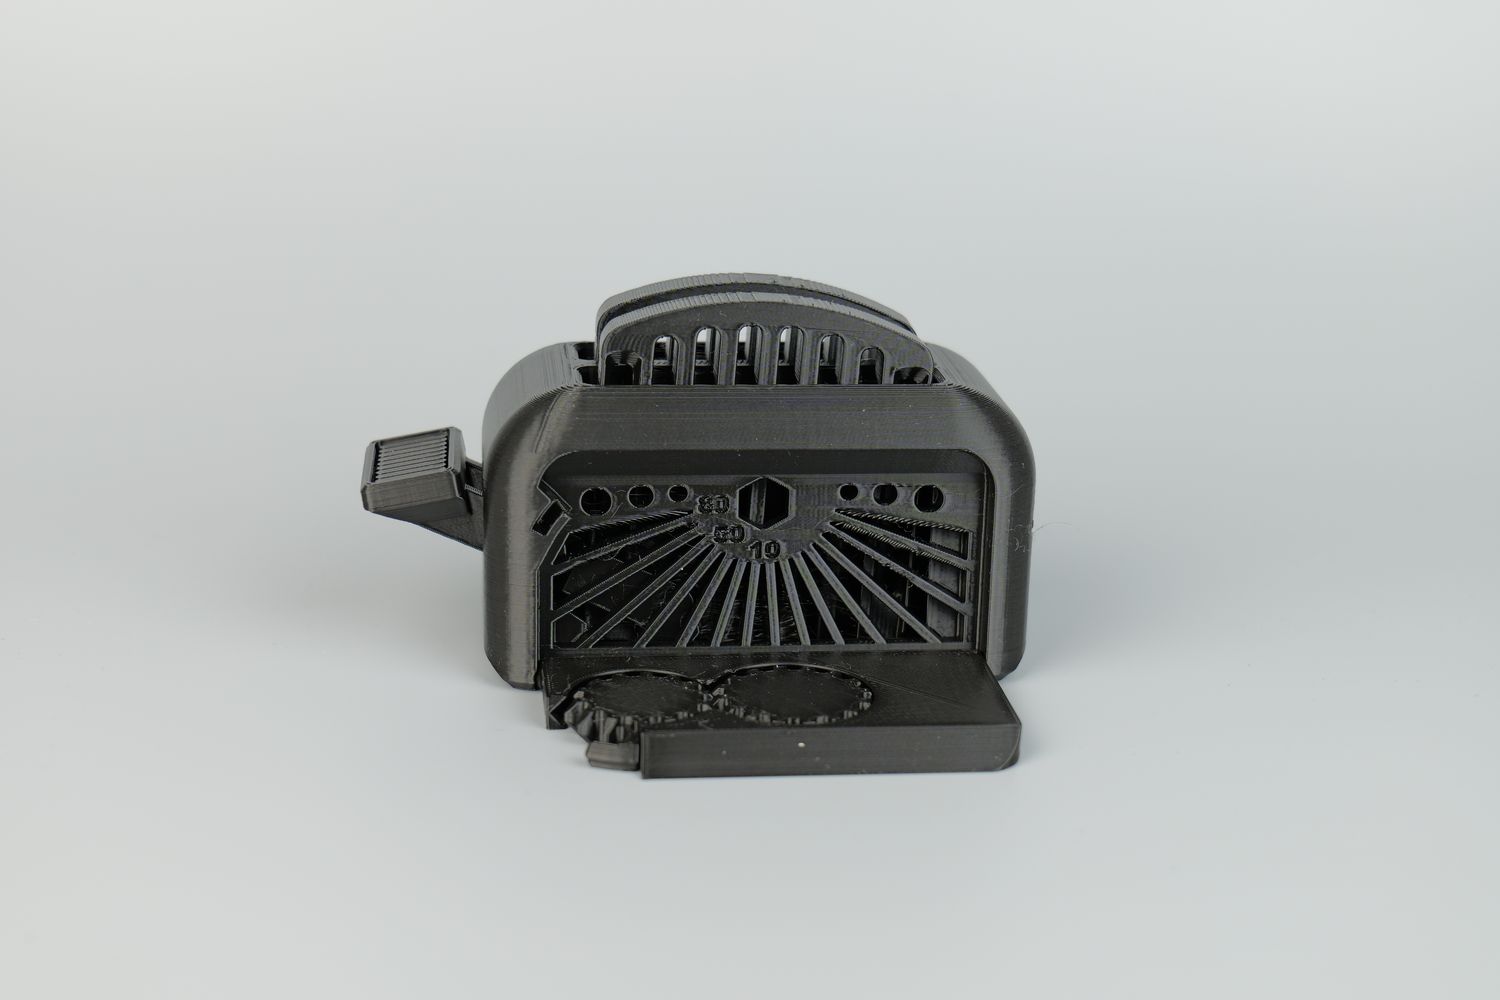
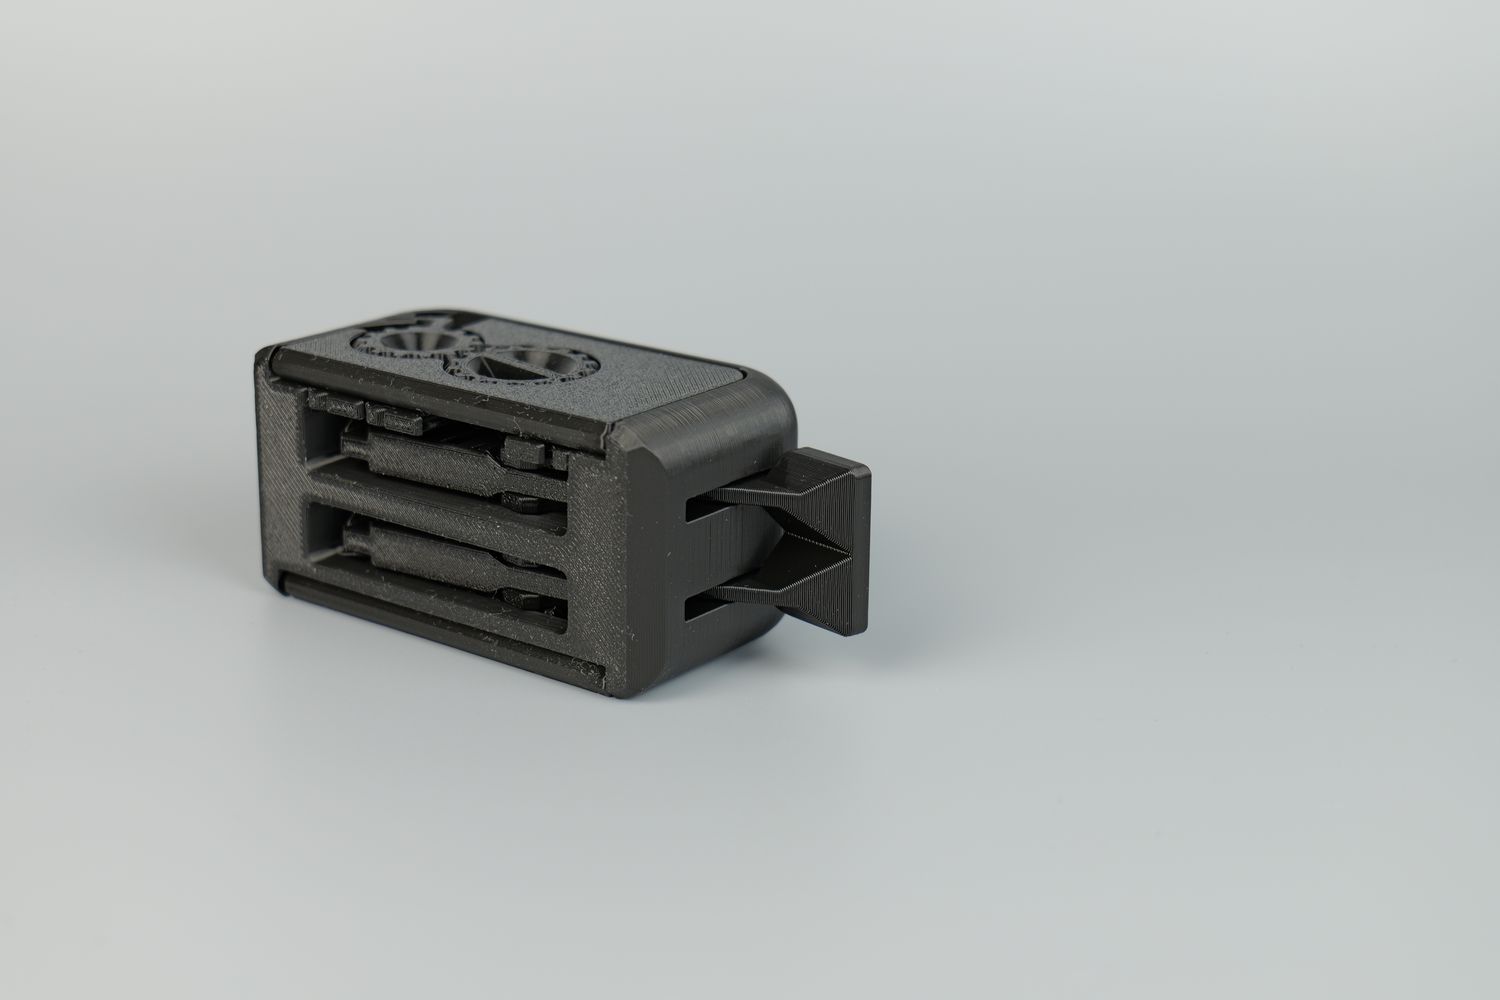
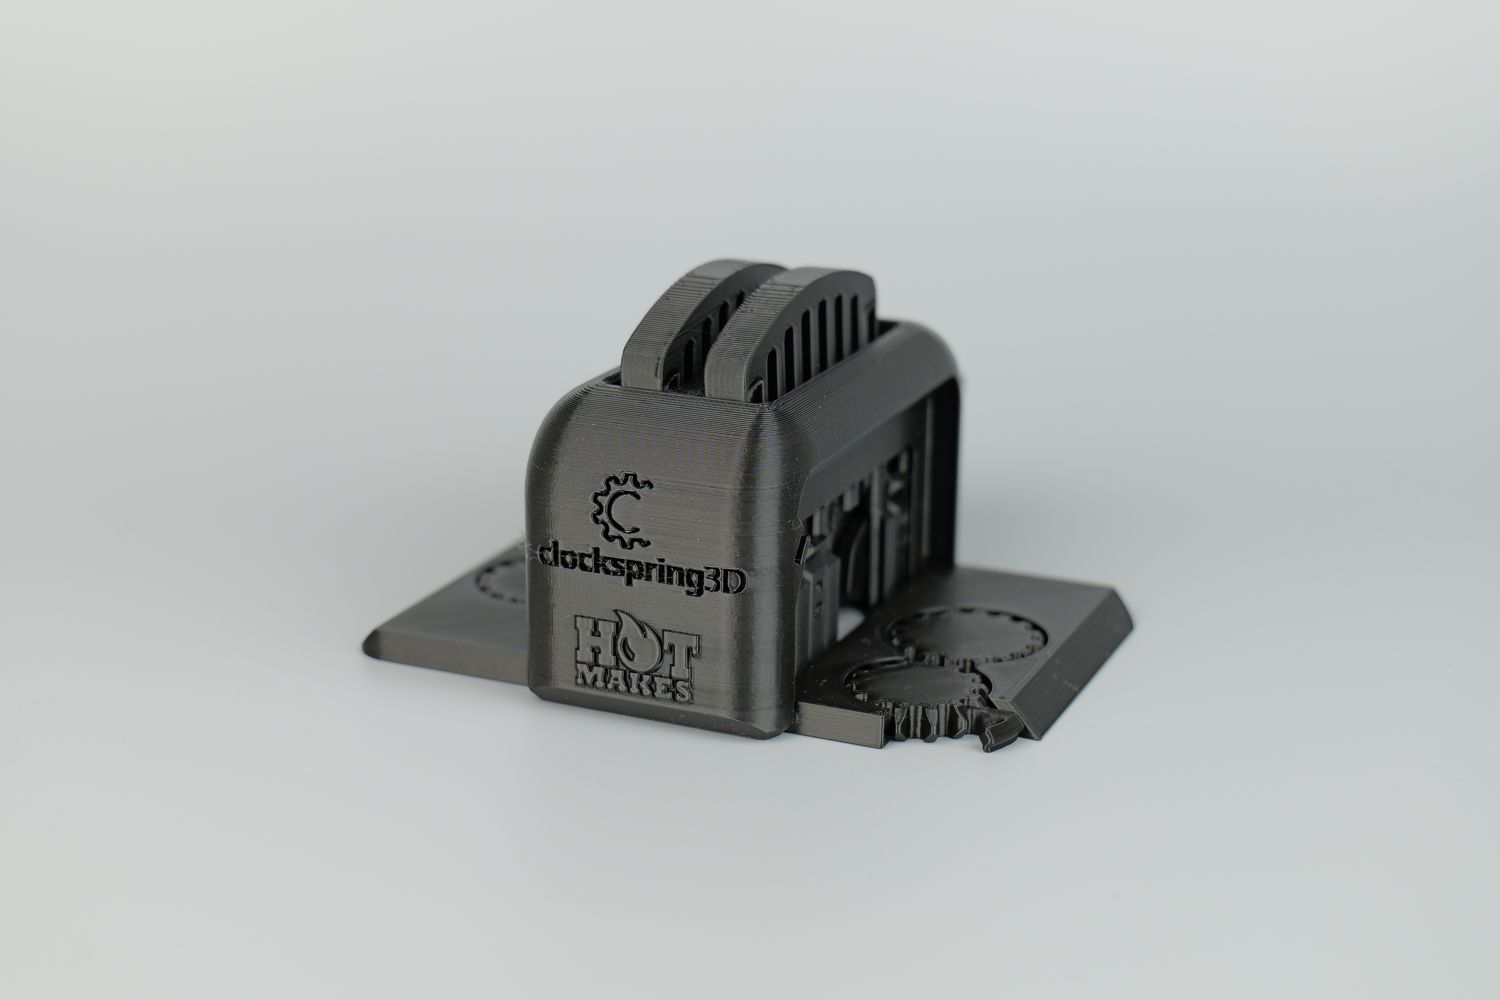
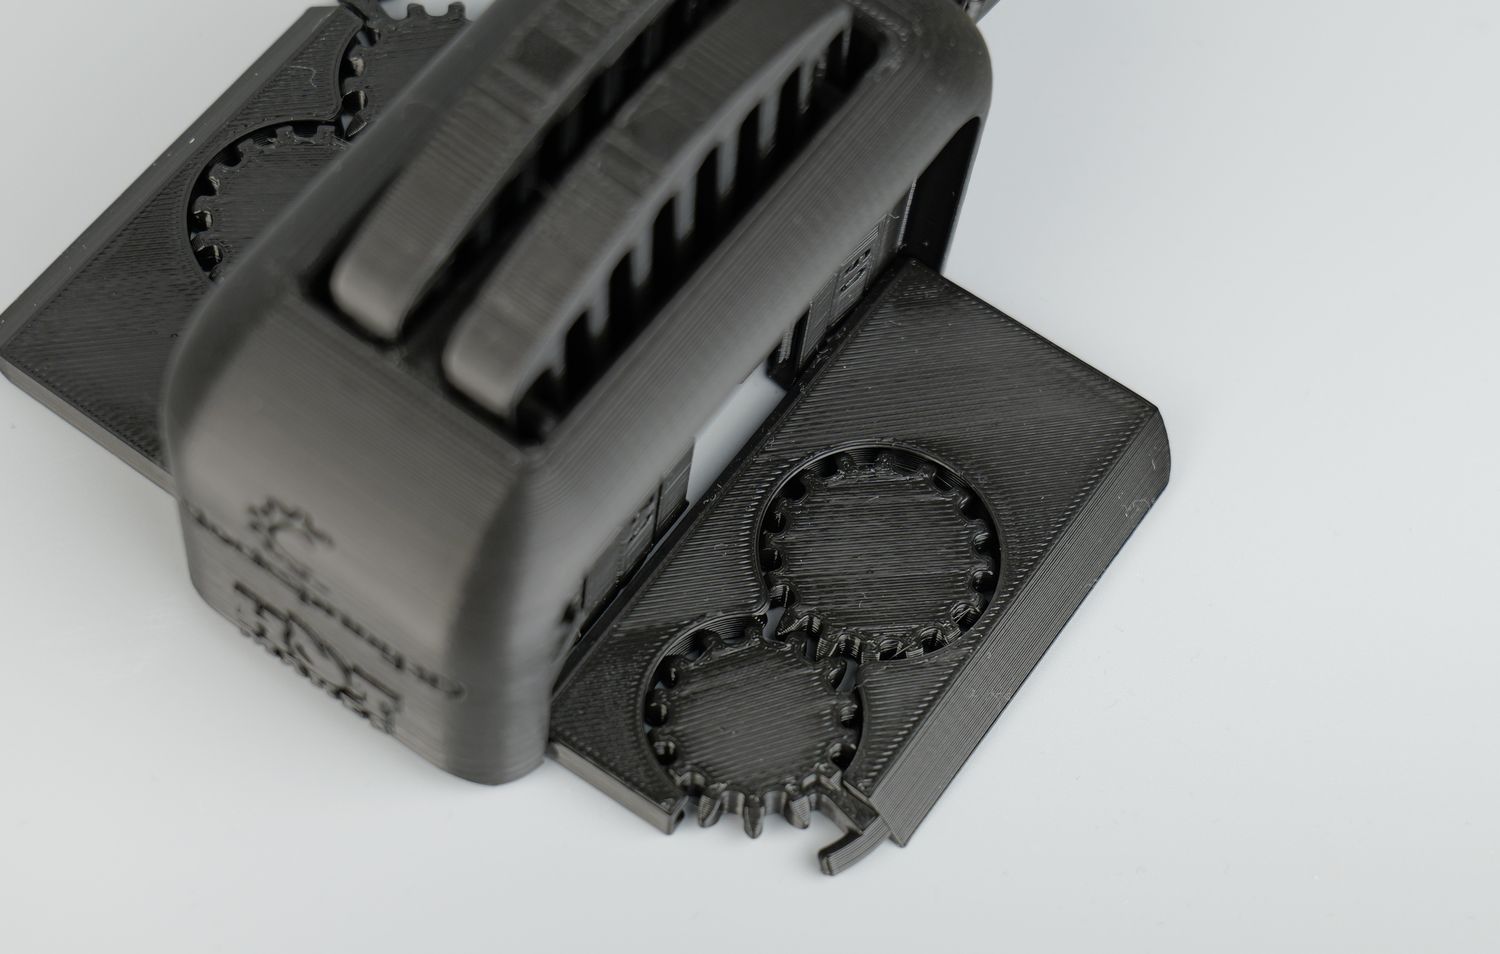
You can move all the flags up to 0.3 mm which is pretty respectable, and I think you can reach a 0.2 mm tolerance if you fine-tune the filament profile a bit.
Other than that, the overhang quality is good, and all of the moving parts work as expected. The top layers on the print look a bit bad, but that’s just because of the filament proprieties, as the actual print finish is smooth.
- Material: QIDI Rapido PLA
- Layer Height: 0.2mm
- Nozzle Temperature: 220C
- Bed Temperature: 60C
- Print Speed: ~250 mm/s
Flexi Fox
I printed the Flexi Fox I usually print to test the PETG performance of the machine. I scaled it up to take the entire heatbed size and started the print.
After about 10 hours, the model was finished, and as you can see the results are quite good. There is some inconsistency in the wall print quality, but nothing significant in my opinion.
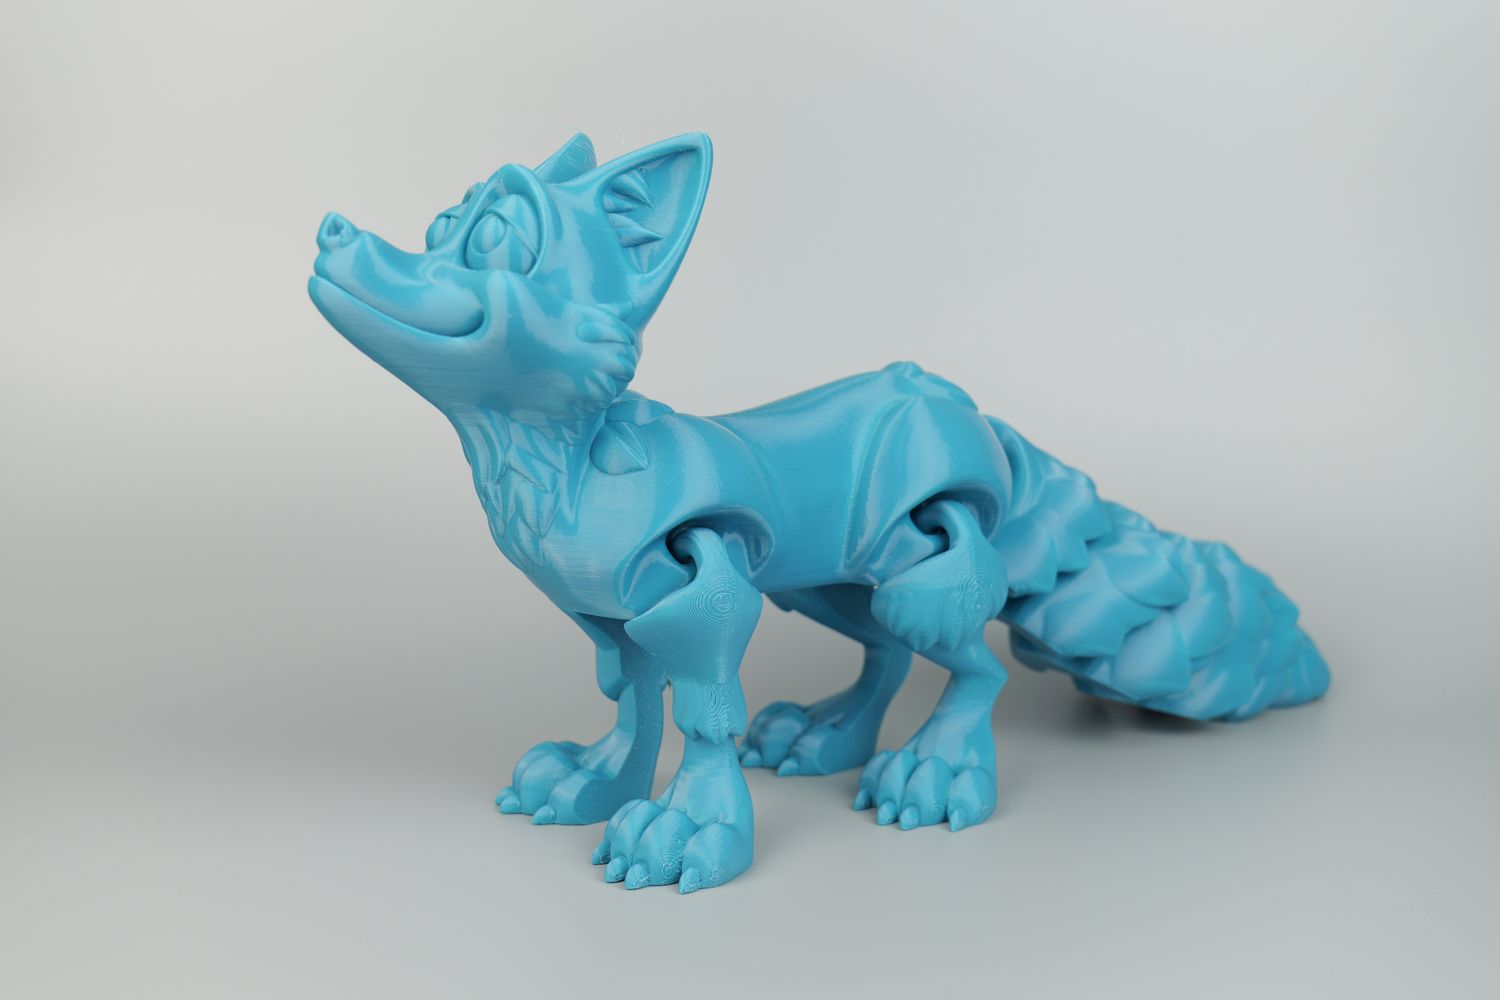
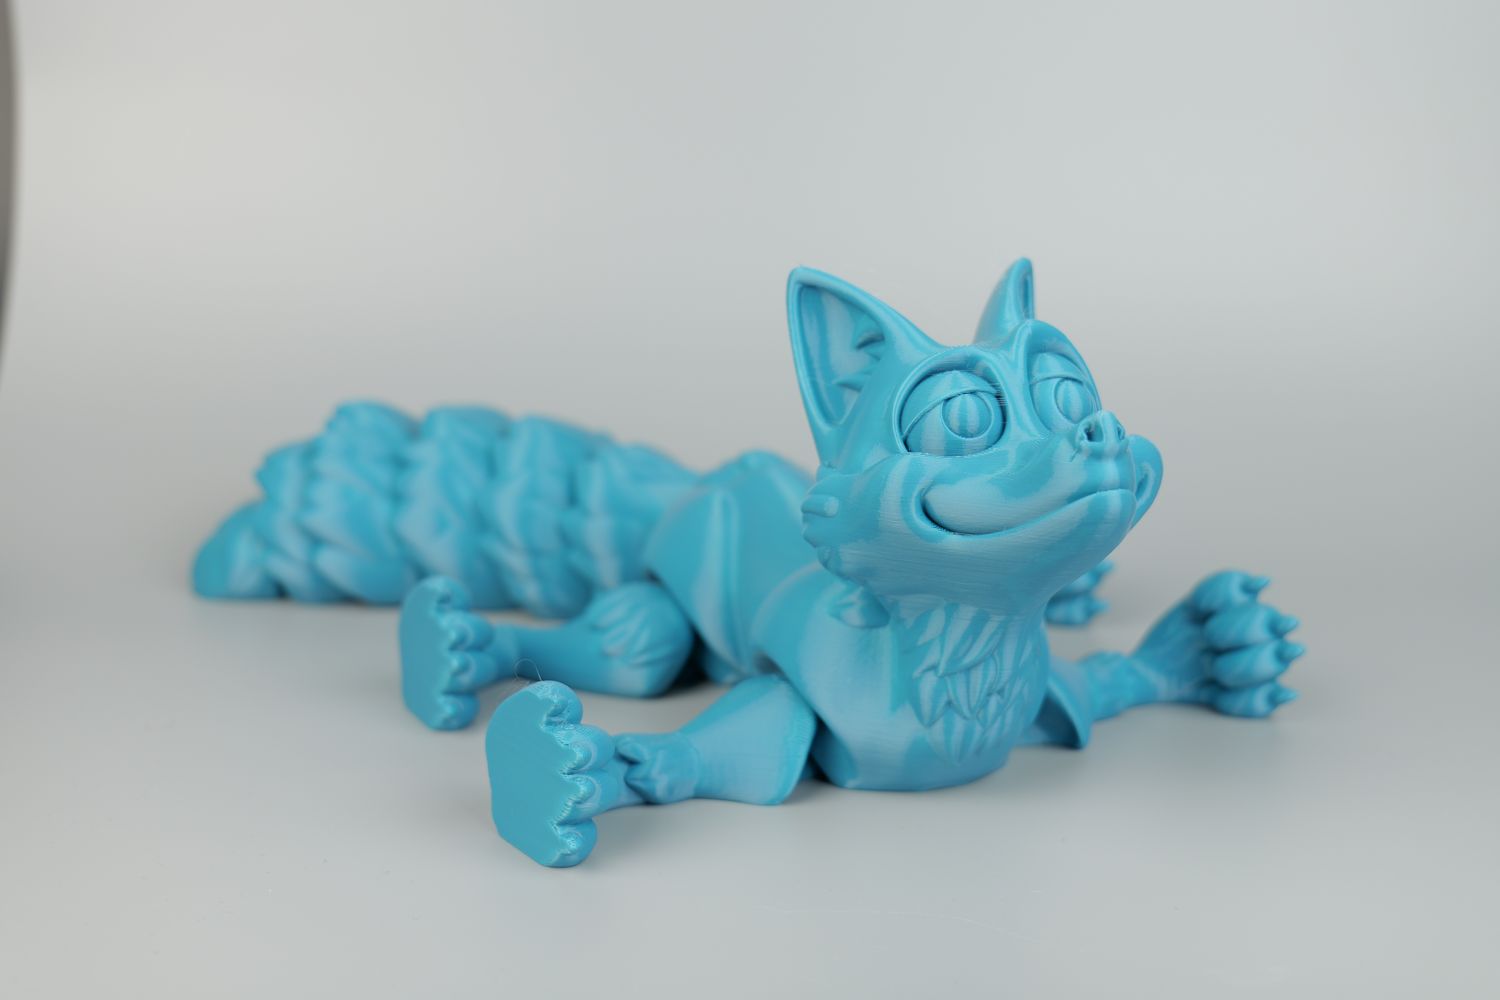
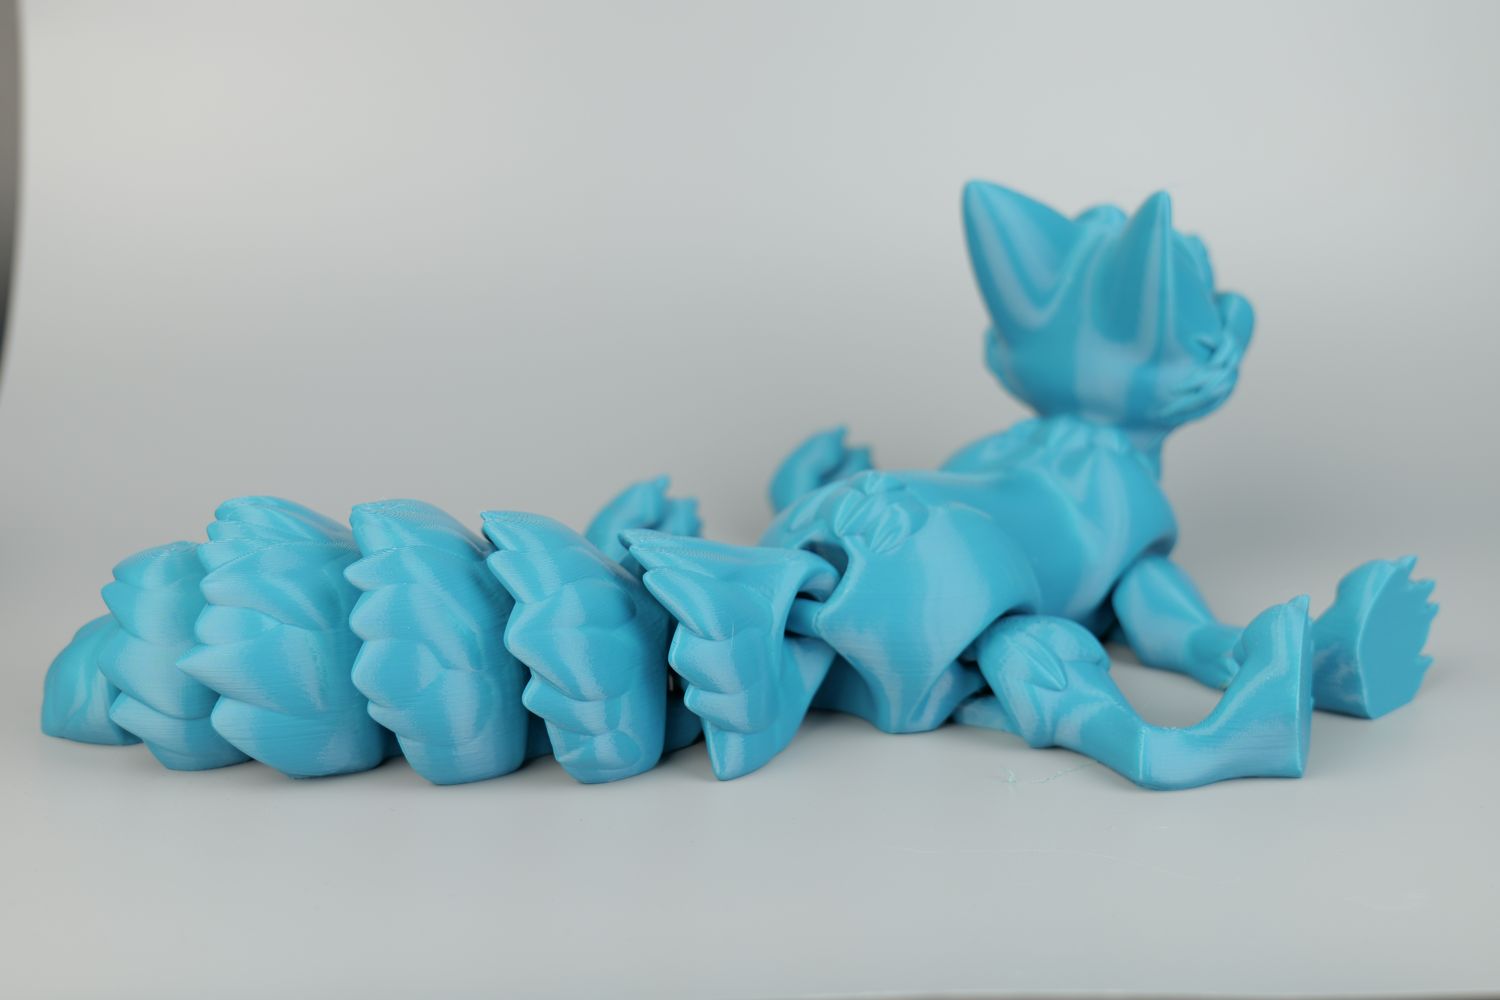
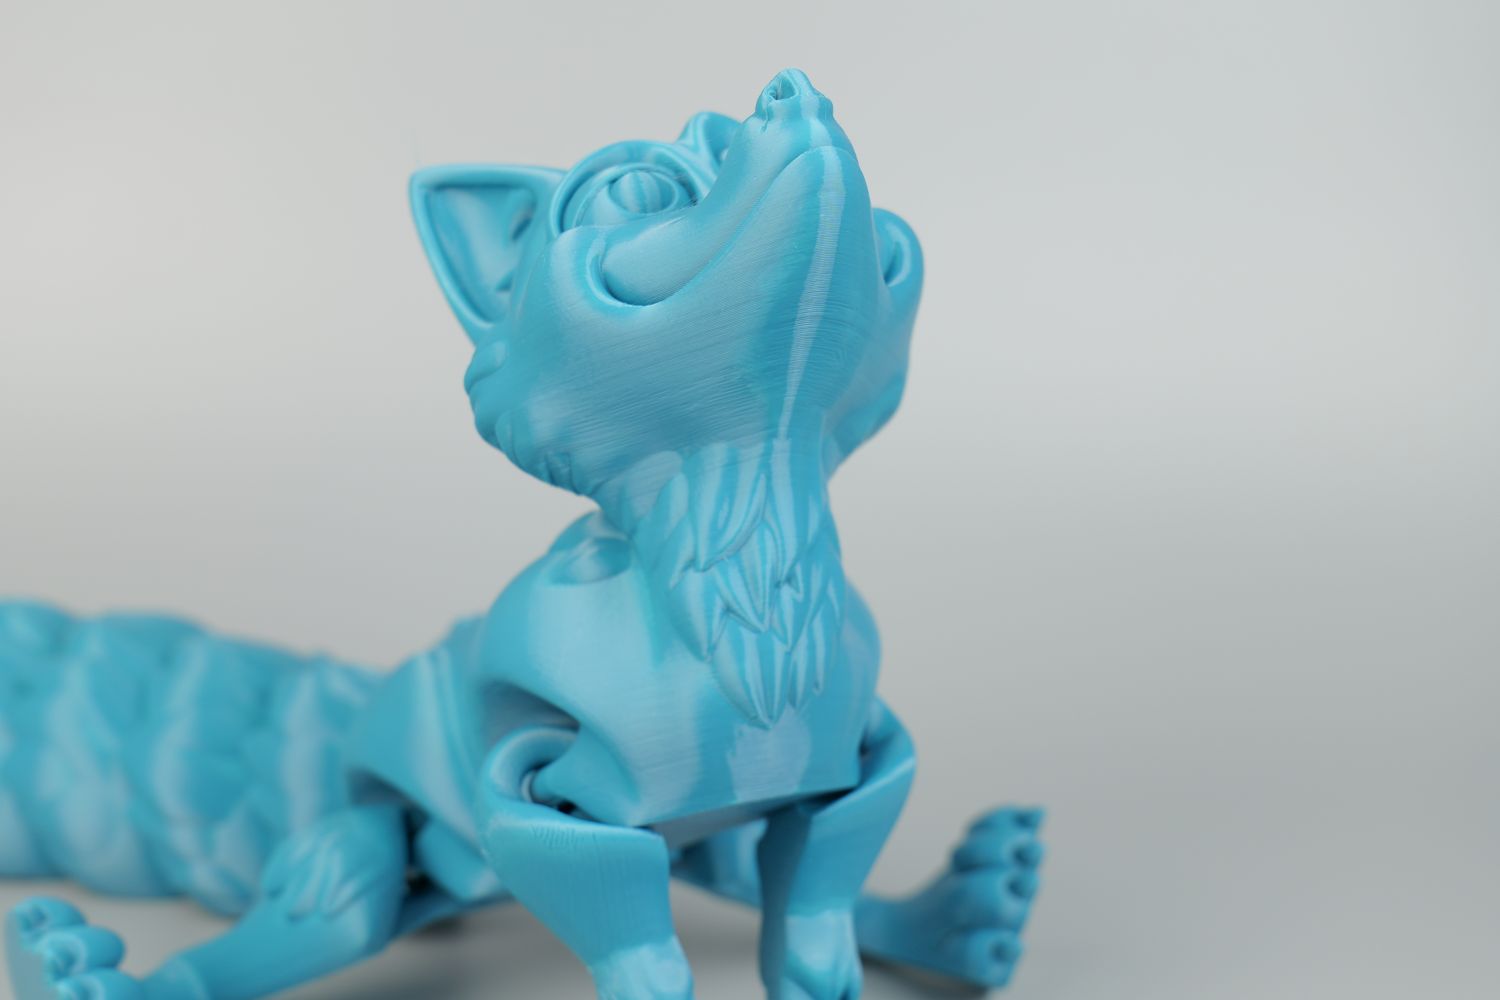
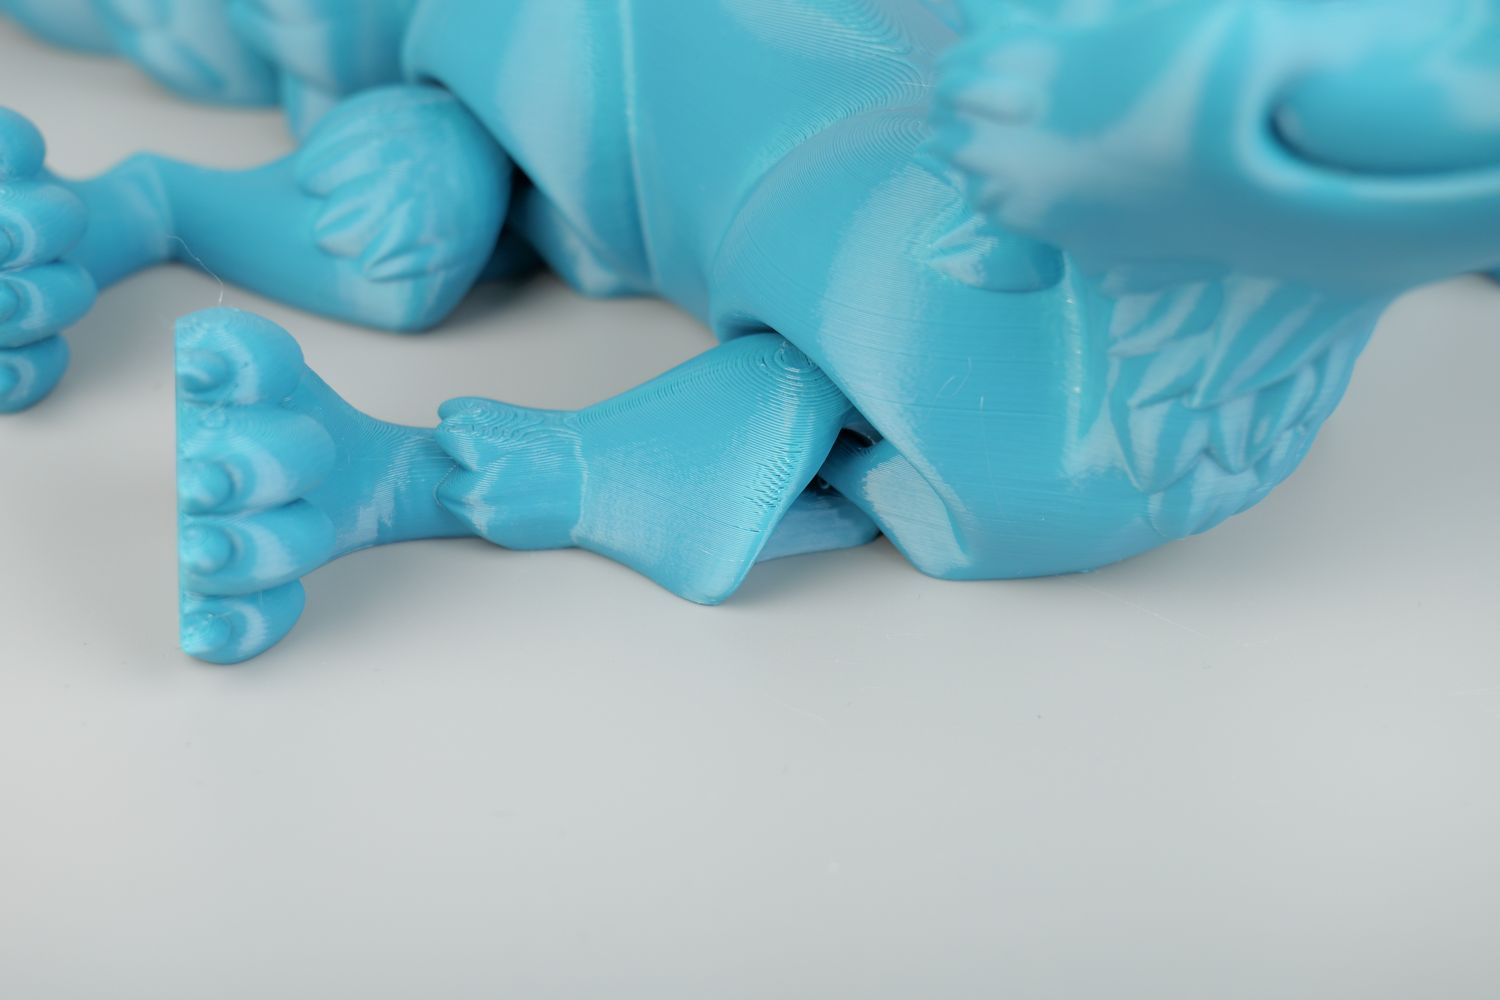
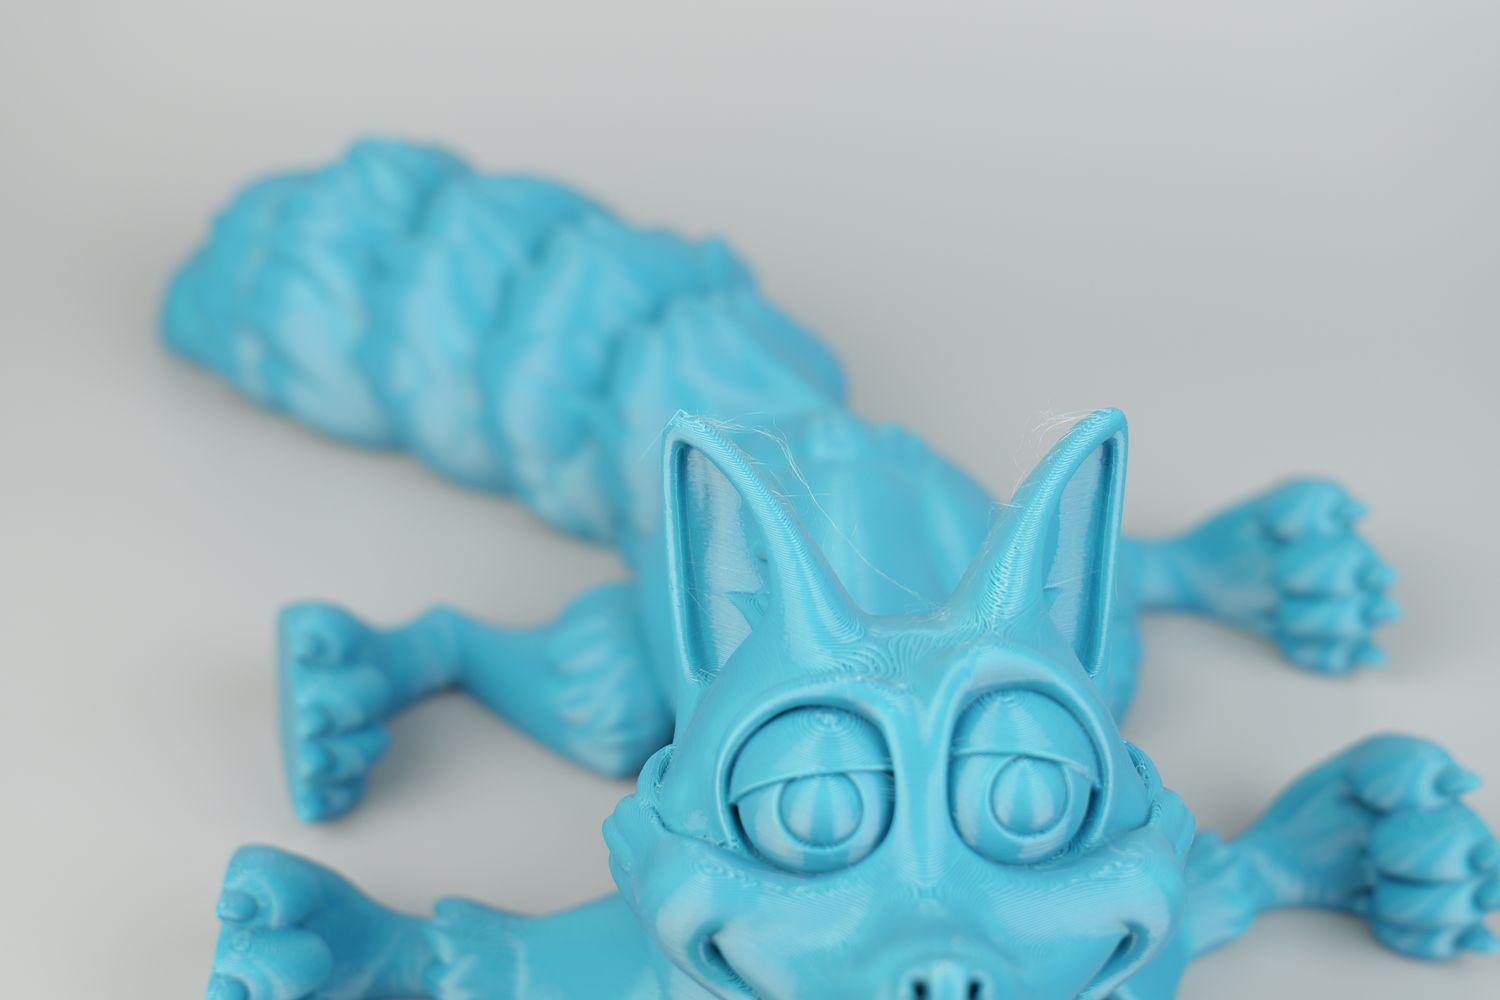
On the other hand, there are some small issues showing on the left paw of this fox, where I believe the under-extrusion shows because of a higher-than-needed pressure advance value (I used the default one for the PETG profile)
- Material: Devil Design PETG
- Layer Height: 0.16mm
- Nozzle Temperature: 250C
- Bed Temperature: 80C
- Print Speed: ~250 mm/s
Rugged Box
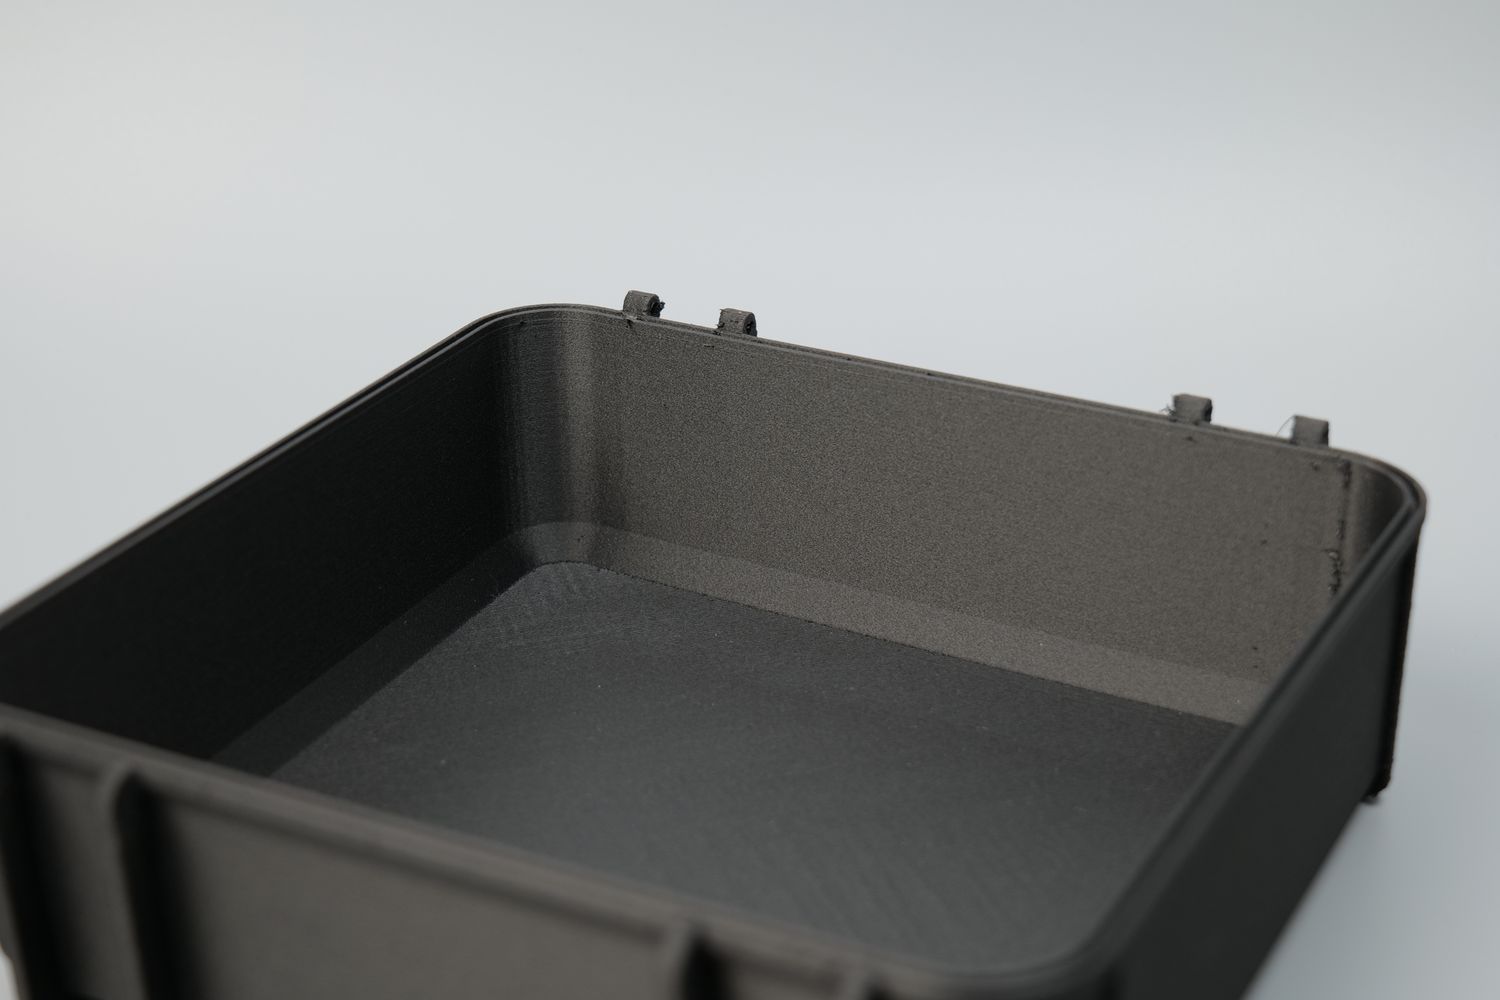
To test how well the QIDI X-MAX 3 can print higher-temperature materials, I printed this Rugged Box in FilamentOne ASA. My mistake was to print it without drying it before, and considering that it was out of its bag for a couple of years, it can explain some of the quality issues that can be seen on the external finish of the model.
It was printed with the default ABS profile, and with the chamber heater unit set to 55C. There were no adhesion issues and overall the print quality is great. I would blame the small blemishes on the filament quality
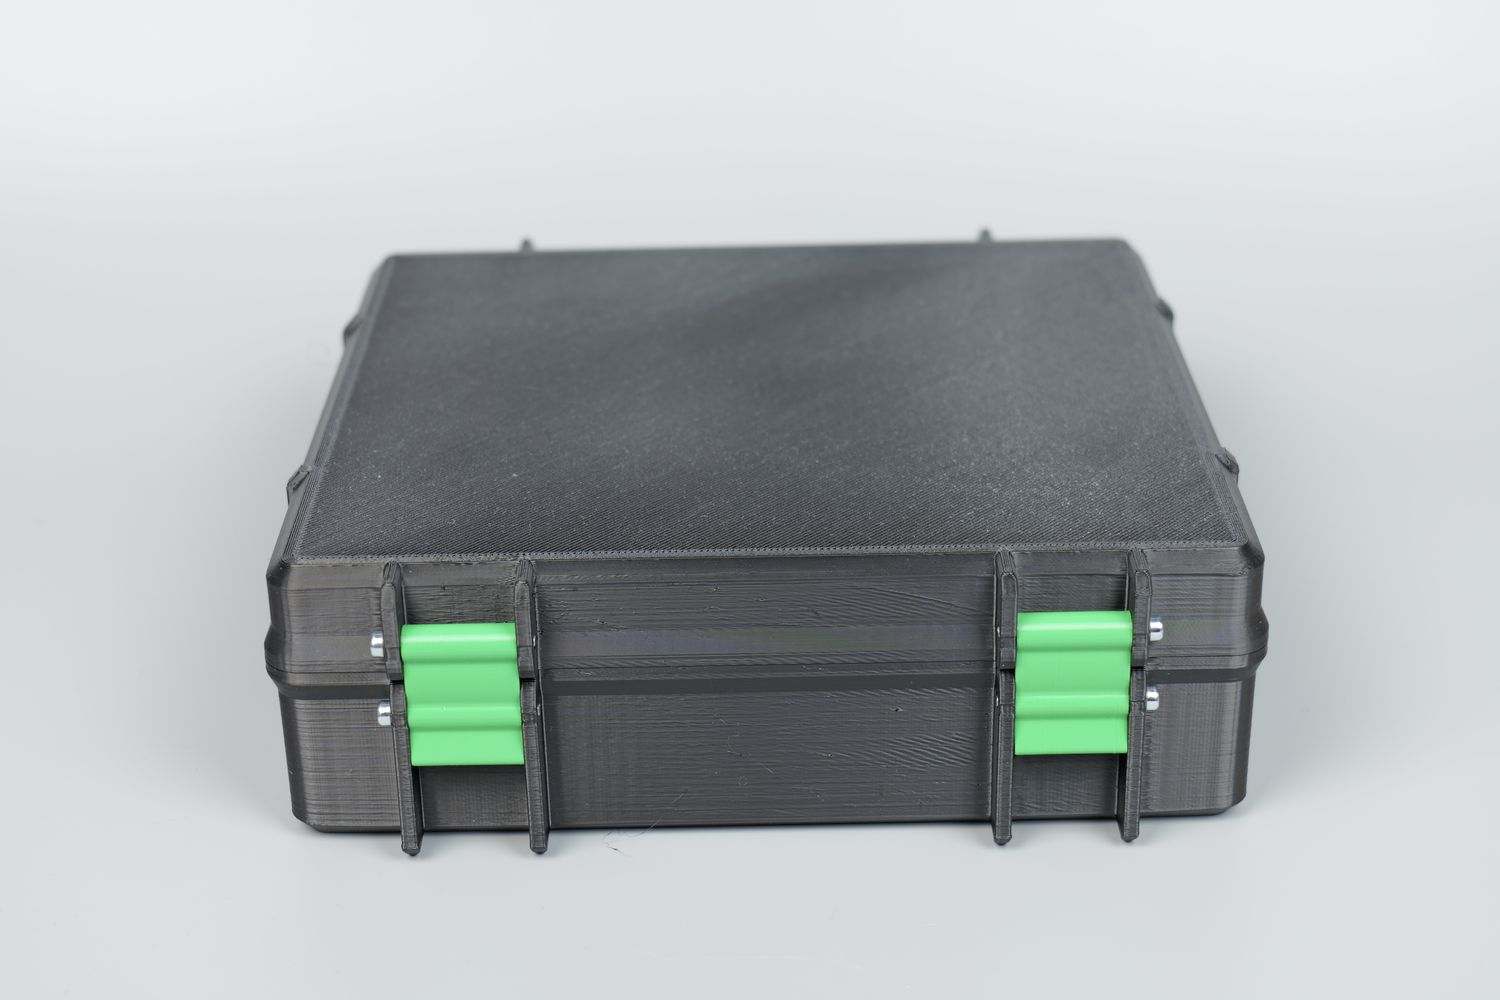
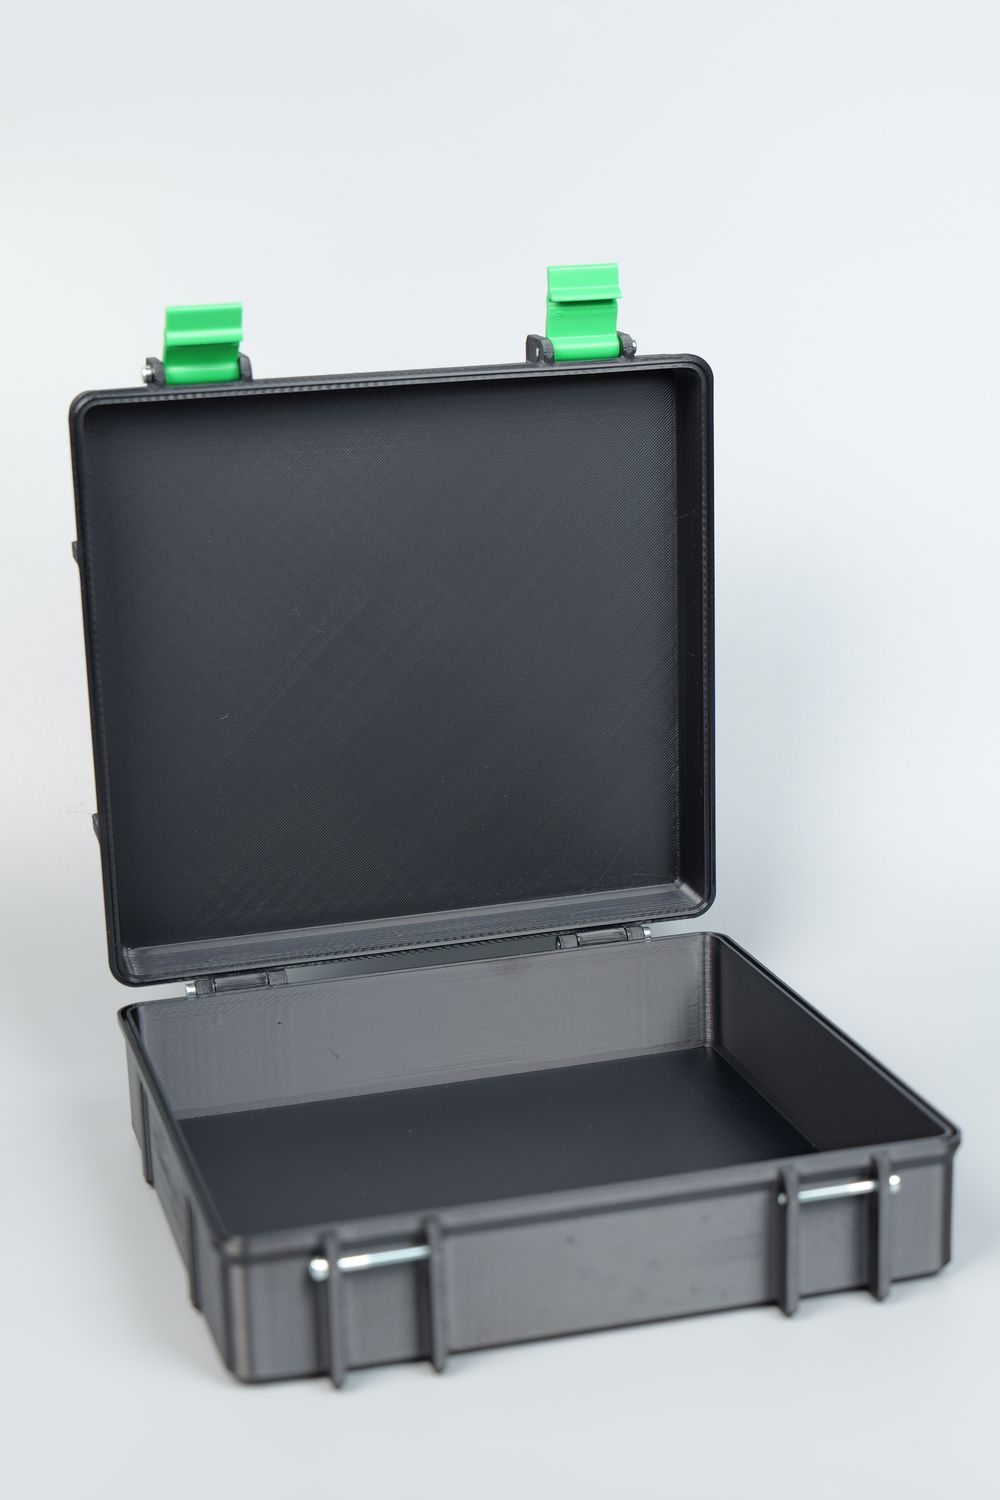
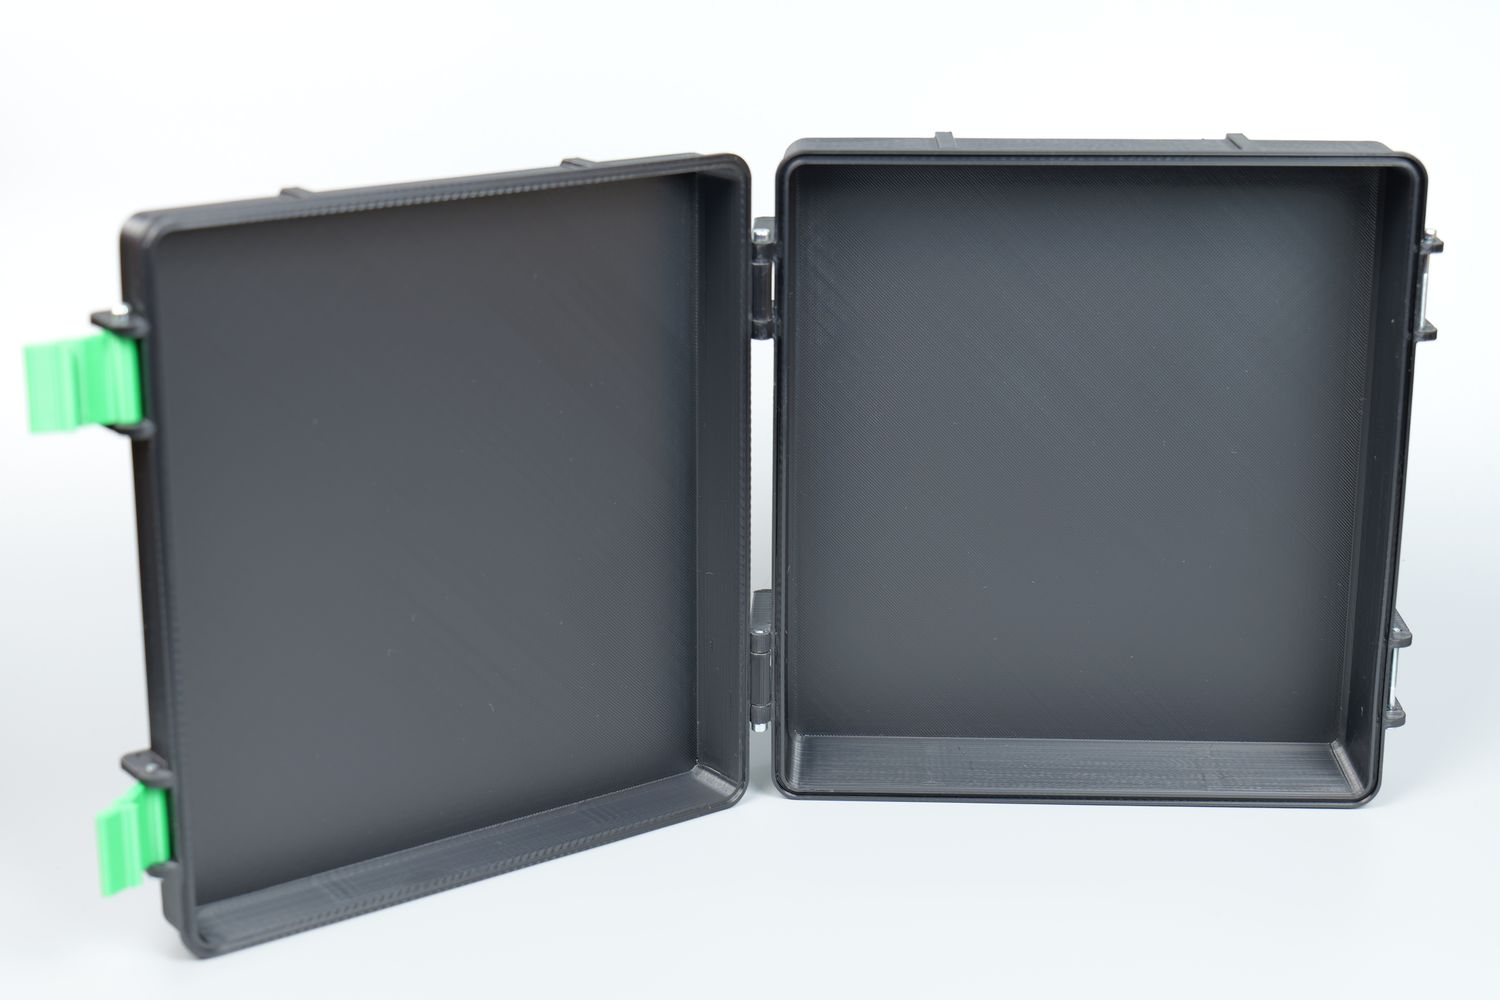
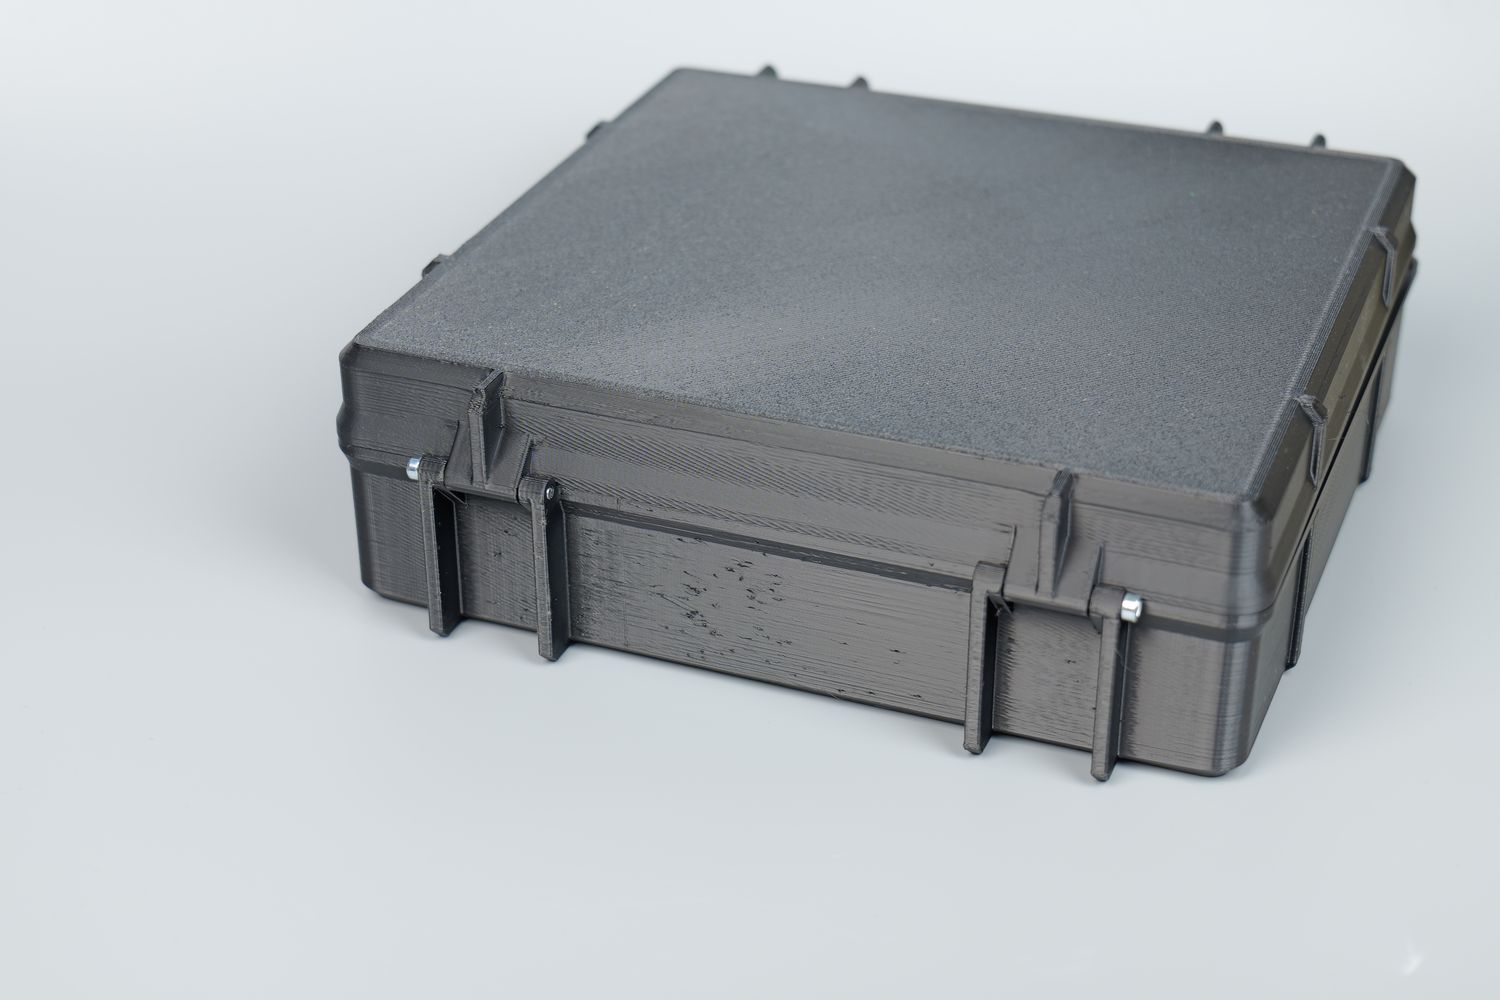
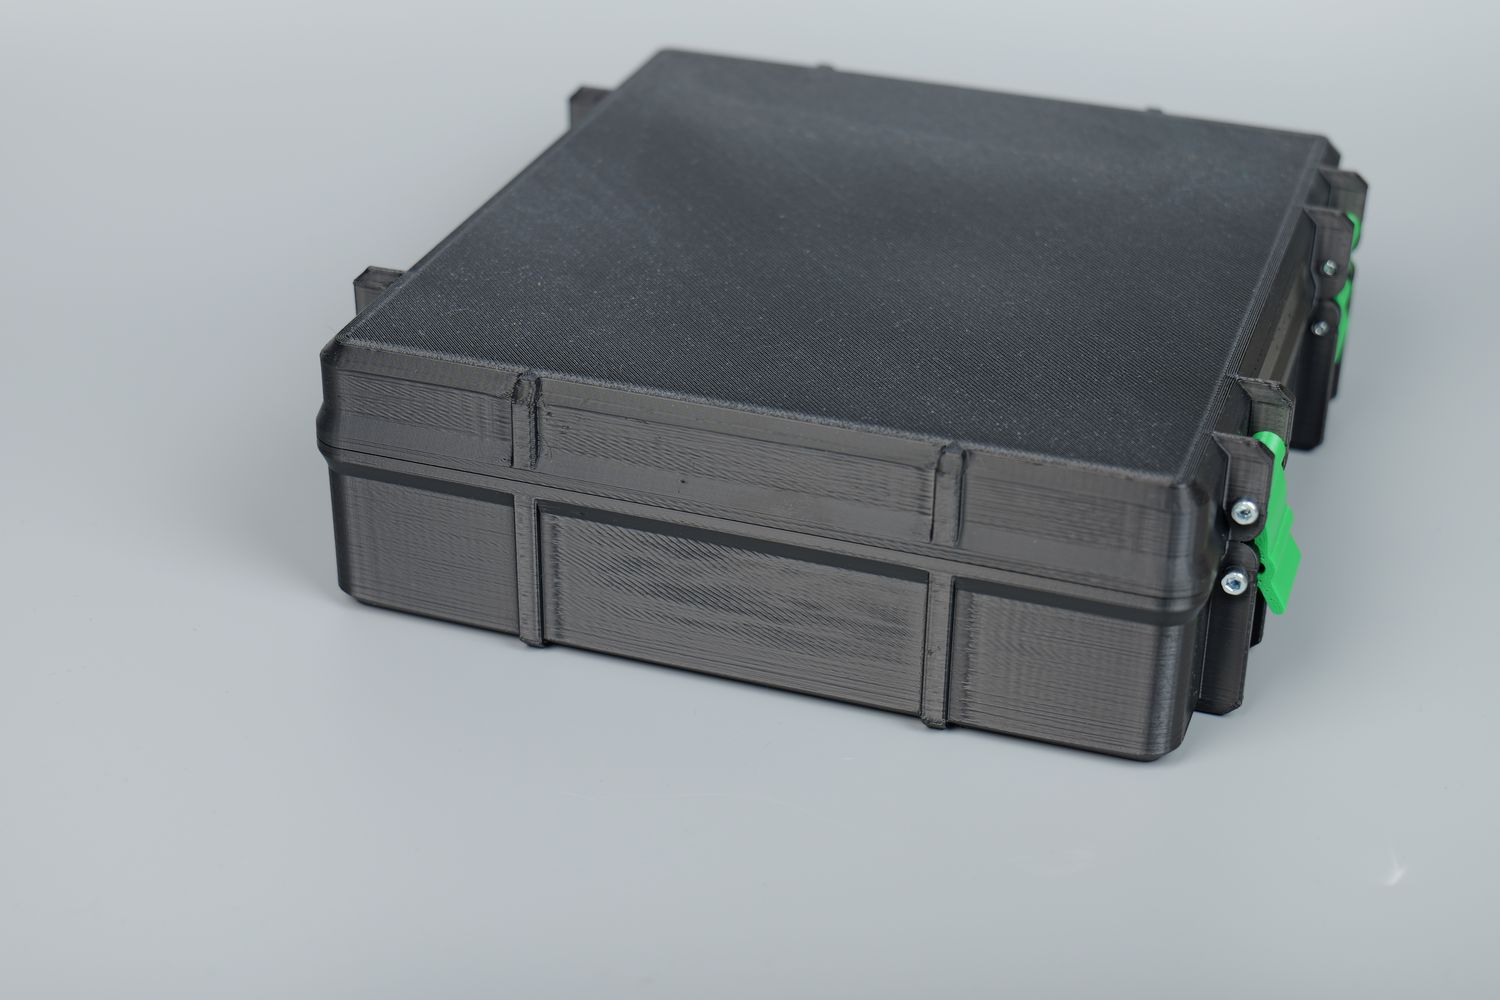
There’s also some inconsistent finish on the top and bottom sides of the box, but I believe that also could be related to a mistake from my side, where I did not clean the PEI plate as expected, before printing. Either way, I think it’s a respectable result.
- Material: FilamentOne ASA Black
- Layer Height: 0.2mm
- Nozzle Temperature: 260C
- Bed Temperature: 100C
- Print Speed: ~250 mm/s
A pirate and his rat
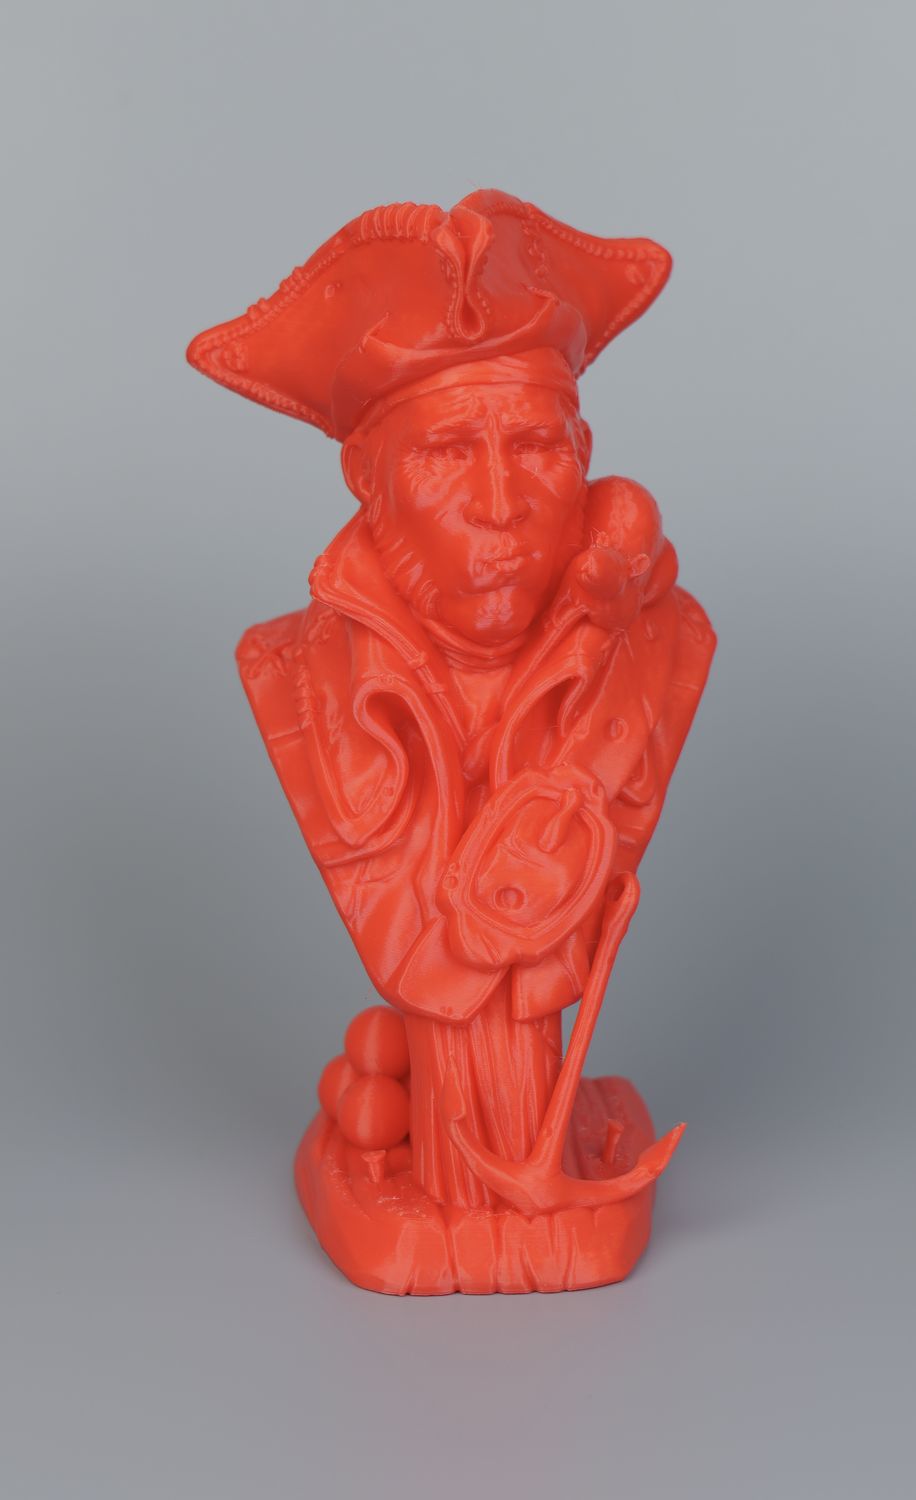
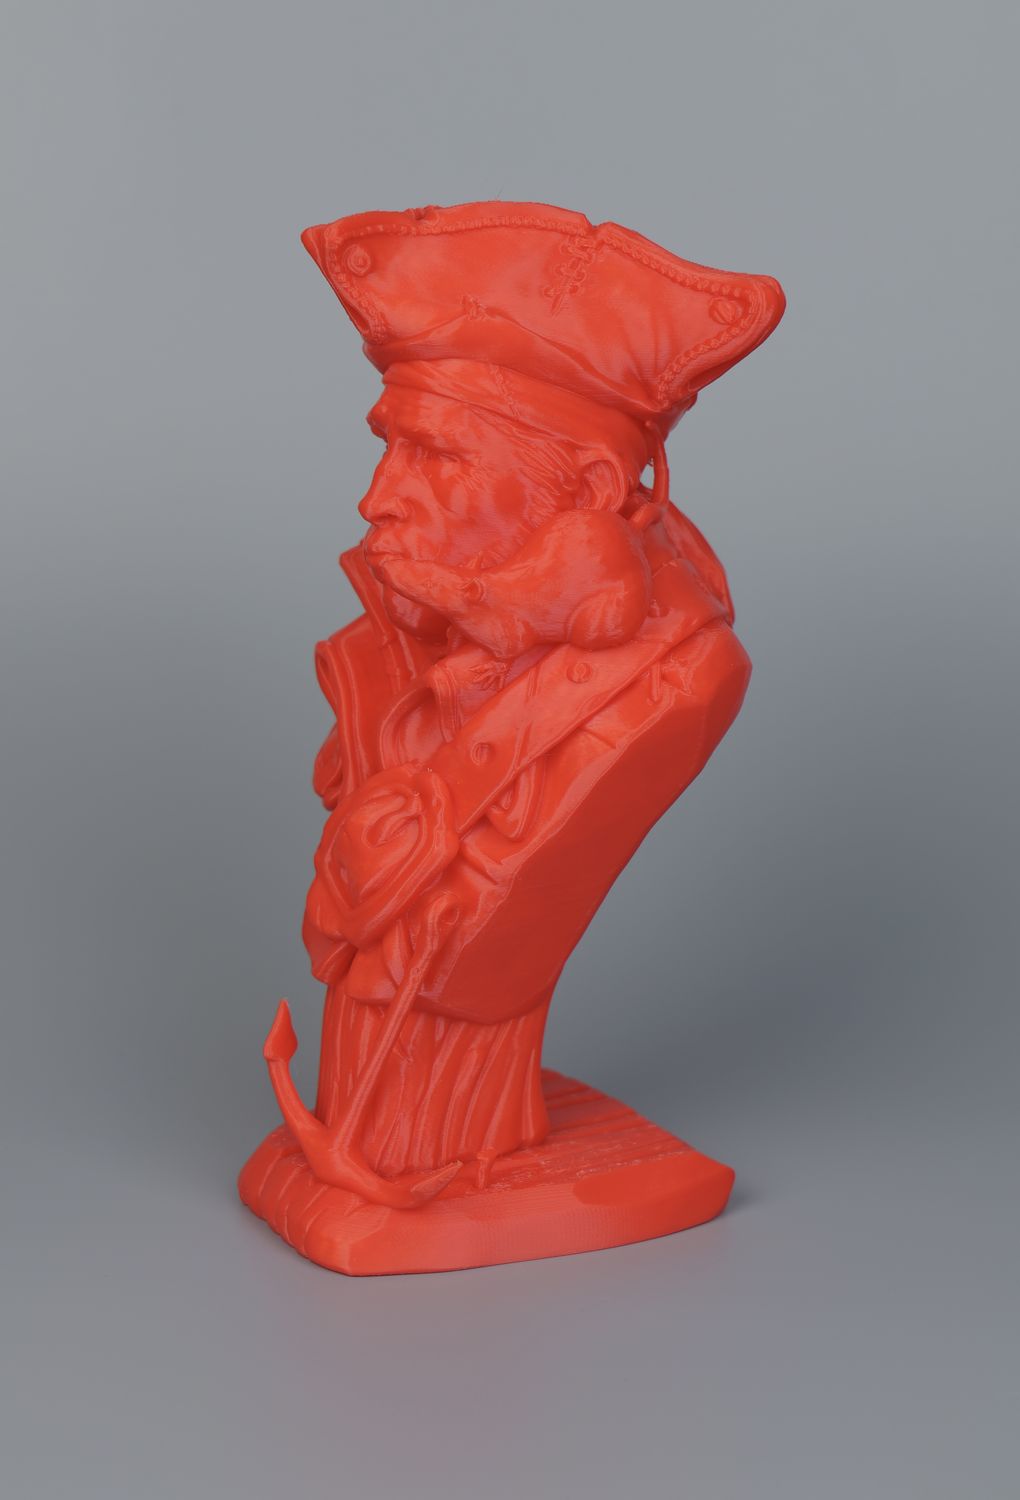
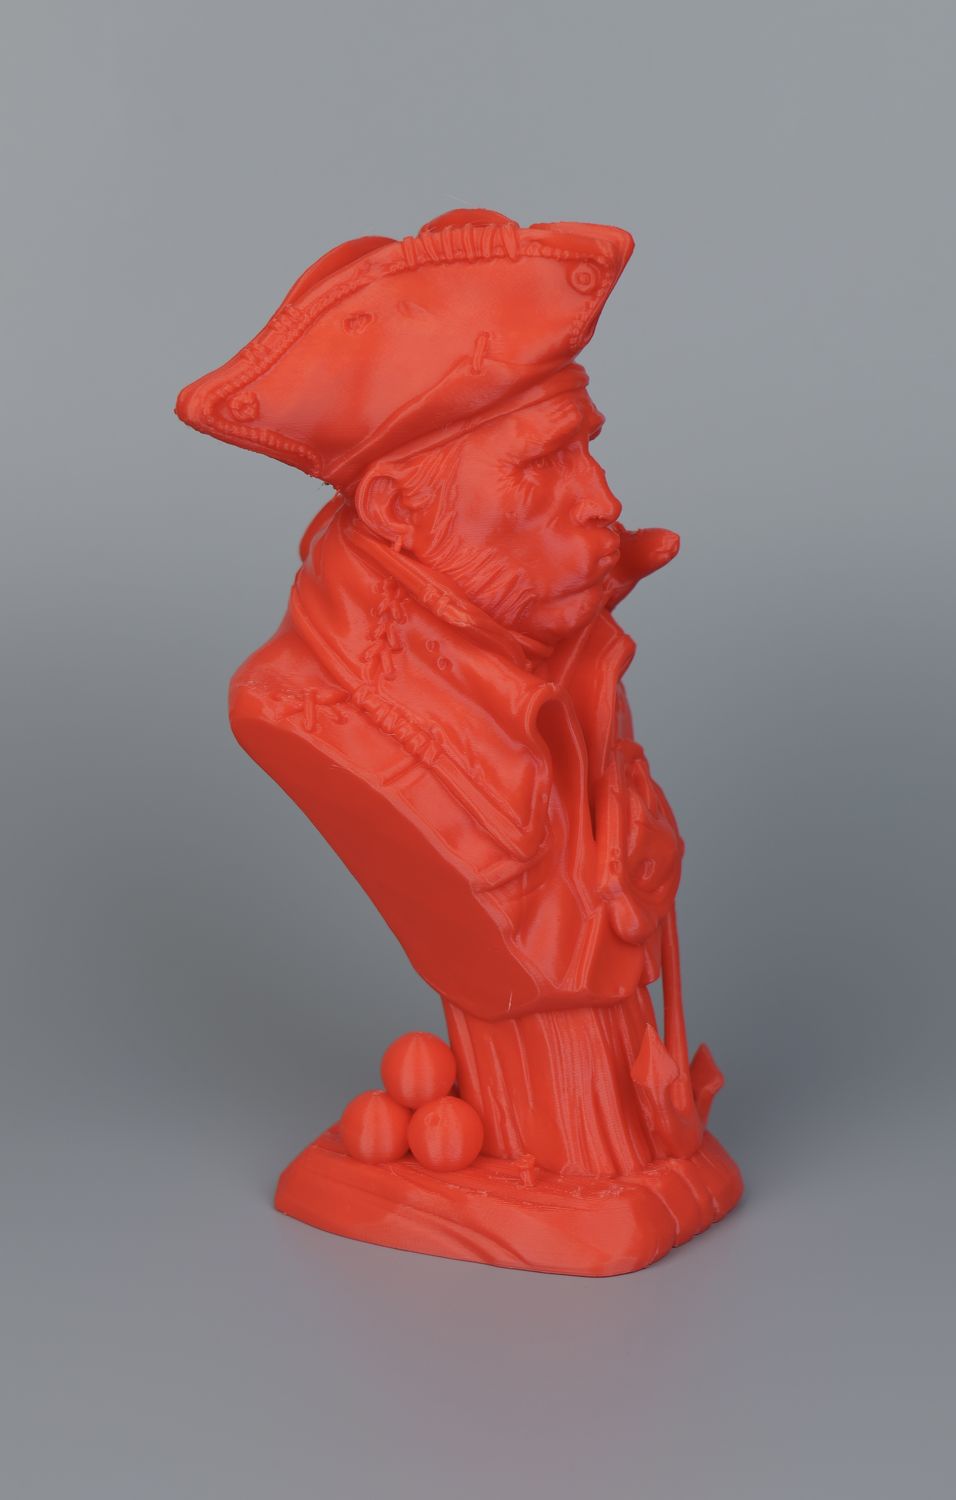
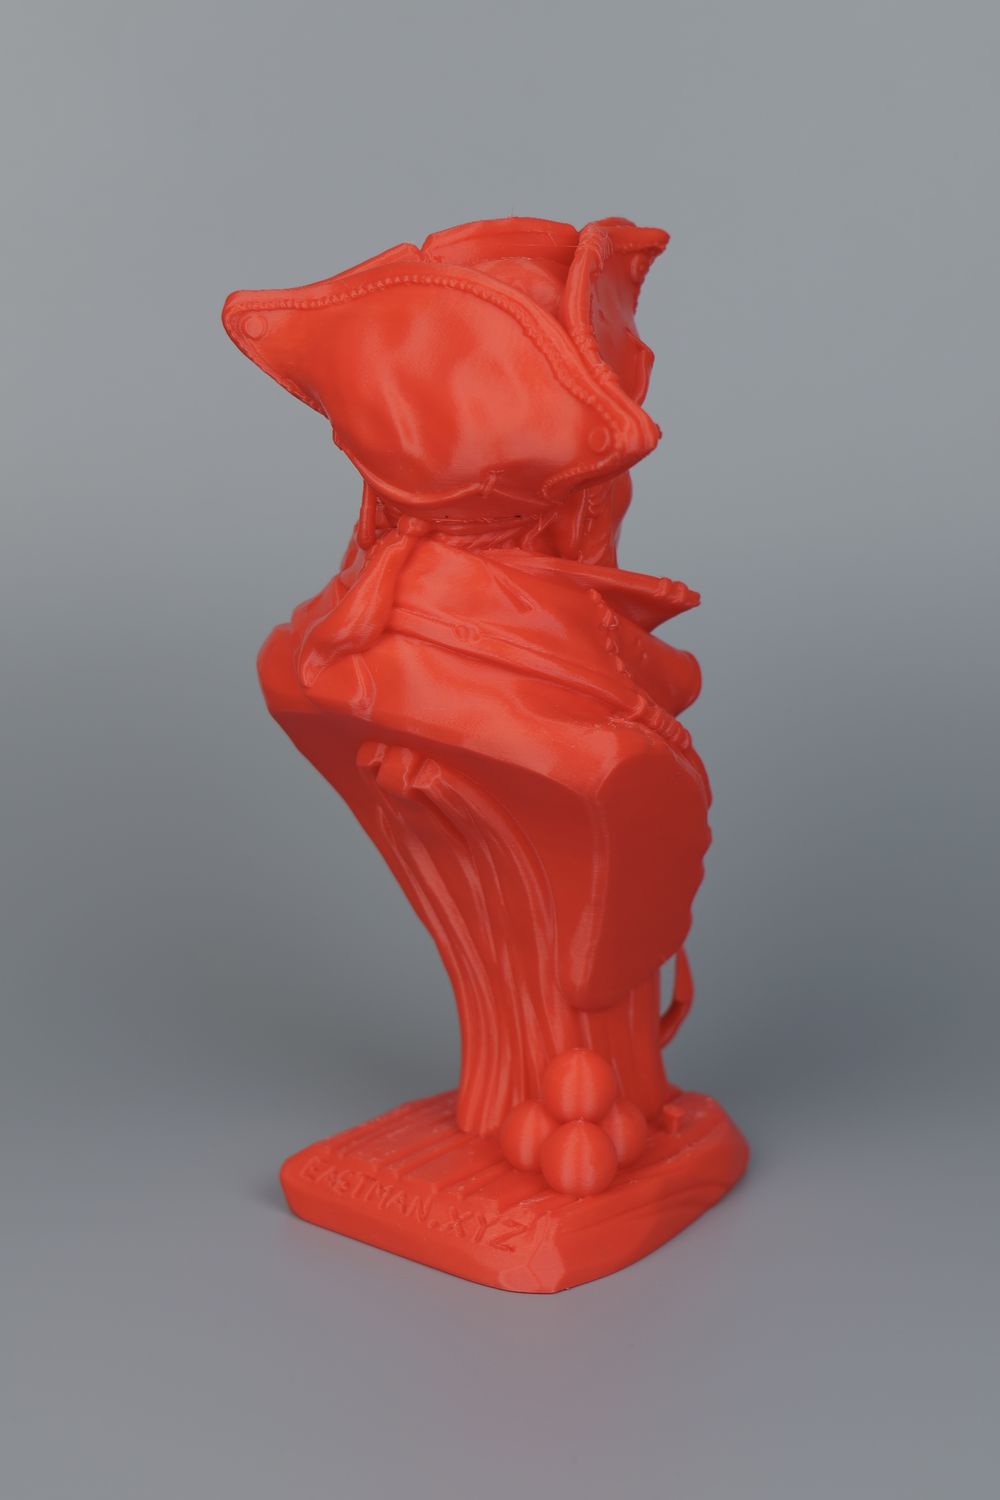
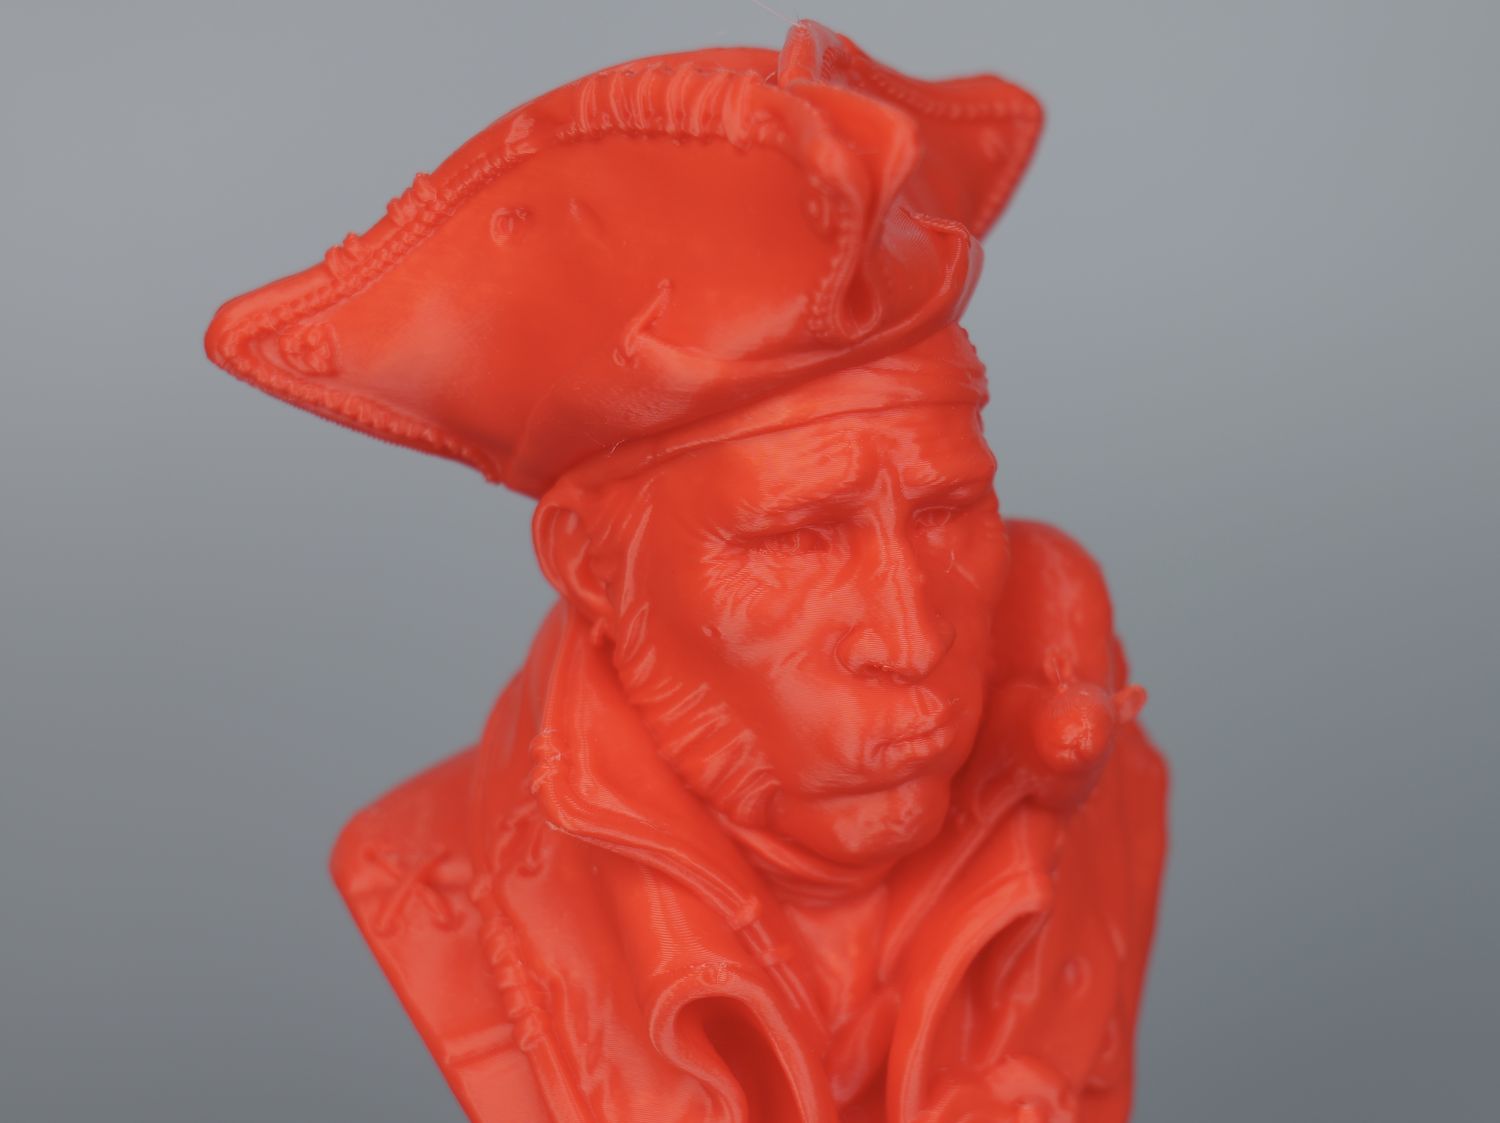
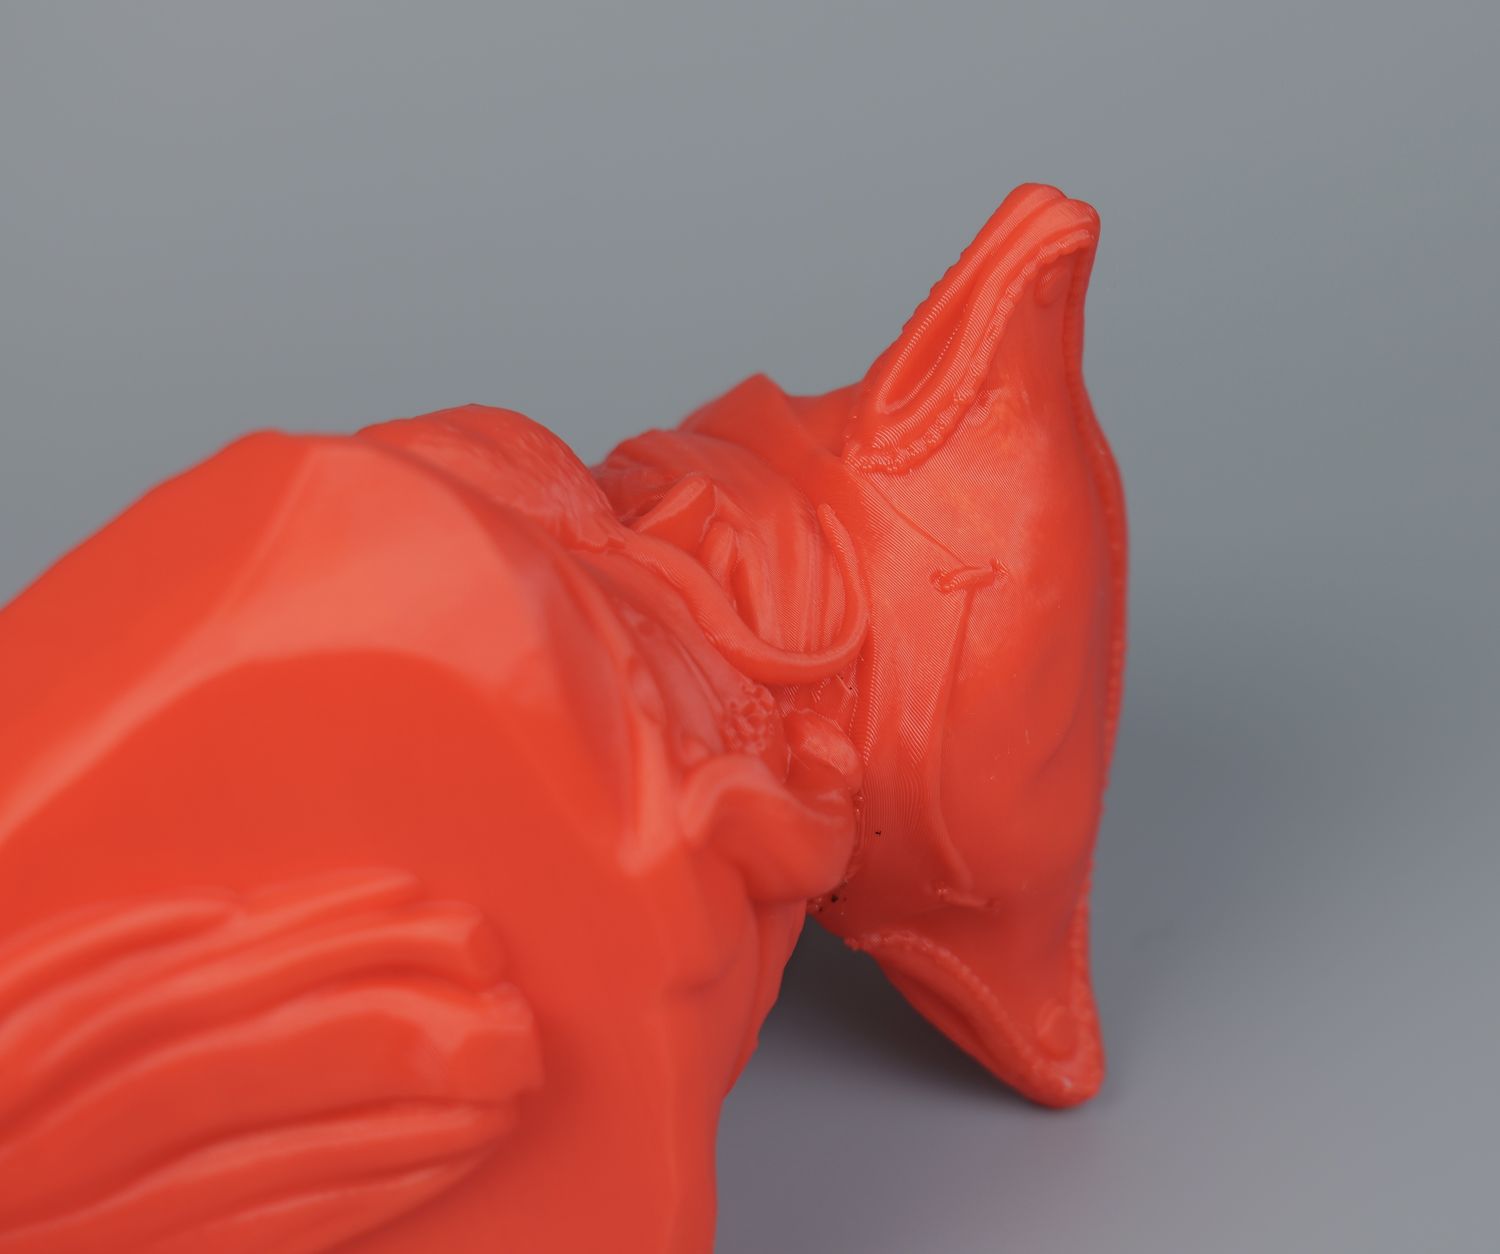
Another print I usually do on most of the printers I review is the pirate with his rat from Eastman. I printed this in a lower layer height, but using ABS and no chamber heater. The print quality results are excellent and I really can’t say there’s a fault to the model.
The QIDI X-MAX 3 was able to complete this model fast and with excellent quality, so I am quite happy with what I got.
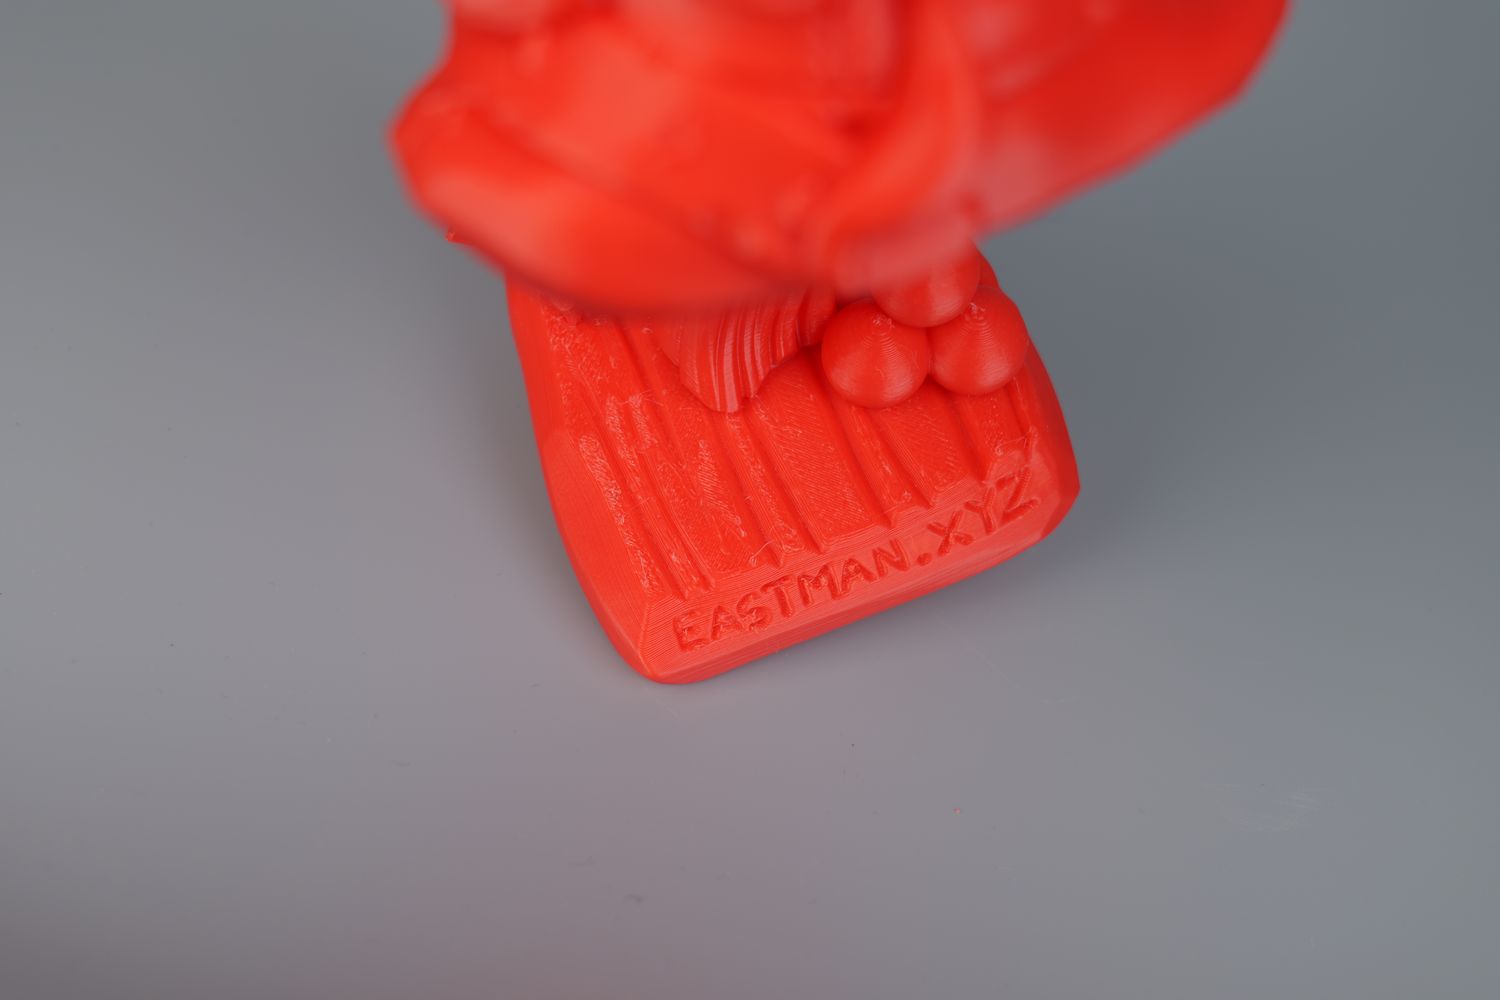
- Material: Generic ABS Black
- Layer Height: 0.16mm
- Nozzle Temperature: 250C
- Bed Temperature: 100C
- Print Speed: ~250 mm/s
Egg Pal
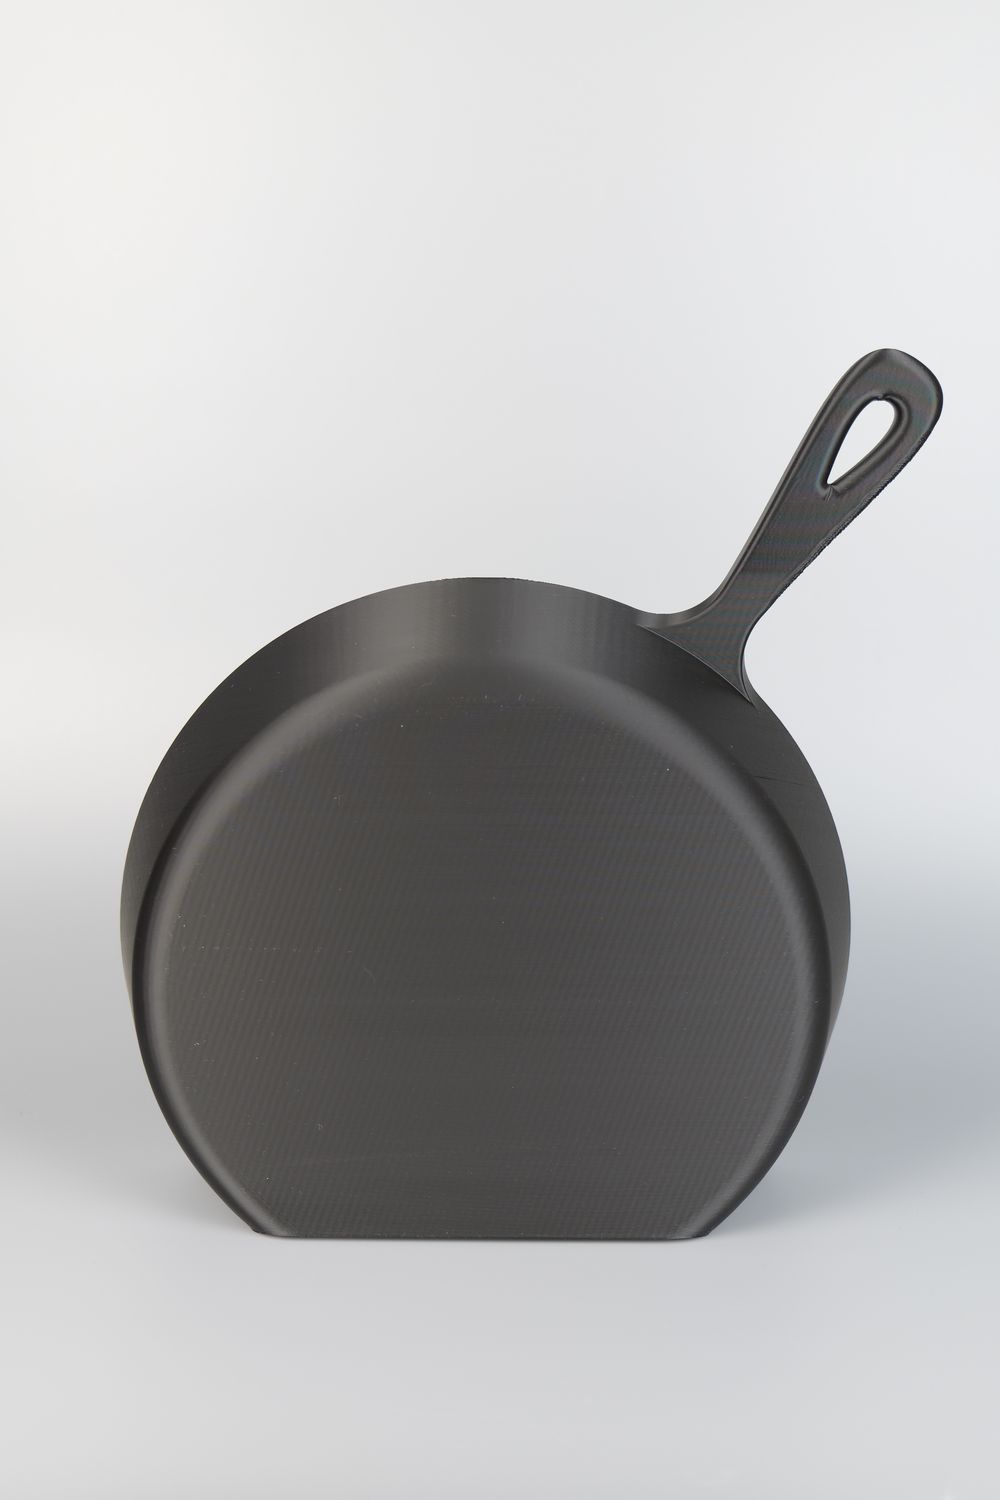
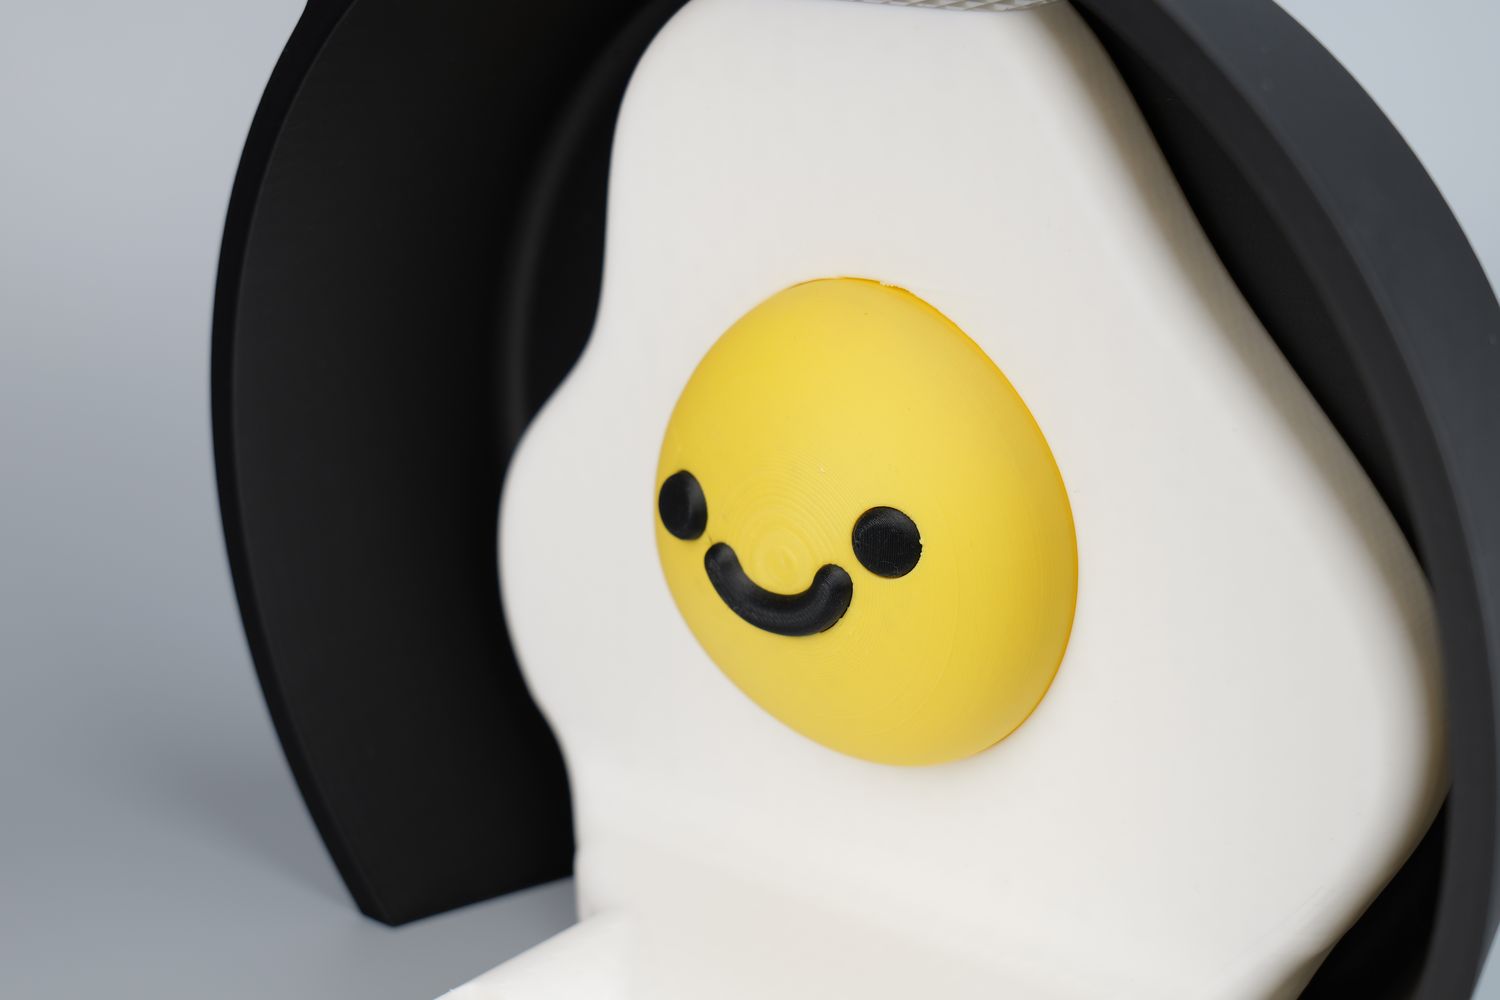
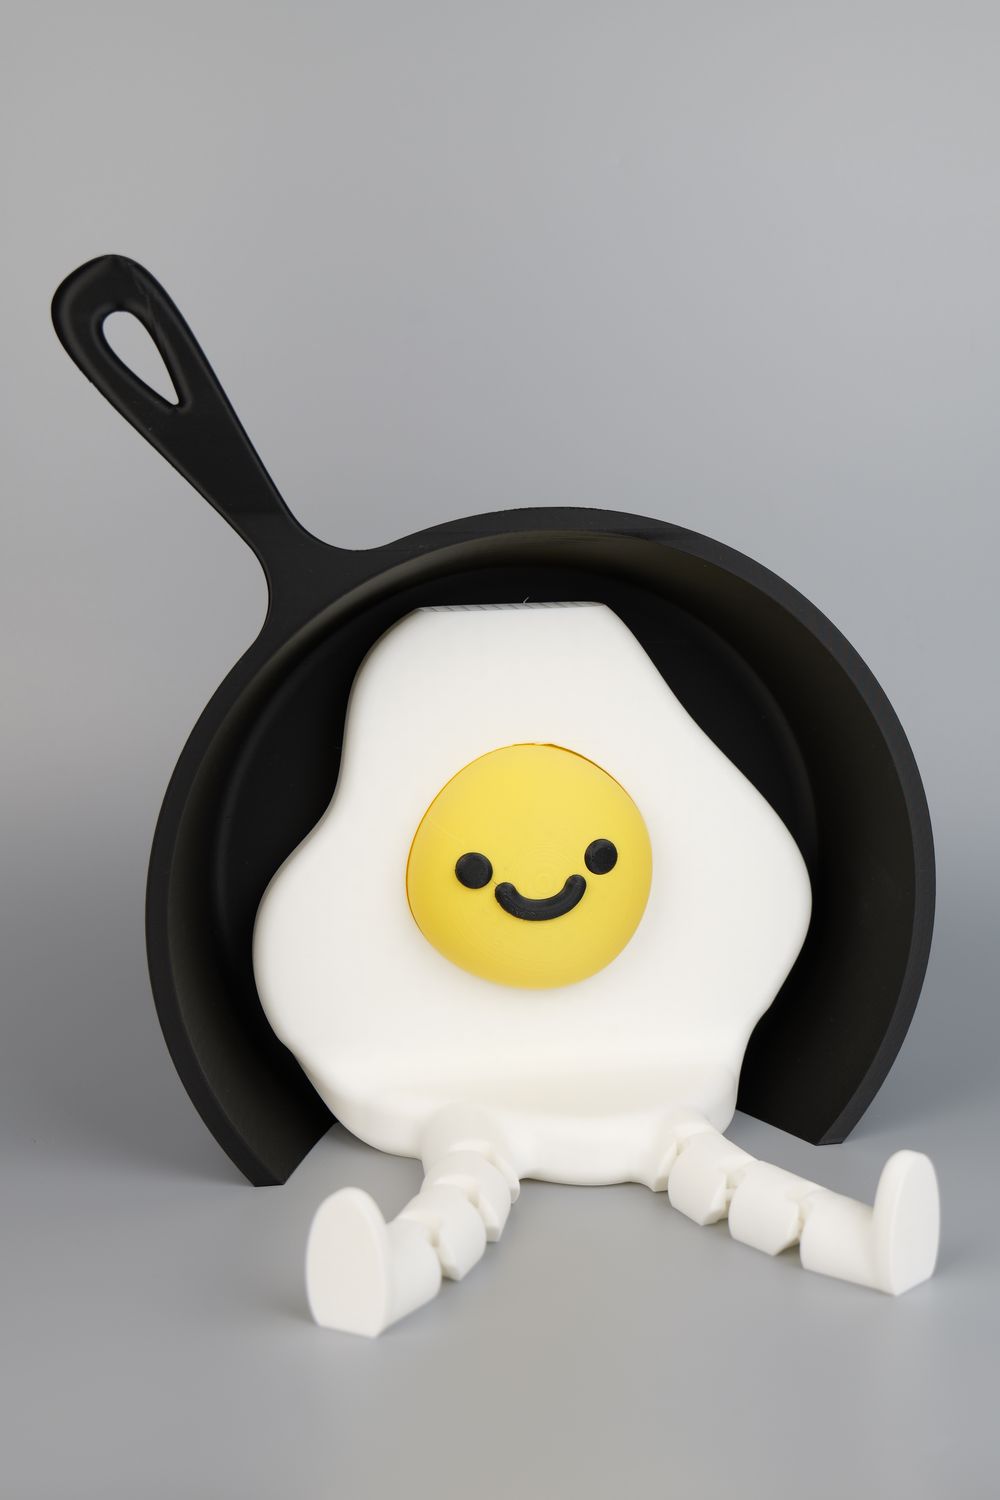
Another test print is this Egg Pal model in different PLA models. I scaled up the model because I wanted to print a real-life size pan, which was a success. Unfortunately, there are some small vibration artifacts on the external wall finish which can be seen on a certain angle, but nothing significant which can be easily seen in real life.
You can also see that the top of the egg is not completed, but again, that was my fault for running out of filament. The printer stopped as expected, to wait for a filament change but I was not careful enough to see if the print has finished and I just removed it from the bed without thinking that it hasn’t been completed successfully. Oh well, it’s still a good result in my opinion.
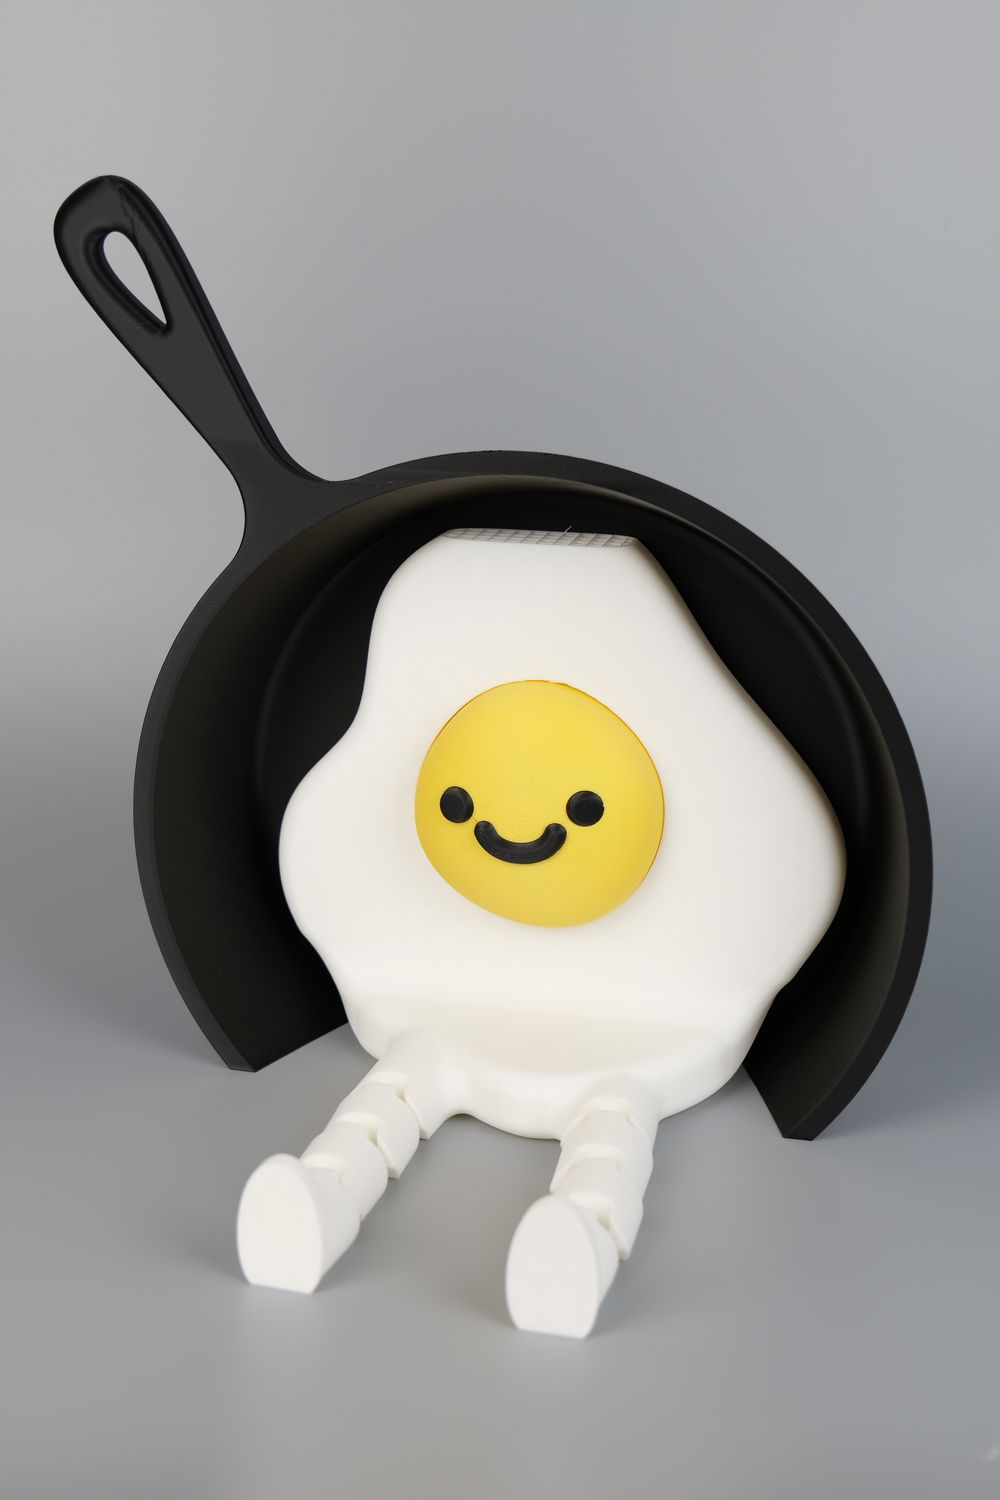
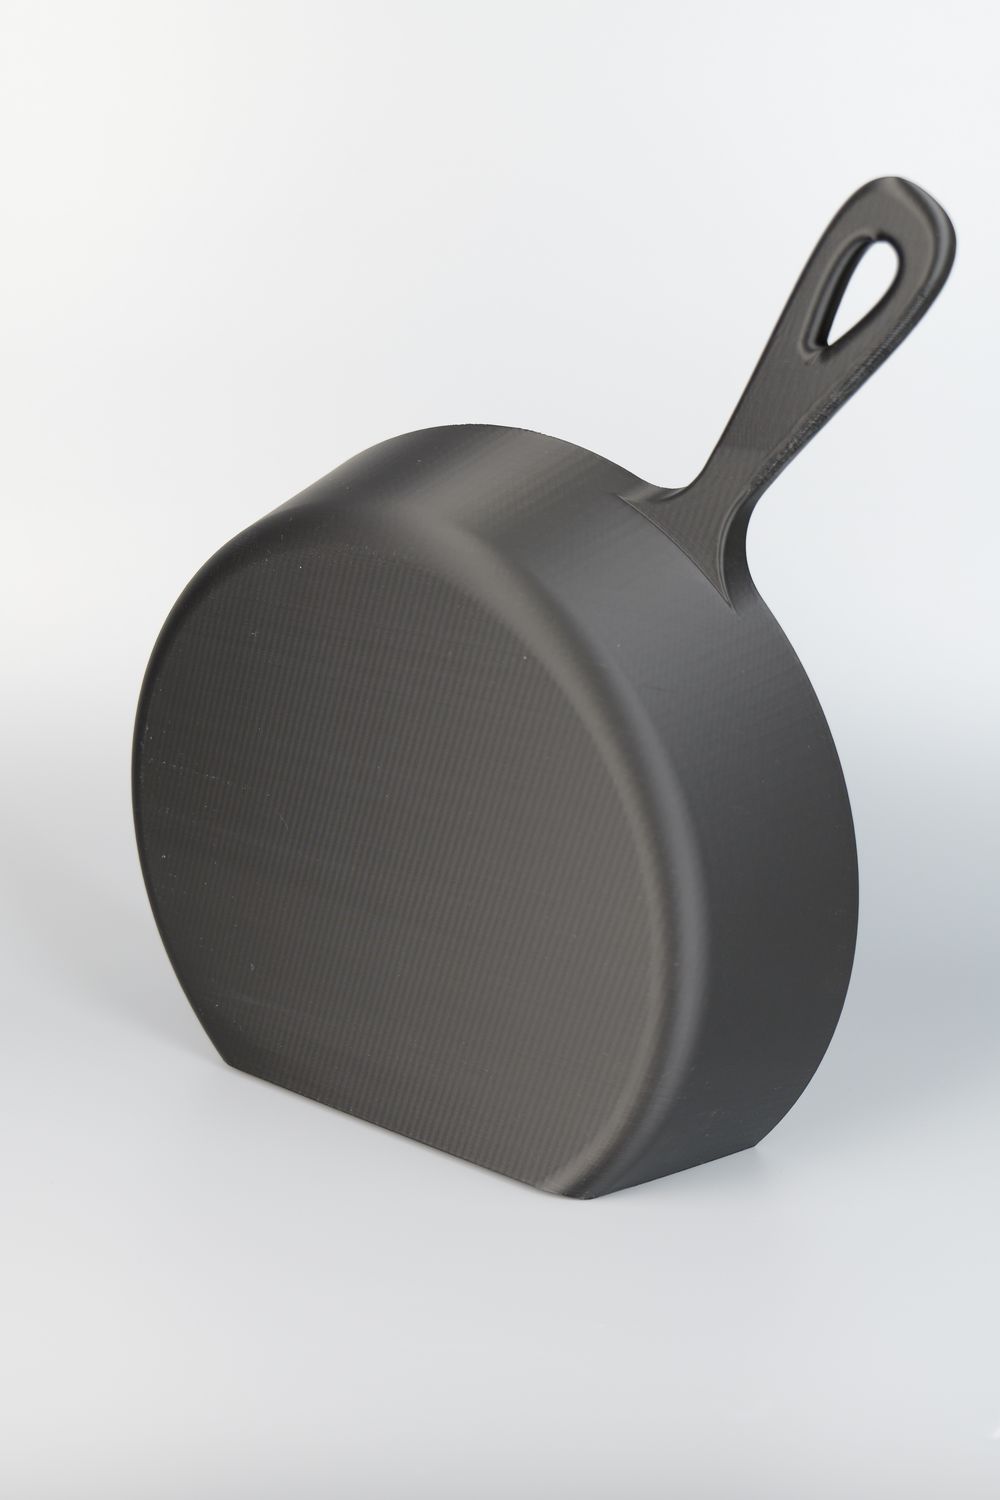
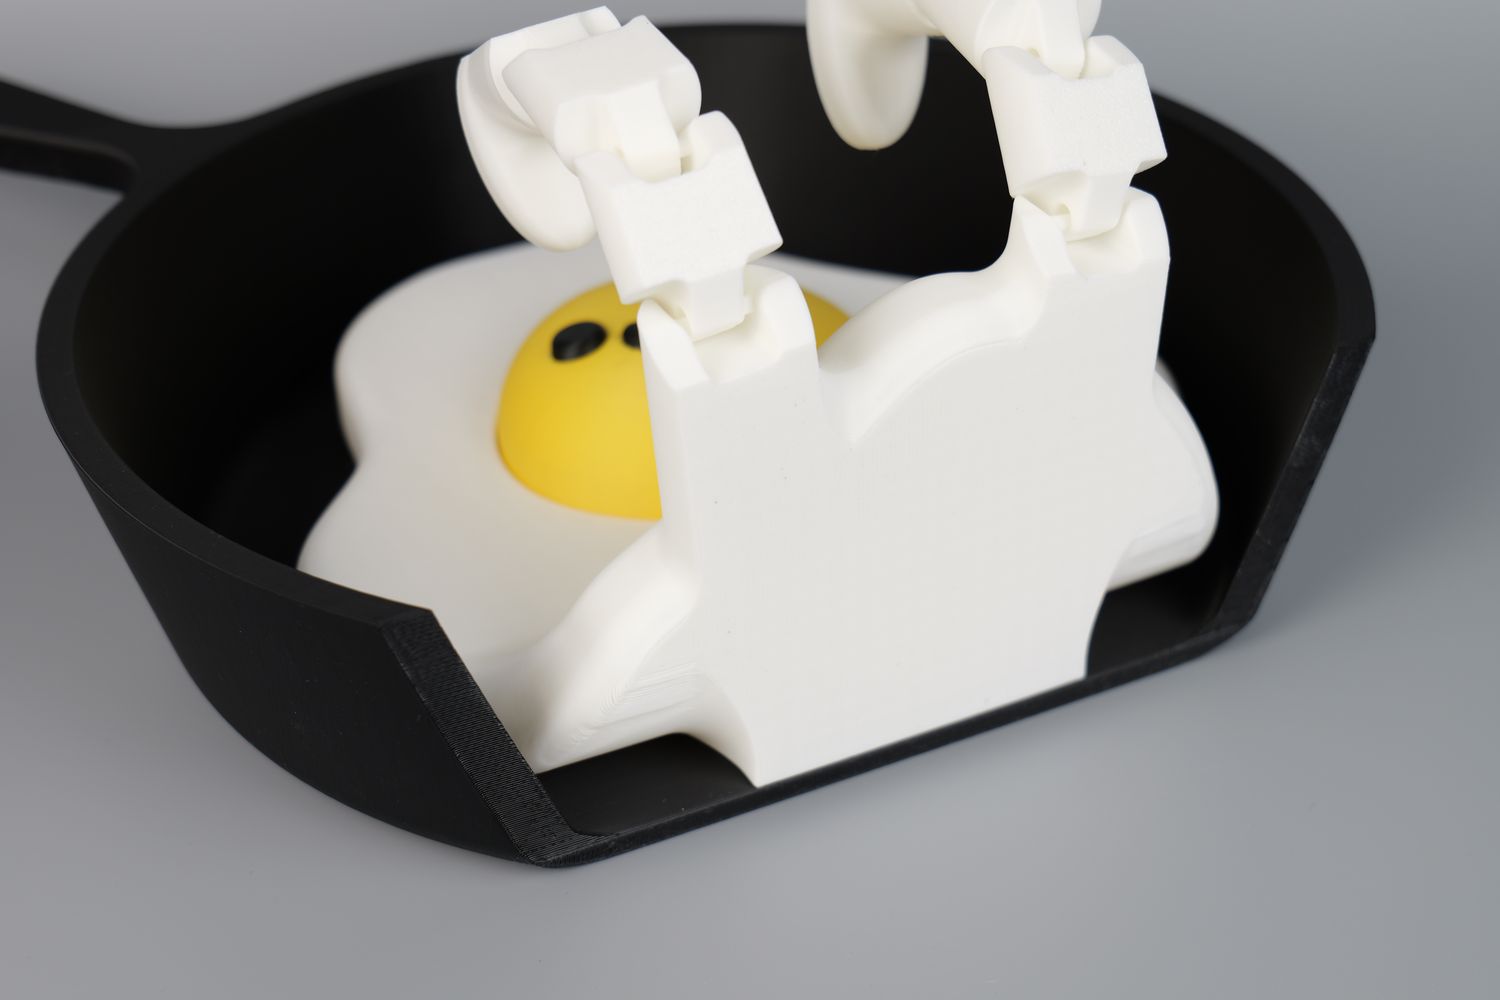

- Material: Generic PLA
- Layer Height: 0.16mm
- Nozzle Temperature: 220C
- Bed Temperature: 60C
- Print Speed: ~250 mm/s
Tool Box models and PA-CF
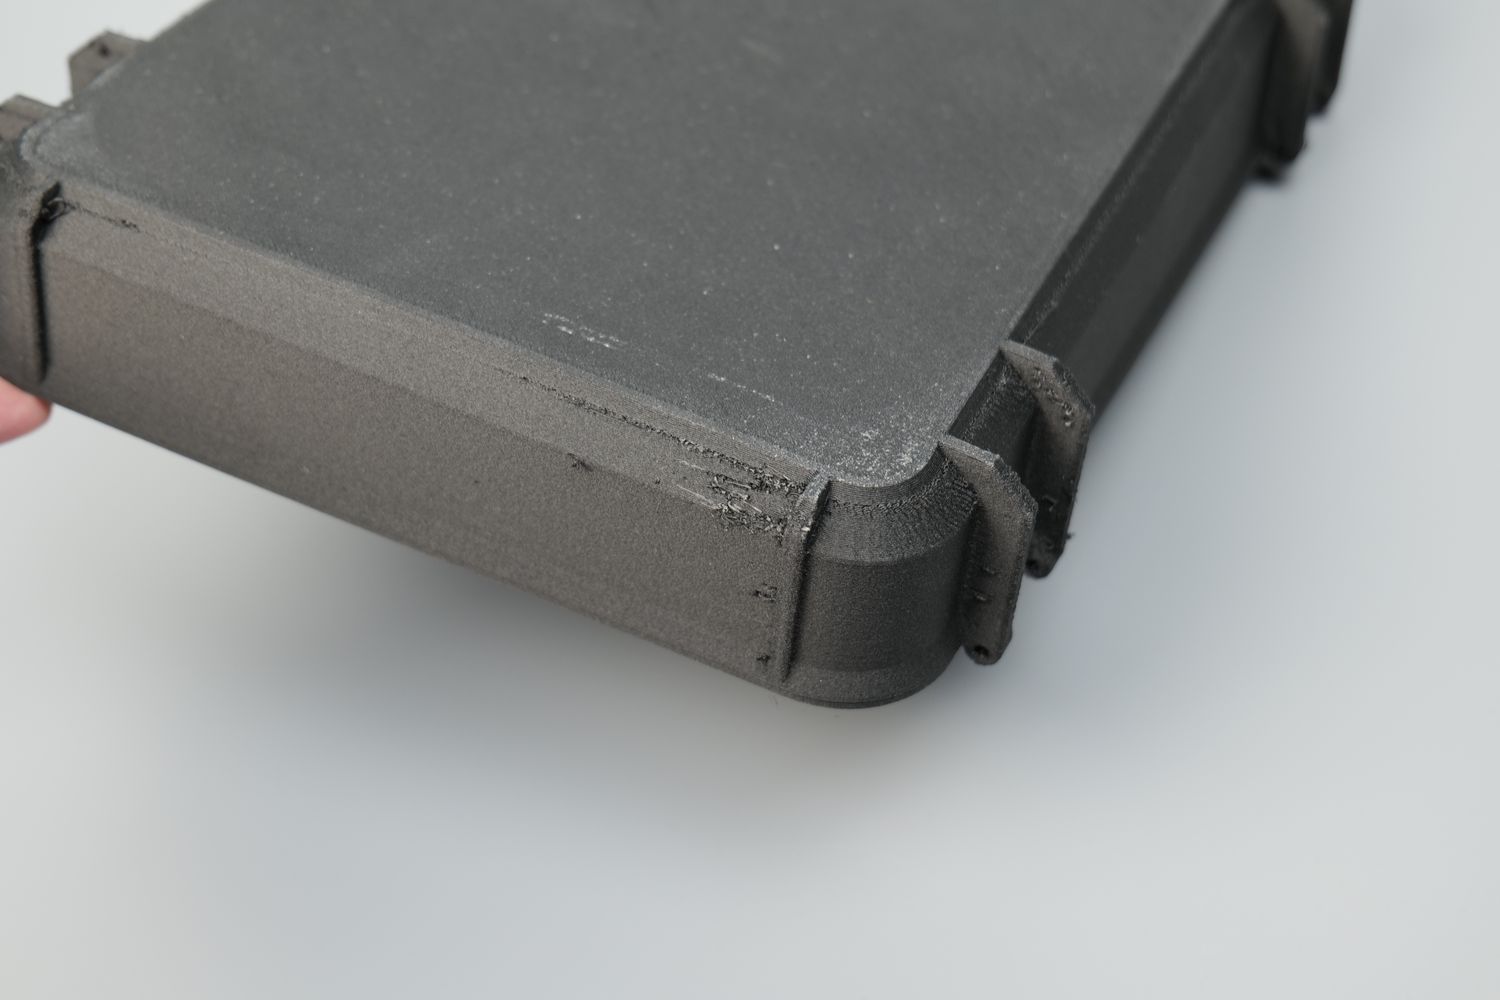
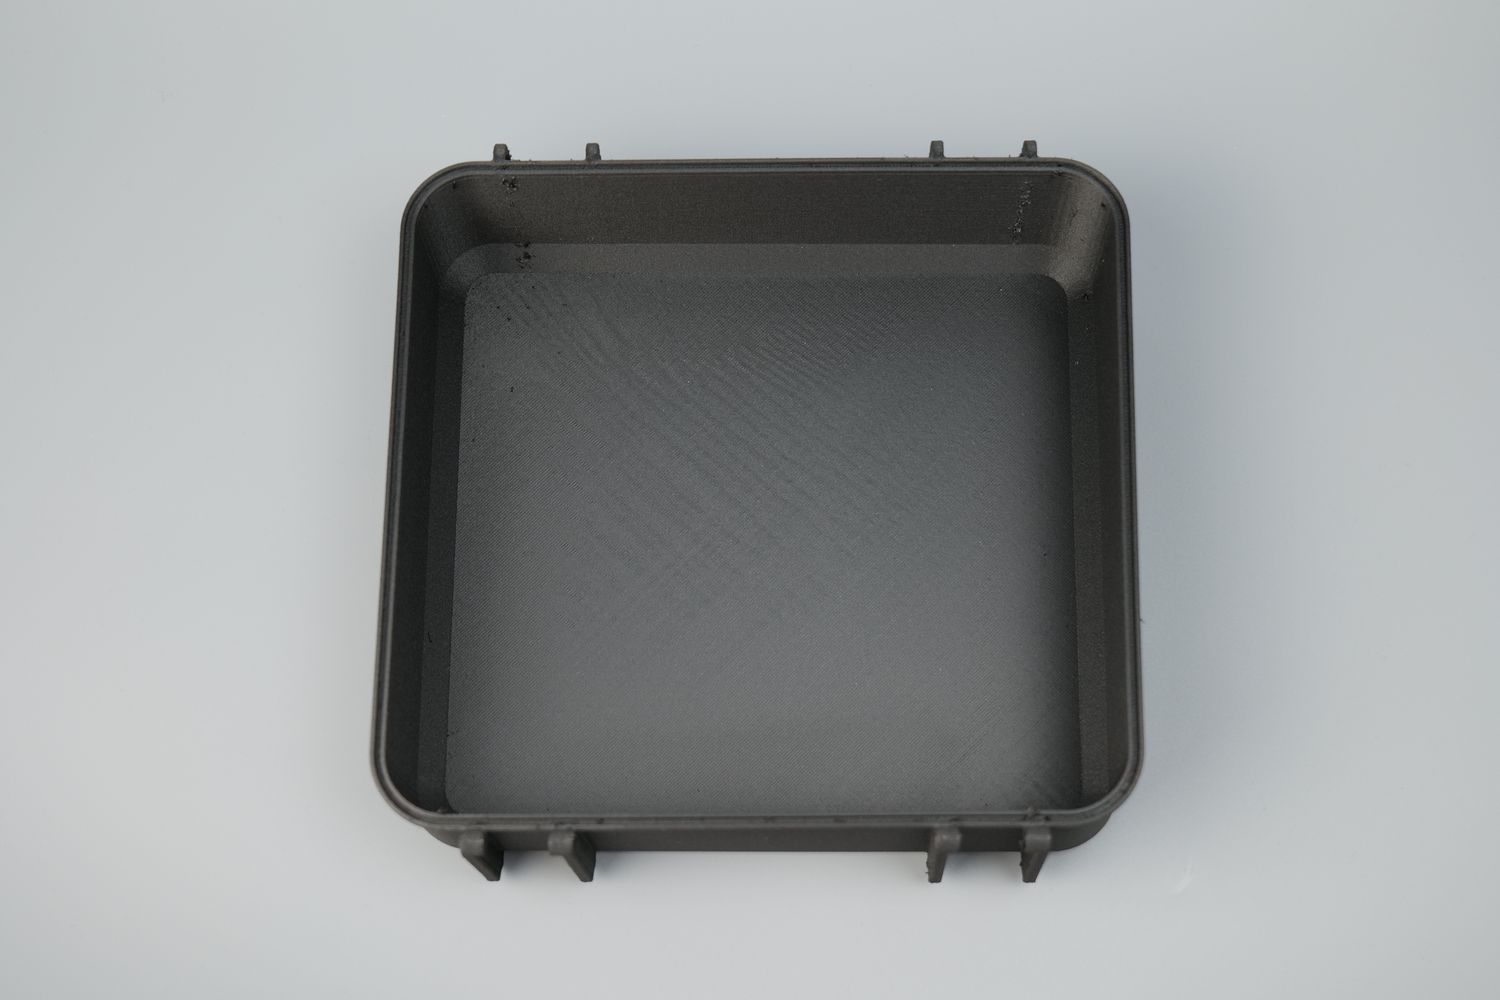
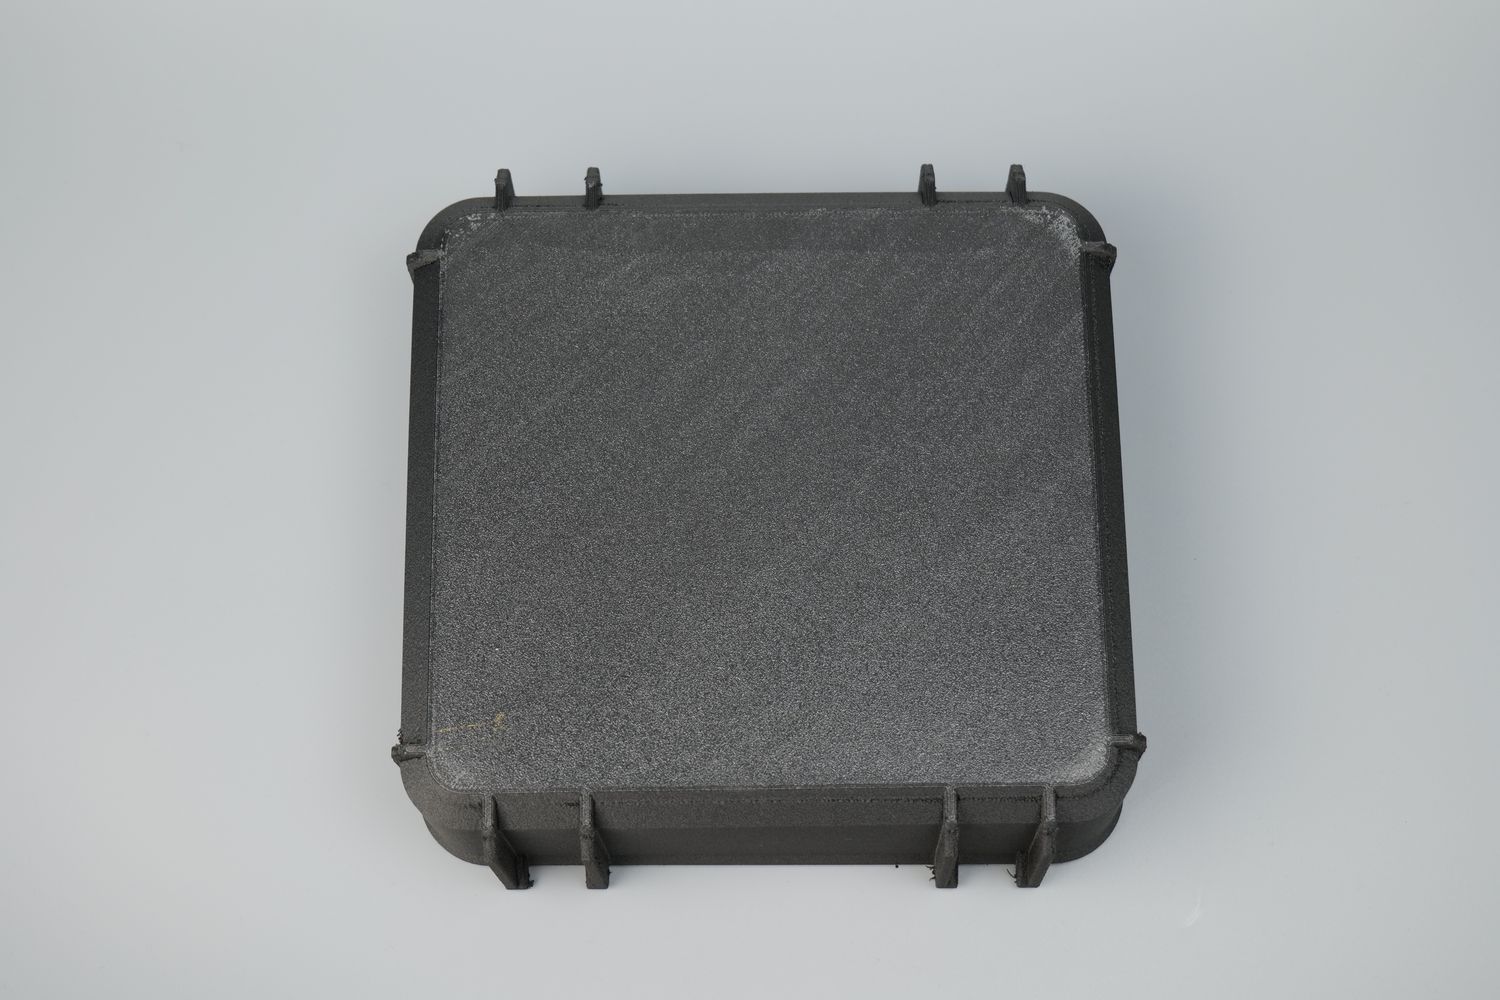
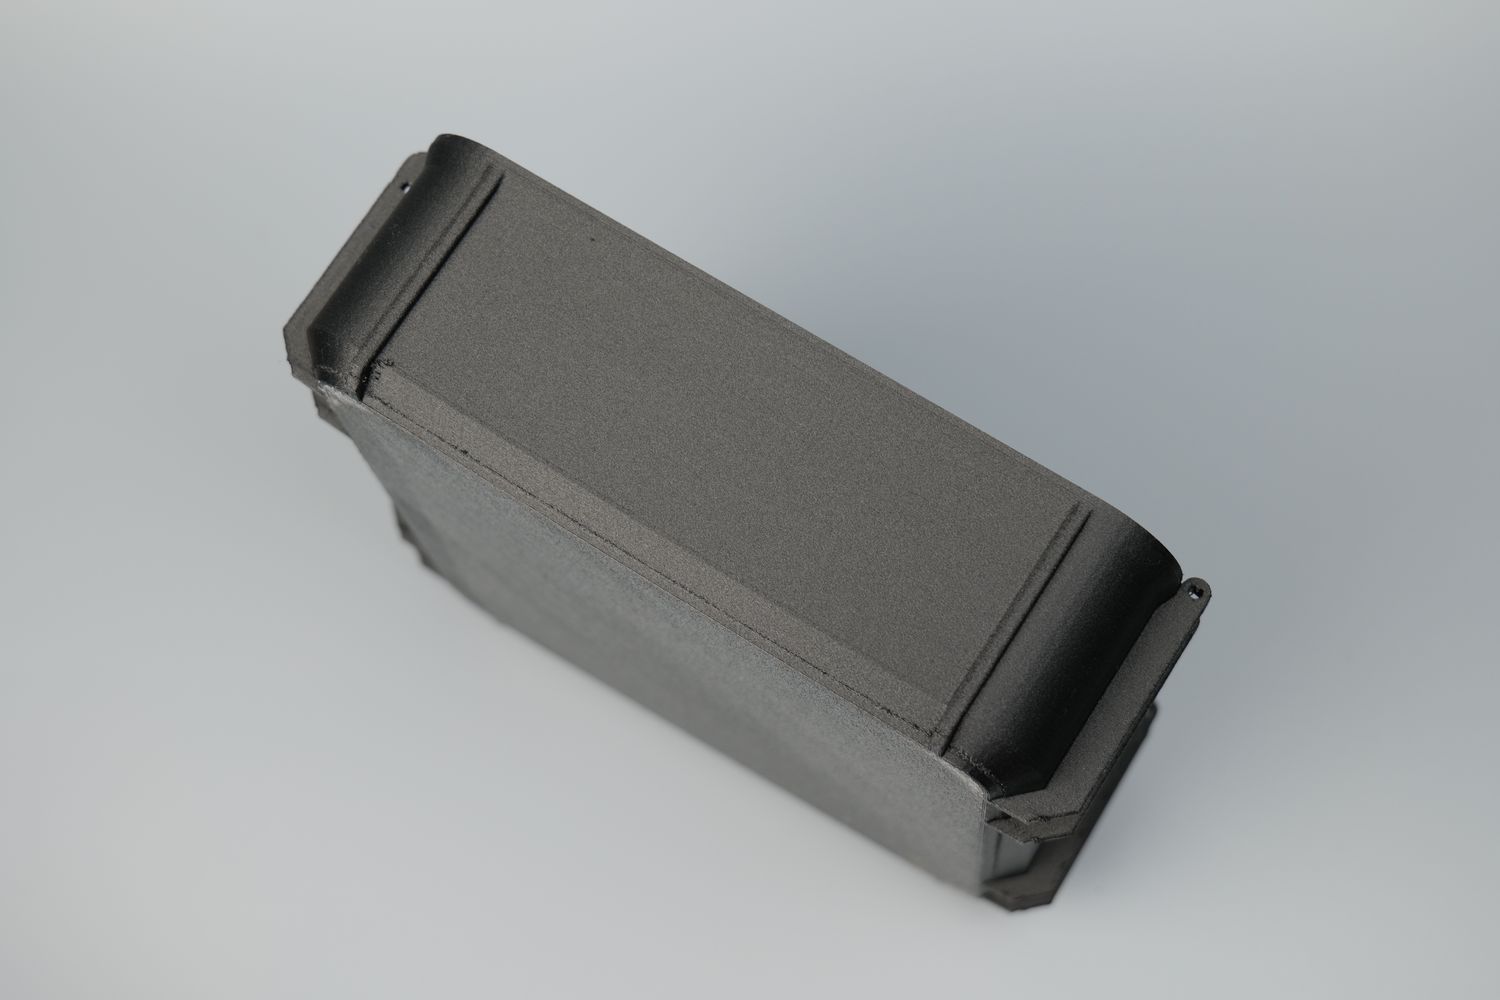
Unfortunately, the adhesion issues with PA-CF filament can be seen clearly in the following two prints of the Tool Box XXL and the Rugged Box (parametric) parts I tried to print. The print quality is mostly good but there were some printing artifacts around the seams where I think there was some oozing due to the higher temperature used (310C).
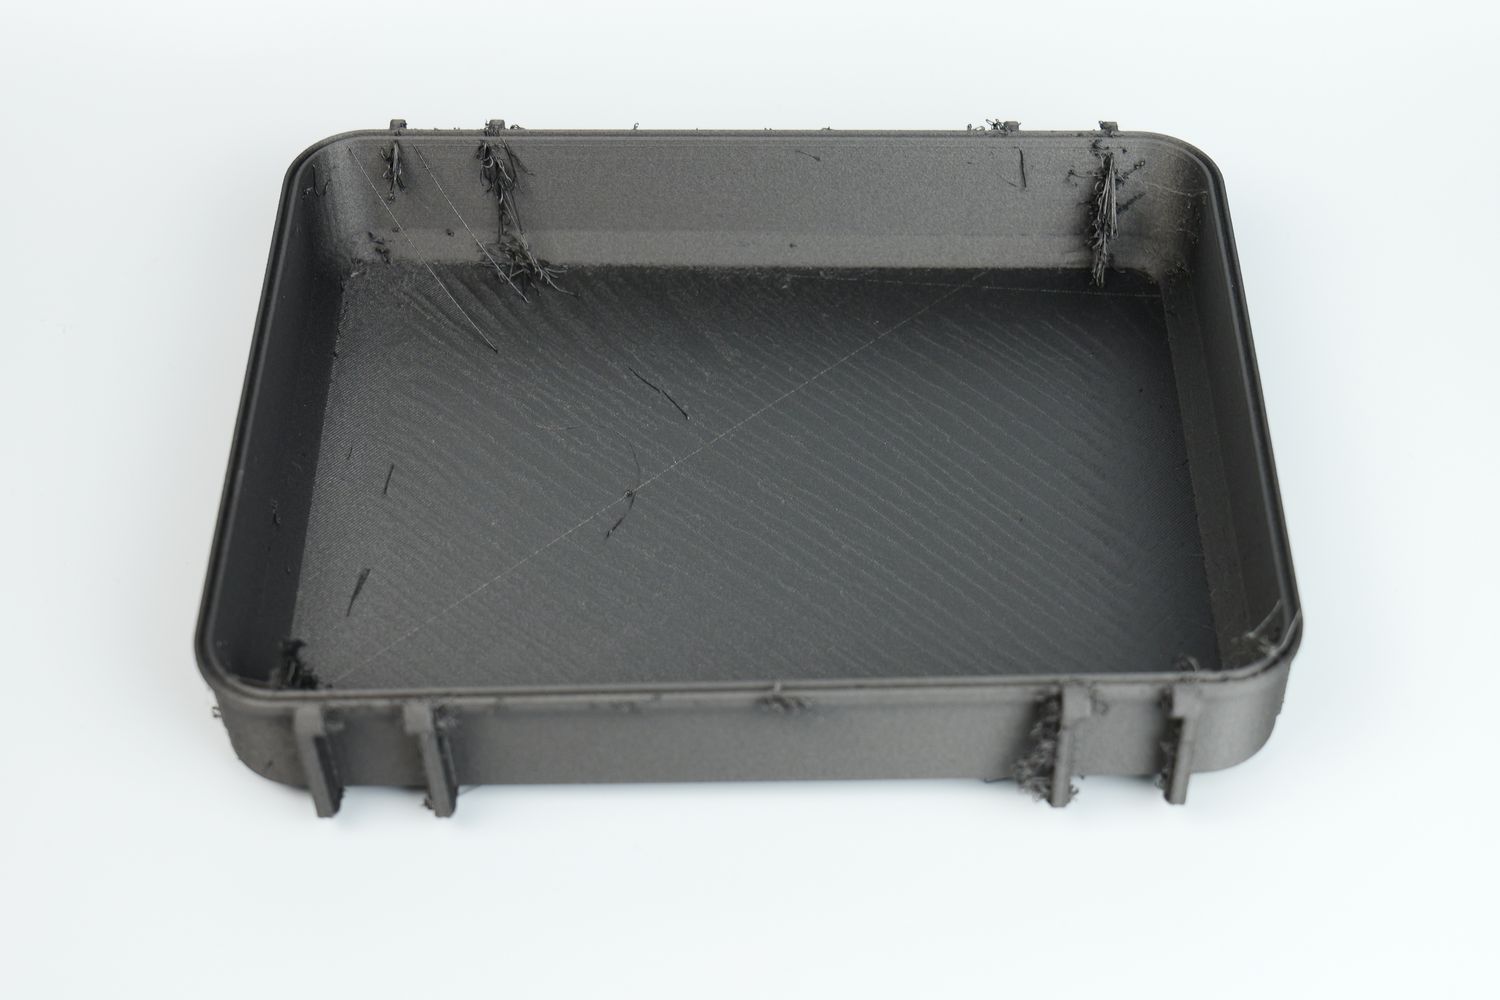
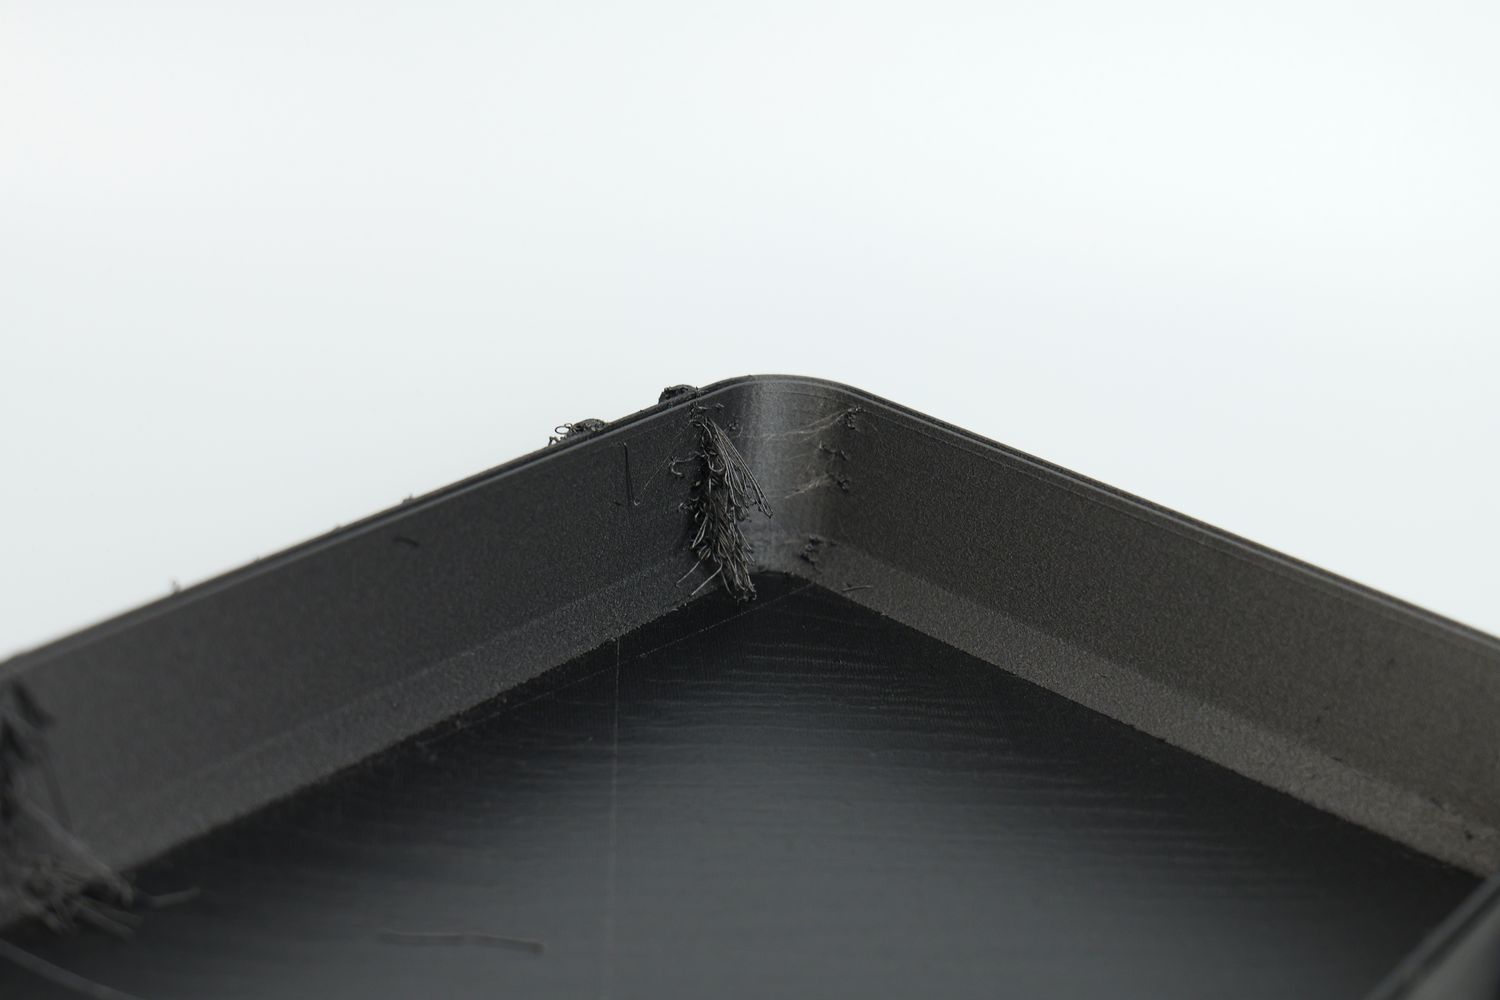
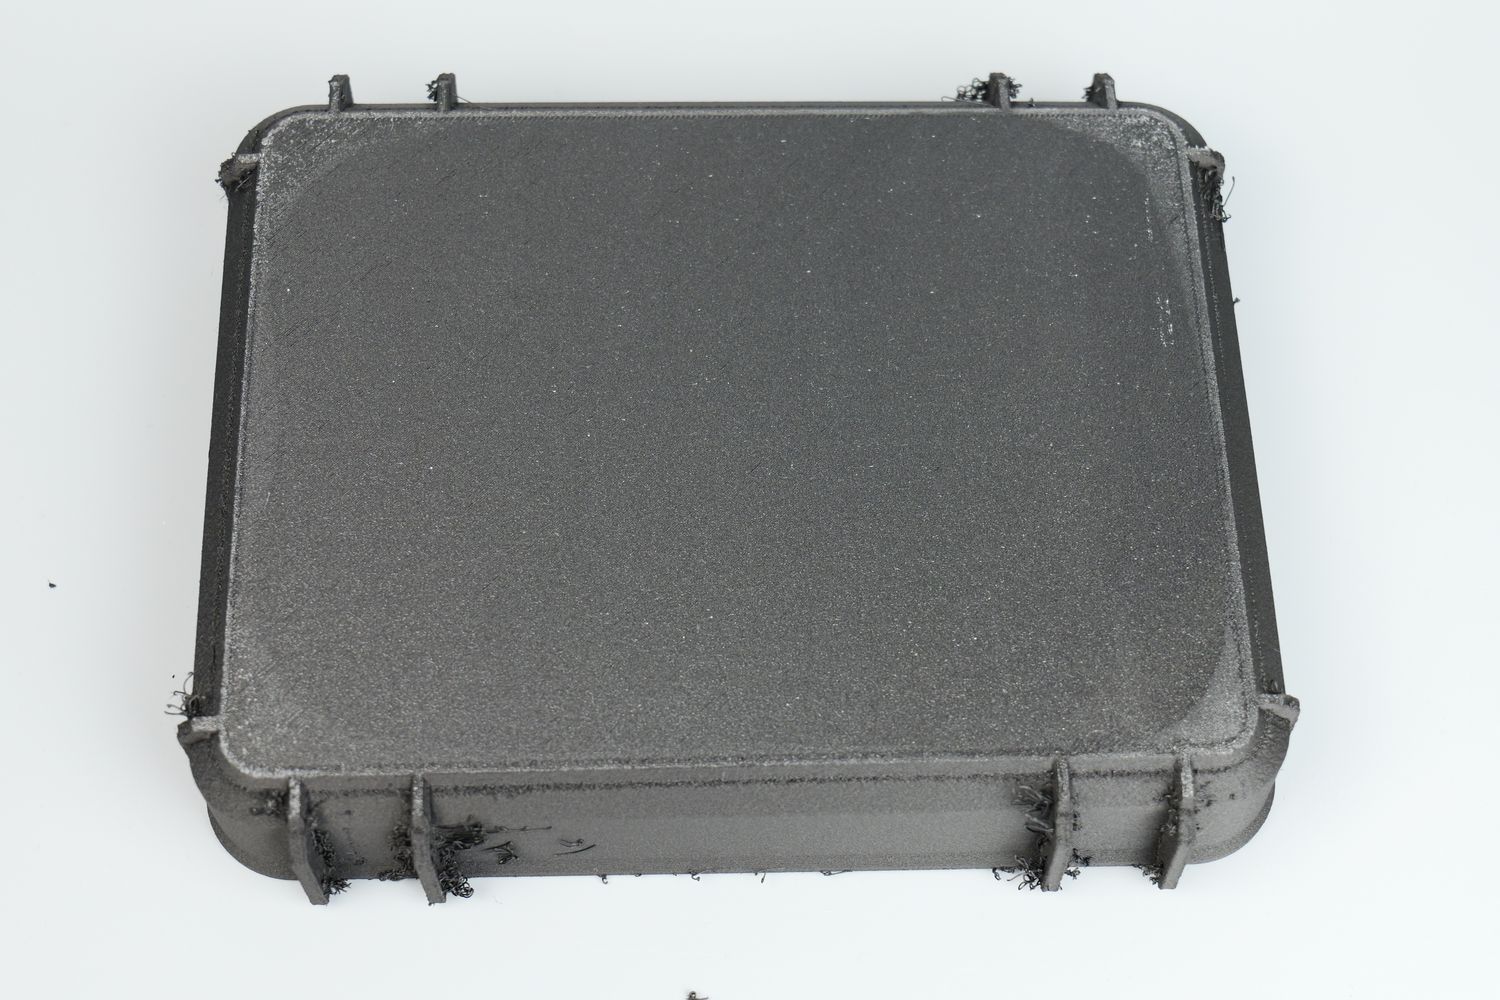
But the biggest issue was related to adhesion. Even with glue added to the plate, the corners of the box have been raised and then the entire model curved.
With a better adhesive, or with a different type of material, the results might be better but I was not successful when testing the models above.
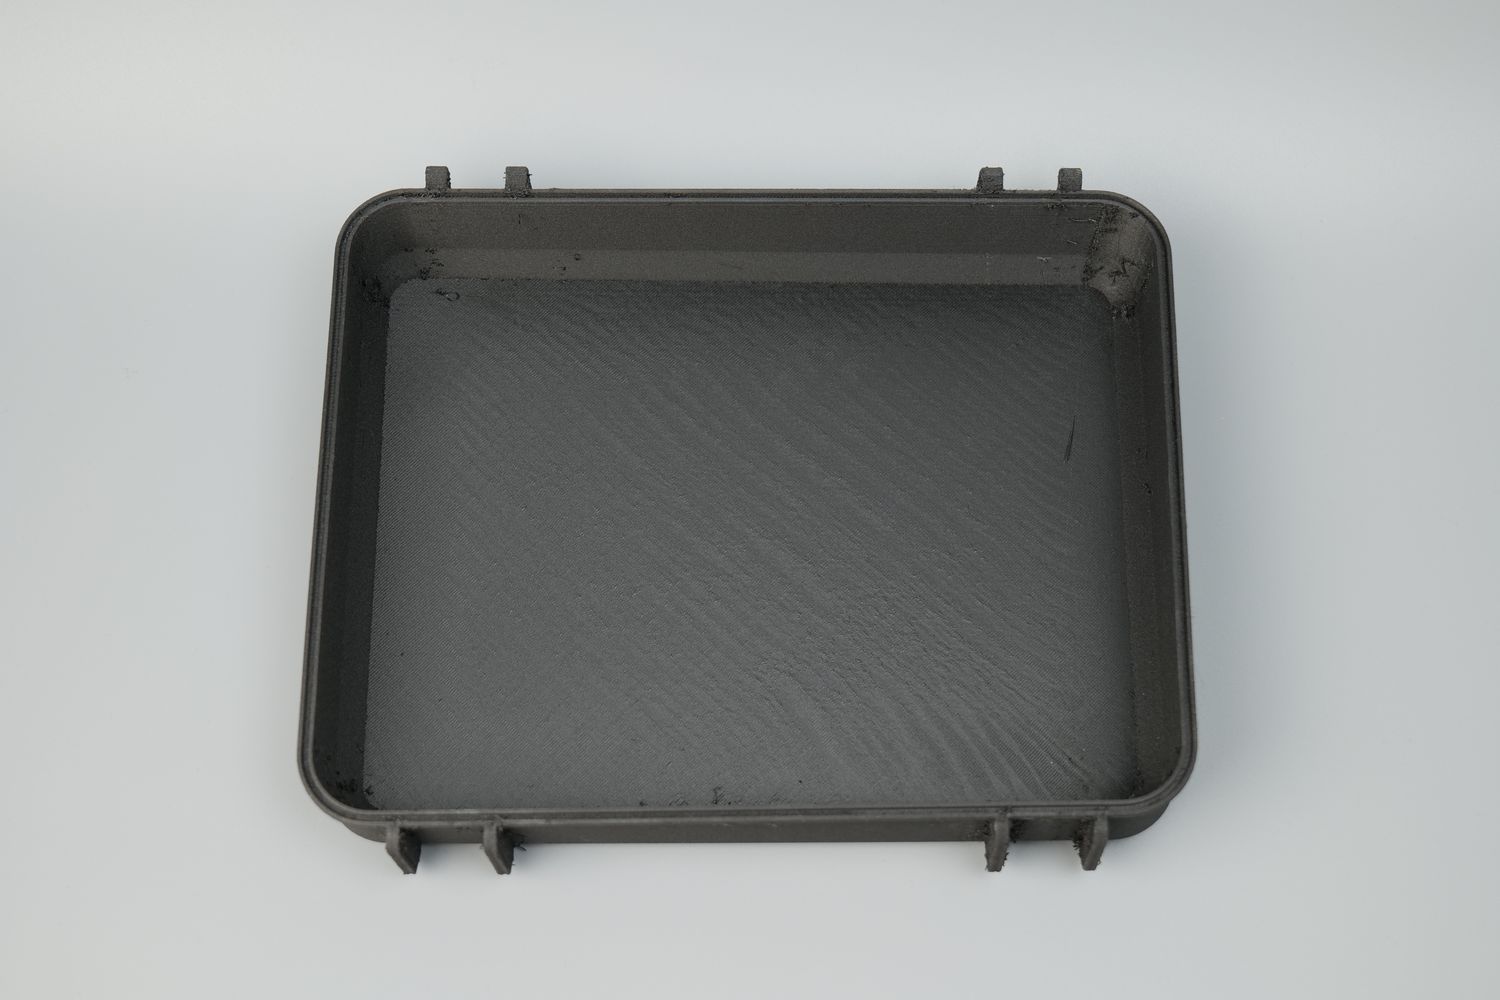
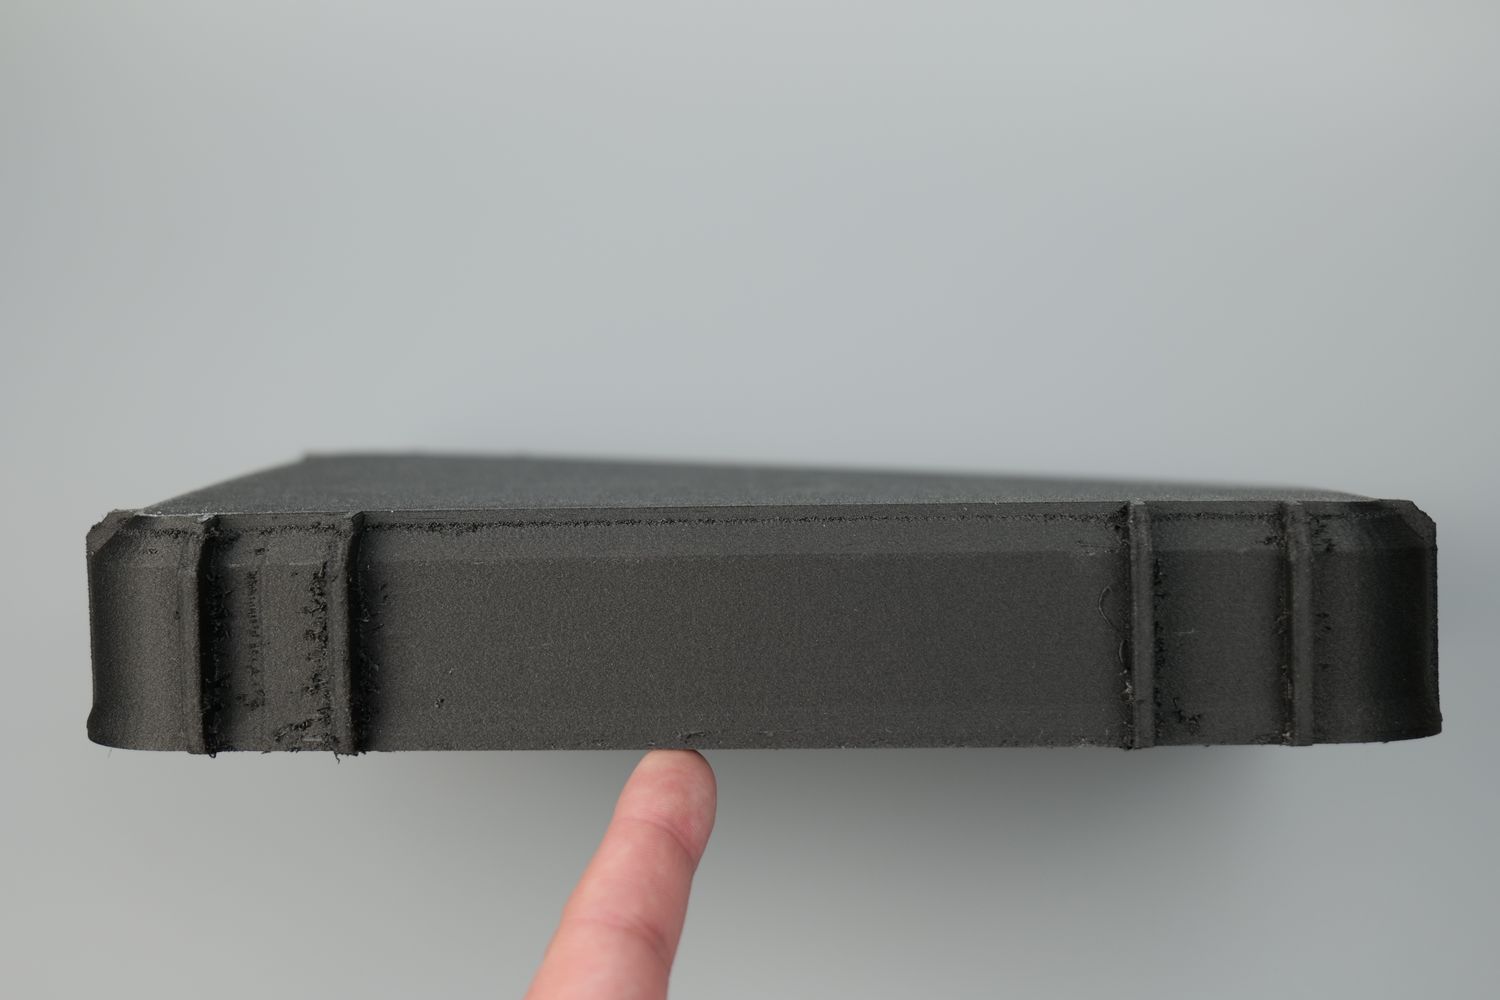
- Material: Bambu Lab PA-CF
- Layer Height: 0.2mm
- Nozzle Temperature: 310C
- Bed Temperature: 100C
- Print Speed: ~170 mm/s
Conclusions: Is the QIDI X-MAX 3 worth it?
The QIDI X-MAX 3 has managed to surpass my expectations with the entire experience from taking it out of the box, to getting the final print. It was easy to set up, the new QIDI Slicer based on Prusa Slicer comes with all the profiles tuned, and the integration between the hardware and software works great.
There are still some small issues to solve to make it an excellent experience, but knowing QIDI, they will probably continue to do software updates until the experience is as seamless as possible for customers.
In my opinion, the Bambu Lab experience for their printers is probably the best in the business as everything is well integrated. But QIDI is catching up fast, and considering they also offer a large format printer with Klipper out of the box, I think there are a lot of reasons to look into it especially if you want a Klipper machine using Open Source software.
Overall, the QIDI X-MAX 3 can deliver a consistent experience with good-quality prints, and good integration between the hardware and the software without breaking the bank, especially for their pre-configured slicer profiles made for their filament
For just over 1000 EUR, which is the launch price of the printer, I think the X-MAX 3 is well worth it if you are looking to get a large format 3D printer running Klipper firmware.
The Creality K1 Max is cheaper, but their closed source integration of Klipper with all the limitations, and the less-than-ideal slicer doesn’t provide the same polished experience compared to QIDI. I will review the K1 Max soon, and I hope they learned from the K1 which I reviewed a while ago so that Creality can still remain competitive in the Core-XY High-Speed printing craze this year.
Competition is healthy and I am happy to see companies trying their best to deliver improved hardware and software to their customers, like QIDI did with the X-MAX 3.
QIDI X-MAX 3 Rating
Design
Specs
Noise Levels
Ease of use
Print Quality
Price
Overall, the QIDI X-MAX 3 can deliver a consistent experience with good-quality prints, and good integration between the hardware and the software without breaking the bank, especially for their pre-configured slicer profiles made for their filament
Where to buy the QIDI X-MAX 3?
The QIDI X-MAX 3 was provided free of charge by QIDI for the purpose of this review. While the article includes affiliate links, all opinions are my own. Nobody reviewed the article before it was posted, following the Review Guidelines.
Liked it?
|
|





Hi, I saw that you used a Qidi Xmax 3 profile in Bambu Slicer. I am not seeing that profile. I see Creality / Voron / Ultimaker. Did you have to download something? Thanks!
I’ve been waiting for a Prusa XL for over a year, and they’ve confirmed I won’t see it this year. I have a project that needs a large surface >300mm^2 and high temp materials. X-Max3 seems like a better option and it’s available now. @3DPrintBeginner do you have any thoughts on the downsides of going with the X-Max3 over the XL (which does not yet have an exclosure, and is just slightly larger)?
Your July 27, 2023 review article of the QIDI X-MAX 3 describes the print volume as both 325mm x 325mm x 315mm (Qidi’s numbers) as well as 320mm x 320mm x 340mm. Which one is it? I’d like to print a short 323.2 mm square object that’s 25mm tall. Can the max3 build that?
I just want to recommend you use the SUMO enclosure for Prusa XL if you are not getting ideal results.
I have got to say that I have the Xmax 3 and out of the box it was an absolute nightmare, wouldn’t print and broke down after a bench. After having to replace all Steppers, 2x Power Supplies, Hot End, and EMMC Chip I have only just got it working and it is very much like spinning plates get software fixed and hardware fault occurs, get both of them fixed and you get a major print failure after 13 hours of printing.
Having said that Customer services are the best I have ever had the experience with and that includes Anycubic, Creality, and Peopoly.
It seems that all the well-known YouTubers and Social Media Influencers got a very different printer out of the box than most, so it’s under suspicion that Qidi rushed out the release printers but meticulously checked the ones going to Influencers. SOME normal retail customers have had a result out of the box but they are a very small number.
But after saying all that I believe it’s a bad printer Hell No, I like it but if you’re expecting a beginner’s Turnkey and Print Solution go elsewhere.