Creality Ender 3 S1 Review: Almost Perfect
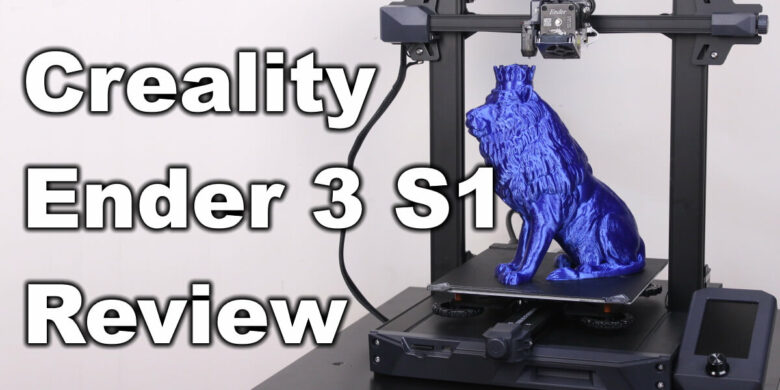
There’s no denying that the Ender 3 is the most popular 3D printer out there. So when Creality launched the Ender 3 S1, I finally thought it might be a good upgrade. I didn’t like the Ender 3 V2 because it comes with too little upgrades to be really worth the price.
Fortunately, the Ender 3 S1 blew my expectations out of the water. I don’t want to give you any spoilers, so let’s see how the Ender 3 S1 performed during my time with it.
Creality Ender 3 S1 Shipping and Packaging
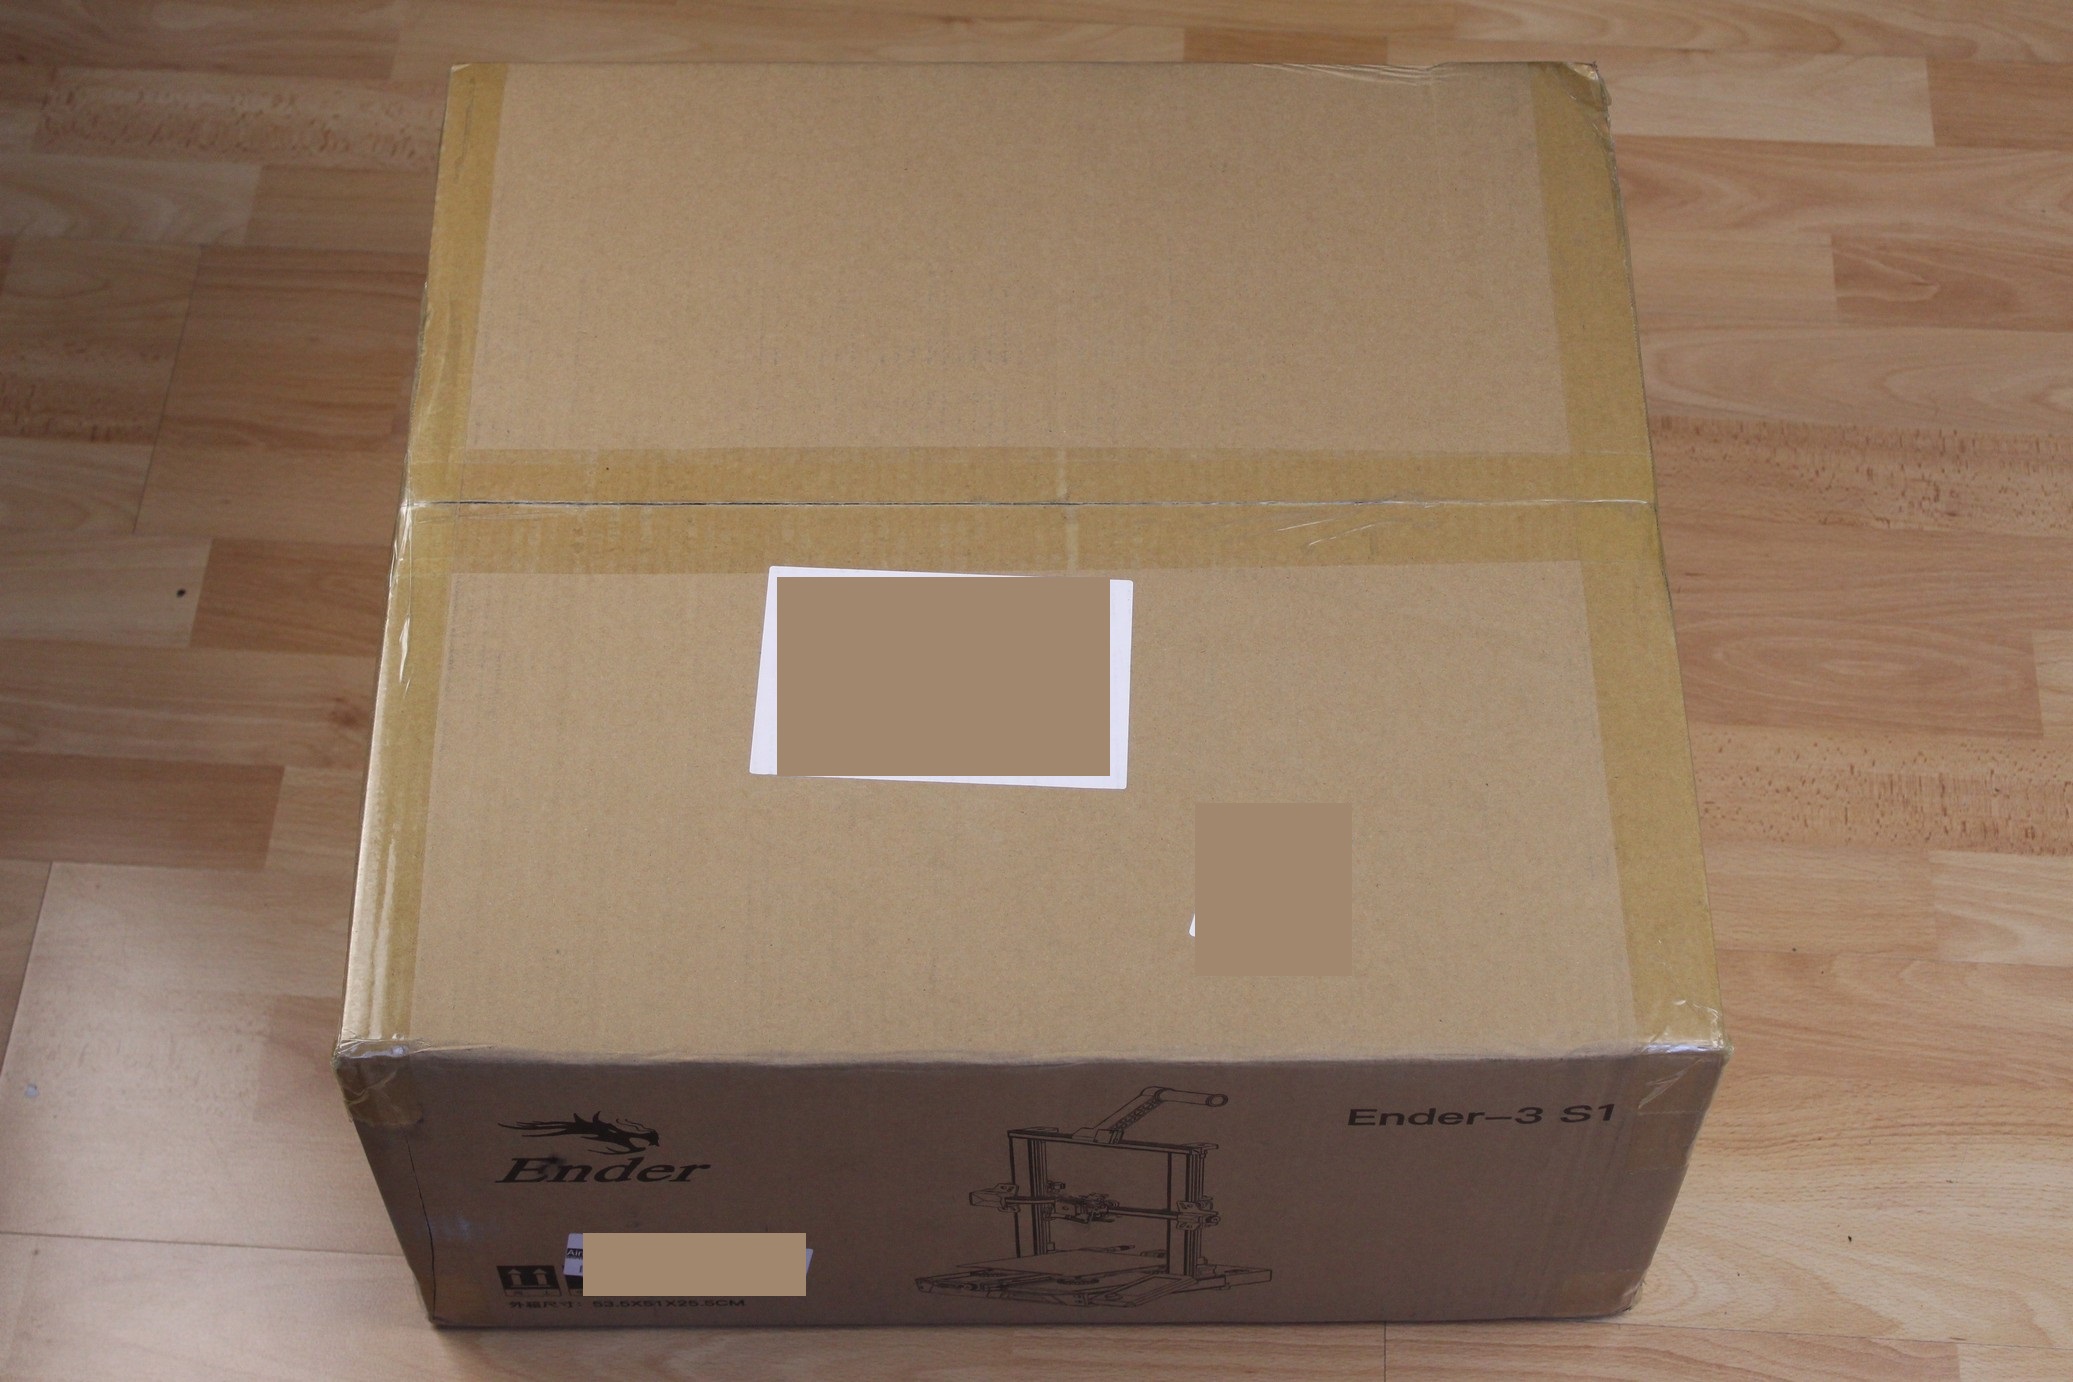
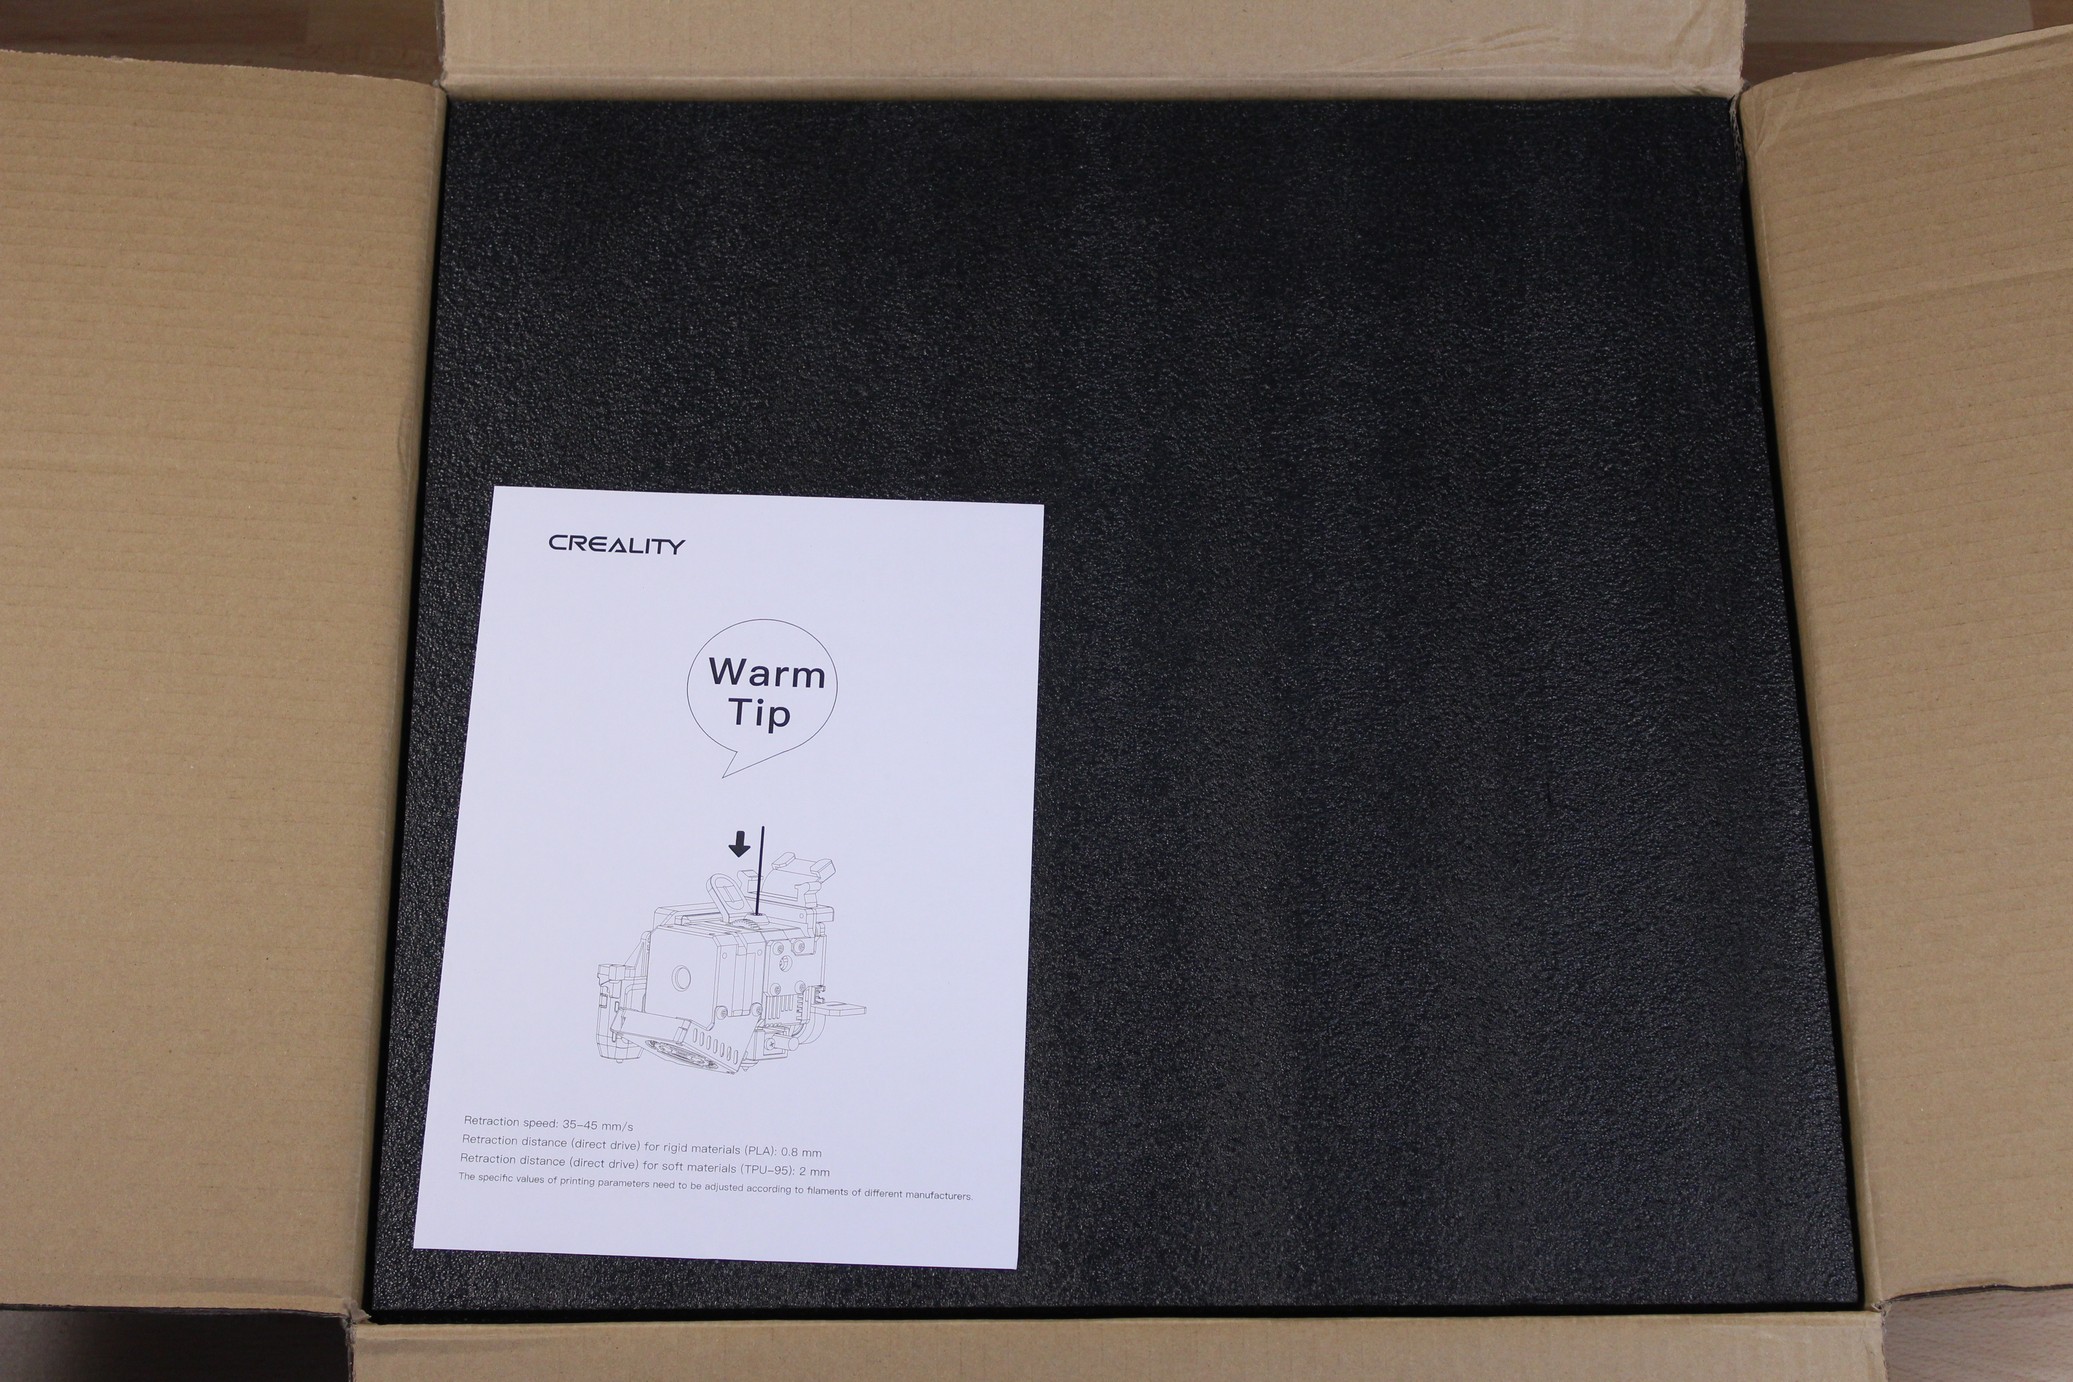
The Creality Ender 3 S1 comes in a relatively compact cardboard box with ample foam protection on all sides. The first paper slip we get in the package mentions the recommended retraction settings for the new Creality “Sprite” extruder.
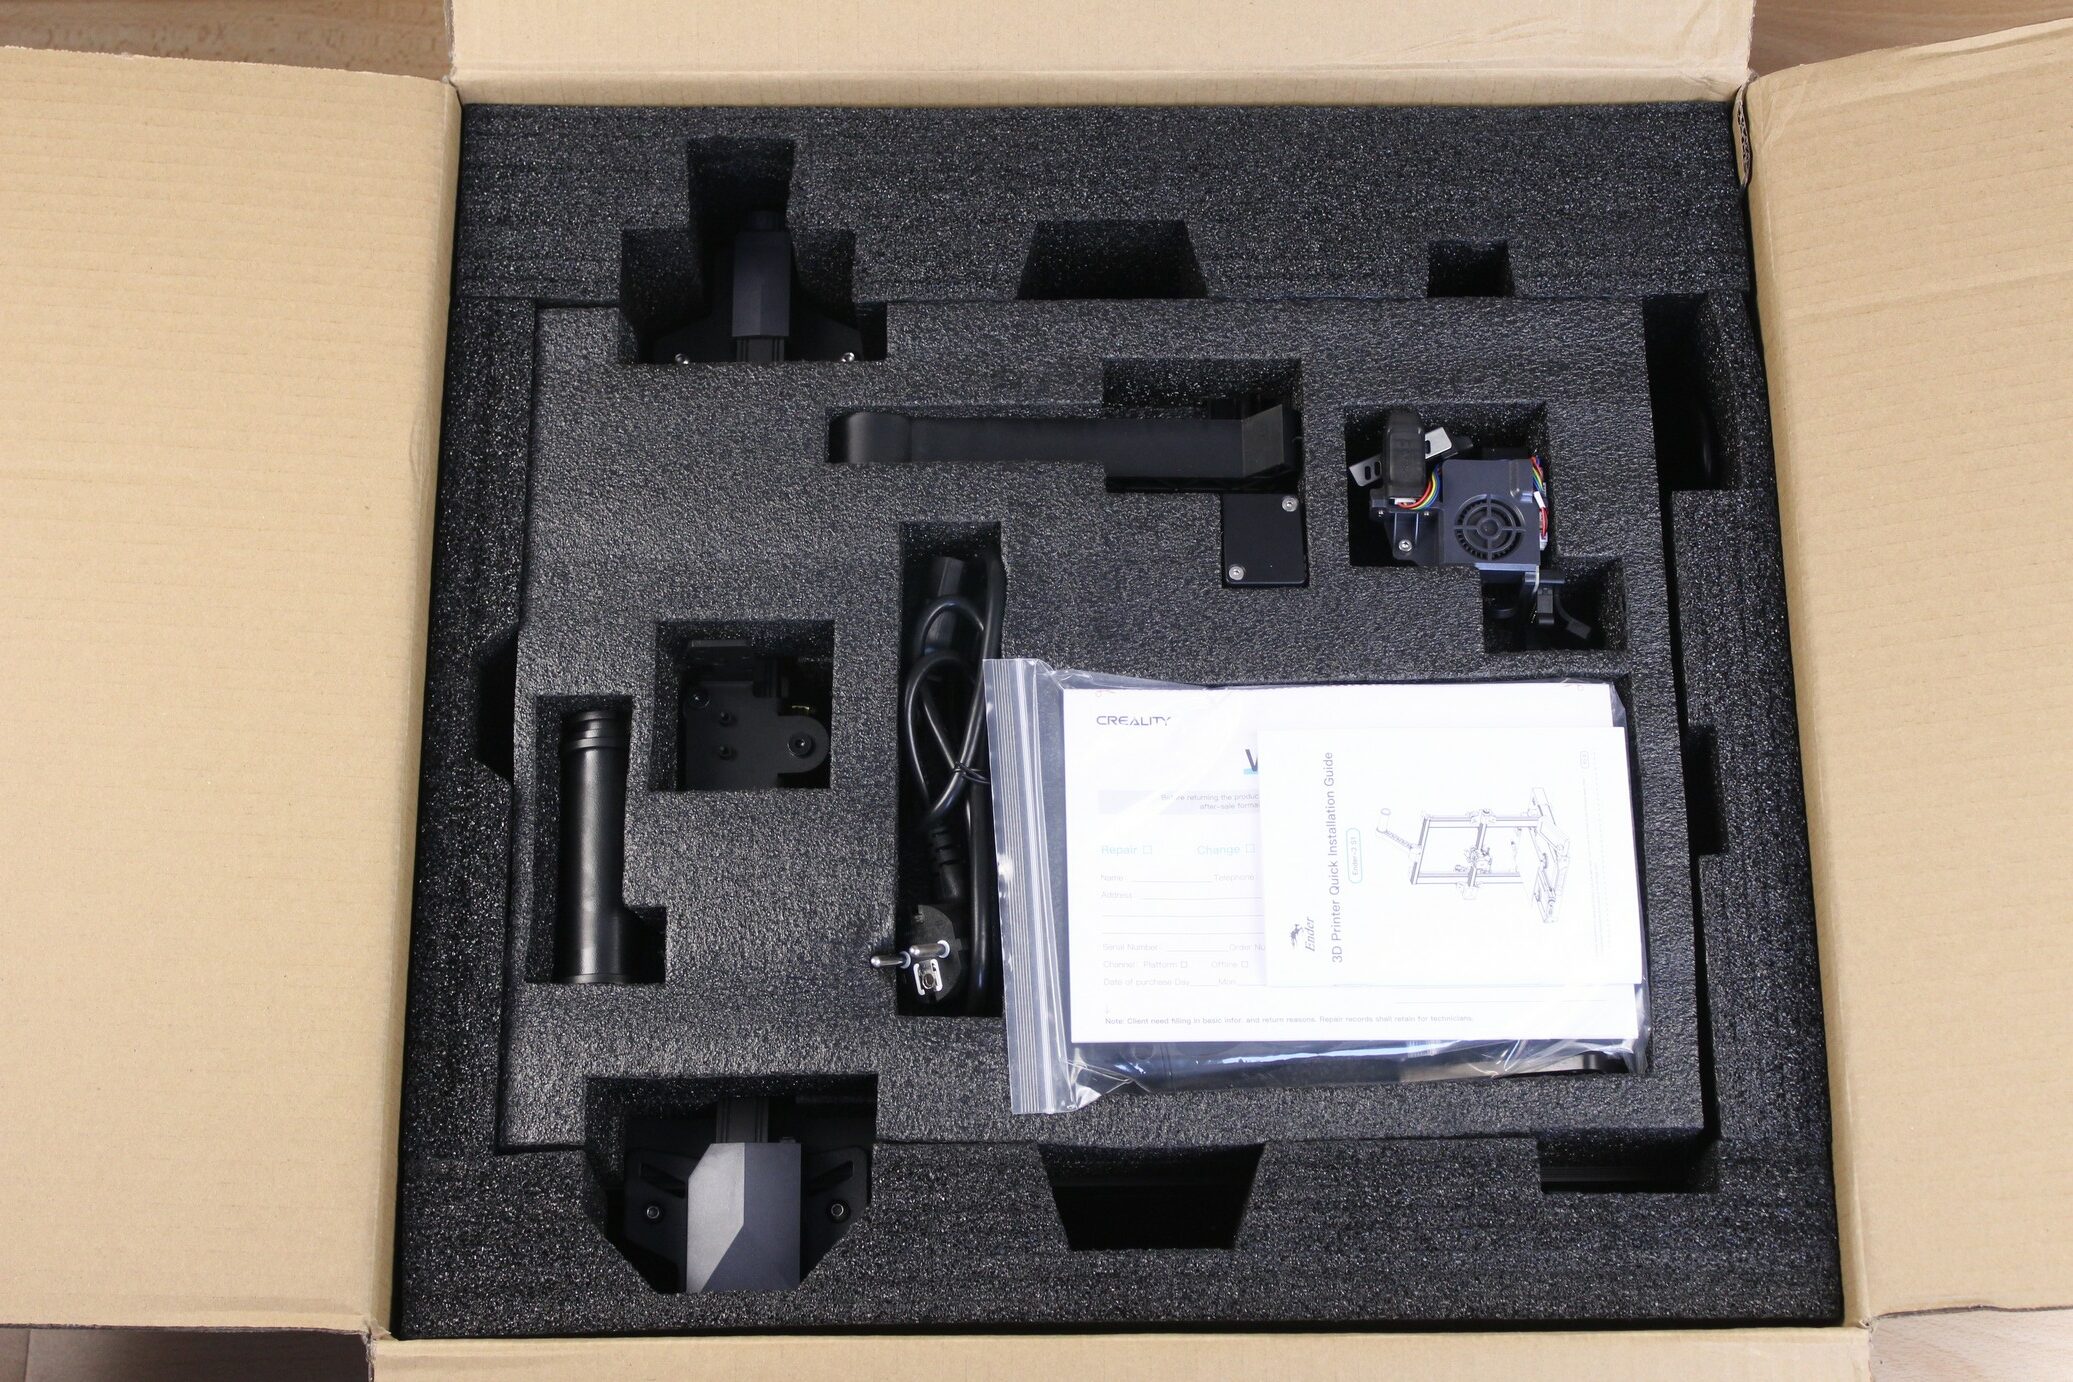
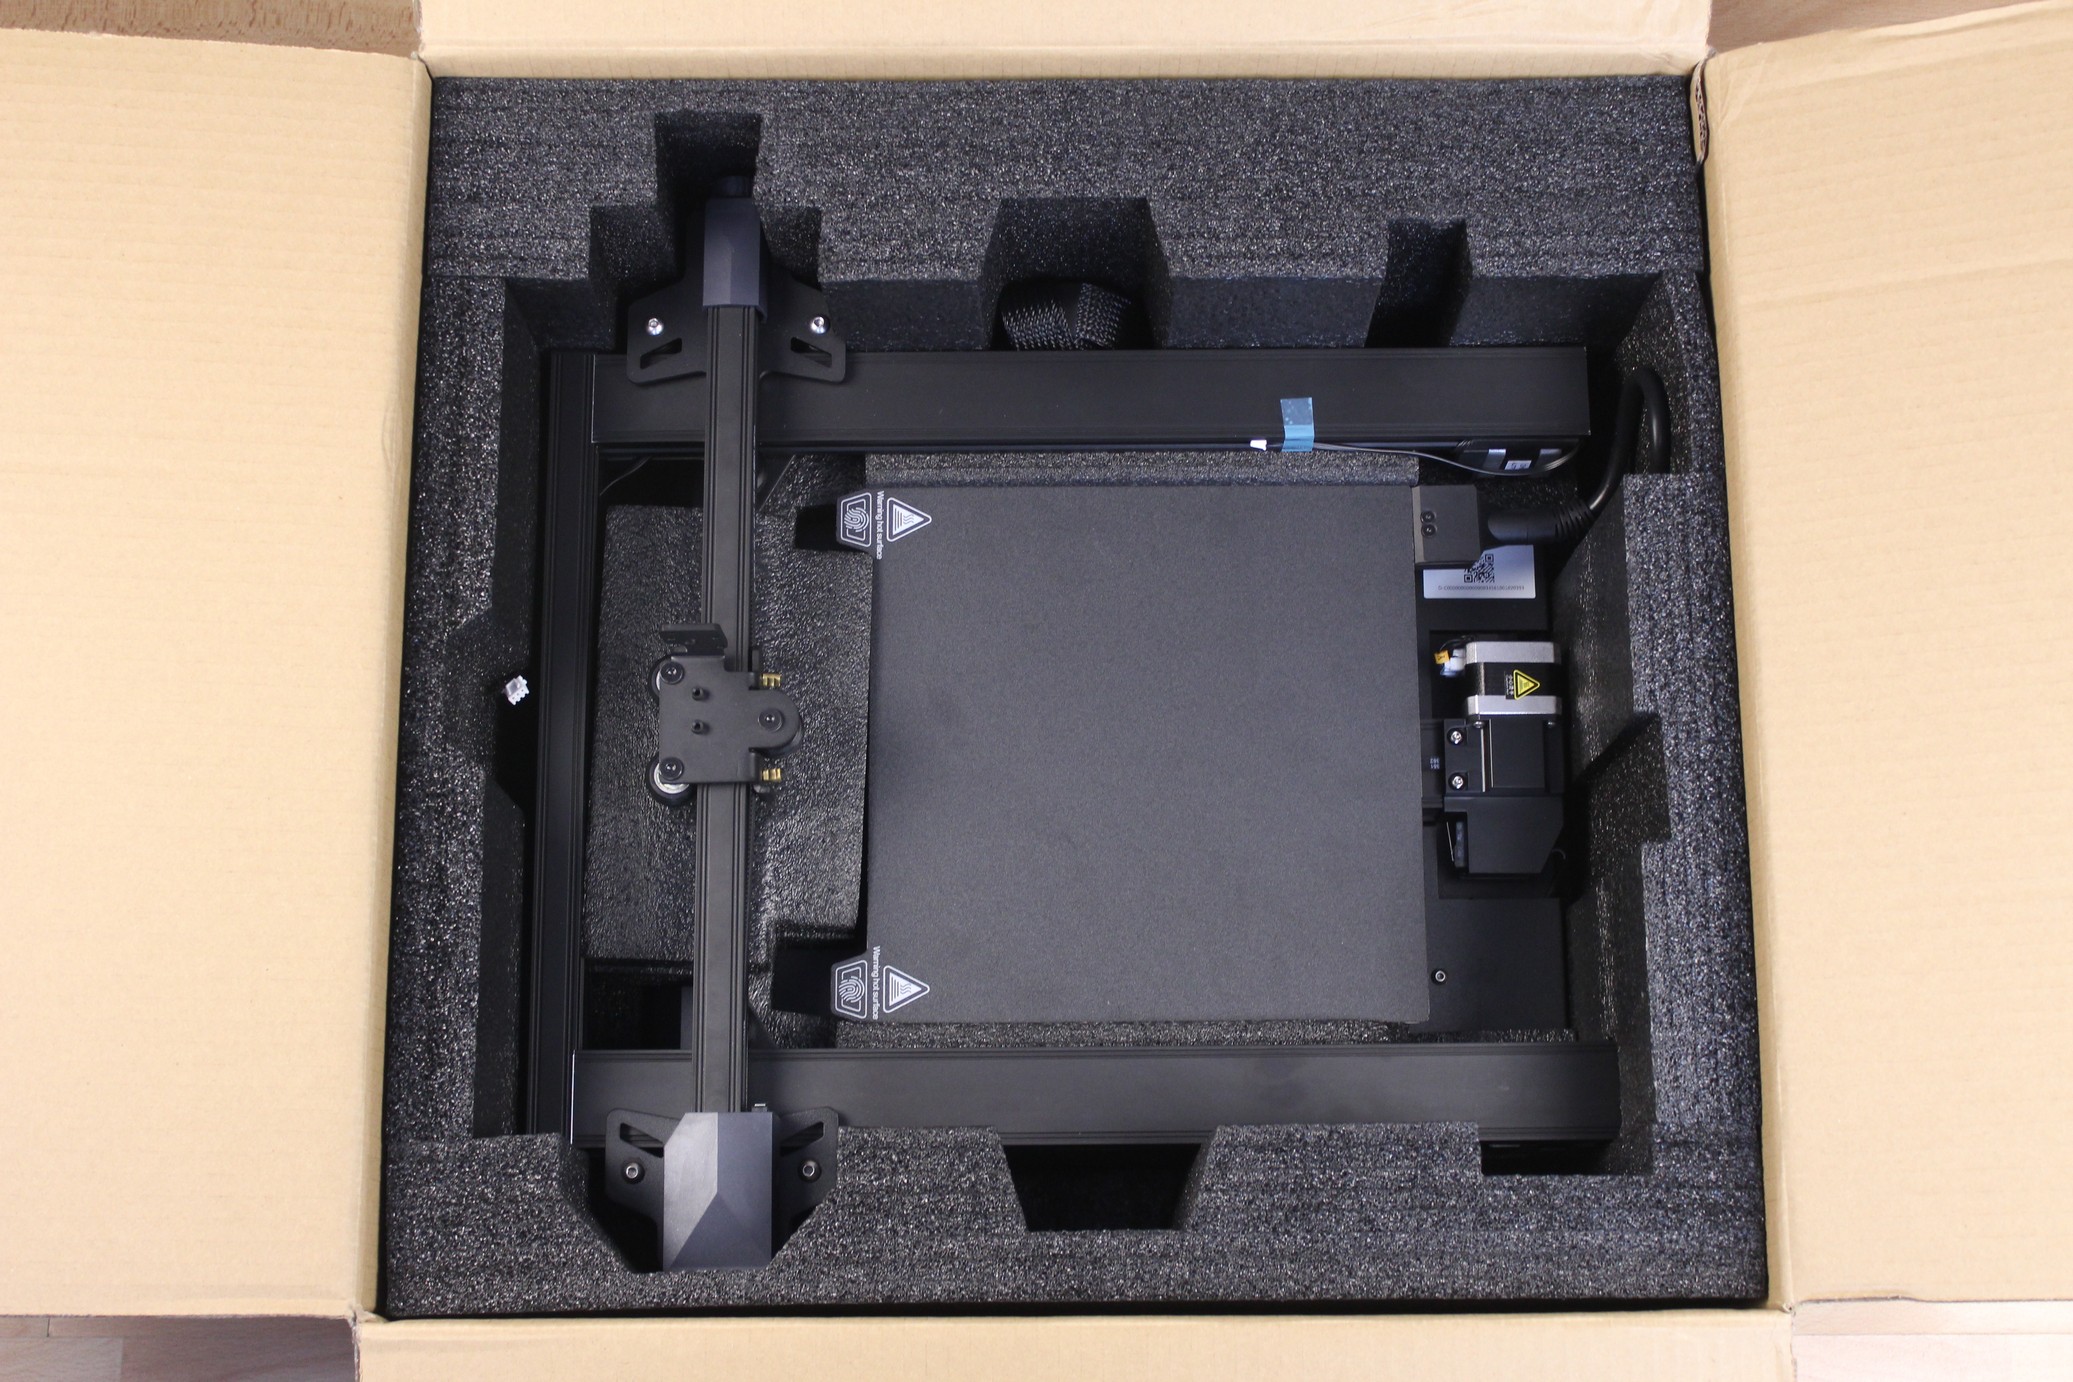
Asembly is straightforward, and it shouldn’t take more than 20 minutes. One thing I noticed is the inclusion of an extra screw for every type included in the package. It’s nice to have spares in case one of them comes damaged or gets lost.
Creality Ender 3 S1 Design
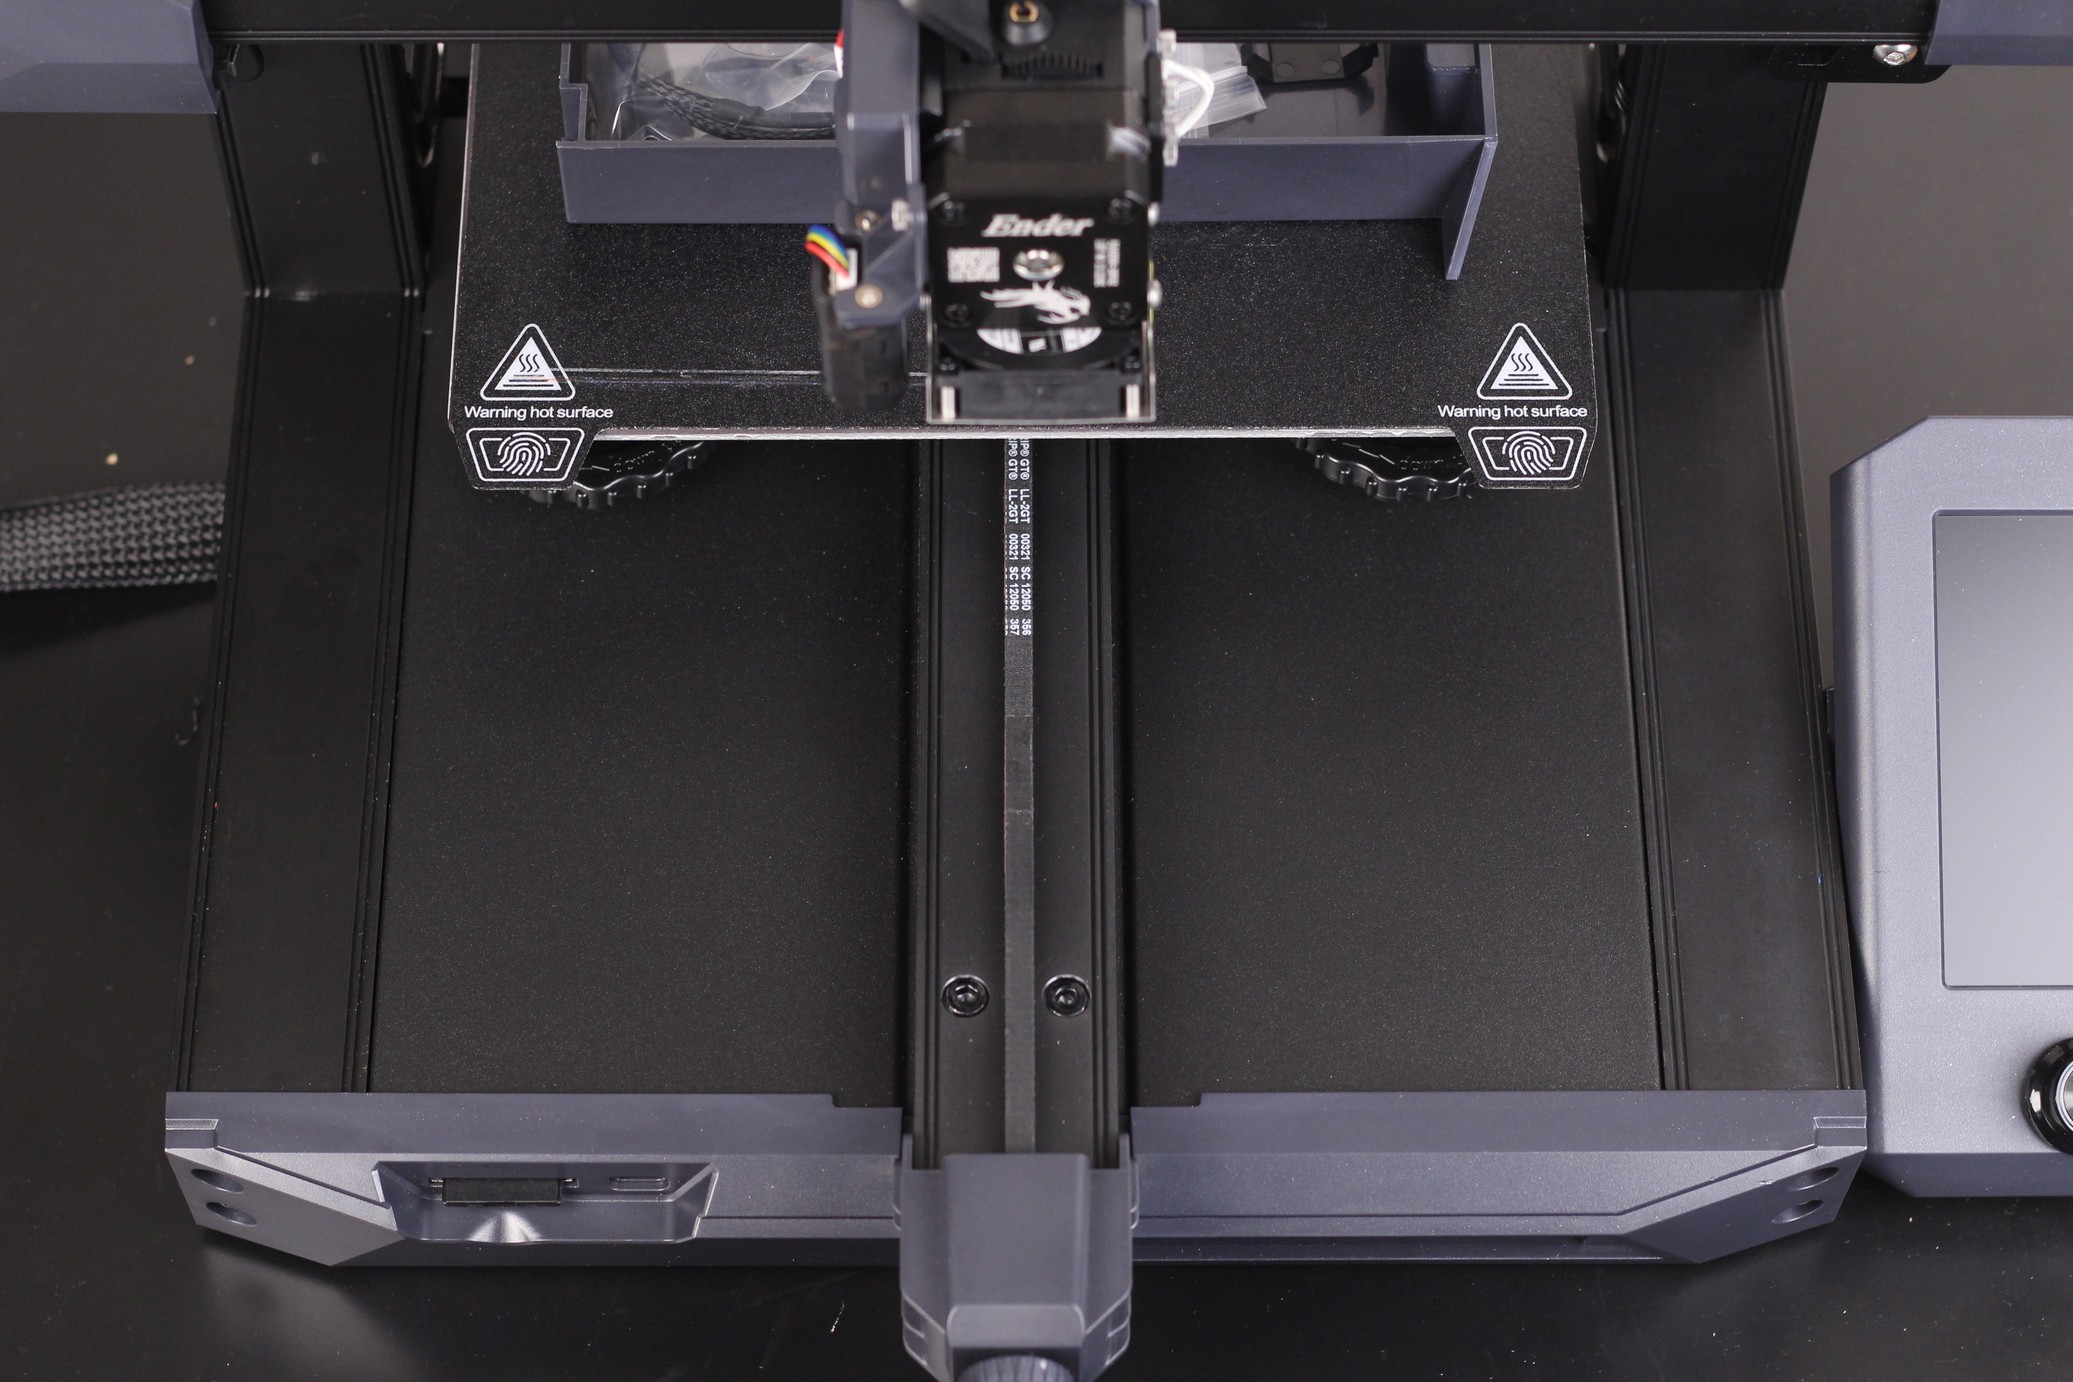
The design of the Ender 3 S1 is what caught my attention first. It looks much cleaner than other printers, and that’s thanks to the use of smooth aluminum extrusions. Besides giving the printer a cleaner look, these smooth extrusions also help in keeping the printer clean. It also makes it look somewhat similar to the Anycubic Vyper.
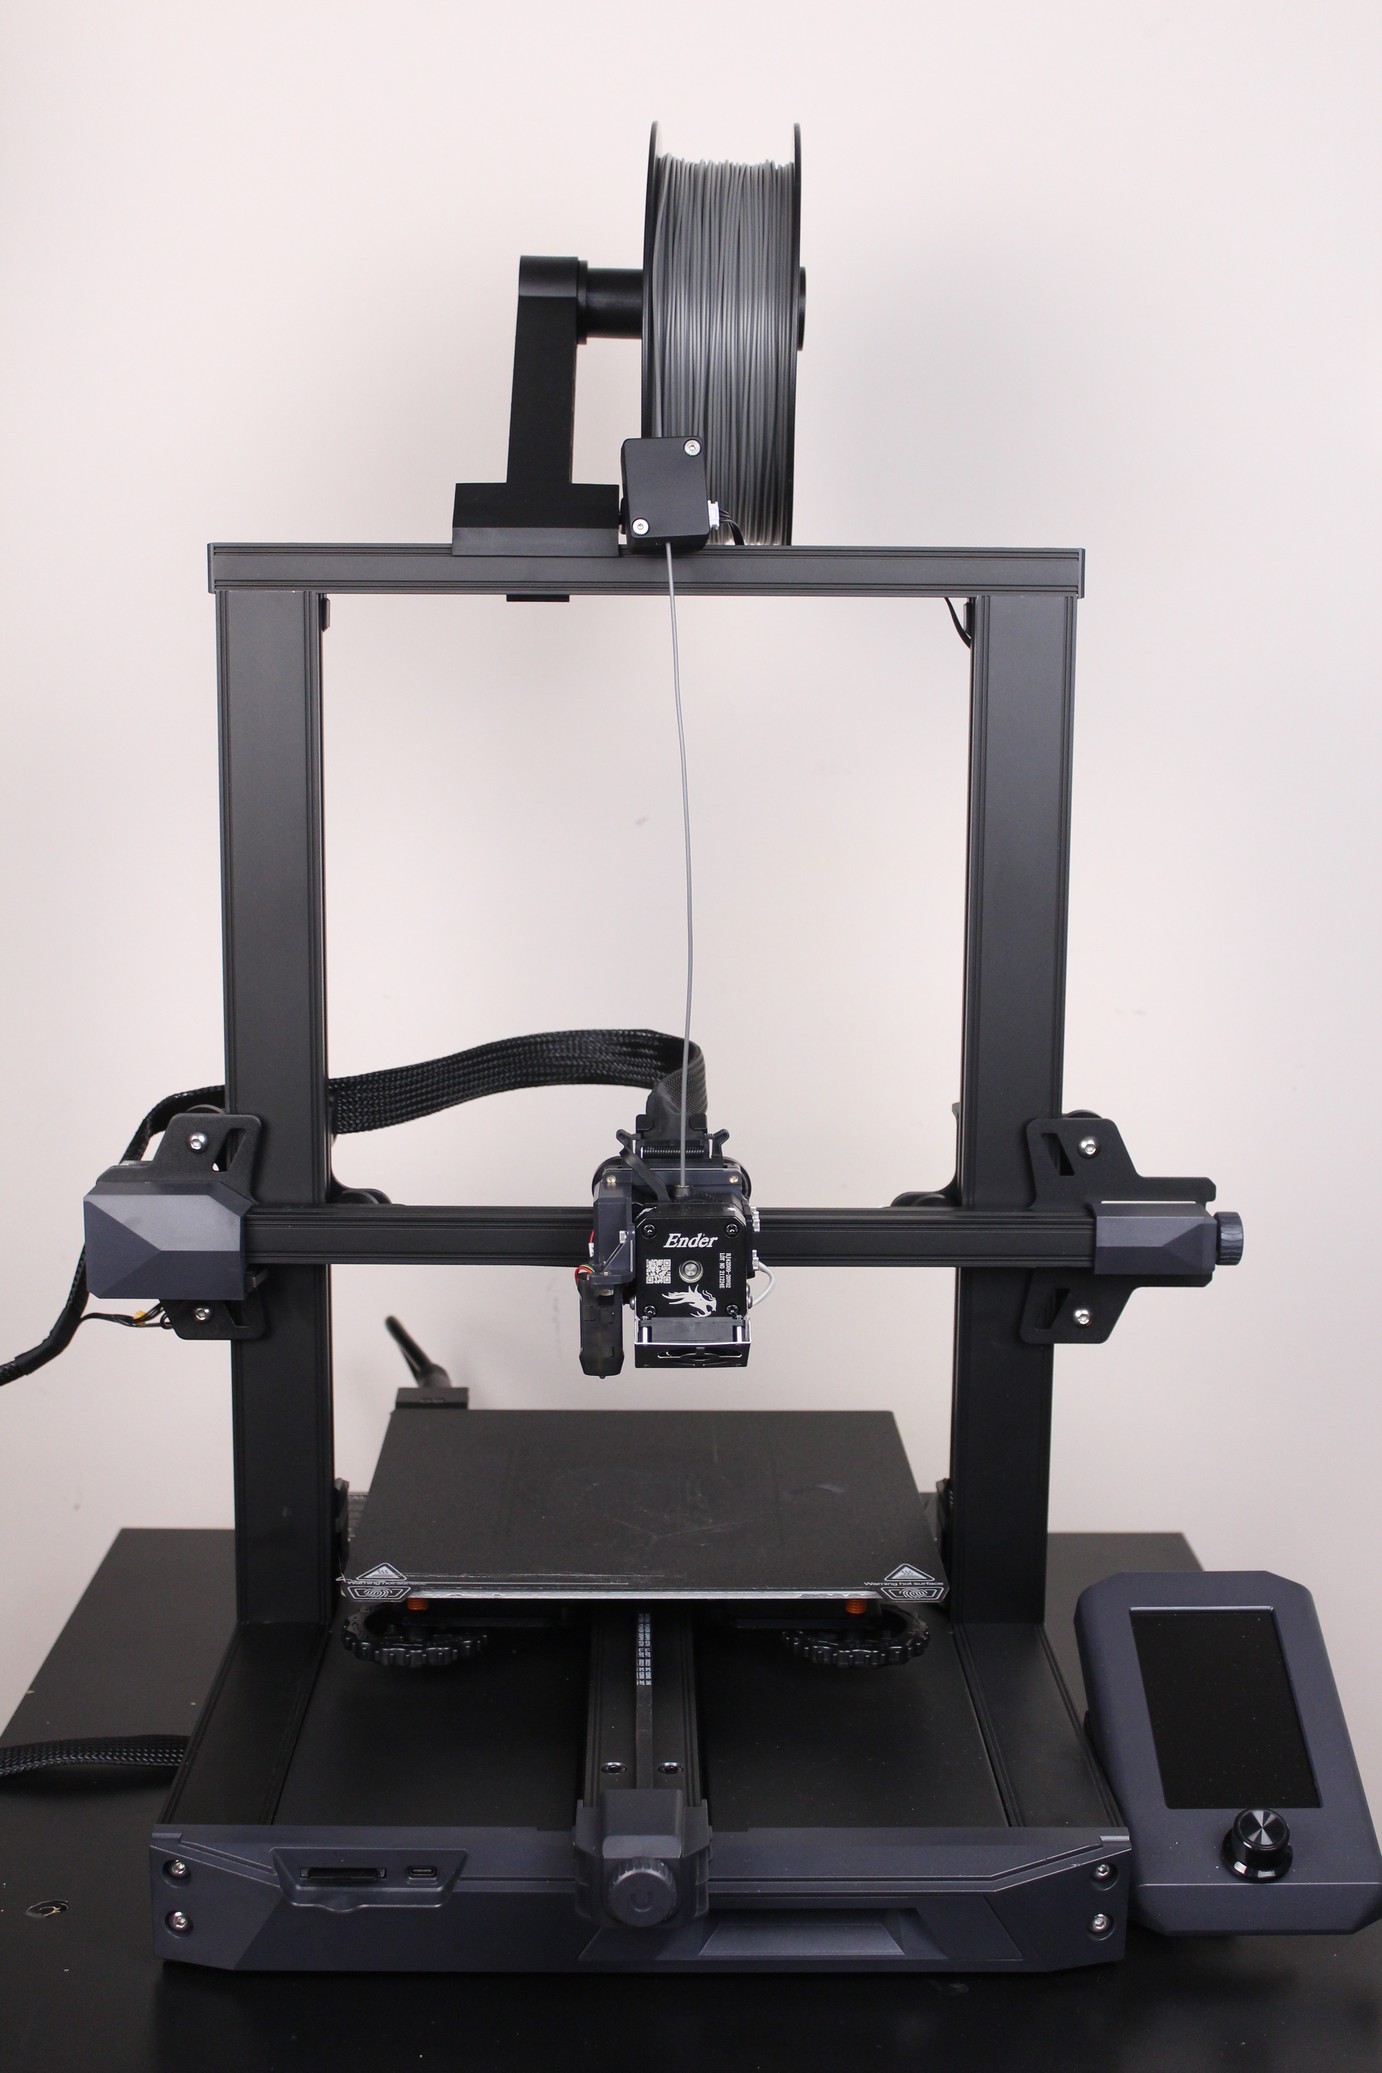
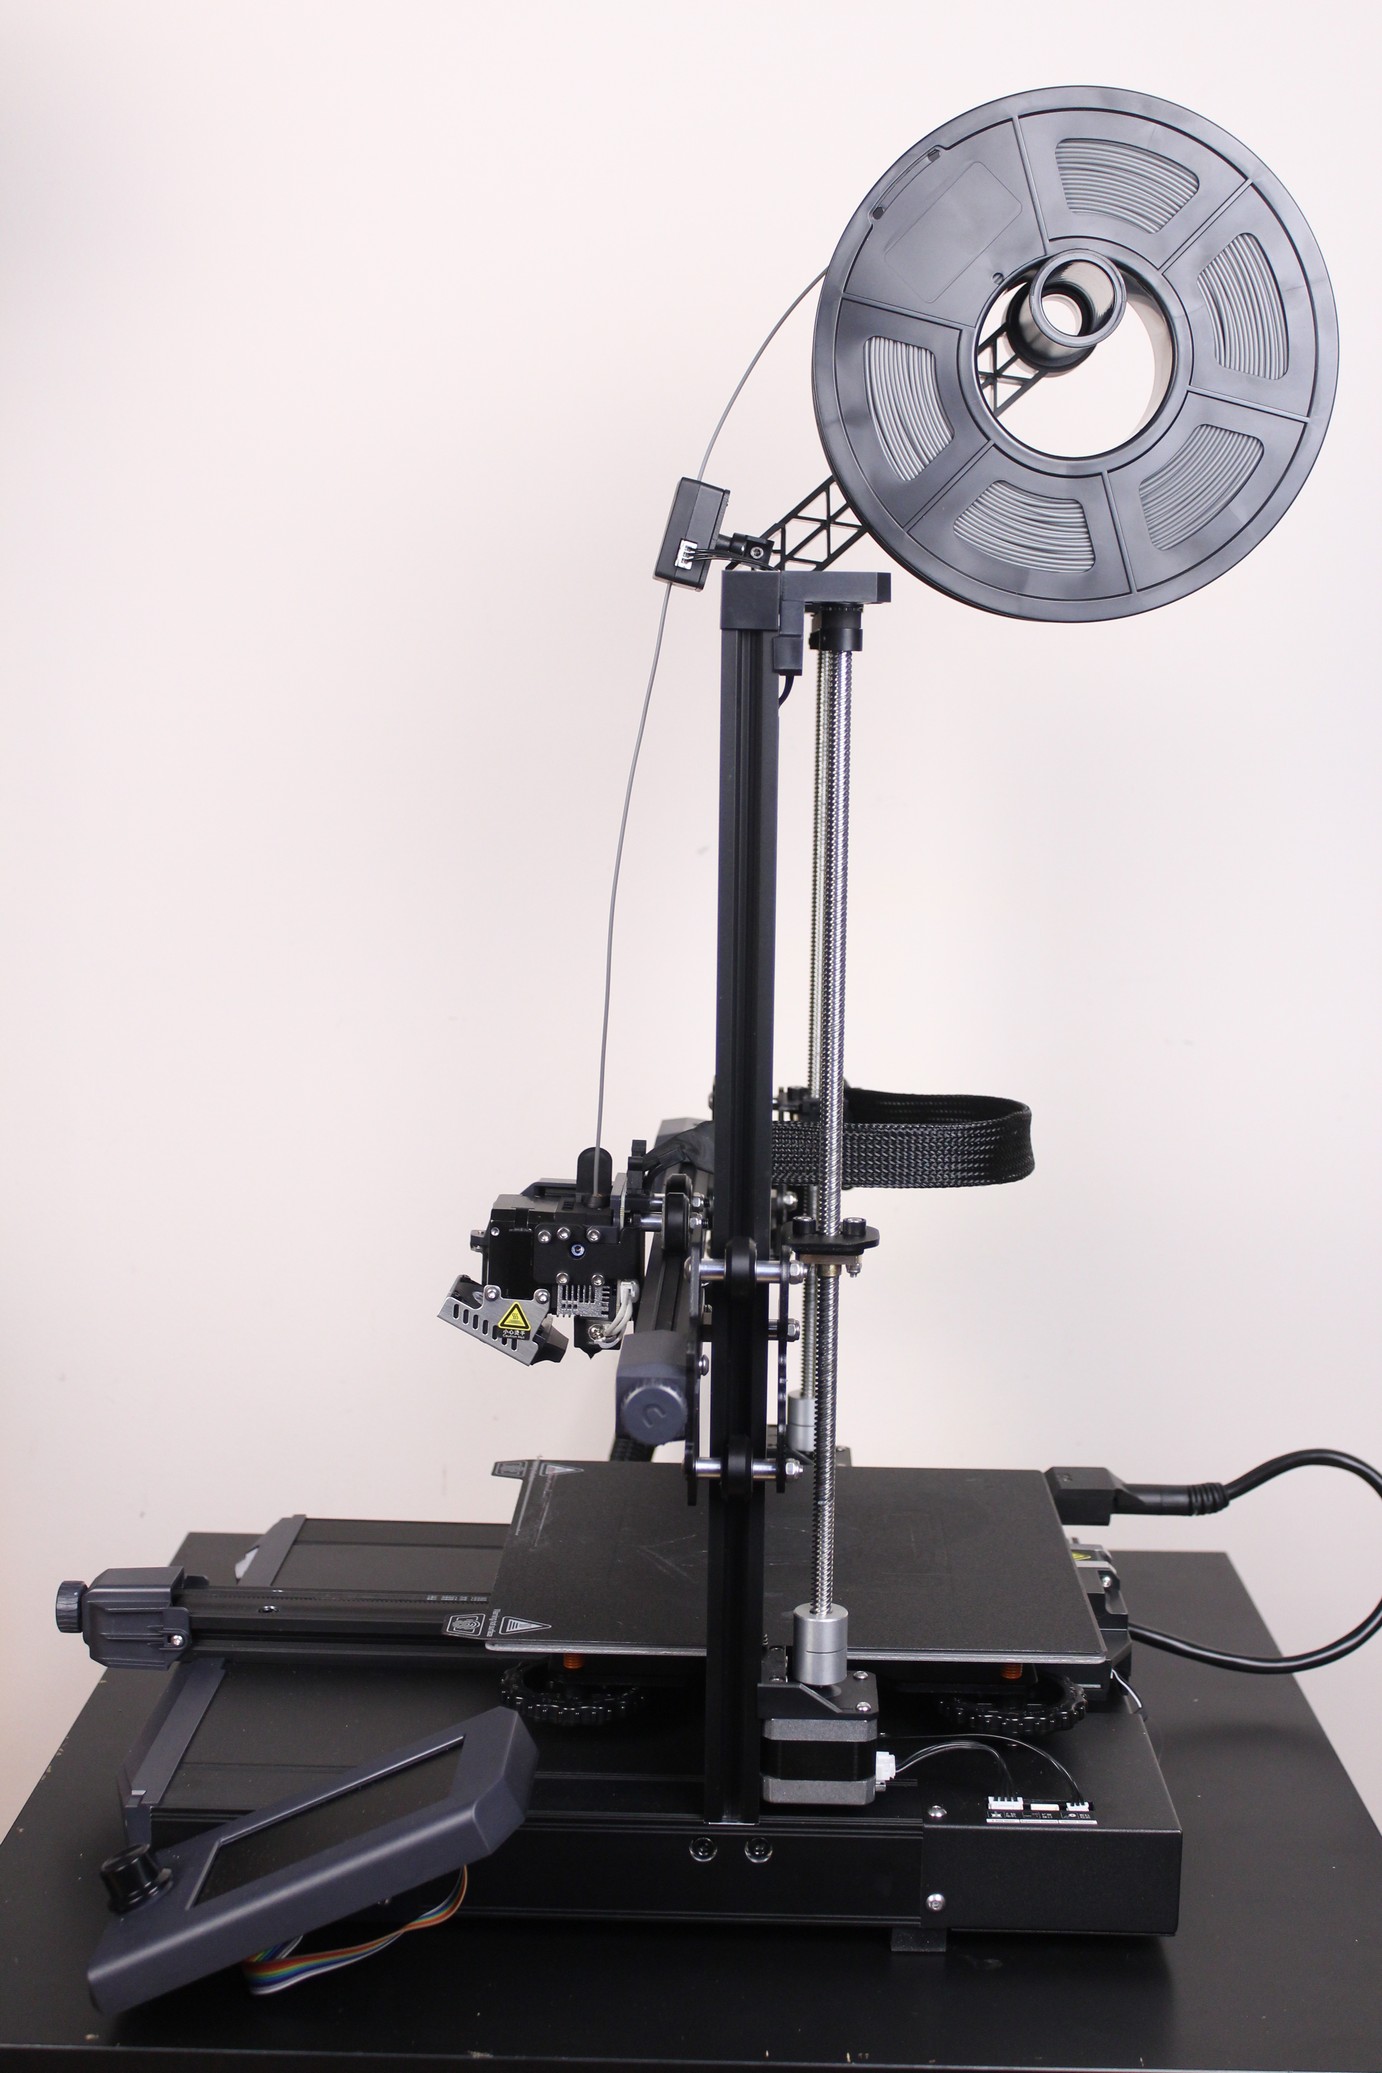
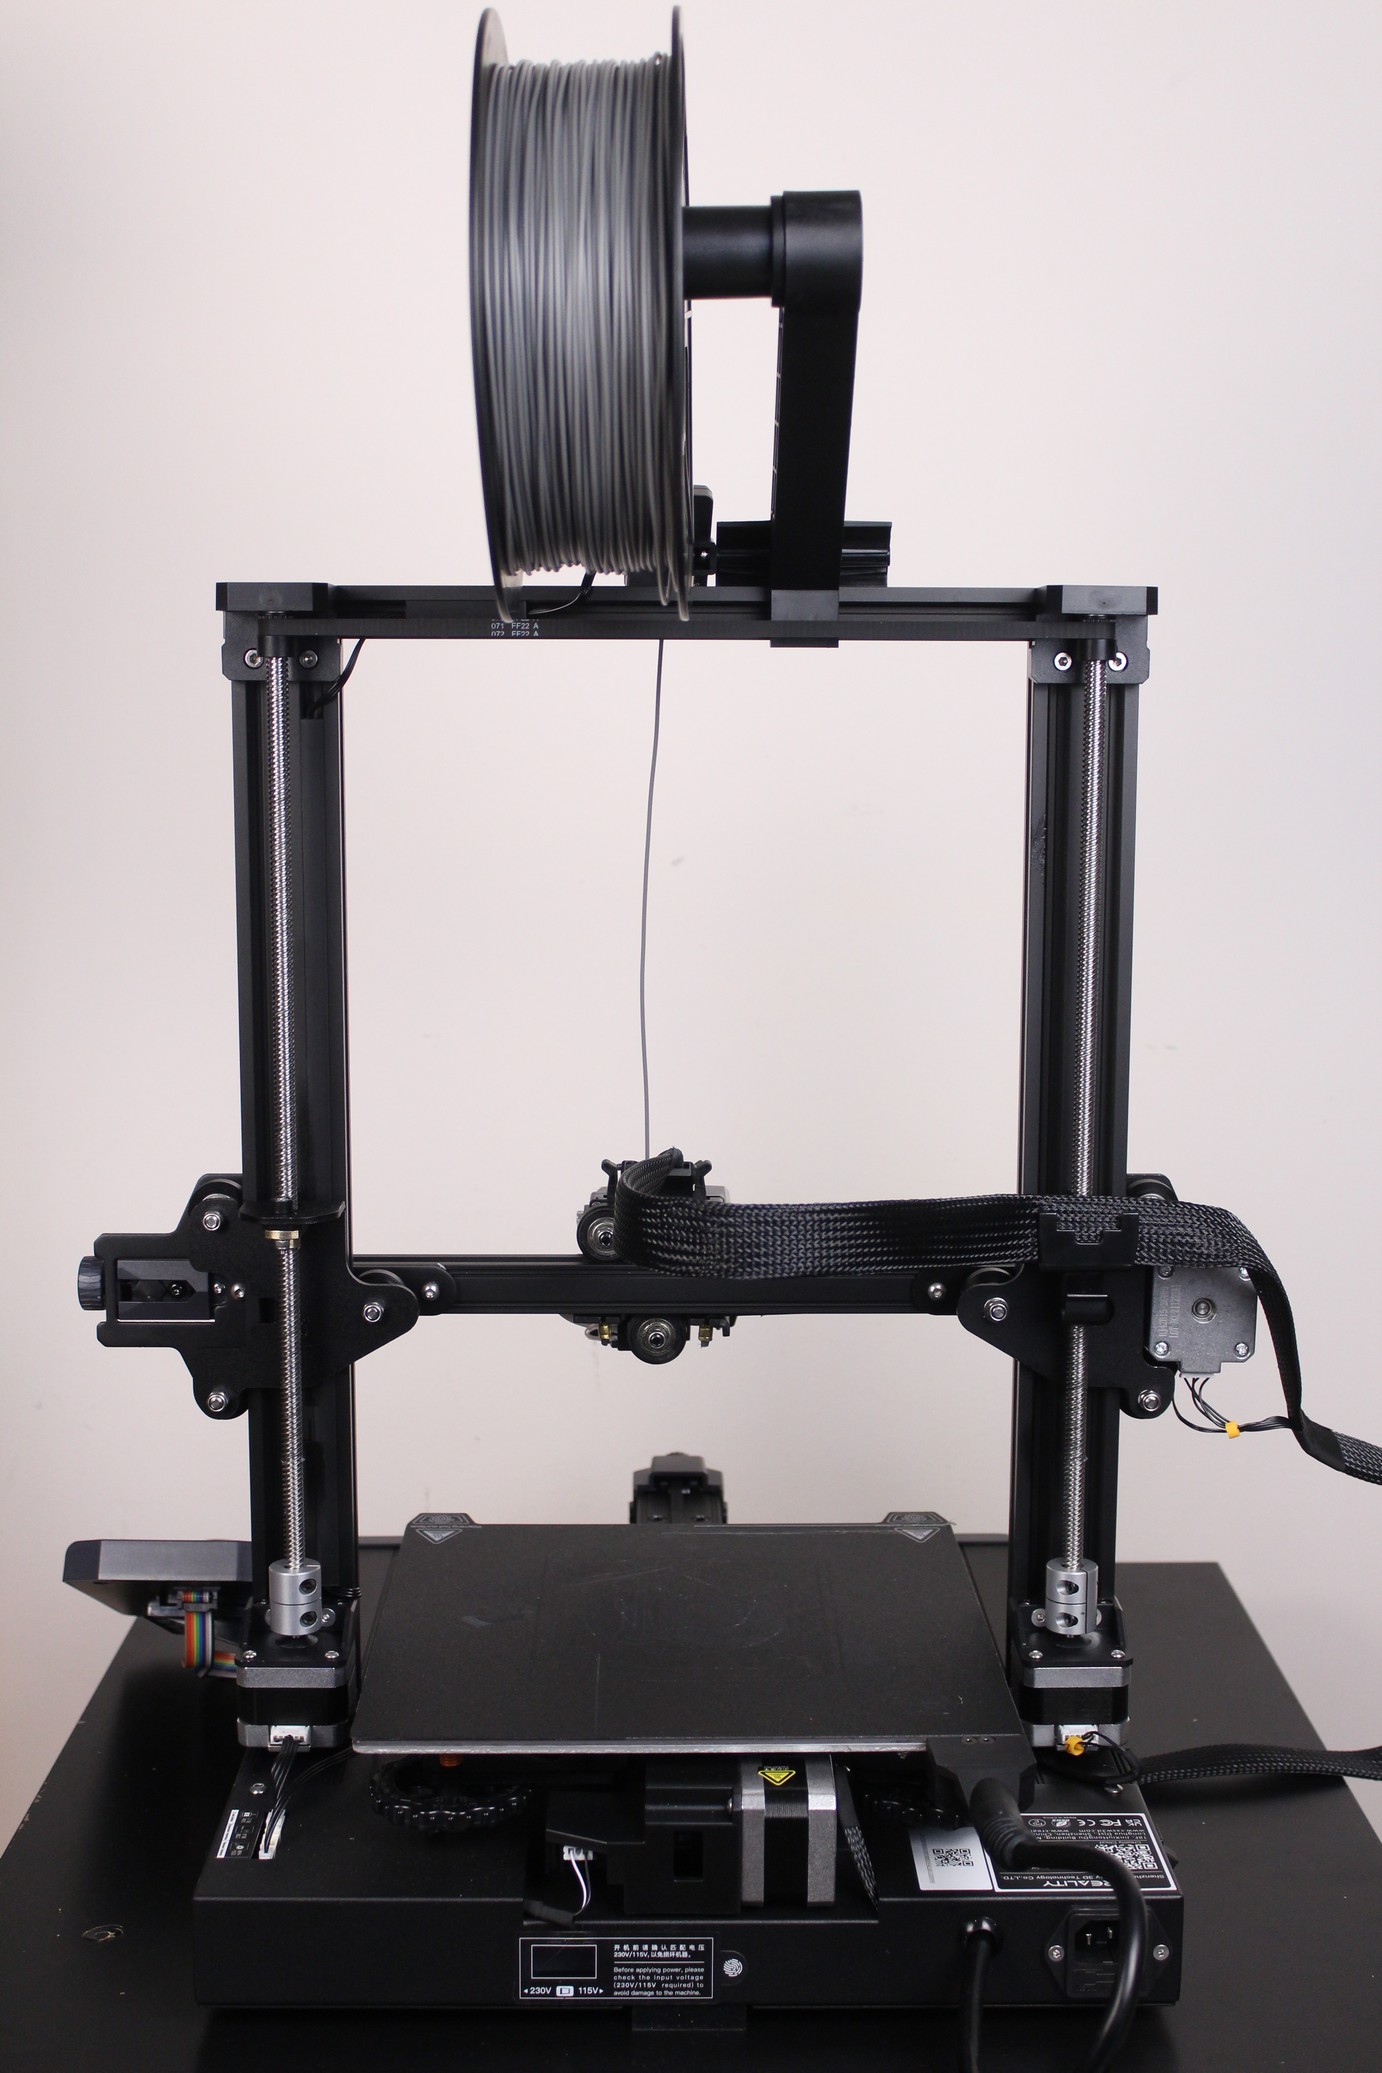
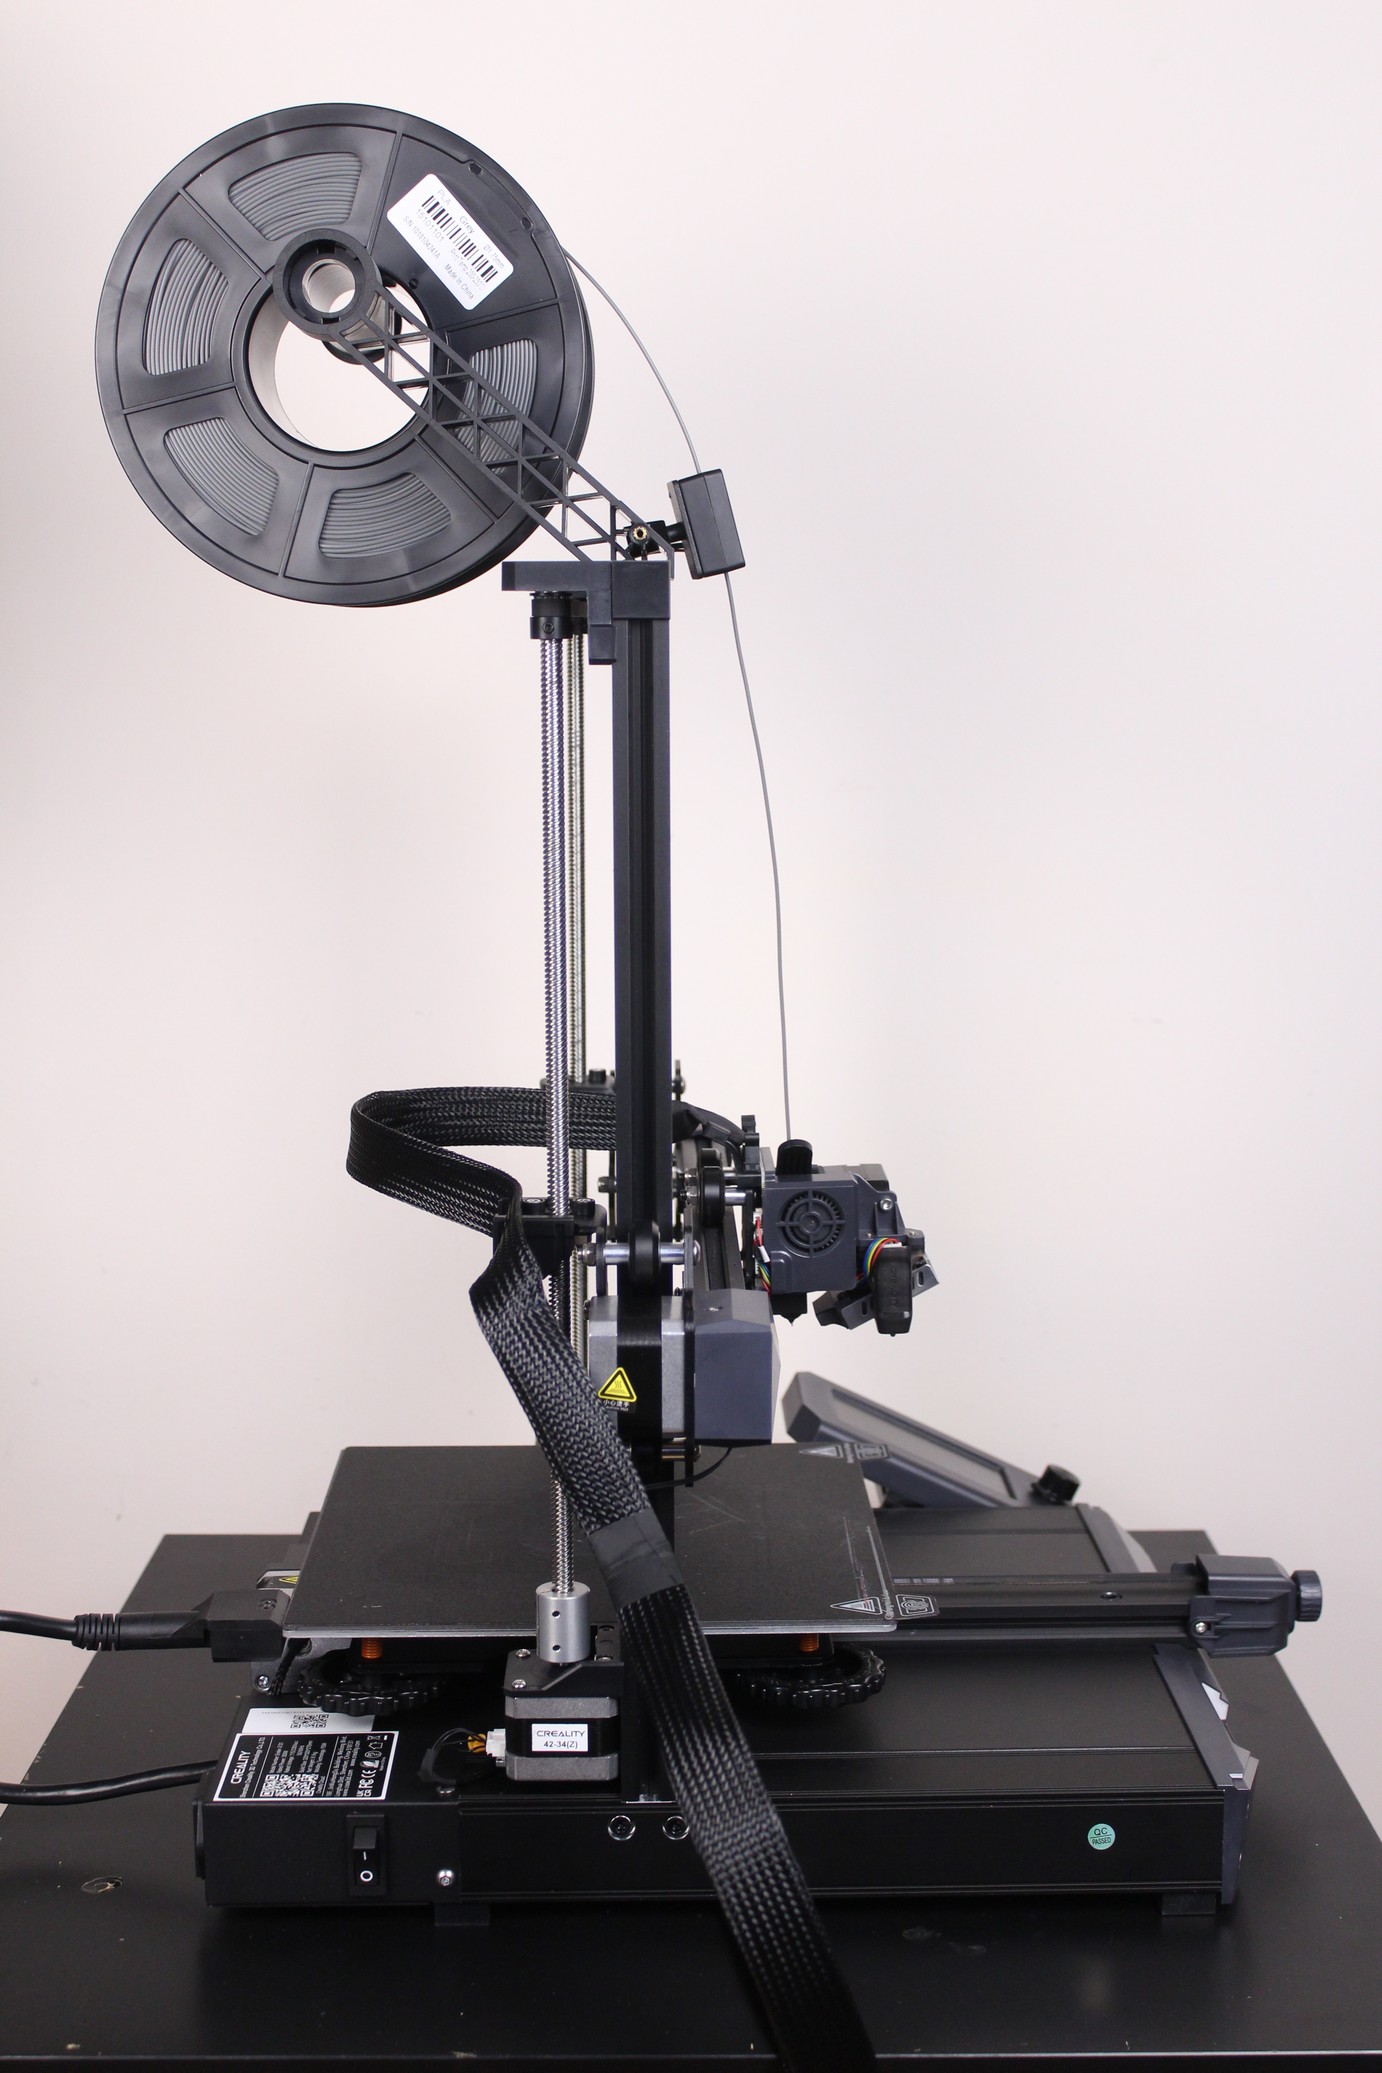
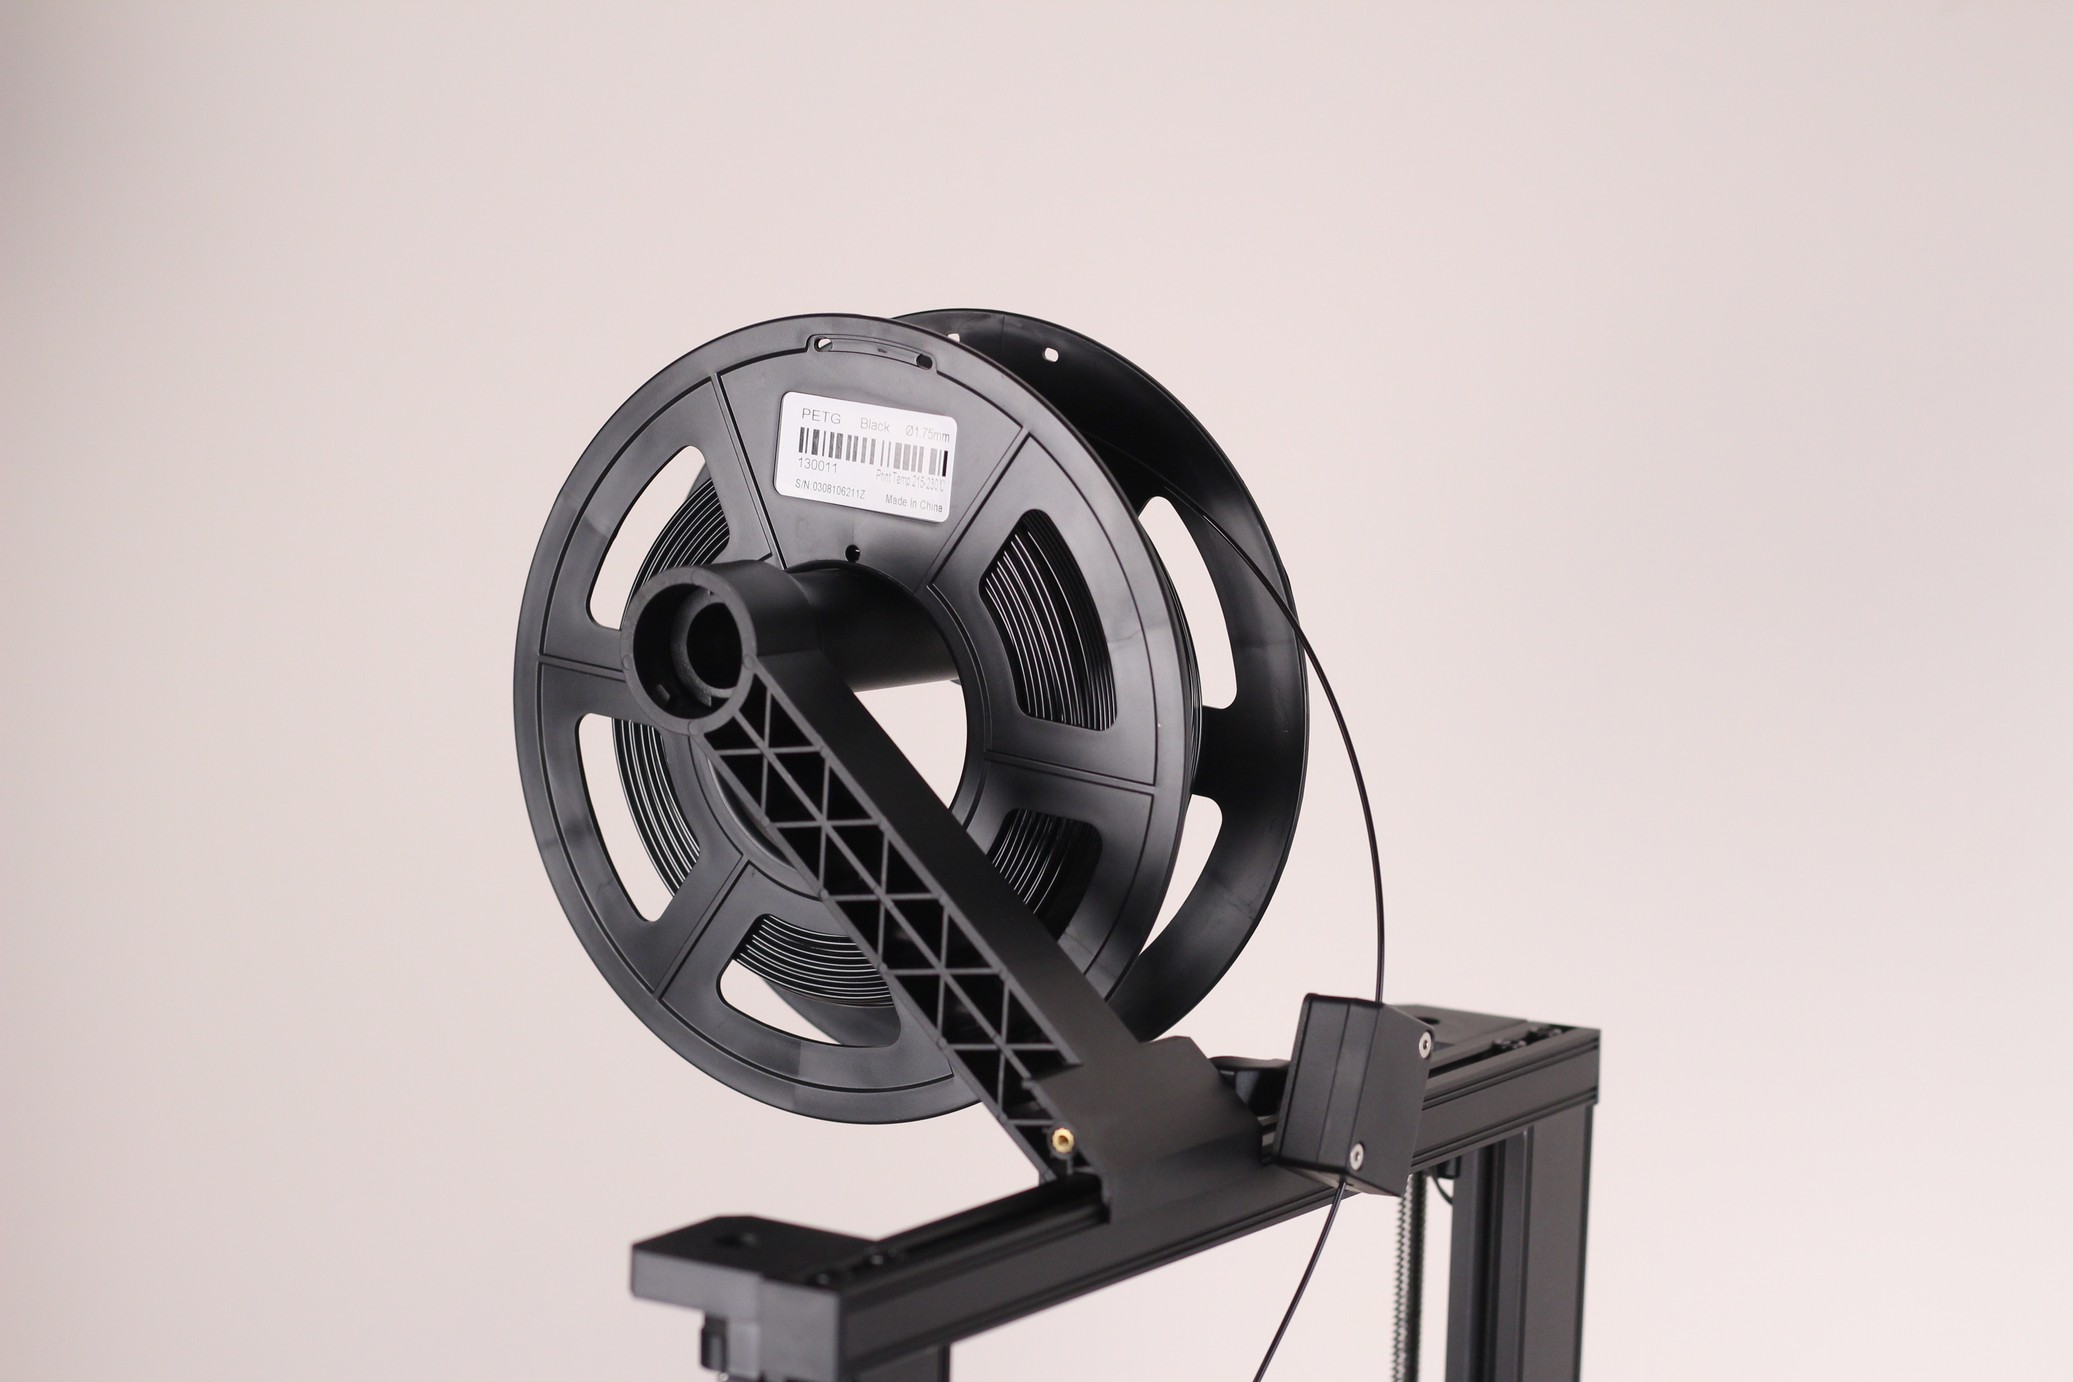
It’s clear that Creality invested more time and thought when designing the Ender 3 S1, because the attention to details is noticeable. The spool holder and filament sensor is made to be adjusted and used on either side which can be helpful depending on the printer position.
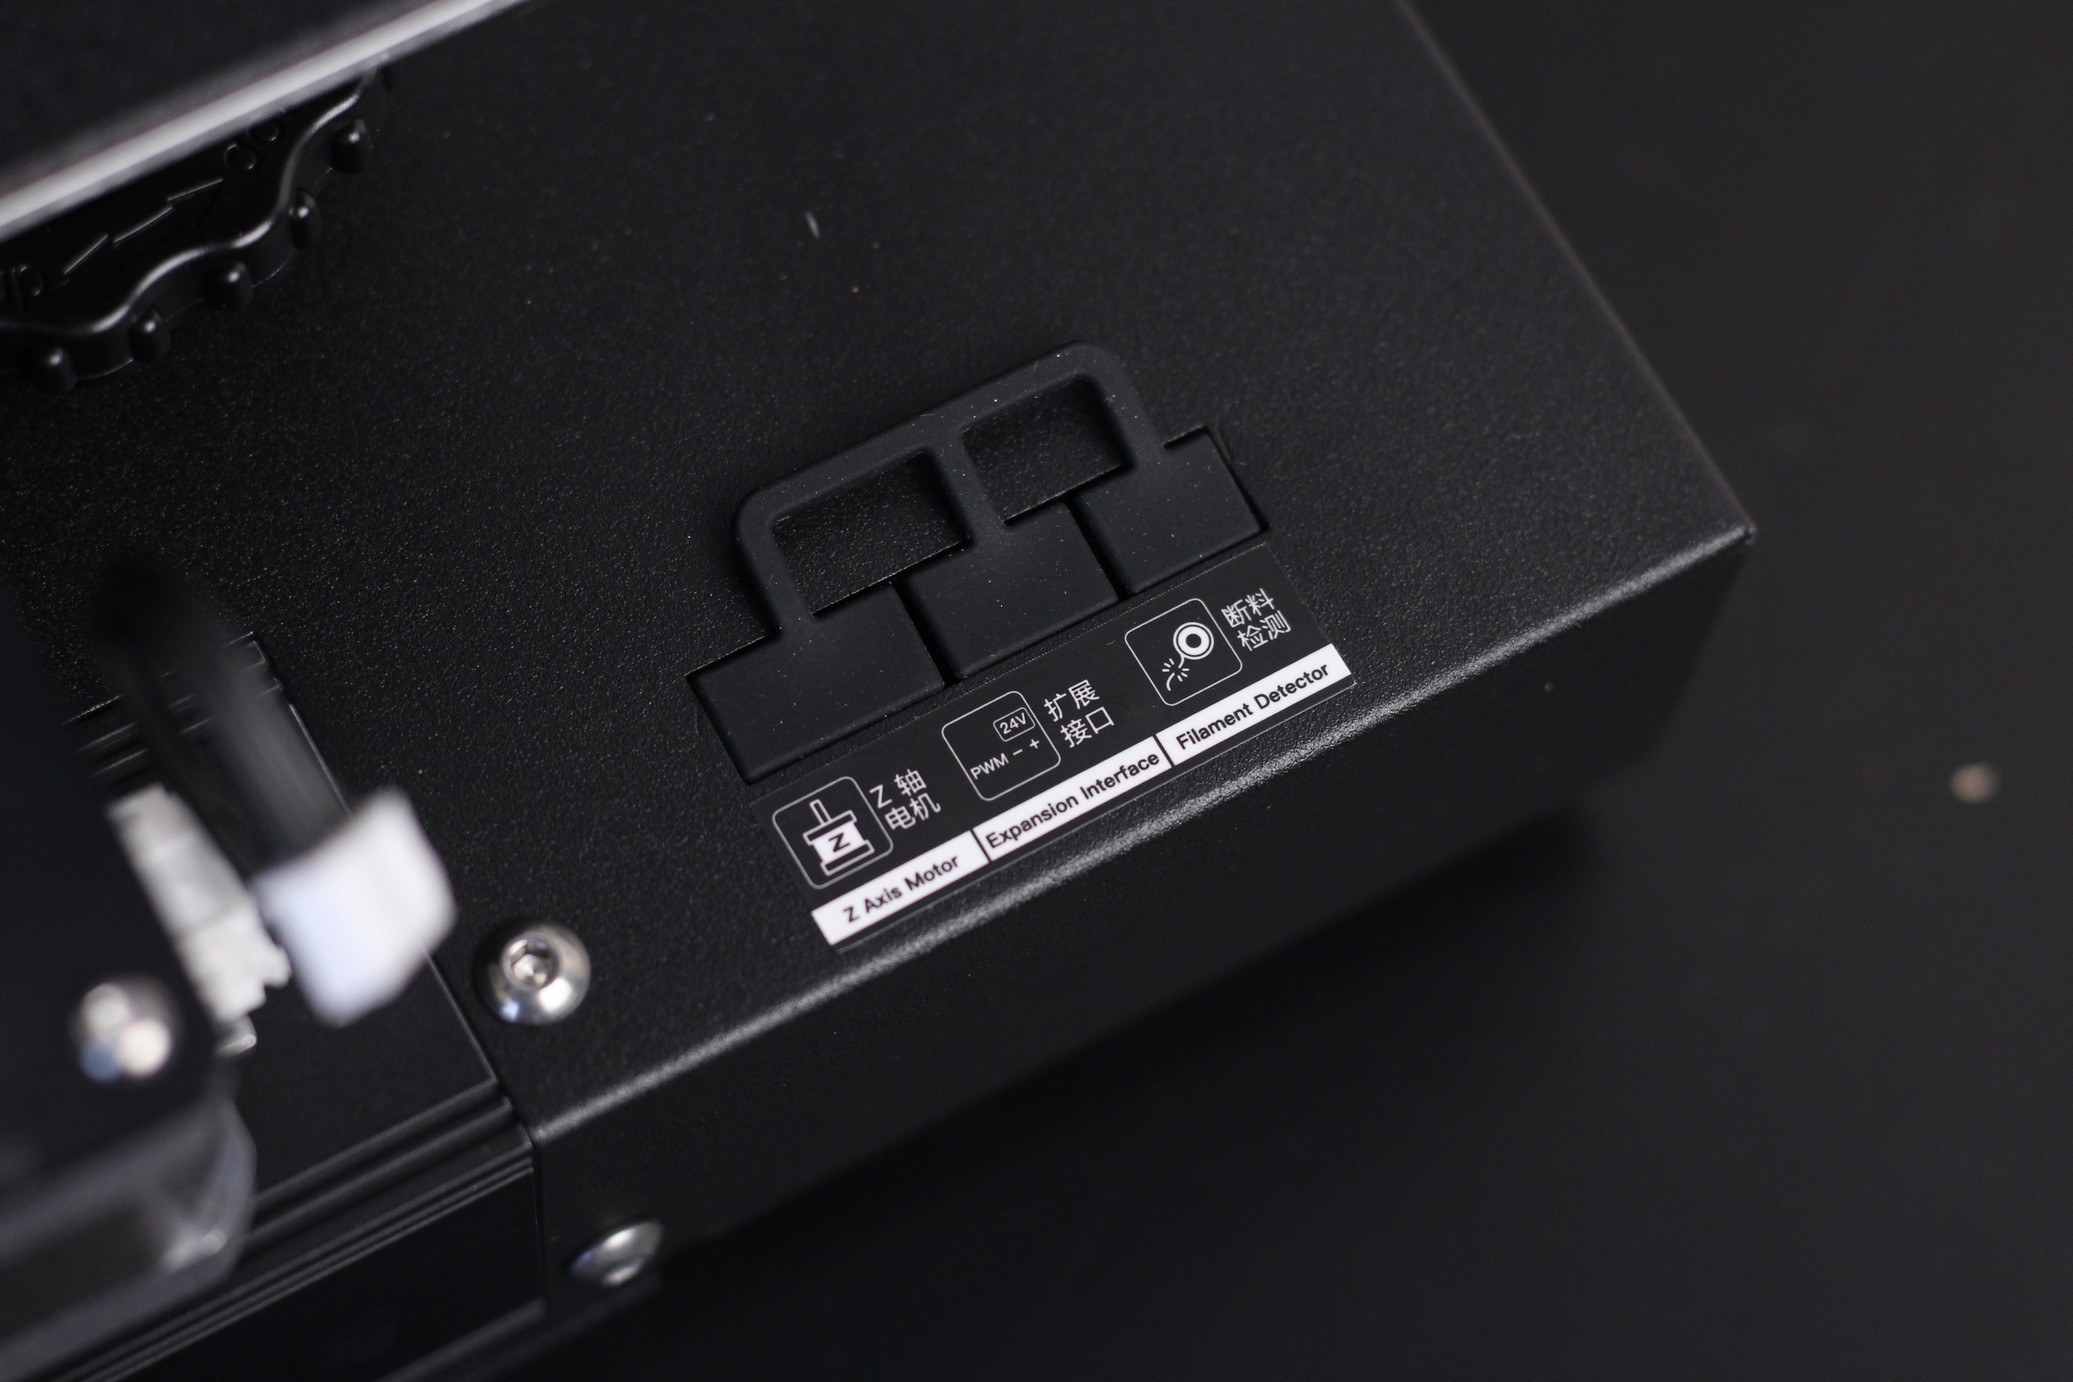
A silicone cover is installed on the wire connectors which is not really needed, but it helps protect them from dust and debris when not in use.
Creality Ender 3 S1 Specs
| Modeling technology | FDM |
| Build size | 220*220*270mm |
| Supported filament | PLA/TPU/PETG/ABS |
| Printing speed | 150mm/s (max) |
| Printing precision | ±0.1mm |
| Number of nozzles | 1 |
| Filament diameter | 1.75mm |
| Machine net weight | 9.1kg |
| Type of extruder | Sprite Direct Extruder |
| Automatic bed leveling | CR Touch |
| Screen | knob color screen |
| Filament sensor | supported |
| Rated voltage | 115/230V |
| Rated power | 350W |
| Printer Size | Printer Size |
| Package size | 540*510*260mm |
| Printing layer thickness | 0.05-0.35mm |
| Nozzle diameter | 0.4mm |
| Maximum nozzle temperature | 260°C |
| Maximum heatbed temperature | 100°C |
| Package gross weight | 11.2kg |
| Extruder gear ratio | 1:3.5 |
| Printing platform | PC Spring steel sheet |
| Mainboard | 32-bit silent mainboard |
| Resume printing | supported |
| Printing method | Type—C USB/SD card |
| Supported language | English/Chinese |
| Supported file format | STL/OBJ/AMF |
Sprite dual-gear direct drive extruder
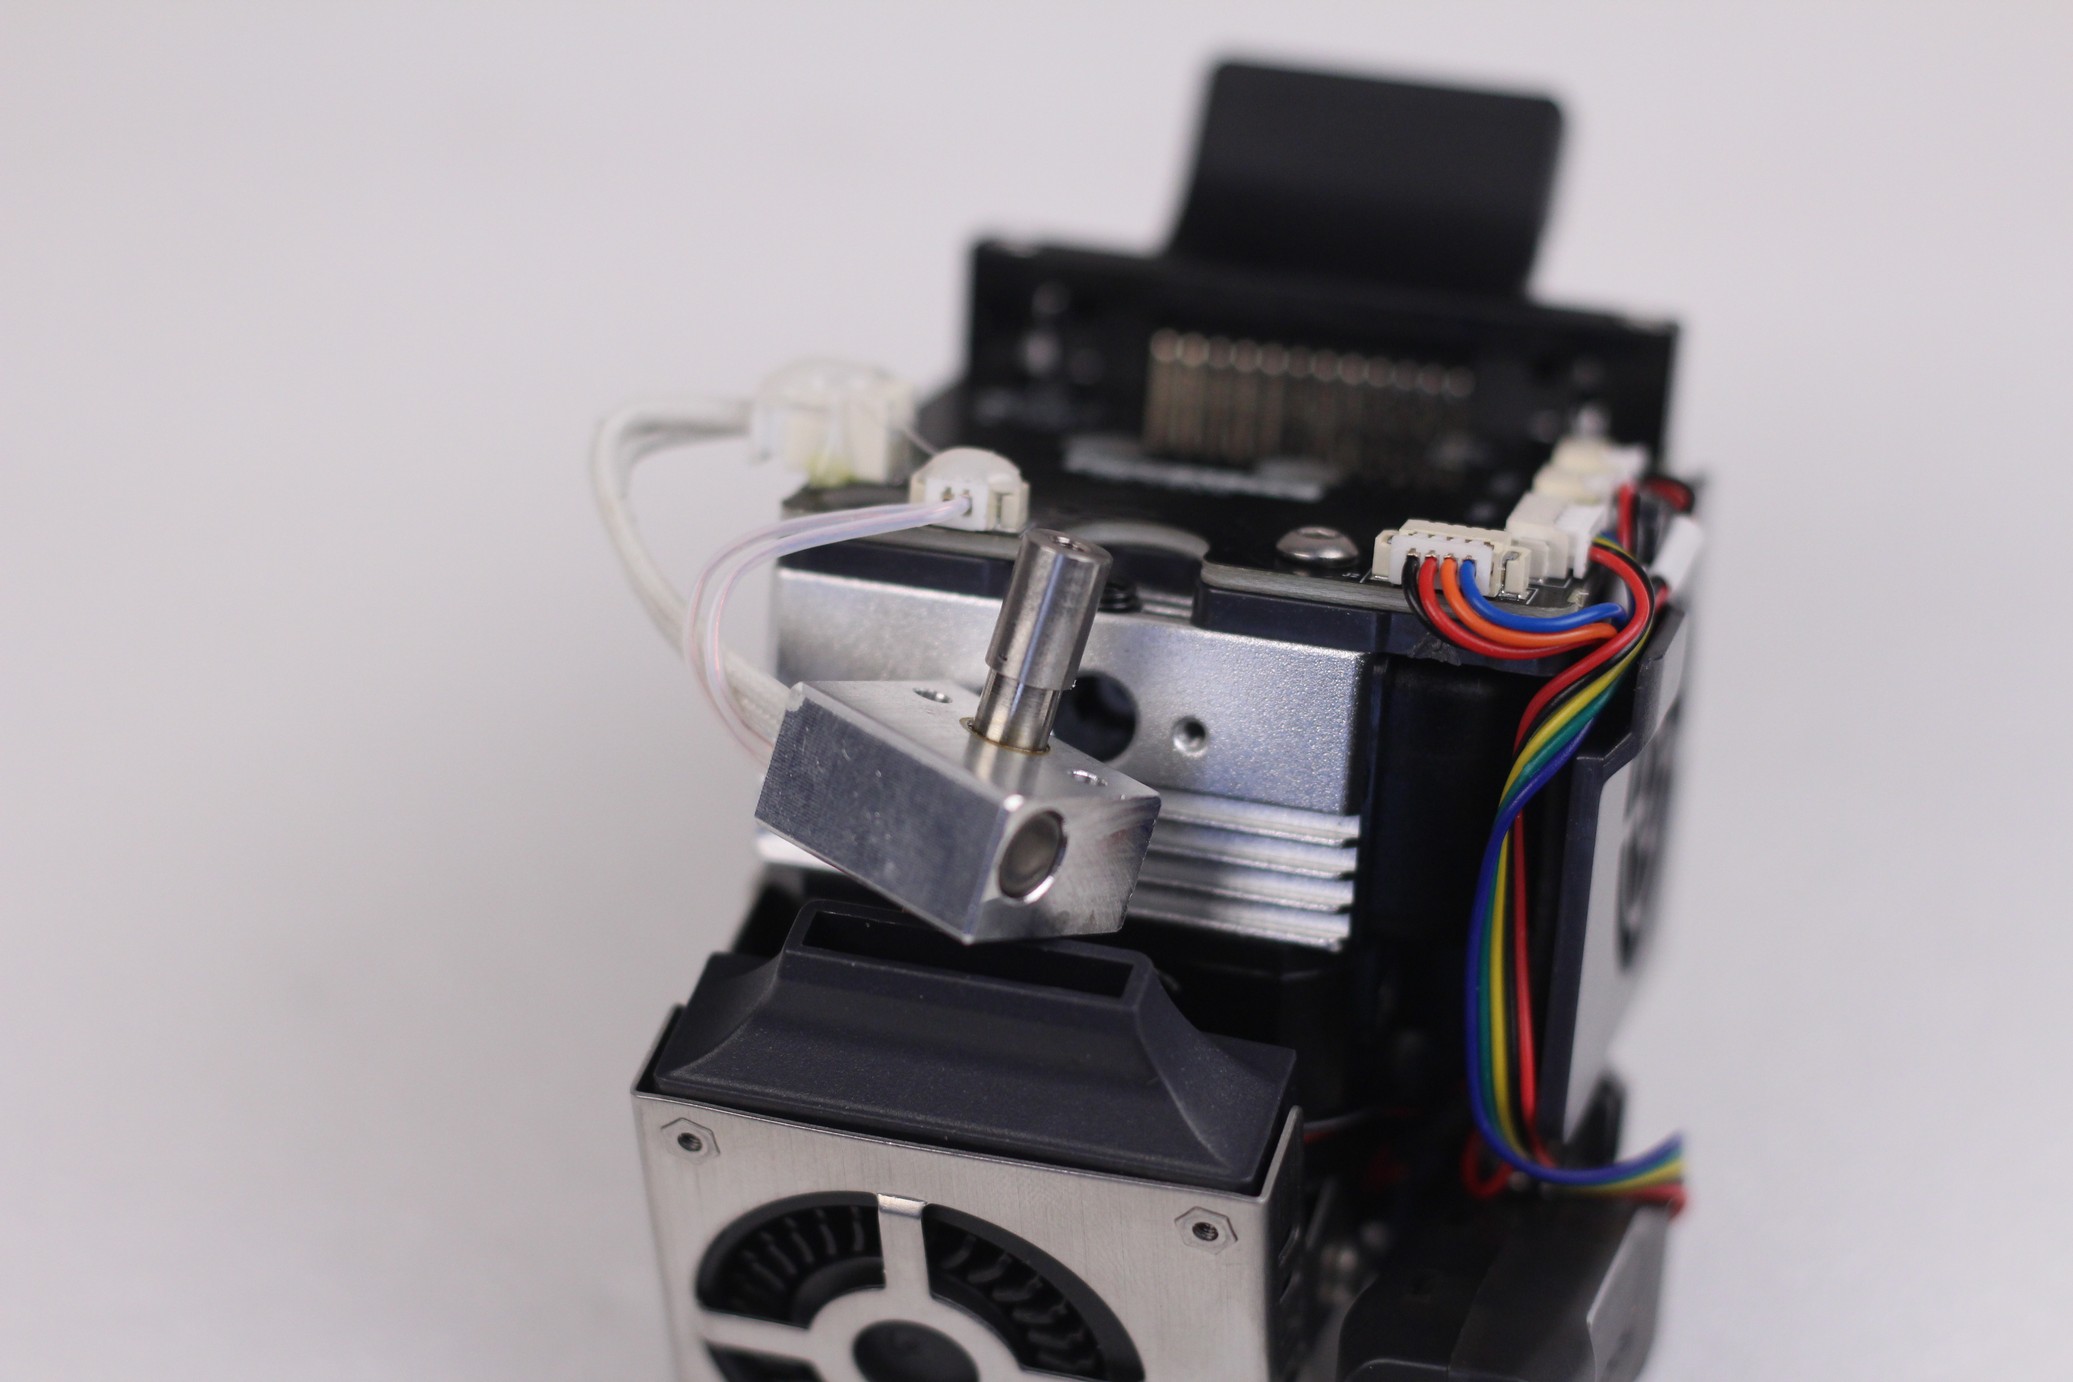
The main attraction for the Ender 3 S1 is the new Creality “Sprite” Extruder. It’s the first direct drive extruder from Creality which is build well and doesn’t suck.
The Sprite extruder is quite compact, weighing ~260 grams. It also has a 3.5:1 gear ratio for improved accuracy and torque. But the best thing about it is that the hotend is integrated in the extruder which provides a short filament path for better filament control.
We will discuss more about the Sprite extruder in a dedicated review. But I think it’s easy to see that I’m quite happy with it.
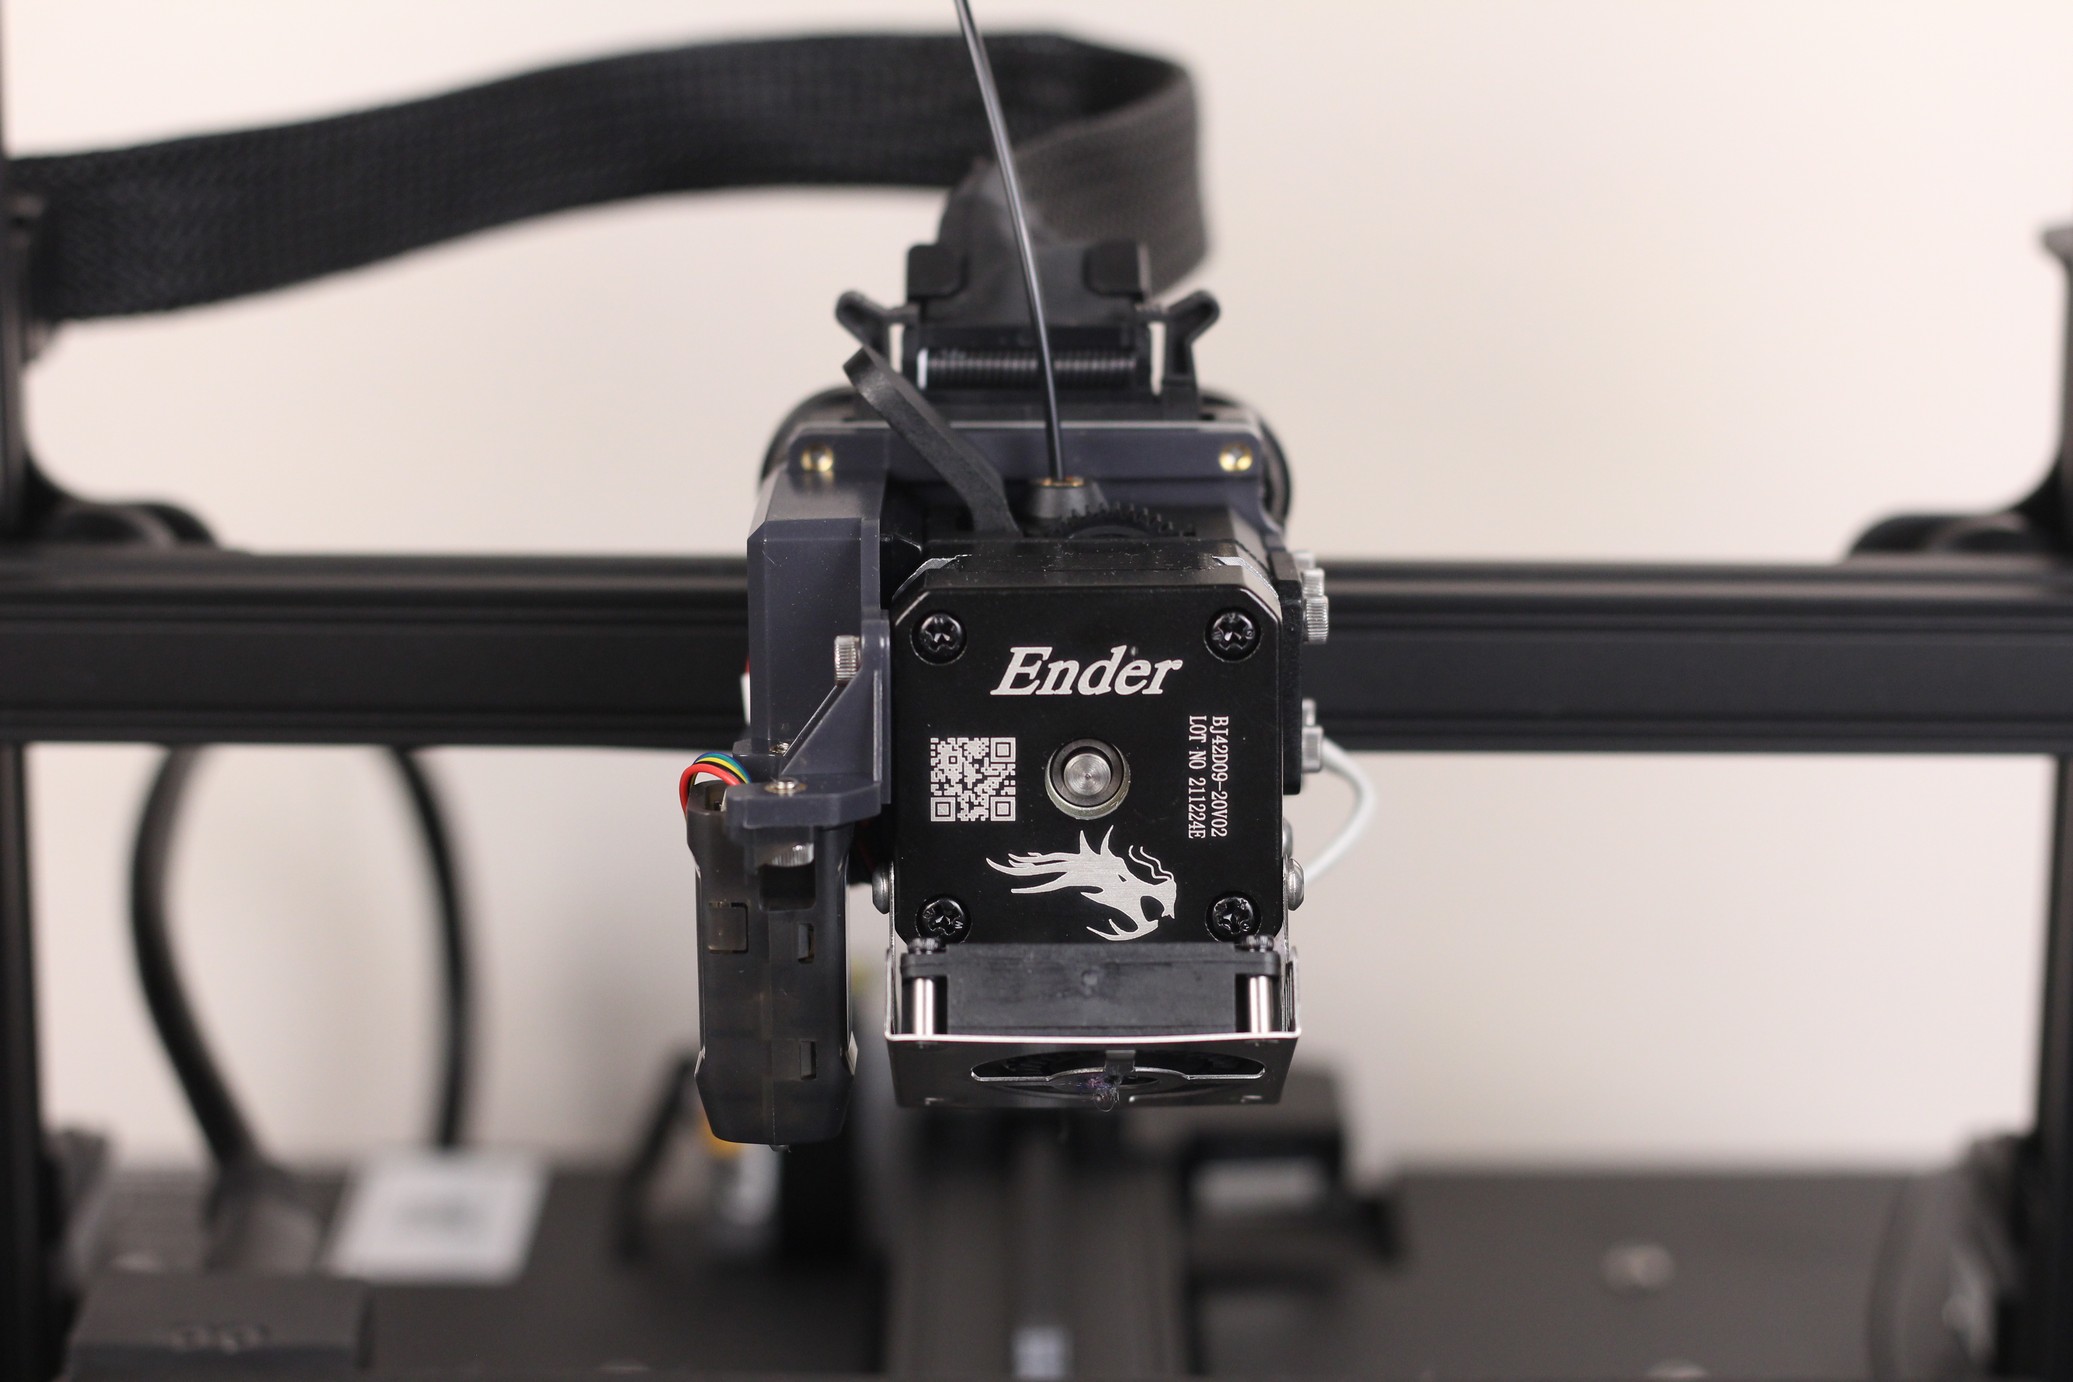
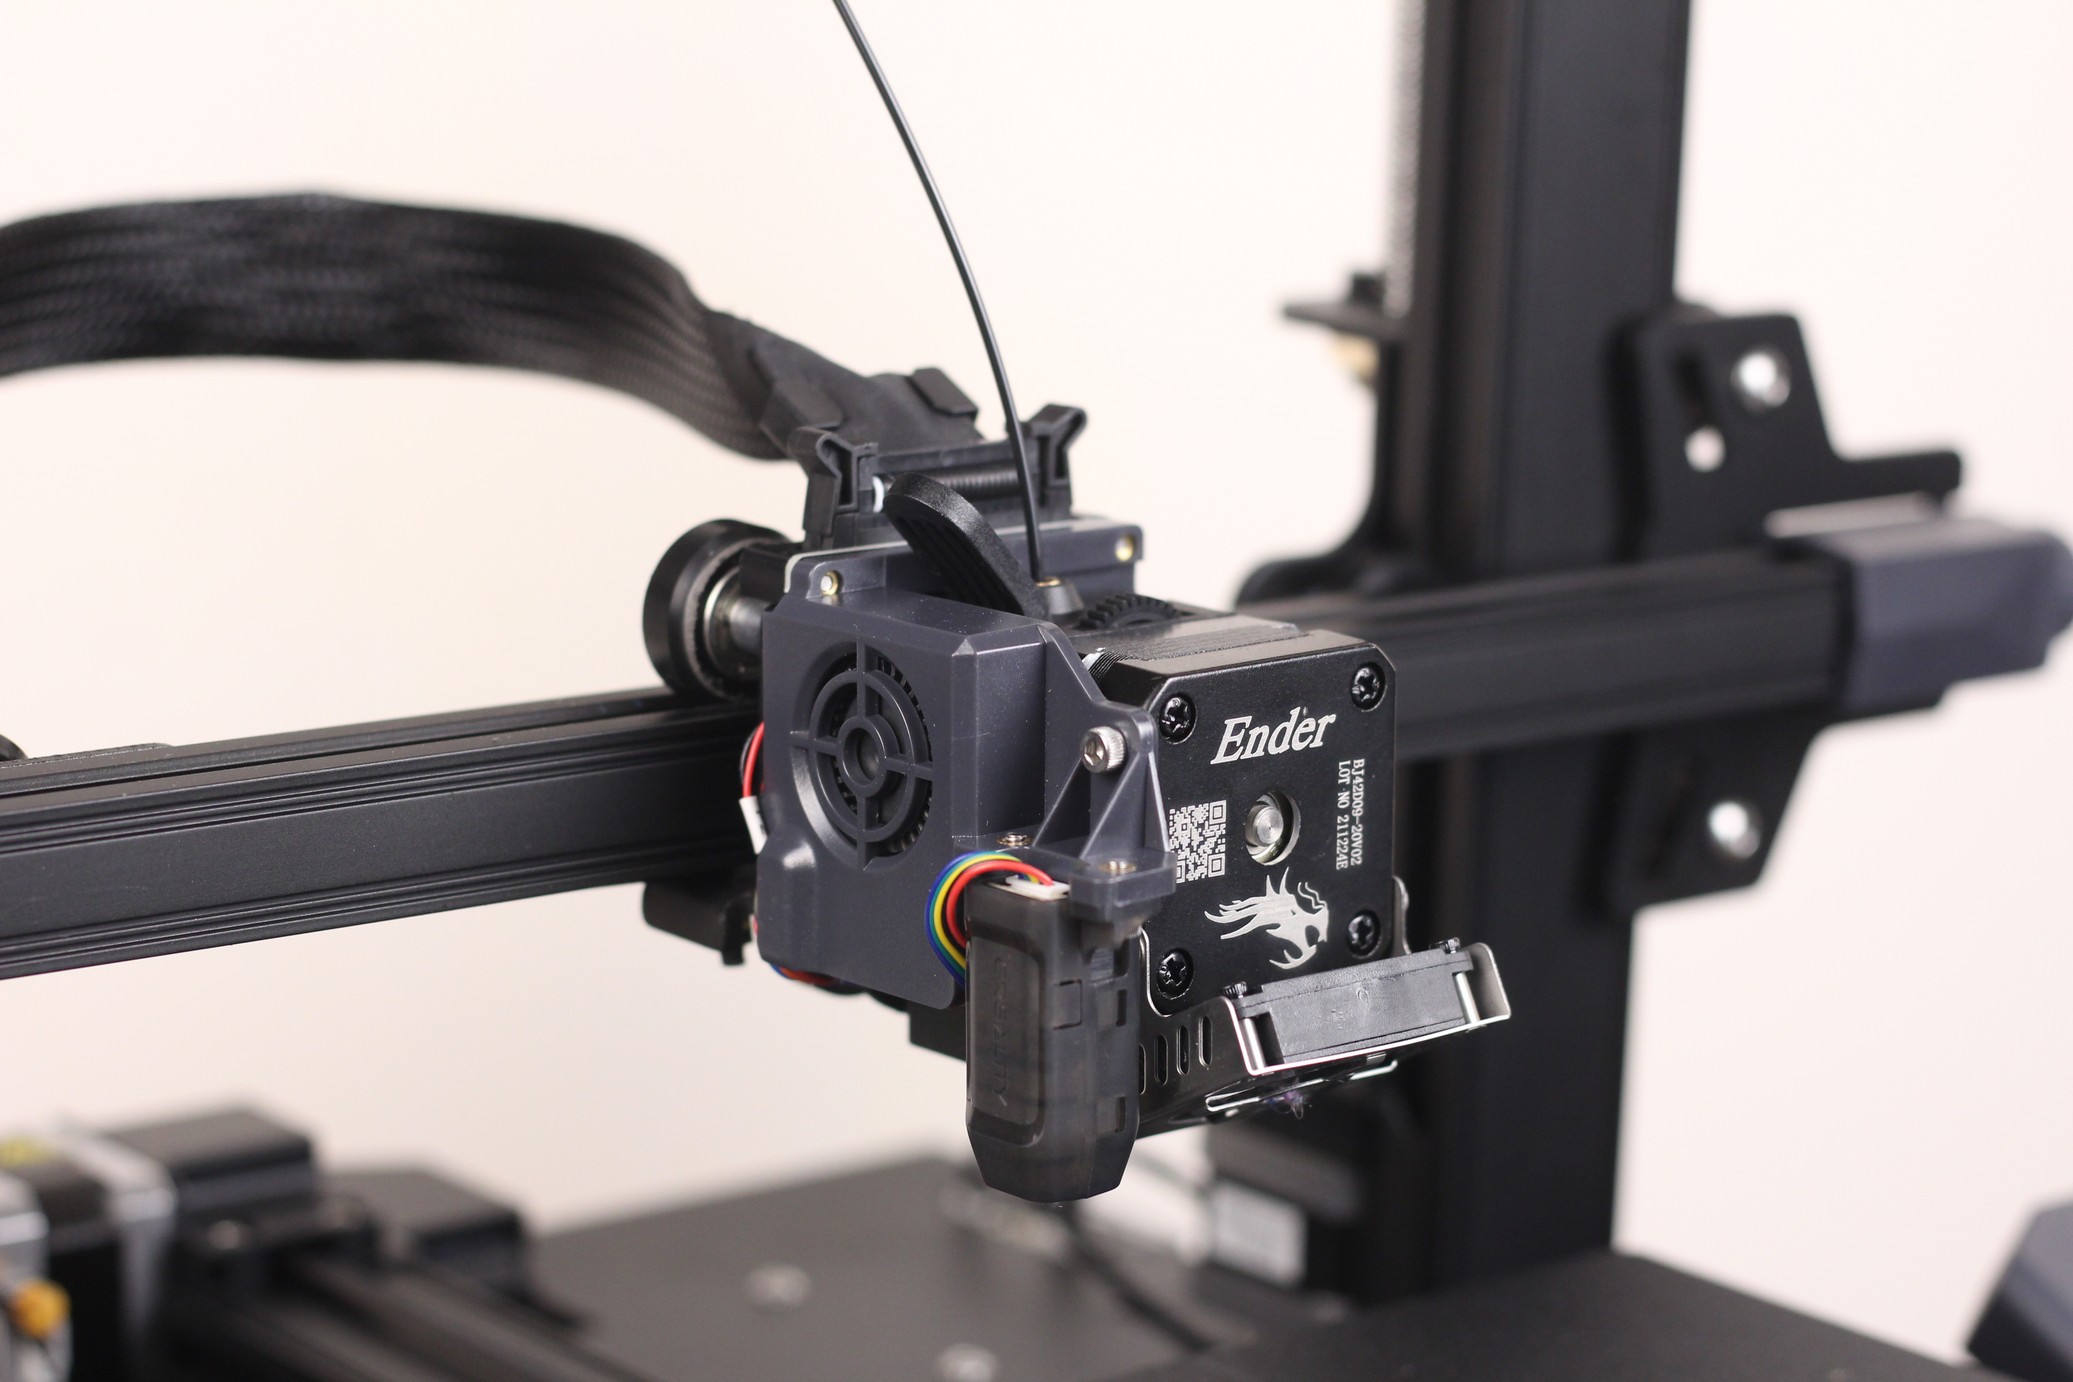
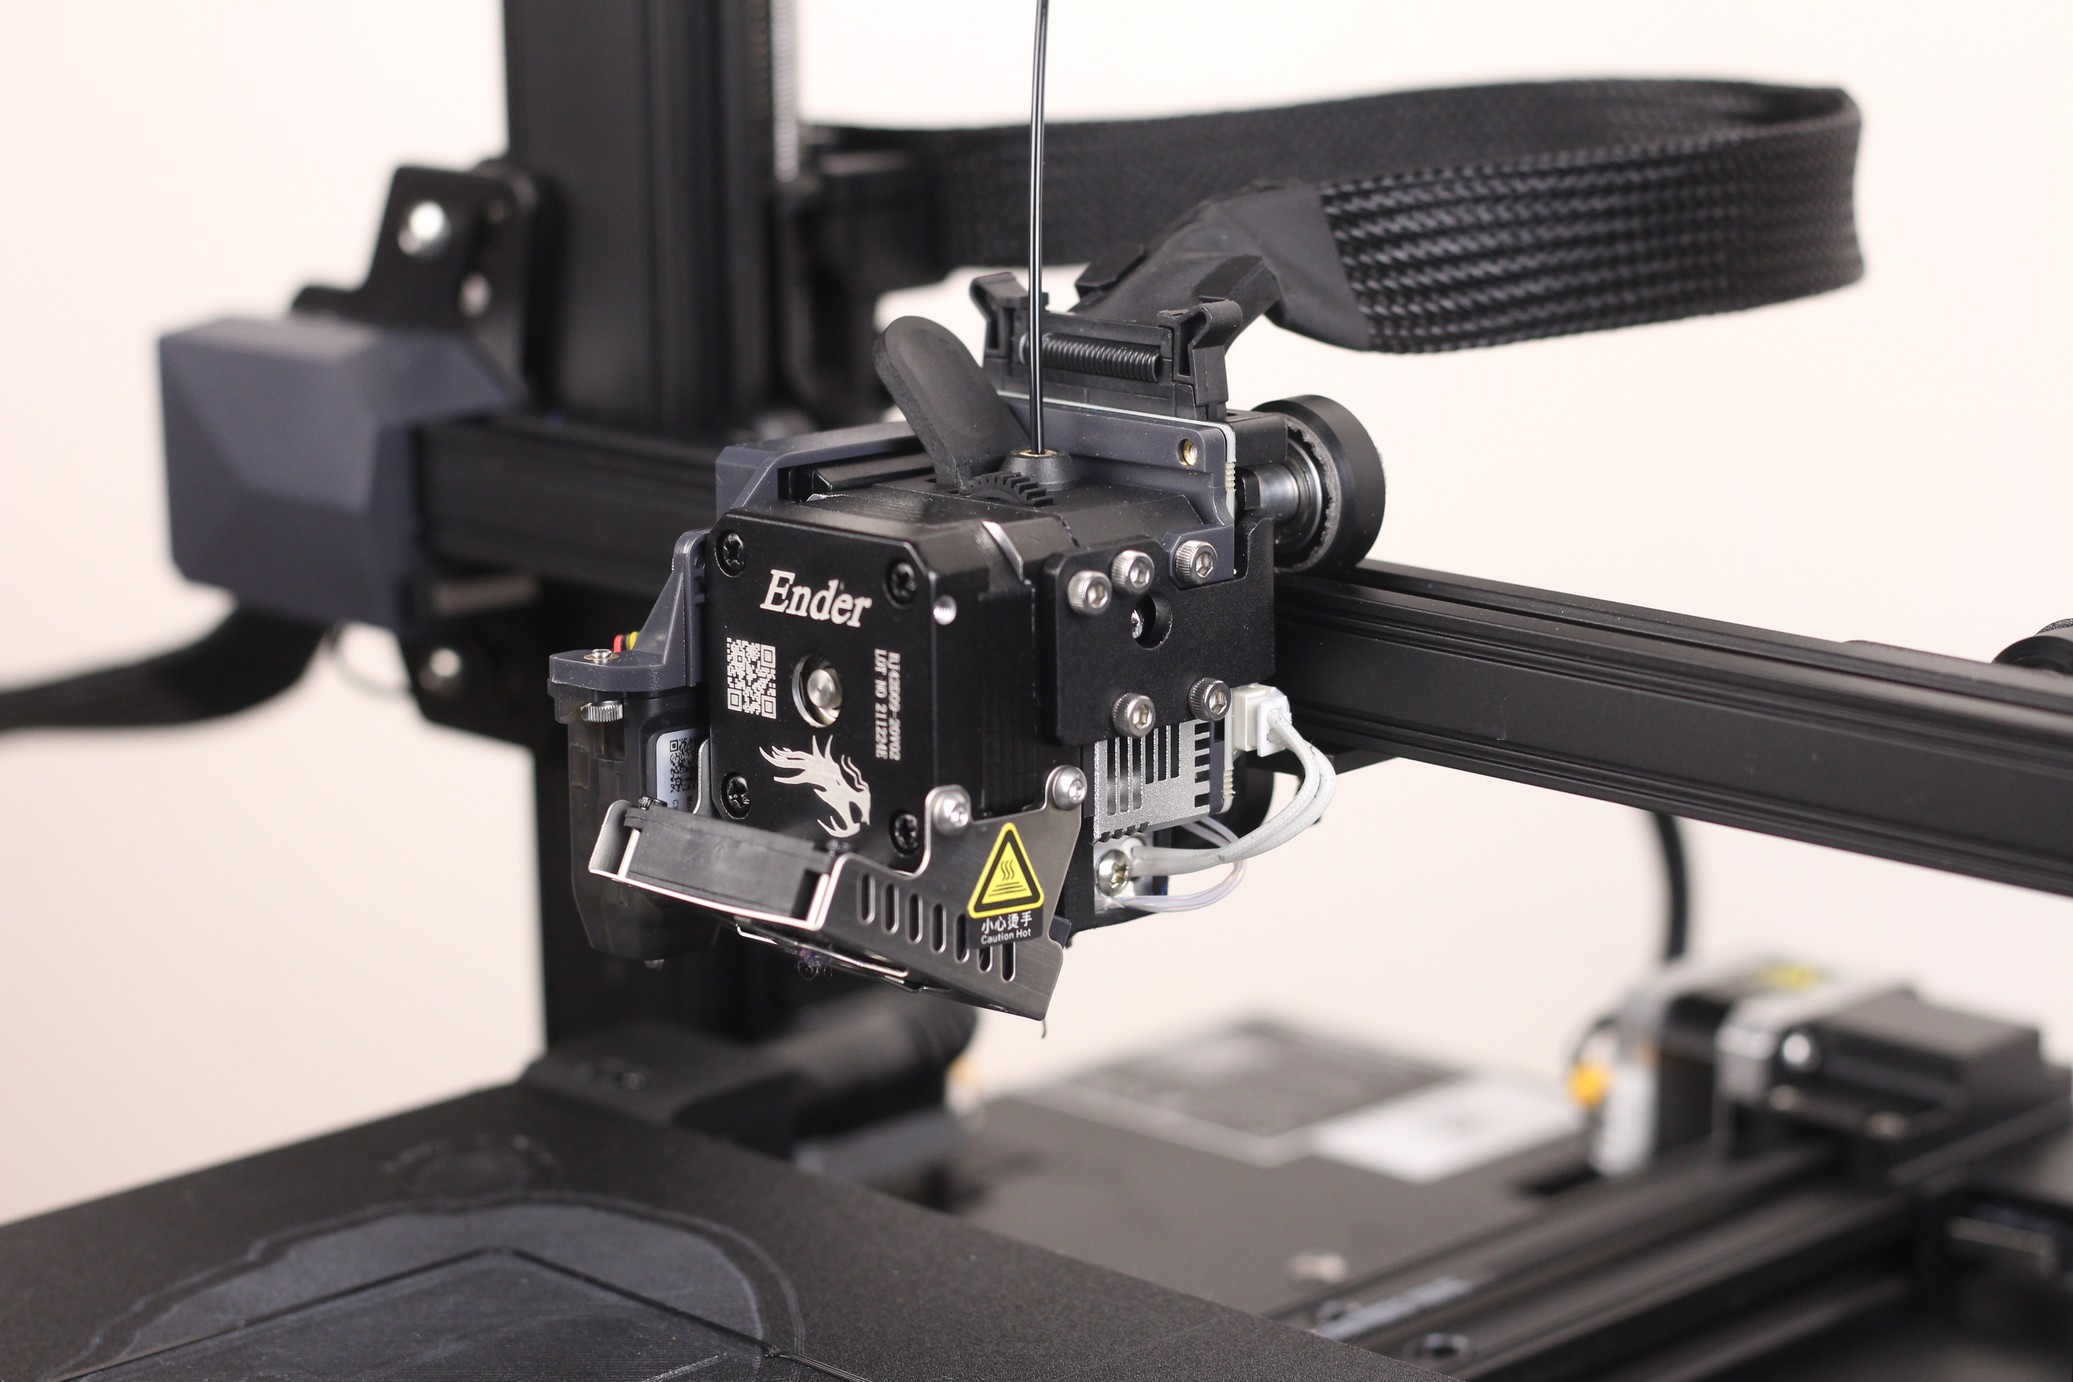
The Sprite extruder on the Ender 3 S1 includes a small breakout board where the heater cartridge, thermistor, fans and CR-touch sensors are connected.
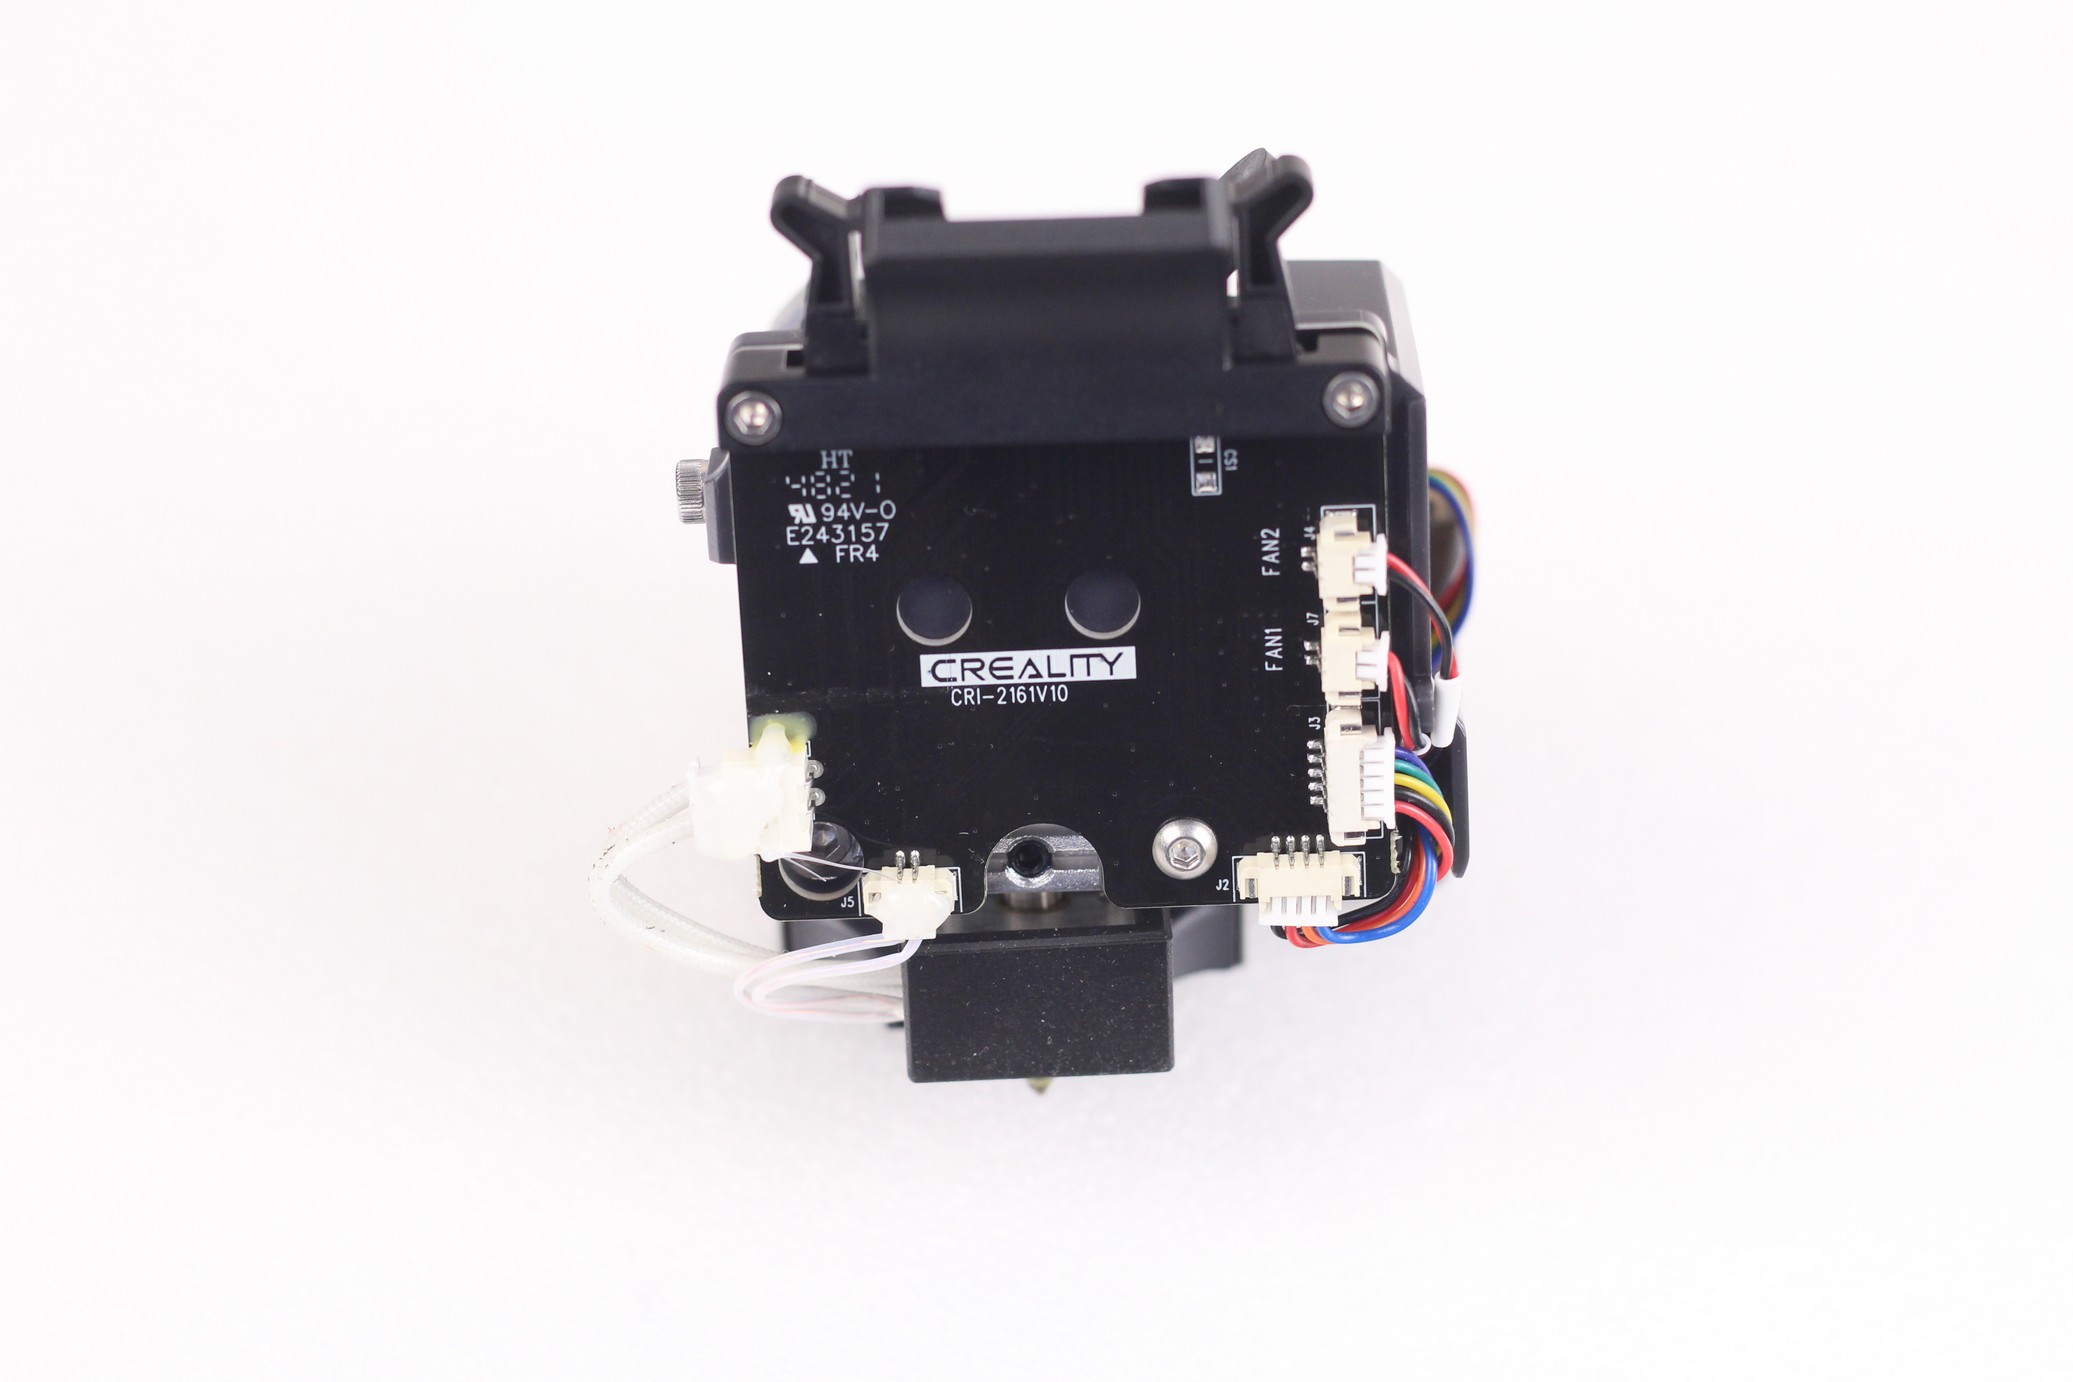
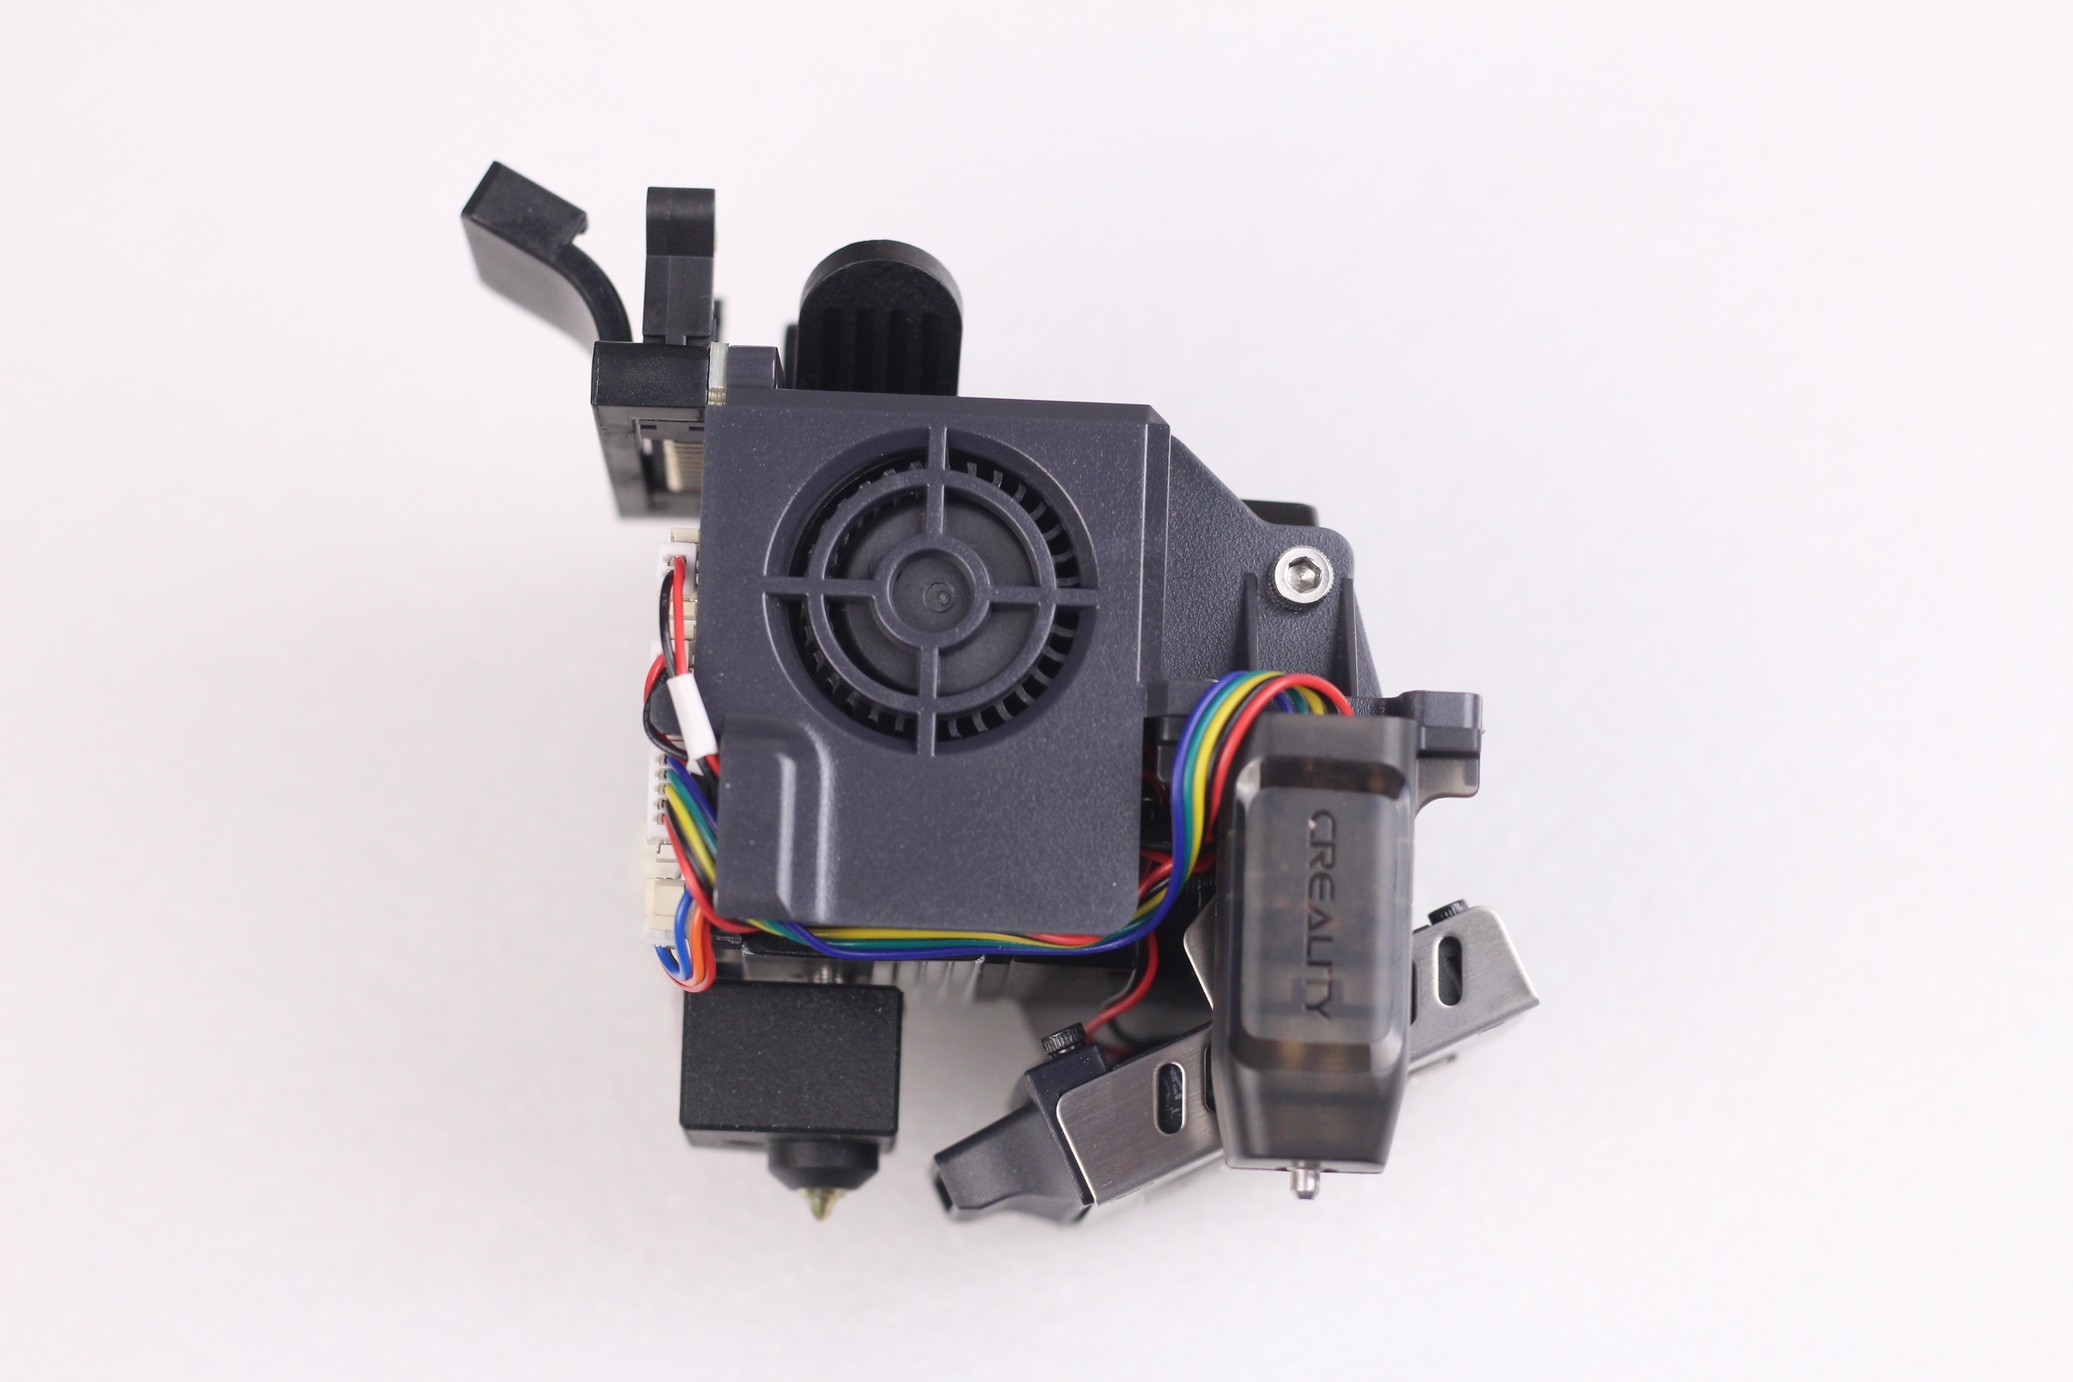
The part cooling fan is a single 4010 radial fan located in the front of the extruder, and angled to face the nozzle to improve aiflow. In the left side of the extruder there’s also a smaller radial fan which blows air trough the extruder’s radiator to keep the heat break cool. It does a decent job, especially considering that the heat break is not bi-metallic.
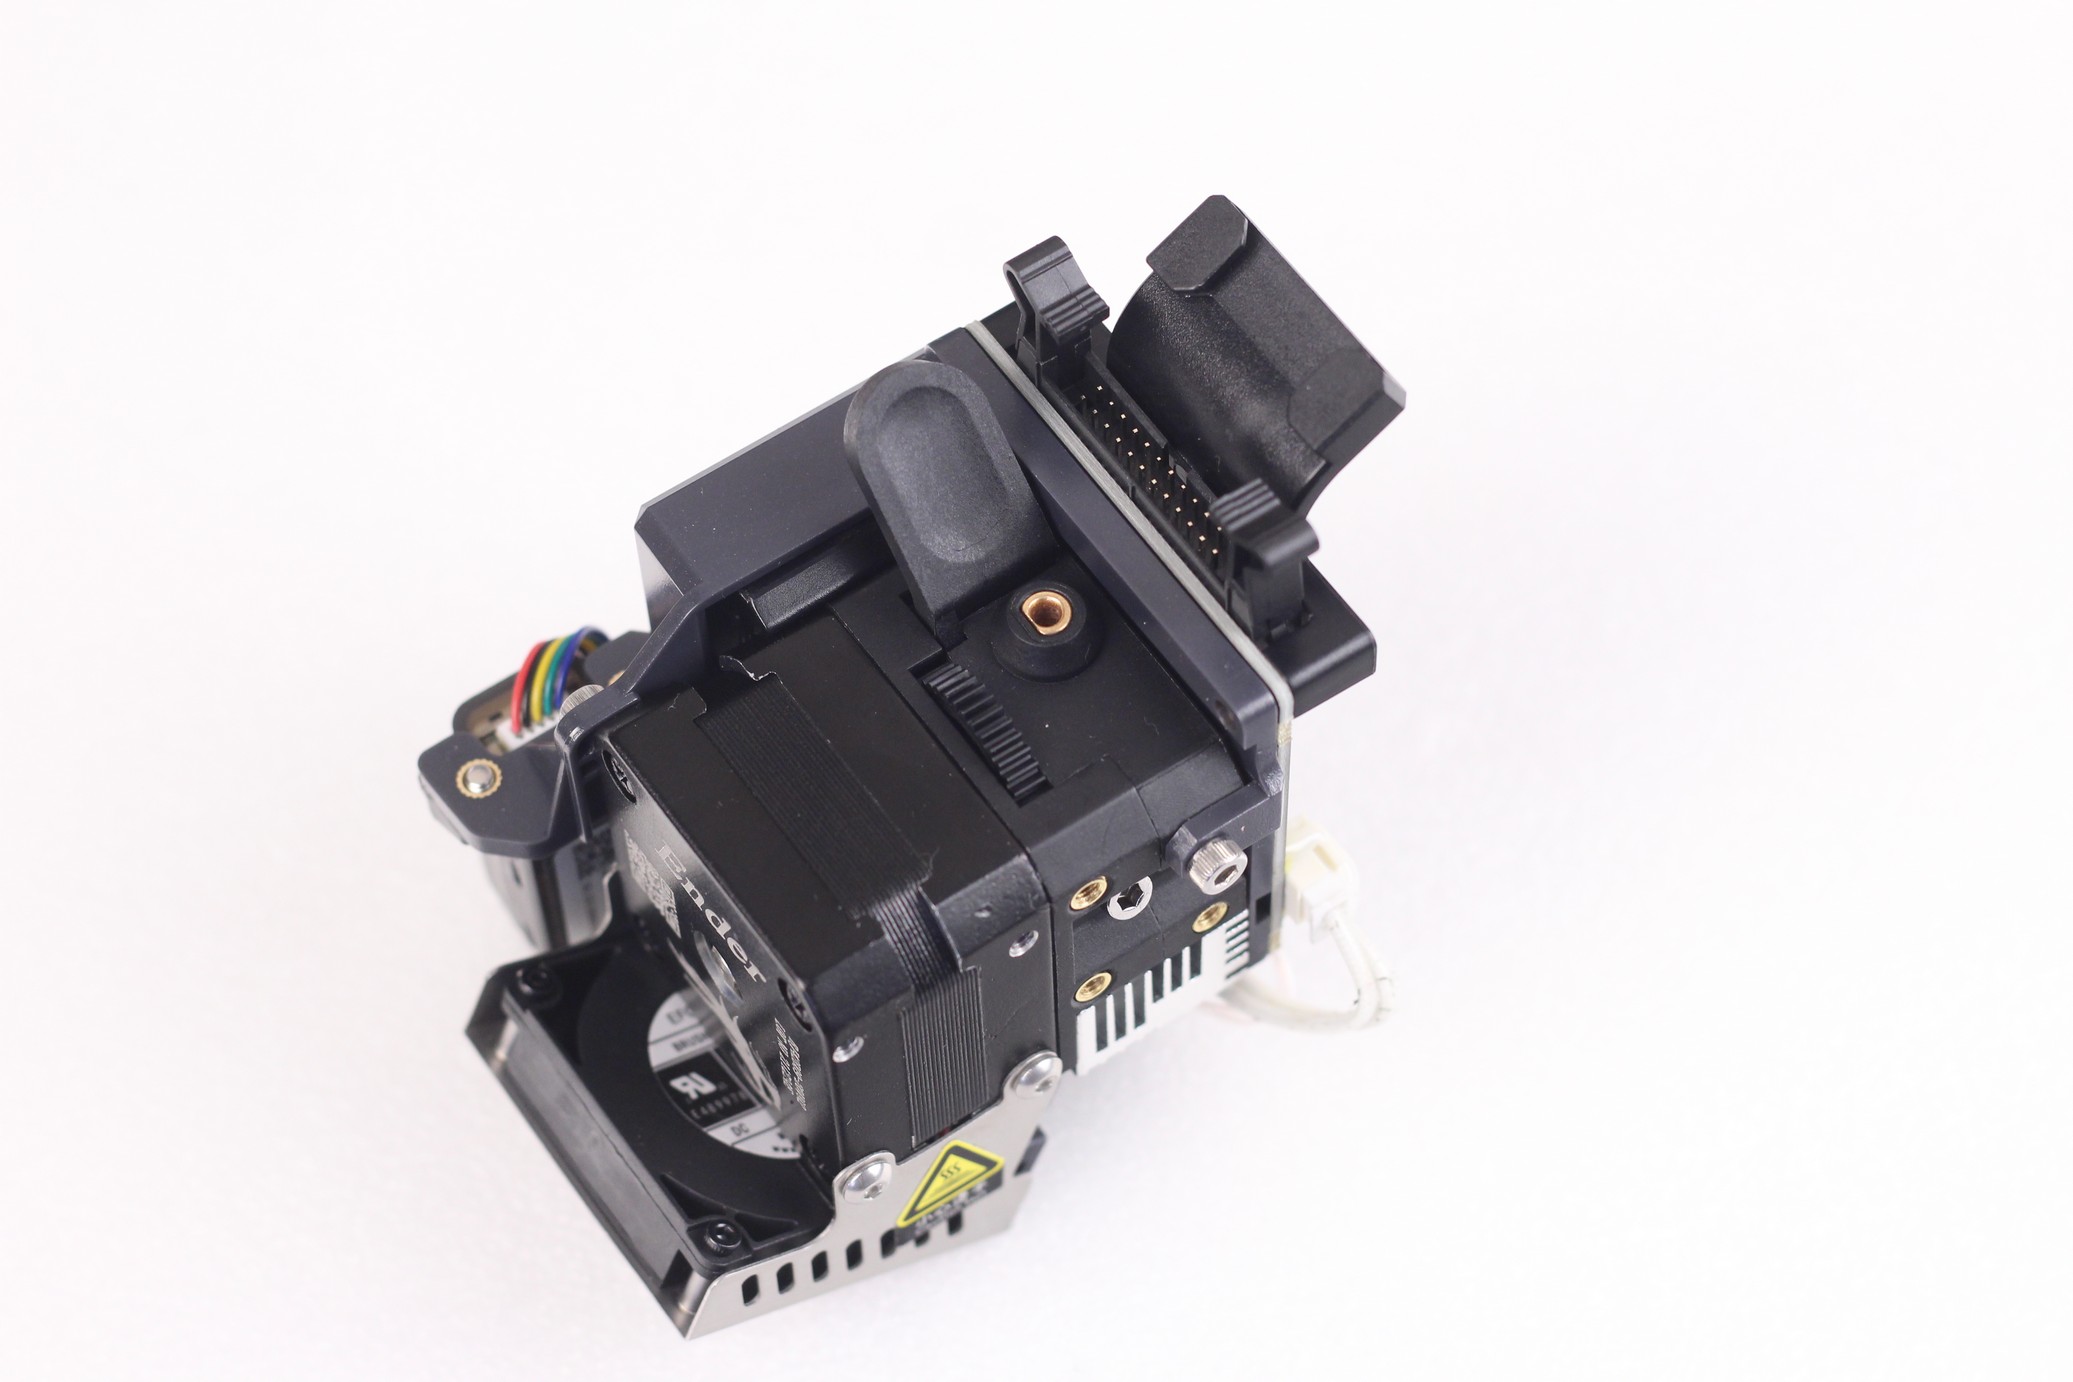
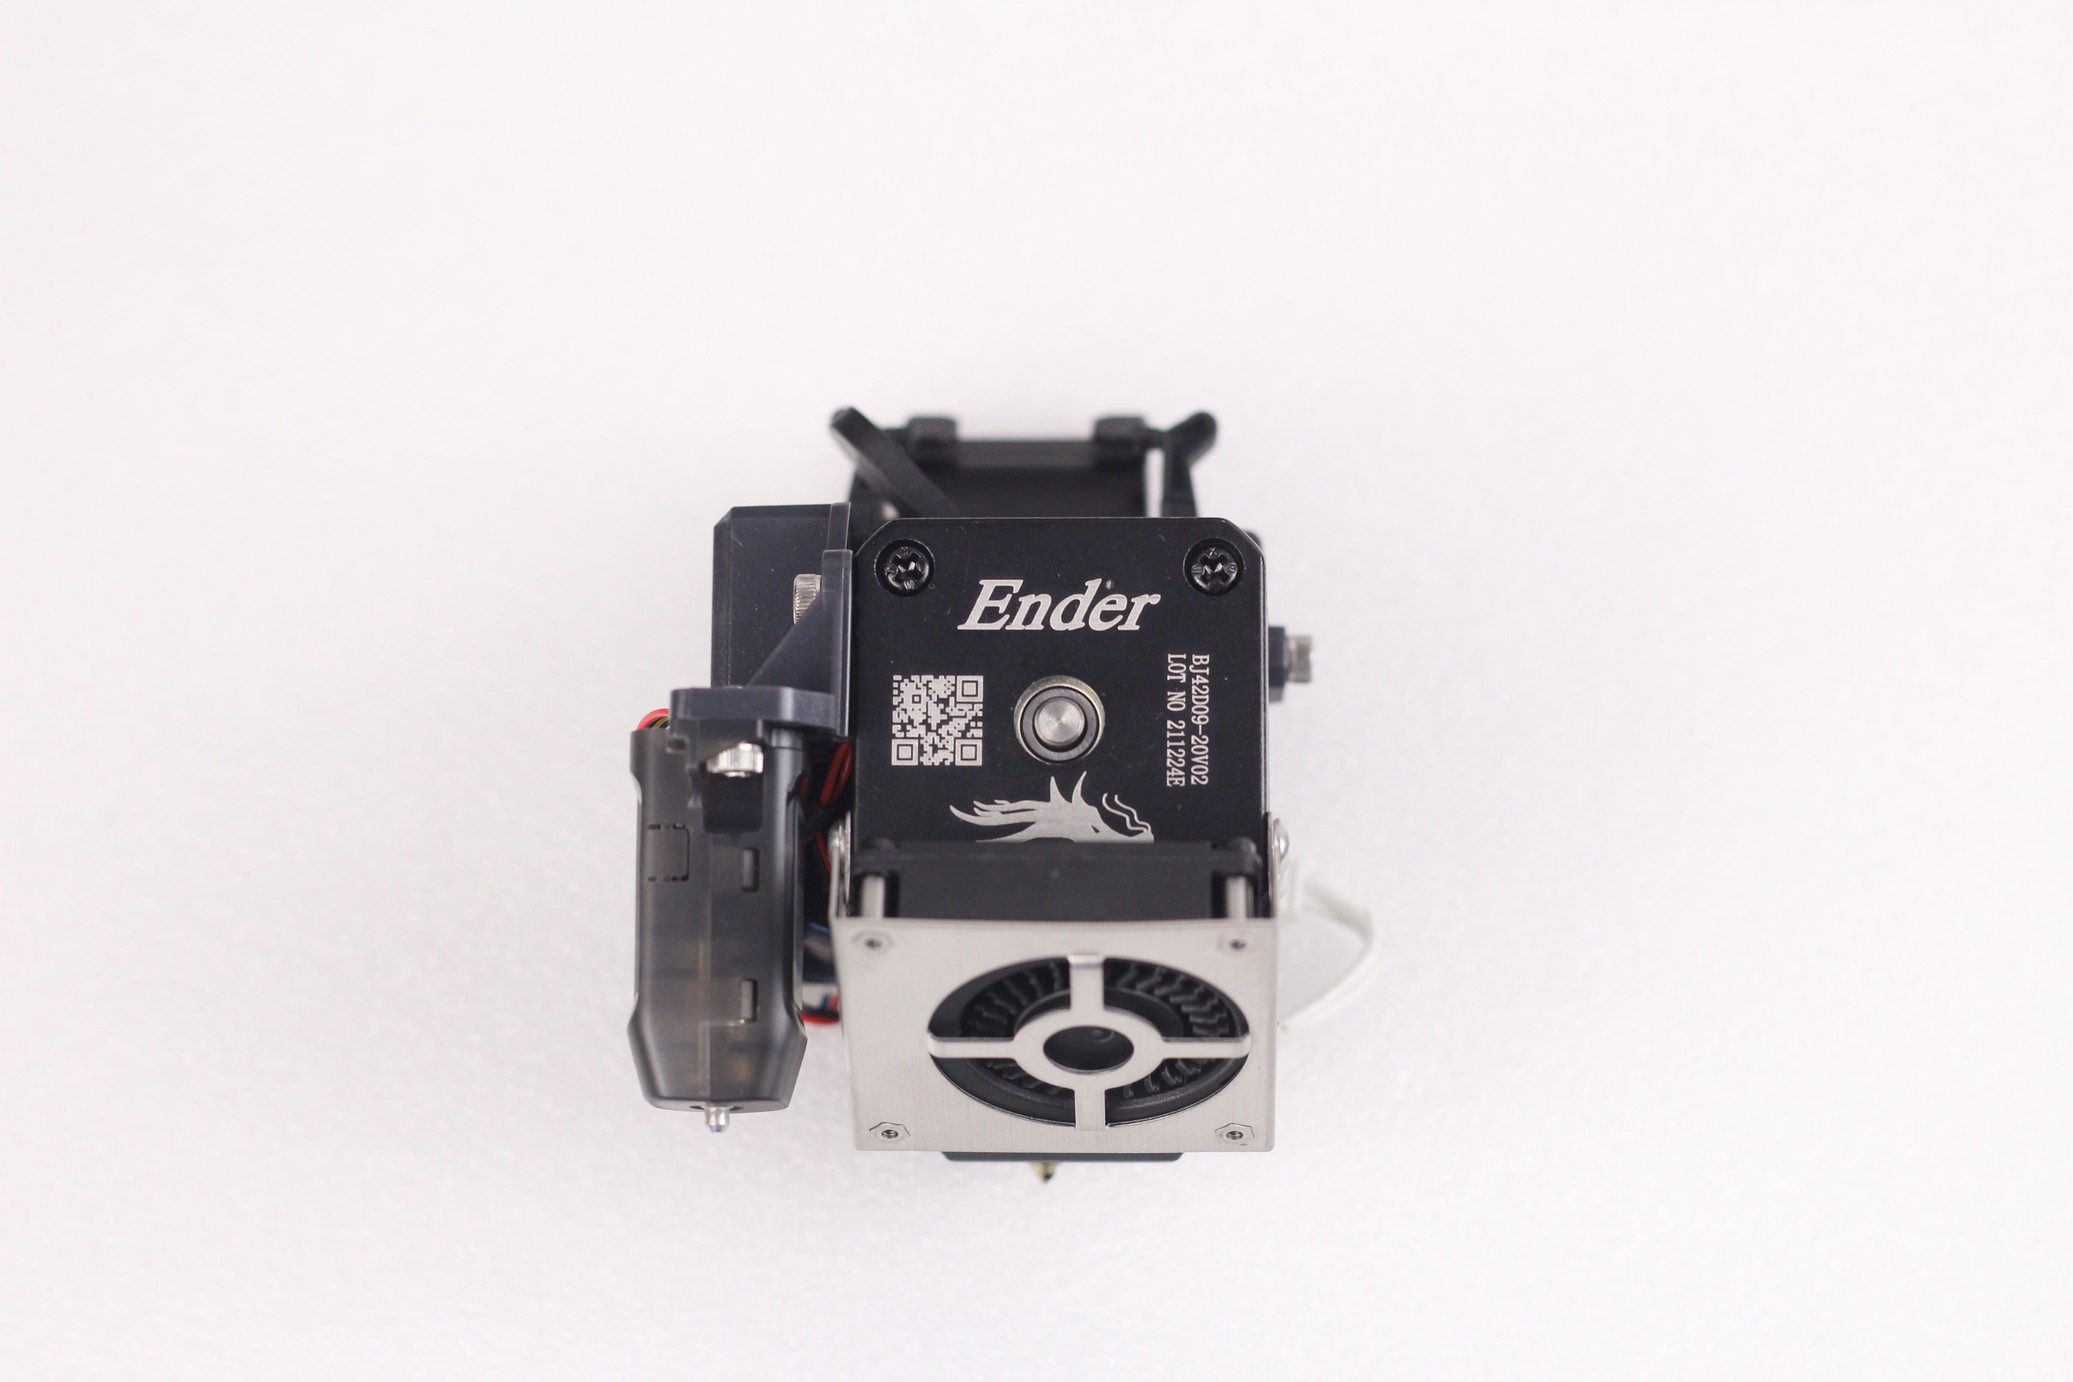
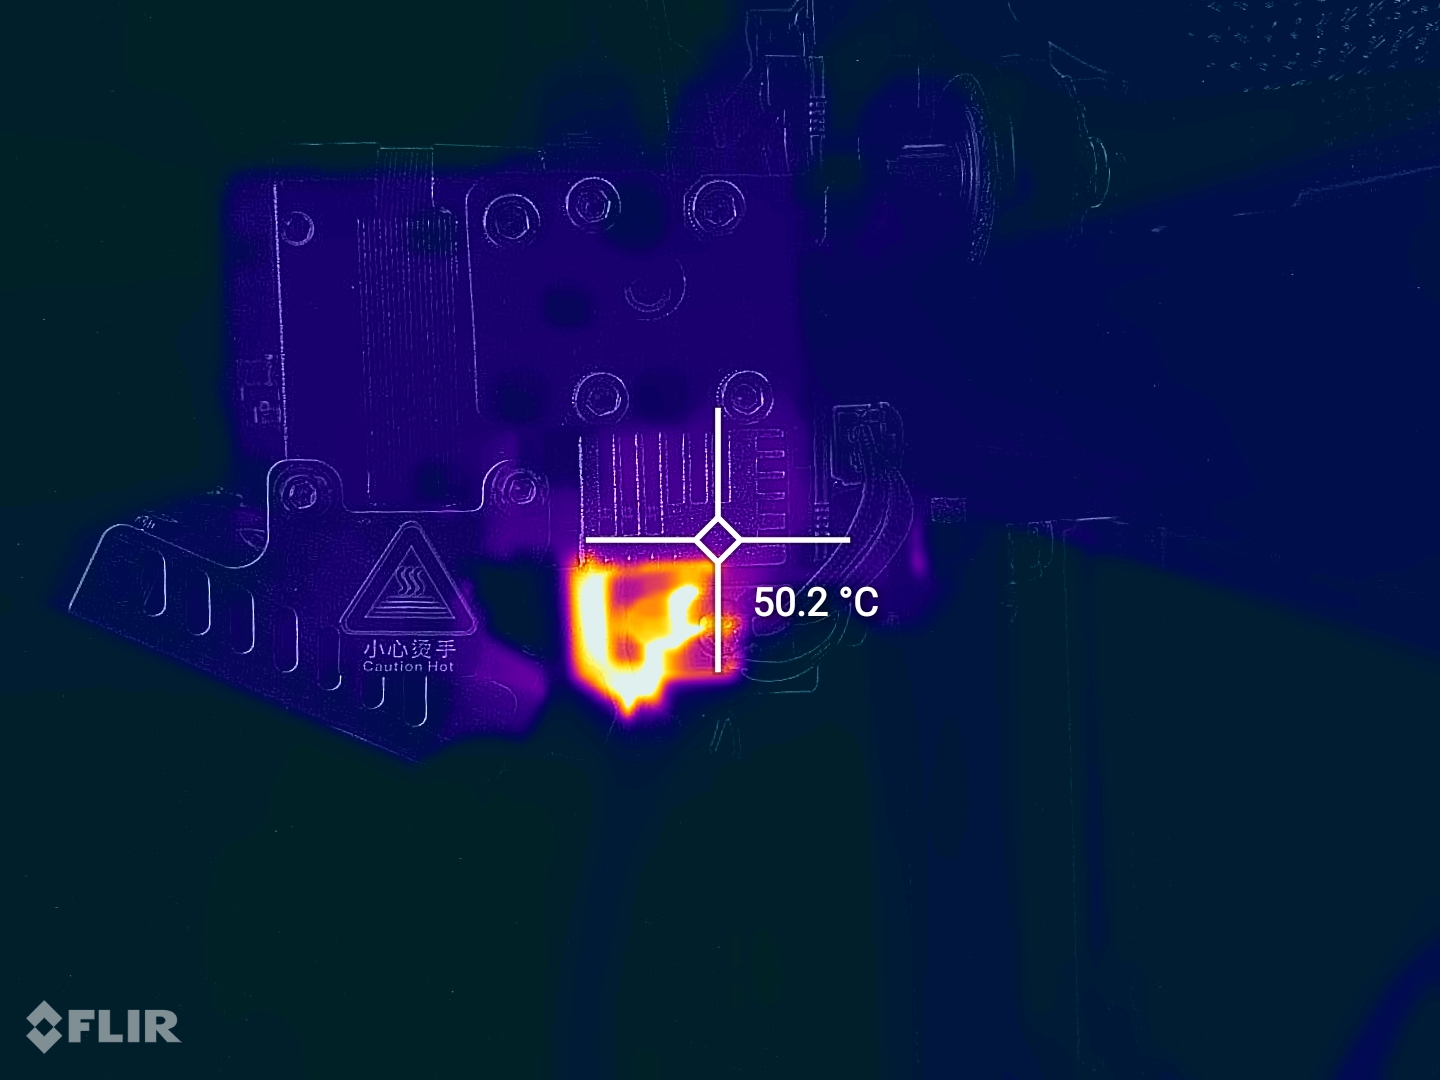
The Ender 3 S1 hotend is PTFE lined, so don’t expect to print with temperatures over 240C for longer periods of time, because the tube will start to degrade, and generate harmful fumes. Another issue I have with the stock heat break is the thermal performance which is not as good, which causes some tiny stringing with the recommended retraction settings.
You can upgrade the heat break easily by purchasing a bi-metallic Copperhead Standard G2 heat break from Slice Engineering which will provide much better thermal performance and will allow you to reach higher temperatures without needing to service the hotend too often.
UPDATE: Please note that I made a mistake in my notes about the replacement heat break. The stock heat break from the Sprite extruder comes with a 19 mm long heat break, while the G2 heat break is 3 mm longer. The upgrade can still be performed, but the part cooling fan needs to be adjusted slightly.
I also found the LGX heat break from Slice, which is 17.5mm long. It’s only 1.5 mm shorter than the stock heat break so it should be a pretty straightforward upgrade. But if you want an official heat break upgrade, then this bi-metal heat break should work perfectly with your Ender 3 S1.
Creality also sells a Sprite Extruder Pro, which can be used at higher printing temperatures.
CR Touch sensor
As previously mentioned, the Ender 3 S1 comes with a Creality CR Touch sensor installed right out the box. This means that the bed can be probed and leveled using this sensor to generate a mesh, then compensate for the small inconsistencies in the bed.
It’s my first contact with the Creality CR Touch, and I’m happy with its performance. I can’t see any difference from a regular BLTouch in terms of performance. Below you can check the probe accuracy results where the deviation is 0.001118.
The bed is probed in a 5×5 grid, and I also love that the printer comes with the fast probing option enabled in Marlin, which doesn’t retract the probe after each measurement saving a bit of time.
Overall, the leveling has been rock solid for me, and I only needed to manually level the bed when I got the printer, then do the bed probing. After that, it remained solid throughout my testing period
Dual Z axis
Another upgrade over the standard Ender 3 S1 is the use of dual Z axis. This is important in keeping the movement smooth and consistent.
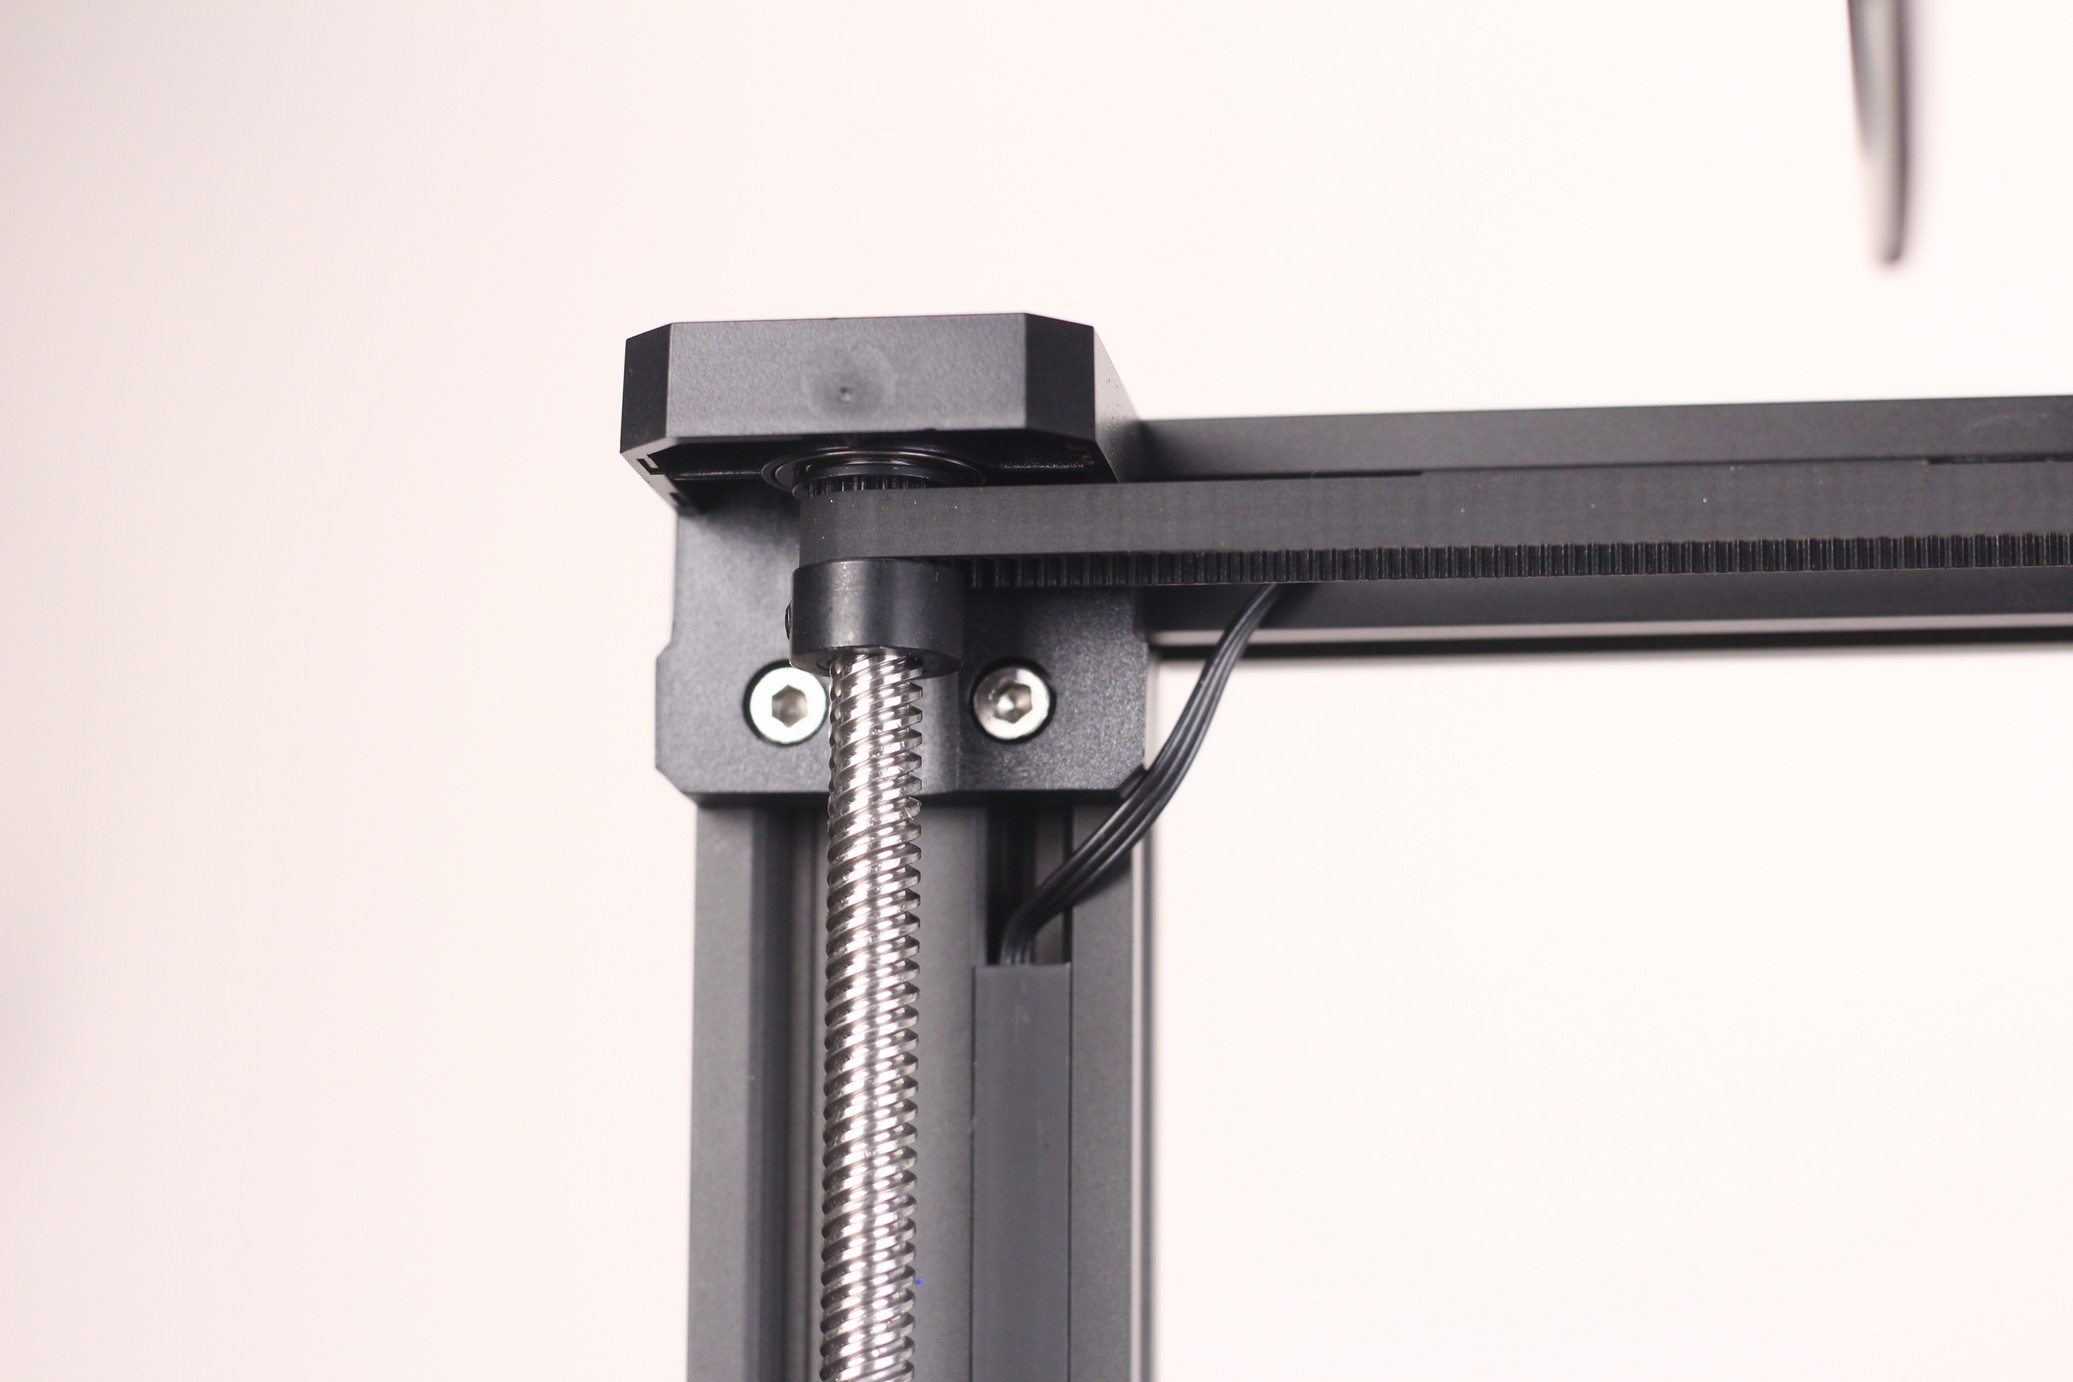
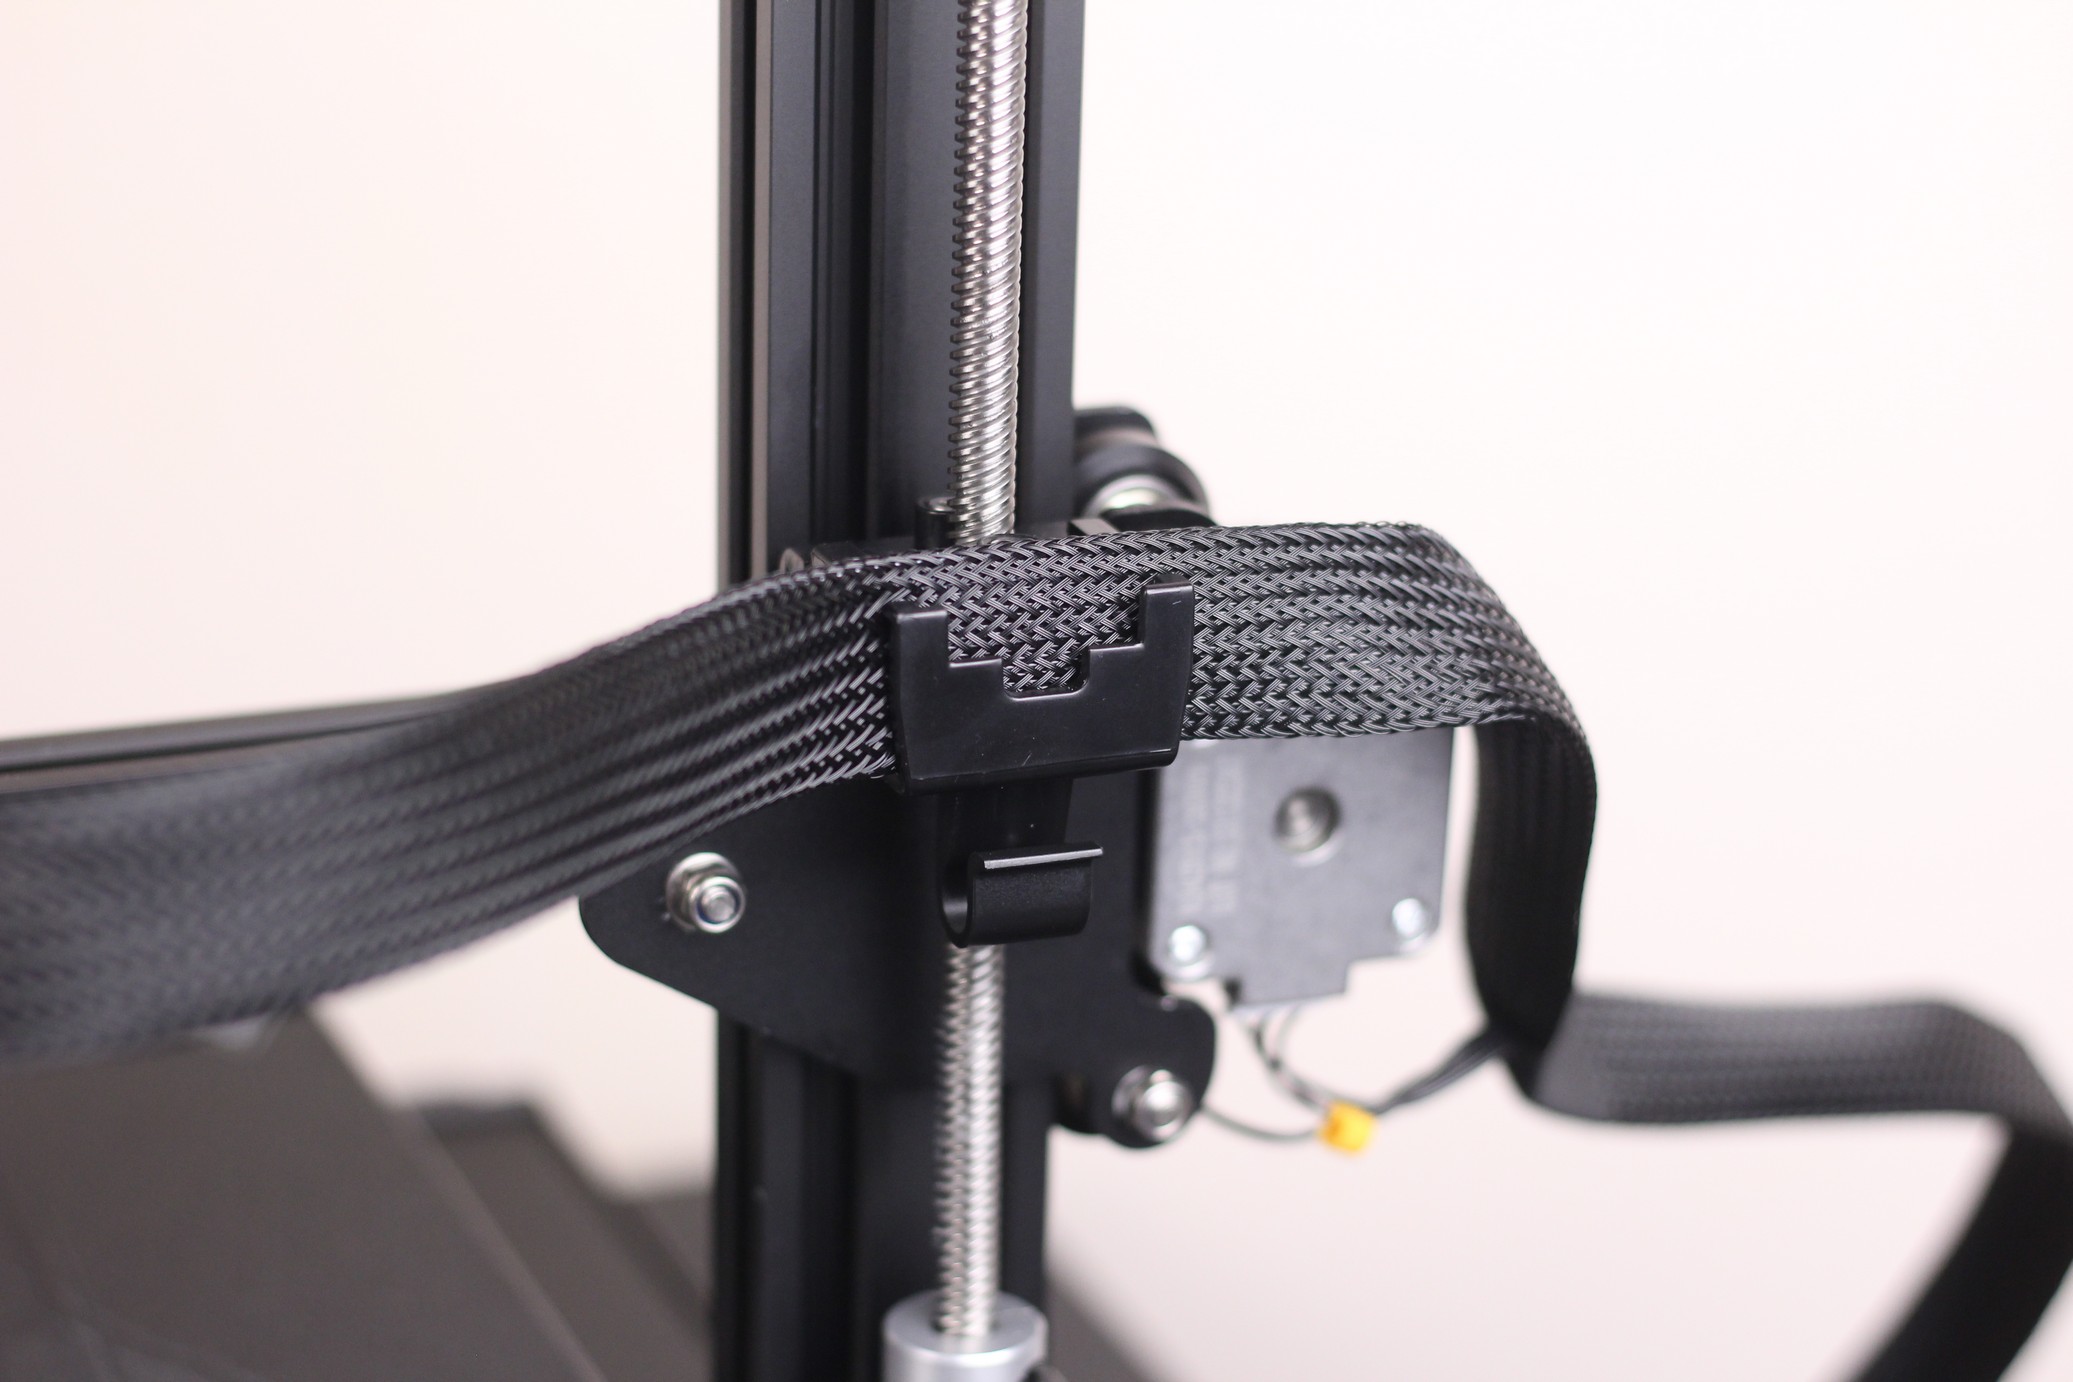
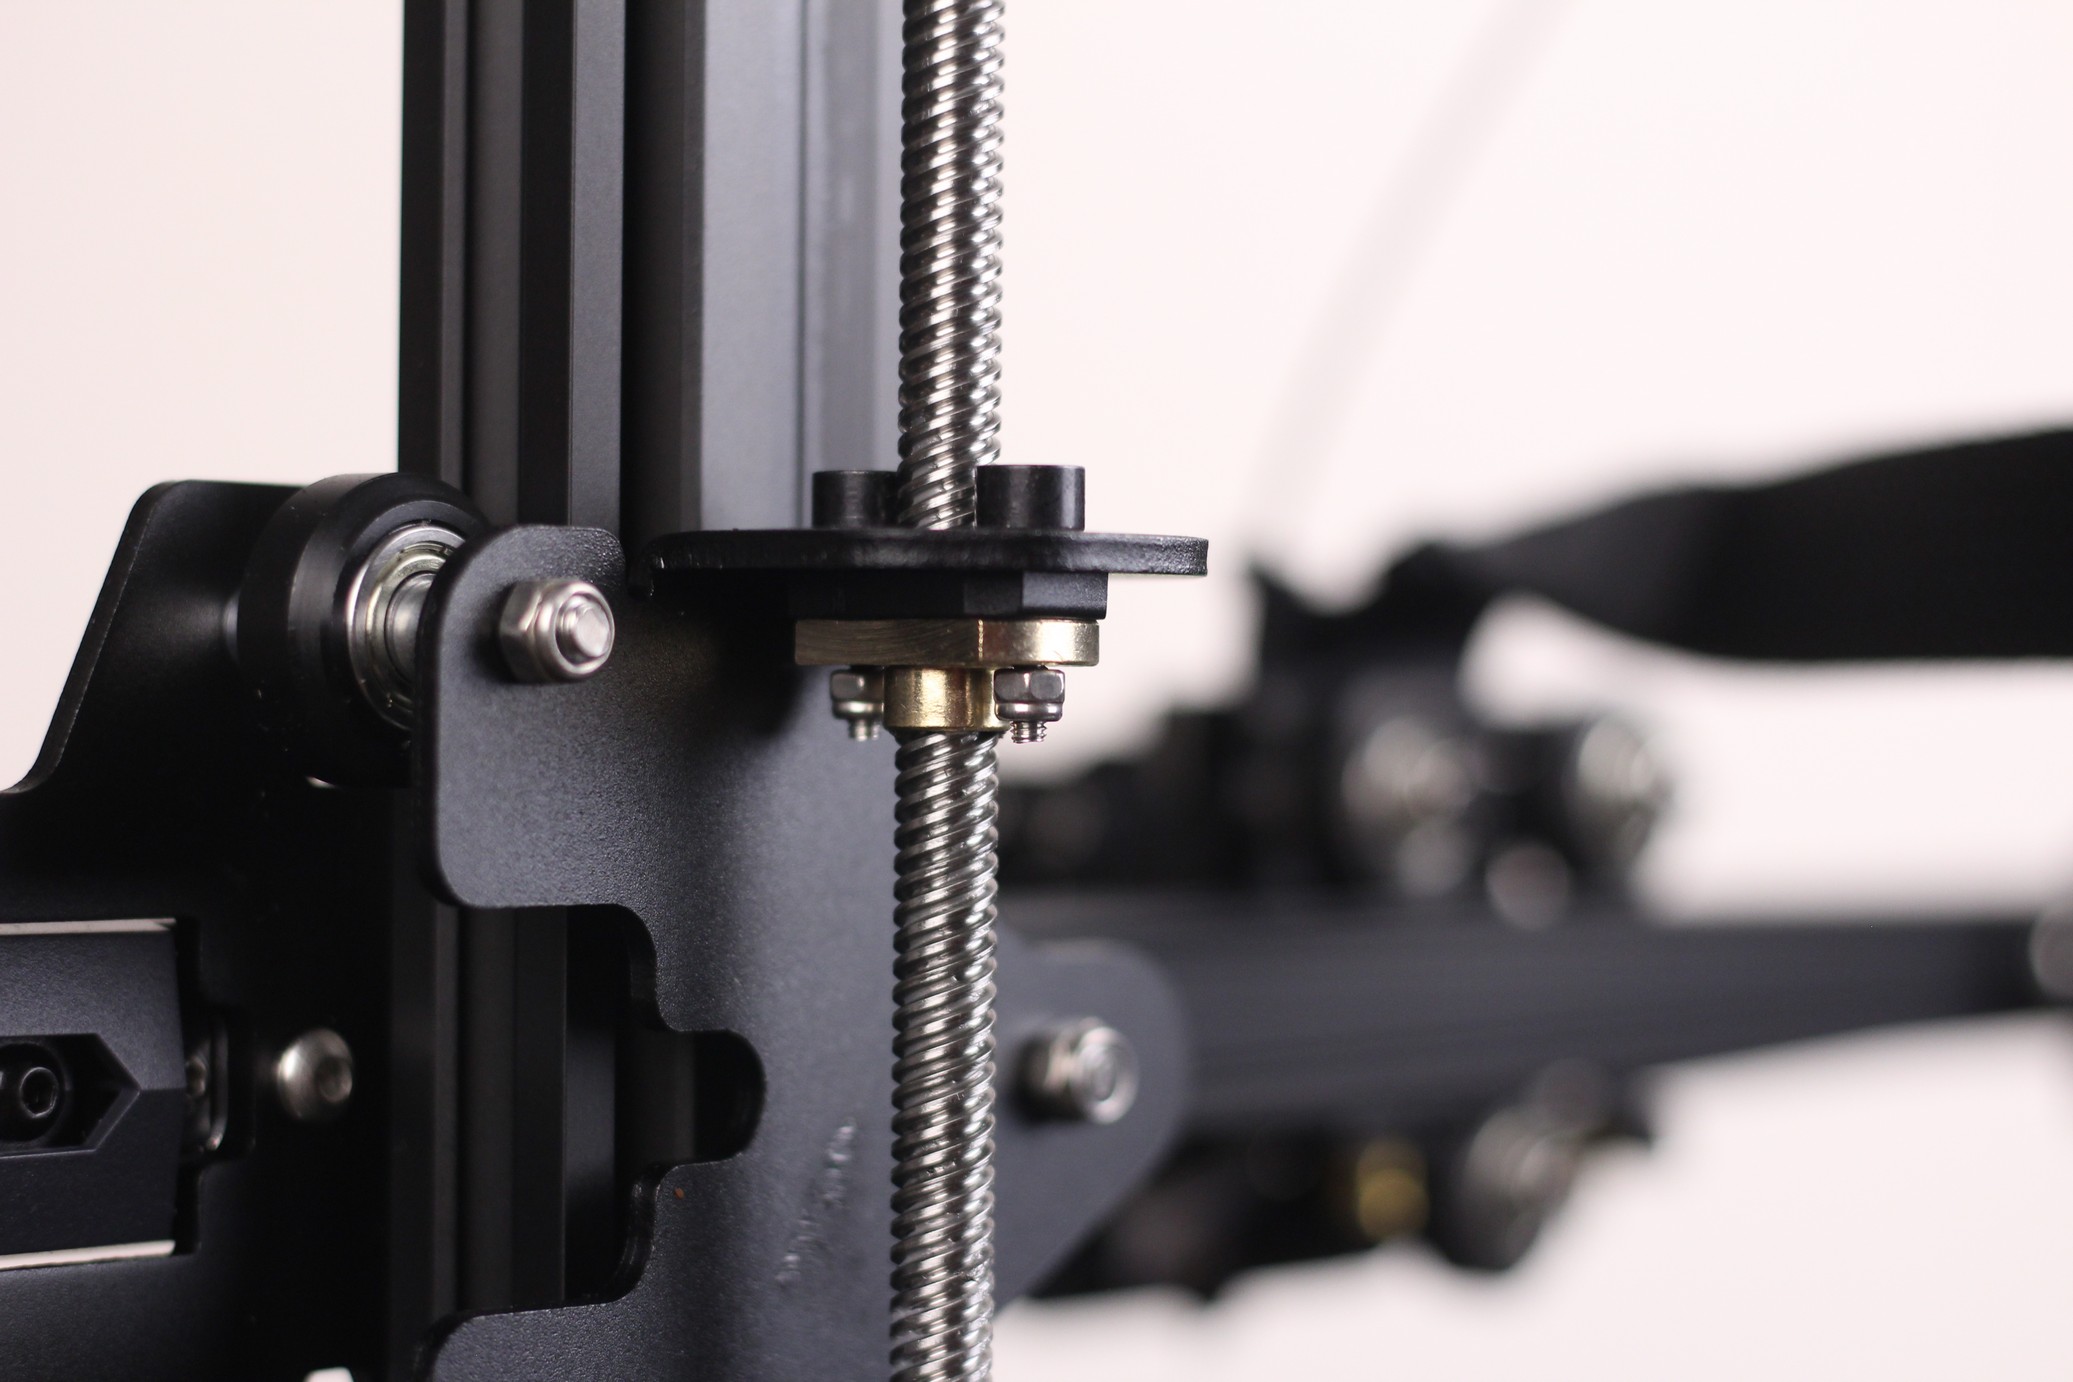
Both Z stepper motors are put in motion by a single stepper driver, and the Z leadscrews are kept in sync using a closed timing belt.
Gates Belts
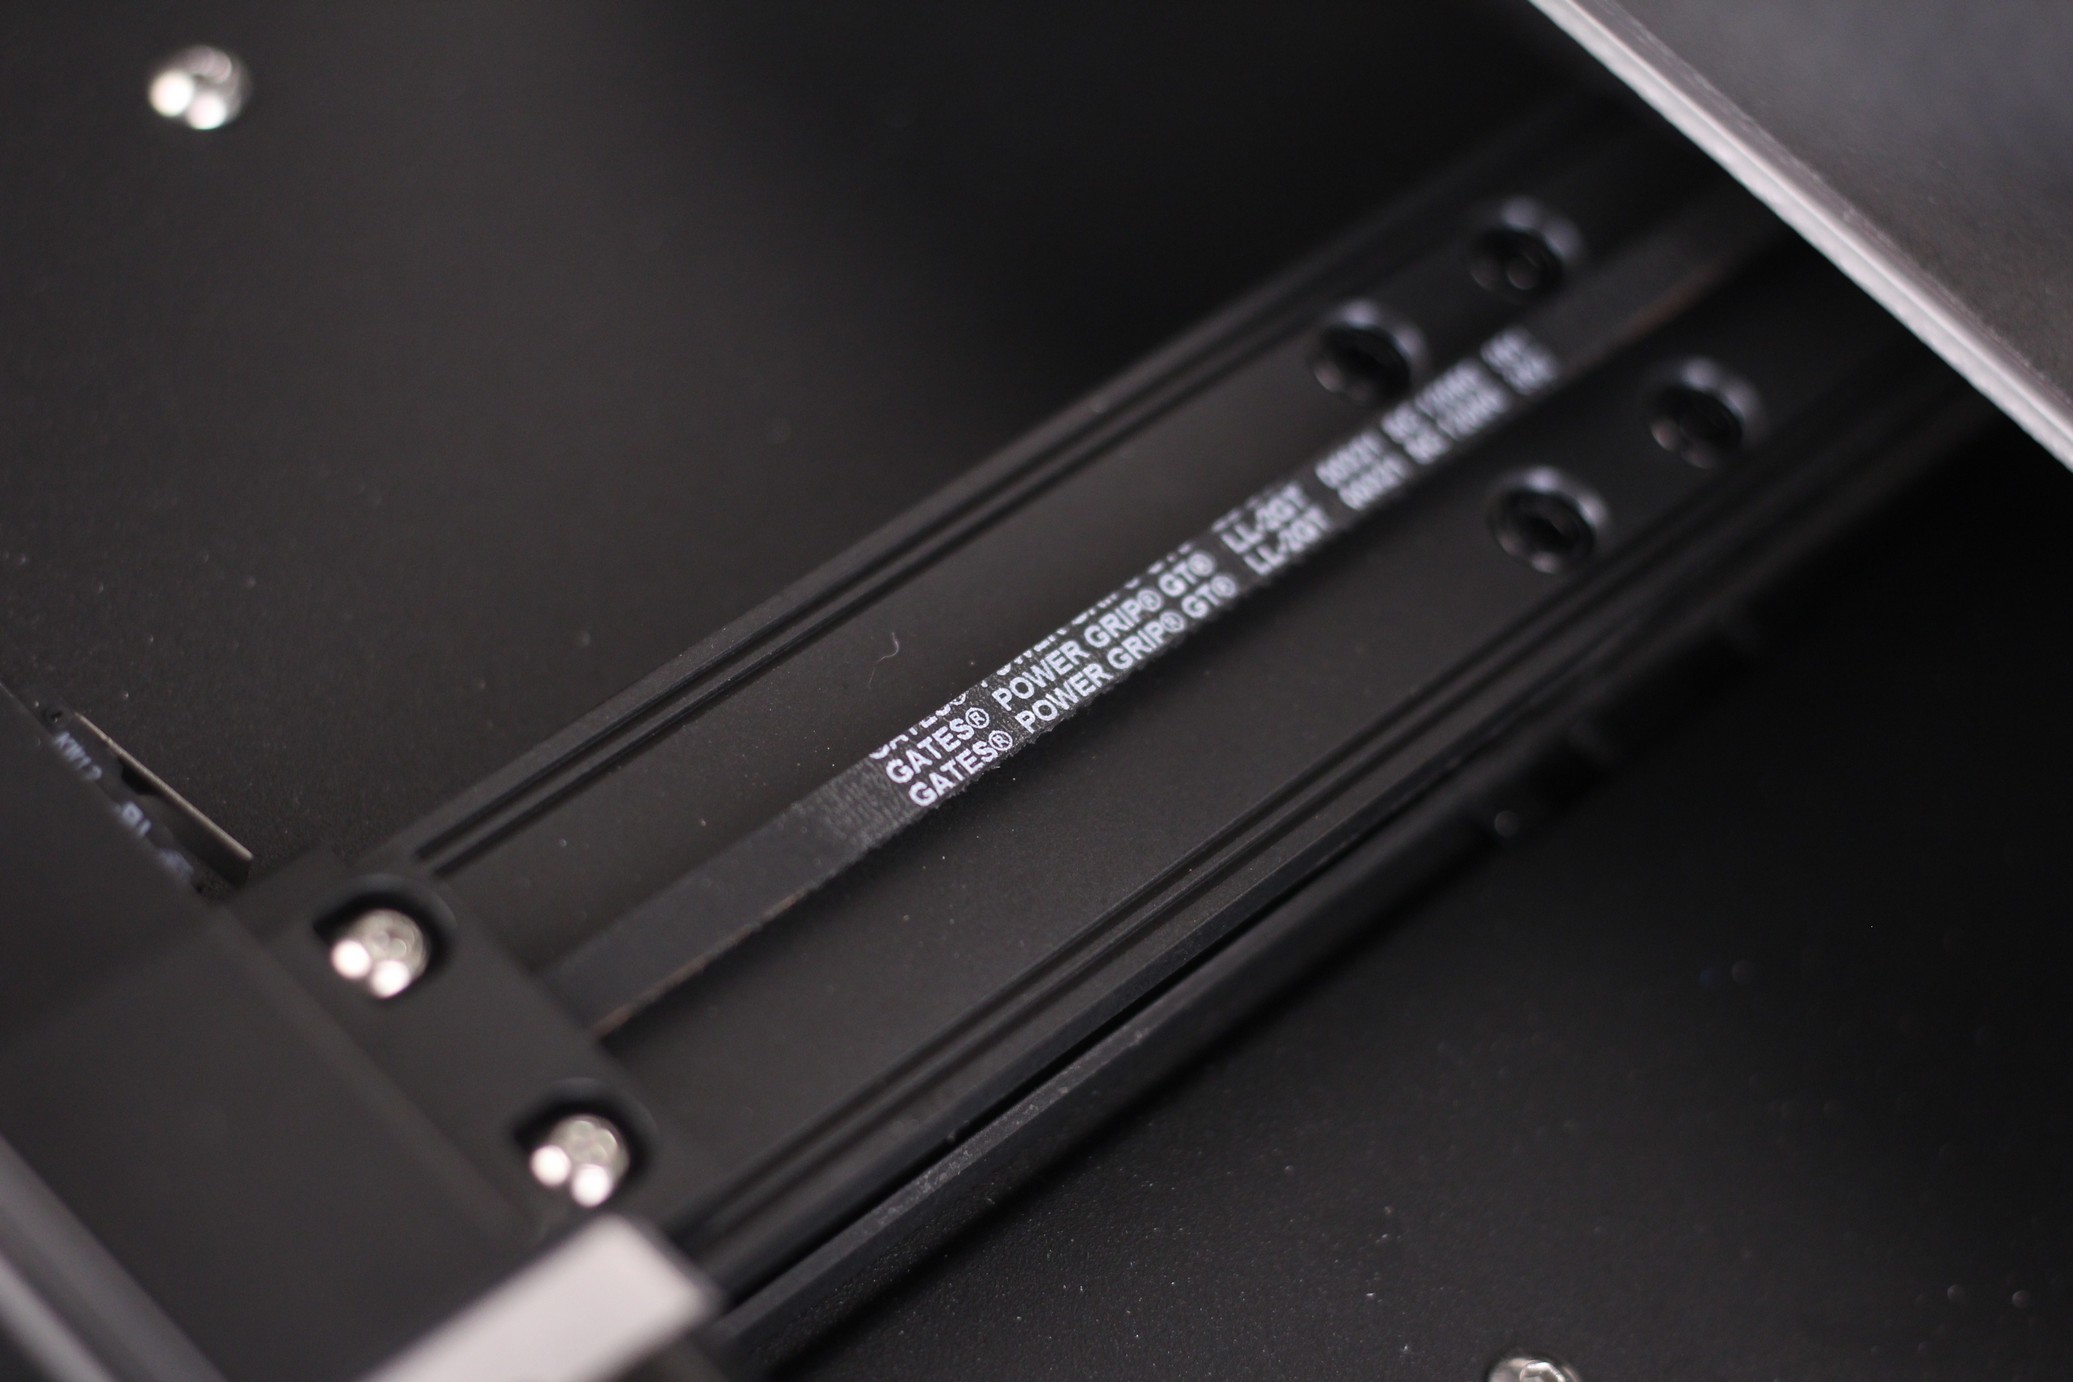
Creality used to include Gates belts only on their more expensive 3D printers, but now it seems to be the norm for even cheap printers like the Ender 2 Pro. As you can see, the Ender 3 S1 uses the same Gates belts which are one of the best belts you can buy for a 3D printer.
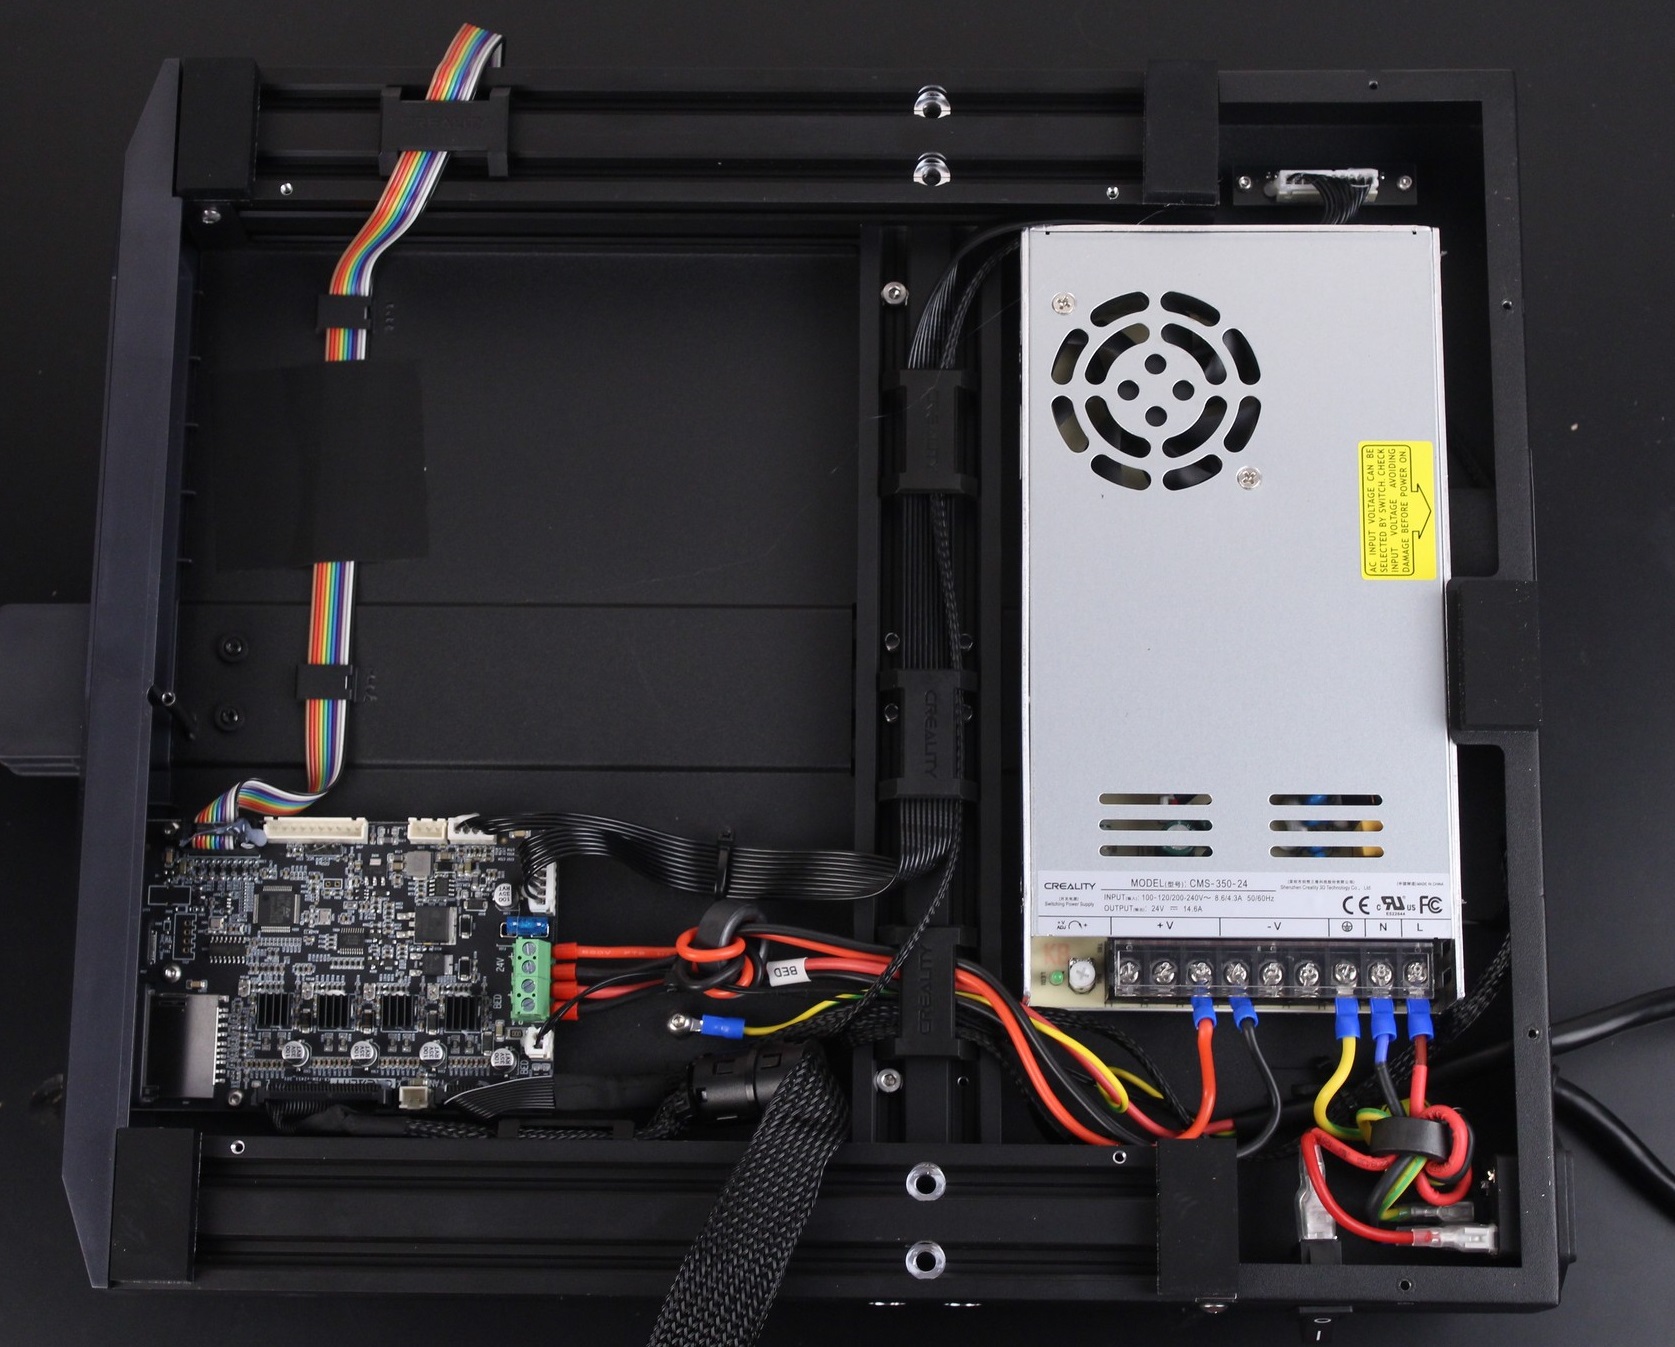
32-bit board with silent stepper drivers
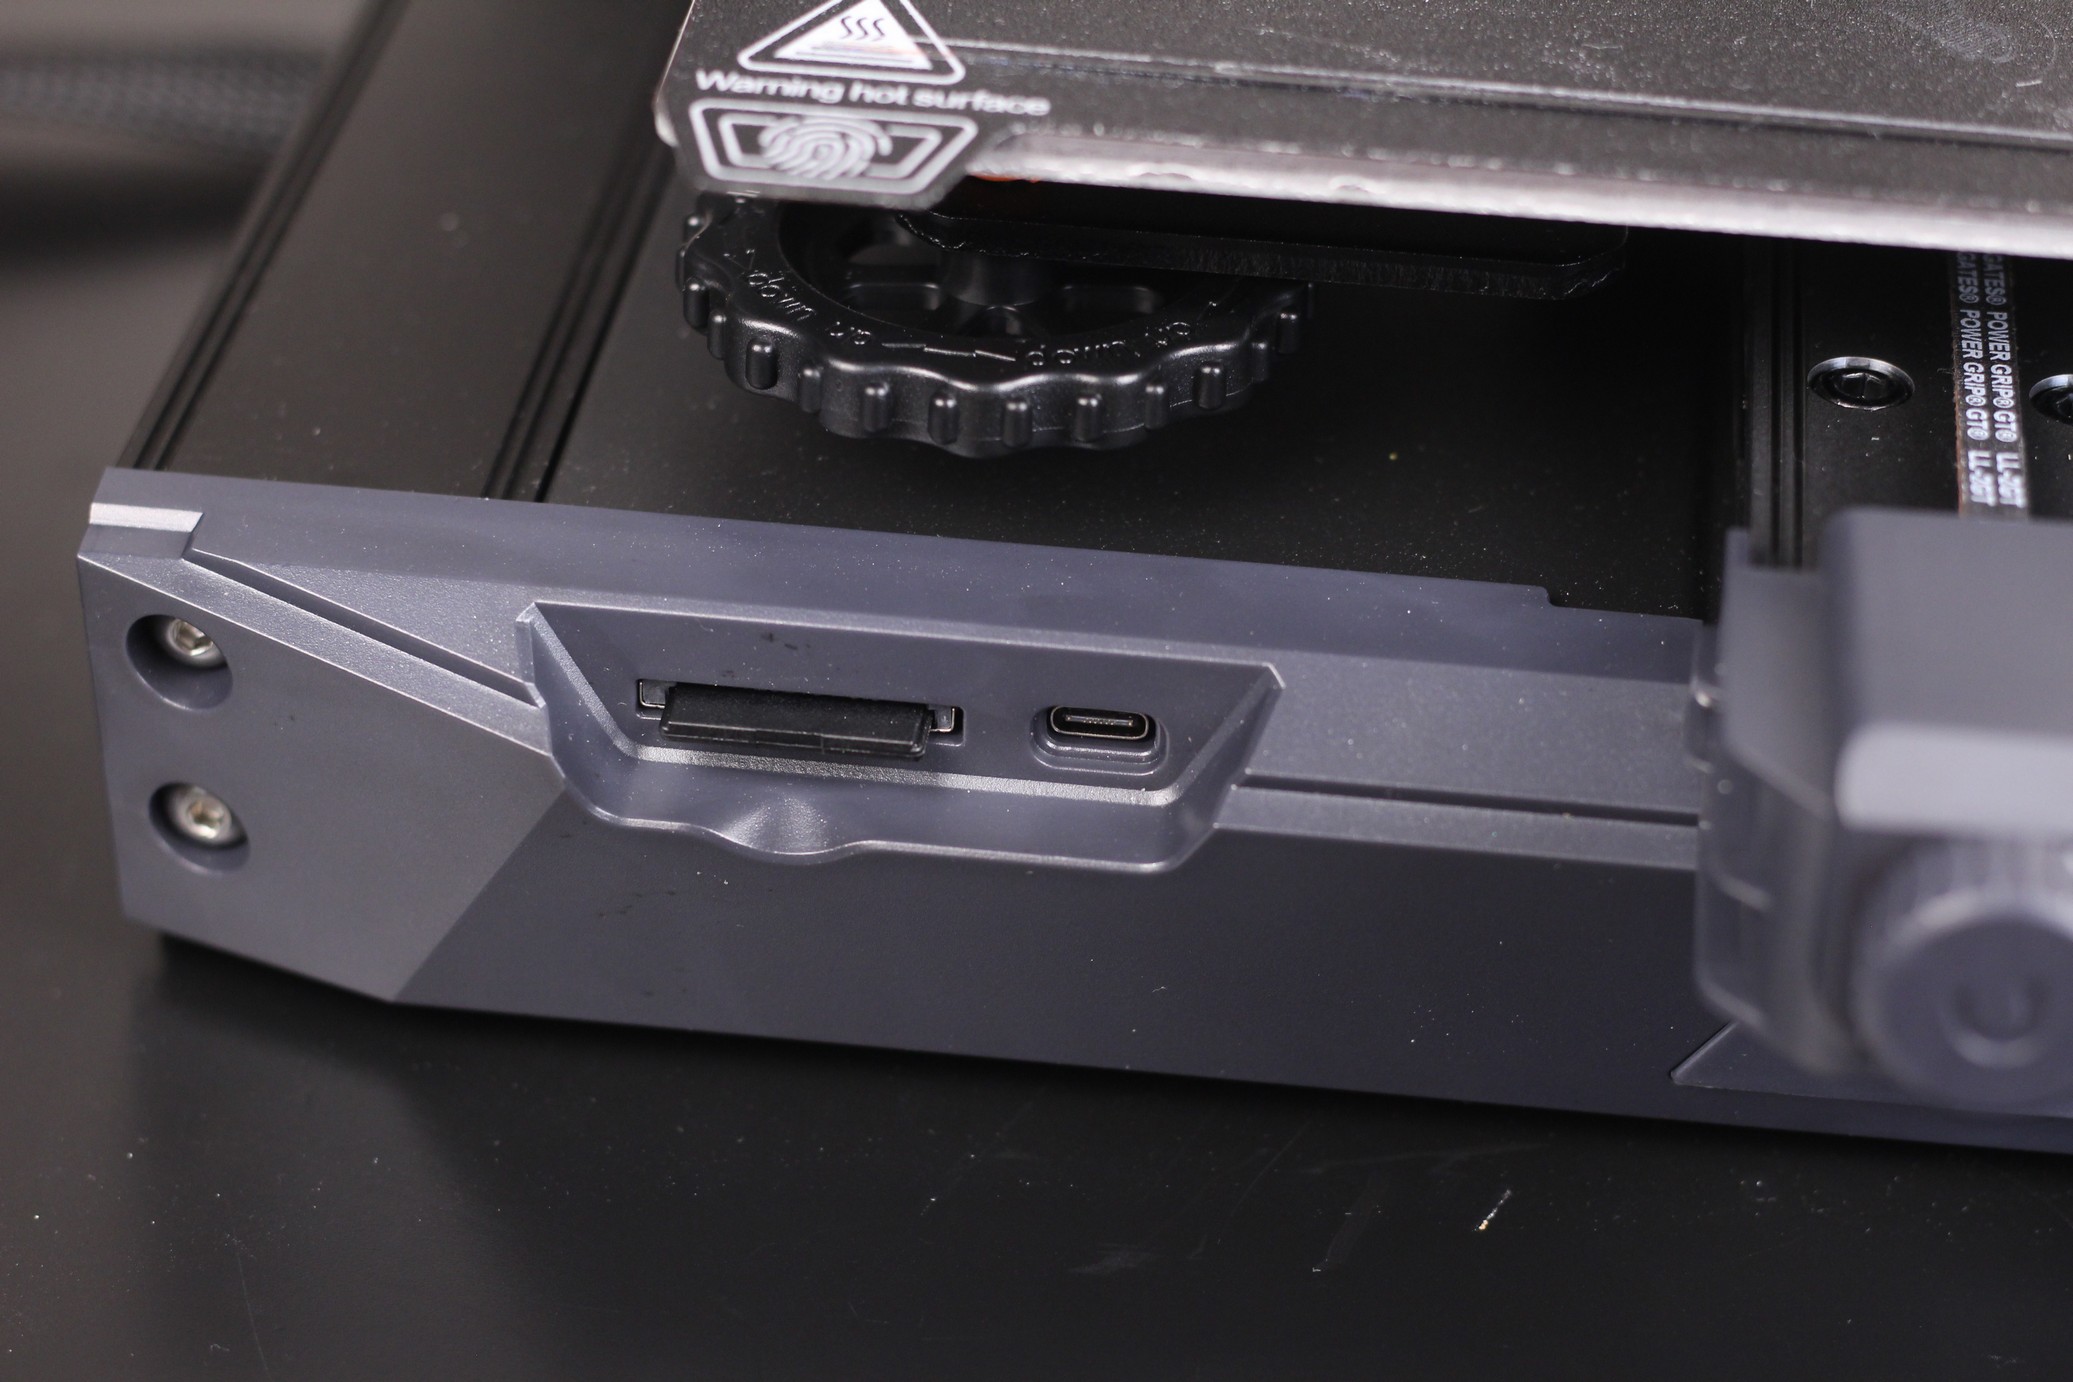
With the Creality Ender 3 S1, we also get a new 32-bit board made specifically for the S1. The Creality CR-FDM-V24S1_301 has a STM32F103 CPU, uses a full size SD card and comes with a Type C connector instead of the old USB port we got with other boards.
What I don’t like is the recessed Type C female connector. Because of that, not every Type C cable will work, and you need to have one which doesn’t have a wide plastic cover around the male connector.
The board only has four TMC2209 stepper drivers which means that the Z axis motors are powered by a single stepper driver. Not an issue considering that the stepper drivers are synchronized with a timing belt.
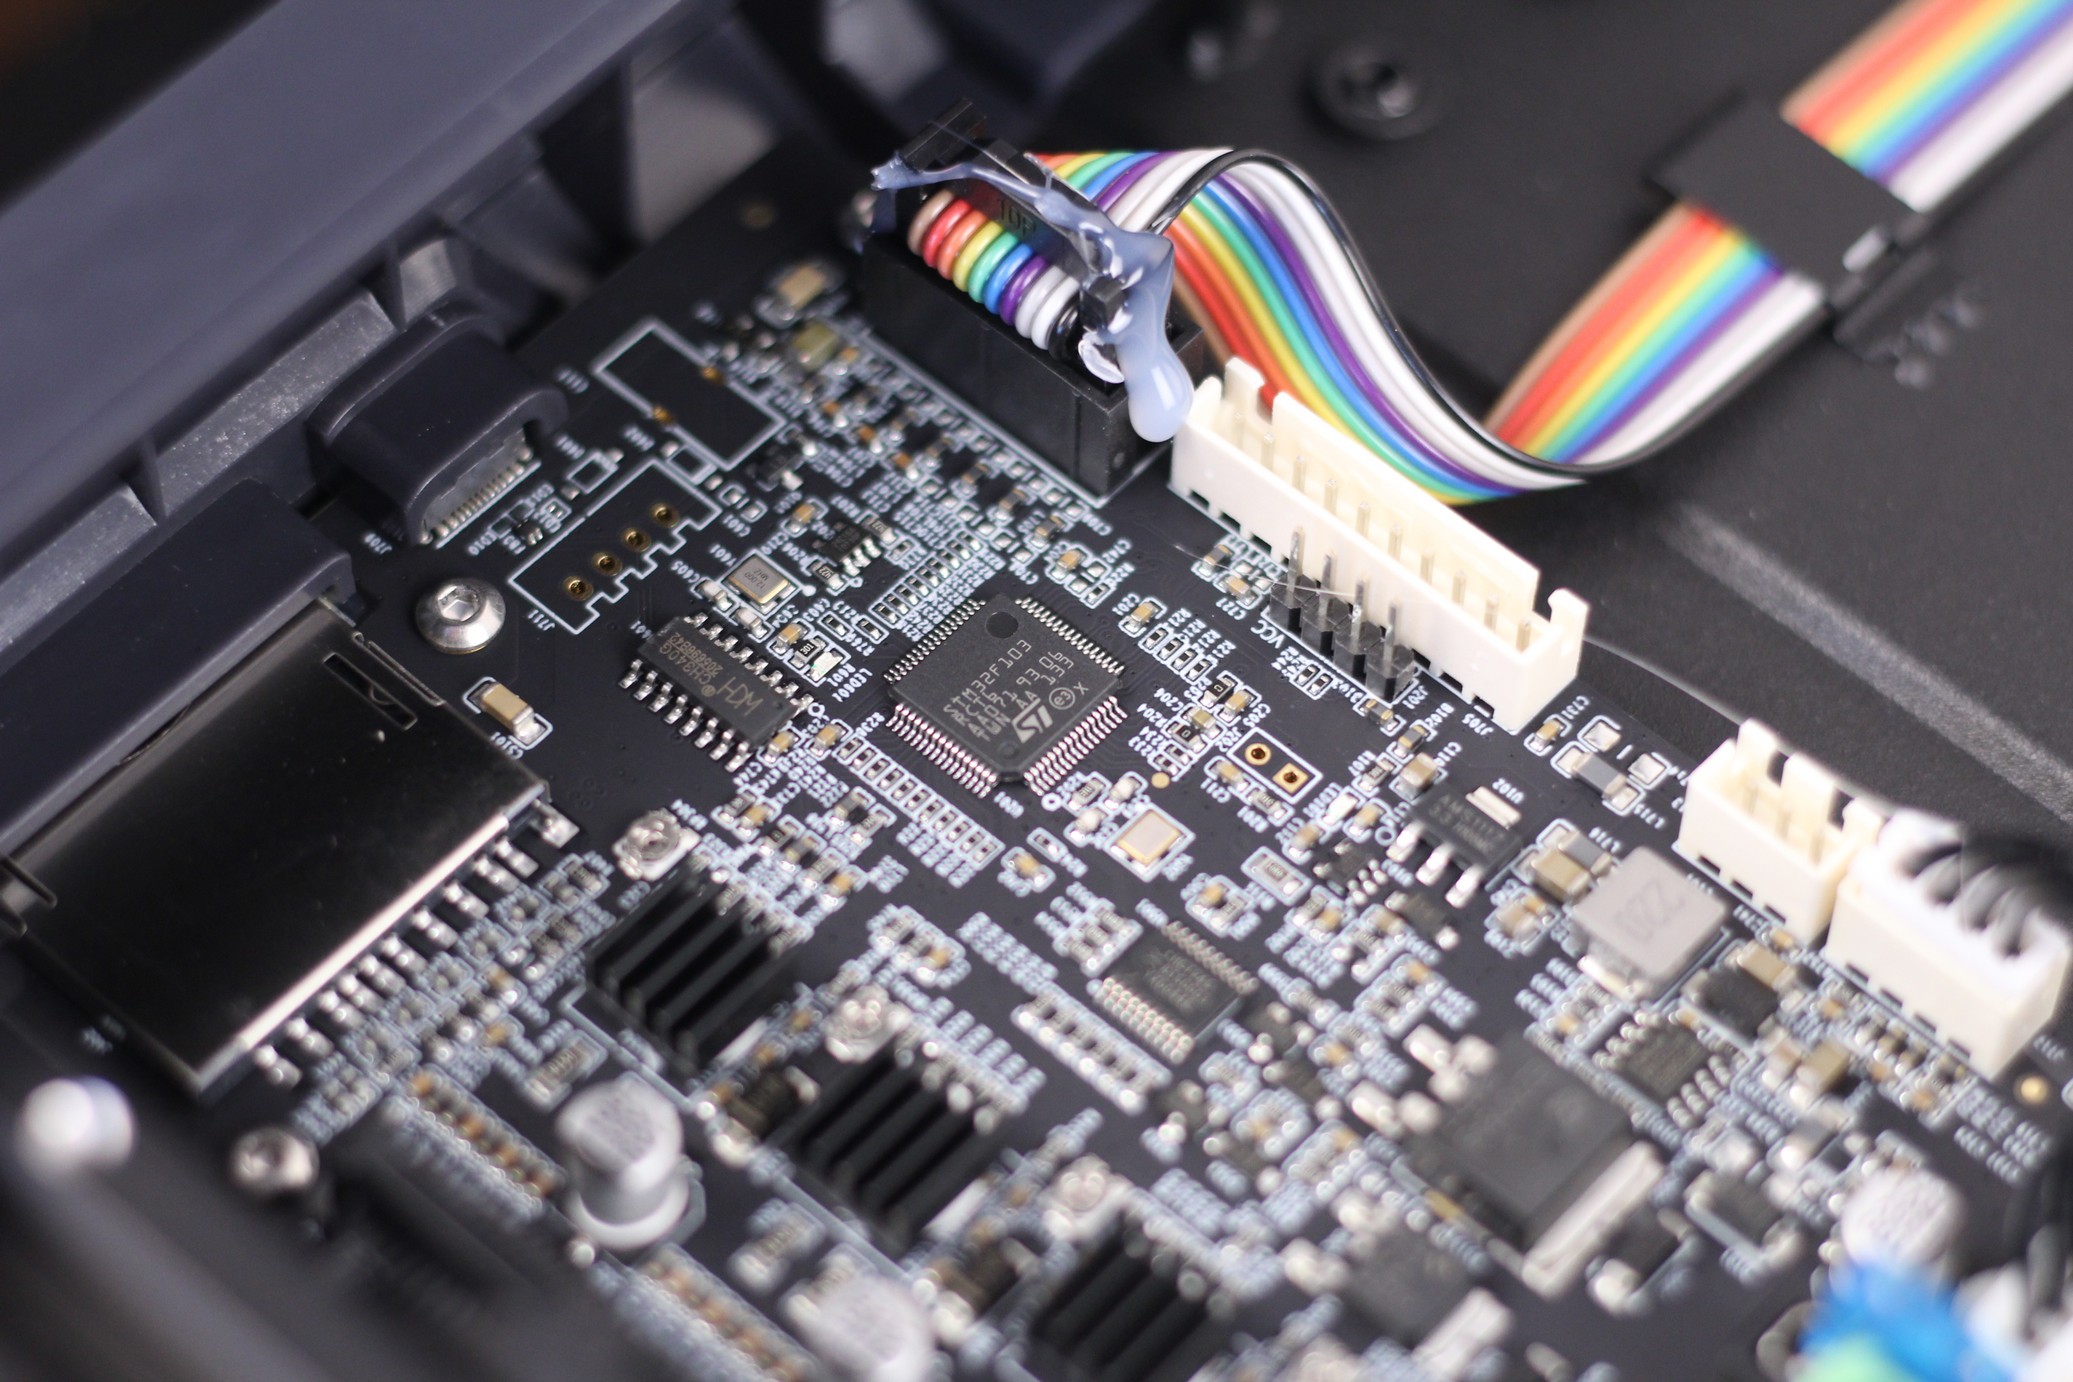
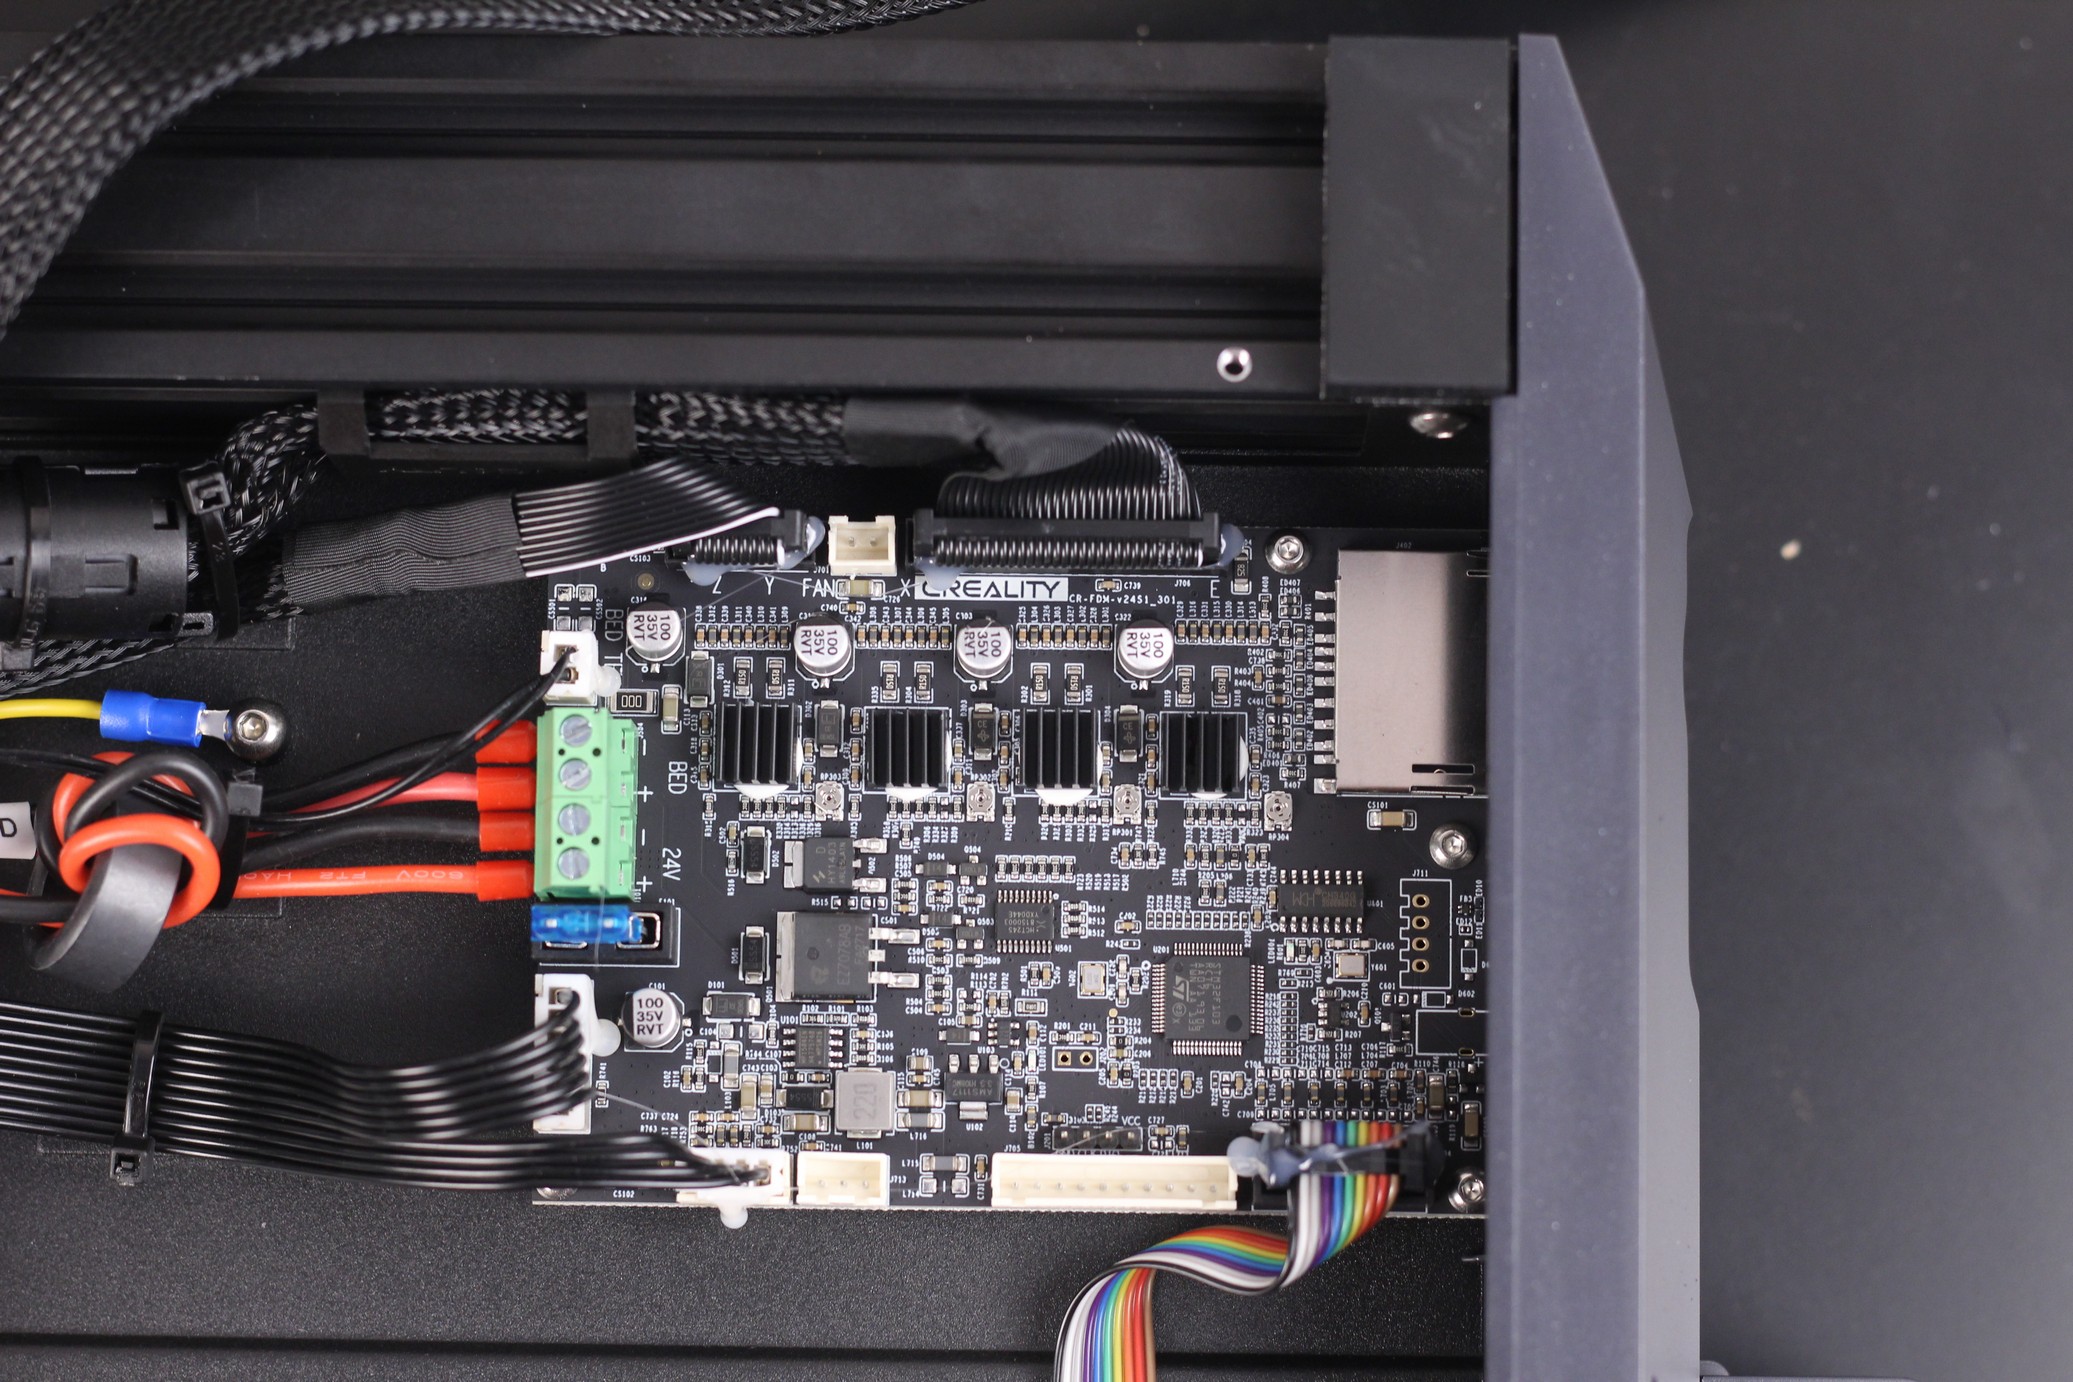
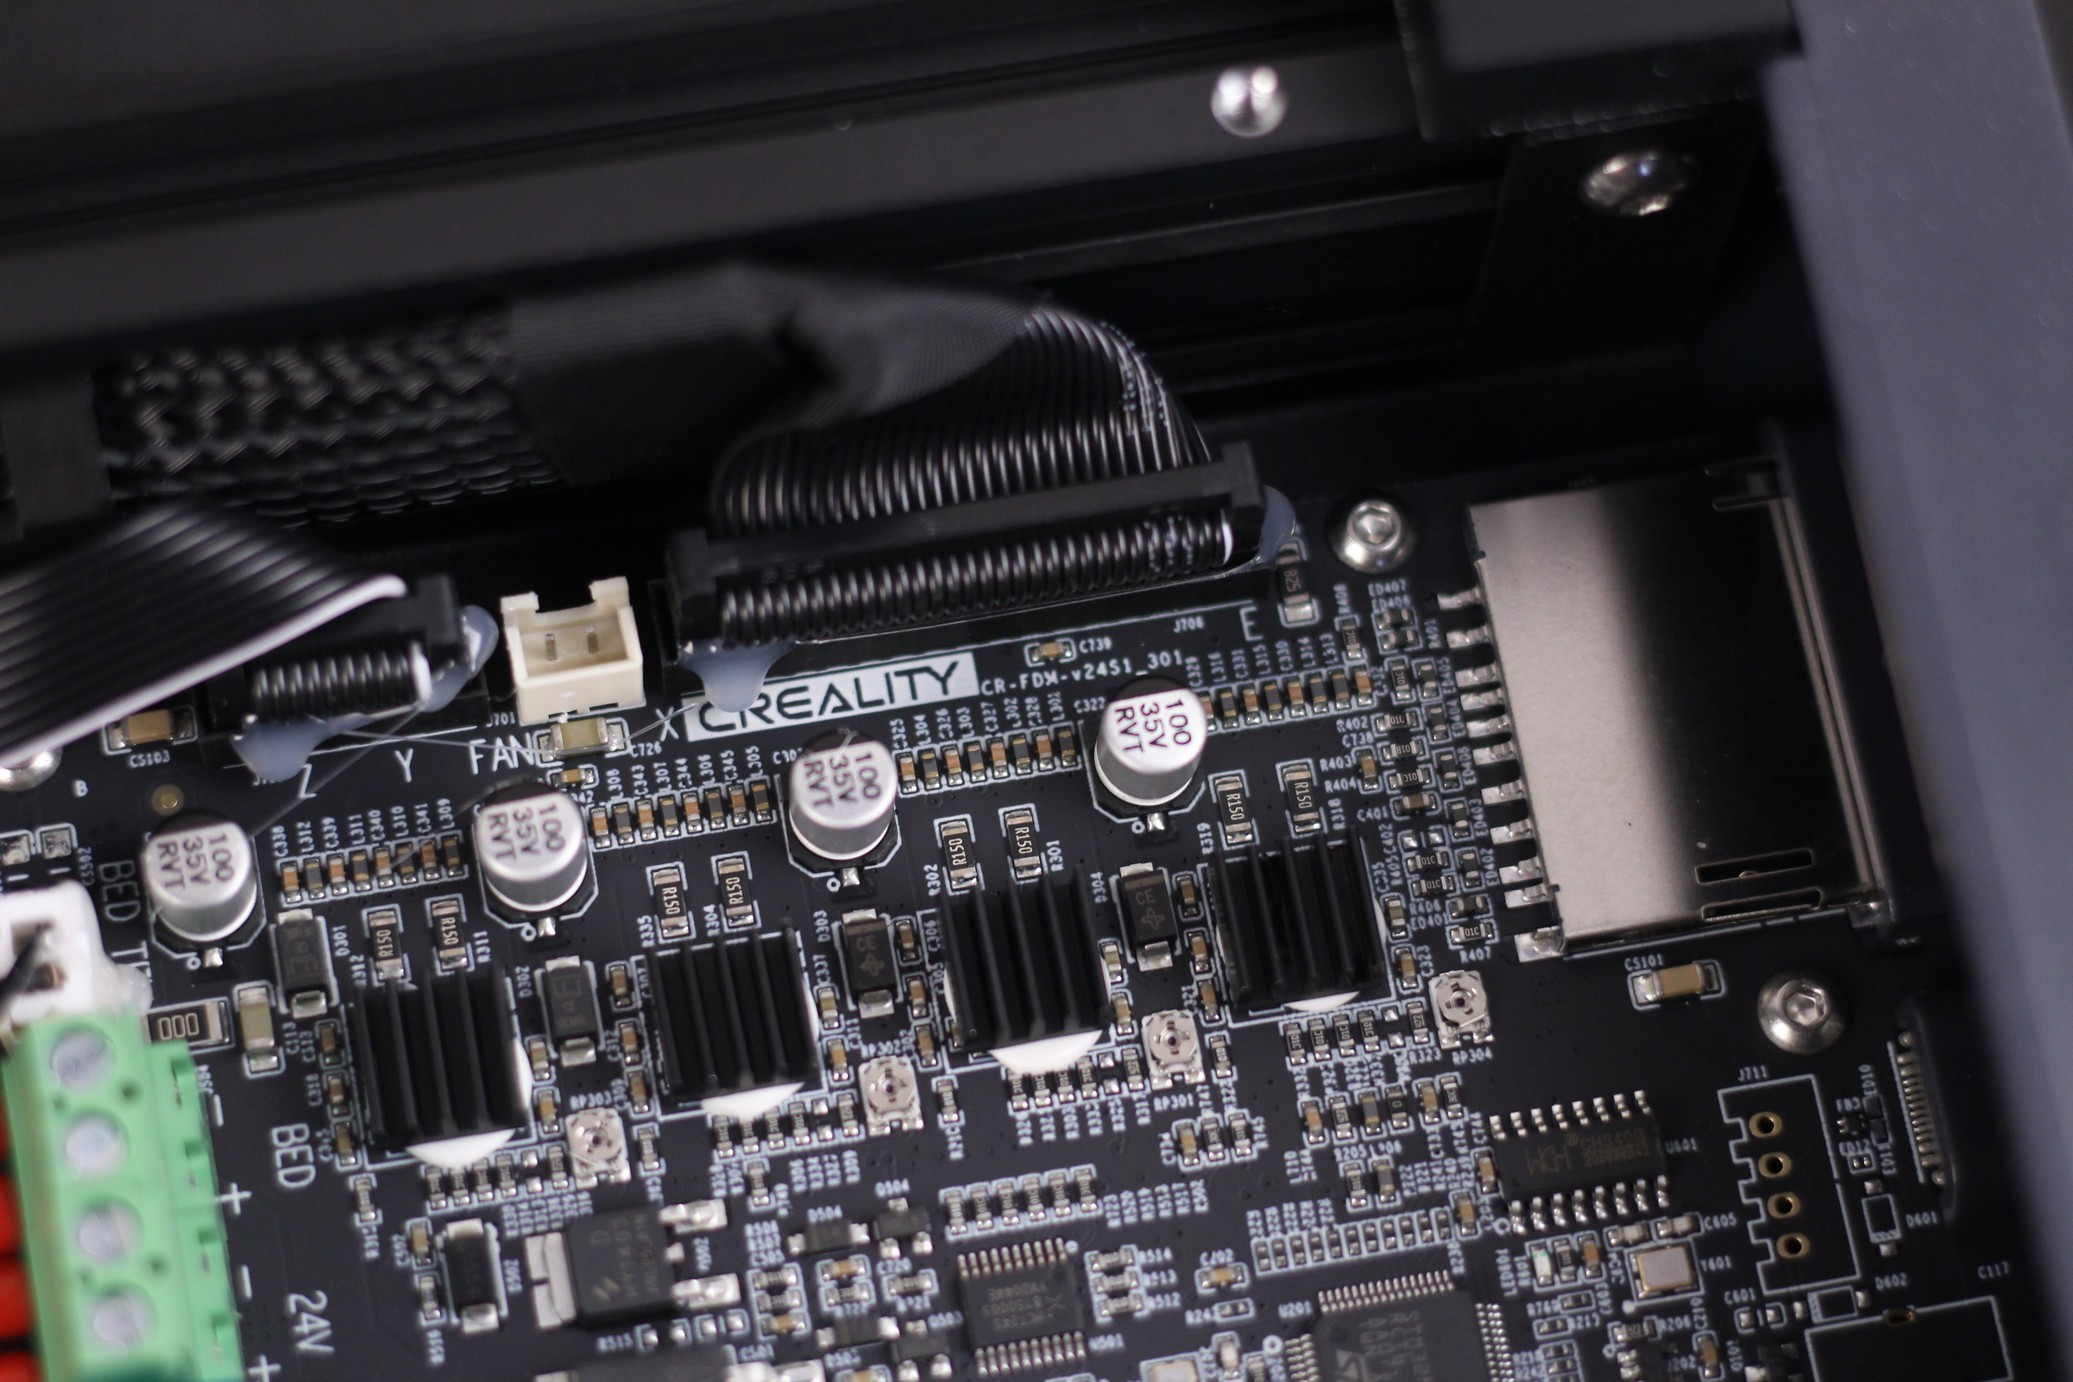
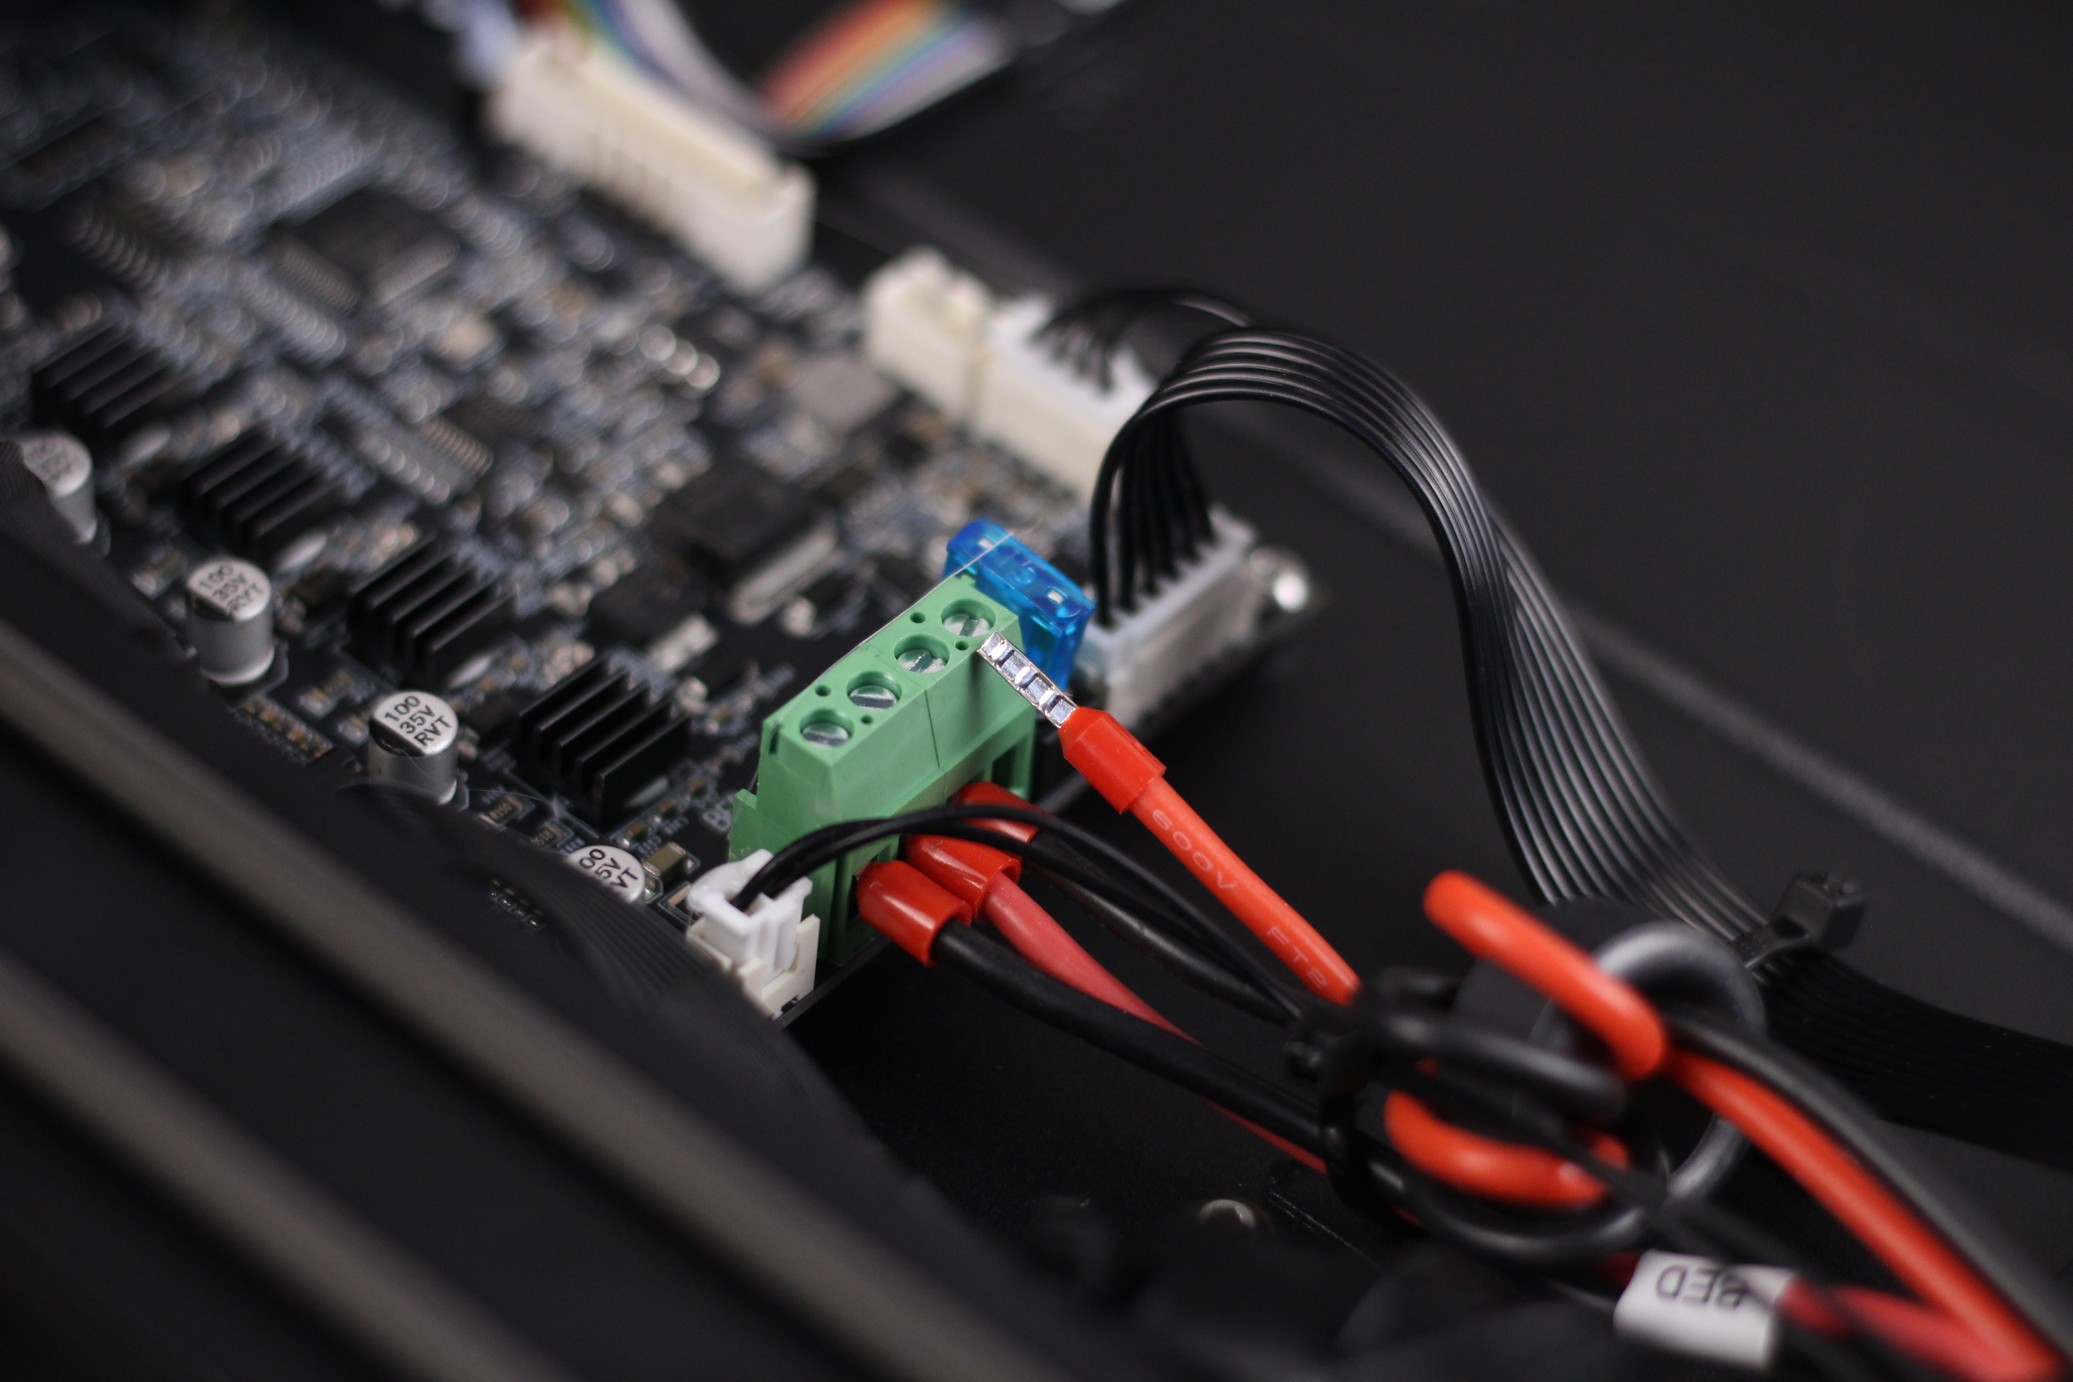
Another interesting addition for the Ender 3 S1 is the use of proper wires with crimped ferules. Finally!
Creality usually tins the wires with solder, but for the S1 they added ferules which is a big improvement when it comes to safety.
Just like the Ender 6, and other more premium 3D printers from Creality, the Ender 3 S1 has ferrite cores installed to minimize electrical interference.
PC spring steel print sheet
Another noteworthy addition to the Ender 3 S1 is the magnetic flexible print surface. It has a BuildTak-like surface with excellent adhesion for any filament I’ve tested, and you can easily remove prints when finished. You can print PLA and TPU without even heating up the bed.
The magnet is strong, and holds the flex plate in place firmly, so I don’t think you will have any issues when printing large objects on this.
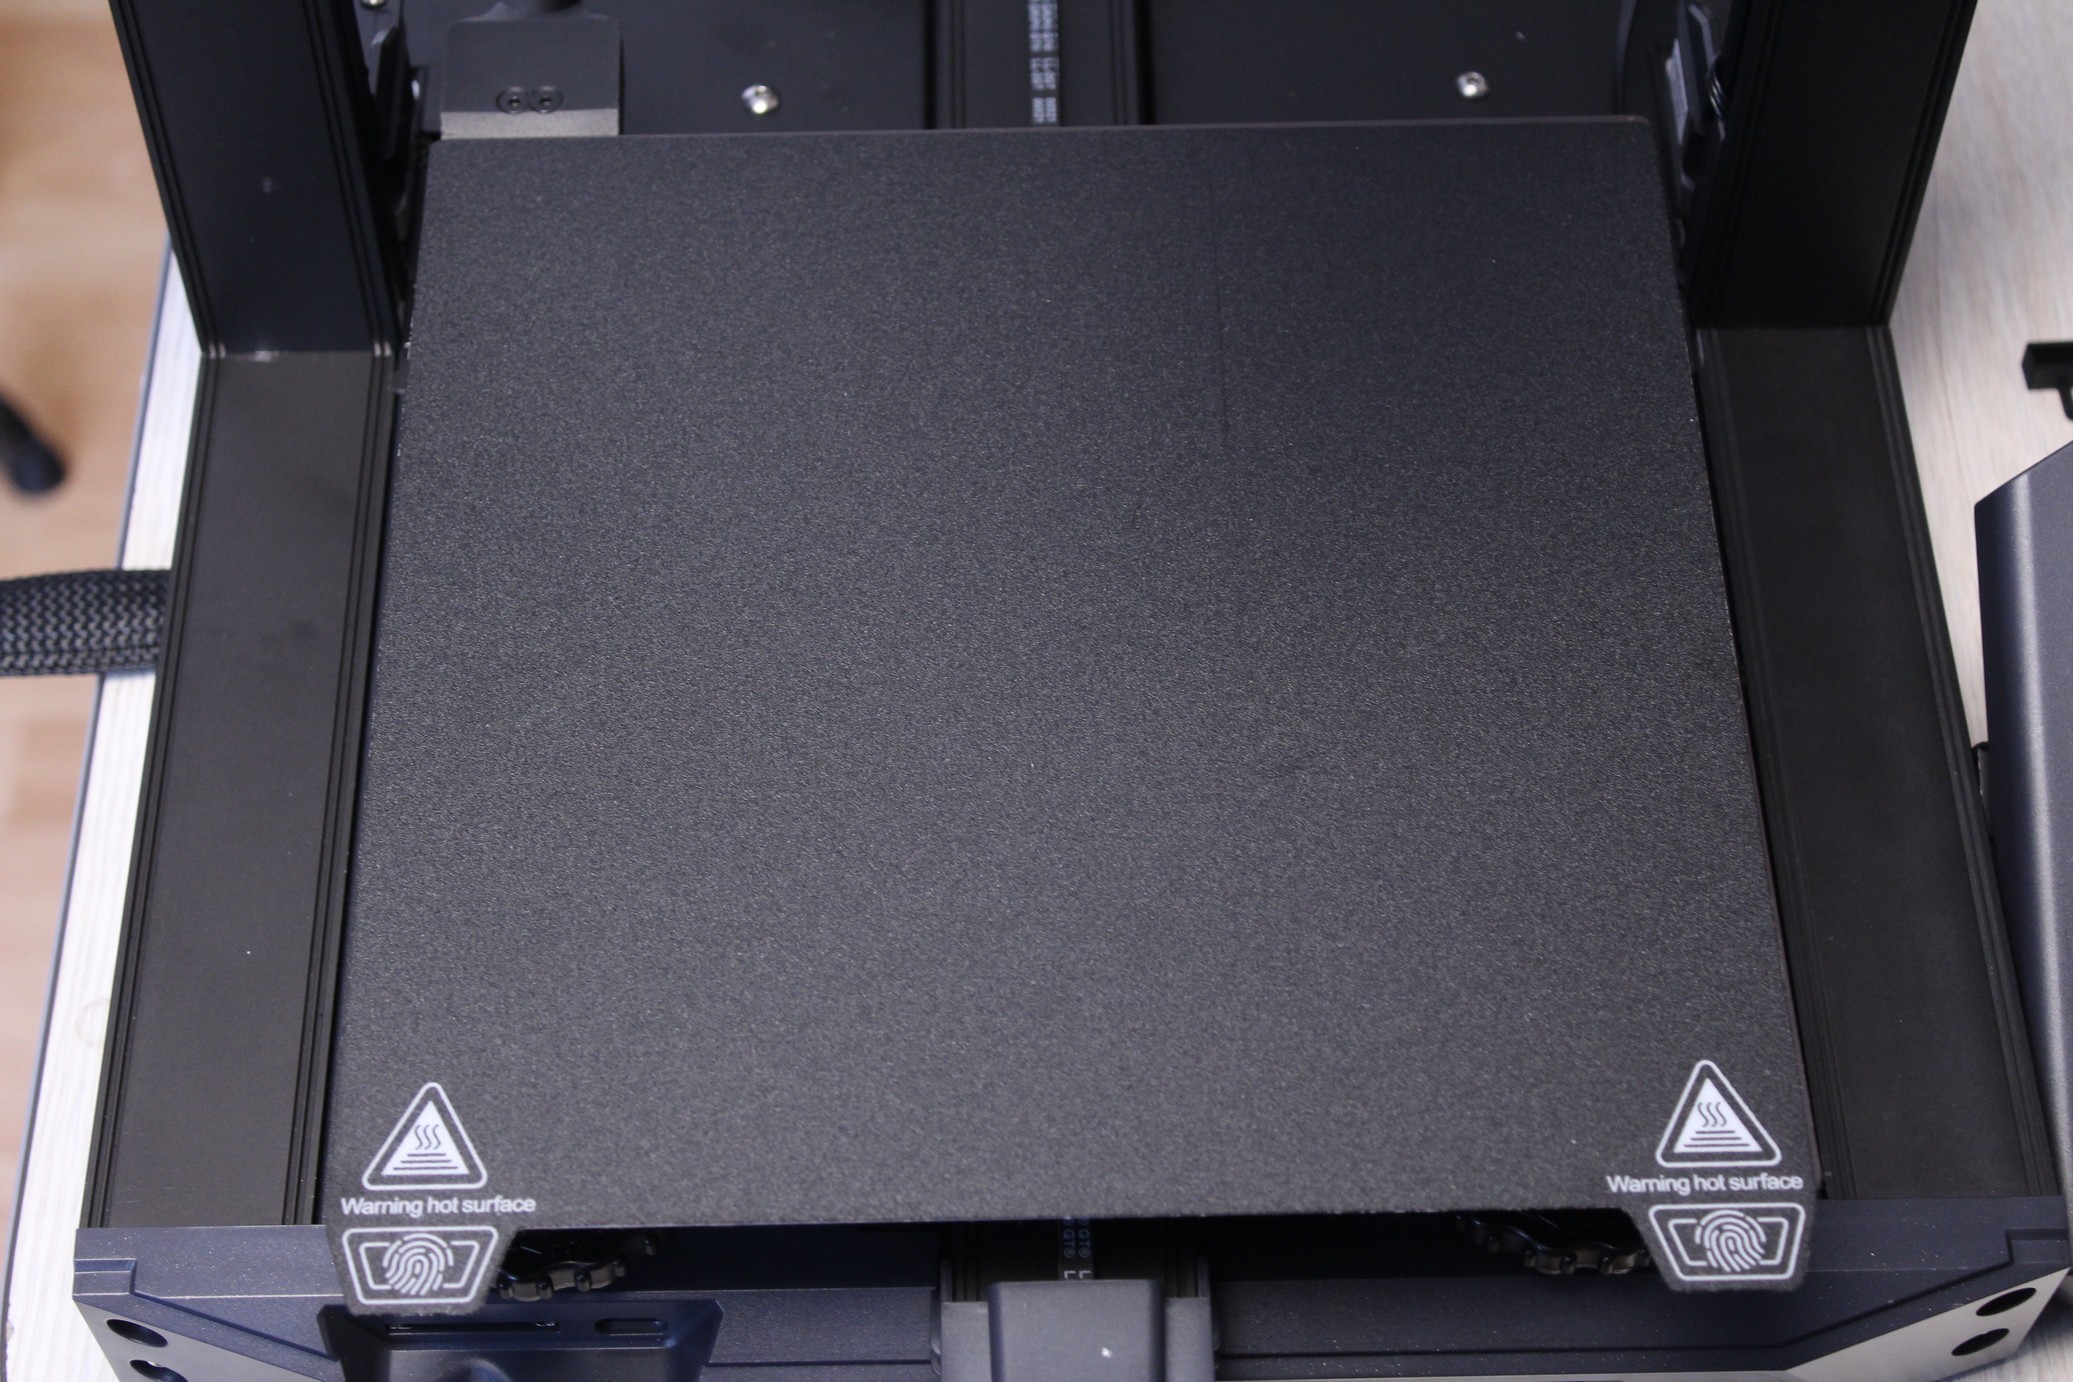
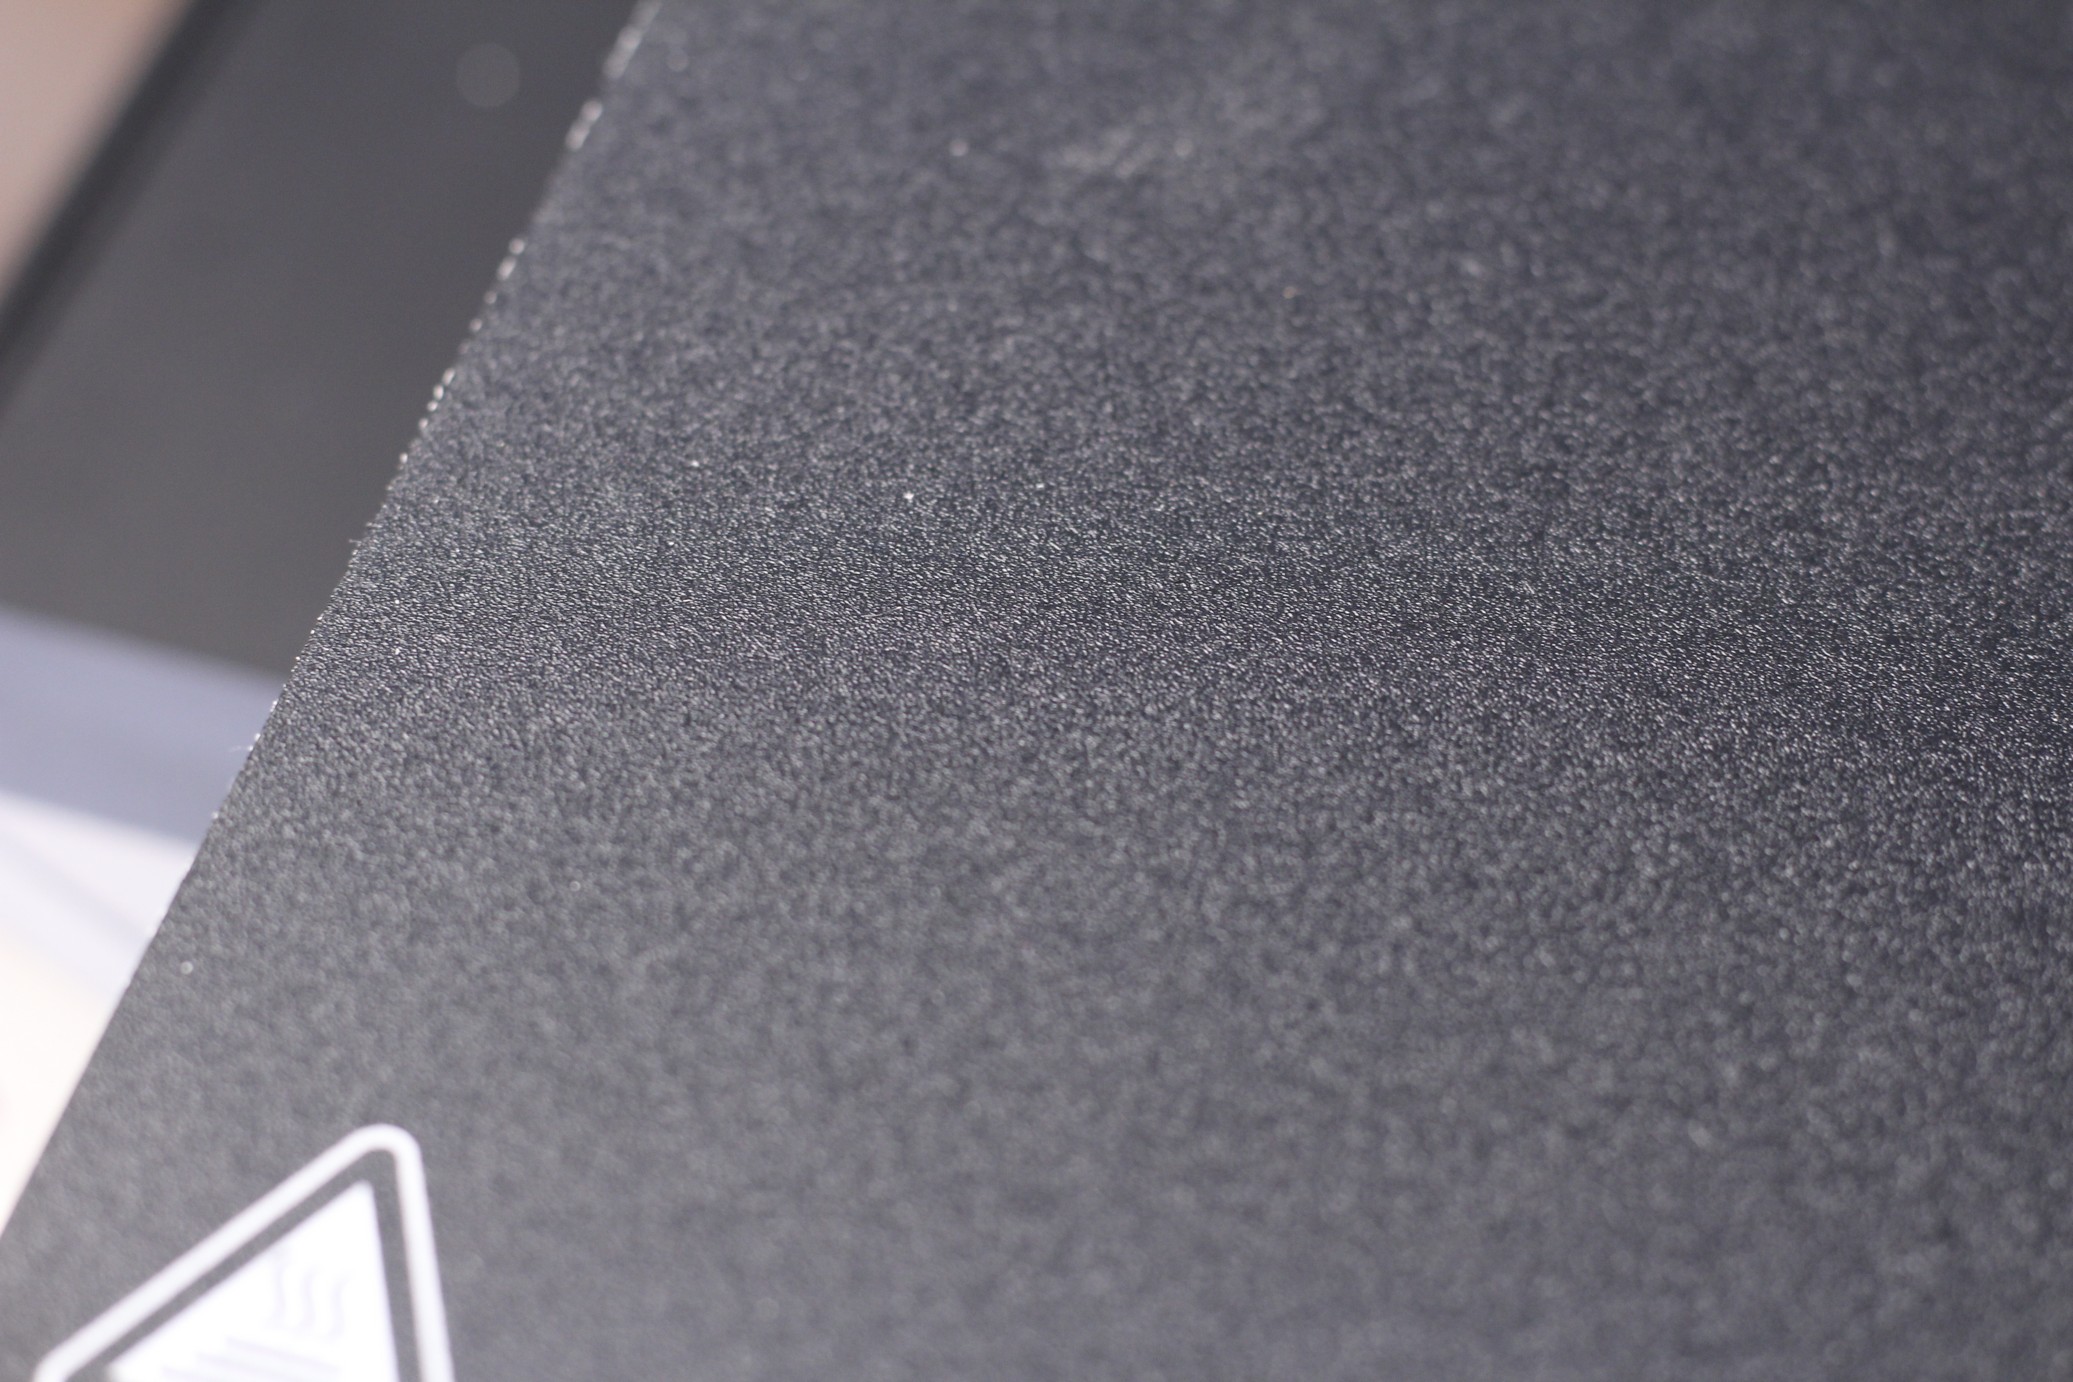
While the adhesion is great, ensure that you have a good Z offset when printing on this surface, because if you print too close to the bed, filaments can get stuck too well. Below, you can see some of the marks left on the print surface by some of my prints.
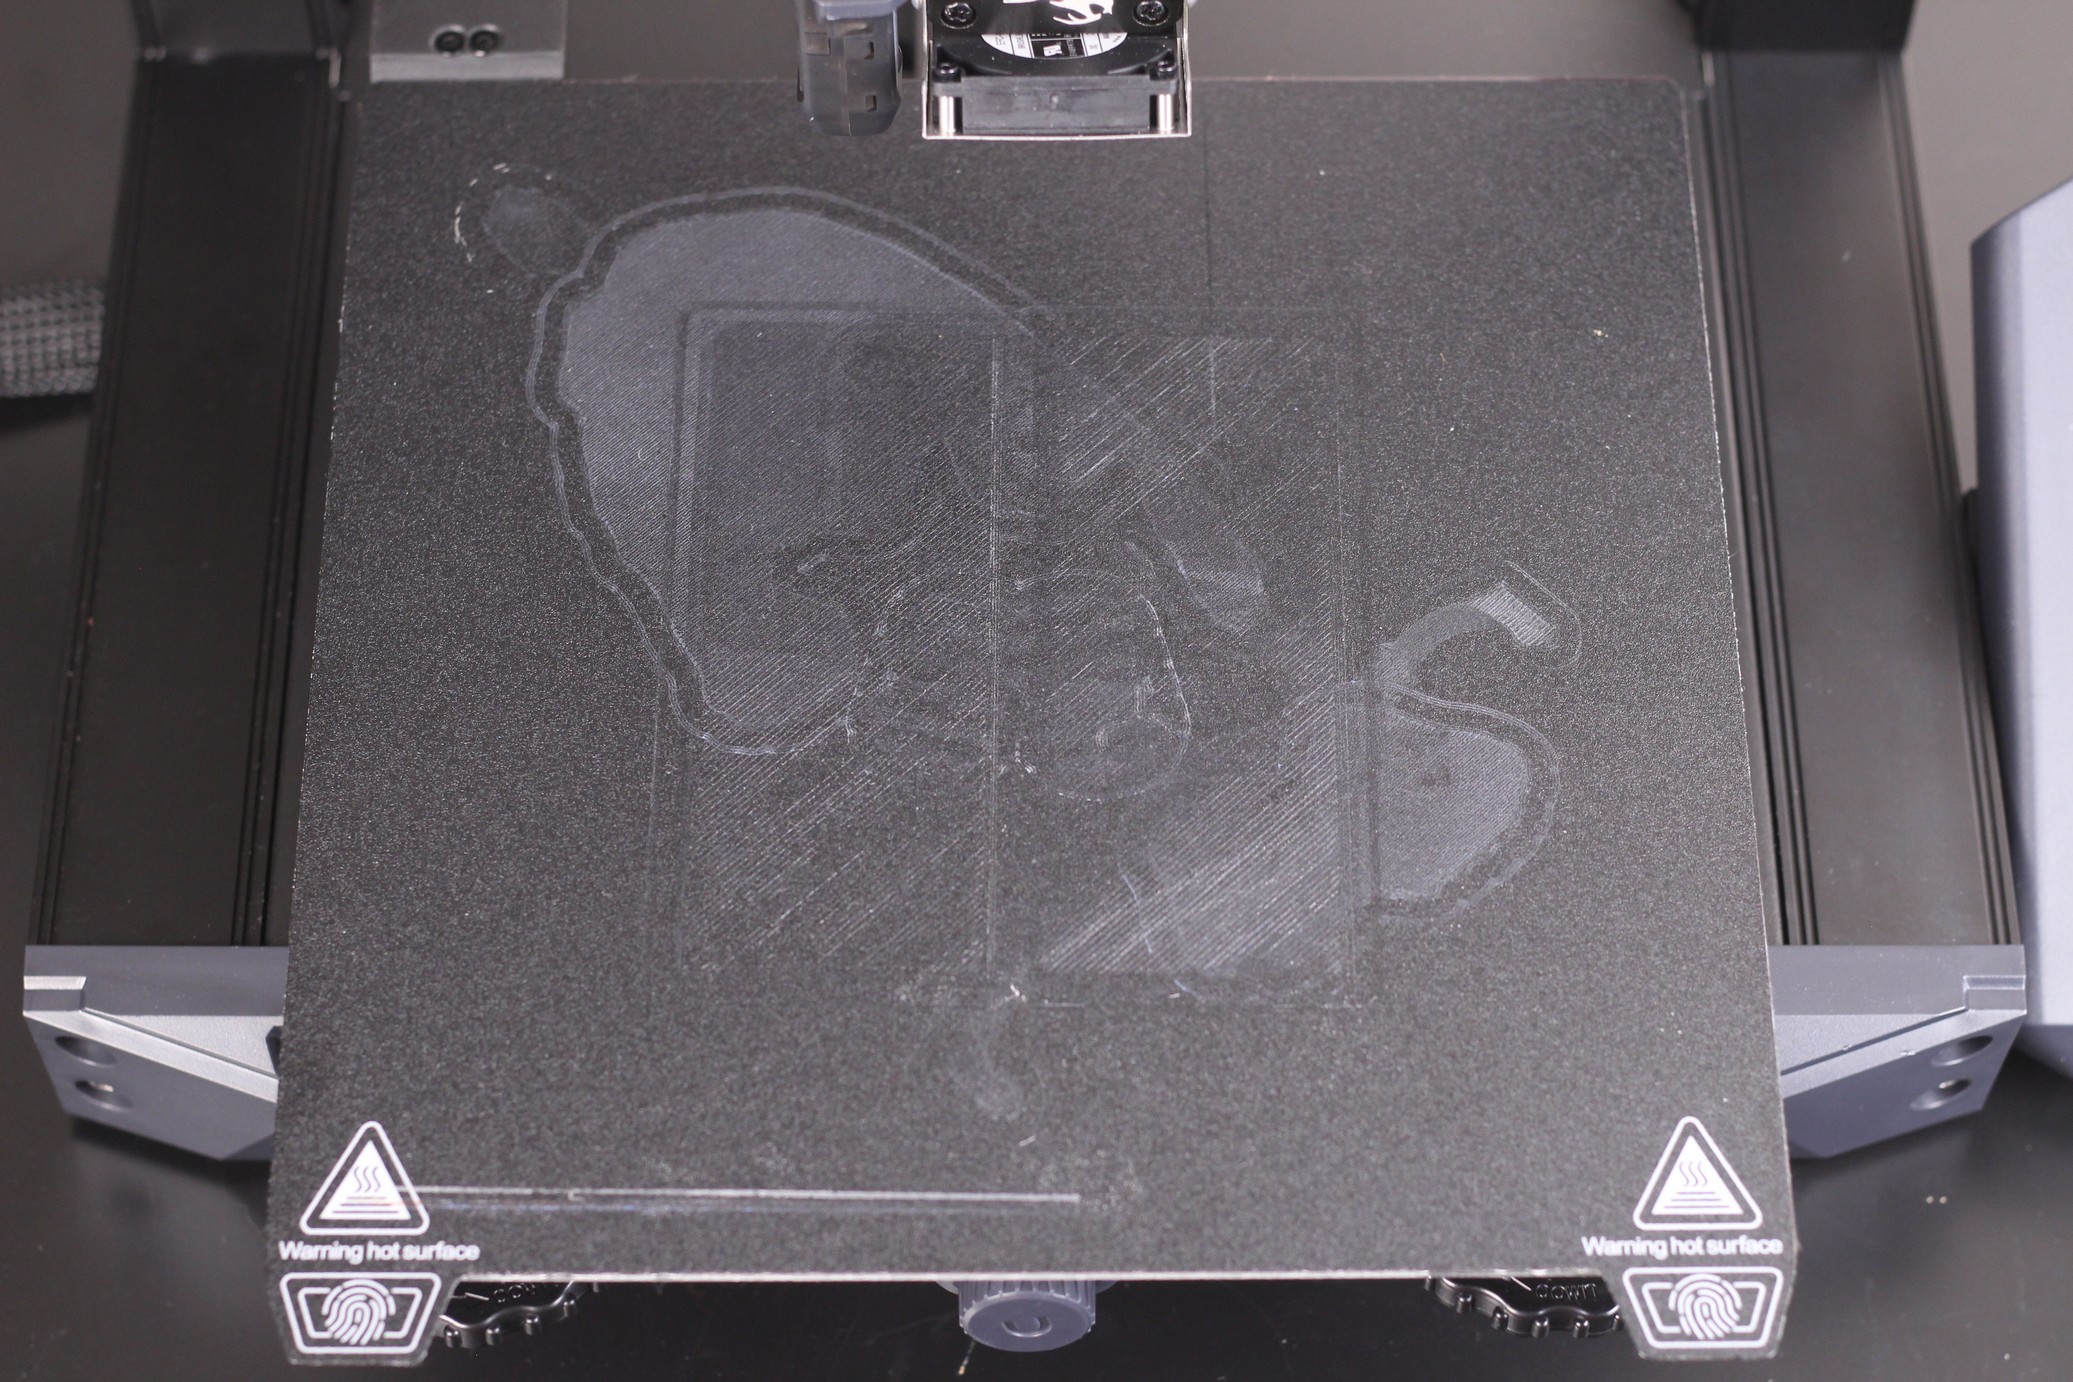
The surface is not damaged, but a faint shadow of the prints has remained stuck to the plate.
Color screen with knob
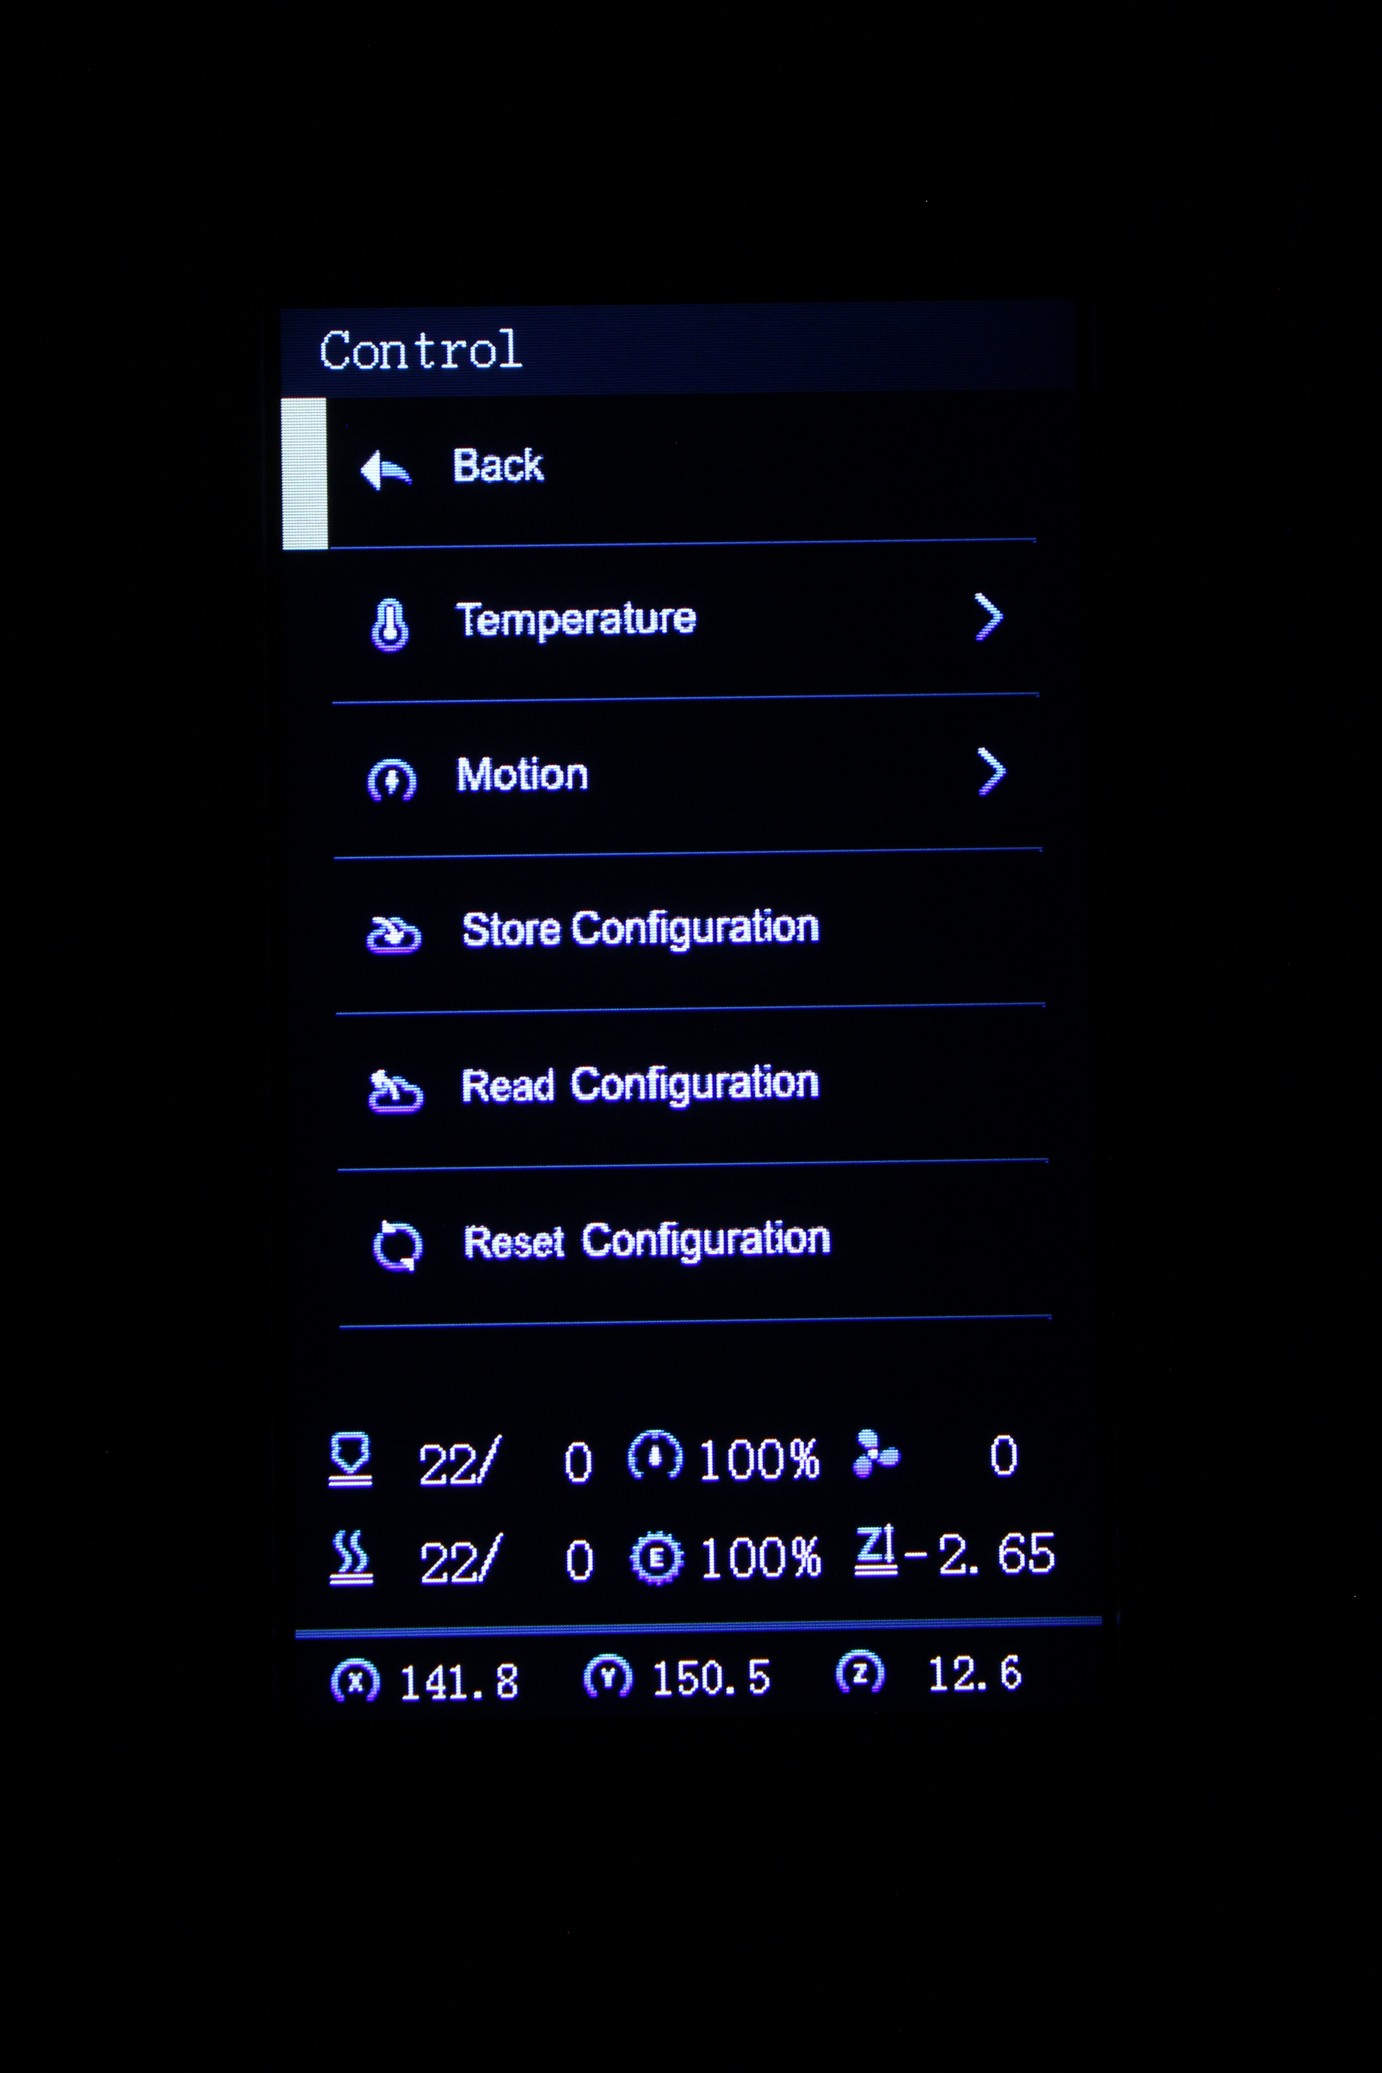
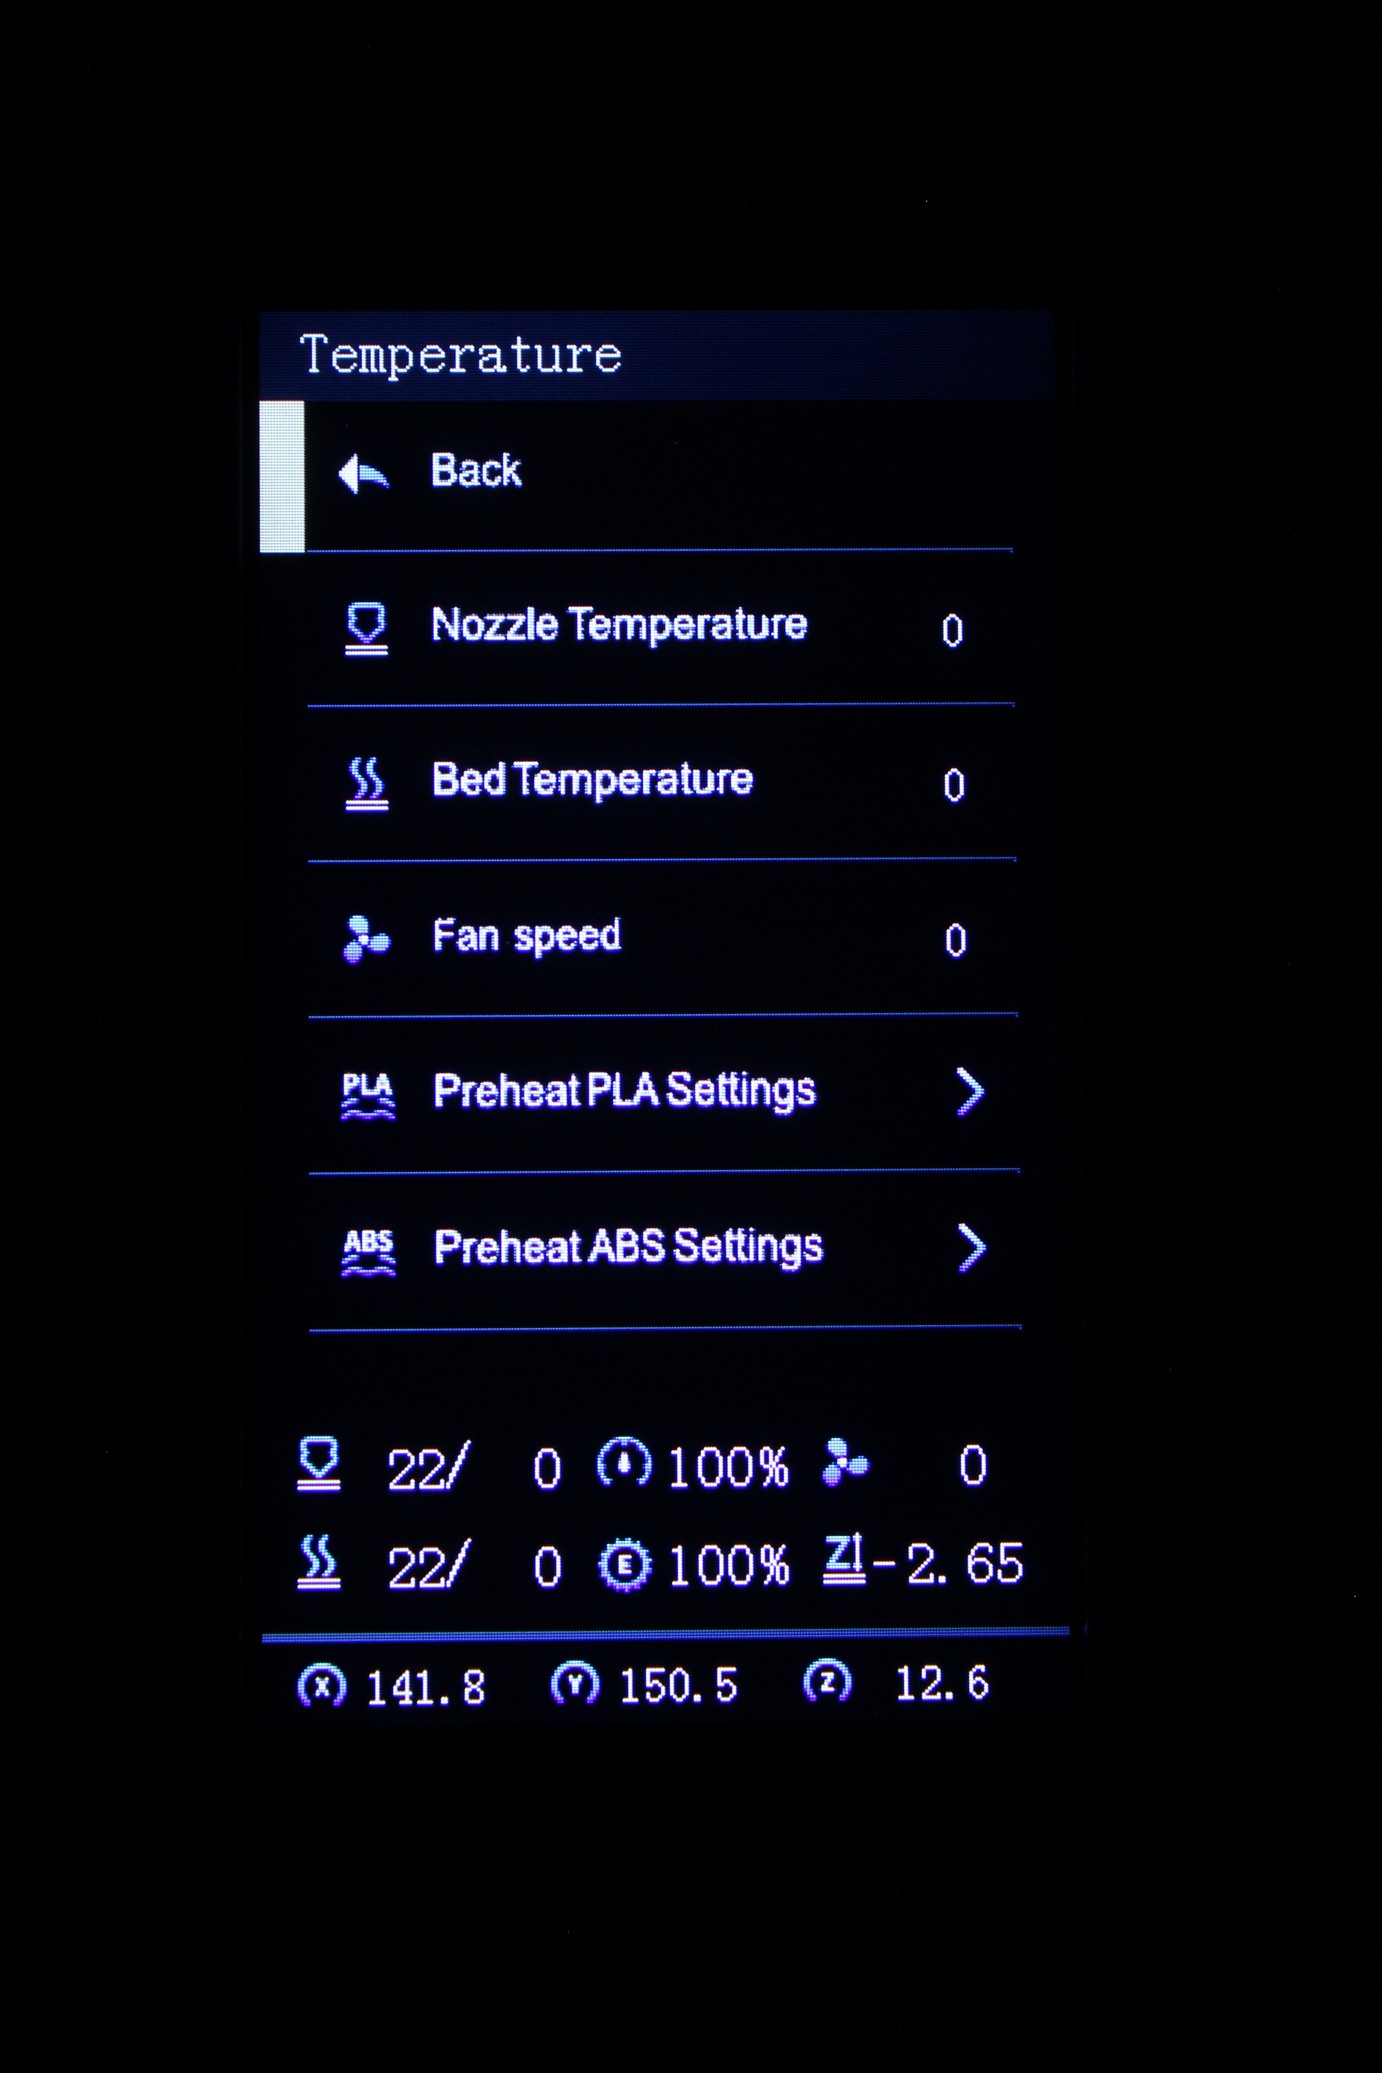
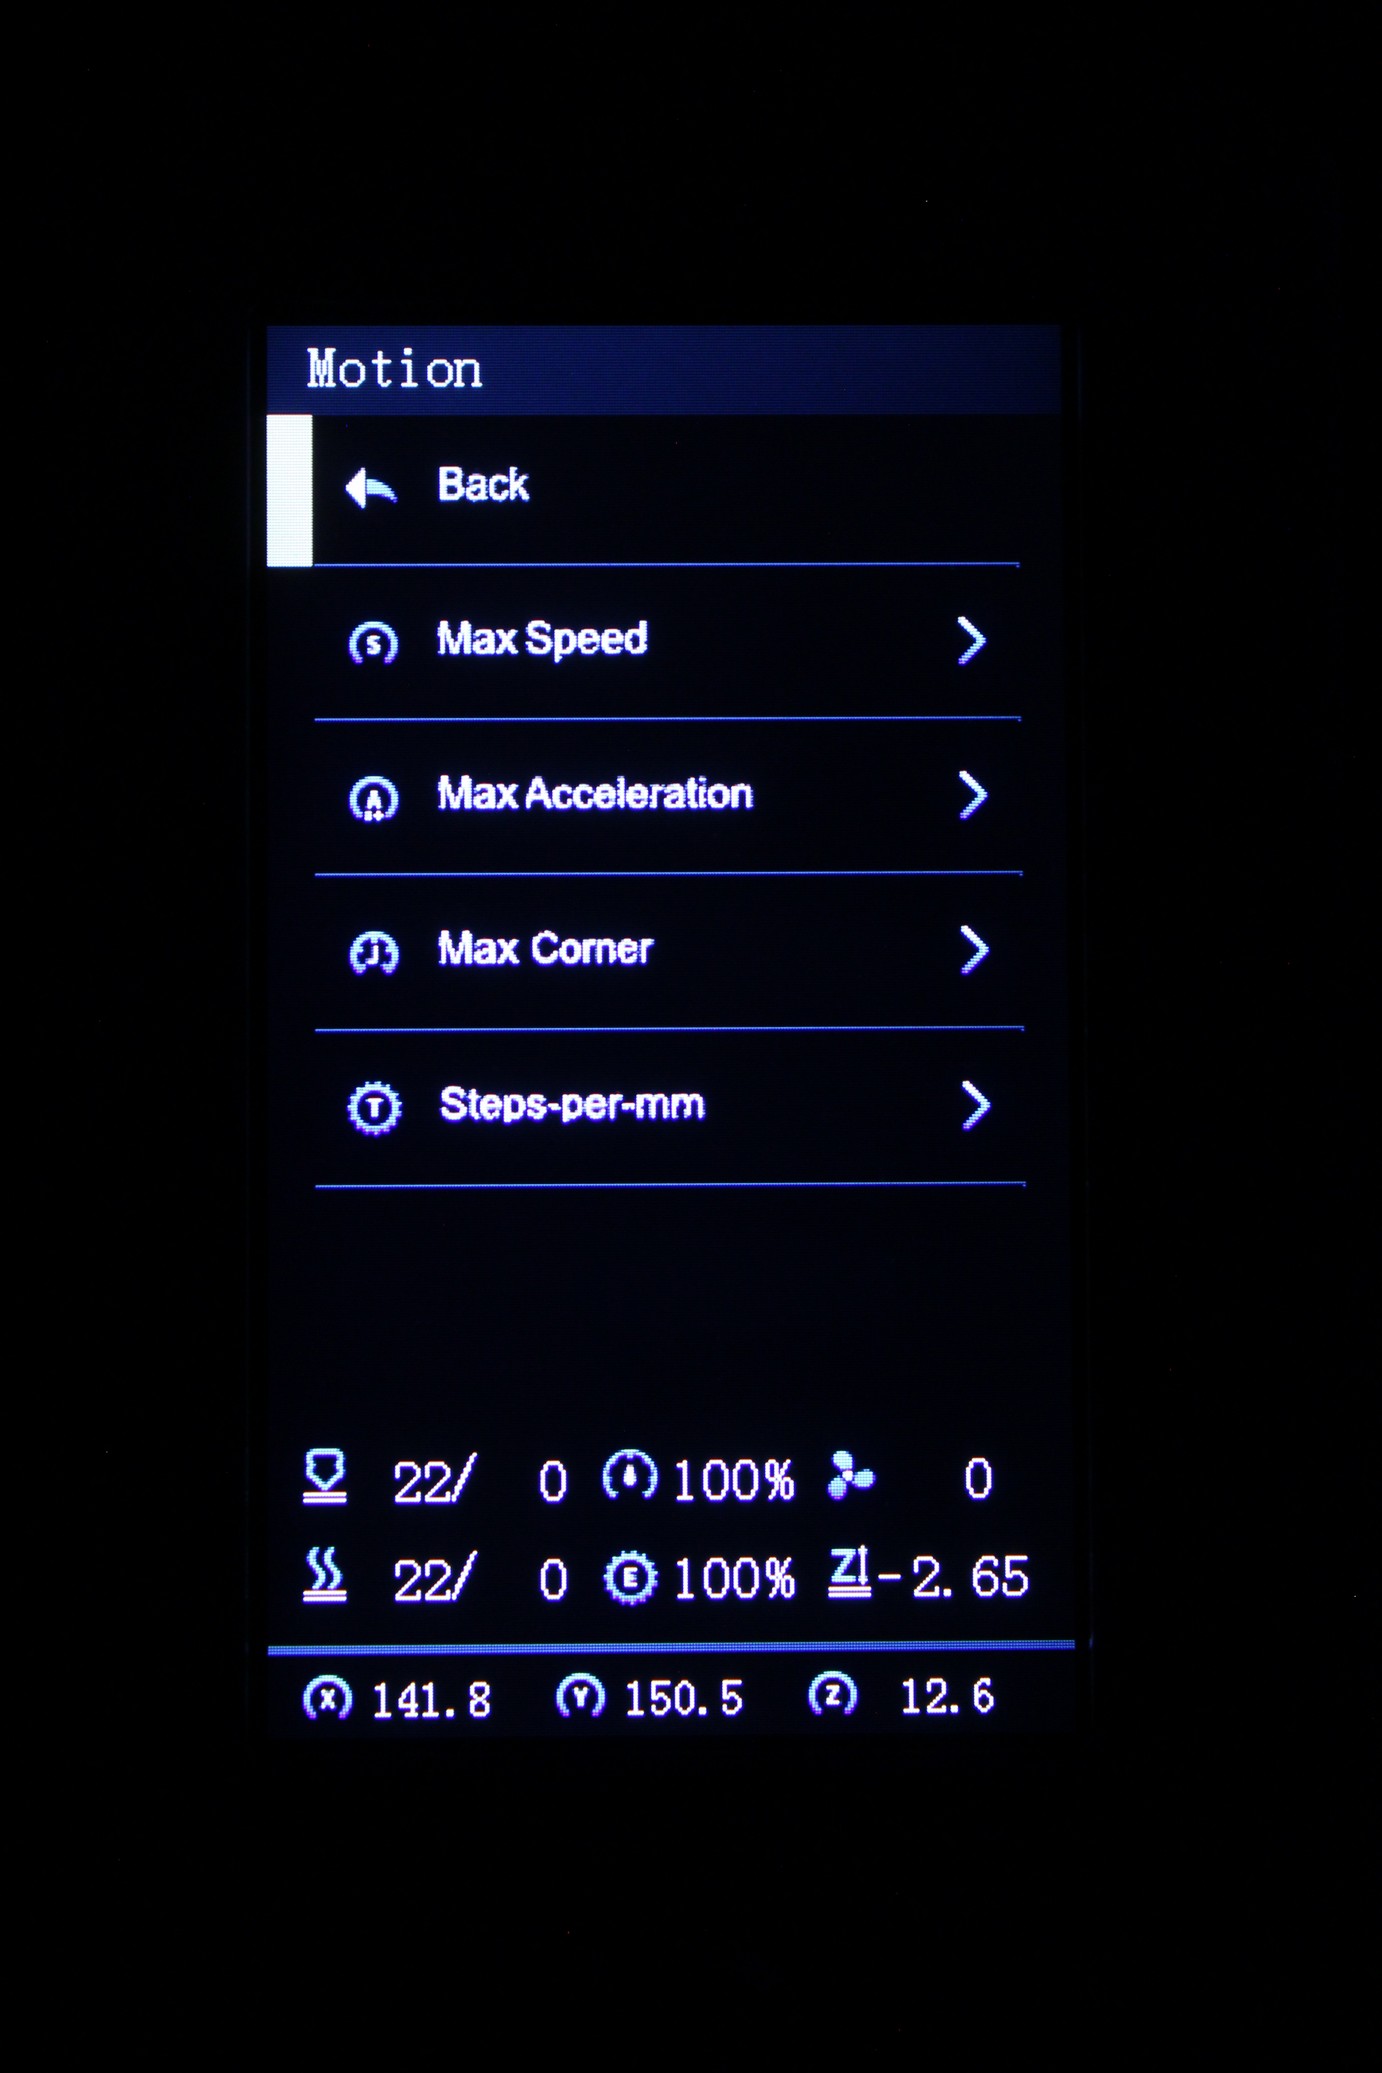
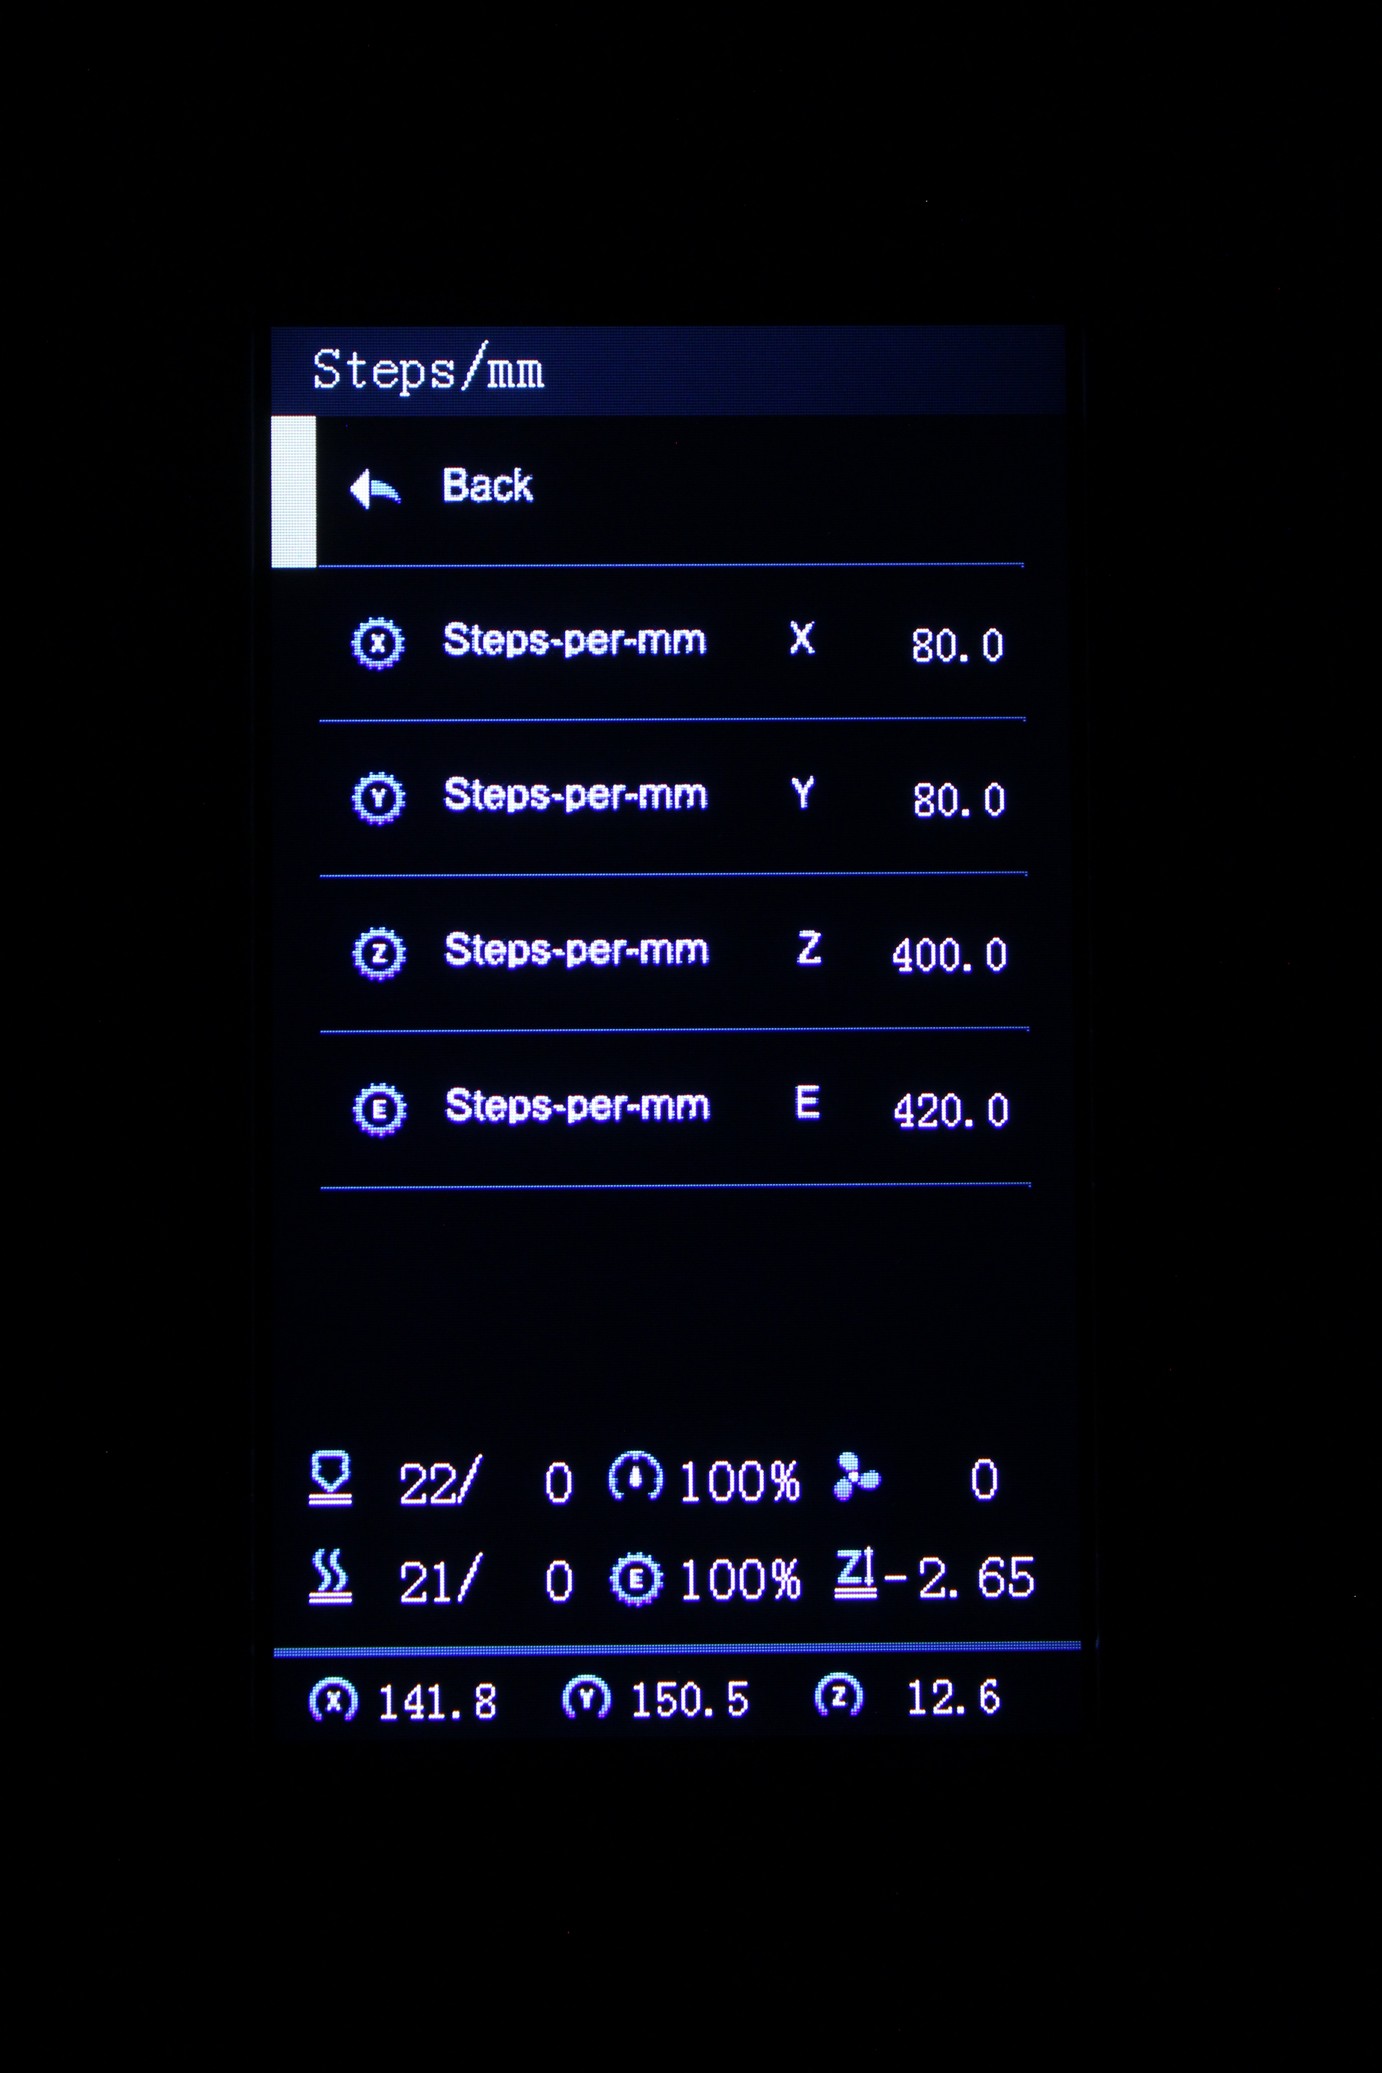
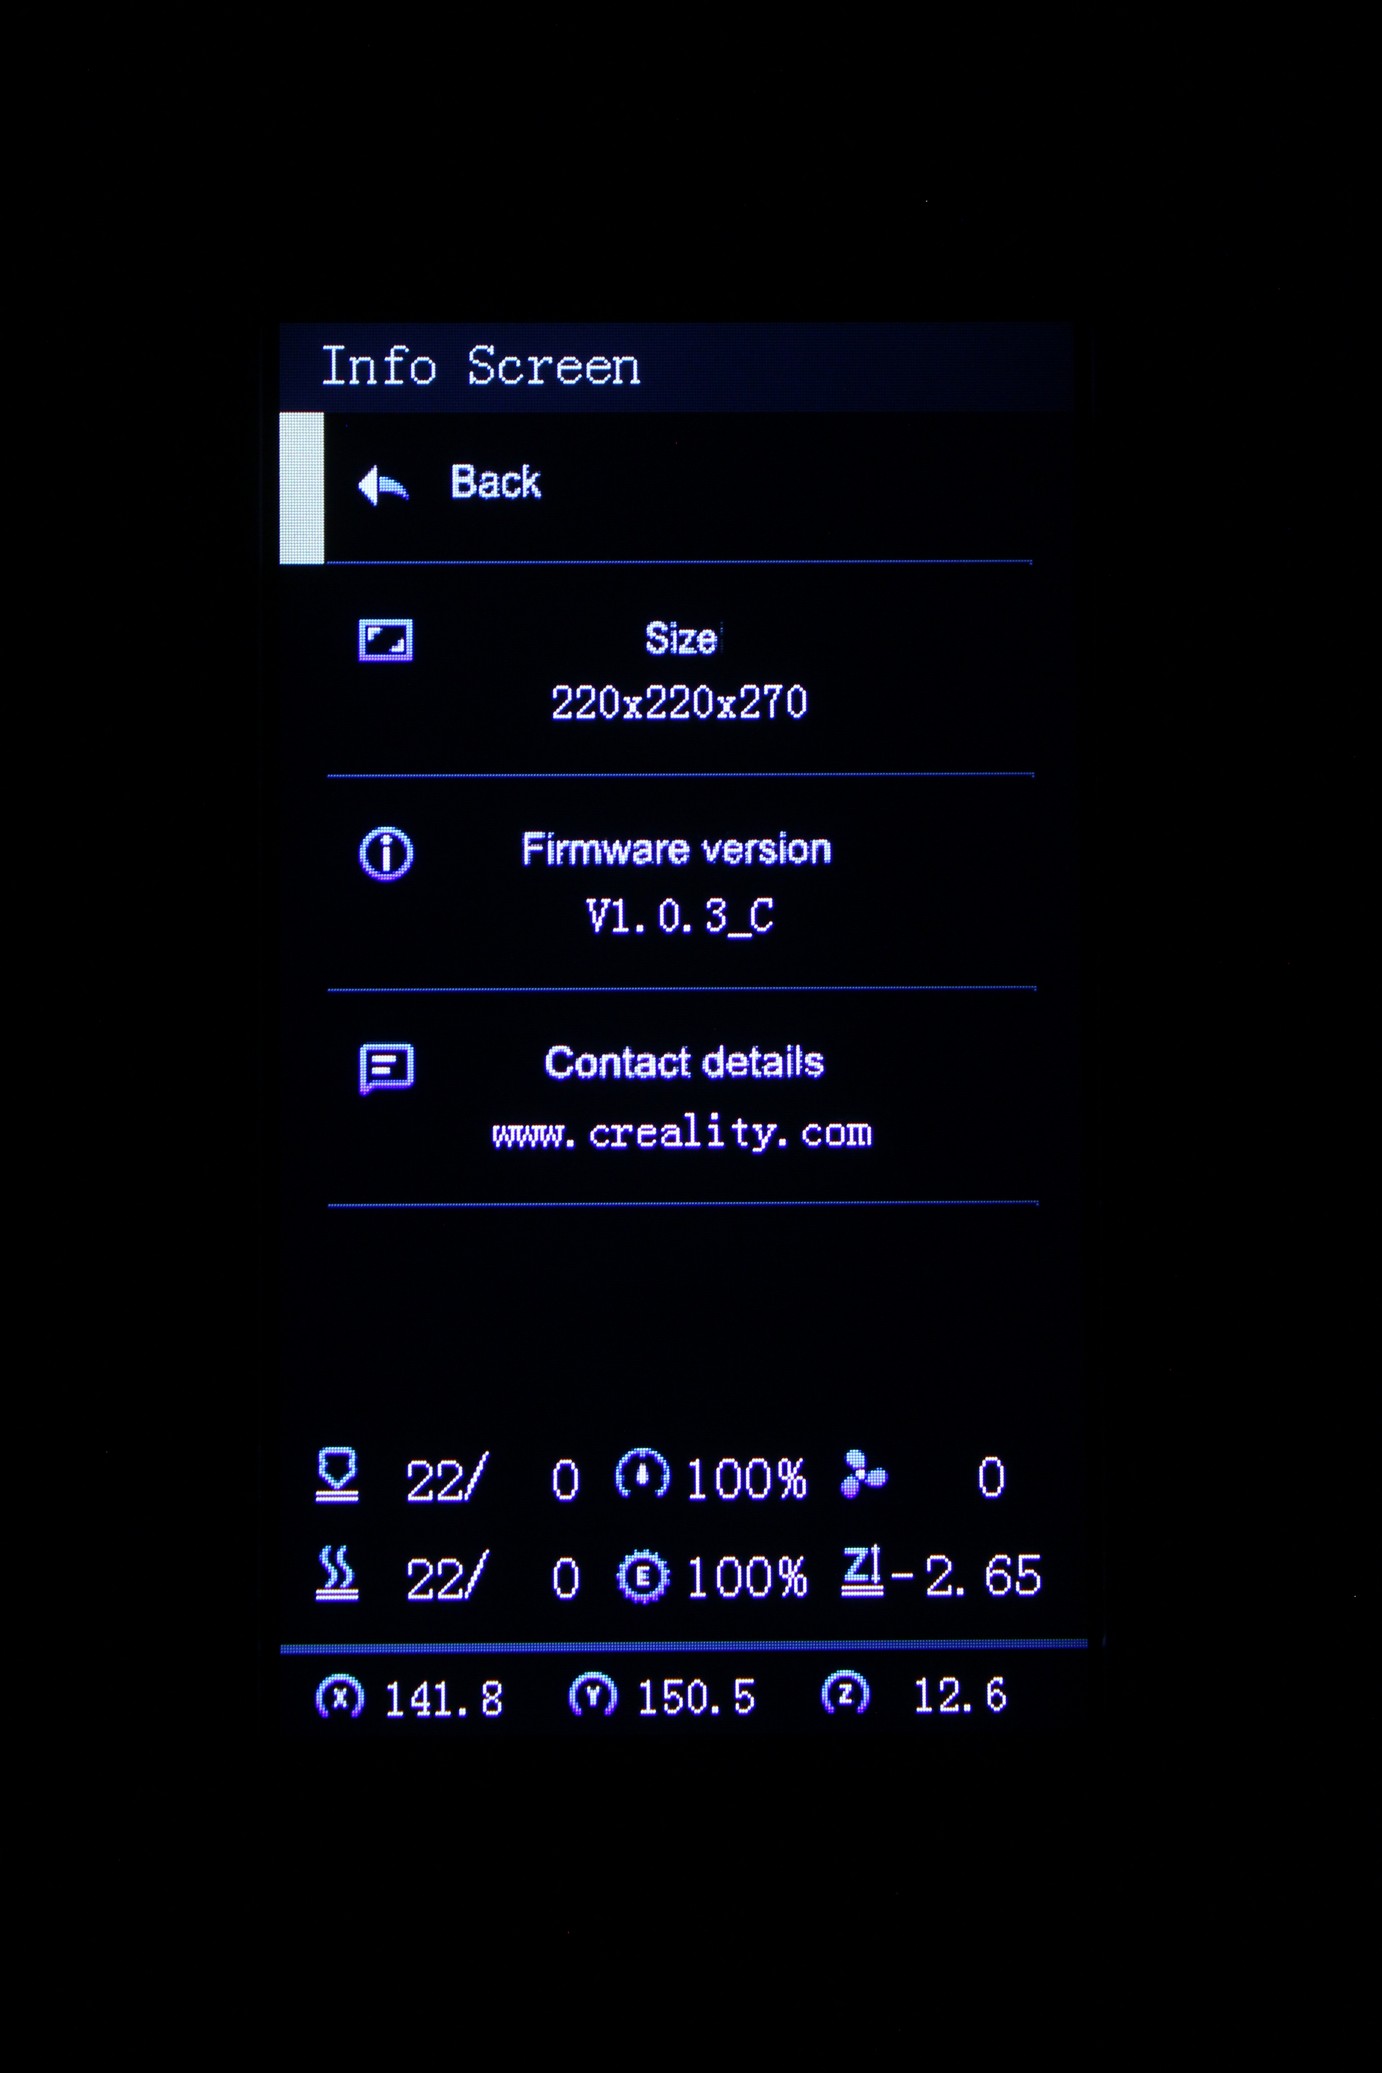
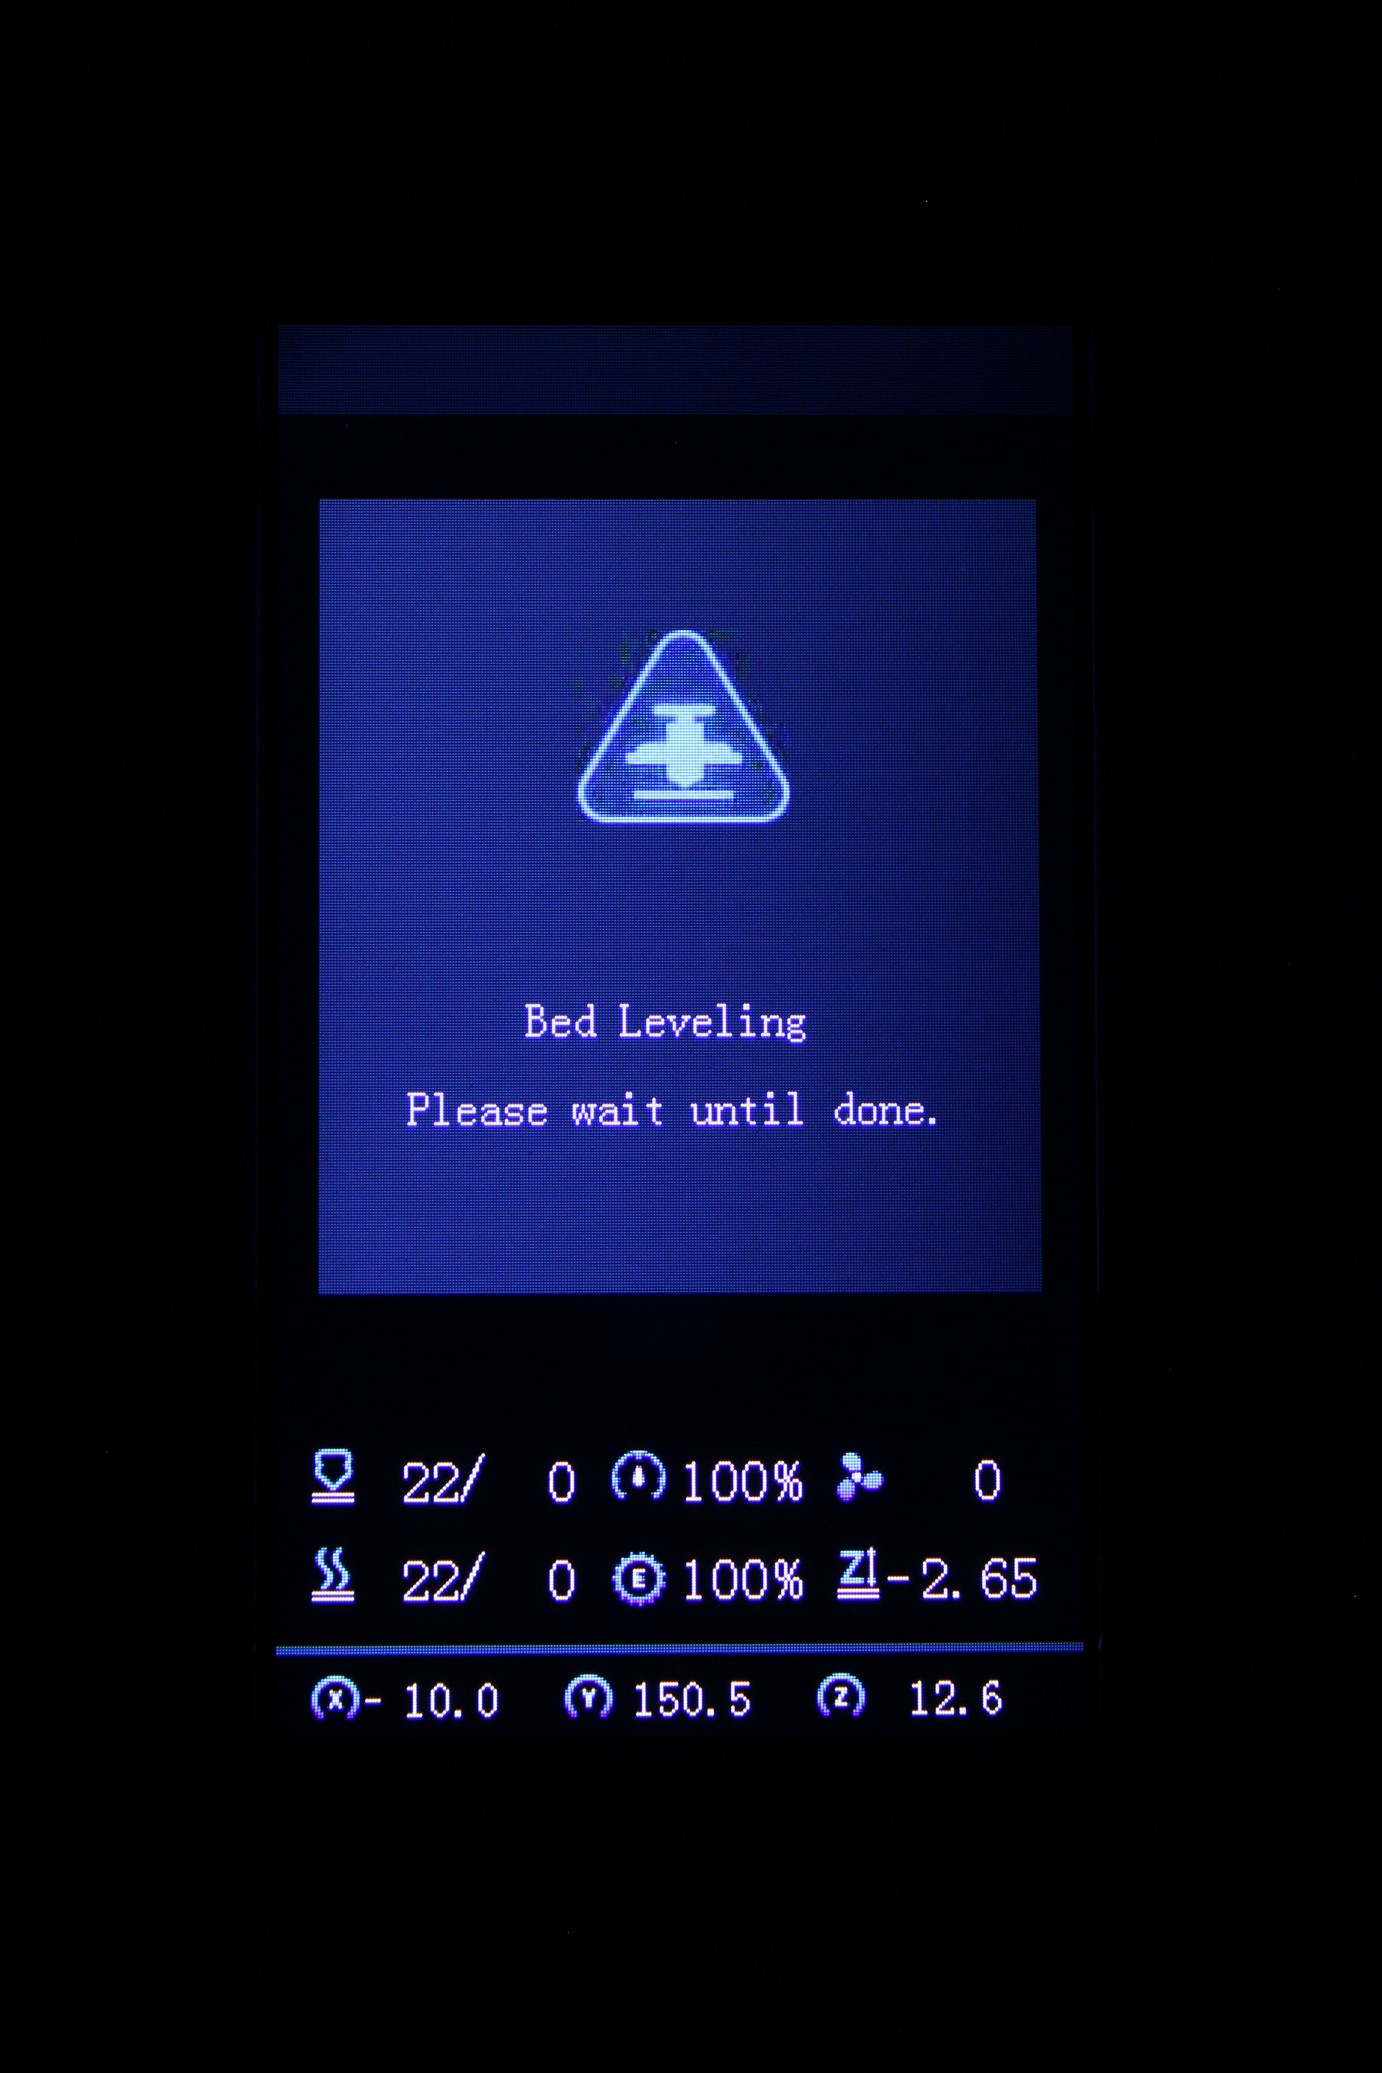
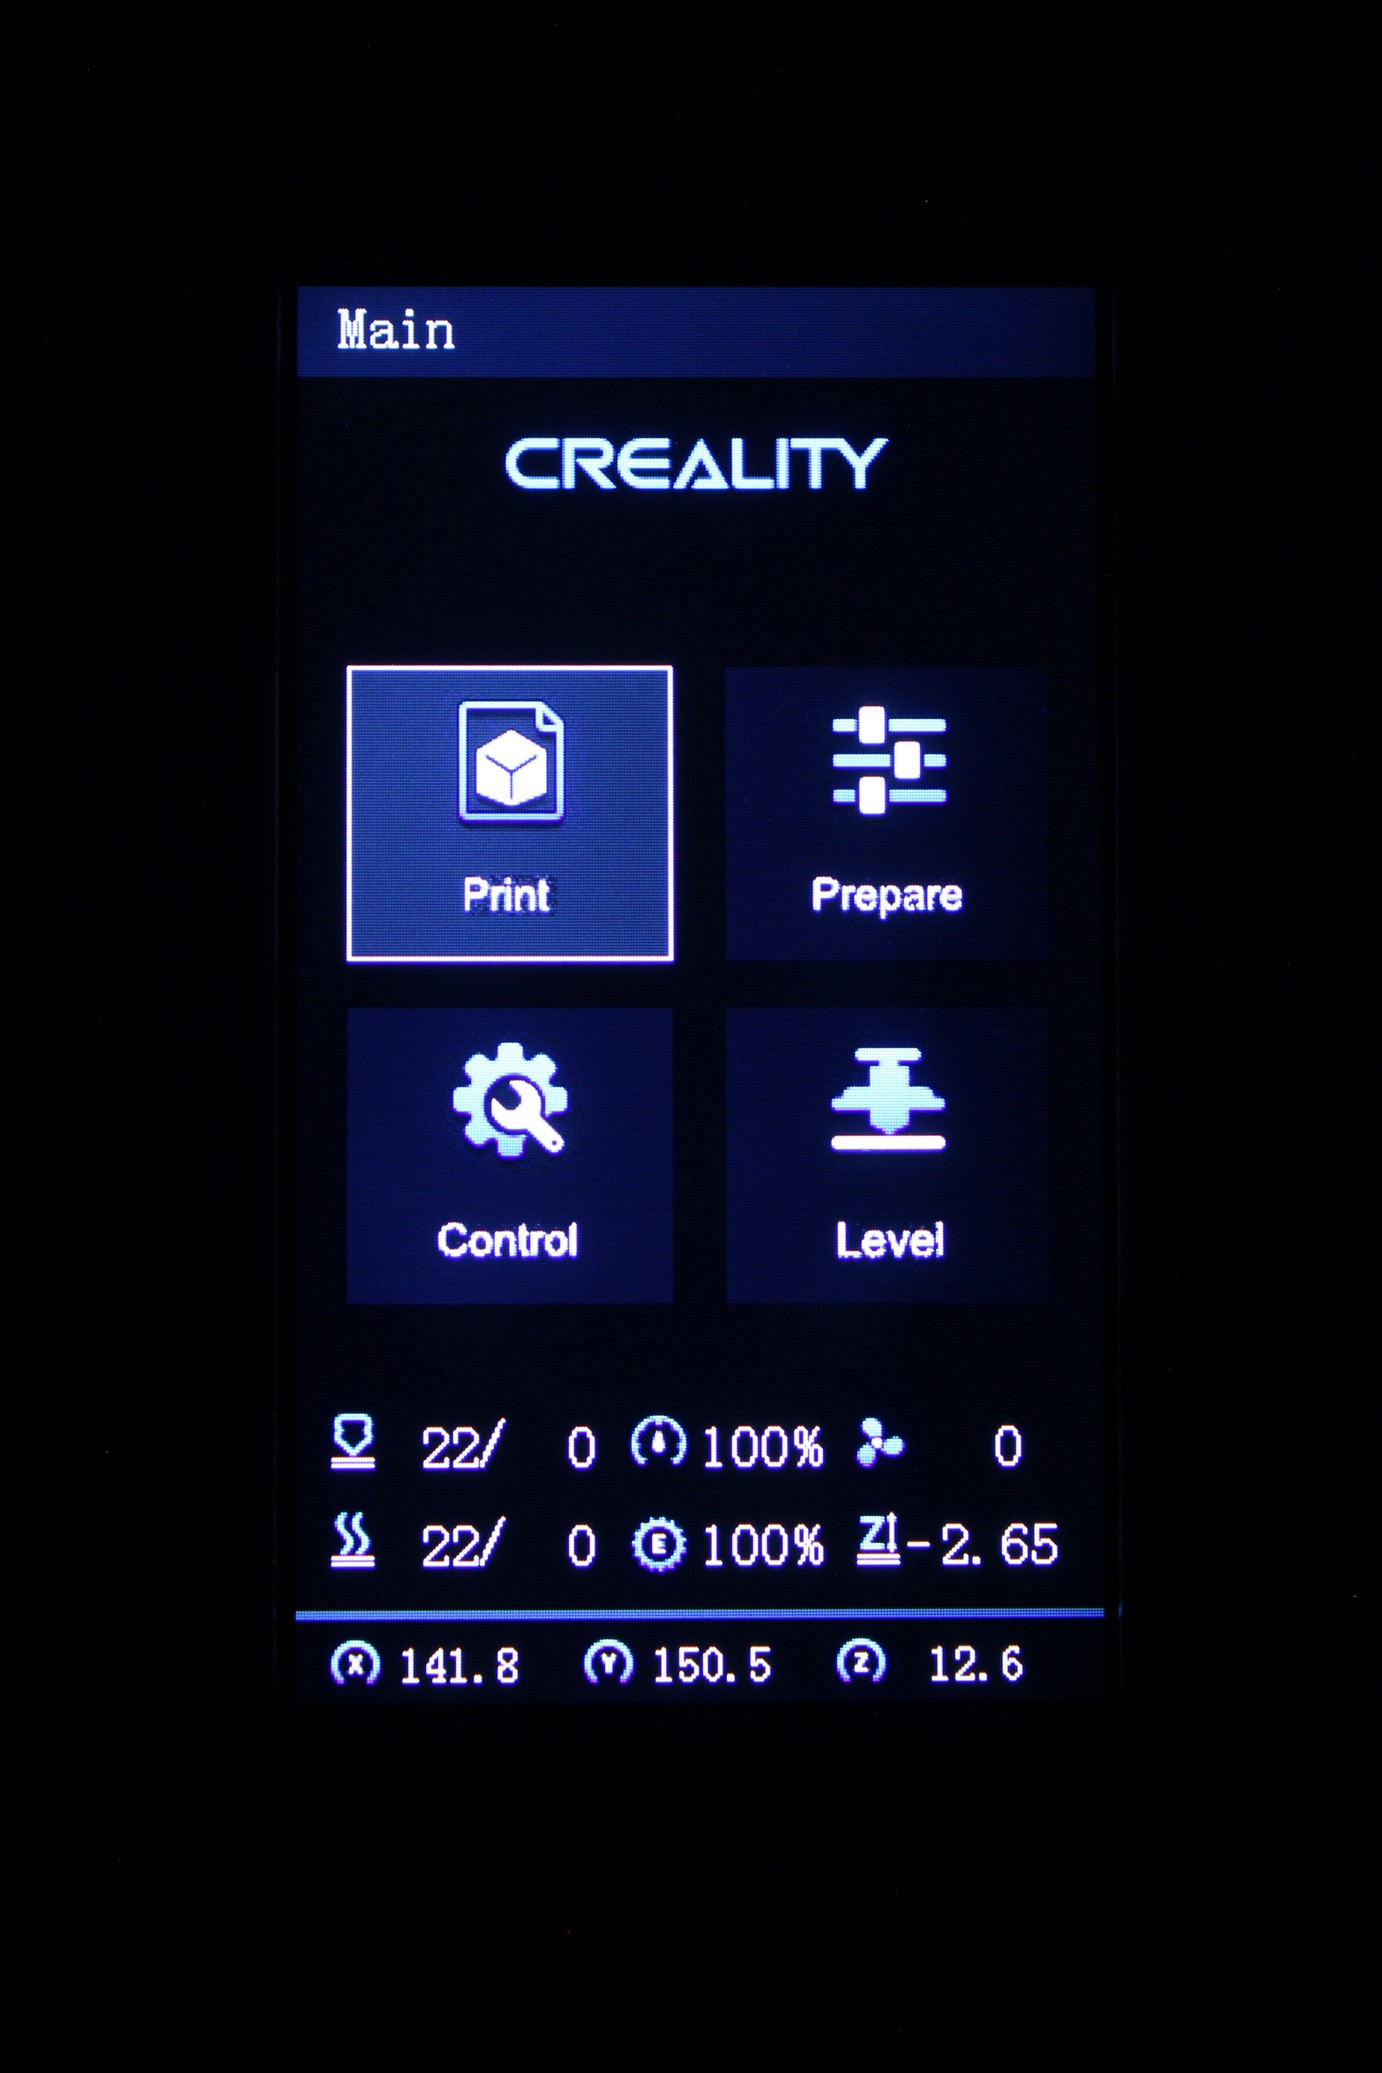
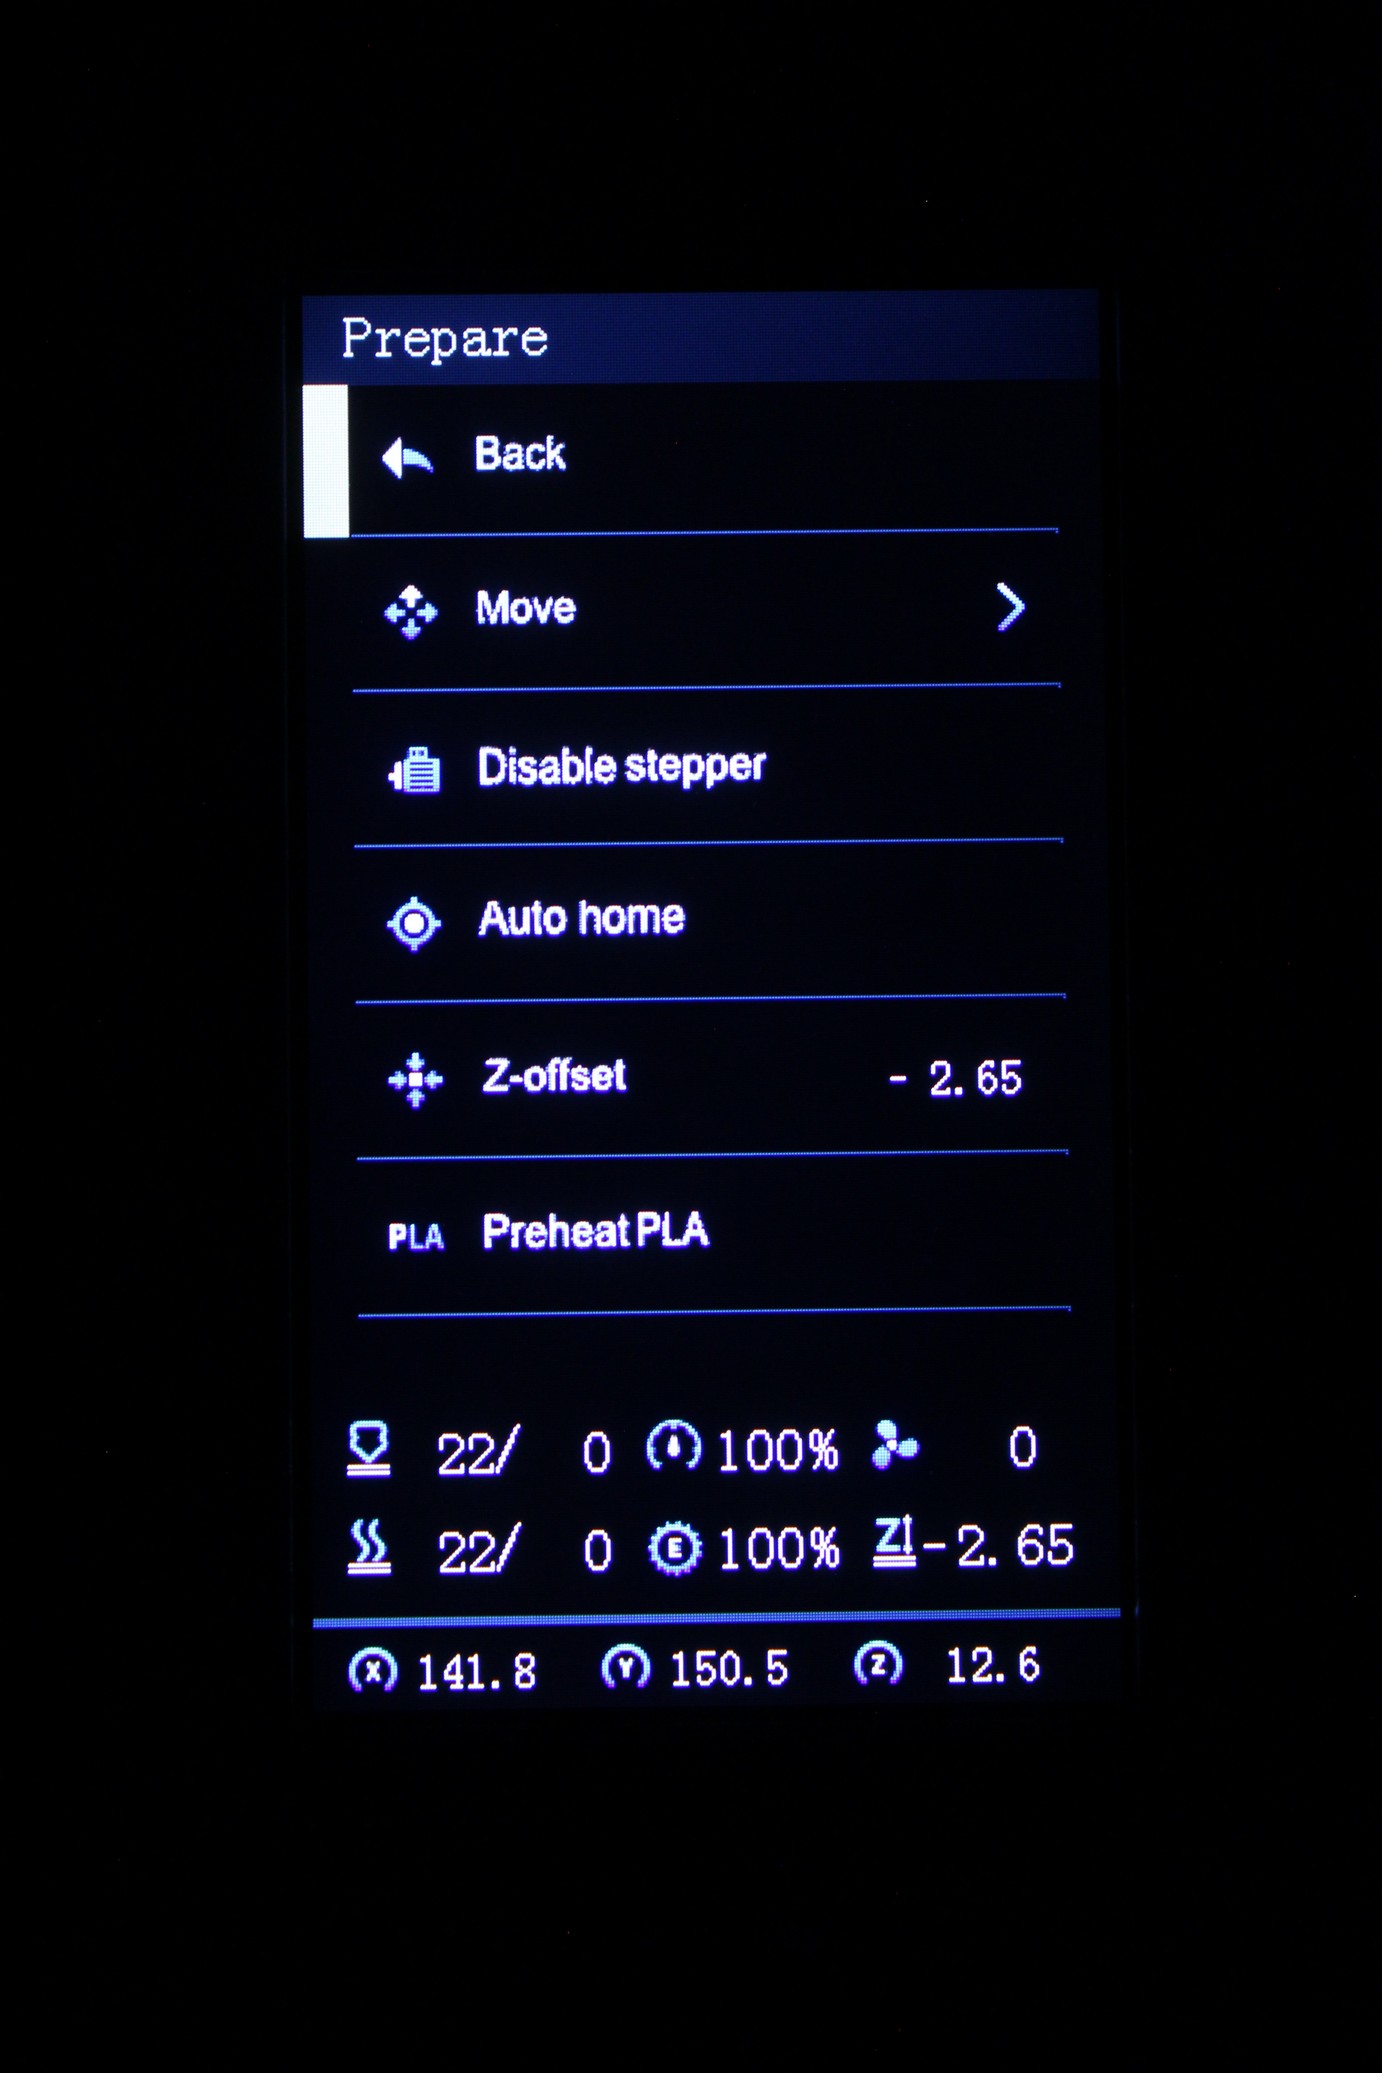
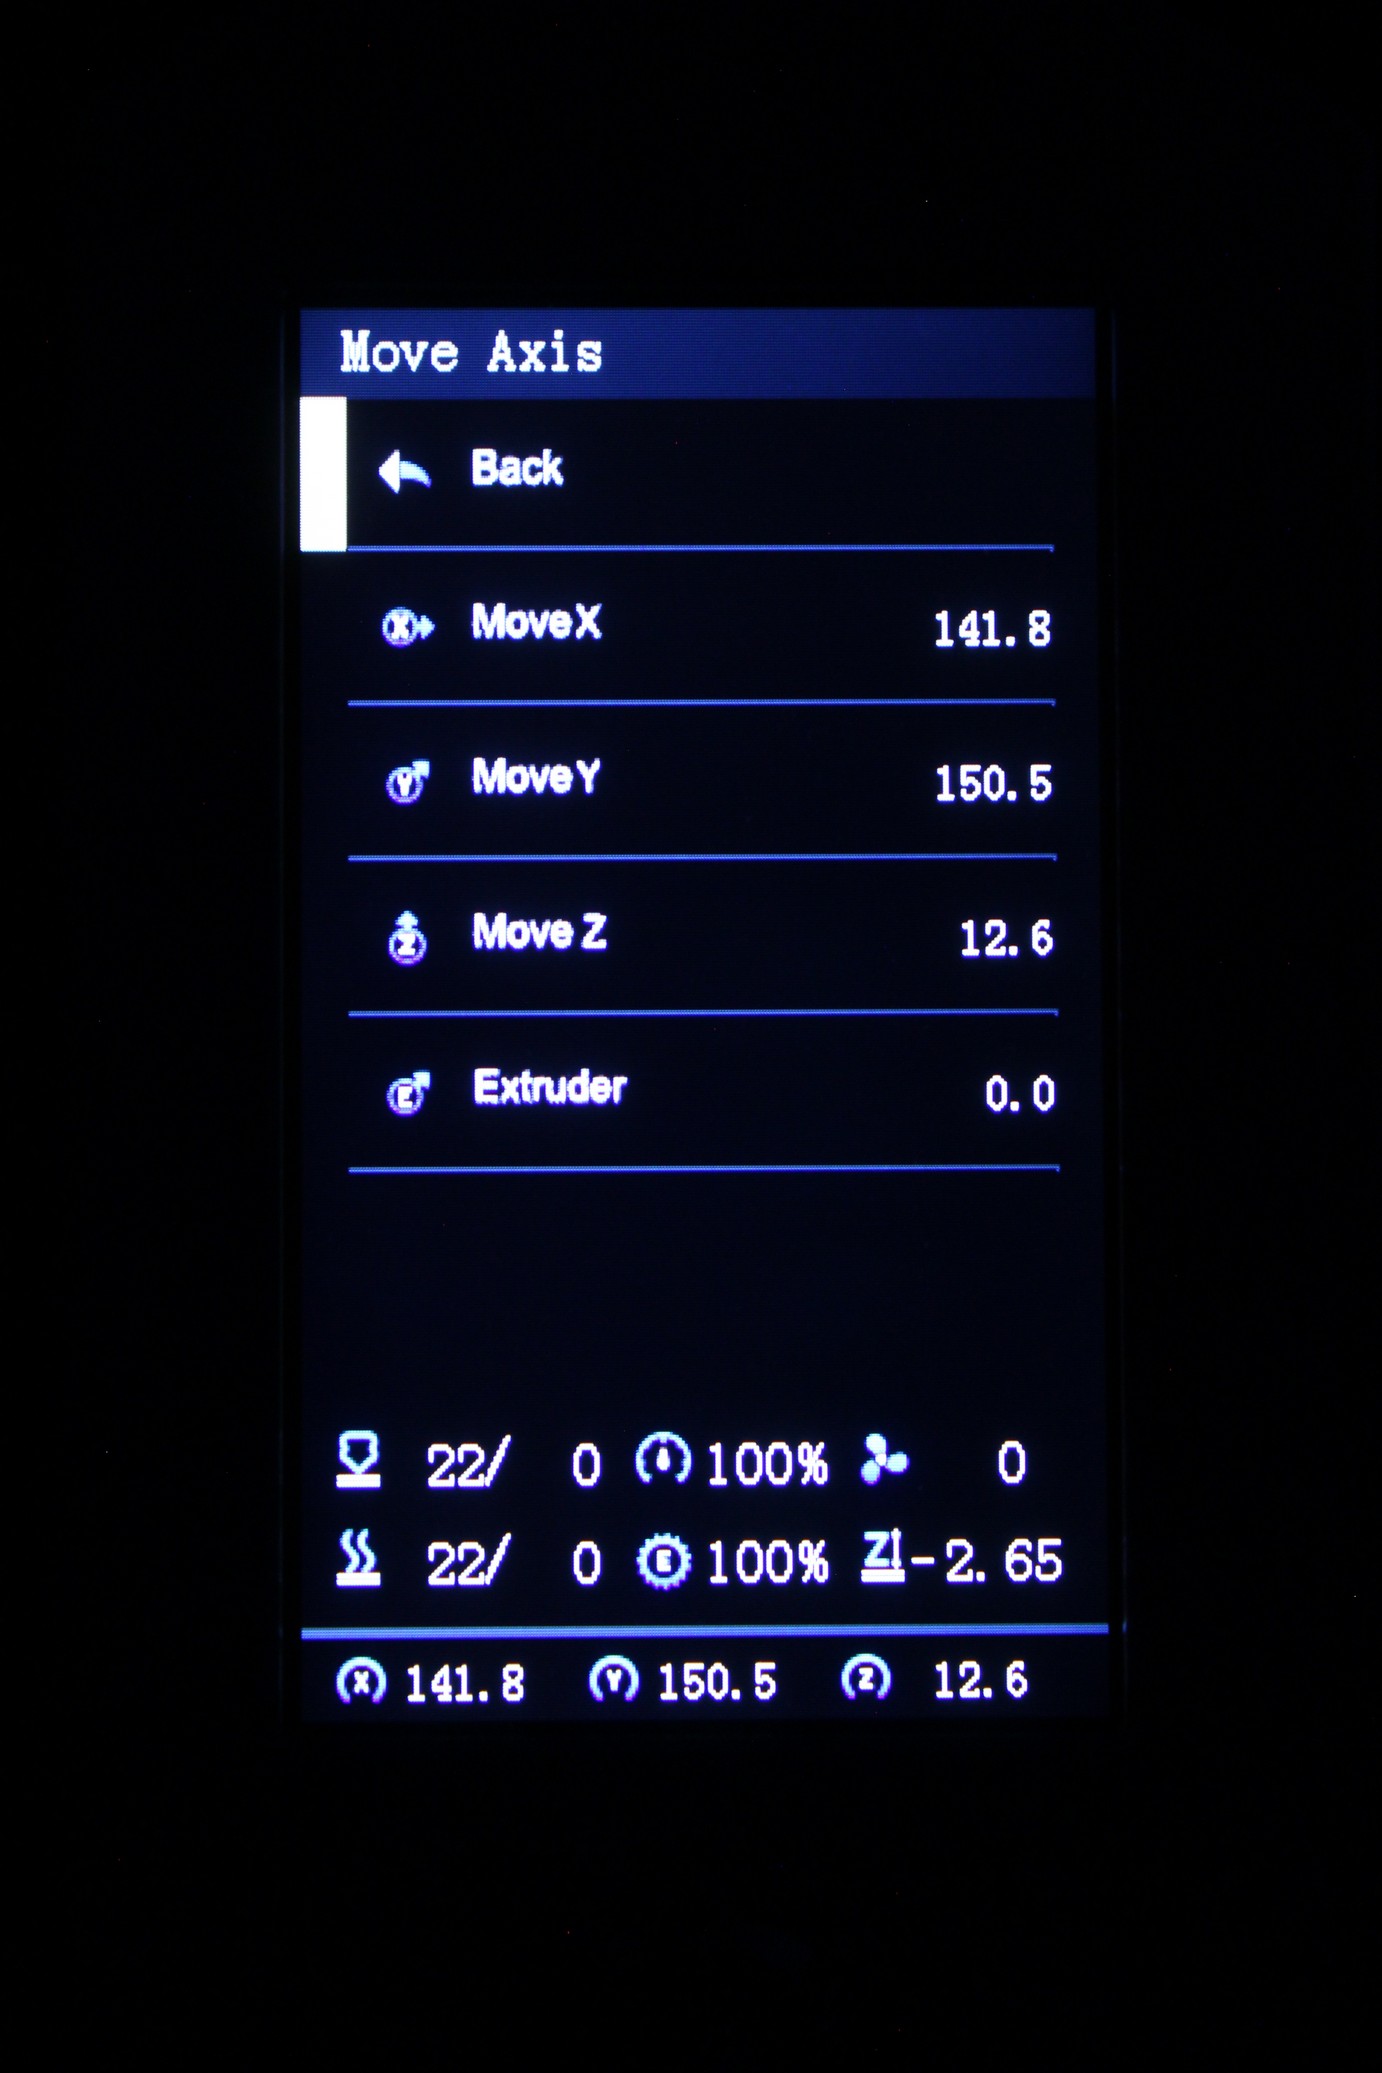
If you’ve seen the Ender 3 V2 screen, then there’s no surprise here. It’s a regular 4.3 inch color screen with a click wheel to move between the menu interface. The screen is nice and responsive, with quite a few options available, but I am sure it’s only a matter of time until the popular aftermarket screen firmware is available to flash.
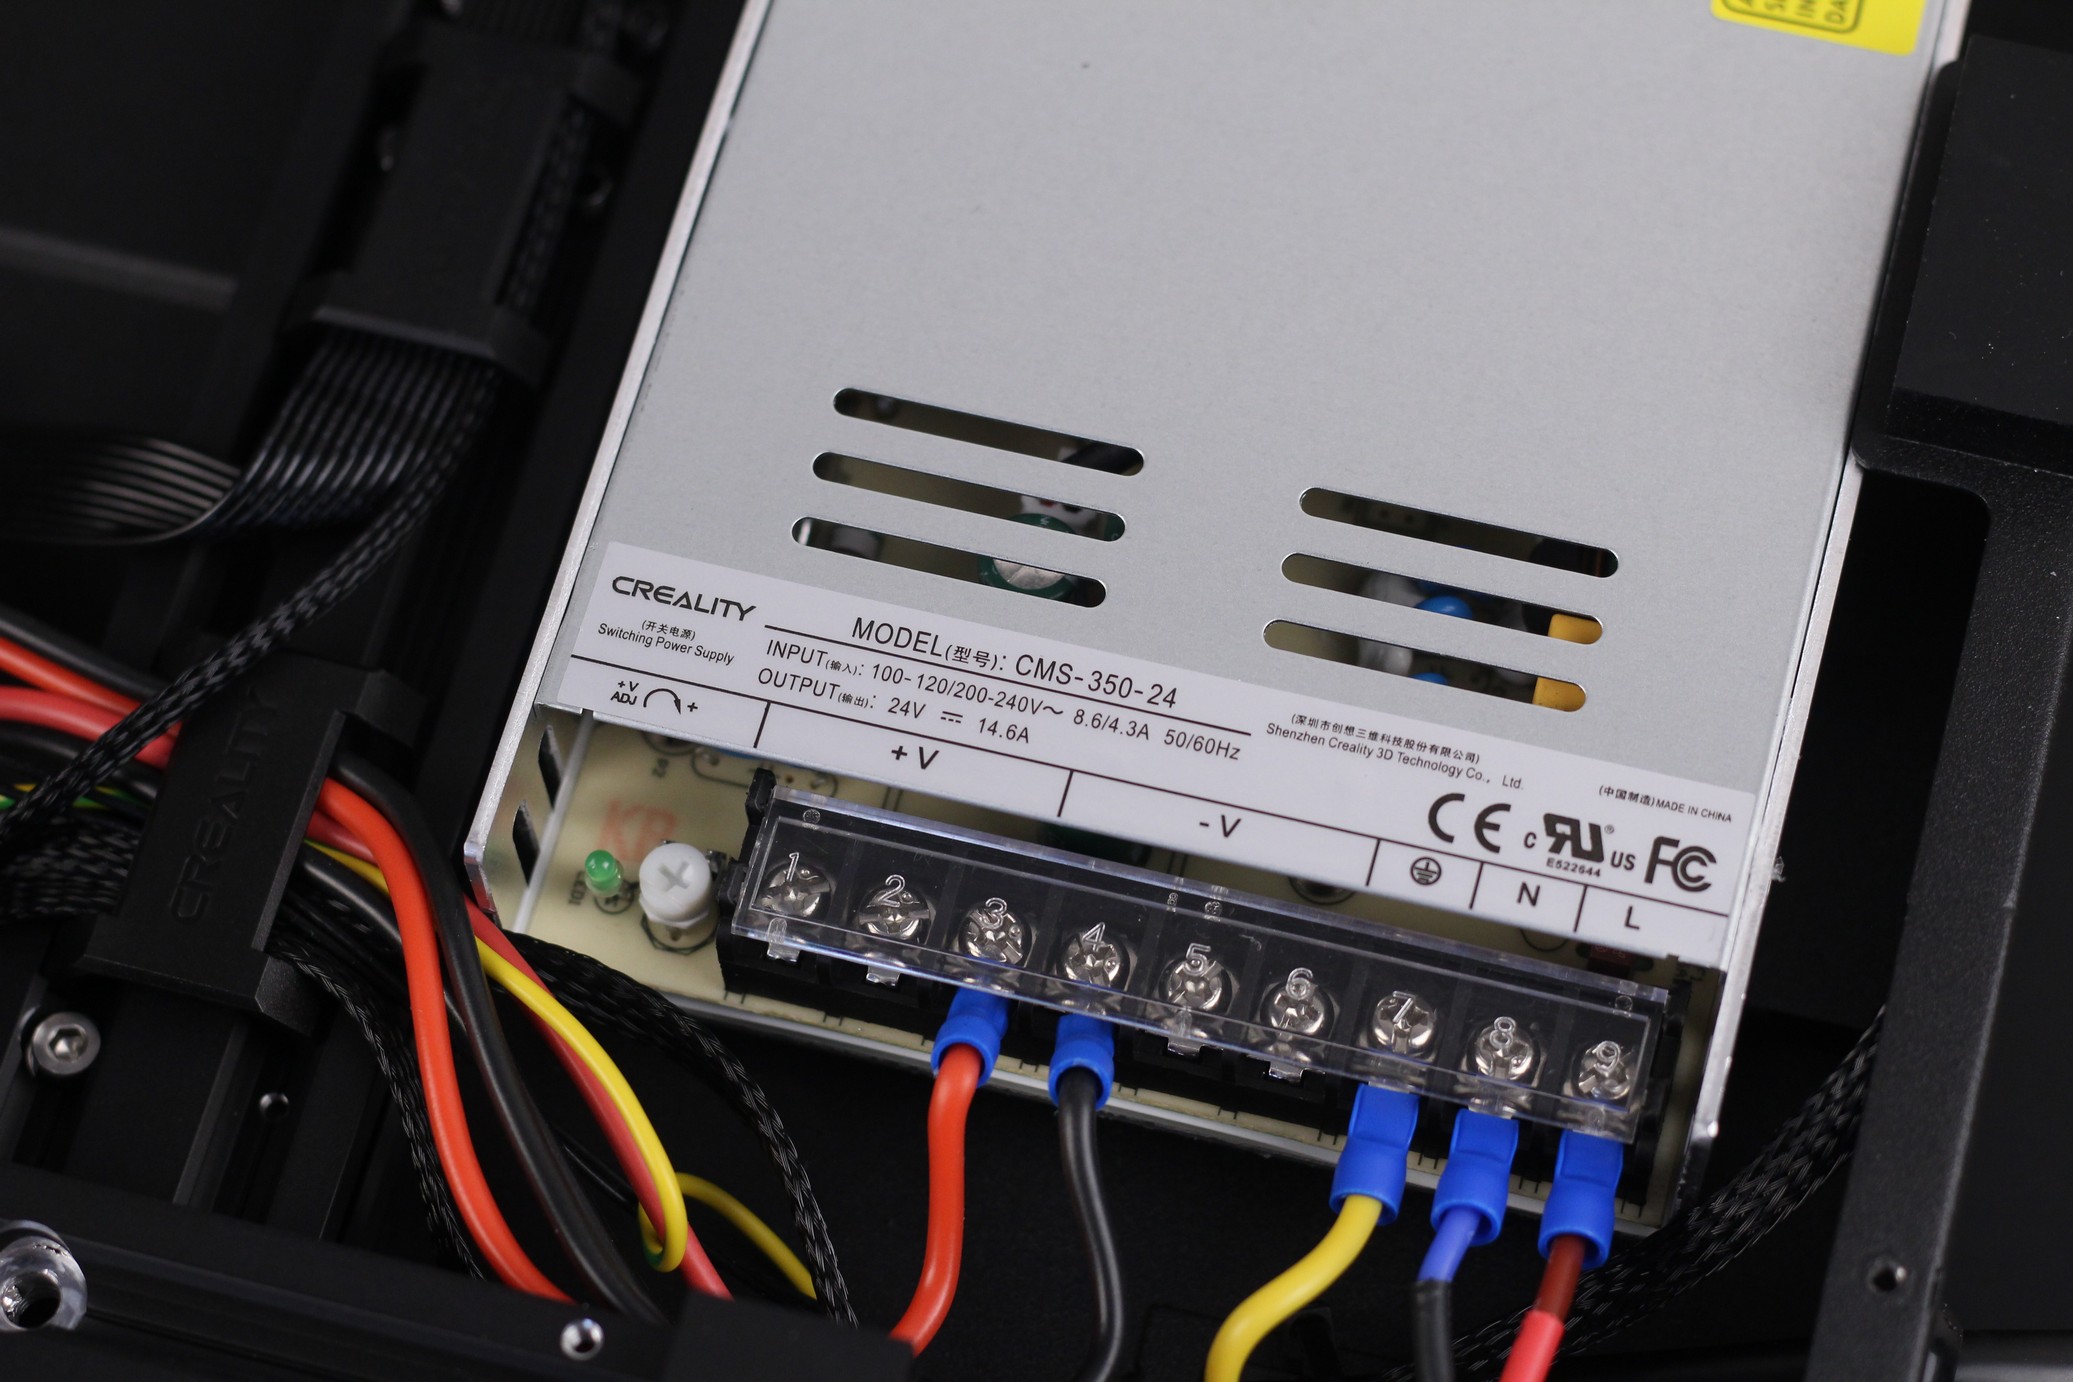
Creality CMS-350-24 Power Supply
With the Creality Ender 3 S1 we get a Creality-branded 350W 24V power supply, which looks similar to a Mean Well.
I like it a bit better than a Mean Well because it has a more silent fan, but I can’t really speak about how good it is. I only know that I haven’t encountered any kind of issues with any of my printers which use this particular power supply.
Huge drawer for storing tools
A few Creality machines include a handy drawer on the bottom of the printer, and the Ender 3 S1 has something similar. But I was quite amazed to see how bit this drawer is.
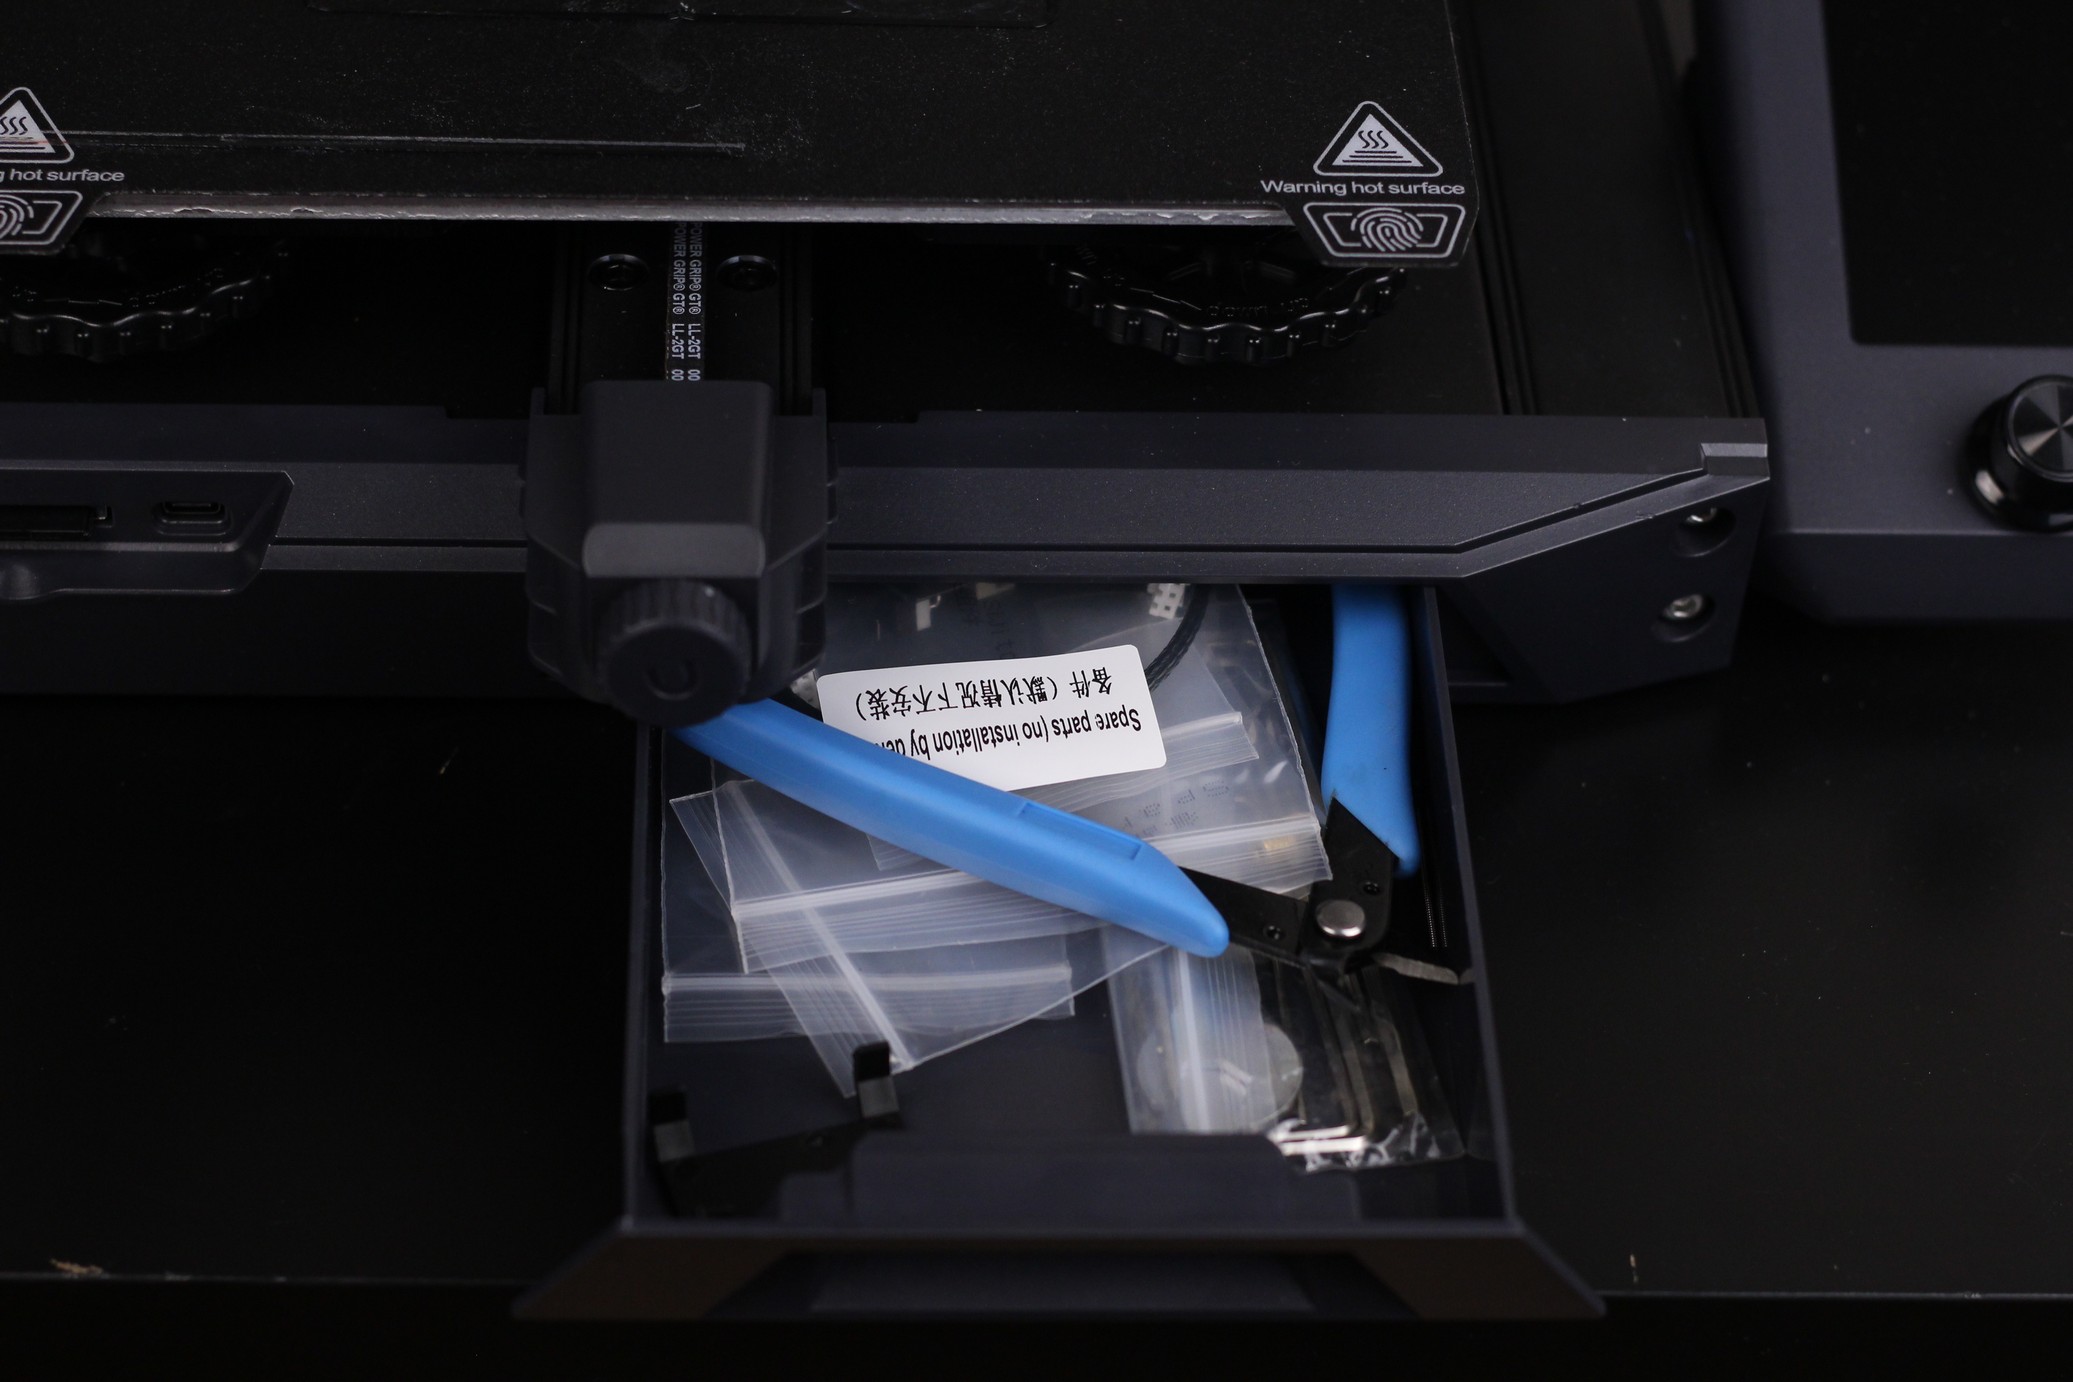
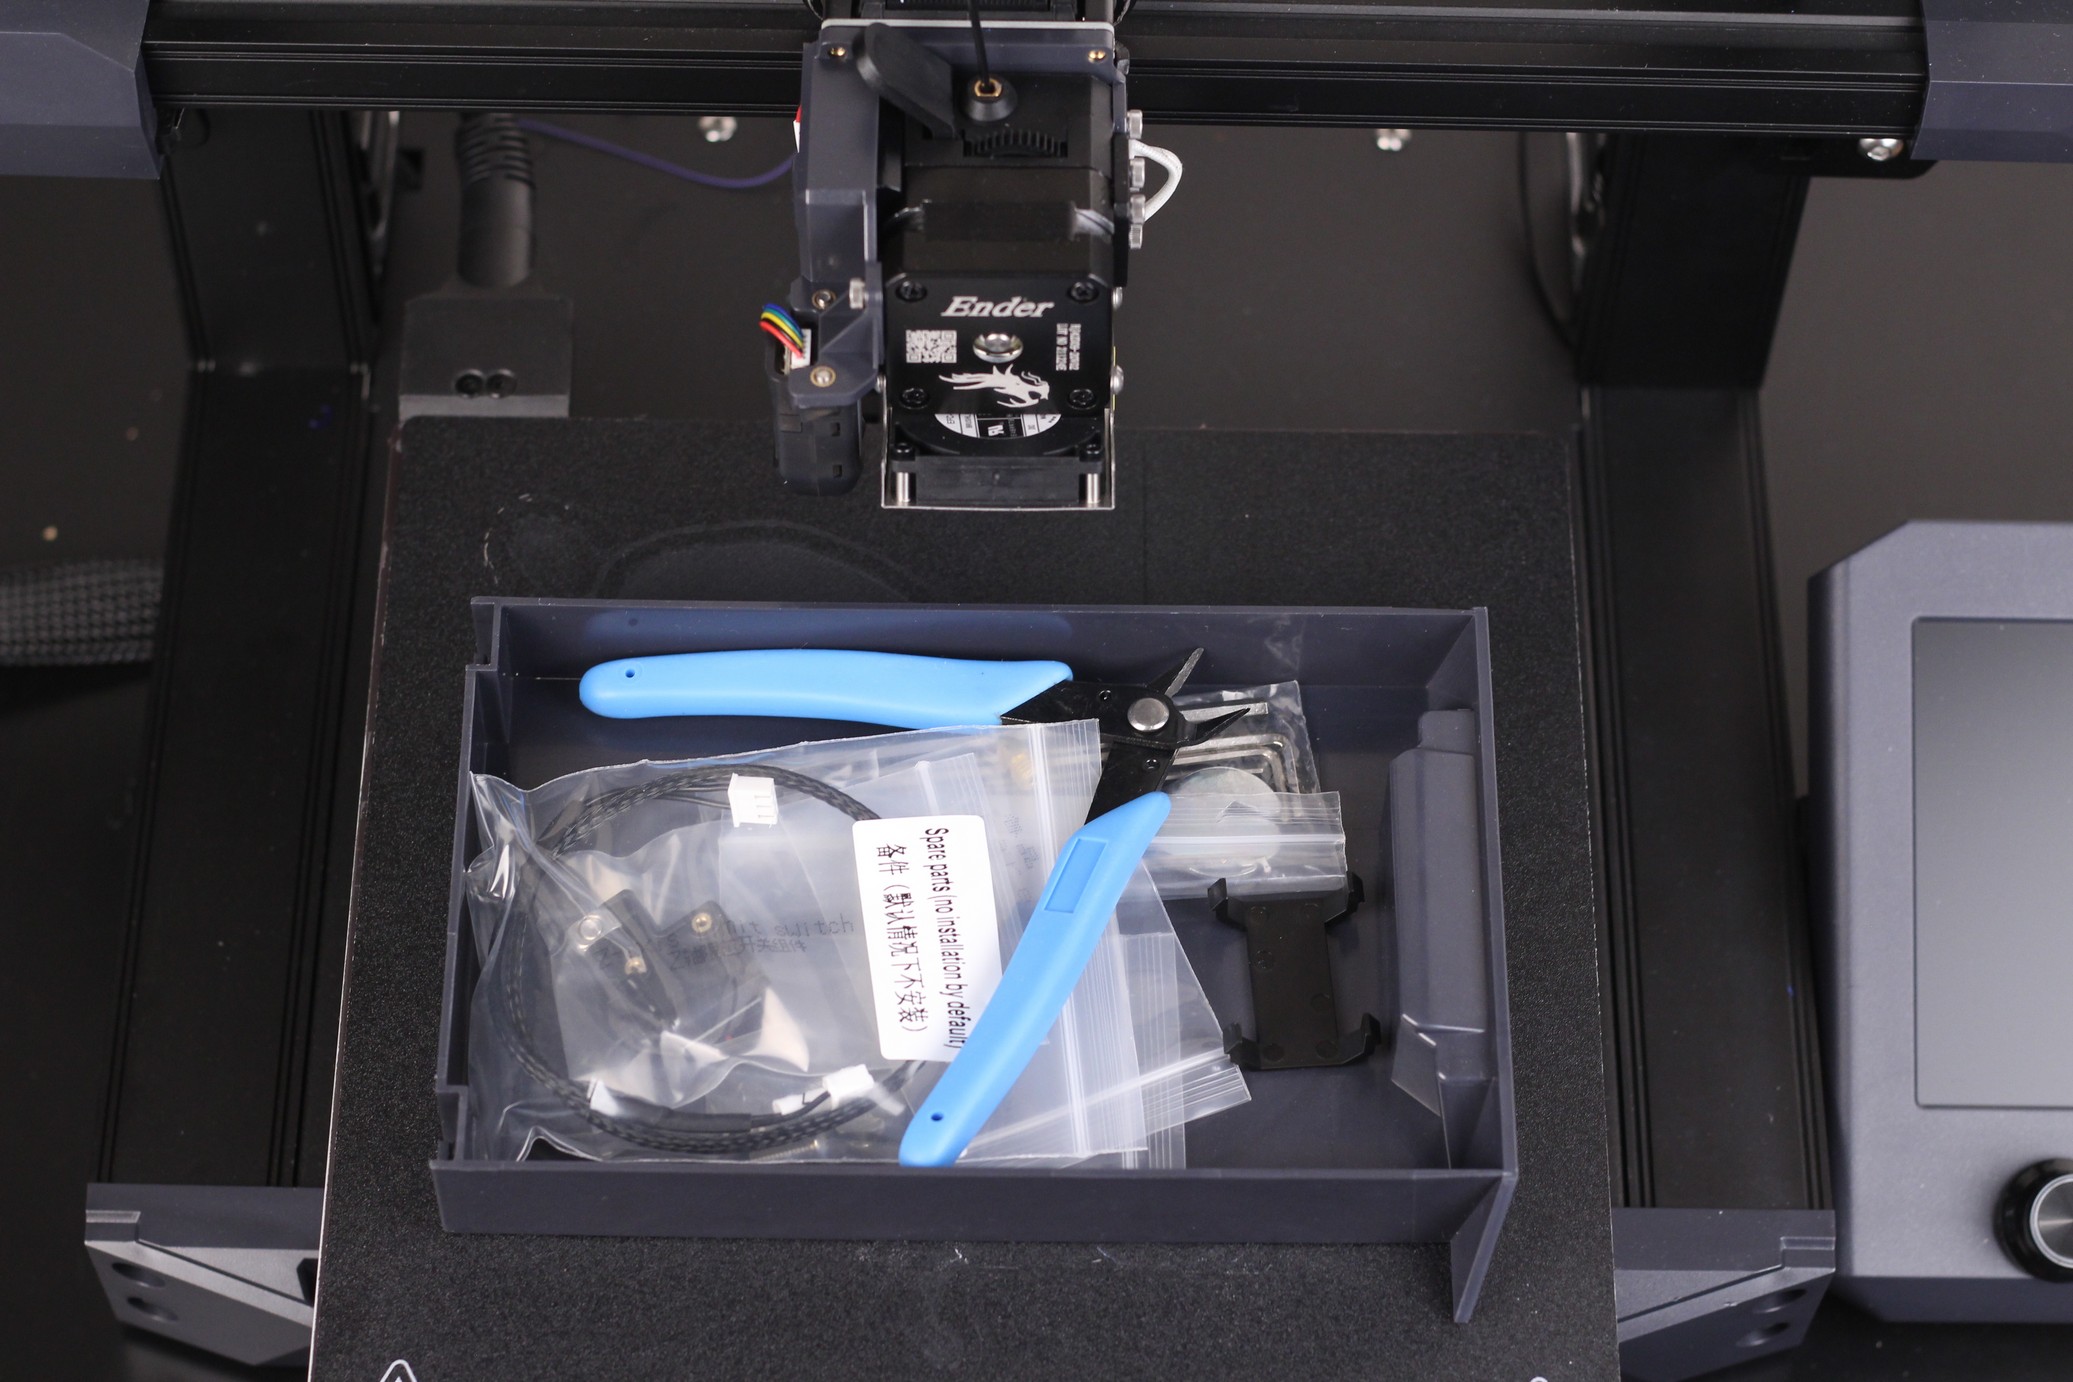
Considering how much extra space is available underneath the bottom cover, I like that Creality chose to use that space efficiently, and provide us a nice storage option.
The firmware is still not perfect
Unfortunately, the firmware configuration is still one of the biggest drawbacks for Creality, and it also applies to the Ender 3 S1. I know it’s rare to see a printer which comes with Linear Advance enabled out of the box, but if the Ender 3 S1 would have this enabled, the print quality would be greatly increased, especially for models with straight edges.
Besides that, having more functionality would add extra value to an already good printer, so I really hope Creality will invest more time in building the firmware for their printers because with the S1, that’s the only significant drawback I can find.
I am sure that the community will once again fix it, and Klipper will unlock all the performance from the Ender 3 S1, but that’s not the way to do it. Creality should just do a better job on the firmware side too.
Hopefully we’ll see some firmware upgrades in the future.
Heating time and power consumption
I tested the heating time for both hotend and heat bed and here are the results:
Hotend
- 200C in 1 minute and 5 seconds
- 250C in 1 minute and 27 seconds
Heatbed
- 60C in 2 minutes and 5 seconds
- 100C in 6 minutes and 15 seconds
Power Draw.
Idle power draw is around 8W. When the hotend and heatbed are heating up, the Creality Ender 3 S1 draws around 290W. After it starts printing, the power draw stabilizes to around 80W.
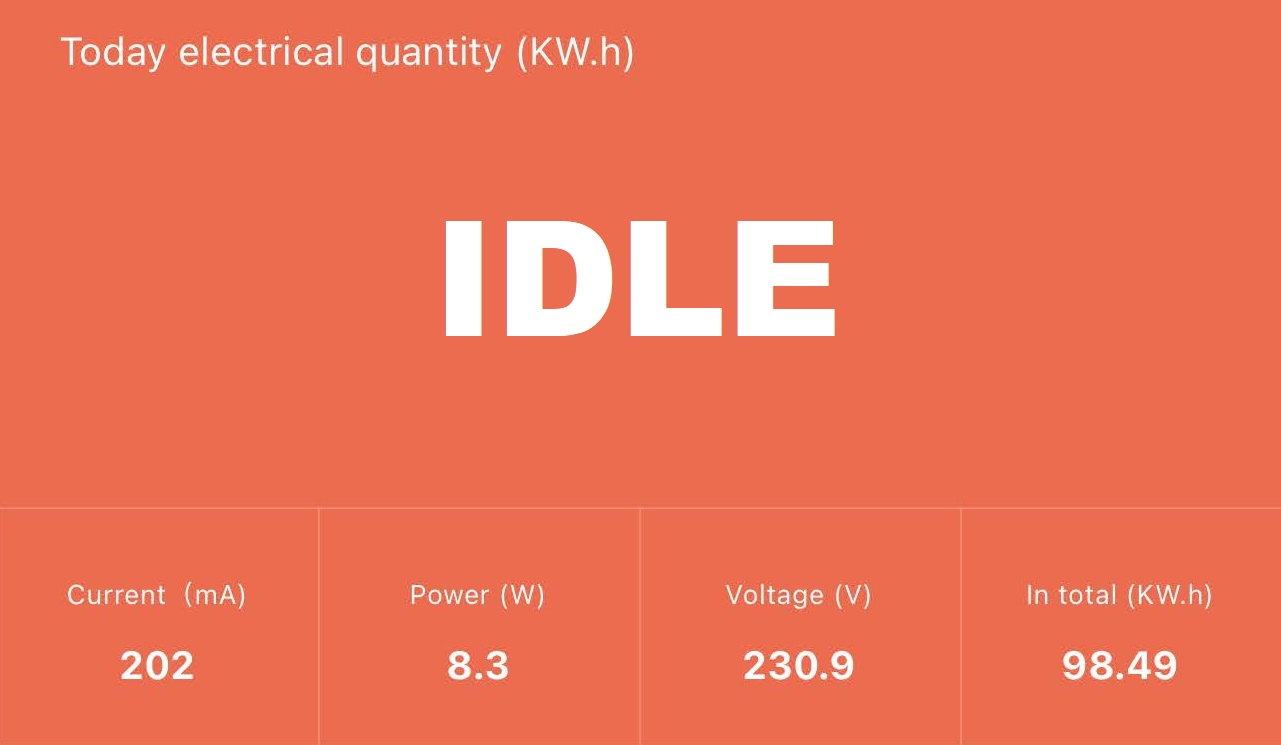
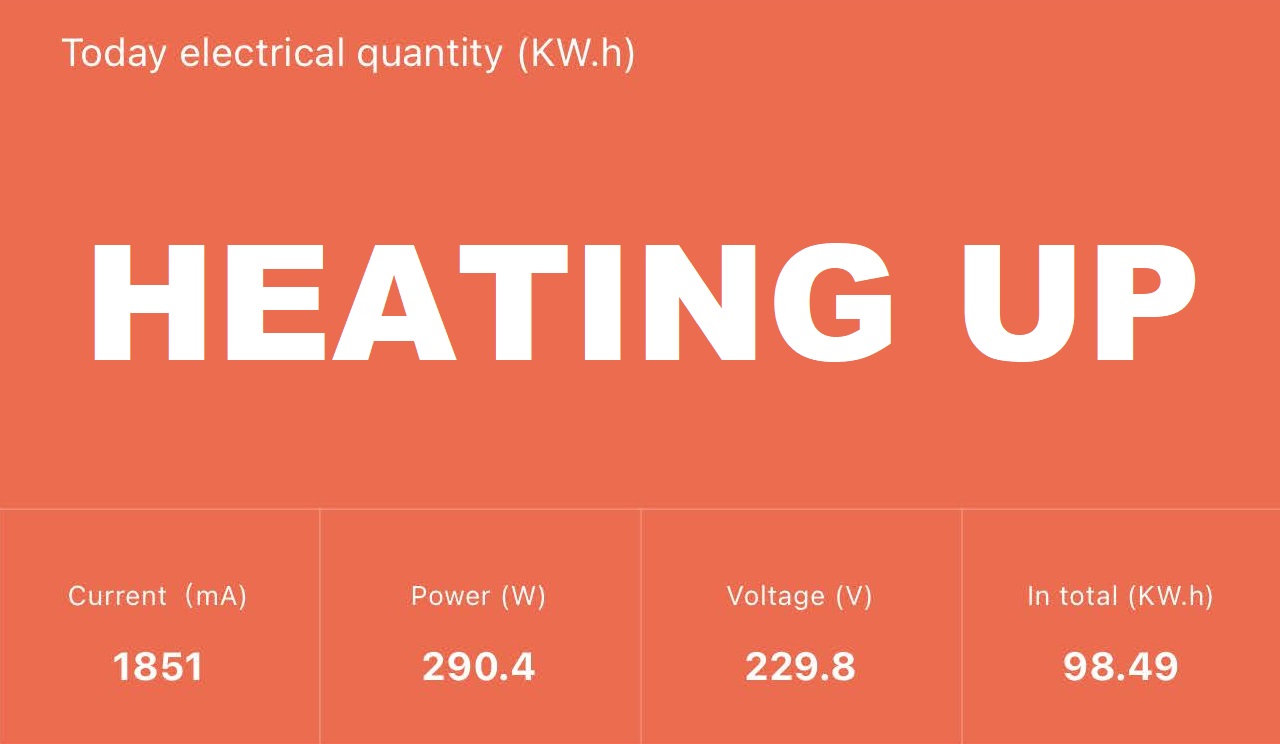
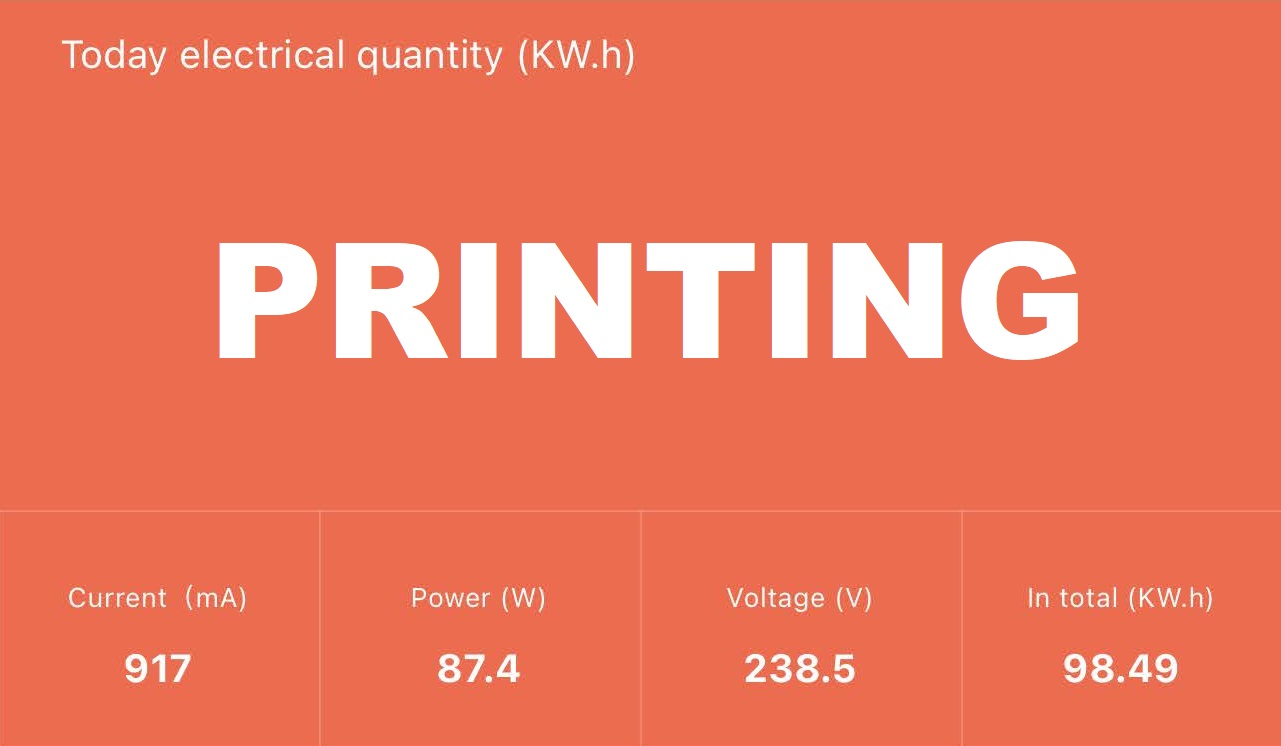
All these measurements were taken with a Blitzwolf smart power socket which indicates the power draw, and it can also be used for remotely powering on and off the printer.
Bed Temperature Uniformity
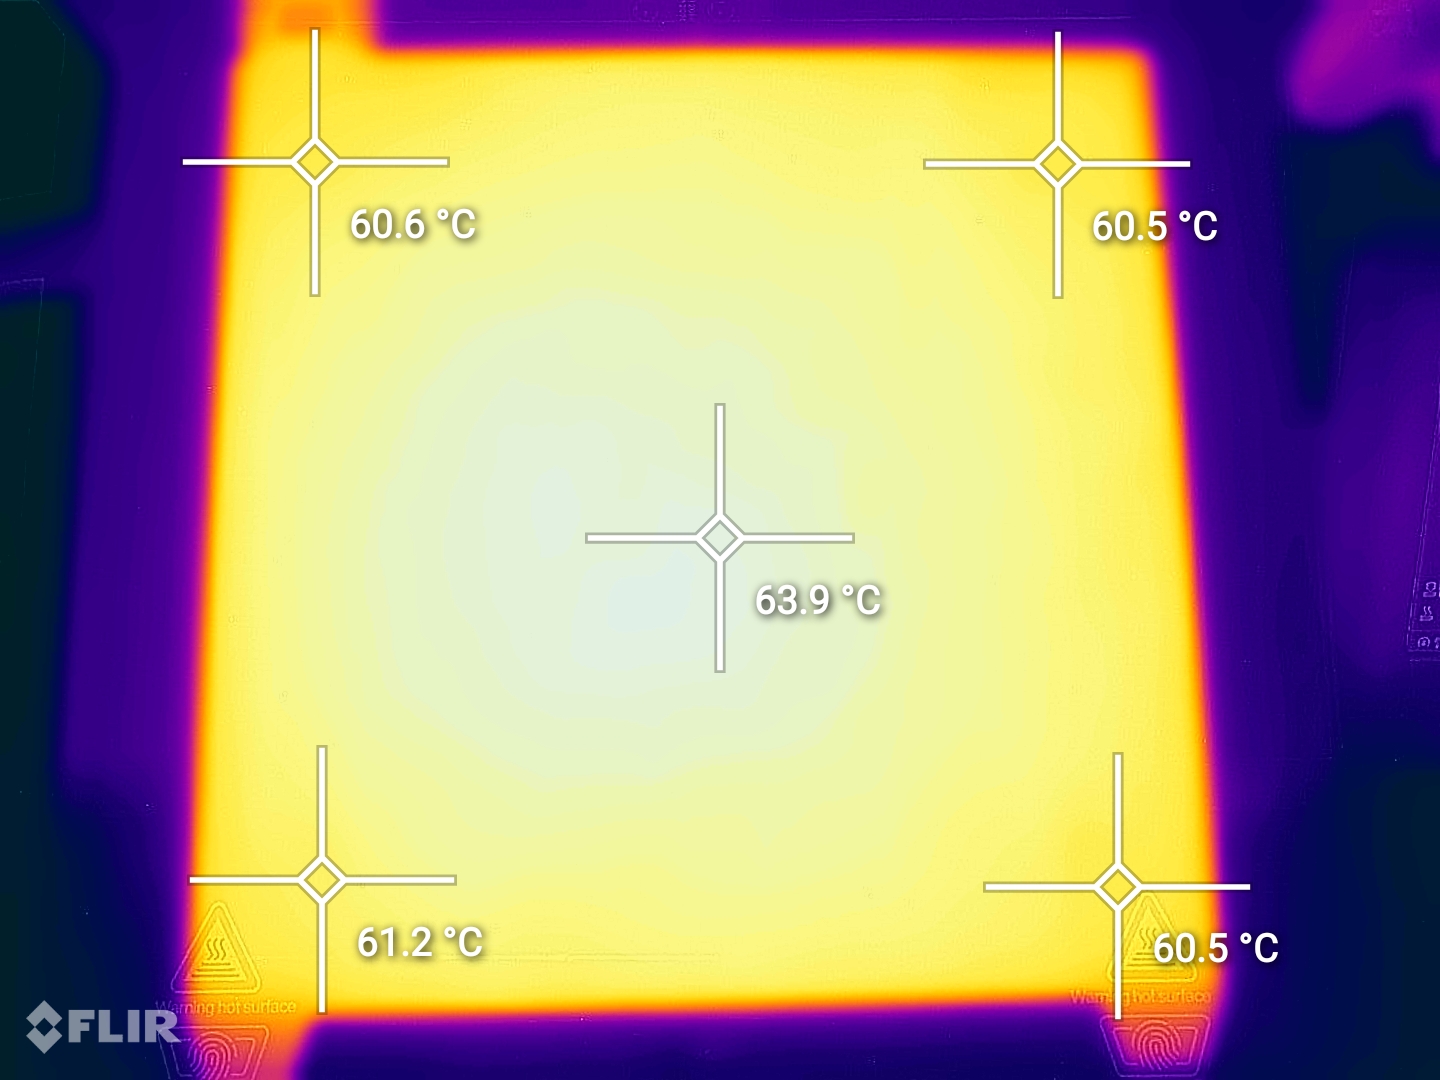
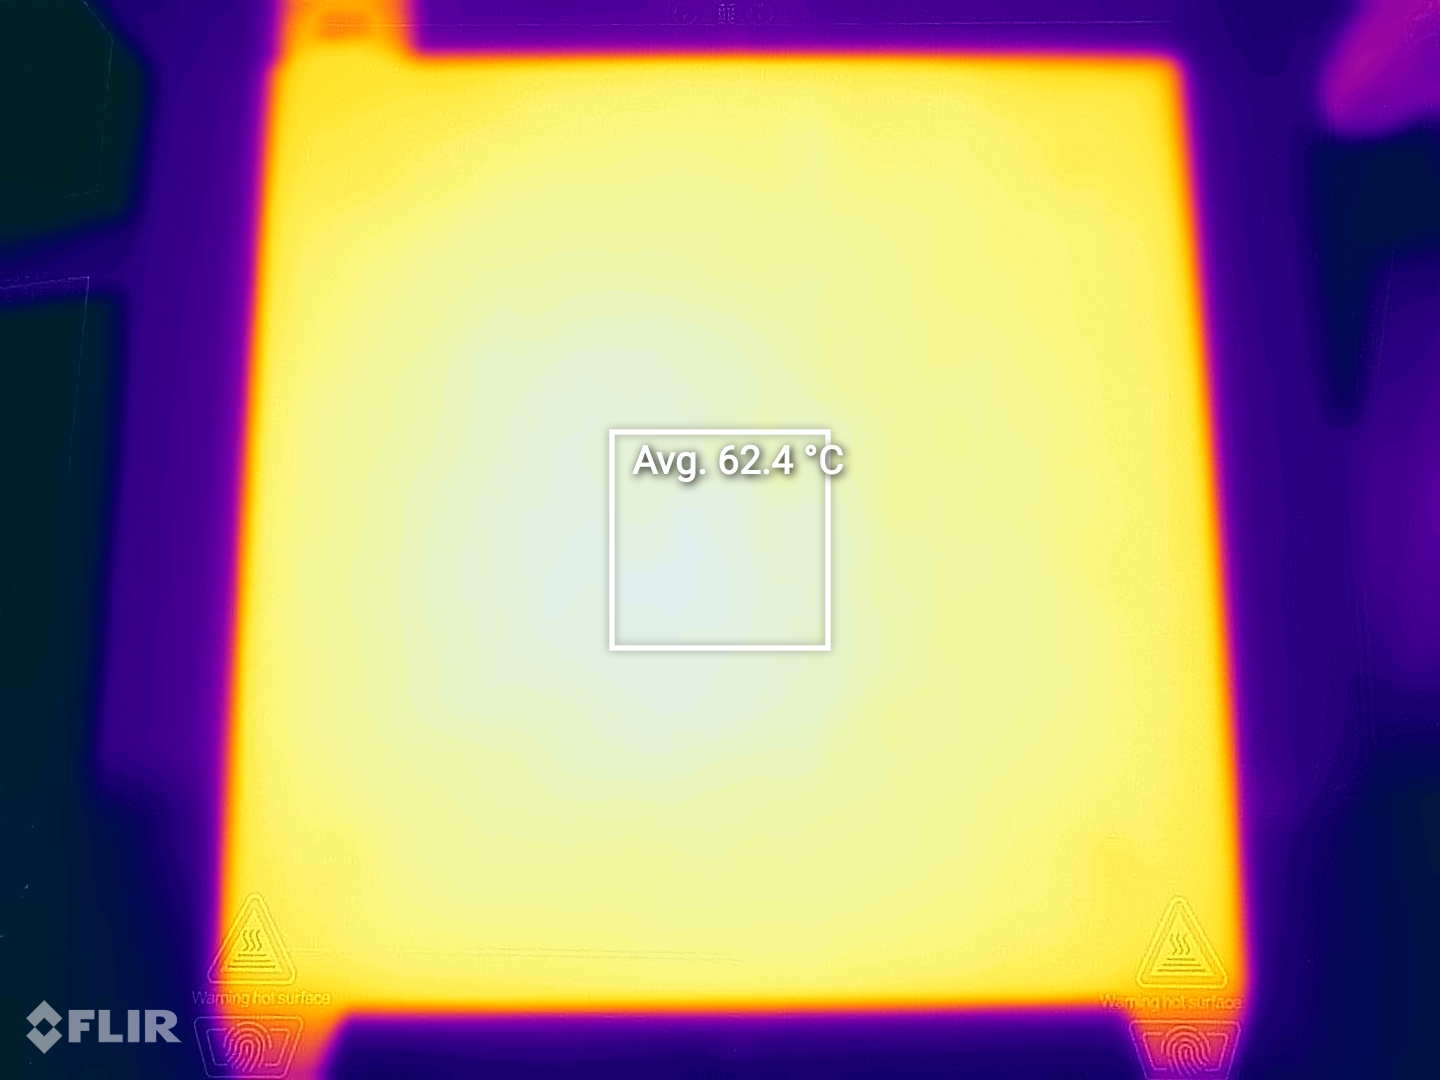
Creality Ender 3 S1 Noise Levels
The Ender 3 S1 is quieter compared to Creality’s other 3D printers. When idle, it’s really quiet, but during printing, the heat break and part cooling fans create more noise. You can also hear a bit of noise during printer movements, but that’s amplified by the table I use for this printer.
IdeaMaker and Prusa Slicer Profiles for Creality Ender 3 S1
During my time with the printer, I tuned IdeaMaker and Prusa Slicer profiles for the Ender 3 S1 / S1 Pro using the tools available in the 3D Printer Calibration Guide using IdeaMaker article. These profiles are tuned for the stock printer and are available to my Patreon supporters.
As usual, the flow rate will still need to be calibrated, according to your filament.
Test prints on Creality Ender 3 S1
3D Benchy
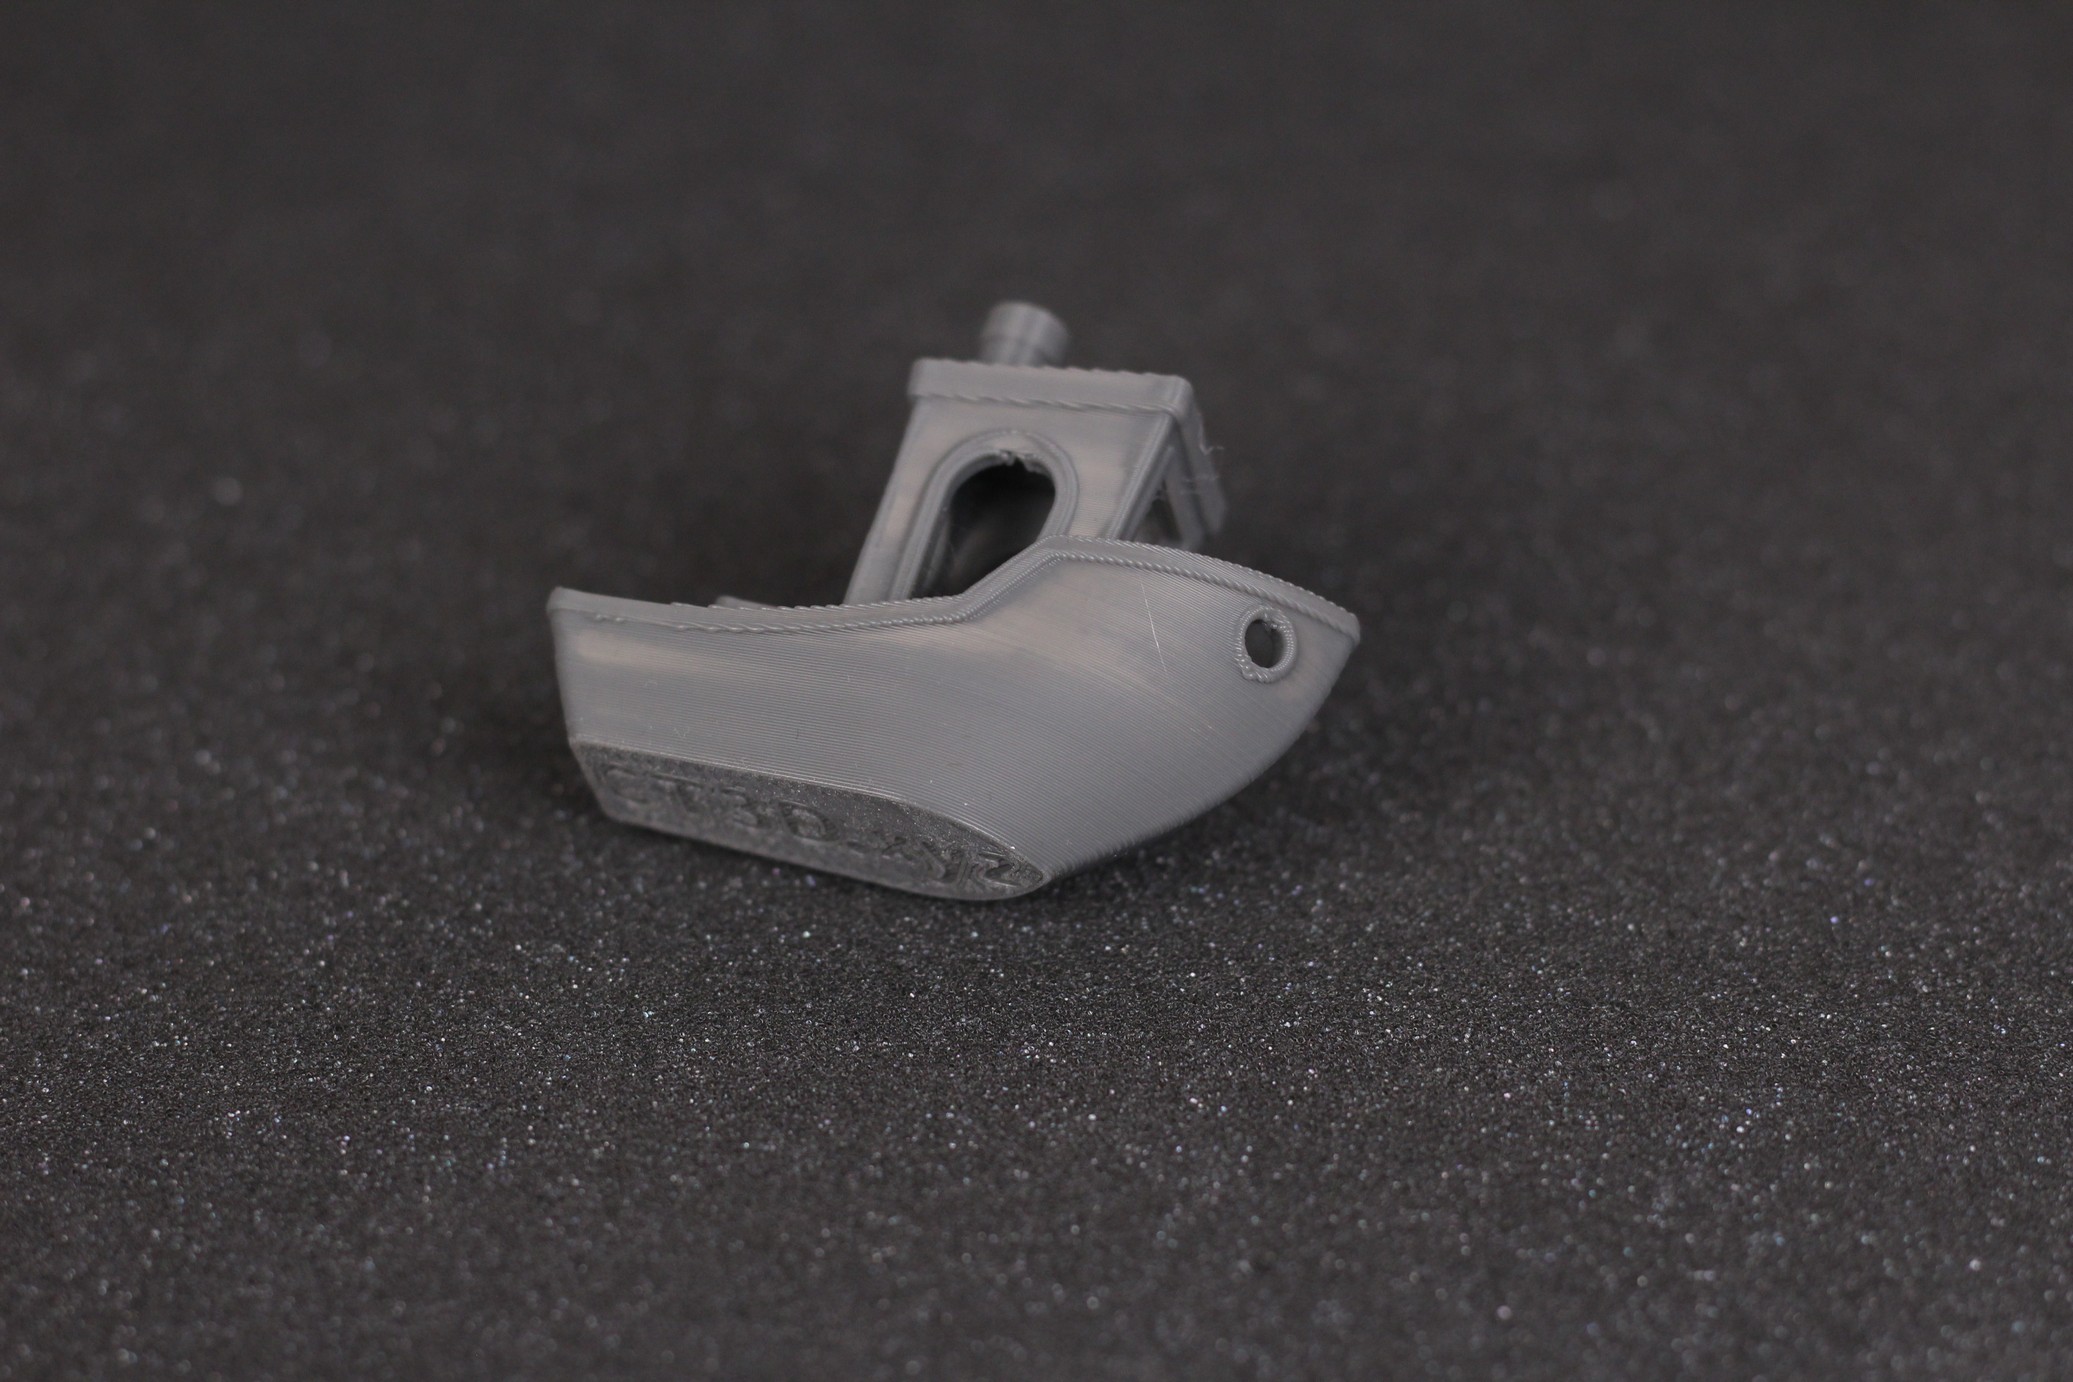
My first print using the Ender 3 S1 showed me promising results, even tough the model was not sliced correctly. There was some stringing using the stock retraction settings, but I tuned the values a bit to solve the issue partially.
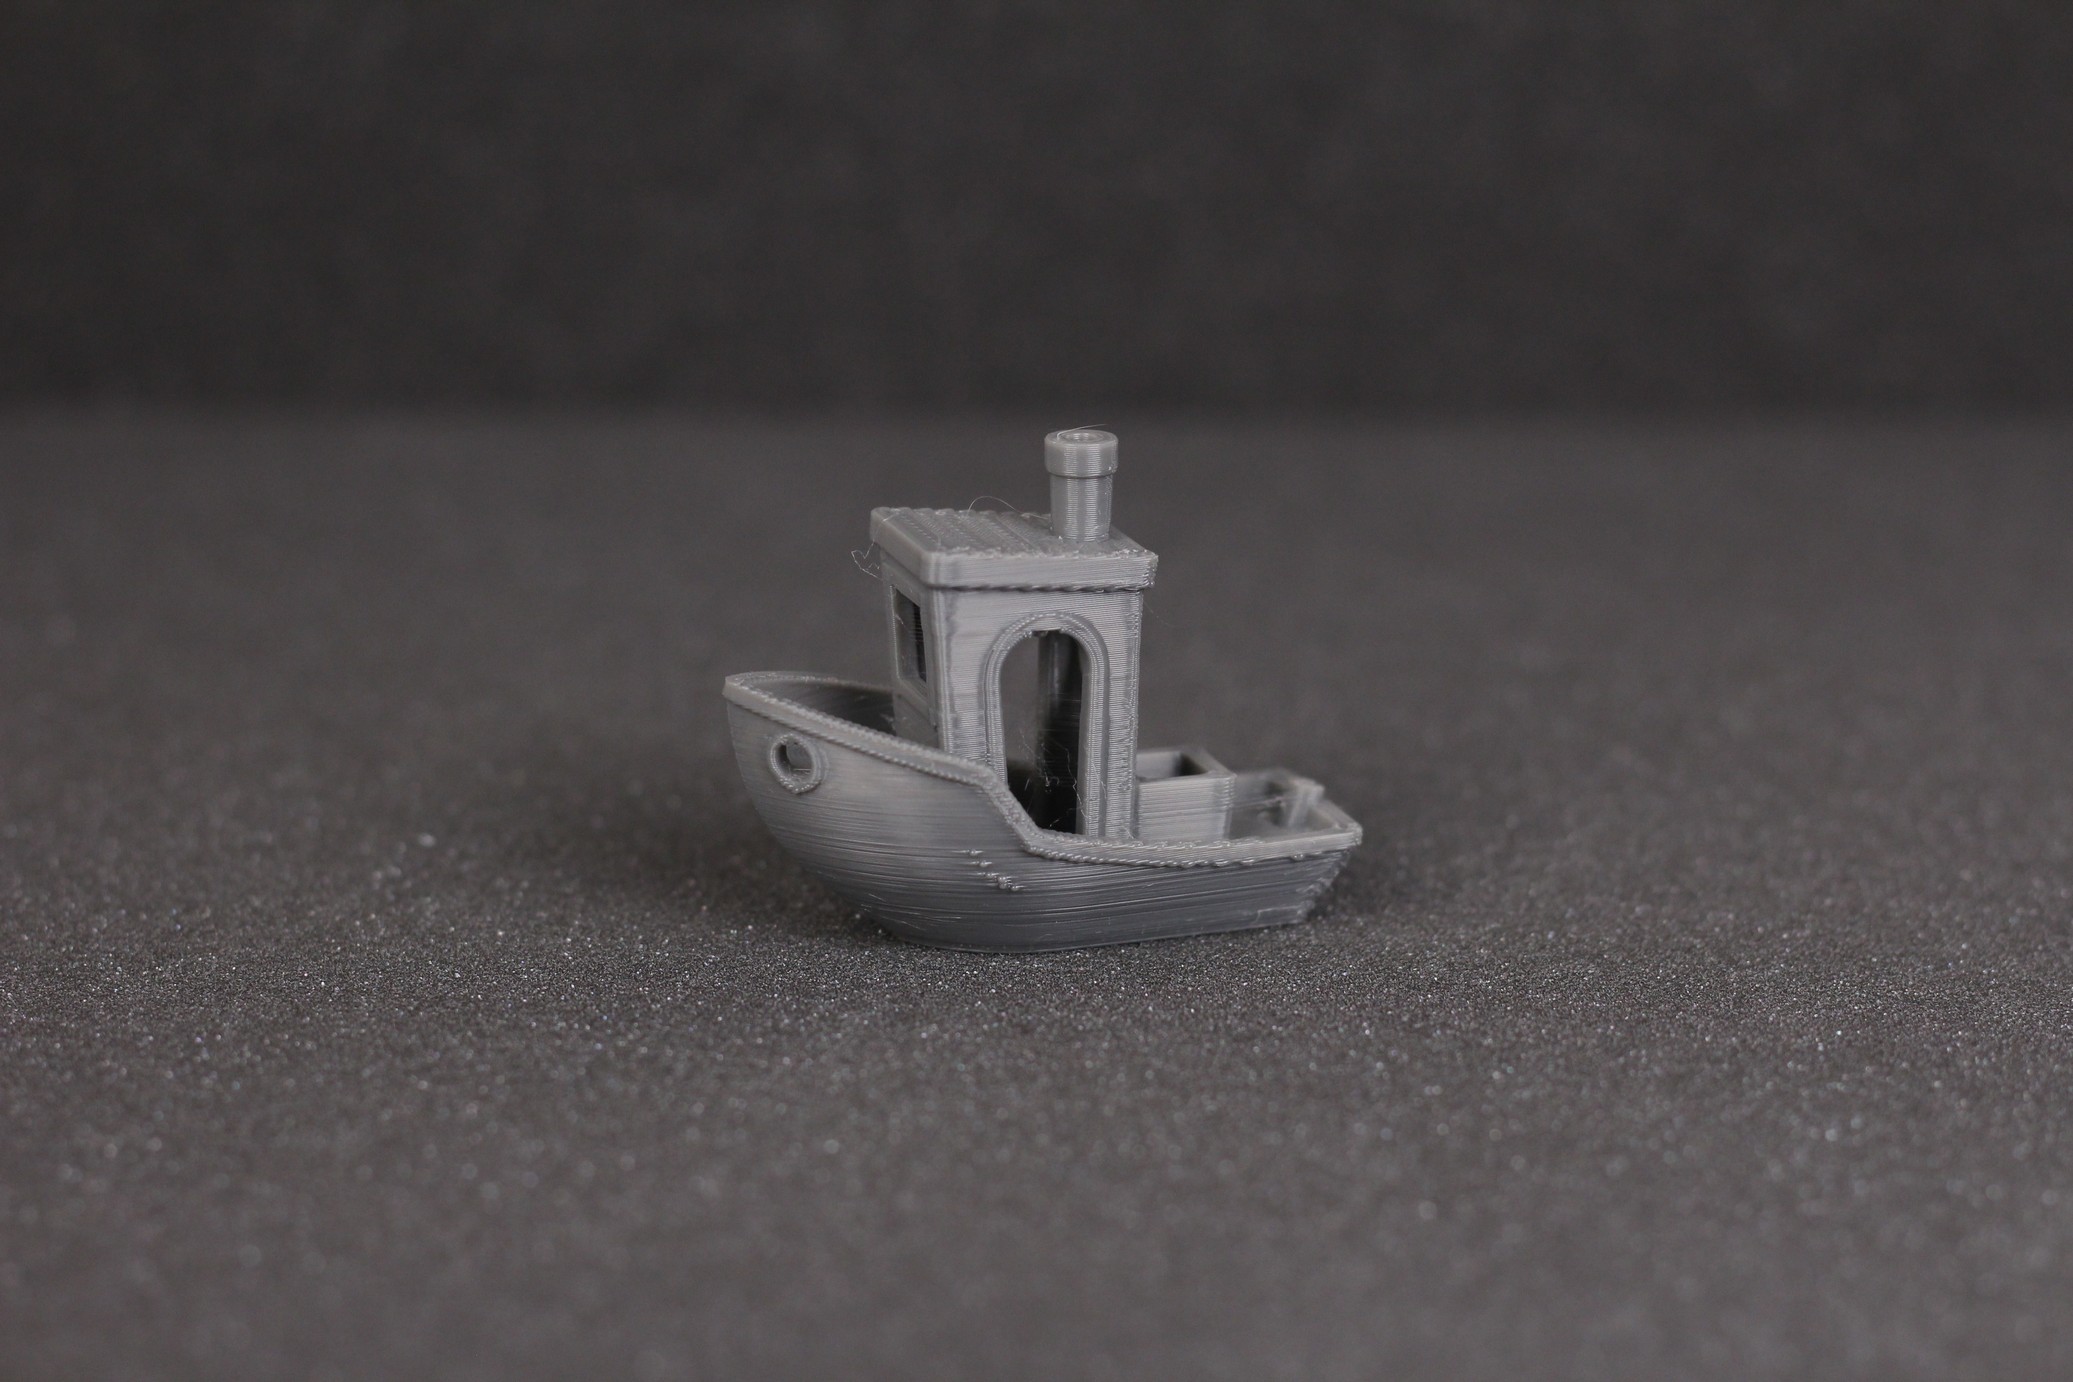
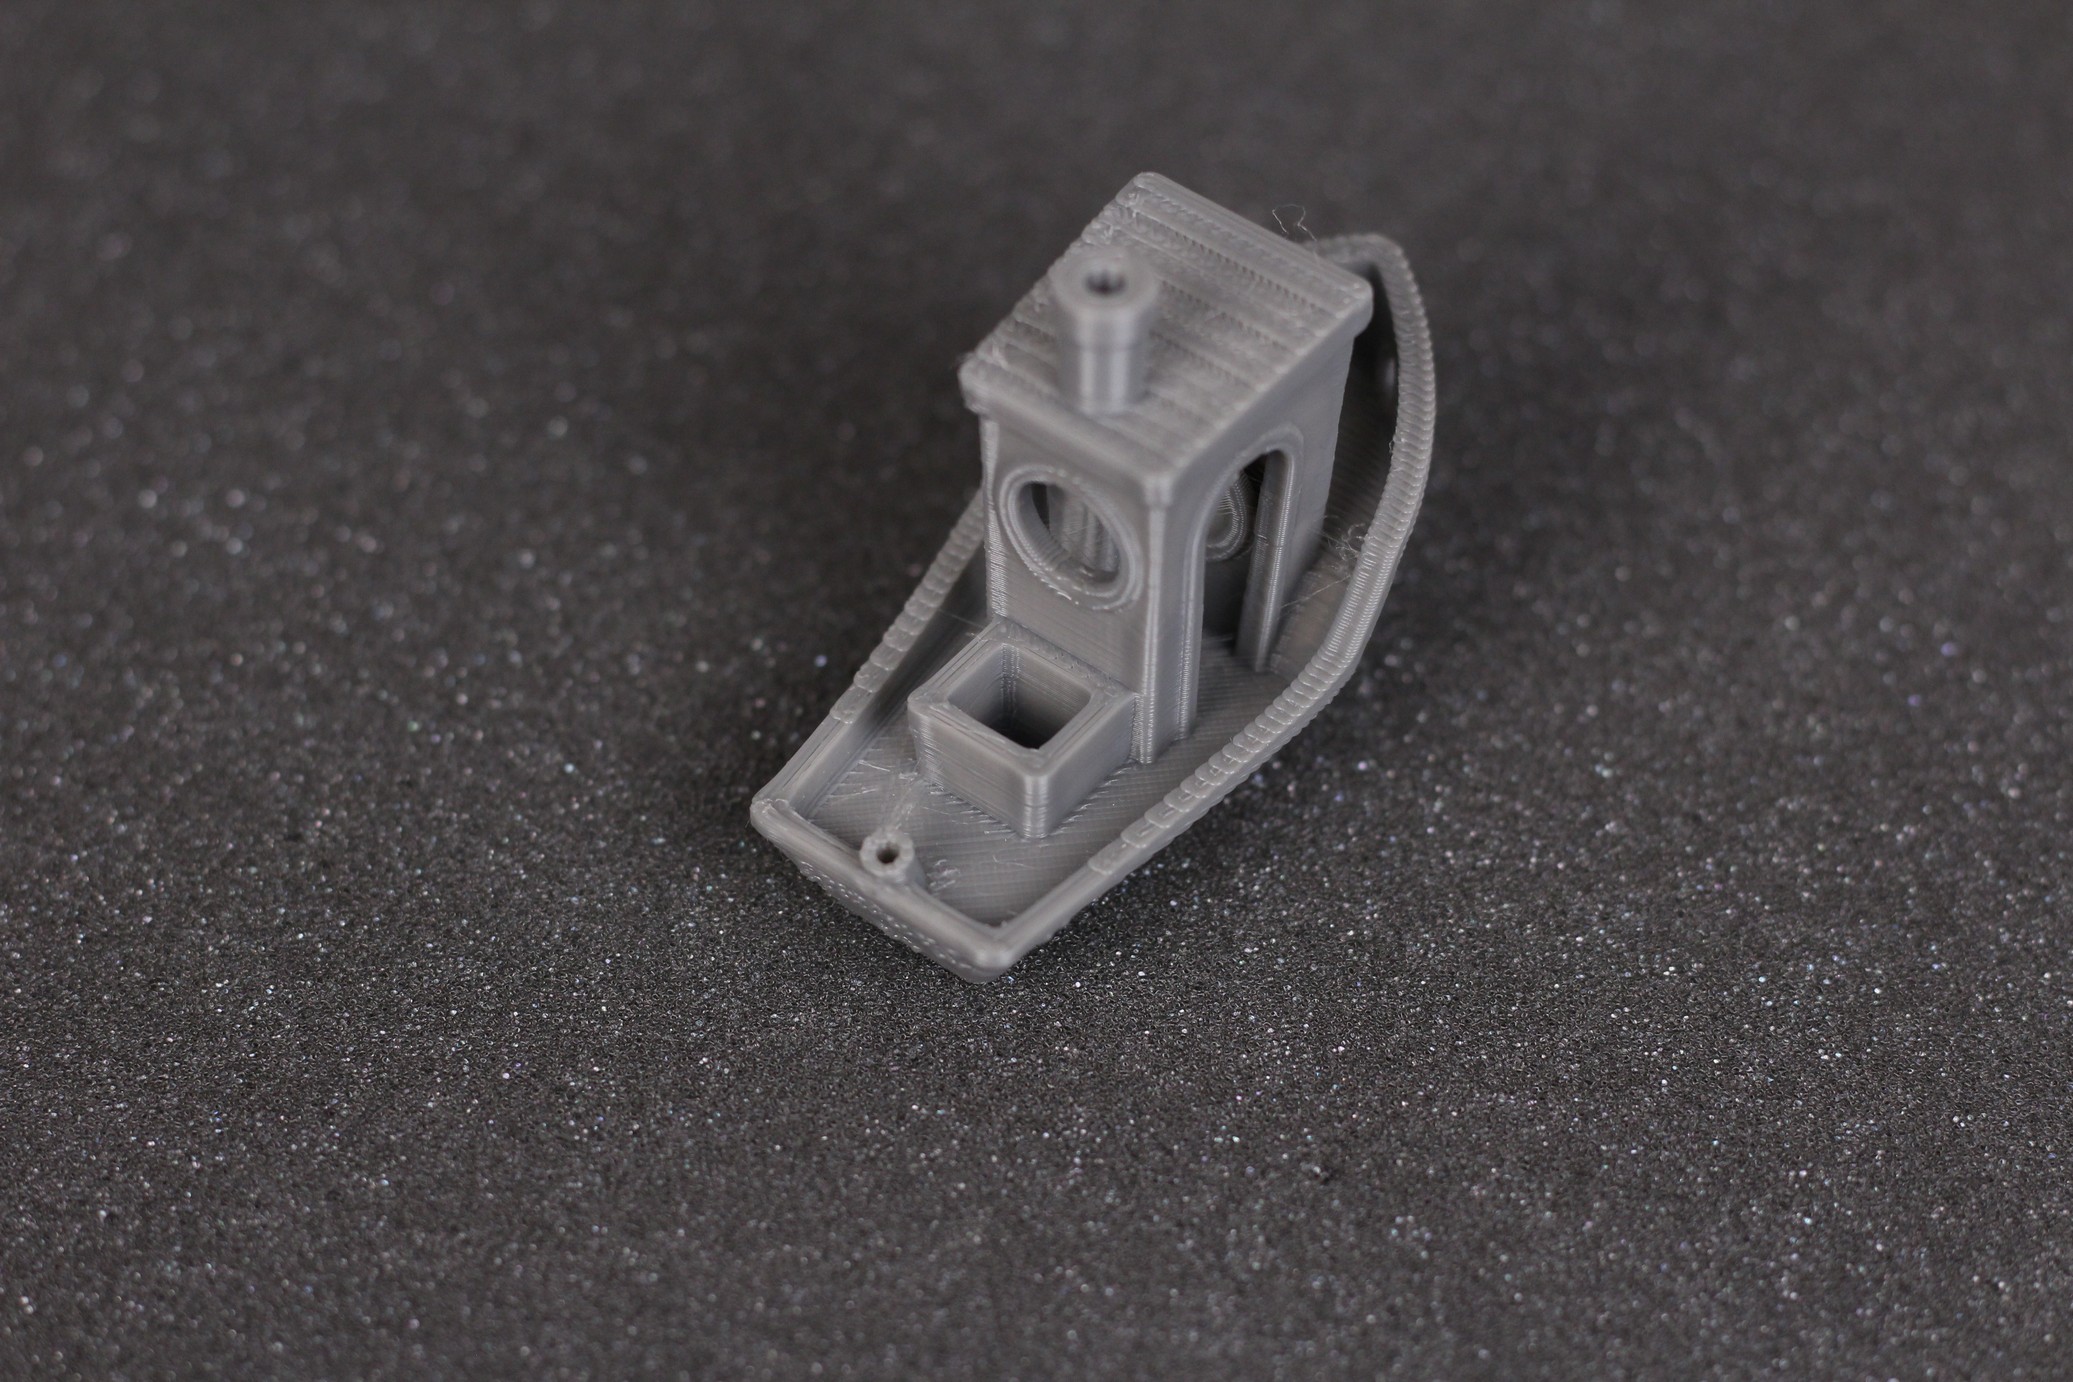
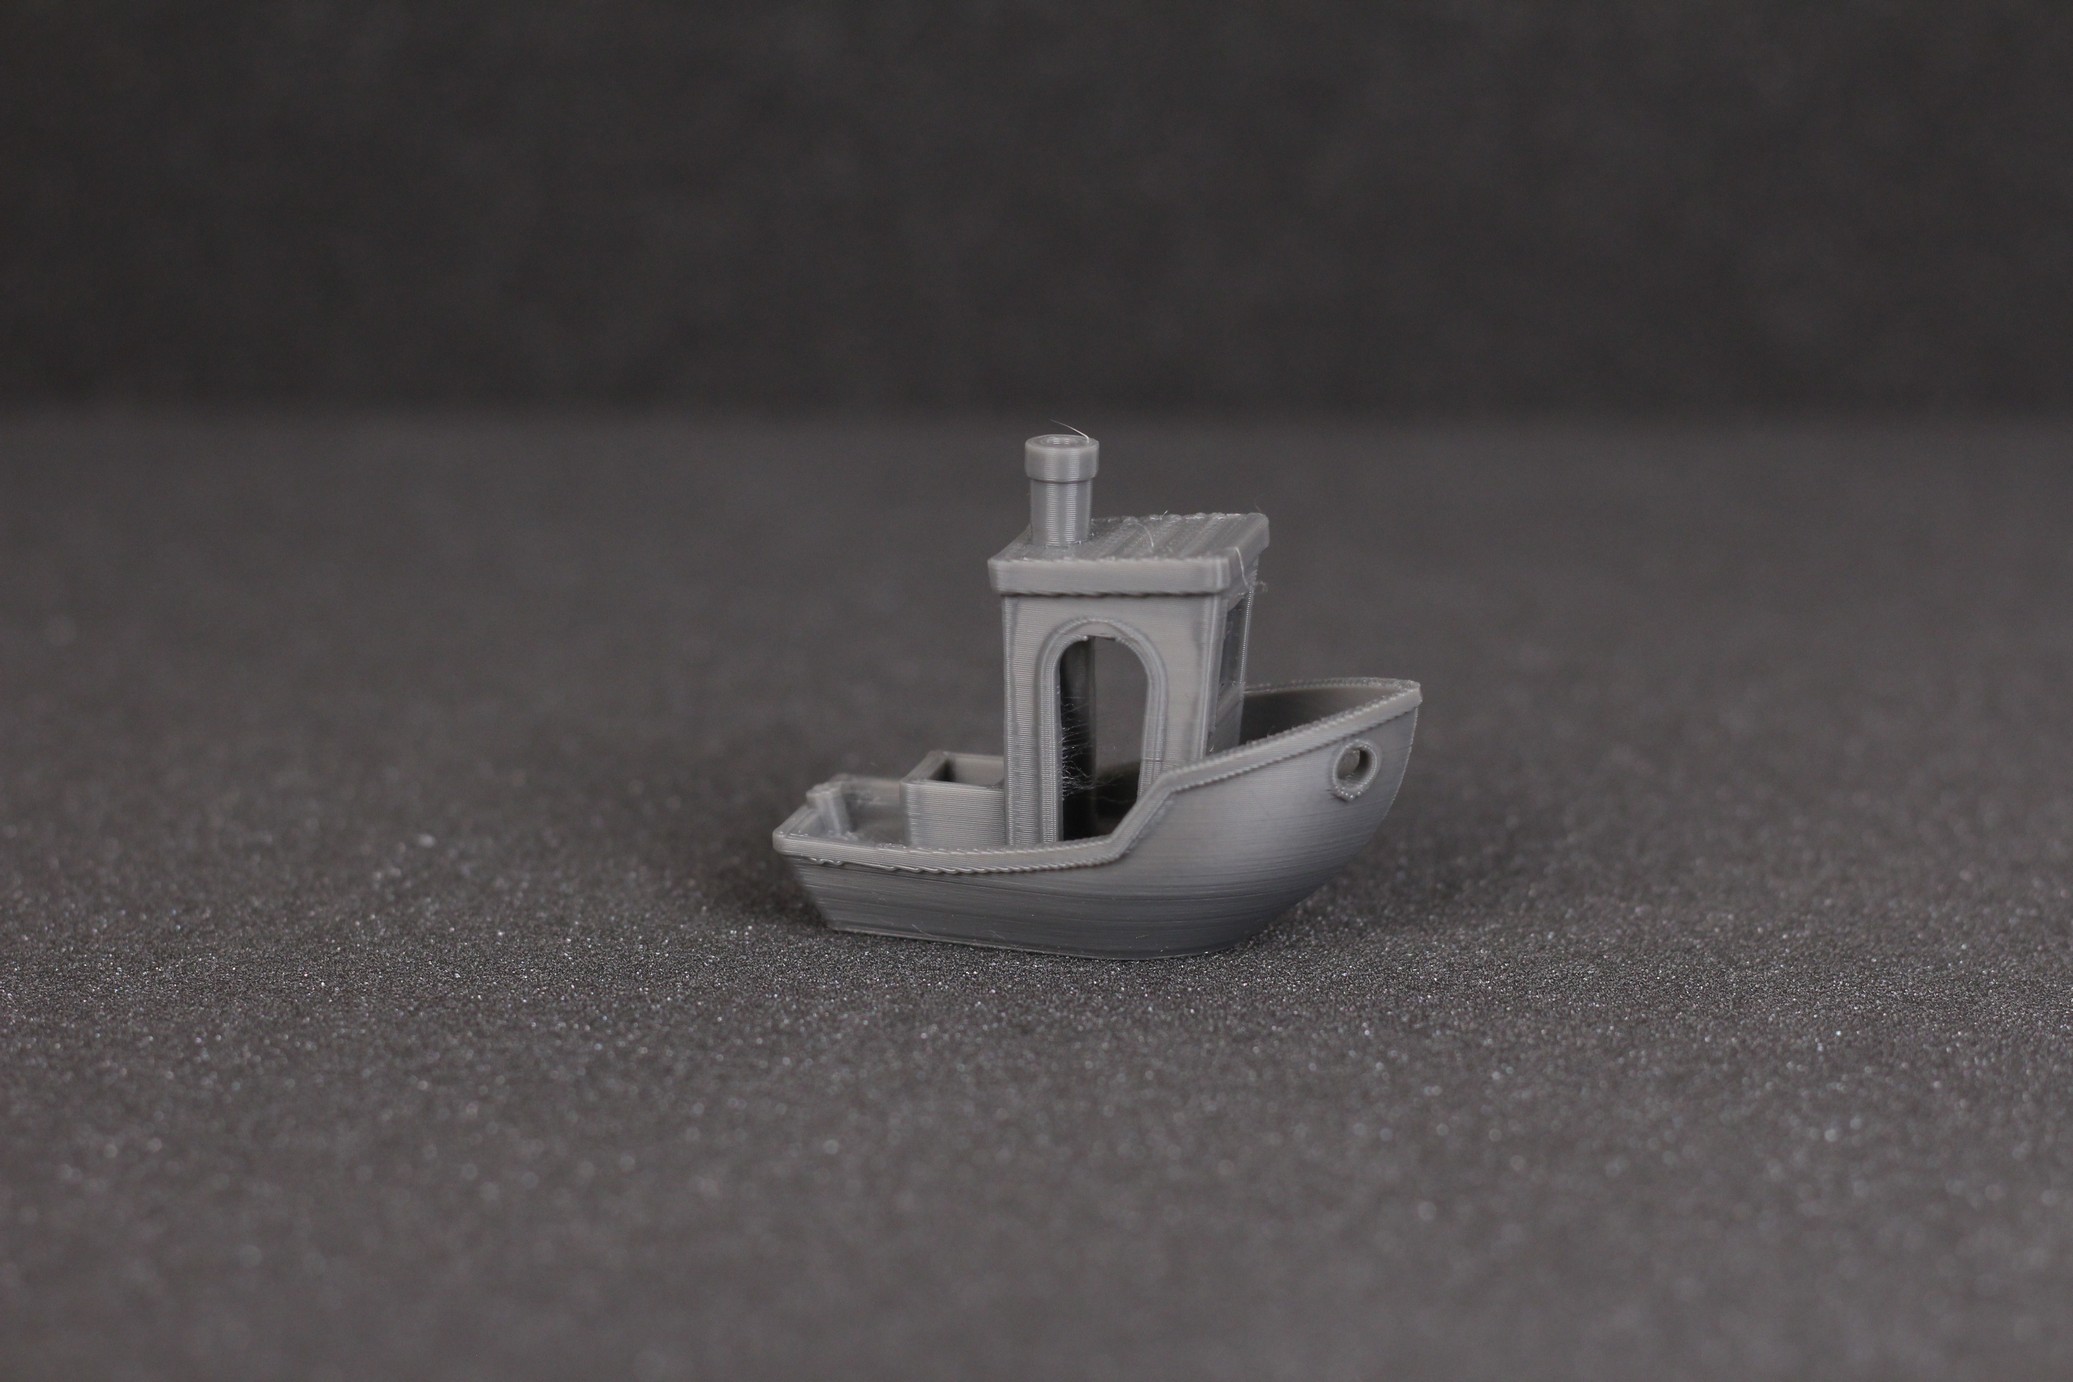
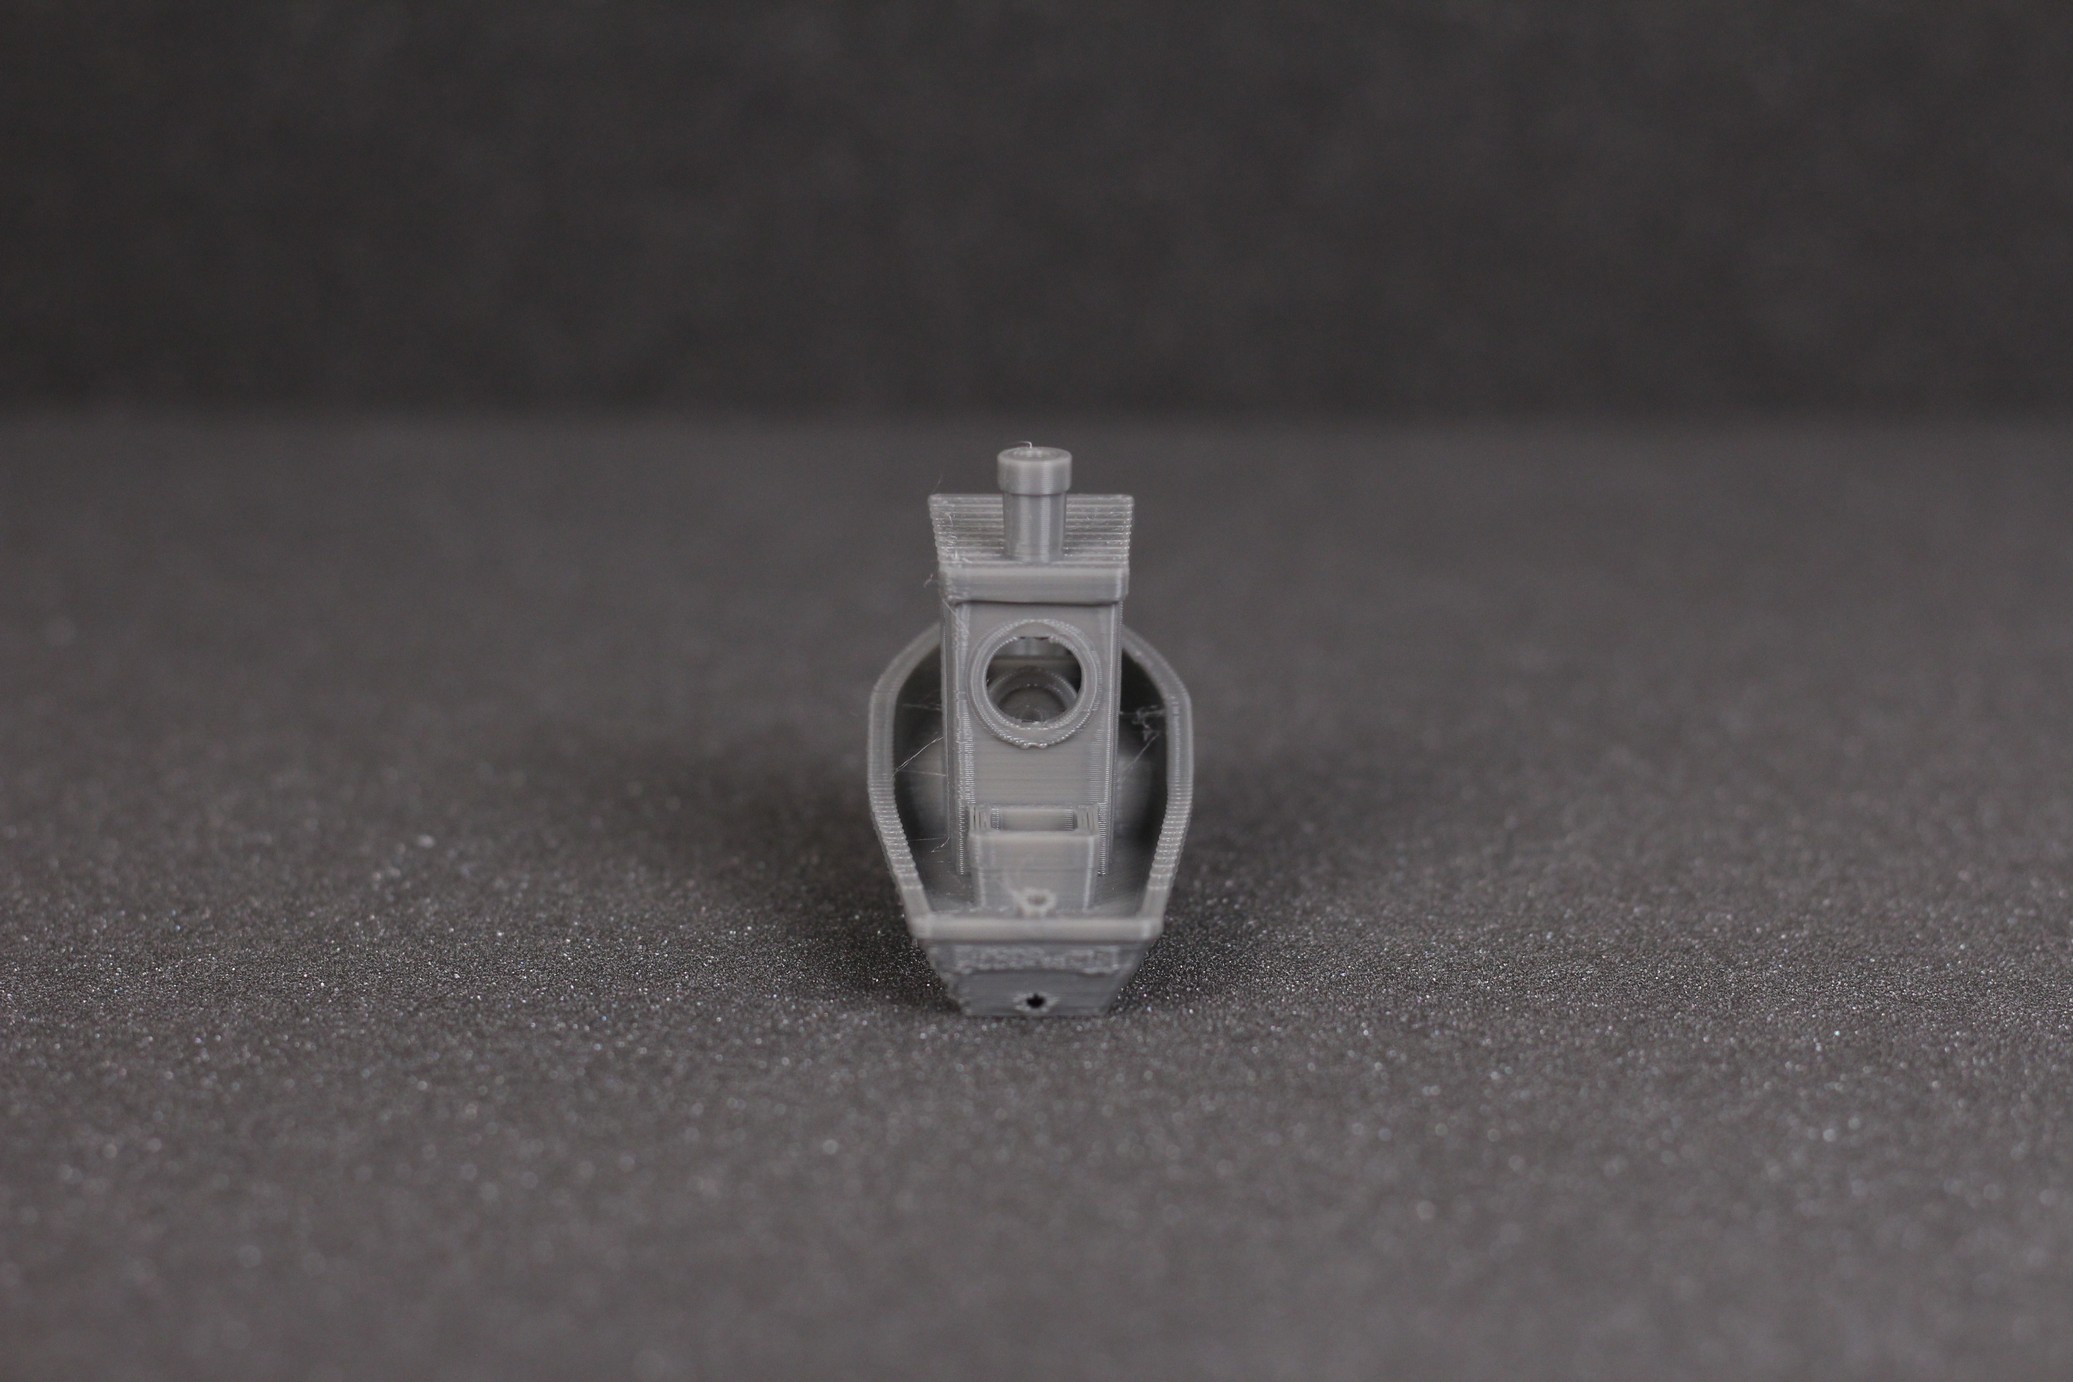
- Material: Sunlu Grey PLA
- Layer Height: 0.2mm
- Nozzle Temperature: 205C
- Bed Temperature: 50C
- Print Speed: 40 mm/s
Phil-A-Ment
Next print was Phil-A-Ment from Matterhackers in silk filament to detect if there’s any inconsistent layers, and also because I had a close-to-empty spool of Extrudr filament. The printing results are good, with good quality overhangs for the gloves and backpack, where sometimes we get curling if the part cooling isn’t good.
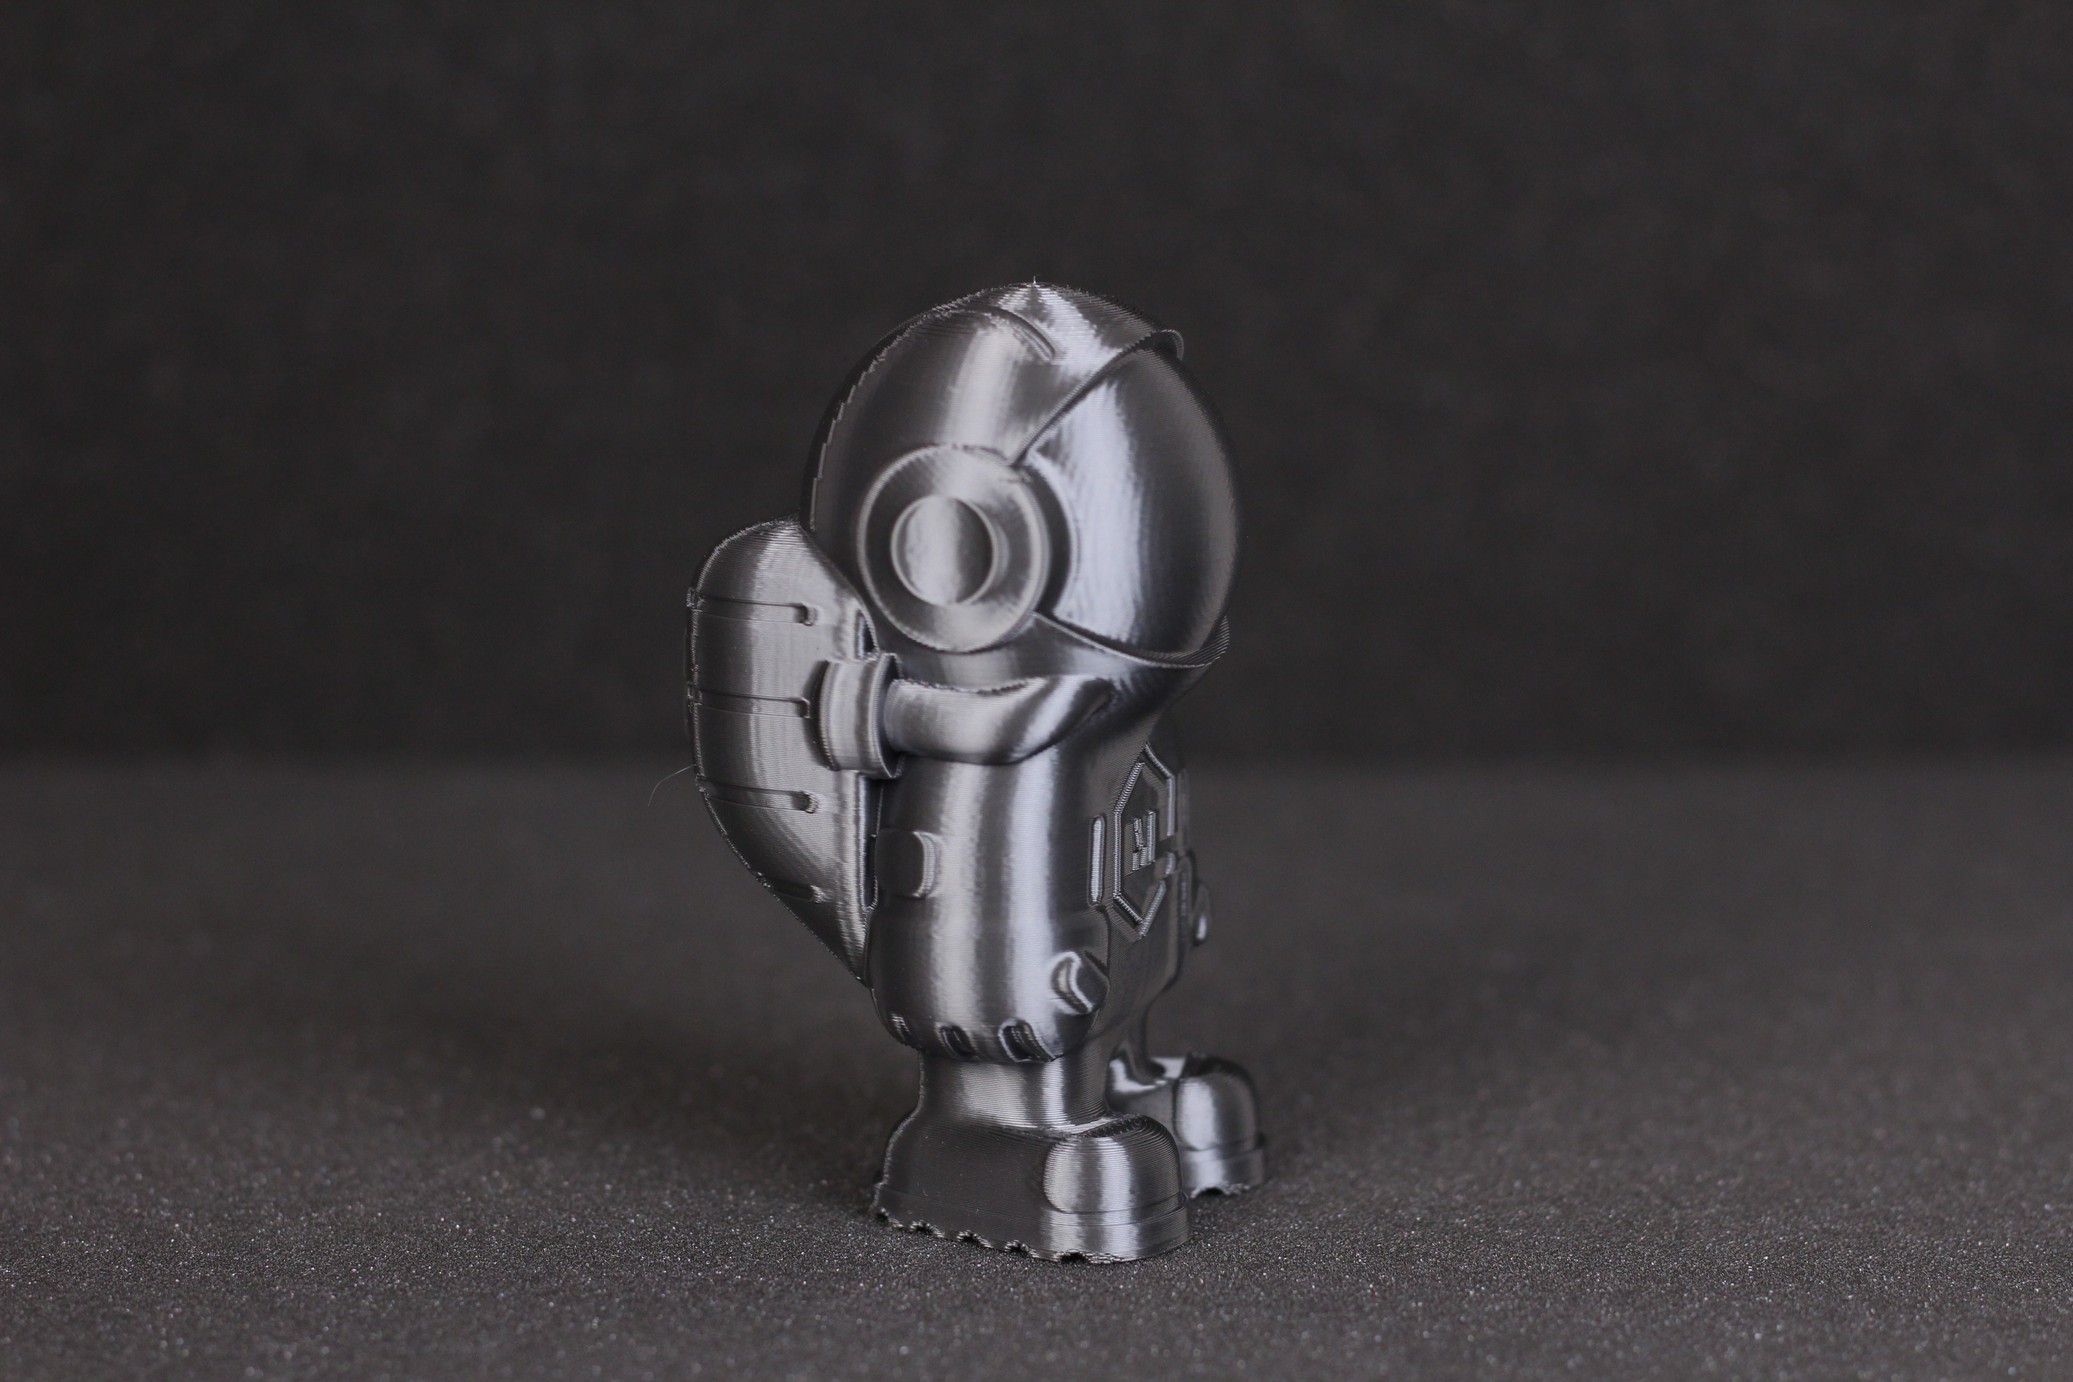
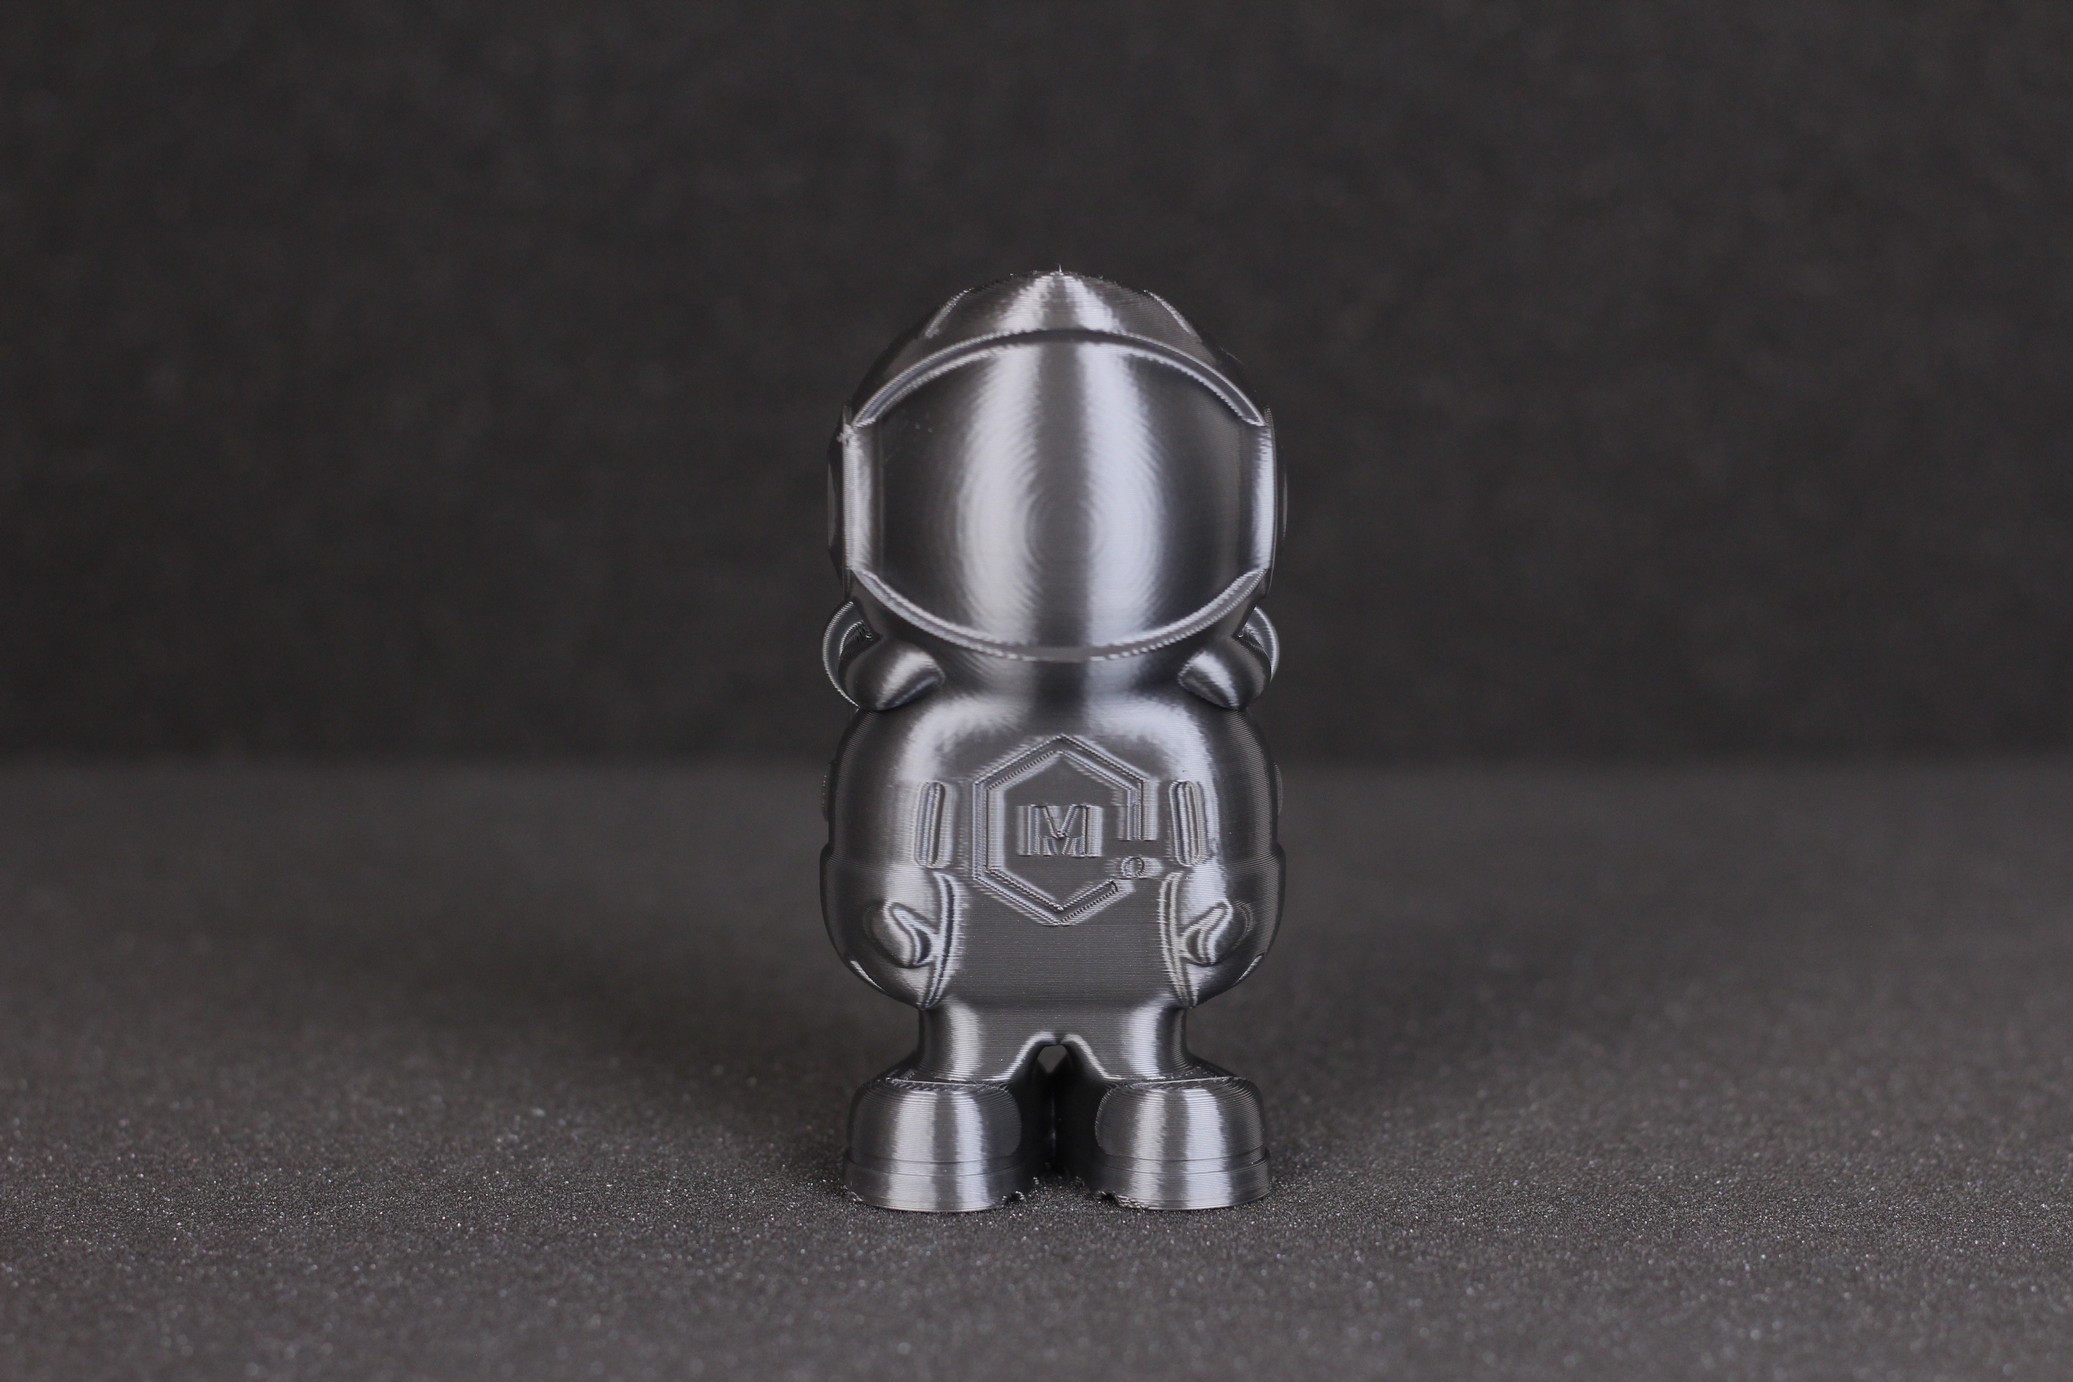
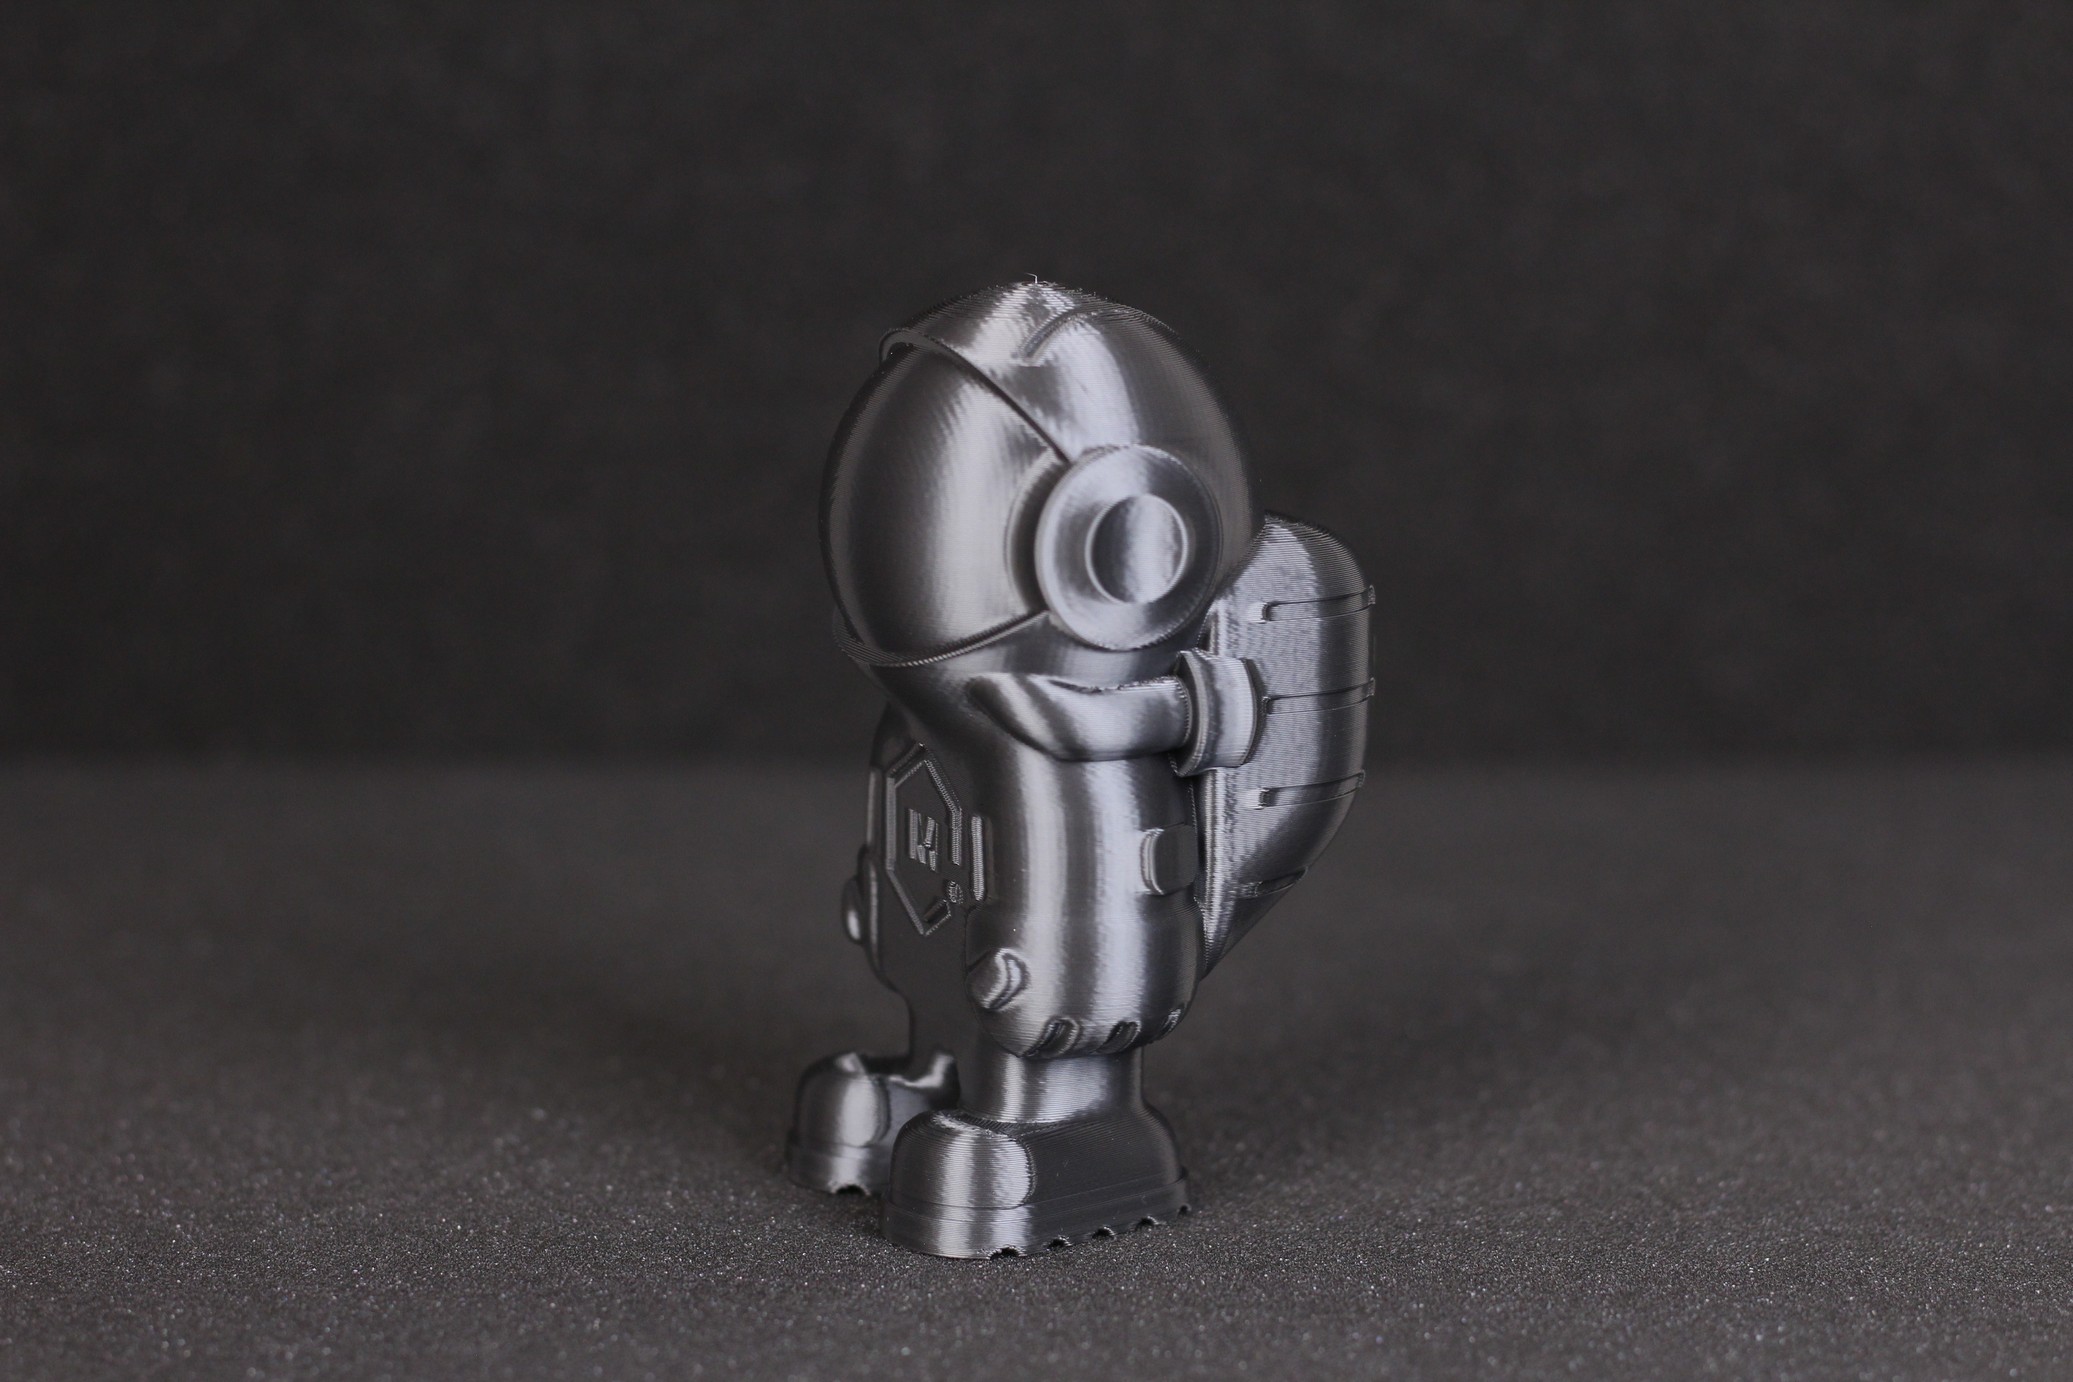
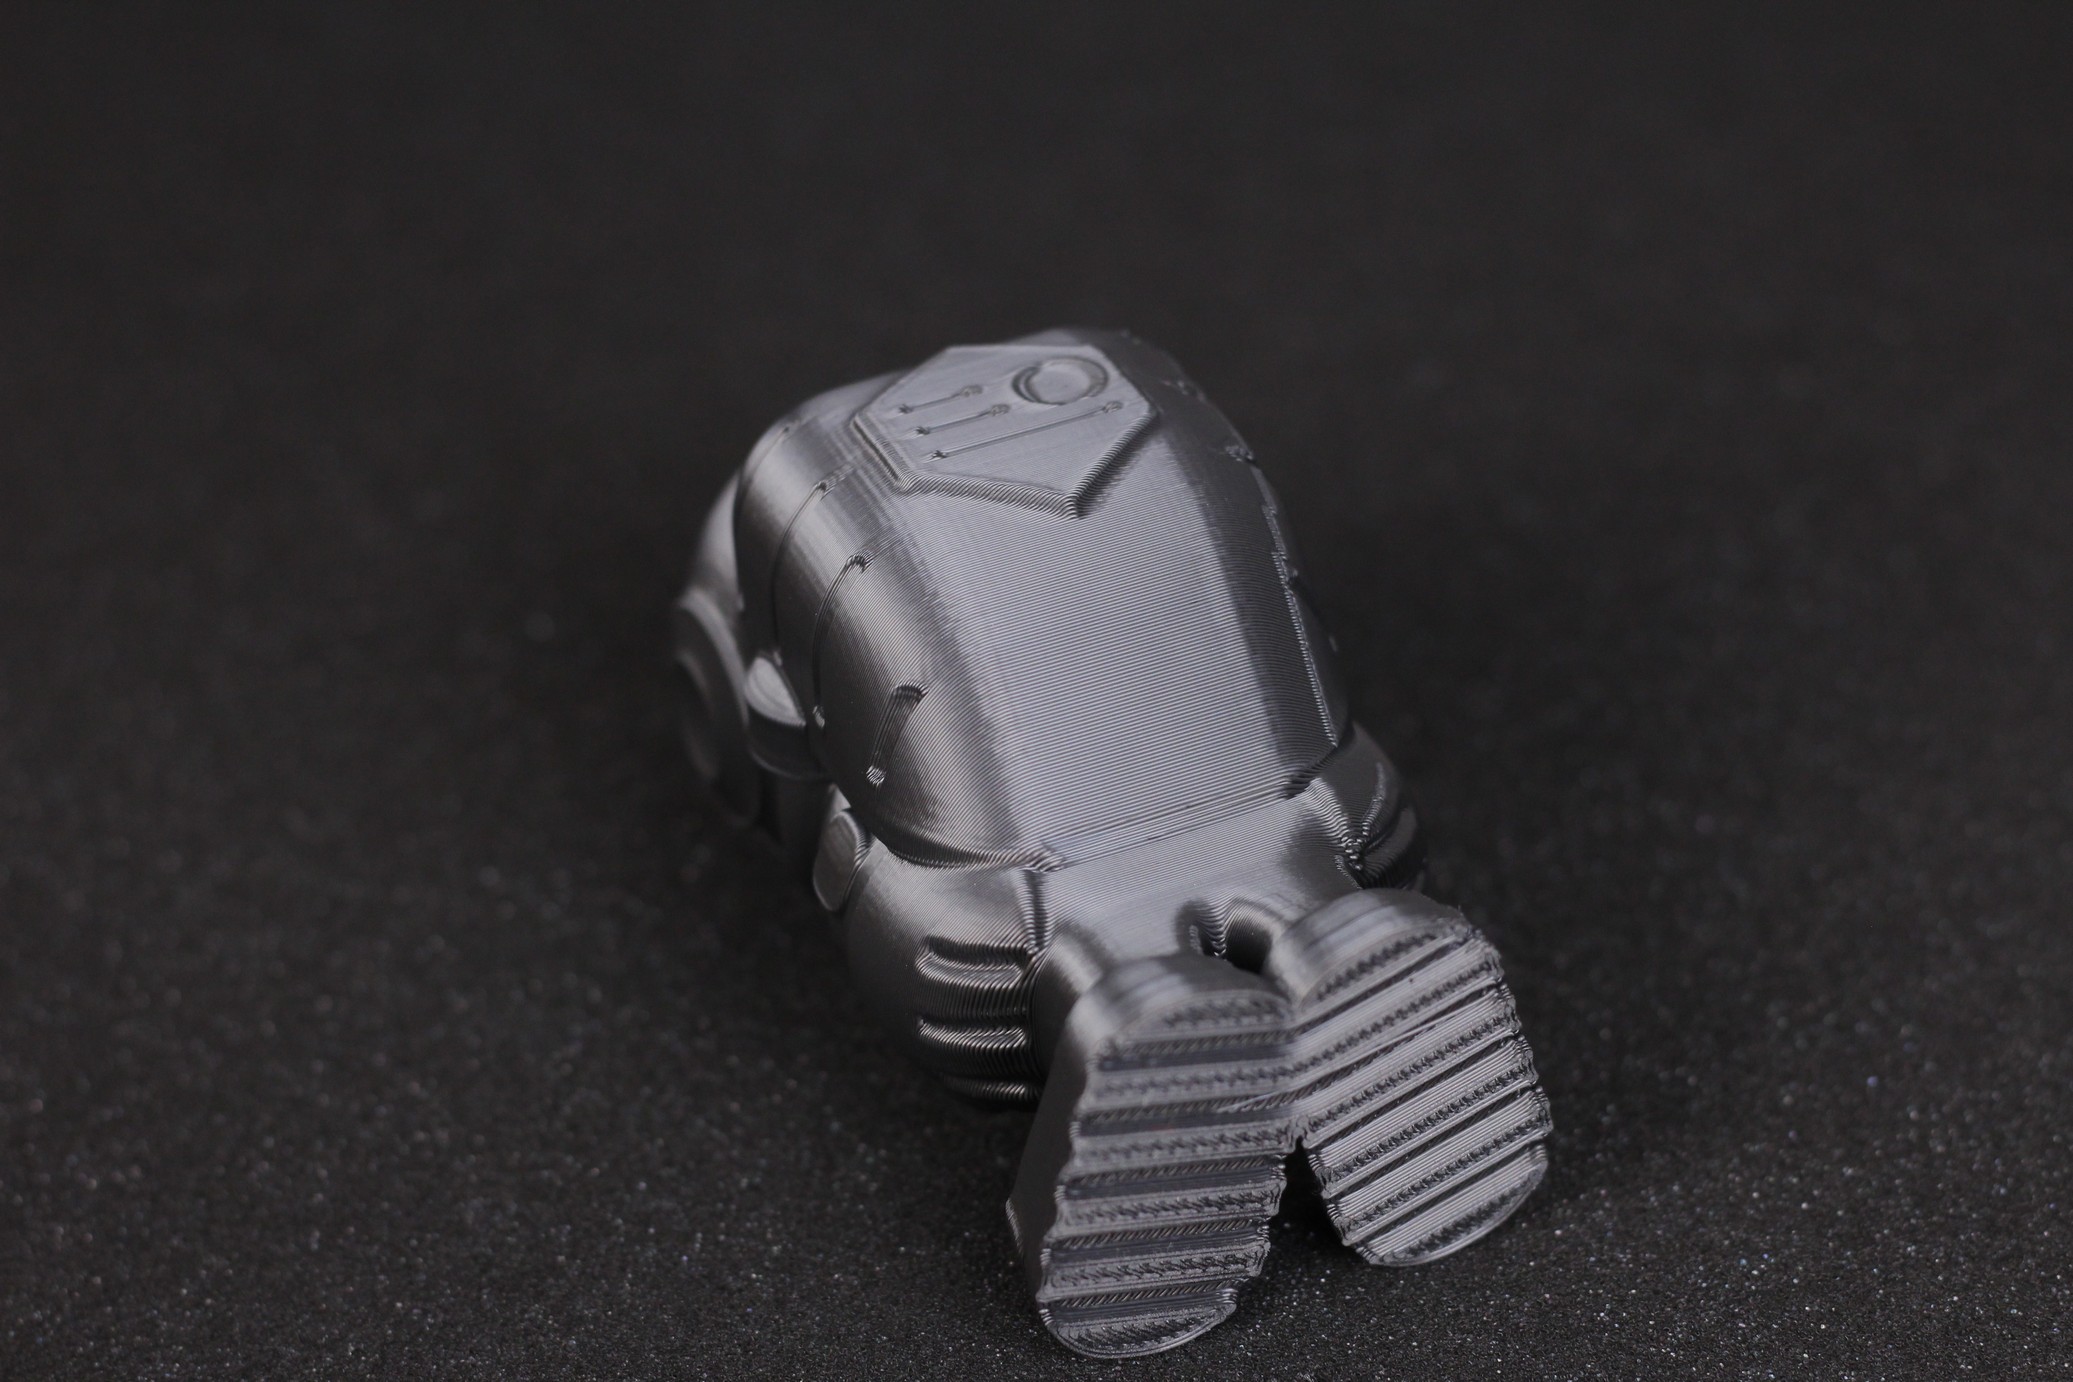

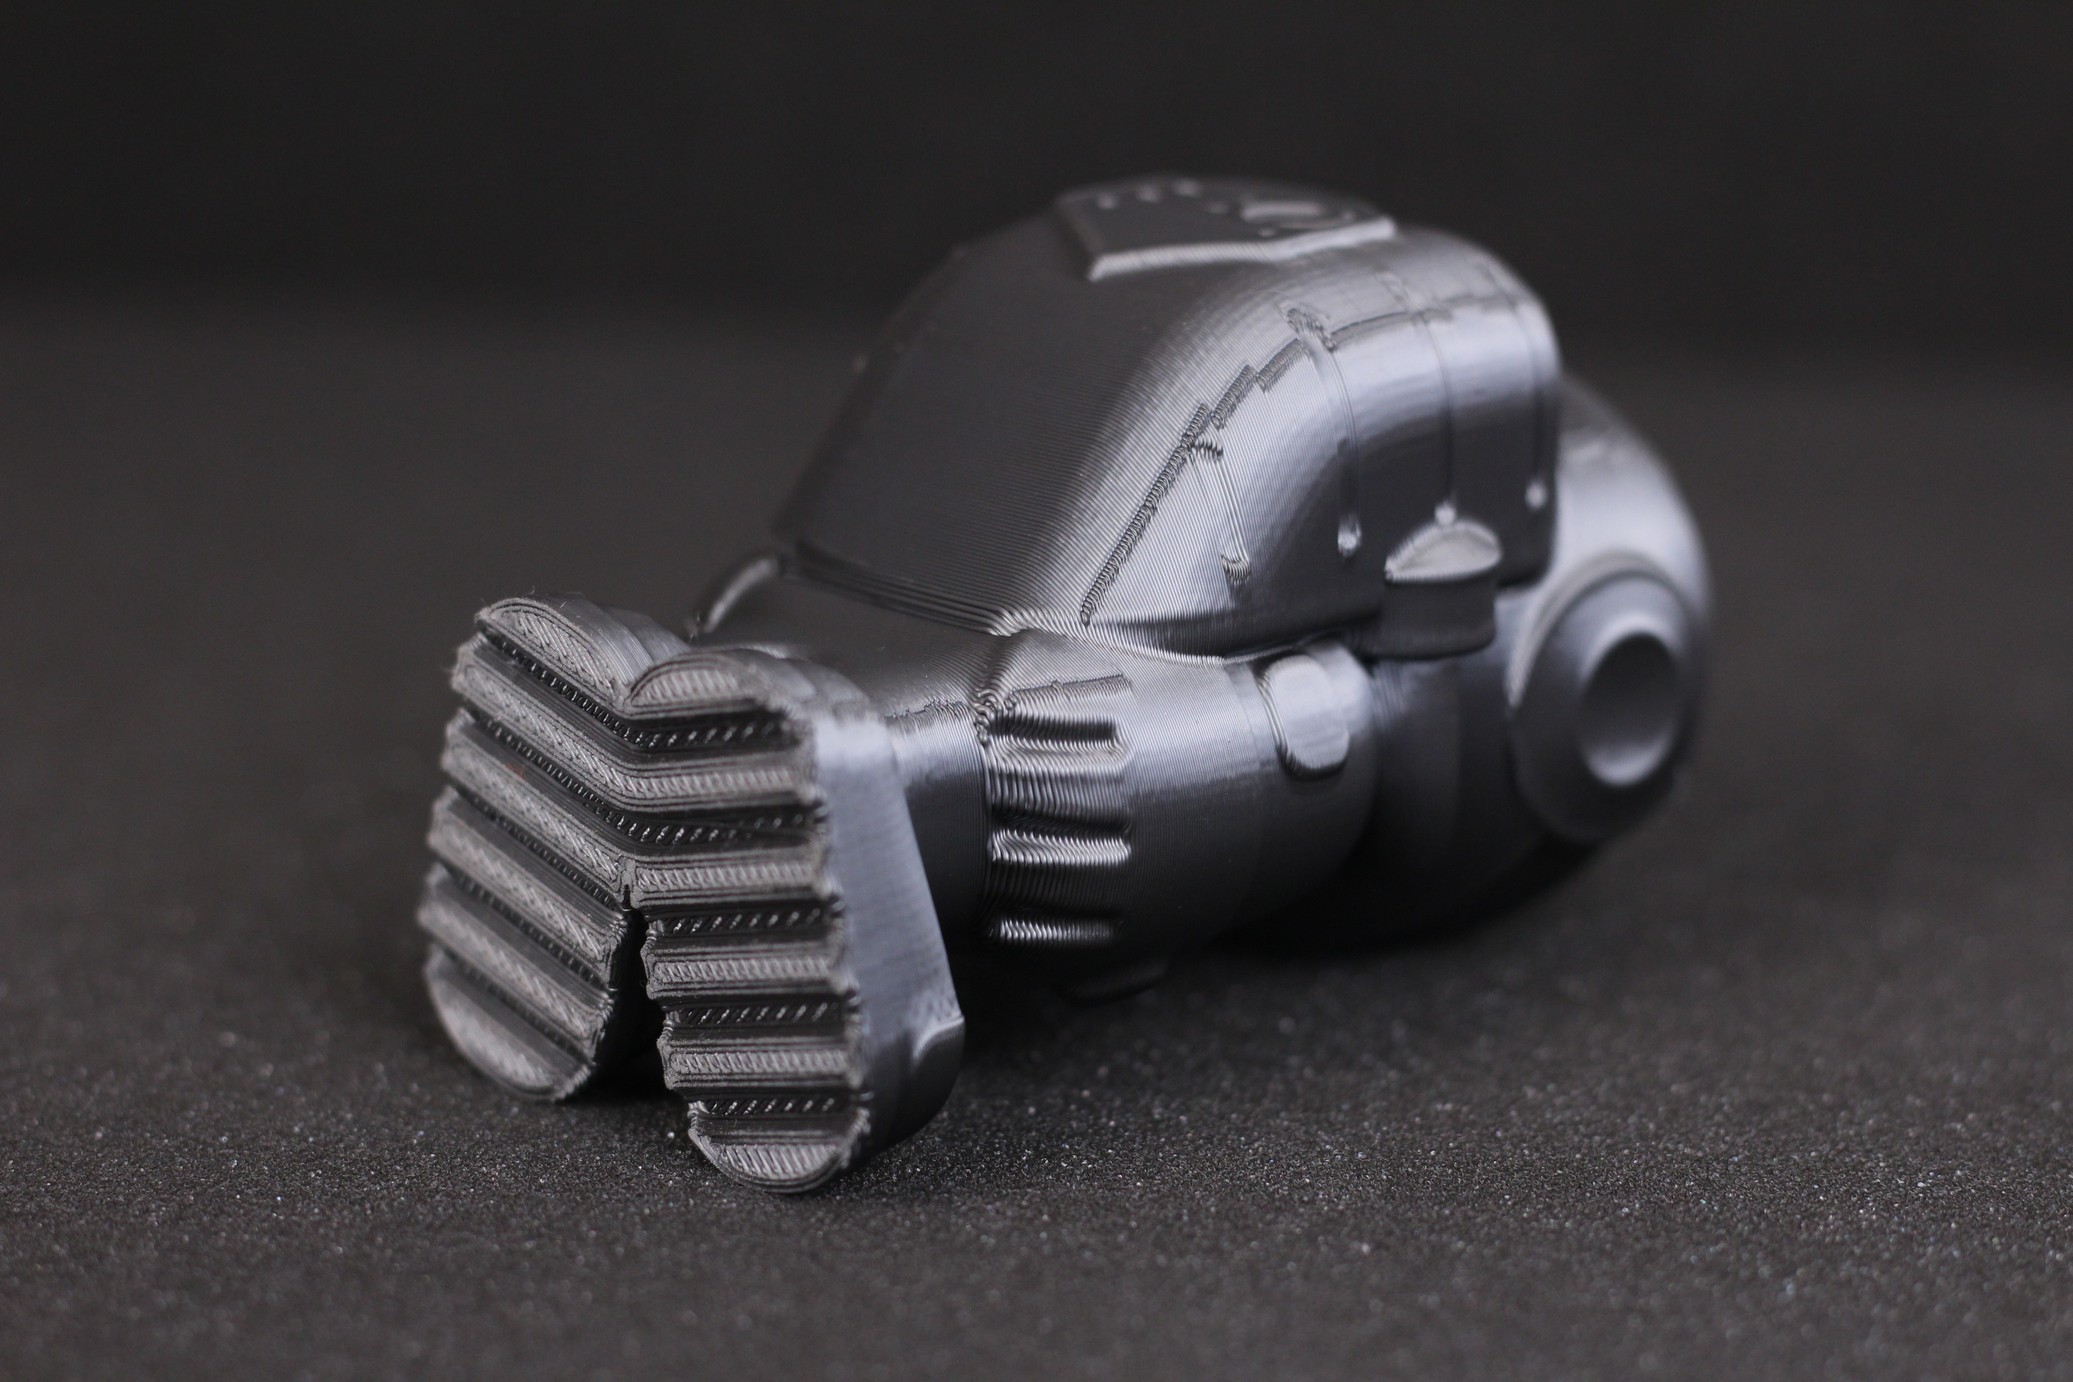
- Material: Extrudr BioFusion Metallic Grey
- Layer Height: 0.2mm
- Nozzle Temperature: 215C
- Bed Temperature: 50C
- Print Speed: 50 mm/s
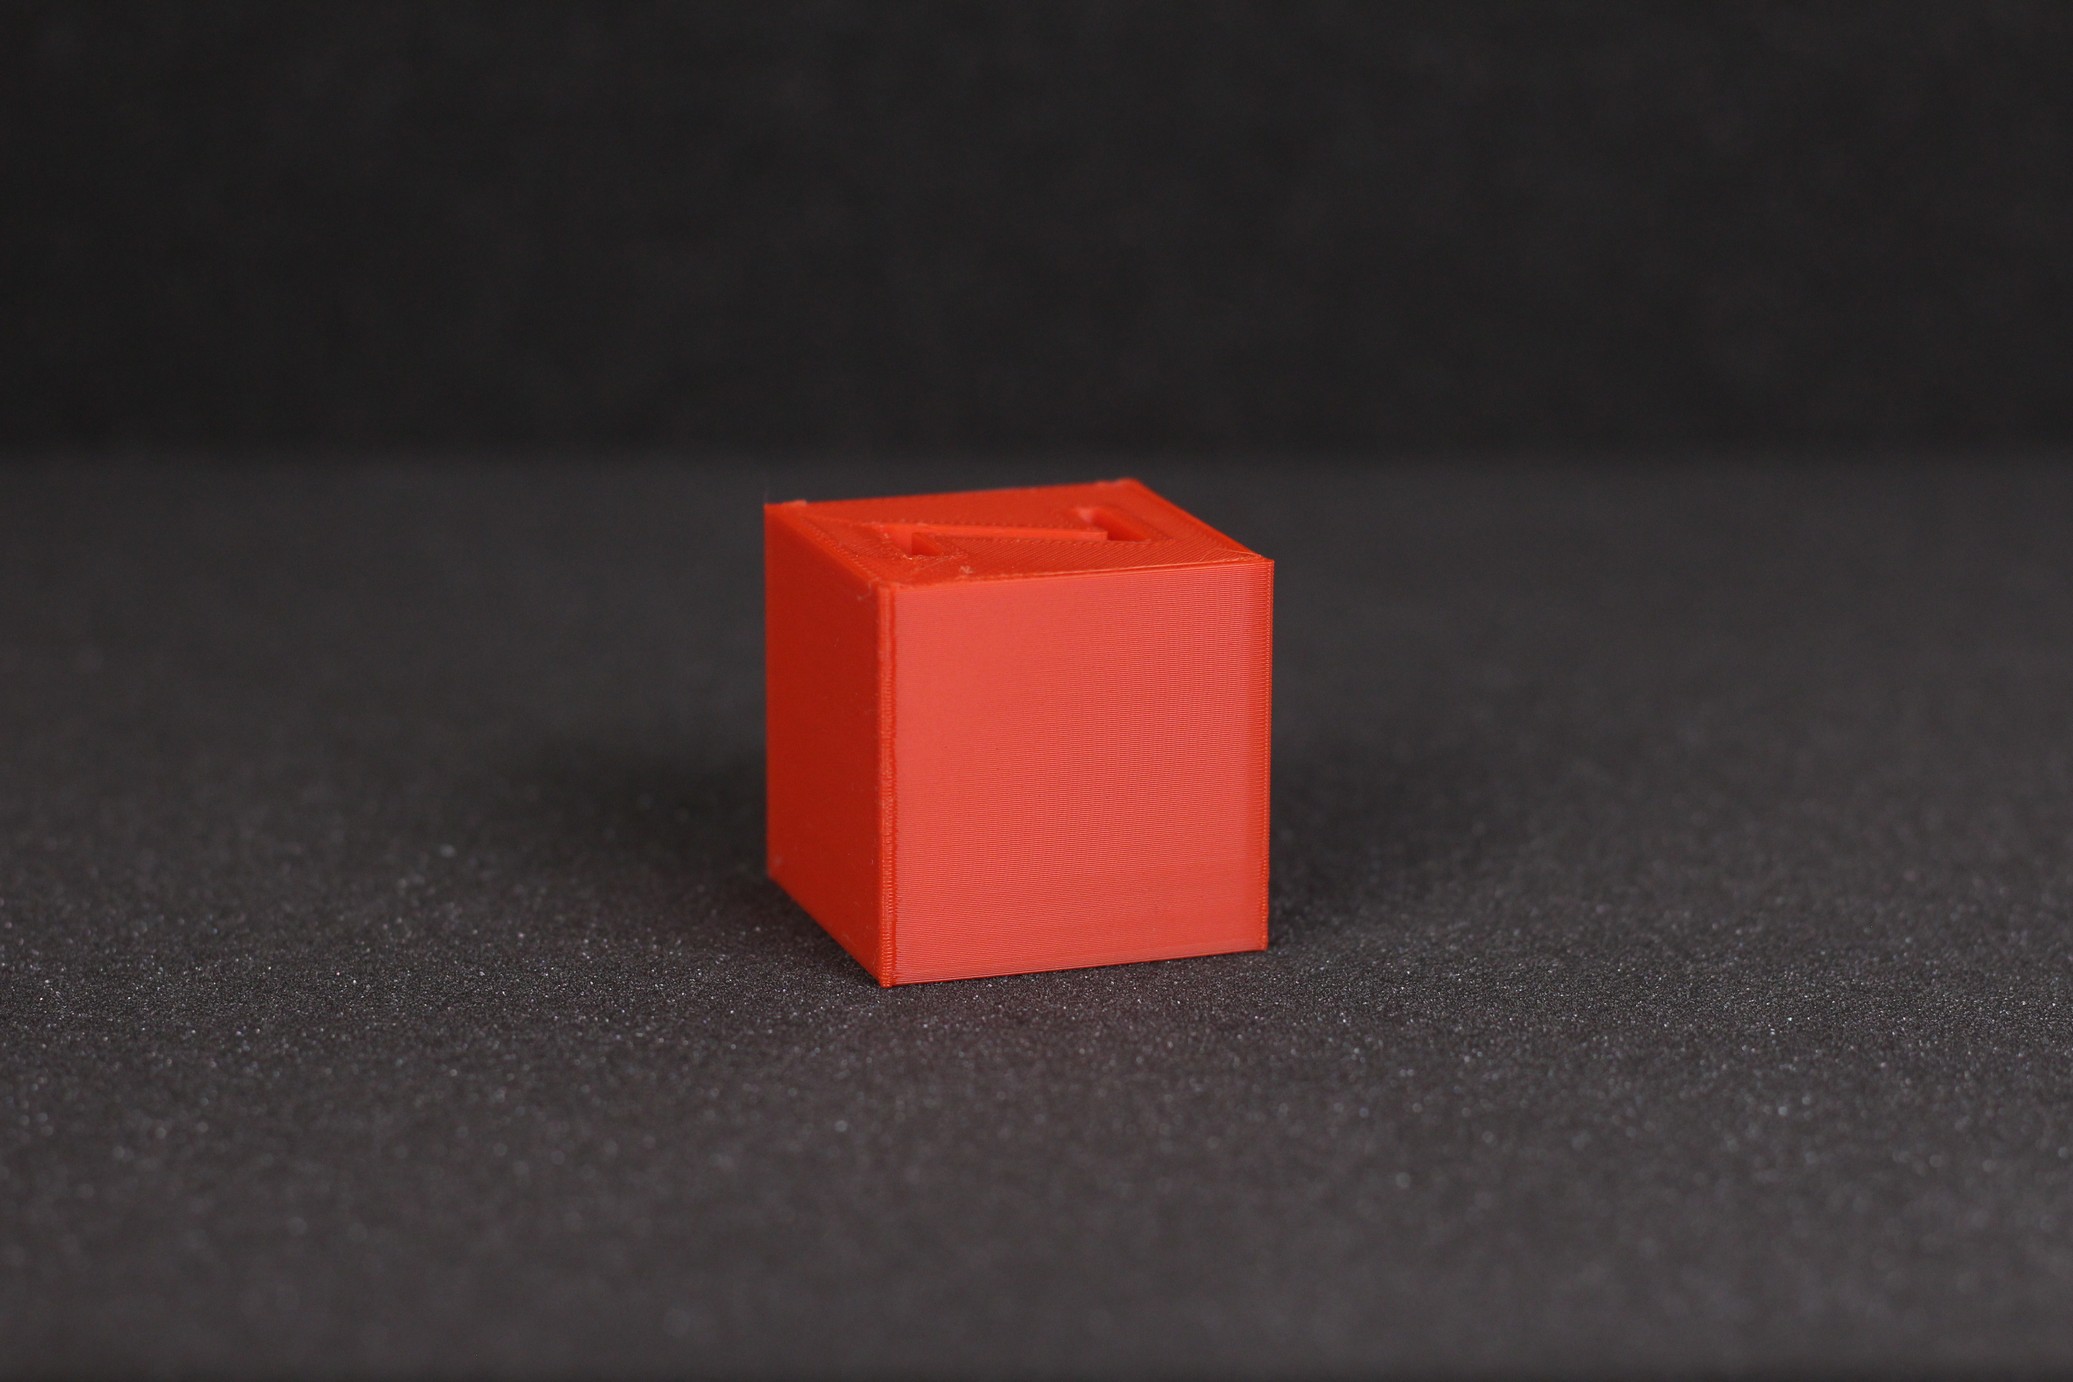
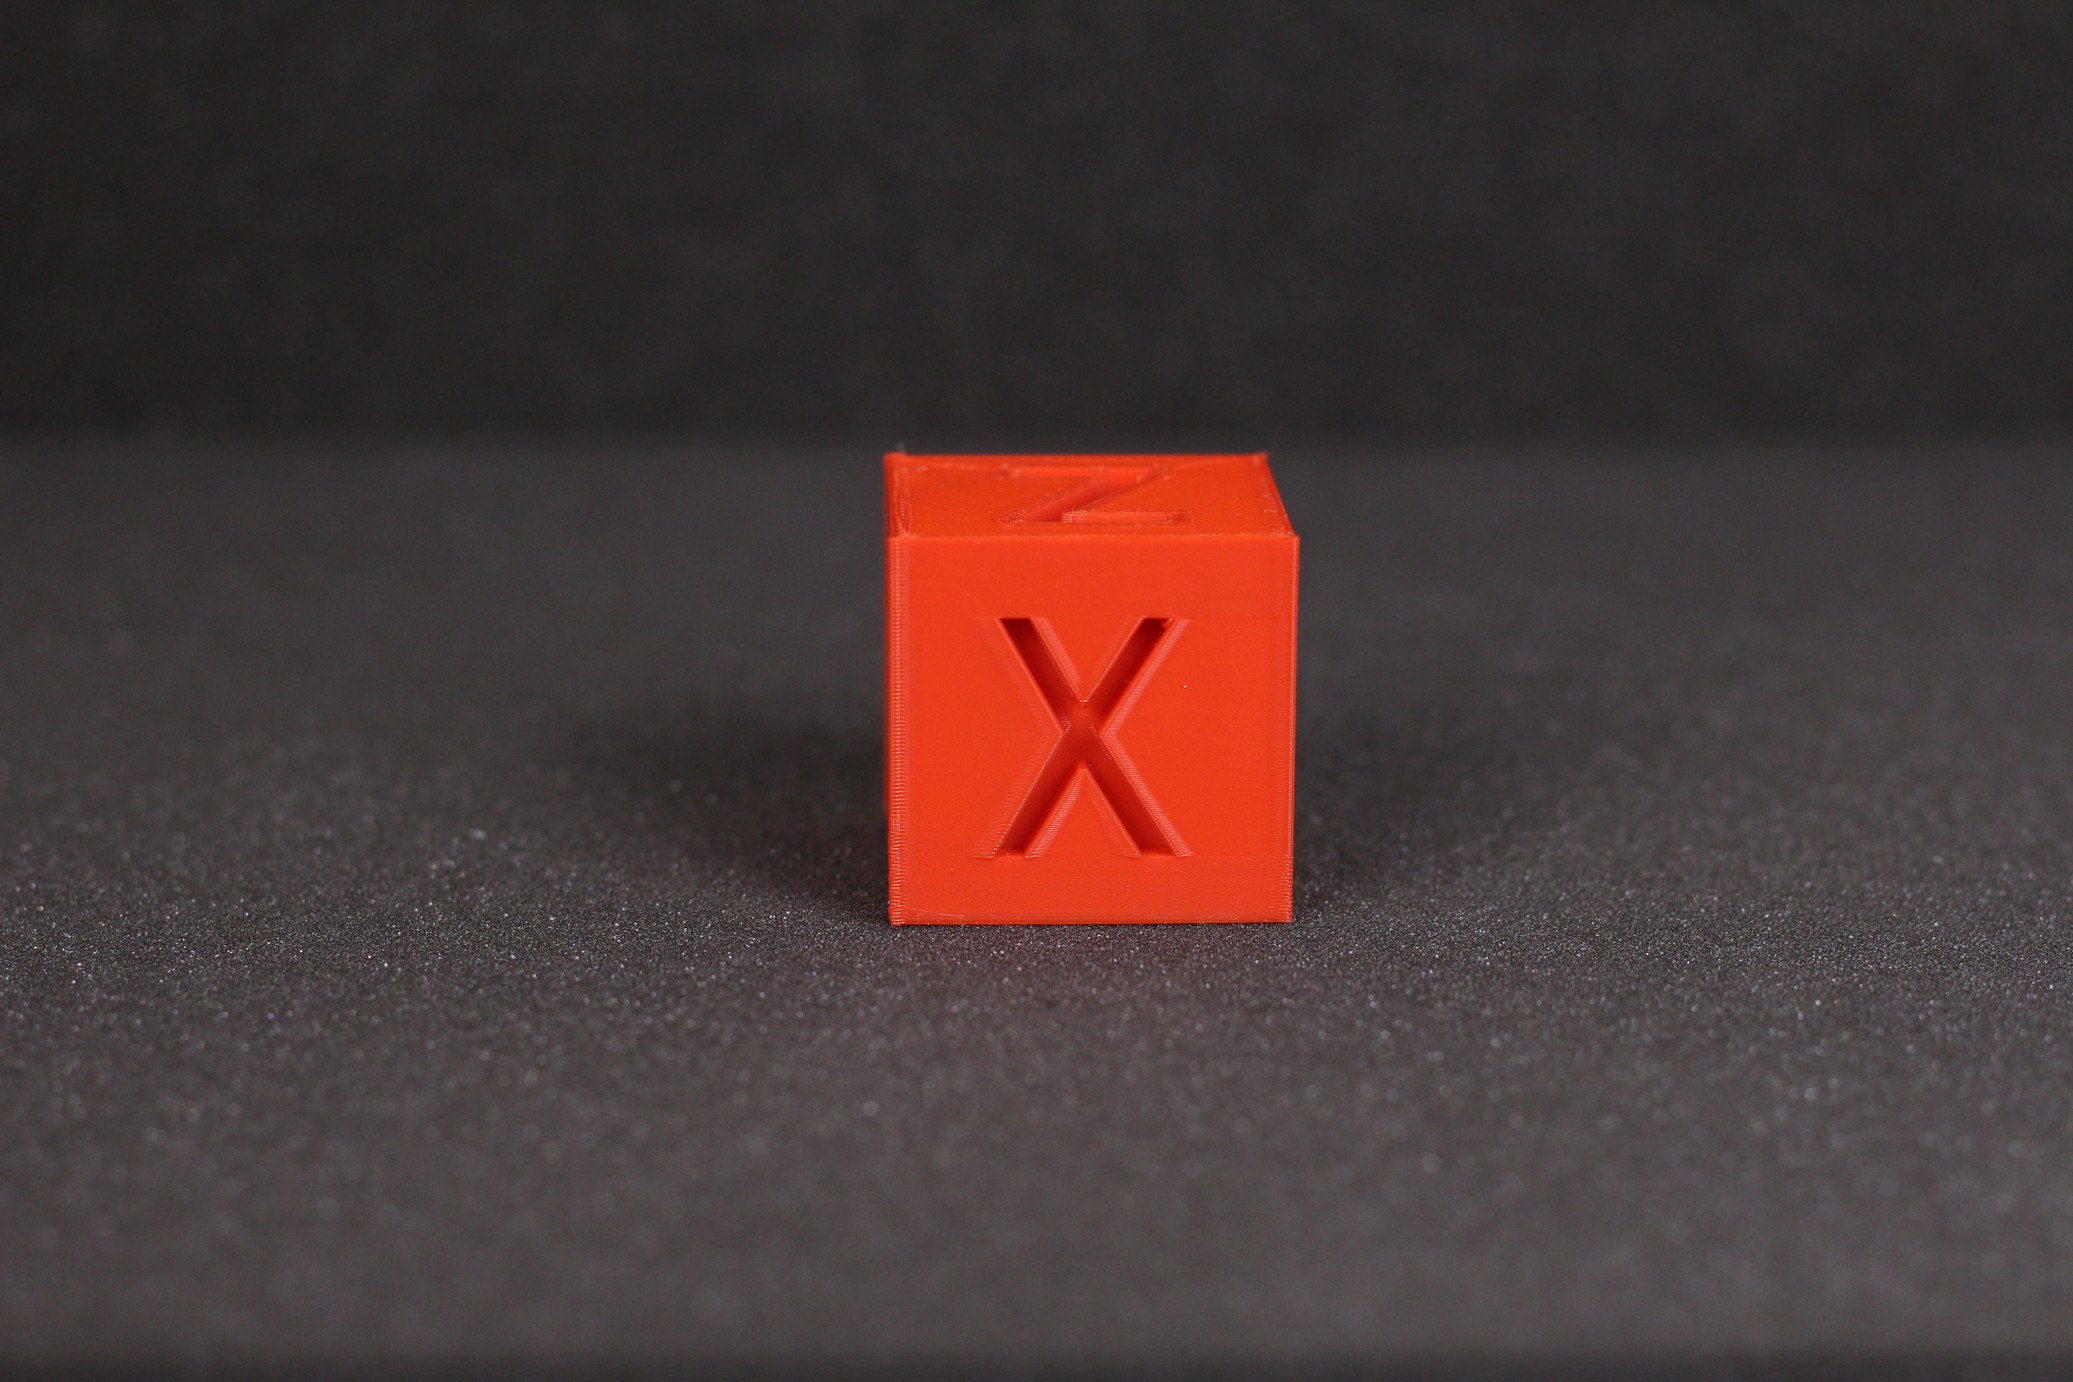
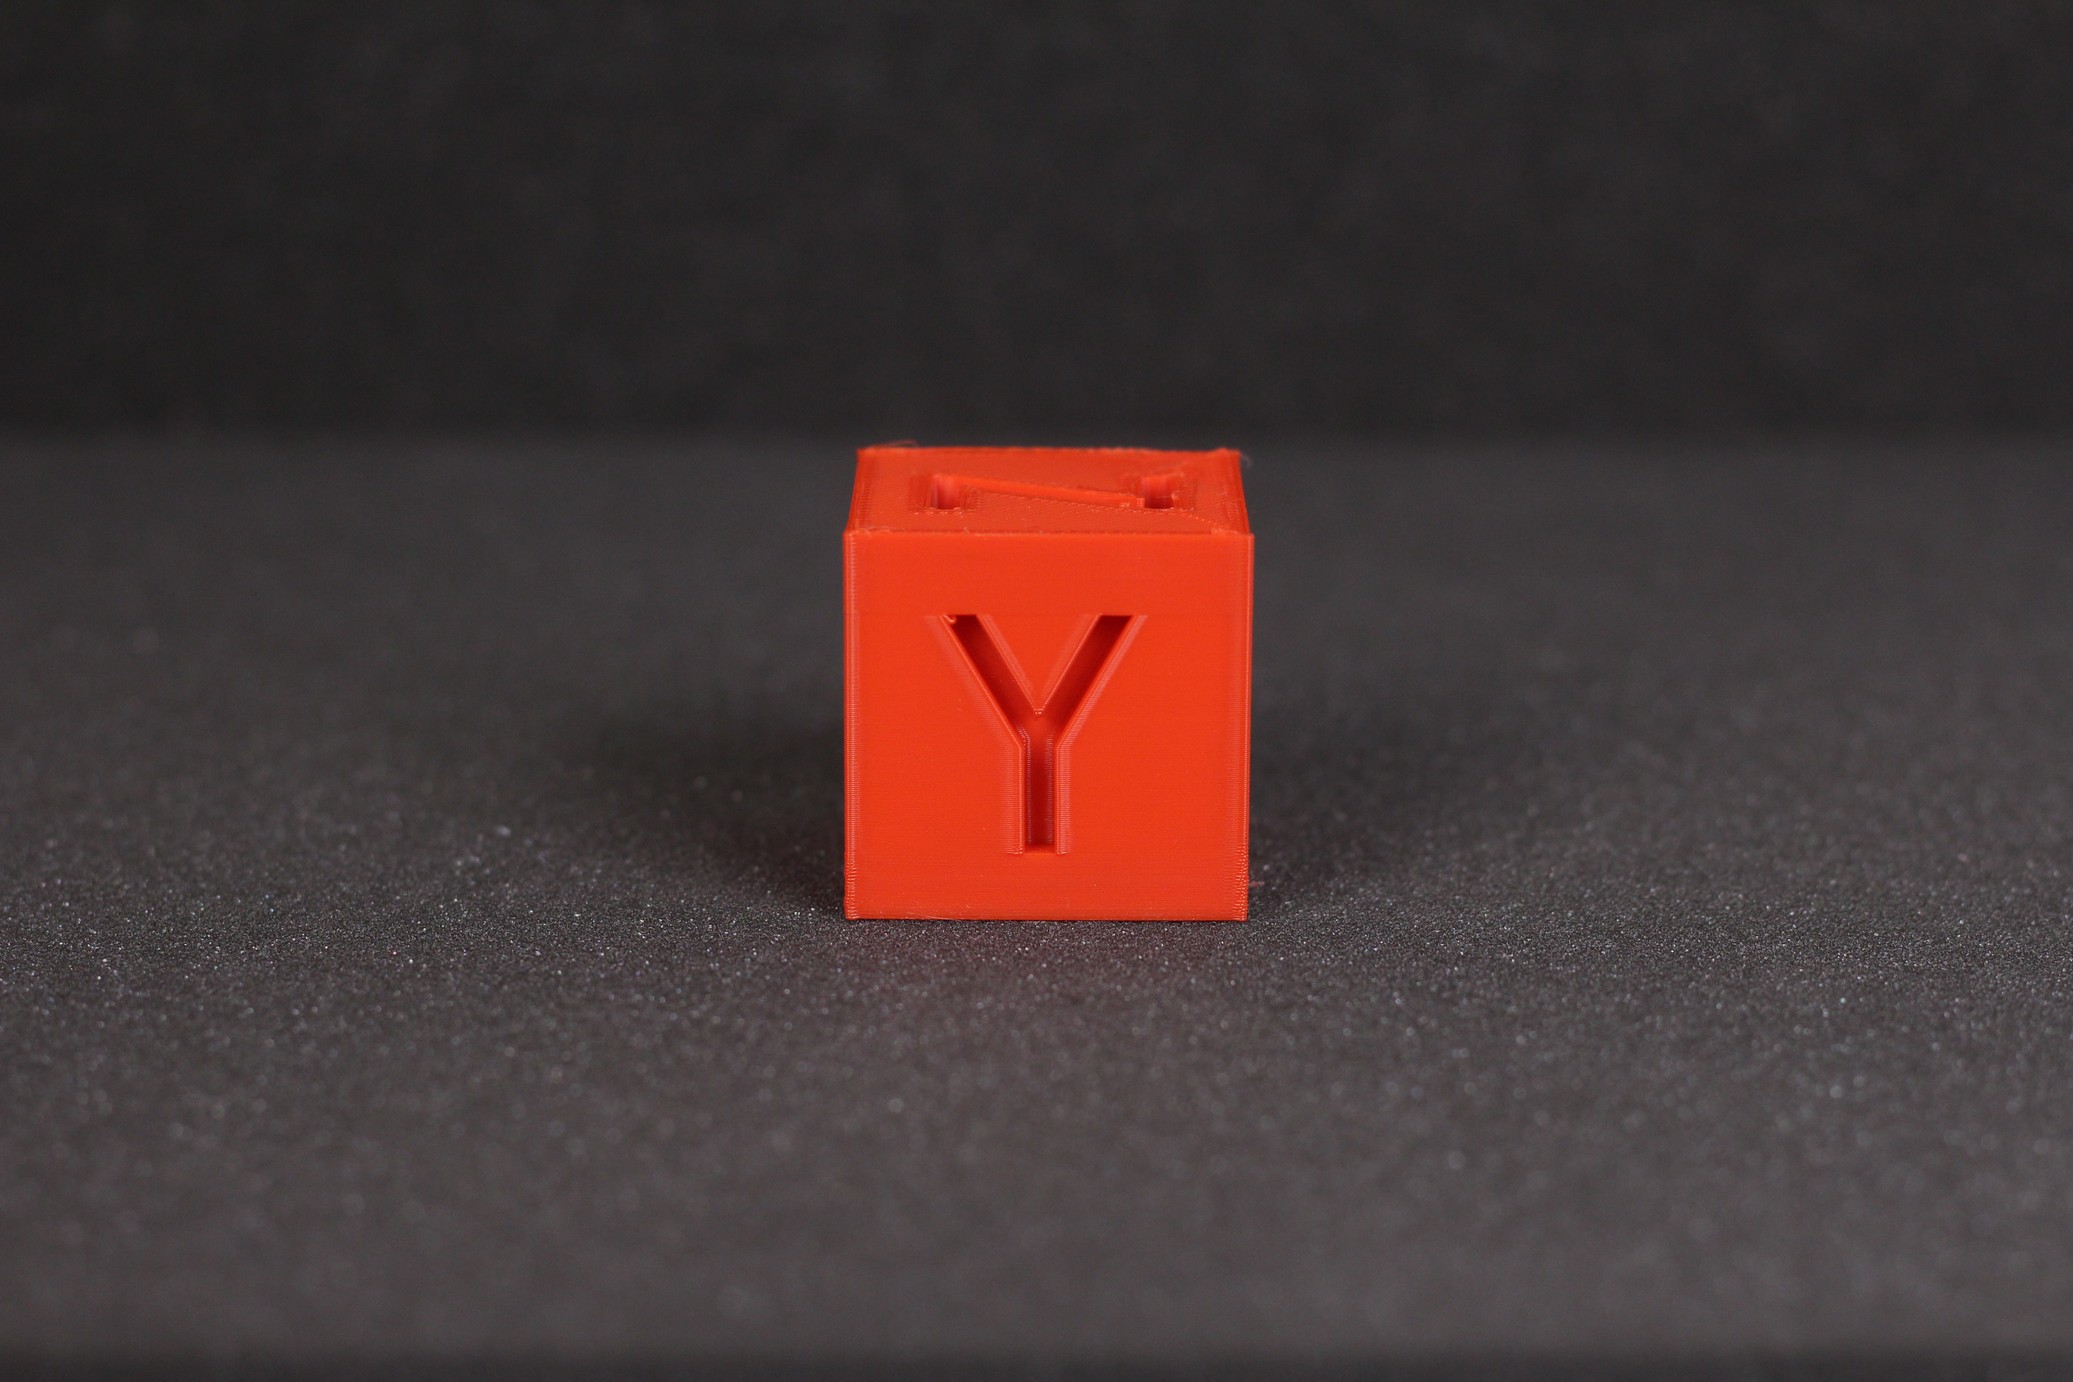
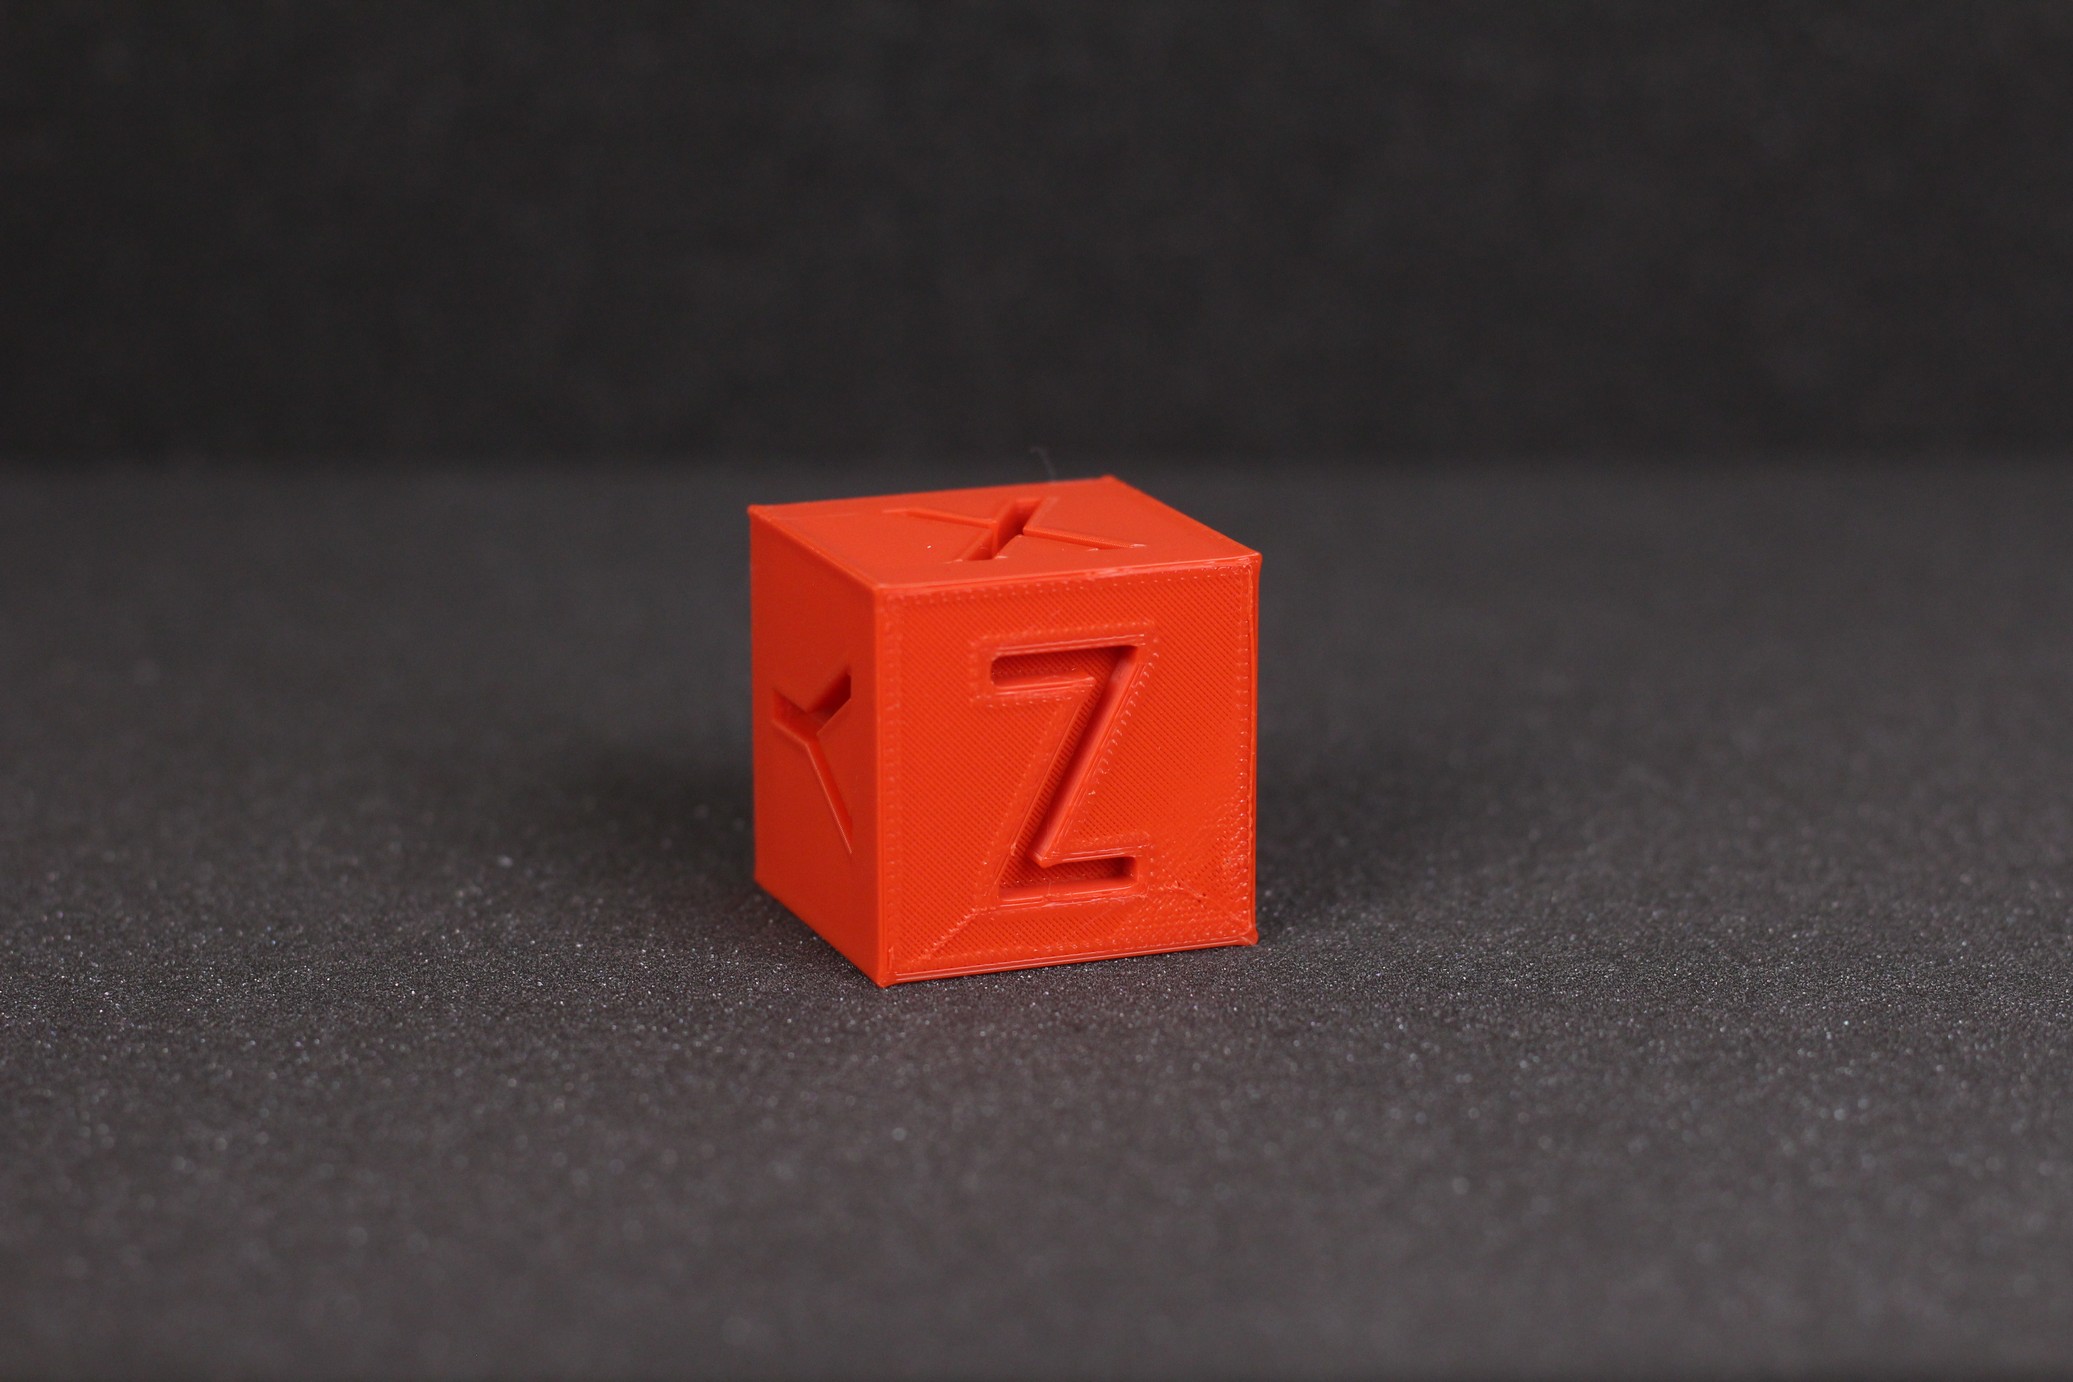
200% Calibration Cube
I also printed a 200% calibration cube because it’s an easy benchmark when it comes to layer consistency, dimensional accuracy and flow rate. The results are good, but if you look closer, you can see the need of Linear Advance being implemented in the firmware. Without it, we get those bulging corners on the print.
- Material: Sunlu Red PLA
- Layer Height: 0.2mm
- Nozzle Temperature: 205C
- Bed Temperature: 50C
- Print Speed: 50 mm/s
Voron Cube
I also printed a Voron Cube test model in PETG, to check a new spool of SUNLU filament. To my surprise, I needed to tune down the temperature for this filament to 215C which is lower than my usual ~235C. Either way, the print quality is decent, with the same bulging corners.
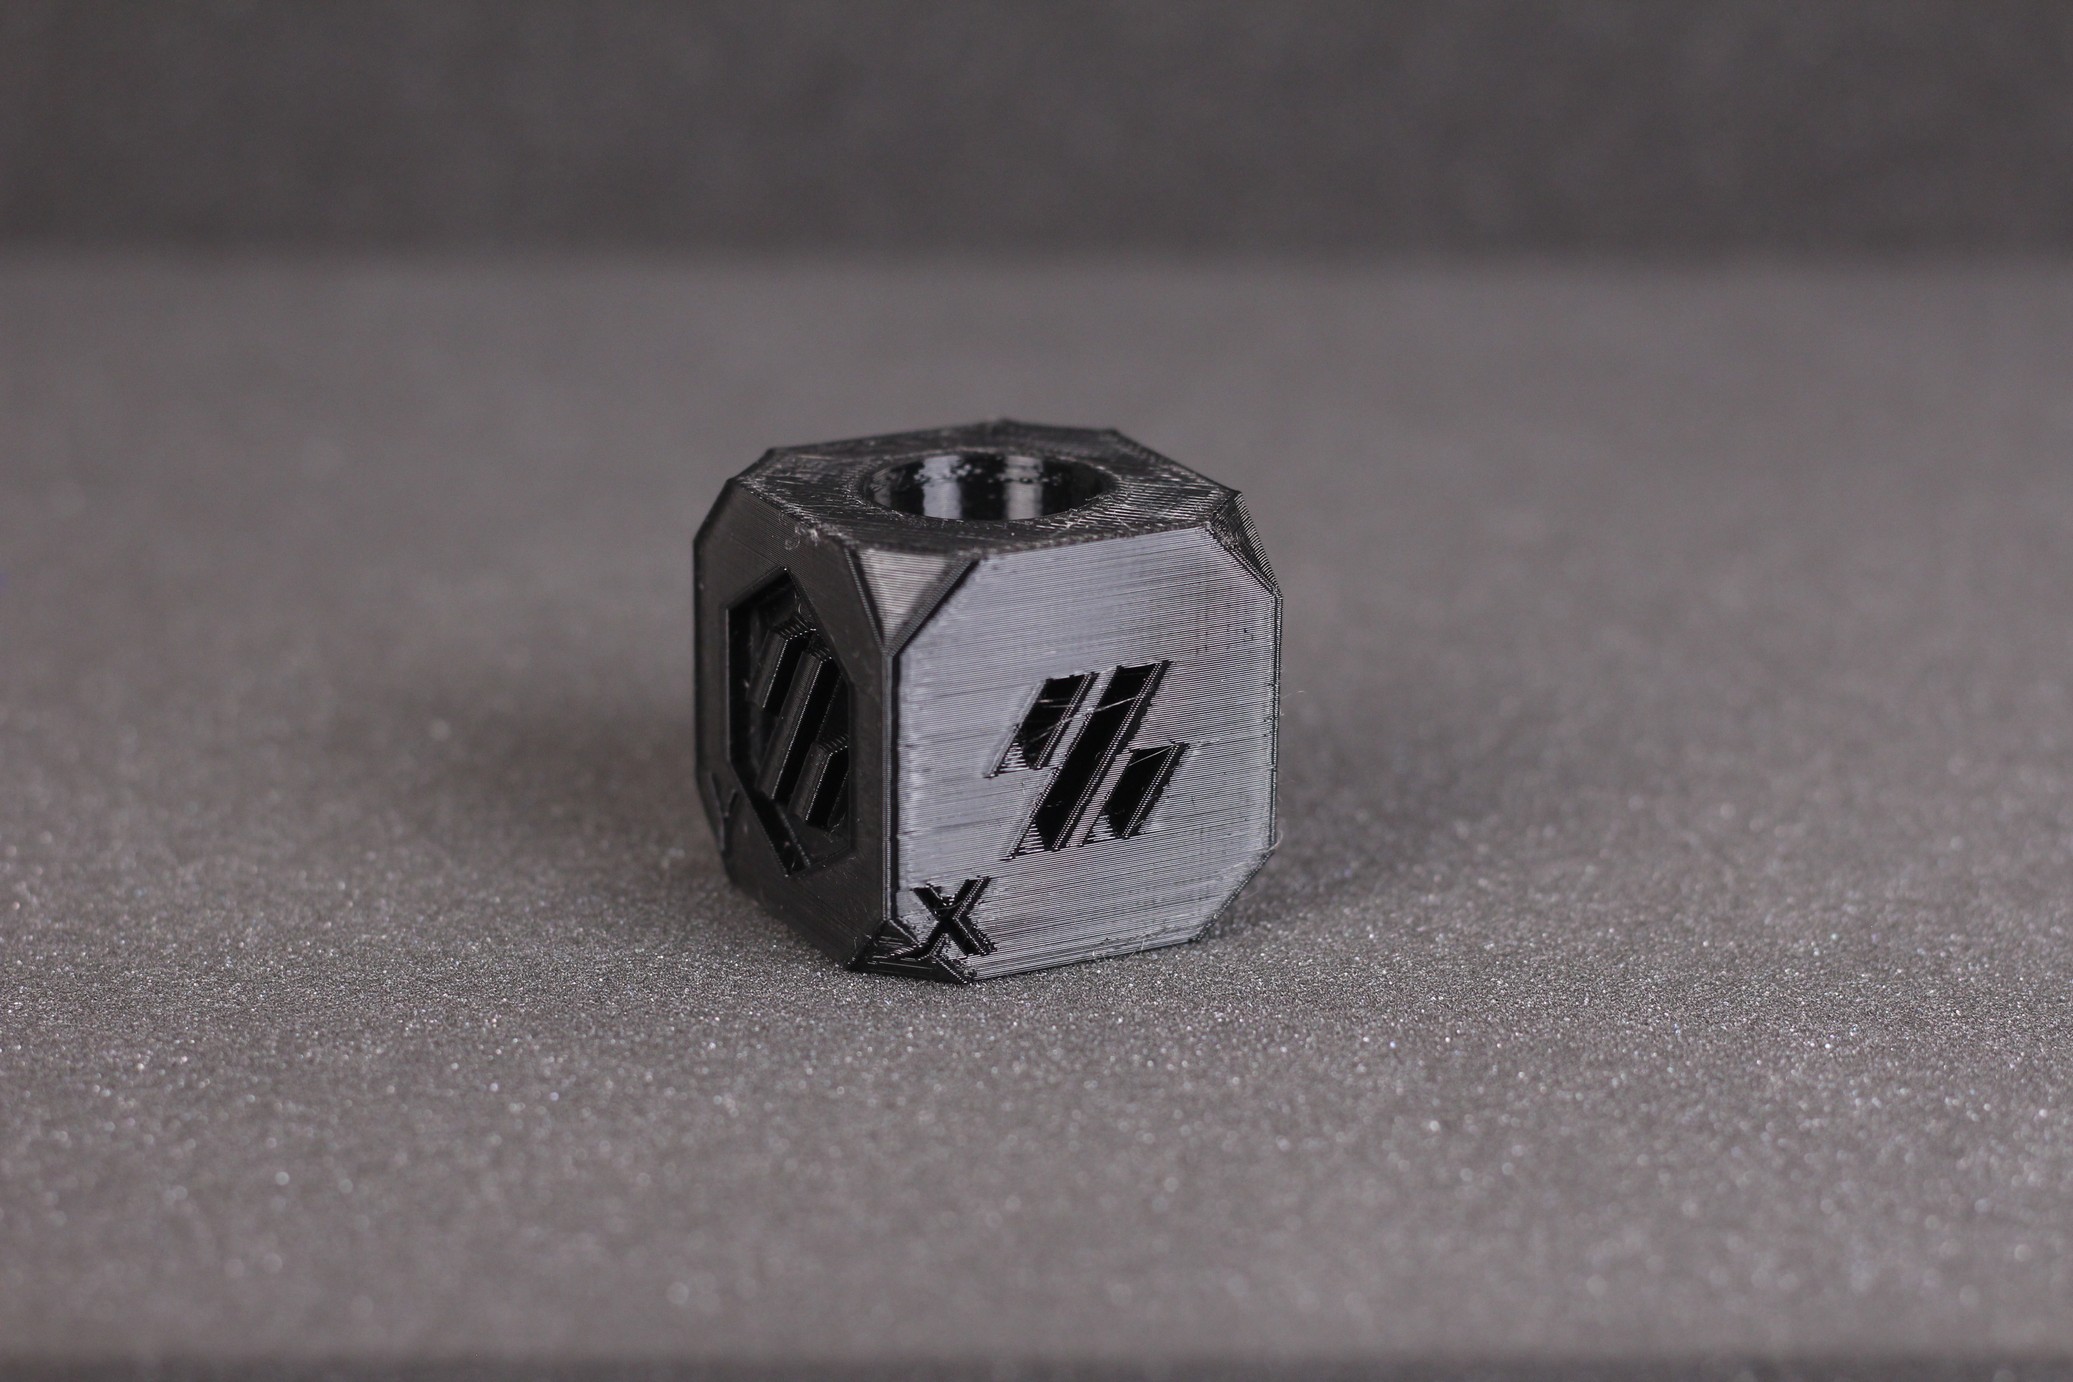
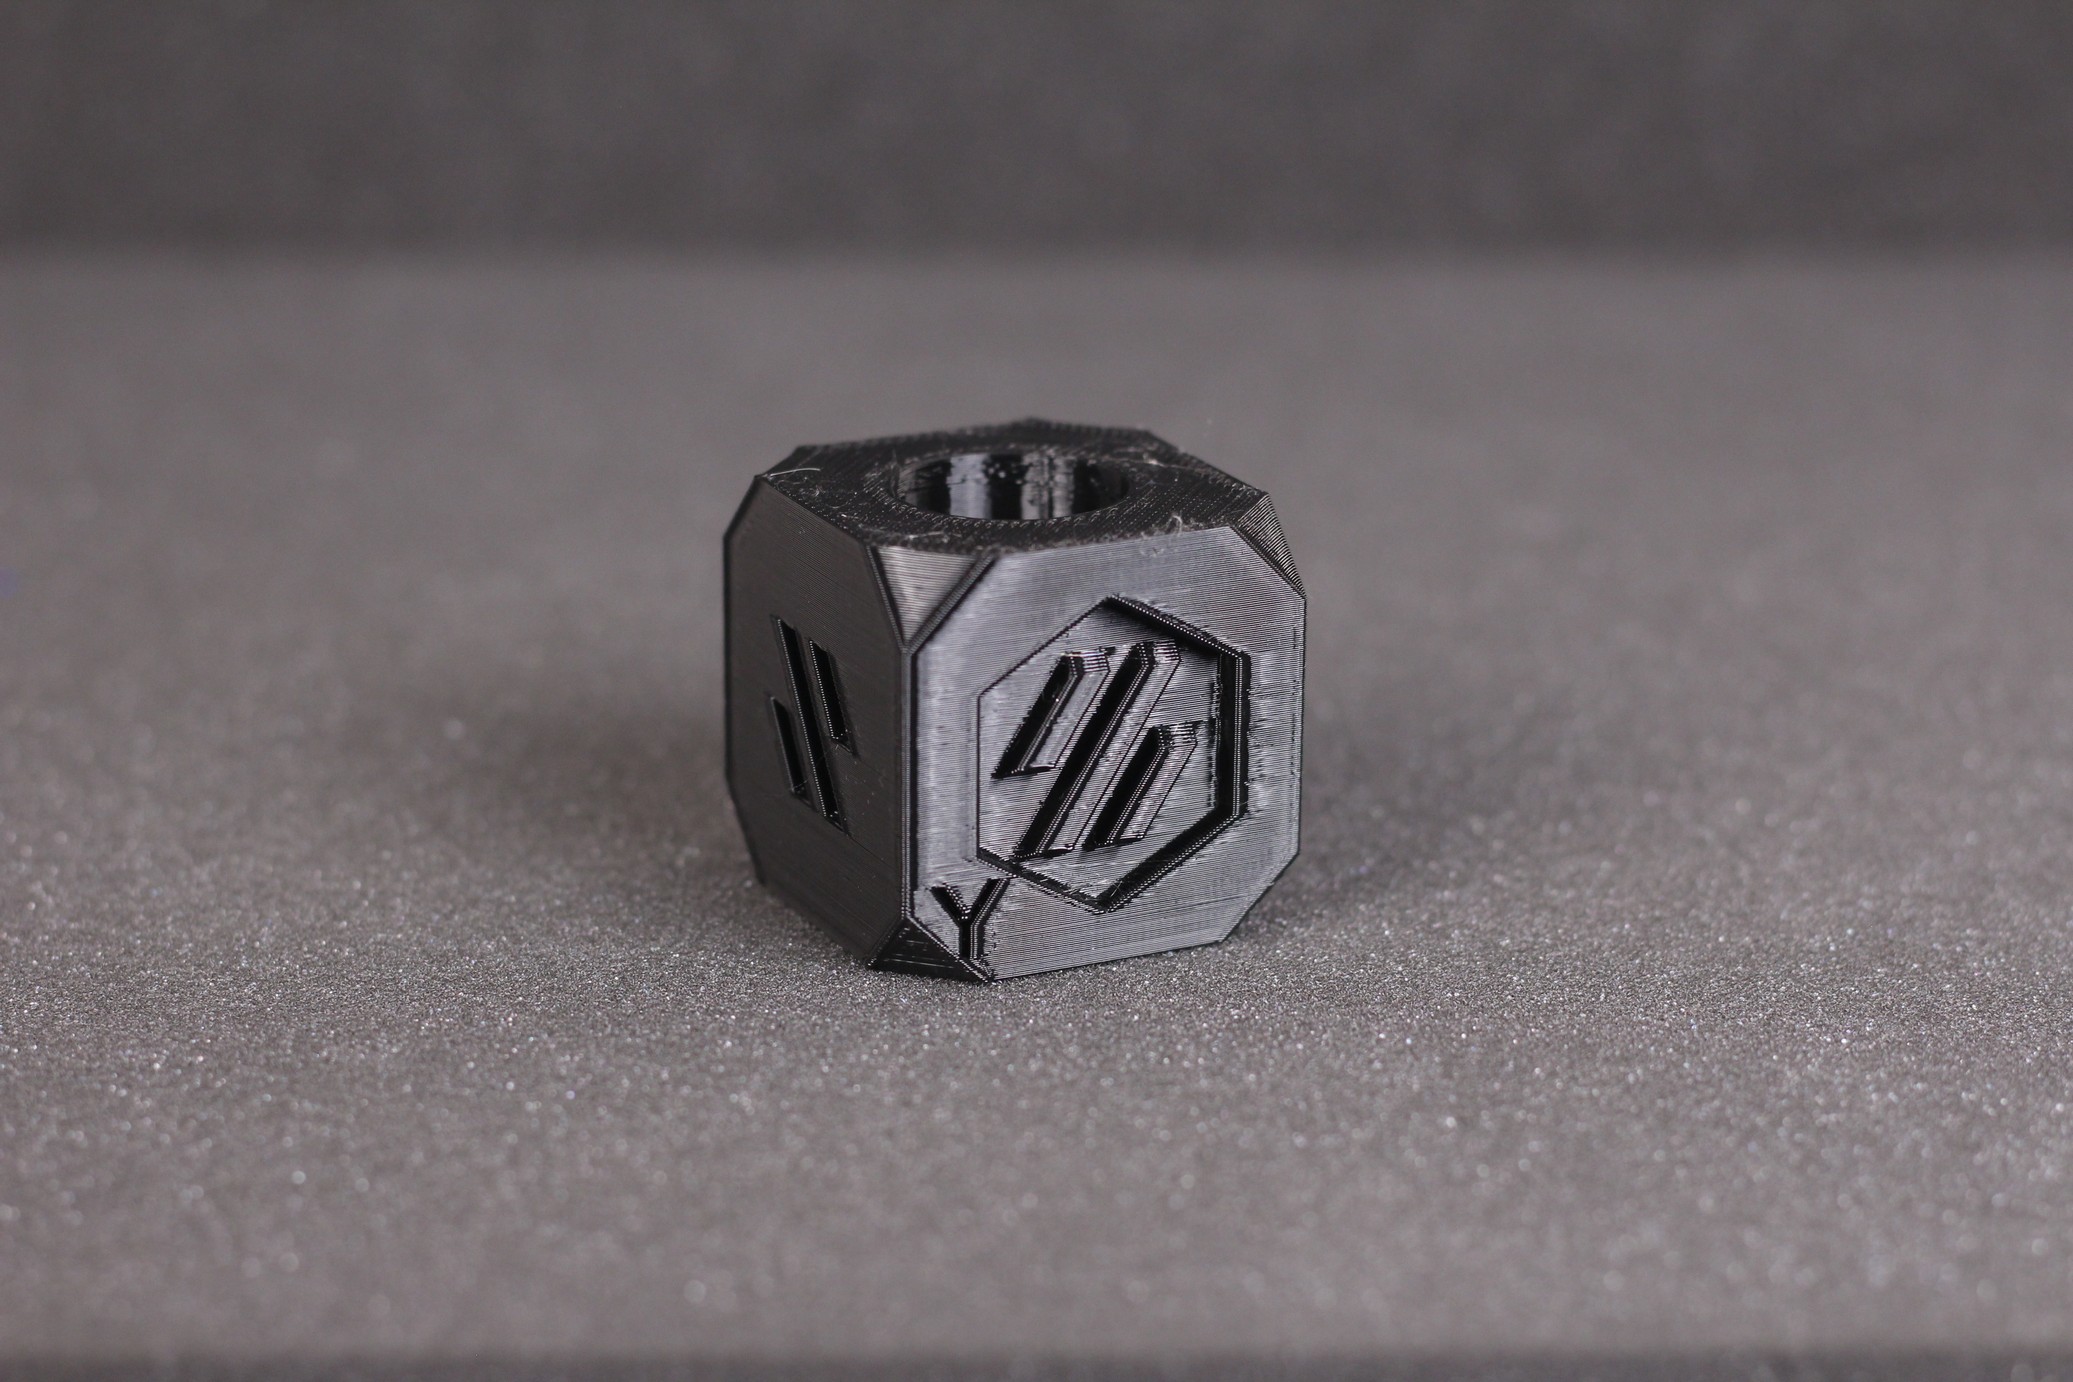
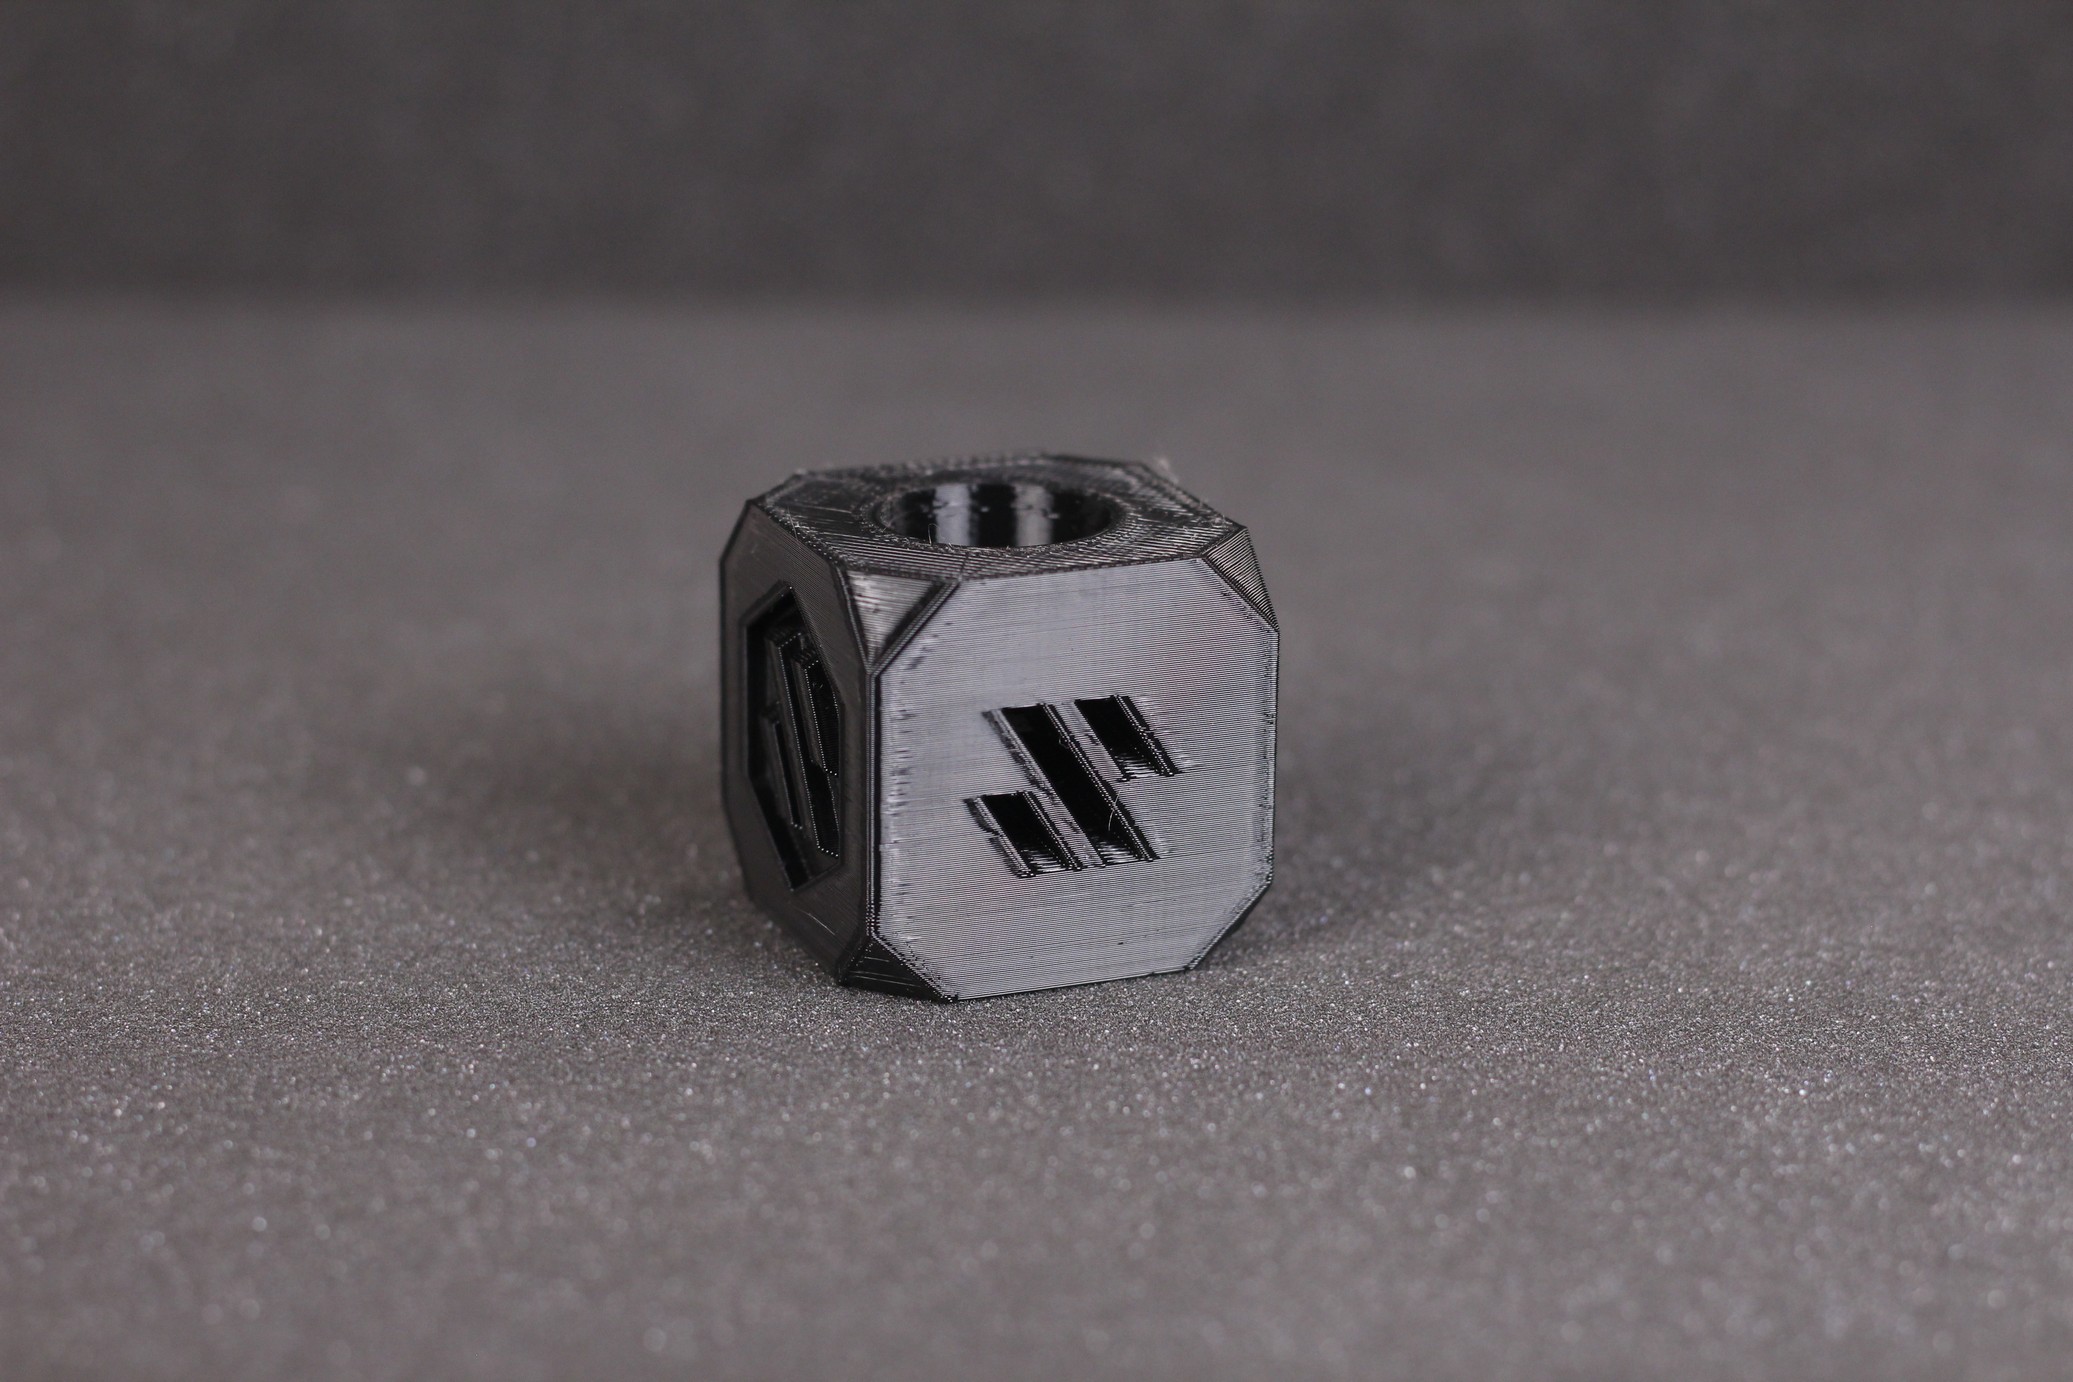
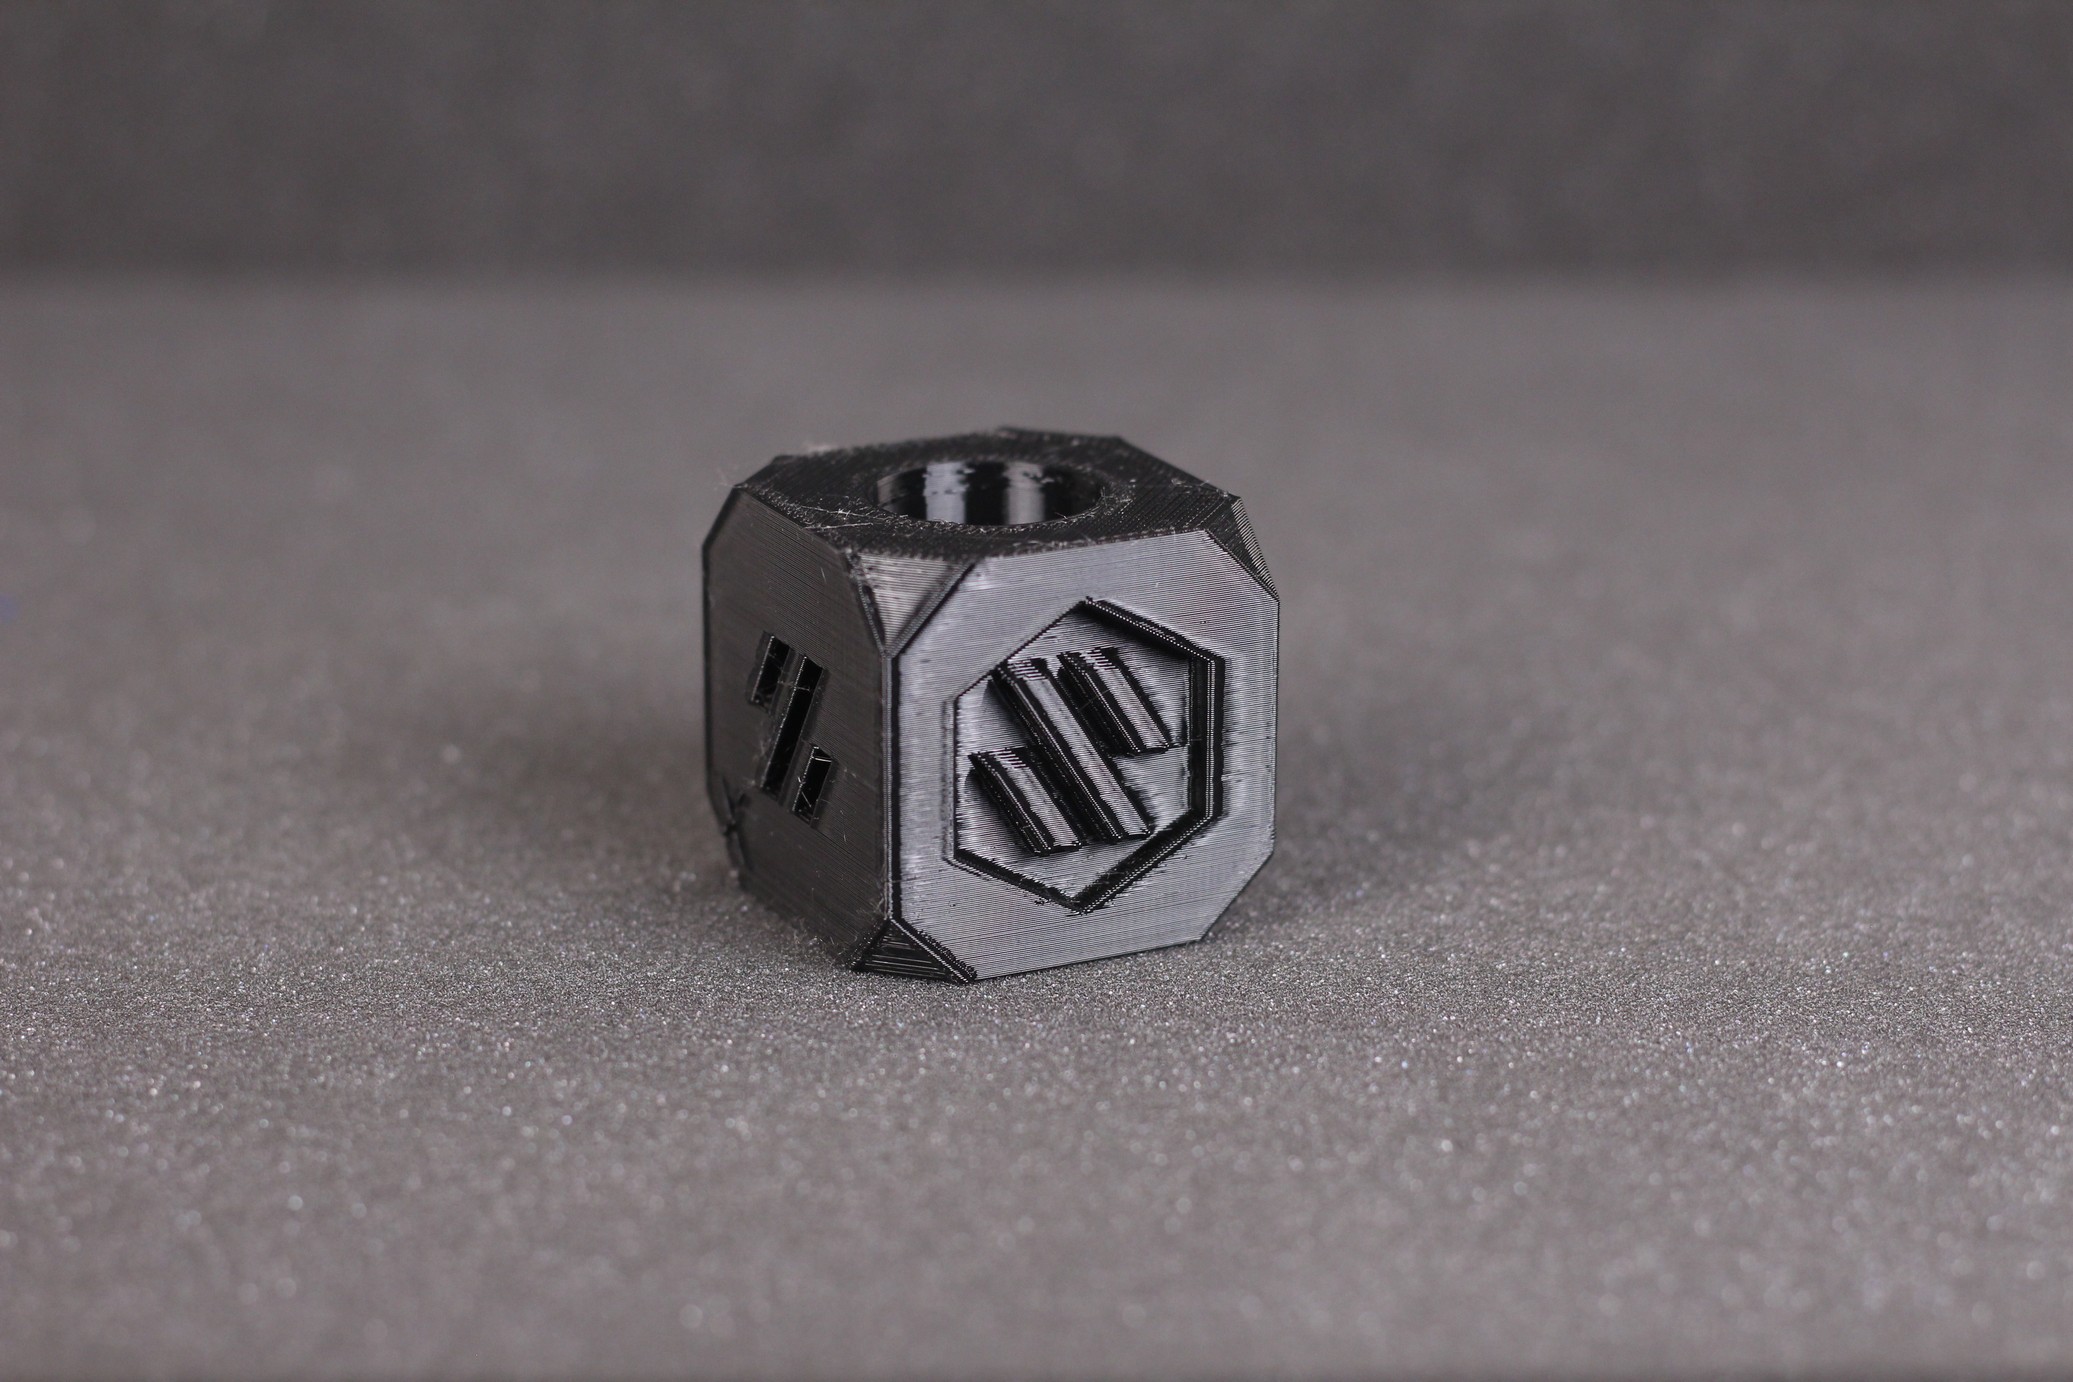
- Material: Sunlu Black PETG
- Layer Height: 0.2mm
- Nozzle Temperature: 215C
- Bed Temperature: 70C
- Print Speed: 40 mm/s
Torture Toaster
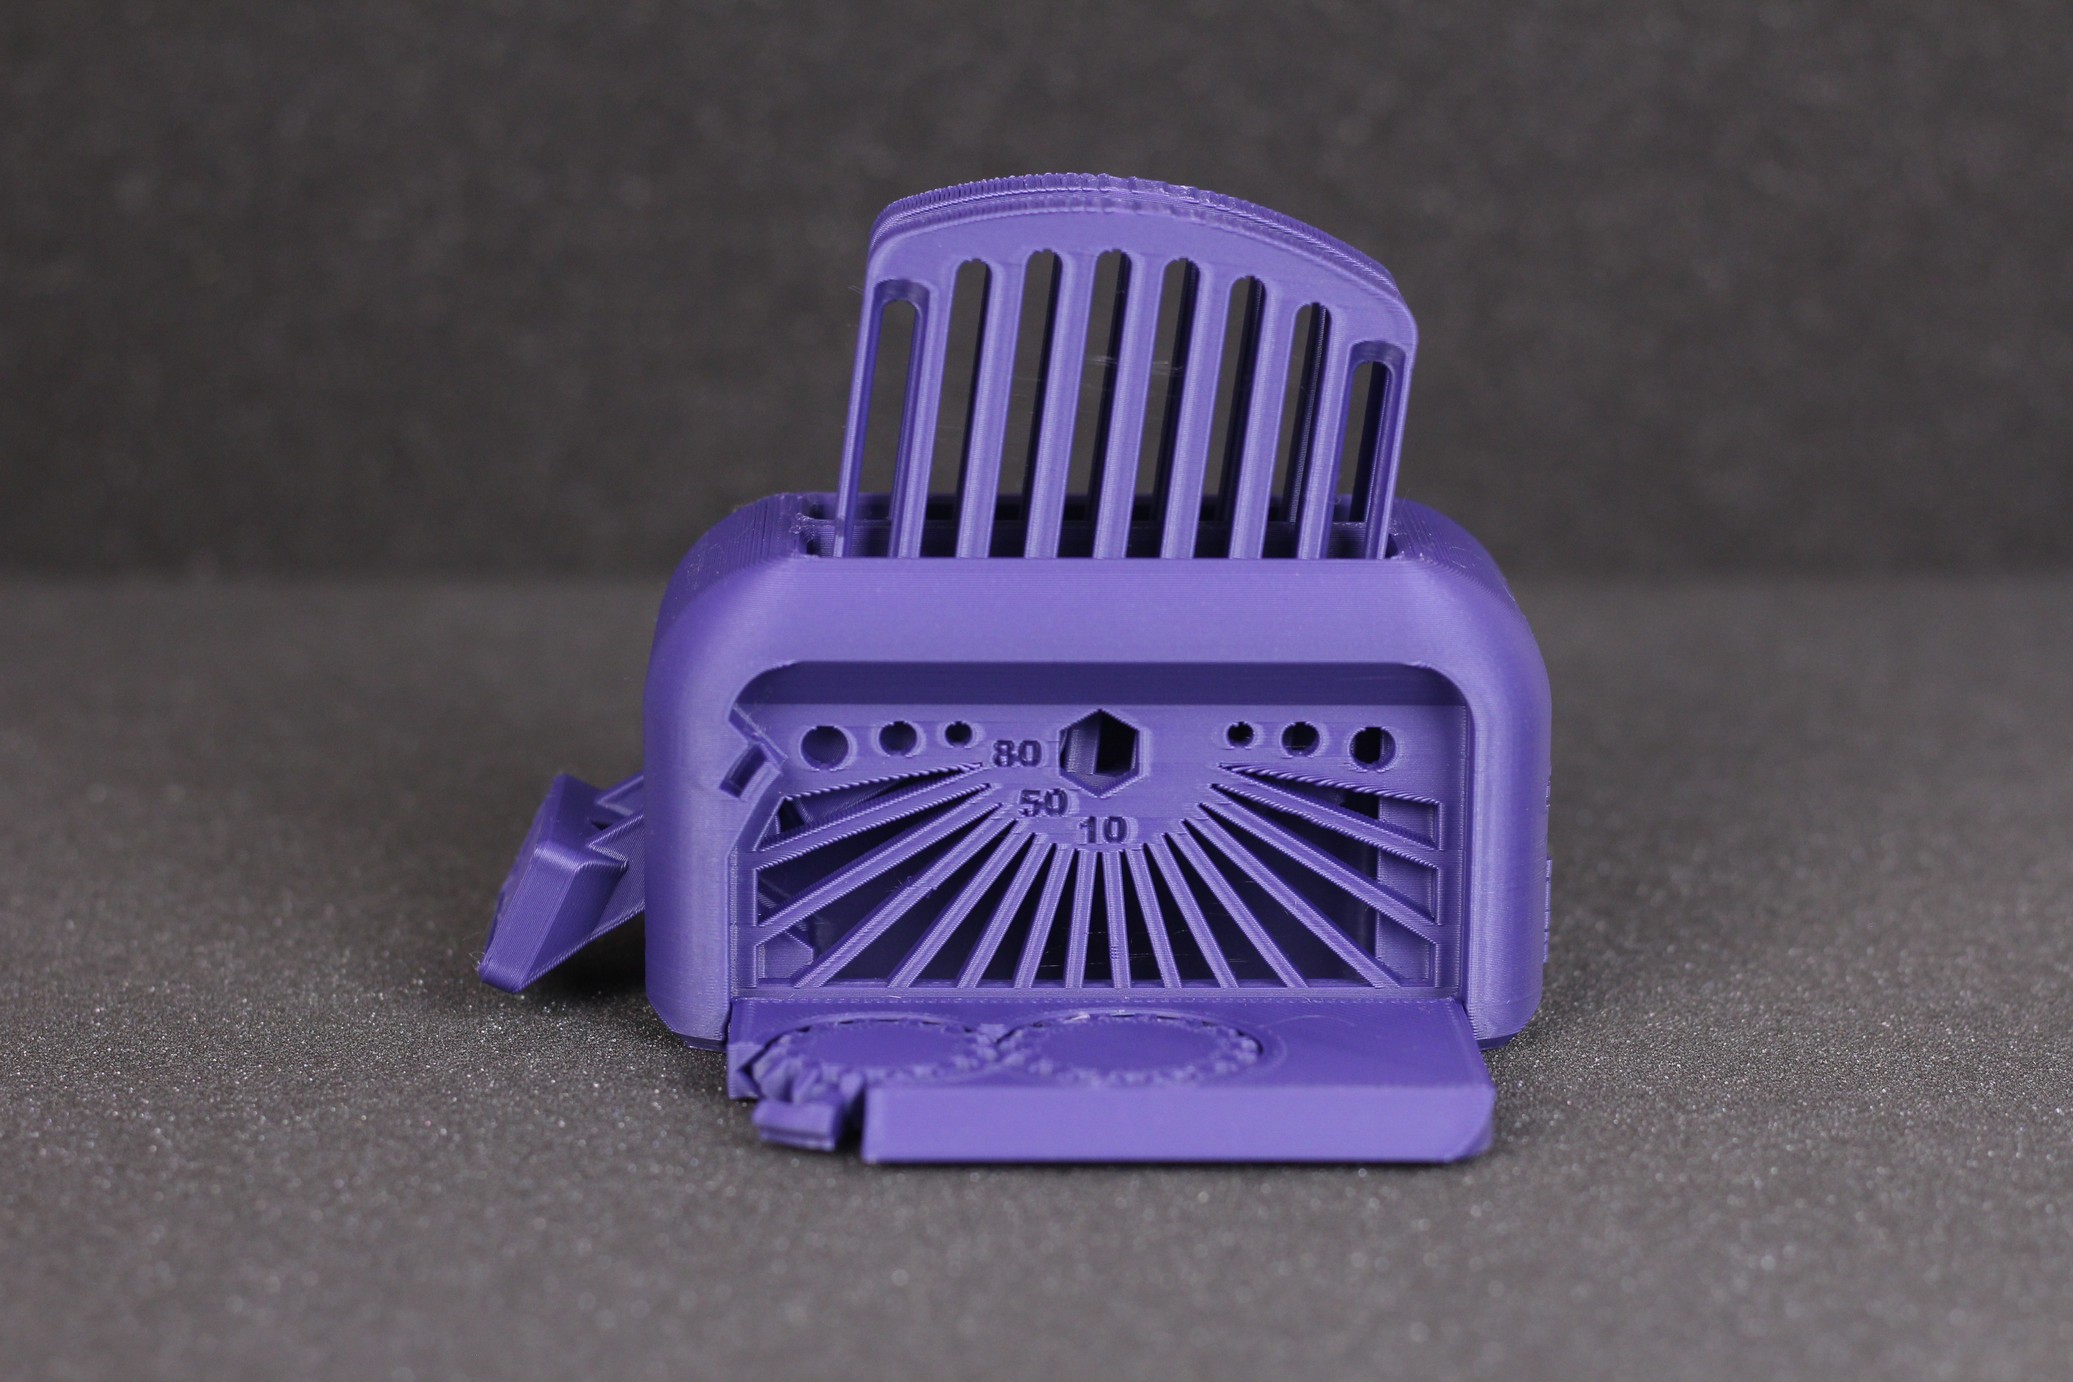
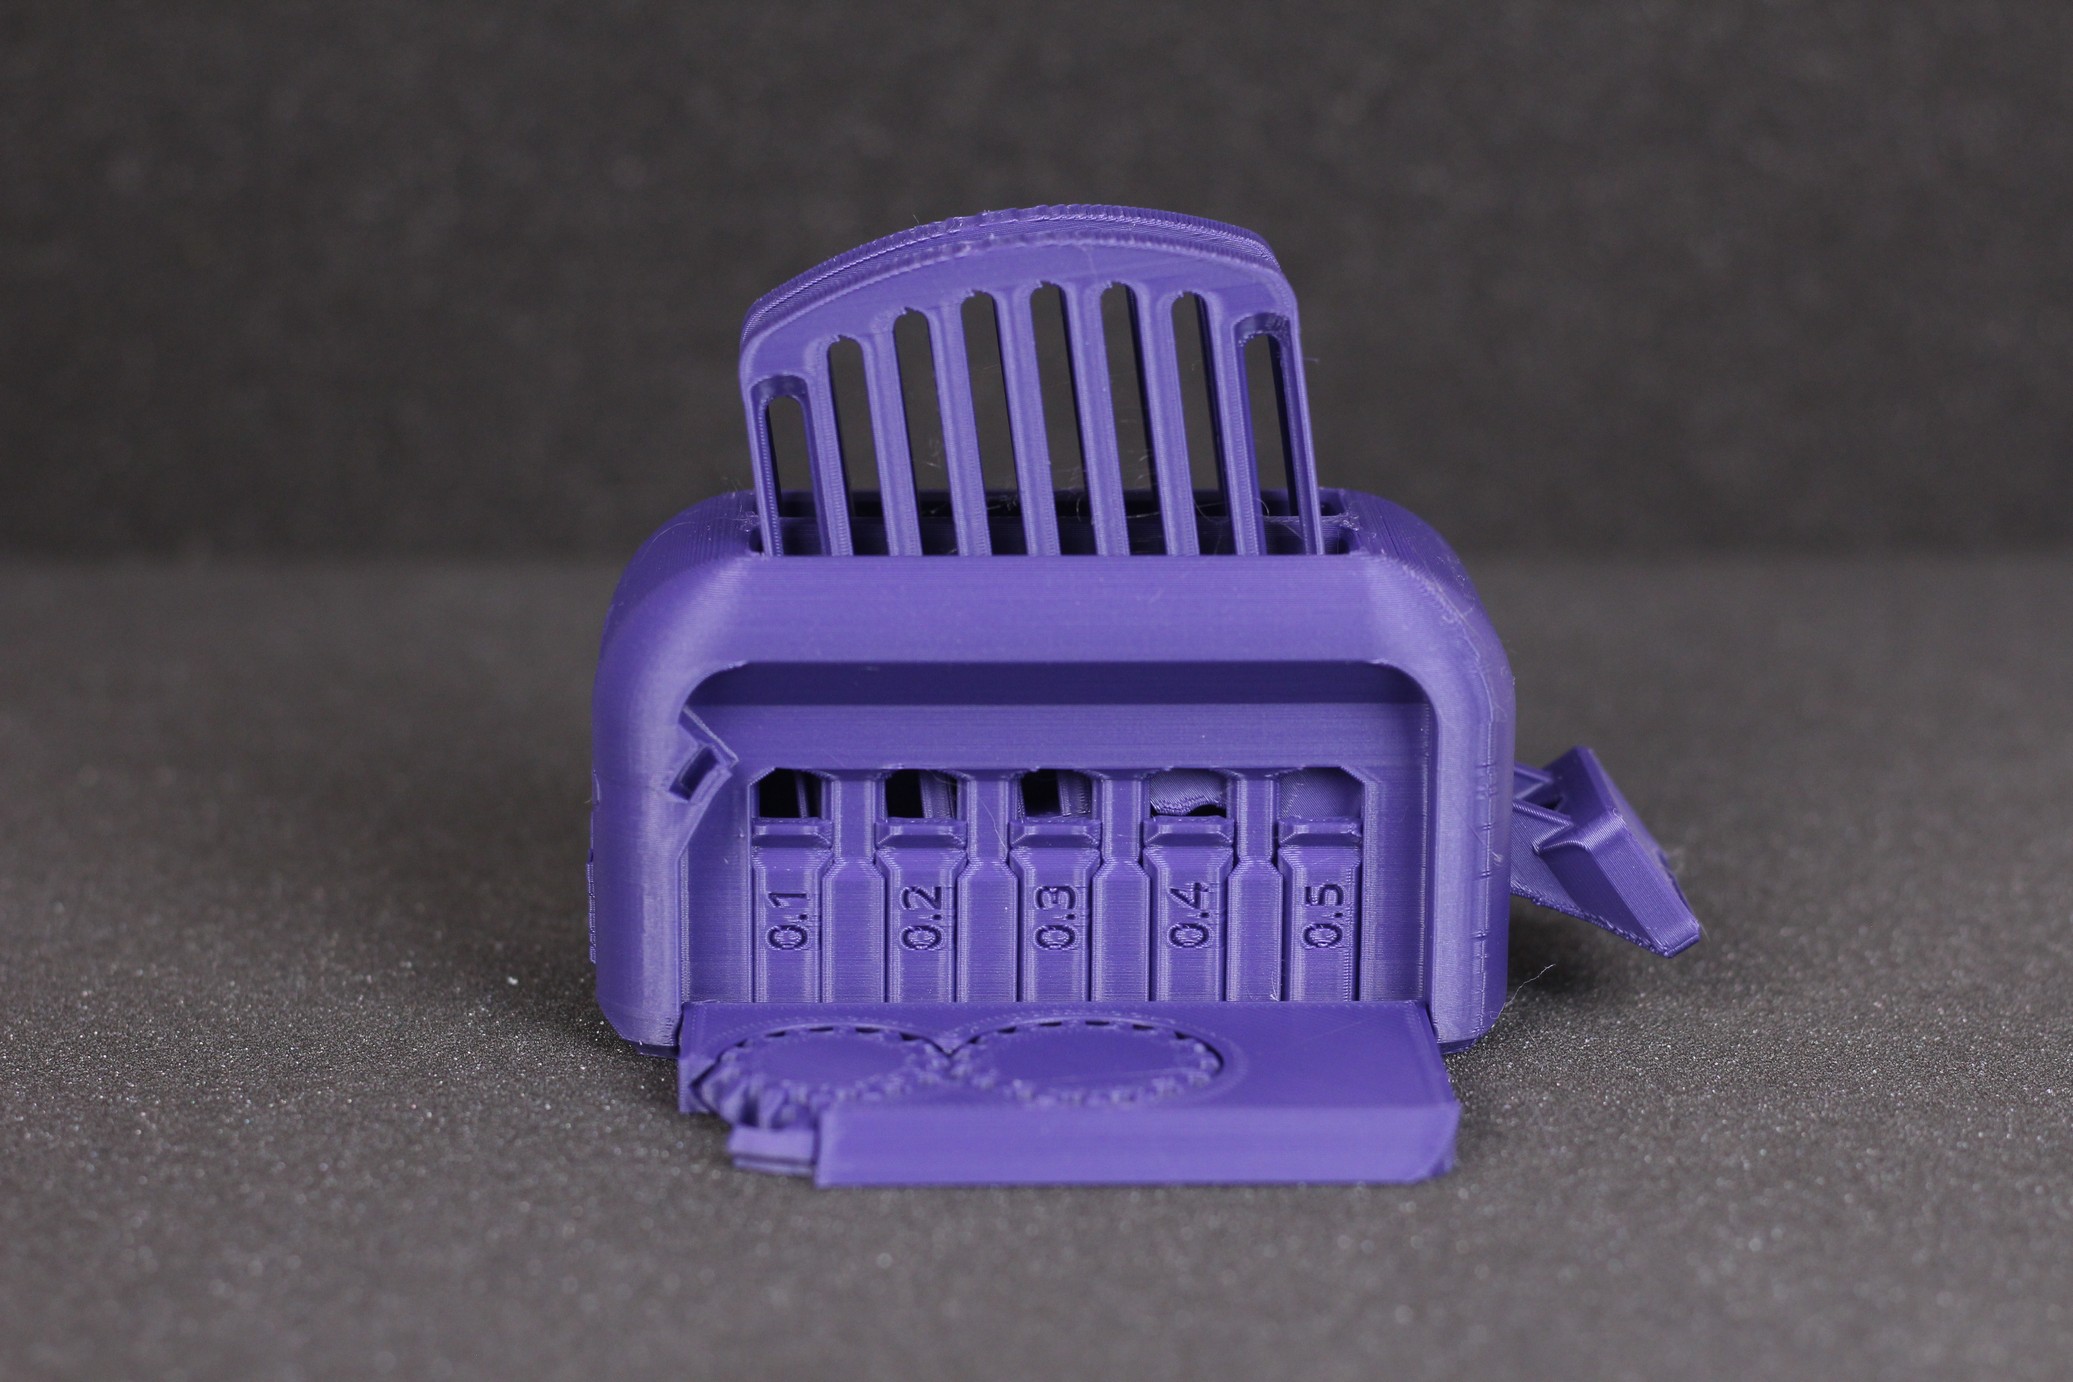
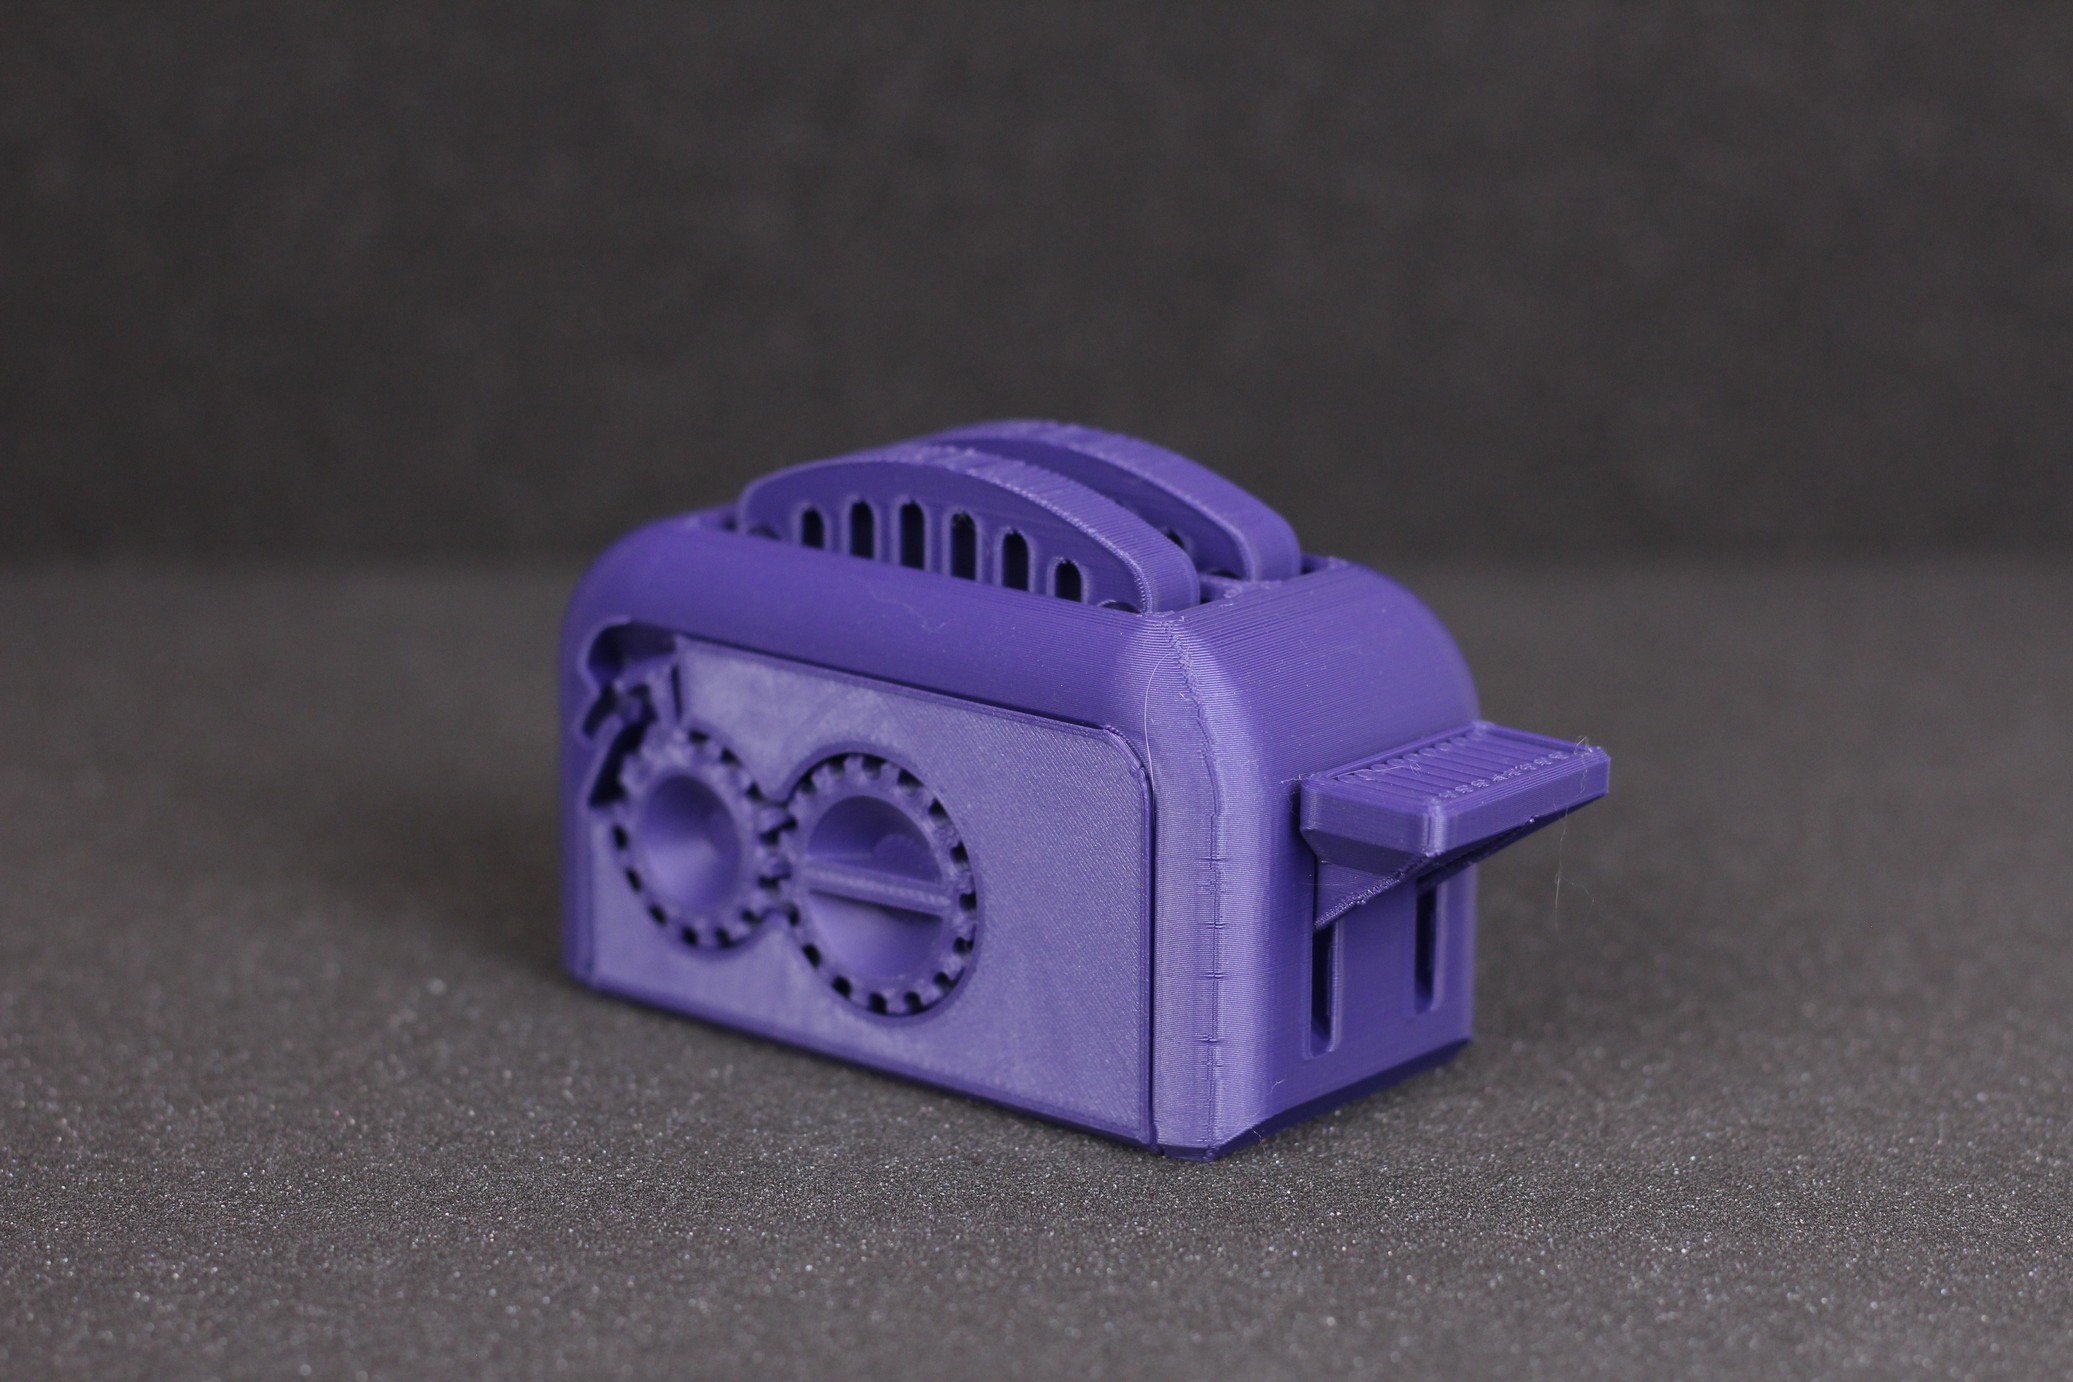
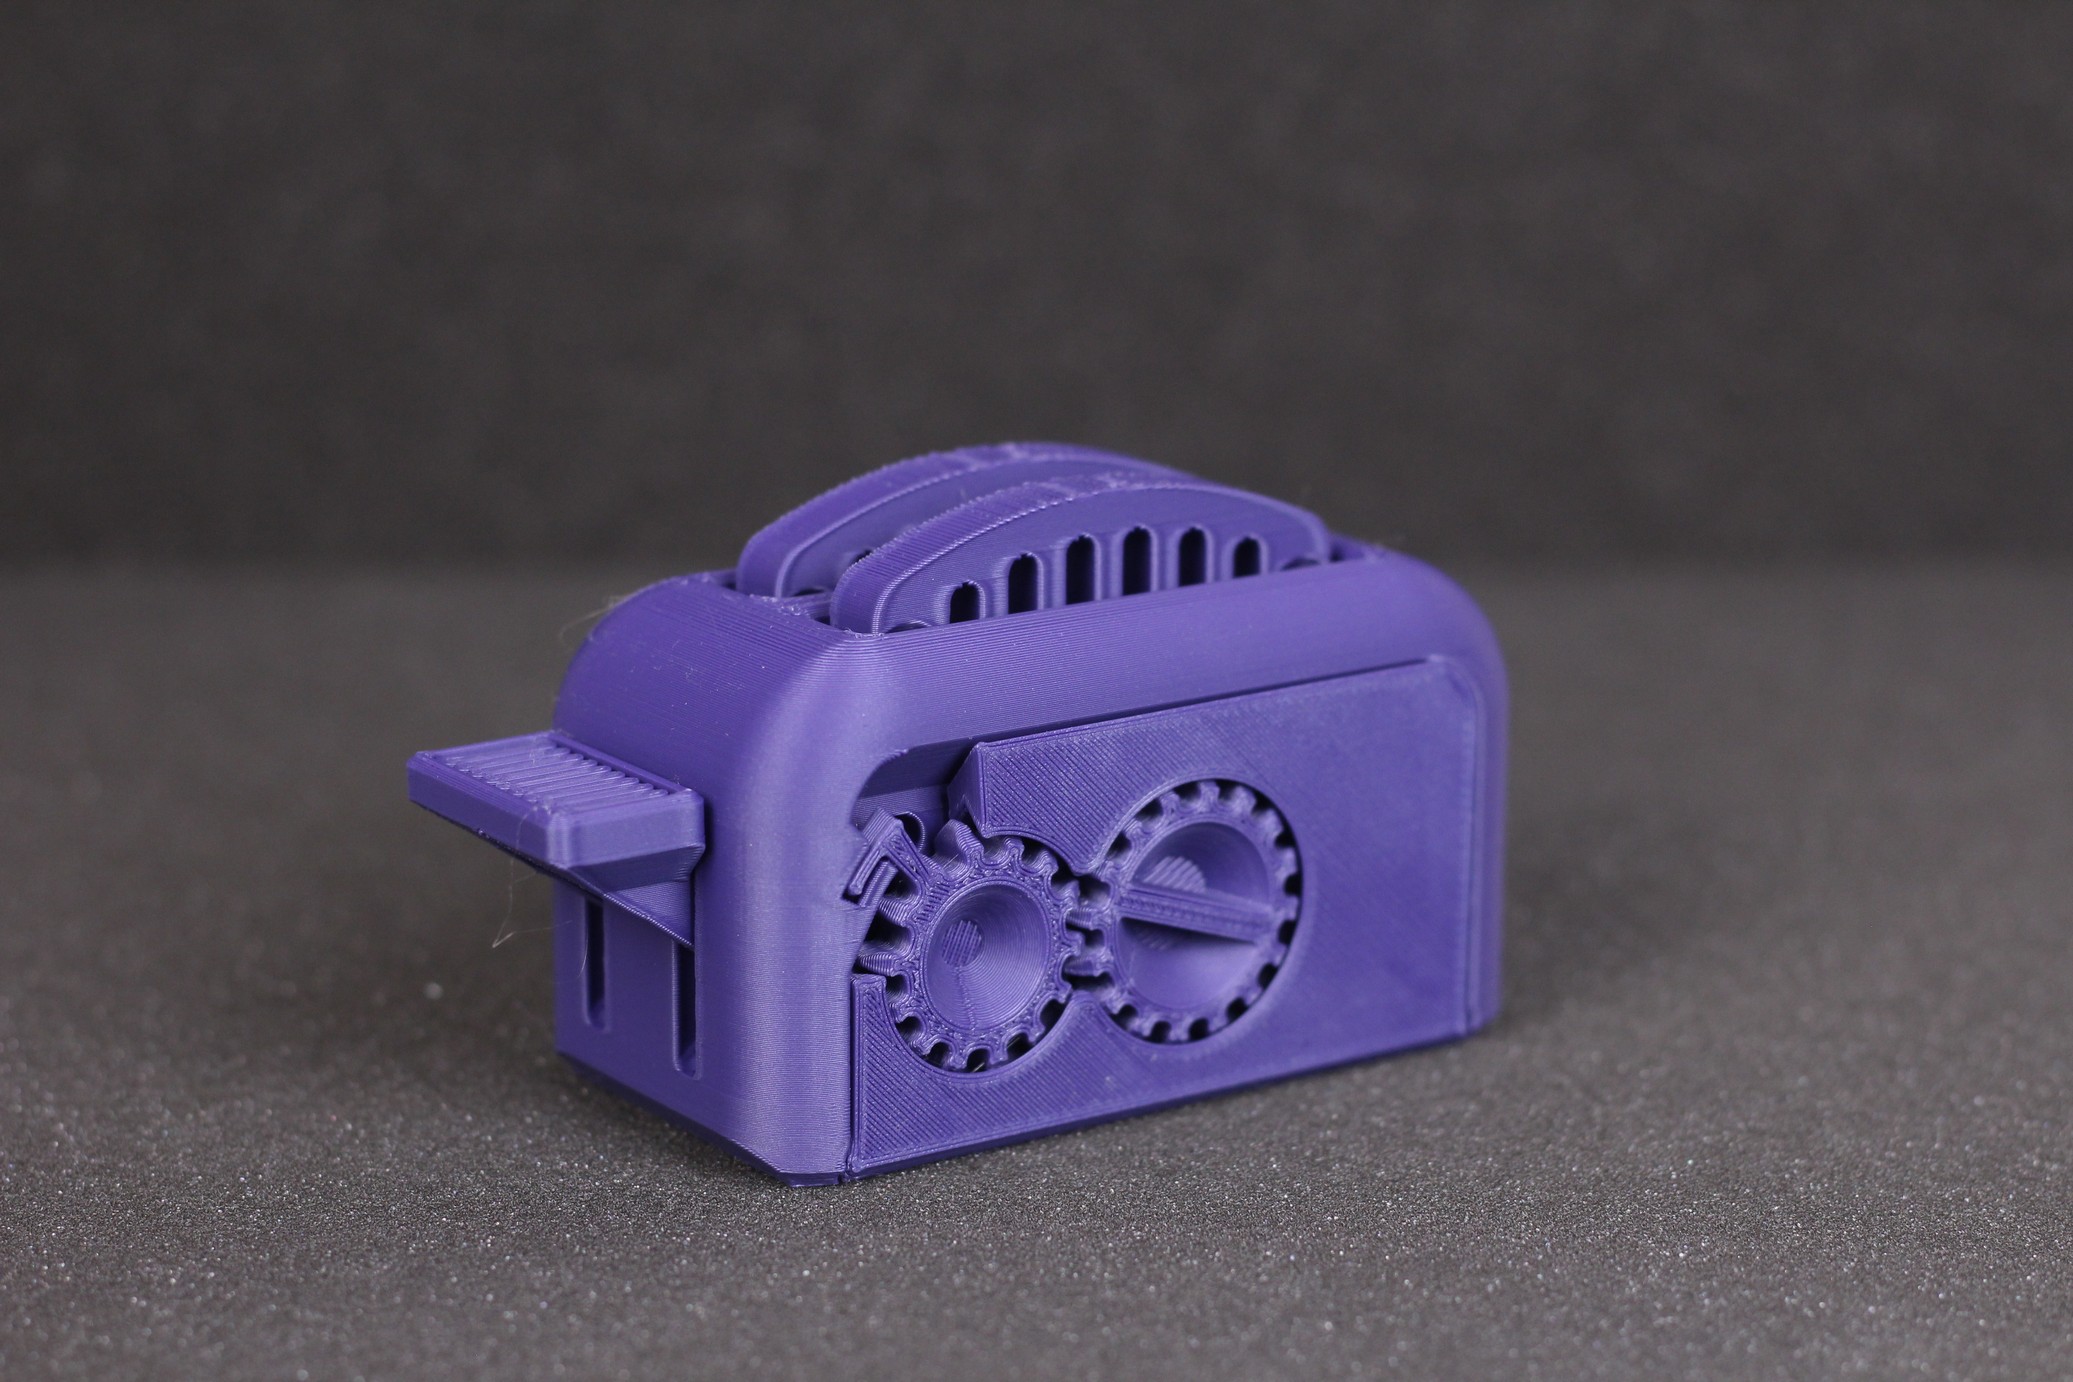
As I do on my 3D printer reviews, I also print the Clockspring 3D Torture Toaster which is a good benchmark for adhesion, overhang performance, cooling, dimensional accuracy and print quality. I am quite happy with how this model turned out. Good overhang quality and I was able to move the 0.4mm tolerance flag. The rest of the flags are also printed right, but because of that bulging issue, they fused with the model. I will repeat the test after enabling Linear Advance, or after I move to Klipper firmware.
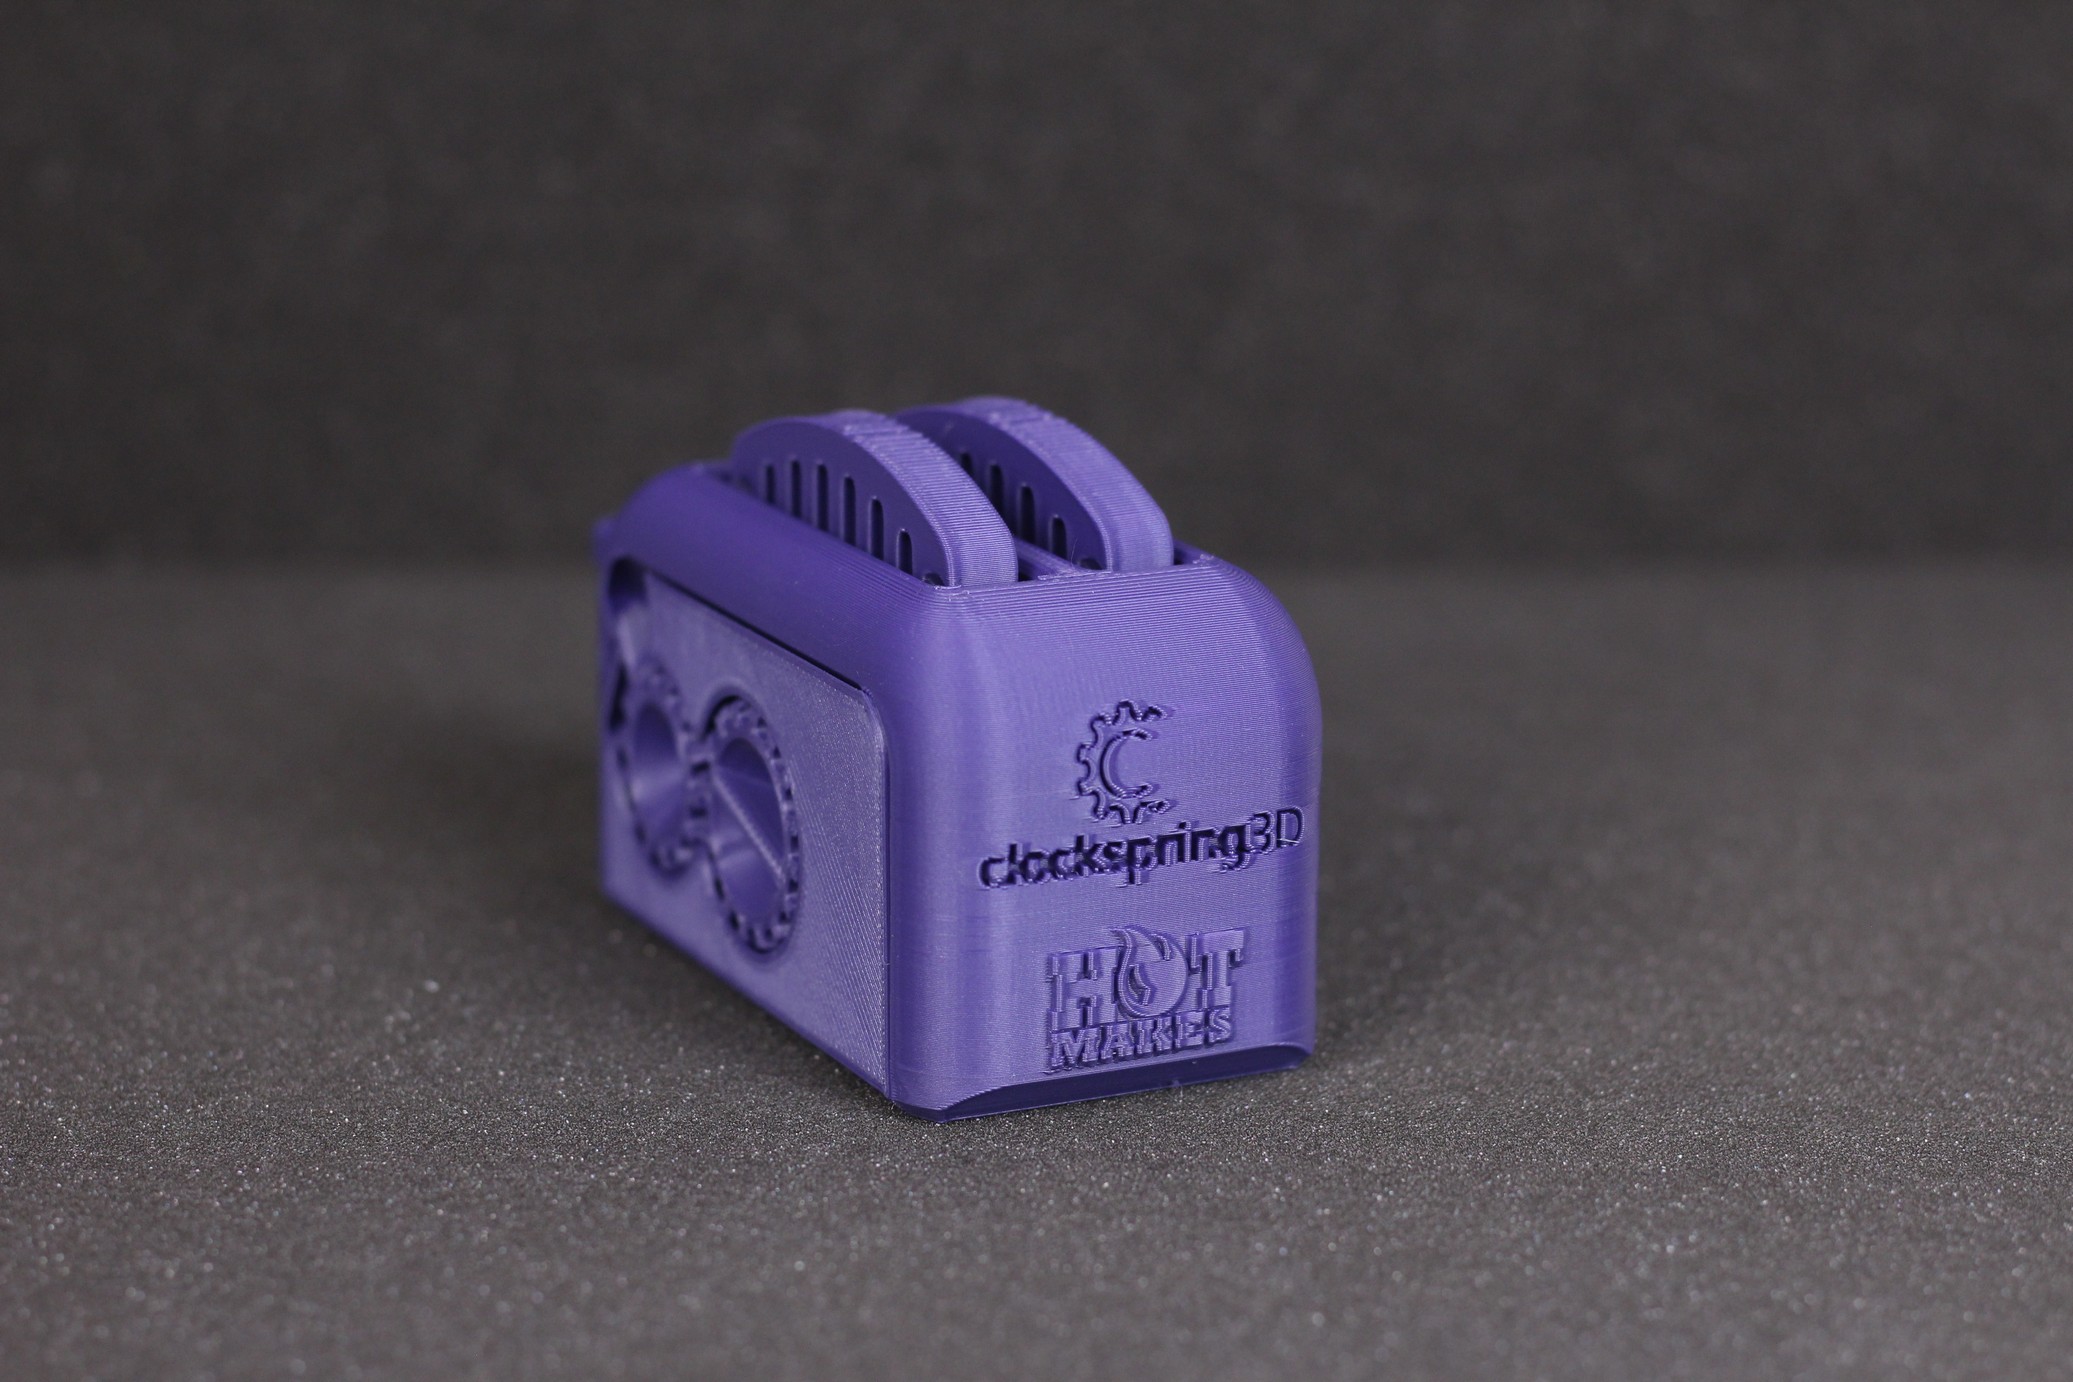
- Material: Gembird Purple PLA
- Layer Height: 0.2mm
- Nozzle Temperature: 205C
- Bed Temperature: 50C
- Print Speed: 50 mm/s
AA Battery Box
I needed another box for storing my AA batteries, so I printed this AA Battery Box model from Thingiverse. In the pictures below you can see how consistent the layers are, and how good the first layer is. The only issue I encountered was with the minor stringing inside the box, and the bulging corners.
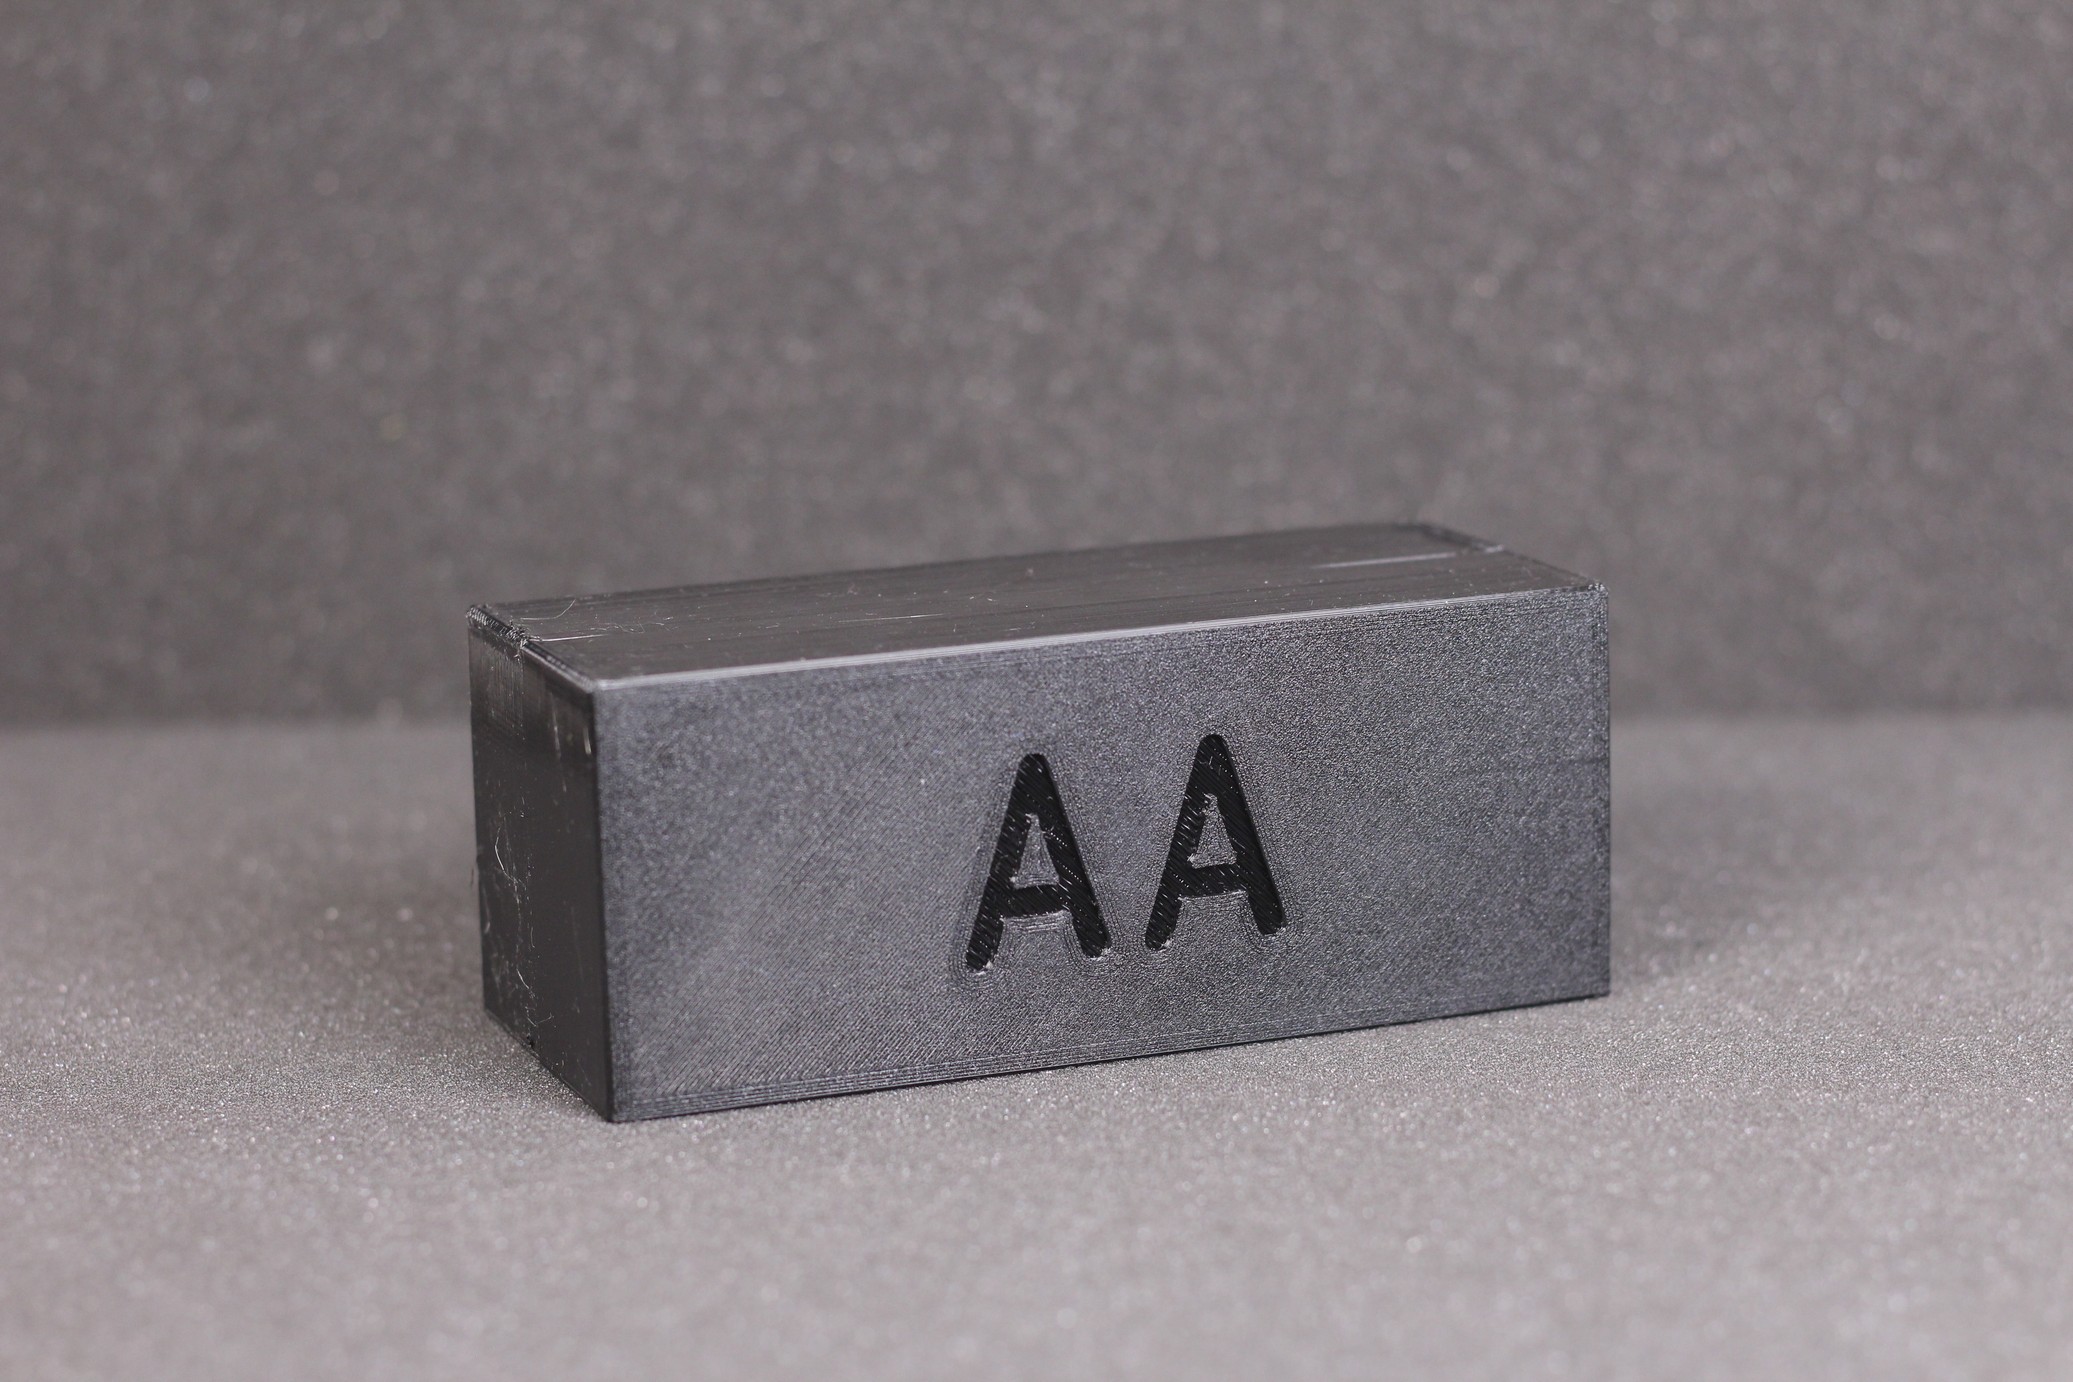
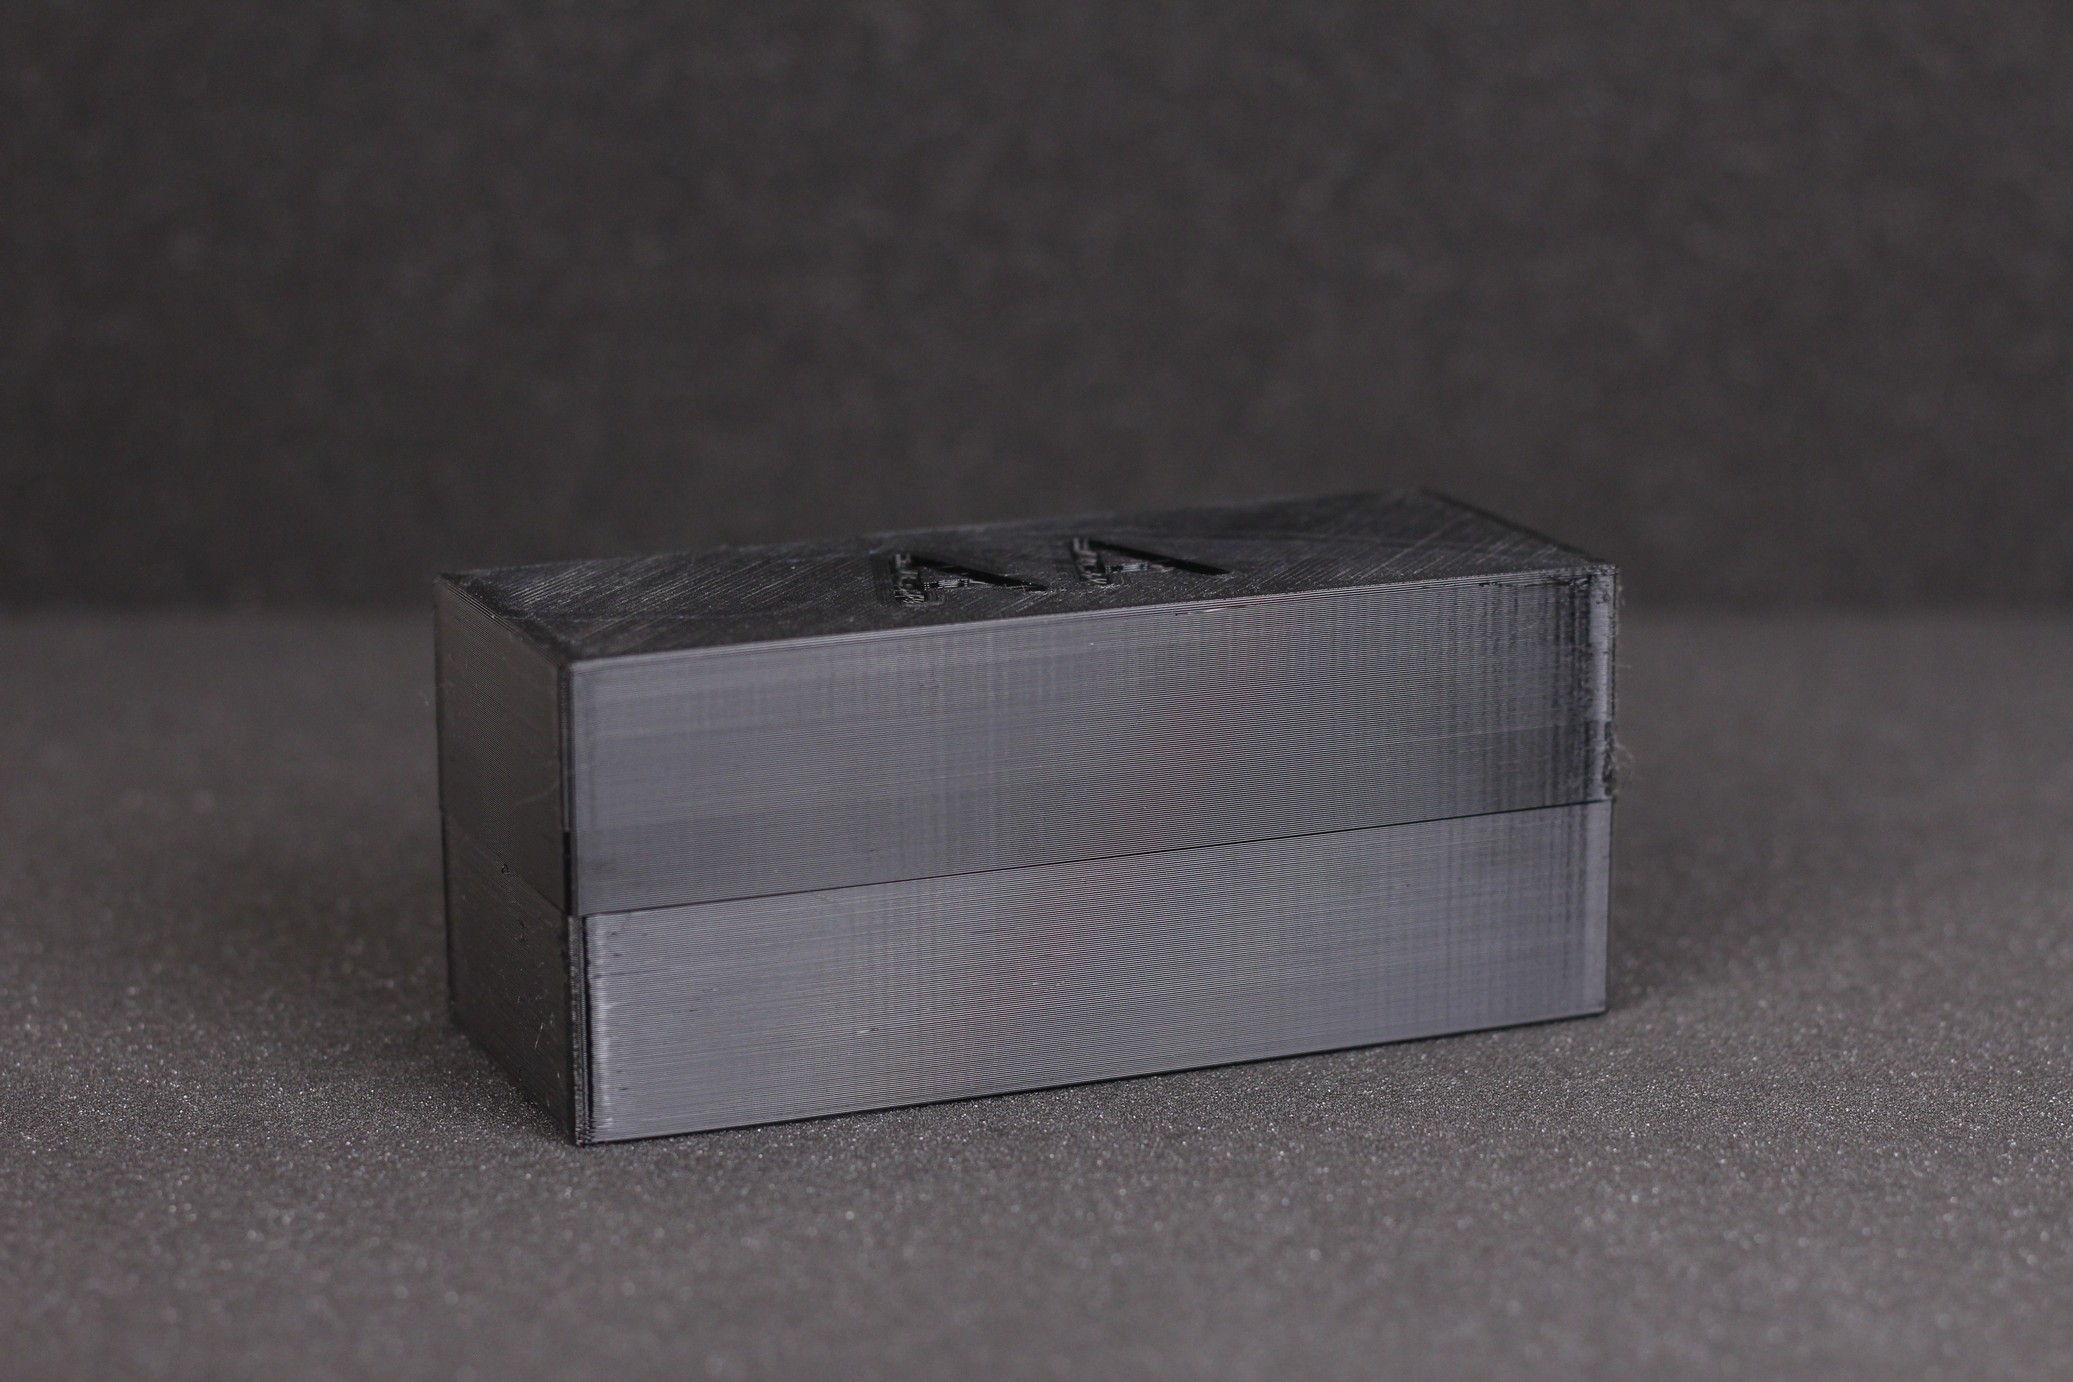
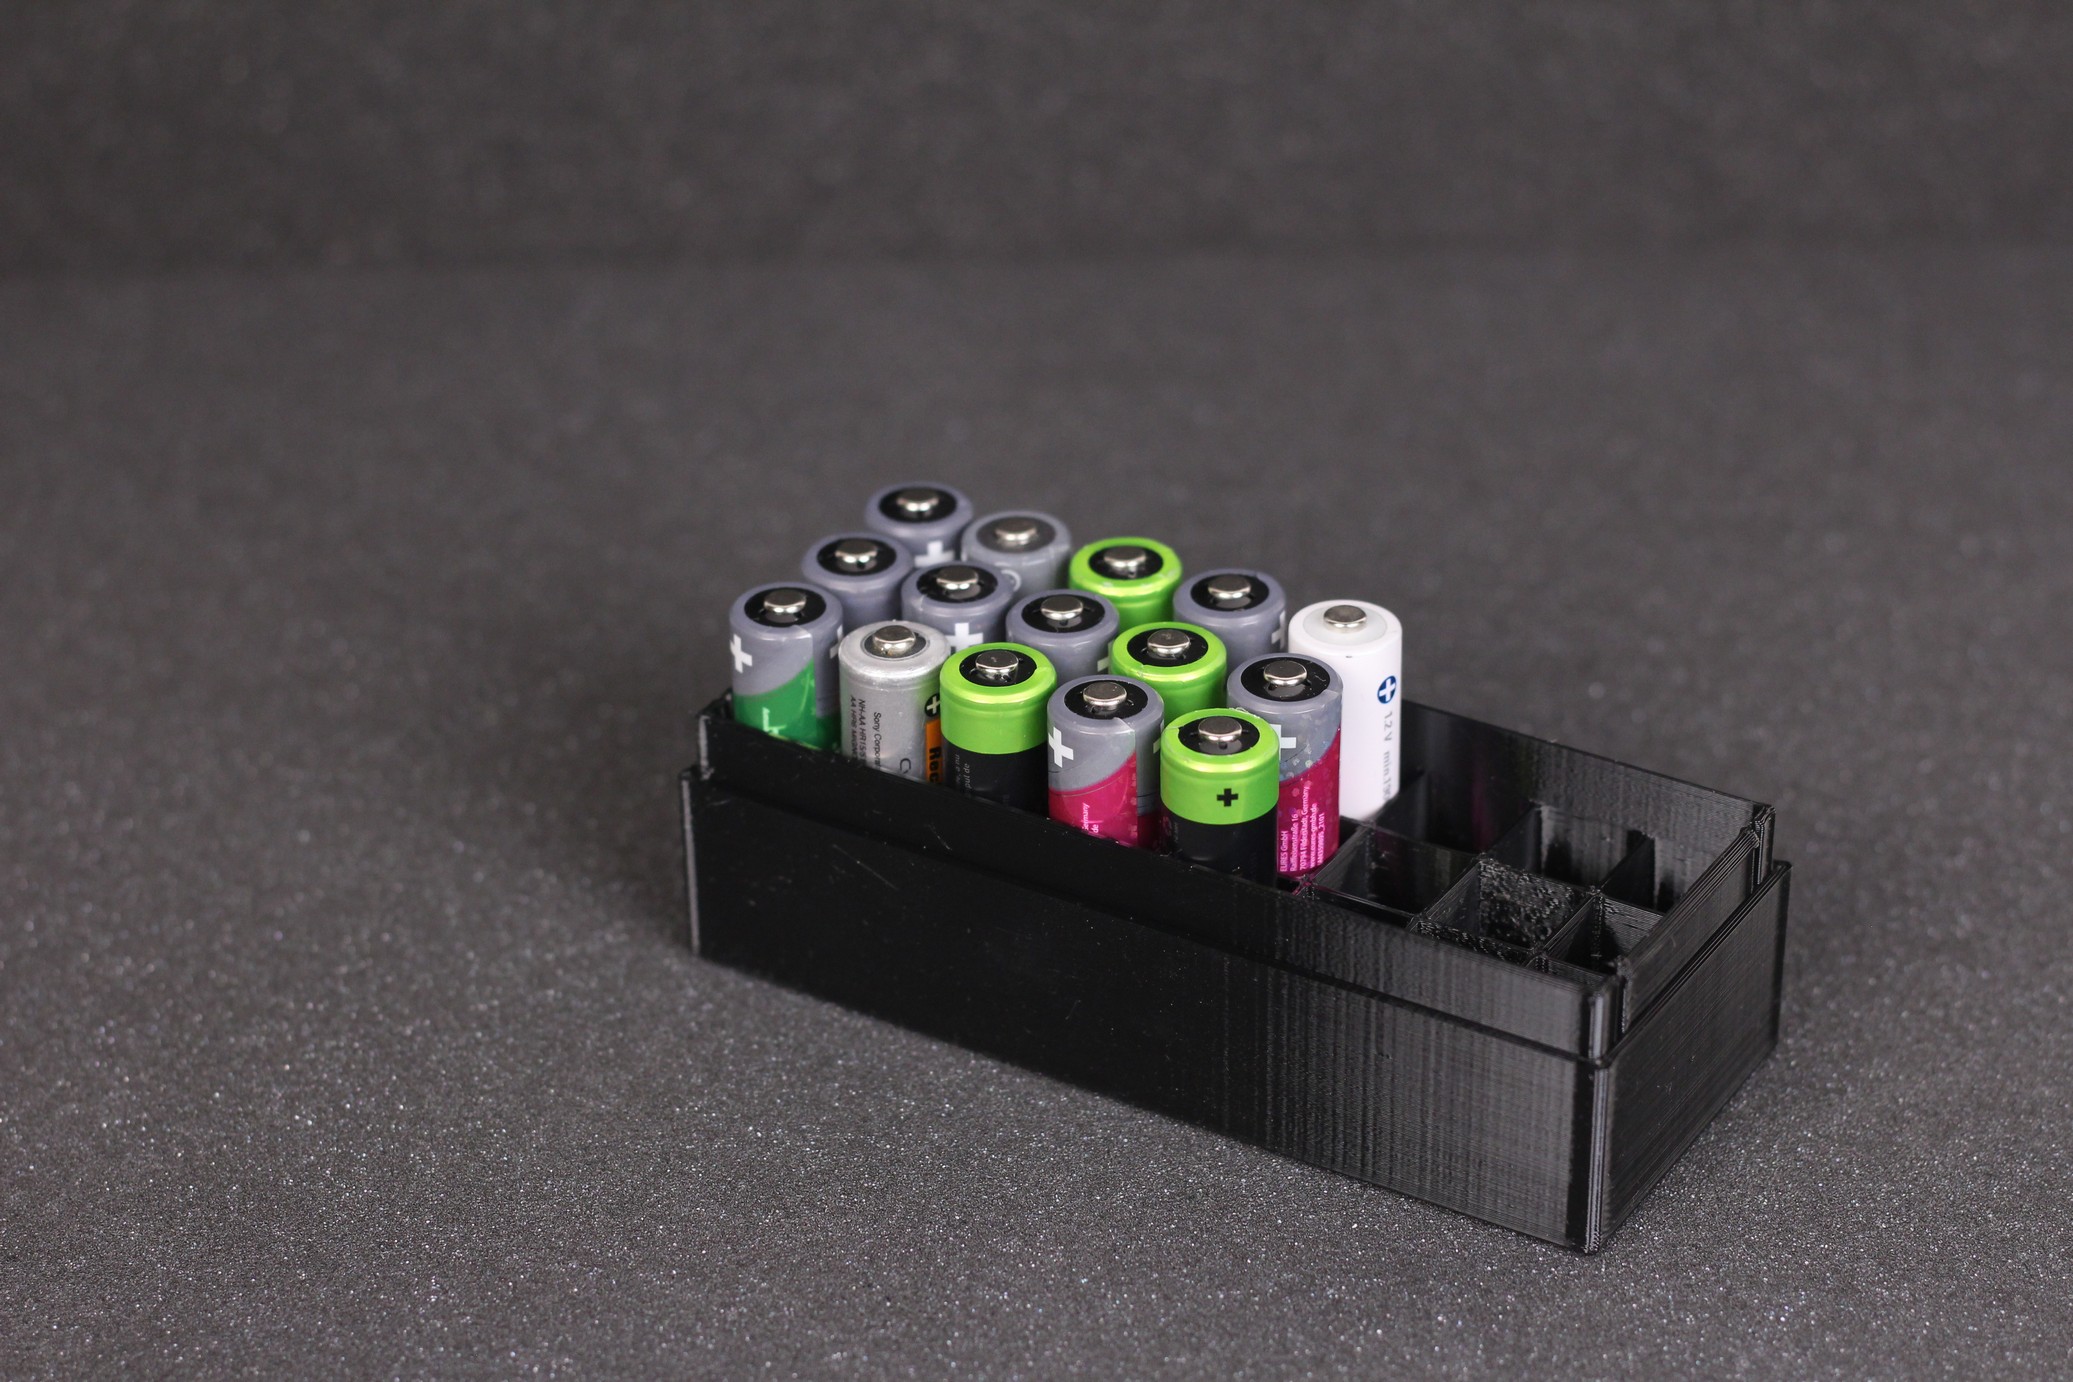
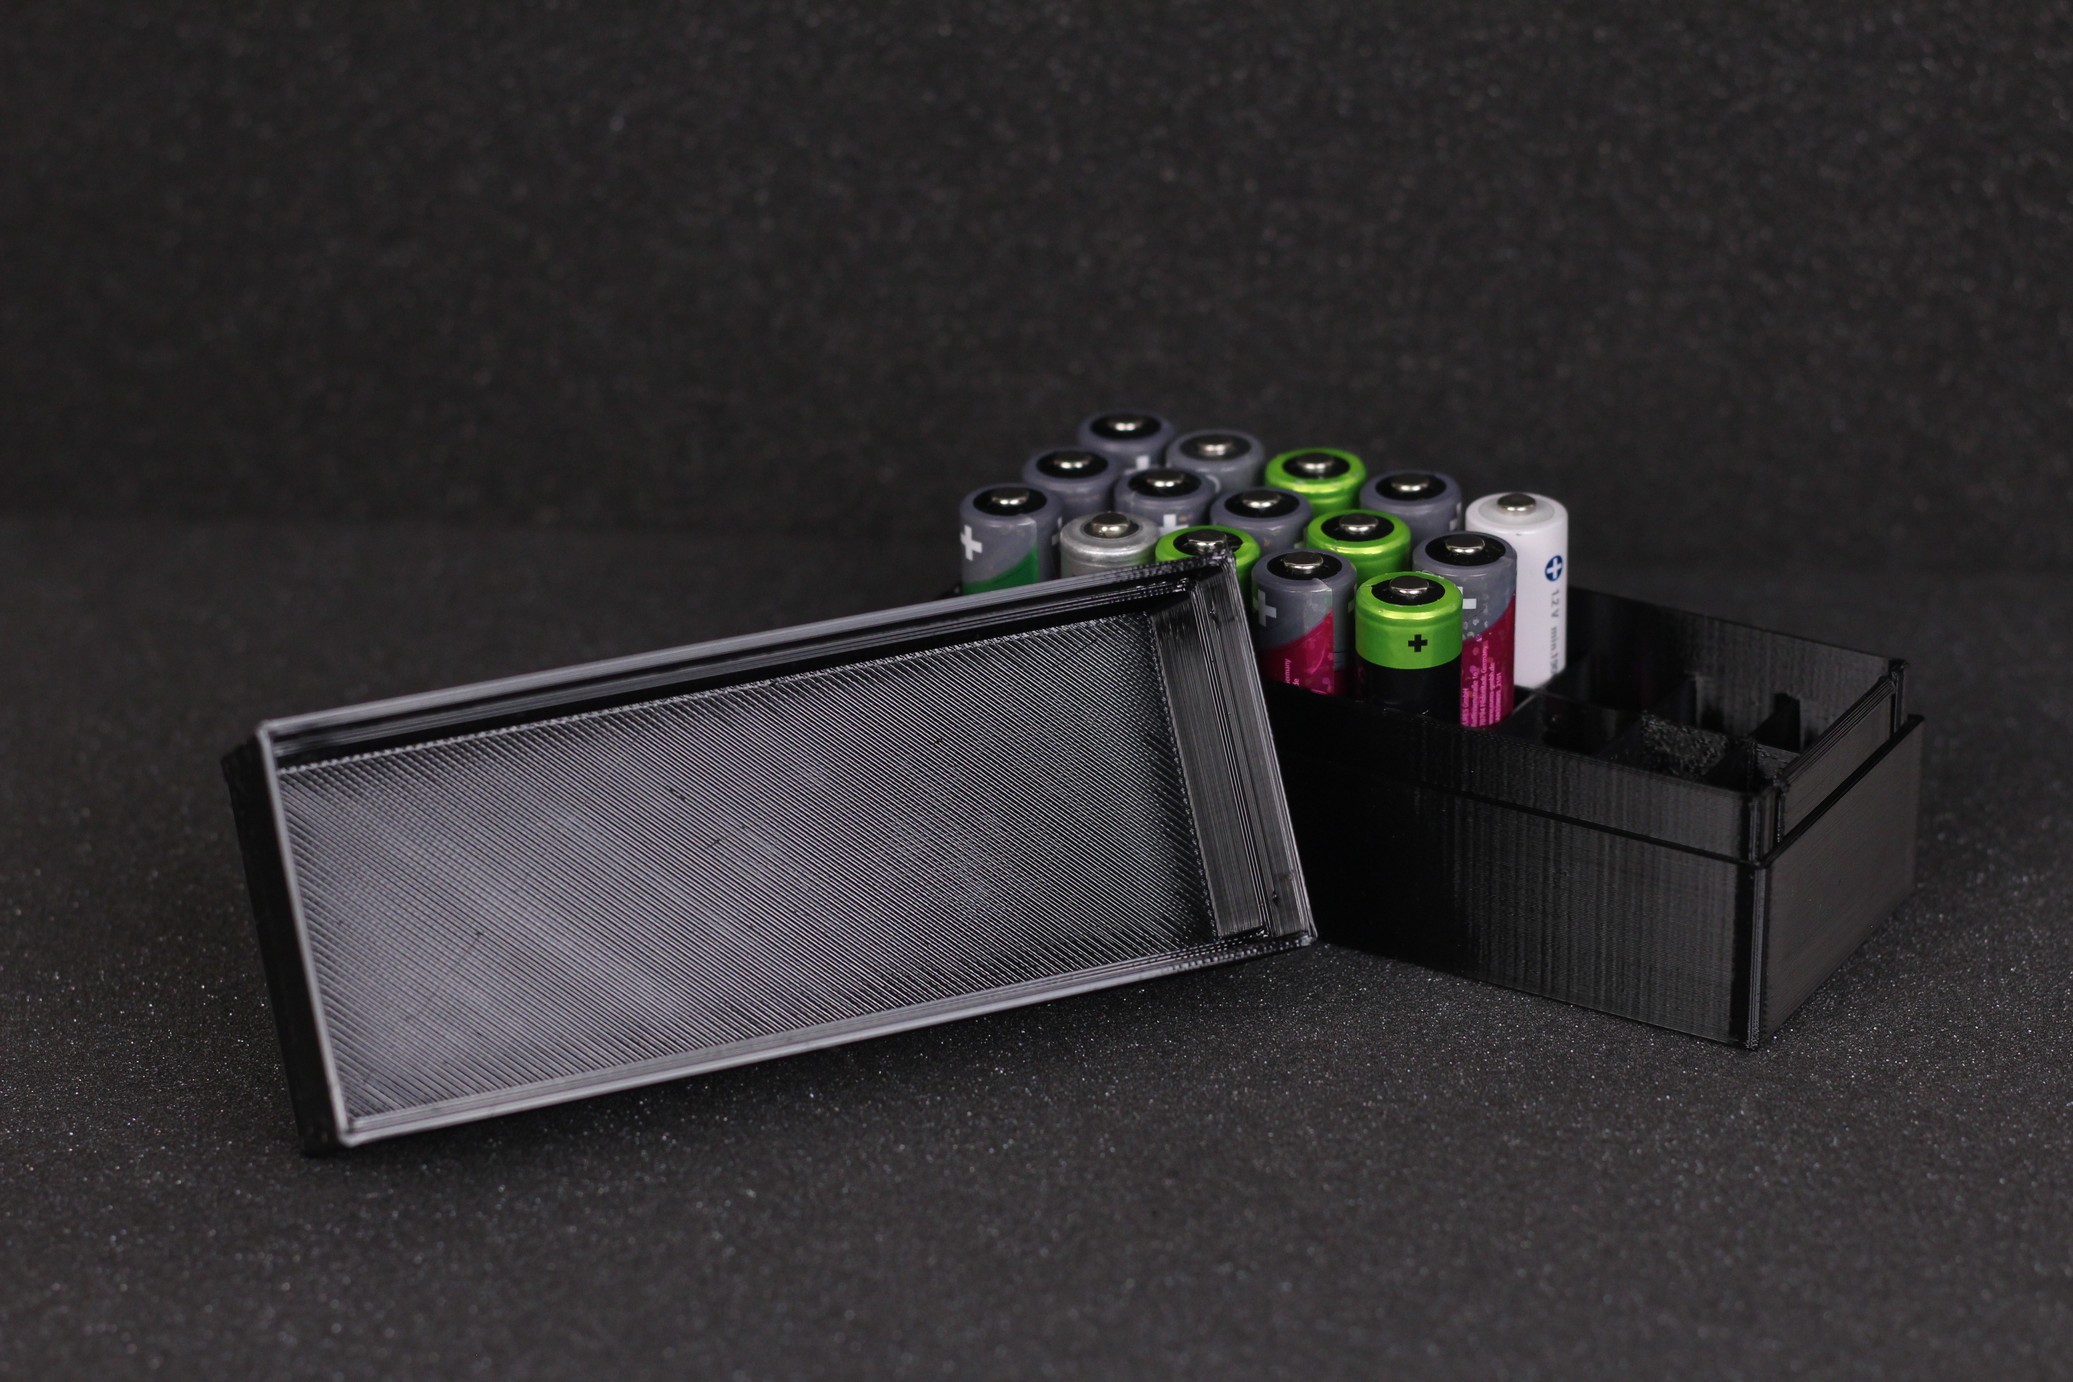
- Material: Sunlu Black PETG
- Layer Height: 0.2mm
- Nozzle Temperature: 215C
- Bed Temperature: 70C
- Print Speed: 60 mm/s
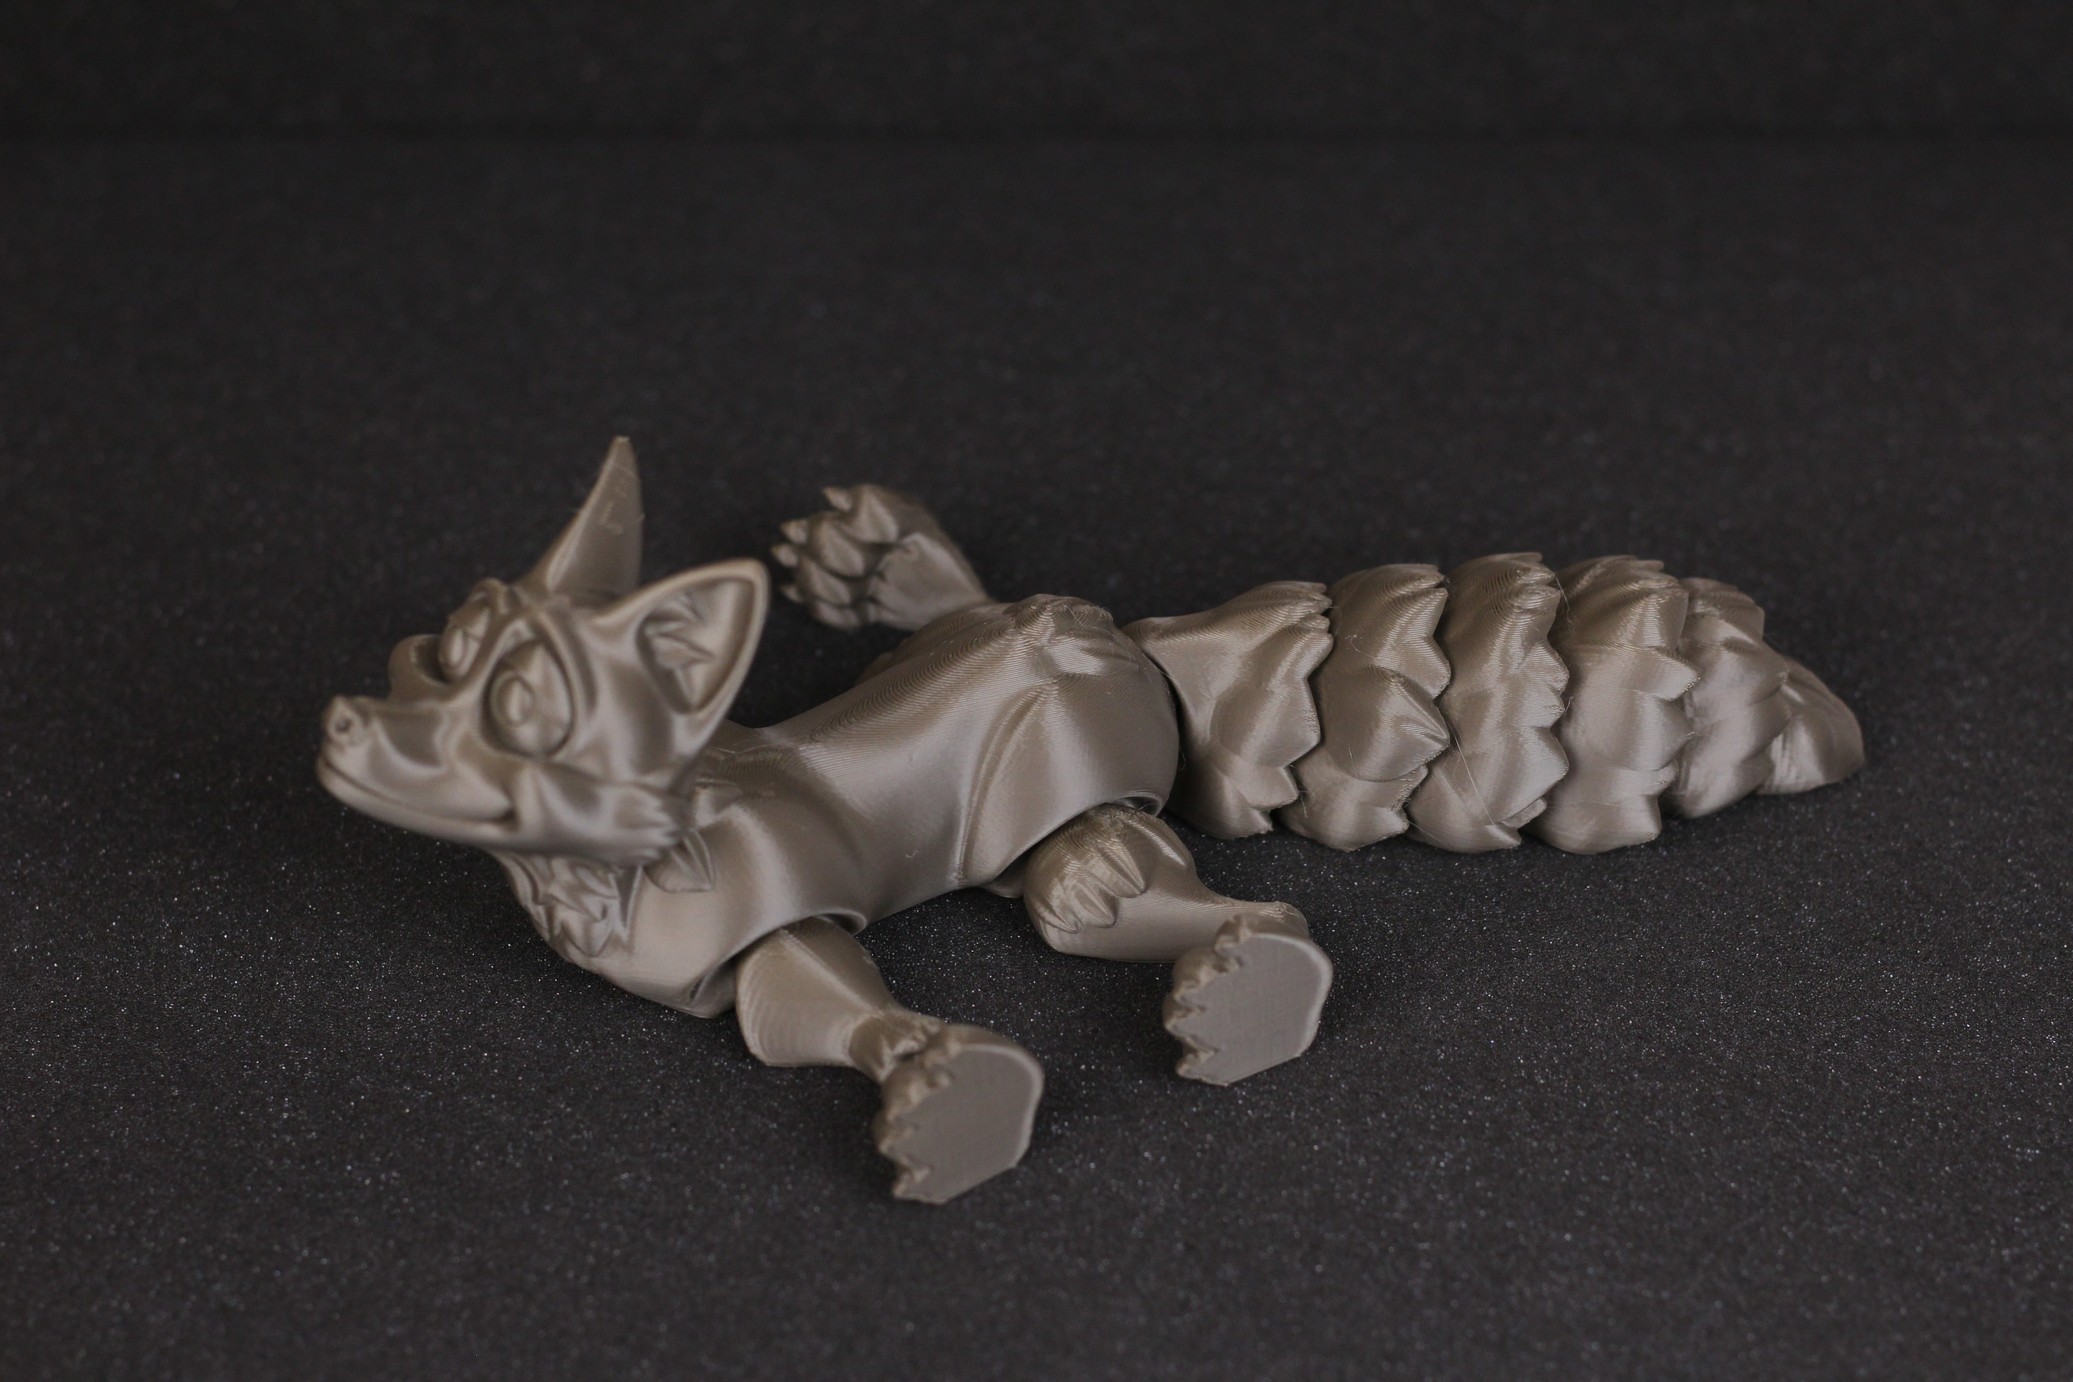
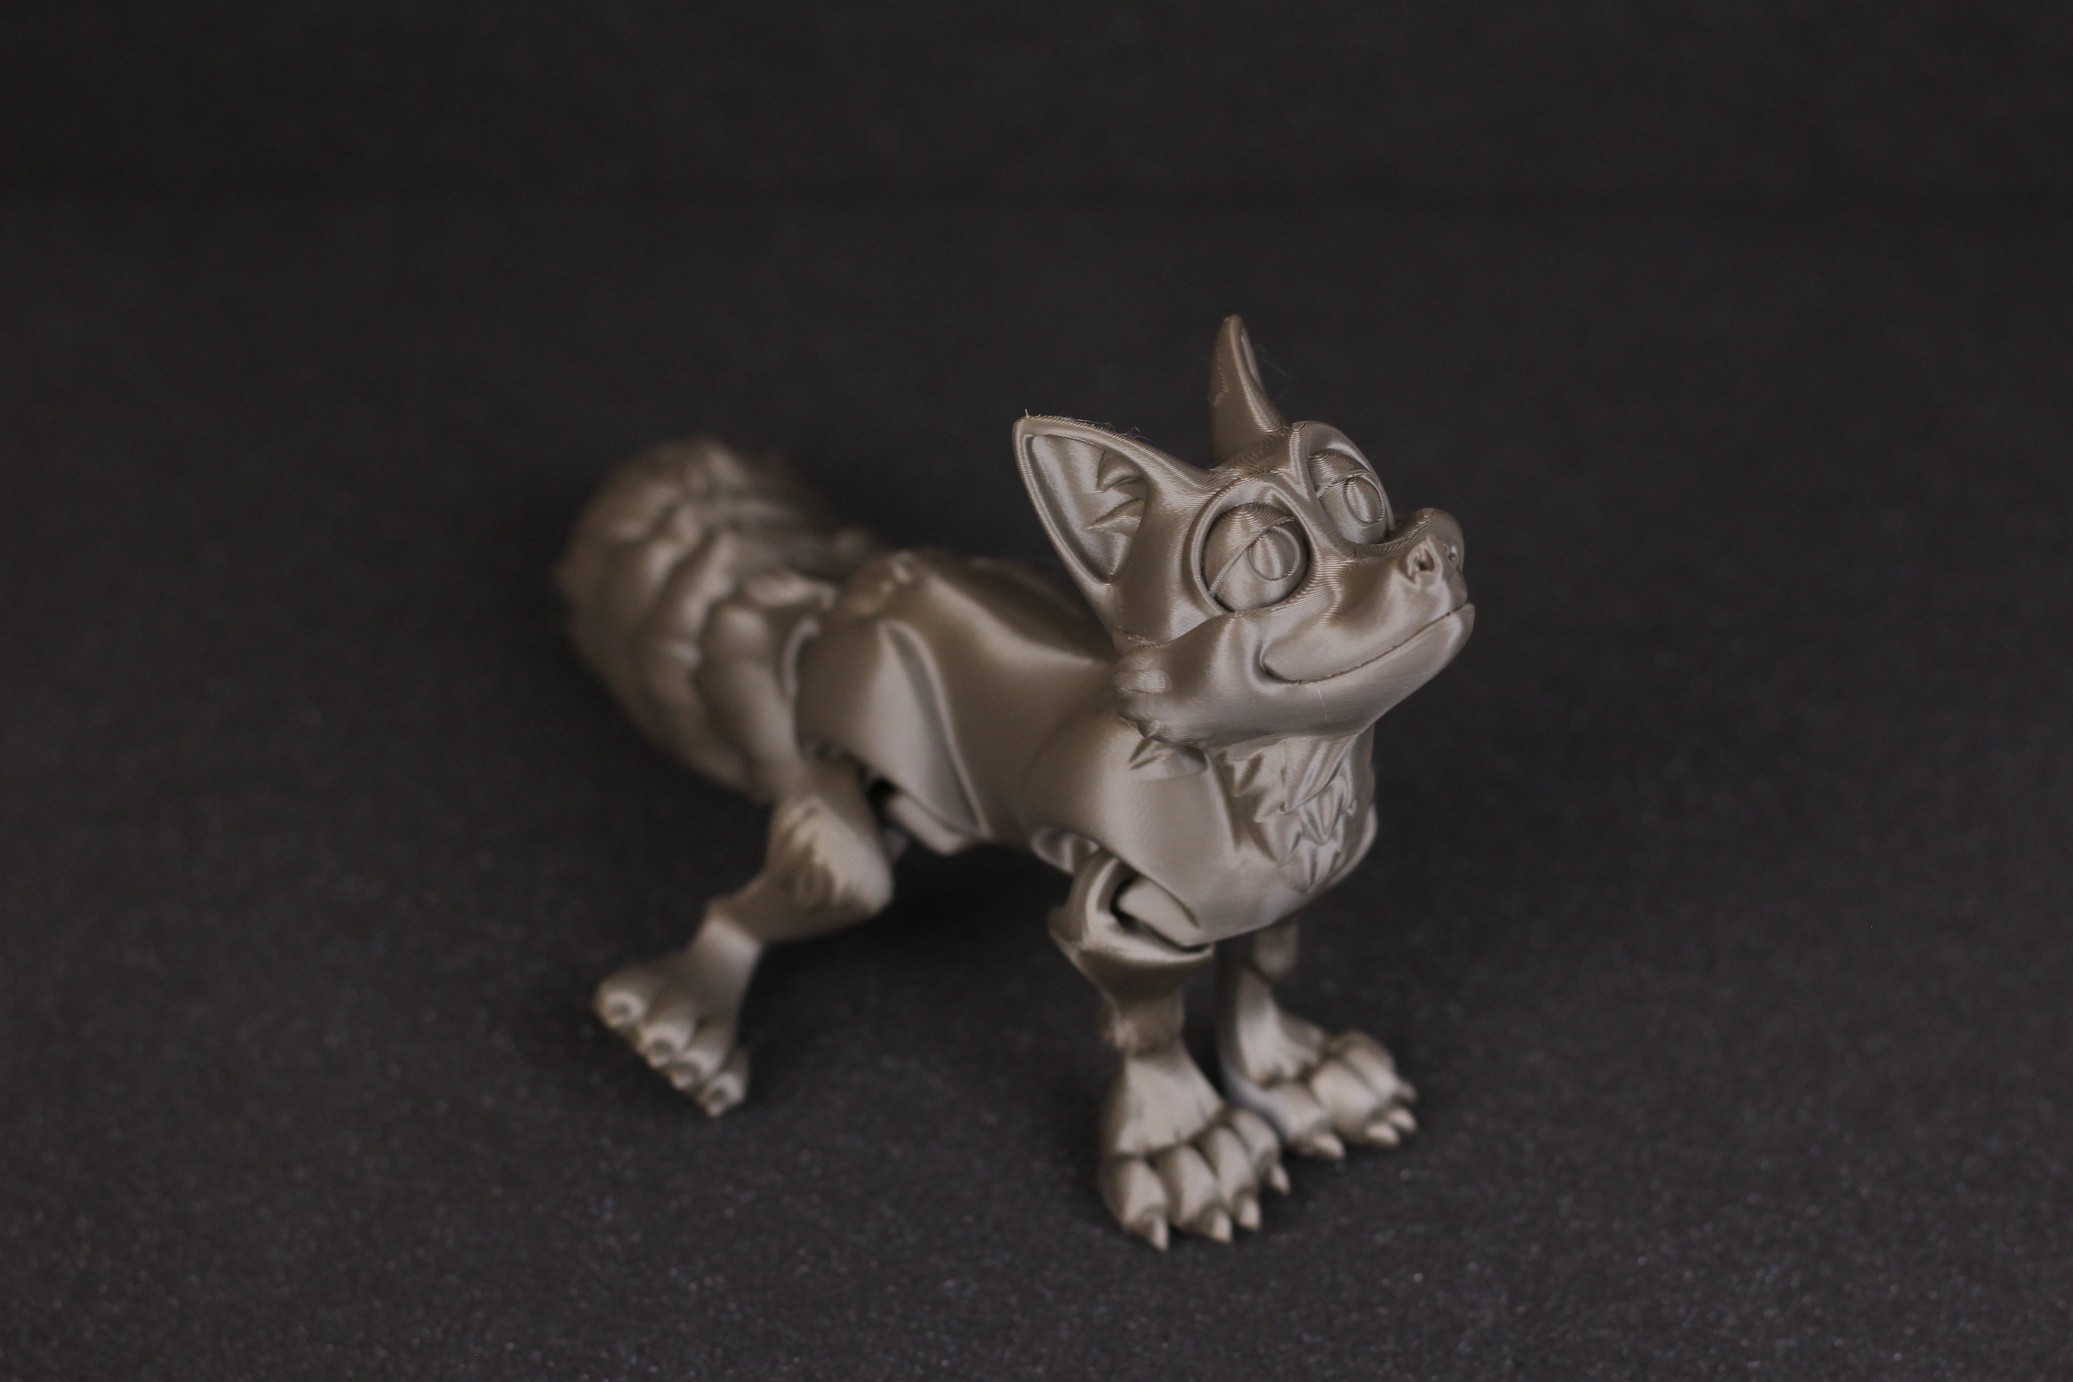
Flexi Fox
I love the Flexi Fox, so I printed another one with the Ender 3 S1. Really good extrusion quality with good bed adhesion. I can’t really say anything bad about this print, except the tiny stringing I got for the ears.
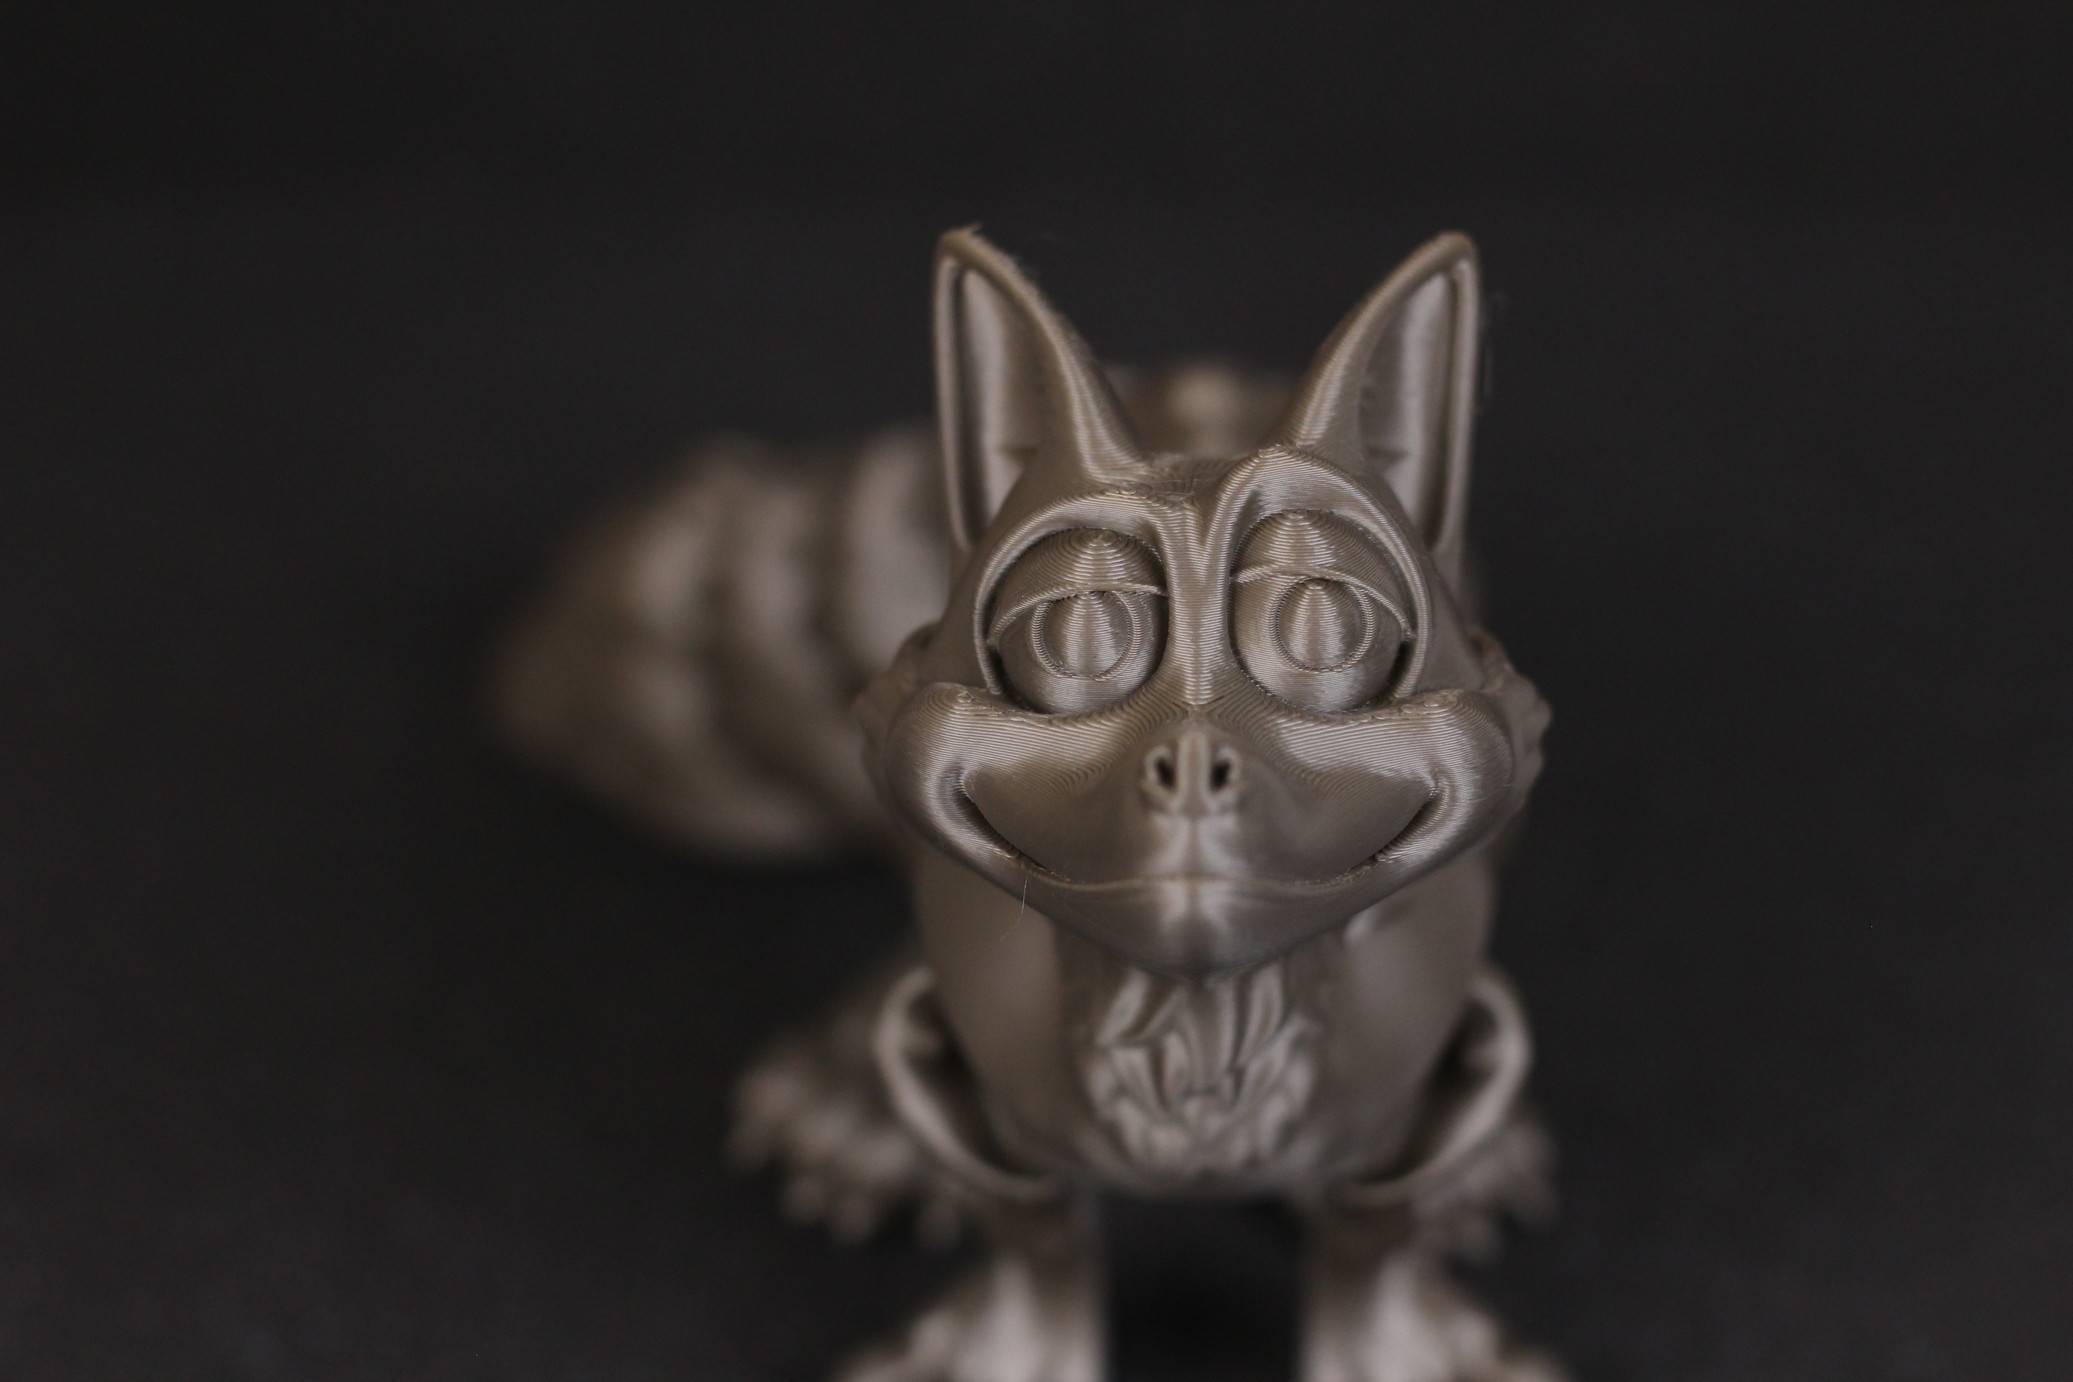
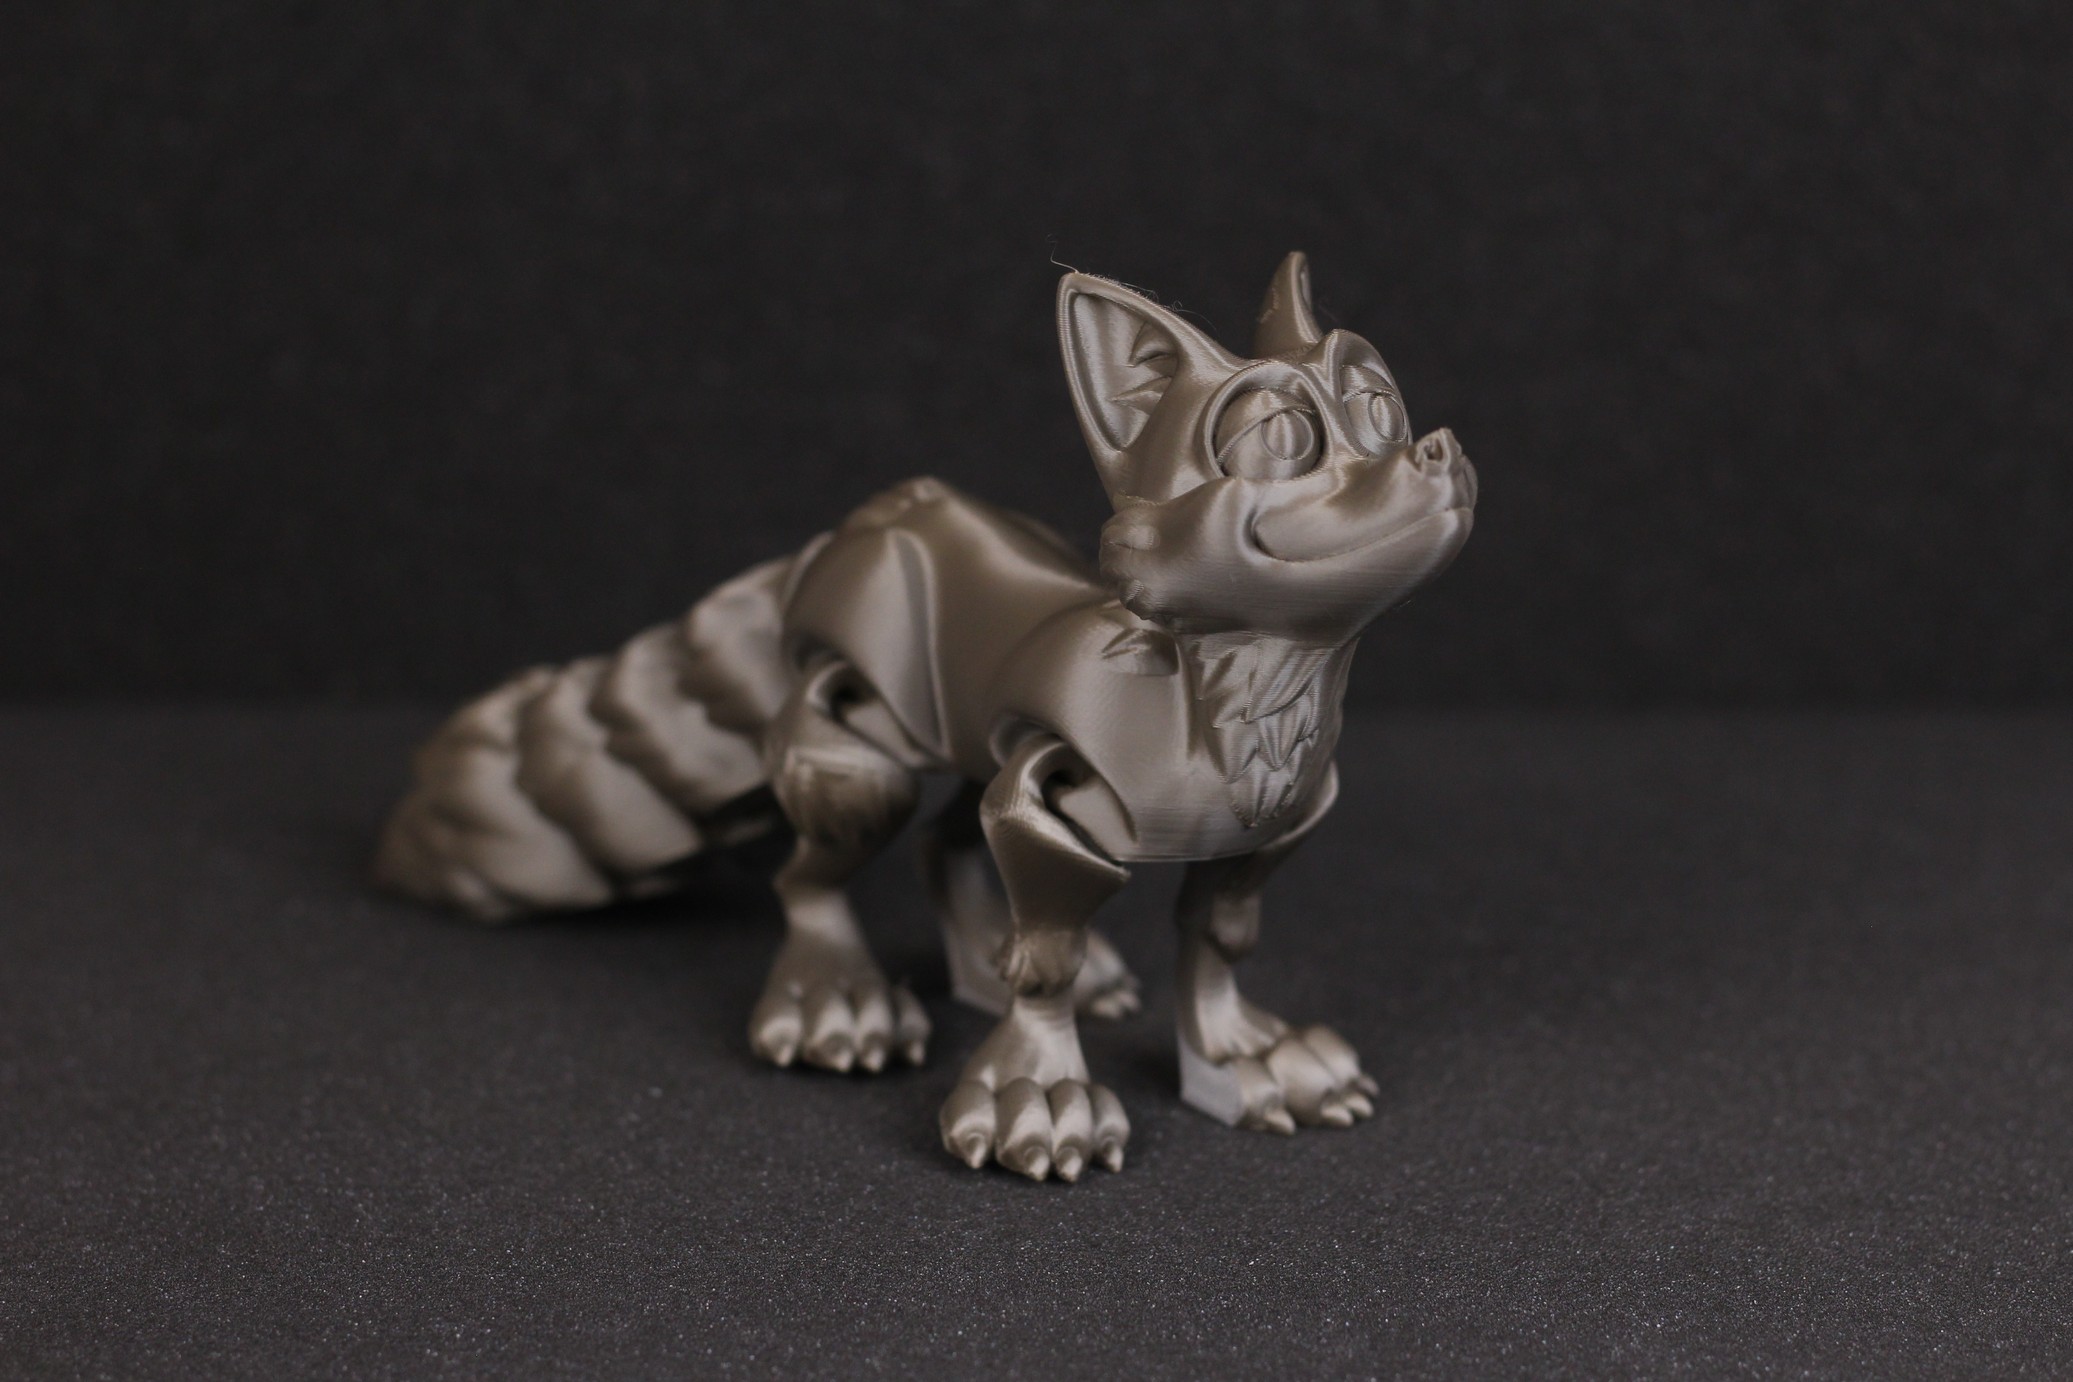
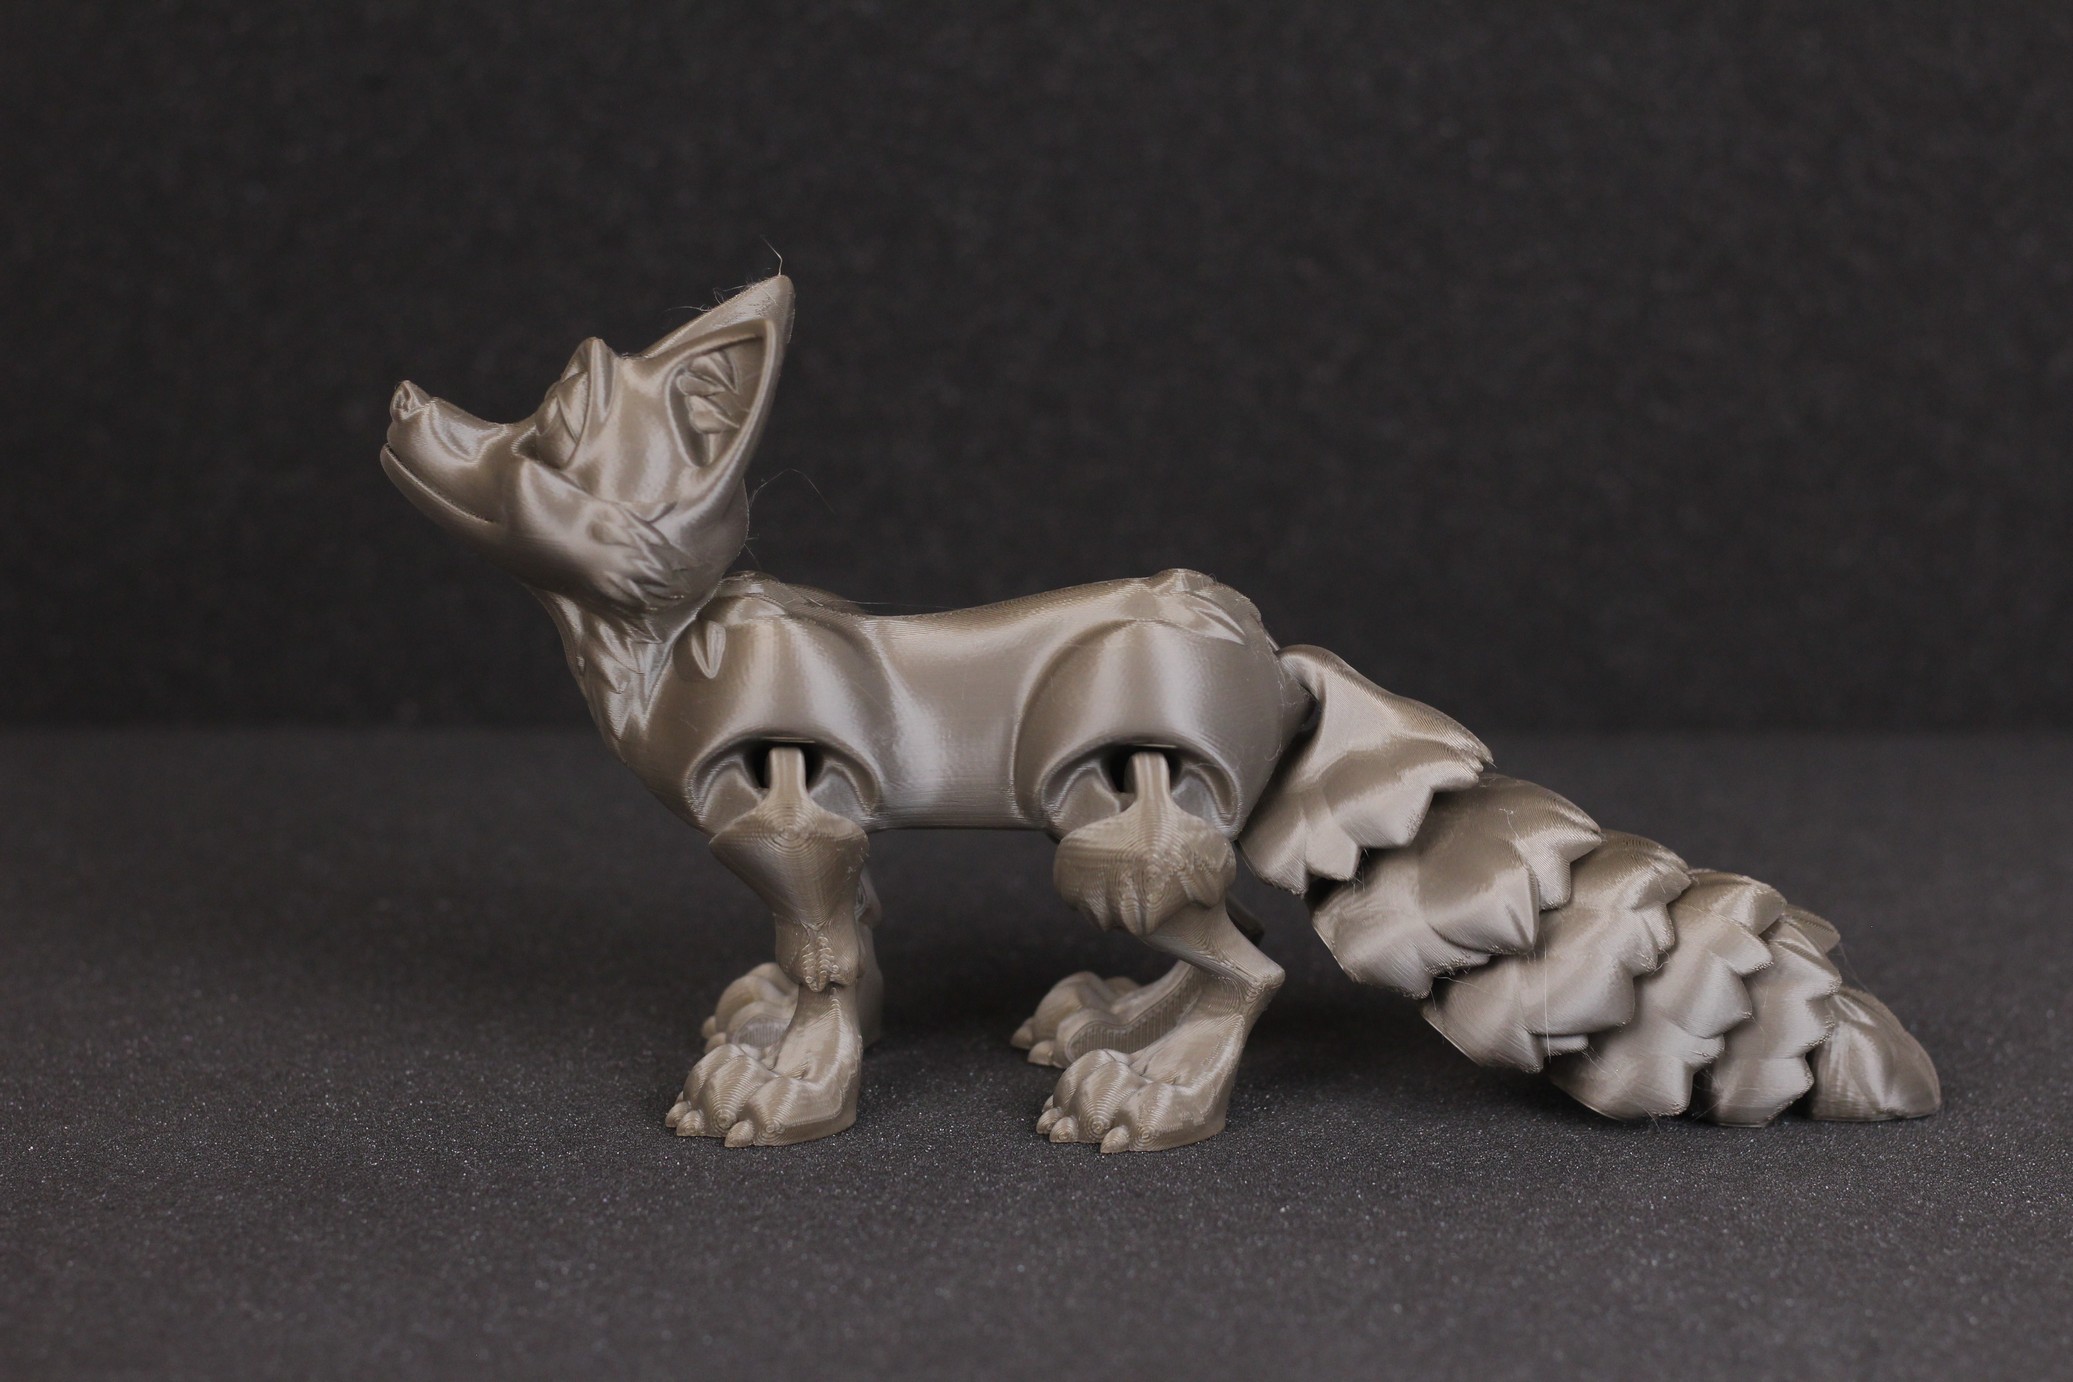
- Material: Gembird “Gold” PLA
- Layer Height: 0.15mm
- Nozzle Temperature: 210C
- Bed Temperature: 50C
- Print Speed: 50 mm/s
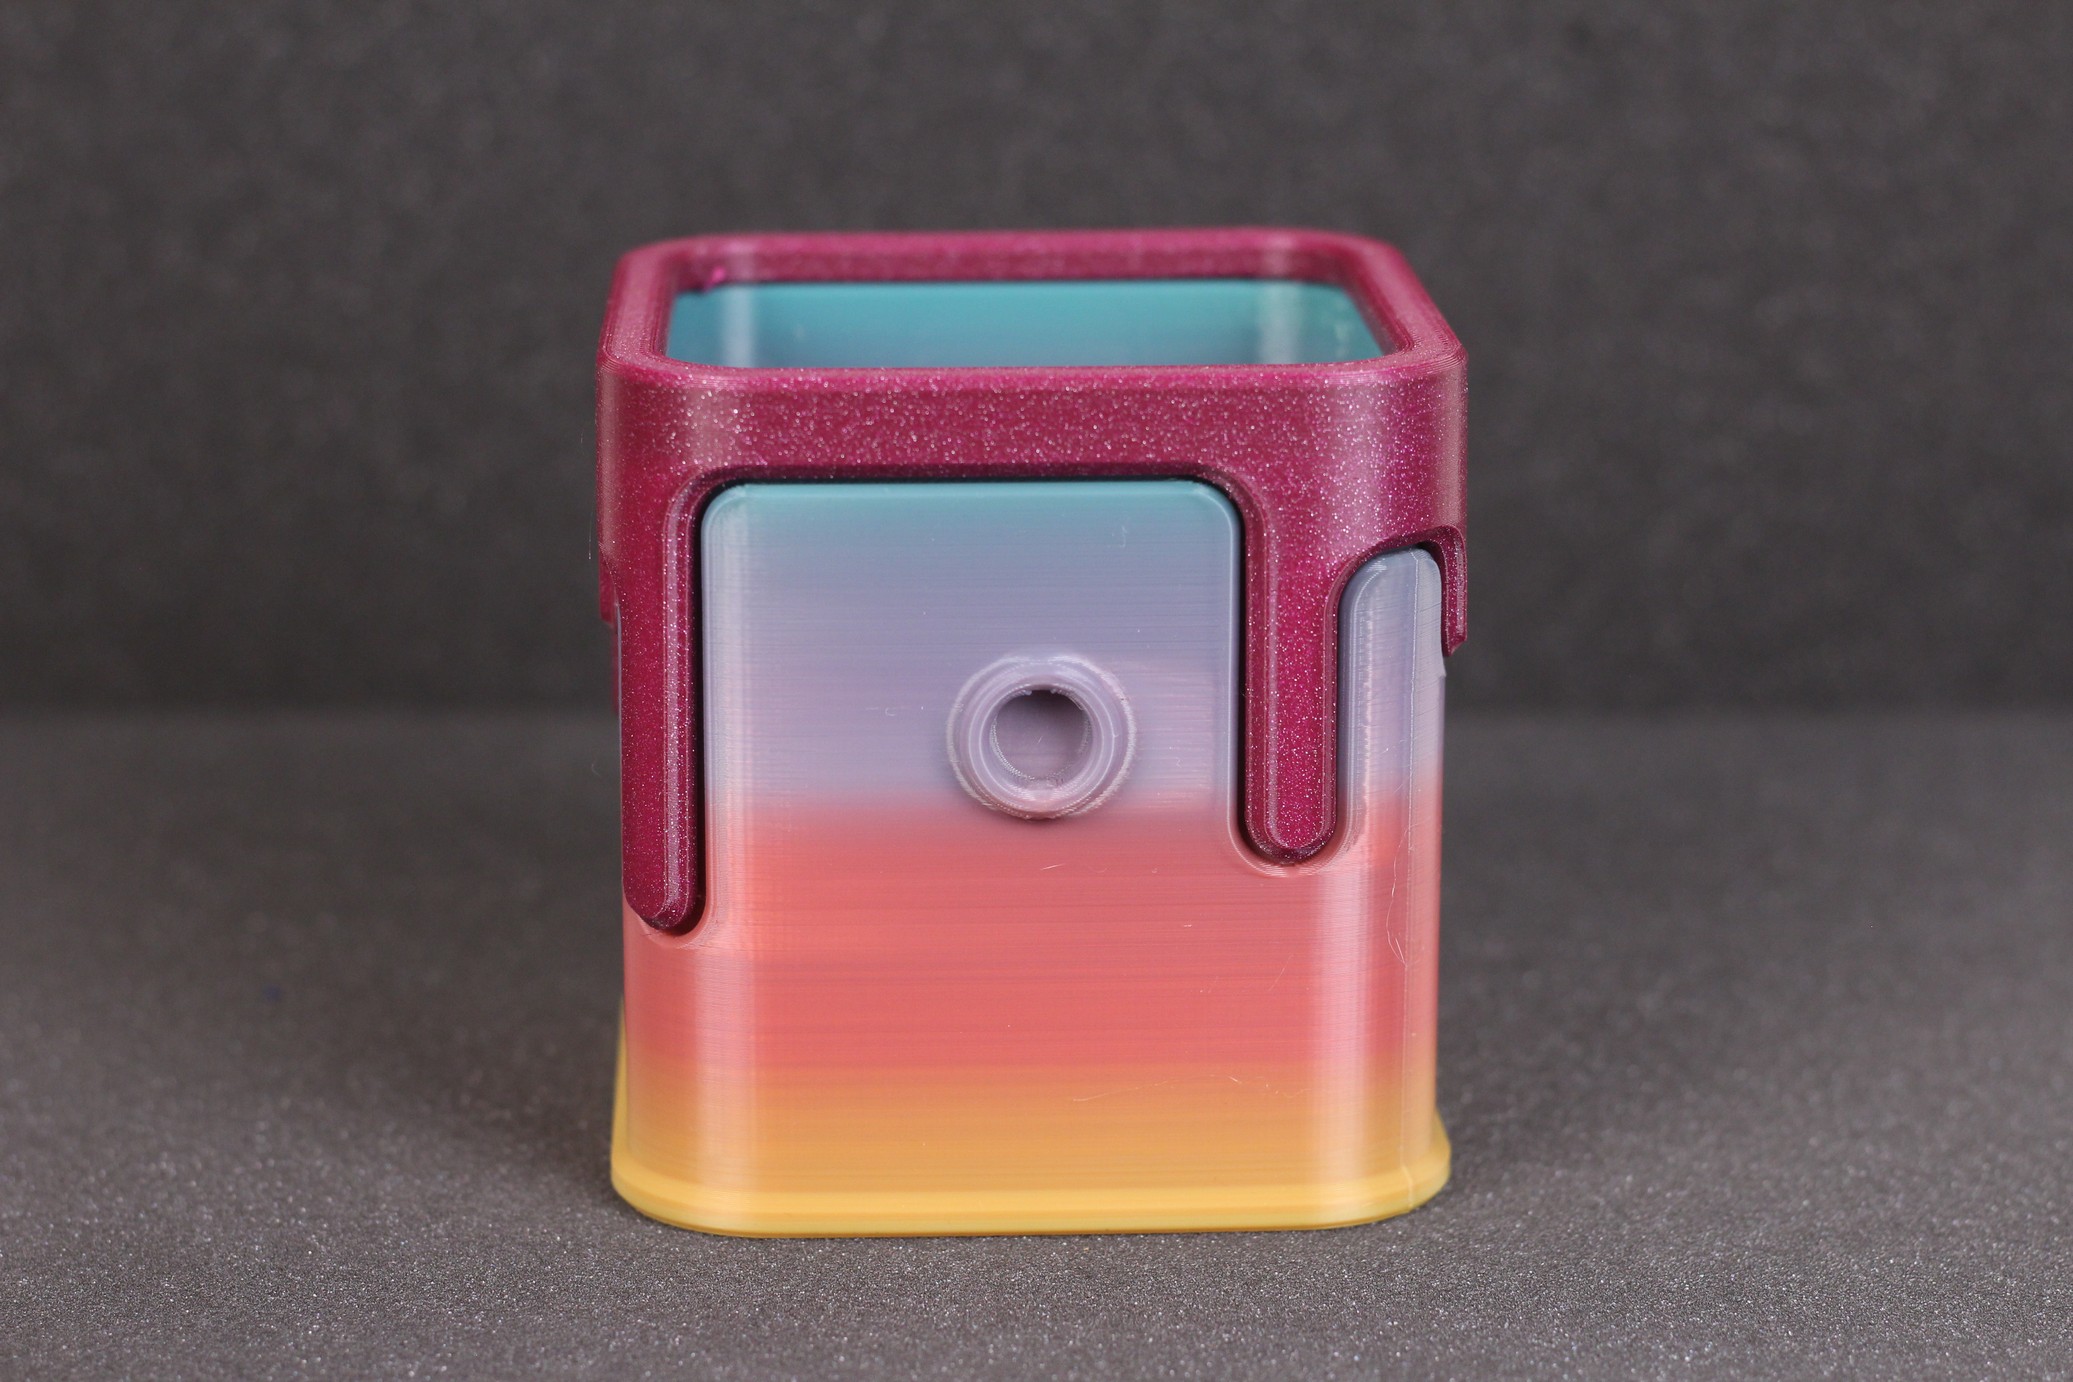
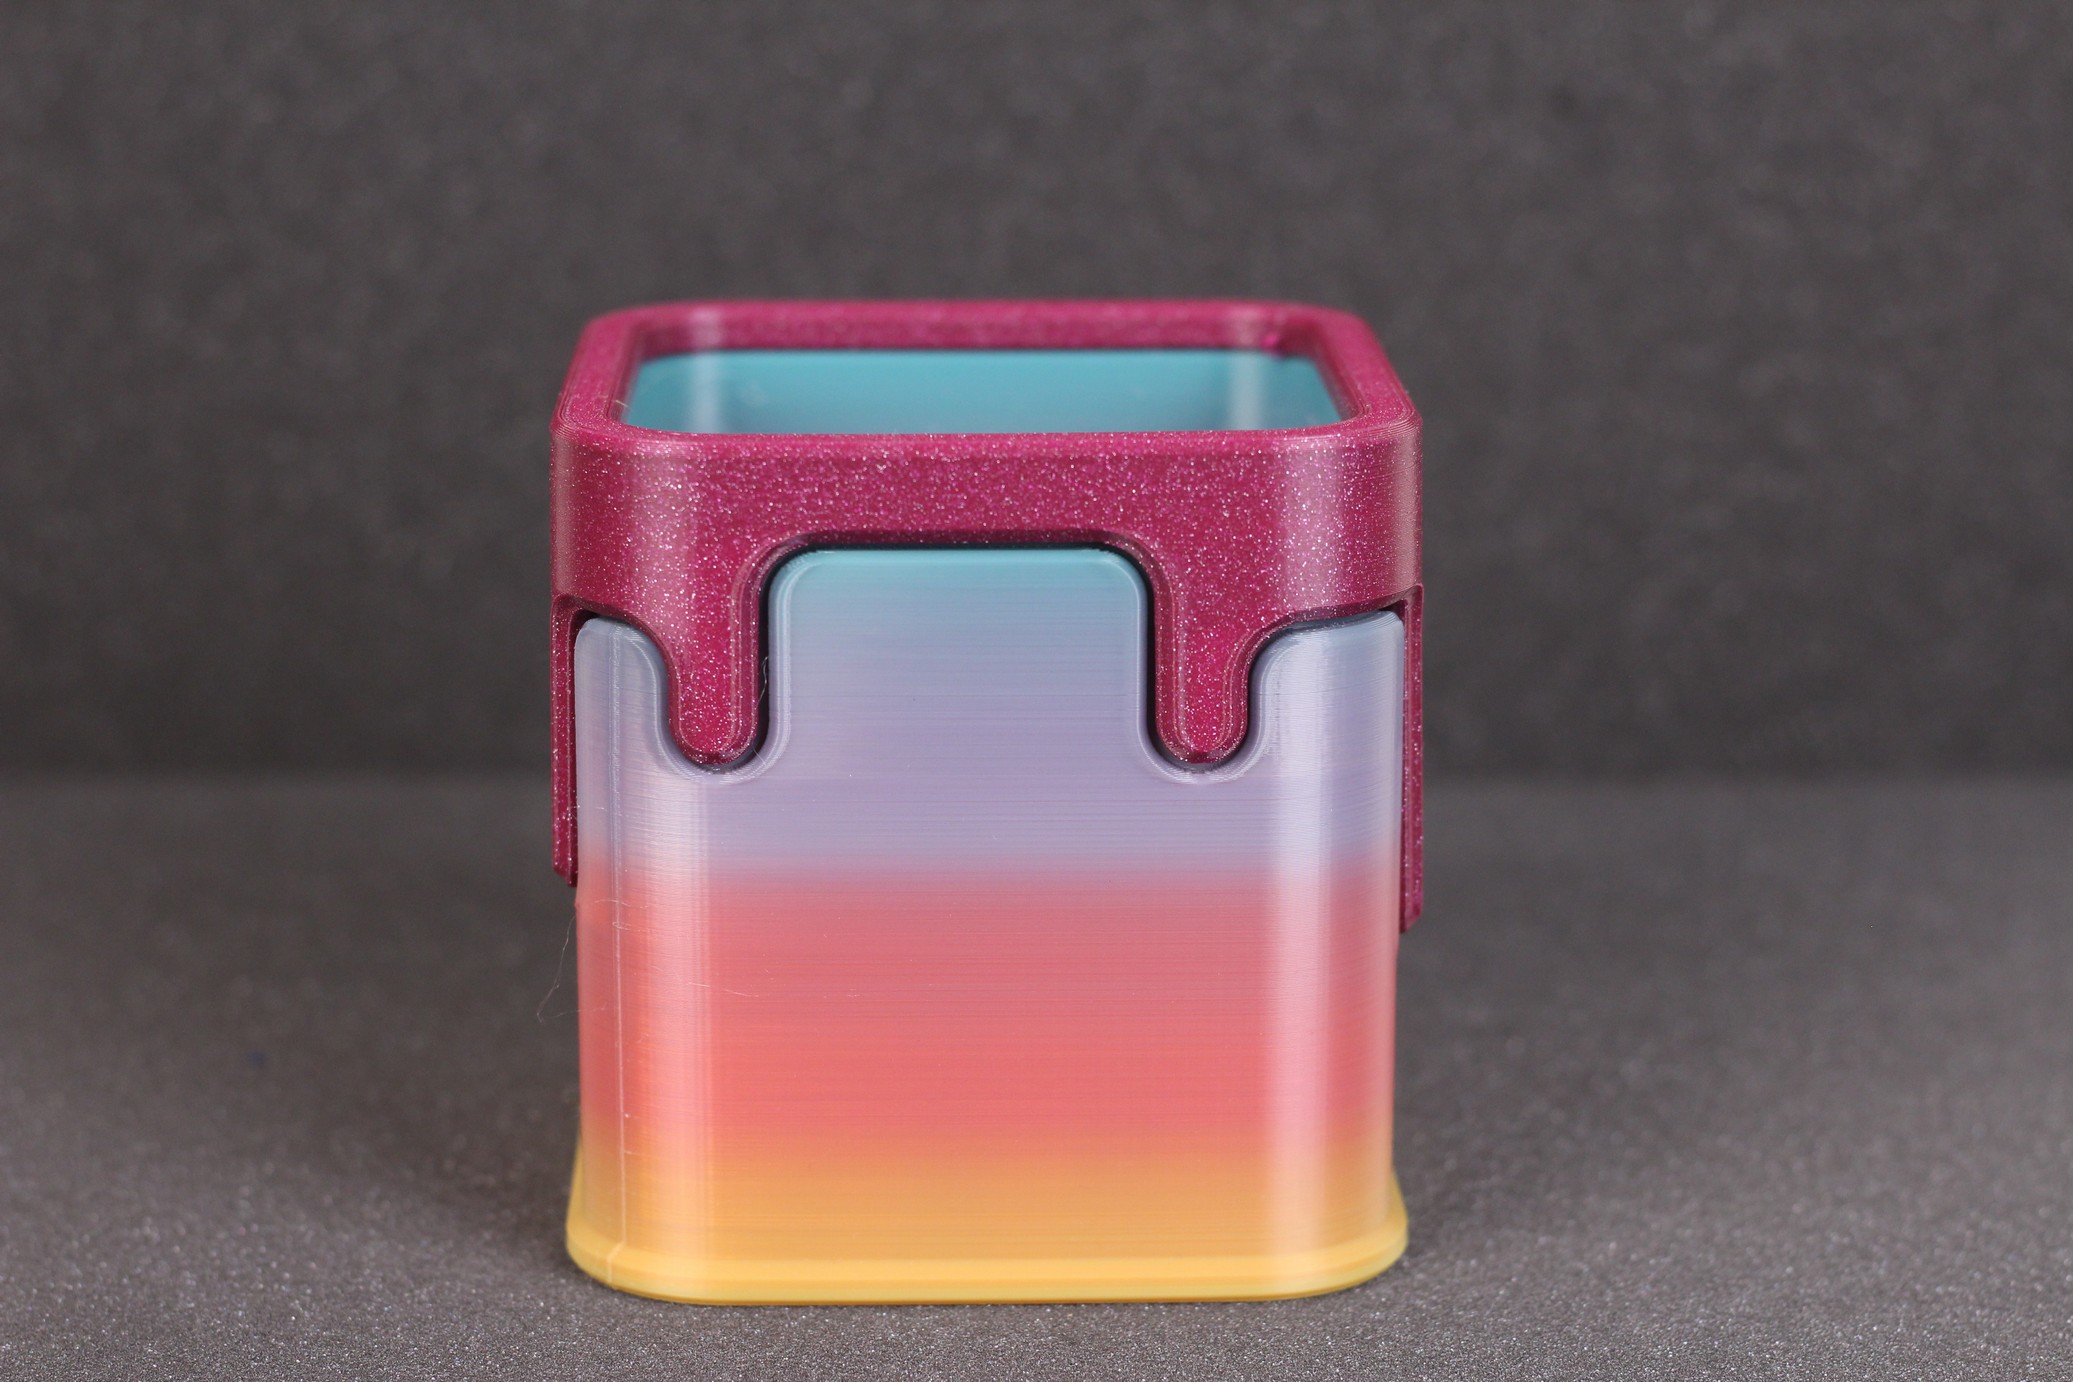
Drippy Bucket
Another day, another print. This time, the Drippy Bucket printed with SUNLU rainbow filament, and some elements printed in Glint PLA. As with the rest of the models, my only issue was from the tiny amount of stringing present inside the bucket. Other than that, everything printed out really smooth.
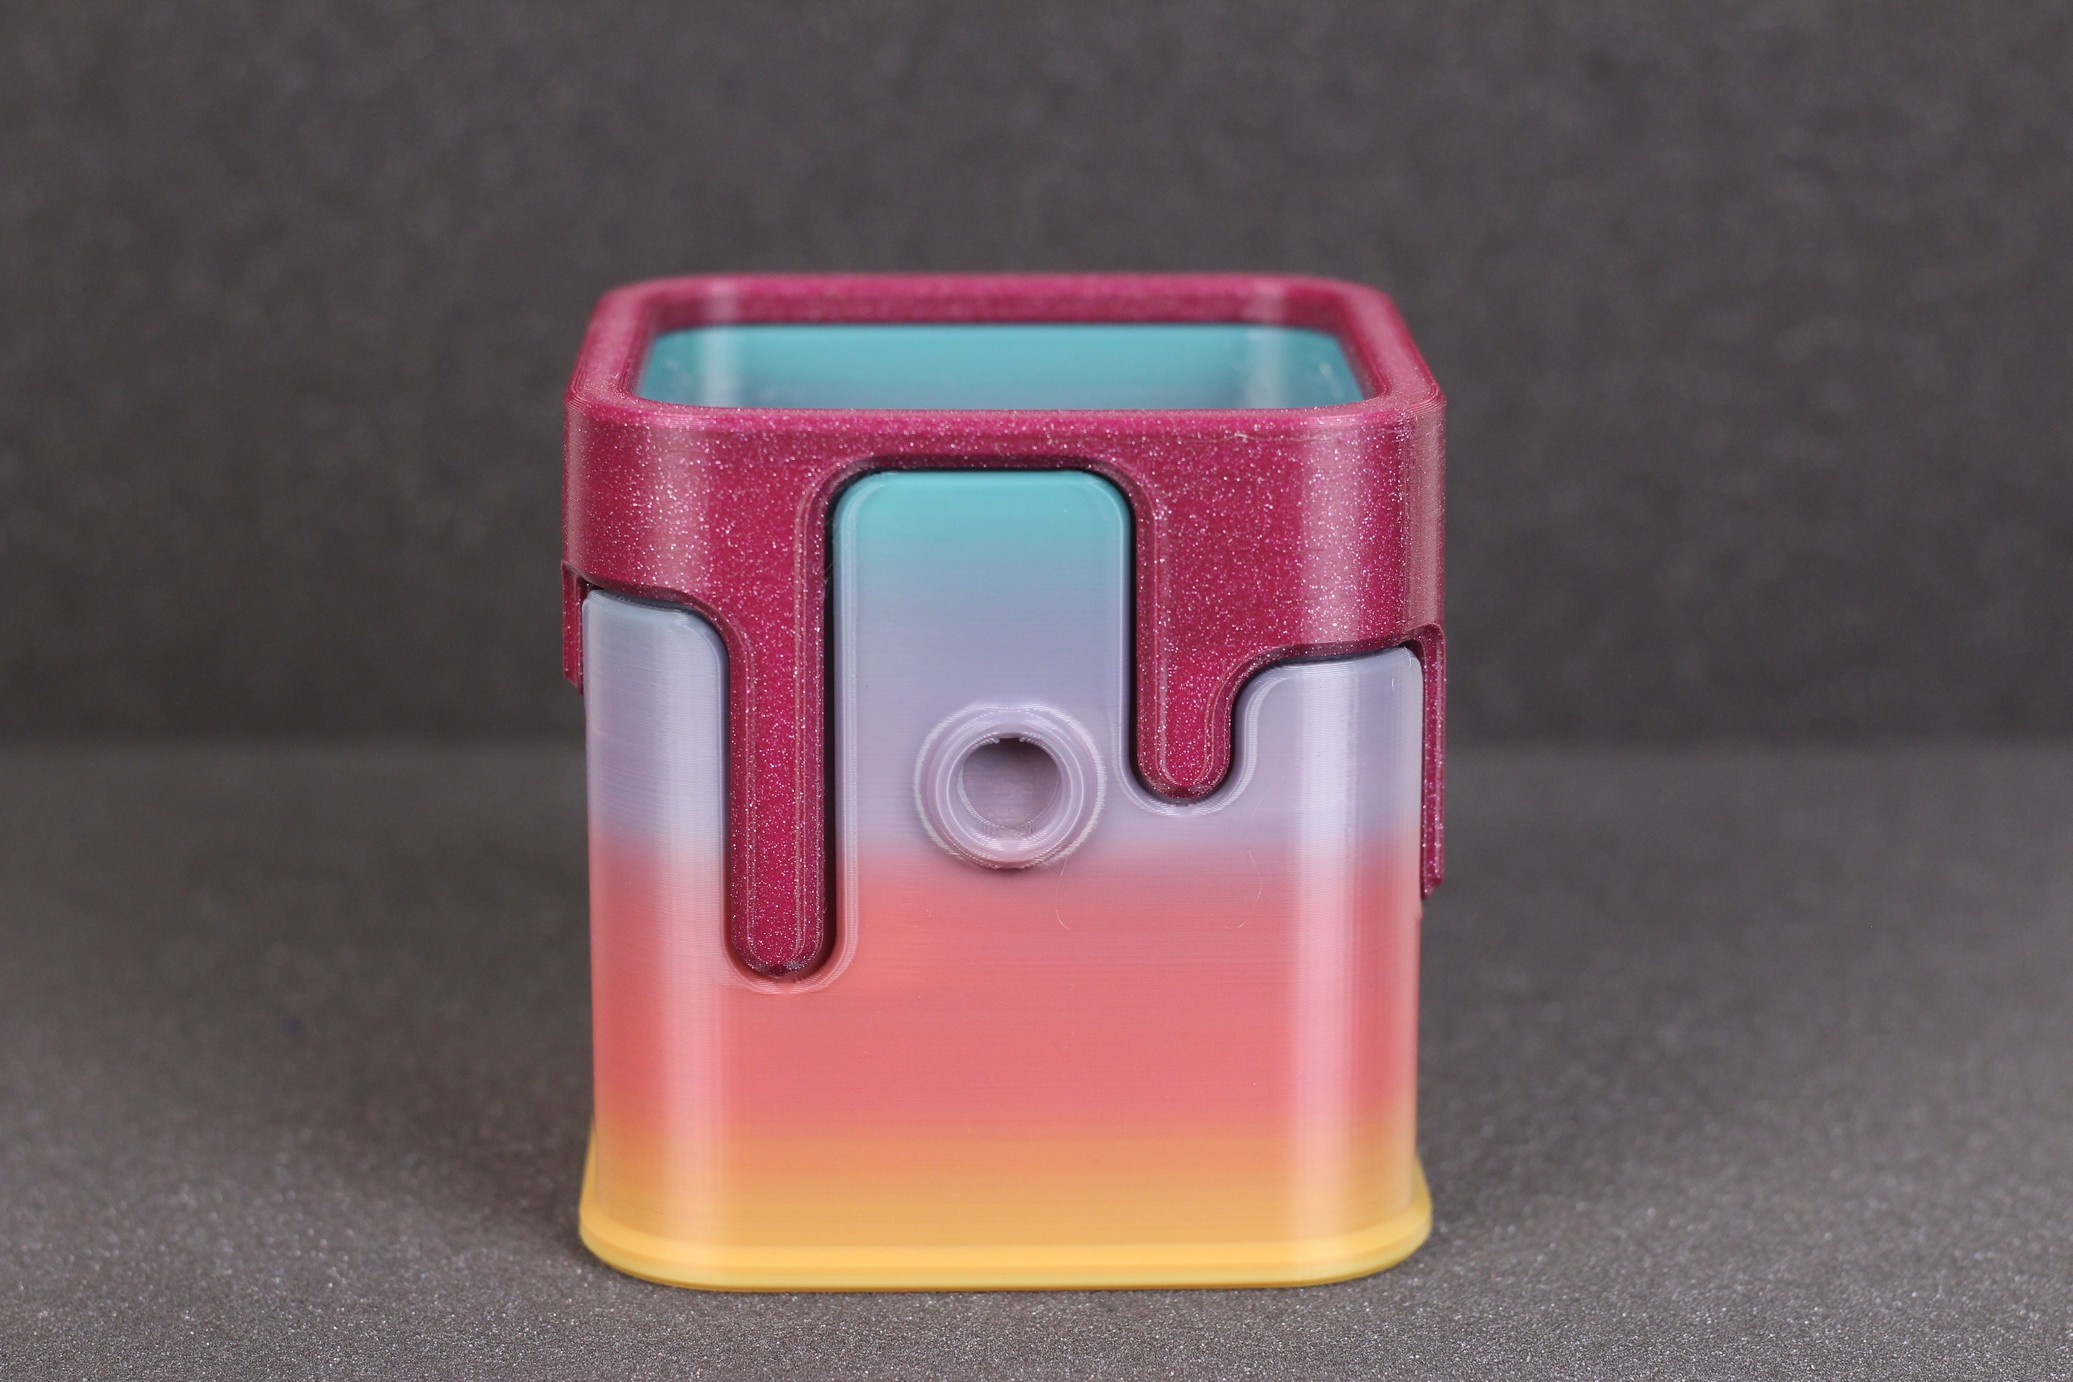
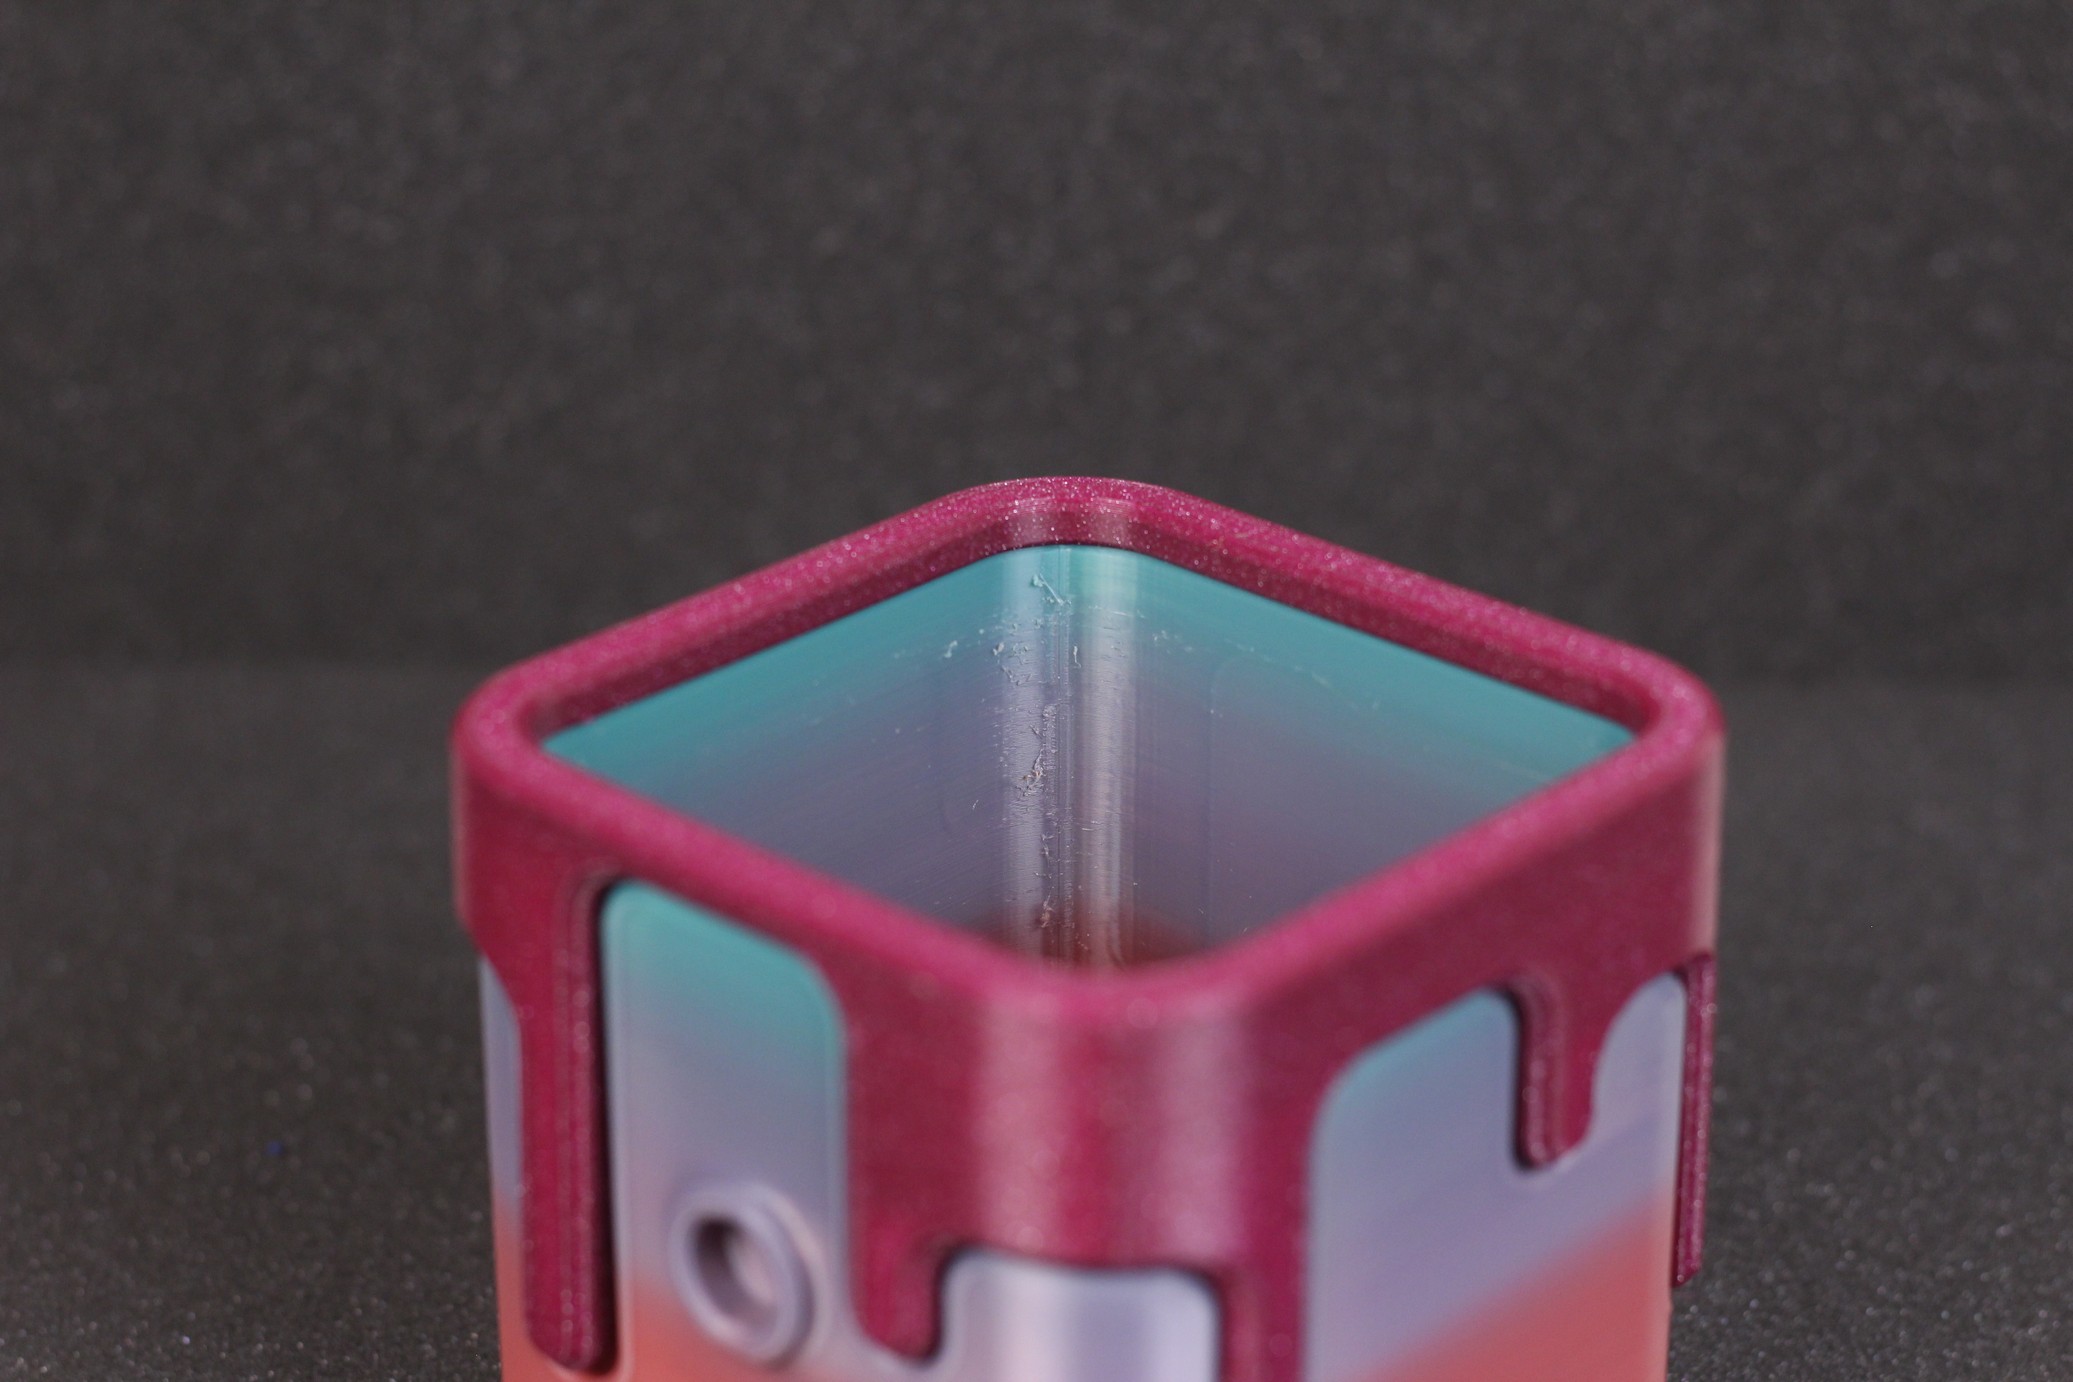
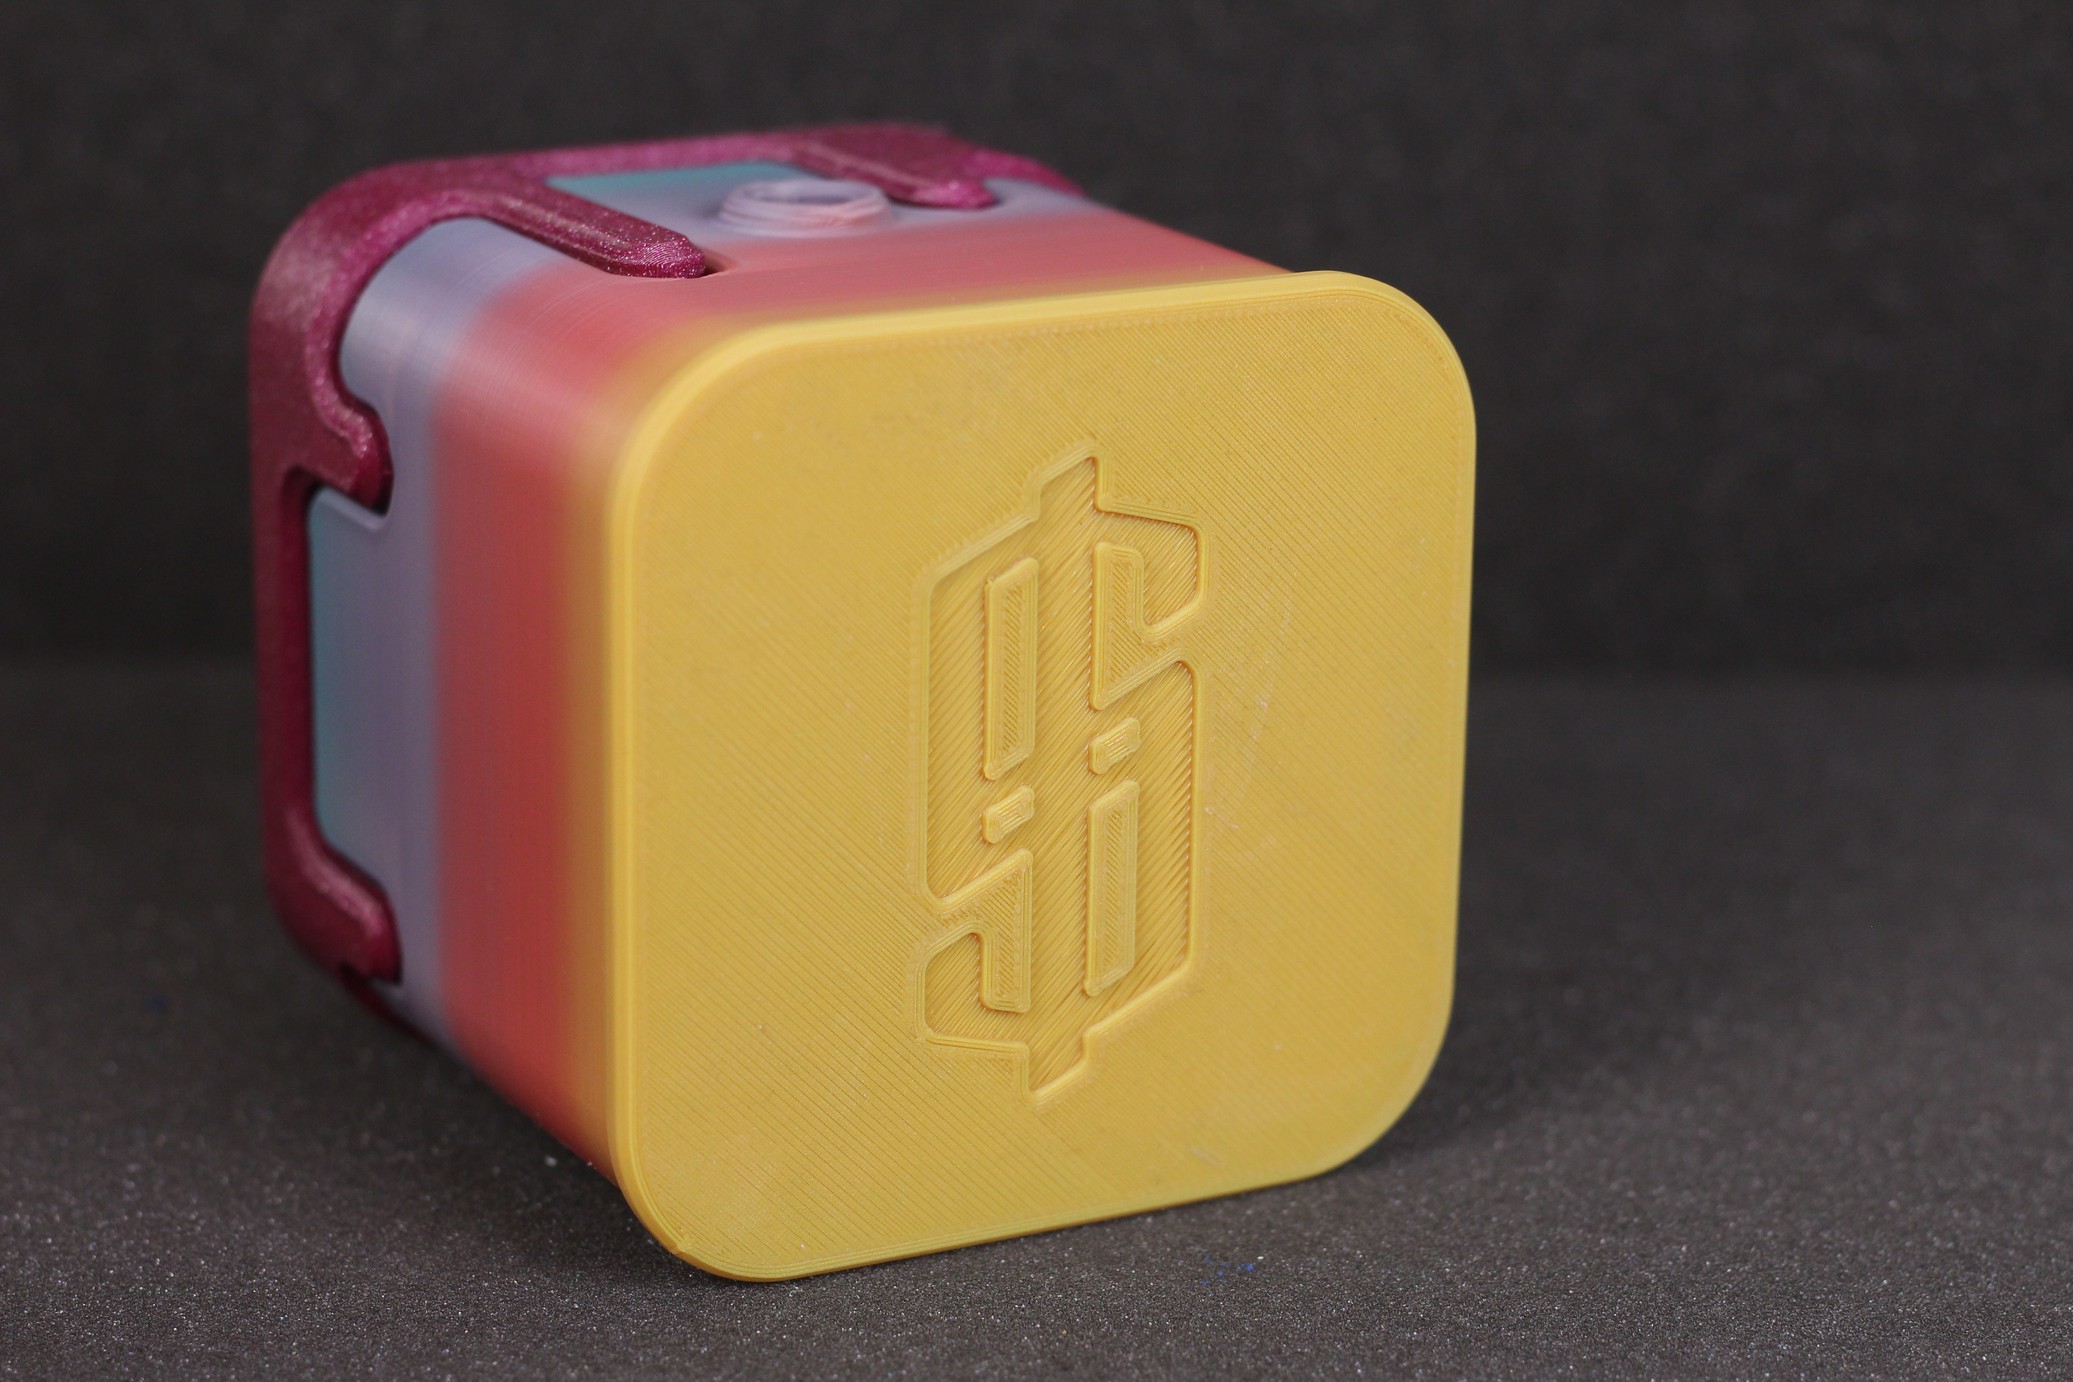
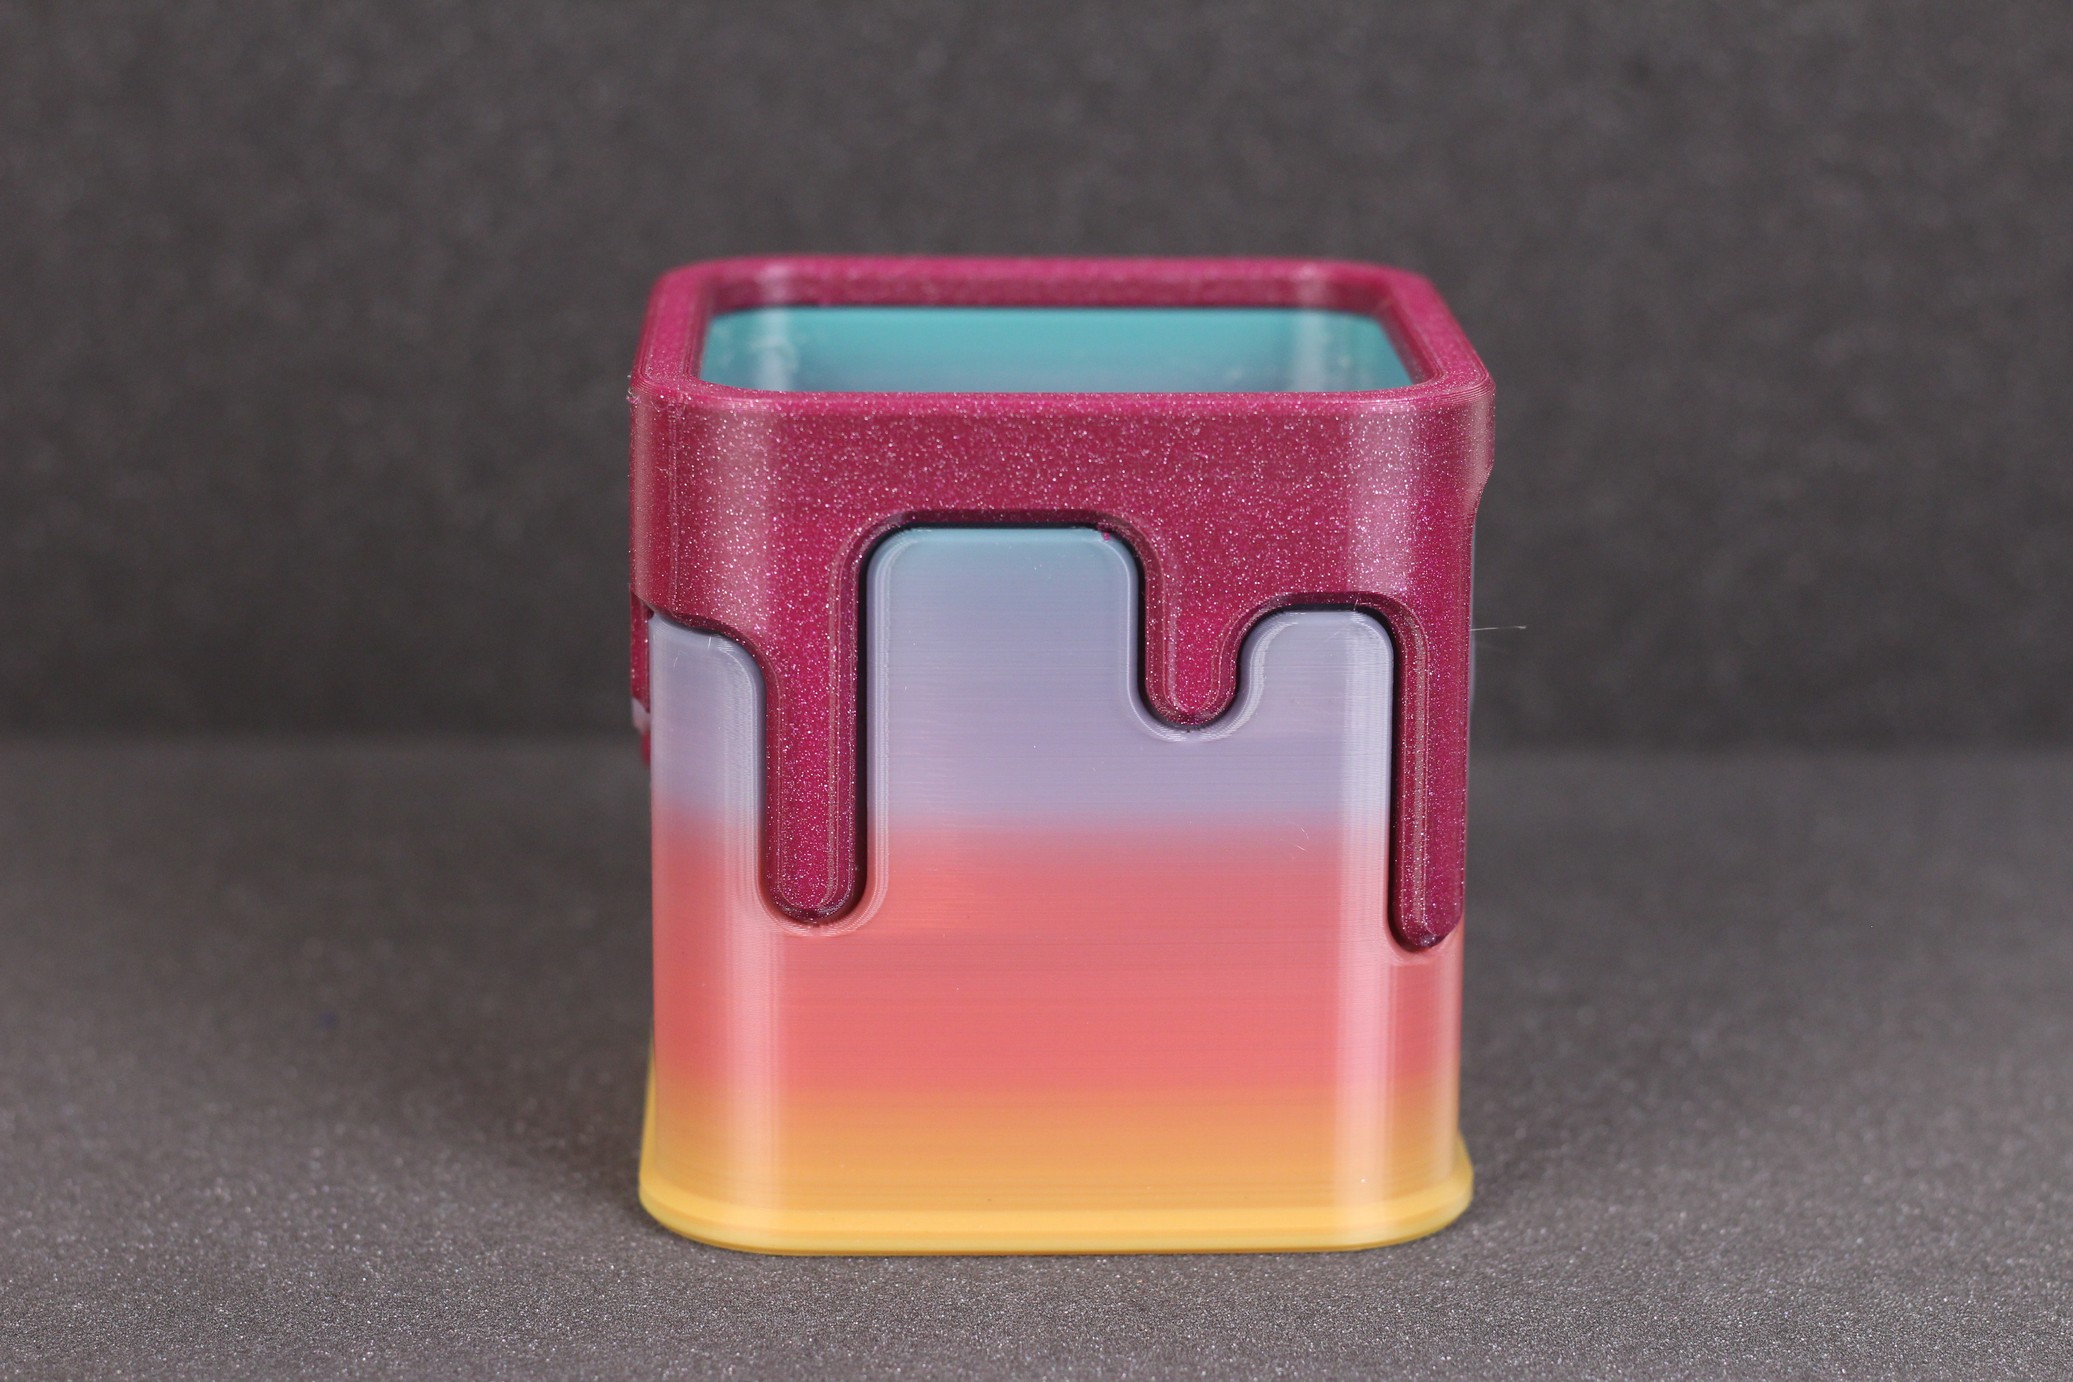
- Material: Sunlu Rainbow PLA
- Layer Height: 0.15mm
- Nozzle Temperature: 210C
- Bed Temperature: 50C
- Print Speed: 60 mm/s
King Roary
I’ve seen the official E3D King Roary STL on Prusa Printers and I wanted to print it right away. So I loaded up some BioFusion in less than 15 hours, I got a scaled up version of the model which tests the full size of the printer. This one is a flawless print, and I am a bit disappointed that I haven’t printed it with 0.15 layer height for better resolution.
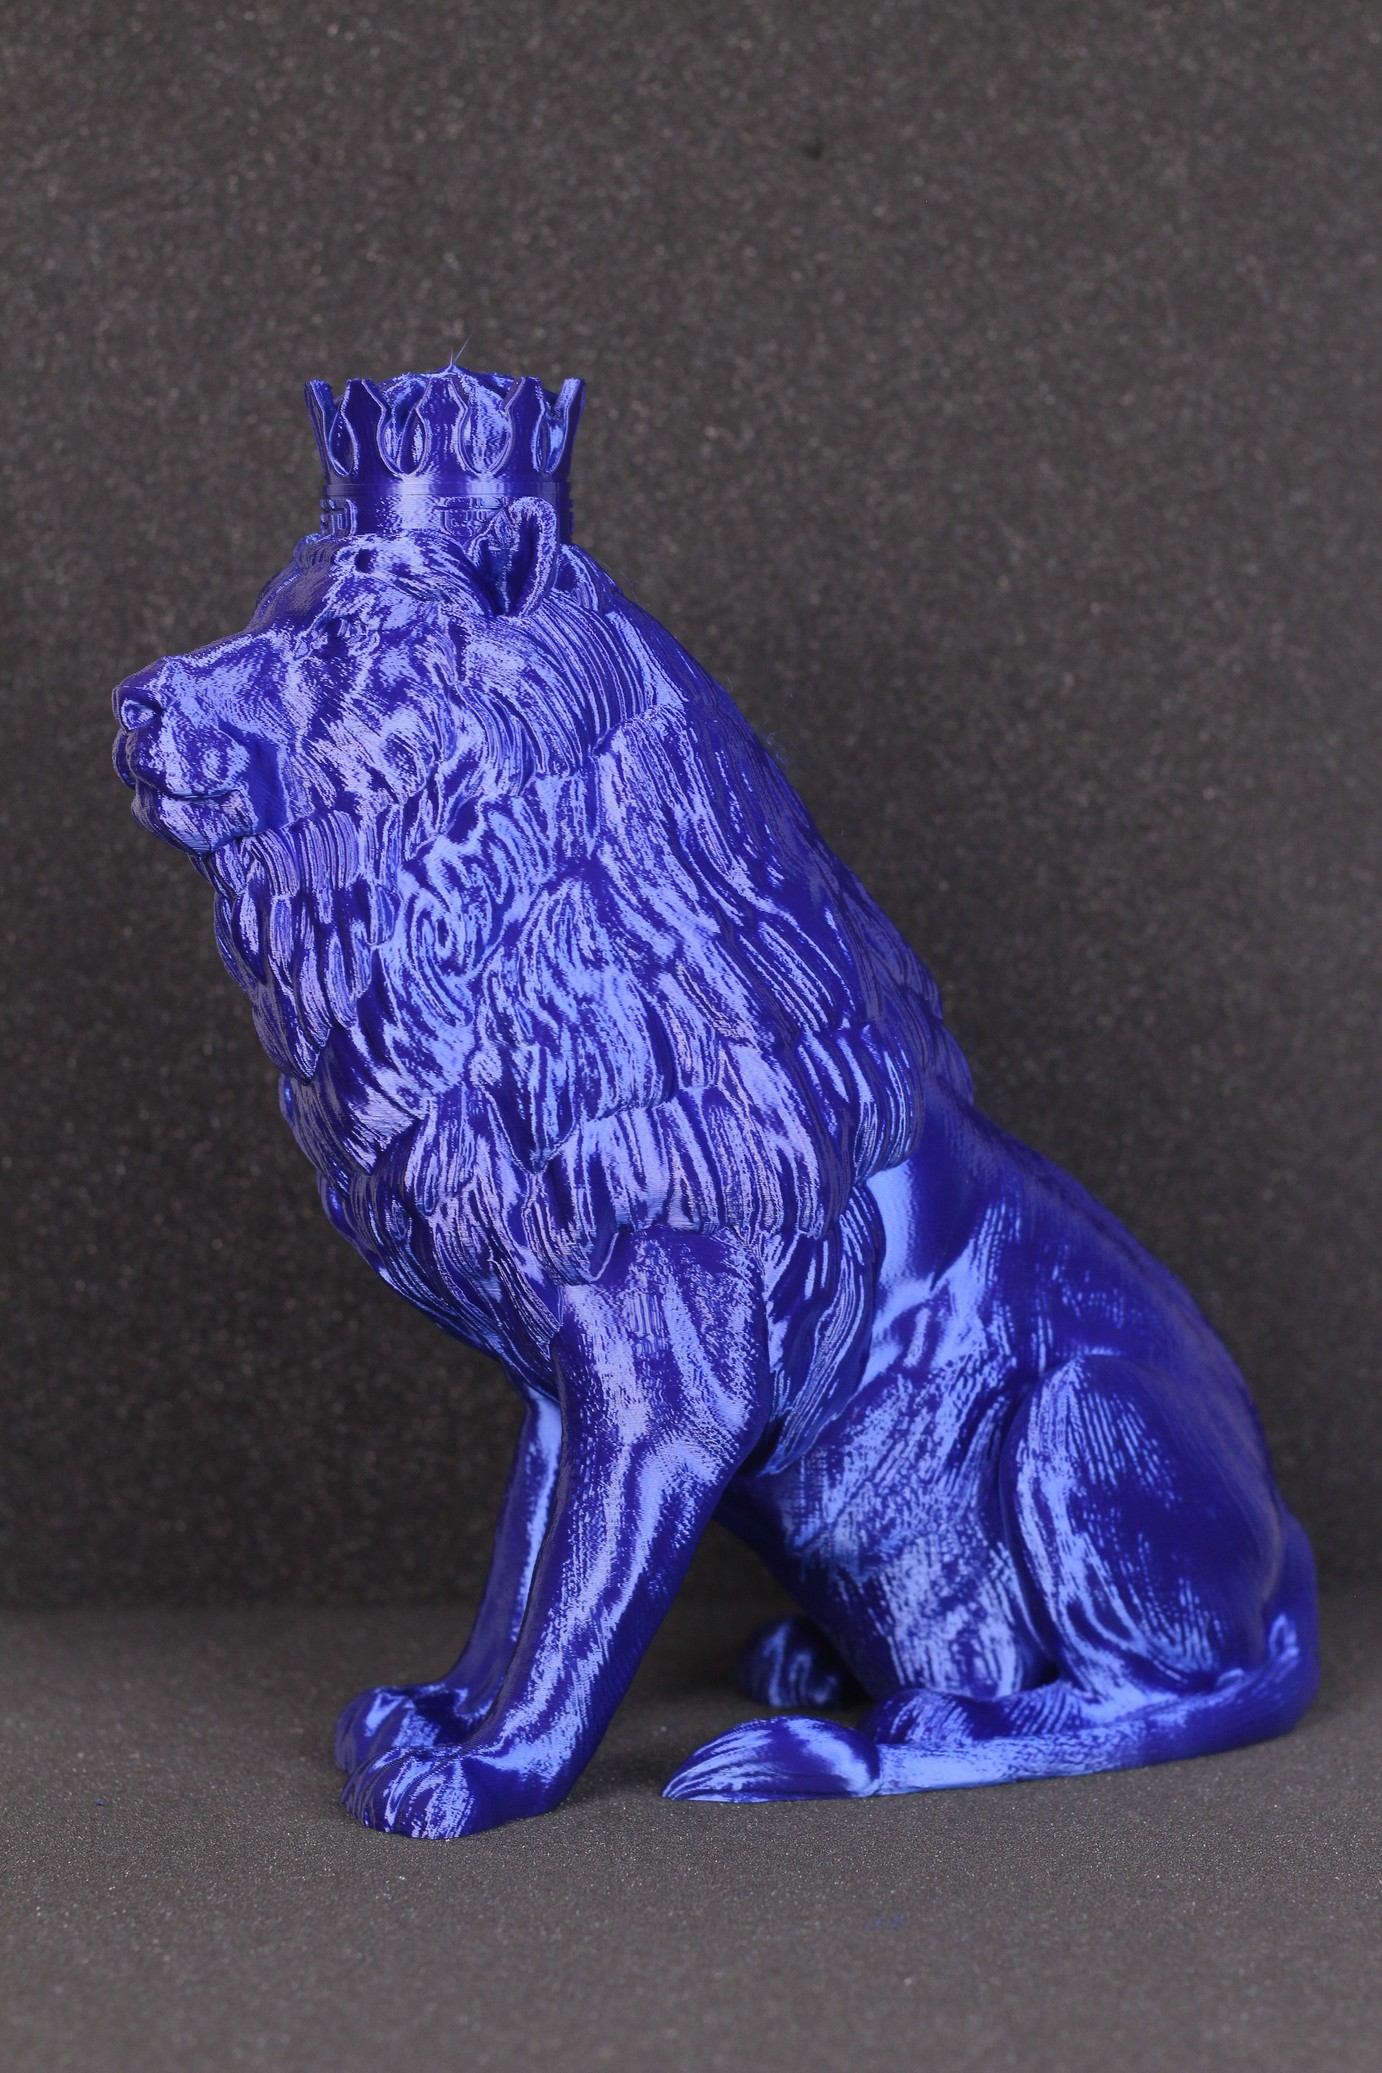
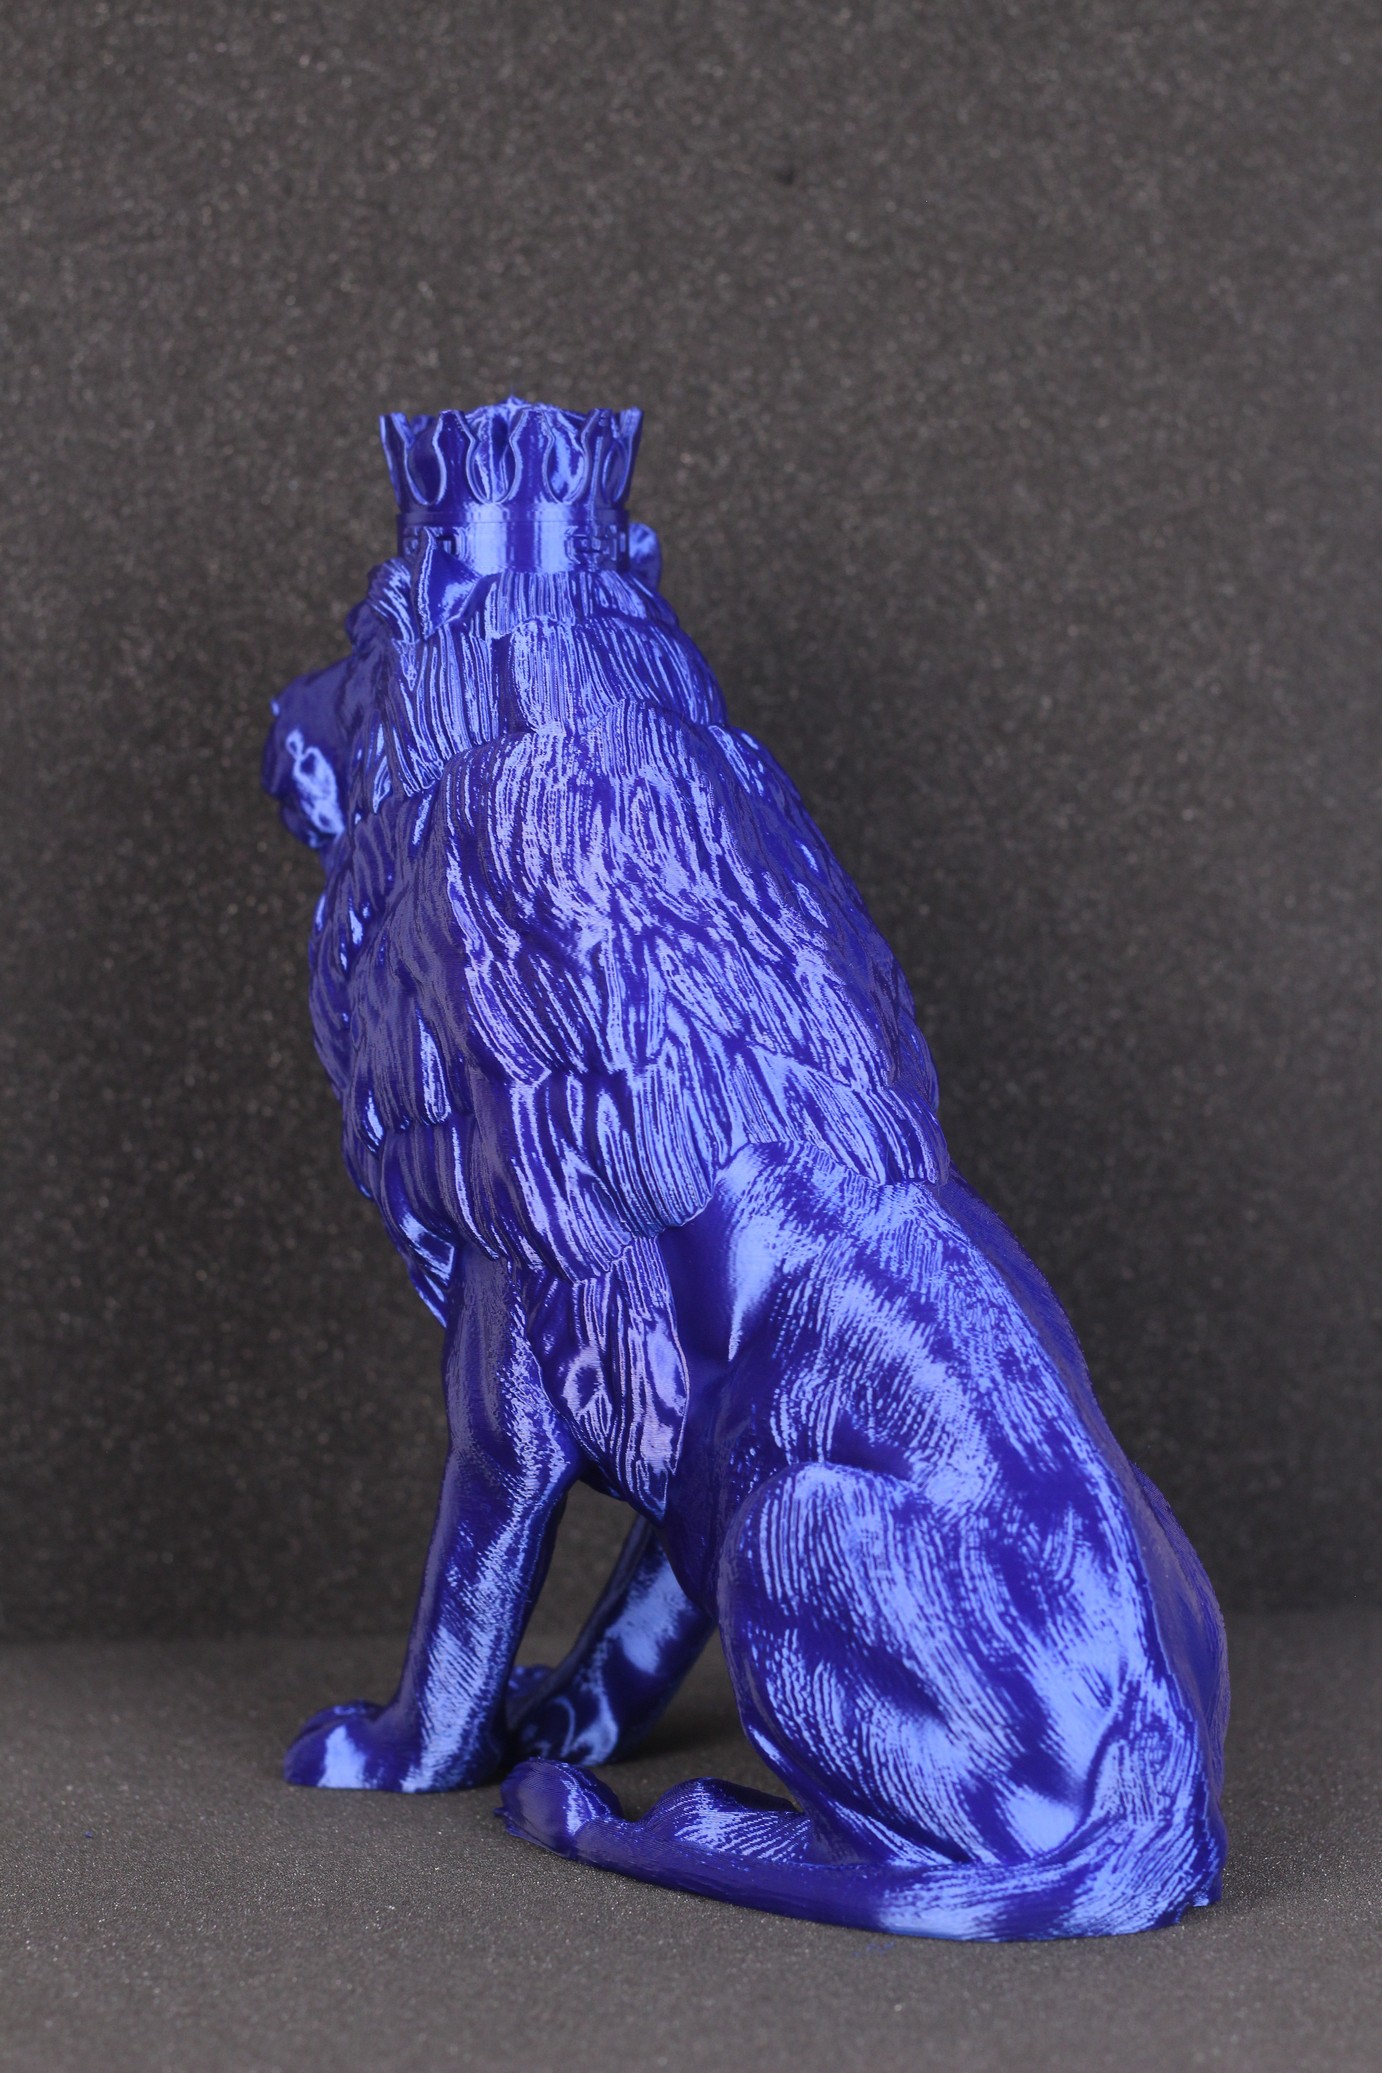
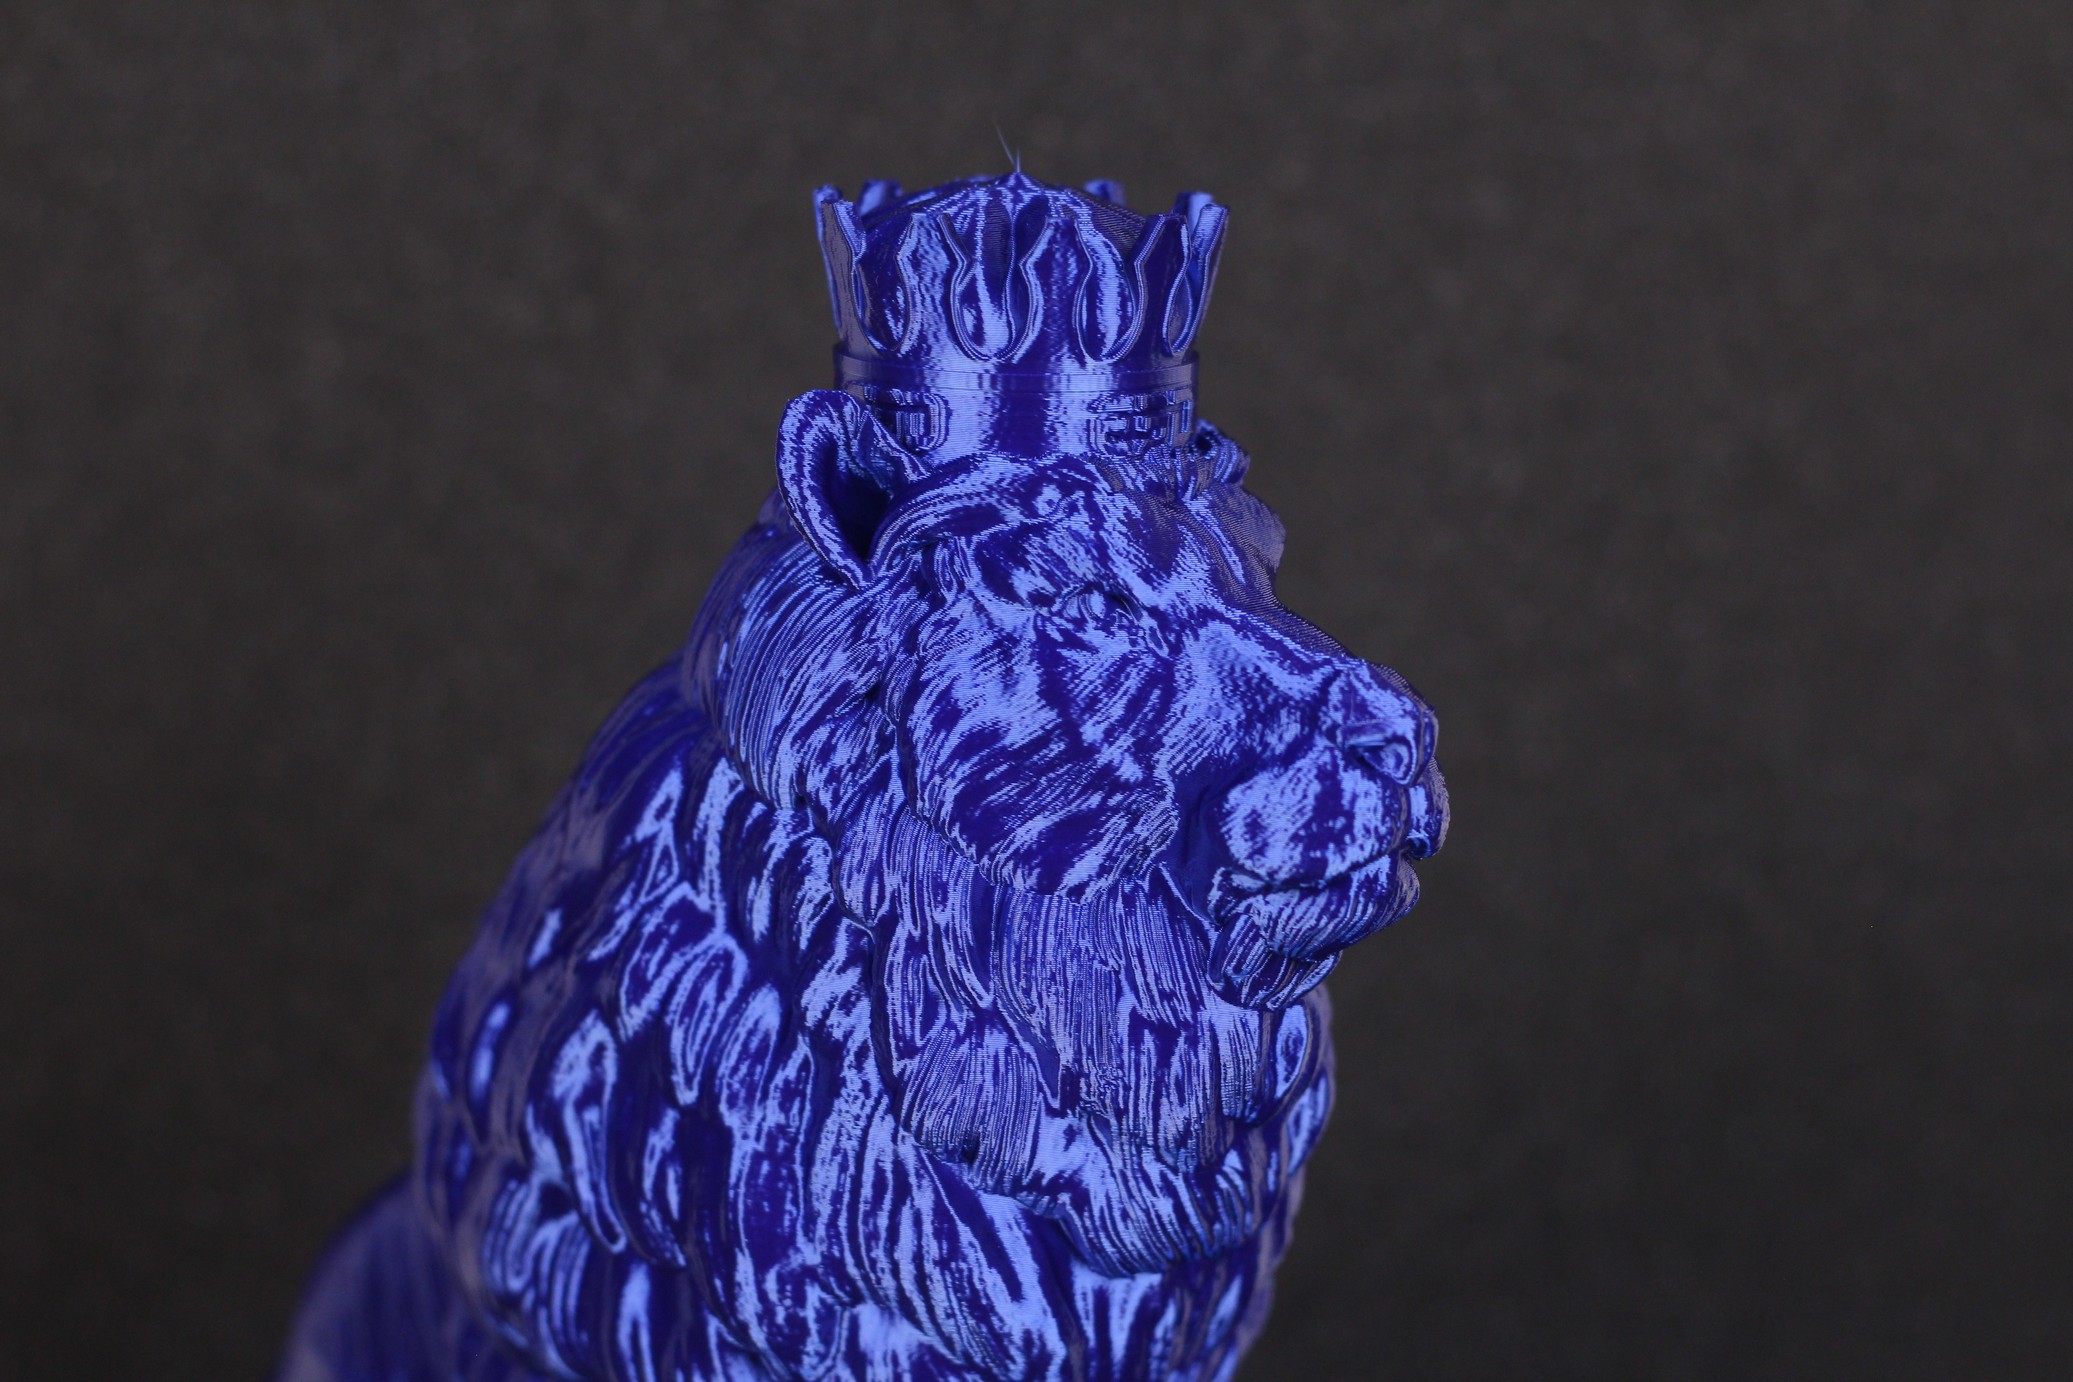
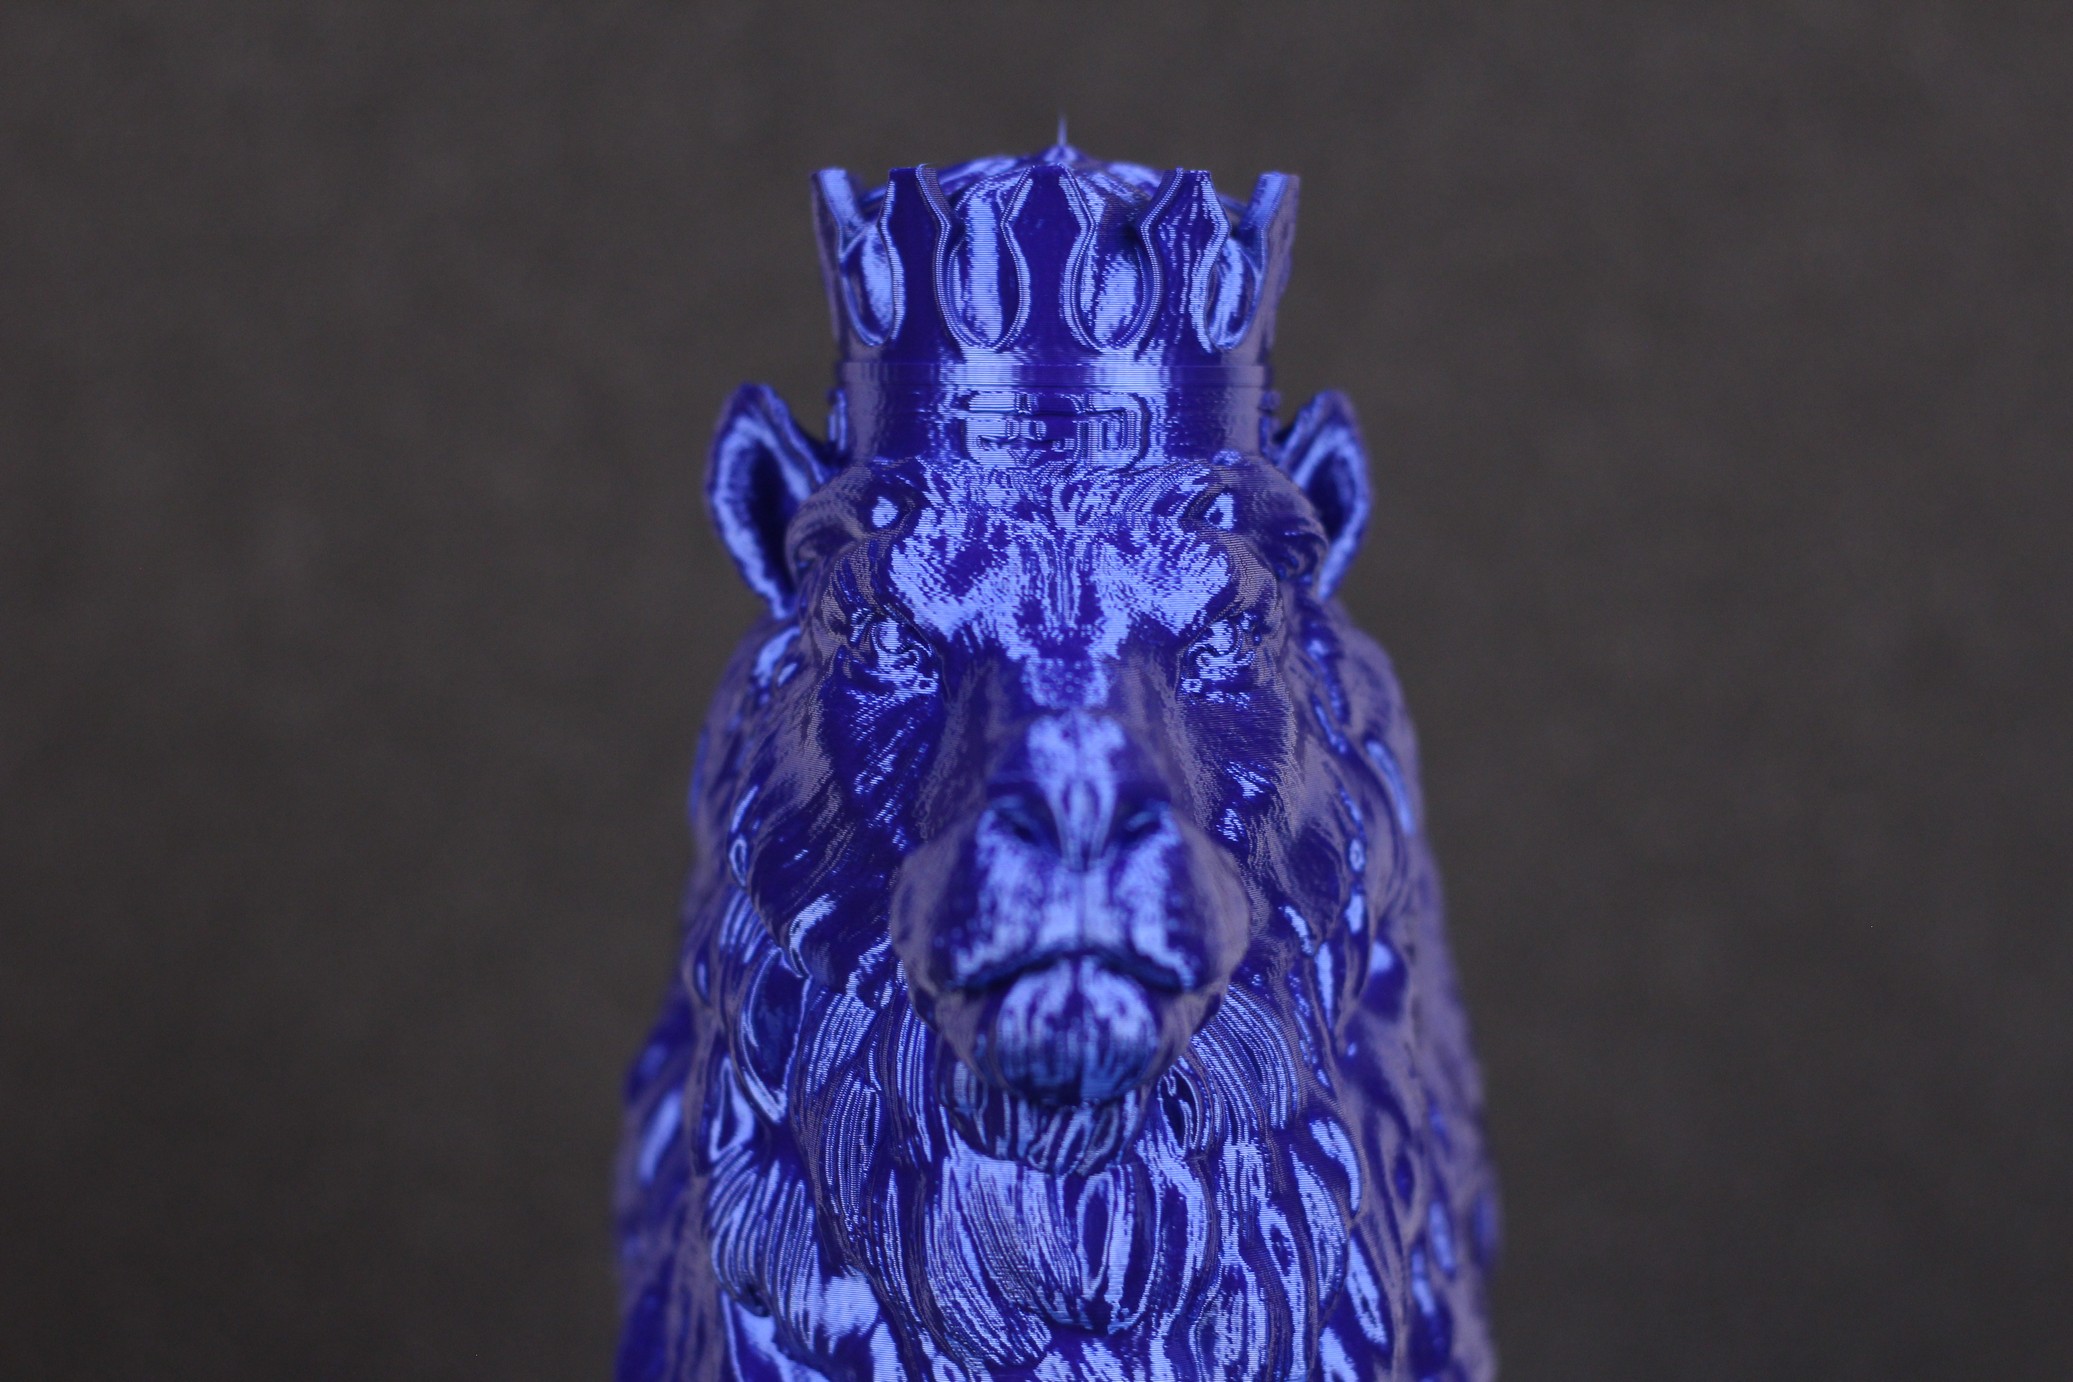
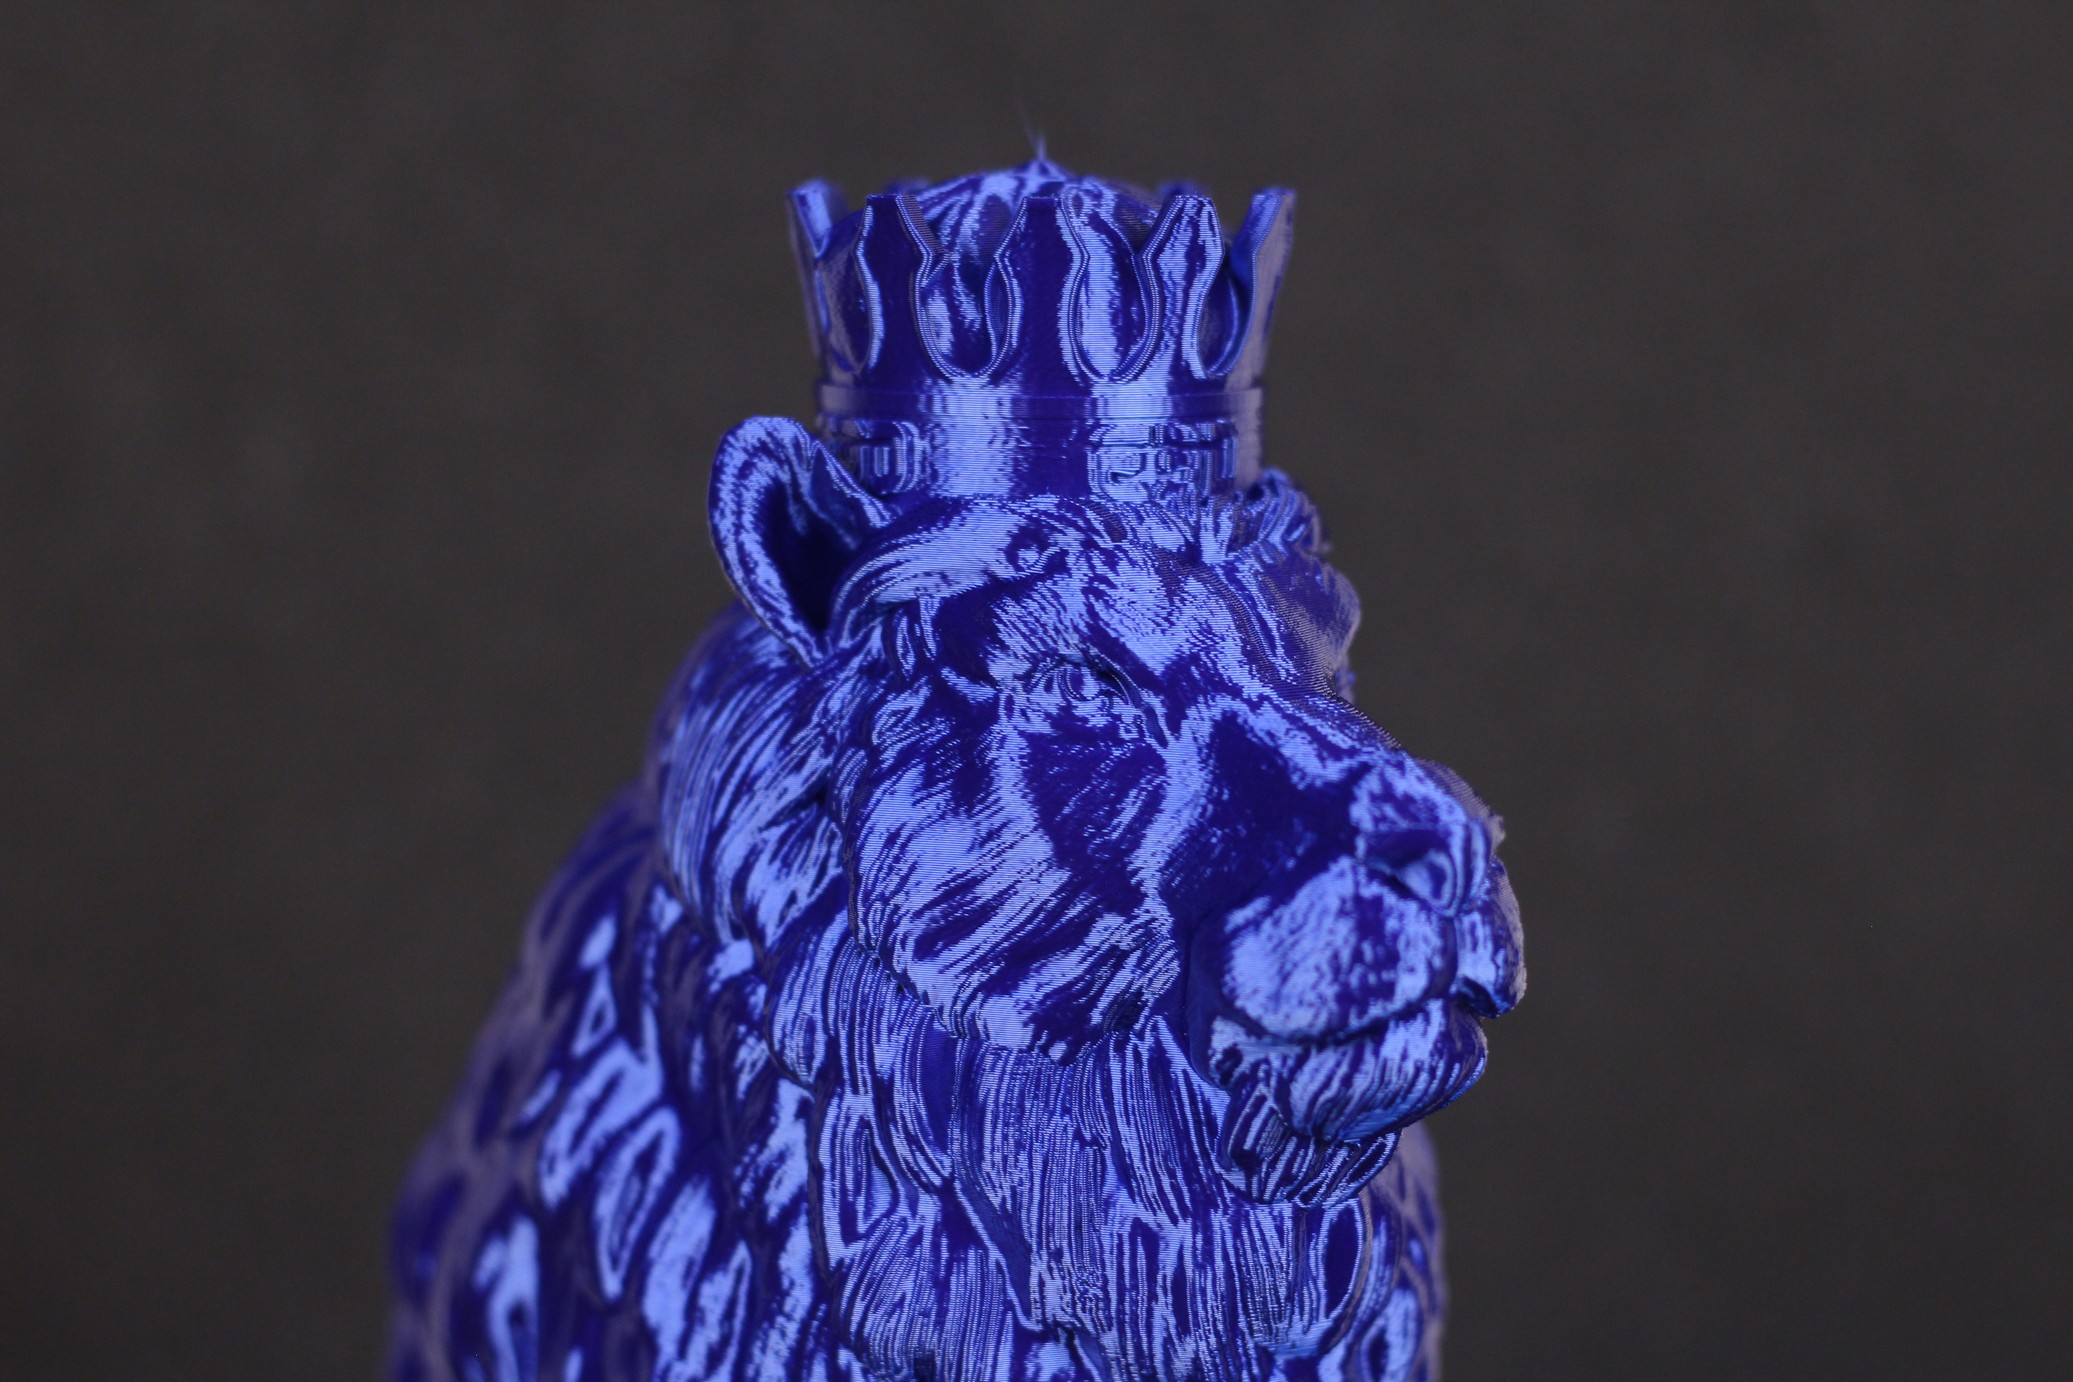
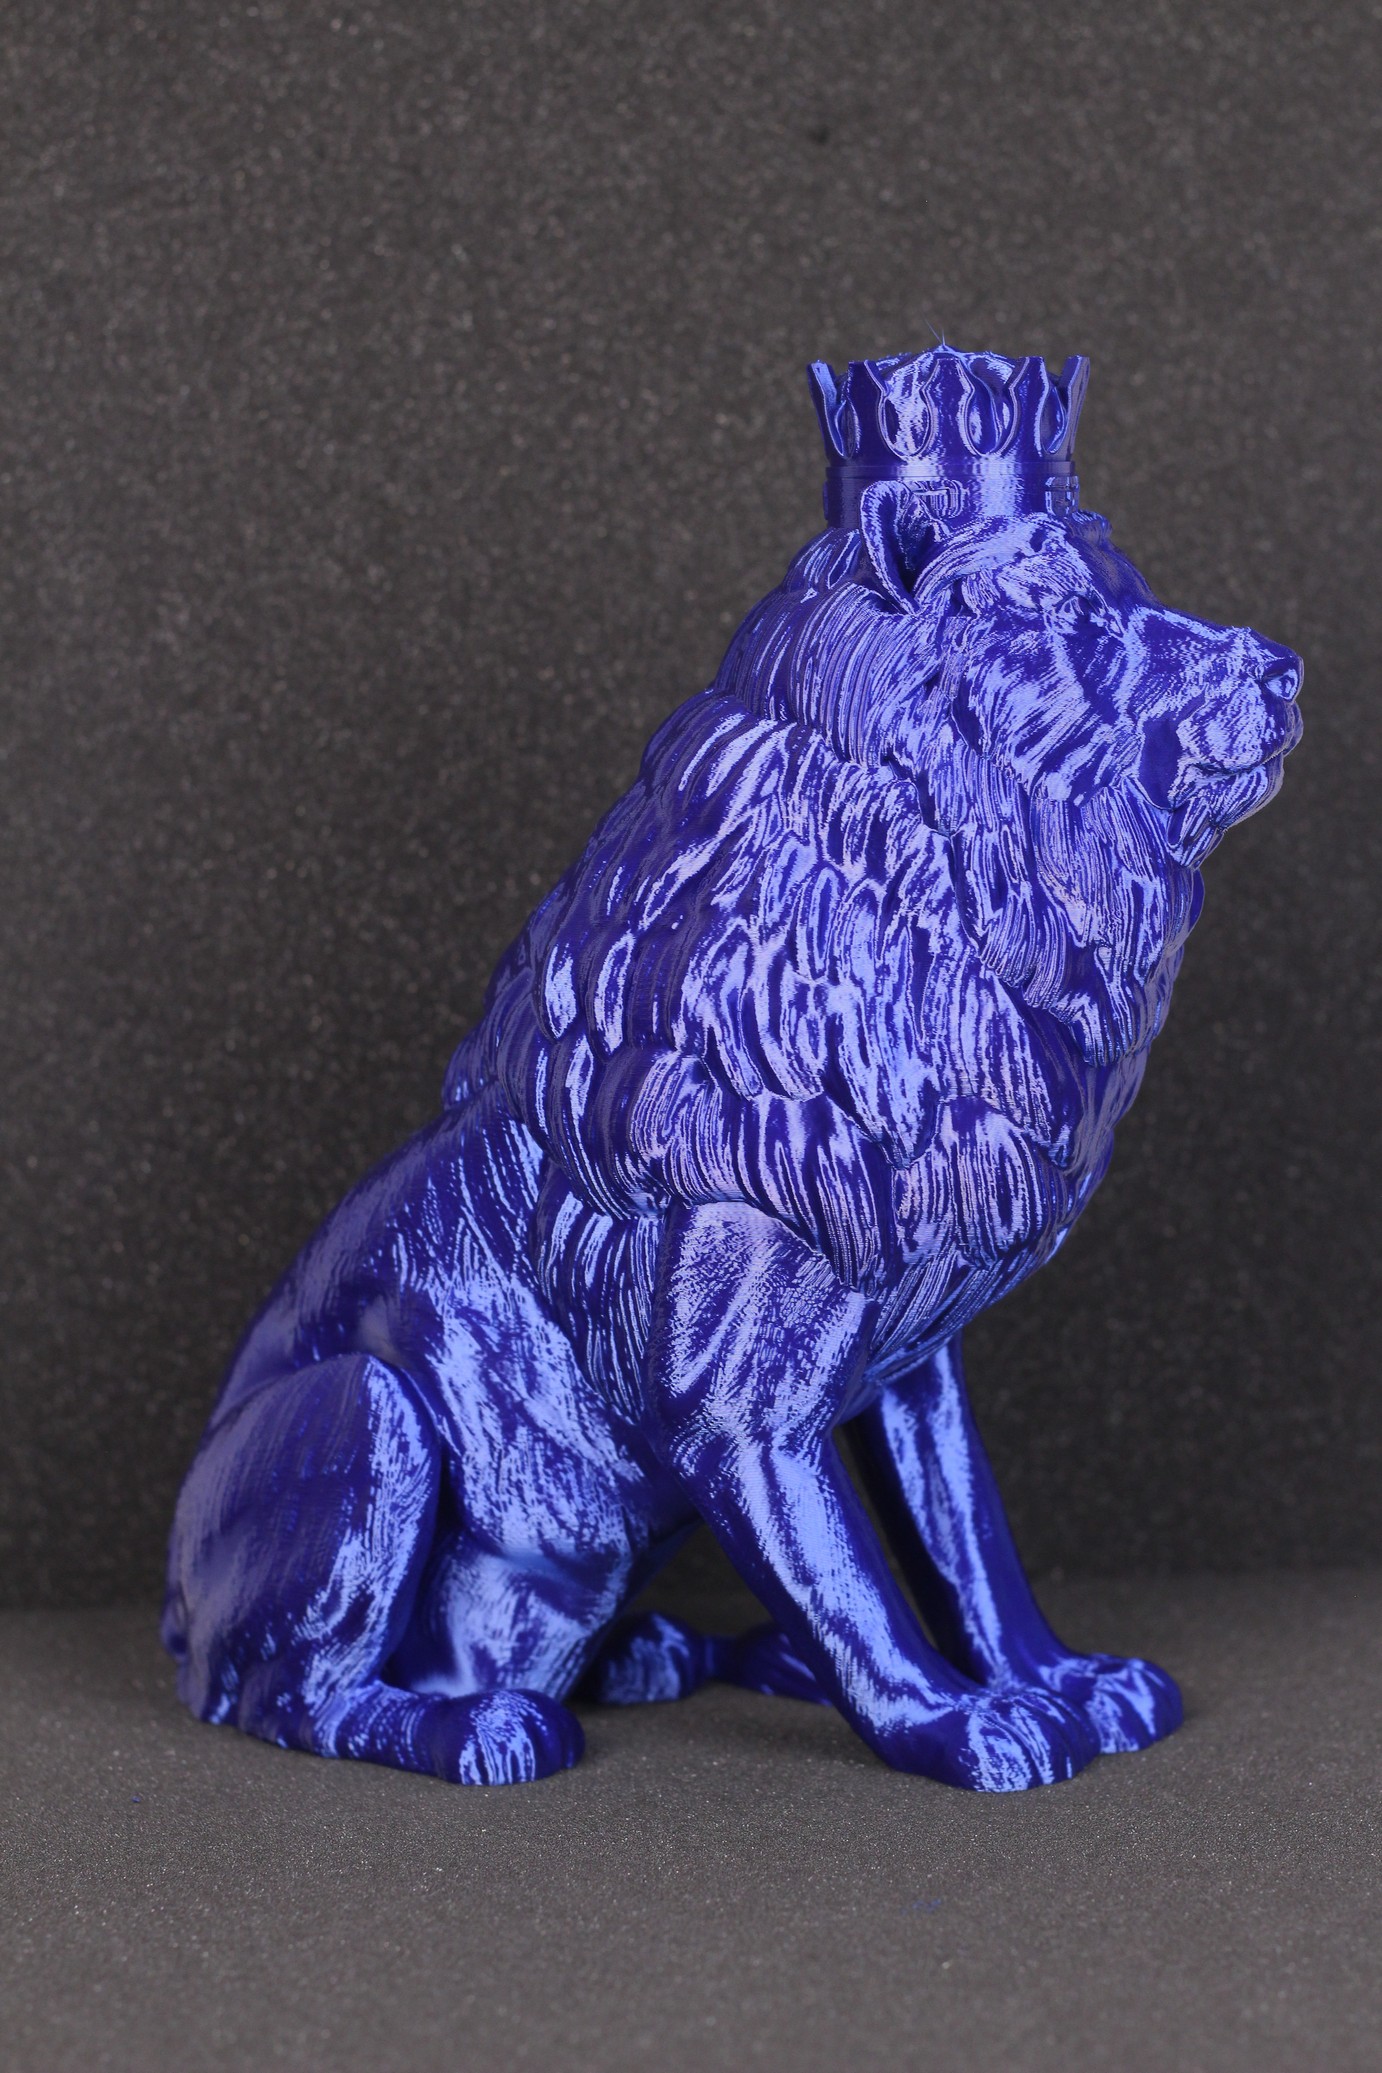
- Material: Extrudr BioFusion Blue Fire
- Layer Height: 0.2mm
- Nozzle Temperature: 215C
- Bed Temperature: 50C
- Print Speed: 50 mm/s
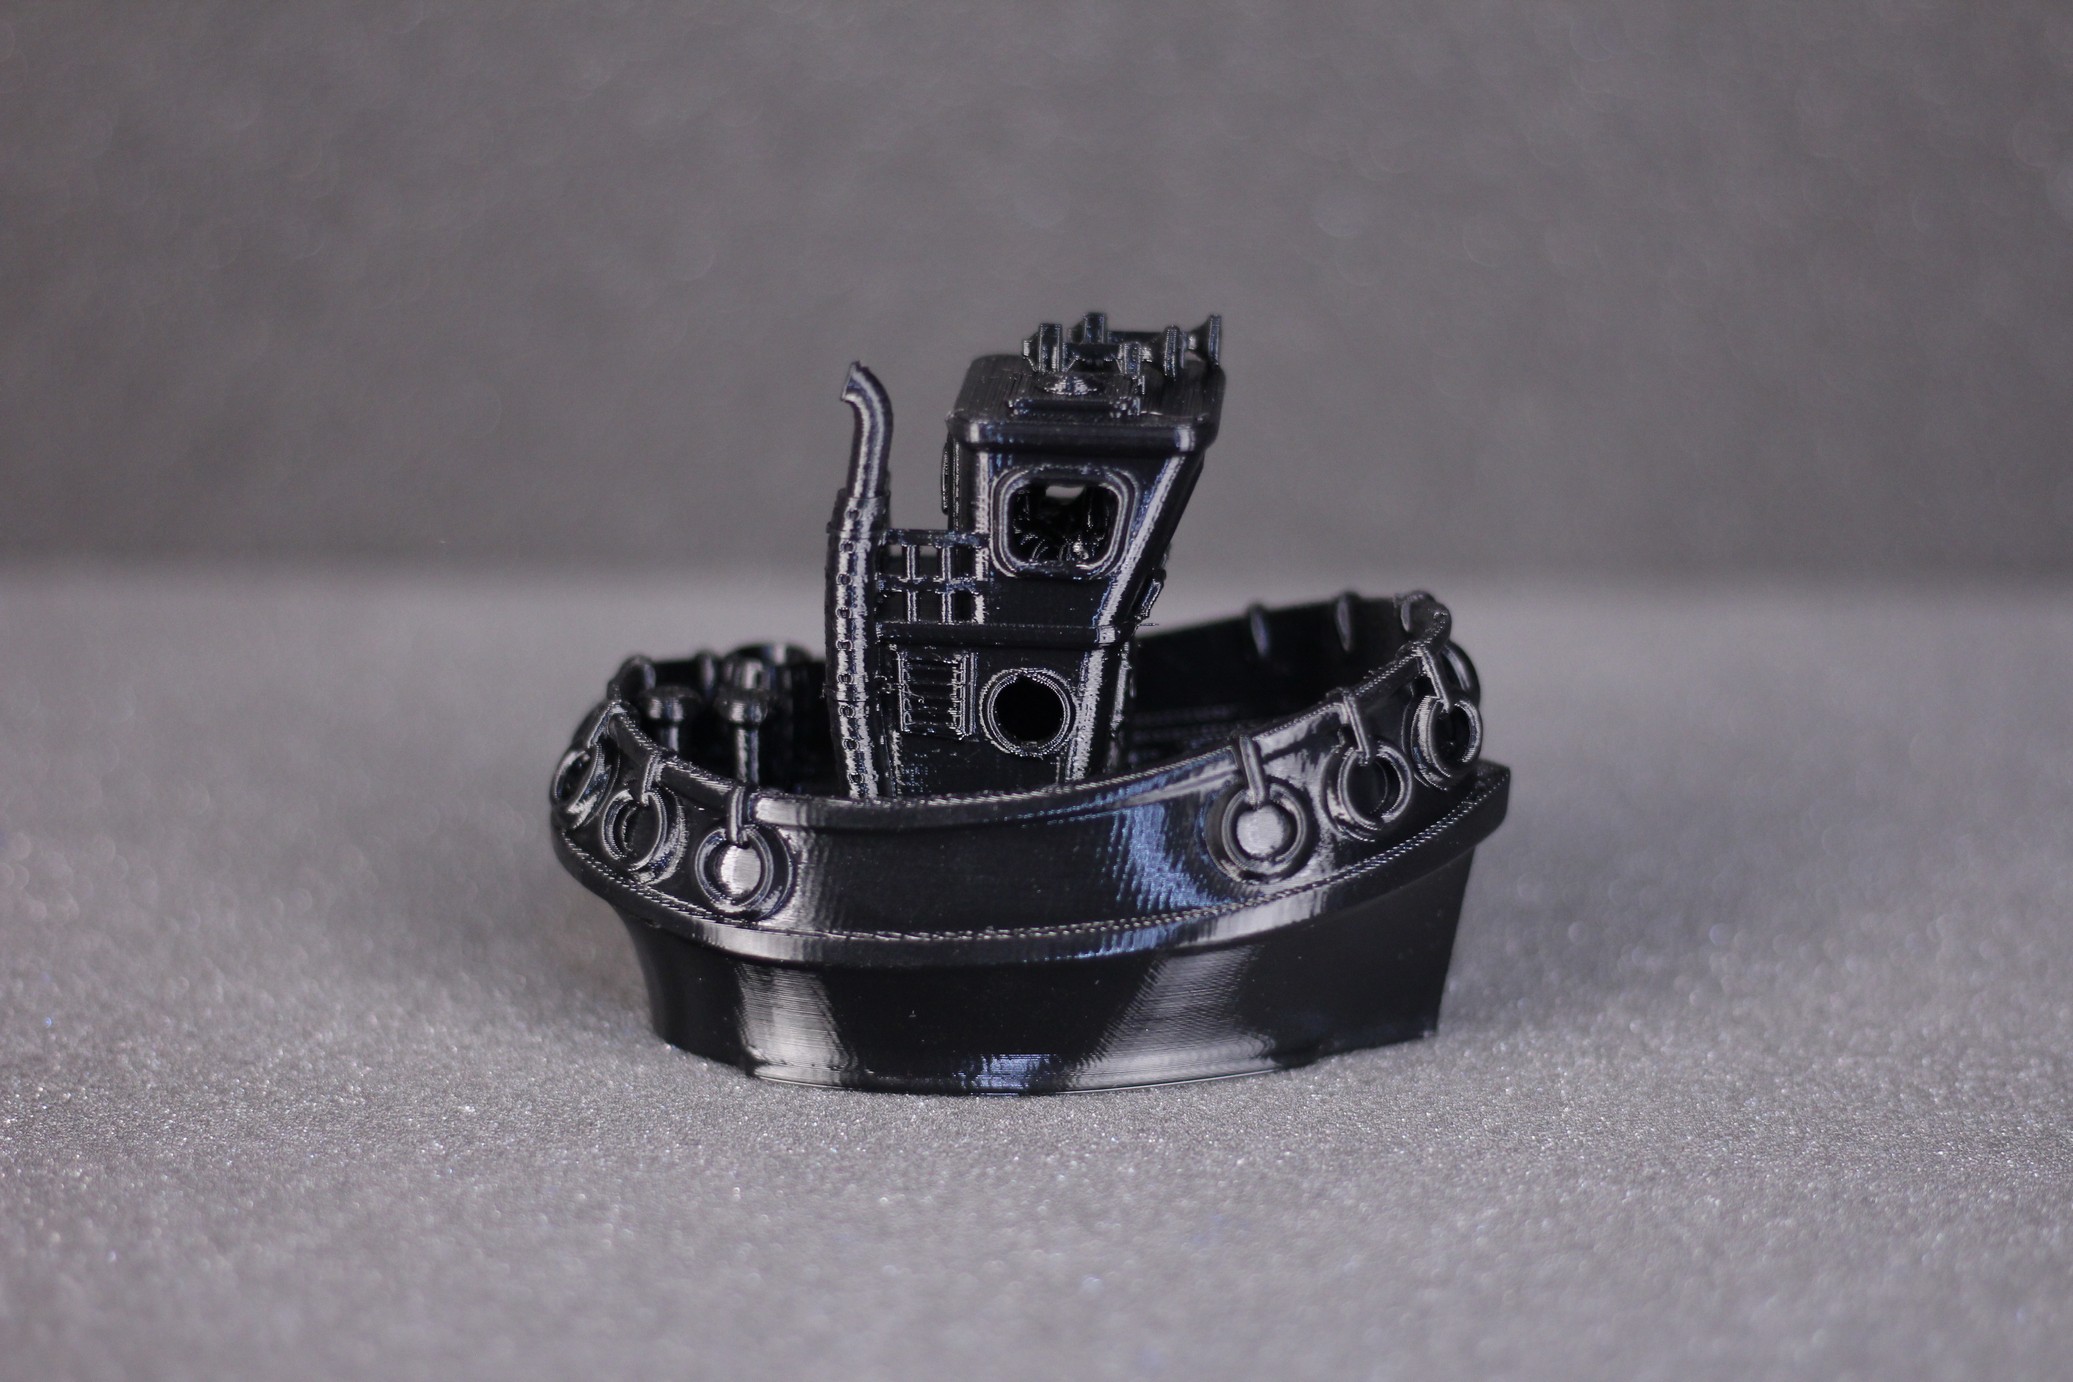
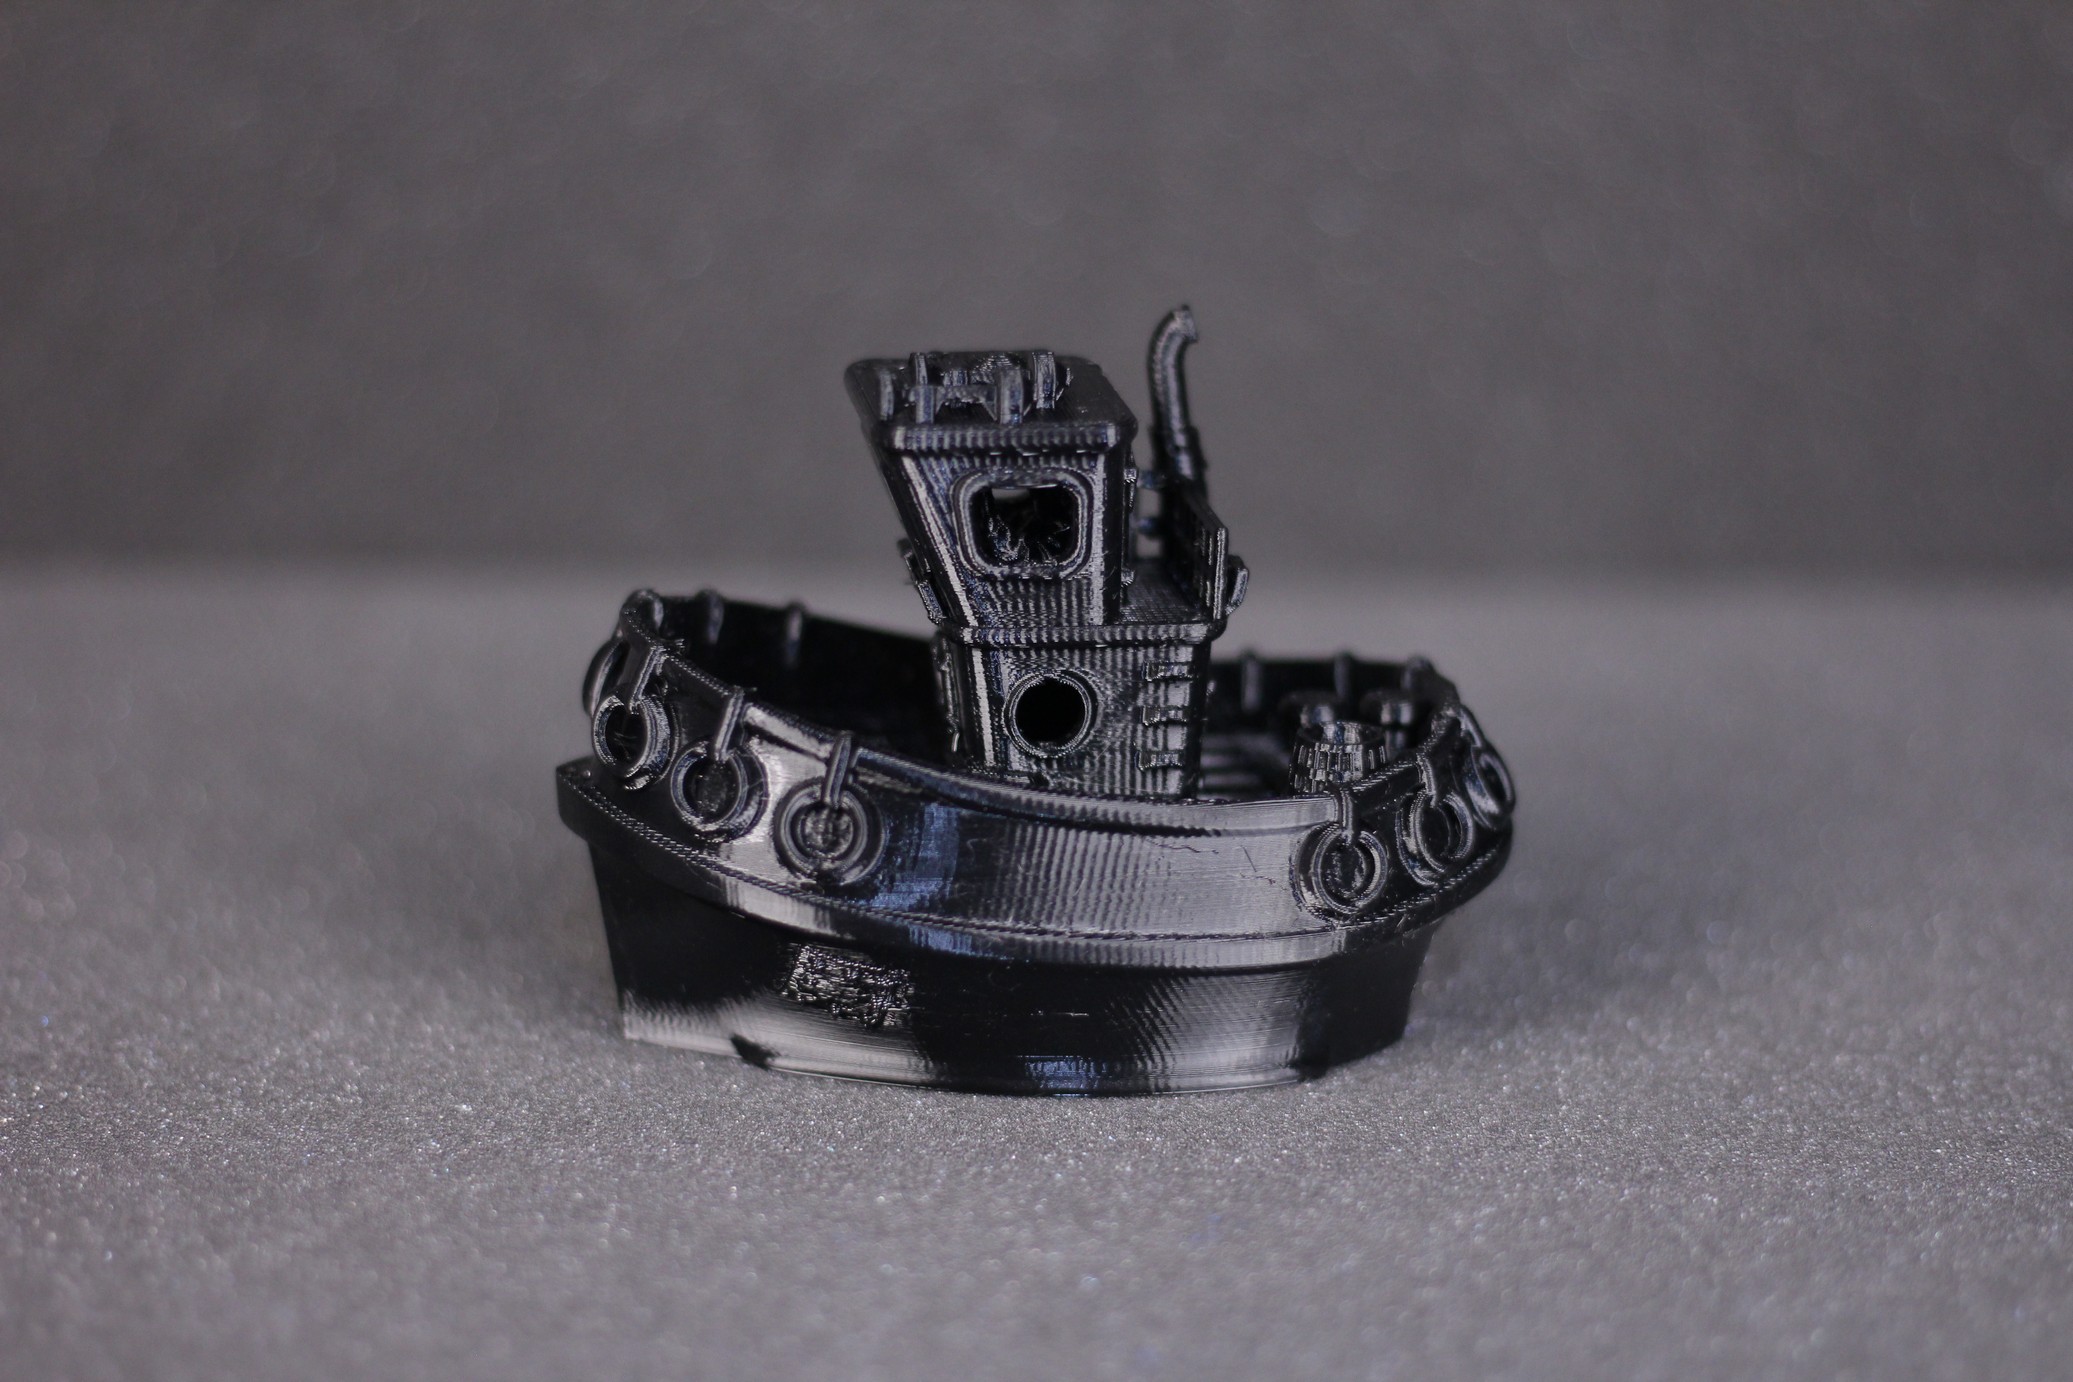
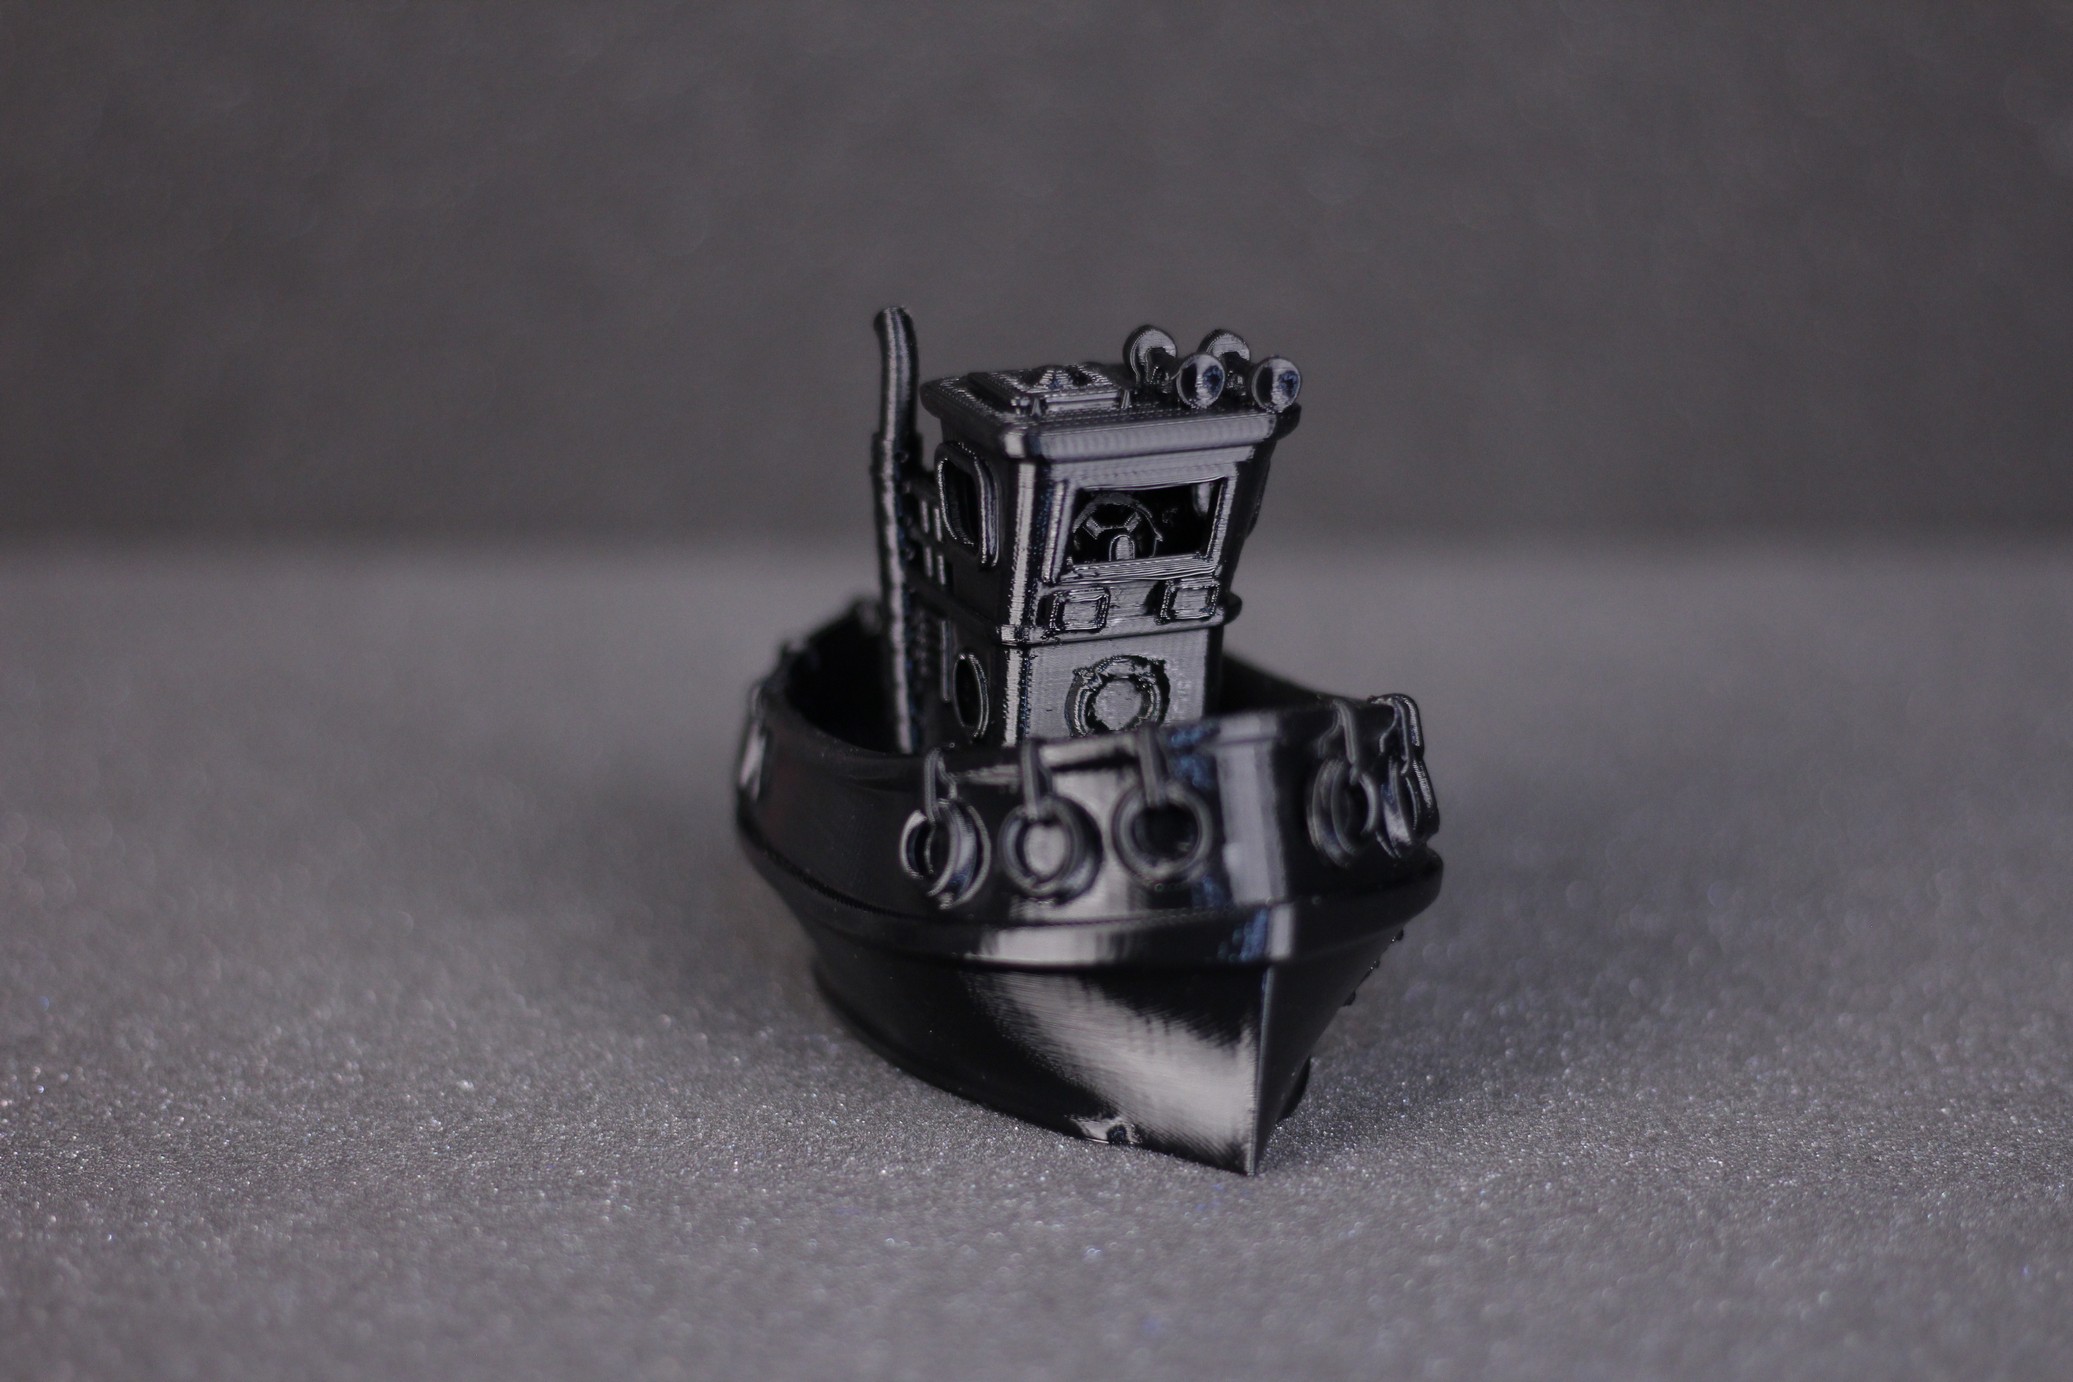
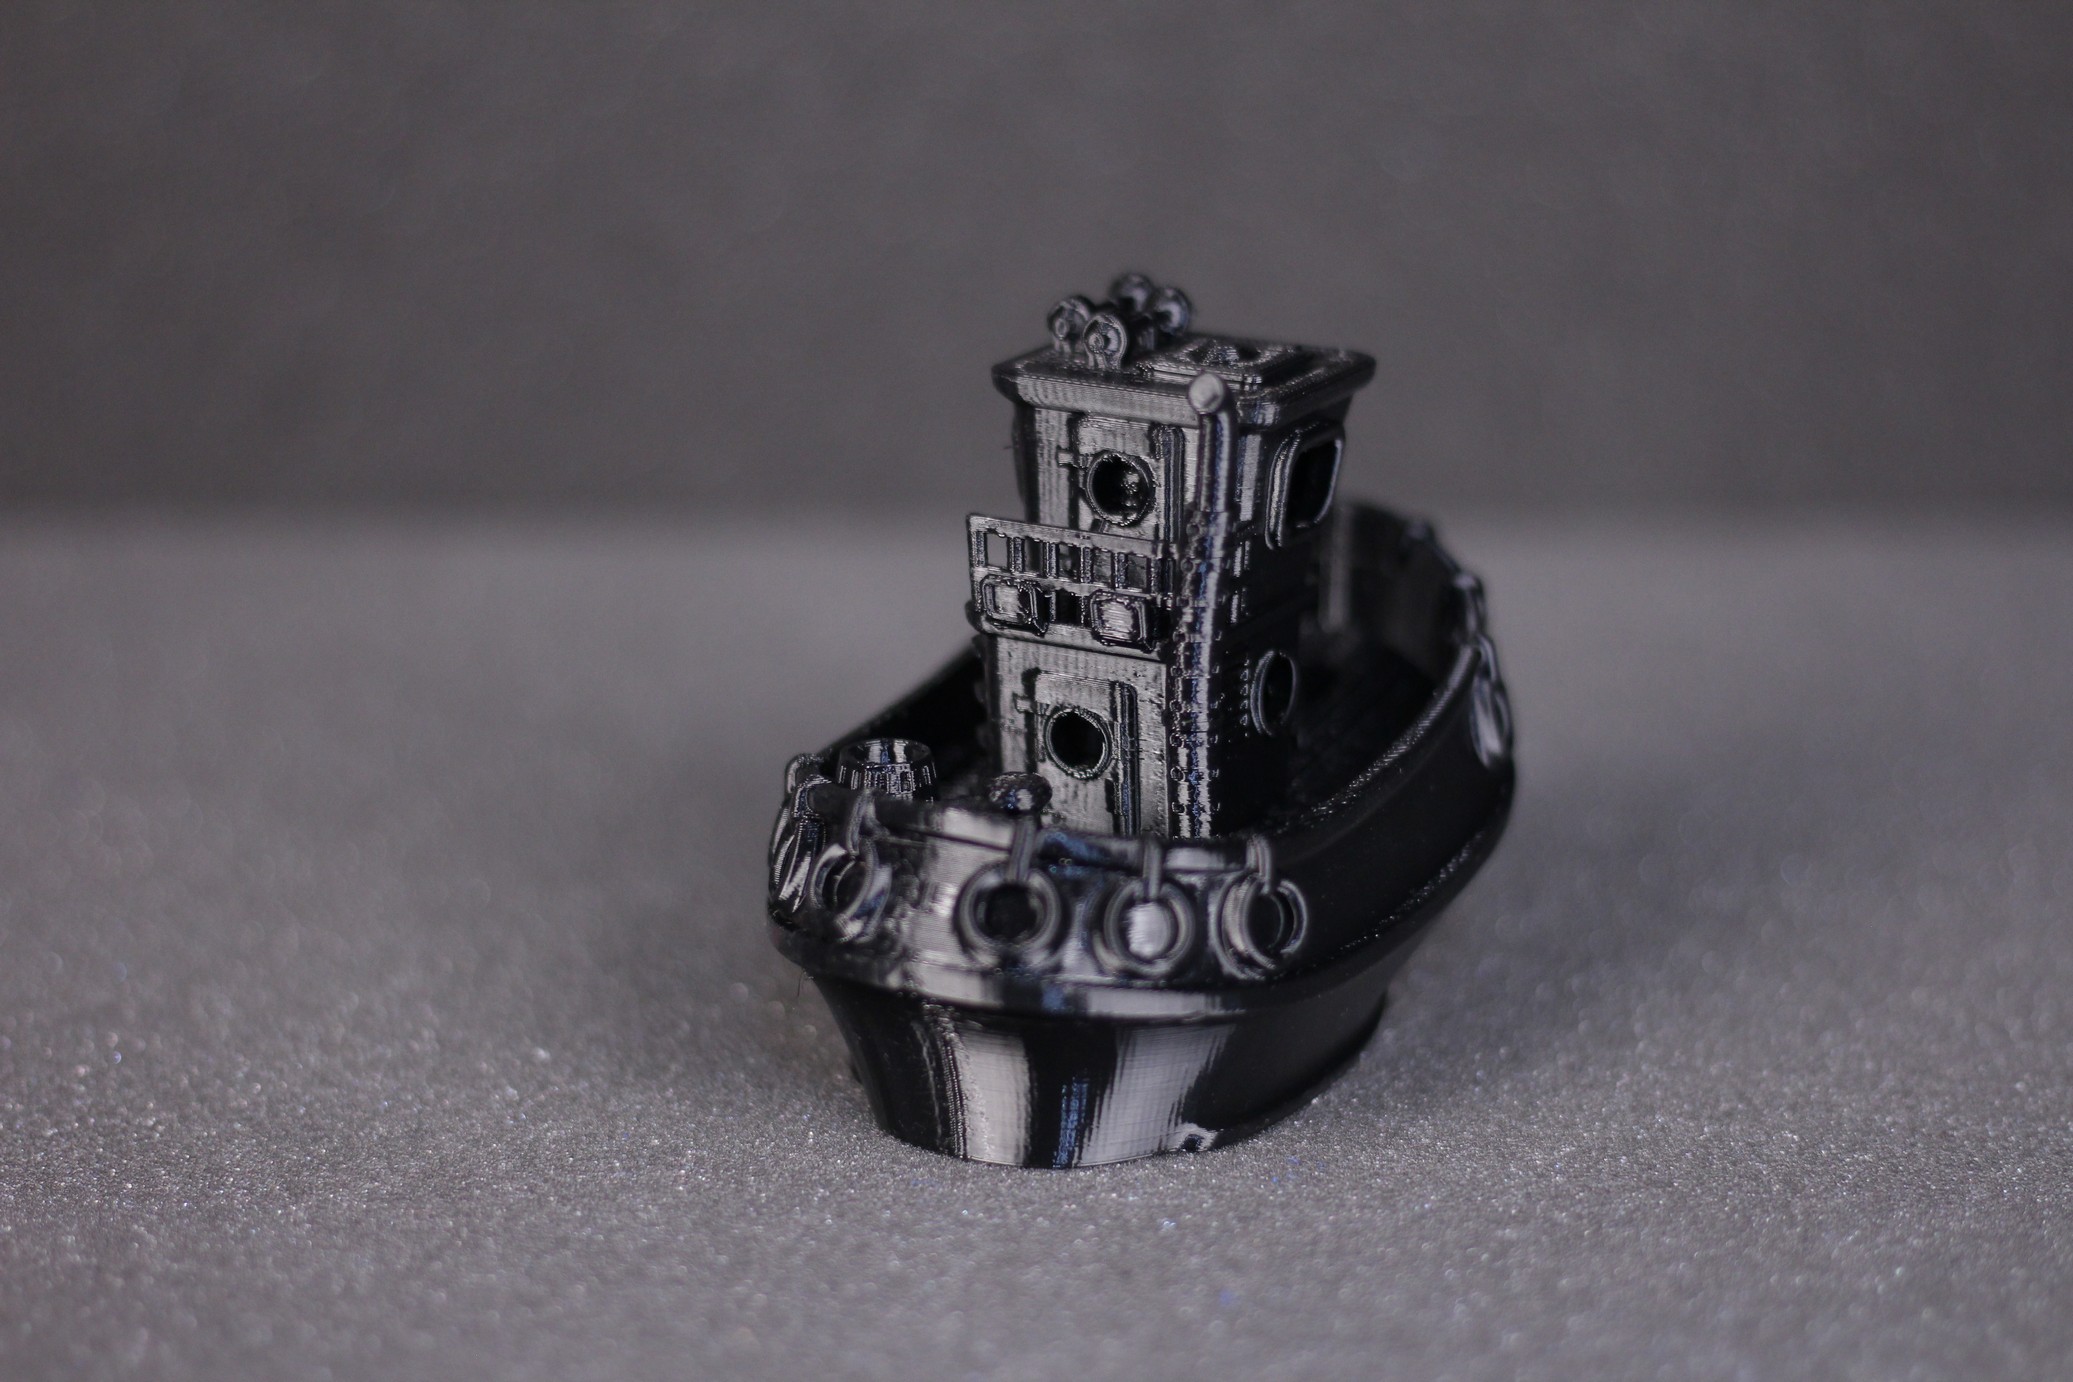
Bathtub Tug Boat
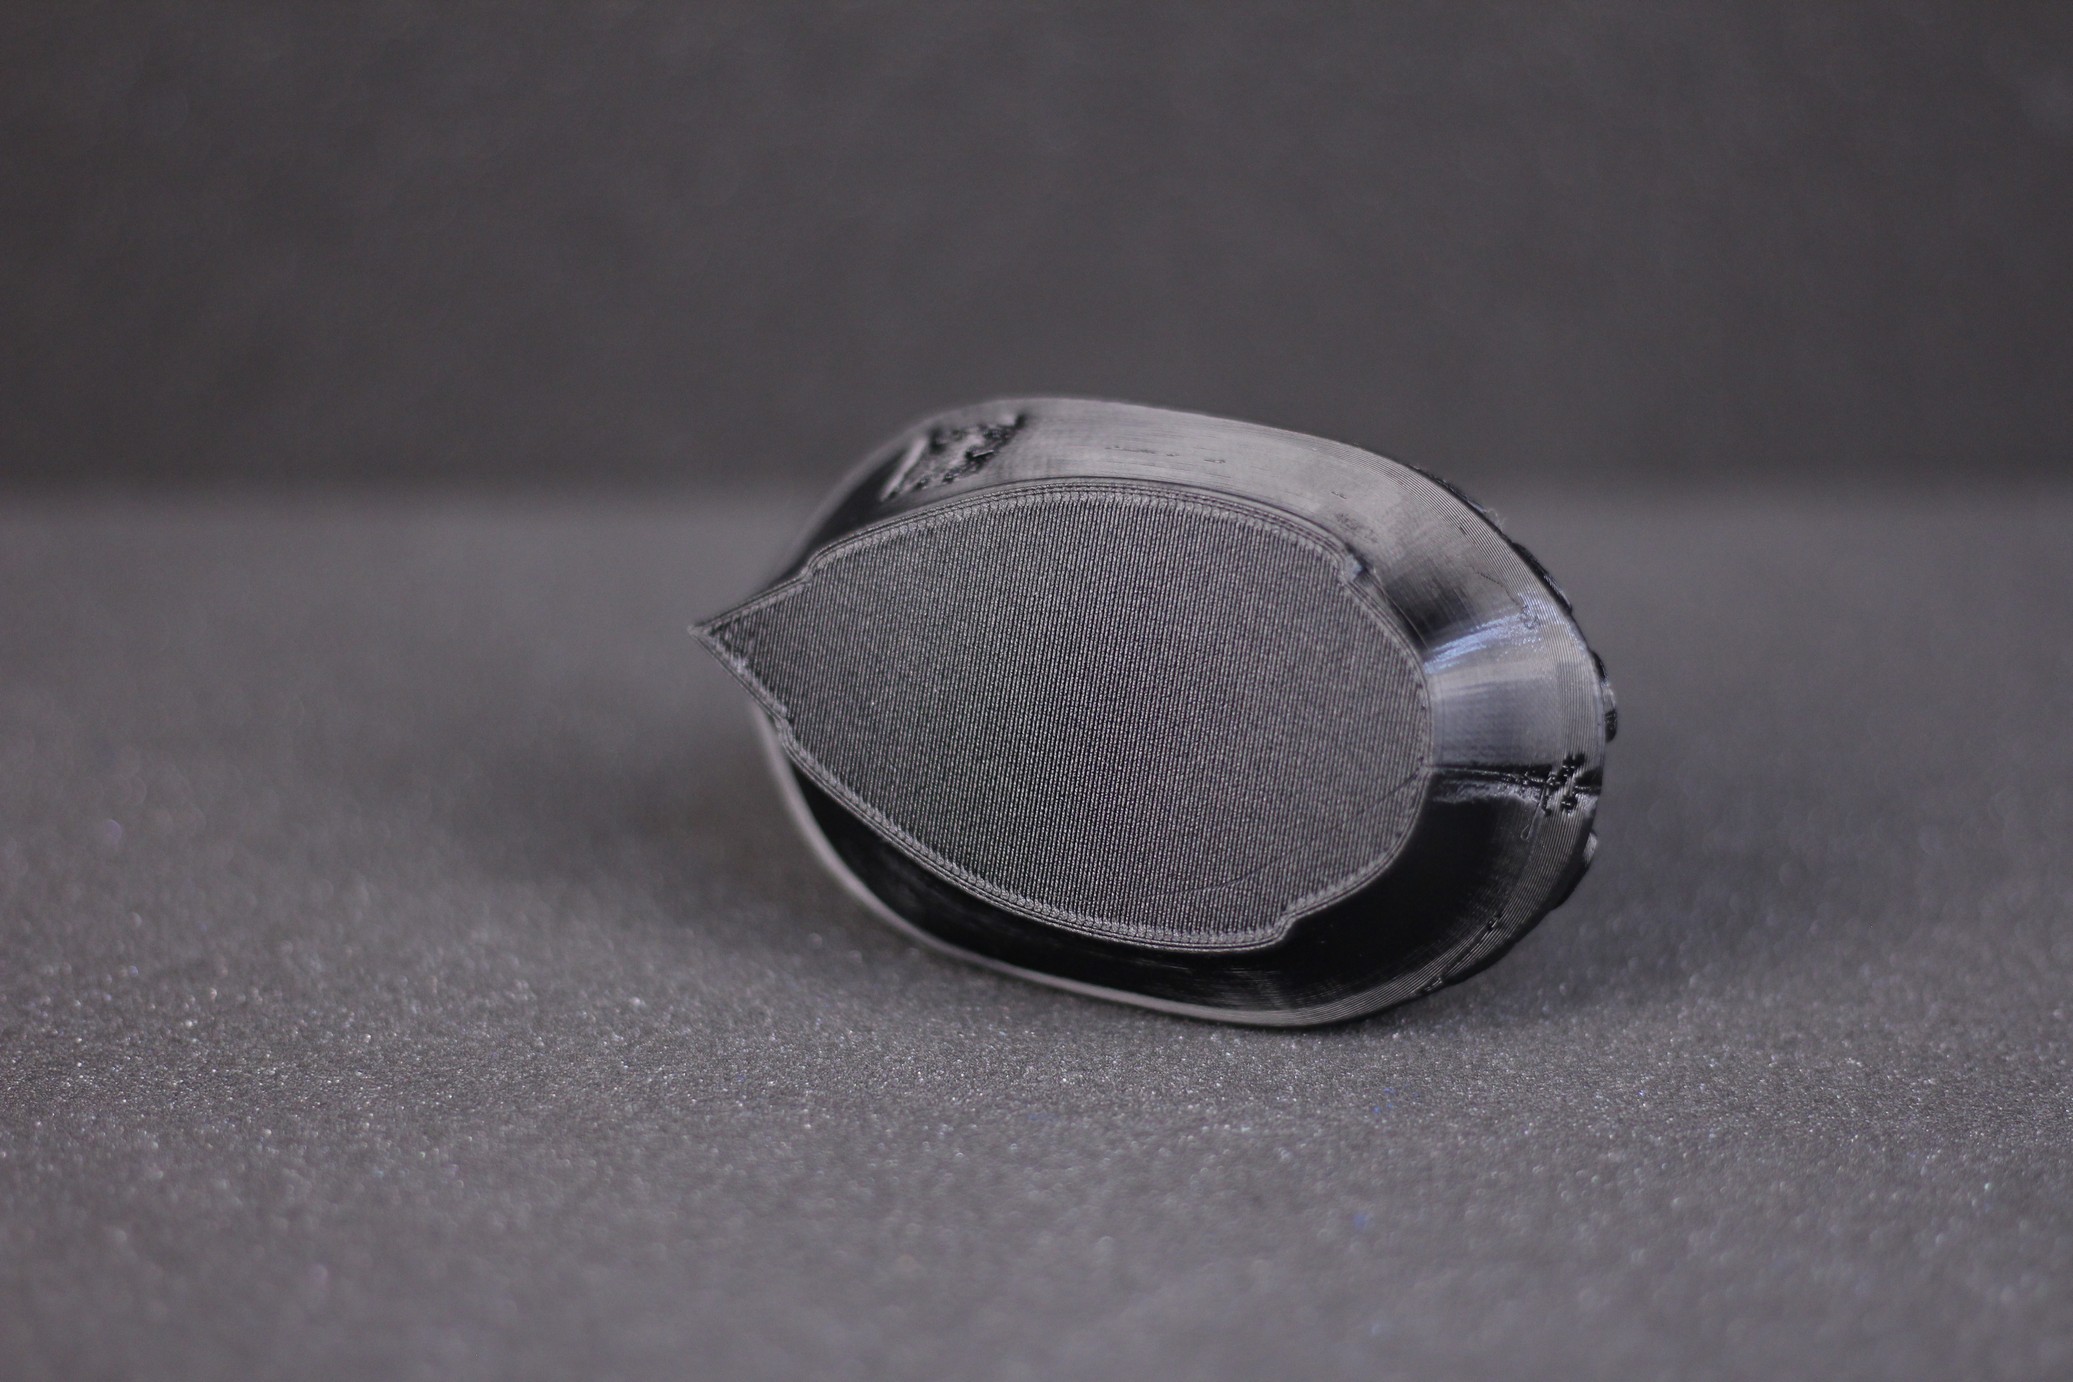
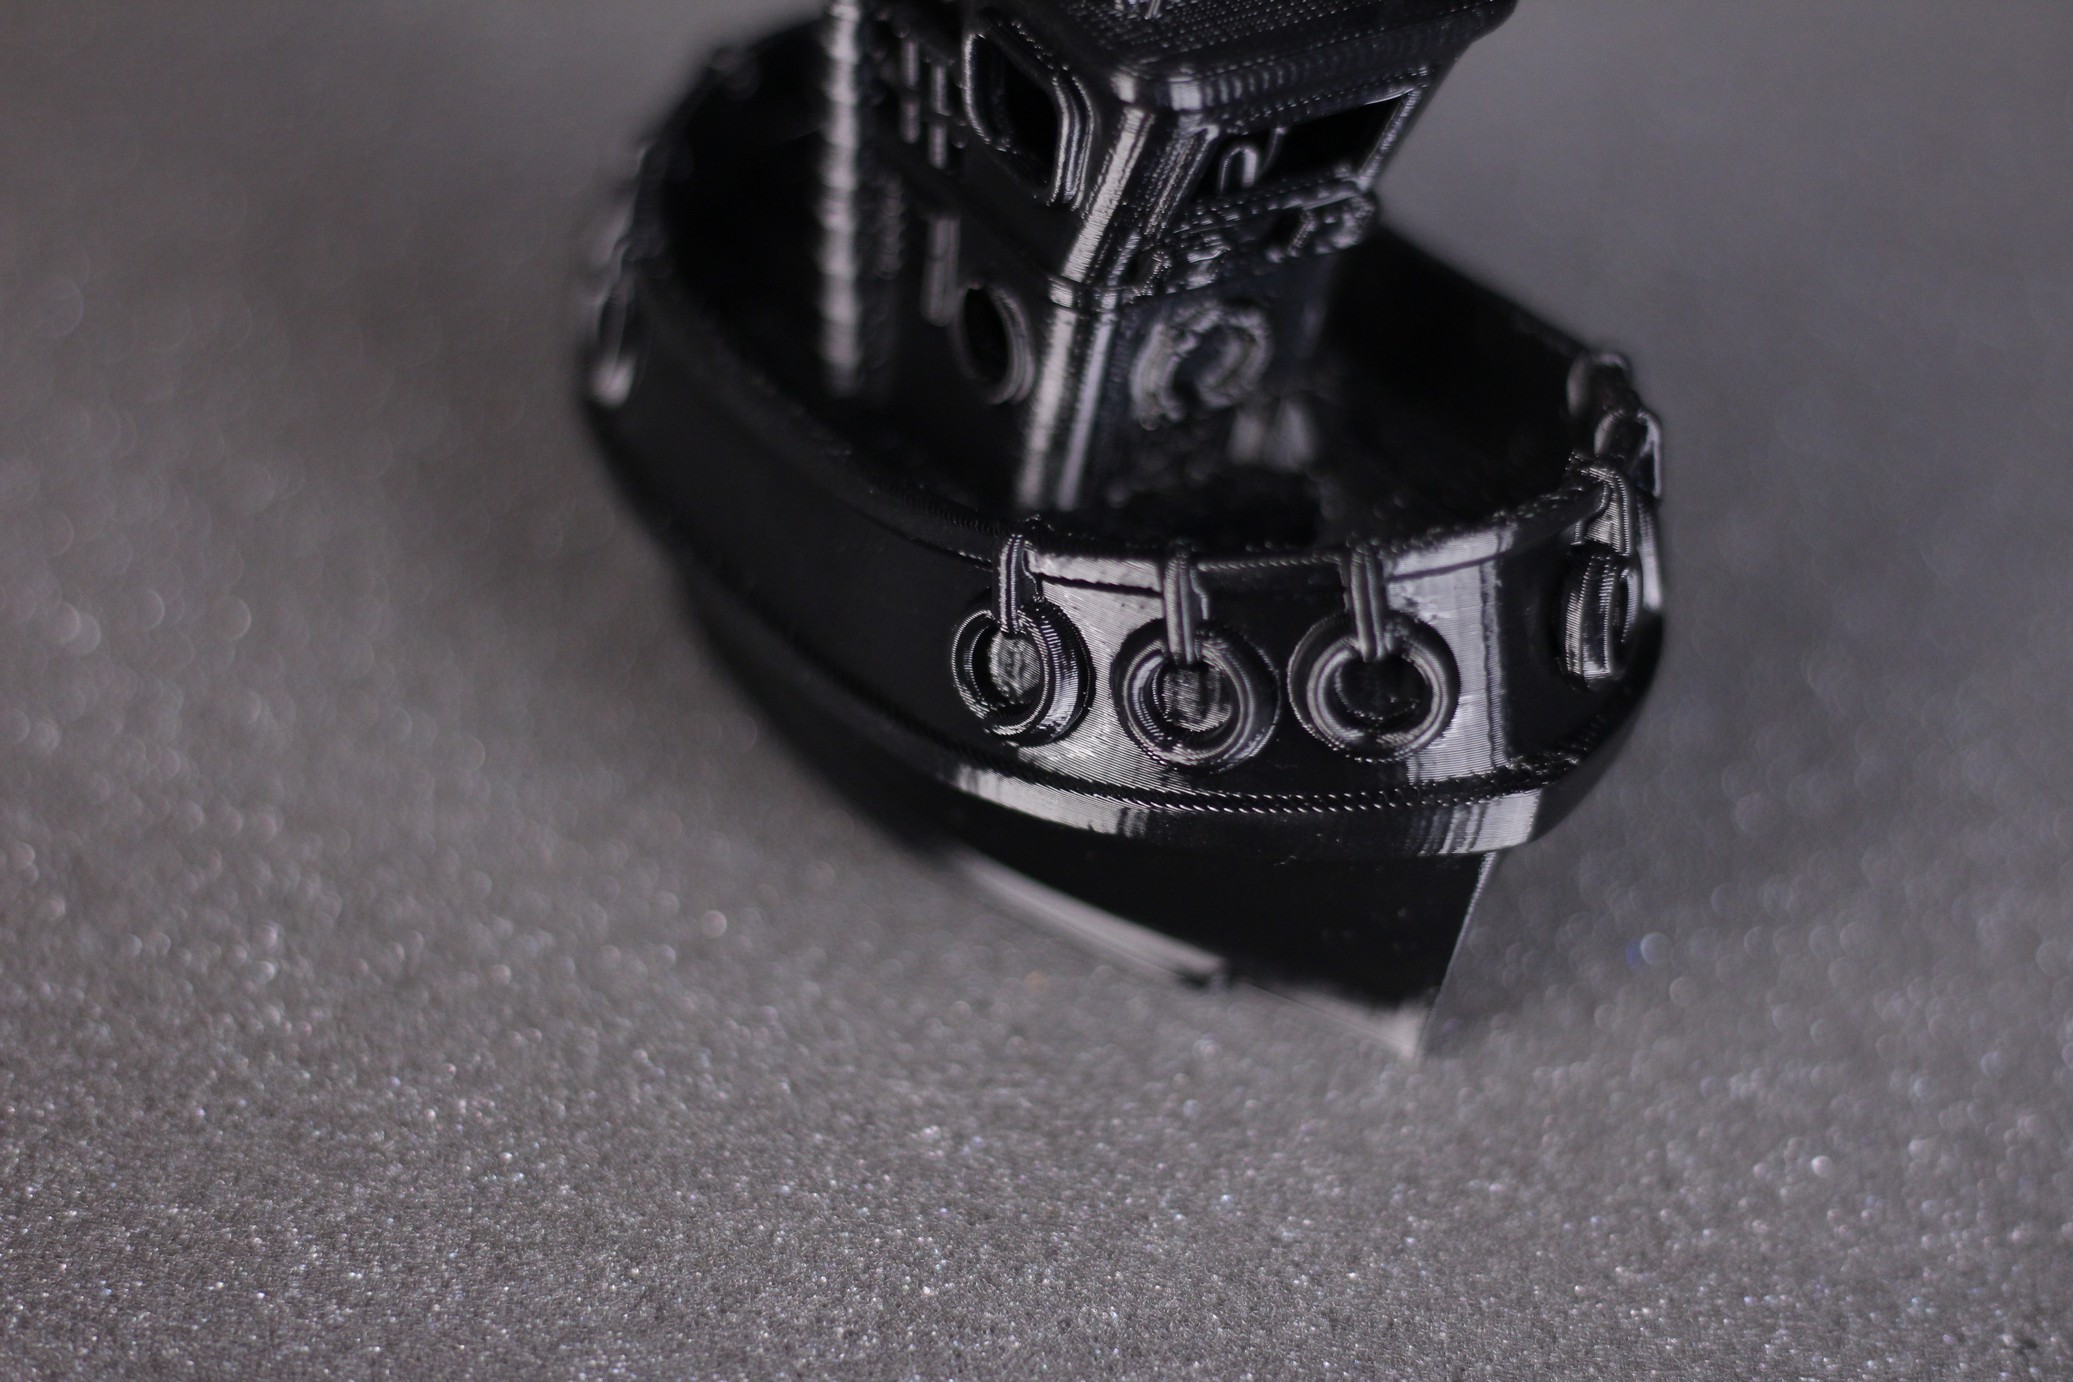
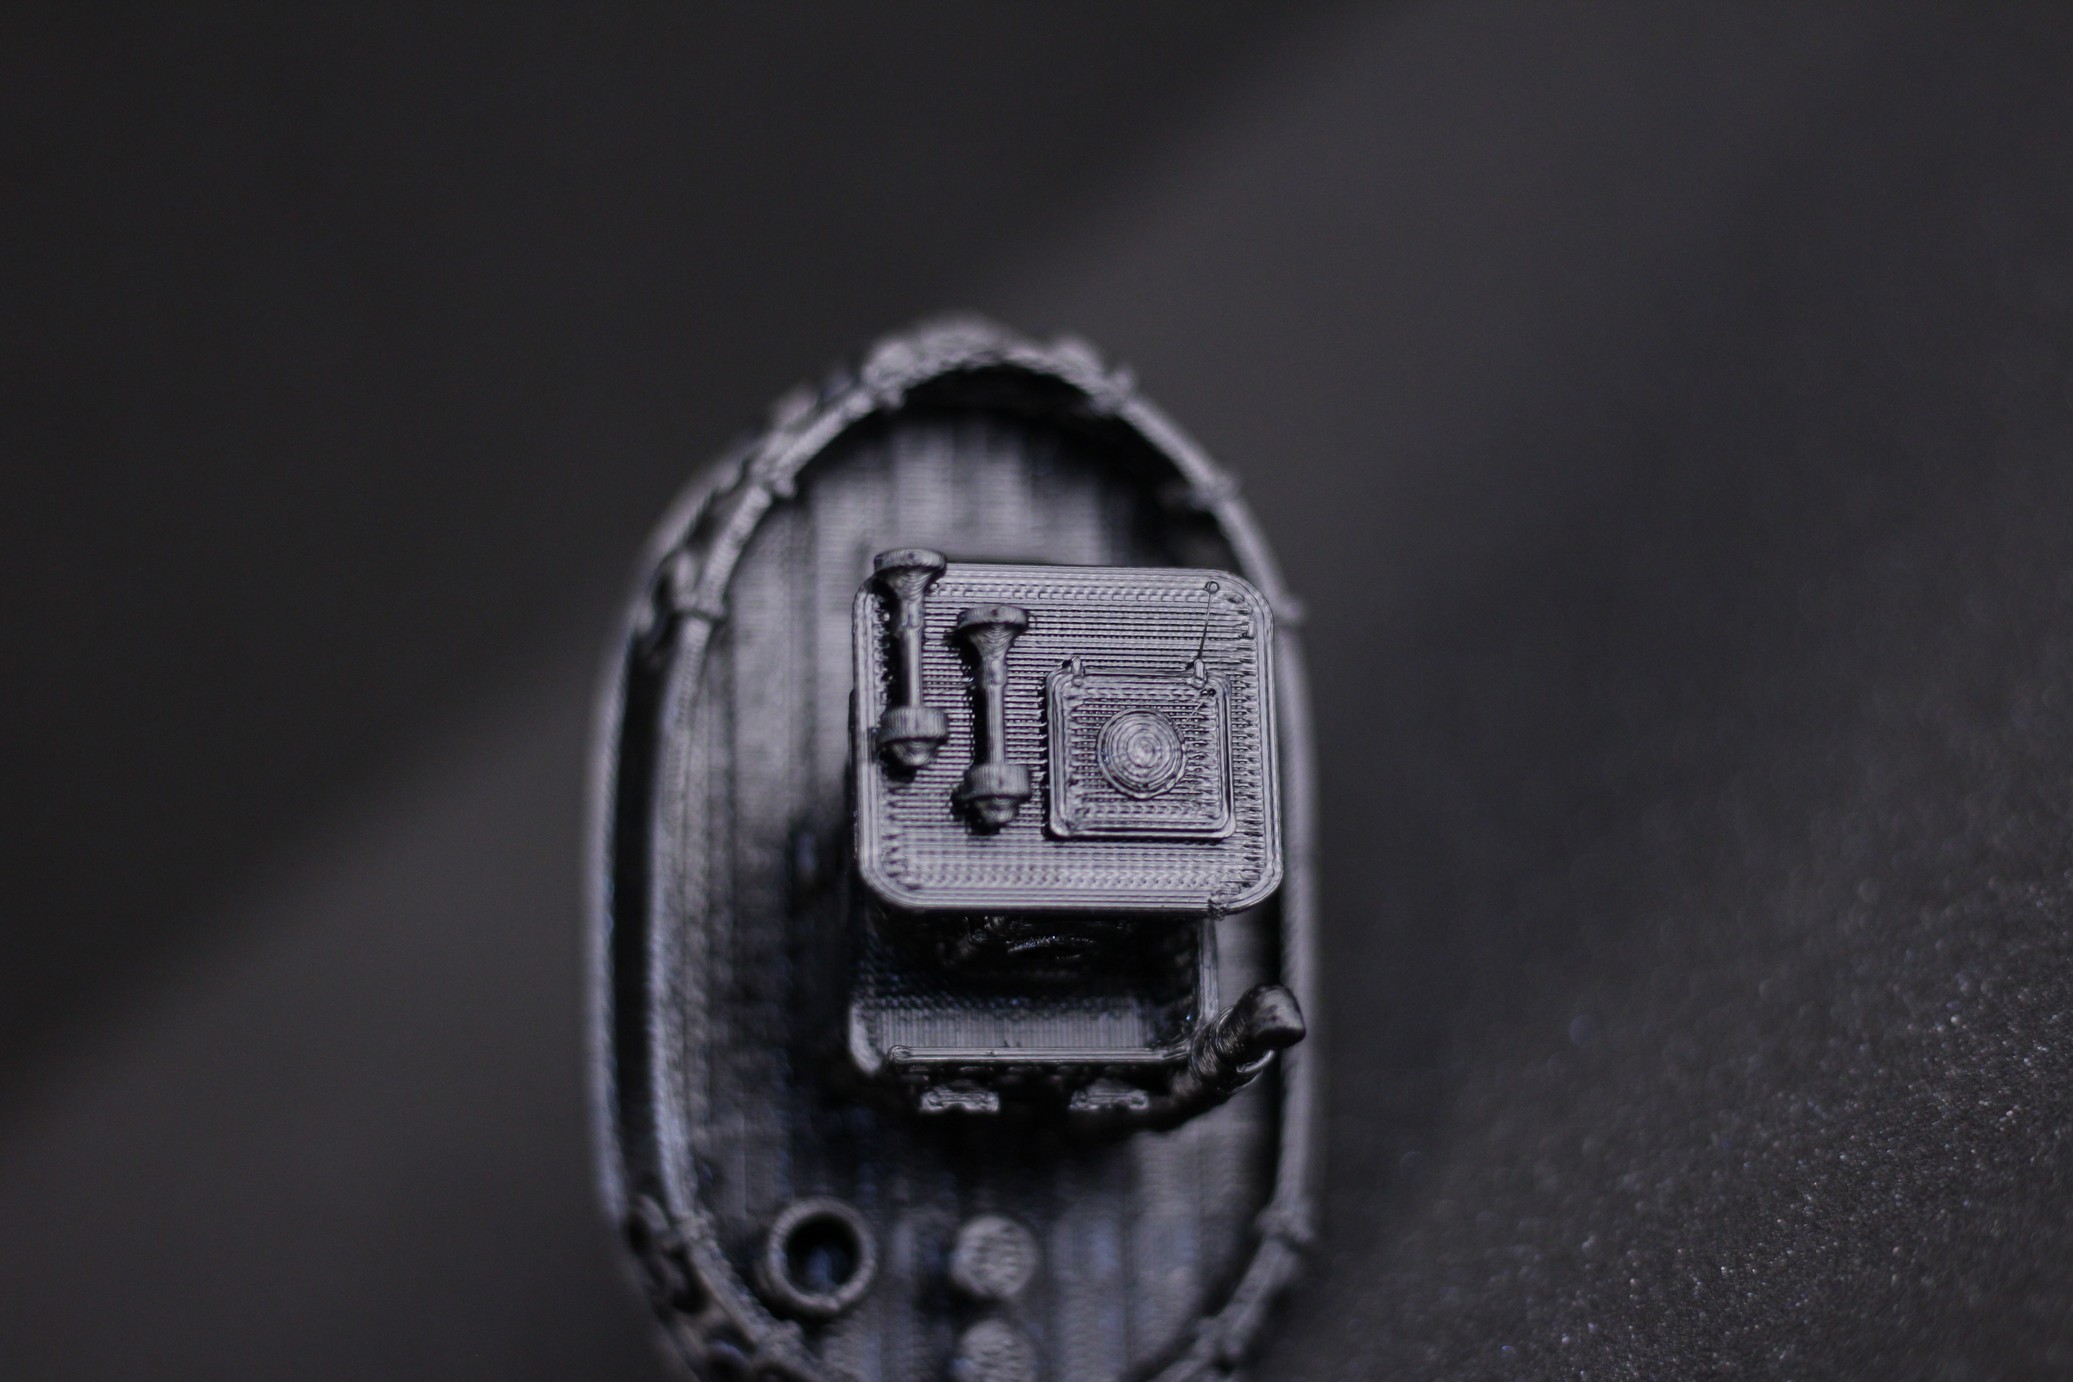
I needed a hard to print model to test the TPU capabilities of the Ender 3 S1, so I printed the Bathtub Tug Boat from vandragon_de. Considering the print speed it was printed at, I am quite happy with the results. The Sprite extruder works really well with TPU.
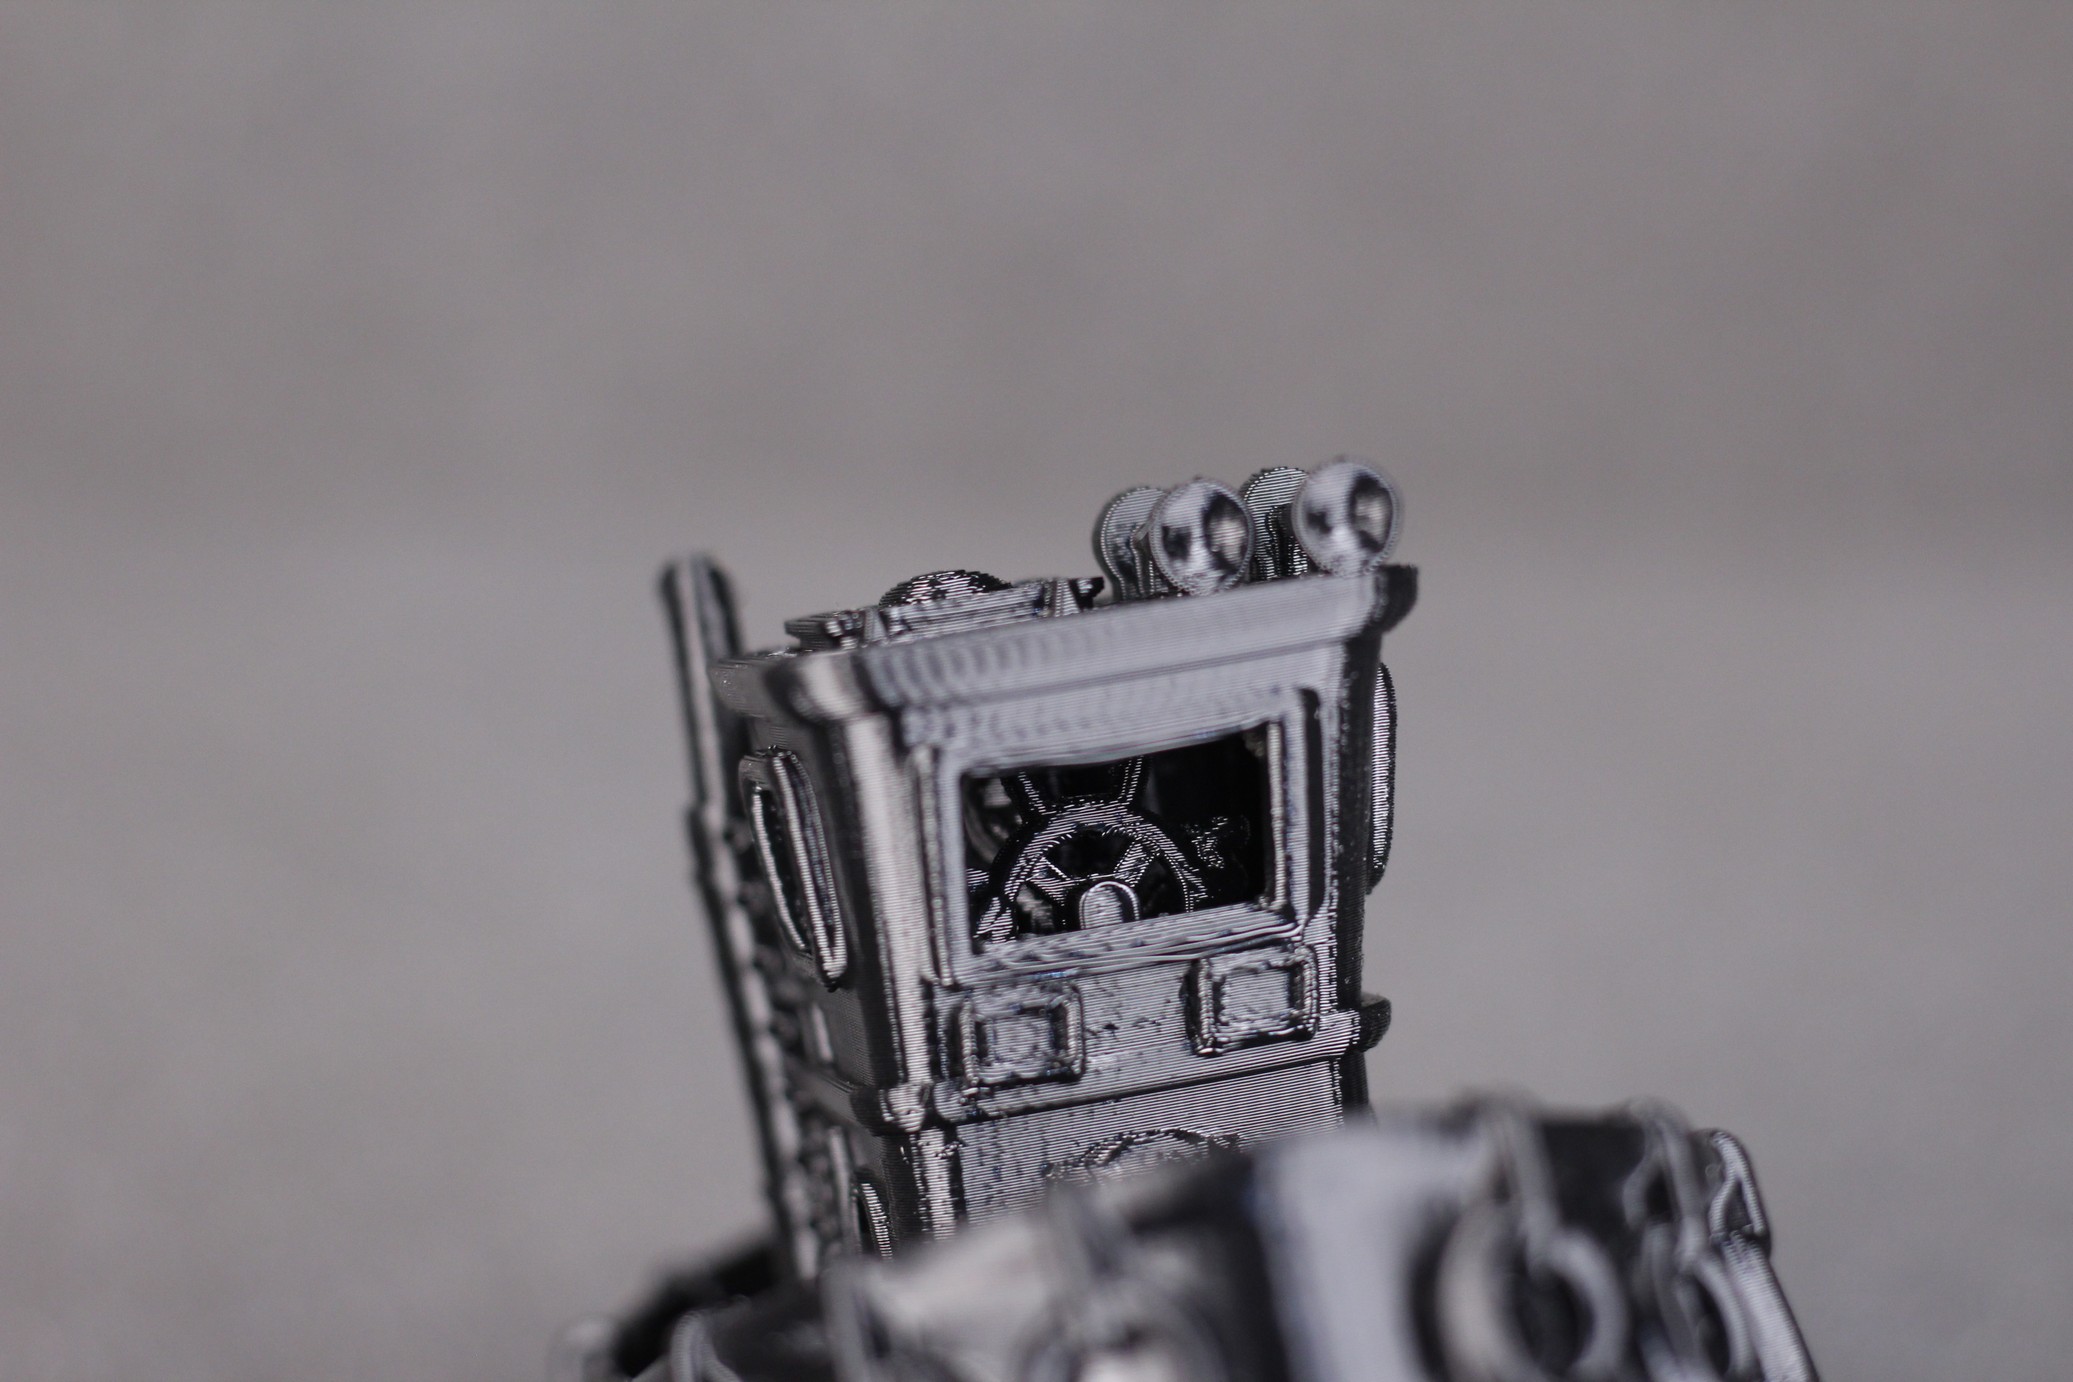
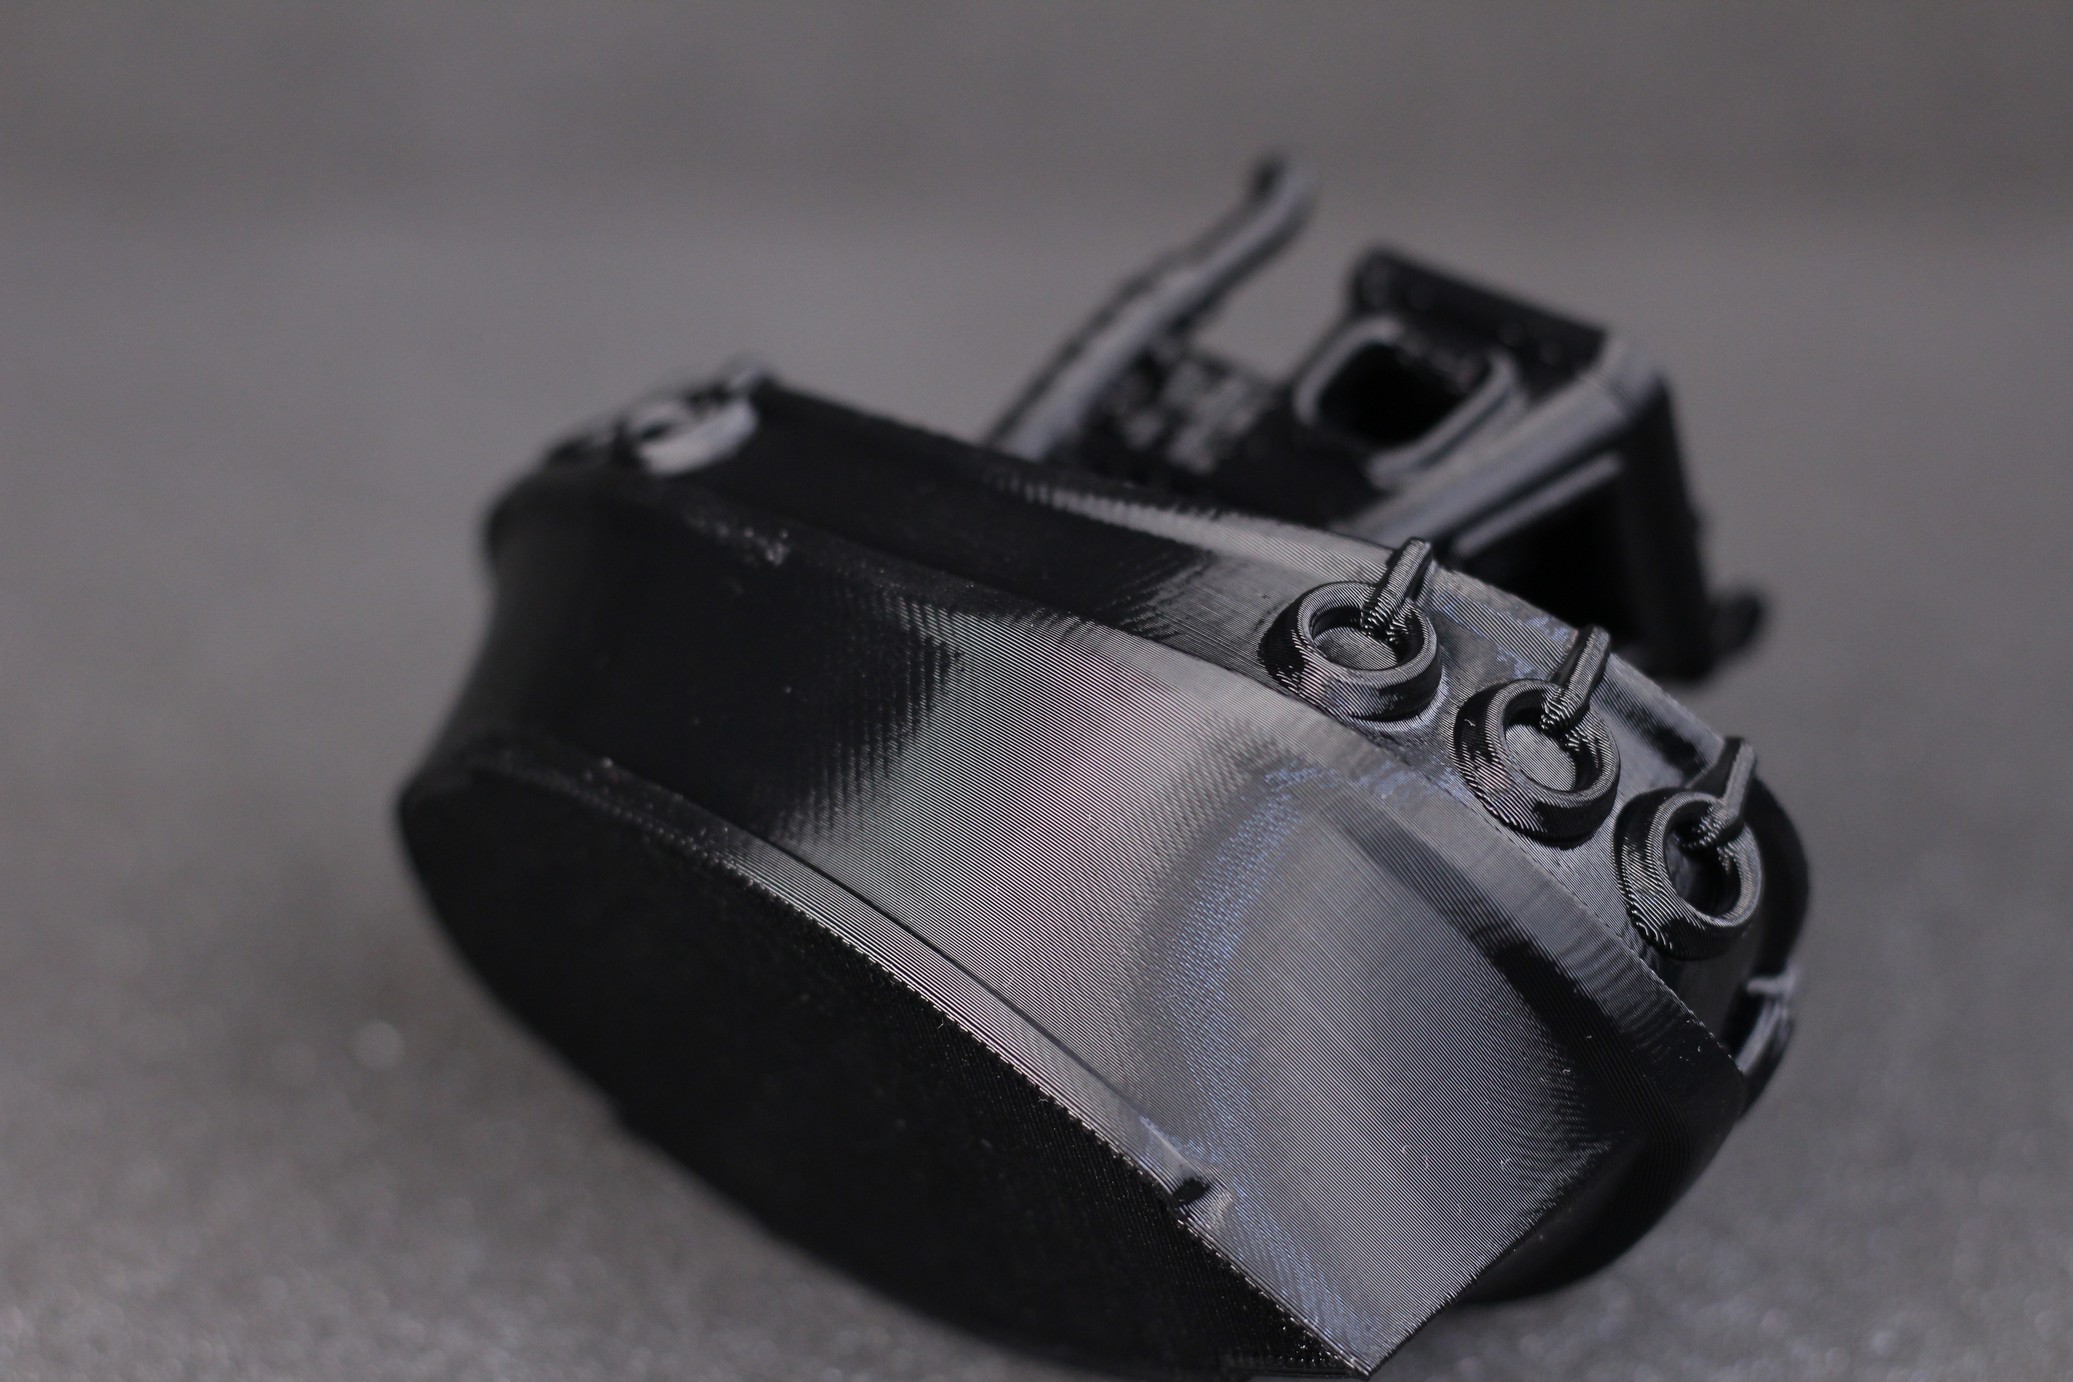
- Material: Polymaker HFTPU
- Layer Height: 0.2mm
- Nozzle Temperature: 210C
- Bed Temperature: 50C
- Print Speed: 50 mm/s
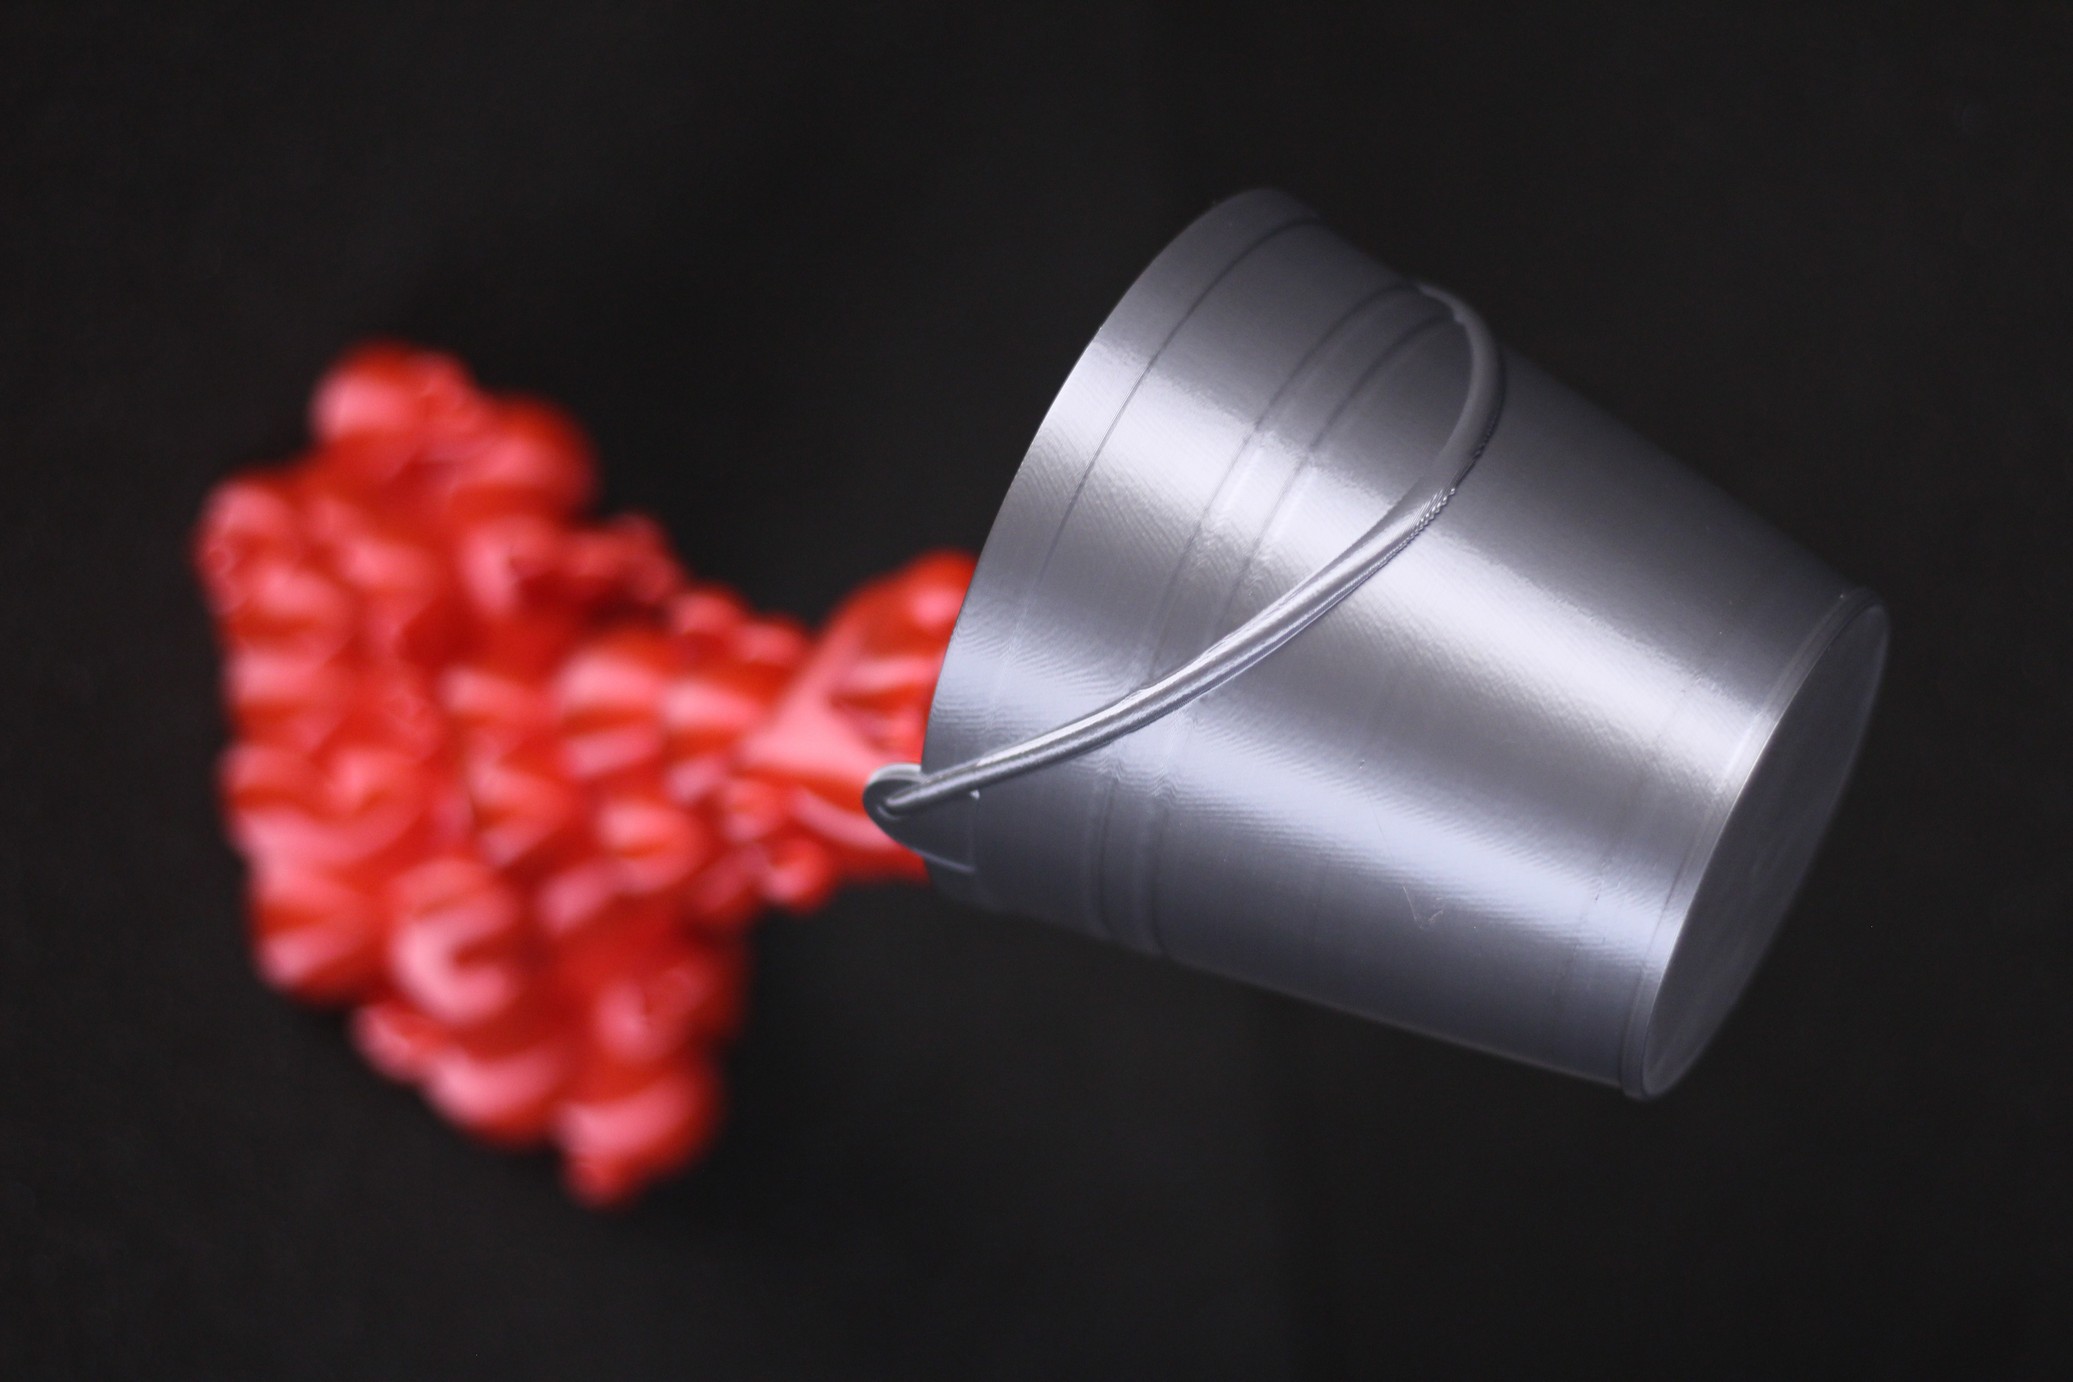
Pouring Hearts
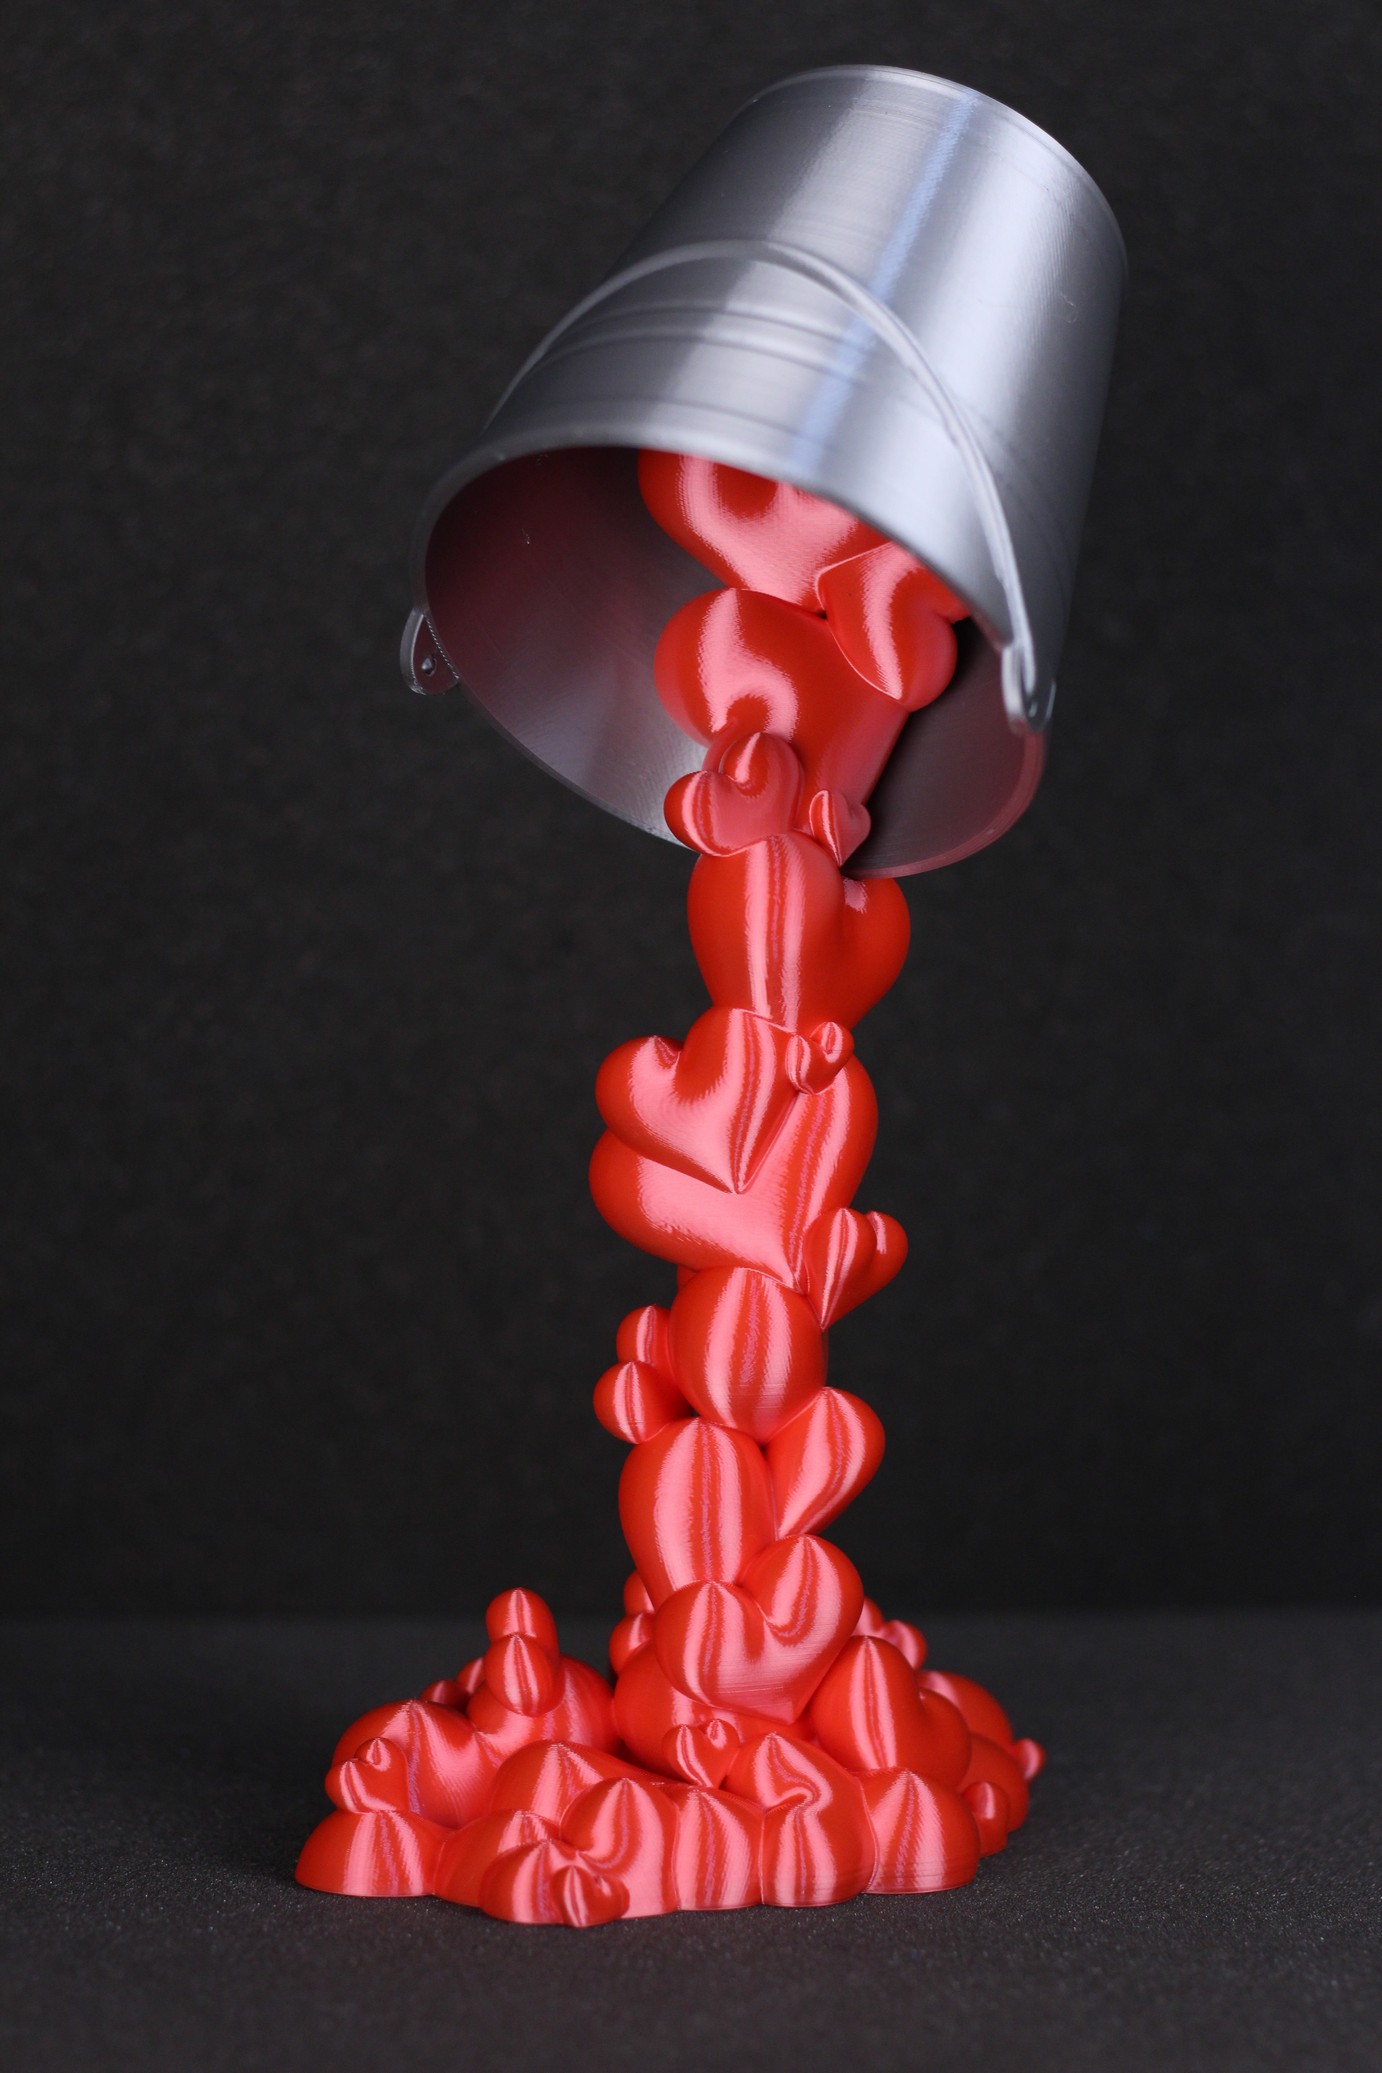
This awesome model from ChaosCoreTech came out really nice, even tough the hearts section was quite tall and the print speed was pretty high. There is no sign of banding so I’m happy with the results.
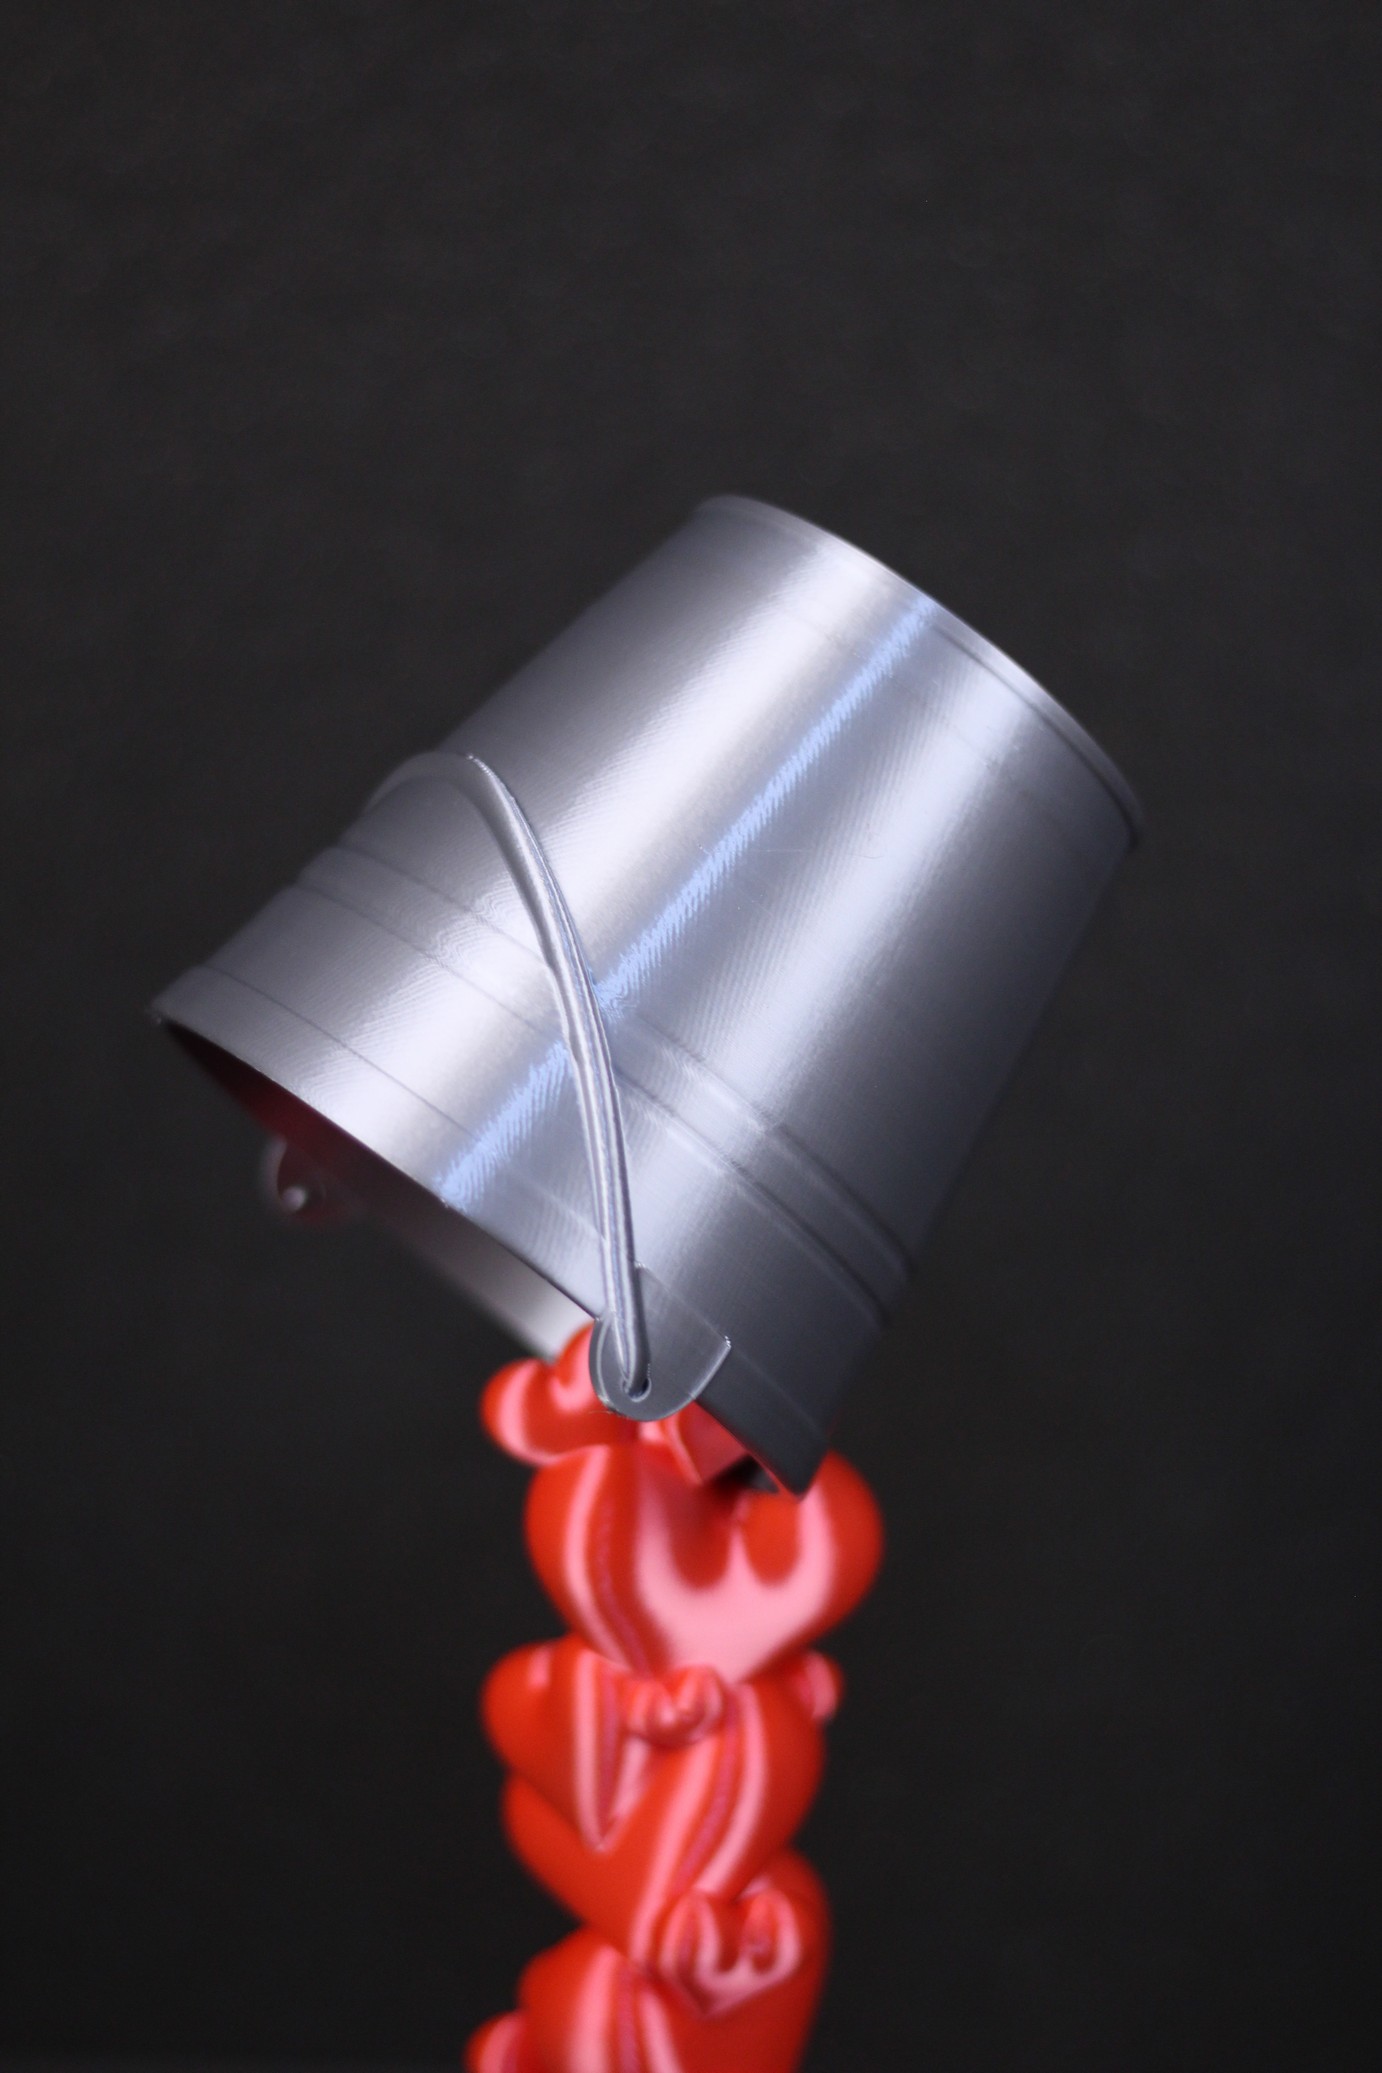
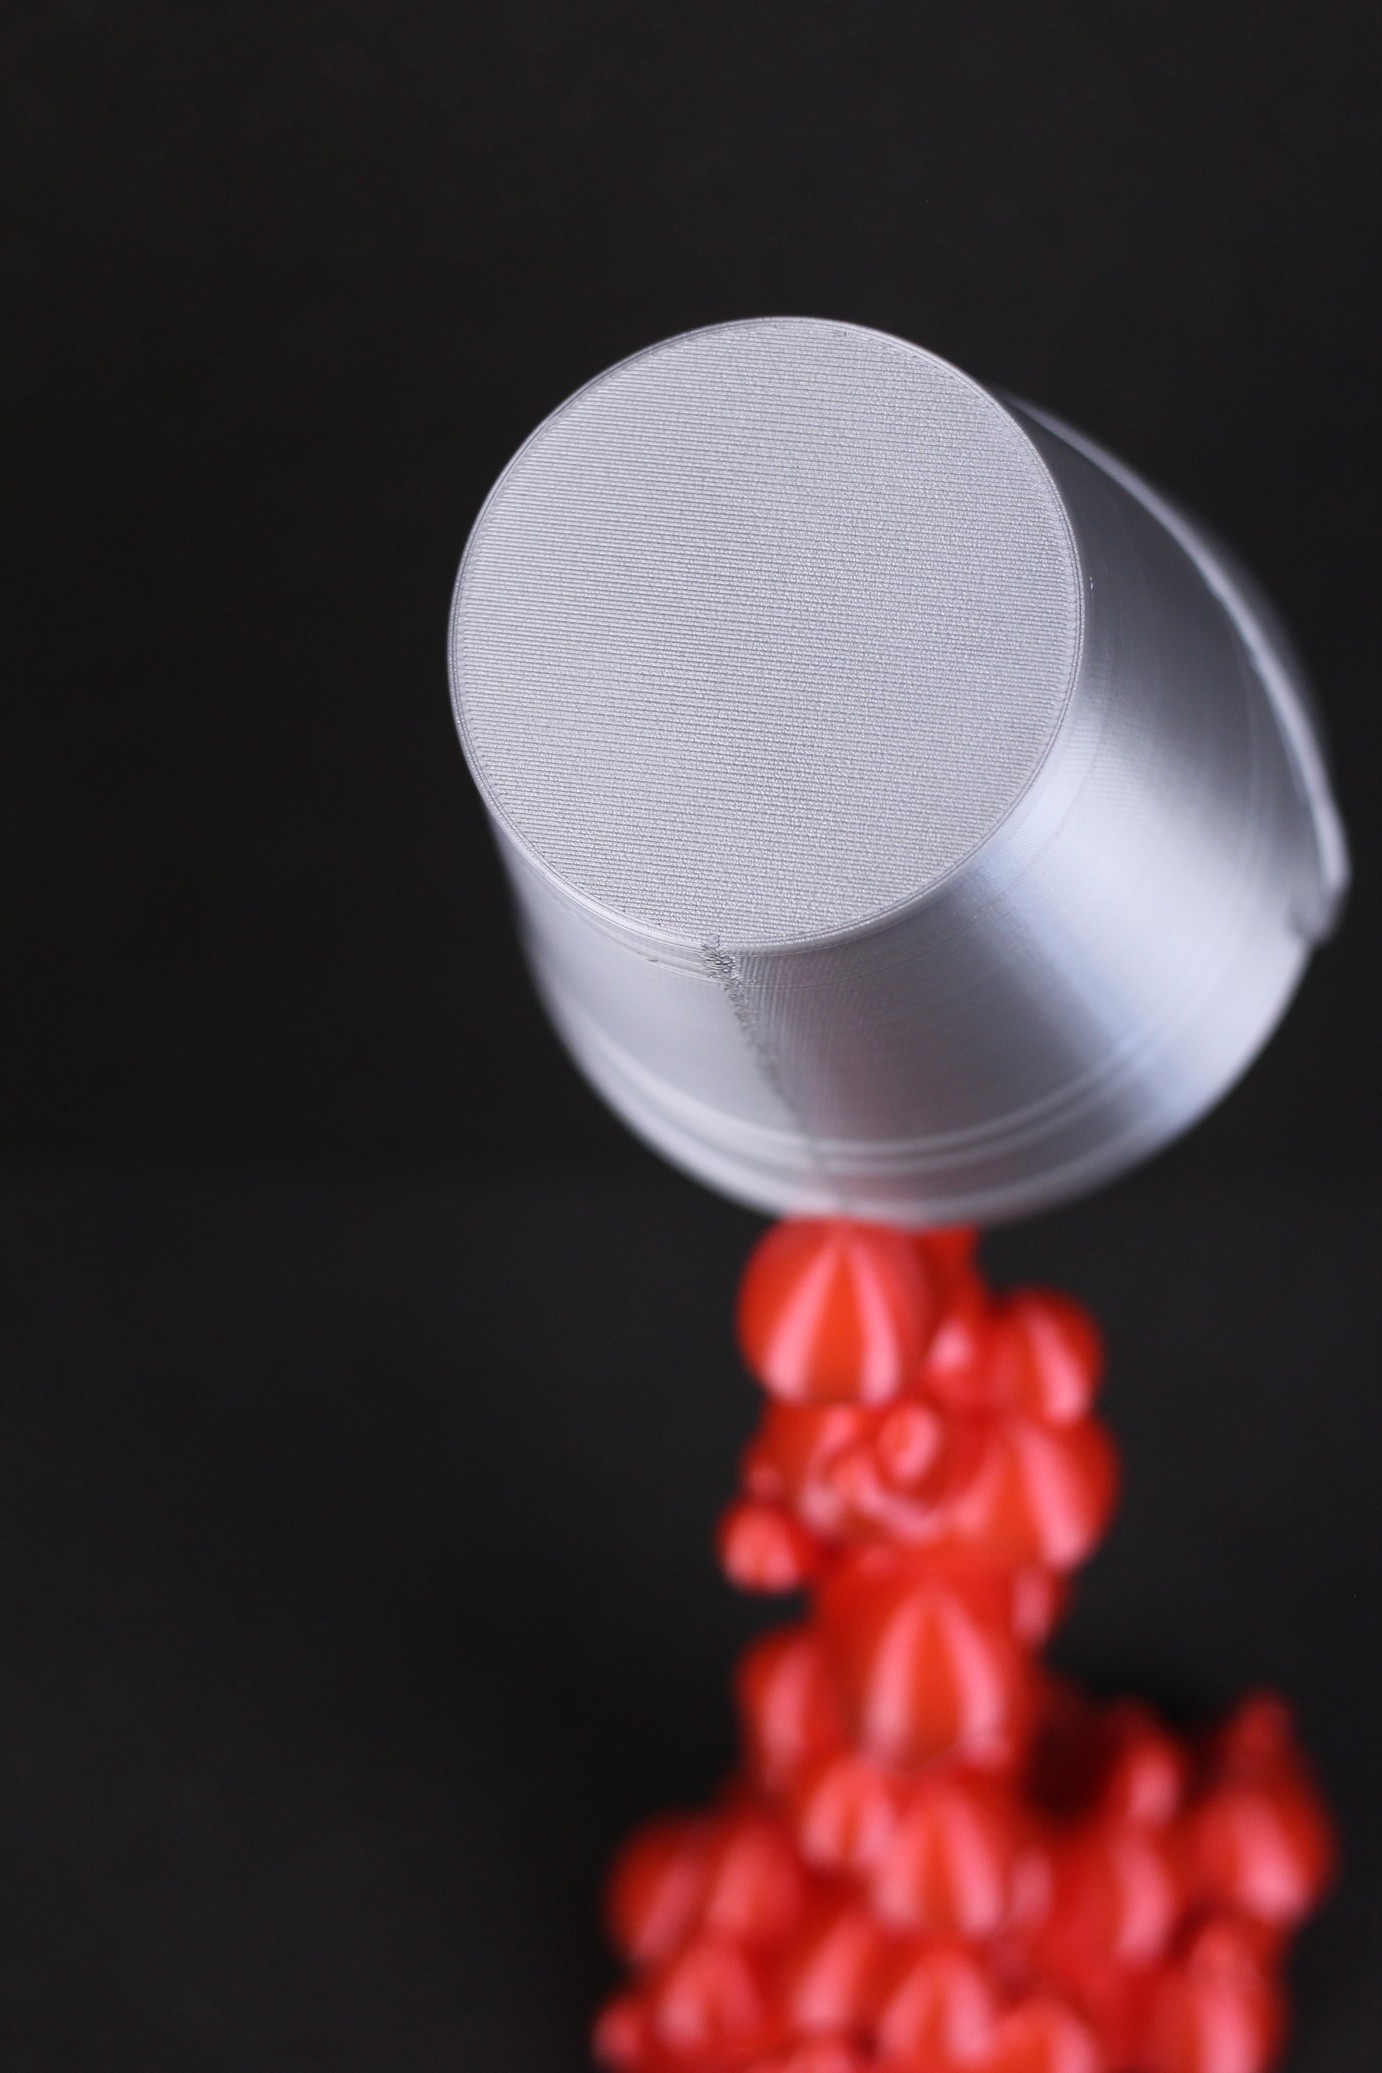
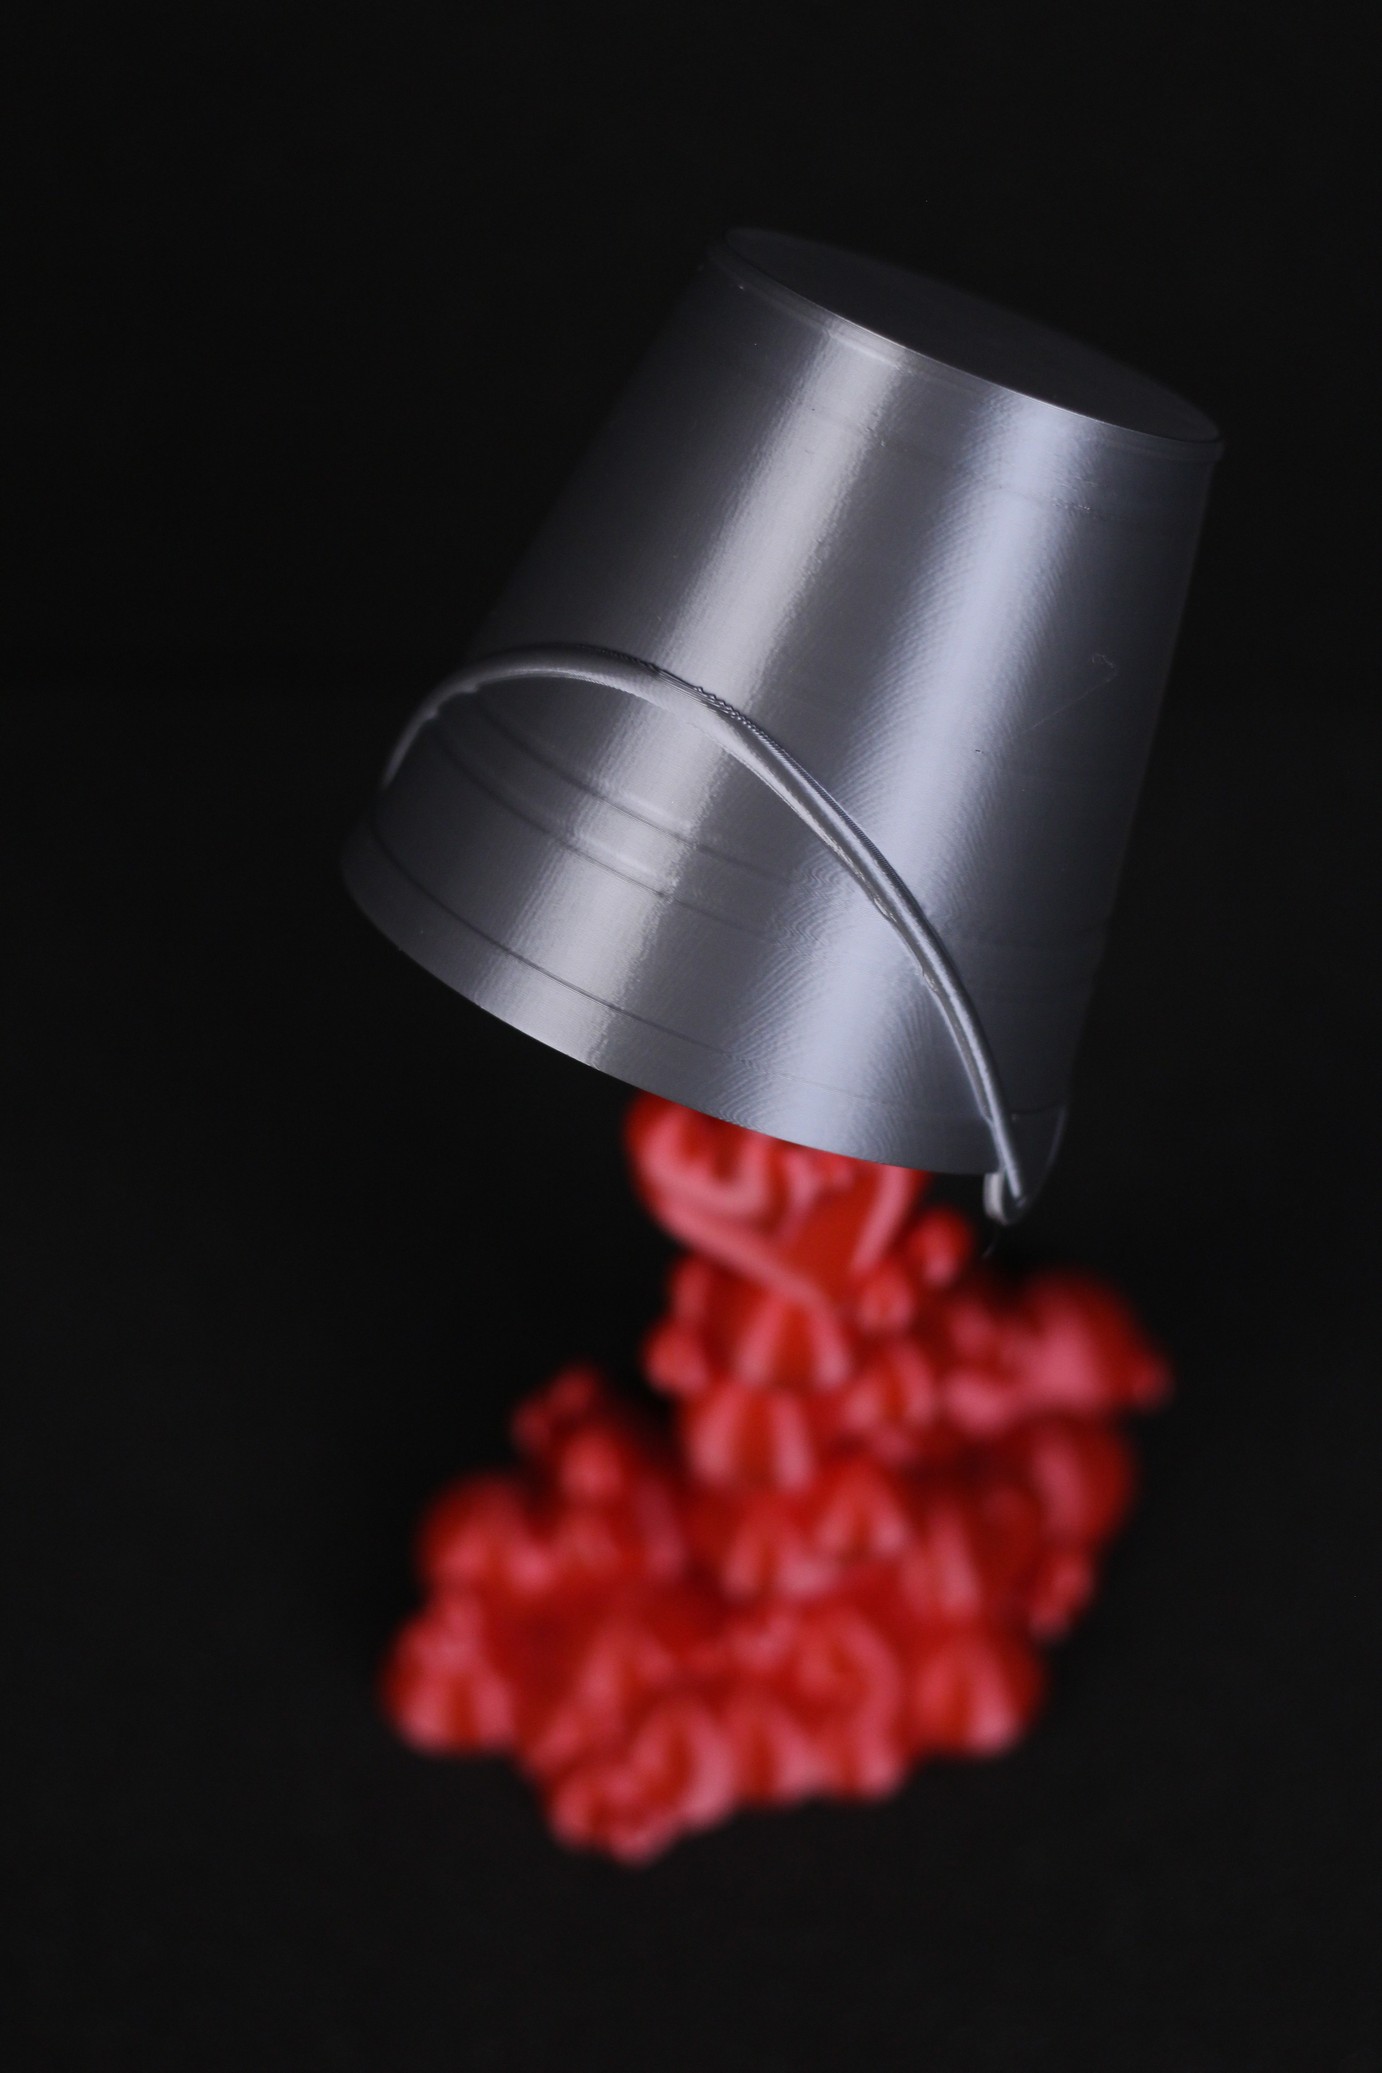
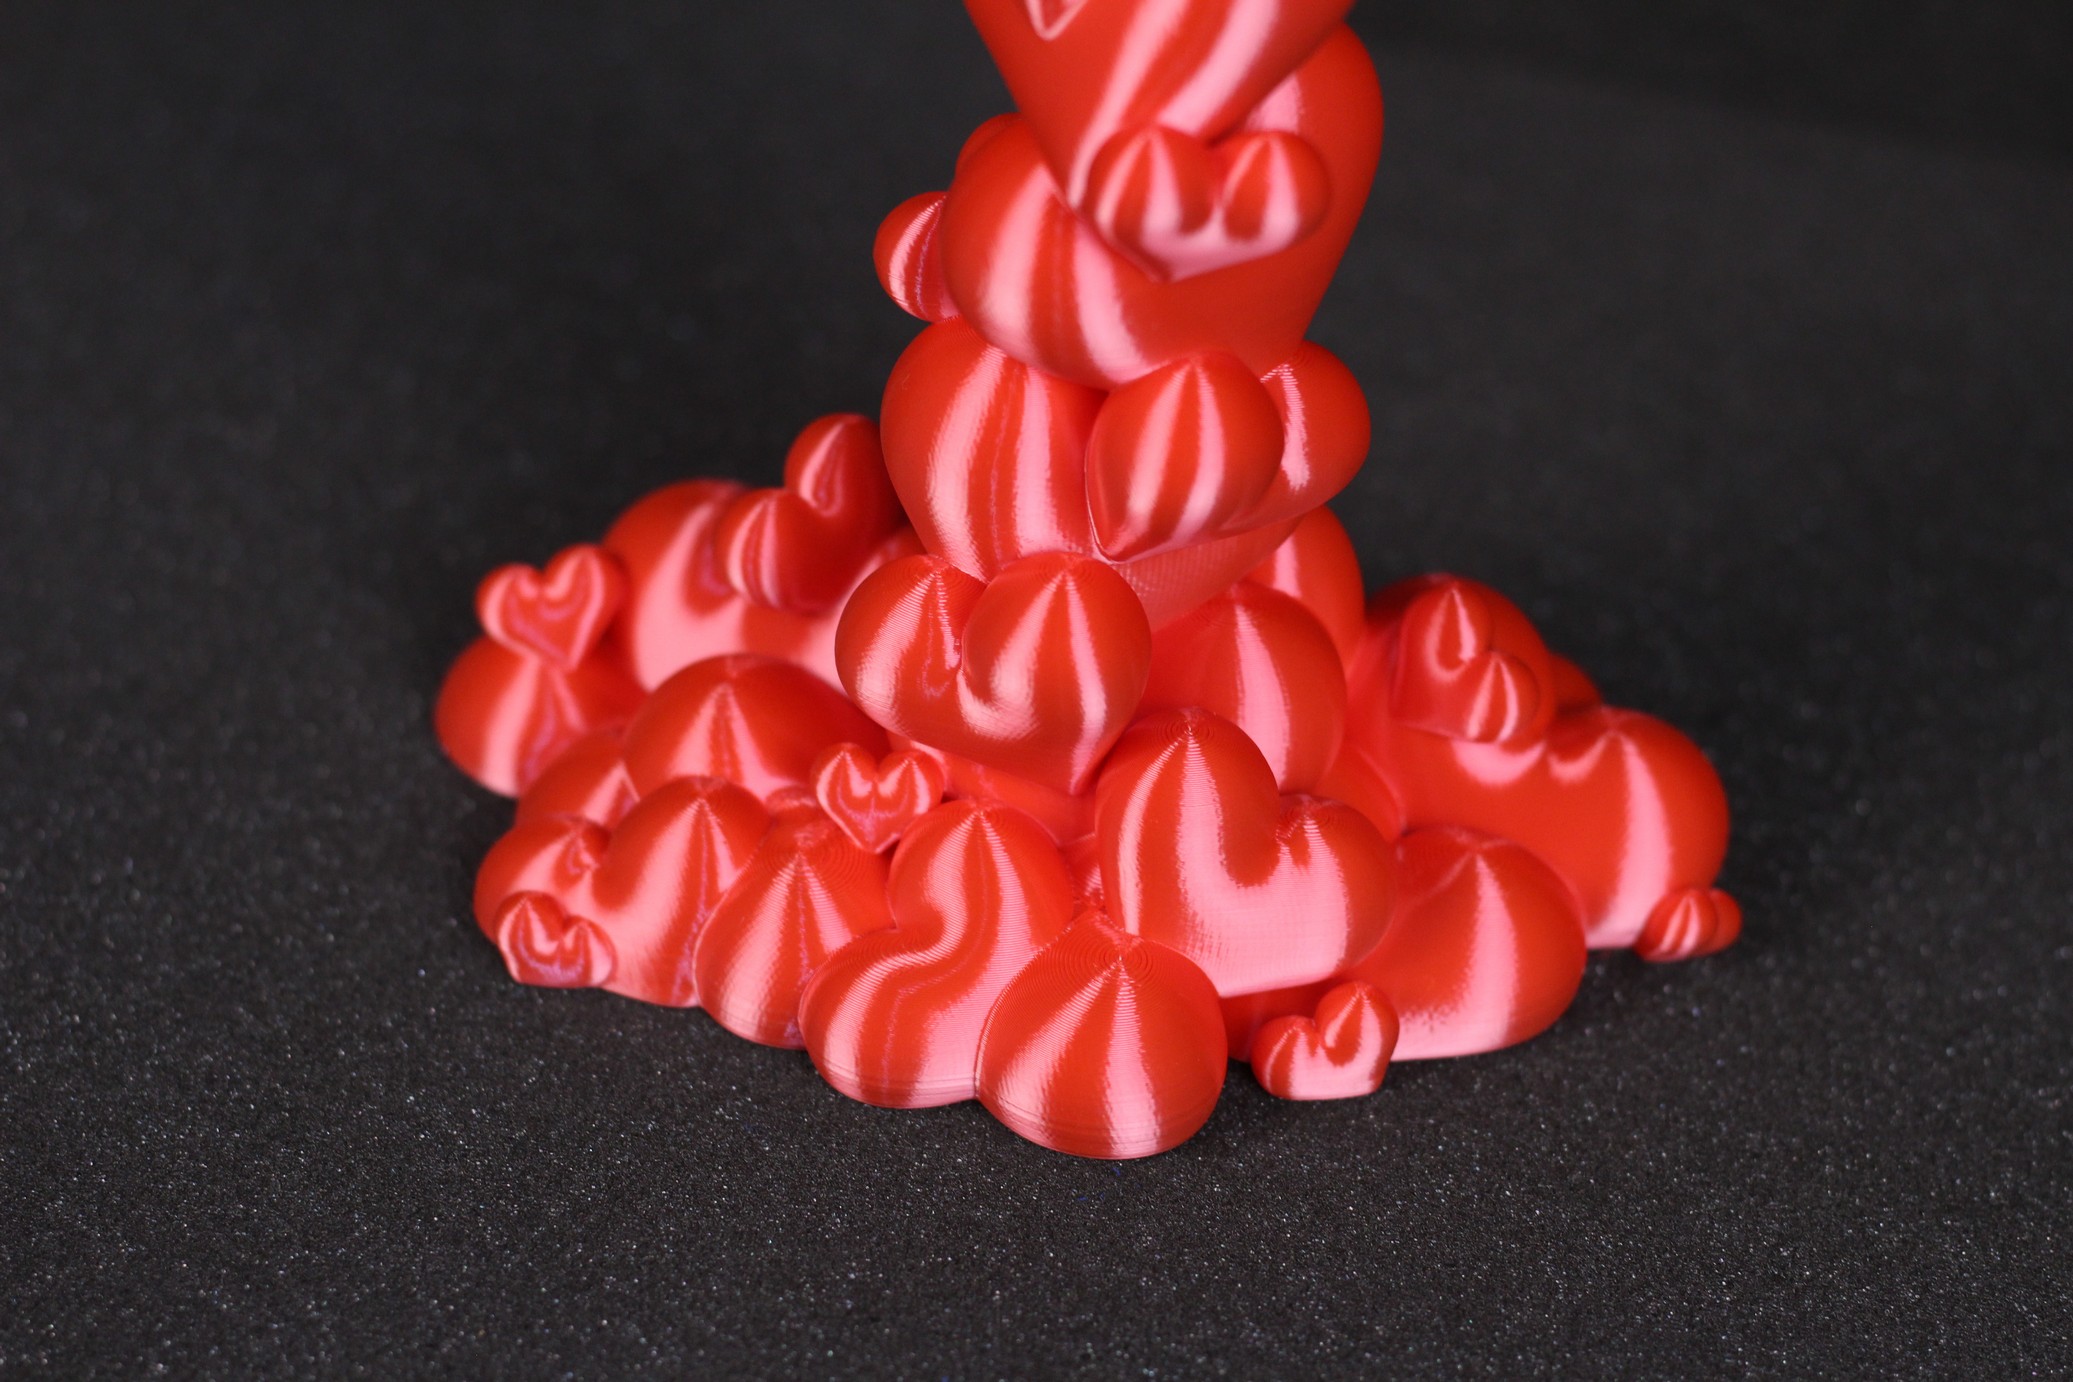
- Material: Extrudr BioFusion Quicksilver and Cherry Red
- Layer Height: 0.15mm
- Nozzle Temperature: 215C
- Bed Temperature: 50C
- Print Speed: 50 mm/s
Conclusions: Is the Creality Ender 3 S1 worth it?
I’ve used this printer almost exclusively in the last few weeks, because I love the print quality and how consistent it is. Usually, some of the printers I review need a bit of fiddling after a few prints, but the Ender 3 S1 has been one of the most consistent printers I have reviewed lately, providing repeatable results over and over again.
The new Creality Sprite Extruder brings excellent extrusion quality for the Ender 3 S1, and I hope it is used in more printers in the future. I would have liked to see a better heat break, but the stock one should be good for most regular users.
Sure, it’s not a perfect printer, but it gets really close. I would have liked to see a better heat break out of the box and a fixed bed with heating bed insulation for better efficiency. But other than that, I can’t really see anything wrong with the Ender 3 S1. Creality really knocked this one out of the park, and I am sure it will be a popular printer. It’s also a signal for other players in the industry to step up their game.
At the time of writing this article, the Ender 3 S1 is around ~400$. It’s not a cheap printer, but I think it’s a fair price considering how well the printer works. If you manage to find it cheaper, then it’s a no brainer, if you want a set-and-forget 3D printer. But it wouldn’t hurt to also shop around to see what other printers you can get for a similar amount (ex: Sidewinder X2, FLSUN Super Racer, Anycubic Vyper)
Creality Ender 3 S1 Rating
Design
Specs
Noise Levels
Ease of use
Print Quality
Price
Creality managed to deliver an excellent evolution of the popular Ender 3, with a carefully engineered 3D printer. The print quality is excellent, with consistent and repeatable results for a fair price.
Where to buy the Creality Ender 3 S1
The Creality Ender 3 S1 can be purchased from the following websites:
Amazon
AliExpress
Banggood
Geekbuying
TomTop
Creality3D Official
Creality Store
I recommend checking out the Discount Codes page before purchasing. I regularly update the article with discount codes for various online shops, and you might find one for this particular model.
The Creality Ender 3 S1 was provided free of charge by Banggood for the purpose of this review. While the article includes affiliate links, all opinions are my own. Nobody reviewed the article before it was posted, following the Review Guidelines.
Liked it?
|
|



I downloaded the PLA profile for Ideamaker. The set extruder width is 0.5. It’s correct? I use the 0.4 nozzle
Yes
Hi. Thanks for the very detailed review. I just got the Ender 3 s1, partly due to your great review. While I am amazed by the overall quality, I am not happy about the noise level. The fans in the base are constantly on, and the noise-level from them is around 60db It is not comfortable to be in the same room as the printer. This much worse than my old Ender 3 Pro.
Do I have a faulty pritner? Or is the constant noise level on your S1 different?
Best regards
Karsten
I recommend contacting support to find out. My printer is not that noisy when idle.
same here the fans under the printer are very loud
Hi Mate,
Thanks for the review and settings/profiles.
Quick one RE:pla profile.
When i import the printer and filament profile i end up with the extrusion width setting being 0.5mm. is this intentionally not the nozzle size of 0.4mm?
Cheers,
Dylan
It is intentional
Hi. Between the Ender-6 and S1, what’s the best deal, considering they have similar prices? Ty.
They are not directly comparable. One of them is CoreXY and enclosed, while the second is an upgraded Ender 3.
I recommend checking both reviews, and decide according to your needs.
Hello, congrats for these review! This printer is very similar with Biqu BX, whats your opinion? Which one is the best?
Similar, but not the same. The BX has a way better screen, it is capable of running a raspberry pi, it has 0.9 mm stepper motors.
It is better hardware wise, but I can’t really say the print quality is much different.
Hello! Thank you so much for all these reviews! Amazing work! I will buy a 3D printer in the next days and i was considering to buy the Anycubic Viper for 250€. After your review on this S1, i got even more confused. I can get the S1 for 340€, do you think it’s a better deal compared to Viper at 250€? I was looking for something w/ a bigger printing area around this prices, what do you recommend? I checked CR-10 Smart ( I can buy it for 350€), but your review was not so positive as this last two.
Thank you so much!
Keep on w/ this amazing work!
There is not much difference between the S1 and the Vyper. I like the S1 better because it comes with a direct drive extruder, and it’s also a bit quieter.
I also saw multiple reports where the leveling sensor sometimes fails on the Vyper, but this might not be a general issue. Mine still works great.
I would always get a direct drive machine if I were to choose between DD and bowden. But I recommend reading about the printers, and decide for yourself.
The Vyper for 250 Euro is a pretty good deal.
Great feedback!
I’m concerned about the components replacement and maintenance…
Once S1 extruder is DD and new in the market, i’m afraid it will be hard to find replacement parts (same thing to the belts and guides).
Let’s hope that Creality and other brands will supply replacement parts.
Ty again!
John D.
I wouldn’t worry about that. The S1 will surely be a popular machine, and replacement parts will be available.
I know you highly recommended the Flsun Super Racer, which I’ve seen on sale for $420. At such similar price, which of the two would you choose?
It’s a matter of preference. Both are great.
Super Racer if you like having a Delta which prints faster. E3S1 if you want a better equipped machine out of the box (direct drive, magnetic flex plate).
Best reviews on the web. Are you going to review the CR10 smart pro?
Great to see a decent DD printer in the price bracket, searched high and low for a good one that could fit inside my already existing enclosure (which excluded the Genius Pro and X2) so had to sideline the desire for DD and went with a Vyper after reading up on it here and at other sites.
The Vyper is great and have had no real issues with the bowden setup but if I where going to get a machine right now I’d probably pick the S1 here. Getting spare parts for the Vyper is after all a bit harder than for any Ender/Creality machine.
Thanks for the in-depth review as usual. 🙂
Exactly my point. There are other printers out there with similar specs, but the S1 is the most attractive of the bunch with what you get out of the box.
Thanks for your review !
What firmware are you running ?
I flashed the latest version from creality website (1.05) and I’m having a lot of issues with the whole leveling processus, so I’m not using the cr-touch at the moment.
Did you do something special for the tpu aside from the parameters you wrote ? Retraction ?
Thanks 🙂
I am running the same firmware as you. Leveling worked great for me.
Check out my IdeaMaker profiles for the complete list of settings.