AnkerMake M5C Review

AnkerMake entered the 3D printing market about a year ago, with the M5 printer which is the more feature-rich version of the M5C. The AnkerMake M5C is the budget version but it still has most of the functionality even though a screen is missing.
I know that it might seem strange to hear that a 3D printer doesn’t come with a screen to control it, but it’s actually not a huge issue. I will tell you more in my review of the AnkerMake M5C, where we’ll see if this printer is worth considering.
AnkerMake M5C Shipping and Packaging
The AnkerMake M5C comes in a cardboard box (thicker than most of the boxes I received printers in) with ample protection using foam packaging material. I like the fact that there are multiple layers of items in the package while still being very compact, and the assembly guide is very detailed.
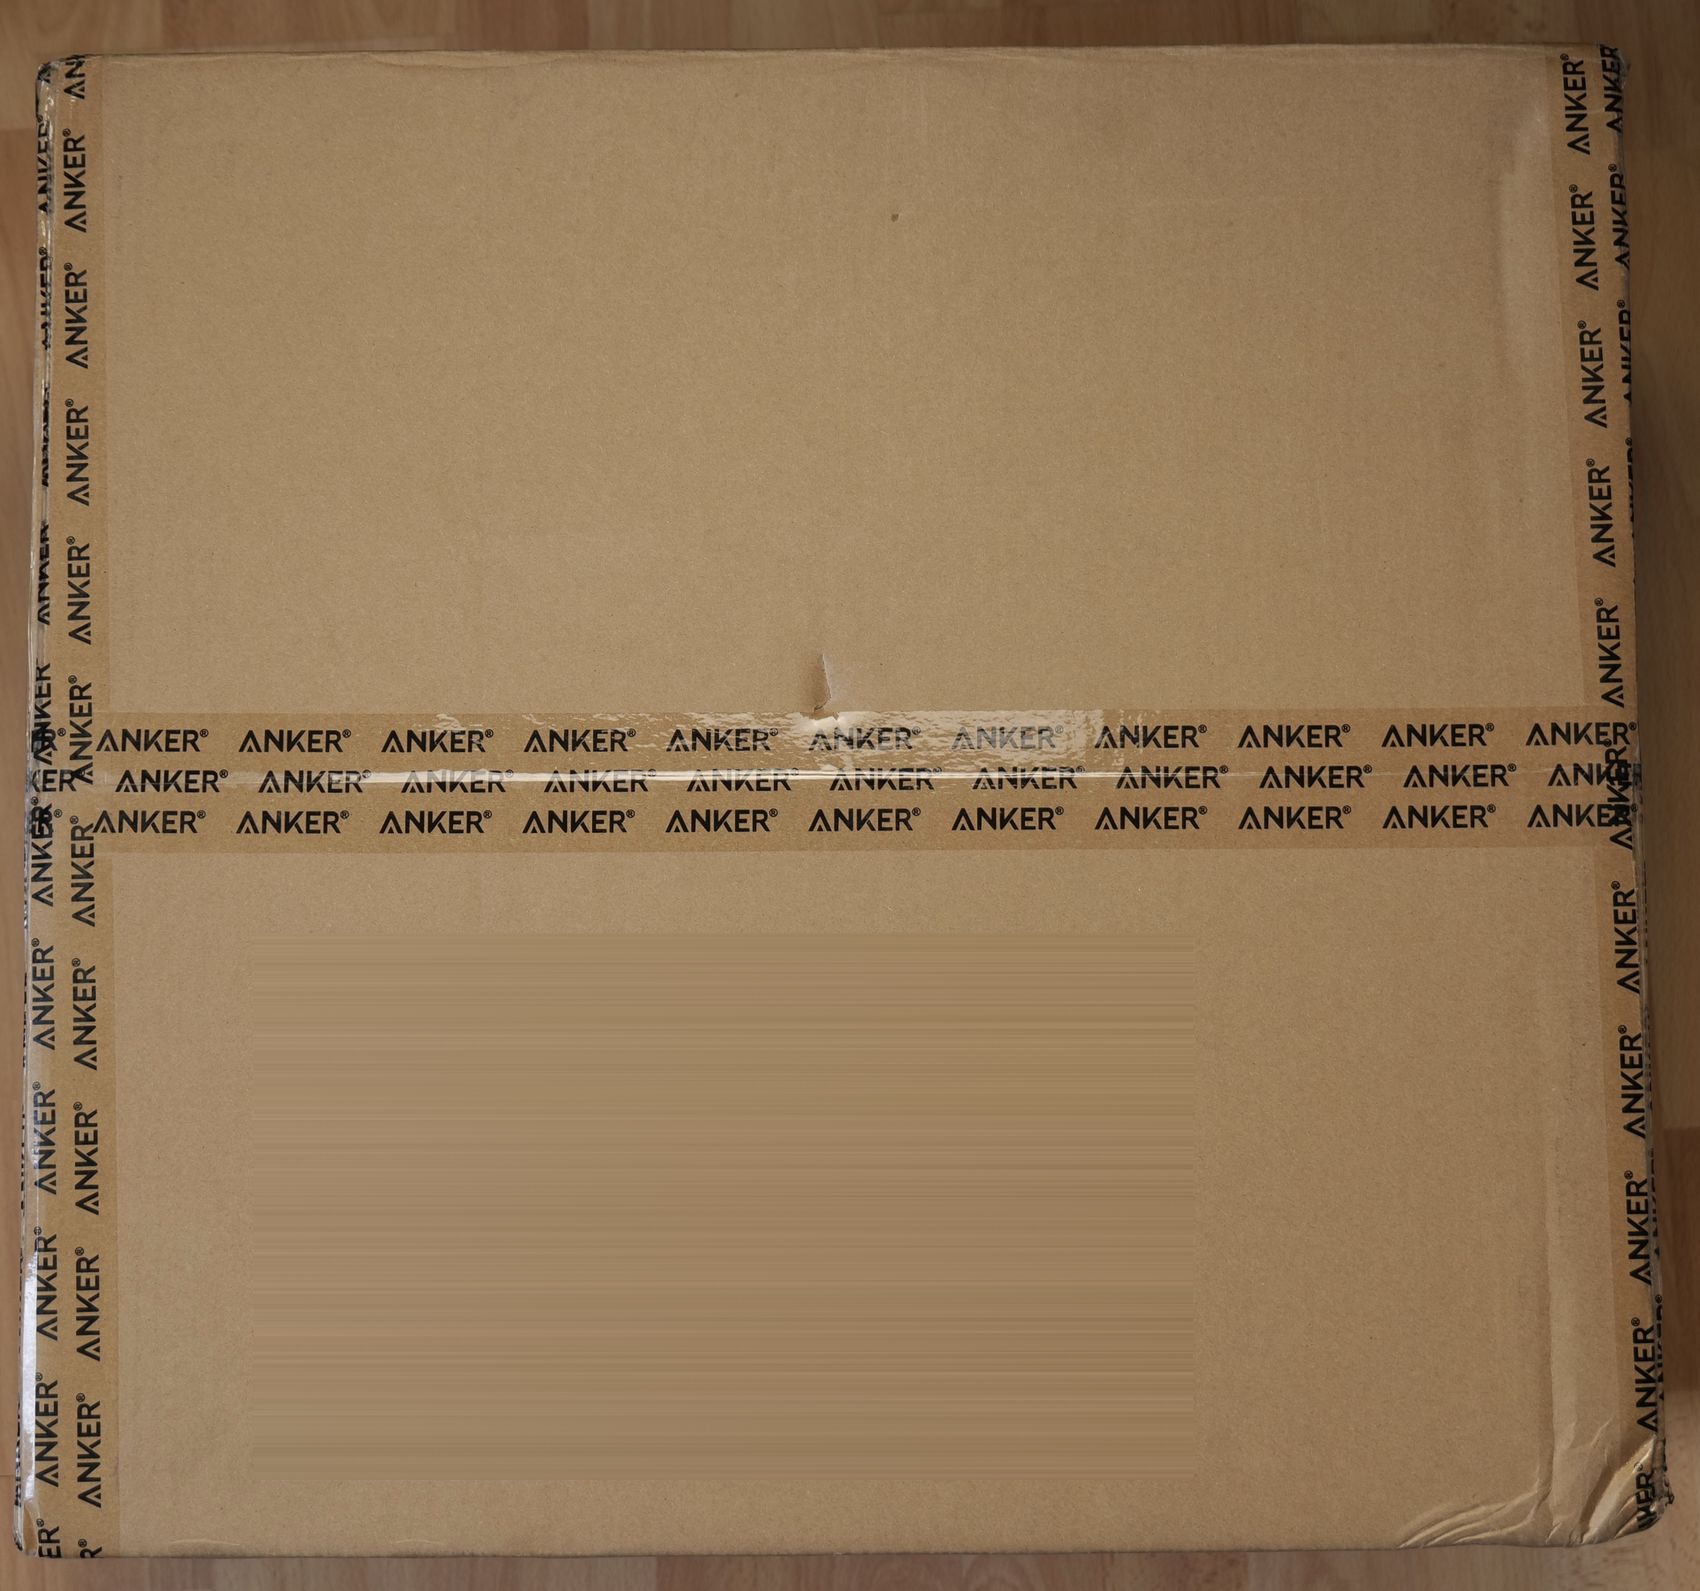
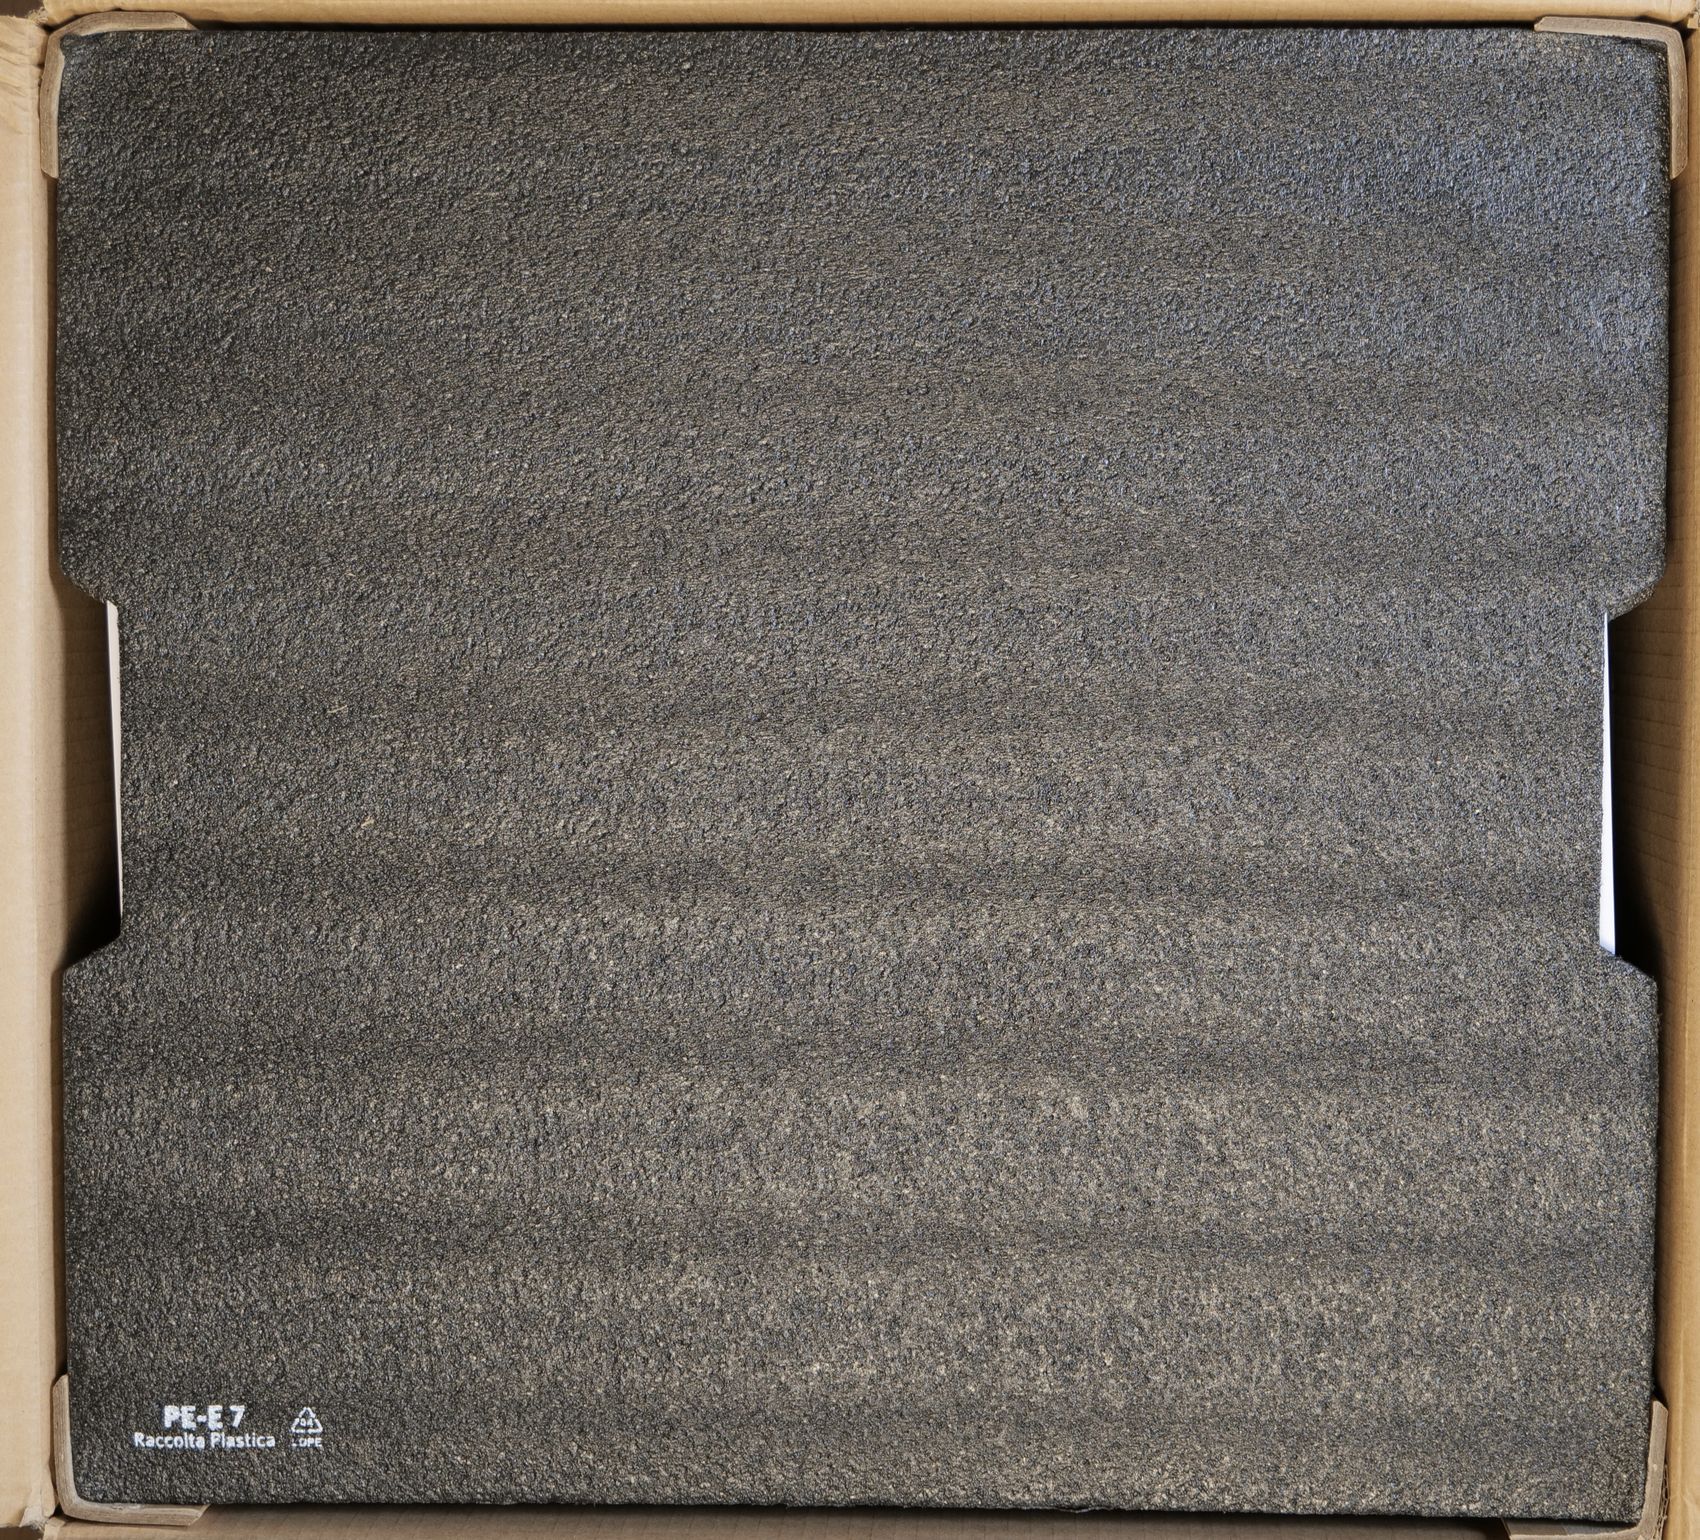
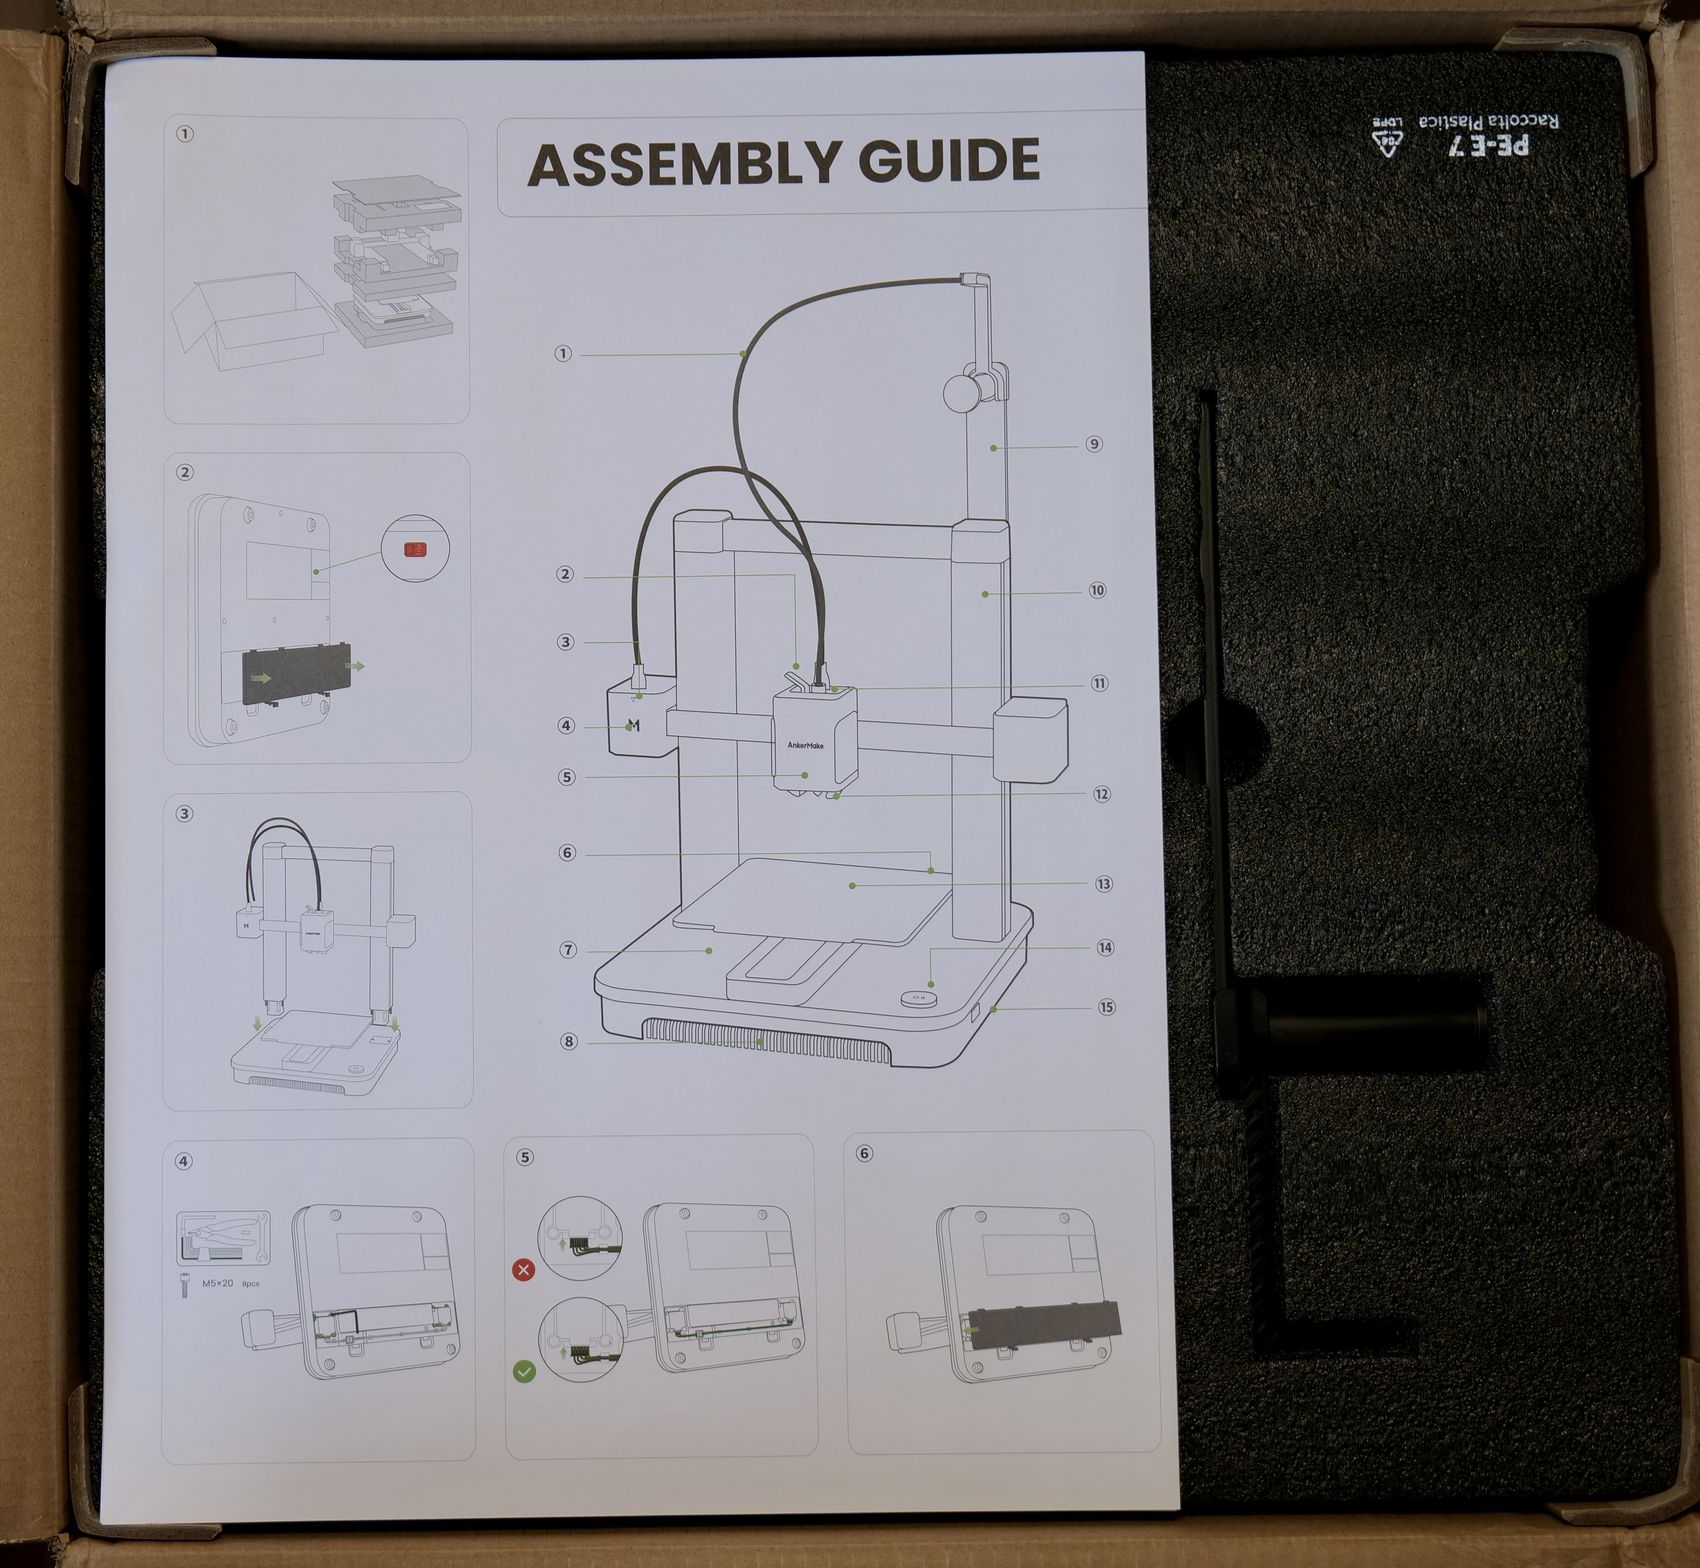
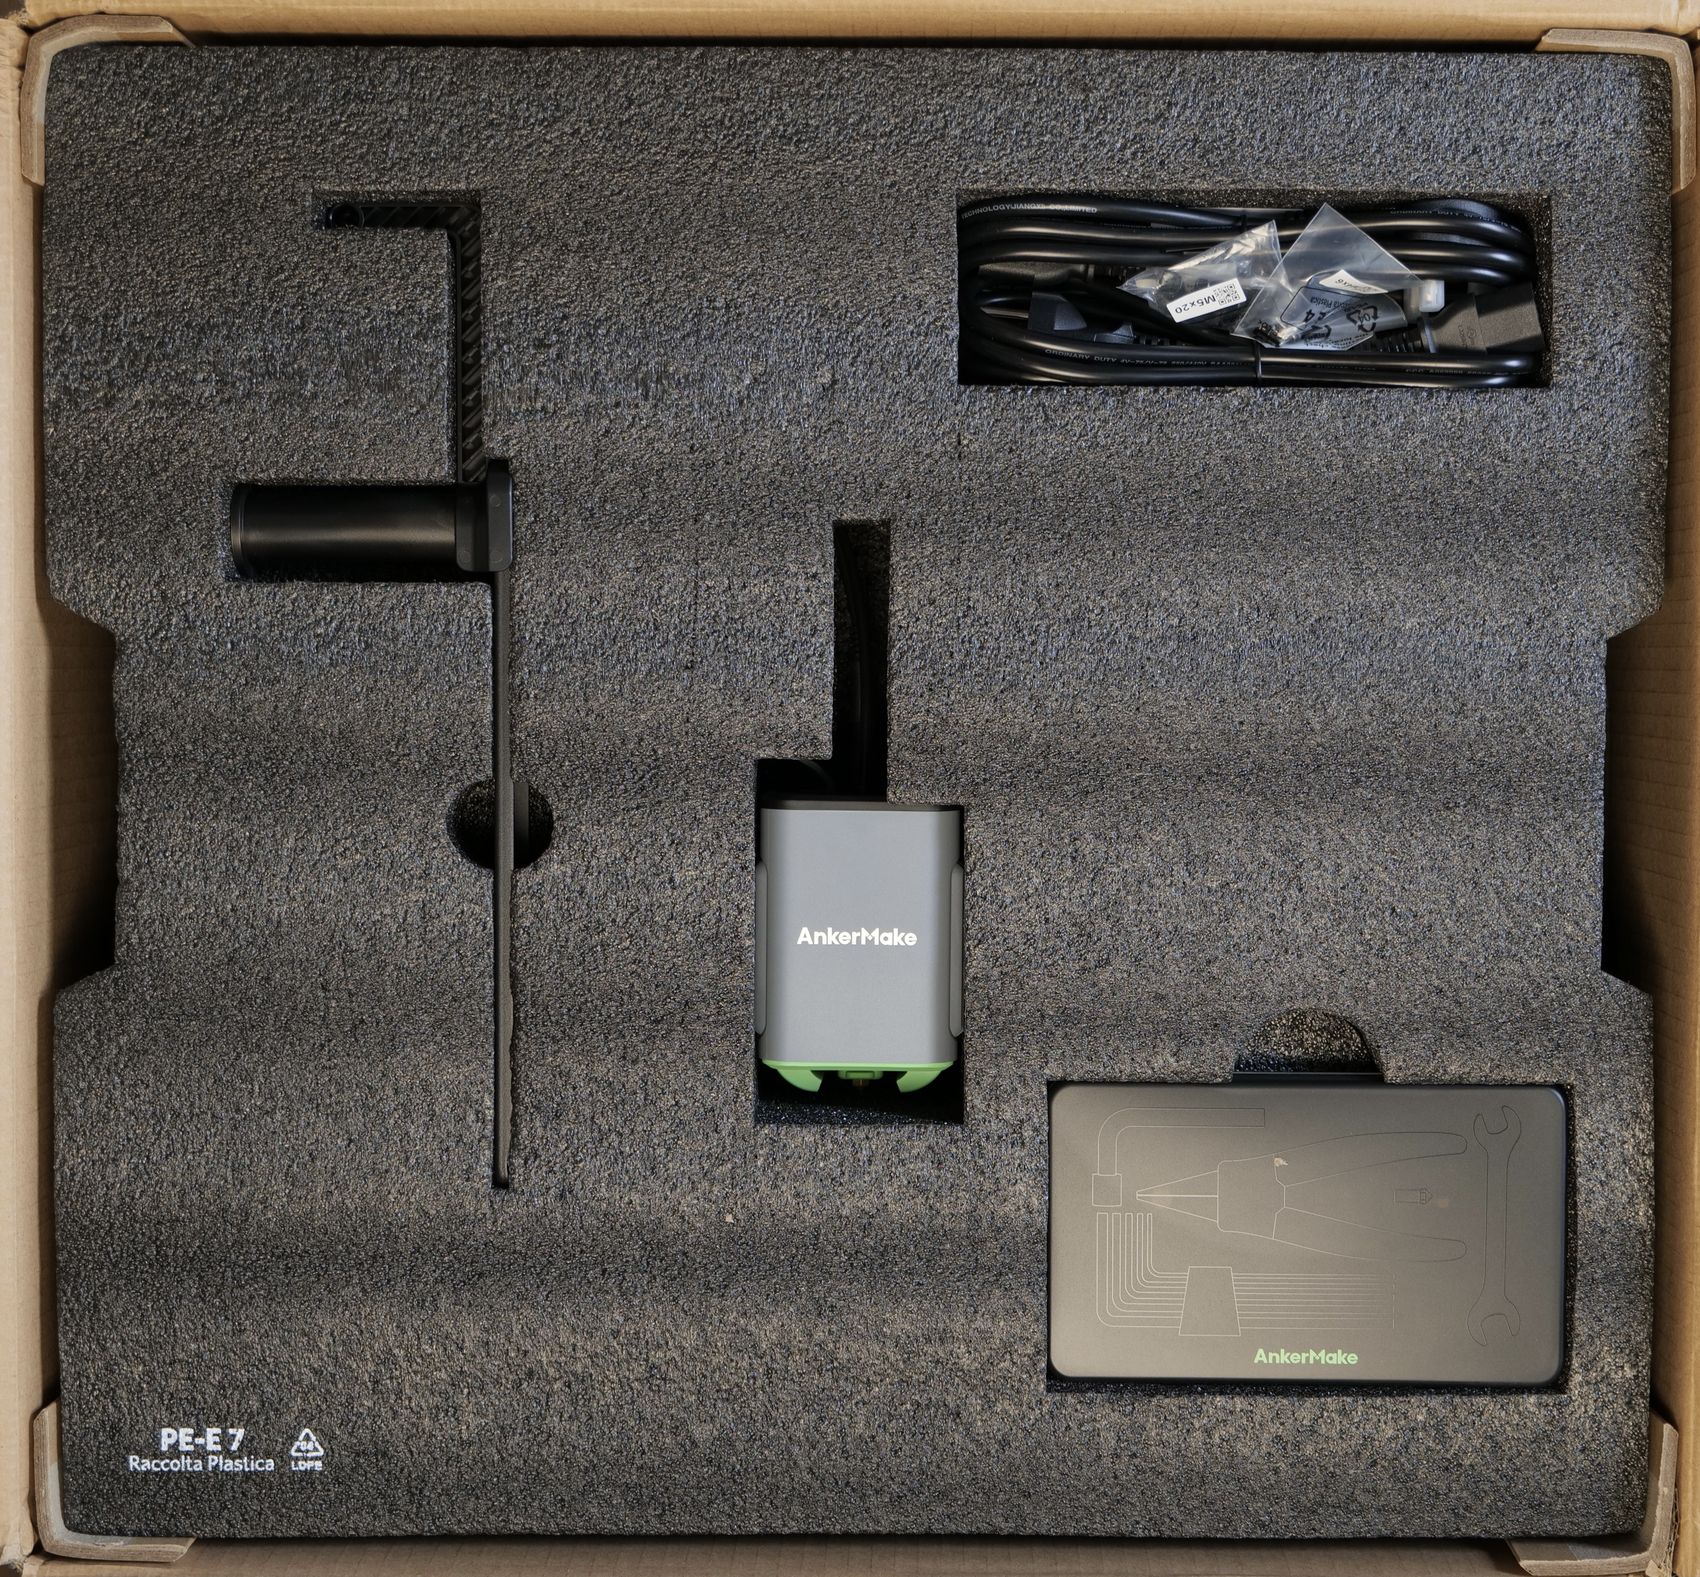
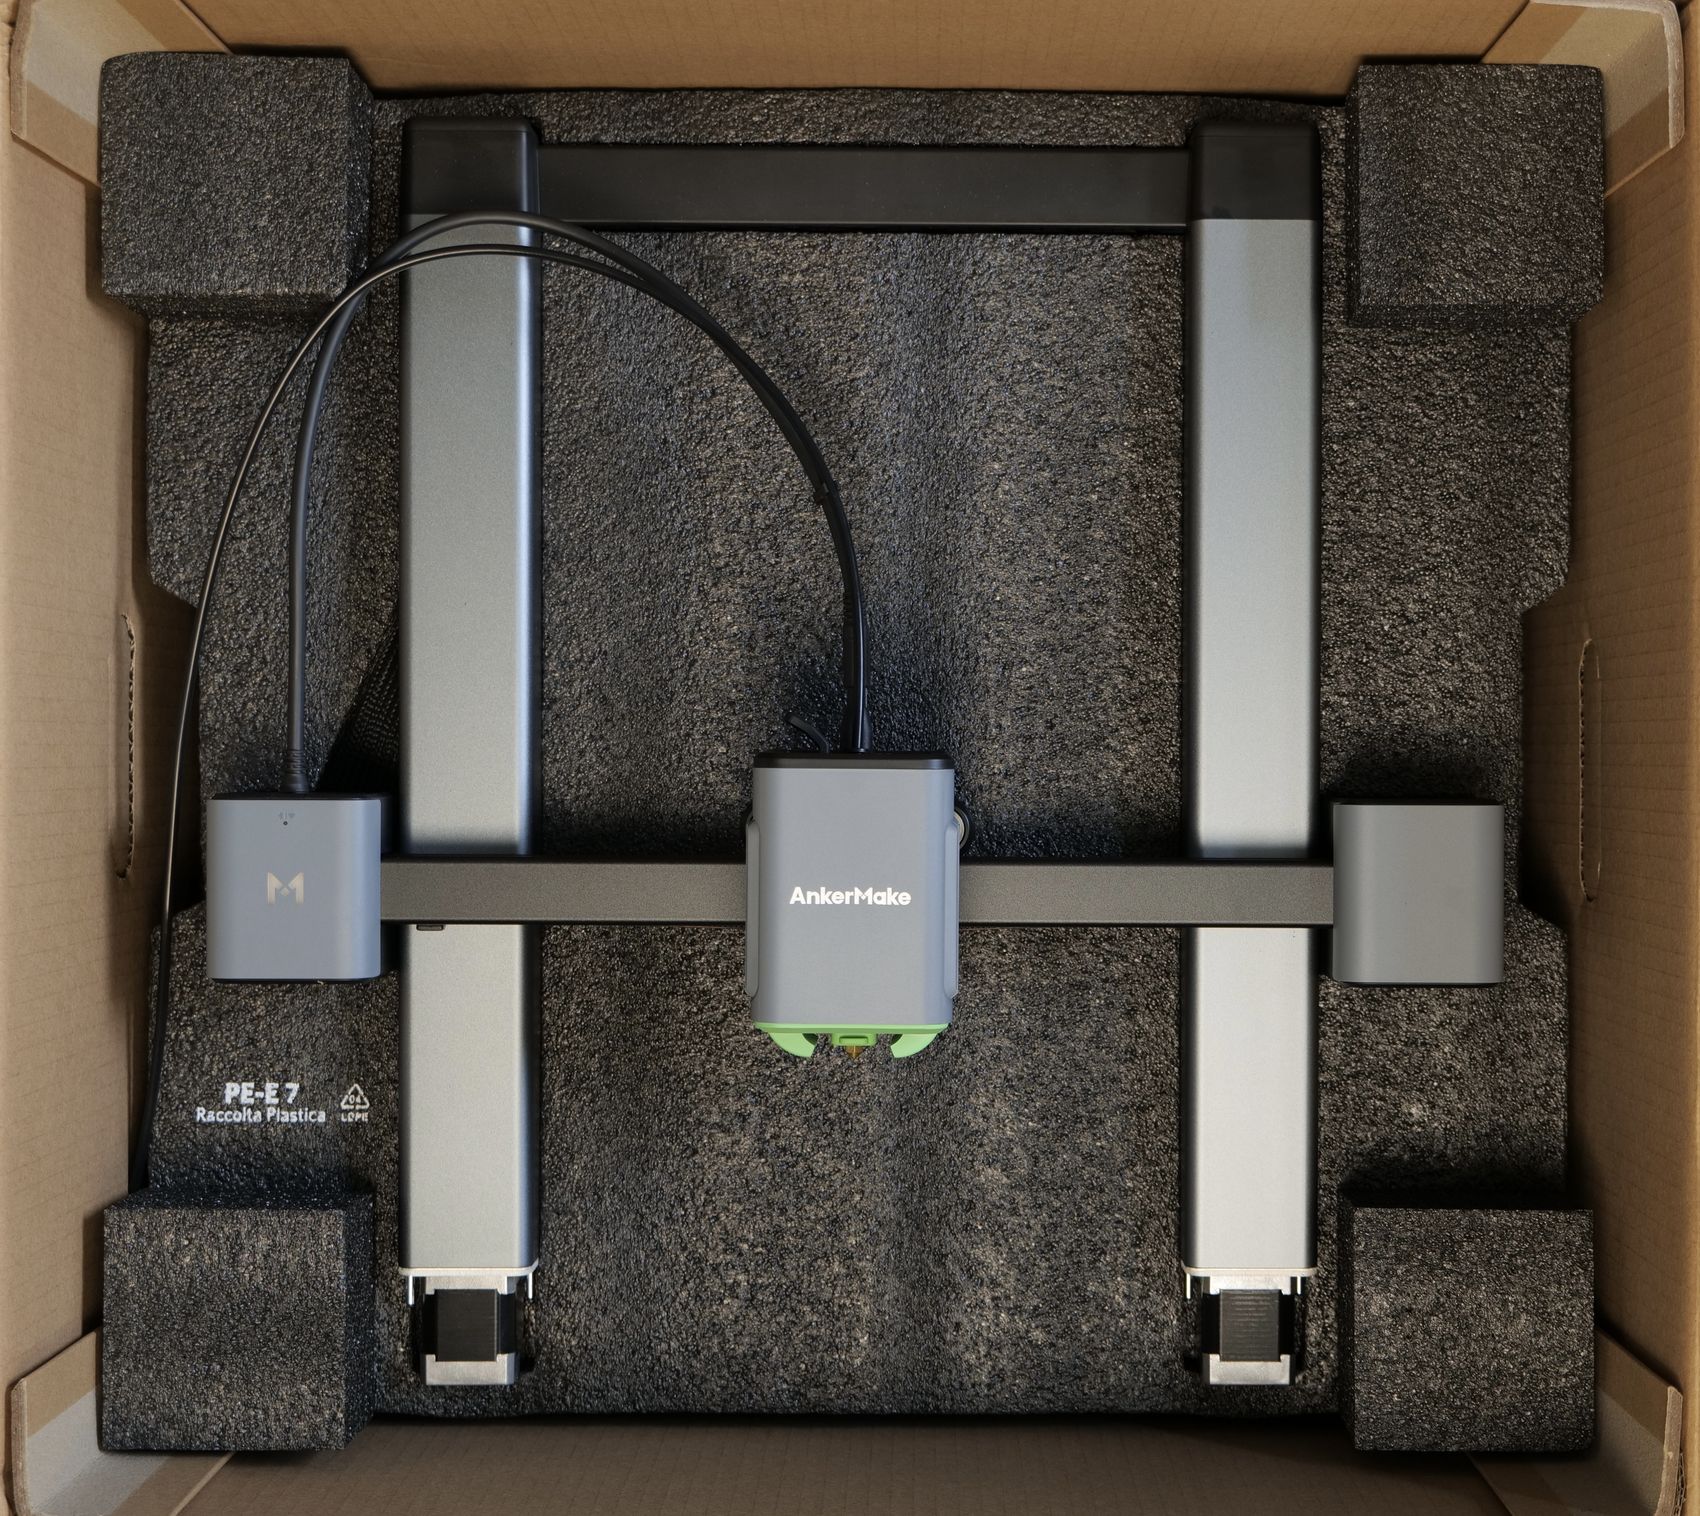
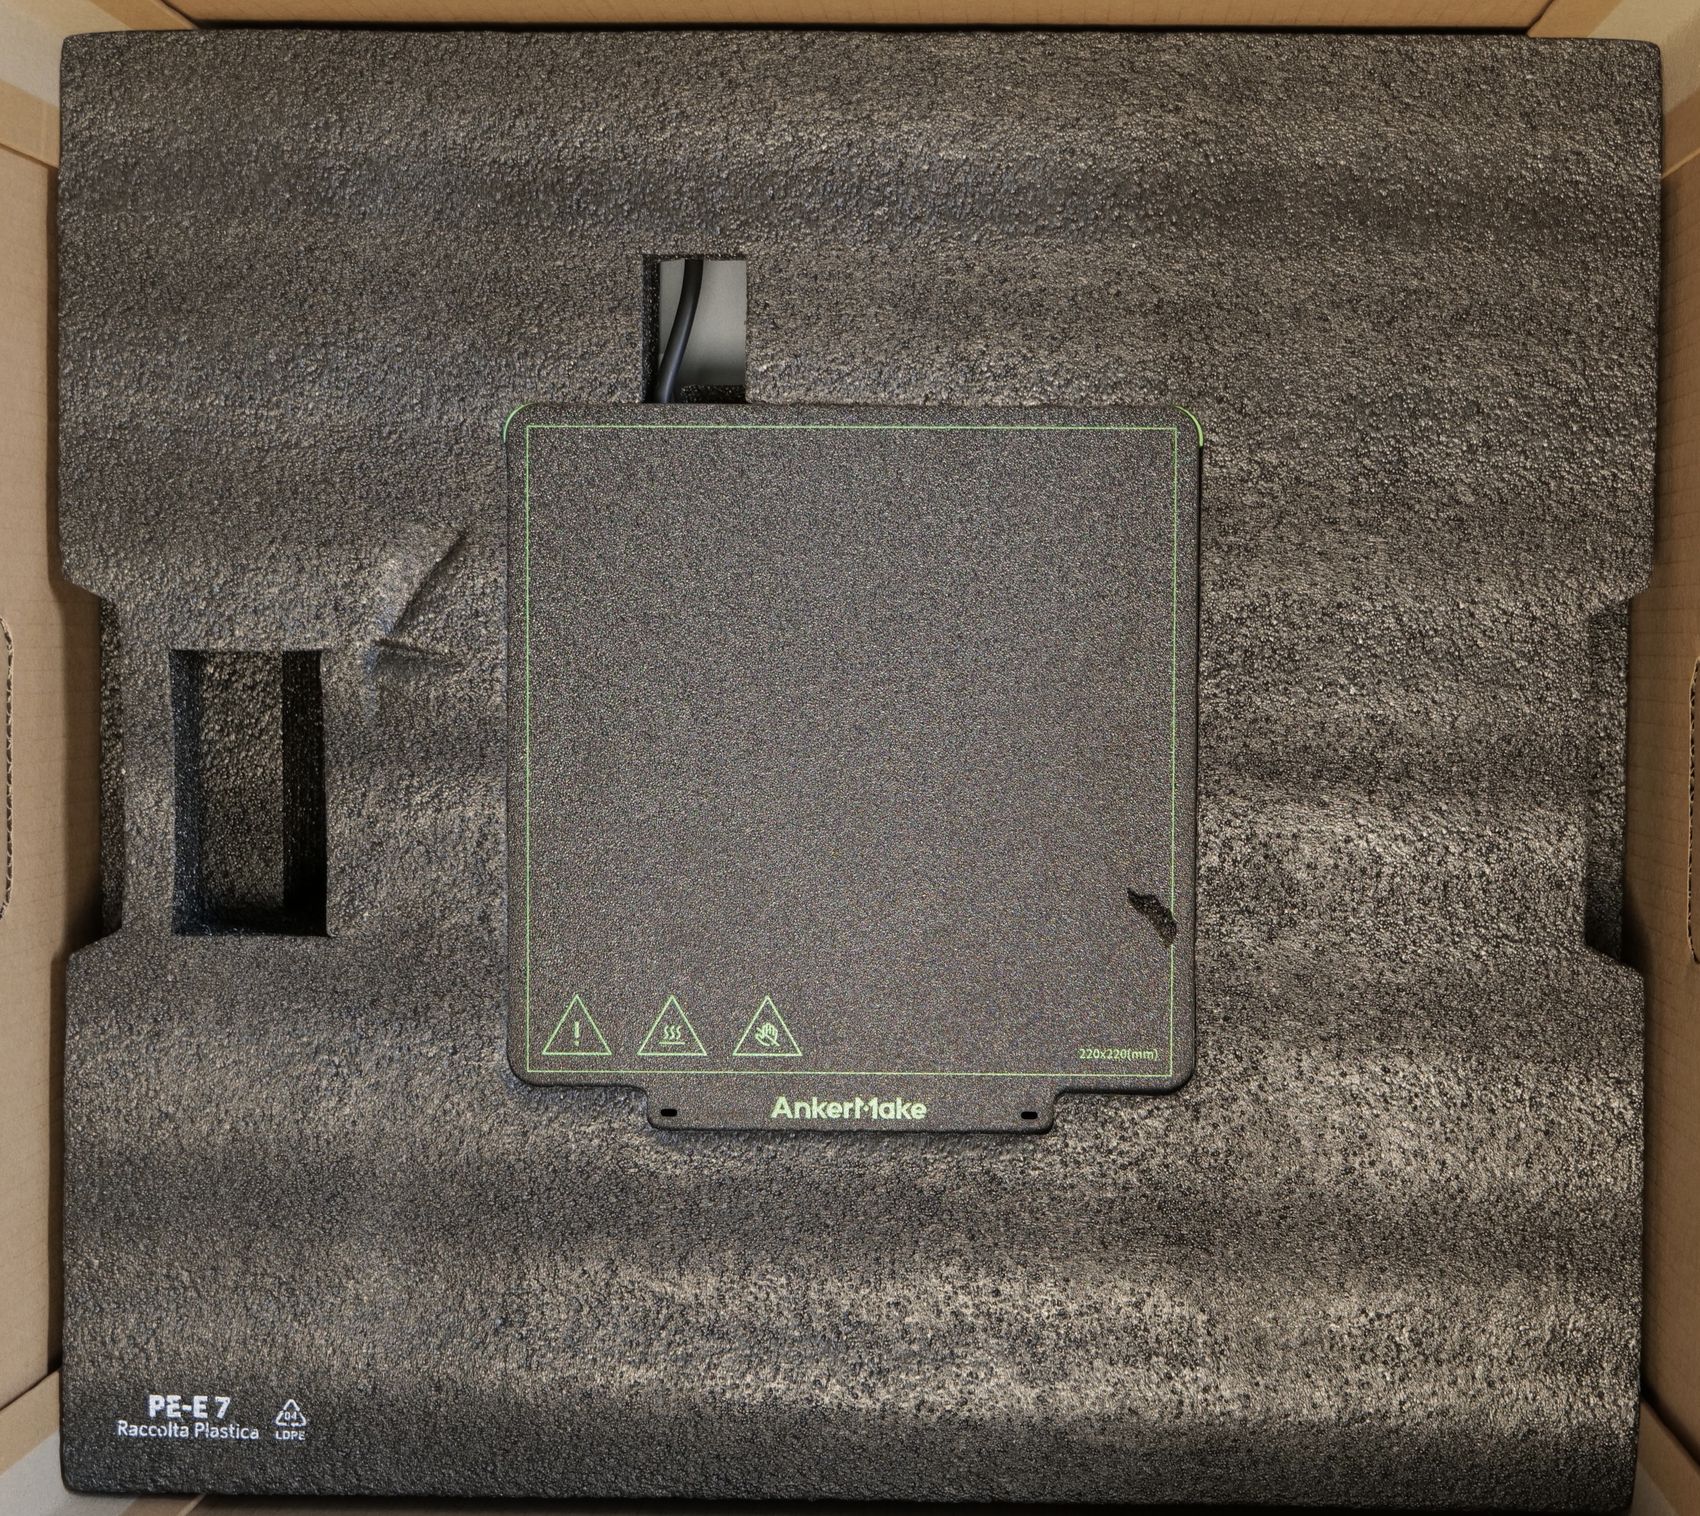
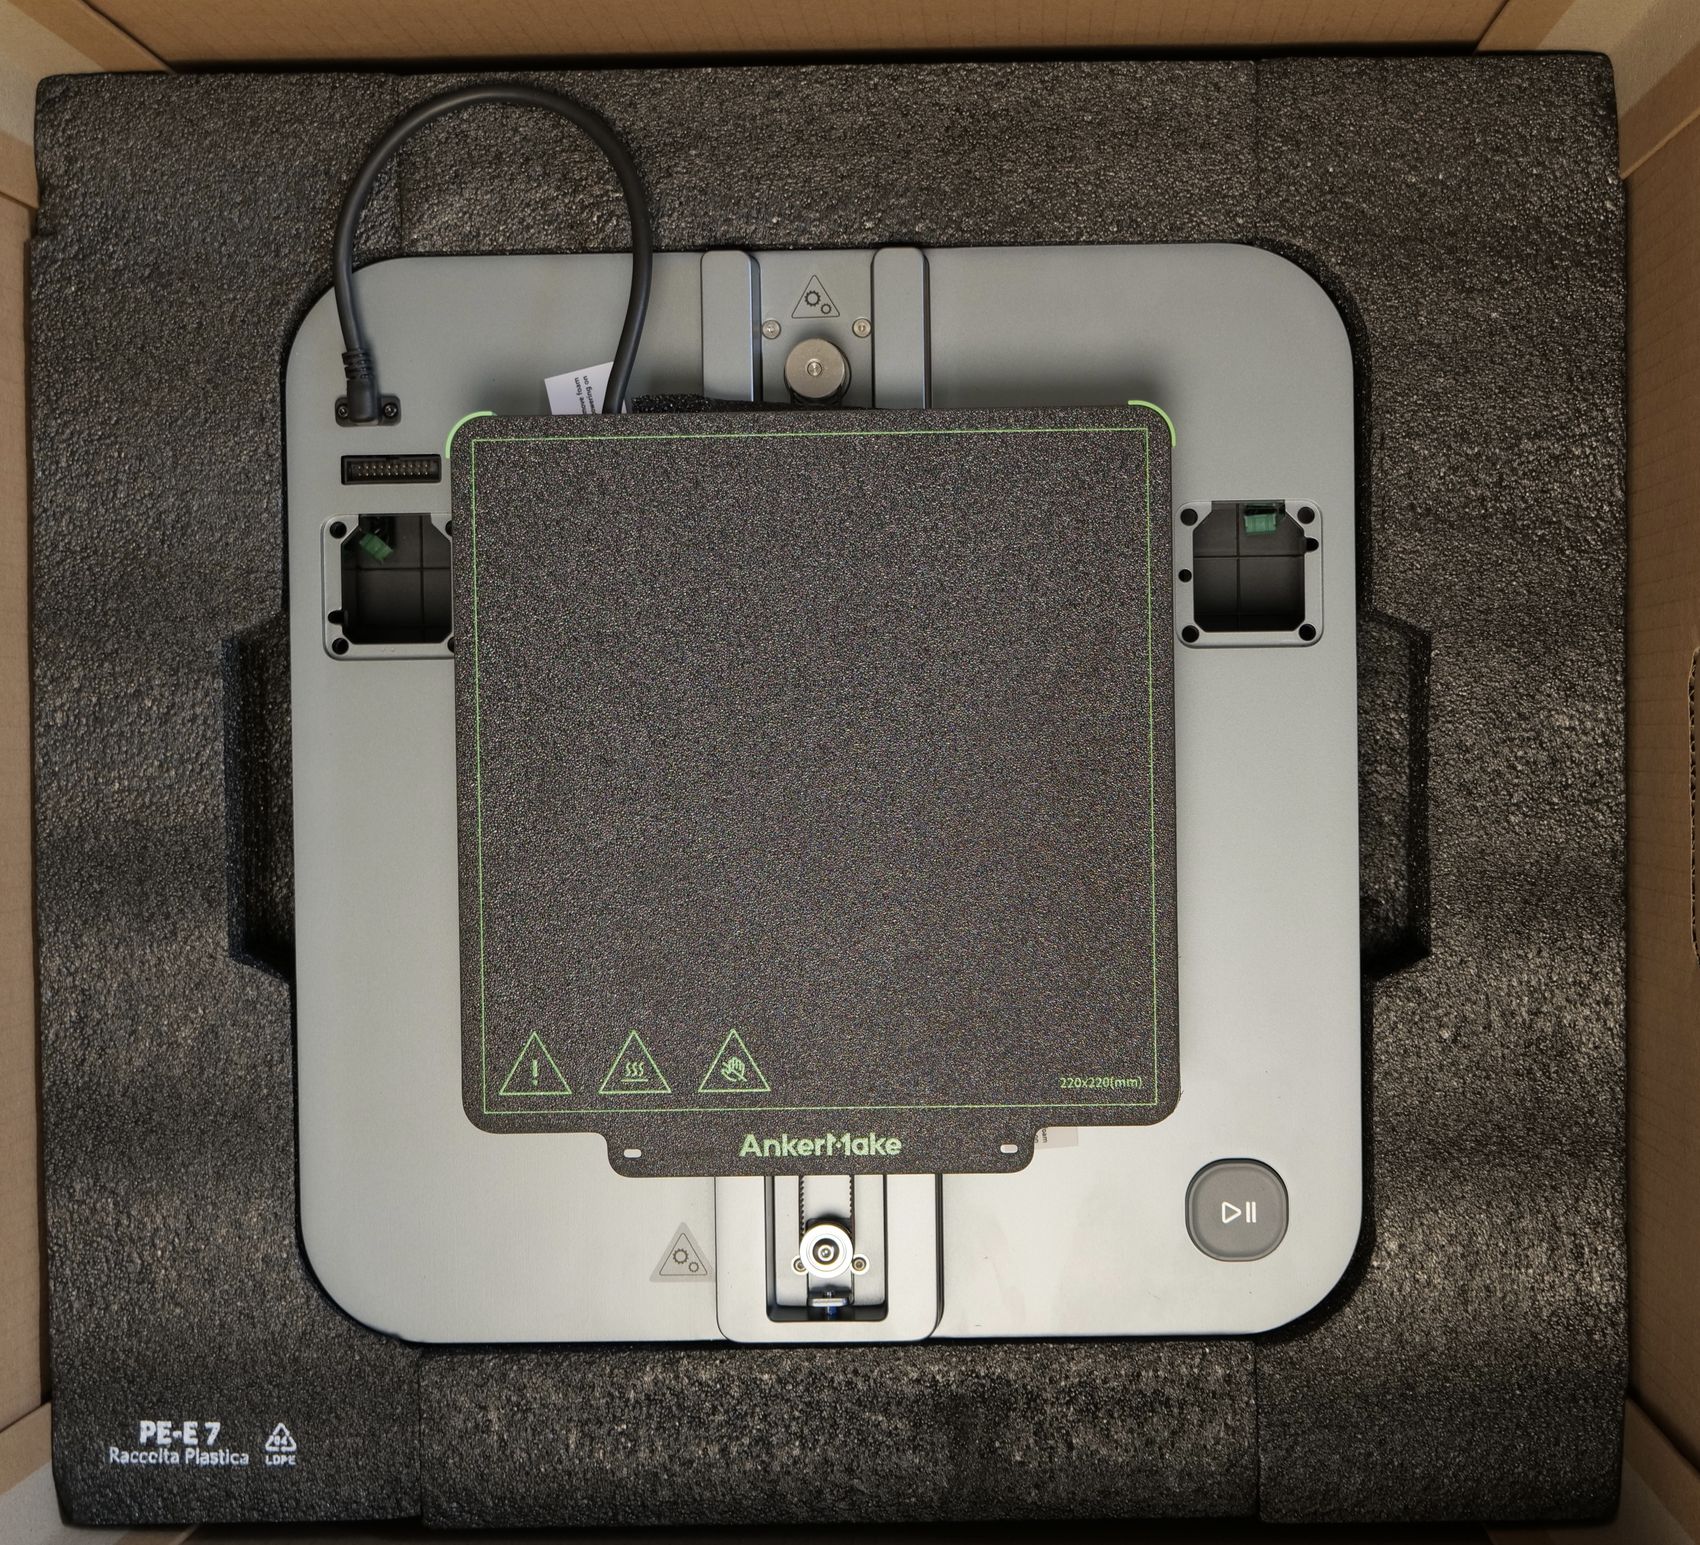
Putting the printer together is relatively easy, and it shouldn’t take more than 20 minutes even for a complete beginner.
AnkerMake M5C Design
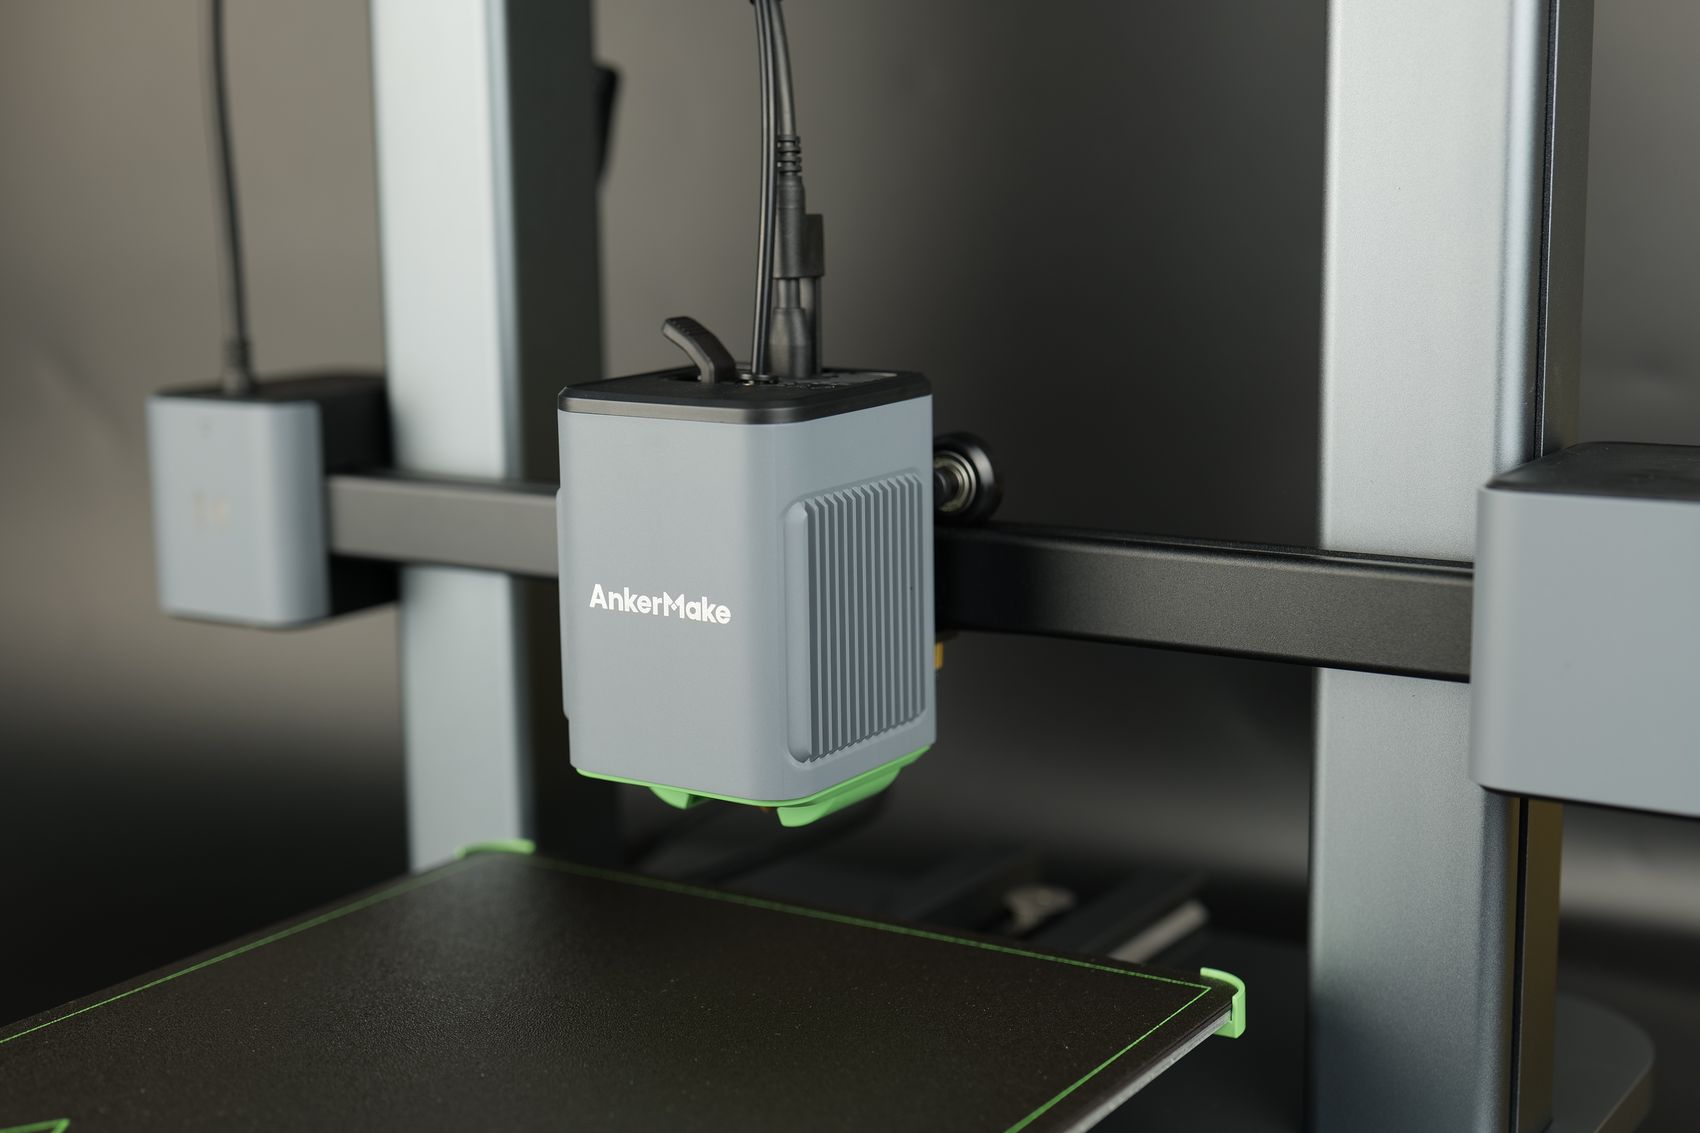
The AnkerMake M5C has a design similar to their previous printer, the M5. It also resembles other “bedslinger” 3D printers on the market, but only in its functionality, as the frame of the printer is very clean and nicely designed.
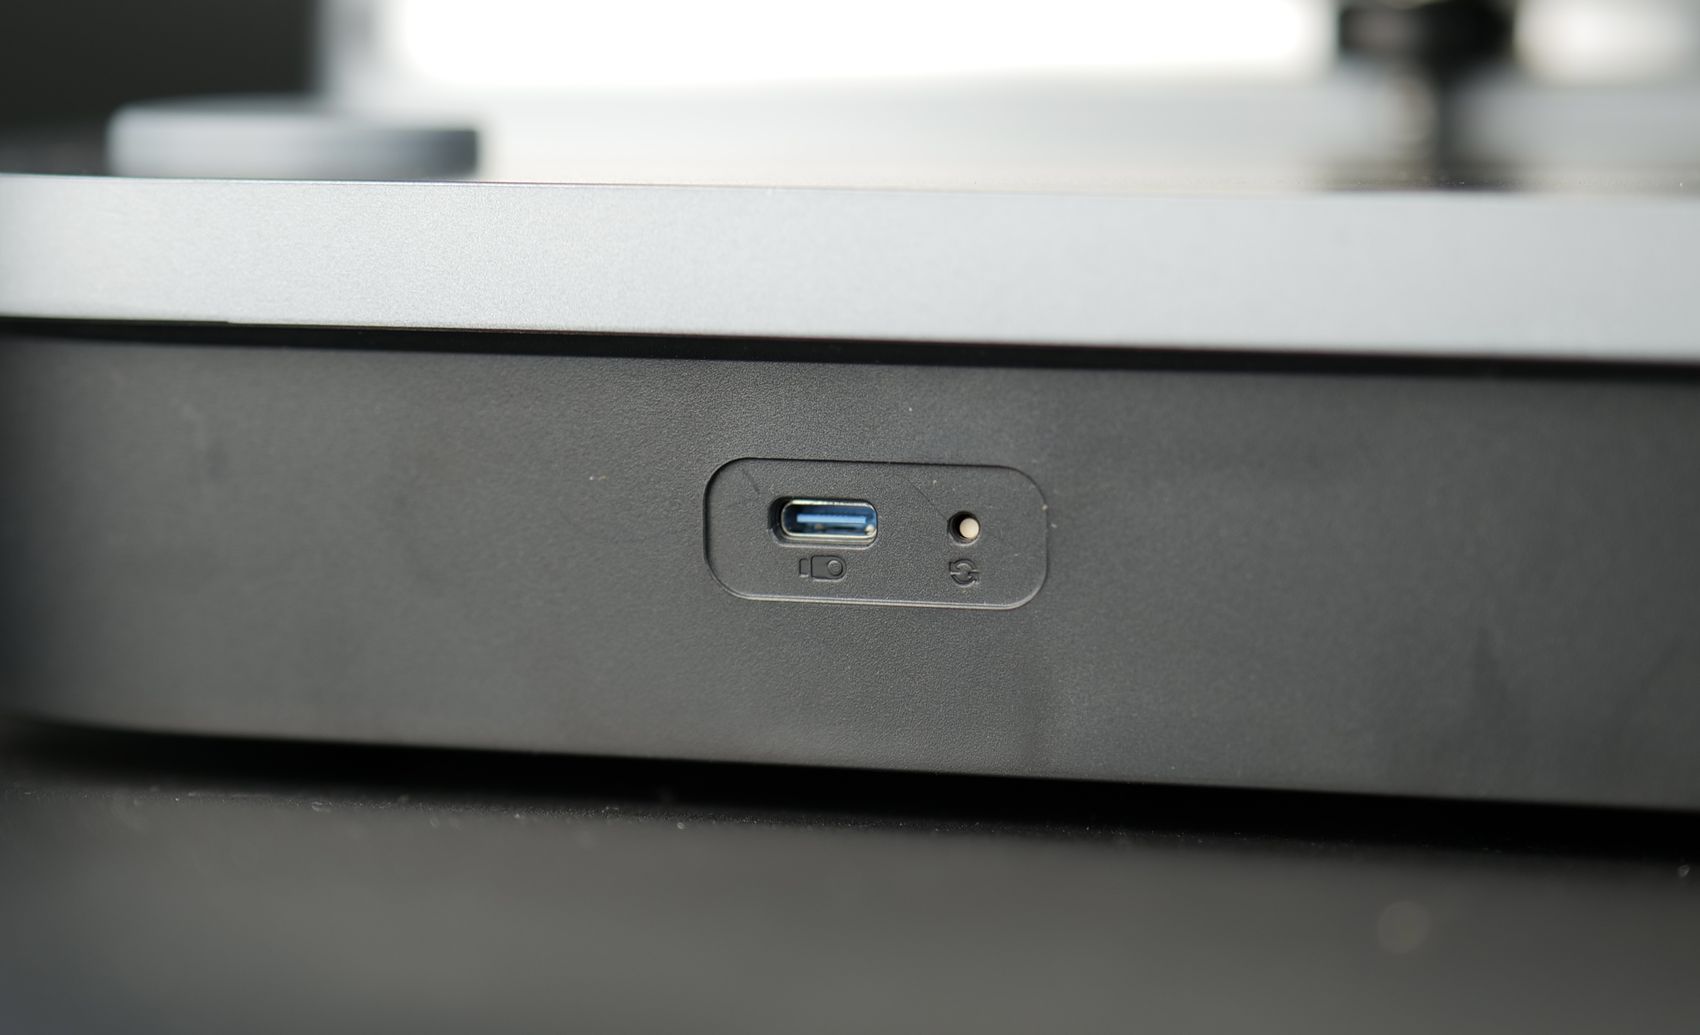
On the side of the unit, there’s a USB Type-C connector and a reset button. The Type-C connector can be used with an external USB drive to print models, but I would have liked to see a regular USB connector available as those are more common.
It is possible to use a Type-C USB adapter that converts this to a Type-A connector, but one is not included in the package so that’s an extra purchase required if you wish to use this functionality
AnkerMake M5C Specs
Direct drive extruder
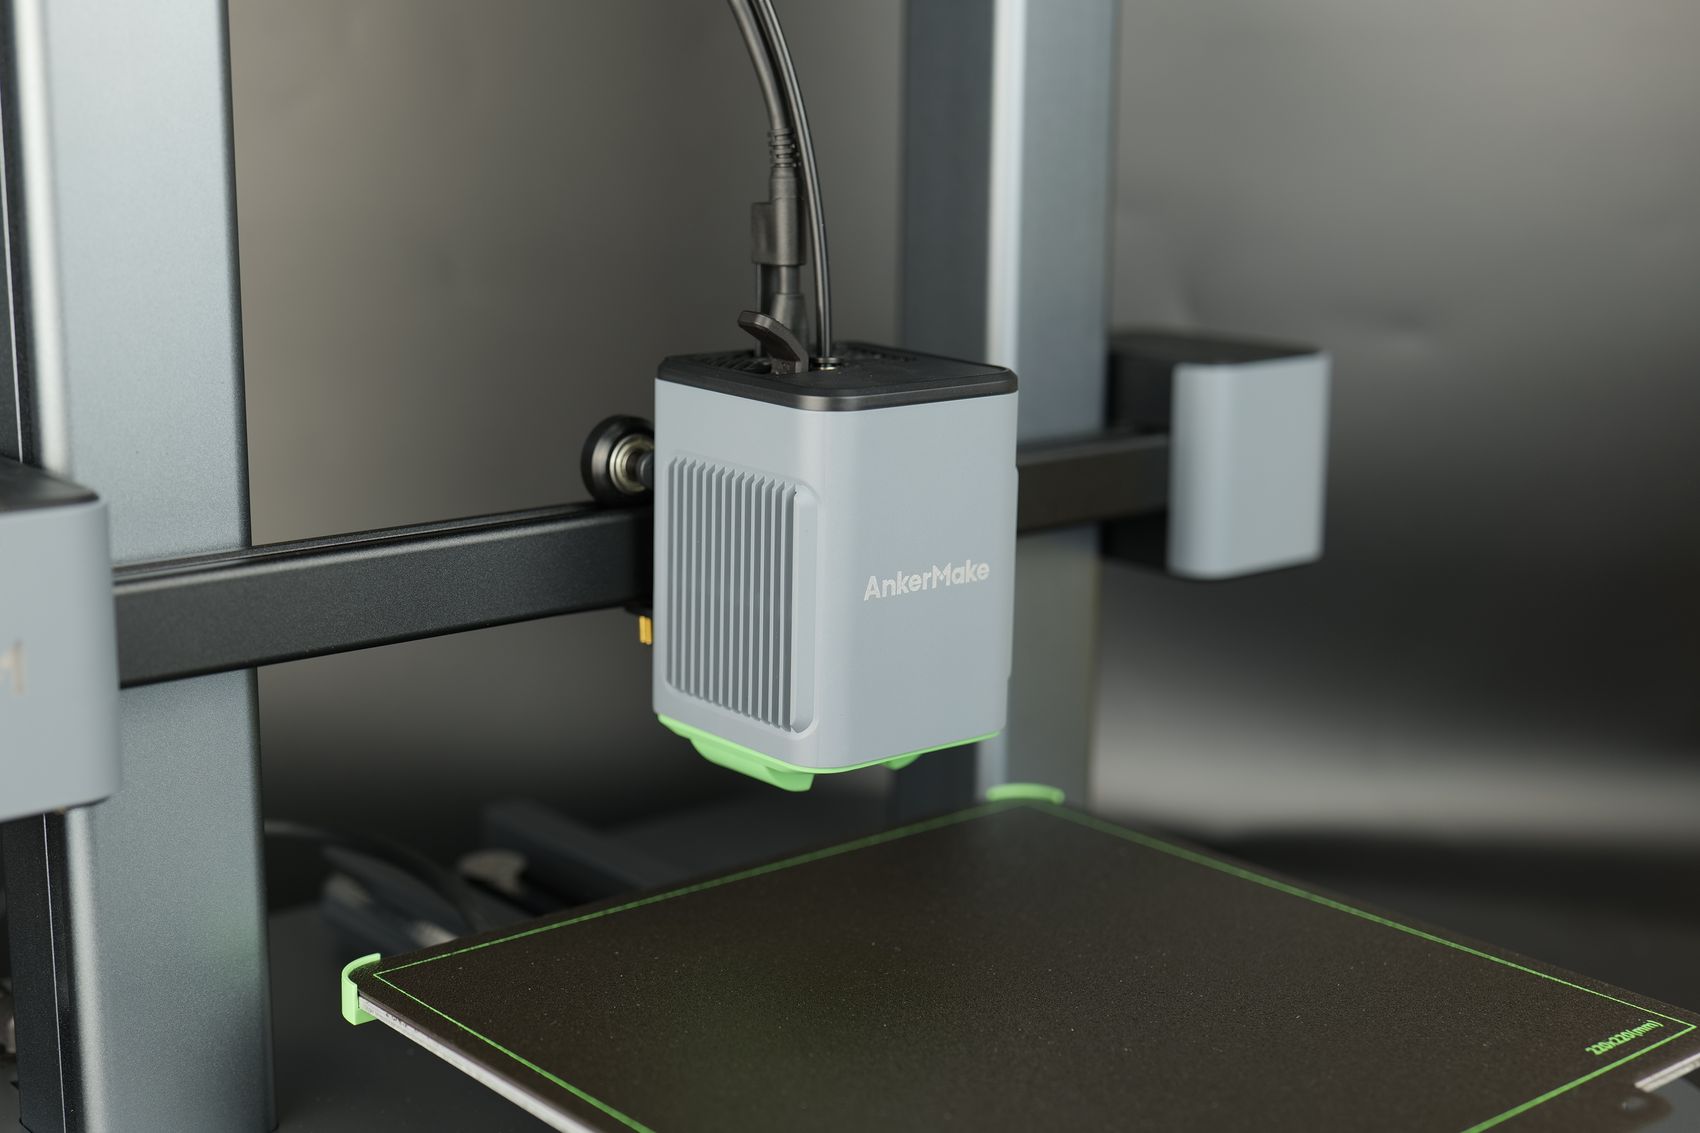
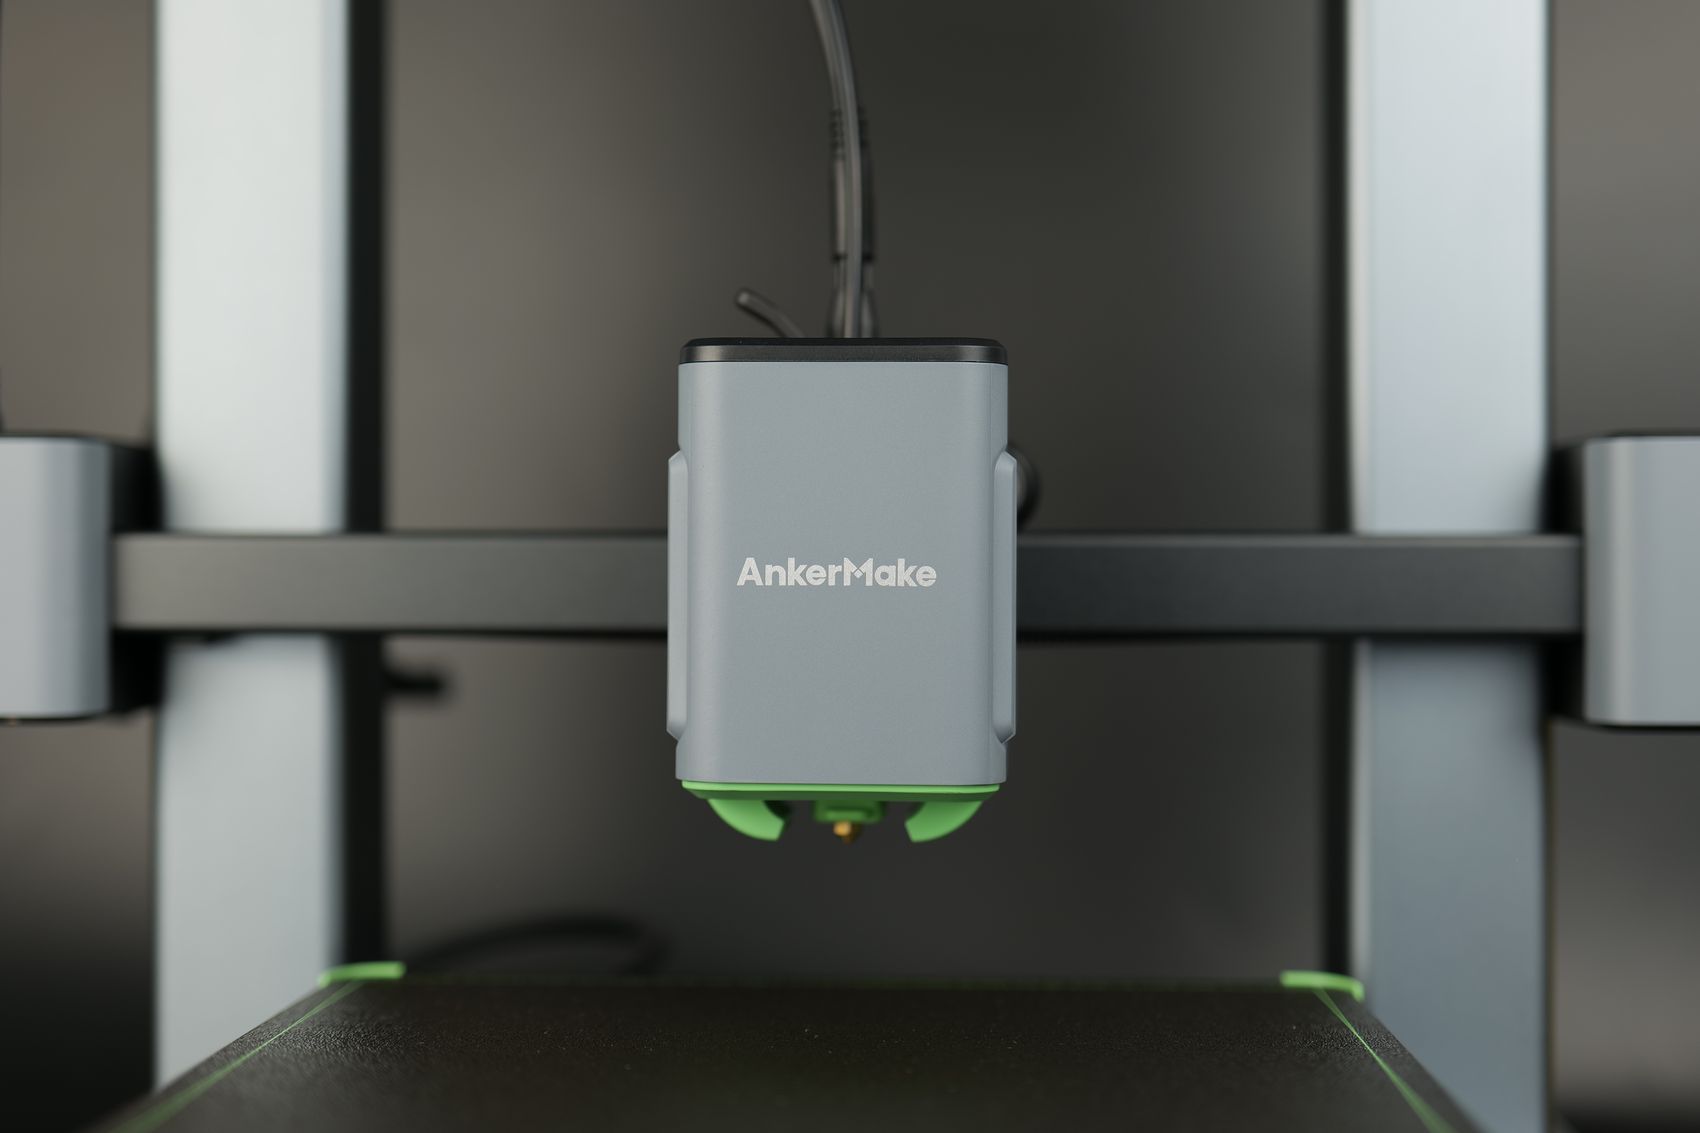
The AnkerMake M5C has a custom direct drive extruder nicely covered by the plastic housing over the print head. This plastic housing is easily removed by simply pushing it upwards to reveal the direct drive extruder setup.
At first glance, we can see a pair of radial fans which are used for part cooling. While these fans are small, they are able to deliver a higher airflow than I was expecting without being very noisy.
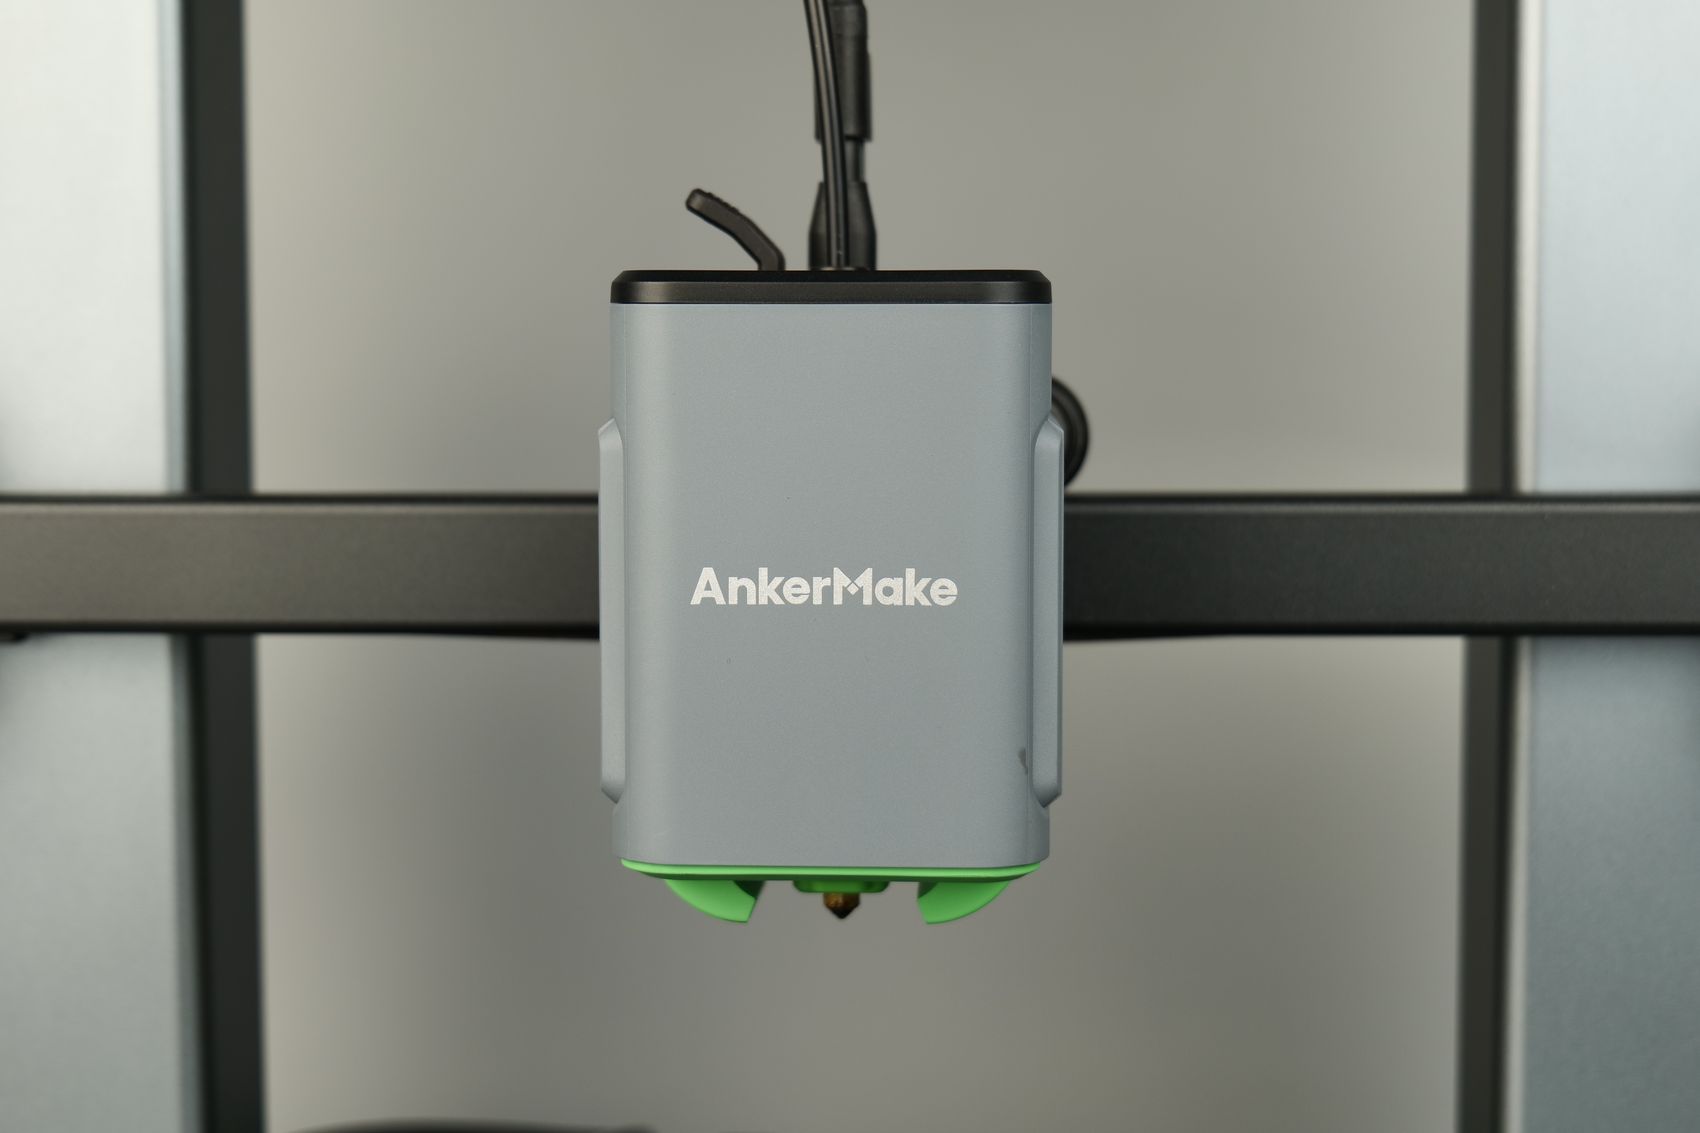
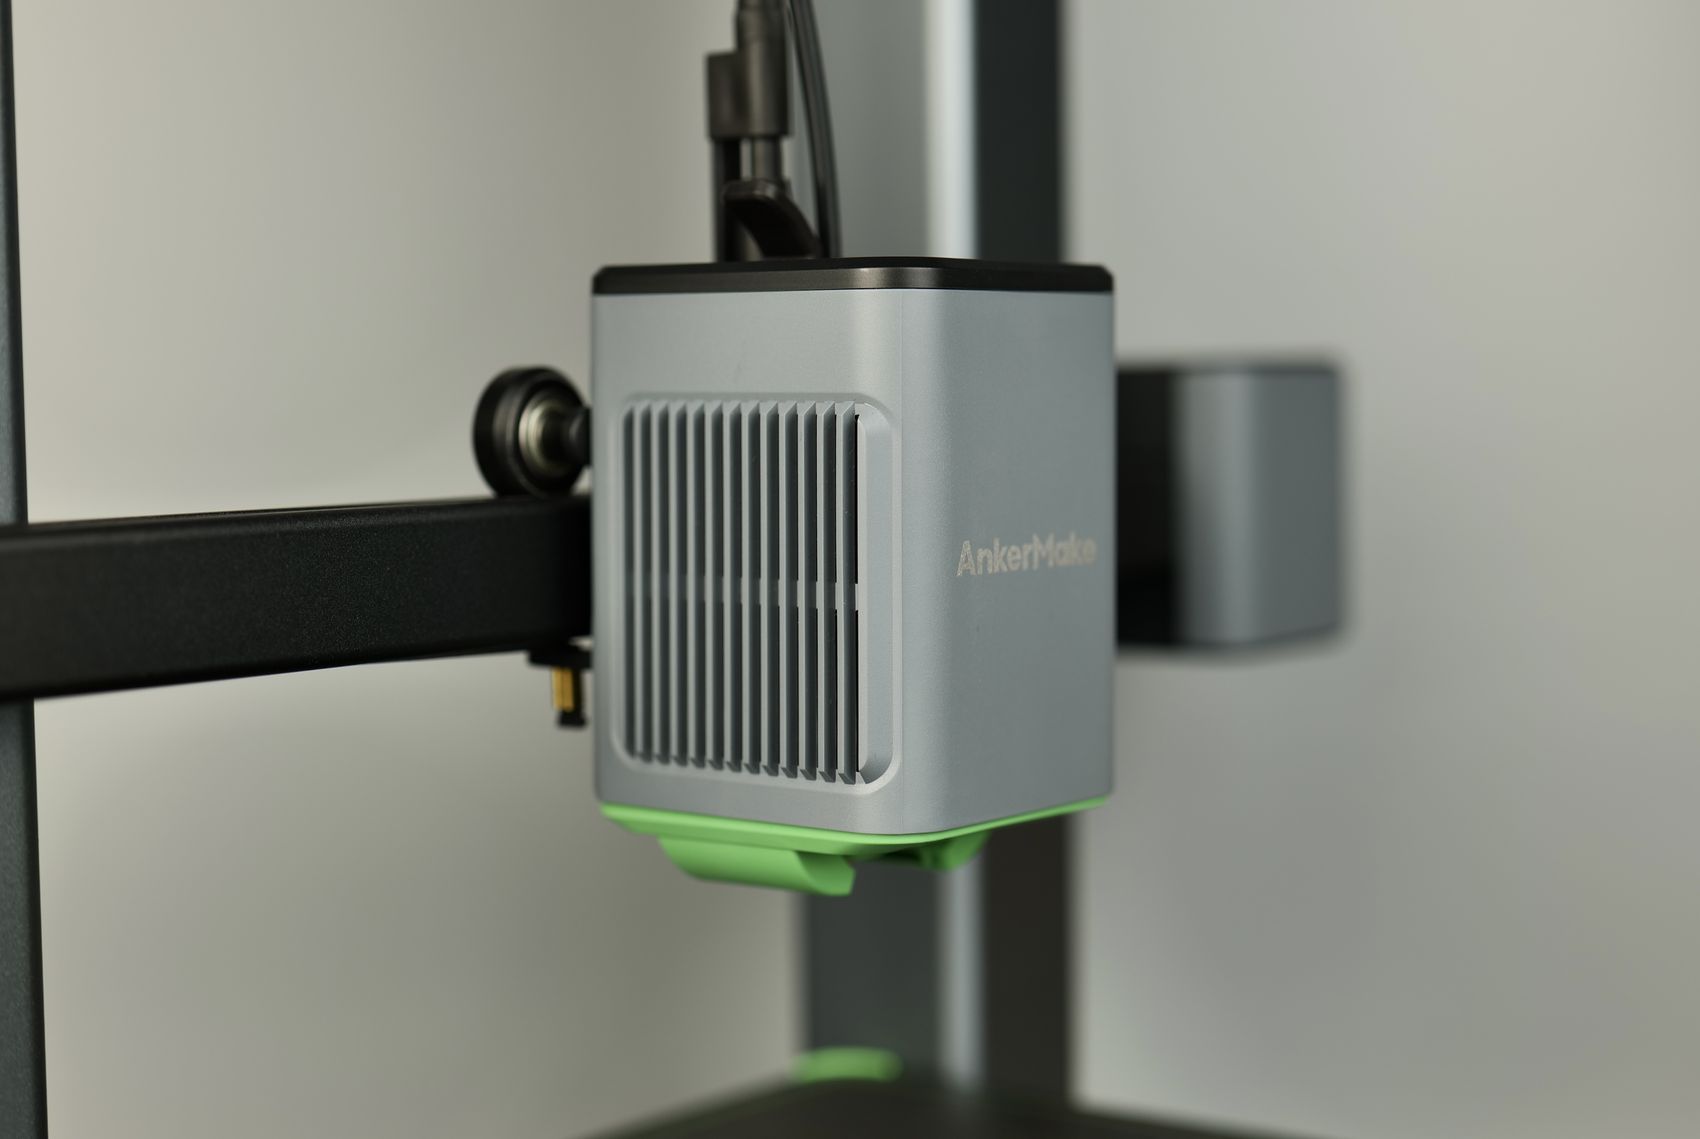
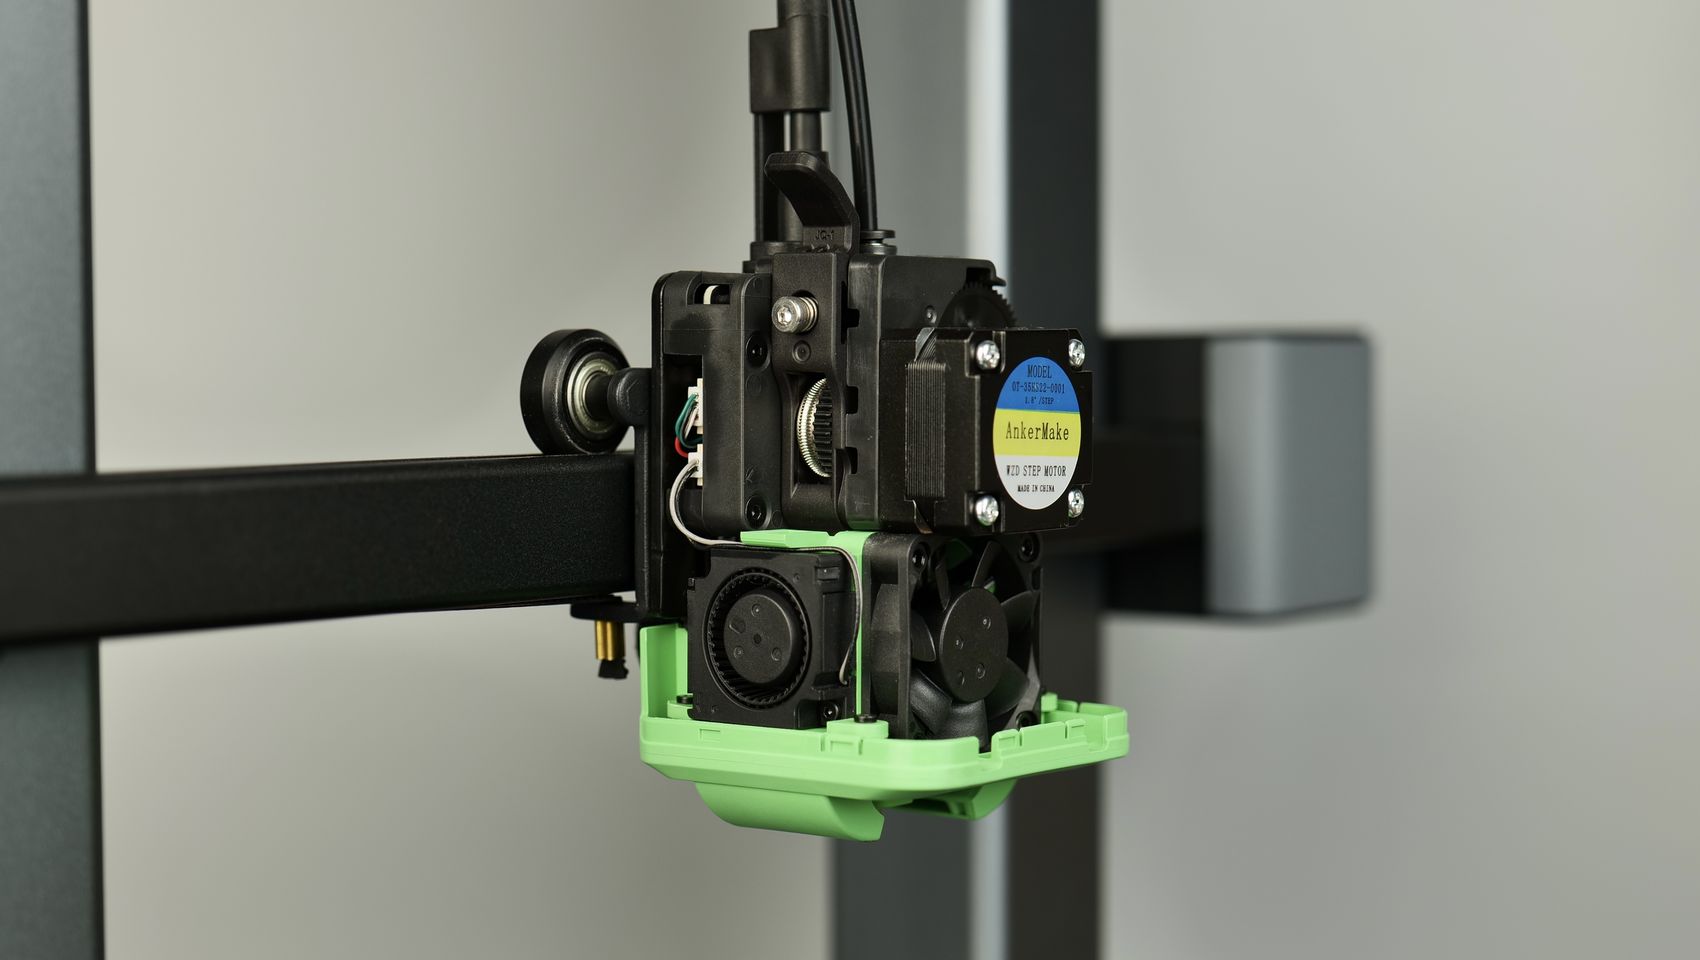
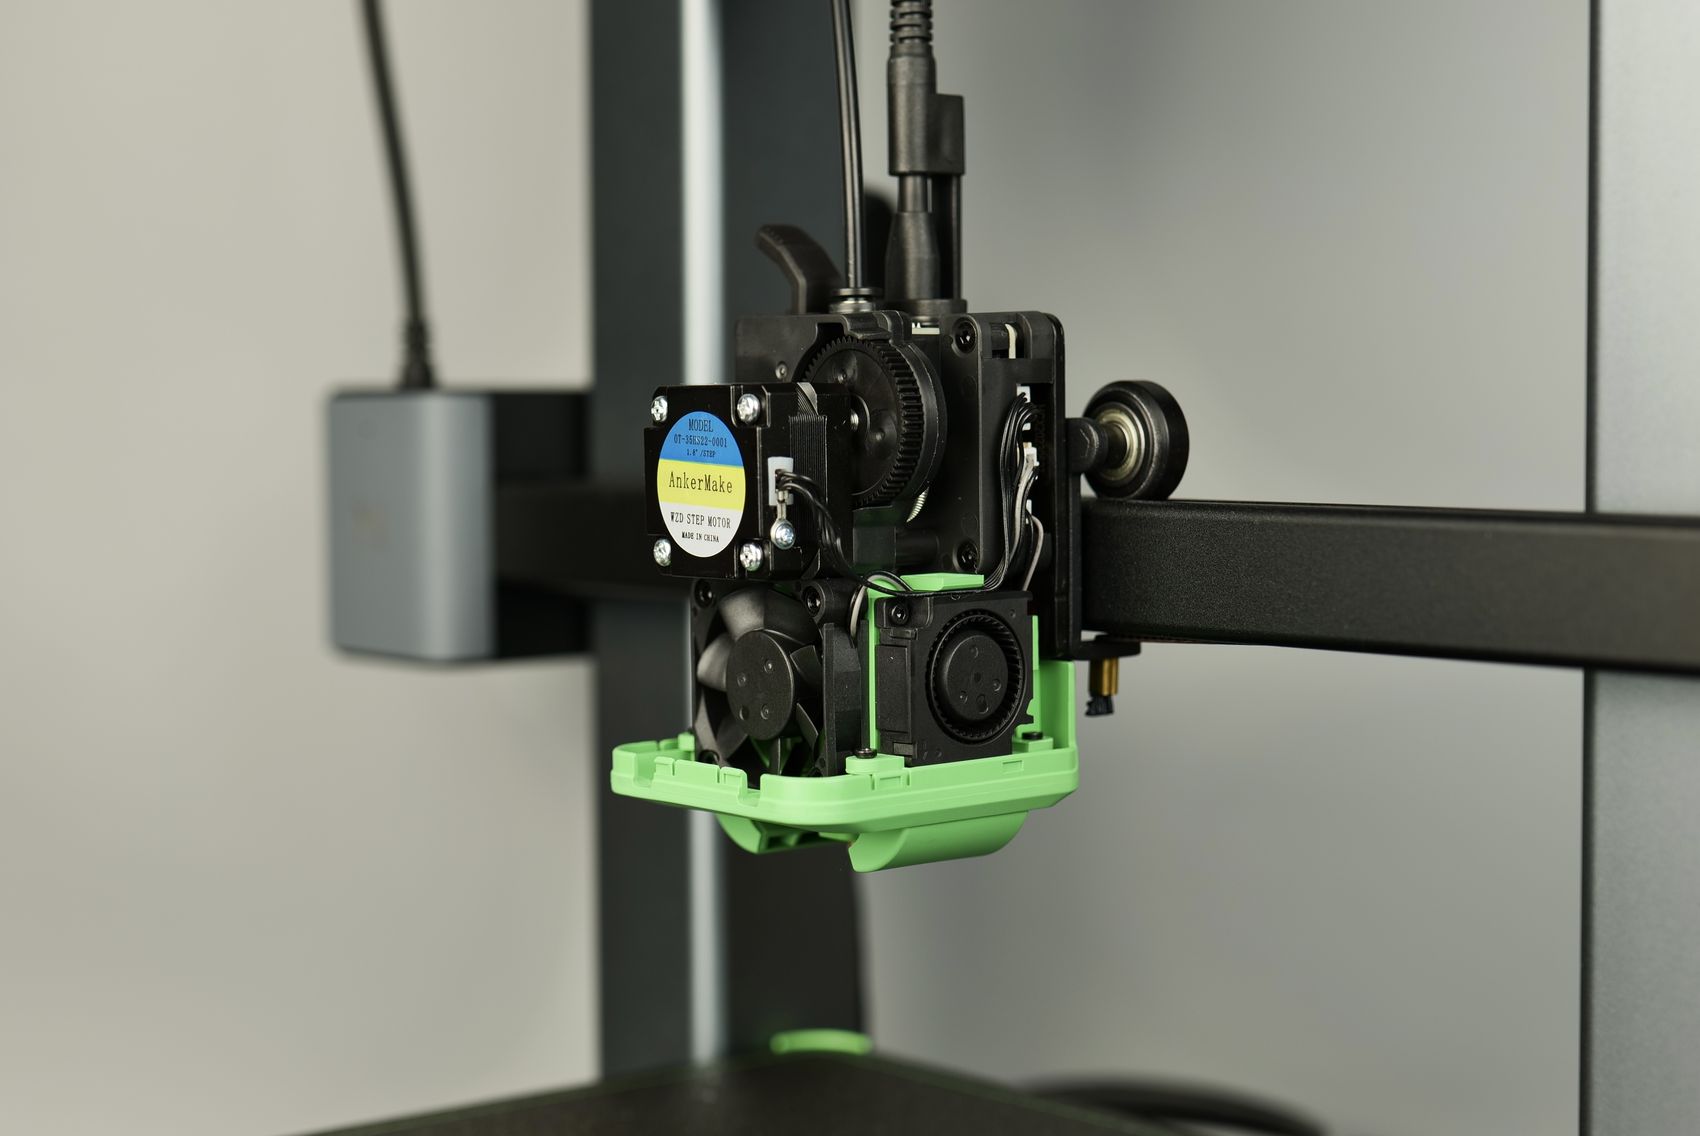
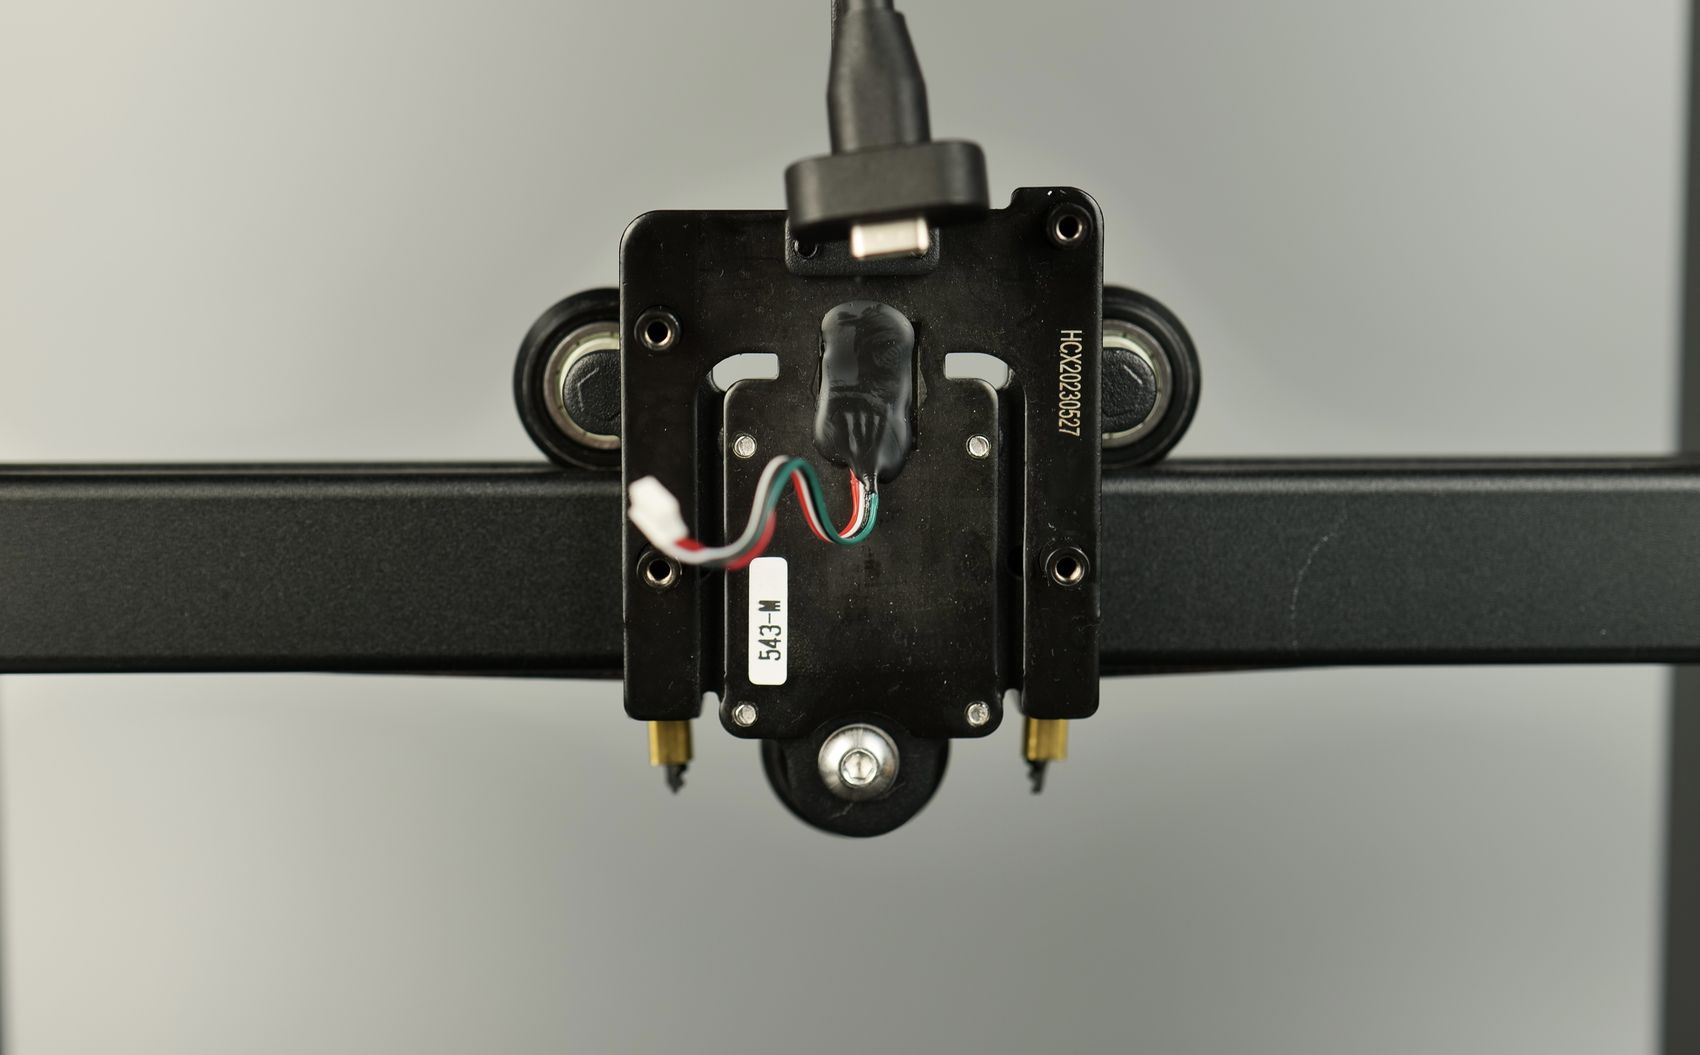
Removing the extruder from the X-axis mount reveals the print head board located on the back side of the extruder. This board is connected with the Type-C cable and it has all the connectors required for the hotend, fans, extruder, and so on.
The extruder also uses larger gears for grabbing the filament ensuring good quality extrusion force which is important when you are printing at high speeds.
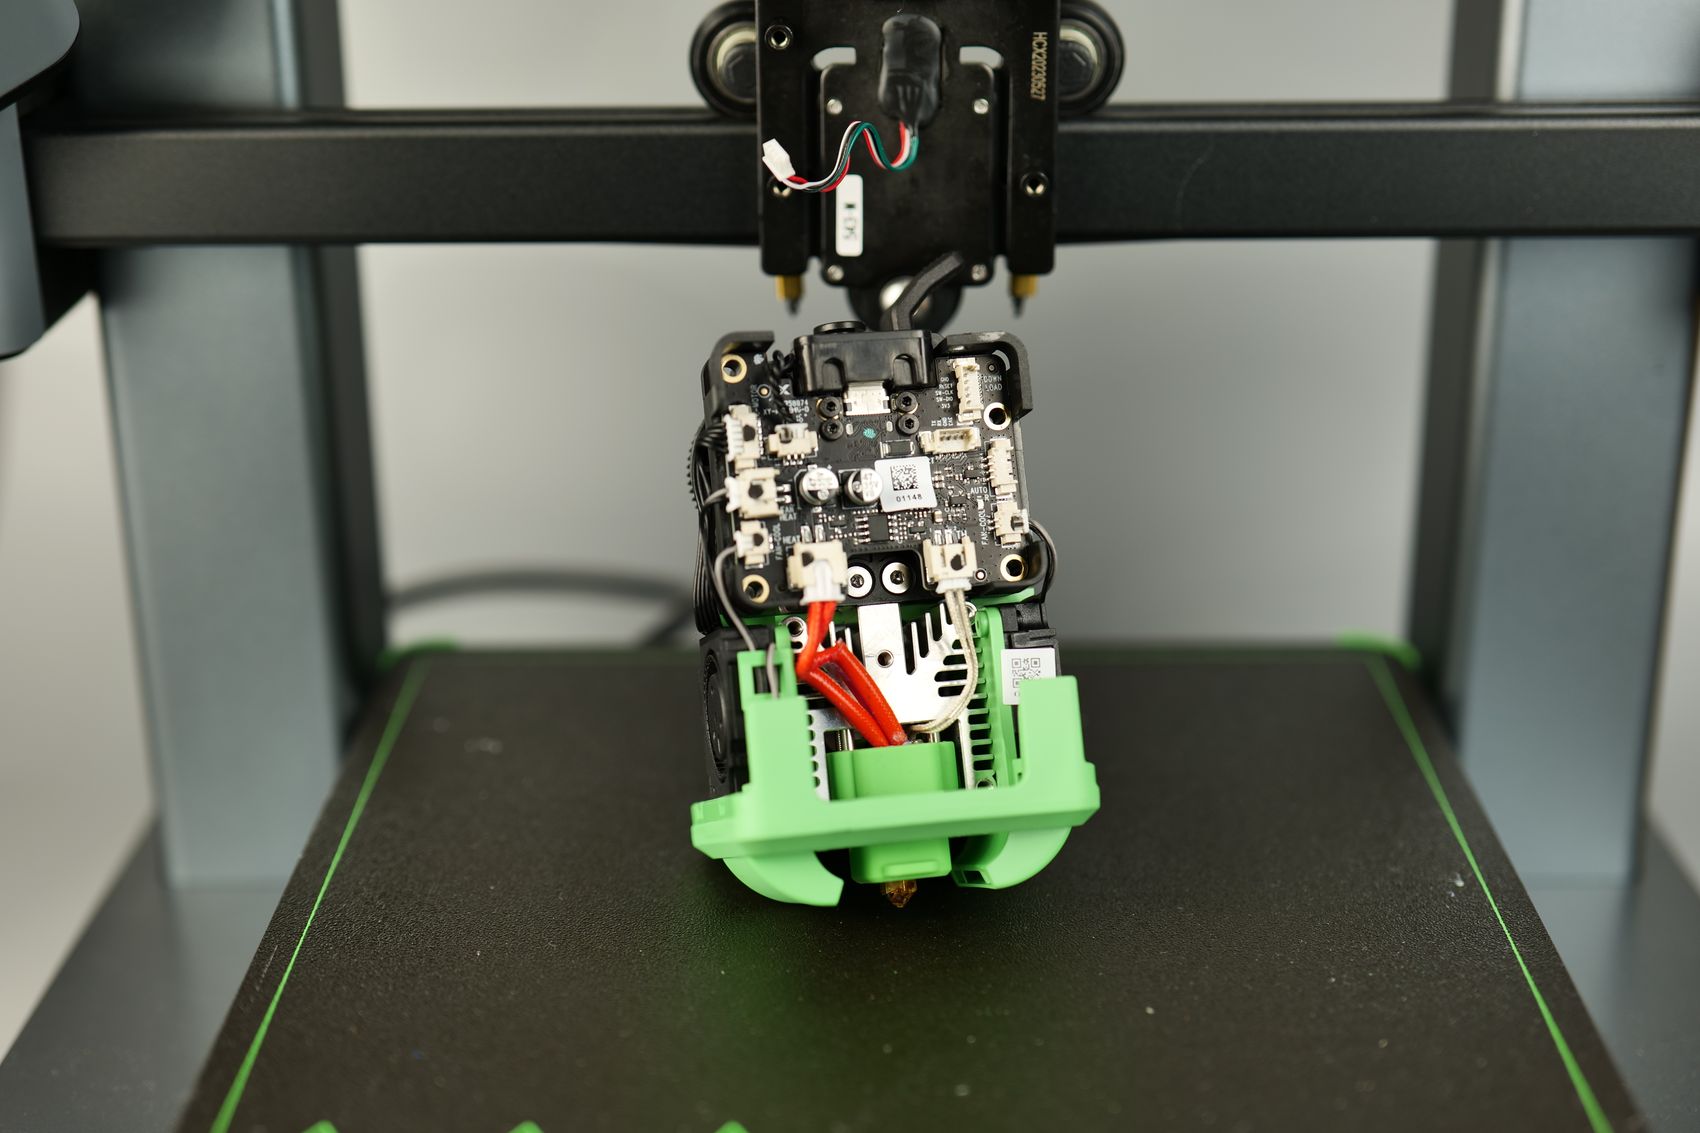
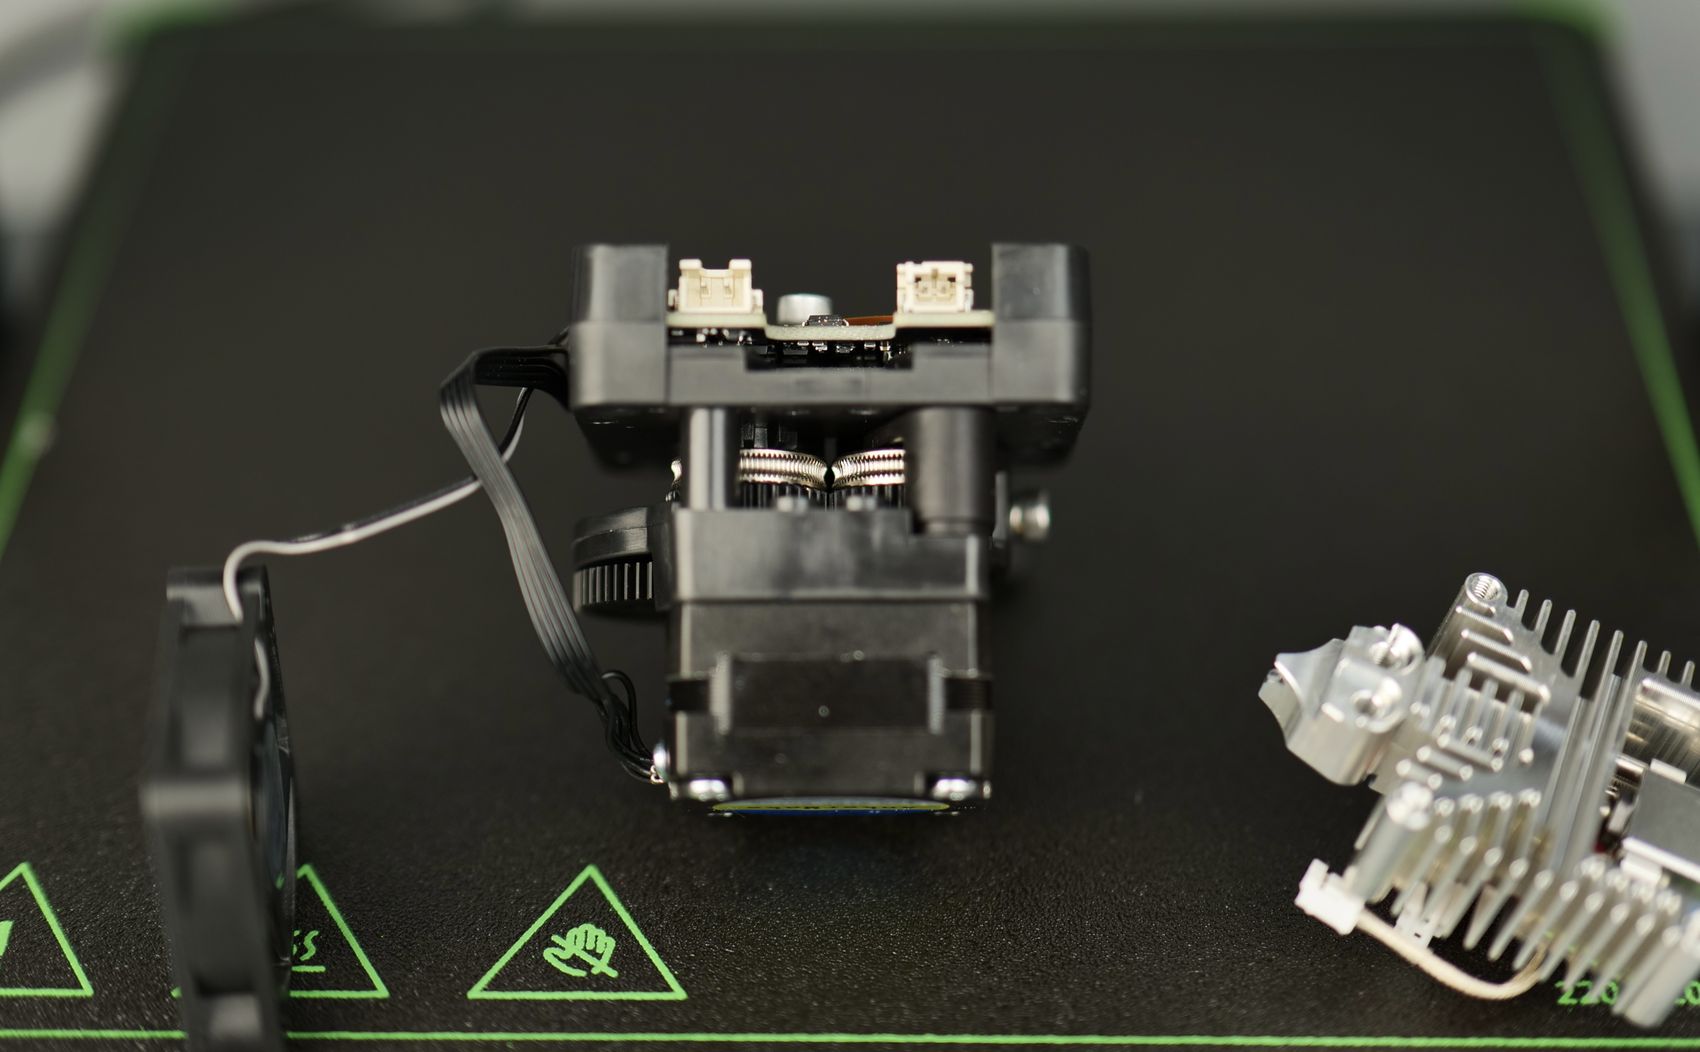
Overall, the print head of the M5C is relatively easy to get into and also to perform repairs if the situation demands it.
All-Metal Hotend with Bi-Metalic Heat Break
The hotend of the AnkerMake M5C is also quite interesting. It has a large aluminium heatsink which is very nicely machined so the filament has a very constrained path meaning that even TPU should work without any issues.
The hotend side is comprised of an aluminum heatblock connected to the heatsink with two screws to keep it in place. But for extra rigidity, there are four metallic tubes that somewhat resemble a VolcoMosq hotend. This allows the nozzle to be replaced “one-handed” without needing to worry about holding the block in place and so on.
The nozzle is a bit shorter than a regular Volcano nozzle, so you will need to purchase nozzles from AnkerMake in this case, but they are relatively cheap.
As you might expect, the AnkerMake M5C also has a bi-metallic heartbreak, which in conjunction to the aluminium heatsink, it does a great job in keeping the cool side, cool.
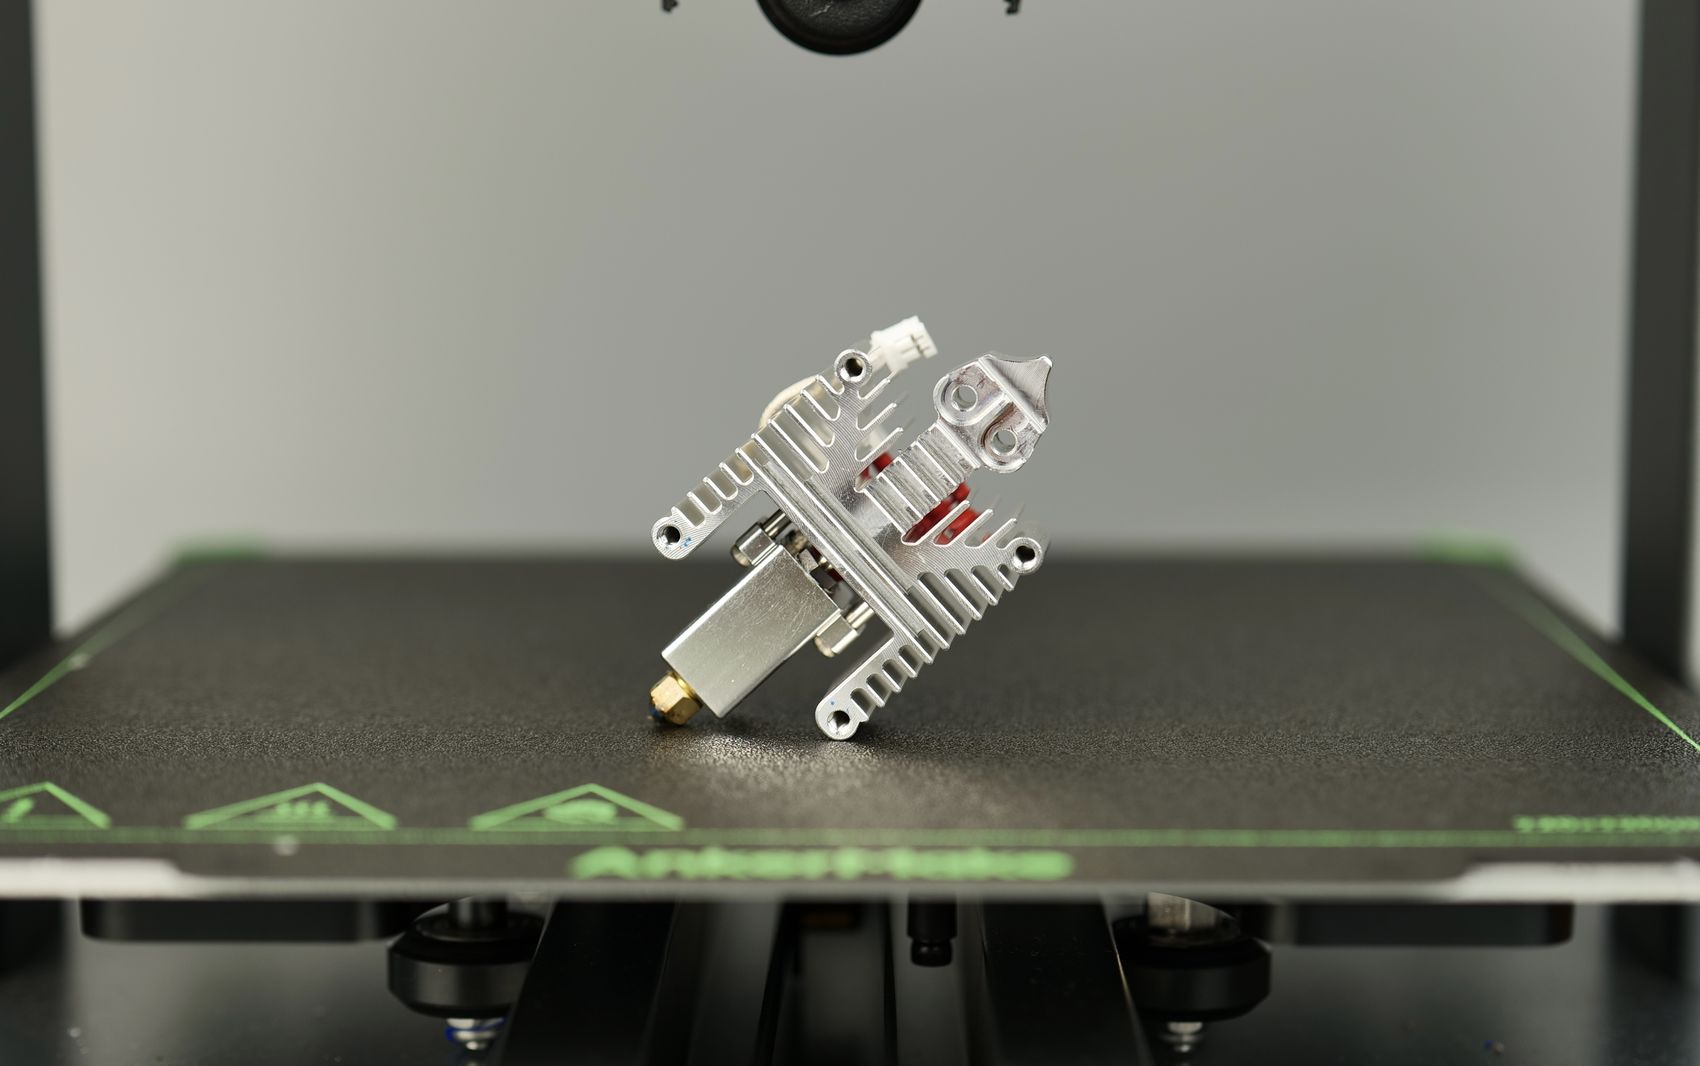
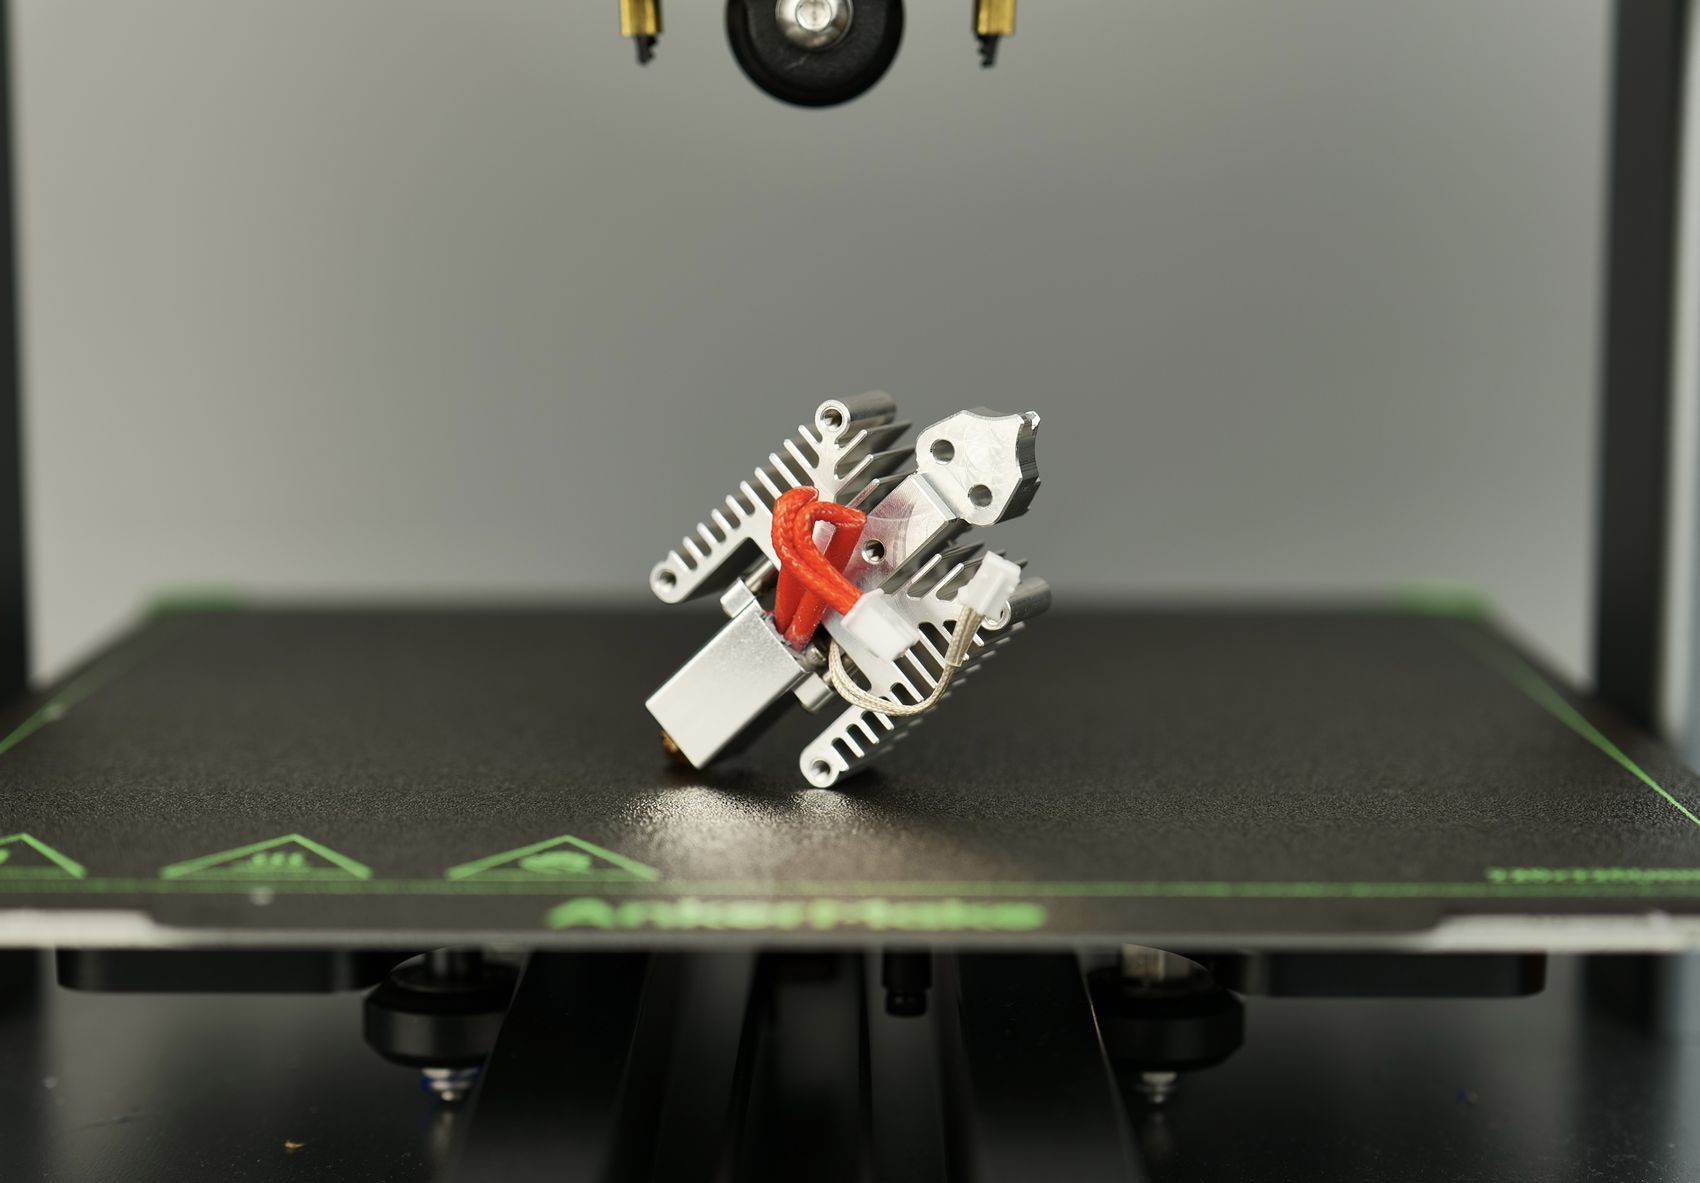
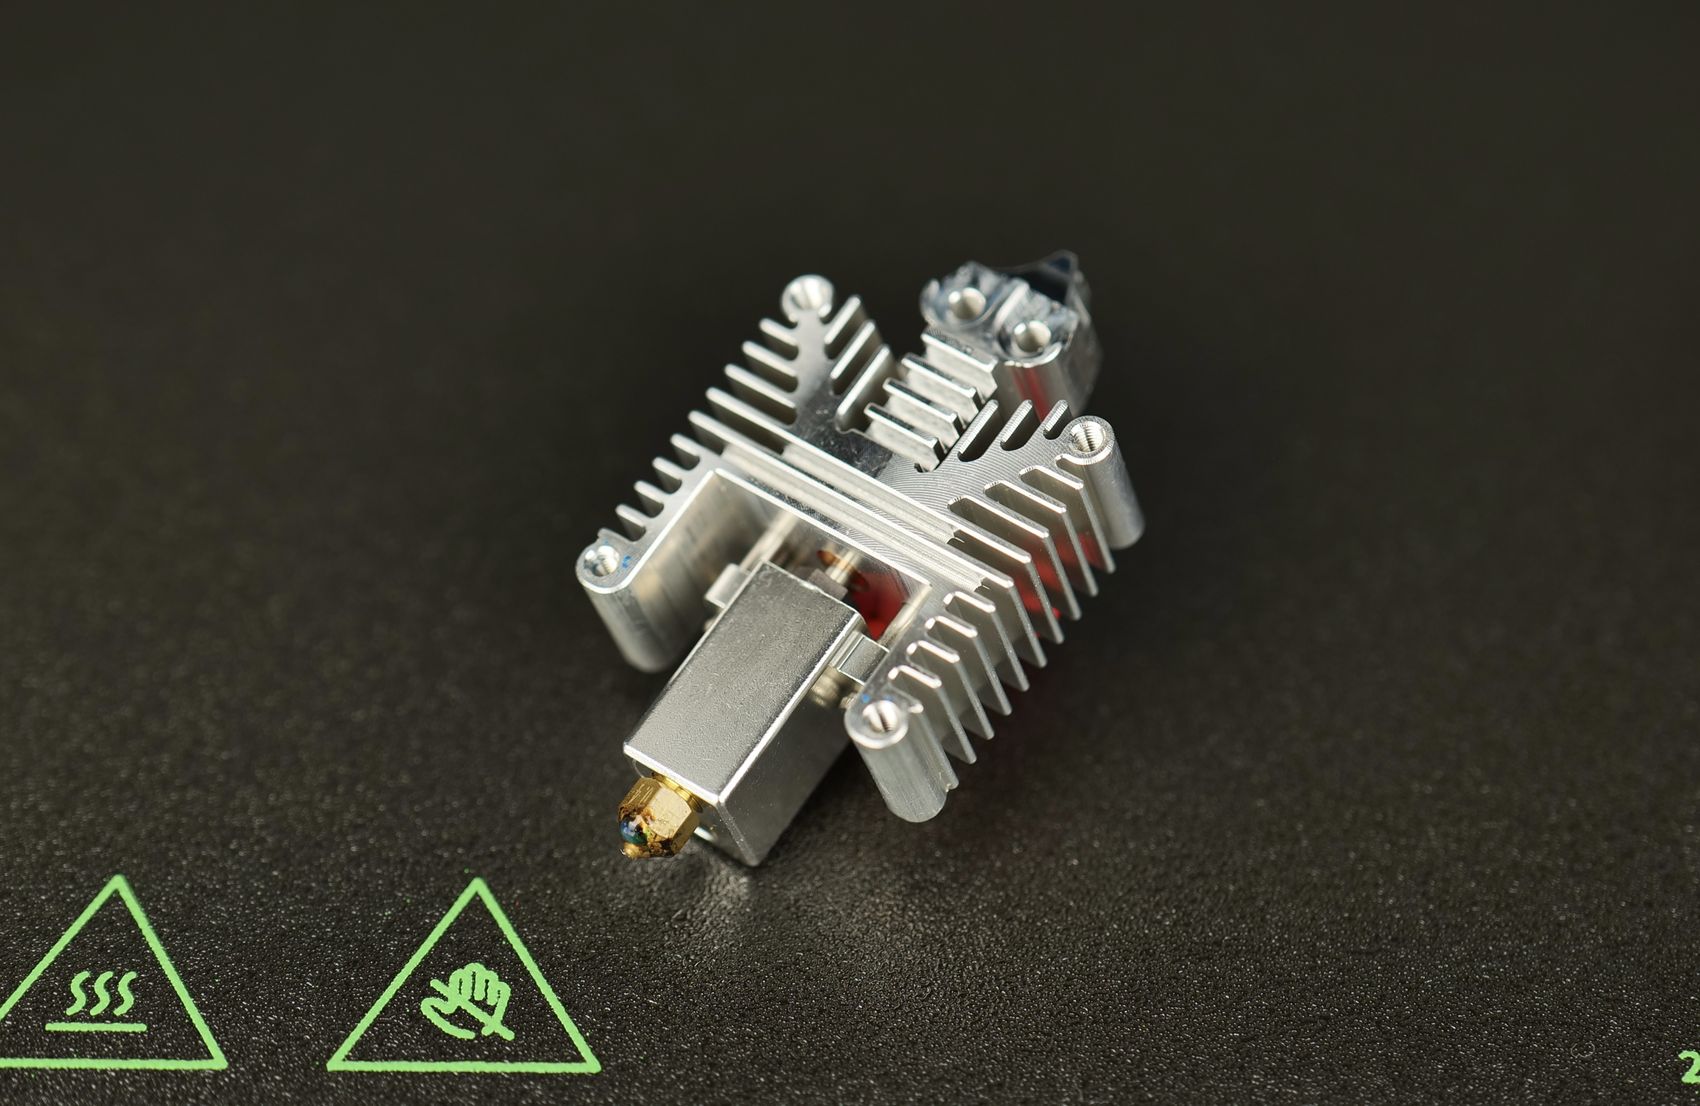
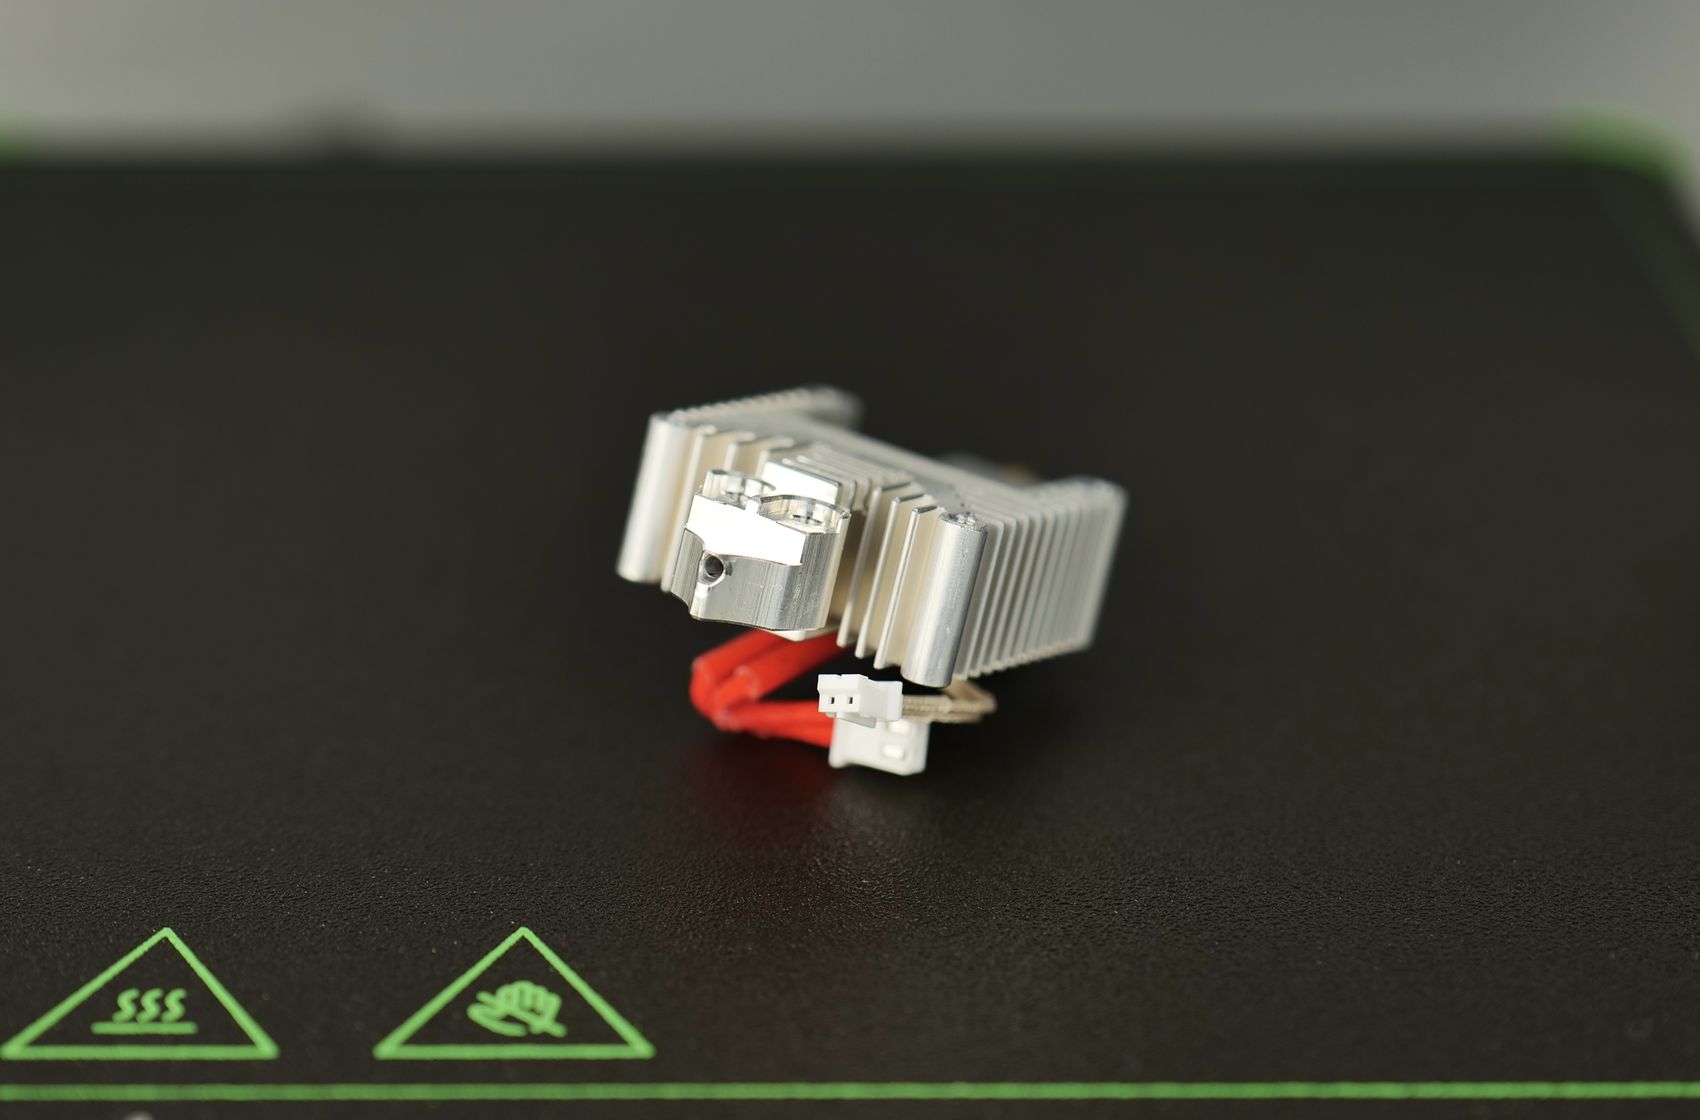
When the print head assembly is removed, we can better see the motion system on the X-axis which is the same V-slot wheels as other budget machines, but also the load cell sensor which is used for the auto bed leveling and X-axis squaring procedures.
Heated Bed with Double Sided Textured PEI Print Surface
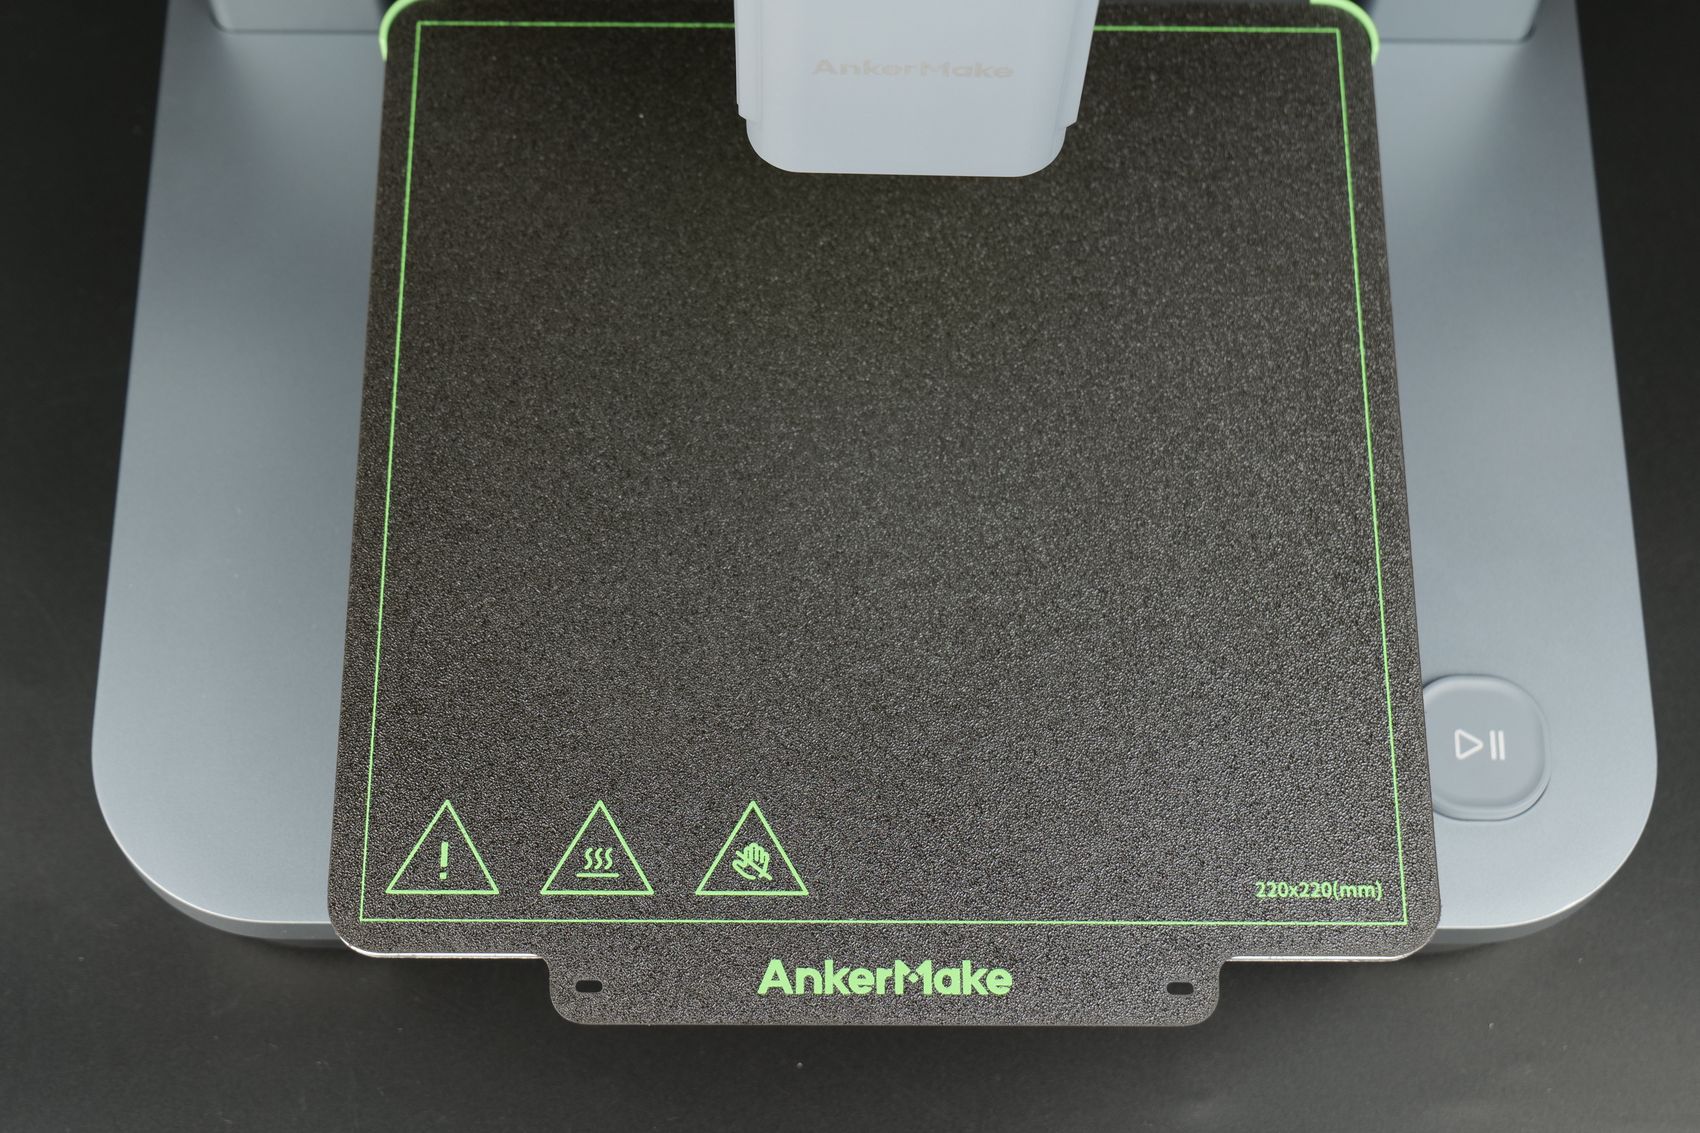
When it comes to the print surface, the AnkerMake M5C comes with a double-sided textured PEI plate. I had very good adhesion throughout the entire testing period and I also like the alignment tabs in the back of the heatbed which make it easy to install and remove.
Most prints have been securely adhered to the surface when hot, and after the printer surface reached room temperature, the models self-released.
The heatbed is made from 3 mm aluminum and heated with a PCB. The heatbed is fixed, meaning that you won’t need to manually adjust any knobs to level it. Unfortunately, there is no heatbed insulation under the bed, making the printer less efficient when it comes to power use.
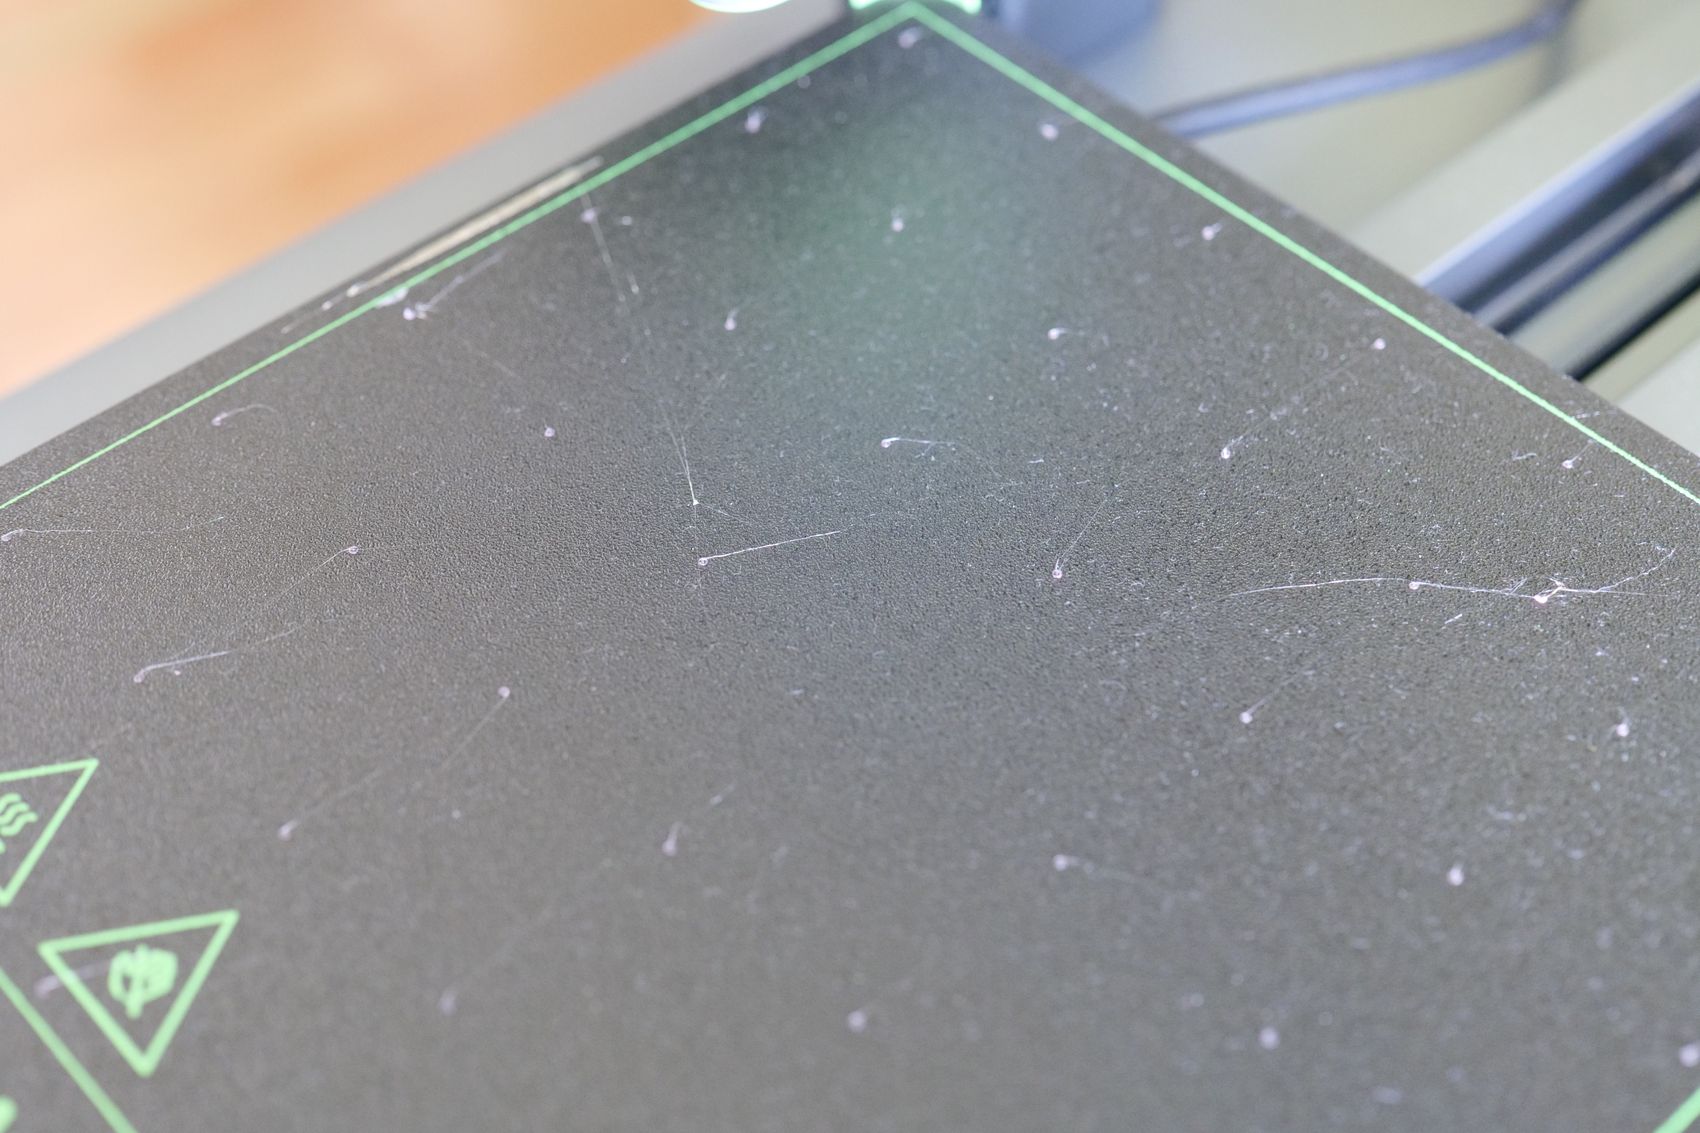
The printer performs the auto bed leveling process by touching the nozzle to the plate and the annoying part is the small dots it leaves on the plate in the process.
Usually, you would need to adjust the Z-offset, which is an option in the mobile app but the first layer of the printer is set very low. Because of this, I didn’t need to adjust the Z offset from the default 0 mm and I still got a good result.
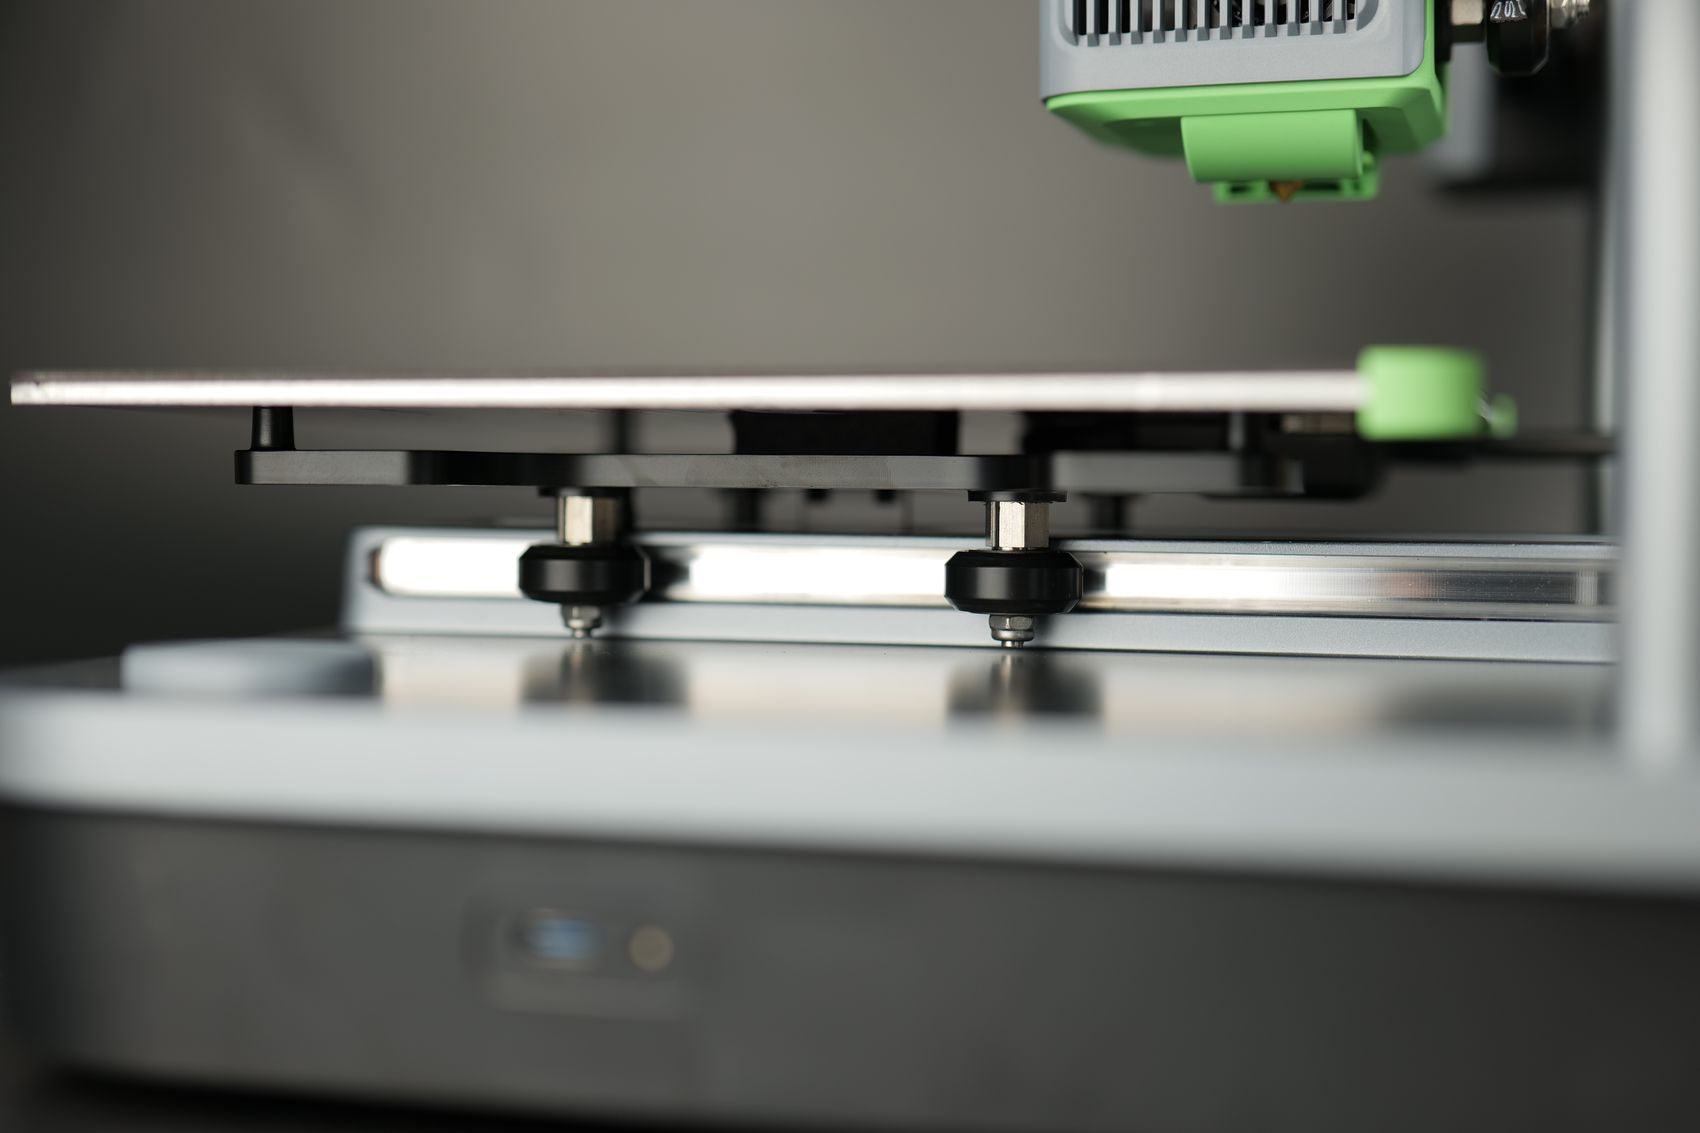
The heatbed is moving on the machined aluminium base with the help of four V-slot wheels. These wheels are not perfect for fast 3D printing as they can wear down quicker compared to linear rails, but they get the job done most of the time.
The Button
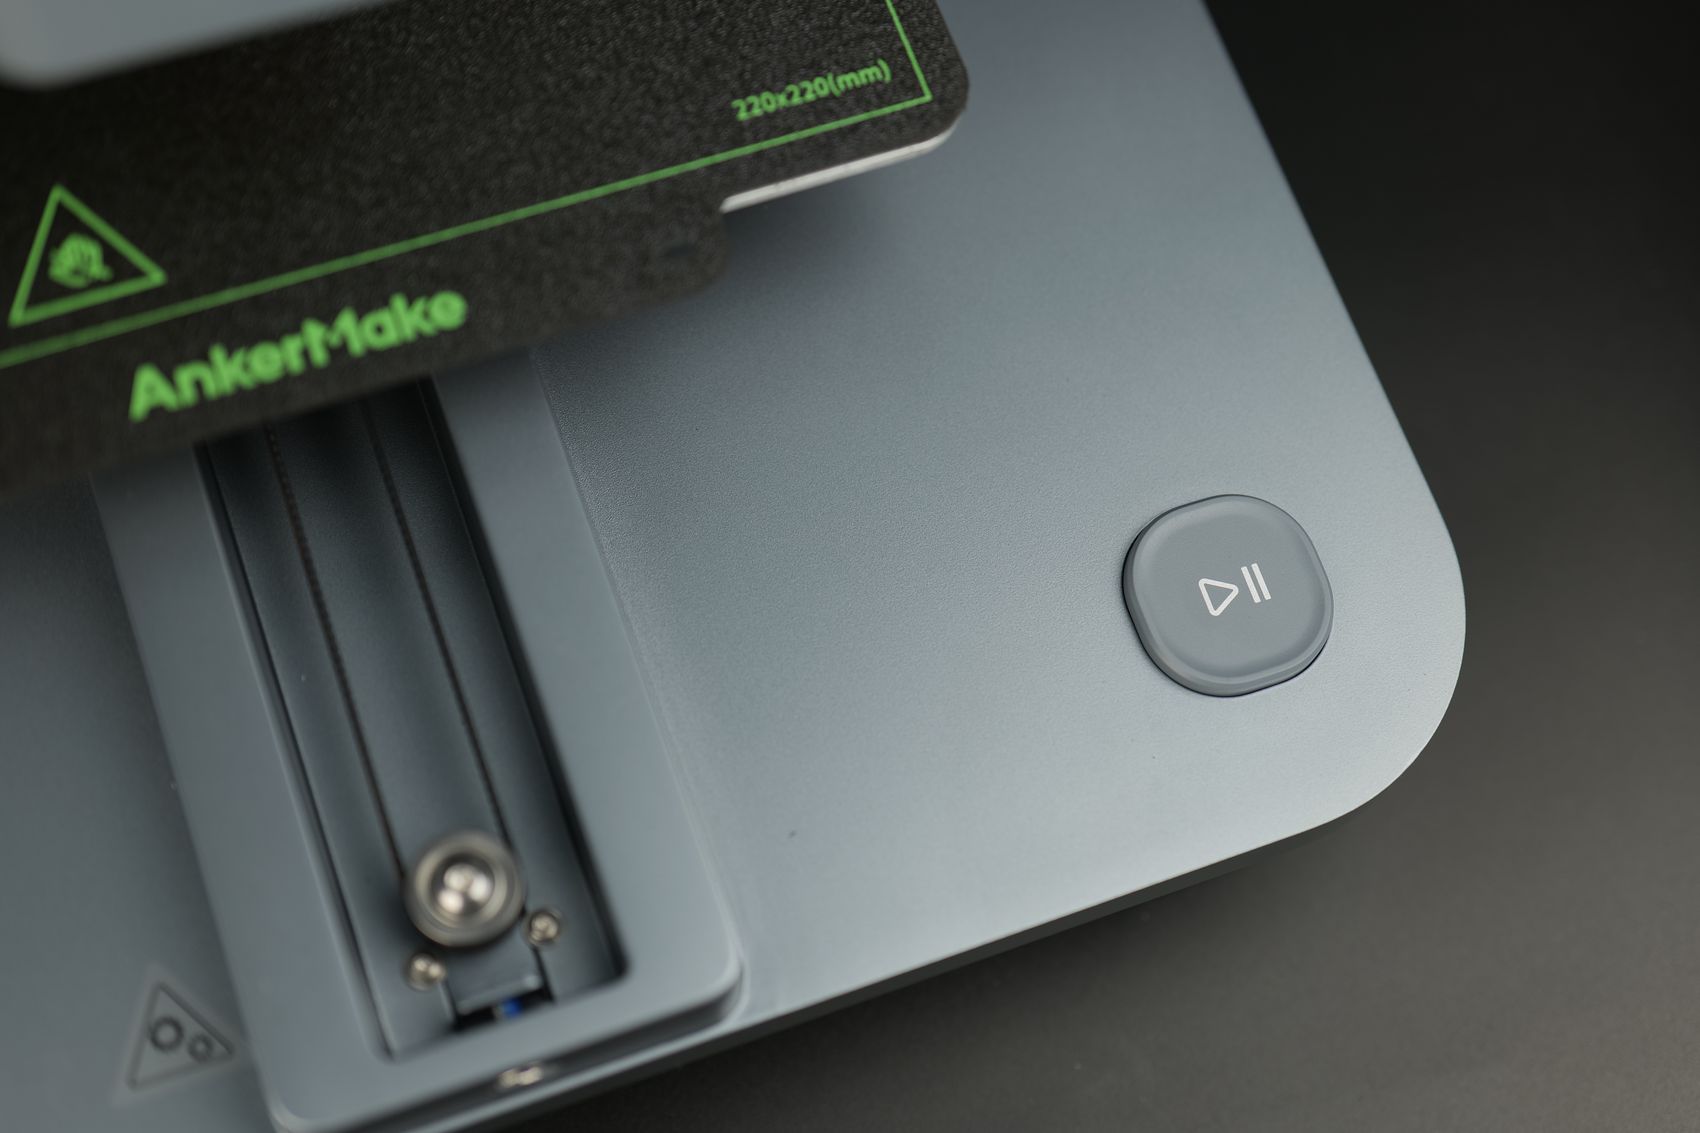
As I previously mentioned, the AnkerMake M5C does not have a control screen as most of the controls are made through the app. But there is a large button on the front side of the printer which can be used to interact with the printer.
This button has three modes, One Tap, Double Tap, and Hold for 3 seconds.
These modes can be configured in the app to perform basic functions like Print the Latest File in the USB, Reprint Last File, Auto-Level, and Home XYZ.
I like having these options available to be configured based on the needs of the user and it makes the button more useful than I was initially expecting.
Customer Board with 350W Power Supply
The AnkerMake M5C has a custom proprietary board with an aluminum radiator over the stepper drivers to keep them cool. Power is provided via the 350W 24V unit which is relatively silent, but the fan starts every time the heatbed is pre-heated.
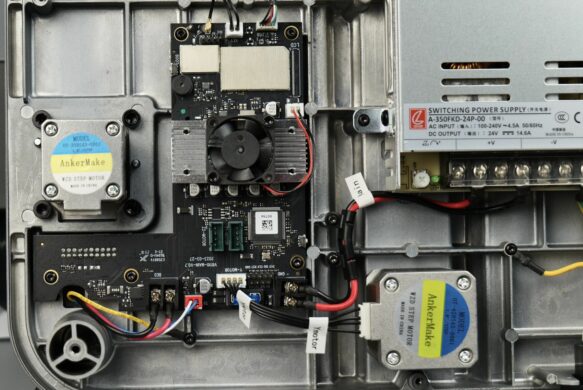
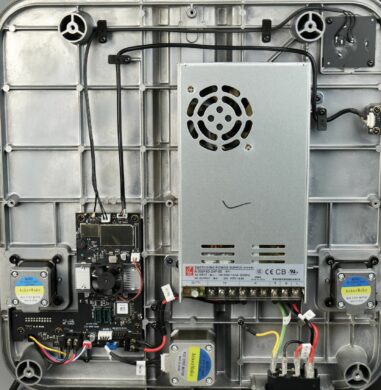
Another very annoying thing (for me) is the loud buzzer attached to the board. This buzzer generates a very loud beep when the printer completes the boot process, and I applied some tape over it to make the printer more silent. I hope that in the future there will be the option to disable this beep in the app, as it can be super loud.
AnkerMake Mobile App
Considering that the AnkerMake M5C does not have a screen, it relies on the mobile app and the slicer for most of the interaction with the printer. Fortunately, I am happy to report that the AnkerMake mobile app is excellent.
In the initial process, you get all the steps nicely laid out so you can go through the setup stage quickly and without any issues.
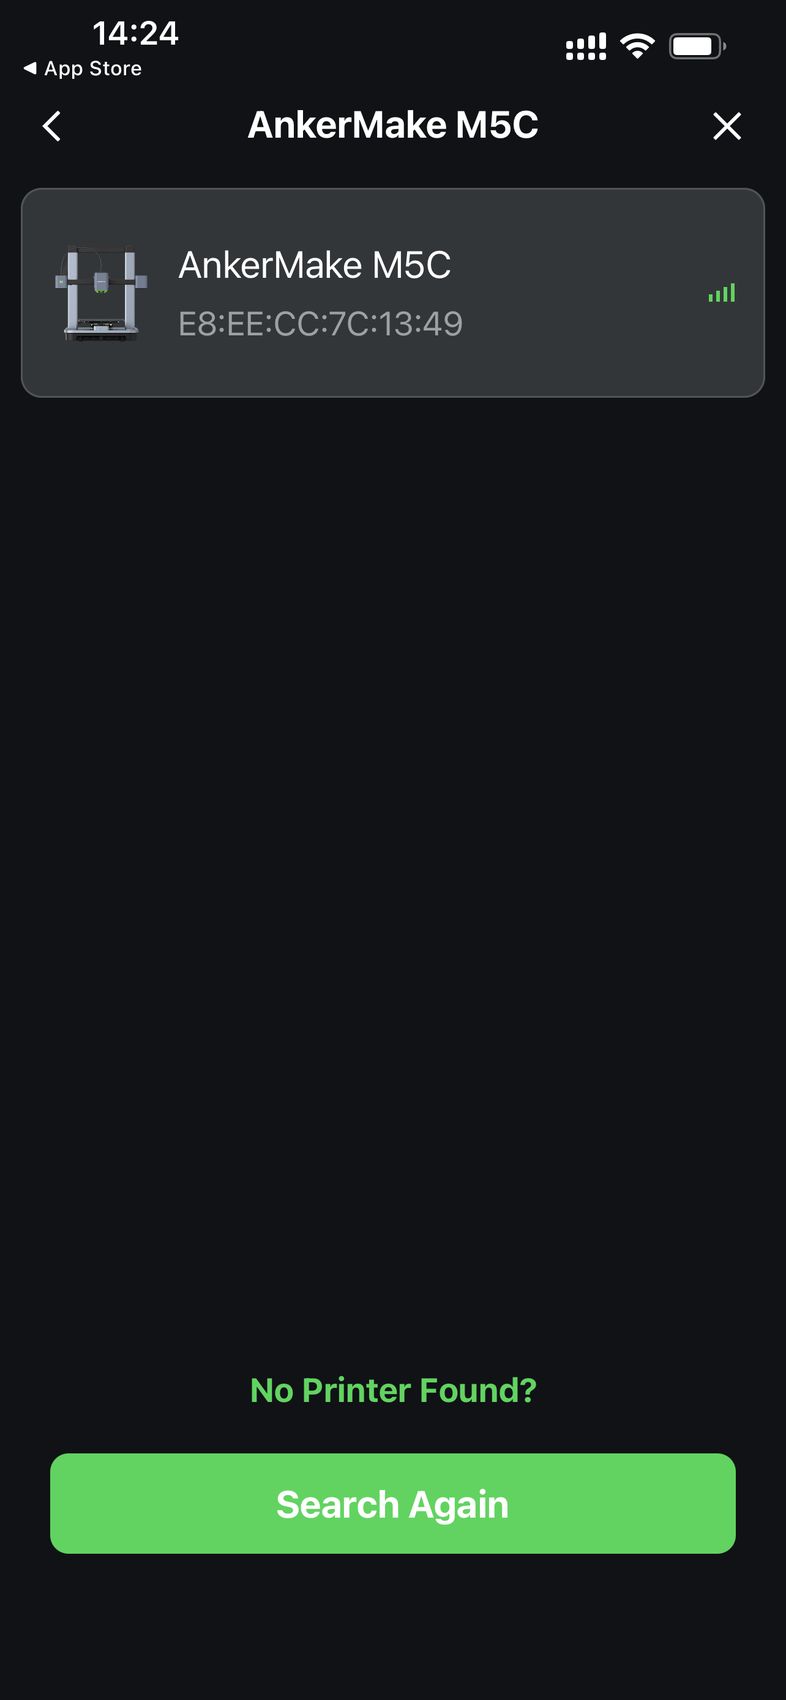

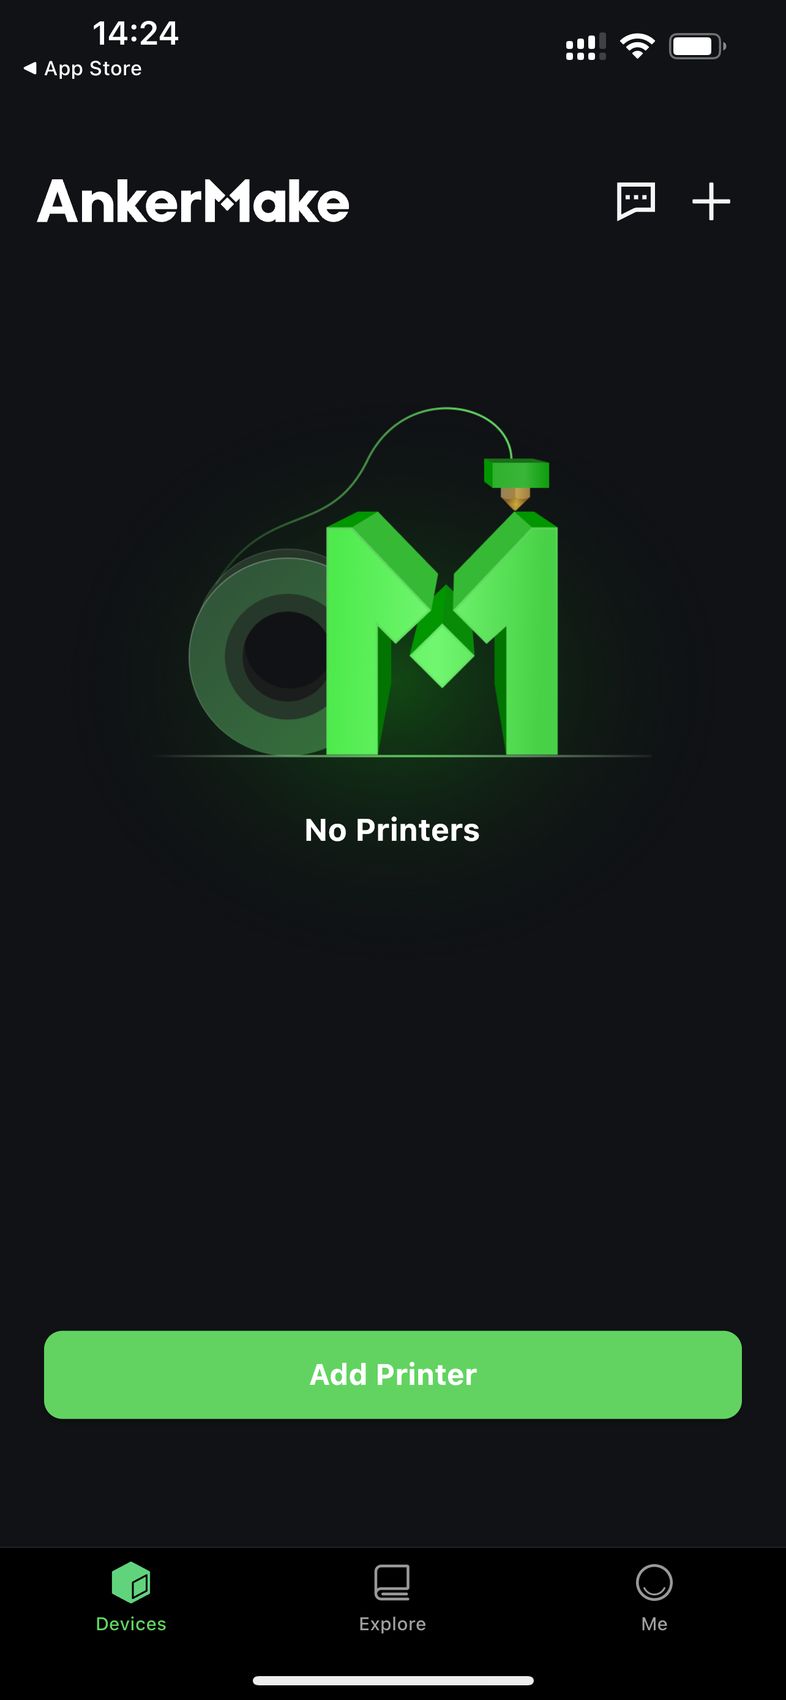
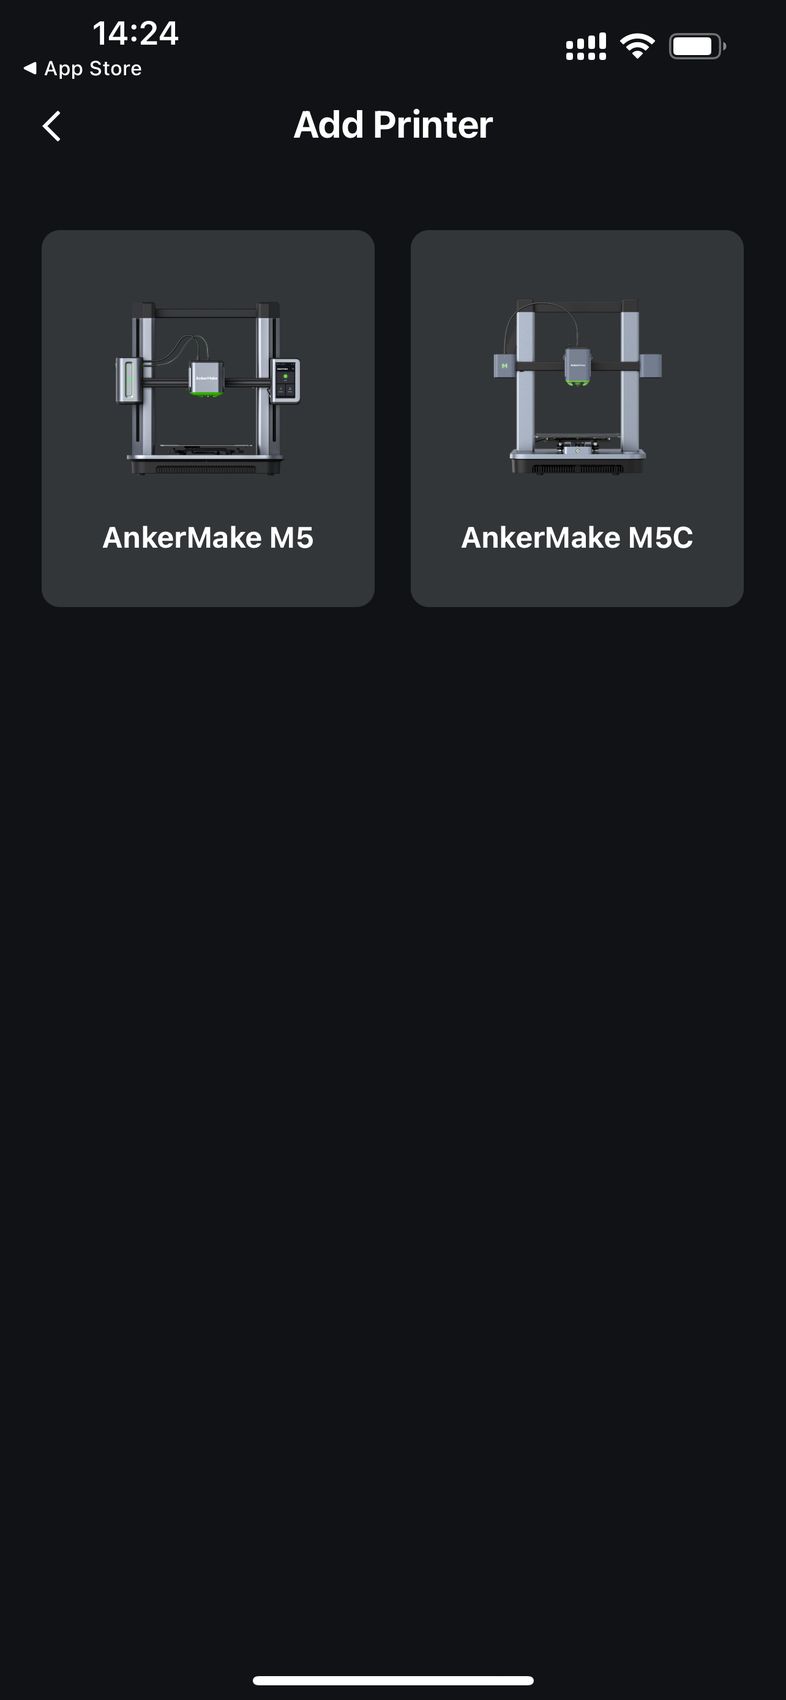
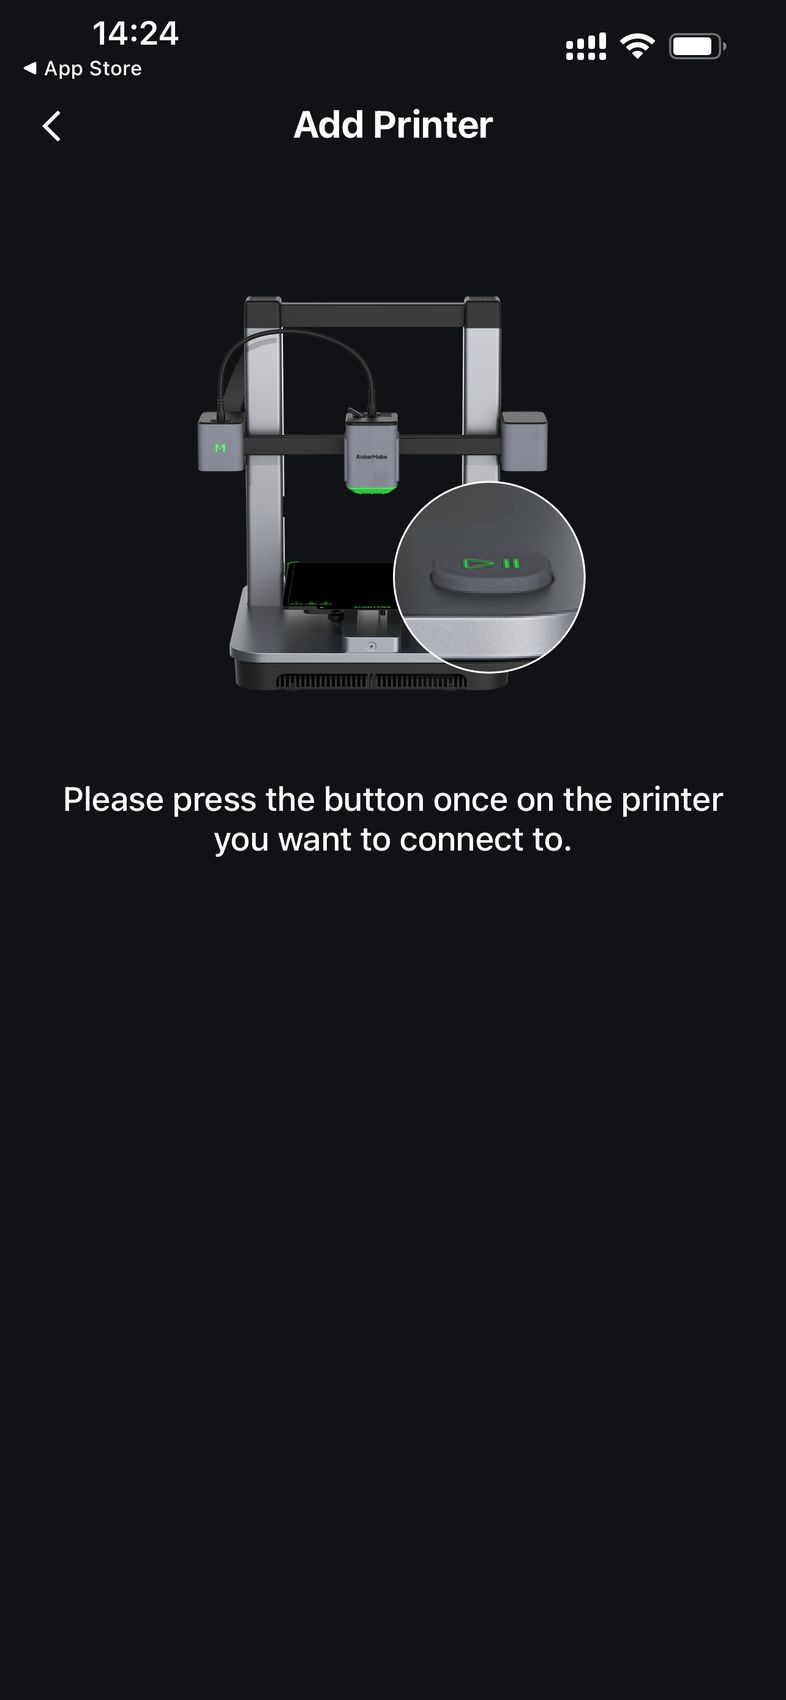

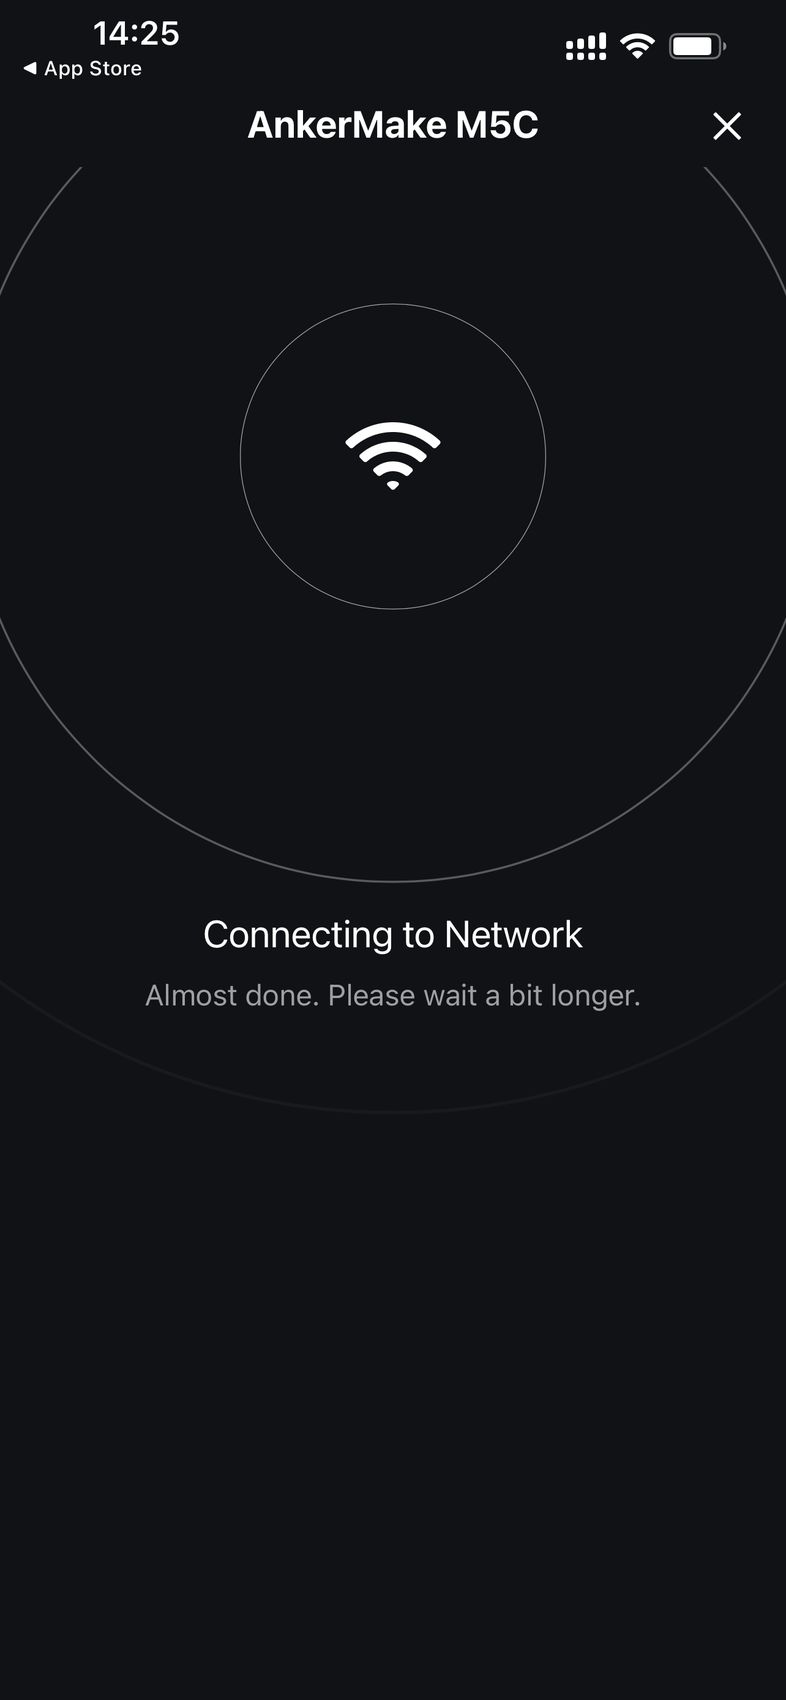
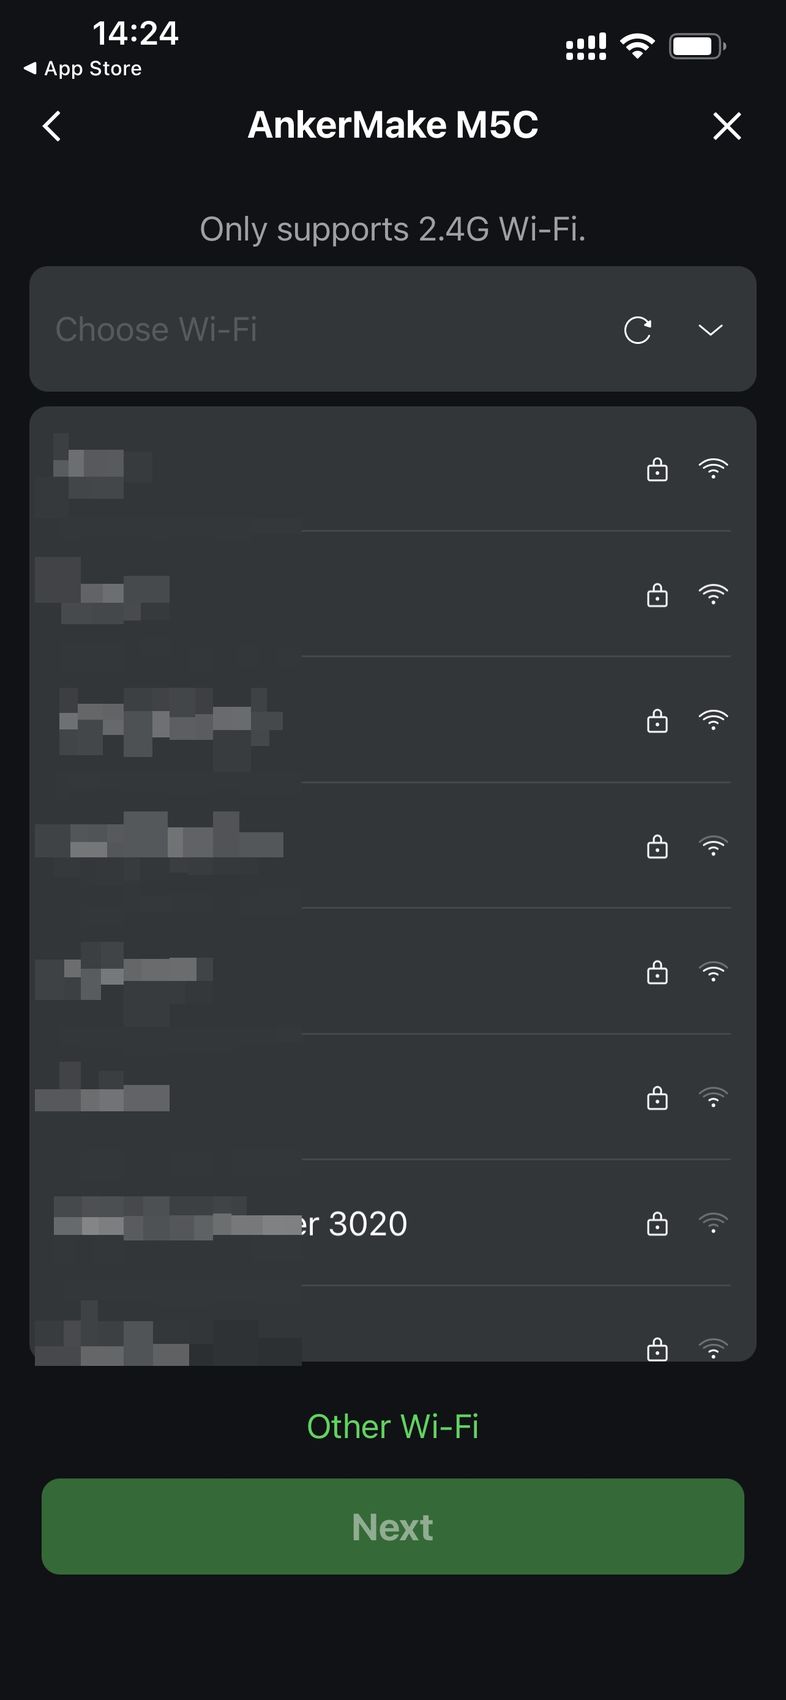
The entire interface is very user-friendly, with nicely designed menu systems and clear information for you to understand what is happening with the printer.
You also get access to a list of pre-sliced AnkerMake models that can be printed directly from the app, which is a nice option to have, especially for newcomers. The only “problem” here is the list of items available to print, which is not that high, but I guess over time, this will change.
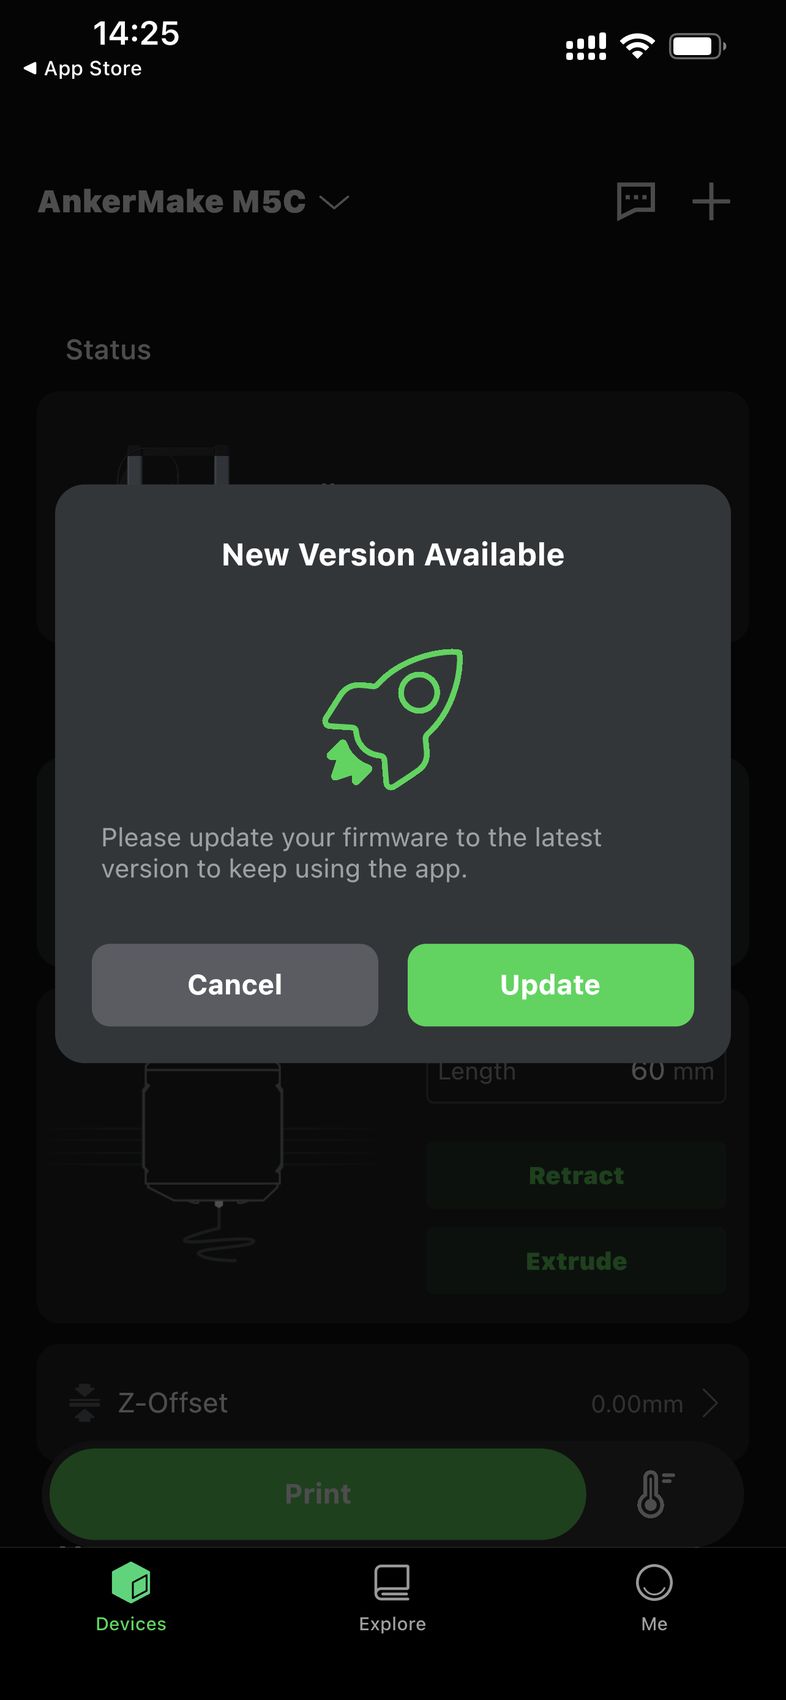
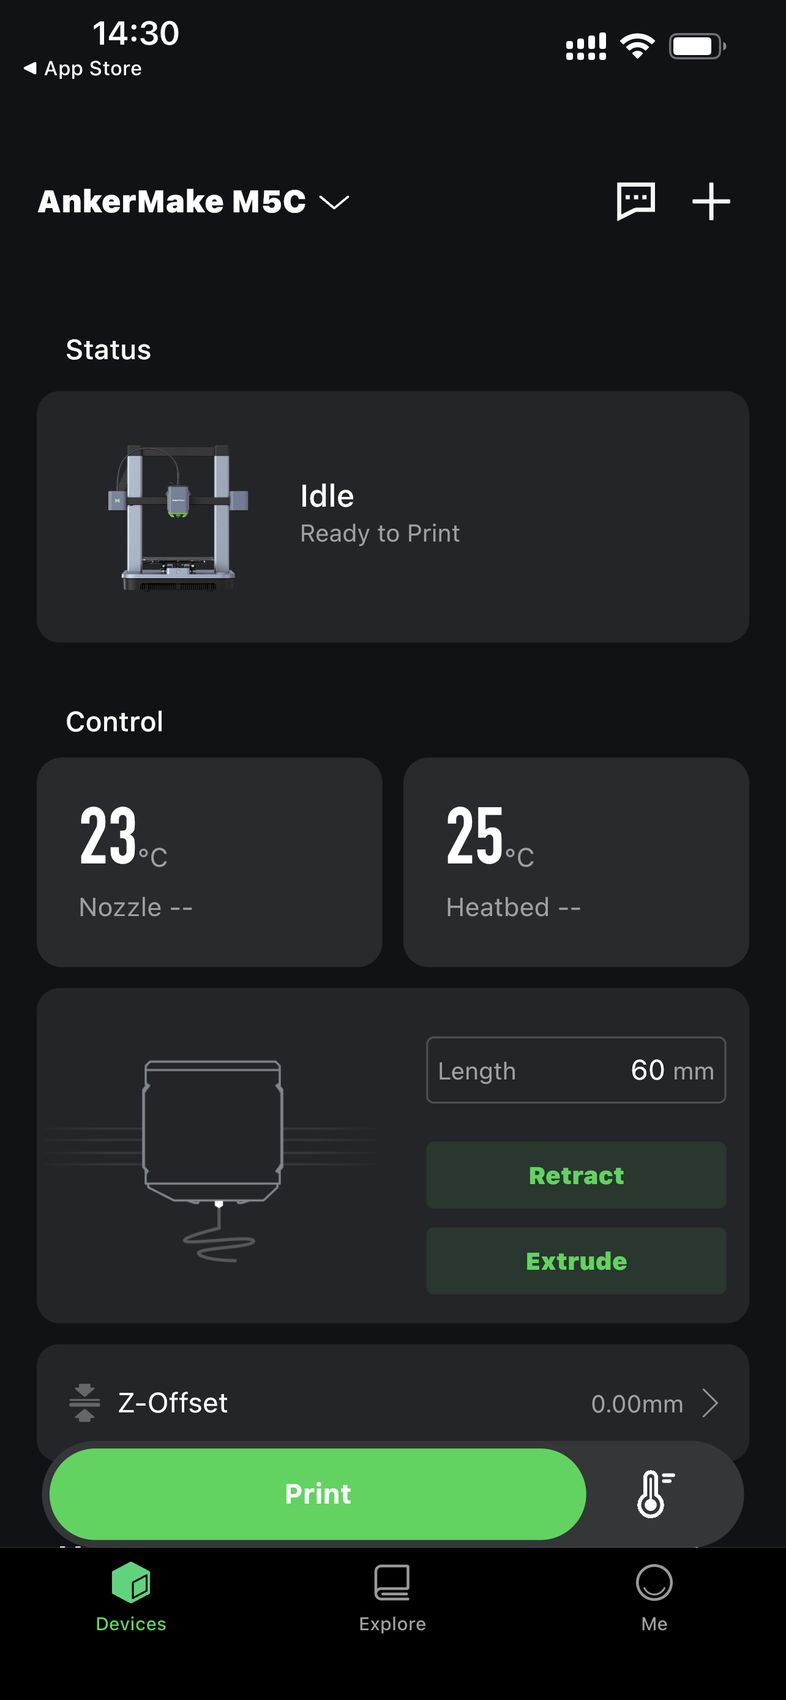
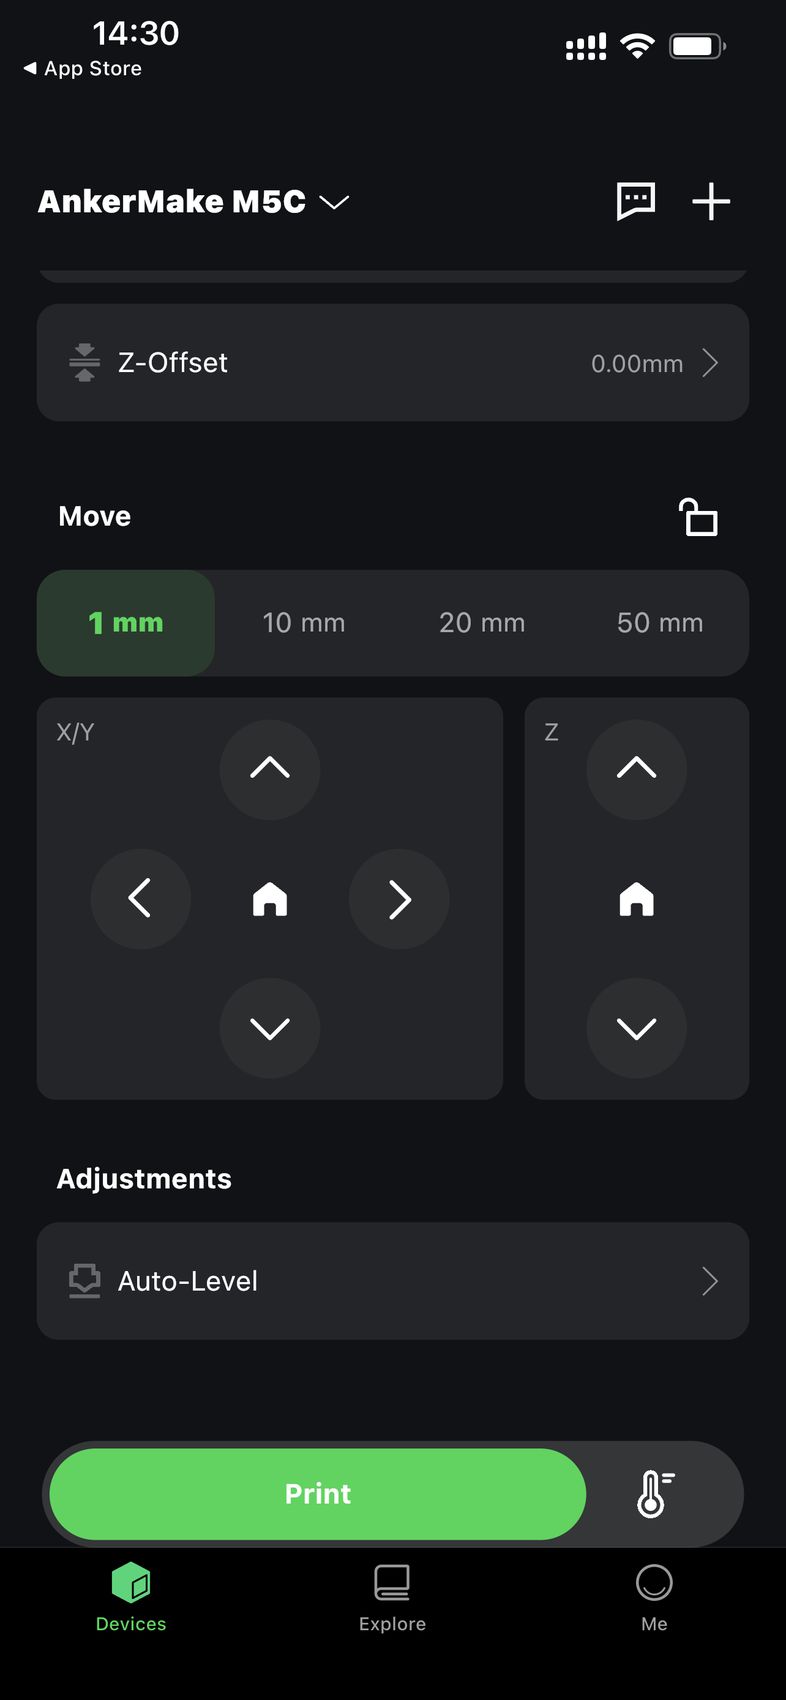
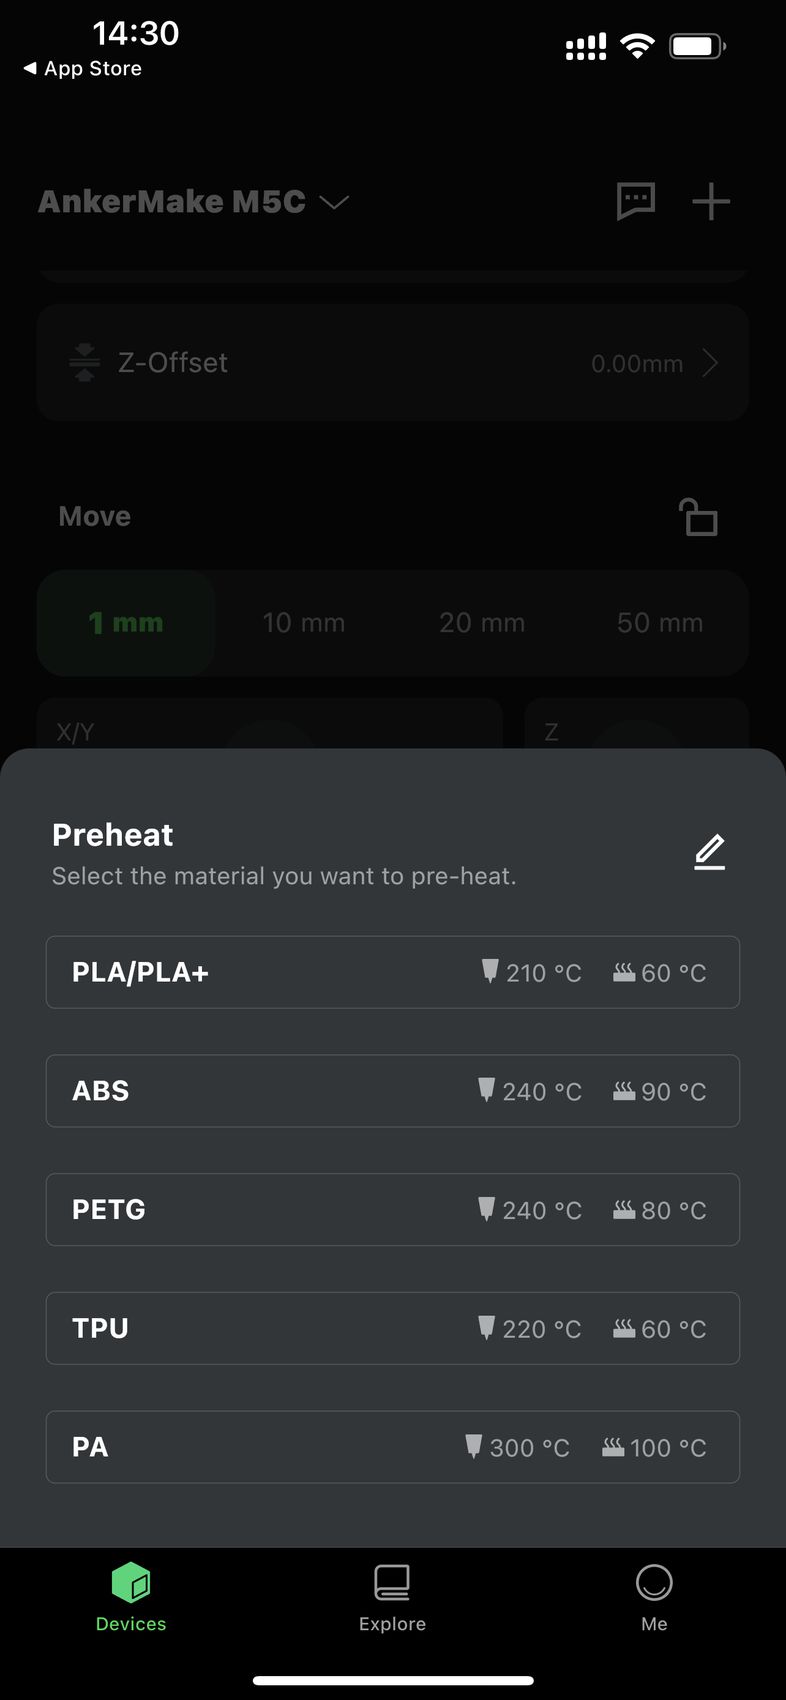
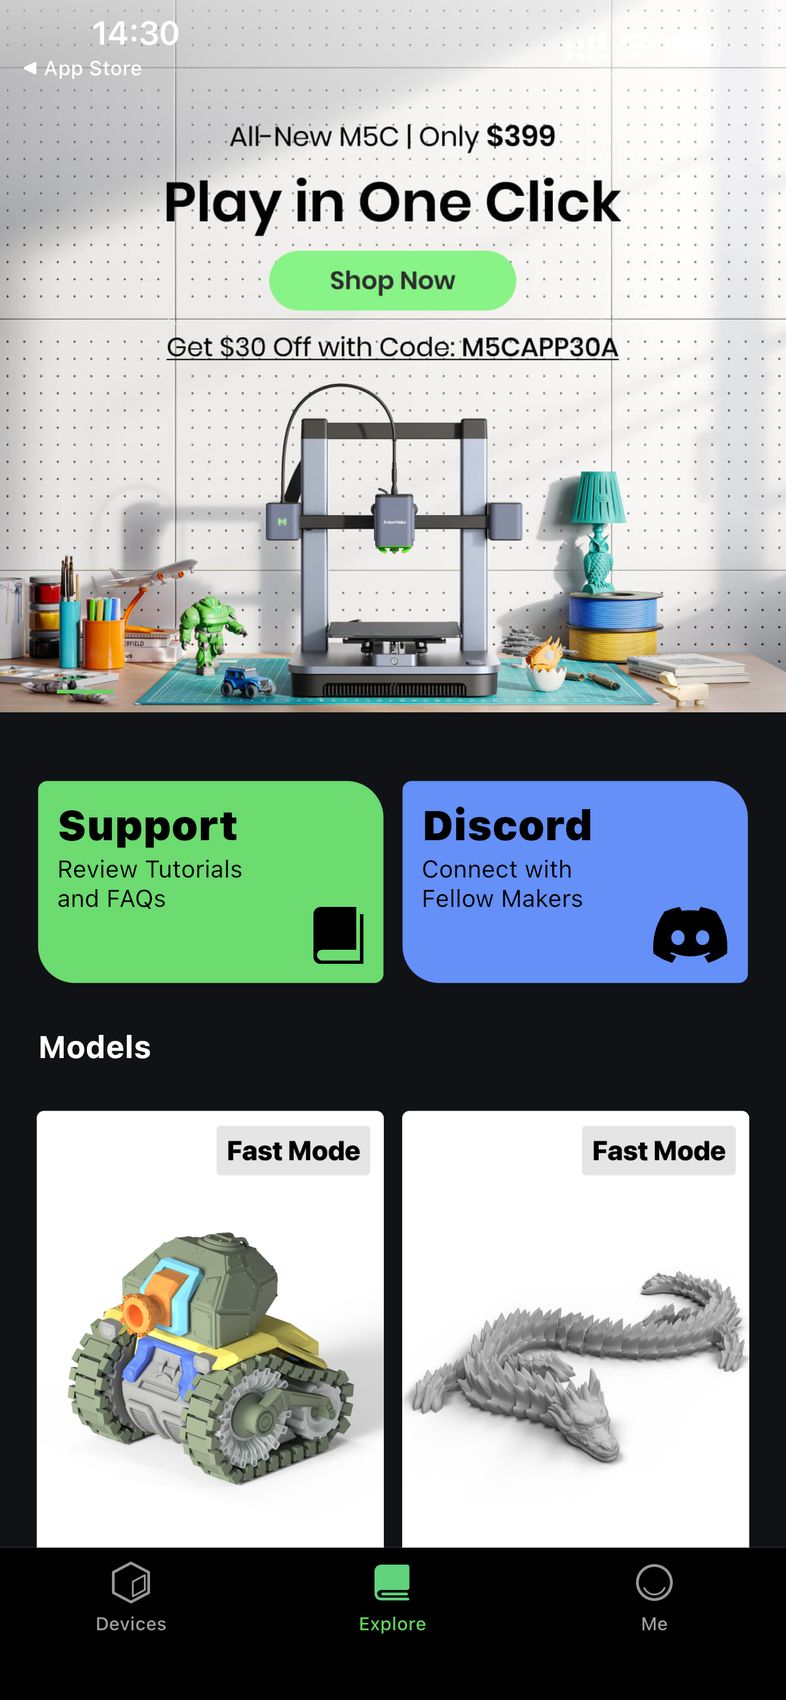

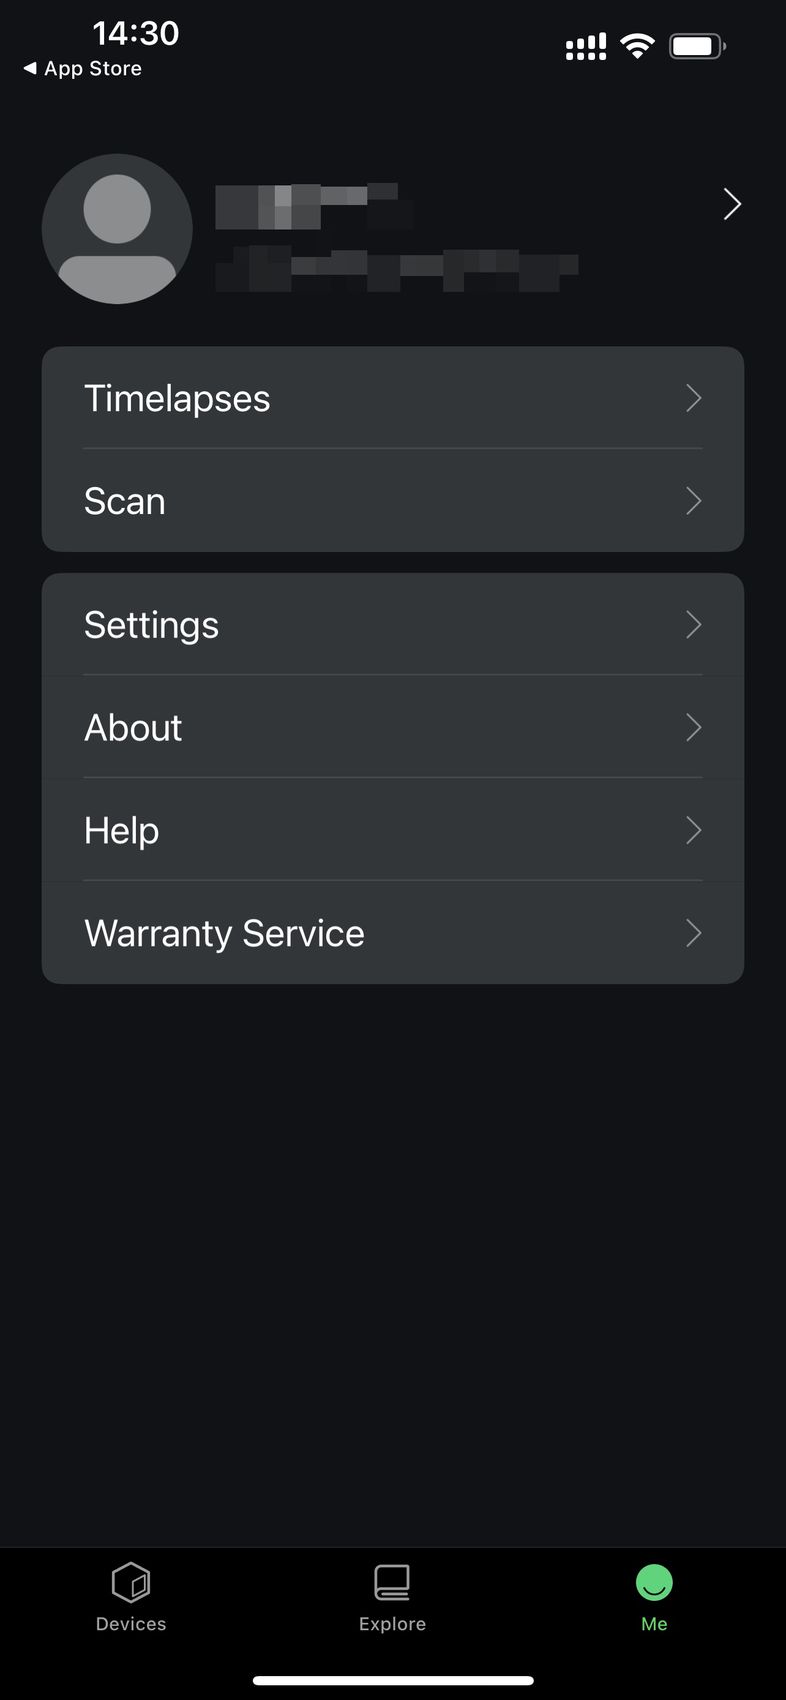
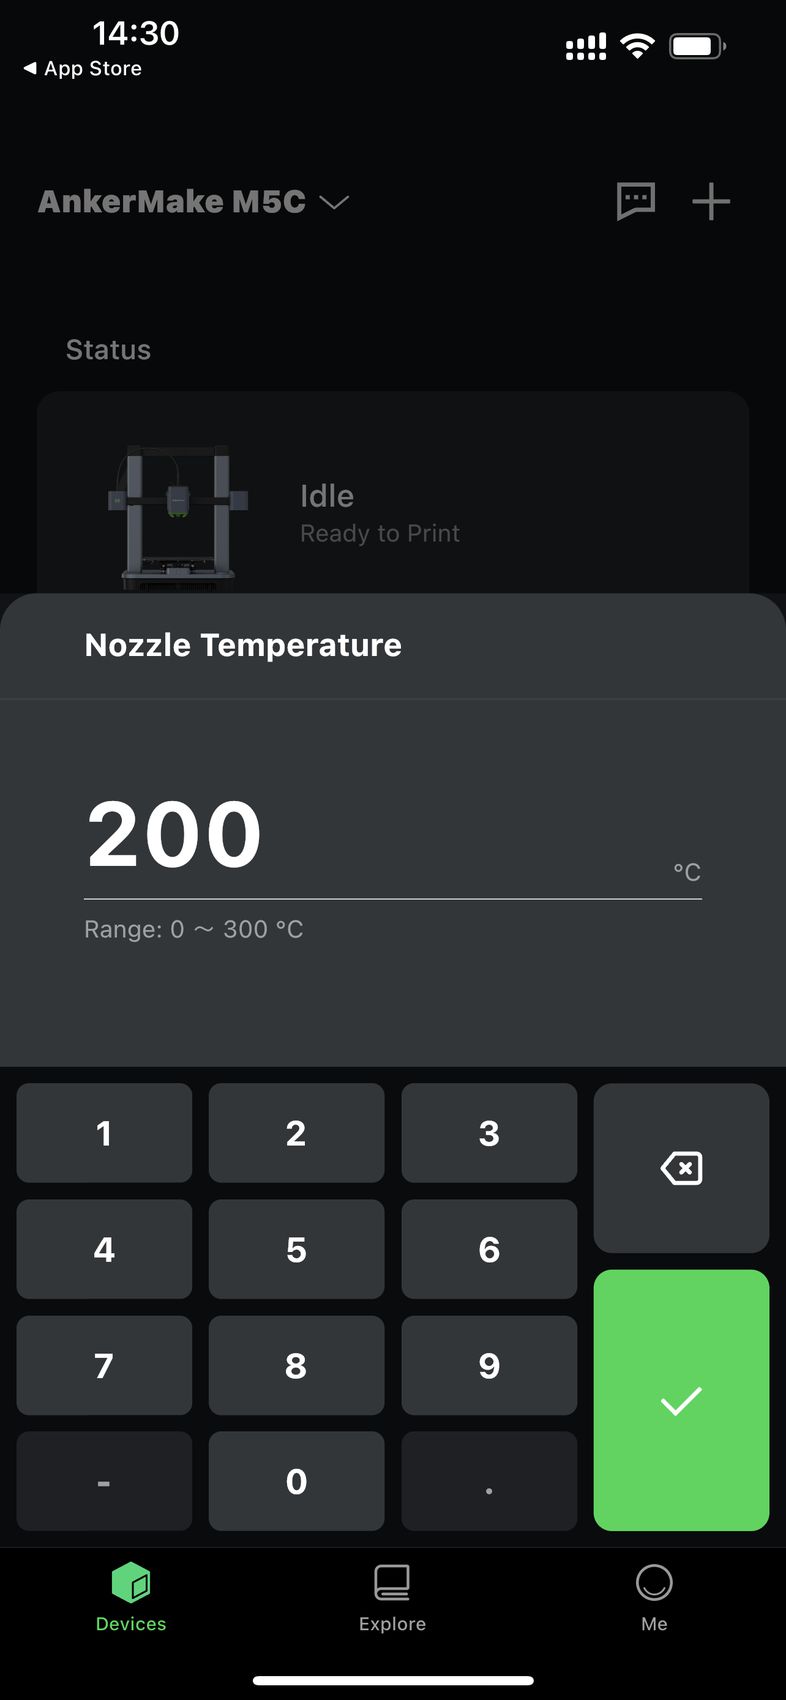
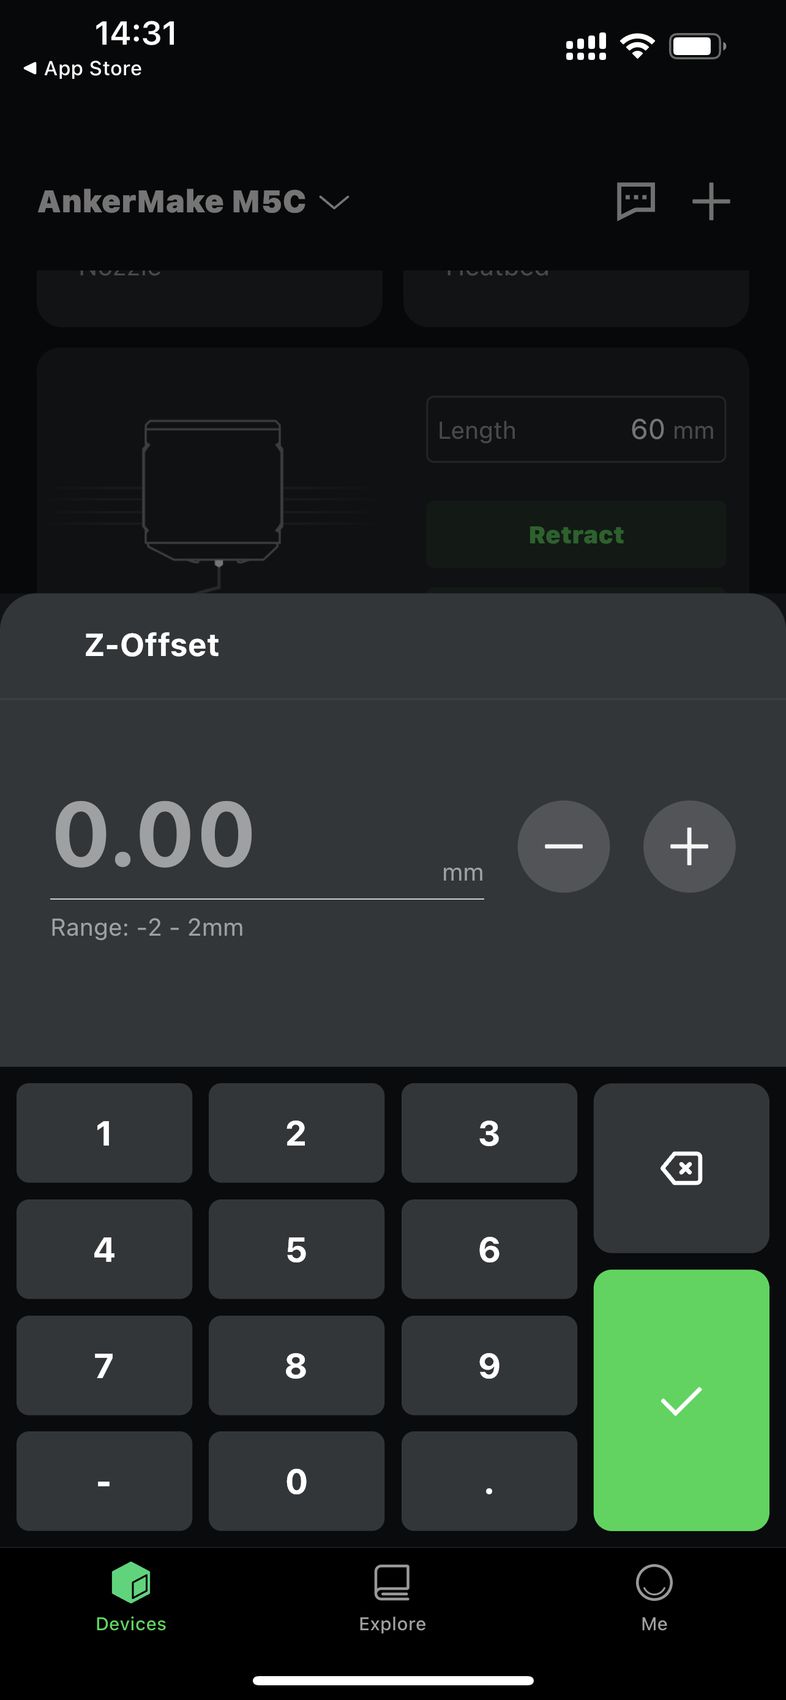
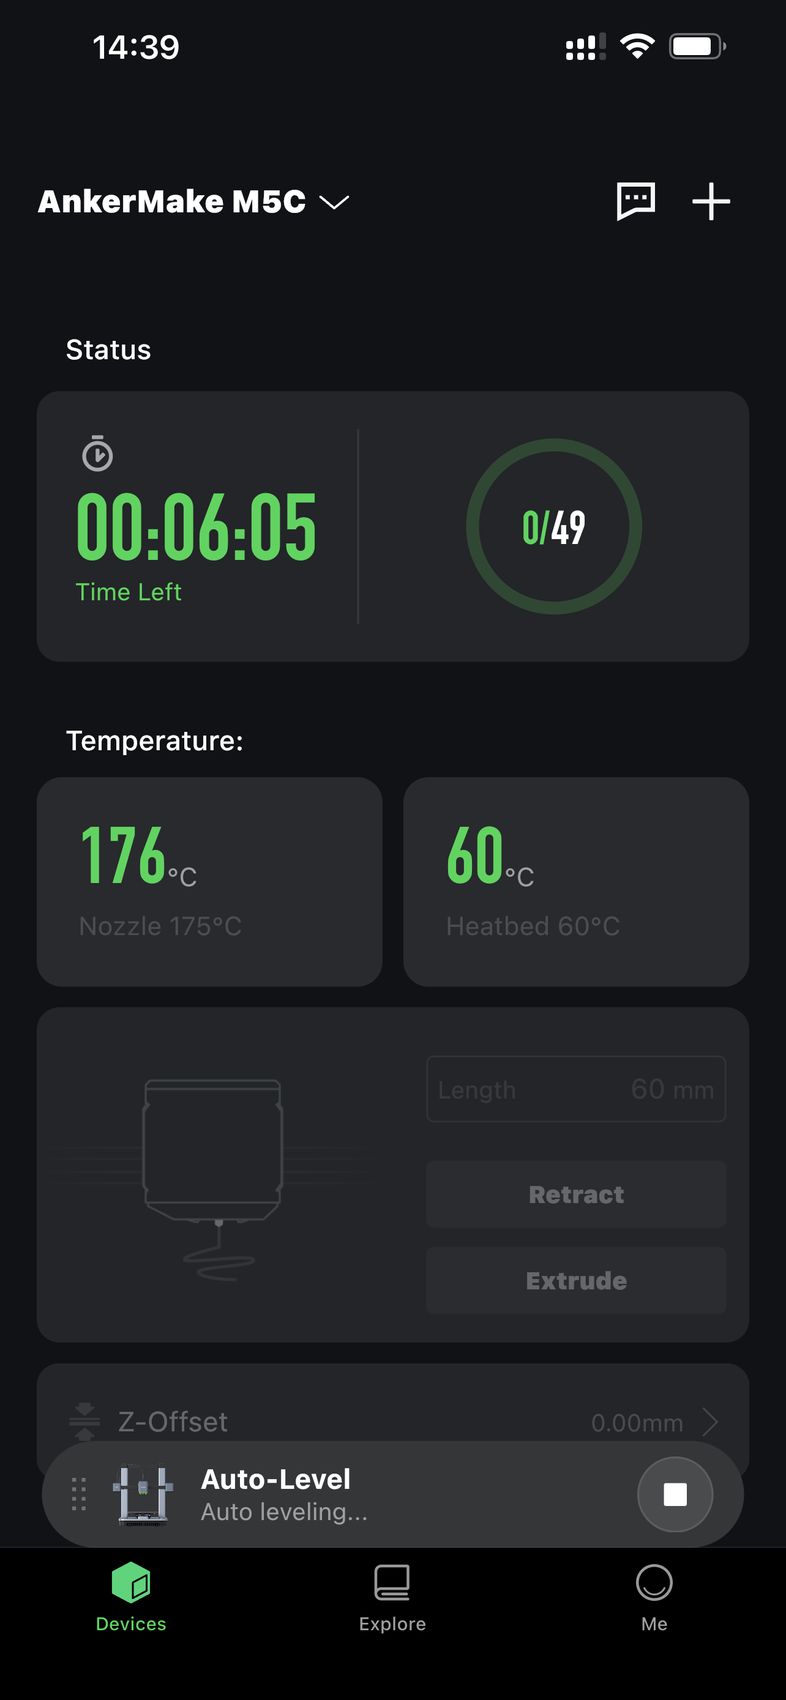
At the moment, I believe that the AnkerMake mobile app is probably the best on the market. I have tried most of the mobile apps from other brands like Creality, Bambu Lab, and Anycubic but they are not as well made, smooth, and intuitive as this one.
AnkerMake Slicer
For this review, I just used the AnkerMake Slicer exclusively as I wanted to test the experience a complete beginner would have. The interface of the slicer is relatively simple and I like the dark theme.
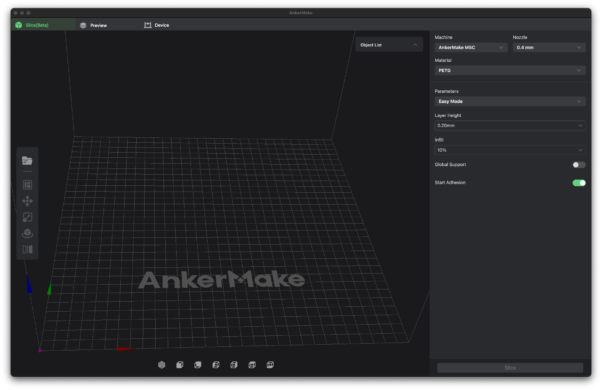
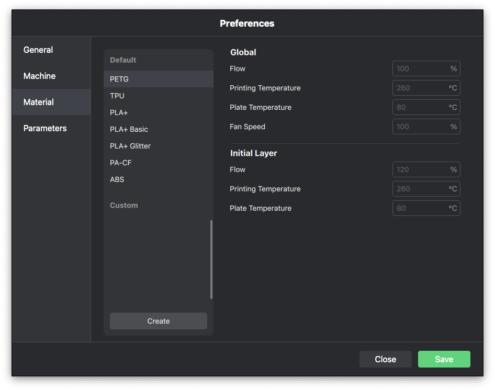
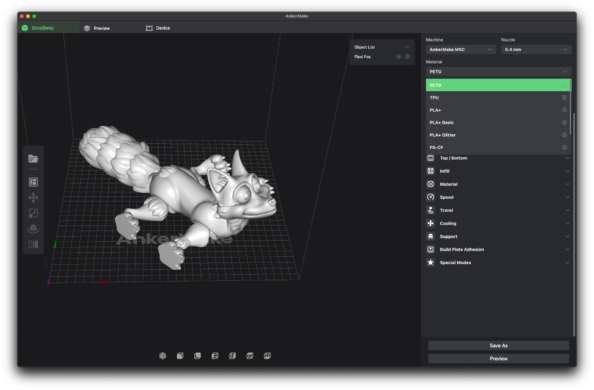
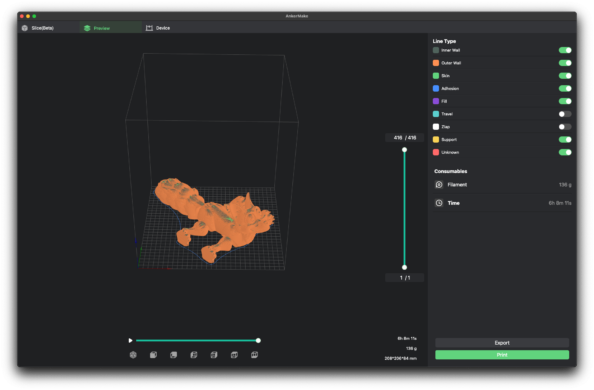
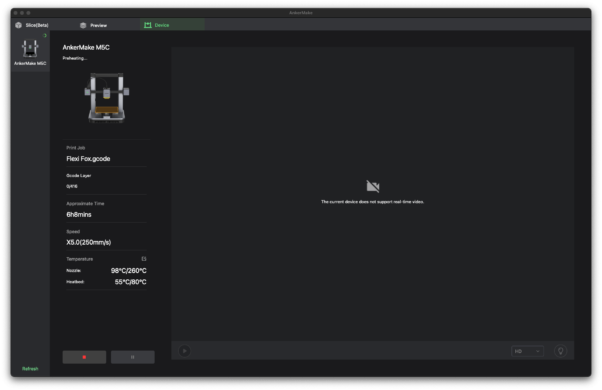
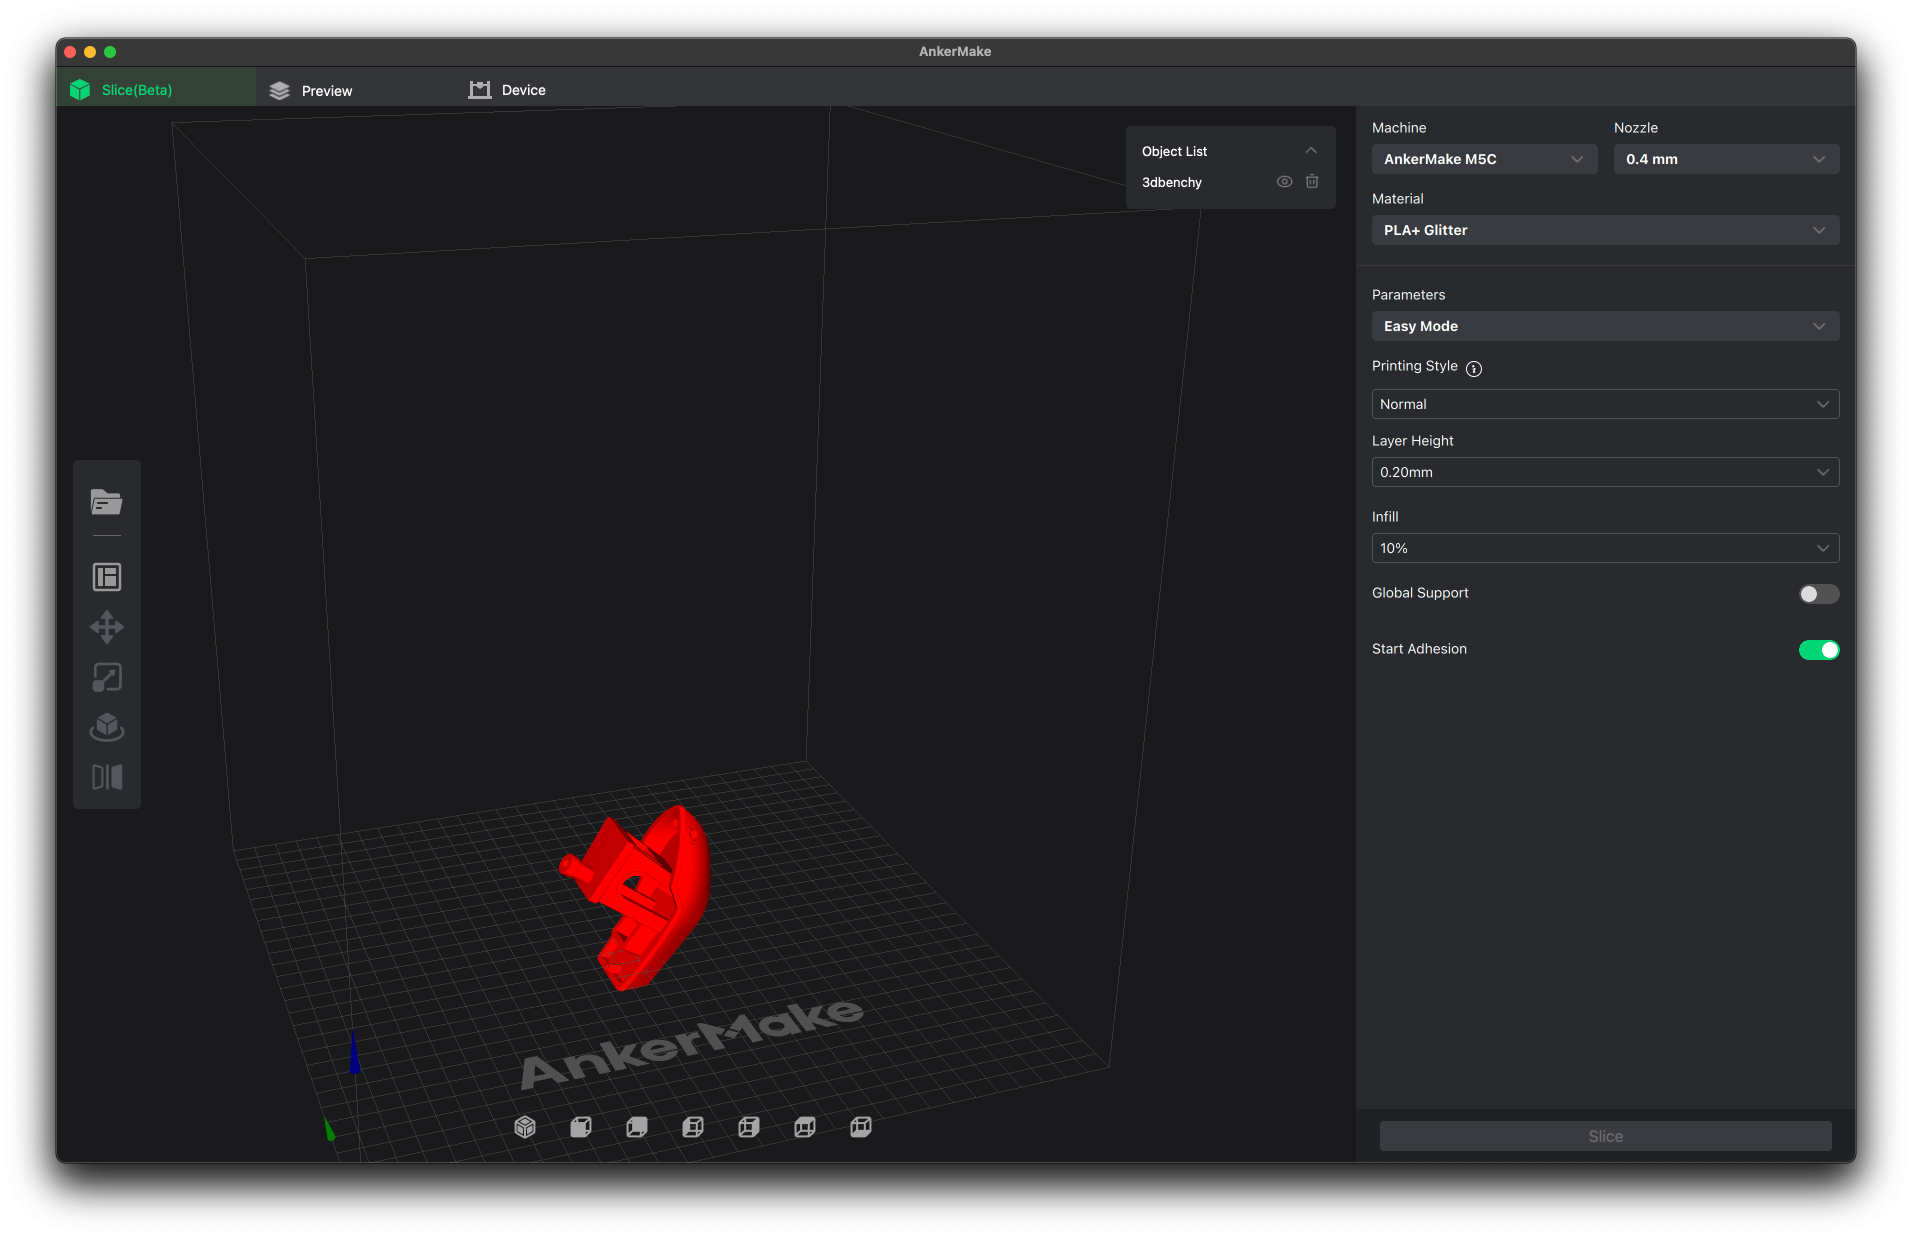
For a complete beginner, I believe that the Easy Mode interface is simple to understand, as you simply drag a model in the slicer, click on Slice then send the file to the printer. But most of the time you need to do a few other modifications to ensure that the results are as expected, mostly because there aren’t a lot of filament profiles for generic materials.
There’s also no indication in some situations about what might be wrong. In the screenshot below, I changed the position of the 3D Benchy, but the slicer did not inform me what the problem was so the Slice button is inactive.
I would have expected the slicer to automatically drop the model on the plate so it is not in the middle of it, which would solve the problem. But for a beginner, not having this information can lead to confusion and the inability to print some models.
At the time of writing this review, the AnkerMake Slicer is still in beta, and has received a few updates since I started testing the printer. But I also know that AnkerMake is working on a fork of Prusa Slicer to replace the current one in the near future which is the right direction in my opinion.
Unfortunately, there are no Prusa Slicer profiles available right now for the AnkerMake M5C, and the only ones available are made for the regular M5.
Heating time and power consumption
Hotend
- 200C in 56 seconds
- 250C in 1 minute and 17 seconds
- 300C in 1 minute and 54seconds
Heatbed
- 60C in 2 minutes and 10 seconds
- 100C in 7 minutes and 5 seconds
Power Draw.
Idle power draw is around 9W. When the hotend and heatbed are heating up, the AnkerMake M5C draws around 290W. After it starts printing, the power draw stabilizes to around 85W.
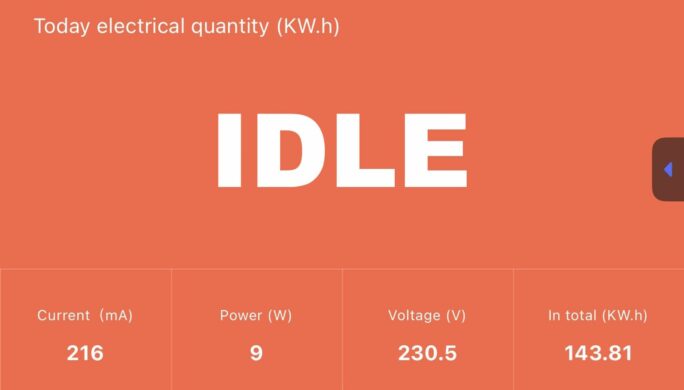
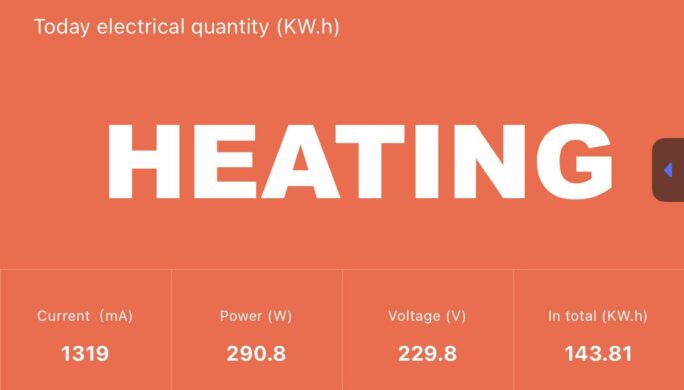
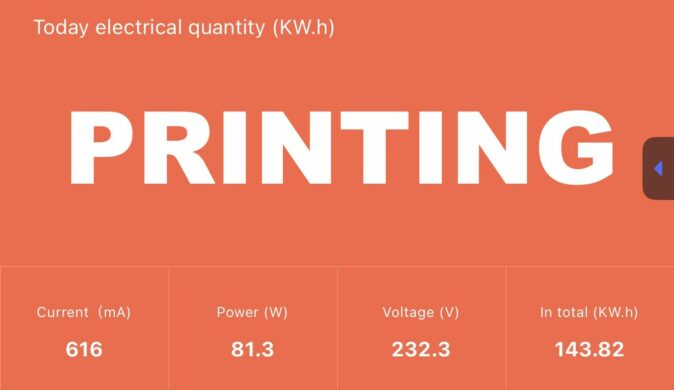
All these measurements were taken with a Blitzwolf smart power socket which indicates the power draw, and it can also be used for remotely powering on and off the printer.
Bed Temperature Uniformity
I tested the temperature uniformity for the AnkerMake M5C bed with the FLIR Camera installed on the CAT S62 Pro. The bed has been set to 60C and I waited 2 minutes for the temperature to stabilize.
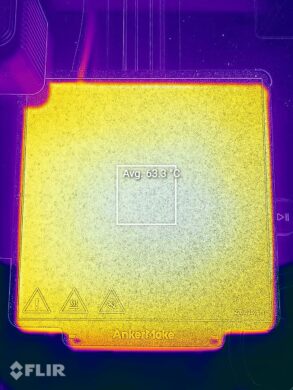
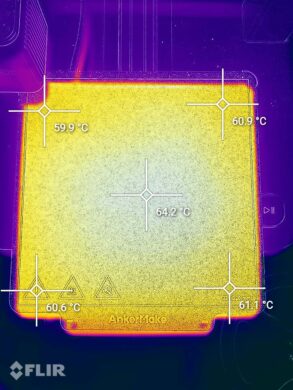
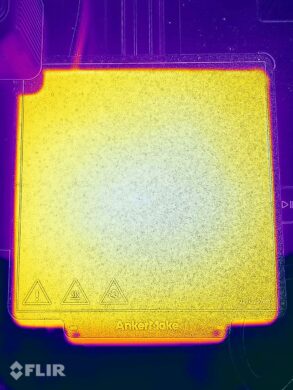
The bed temperature uniformity is good, with the middle section of the bed being a bit higher than the corners.
AnkerMake M5C Noise Levels
When it comes to noise, the M5C fans make up for most of it. While the print head fans have a significant airflow, this comes in the detriment of noise. You can hear the printer from a different room when the fans are set to the highest setting.
Test prints on AnkerMake M5C
3D Benchy
The first test I made was with the pre-sliced 3D Benchy in Fast mode, available in the app. As seen in the images below, the quality is not as good as expected due to the significant ringing patterns that can be seen on the walls of the model
Besides the ringing, the top layers are not as good and it shows that not every model can be printed great with the Fast mode.
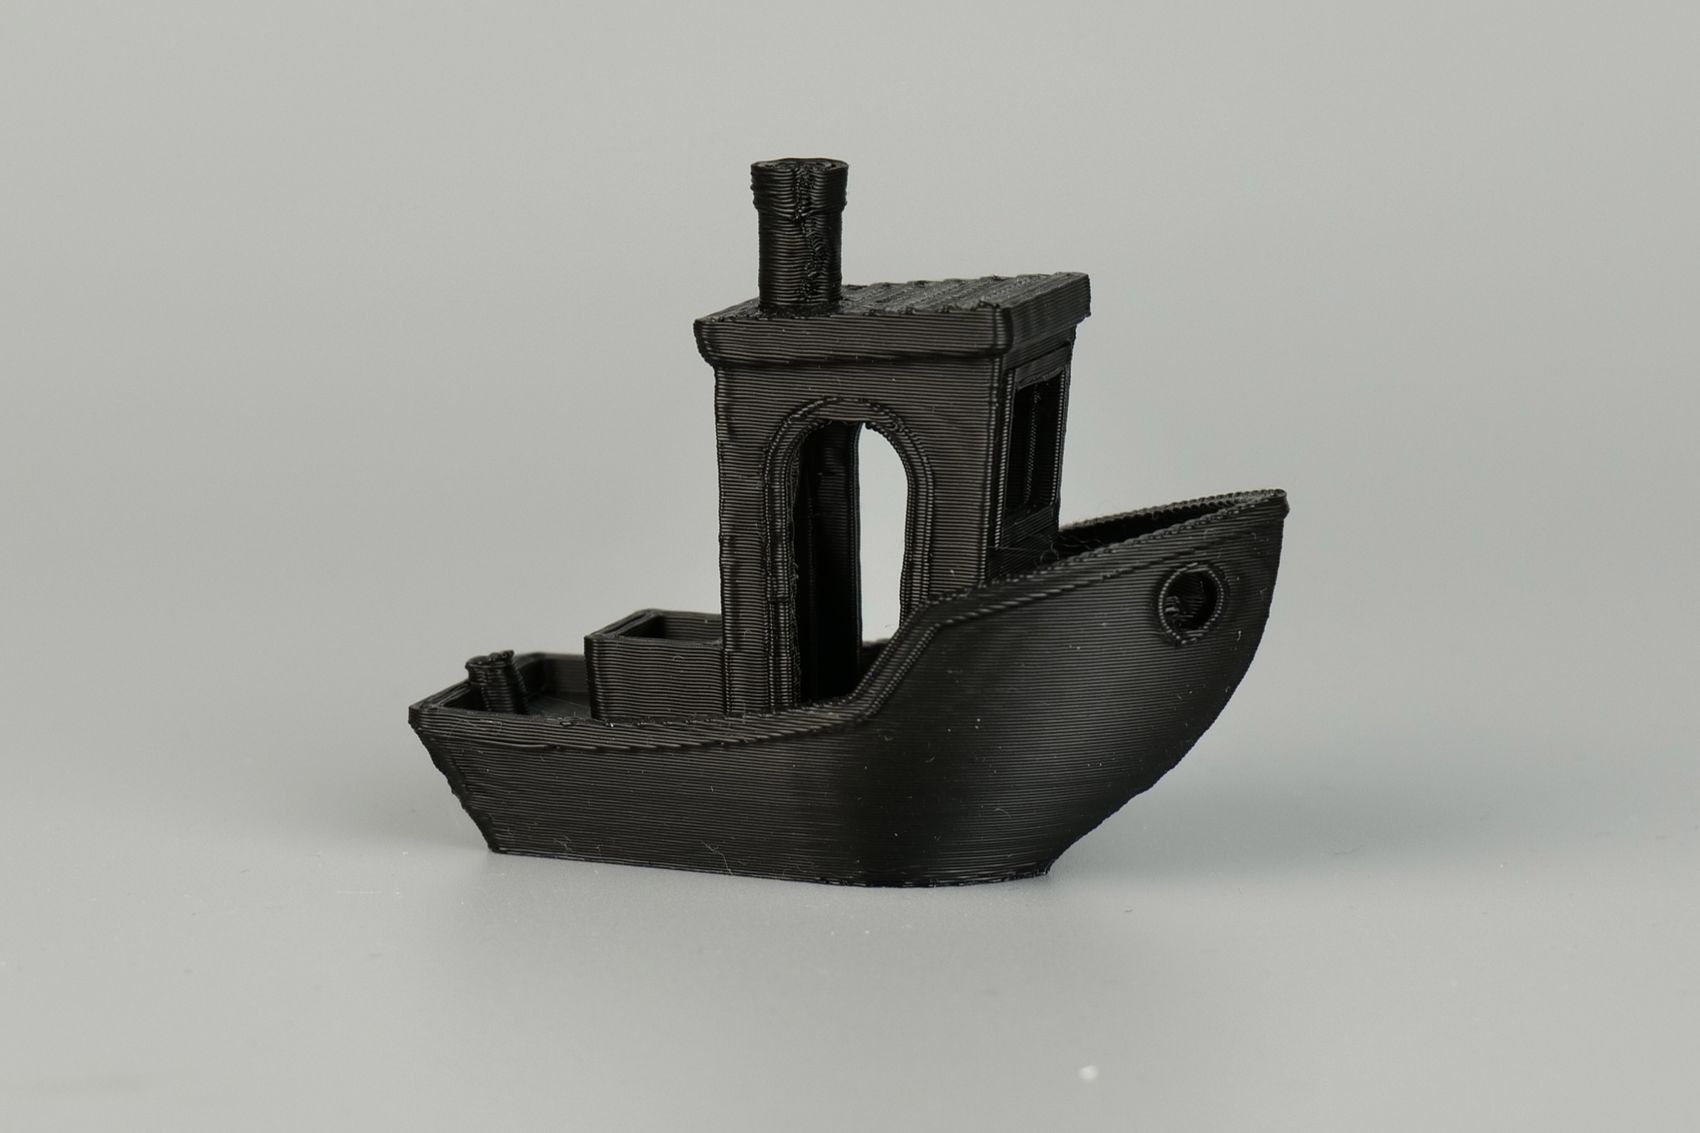
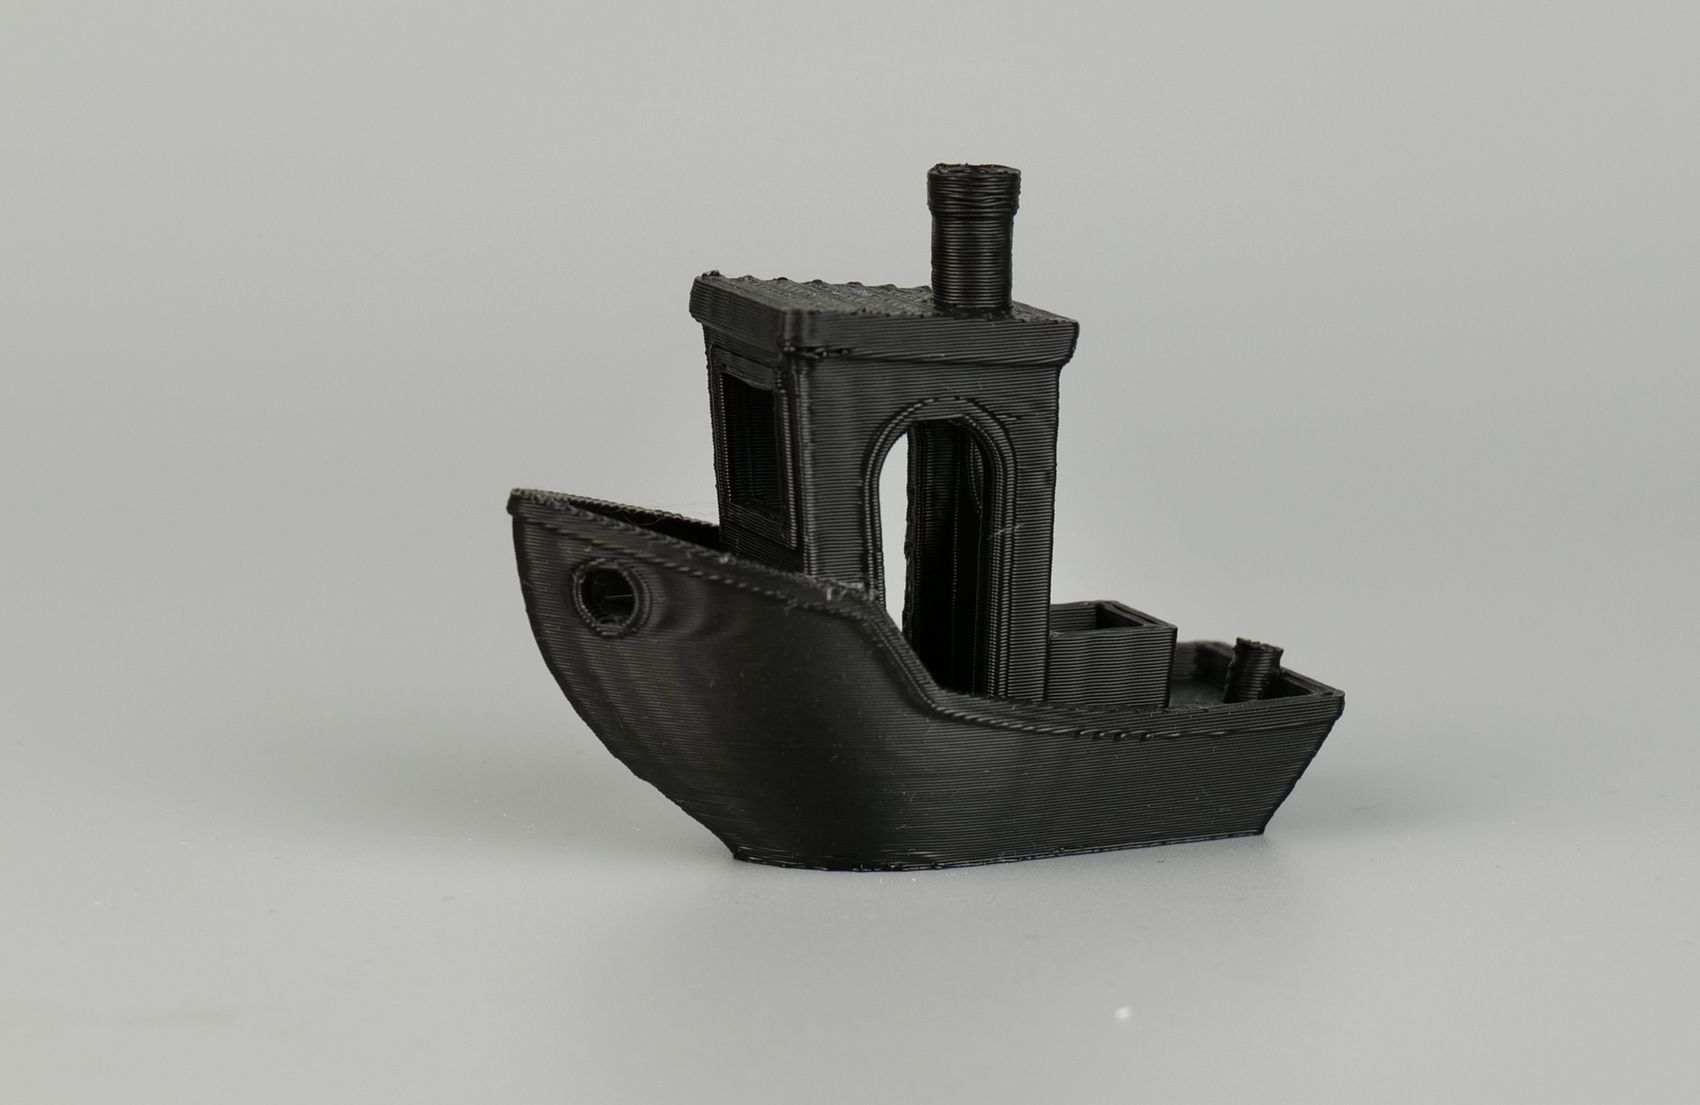
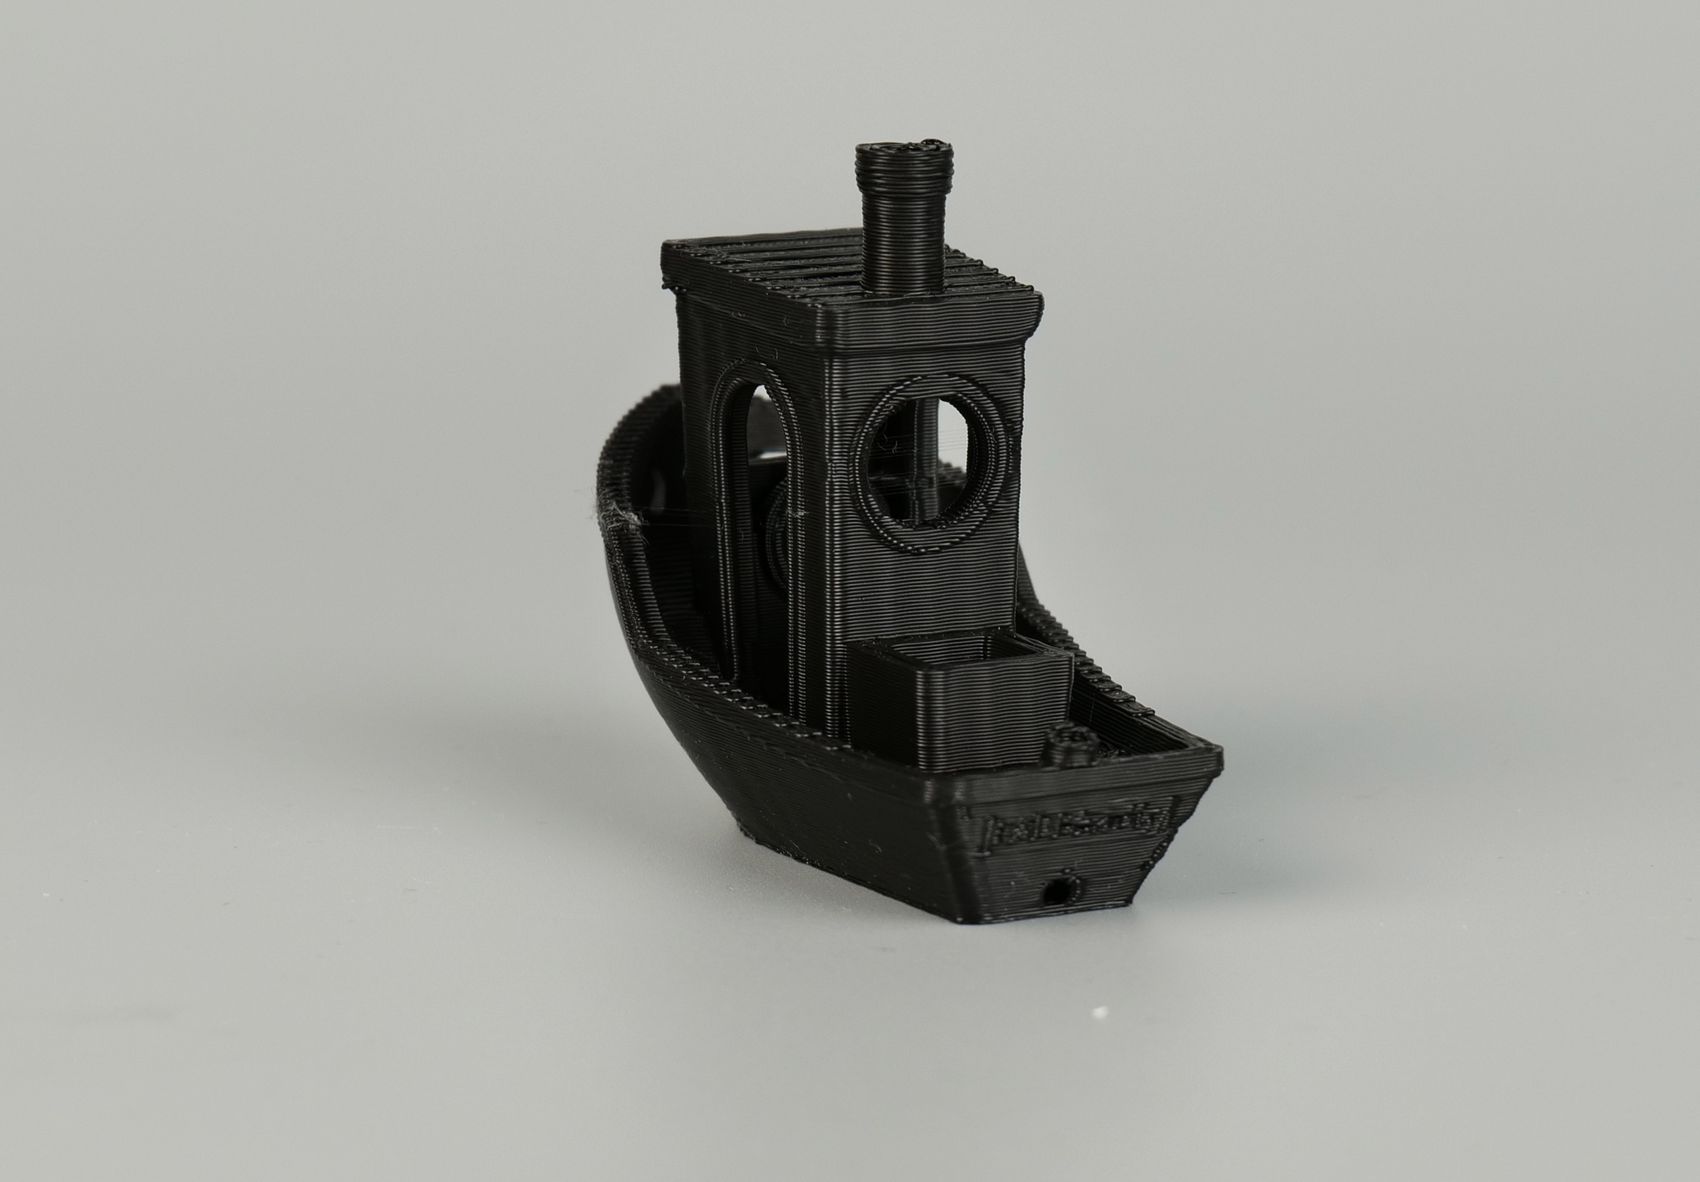
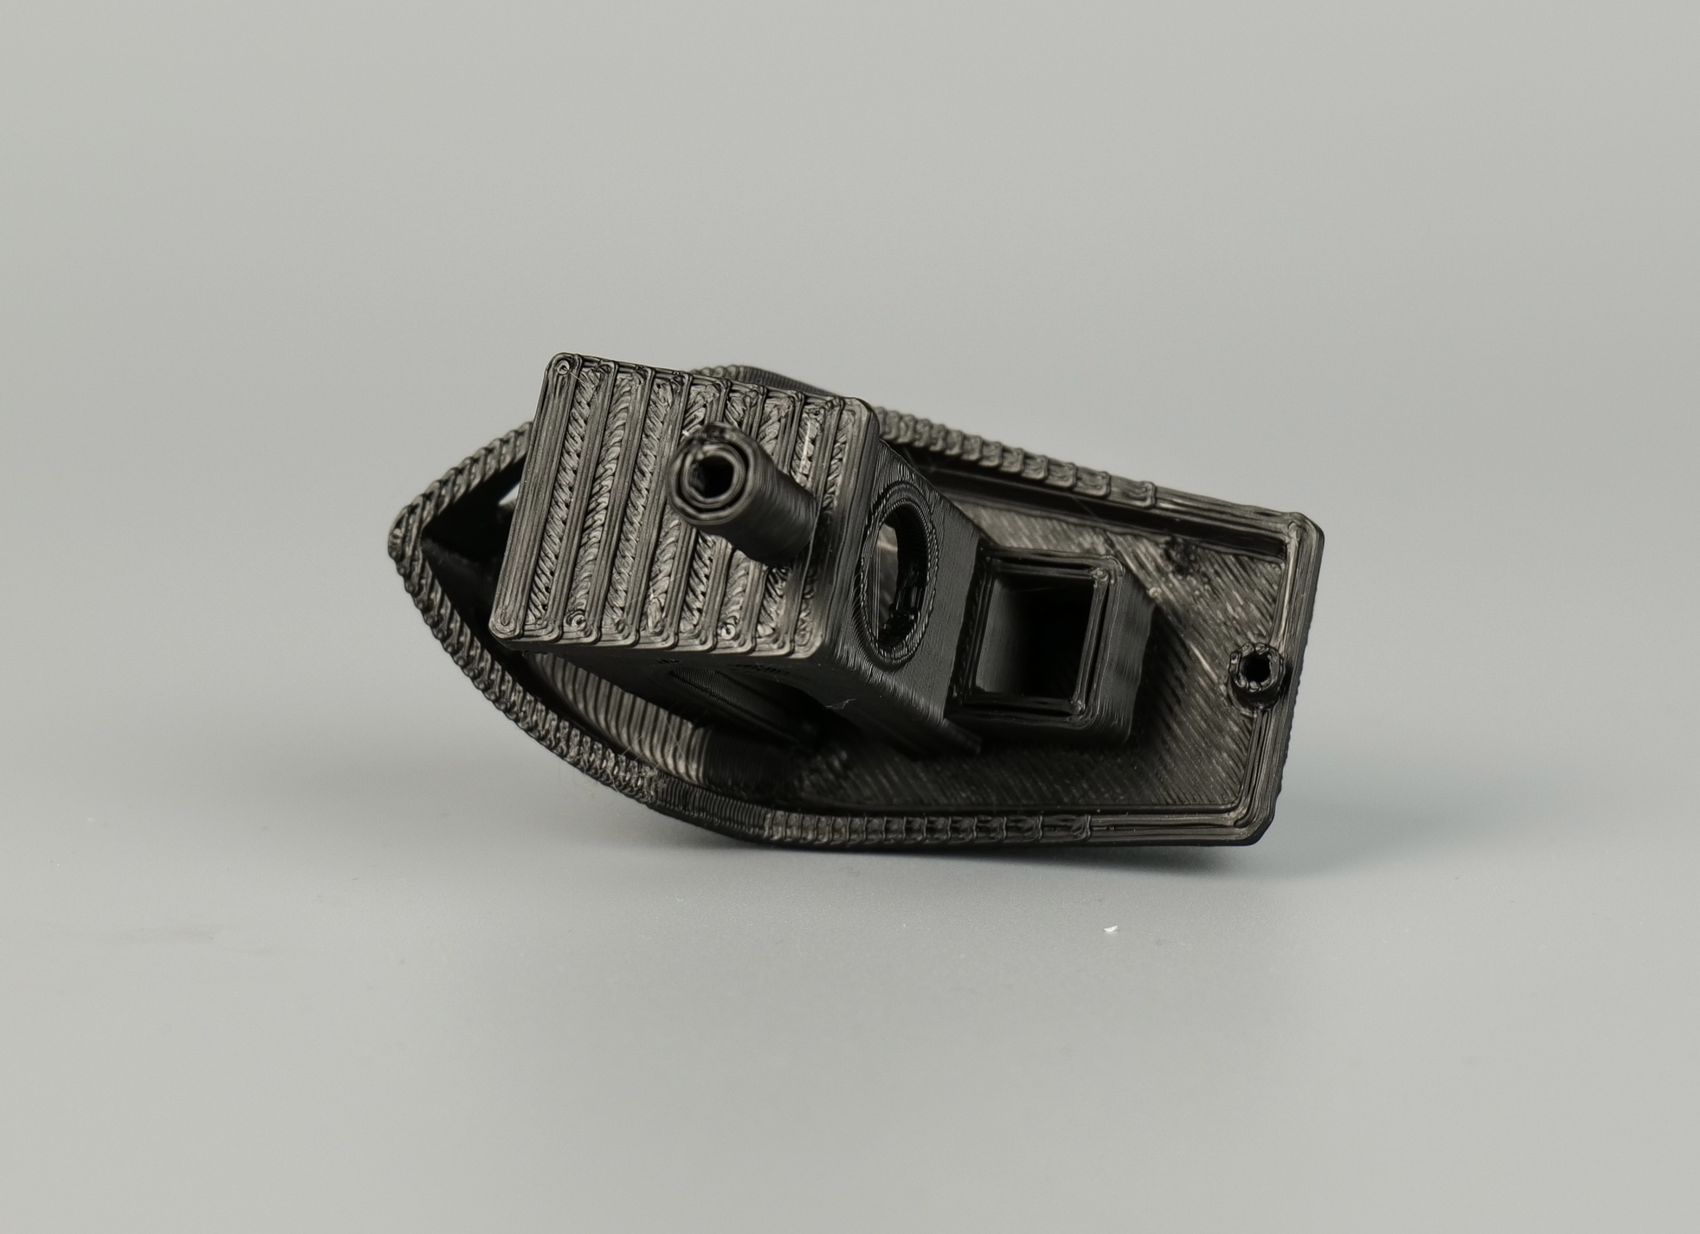
I re-sliced a 3D Benchy with the Normal profile, and in this case, the results are much better as the layer height is lower and the finish is also better. There’s still some ringing present, unfortunately, but there’s not much to do about it considering there is no input shaper available with the printer.
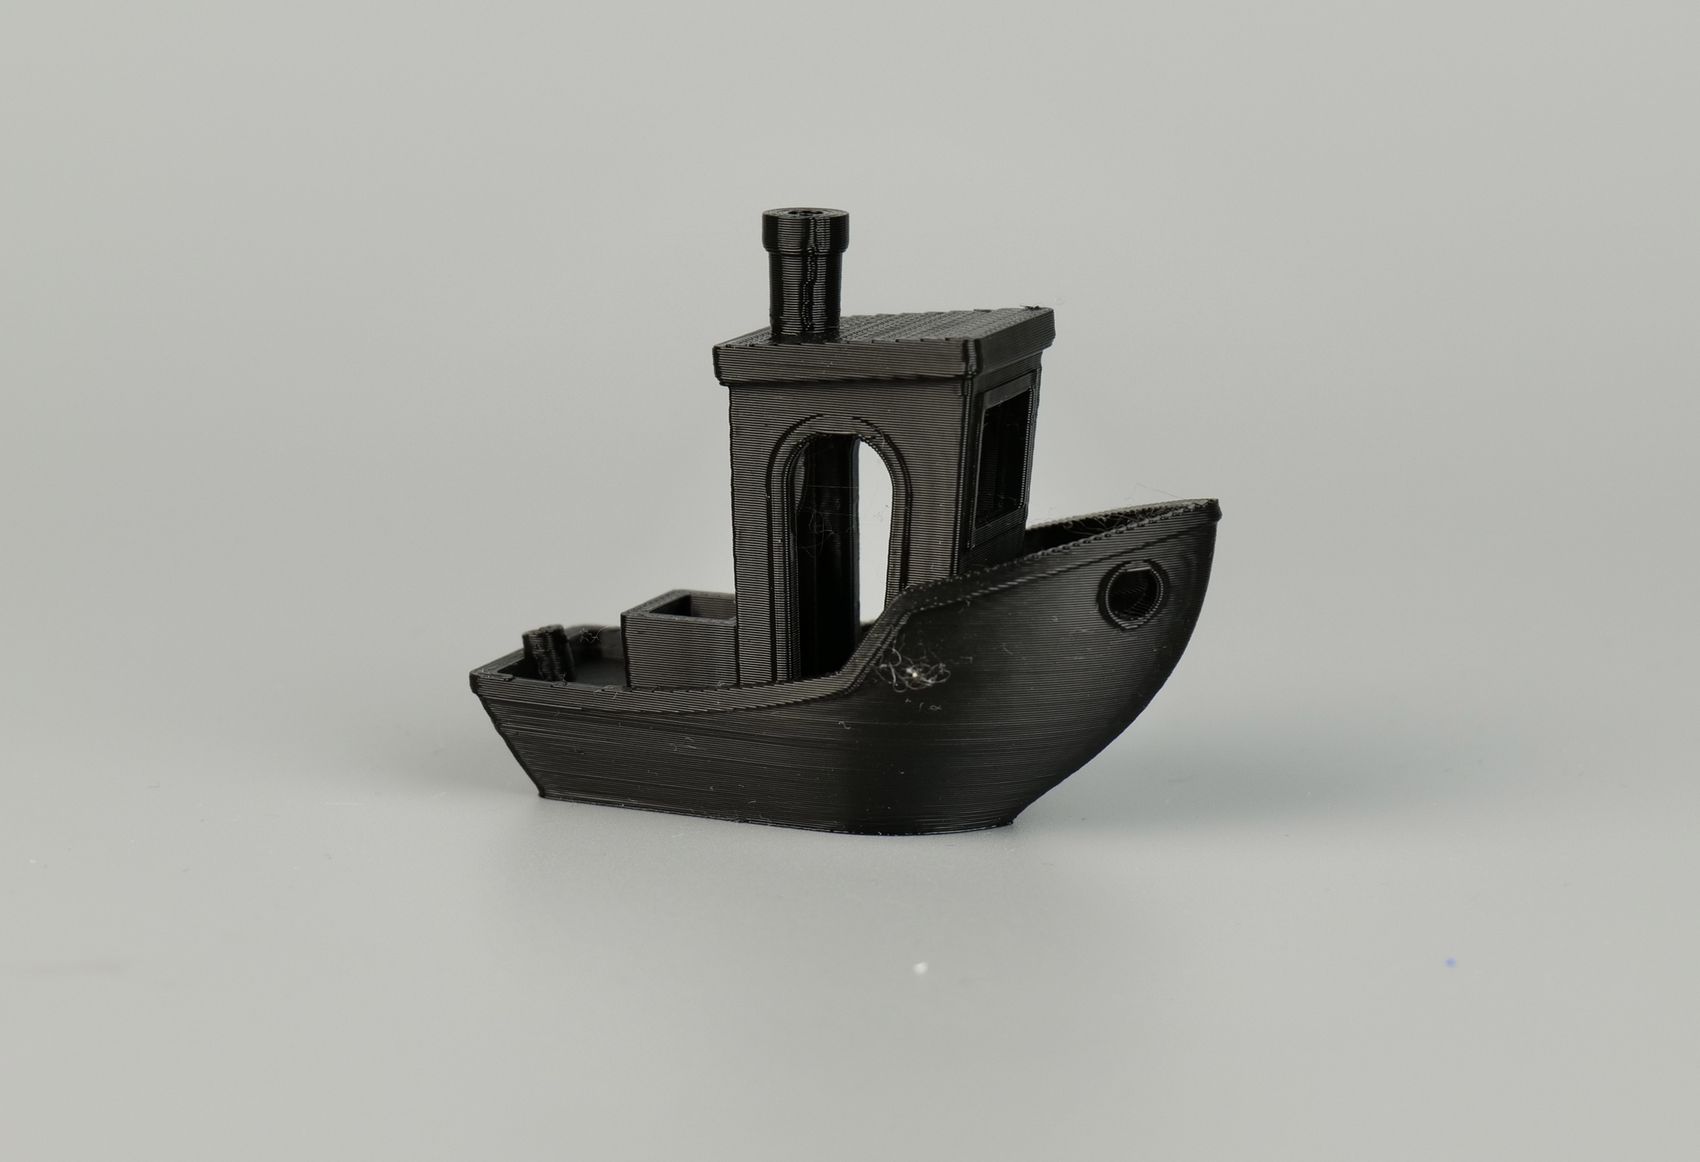
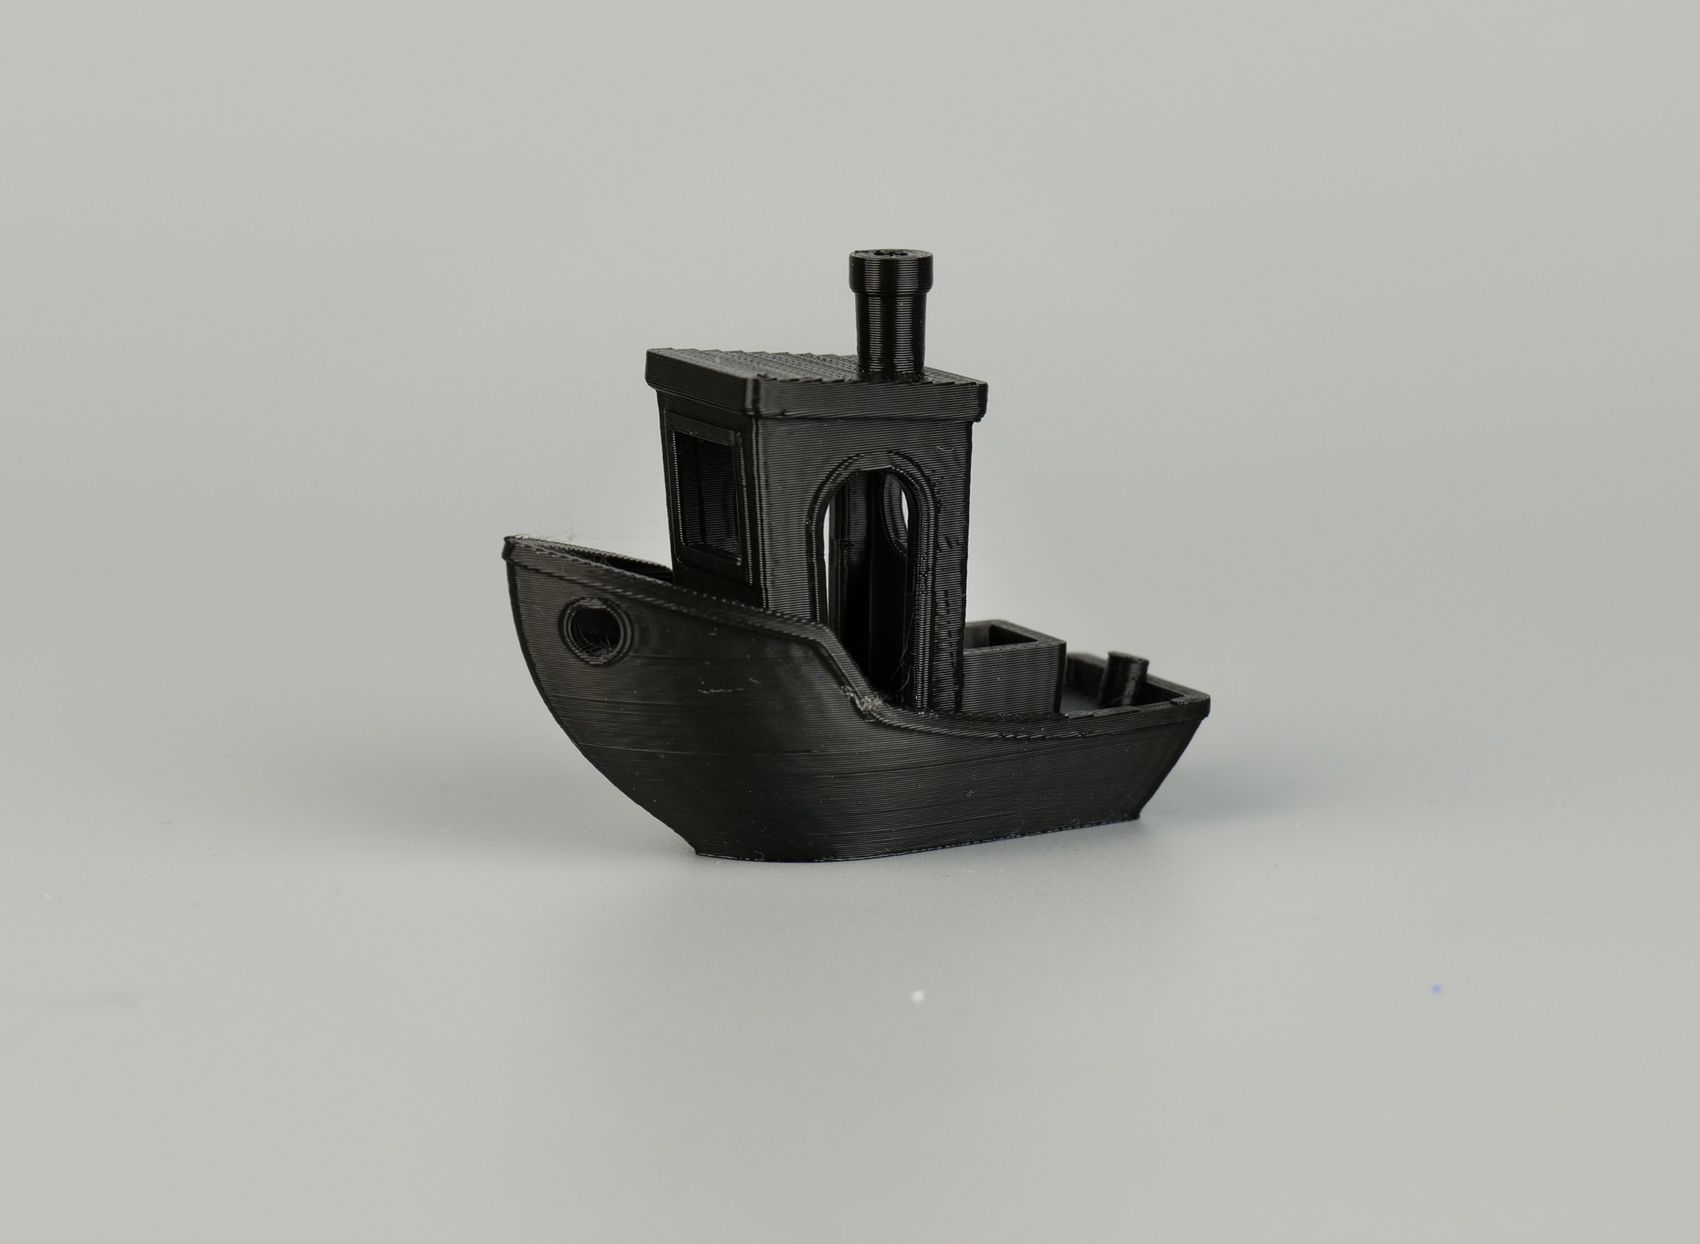
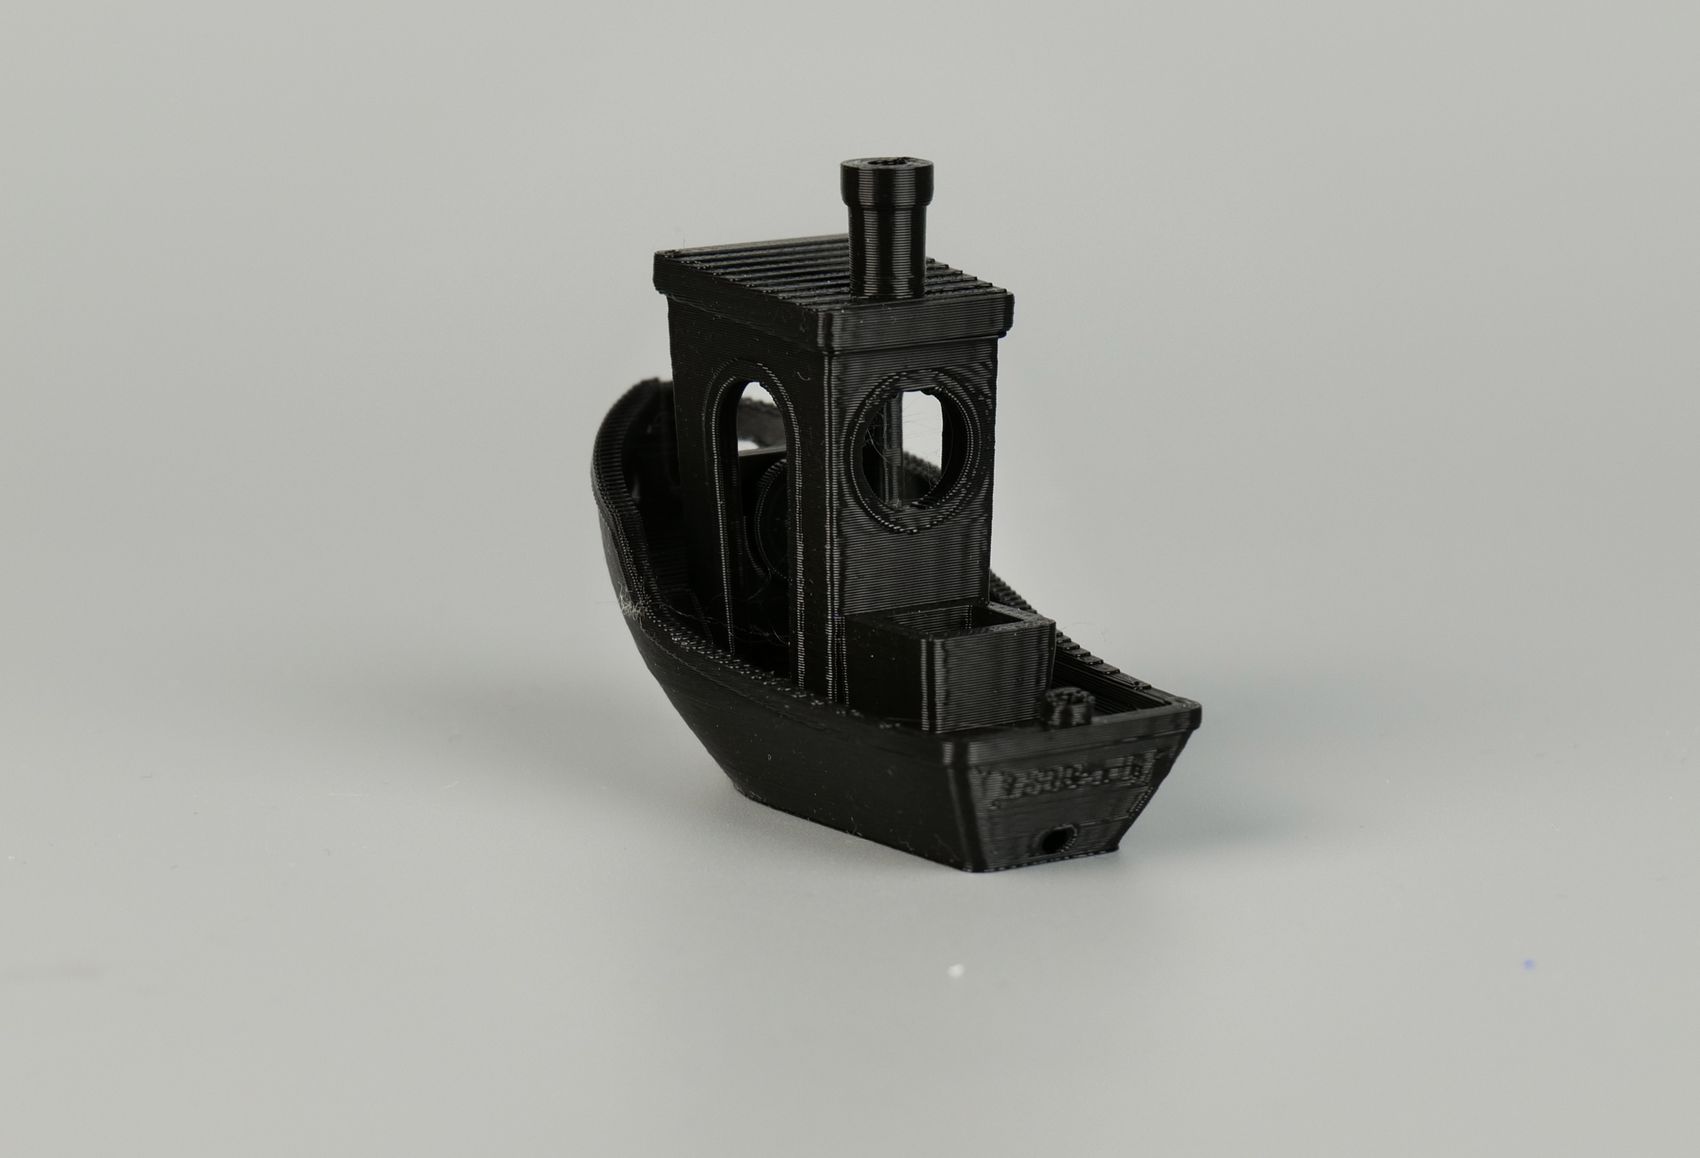
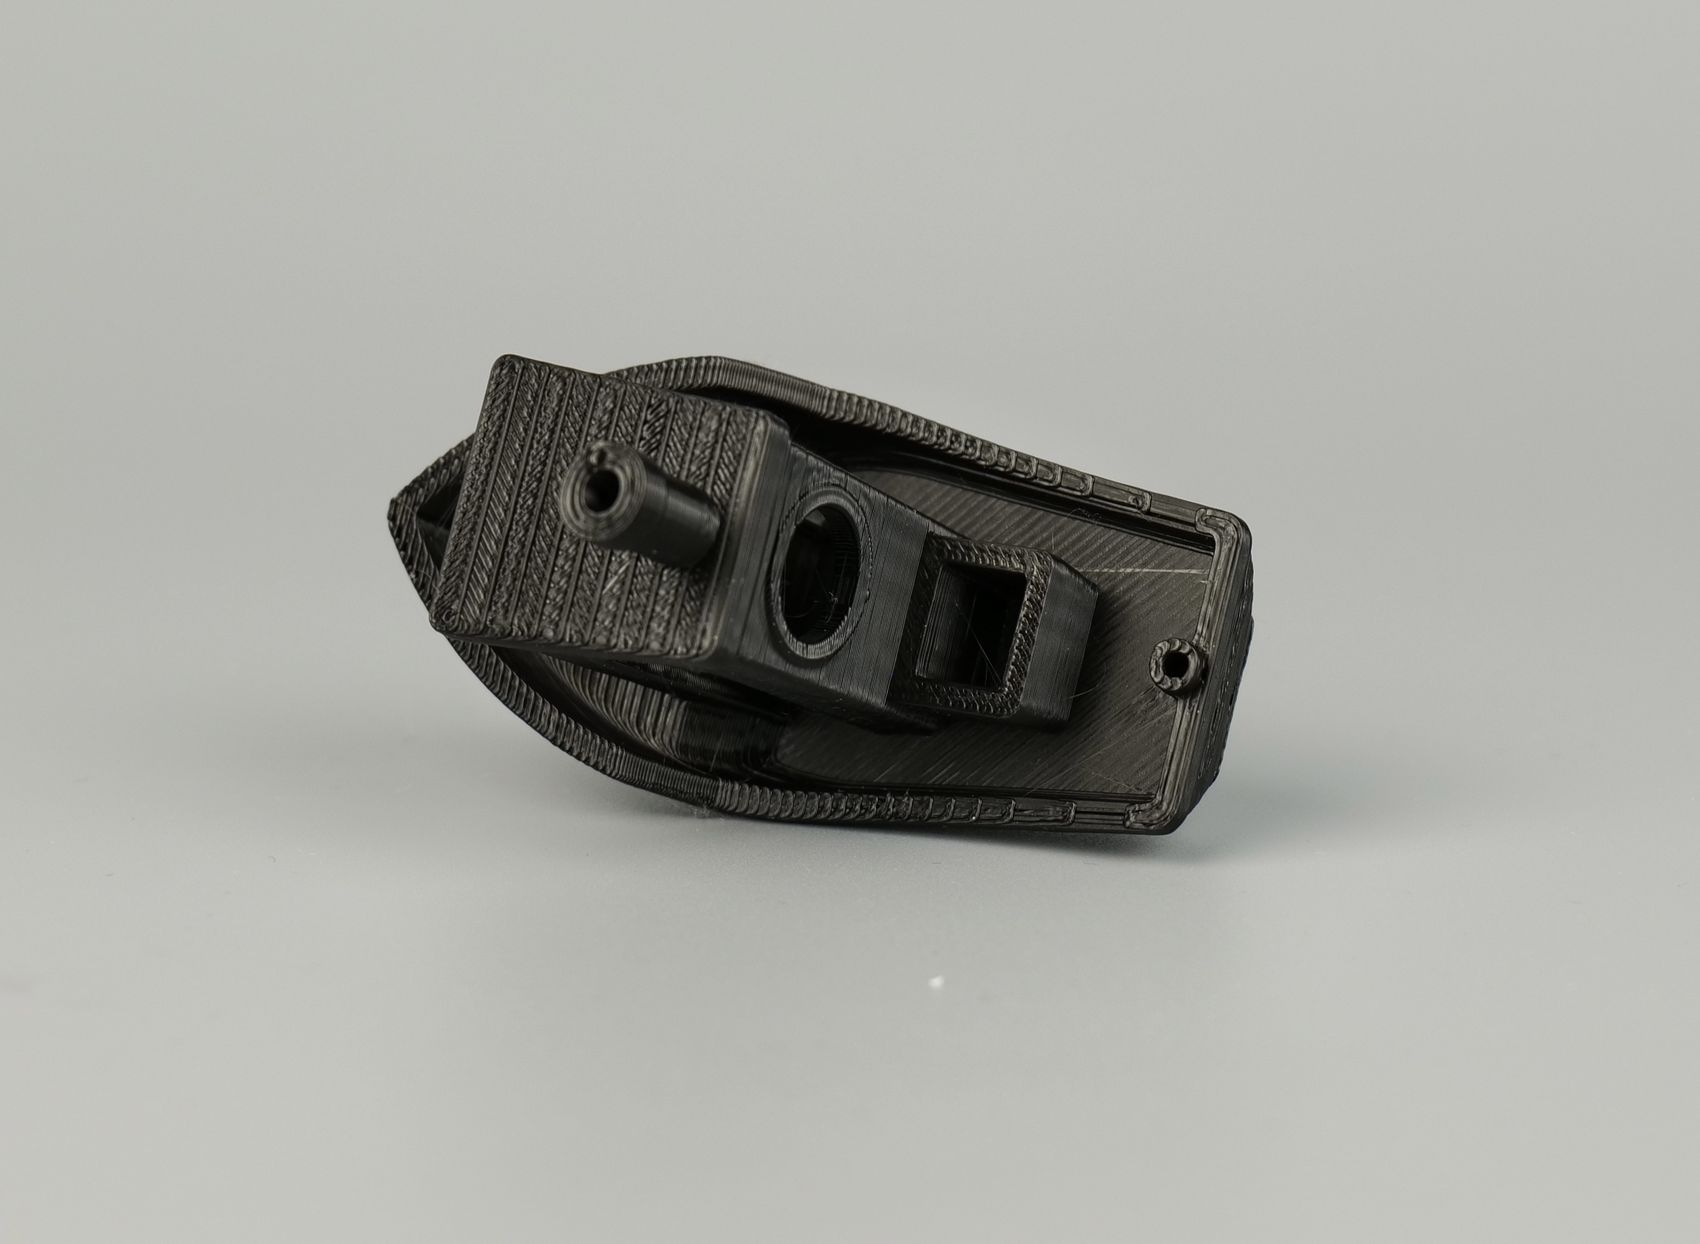
Overall, the print result is ok, but not as good as other fast printers on the market.
- Material: QIDI Tech PLA Rapido
- Layer Height: 0.2mm
- Nozzle Temperature: 230C
- Bed Temperature: 60C
- Print Speed: ~250 mm/s (Normal Profile)
Phil-A-Ment
The second test model is Phil-A-Ment which was printed in Silk filament to see how the printer handles it. The overall print quality of the overhangs and layers is ok, but we can see vibration and ringing artifacts on the outer surface of the print.
I used the Normal speed profile for this model, and I expect better results if a slower print speed is used.
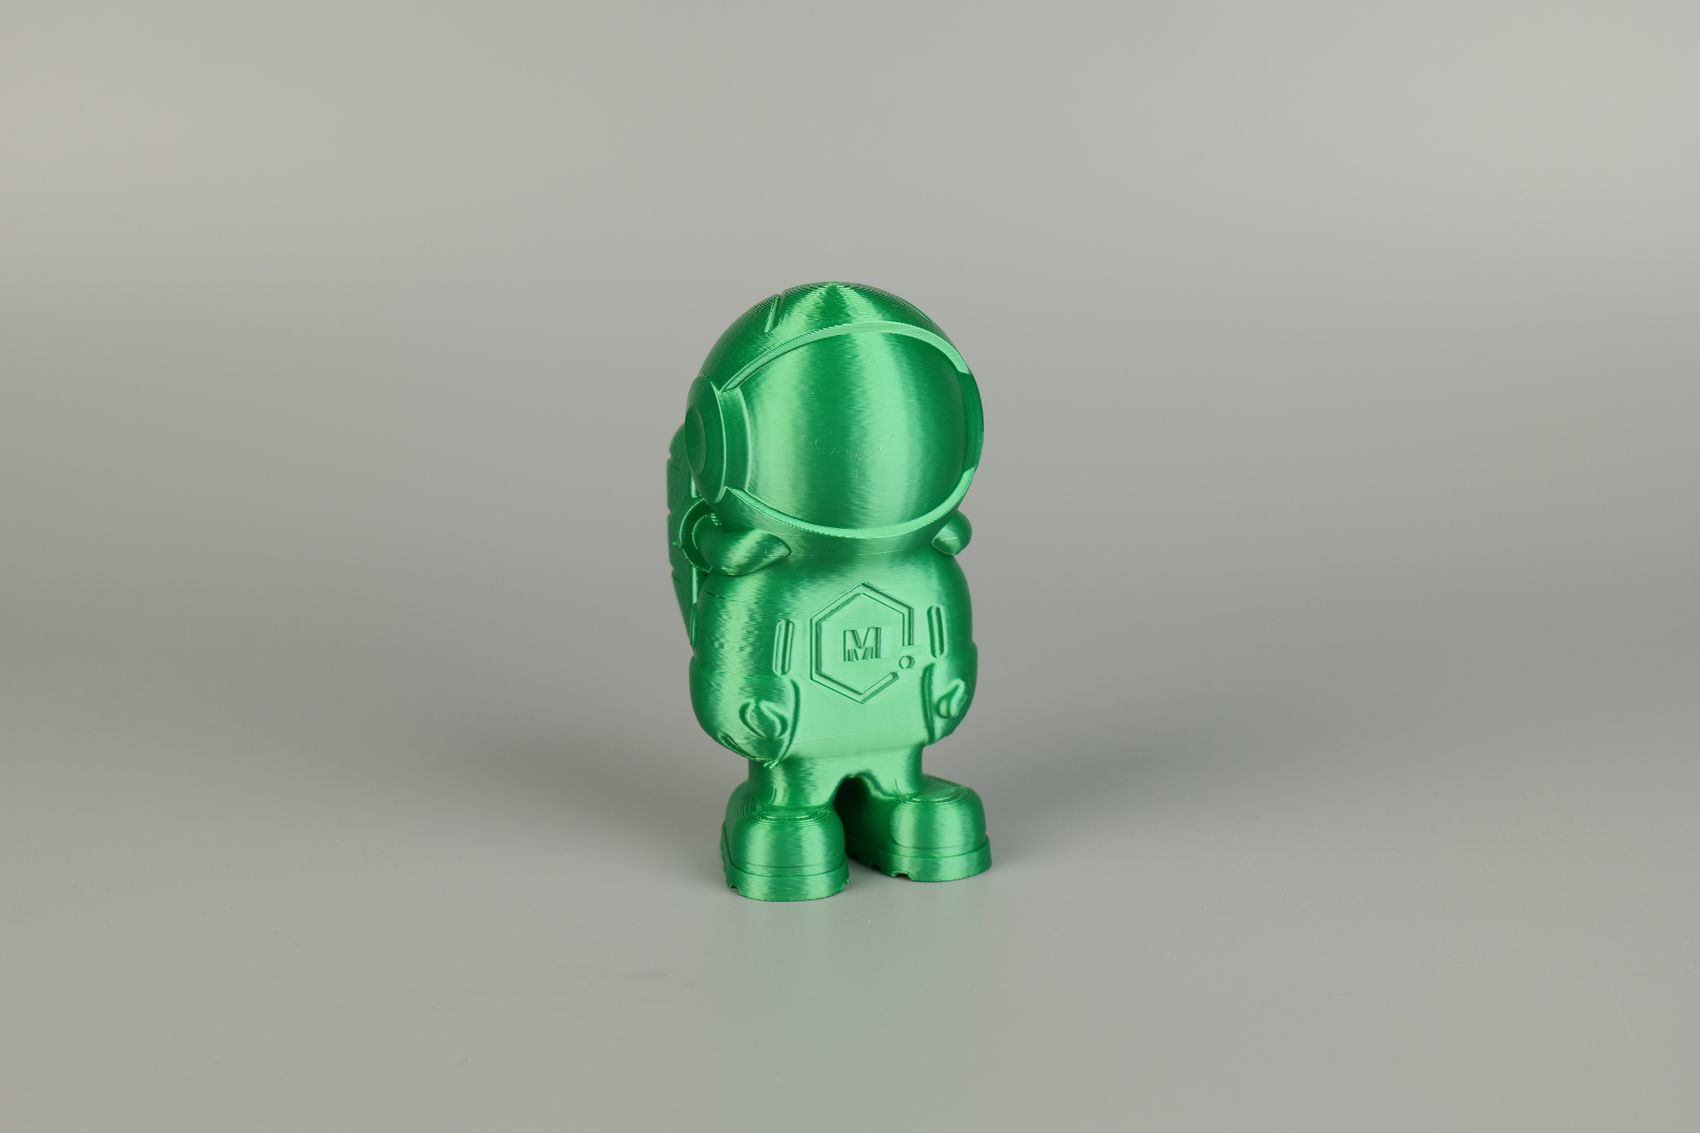
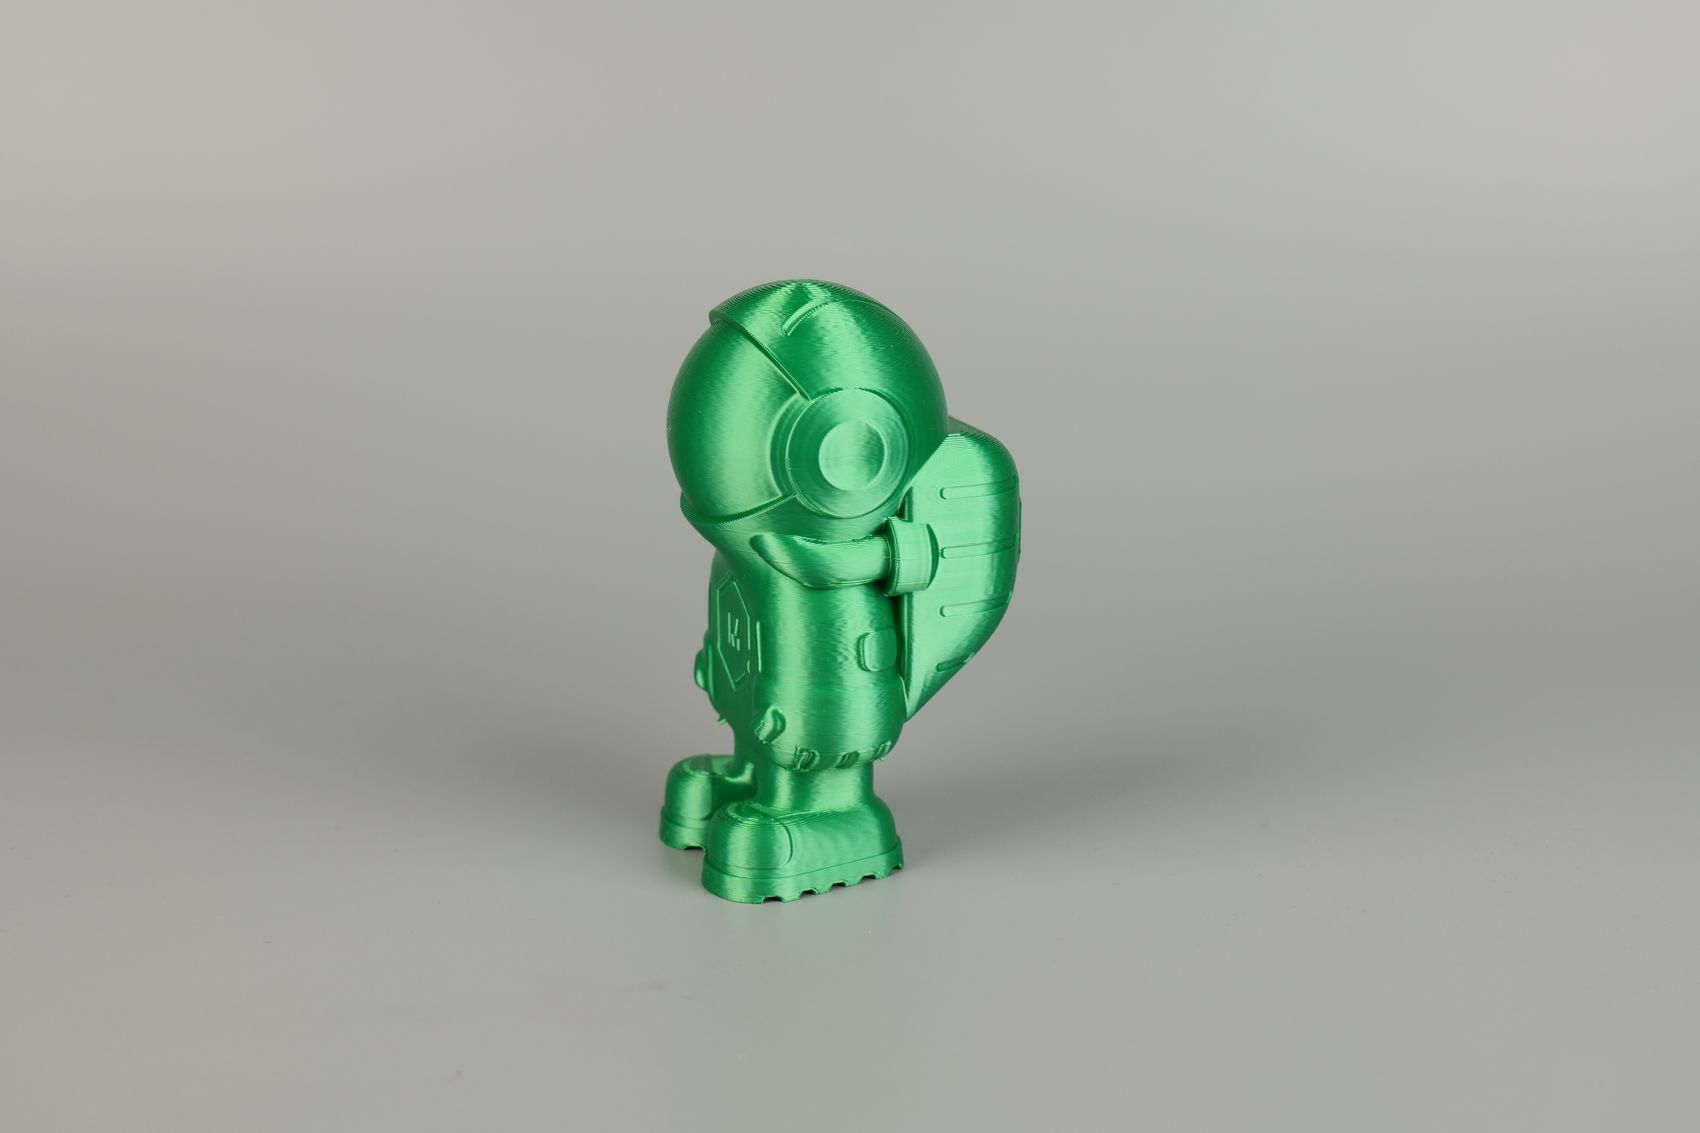
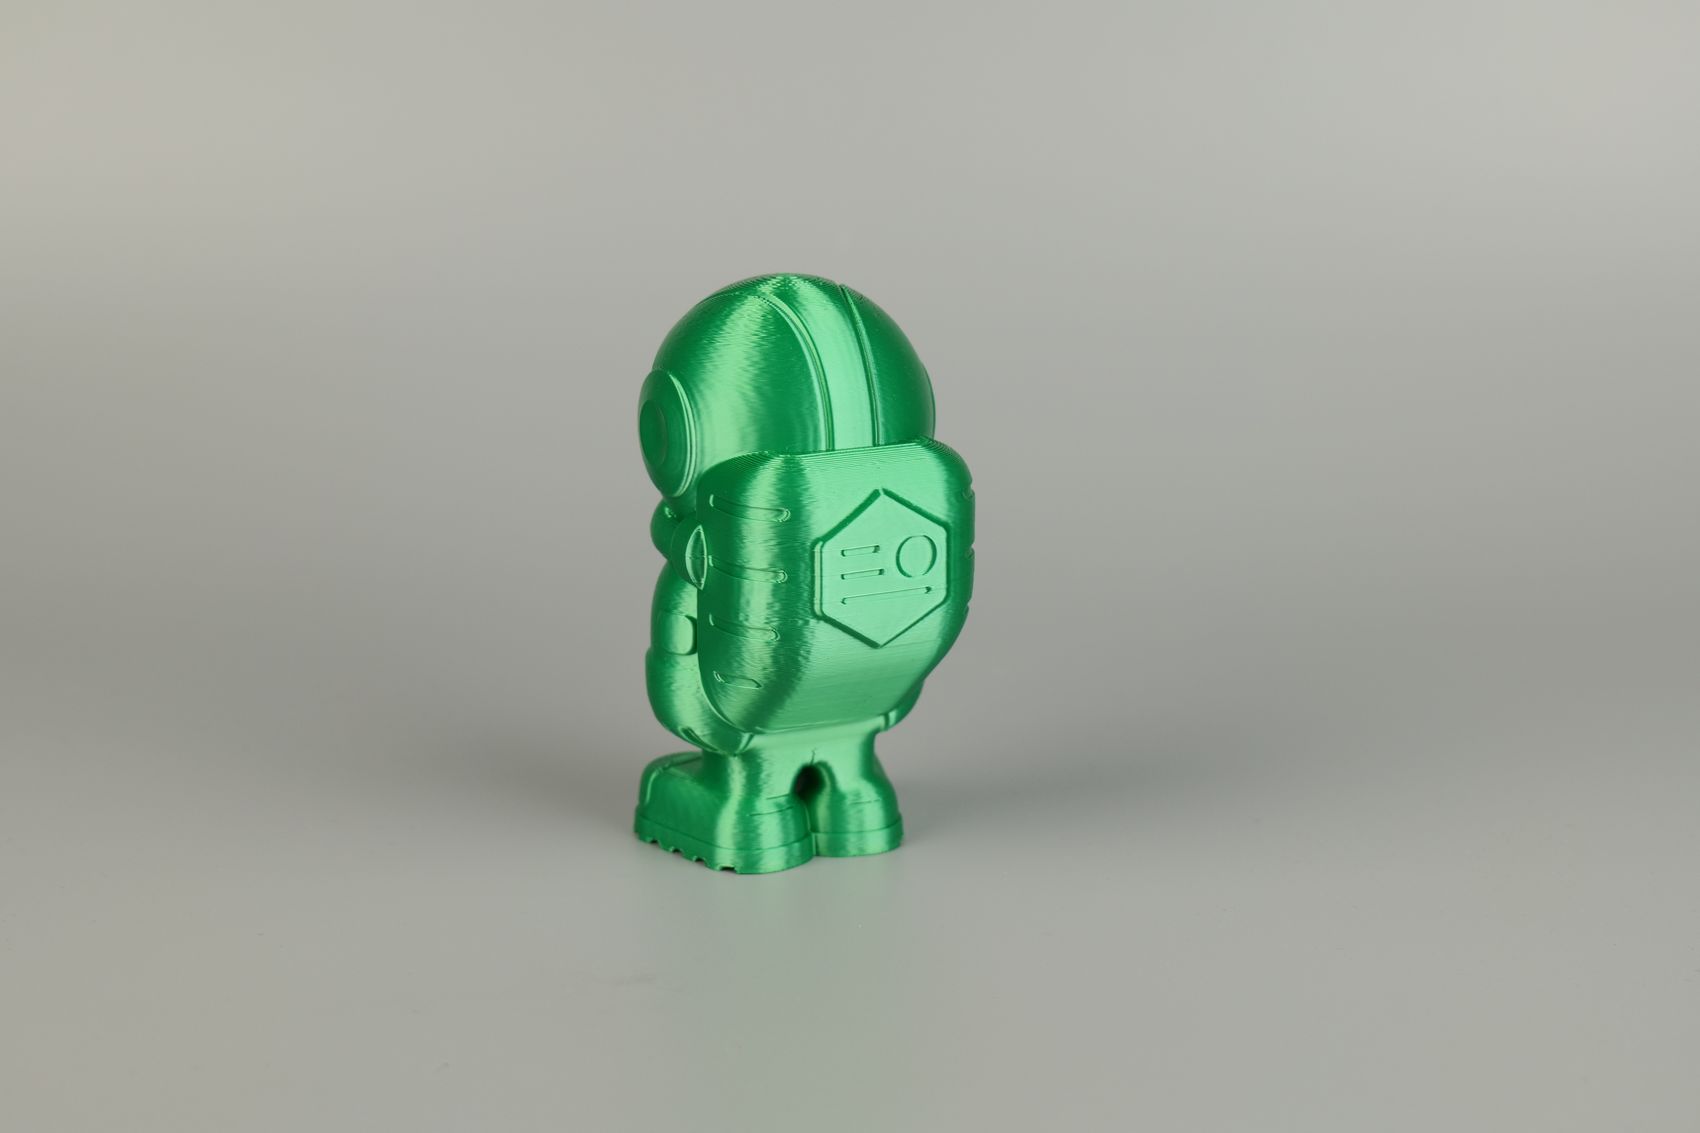
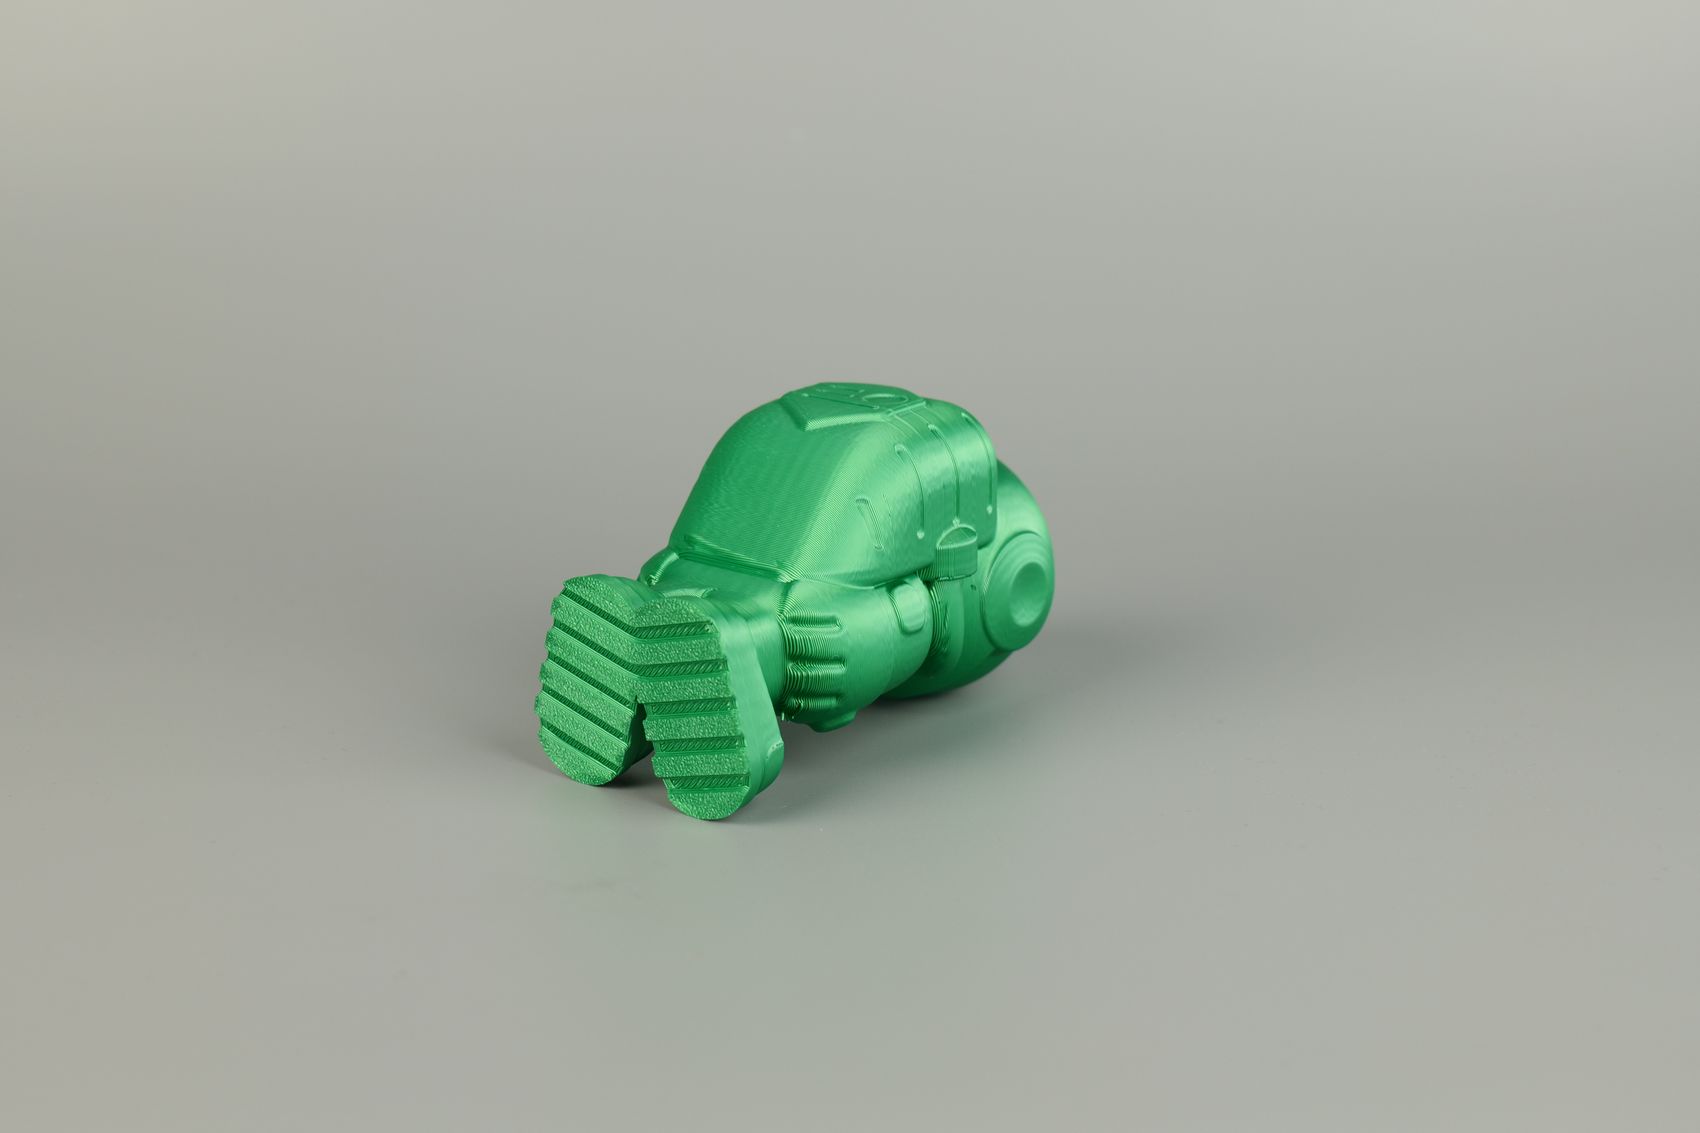
- Material: Extrudr BioFusion Reptile Green
- Layer Height: 0.2mm
- Nozzle Temperature: 230C
- Bed Temperature: 60C
- Print Speed: ~250 mm/s (Normal Profile)
Flexi Fox
To test the PETG print quality of the Ankermake M5C, I printed the Flexi Fox. The overall results are great, but if you look closer, some ringing artifacts can still be seen on the external walls of the print.
The overhang section is almost perfect, with just a few small blemishes which is quite decent considering the part cooling fans used.
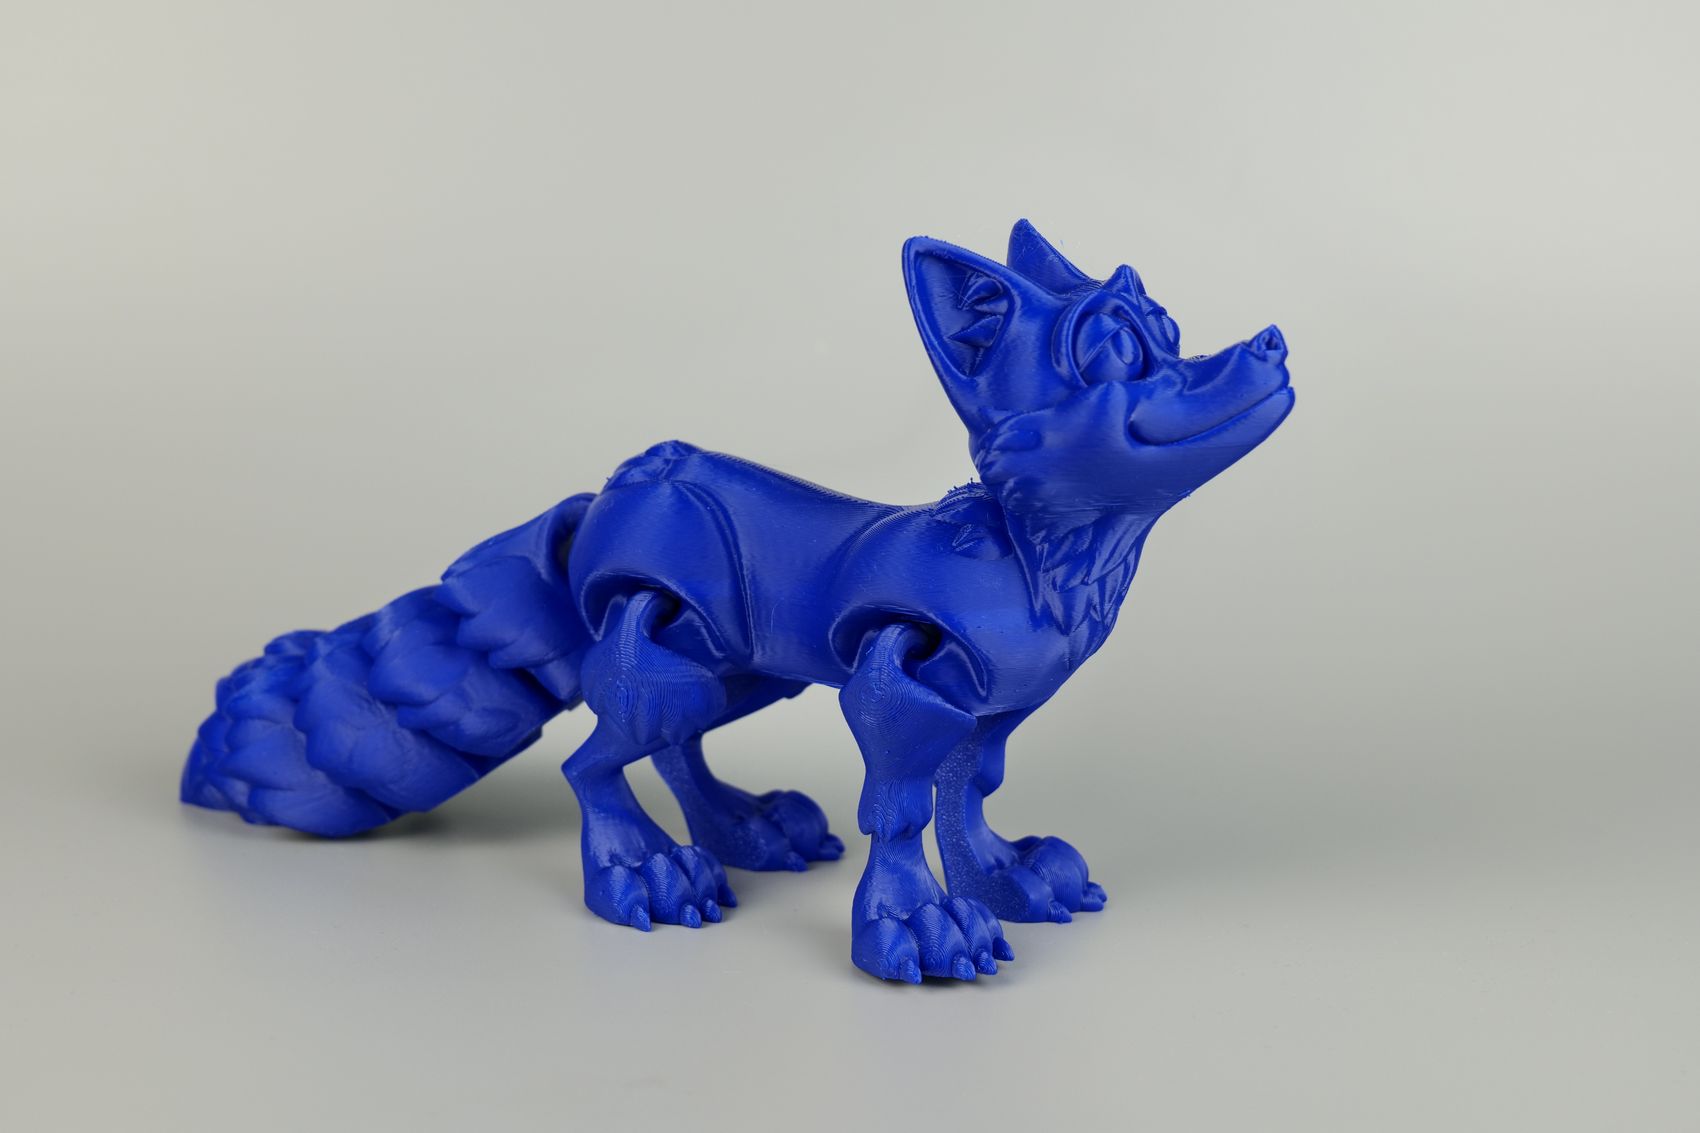
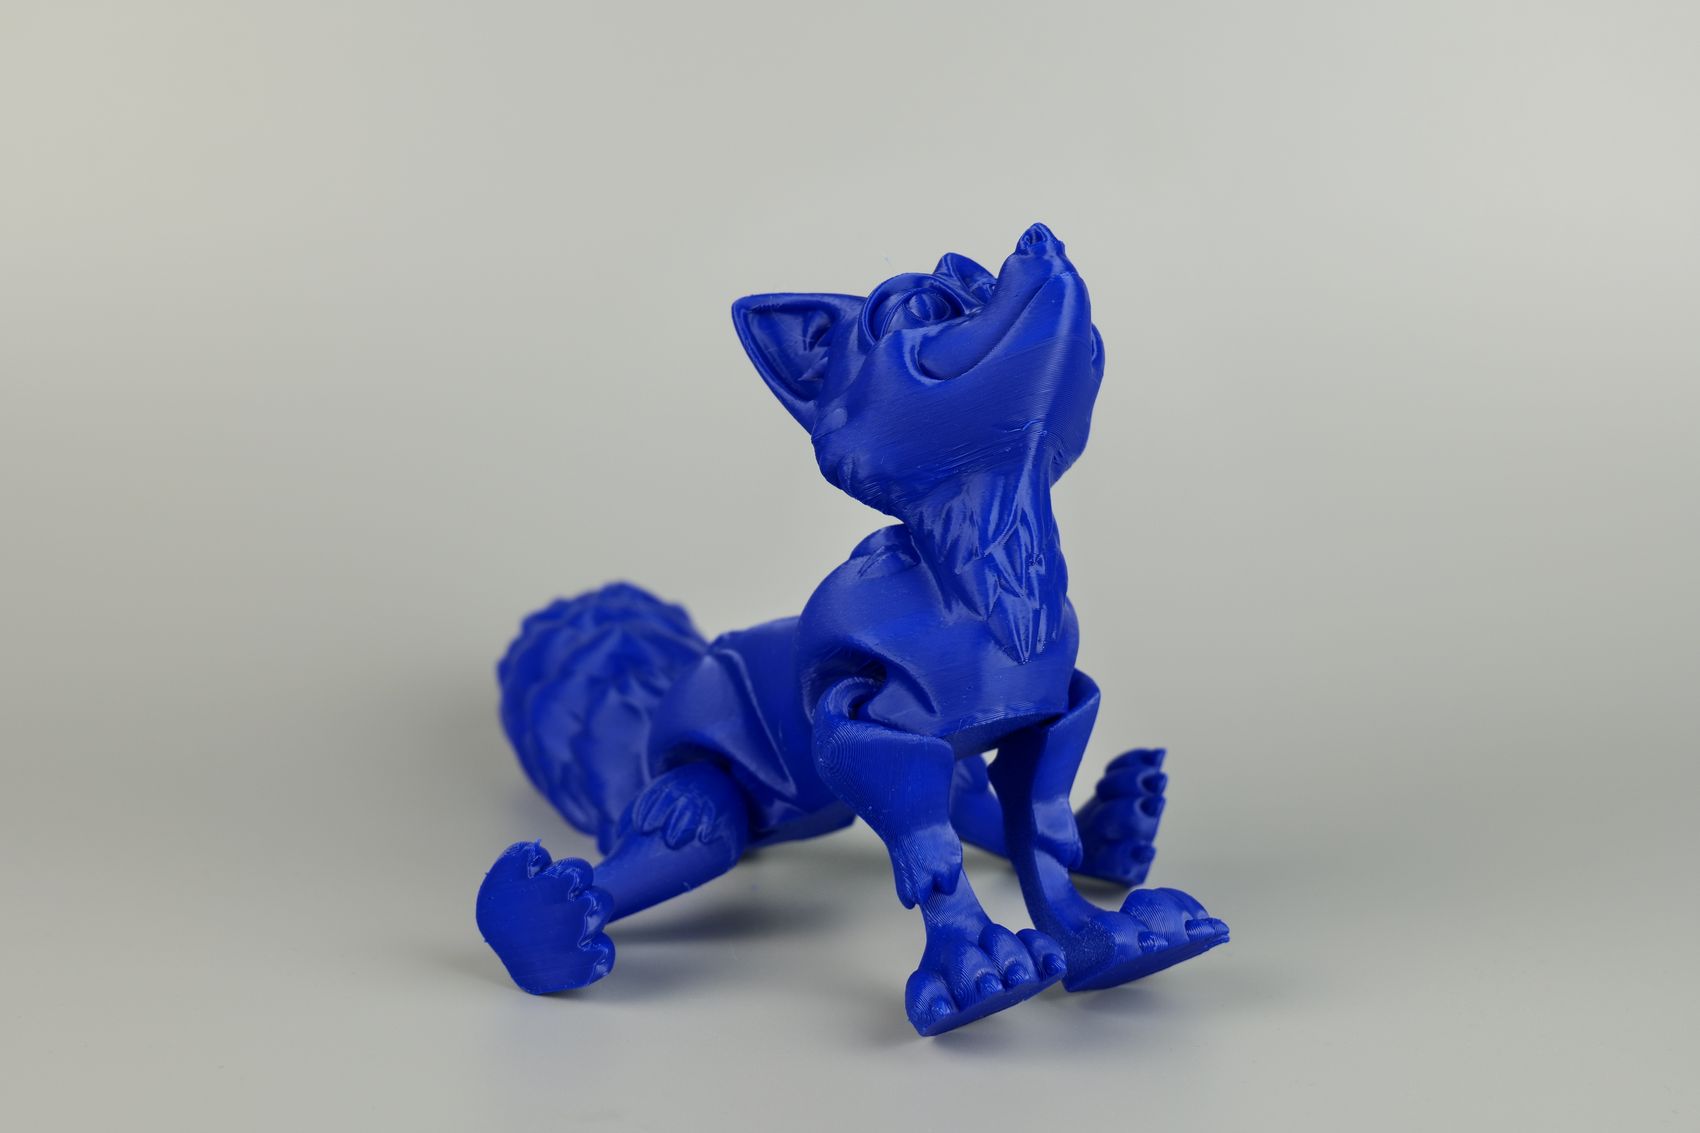
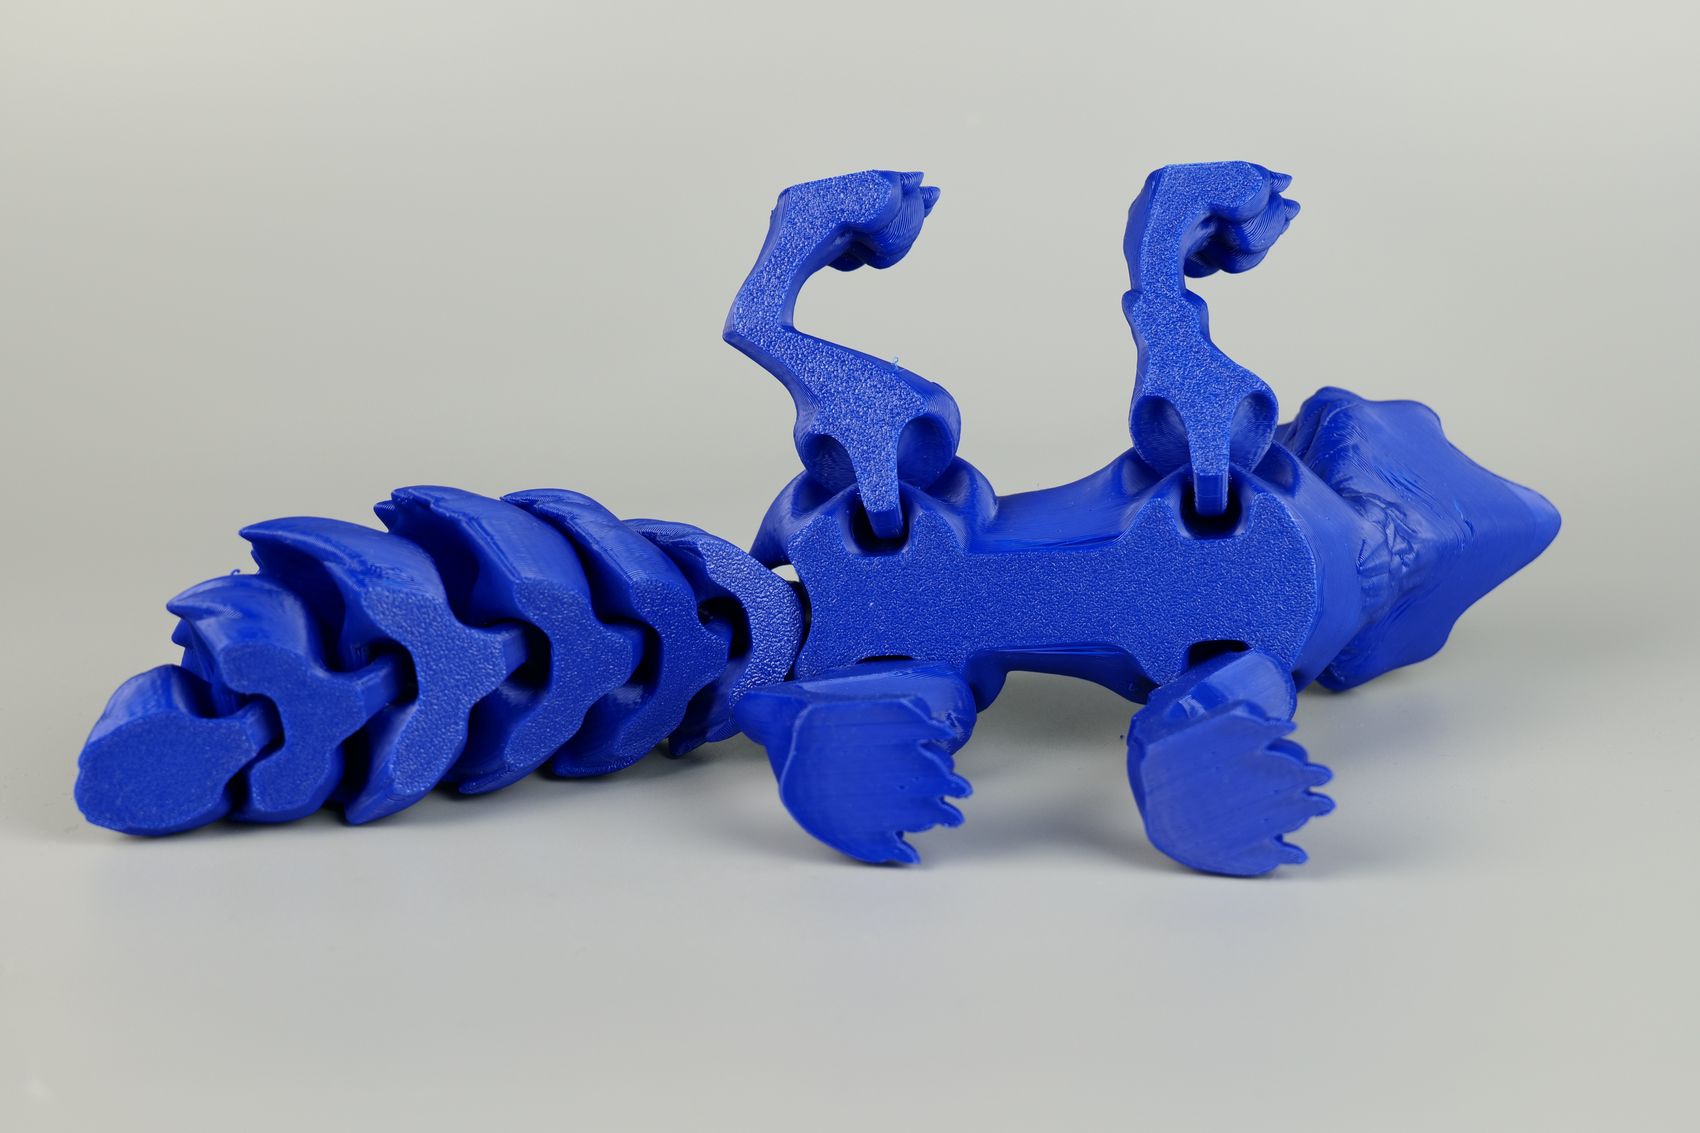
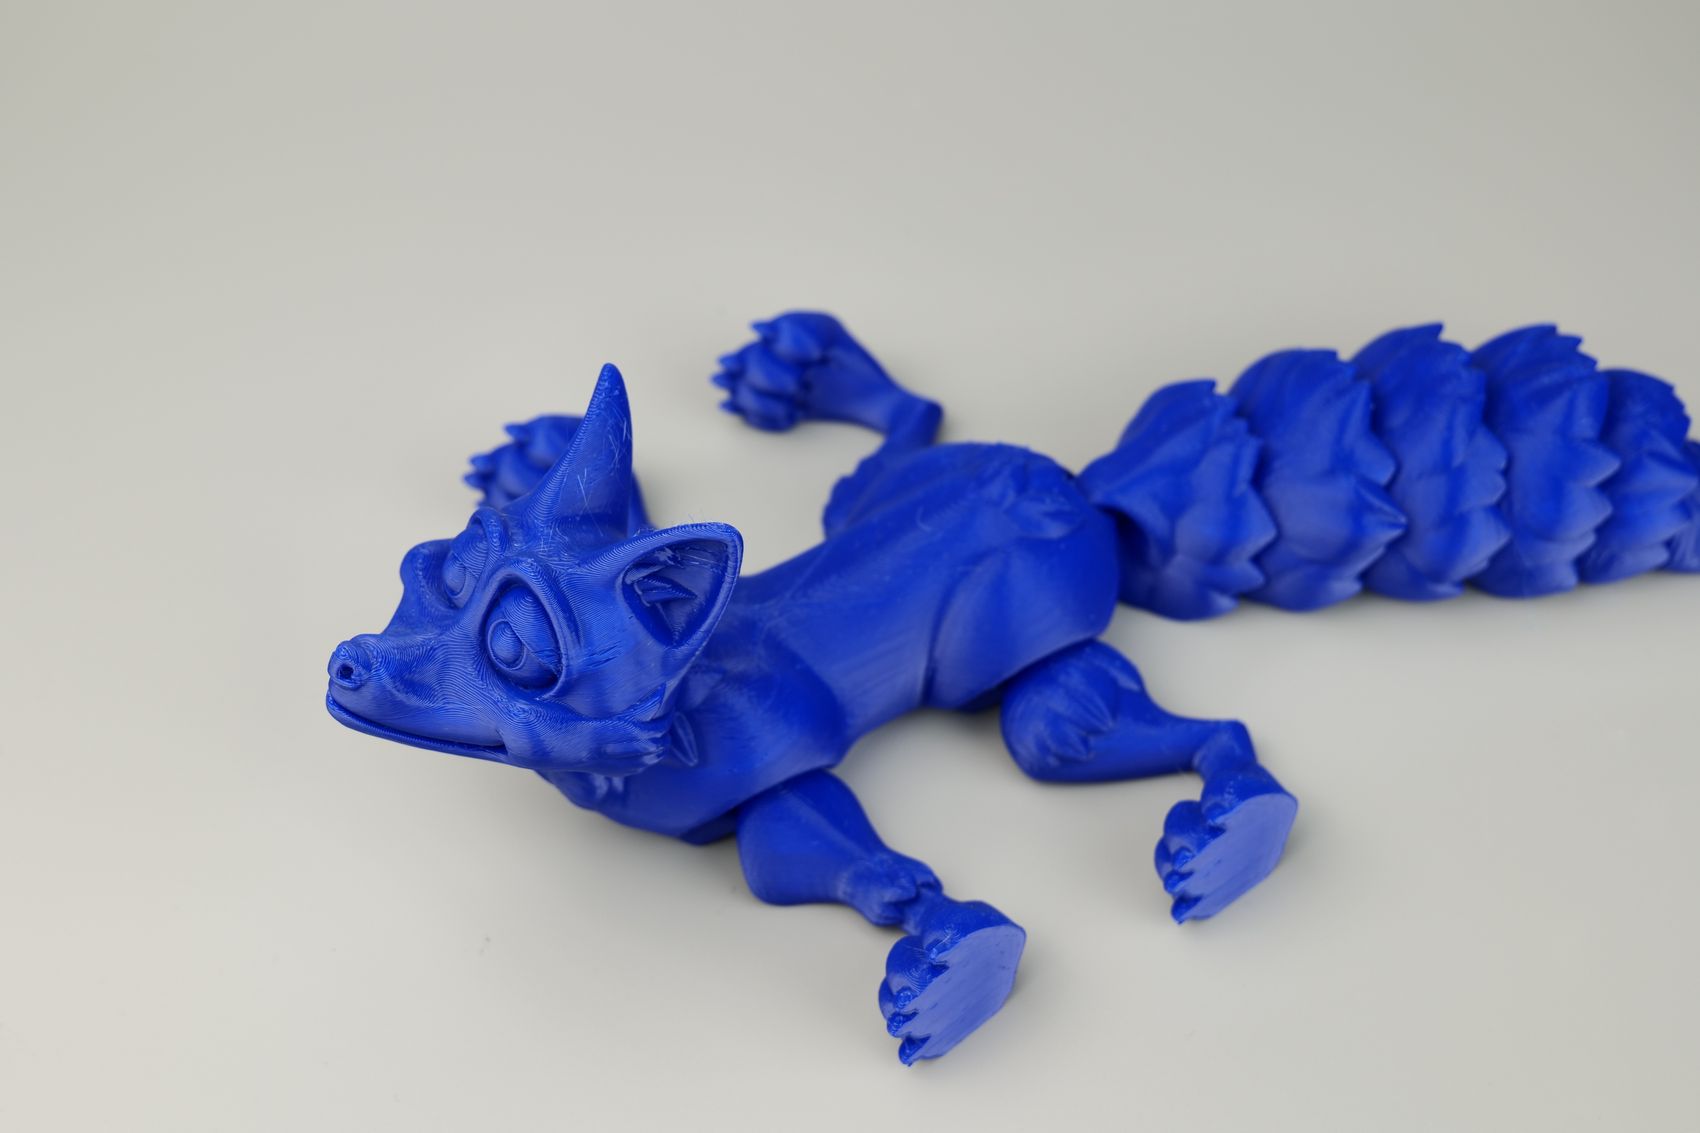
- Material: Bambu Lab Basic PETG Blue
- Layer Height: 0.2mm
- Nozzle Temperature: 260C
- Bed Temperature: 80C
- Print Speed: ~250 mm/s (Normal Profile)
Torture Toaster
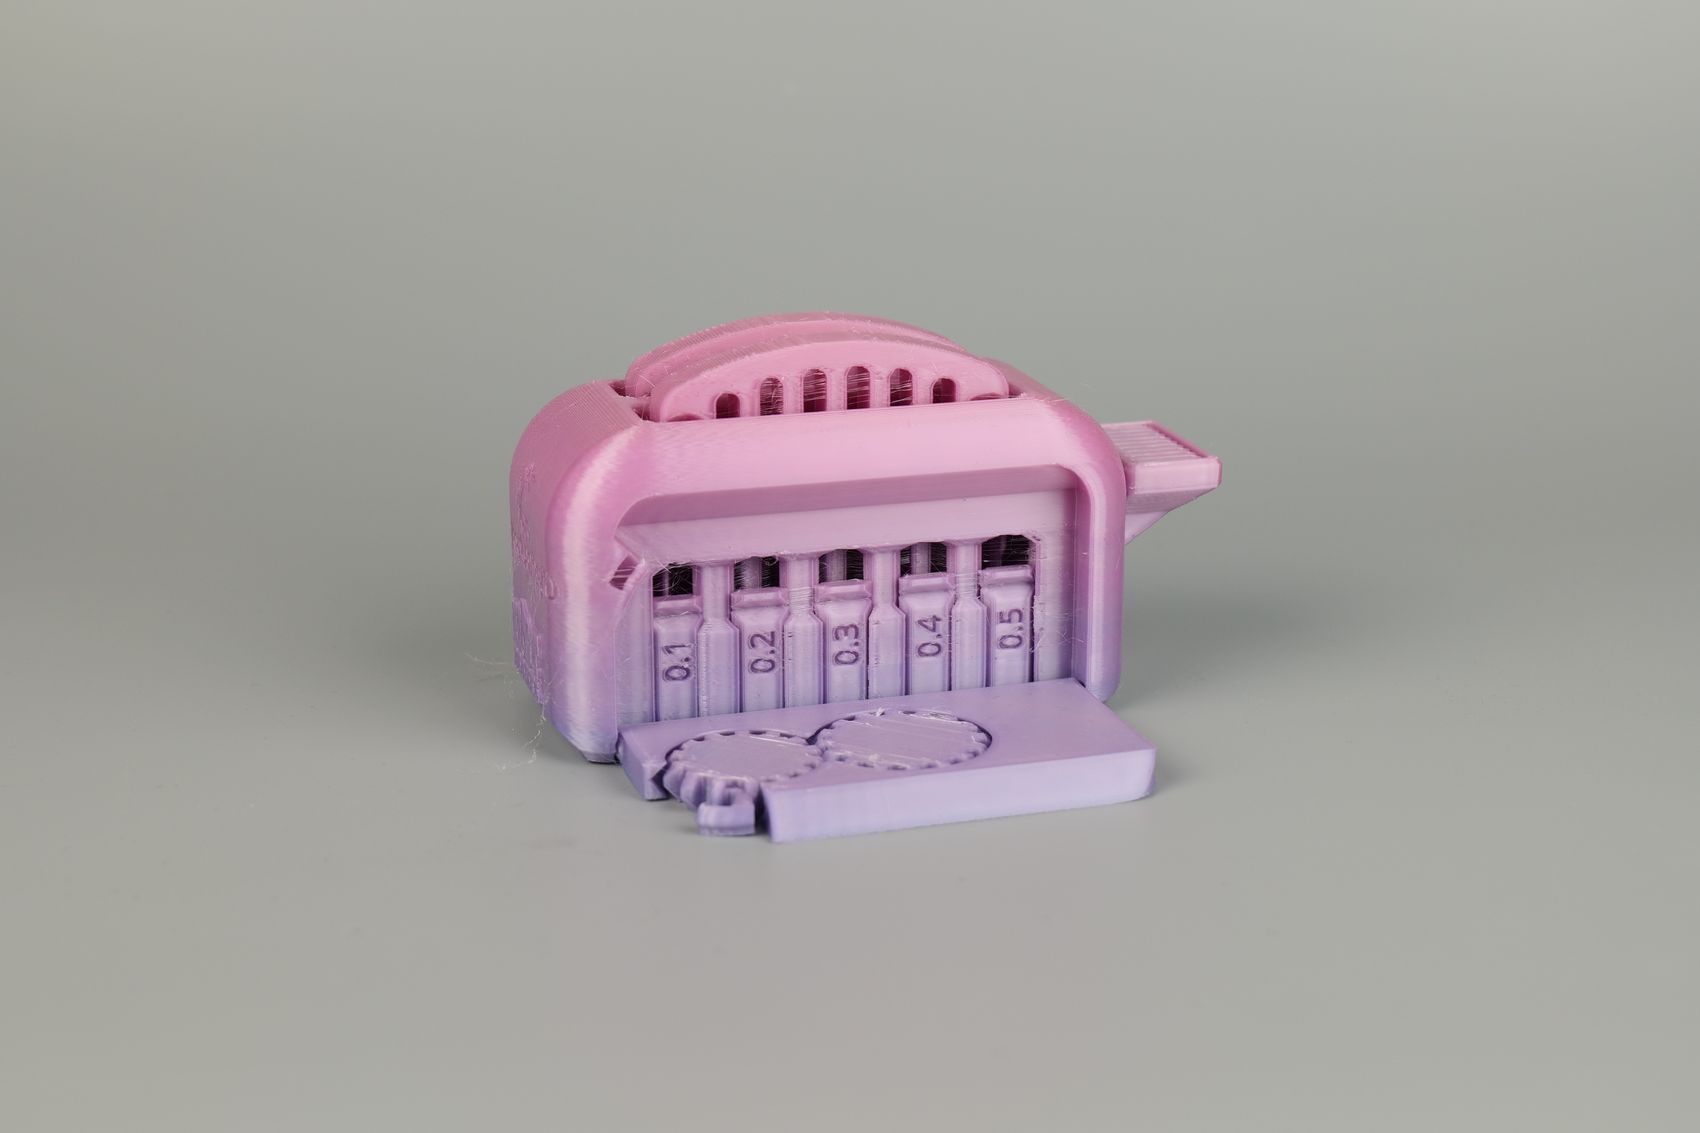
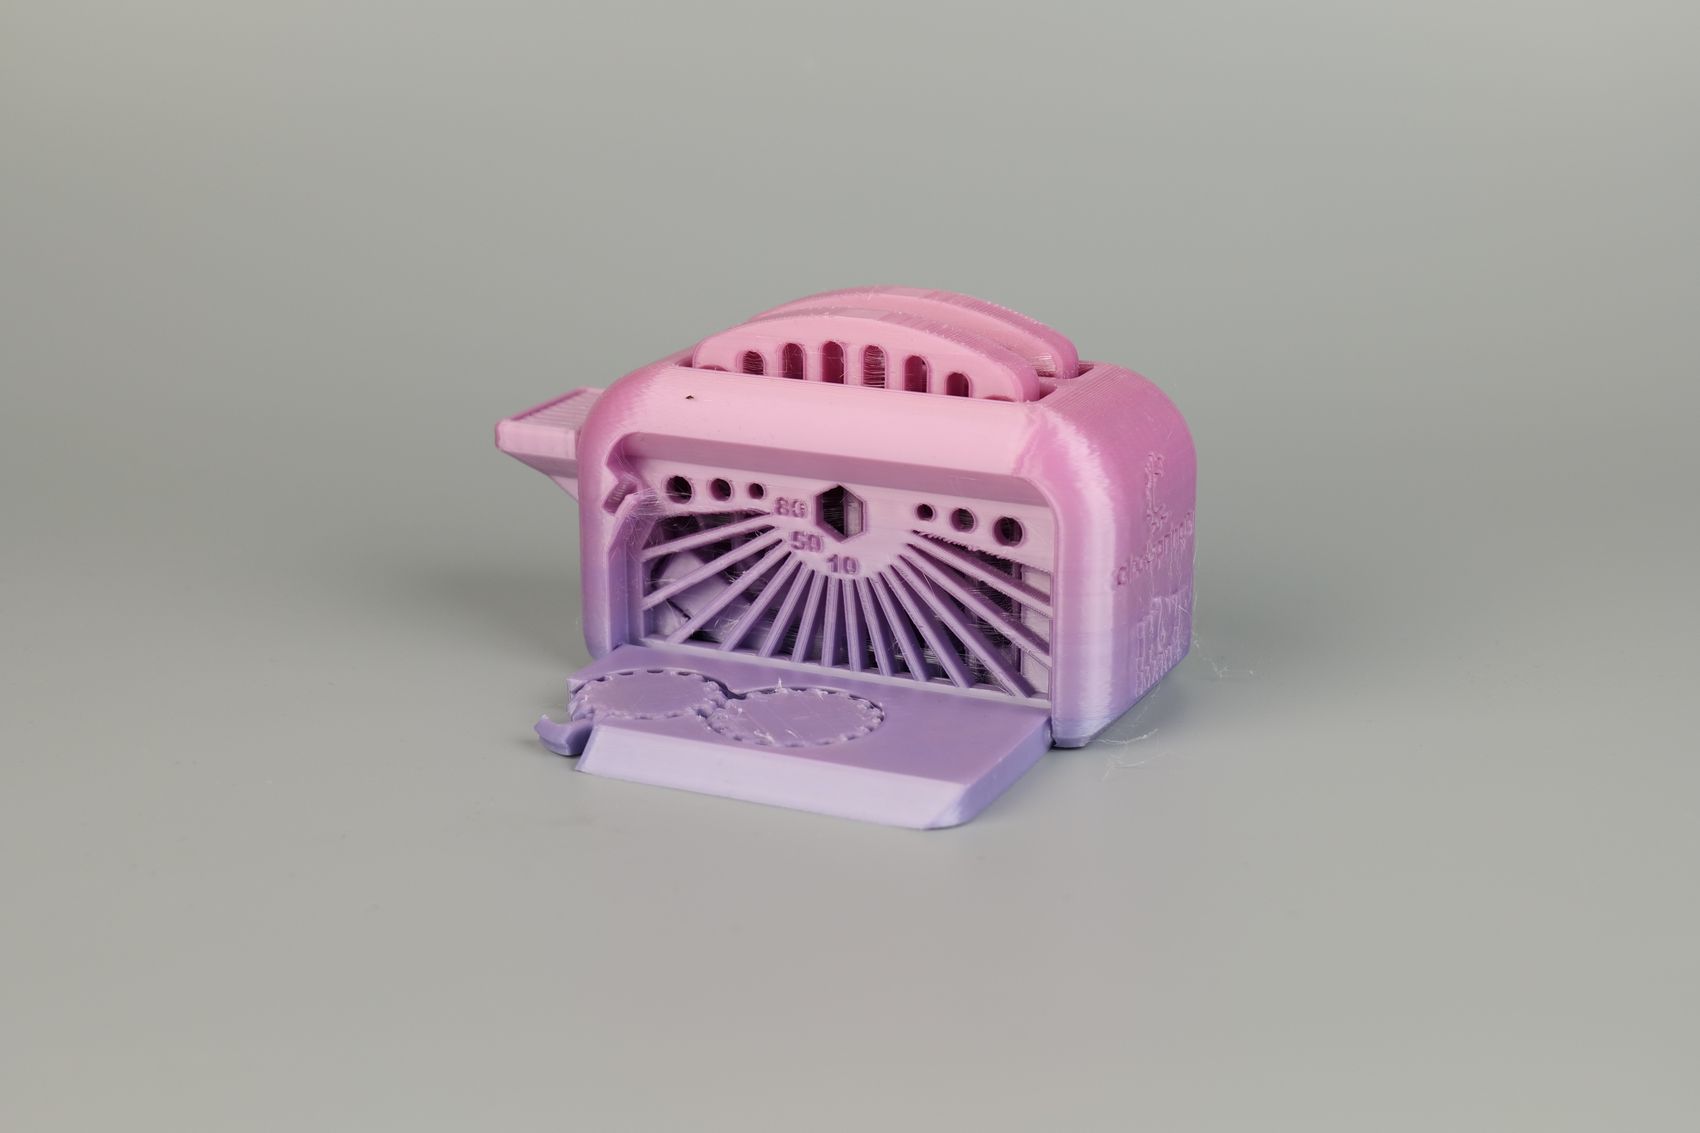
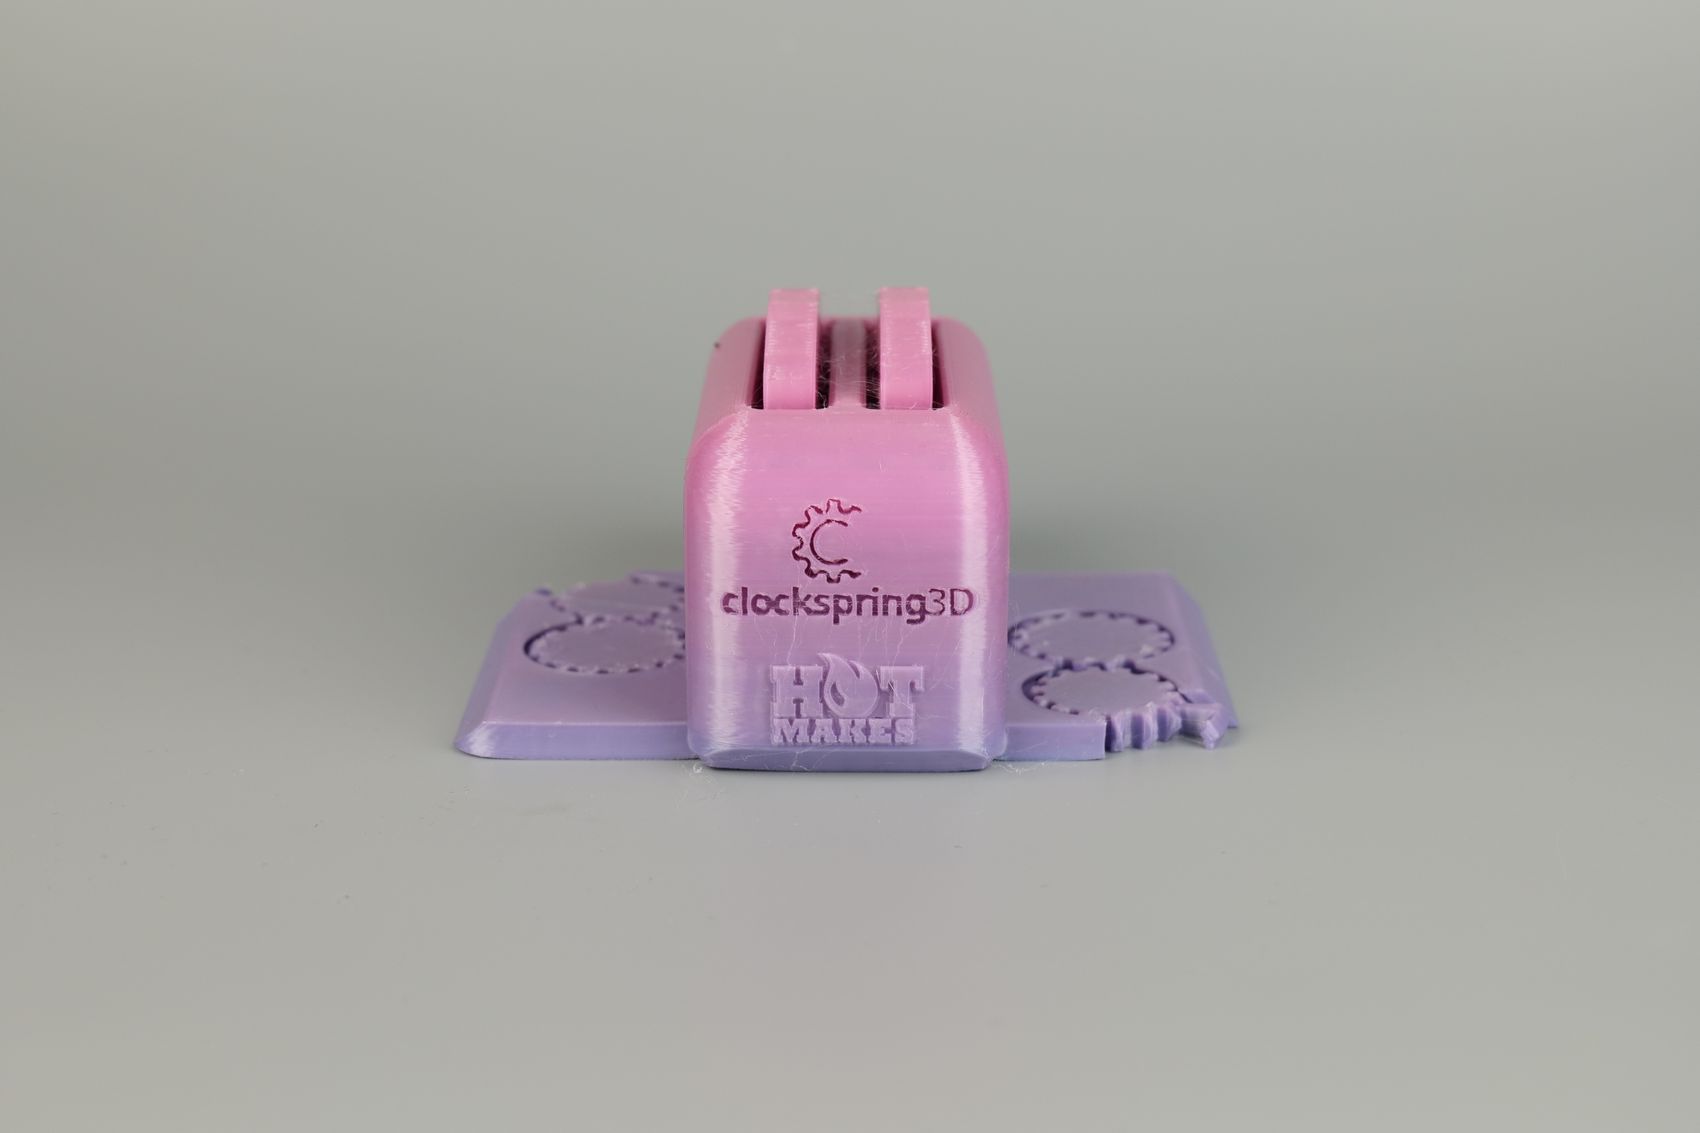
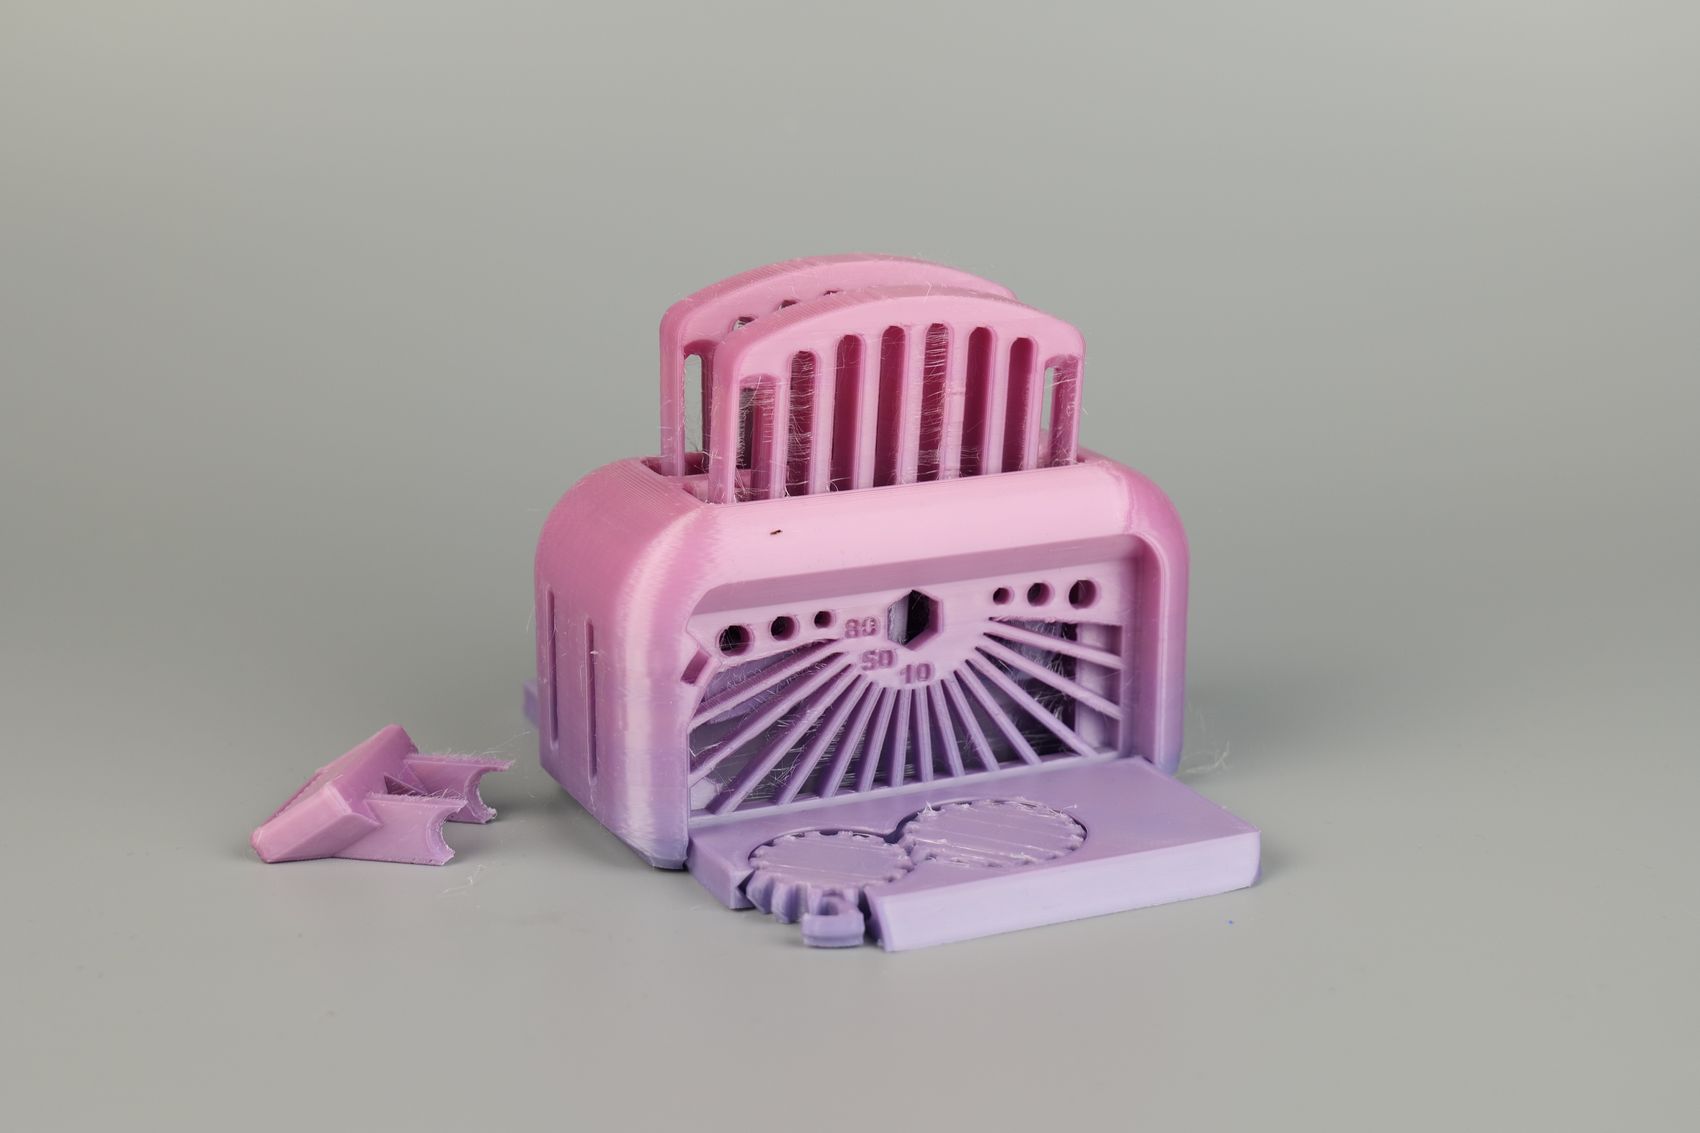
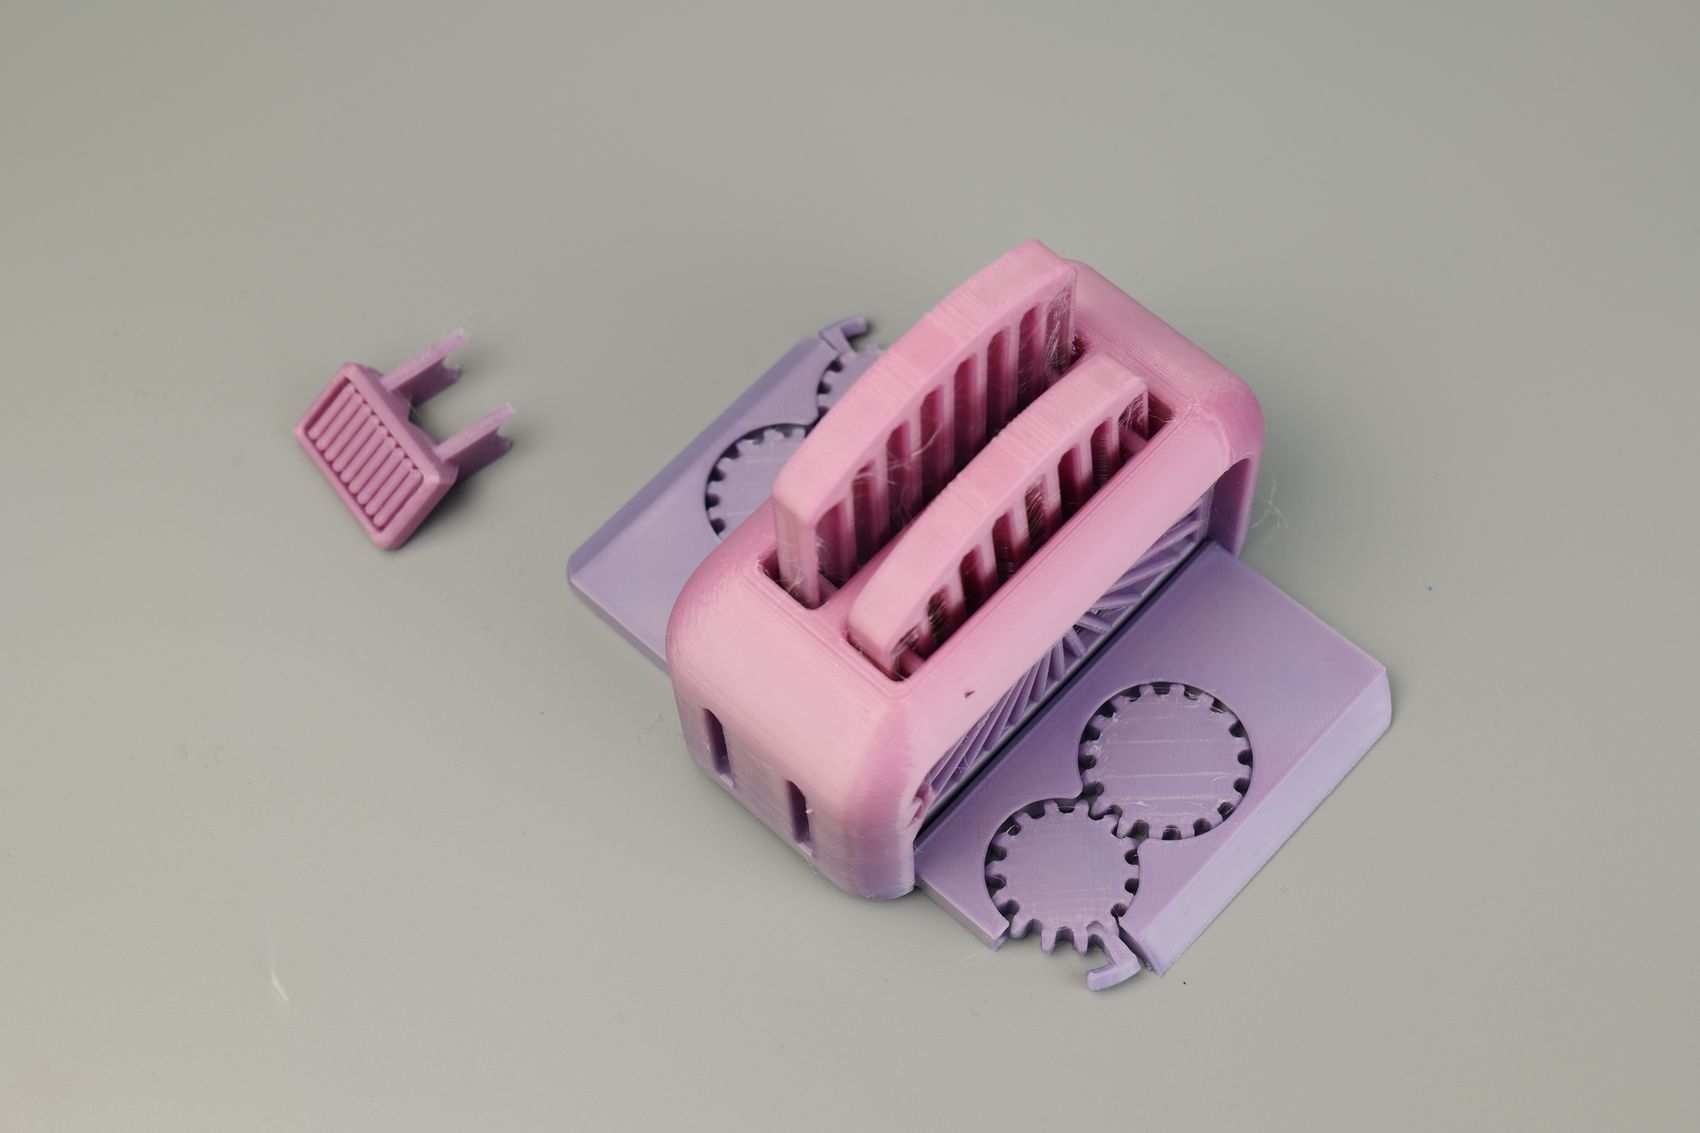
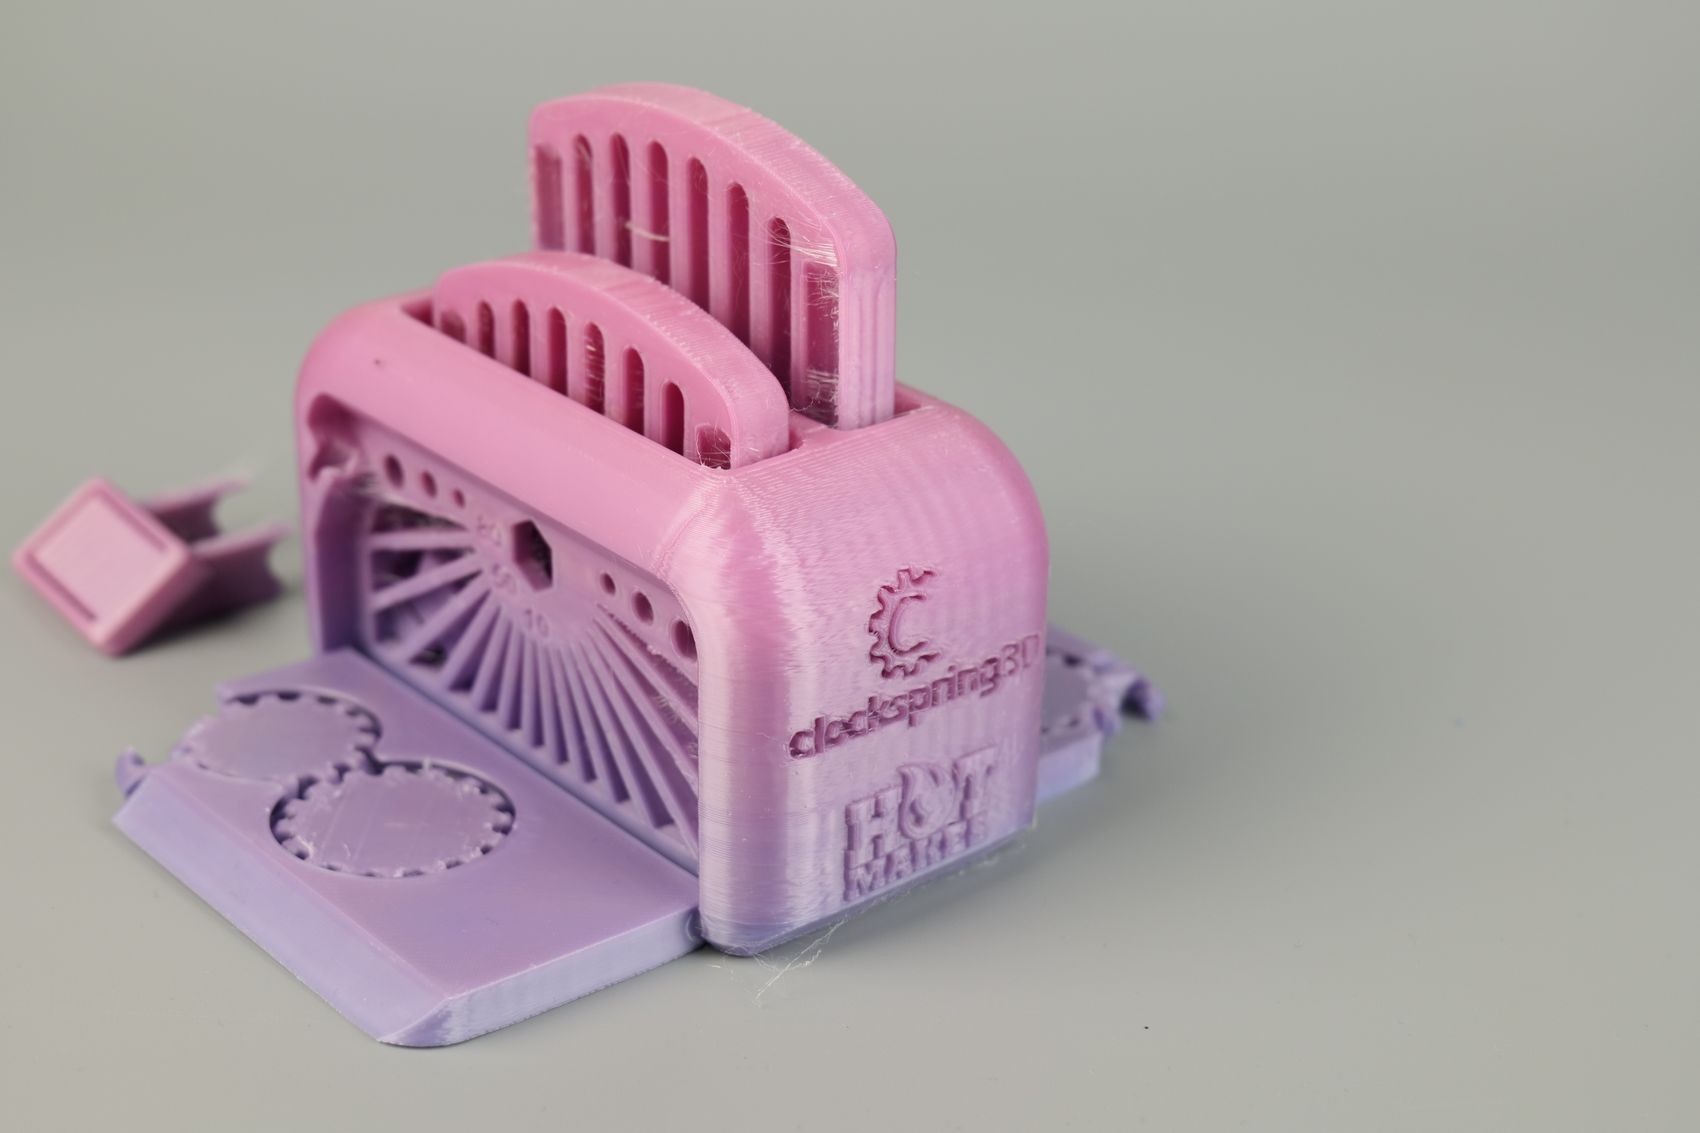
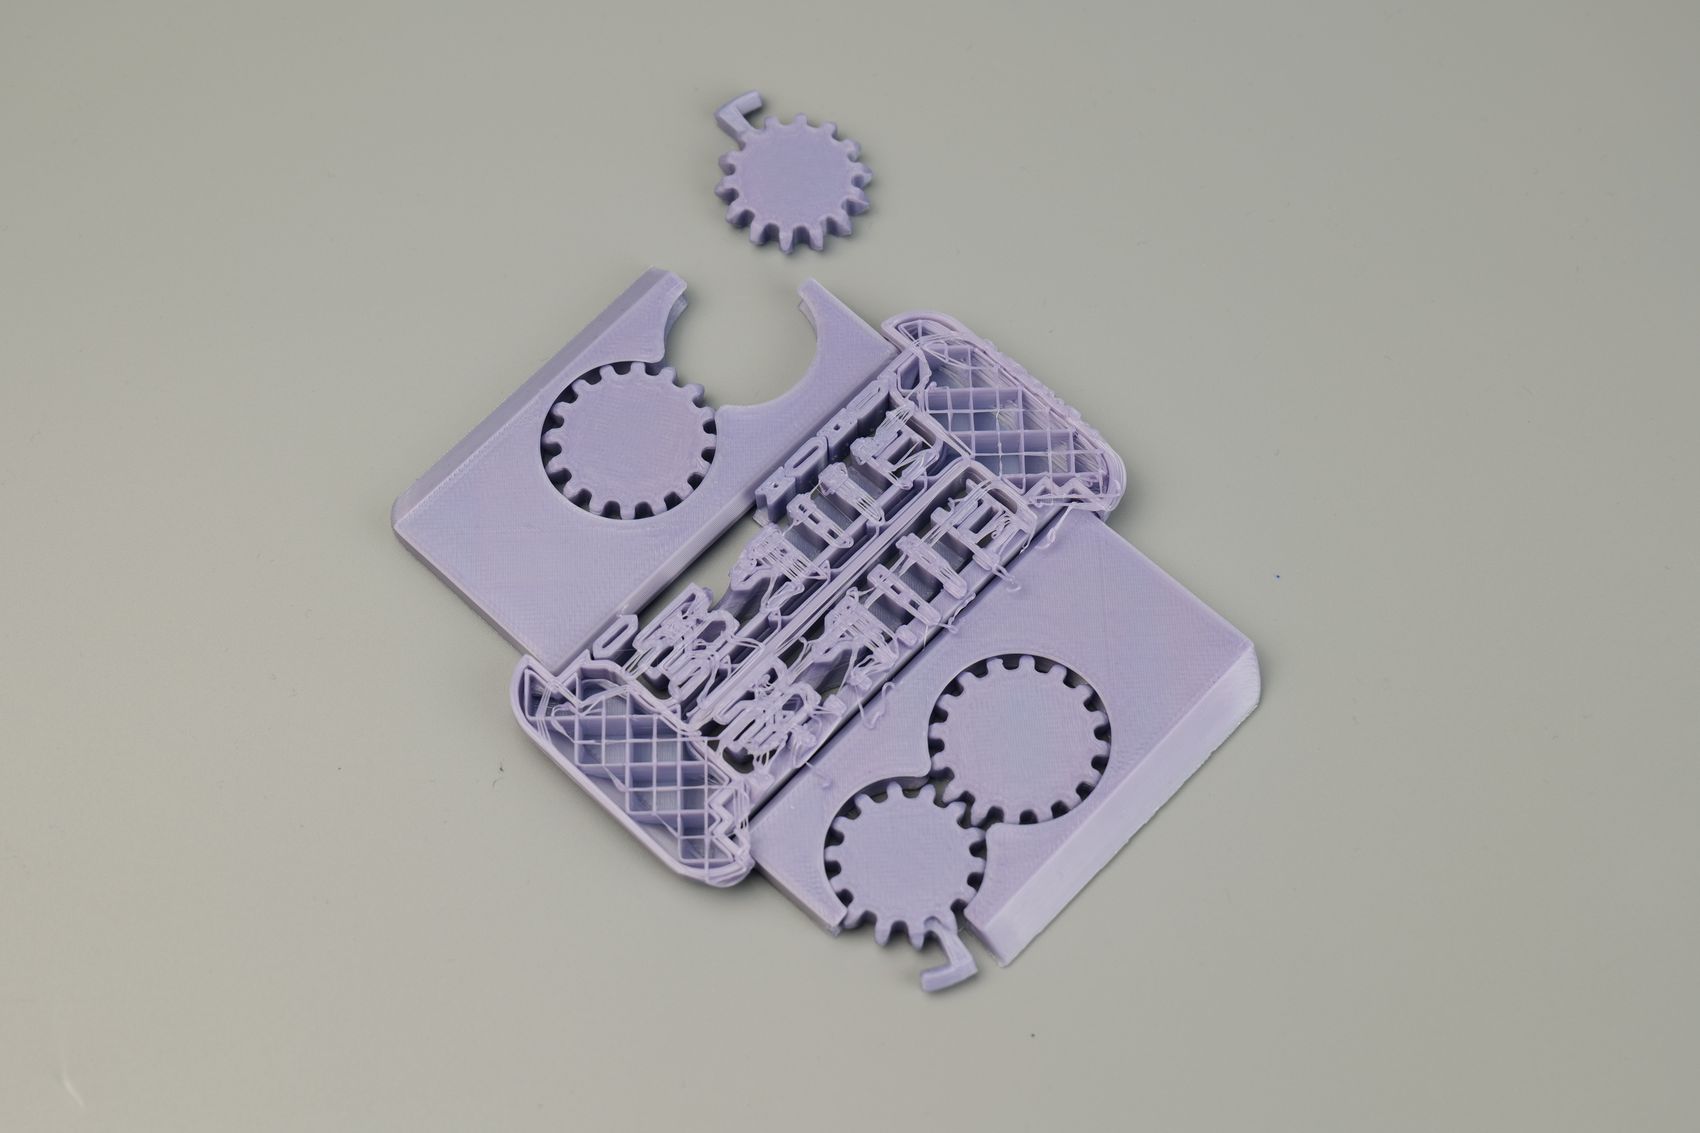
As I regularly do in my reviews, I printed the Torture Toaster to see if the printer could handle it. Unfortunately, this was a failure on the first try, and while the second try seemed fine, it broke when I tried to release the toast.
The model was printed with the Normal profile with the default settings of the PLA+ Silk profile. Because of the higher printing temperature, there’s more stringing present on the overhang sections of the model, and layer bonding is not as good.
- Material: Creality CR-PLA Rainbow
- Layer Height: 0.2mm
- Nozzle Temperature: 230C
- Bed Temperature: 60C
- Print Speed: ~250 mm/s (Normal Profile)
Rugged Box
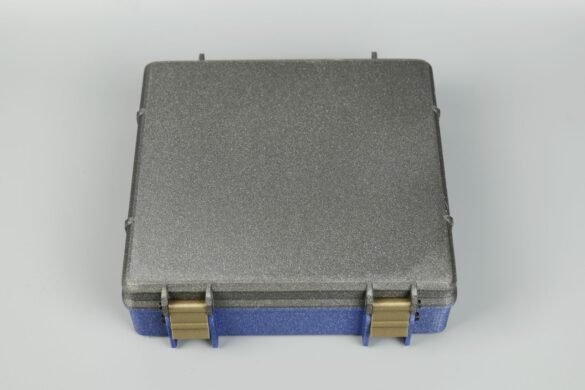
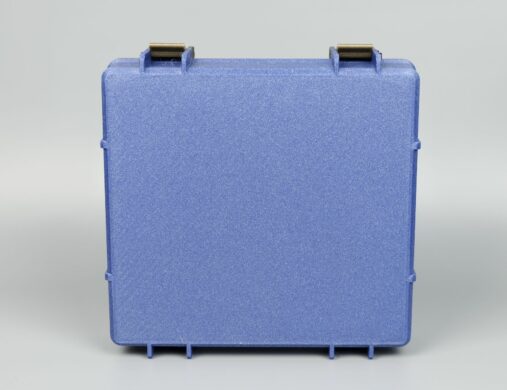
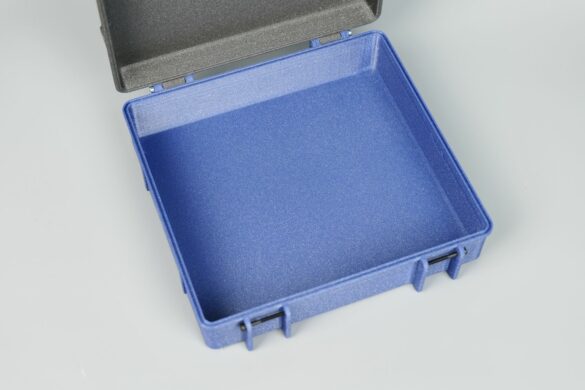
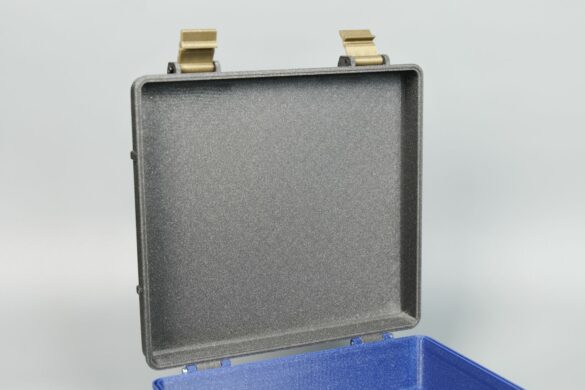
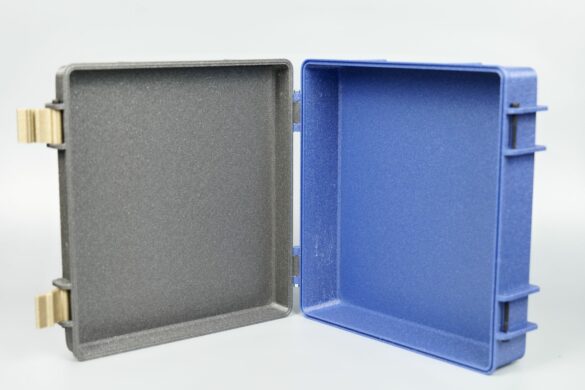
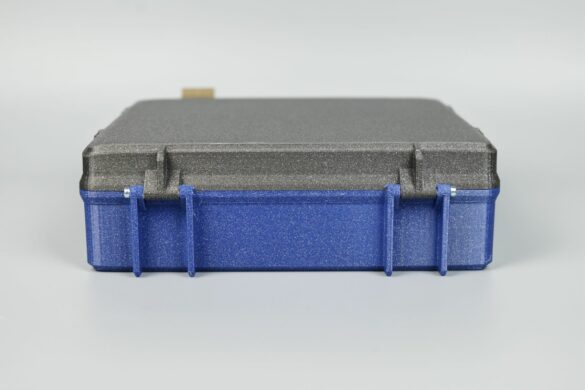
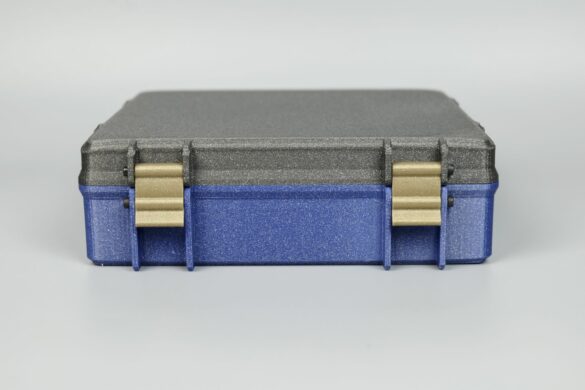
Finally, I printed the Rugged Box from Whity on Printables. I printed this box with different color filaments, but in both cases the corners have lifted during printing. The issue is not very big, but still significant enough to be mentioned. All prints that have a smaller contact surface have had good adhesion, but when printing this box which takes the entire surface of the bed, the adhesion failed.
- Material: FilamentOne Glint PLA
- Layer Height: 0.2mm
- Nozzle Temperature: 230C
- Bed Temperature: 60C
- Print Speed: ~250 mm/s (Normal Profile)
Conclusions: Is the AnkerMake M5C worth it?
The price of the AnkerMake M5C is ~399 USD but you can get it with about 50$ off most of the time. For this price, and the experience provided to a newcomer to 3D printing, I think it’s not a bad deal. Pricier than other printers out there, but it earns more points for being very easy to set up and use.
You can get a slightly better machine for this kind of money, but that also comes with more complex features or the requirement to understand the entire machine better. For a beginner in 3D printing, the AnkerMake M5C provides a very simple entry point to this hobby while also working fine most of the time.
If AnkerMake launches a new slicer based on Prusa Slicer, with a lot of fine-tuned filament profiles for various consumables on the market to make it easy to use, then I don’t see why not to buy one as a complete beginner. I believe that one of the main drawbacks of this machine at the moment is the less-than-ideal print quality you get with the pre-loaded profiles and the slicer is not as good.
Of course, if you wish to spend more and still want a very easy-to-use 3D printer, the P1P from Bambu Lab is still very hard to beat when it comes to price and features. But that’s also almost double the price of the M5C.
In the end, if you are a person who has never used a 3D printer and you also don’t want to spend too much time learning how to do it, I think the AnkerMake M5C can be a good place to start. It’s not a perfect machine and there’s still work to be done on the slicer side, but for a beginner with a lower budget, it could be acceptable.
AnkerMake M5C Rating
Design
Specs
Noise levels
Ease of use
Print quality
Price
The AnkerMake M5C can be a good printer for a complete beginner, but it lacks the software polish on the slicer side, requiring fine tuning of the profiles to get a good result which is not something beginners will know or want to do.
Where to buy the AnkerMake M5C?
The AnkerMake M5C was provided free of charge by AnkerMake for the purpose of this review. While the article includes affiliate links, all opinions are my own. Nobody reviewed the article before it was posted, following the Review Guidelines.
Liked it?
|
|



You can leave a comment for this article on the 3DPrintBeginner Forum