Creality Sermoon P1 Hands-On Review
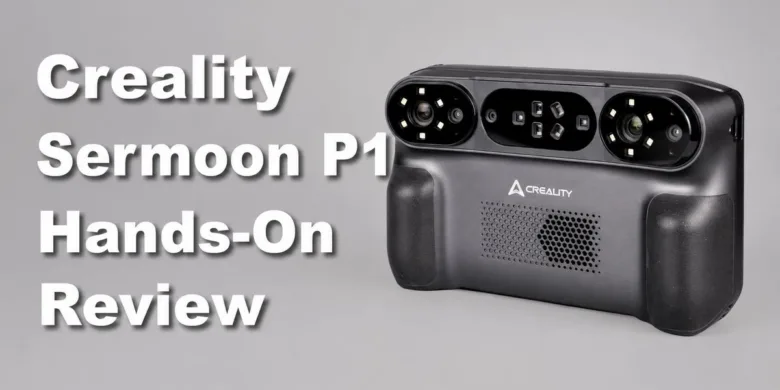
The Creality Sermoon P1 is one of Creality’s latest 3D scanning offerings, combining blue laser scanning, infrared structured light, a built-in computer, a touchscreen, and removable batteries in a single portable device.
You don’t need to keep the scanner connected to a laptop if you need to use it on the go. Projects can be scanned, processed, meshed, and exported directly from the P1. A computer is still useful for larger projects and advanced editing, but it is not required for every scan. This makes workshop, outdoor, automotive, and on-site work much easier.
Considering its price, the Sermoon P1 is aimed at professionals, advanced users, and businesses that can use its accuracy and portability. So let’s check it out!
Creality Sermoon P1 Packaging and Accessories
The Sermoon P1 arrives in a sizable box, with the scanner and accessories stored inside a grey semi-rigid carrying case with the Creality marking on the top. The case is well made and has shaped sections that keep the equipment from moving around during transport.
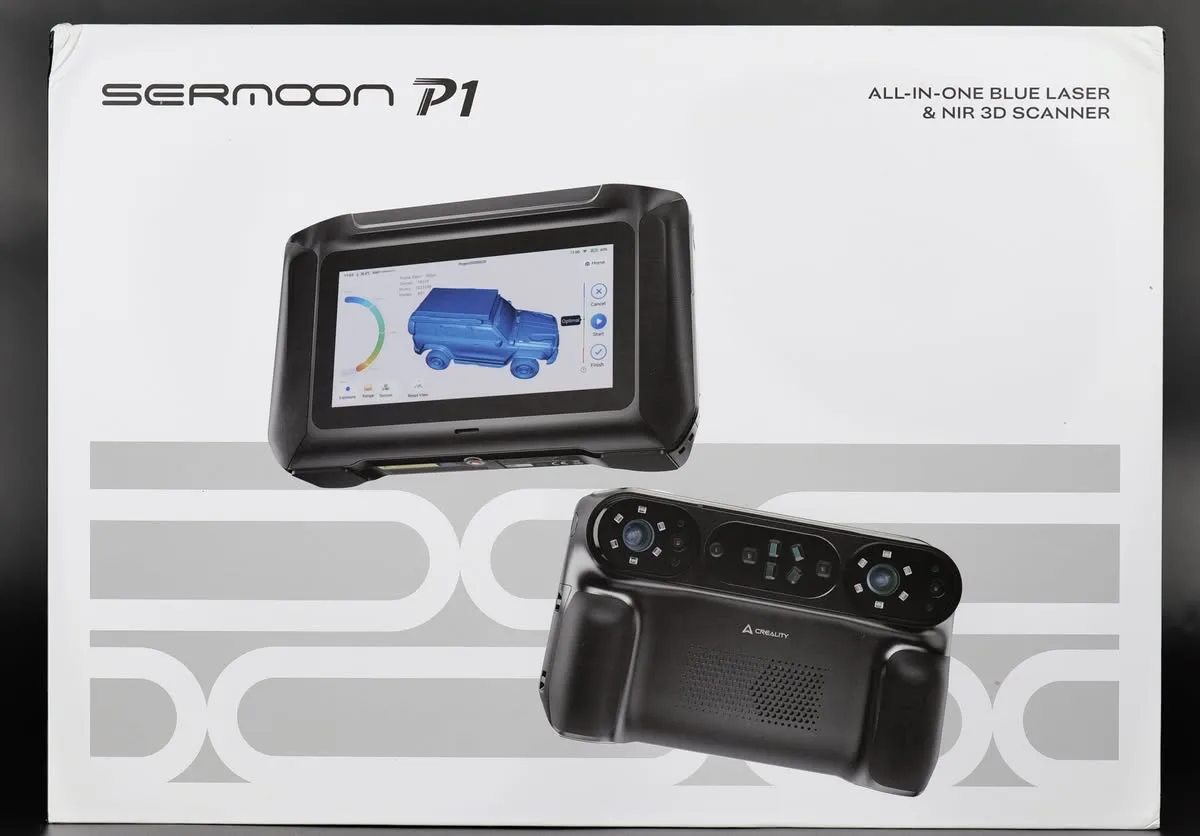
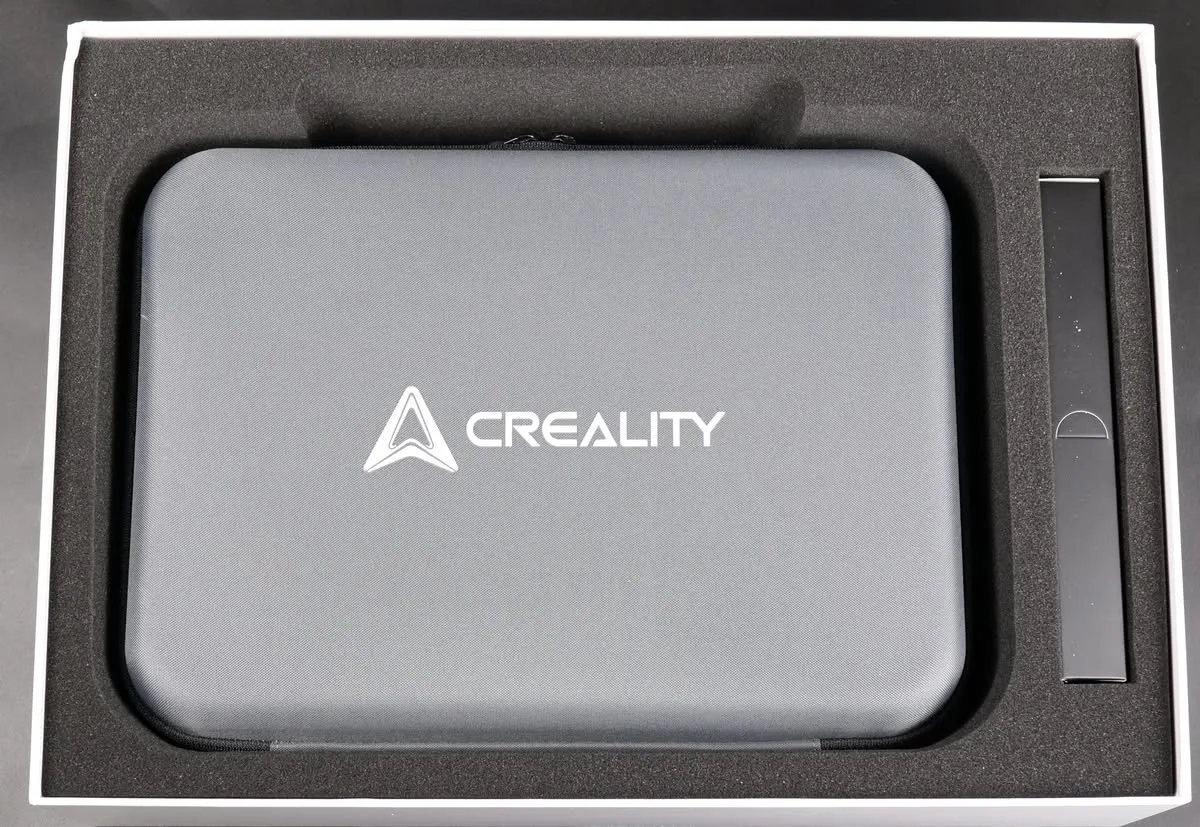
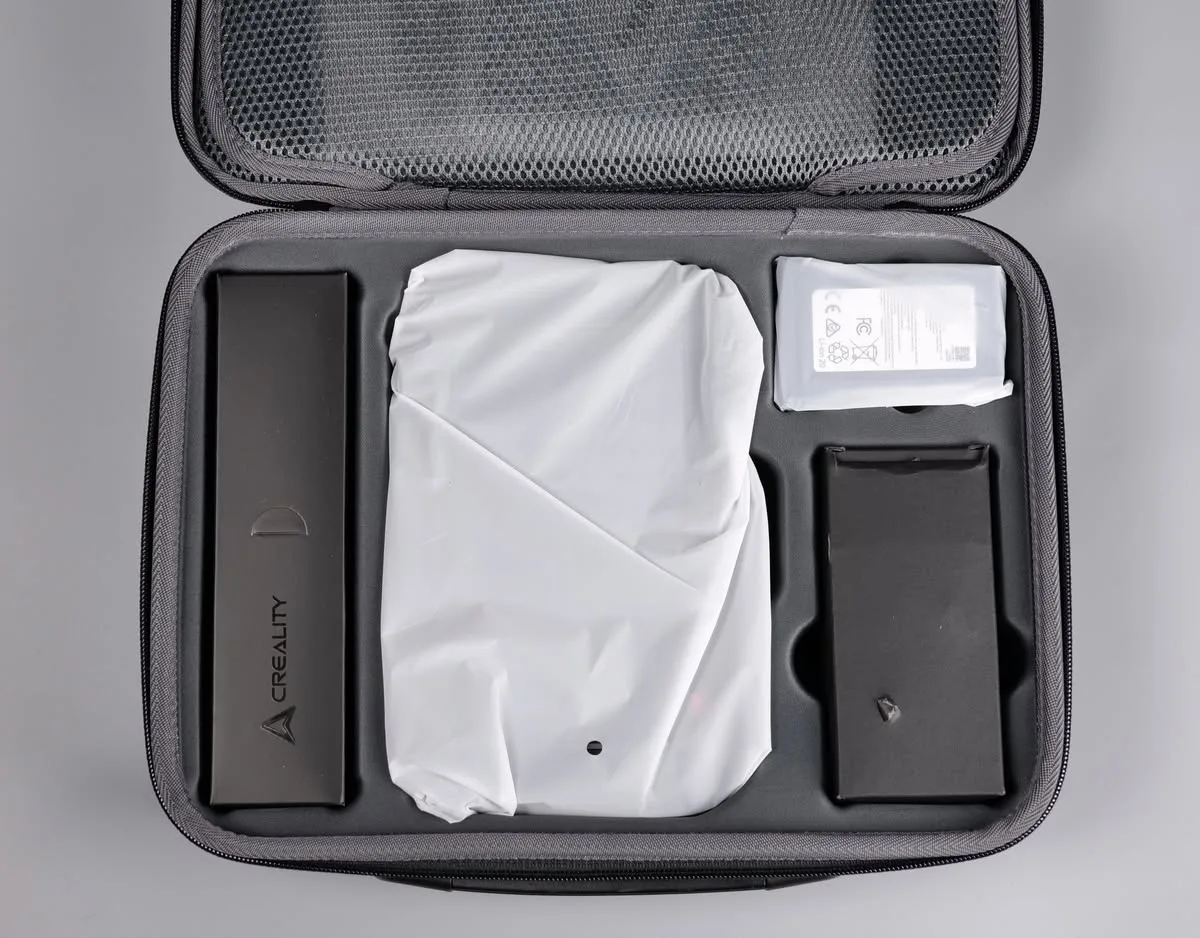
Inside the case, you get the Sermoon P1 scanner, a high-precision glass calibration board, a power adapter with regional connectors, a 2-meter USB 3.0 Type-C cable, reflective marker sheets in two sizes, a spare battery, a lanyard, a cleaning cloth, and the usual documentation.
Including a second battery is important. The P1 is designed for mobile use, and a fixed internal battery would limit longer scanning sessions. With two batteries in the box, you will have a spare to extend the scanning time. Overall, the package feels suitable for a professional product and is easy to carry between work areas.
Creality Sermoon P1 Design and Build Quality
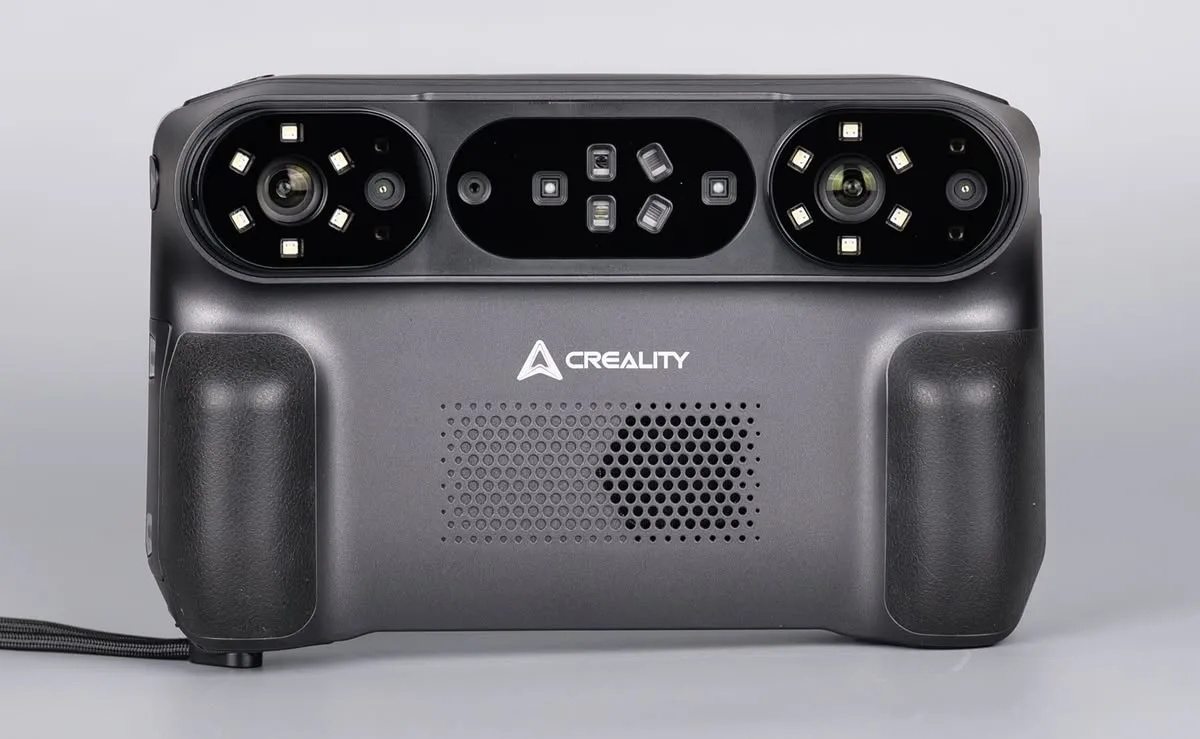
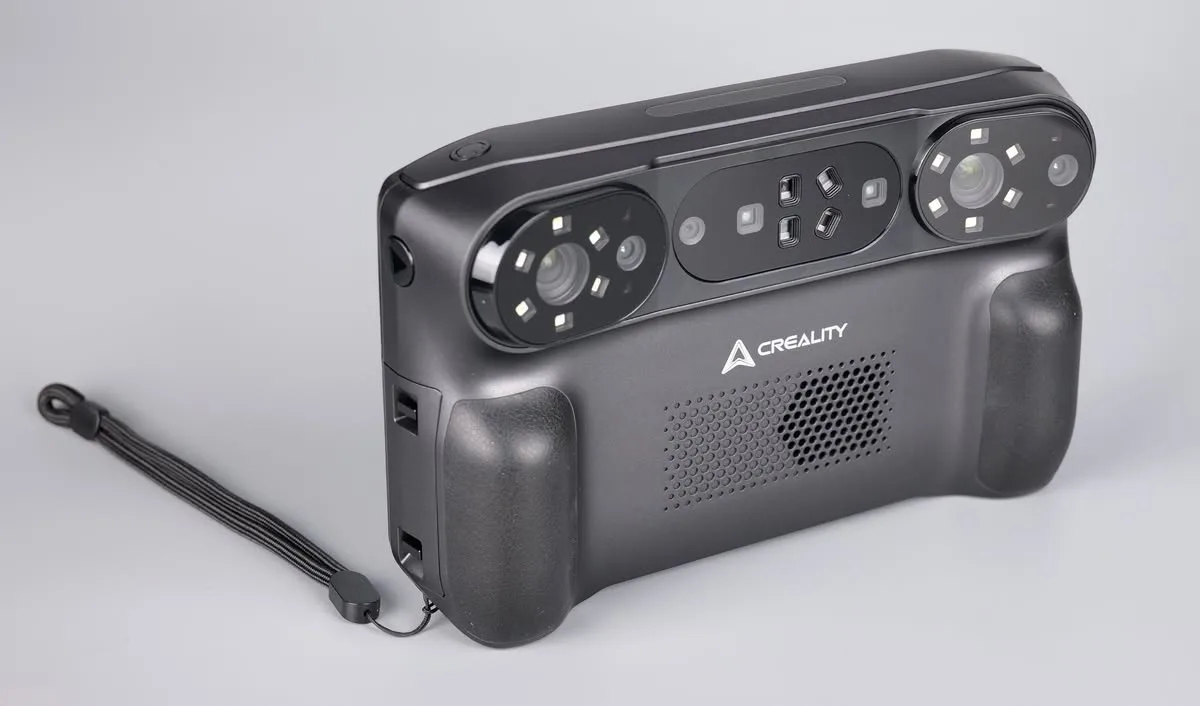
The P1 looks like a thick tablet or a large phone with a scanning system mounted on the front. As you can see, the front side has all the cameras and sensors for scanning, the comfortable soft grips on the sides, and right in the middle, there’s the air intake fan.
The scanning system includes an RGB camera, four infrared fill lights, two high-precision cameras, two wide-angle cameras, the laser projectors, and 12 blue and white fill lights.
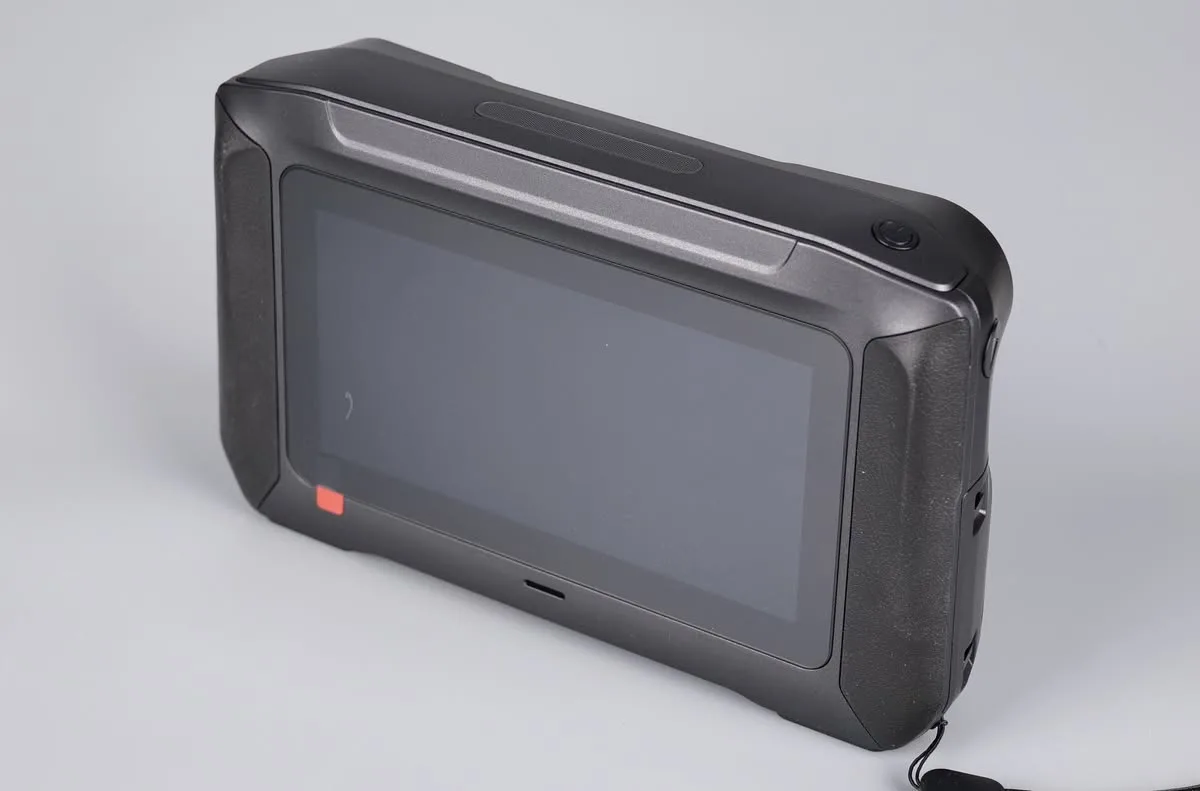
The 6-inch touchscreen covers most of the rear. It’s not a huge screen, but it gets the job done.
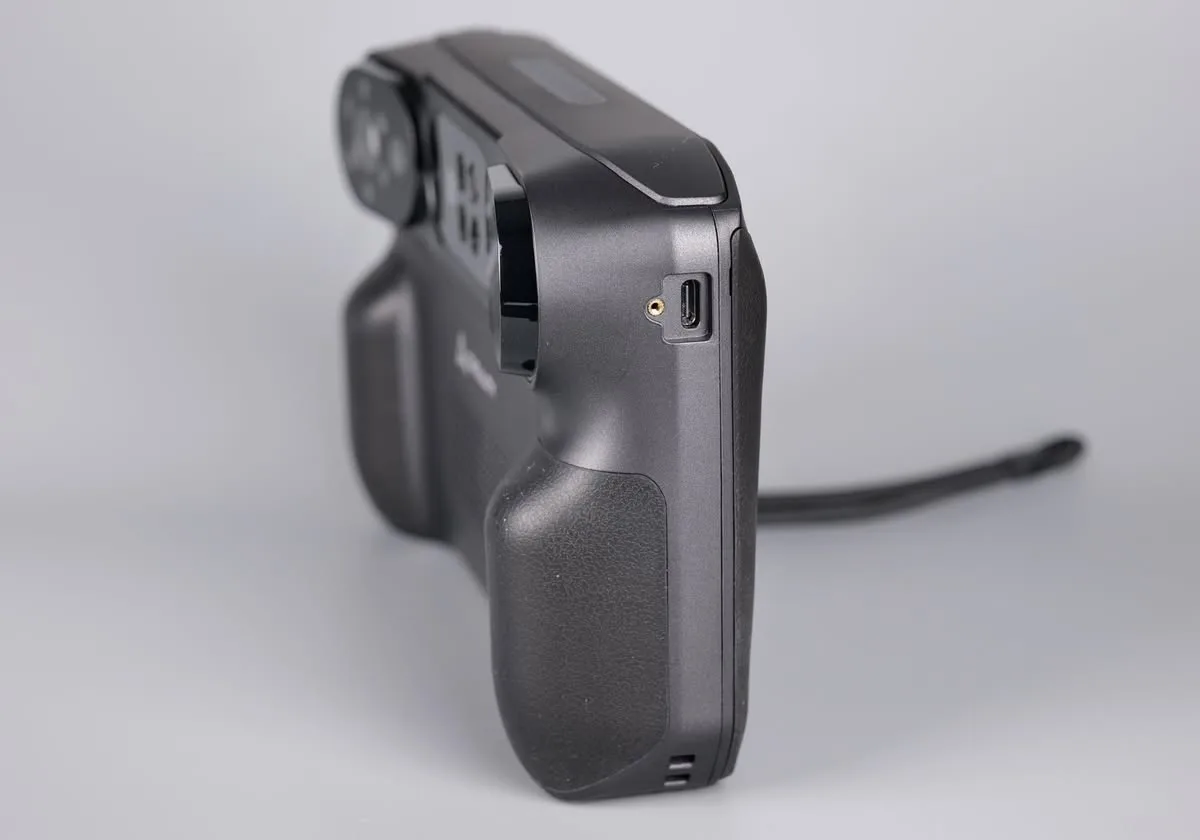
On the left side there’s the USB C port which can be used for charging or to connect the device to your computer for faster scanning. Towards the bottom section there’s a secondary lanyard attachment point.
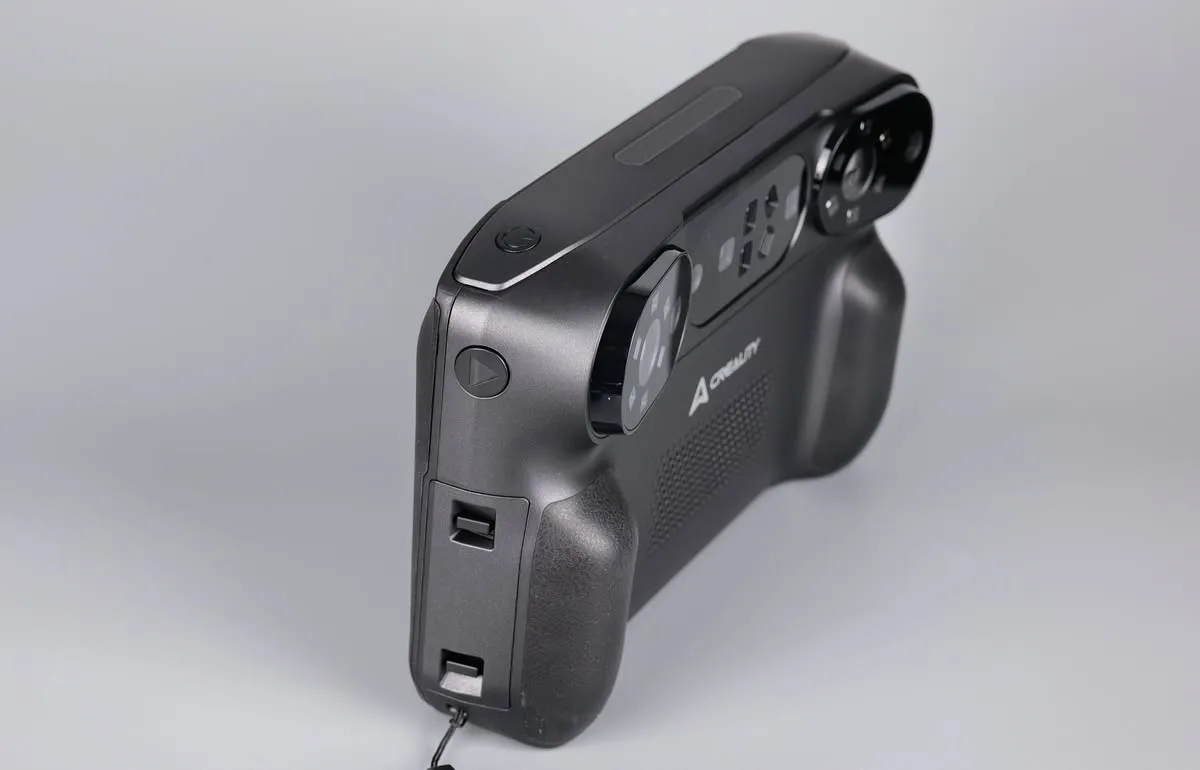
On the right side, there is a “Play” button that can be used for starting and stopping the scan. To be honest, the placement is a bit annoying, as the Power button is more accessible at the top. I would have liked to have the Start Scan/Stop Scan button at the top, for easier access and the ON/OFF button on the sides. With that said, most controls are on the touchscreen so that’s not a huge problem.
Under this button, you can find the removable battery which is fitted into one of the grips. It works well, but the release buttons are quite stiff and can be slightly awkward to press, especially if you have bigger fingers. This is a small annoyance rather than a serious problem, and the benefit of a replaceable battery is worth it.
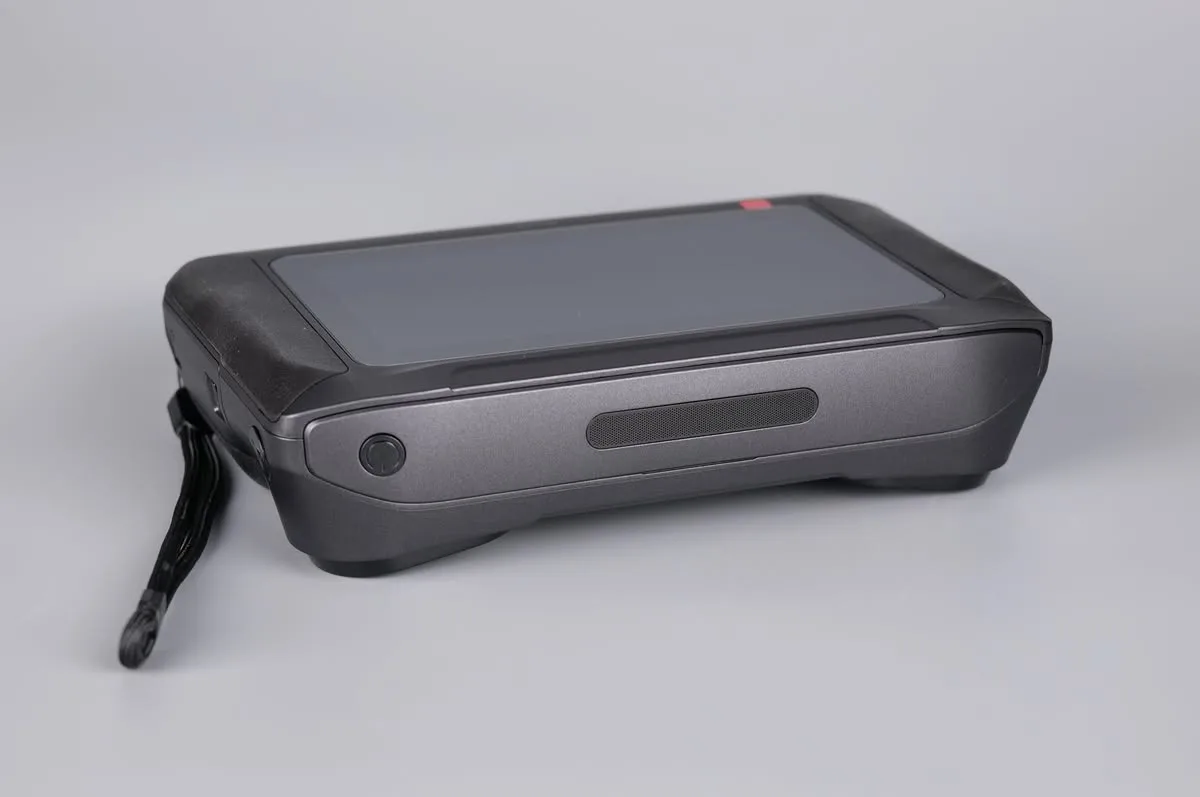
At 830 grams, it is not light, but the weight is distributed pretty well and the scanner feels stable when moving around an object.
Creality Sermoon P1 Specifications
The Sermoon P1 uses three blue laser patterns and two infrared working ranges. The exact performance depends on the selected mode and whether the scanner is used independently or connected to a computer.
| Specification | Blue Laser Mode | Infrared Mode |
|---|---|---|
| Accuracy | Up to 0.02 mm | Up to 0.075 mm |
| Volumetric accuracy | 0.02 mm + 0.06 mm/m | 0.075 mm + 0.1 mm/m |
| 3D resolution | 0.05 to 2 mm | 0.1 to 2 mm |
| Standalone speed | Up to 60 FPS | Up to 15 FPS |
| PC connected speed | Up to 100 FPS | Up to 30 FPS |
| Minimum scan volume | 5 x 5 x 5 mm | 150 x 150 x 150 mm |
| Working distance | 160 to 550 mm, depending on mode | 170 to 1200 mm, depending on mode |
| Alignment | Markers and global markers | Markers, global markers, geometry, and texture |
| Color mapping | Supported | Supported |
| Computer support | Windows and macOS | Windows and macOS |
Inside the scanner there’s an 8-core Qualcomm processor running at up to 3.36 GHz, an Adreno 740 GPU, 24 GB of LPDDR5X memory, and 256 GB of UFS 4.0 storage. This is powerful hardware for a handheld scanner, but it is needed for live tracking, point cloud processing, meshing, and editing without a computer.
The P1 supports standalone, wireless PC, and wired PC operation, with Wi-Fi 7 for communication and file transfer.
Three Blue Laser Scanning Modes
The P1 combines 22 crossed laser lines, 7 parallel laser lines, and a single laser line. Each pattern has a different purpose, and several modes can be used on the same object.
The 22 crossed laser line mode is used for faster coverage and is the best starting point for the main shape of a medium or large part.
The 7 parallel laser line mode covers a smaller area but captures edges, lettering, and mechanical details more clearly.
The single laser line is slower, but it can reach into grooves, gaps, holes, and recessed sections that are difficult to capture with wider patterns. Creality advertises support for deep holes with a depth-to-diameter ratio of up to 5:1 under suitable conditions.
Laser scanning works best with reflective markers, especially on large, smooth, or repeating surfaces. Good marker placement usually saves time and reduces tracking problems.
The cooling fan starts randomly for a few seconds, then turns off repeatedly. This is done when the unit is idle, charging.
Infrared Structured Light Mode
The infrared mode is designed for larger objects, sculptures, people, and items with enough visible shape or surface detail for geometry tracking. It can often be used without attaching markers directly to the object, which makes preparation much faster.
Close-range and long-range infrared options are available. Long-range mode supports a working distance of up to 1200 mm, making it useful for furniture, body scans, and large objects.
Infrared scanning is slower than blue laser scanning when the P1 is used in standalone mode. Creality lists a maximum of 15 FPS in its current manual, while the connected PC mode can reach up to 30 FPS. The lower frame rate is noticeable, but the larger capture area helps when scanning bigger subjects.
For engineering parts and small details, I prefer the blue laser modes. For larger and more organic objects, infrared mode is usually easier and requires less preparation.
Setup and Calibration
The first startup is easy to follow. You select a language, connect to a network, accept the required terms, and activate the device. A Creality Cloud login is optional. A built-in tutorial explains the basic scanning process and includes audio through the scanner’s speaker. It is useful for first-time users.
Calibration uses the included glass board. The scanner shows each required position, but moving too quickly or holding the board incorrectly can force you to repeat the process. This was one of the more annoying processes to calibrate the unit.
During scanning, a distance indicator appears on the screen. When the indicator is in the green area, the scanner is at a suitable distance from the object. This simple guide is very helpful because the correct distance has a large effect on tracking and data quality.
Scanning Experience
Compared with a traditional wired scanner, the P1 is ready quickly. Turn it on, create a project, select a mode, and start scanning without preparing a laptop or several cables.
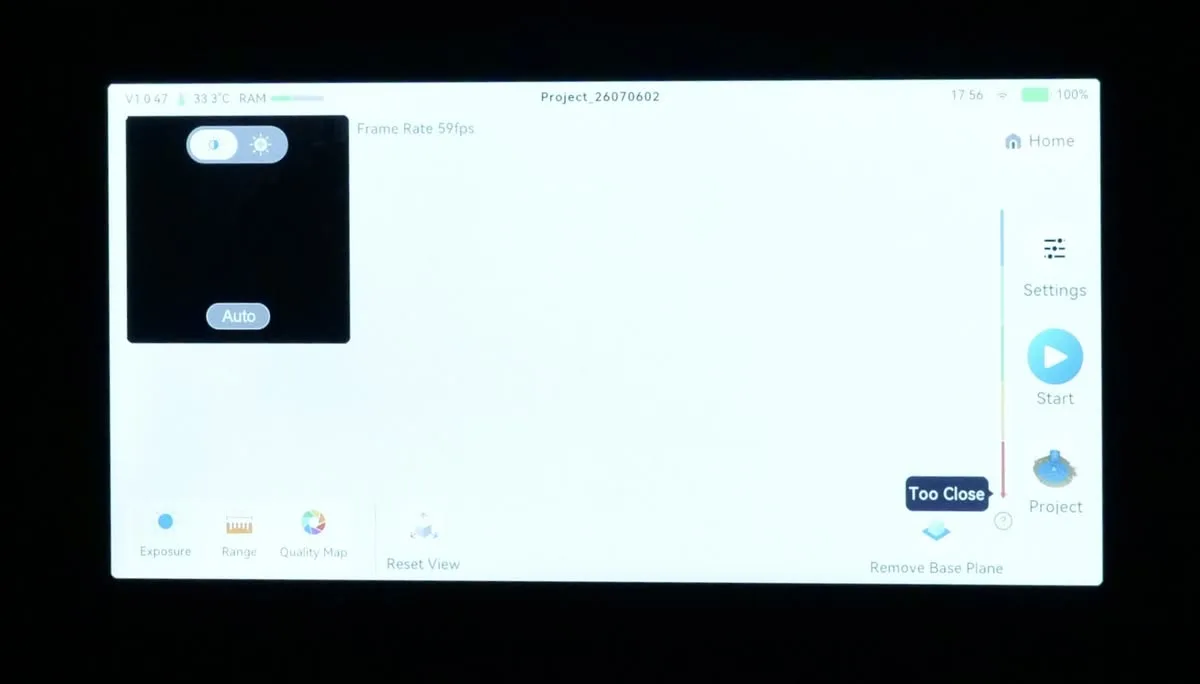
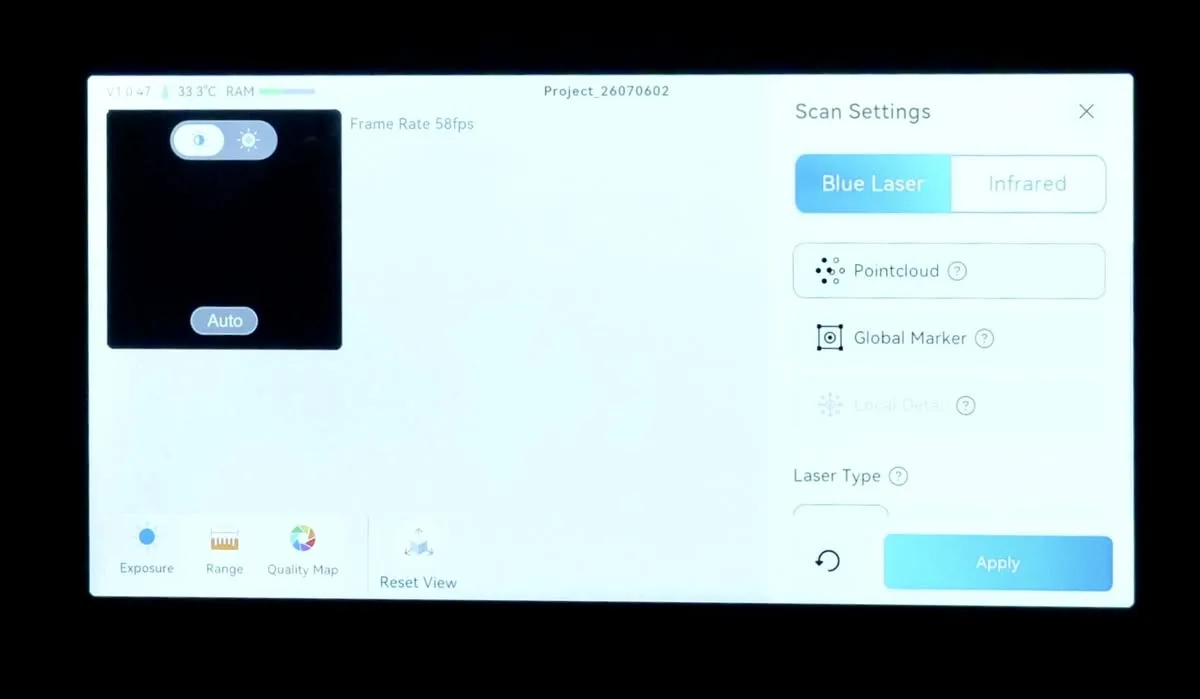
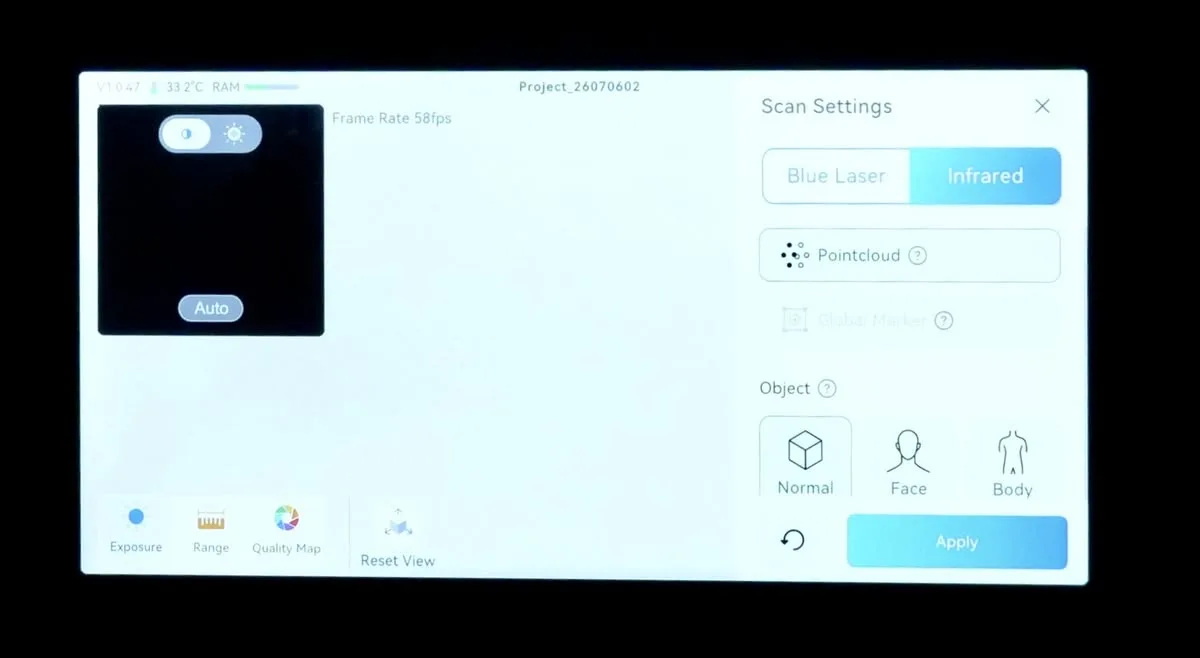
I tested the scanner with a few different models, and more scans will be added over time. The crossed laser mode was the easiest way to scan the main geometry, while the parallel and single-line modes helped fill smaller details and deeper areas.
Tracking was generally stable when the markers were placed correctly and the scanner was moved at a steady speed. If tracking is lost, the software asks you to return to an area that has already been captured. Once it recognizes the previous geometry or markers, the scan can continue.
Dark and metallic surfaces are handled better than with many basic structured light scanners, but this does not mean that scanning spray is never useful. Very reflective, transparent, or highly polished objects can still create problems. A removable scanning spray can improve the result and reduce the time spent repeating difficult sections.
The P1 can automatically remove a flat base plane, saving cleanup when an object is scanned on a table.
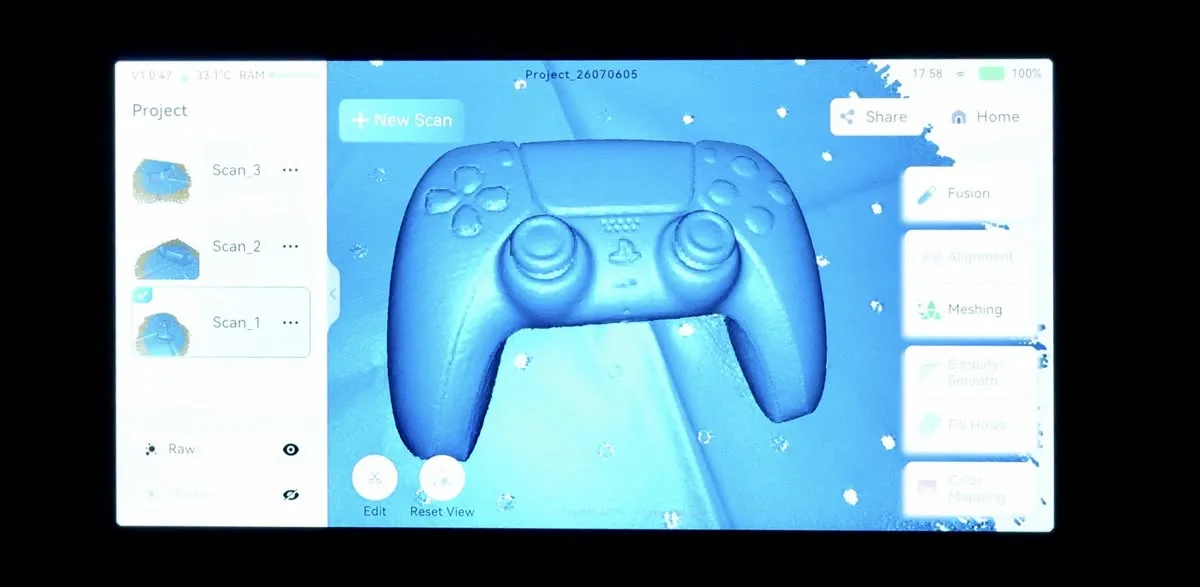
The on-device preview is detailed enough to spot missing areas before ending the scan. This matters when working away from a computer because it allows you to fix holes immediately instead of discovering them later.
Fusion and meshing can be completed on the scanner without long waits for smaller projects. Large scans can still reach several gigabytes, so the 256 GB storage needs regular management.
Color Texture Quality
The P1 includes an RGB camera and lighting for color texture capture. After meshing, the texture can be applied to the model and exported with an OBJ file.
Color is usable for reference models and basic archives, but changes in lighting can create visible seams in the final texture.
The texture tools offer limited manual control. Clean product or archive textures may need extra work in Blender or another 3D application.
For reverse engineering and 3D printing, this limitation is less important because the geometry is usually the main priority.
Battery Life and Charging
The Sermoon P1 includes two 3300 mAh removable batteries. Unfortunately, you can’t charge the battery outside the scanner, which makes it a bit hard to ensure both batteries are always topped up. Creality states that a battery can reach 80 percent charge in about 50 minutes with a suitable charger.
In my testing, the unit charges with around 26W and takes over an hour to reach the 100% mark.
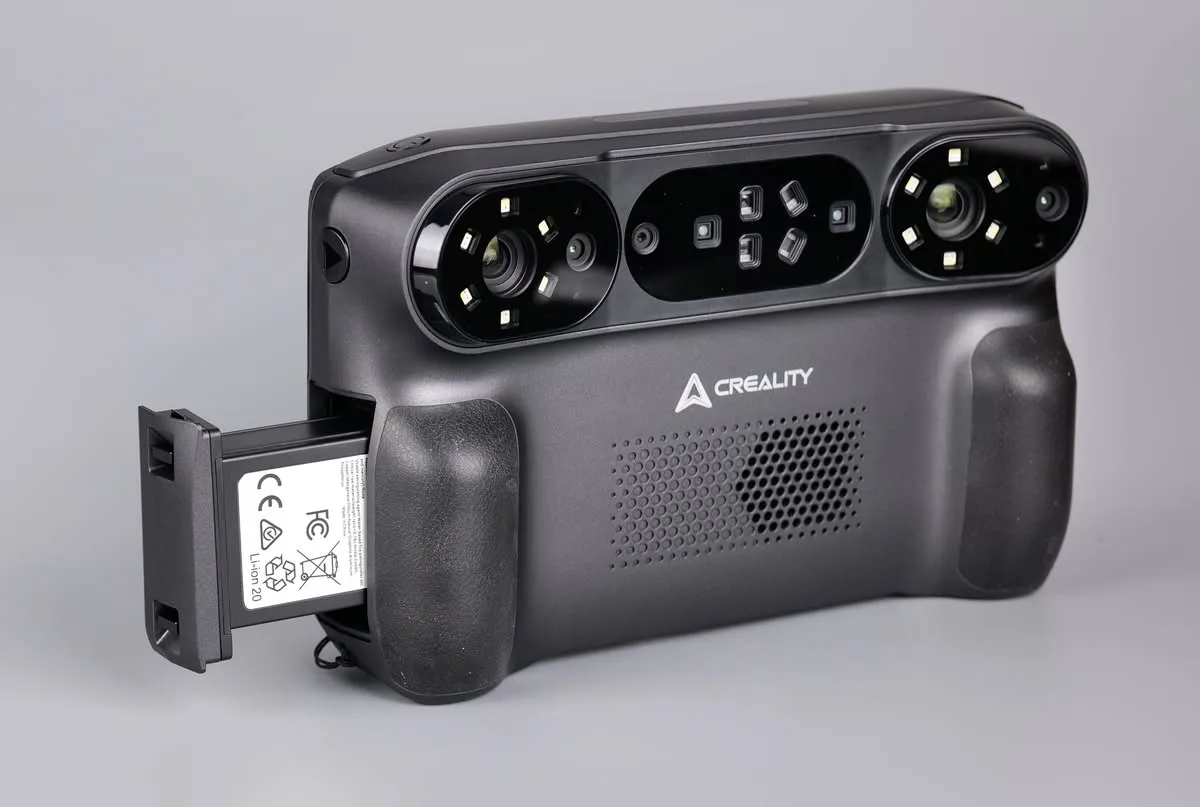
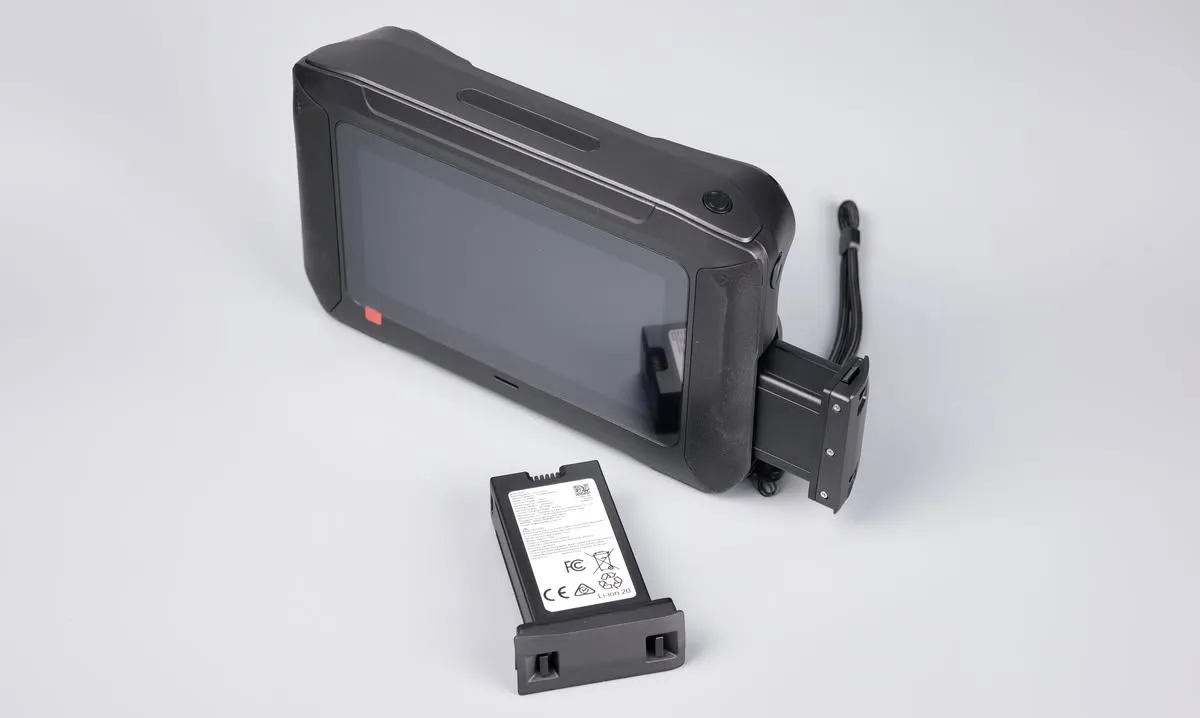
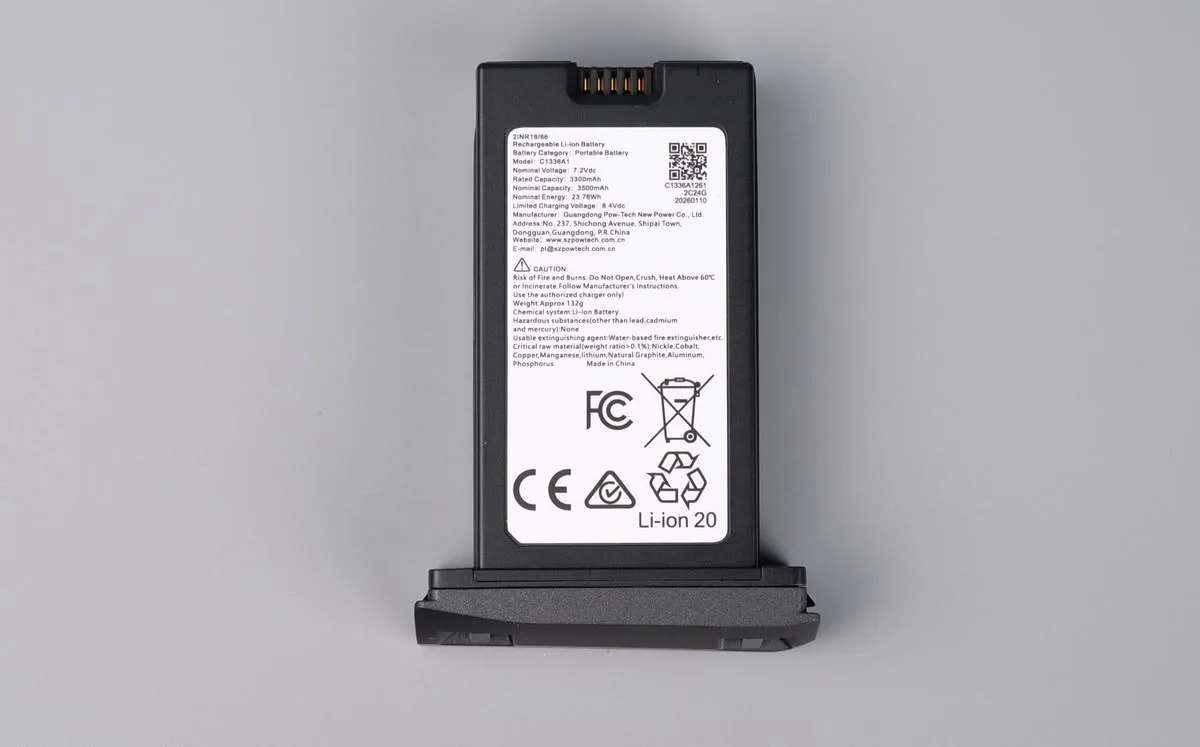
Battery life depends on scanning mode, screen brightness, processing, and wireless use. You can get close to 1 hour of active standalone use per battery, which is a reasonable expectation.
It’s also worth noting that the battery seems to drain by itself if the unit is not used for a couple of weeks. Keep that in mind if you plan to purchase the device, and go for a scan. Don’t forget to charge it in advance, or remove the battery so it does not drain.
CrealityScan 4 Software
The P1 can connect to CrealityScan 4 on Windows or macOS through USB or a direct Wi-Fi hotspot. The USB cable has a locking screw on the scanner side, which reduces the chance of disconnecting it by accident.
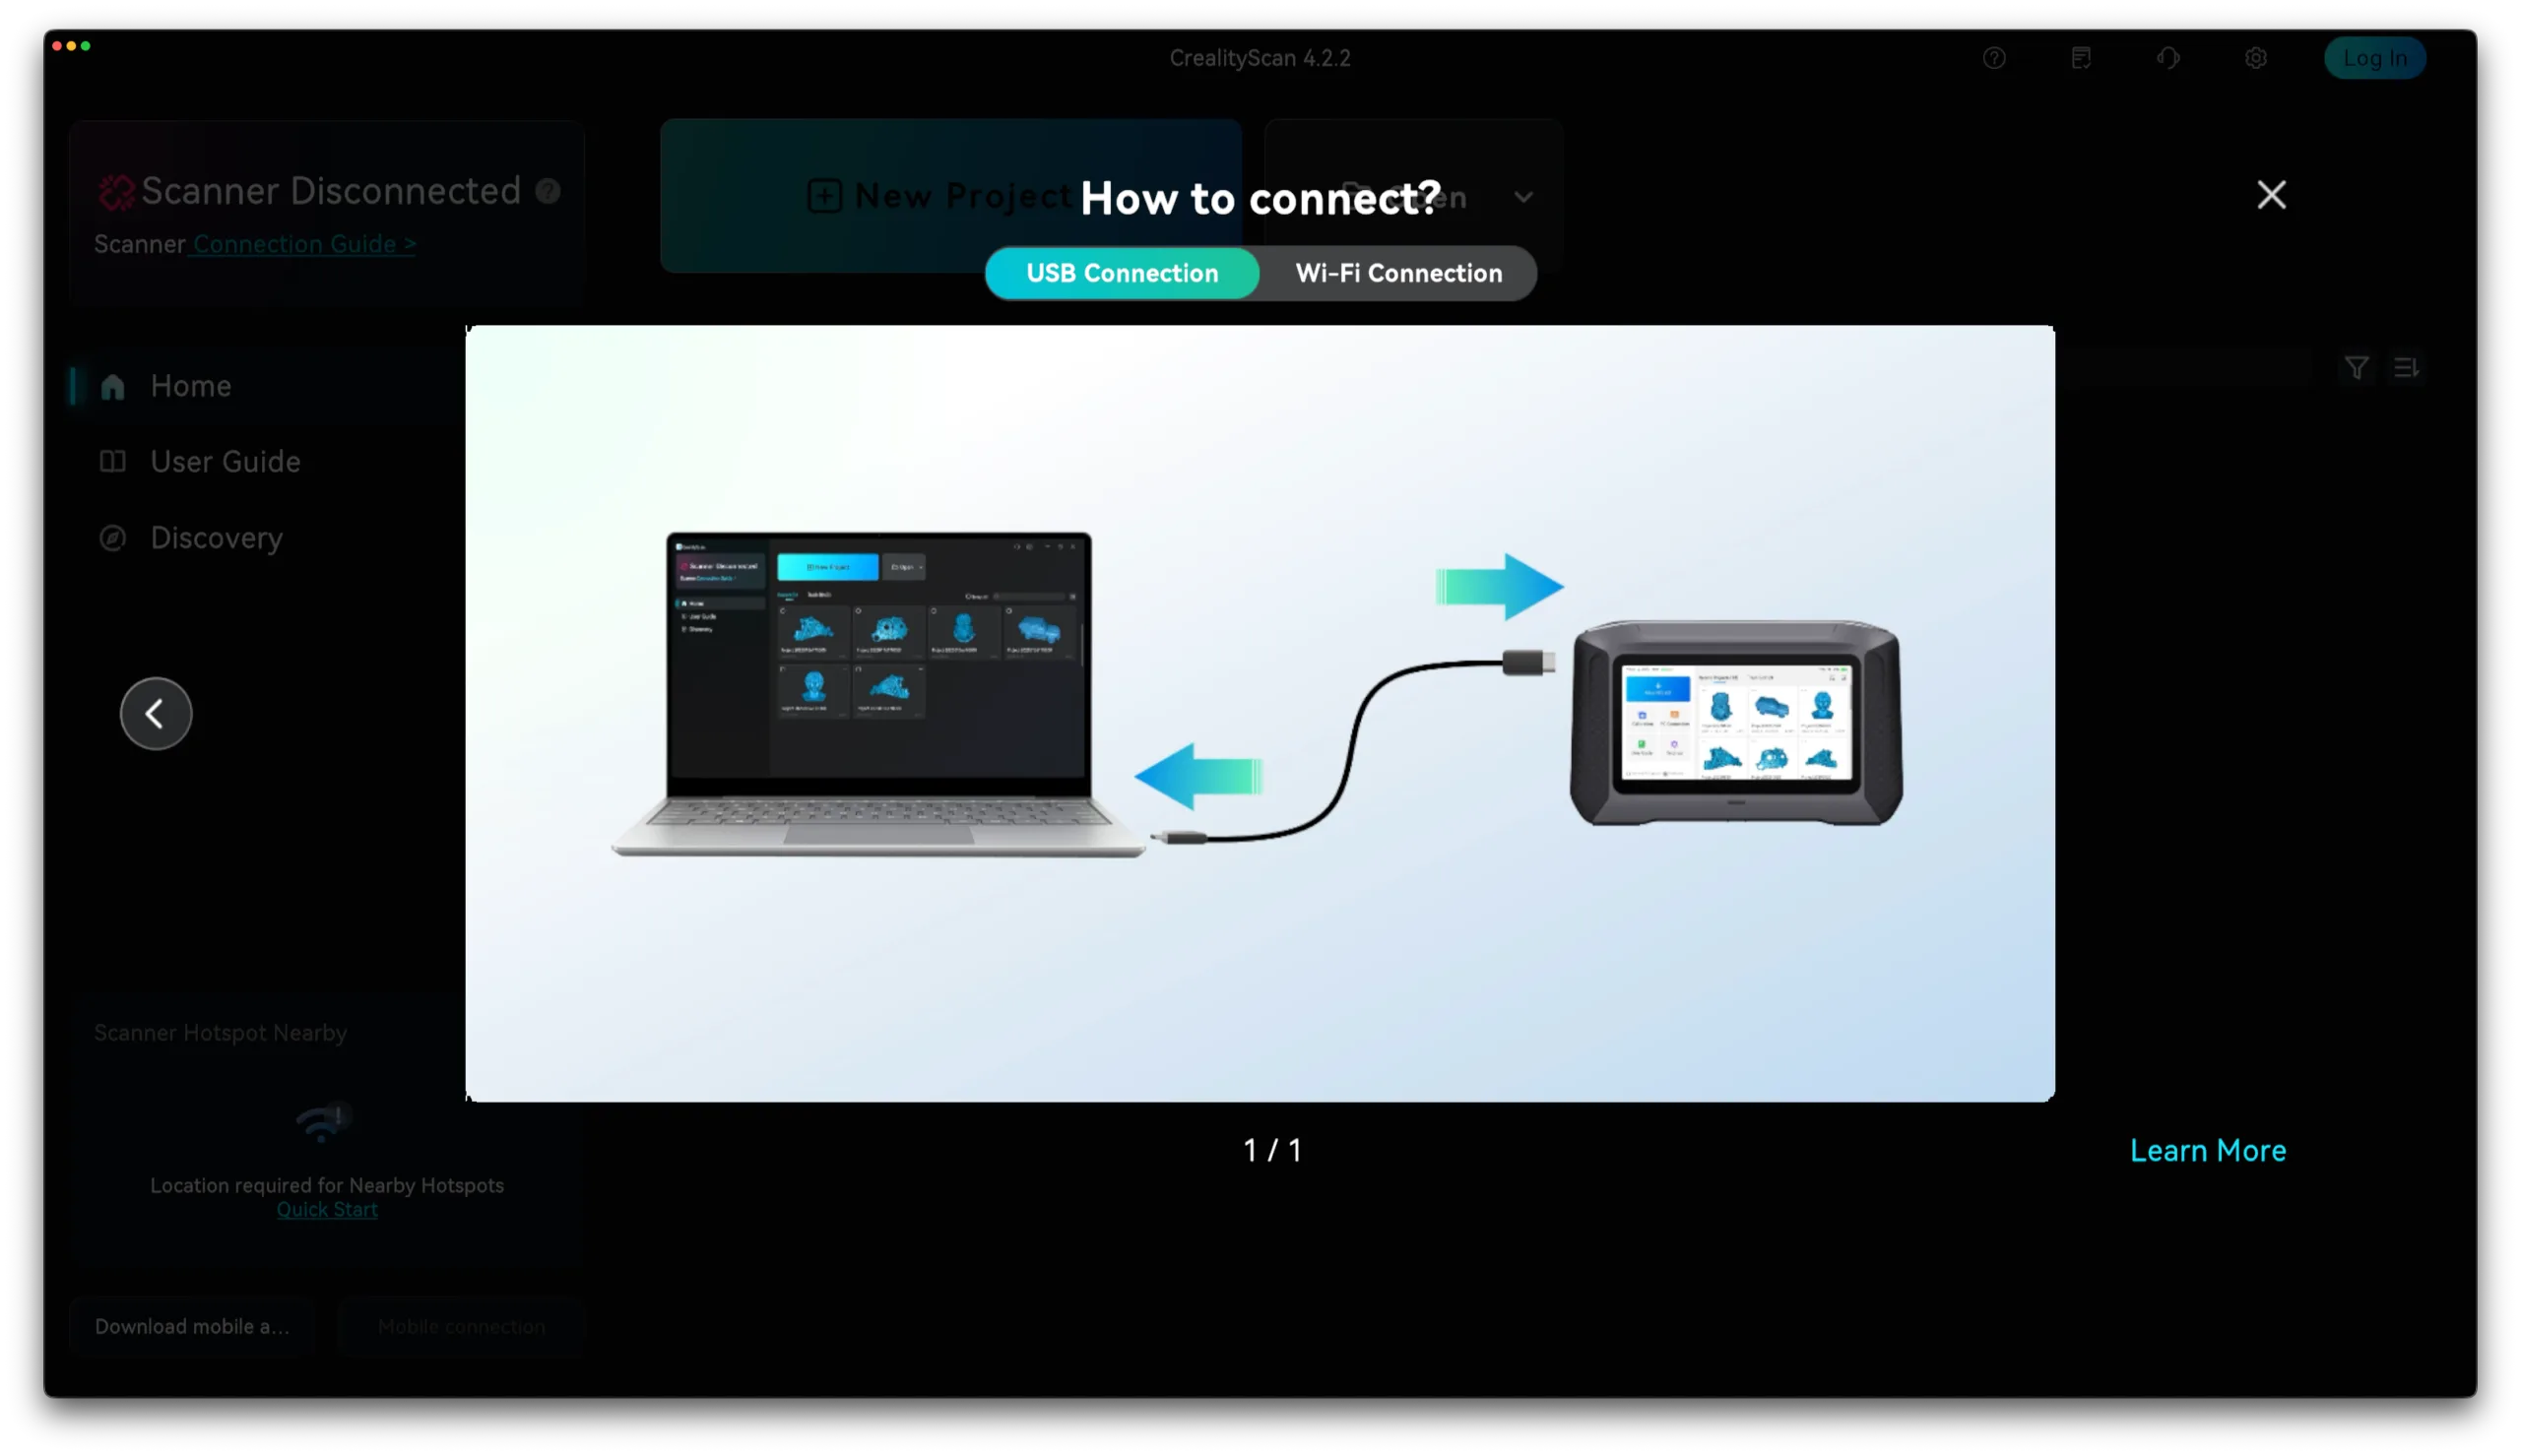
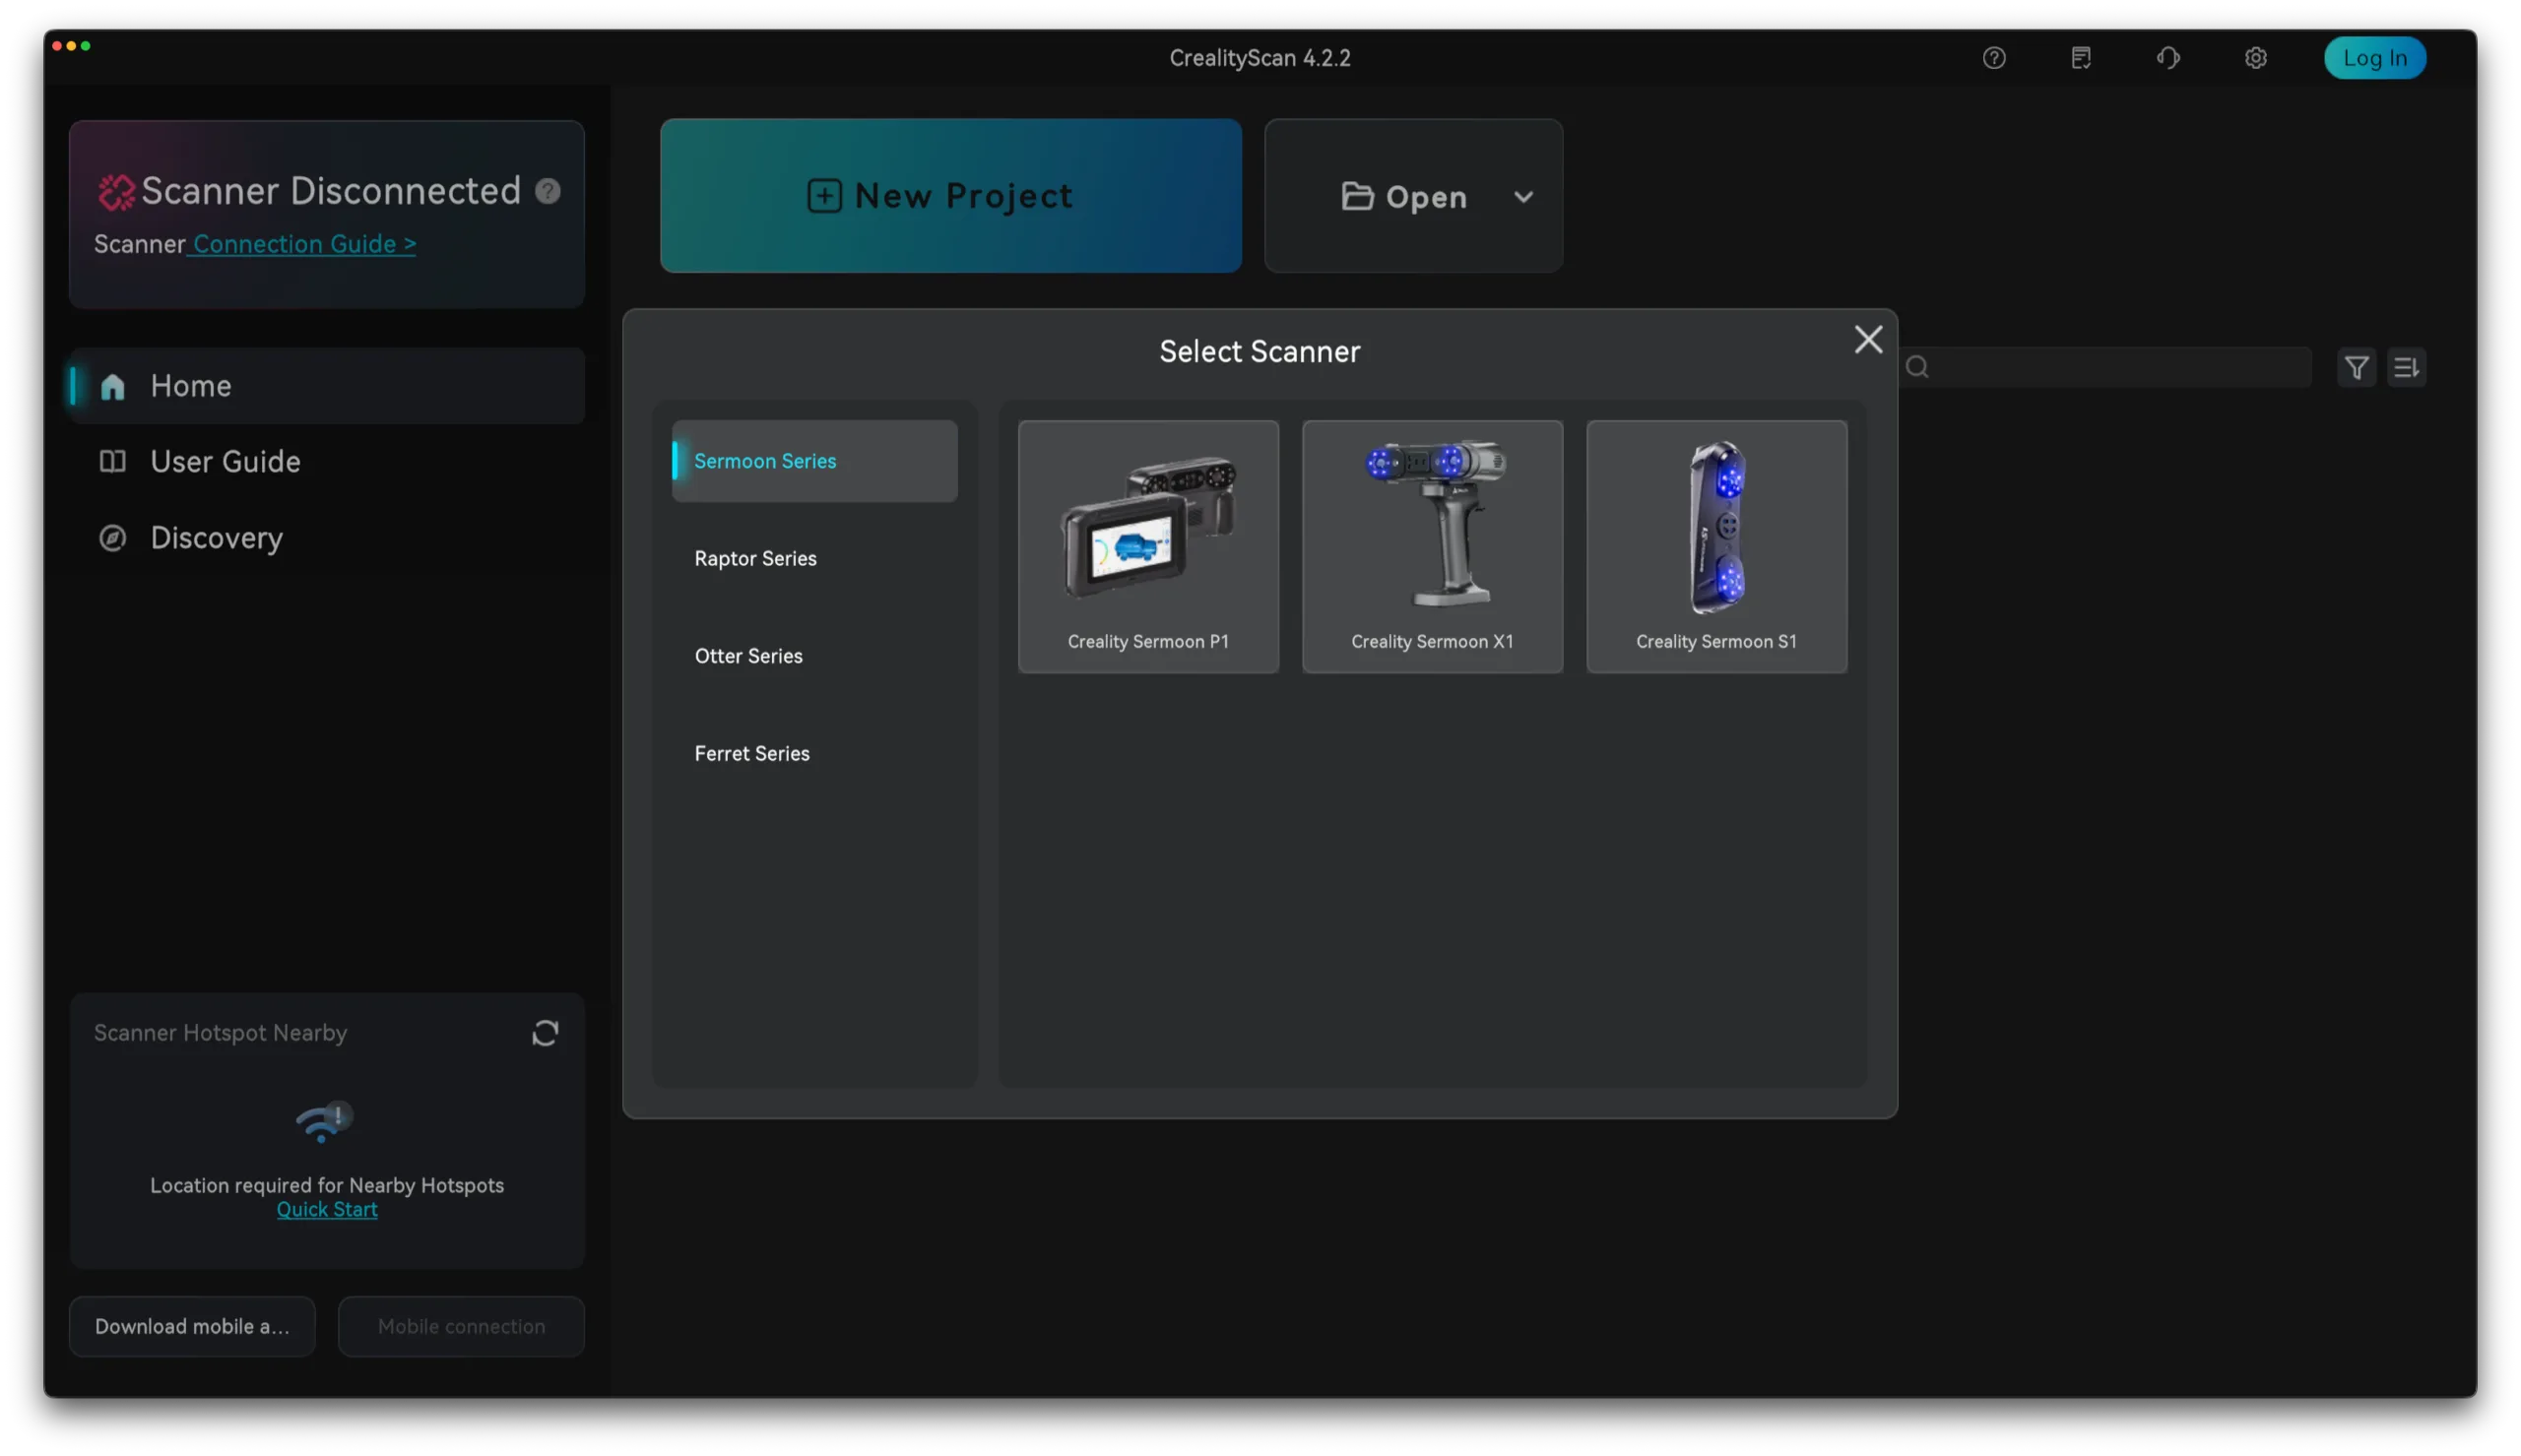
Connected mode gives the best performance, with up to 100 FPS for blue laser and up to 30 FPS for infrared, depending on the computer and settings. Personally, I mostly used it in the portable mode, to avoid being tethered to the computer.
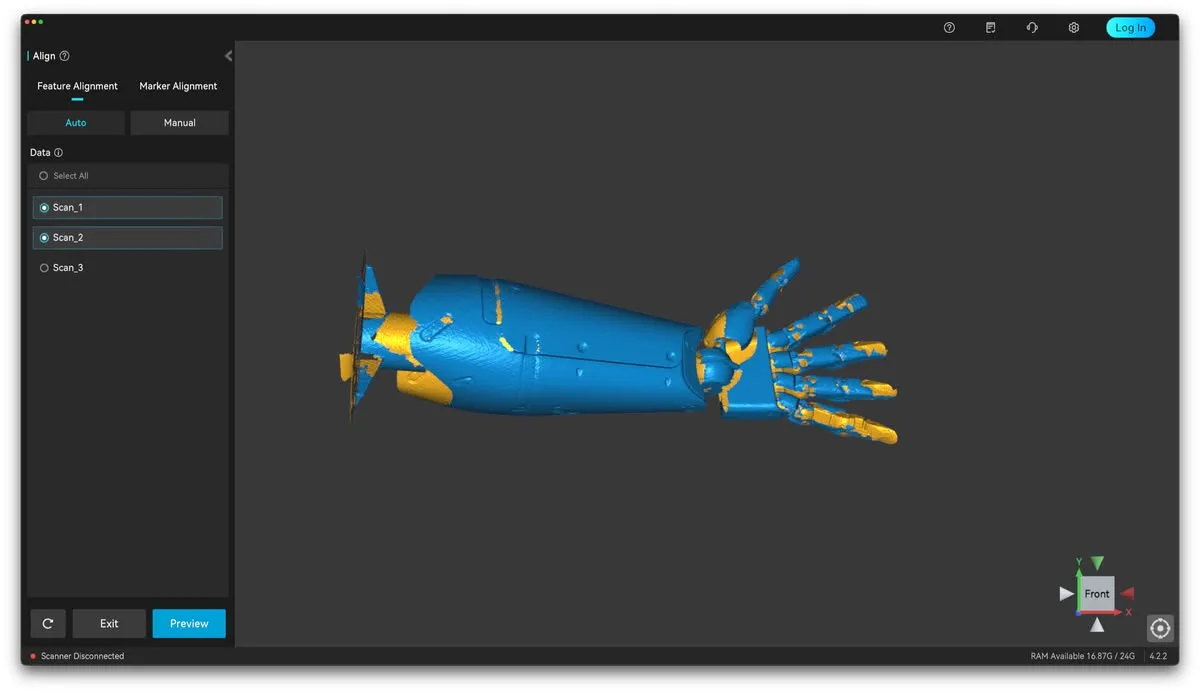
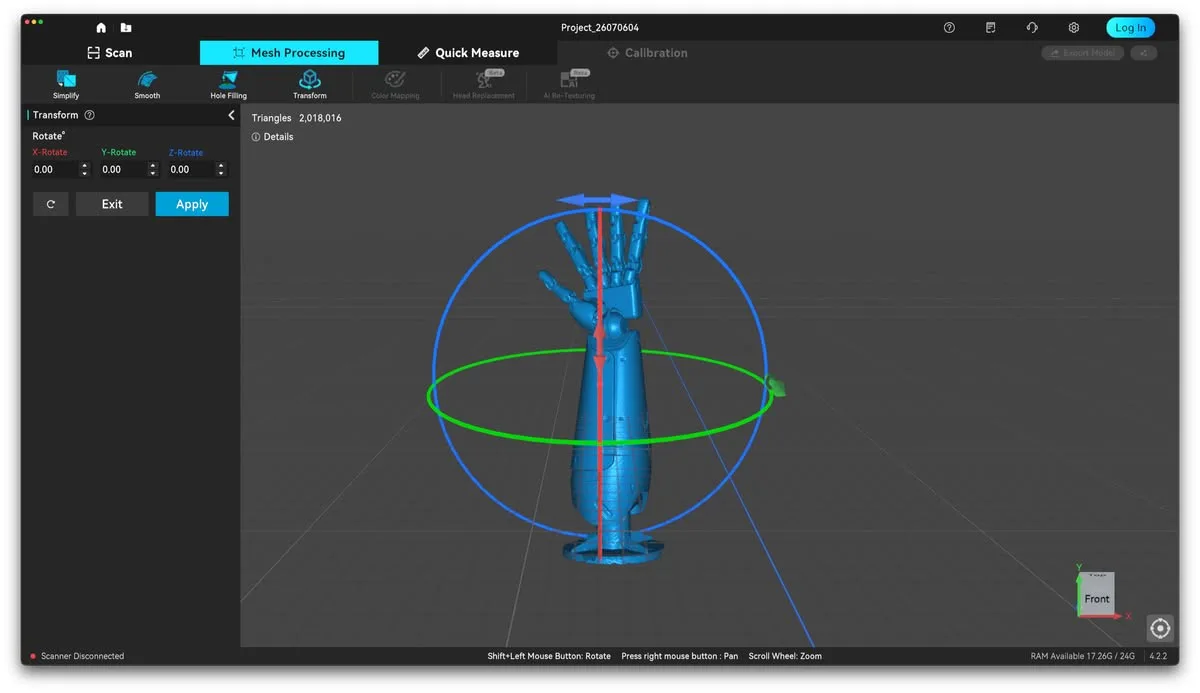
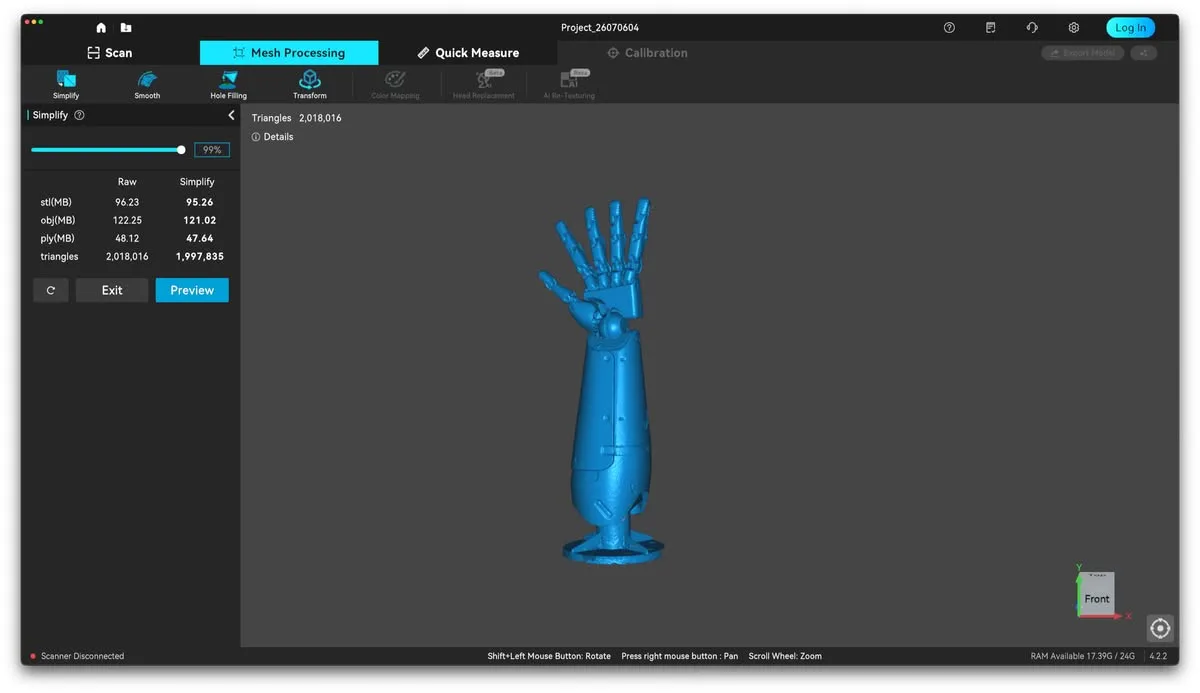
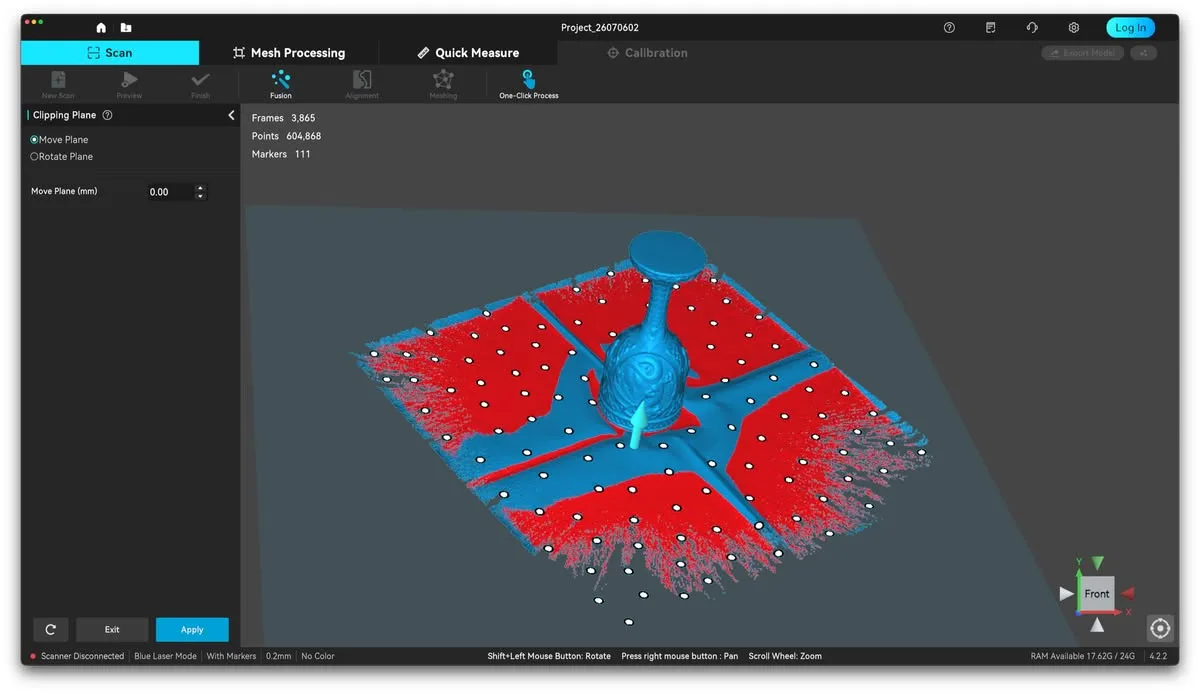
Unfortunately, I can’t really say the experience is great with the software on MacOS. It’s more clunky than expected, and it’s clear that the software is not native to this operating system. You can’t easily resize the window, the interface controls are not familiar from other software, and it’s also adding a “sudo” background activity. If you’re more technical, you might know that “sudo” is used in Linux to run as root. Why would this be needed?

The software follows a simple workflow: scanning, fusion, alignment, meshing, editing, texture mapping, and export. A One-Click Process option can handle the main steps automatically. It works well for simple scans, but manual processing gives better control with thin sections, deep holes, separate scan passes, and complicated geometry.
Most of the time, I had a better result with the manual processing, even though it took around 20 minutes per scan.
Scanning Results of the Creality Sermoon P1
African Woman Bust
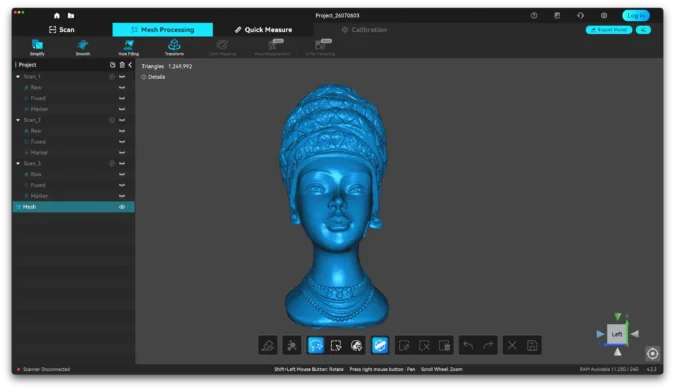
One of the first scans was this bust, which has a lot of detail. It was composed of 3 different scans, which were later merged into a single model. Some of the detail is a bit soft, but overall the result is quite usable. Scanned with the Blue Laser in the Cross Line Pattern in 0.2mm resolution.
PS5 controller
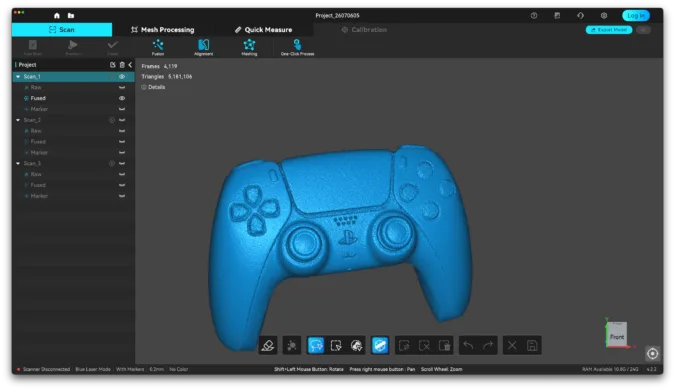
A second scan is the PS5 controller, which I scanned for a different project. The scan is detailed enough to be able to build on it in CAD, and it was quite easy to capture. In less than 10 minutes, I had three different scans ready to merge into a final model. Scanned with the Blue Laser in the Cross Line Pattern in 0.2mm resolution.
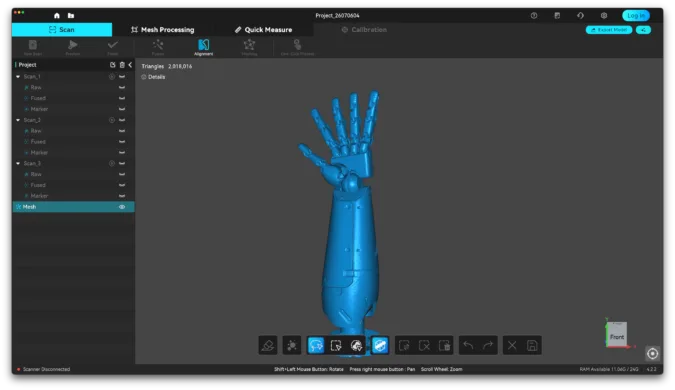
Metal Gear Solid V Arm
The third scan is a high-detail MGS5 Arm model, which was also made from 3 different scans. Considering the size of the motel, I really like how it turned out. I am not sure if it can be 3D printed without trying to scan it with the high-detail accuracy settings, but even like this it’s better than I was hoping for a quick scan.
Scanned with the Blue Laser in the Cross Line Pattern in 0.2mm resolution.
Conclusions: Is the Creality Sermoon P1 Worth It?
The Sermoon P1 is a powerful and flexible scanner. Three blue laser patterns, infrared structured light, color capture, local processing, wireless and wired use, removable batteries, and a large touchscreen all work together in one device.
Geometry quality is very good, tracking is reliable with proper preparation, and the standalone workflow is much easier in places where a laptop would get in the way. On-device processing feels like a complete feature rather than a basic preview, but I usually prefer to post-process on the computer.
There are still a few weaknesses. The battery release is awkward, the front sensors could use slightly better physical protection, infrared scanning is much slower in standalone mode, and color textures can show visible seams. Large projects also create very large files, so regular file management is needed.
At the current price the Sermoon P1 is difficult to recommend to a casual user who only wants to scan a few models for 3D printing. There are cheaper scanners that can do that job. The P1 makes more sense for reverse engineering, automotive work, inspection, digital archiving, product development, and professional users who regularly scan away from a desk.
For those users, completing an entire scan without a computer changes the workflow and removes much of the usual setup. The P1 is expensive, but its combination of portability, accuracy, and flexibility is difficult to find in one device.
Creality Sermoon P1 3D Scanner Rating
Design and Build Quality
Specs and Features
Scanning Performance
Ease of use
Price
The Sermoon P1 is not a casual 3D scanning purchase, but for professional users who need accuracy, portability, and true standalone scanning, it delivers a great all-in-one workflow. It's not cheap, but its flexibility and portable operation make it an option to consider for advanced scanning work.
Where to Buy the Creality Sermoon P1
The Creality Sermoon P1 is available from the official Creality Store and selected retailers. Pricing and bundles can change, so it is worth checking the official store and local sellers before purchasing.
Always check the warranty terms, return conditions, and regional support before ordering a professional scanner.
The Creality Sermoon P1 was provided free of charge for the purpose of this review. While the article includes affiliate links, all opinions are my own. Nobody reviewed the article before it was posted, following the Review Guidelines.
Liked it?
|
|