Sherpa Mini Direct Drive Upgrade for FLSUN Super Racer
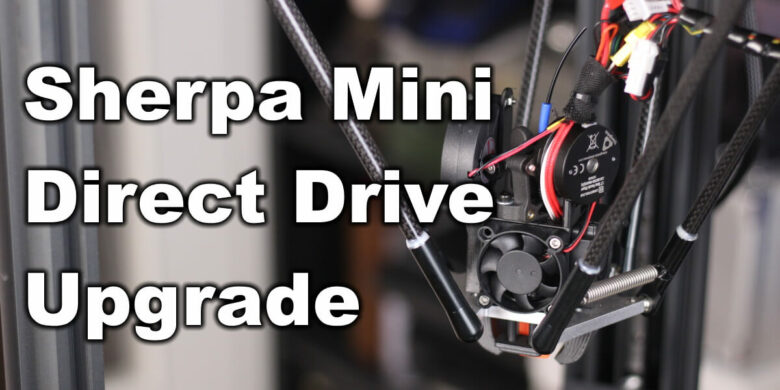
I wanted to try out the Sherpa Mini extruder for a while now, so I installed it on the FLSUN Super Racer. In this article, I will show you how I upgraded my FLSUN Super Racer to Direct Drive, and how I tackled the Sherpa Mini installation.
Why convert the FLSUN Super Racer to direct drive?
I was pretty happy with the stock extruder setup on the FLSUN Super Racer but I wanted to convert it to Direct Drive because you get better filament control in this setup. Besides that, you also eliminate some of the annoying retraction noise caused by the stock extruder, and TPU can be printed easier.
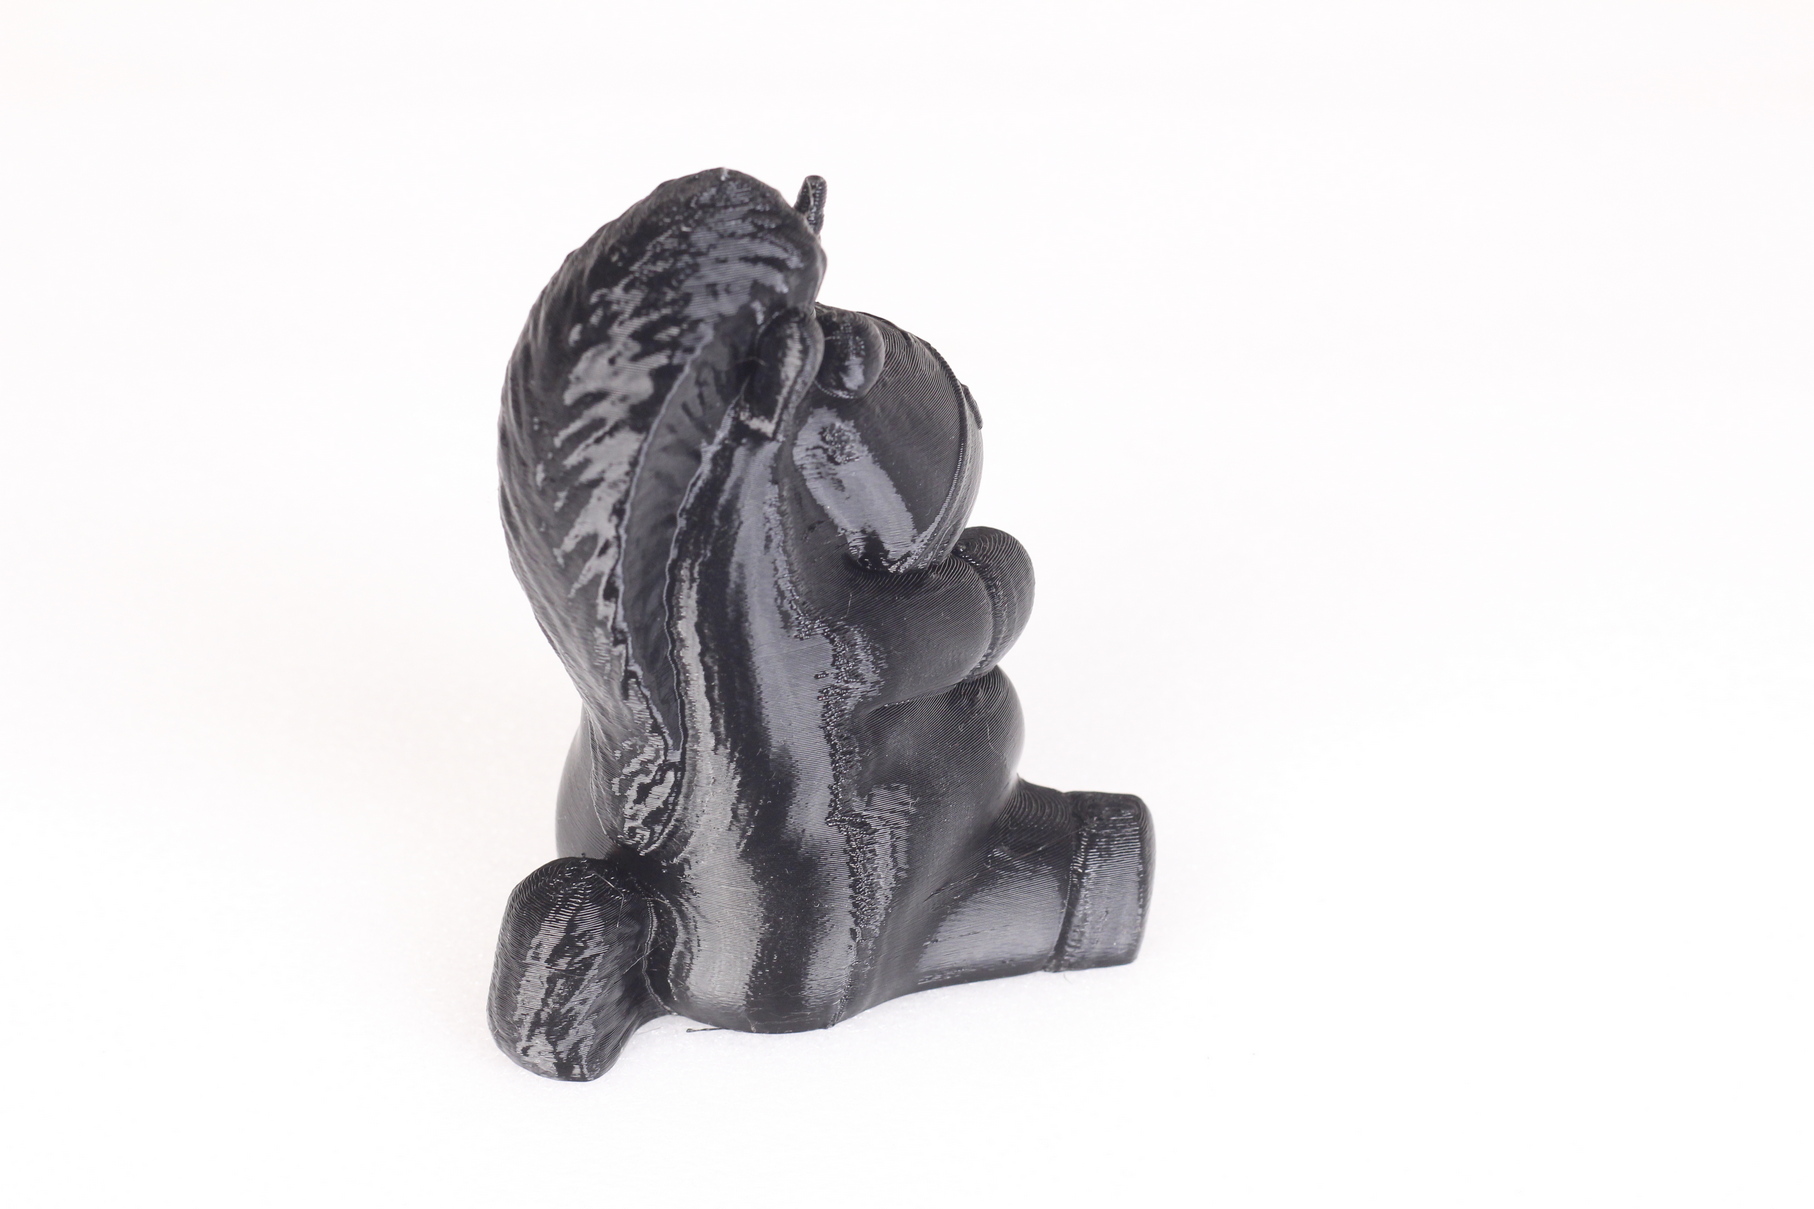
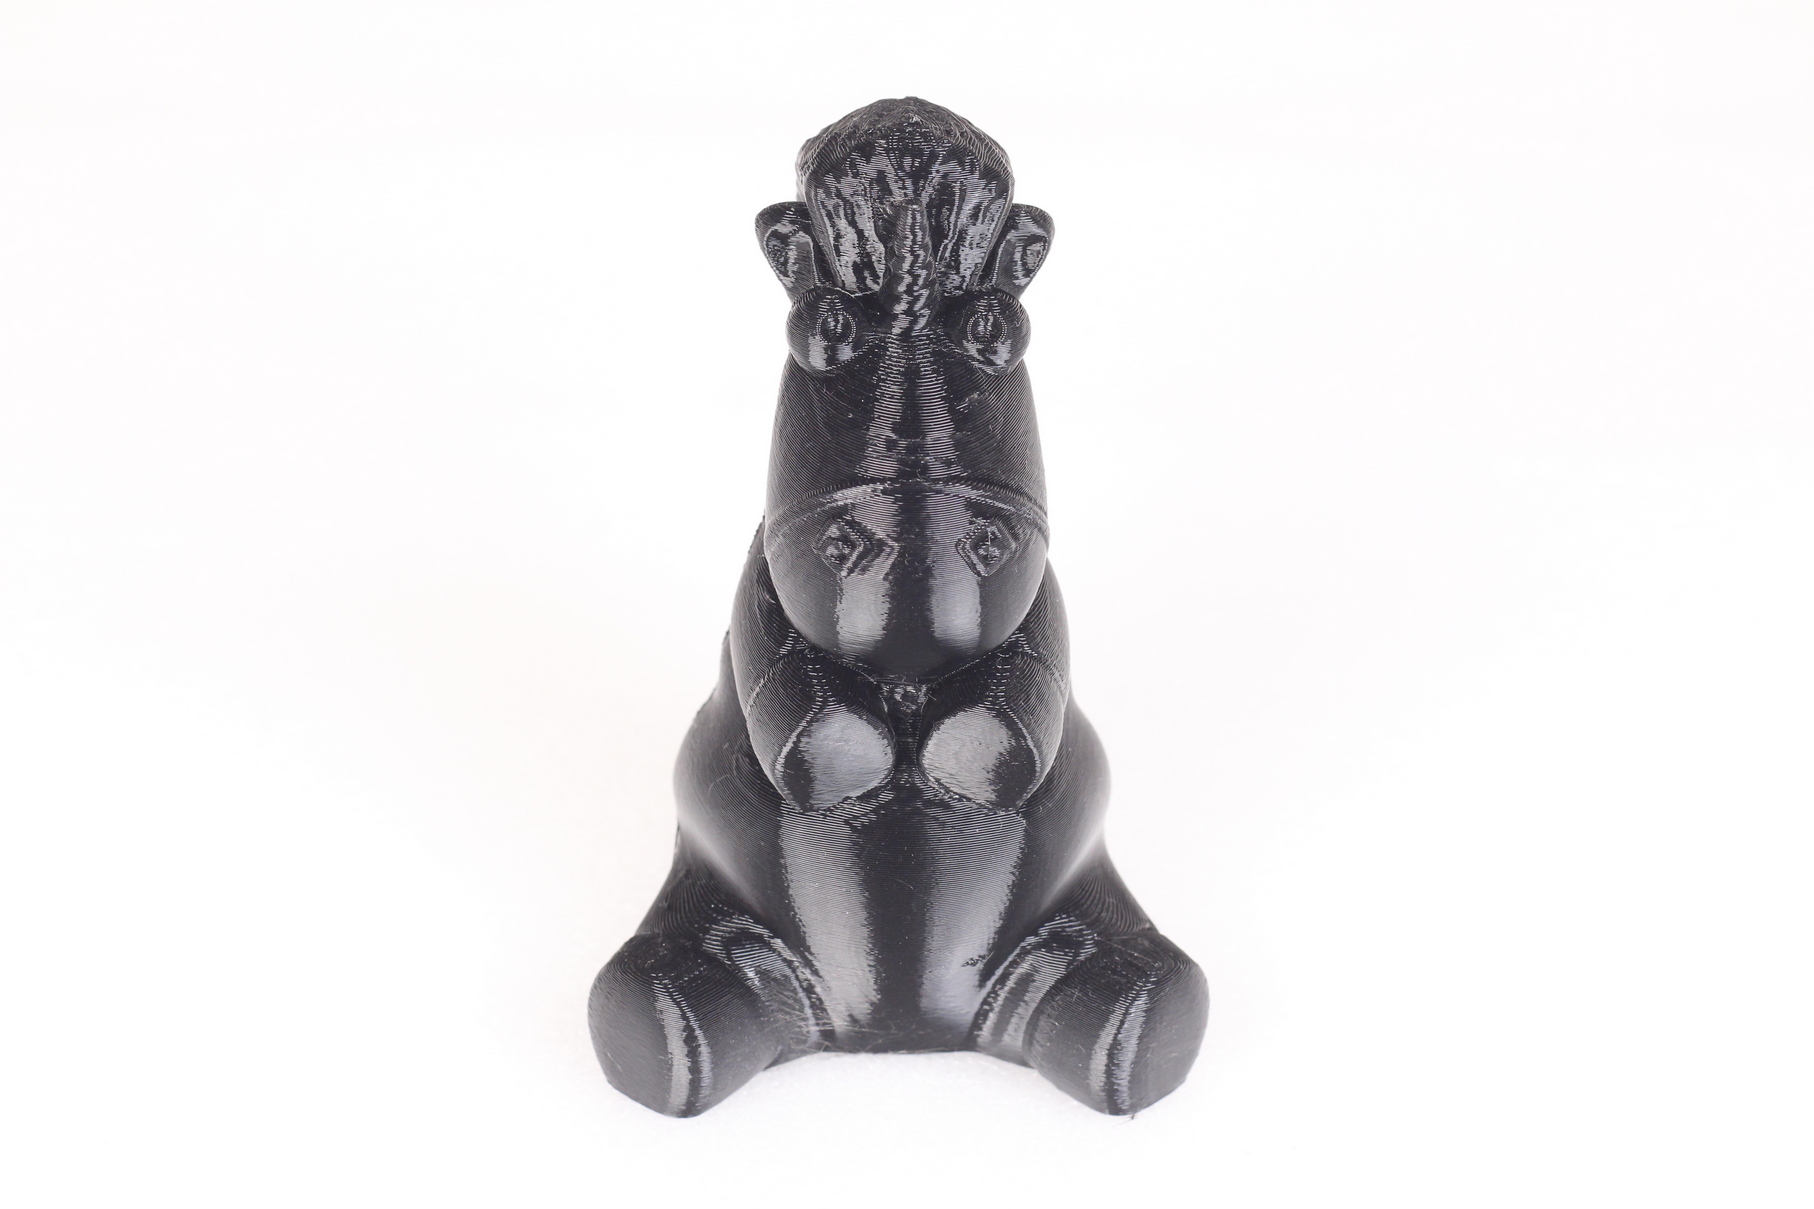
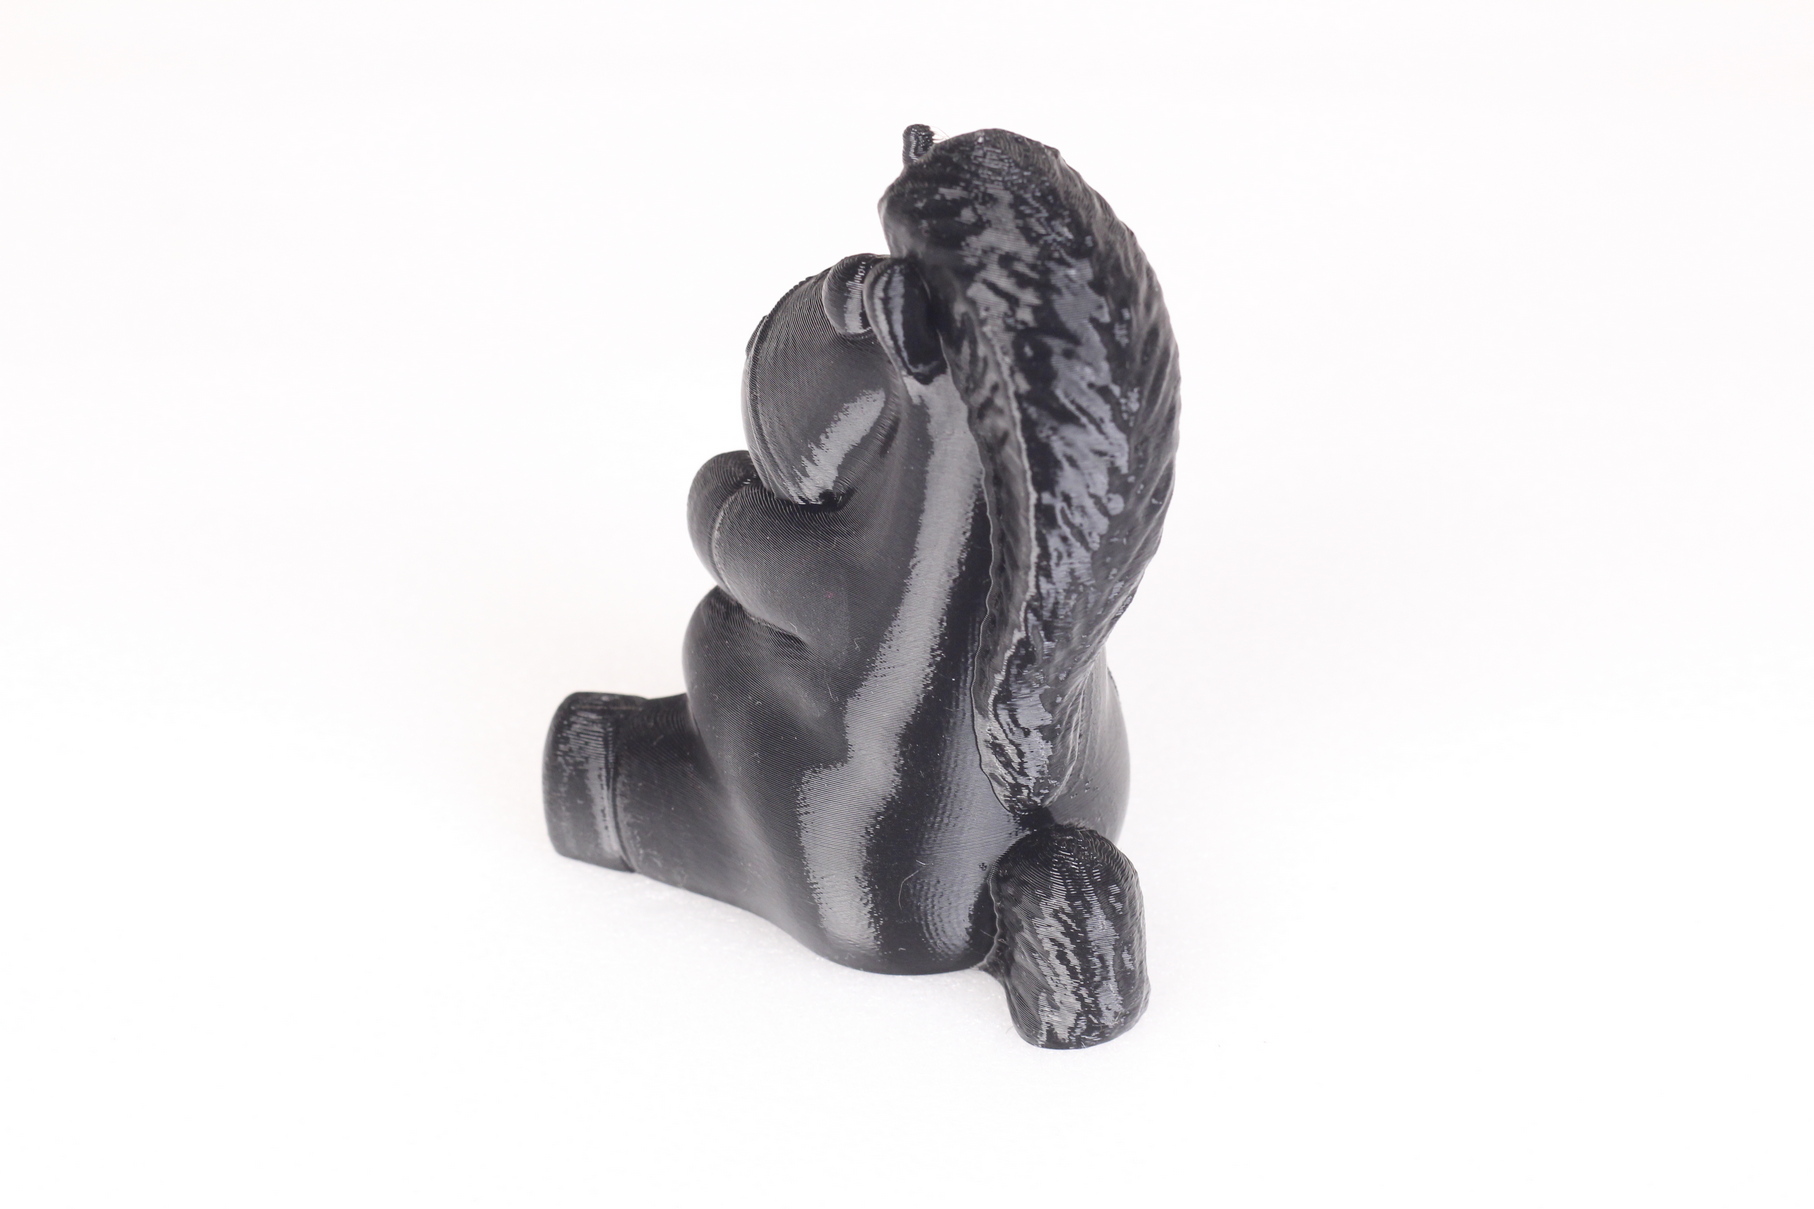
Here’s a quick test I did using the Sherpa Mini. I was able to print Polymaker PolyFlex TPU95-HF at 100mm/s with ease, and that was before doing any kind of calibration. I will share more prints and videos soon.
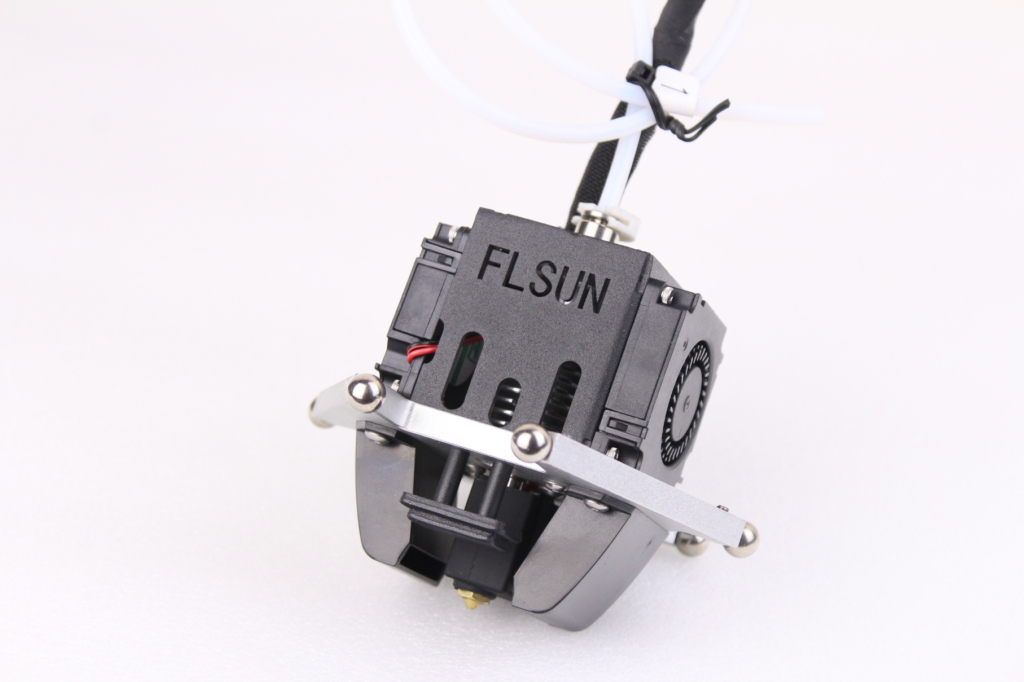
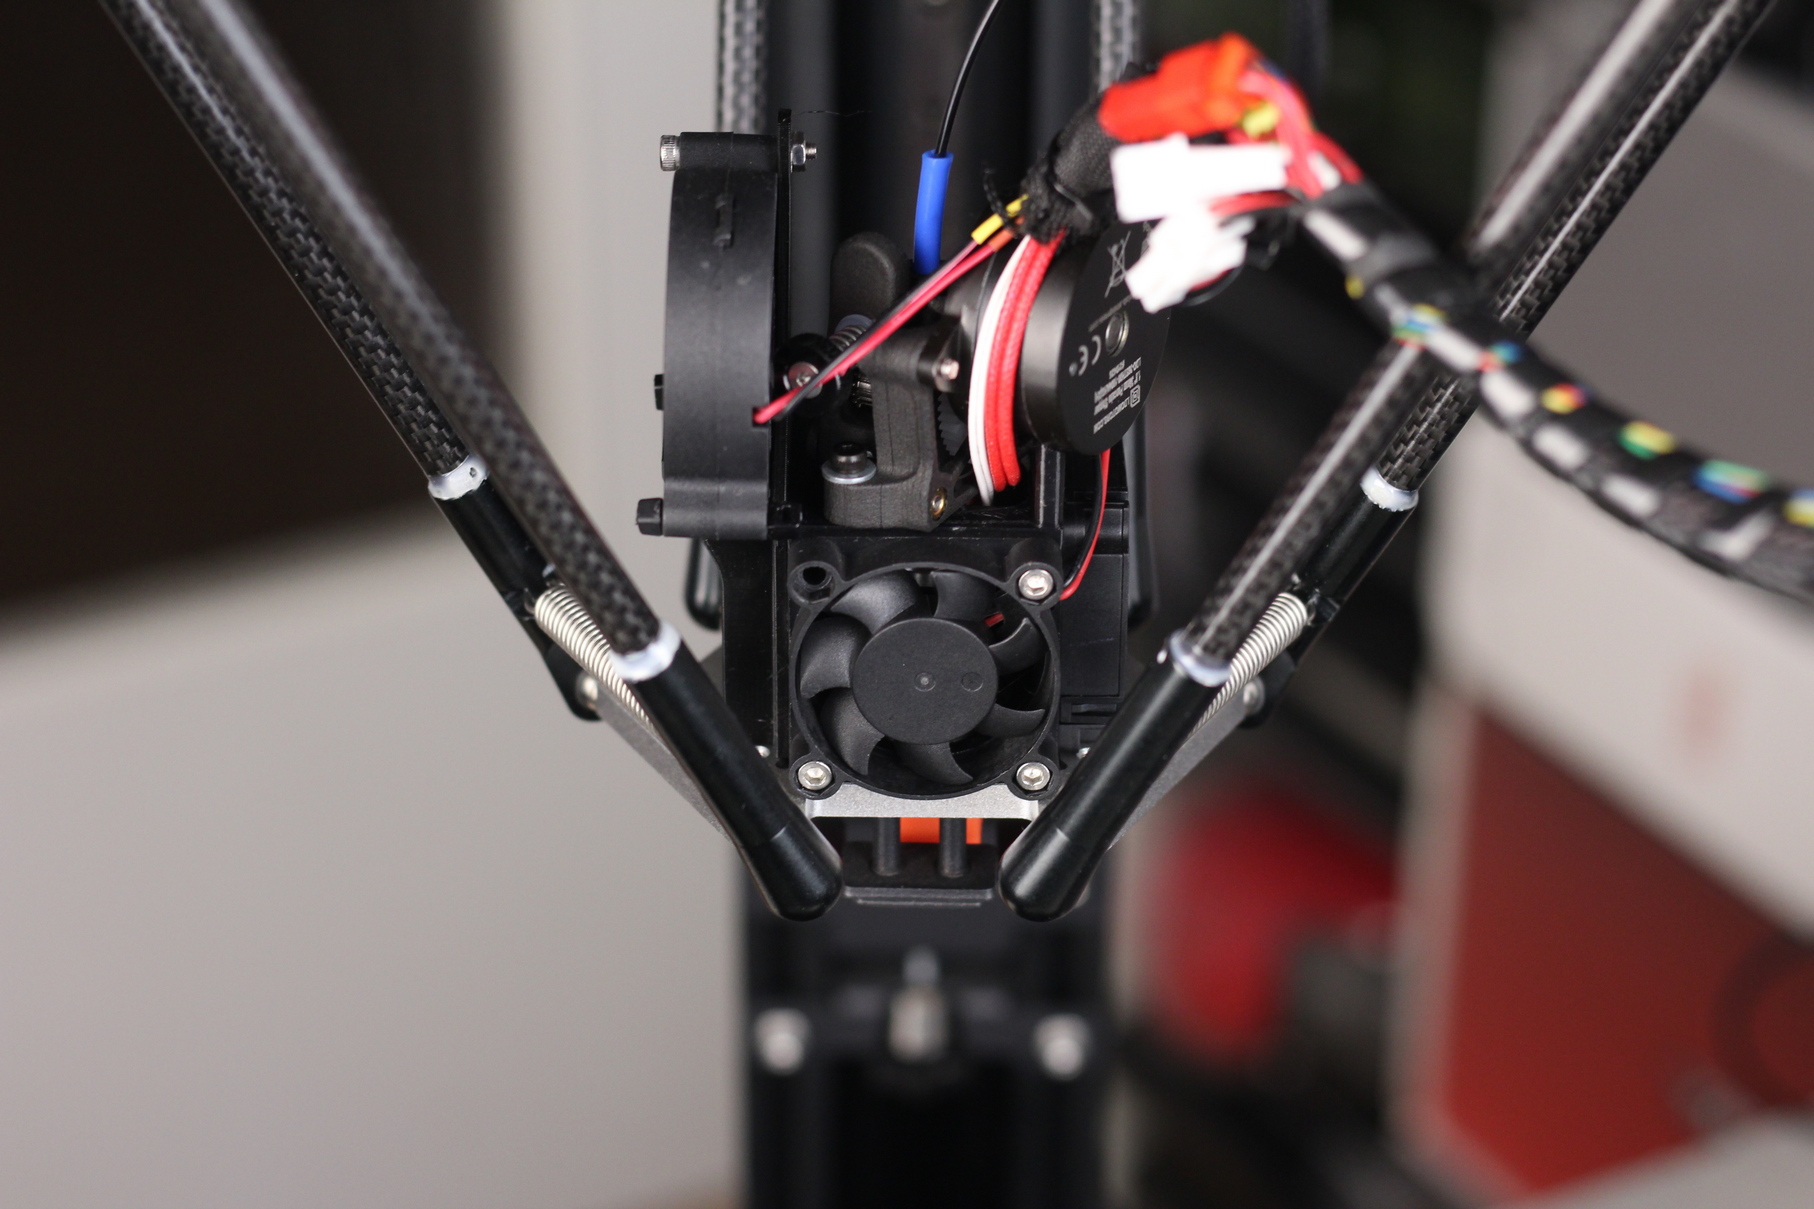
Here are some images with the end result:
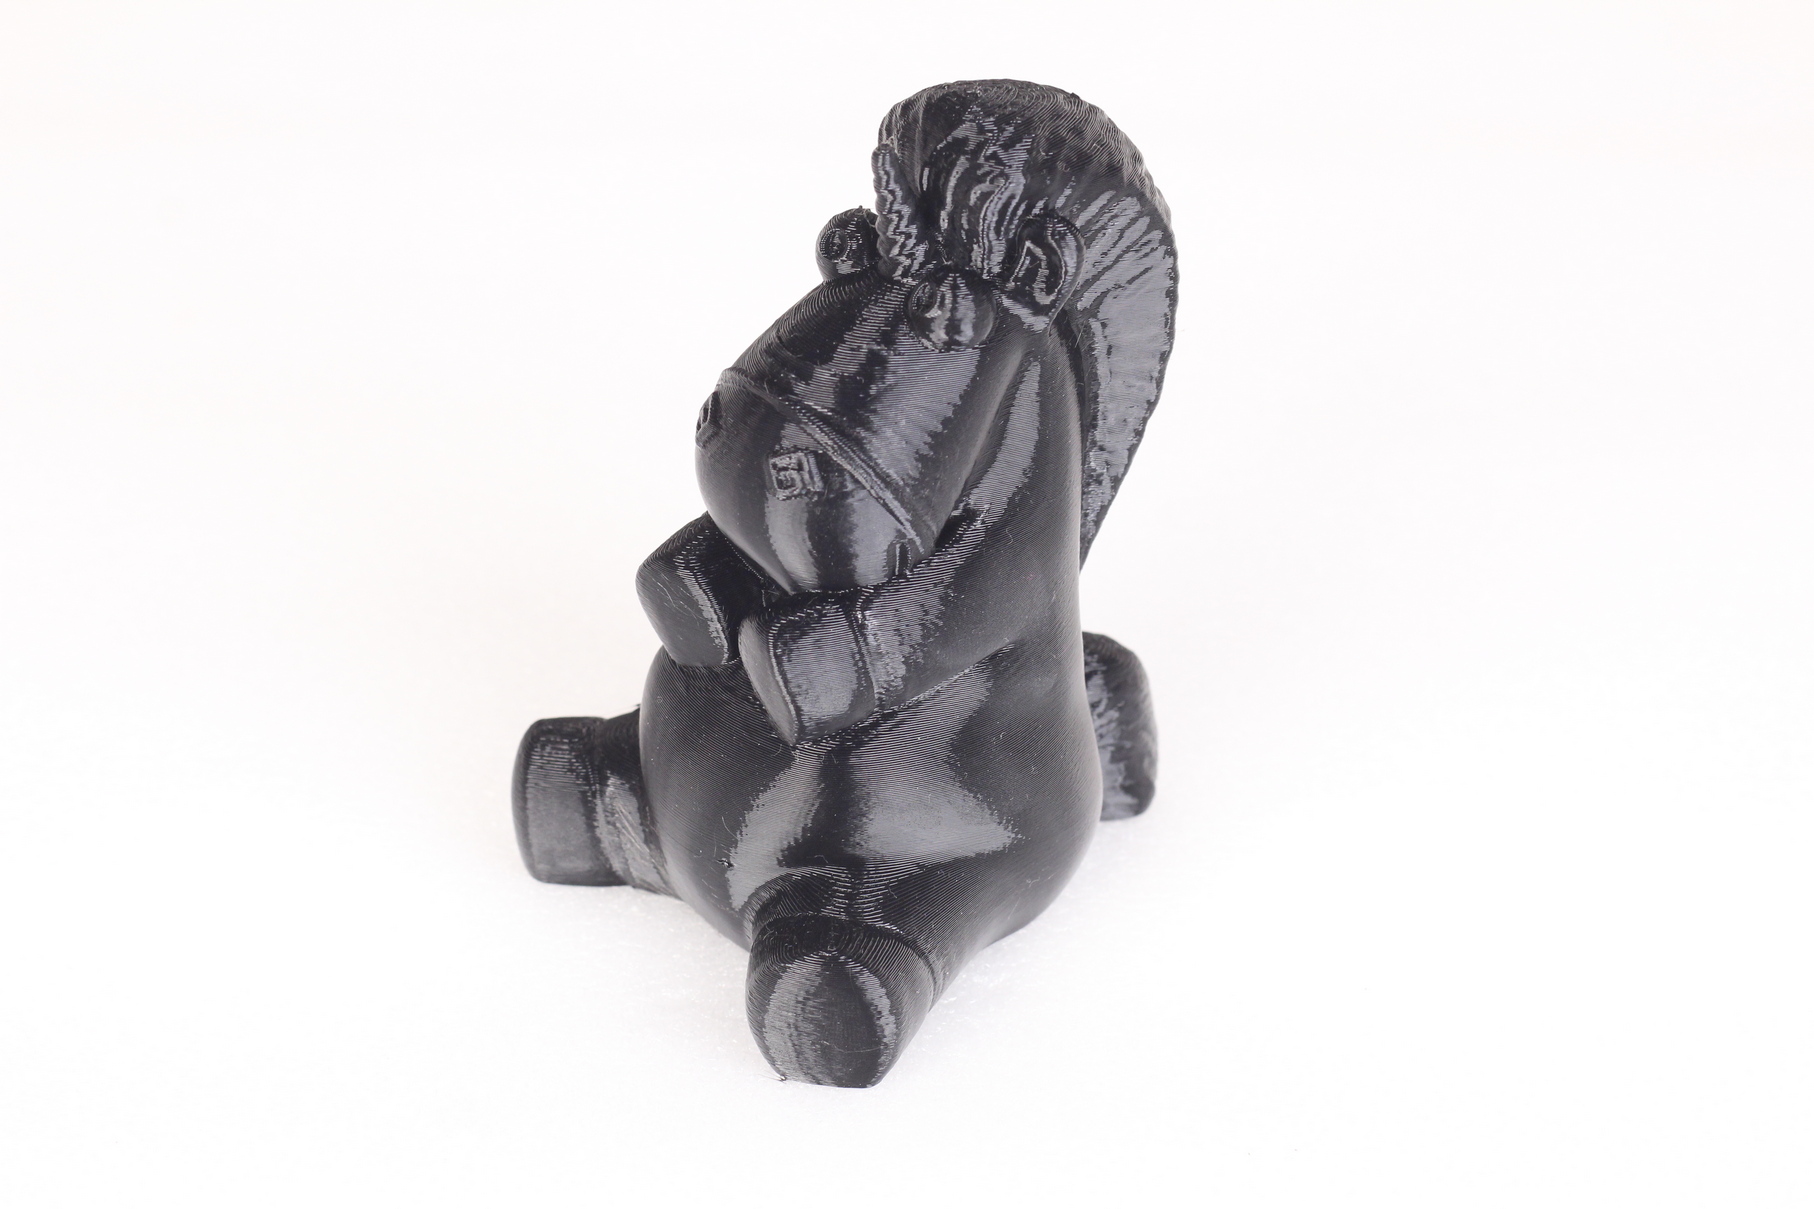
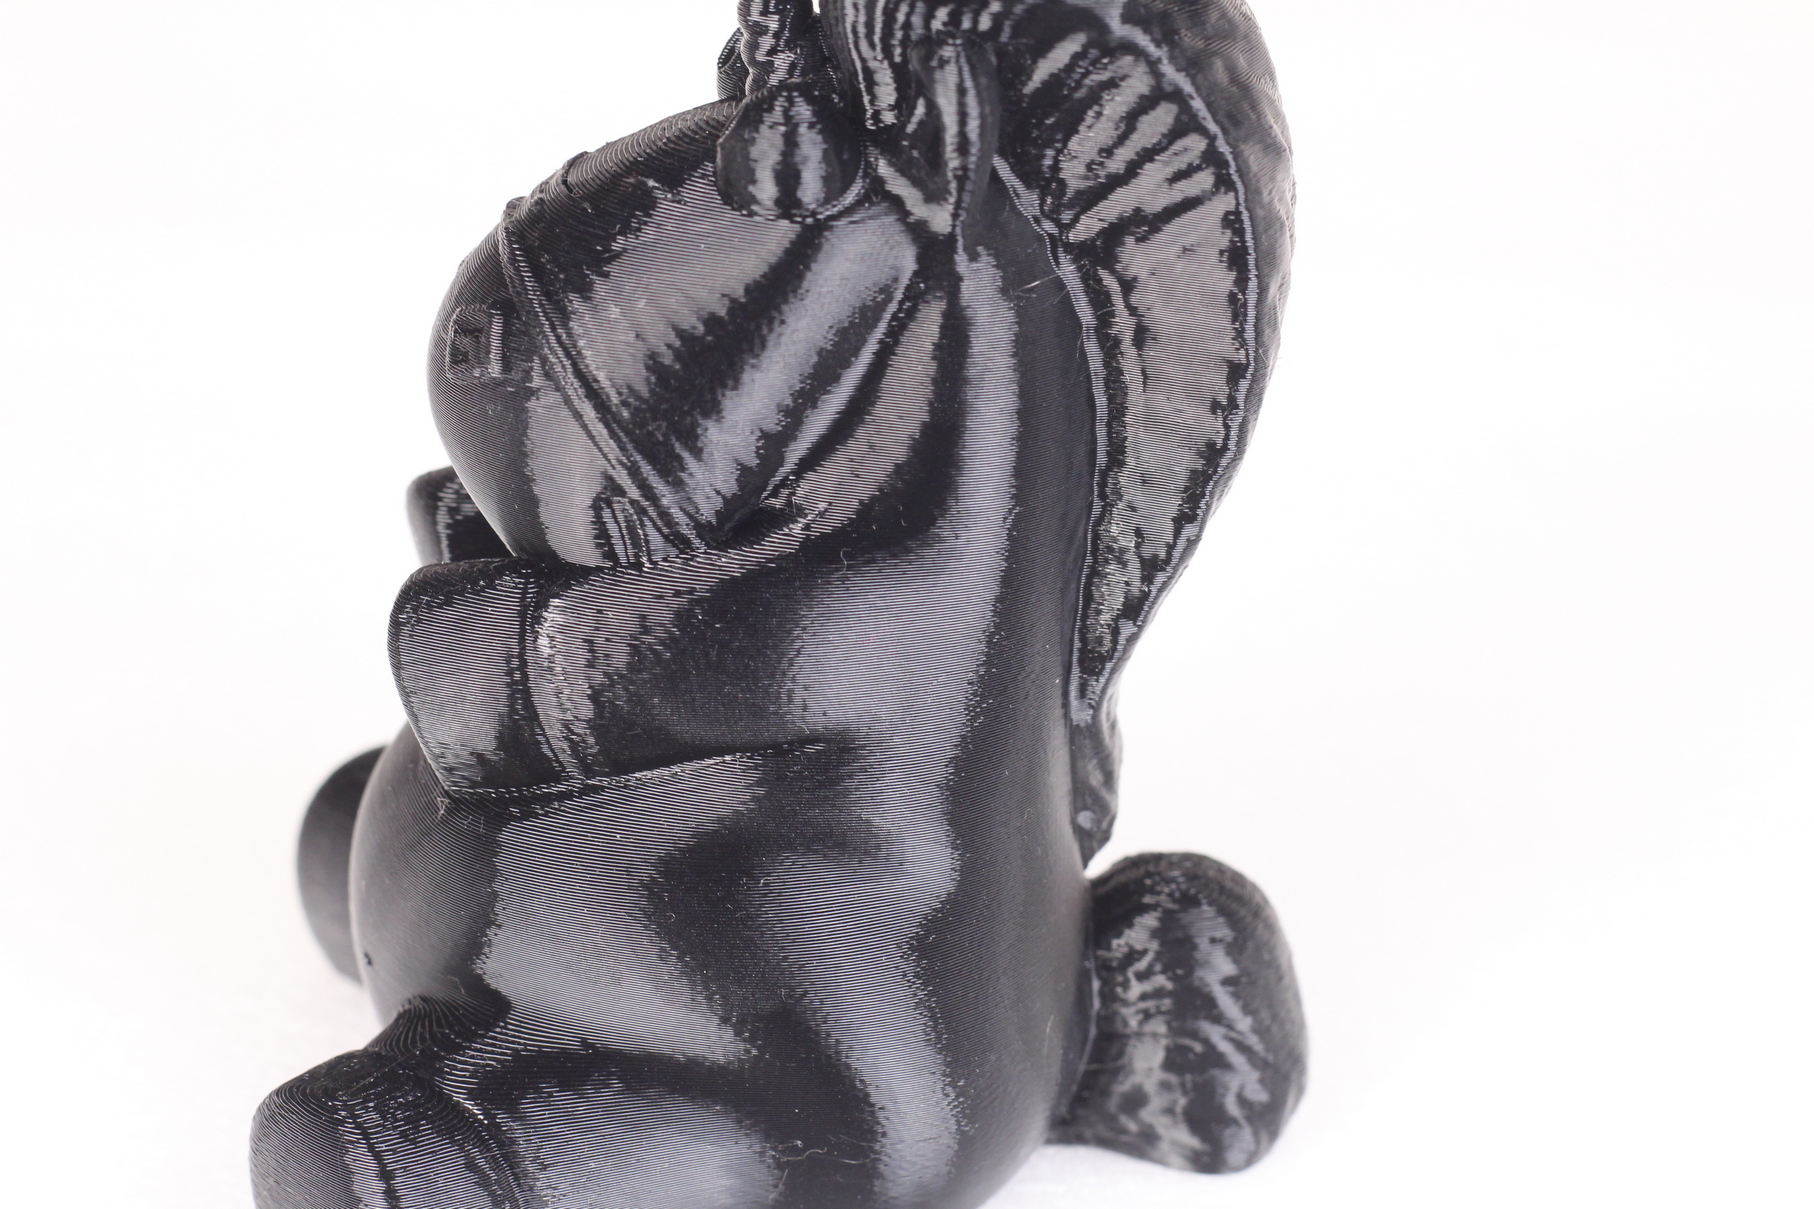
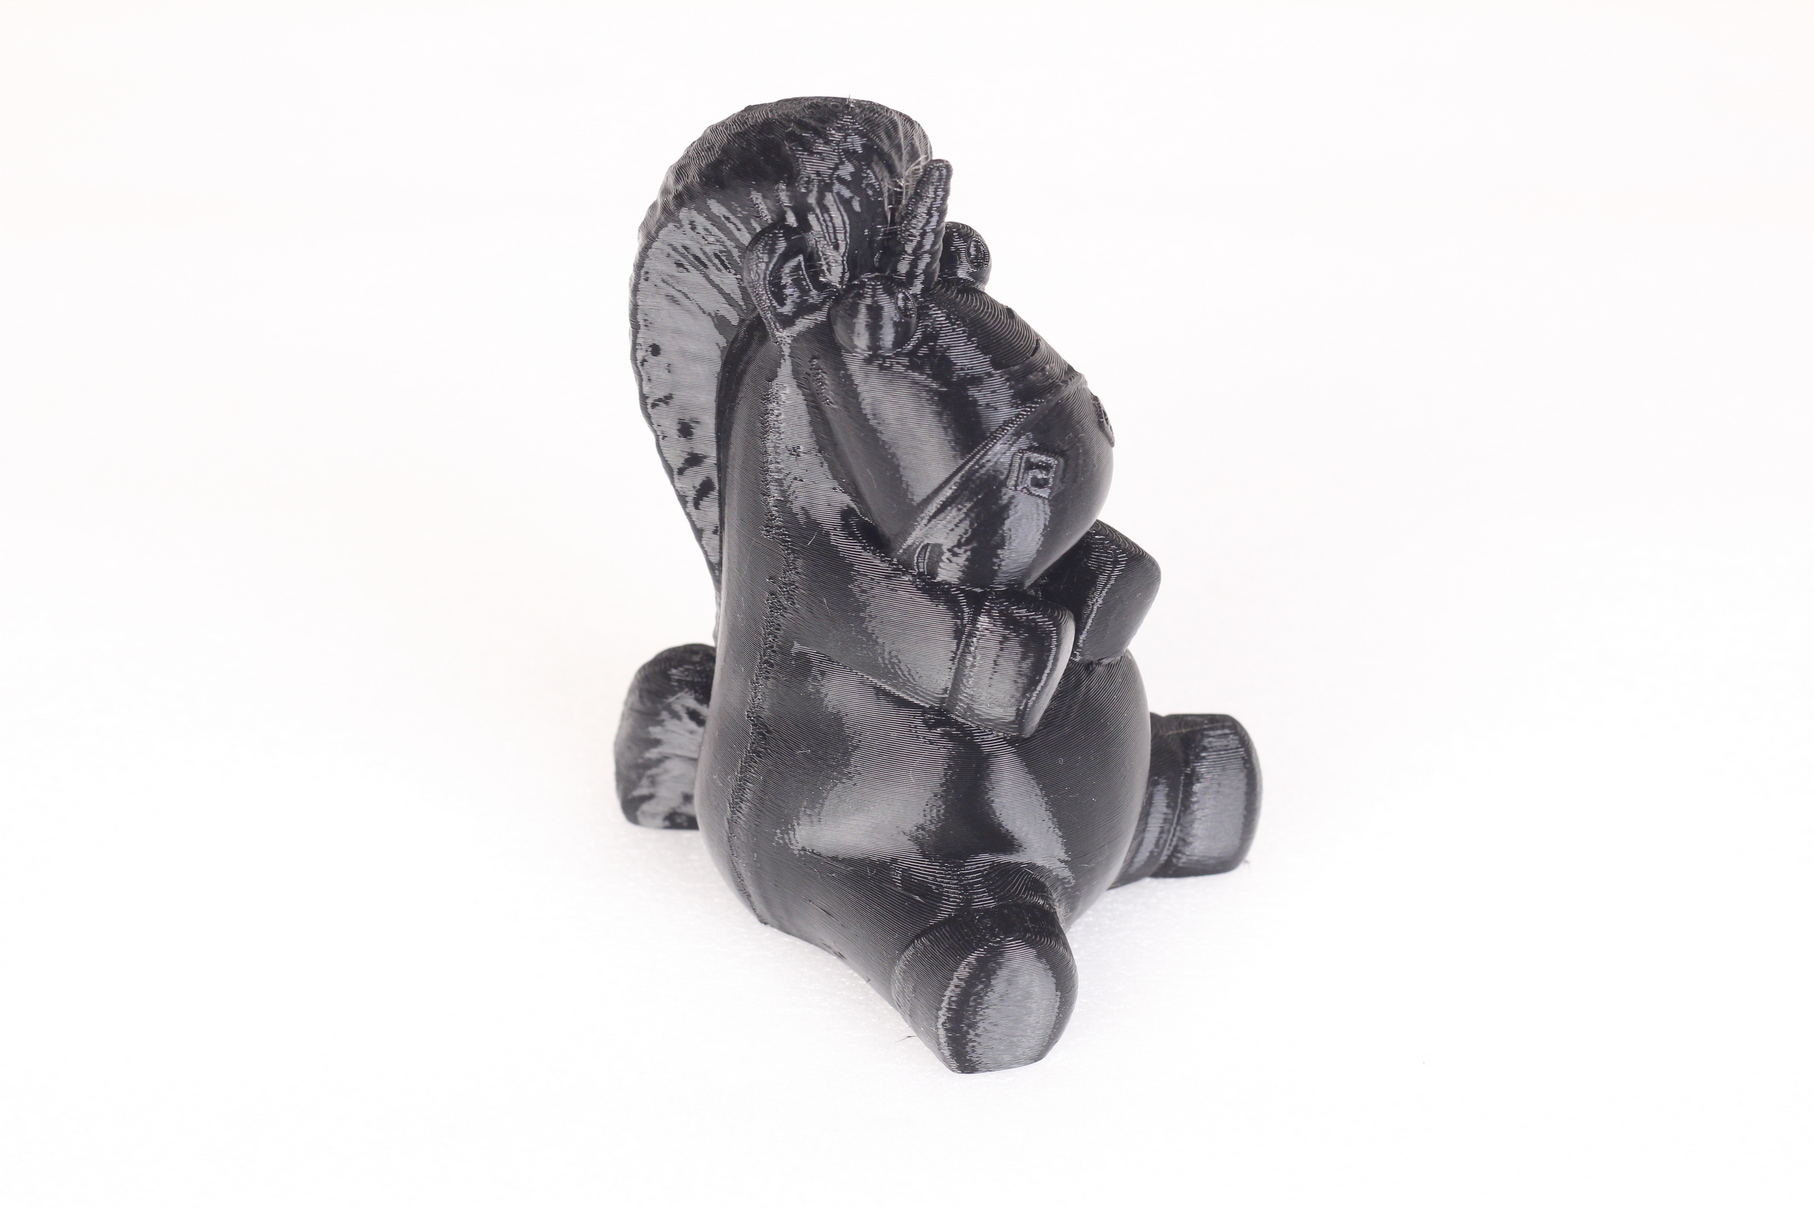
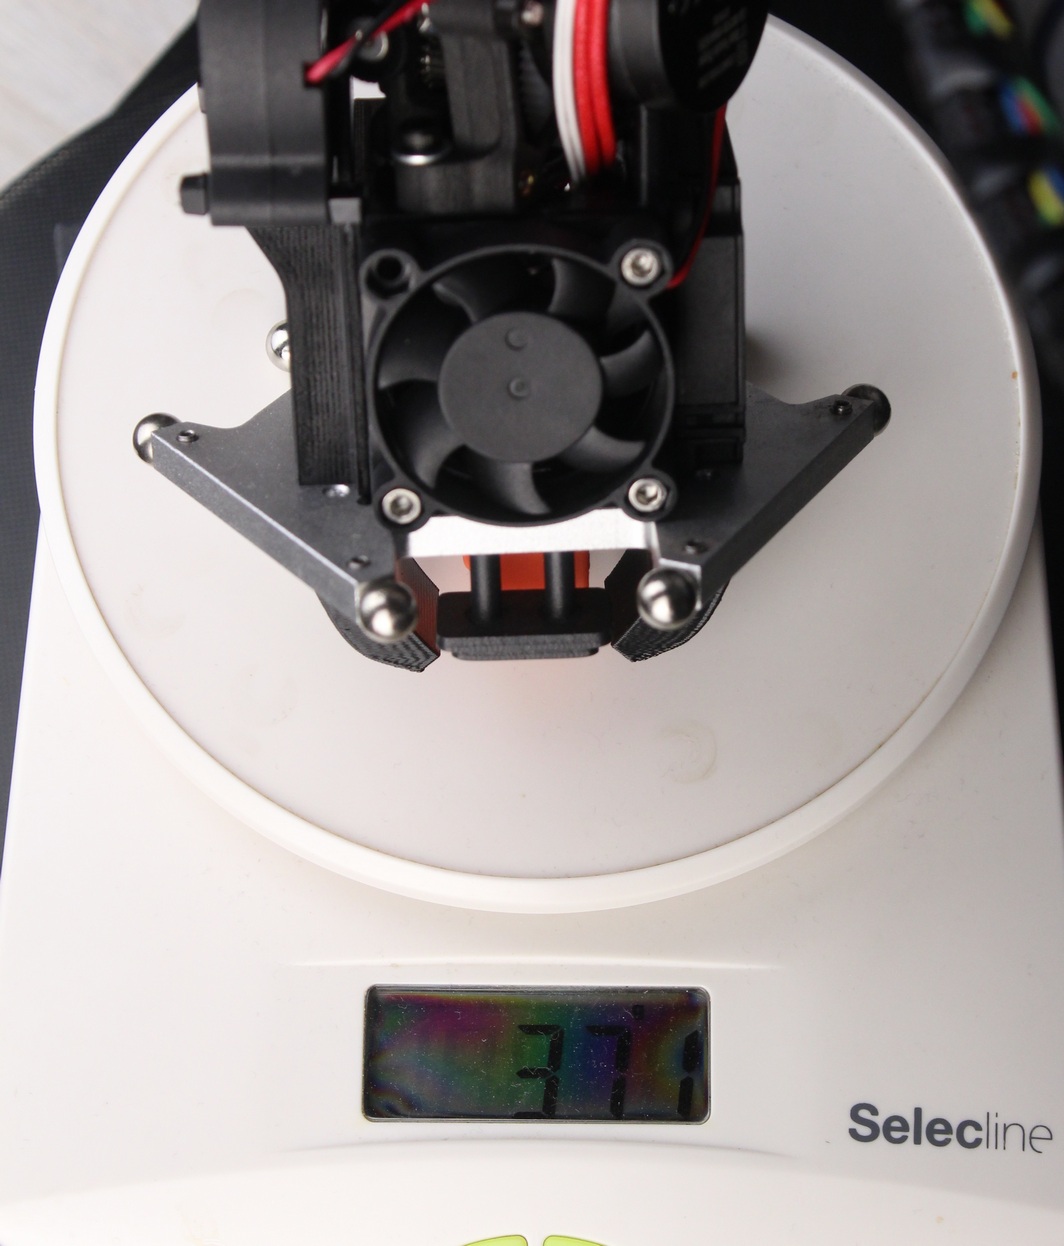
You might think that the Sherpa Mini installed on the Super Racer effector will make it heavy, but in my configuration it sits at ~370 grams which is not that bad. I think it’s worth the weight increase considering the benefits of having a direct drive extruder. Besides that, the added ringing will be fixed with Input Shaper.
Prerequisites
To install the Sherpa Mini on your FLSUN Super Racer, you need to have the following:
- Sherpa Mini extruder
- Printed mount
- Spare M3 nuts and bolts
- Super Glue
- 5015 fan with printed mount (optional)
Before you begin
Please note that converting your FLSUN Super Racer to direct drive requires some experience with 3D printers and hardware. This is not a trivial task for beginners, and you may break your printer during the process.
Read the full guide carefully and follow this guide only after you properly understood all the steps involved. If you have questions before starting, leave a comment and wait for a reply.
I am not responsible for any damage you may cause to your printer by following this guide. You are doing this on your own responsibility.
Steps to install the Sherpa Mini on FLSUN Super Racer
Remove the effector from the printer
The first thing you should do is to remove the effector from the Super Racer. This will allow you to easily disassemble everything and install the Sherpa Mini.
Disassemble the print head and remove the old metallic mount
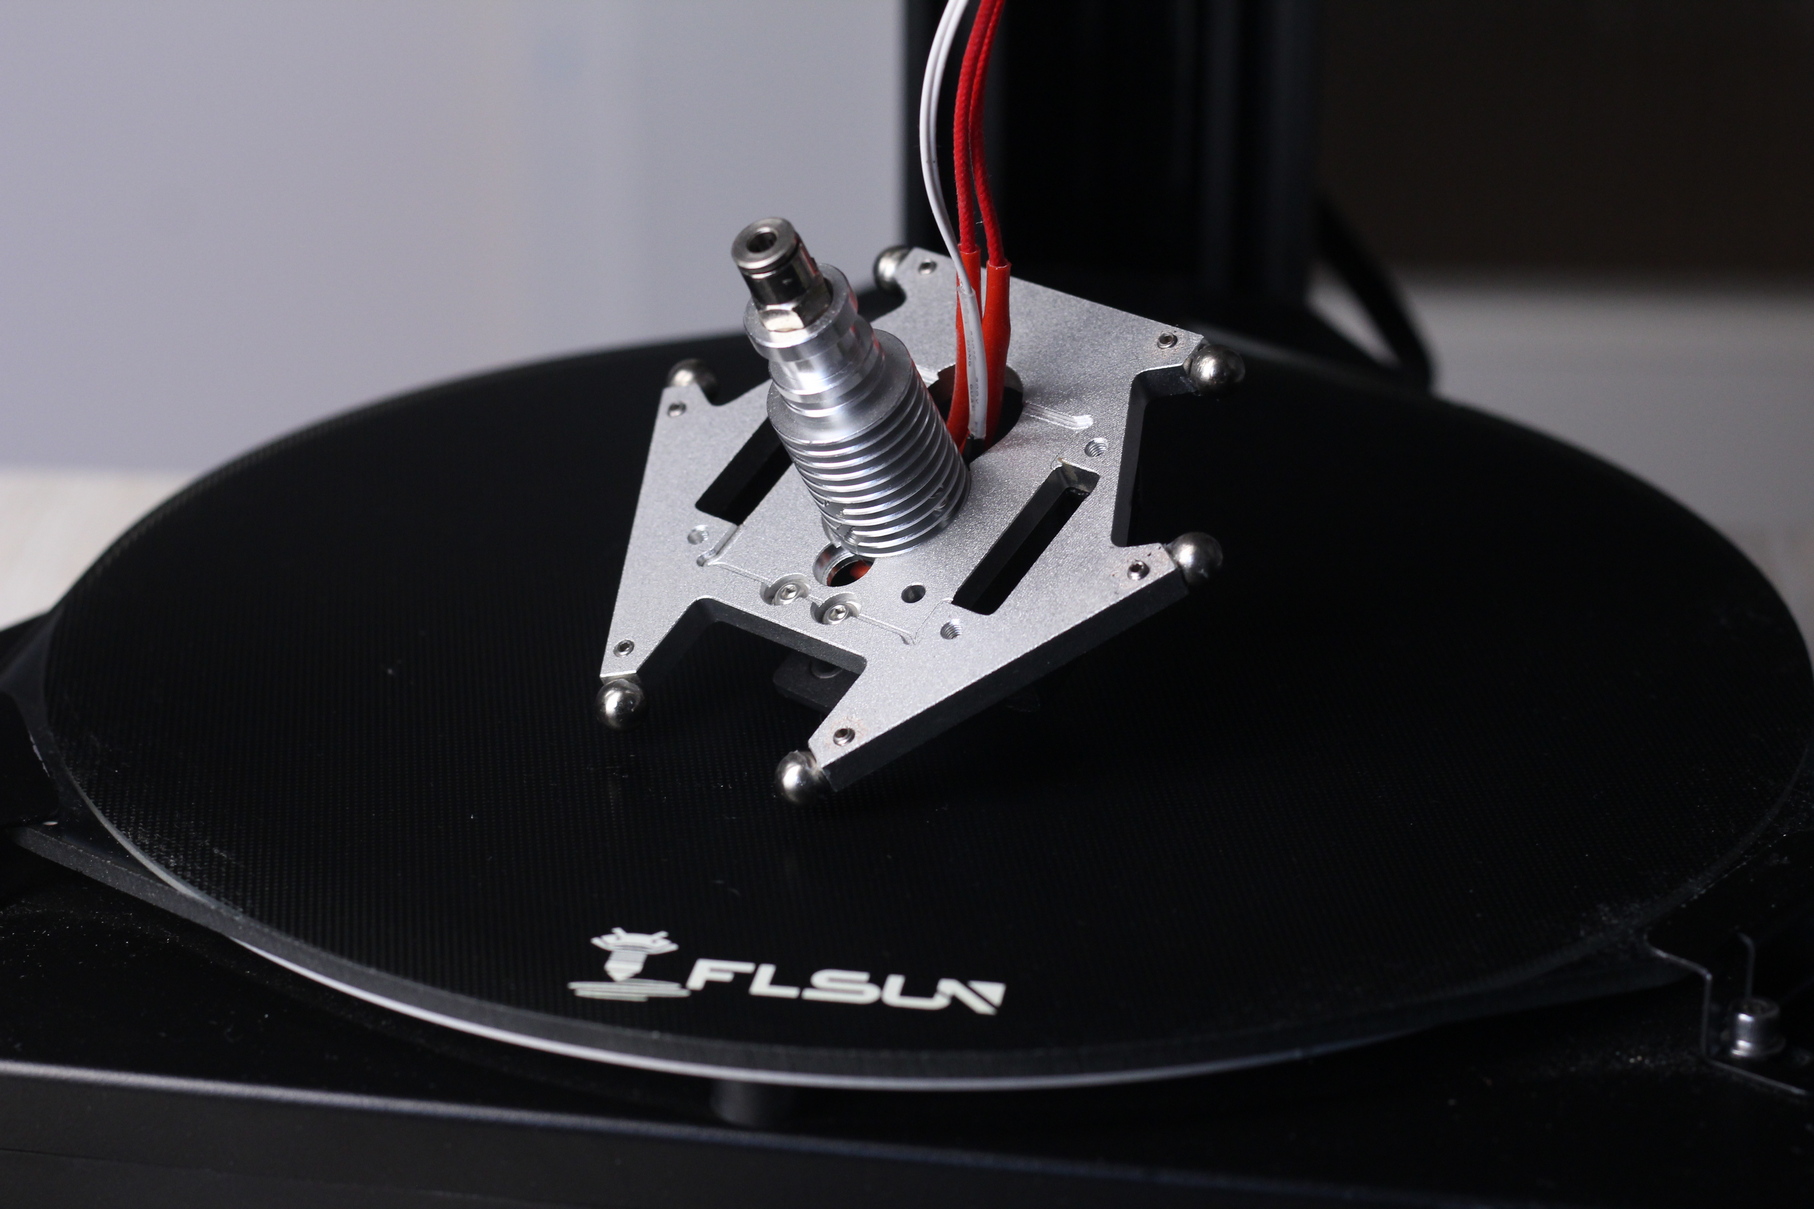
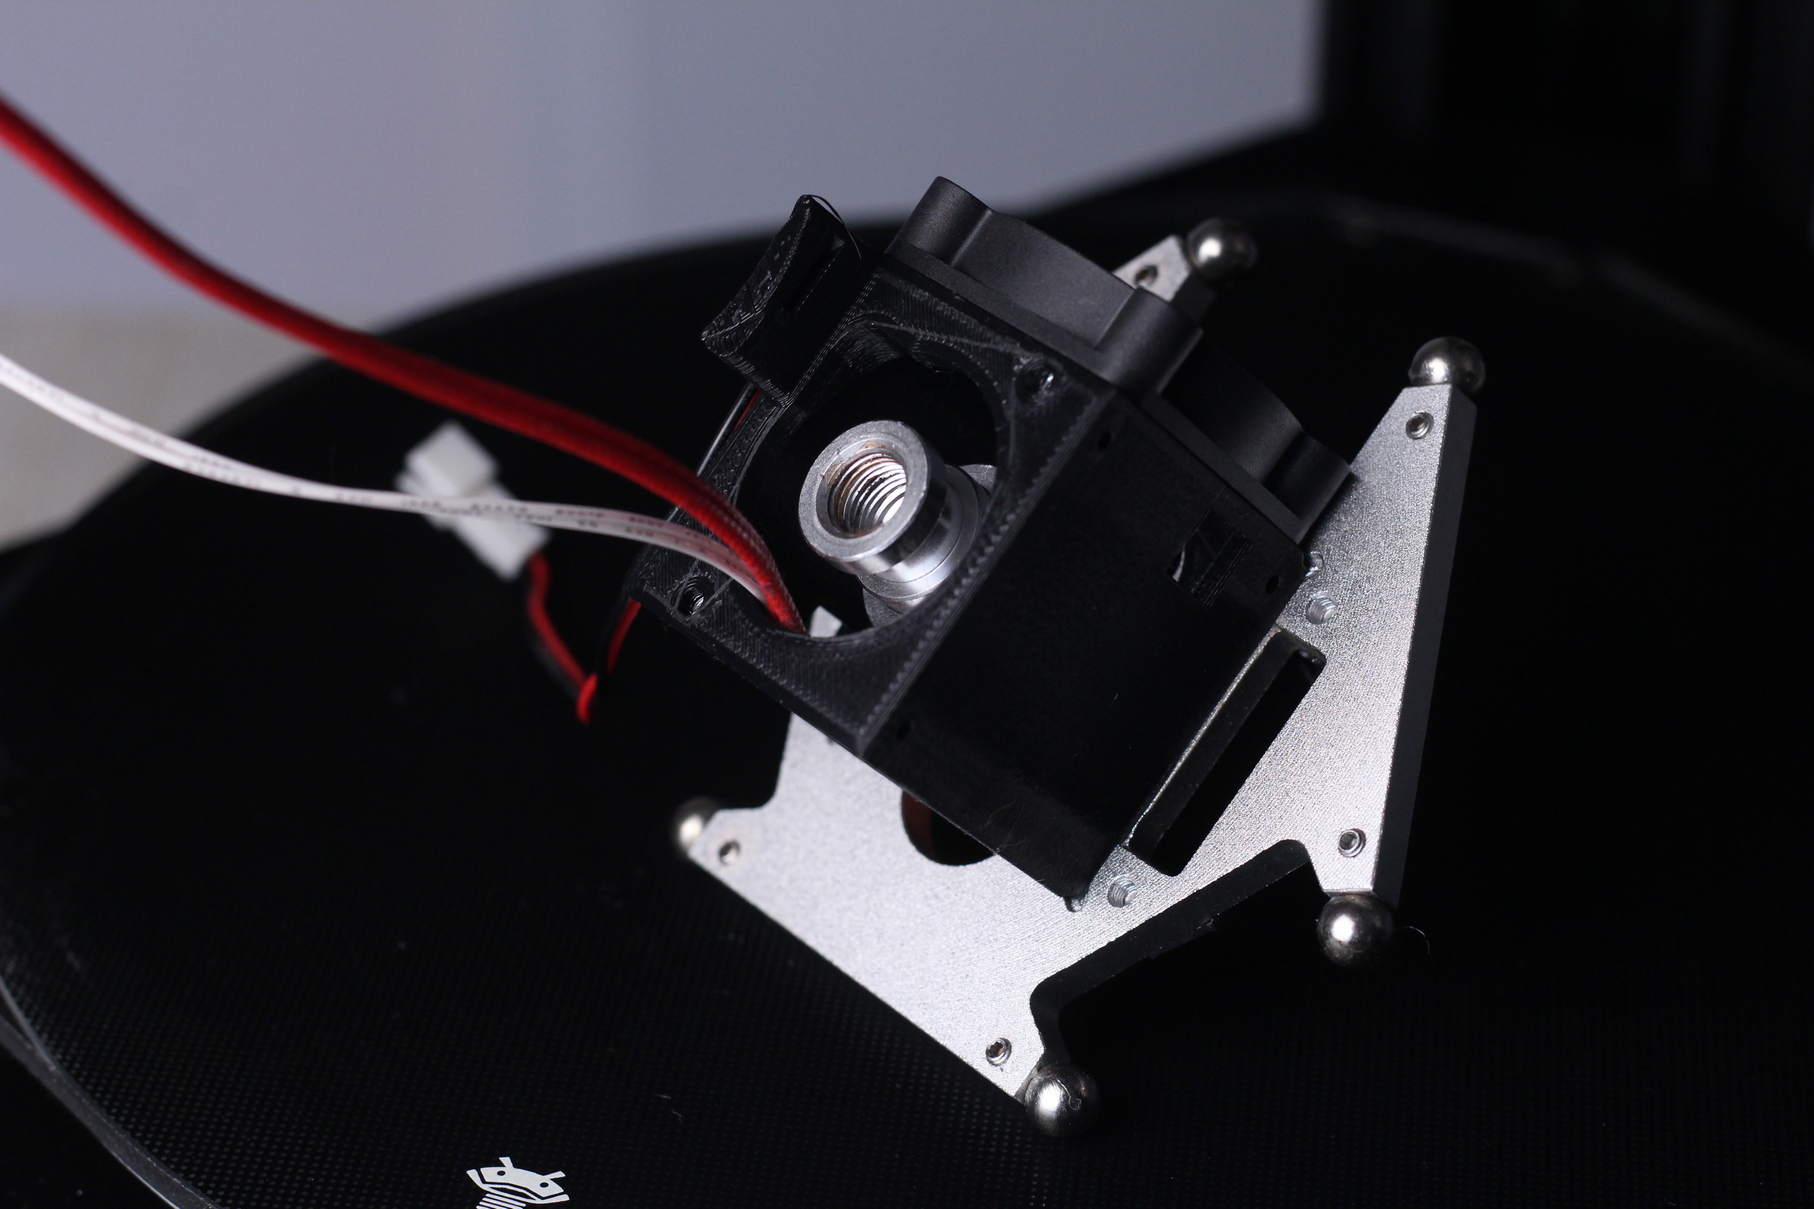
I removed all the fans, metal housing and the fan ducts. In this image the PTFE coupler is still attached, but remove that too. You won’t need it with the Sherpa Mini.
Attach the mount to the effector
Attach the printed mount to the effector, then attach the part cooling fan. Don’t overtighten the screws for the fan because you can easily strip the plastic and the fan won’t be securely attached.
Attach the Sherpa Mini extruder to the mount
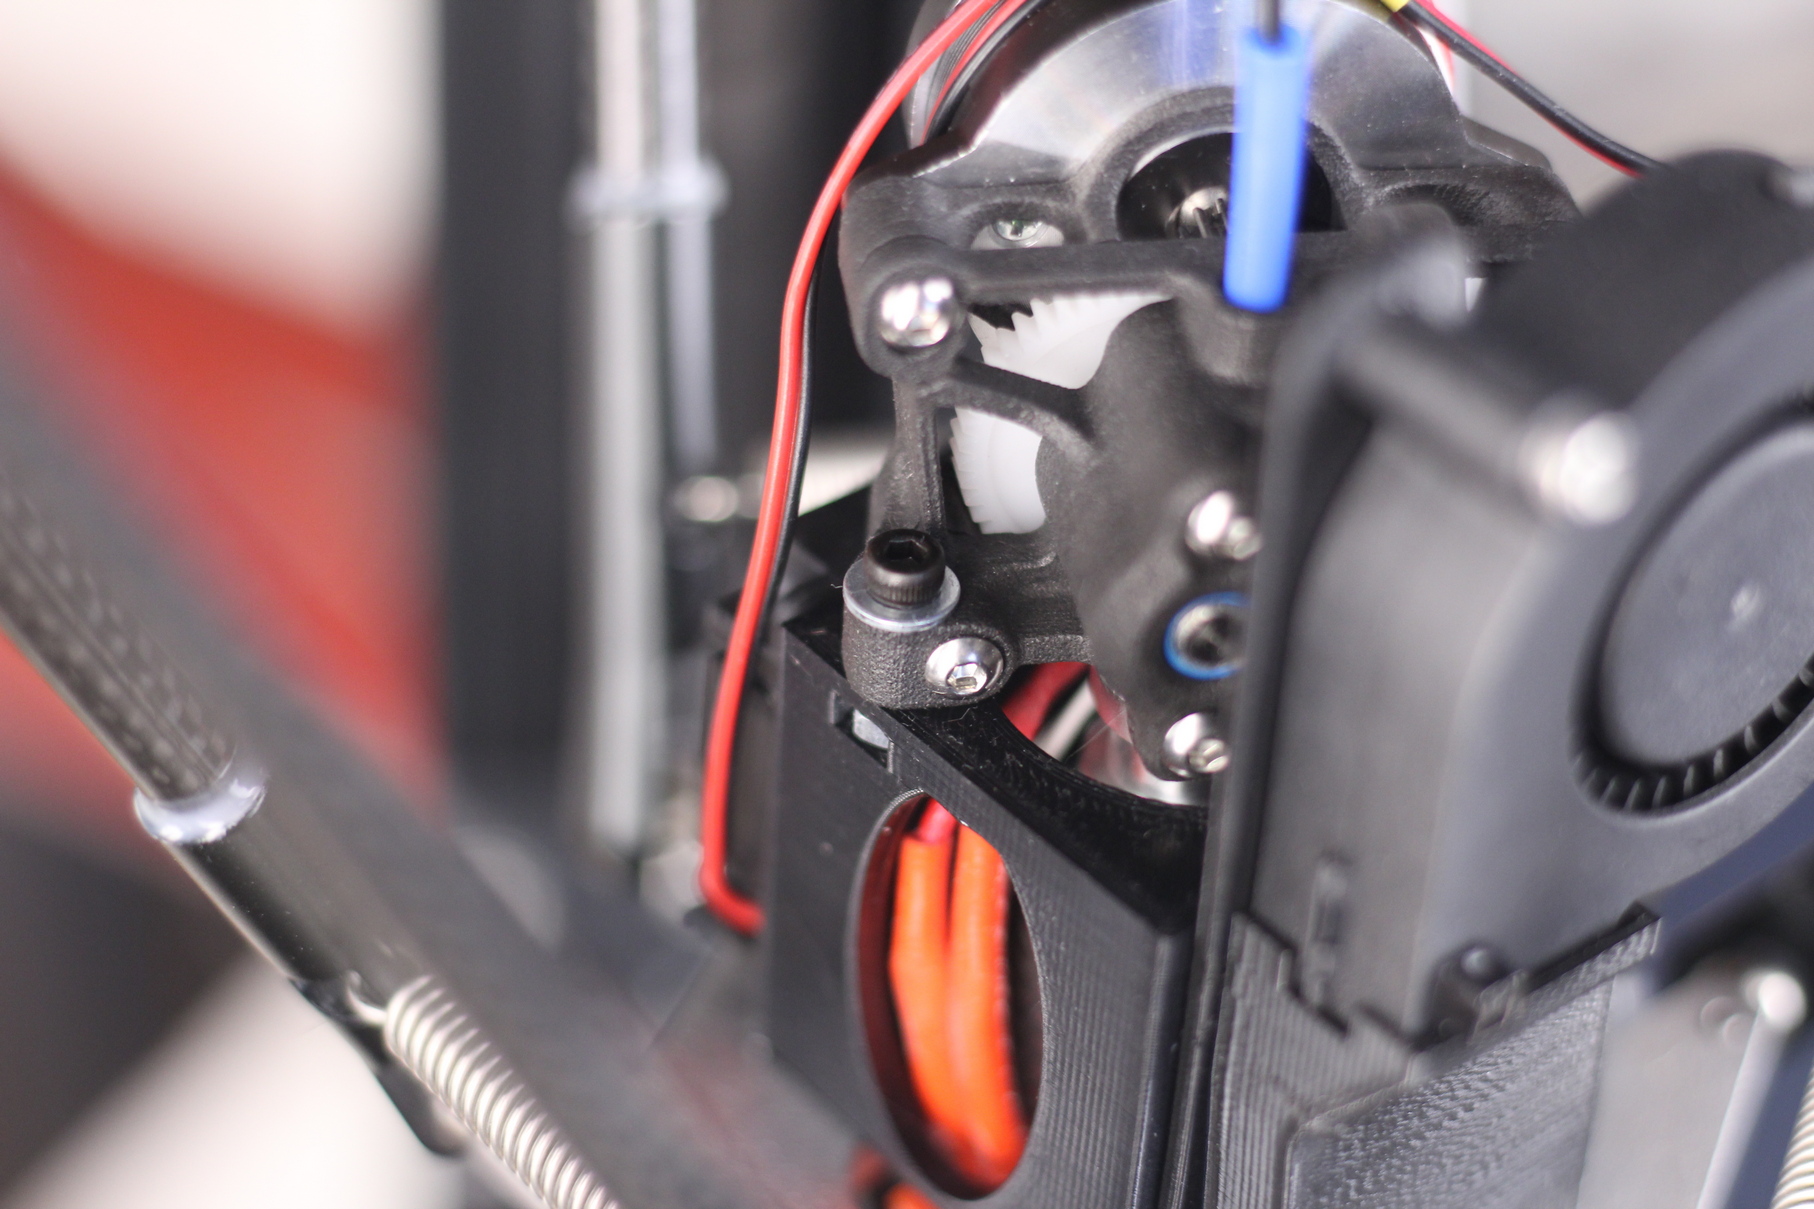
Now, you can install the Sherpa Mini extruder. I used a 24mm PTFE tube to guide the filament from the Sherpa to the hotend, but your PTFE tube size could be different. I have a bi-metal heat break installed which is different compared to the stock heat break.
As usual, don’t overtighten the screws which keep the Sherpa Mini attached to the printed mount. Tighten them just enough so the extruder is fixed and does not move.
To avoid issues with the SLS printed sections of the Sherpa Mini, I also used M3 washers to protect them
Attach the fans to the printed mount
You can use the stock fans and install them back using three M2 screws for each fan. I didn’t trust the M2 screwed in the plastic mount, so I just super-glued the fans to the mount. I know that this is not really the best way, but if something happens, it’s easy to just re-print the mount and add new fans.
I had dual 5015 fans with the bowden setup, but now I use one of the stock fans and a single 5015 fan due to space limitations. Even in this setup, the part cooling performance is good enough, and a decent upgrade compared to the stock dual 3510 fans.
Install the effector to the printer
With the Sherpa Mini installed, you can attach the effector to the printer and do some wire management. You could route the motor cable trough the wire loom but I was a bit lazy and I just routed it over the mesh. This allows me to quickly remove the Sherpa if I want to do it in the future.
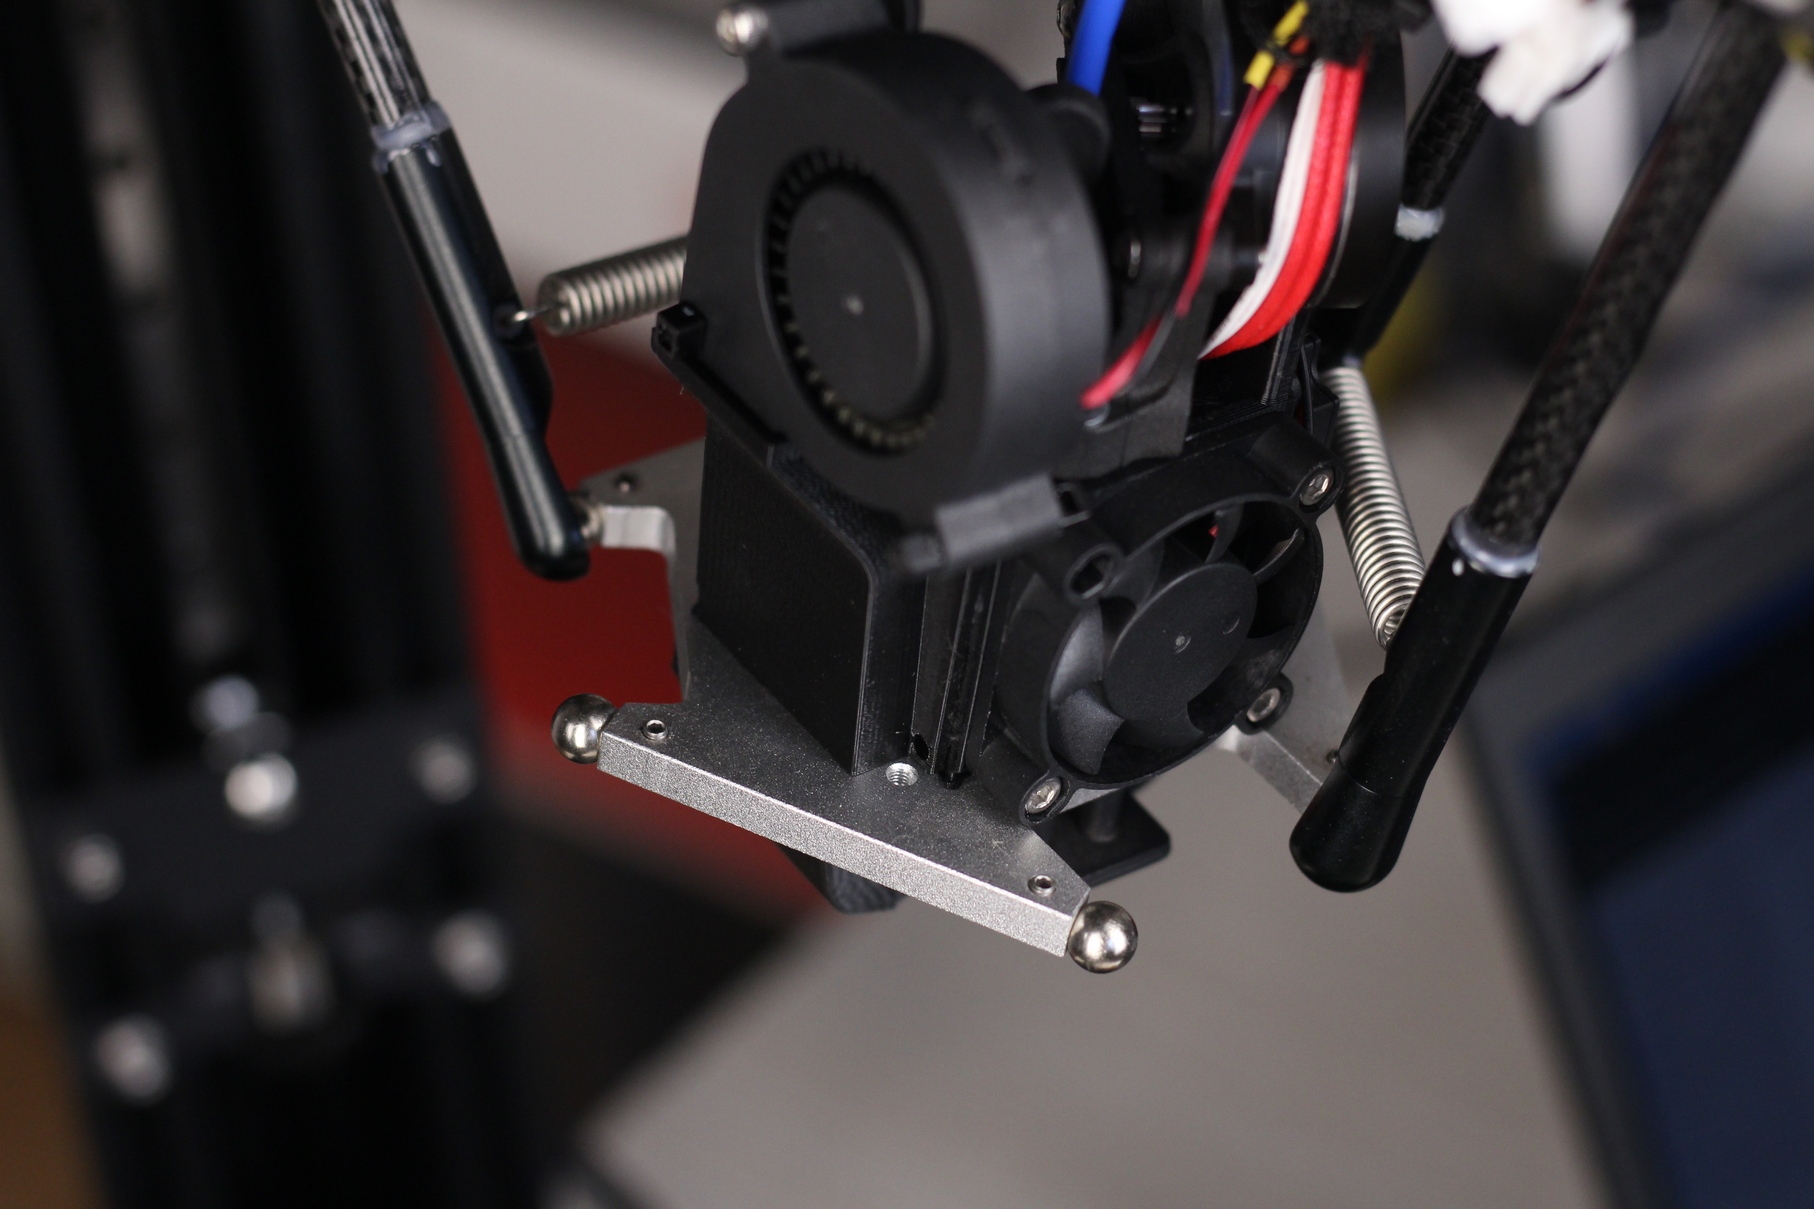
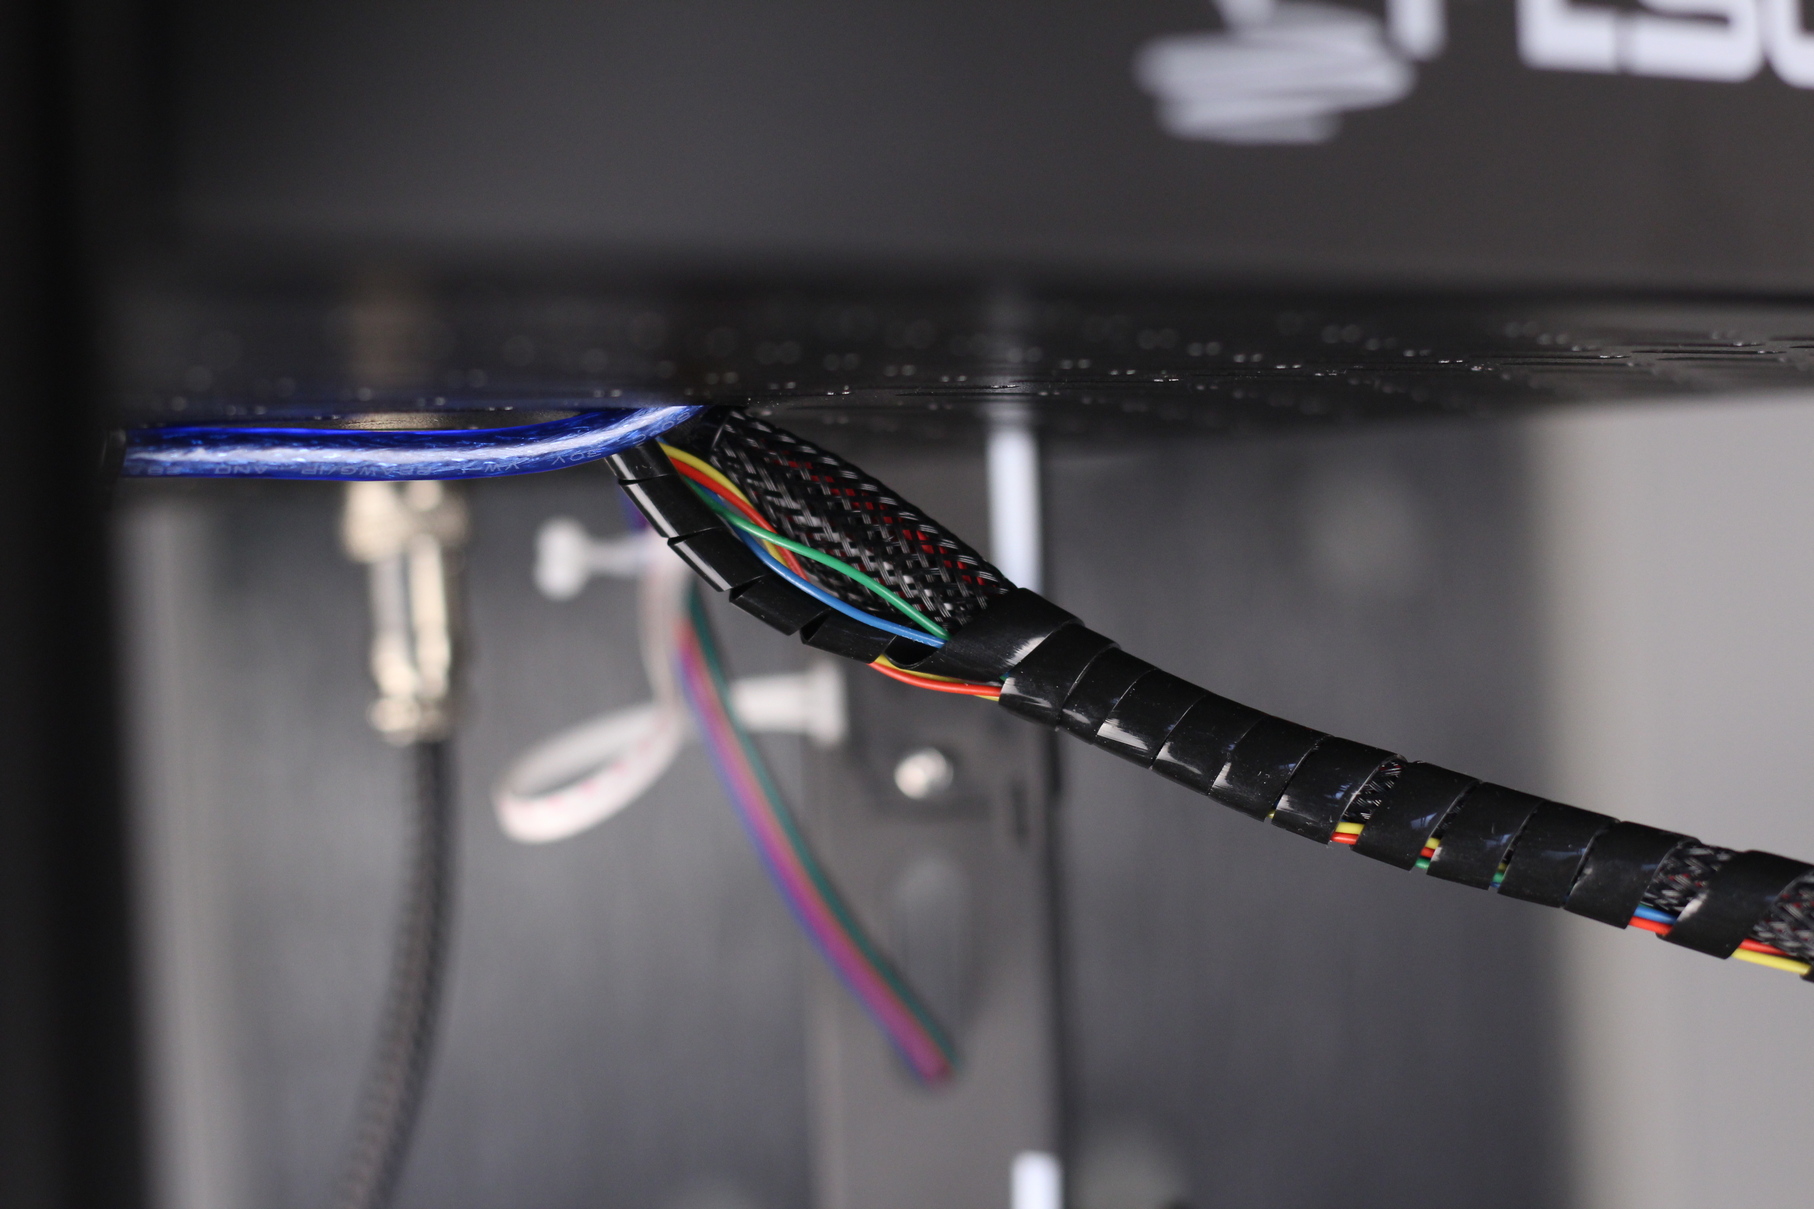
The motor connector goes in E0 port on the board.
Update the extruder configuration
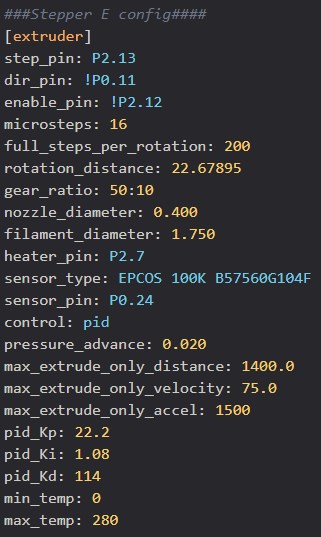
As you know, I use Klipper on the Super Racer, so updating the extruder configuration took me less than 30 seconds. This is the config I used:
microsteps: 16
full_steps_per_rotation: 200
rotation_distance: 22.67895
gear_ratio: 50:10
My Trianglelab Sherpa Mini came with the LDO-36STH20-1004AHG(XH) stepper motor which allows me to use a vref value of 0.850.
[tmc2209 extruder]
uart_pin: P1.8
interpolate: True
run_current: .850
hold_current: .500
stealthchop_threshold: 100
Calibrate the extruder
As usual, after changing the extruder, it’s recommended to calibrate E steps and flow rate. Besides that, I also recommend calibrating Pressure Advance and Input Shaper to ensure that you get the most of your new Sherpa Mini Direct Drive extruder setup.
Wrapping up
I hope this guide is helpful to you. Upgrading the Flsun Super Racer to direct drive was easier than expected and I am quite happy with the results. I am sure we’ll have a dual 5015 fan mount soon which works with the Sherpa Mini, so I’ll update the article when I do that upgrade. Until then, enjoy your new Sherpa Mini!
You can also join the 3DPrintBeginner Forum where there’s a dedicated thread for FLSUN 3D printers.
Liked it?
|
|





Why are you using run_current: .850?
I ask because when i run this on my mini sherpa for the SR, it gets really hot.
I was reading somewhere that a current of .3 or .4 would be better?
i havent tested yet, i wanted to hear your thoughts first
Depends on the type of motor you have.
Find the exact part number written on it and do a search online.
I can’t remember the exact value used, but I did the same and found the value.
I wondering if you could confirm something for me. I trying to do this project. Been printing for a few years now and I have converted Ender 3’s to direct drive. this is the first Delta I have attempted DD. I printed the mount out and tore down the effector. I go to mount the extruder and it won’t fit mounting it the way you have it mounted because of that little “knub” on the corner? I’m guessing its because I bought a knock off mini sherpa. So I did a return and I’m waiting for the real triangleLabs sherpa to arrive. I’m guessing that the real triangle labs mini has the motor higher and that little knub is where it seats? Could you confirm that for me?