LOTMAXX SC-10 Shark V2 Review: Dual Color Printing and Laser Engraving
The LOTMAXX SC-10 Shark V2 3D printer is trying to be the all-in-one machine for a maker. But does it live up to the marketing material? In this review, we will go over the specs and the features offered by this machine, and I will also share my experience with the printer.
Before starting, please note that I’m the happy owner of a Sidewinder X2 for the past 6 months, I’ve been reading up on how I can improve my 3D printing knowledge, my printer, and my prints. My main interest is in what makes things tick and how it happens, and this is one of the reasons I picked up on this challenge to try and review a printer outside of my comfort zone. This is a guest post on the 3DPrintBeginner website to share some information about the SC-10 Shark V2.
The time spent with this printer had some positive experiences as well as some points of frustration, I was really happy to have the opportunity to work with my first dual-color extruder and what the process of creating such prints implies.
LOTMAXX SC-10 Shark V2 Shipping and Packaging
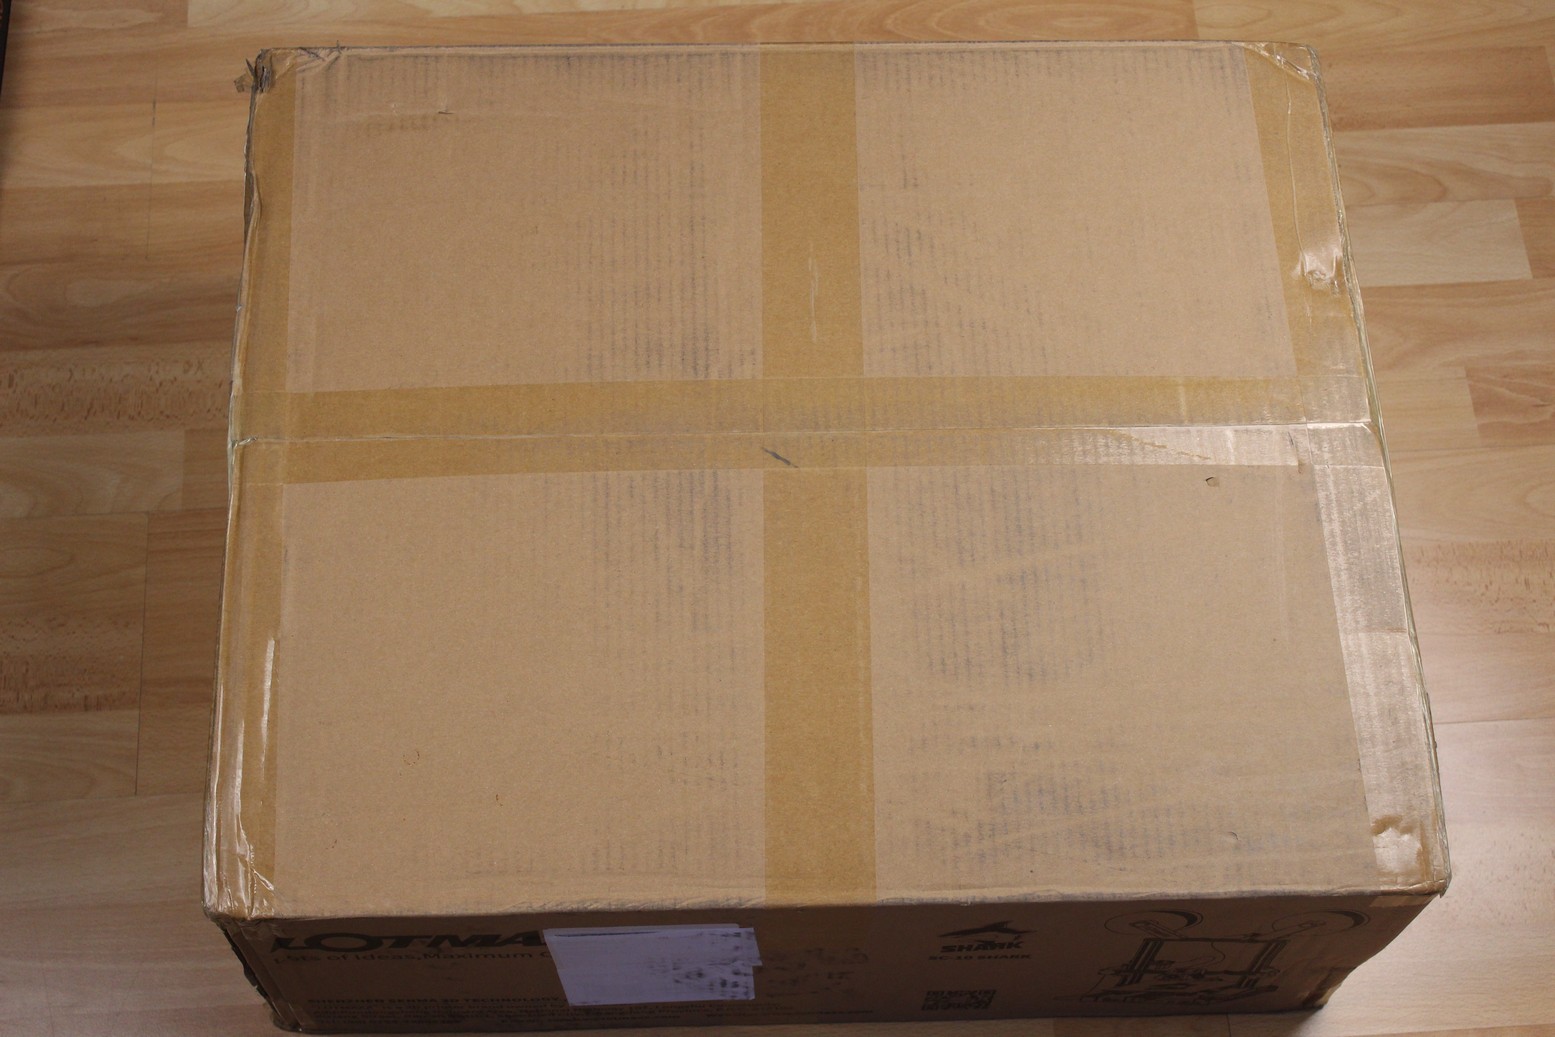
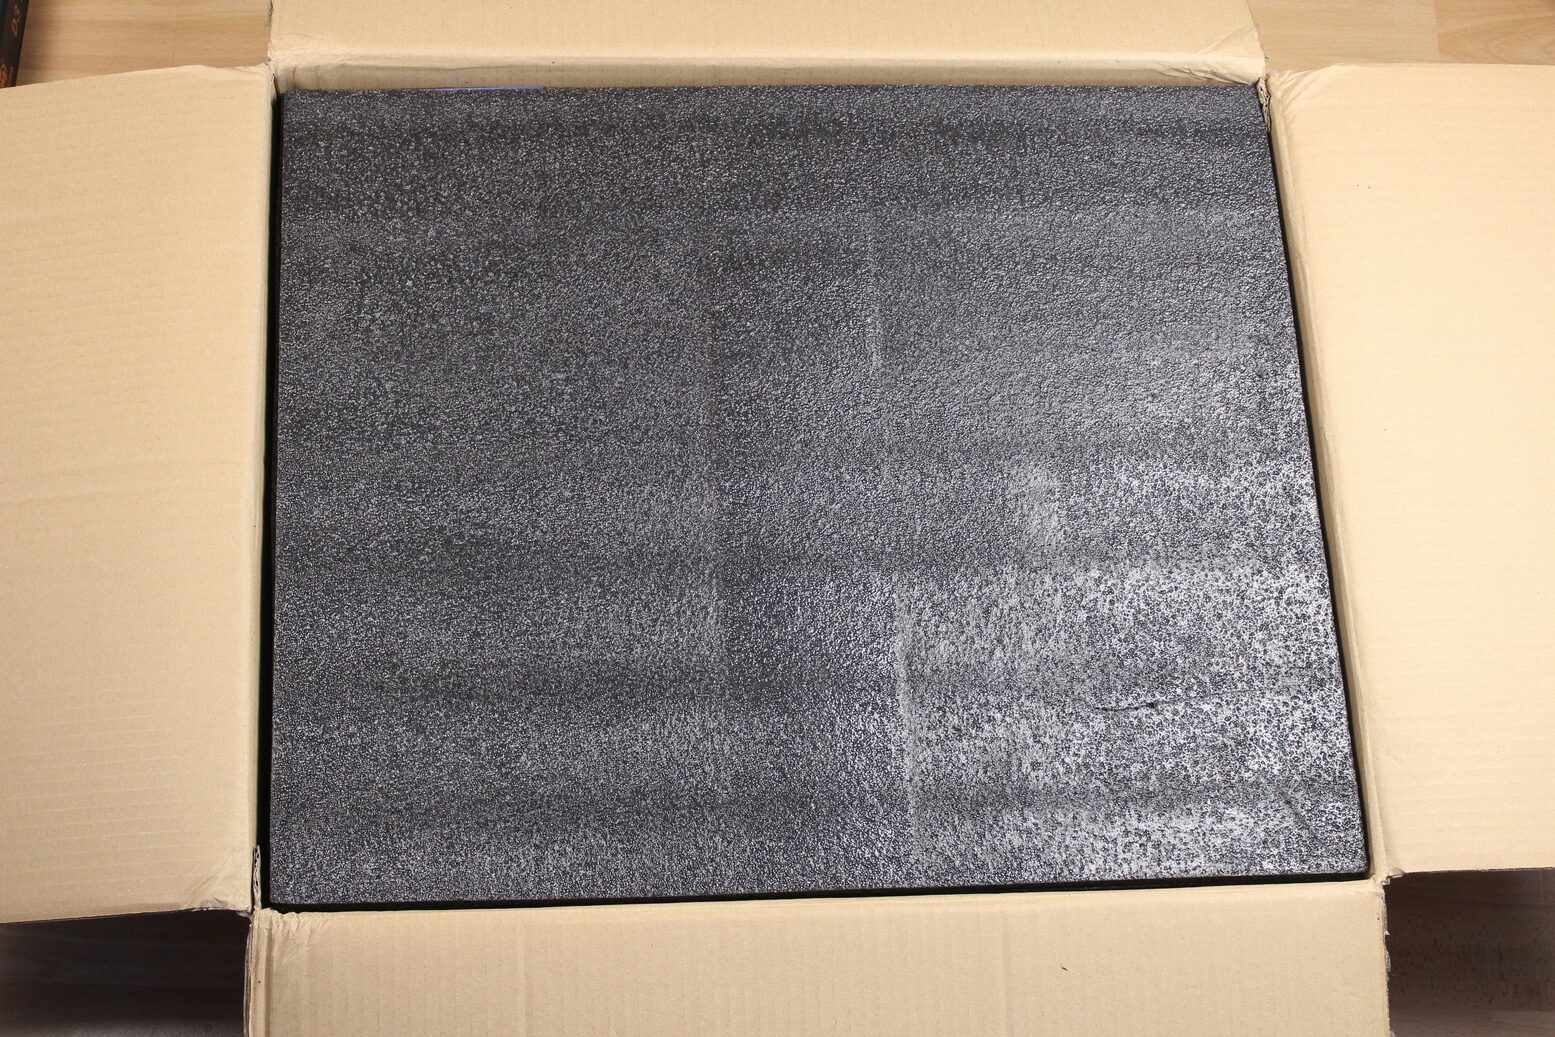
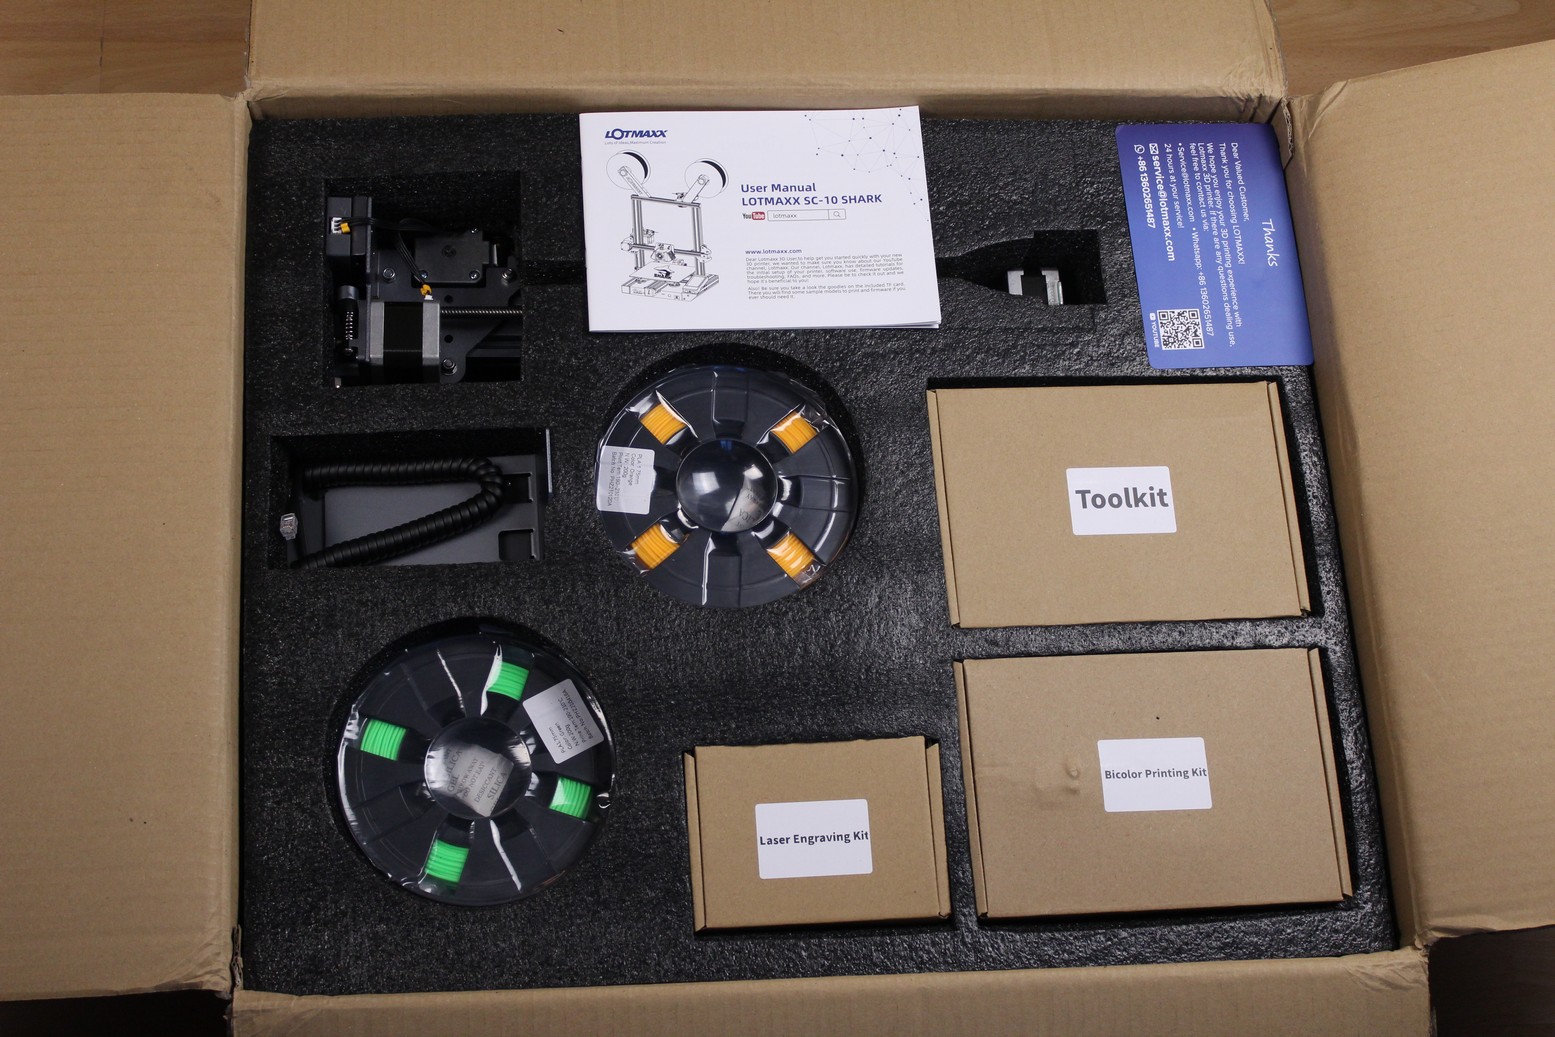
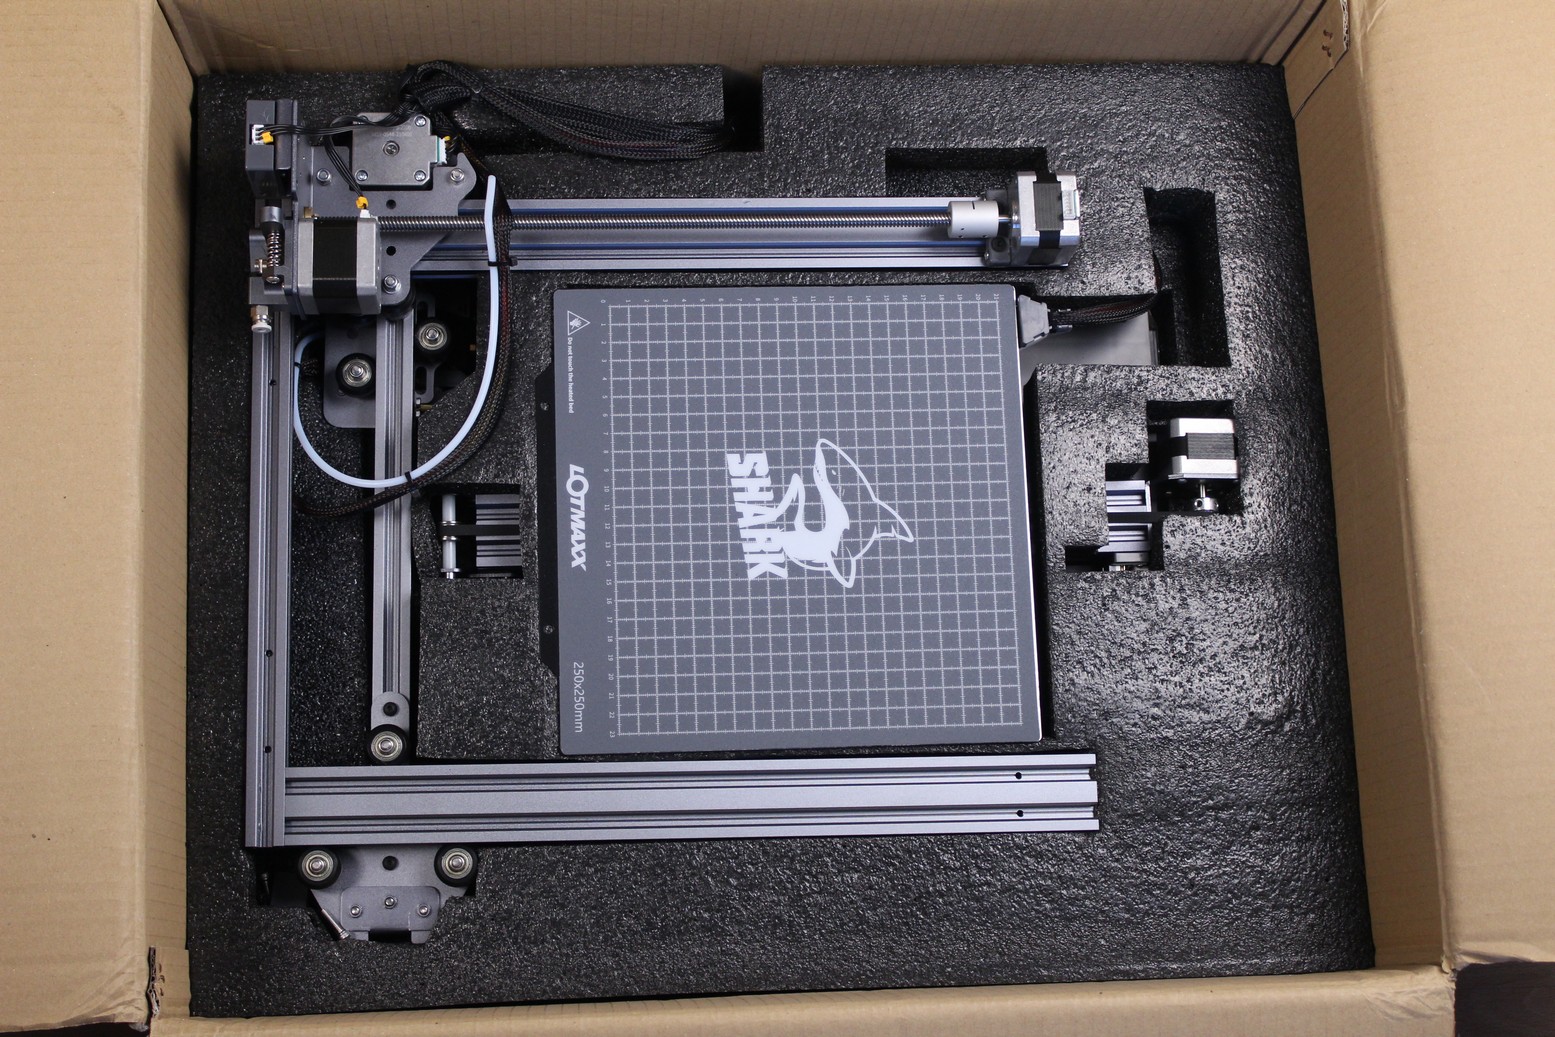
The LOTMAXX SC-10 Shark v2 is pretty neat packaged in a big cardboard box with packaging foam to protect it. The printer components were protected during transportation and there were no issues with the delivered product.
During the inspection, I noticed that the bottom lid of the base was misaligned, so not everything was fitted in flush, and to top it over the screws used were not helping as well.
A second thing that I’ve noticed right out of the box is the Y motor bracket was a bit bent and the belt was loose. I had to force it by hand back into place and align the belt. If the belt is overtightened the stepper motor bracket can get bent easily, so be mindful about this when putting your printer together.
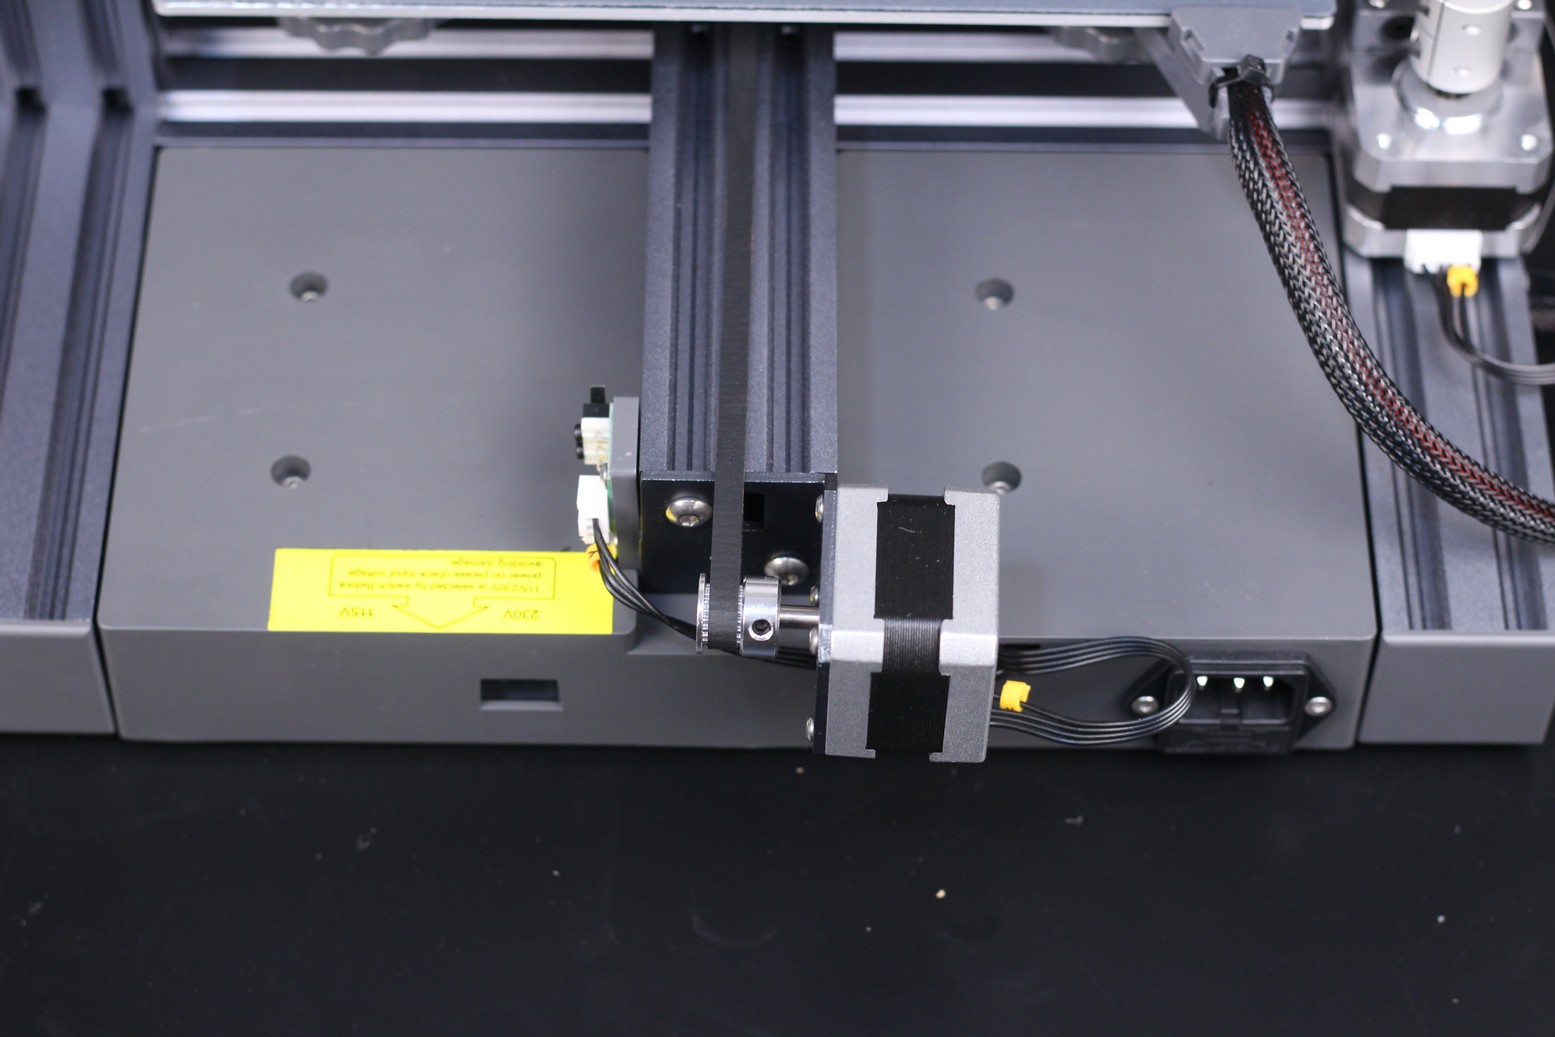
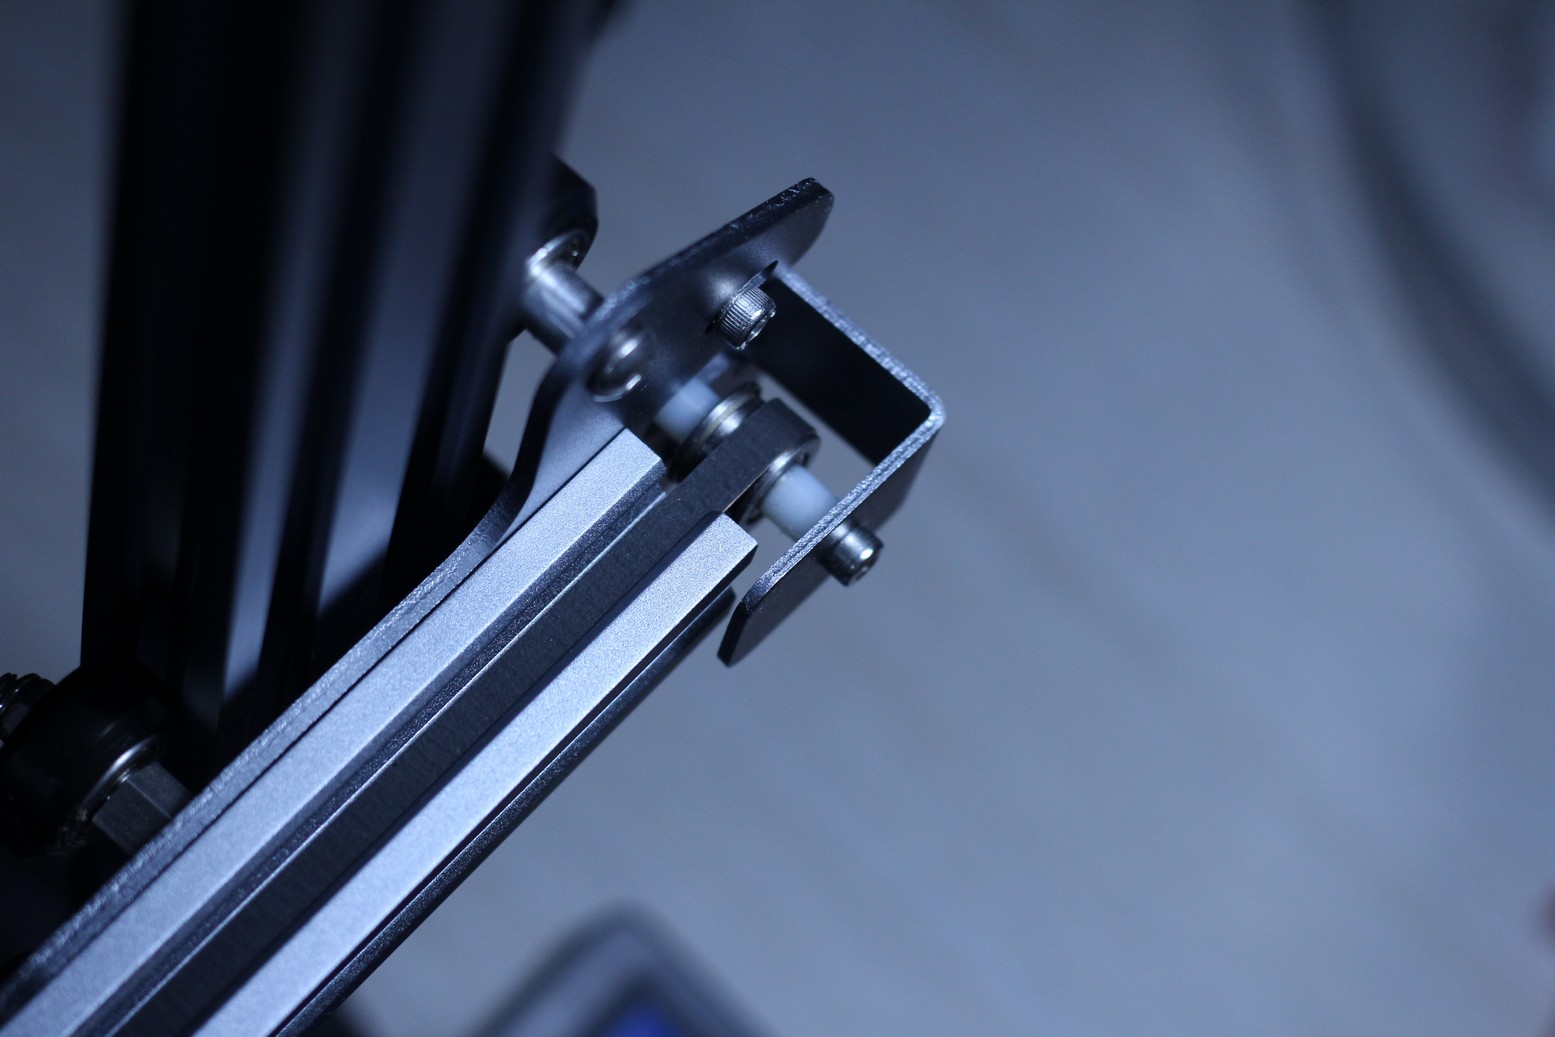
The same applies to the X-axis idler which started to got bent after a few prints.
LOTMAXX Shark V2 Assembly
The assembly for this printer is pretty straightforward.
First, you connect the gantry to the base and tighten the 4 pcs of M5 screws that hold everything together.
Second, set up the second extruder using the 2 pcs of M4 screws with T-shaped nuts at the top of the gantry, connect the extruder to the rack and place the PTFE tube in the extruder.
Next, attach the filament spools supports using the 2 pcs of M4 screws with T-shaped nuts for each support.
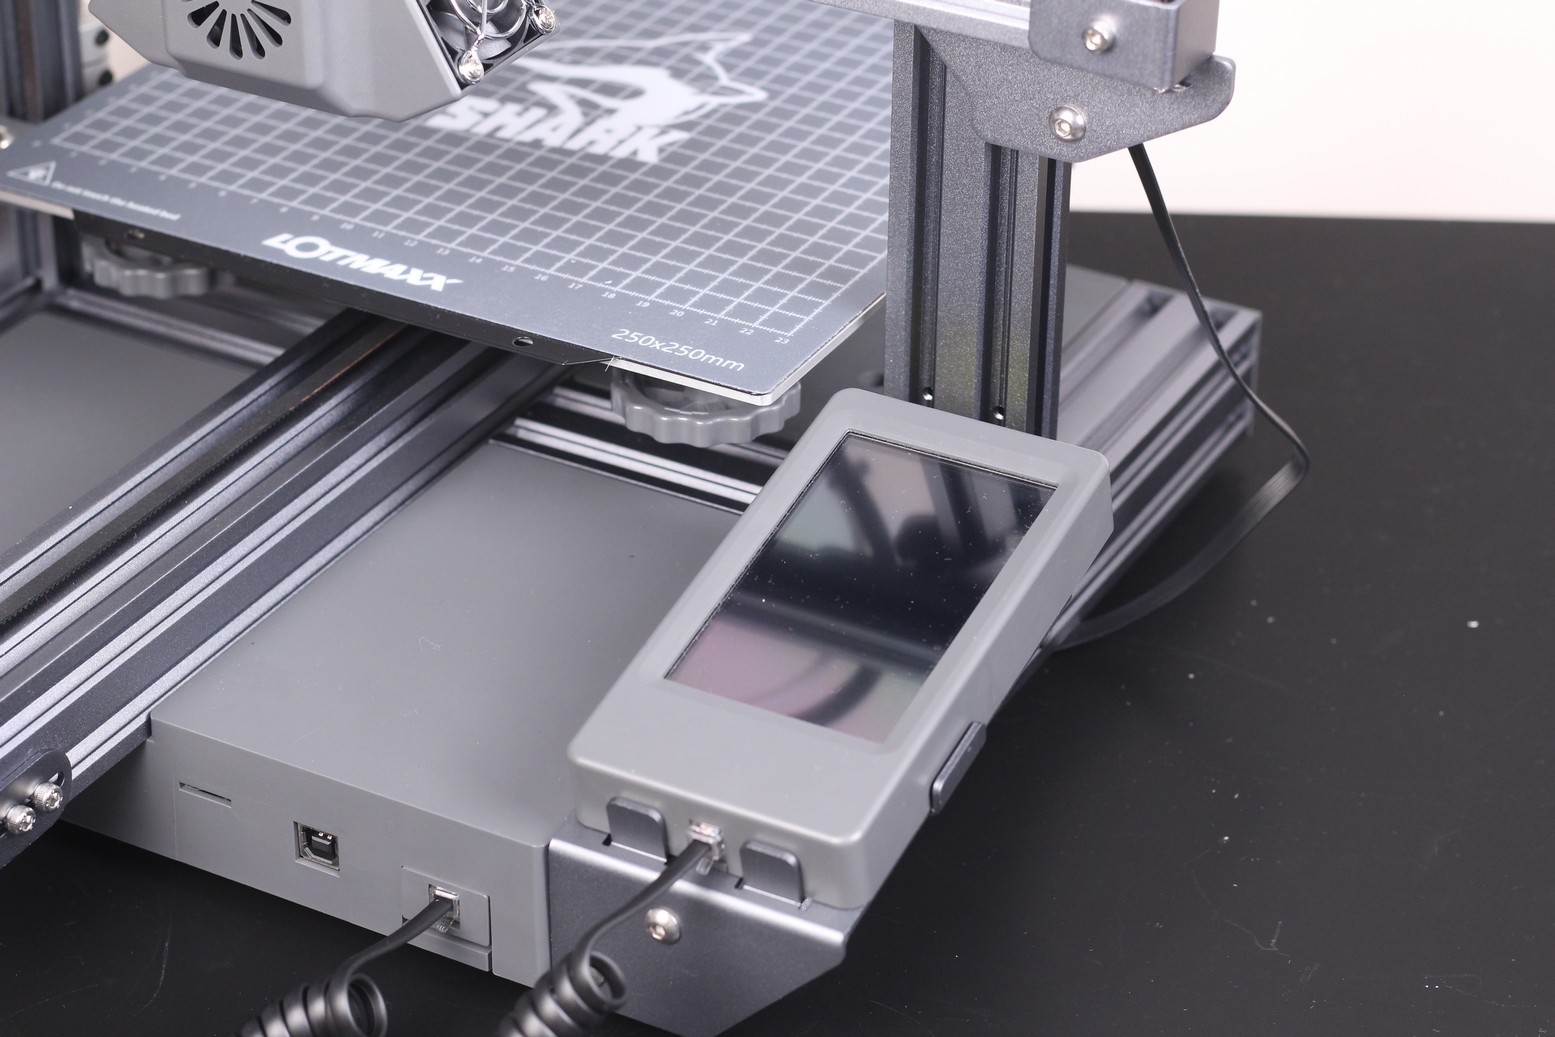
Install the touch screen support, using 2 pcs of M5 screws, on the right hand side of the rack. connect the touch screen to the rack.
Finally, connect the wires for XYZ movement and end stops.
Executing these five steps gets you up and ready to start calibrating your printer. Assembly time is around 15-20 minutes, please take your time for the assembly process following the instructions provided with the printer.
LOTMAXX SC-10 Shark V2 Design
The LOTMAXX SC-10 Shark v2 aluminum frame paired with the dual geared extruders gives the product a premium look and feel, the only distraction from this perspective is the second spool holder, which is made from plastic.
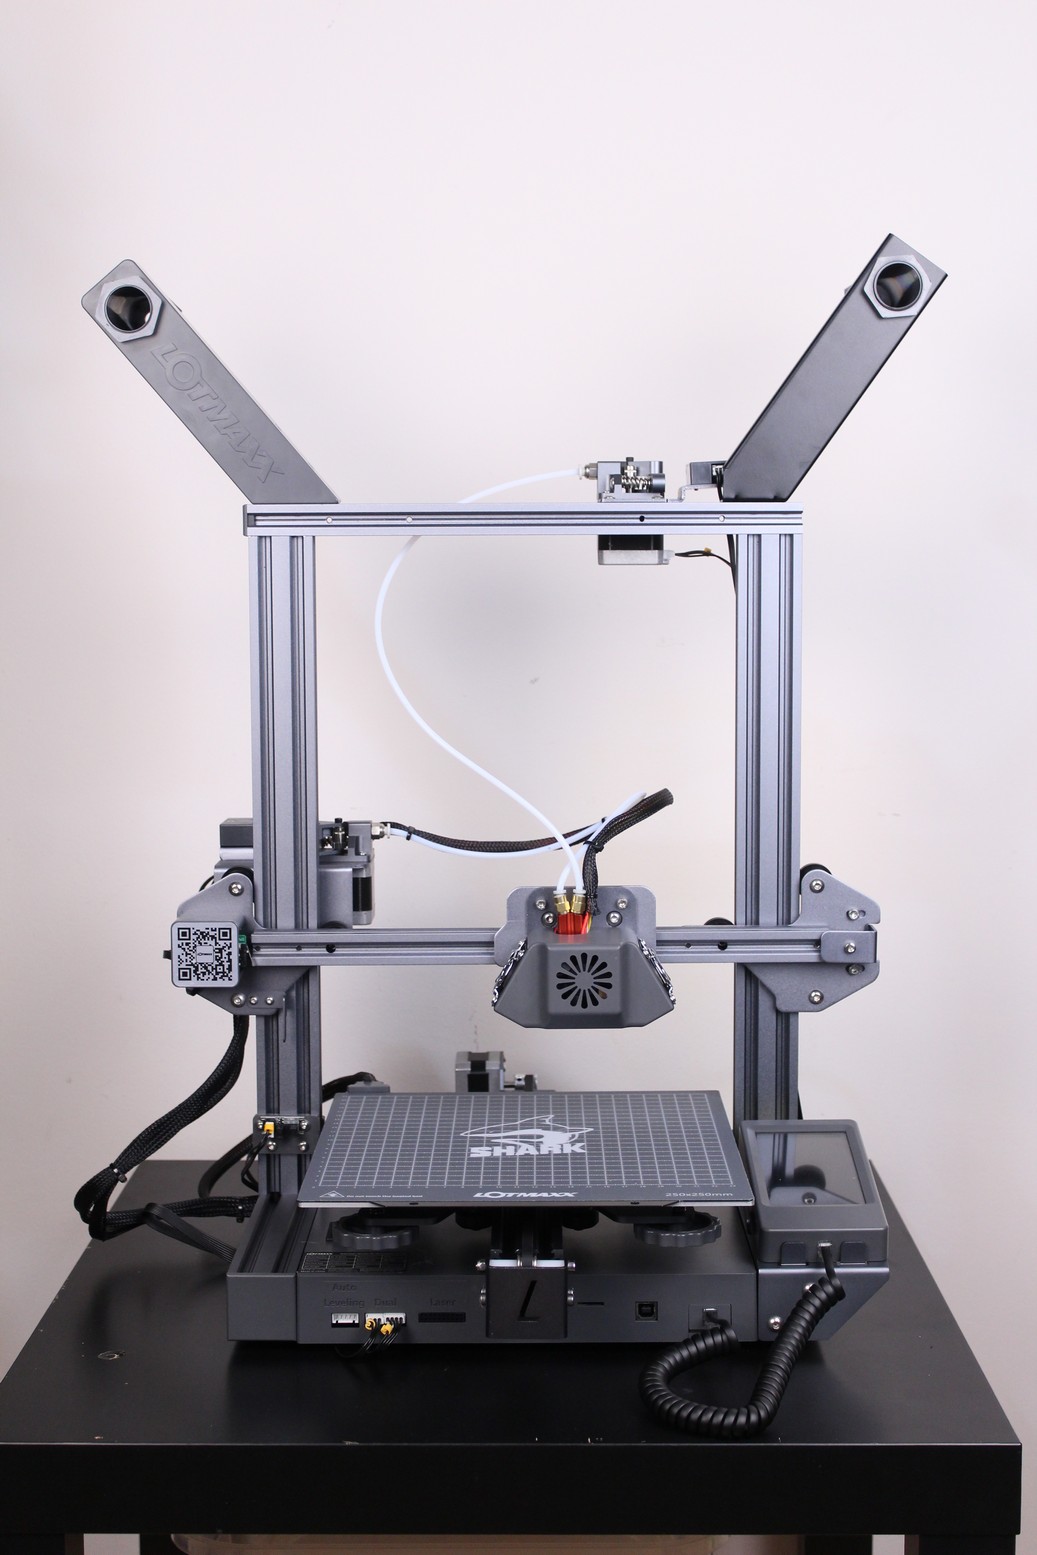
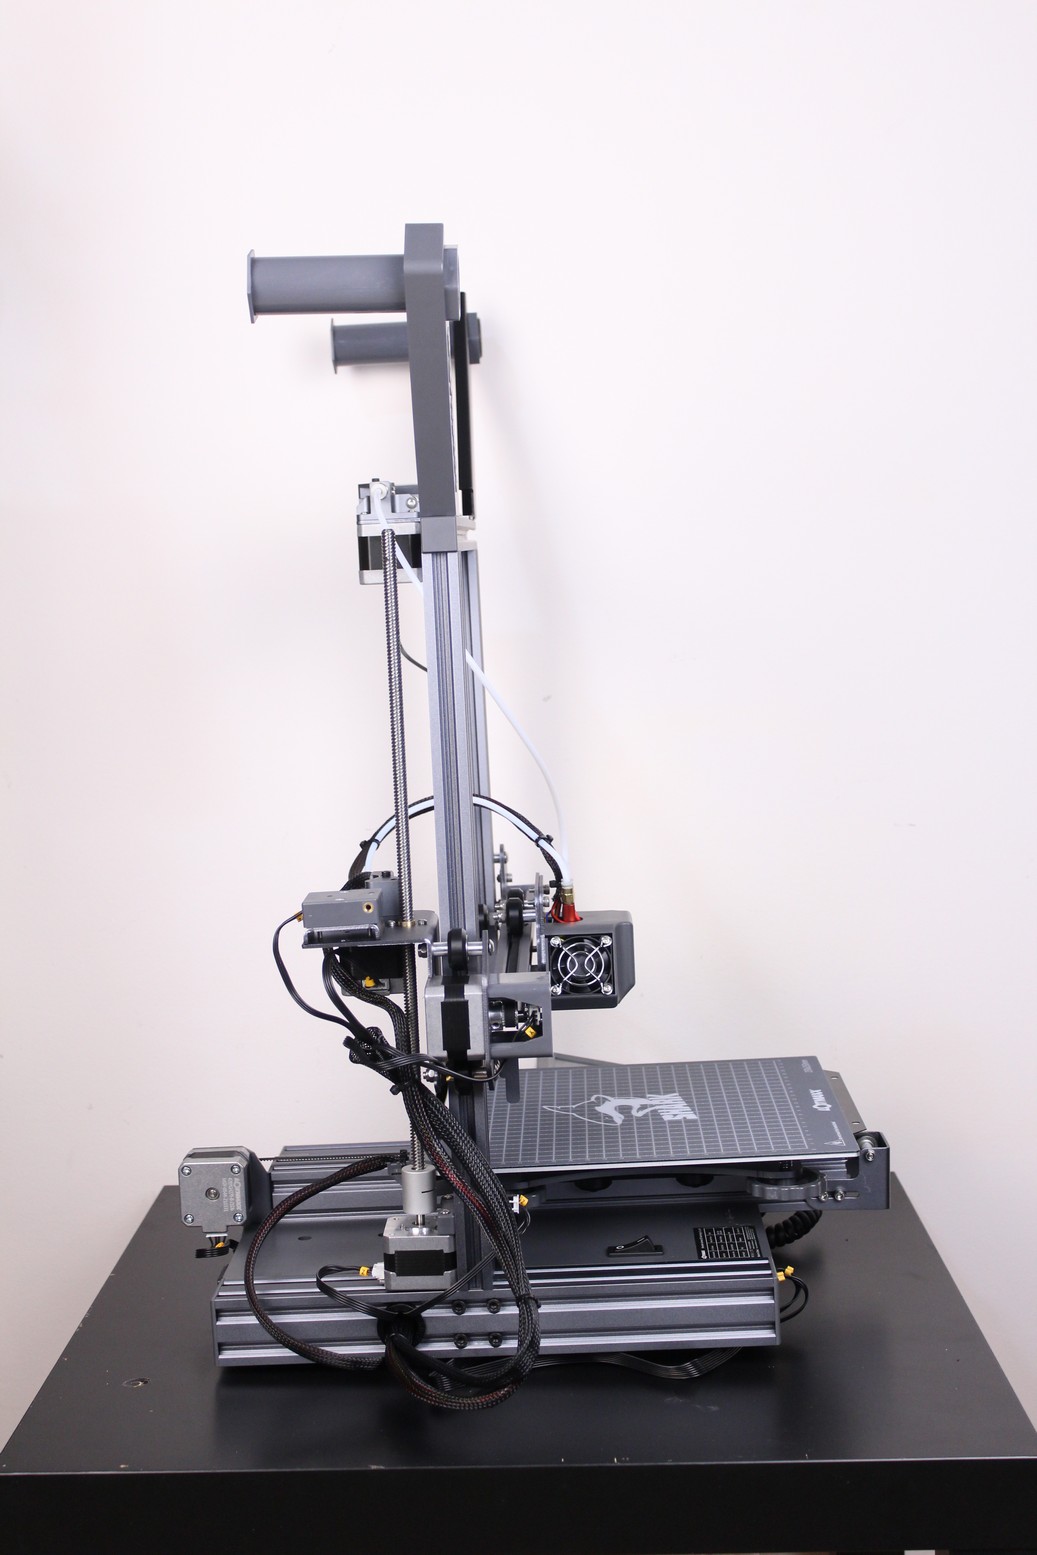
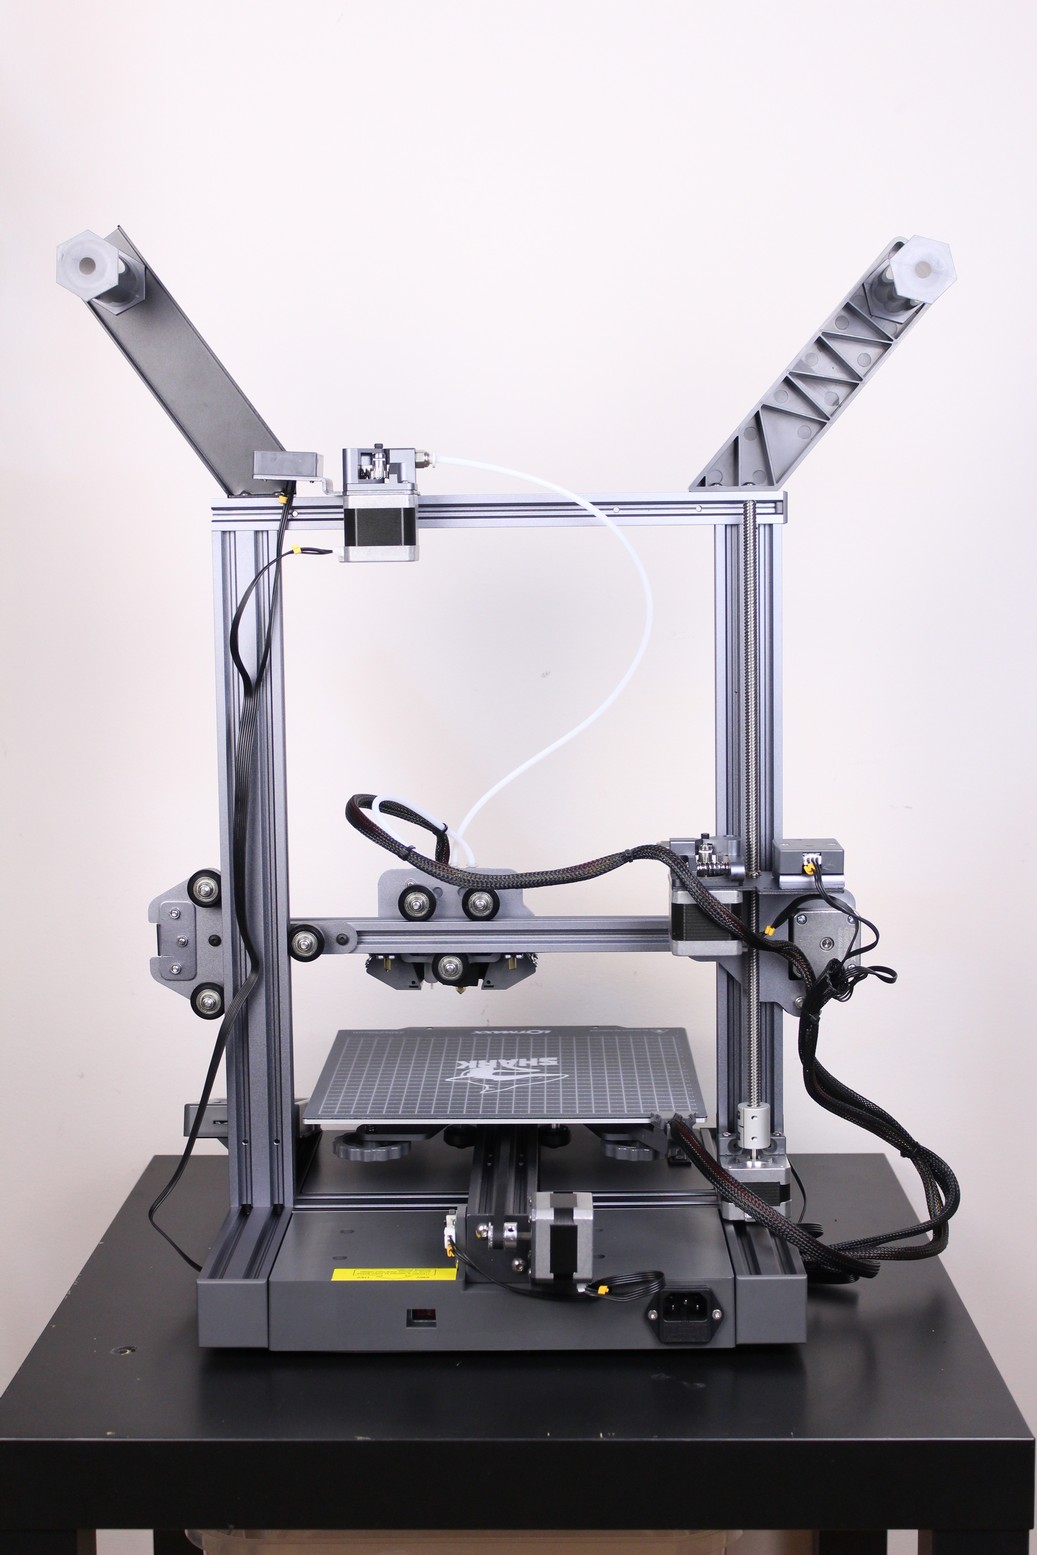
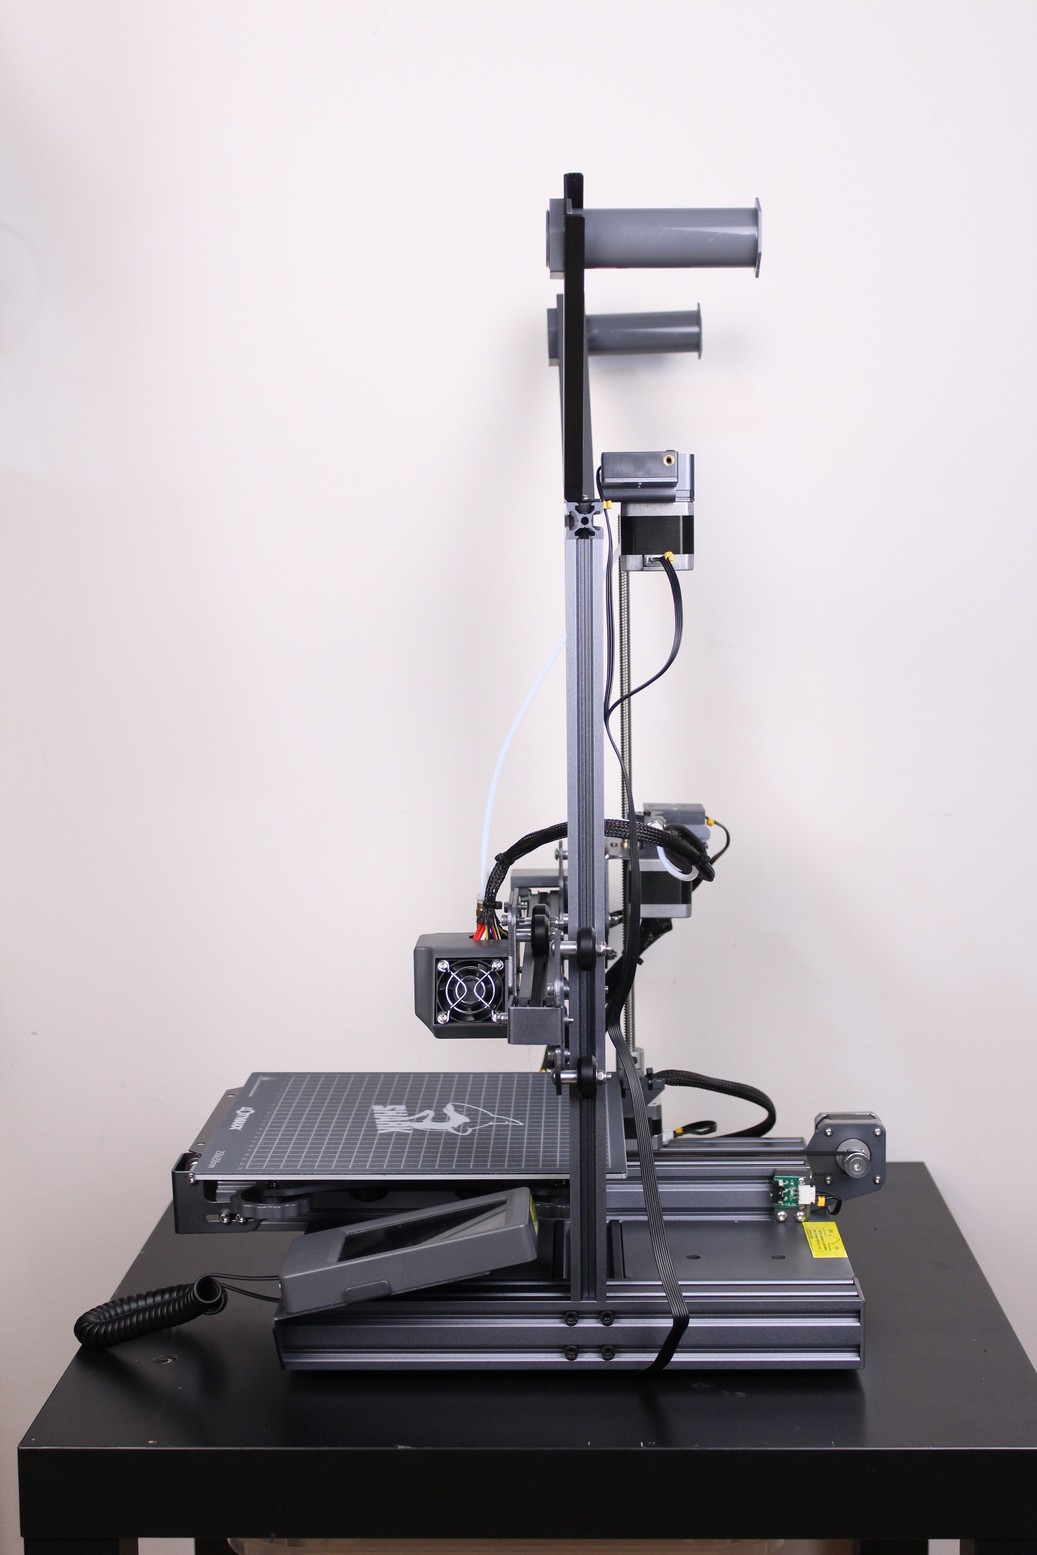
The LOTMAXX SC-10 Shark v2 occupies a small volume of space, it’s pretty compact so you can install it almost anywhere. I would sometimes keep it on a coffee table in my office for fast interactions with it.
Although the process to assemble is easy enough out of the box, the design takes another hit, due to the lack of the possibility of routing the cables coming from the second extruder and the touch screen. The cables from the second extruder can be routed on the right side of the gantry to the bottom, but from there to the rack it will just leave a snake wandering around the printer that intersects with the cable from the touchscreen.
LOTMAXX SC-10 Shark V2 Specs
| Build Volume | 235*235*265mm |
| Layer Thickness | 0.1~0.4mm |
| Printing Accuracy | ±0.1mm |
| Print Speed | ≤200mm/s, Normal printing speed 45~90mm/s |
| Nozzle Diameter | 0.4mm(can be changed to 0.3mm or 0.2mm) |
| Nozzle Temperature | 260 Degrees MAX |
| Hot Bed Temperature | 100 Degrees MAX |
| Filament Diameter | 1.75mm |
| Slicing Software | LOTMAXX, Cura, Prusa Slicer, Simplify 3D, IdeaMaker |
| Documents Supported | STL, OBJ, AMF Supported Materials |
| Engraving Size | 235*235 mm |
| Image Format | bmp, jpg, jpeg, png |
| Engraving Mode | bitmap, gray, vector |
| Pixel Size | 0.05-0.4mm (suggested 0.1mm) |
| Recommended Laser Intensity | Brown paper 50%, Wood 80% |
| Rated Power | 1600mw |
| Supported Engraving Materials | Wood, plastic, leather, PVC, paper, resin, etc. |
| Product Weight | 16kg |
| Package Weight | 16kg |
| Product Size(L x W x H) | 64cm*53cm*27cm |
| Package Size(L x W x H) | 64cm*53cm*27cm |
| Package Size(L x W x H) | 64cm*53cm*27cm |
Dual gear extruders
The LOTMAXX SC-10 Shark V2 comes with two dual gear extruders, one mounted on the frame and the second one in the Dual Print Kit box.
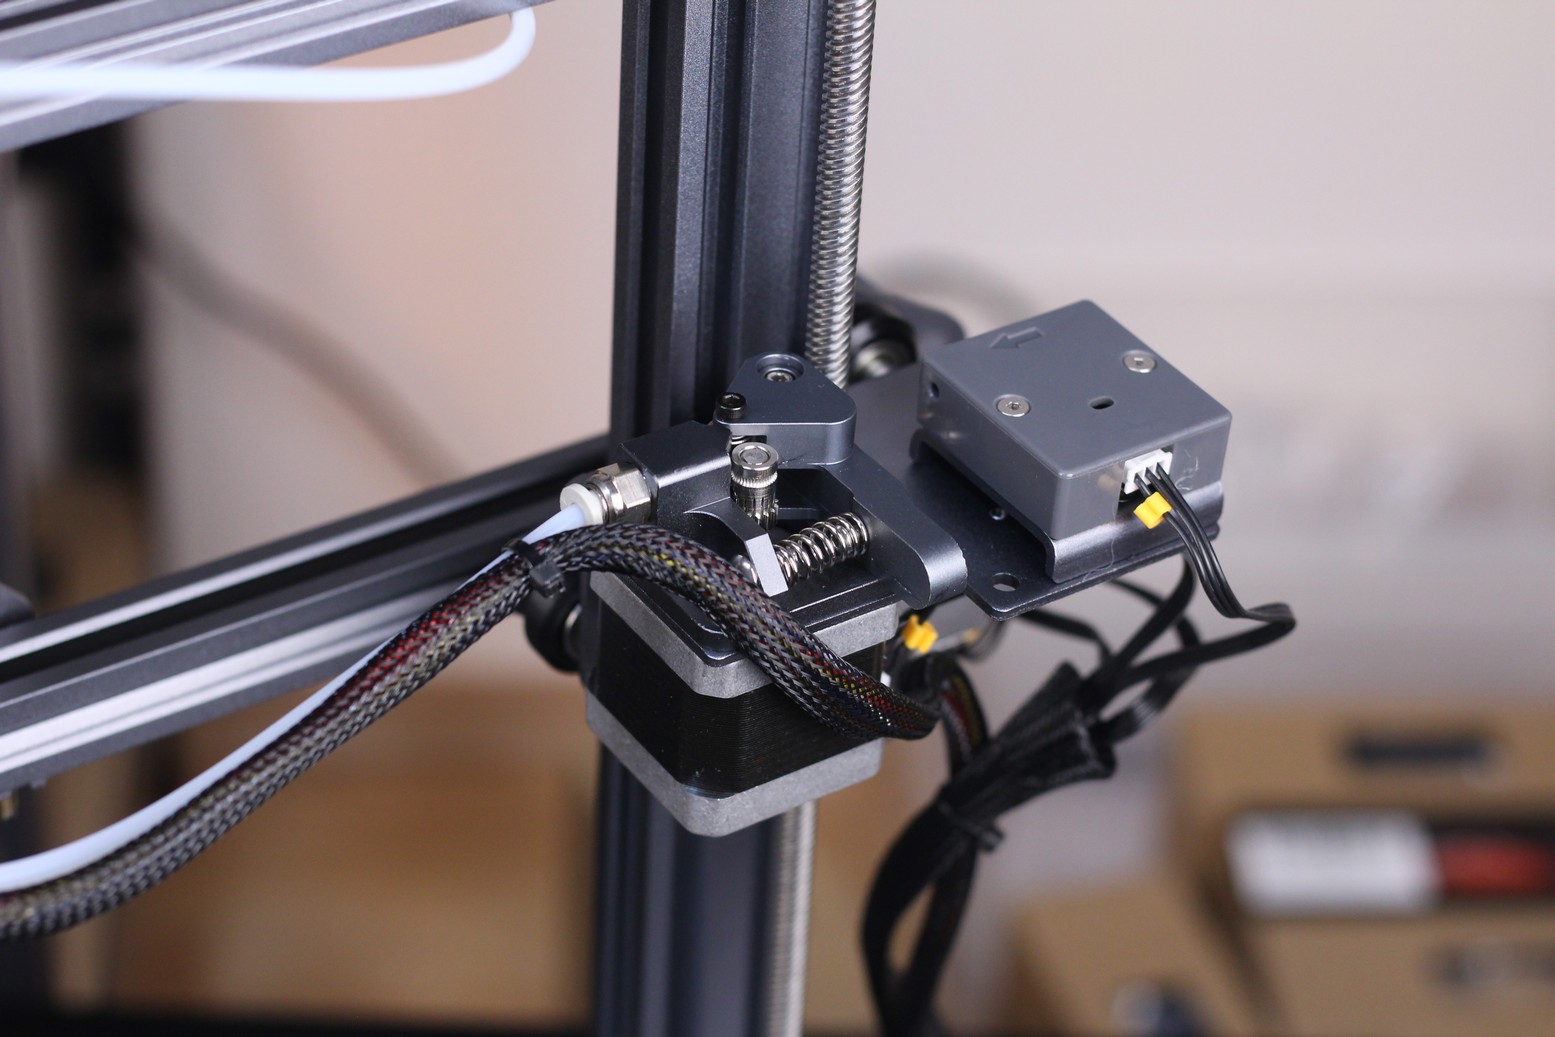
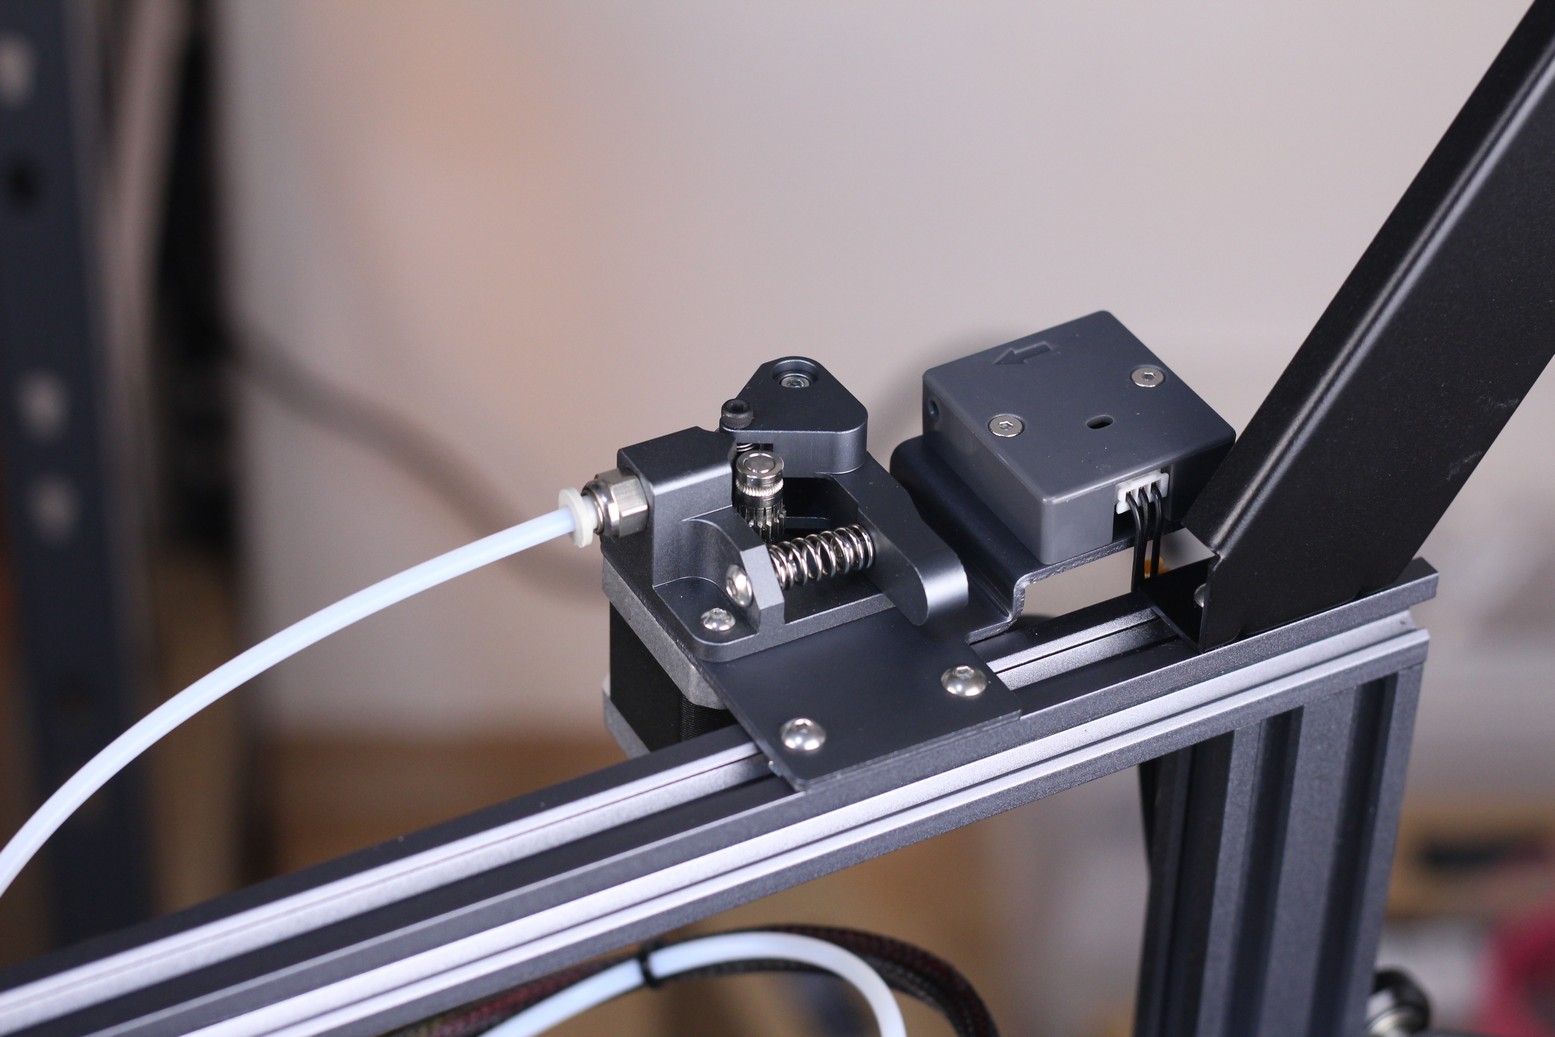
Both extruders are dual gear, made from aluminum and they are similar to the ones used by Creality in their more expensive 3D printers. Most of the time, these extruders perform well during operation.
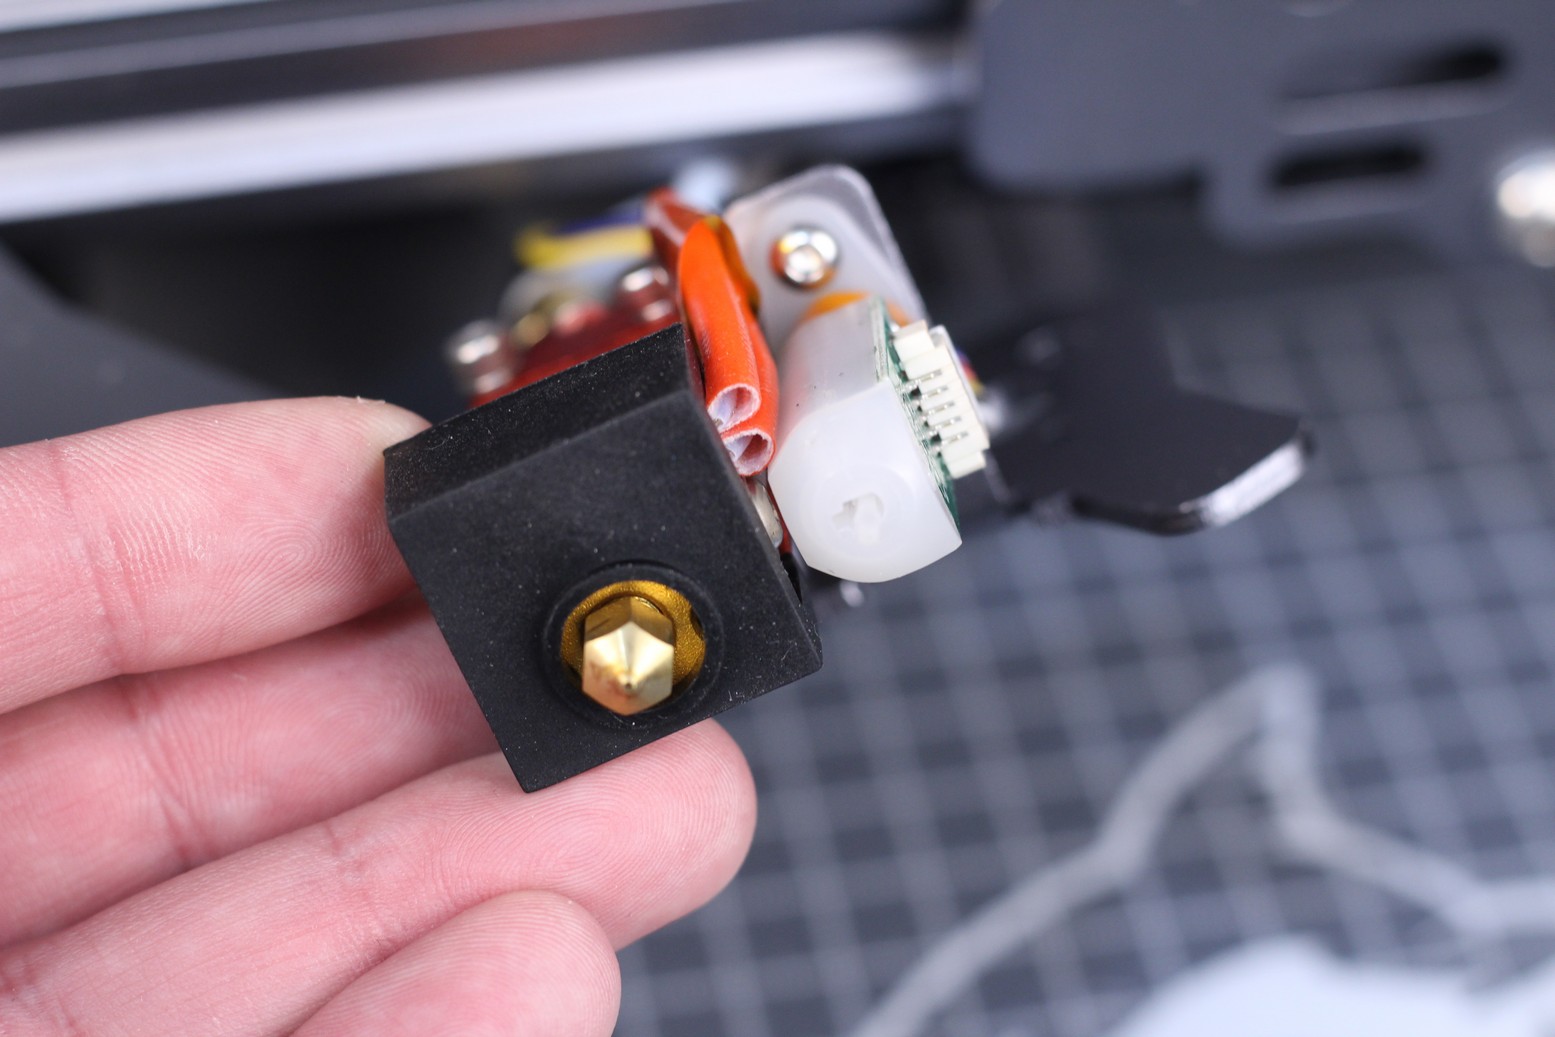
Dual-Color PTFE lined hotend
The Dual-Color PTFE lined hotend for LOTMAXX SC-10 Shark V2 is well suited for most common PLA prints, be it bicolor or monochrome prints. This setup works great if you don’t intend to print over 240C for long periods. If you go past this temperature, the PTFE tube inside the heat break will start to degrade and release harmful fumes into the air.
As this is my first printer with this type of hotend, it’s difficult to compare it with other products. From my experience with the printer, it did the job but I got a small number of partial clogs caused by the filament swap process.
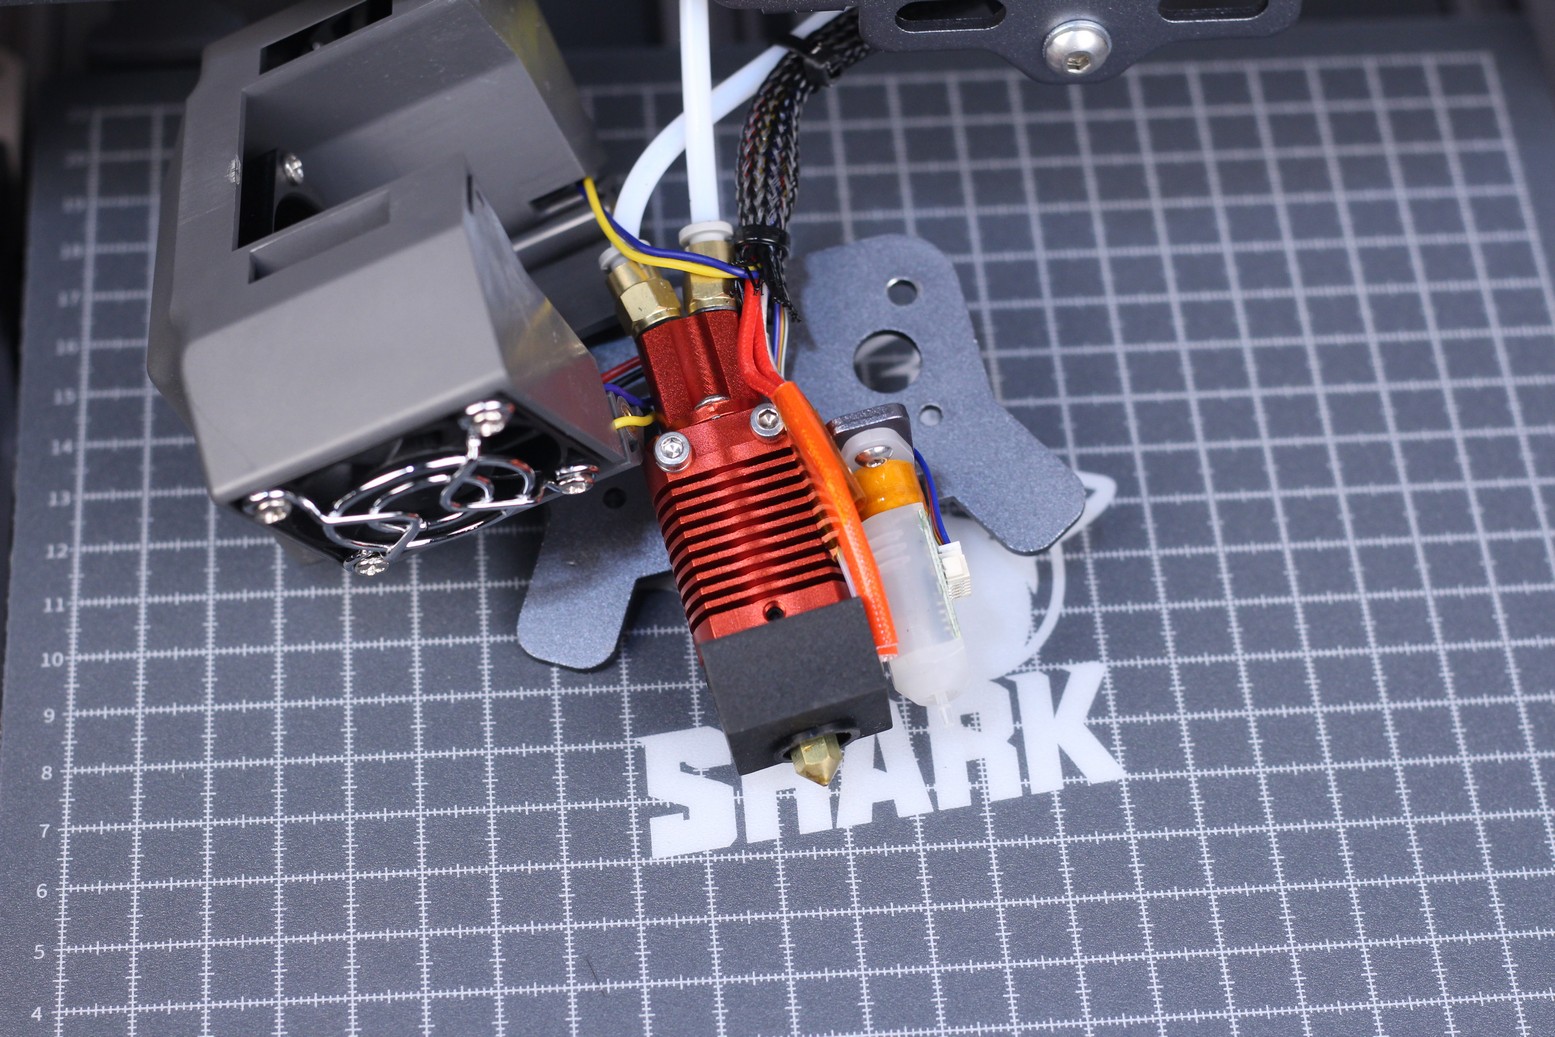
The front side of the print head has a 4010 fan keeping the hotend cool, and on the left and right side, we have similar fans for part cooling.
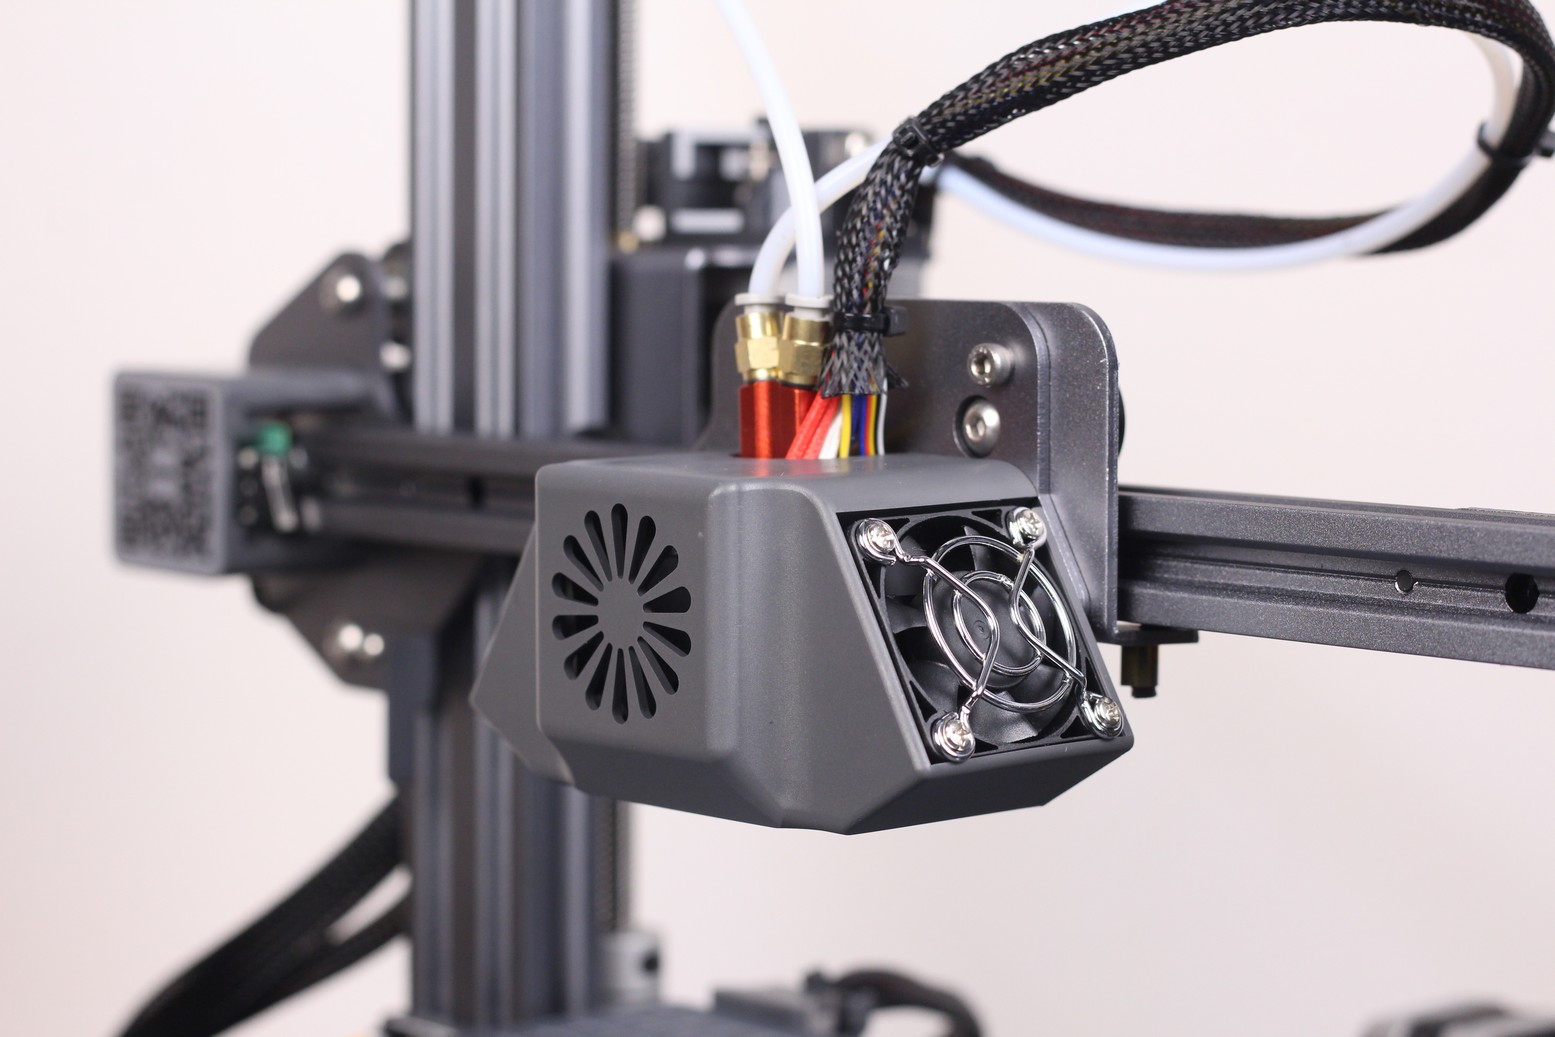
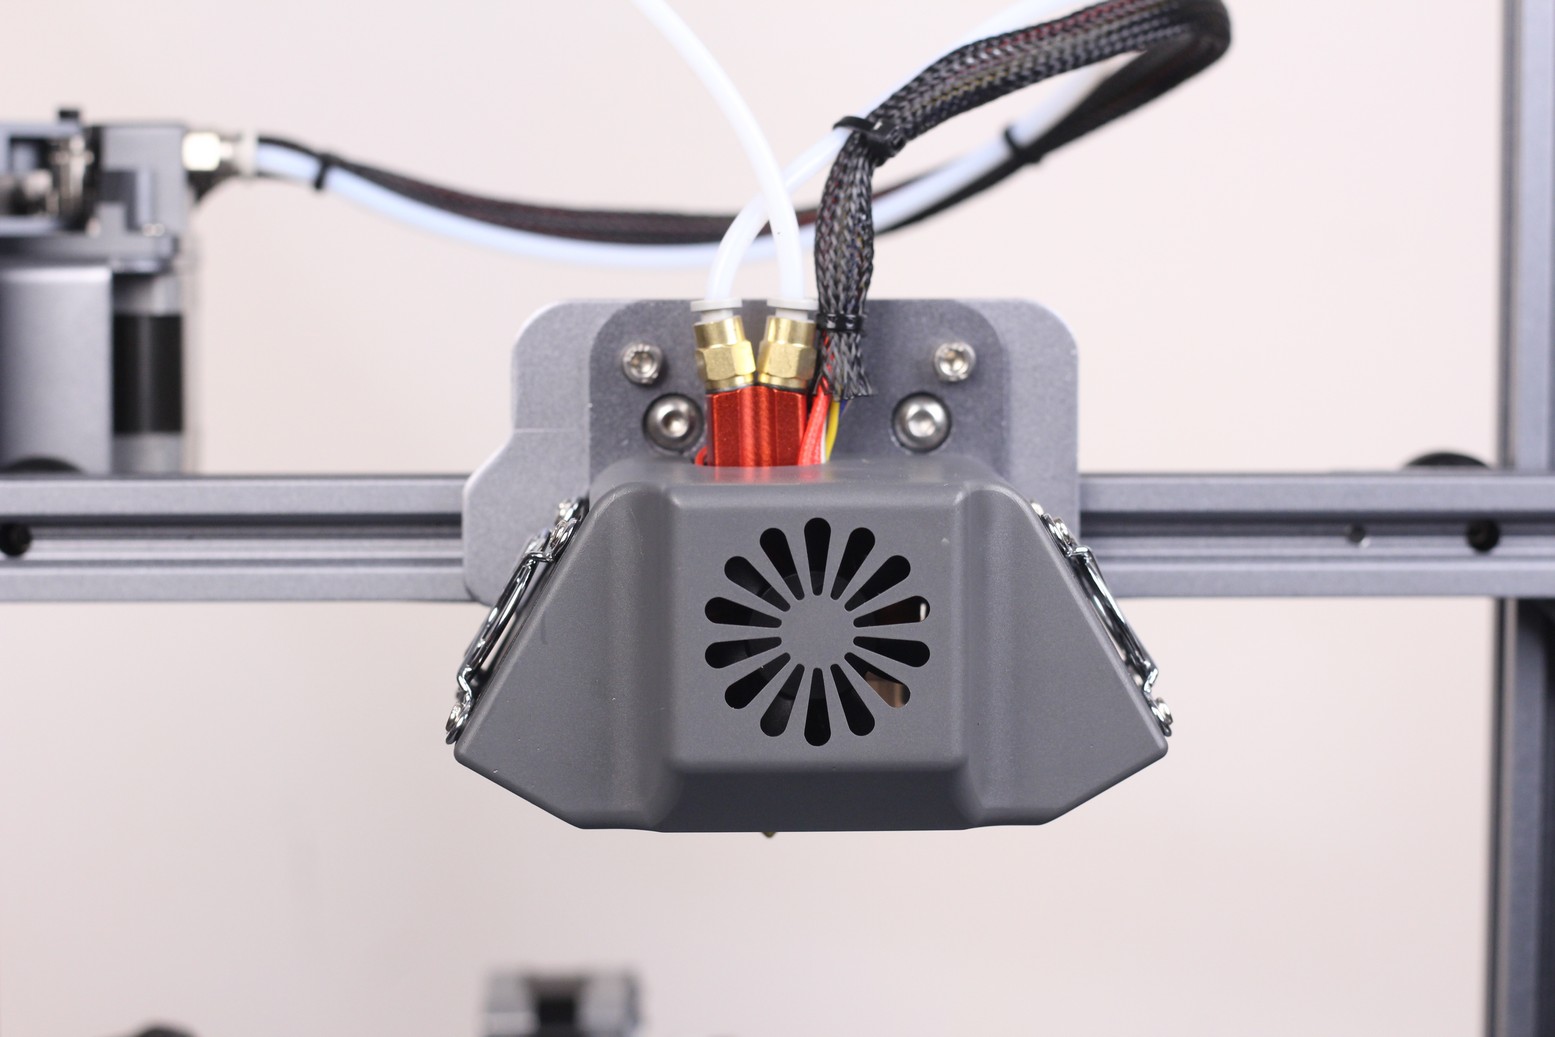
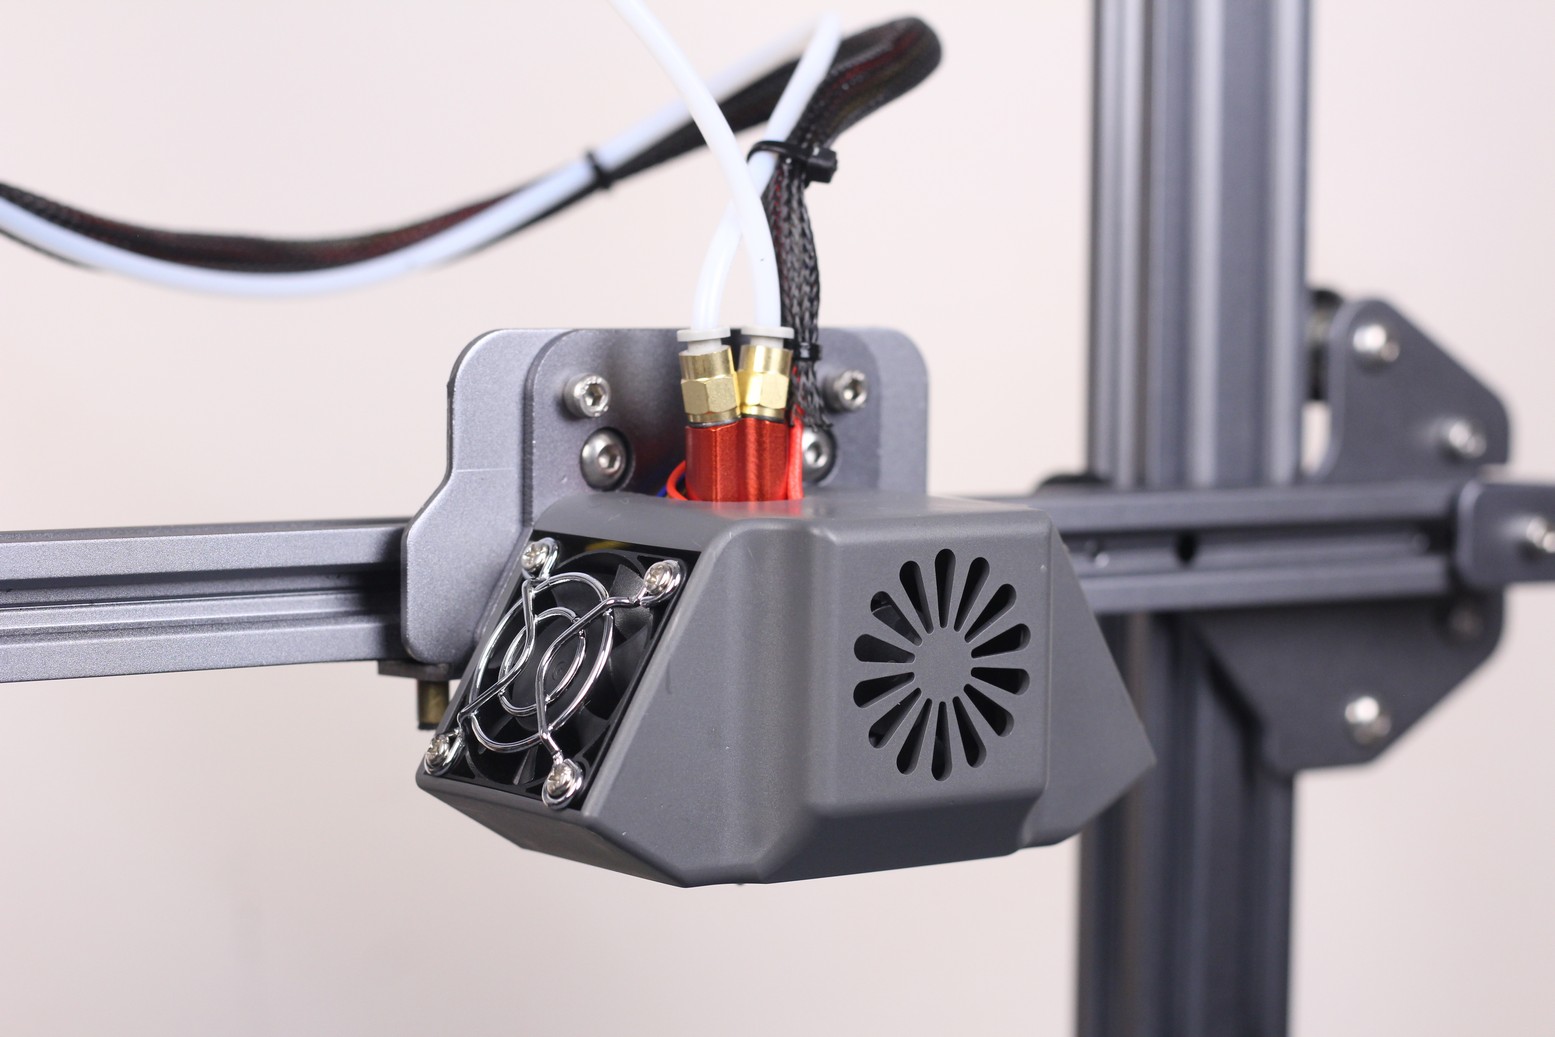
Unfortunately, these fans are not suited for part cooling, and they provide little airflow for cooling the models but the airflow is almost good enough considering the print speed used during dual-color prints.
BLTouch clone sensor for Auto Bed Leveling
The LOTMAXX Shark V2 comes with a BLTouch clone sensor which will probe the bed and generate a mesh to compensate for the small differences in the bed uniformity.
The 3D touch sensor sits really close to the hotend, and I was expecting it to degrade because of the heat but I checked it recently and it looks just as good.
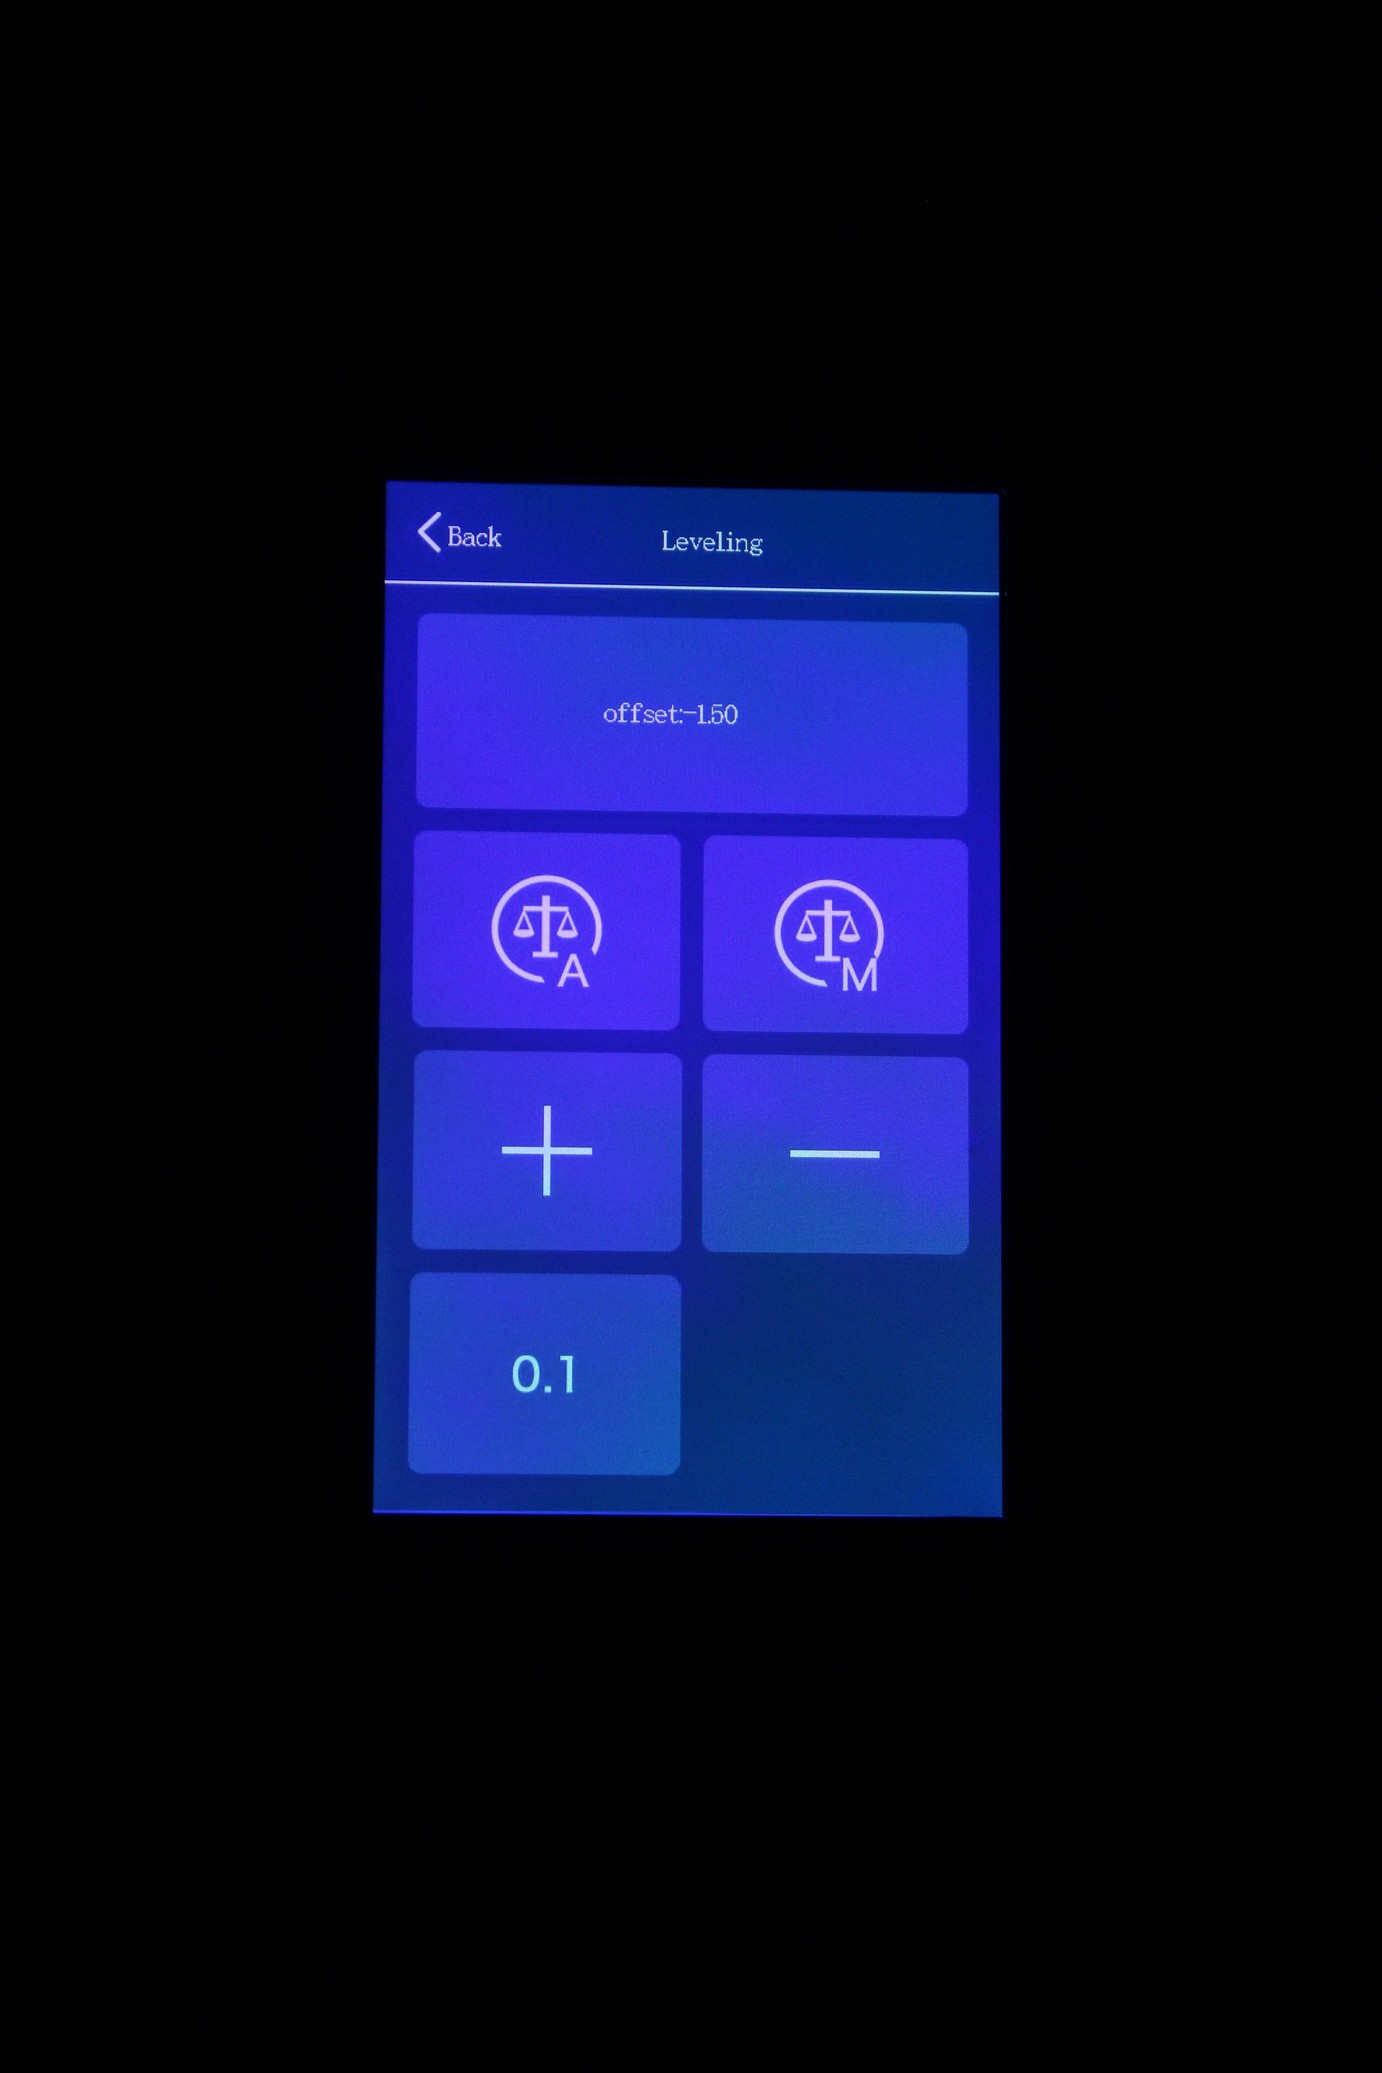
The first step is to use the assisted bed leveling feature. To do this, you need to go to the Control -> Leveling – Manual Leveling menu section. This section will provide a 5 point array, for each thumbscrew under the bed and the center point. You pass through each point and adjust the corners of the bed until the nozzle barely touches the bed. You can use a piece of paper between the bed and the nozzle, and adjust the corners until there is a bit of friction between the nozzle and the paper.
After the assisted bed leveling is done to your satisfaction, we move to the automatic bed leveling process. This process will probe the bed in 16 points, then it will move the nozzle to the center of the bed to adjust the Z offset.
Magnetic flex plate
The removable flex plate is a great addition to this printer. The textured surface can be used for your daily PLA prints and the other end can be used for ABS or PETG prints.
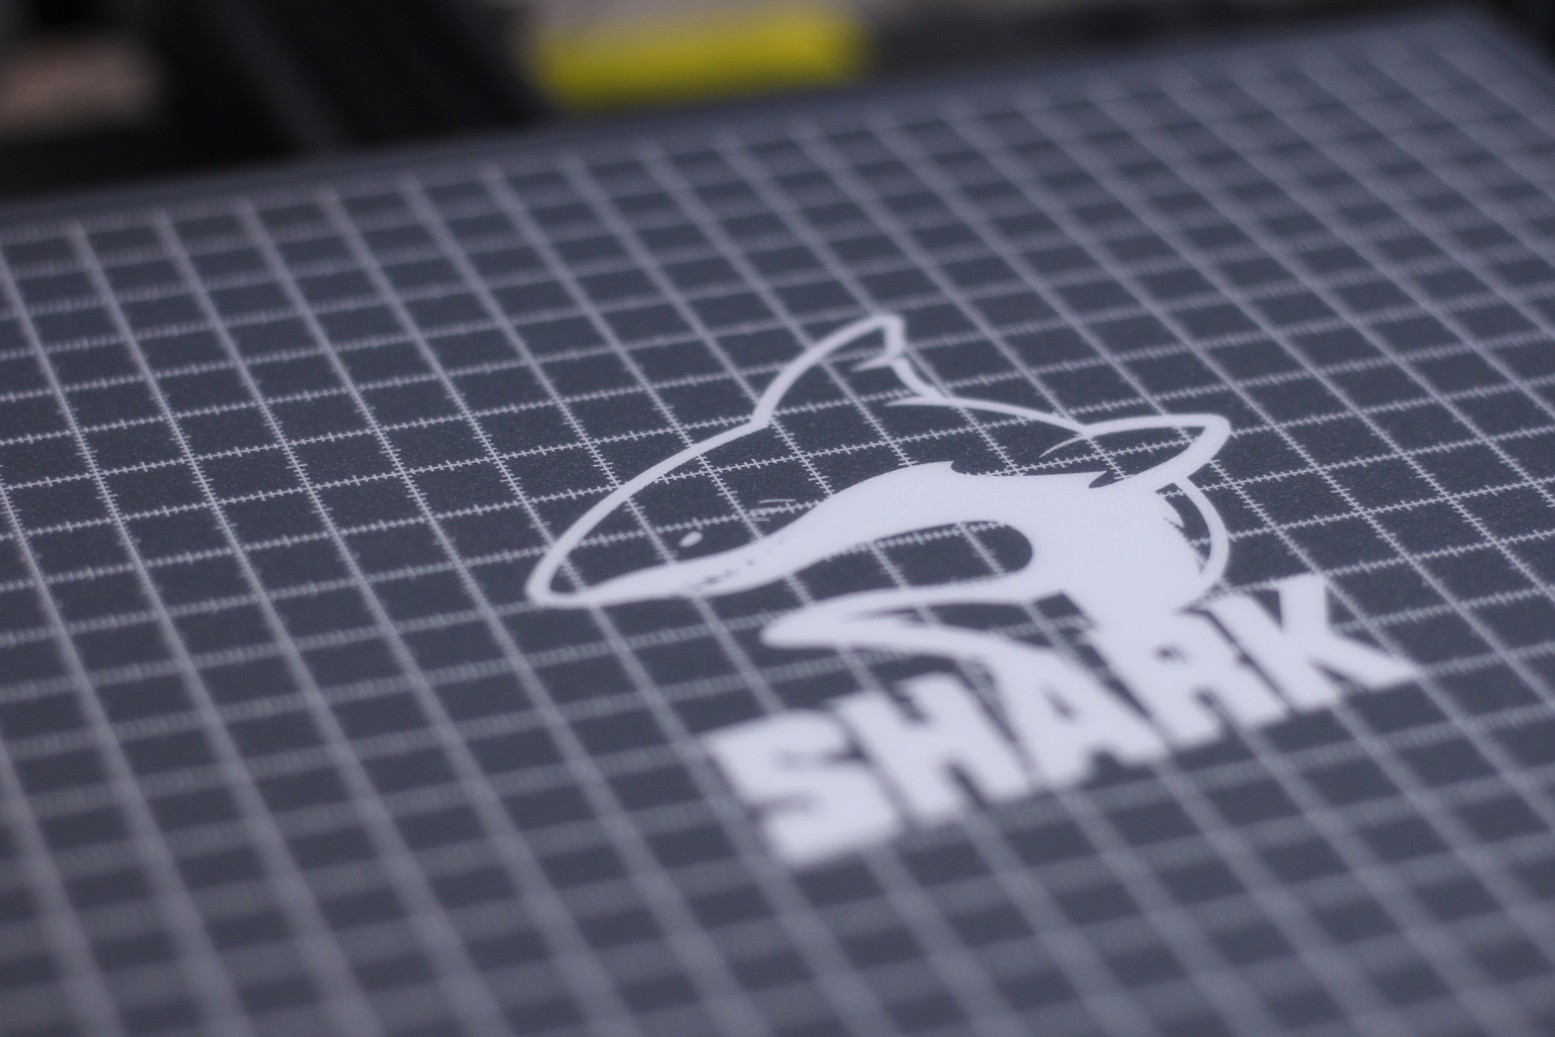
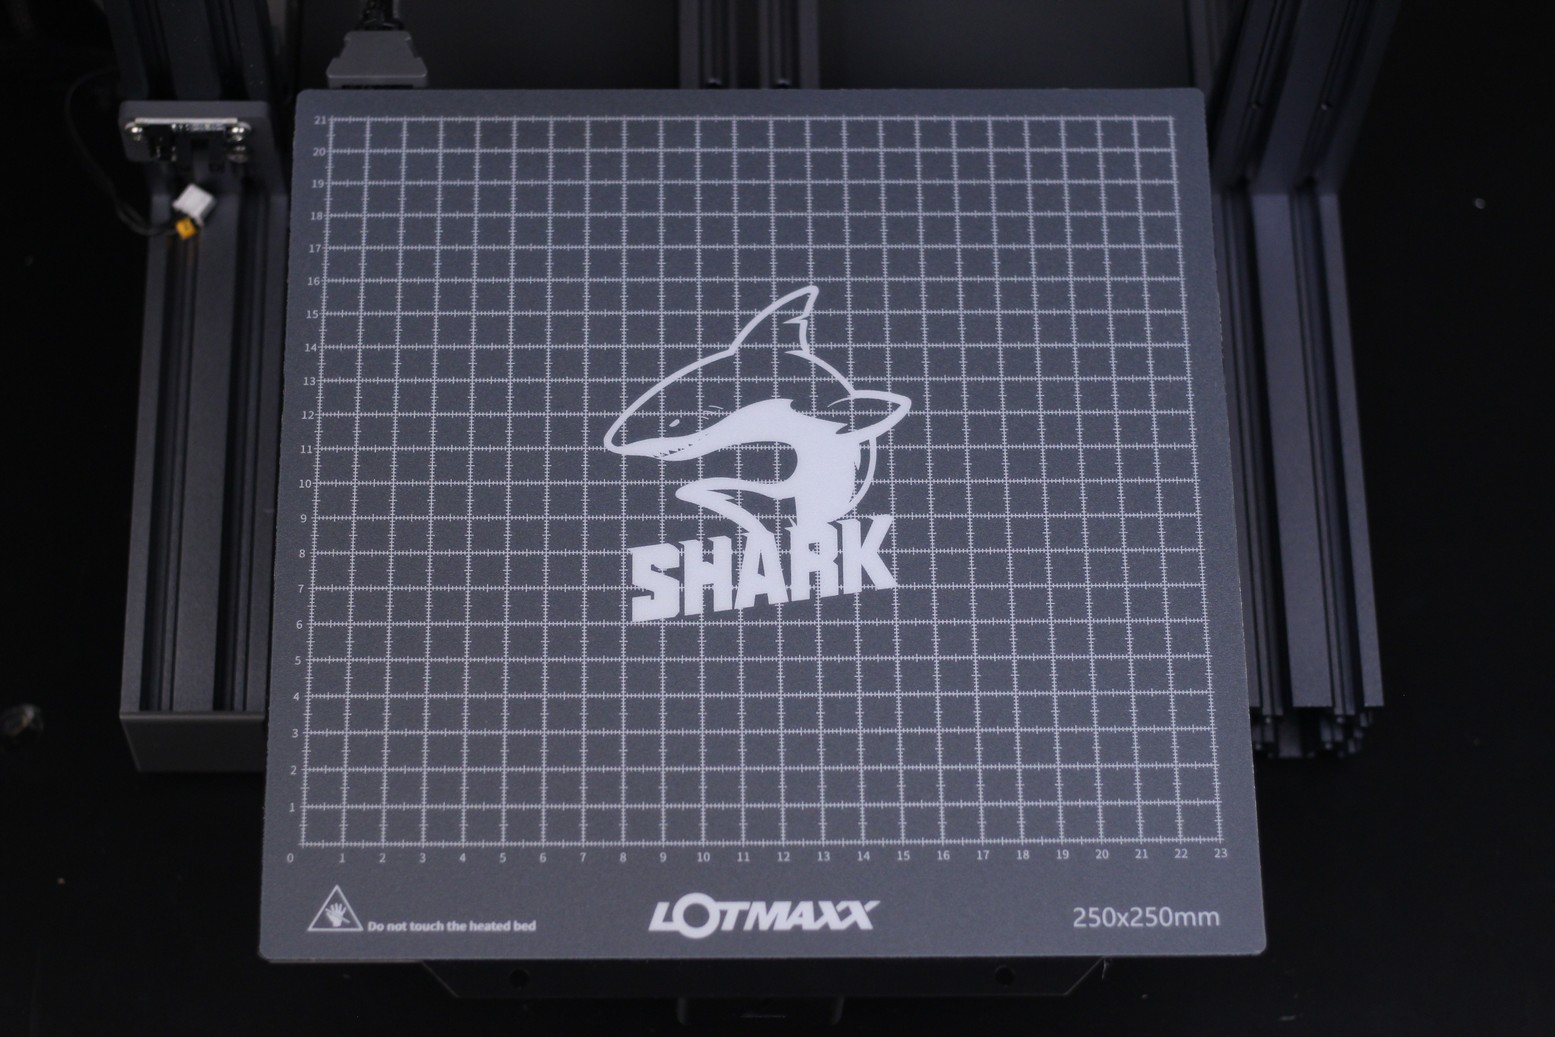
It’s made from a thicker metal sheet and it attaches really well to the bed. Adhesion is great and prints don’t require a high bed temperature for successful prints. This flexplate can be bent to help you remove the print easier after a few minutes. But make sure you don’t set the Z offset too low, or you are going to struggle to remove the prints.
A really interesting feature of the bed is having the magnets embedded in the bed. This helps with heat distribution, bed heating time, and adhesion for the flex plate.
As you may notice, there is no insulation on the bottom of the bed which means that the bed will take a bit longer to heat up and it will make the printer less efficient in terms of power consumption.
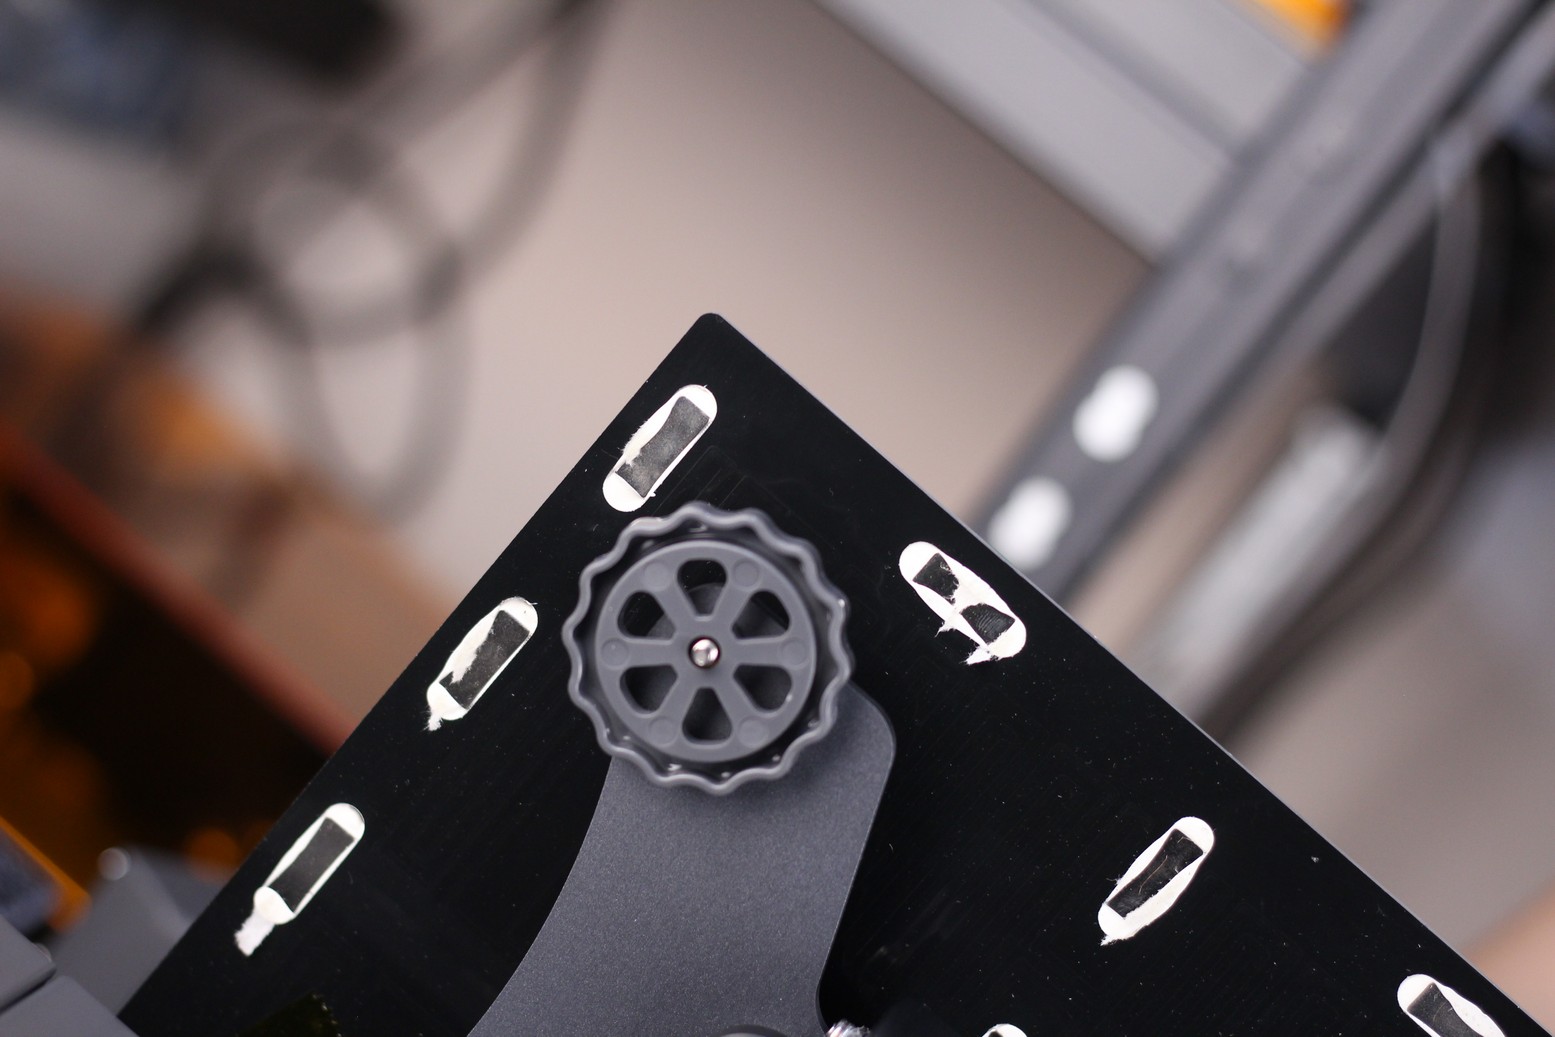
One fine detail that you should also notice, is the springs on the thumbscrews don’t seem to be that sturdy, and a general sense of frustration appears once you try to fine-tune the bed leveling process where each knob may react differently because of these springs.
Removable 4.3 inch Touchscreen
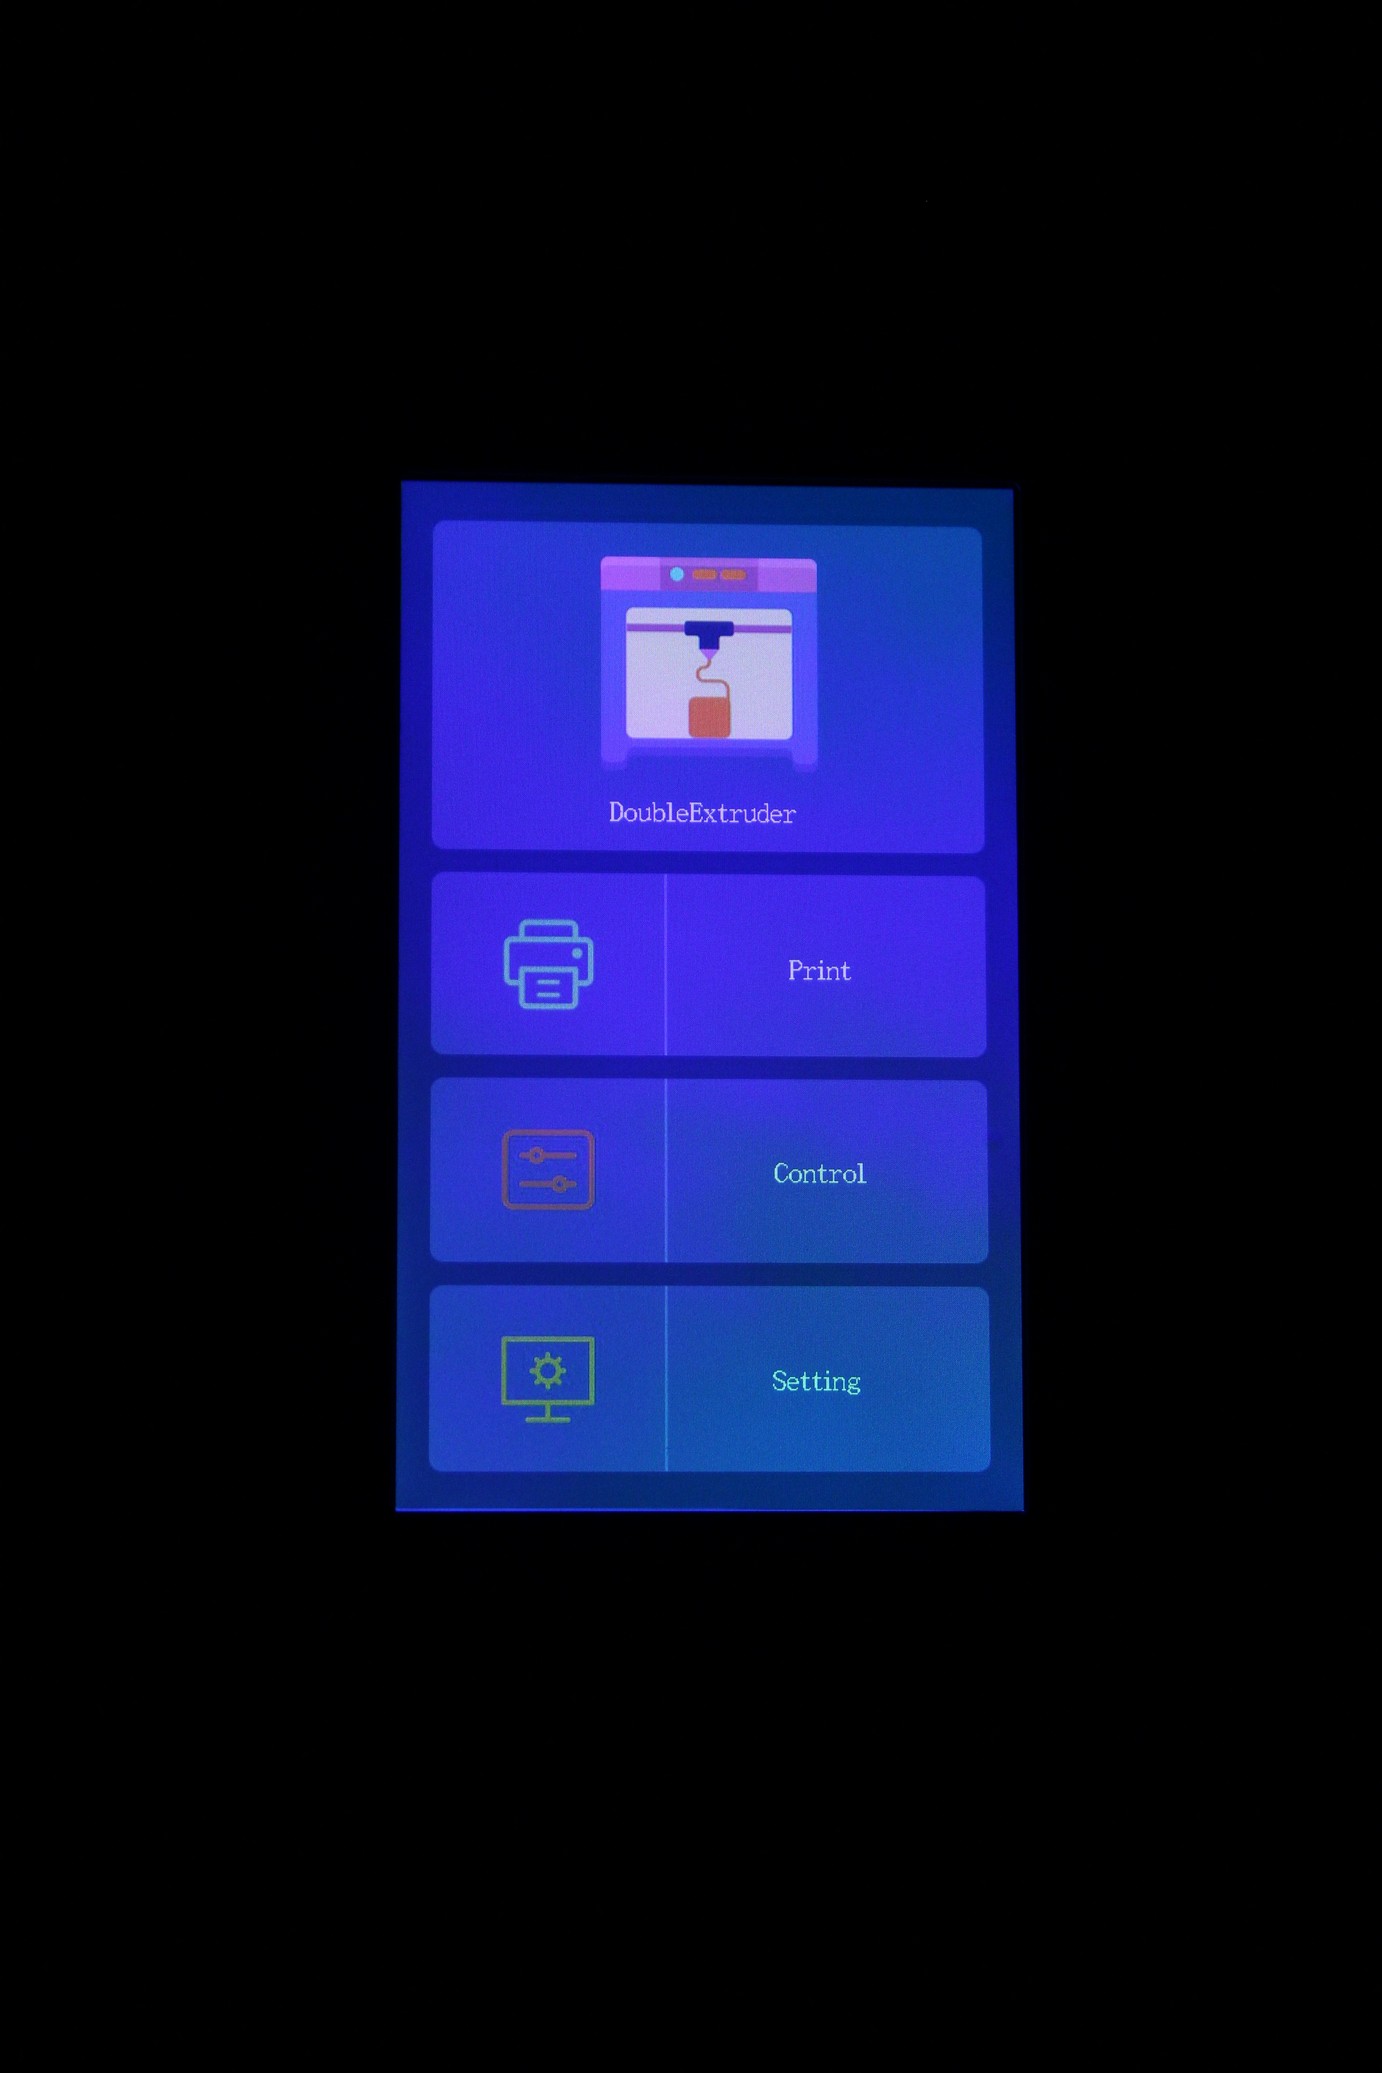
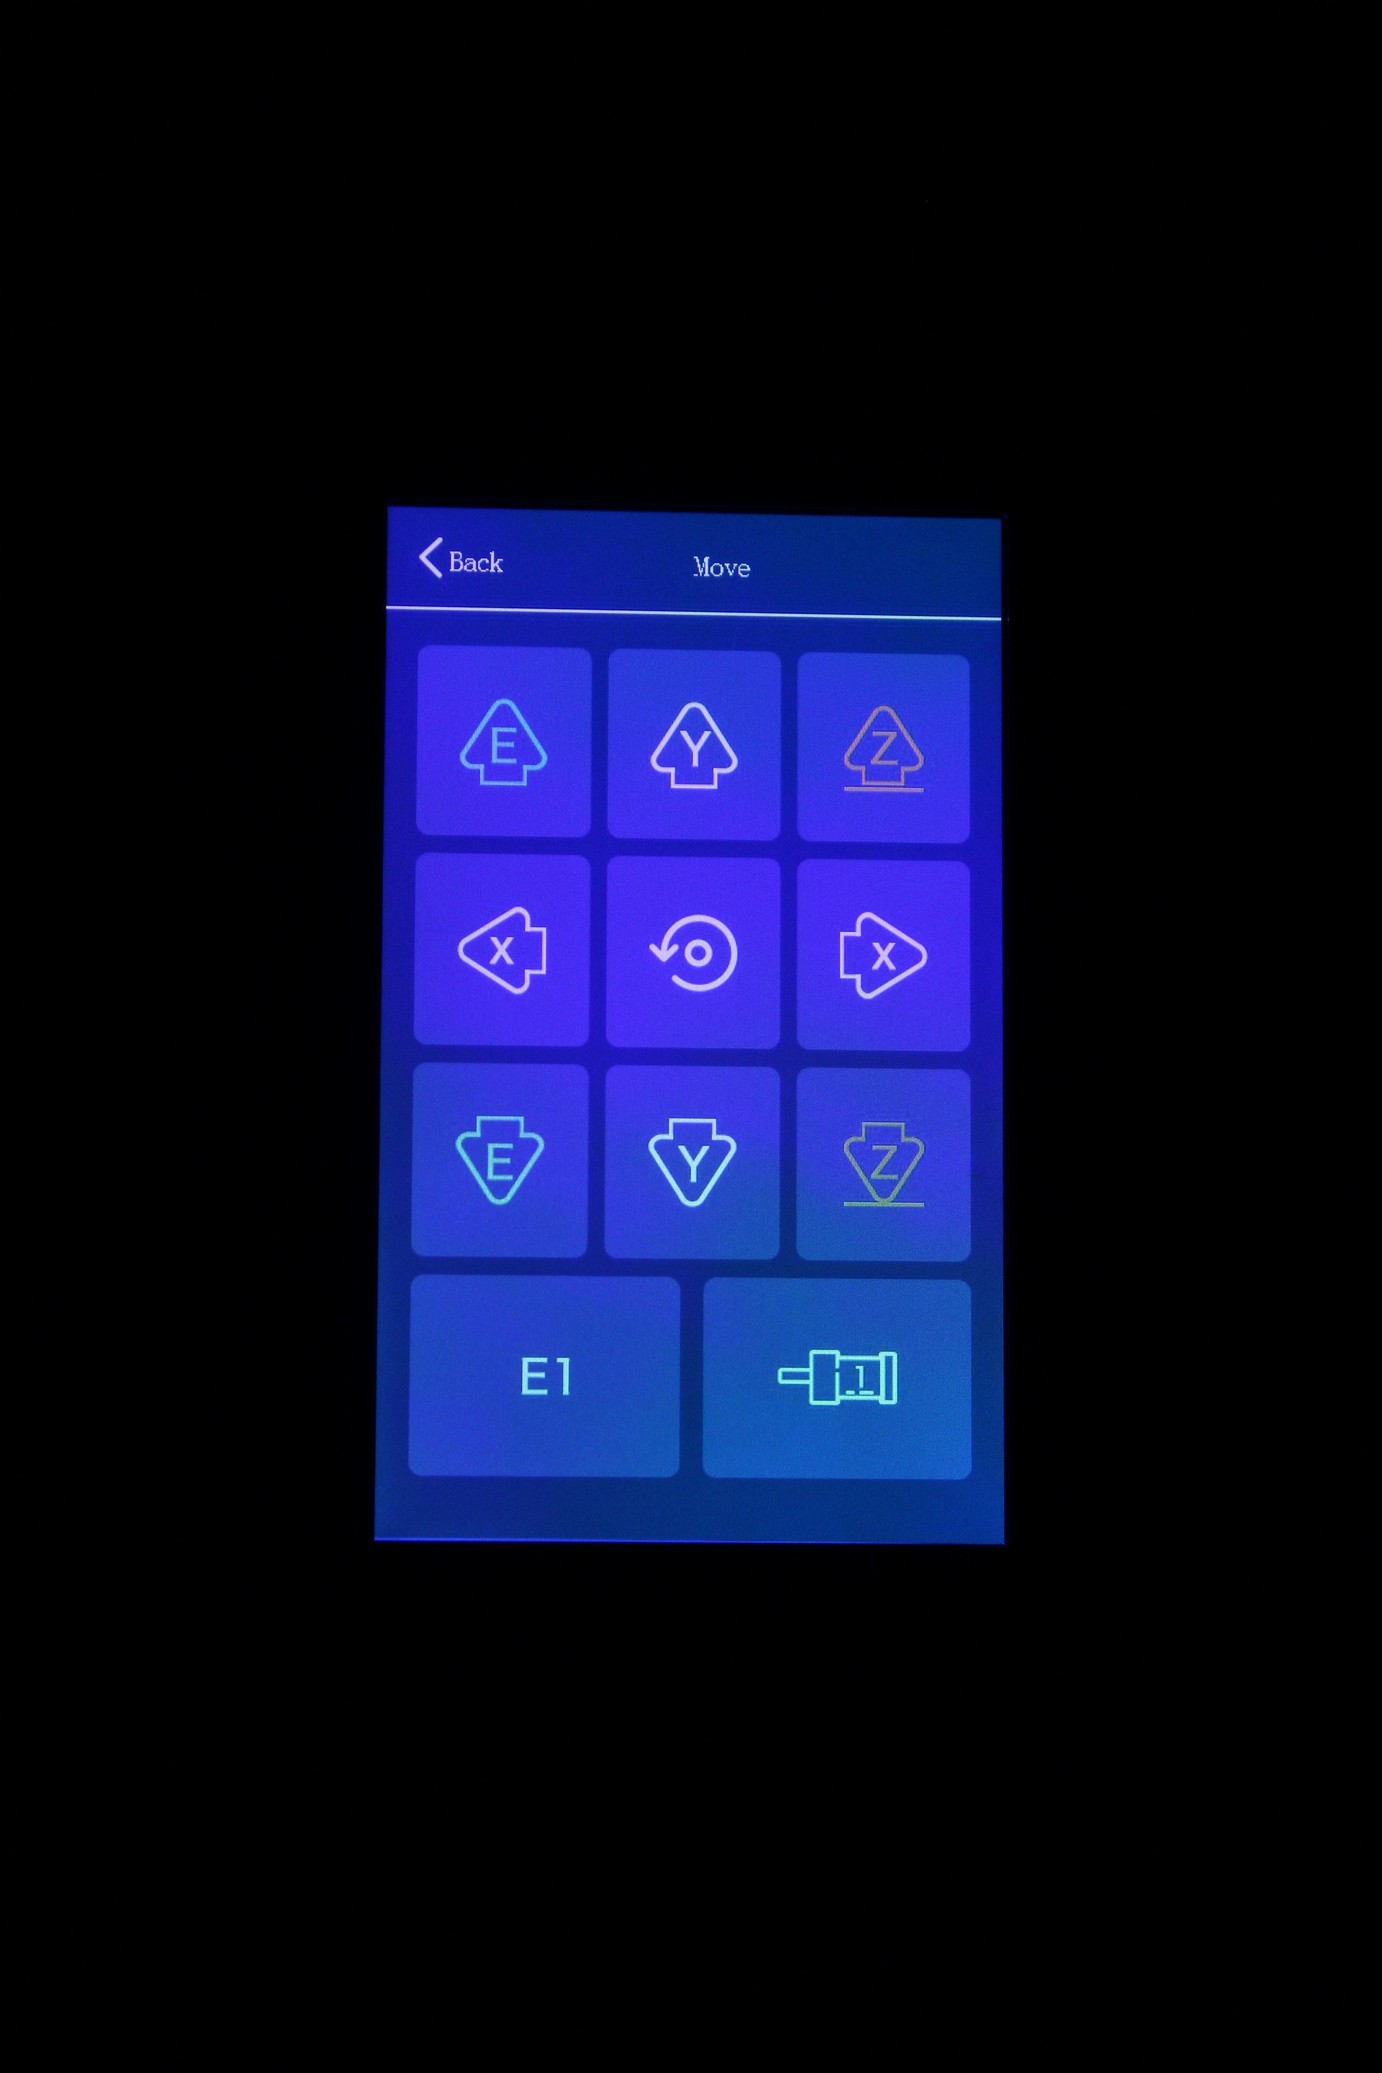
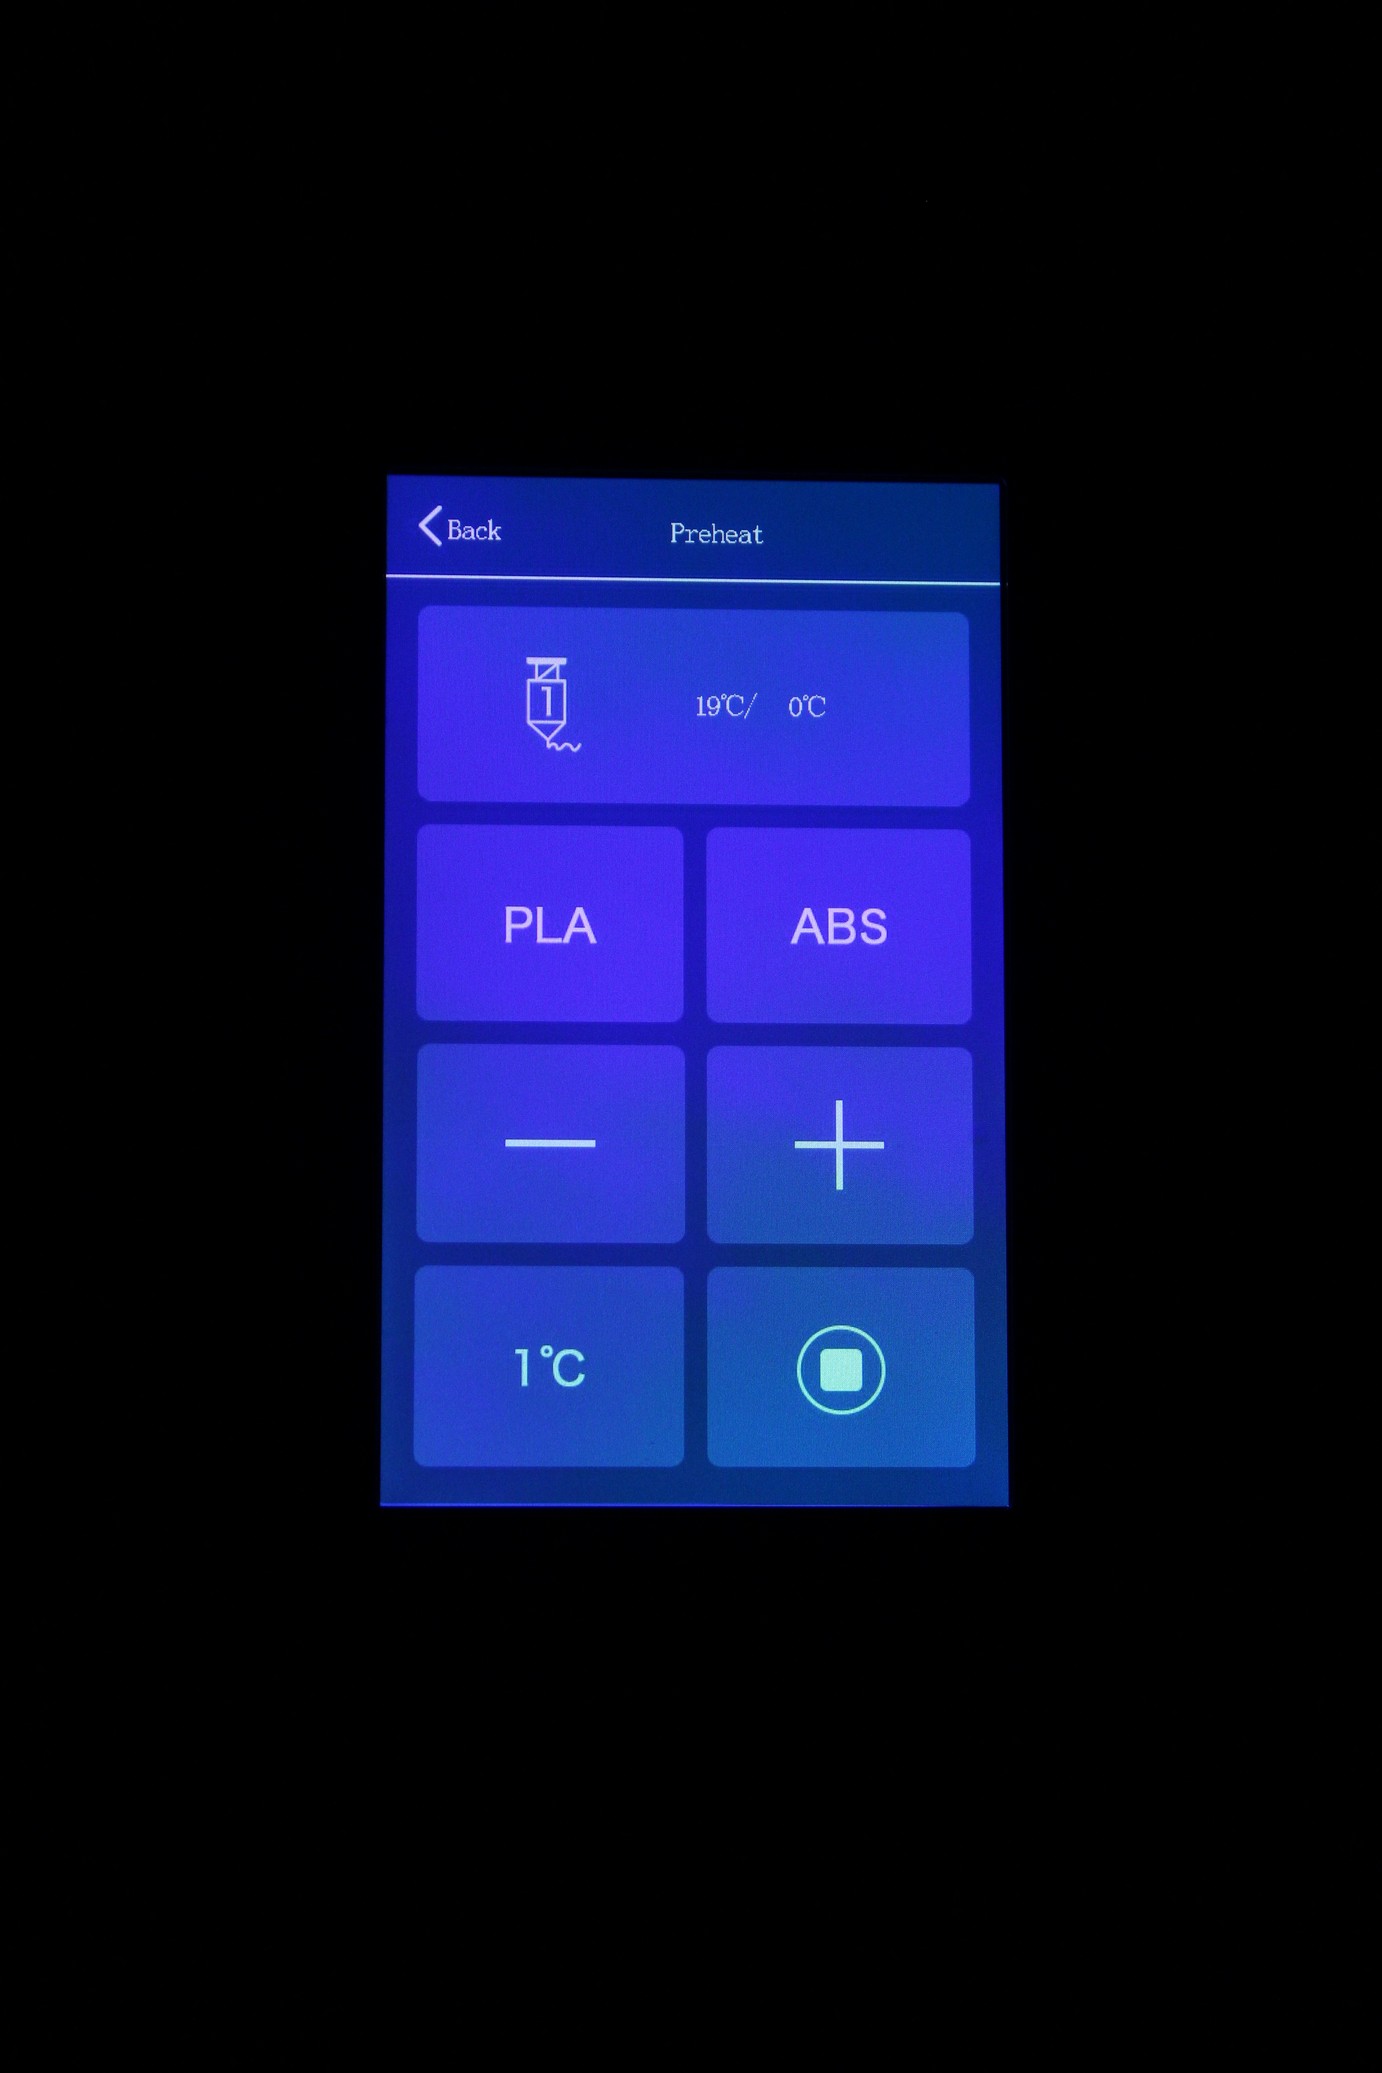
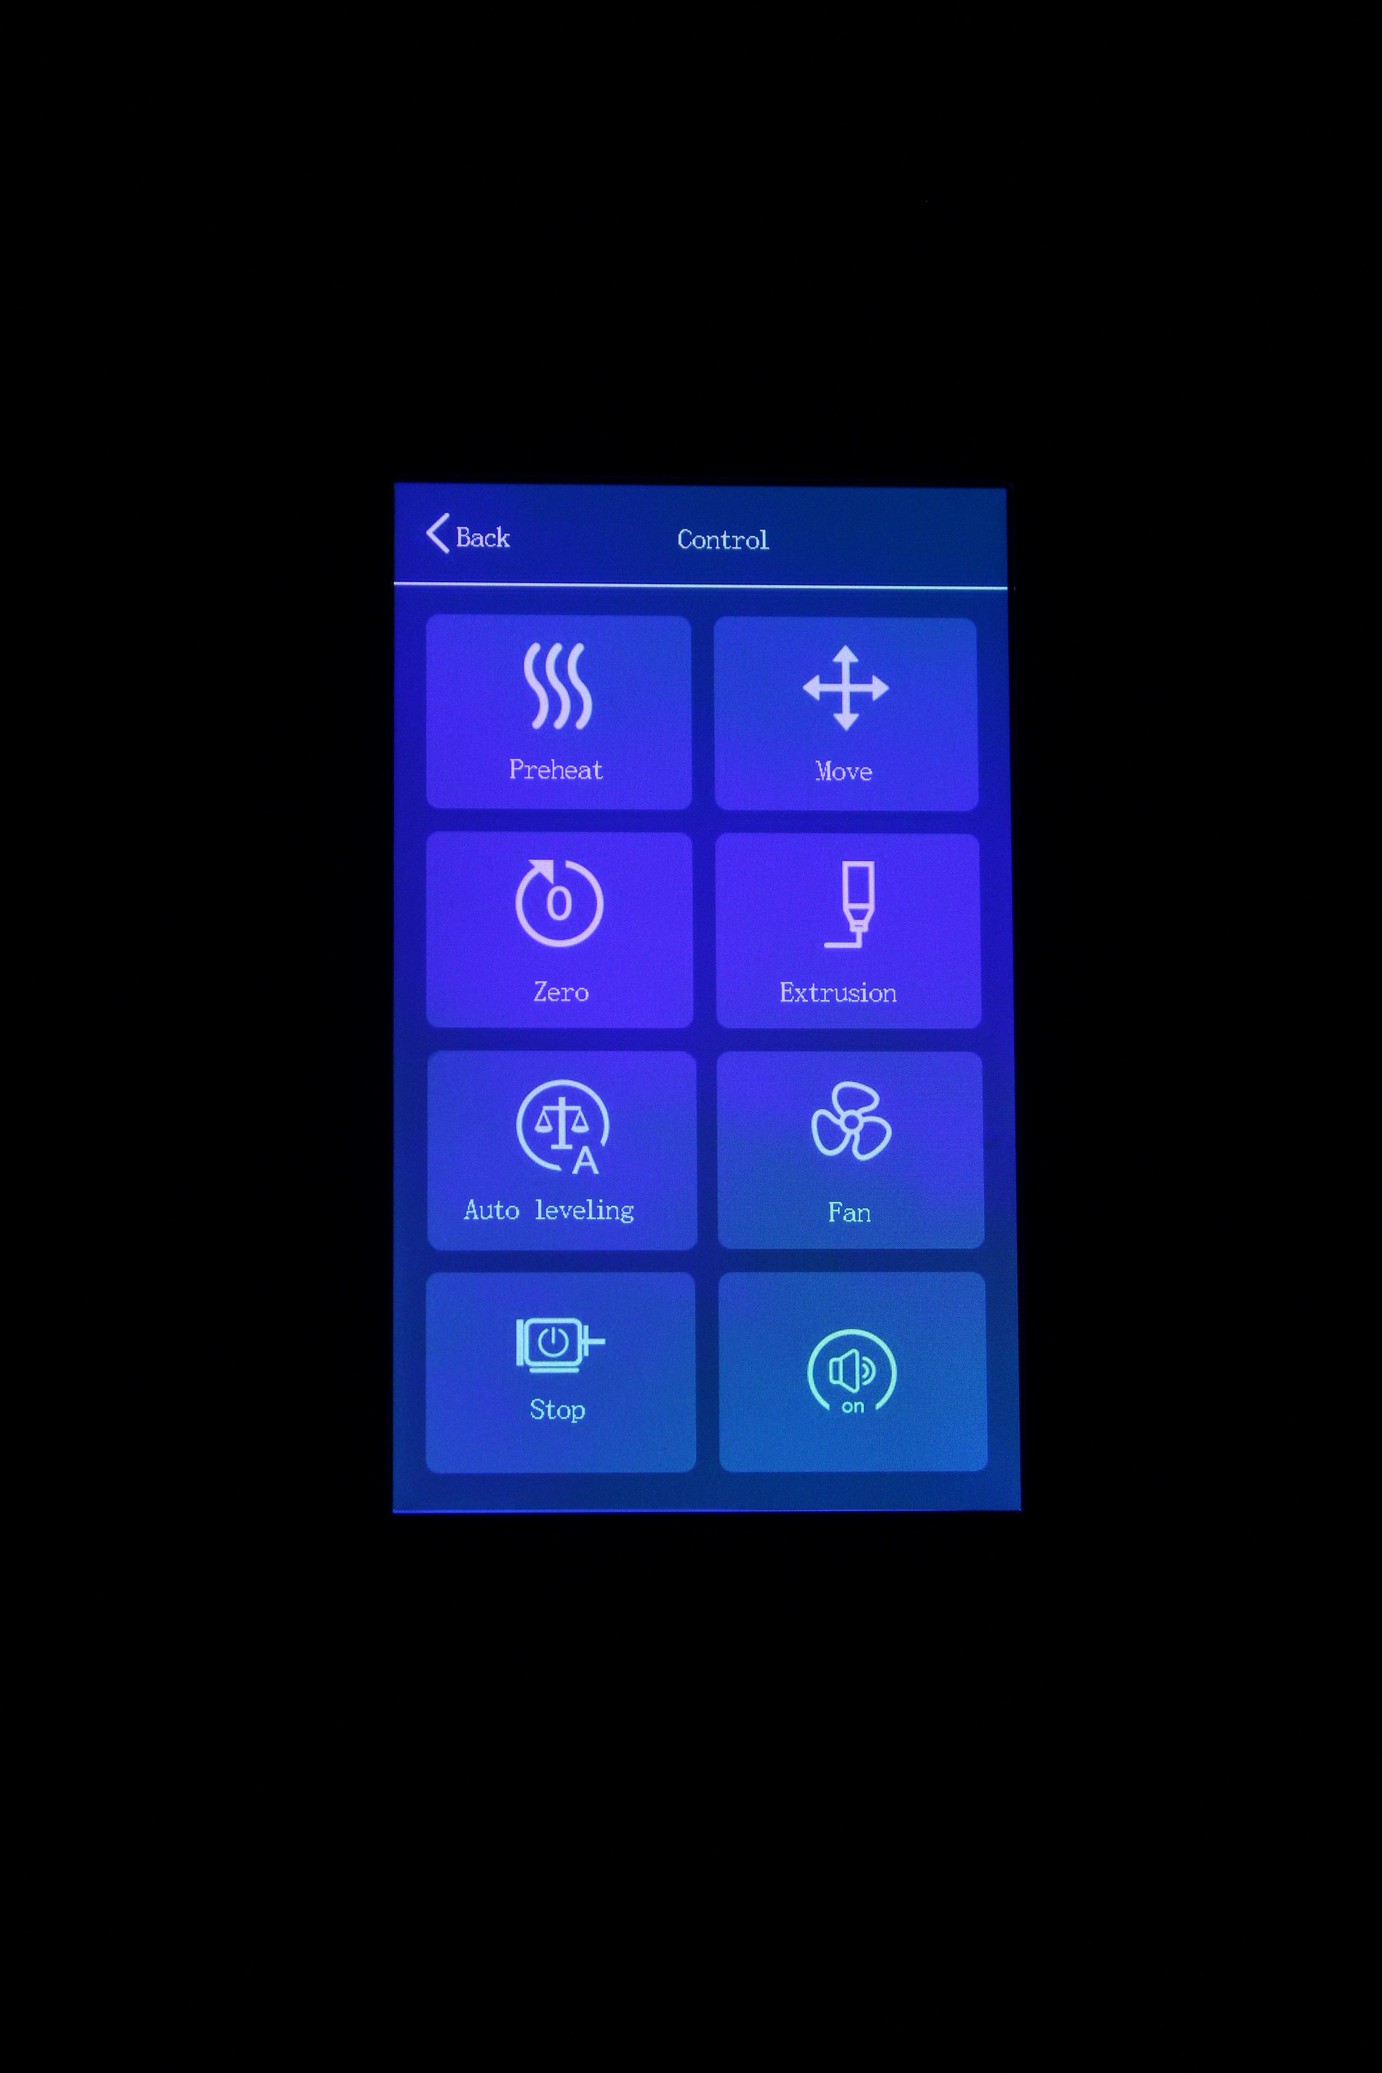
The touch screen is really easy to use and quite responsive. There are 3 major sections in the menu:
- Control
- Settings
As intuitive as it sounds, the Print section covers the functionality of selecting the file you want to print and confirming the start of the print process once the file is selected.
The Control section covers most of the features related to the printer movement, extruder(s) filament load/unload, preheat and individual temperature settings, cooling settings, auto-level function, and homing for your printer.
The Settings section is a bit misleading, as the only setting you can fiddle with is the Language. Apart from the language setting, this section covers the printer Status, and About section and adds a Continue functionality in case you would like to resume a print after a power outage.
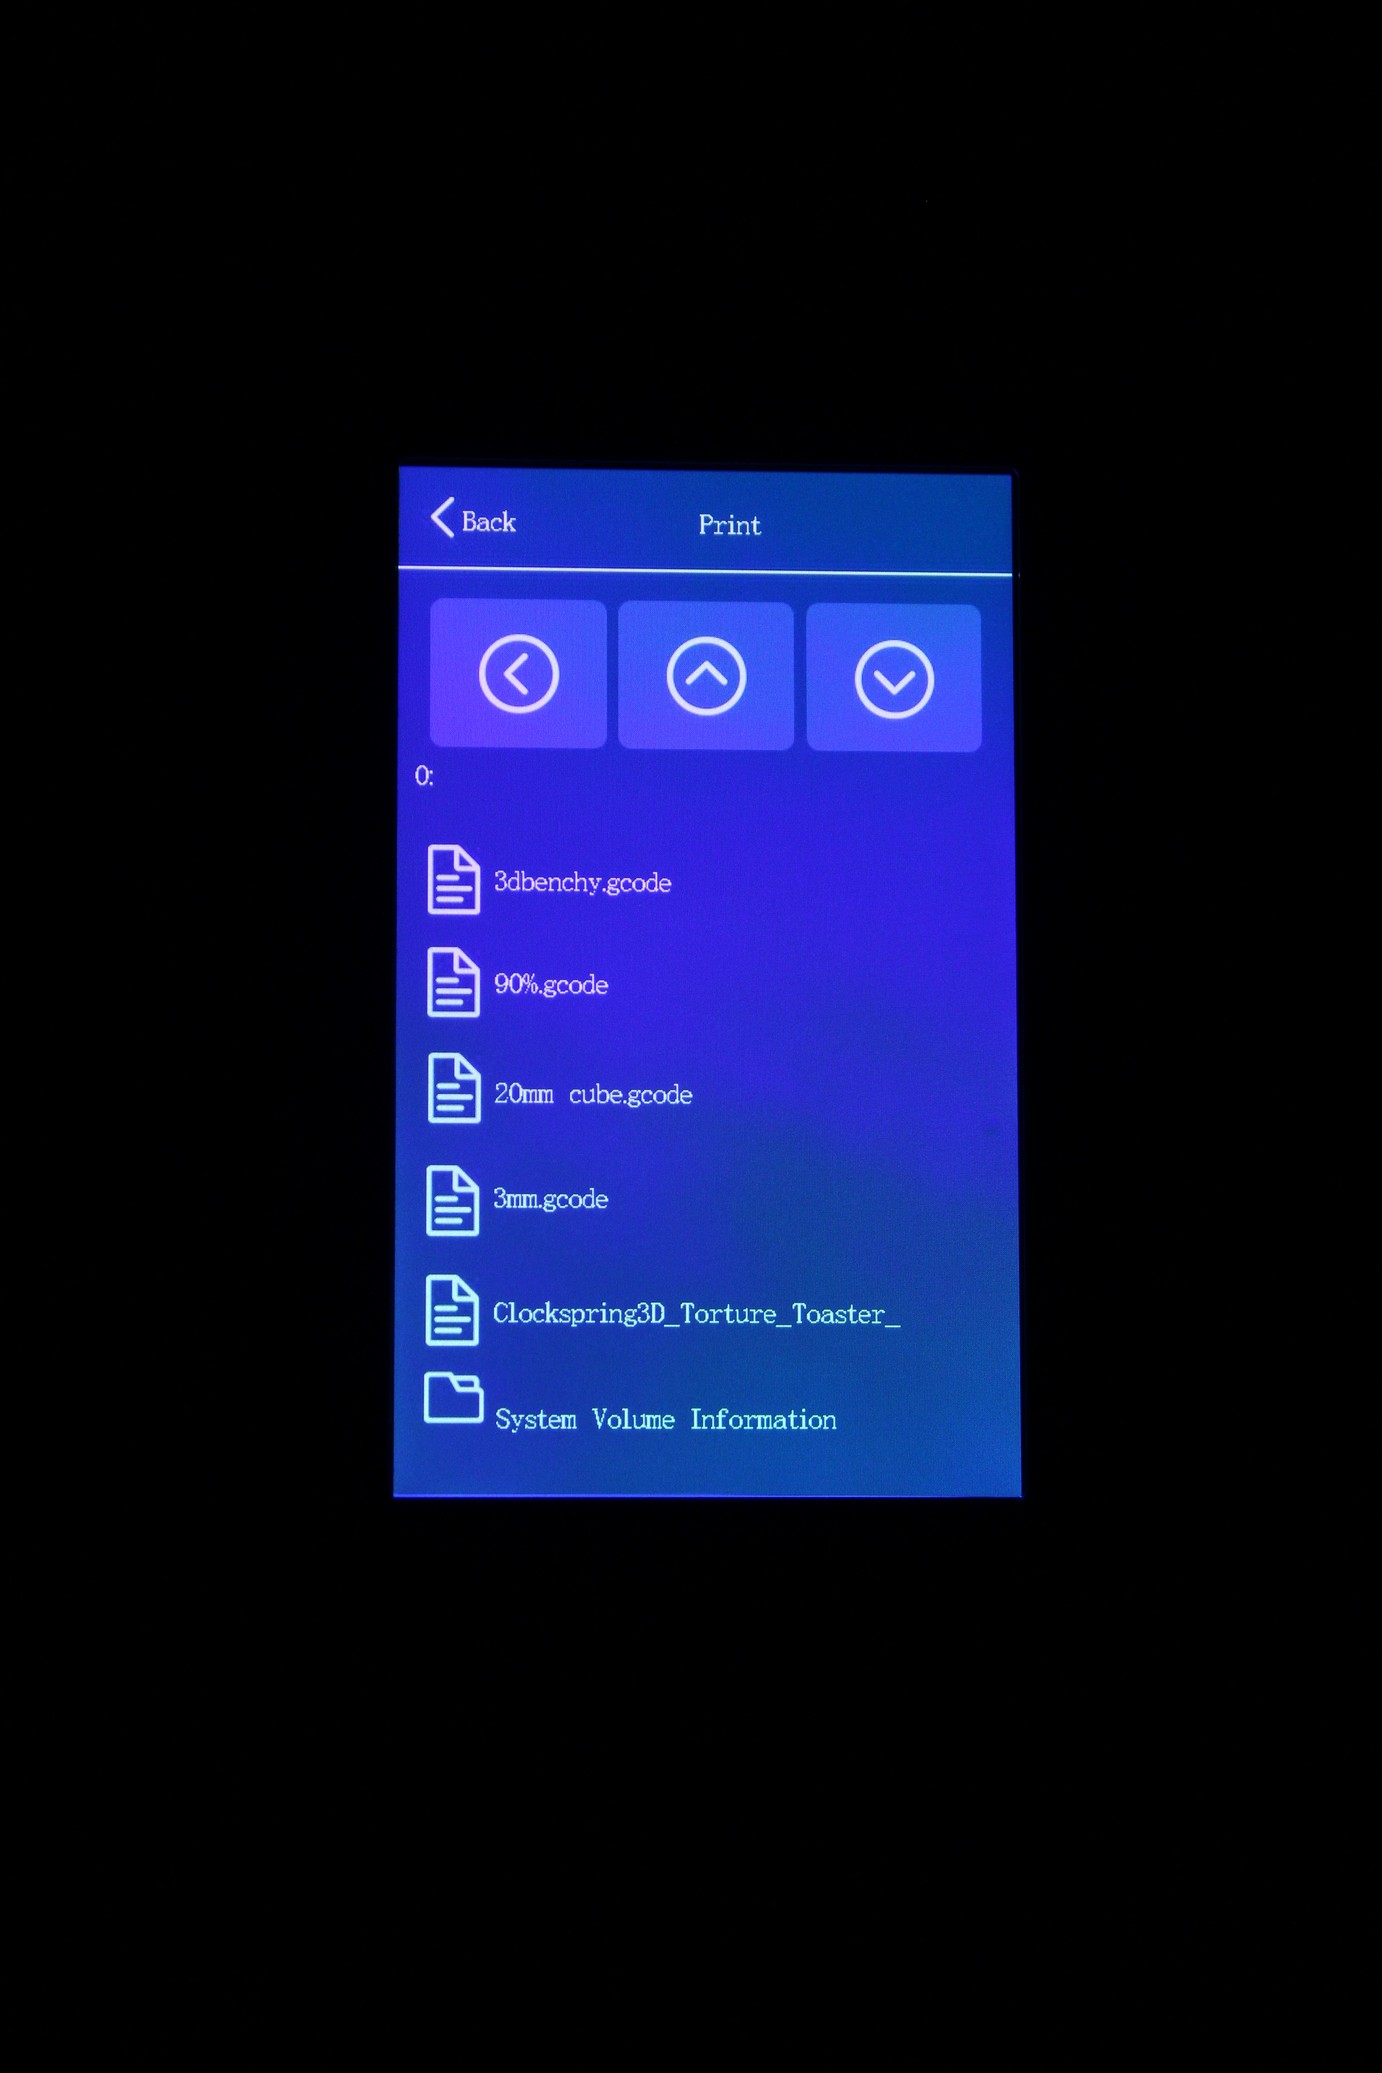
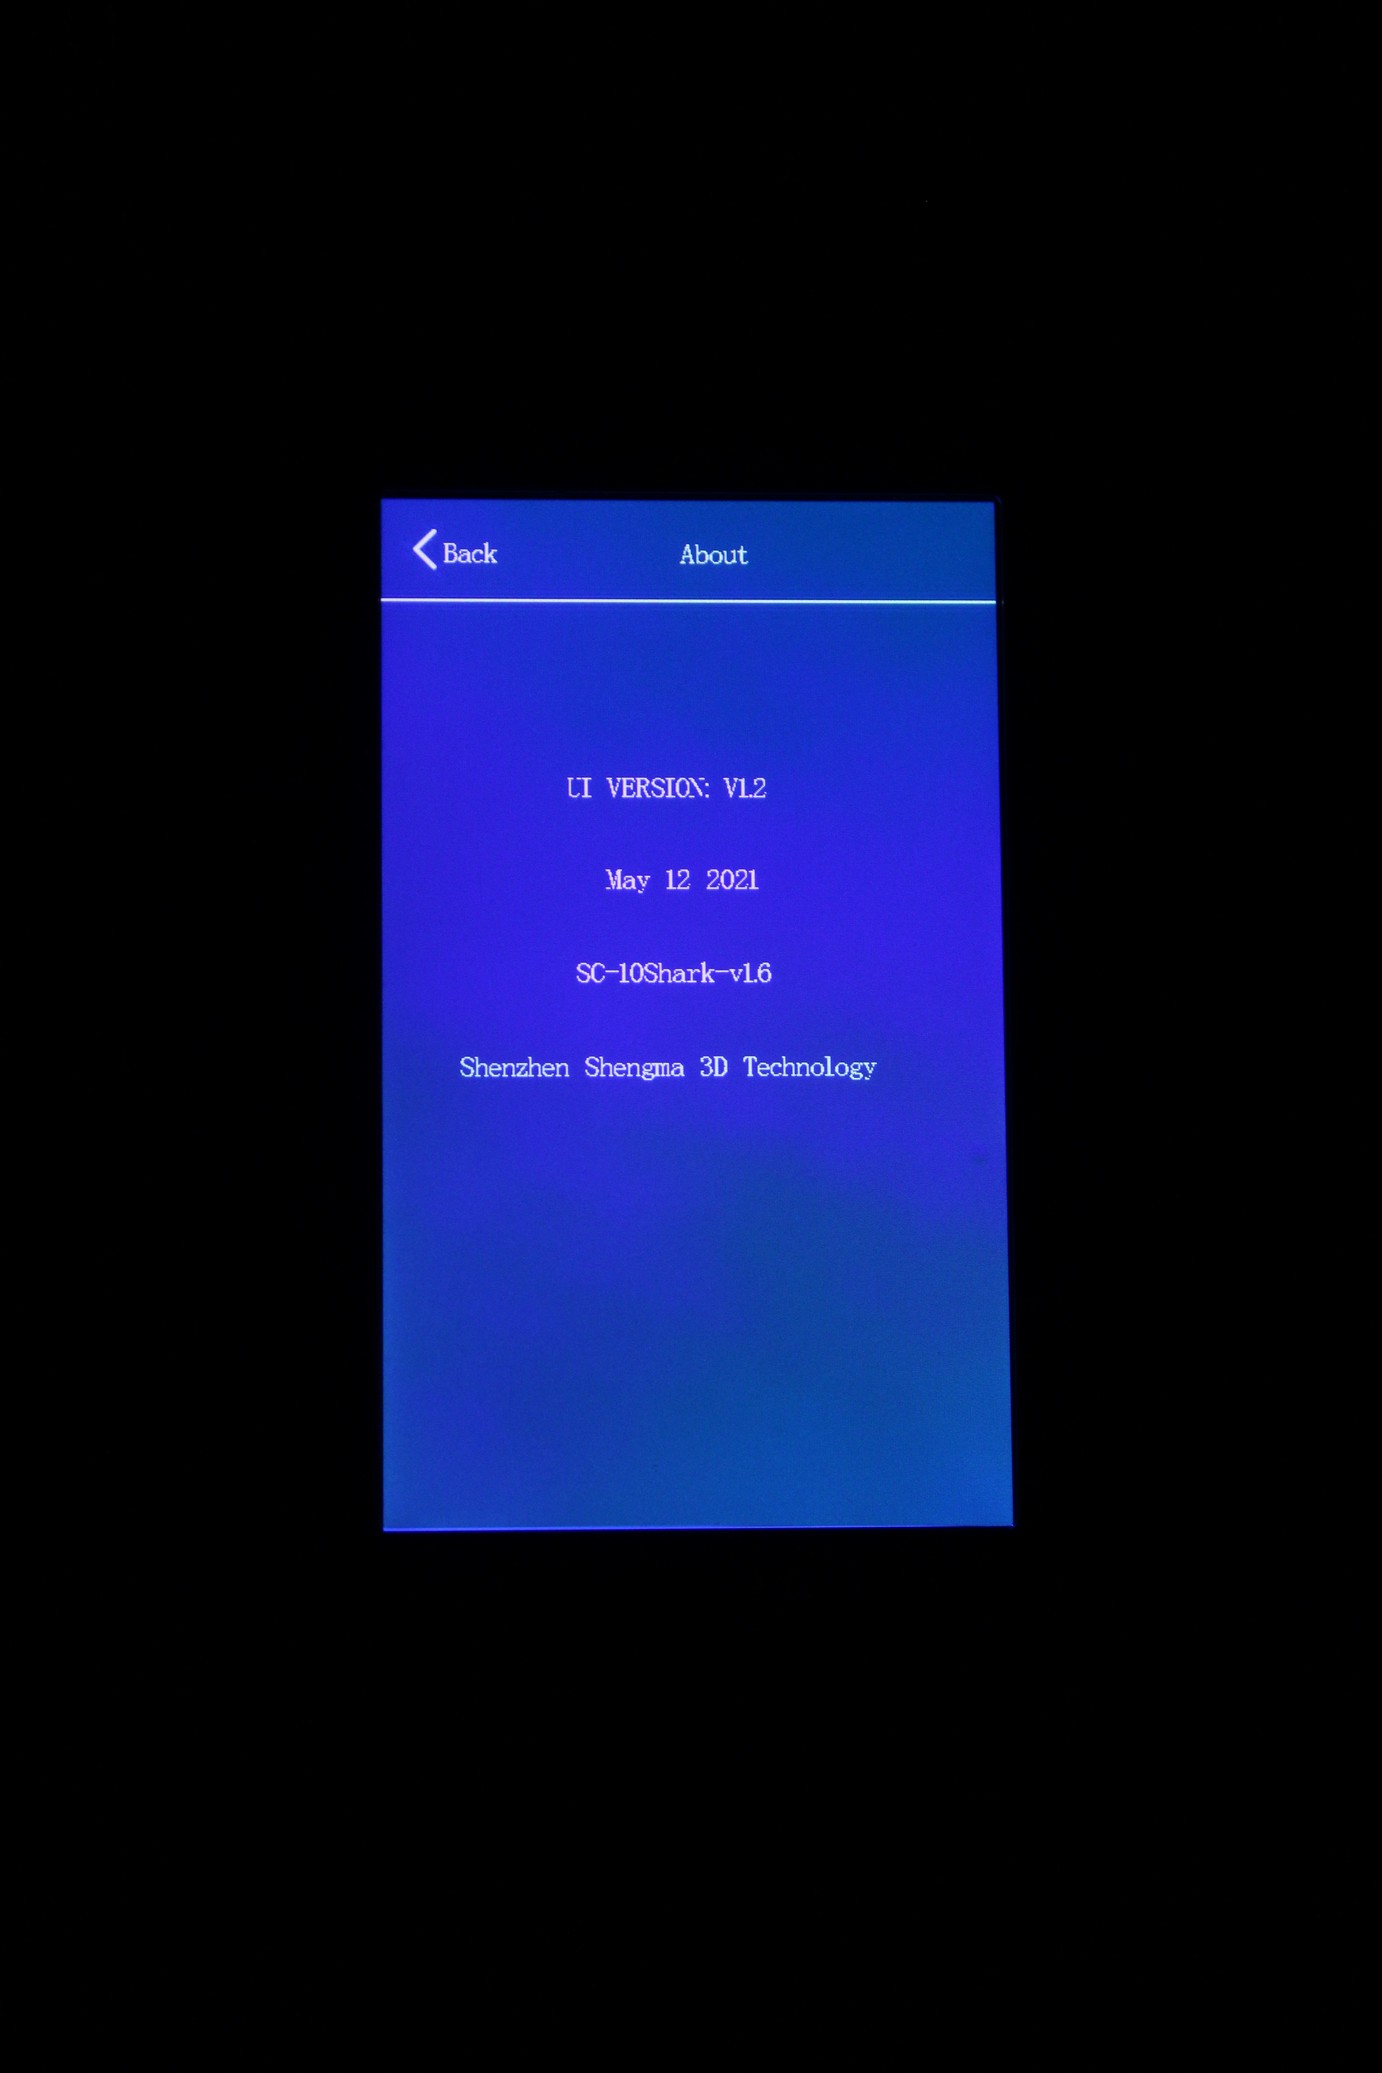
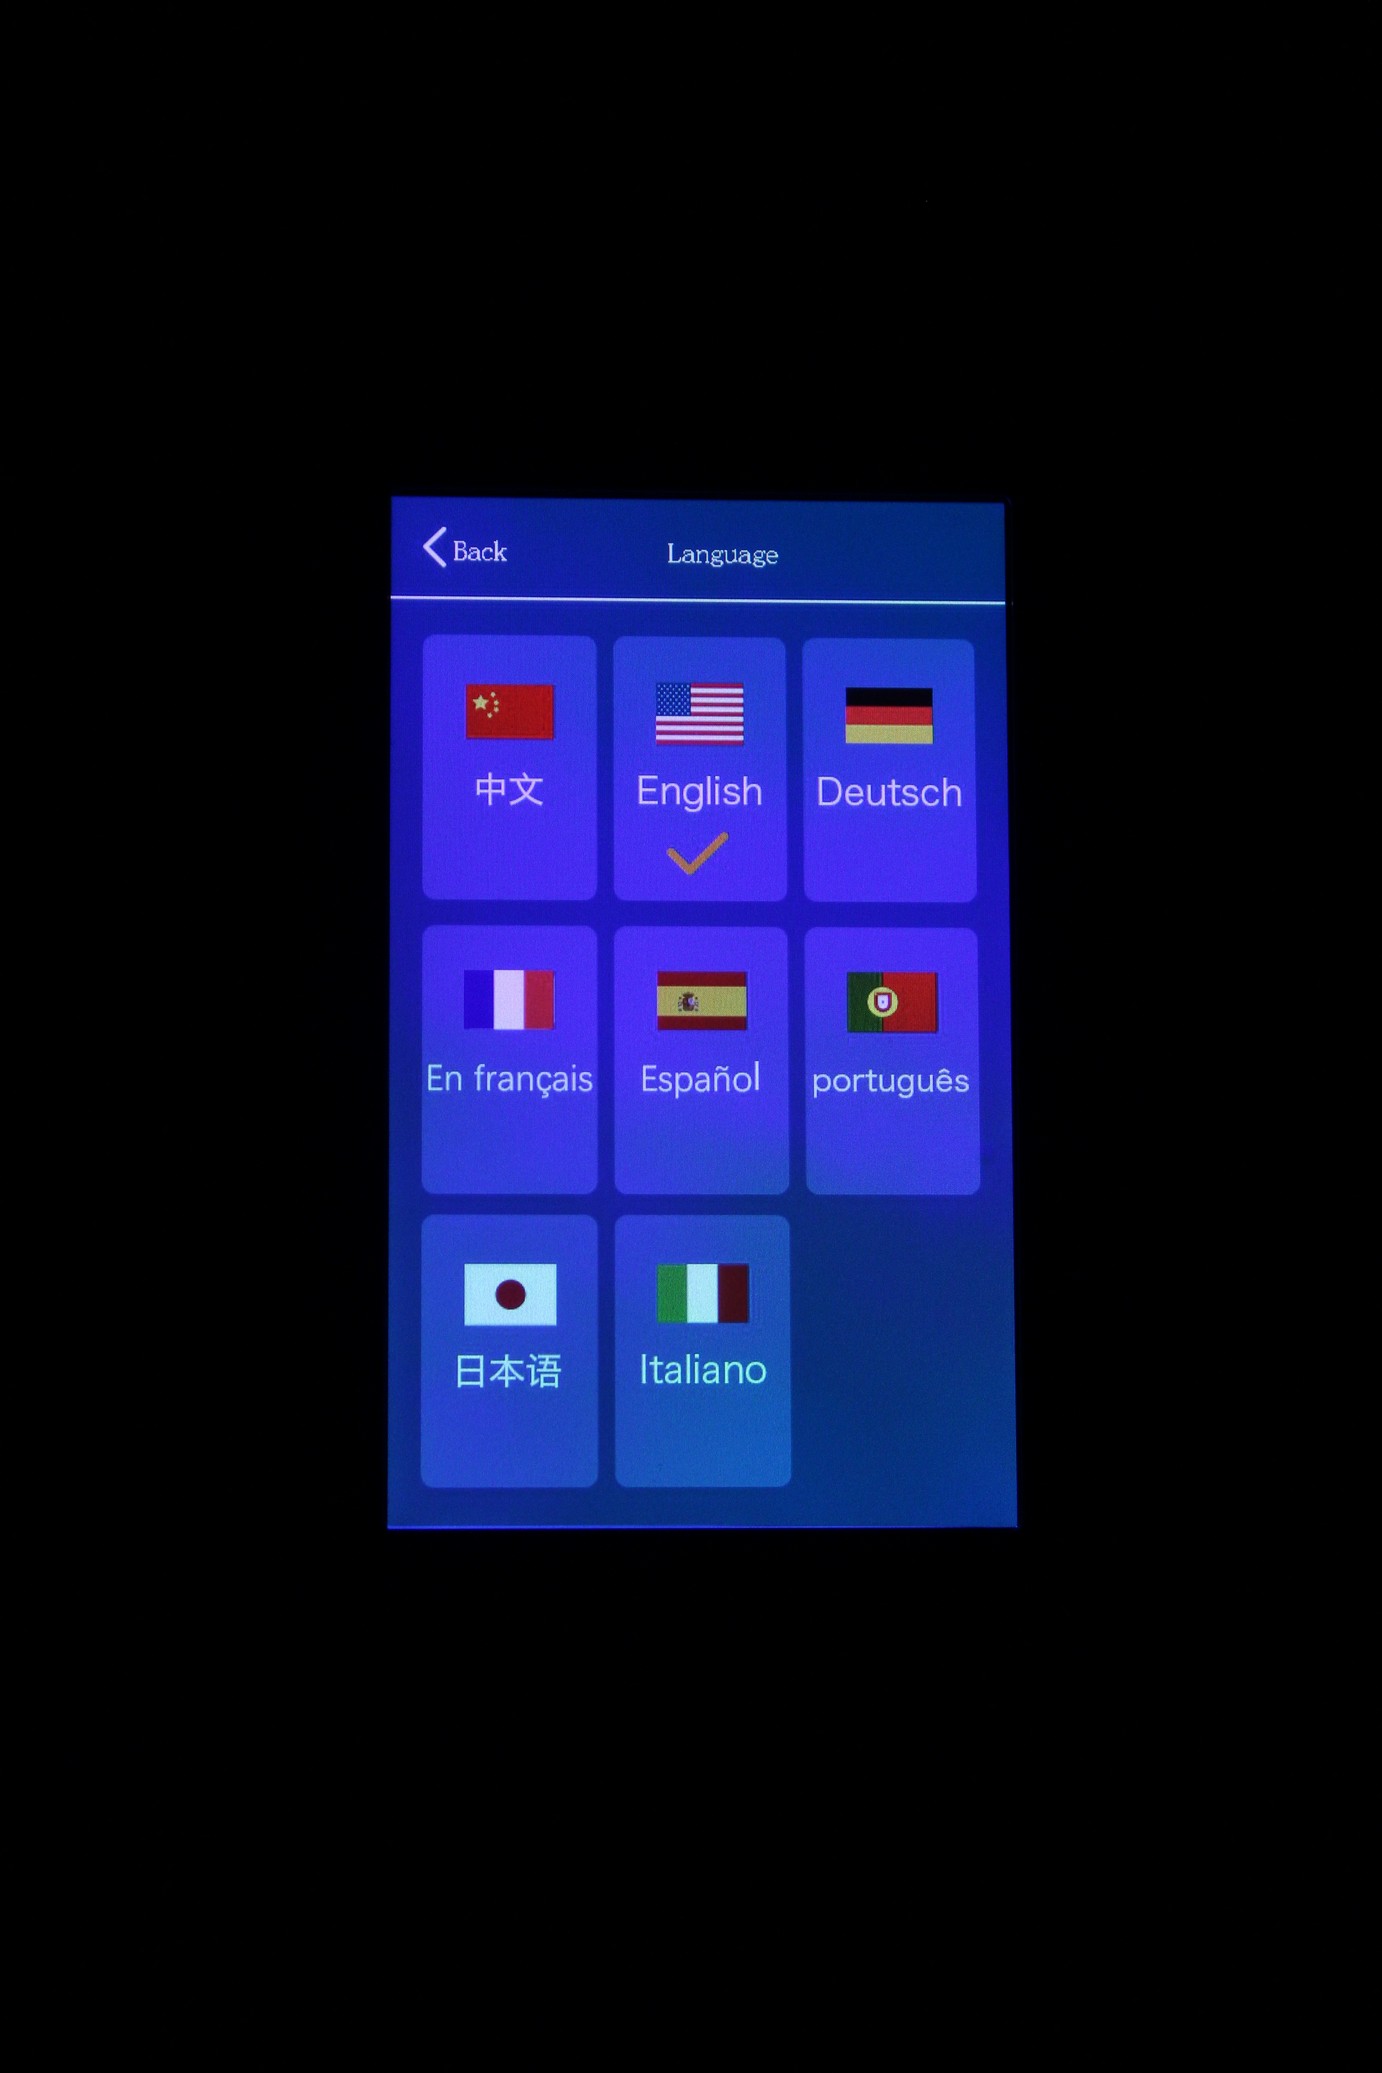
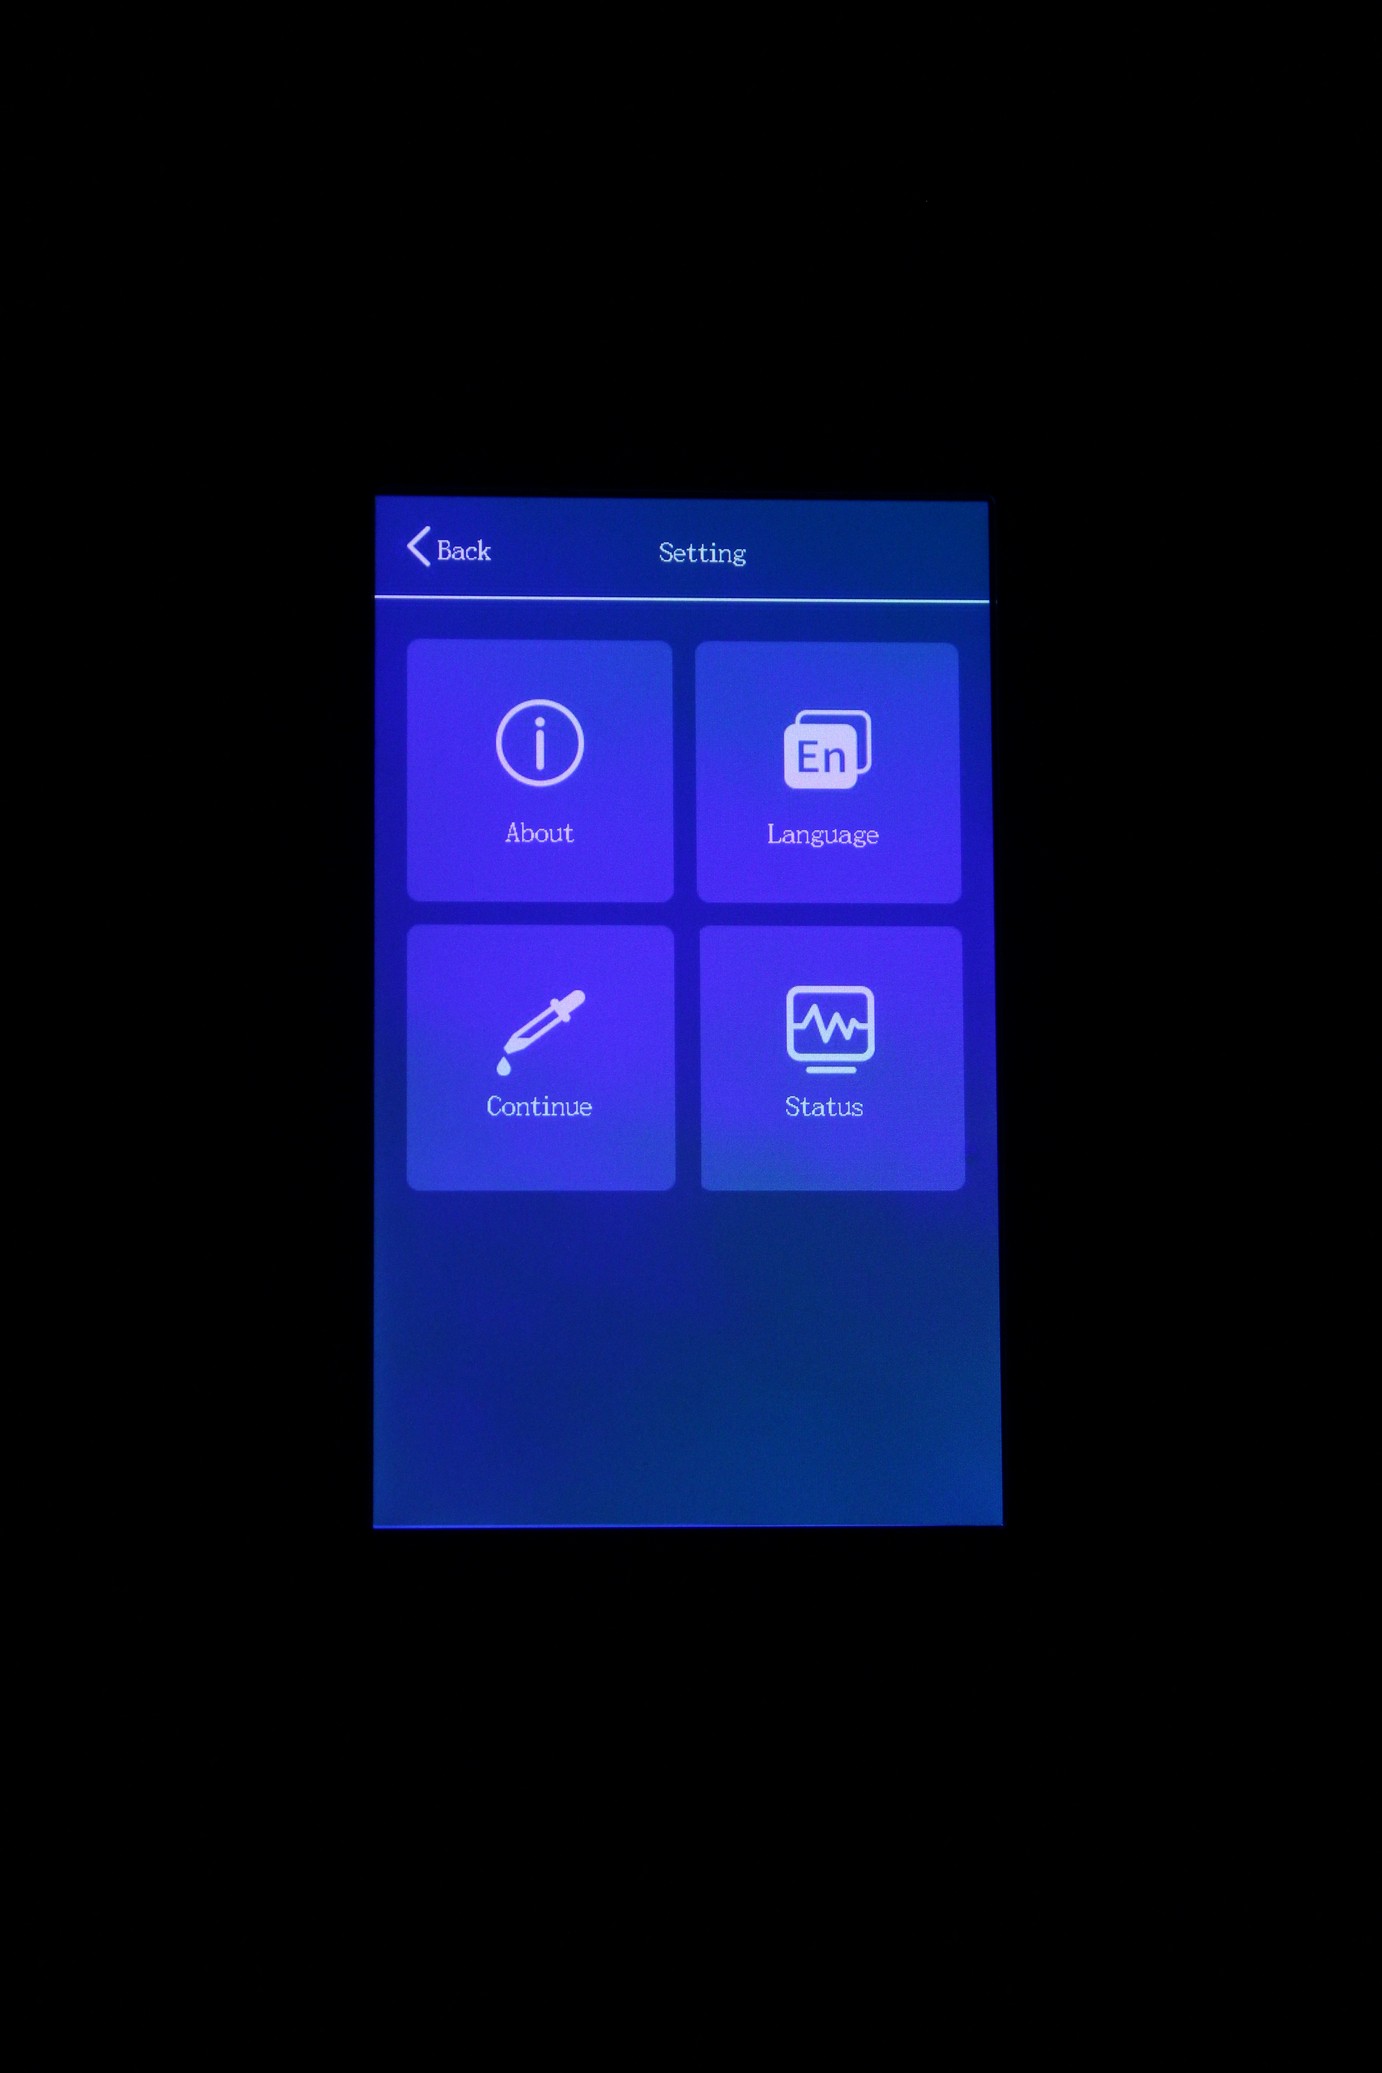
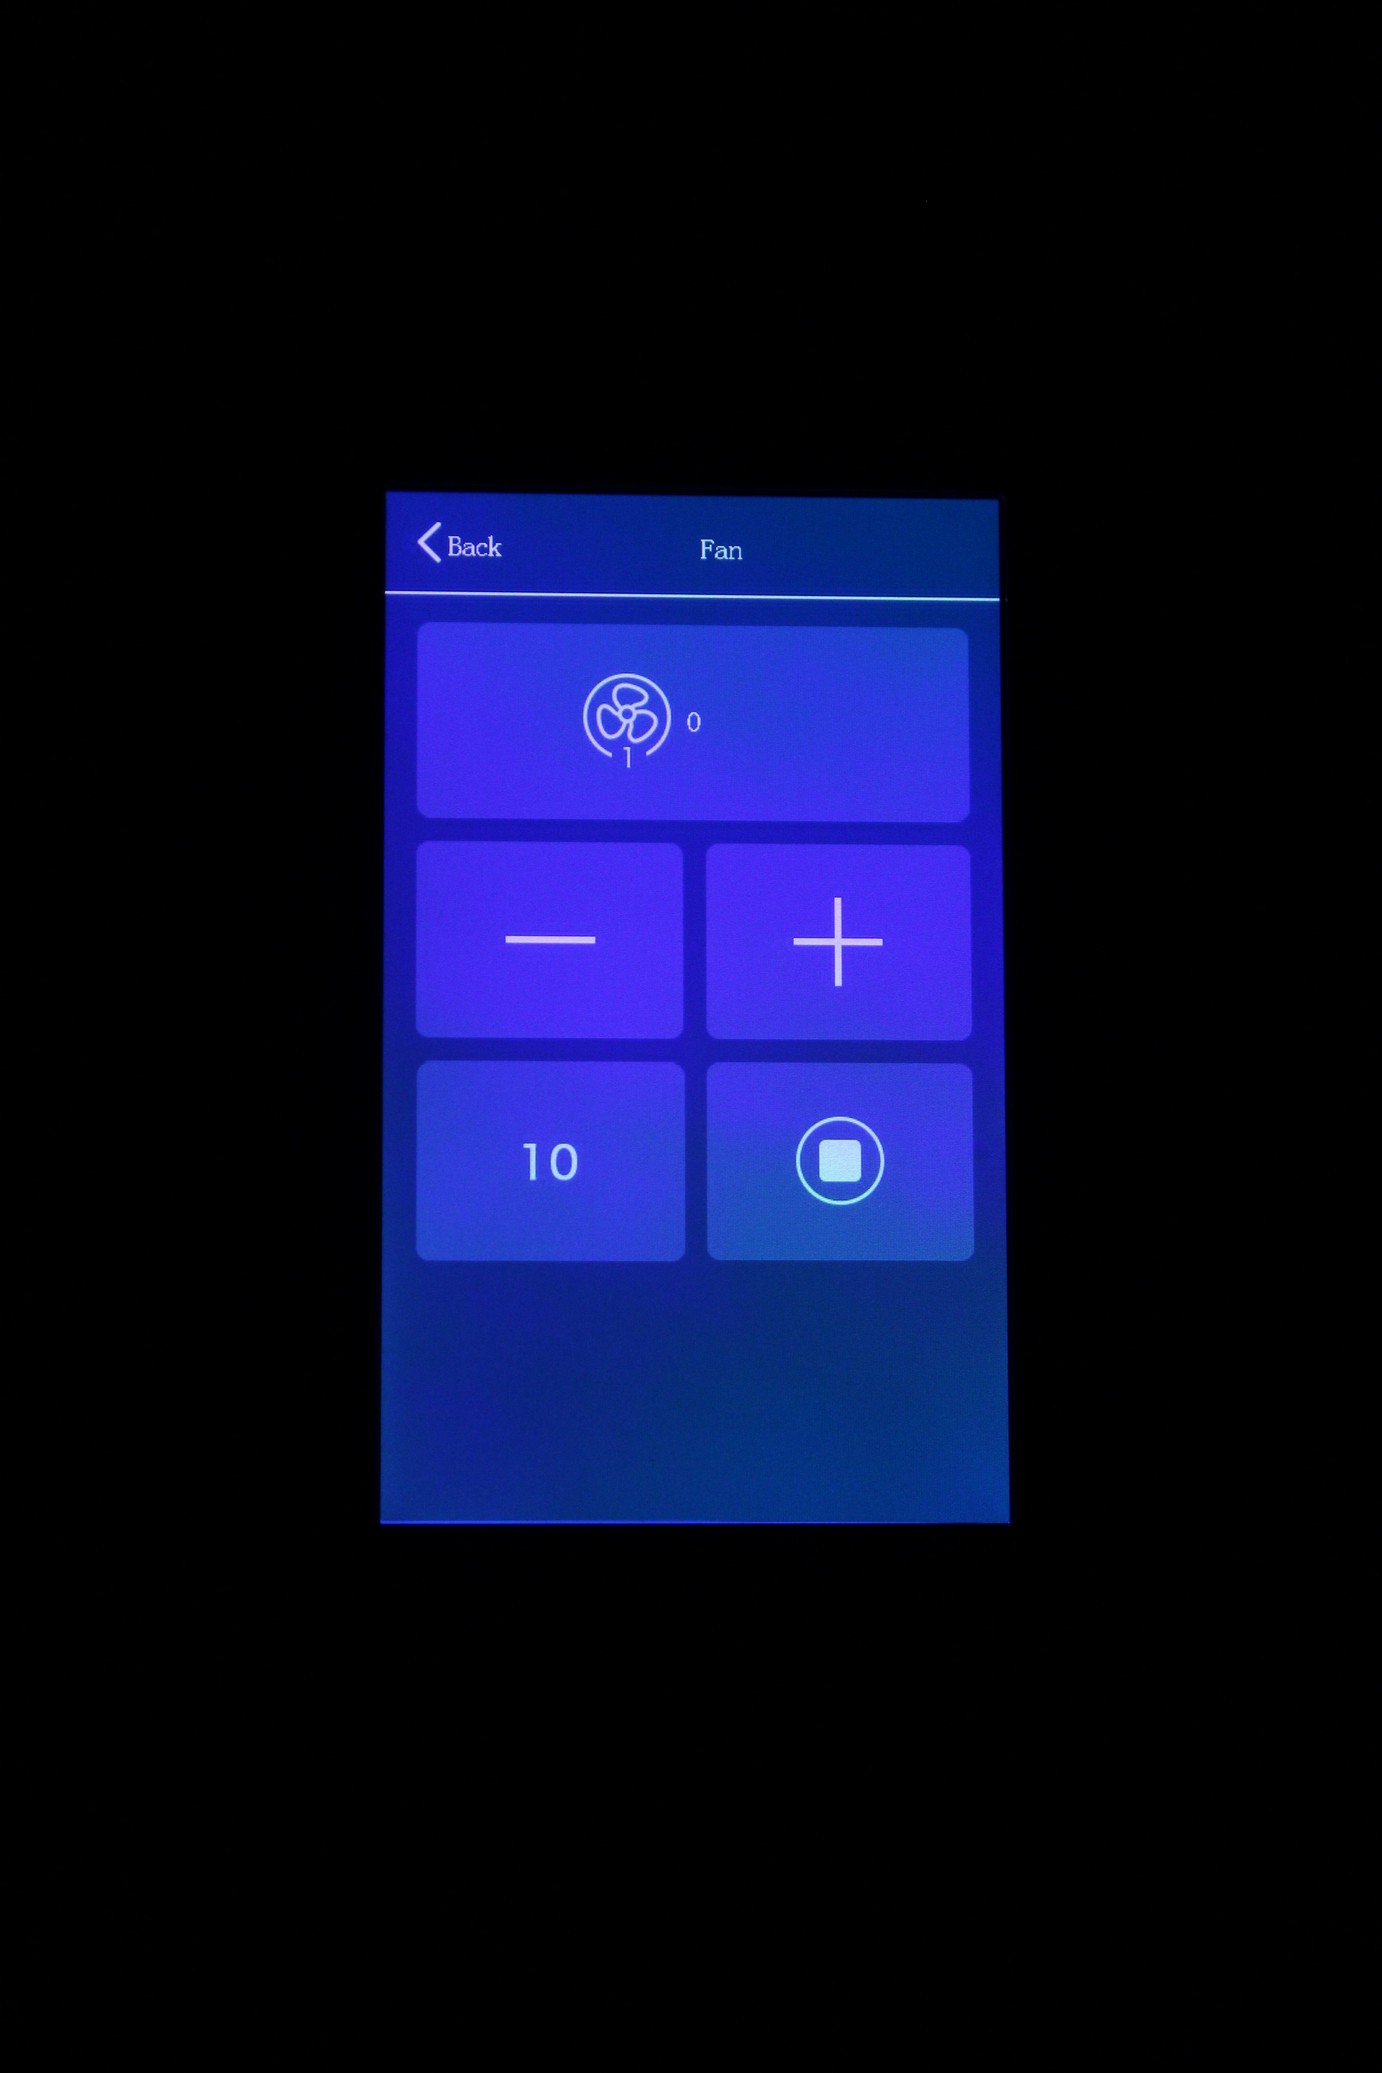
From my time with this printer, the touch screen does exactly what it’s supposed to do but most of the time, here are some things I like and some things I hope will be improved in the future.
Pros:
- Auto Level Manual – it makes manual bed leveling a breeze
- Easy to use interface
Cons:
- Movement is limited to 1, 5 or 10 mm – option set is not retained.
- Load unload is limited to 1,5 or 10 mm – option set is not retained.
- Baby Steps or adjusting Z-offset during print is not possible – if the bed leveling is not done correctly, you cannot correct this during a test print, you have to stop the printer, change offset, restart the print, observe and repeat until you get the correct squish.
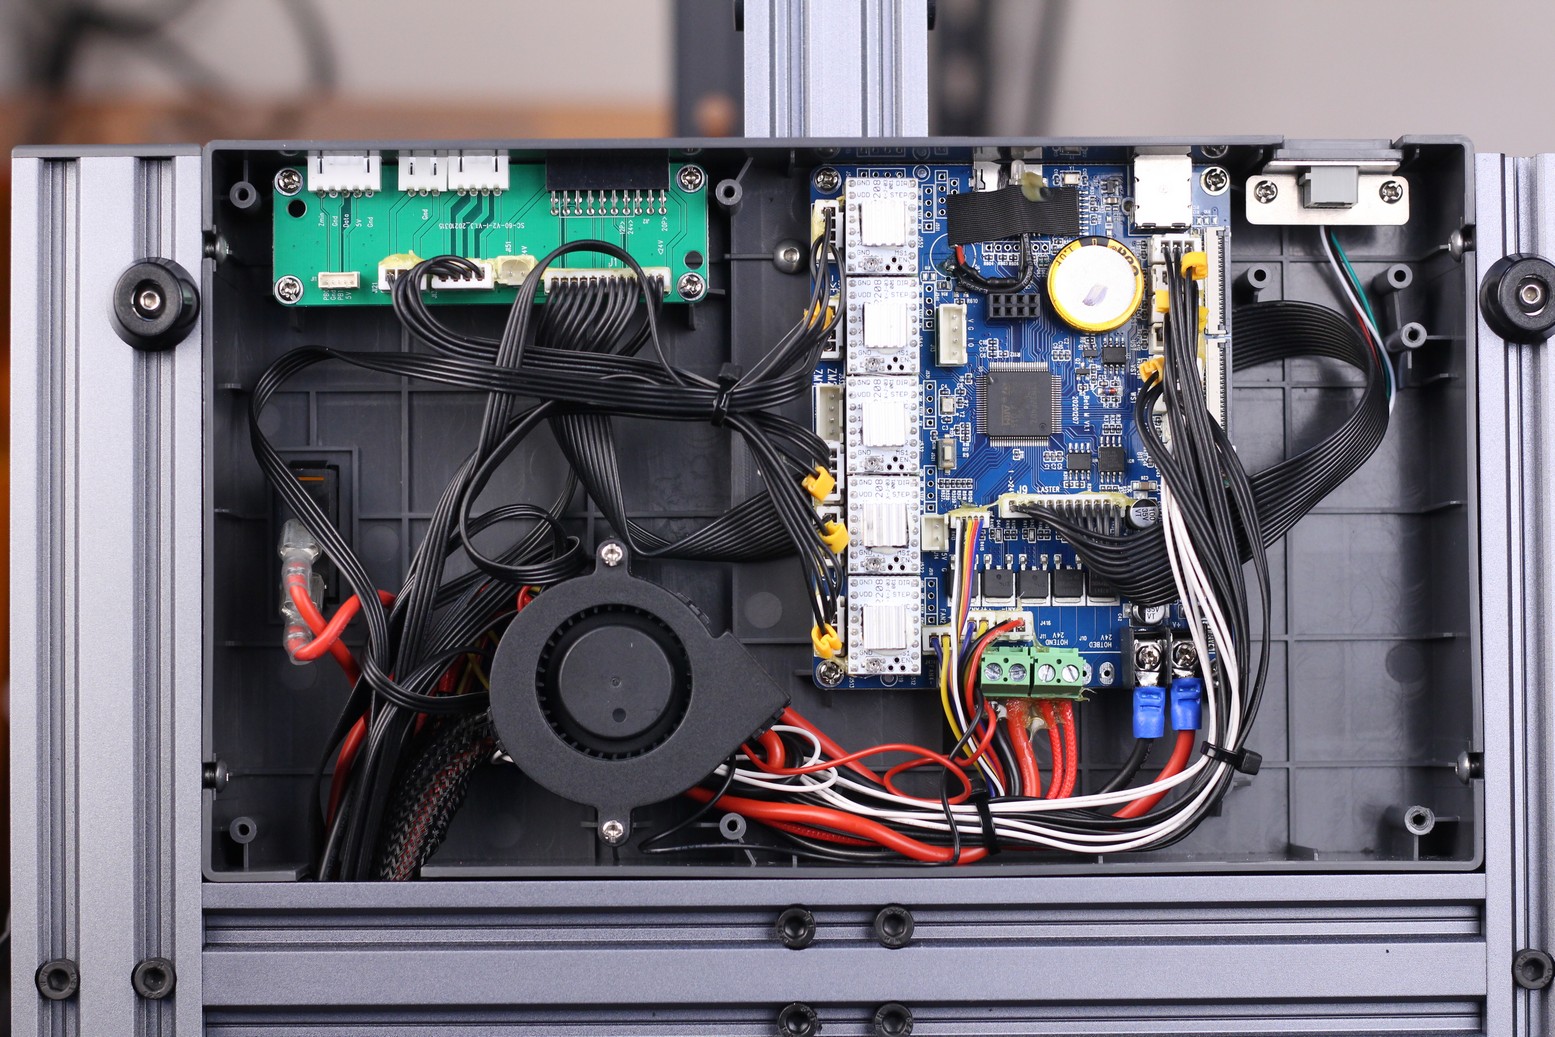
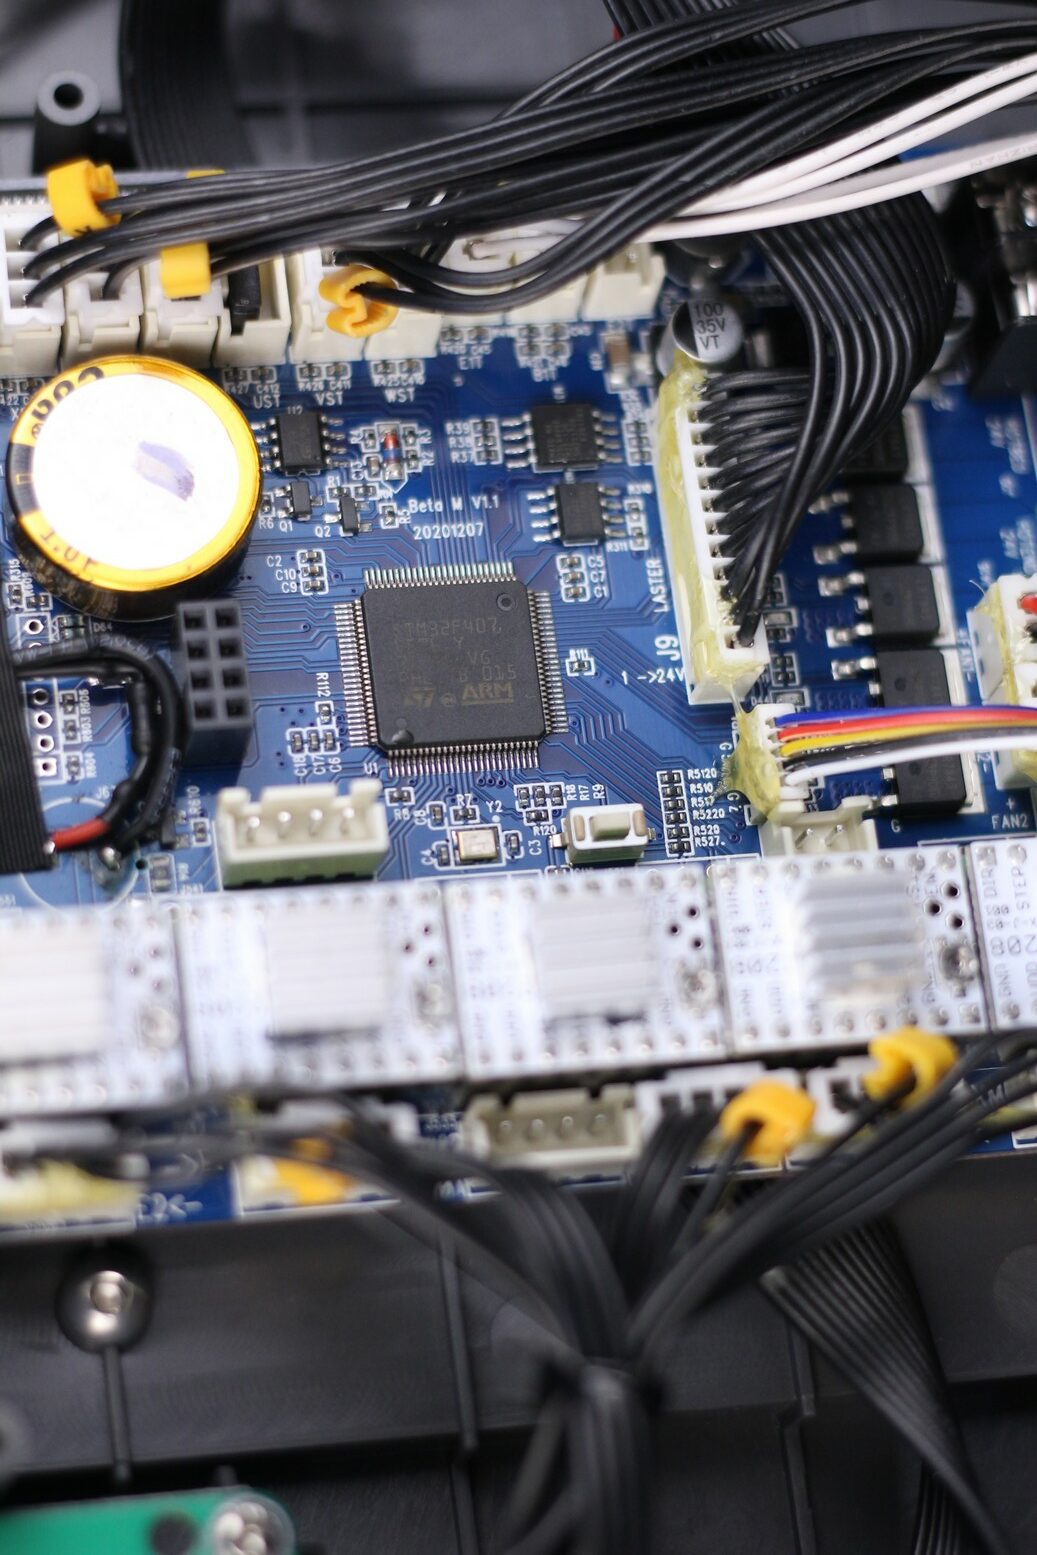
Proprietary 32-bit board with TMC2208 stepper drivers
The LOTMAXX SC-10 Shark v2 uses a proprietary 32-bit board, with an ARM STM32F407 chip which is interesting to see considering the chip shortage we are experiencing right now.
We also get TMC2208 stepper drivers, which are socketed and can be easily replaced if one of them dies. A 5015 radial fan is blowing over them to keep them cool, and this fan is a bit noisy during operation.
Looking at the connections, you can see that there was a lot of glue used all around. And it’s not the regular kind of hot glue, but something nastier which can’t be easily removed.
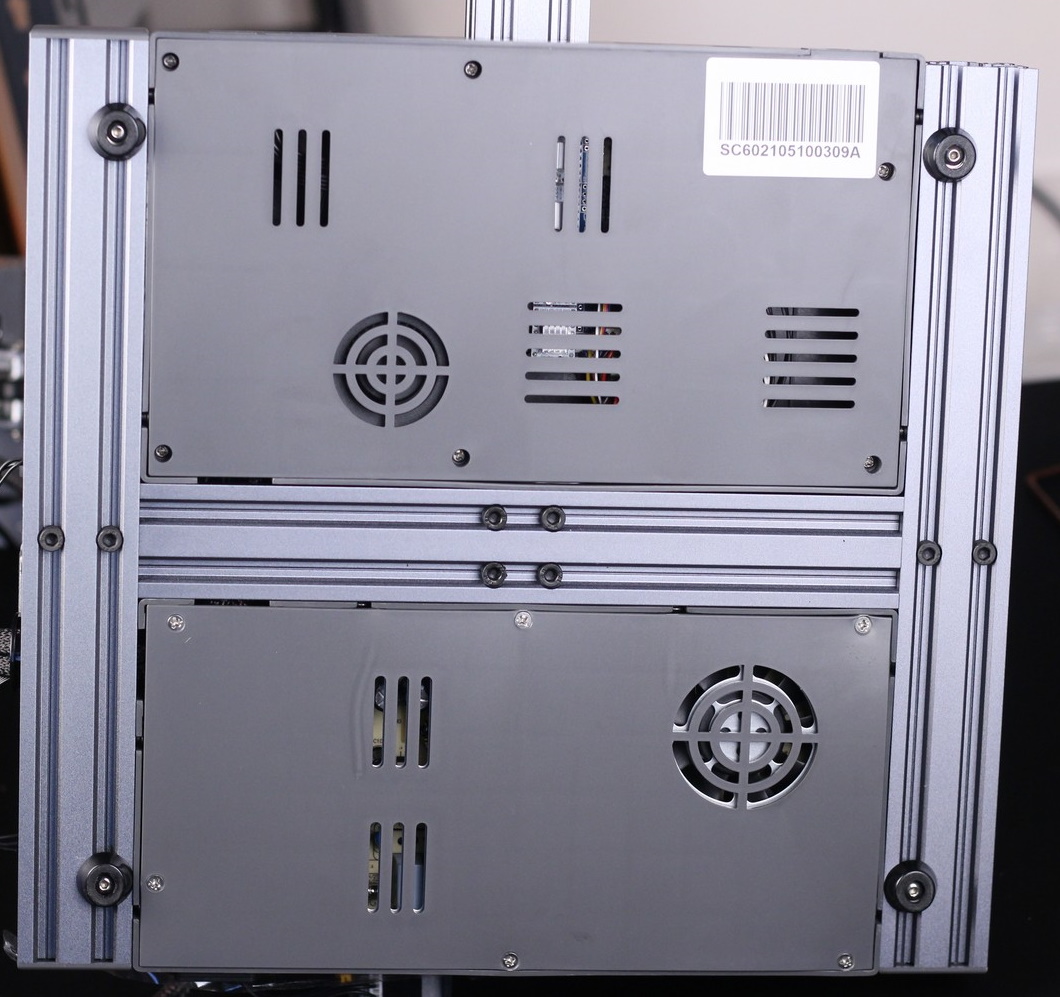
Mean Well 24V 350W Power Supply
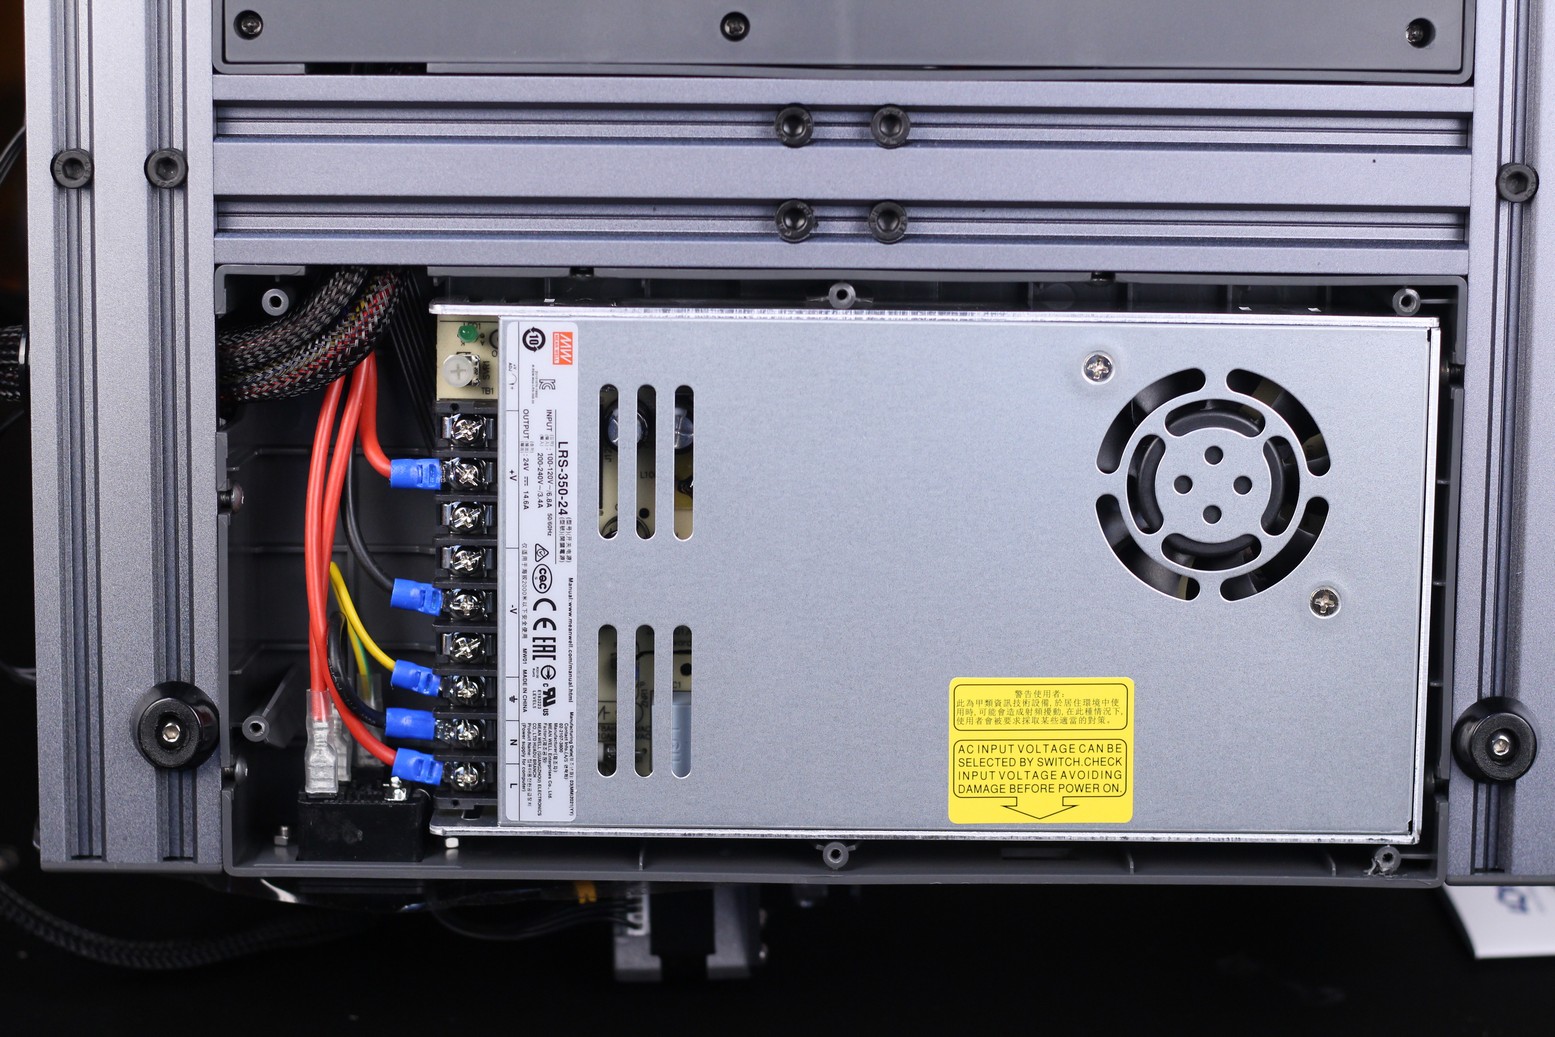
The LOTMAXX SC-10 Shark v2 comes with a Mean Well 350W 24V power supply which is good to see. These units perform quite well and they are the more premium offering for most 3D printers.
Heating time and power consumption
I tested the heating time for both hotend and heat bed and here are the results:
Hotend
- 200C in 1 minutes and 50 seconds
- 250C in 2 minutes and 25 seconds
Heatbed
- 60C in 2 minutes and 10 seconds
- 100C in 8 minutes and 10 seconds
Power Draw
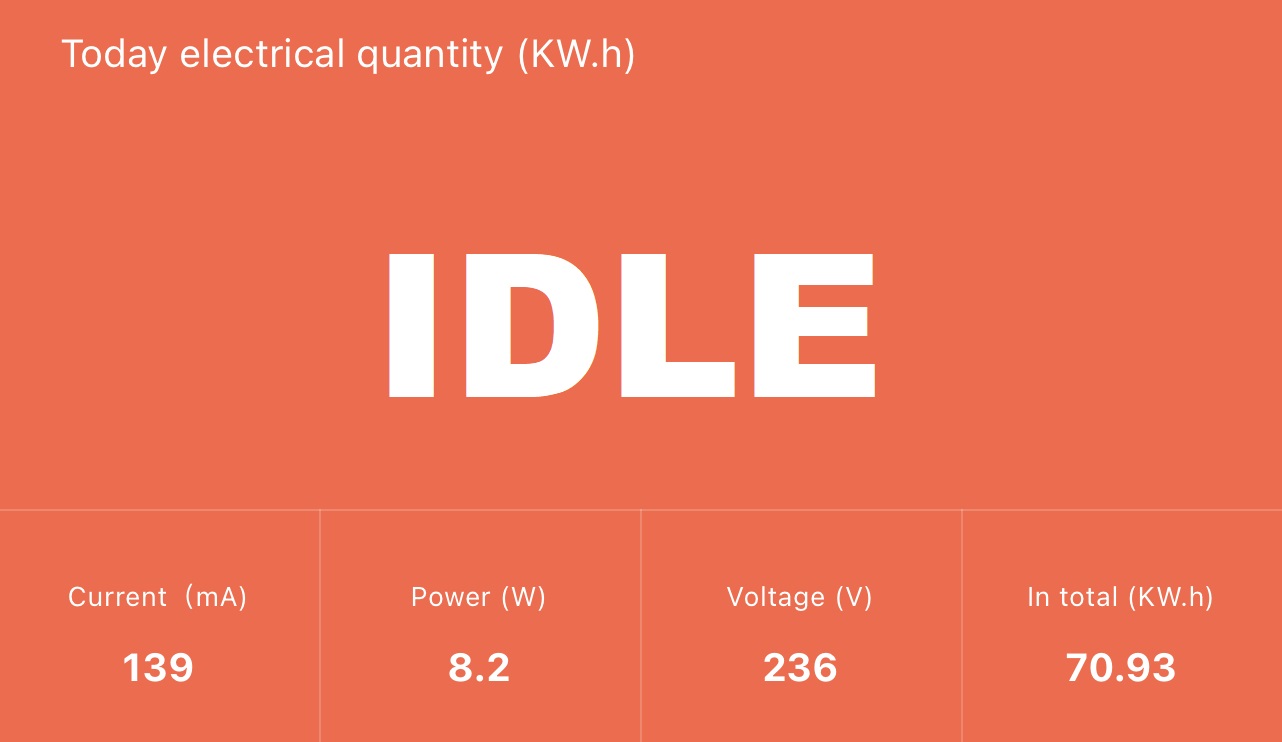
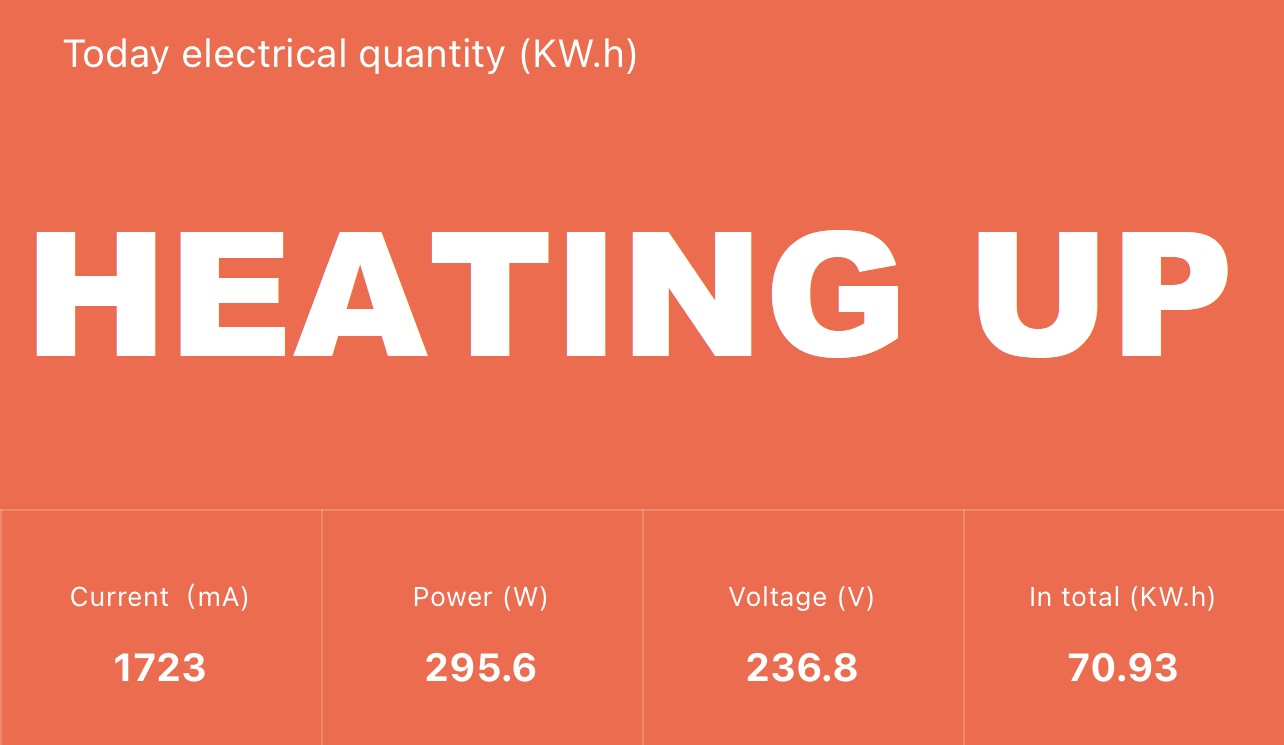

Idle power draw is around 8W. When the hotend and heatbed are heating up, the LOTMAXX Shark draws around 300W. After it starts printing, the power draw stabilizes to around 50W.
All these measurements were taken with a Blitzwolf smart power socket which indicates the power draw, and it can also be used for remotely powering on and off the printer.
Bed Temperature Uniformity
I tested the temperature uniformity for the LOTMAXX SC-10 Shark V2 bed with the Flir Camera installed on the CAT S62 Pro. The bed has been set to 60C and I waited 2 minutes after reaching that temperature for the temperature to stabilize.
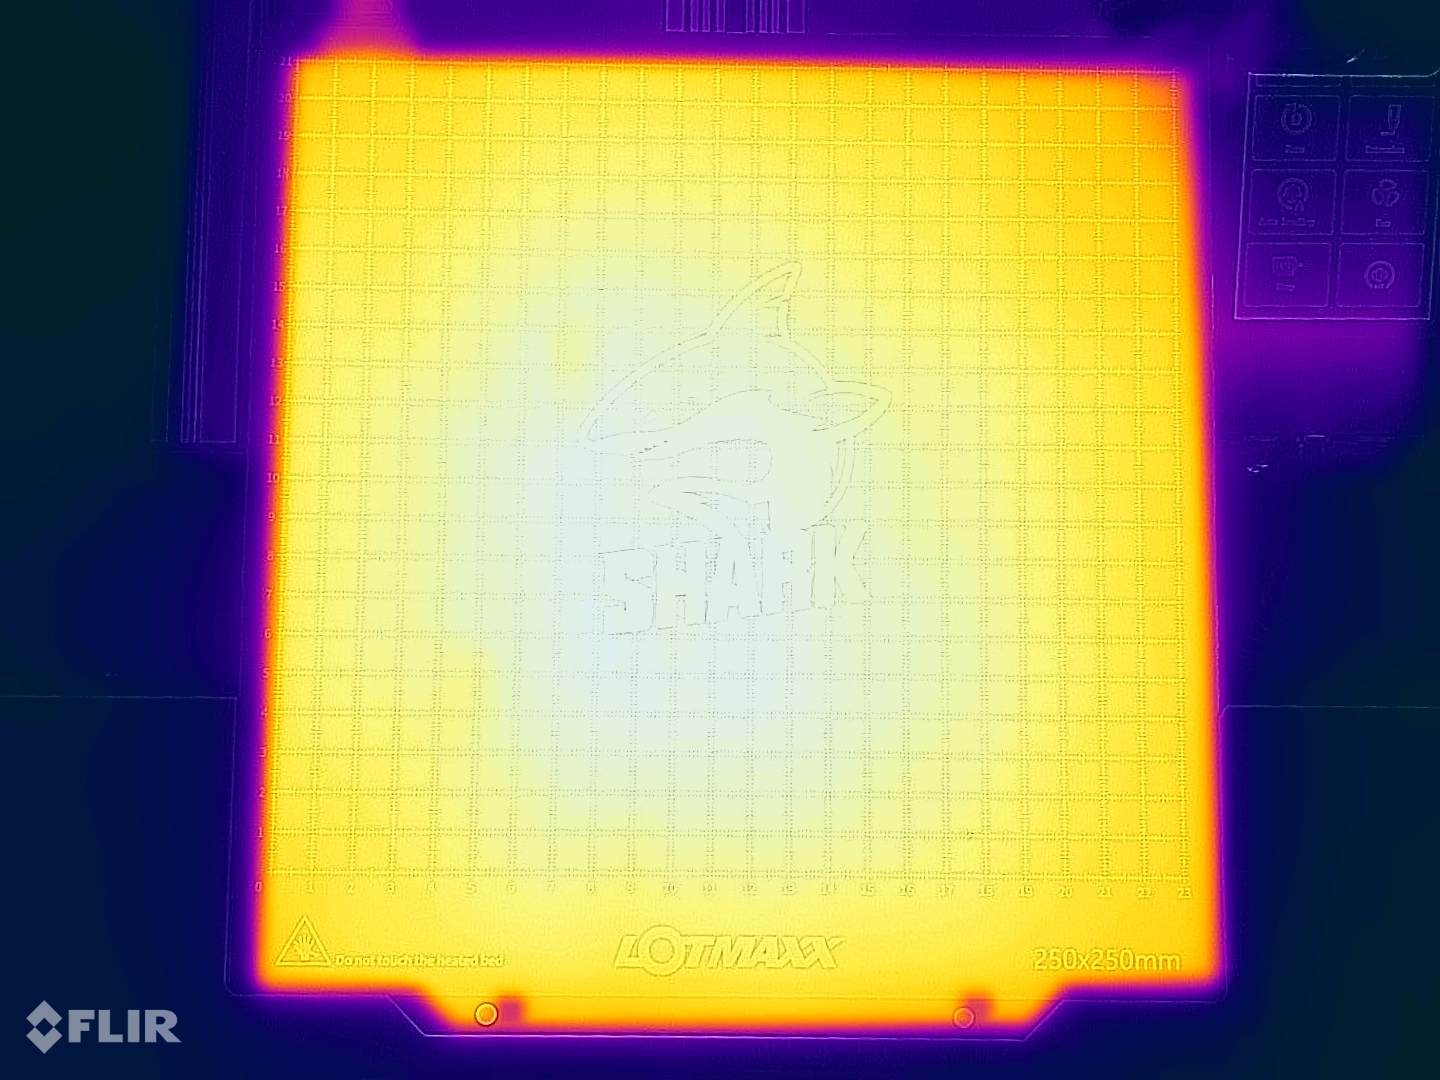
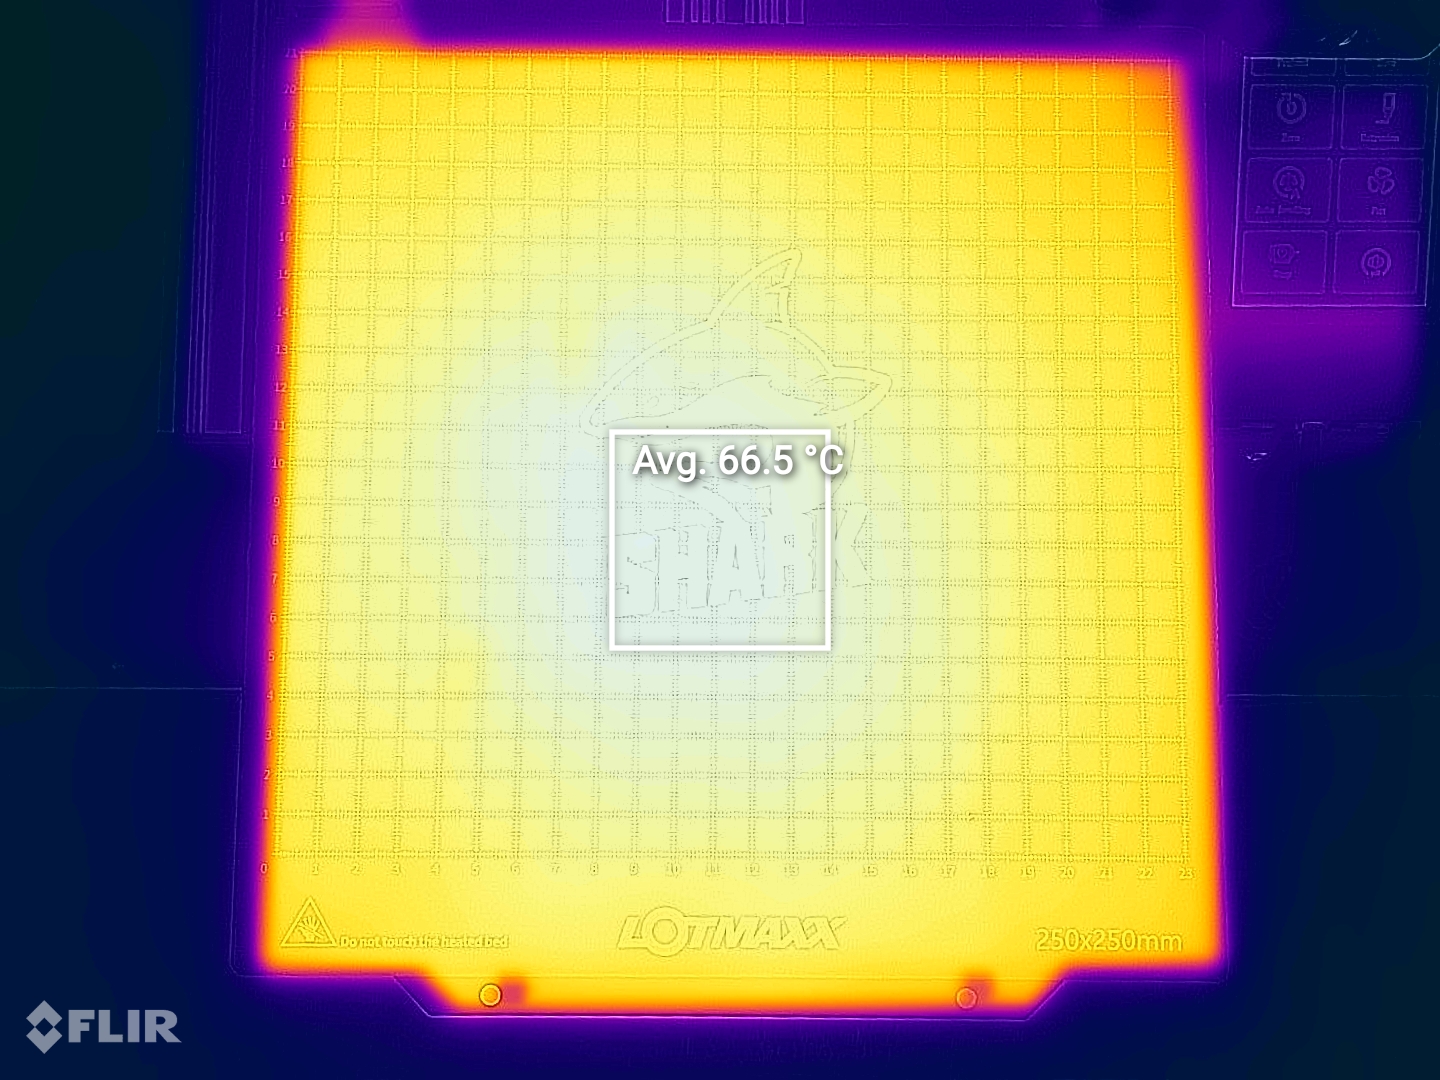
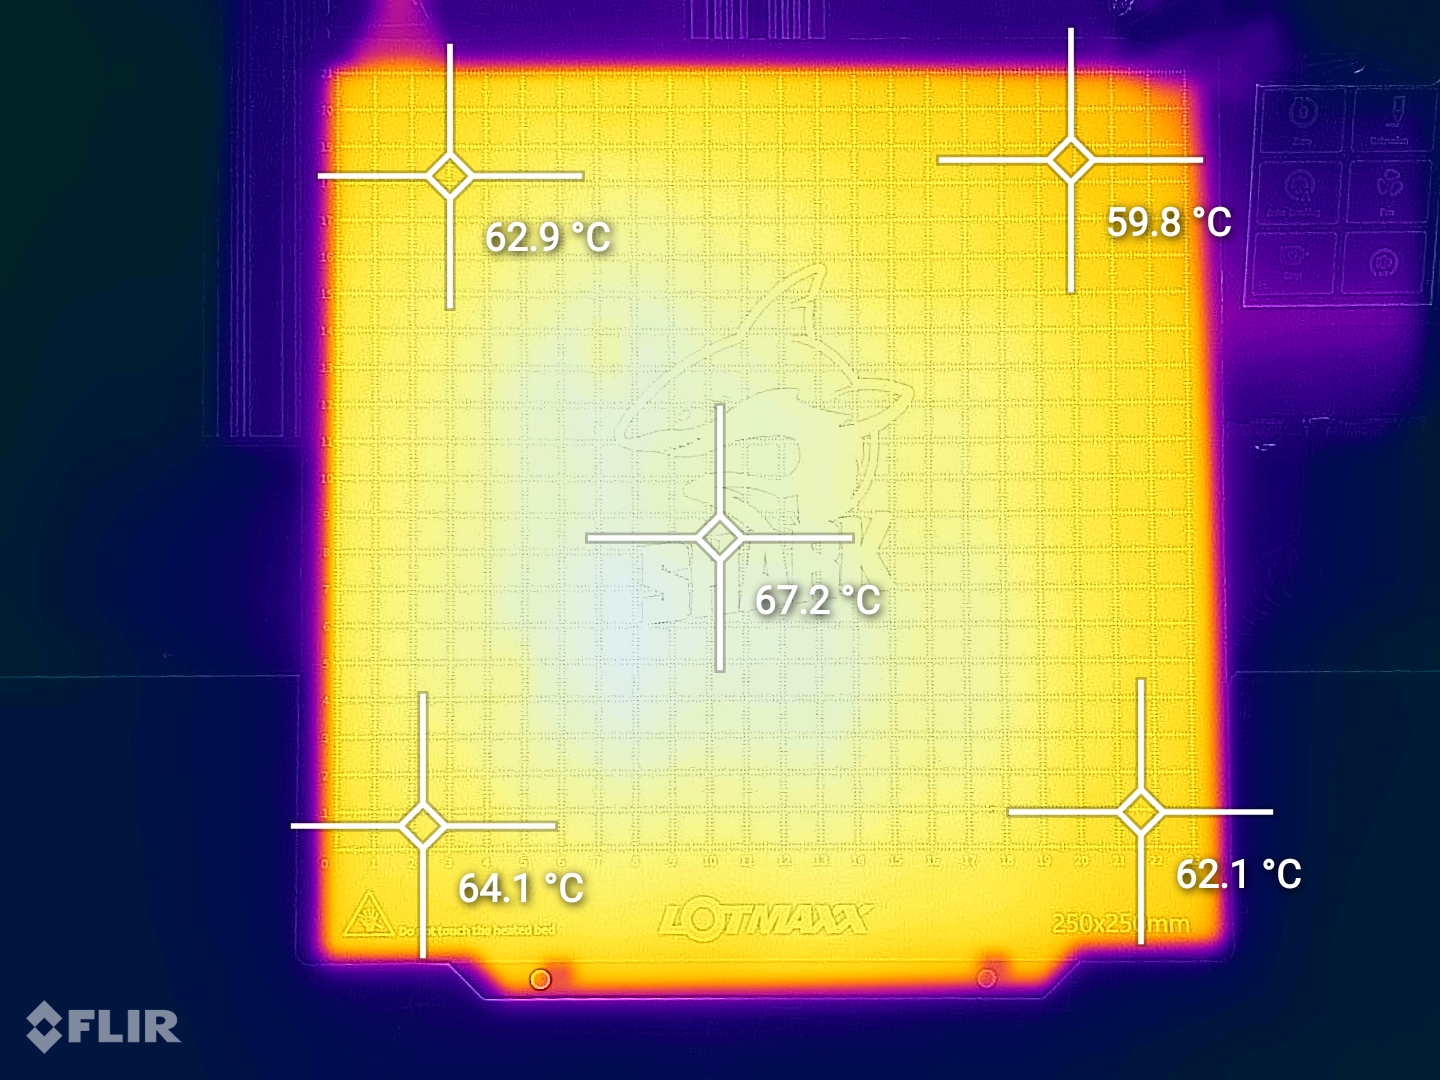
The bed has a decent temperature distribution, but the corners are a bit colder compared to the middle of the bed which is about 5 degrees hotter compared to the set temperature.
LOTMAXX Shark v2 Noise Levels
The hot end on the Shark V2 is equipped with a unique designed cooling solution, dual part cooling fans on both sides of the hot end, and an hotend cooling fan on the front.
All the fans used with the Shark V2 are 4010 24V. While the hotend fan is correct, the part cooling fans are not the right type to provide the best part cooling. The airflow is quite low, and part cooling suffers because of this.
The fans produce low noise during the printing process, stepper motor seems to maintain the same level of ambient noise. Most of the noise coming from the machine during the print is from the lower side of the printer, which is a combination of the power source and the motherboard fan.
IdeaMaker Profiles for LOTMAXX Shark
During my time with the printer, I also prepared an IdeaMaker profile for the SC-10 Shark using the tools available in the 3D Printer Calibration Guide using IdeaMaker article. This profile is tuned for the stock printer.
LOTMAXX SC-10 Shark V2 IdeaMaker Profile – PLA – 3DPrintBeginner
Test prints on LOTMAXX Shark
3D Benchy
The first print with the LOTMAXX SC-10 Shark v2 was a 3D Benchy, which showed a promising start in tuning the IdeaMaker profile.
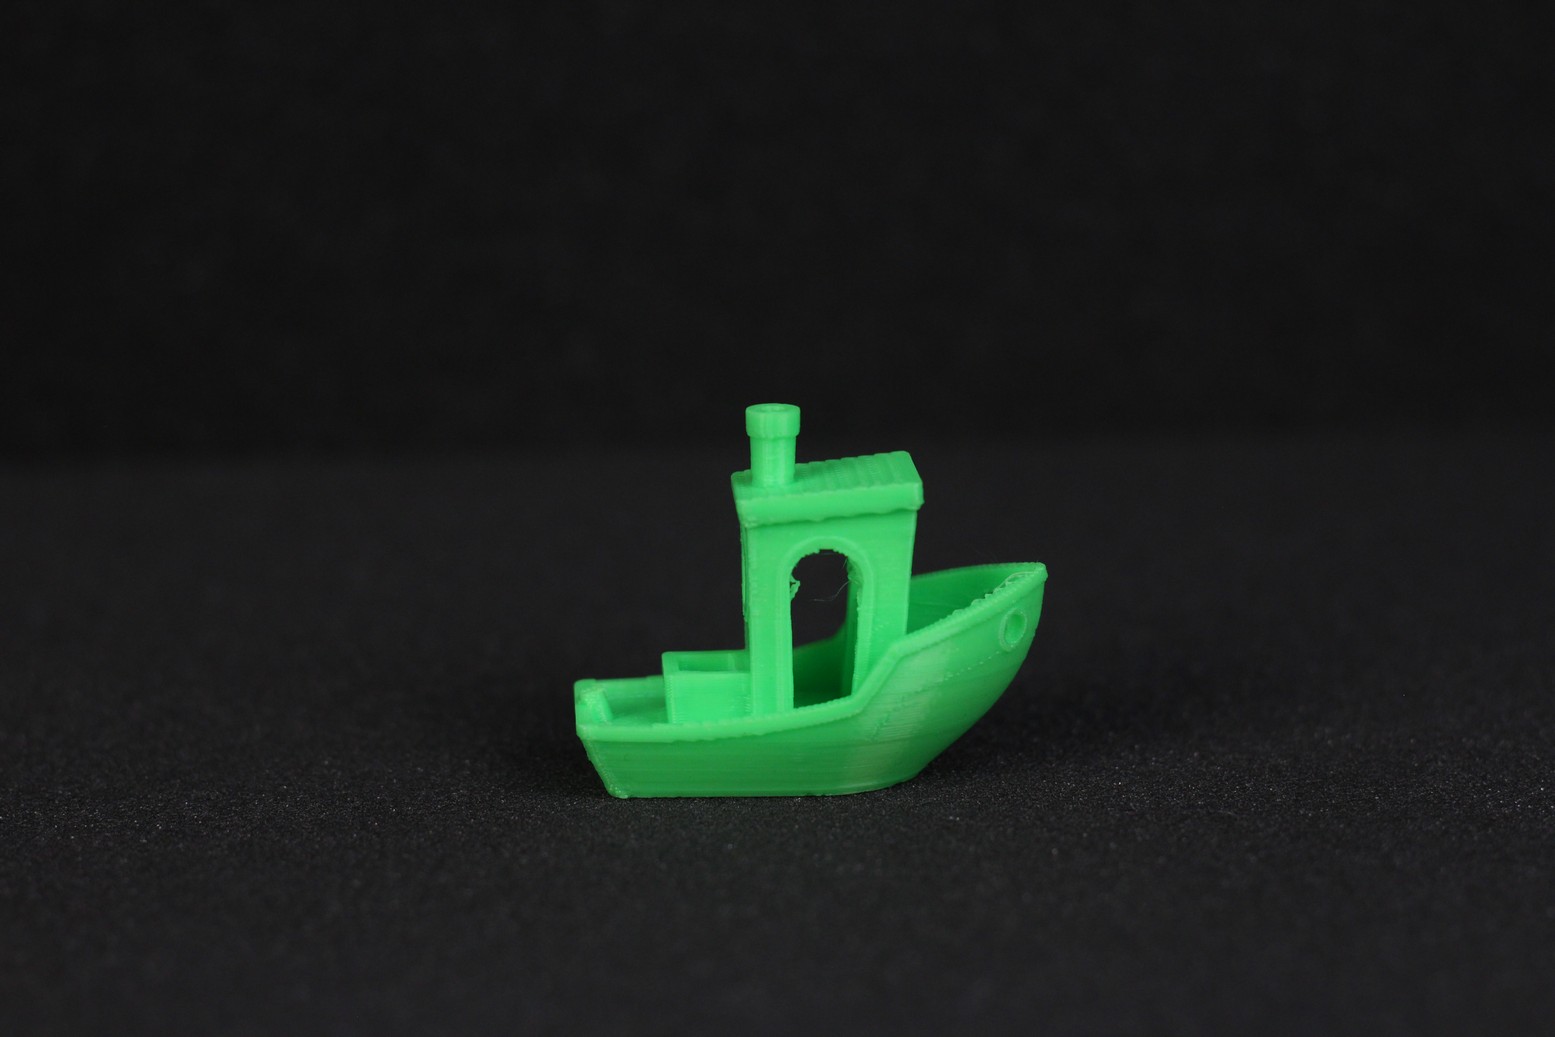
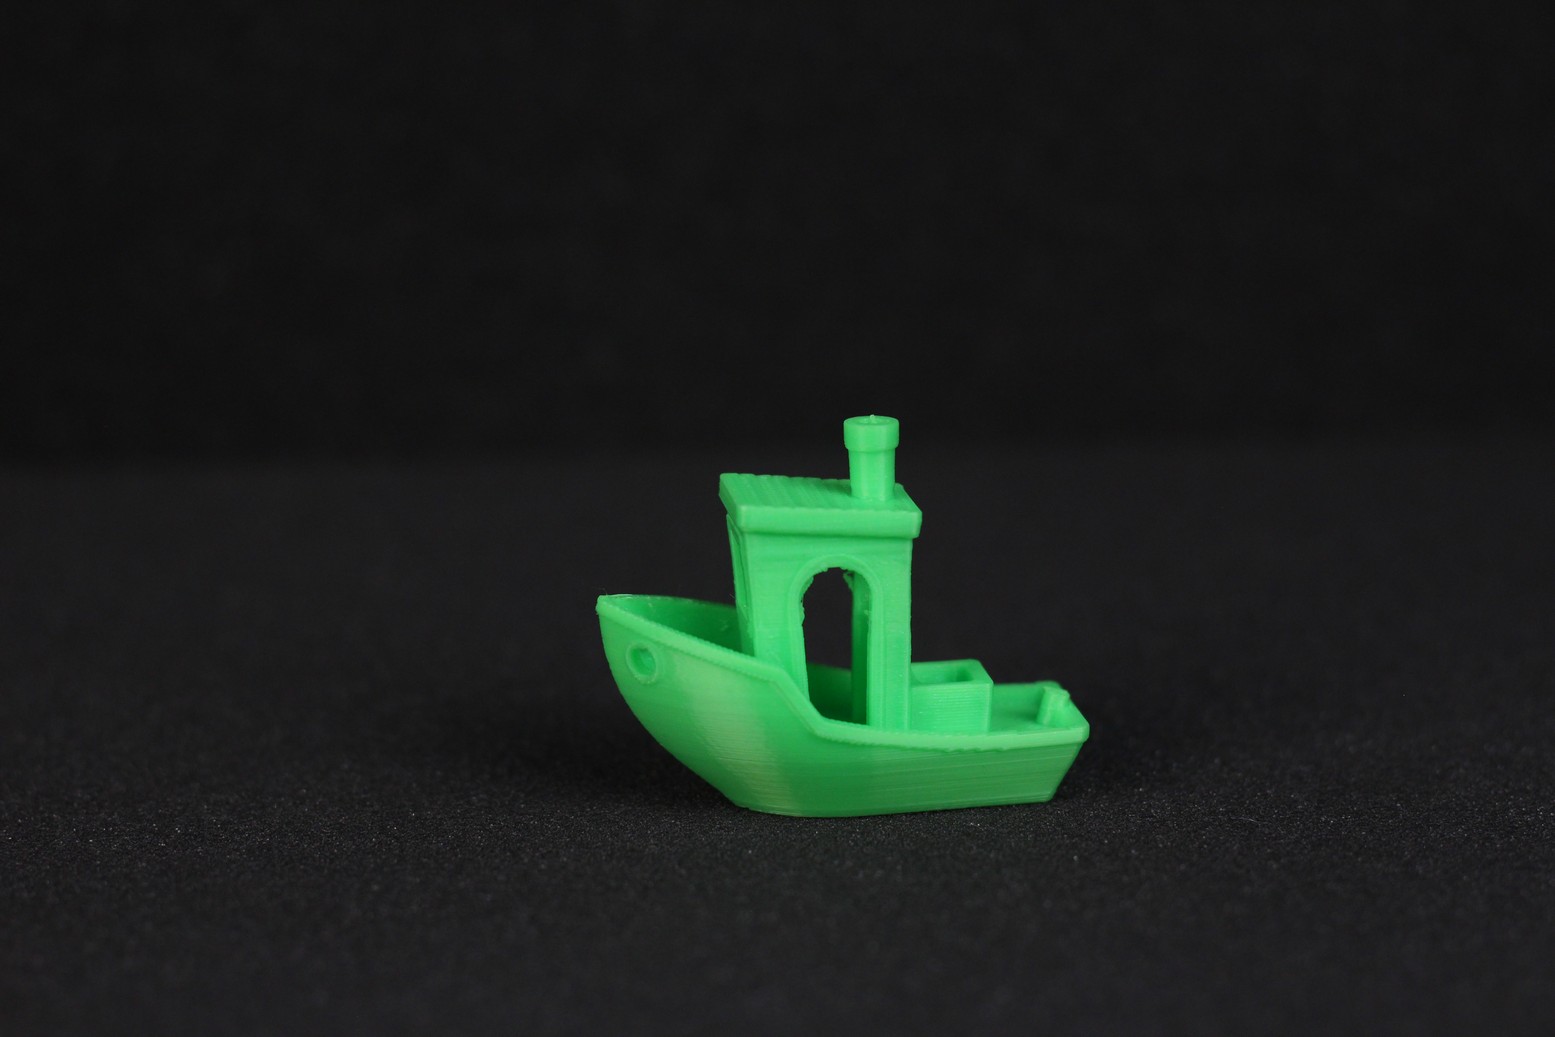
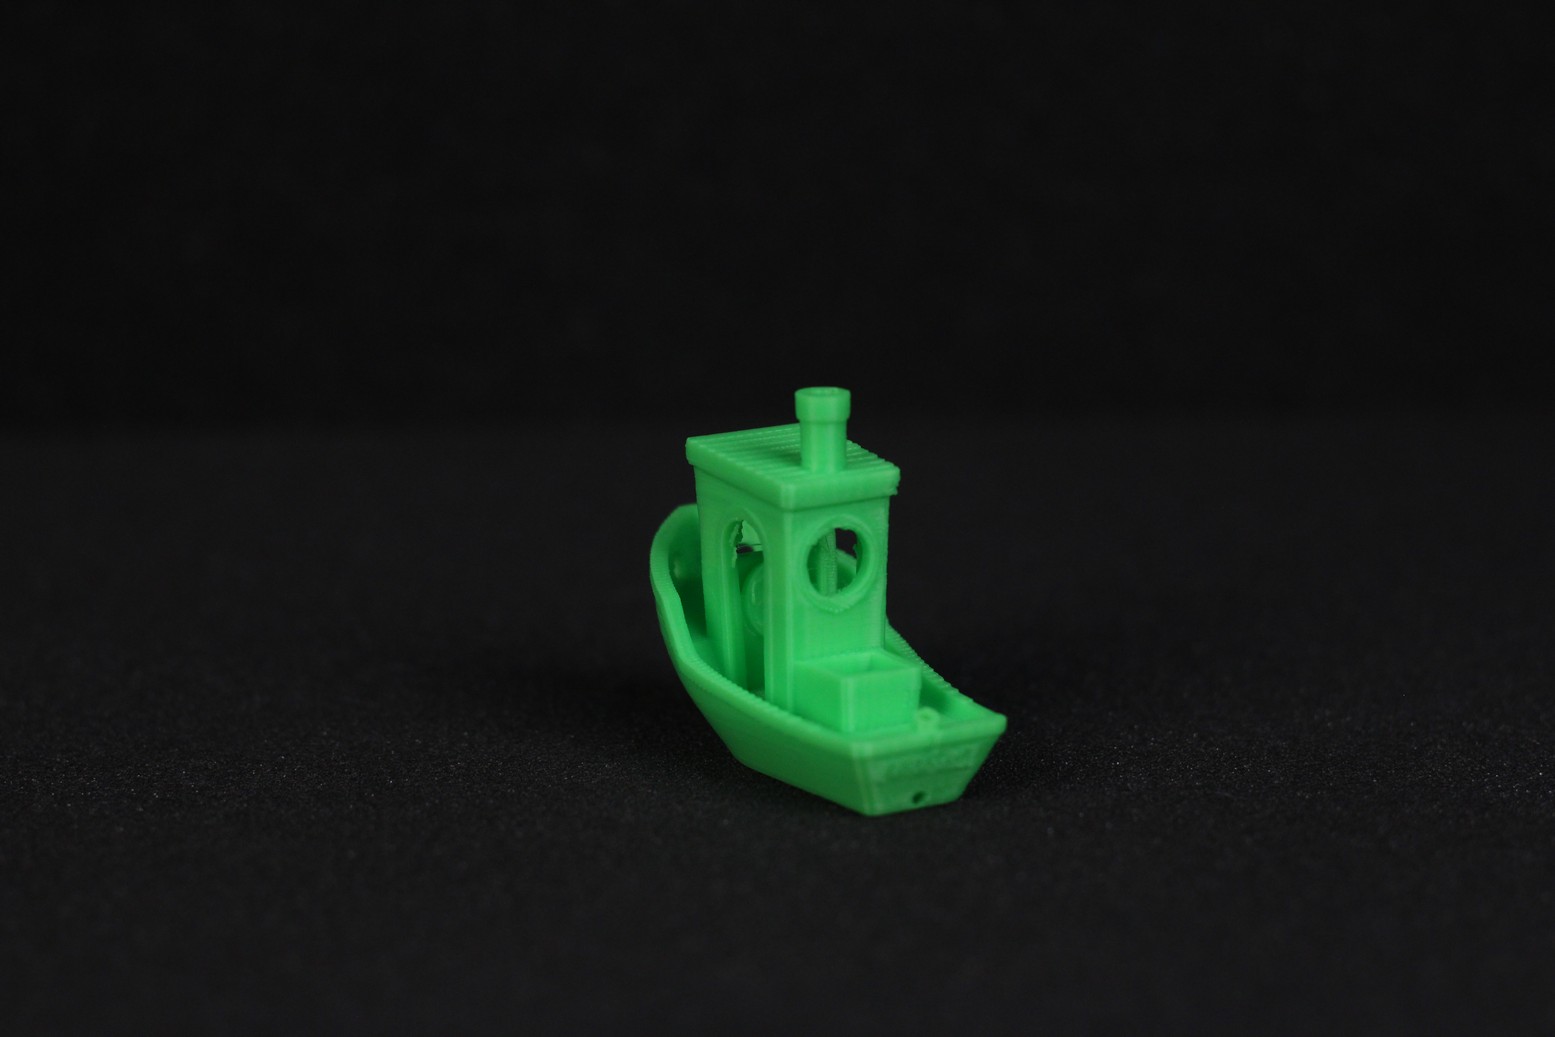
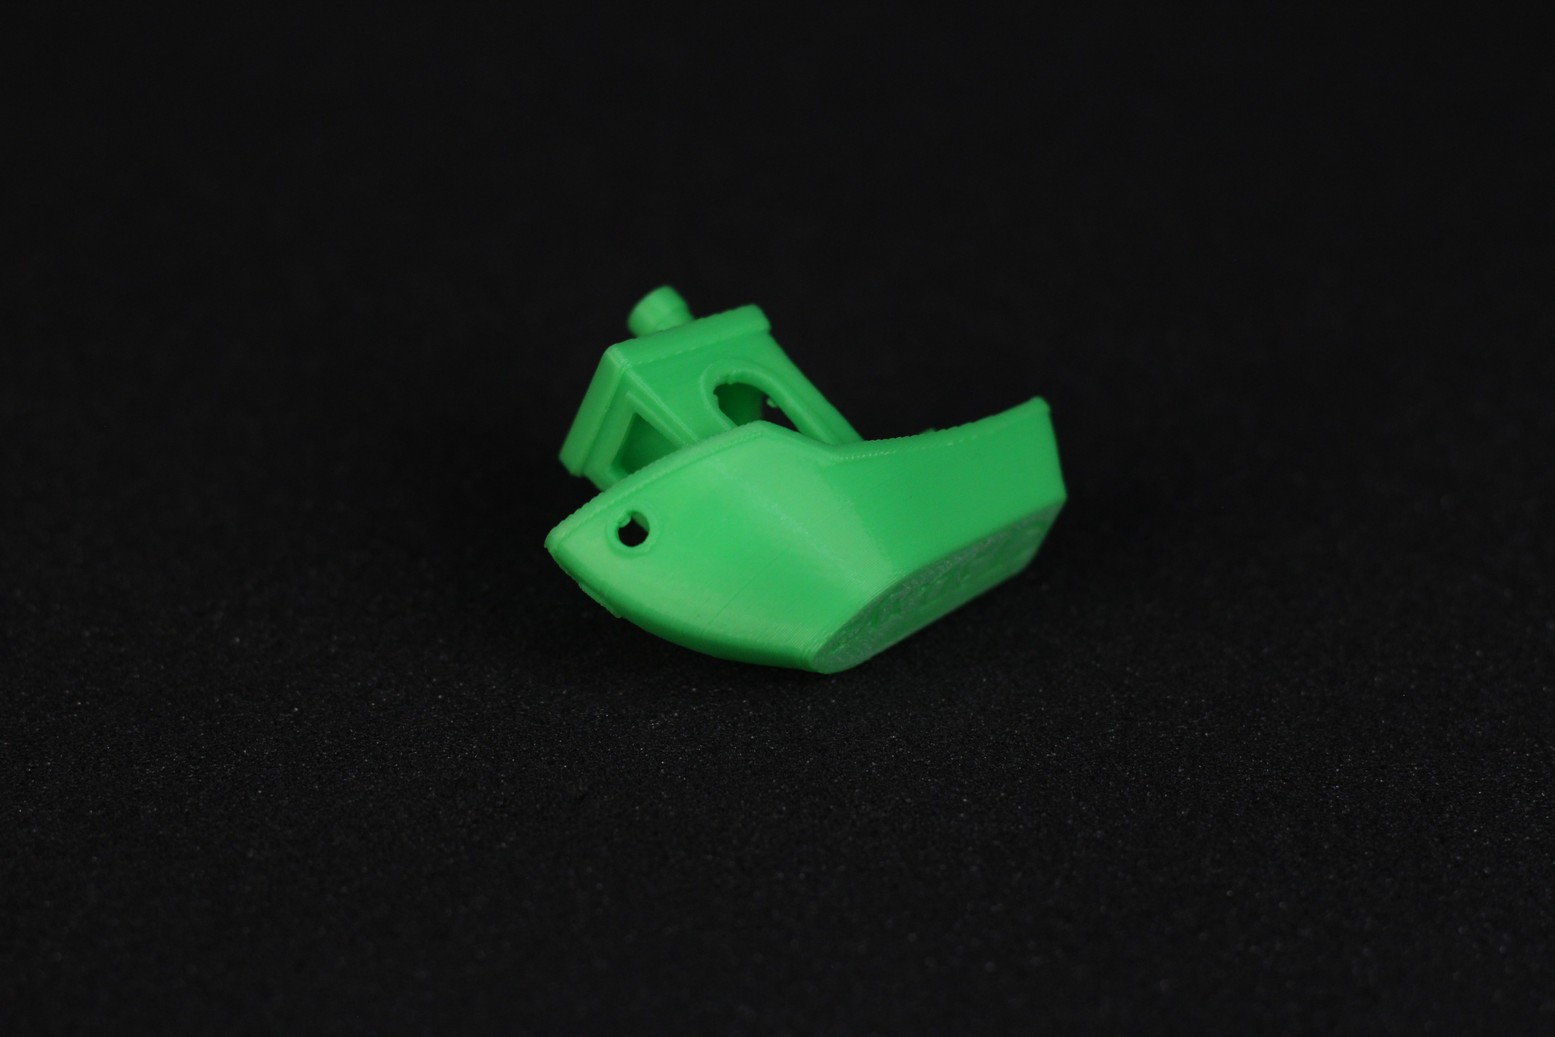
The second Benchy came out even better, after a bit of slicer profile tuning. There are a few small blobs on the side caused by improper Z seam alignment, but otherwise, the results are respectable.
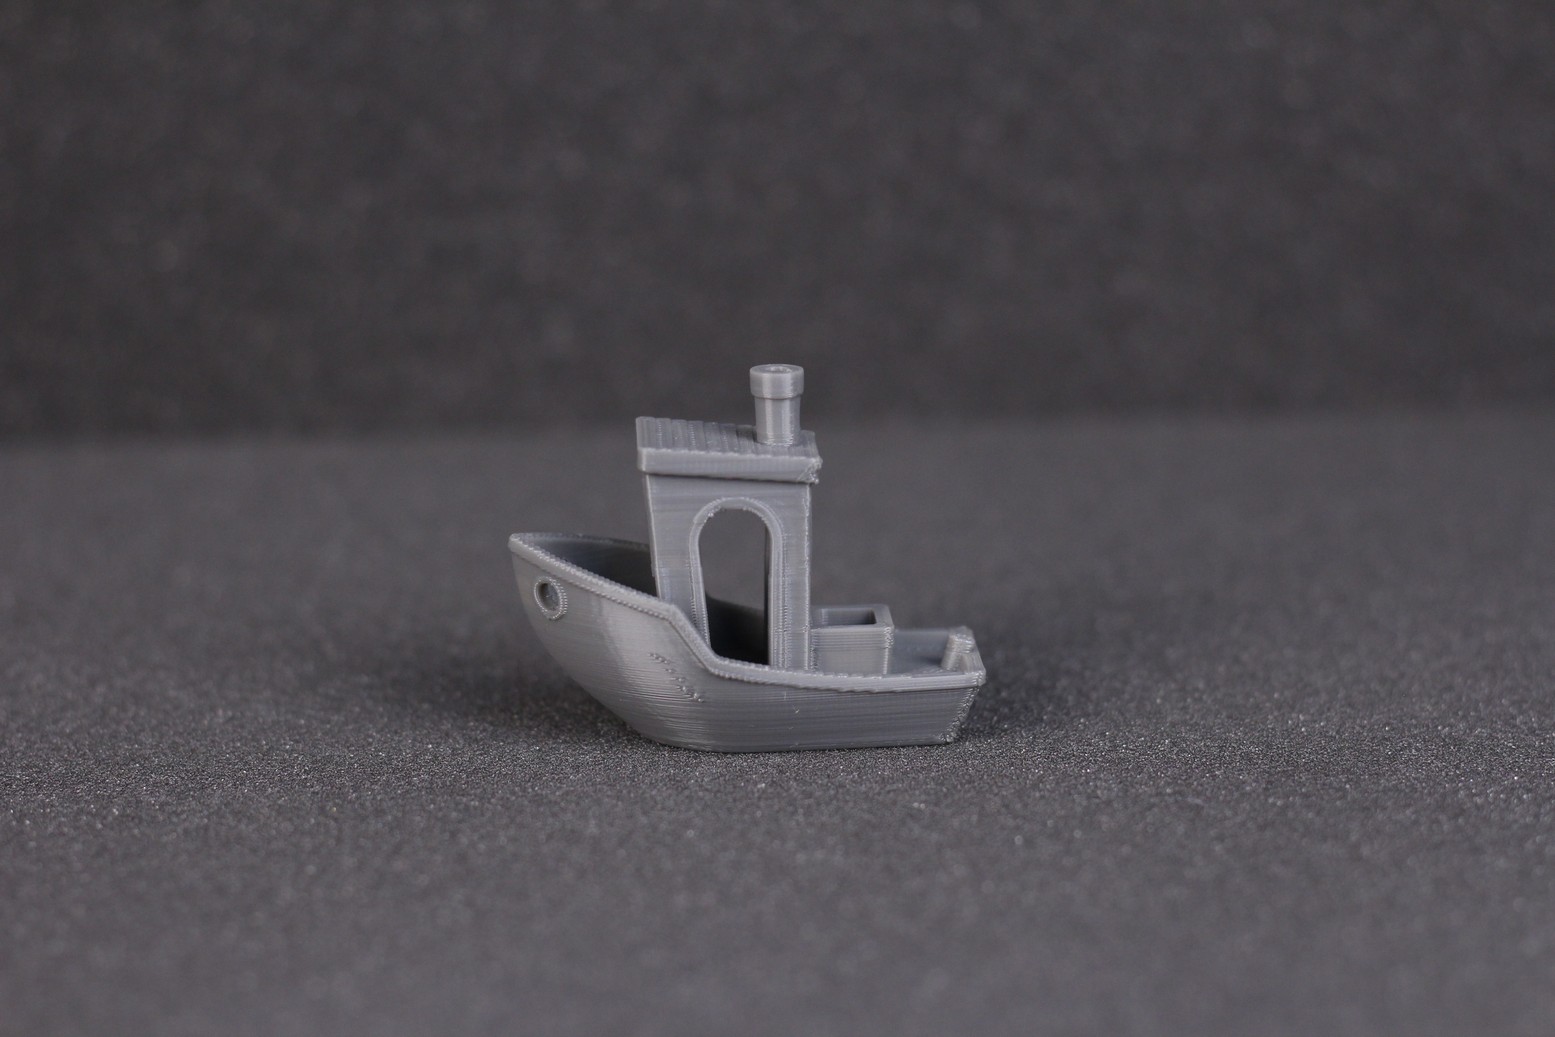
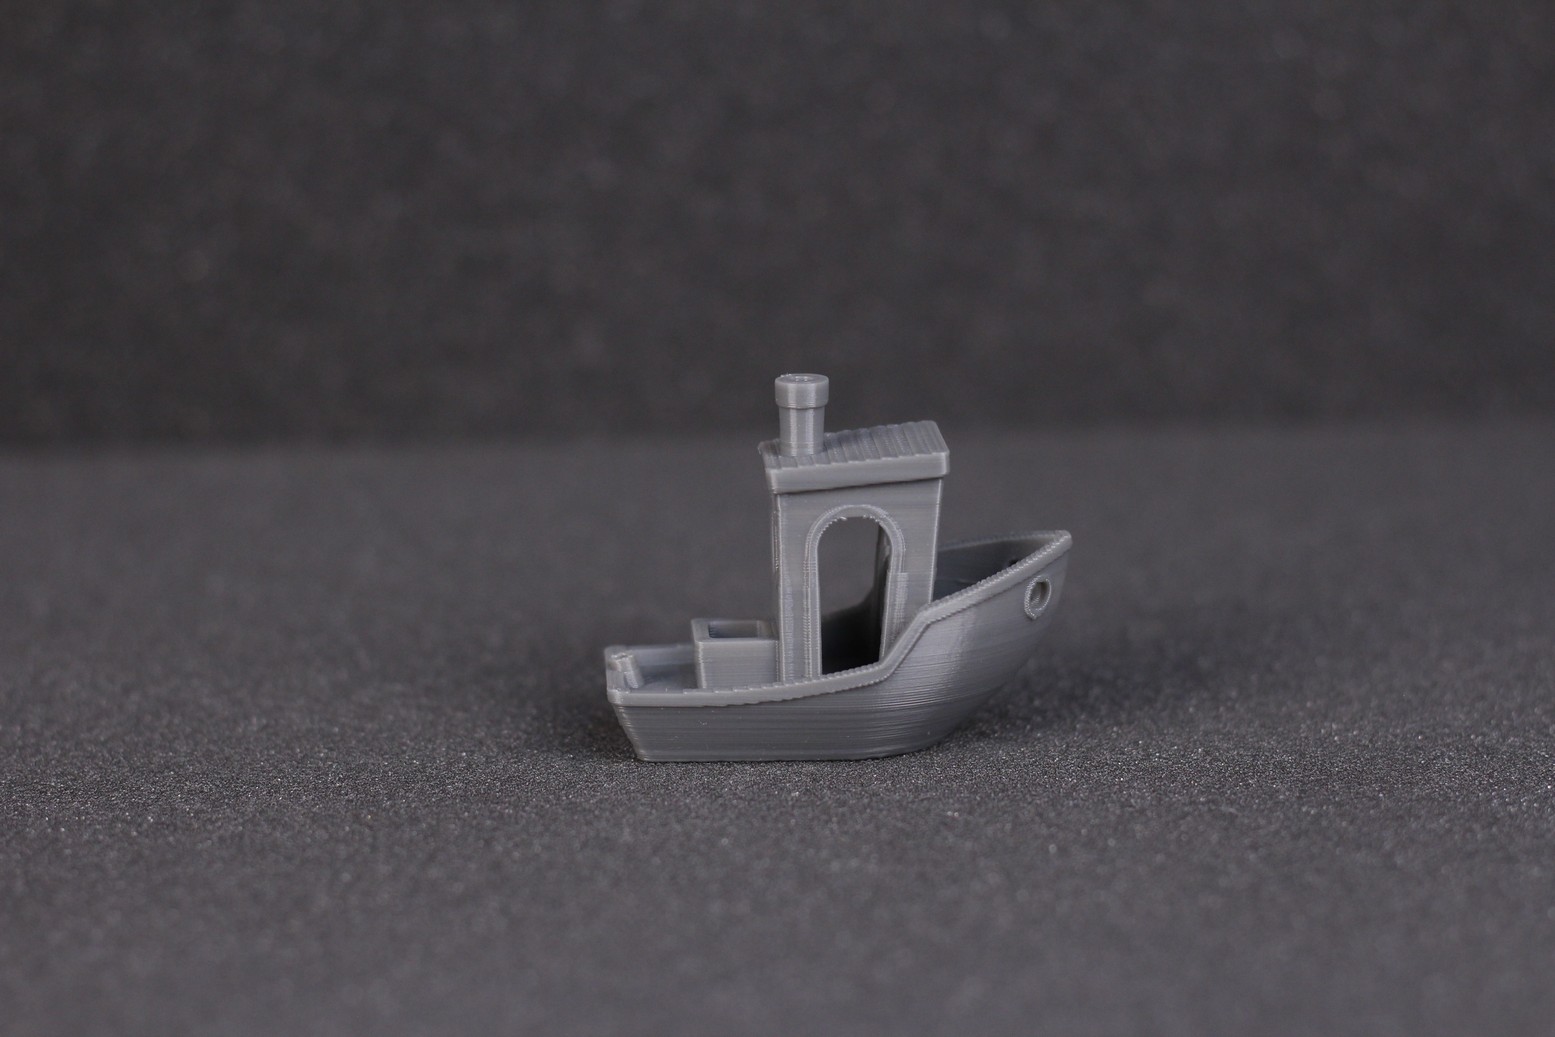

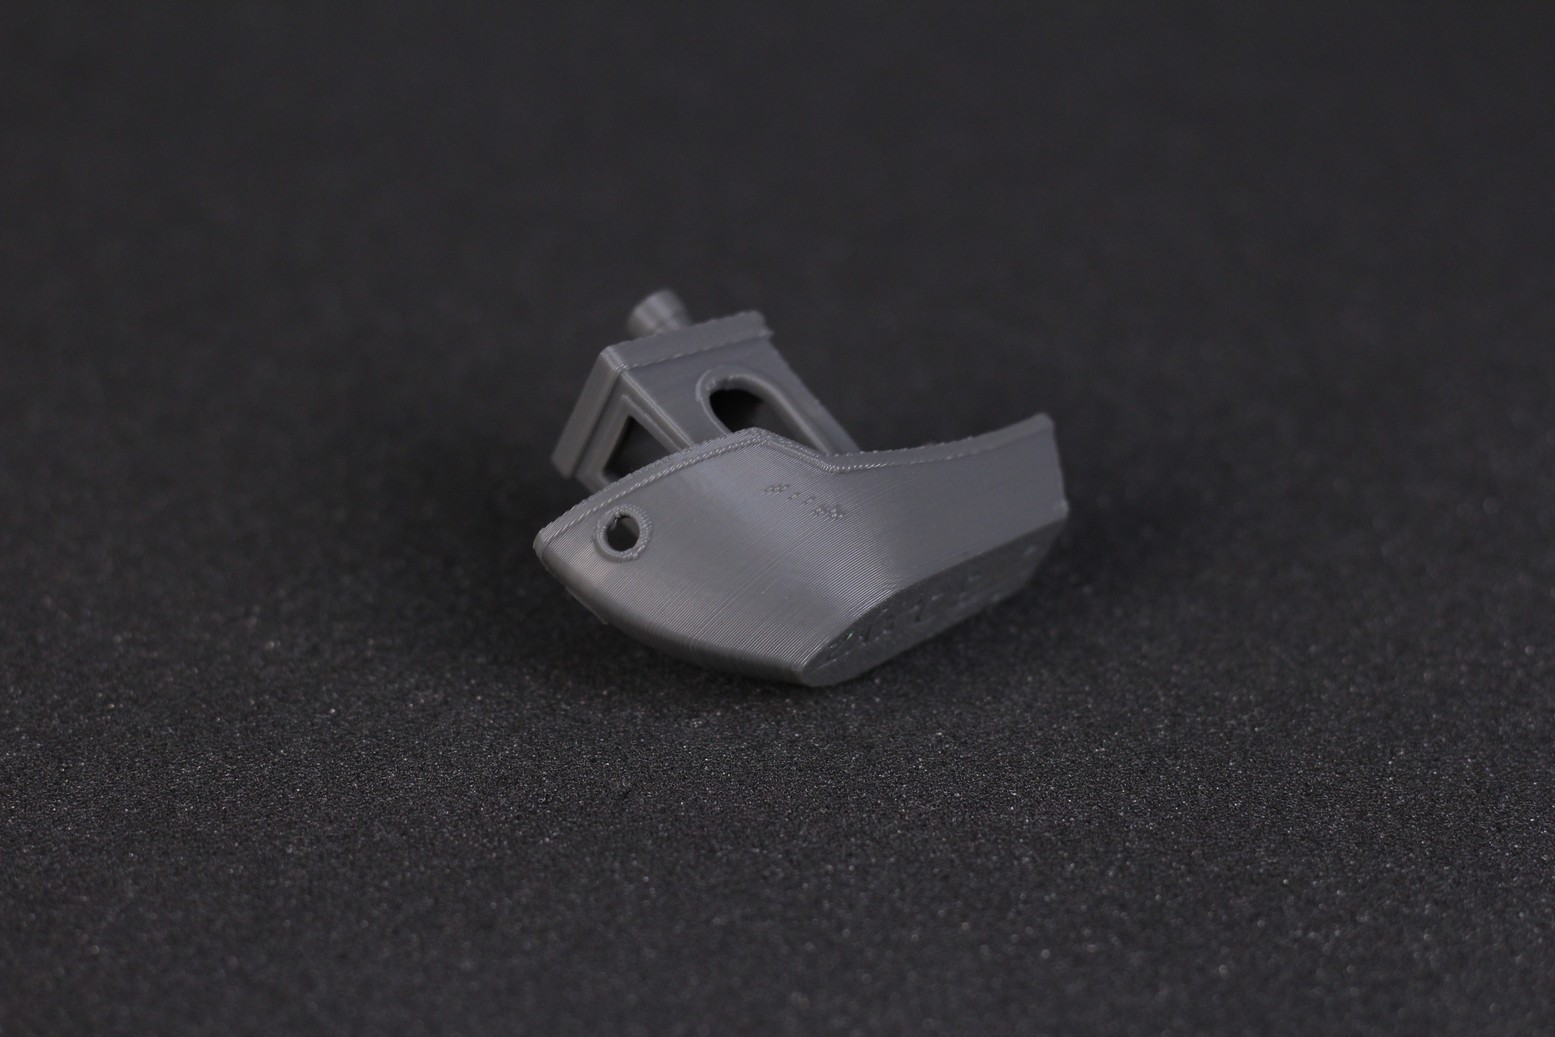
- Material: LOTMAXX Sample Green PLA and Sunlu Grey PLA
- Layer Height: 0.15 mm
- Nozzle Temperature: 205C
- Bed Temperature: 50C
- Print Speed: 40 mm/s
Phil-A-Ment
After printing the benchies, I felt I could trust the printer enough to start a dual-color print. The first print was made using the Phil-A-Ment model from MatterHackers. While the model looks pretty good, there is some bleed between the orange and grey colors. With a bit more purging, this could have been a great print.
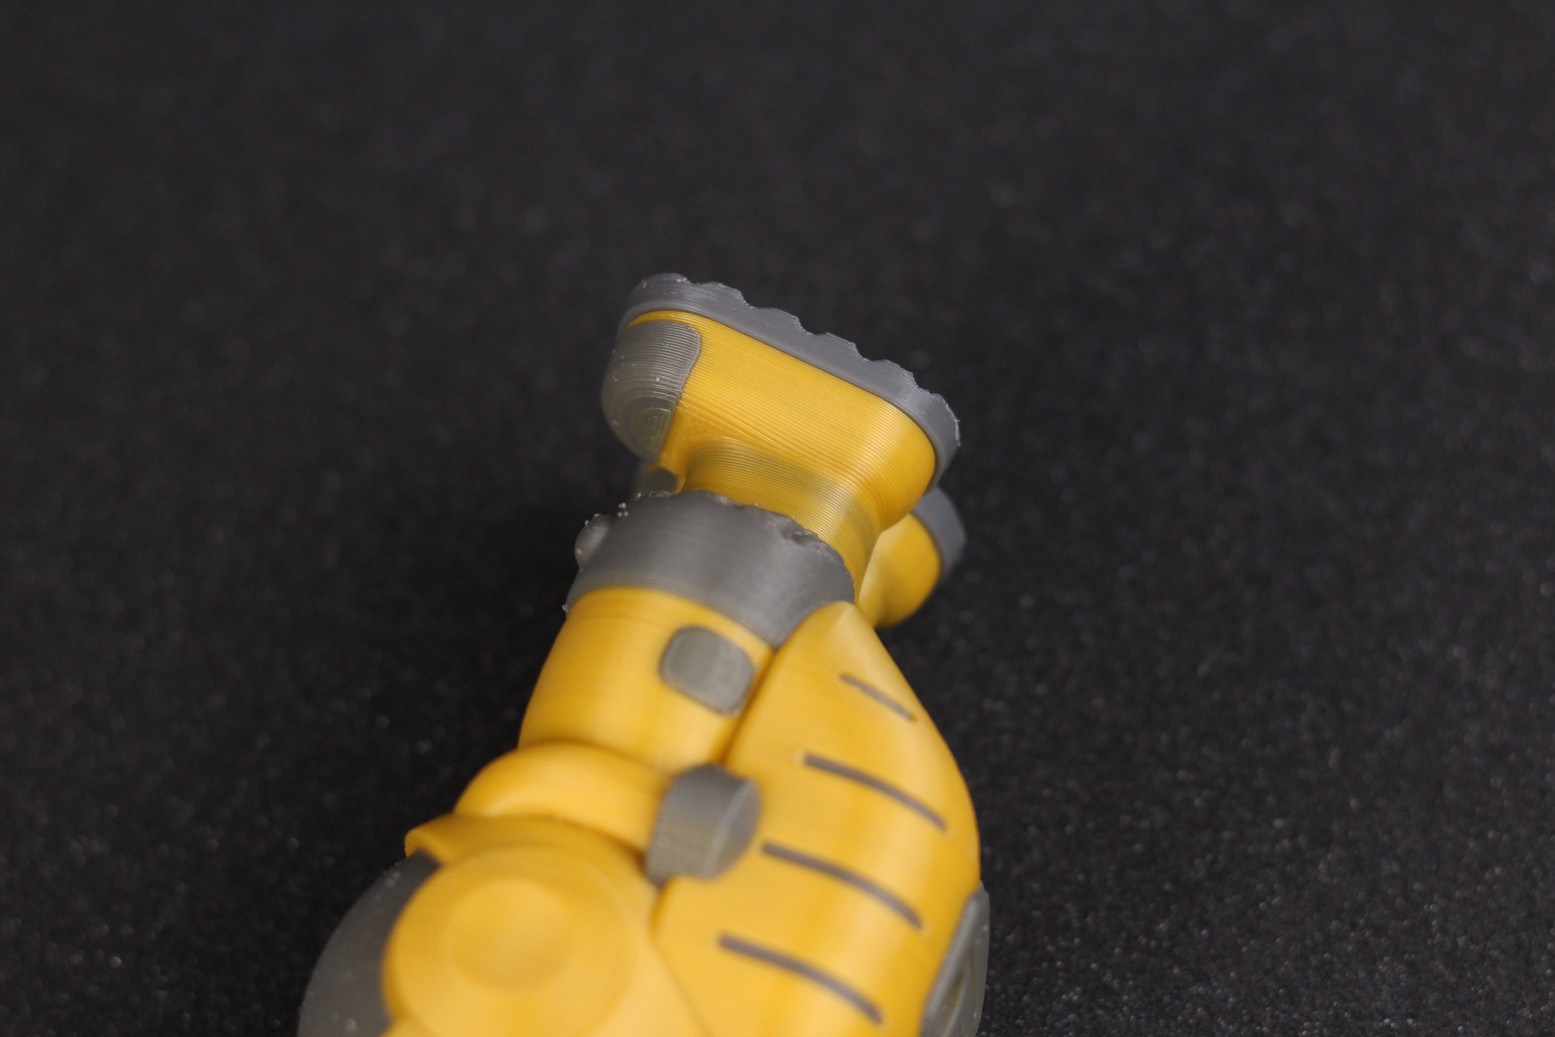
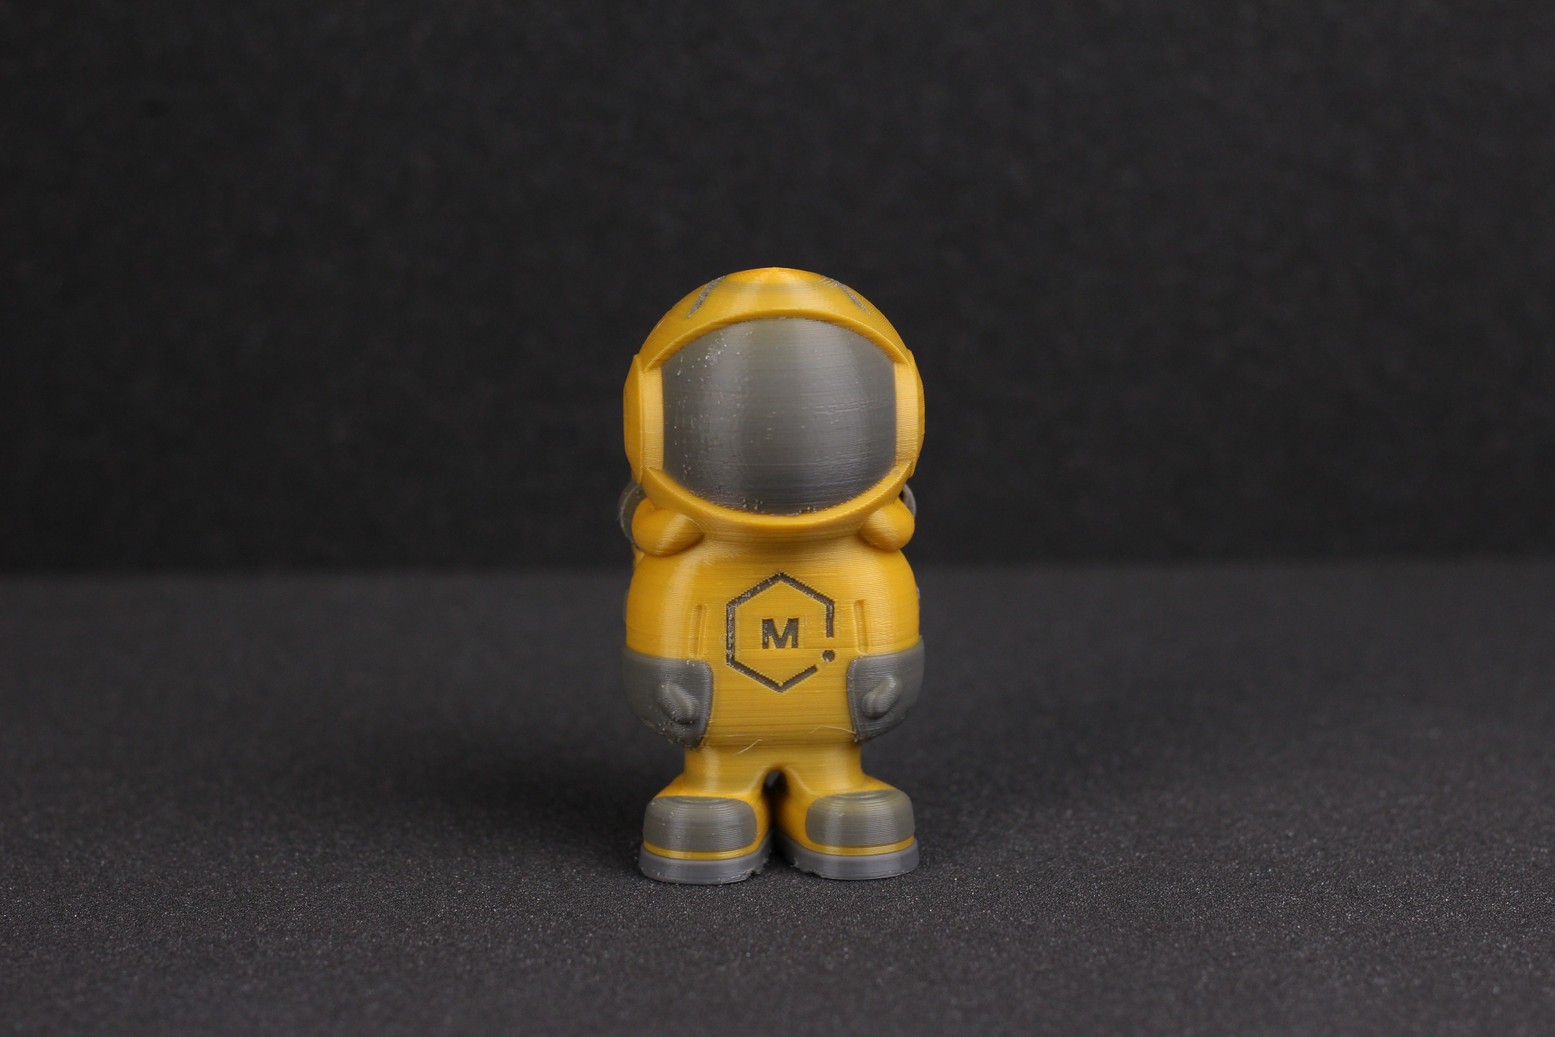
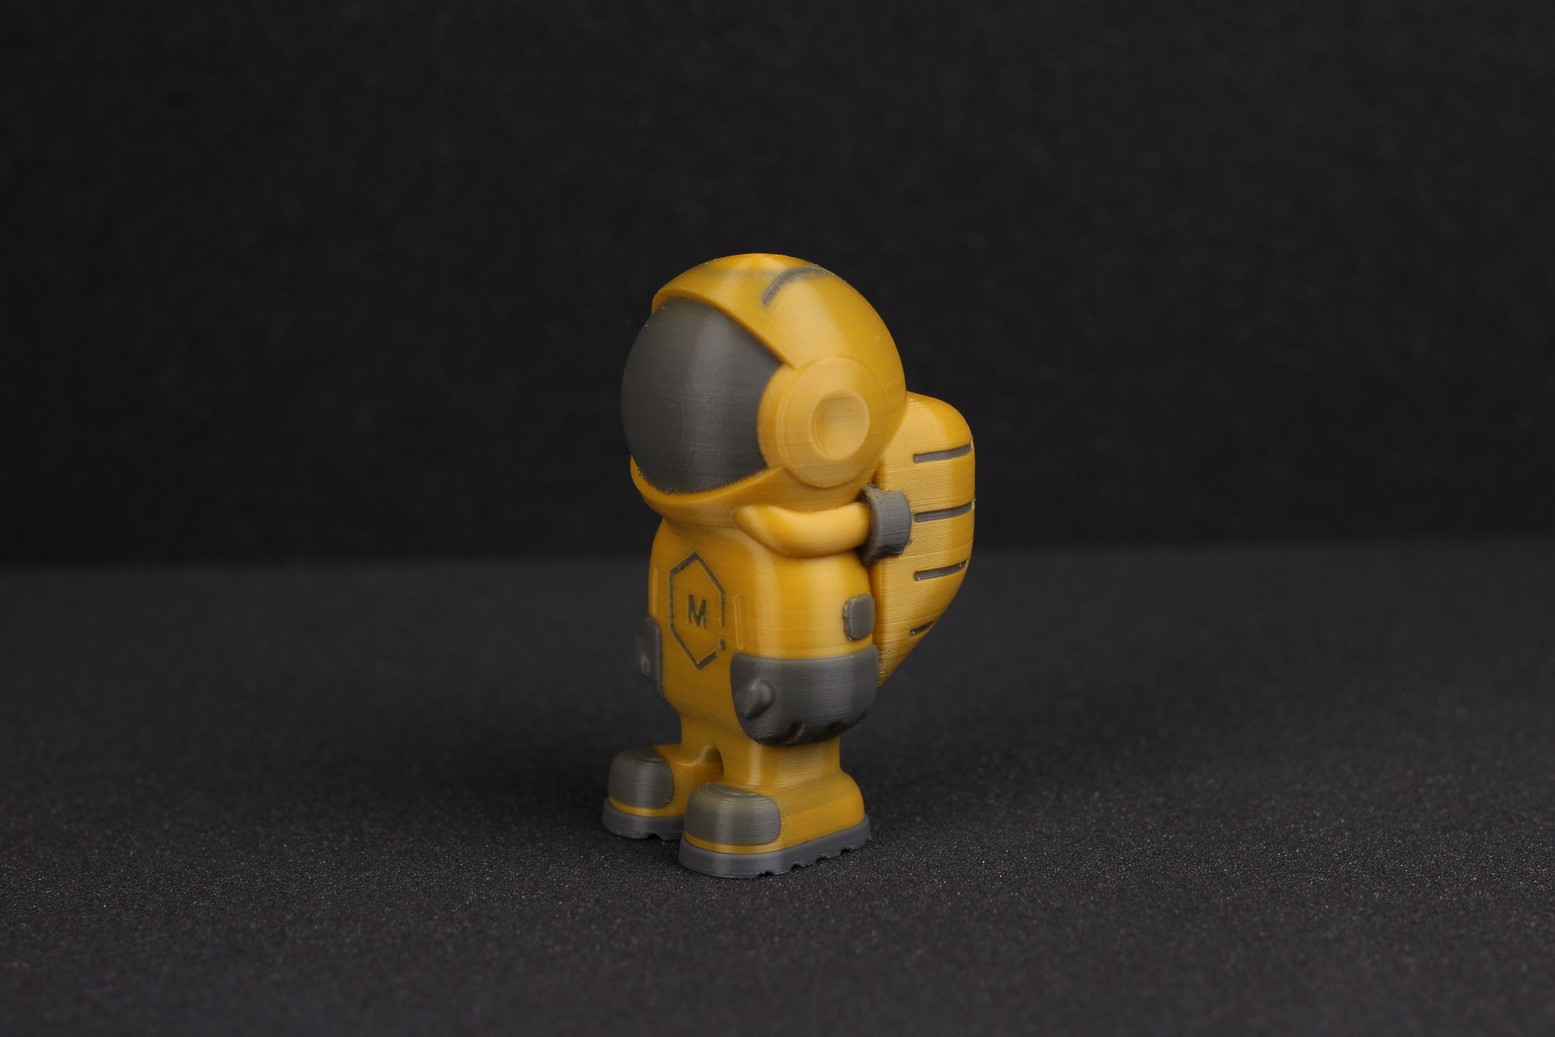
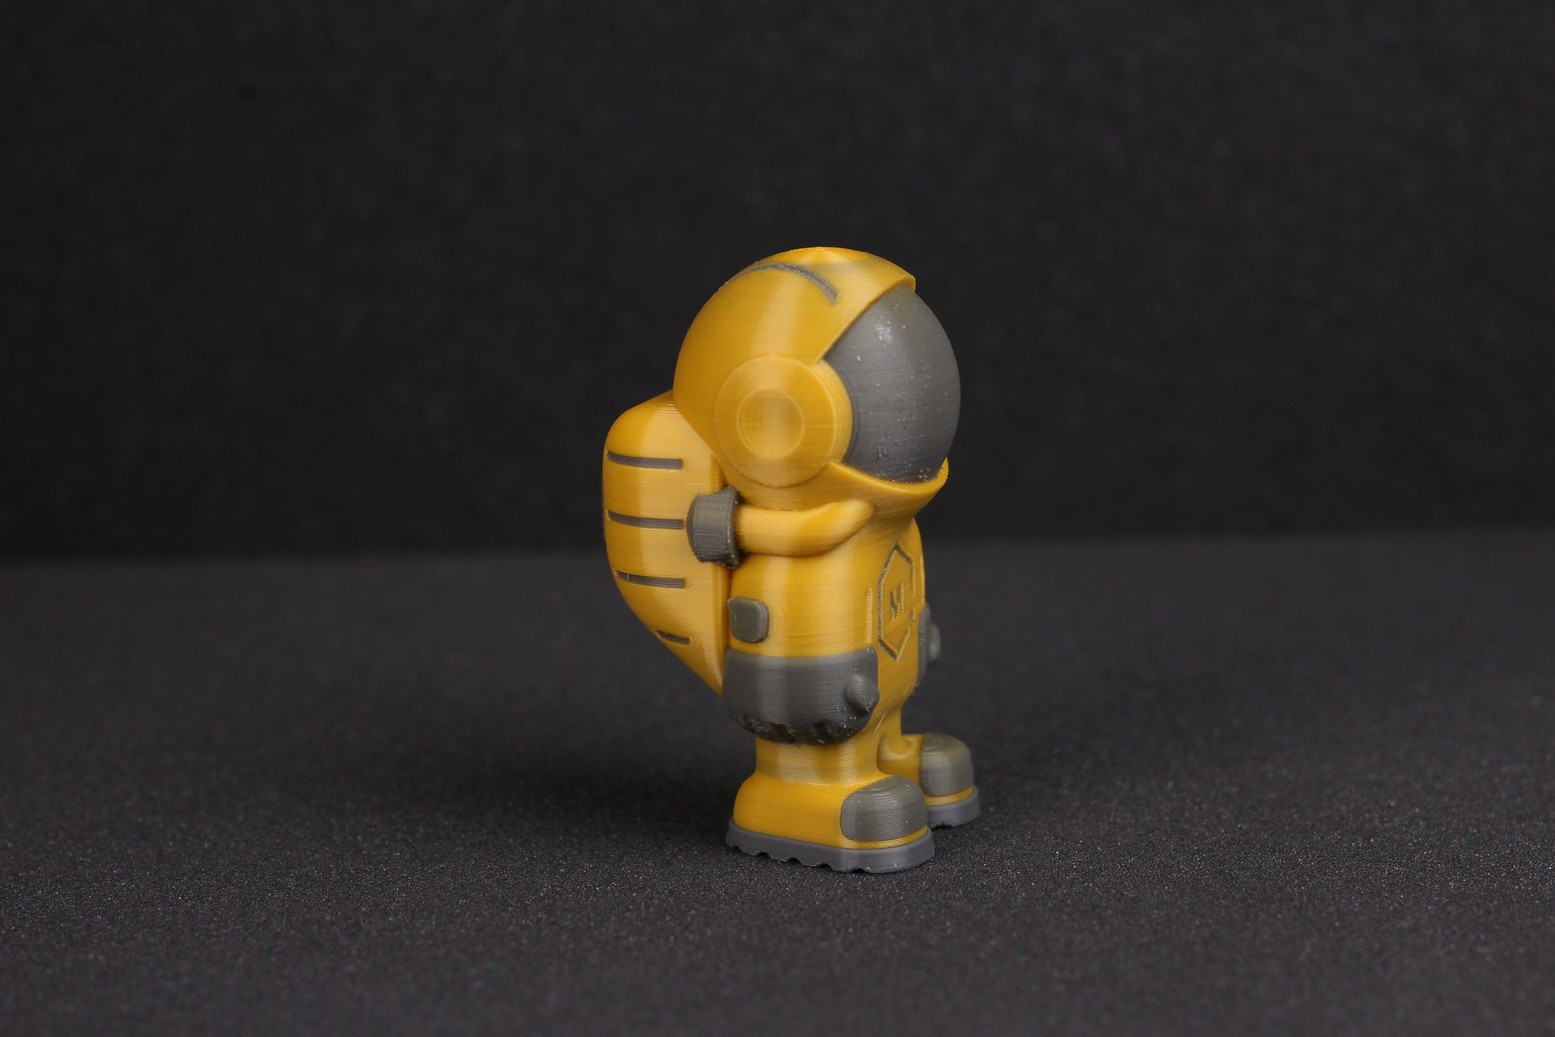
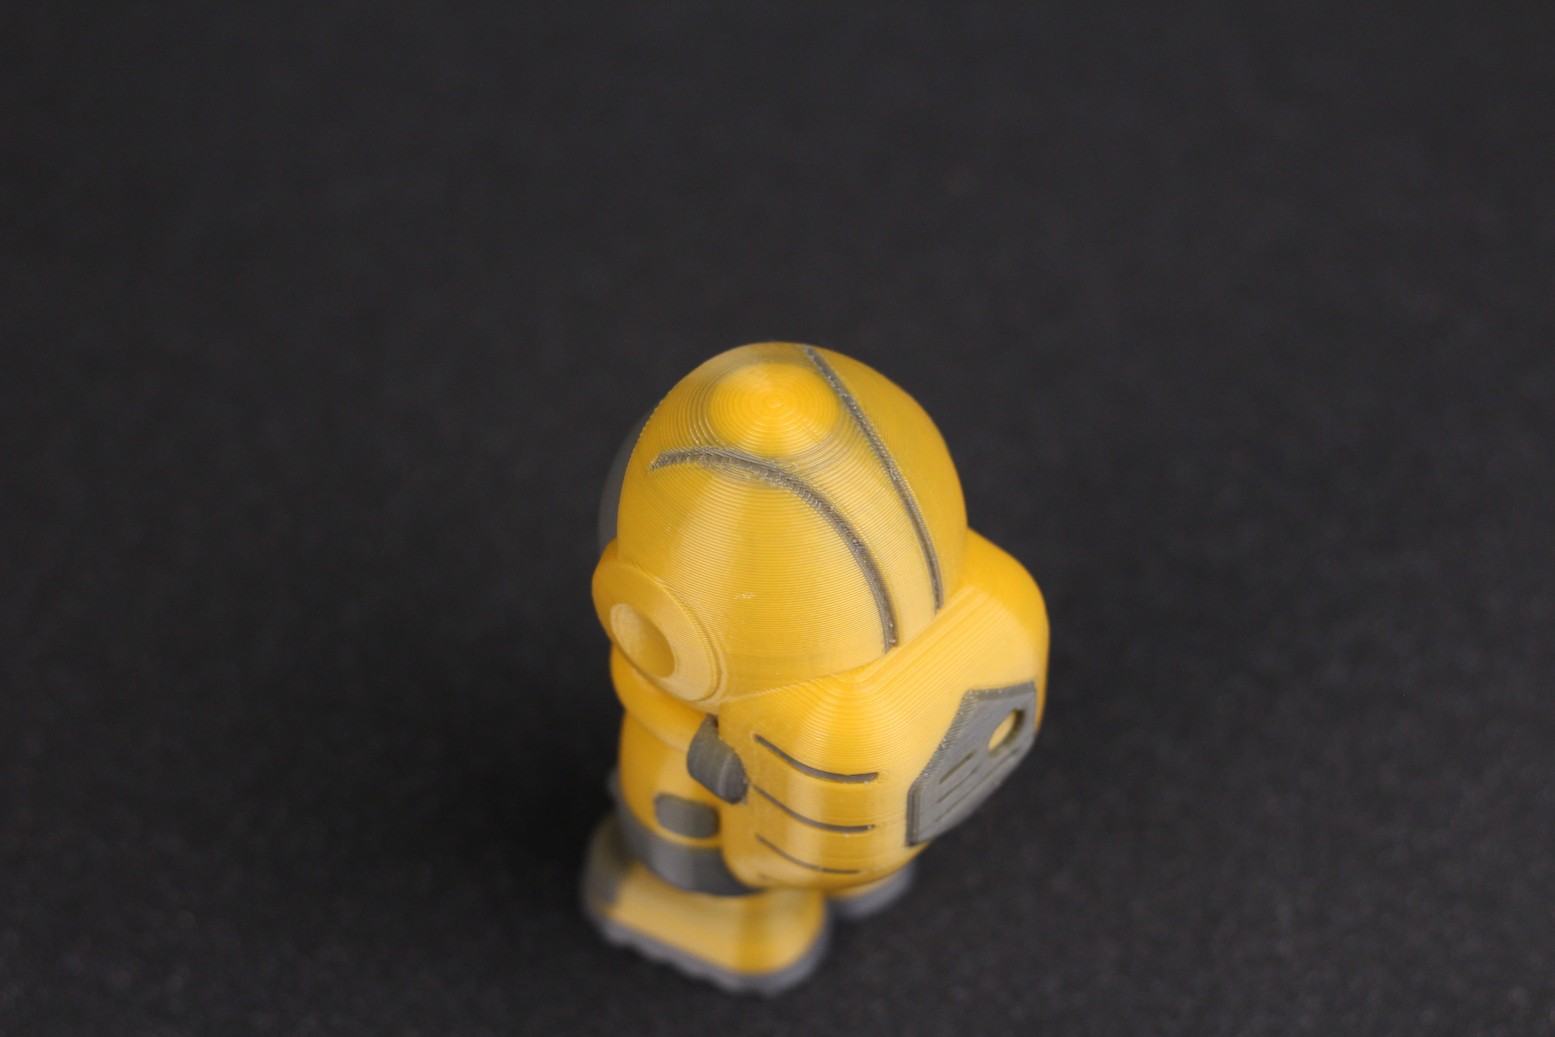
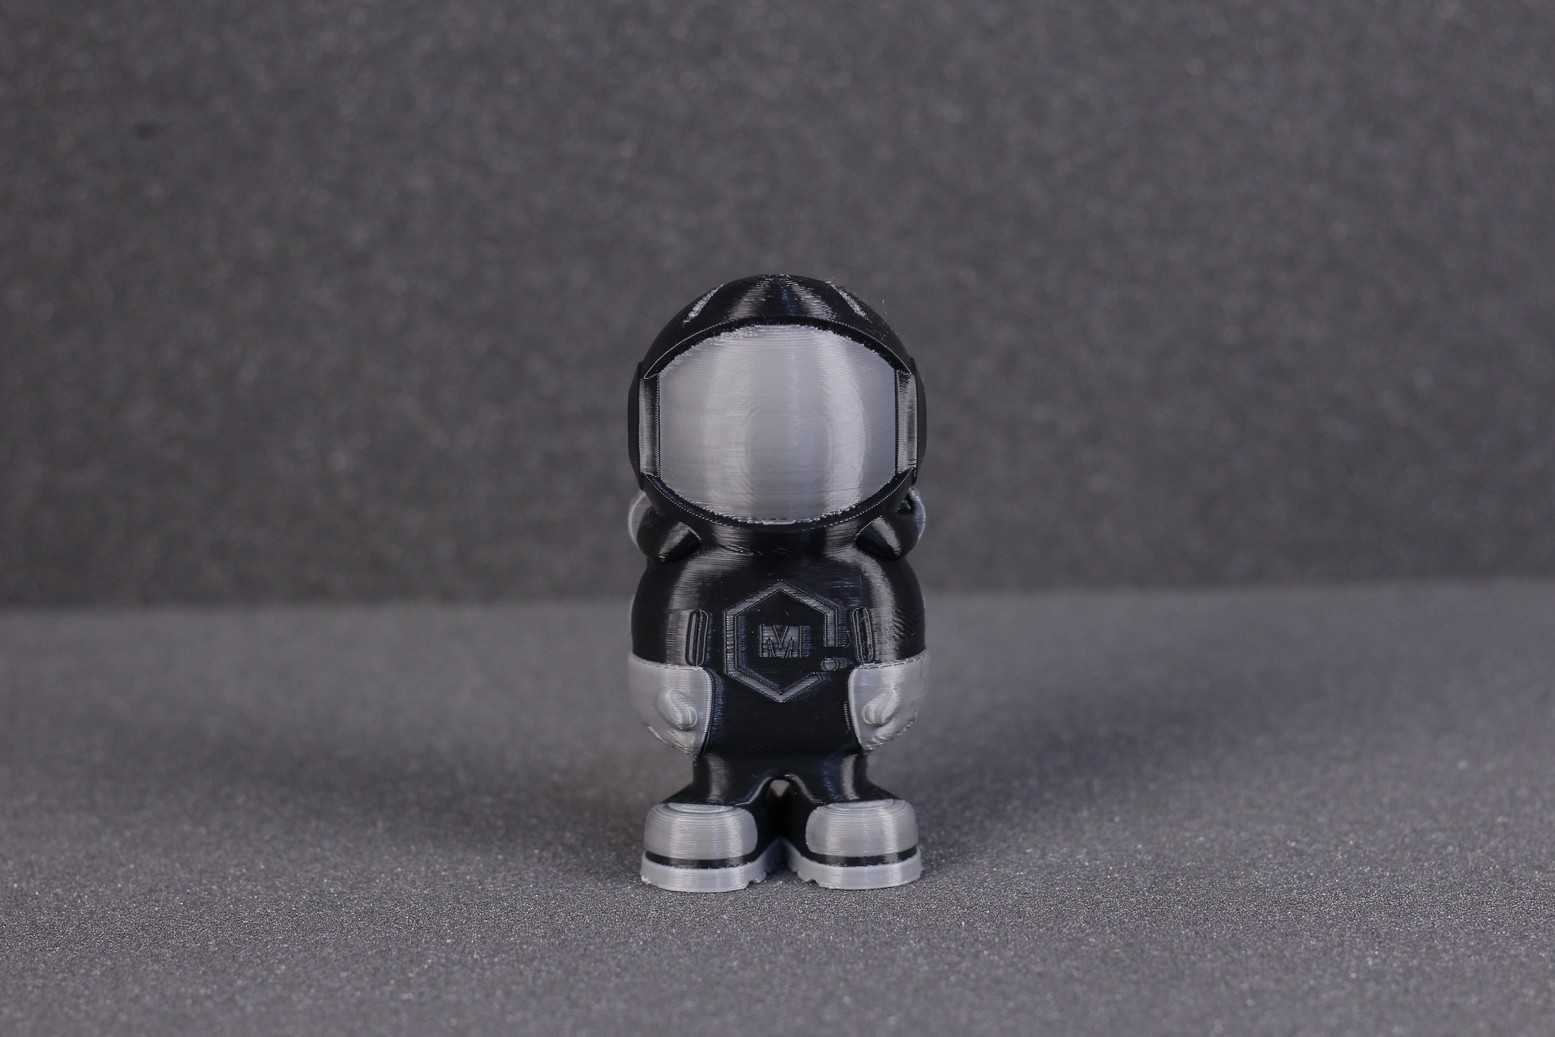
The second attempt to print Phil was in black and grey PLA. There’s less visible color bleeding, but this time, I had a partial clog in the hotend which can be seen in the under-extruded gloves.
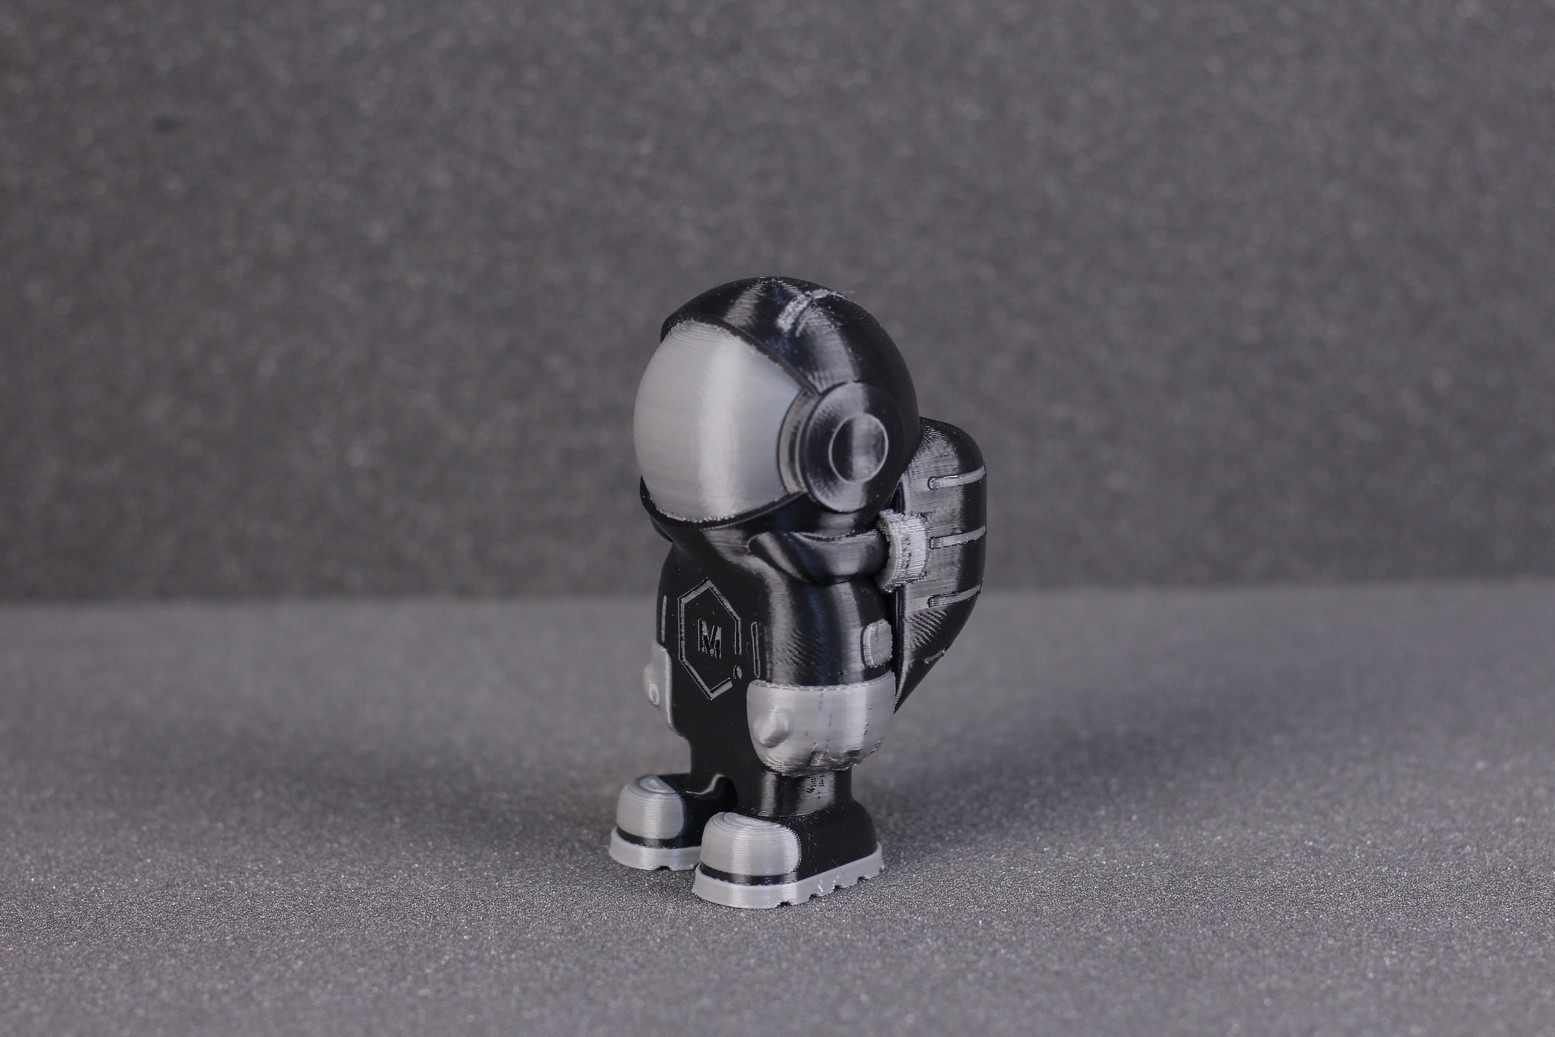
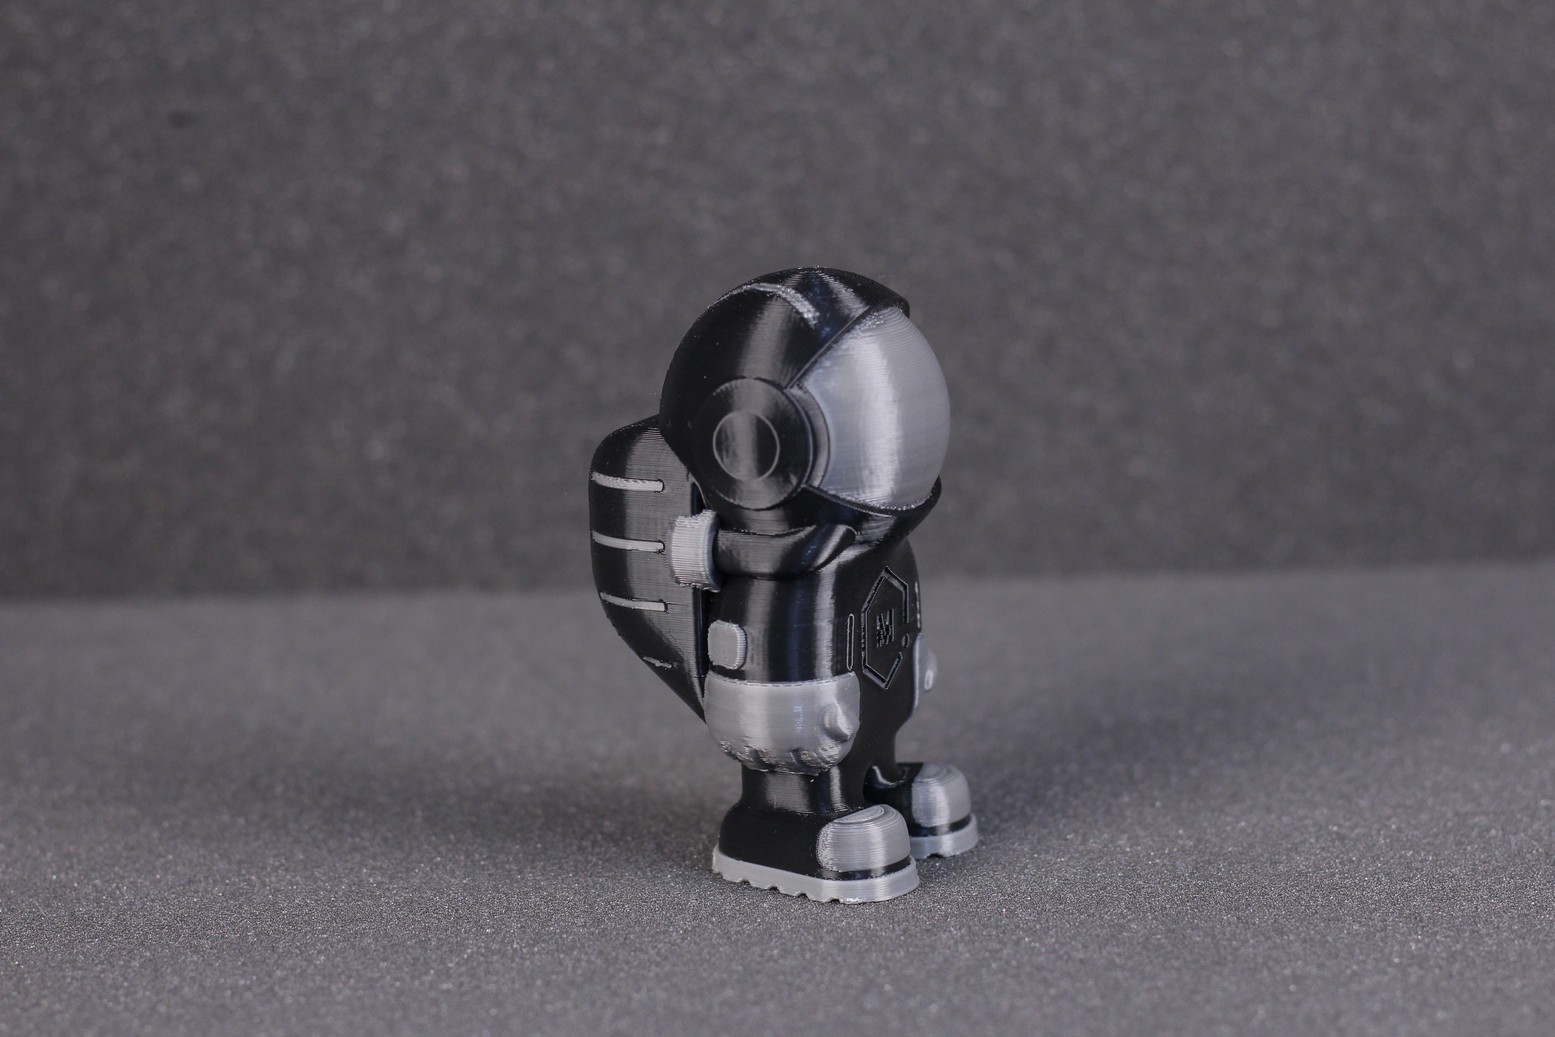
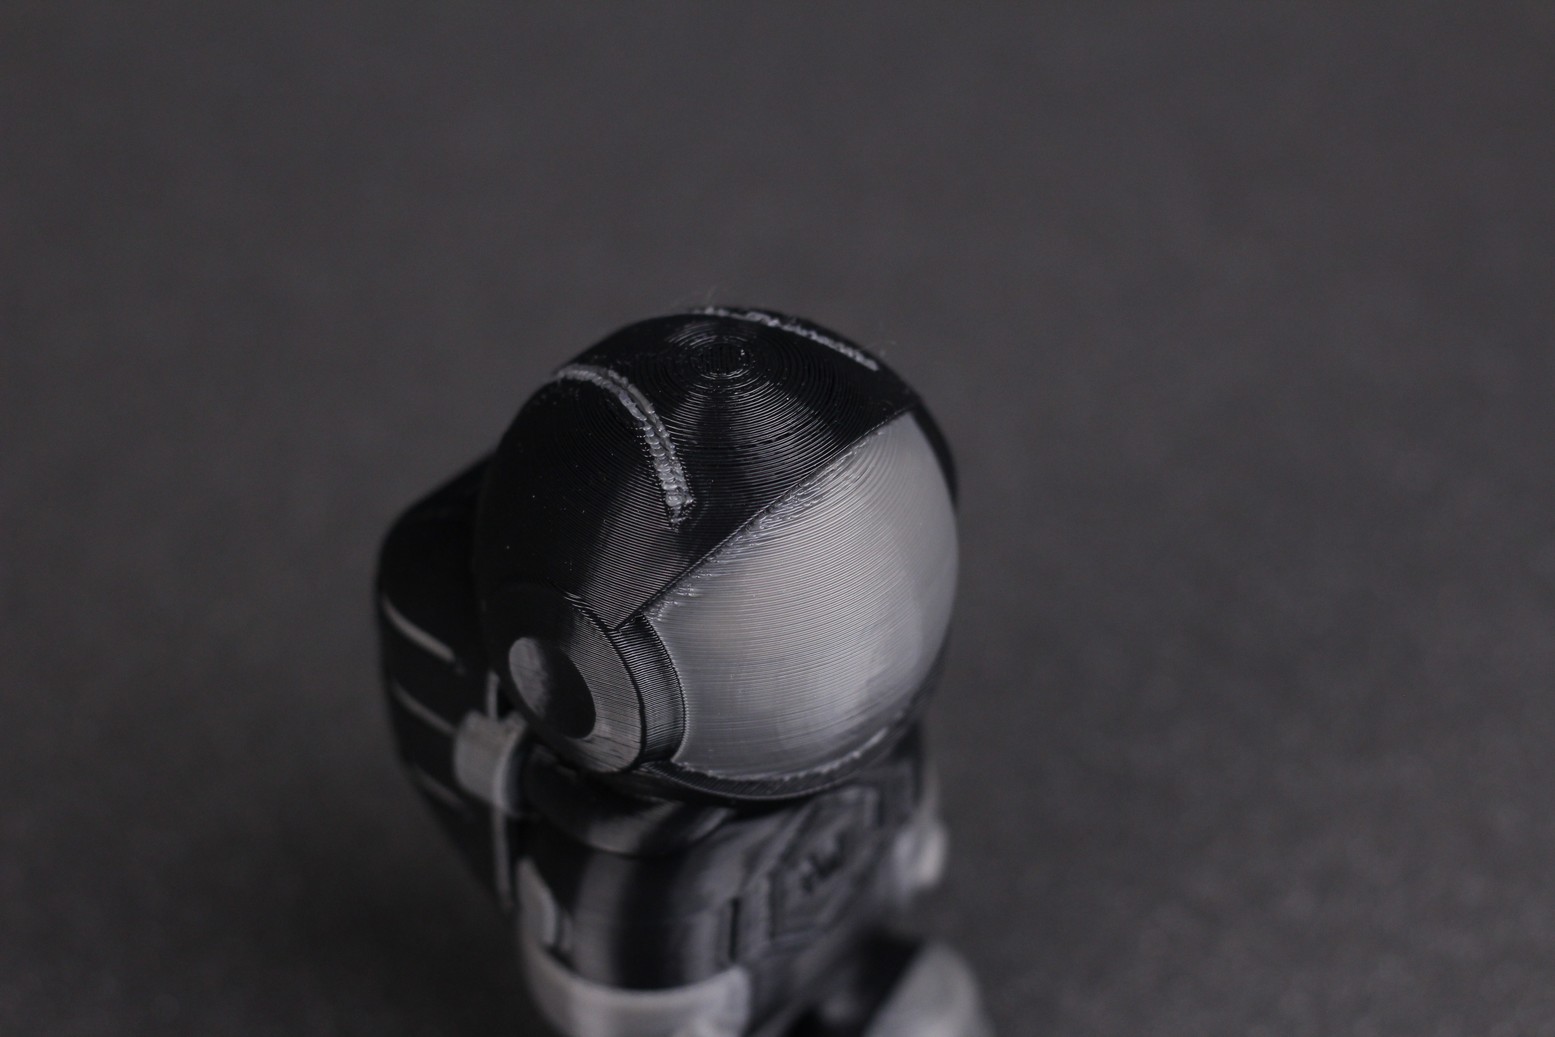
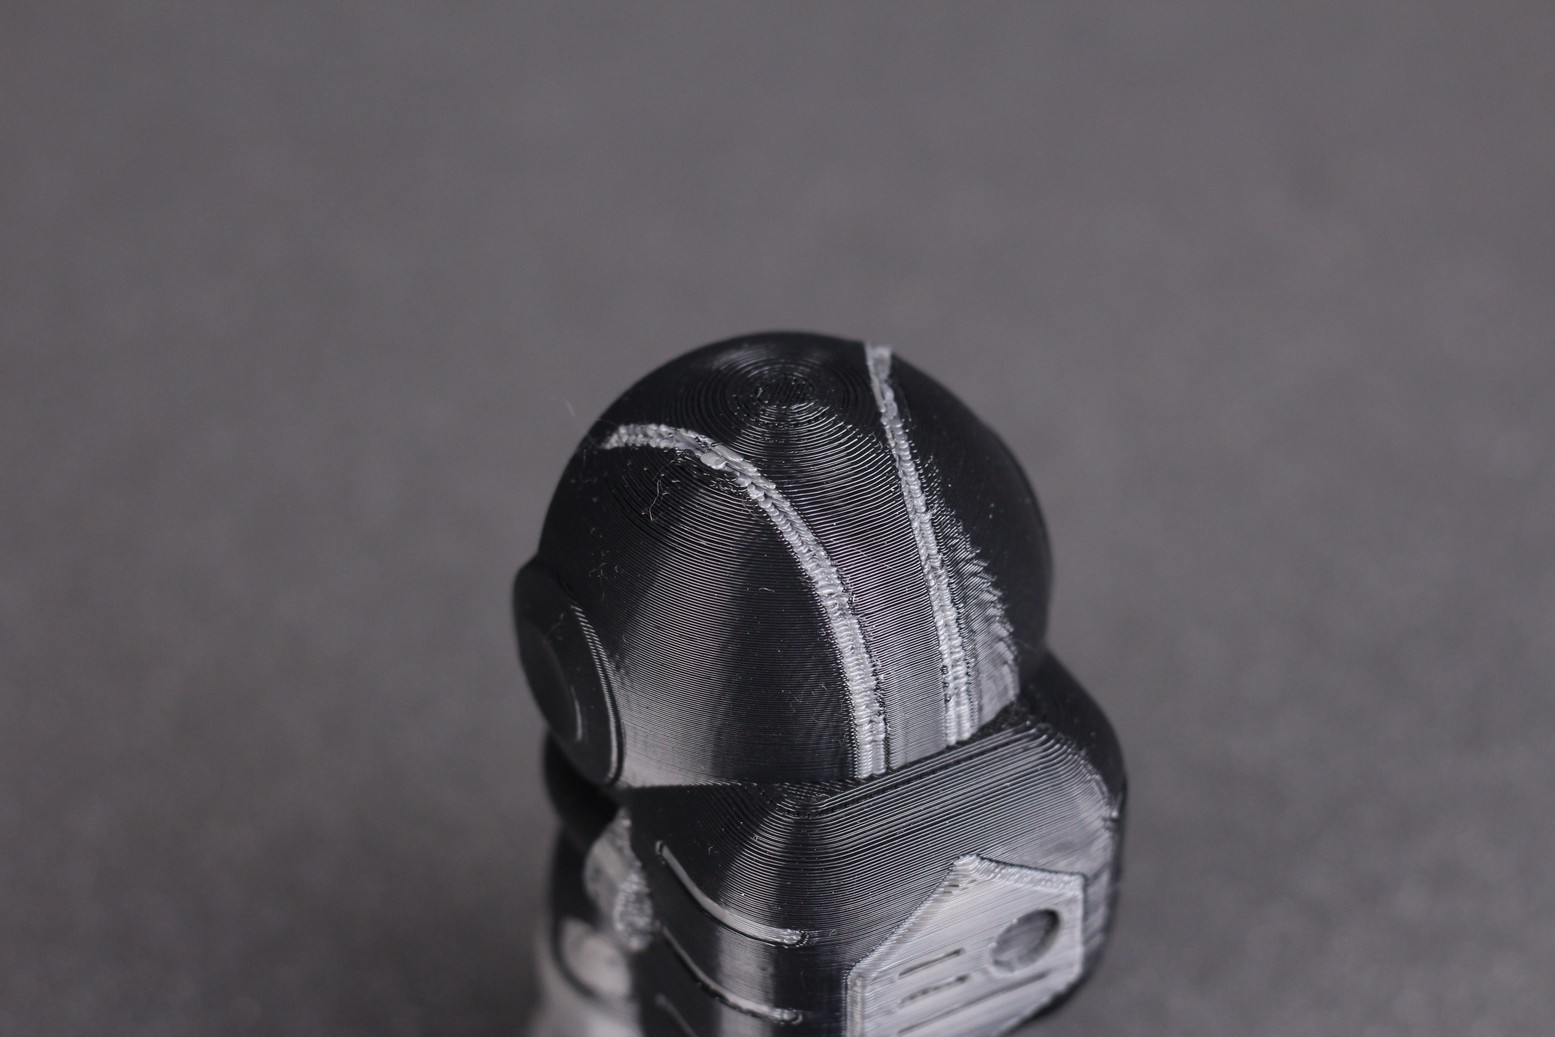
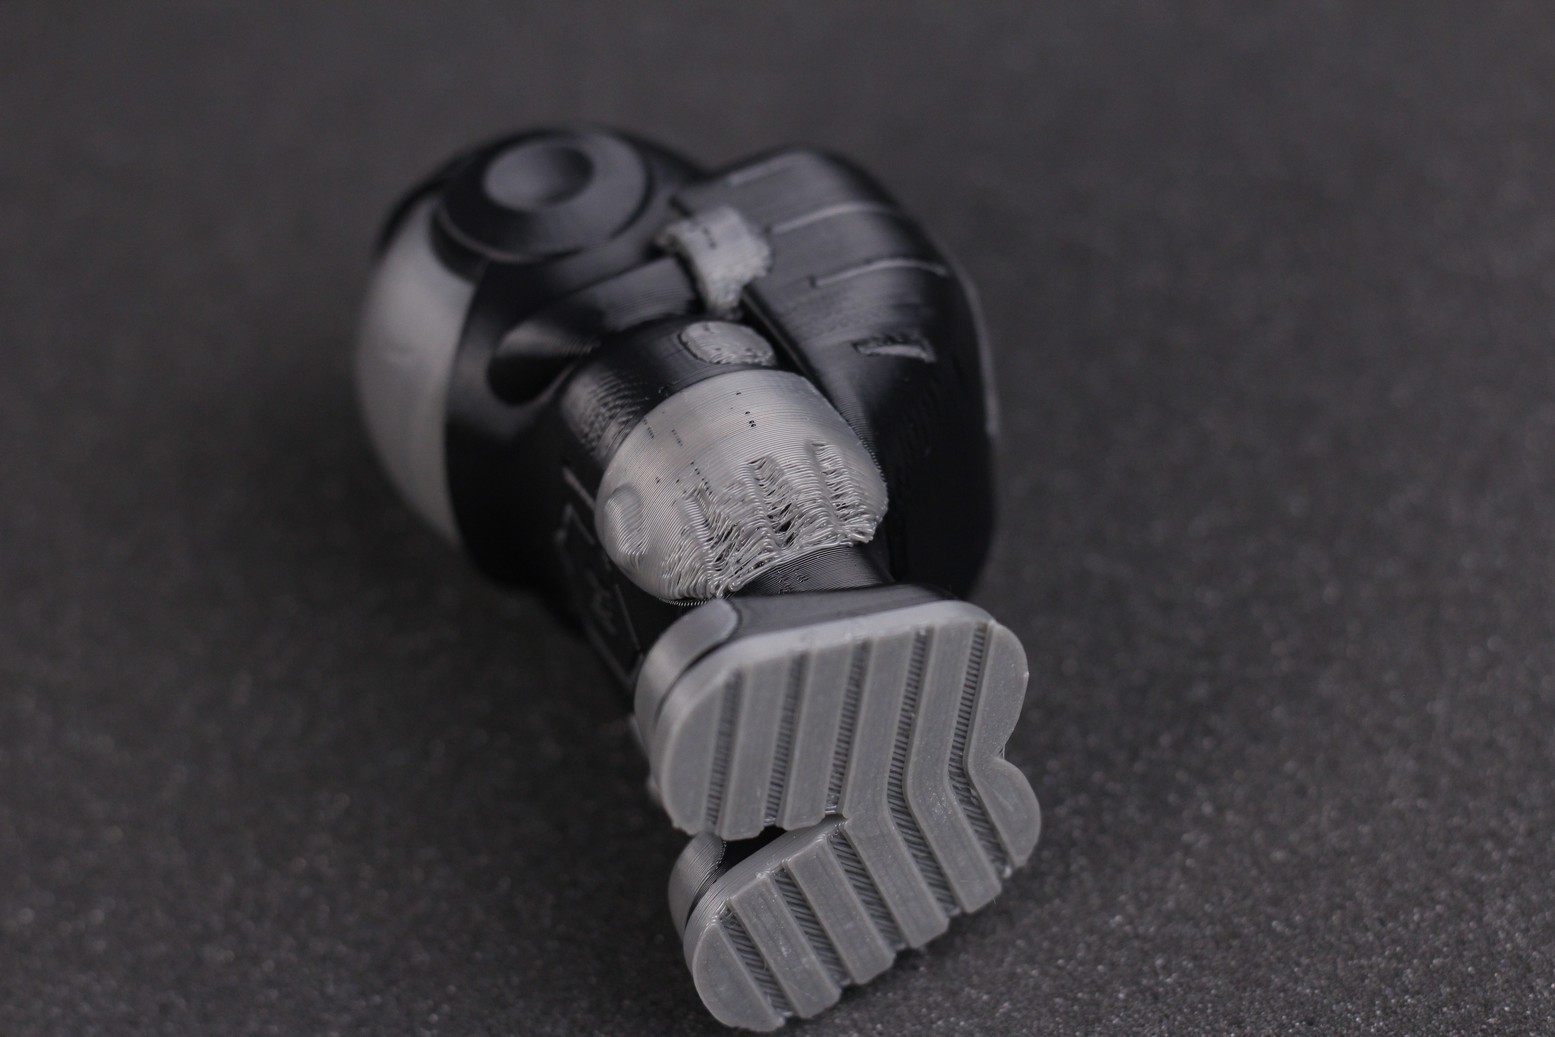
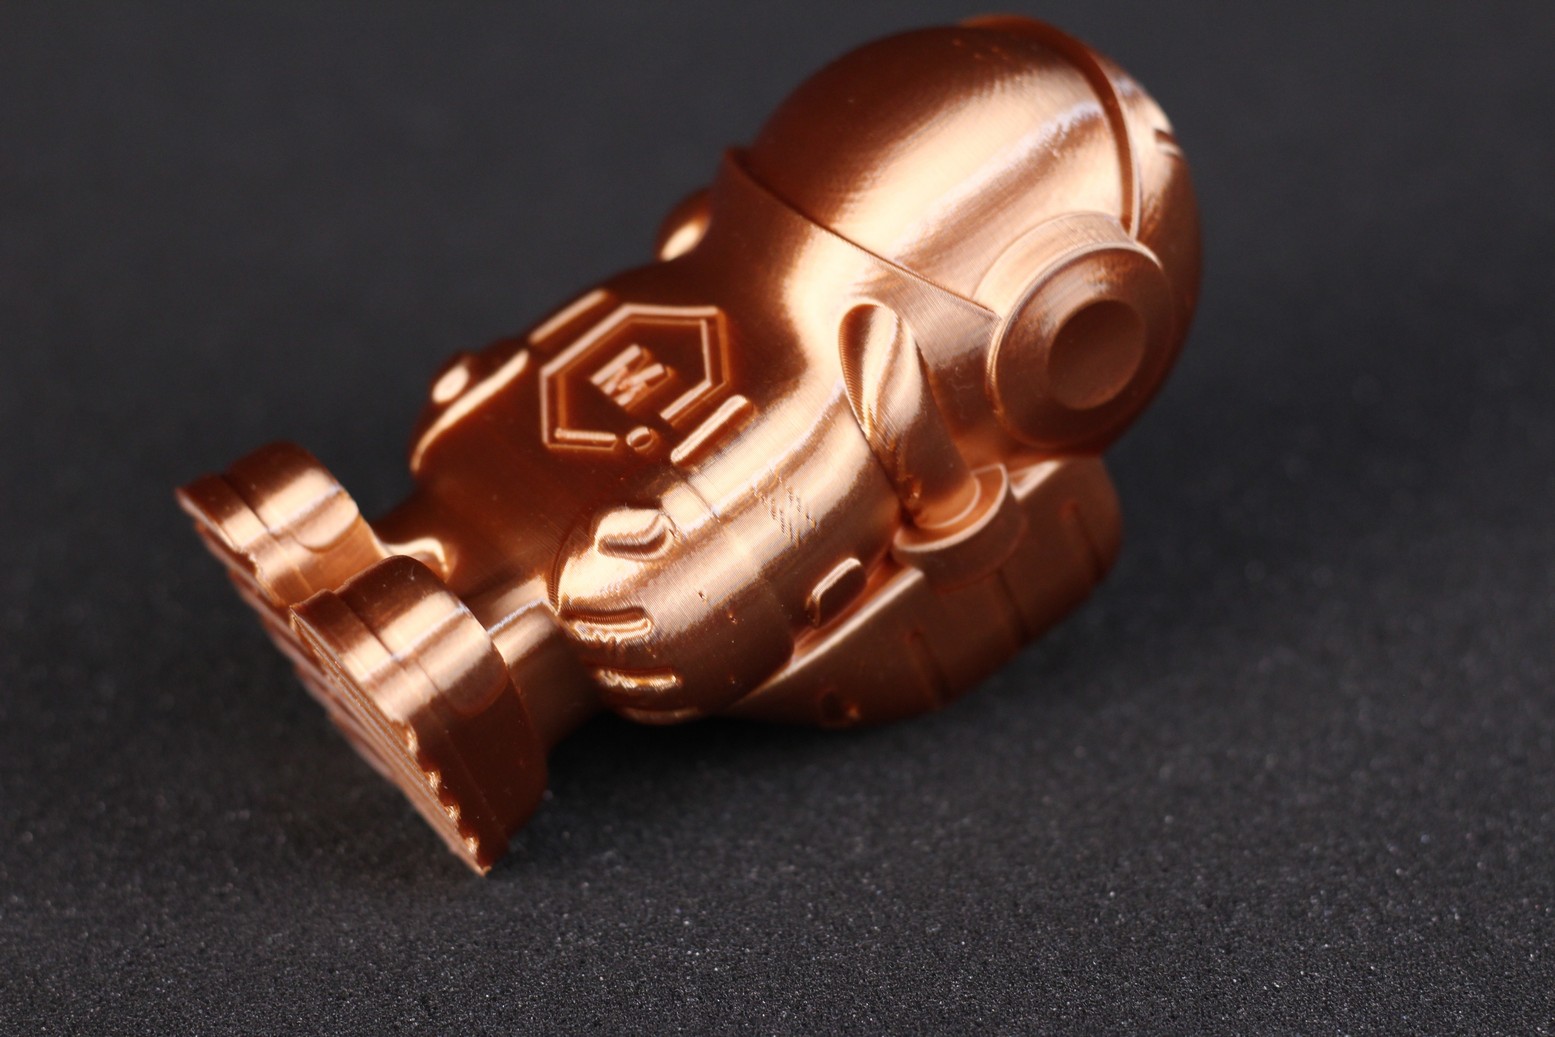
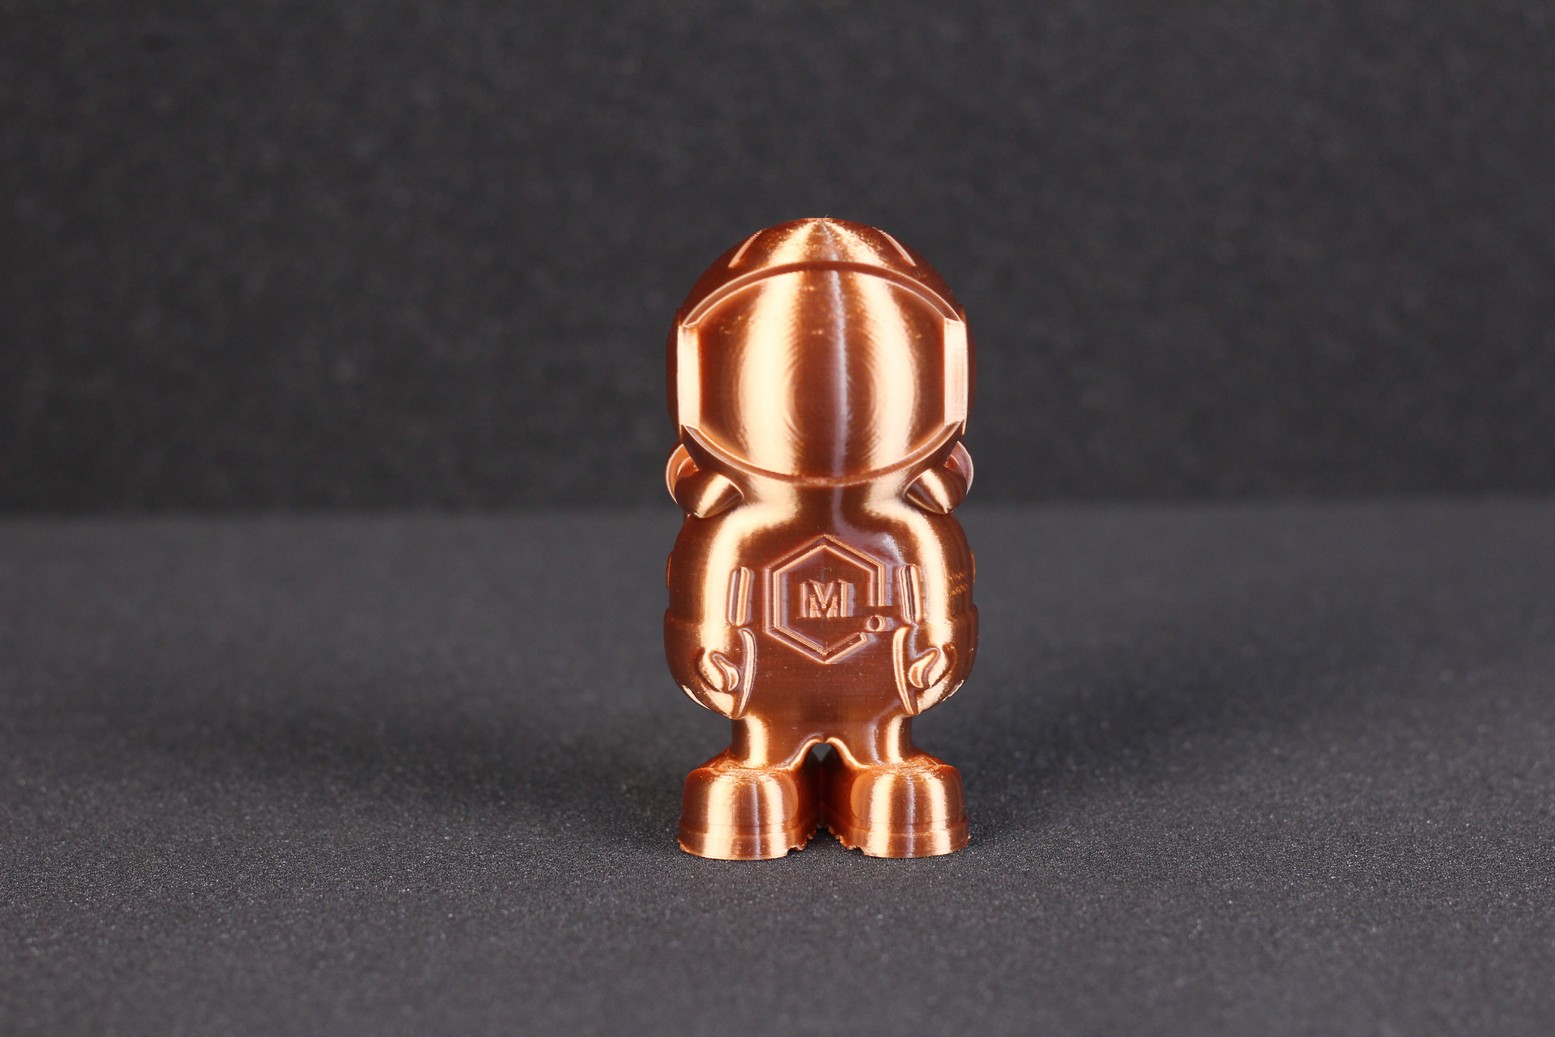
I also wanted to test some new Sunlu Silk Filament which I got, and I did another Phil-A-Ment print, this time with a single color. As you can see, there are a few under-extruded spots on the sides, and on the top of the model probably caused by a partial clog.
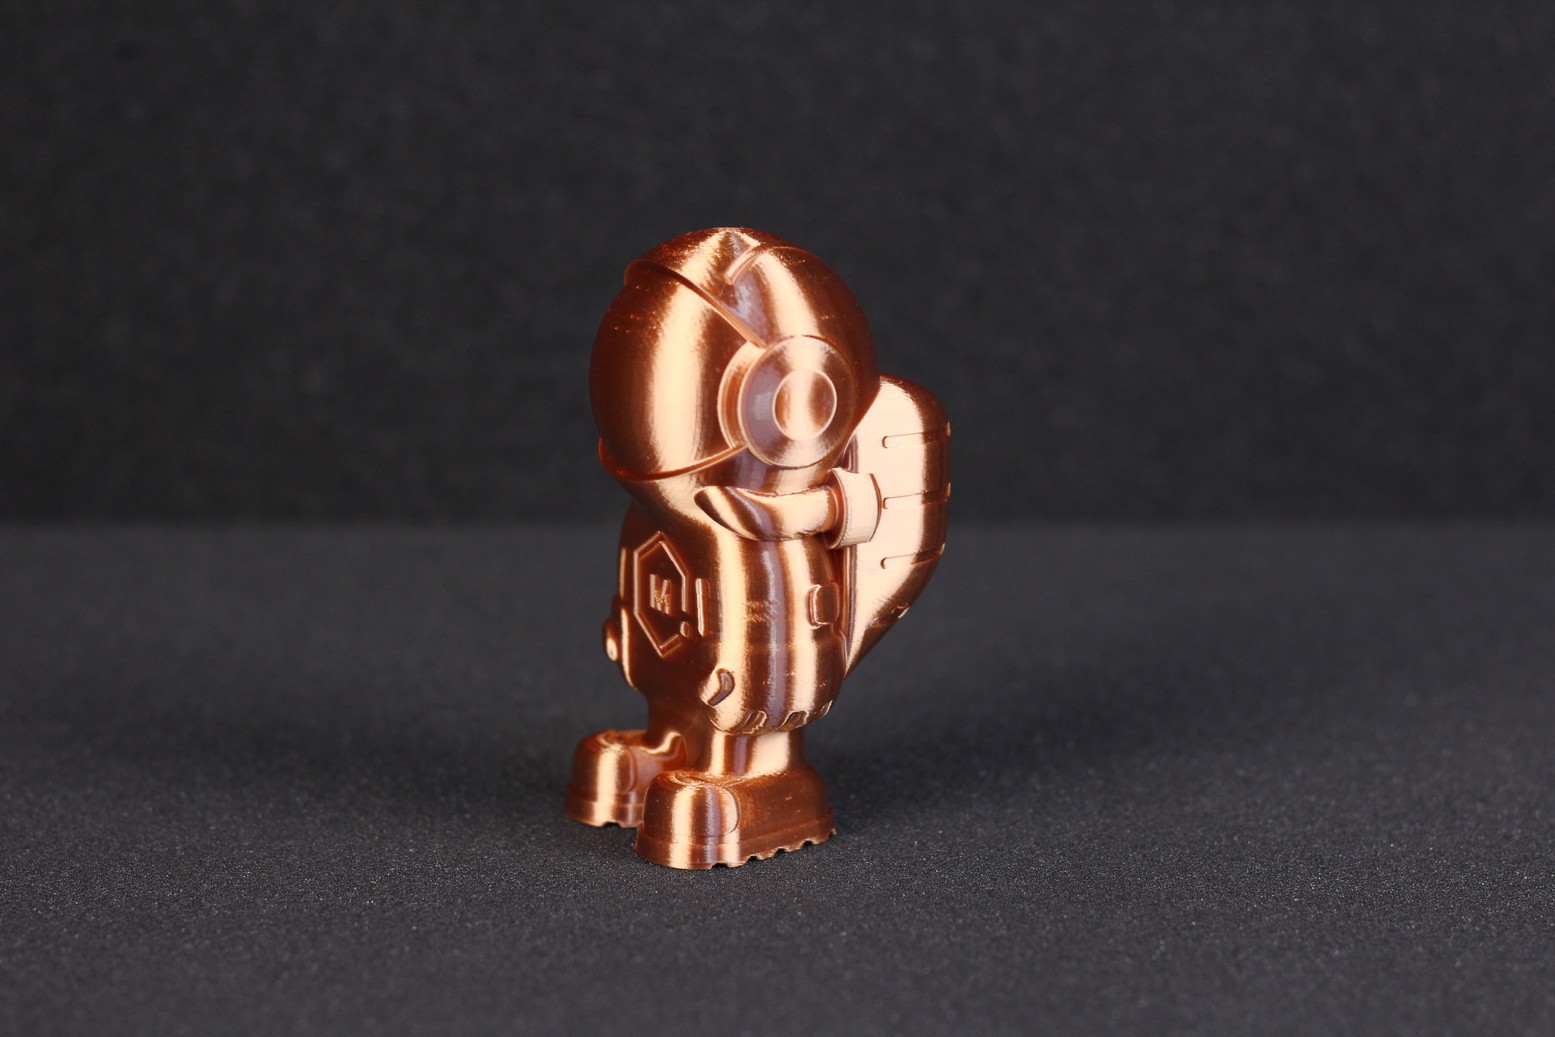
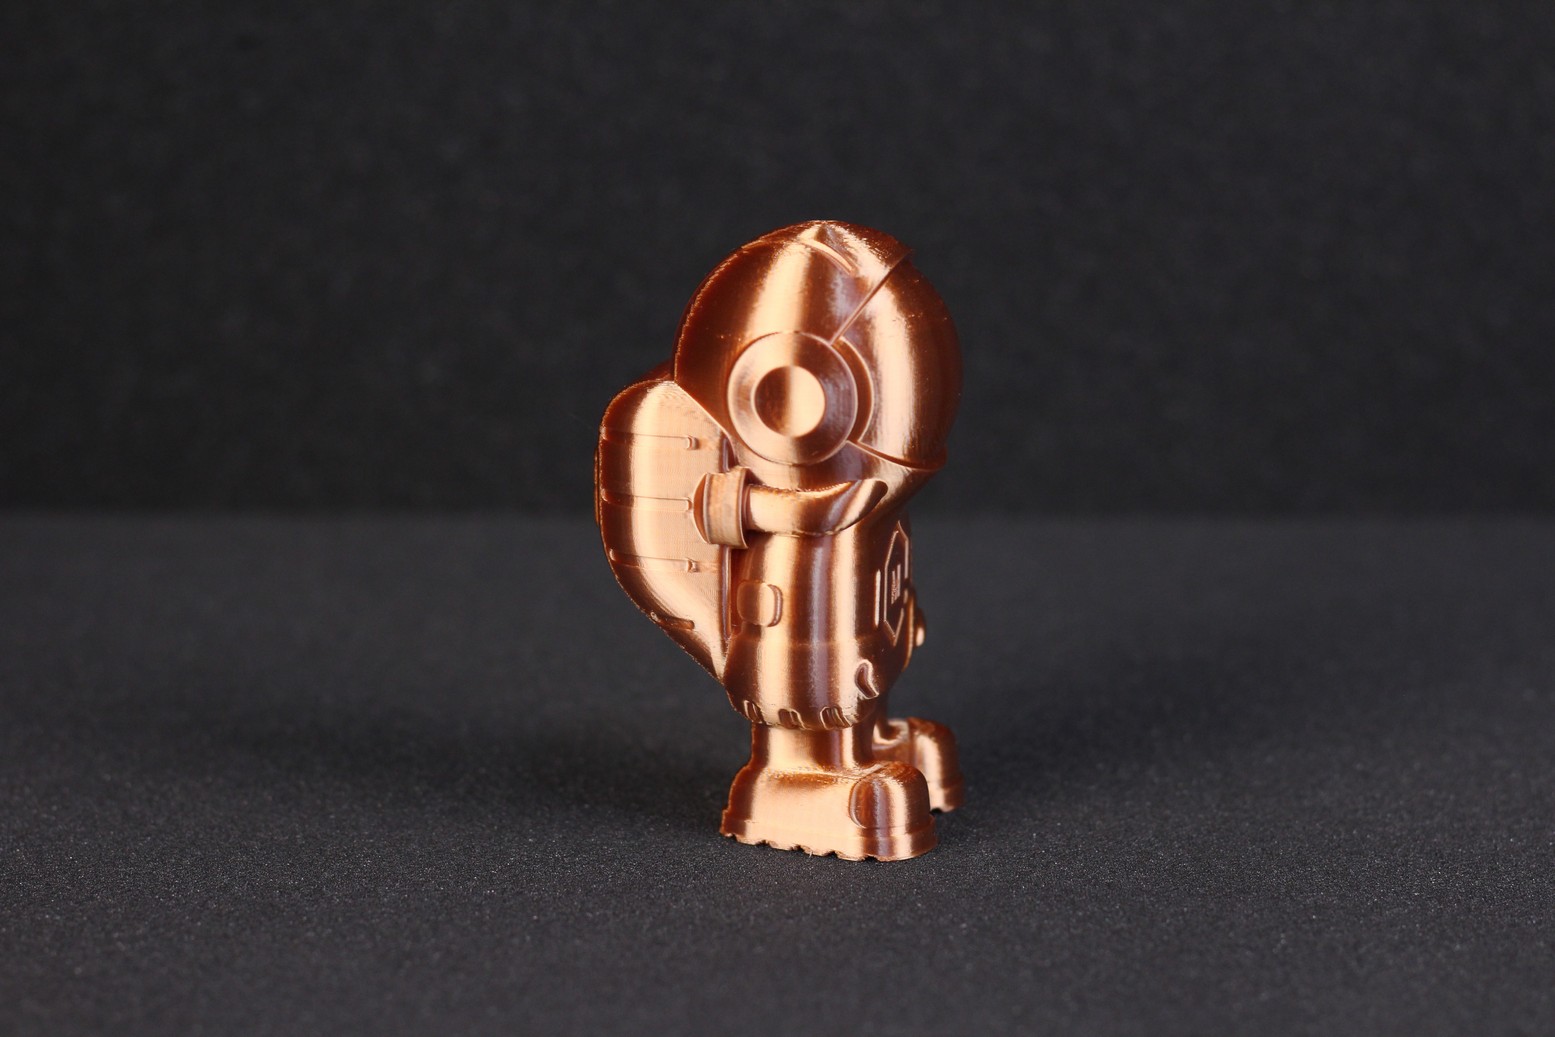
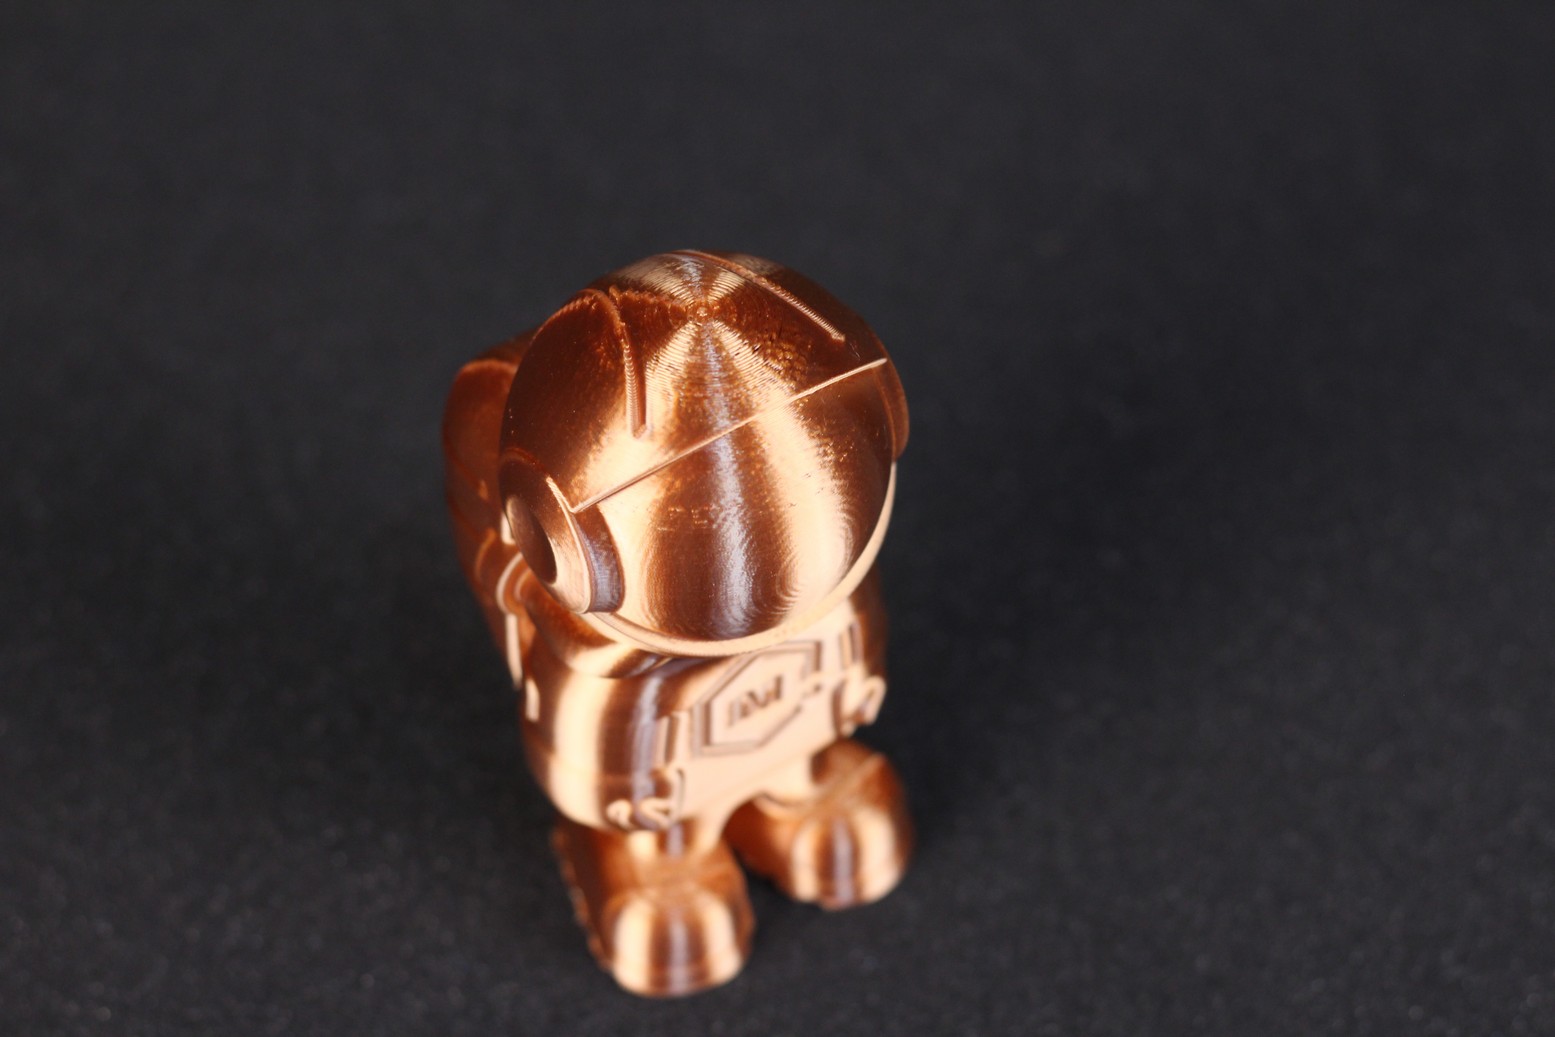
Lastly, I really wanted to have a dual-color Phil print, so I went back to printing with red and blue eco PLA. The results are pretty good, but the under-extrusion issue is still present. During the color changes, I noticed some small filament skips which could also be a reason for these problems.
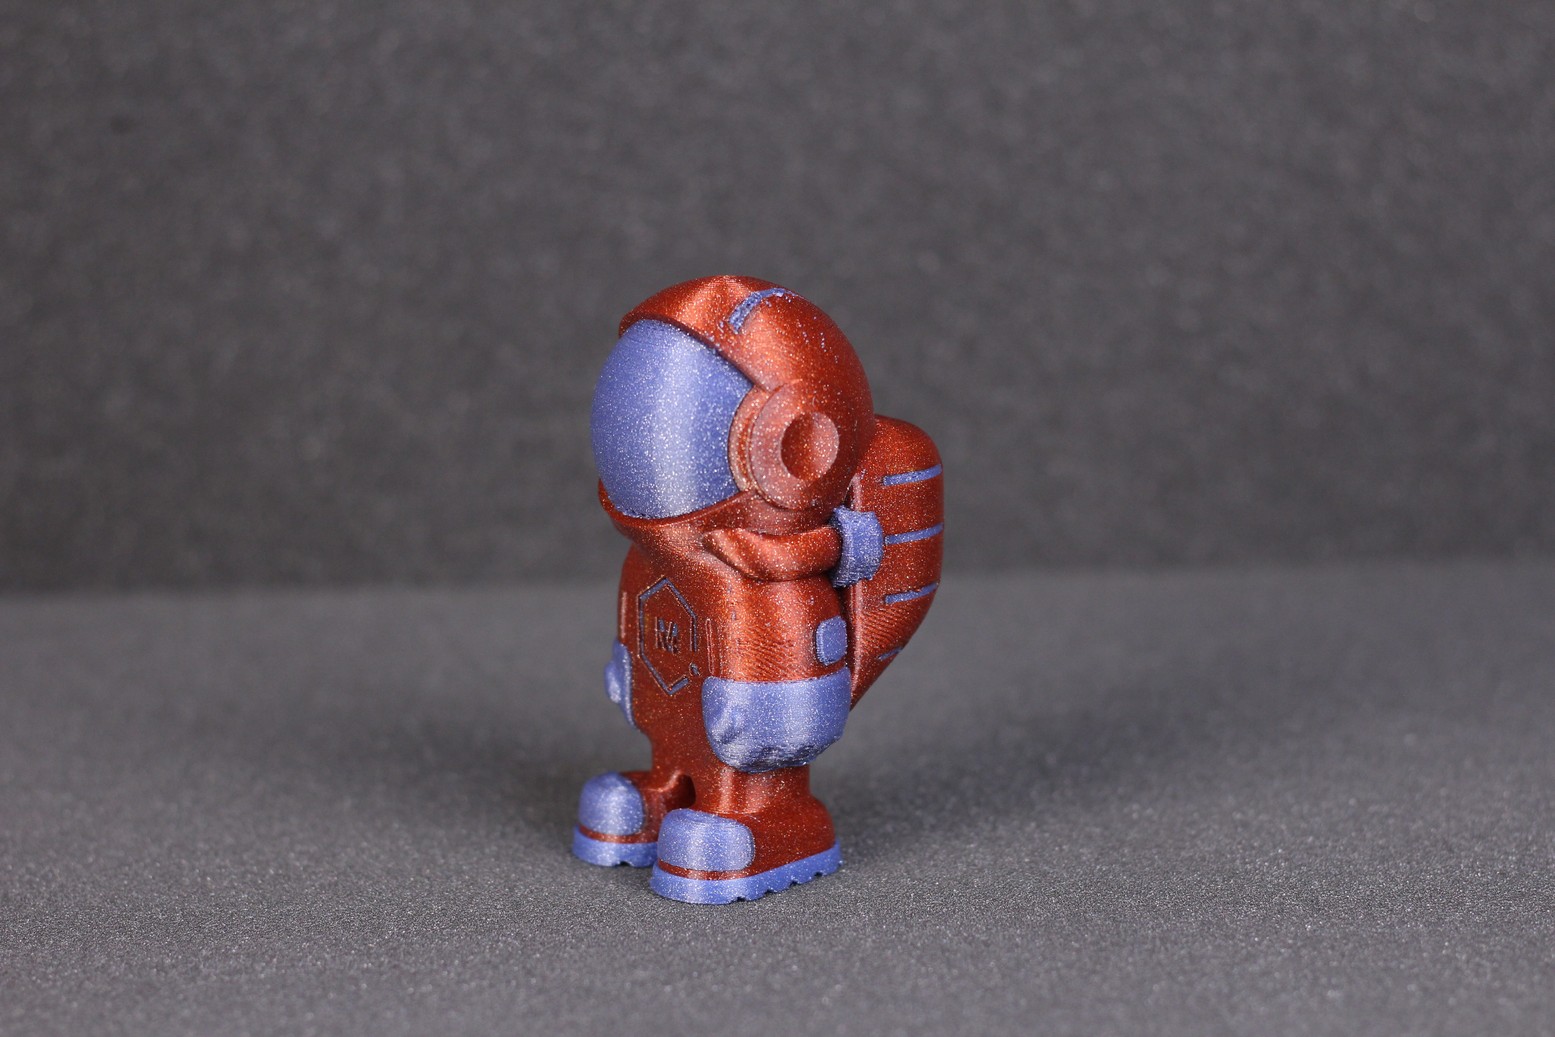
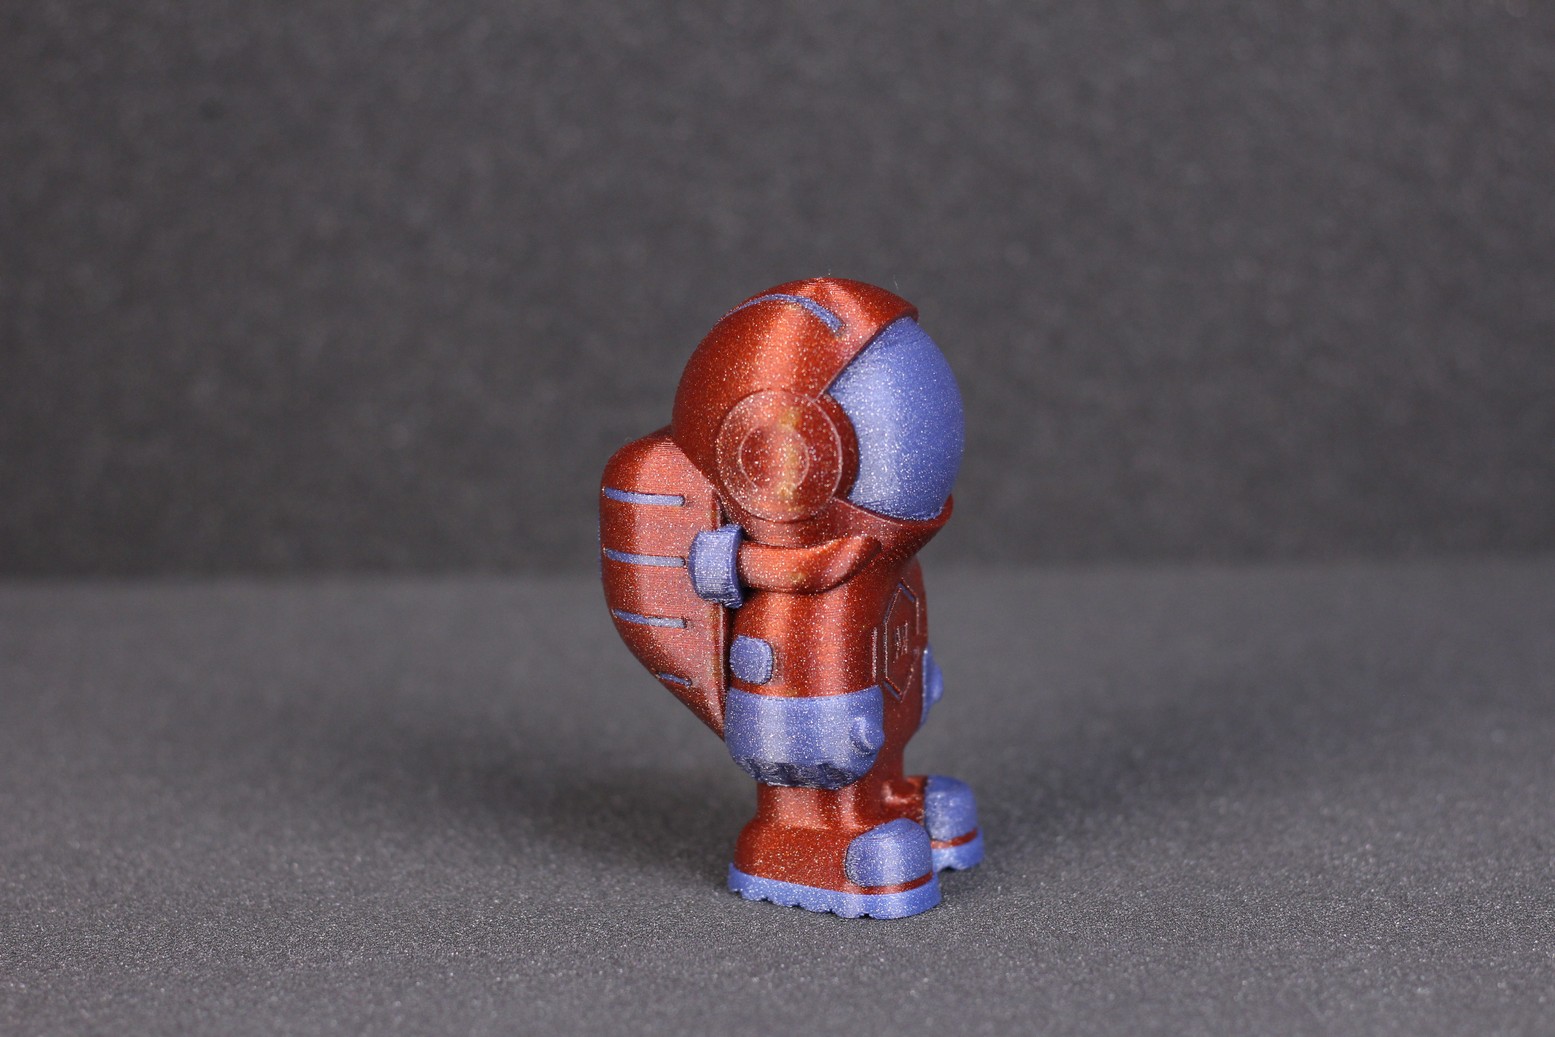
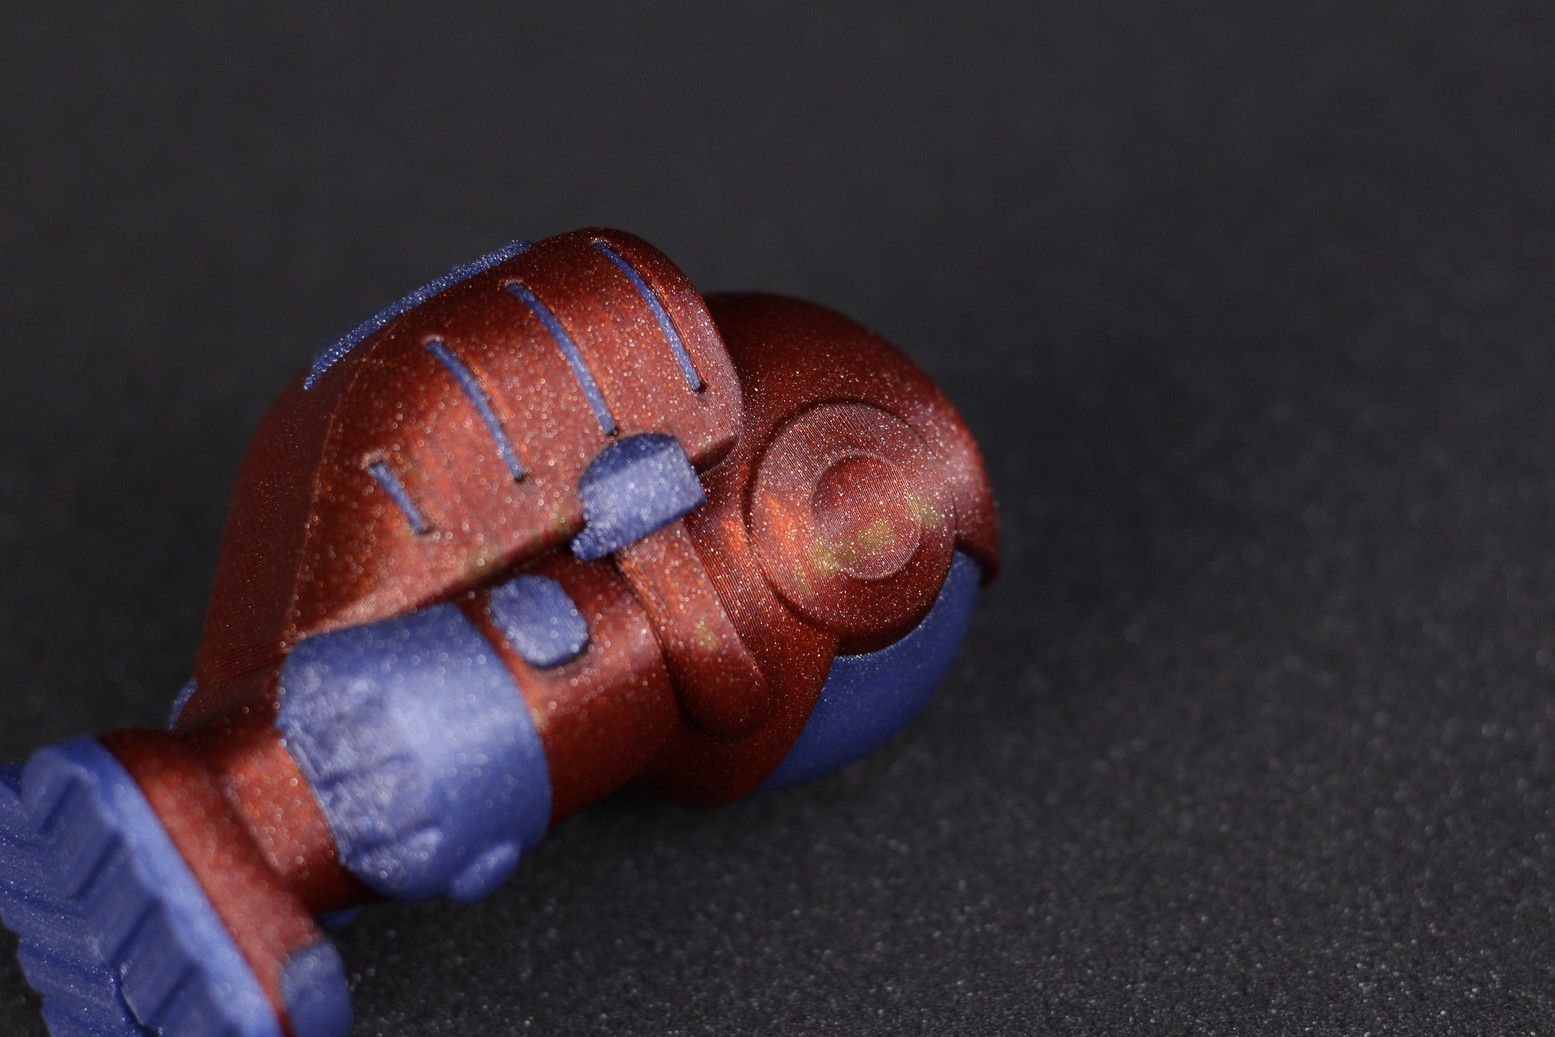
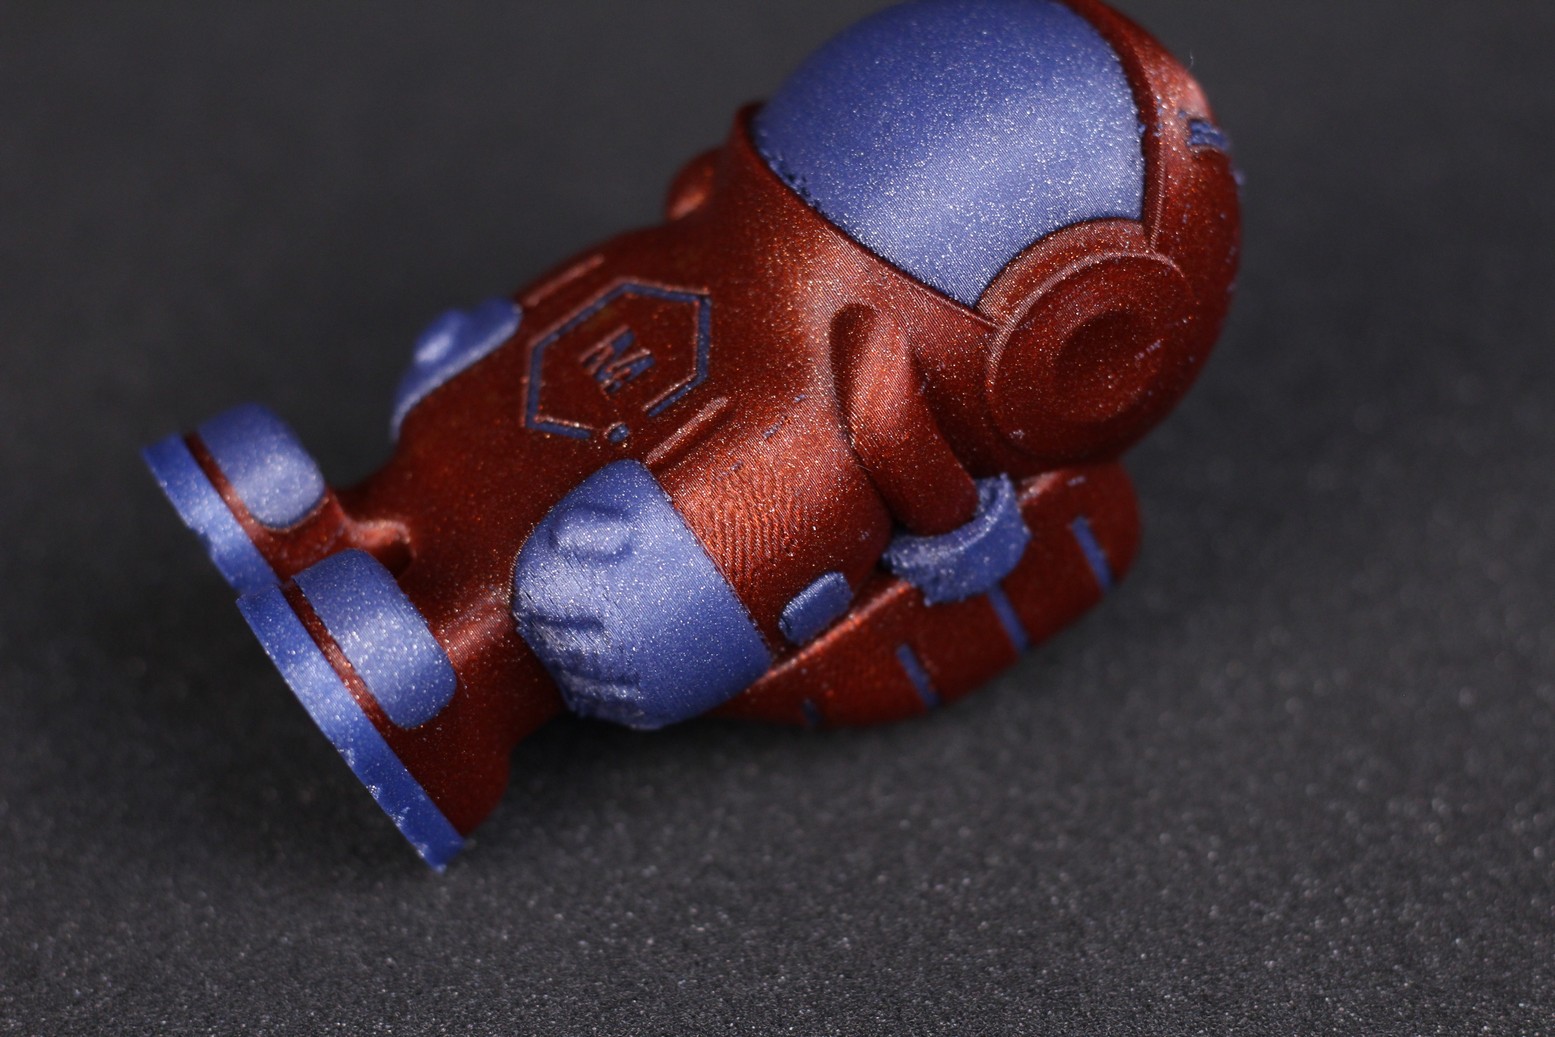
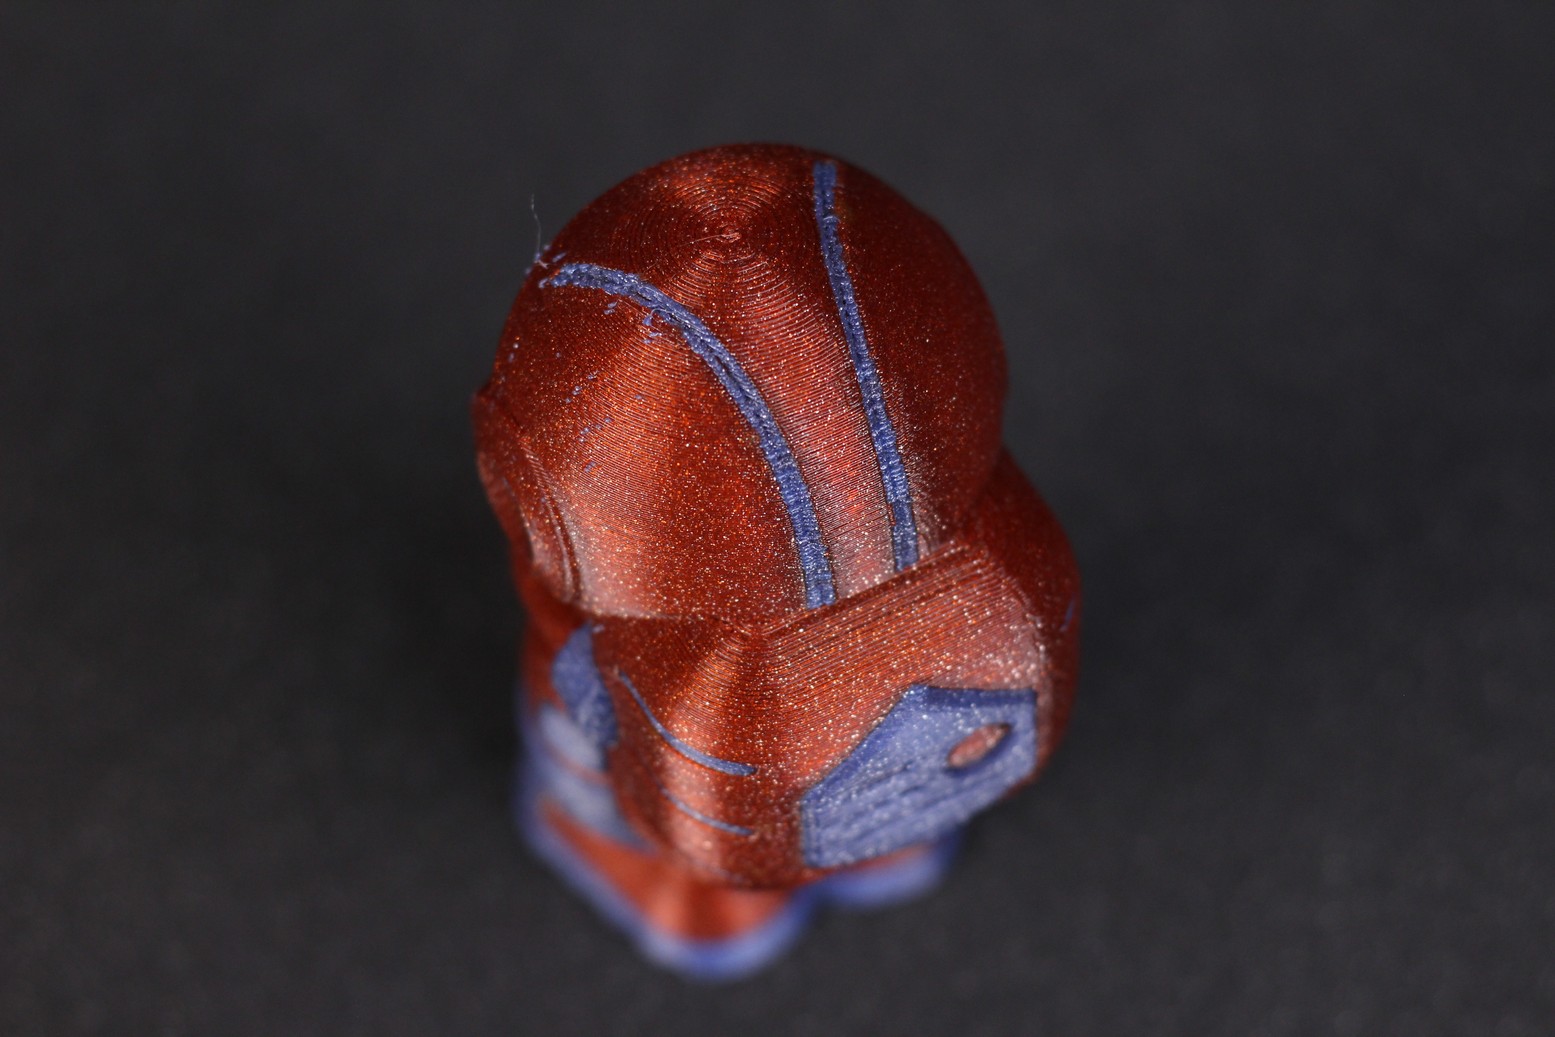
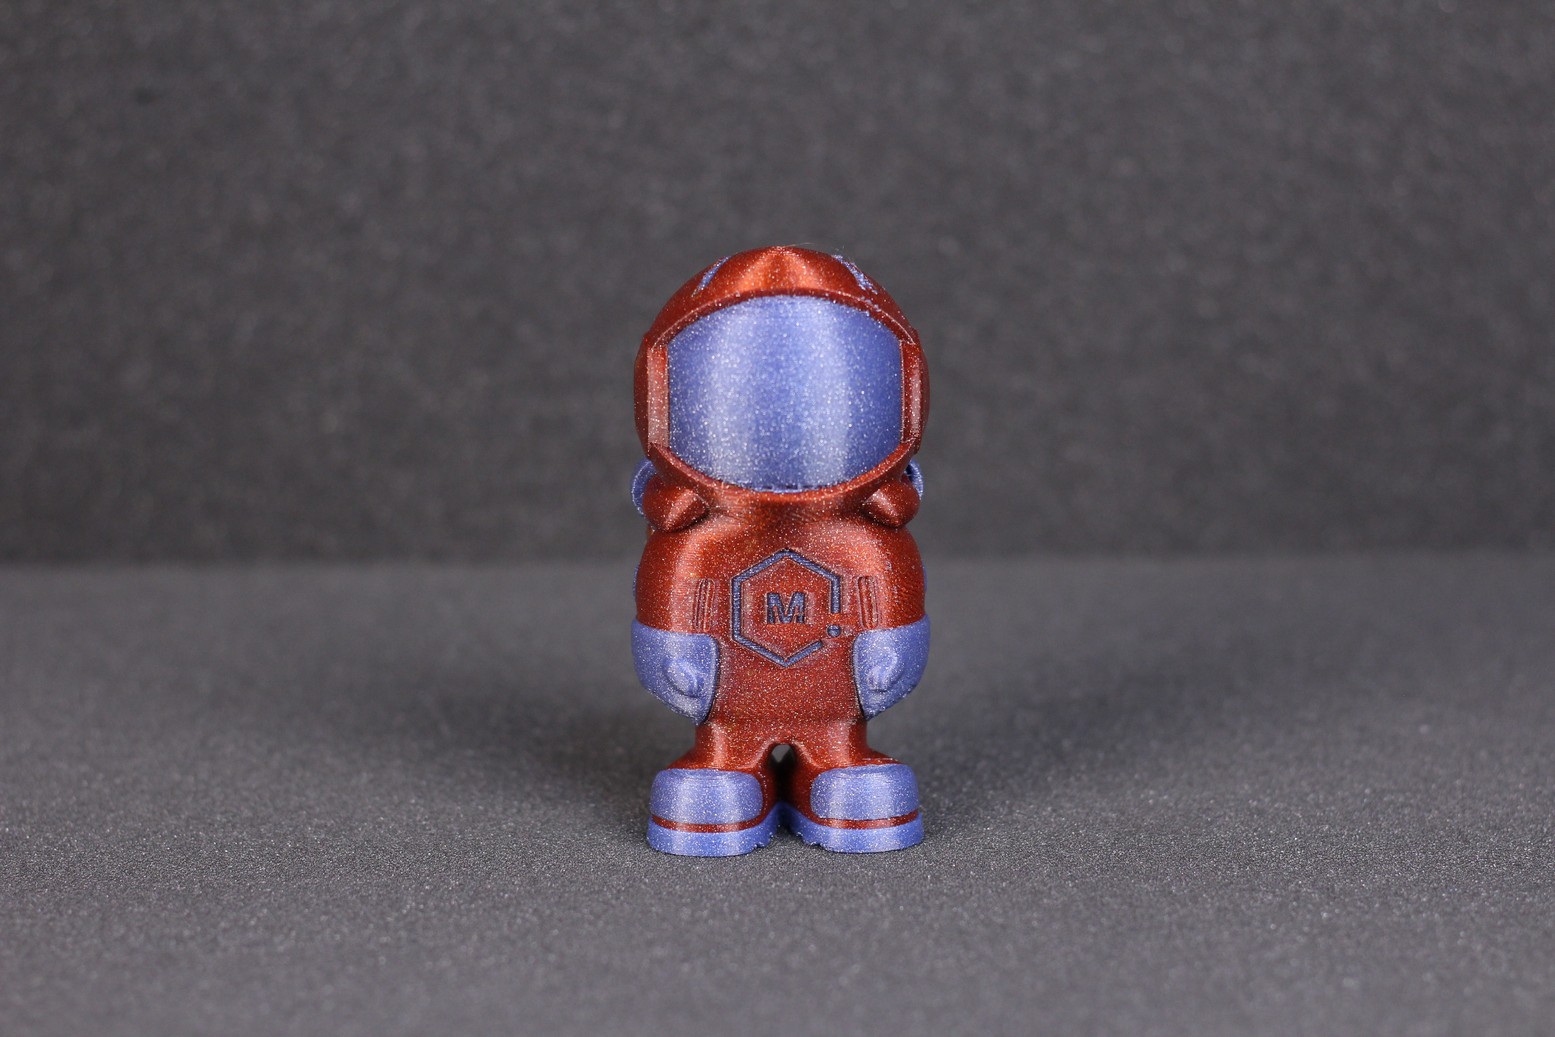
- Material: Copper Silk PLA, Sunlu Black PLA, Sunlu Grey PLA, Gembird Orange PLA, 3DJake Glitter Red ecoPLA, 3DJake Glitter Blue ecoPLA
- Layer Height: 0.15 mm
- Nozzle Temperature: 220C
- Bed Temperature: 50C
- Print Speed: 40 mm/s
Dragon and Heart Sample file from LOTMAXX
After my Phil saga, I got off my high horse and went to revisit the sample files, enter the loving dragon. Easy to print, not that much color exchange, came out pretty good from my perspective.
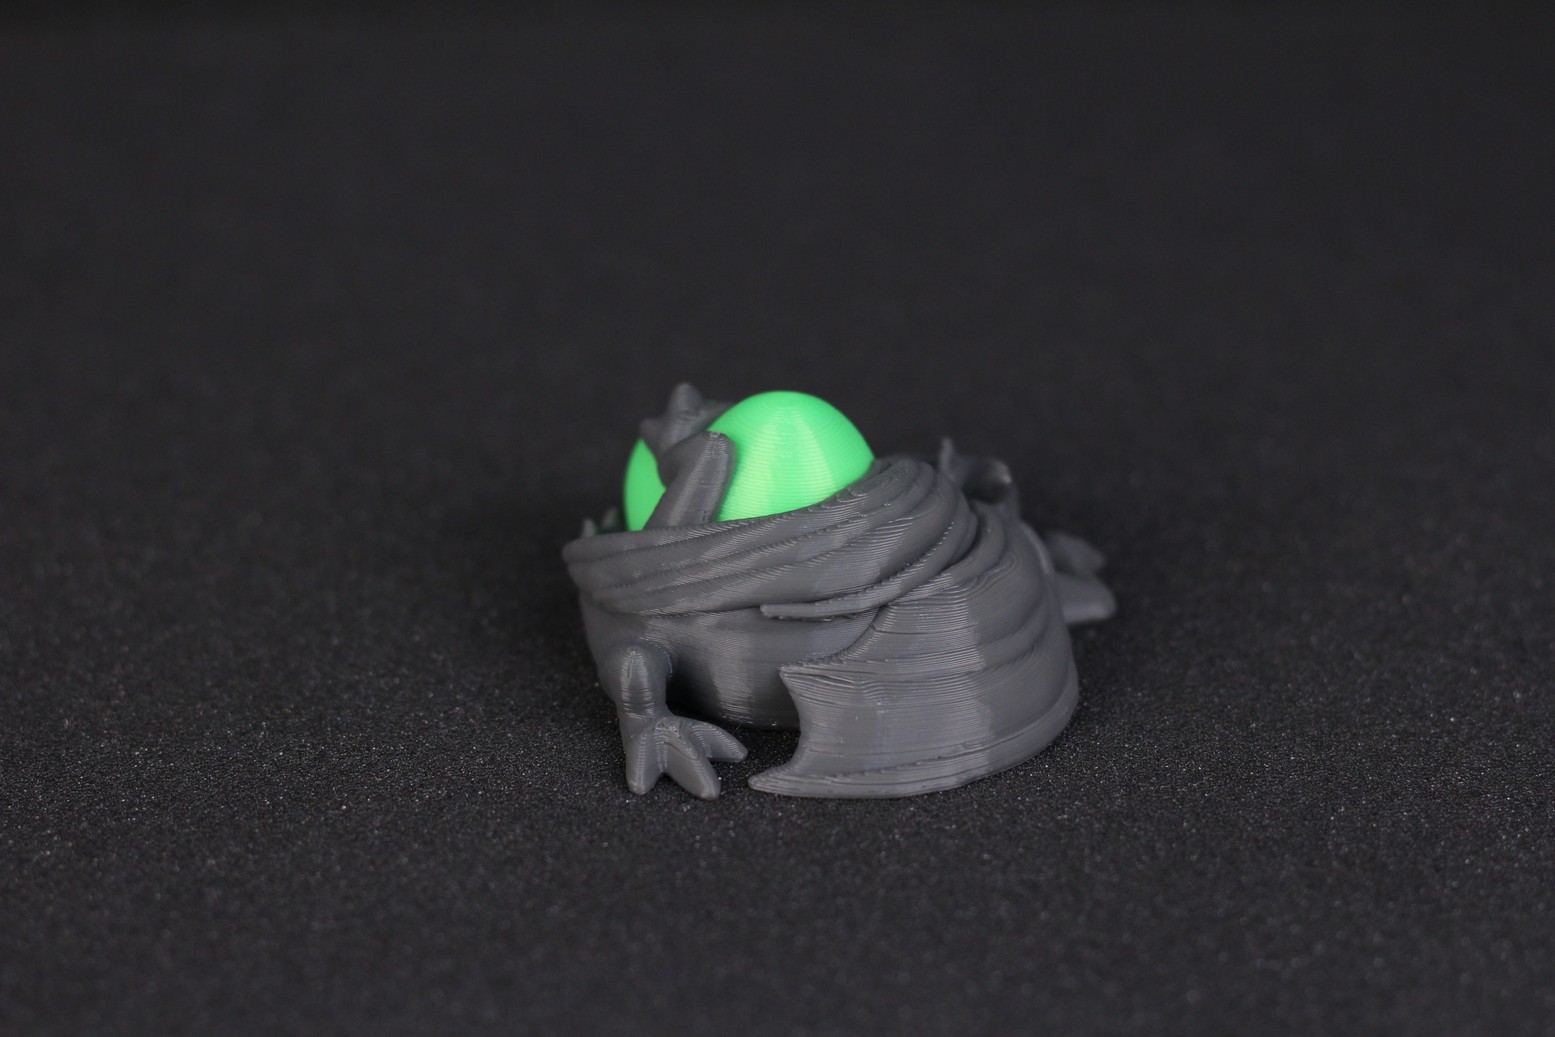
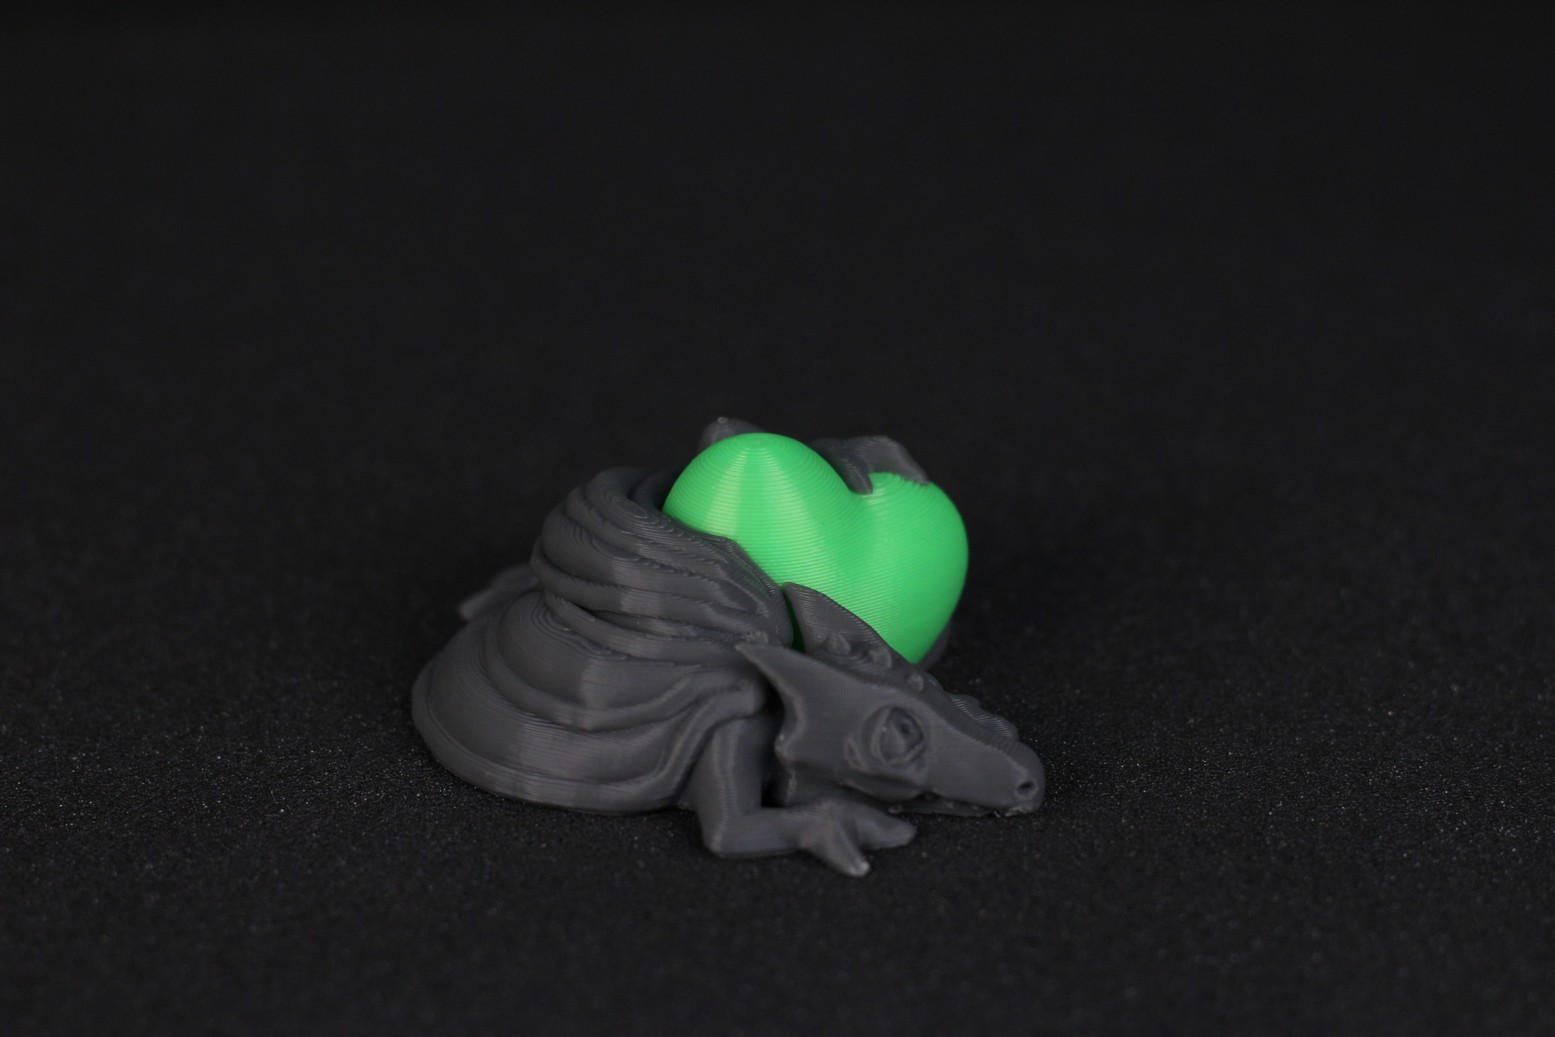
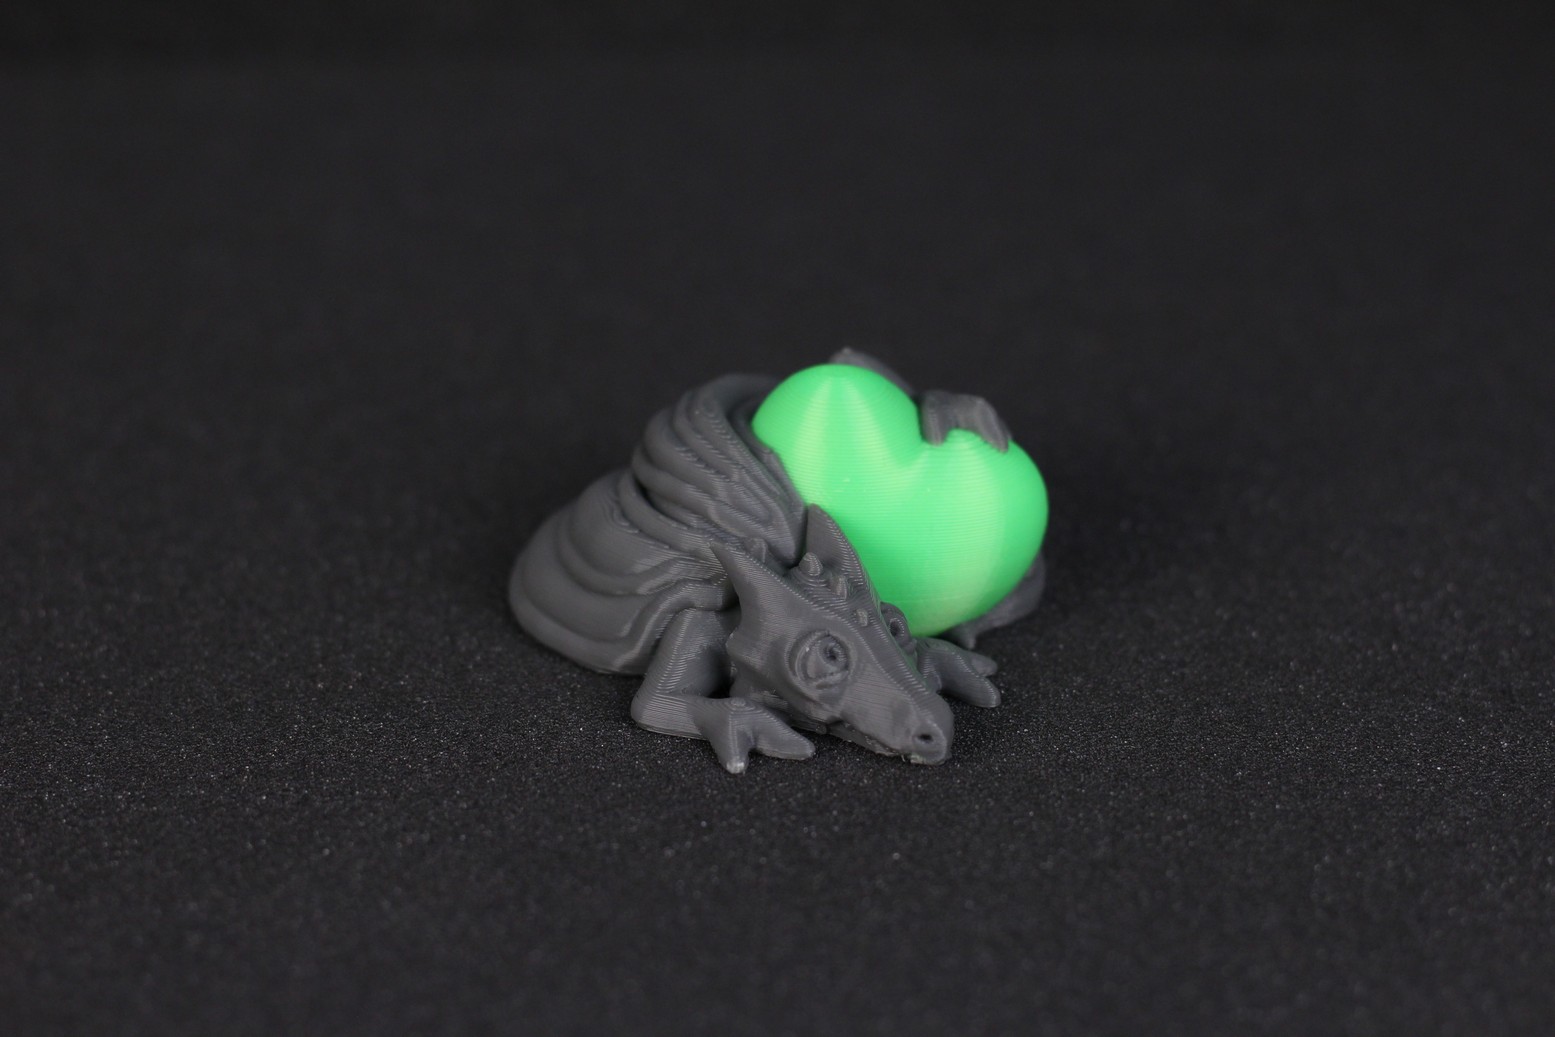
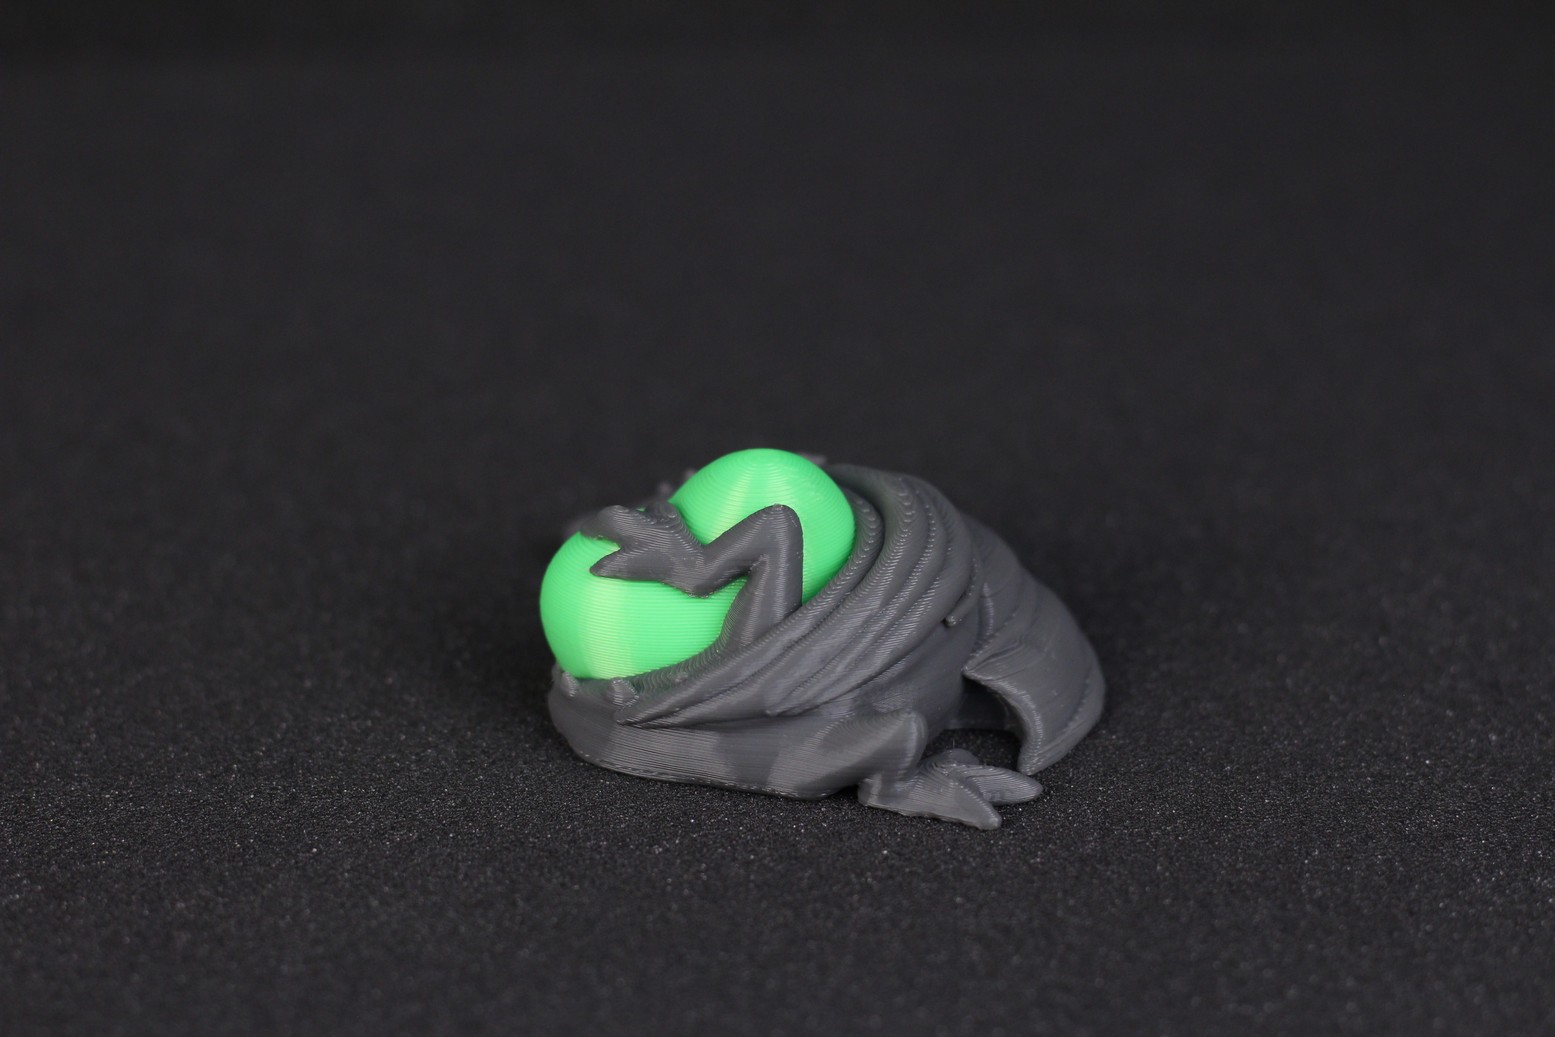
- Material: LOTMAXX Sample Green PLA and Sunlu Grey PLA
- Layer Height: 0.15 mm
- Nozzle Temperature: 205C
- Bed Temperature: 50C
- Print Speed: 40 mm/s
Low Poly Squirtle
Low Poly Squirtle is just too cool for school, and with the Red-Blue Glitter PLA combo he came out amazing. There’s not too much to say about this model. Extrusion is consistent, and the color separation is good.
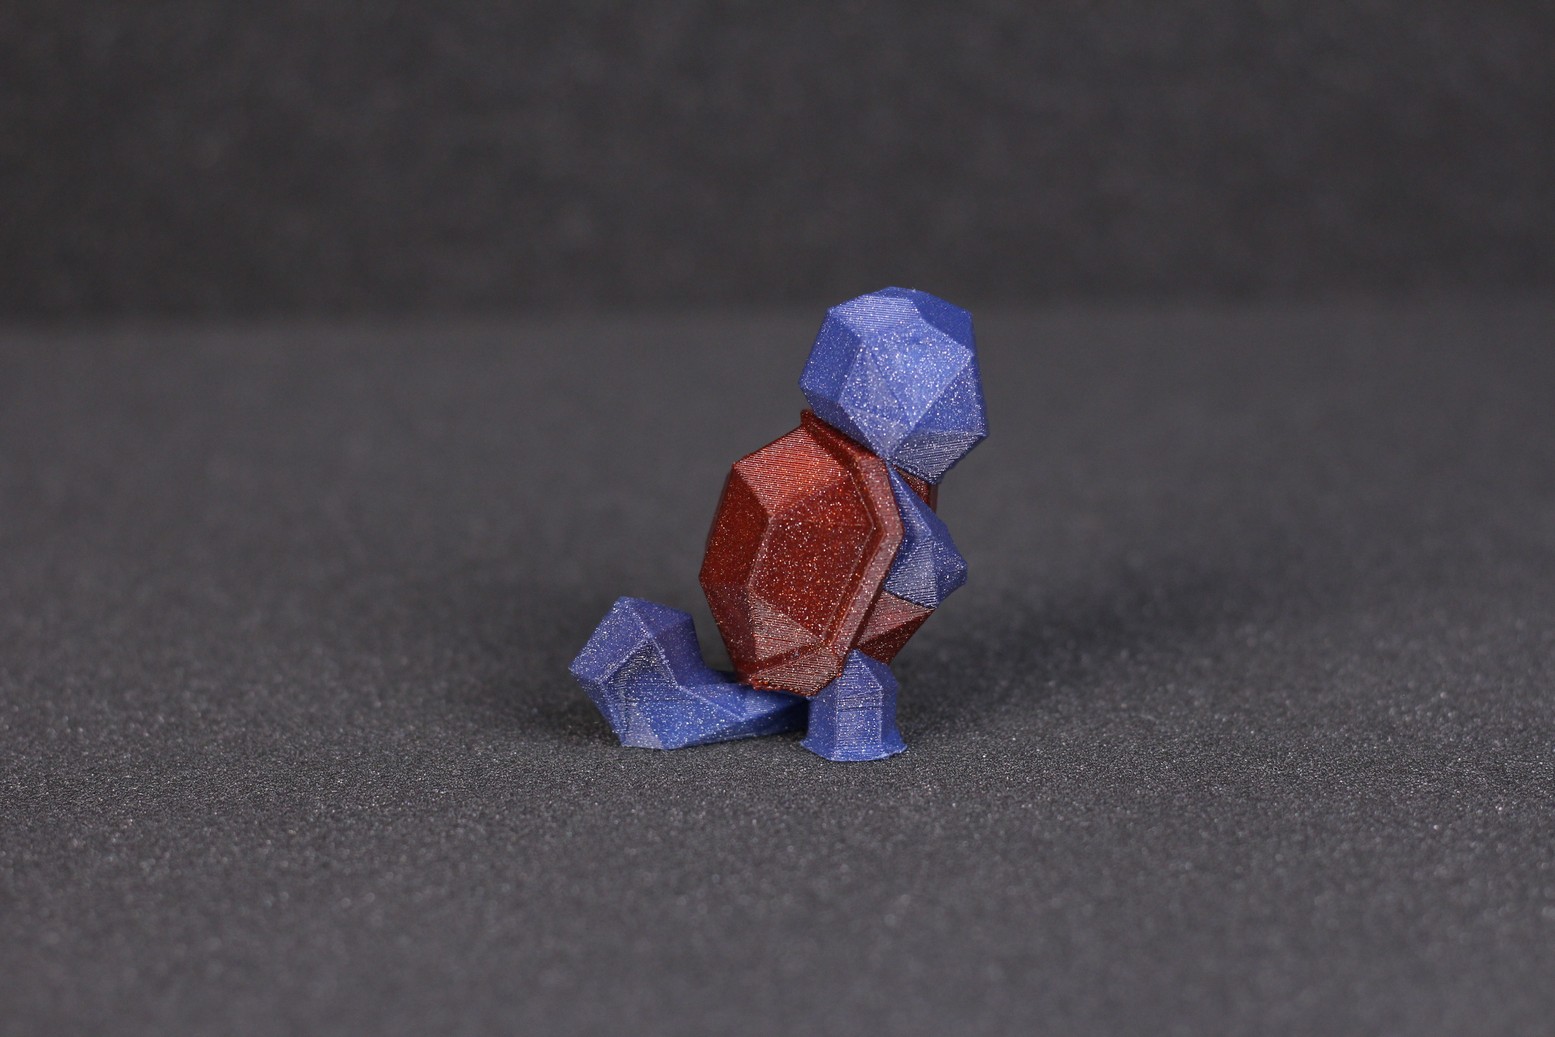
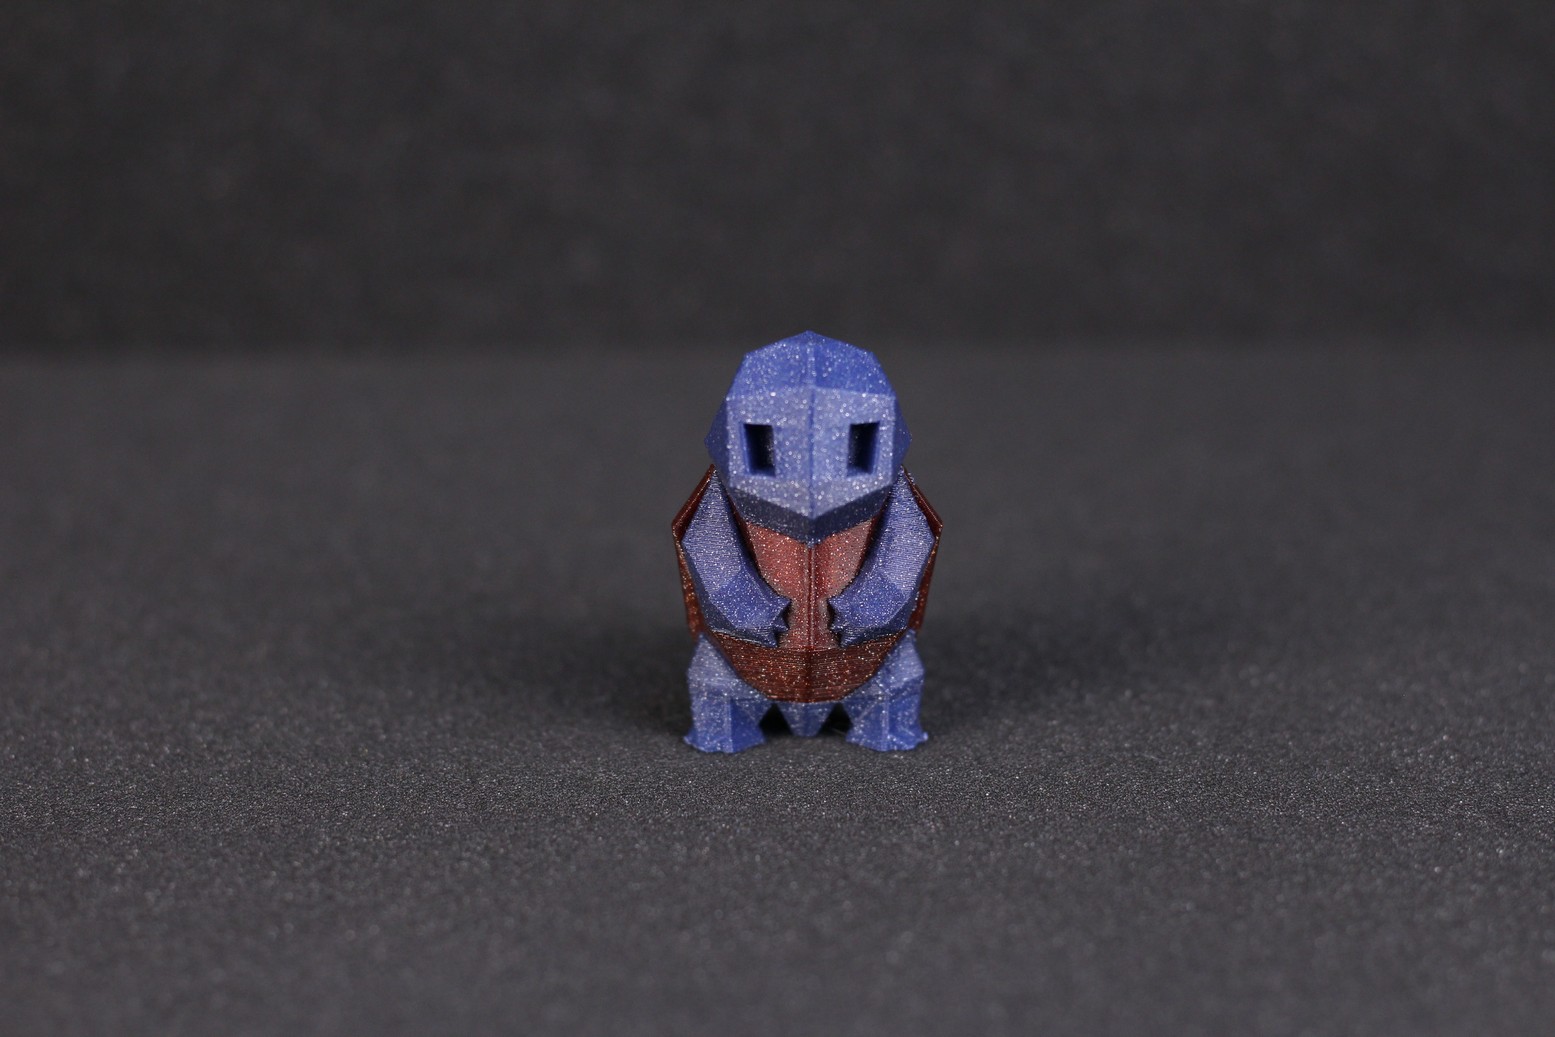
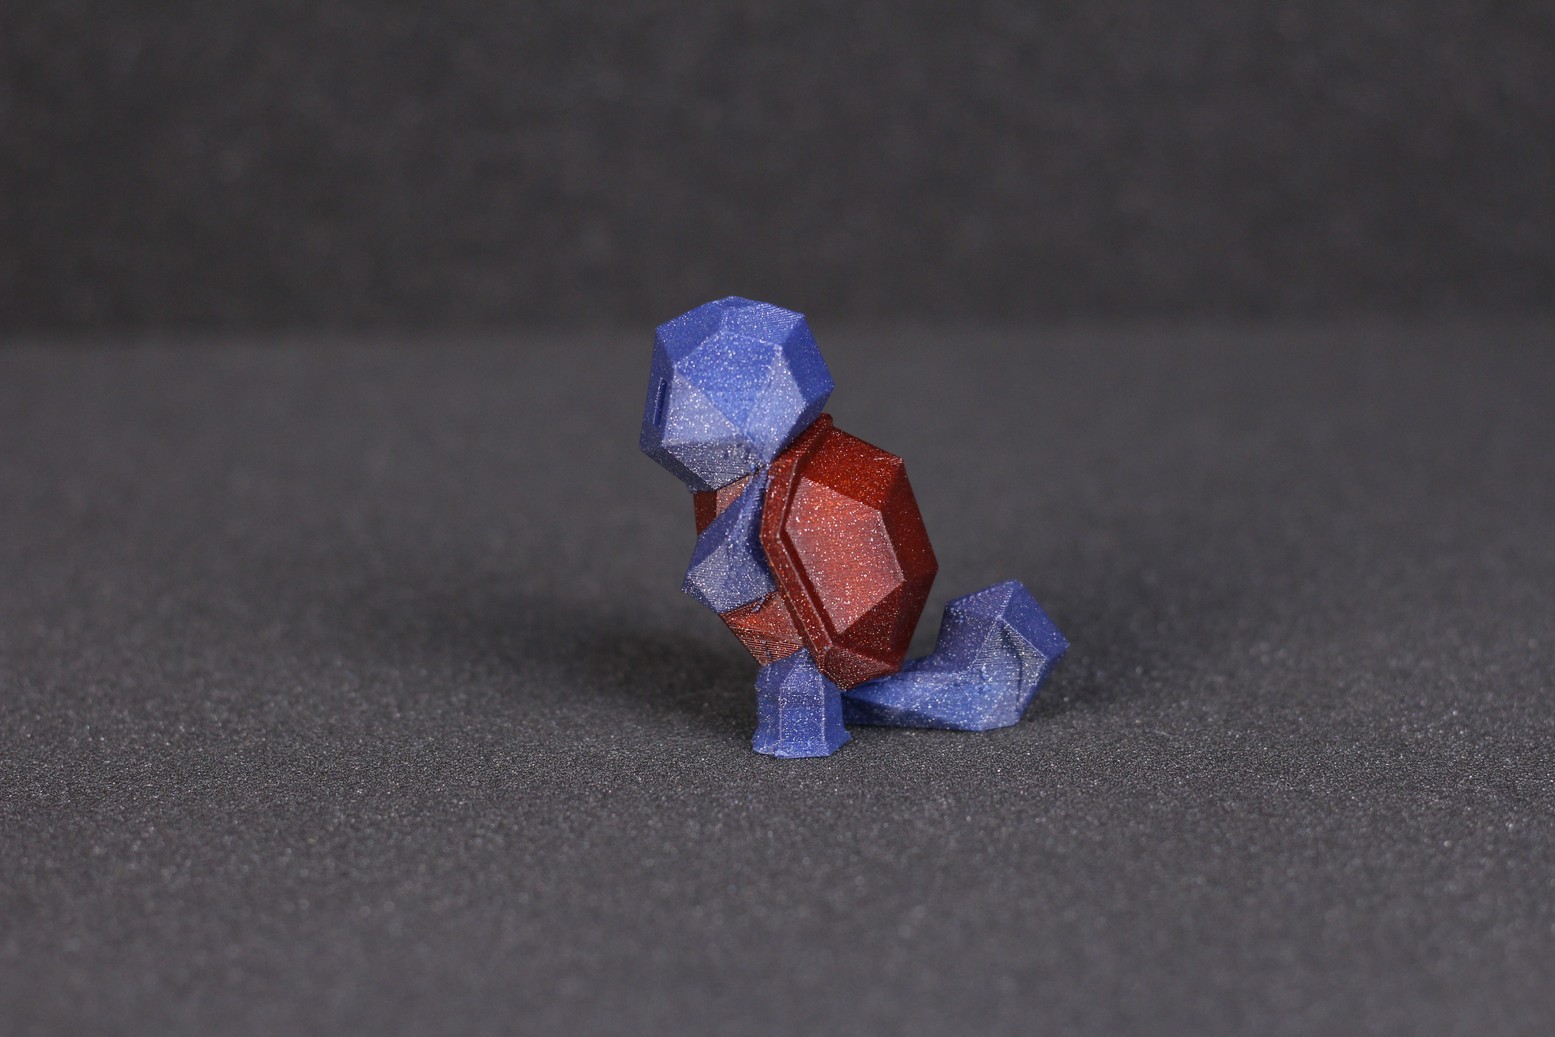
- Material: 3DJake Glitter Red ecoPLA, 3DJake Glitter Blue ecoPLA
- Layer Height: 0.15 mm
- Nozzle Temperature: 220C
- Bed Temperature: 50C
- Print Speed: 40 mm/s
Low Poly Bulbasaur
The Low Poly Bulbasaur is also a good model to test a dual-color 3D printer. The extrusion is pretty consistent, but the under-extrusion issue can still be seen in some parts of the model. Still, the print quality is not as good as I would expect from such an expensive machine
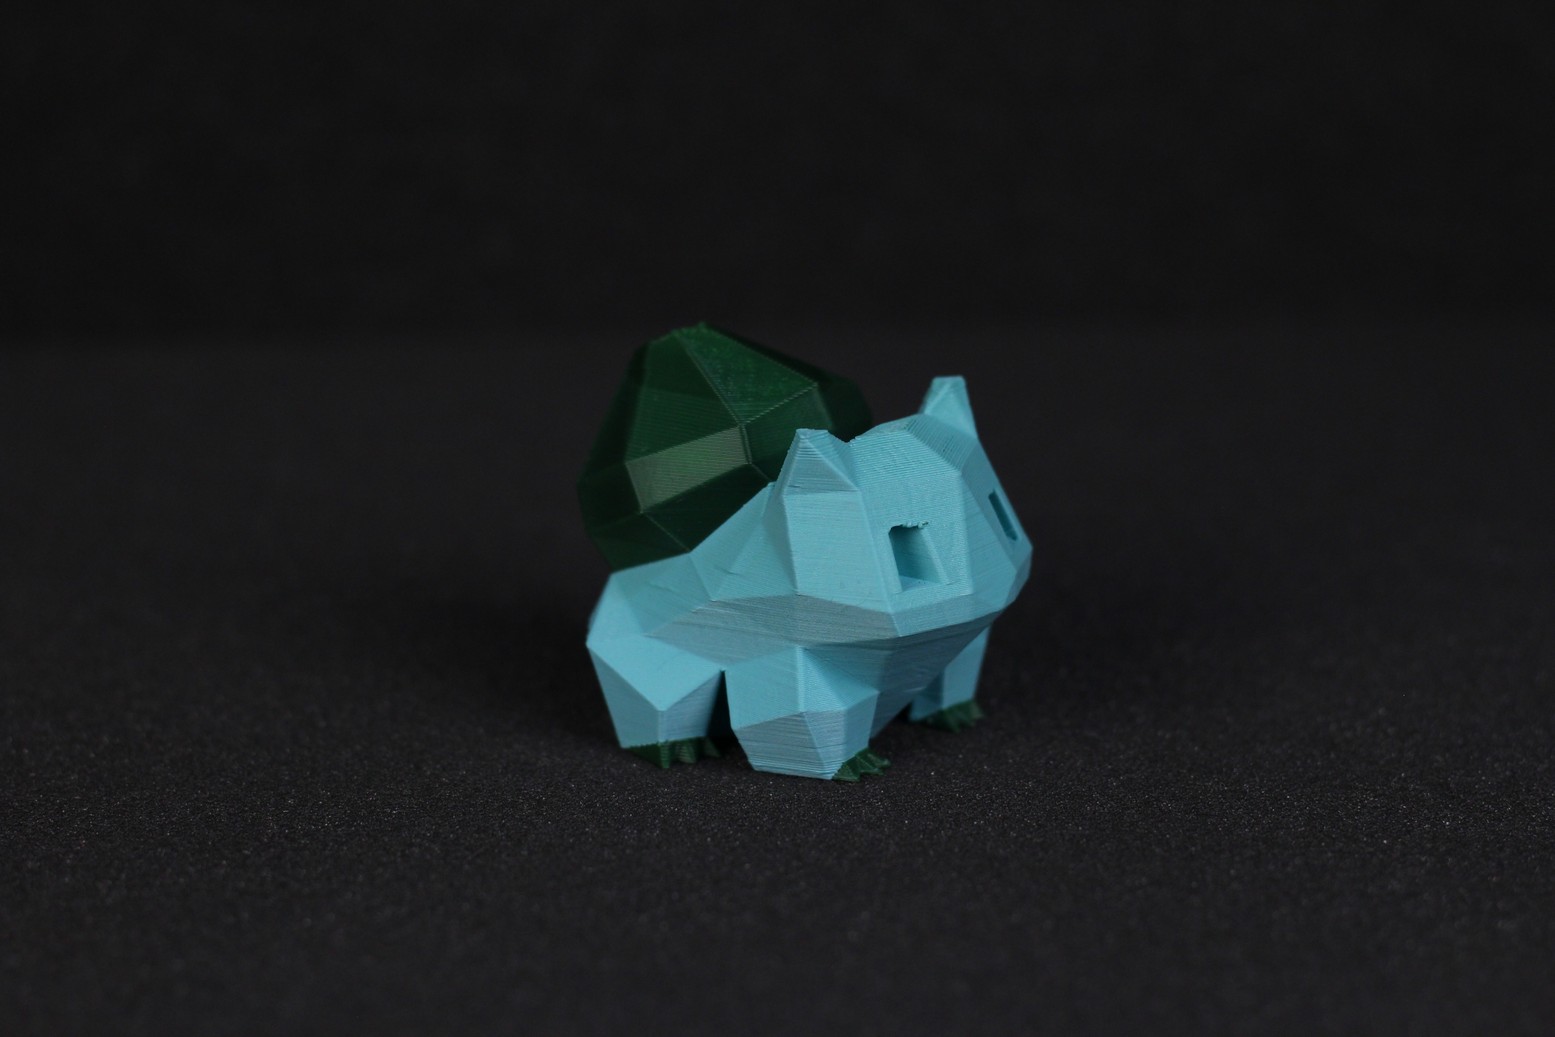
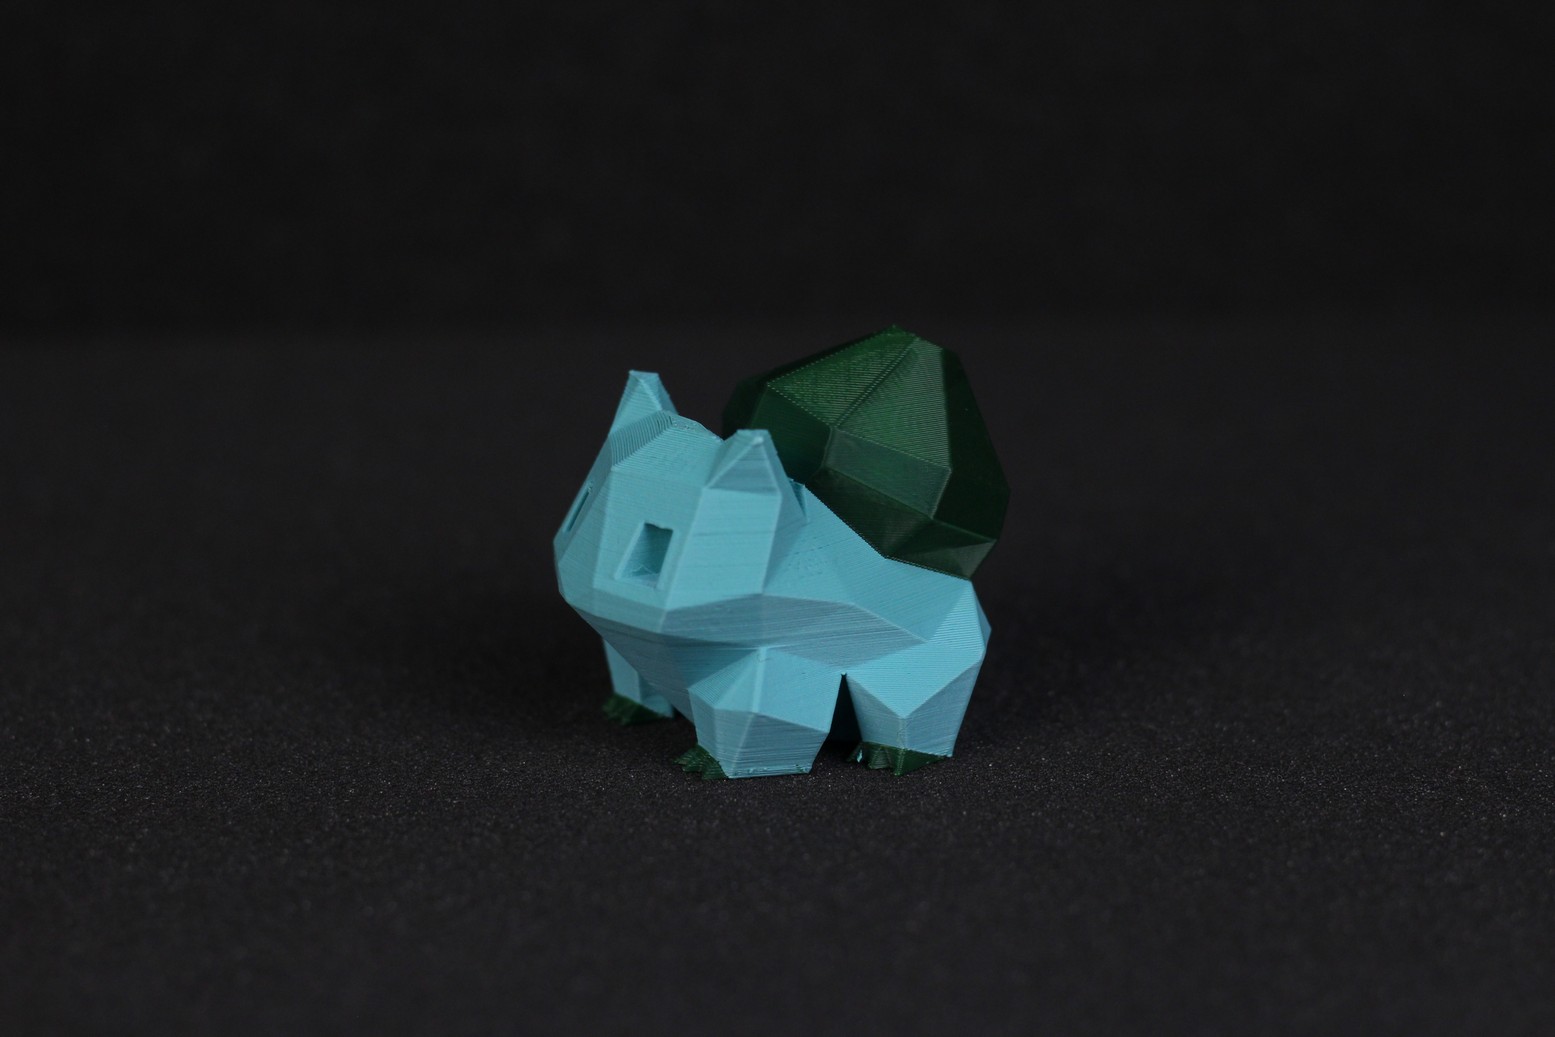
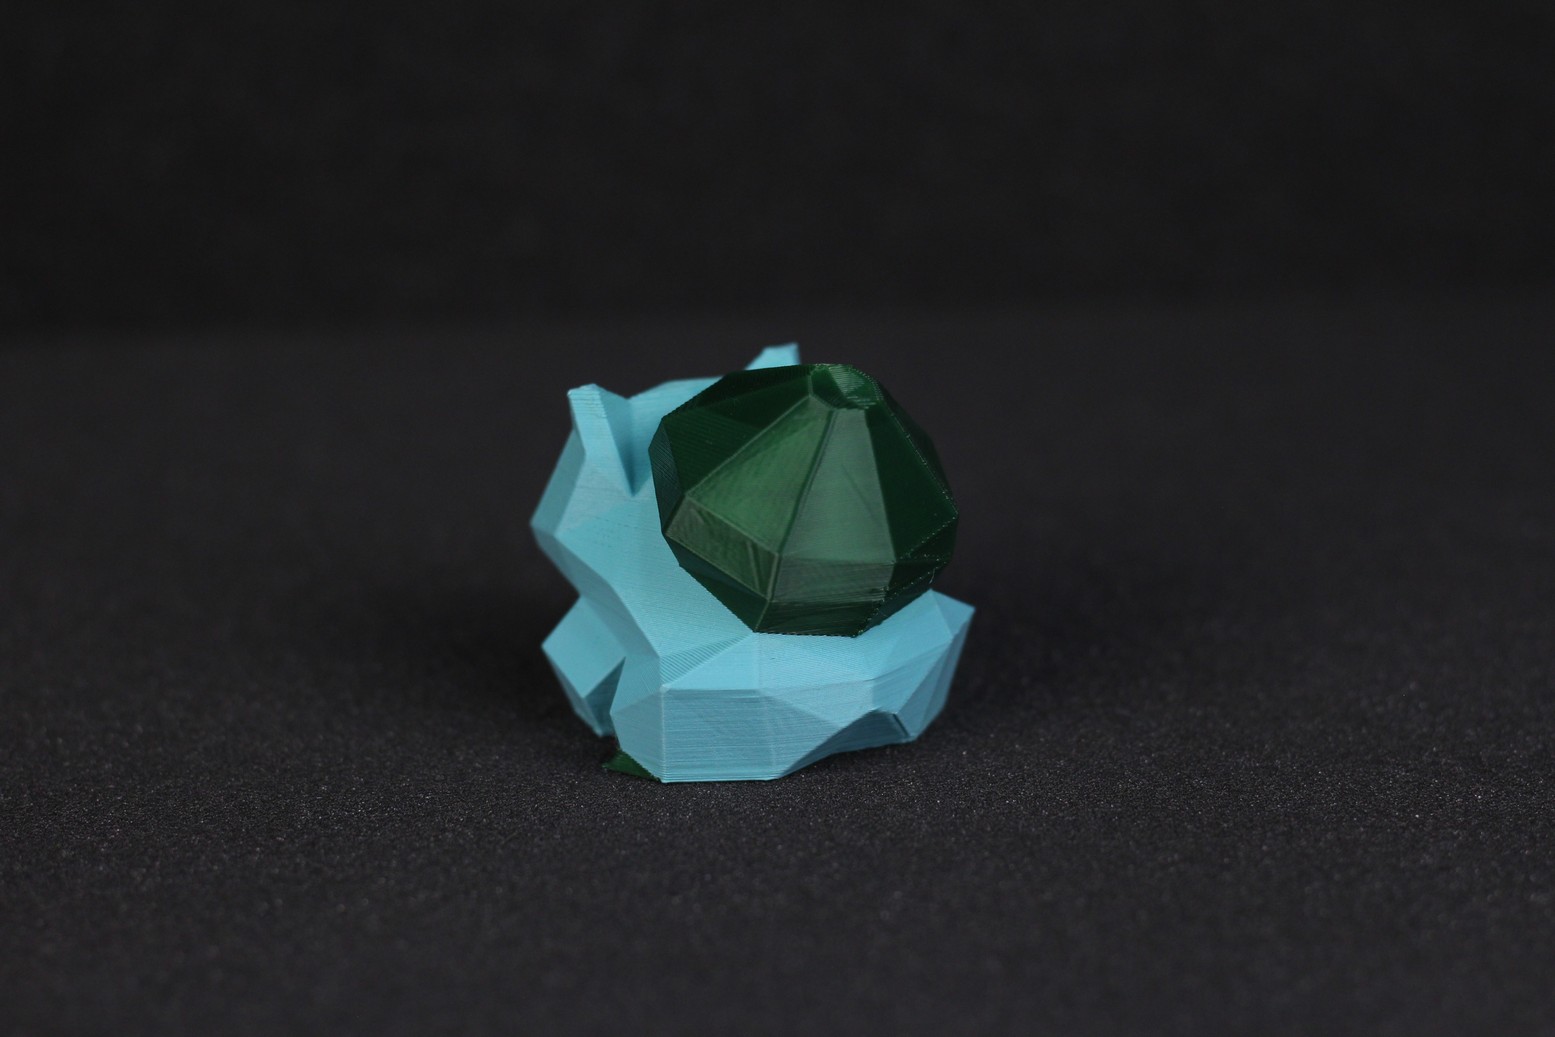
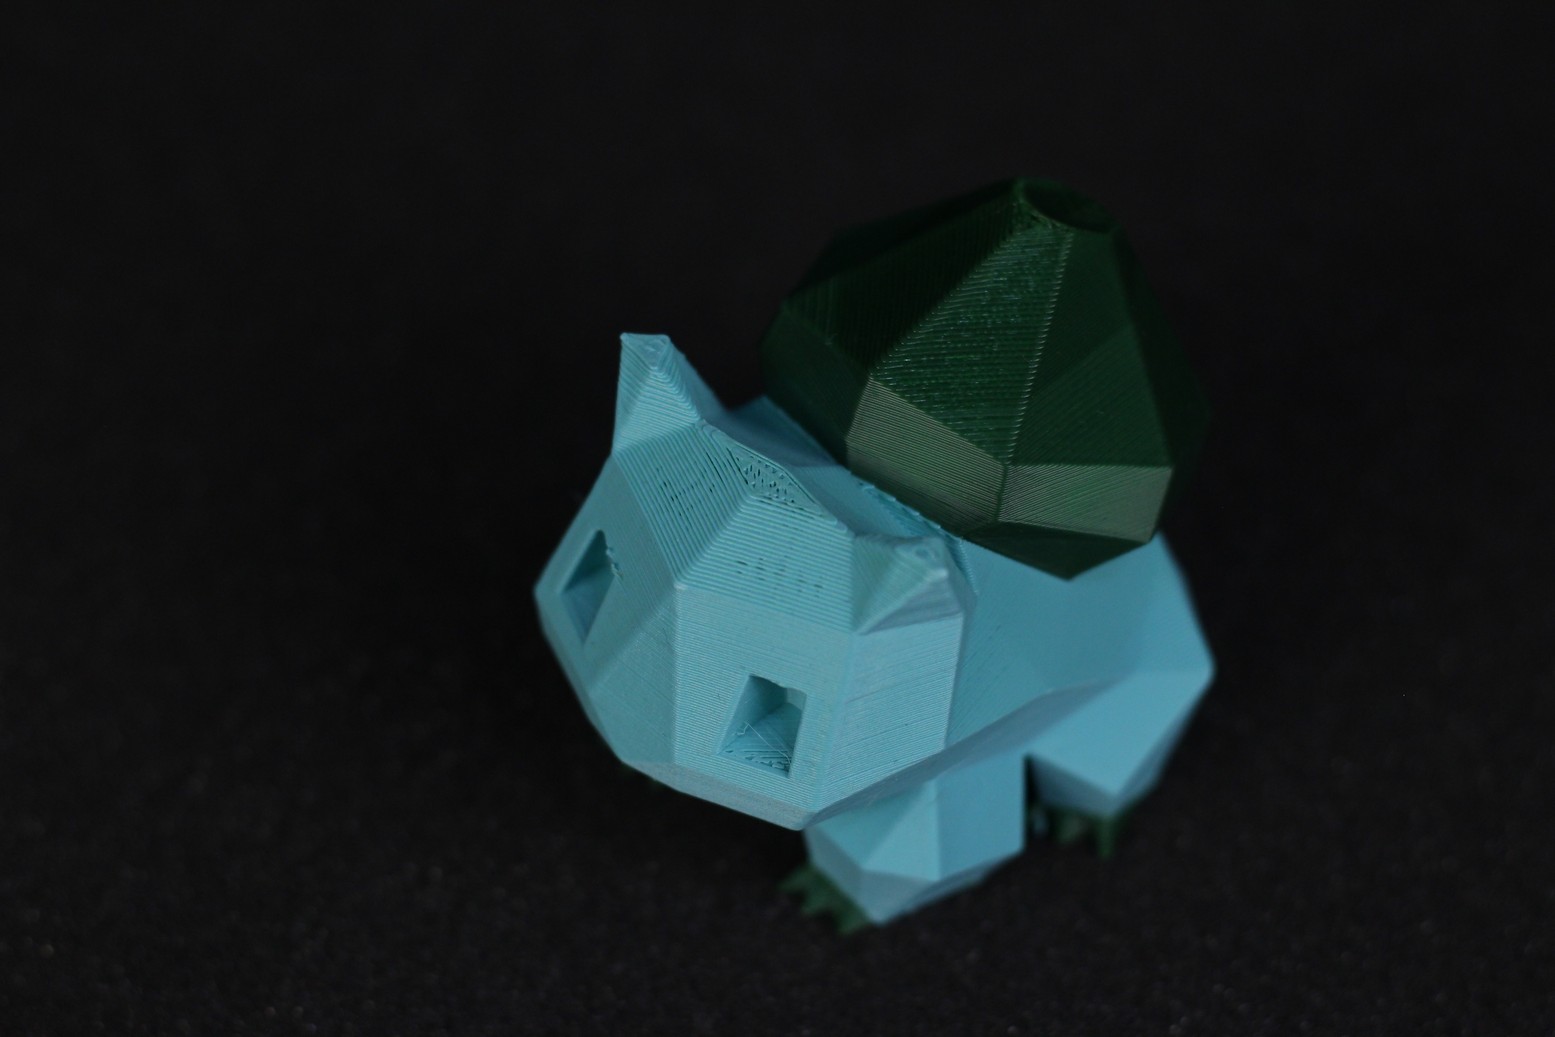
- Material: Polymaker Teal PLA, Devil Design Green PLA
- Layer Height: 0.15 mm
- Nozzle Temperature: 225C
- Bed Temperature: 50C
- Print Speed: 40 mm/s
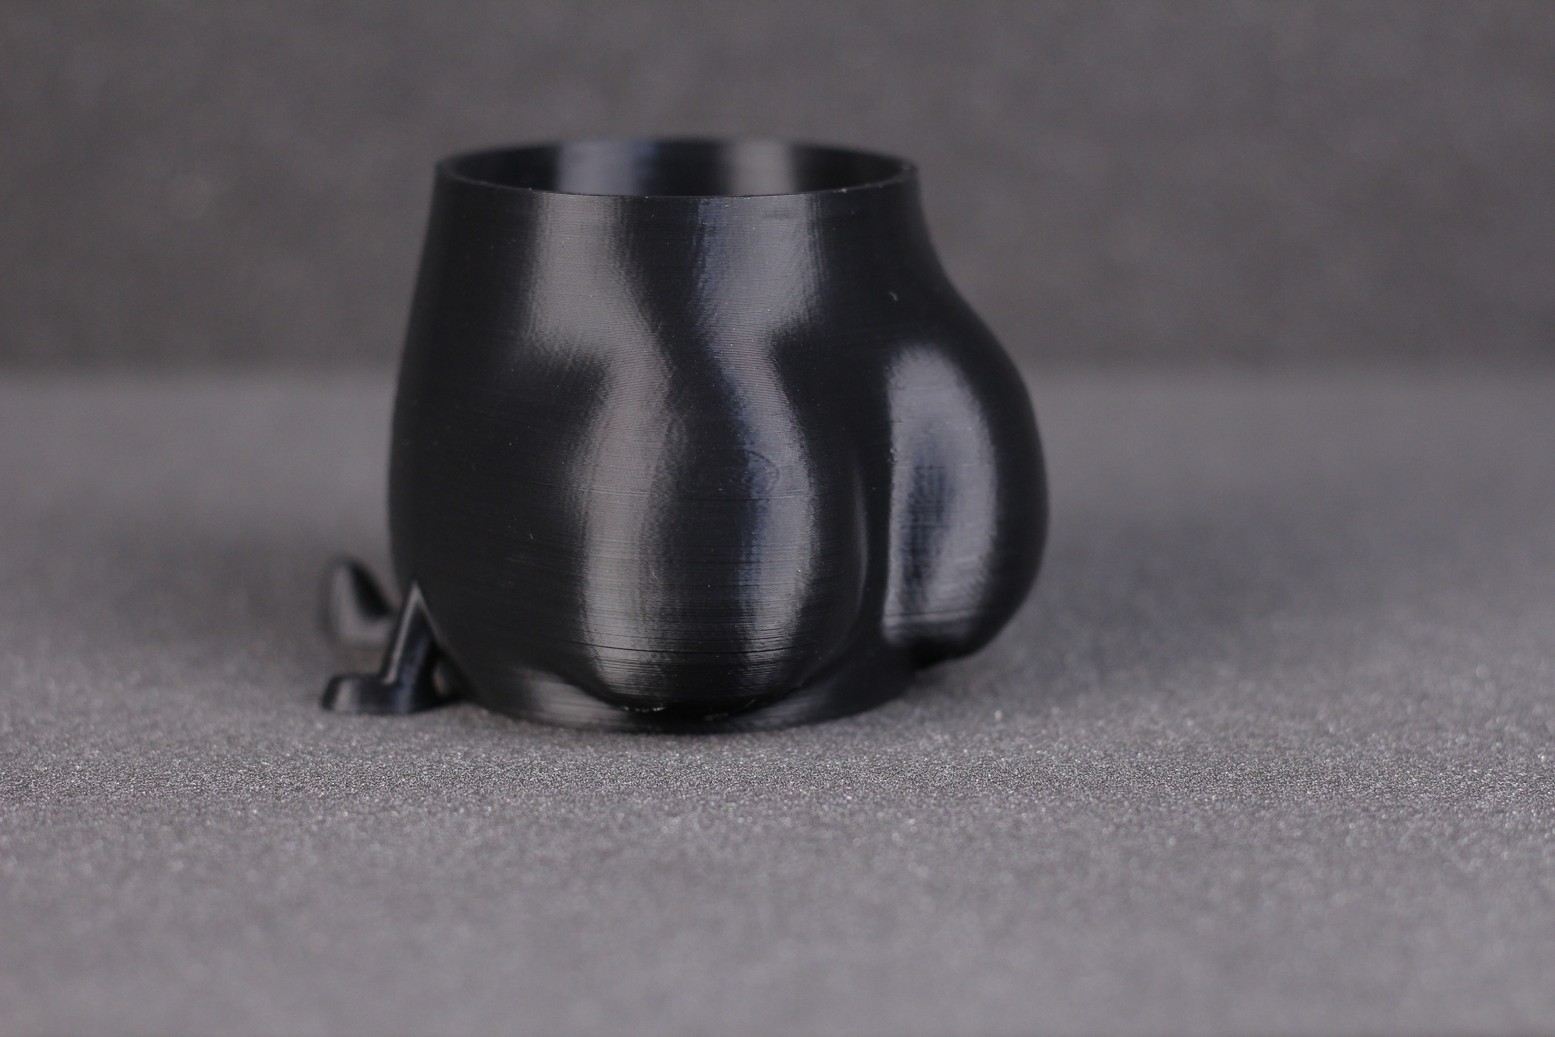
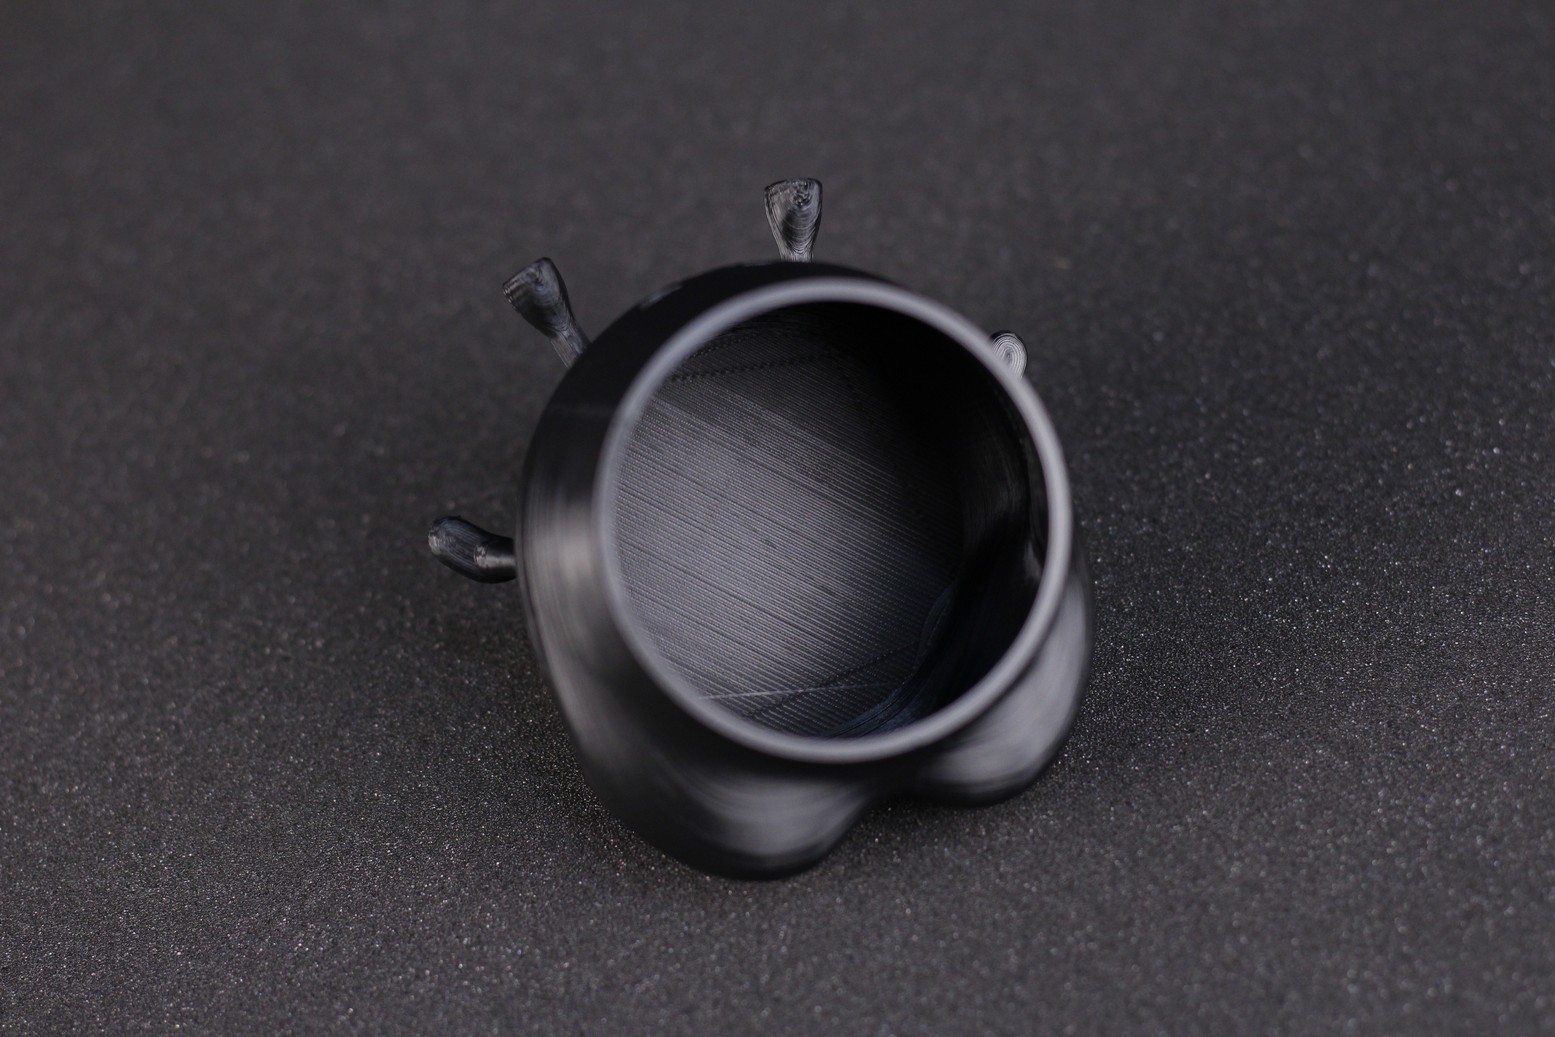
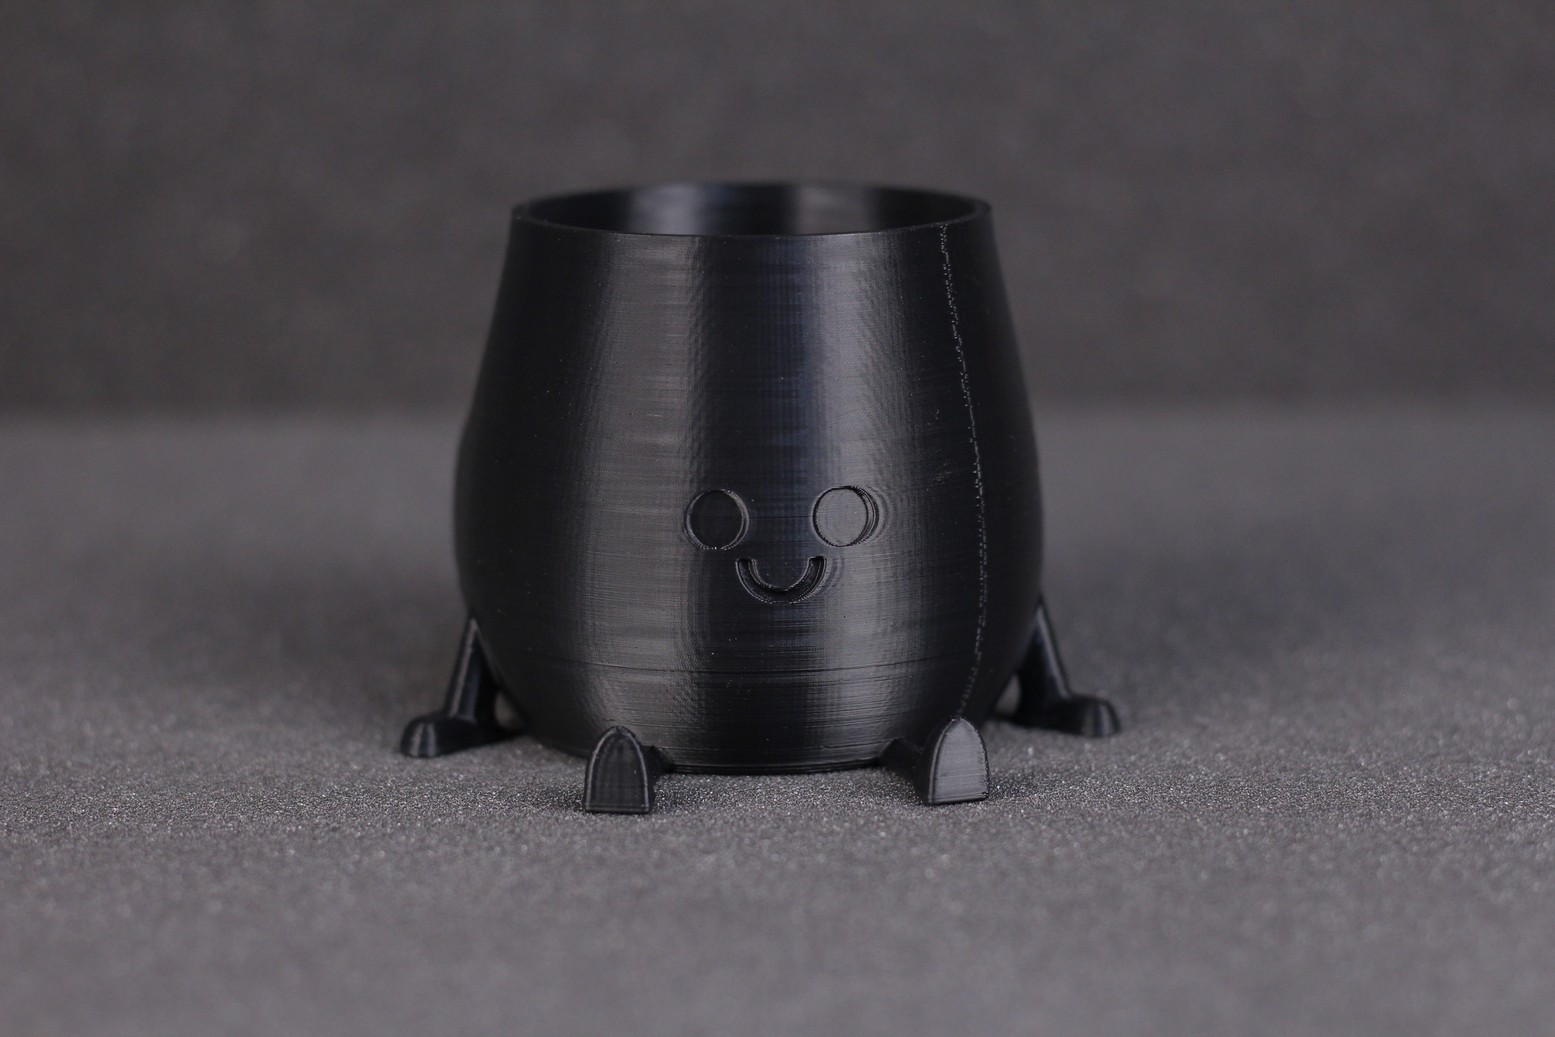
Happy Chunky Bum Sitting Pot
This was a challenge, that arrived in my Phil Saga period, to overcome the fear of overhangs, see what I did there? There is a small portion of the print where the extrusion doesn’t seem to be as consistent as I would like it to be, but otherwise, it looks decent.
- Material: Sunlu Black PLA
- Layer Height: 0.15 mm
- Nozzle Temperature: 220C
- Bed Temperature: 50C
- Print Speed: 40 mm/s
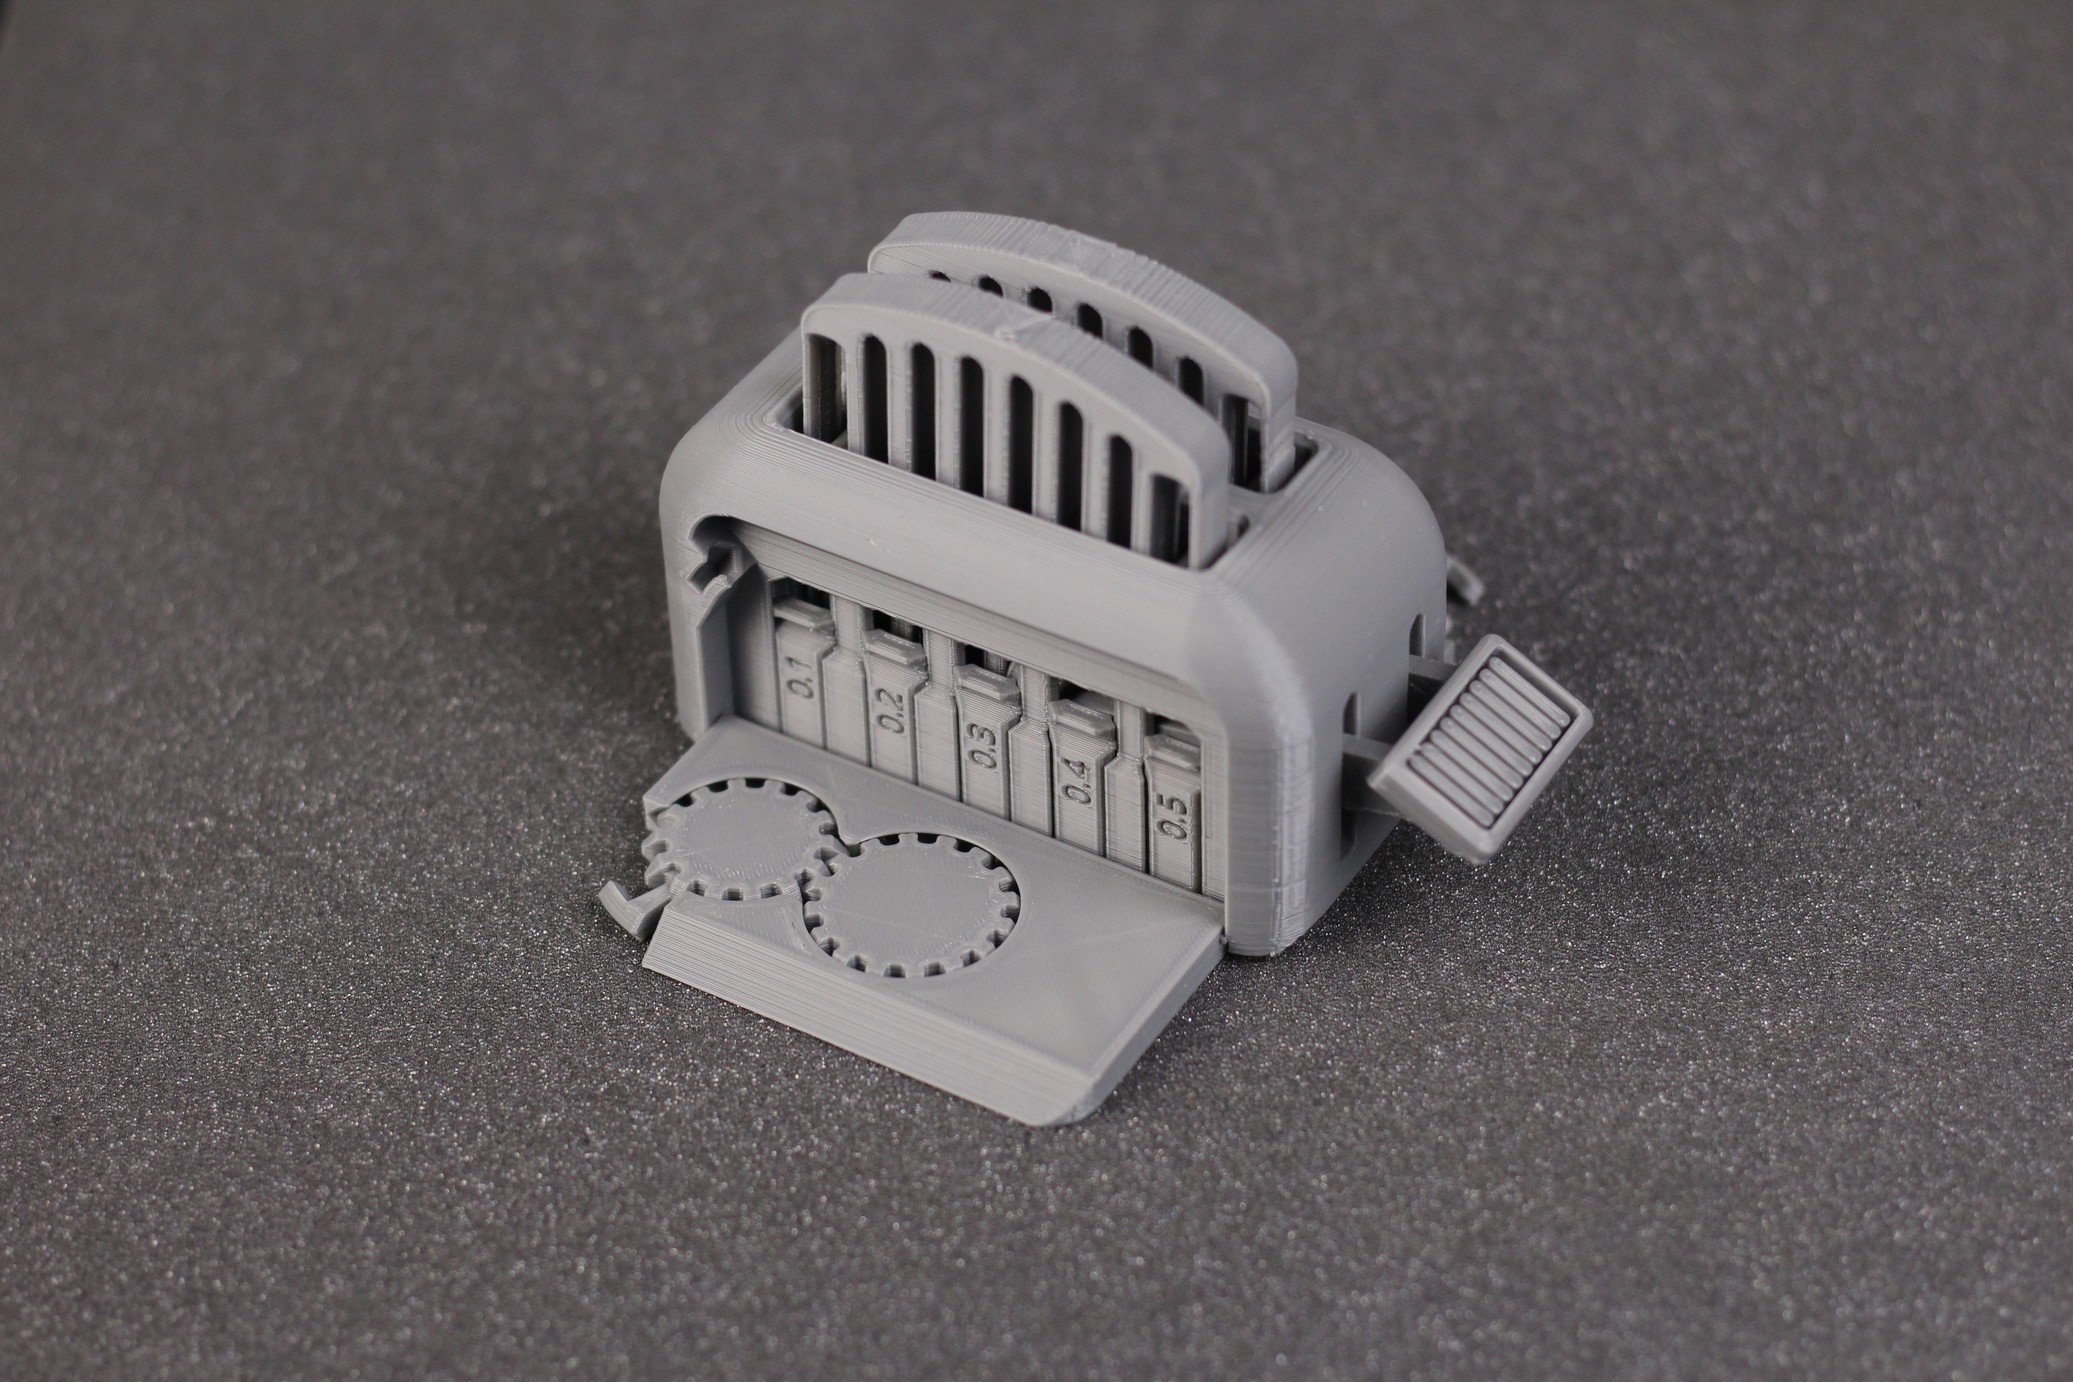
Torture Toaster
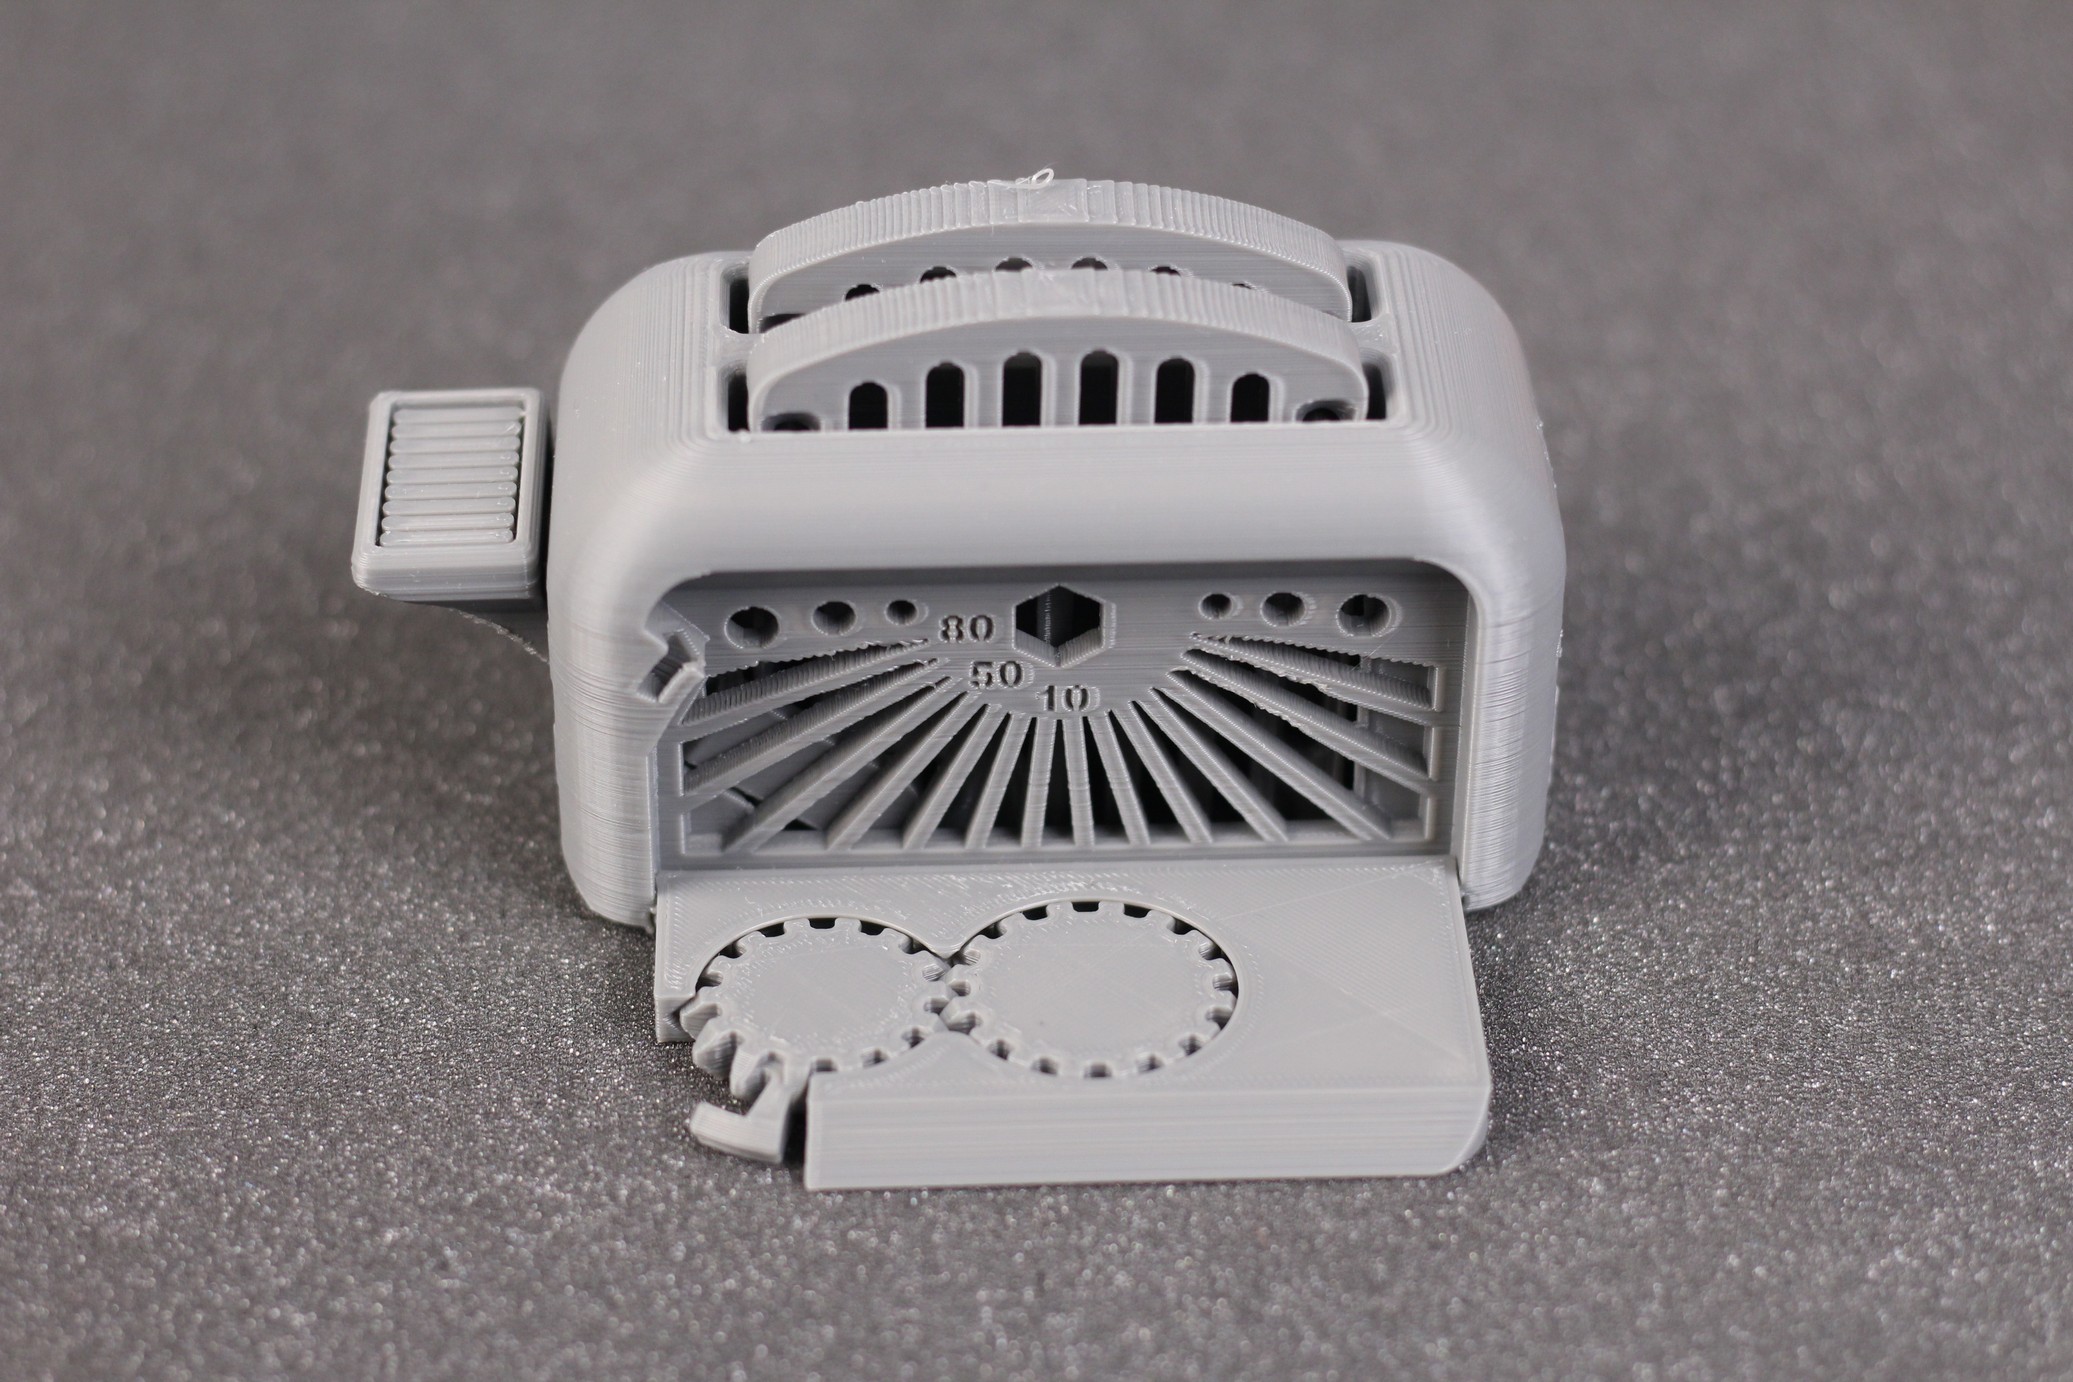
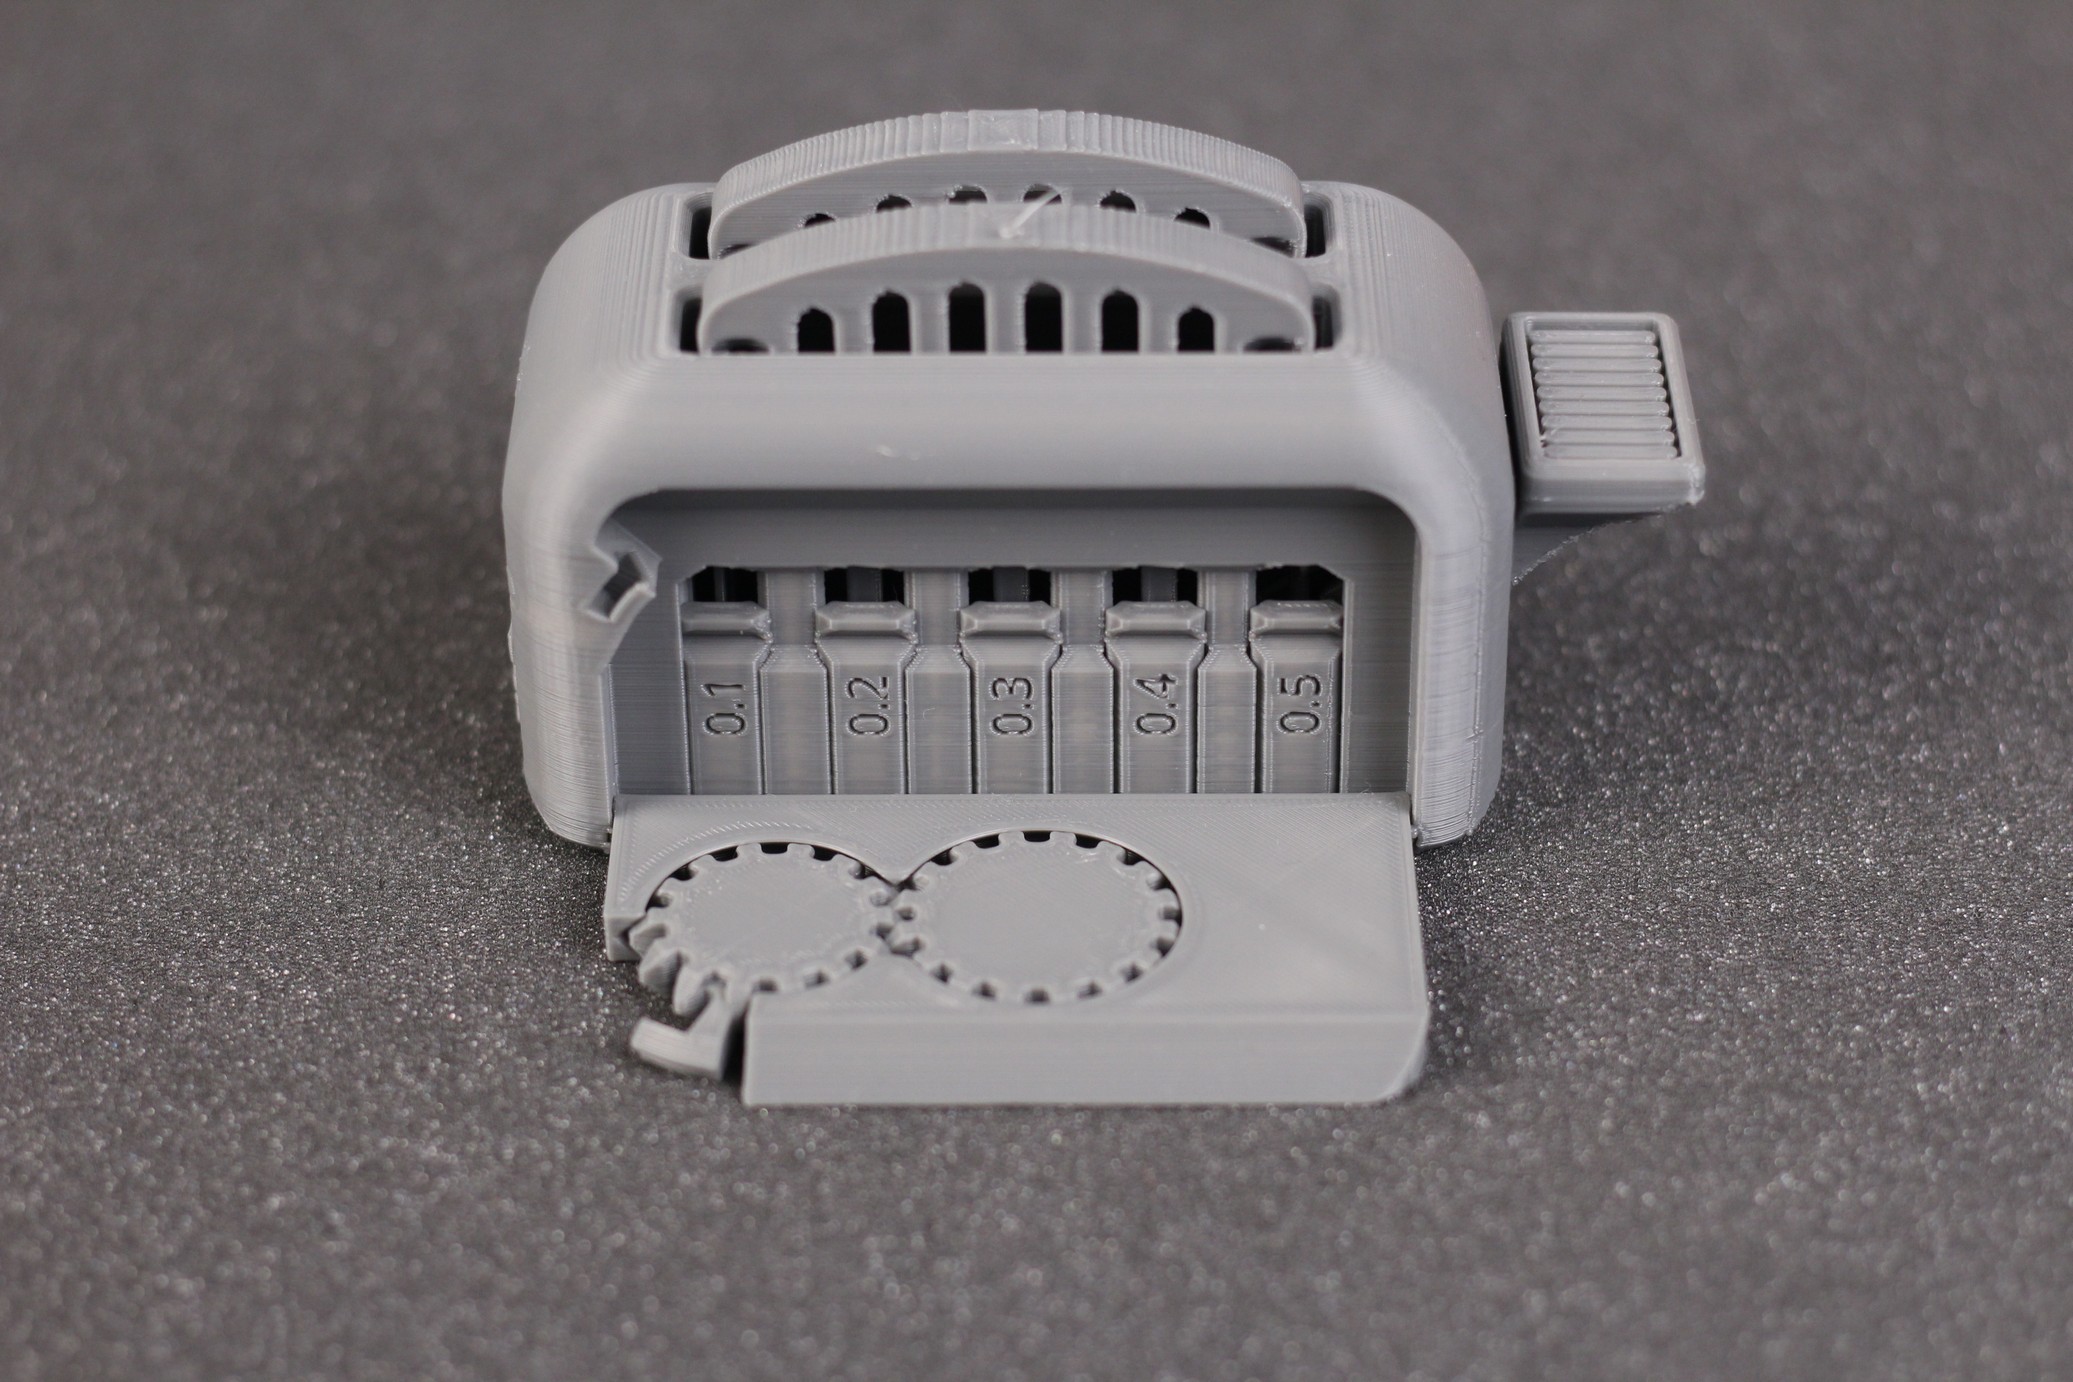
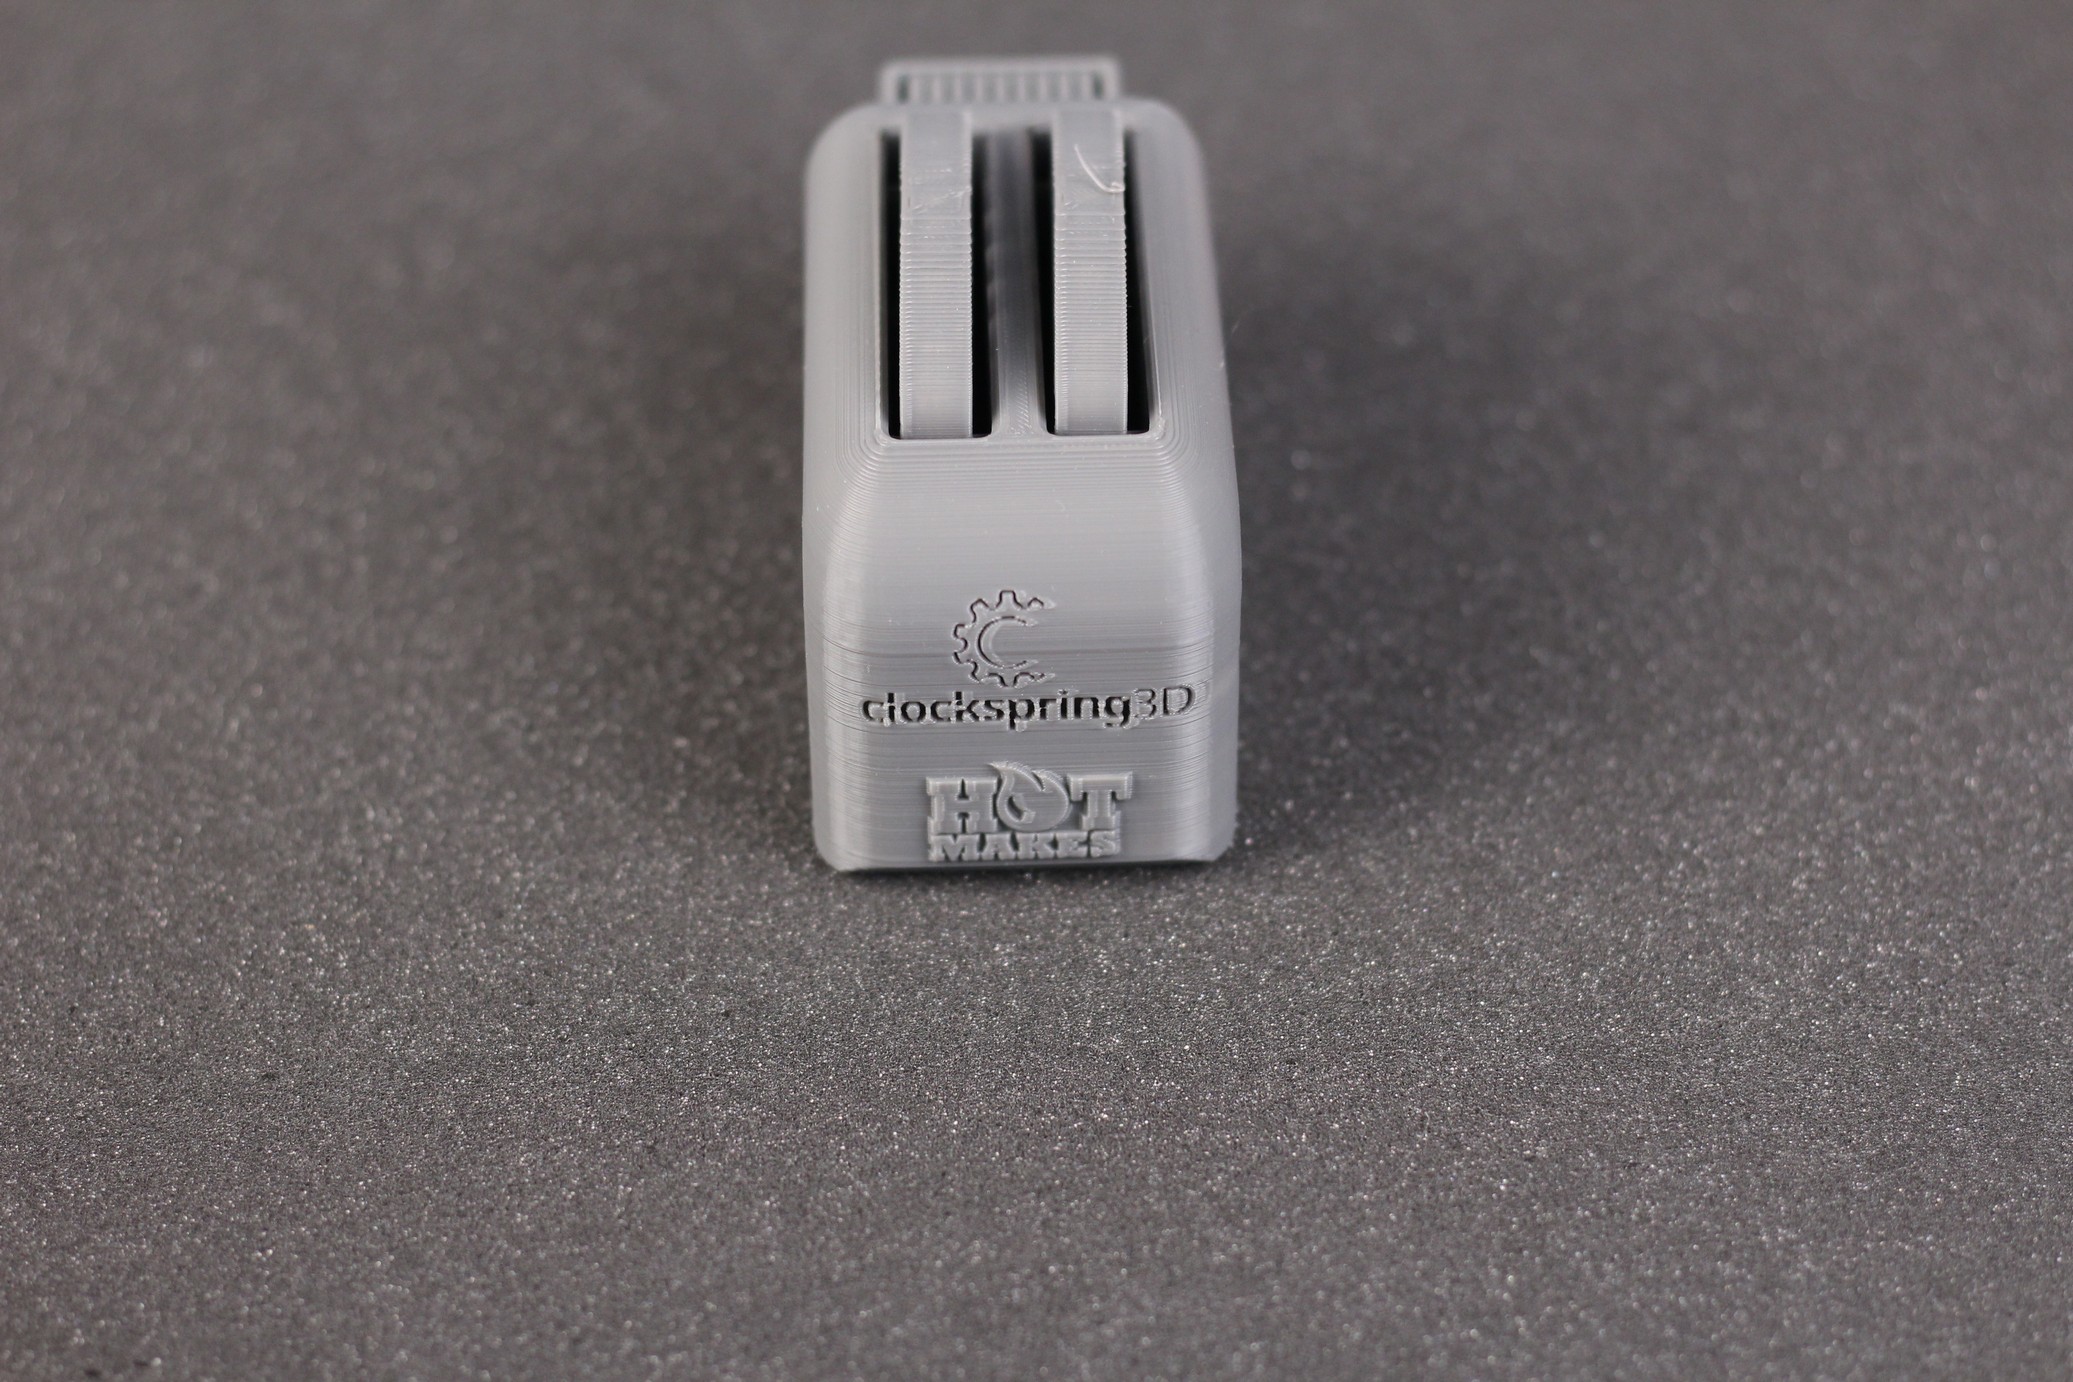
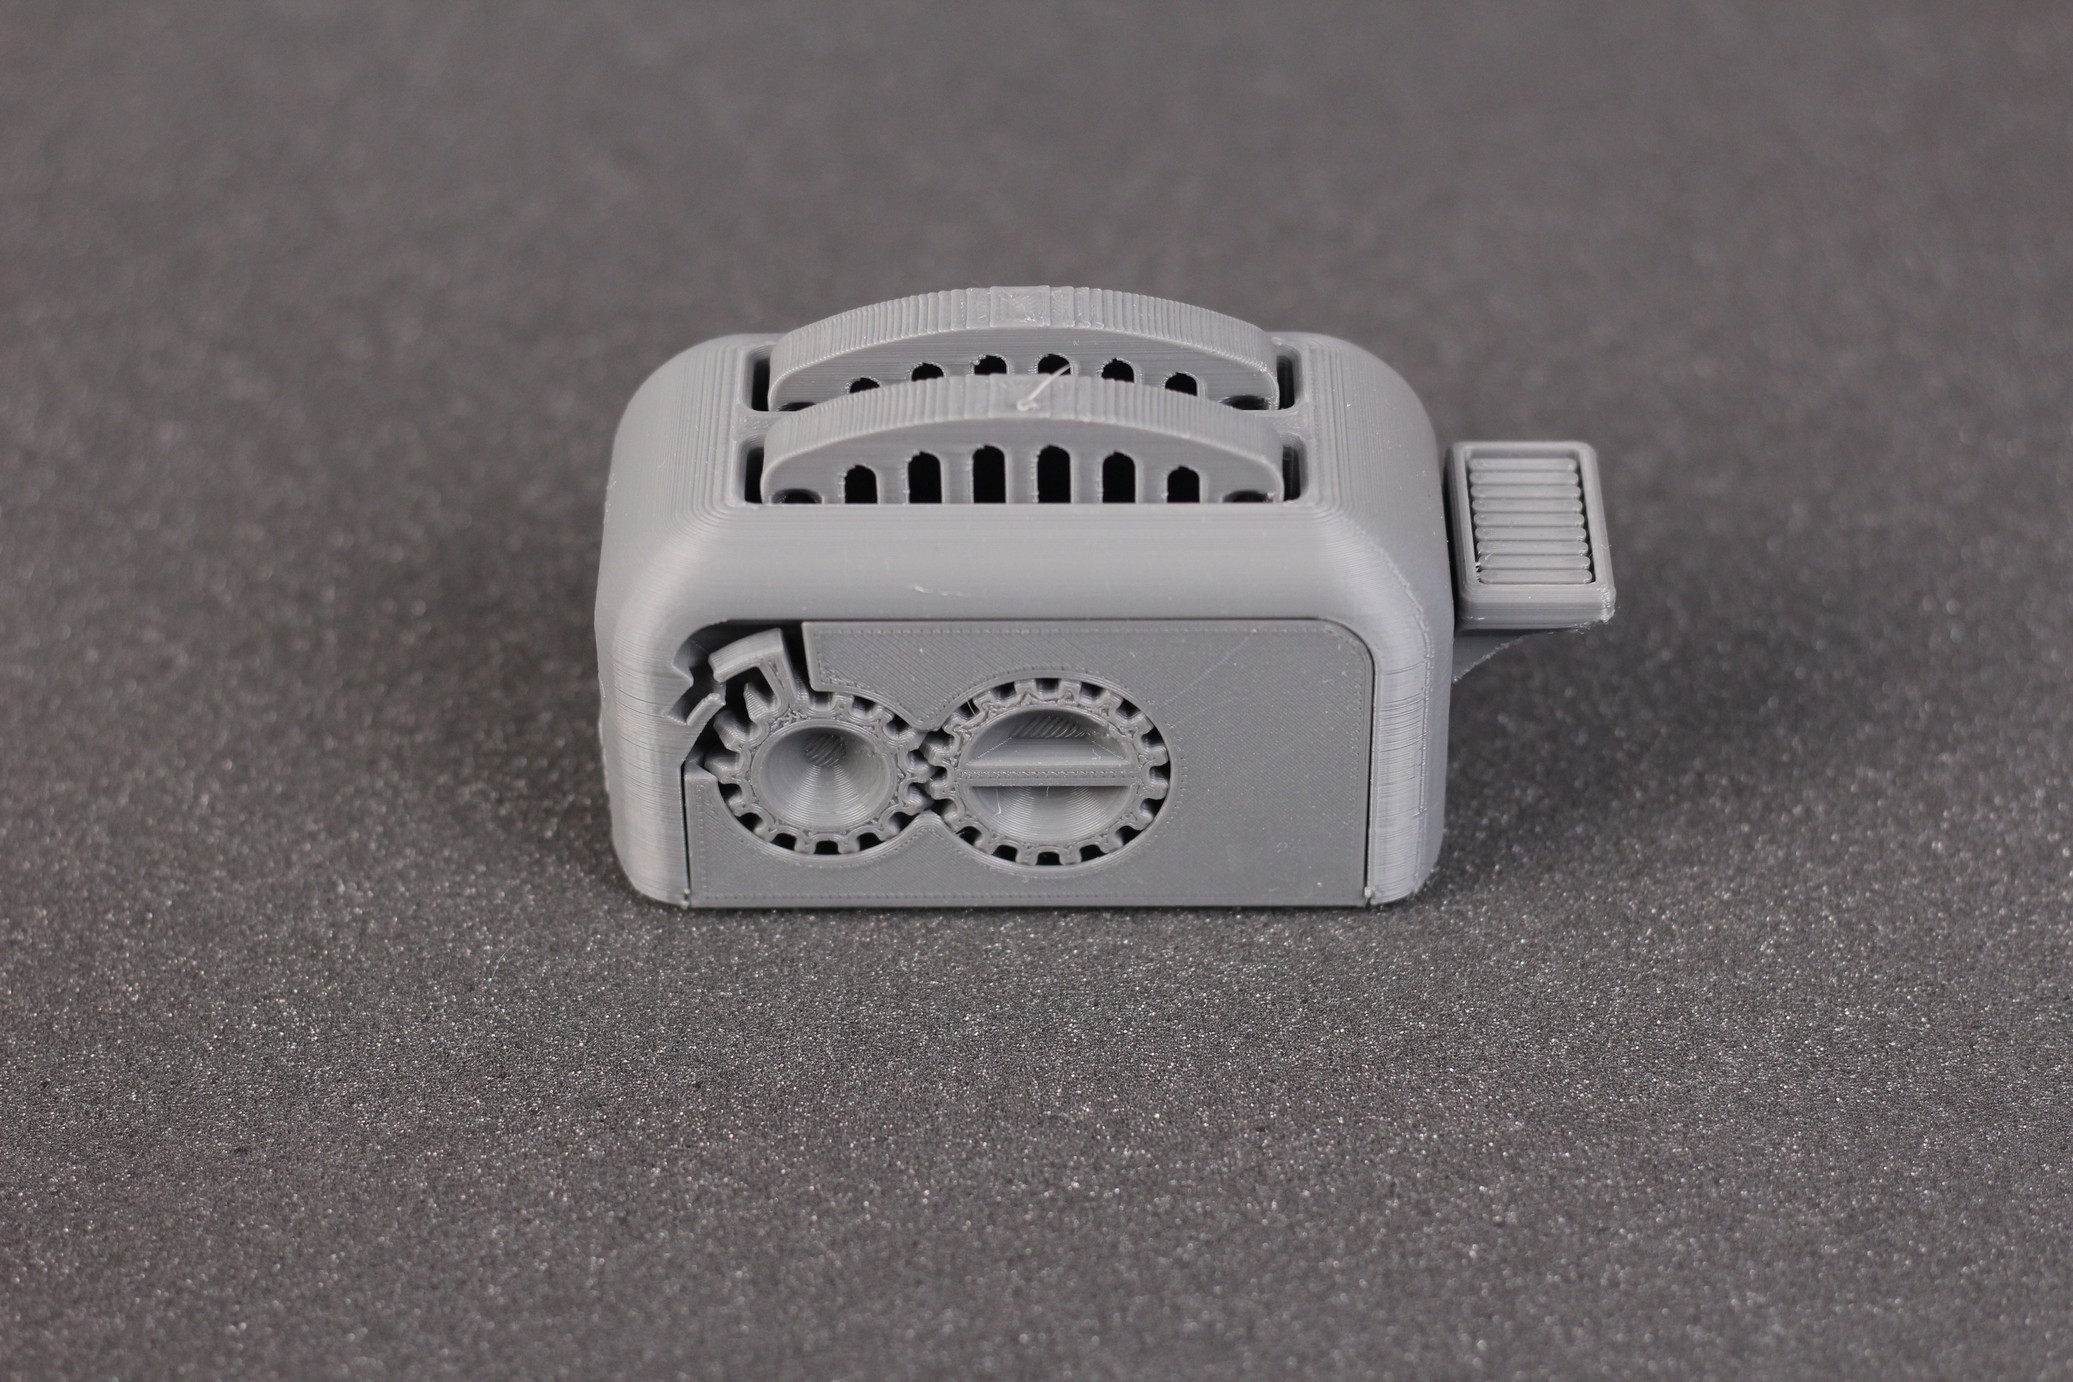
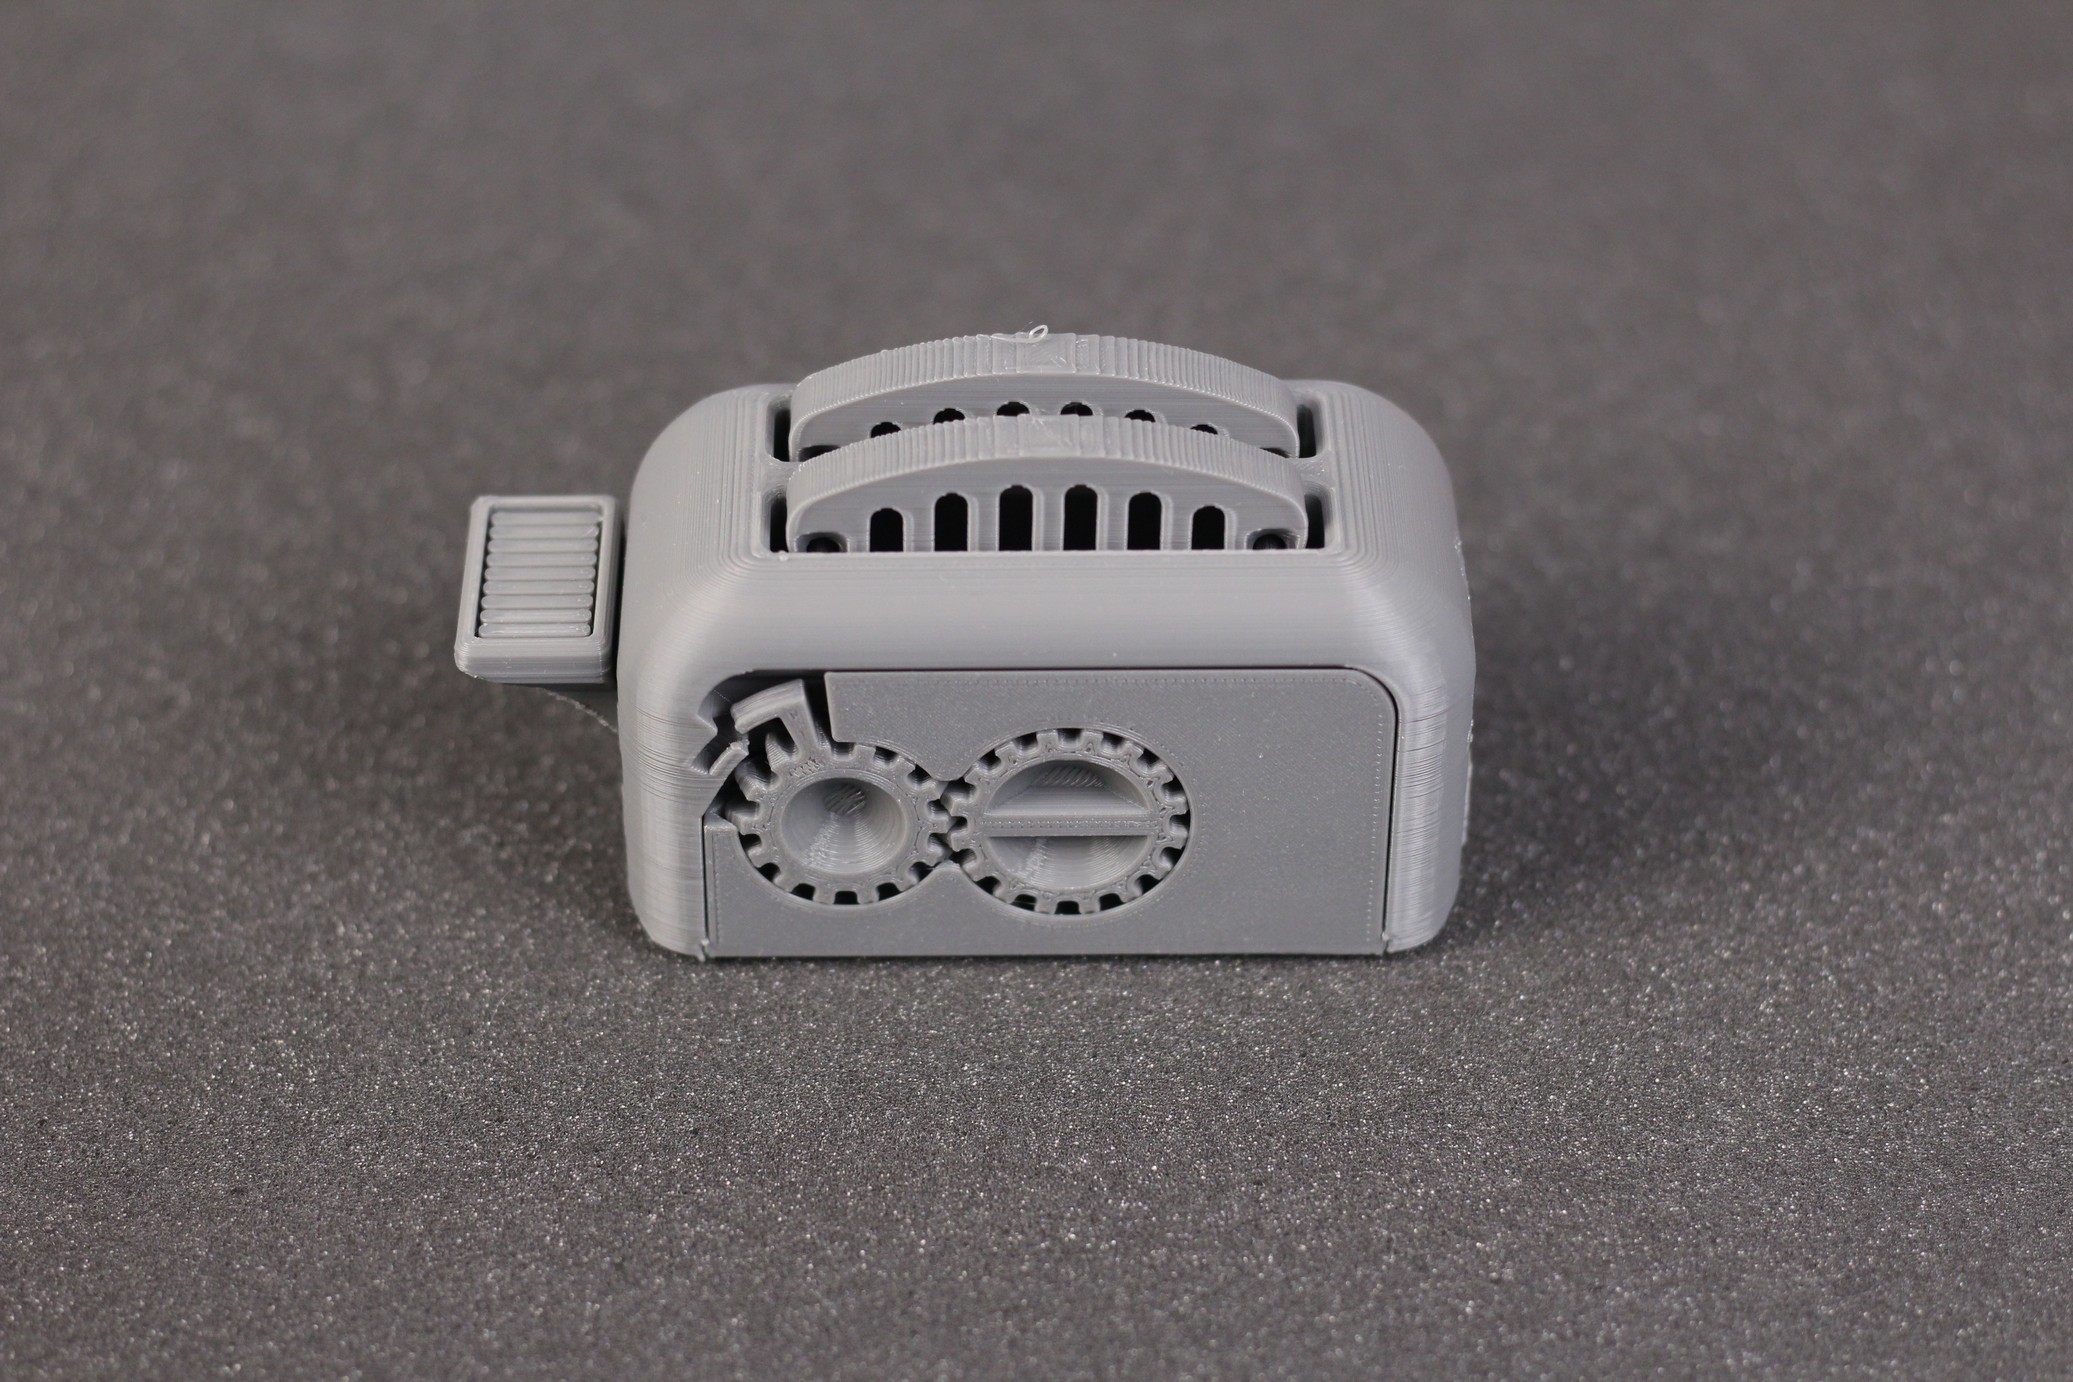
As always, I included a Torture Toaster test print to evaluate the printer accuracy. The model was completed successfully, but none of the tolerance test pieces could be moved, an issue probably caused by the improper part cooling of the printer. Otherwise, it’s an OK result with some banding on the external walls.
- Material: SUNLU Grey PLA
- Layer Height: 0.2 mm
- Nozzle Temperature: 205C
- Bed Temperature: 50C
- Print Speed: 60 mm/s
Melting Lollipop
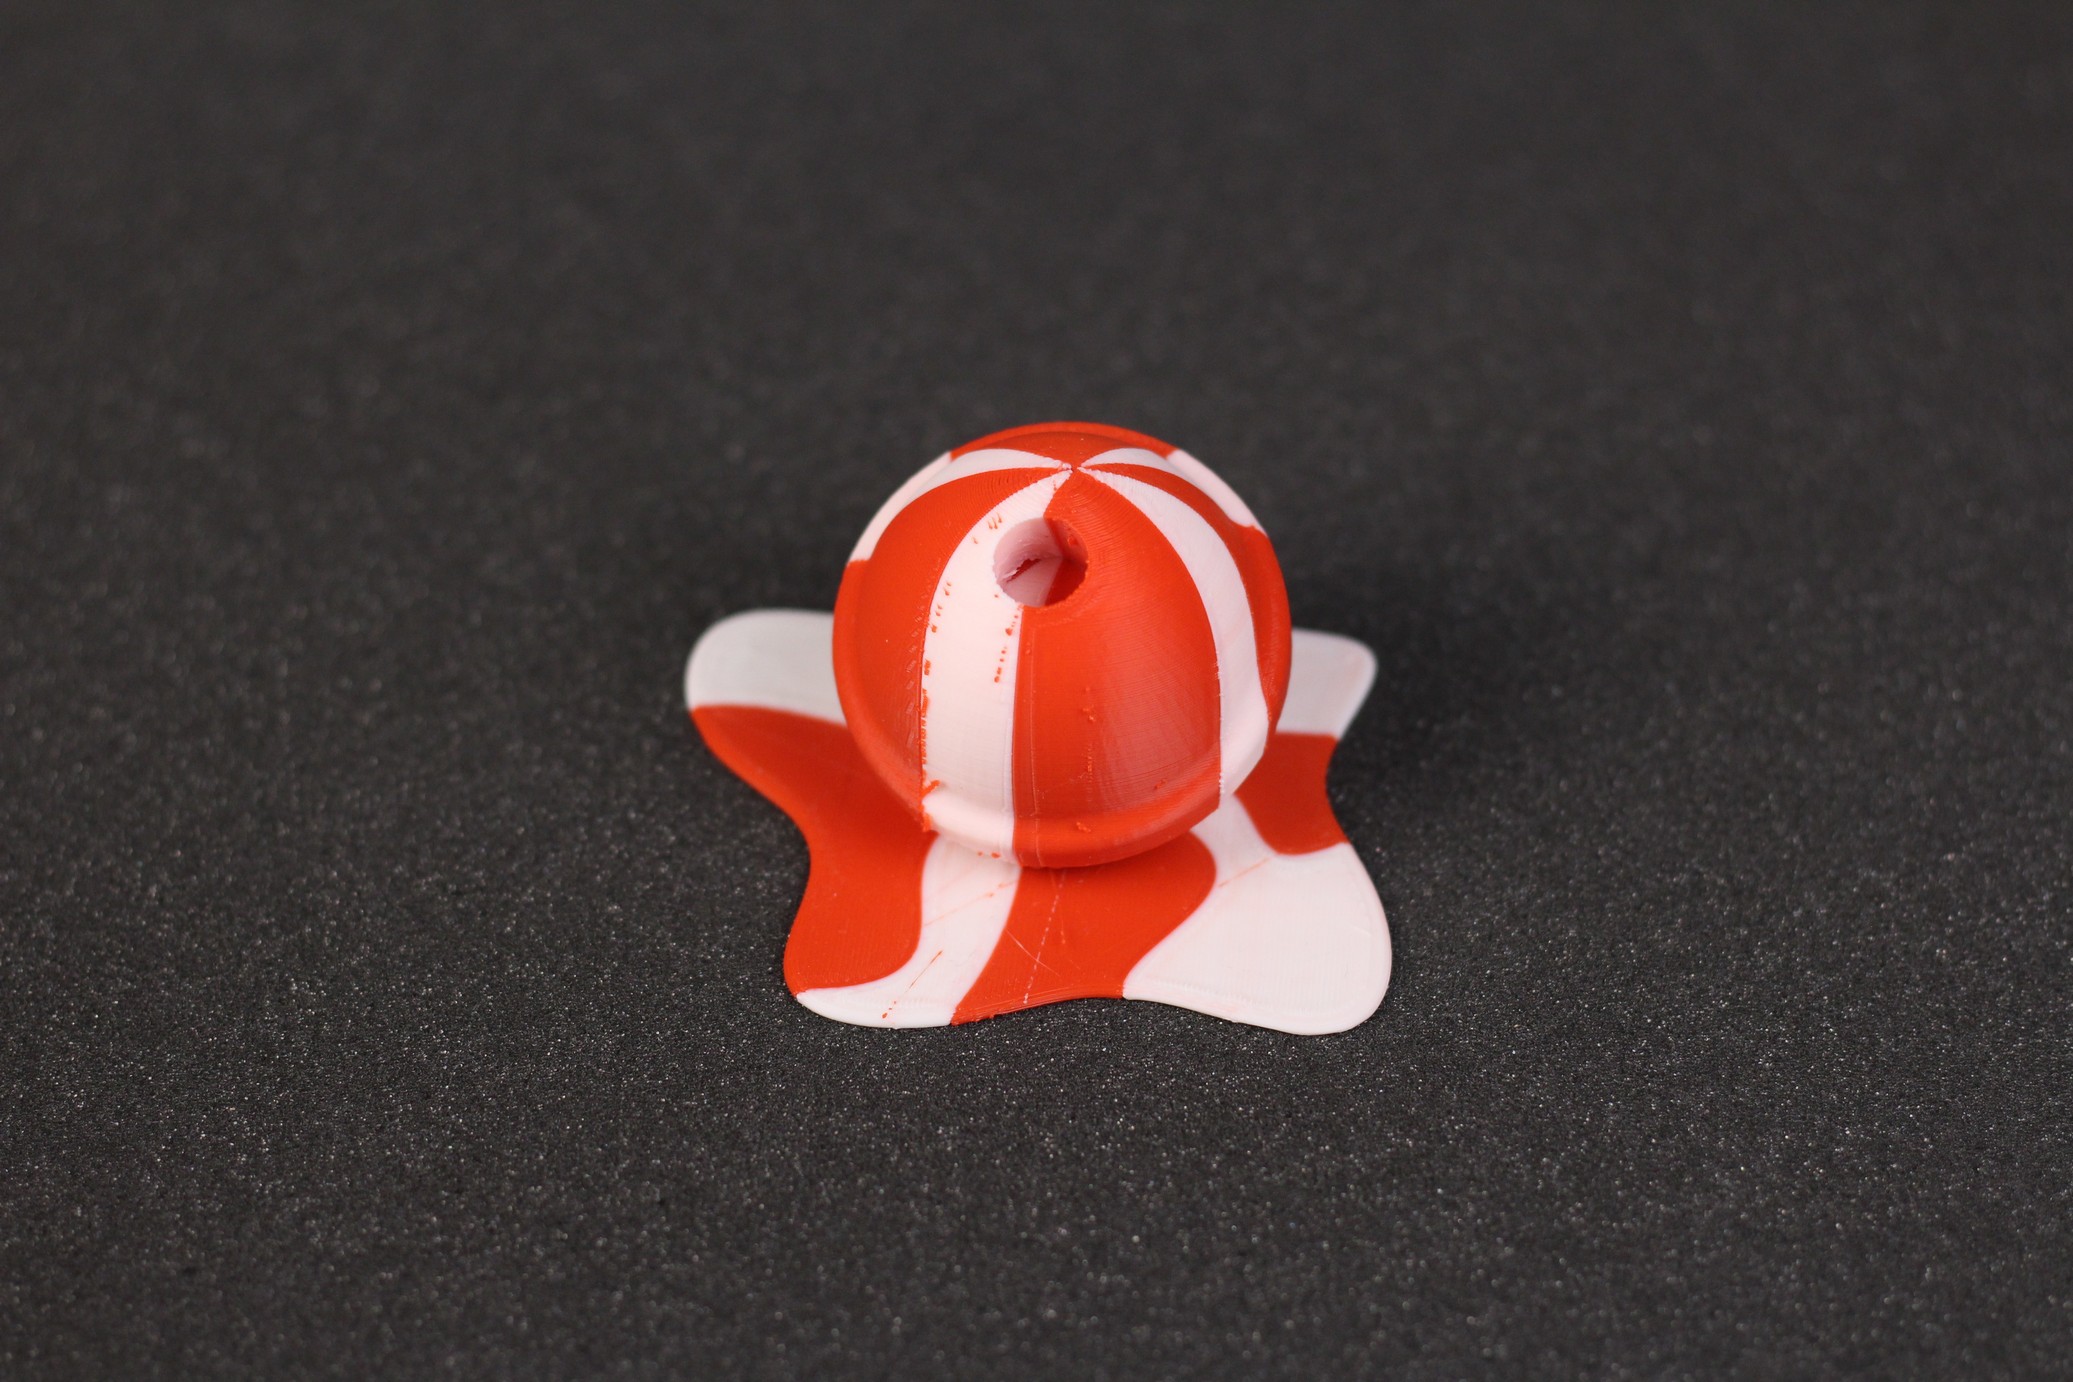
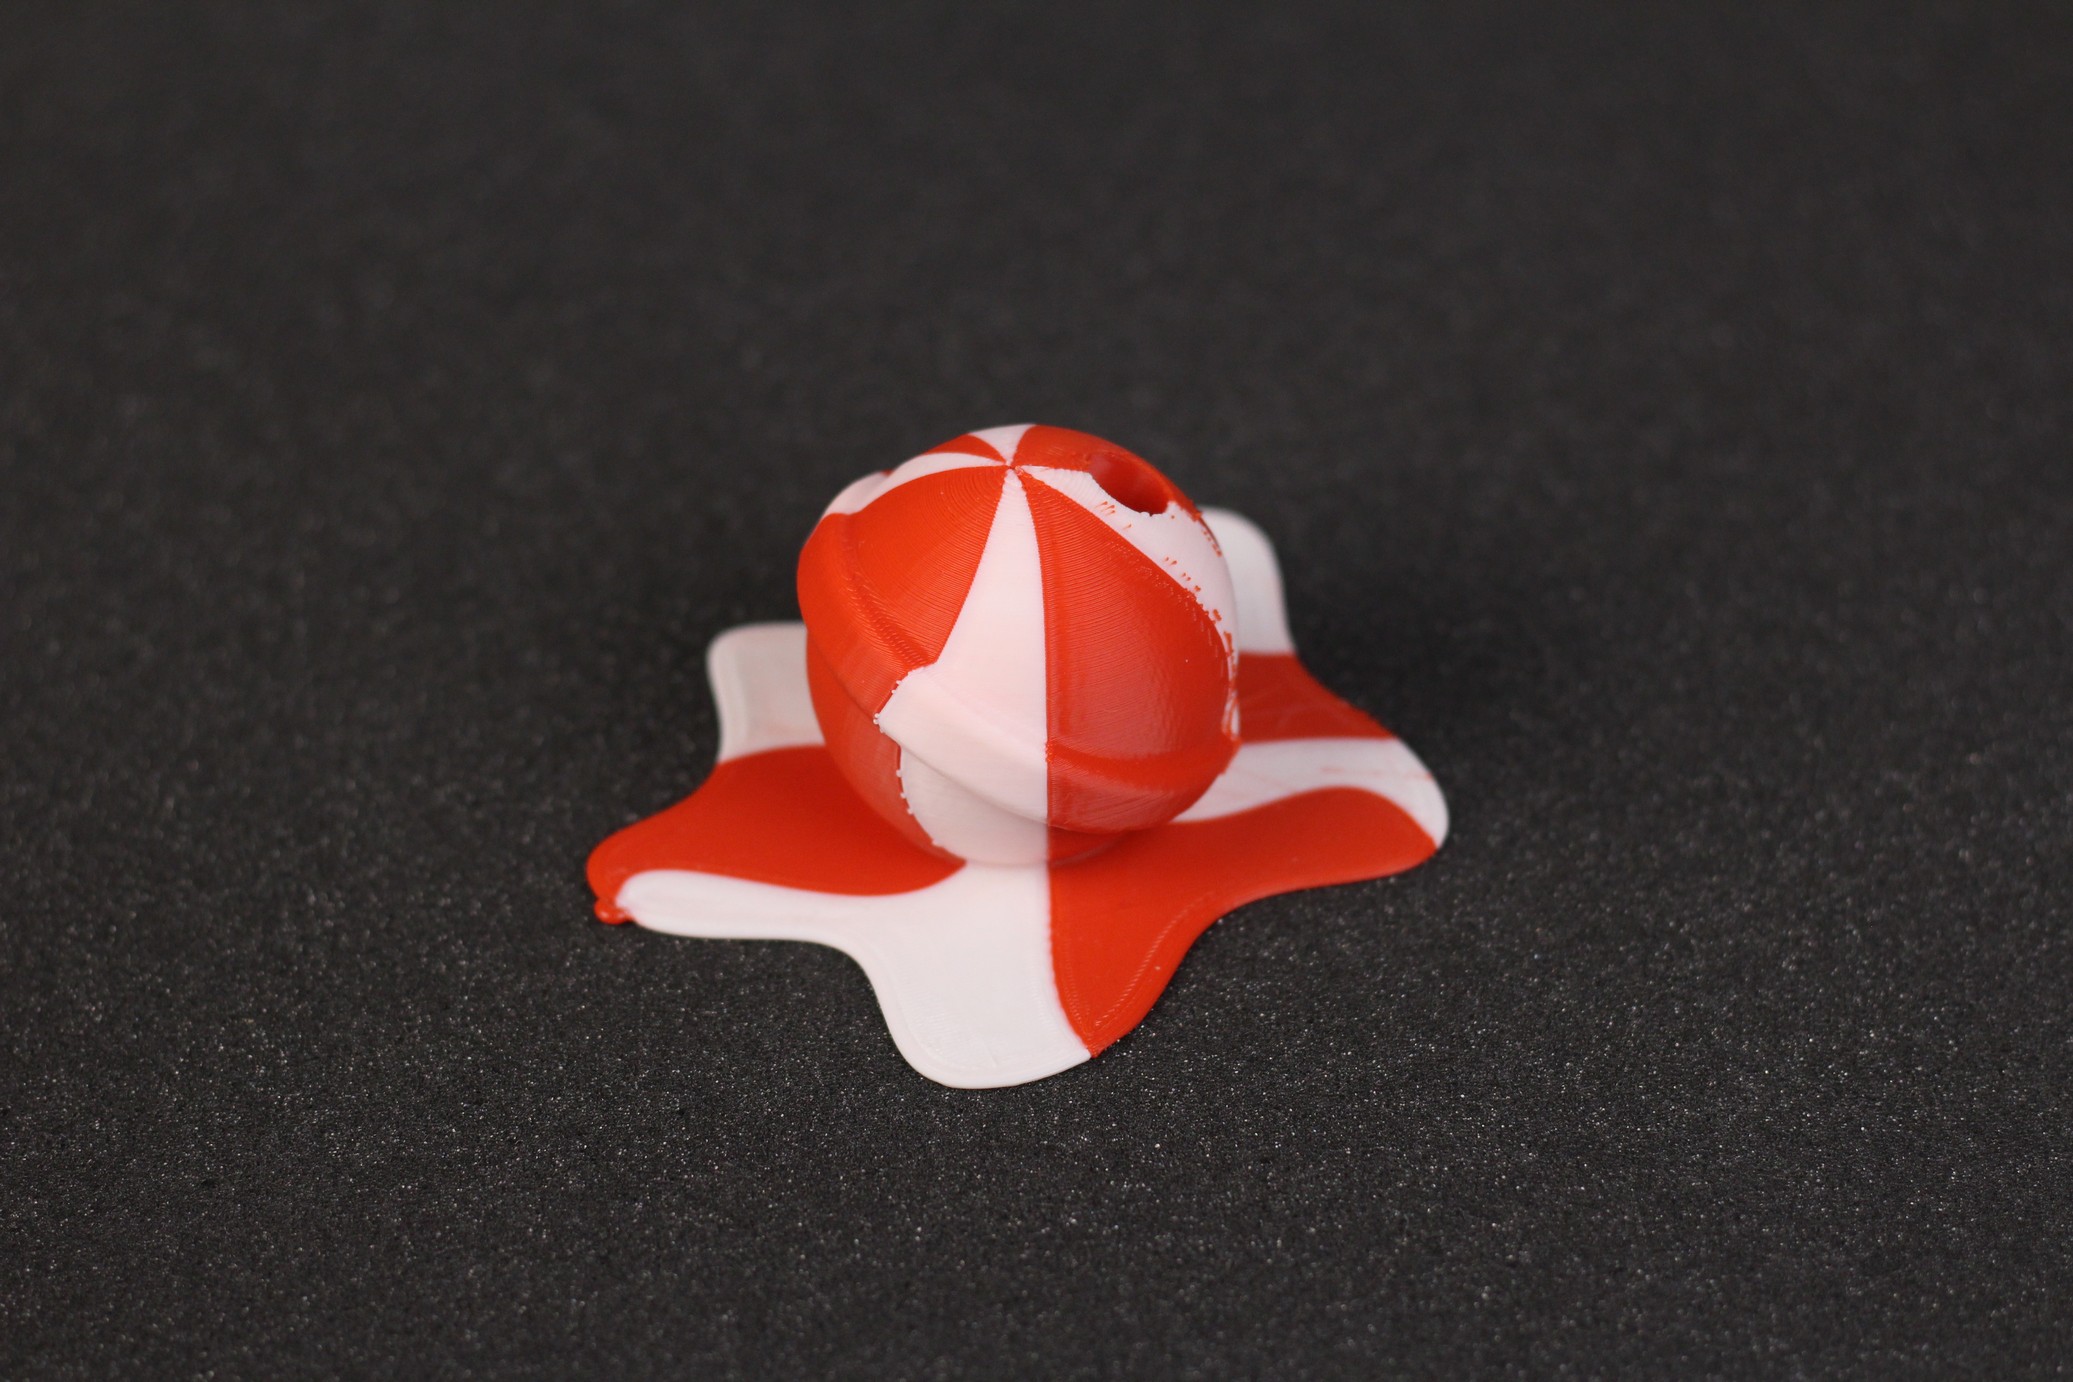
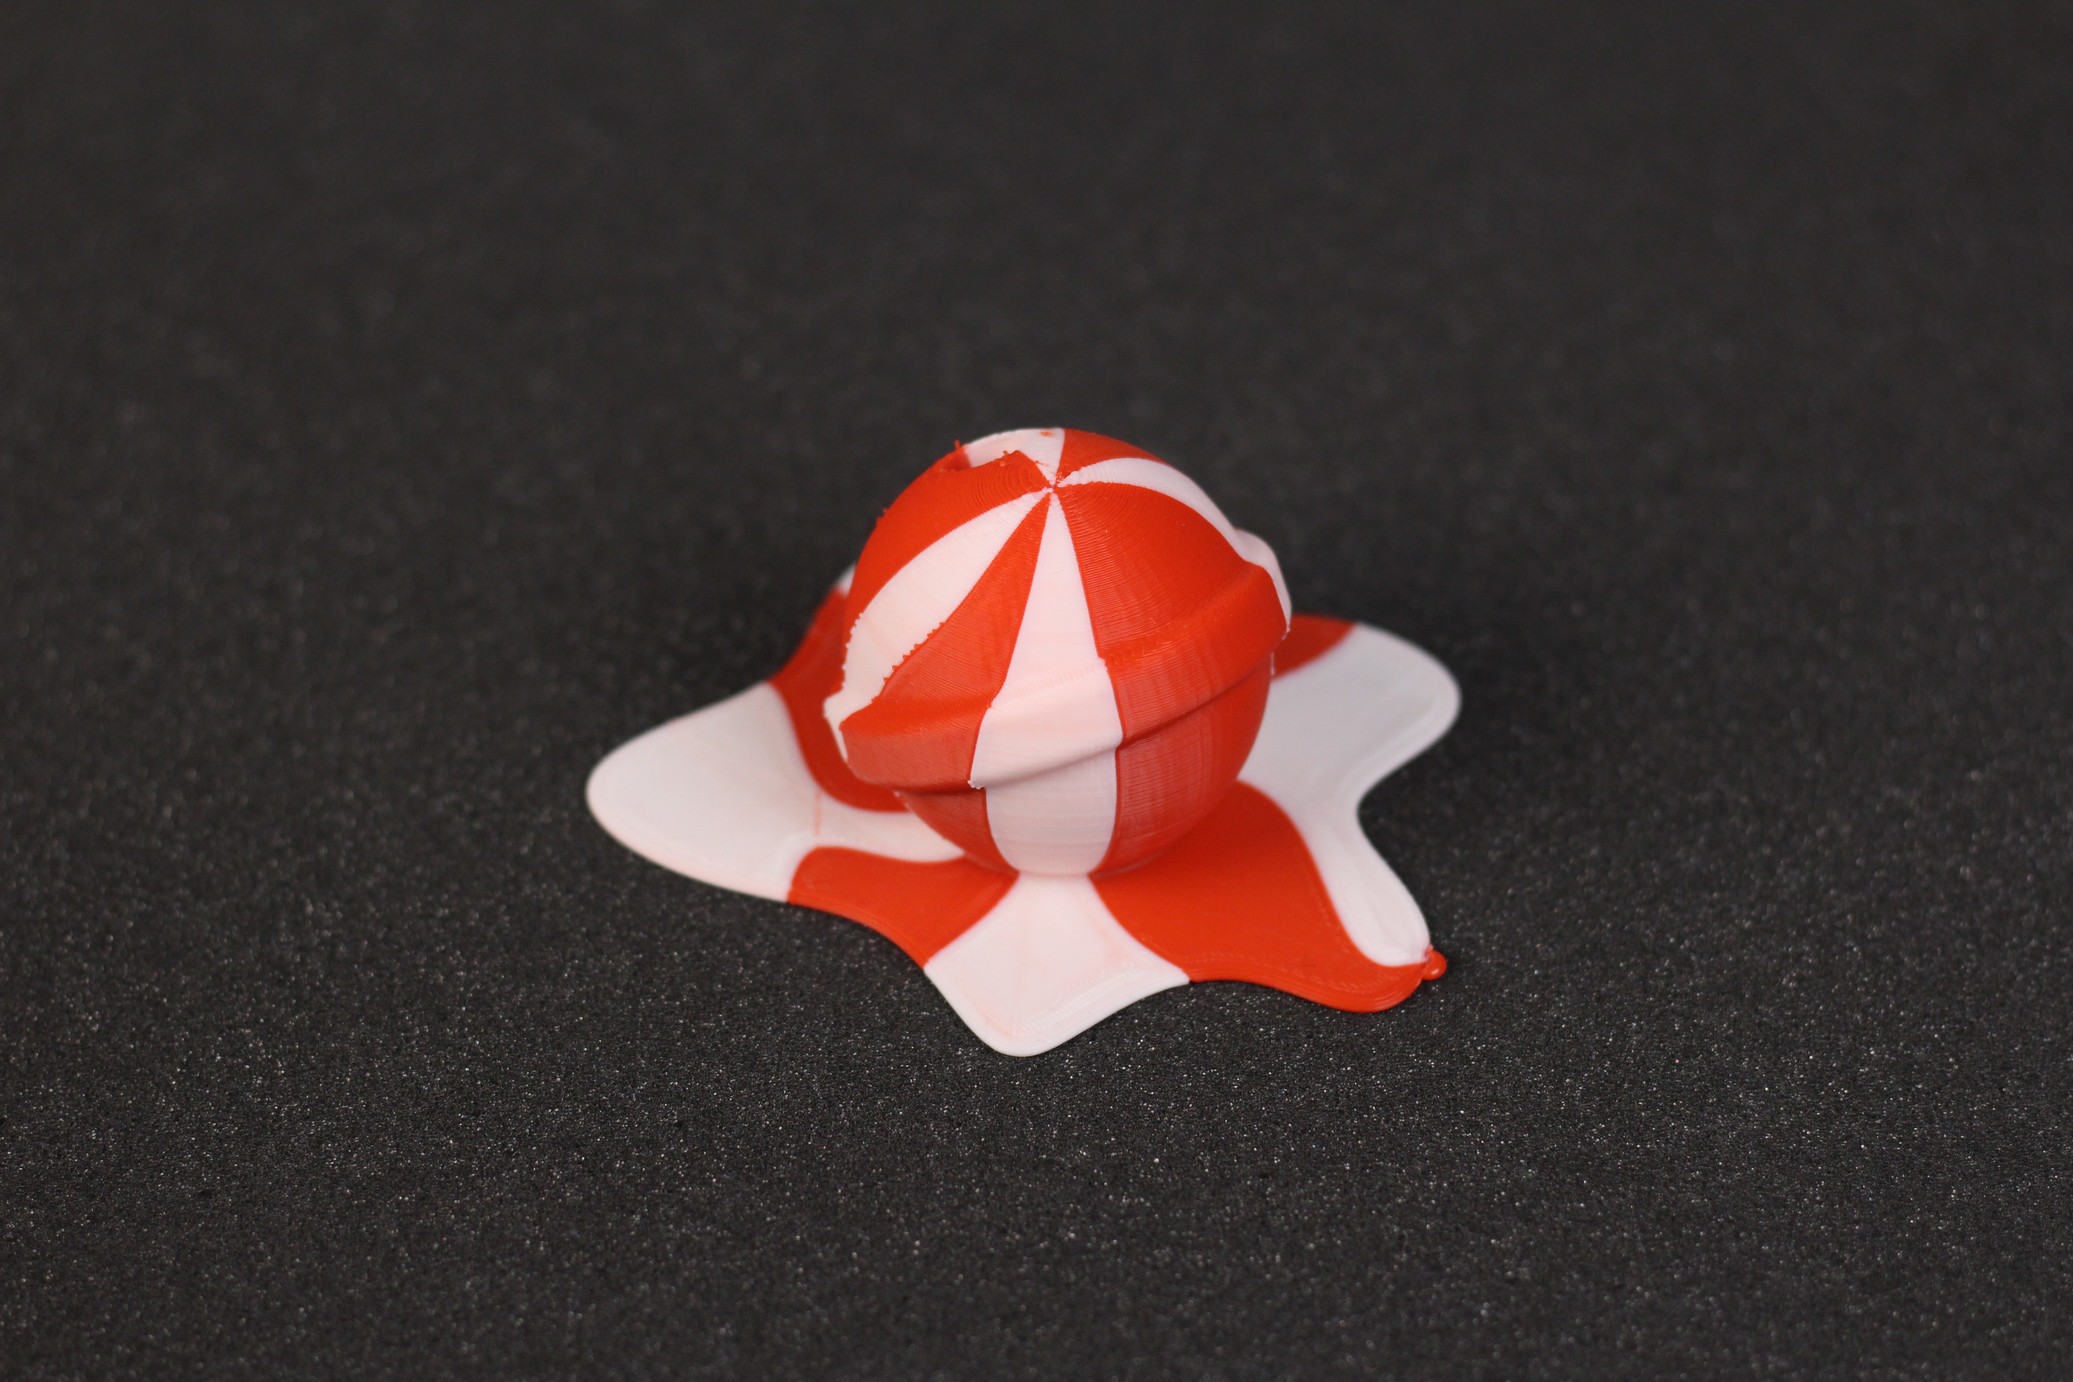
After further tuning the filament change, I also tried printing the Melting Lollipop model. The results are pretty good, but there’s still a bit of color bleed for the white filament. The purge block weights twice the weight of the printed model, so expect quite a lot of filament waste when printing this kind of dual-color model.
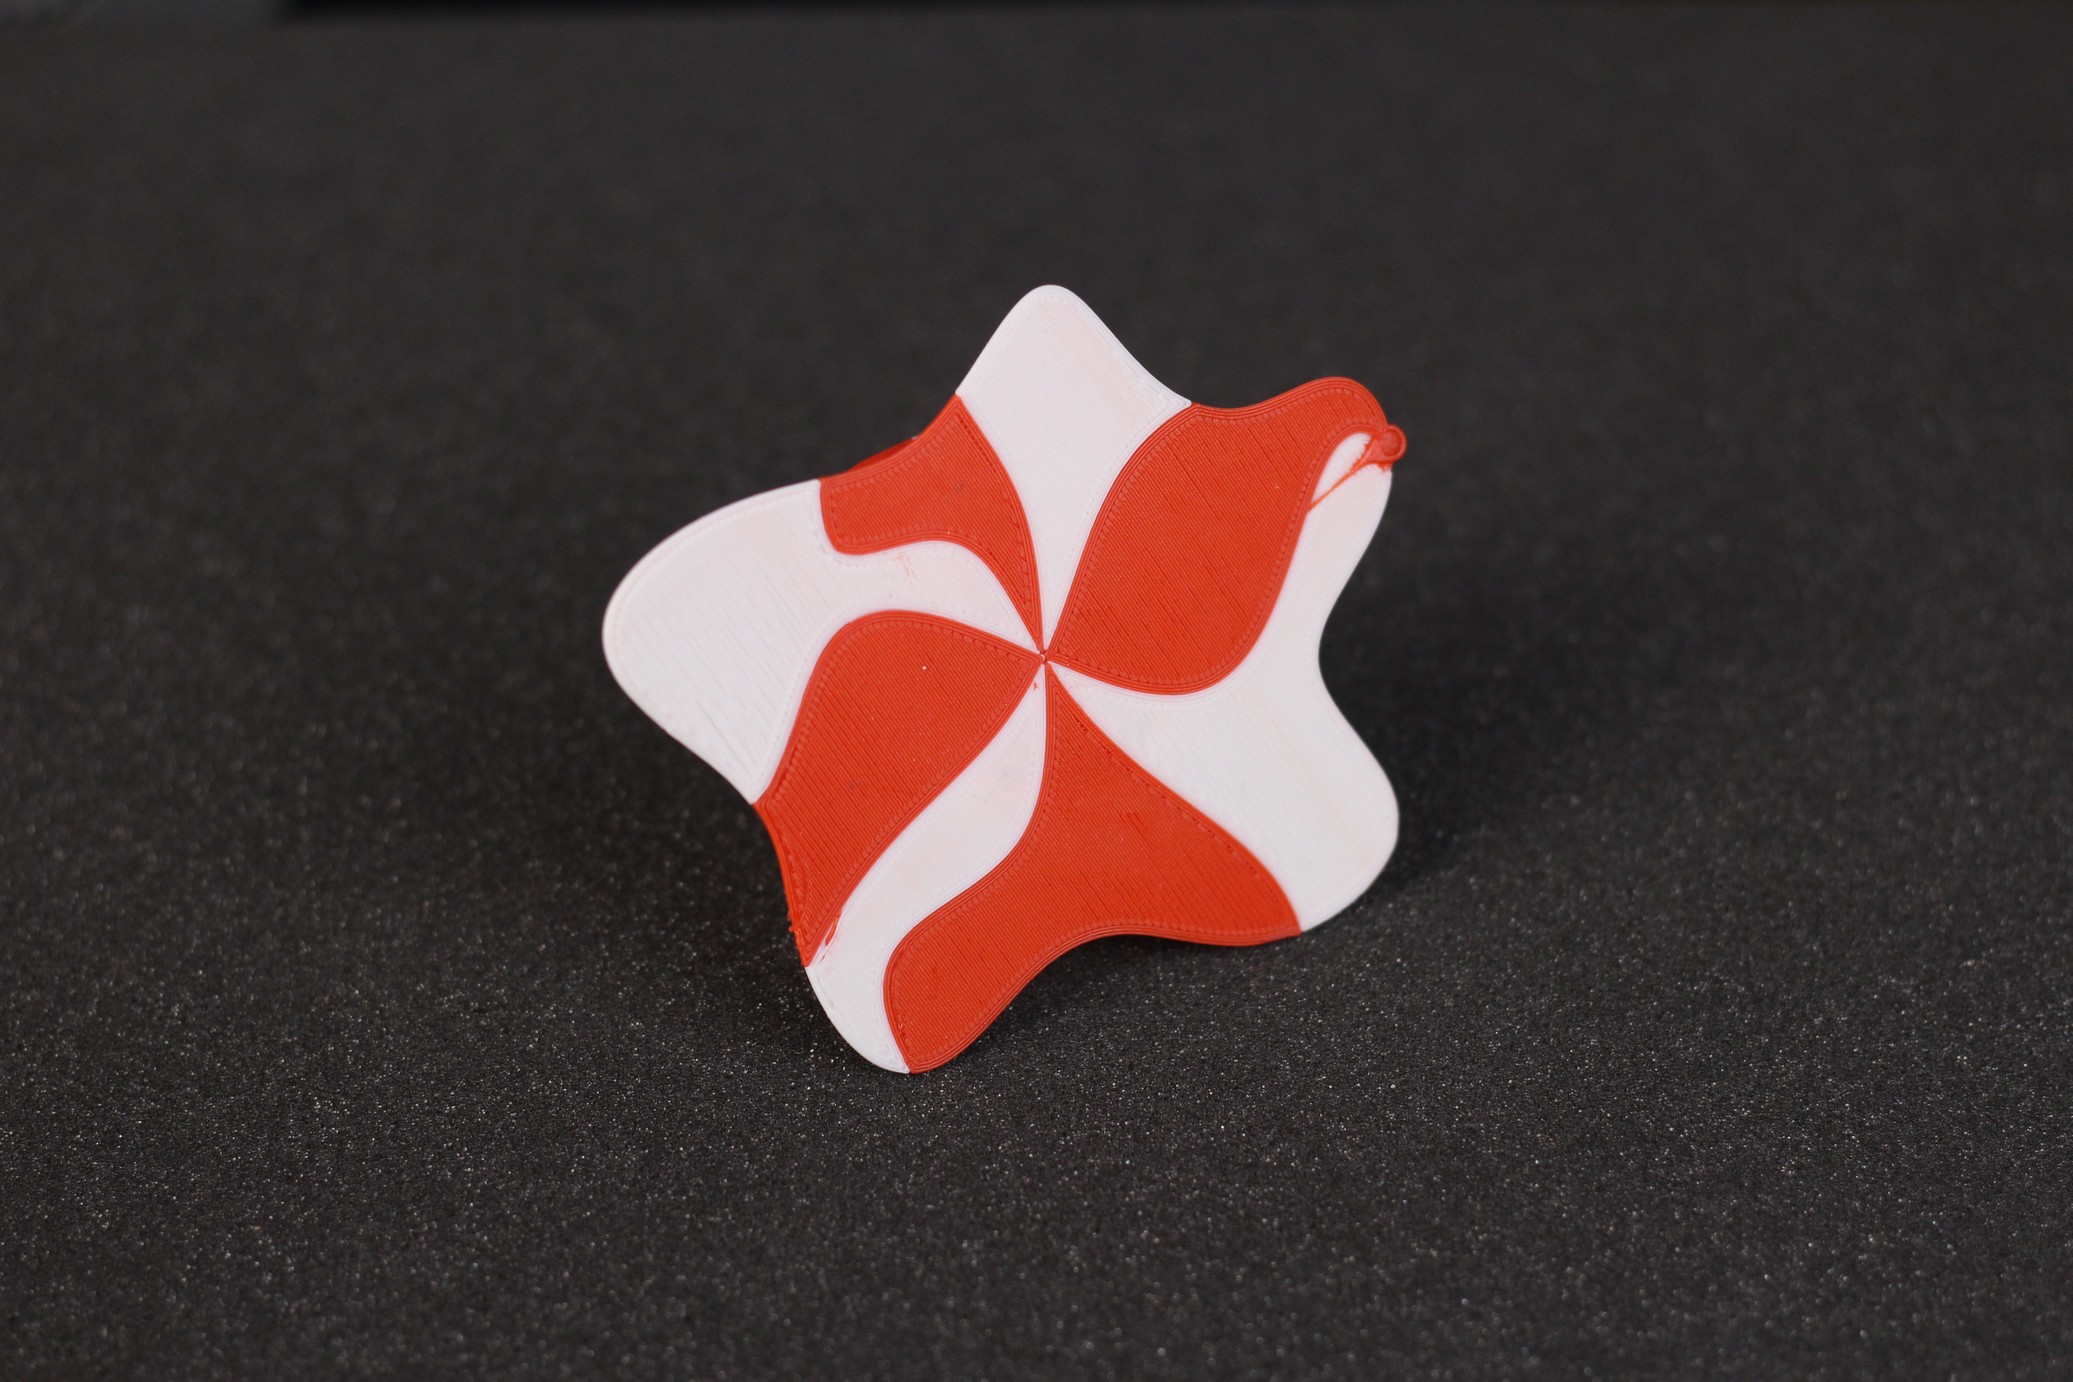
Material: Generic Red and White PLA
Layer Height: 0.15 mm
Nozzle Temperature: 210C
Bed Temperature: 50C
Print Speed: 50 mm/s
LOTMAXX SC-10 Shark V2 Laser Engraver
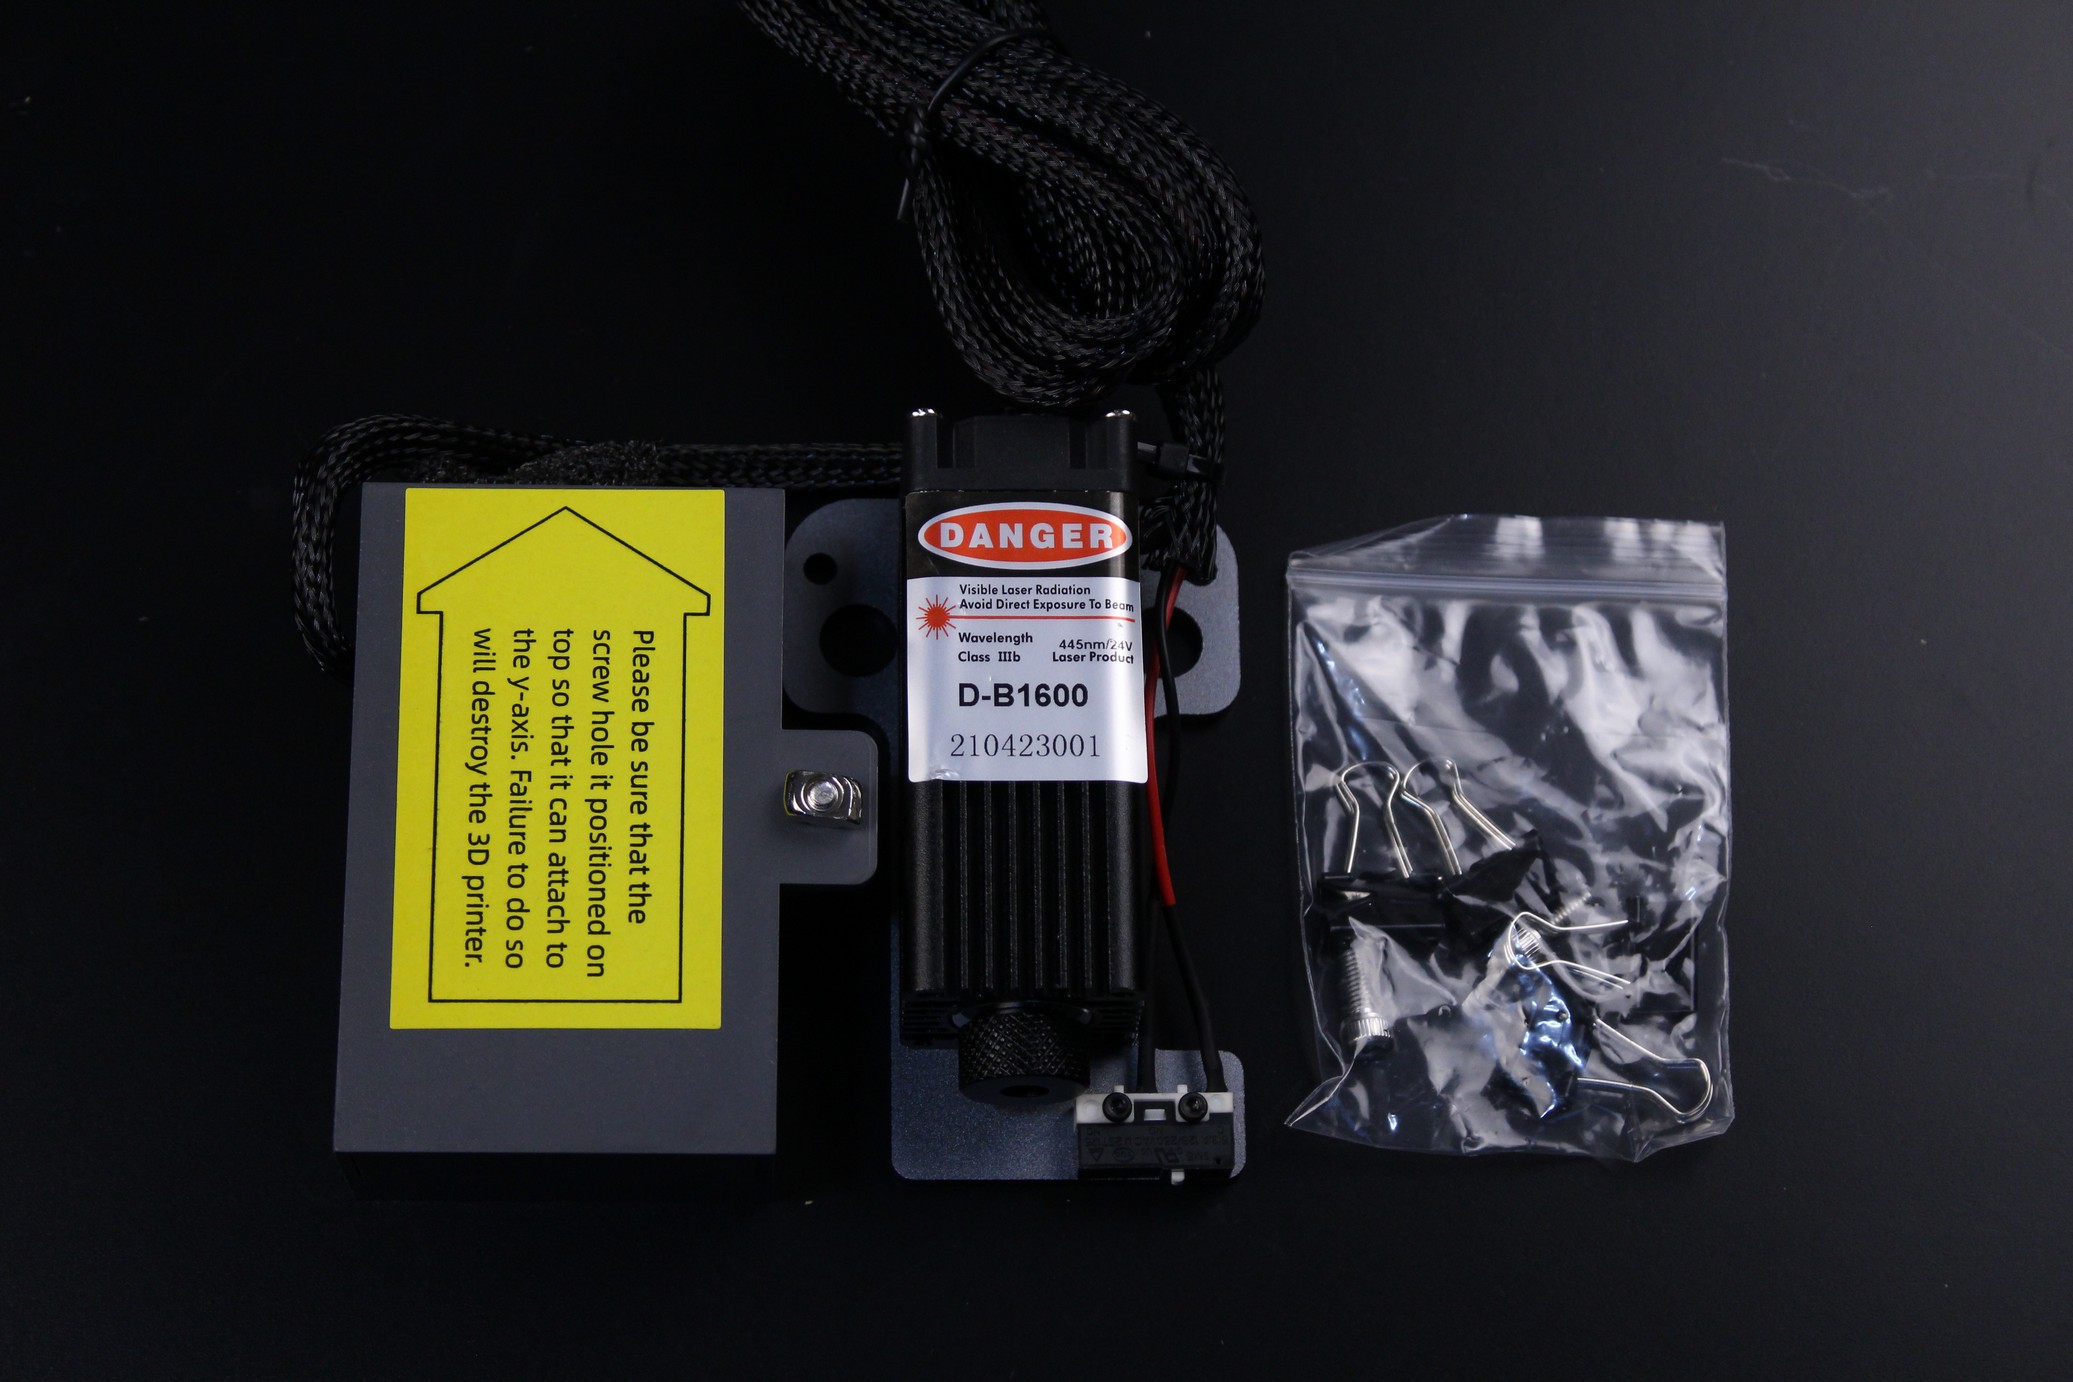
Once you run your course on single color printing and/or dual color printing, you reach the final boss, the laser engraver. As the LOTMAXX SC-10 Shark v2 makes it really easy to swap modules out and in, it’s just a matter of unscrewing the two pcs of M4 screws from holding the hot end on the X gantry support and moving it at the top left corner of the Z gantry, where there are two holes to help park the hotend.
Once the hotend is out of the way, in comes the laser positioned in the exact location where the hotend used to be, on the X gantry support, and then it’s just a matter of routing yet another cable around the printer to connect the module into the rack and securing its position in the Y gantry with an M4 screw with T-shaped nut.
Before turning the laser on, please make sure to read the instruction thoroughly and always use your safety goggles. Now having this said, googles on, and let’s start this laser!
Since yet again this is my first time using a laser engraver, this was a super easy experience to set up until I reached the calibration of the focal point.
My laser did not raise an mm above the wooden plate, it occurred to me there is no Z offset in place, having no prior experience to what a good distance would be for this power I went to the manual, and surprise, there is no value of reference from where to start with a Z offset. Worked my way up with the Z offset until I obtained a good focal point and I was ready to start my engraving experience. Loaded up the sample file and selected PRINT!
The laser was moving so slow, that I initially thought that it might be a problem with it. After 4.5 hours on a sample file, I’ve decided to research the topic and found out that everyone had the same experience with this as I did.
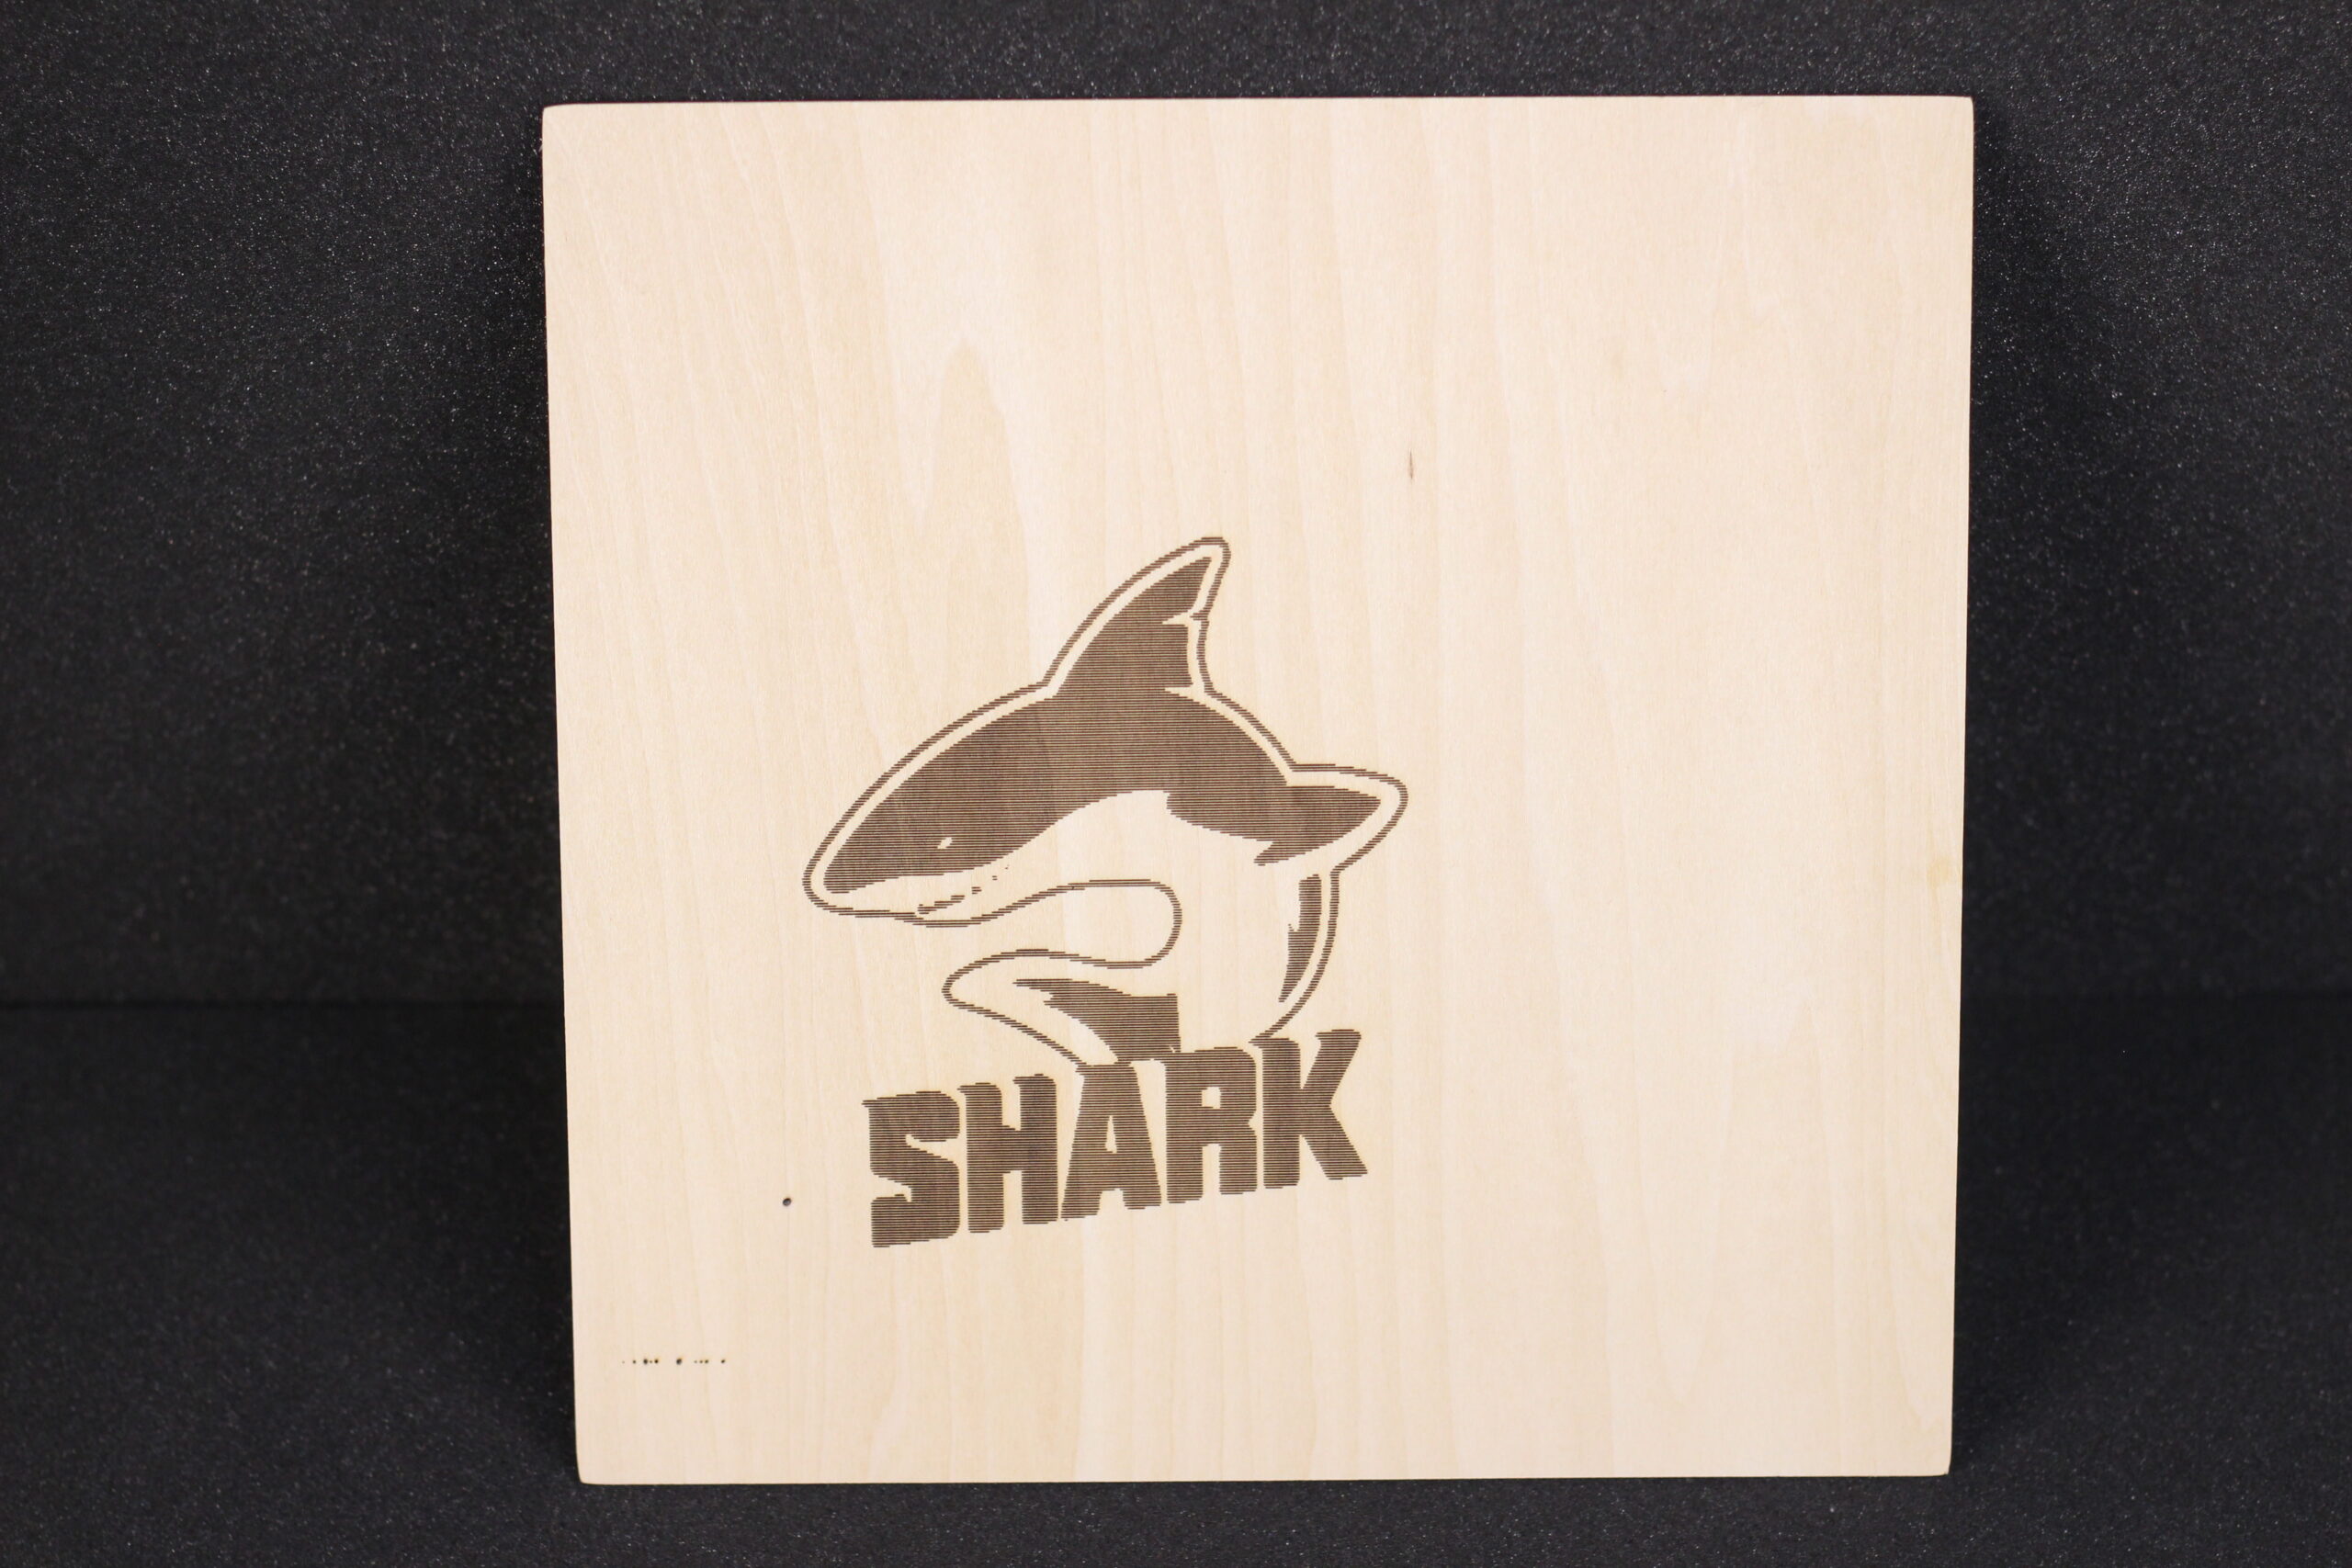
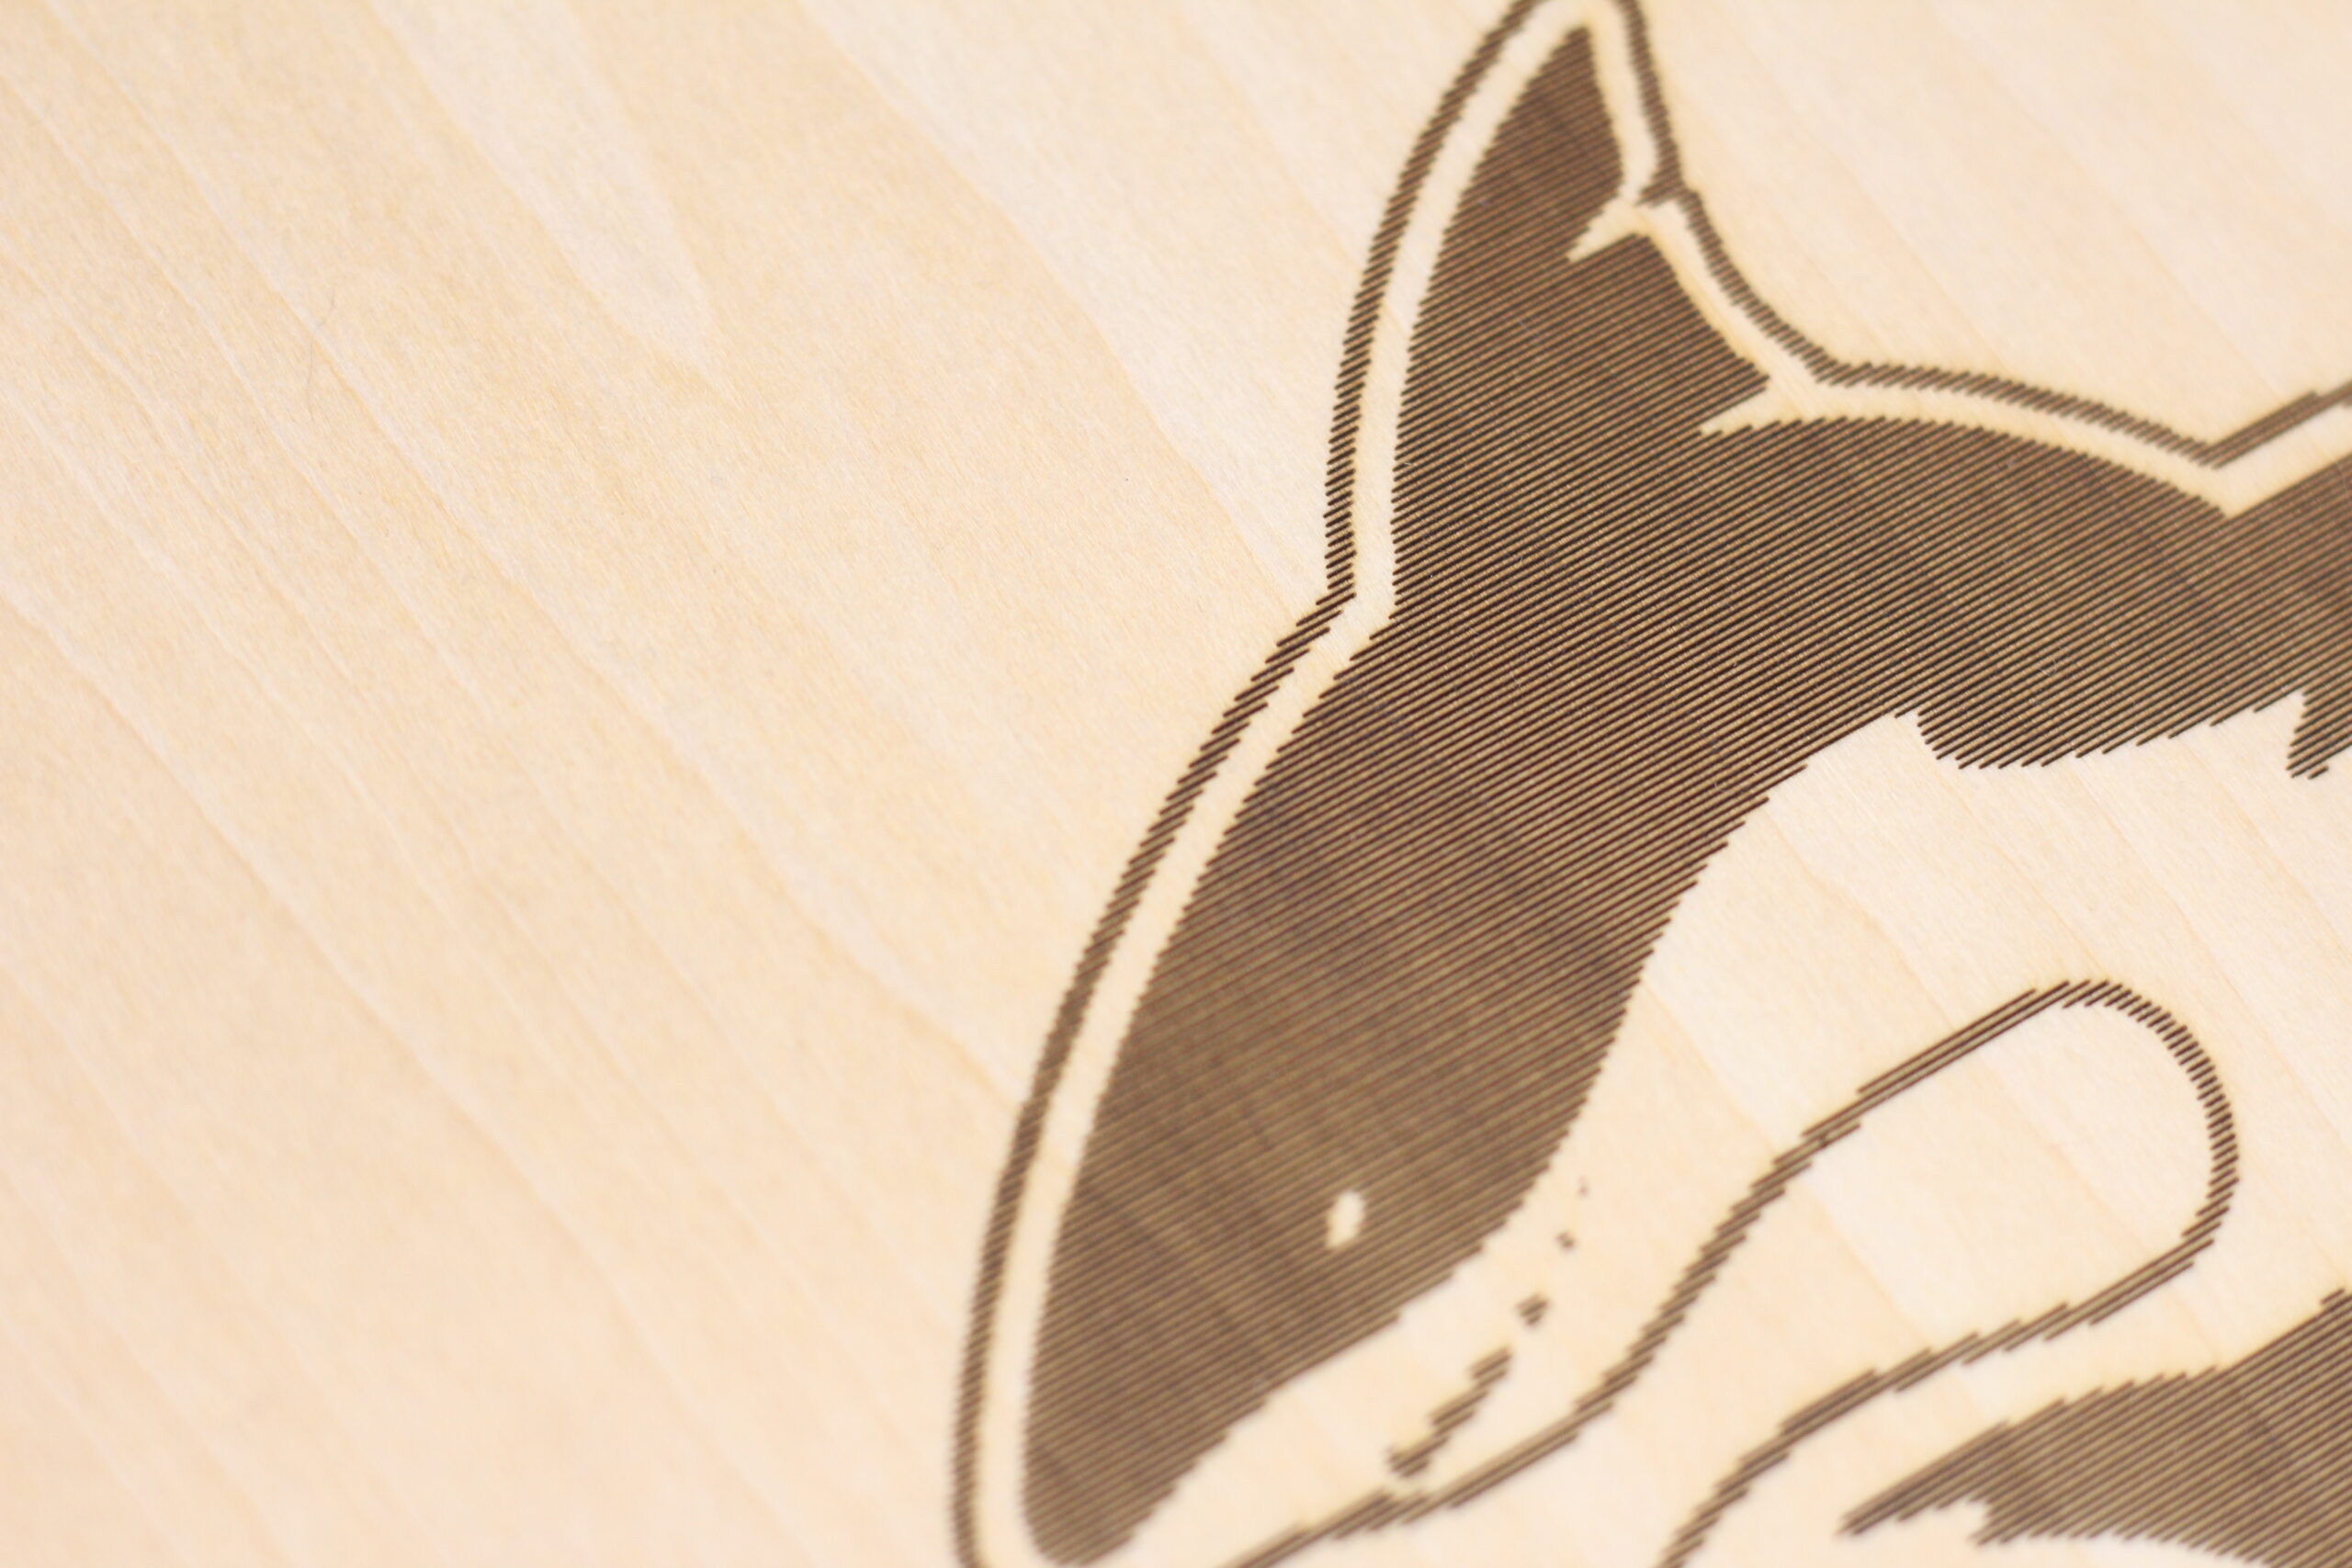
I wasn’t going to let this experience be ruined by speed, so I picked up a vector file, loaded it into the LOTMAXX engraving software, and raised the speed from 20mm/s to 40mm/s. OK, this was a huge improvement but at the cost of the engraving quality. In the first pass, the engraving was light brown, at the second passing it got at the same nuance as the sample file. At the third pass, it started to eat into the material, leaving the model cut into the board, pretty nicely, from my noob perspective.
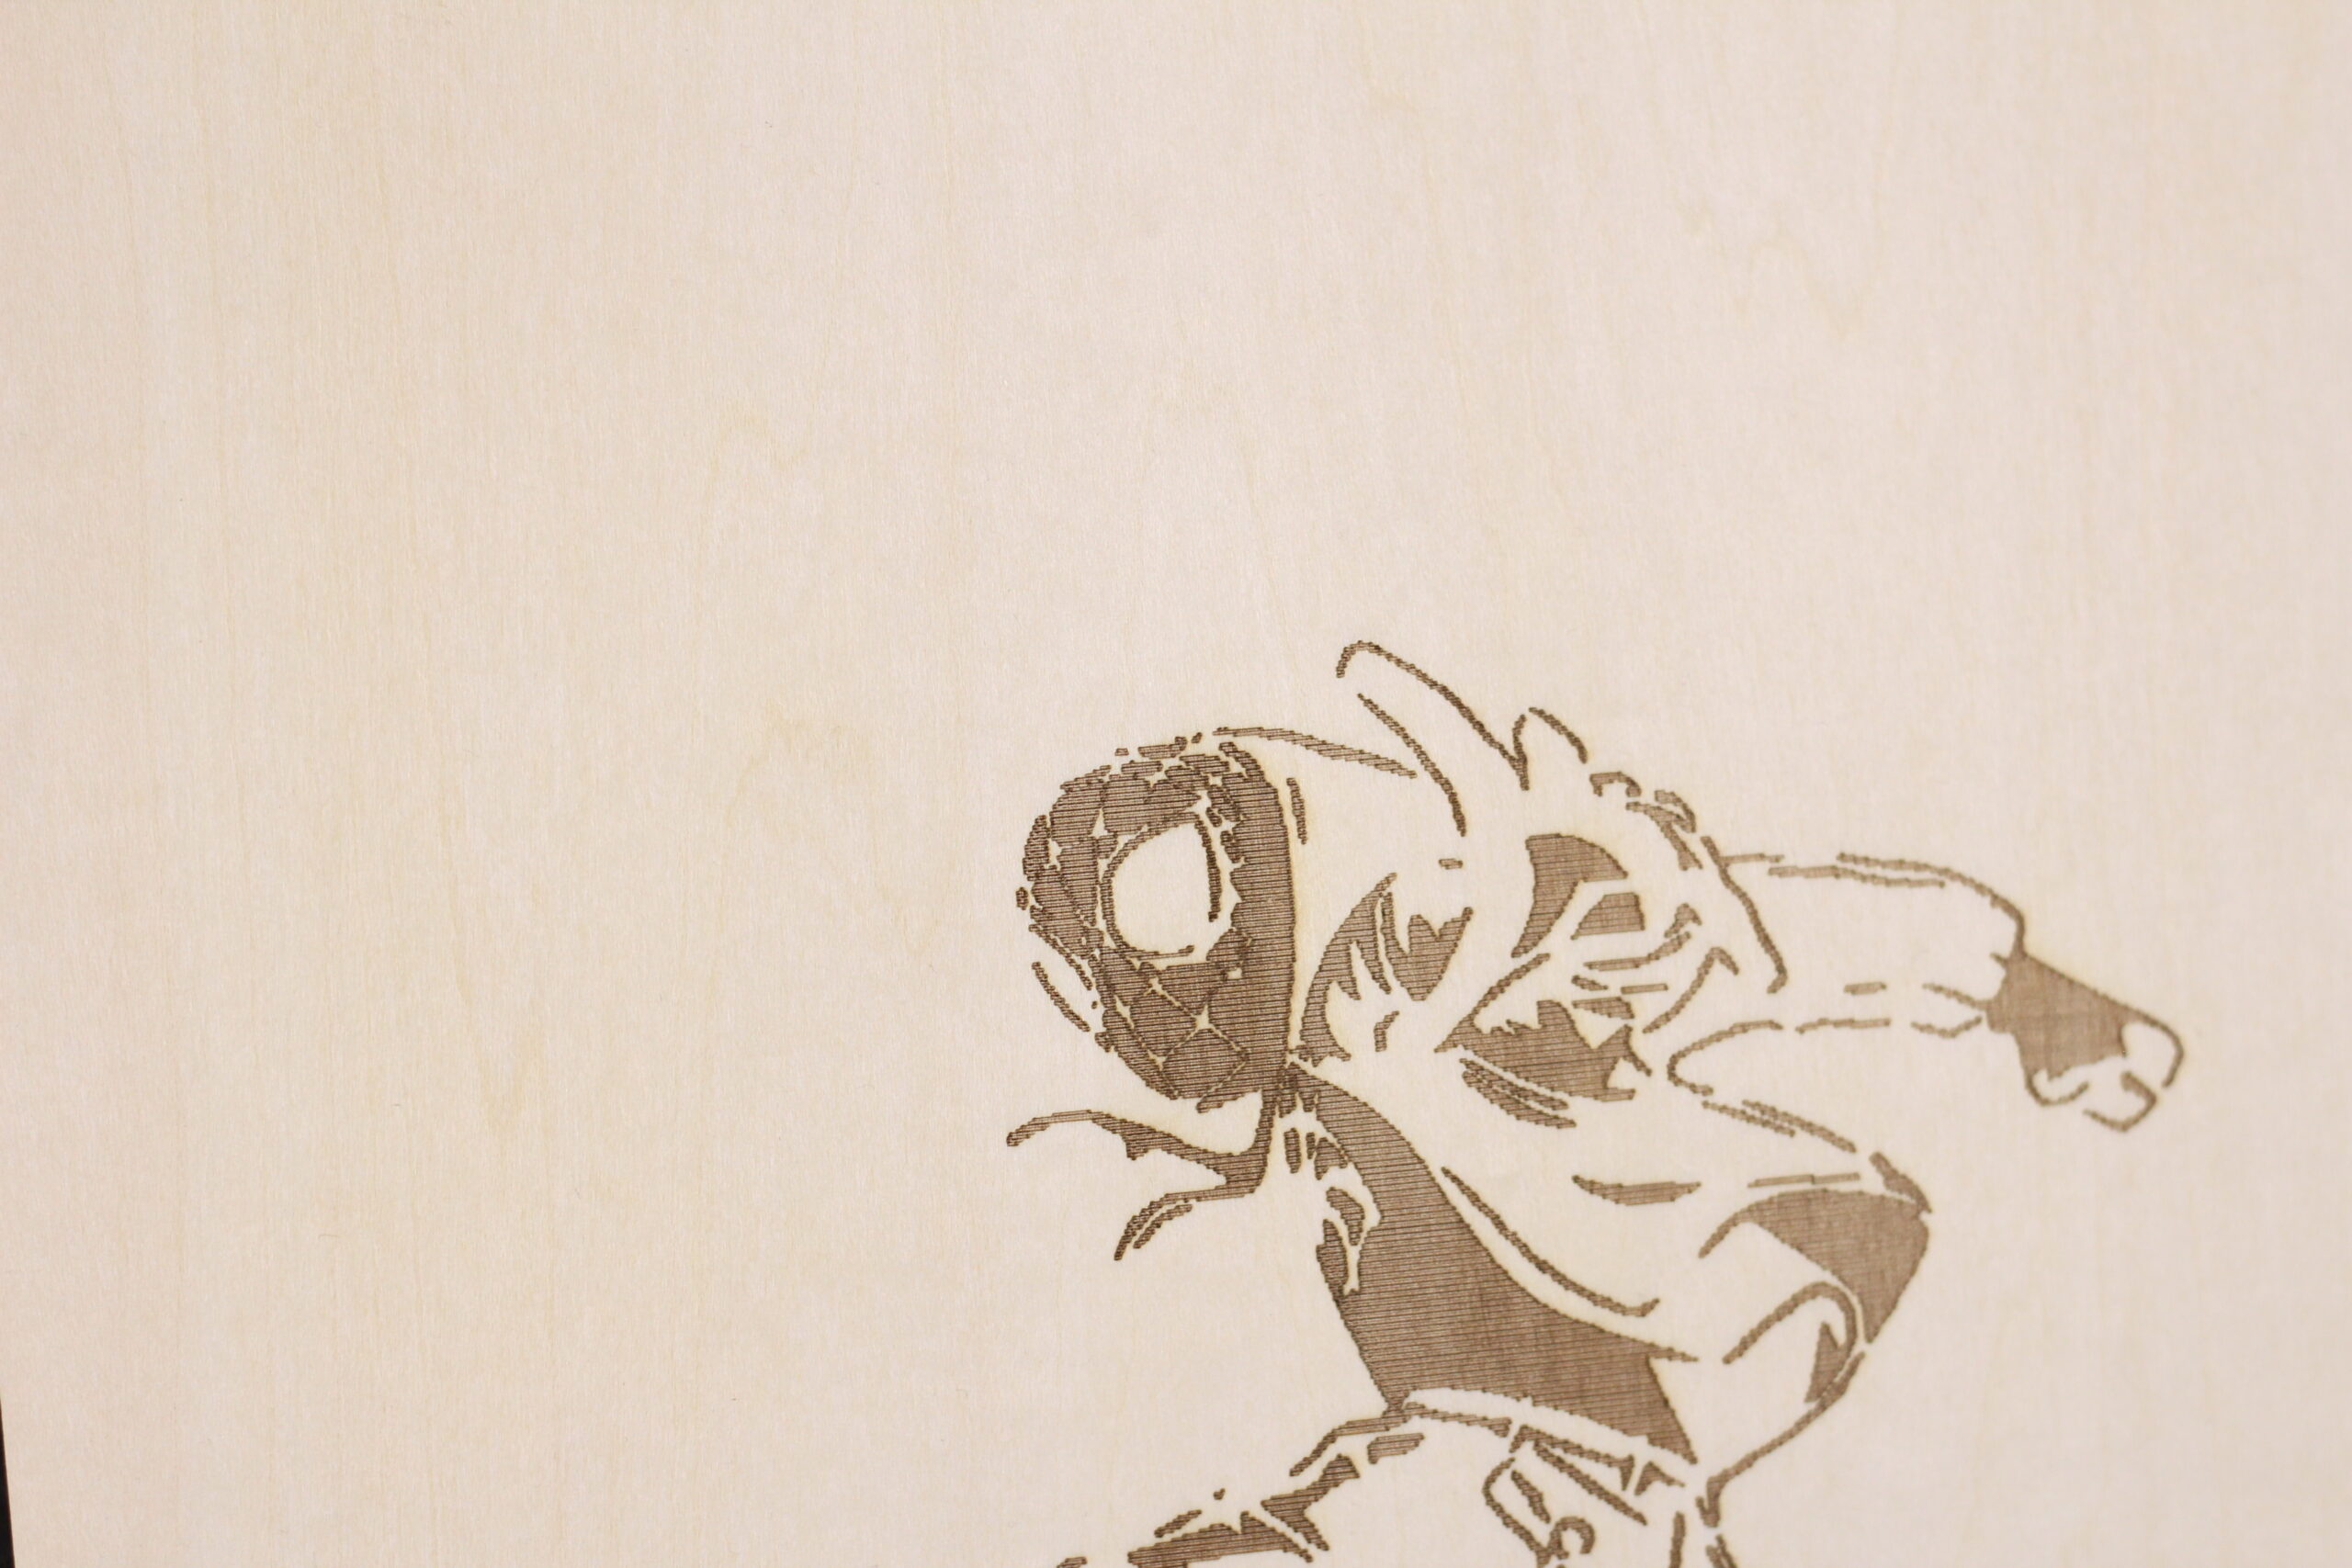
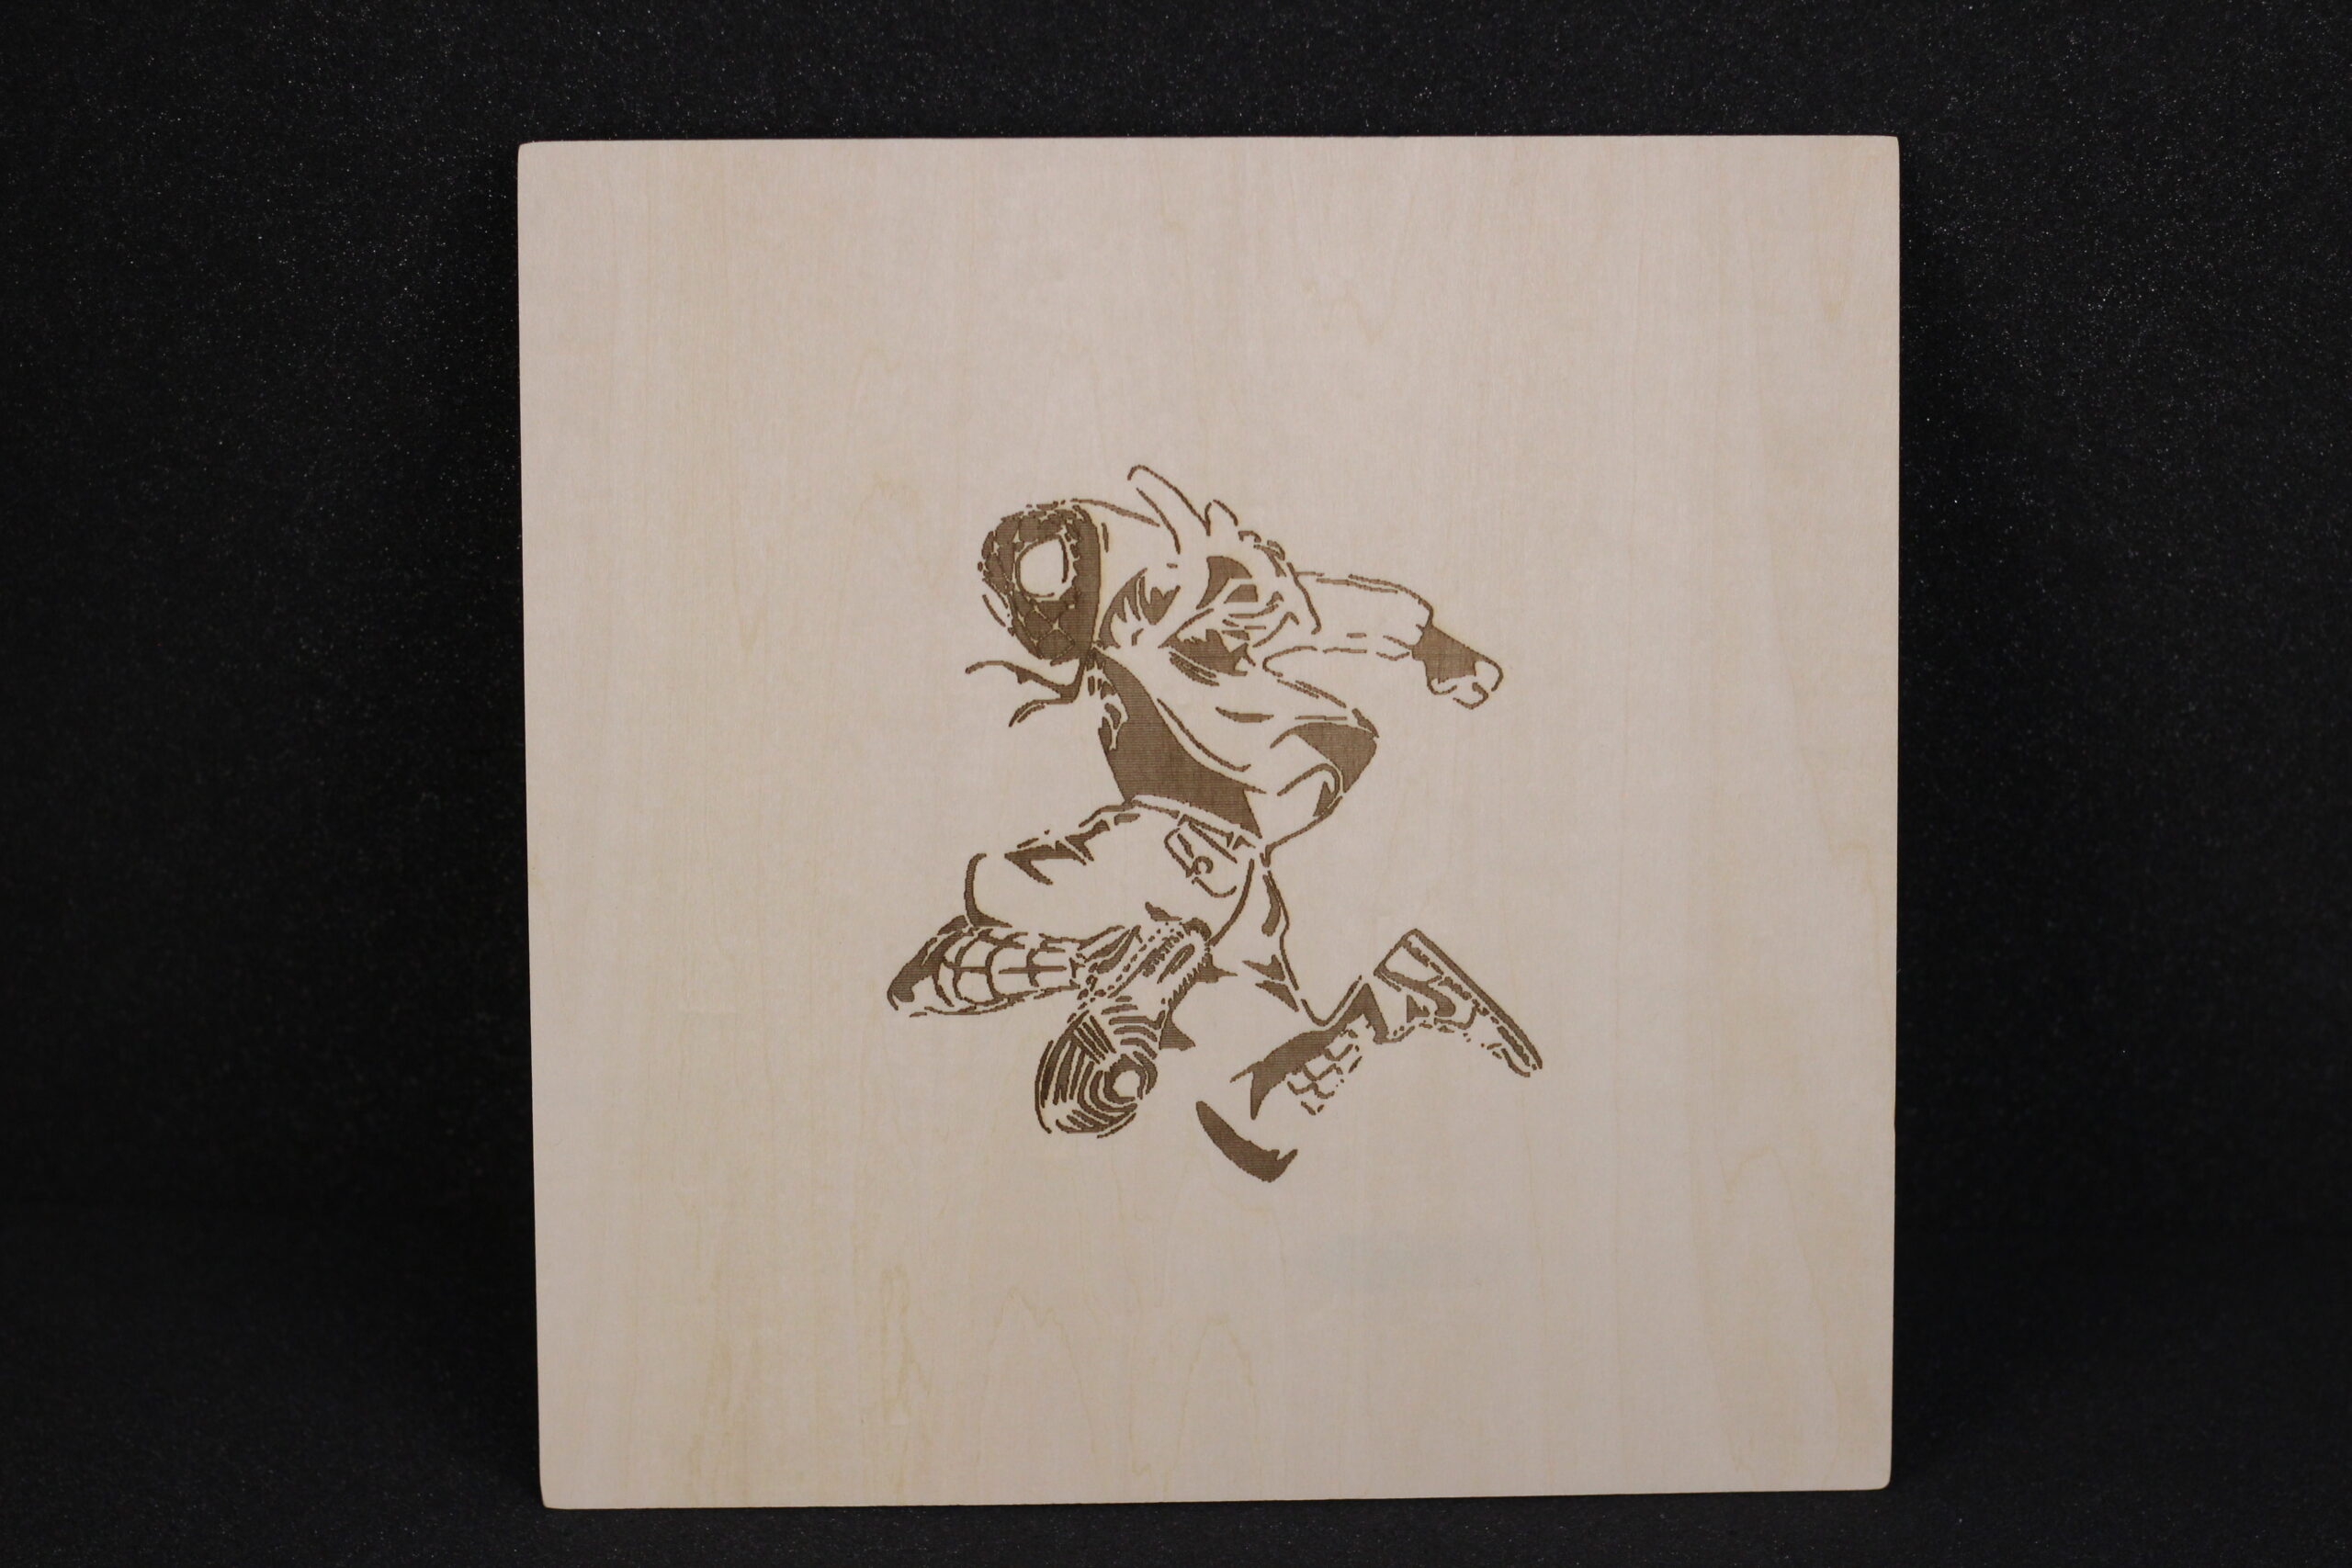
Now above I mentioned, first pass, second pass, third pass through the engraved wooden tile, this is not something you can automate with the slicer that LOTMAXX provides, you can eighter choose a third-party solution like open-source GRBL, a slight learning curve for this one, or you can just keep the print in place and just run the print job again and again at high speeds.
I need to mention the terrible LotMaxx laser software. This is one of the worst controls I have seen on laser engravers, and you are really limited in what you can do. Sure, it’s somewhat simple and easy to use by complete beginners, but the things you can do with it are very limited.
What I liked about LOTMAXX SC-10 Shark v2?
- I liked that it is easy to set up. You can start printing within the first hour of receiving the box.
- The package contains everything you need to get you started on your 3D printing journey.
- The interface is easy to navigate and use.
- Leveraging all the modules at your disposal is fast and easy to do.
- Relatively silent printer, but not as quiet as the Sidewinder X2.
What I would like to see improved in the future or did not enjoy?
- Once you stop a print and would like to use the Load/Unload functionality it will simply start to load endlessly, even after firmware update to the most recent version.
- If you have a quick power outage, sometimes the printer will turn back on and the menu is unresponsive partially in the language set up by you and part in Chinese, removing the SD card and restarting the touch screen usually solves this, or just shutting down the printer for 10 seconds and back on again.
- The probe is only used with the ABL option on the screen, and cannot be used to probe the bed using the G29 command, at the beginning of the print.
- I had an issue with leveling, and I raised a ticket with LOTMAXX. After a few weeks, I am still waiting for them to get back to me. So the support is not that great.
- Touch screen UI will freeze if you exceed a certain number of characters for the sliced model name.
- Surface of the flex plate can be easily damaged if your printer nozzle is hot and the Z offset is not set correctly.
- The cable mess in front of the printer and around it is a bit annoying.
- The lack of safety measures like thermal runaway, is something that cannot be overlooked, and having this feature missing from the printer, can turn it into a fire hazzard.
Conclusions: Is the LOTMAXX SC-10 Shark V2 worth it?
Since my main area of focus so far was with a single-color printer, I do see the appeal of what the LOTMAXX SC-10 Shark v2 is offering. The learning curve is short and quite easy to master.
But the bland software running on the LOTMAXX Shark SC-10 v2 doesn’t allow too much tinkering, which might be a good thing for people looking for a simple-to-use 3D printer.
The printed models came out nice, but not great considering the money you need to spend on this printer. I would have expected this printer to excel at least in one area, but instead, it tries to be an all-in-one machine without managing to master any feature. And having an important feature like thermal runaway protection disabled makes it hard to recommend as a good buy.
Instead of spending close to 450$ for the Shark V2, I would recommend spending the money on a single color printer like the Creality Ender 3 S1 or Artillery Genius and getting a separate laser unit if that is also one of your interests. You will probably get better overall results and you will also save some cash.
LOTMAXX SC-10 Shark V2 Rating
Design
Specs
Noise Levels
Ease of use
Print Quality
Price
The SC-10 Shark is trying to be an all-in-one machine, but unfortunately, it can't do it. The print quality is not great, the laser is quite weak and the price of the printer is too high to be an attractive offering.
Where to buy the LOTMAXX SC-10 Shark v2?
The LOTMAXX SC-10 Shark v2 can be purchased from the following websites:
I recommend checking out the Discount Codes page before purchasing. I regularly update the article with discount codes for various online shops, and you might find one for this particular model.
The LOTMAXX SC-10 Shark v2 was provided free of charge by Geekbuying for the purpose of this review. While the article includes affiliate links, all opinions are my own. Nobody reviewed the article before it was posted, following the Review Guidelines.
Liked it?
|
|


I have this printer and works like magic!!!
On reddit 3dprintingdeals, they are flushing returned units @ 2 for $299 USD. Are they that crappy or just a bad market that doesn’t understand 3d printing? I’ll know in a few days when my 2 show up. At that price, it has to be worth that much in the sum of their parts… Hopefully. Lol
Two printers for 300$ might be ok. But still, they need some mods to ensure they work ok.