Creality Ender 3 S1 Plus Review
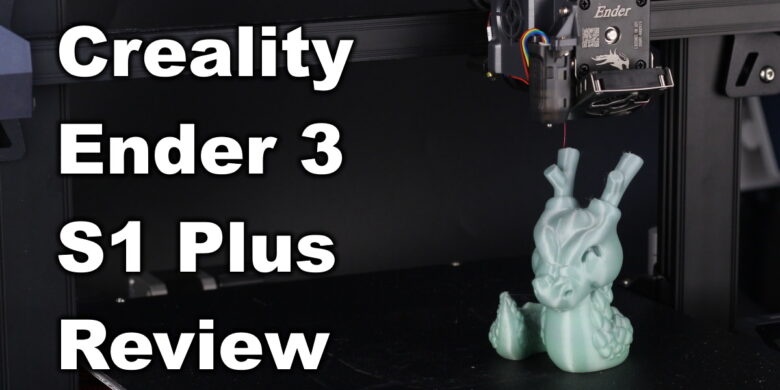
The Ender 3 S1 Plus is, just like the name implies, a bigger variant of the Ender 3 S1 printer I recently reviewed. It has a larger printing volume of 300x300x300mm while also bringing the touchscreen from the Ender 3 S1 Pro.
In this article, we’ll go over the specs and features of the Ender 3 S1 Plus, to see if it’s worth the extra ~150USD over its smaller brother, the Ender 3 S1.
Ender 3 S1 Plus Shipping and Packaging
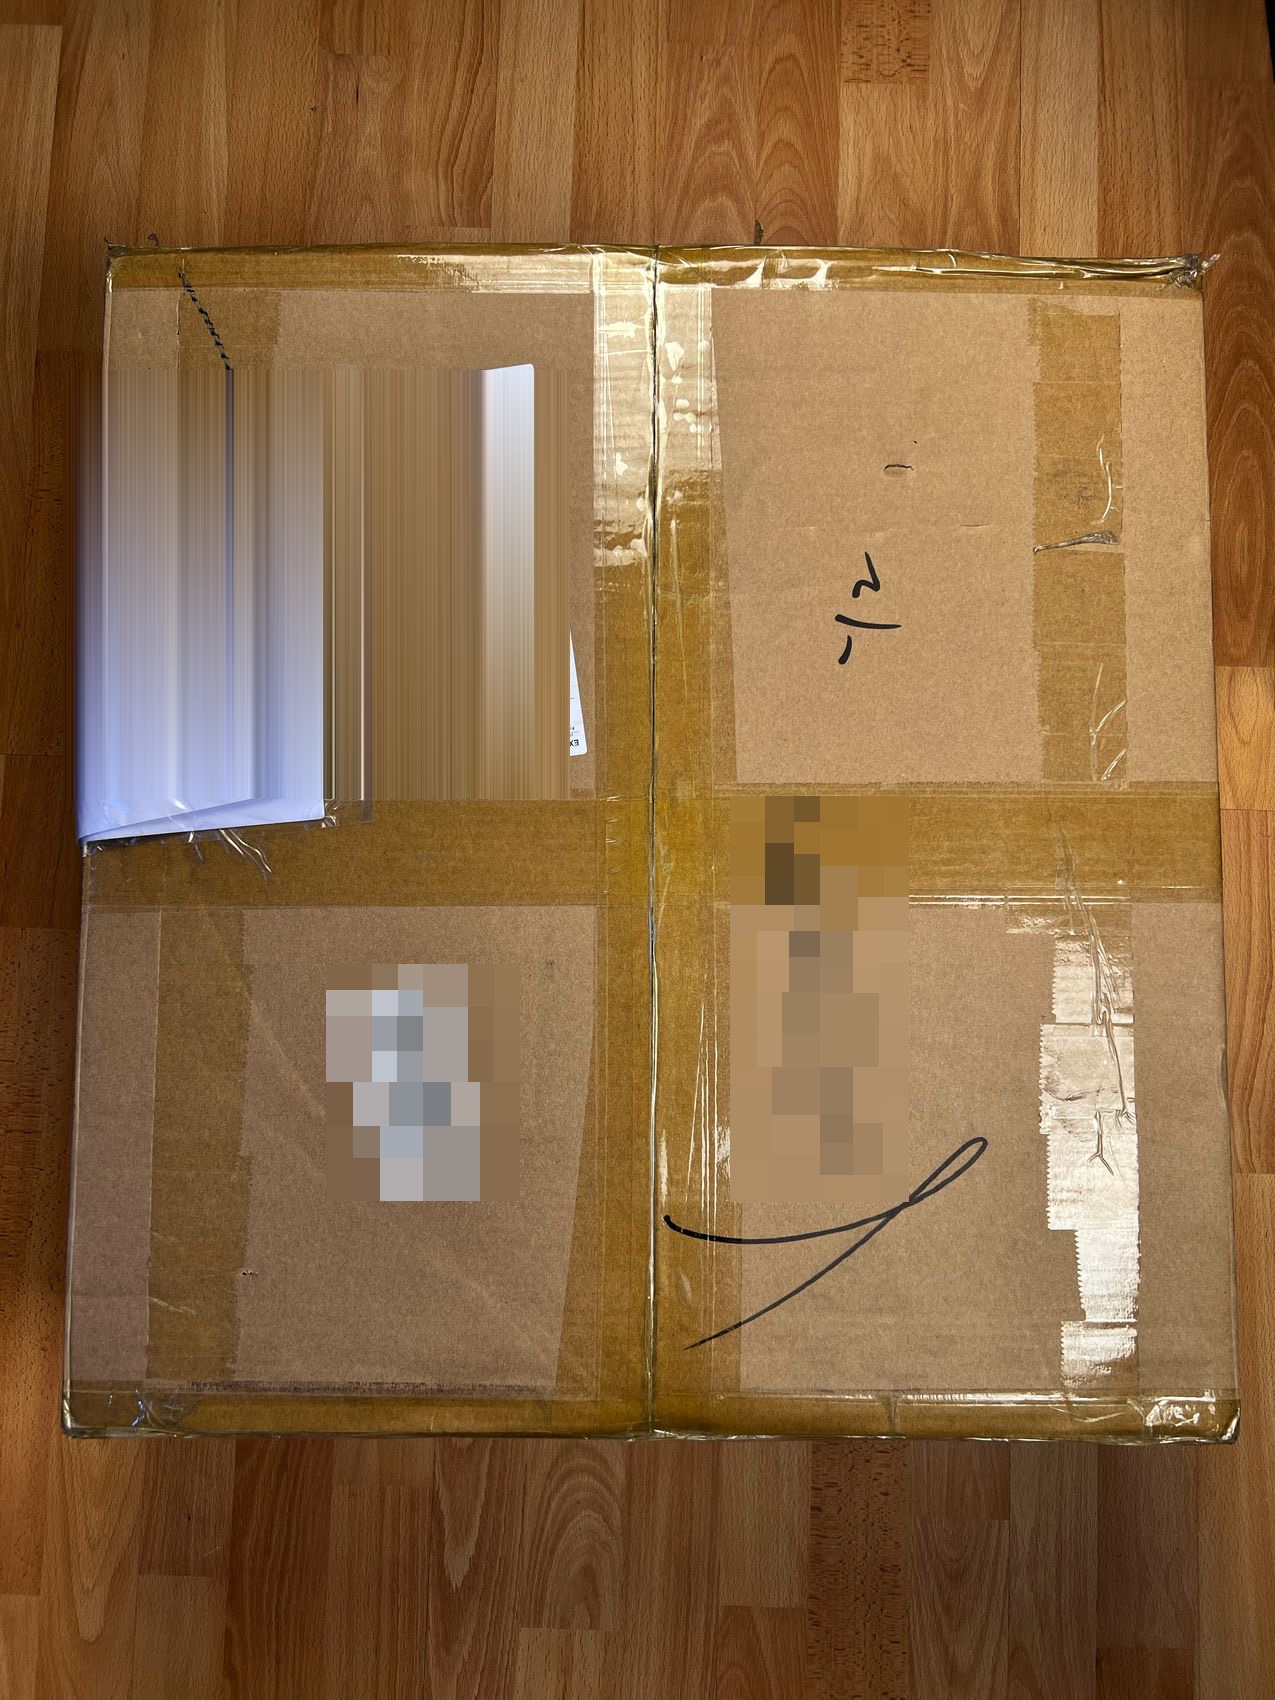
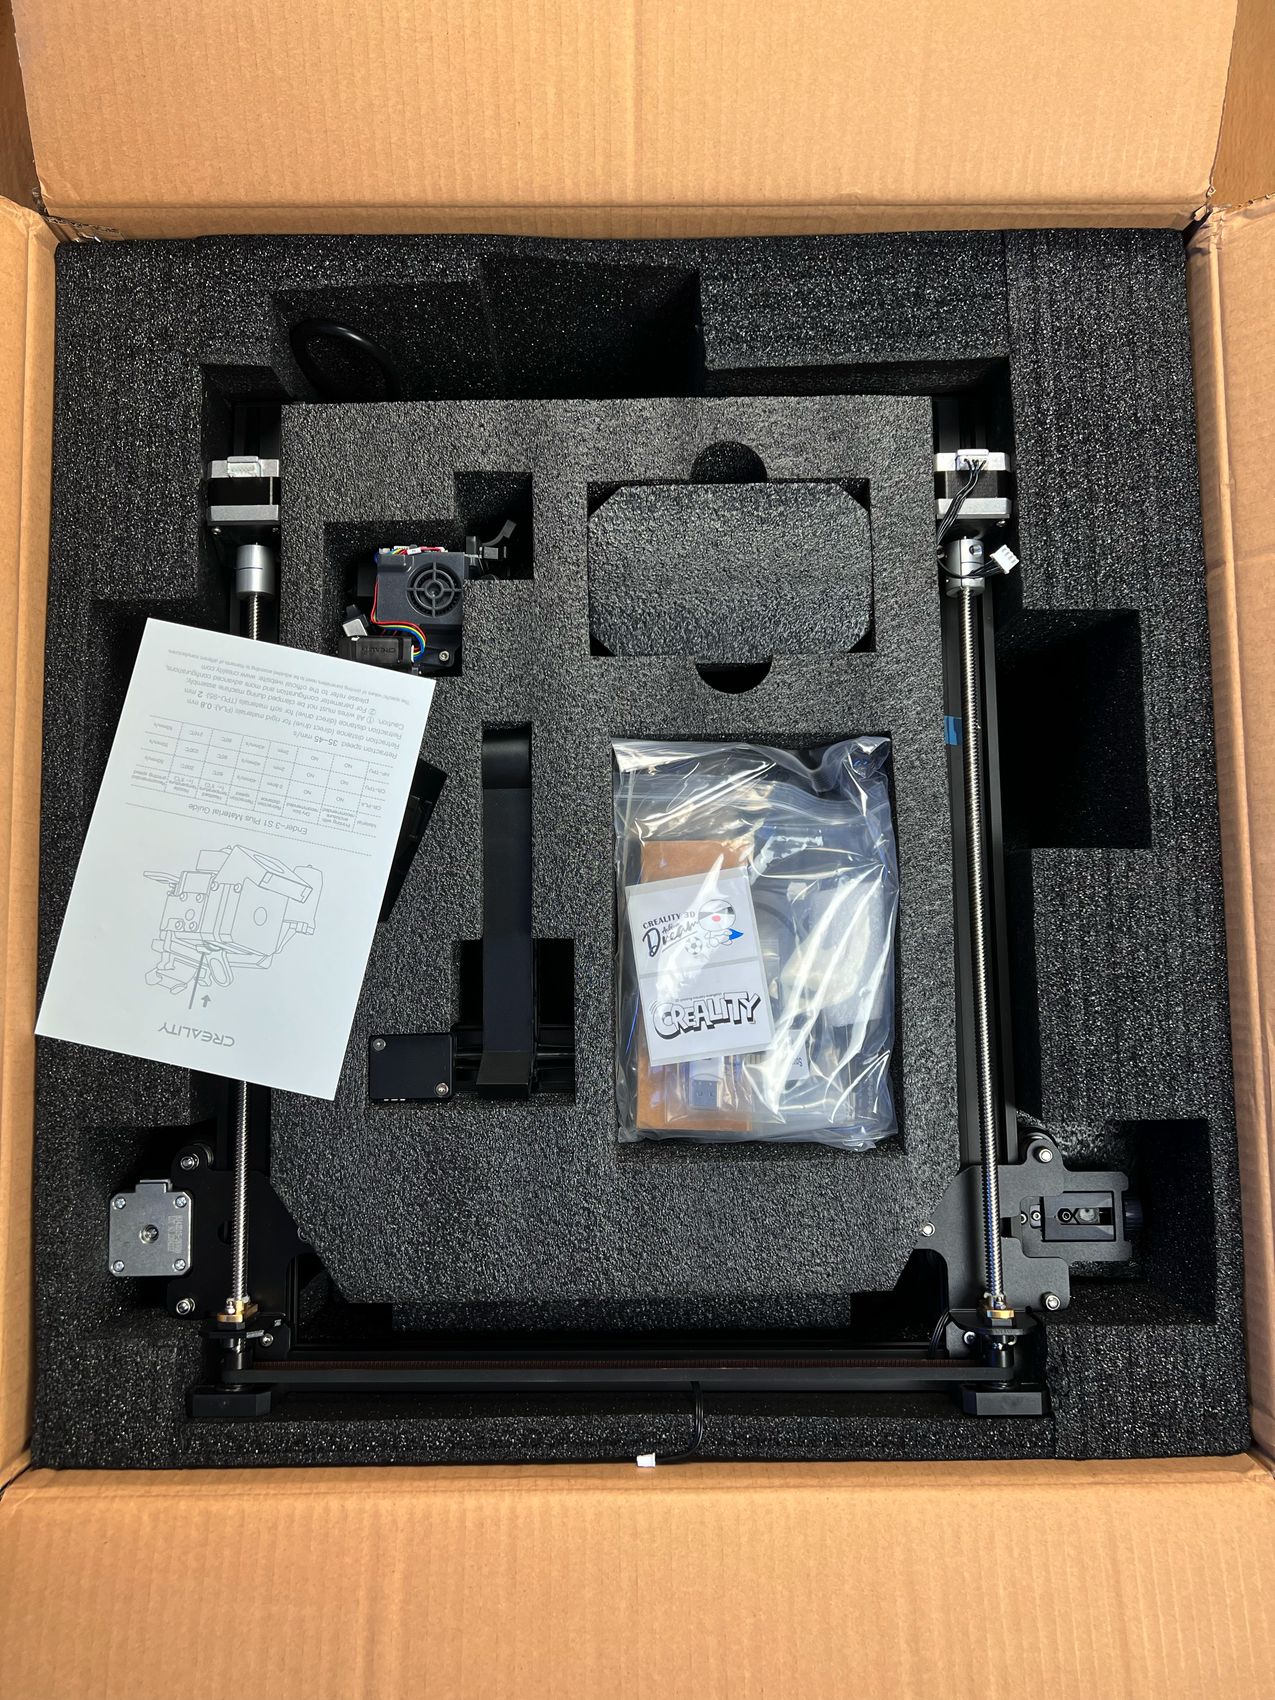
The Ender 3 S1 Plus comes in a large cardboard box with foam protection similar to what the Ender 3 S1 has been delivered in.
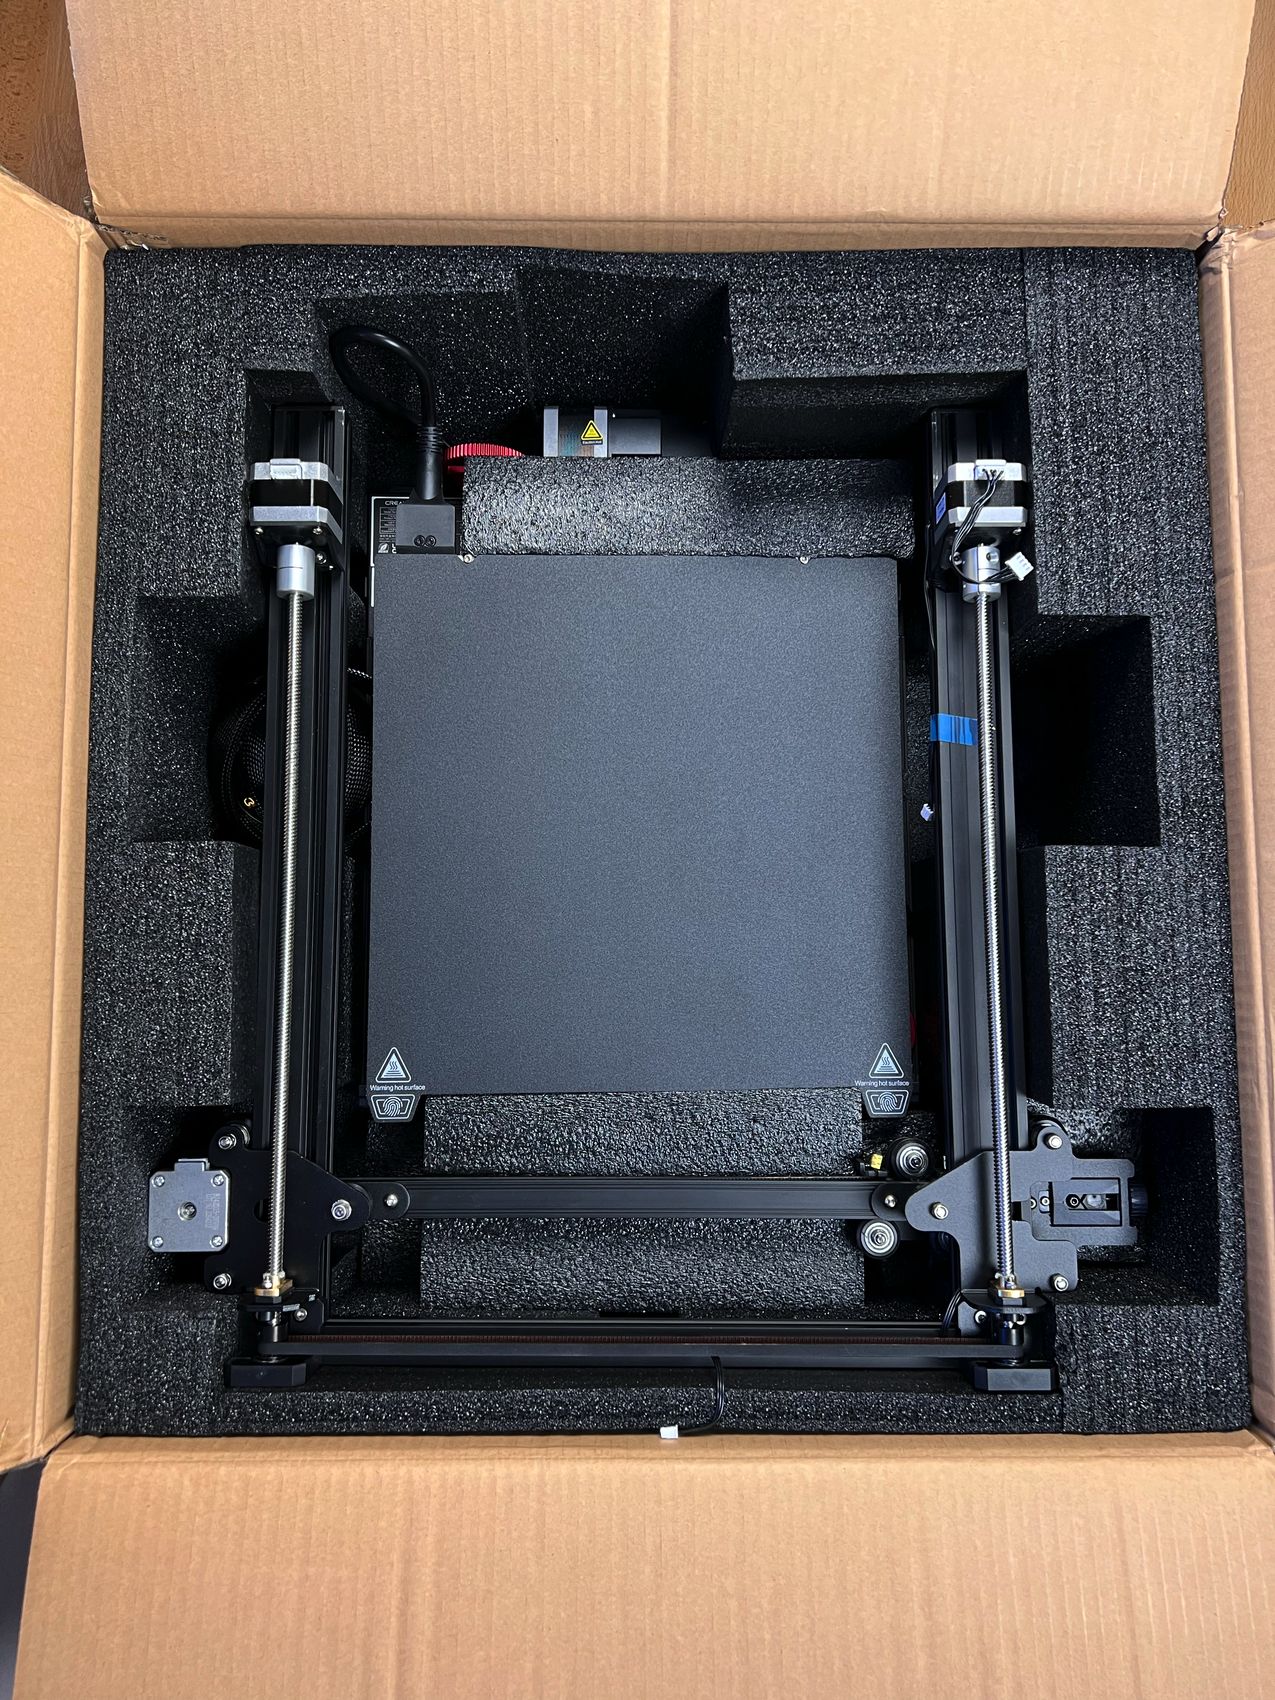
Ender 3 S1 Plus Design
As you can expect, the Ender 3 S1 Plus is not much different when it comes to design, compared to the Ender 3 S1. It has the same body made of metal with a front plastic cover, but the main difference is in how the Z-axis aluminum extrusions are attached to the printer.
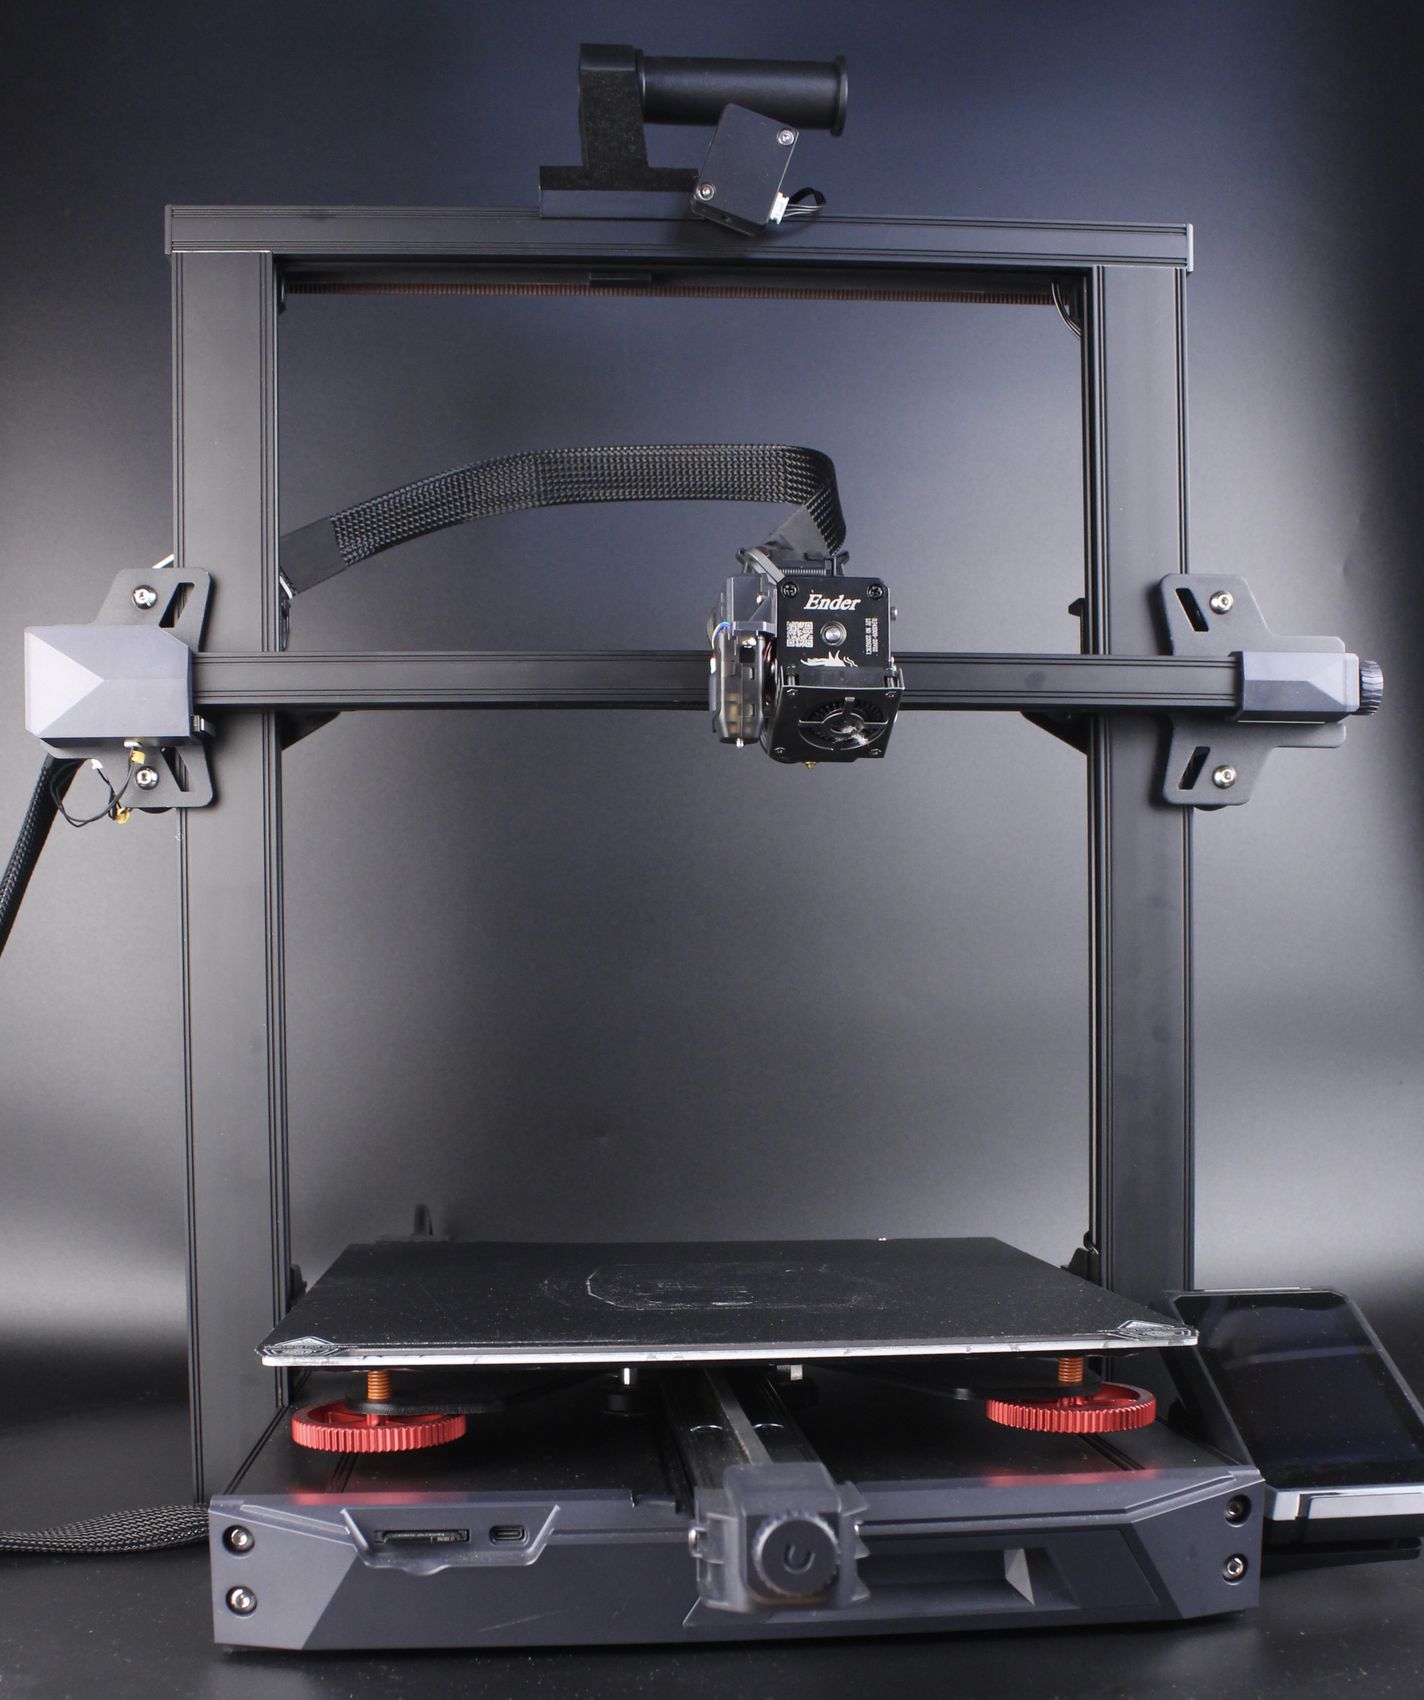
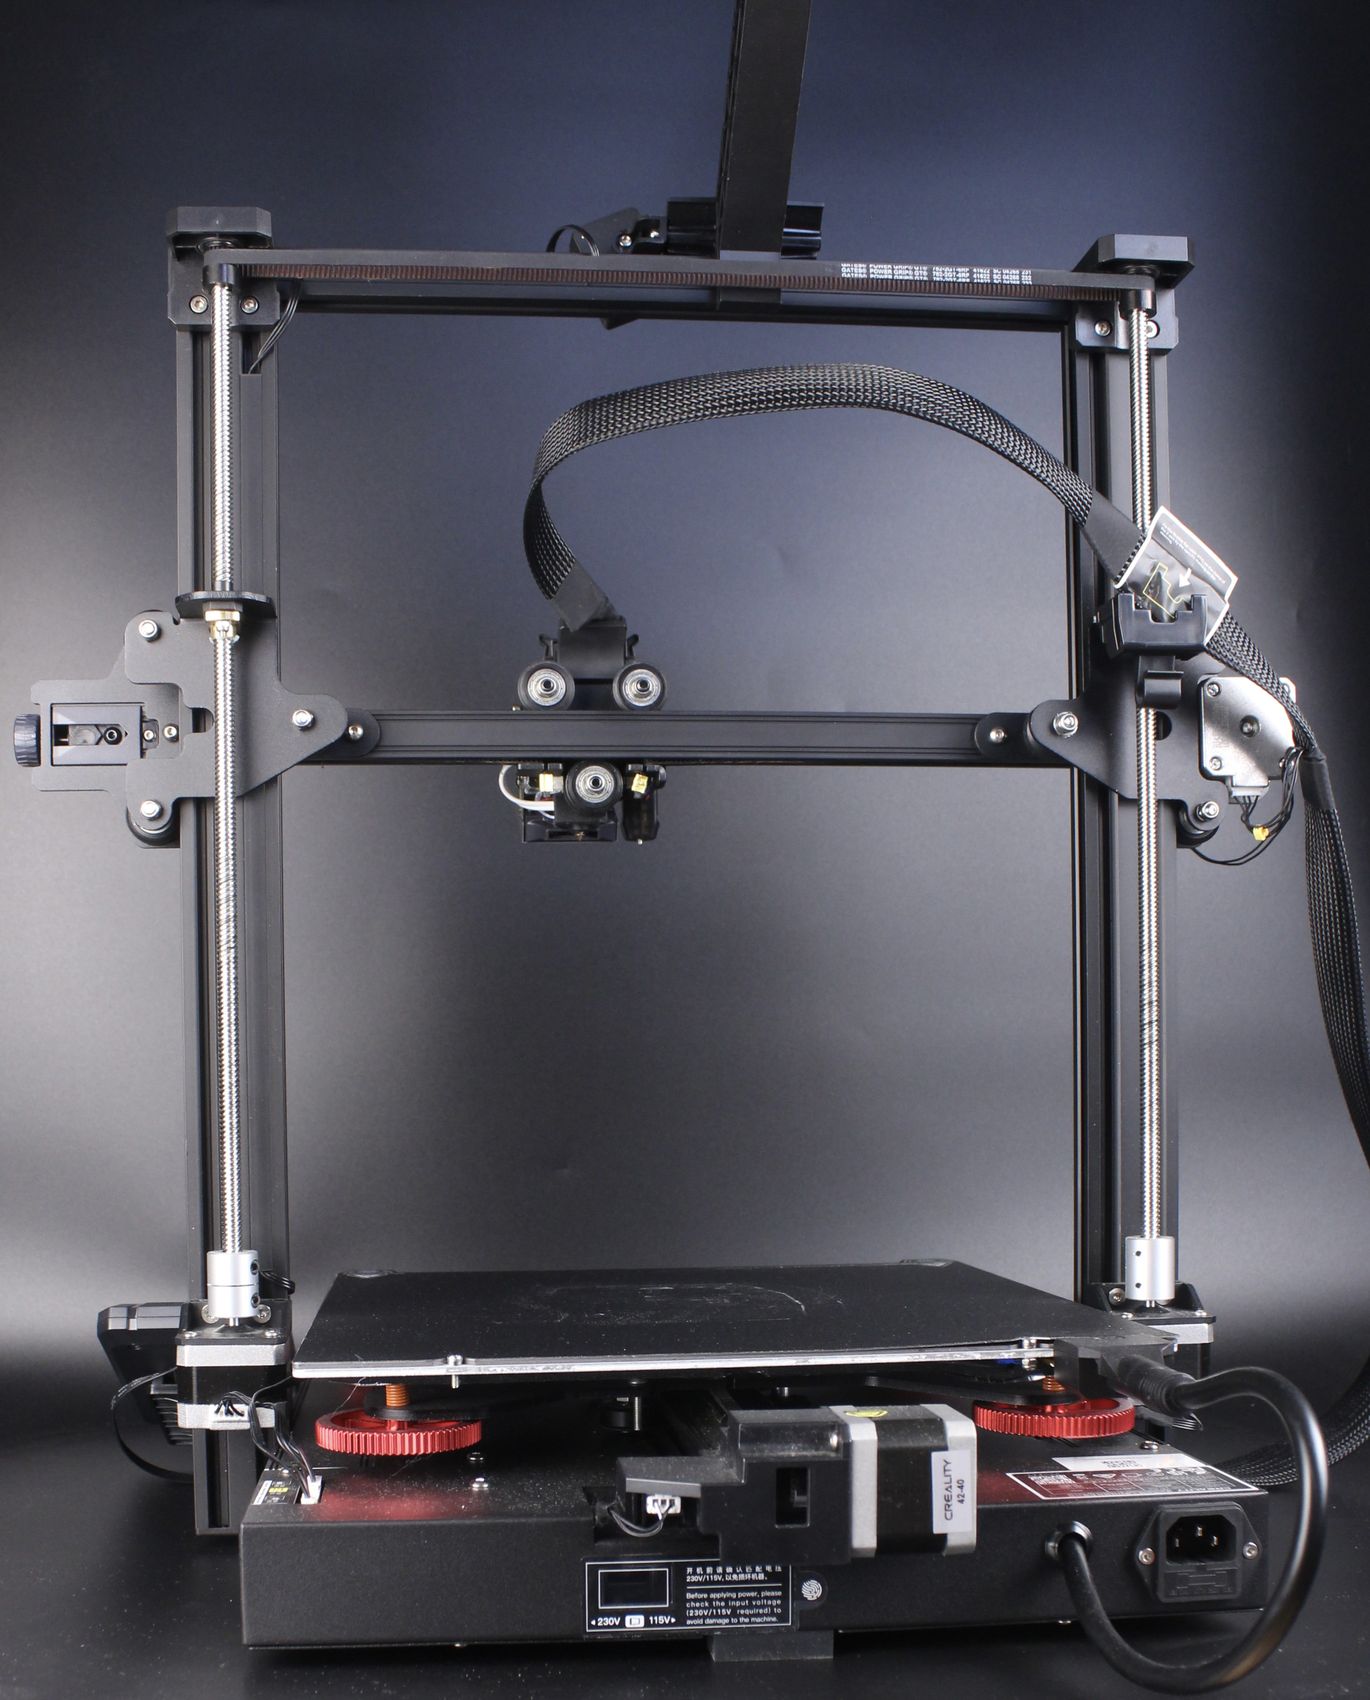
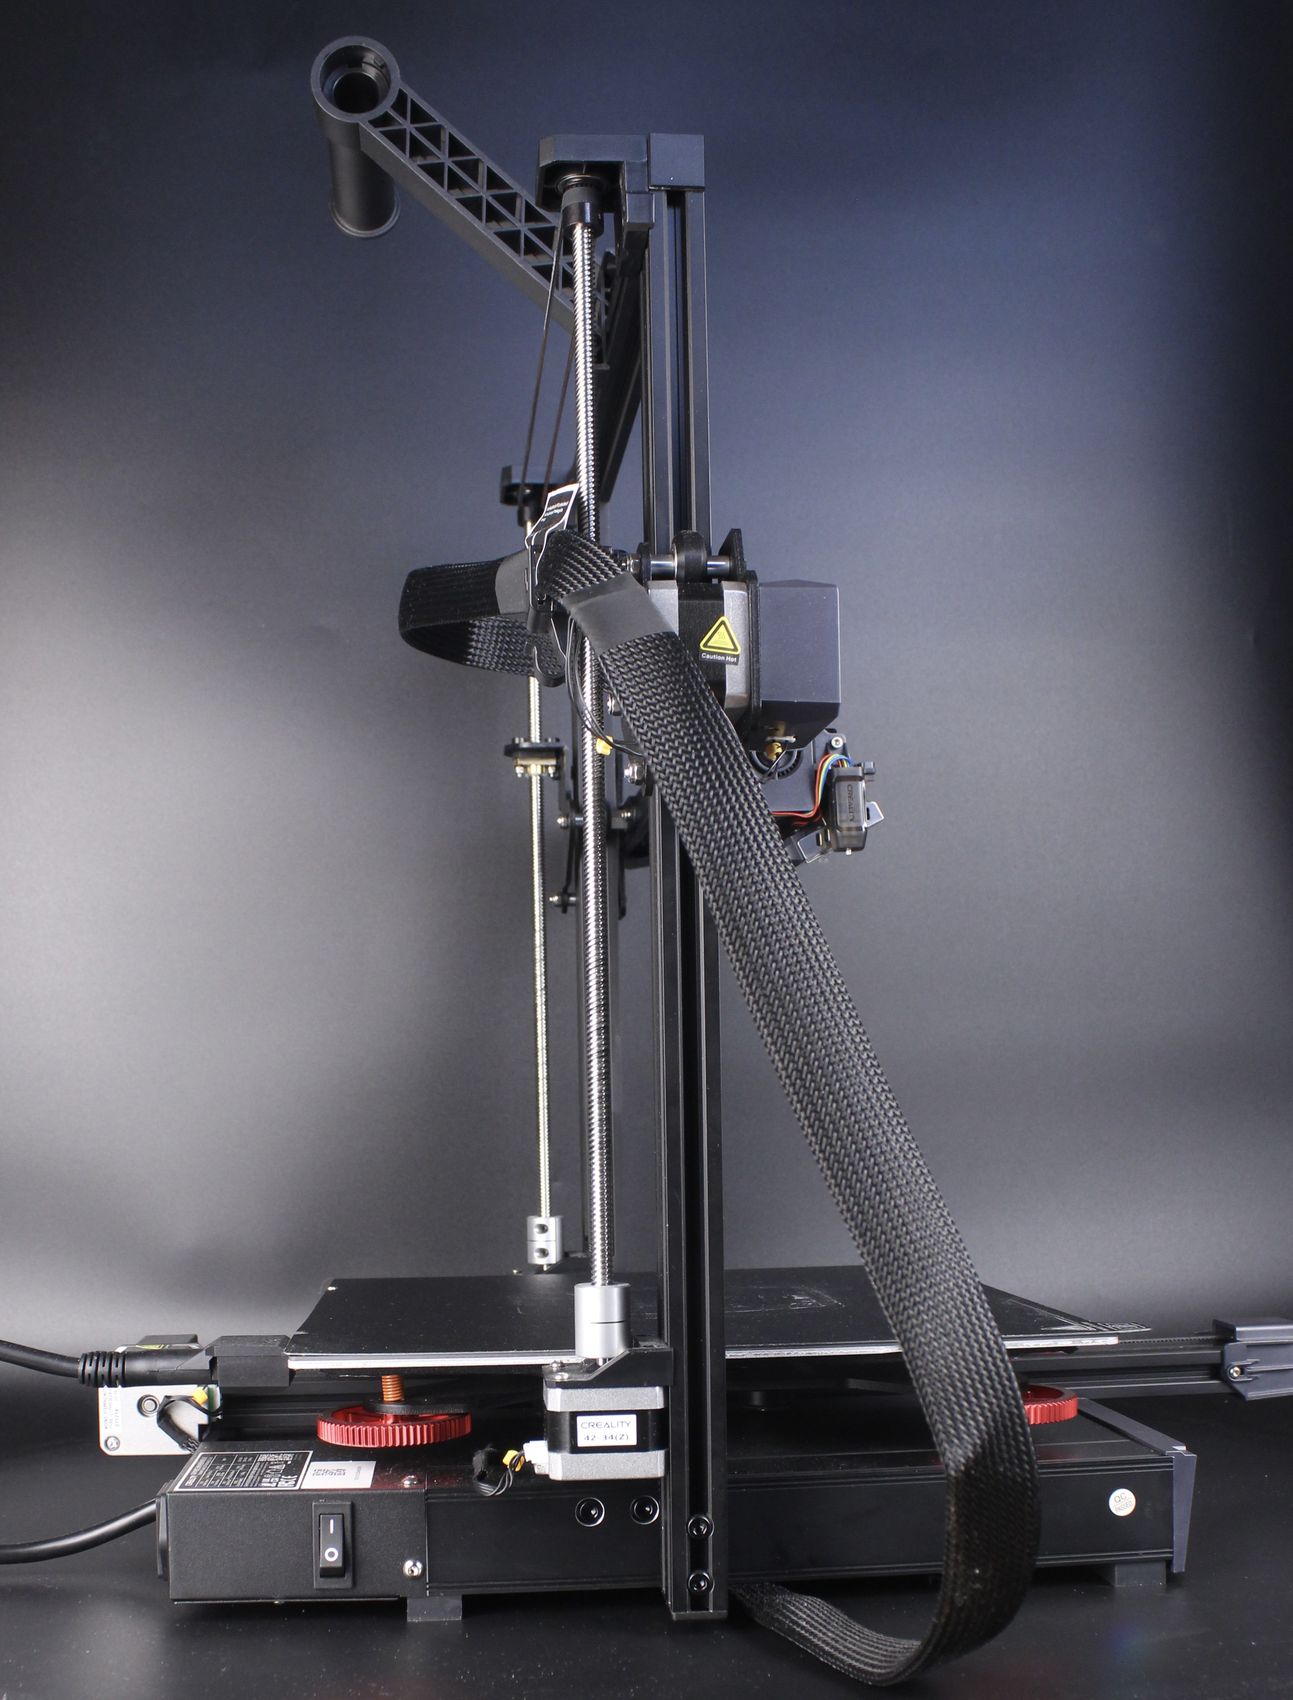
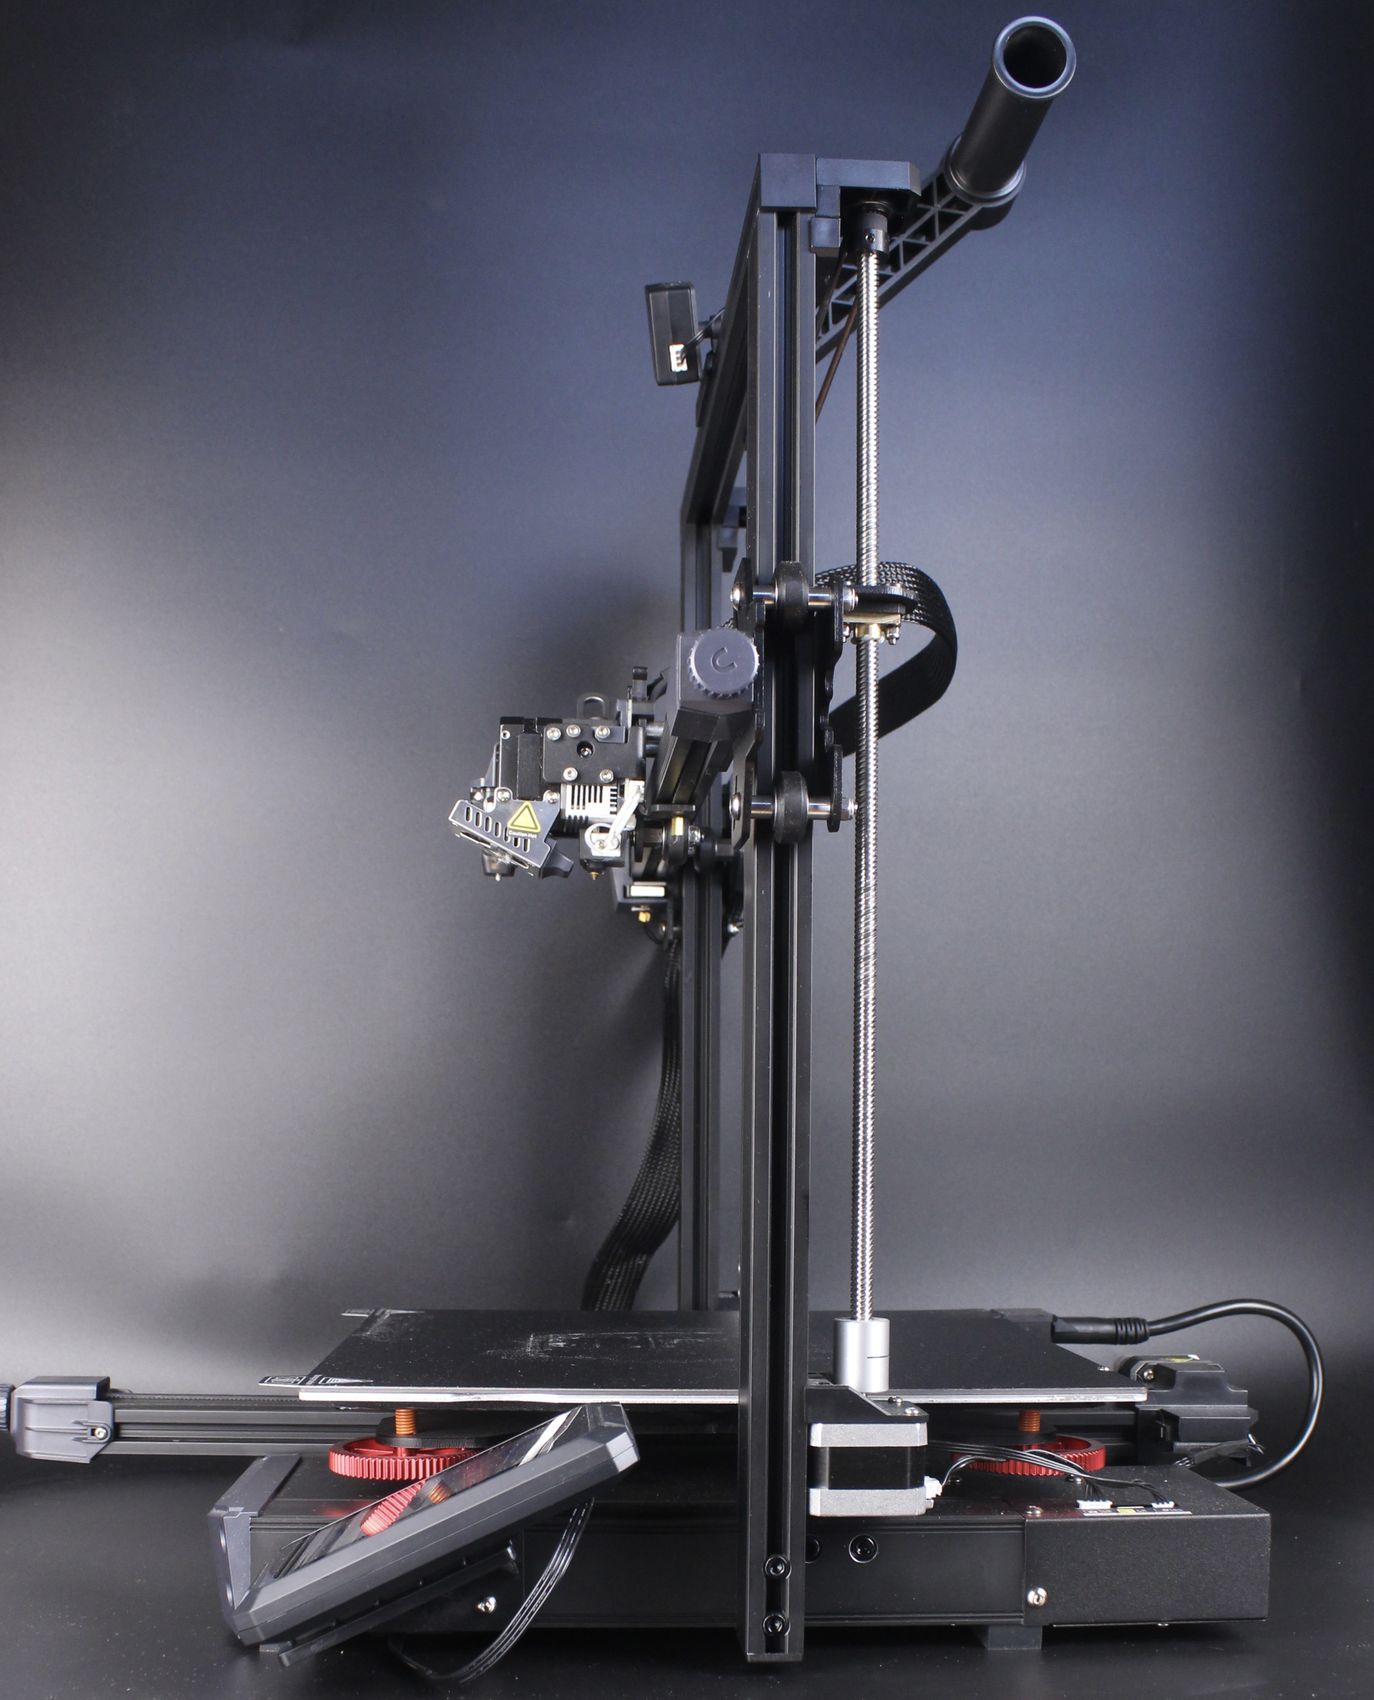
In order to allow space for the larger heated bed, the aluminum extrusions are attached to the sides instead of having them on top of the bottom unit.
Ender 3 S1 Plus Specs
| Machine Dimension | 557*535*655mm |
| Package Dimension | 625*590*230mm |
| Net Weight | 10.2kg |
| Gross Weight | 13.4kg |
| Printing Precision | 100mm±0.2mm |
| Layer Height | 0.1-0.4 mm |
| Filament Diameter | 1.75 mm |
| Heat Bed Temperature | Up to 100°C |
| Nozzle Temperature | Up to 260°C |
| Rated Voltage | 100-120V, 220-240V, 50/60 Hz |
| Data Transmission Method | Type-C USB/ SD card |
| 3D File Format | STL/OBJ/AMF |
| Supported Filament | PLA/ABS/TPU/PETG |
| Supported Language | Chinese, English, Spanish, German, French, Portuguese, Italian, Russian, and Turkish |
| Nozzle Quantity | 1 |
| Nozzle Diameter | 0.4 mm |
| Rated Power | 350W/24V |
| Slicing Software | Creality Slicer/Cura/Repetier-Host/Simplify3D |
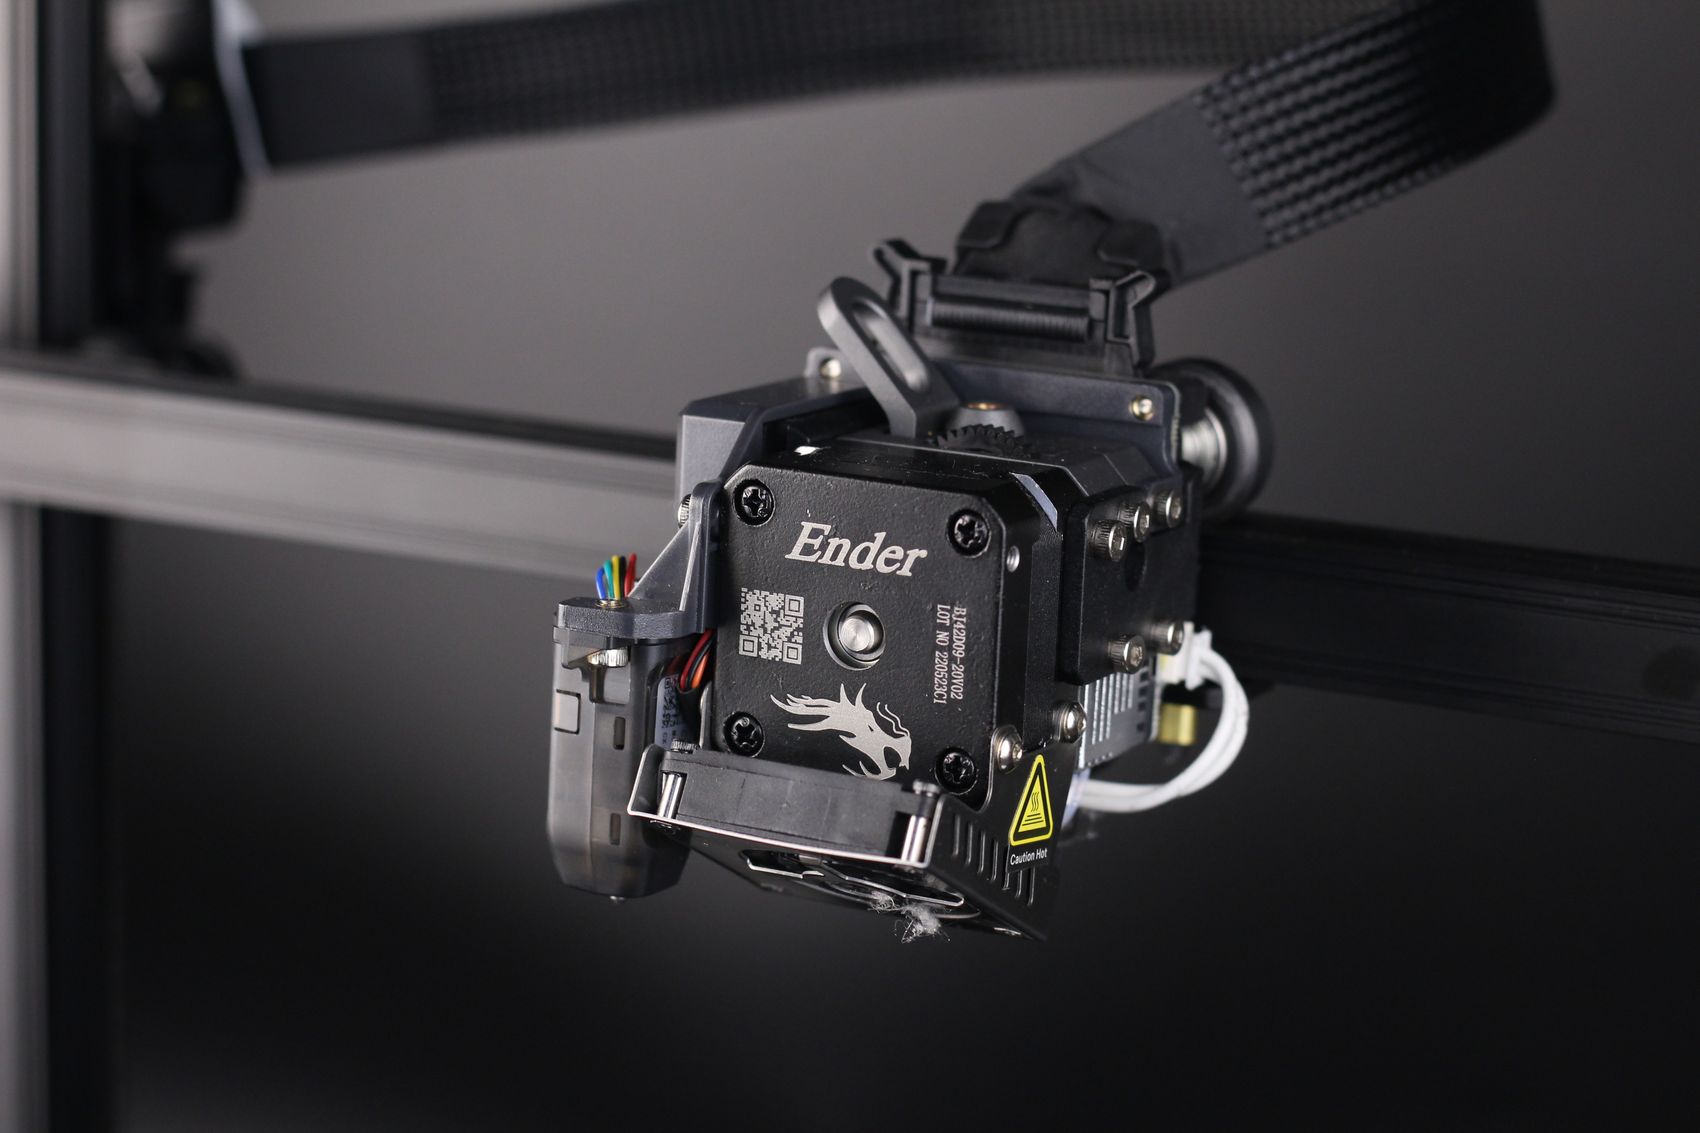
Sprite dual-gear direct drive extruder
I shared more information about the new Sprite dual-gear extruder in my review, so I won’t go into much detail here. All I can say is that the new Sprite extruder performs great on the Ender 3 S1 Plus.
What needs to be mentioned is that the hotend is PTFE lined so the Ender 3 S1 Plus is not using an all-metal heat break like the Pro version of the Sprite extruder. This means that you will be limited to printing up to 240C. If you go over that temperature for longer periods of time, the PTFE tube inside the hotend will start to degrade and release harmful fumes.
This direct drive extruder improved the quality of the S1 line of 3D printers significantly, and that’s very nice to see. But it also increased the price quite a bit.
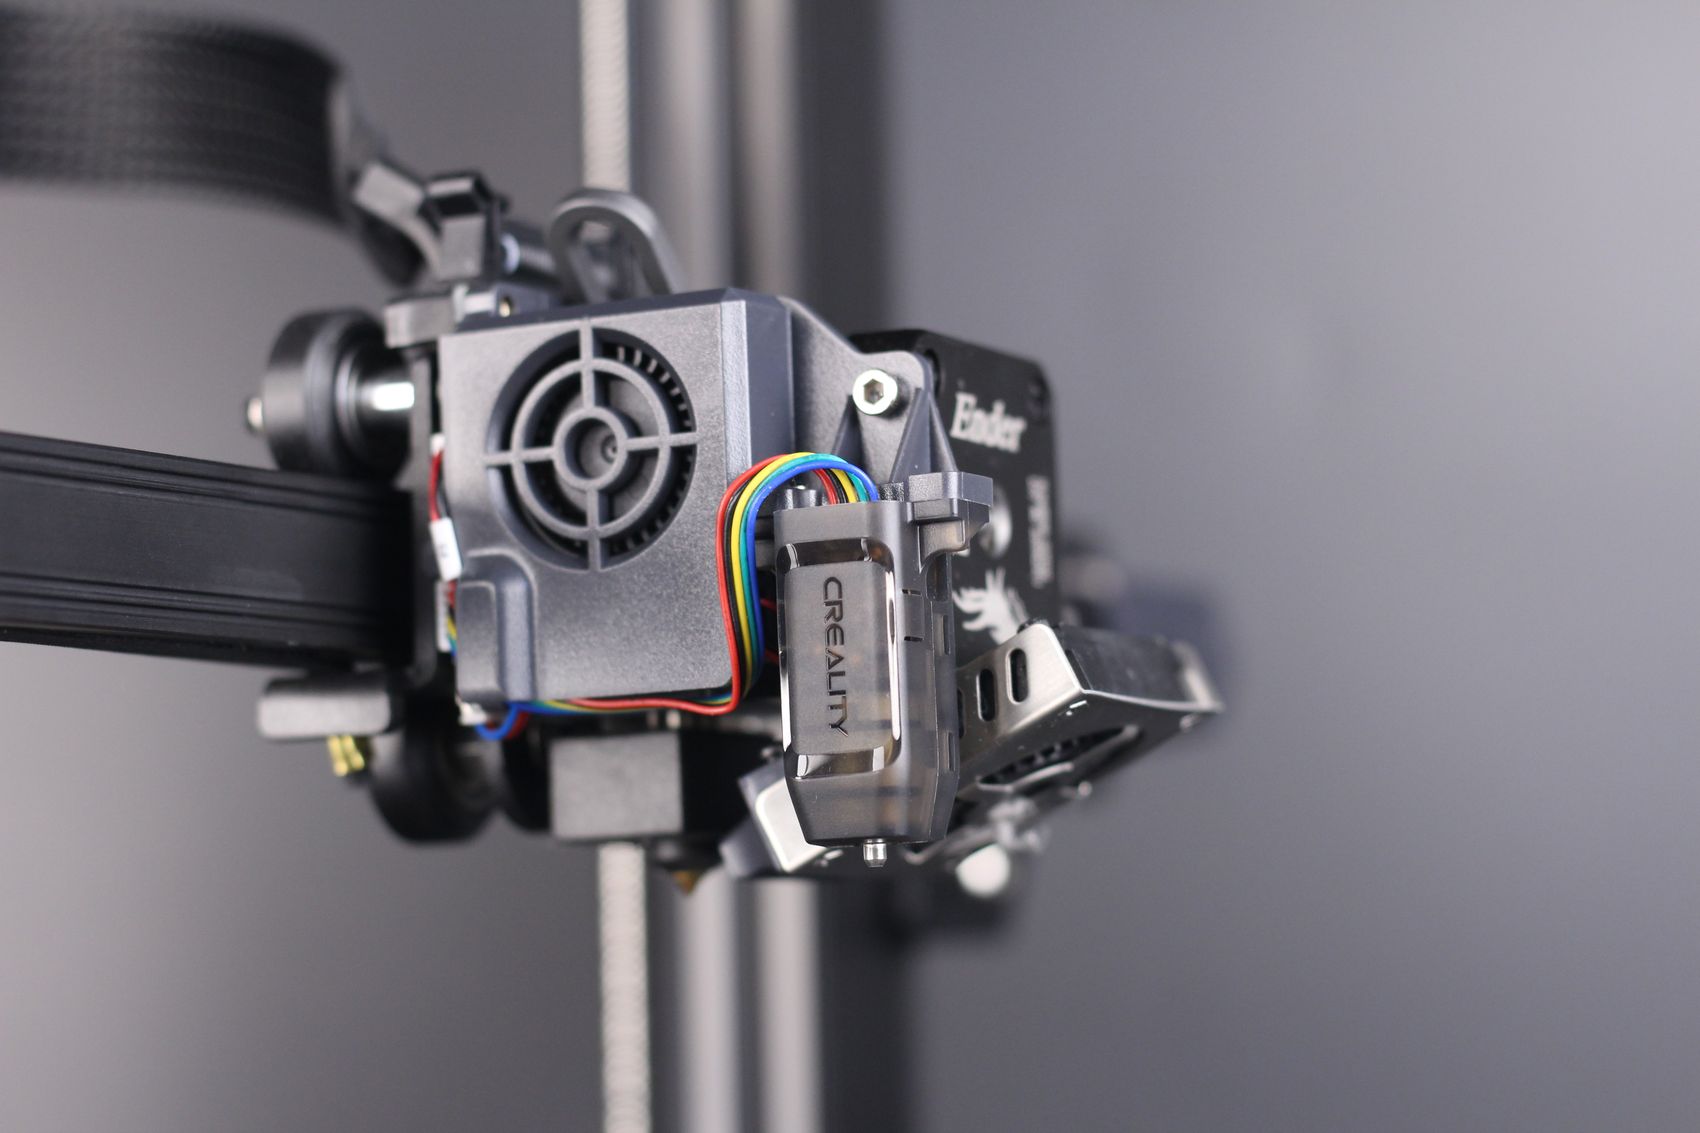
CR Touch sensor
It seems that most of Creality’s mid-range printers come with a CR-Touch sensor for auto bed leveling, and I’m happy to see that, as it helps ensure a good first layer.
All the CR-Touch sensors used on other Creality printers worked well for me, and I had the same experience with the Ender 3 S1 Plus. I only had to level the bed once, then every other print was consistent and didn’t require any re-leveling.
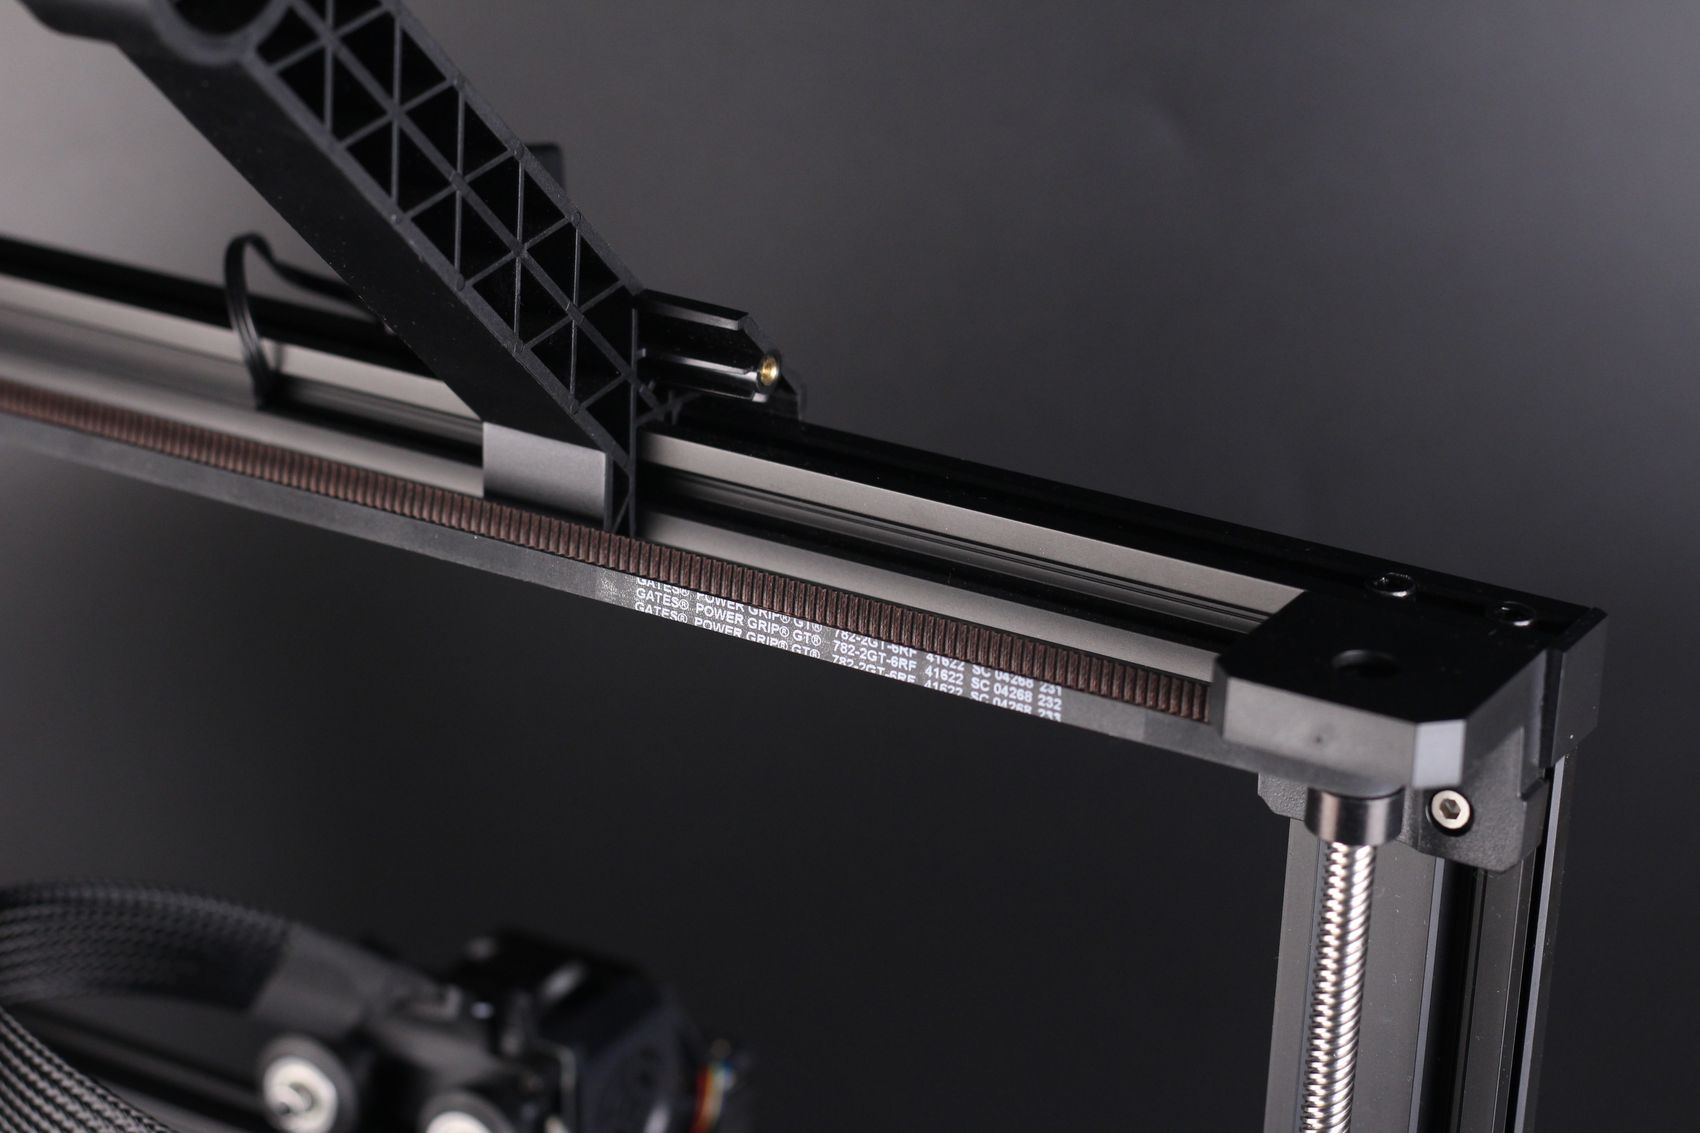
Dual Z axis
As you might expect from a larger format 3D printer like the S1 Plus, a dual z-axis system is used for moving the gantry on the Z axis. The motors are kept in sync with a belt on the top which is great for ensuring that the X axis is kept stable during printing.
32-bit board with silent stepper drivers
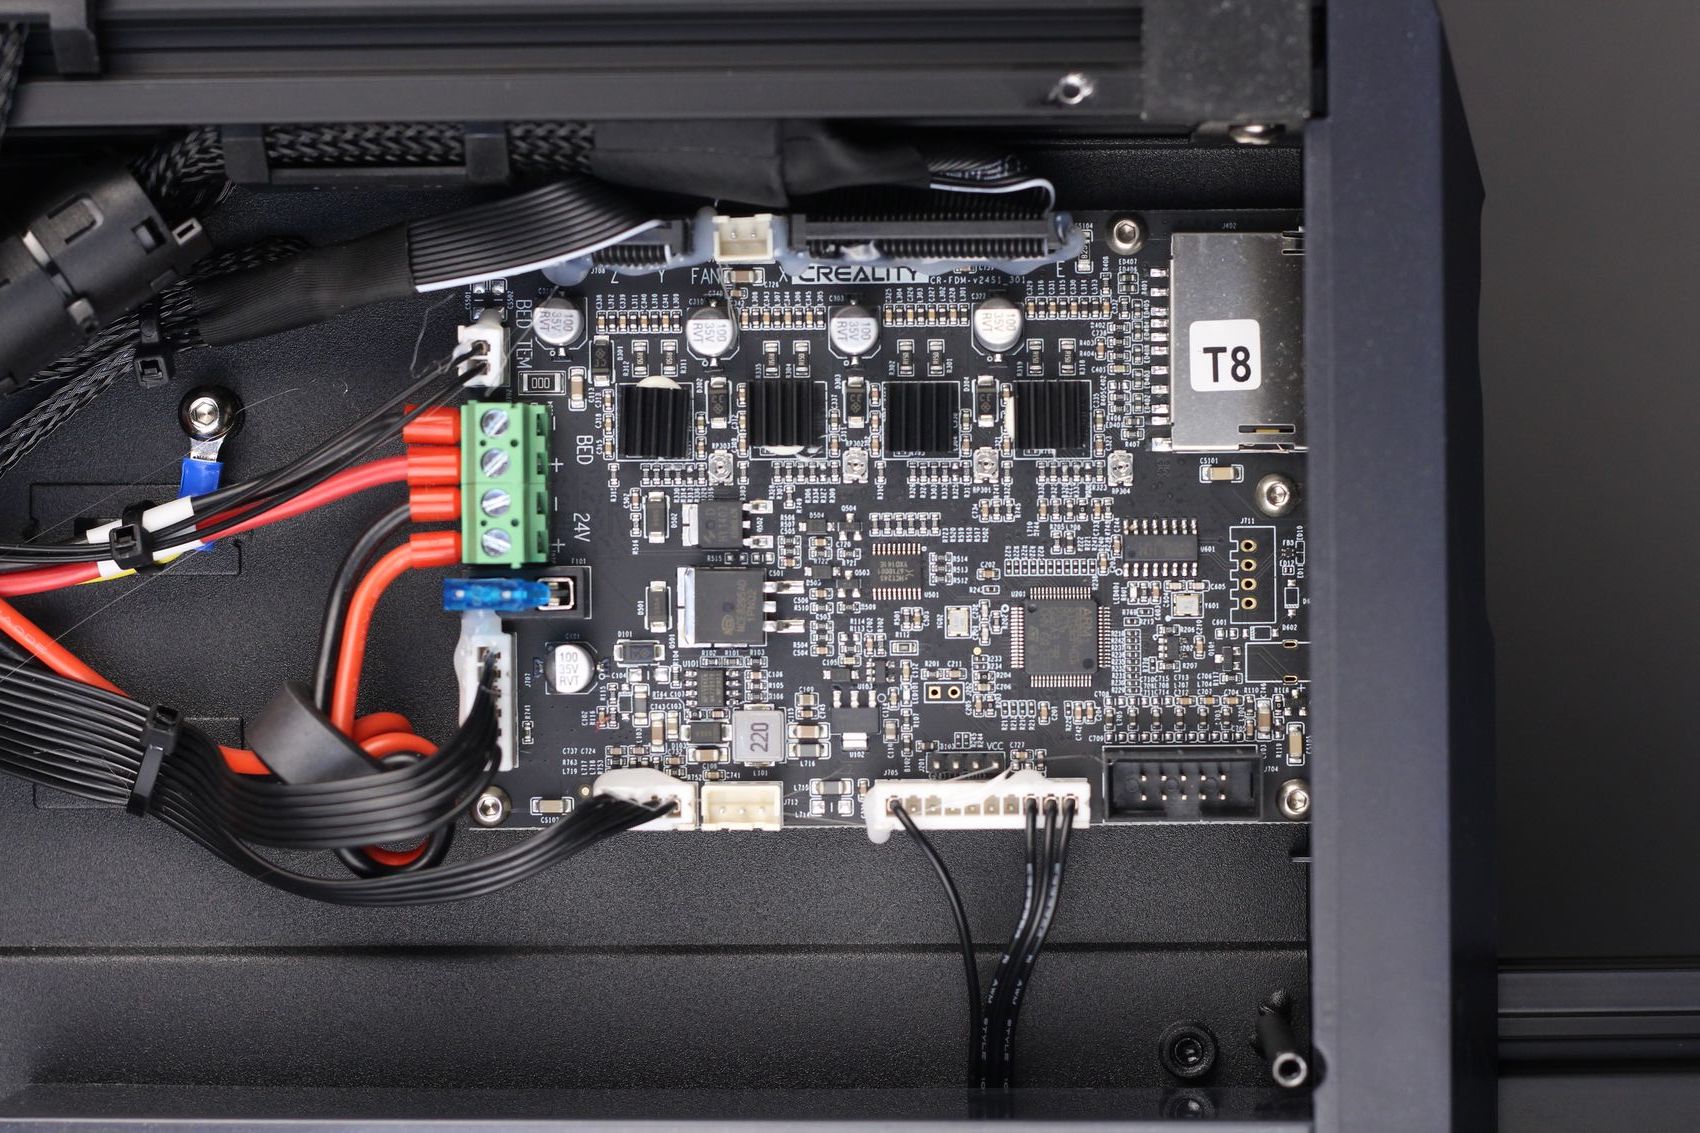
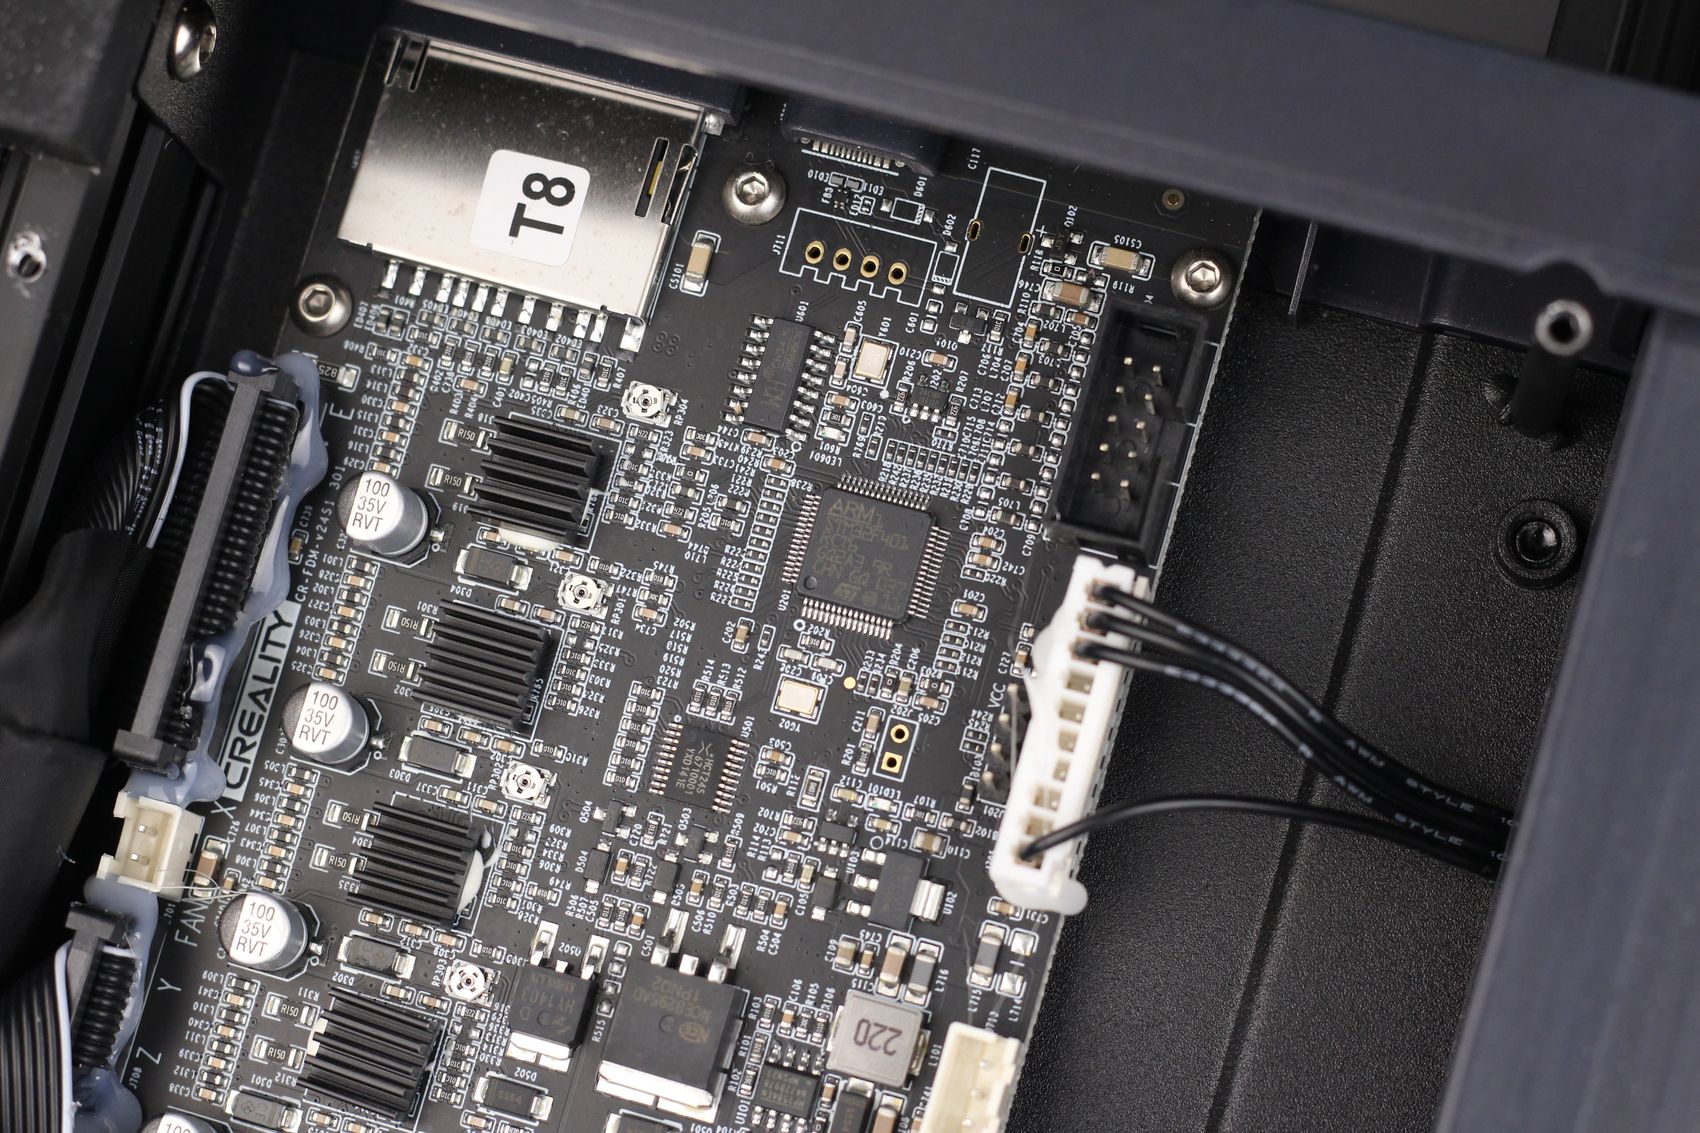
As you might expect, the Ender 3 S1 Plus comes with the same 32-bit board as the regular Ender 3 S1, running silent stepper drivers and an ARM STM32F401 chip. I also like the inclusion of proper ferules on the cables.
PC spring steel print sheet
The Ender 3 S1 Plus comes with a PC spring steel sheet, just like the smaller Ender 3 S1. It has excellent adhesion, and in some cases, prints might adhere too much to it.
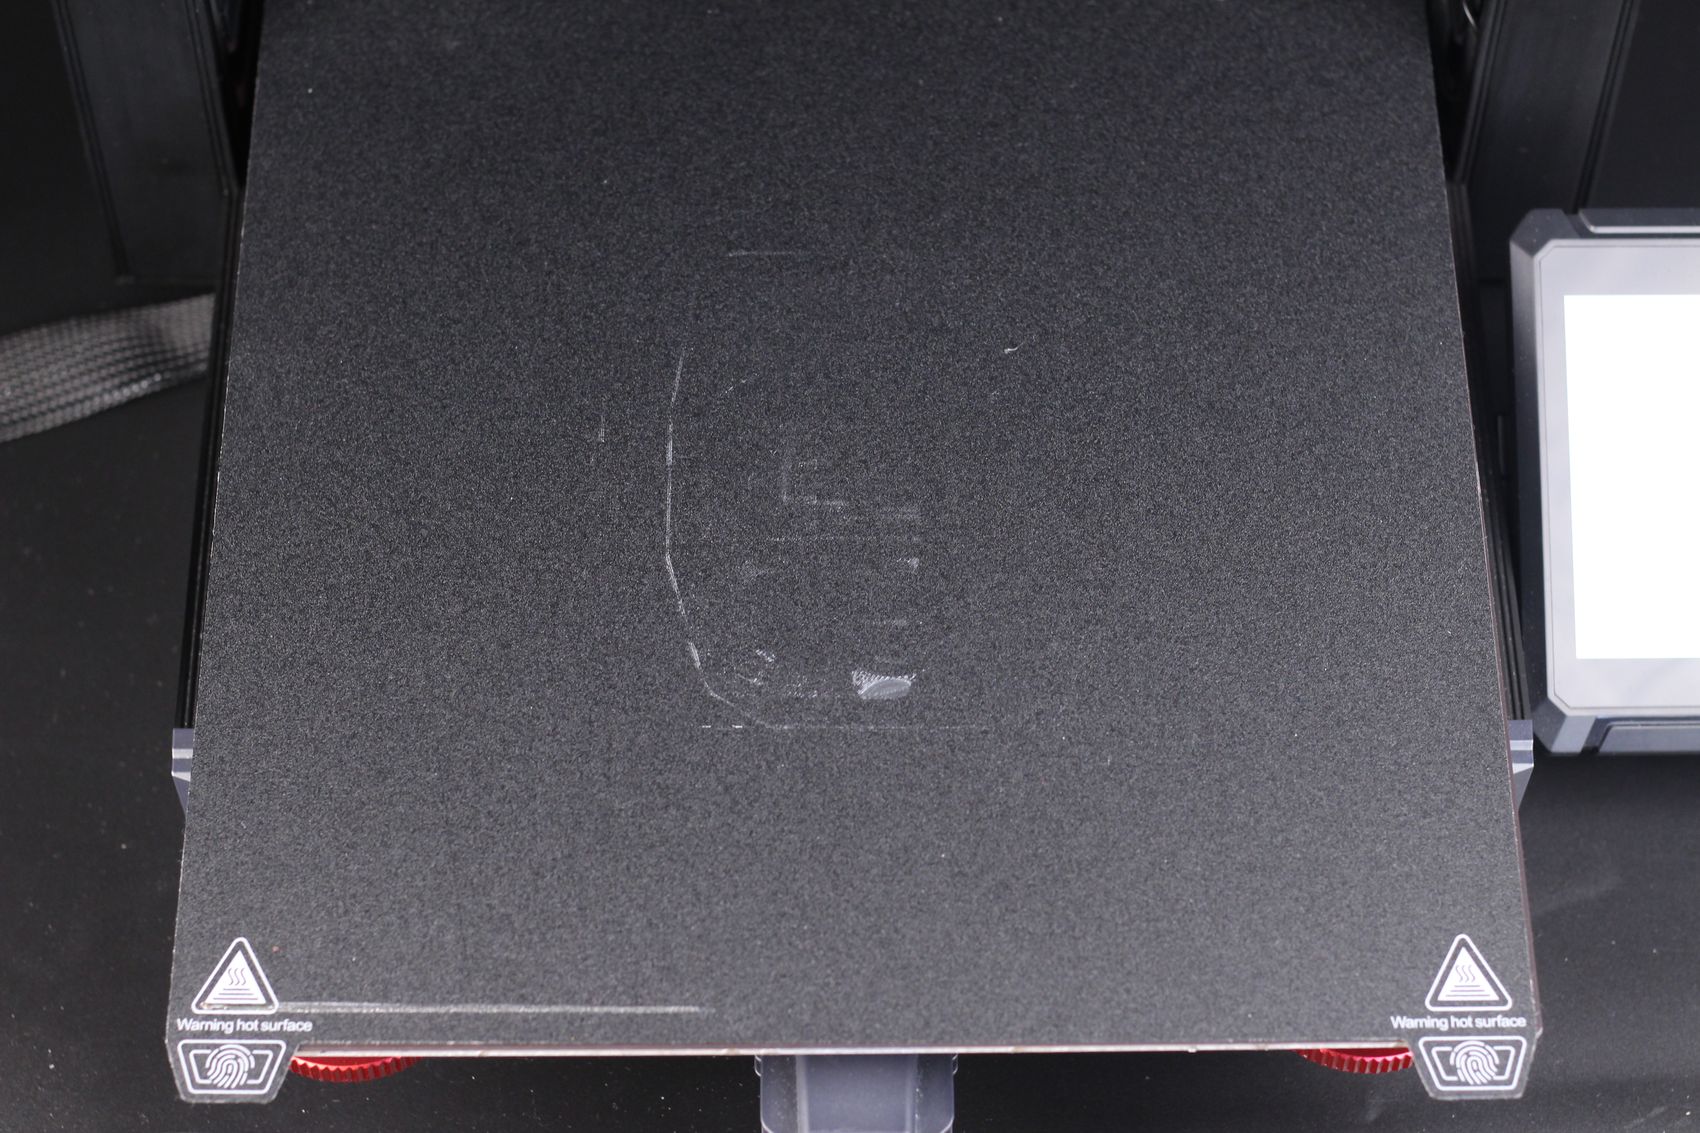
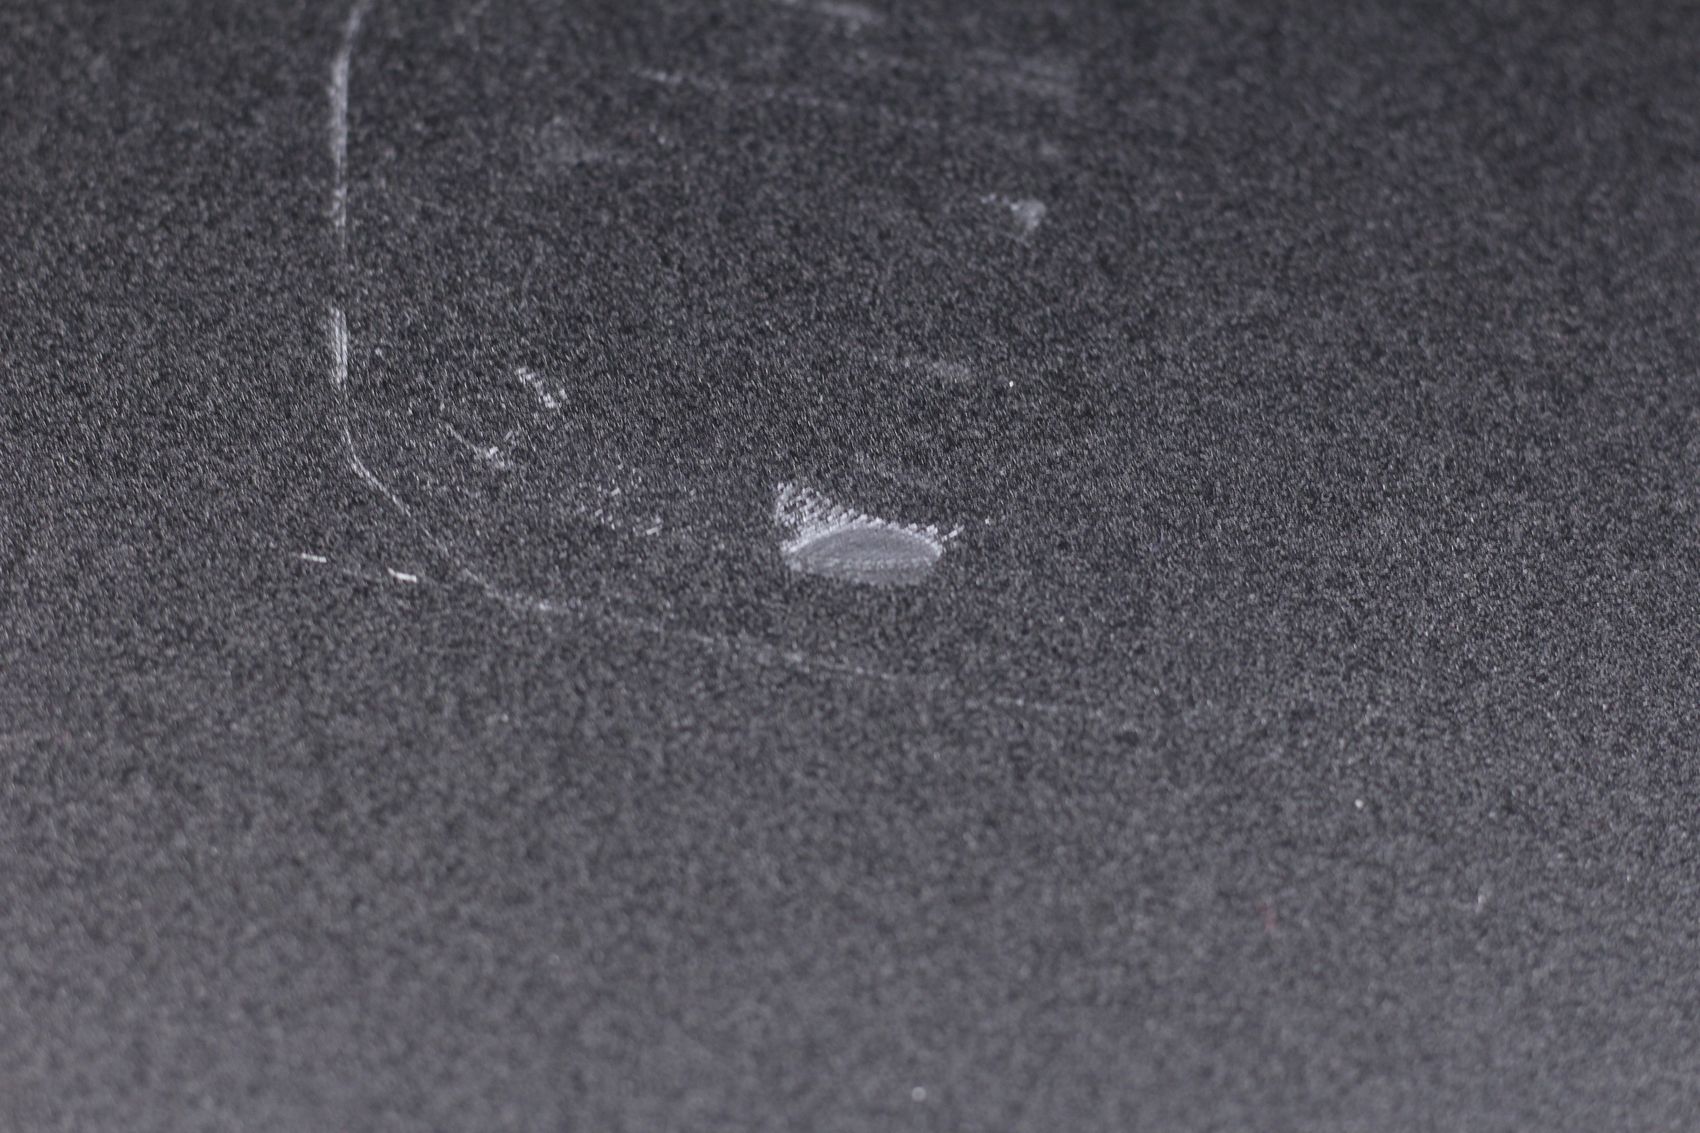
As long as the Z offset is correctly set, you won’t have problems printing PLA on it even with the heatbed turned off. But if you print too close, expect to see some filament getting stuck to the sheet and having some problems when removing the model.
You can also print on the bottom side of the sheet if you want a smooth finish of the model, but glue stick might be needed to help with adhesion.
I would have preferred a PEI sheet as this is one of the best printing surfaces you can get right now.
4.3-inch touchscreen
The Ender 3 S1 Plus has the same touchscreen as the Ender 3 S1 Pro. While the screen works pretty well, I am not very happy with the menu layout, as it is confusing. In some cases, settings that should be easy to reach are hidden behind various menu definitions.
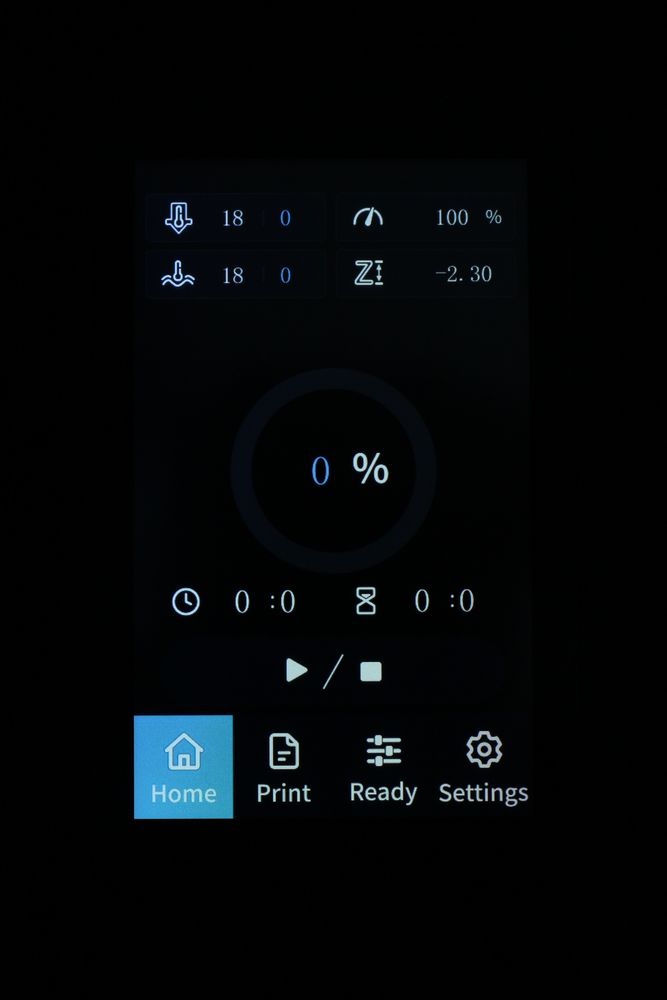
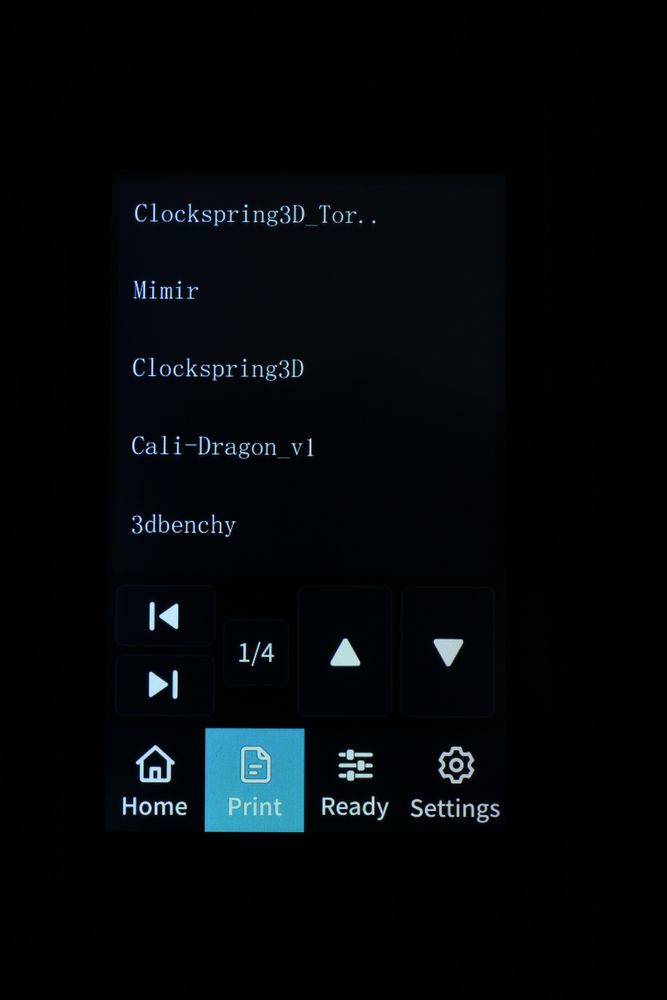

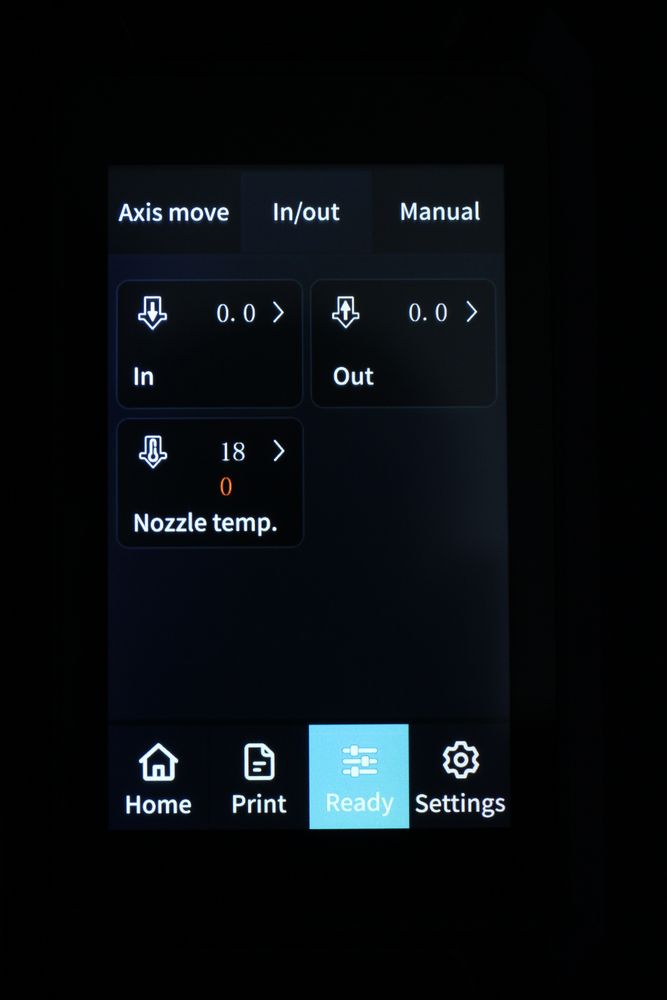
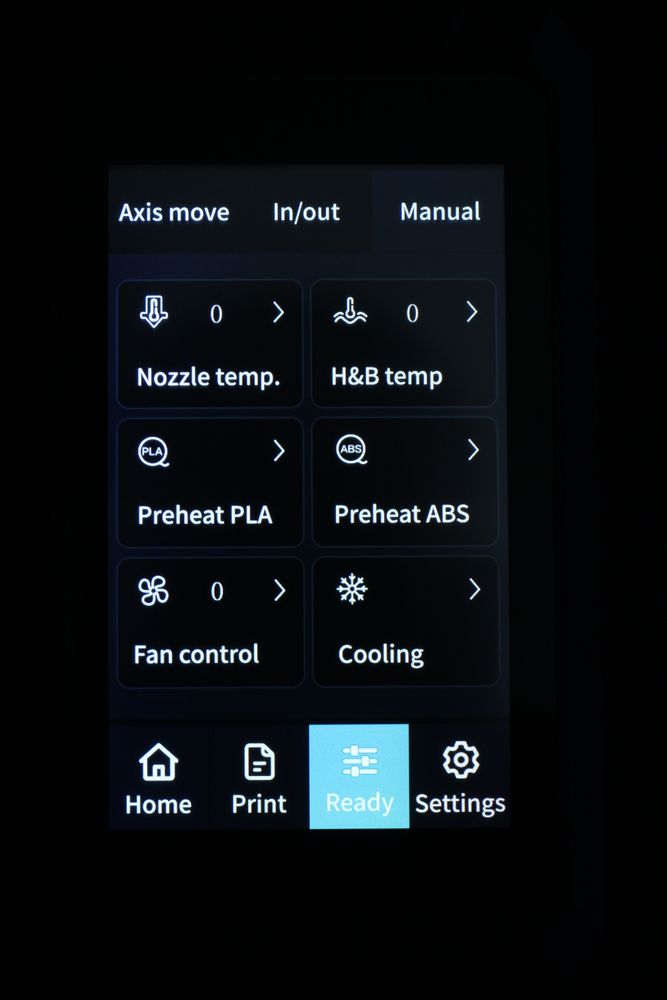
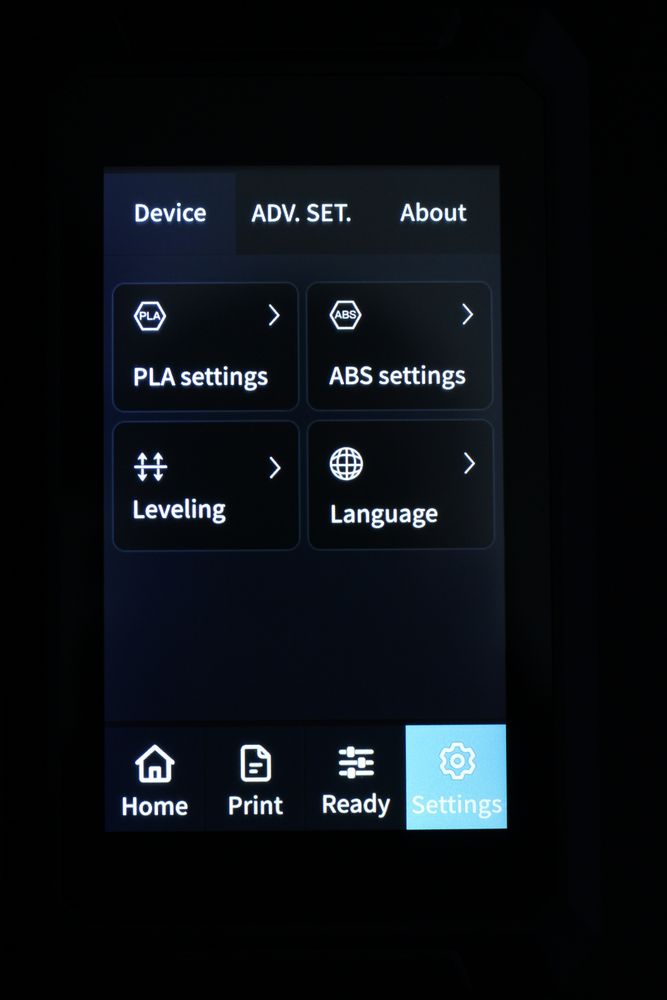
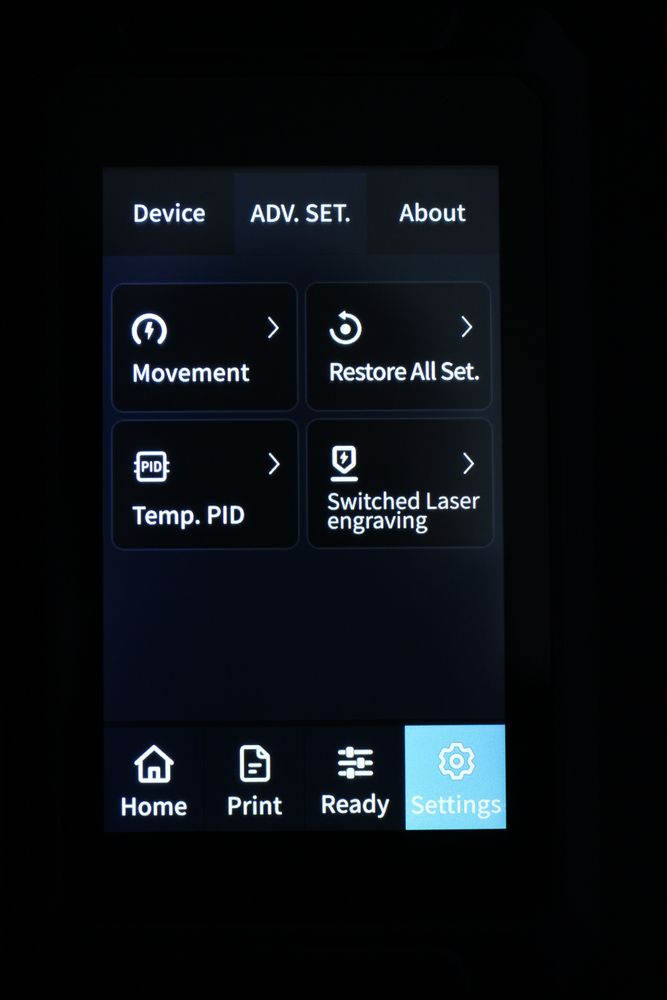
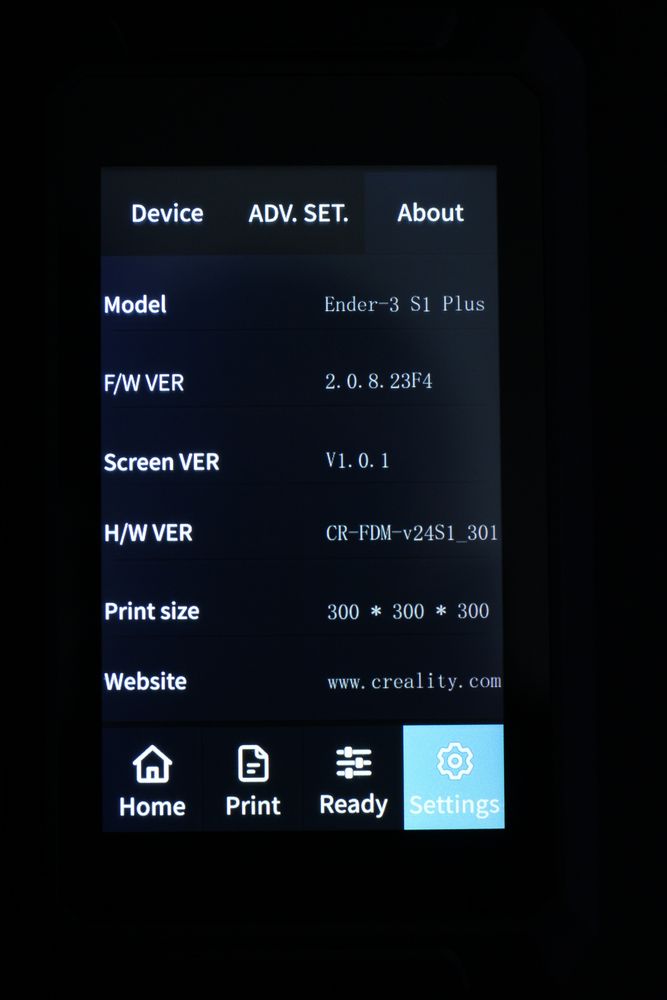
After you learn the layout, this gets easier, but it’s still somewhat annoying and I would have preferred the regular Ender 3 S1 screen with a click wheel. The cost savings could have been directed into including a PEI sheet.
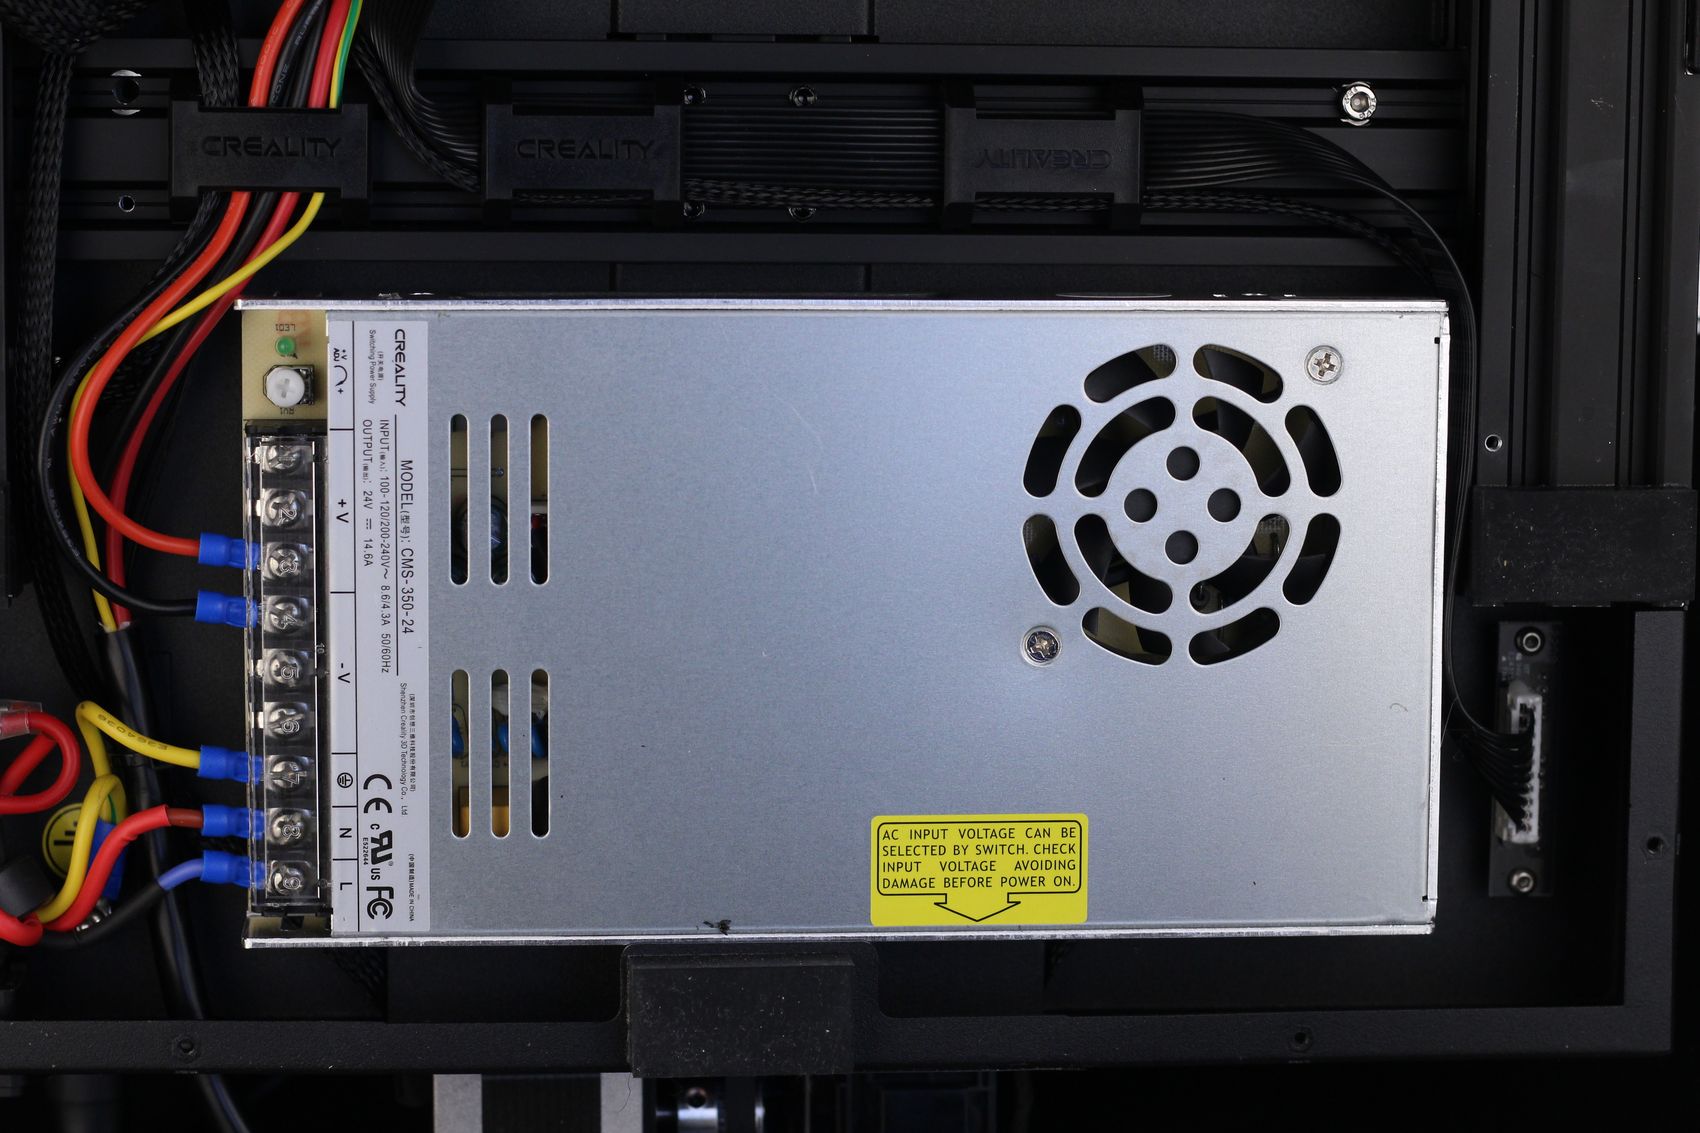
Creality CMS-350-24 Power Supply
The power supply included with the Ender 3 S1 Plus is the same as on the regular Ender 3 S1, and that’s a CMS-350-24 350W unit at 24V. Nothing to say about it, only that it performs fine and it has an always on fan.
Heating time and power consumption
Hotend
- 200C in 1 minute and 7 seconds
- 250C in 1 minute and 31 seconds
Heatbed
- 60C in 3 minutes and 20 seconds
- 100C in 13 minutes and 25 seconds
The bed is heating much slower than expected but it’s still decent and having the bed insulator helps keep the temperature stable.
Power Draw.
Idle power draw is around 25W which is higher than most printers out there. When the hotend and heatbed are heating up, the Creality Ender 3 S1 Plus draws around 320W. After it starts printing, the power draw stabilizes to around 145W which is also higher than expected.
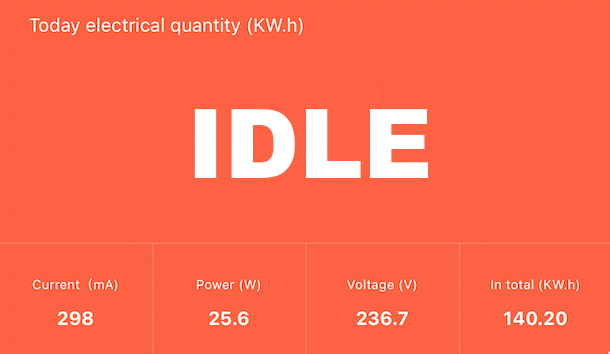
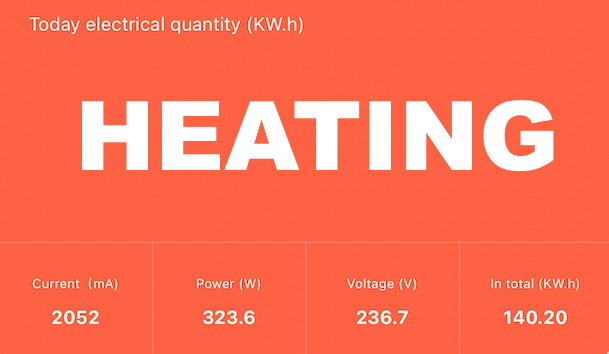
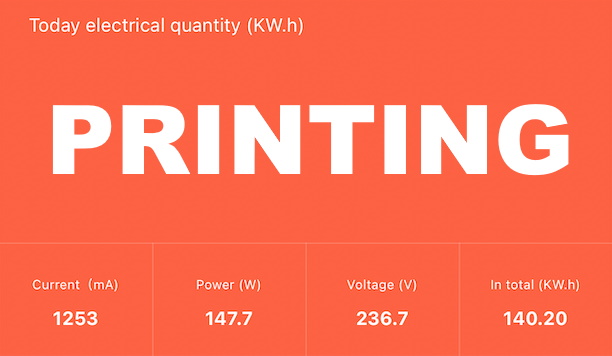
All these measurements were taken with a Blitzwolf smart power socket which indicates the power draw, and it can also be used for remotely powering on and off the printer.
Bed Temperature Uniformity
I tested the temperature uniformity for the Creality Ender 3 S1 Plys bed with the FLIR Camera installed on the CAT S62 Pro. The bed has been set to 60C and I waited 2 minutes for the temperature to stabilize.
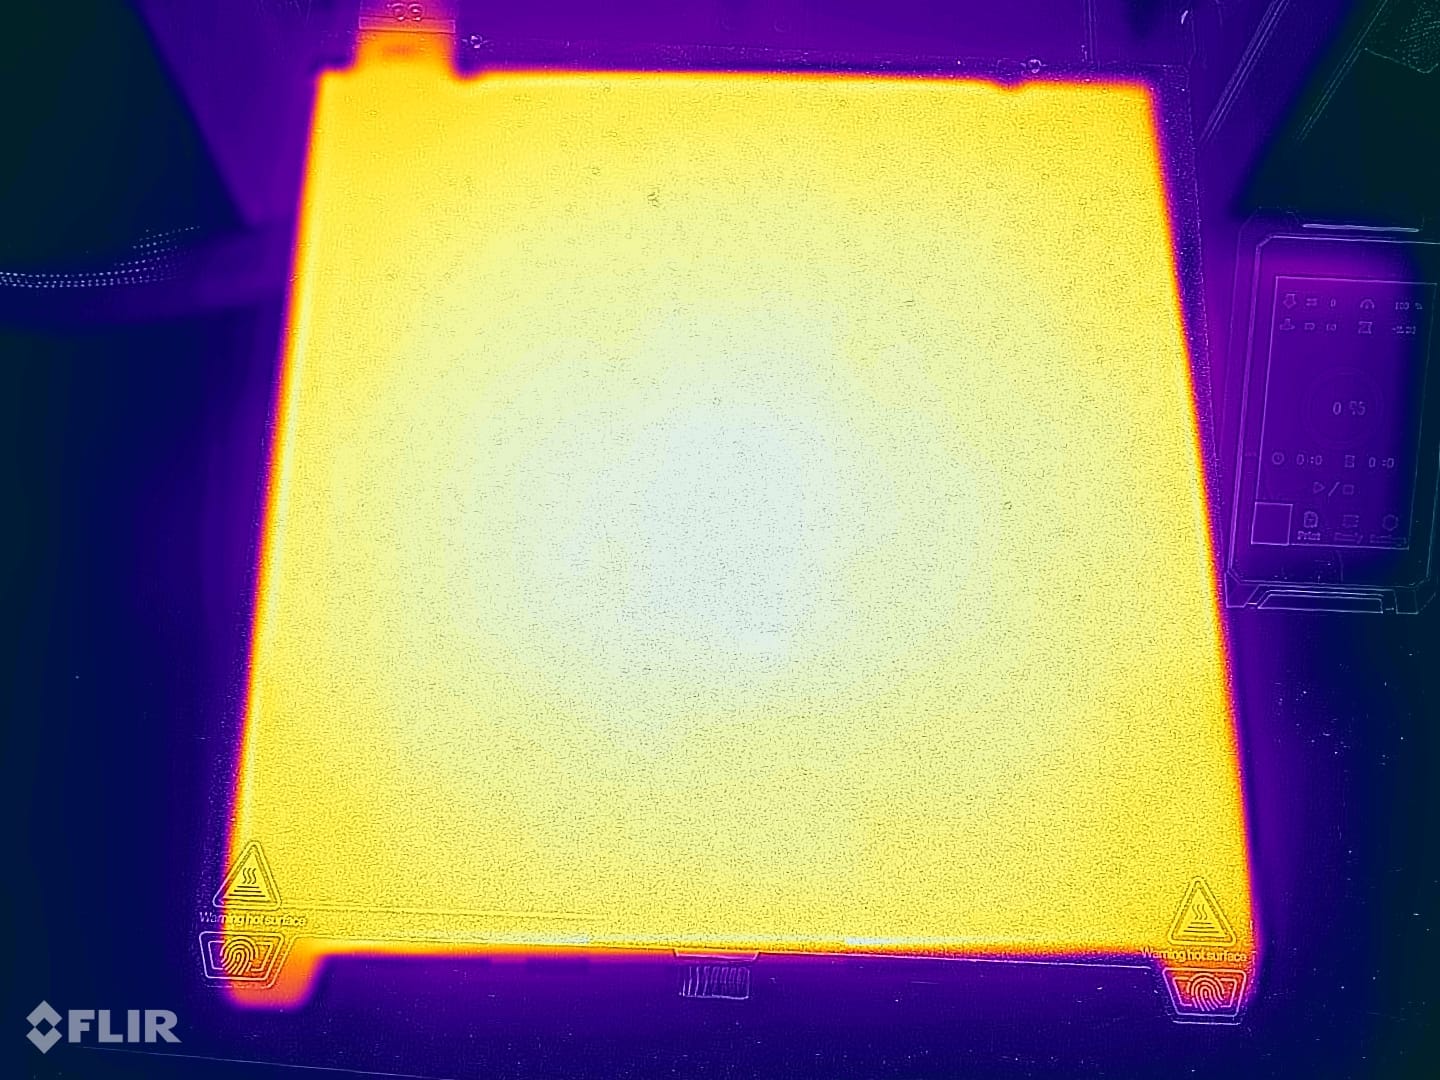
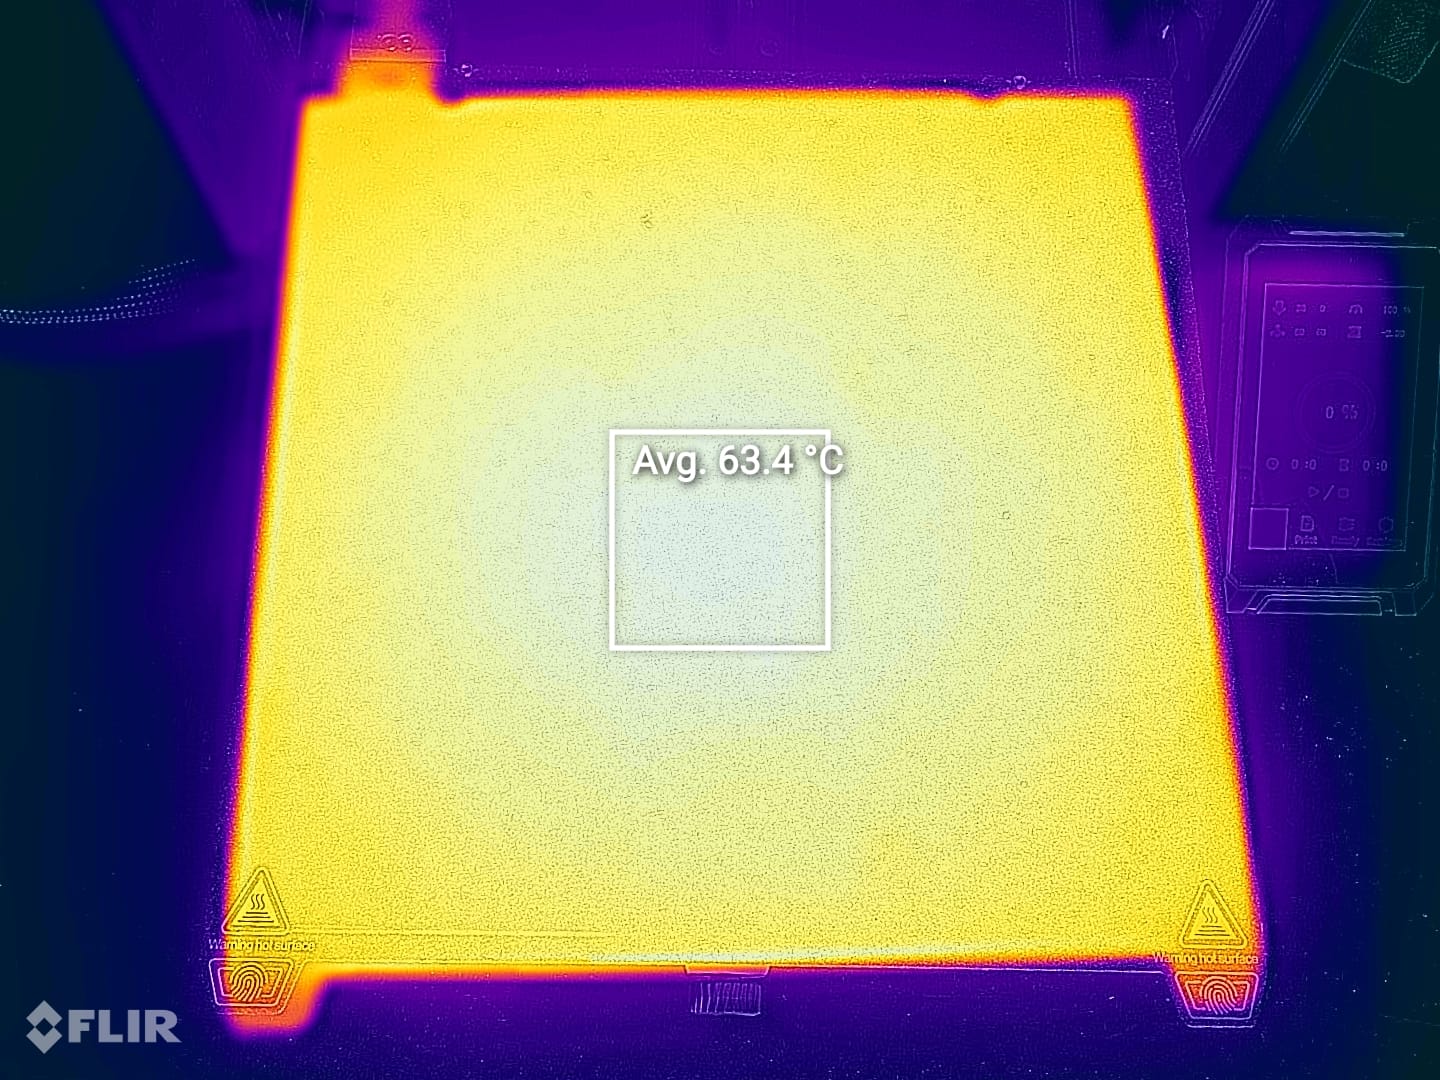
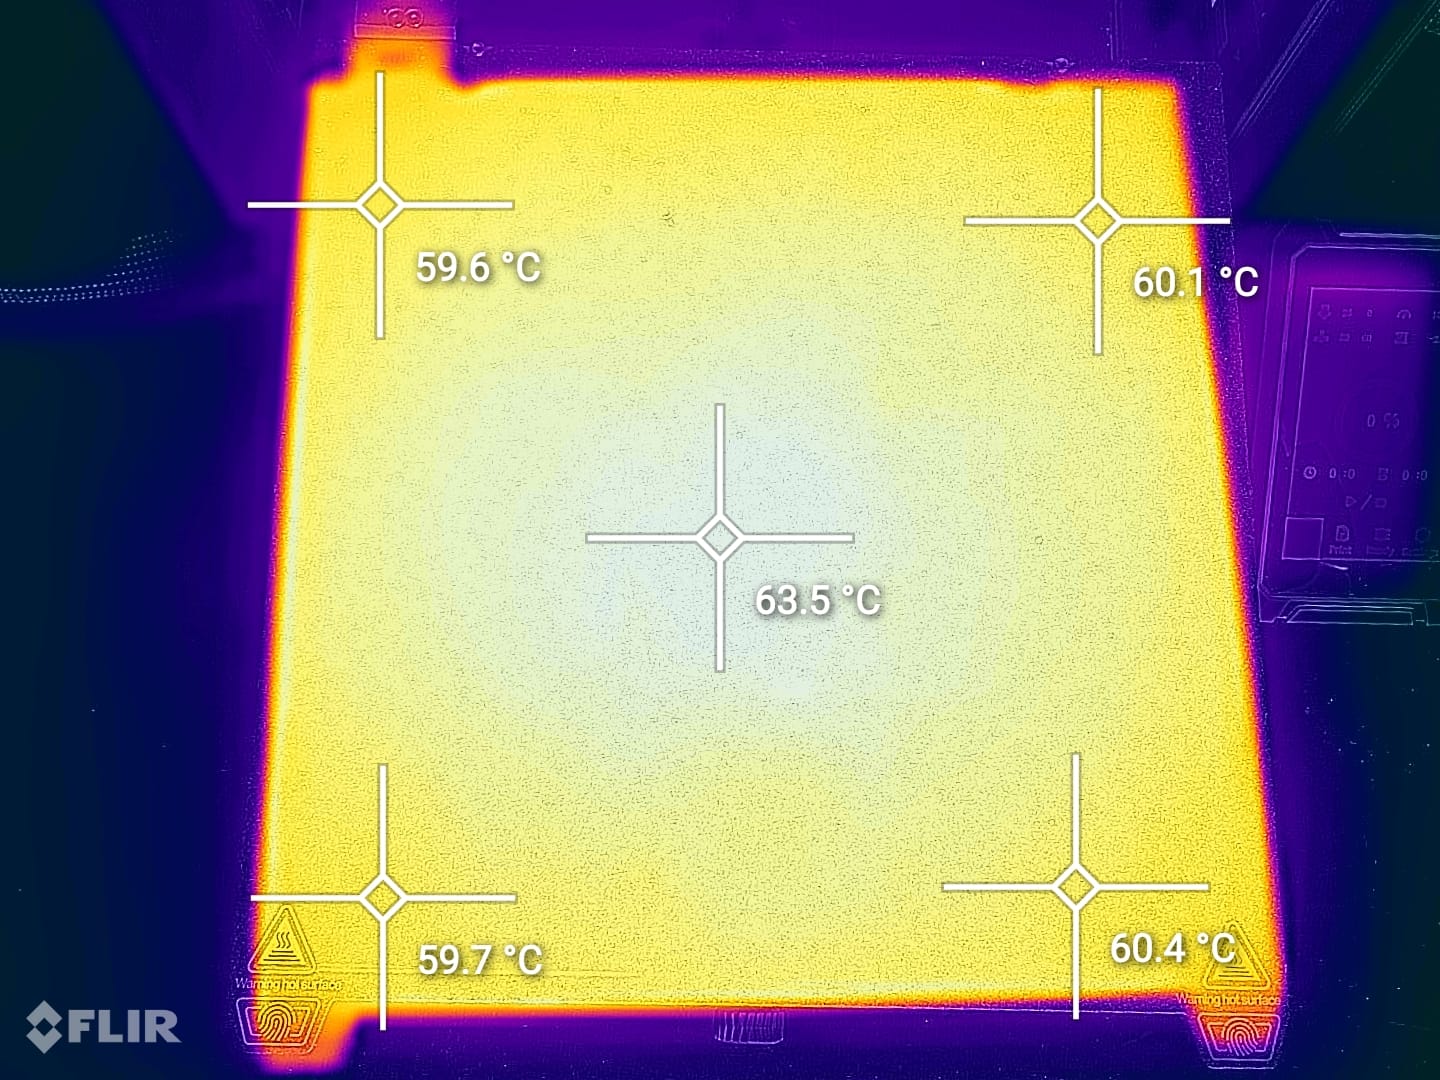
The Ender 3 S1 Plus has good temperature uniformity, with the temperature in the middle of the bed being a bit higher than the one on the sides. Can’t really complain too much.
Creality Ender 3 S1 Plus Noise Levels
The Ender 3 S1 Plus is not a nosy printer, but it also can’t be considered a super silent machine, as the power supply fan is constantly running. During printing, the heat break fan and the part cooling fan are noisier. Overall, the printer can be used in the same room you are working with without being disturbed too much.
Prusa Slicer profiles for Creality Ender 3 S1 Plus
During my time with the printer, I tuned a few Prusa Slicer profiles for the Creality Ender 3 S1 Plus. These profiles are tuned for the stock printer and are available to my Patreon supporters.
As usual, the flow rate will still need to be calibrated, according to your filament.
Test prints on Creality Ender 3 S1 Plus
3D Benchy
I started my testing with the regular 3D Benchy which turned out as expected from a machine running the new Sprite Extruder. There’s a bit of stringing present caused by a lower retraction value which I fixed after this print. Other than that, I’m quite happy with this first print.
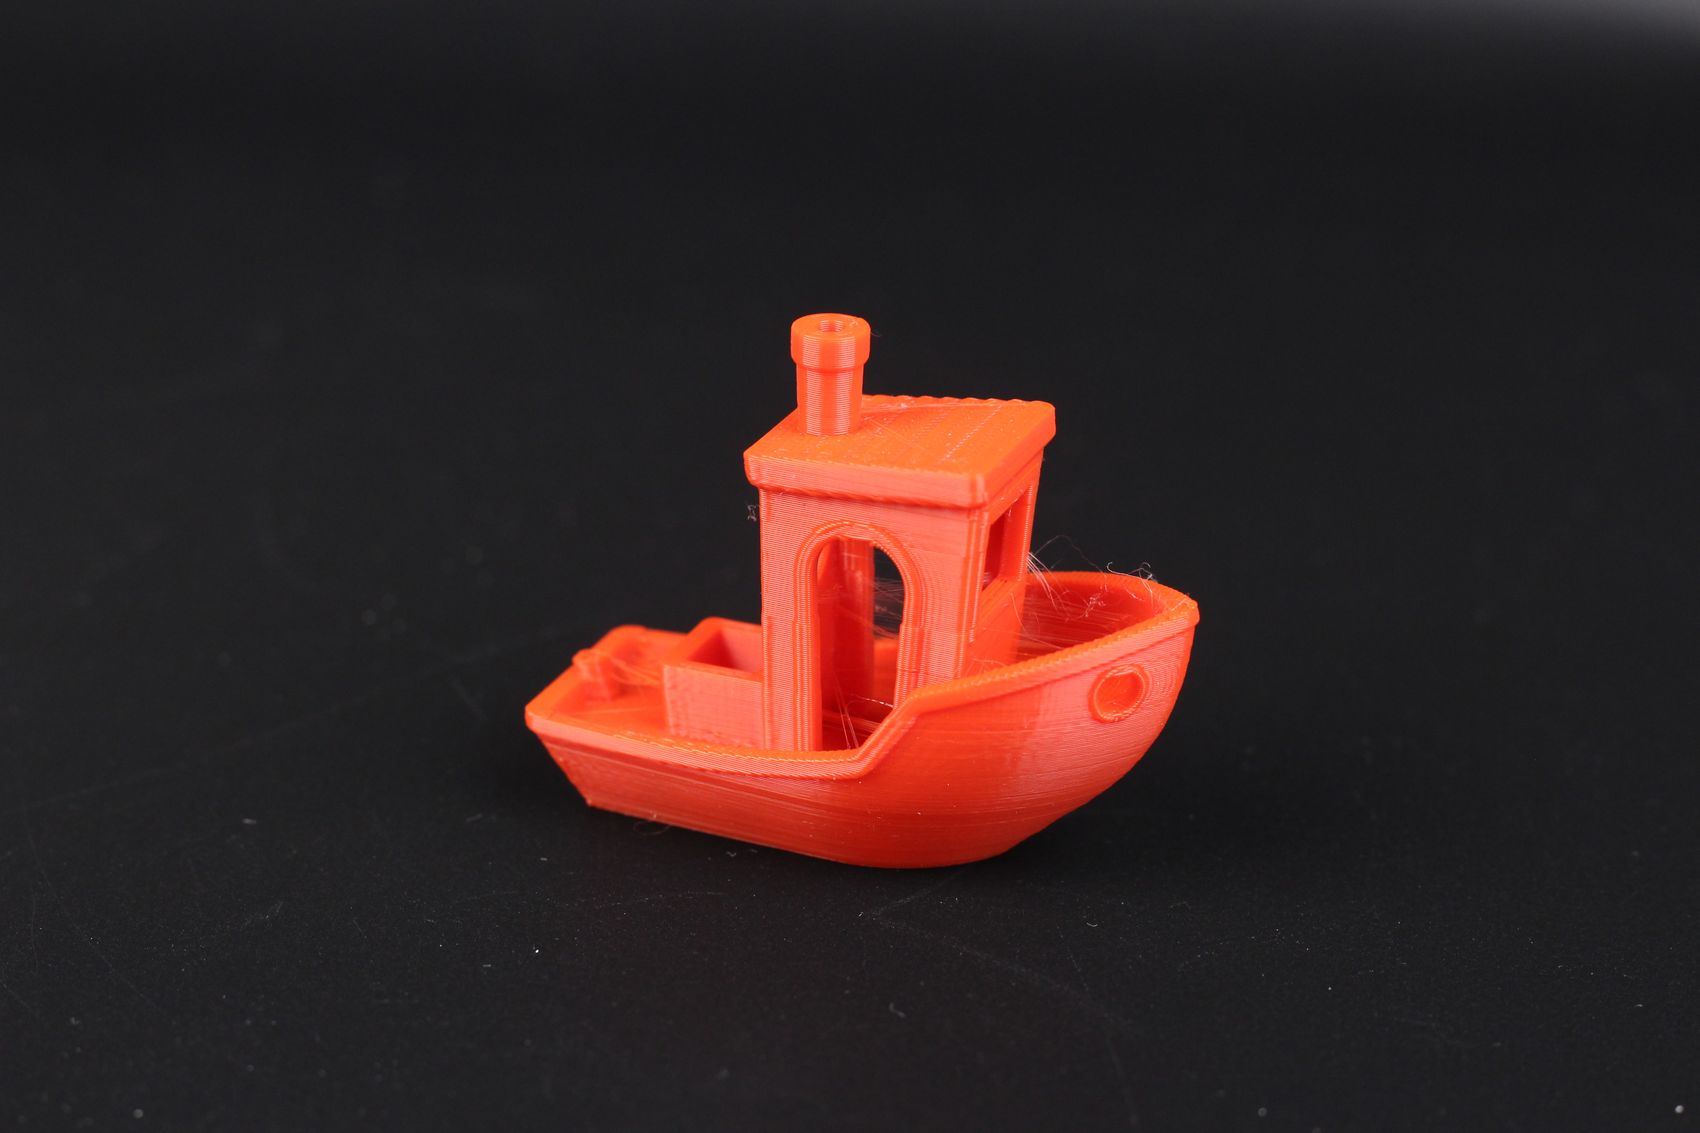
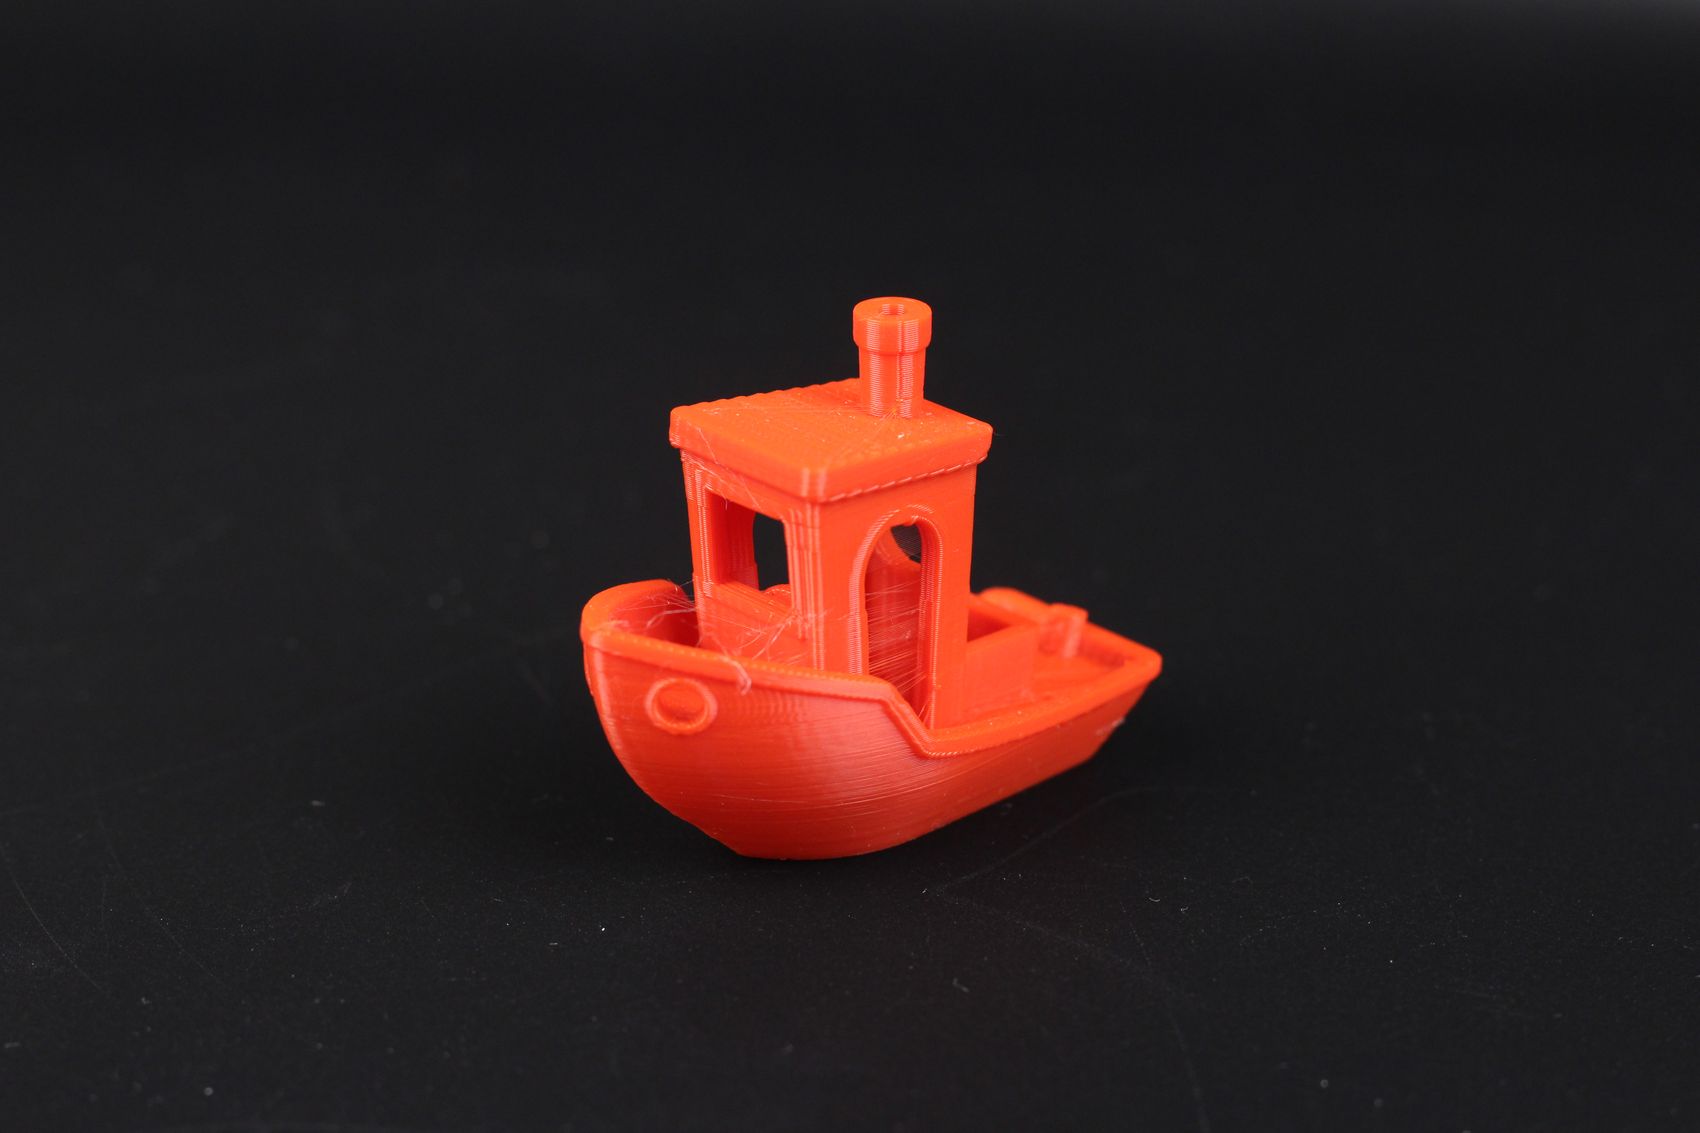
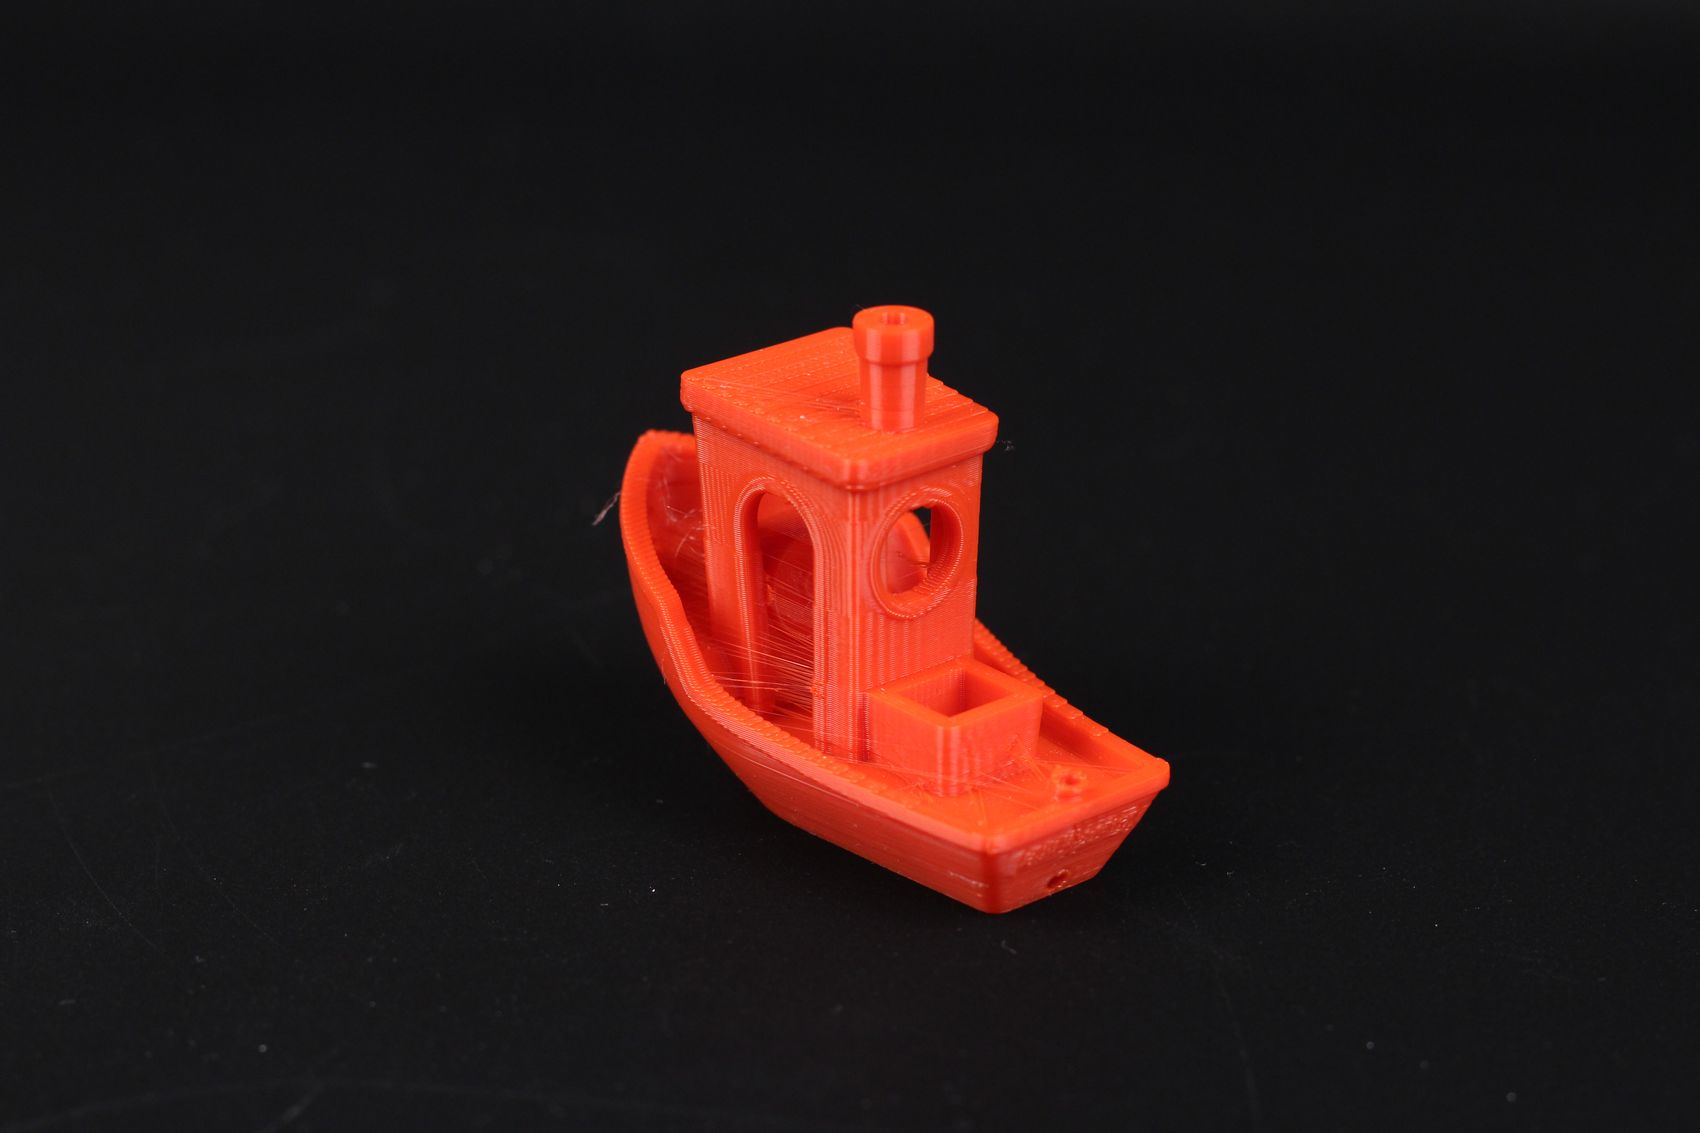
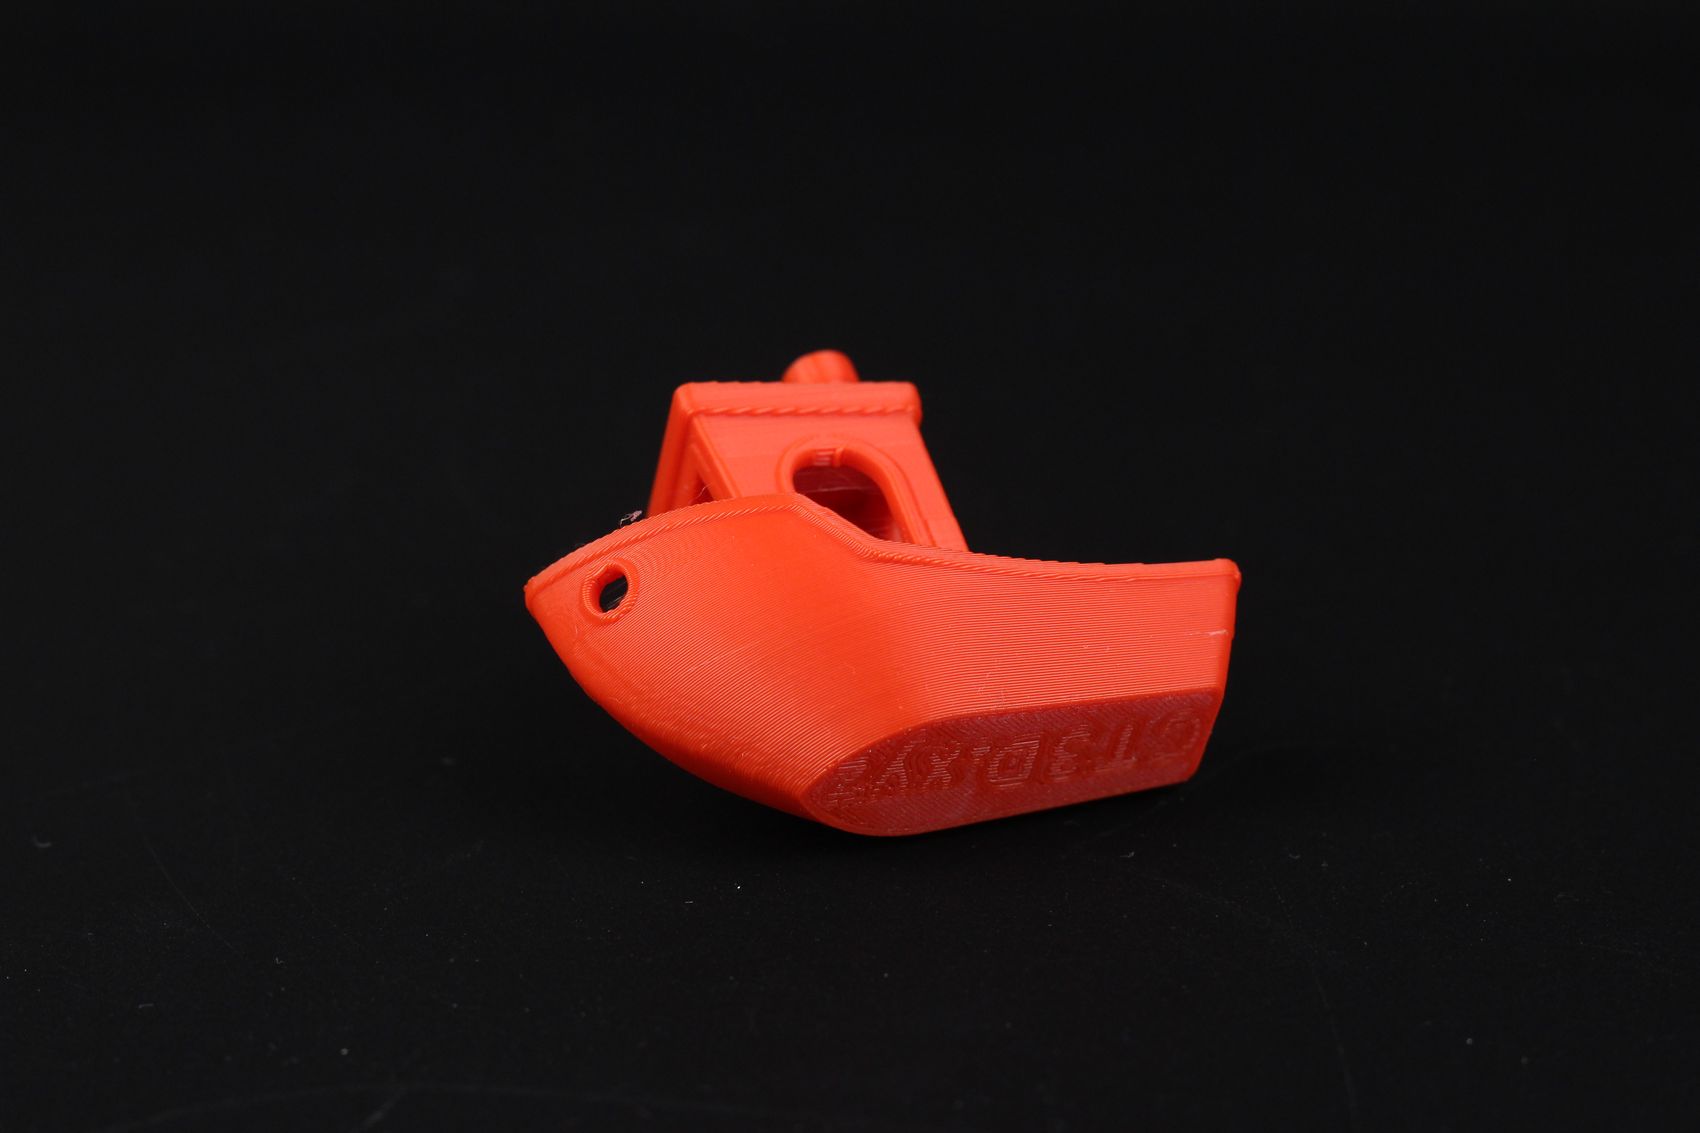
- Material: Sunlu Red PLA
- Layer Height: 0.2mm
- Nozzle Temperature: 210C
- Bed Temperature: 35C
- Print Speed: ~60 mm/s
200% Calibration Cube
The next printed model was a 200% calibration cube that turned out well, with consistent extrusions and a good top layer. The corners are also good enough considering that the printer doesn’t have linear advance enabled.
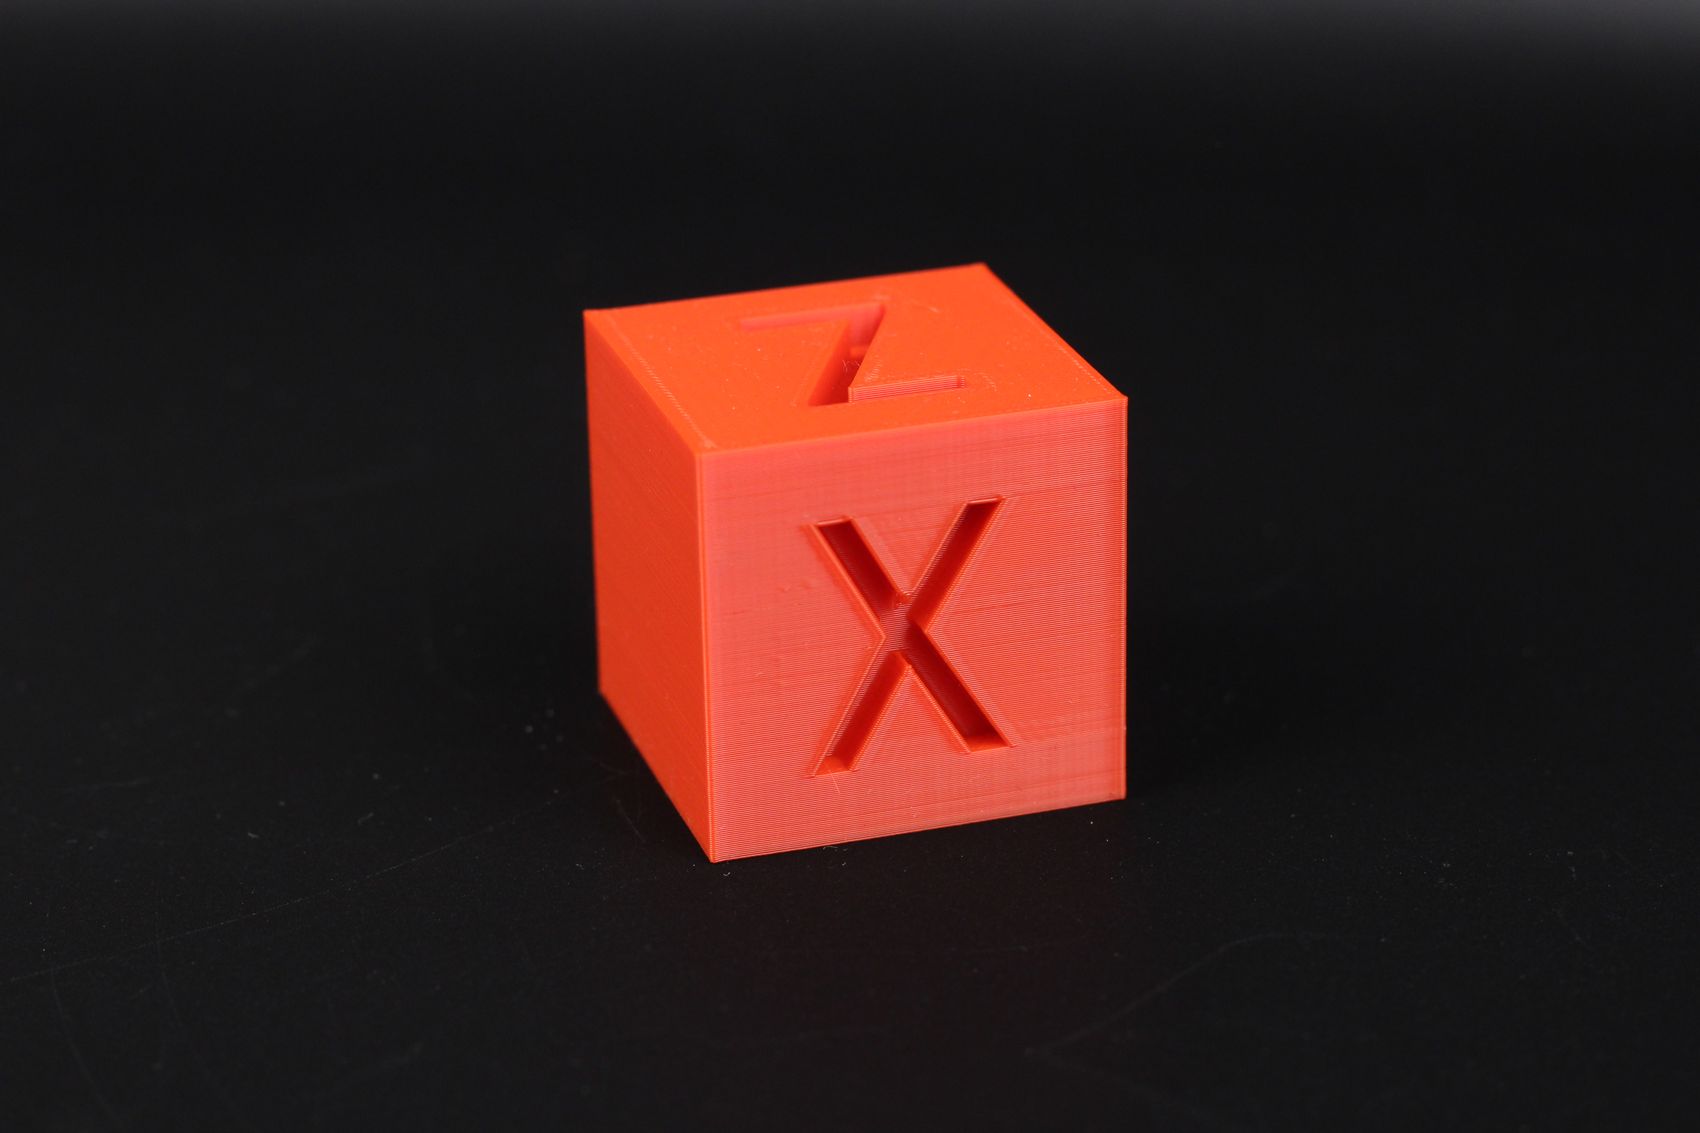
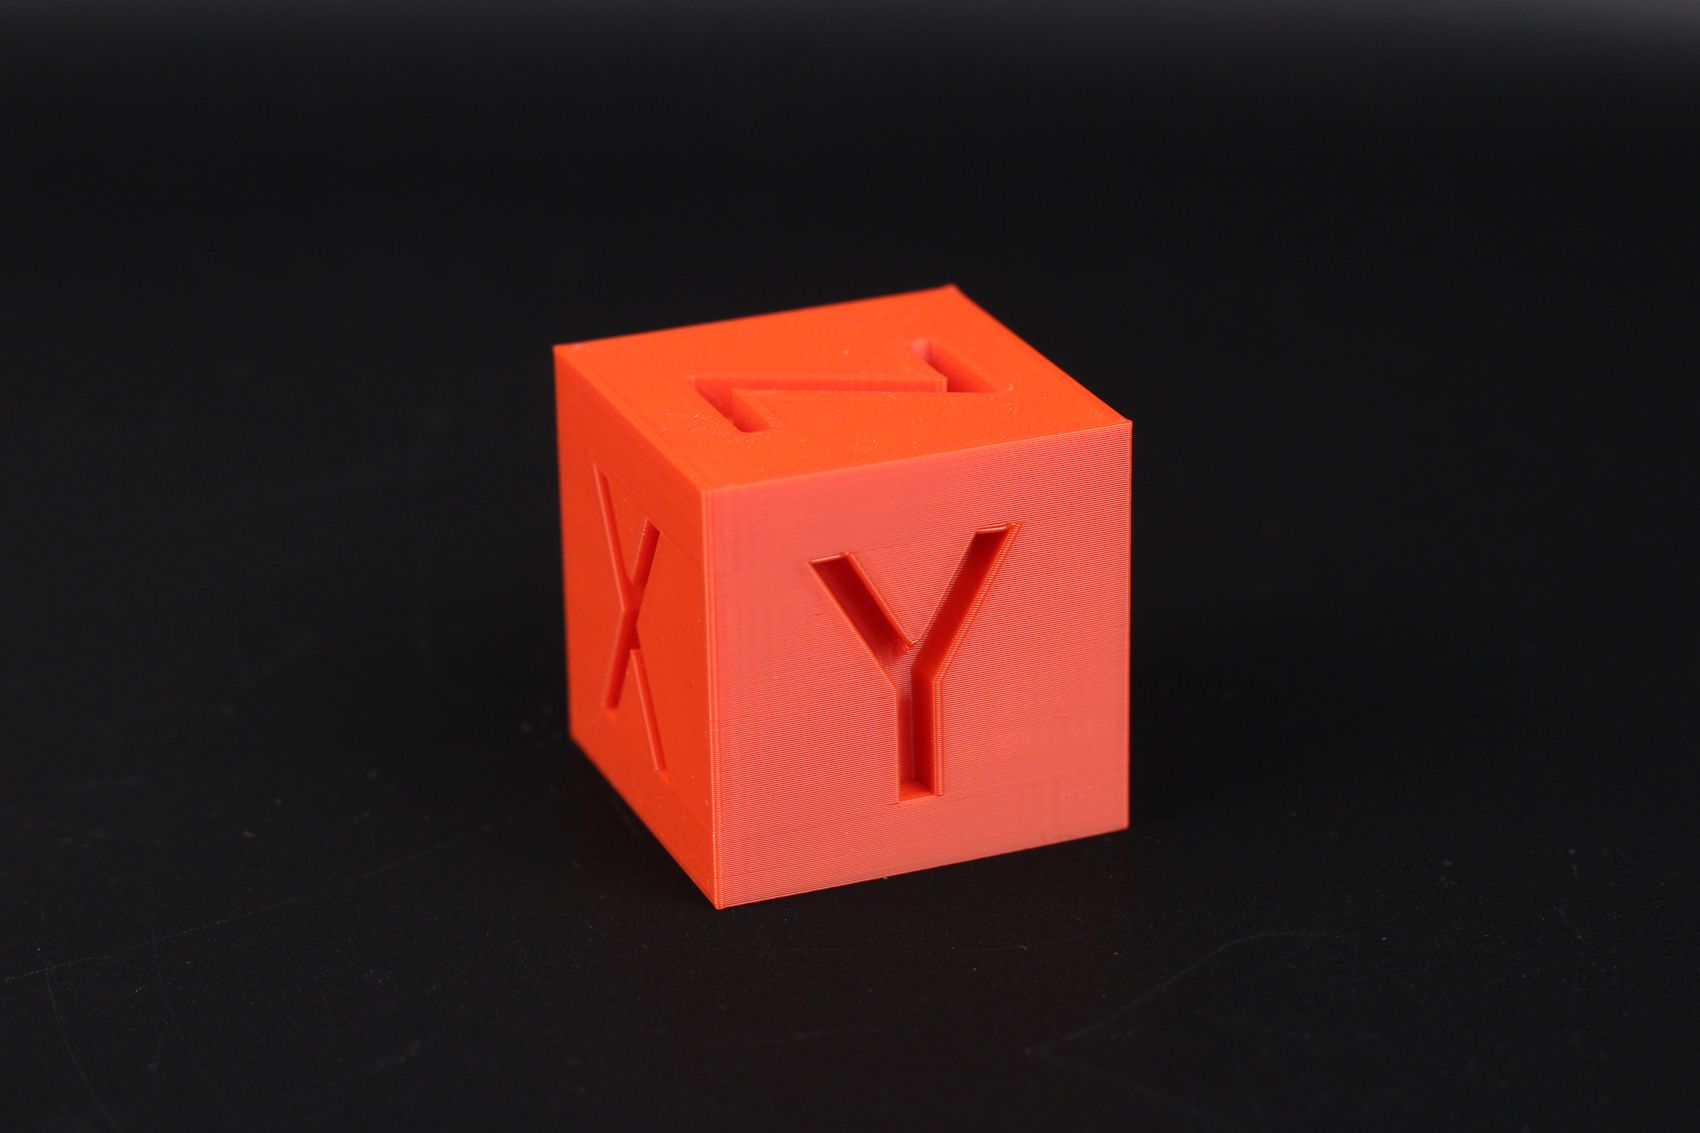
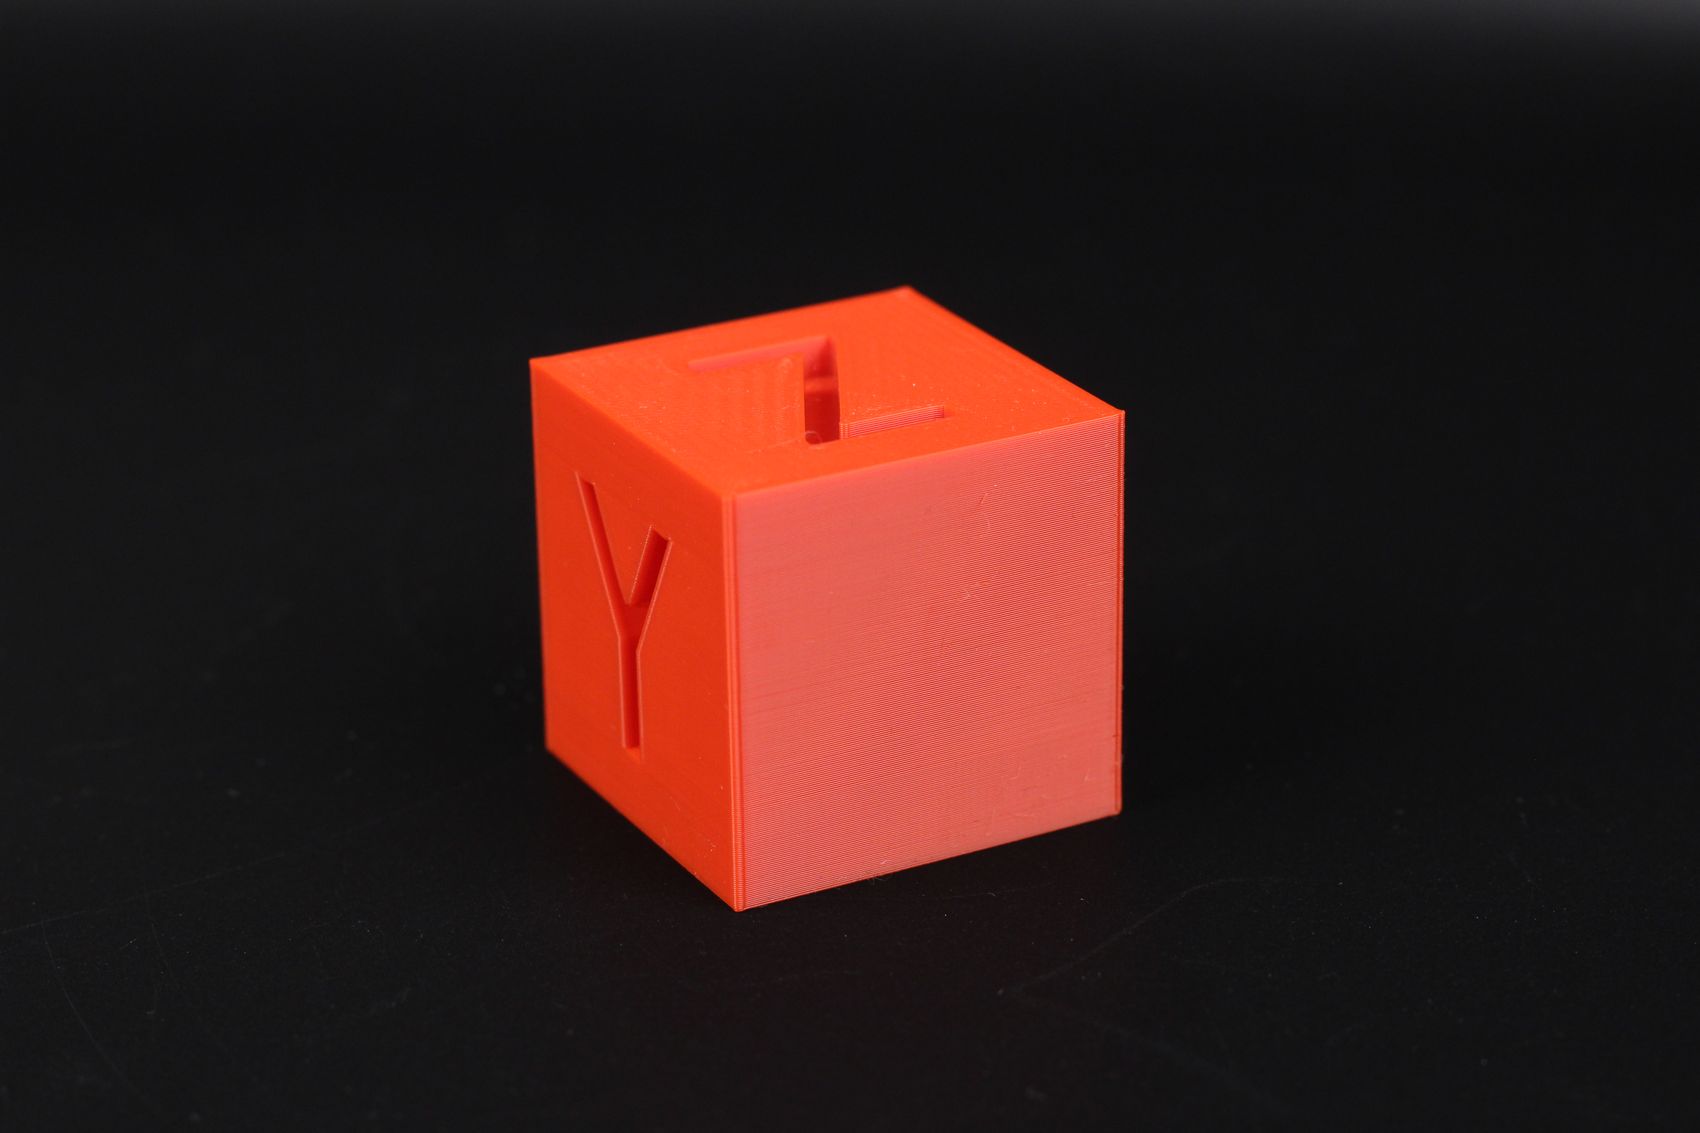
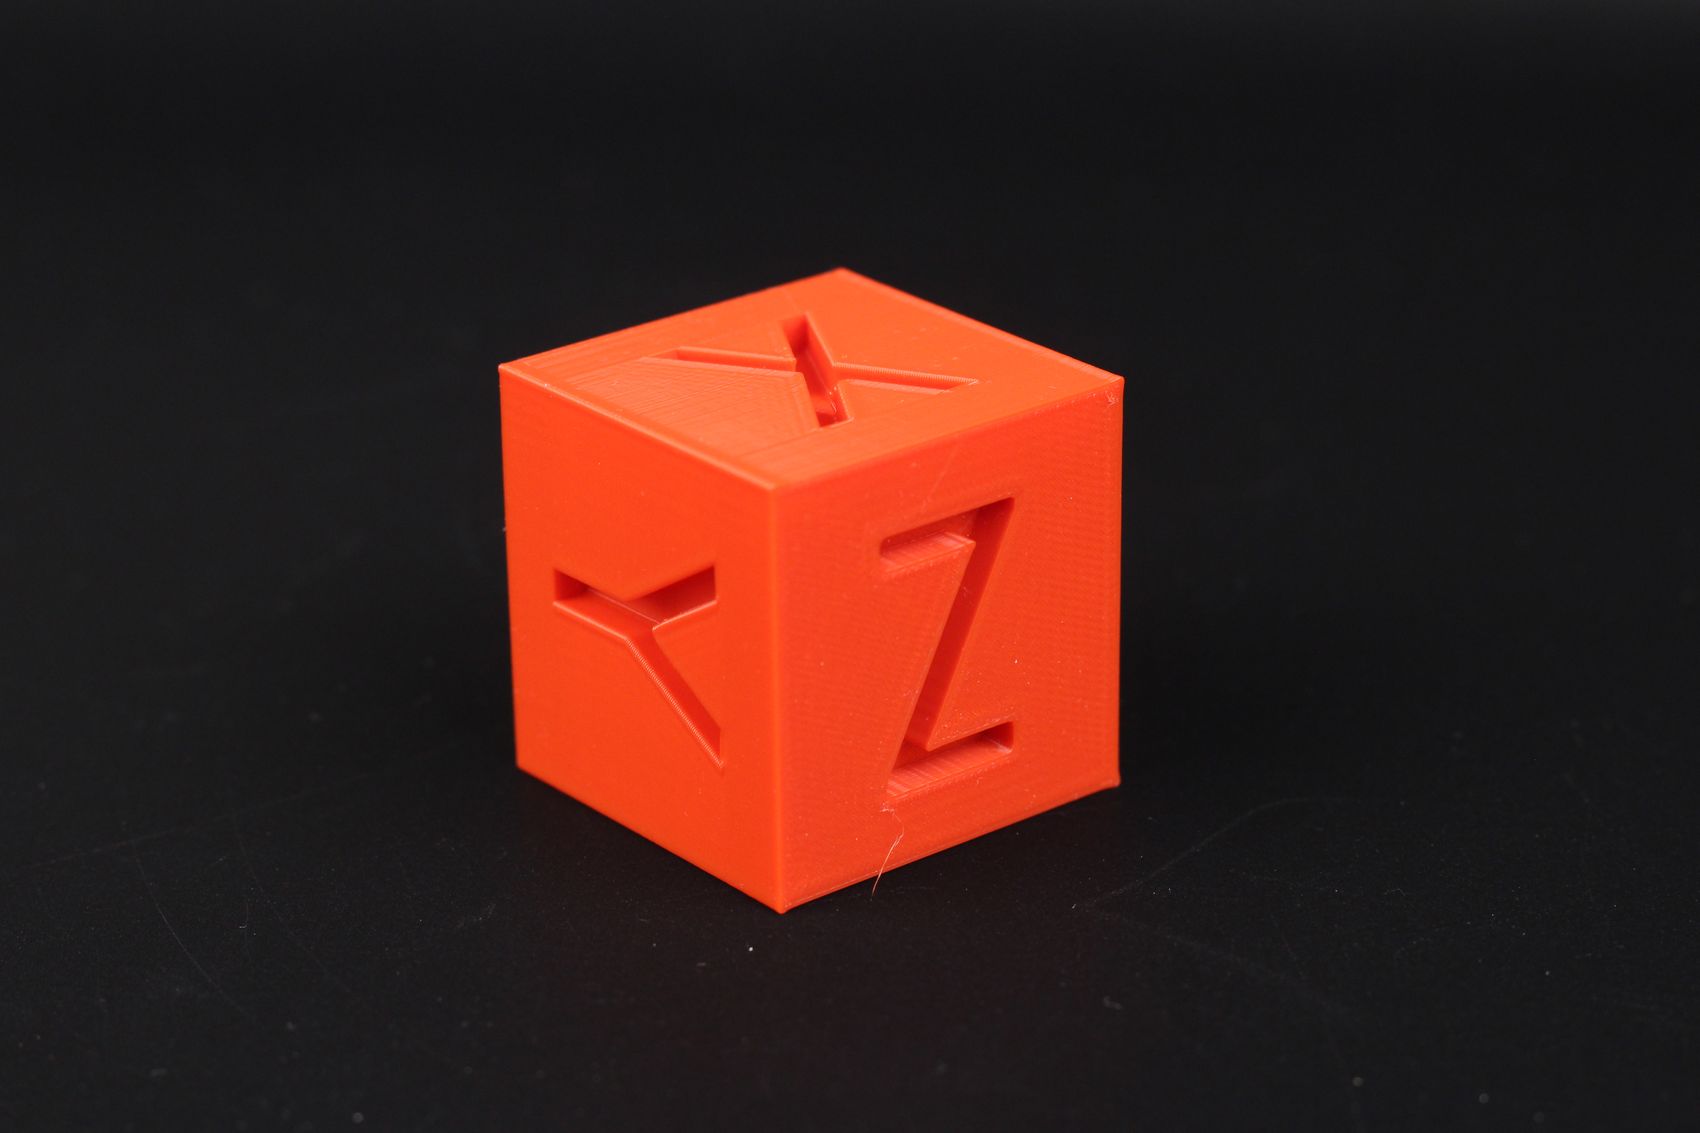
- Material: Sunlu Red PLA
- Layer Height: 0.2mm
- Nozzle Temperature: 210C
- Bed Temperature: 35C
- Print Speed: ~60 mm/s
Cali-Dragon
Next, it’s a scaled-up Cali-Dragon from Mcgybeeer which also turned out great. Again, a little bit of fine stringing but nothing significant. The external walls have some small signs of vibration but overall a good-looking print.
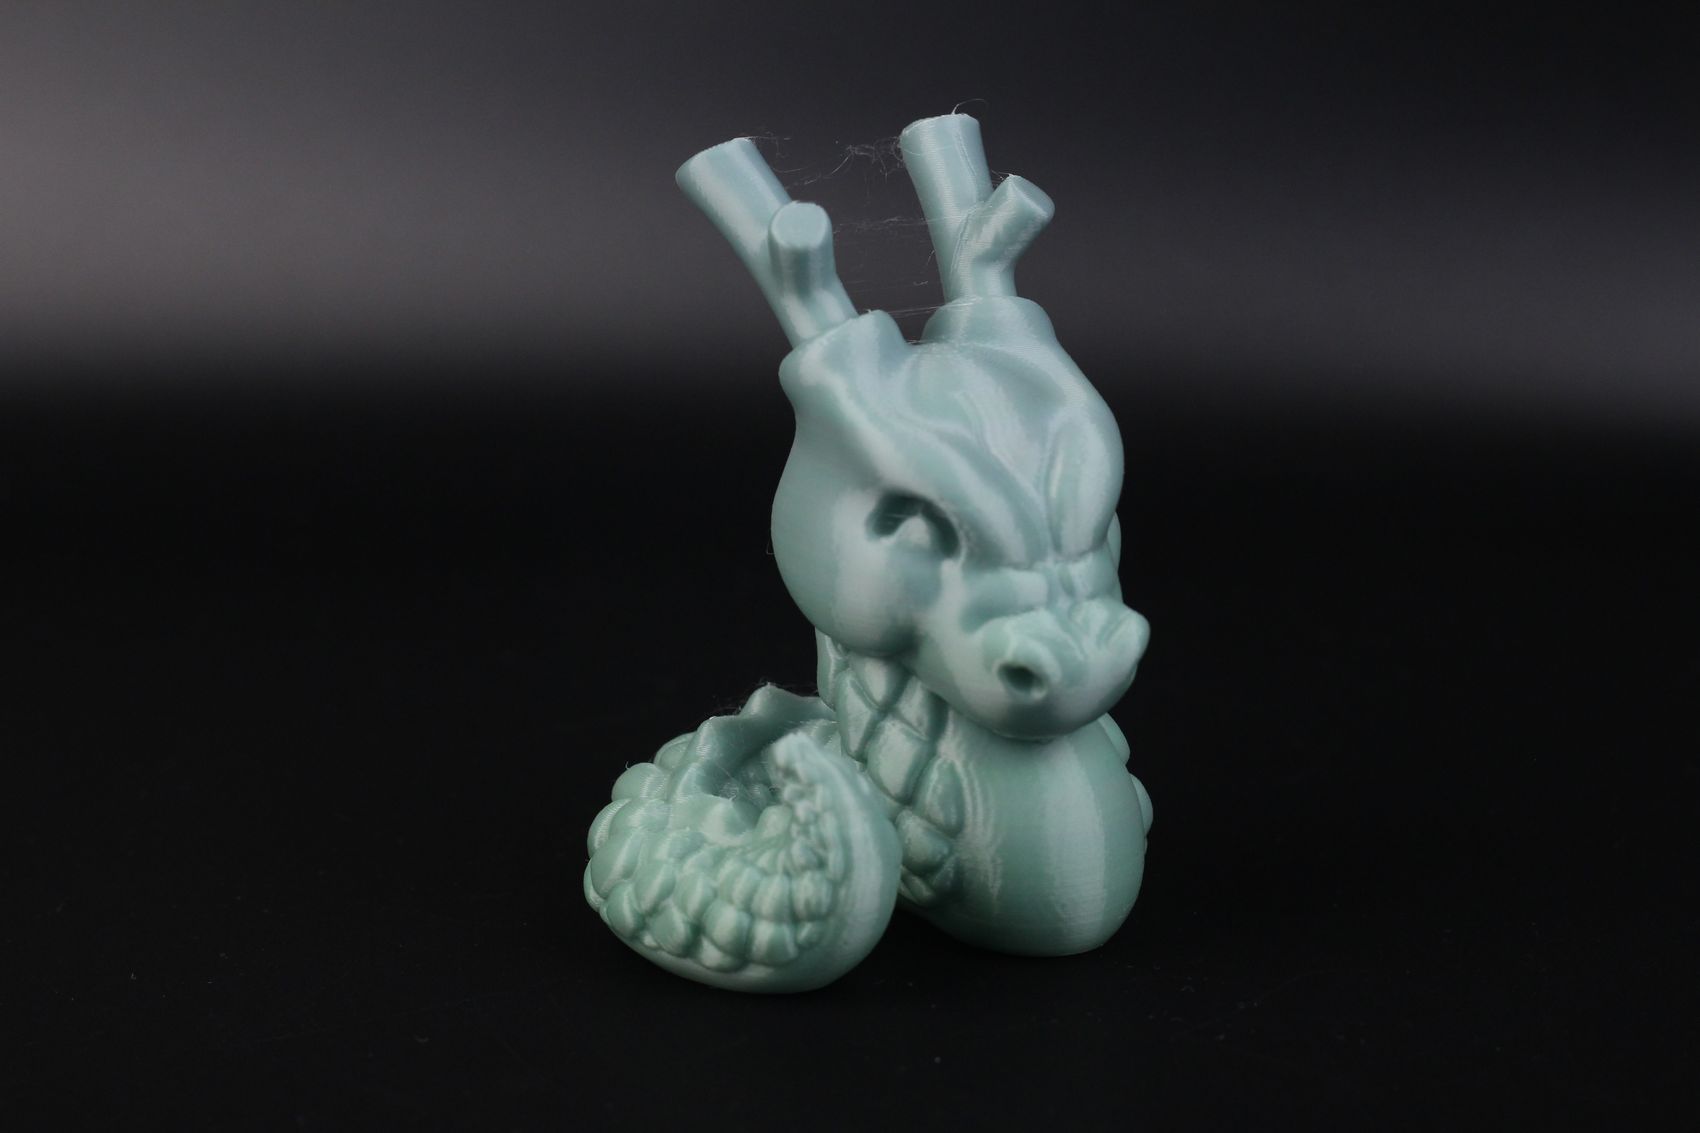

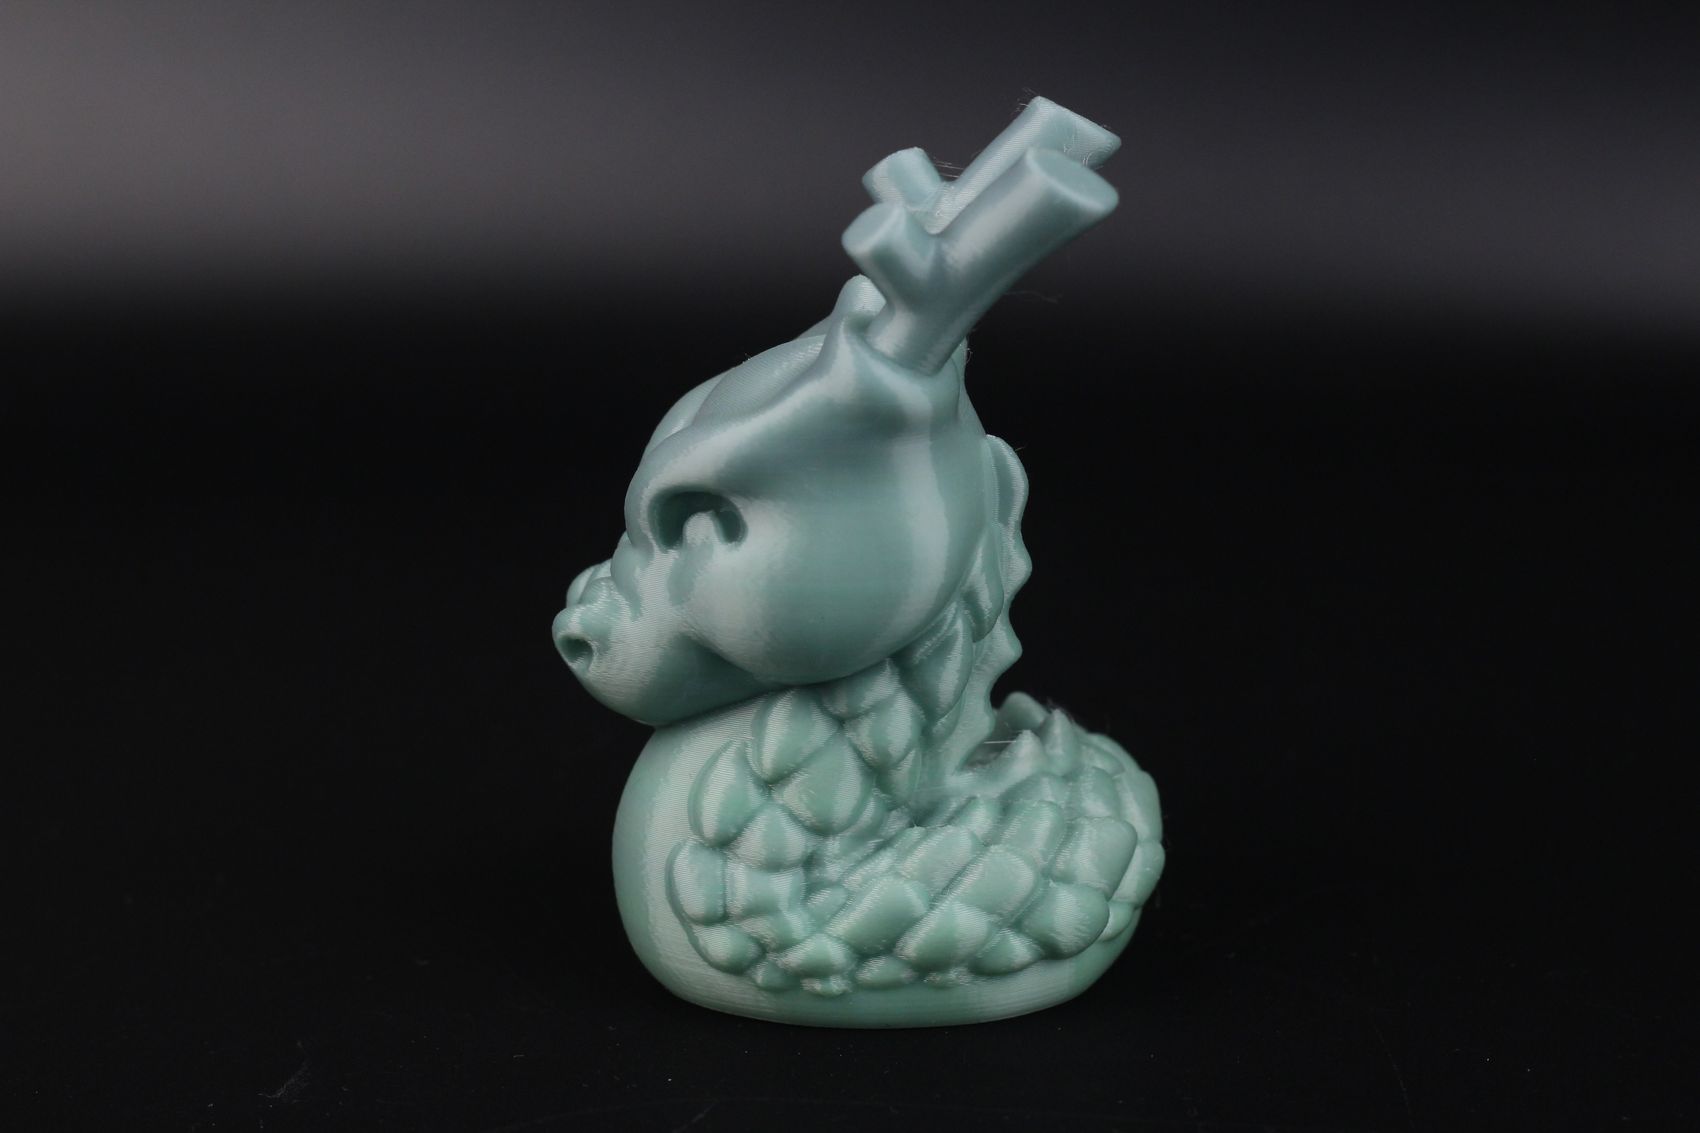
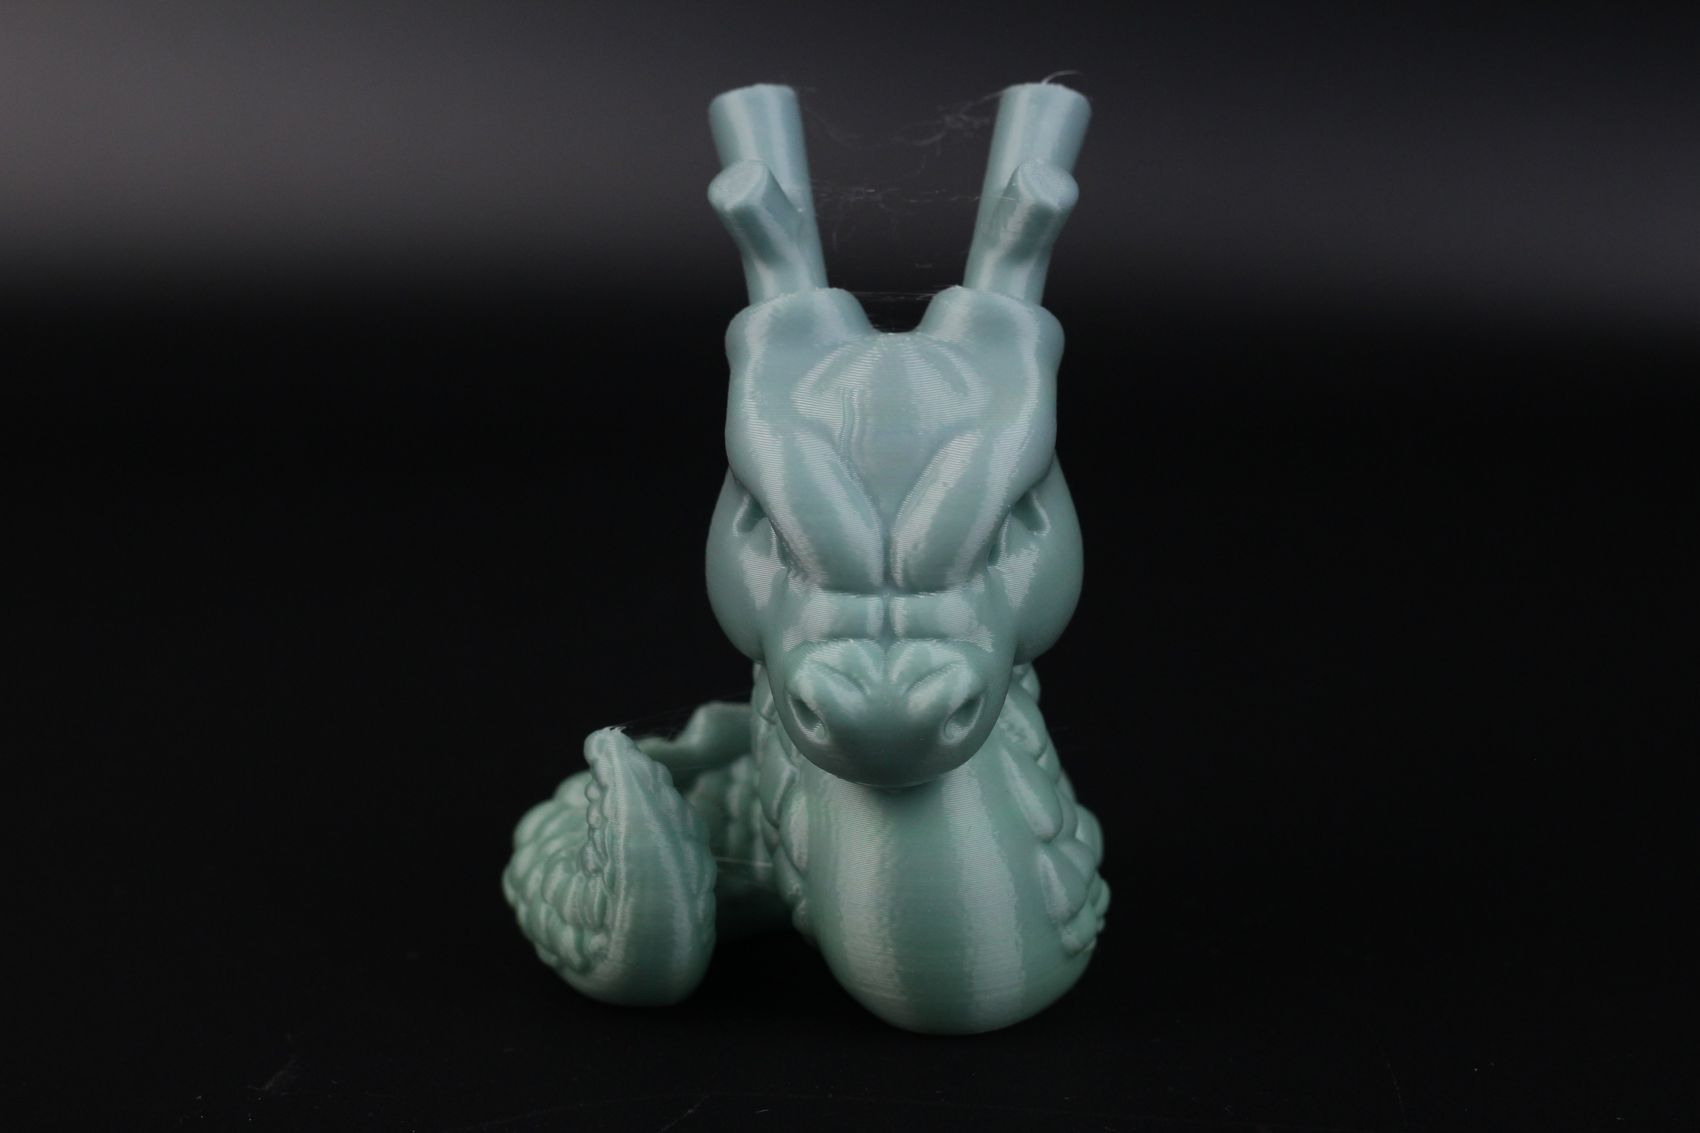
- Material: Sunlu Rainbow PLA
- Layer Height: 0.2mm
- Nozzle Temperature: 210C
- Bed Temperature: 35C
- Print Speed: ~60 mm/s
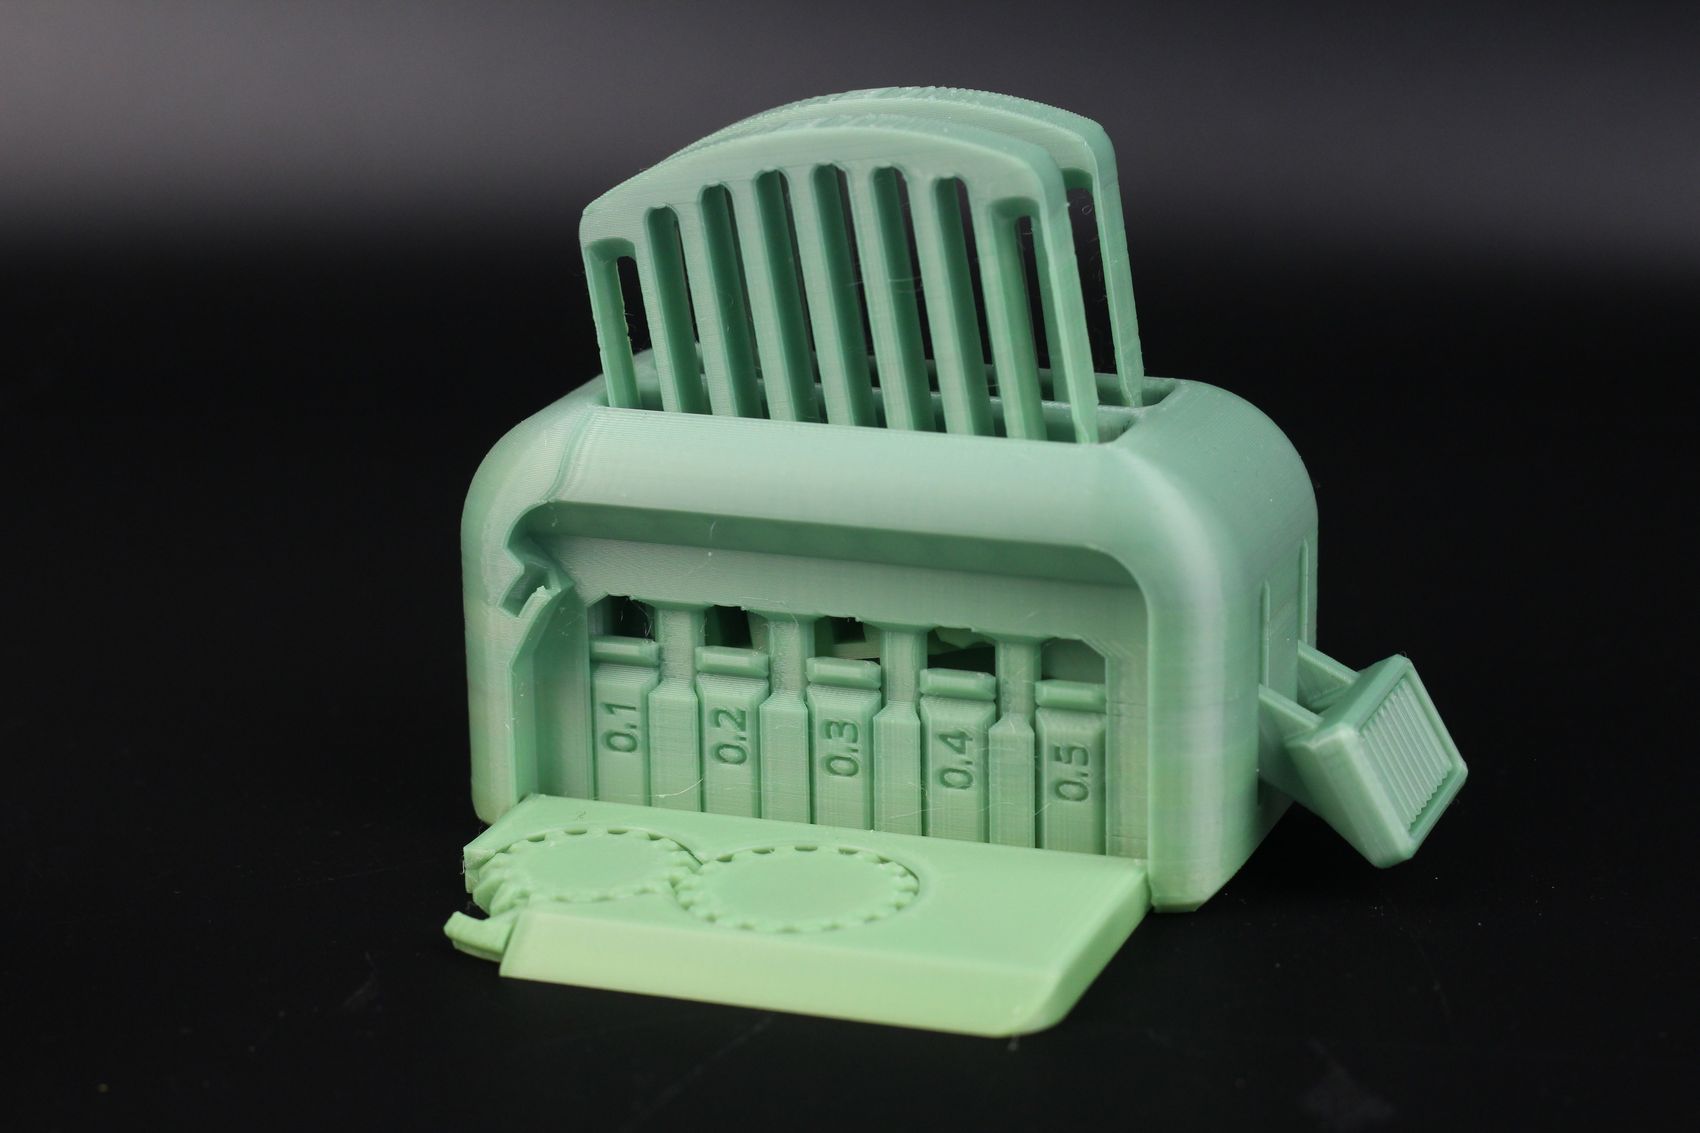
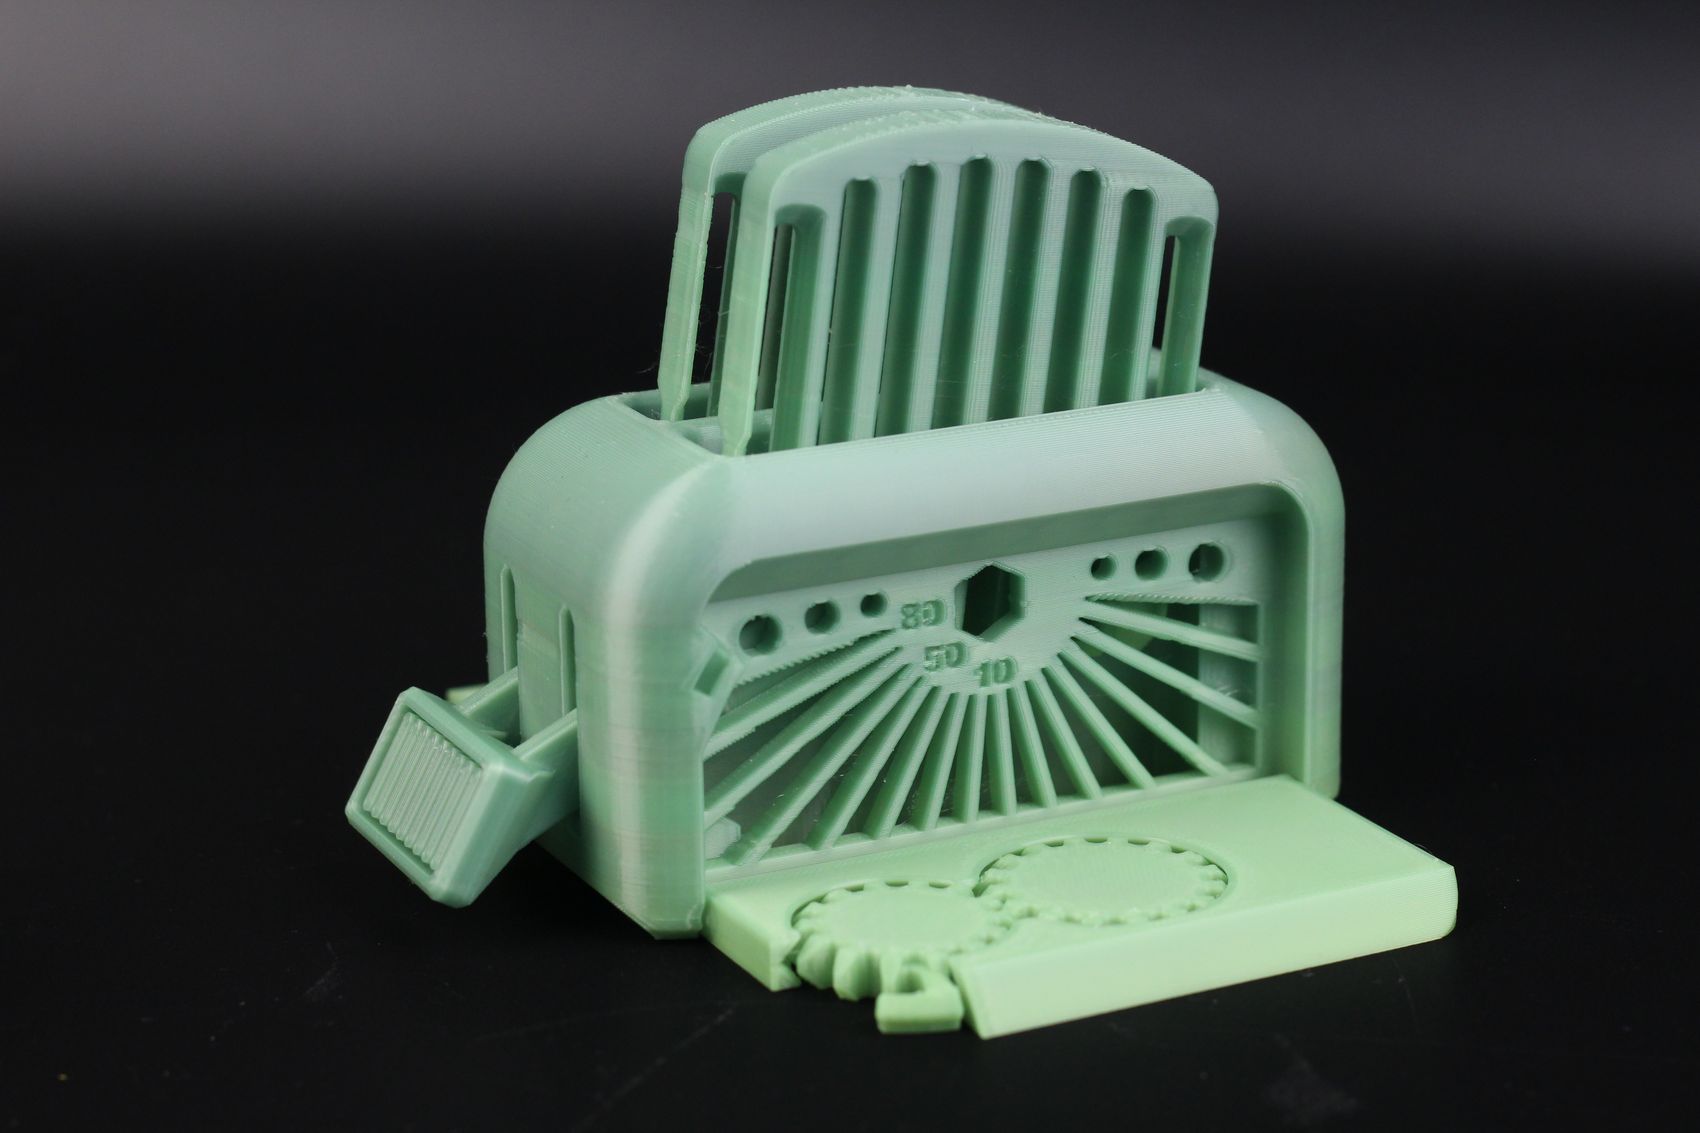
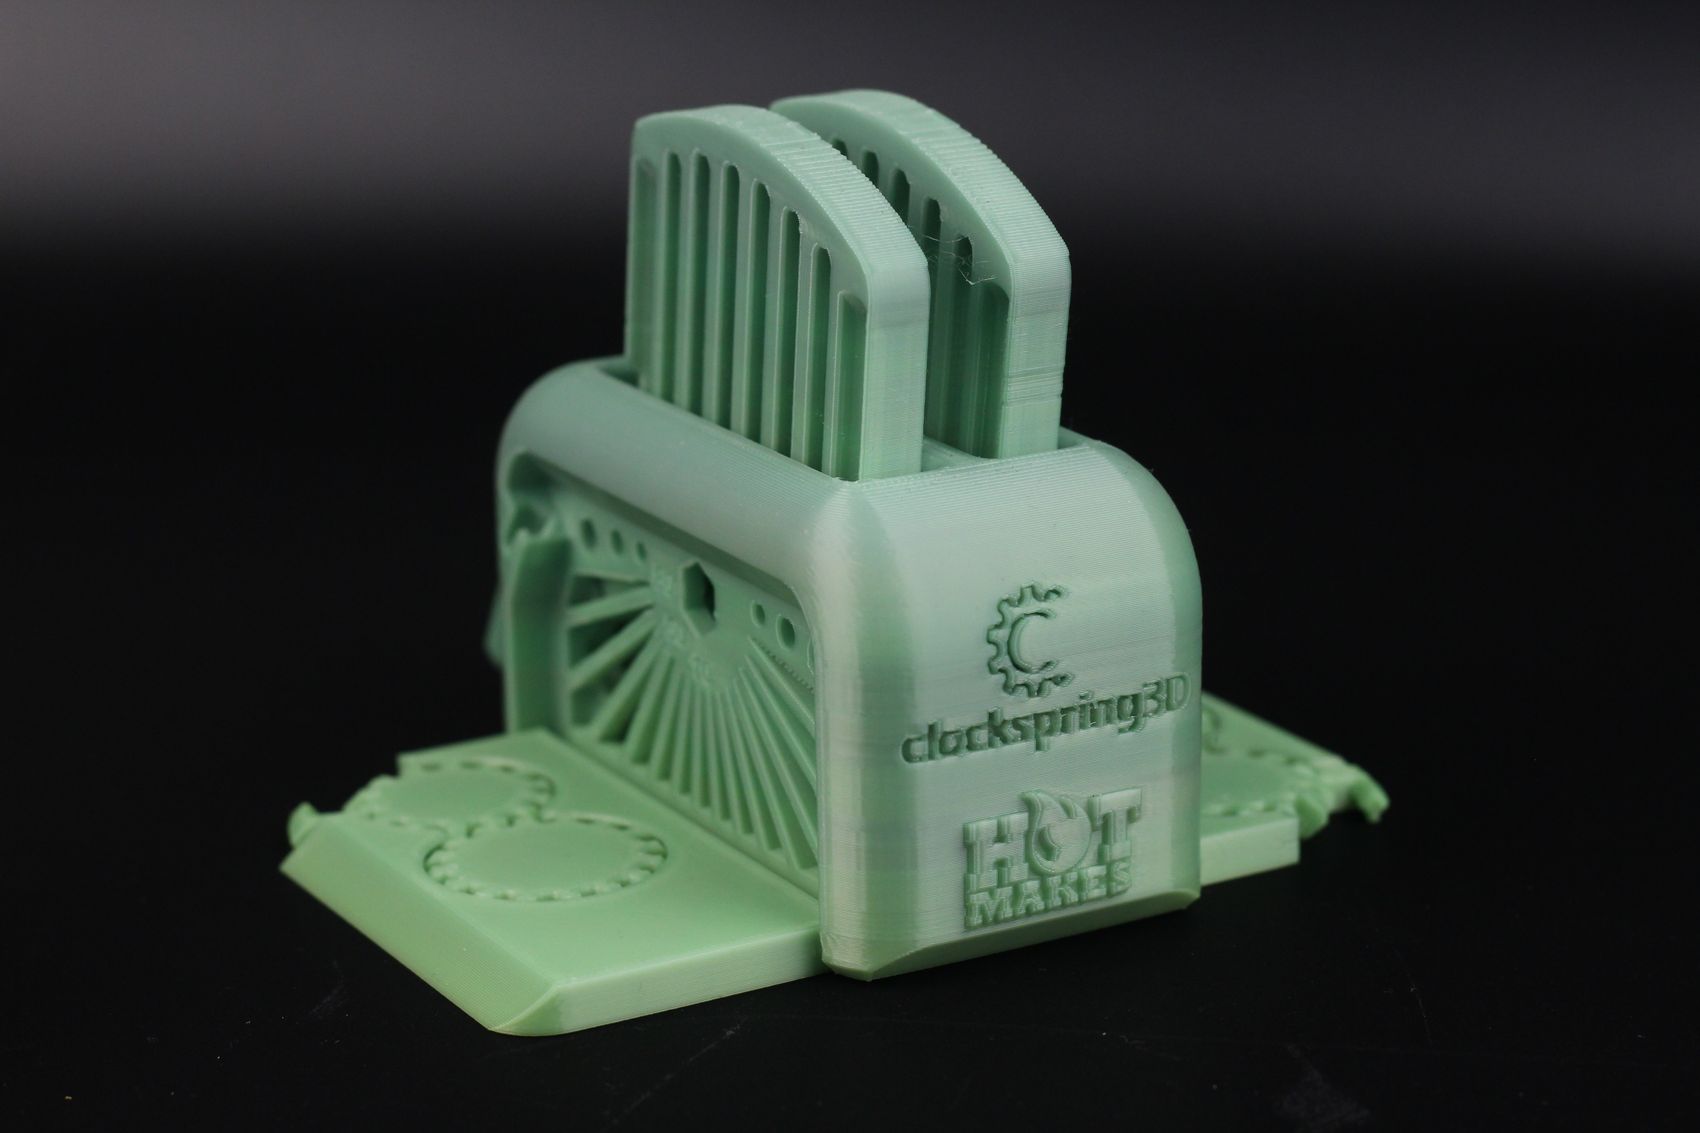
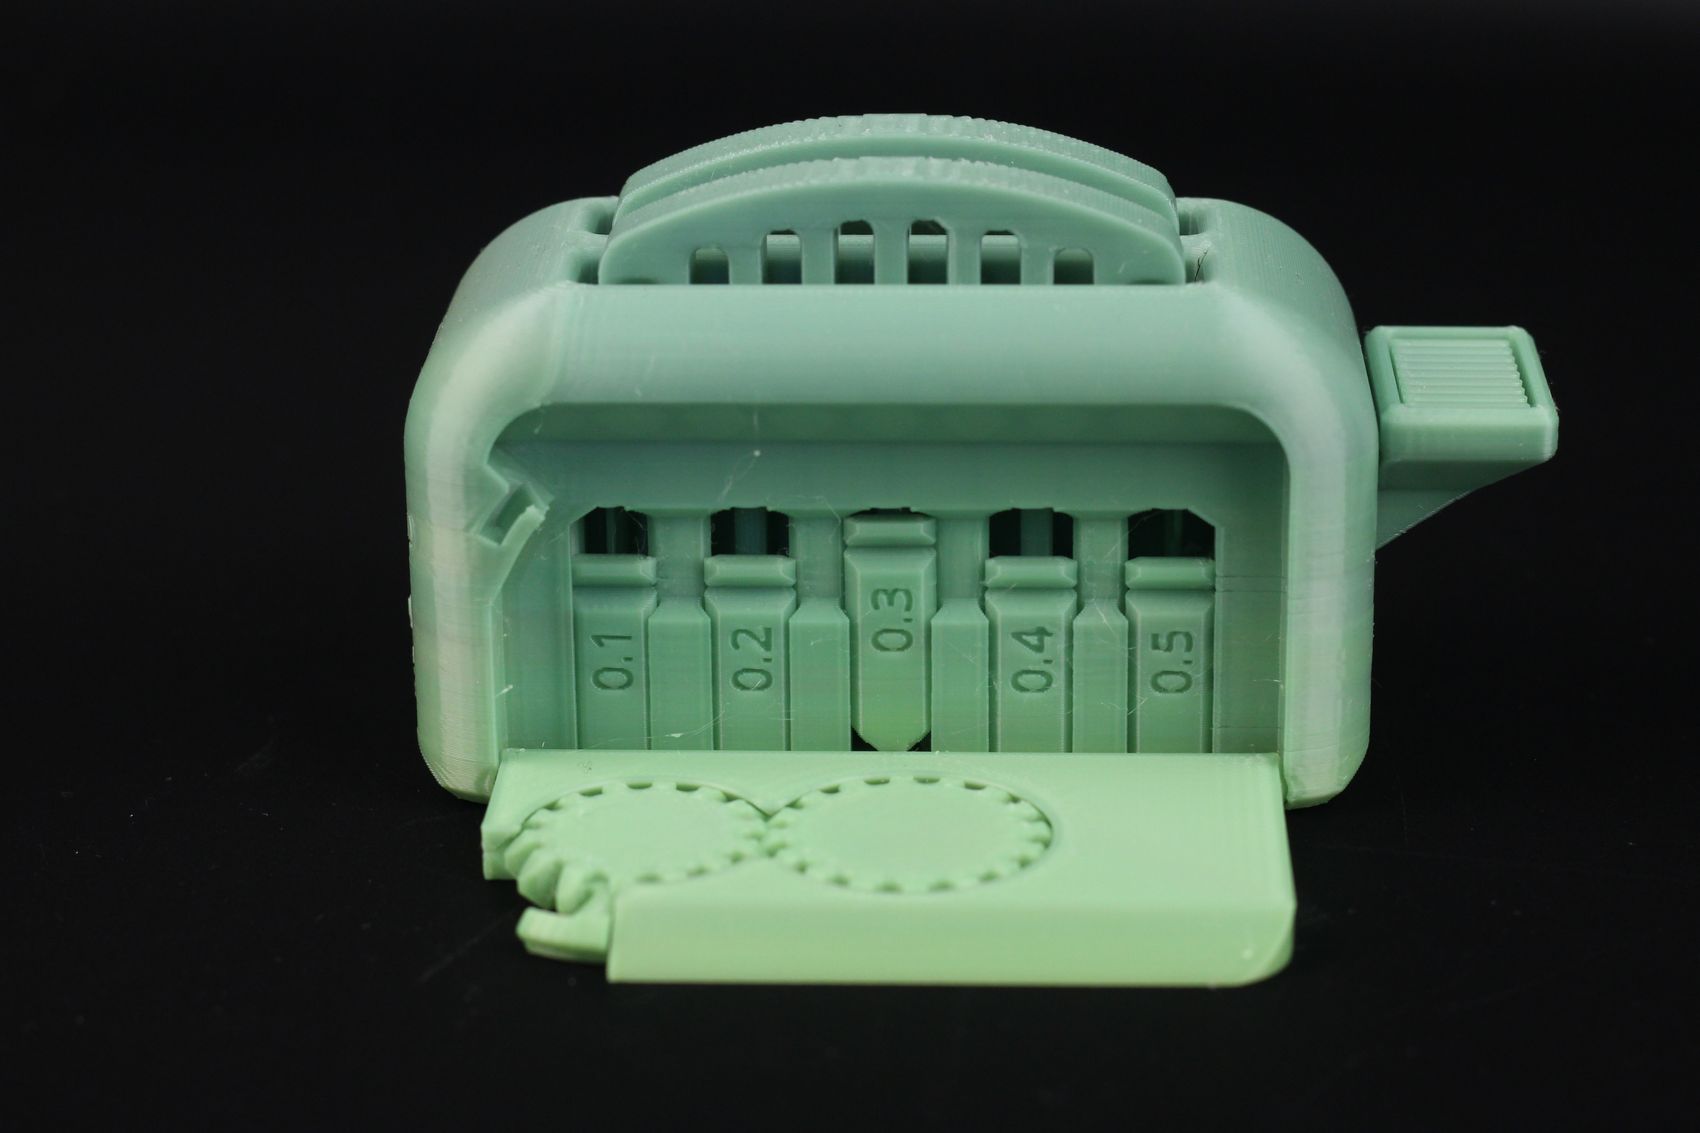
Torture Toaster
The first try with the Torture Toaster by Clockspring3D failed, and this is mostly because of the lower performance part cooling solution that has trouble properly cooling small sections when a higher speed is used. After adding a bit of Z hop to avoid the nozzle bumping into the small sections, the second try was successful.
The overhang quality is good, and the 0.5mm, 0.4mm, and 0.3mm tolerance pieces could be moved. All the other moving parts work as expected, so I’m happy with the results.
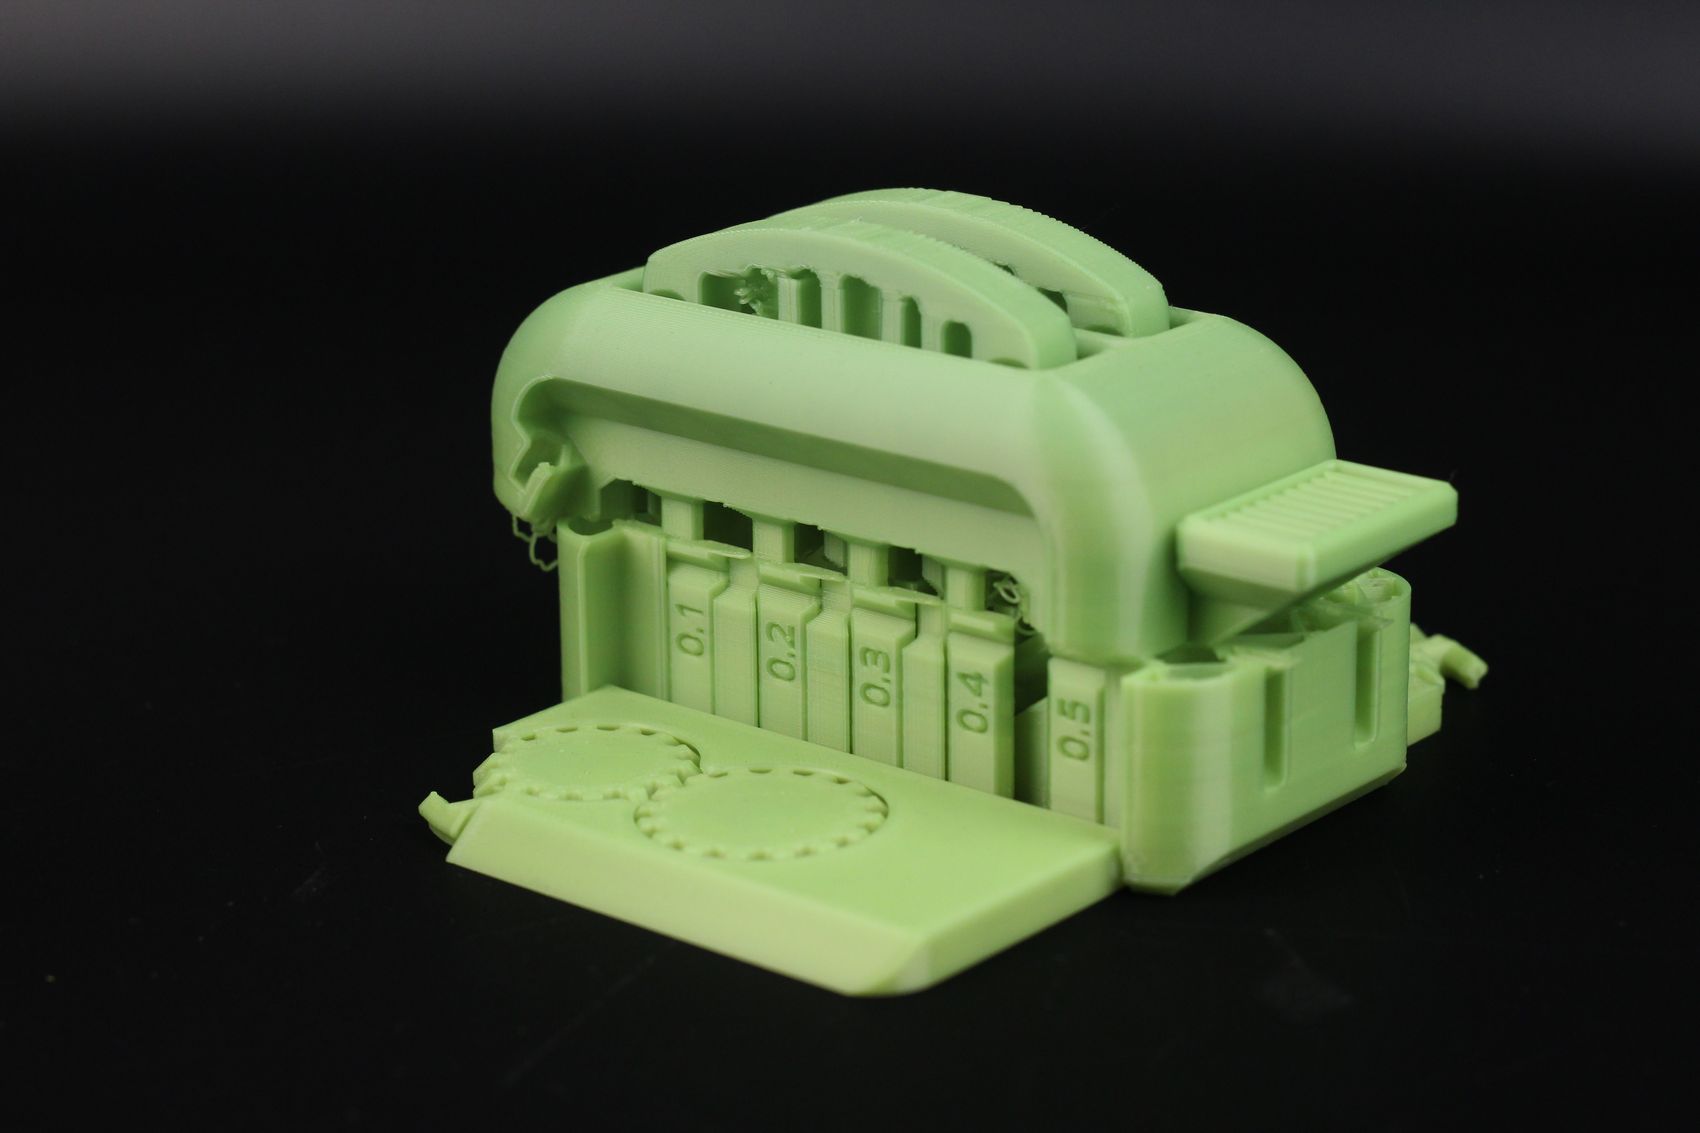
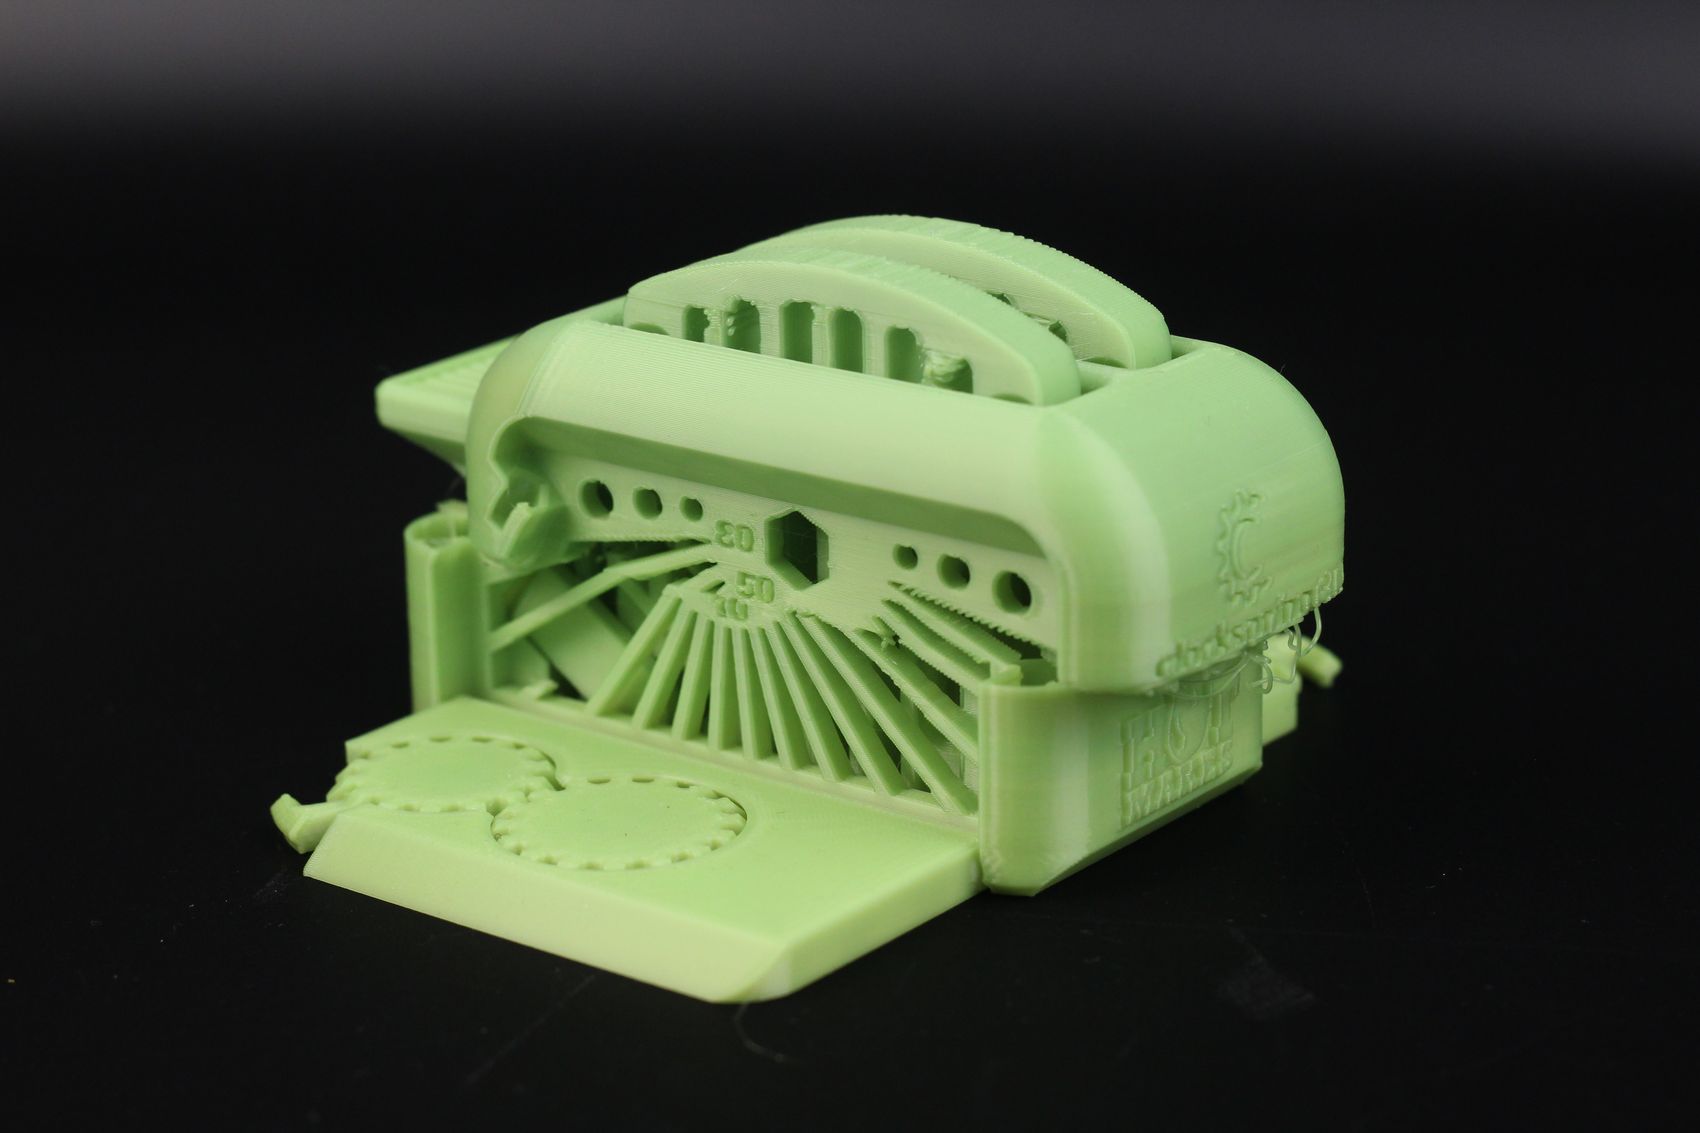
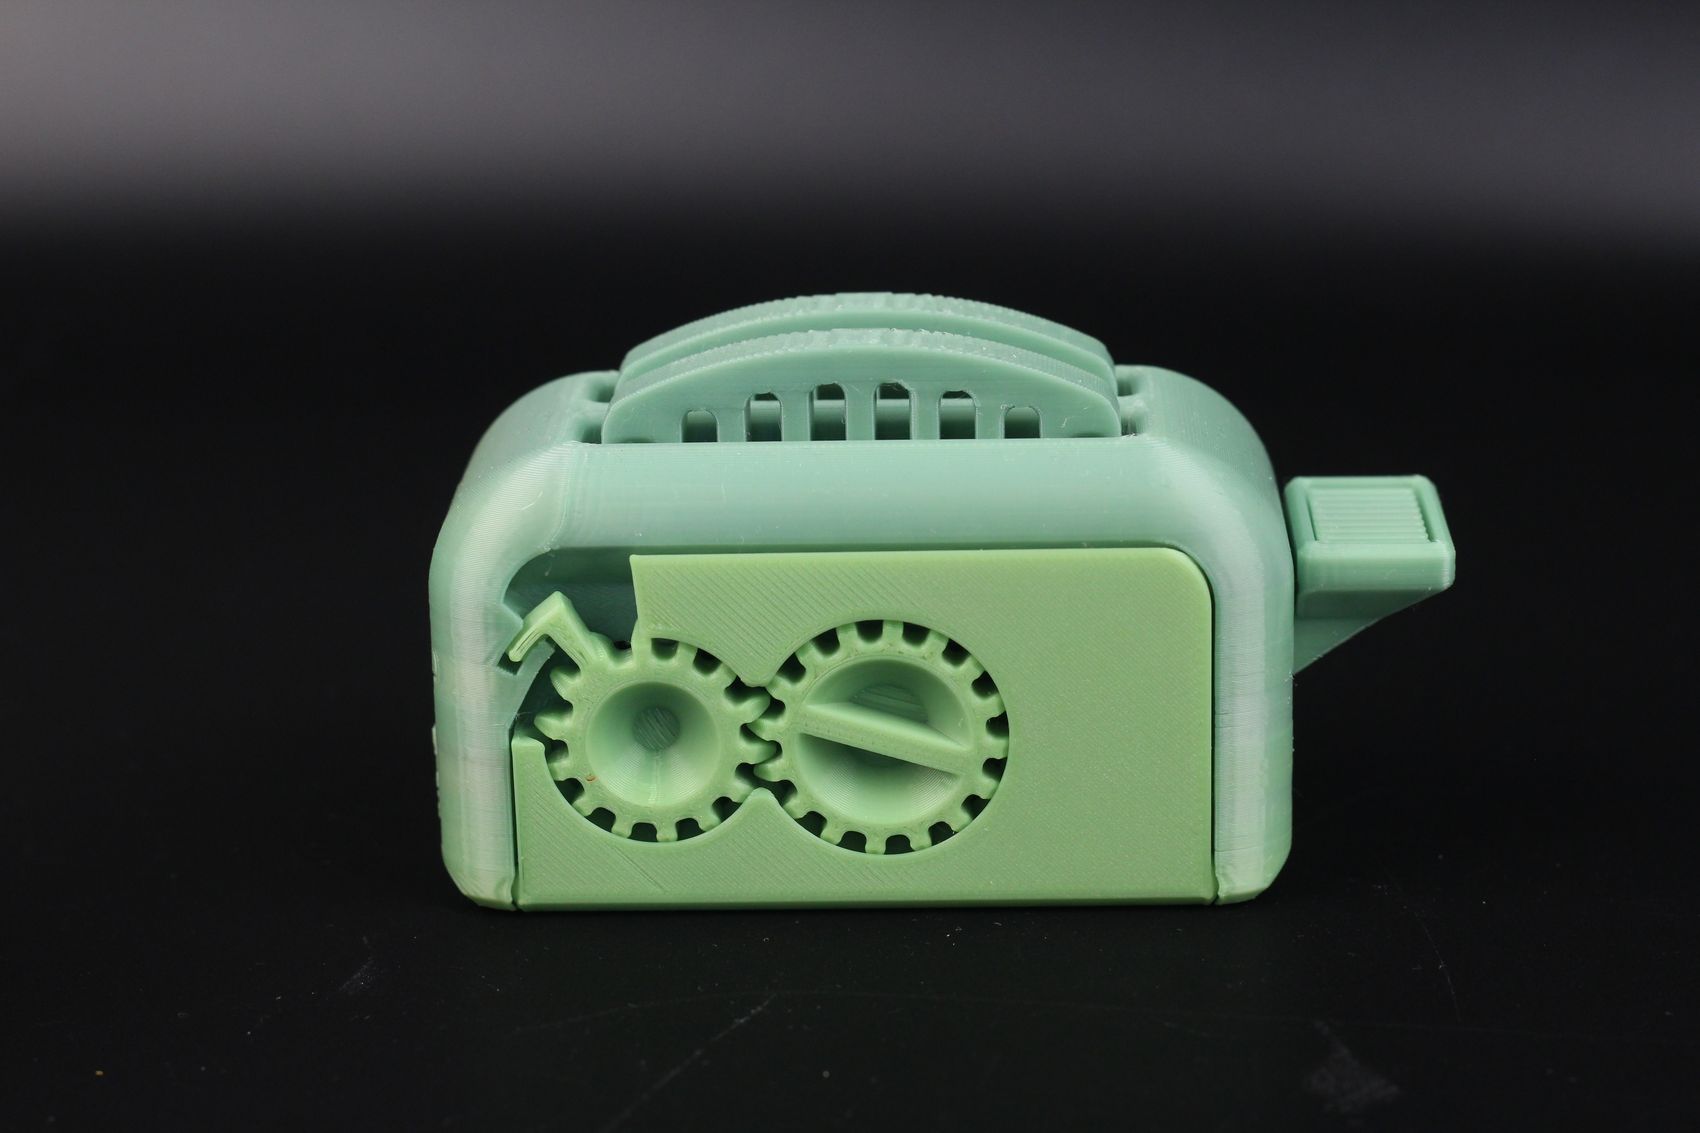
- Material: Sunlu Rainbow PLA
- Layer Height: 0.2mm
- Nozzle Temperature: 210C
- Bed Temperature: 35C
- Print Speed: ~60 mm/s
Mimir
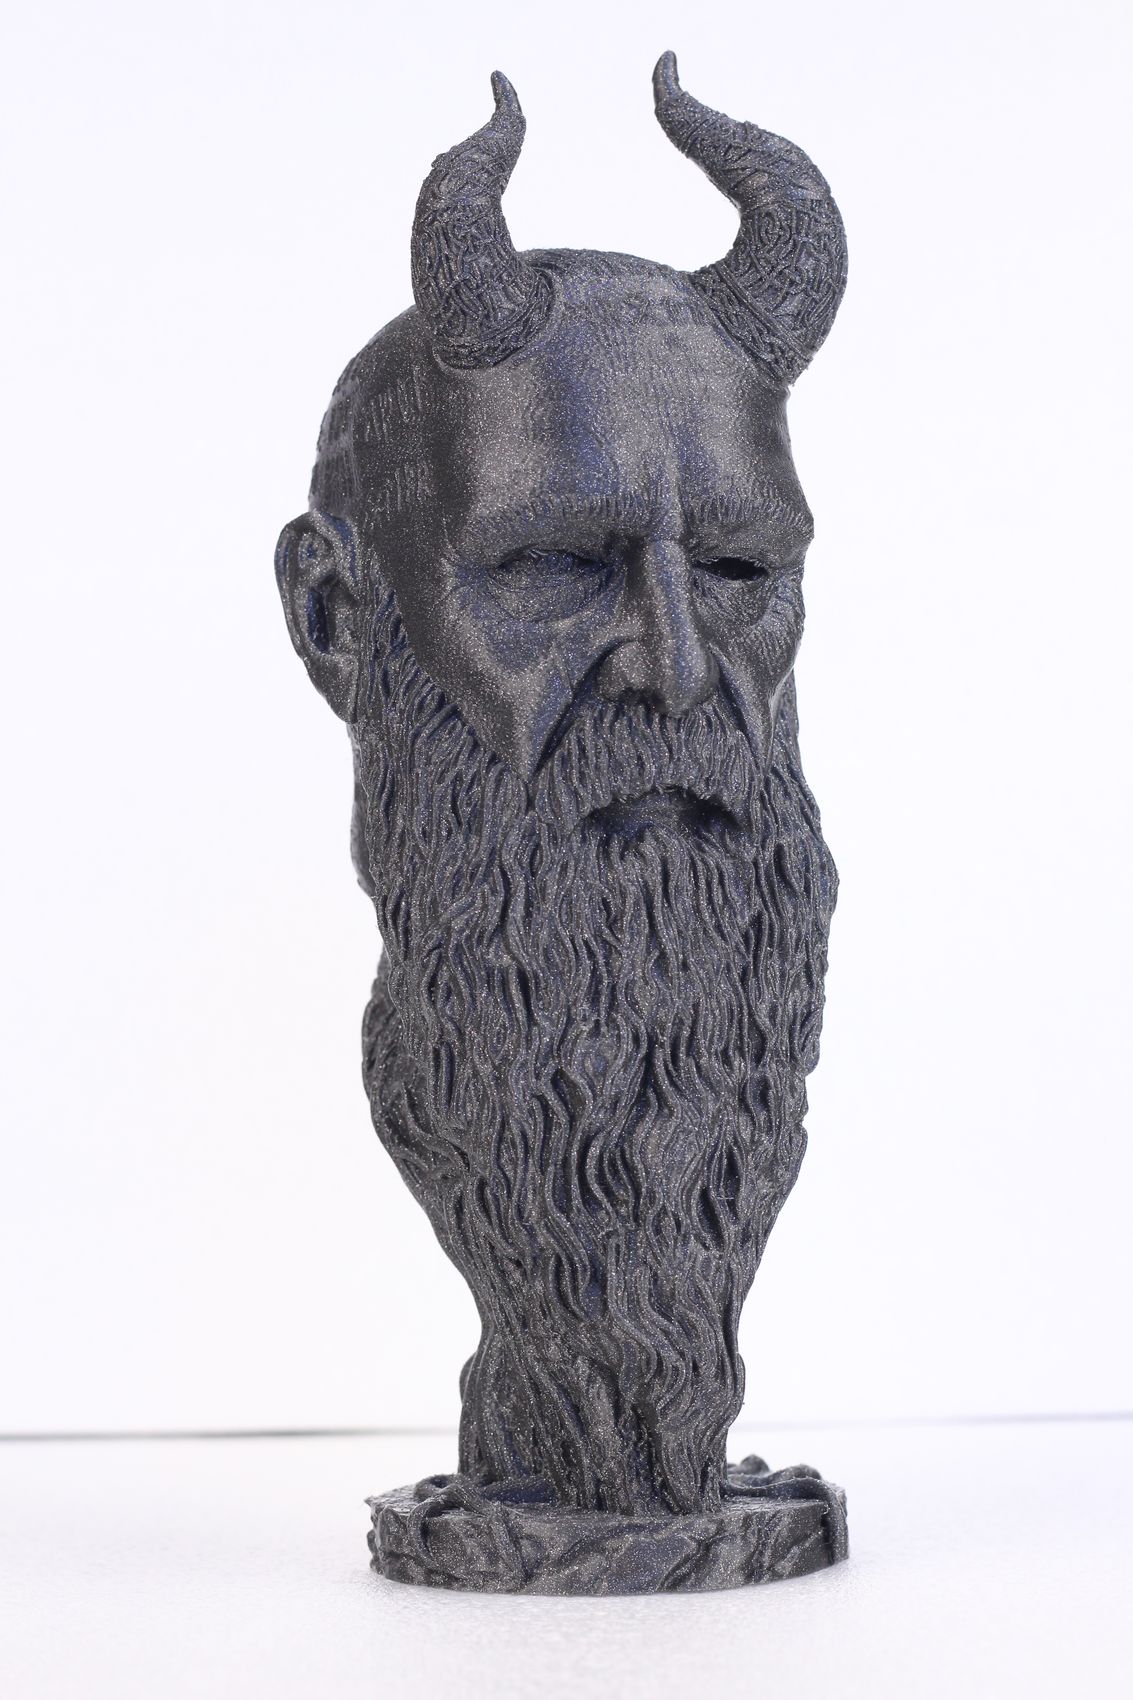
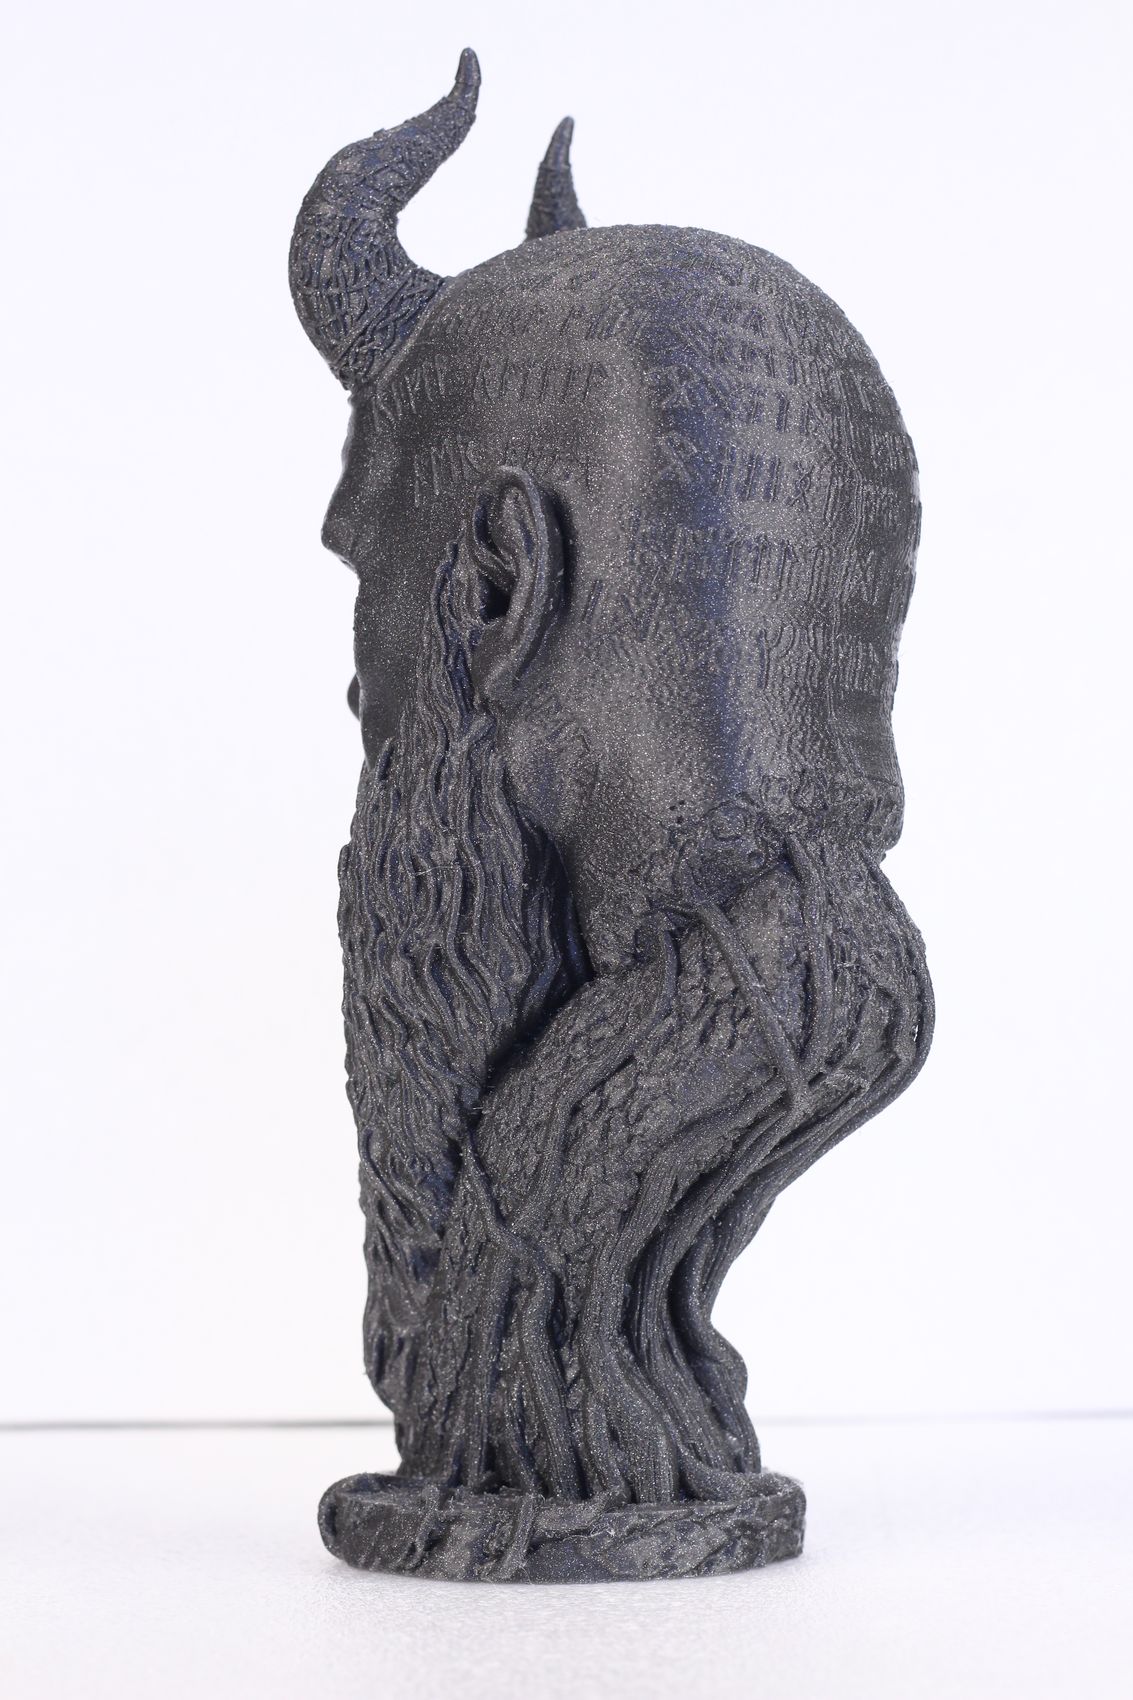
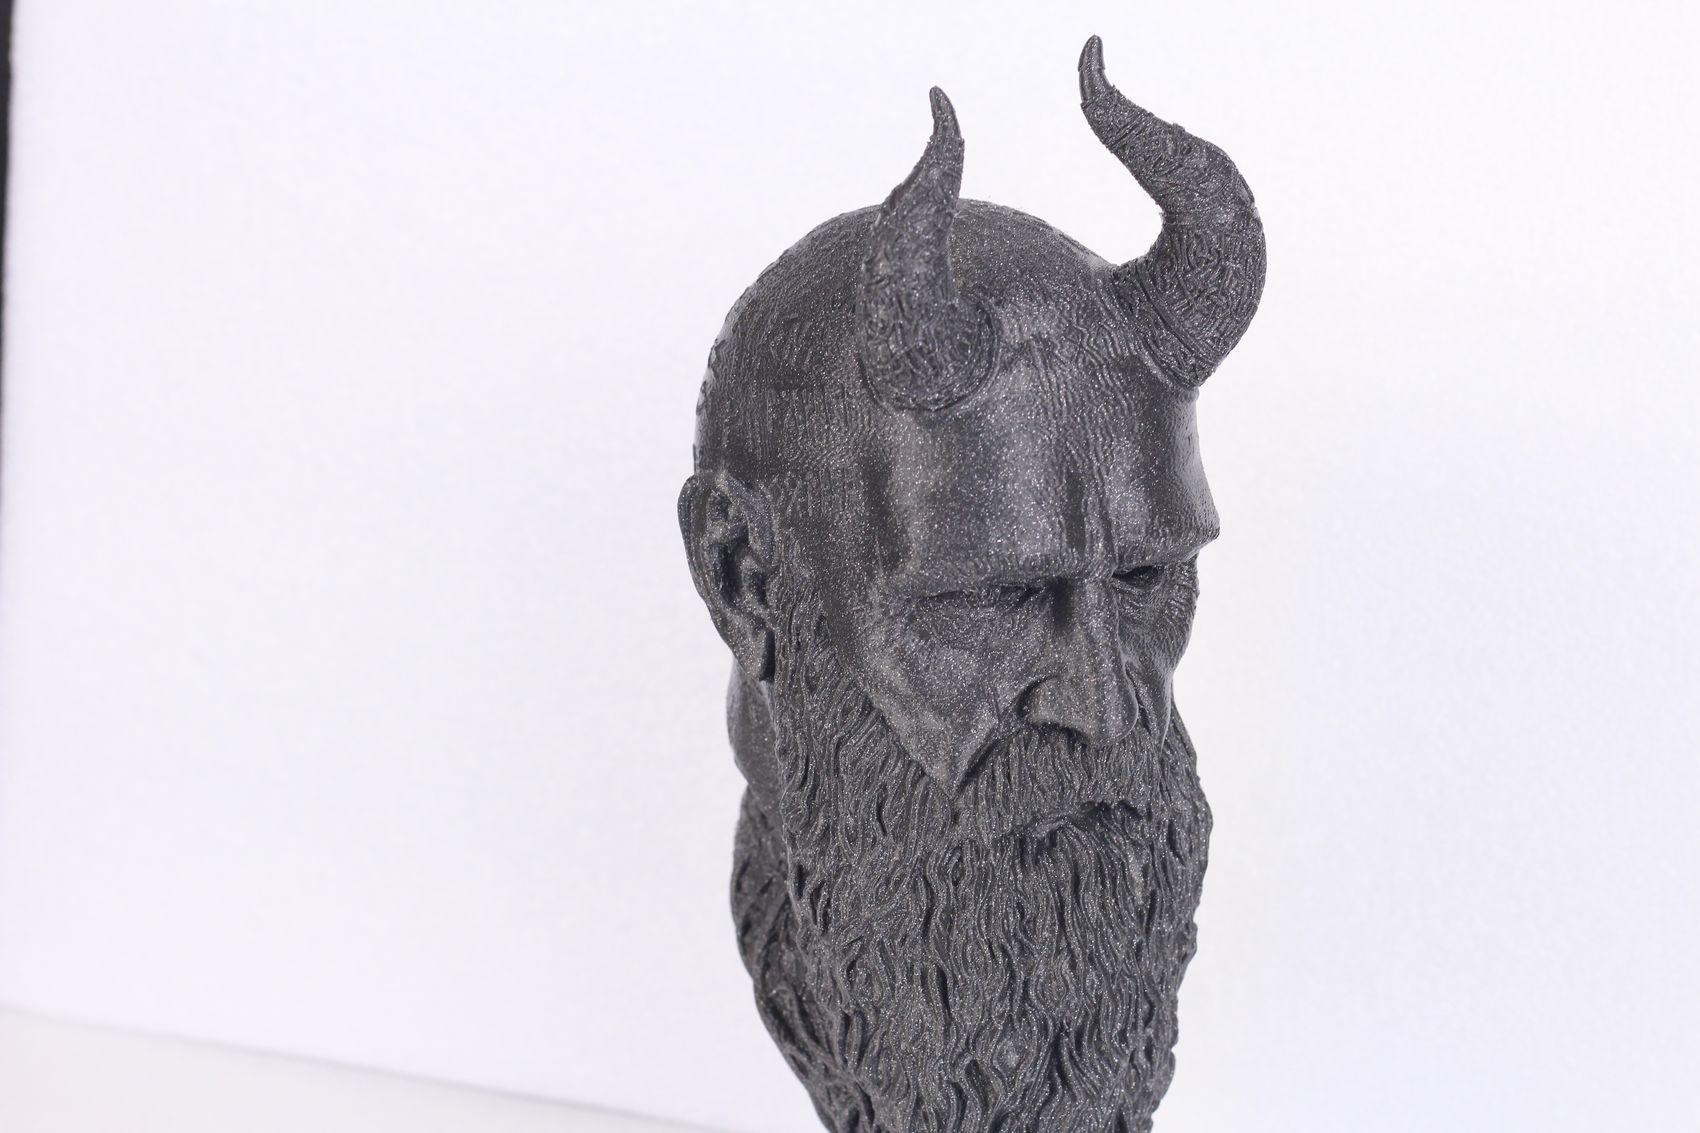
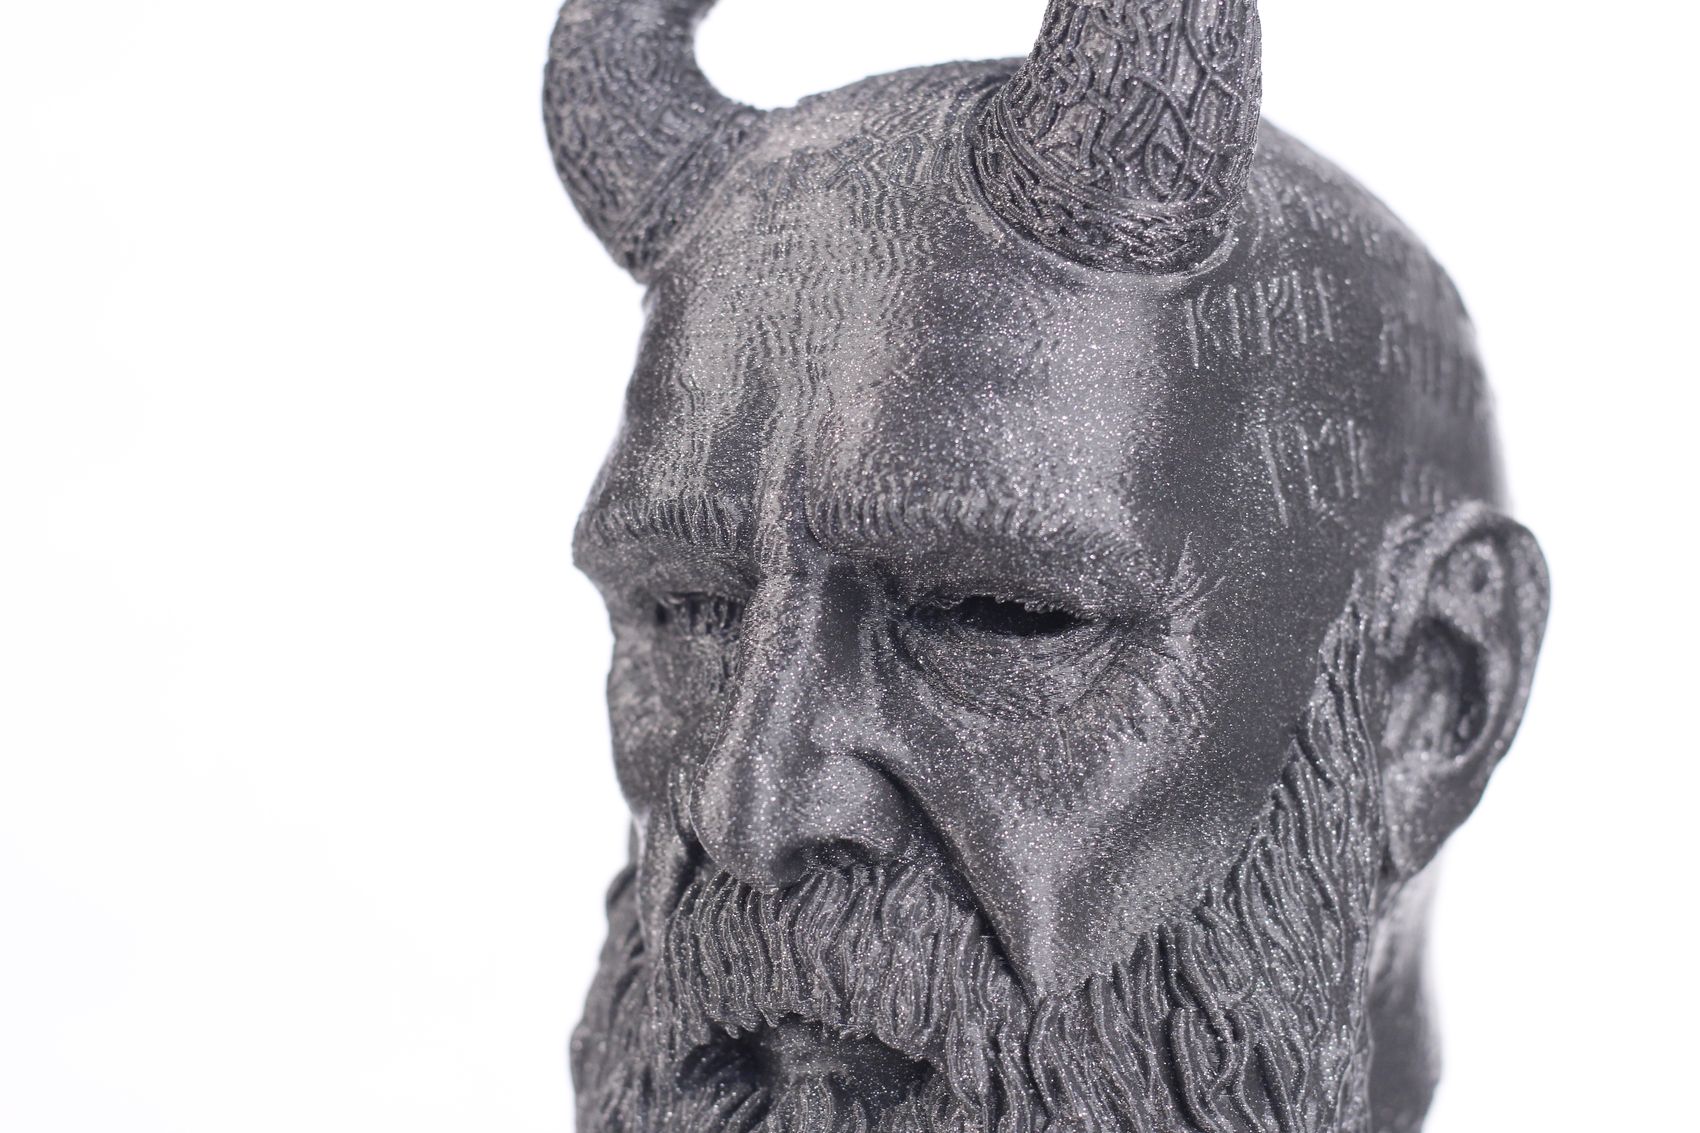
I always wanted to print a larger Mimir bust from Fotis Mint so I did this to check the entire Z axis of the Creality Ender 3 S1 Plus. As you can see, the print turned out great and there’s nothing to complain about. All the details are correctly printed and the print turned out great.
Of course, the filament also helps in hiding some of the small vibration artifacts that might be present, but I can’t really complain.

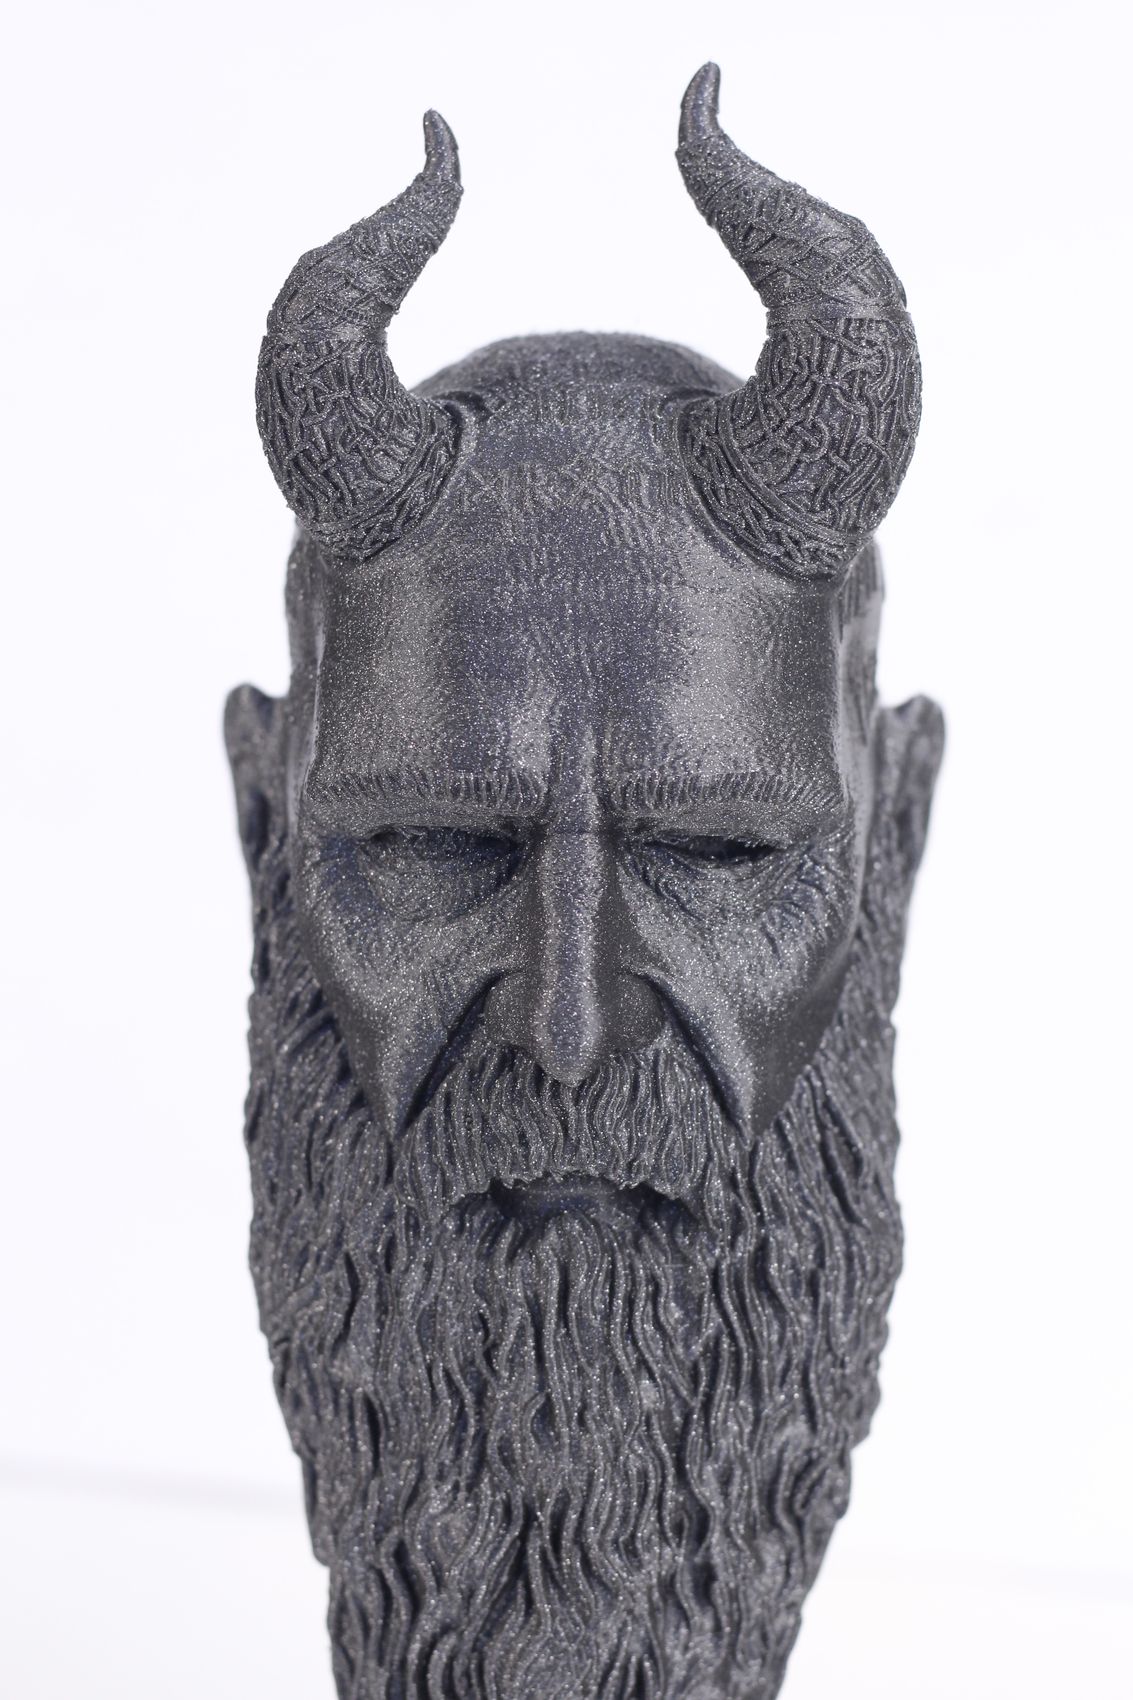
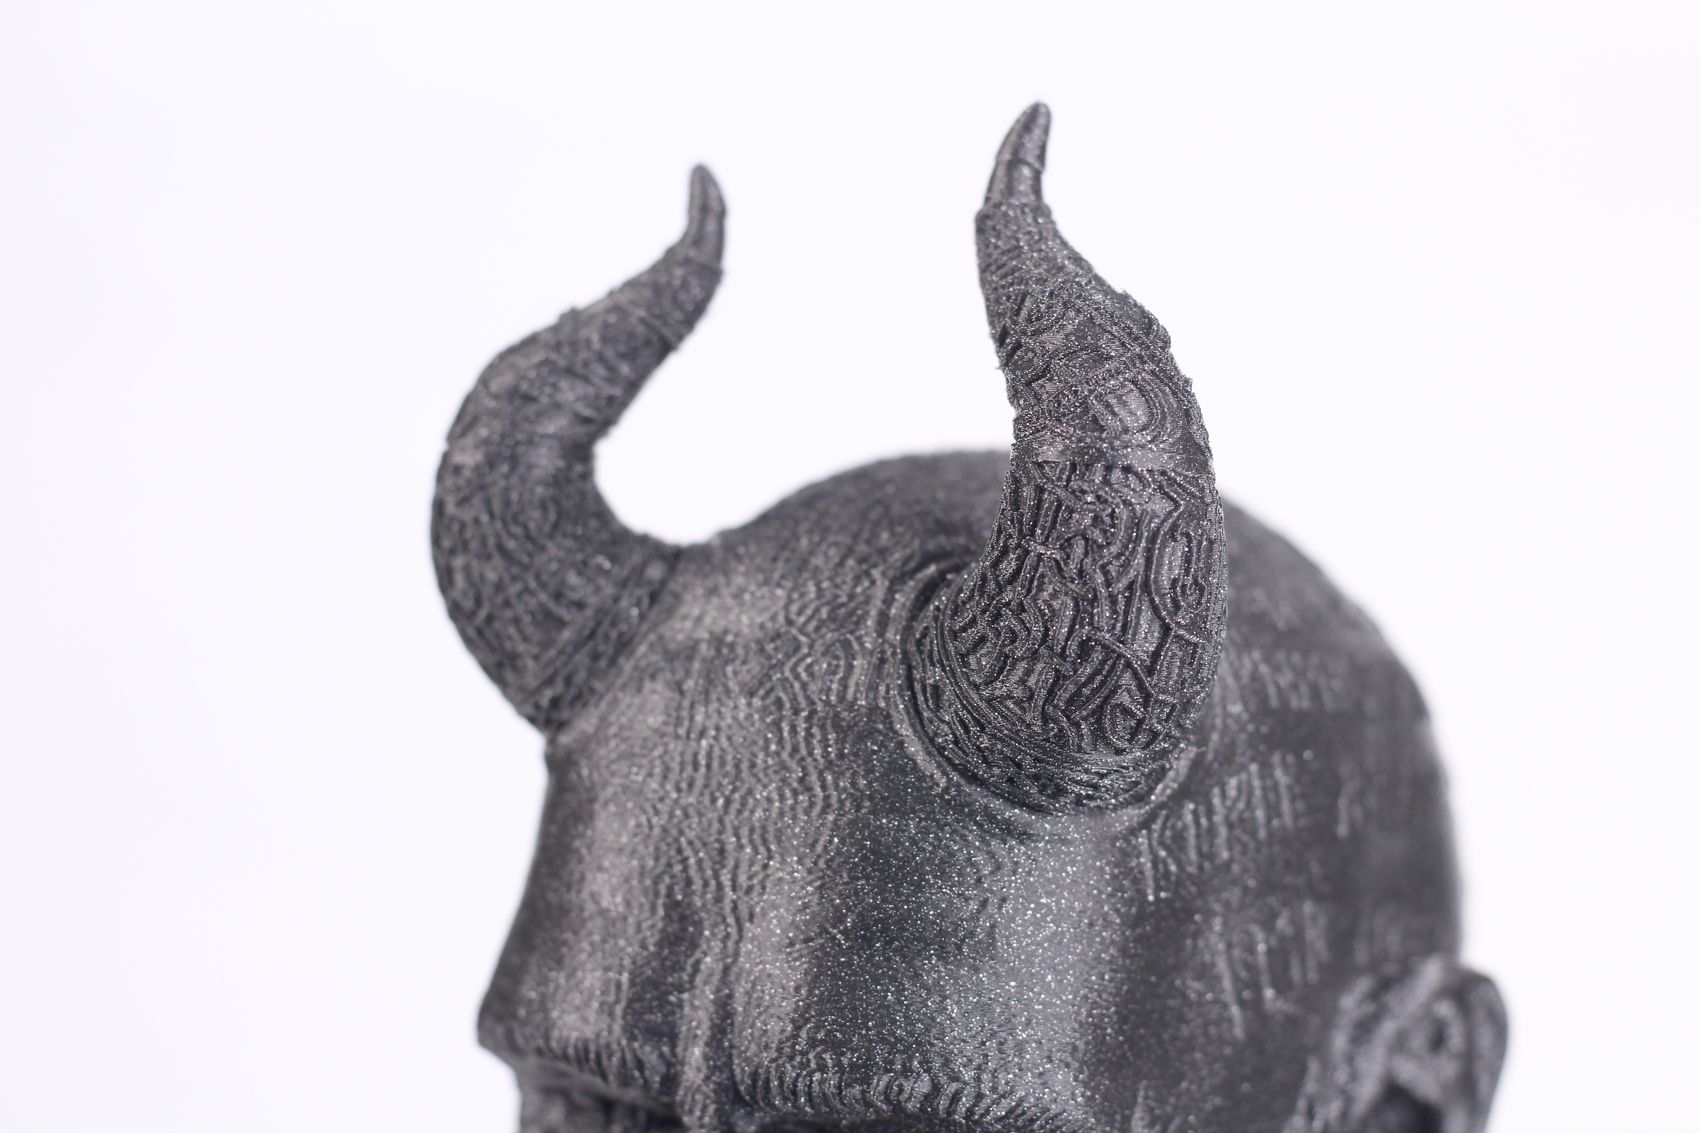
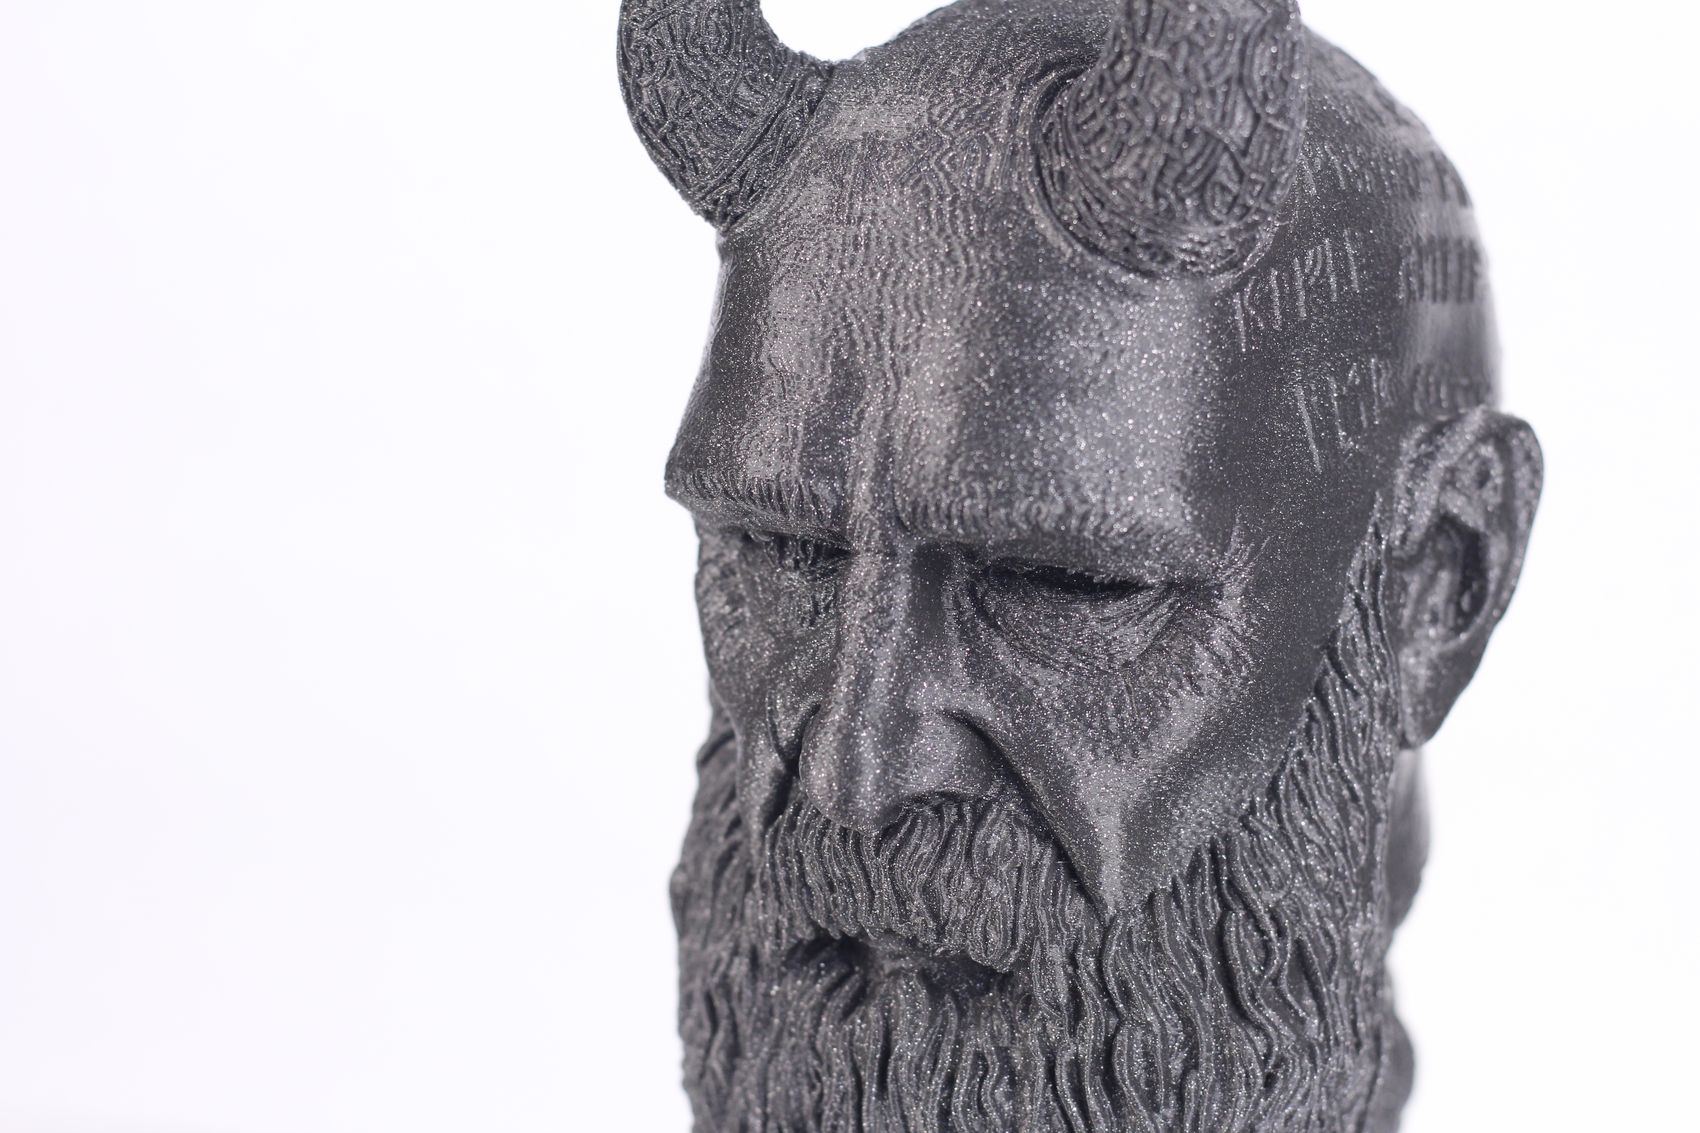
- Material: FilamentOne Glint Grey PLA
- Layer Height: 0.15mm
- Nozzle Temperature: 210C
- Bed Temperature: 35C
- Print Speed: ~60 mm/s
Flexi Fox
The usual PETG test is this Flexi Fox which looks quite good. Adhesion was great even with 65C for the bed and the overall print quality is decent. There are some tiny wisps of stringing on some parts of the model, but can’t really complain about it. The printer passed the test and the print surface doesn’t have any PETG filament residue on it.
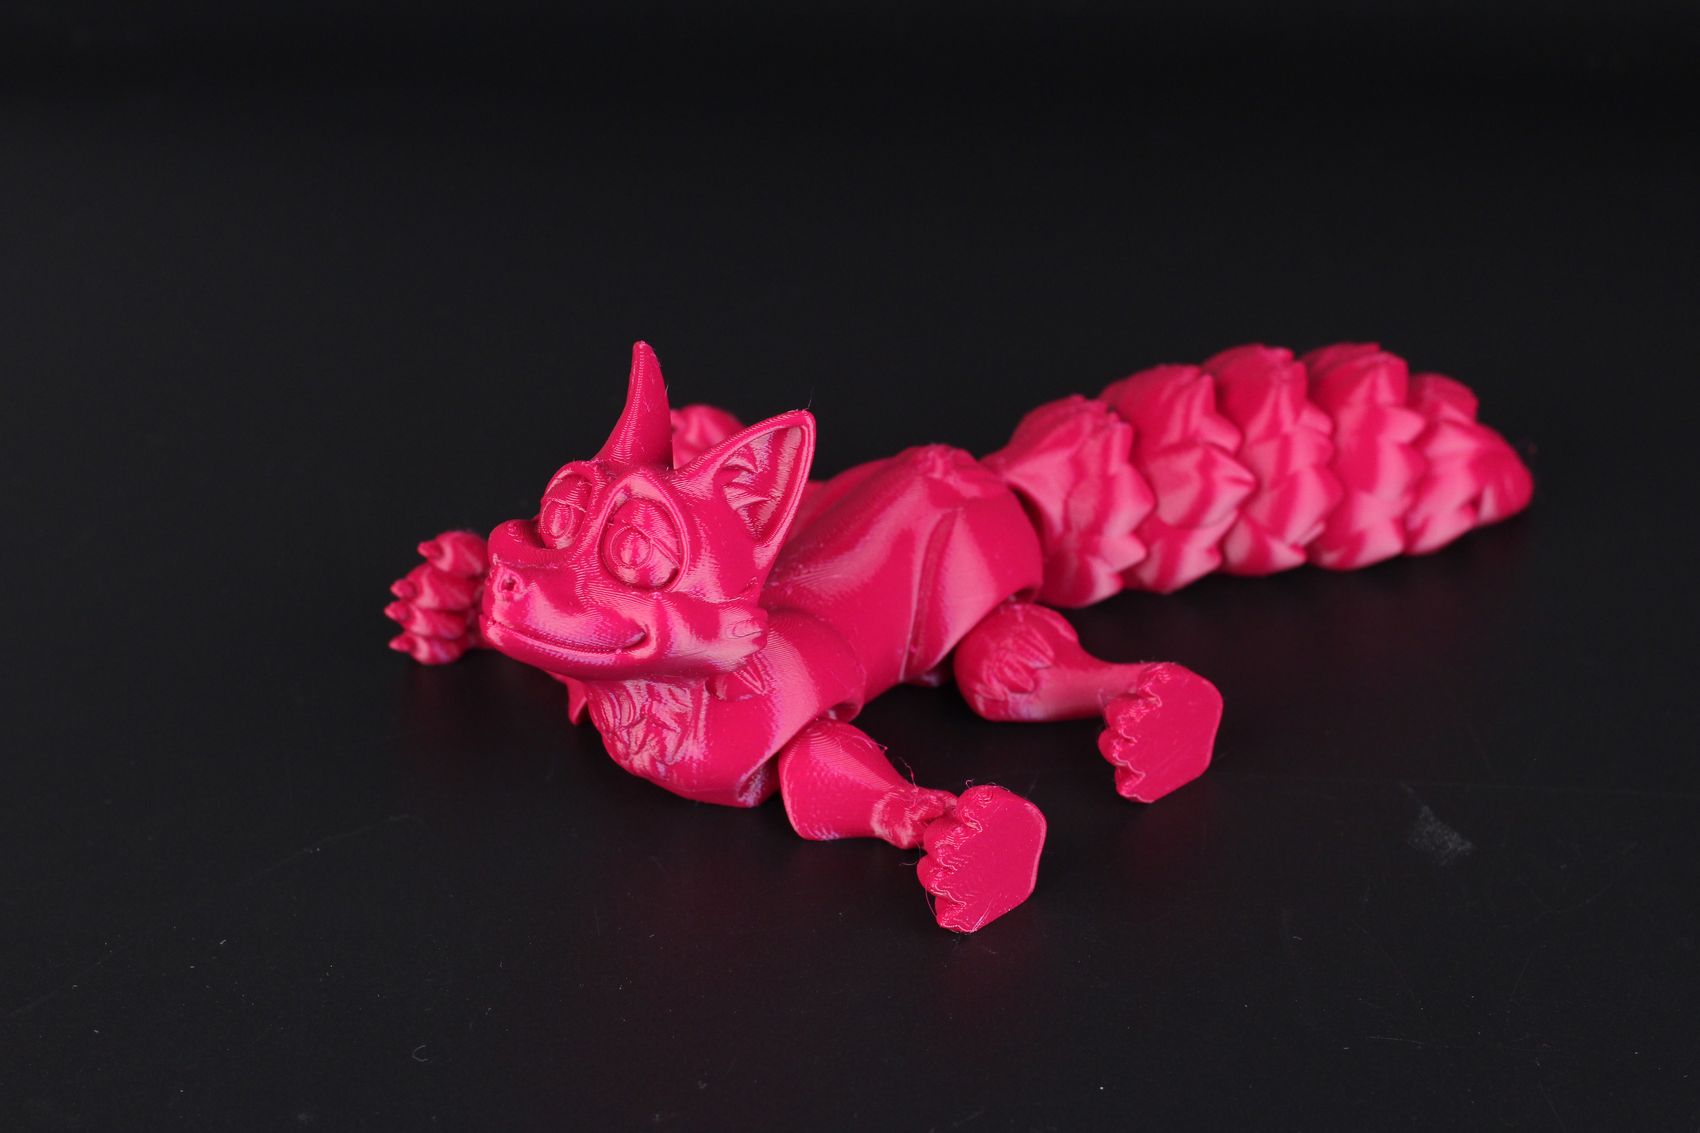
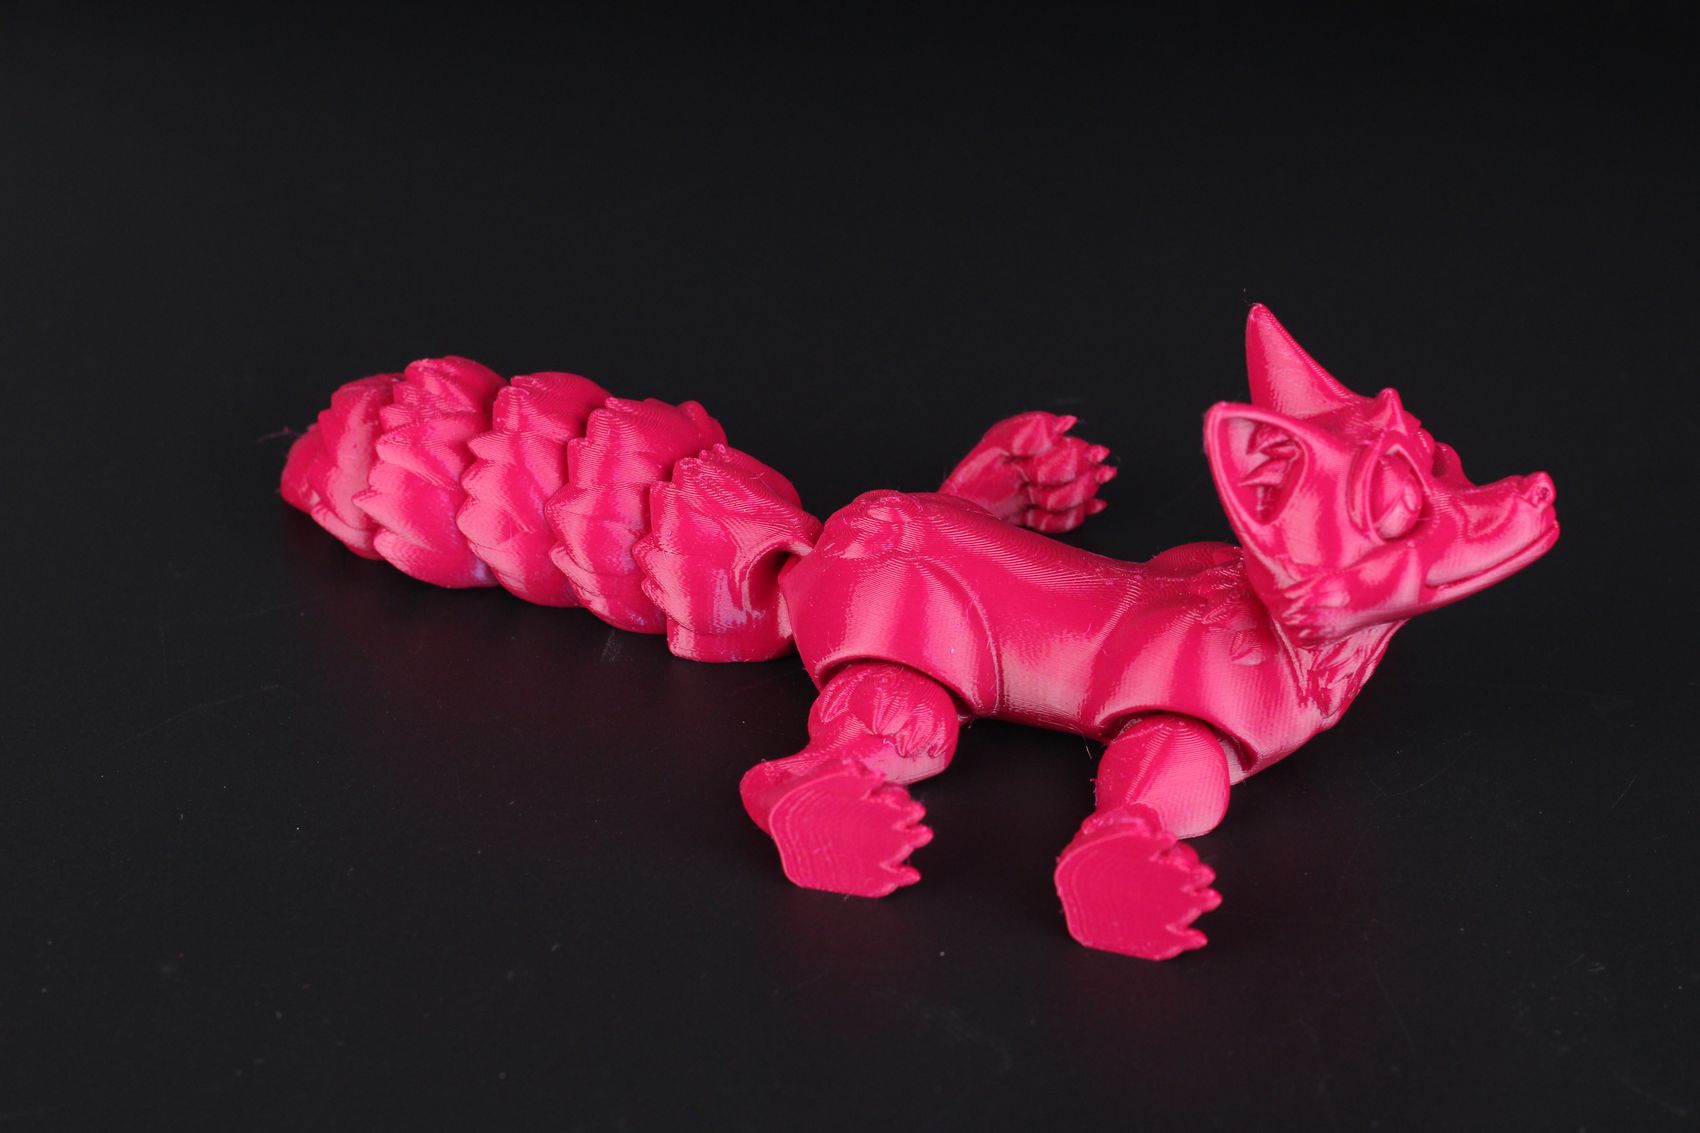
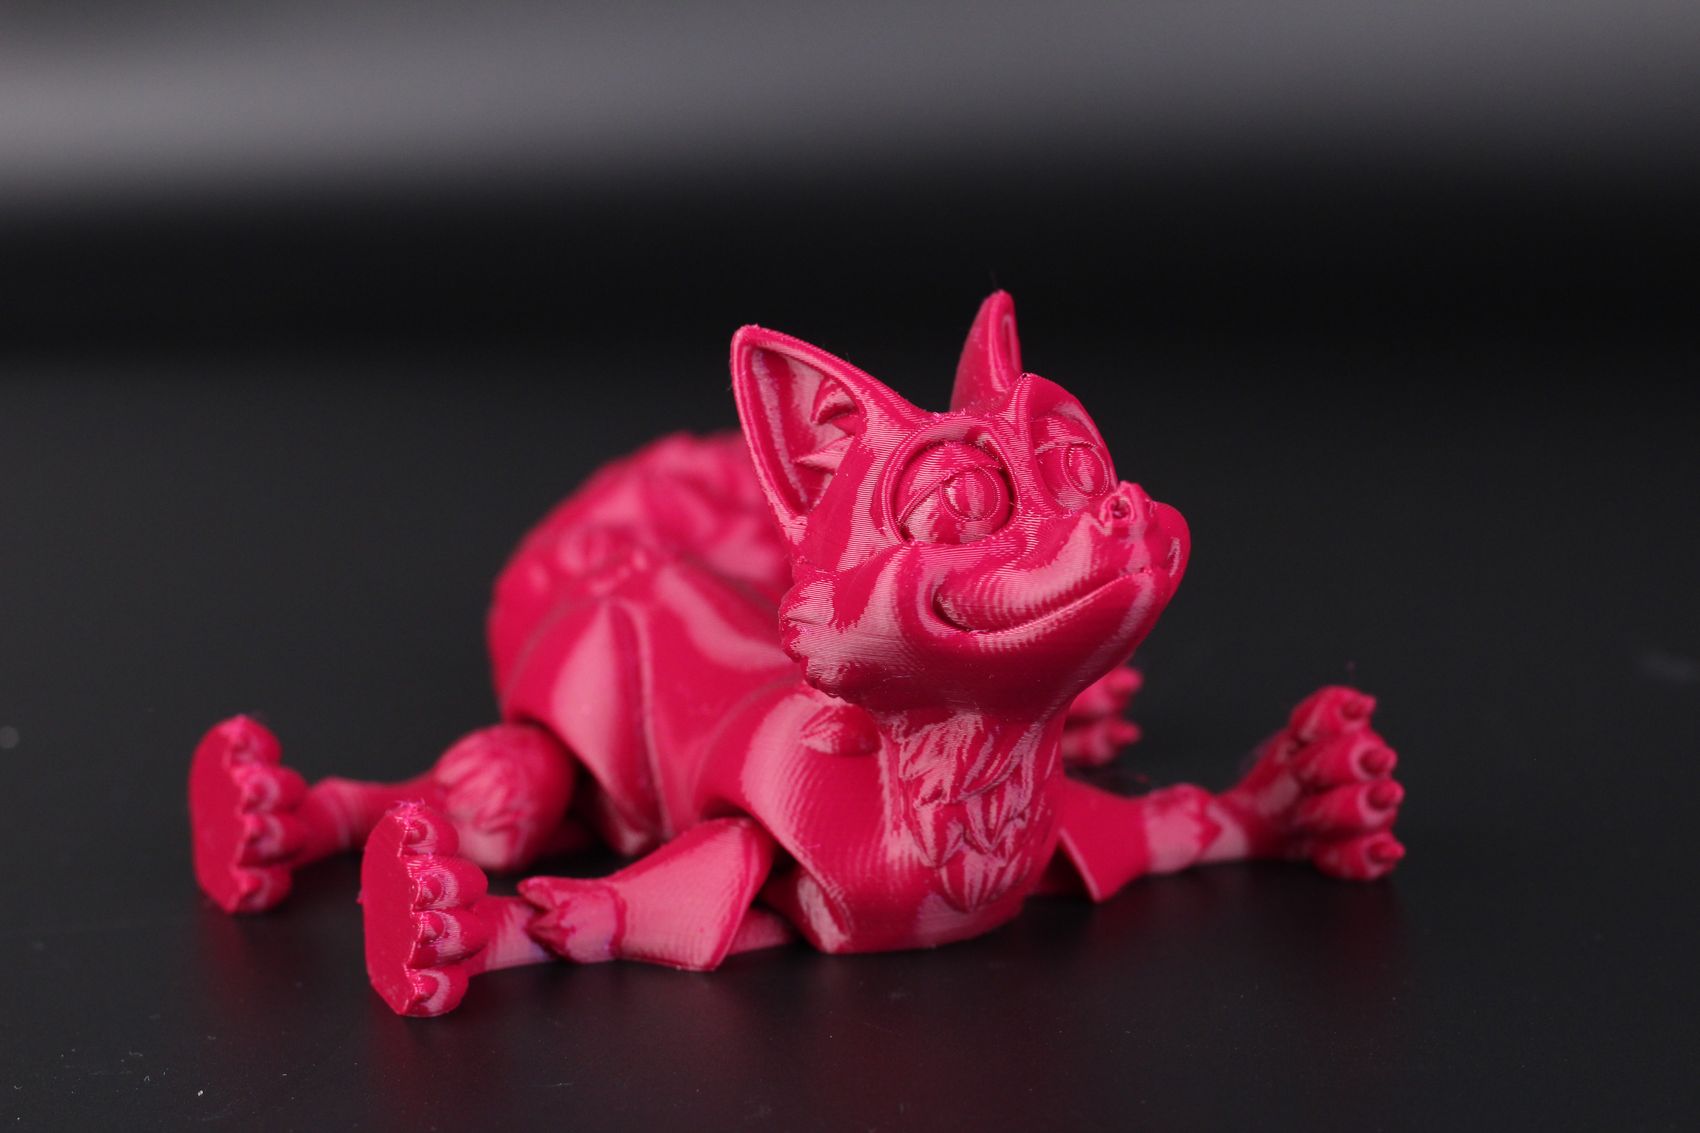
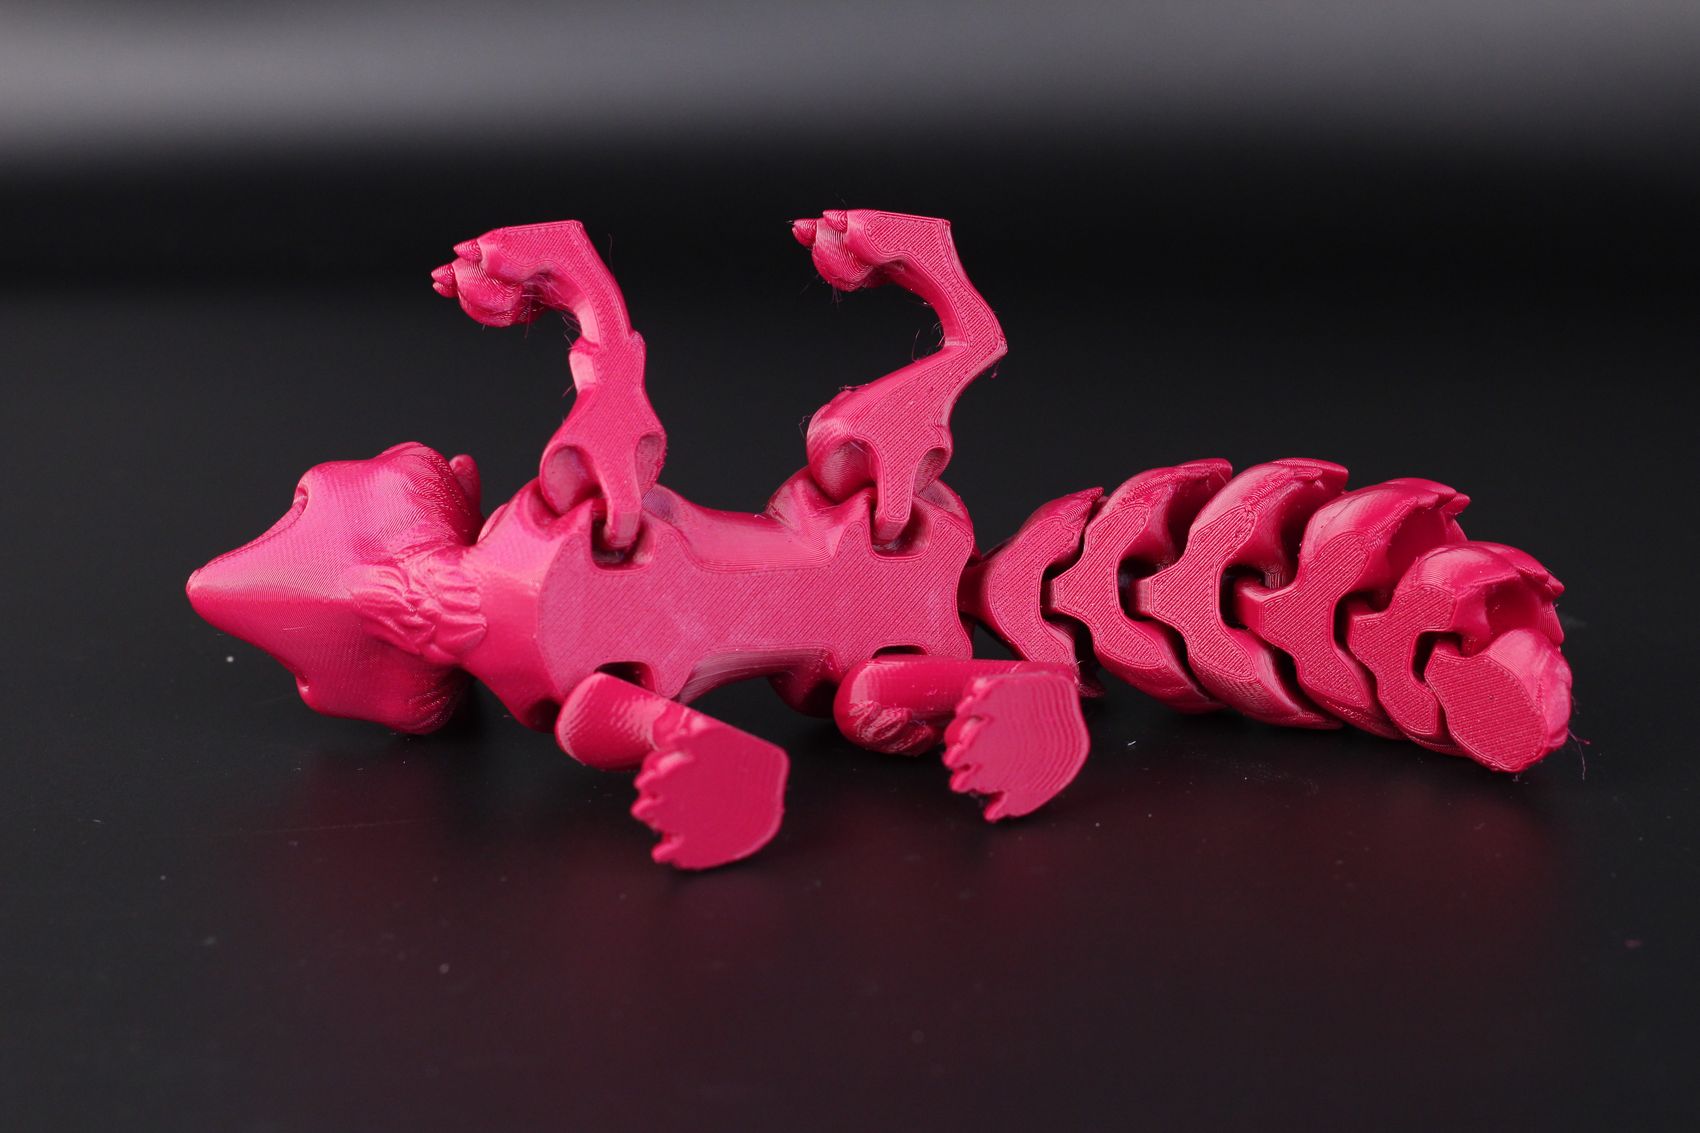
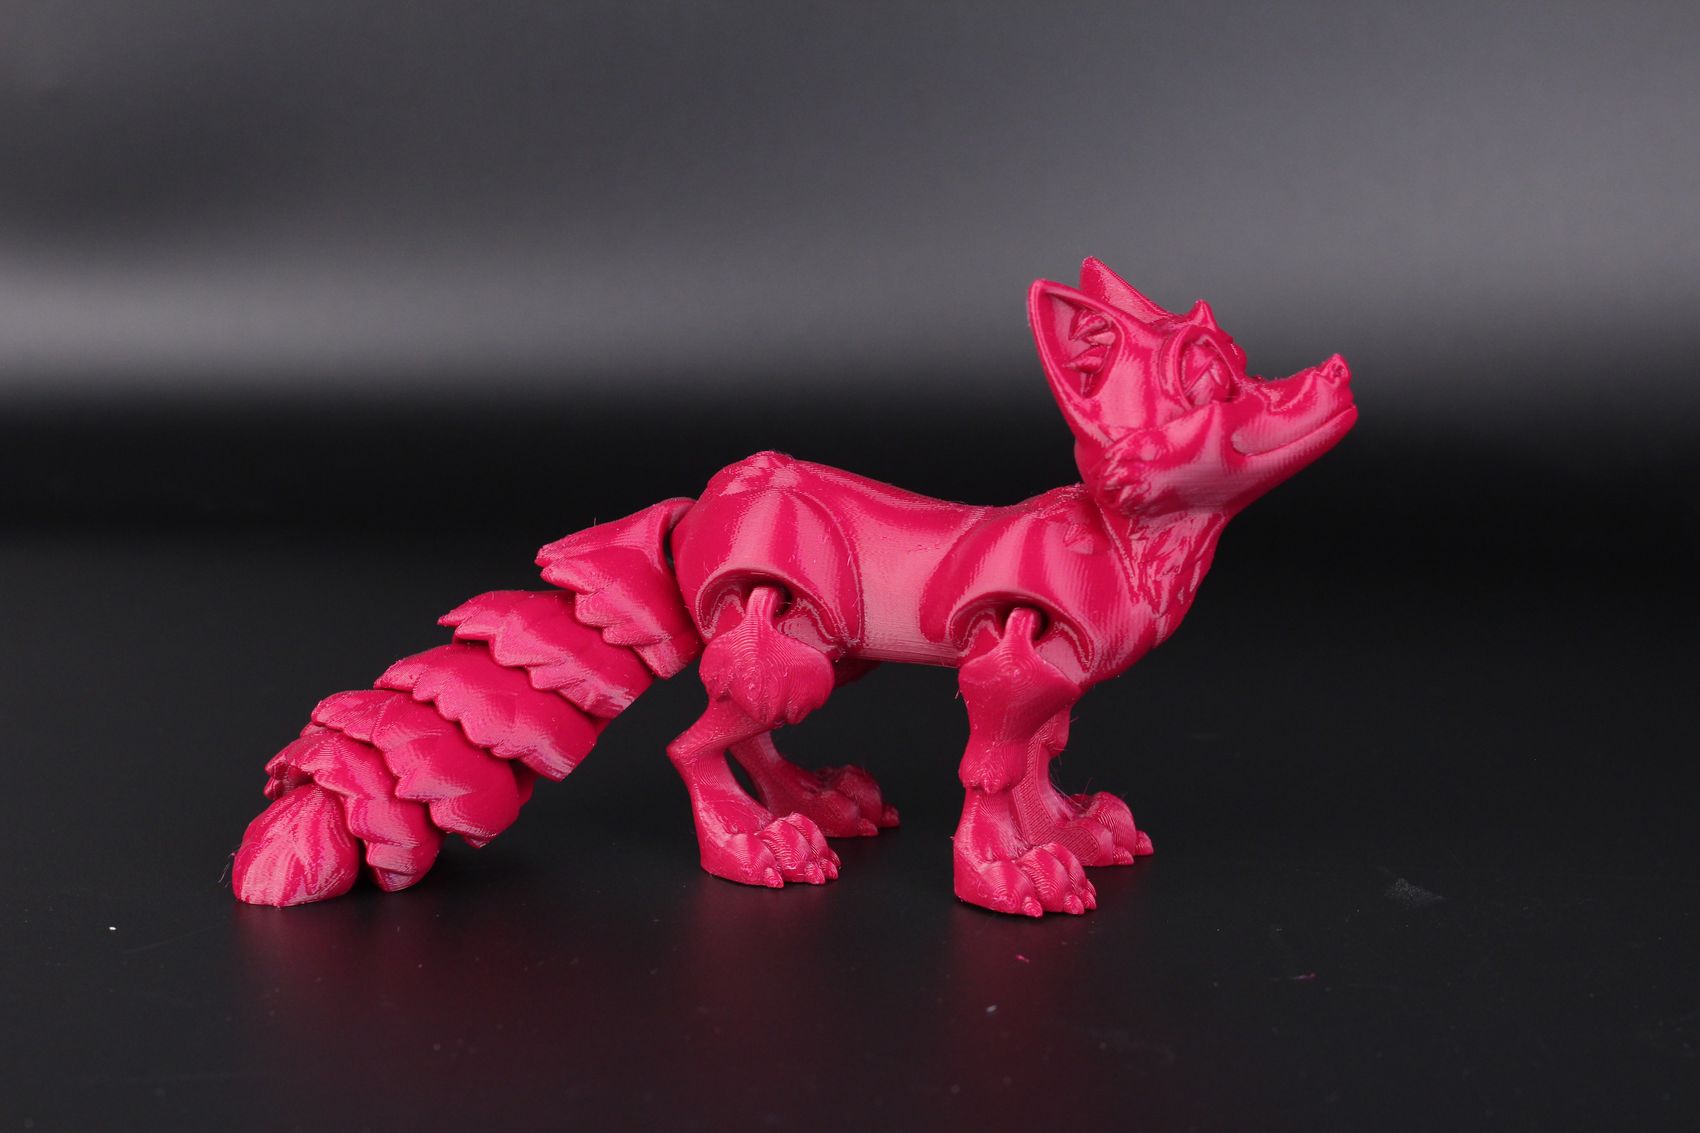
- Material: Devil Design Pink PETG
- Layer Height: 0.2mm
- Nozzle Temperature: 230C
- Bed Temperature: 65C
- Print Speed: ~60 mm/s
Conclusions: Is the Creality Ender 3 S1 Plus worth it?
As you can expect, the Ender 3 S1 Plus is mostly a scaled-up version of the regular Ender 3 S1 with a few changes. While the printer performs great, the price tag is a bit too high for my liking which is close to 600$ in some stores.
For this kind of money, I was expecting to get at least a PEI flex plate as a printing surface instead of the one we got here. And the touchscreen functionality is not as attractive to me compared to the regular color click wheel we got on the regular Ender 3 S1.
For example, you could get other printers like the Sidewinder X2 which performs the same but it’s cheaper and comes with a larger printing volume. Of course, it doesn’t have a removable printing surface but that can be added quite easily and without too much money.
Of course, I am not saying that you shouldn’t buy the Ender 3 S1 Plus, as it works well and it’s easy to set up, so if you like this printer better than other alternatives out there and you have the budget for it, I see no reason not to recommend it.
The Ender 3 S1 Plus is still a better purchase compared to the recently reviewed Anycubic Kobra Plus as it has a good direct drive extruder and a removable print surface which is more attractive in my opinion.
In some cases, you can find the Ender 3 S1 Plus at a discount for about ~450USD which makes it a more attractive offering. But I can’t say it’s worth more.
Creality Ender 3 S1 Plus Rating
Design
Specs
Noise Levels
Ease of use
Print Quality
Price
The Creality Ender 3 S1 Plus is just as the name says. A larger Ender 3 S1. It performs great, has good print quality but the price tag makes the purchase harder to justify if you can't find it at a discount.
Where to buy the Creality Ender 3 S1 Plus?
The Creality Ender 3 S1 Plus was provided free of charge by Creality for the purpose of this review. While the article includes affiliate links, all opinions are my own. Nobody reviewed the article before it was posted, following the Review Guidelines.
Liked it?
|
|


Great article about this printer. I just received mine yesterday and it works reasonably well. However, I am noticing that the autoleveling is not performing as well as it should in my opinion. I did a test print that covers most of the plate and am seeing that it prints a little too close on the right front side and a little too high on the back left side. Have you run a similar test? I had this exact problem on my old Ender-3 Pro even after I installed a BL-Touch. I finally replaced the controller board (I have a V1) and that resolved the issue for it.