BIQU B1 Review: Ender 3 V2 Killer?
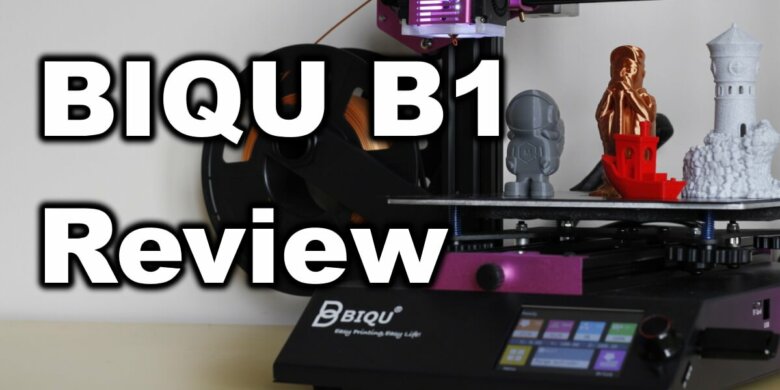
Since BIGTREETECH announced the BIQU B1 I was really interested in getting one. It looks like an amazing machine for only 250$. It comes with a SKR 1.4 and TMC2225 drivers, it includes a TFT35 touchscreen and also a PEI spring steel sheet. These are all upgrades a user will probably do over time which are now included right from the start at an affordable price.
So, without further ado, let’s find out if the BIQU B1 raises to my expectations and if it can be consider an Ender 3 V2 killer.
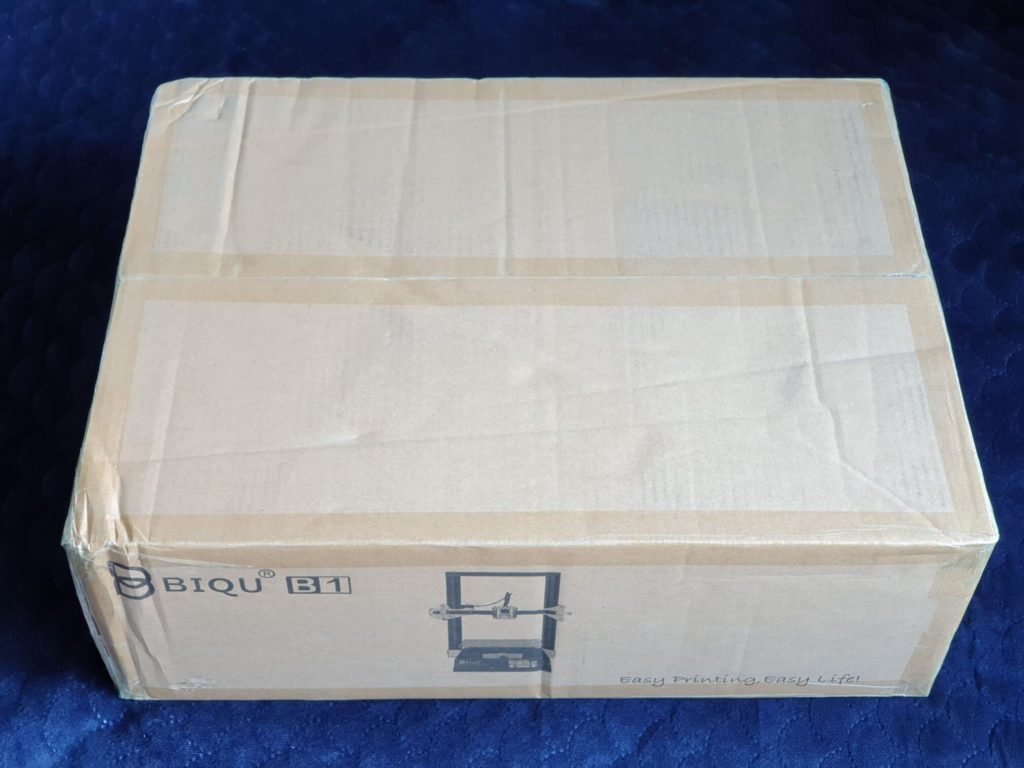
BIQU B1 Shipping and Packaging
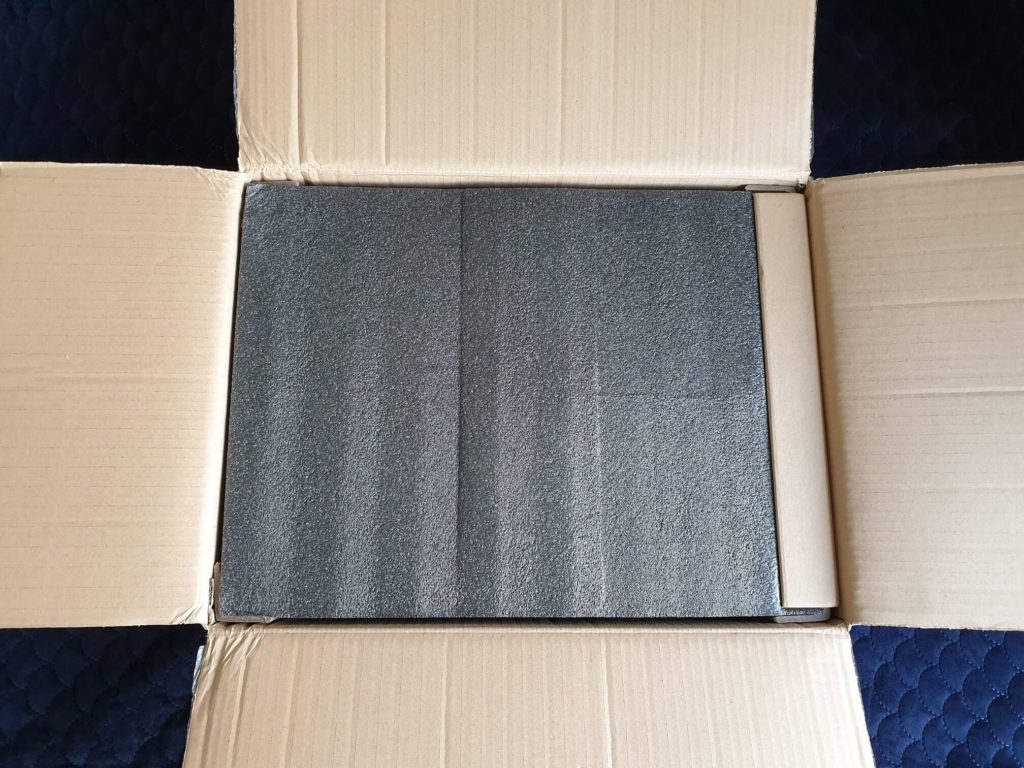
The BIQU B1 comes in a compact package with decent protection. There are two layers of foam where all the parts are nicely packed. I don’t think there will be any issue during shipping.
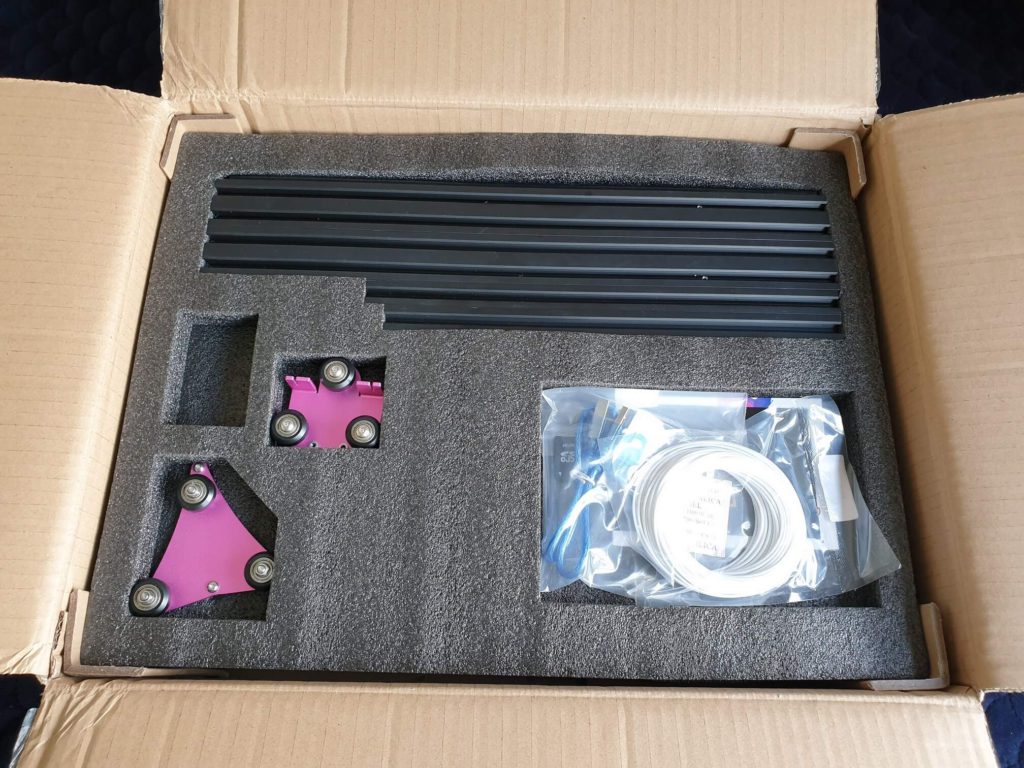
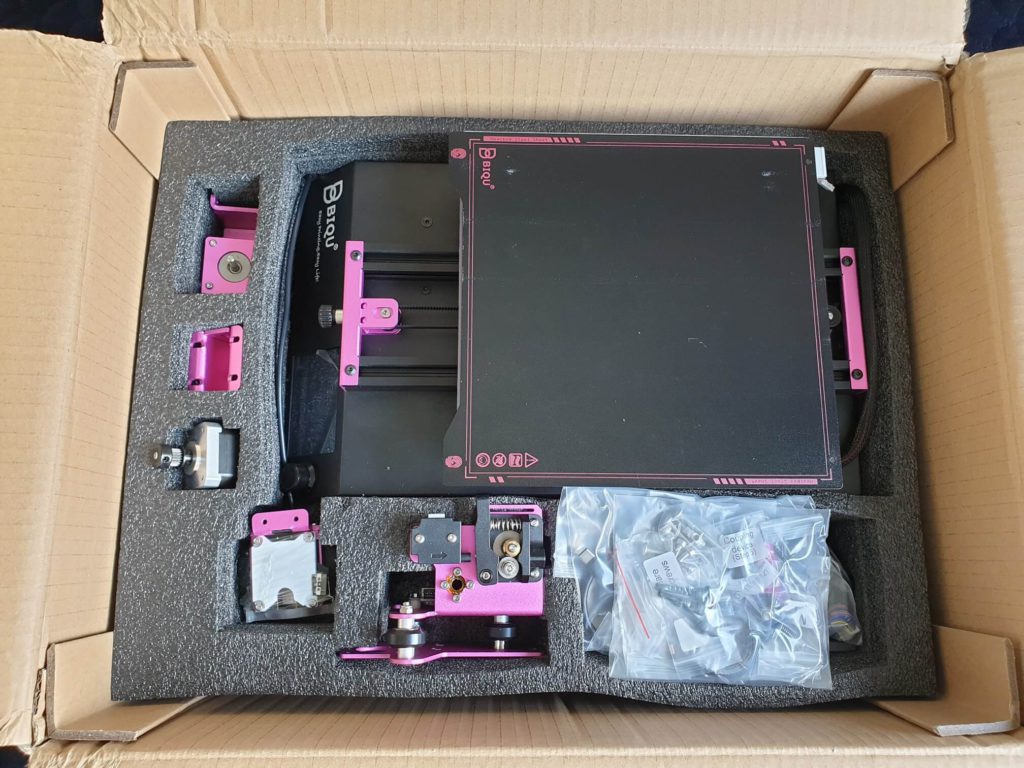
Assembling the BIQU B1
The BIQU B1 comes as a kit, so be prepared to do some tinkering before starting your first print.
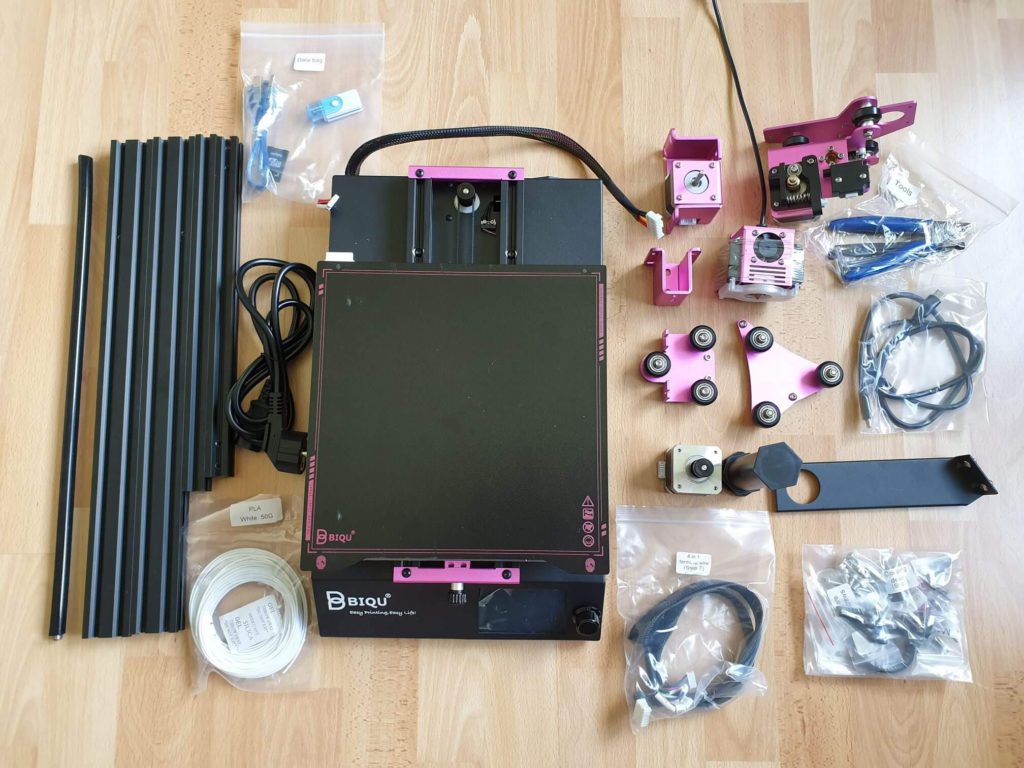
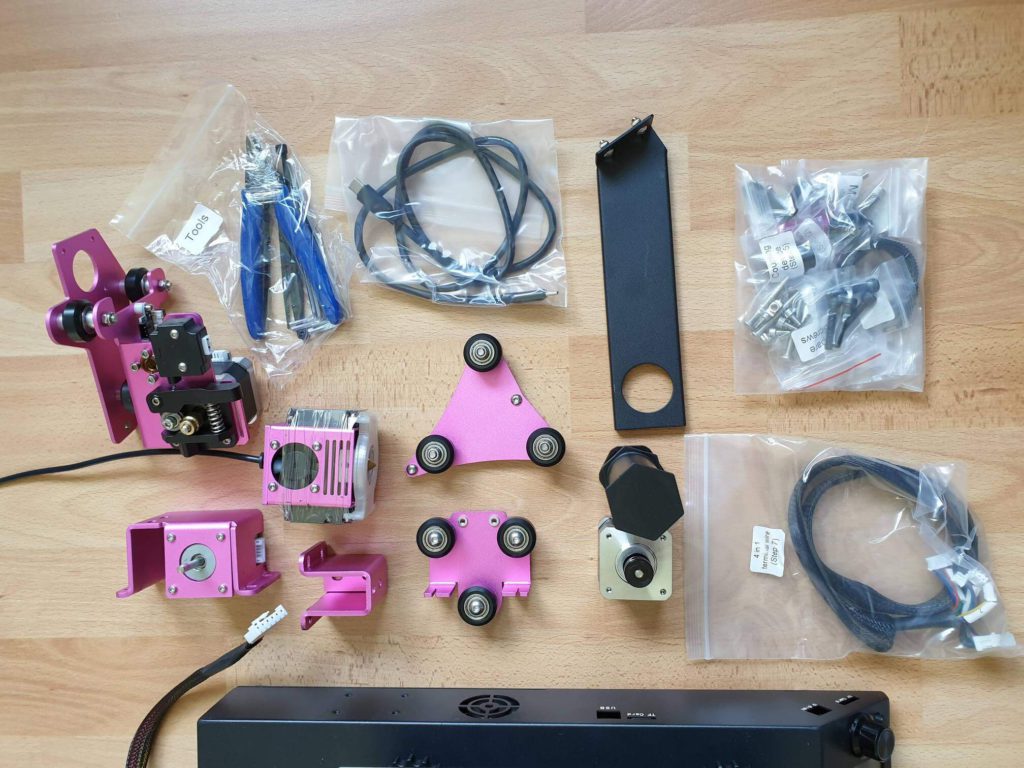
The installation process is relatively straight forward and the installation guide is good. All the bags containing parts are labeled which makes assembly easier.
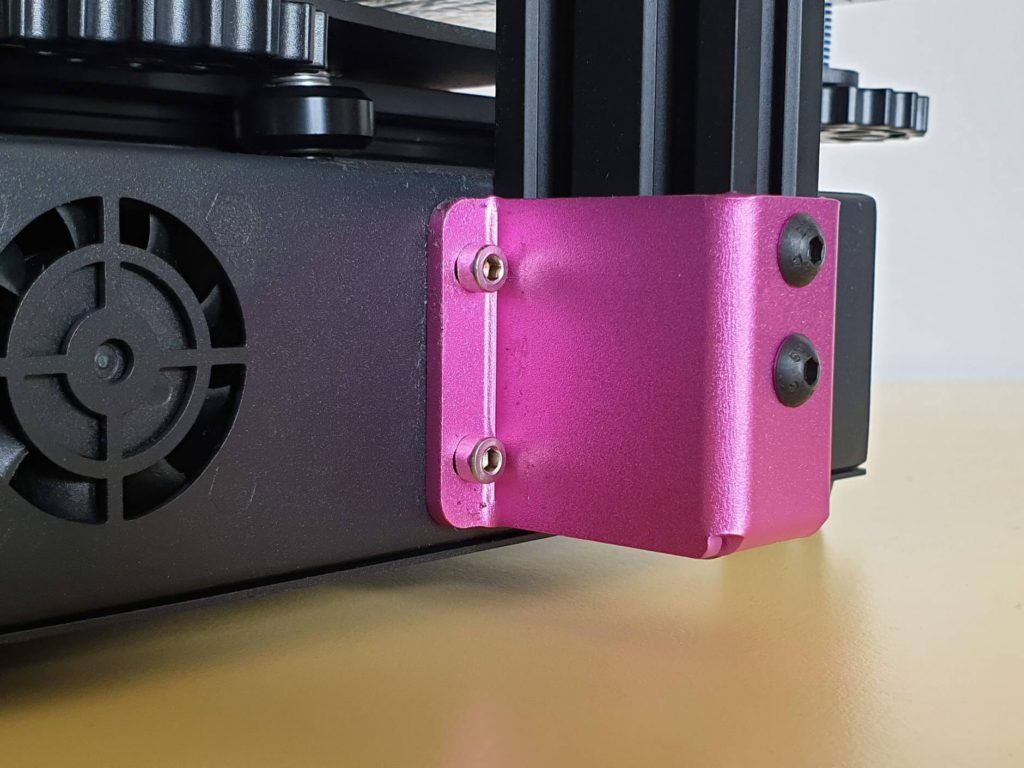
I had a bit of an issue with the aluminium mounts used to screw the Z extrusions on the printer. As you can see in the pictures above, they are not bent perfectly.
This will not allow the extrusions to be square to the heatbed. So a bit of extra convincing is needed to bend them properly before installation.
I wouldn’t say this is a big issue because you can fix it in less than 5 minutes, but it’s worth mentioning. I also had a chat with a friend of mine who had the same issue, so probably it will help others.
I also recommend checking all the eccentric nuts for all the rollers. My bed had a bit of play because one of the nuts was not properly tightened. The Z rollers were too tight and they were pressing on the aluminum extrusion too much. You just need to have them tight enough so when you try to spin a wheel with your fingers, it causes the assembly to move on the extrusion. If you tighten the nuts too much, the wheels degrade faster and will probably get flat spots in a few days.
BIQU also has a really detailed assembly video available which you can follow.
It took me about 90 minutes to put the BIQU B1 together while checking everything. Sure, you can assemble it faster, but if you take your time to assemble the printer right the first time, you will save yourself from troubleshooting later. Please do the same, and you will be happy with it.
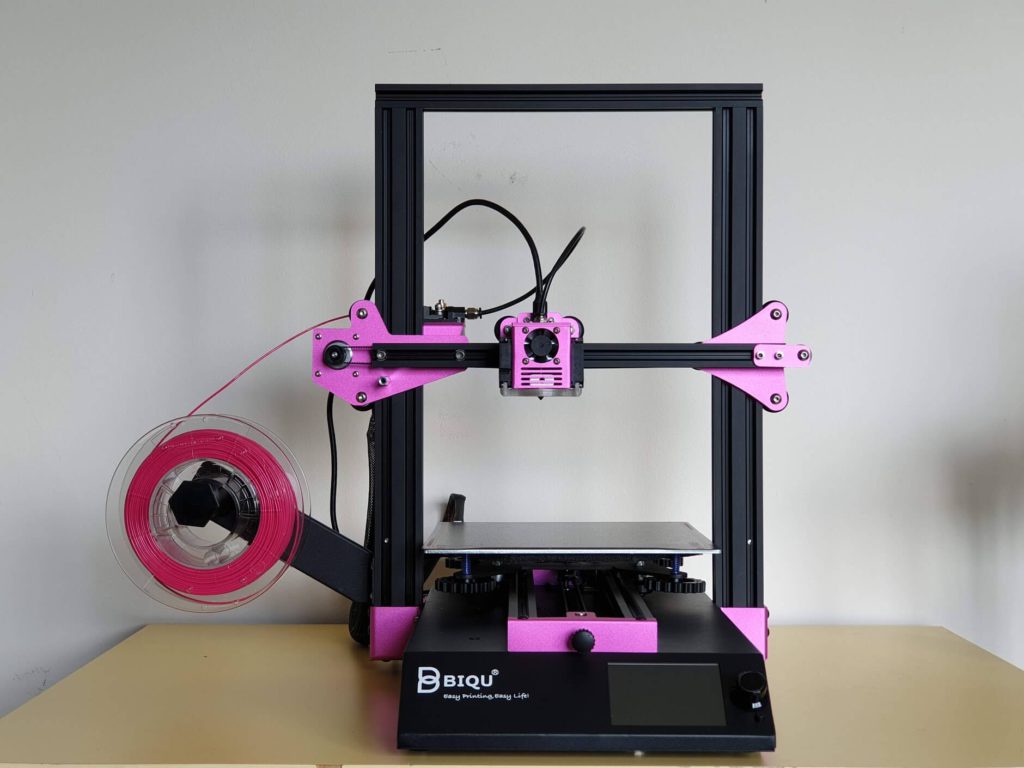
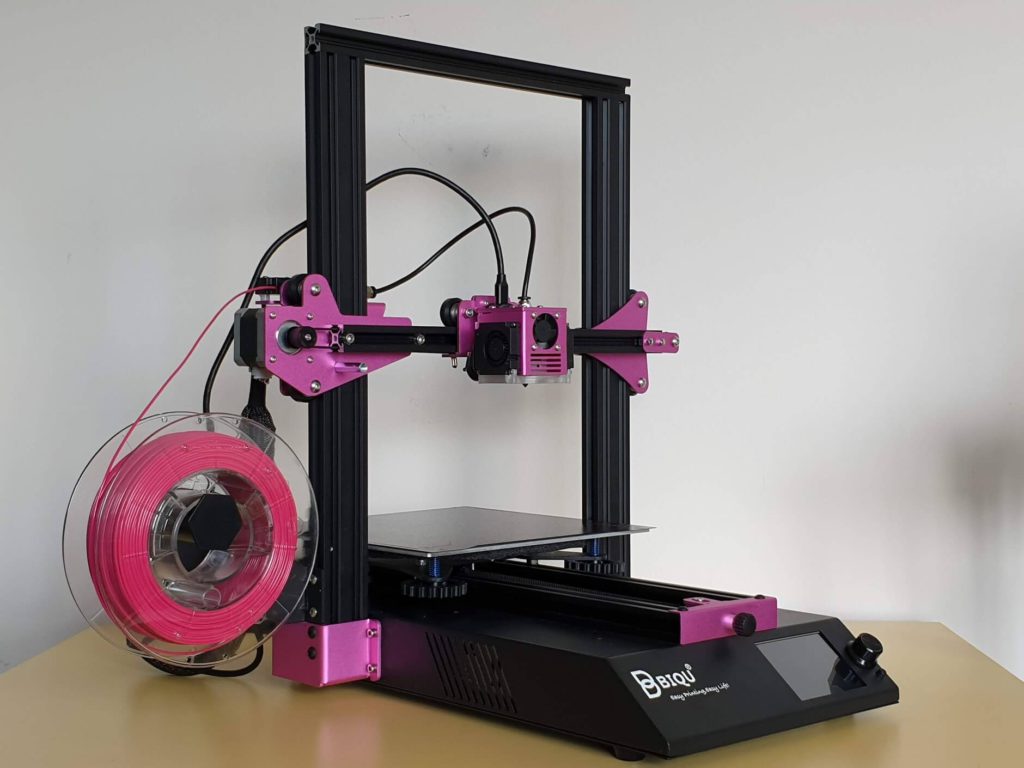
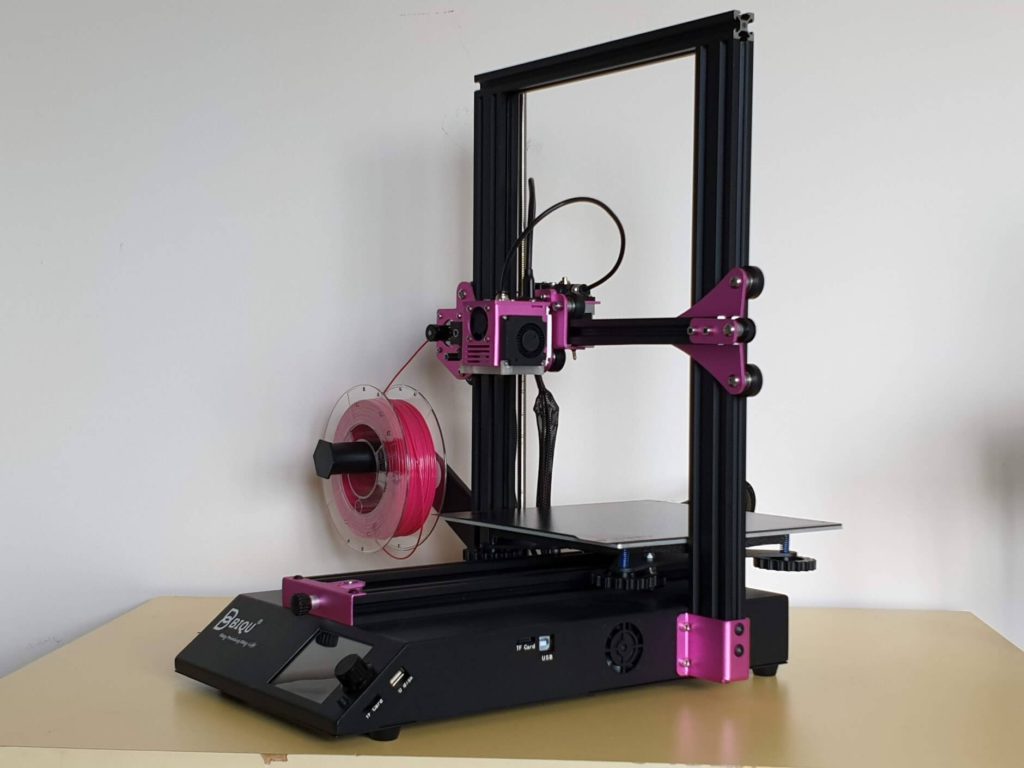
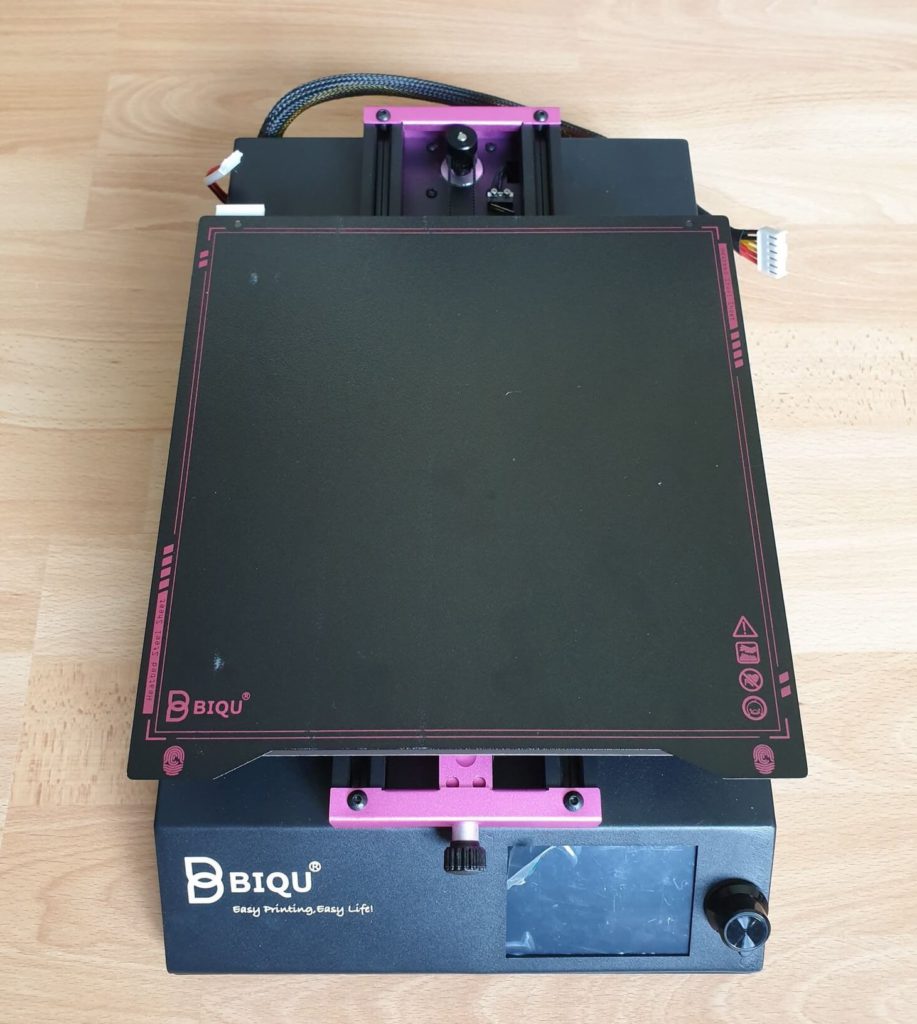
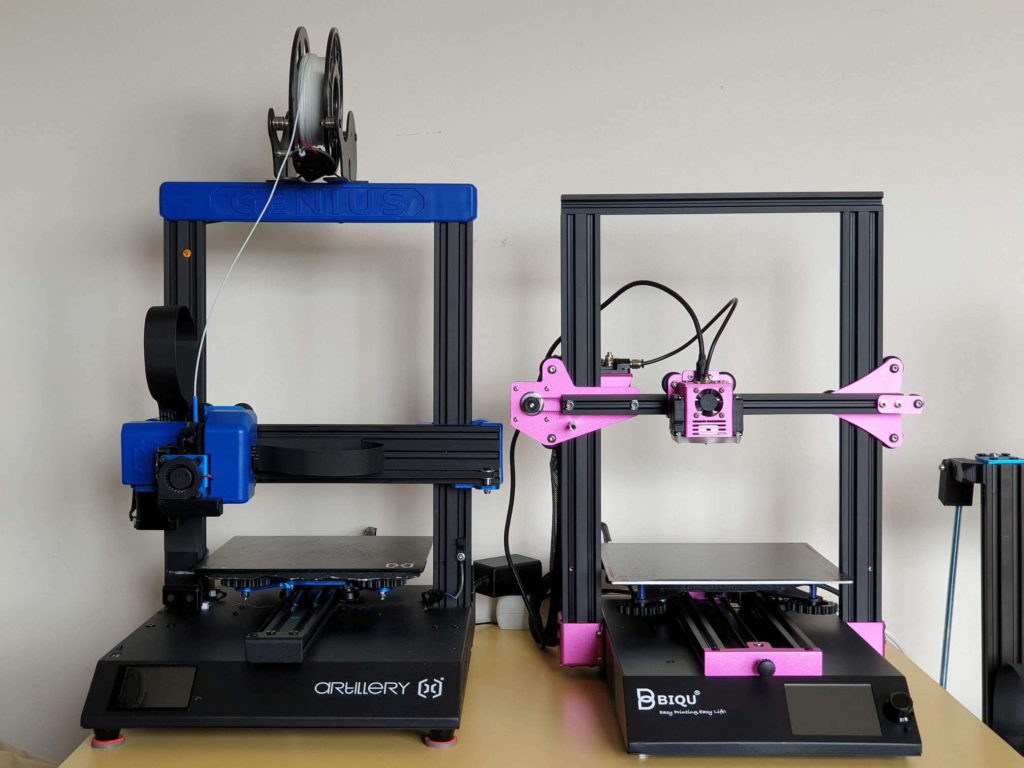
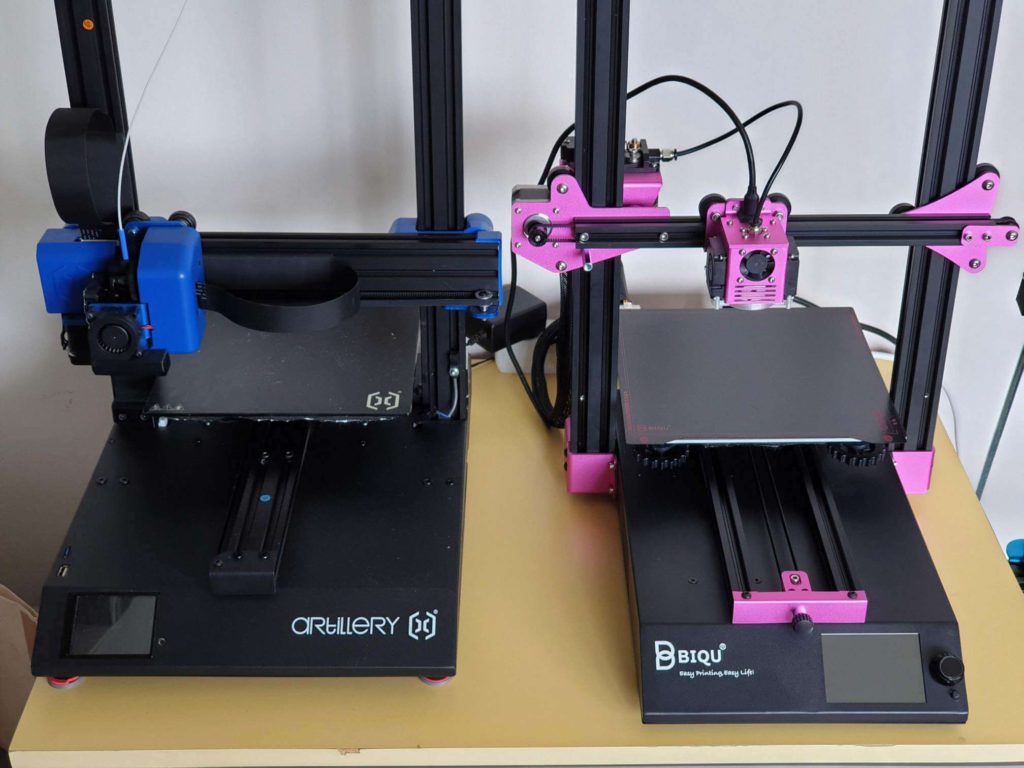
When I opened the box, I was surprised to see how compact the BIQU B1 is. After assembly, it’s still a bit more compact when comparing it with my trusty Artillery Genius.
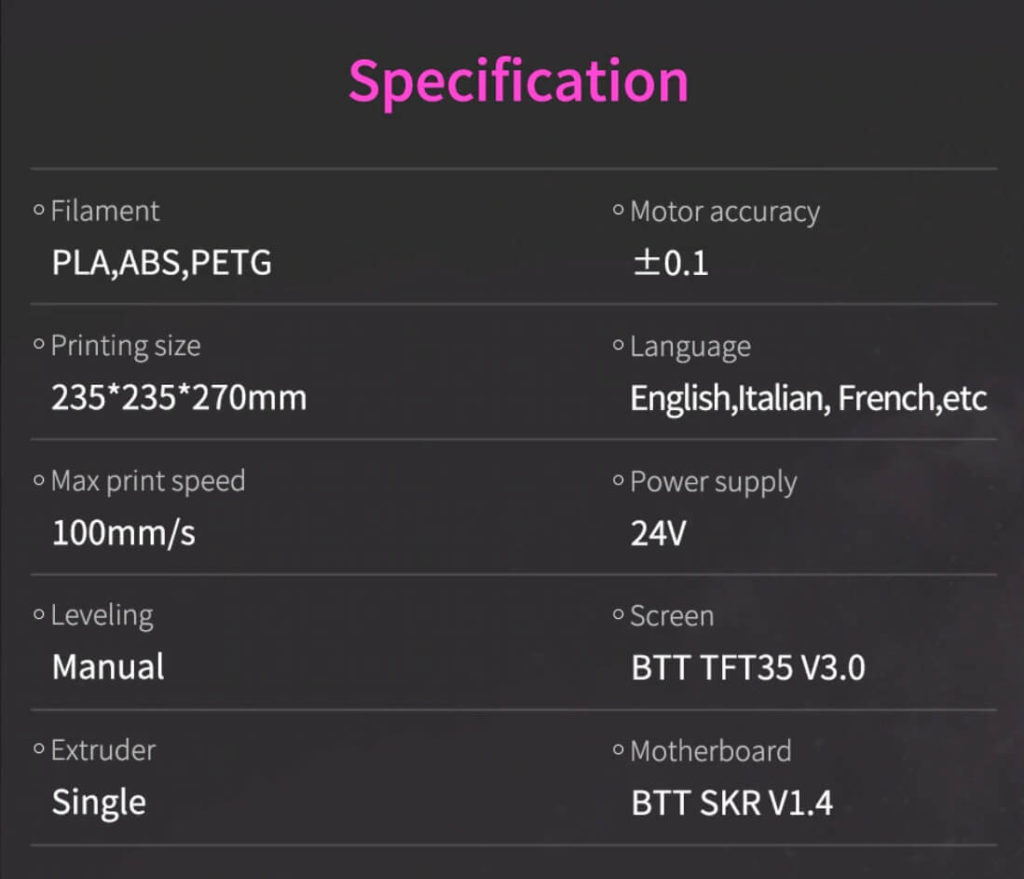
BIQU B1 Specs
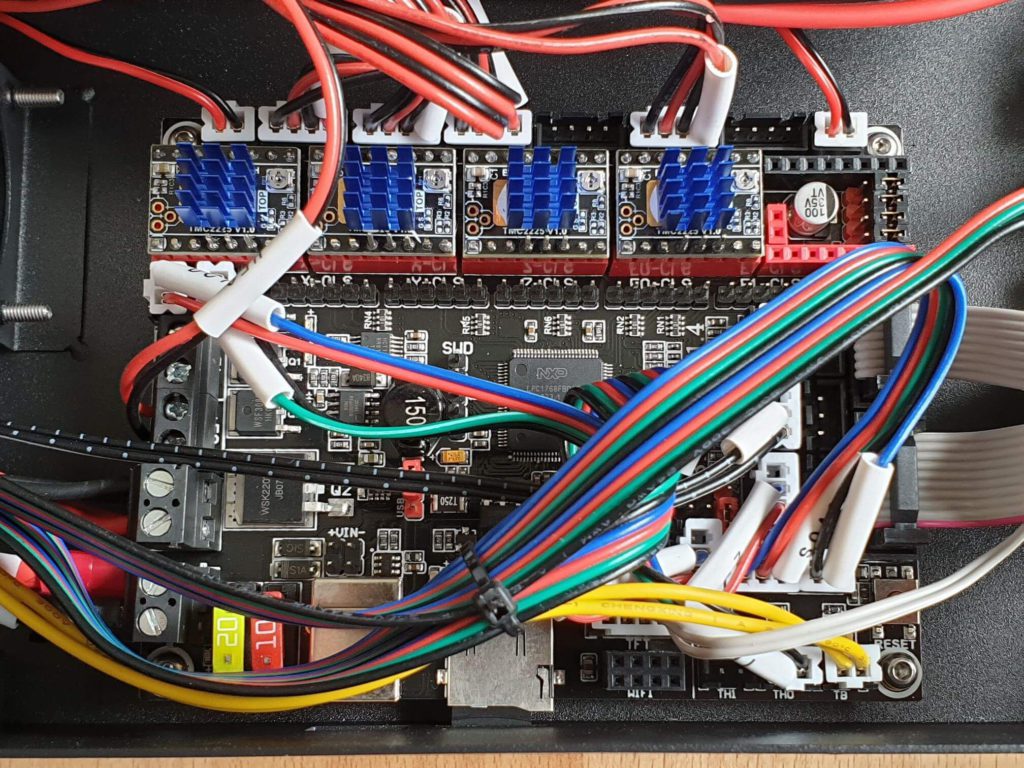
SKR 1.4 board with TMC2225
I think one of the best features of the BIQU B1 printer is the inclusion of a BIGTREETECH SKR 1.4 board with TMC2225 drivers. The SKR 1.4 is one of the best upgrades you can do for any 3D printer. It’s a cheap 32 bit board with a lot of features and good documentation available. It uses the TMC2225 stepper drivers which are powerful and really silent.
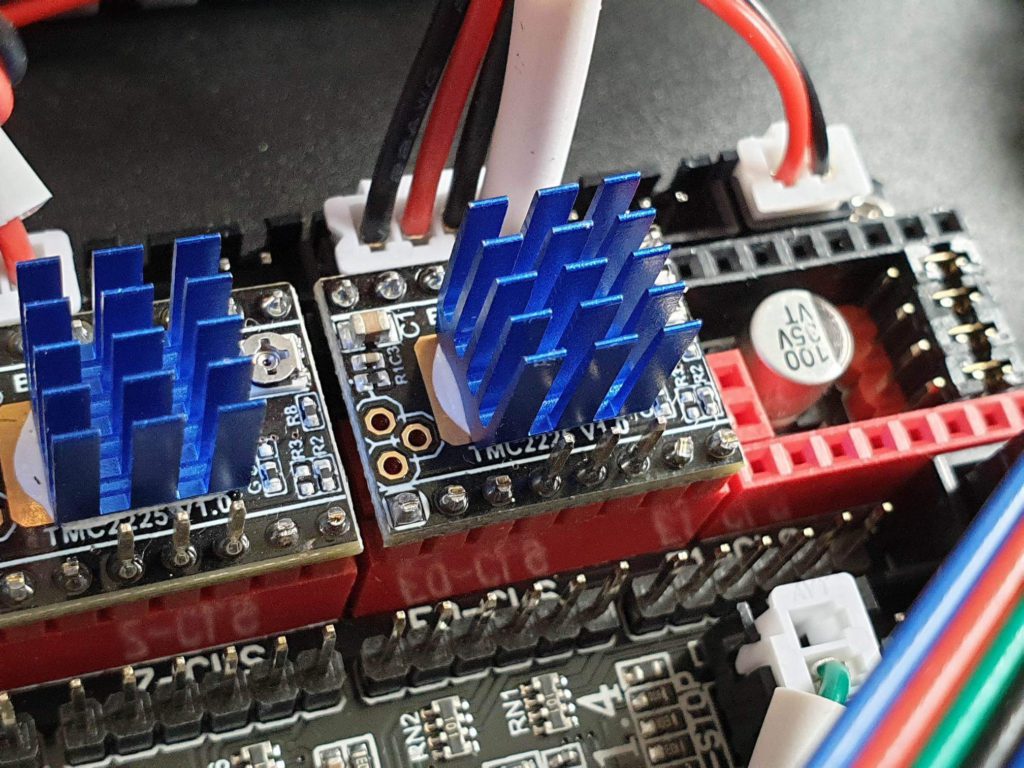
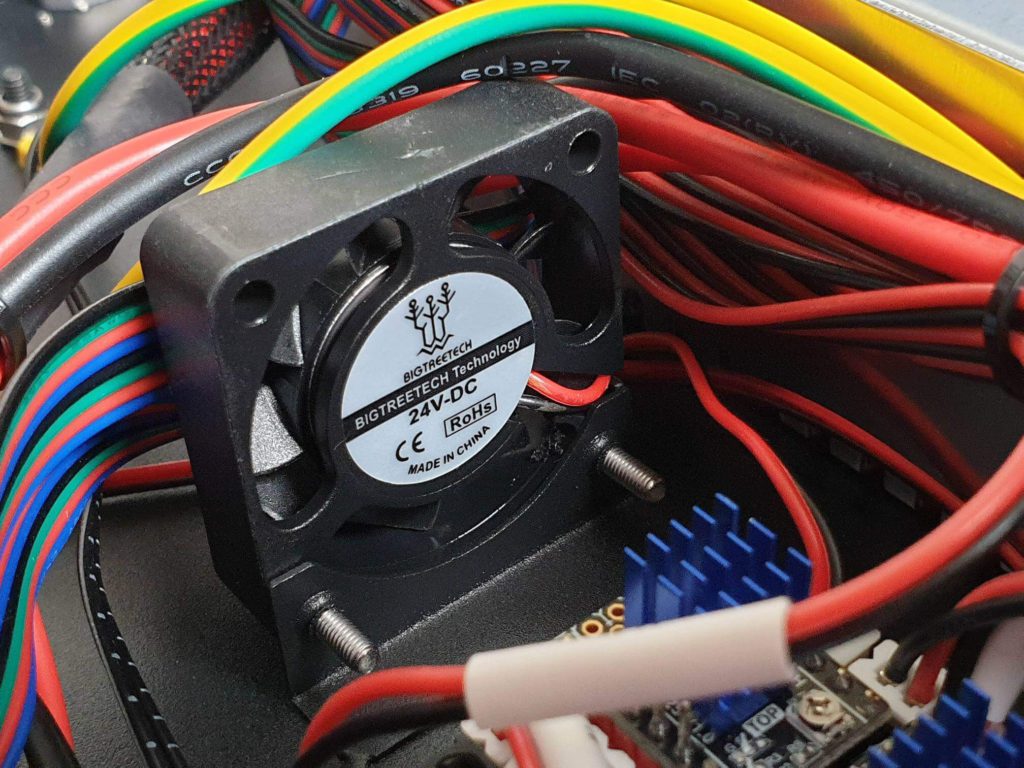
The board and drivers are kept cool by a 4010 fan which is a good addition. There’s also a spare driver slot which can be used in the future for upgrading the printer to dual-color printing without needing to replace the printer.
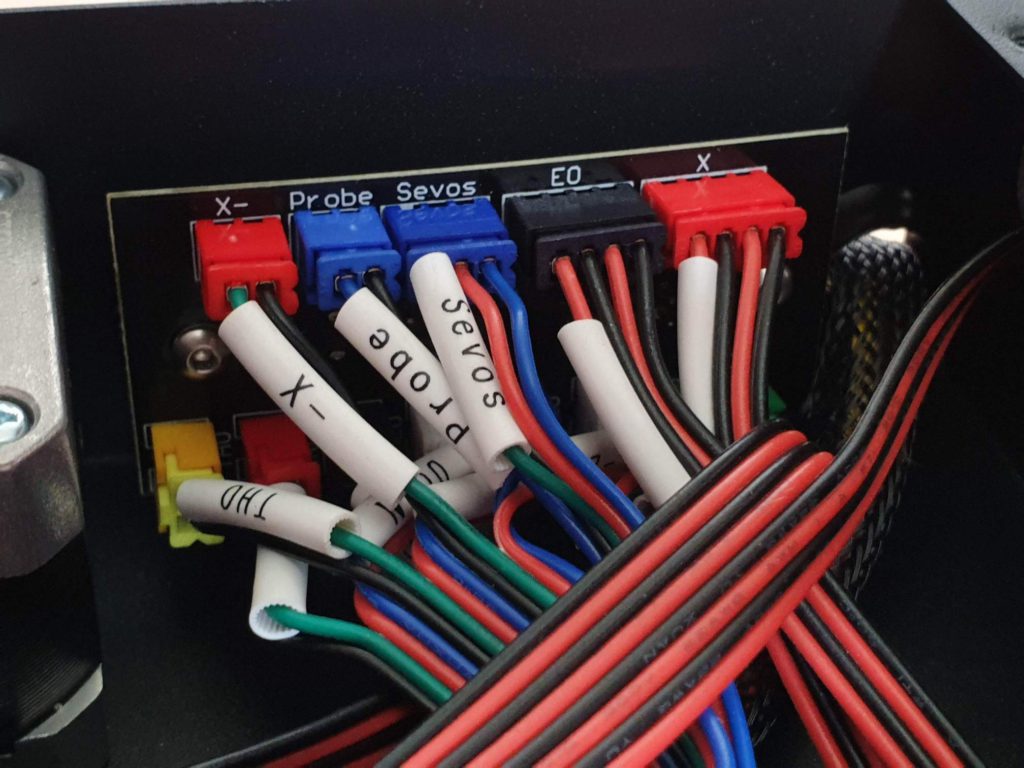
The wires going from the board to the hotend, motors and fans are all terminated to connect on the internal breakout board. This results in a single connection for most of the wires and it keeps things clean.
With the SKR 1.4 you can also easily install RepRap Firmware on BIQU Q1 with a simple WiFi adapter. (just like on the X1: RepRap Firmware on Sidewinder X1: SKR 1.3/1.4).
I will surely do a guide as soon as the new adapters arrive.
If you don’t want to go that route, but still want to add WiFi, BIGTREETECH also has a ESP-01 adapter available which can be used with the SKR 1.4. It installs easily and the printer gets WiFi capabilities with ease.
TFT35 touchscreen with Marlin mode
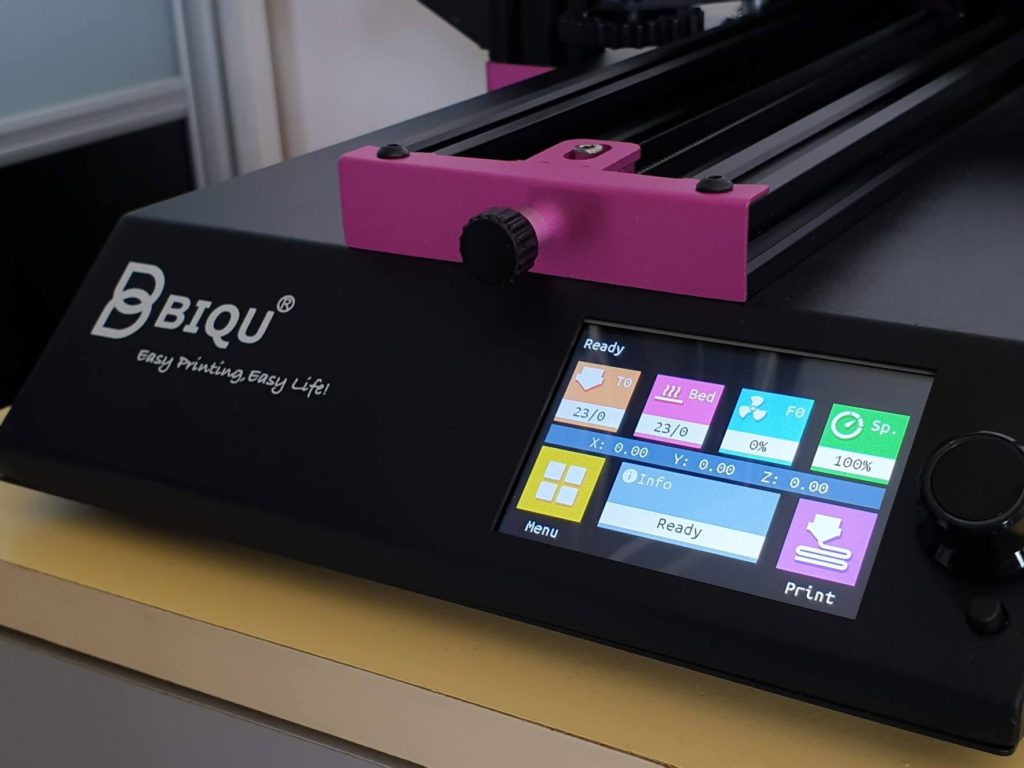
Another awesome features included with the BIQU B1 is the TFT35 V3.0 touchscreen. It’s one of the most popular control screens on the market because it offers two ways of controlling the printer.
One of them, is the regular touchscreen interface which provides easy access to all the printer features. Most of the settings for the emulator can be changed in the touch interface.
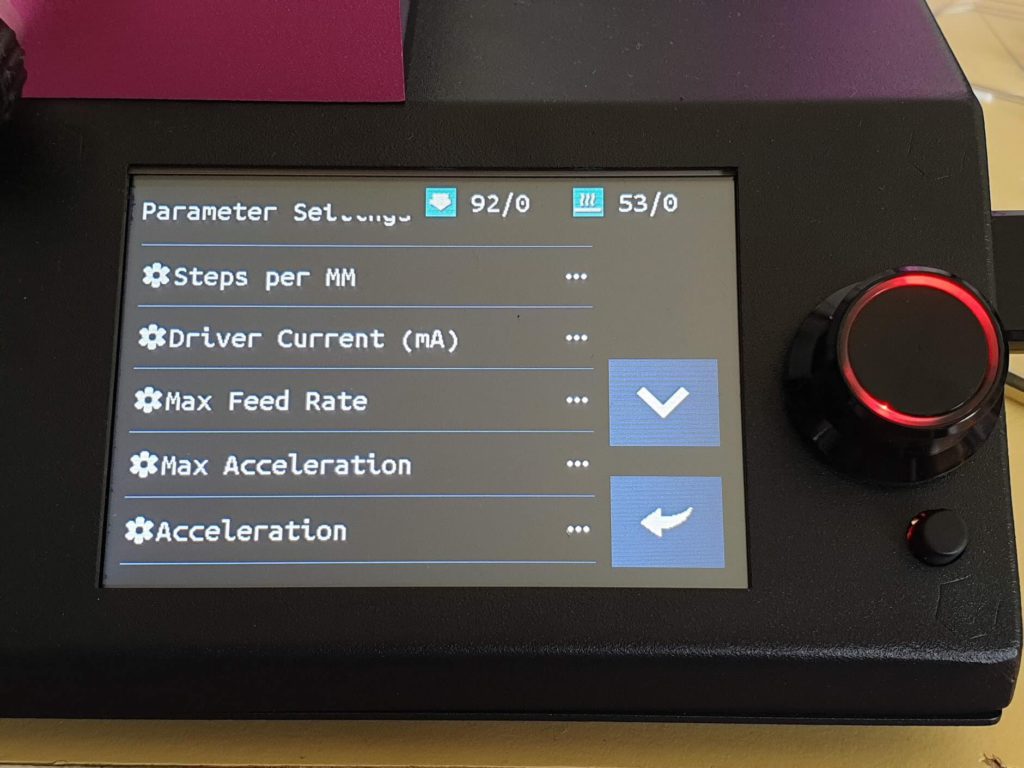
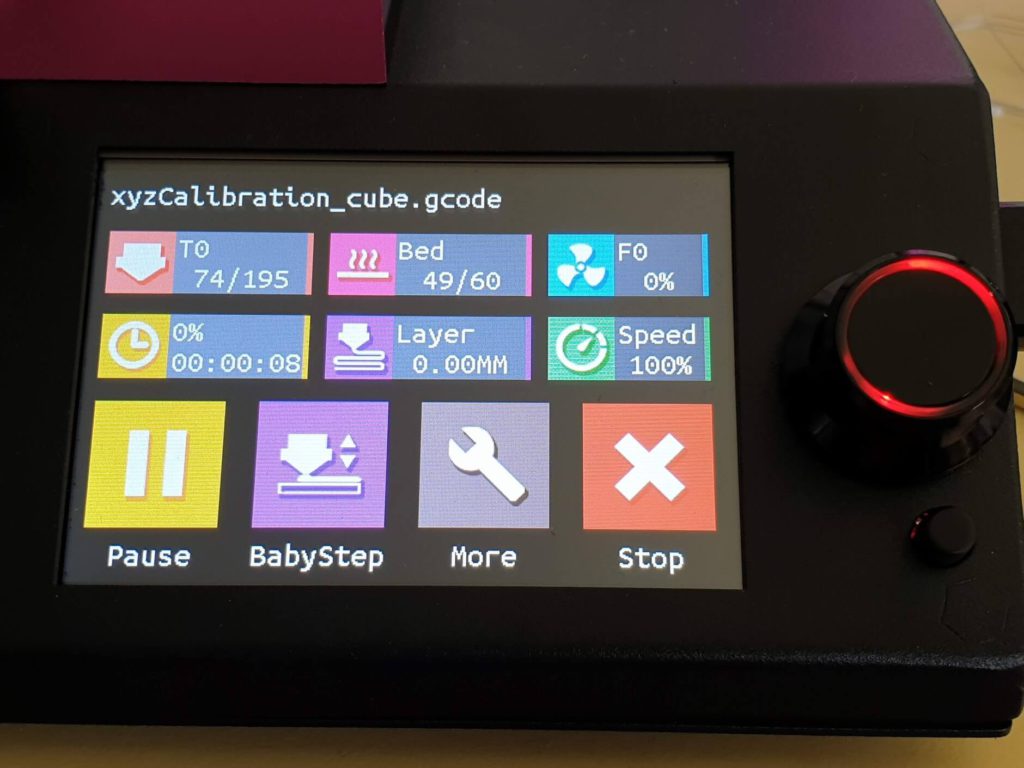
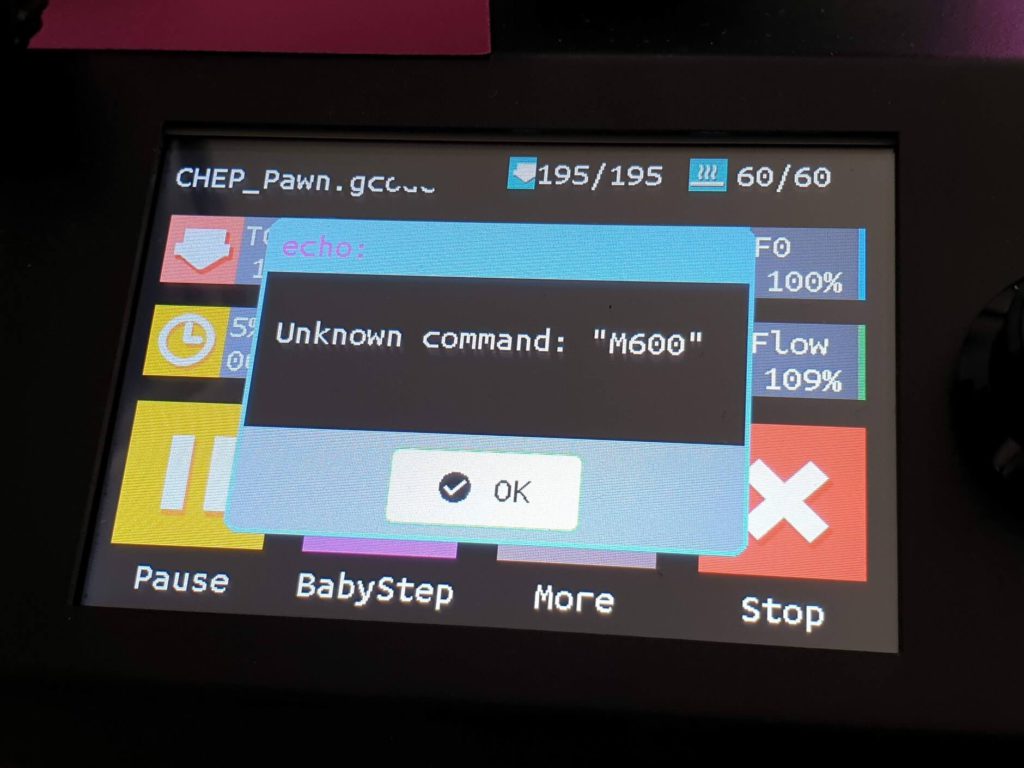
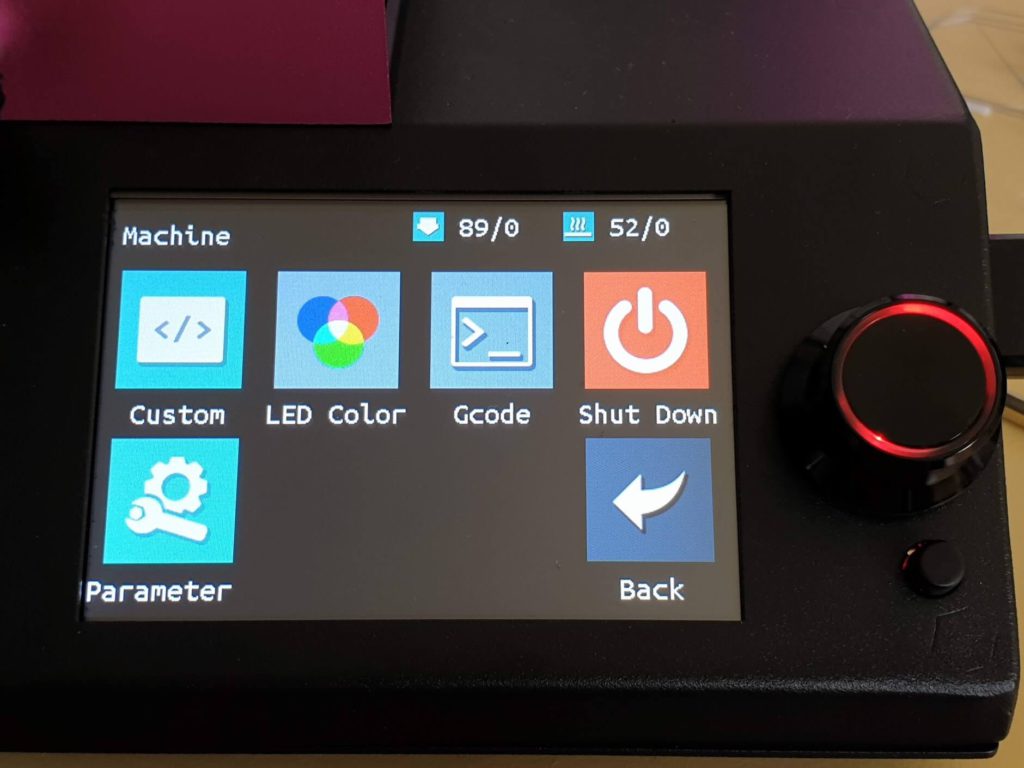
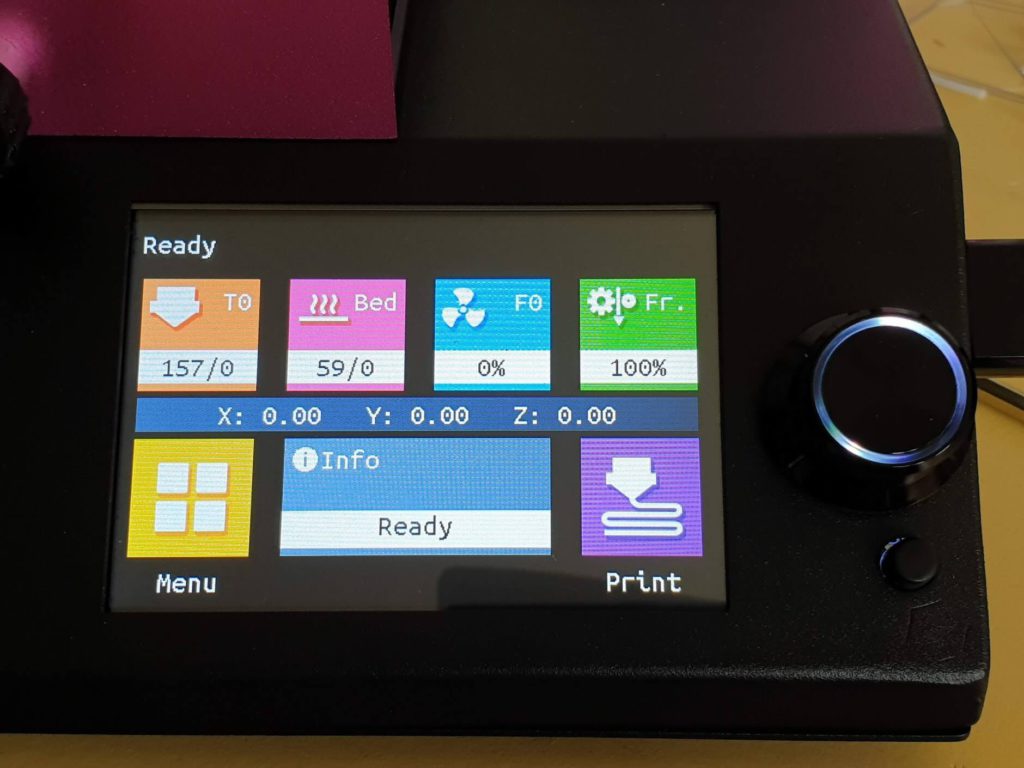
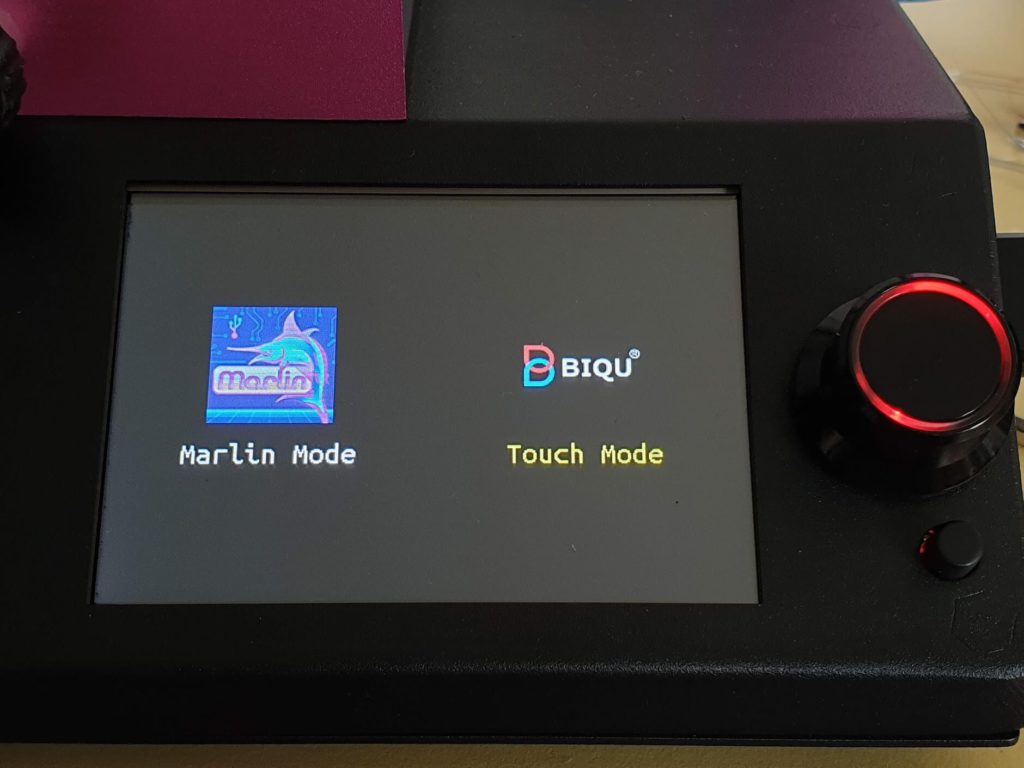
If you long press on the TFT35 control knob, you can go into Marlin Mode. This starts the default Marlin interface in a 12864LCD emulator. A lot of people like this because they are used with the “old” interface and sometimes it’s easier to use some features with the 12864LCD emulator.
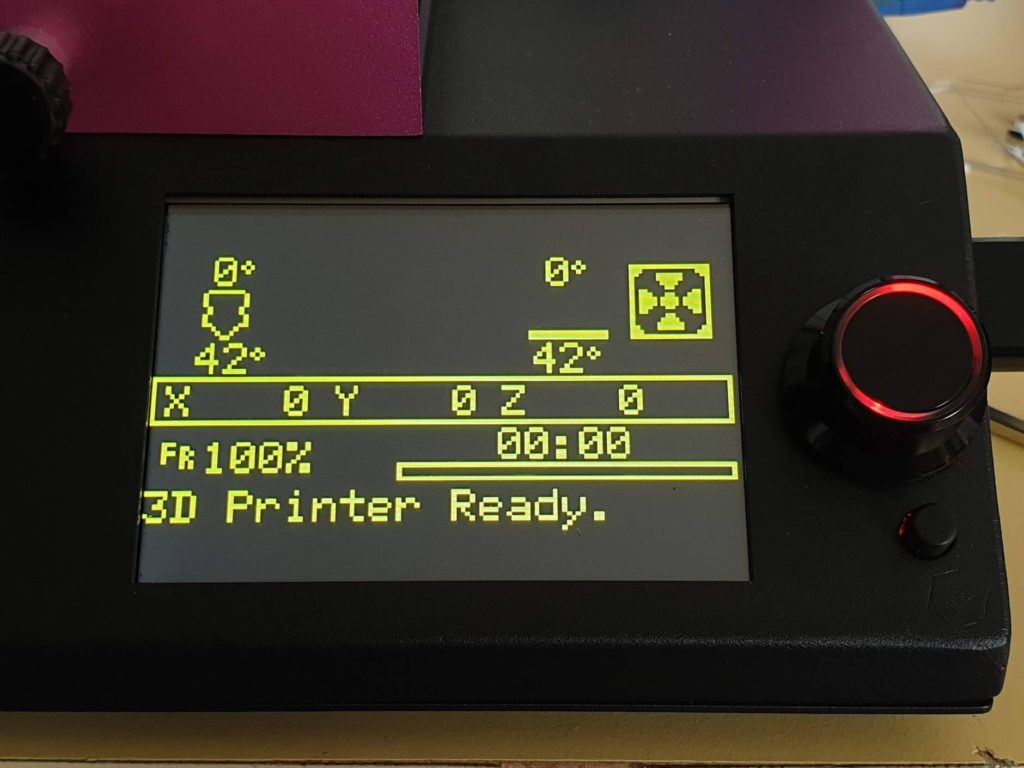
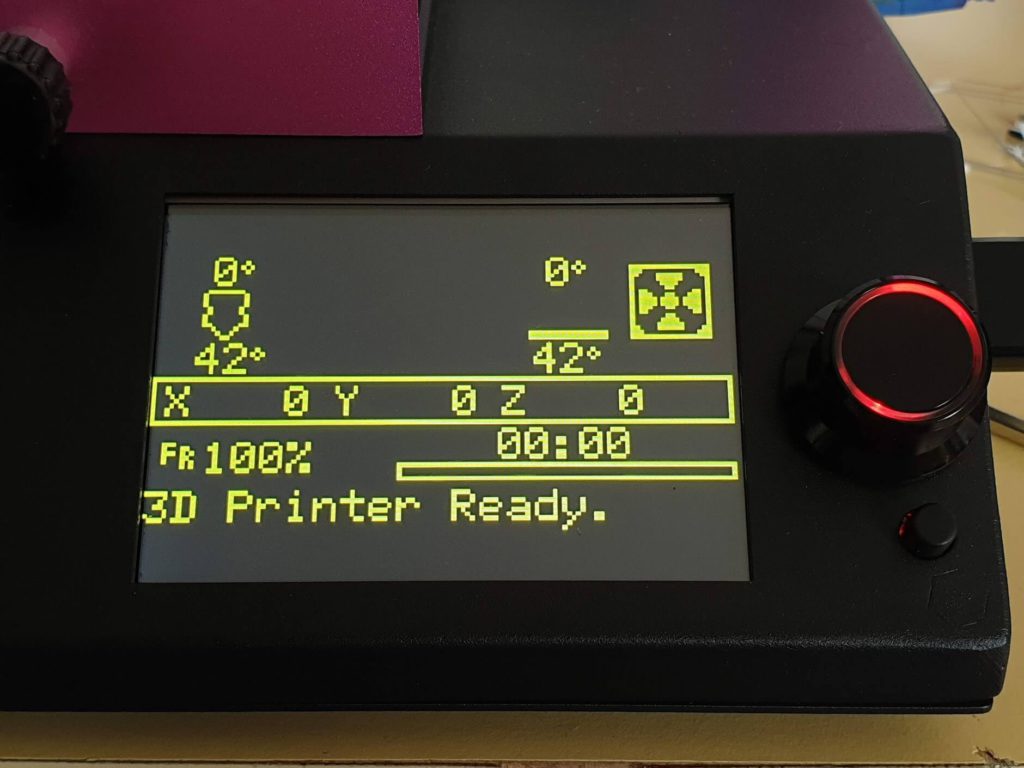
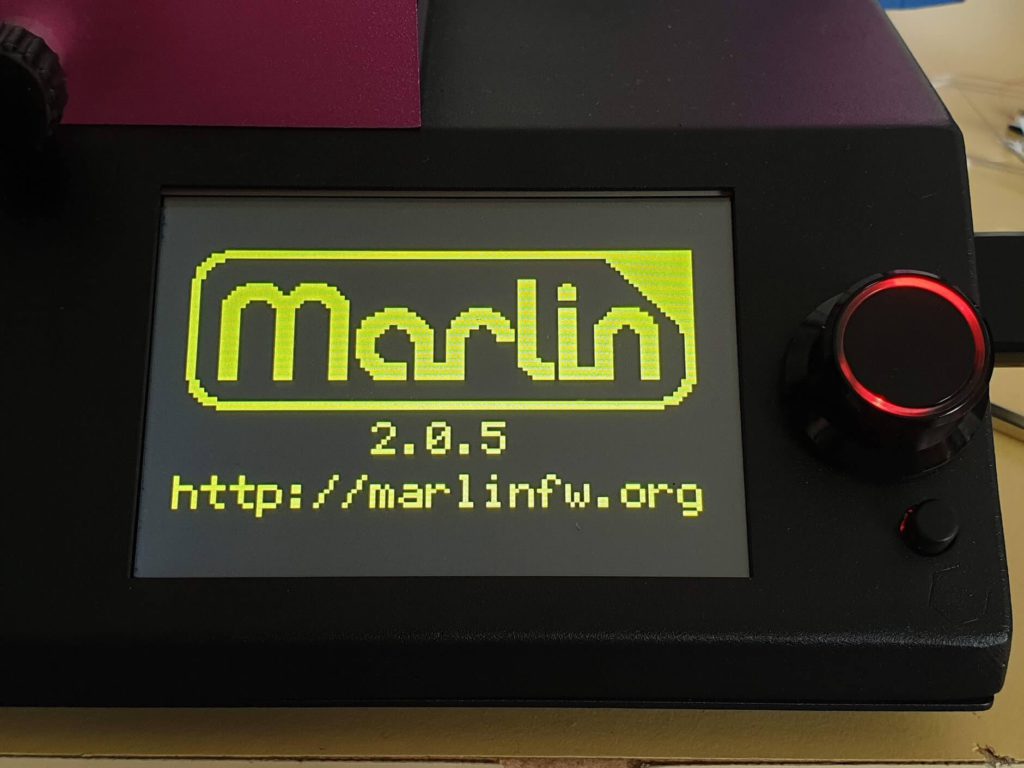
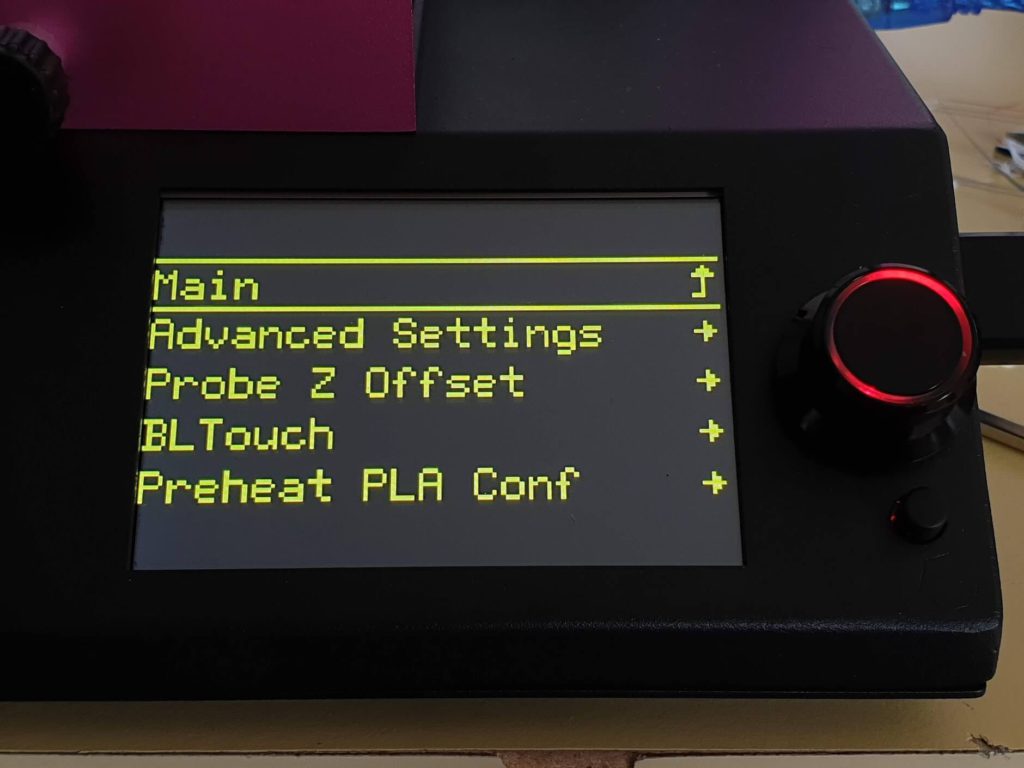
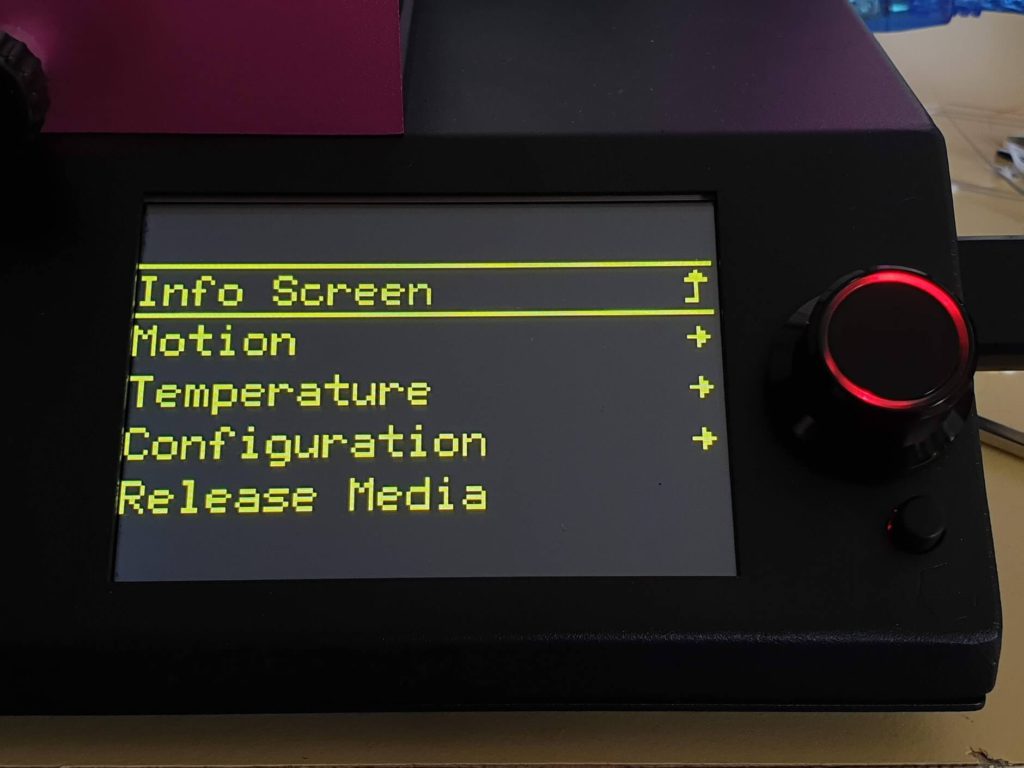
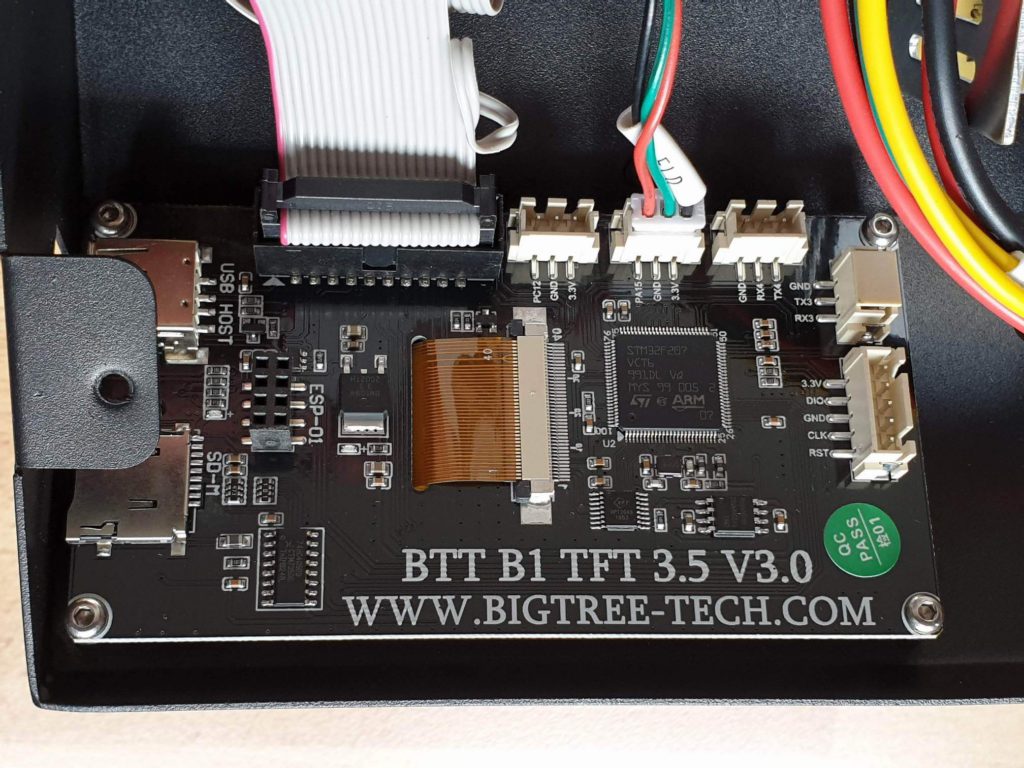
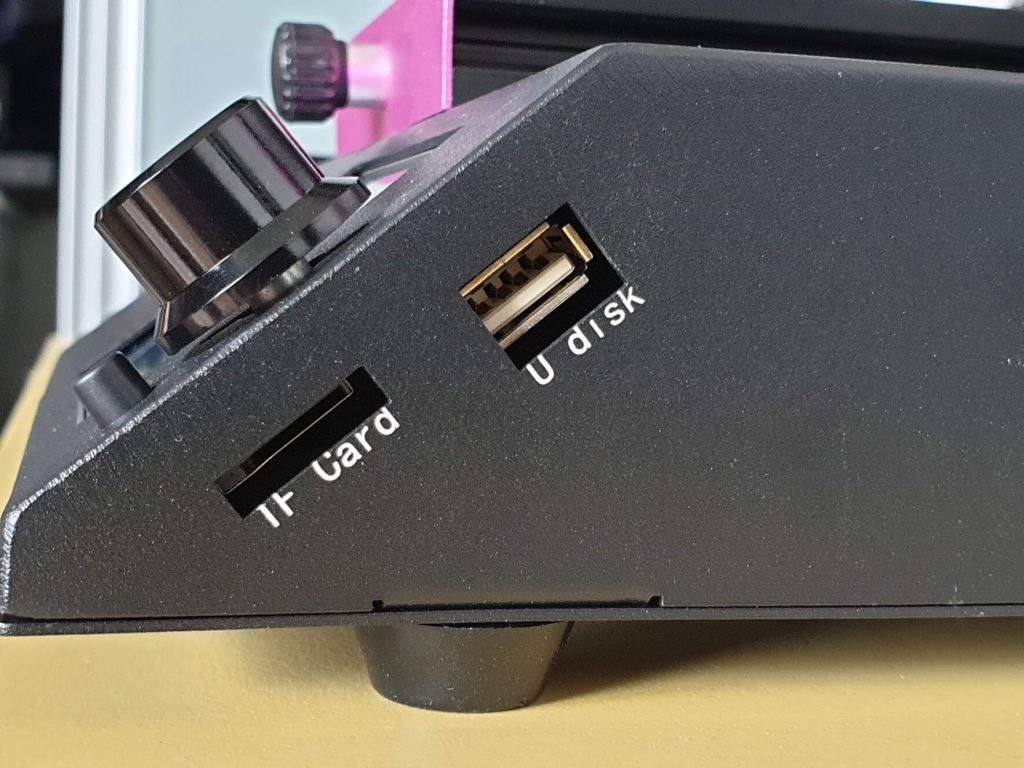
The screen is a special “B1 TFT35” version which uses a single ribbon connector to connect with the SKR 1.4 board. Besides that, it also has USB and MicroSD card ports aligned to the right side and an illuminated knob for control. So it’s not the exact same screen available to purchase but the functionality is the same.
Textured magnetic spring steel sheet included
Adding the magnetic spring steel sheet to the BIQU B1 is an awesome idea. By doing this, BIGTREETECH ensures that people will have a good experience when printing. It’s really easy to remove prints from a PEI spring steel sheet and adhesion is great.
They used the BIQU SSS Super Spring Steel Sheet (boy, that’s a mouth full) which is also available for other printers with different sizes. And I don’t have a reason why not to recommend it.
The aluminum heatbed is flat and it also has thermal insulation material underneath.
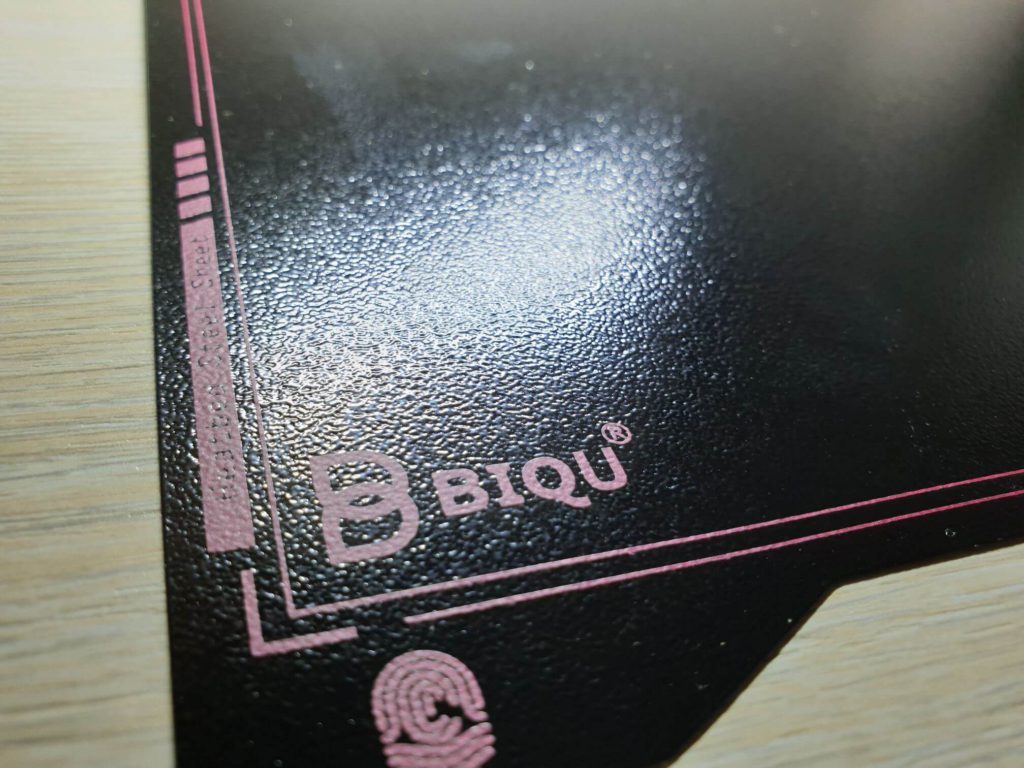
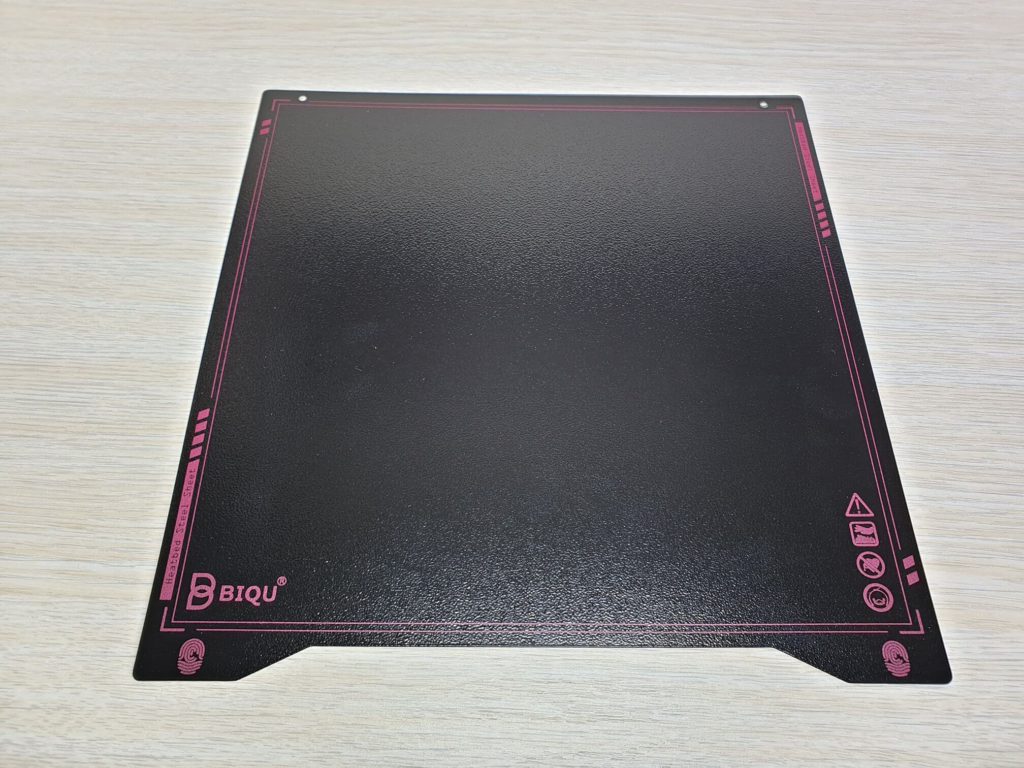
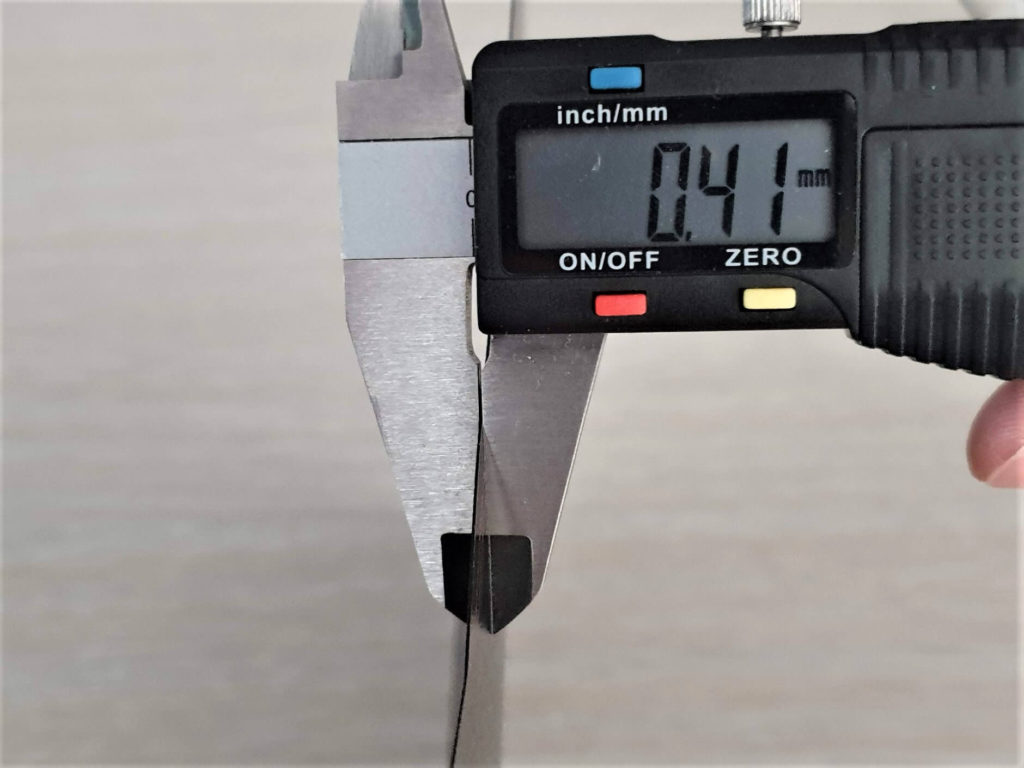
It’s worth noting that the SSS sheet is really thin (4 mm thin) but this can also be a benefit. Heat can pass easily trough the sheet and it’s even easier to remove the prints compared to a PEI Spring Steel Sheet like the one I reviewed here: ENERGETIC Double-Sided PEI Sheet Review.
Hotend assembly is not great
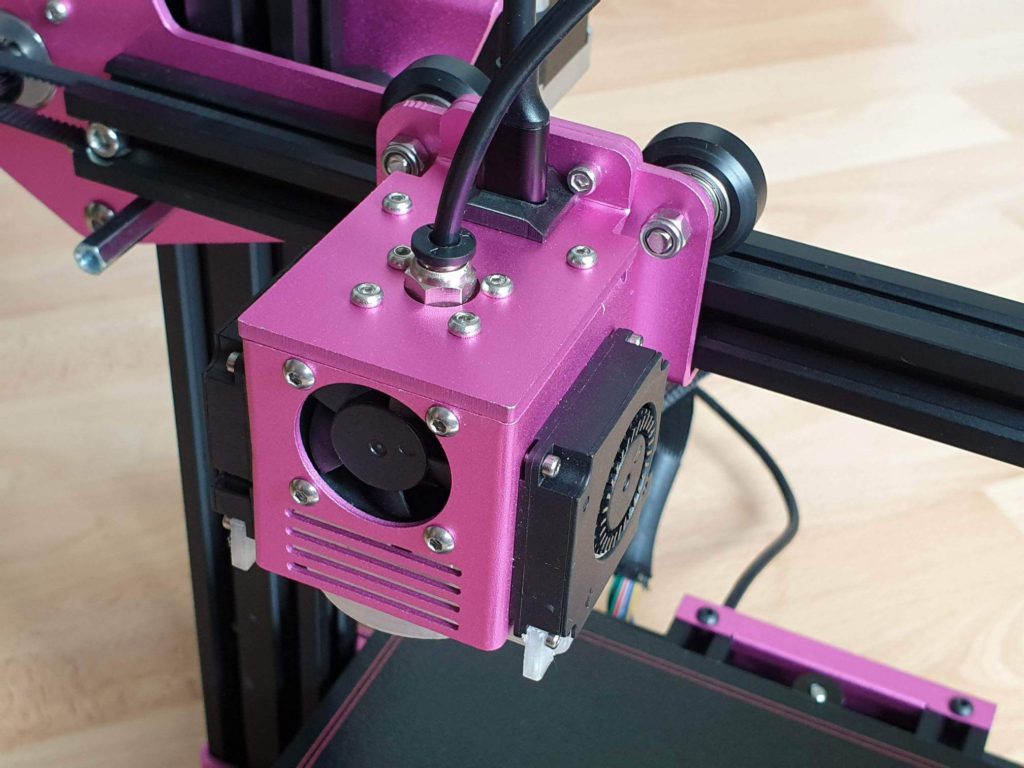
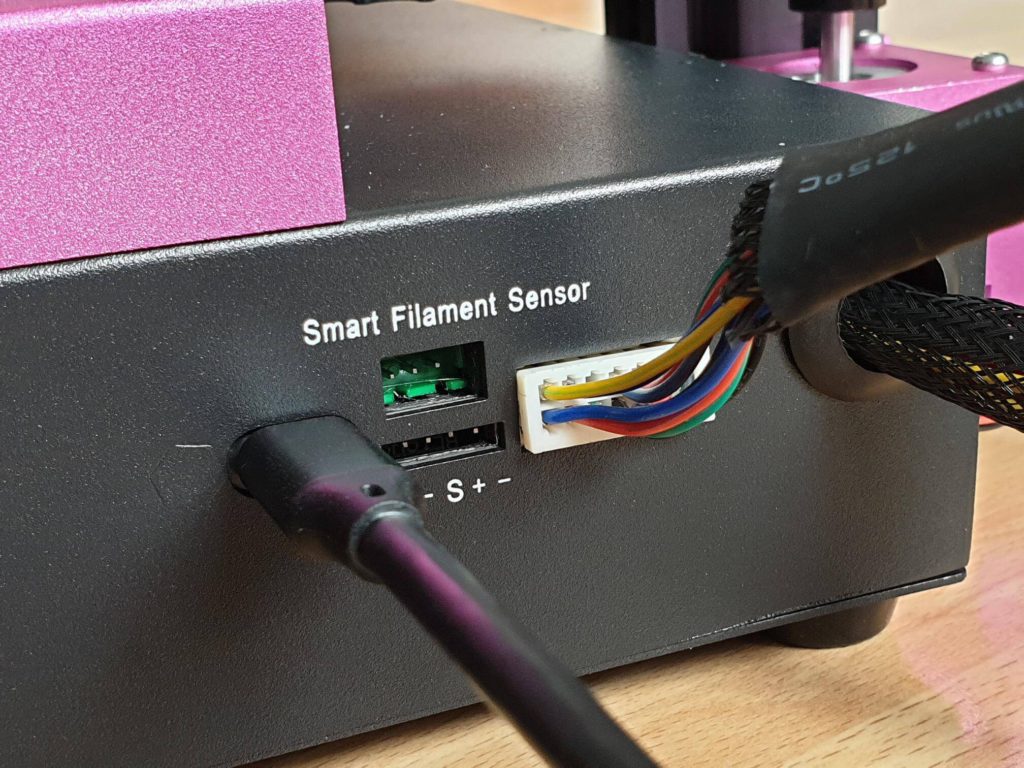
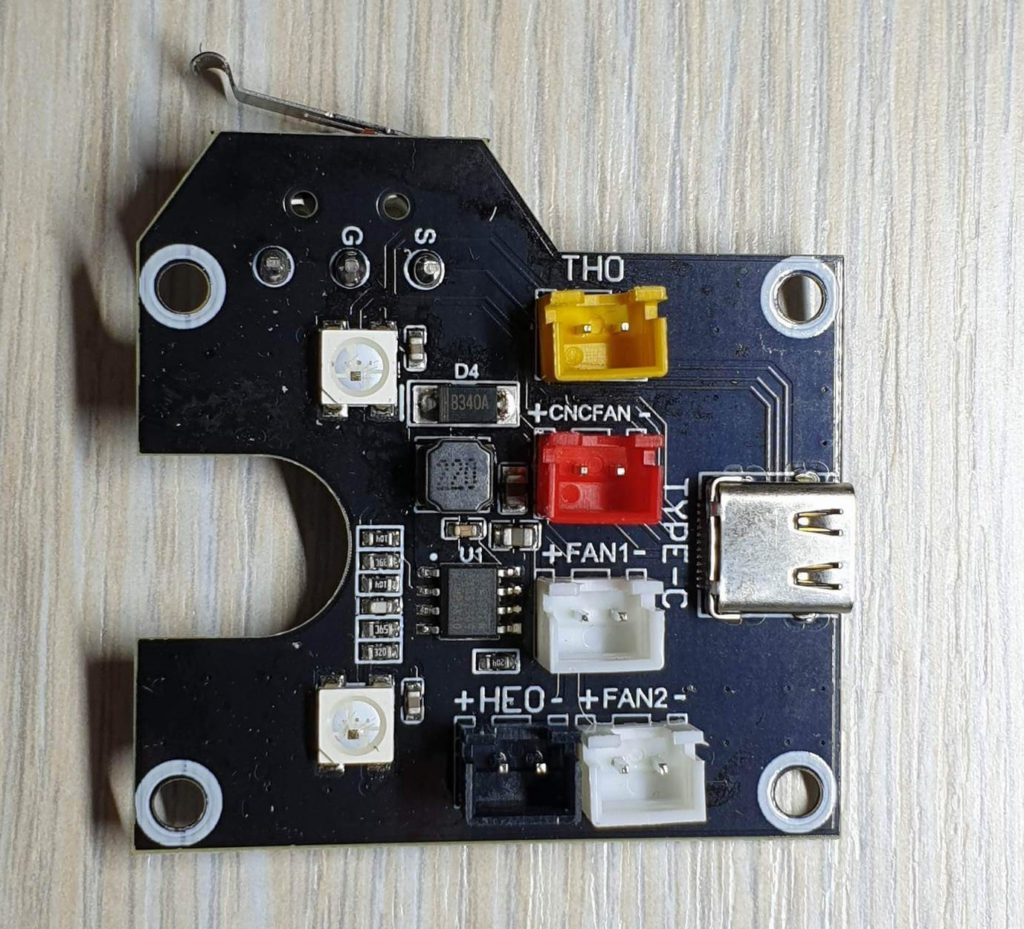
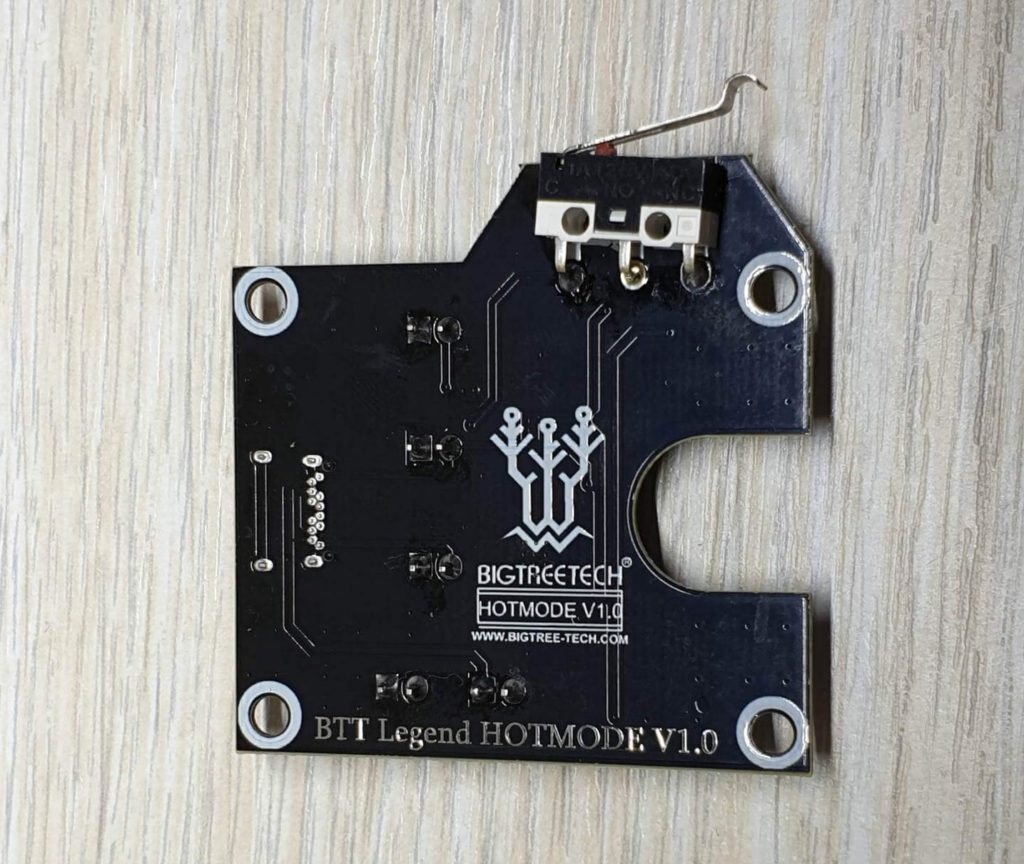
I really like that the BIQU B1 hotend assembly uses a USB Type C connector to power everything and it’s a great candidate for swappable tools. I wouldn’t be surprised if a swappable laser engraver will be available soon as an upgrade for the BIQU B1.
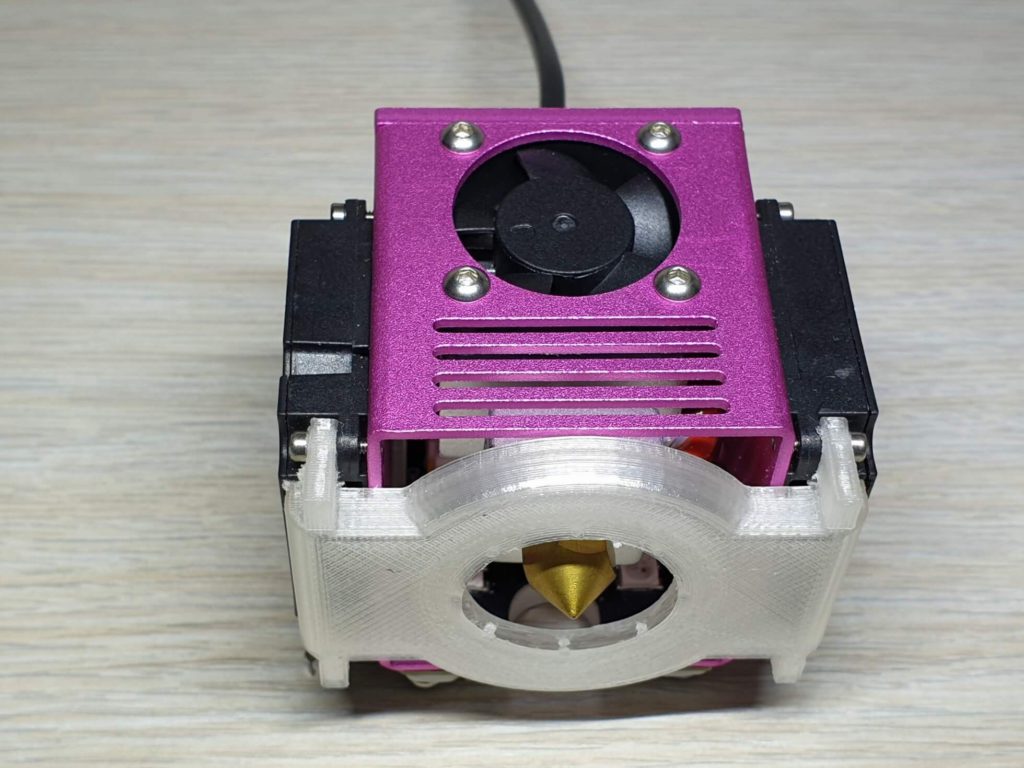
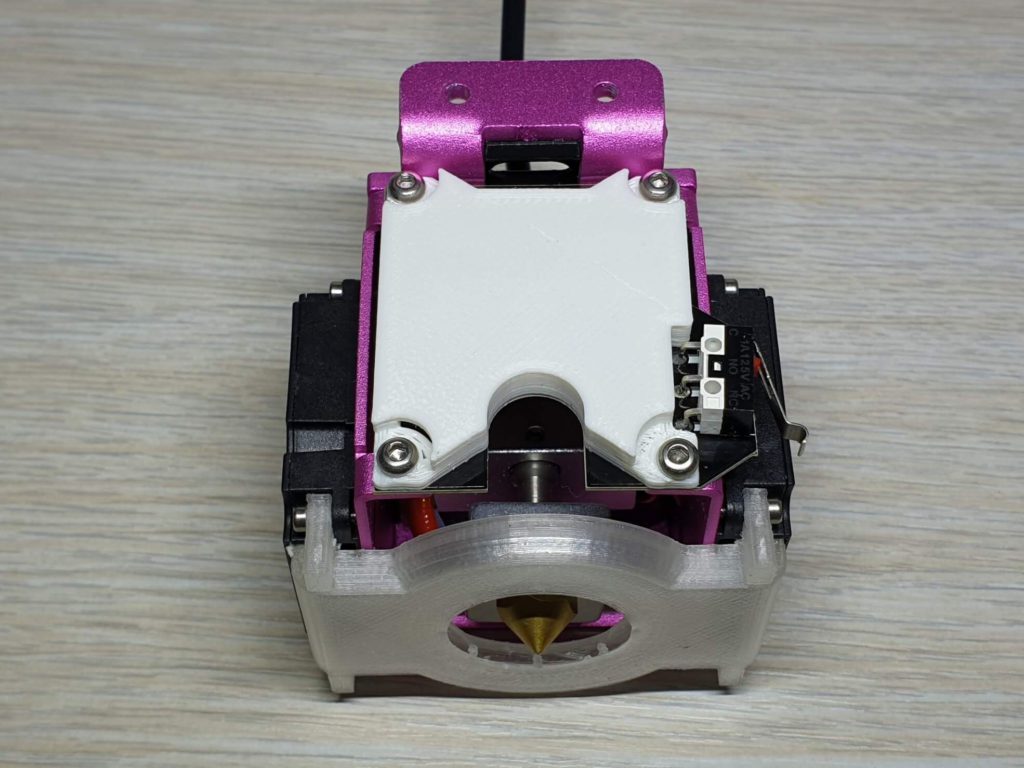
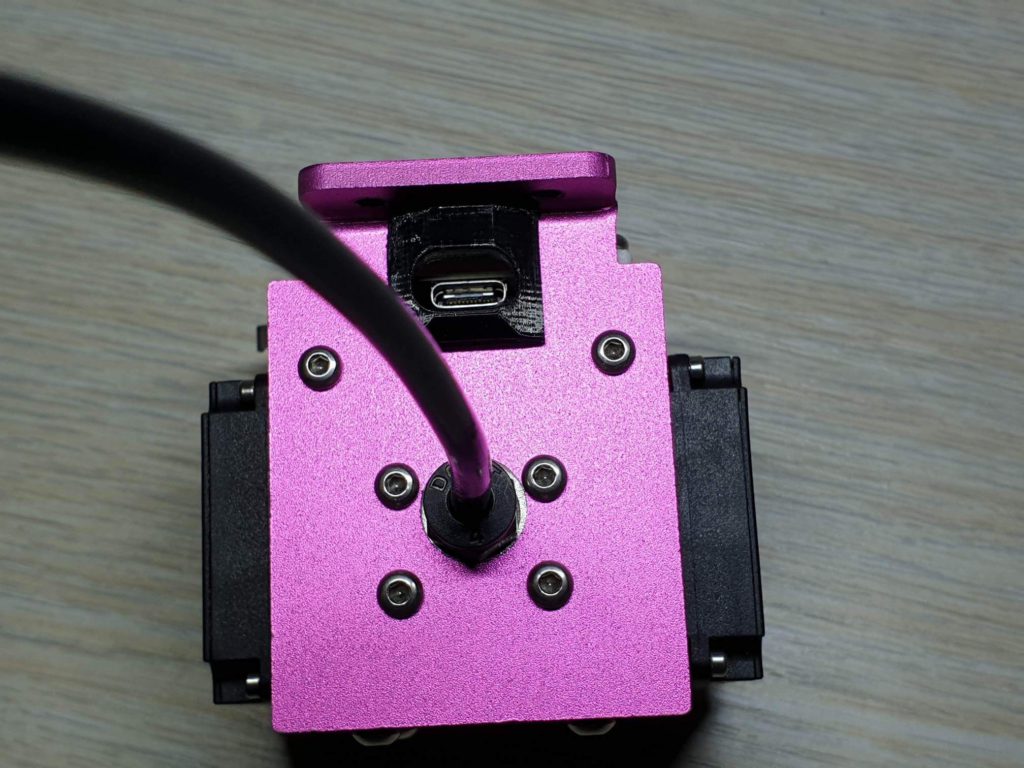
This is all made possible by the small break-out board named “BTT Legend HOTMODEL V1.0”. It’s a nice little board and I hope BTT will have it available for separate purchase.
Prints are cooled by two radial fans and a 3D printed air-duct which tries to direct the airflow around the nozzle to the print. Unfortunately, I think this is not the best for proper airflow, but printing two separate airducts should be easy enough as an upgrade. Besides this, different style part cooling ducts can also help you to see the nozzle better.
The hotend looks similar to the one I got with the Sapphire Plus. The PTFE tube reaches the end of the hotend right to the nozzle which is not that great. If there is even the slightest movement on the PTFE coupler, you will surely get a clog.
The heat break is much smaller than the heatsink hole. This causes bad thermal transfer between the heat break and the heatsink which in turn causes oozing and stringing. In the future, this can also easily clog with PLA.
L.E. Today I just had my first clog, as expected. The hotend is clearly the weak point of this printer and I will replace it soon.
Later Edit: I upgraded the BIQU B1 heat break with a bi-metal variant, and you can read more about it in this guide: BIQU B1 Hotend Fix: Bi-Metal Heat Break Installation Guide.
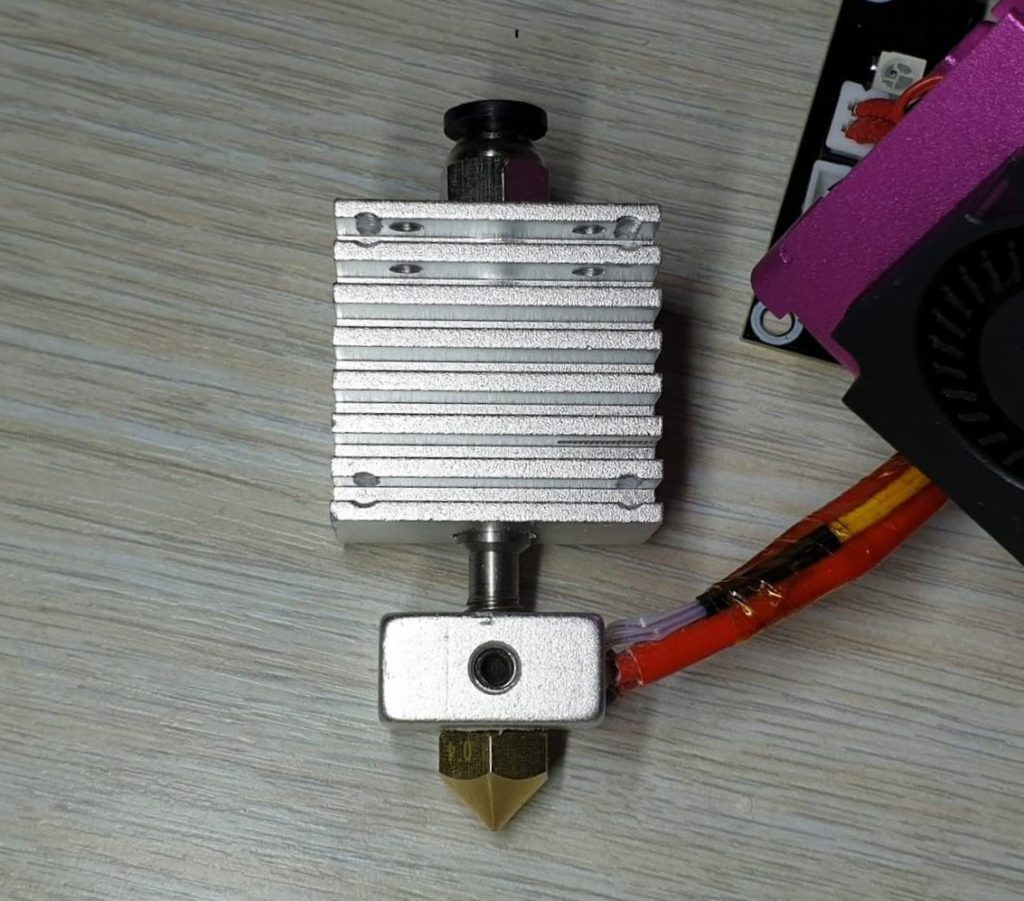
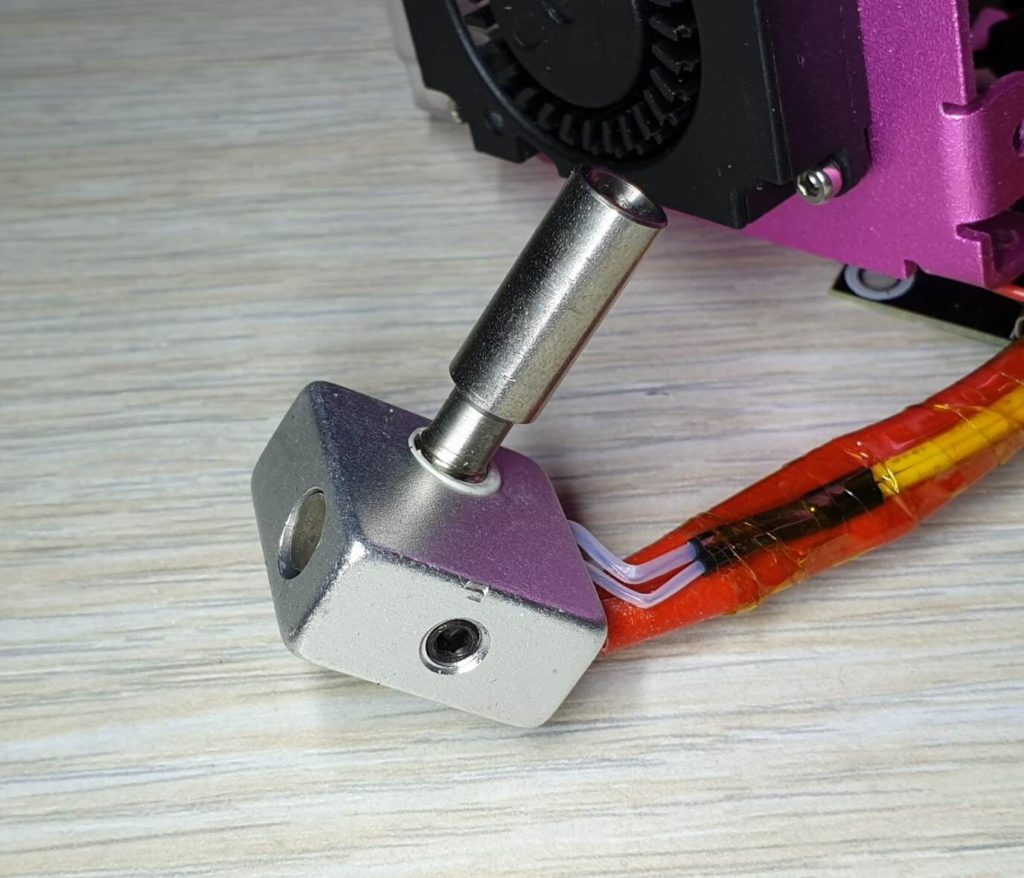
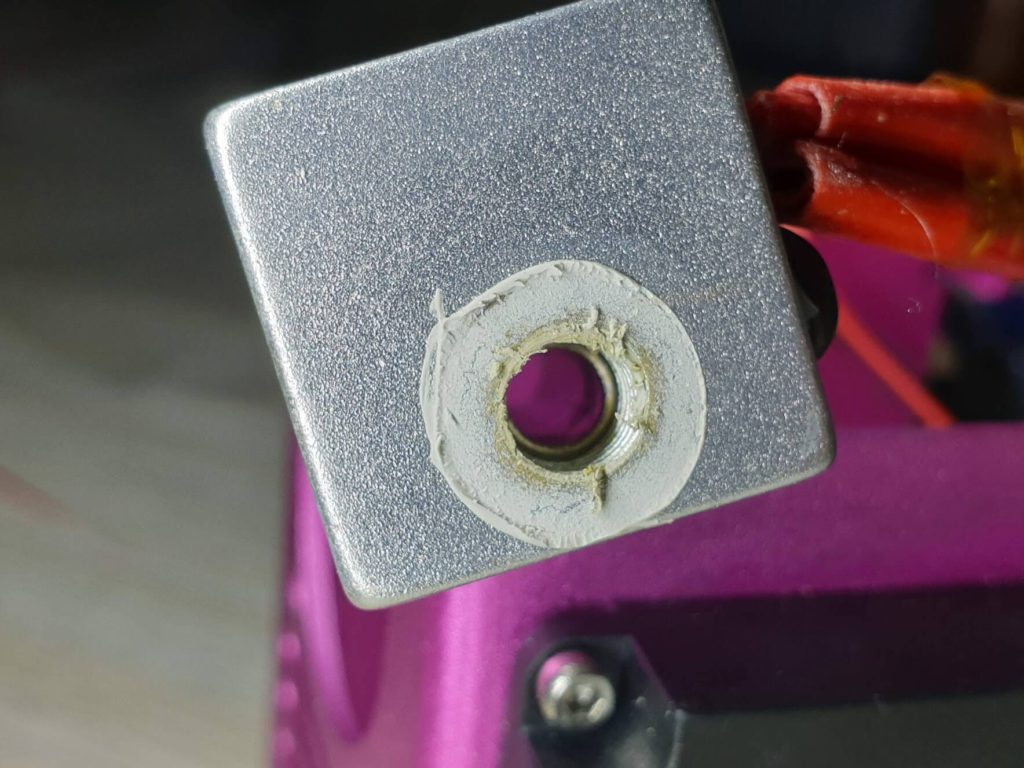
The nozzle is different from what I’ve seen until now. But the good news is that we can easily replace it with one of the two spares we get in the box. When they run out, regular V6 nozzles like the Mellow NF V6 or Trianglelab T-V6 can be used.
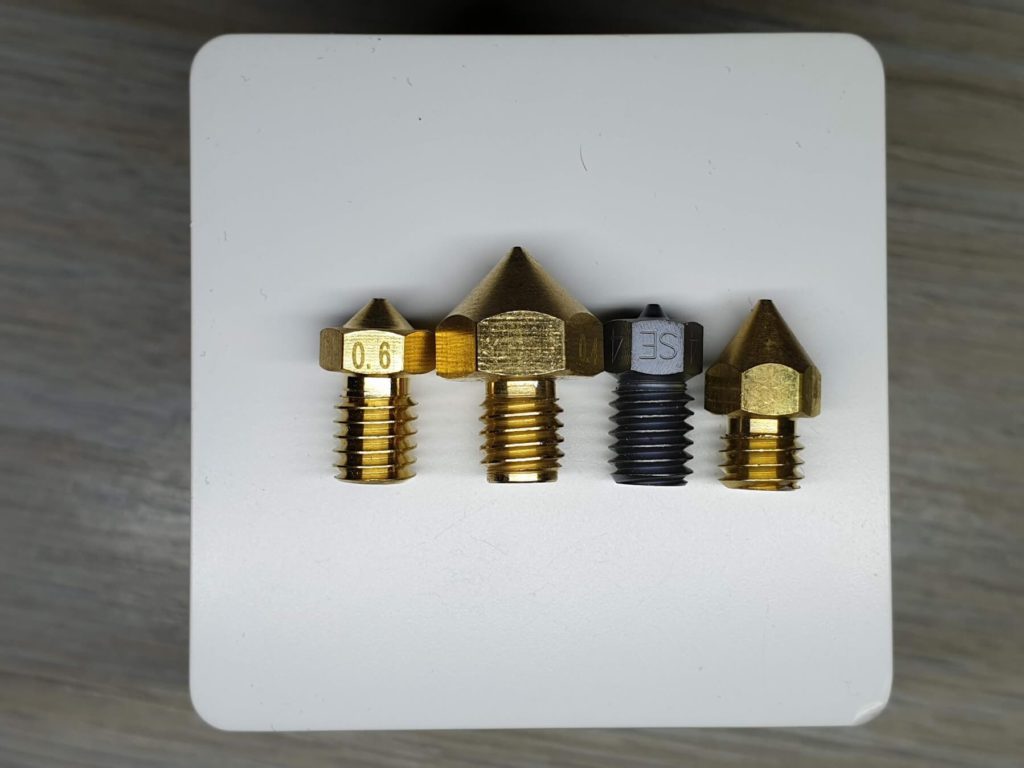
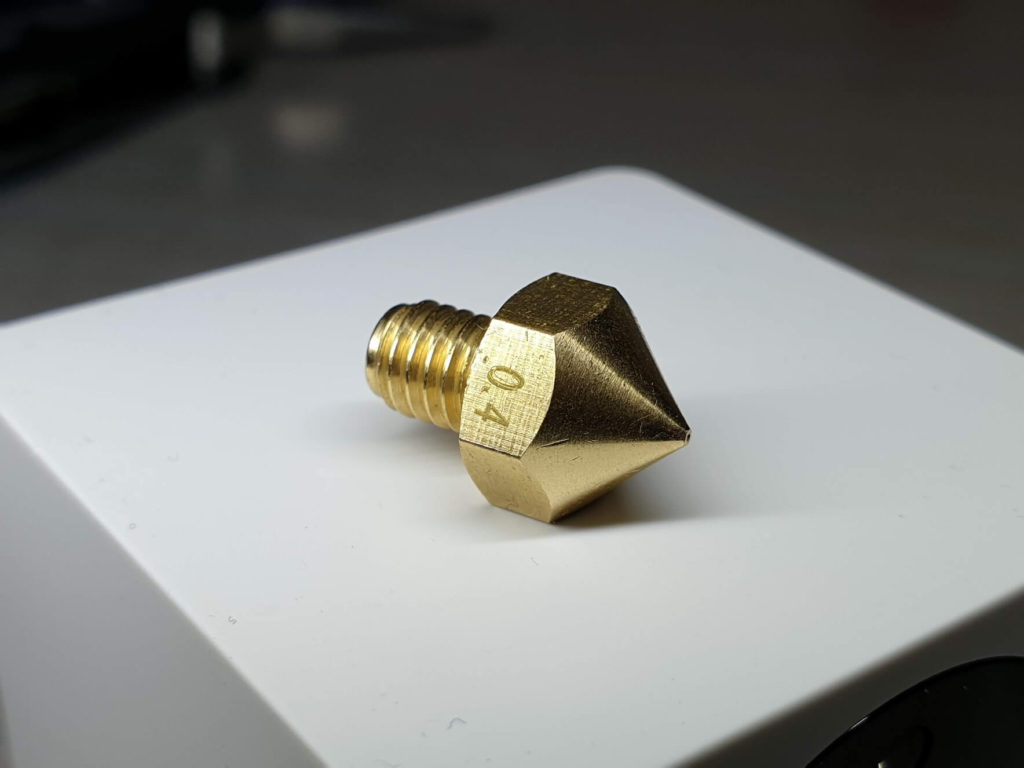
I would have liked to see a silicone sock for the heatblock to better insulate it but it’s not really a big deal.
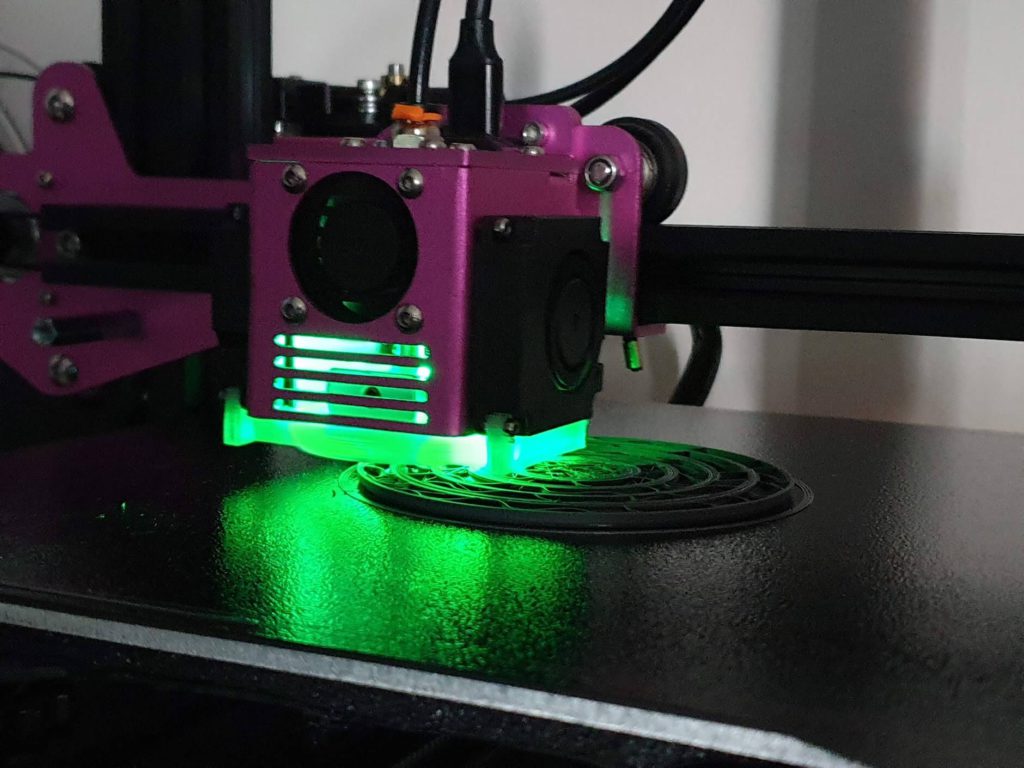
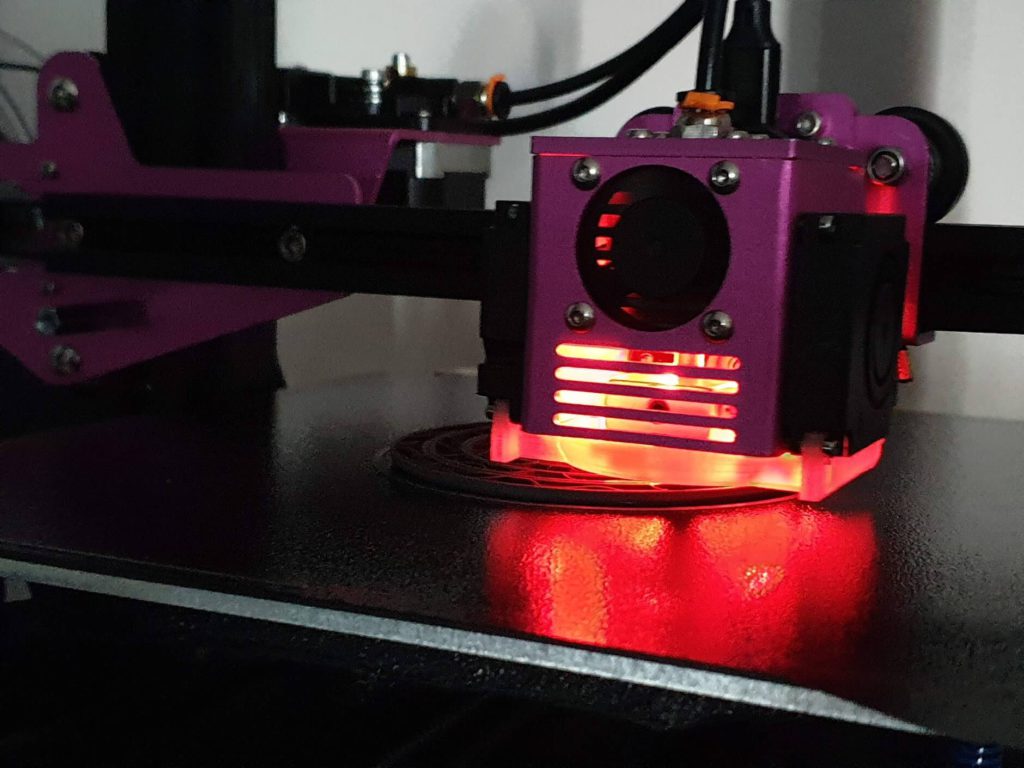
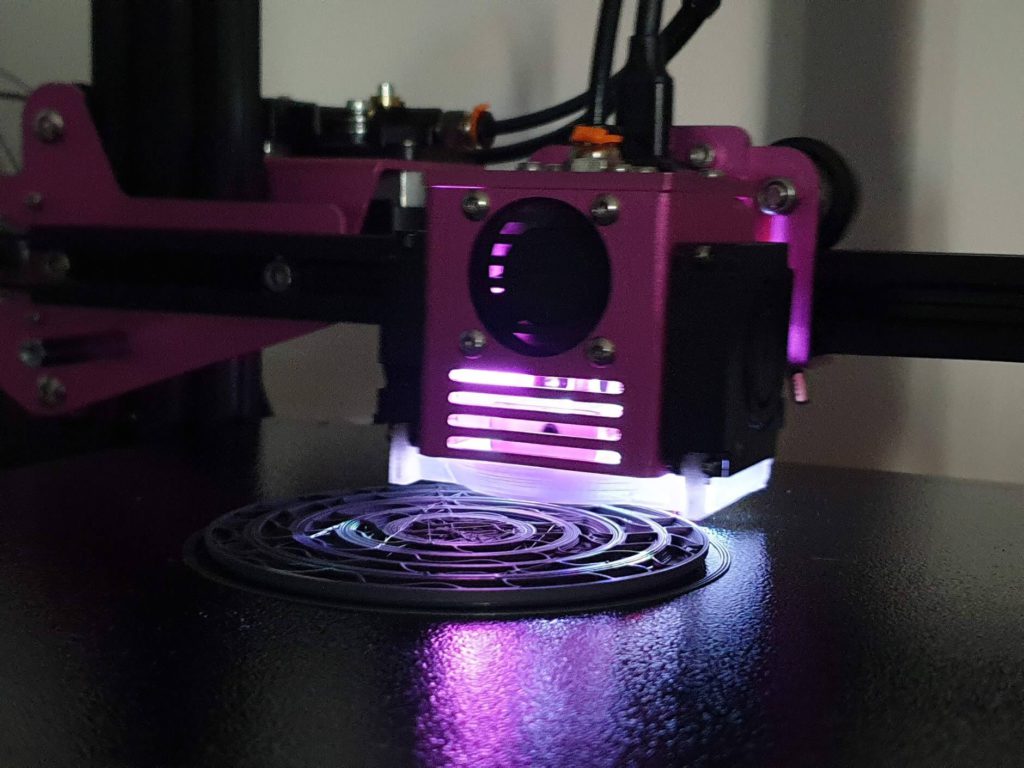
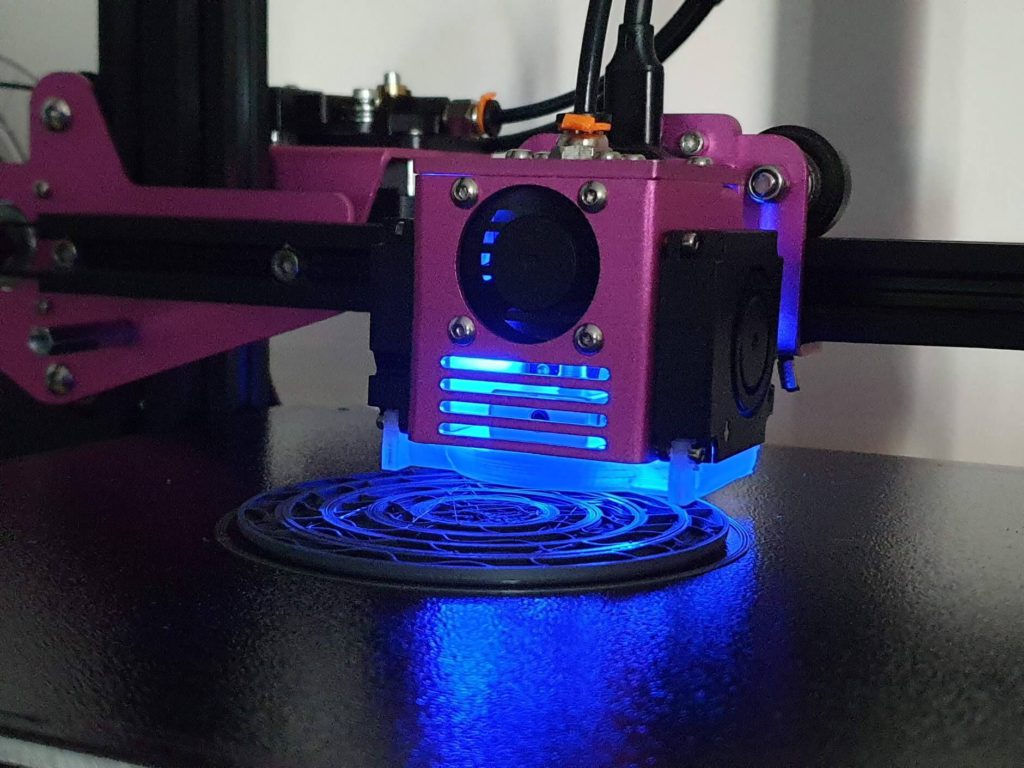
There’s also RGB LED illumination available which can be controlled from the touchscreen. The lights are available directly on the breakout board and because of that, the light is not really directed to the nozzle. It’s more for decorative purposes.
Single gear extruder
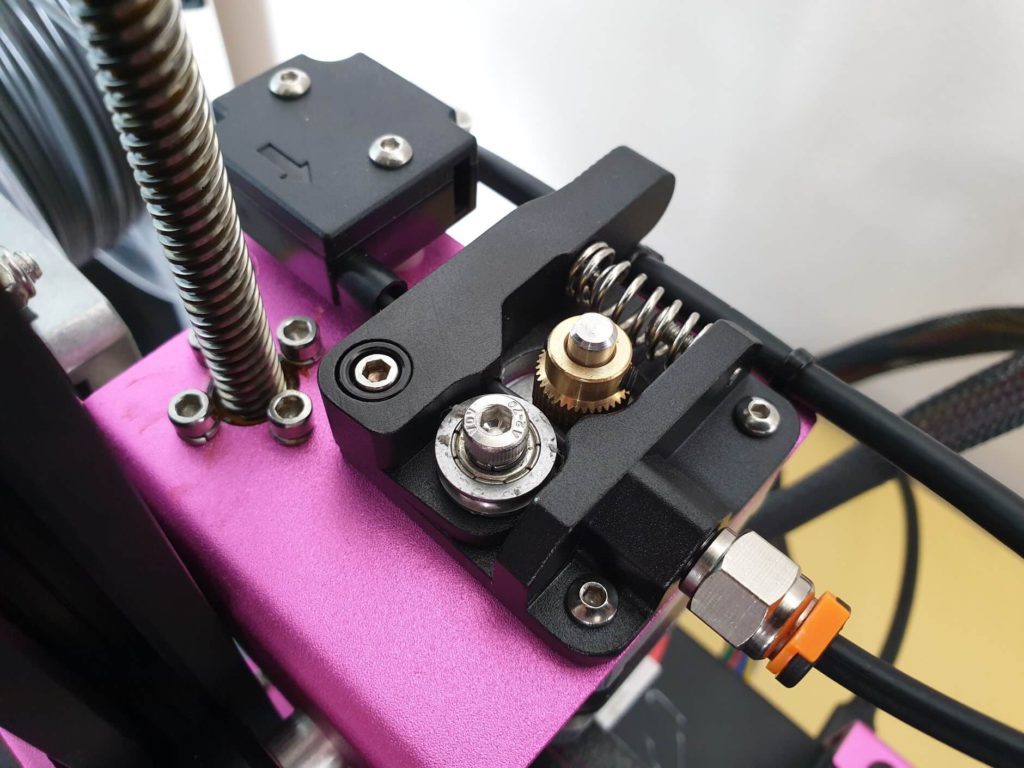
Another thing I don’t really like and probably will be the first thing I upgrade is the extruder. It’s a similar extruder to the one Creality uses with their Ender 3.
It works, it pushes filament trough the nozzle but it can be much better. For more accuracy and better print quality a dual-gear extruder would work much better. And considering you can get a clone for around 15$ it’s somehow a no brainer. Anyway, considering this is a budget printer, the extruder choice is somehow understandable.
Generic PSU
Just like the PSU choice. In order for the BIQU B1 to be competitive when it comes to cost, they are using a generic 360W 24V power supply. While the Creality Ender 3 V2 uses a Meanwell PSU, I would always choose to have a better board and screen instead of a name-brand power supply.
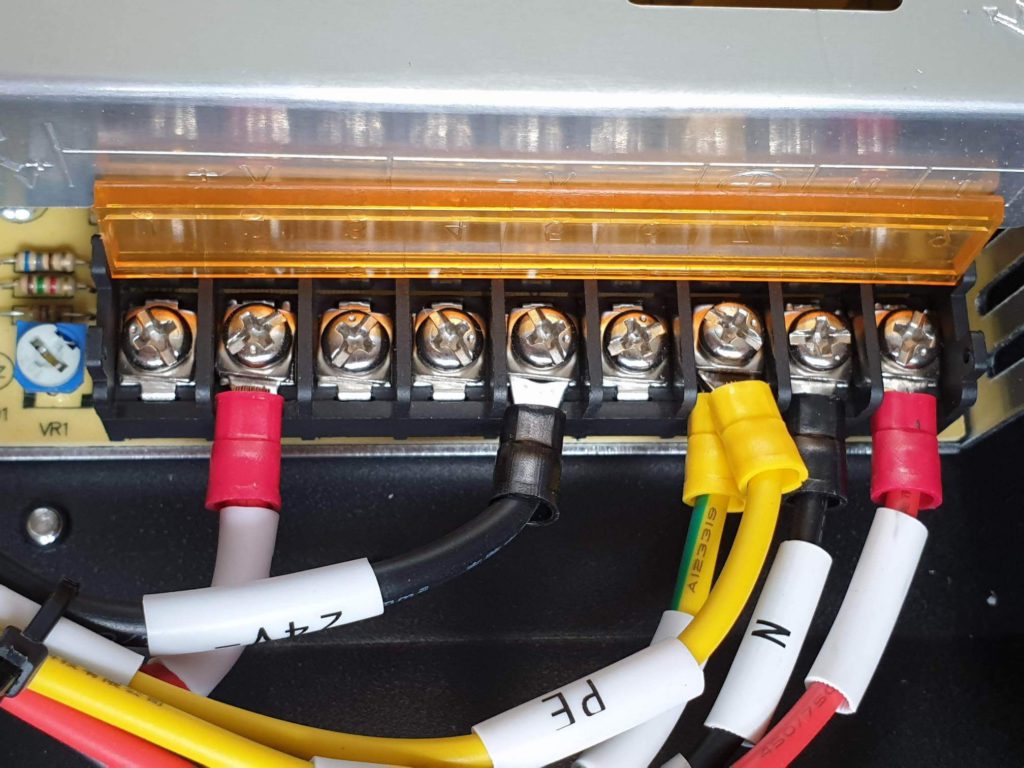
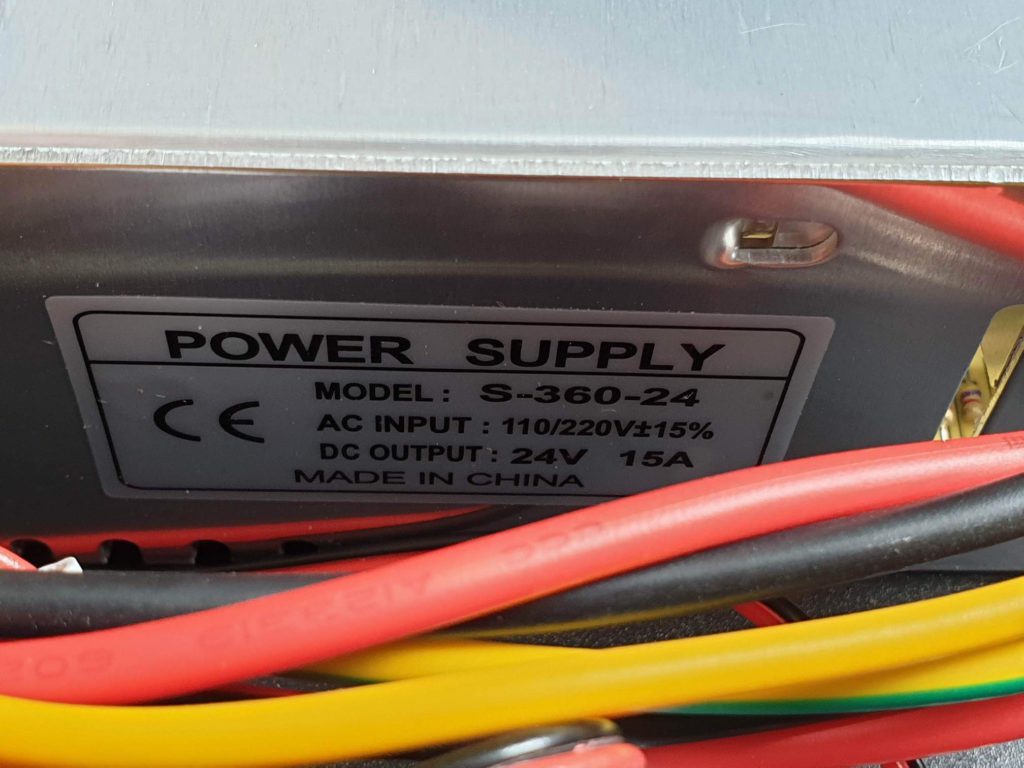
As long as the power supply is made with some responsibility, it will be good enough. And considering that the PSU terminals are properly wired and grounded I think it’s fine. The only annoying thing is the fan noise which is generated by the PSU. But that could be an easy fix with a more silent fan.
Easy BLTouch upgrade
The BIQU B1 is prepared for adding a BLTouch with ease. It includes a metal BLTouch support in the package and if you purchase a BLTouch sensor, you can easily install it to the printer with no complicated firmware changes.
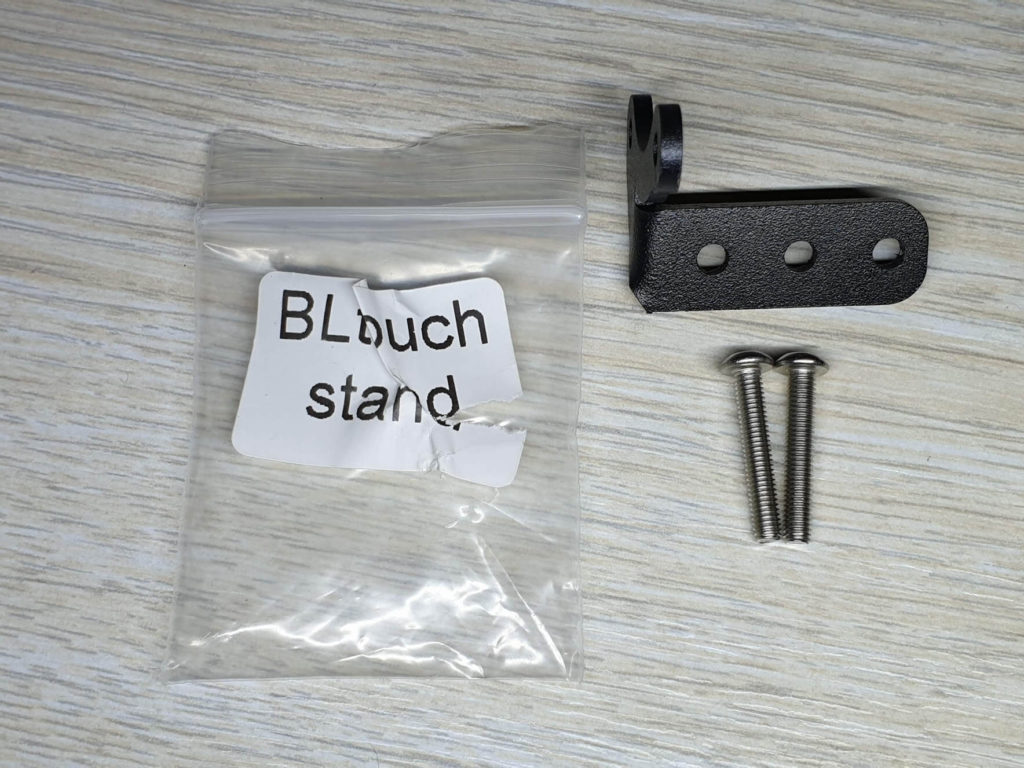
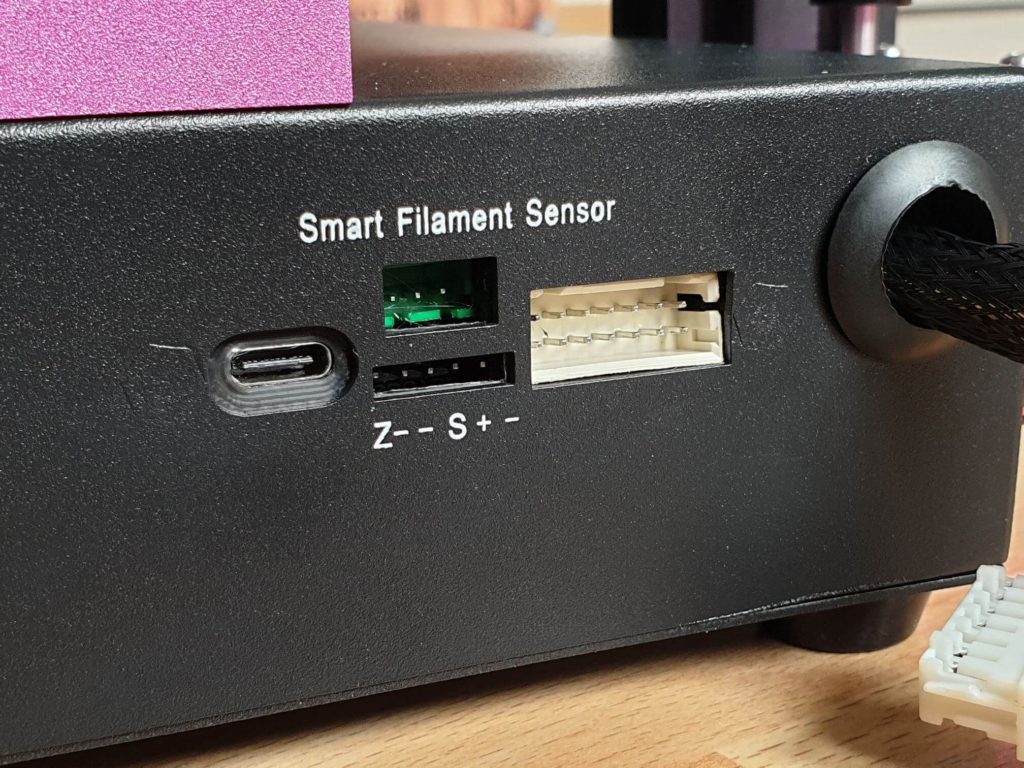
There’s also a nice video showing the full BLTouch installation process, so I really think the BIQU B1 is a great printer for beginners.
Marlin 2.0.5 from the factory
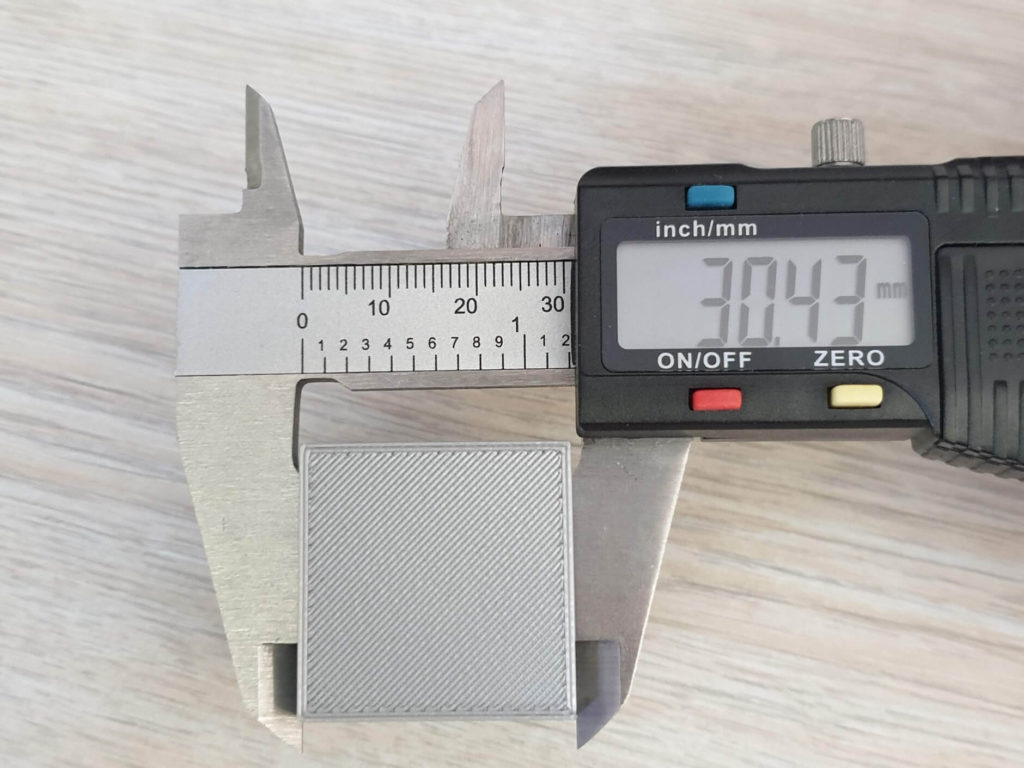
You were probably expecting this, but the BIQU B1 comes with Marlin 2.0.5 right from the factory. For some reason, the X and Y axis steps are not set correctly and they are probably the result of bad calibration. (M92 X81.50 Y81.50 Z400.00 E96.00). Below you can see a 30mm cube which has a wrong size because of this.
This causes the prints to be a bit bigger on the X and Y axis. After setting the values to 80, dimensions are returned to normal.
Test Prints on BIQU B1
3D Benchy
The 3D Benchy was my first print on the BIQU B1. I tried to start one of the included file from the SD Card but there’s some offset set in the GCode and I did not bother with it too much.
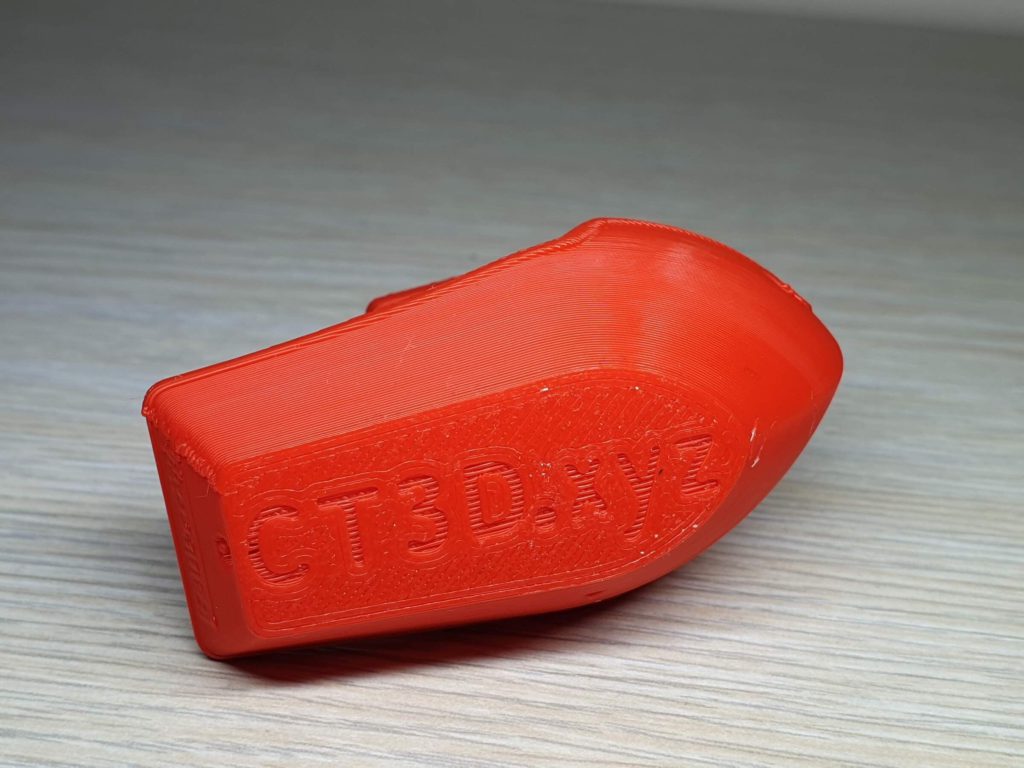
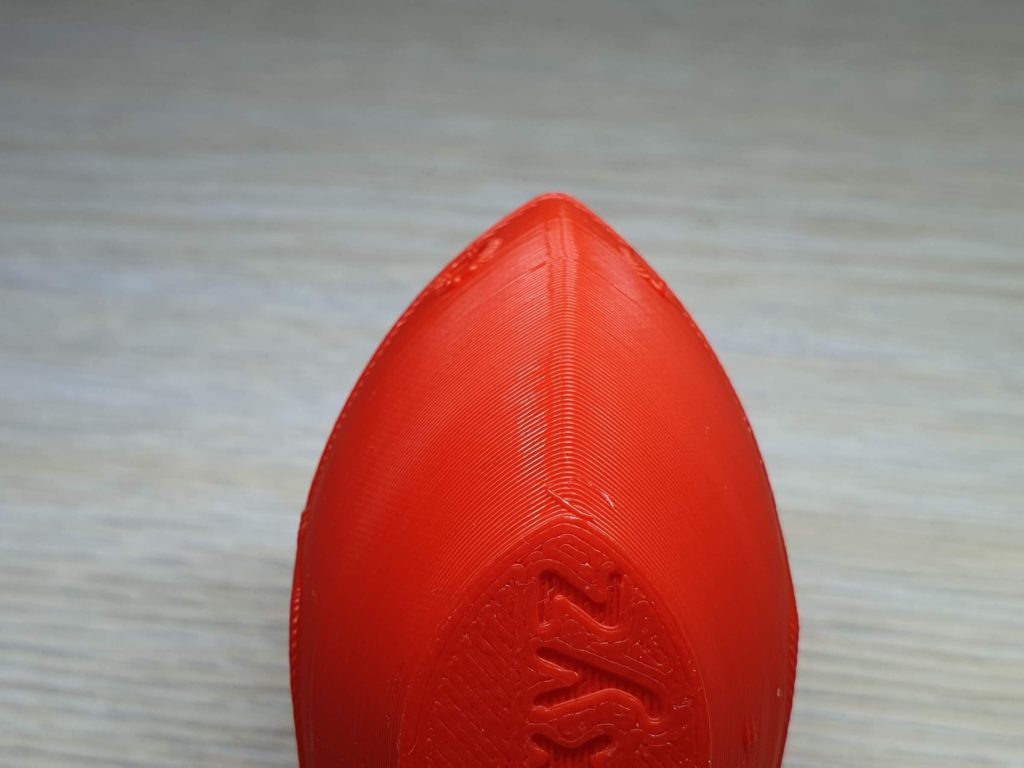
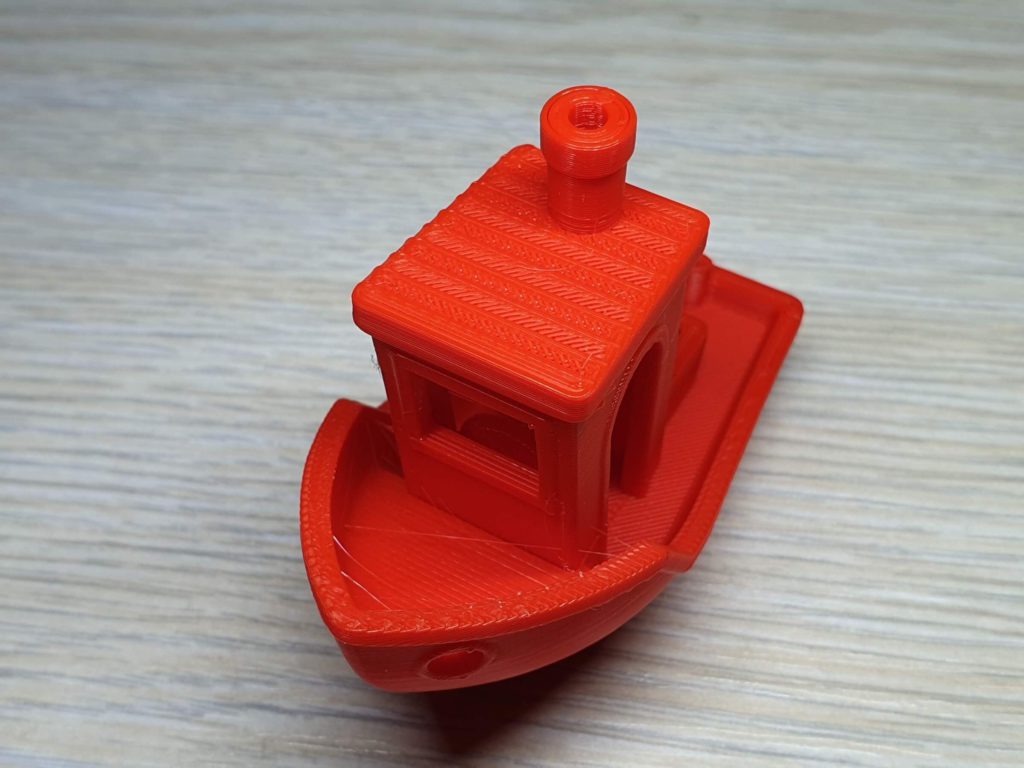
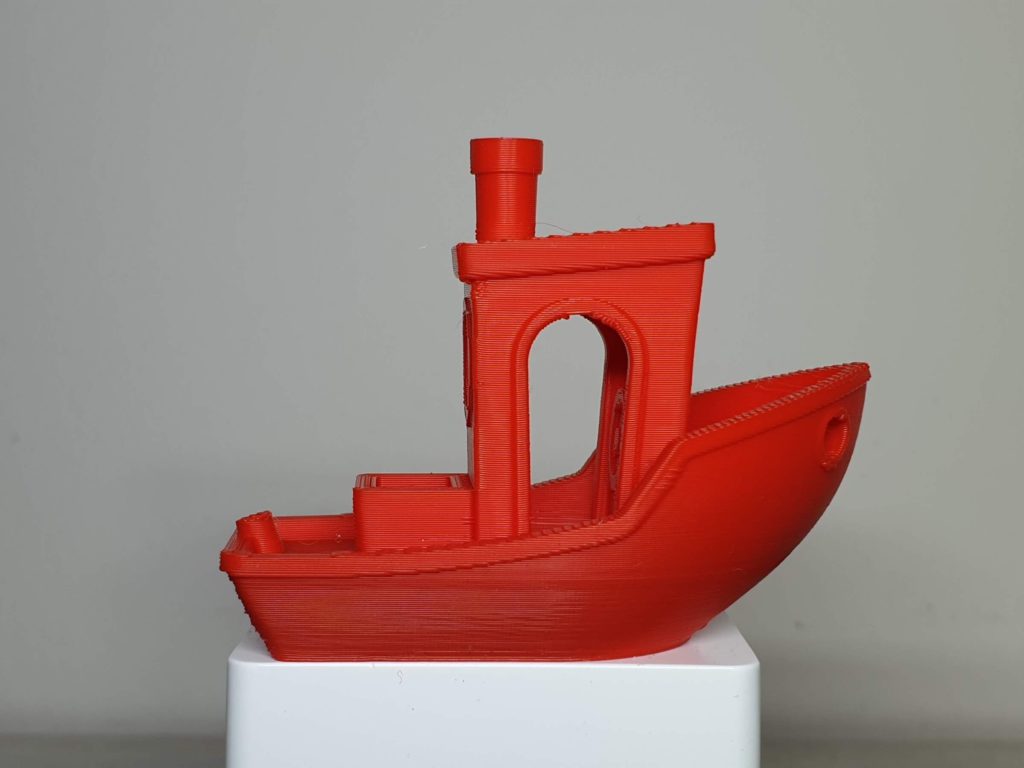
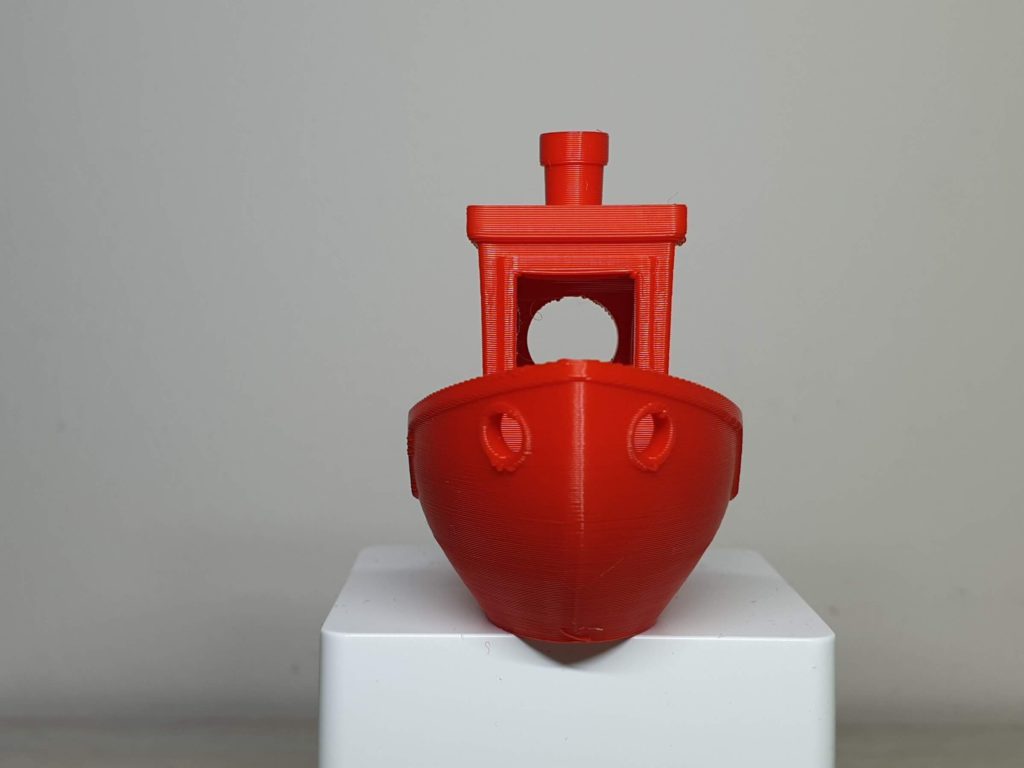
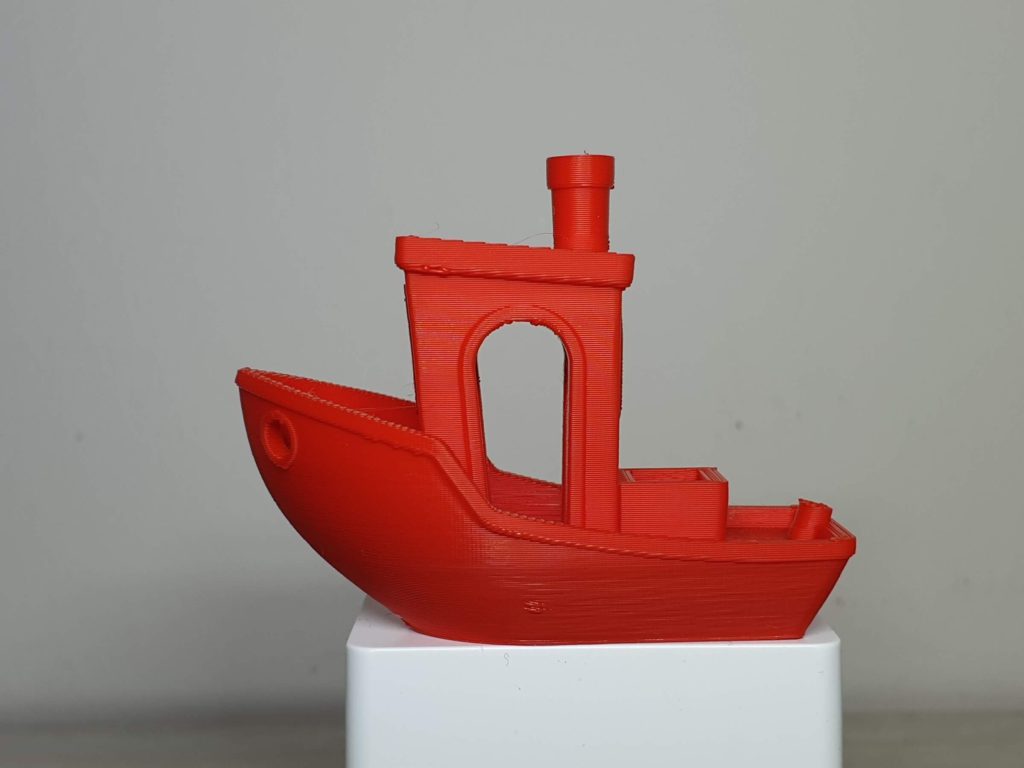
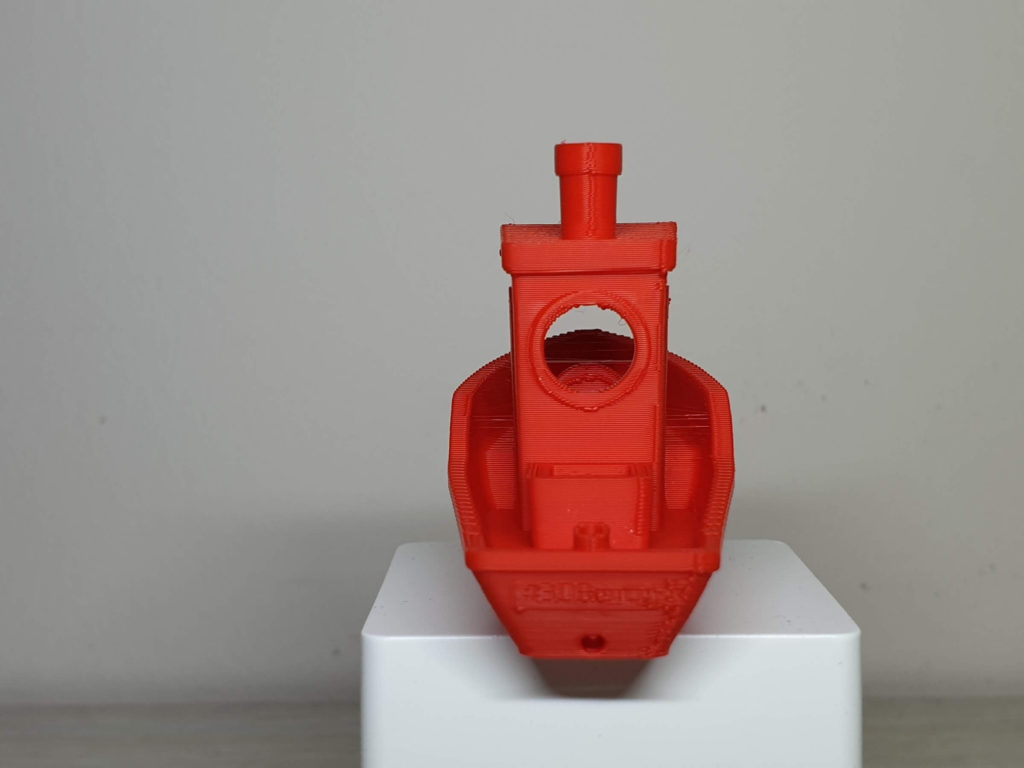
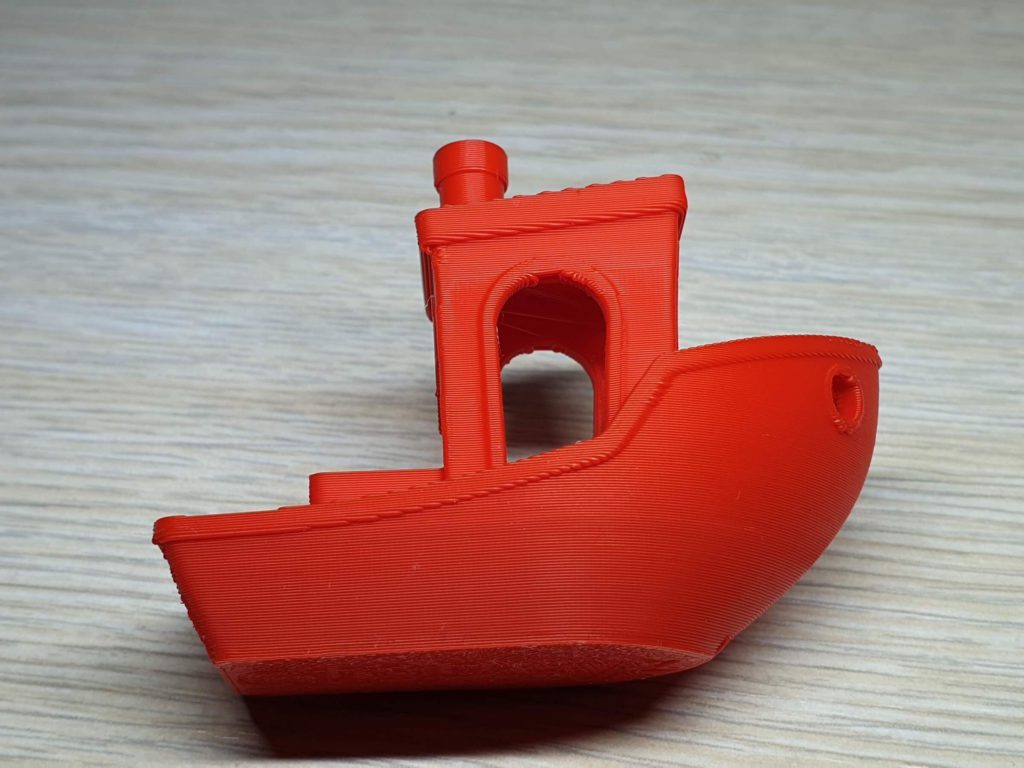
- Material: FilamentOne Traffic Red PLA
- Layer Height: 0.1mm
- Nozzle Temperature: 195C
- Bed Temperature: 60C
- Print Speed: 55 mm/s
Phil-A-Ment
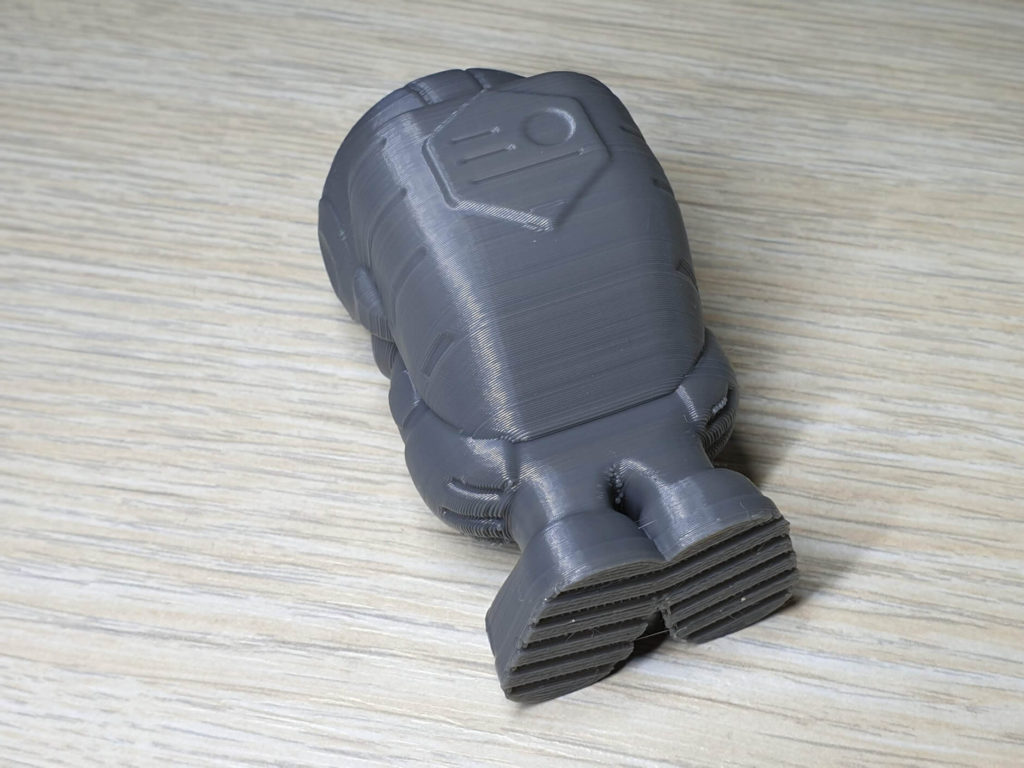
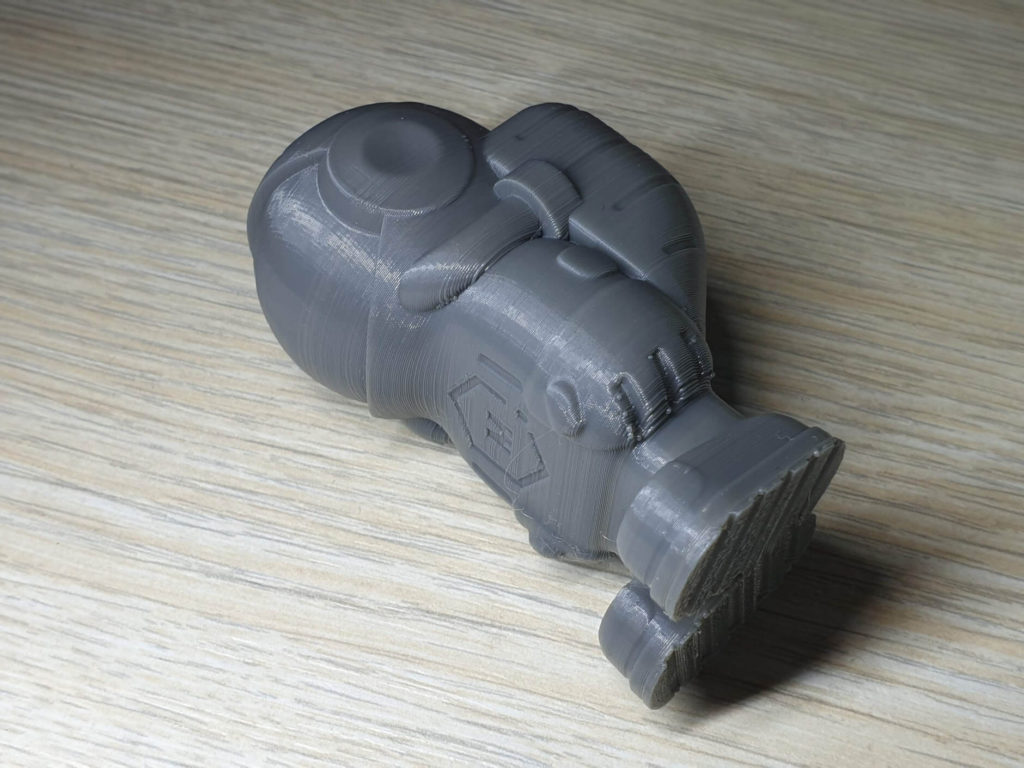
My second print was Phil-A-Ment from Matterhackers. I was still tweaking the profile so the results are not the best. There’s some uneven extrusion caused by a bad seam setting and oozing. You can see that the cooling solution works great. Overhangs look good considering the speed I printed it.
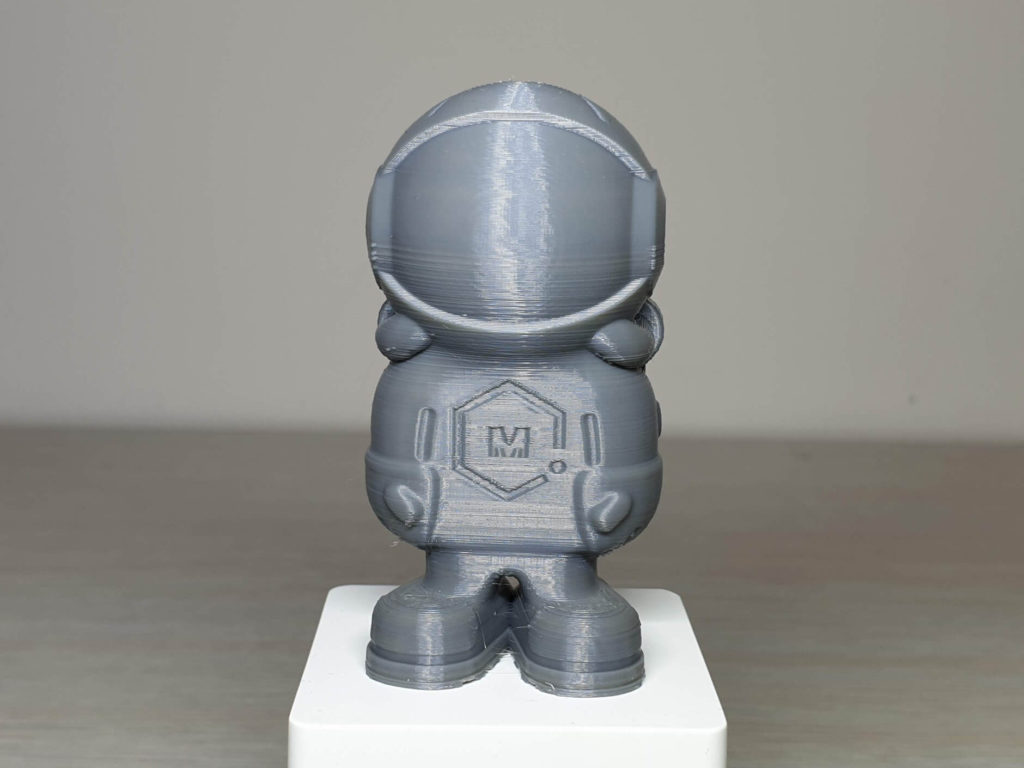
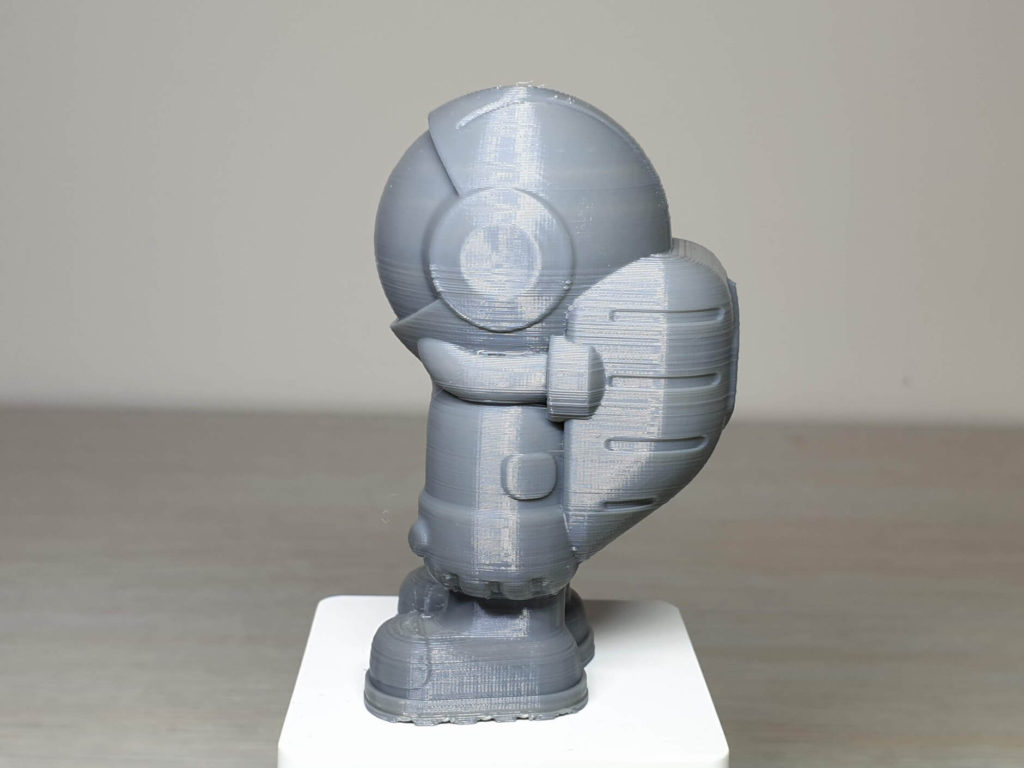
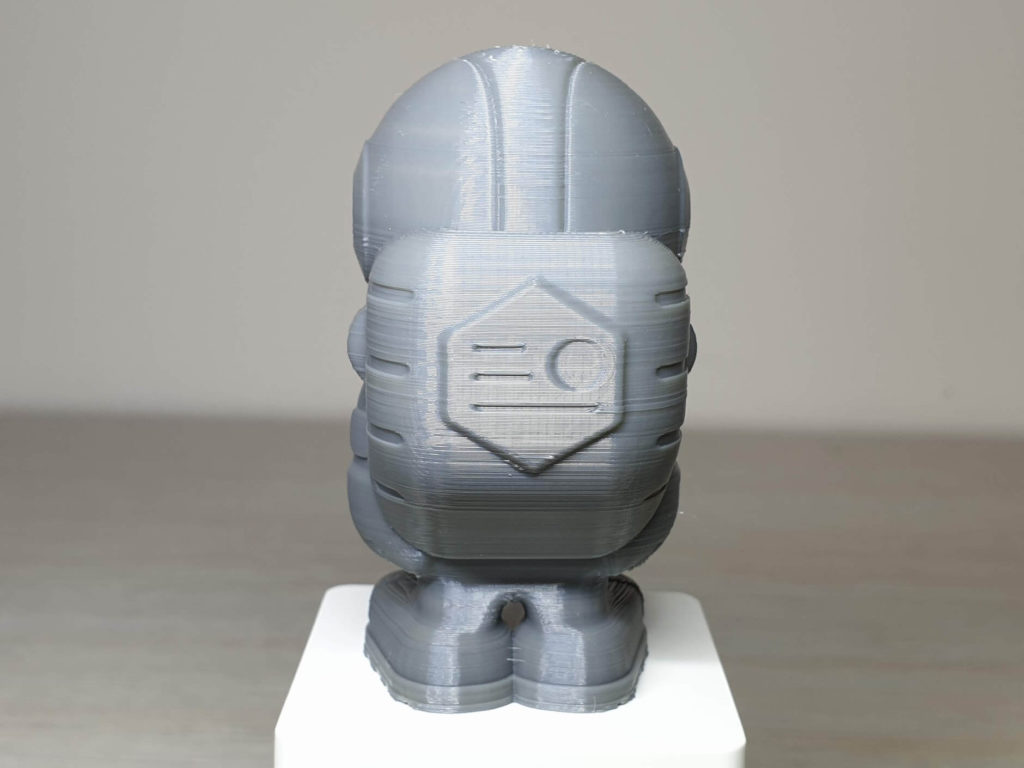
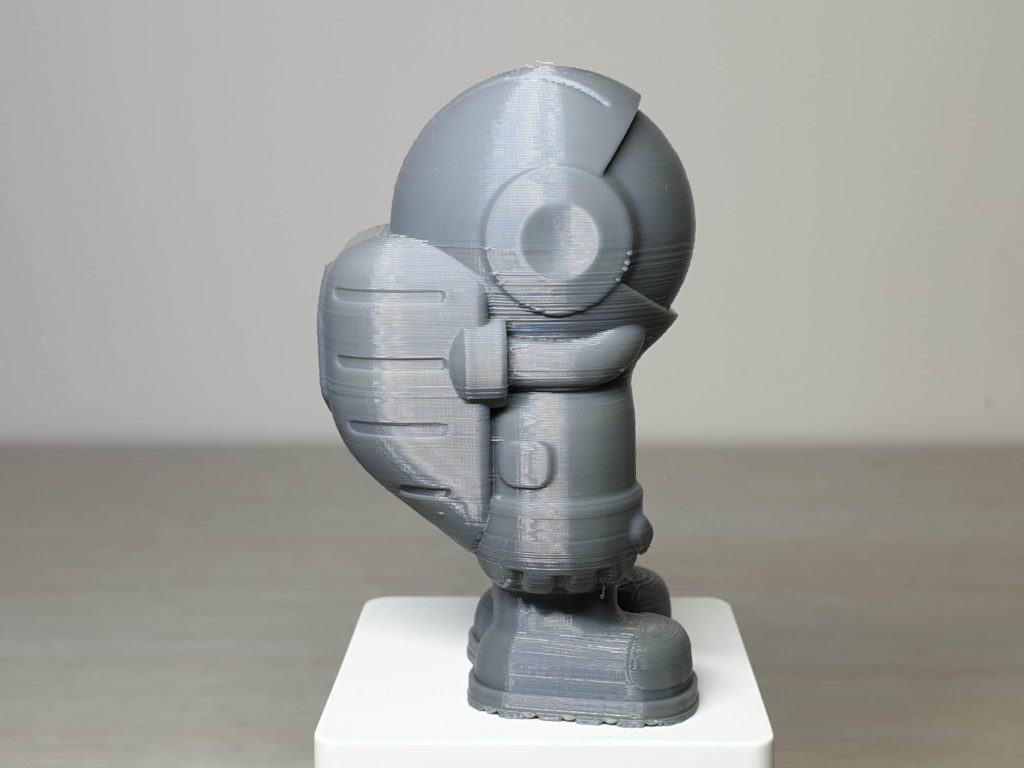
- Material: SUNLU Grey PLA
- Layer Height: 0.15 mm
- Nozzle Temperature: 195C
- Bed Temperature: 60C
- Print Speed: 60 mm/s
Modular Mounting System
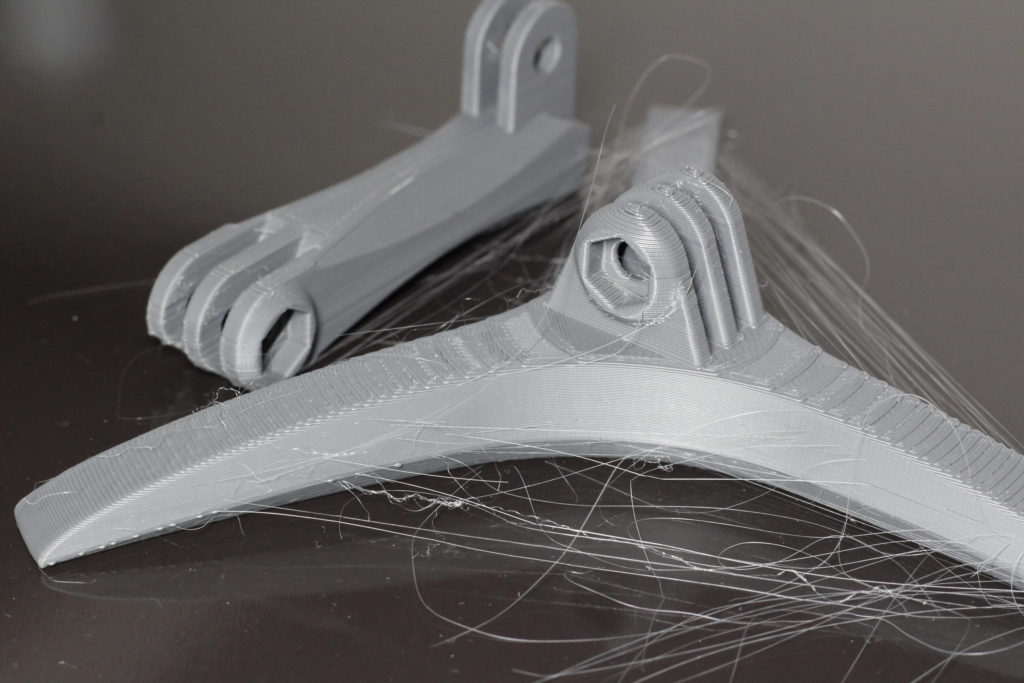
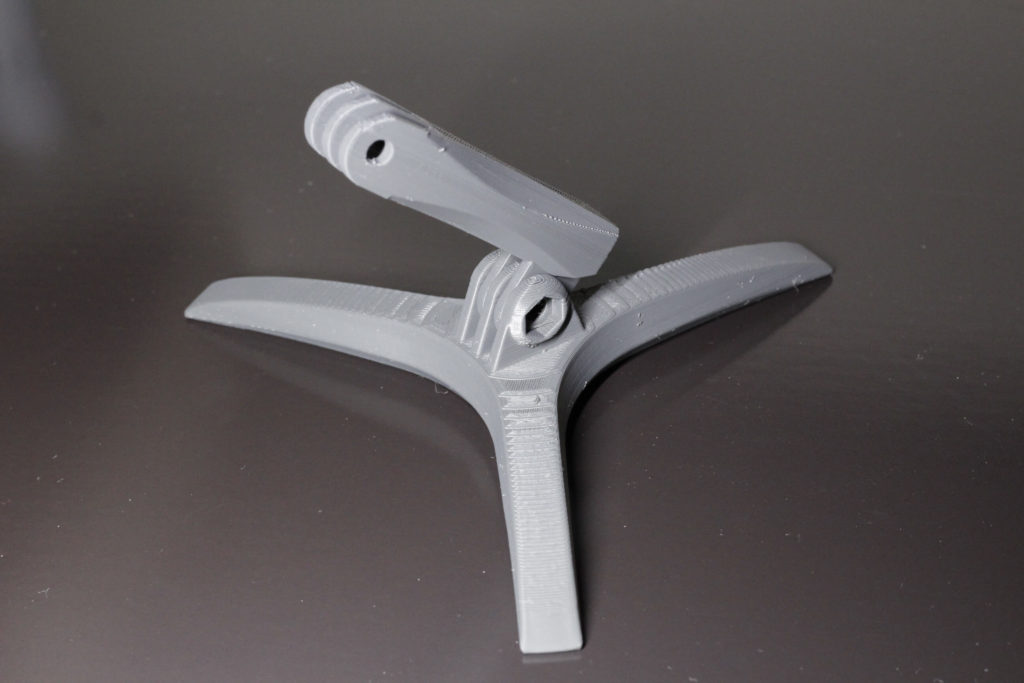
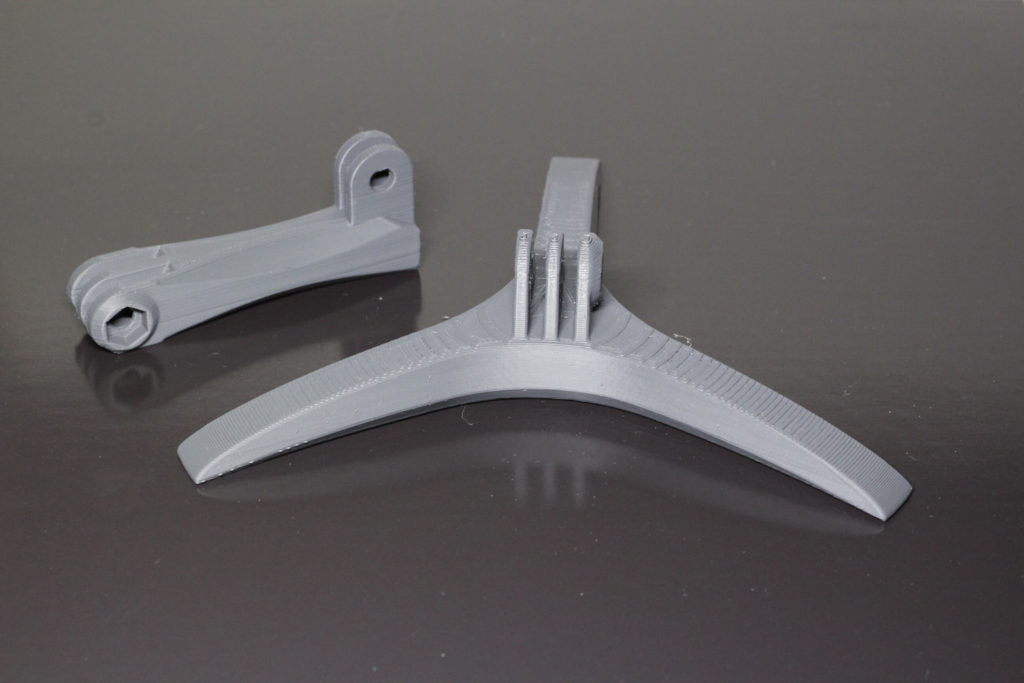
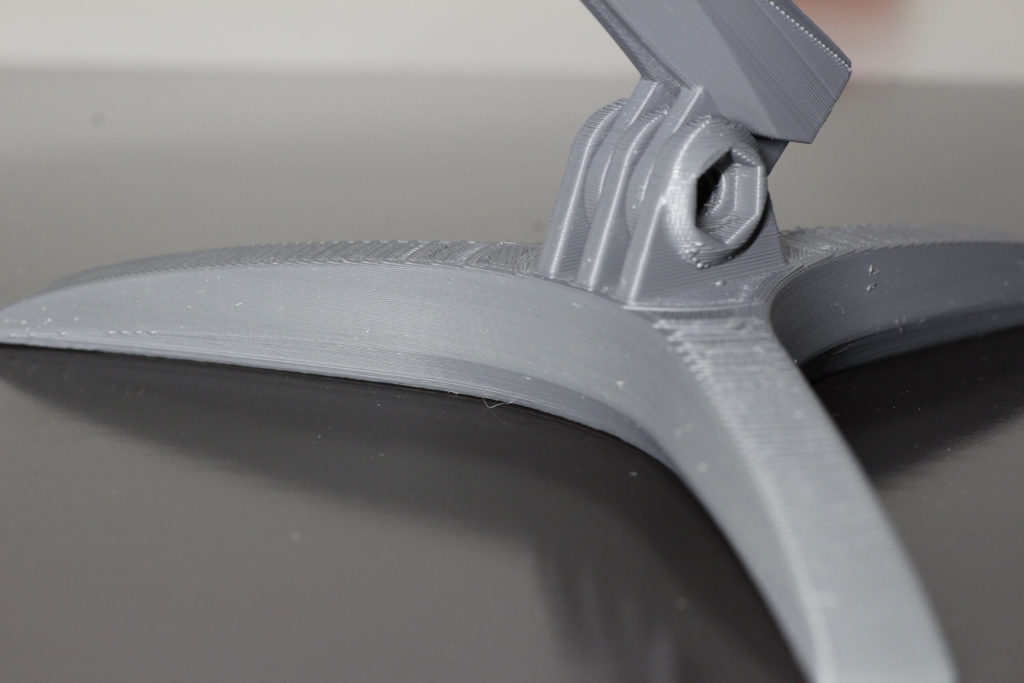
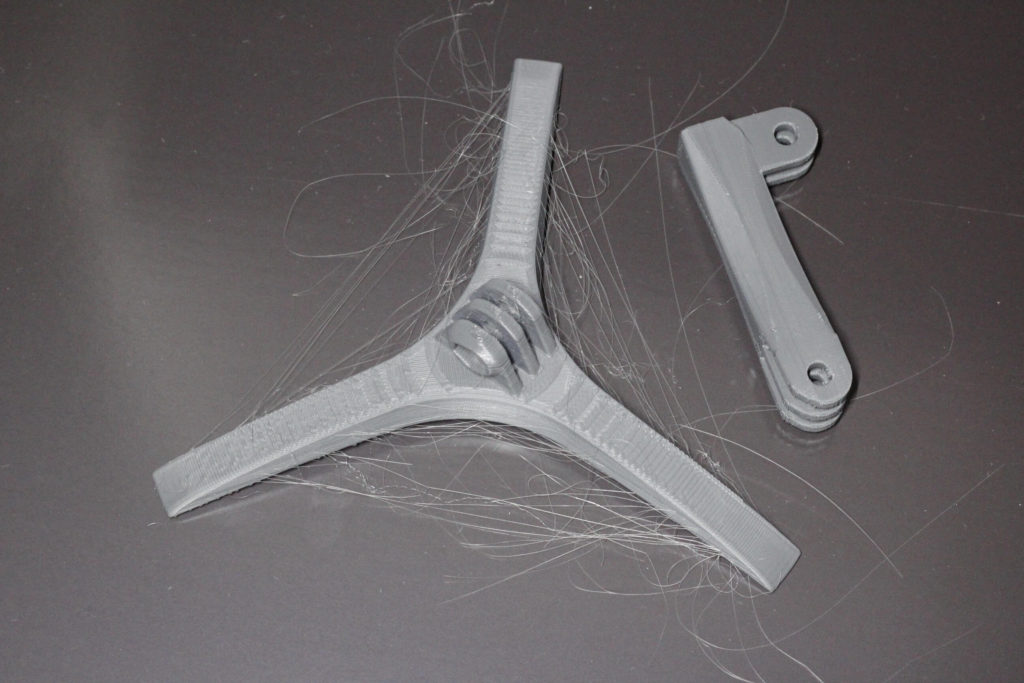
I need a support for my phone so I started printing the Modular Mounting System from Thingiverse. As you can see, the prints suffer from a lot of stringing which was easily fixed in less than 30 seconds with a torch. Unfortunately, I don’t like to do a lot of post-processing for my prints so that’s unfortunate. Maybe a bit more retraction could help.
Captain America’s Shield Display
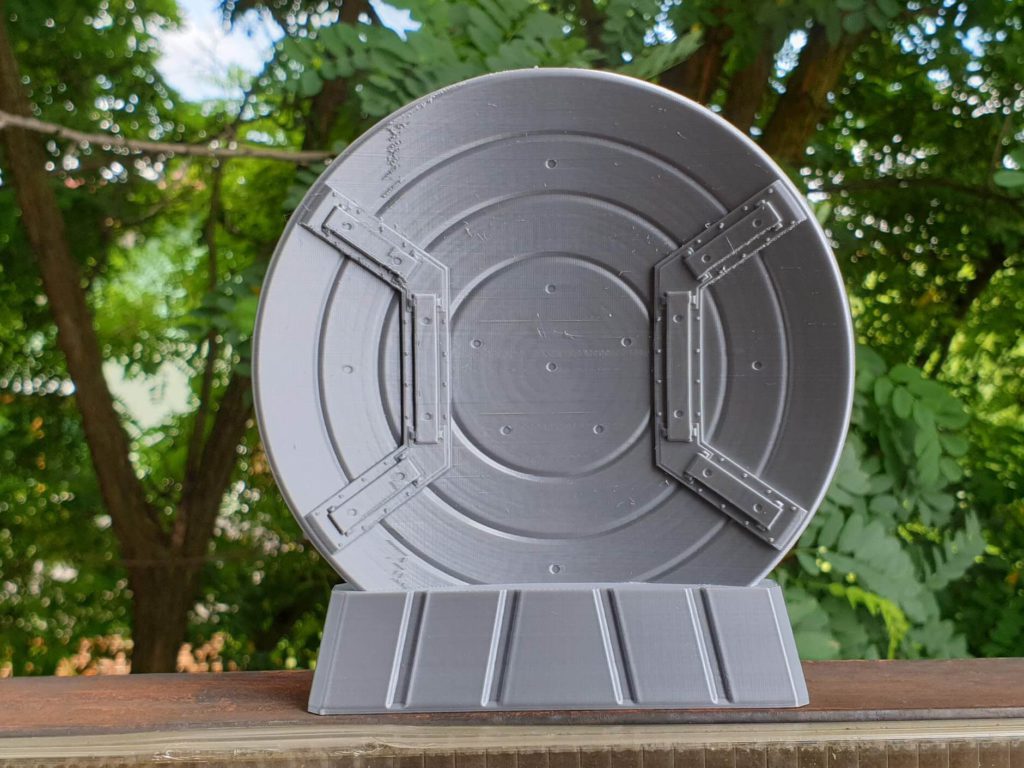
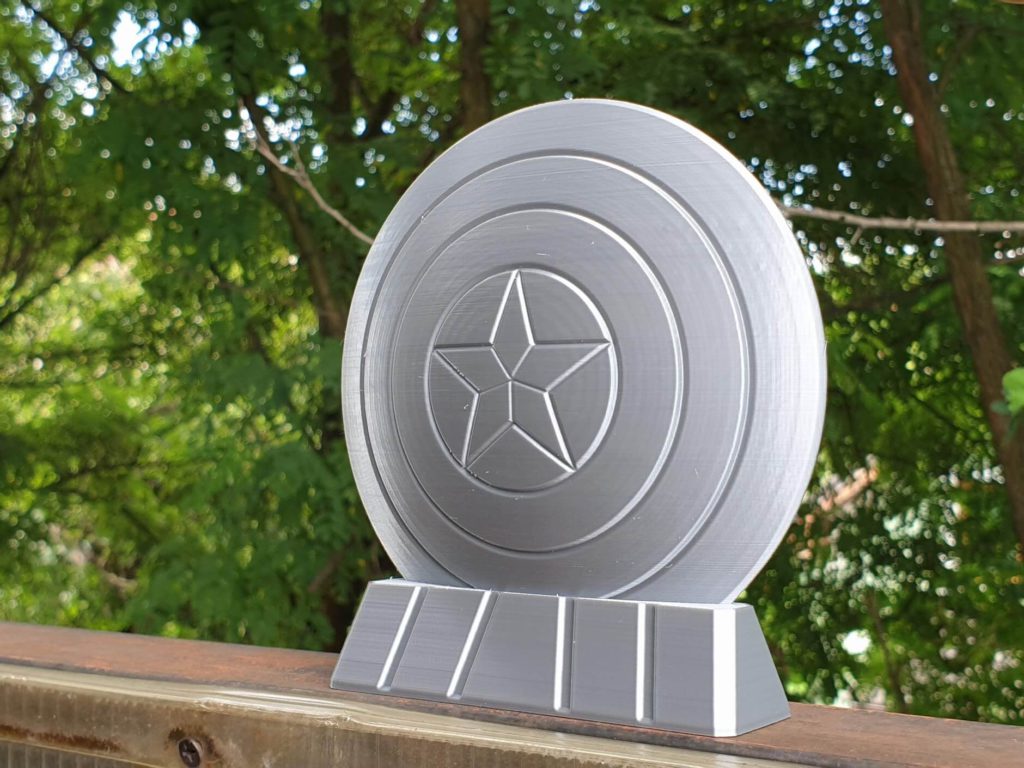
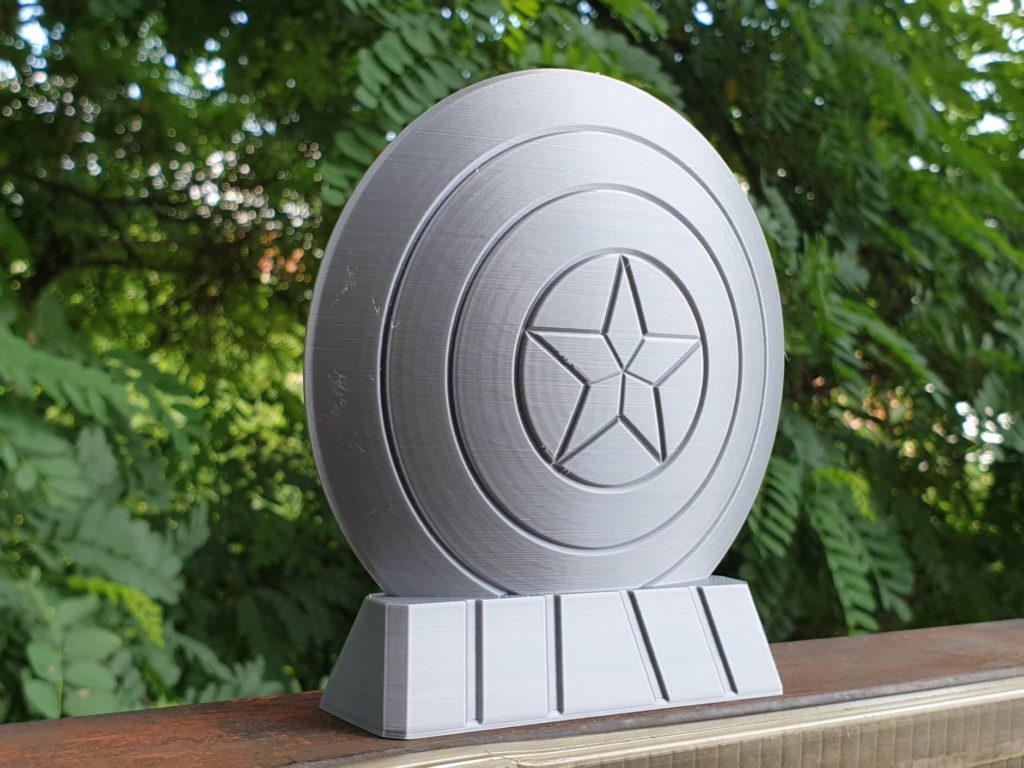
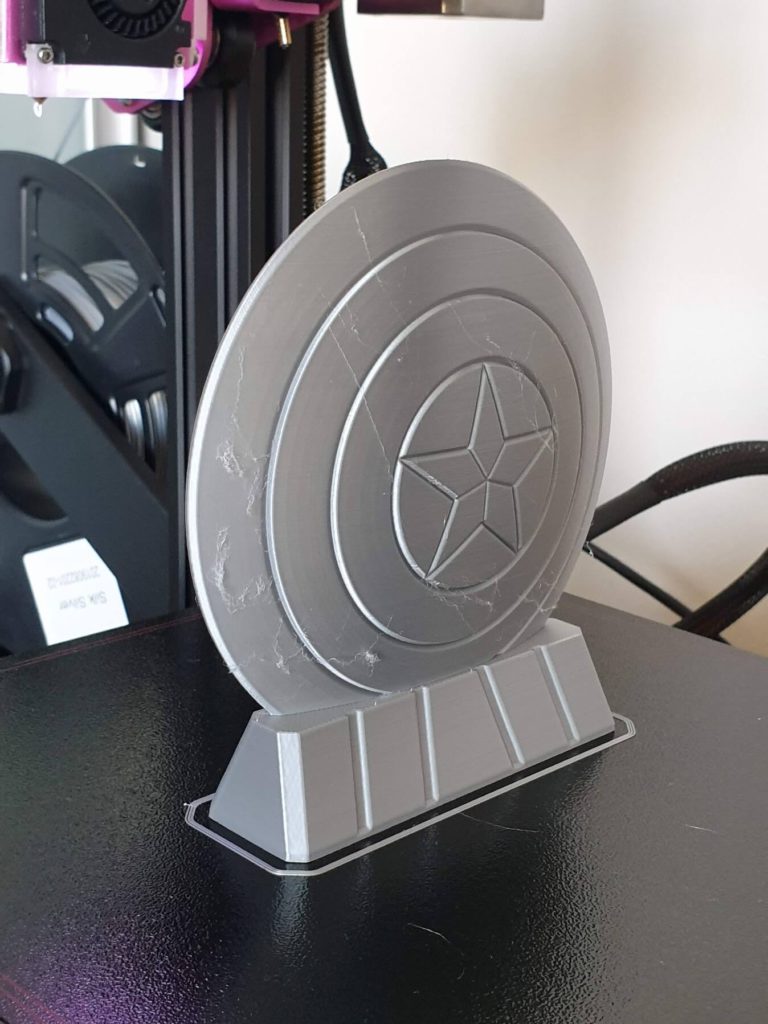
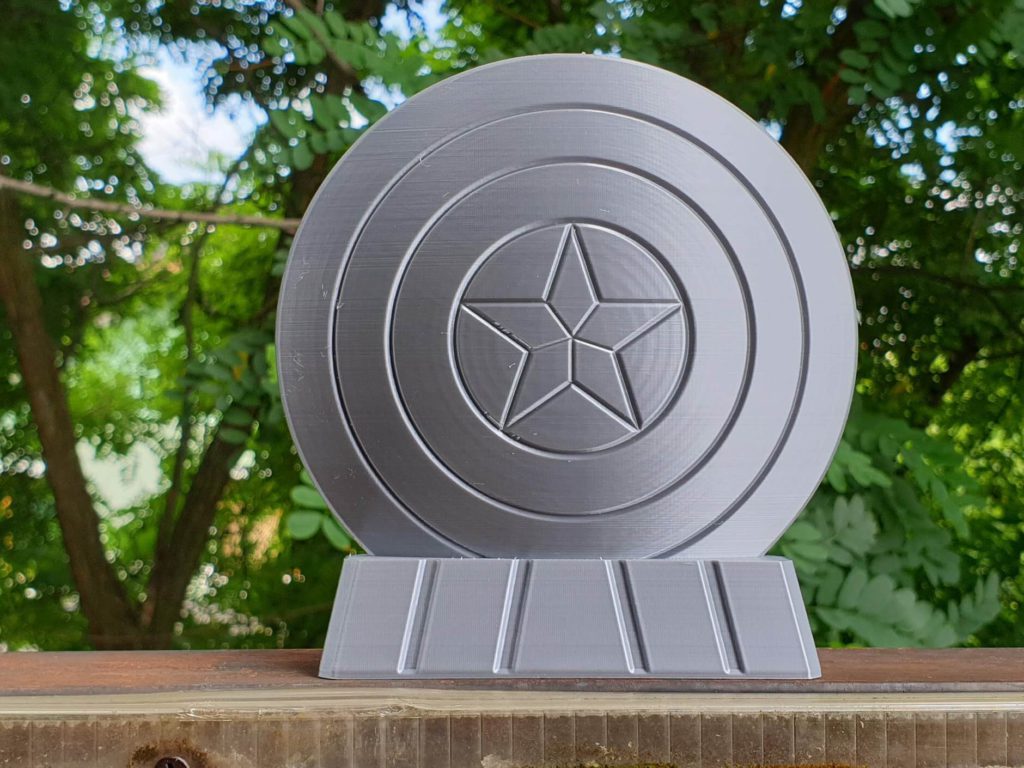
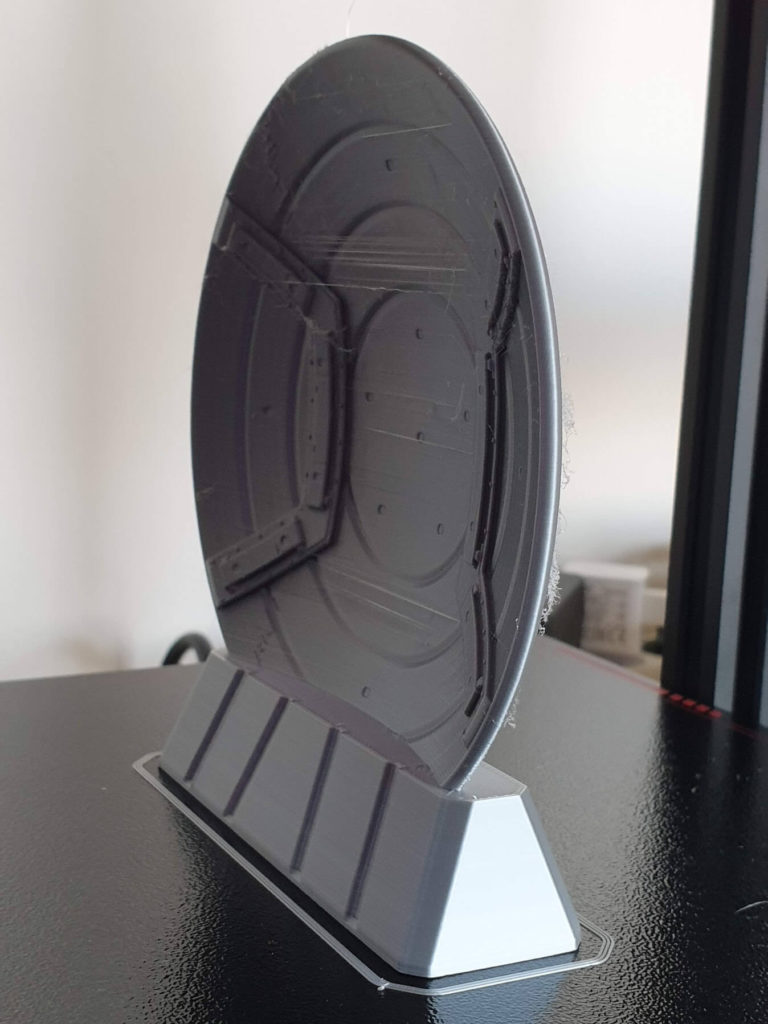
I got the model from Prusa Printers, sliced it with my IdeaMaker profile and started a print overnight. It took 8 hours and you can see the results in the images below. There’s a bit of stringing but after cleaning the print it looks great.
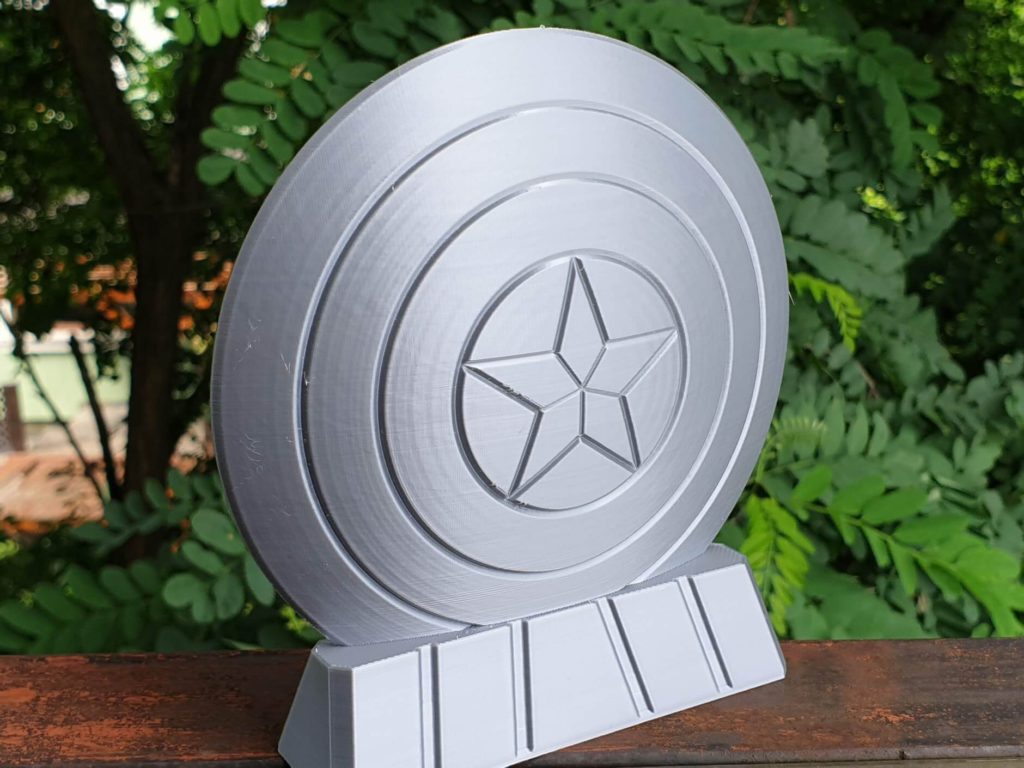
- Material: Gembird Silver Silk PLA
- Layer Height: 0.12 mm
- Nozzle Temperature: 200C
- Bed Temperature: 60C
- Print Speed: 45 mm/s
40mm Calibration Cube
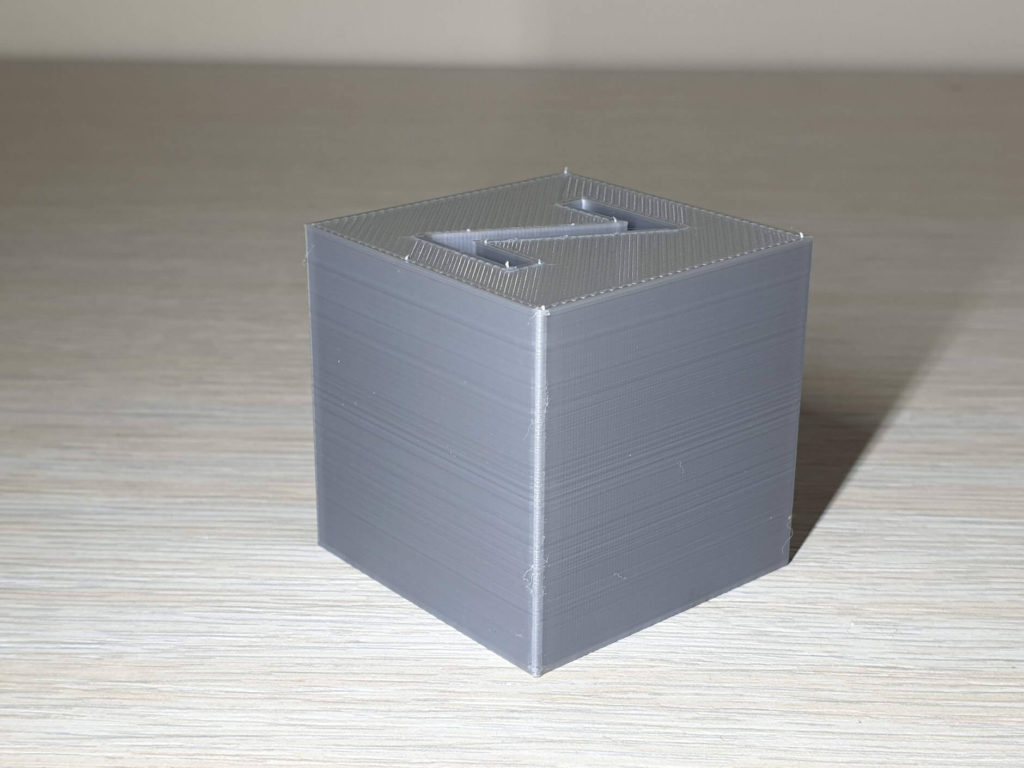
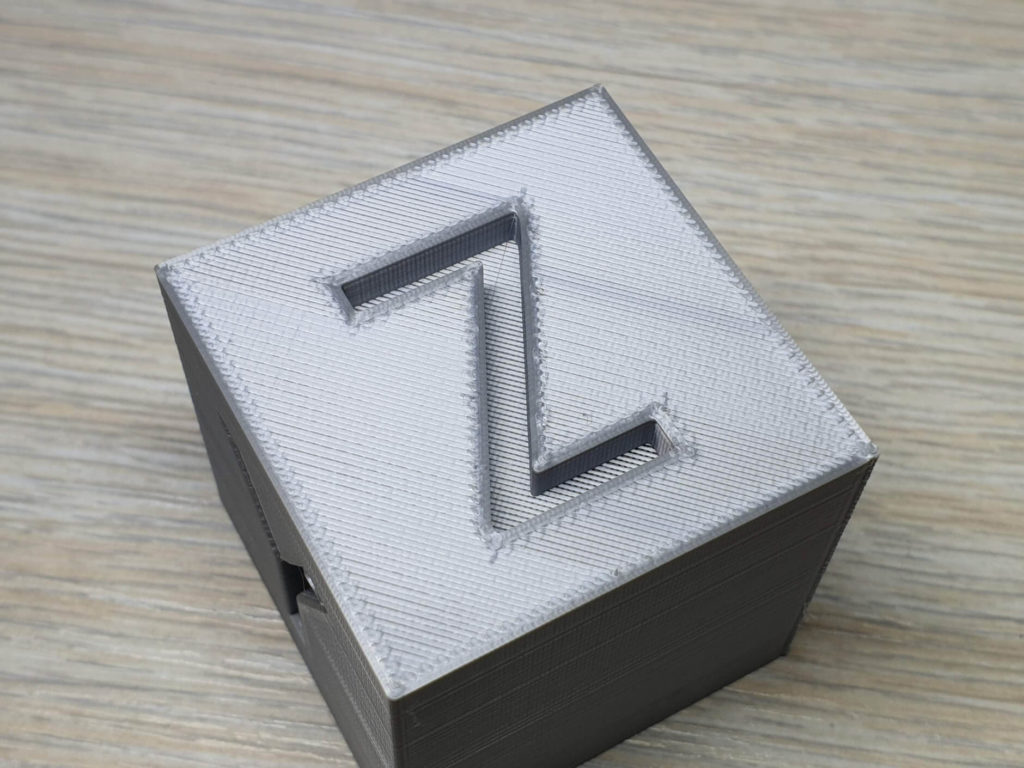
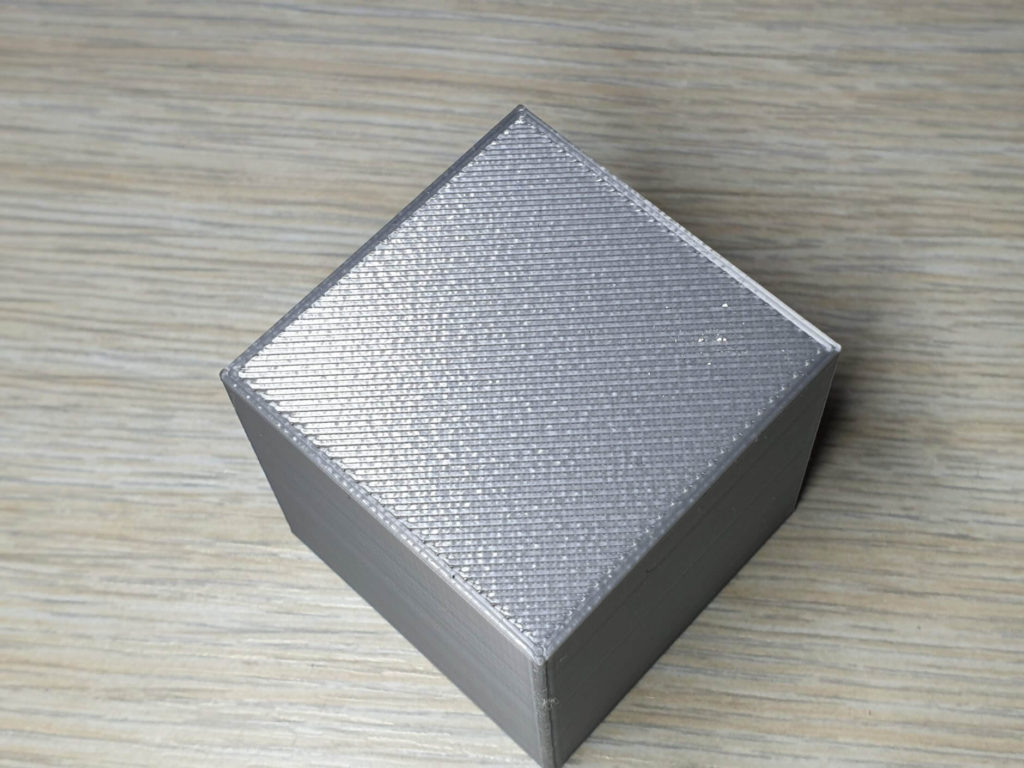
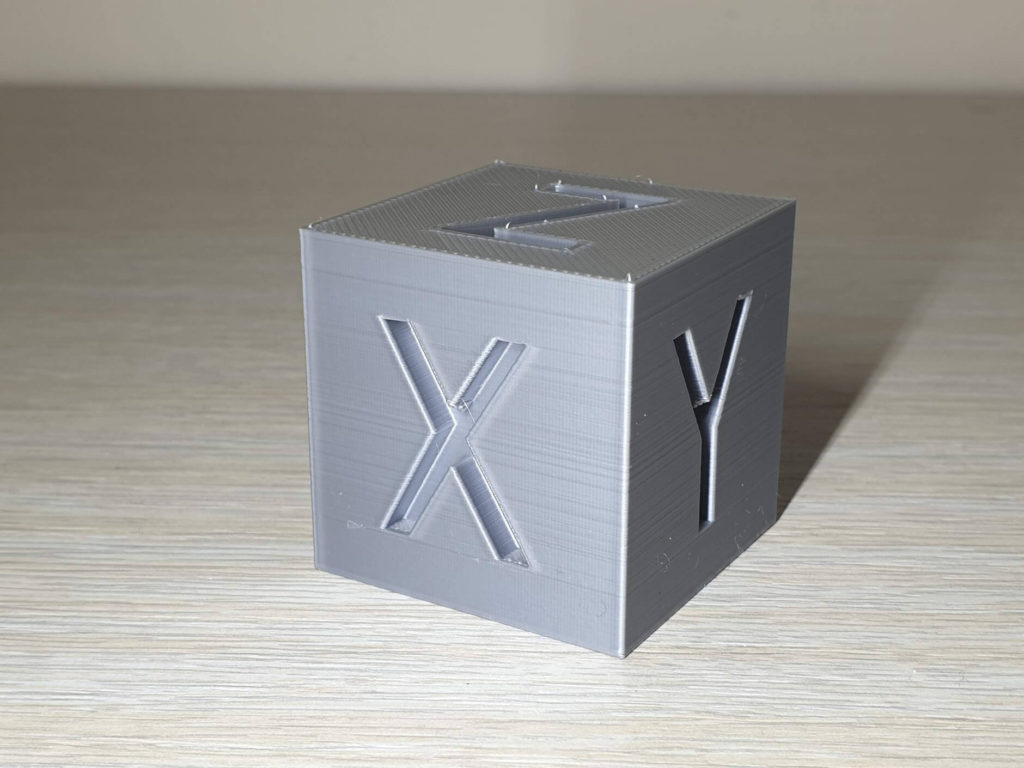
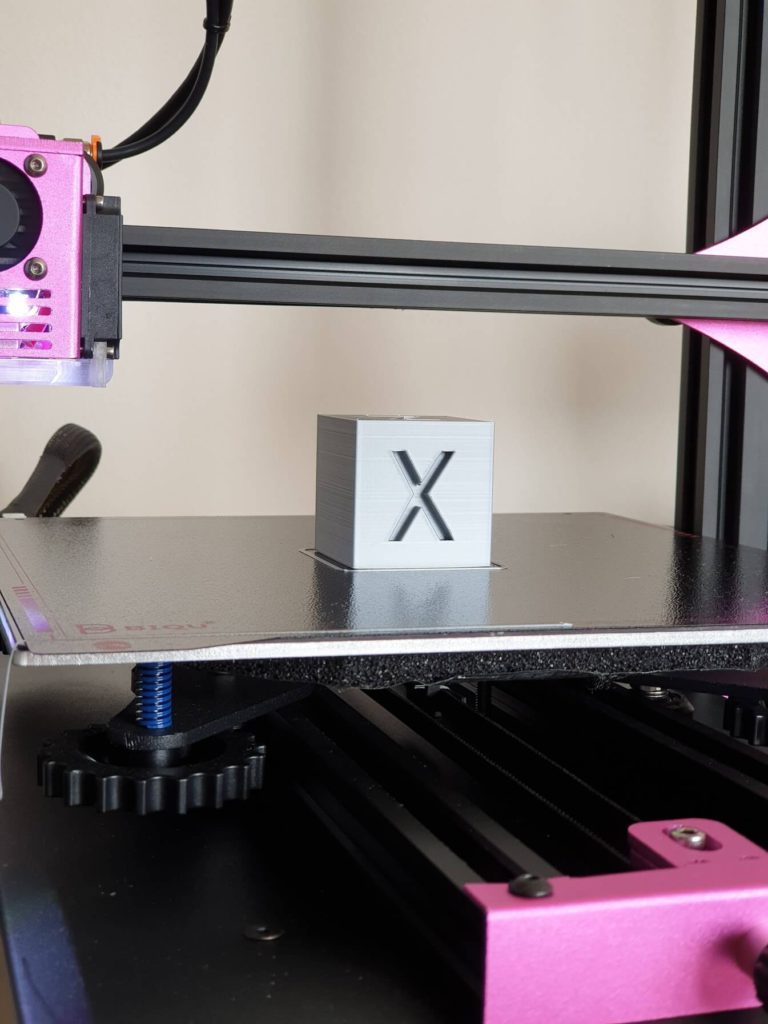
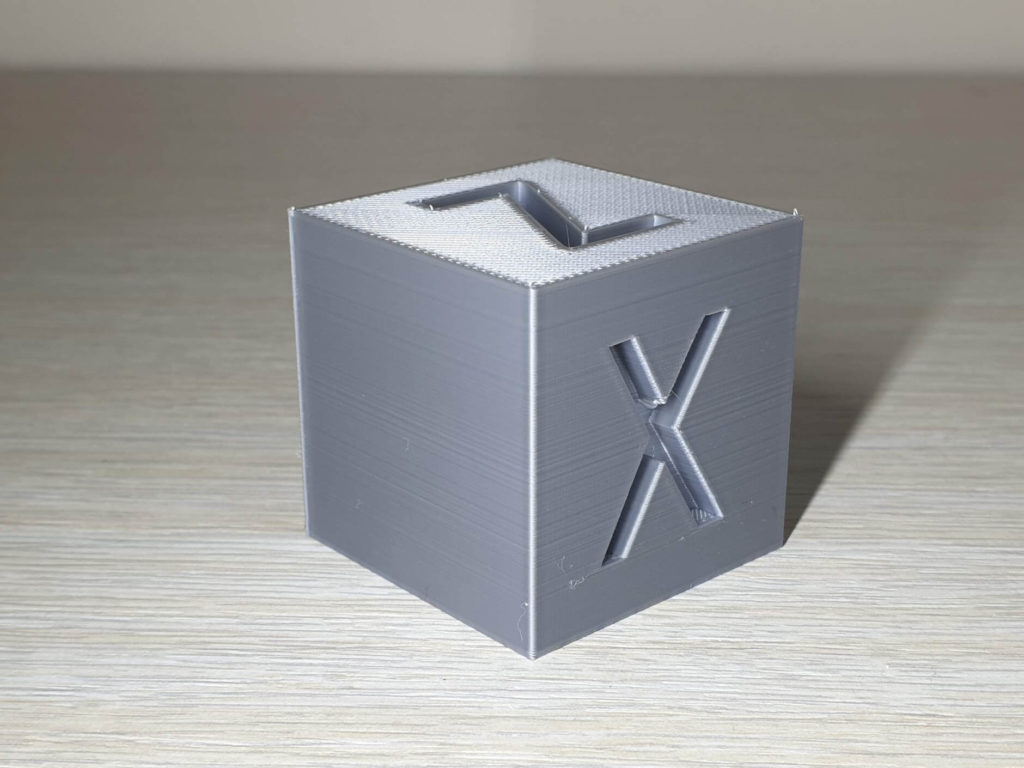
Lately, I like printing a 200% calibration cube to test the extrusion quality and if a printer is able to produce good prints without bulging corners. And the BIQU B1 can do it pretty well.
Unfortunately, it seems that extrusion is not as smooth as I would like and you can see some uneven extrusion on the walls which are probably caused by the extruder or hotend.
- Material: Gembird Silver Silk PLA
- Layer Height: 0.15 mm
- Nozzle Temperature: 200C
- Bed Temperature: 60C
- Print Speed: 45 mm/s
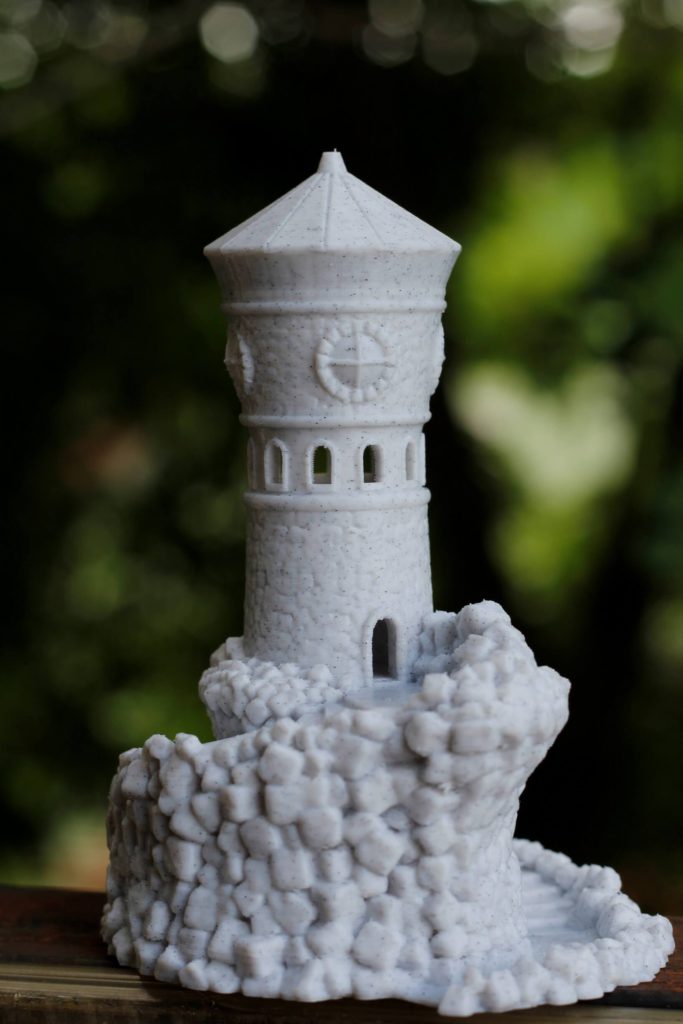
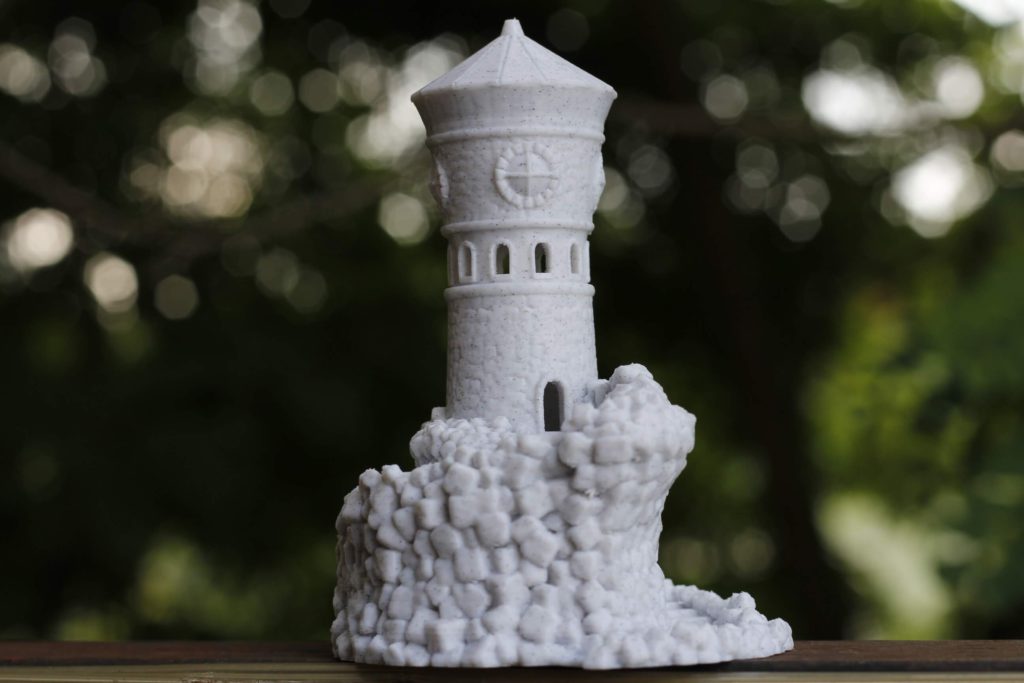
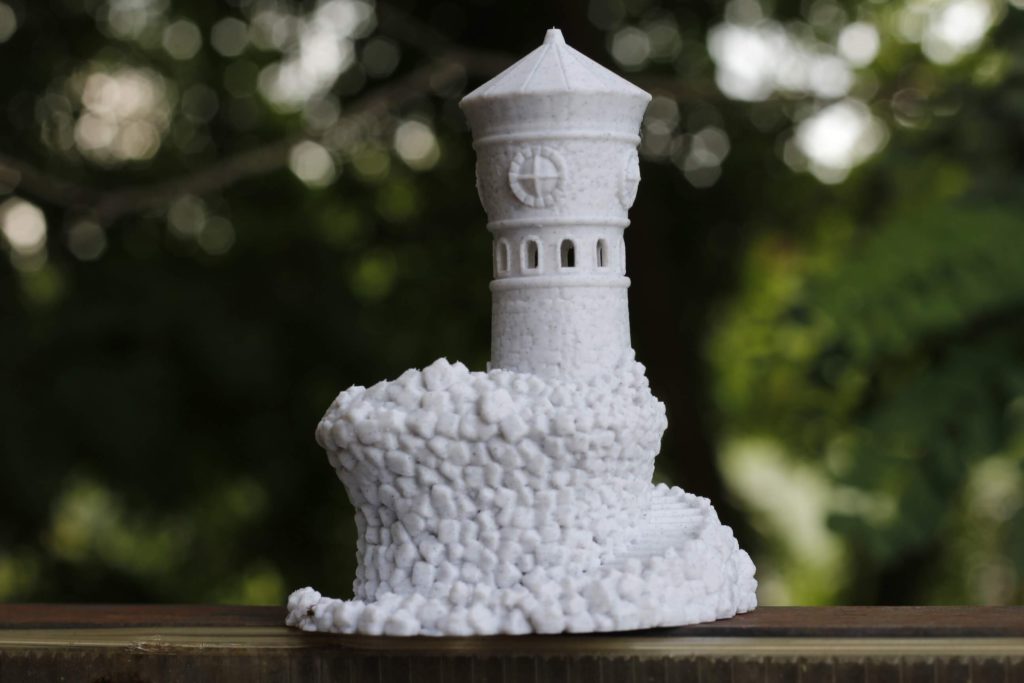
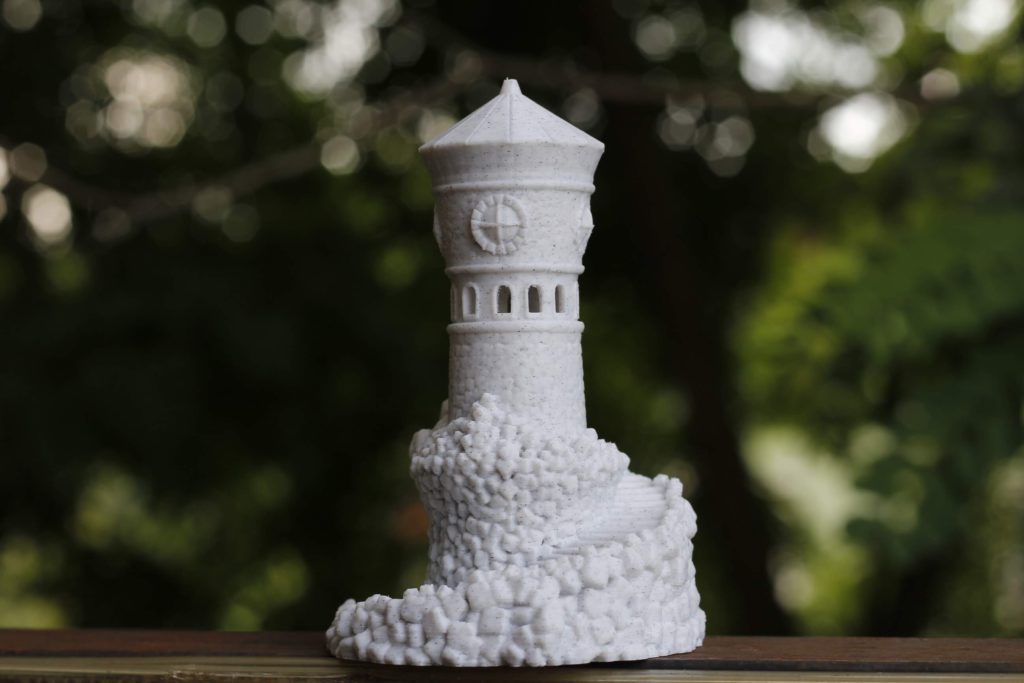
Forbidden Watchtower
Another awesome model from Jukka Seppanen. The print quality is good but as you can see there are some strings present. which were quickly removed with a torch.
Even though I used 3.5 mm for retraction and 1.5 mm of coasting, I could not get rid of stringing completely and I blame this on the bad hotend and heat break combo.

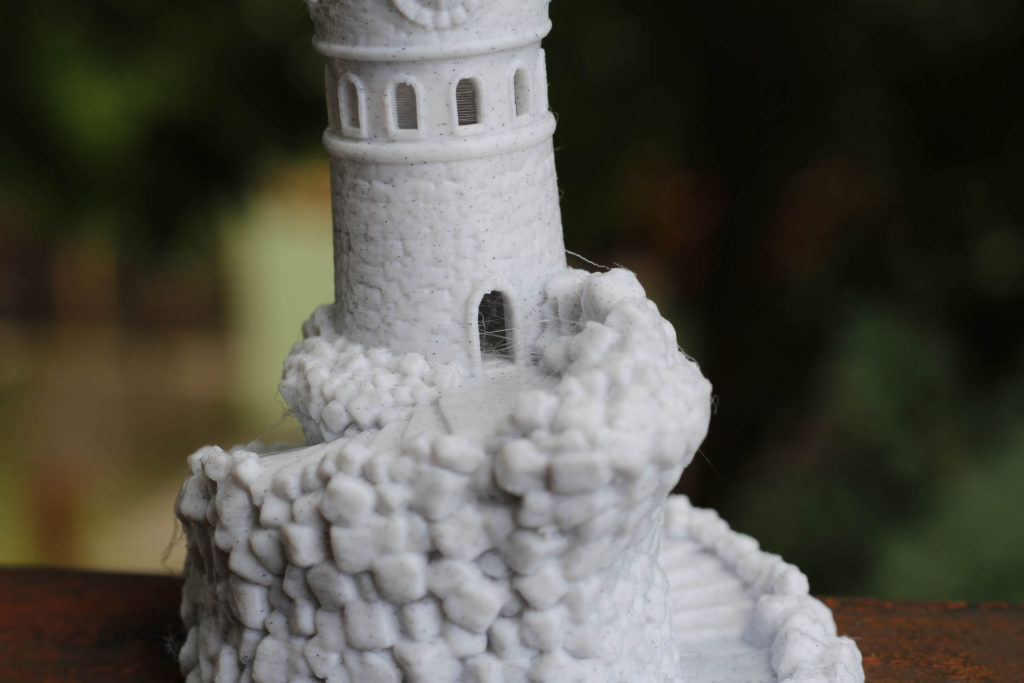
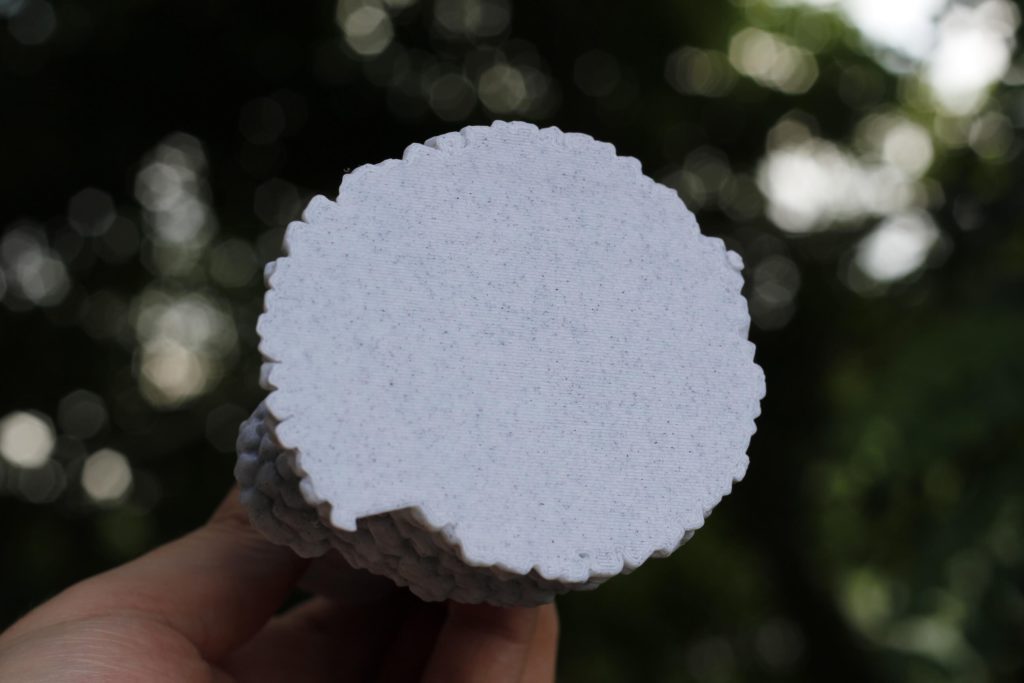
- Material: Gembird Marble PLA
- Layer Height: 0.15 mm
- Nozzle Temperature: 200C
- Bed Temperature: 60C
- Print Speed: 60 mm/s
Scruffy
I also printed Scruffy from Futurama with my final IdeaMaker settings. Except for some minor issues, the print looks great.



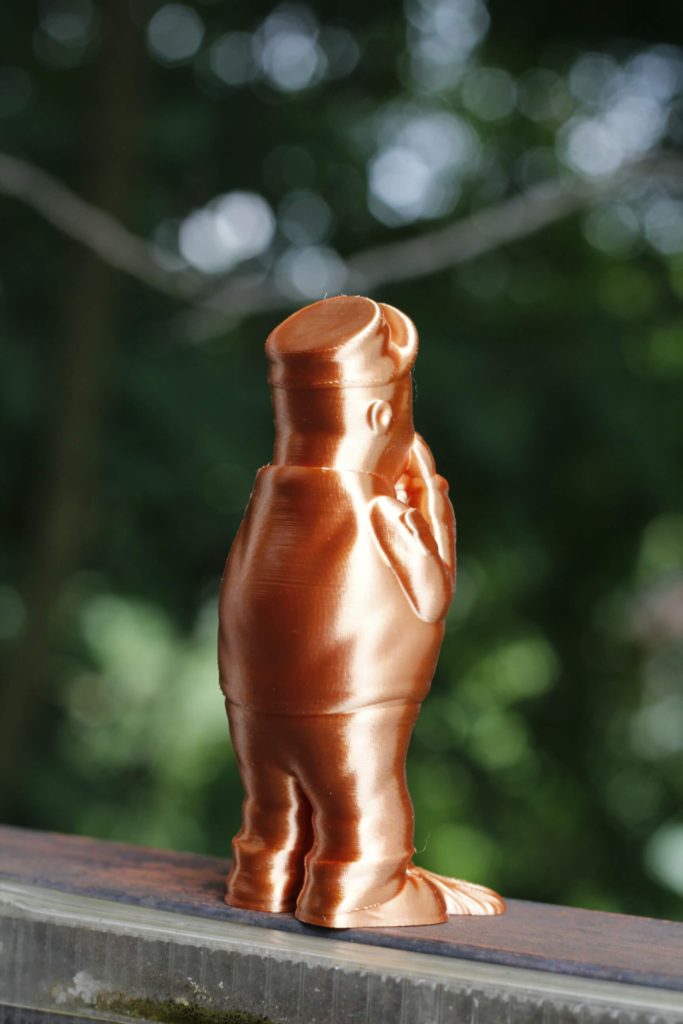
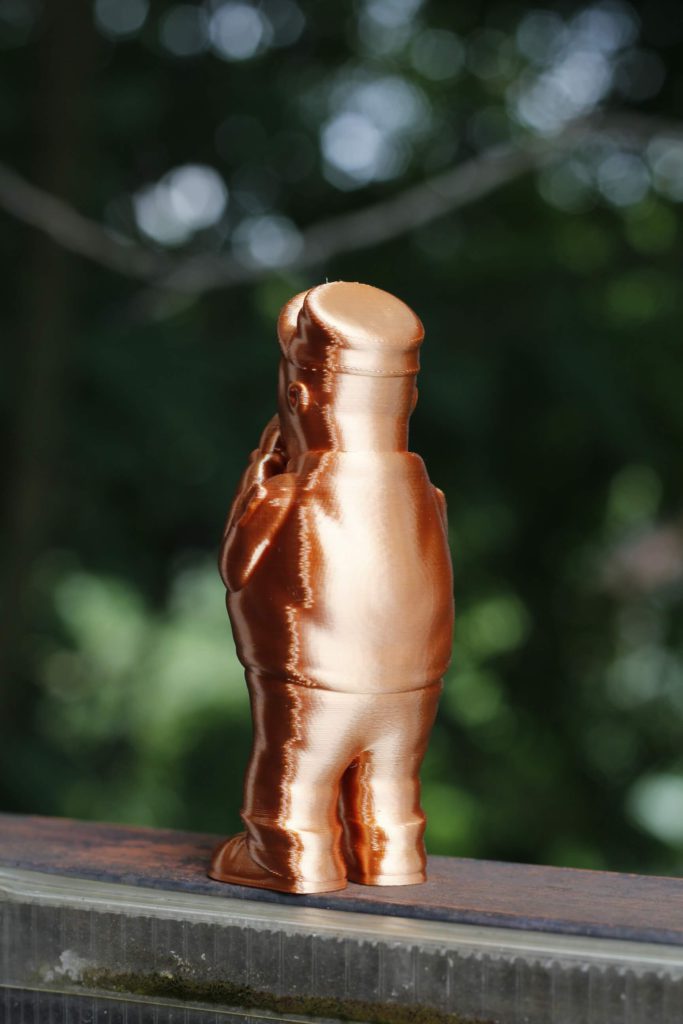


- Material: Sunlu Silk Red Copper PLA
- Layer Height: 0.15mm
- Nozzle Temperature: 200C
- Bed Temperature: 60C
- Print Speed: 50 mm/s
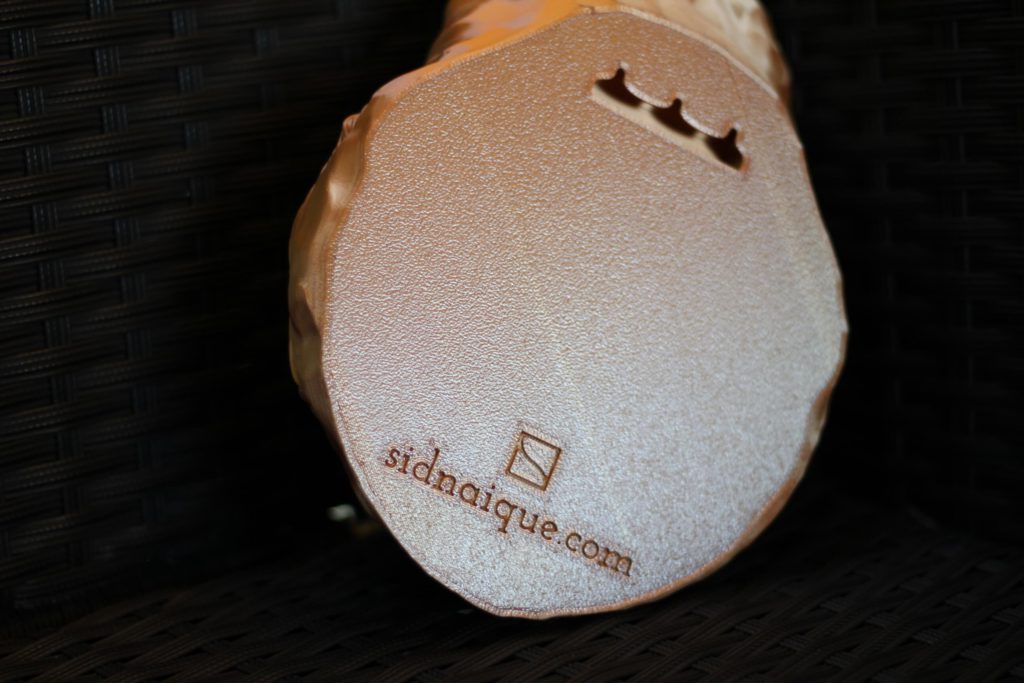
Mandrill
This is the Mandrill by Sid Naique’s Patreon. Not much to say here. Amazing design and decent print from the BIQU B1.
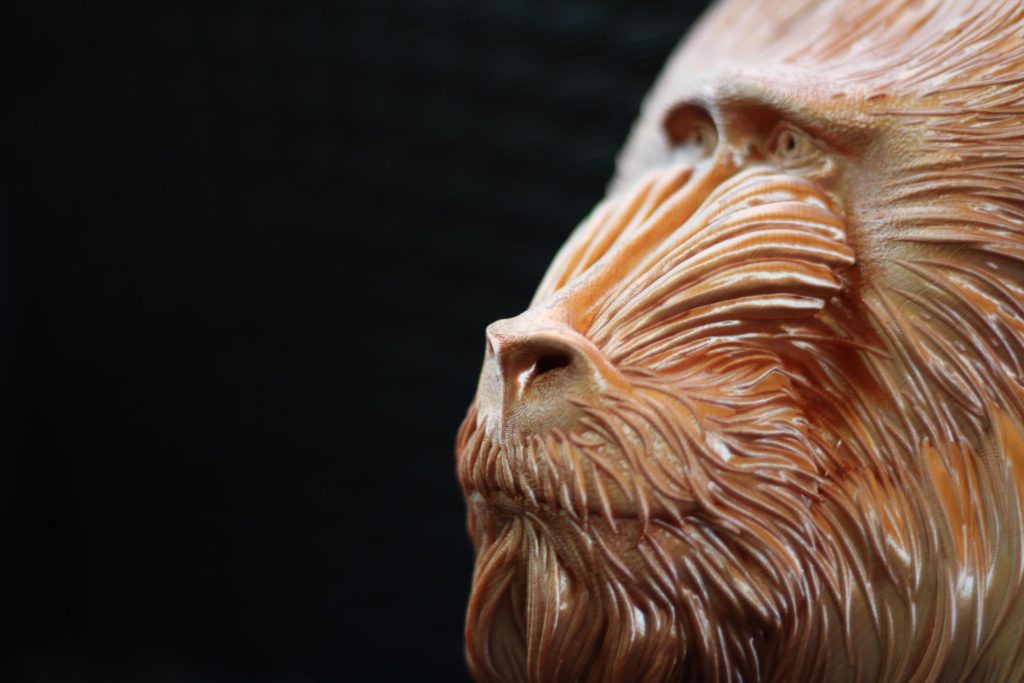

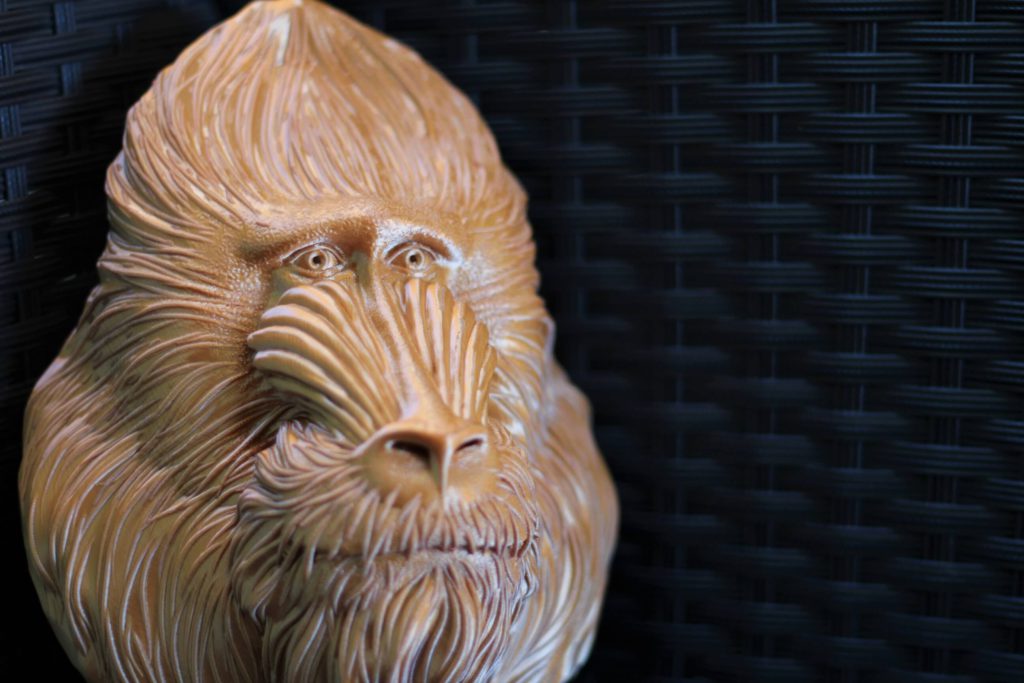

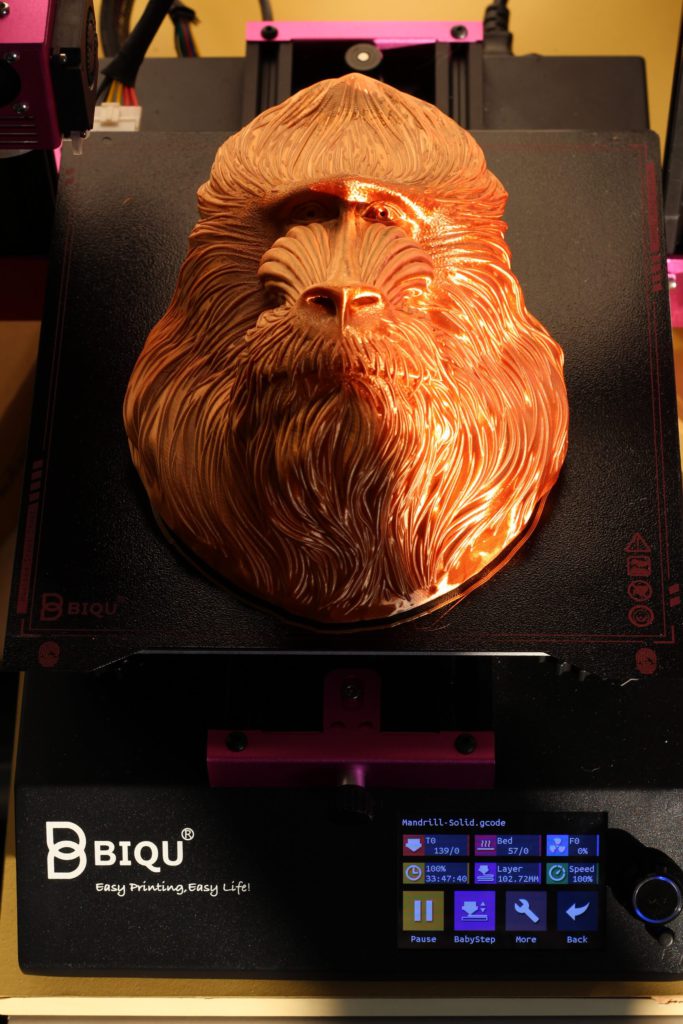
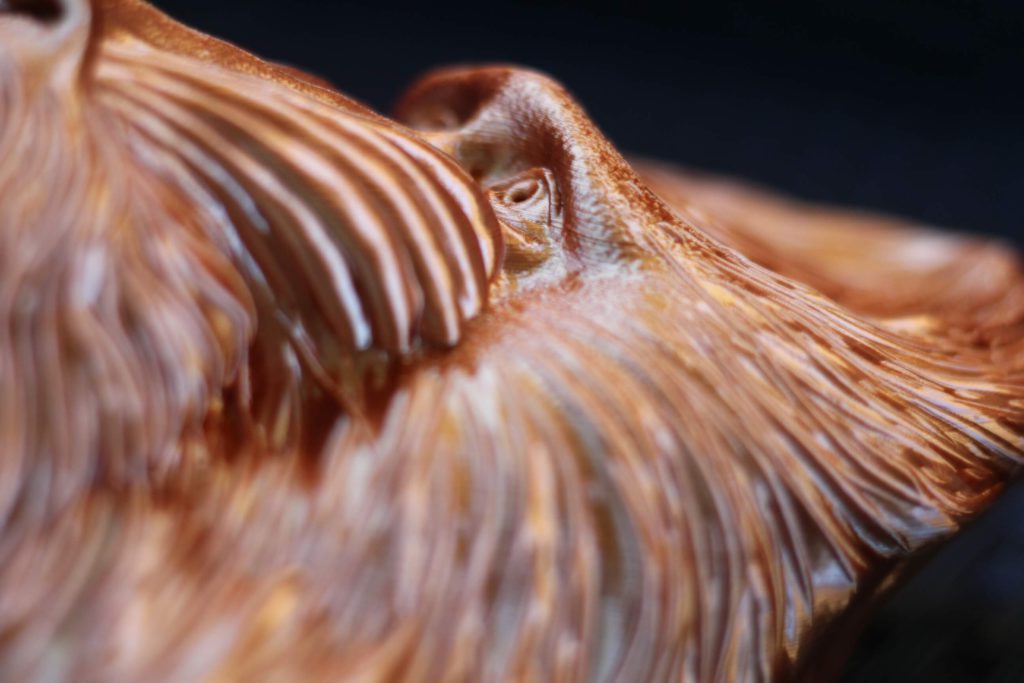
- Material: Sunlu Silk Red Copper PLA
- Layer Height: 0.15mm
- Nozzle Temperature: 200C
- Bed Temperature: 60C
- Print Speed: 50 mm/s
Capitan America
I printed Capitan America from Wekster where I also used the color change feature for the base.
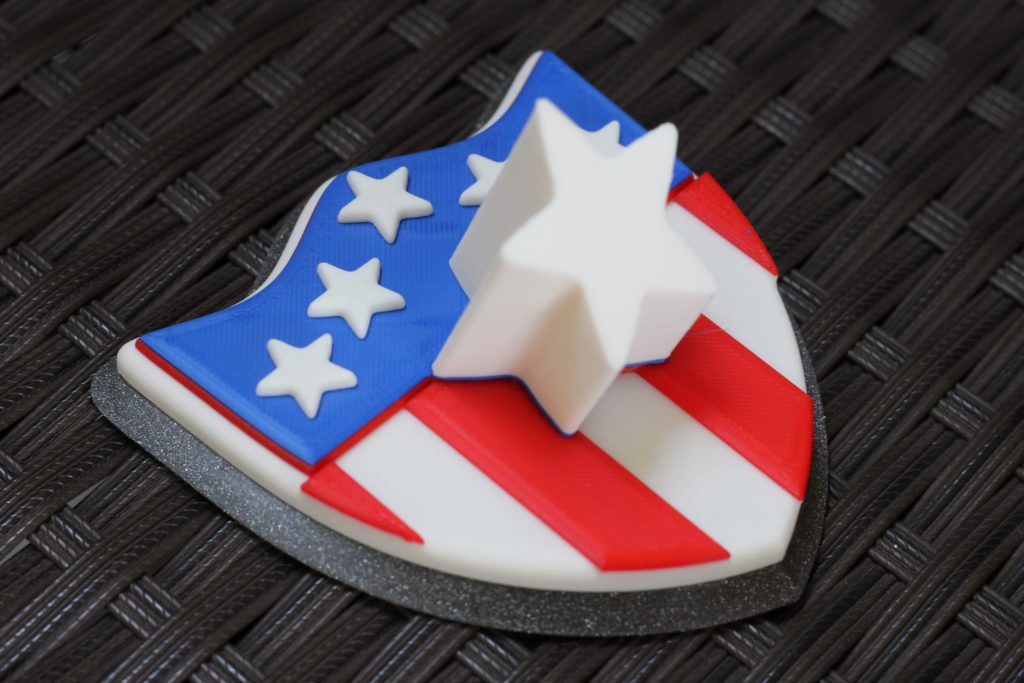
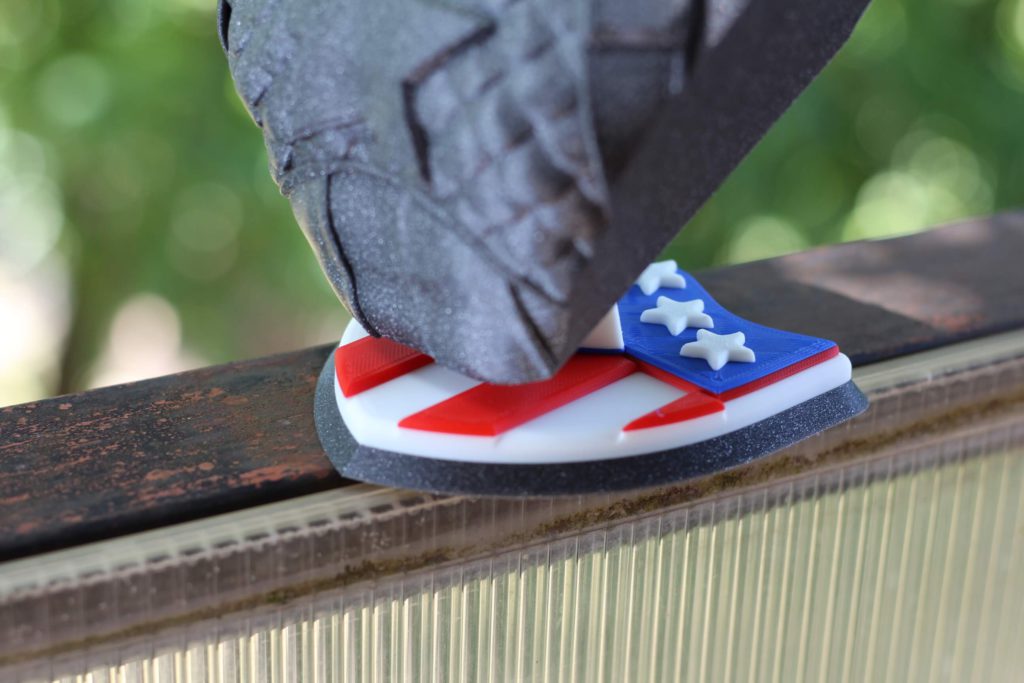
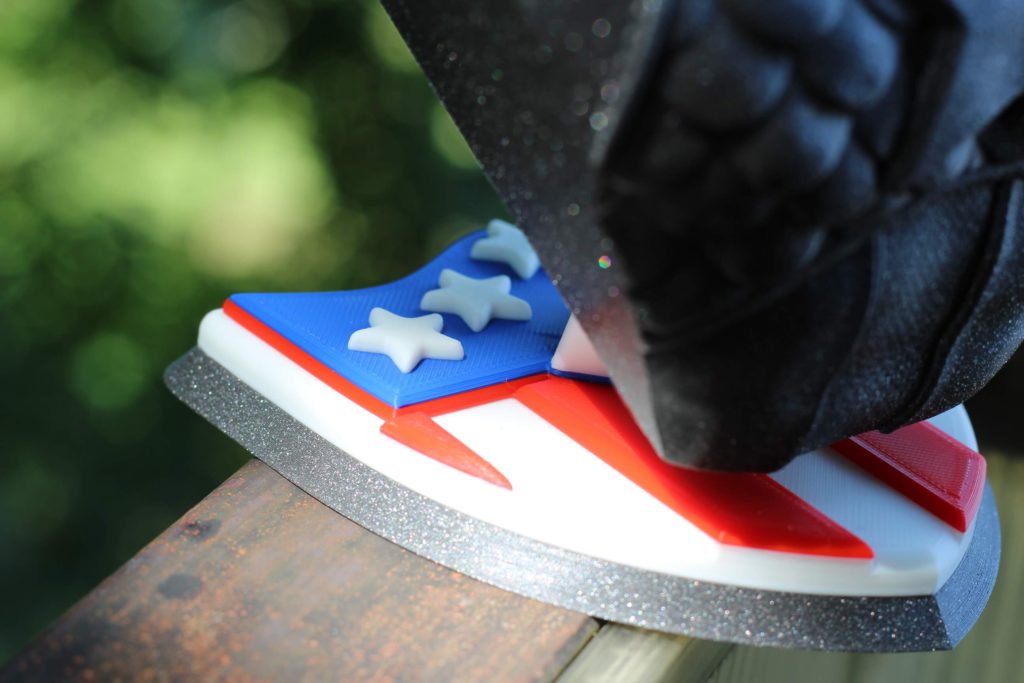
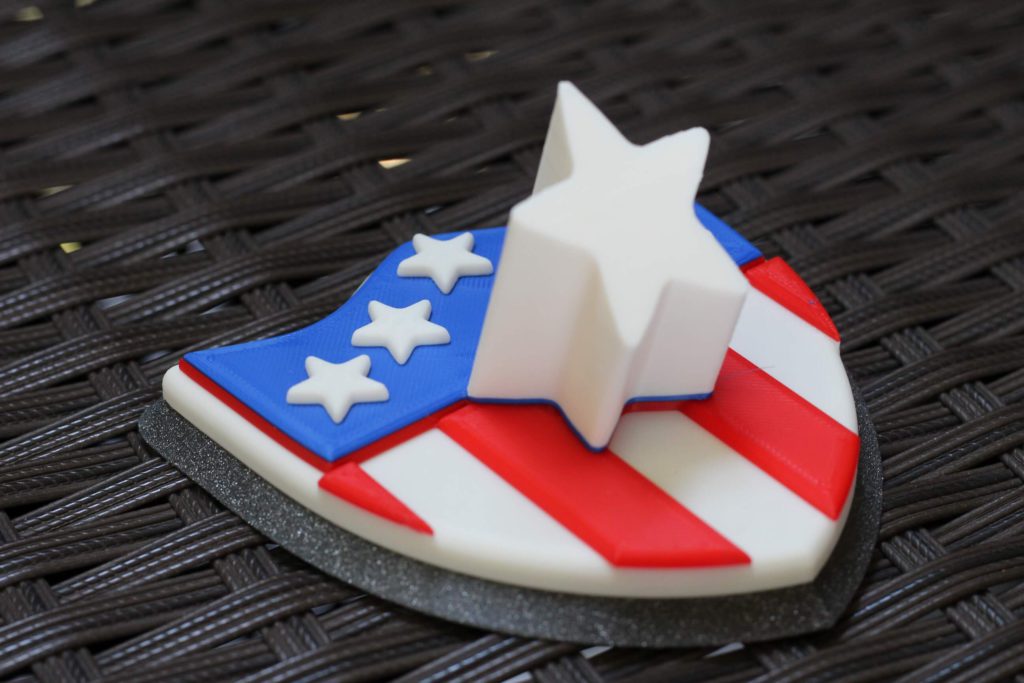
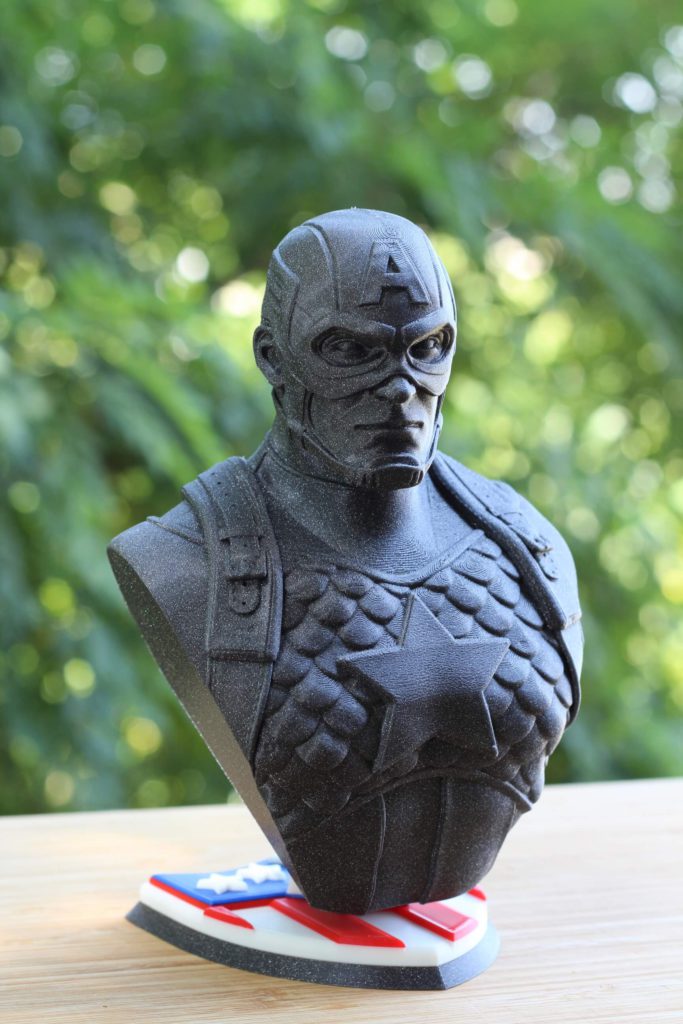
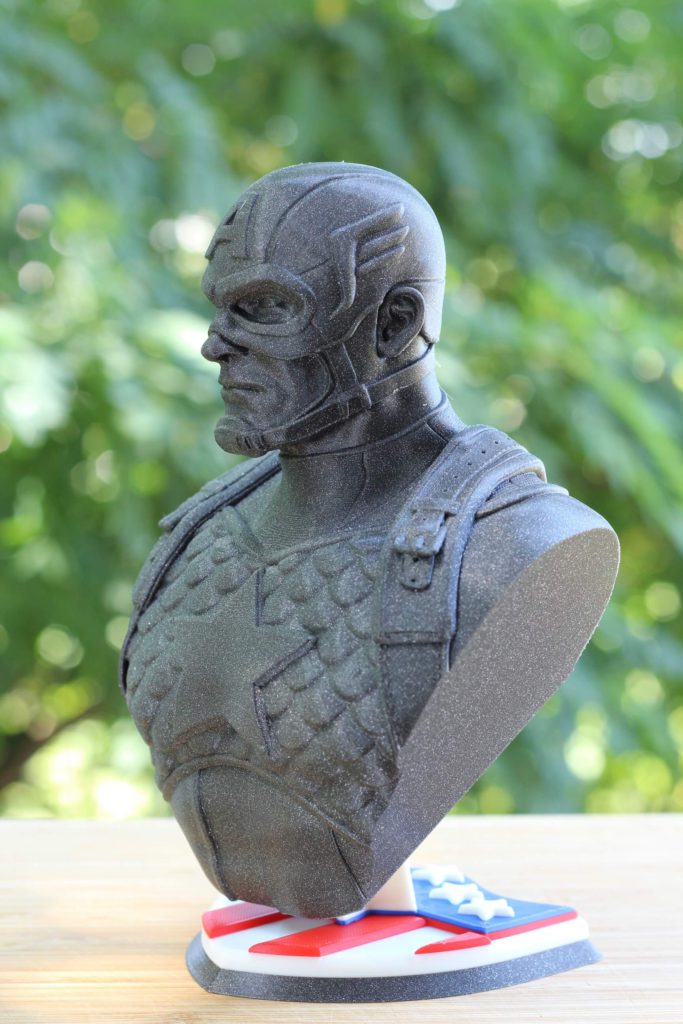
- Material: PLA PRO SELECT Glint Gray
- Layer Height: 0.15mm
- Nozzle Temperature: 210C
- Bed Temperature: 50C
- Print Speed: 50 mm/s
BIQU B1 vs Ender 3 V2
Comparing what you get with the Ender 3 V2 you can understand why I name the BIQU B1 the “Ender 3 V2 Killer“. I see no reason why someone would buy an an Ender 3 V2 when the BIQU B1 comes with much more features at the same price.
PEI Spring Steel Sheet vs glass bed / Creality surface
The BIQU B1 uses a spring steel sheet which is a better choice in my opinion. This allows you to remove the print easily without needing to wait for the bed to cool. The Ender 3 V2 uses a glass bed which requires some time to cool before removing the print.
Better board with swappable drivers
The SKR 1.4 is superior to the Creality boards included with the Ender 3. It has swappable drivers which can be replaced if one of them fails, or upgraded in the future.
There’s also the possibility of adding a simple 2$ adapter for WiFi capabilities on the BIQU B1 while with the Creality boards you are limited to what you get from the factory
Better screen with more features
The BIQU B1 uses the TFT35 touchscreen while the Ender 3 V2 uses an upgraded screen but without touch capabilities.
Because the TFT35 has more functionality, you can also run GCode commands or use the Marlin interface with the BIQU B1. The Ender 3 V2 lacks features in this area.
Easier BLTouch upgrade
If you want to add BLTouch functionality to the Ender 3 V2, you will need to either print another hotend cover or a mount for the sensor. Besides that, firmware modifications and careful wiring will be needed to accomplish this.
The BIQU B1 makes this process much easier. The firmware is already prepared for BLTouch and you just need to use the included mount to install it.
RepRap Firmware capabilities
An important capability added by the BIQU B1 is the possibility of running RepRap Firmware on the printer. With a simple WiFI adapter you can install RRF on BIQU B1 and enjoy all the features it provides without replacing the board with a Duet.
An Ender 3 V2 can’t do that without a board replacement.
Conclusions – Is the BIQU B1 worth it?
I think the BIQU B1 is a good printer. Currently you can get the BIQU B1 for under 250$ which in my opinion is a great price considering it already comes upgraded with the SKR 1.4 and TFT35, hardware upgrades which are popular among the 3D printer enthusiasts.
It delivers quality prints with a tweaked profile, even at higher speeds. Cooling is good and while a bit noisy because of the fans it’s not too bad.
Unfortunately, it’s held back by the usual Chinese printer problems. For some reason, every time a printer is built, they stop 90% in development and do some bad choices when it comes to some important parts of the printer. This is also the case with the BIQU B1. The hotend is not that great and I think this will be the main point of frustration for future buyers. Some of the parts are not properly checked during QA and this causes the assembly process to be a bit cumbersome.
Overall, I’m happy with the BIQU B1 and I think if some of these small issues are fixed in future revisions, the BIGTREETECH printer can turn from good to great.
Where to buy the BIQU B1?
The BIQU B1 3D Printer can be bought from the following stores:
Aliexpress
Amazon
Banggood
Gearbest
3D Jake
I recommend checking out the Discount Codes page before purchasing. I regularly update the article with discount codes for various online shops, and you might find one for this particular model.
The BIQU B1 was provided free of charge by Banggood for the purpose of this review. While the article includes affiliate links, all opinions are my own. Nobody reviewed the article before it was posted, following the Review Guidelines.
Liked it?
|
|

