Top 10 Bambu Lab X1 Upgrades: Paid and Free
It’s no secret that I love my Bambu Lab X1, but there’s always some room to improve any kind of 3D printer, so in this article, I will share my favorite Bambu Lab X1 mods. Some of them are paid, but most upgrades are free and the only cost is some time and a bit of filament.
Bambu Lab X1 Paid Upgrades
Energetic Textured PEI Flex Plate
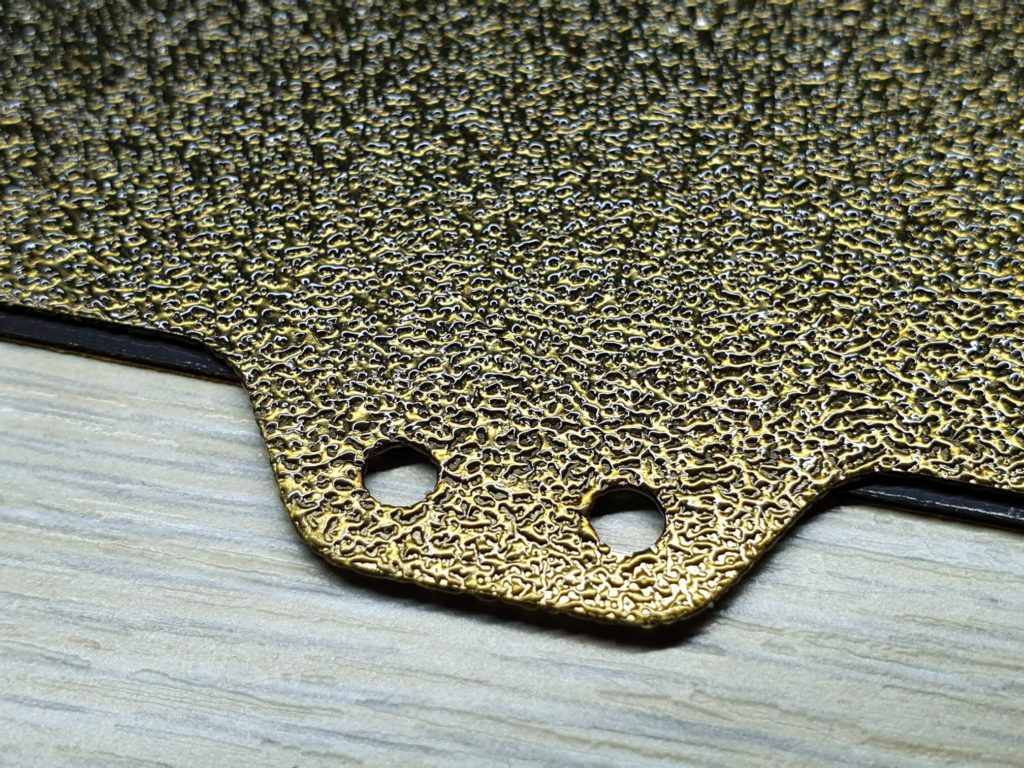
One of the most popular paid upgrades for the Bambu Lab X1 is the Magnetic Textured PEI flex plate from Energetic. I have reviewed this type of magnetic flex plate in the past, and it’s one of the most popular upgrades for any 3D printer as it offers excellent adhesion for most 3D printing filaments while also leaving a nice texture on the model.
They offer it in Gold but a black variant is also available to purchase. The one I linked previously is a bit more expensive, but it gives you the choice of having one side smooth, and the other side textured.
If you decide to get one of these print surfaces, it’s important to note that the LIDAR can have a bad time correctly measuring and calibrating the flow rate of the printing surface. It’s recommended to use the stock print surface to do the flow rate calibration, then switch to the textured plate.
The calibration values will remain in the printer’s memory, so when you start the print on the textured plate, select just the bed leveling, and disable flow rate calibration.
I don’t have this surface, so I haven’t tried it, but I did quite a few prints on a Ultistick sheet made for Prusa MK3S. This is a bit smaller than the original surface but it worked pretty well after aligning it to the back-right side of the bed.
Bambu Lab also launched a new Golden Textured PEI Plate which I tested and works great.
Filament Dryer
The AMS has some space for desiccant packs to be installed, to ensure the filament stays dry during printing. But the AMS doesn’t have the drying functionality, so a popular upgrade/mod for the Bambu Lab X1 is to purchase a dedicated Filament Drier. A filament dryer will be a must-have upgrade for your X1 Carbon if you print a lot of PA-CF filament which is very hygroscopic.
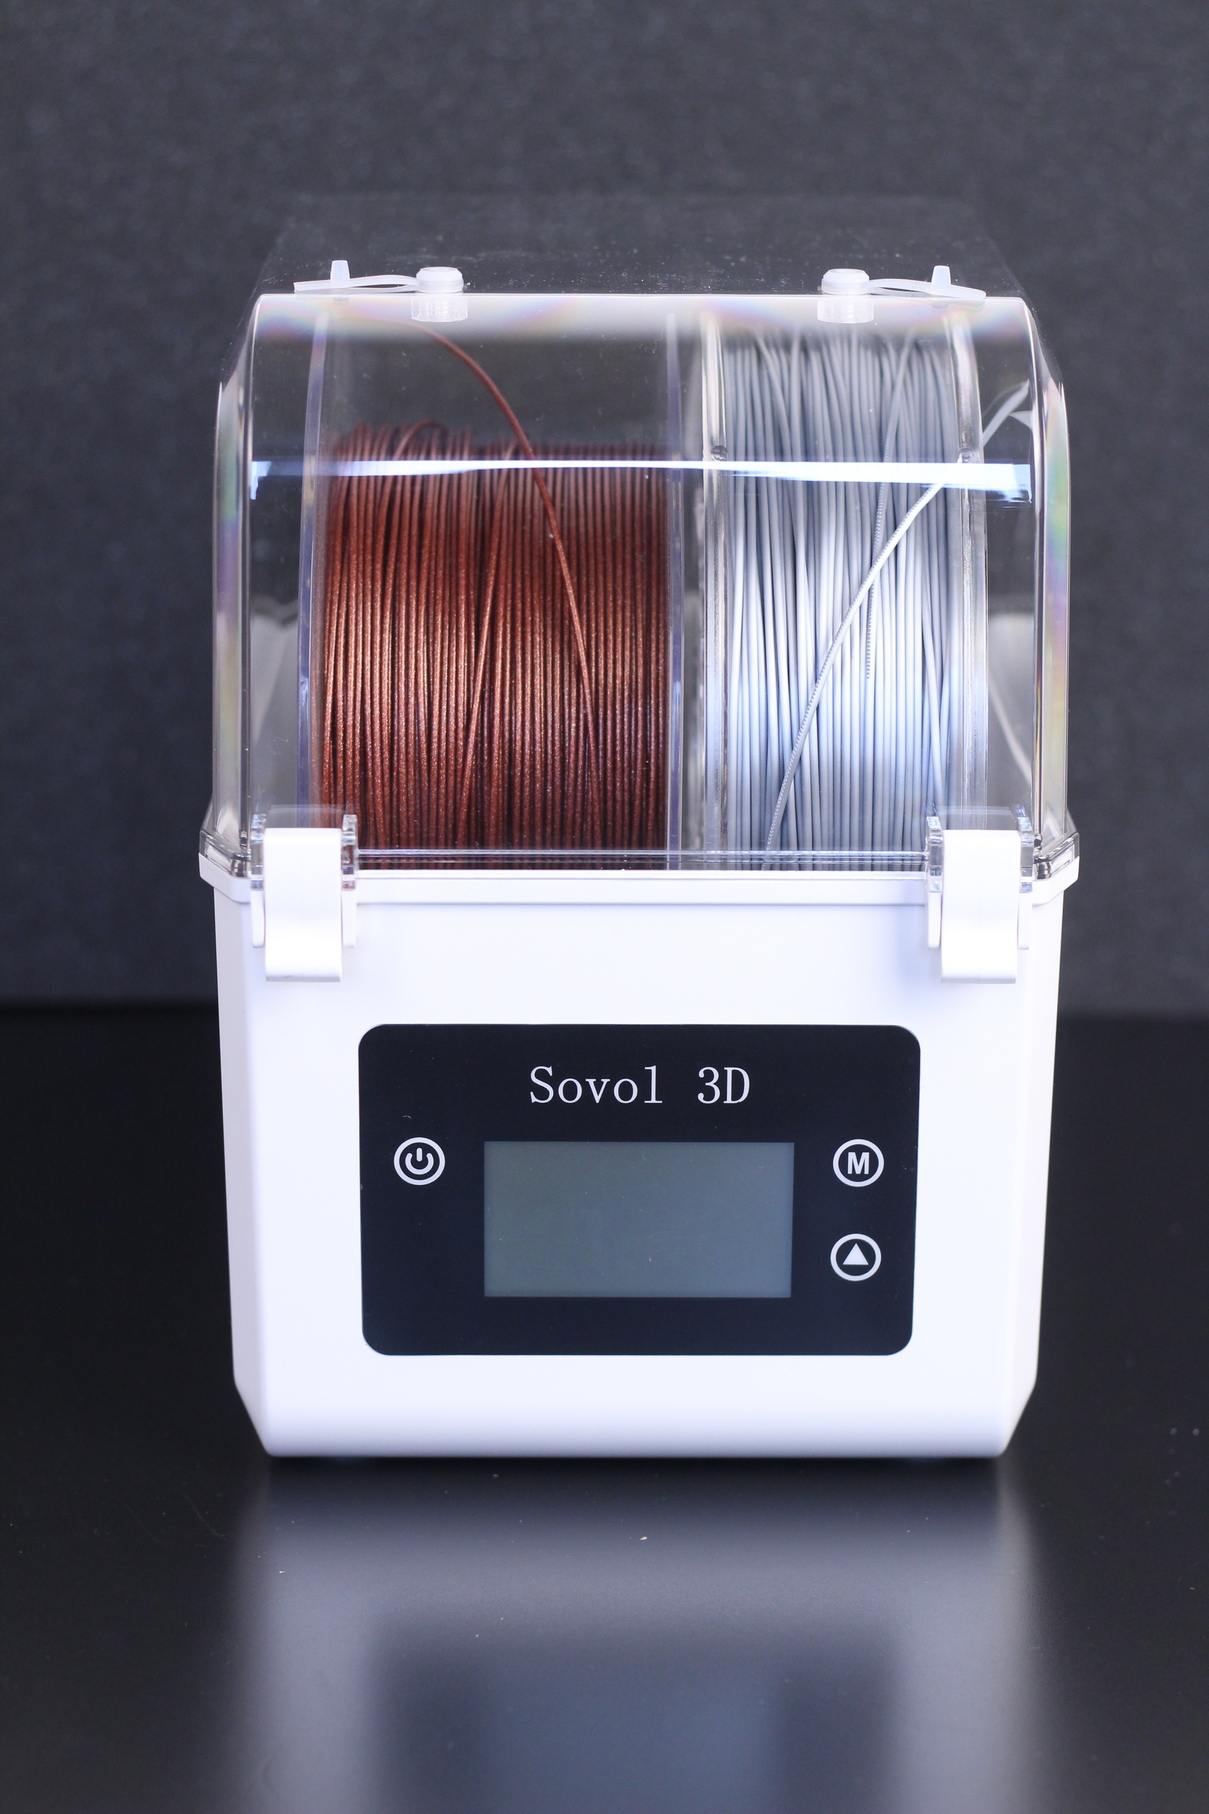
I use the Sovol Filament Drier successfully, and I’m happy with its performance, but other manufacturers offer similar units. For example, you can check the Sunlu FilaDryer S2 or the EIBOS filament drier which work the same way but are made for a single spool.
Besides drying the filament, these units also act as a reverse bowden spool holders that can be set on the side of the printer to provide easier access to filaments, instead of using the back spool holder of the X1.
Bambu Lab X1 Free Upgrades
Bambu Lab X1 Waste Bucket
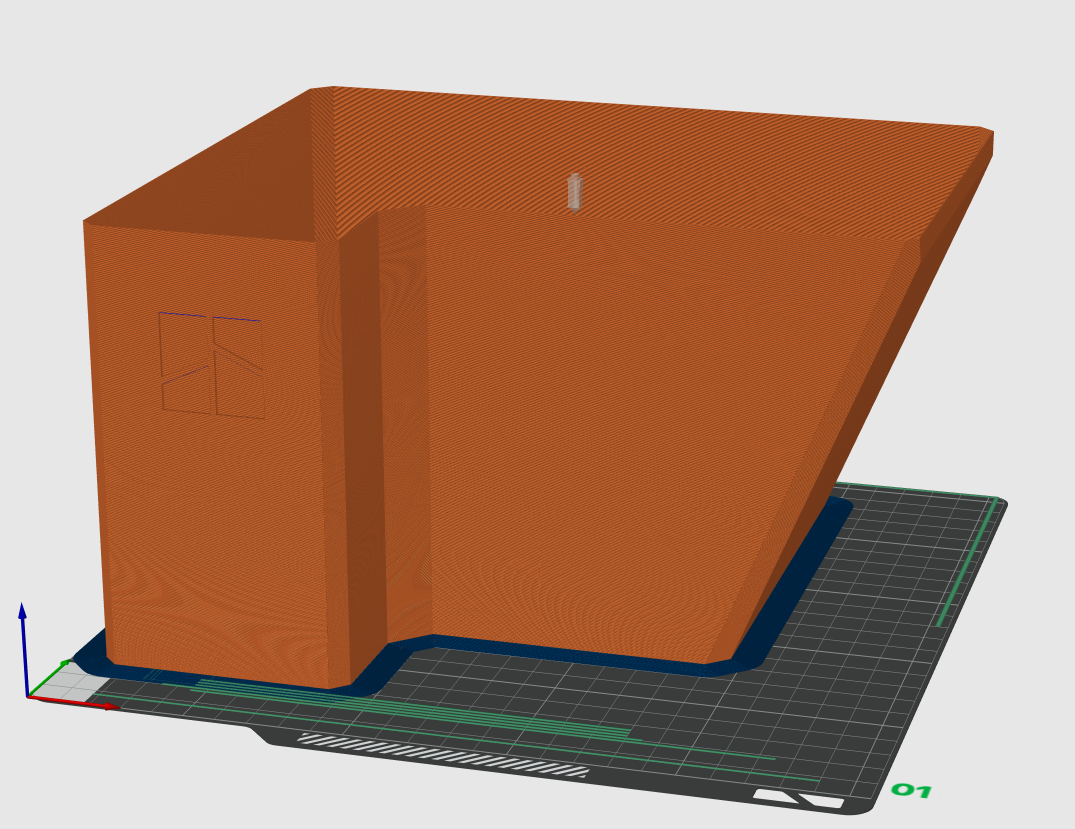
One of the most popular printable upgrades for the X1 and X1C is this awesome waste bucket from MortalWombat. It can be printed fast using the vase mode option in Bambu Studio, and it’s used to contain the small purge waste generated during the filament swaps with the AMS.
There are other models available, like the one made by Bifrost, but I don’t like it as much, because of the see-through logo on the front which adds a bit of extra print time.
AUX Part Cooling Fan support
According to the Bambu Lab Wiki page, some early models of the X1 Carbon had some issues with the way the adhesive behind the AUX fan was installed, making the fan drop inside the enclosure.
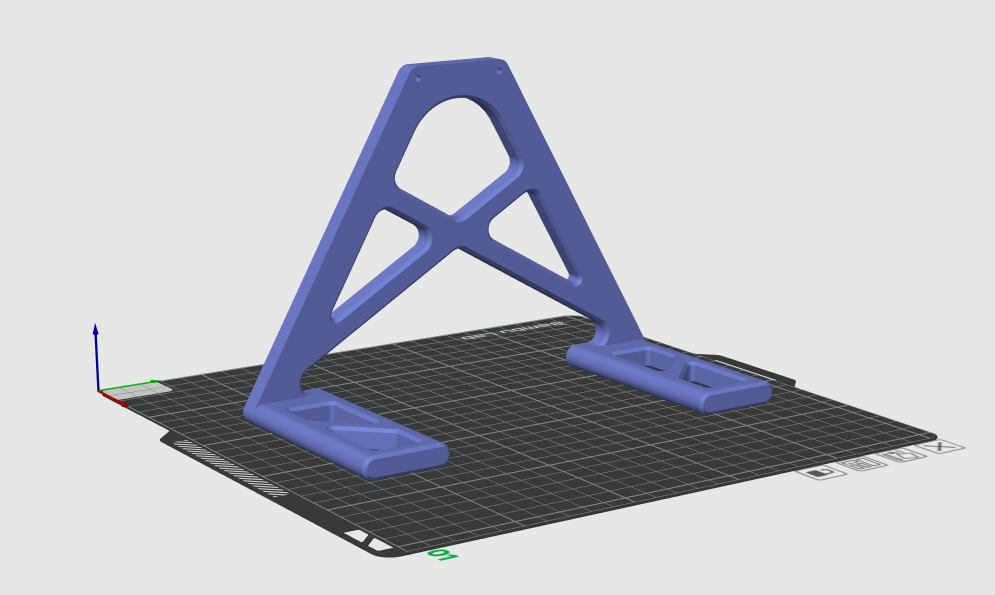
If this happens, they are providing a fix after contacting support, but user thrutheframe also made a printable model available on Printables which can be used to hold the fan in place. This will ensure that the fan is properly supported and solves the problem.
If you decide to print it, I recommend using a higher-temperature filament like PETG or ABS, to ensure it will last a long time even if you decide to print with the doors closed. Printing the stand in PLA can generate problems over time, as the filament might start to soften.
Spacer for the top glass cover
Printing filaments with a lower glass transition temperature benefit from better airflow in the enclosure. The best way to ensure a successful print, and avoid filament clogs is to print with the top cover removed. This will allow the hot air inside the enclosure to escape through the top of the printer.
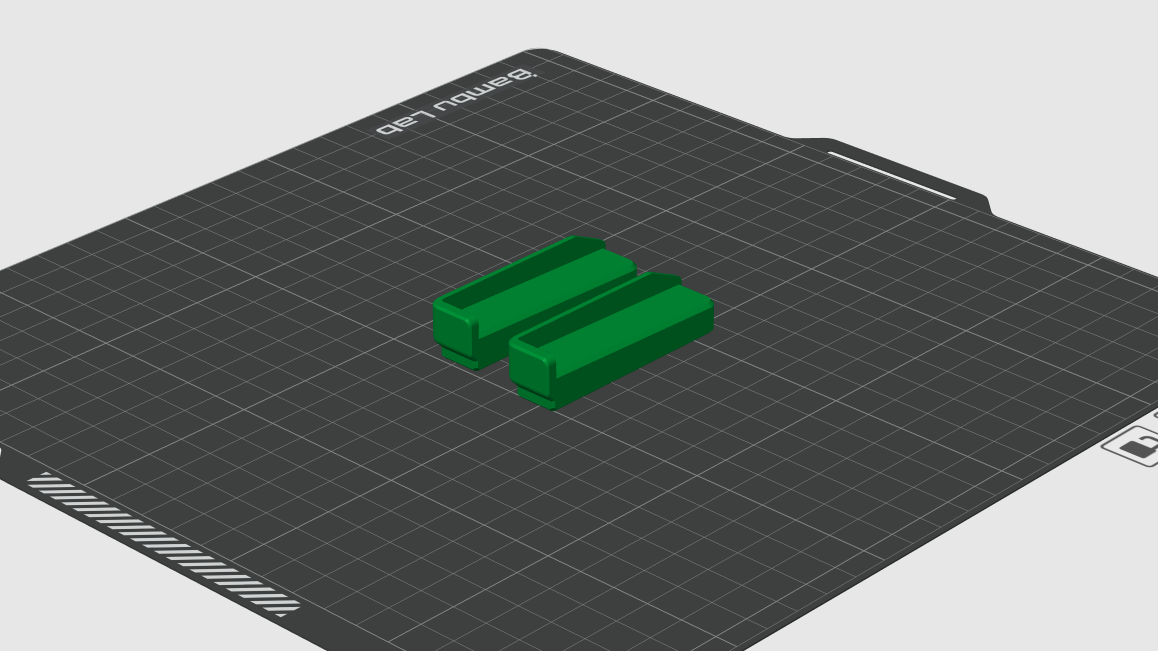
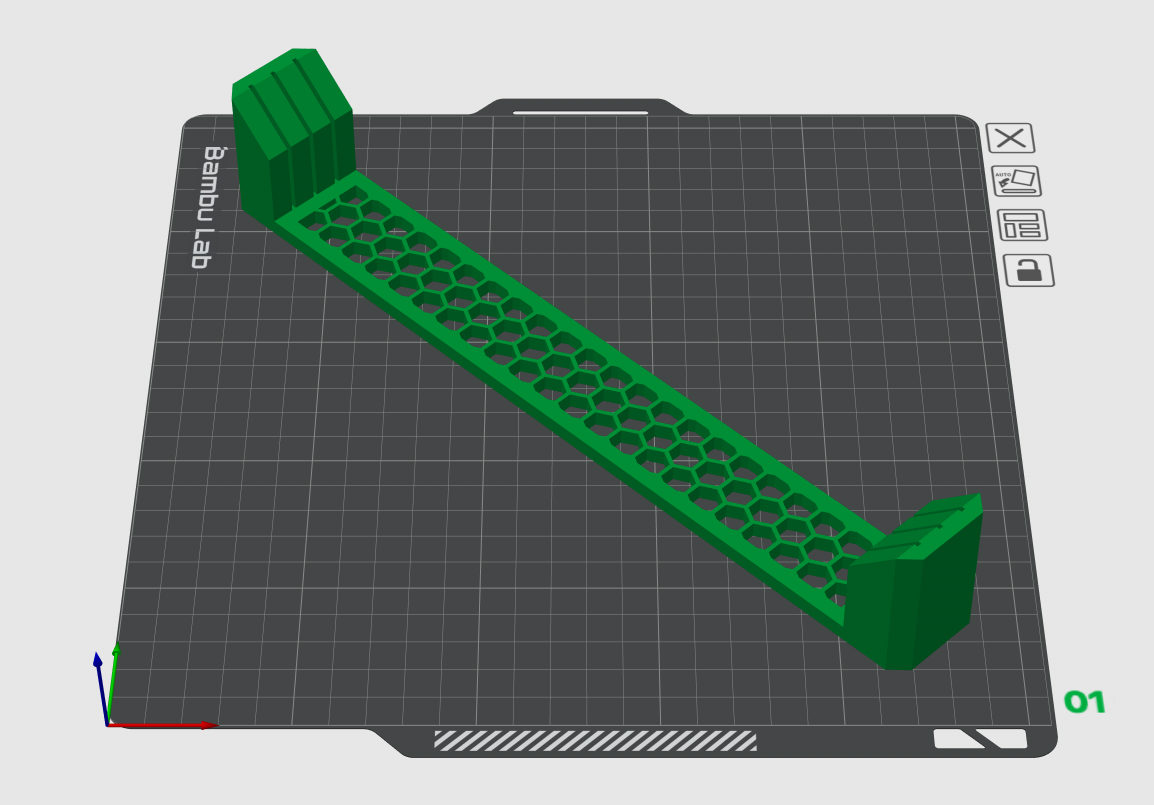
User thrutheframe made a nice printable upgrade which is available on Printables, that allows you to prop the top glass cover and allow the hot air to escape.
Krazyderek did a similar printable mod for the Bambu Lab X1, which allows you raise the top cover on all sides, allowing you to still use the AMS on top of the machine.
Plate holder for X1C
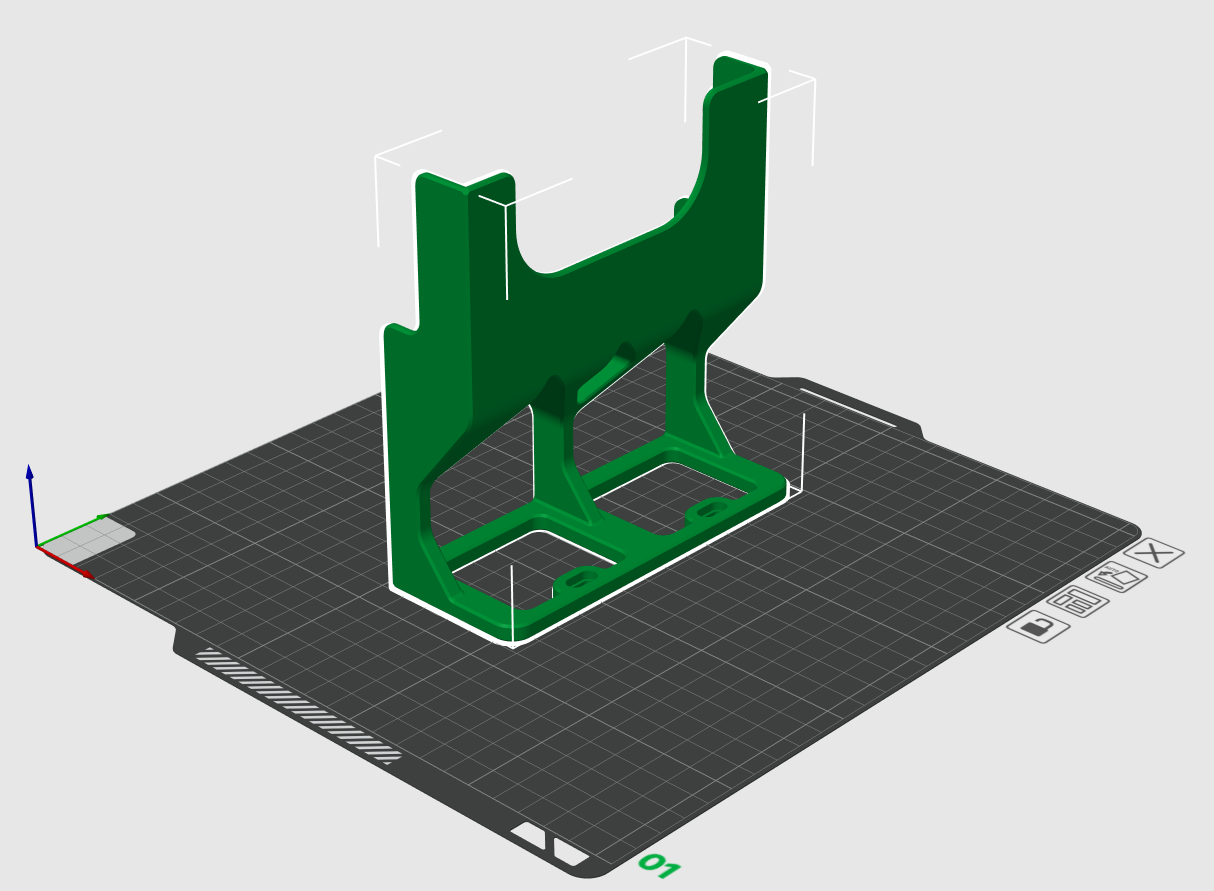
Another free printable upgrade for the Bambu Lab X1 and X1C is this plate holder remix. After printing the model, you will be able to store your extra printing surfaces upright, saving you a bit of space.
I’m less organized than some people, and I usually keep my extra plates at the bottom of the printer enclosure. But don’t be like me, and do it right!
Bambu Lab GSD
It’s recommended to use a thin coat of glue stick on all printing surfaces made by Bambu Lab to ensure there’s a thin interface layer between the printing surface and the model. This helps remove the prints easier, without damaging the print surface.
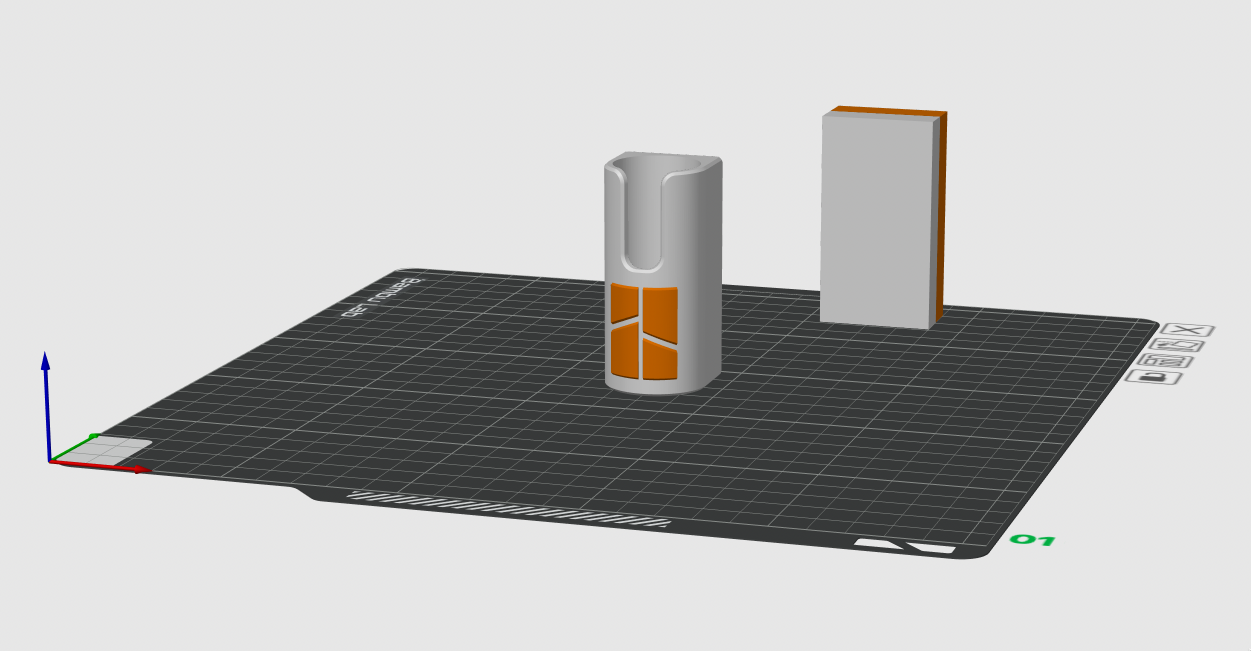
But if you’re like me, and you always misplace the glue stick, then printing this Bambu Lab Glue Stick Dock is a no-brainer. It allows you to attach it magnetically to the side of the X1 Carbon, keeping it at arms reach at all times. The model is a multi-color MajorGamergeek remix done by painting the original GSD model made by thrutheframe.
Filament Buffer Button
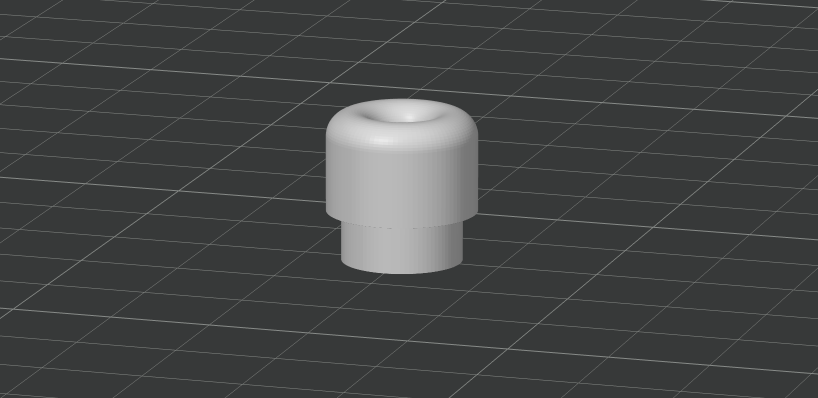
This is one of the fastest Bambu Lab X1 upgrades you can do, as it prints fast but it also is very useful. The back filament buffer has a PTFE tube coupler which is kind of hard to access and press down. But after printing this button, you can slip it on the PTFE tube and use it when needed.
It’s made by Endolux and it’s available to download from Thangs. It saved me a lot of trouble, so I strongly encourage you to print it.
Bambu Lab X1 Reusable Spool
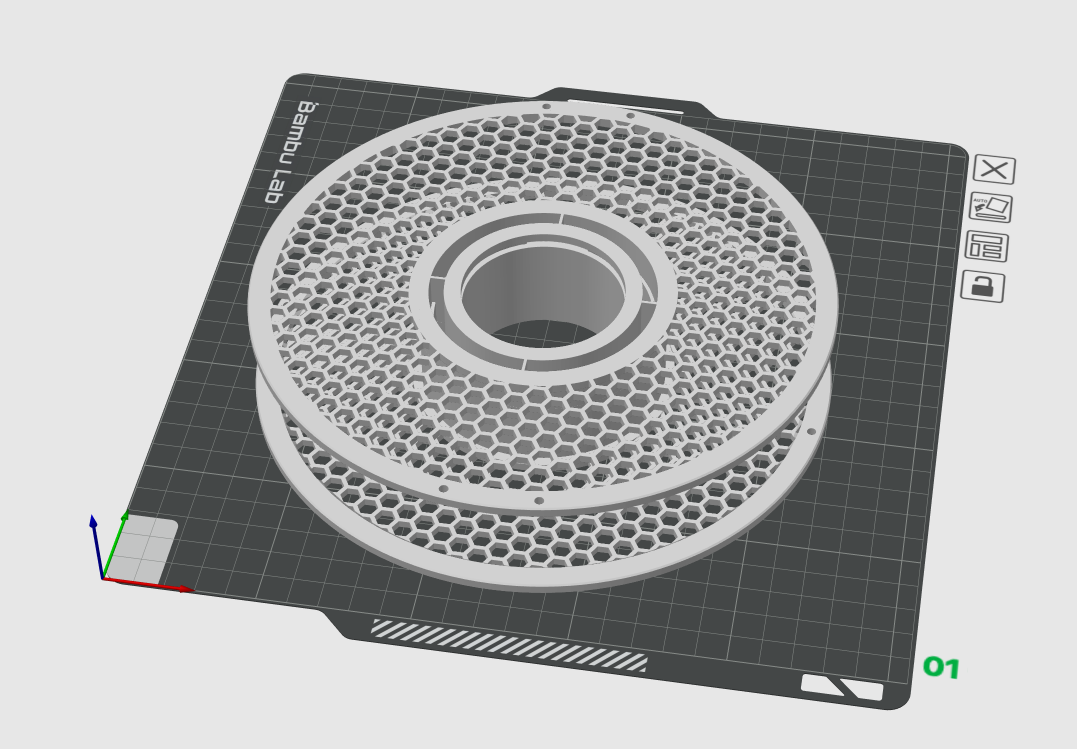
Bambu Lab includes a printable re-usable spool in their printer menu which can be used for their filament refills. But user Siganberg made a remix of the original spool and exported it in STEP format. This will produce a better surface finish as the X1 and X1 Carbon support G2/G3 arcs.
Bambu Lab X1C refillable box
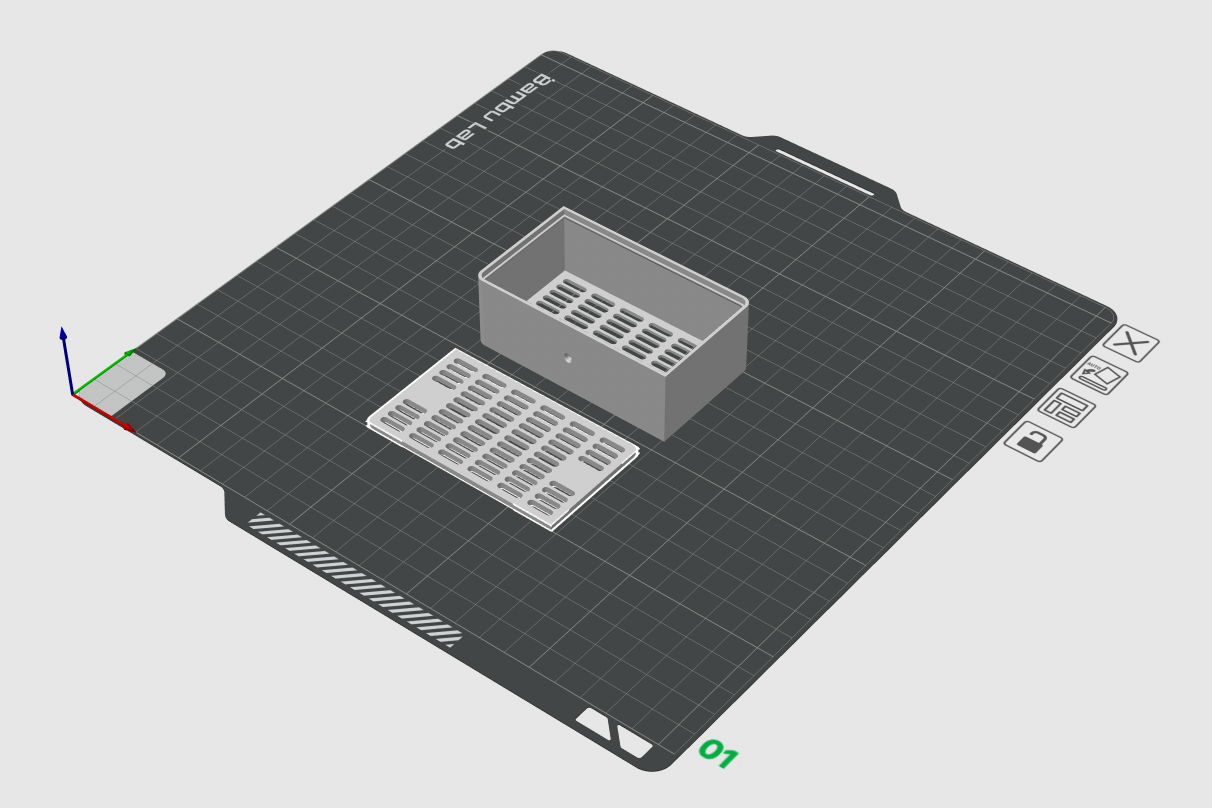
Another excellent printable Bambu Lab X1 upgrade is the Bambu Lab X1C refillable box from thrutheframe. This box can be filled with activated carbon pellets and takes the place of the official carbon filter.
While the original carbon filter is not very expensive, this allows you to add more activated charcoal pellets to it, which will probably increase the filter efficiency while also lowering the operating cost.
As a bonus, you can also use HEPA filters in it, for an extra degree of filtering.
Bambu Lab Spool Holder Rescue
I love using the AMS as a spool holder as it makes the printer look great while also allowing you to easily switch between filaments. But when printing TPU or other types of filament from spools that don’t fit the AMS you need to use the external spool holder included with the printer.
I use my SOVOL Filament Drier for this, as I can’t easily reach the back of the printer without moving it. But if you don’t need a spool holder, I recommend printing the Spool Holder Rescue model by Bounet which allows you to attach the metal spool holder included with the printer to a printable support. You will then be able to place your spool on the side of the machine improving access to the spool.
BONUS: Sticker Application Tool from Bambu Lab
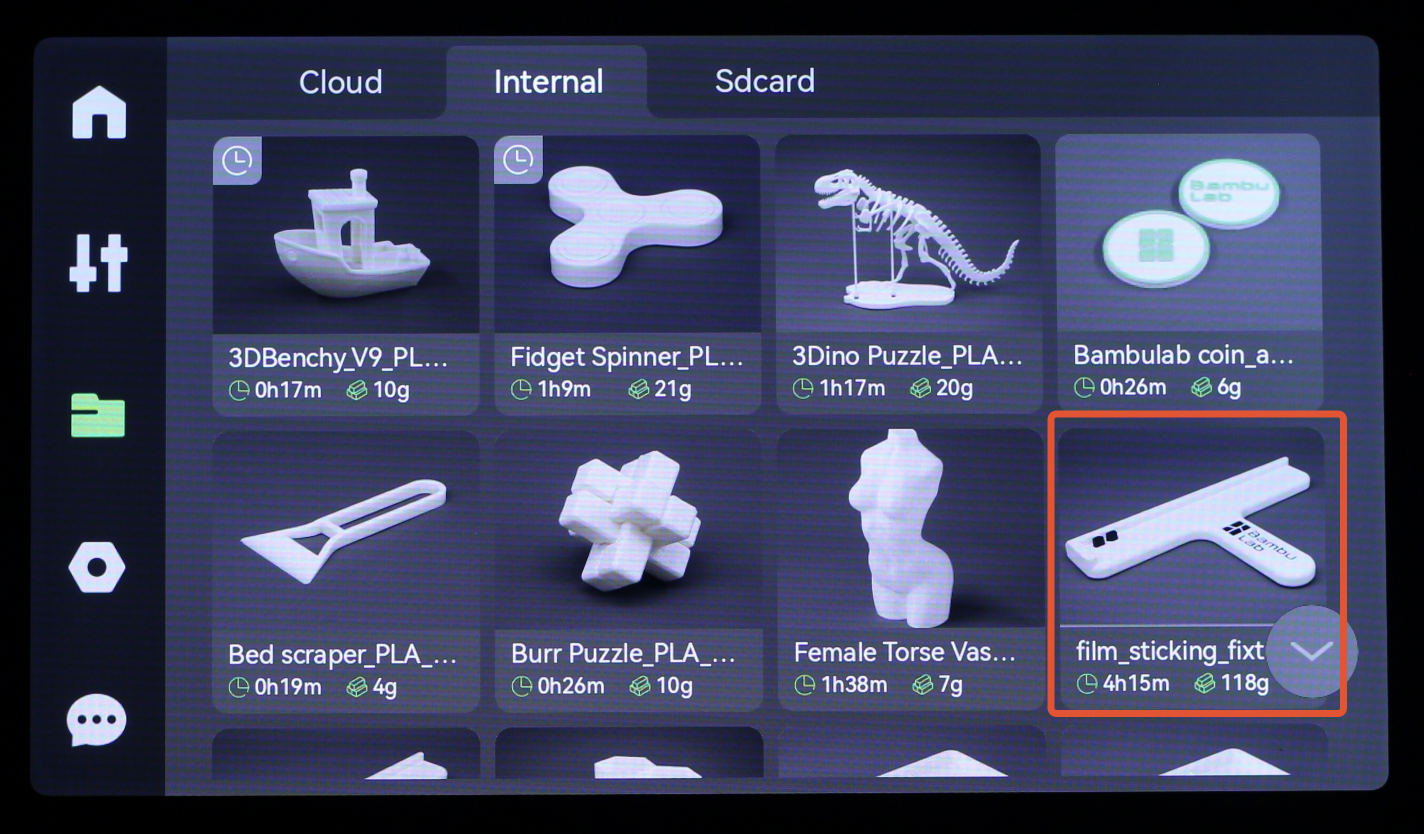
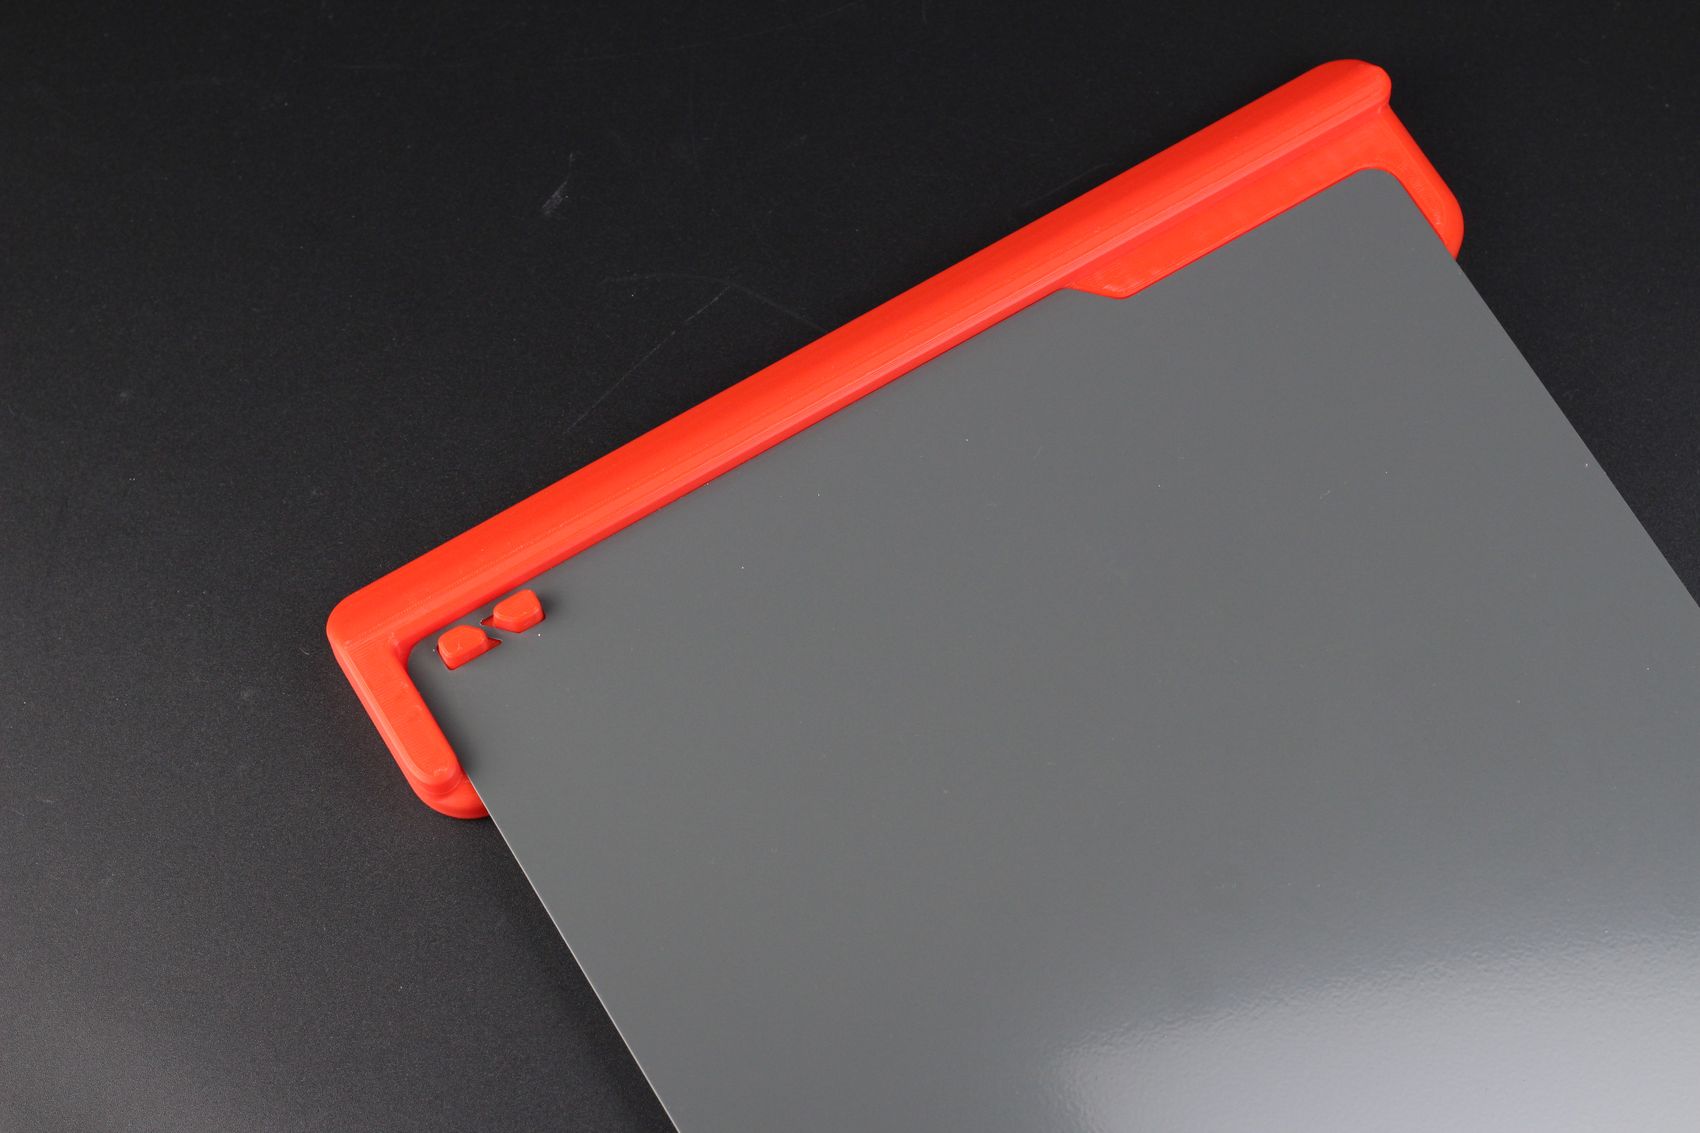
If you haven’t printed this already, then I highly recommend doing it. It’s a pre-sliced model available in the printer menu, which simplifies the application of the Cool Plate and PEI High-Temperature printing surfaces.
You just need to slide in the magnetic flex plate in the dedicated slots, then do the same with the sticker.
After attaching the front side of the sticker, you take out the tool and use it to complete the installation by applying a uniform pressure over the sticker to avoid getting bubbles underneath.
If you want to ensure a perfect application, I also recommend placing the print surface with the sticker over the bed and heating the bed to ~60C for about 10 minutes then letting it cool down. The magnetic attraction and heat will improve adhesion and ensure a longer-lasting result.
Wrapping up
I hope this list of Bambu Lab X1 Upgrades and Mods is helpful, and you found at least one to make your printing experience better. If you have other X1 upgrades that you think are useful, please leave a comment below.
Liked it?
|
|




You can leave a comment for this article on the 3DPrintBeginner Forum