Custom Build Plate Collection for Prusa Slicer
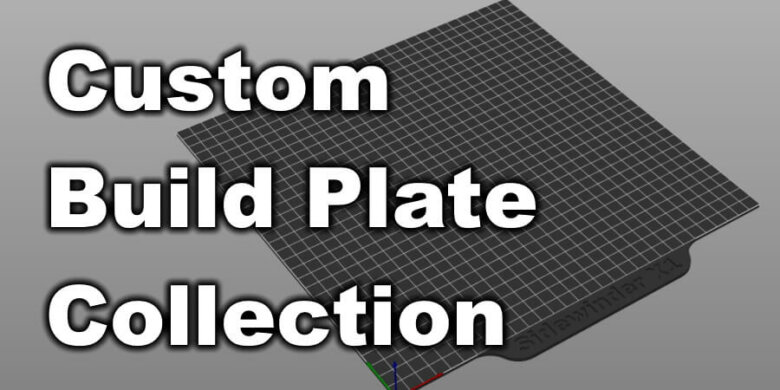
I started using Prusa Slicer a lot more in the past few weeks with great results so i thought i make it look better. For each of my printers i added a custom build plate.
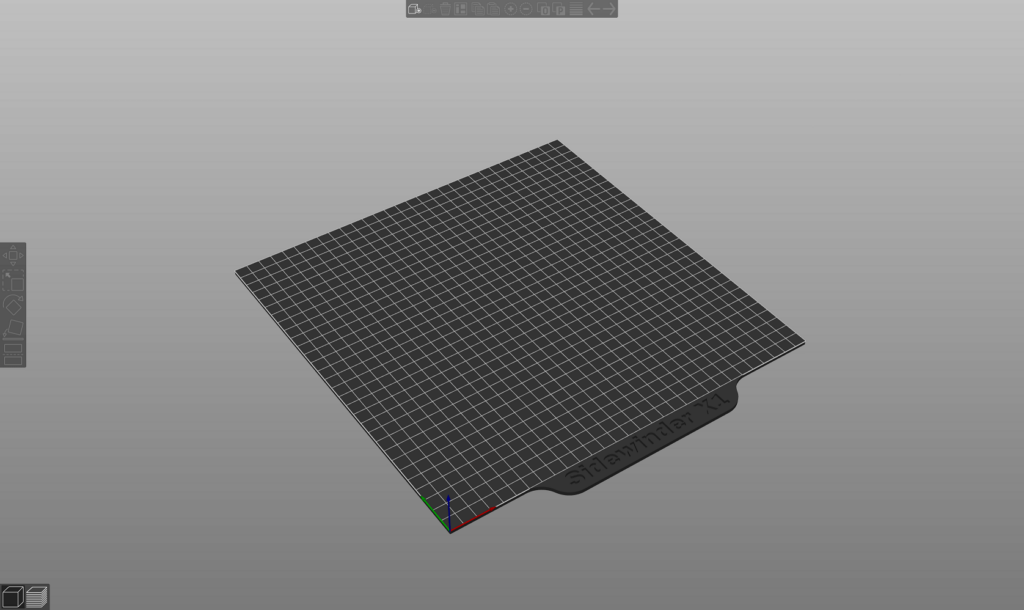
This improves looks and it also makes it easier to see what printer i am using. Each build plate has the name of the printer engraved on the front.
How to Install the Custom Build Plate in Prusa Slicer
- Download the correct build plate for your printer (links below)
- Open Prusa Slicer.
- Navigate to Printer Settings -> General.
- On the Bed Shape section, click on the Set button.
- In the Model section, click on Load and import the printer.stl file.
- Click OK.
After installing the custom build plate, it will look like this:
You can install the build plate in other slicers but the process is more convoluted. I previously explained the steps on how to install this on Simplify 3D in this article. The steps are identical, except for the build plate names.
Download links
Artillery
Alfawise
Creality
Geeetech
Two Trees
Tevo
Others
Wrapping up
I hope these custom build plates help you to improve the looks of your slicer. If you can’t find a custom build plate for your printer, drop me a comment below, and i will make one from you.
Happy printing!
Liked it?
|
|

